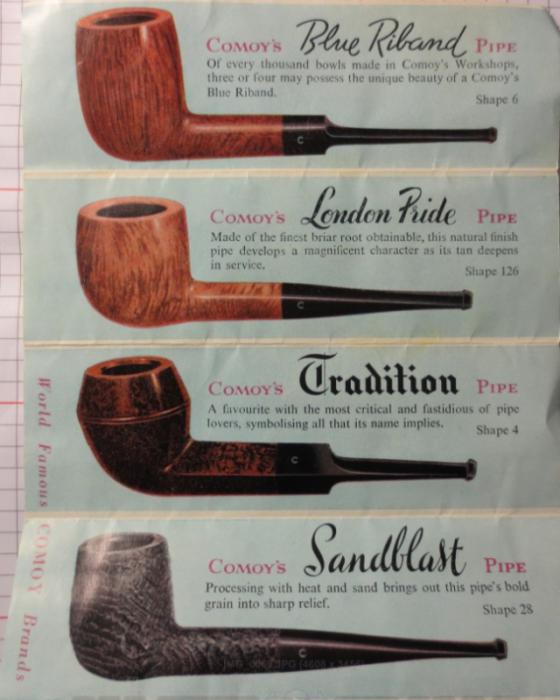
When hunting for estate pipes I always am on the lookout for certain brands that feel like a win when I find them. I have found a few of them over the years. Some of those brands are Dunhill, Comoy’s, GBD and BBB. Added to that are a few older American brands such as CPF and GFB. On a current hunt I did exceptionally well and found four GBD pipes and two Comoy’s pipes. The first one I have been working on is stamped Comoy’s Tradition and is a shape 4 bulldog. In my mind Comoy’s knew how to make the quintessential bulldog so I was glad to find this one. However, the previous owner had modified the shape dramatically and made it almost unrecognizable due to his changes. I bought it anyway and went back to the books to see what the original shape must have looked like. In the brochure photo below it is the third pipe down labeled Tradition.
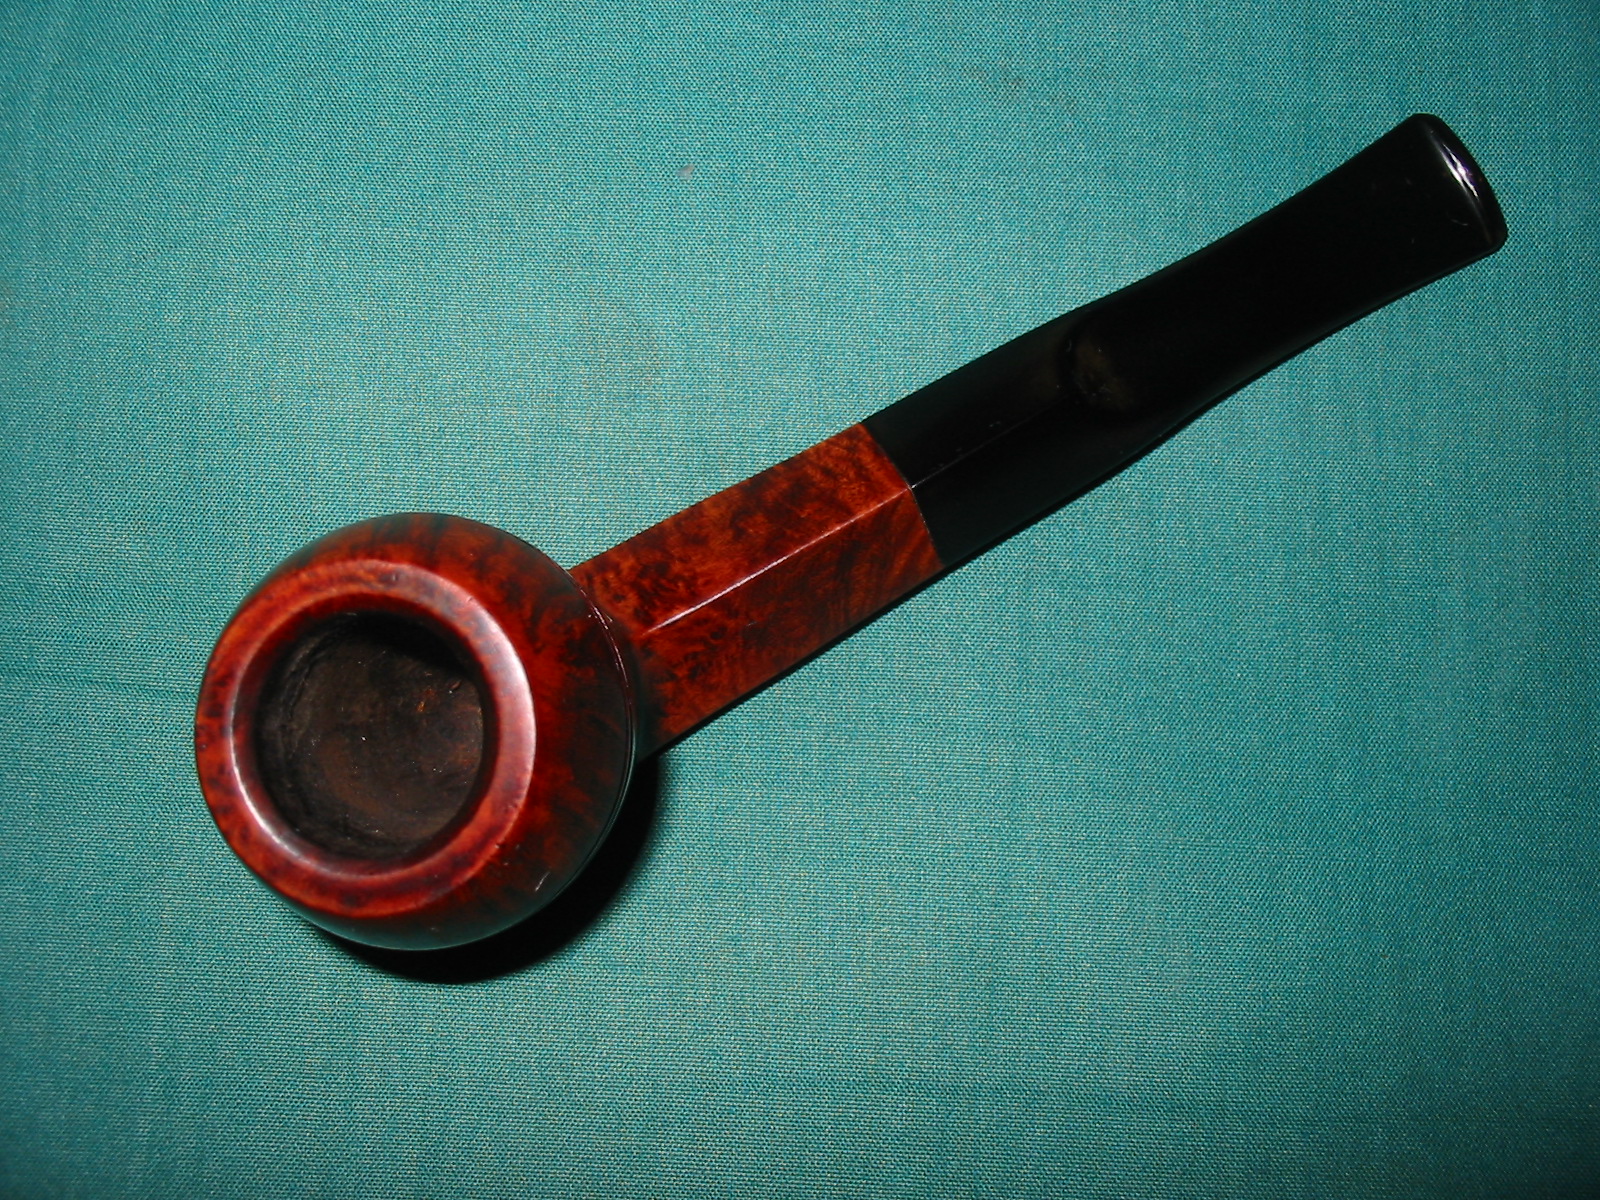
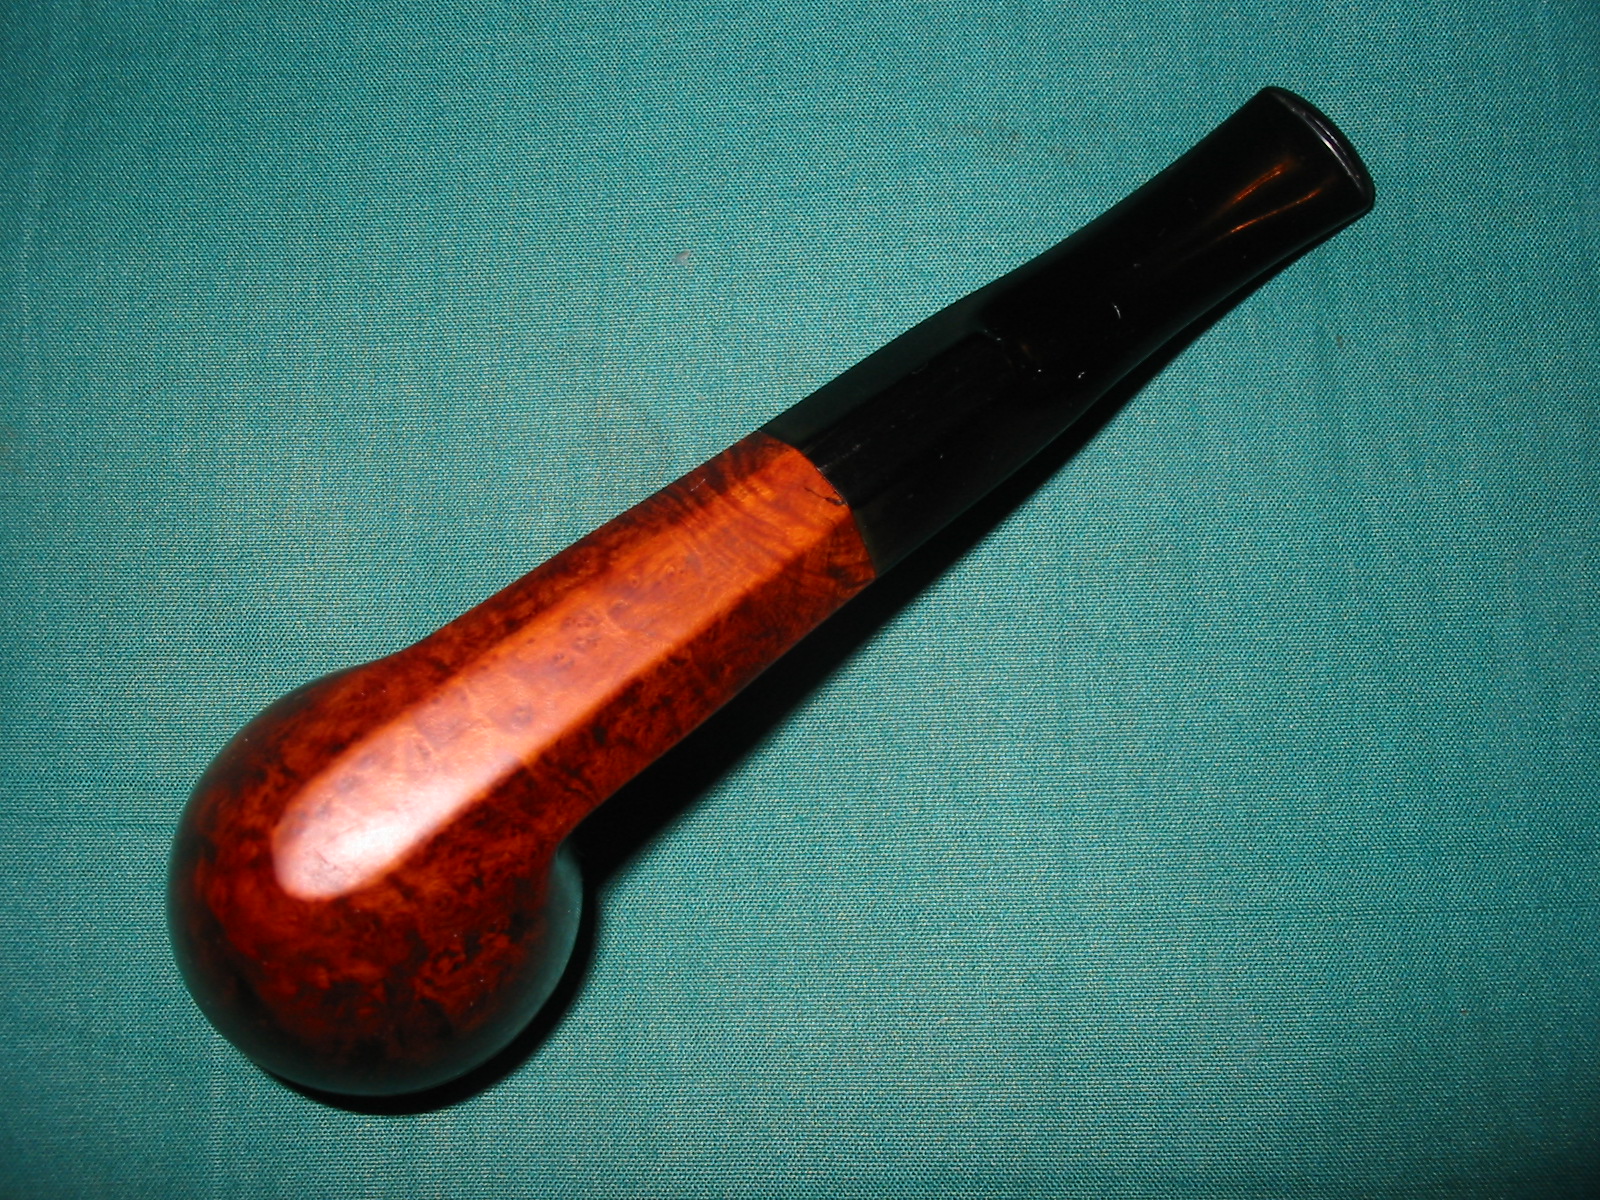
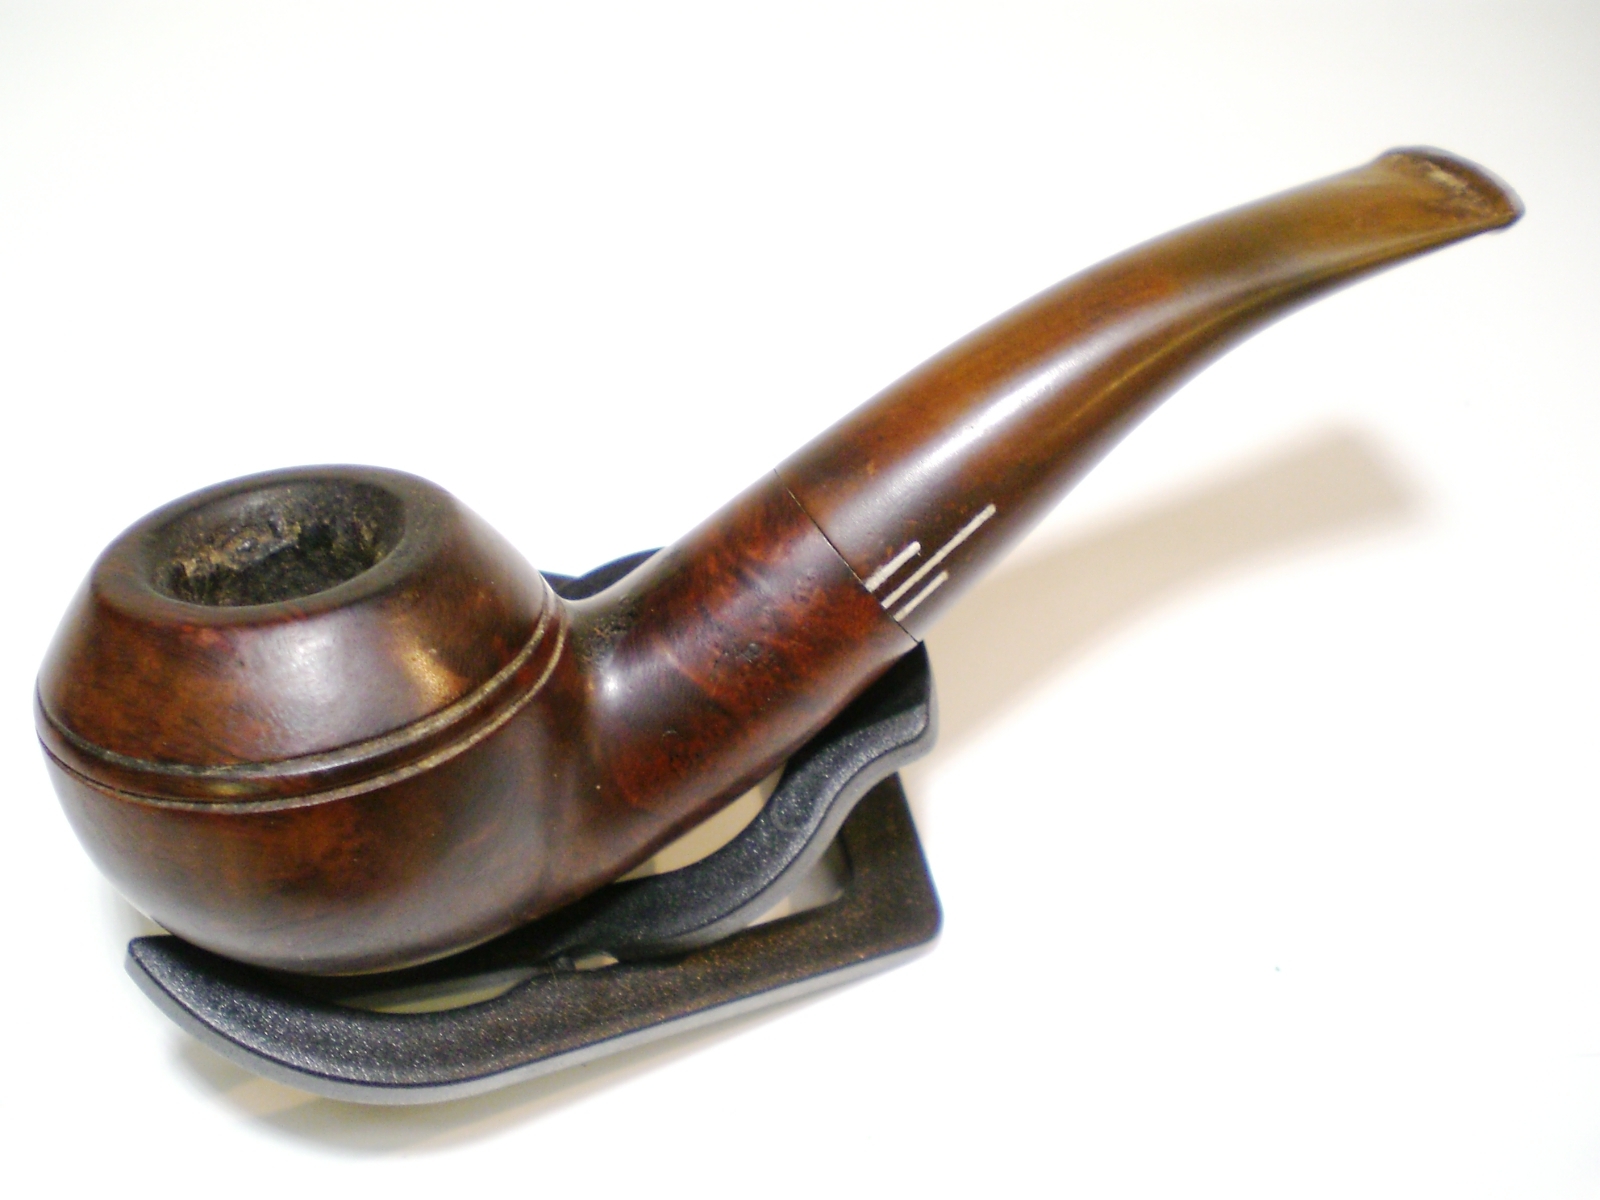
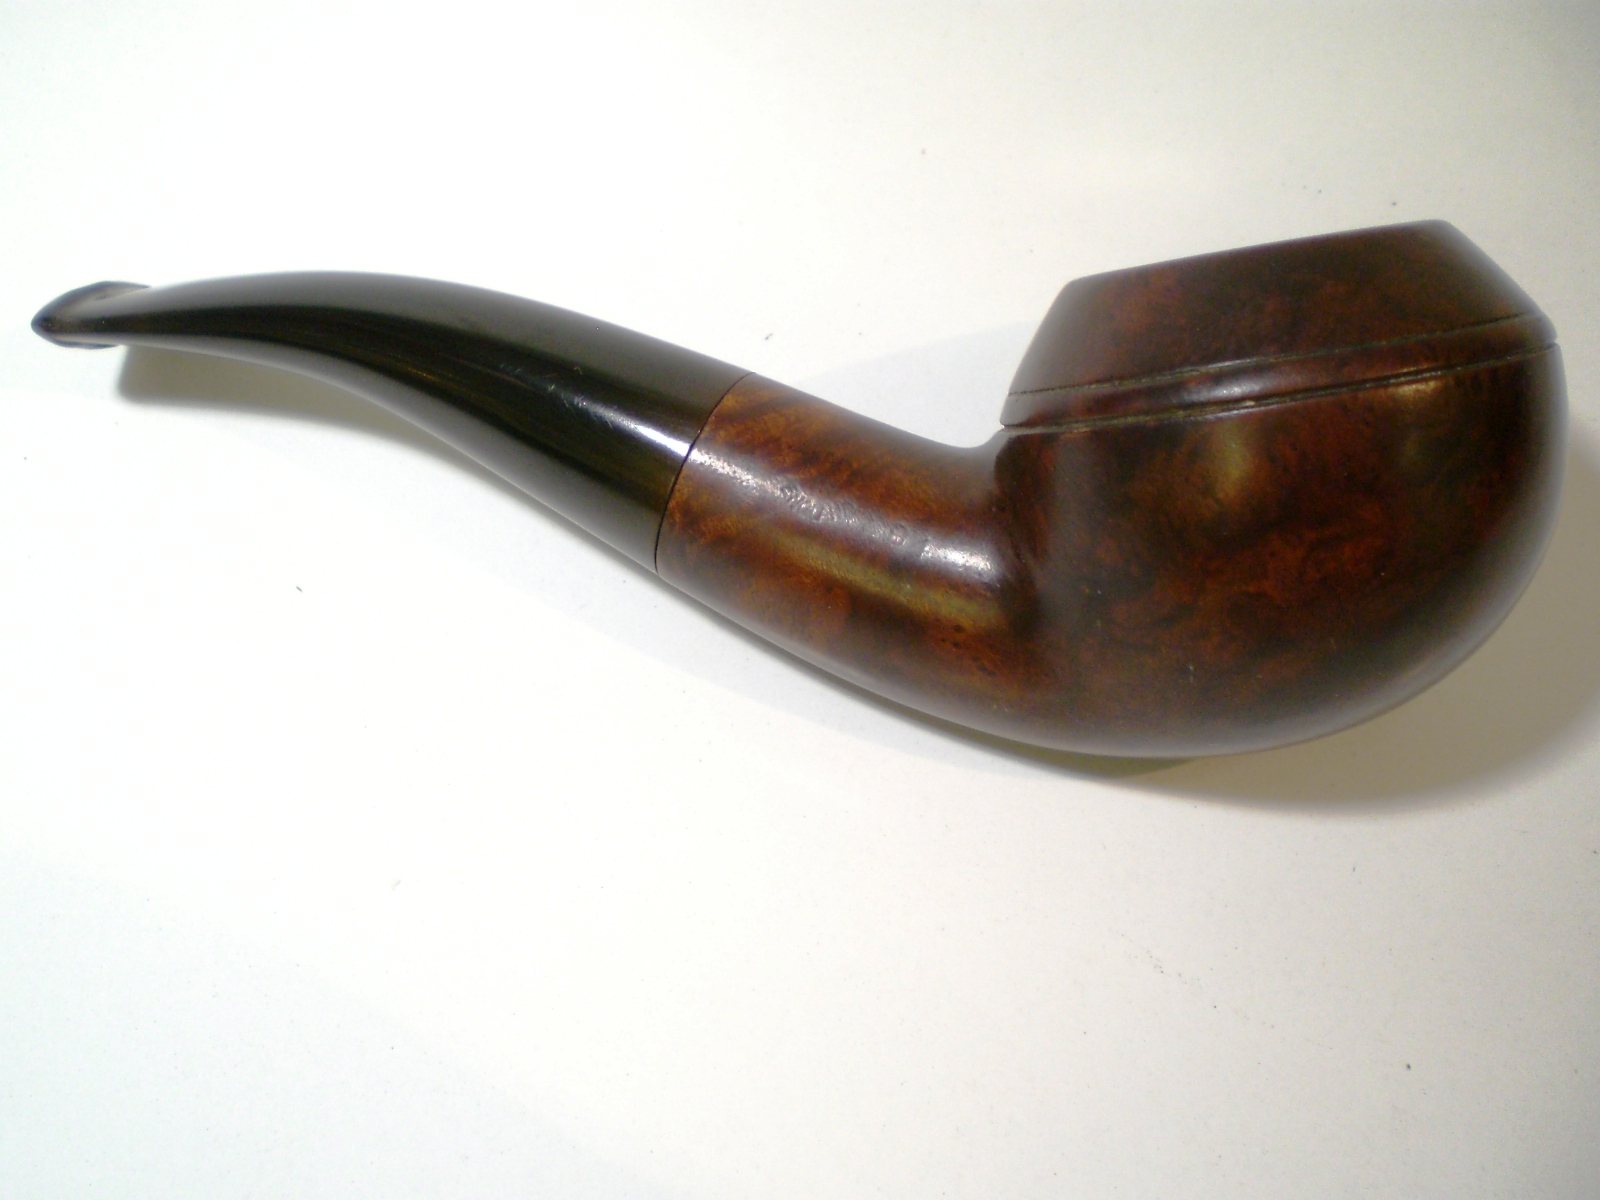
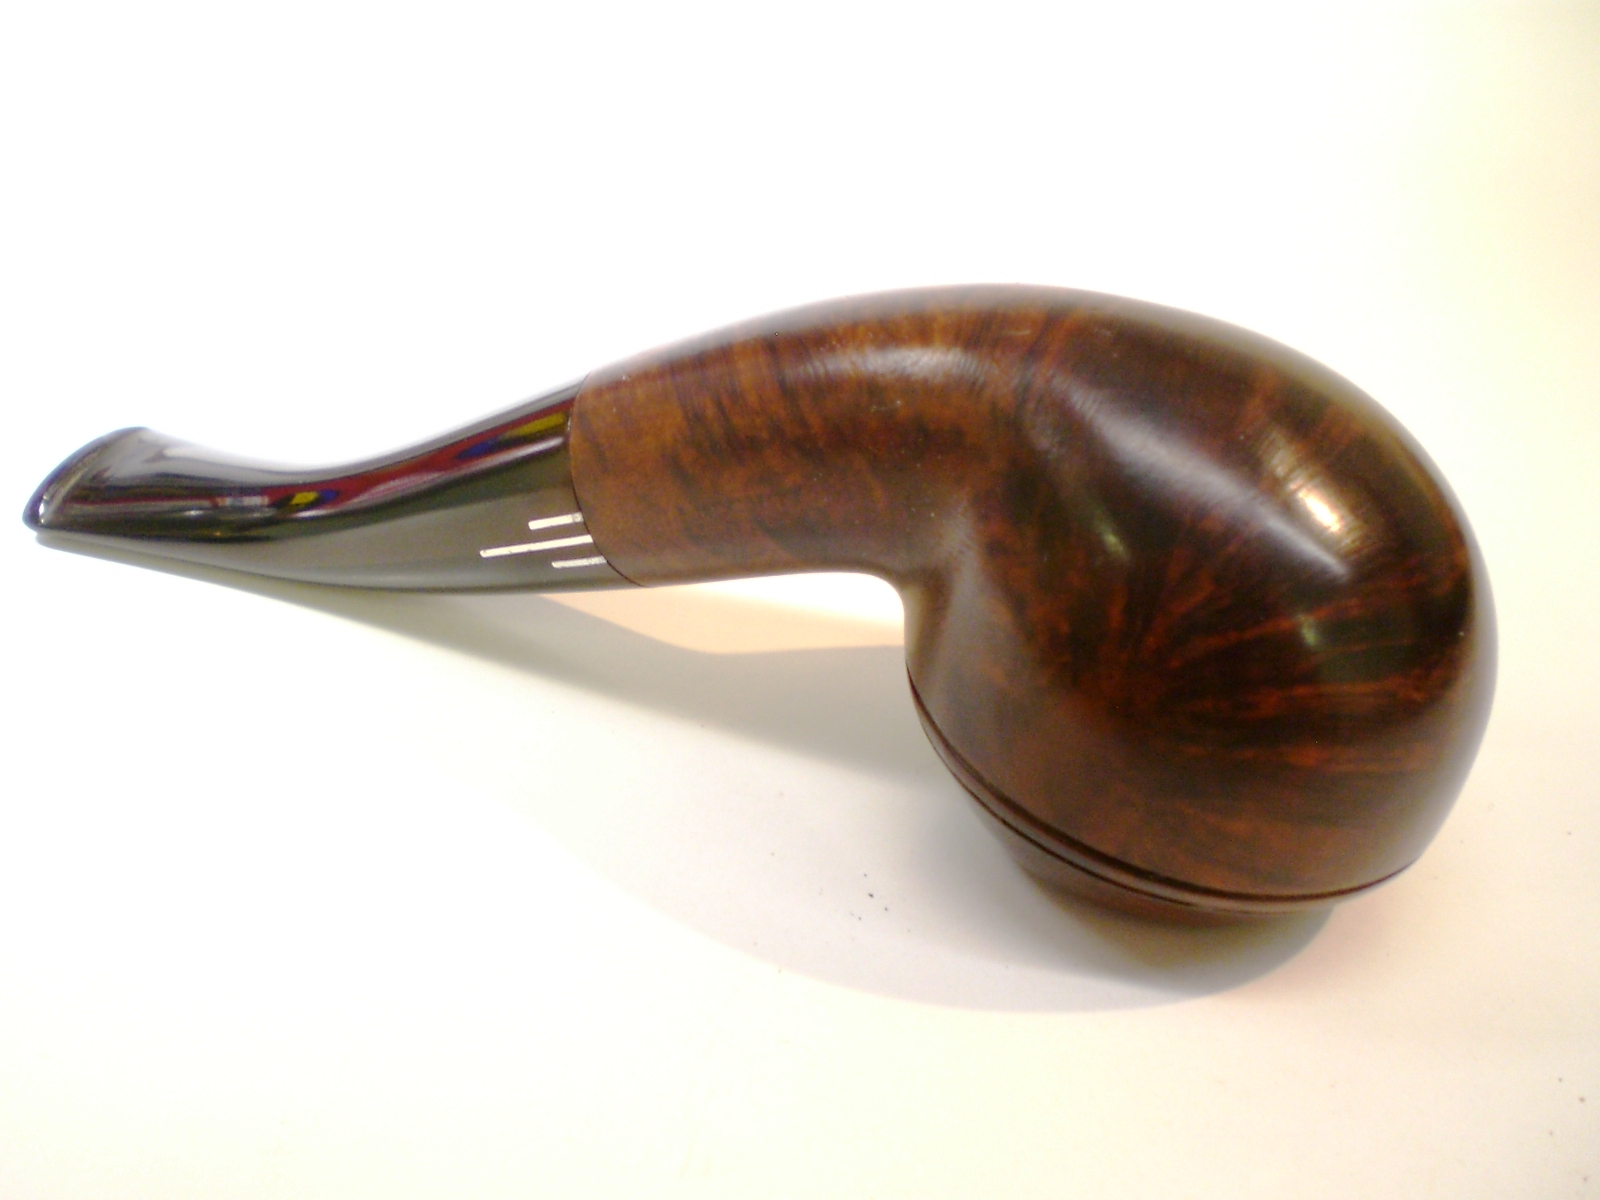
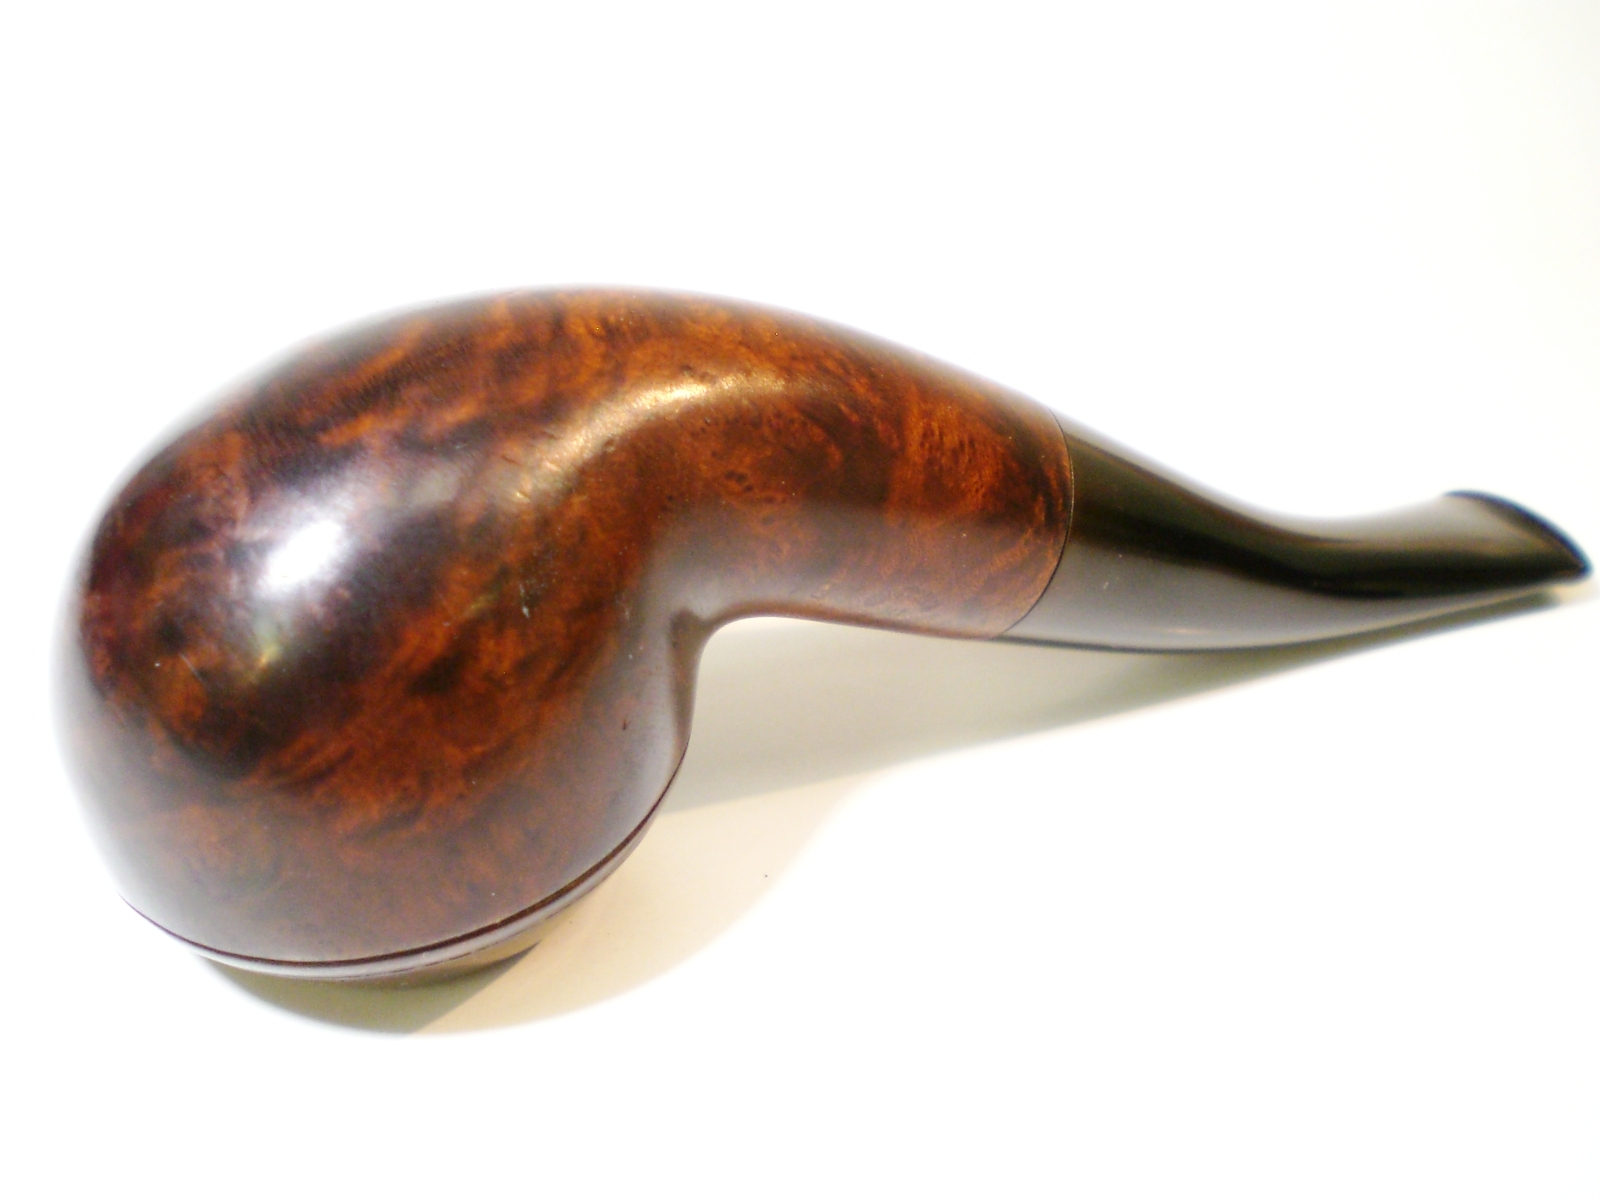
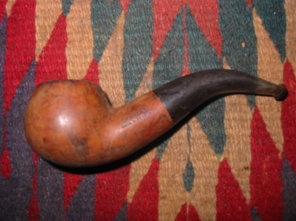
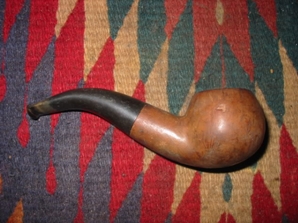
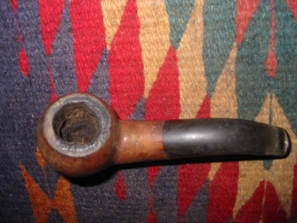
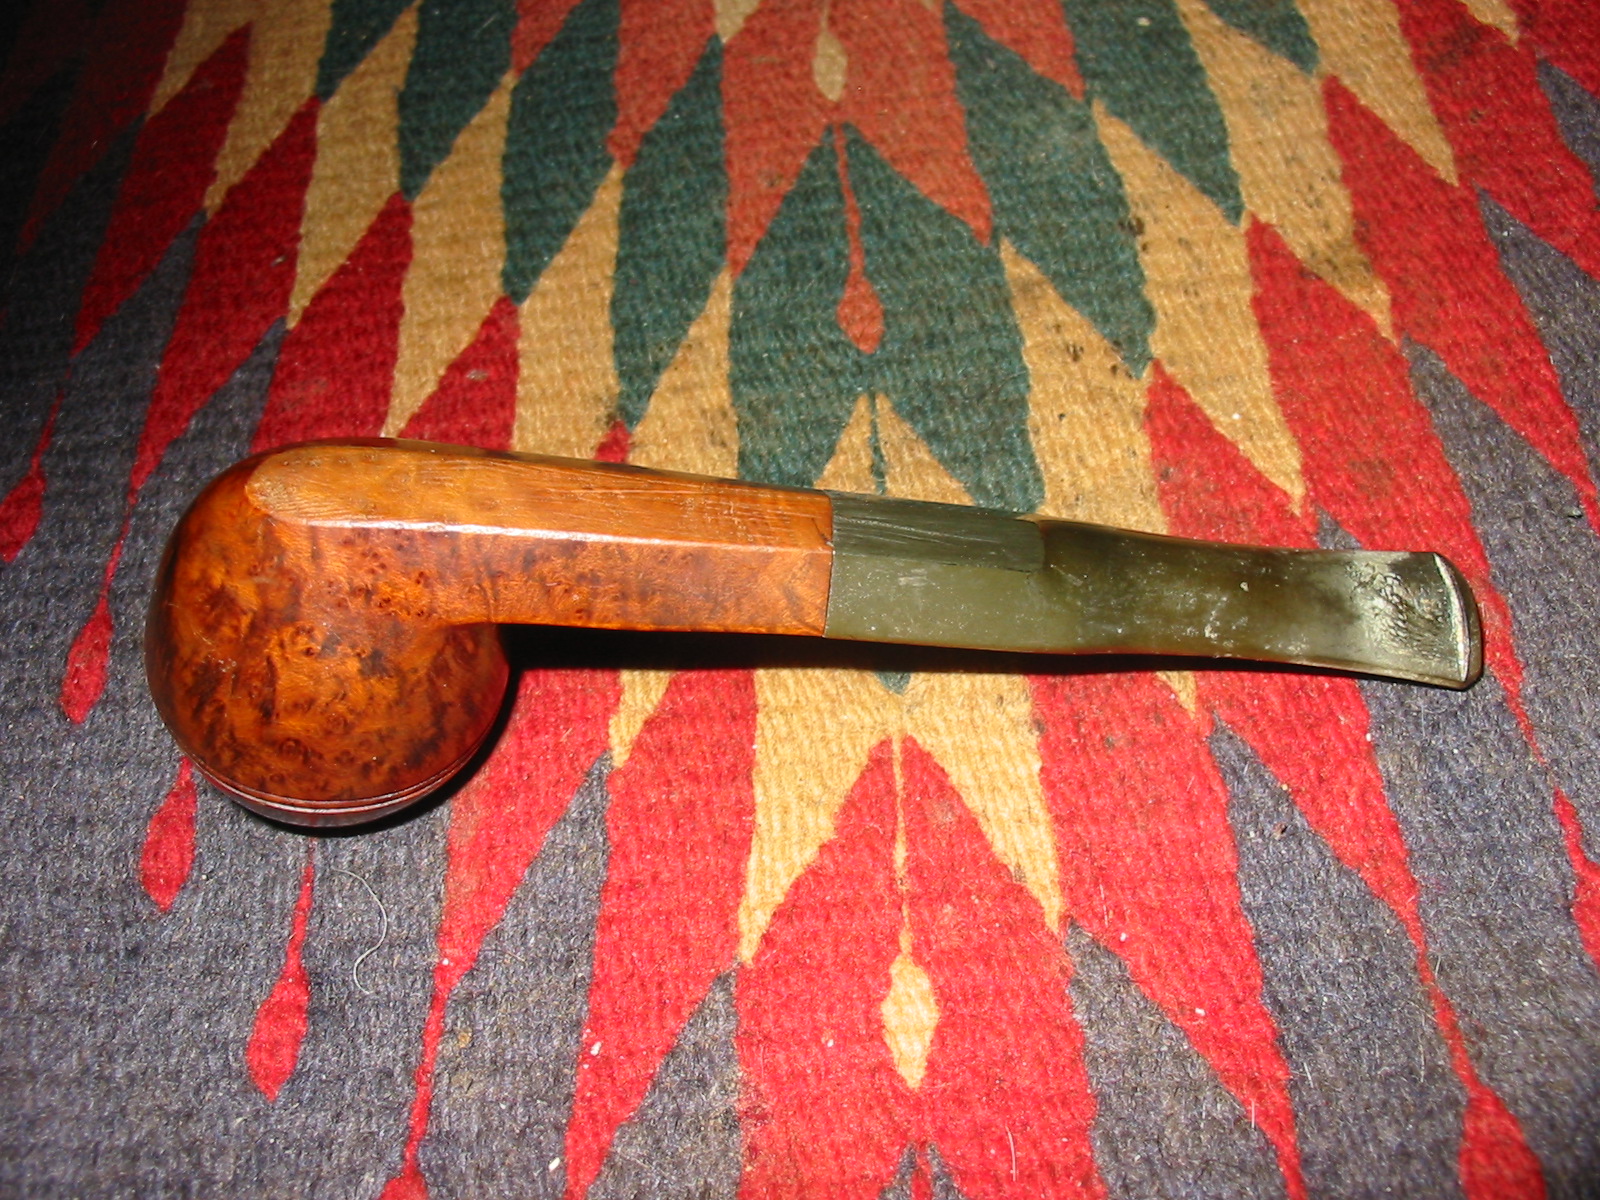
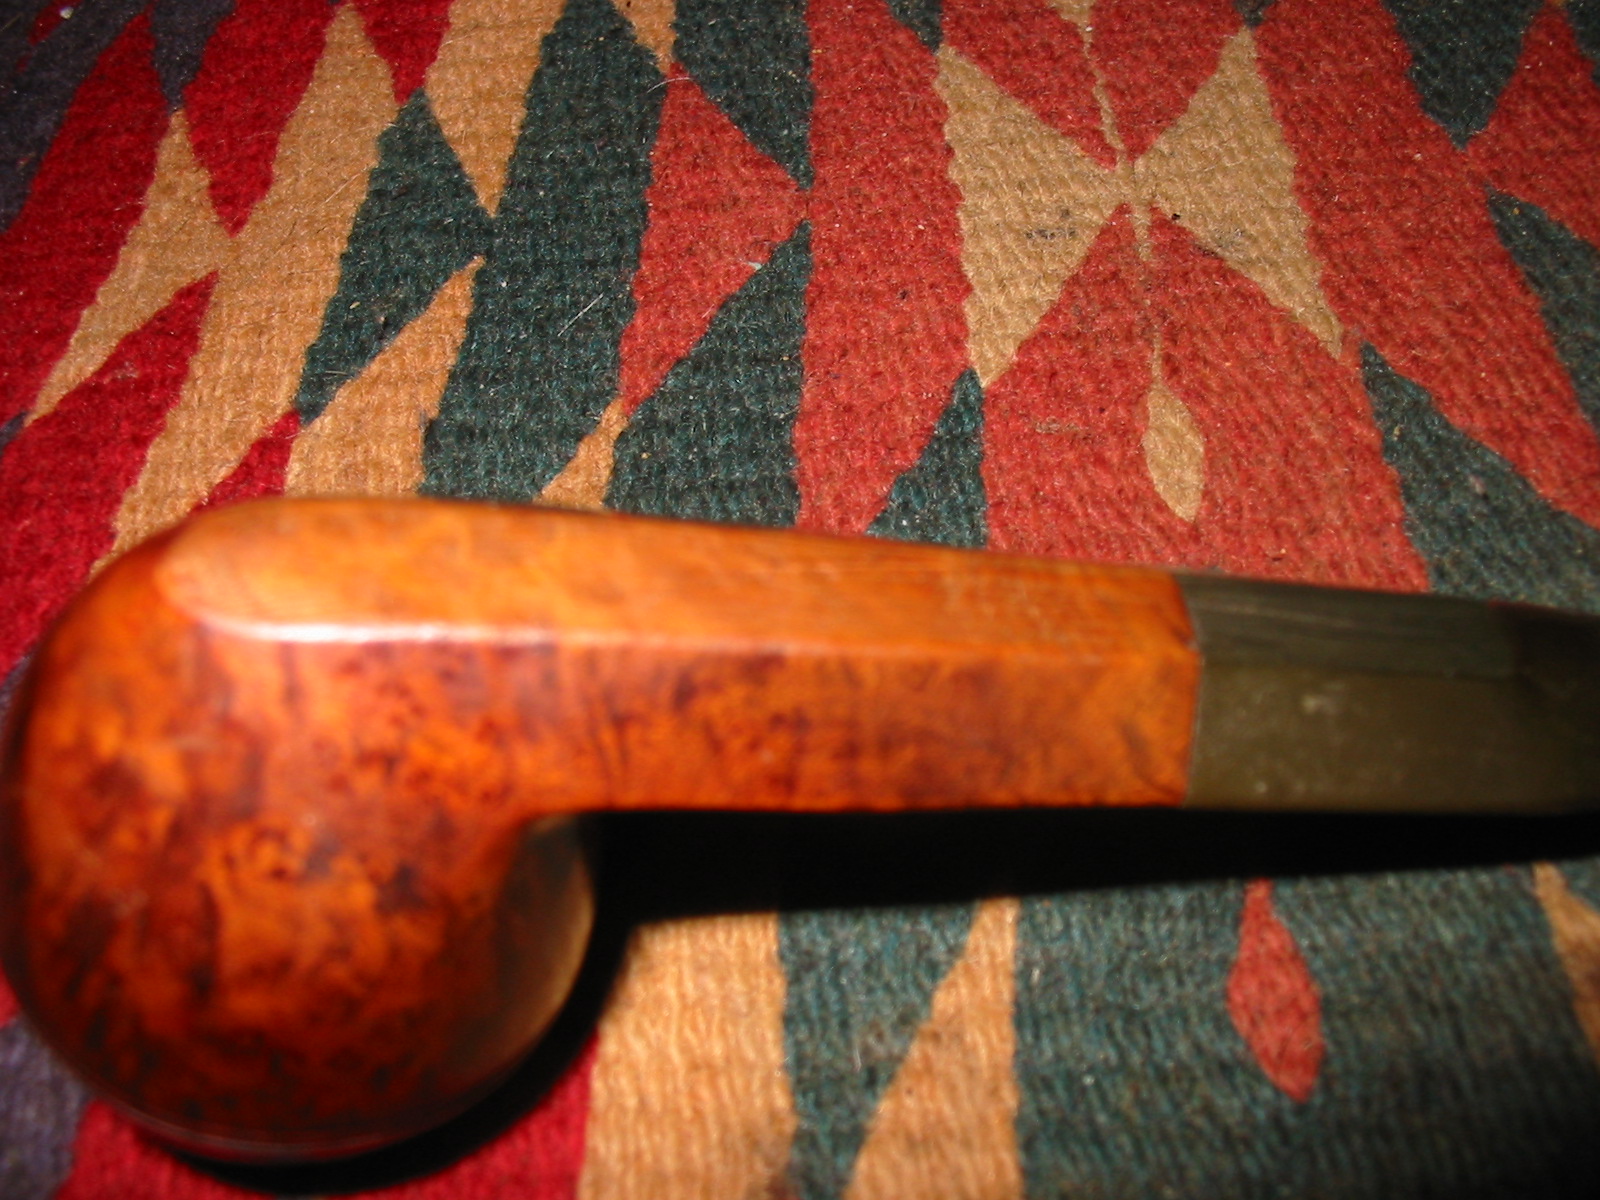
Now for the modifications. The next set of four photos show the pipe’s condition when I bought it. The briar is a beautiful piece with no fills or flaws in it. The grain is very nice with a mix of flame, straight and birdseye. The stain is the typical two stage stain that is present on the Tradition pipes that I have seen – a dark understain with a walnut brown stain over that. The bowl when I received it was slightly caked with a small build up of tars and cake that overflowed on the back edge of the top of the rim. There was a slight series of marks on the bevel above the rings where the pipe must have been dropped on concrete or gravel. I don’t believe the stem is an original as the shape is a bit different from the ones I have seen and it is missing the logo. It is also missing the step down tenon that I have come to associate with these pipes. The stamping is weak on the left side though visible. It is not present at all on the right side of the shank. The bottom of the bowl, shank and stem have been sanded flat to make the pipe a sitter. It appeared that the owner merely laid the pipe on a flat sander and never bothered to smooth out the scratches or refinish the bottom of the pipe. He knew what he was doing because he left just enough briar on the bottom of the shank to not go through into the airway and on the bottom of the bowl to leave it still thick enough to protect it from burning out.
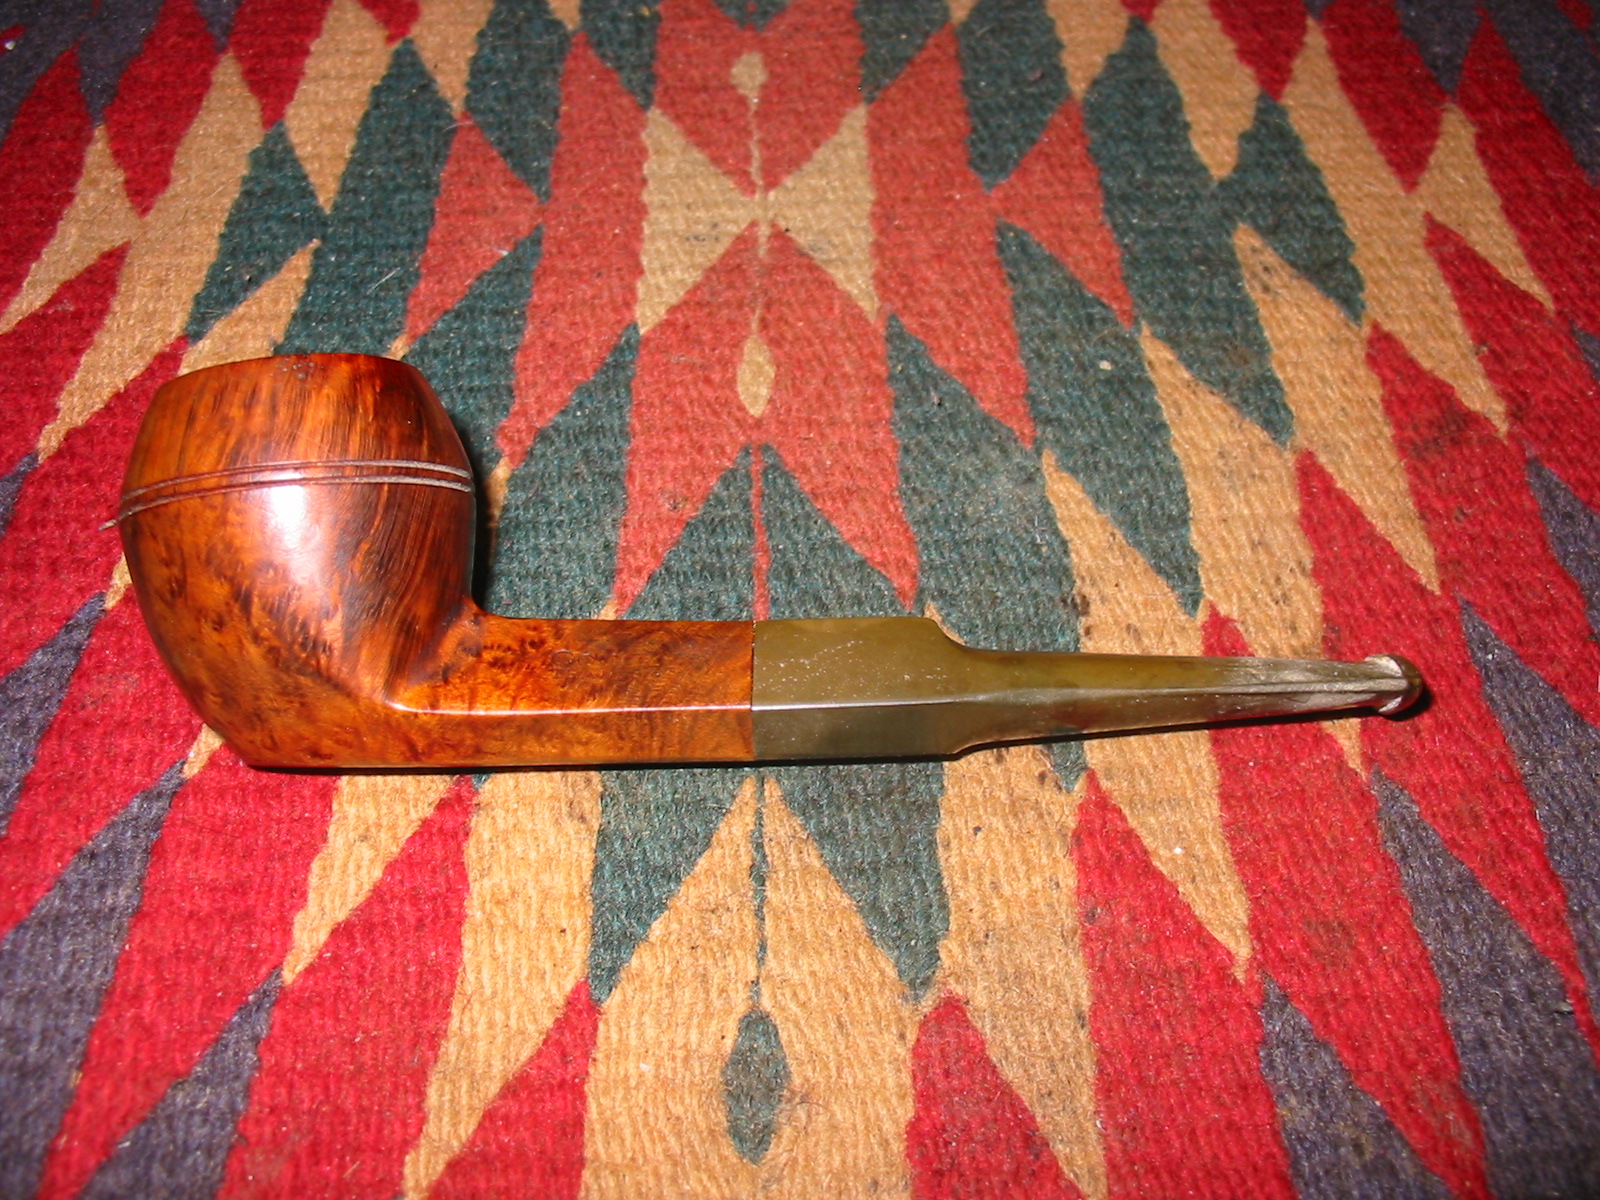

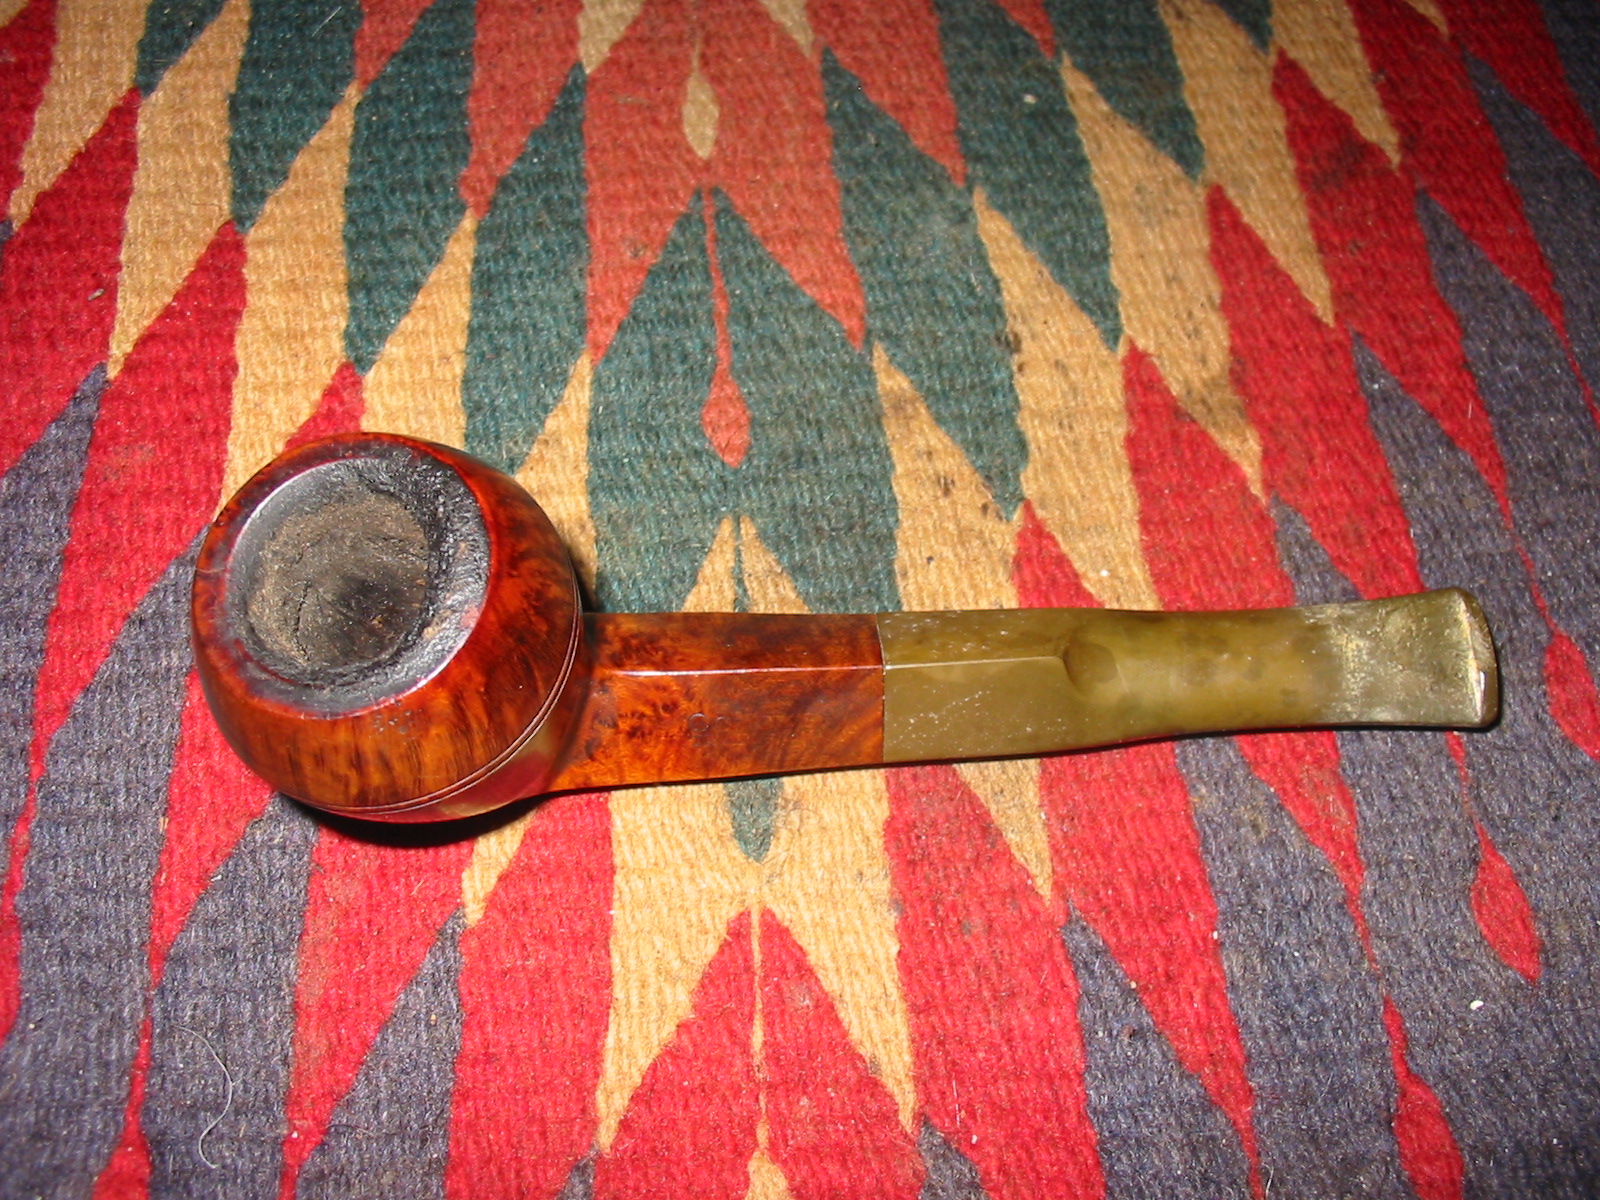
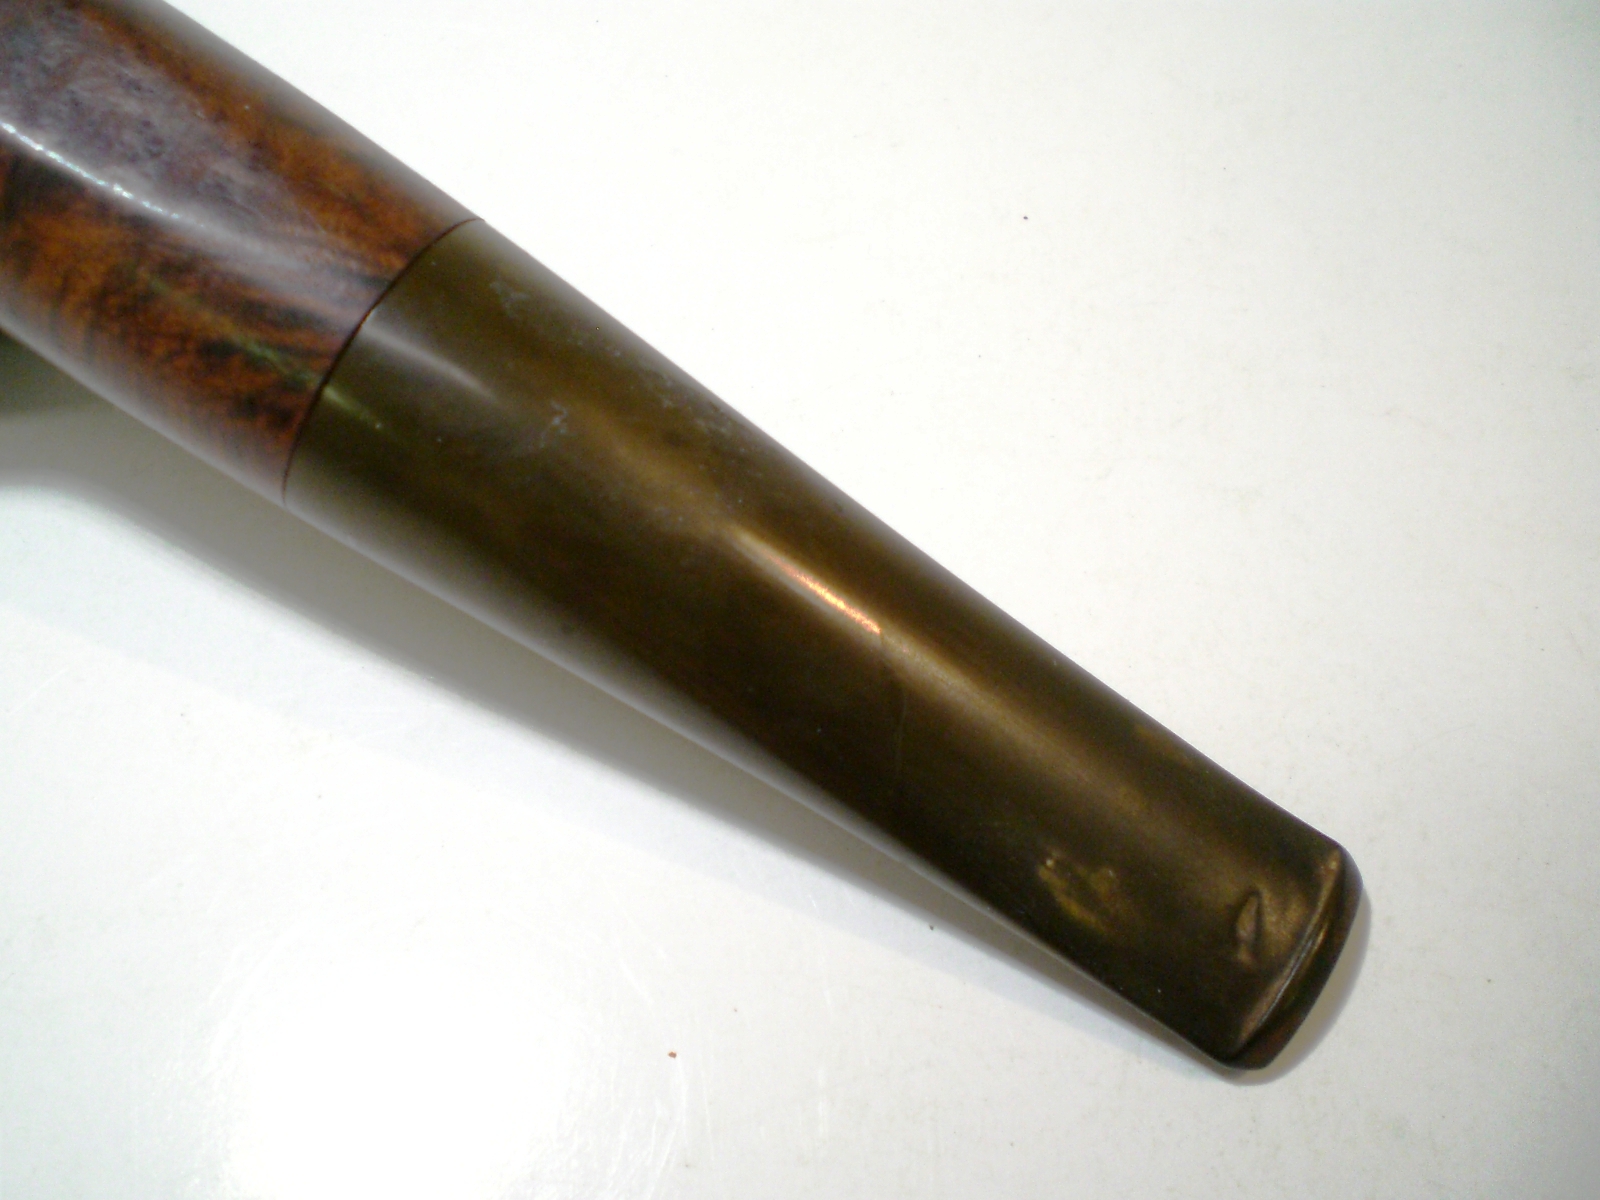
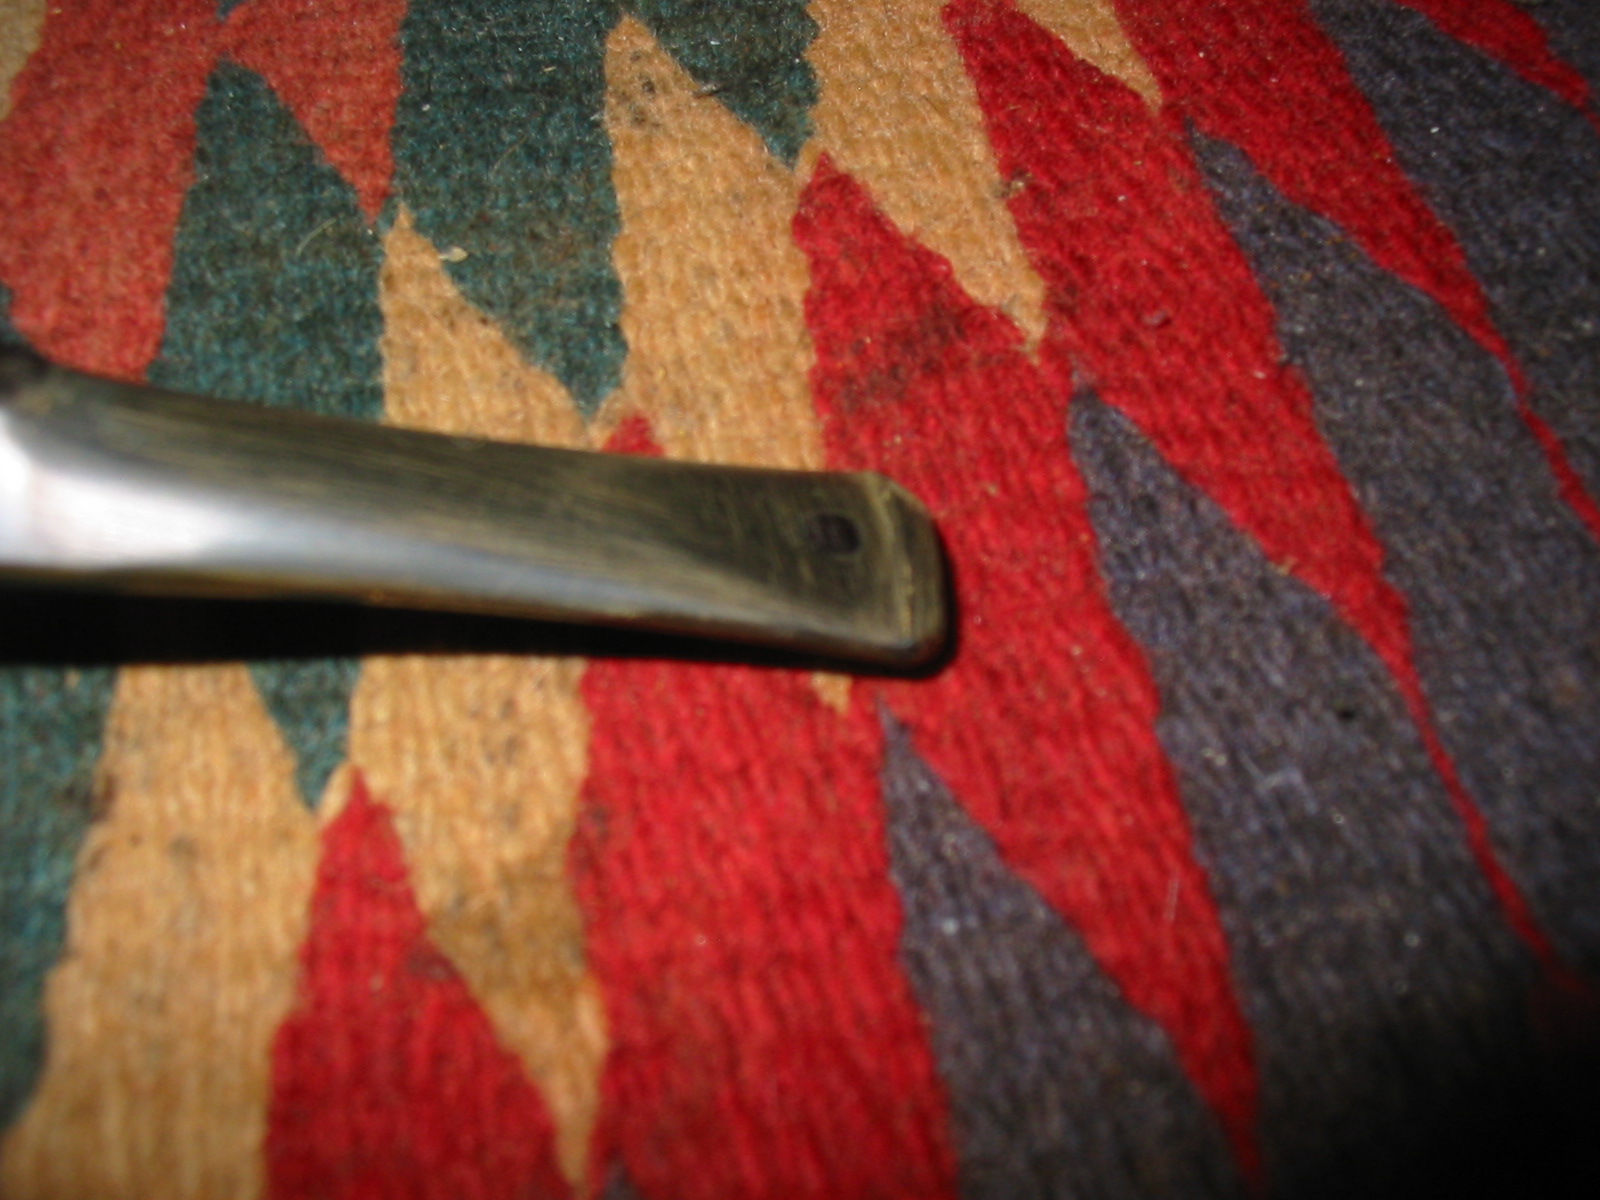
The photo below shows the flattened underside of the pipe and the scratches that are visible in the briar and the vulcanite stem.
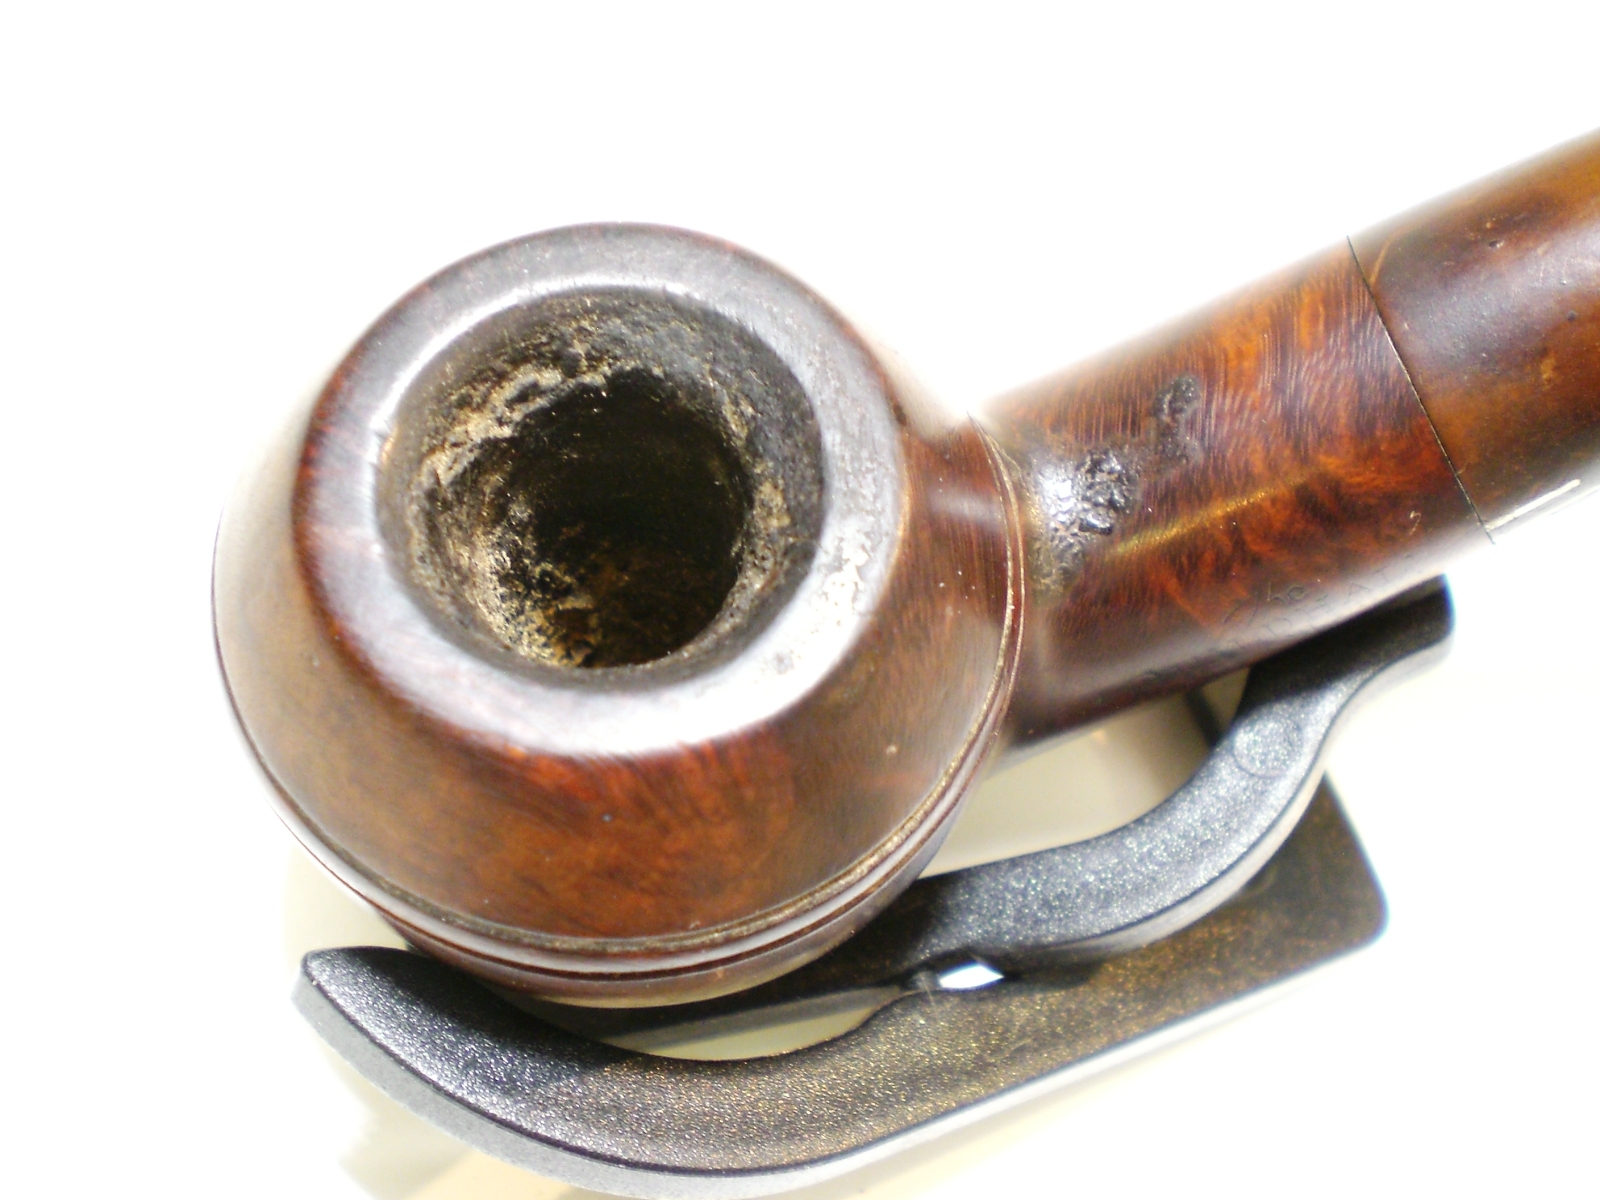
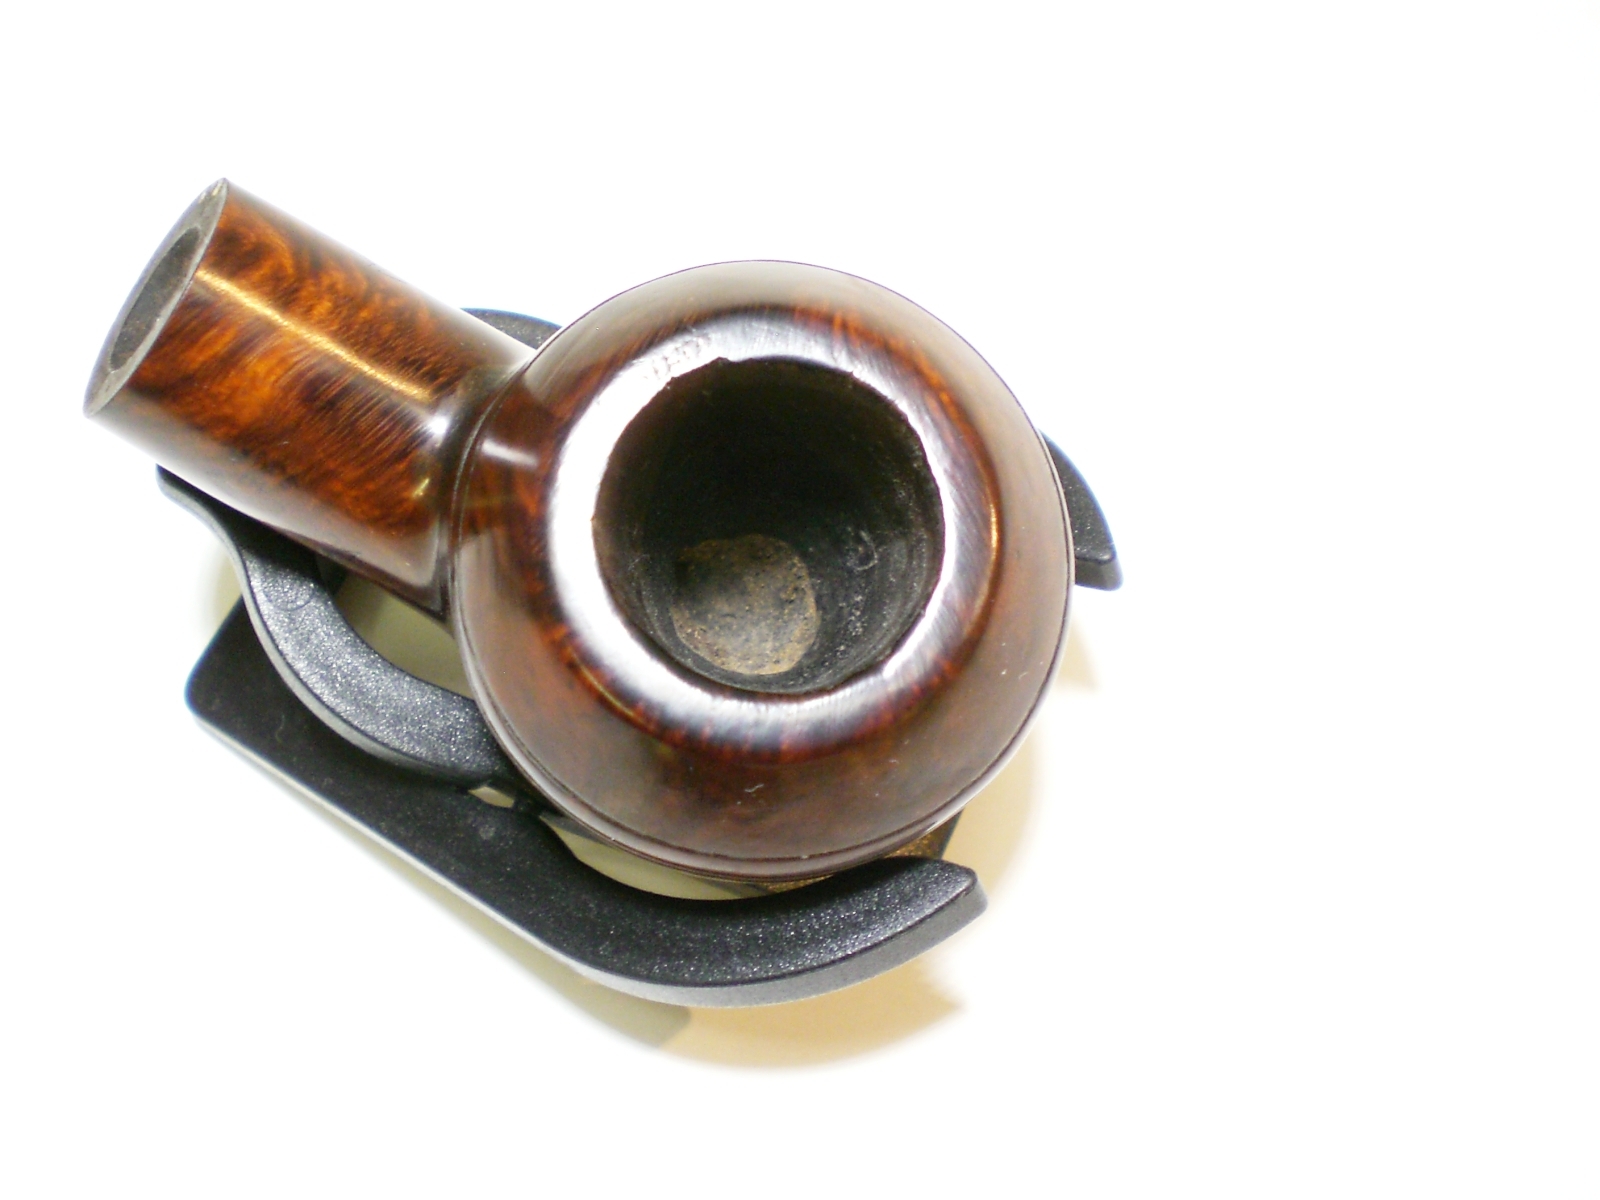
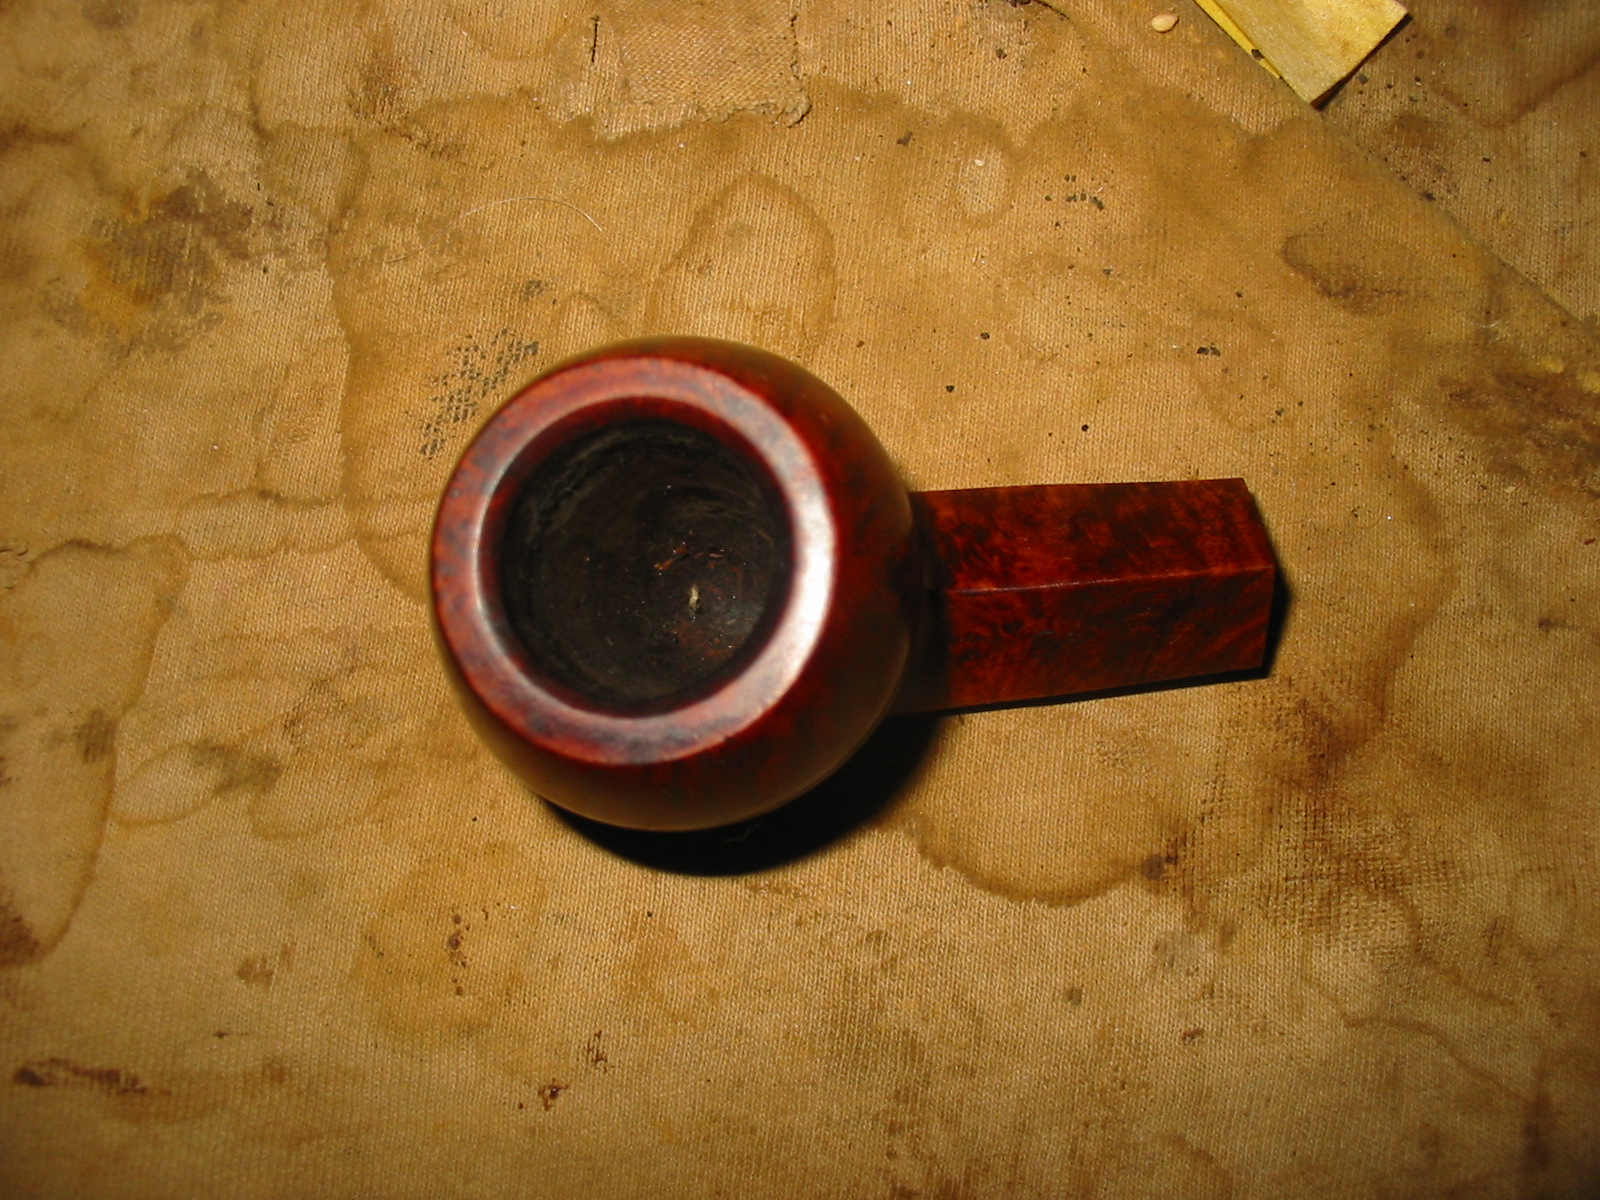
I reamed out the bowl with a PipNet reaming set beginning with the smallest cutting head and progressing to the one that fit the bowl. I cut back the cake to the bare wood so that I could build it up again evenly. It had tended to be thick around the top of the bowl and about half way down the bowl thinned out. I cleaned out the bowl and shank with pipe cleaners, cotton swabs and Everclear
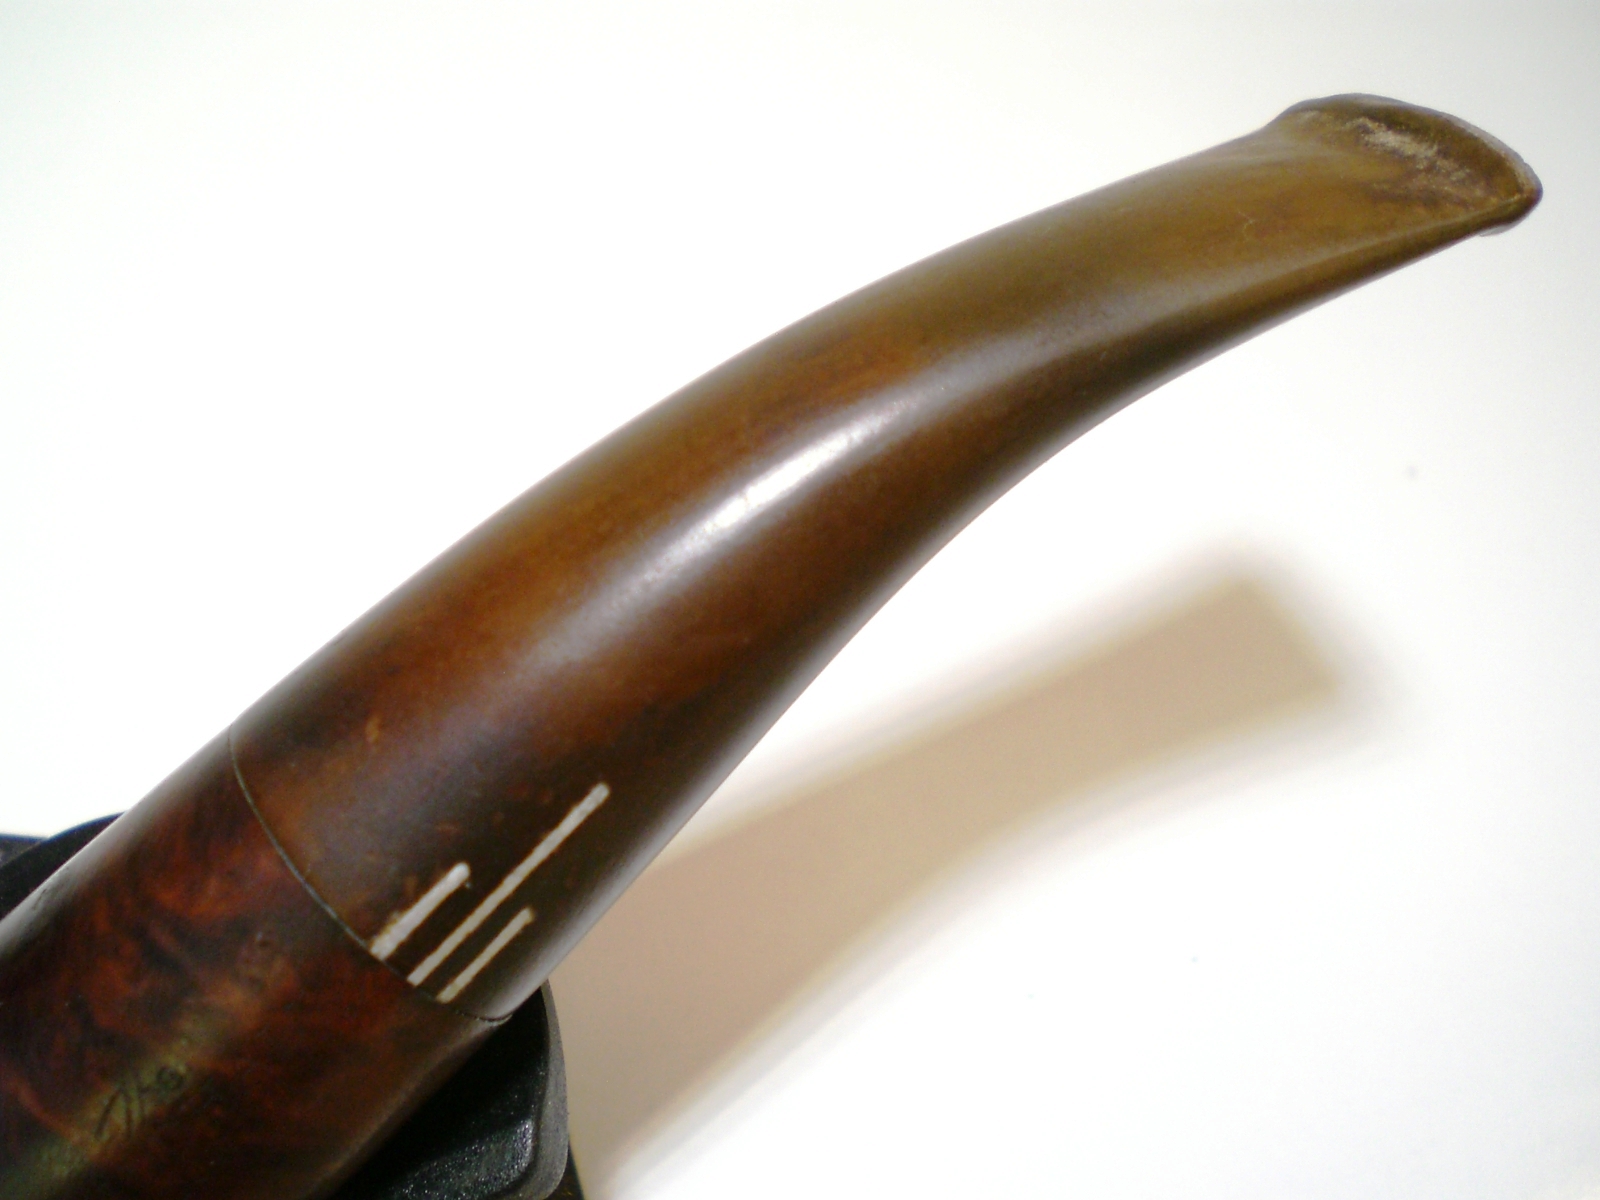
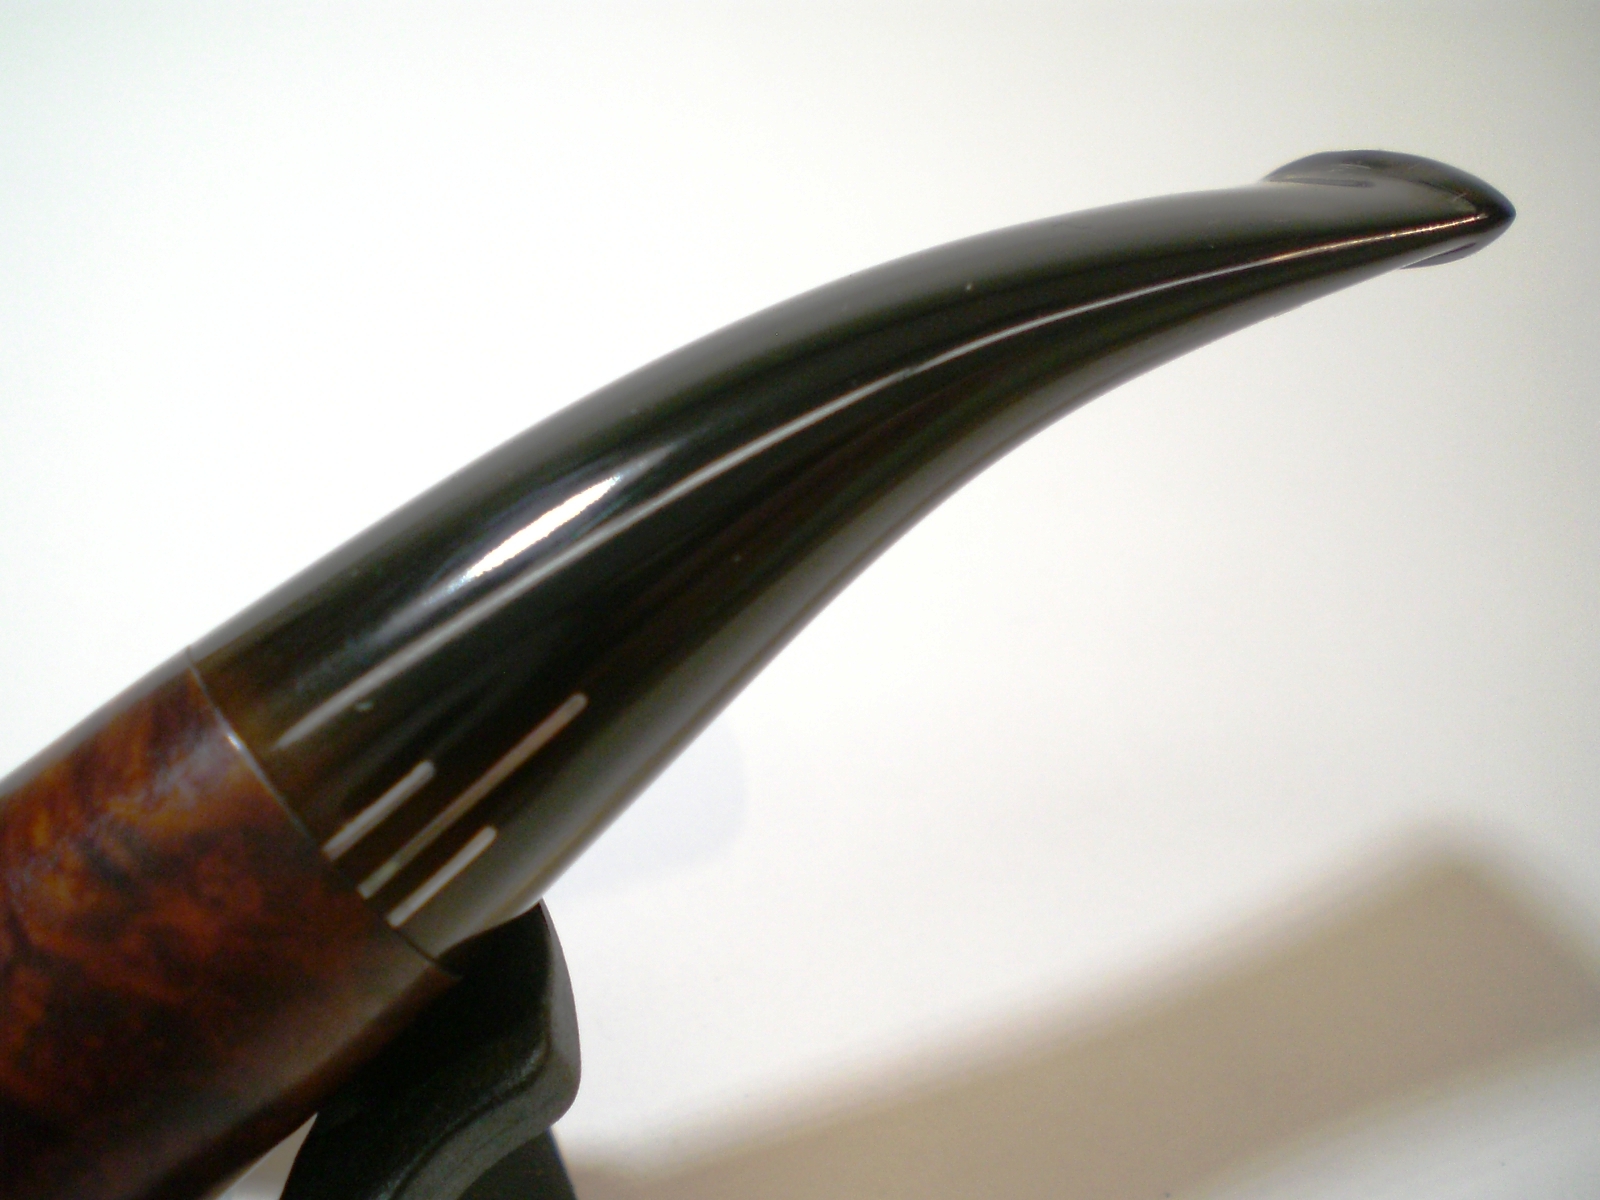
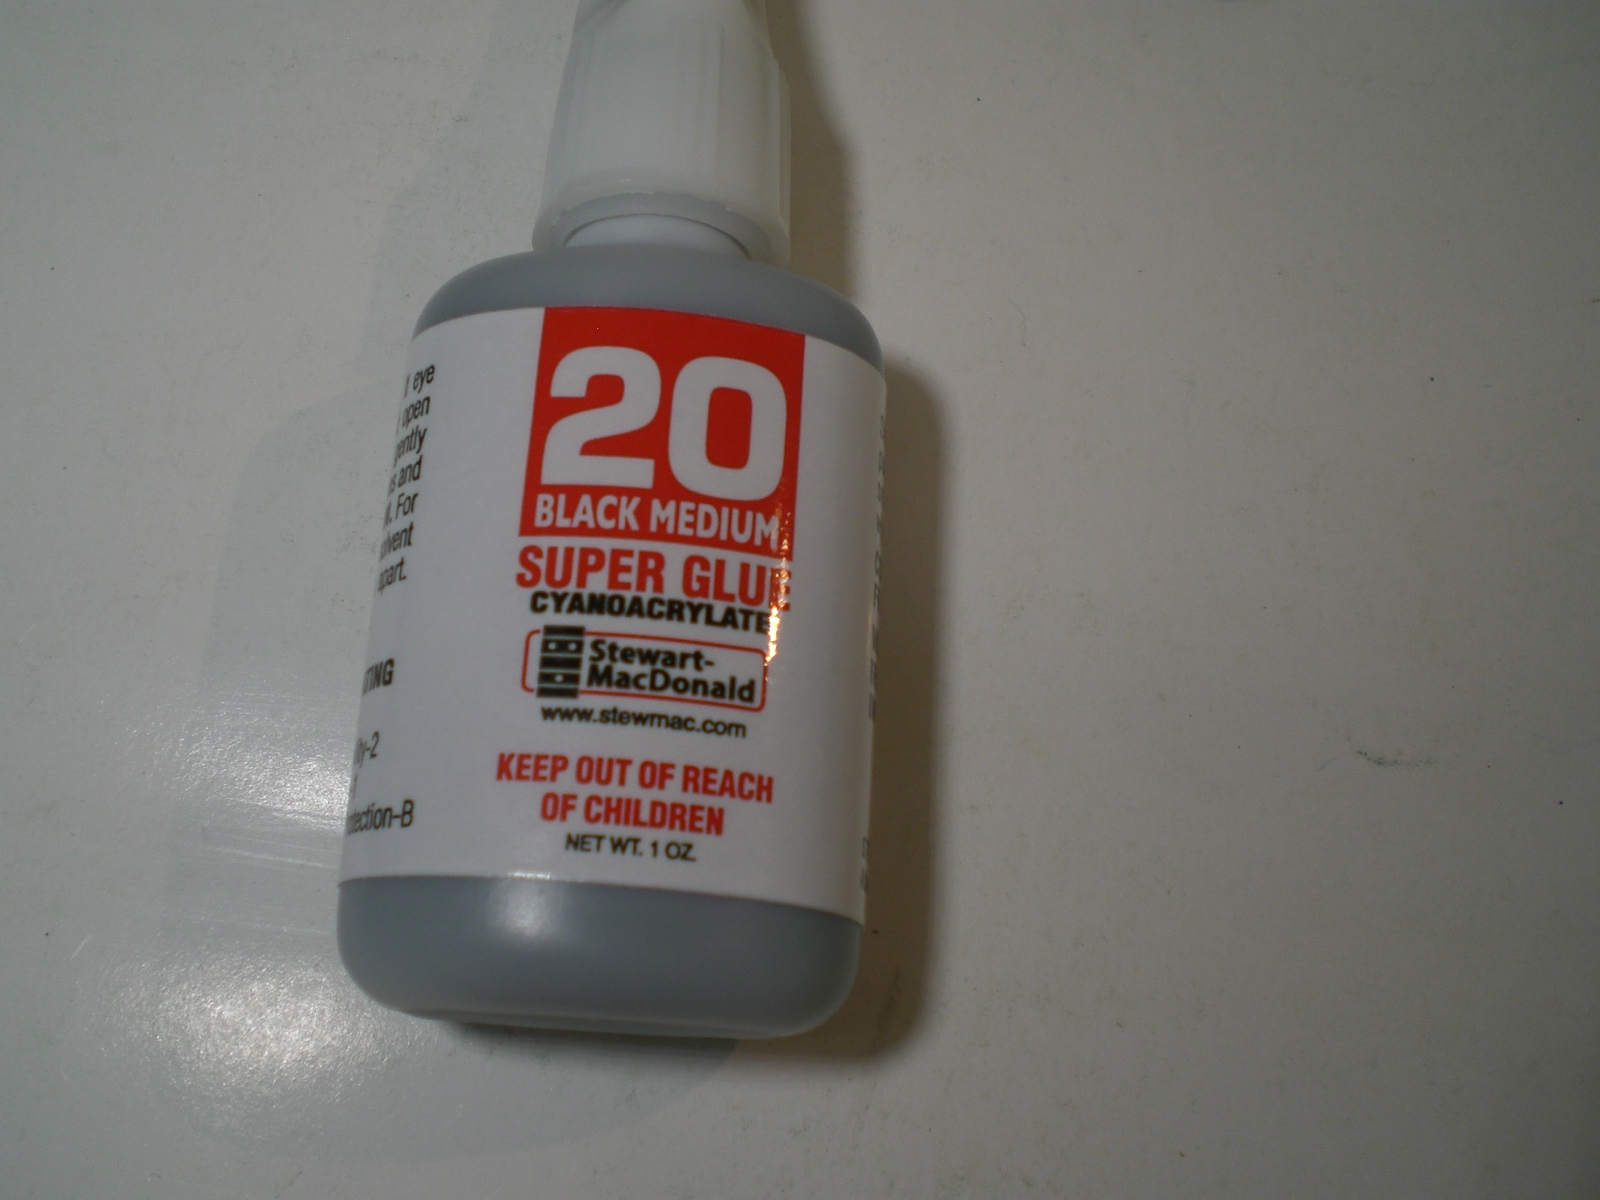
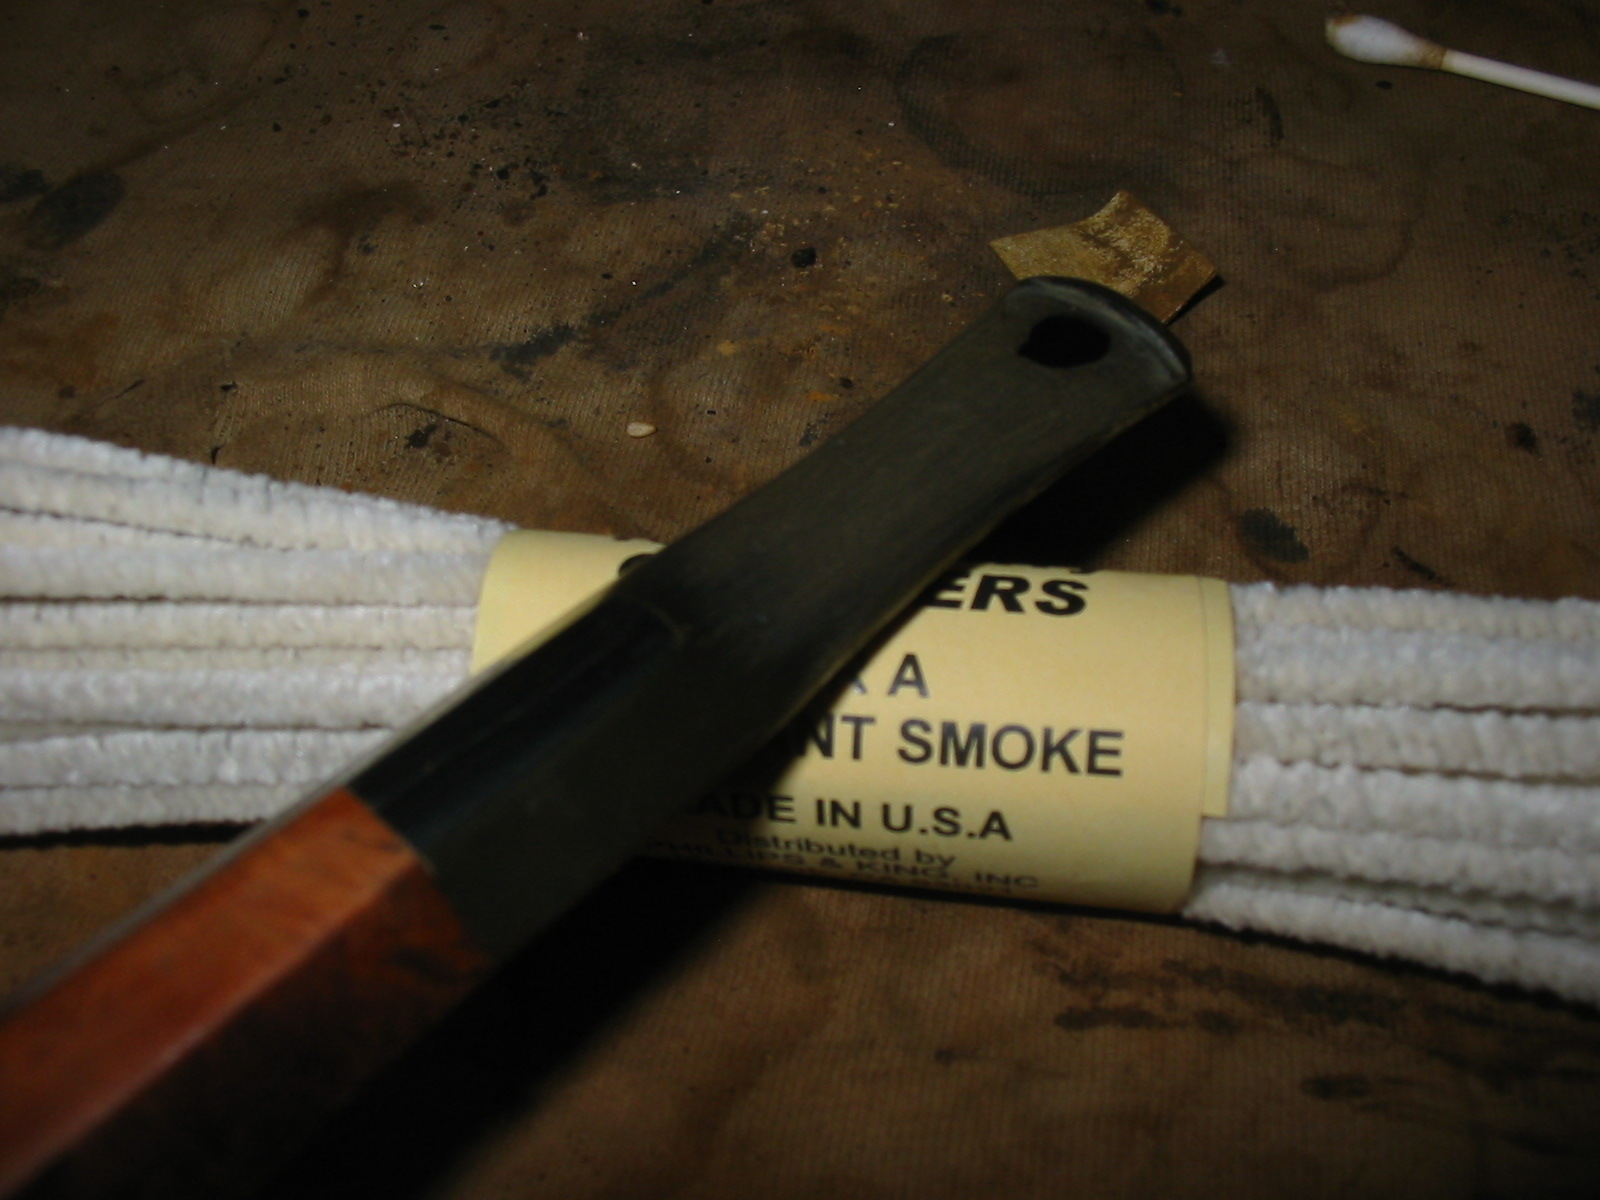
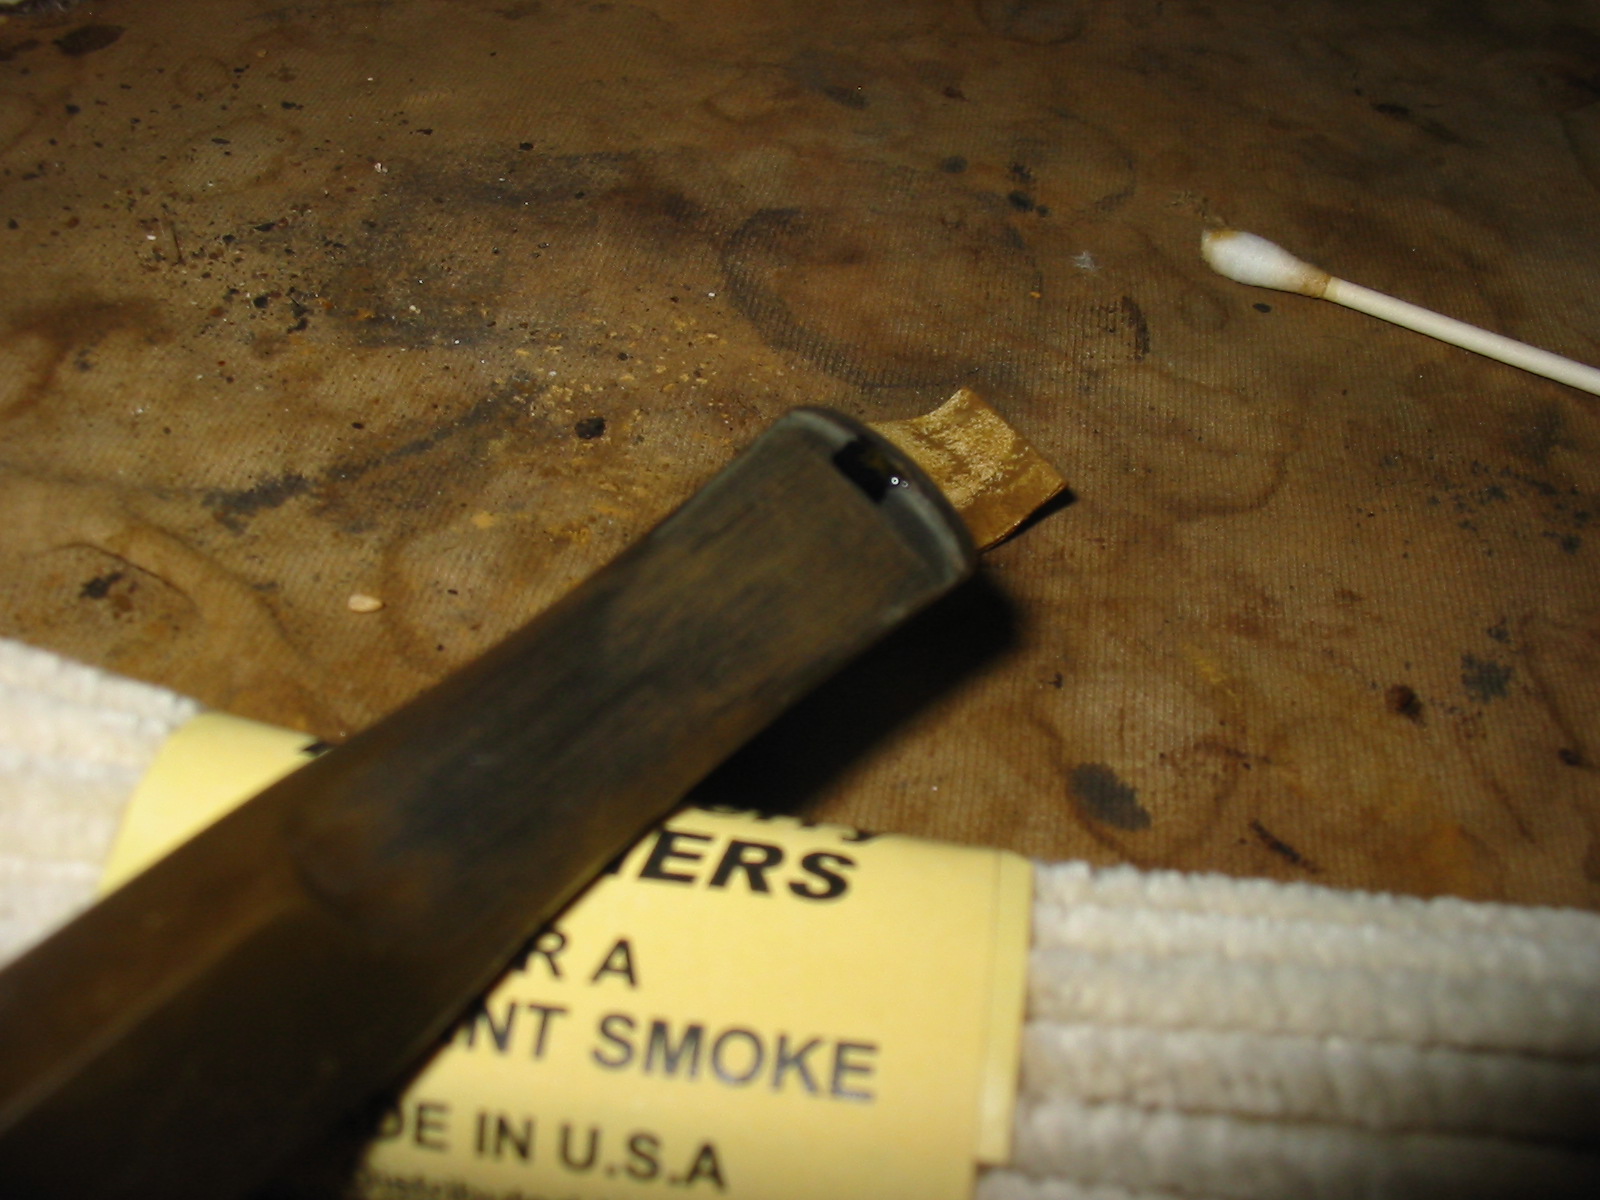
I heated the surface of the stem with a lighter to lift the bite marks on the stem surface. The ones on the topside of the stem lifted quite well and a little sanding repaired them. The ones on the underside were deeper and required more work. Several of them lifted but one in particular was very deep and the fibers of the vulcanite were broken. This required a patch with black superglue. There was also a small divot out of the button on the top side that I repaired with the black superglue. I set the stem aside to dry while I worked on the bowl.
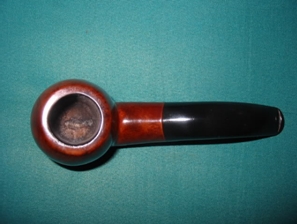
I wiped down the bowl and rim with a cotton pad and saliva. I scrubbed the tars and carbon on the rim with the cotton pad and saliva until it was gone. It took a bit of scraping and a lot of elbow grease to remove the buildup but once it was clean the stain was still in very good shape. I also scrubbed the bevel of the inner edge of the rim to clean it and polish it as well.
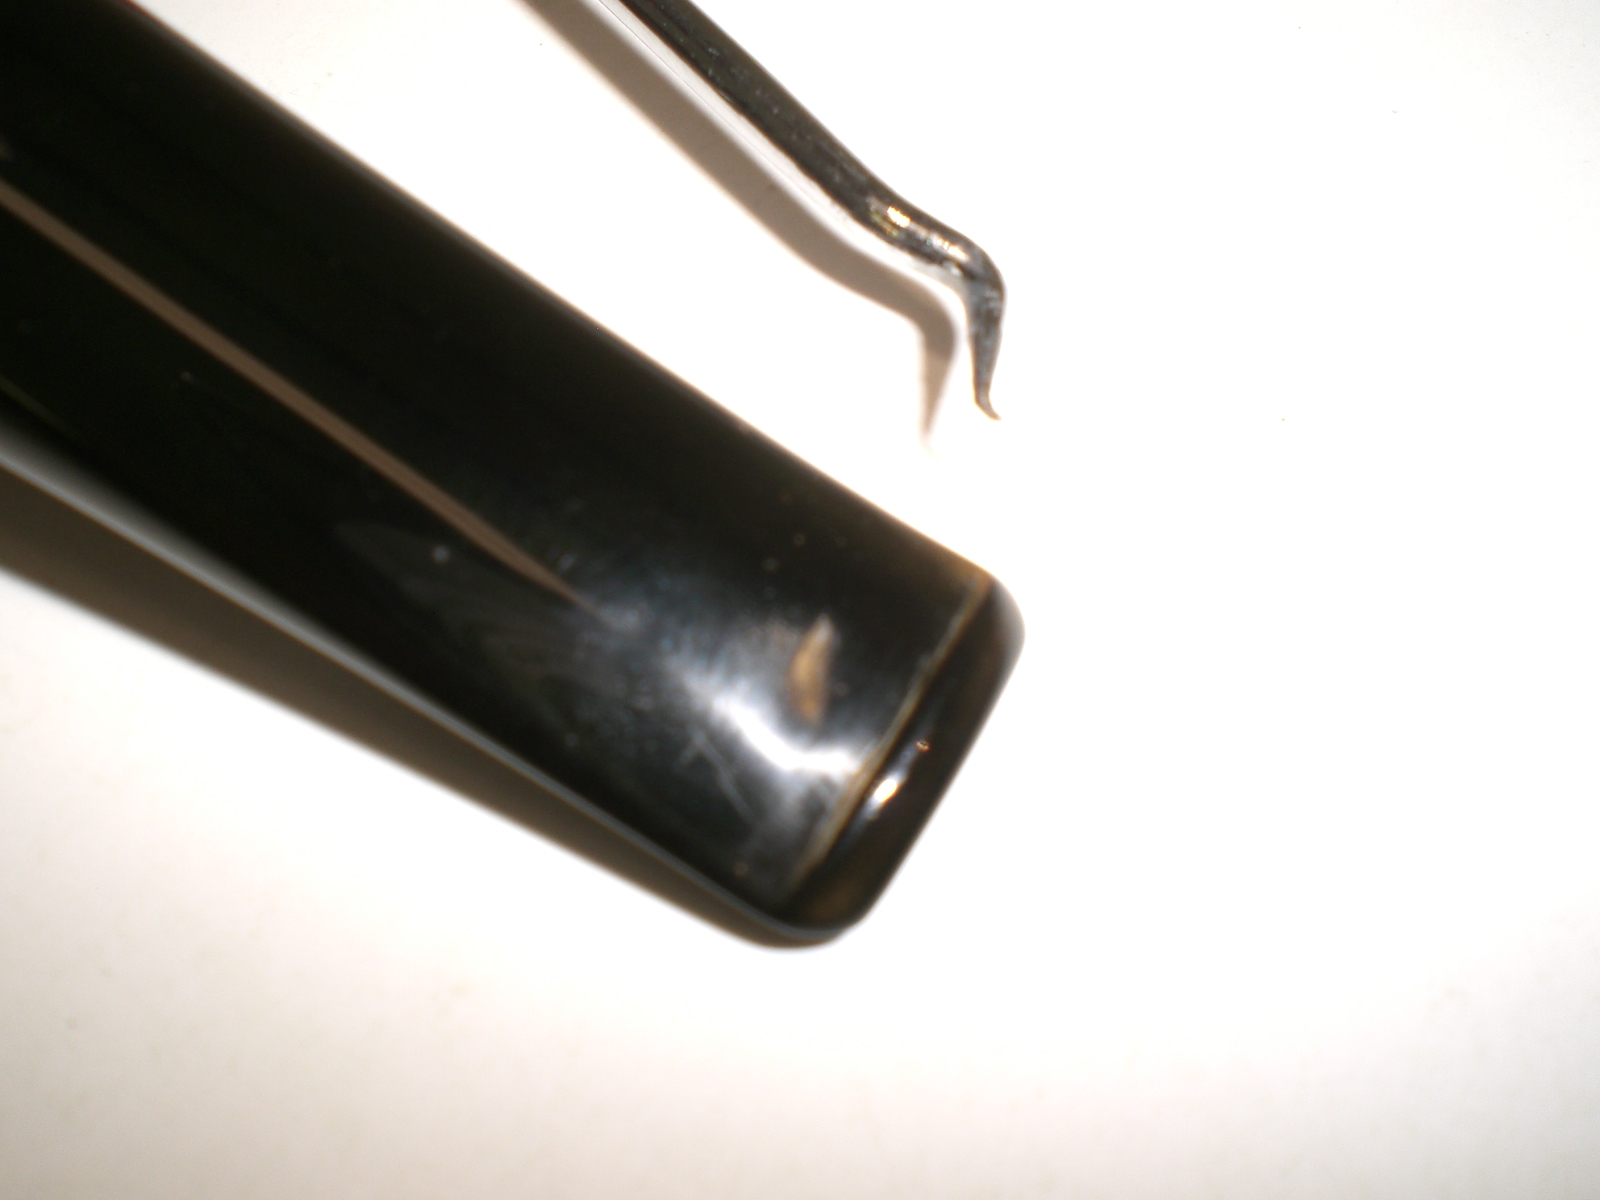
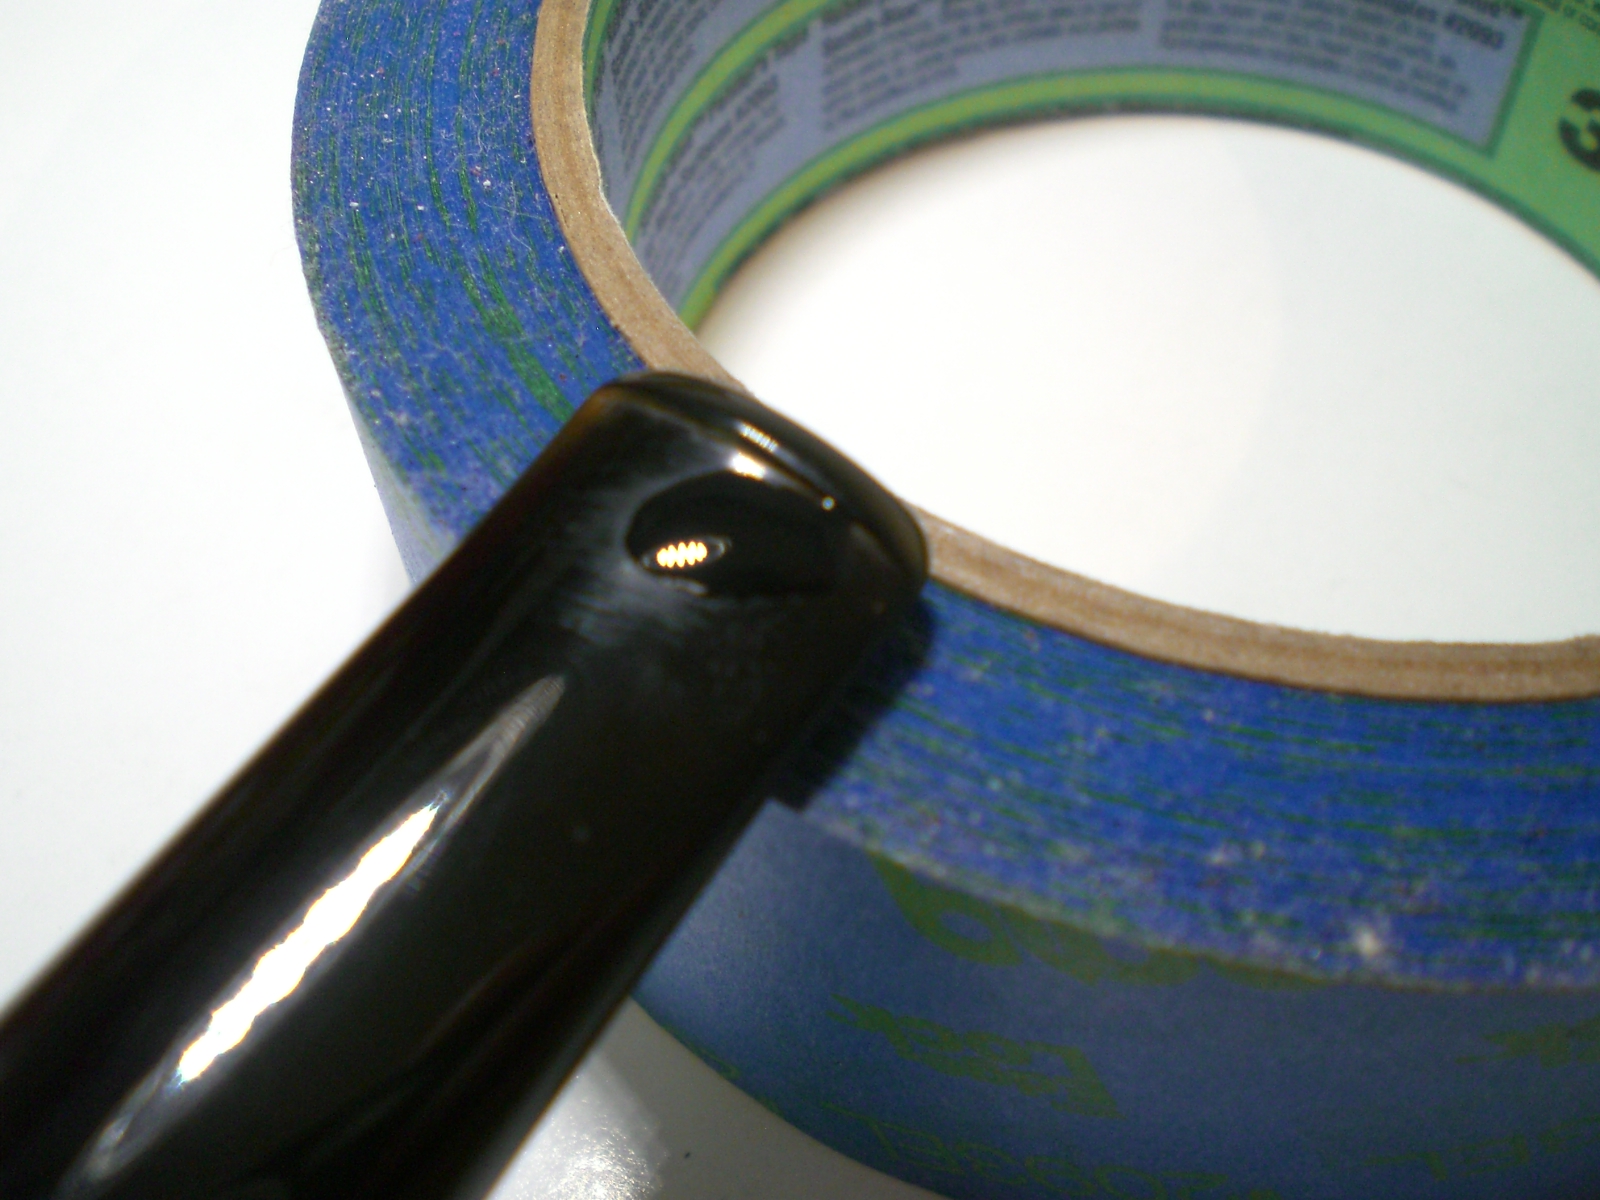
Once the superglue was dry I sanded it with 220 grit sandpaper to remove the excess and smooth out the surface of the patch. I sanded it until it was well blended into the surface of the stem. The next two photos show the patch after sanding with 220 grit sandpaper and then with a medium grit sanding pad.

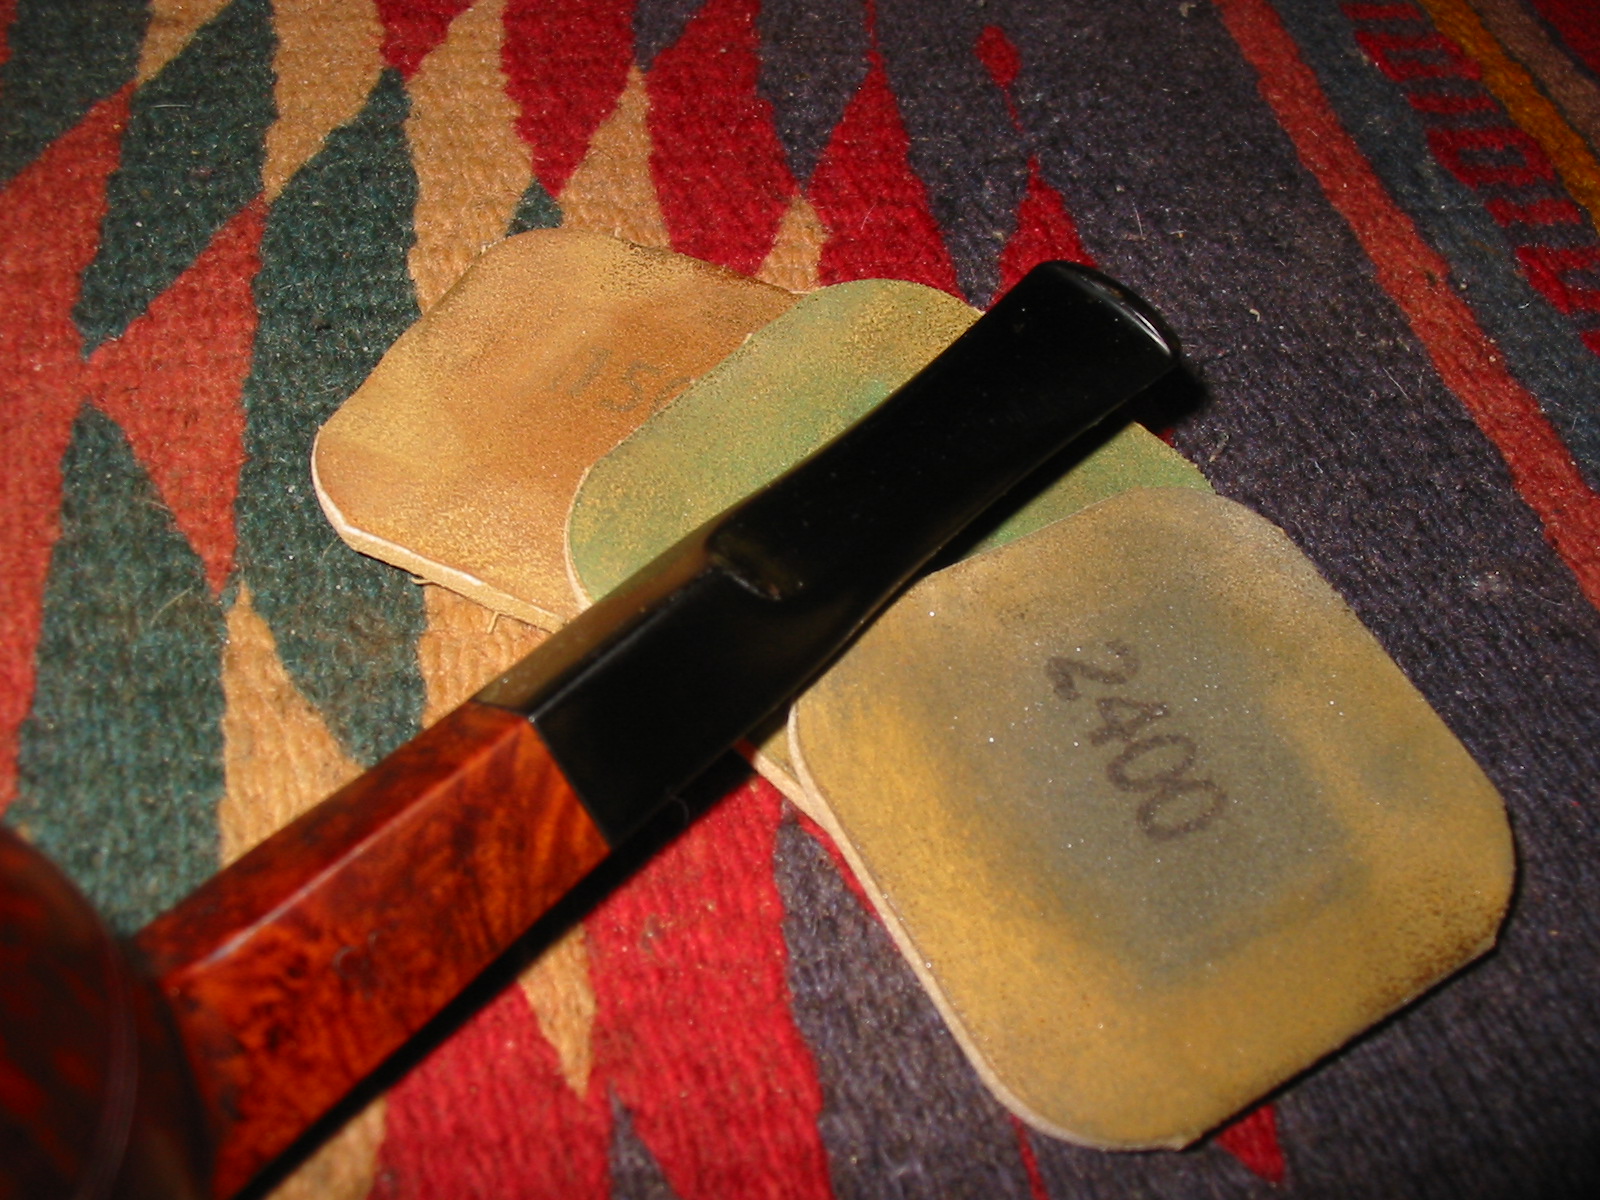
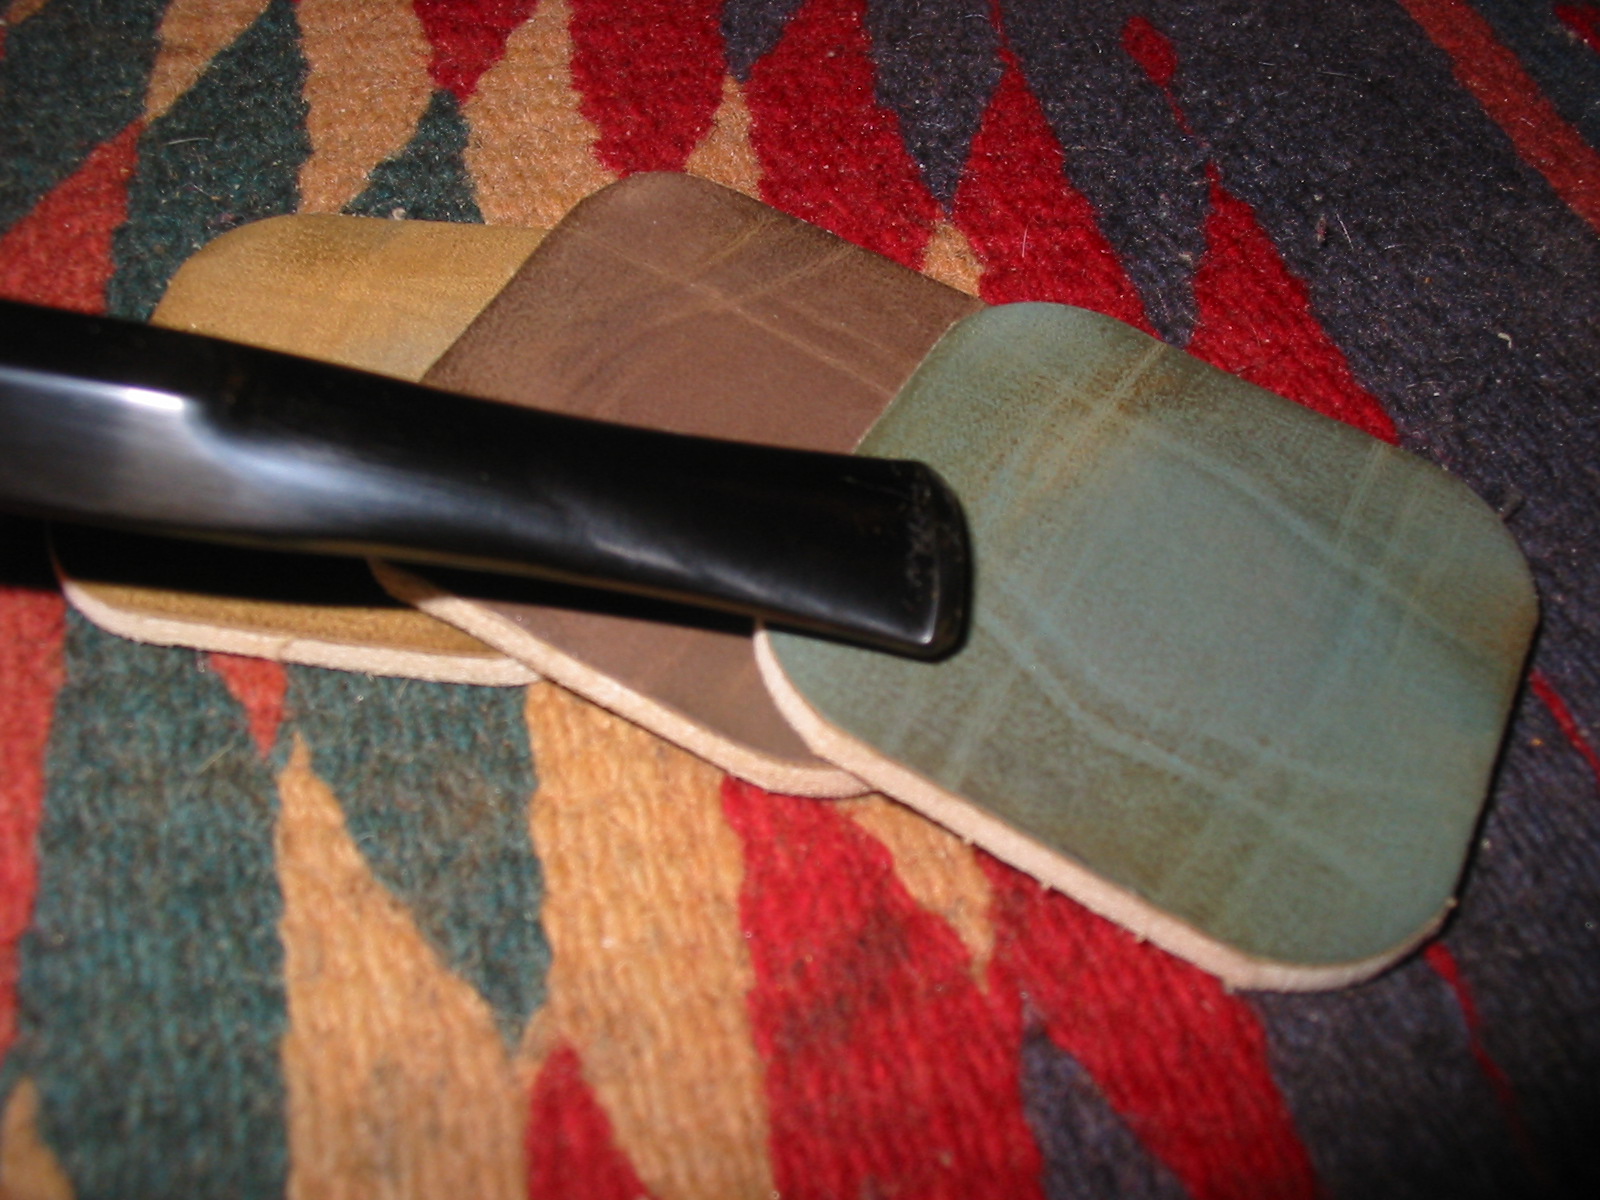
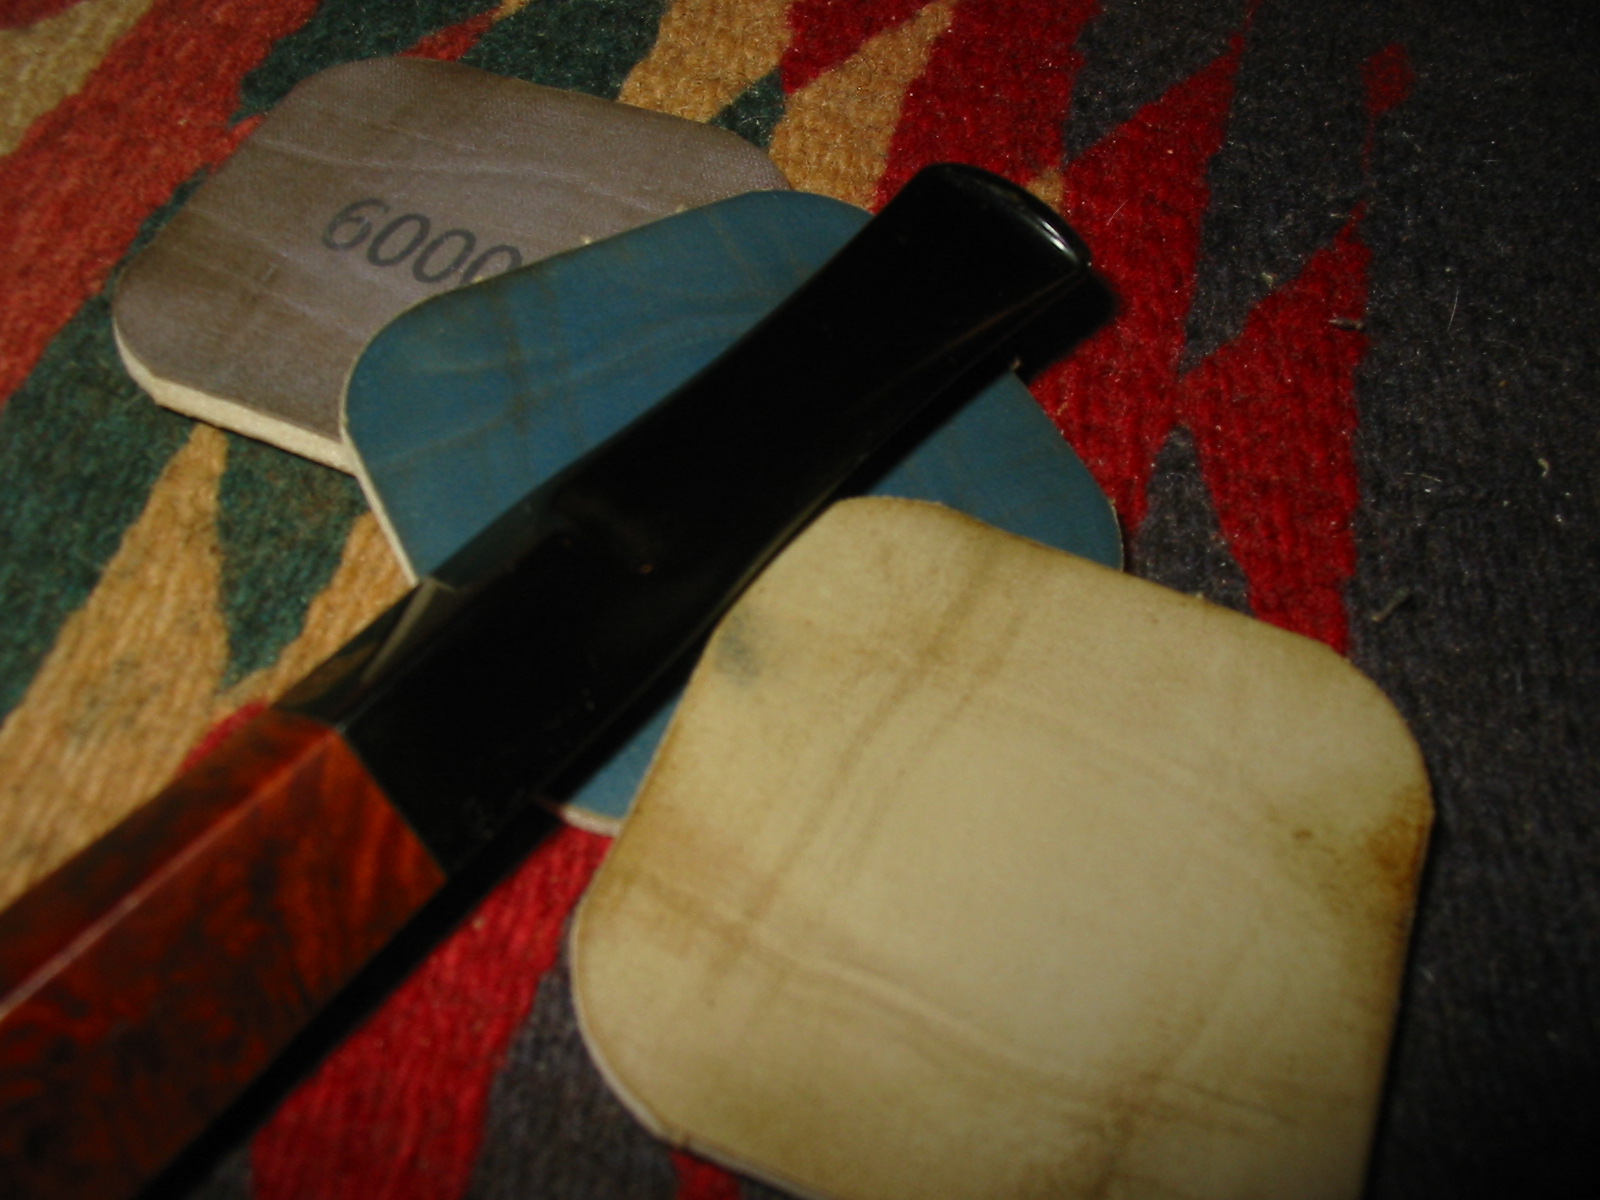
I sanded and stained the flattened bottom of the pipe with a medium walnut stain to blend it in with the rest of the pipe. I sanded the stem with my usual regimen of micromesh sanding pads from 1500-12,000 grit pads. I buffed the entire pipe with White Diamond and then rubbed in a coat of Obsidian Oil into the stem.

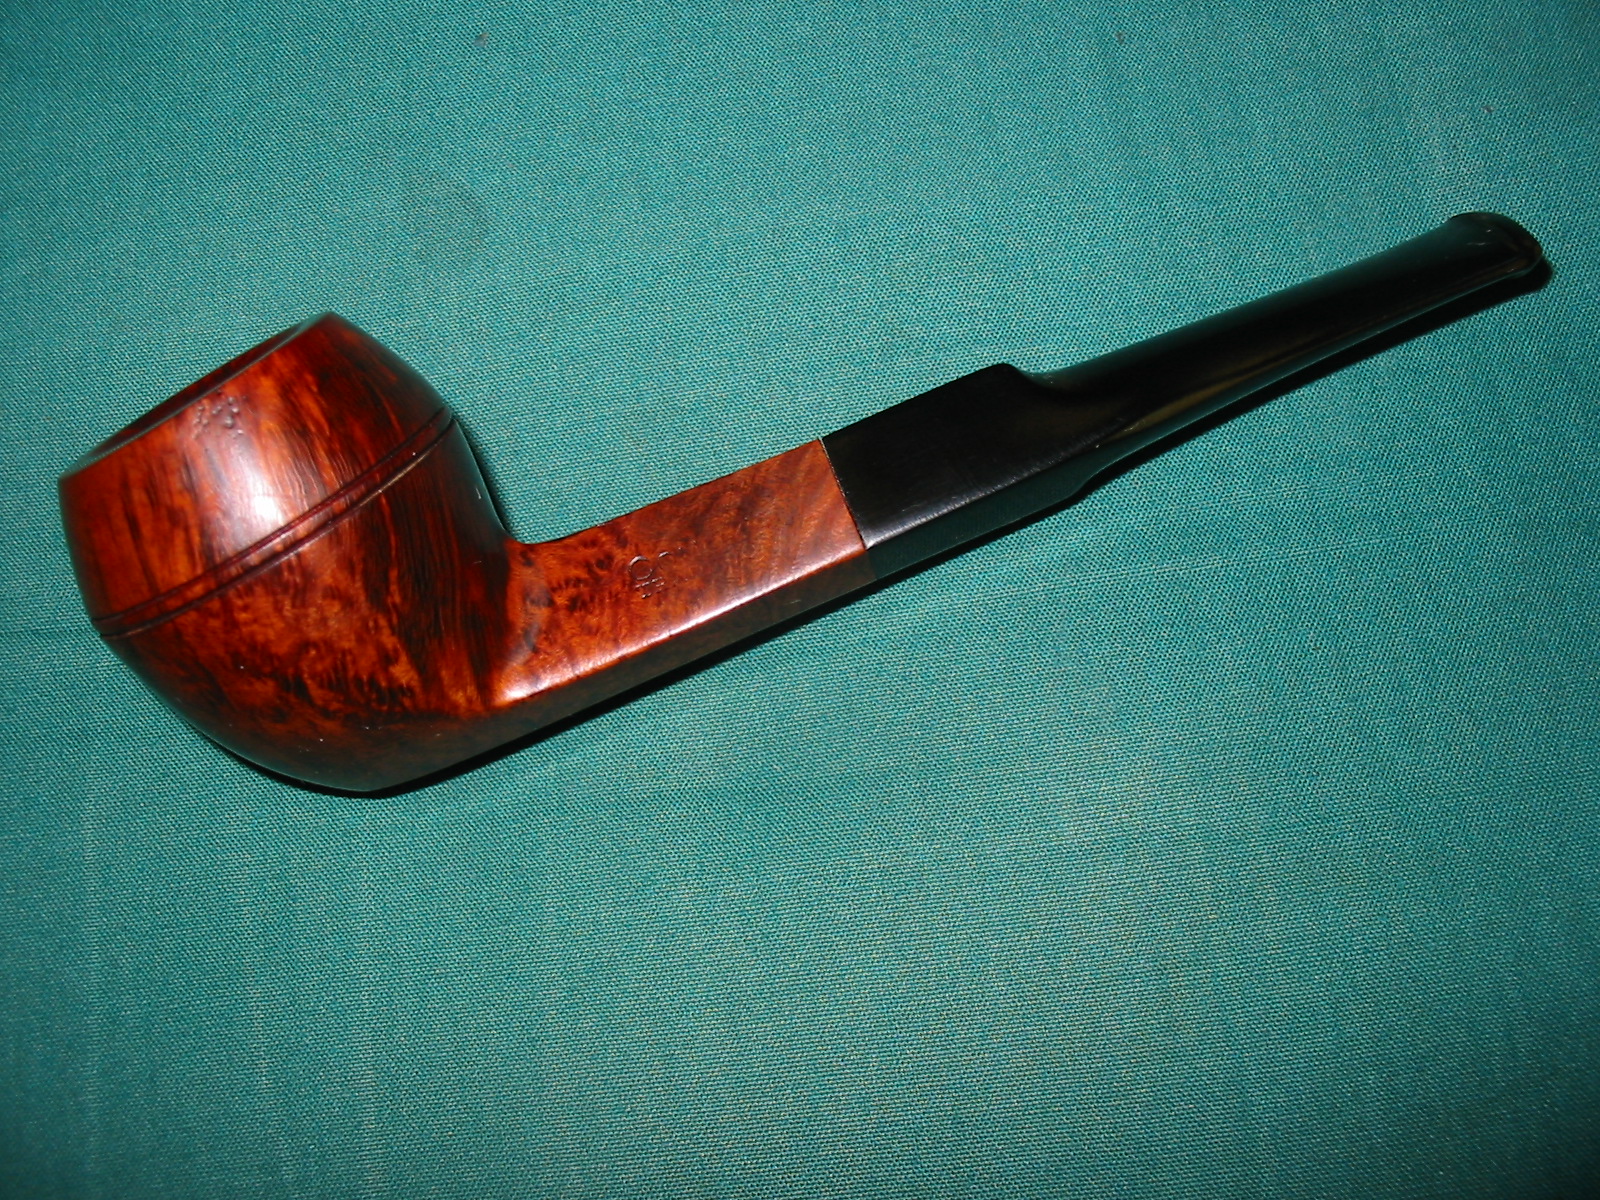
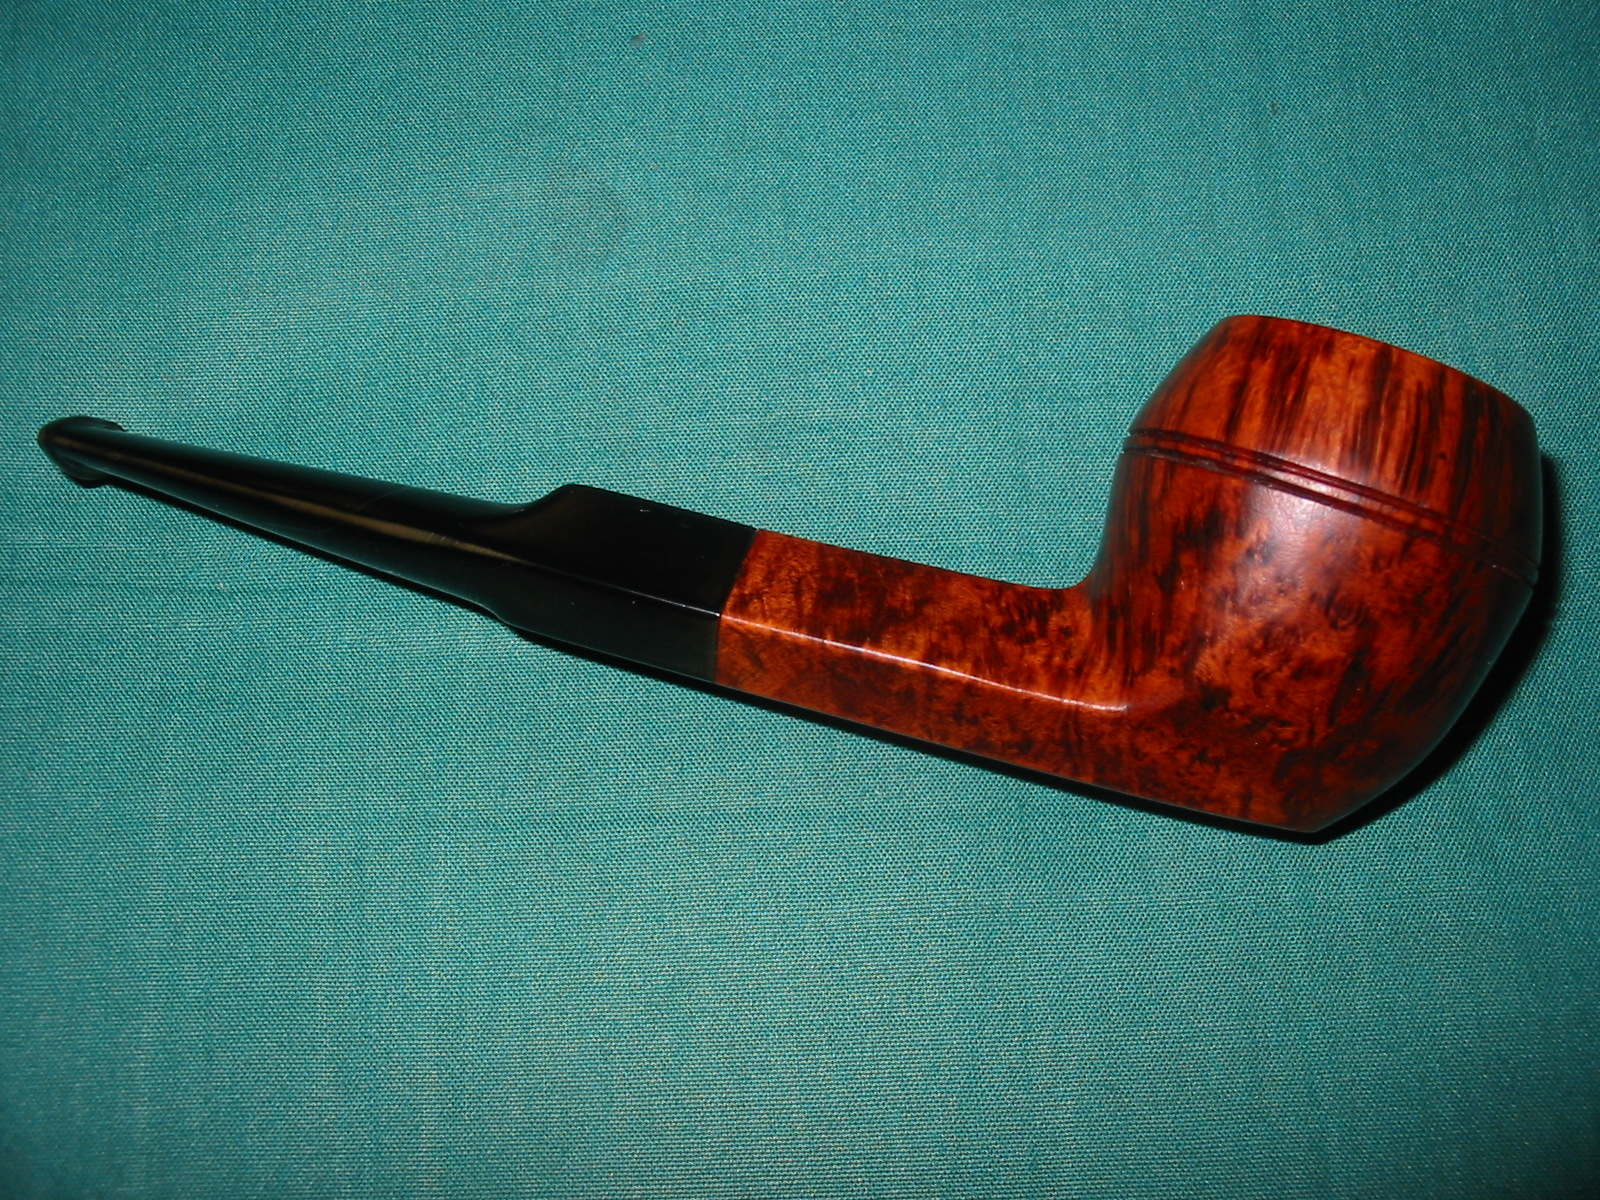
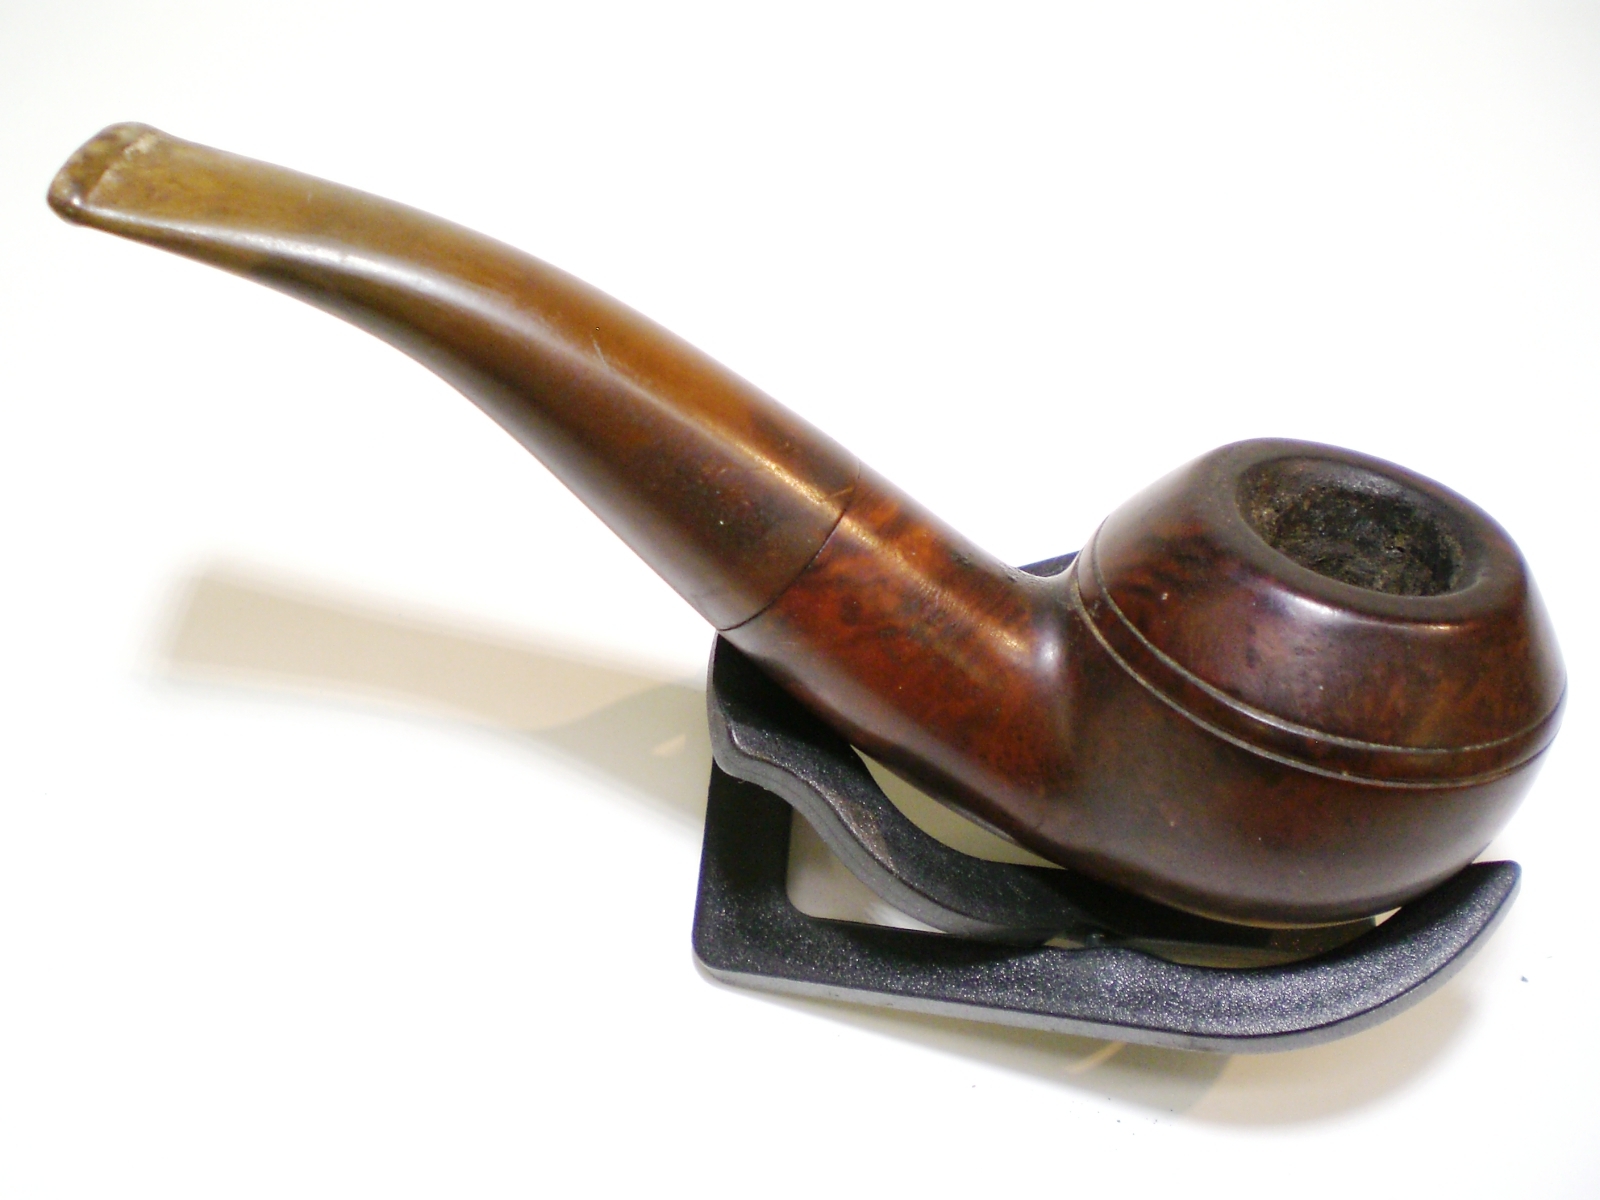
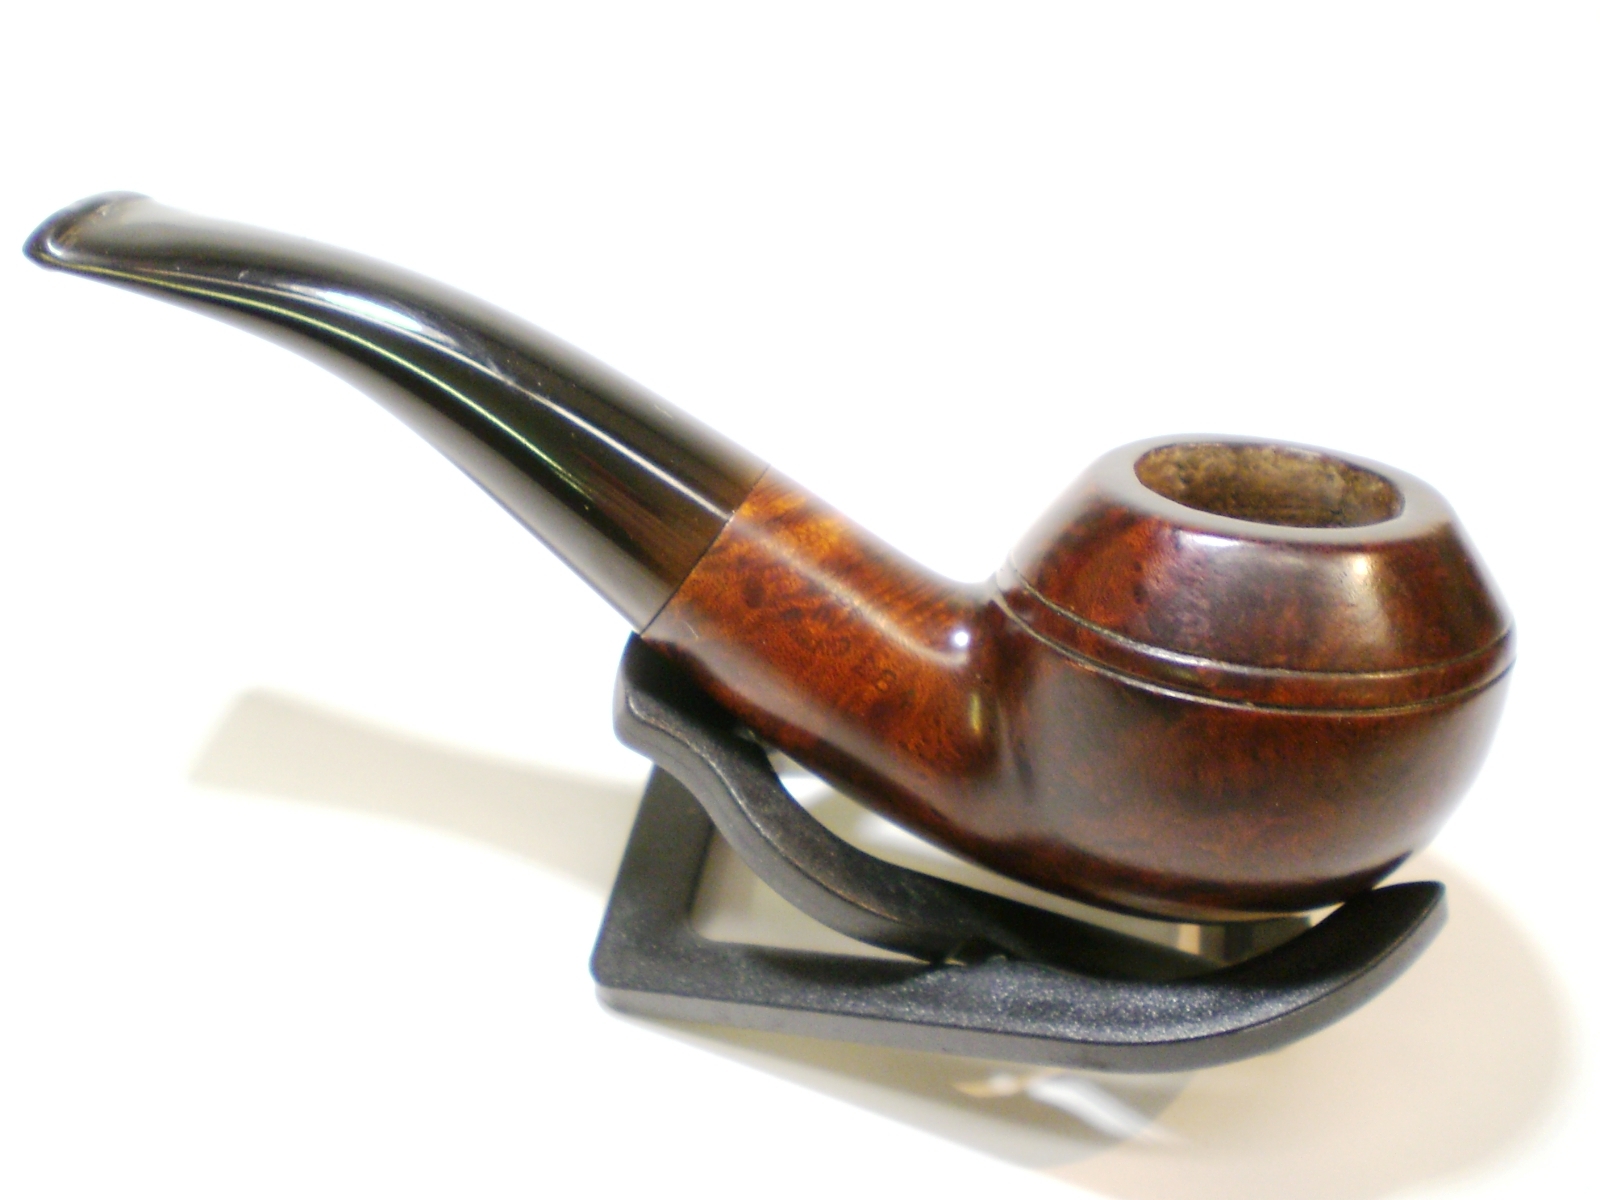
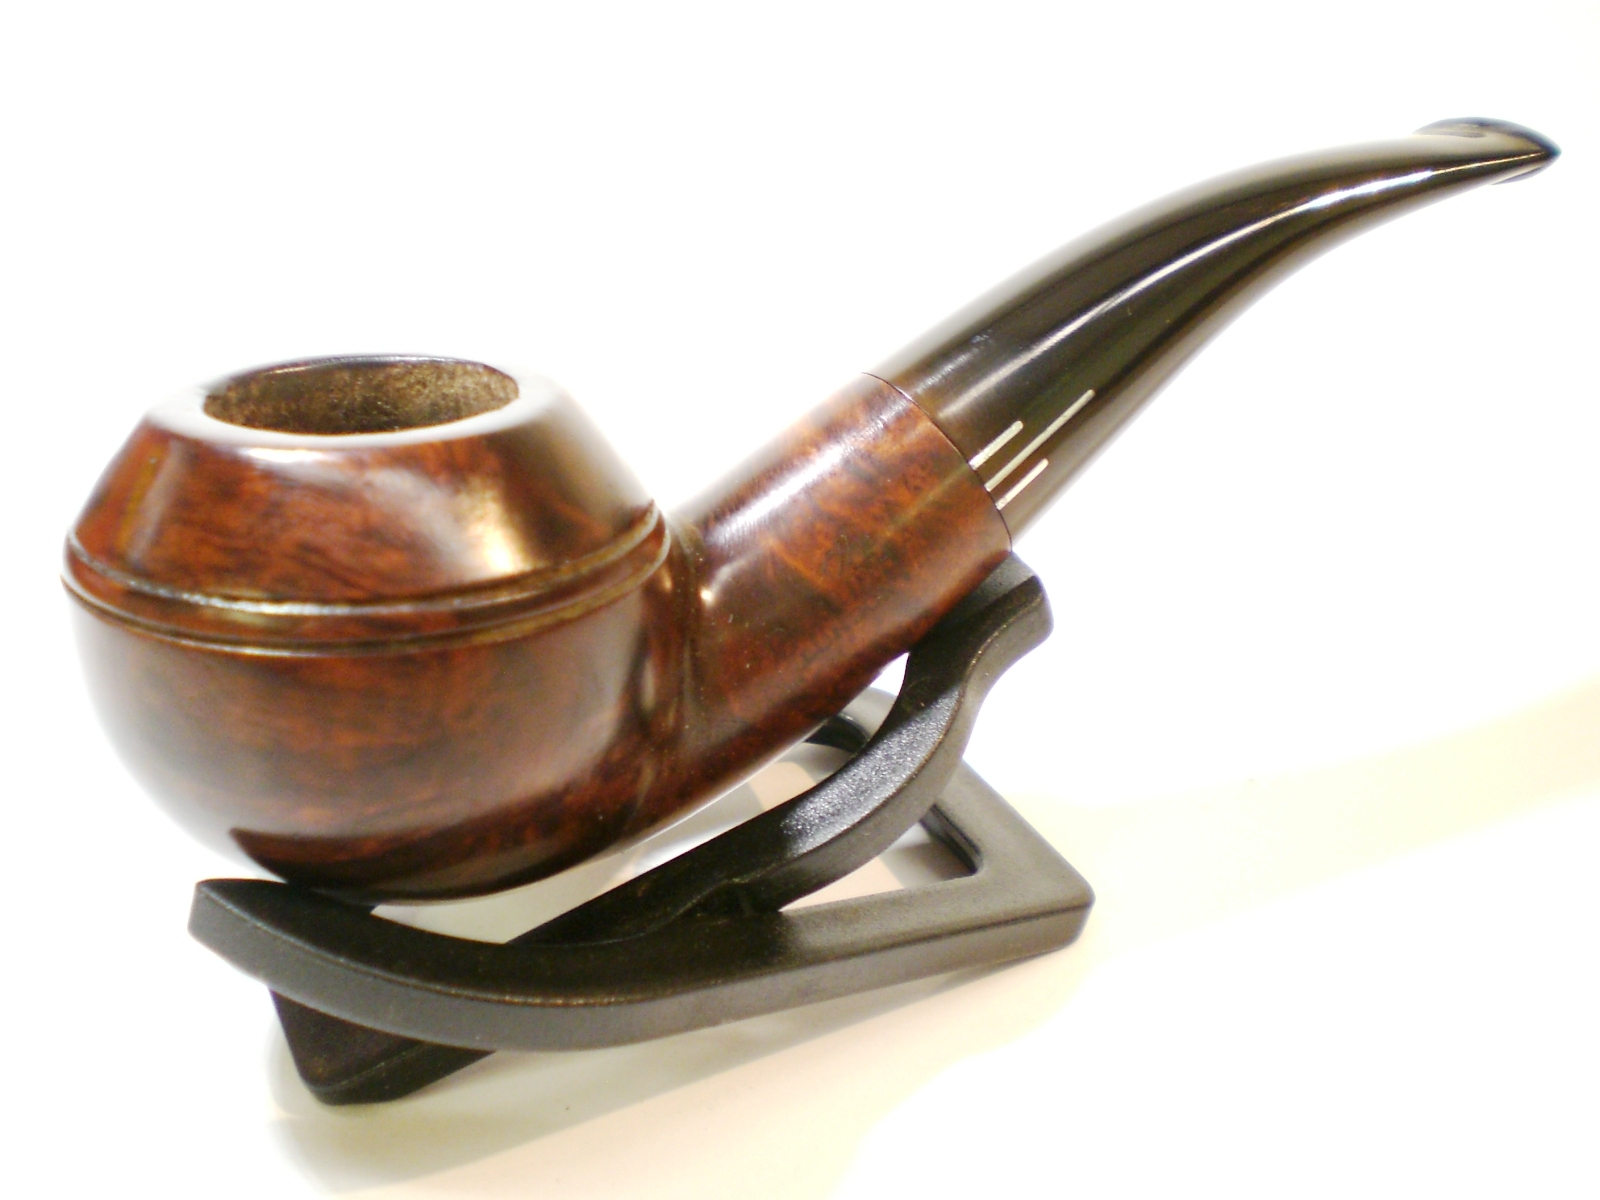
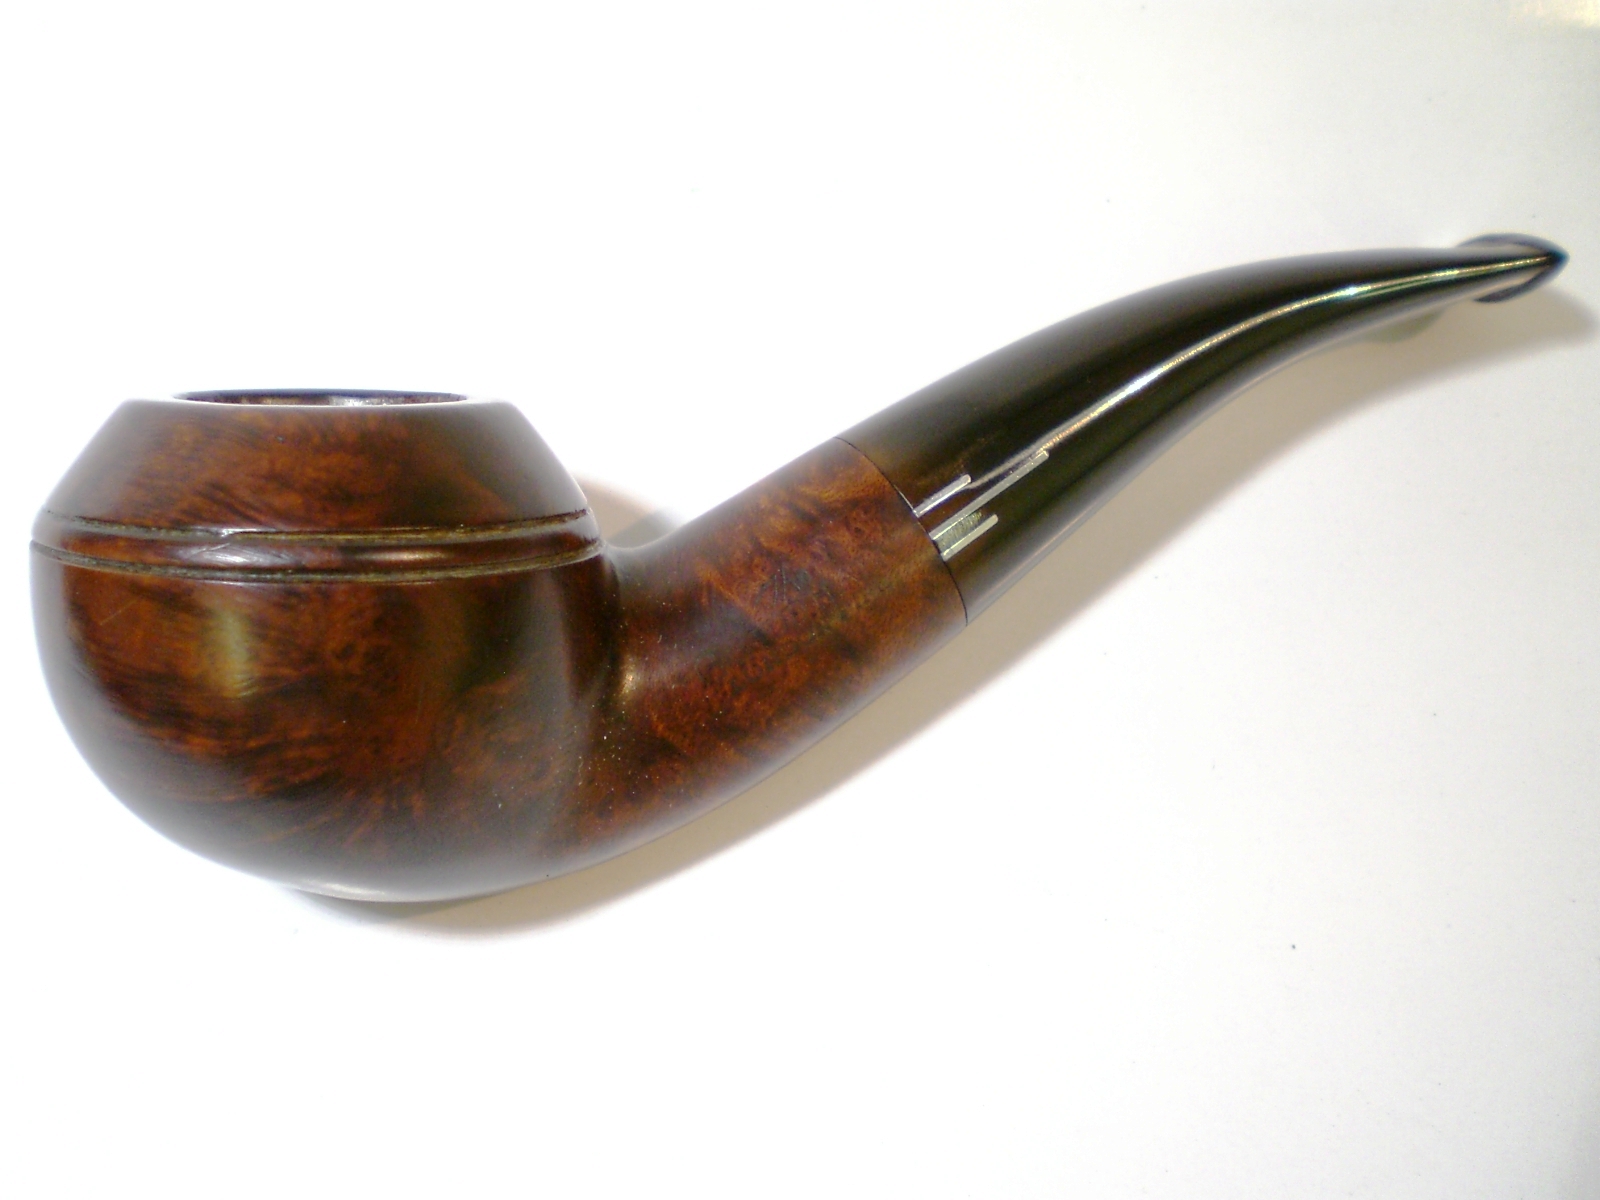
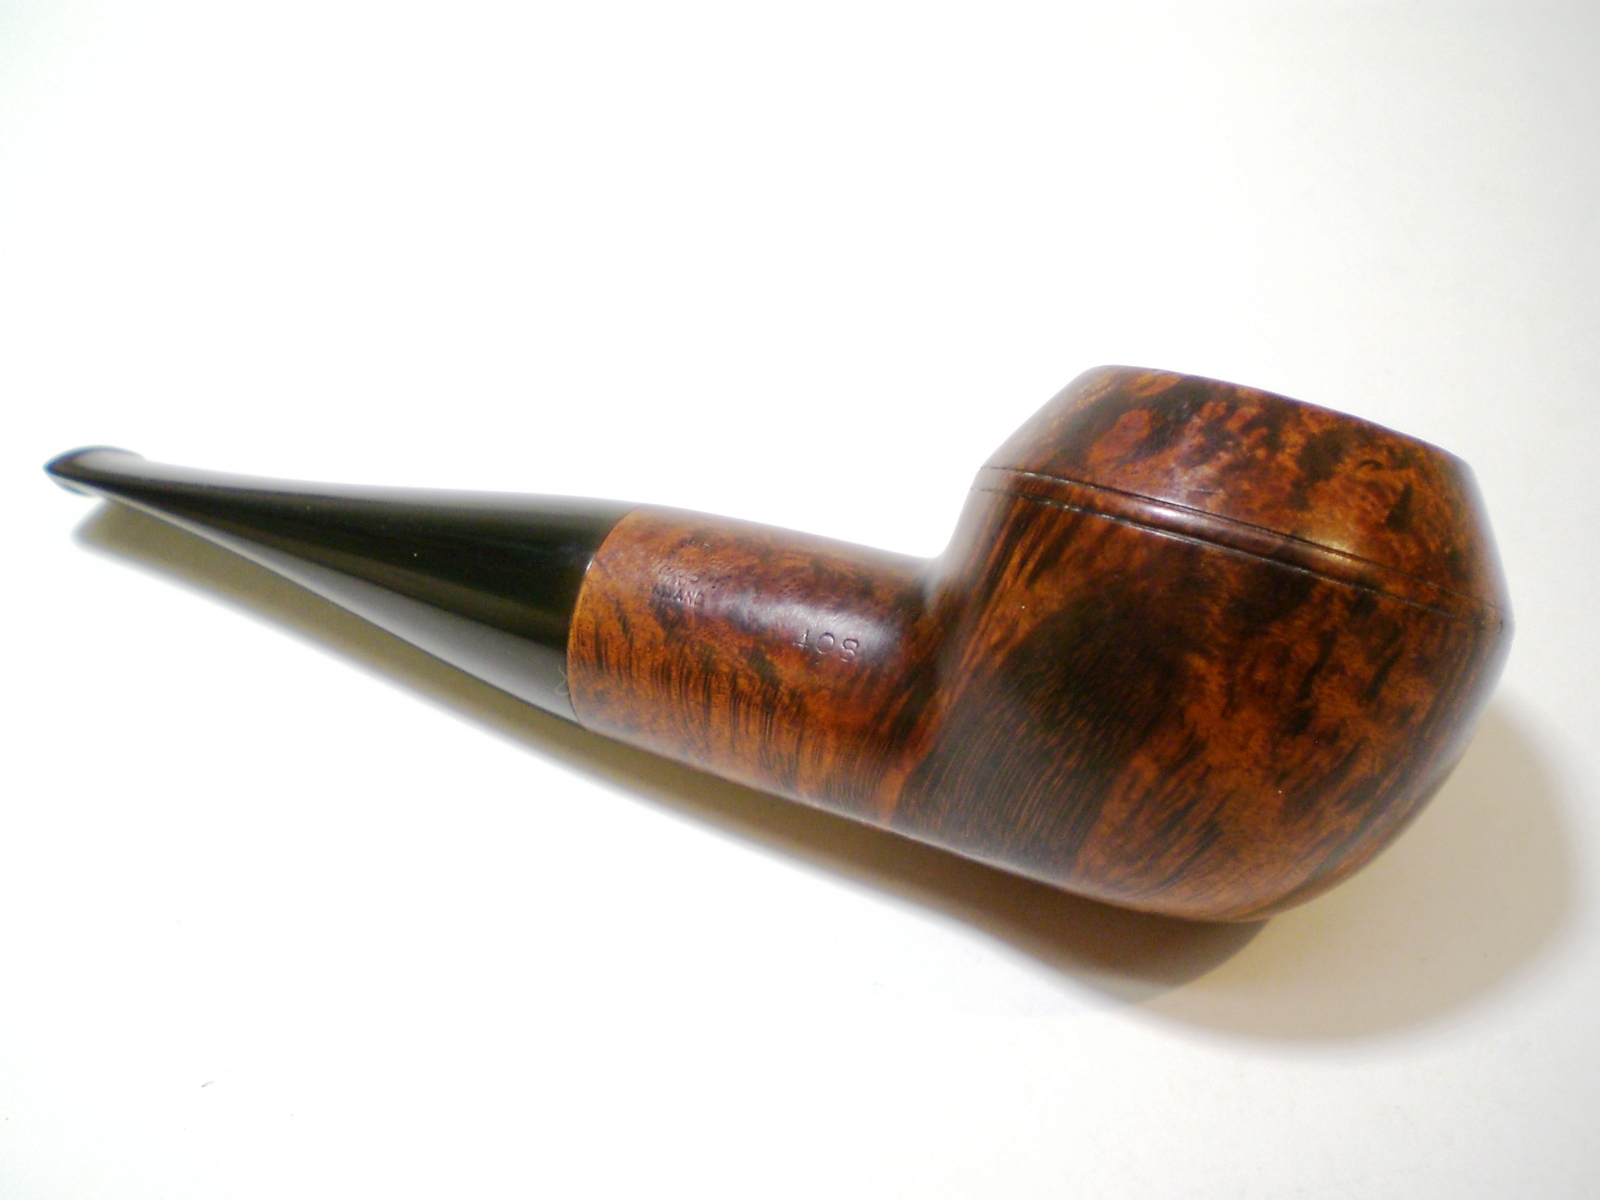
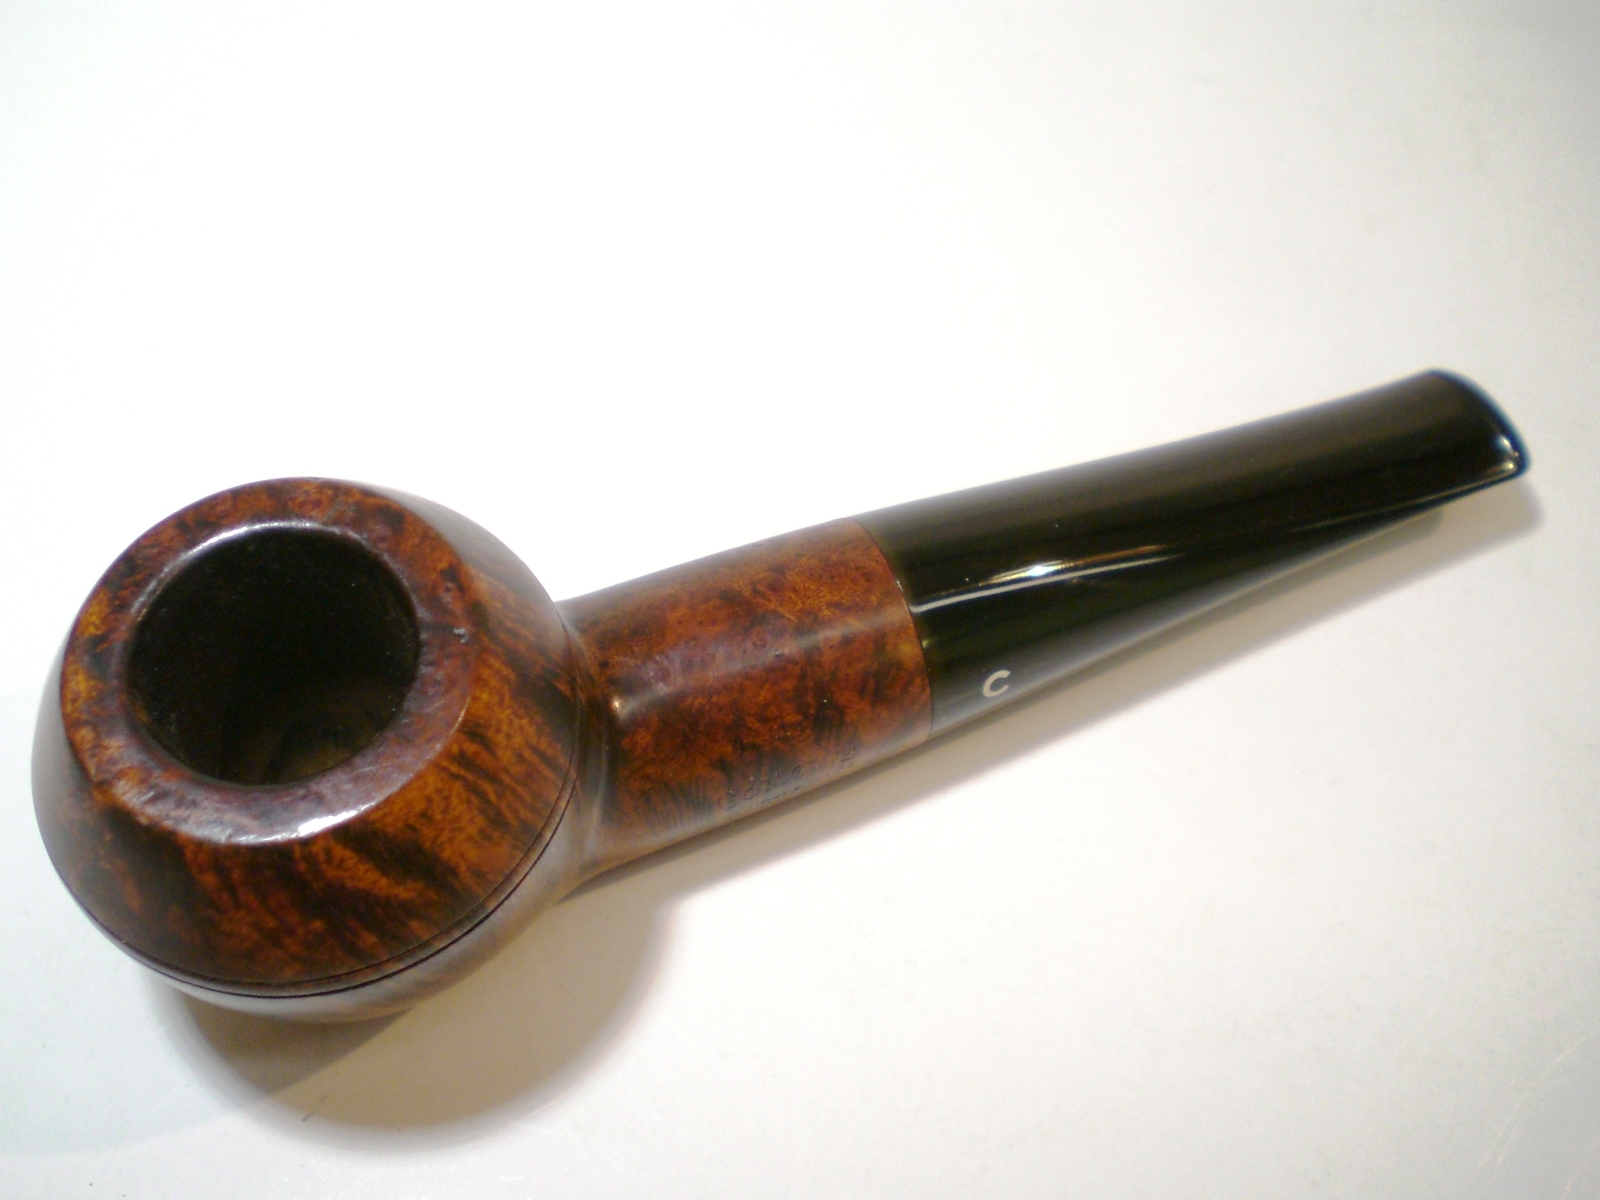
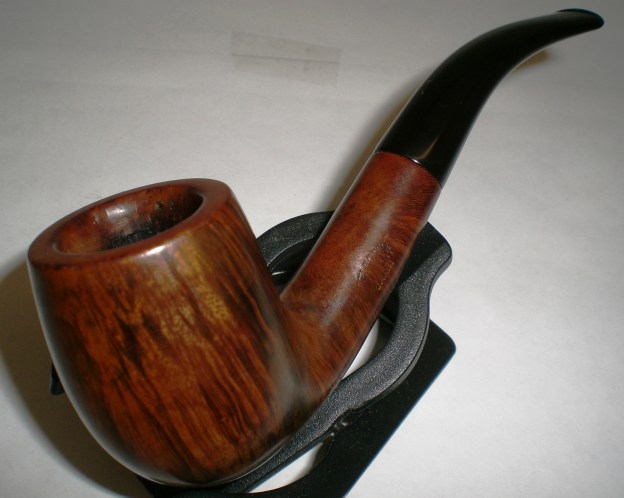
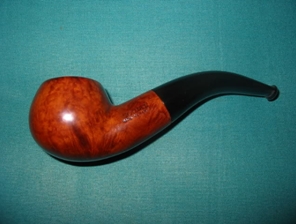
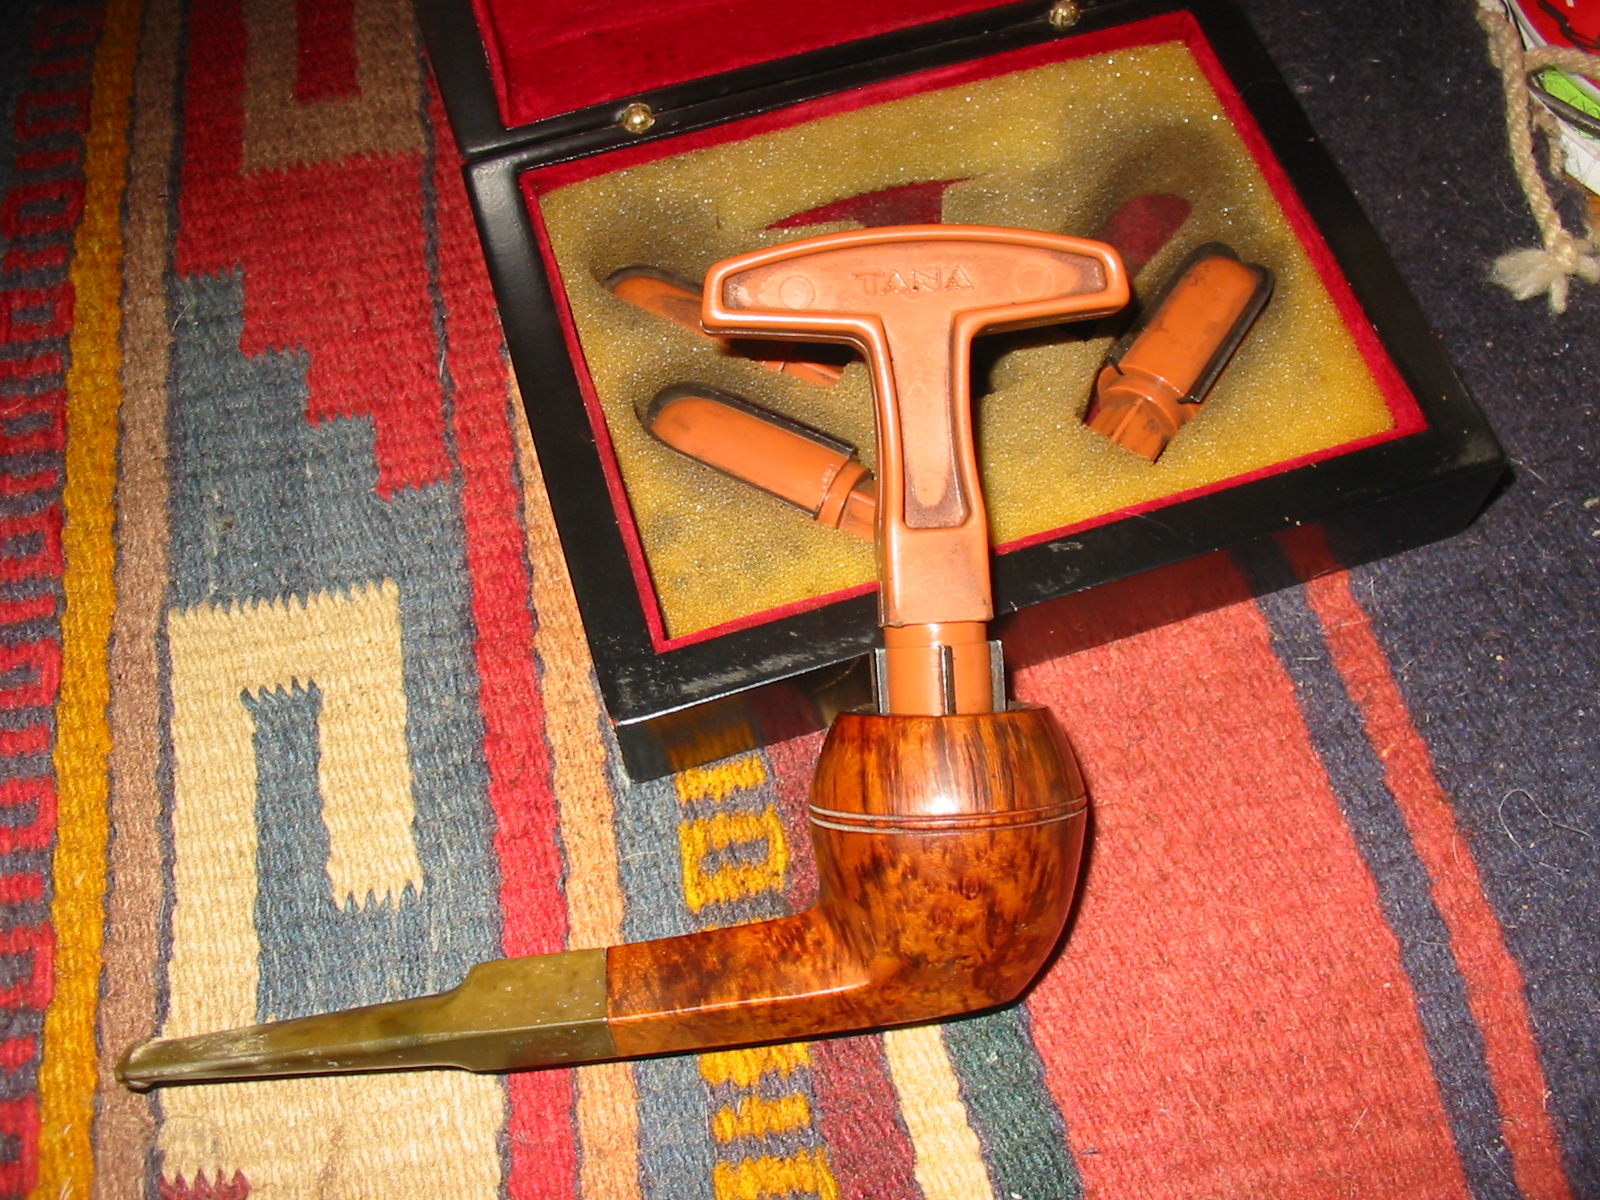
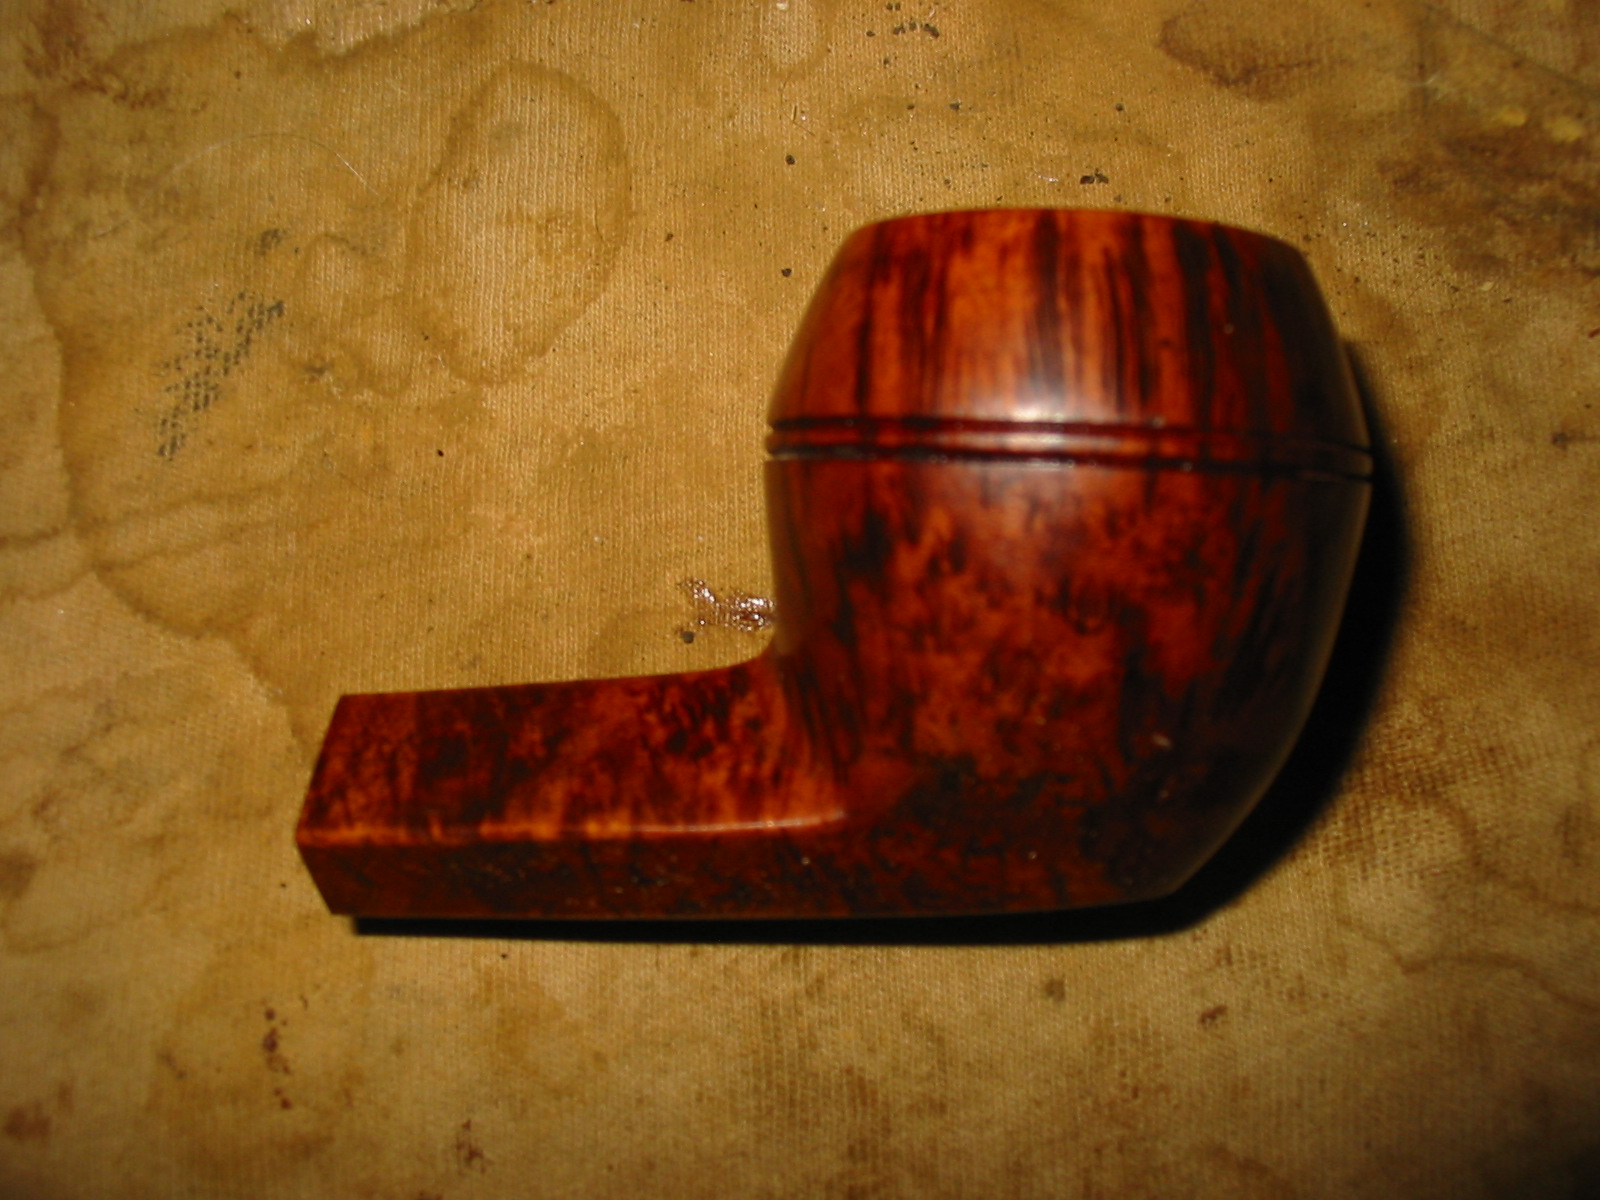
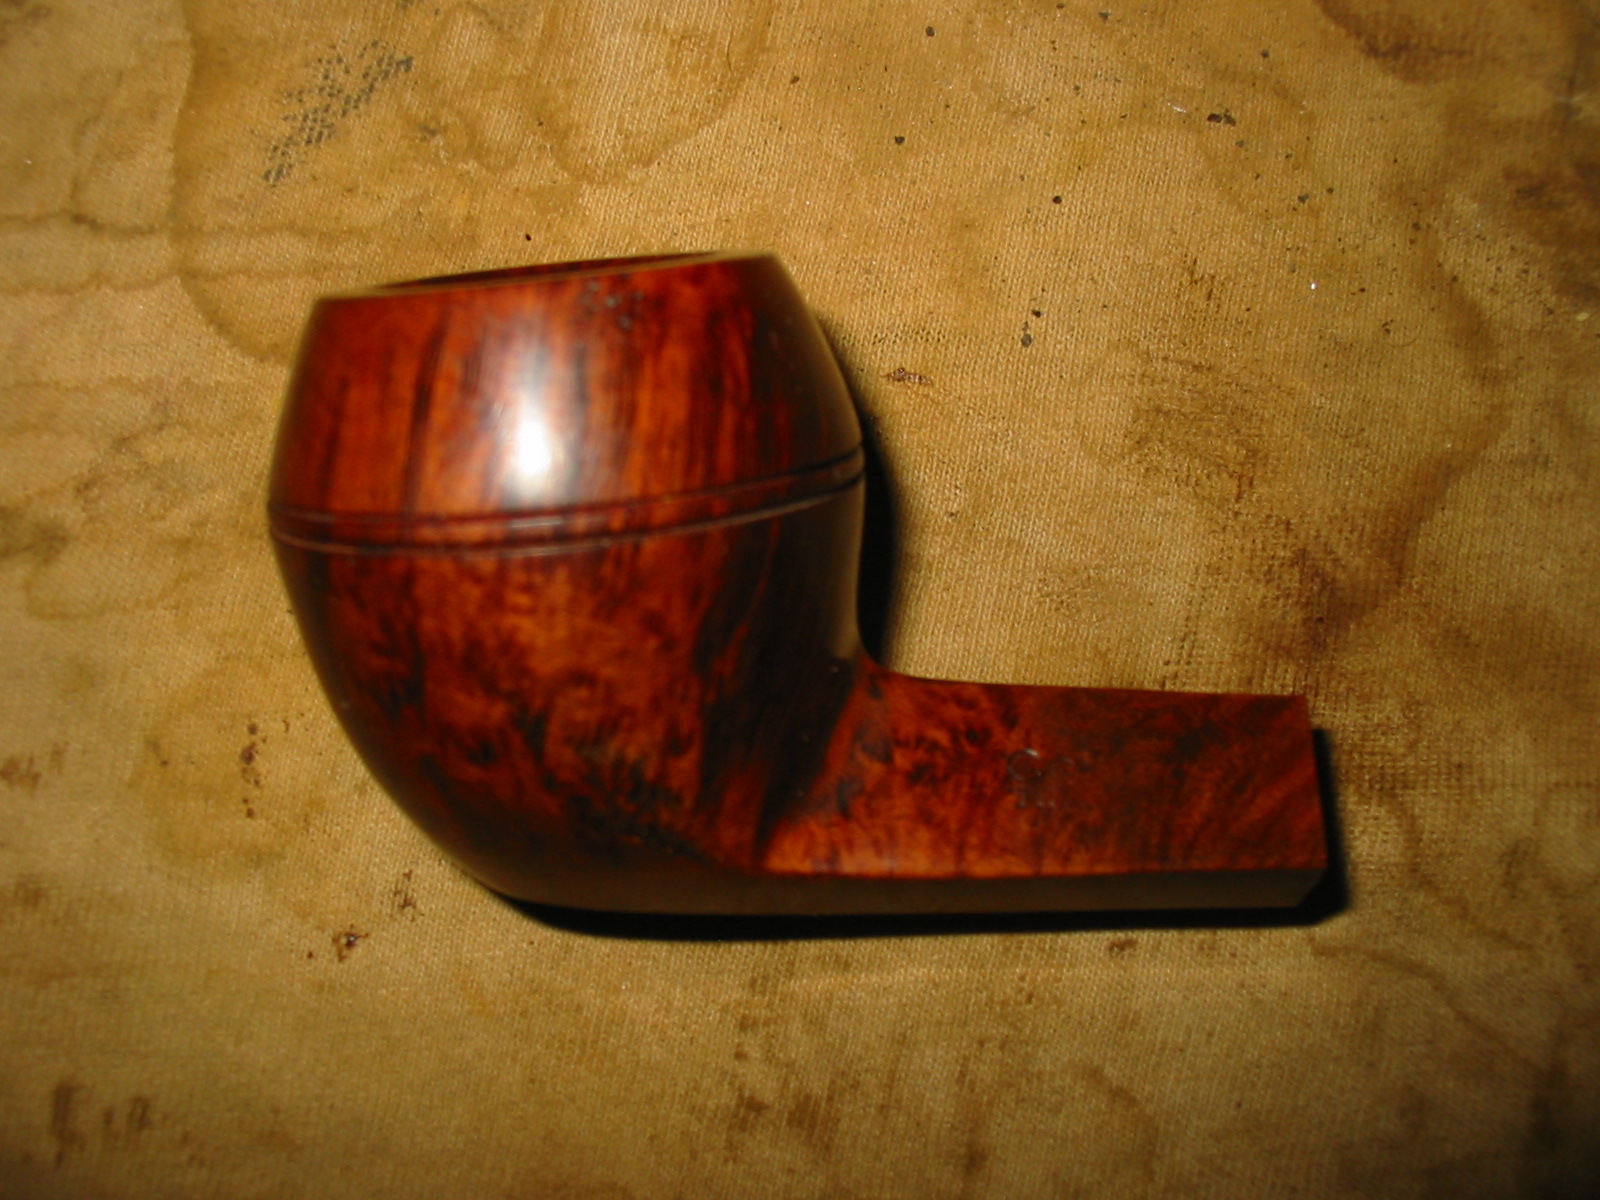
I buffed the pipe and stem with multiple coats of carnauba wax and finished with a clean flannel buff to bring out the shine. The next series of four photos show the finished pipe. Though the previous owner’s modification certainly changed the profile of this old pipe, I think the finished product still looks very good and should continue to provide a good smoke.

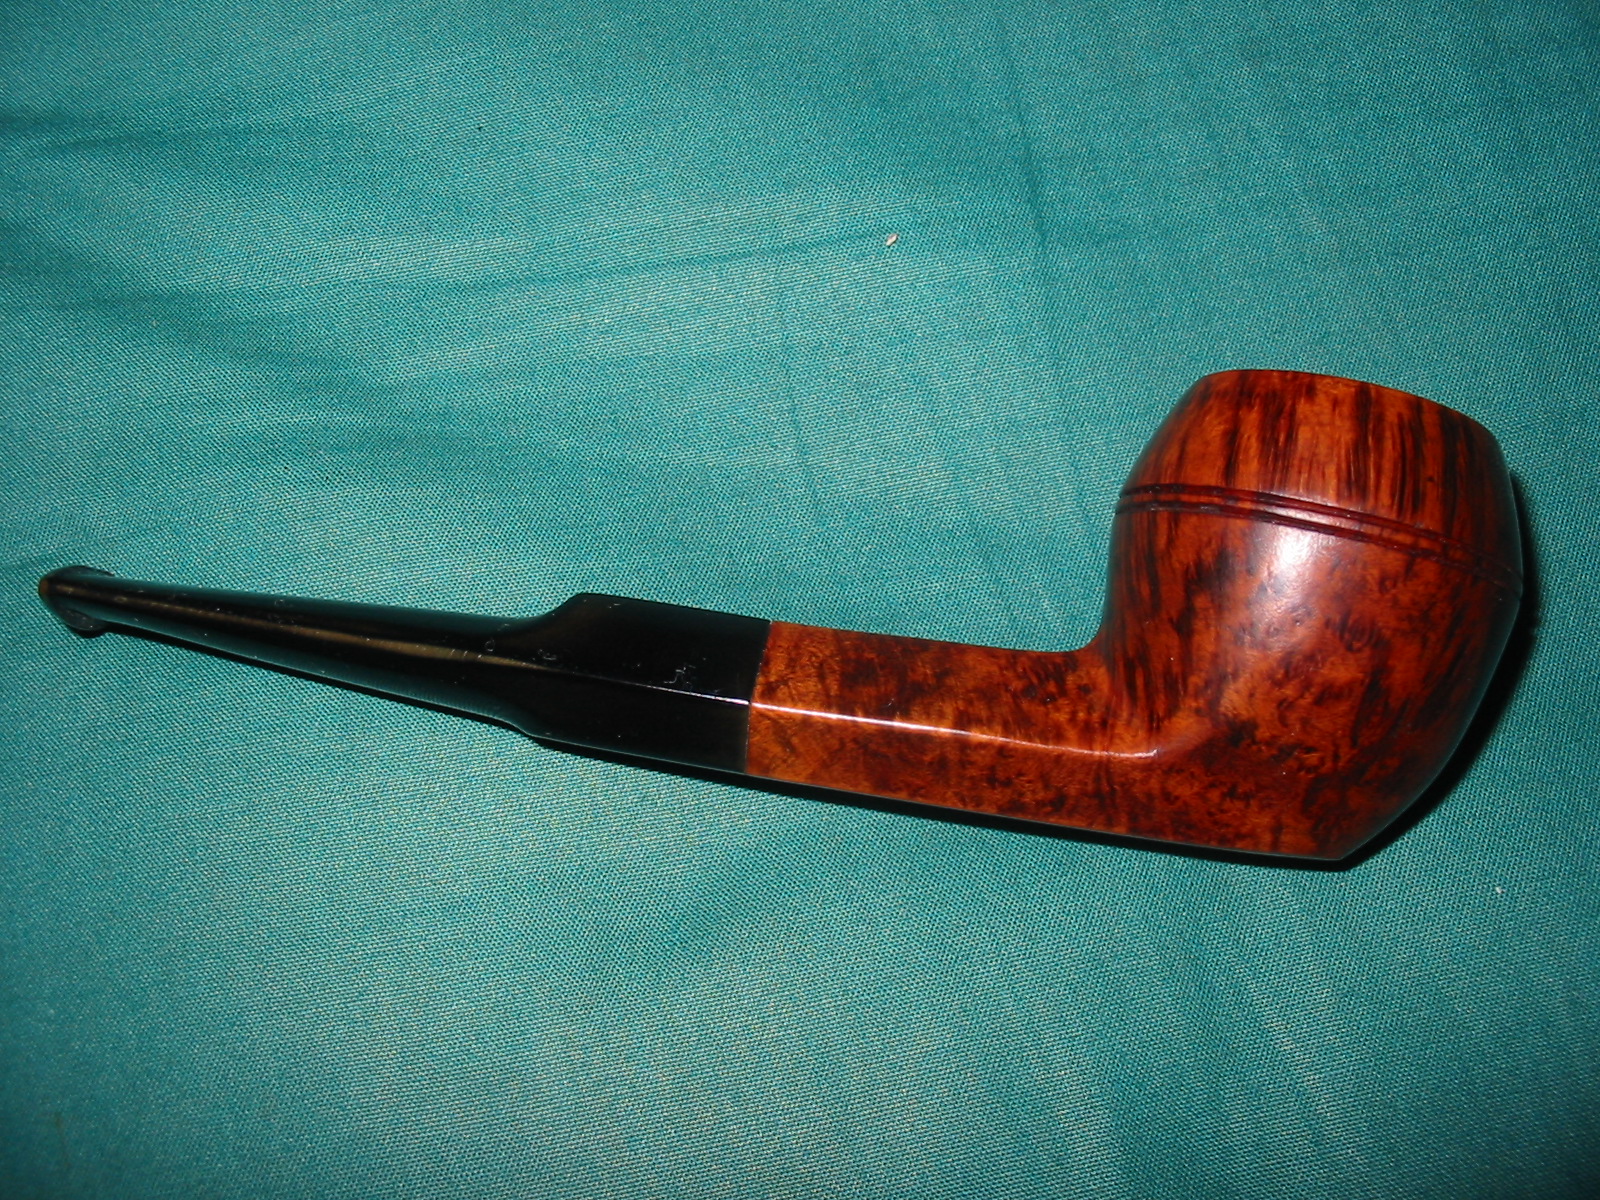
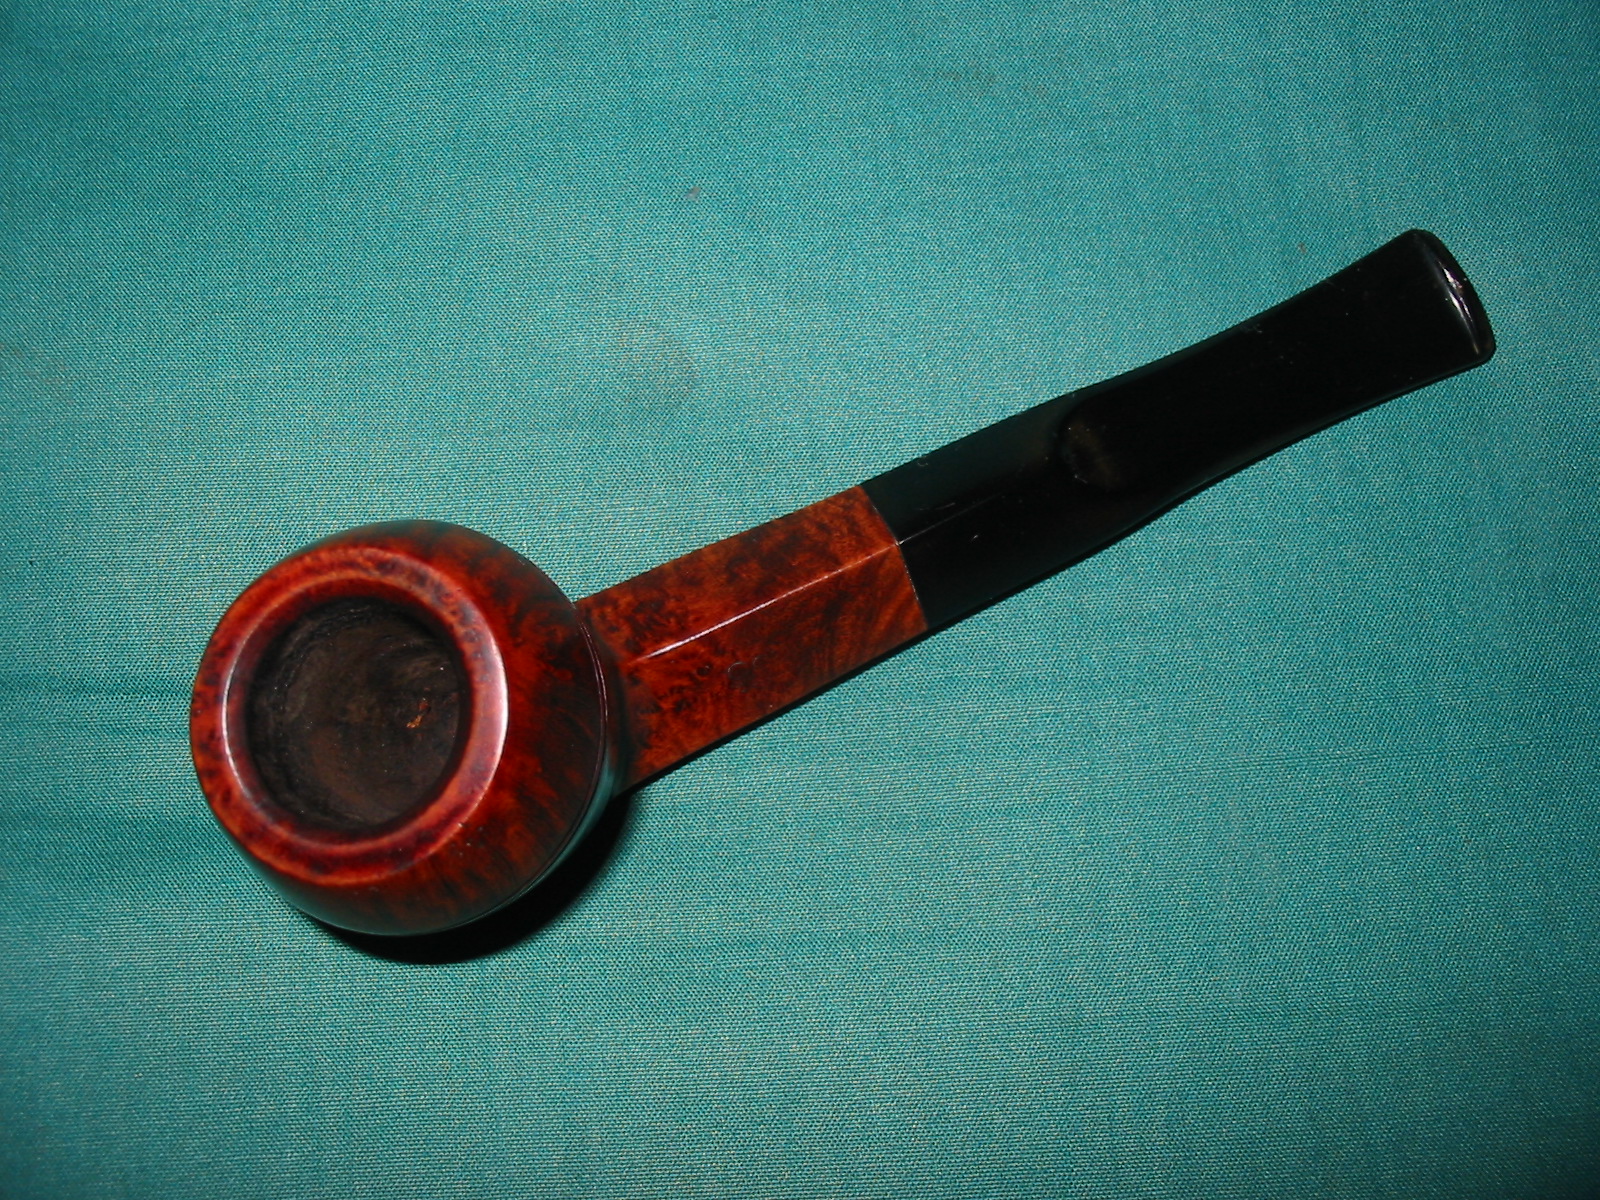

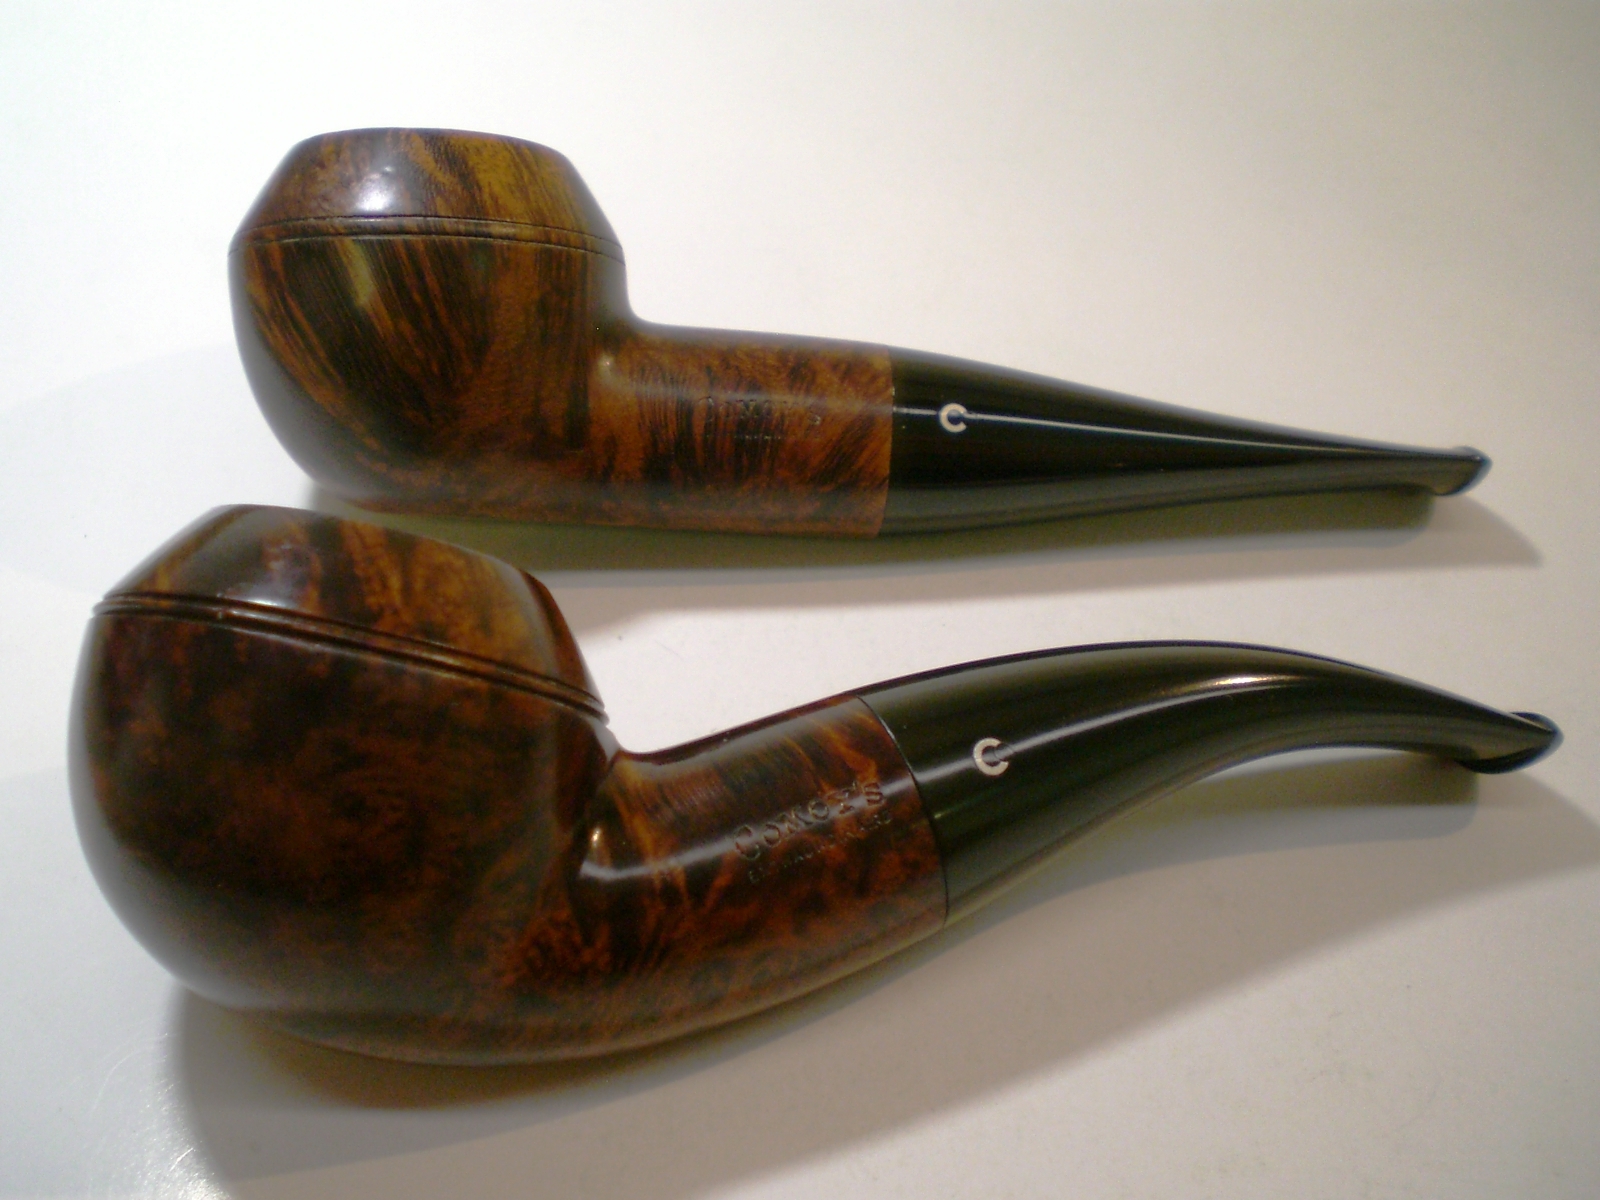
After reading Al’s comment below, I did a bit more comparison work with Tradition colours both on line and in my own collection. They tended to be slightly more red than the walnut colour of this bulldog. Armed with that information I decided to give it a coat of Minwax red mahogany stain to bring out the reds a bit more in the briar. Below are the updated pictures of the pipe. In real time the addition of red brings the colour into the same spectrum as the other Traditions in my collection. Thanks Al for the nudge.