Blog by Steve Laug
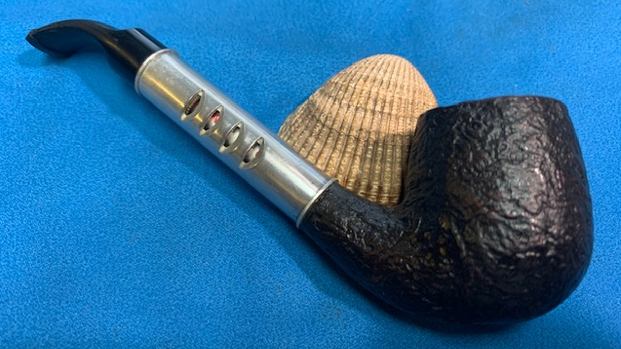
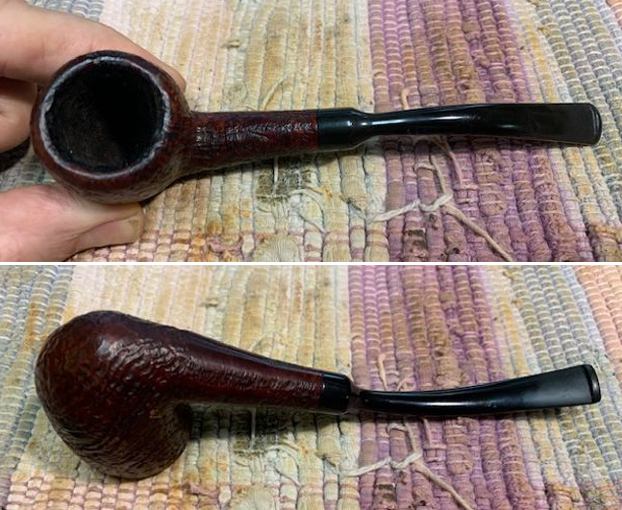
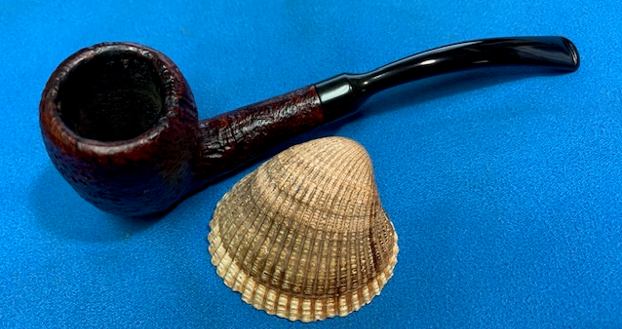
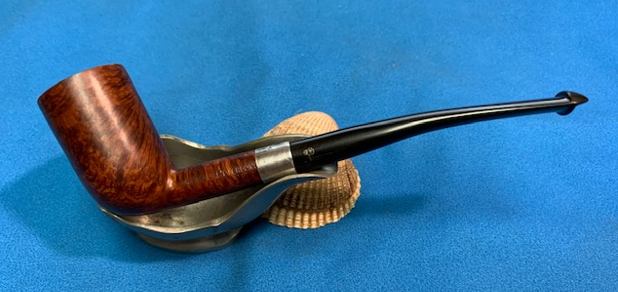
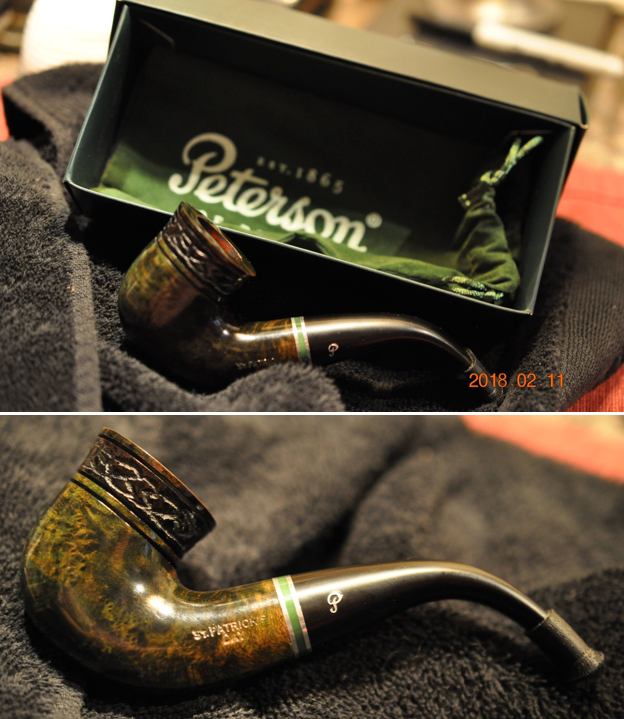
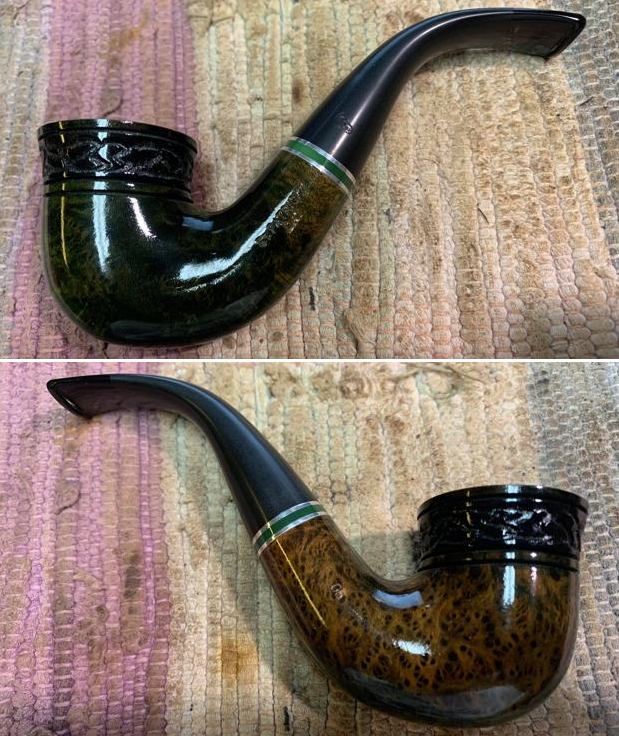
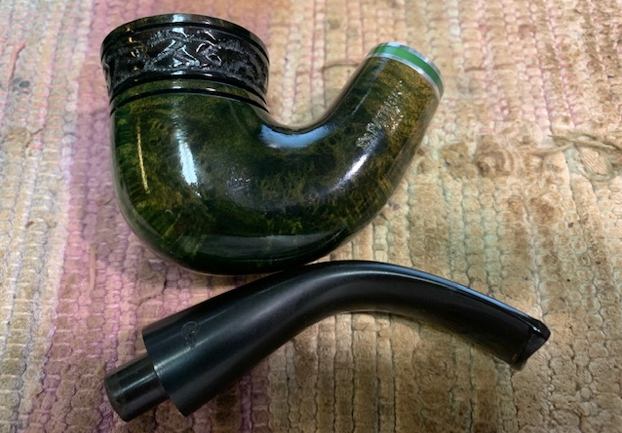
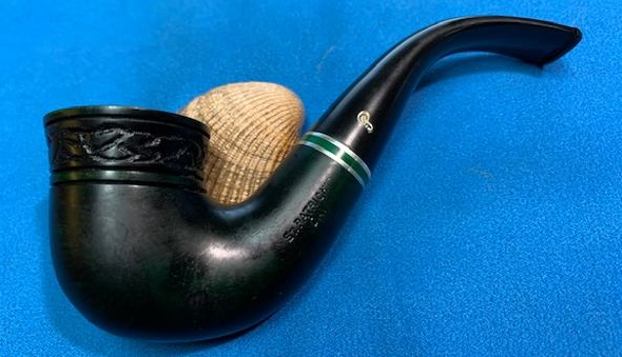
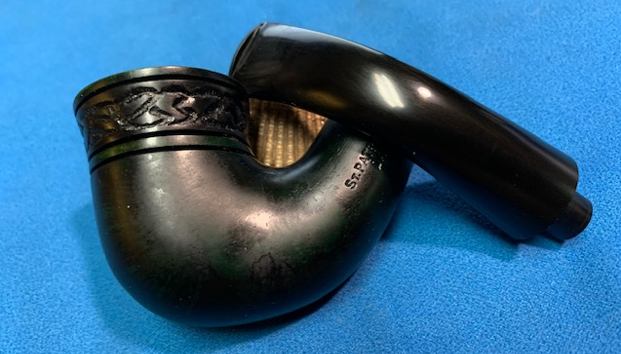
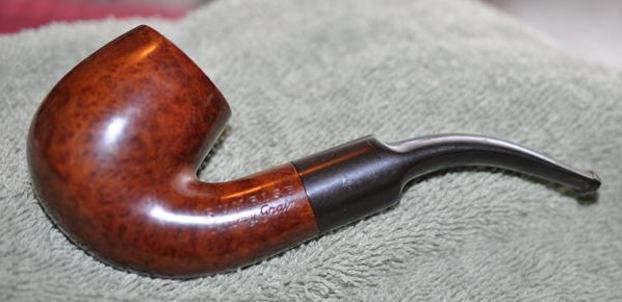
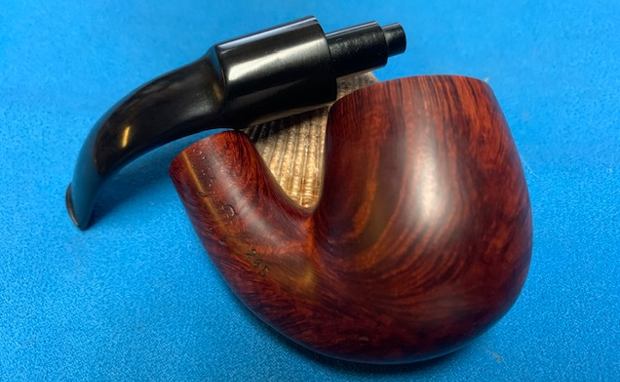
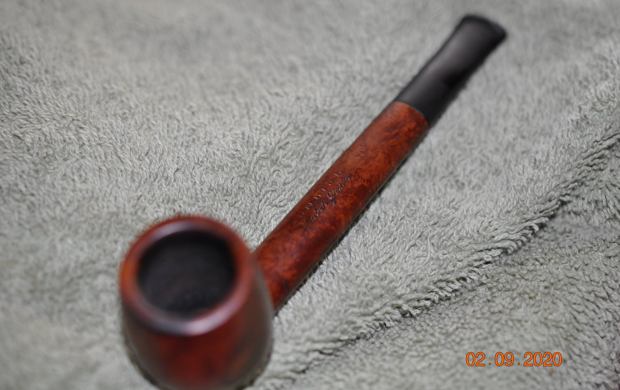
The next pipe on the table is one that we picked up back in 2018 and have no clear record of where and when we picked it up. The shape is what attracted us to the pipe. It is a unique shape with the panels on the bowl and the short Lovat style shank with a saddle stem. The finish was dirty with grime ground into the finish around the bowl sides. There were also some cracks in right side mid shank and on the lower part as well. The cracks were in the middle of some fills on that side of the bowl. There was a thick cake in the bowl and lava overflow on the top of the rim. There was also tobacco debris in the bowl. The stem was lightly oxidized and there were tooth marks and chatter on both sides near the button. The pipe is stamped on the left side of the shank and reads SUPER. On the right side it reads IMPORTED BRIAR. On the underside it is stamped John Surrey Ltd. The stamping is all clear and readable. 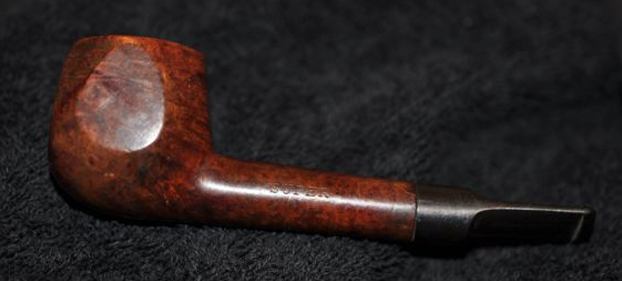
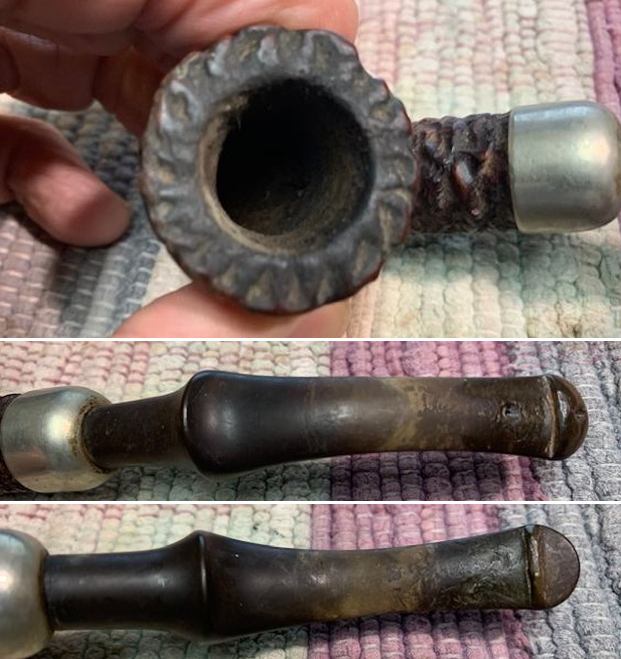
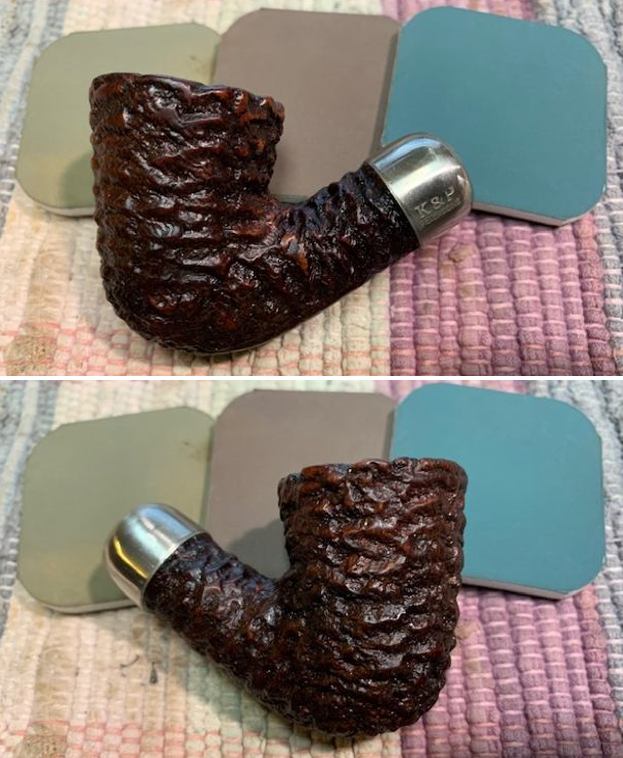
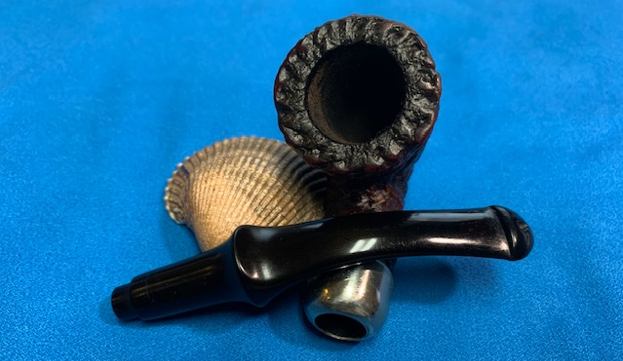
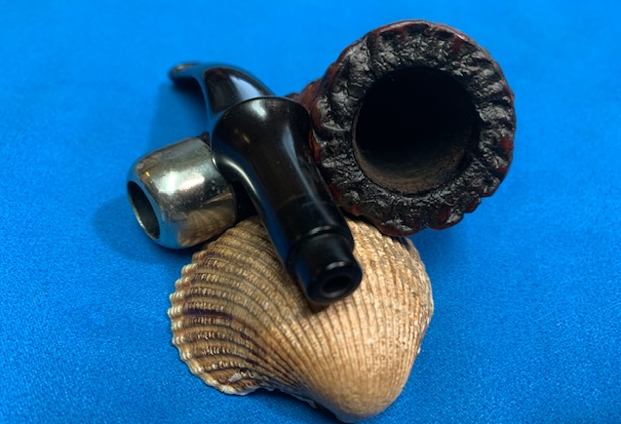
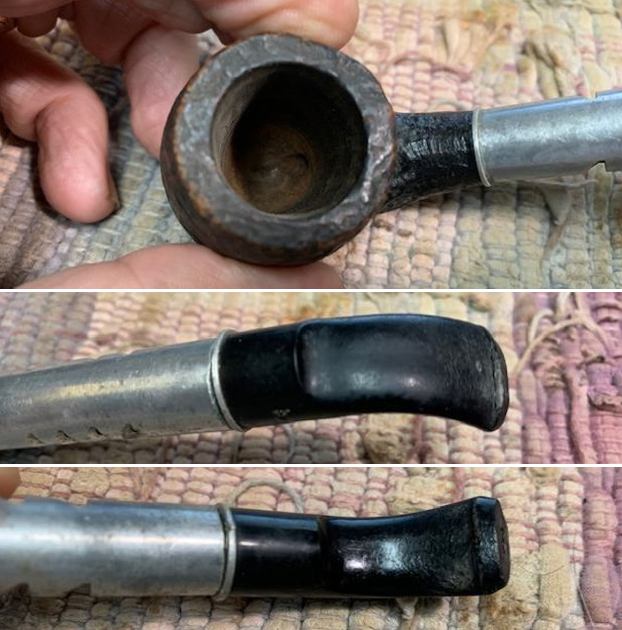
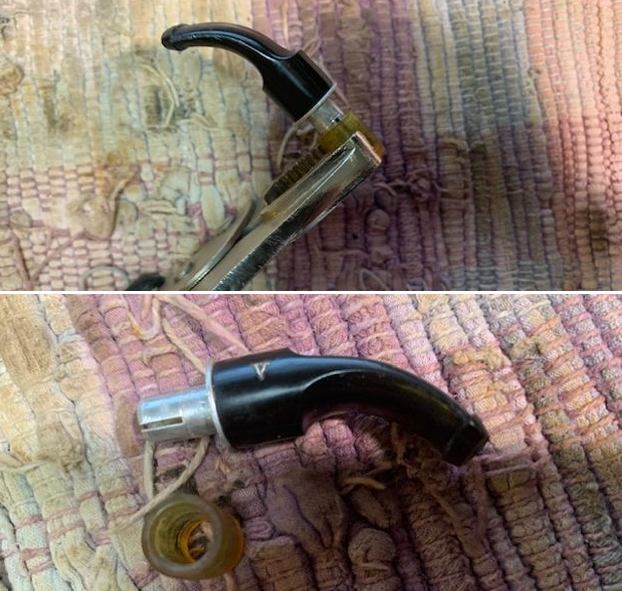
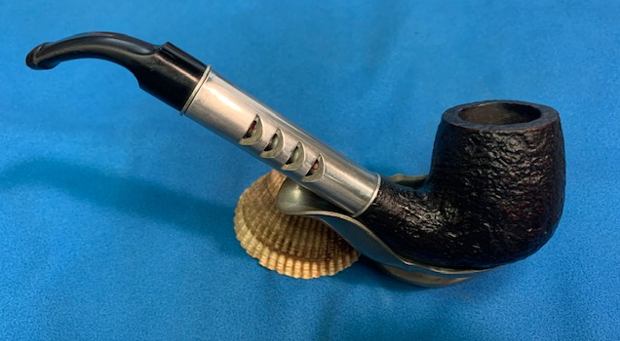
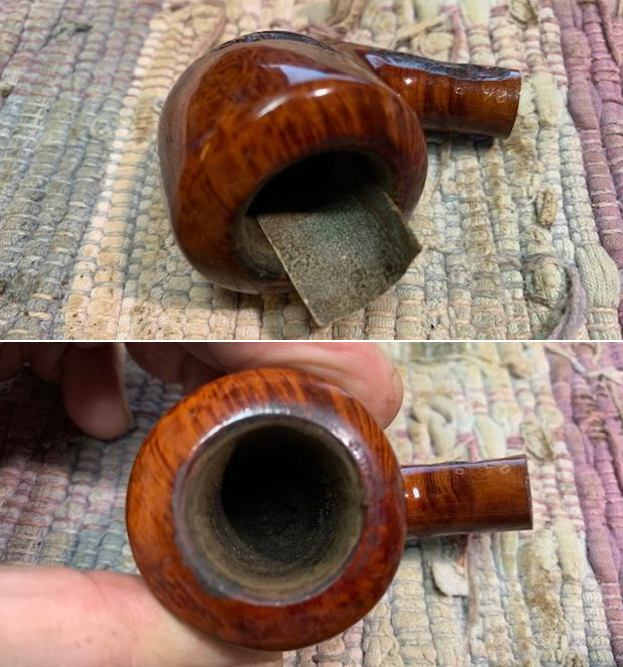
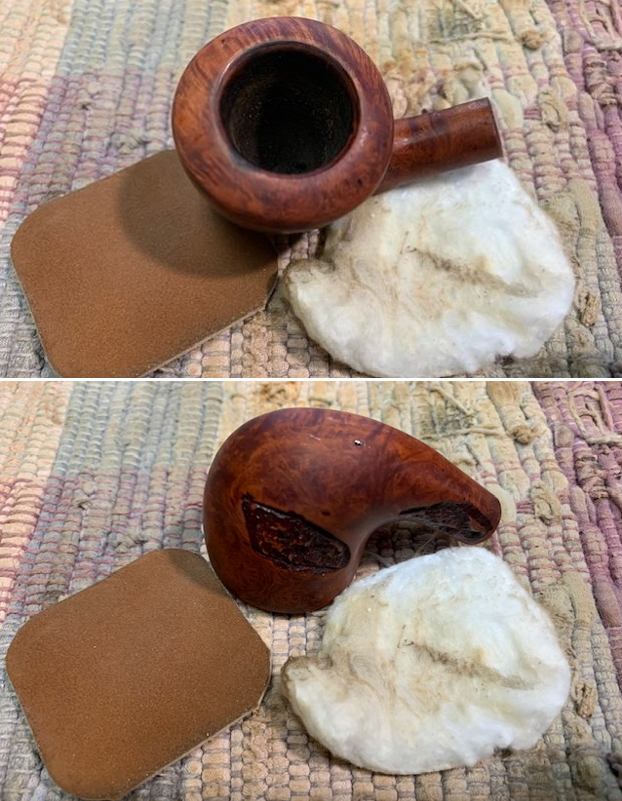
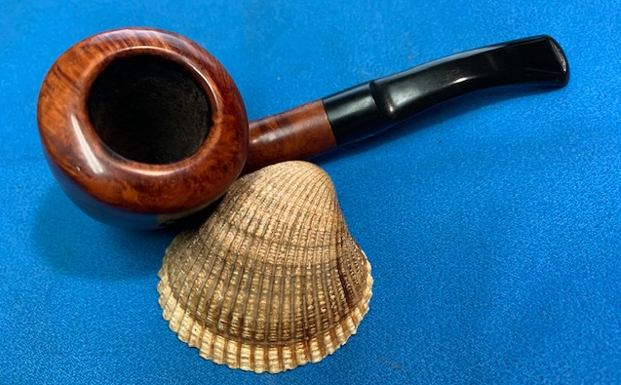
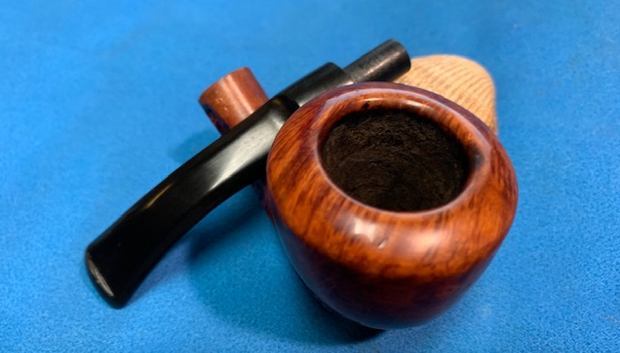
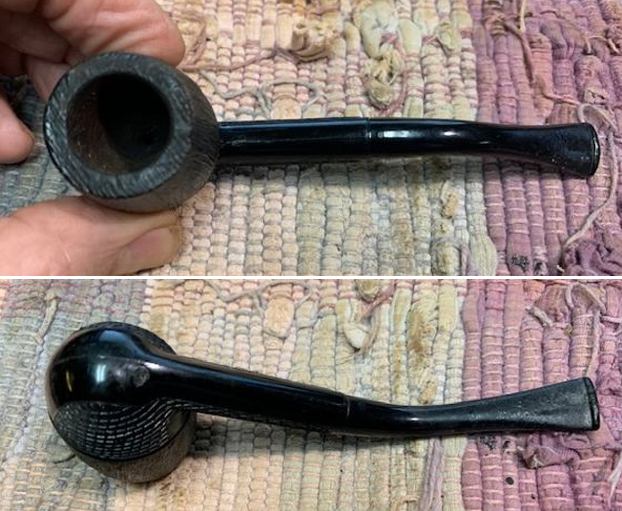
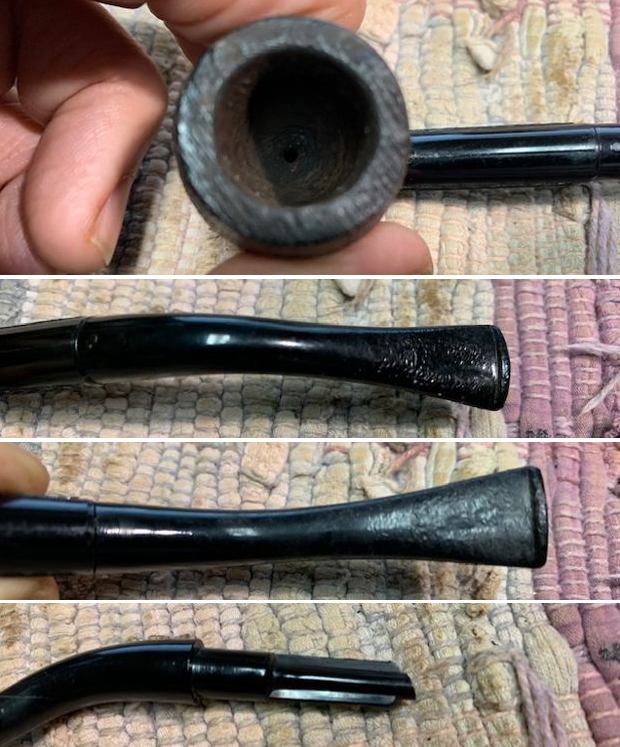
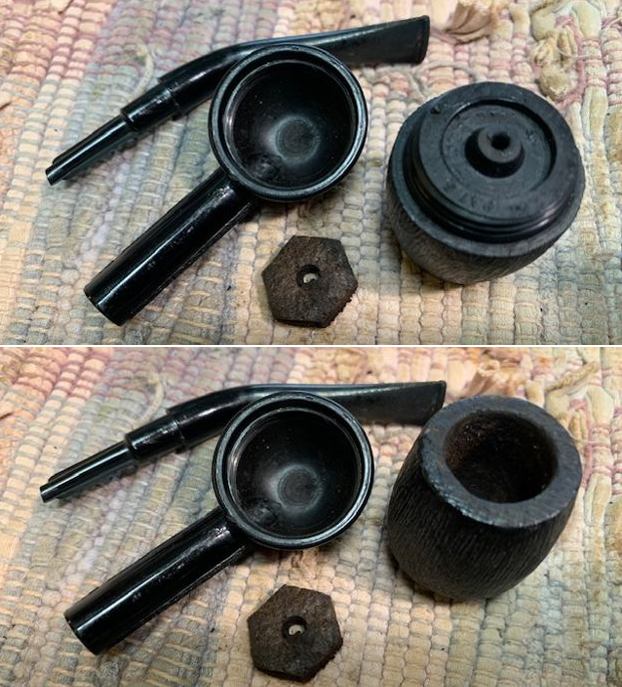
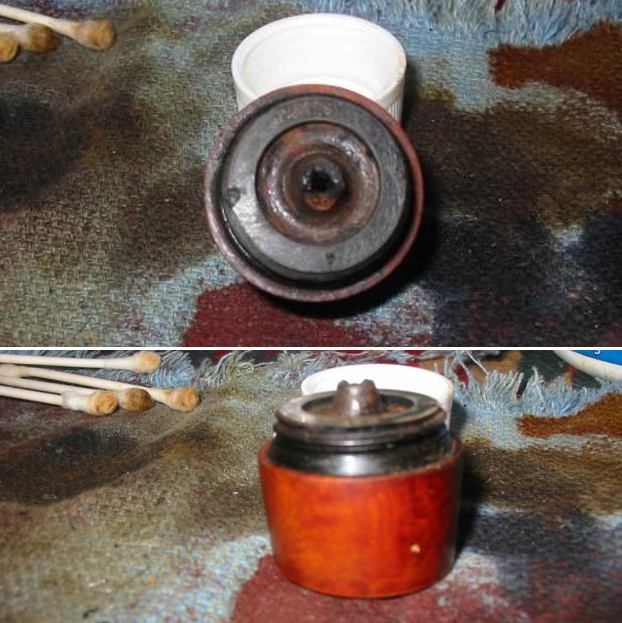
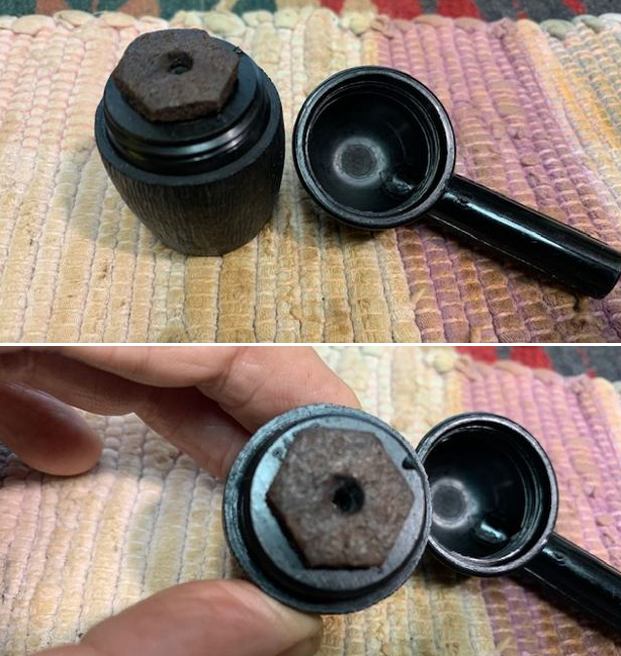
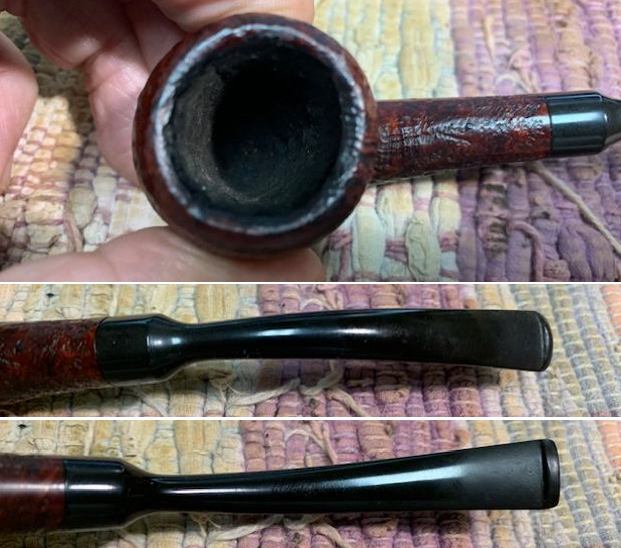
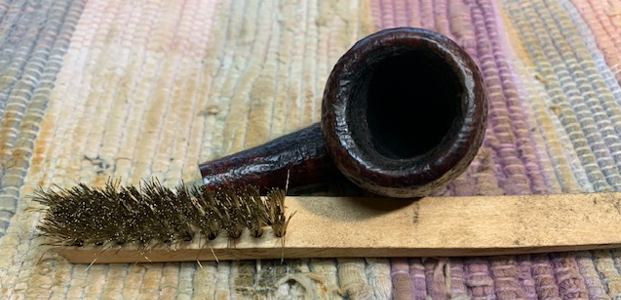
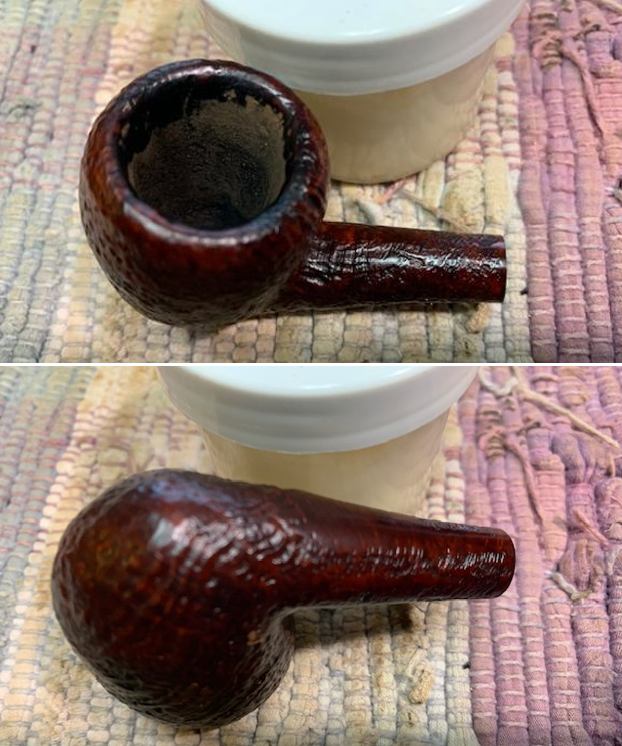
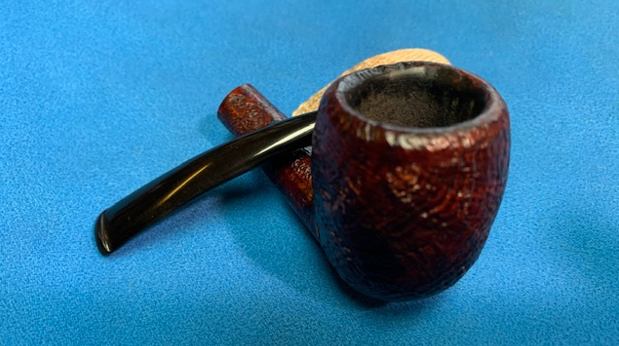
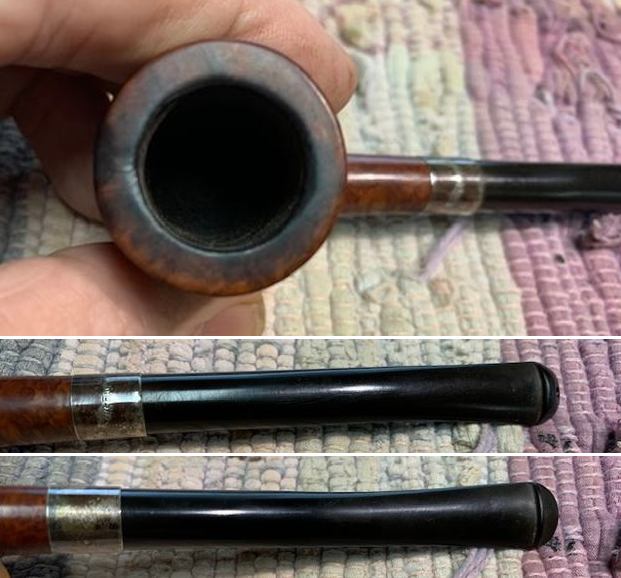
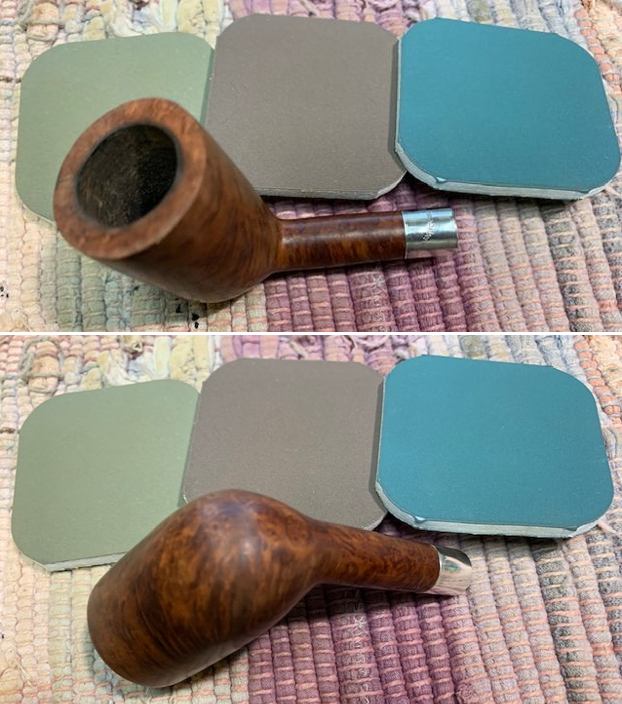
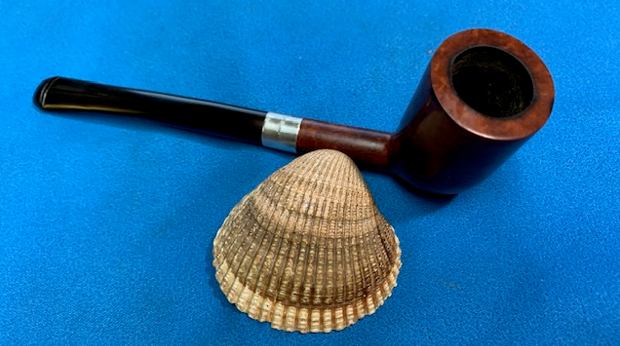
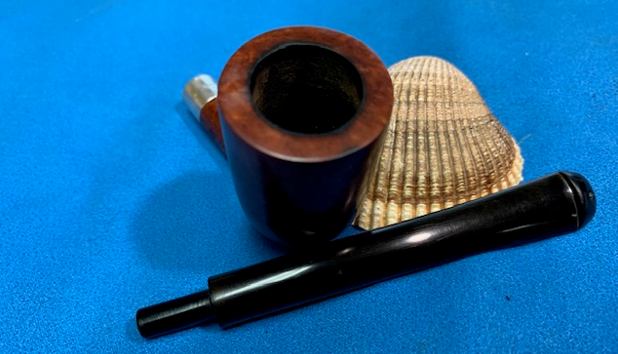
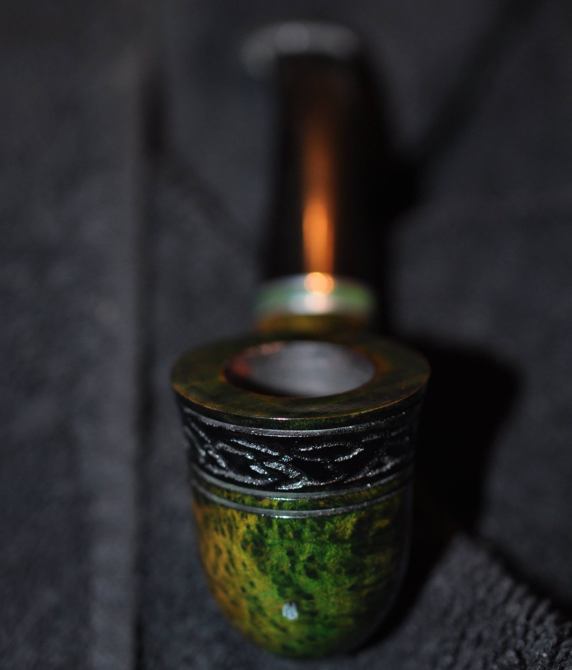
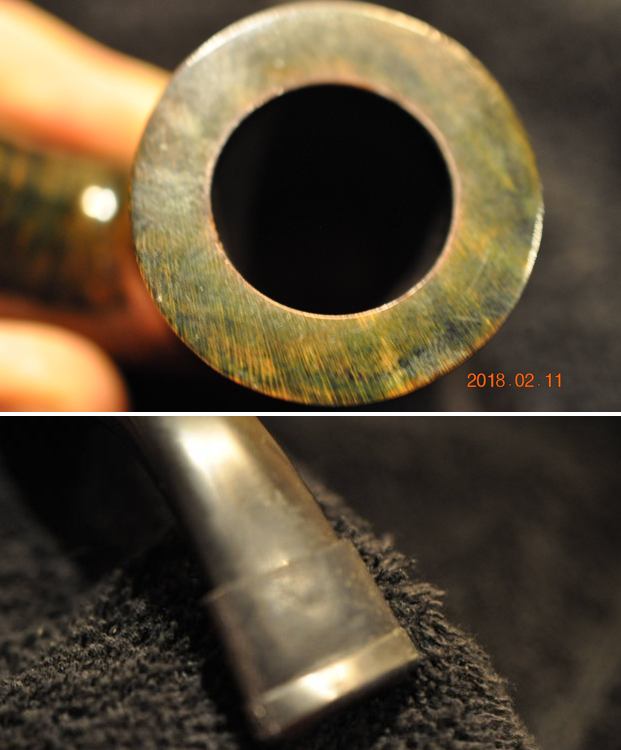
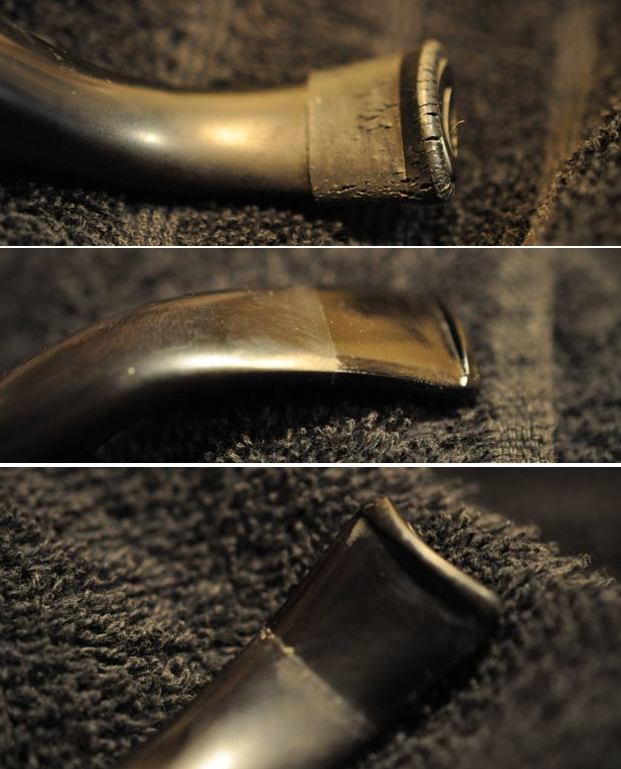
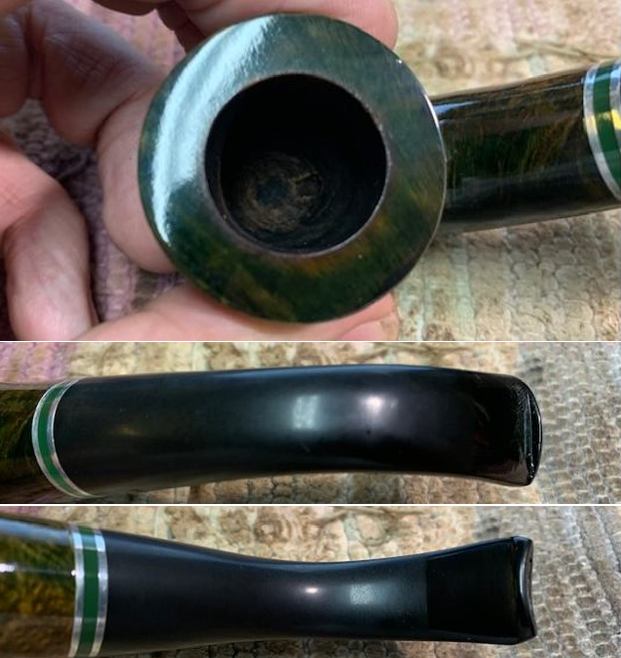
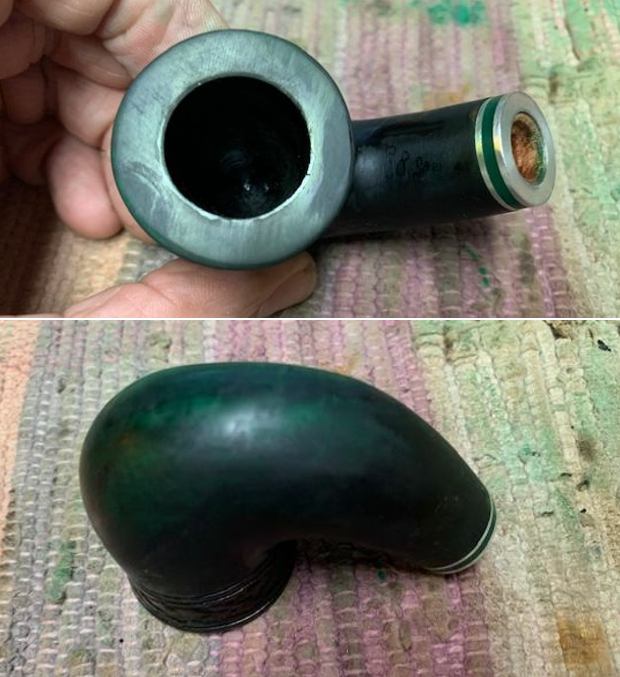
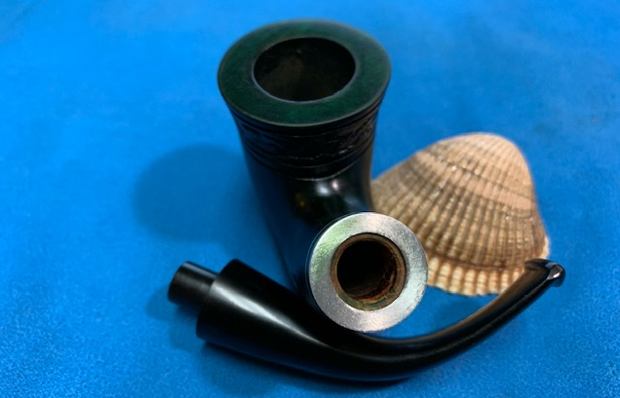
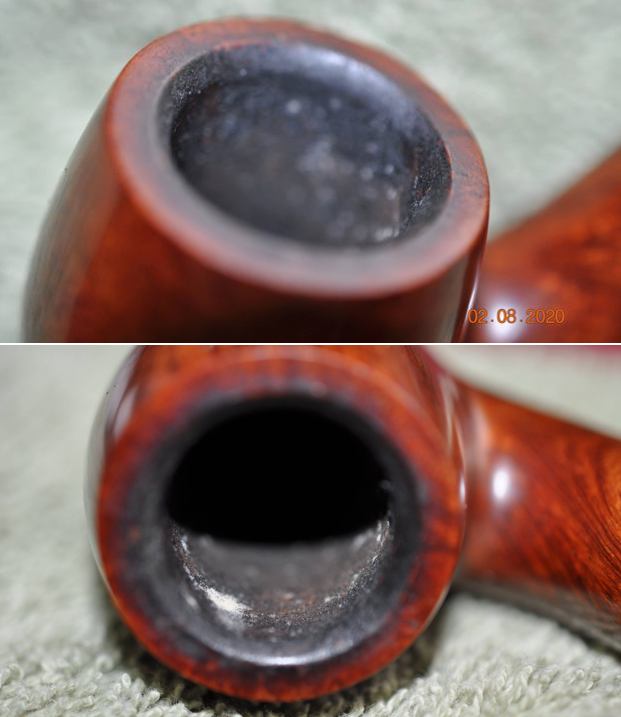
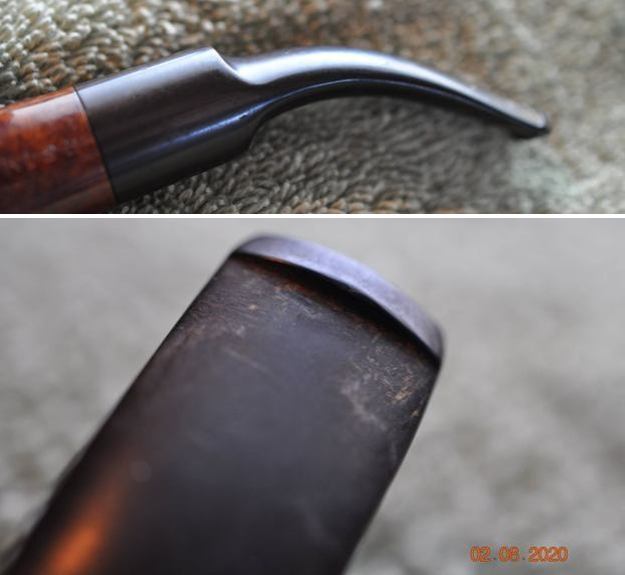
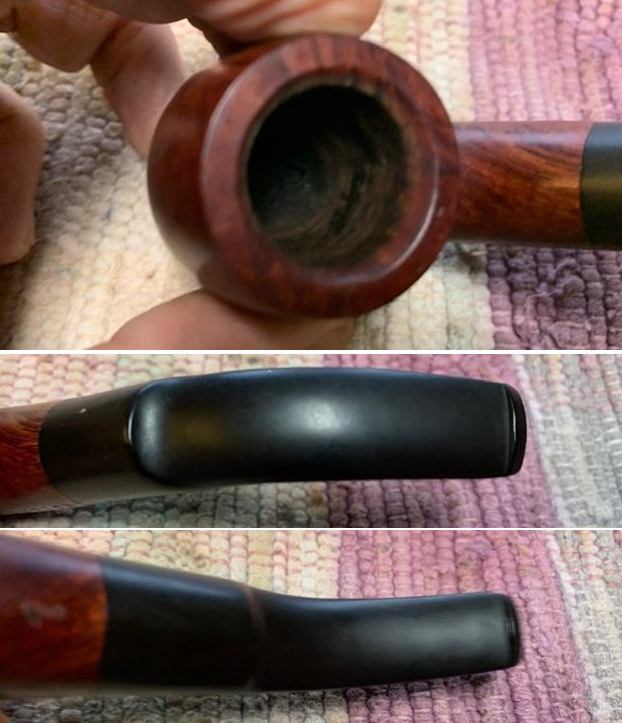
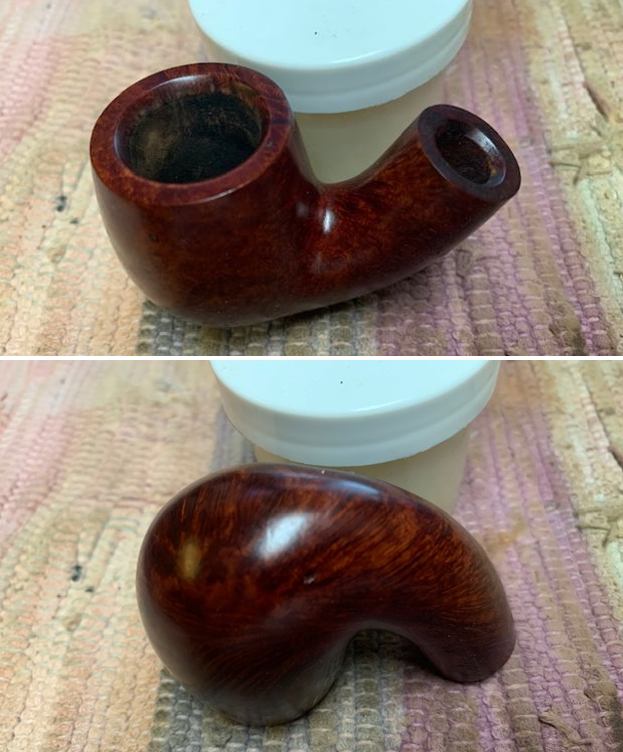
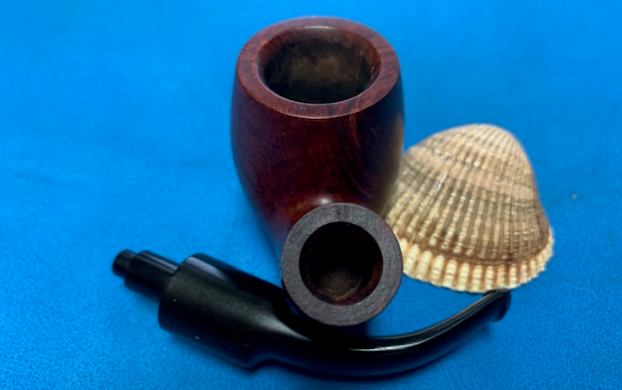
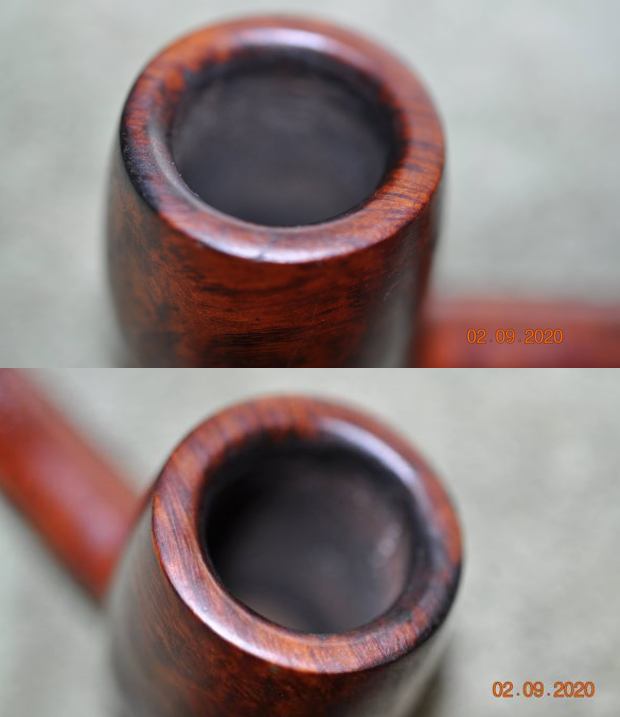
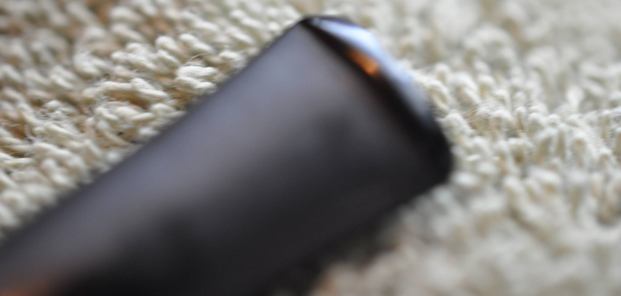
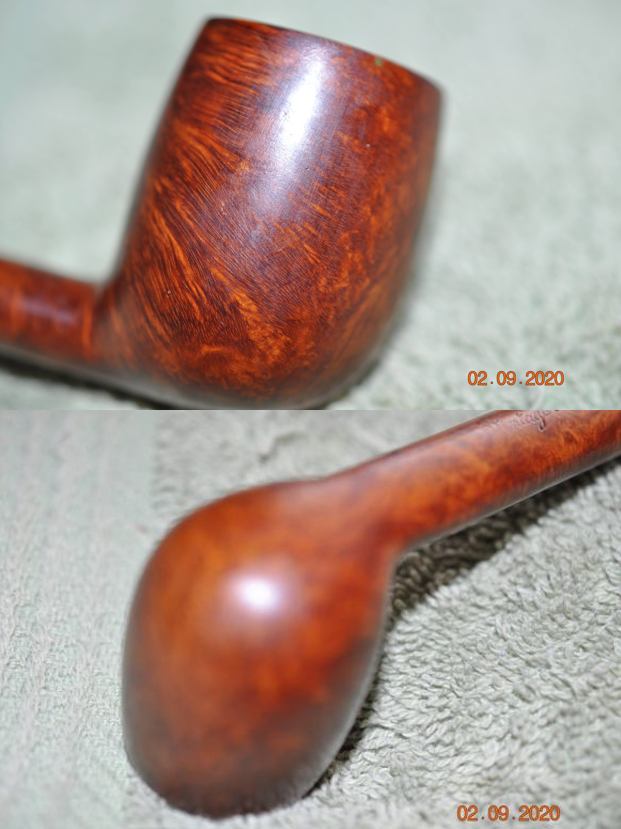
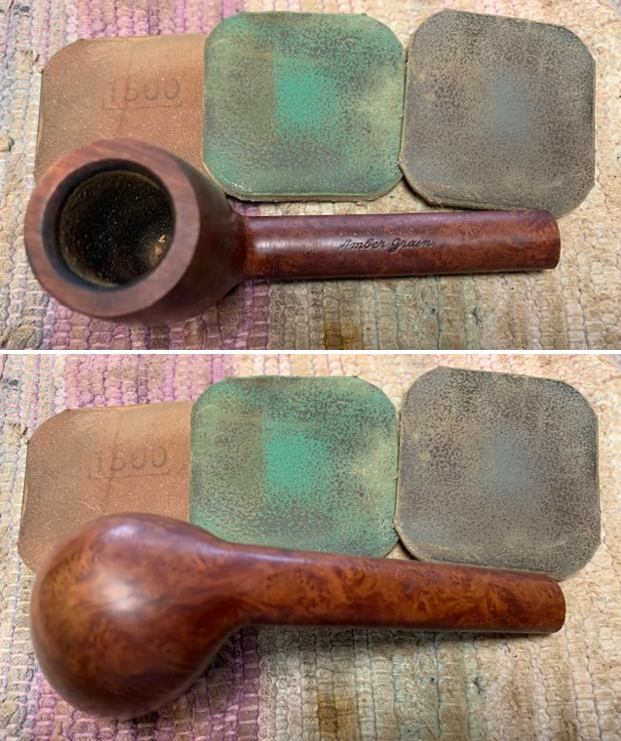
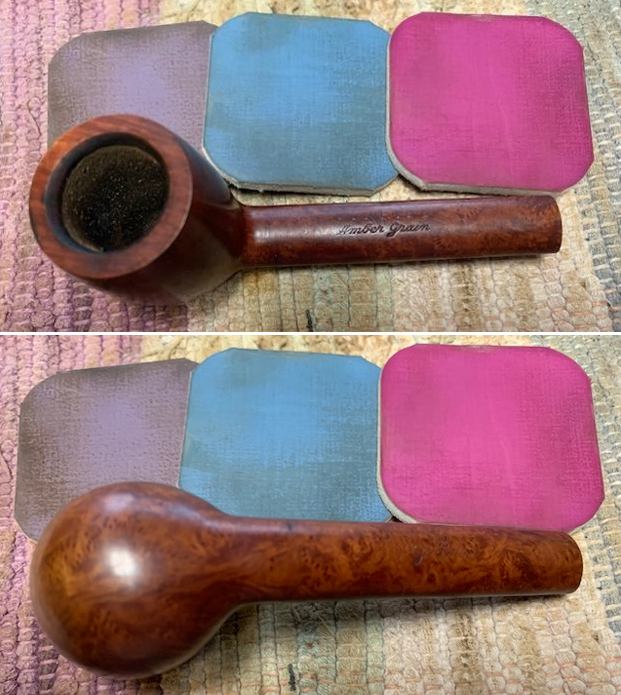
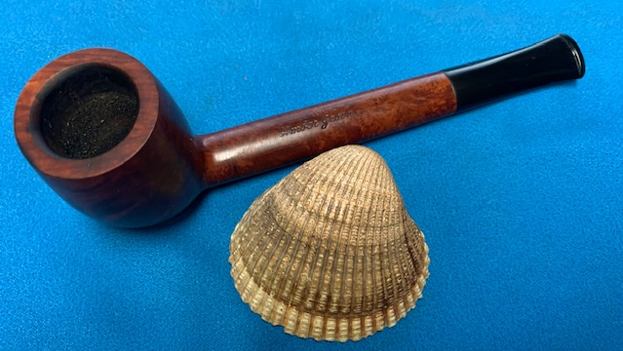
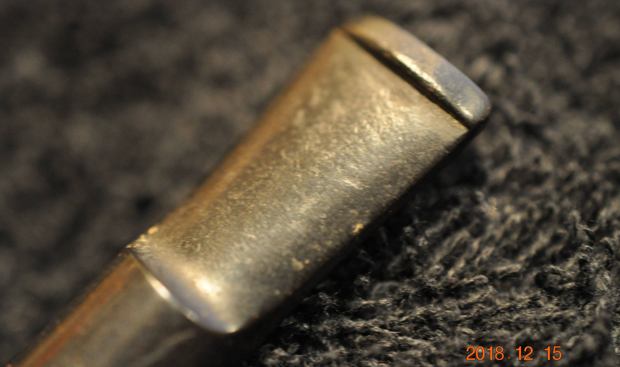
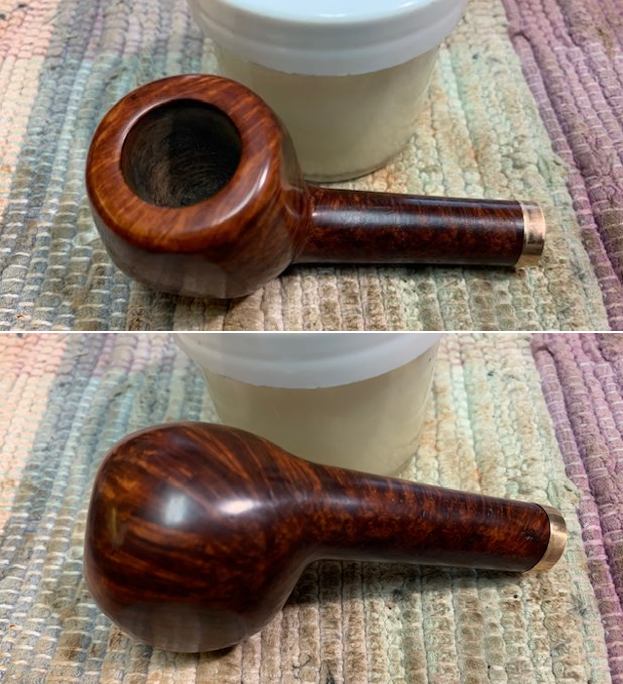
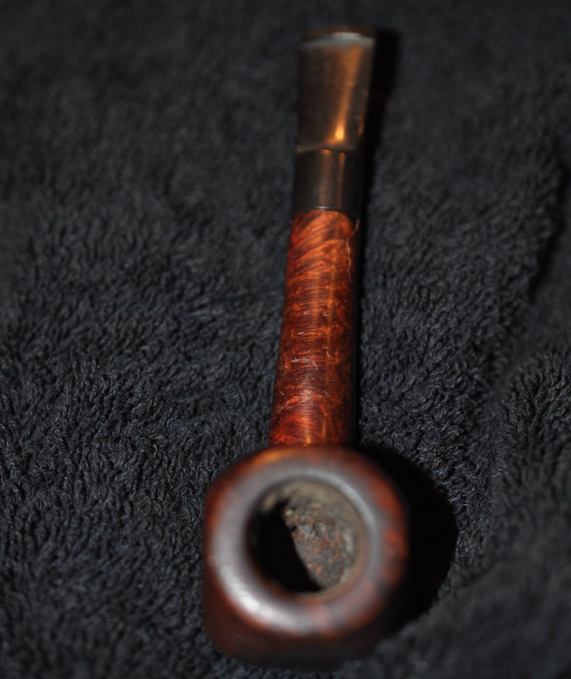 He took photos of the rim top and bowl to give a clear picture of the thickness of the cake and well as the nicks, lava and darkening on the rim top. The inner and outer edges of the bowl were in great condition. He also took photos of the top and underside of the stem to show the light oxidation and the chatter and tooth marks.
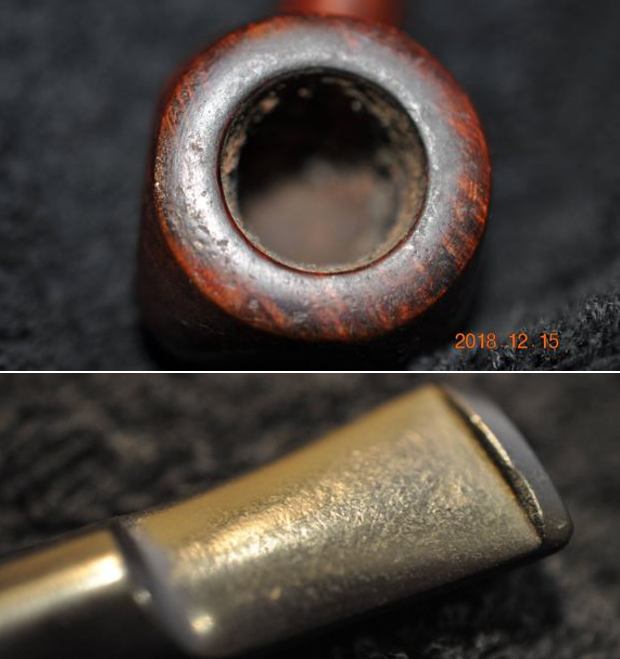
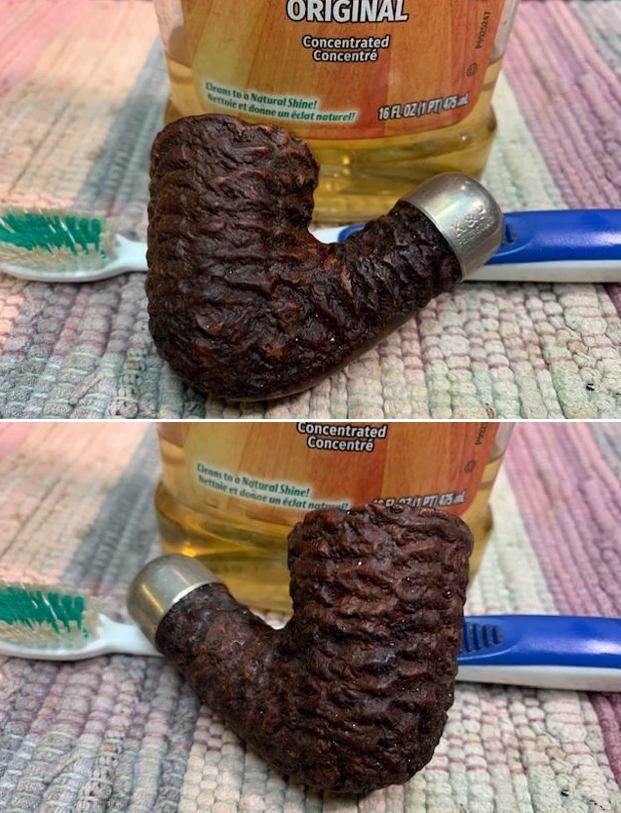
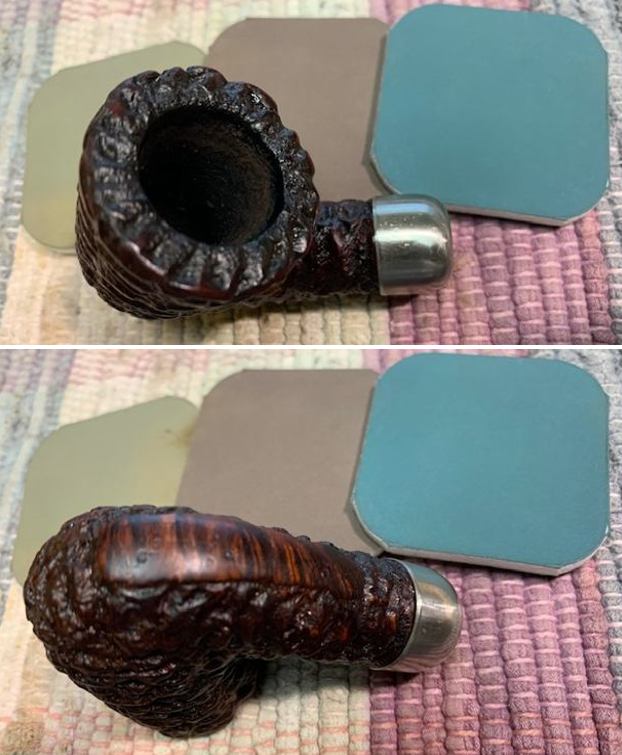
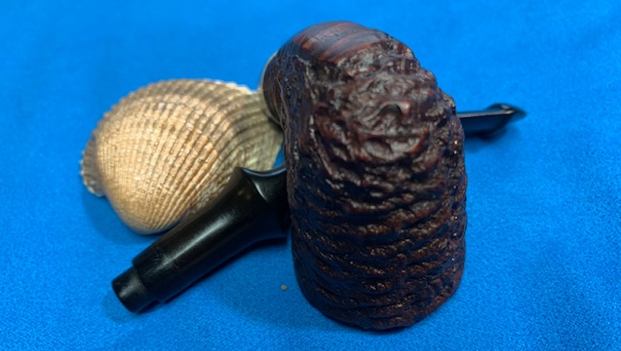
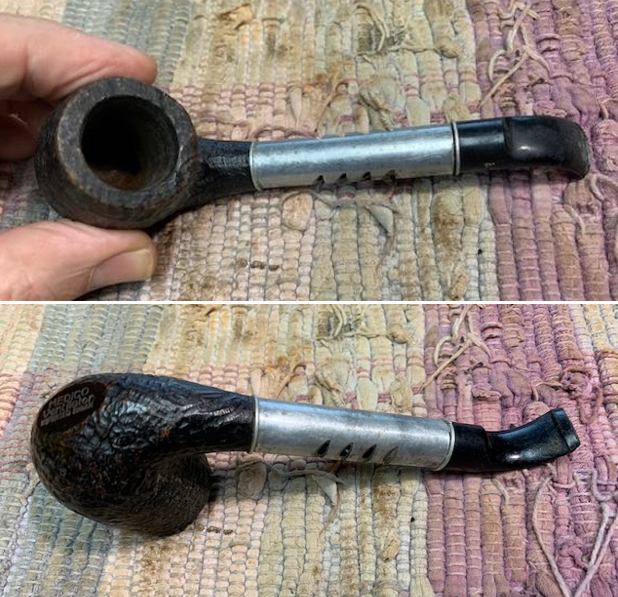
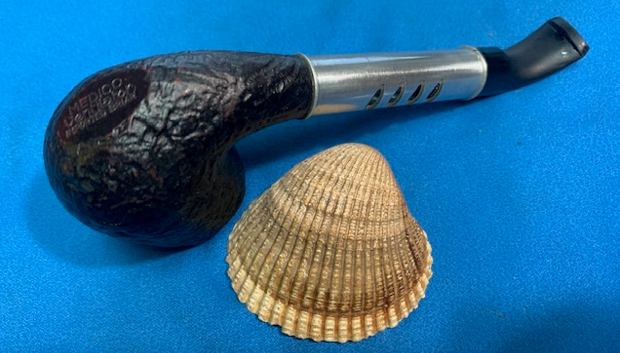
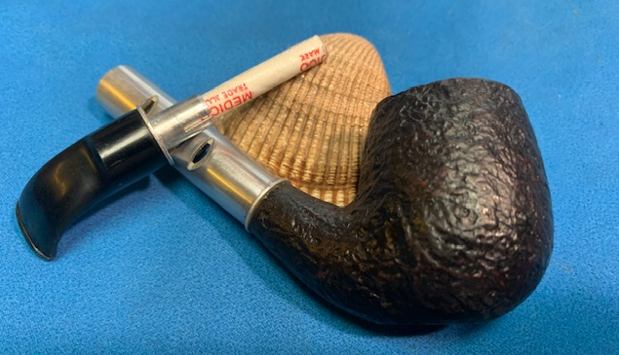
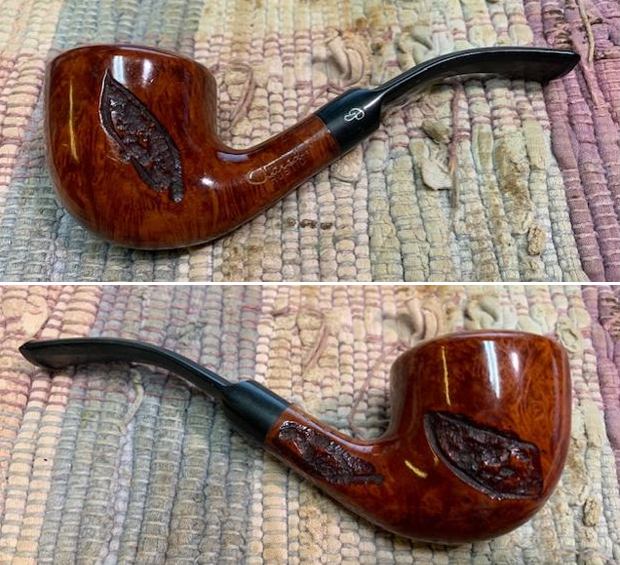
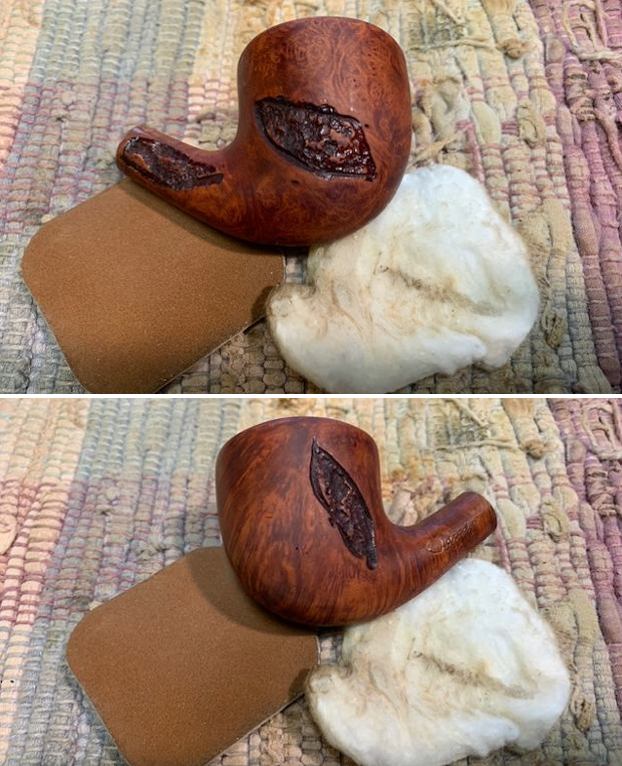
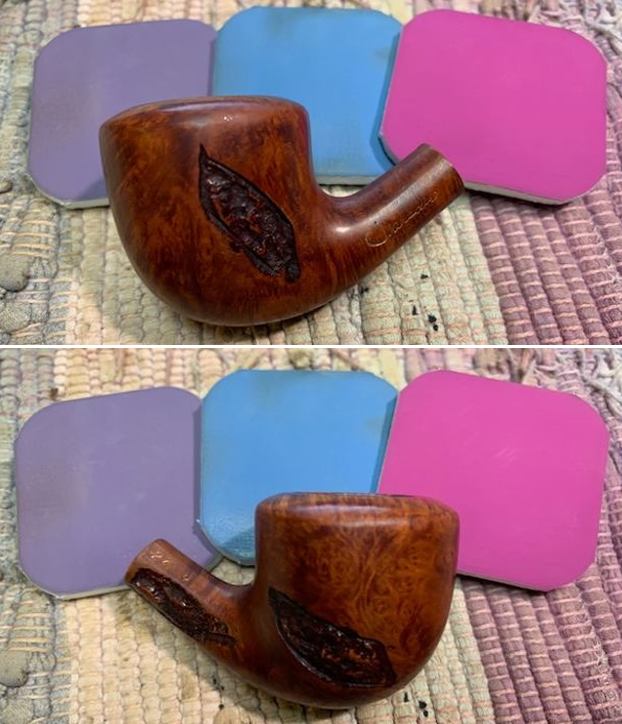
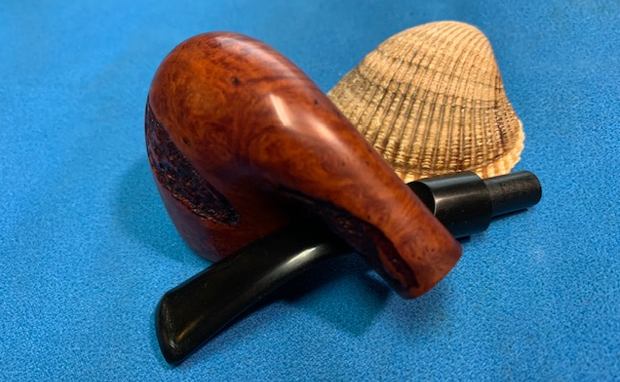
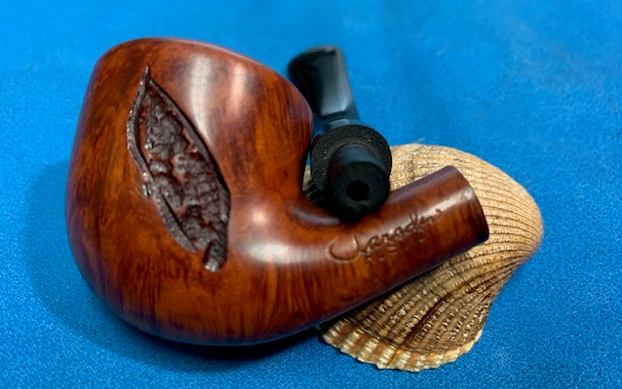
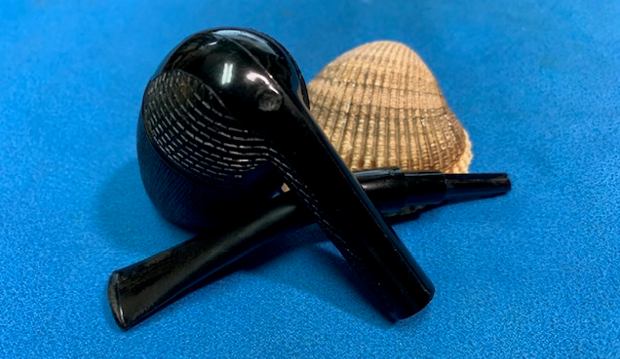
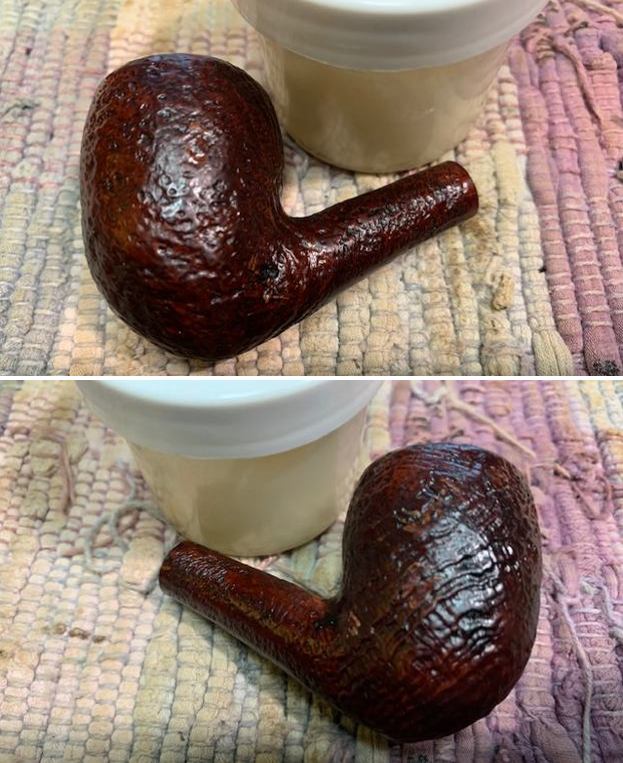
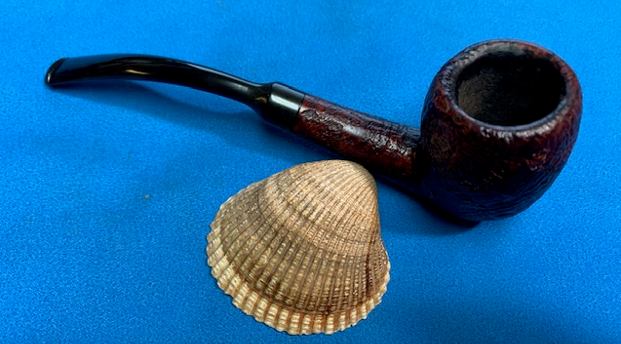
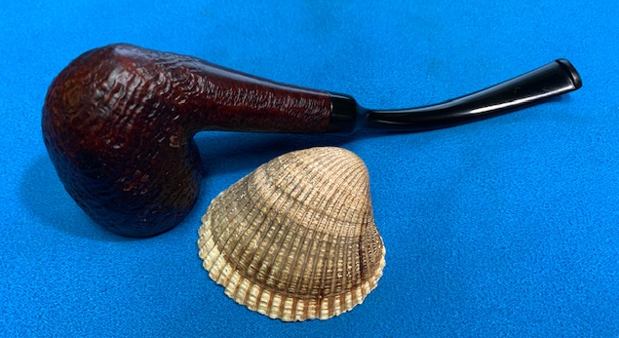
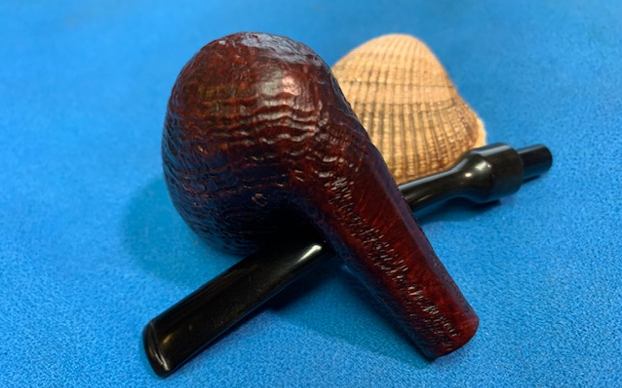
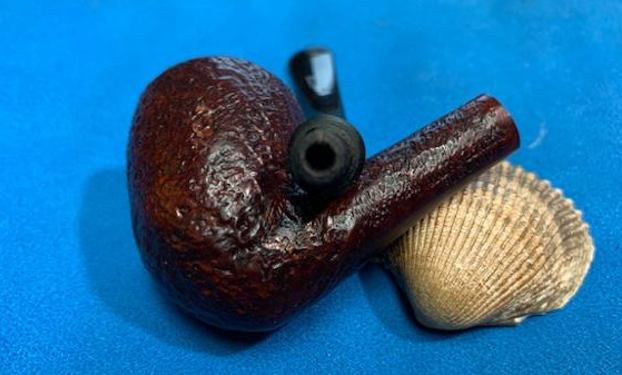
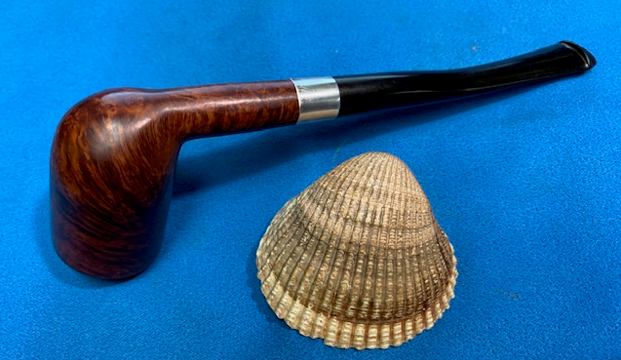
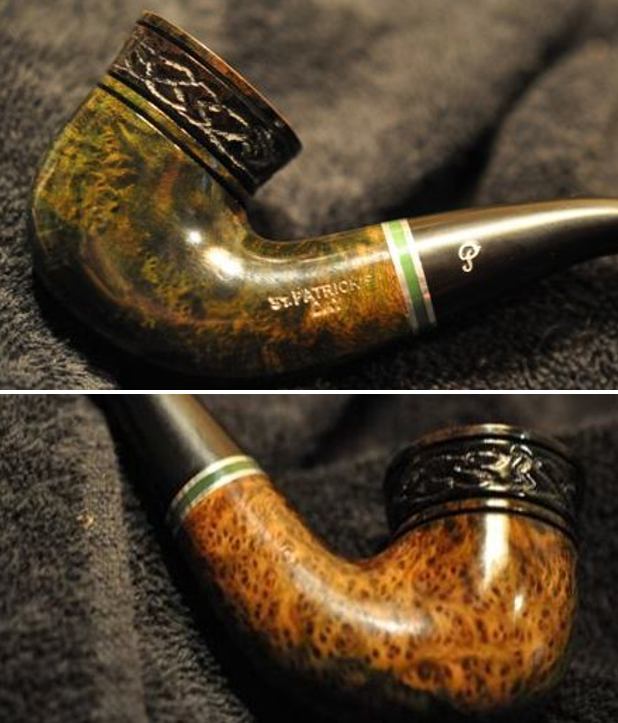
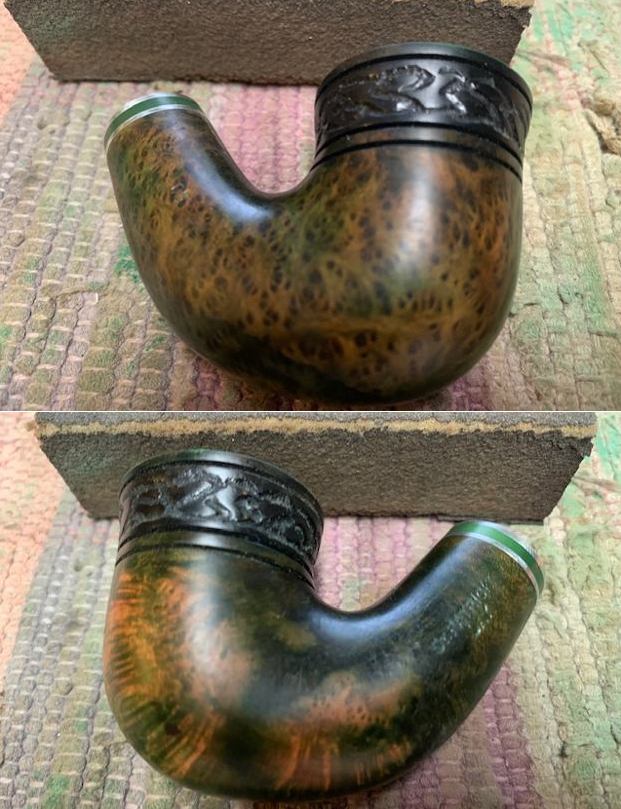
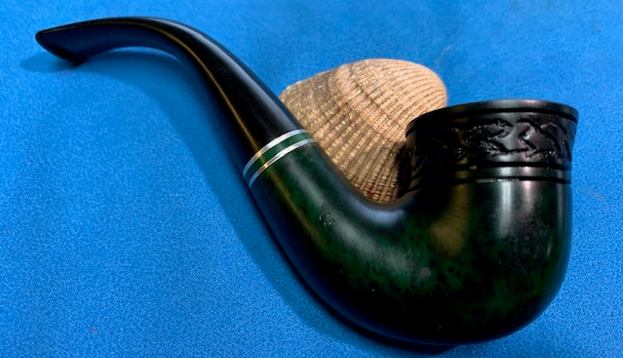
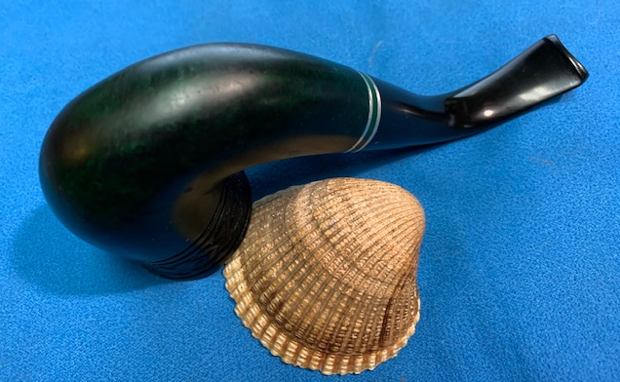
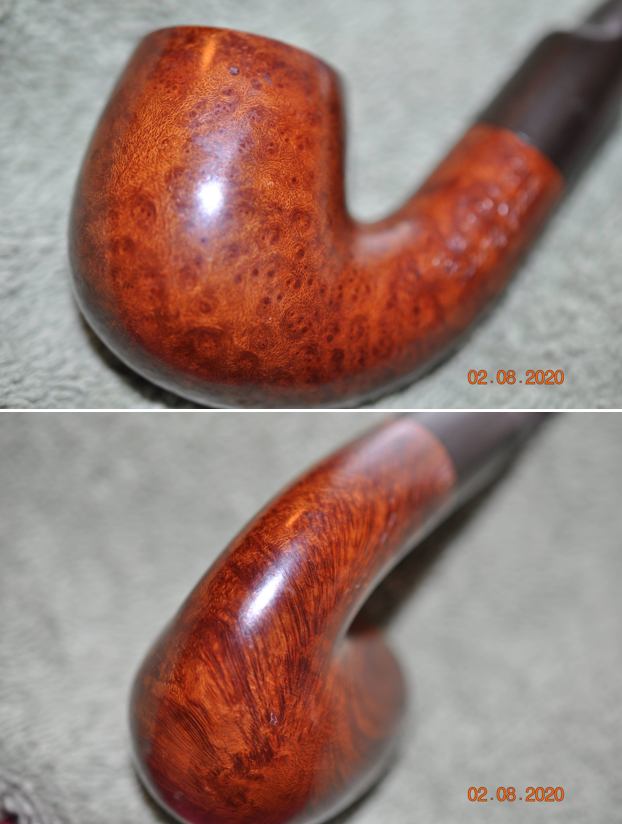
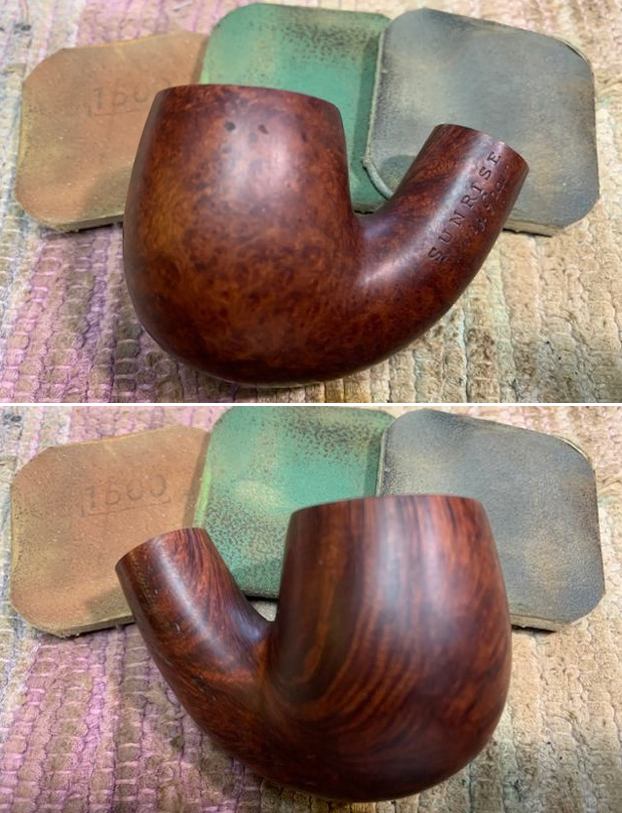
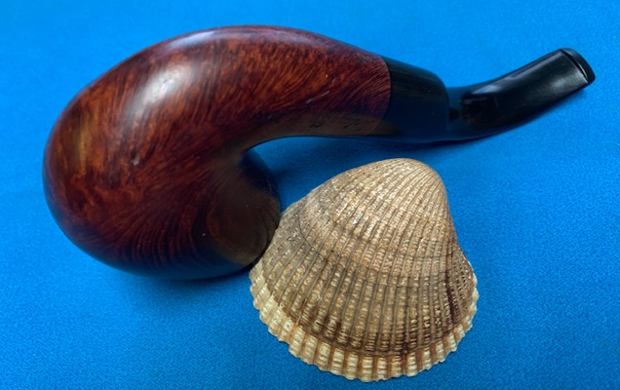
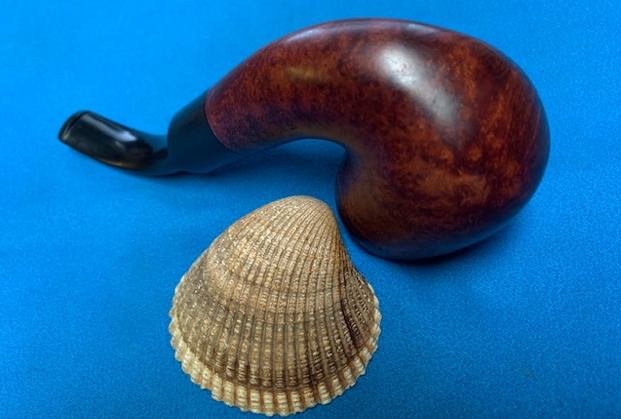
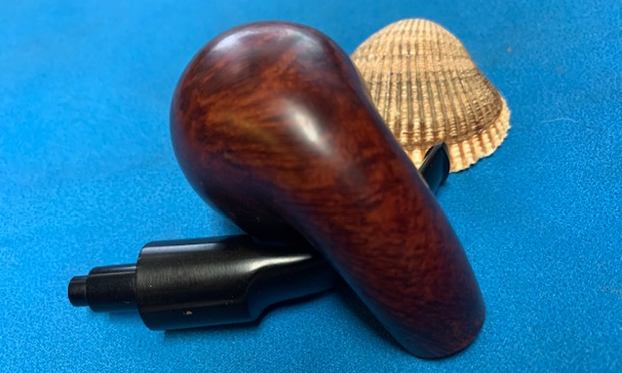
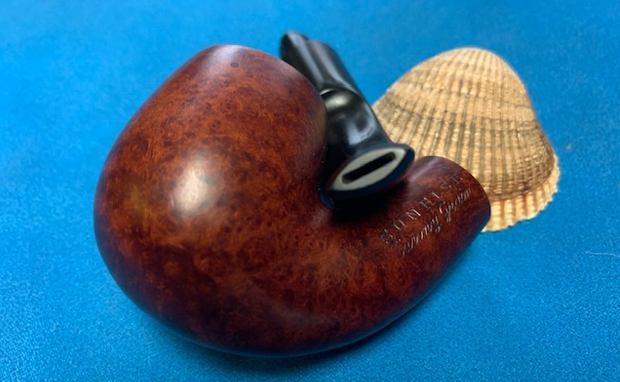
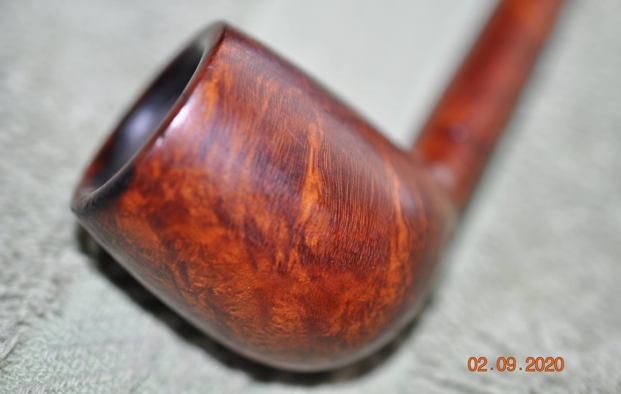
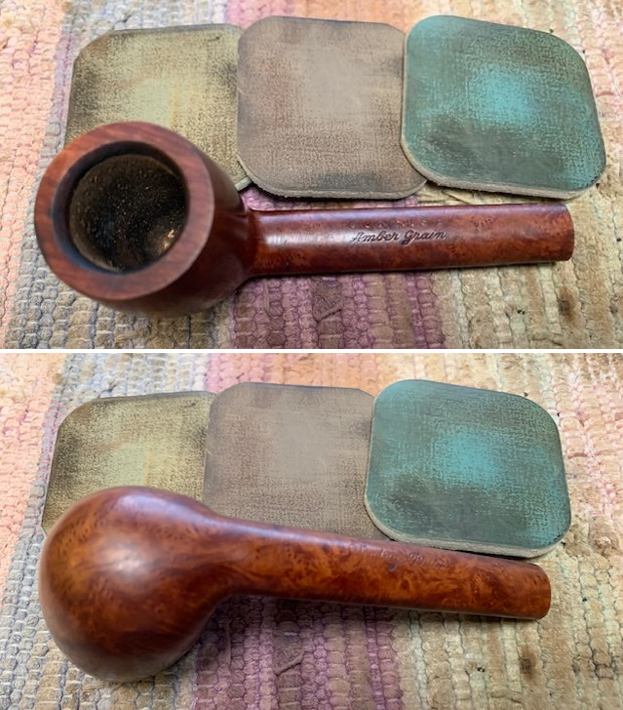
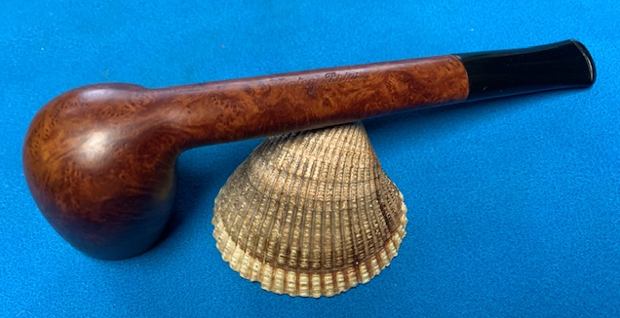
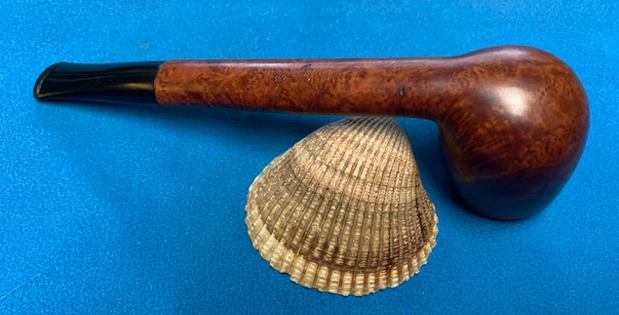
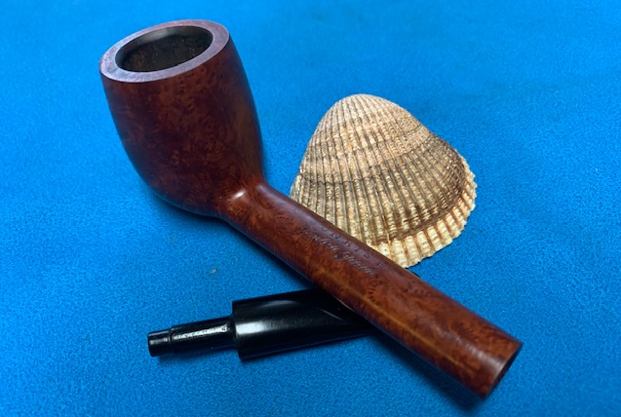
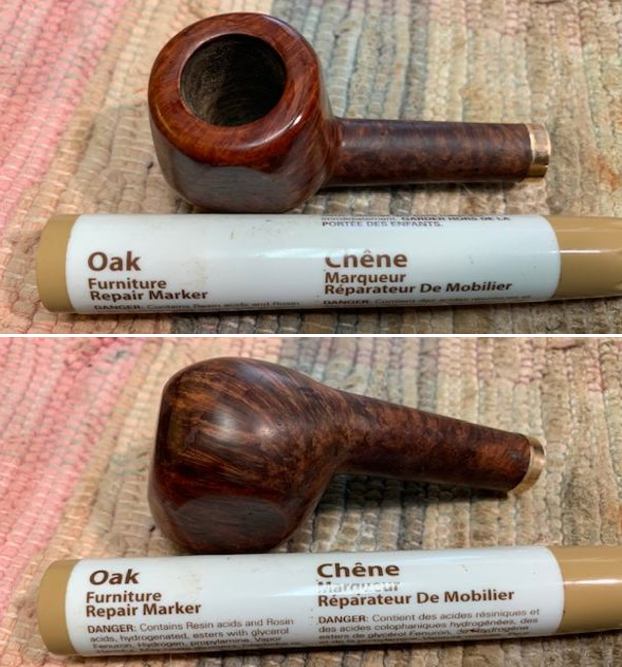
 Jeff took a photo the sides and heel of the bowl to give a picture of the beautiful grain around the bowl and shank.
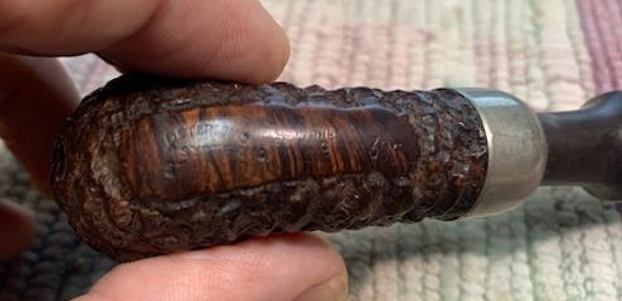
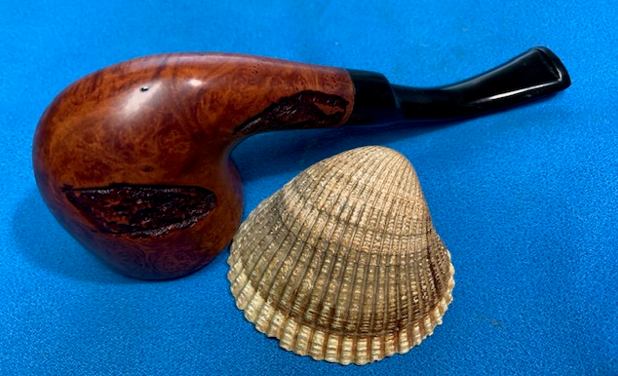
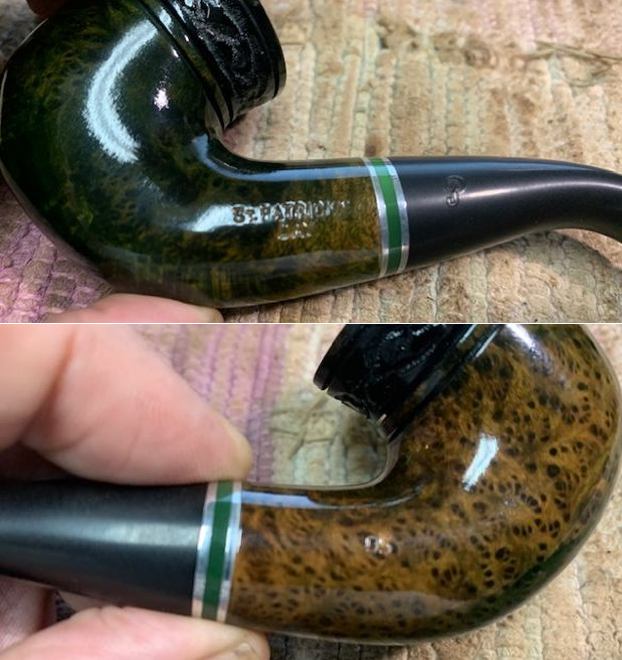
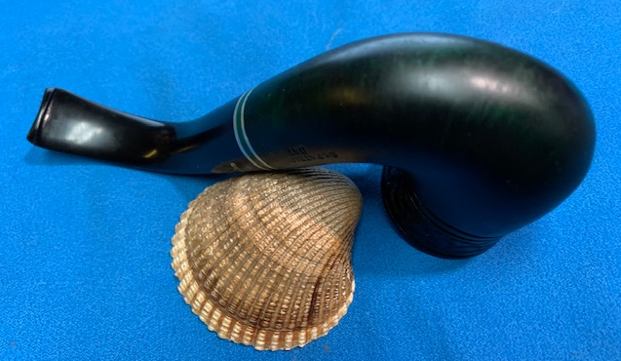
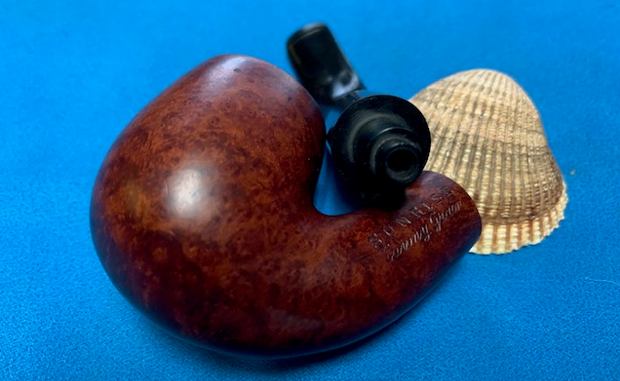
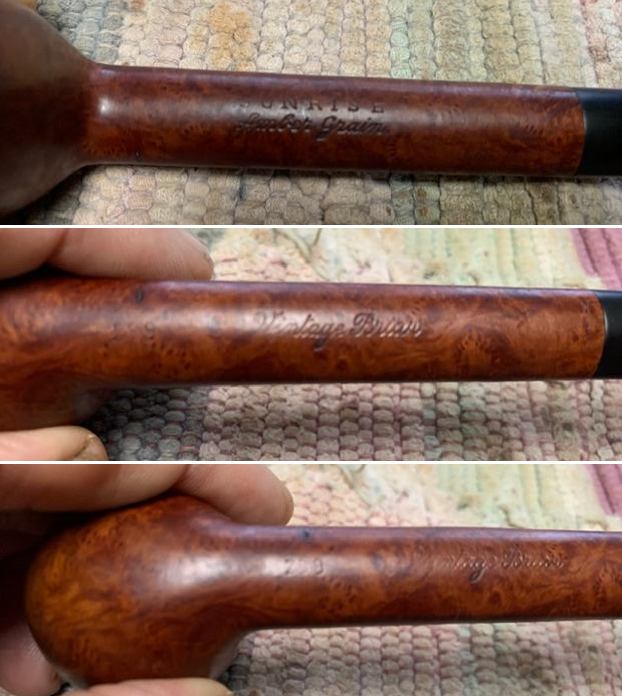
 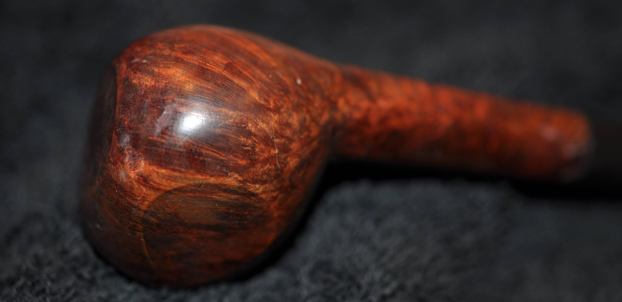 He also took a photo of the fills and damage to the right and underside of the shank – there were fills that had fallen out and there was a crack that needed attention.
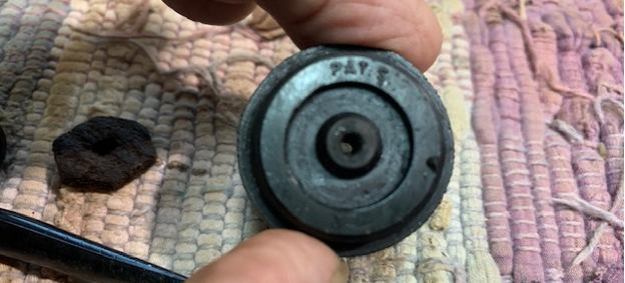
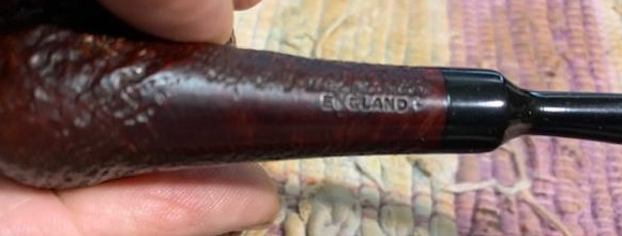
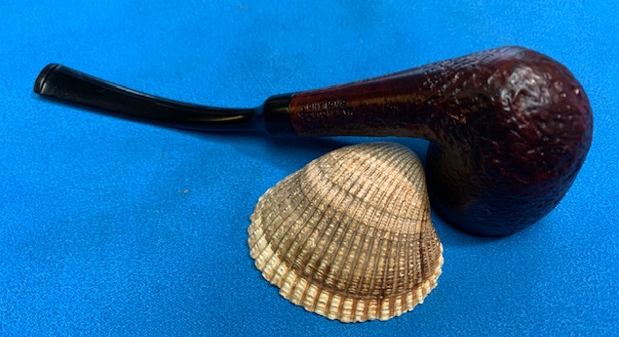
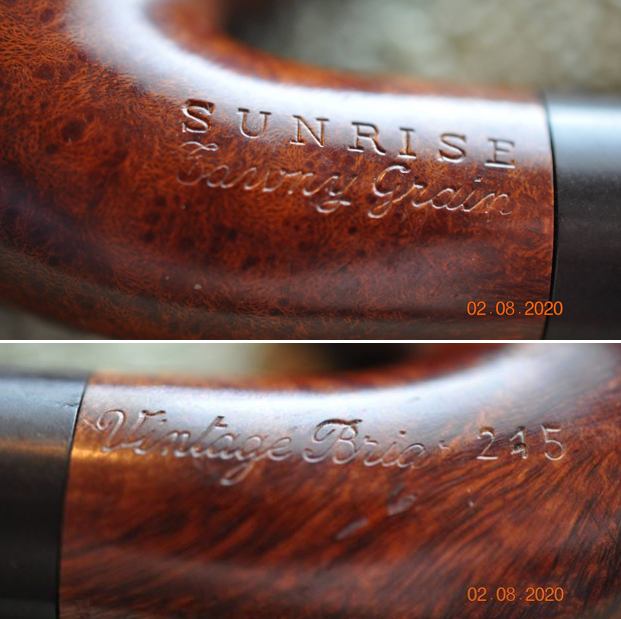
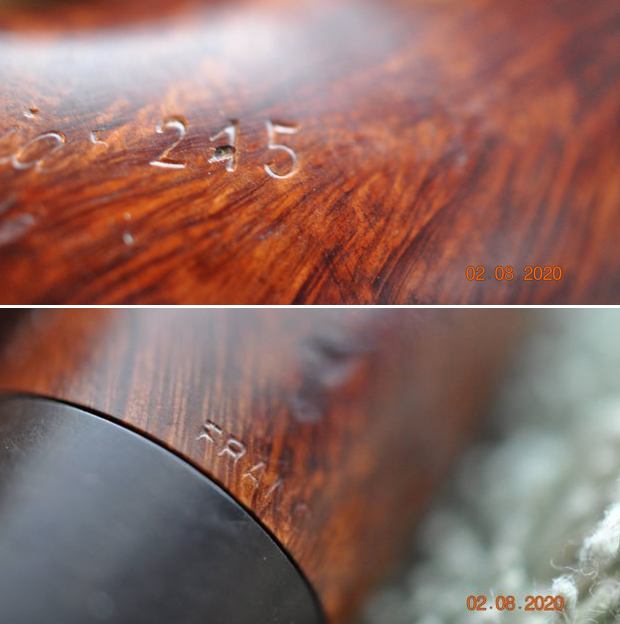
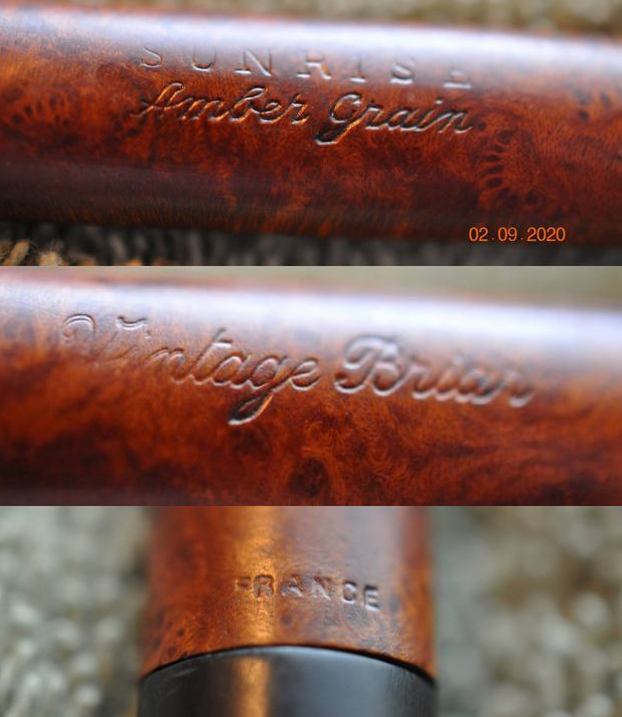
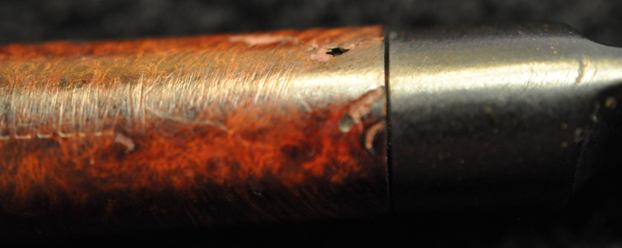 The stamping on the sides of the shank is clear and readable and read as noted above. Jeff did not take a photo of the John Surrey Ltd. stamp on the underside of the shank.
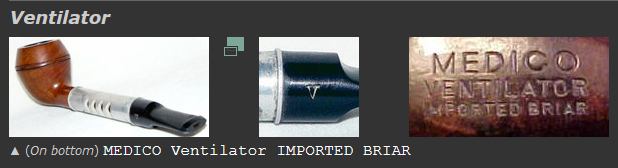
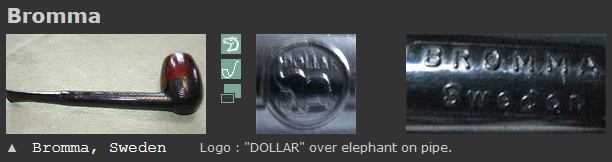
 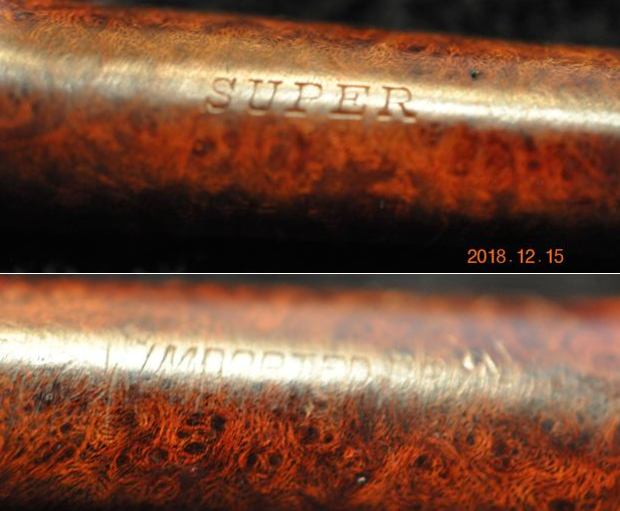 I turned to Pipephil’s site and looked for information on the John Surrey Ltd pipe company (http://pipephil.eu/logos/en/logo-j3.html). I found that the company, John Surrey, Ltd. was originally located at 509 Fifth Avenue New York City, New York in the USA. I also did a screen capture of the section on the brand. Interestingly the Super line is not included in the list but all of the other pipes in the section are stamped with the same style stamping as the one I am working on. The closest one is the John Surrey Ltd. Imported Briar Super Deluxe. It is possible that the Deluxe stamp is worn off on this one but it is not clear.
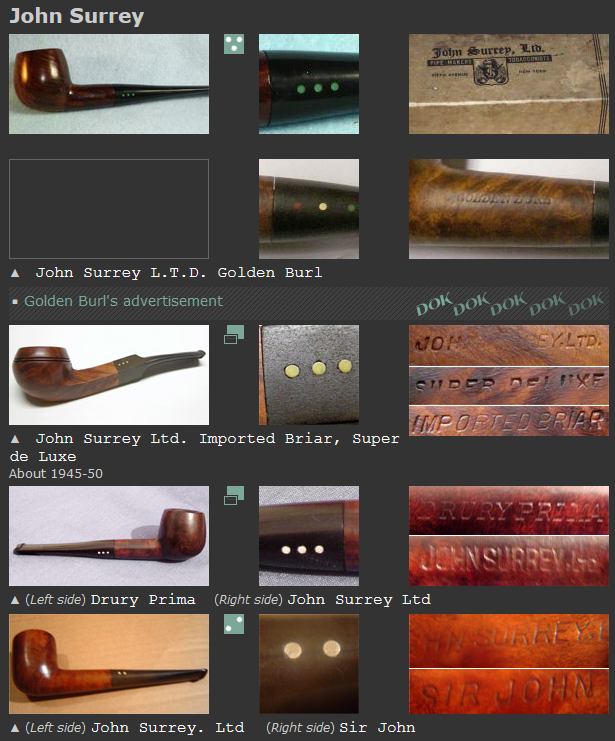 I turned to Pipedia in the US pipe makers section to see if I could find some more information on the brand (https://pipedia.org/wiki/John_Surrey_Ltd.). I found a short summary which I include below regarding the brand.
John Surrey Ltd. made John Surrey pipes. They were based at 509 Fifth Ave, New York. And in 1948 the company put a pipe on the market which sold very successfully: the Slugger Baseball Pipe (shank and stem like a baseball bat, and bowl similar to a baseball).
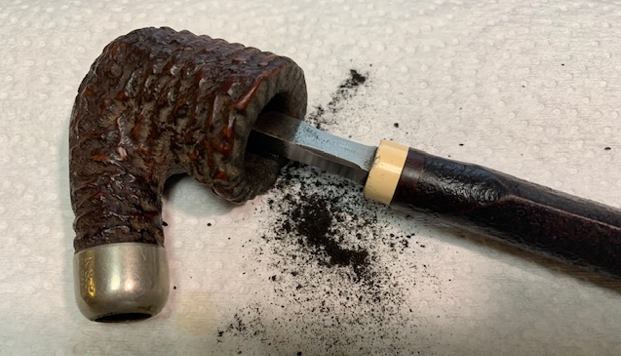
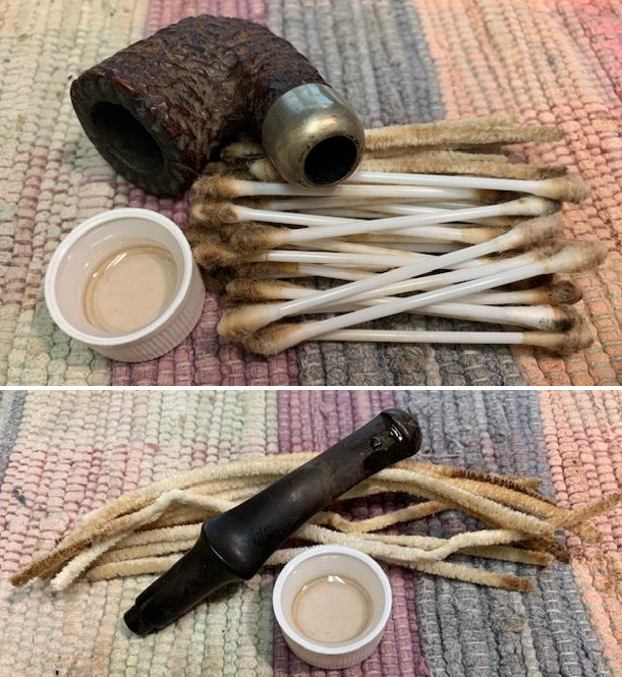
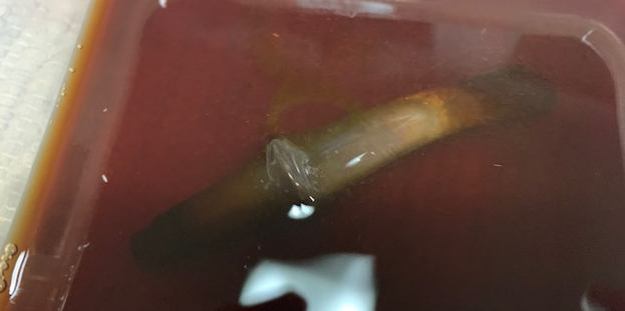
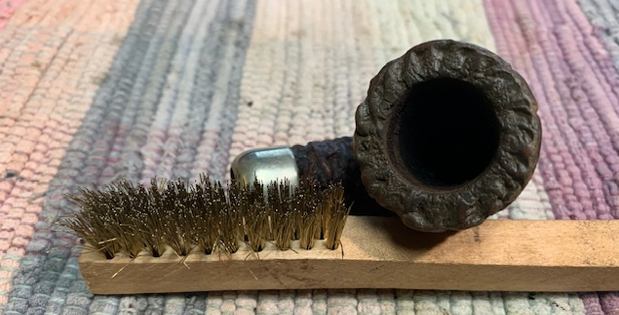
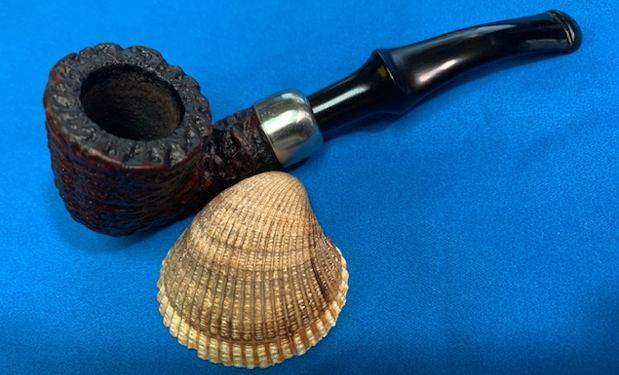
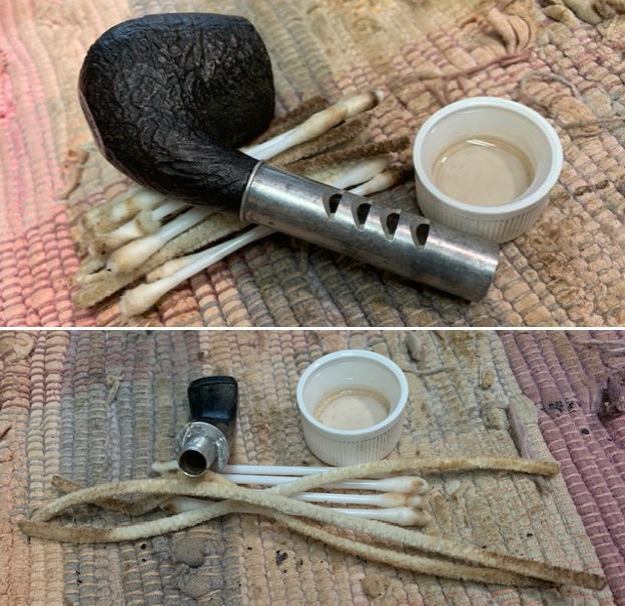
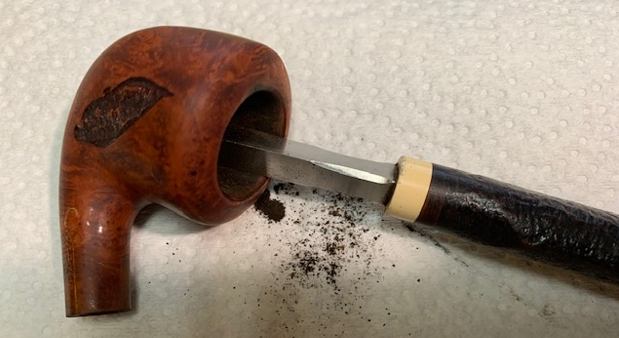
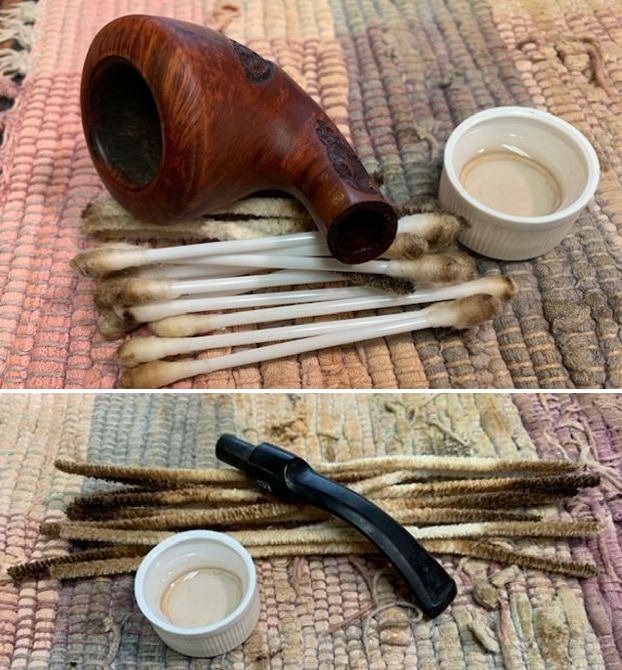
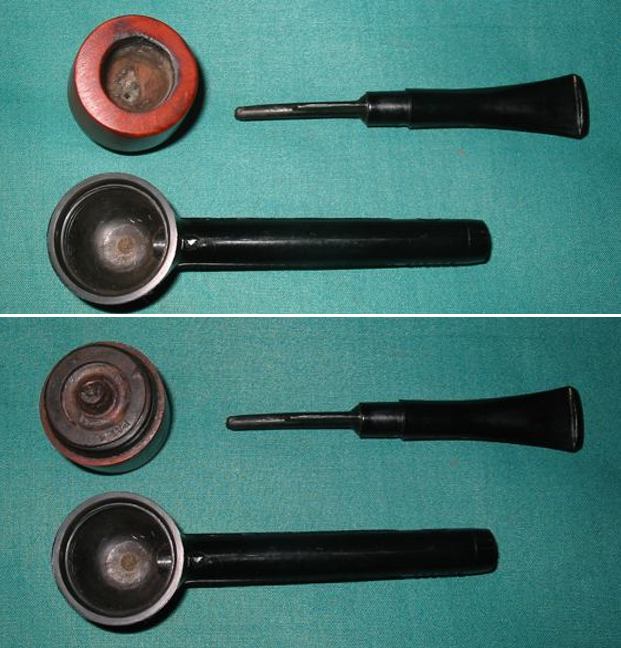
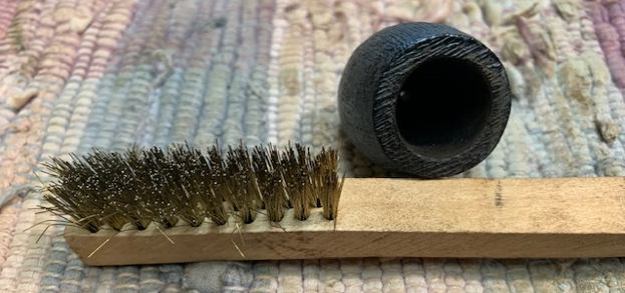
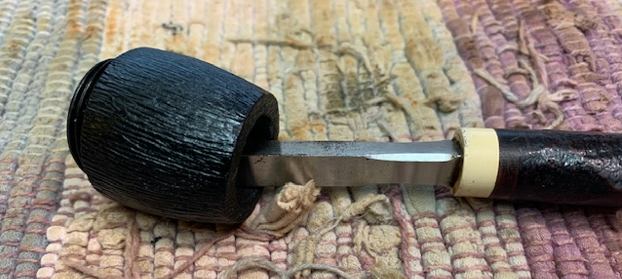
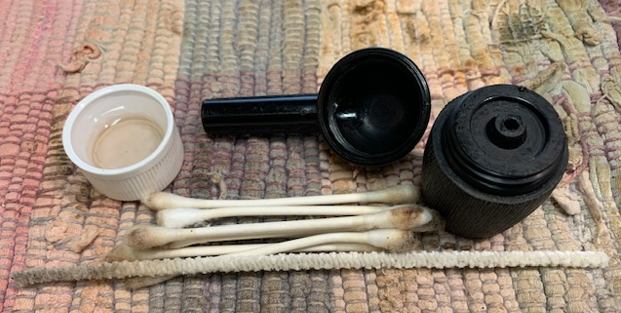
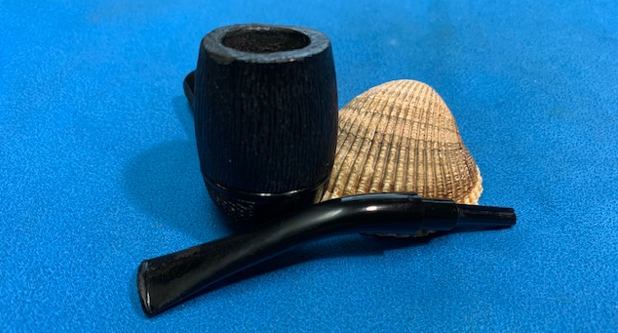
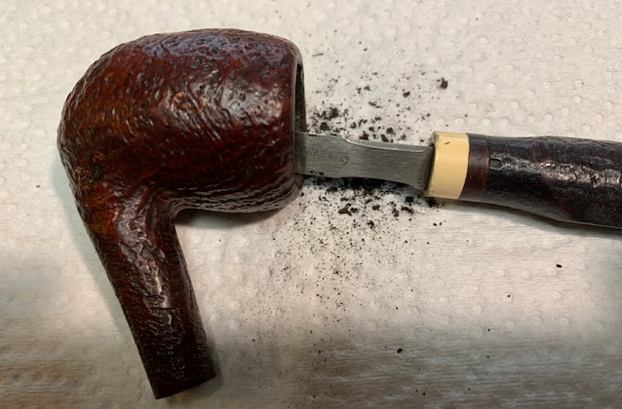
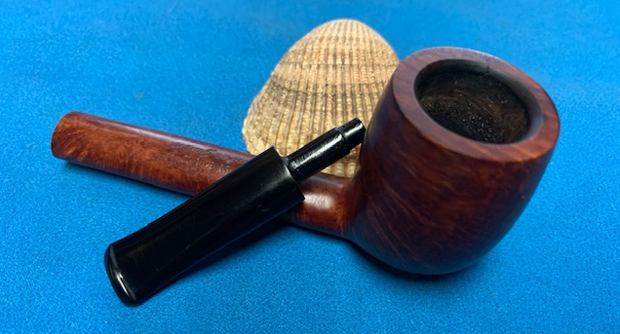
That was the extent of the information so it was not time to work on the pipe. Jeff had cleaned up the pipe following his usual procedures. He reamed the pipe with a PipNet pipe reamer and cleaned up the remnants with a Savinelli Fitsall Pipe Knife. He cleaned out the inside of the shank and the airway in the stem with 99% isopropyl alcohol, cotton swabs and pipe cleaners. He scrubbed the exterior of the bowl with undiluted Murphy’s Oil Soap and a tooth brush. He rinsed it under running warm water to remove the soap and grime. He soaked the stem in Before & After Deoxidizer and rinsed it off with warm water. I took photos of the pipe once I received it. 
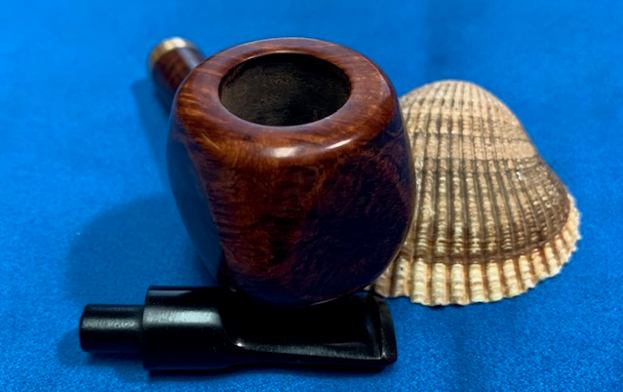
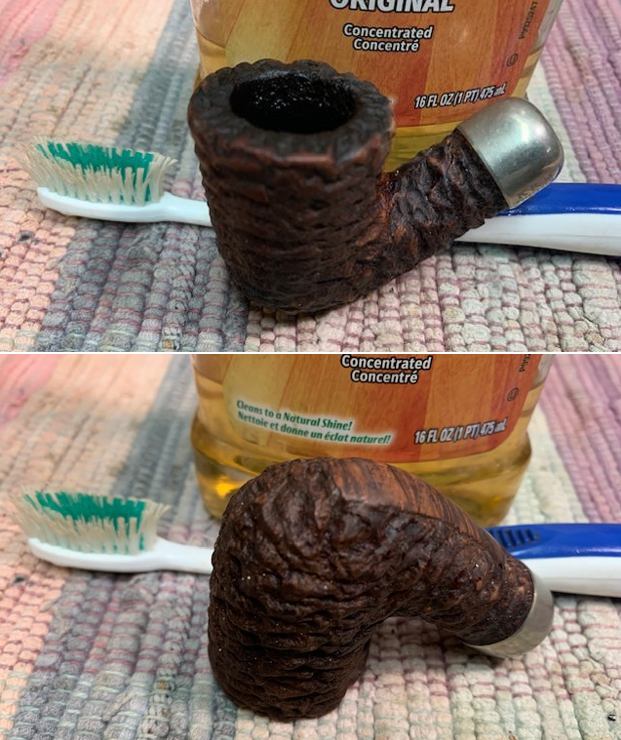
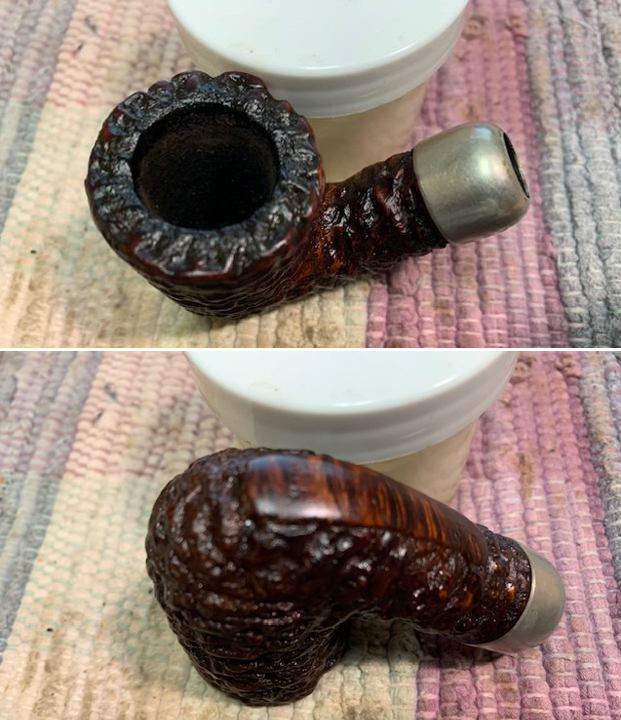
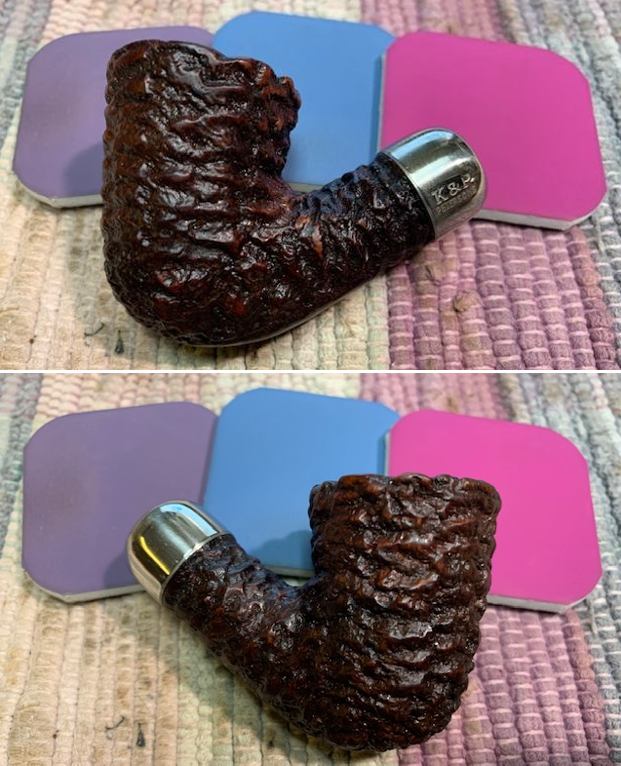
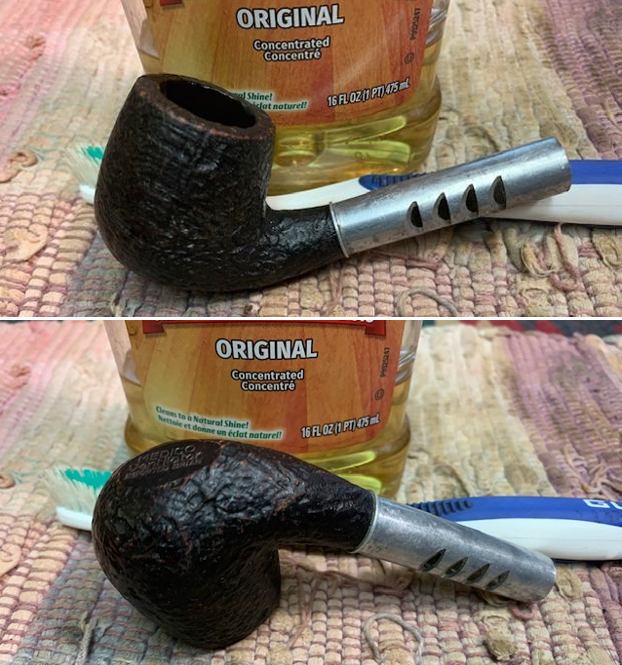
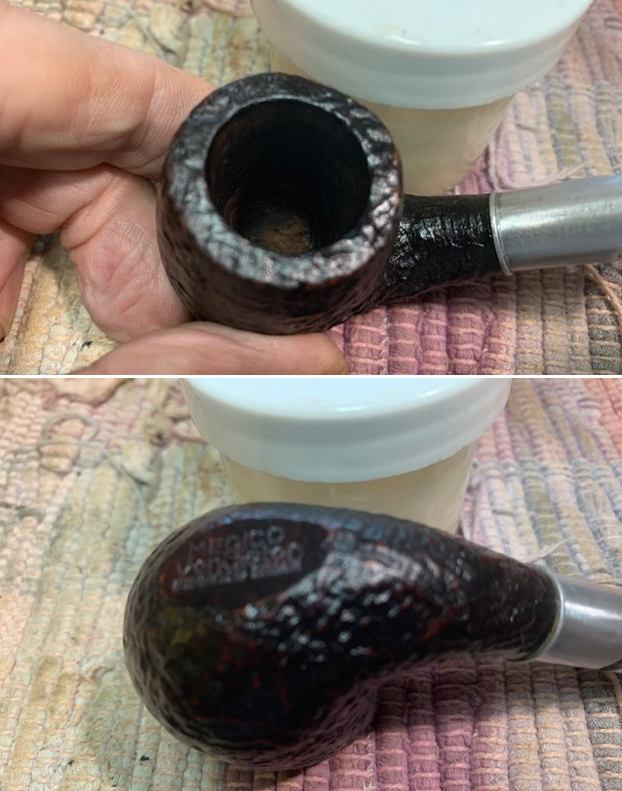
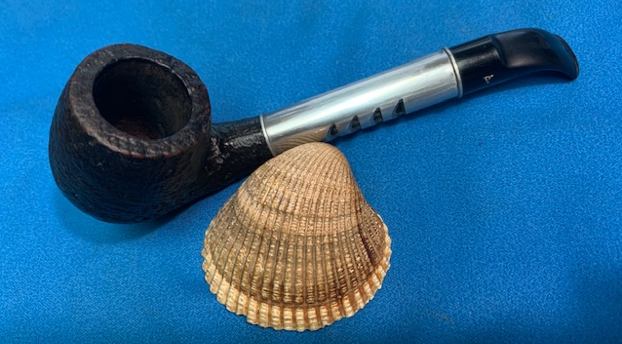
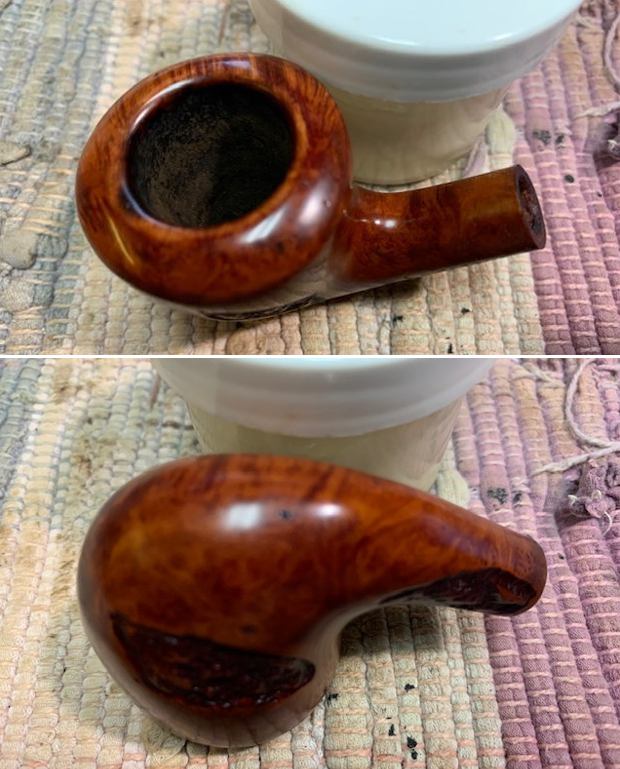
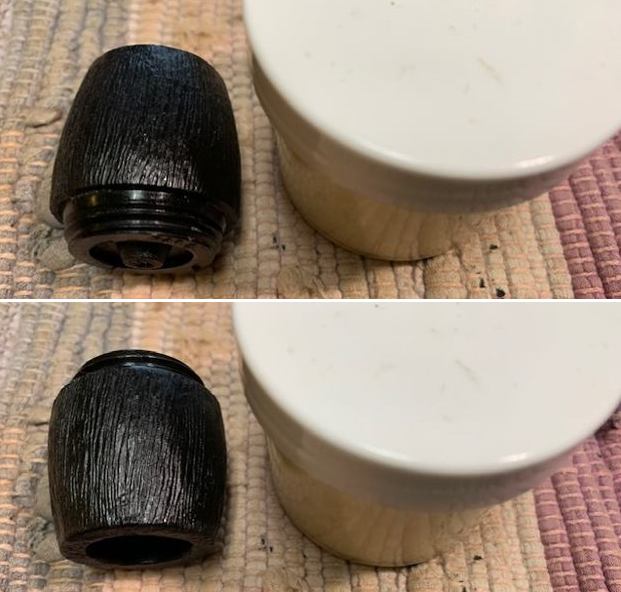
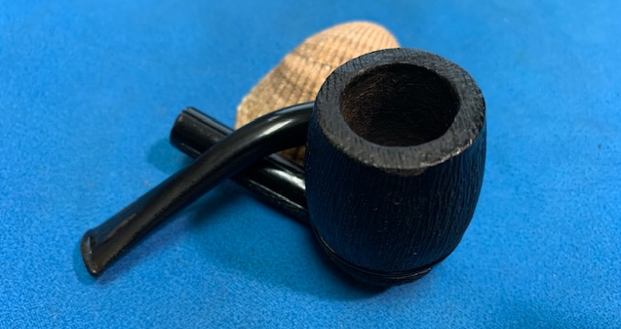
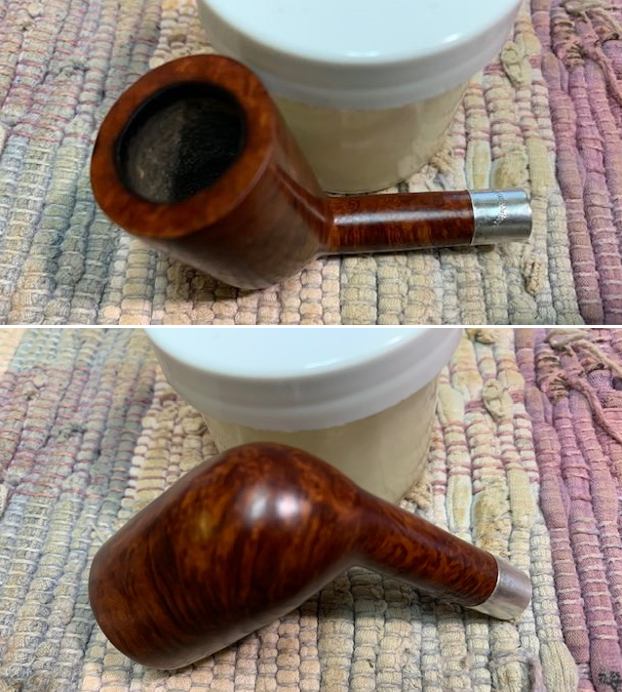
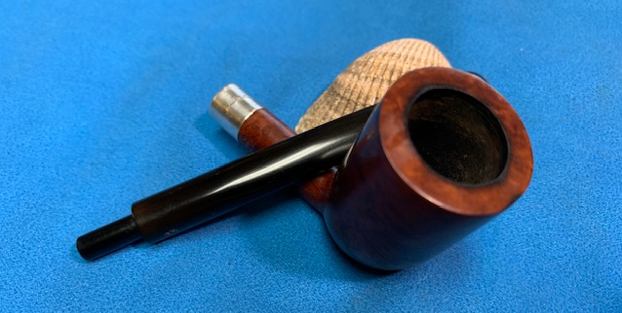
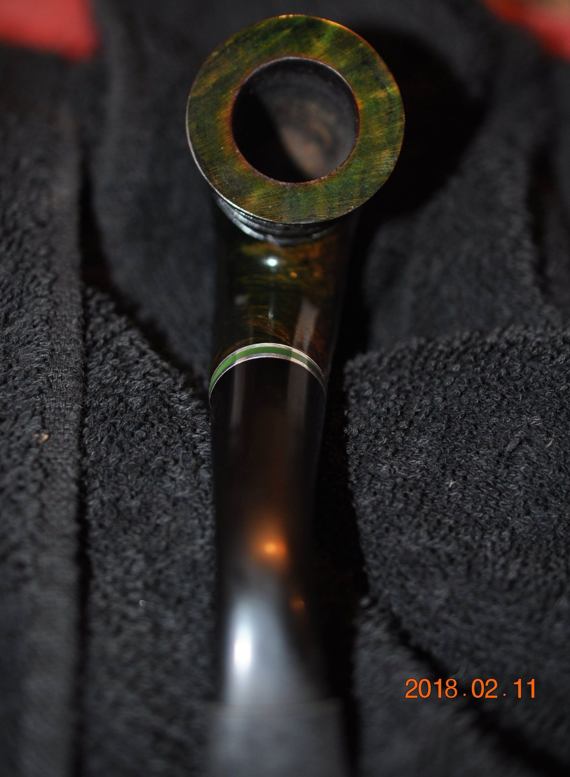
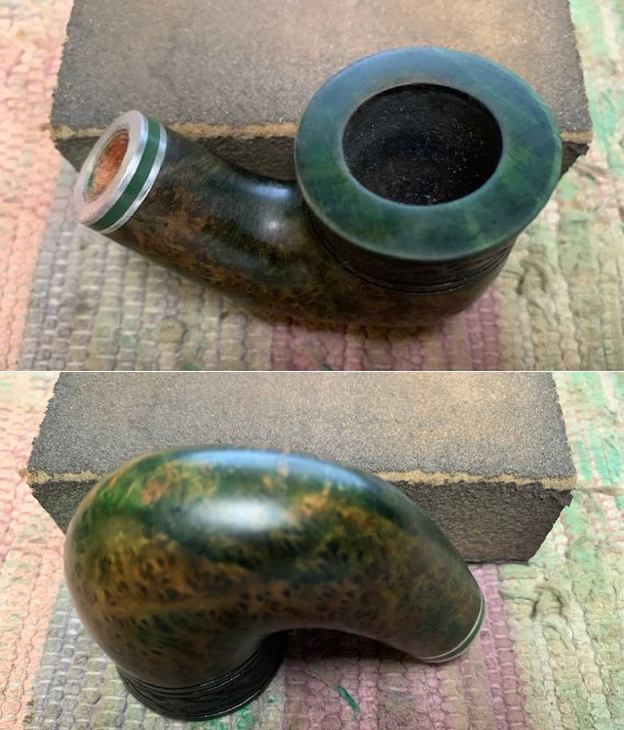
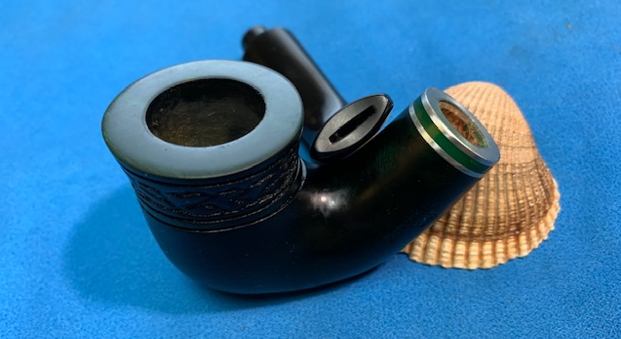
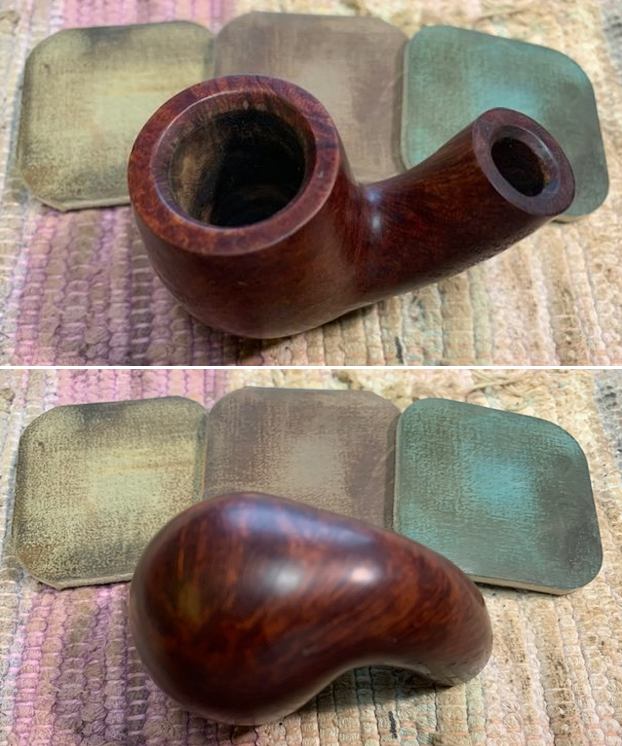
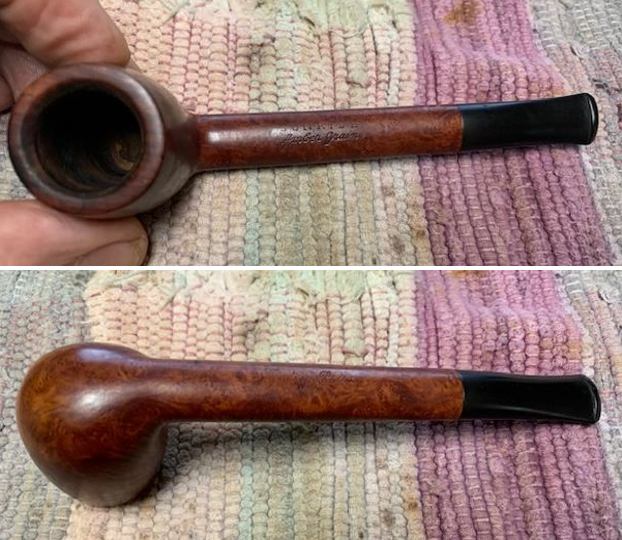
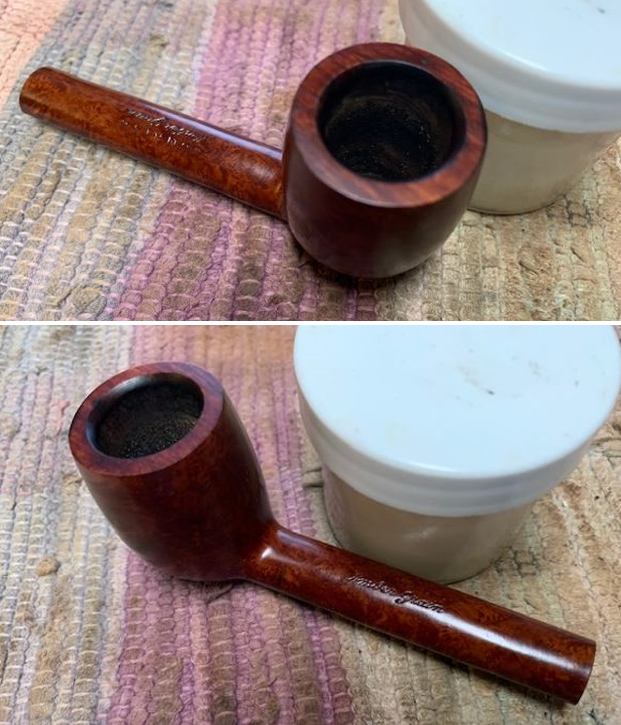
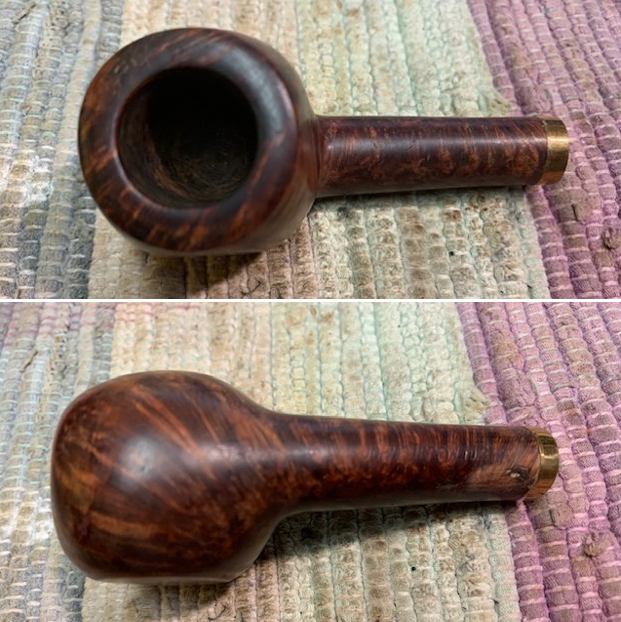
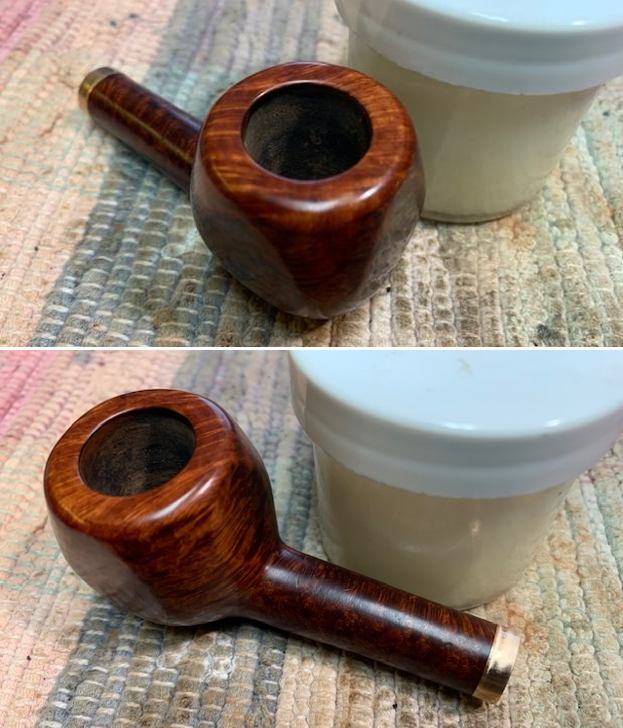
 The crowned rim top cleaned up really well. The rim top had a lot of nicks and deep gouges in it but the inner and outer edge of the bowl appeared to be in good condition. The stem surface looked very good and the tooth marks chatter on the stem on both sides near the button could probably be sanded out.
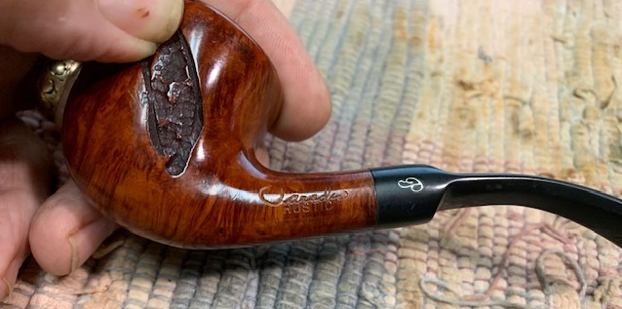
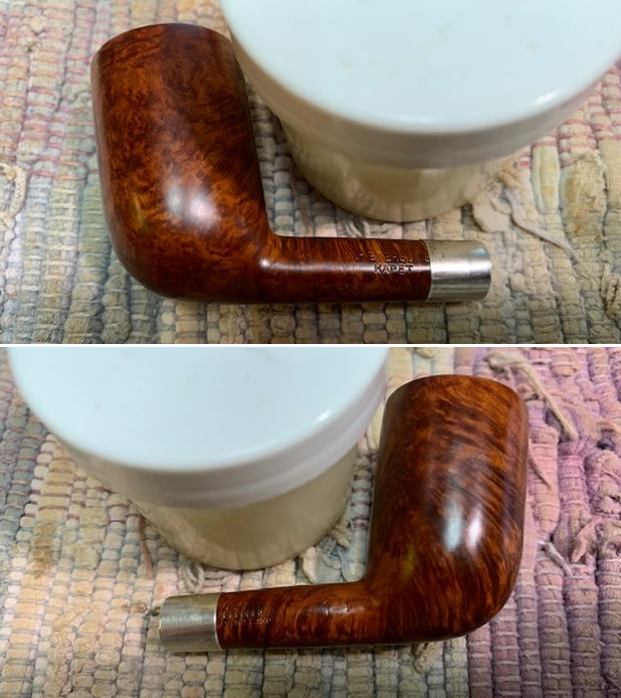
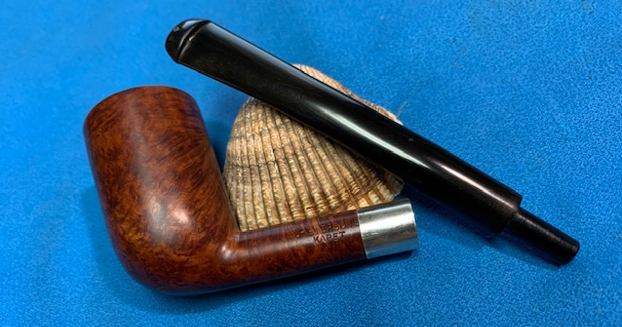
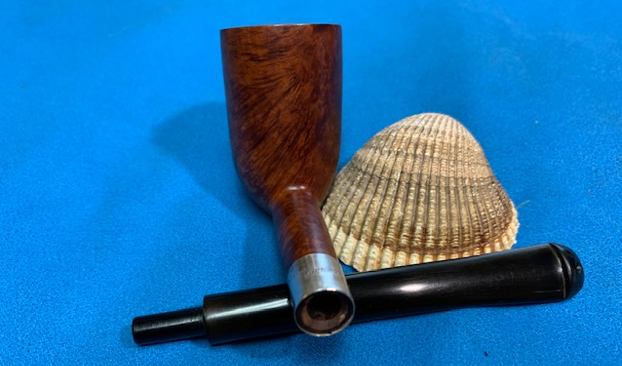
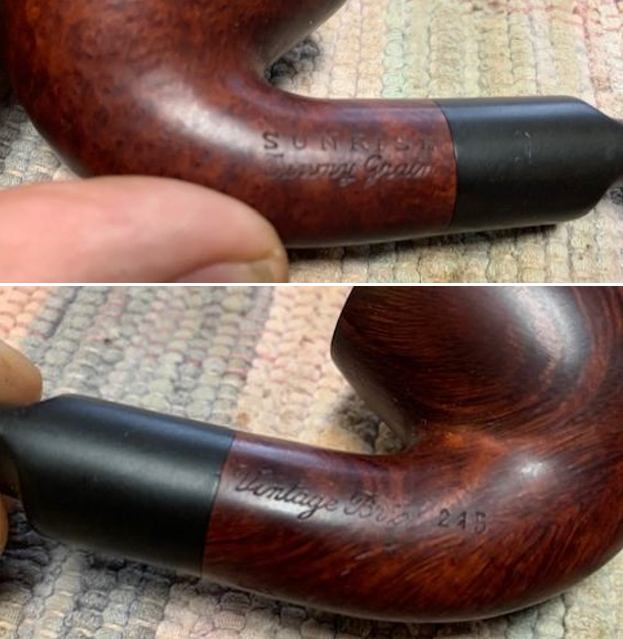
 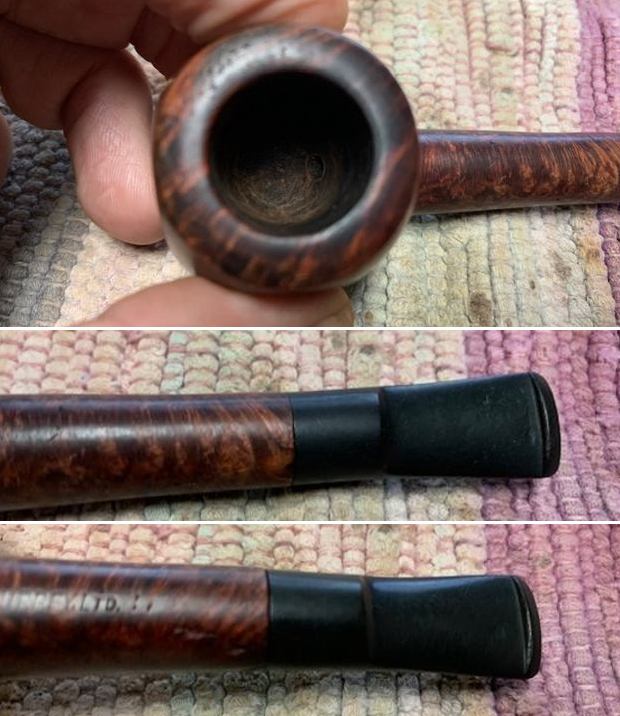 The stamping on the sides of the shank is readable and reads as noted above.
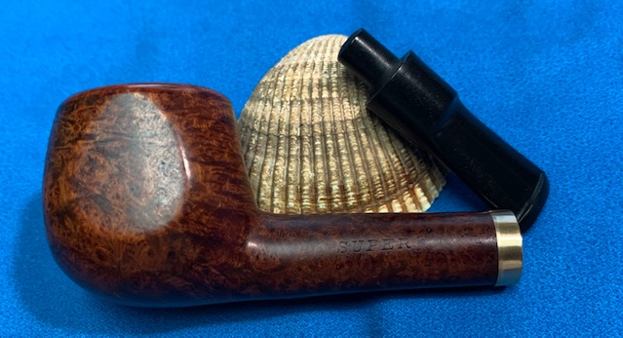
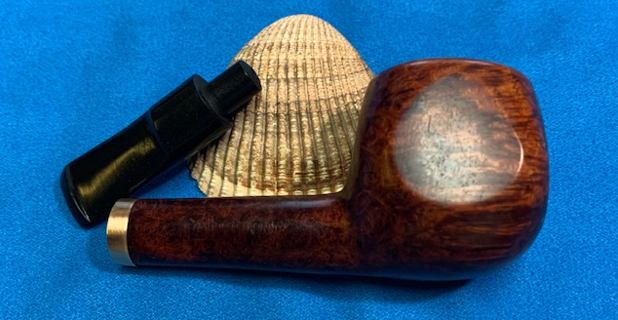
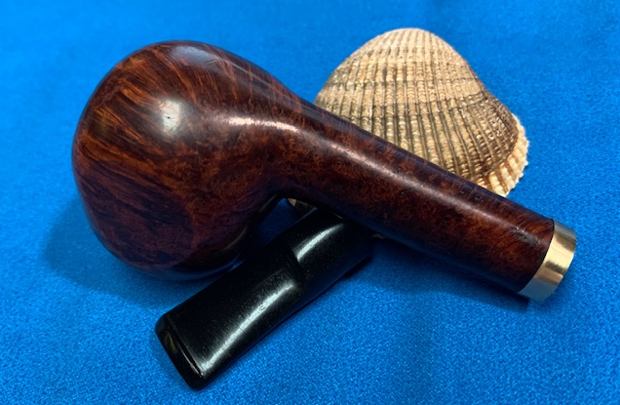
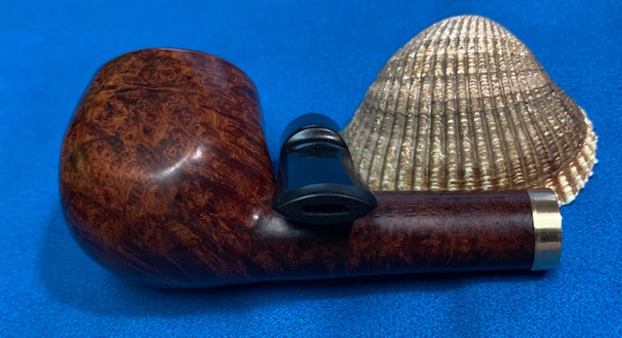
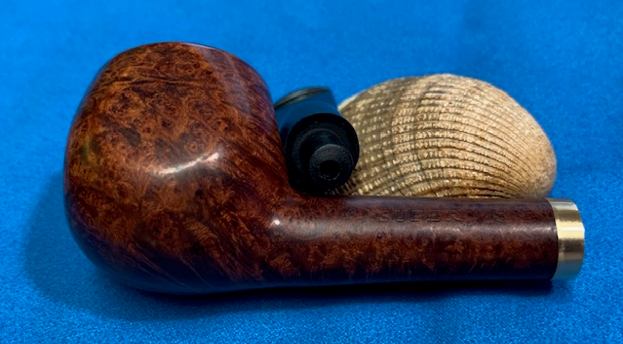
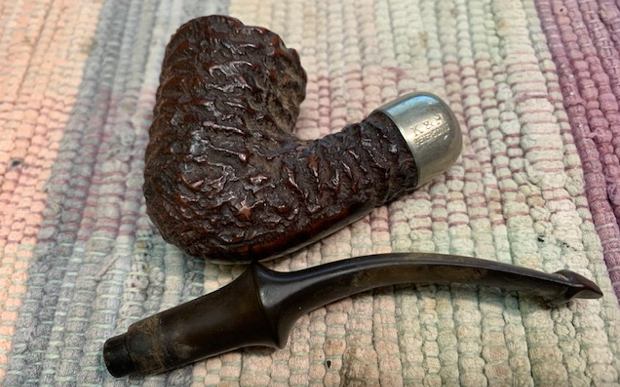
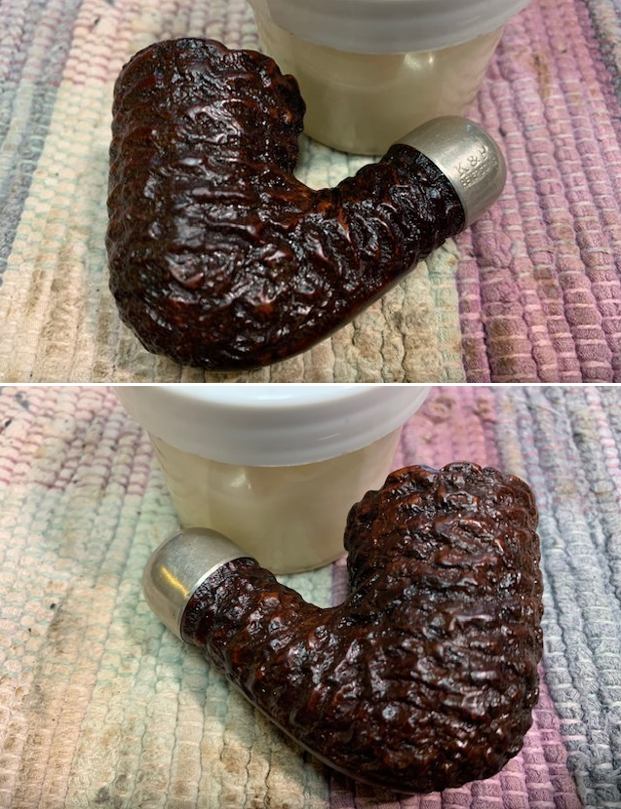
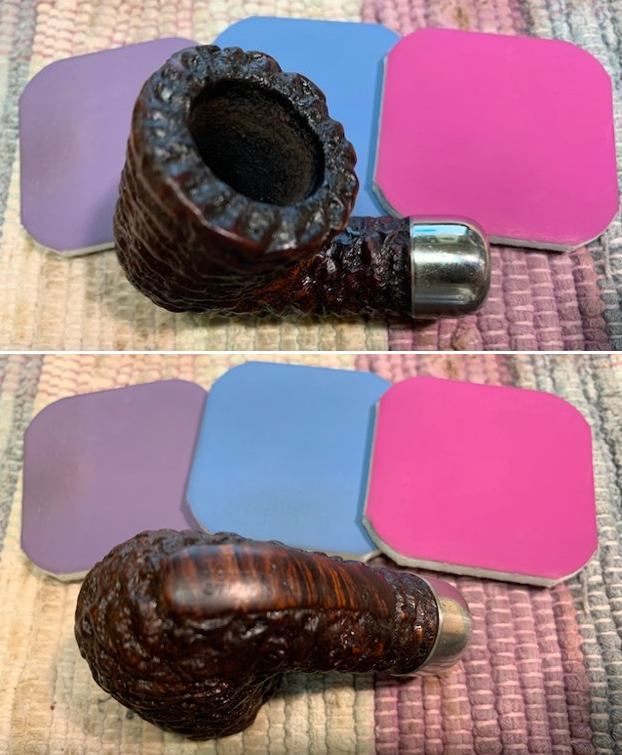
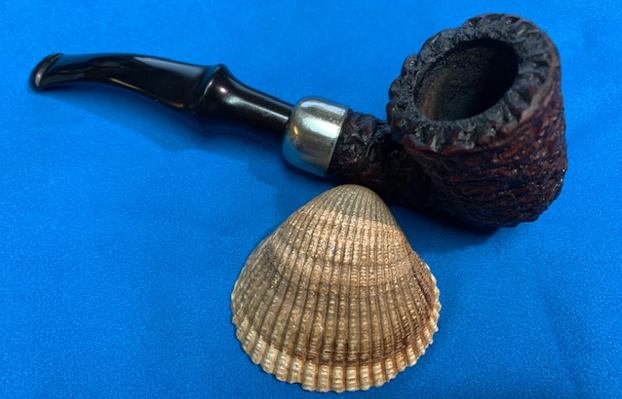
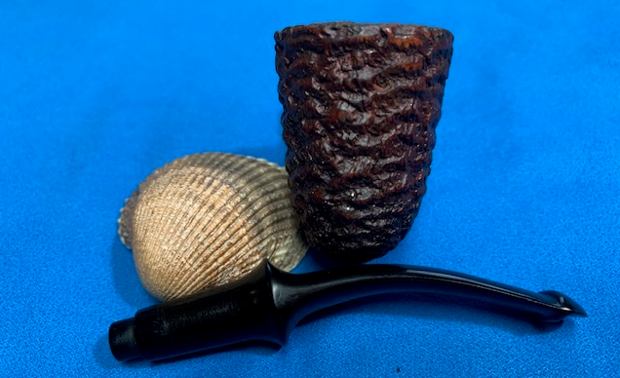
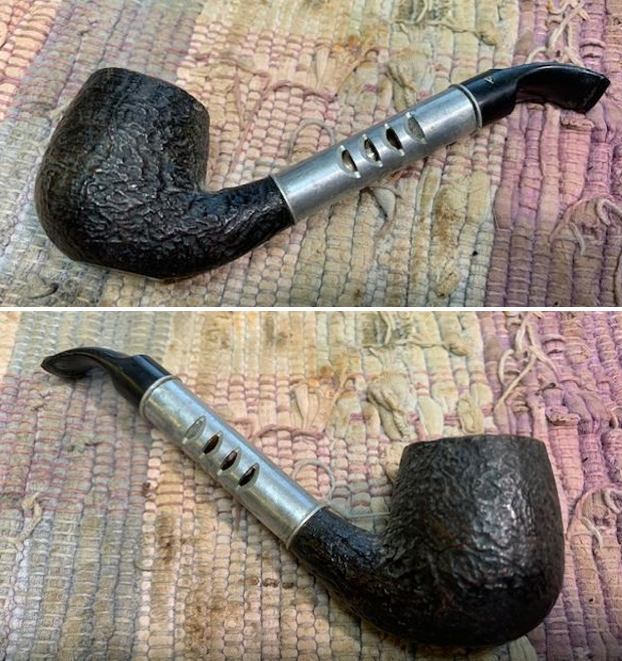
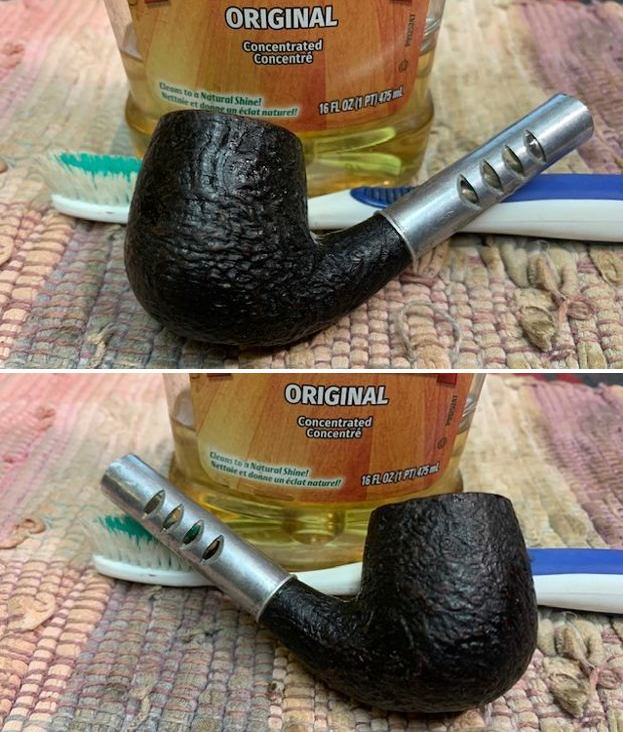
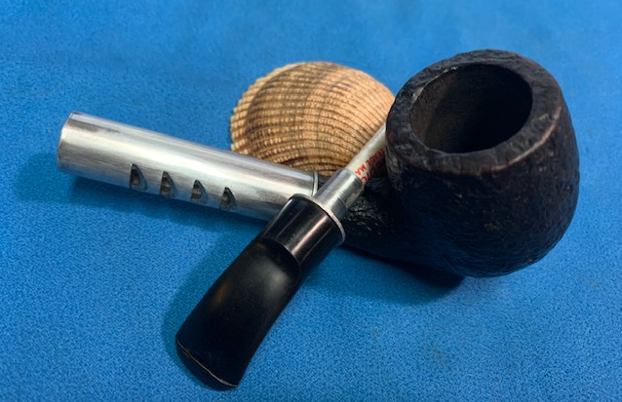
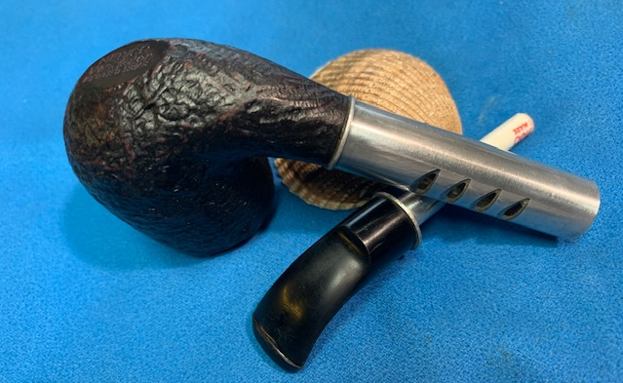
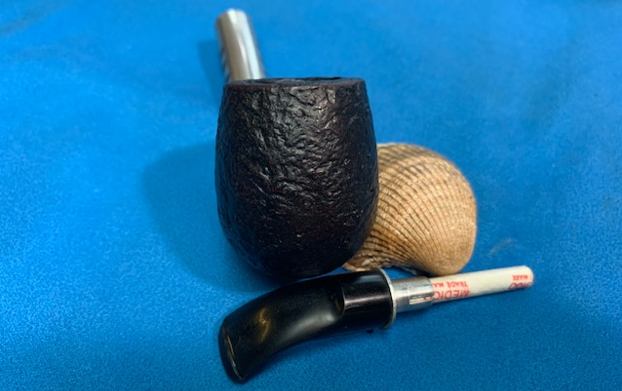
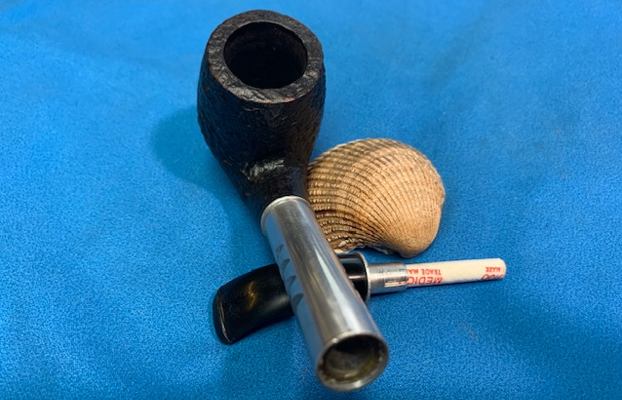
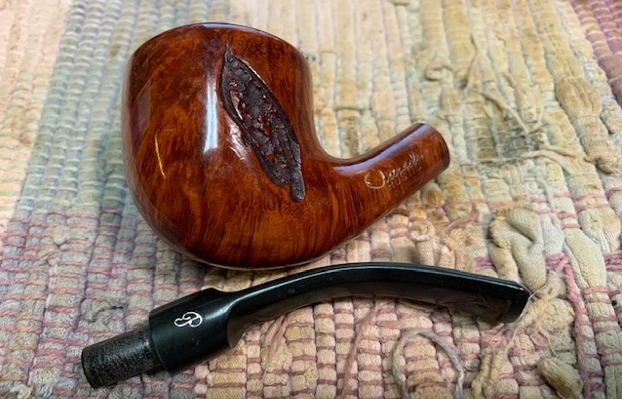
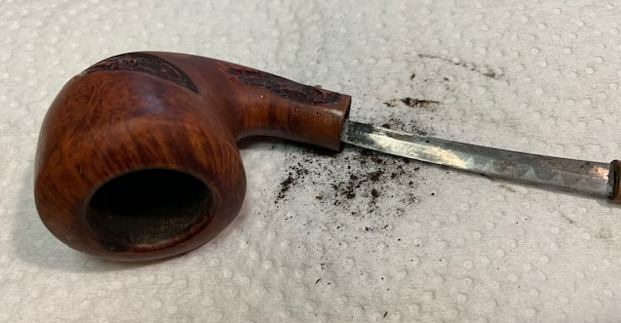
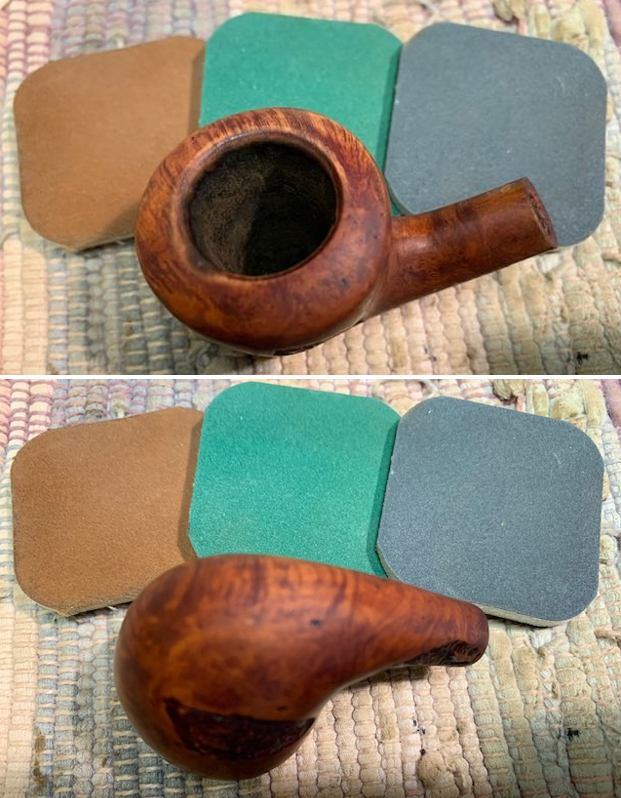
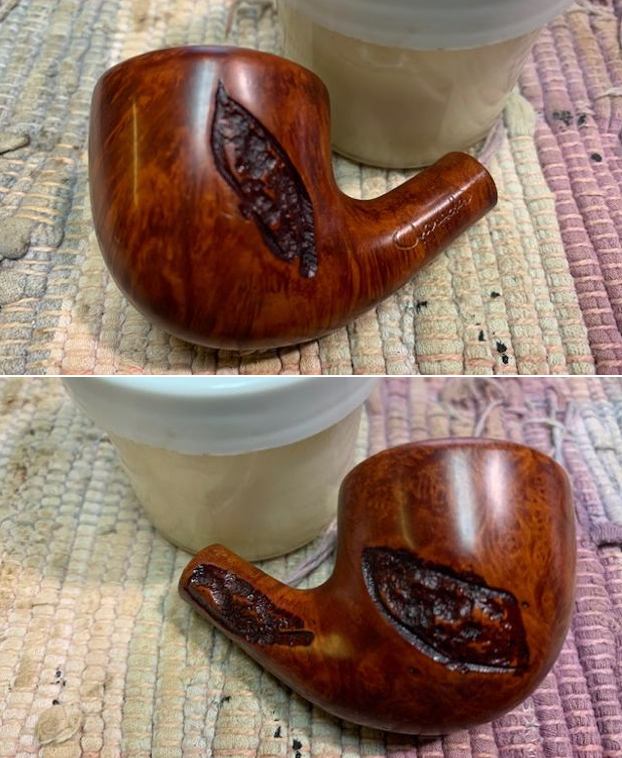
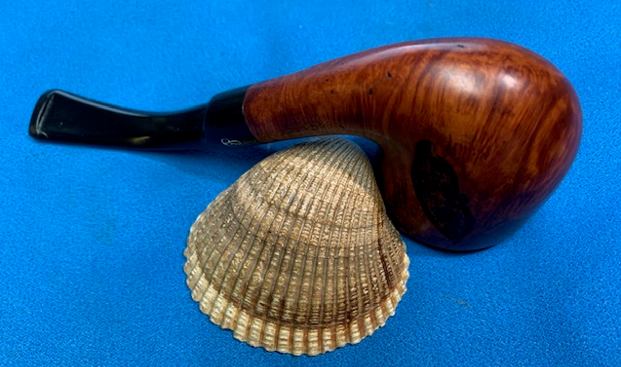
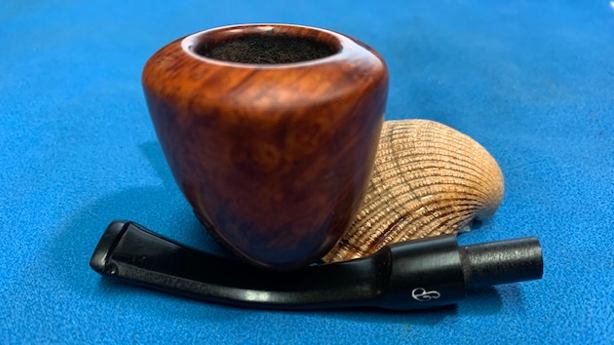
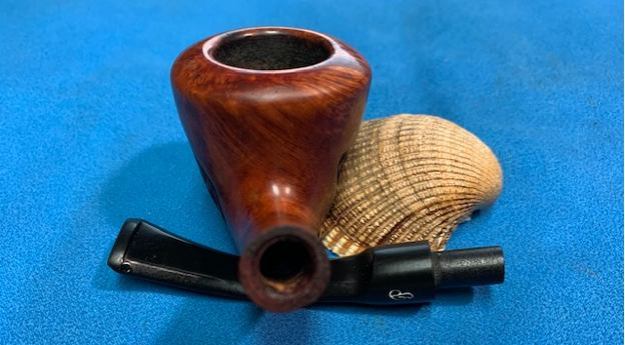
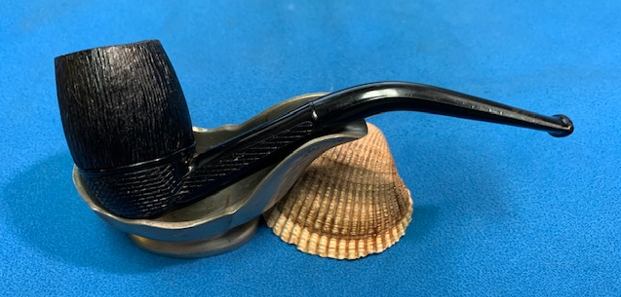
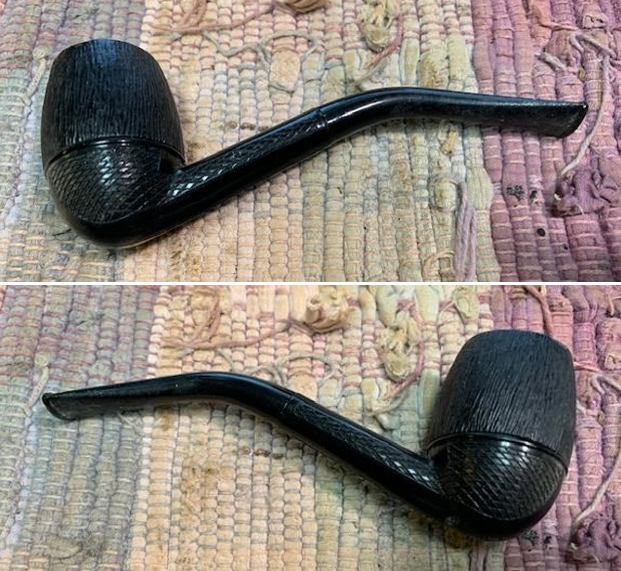
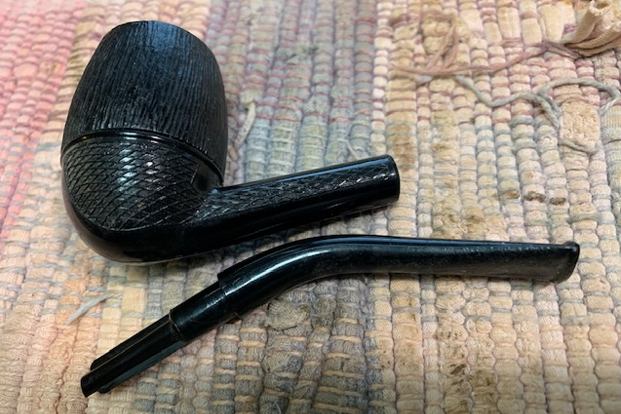
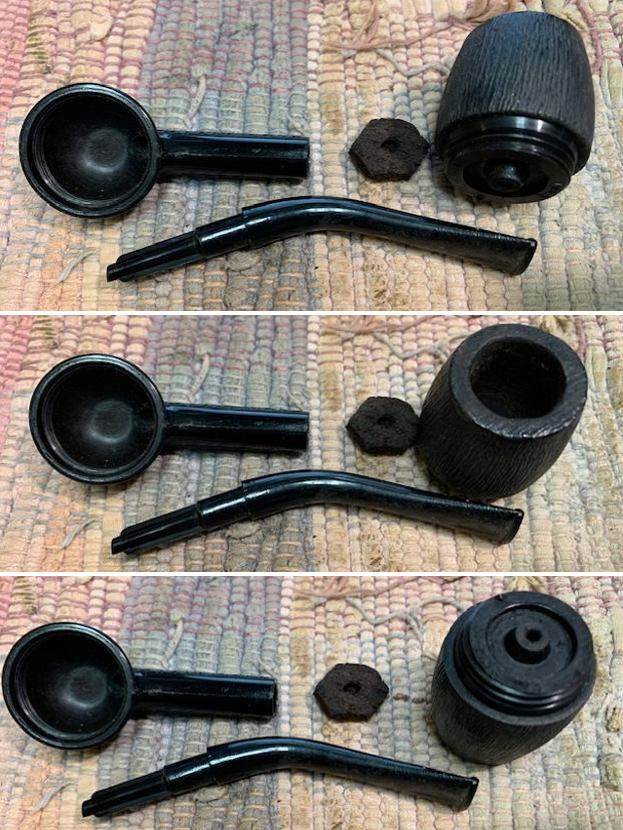
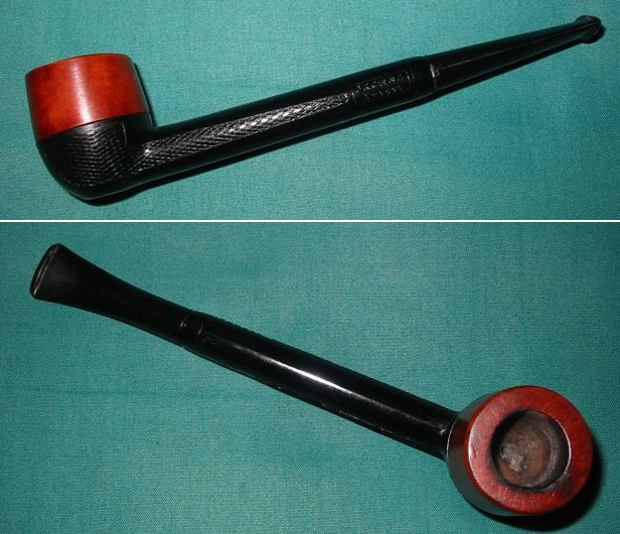
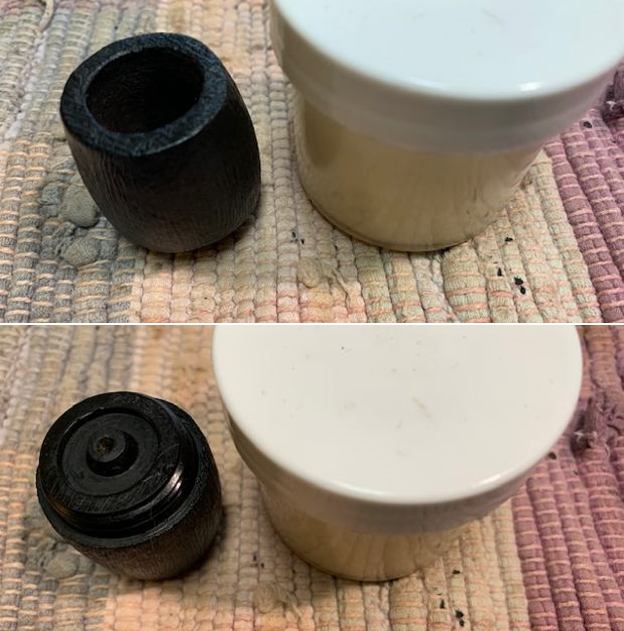
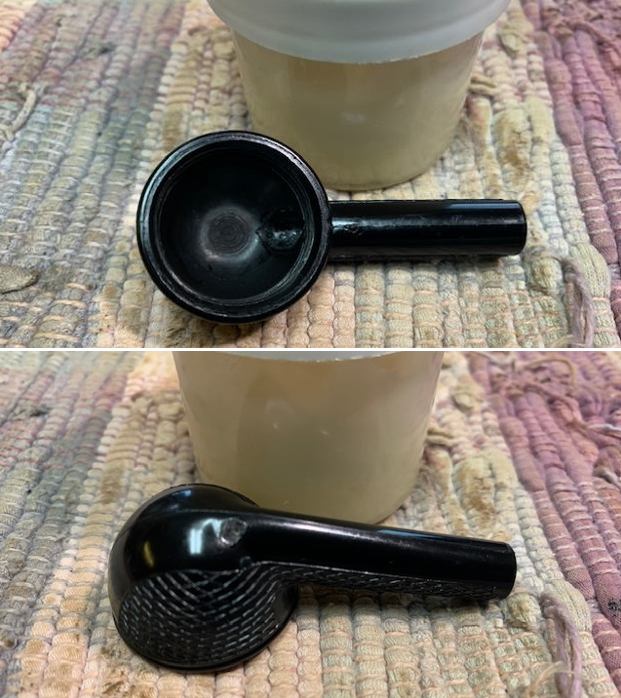
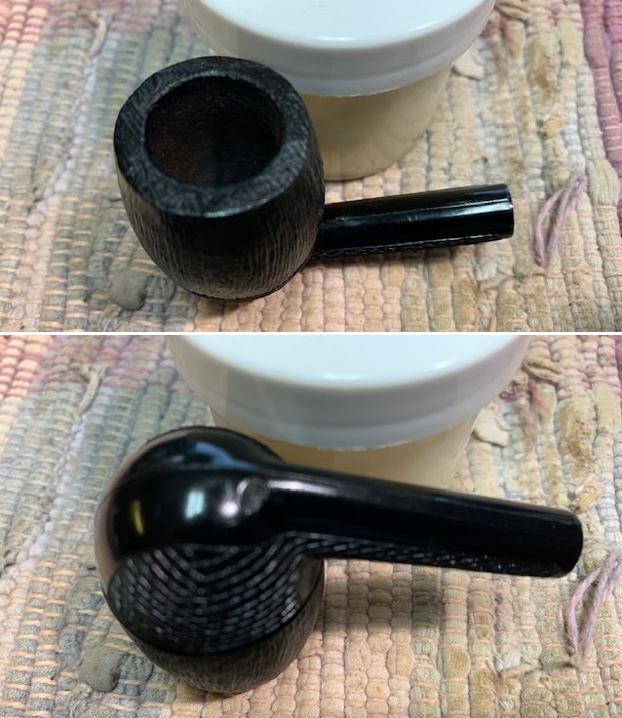
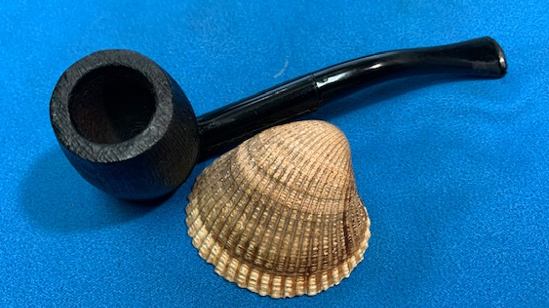
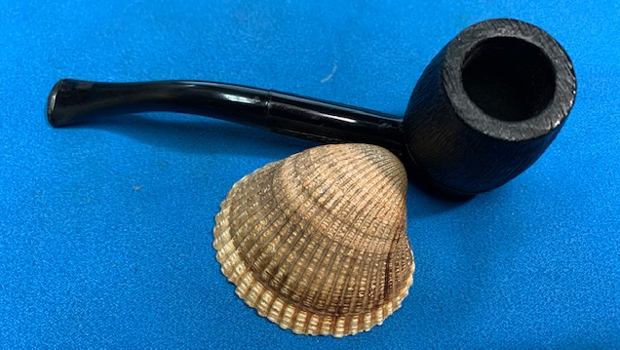
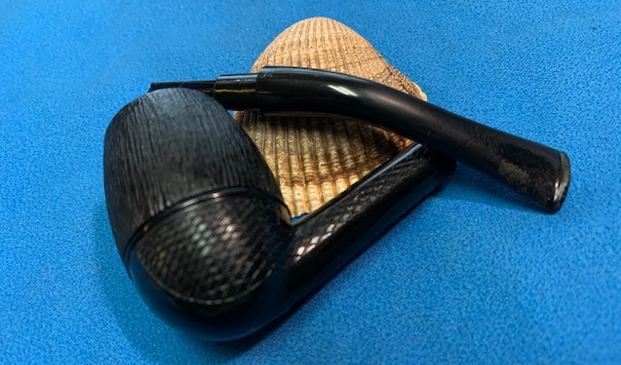
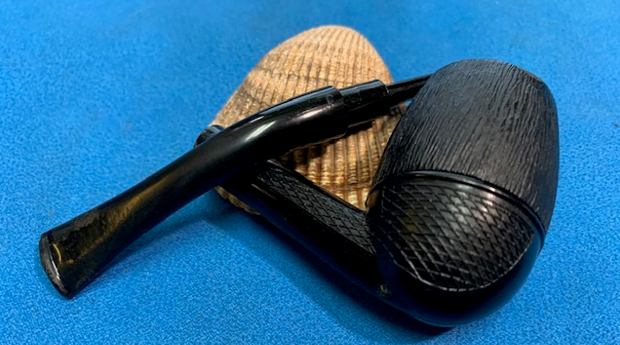
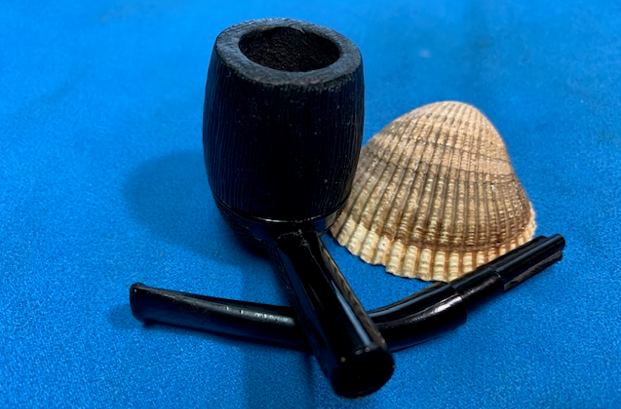
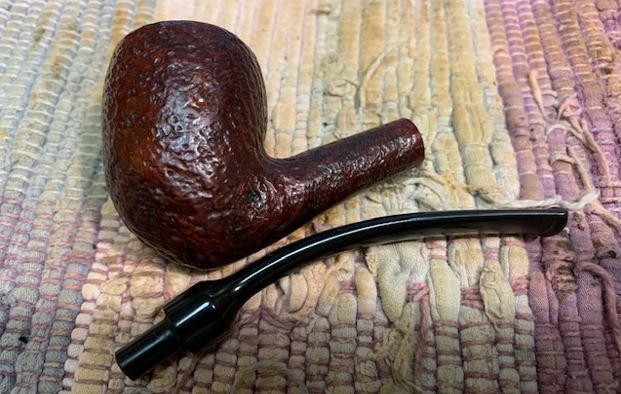
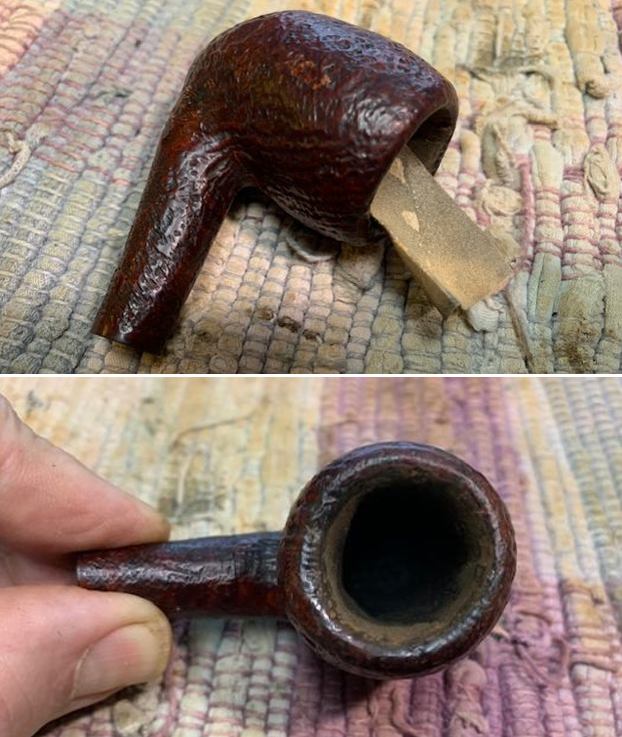
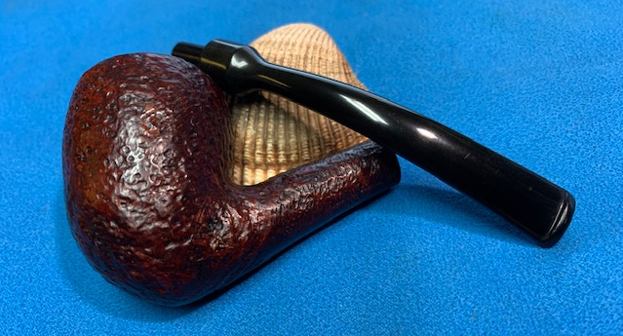
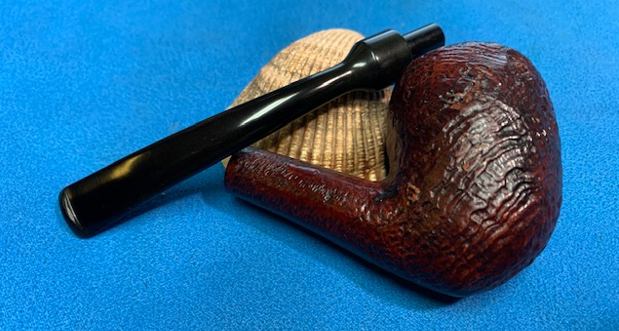
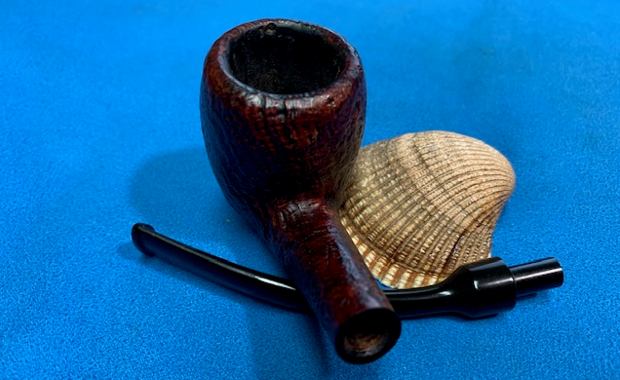
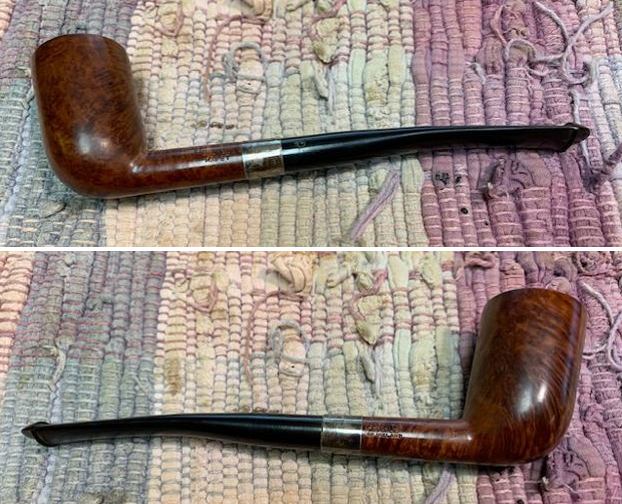
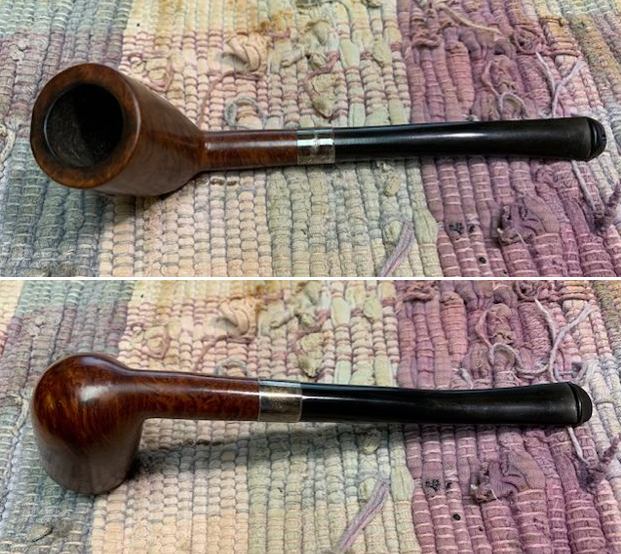
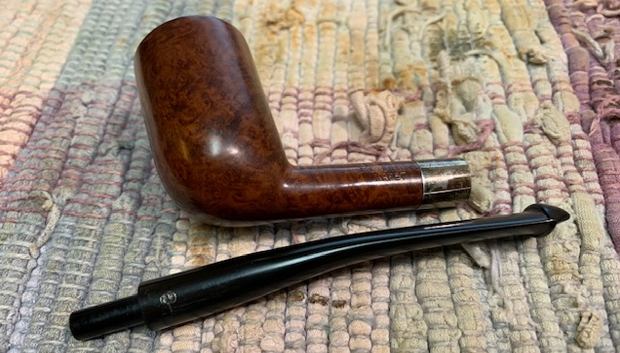
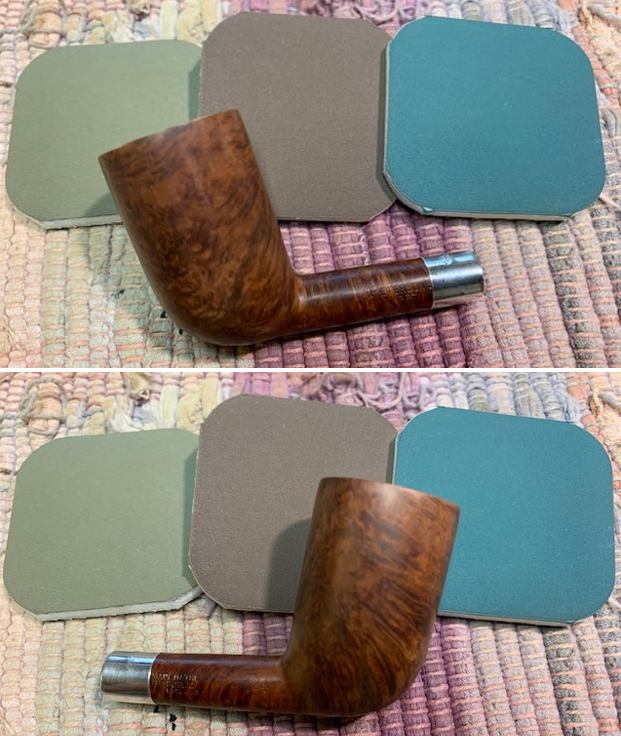
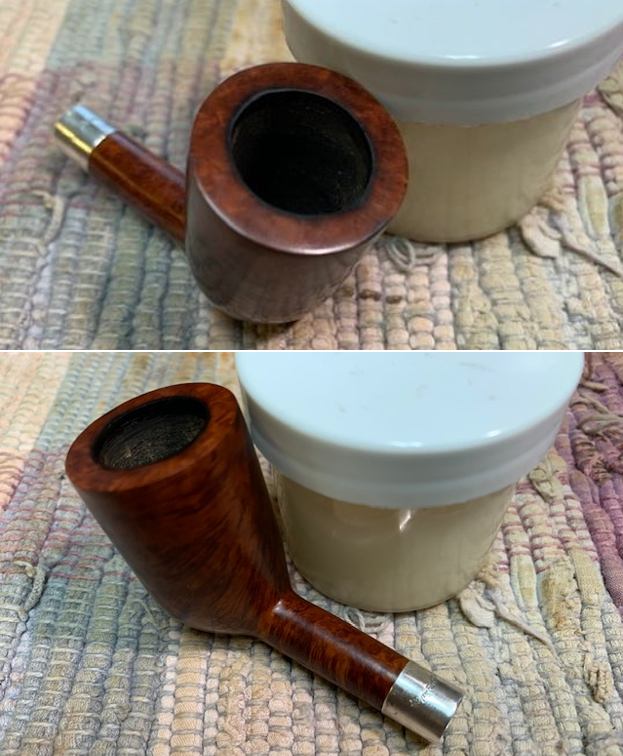
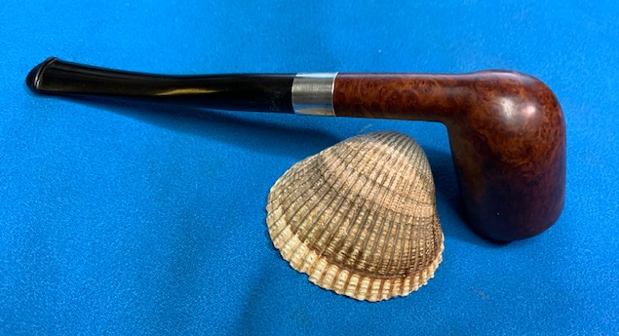
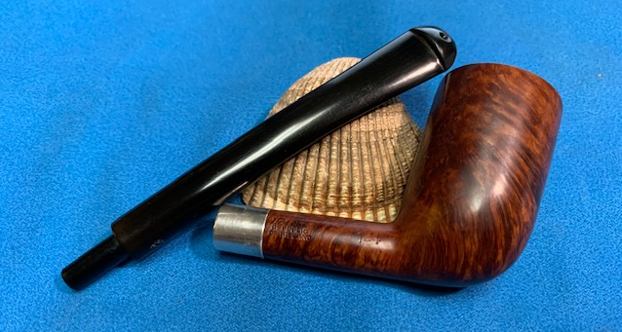
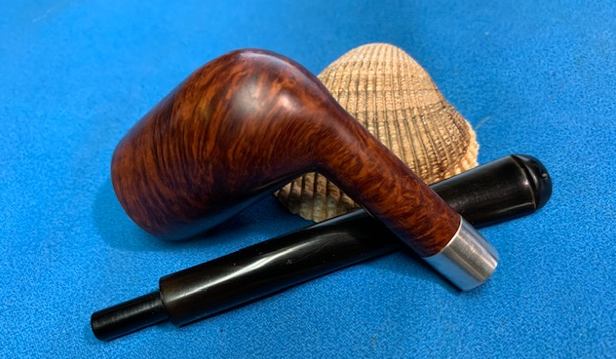
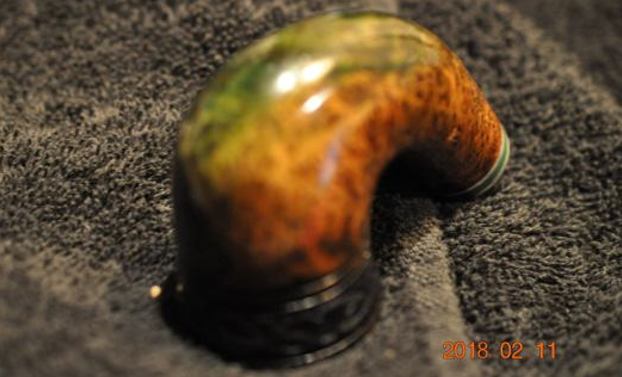
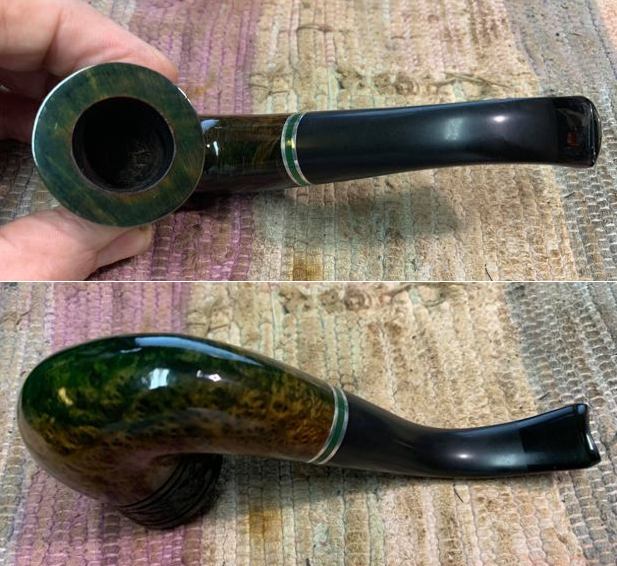
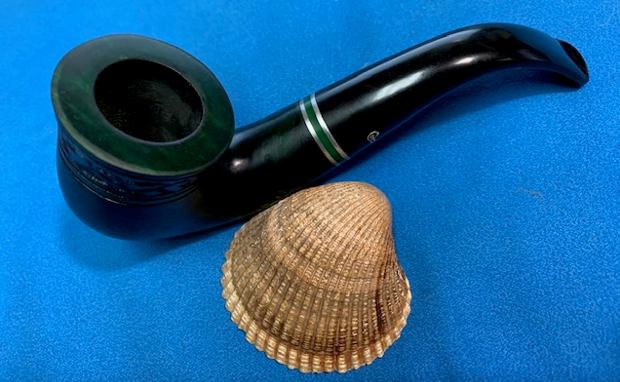
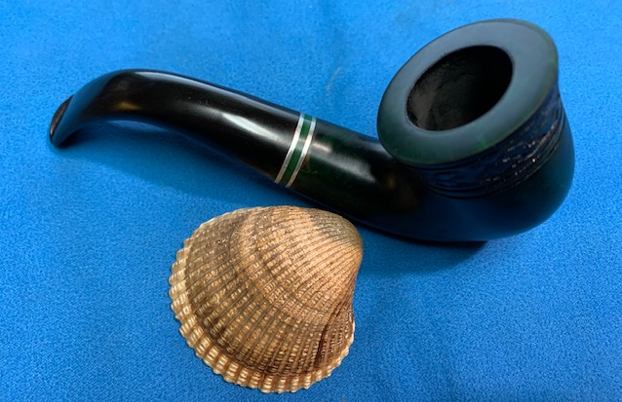
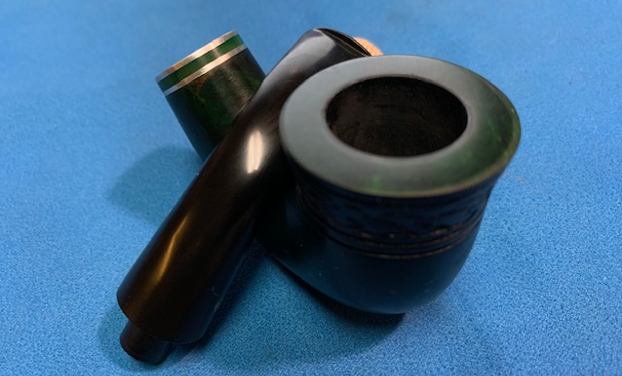
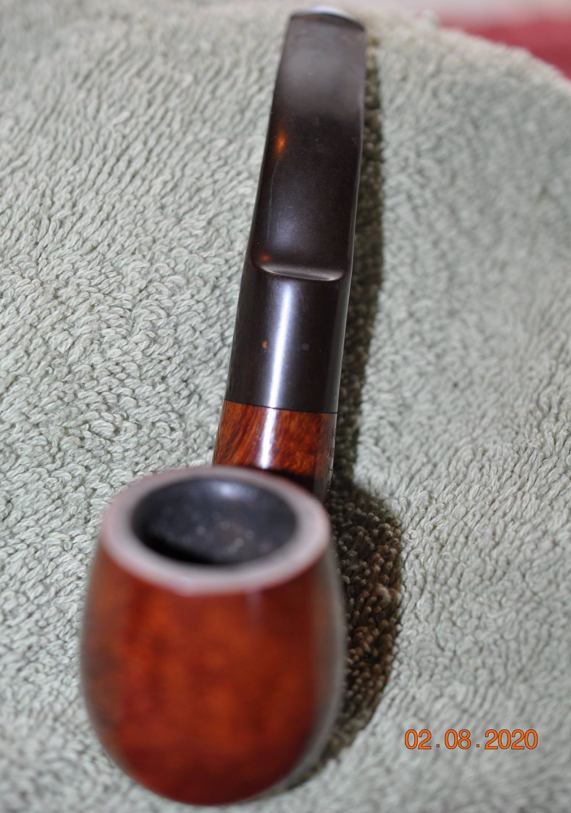
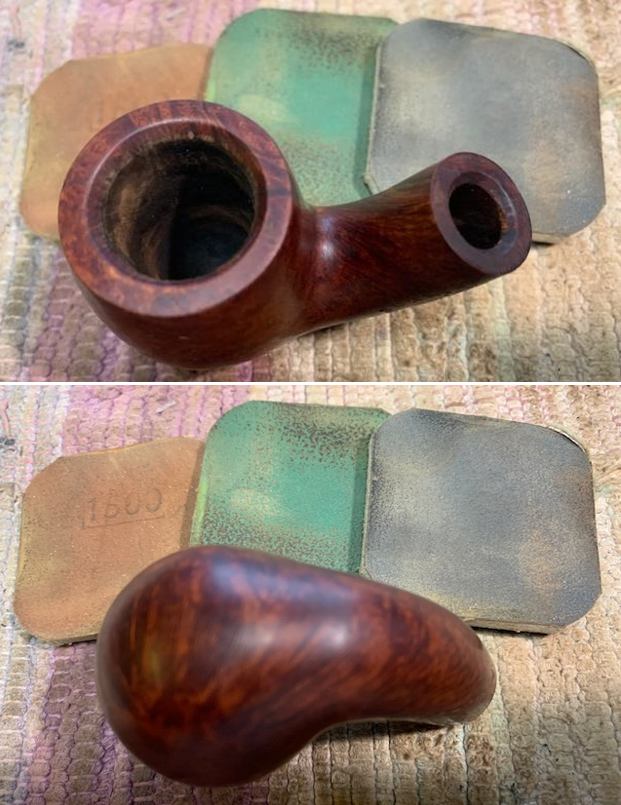
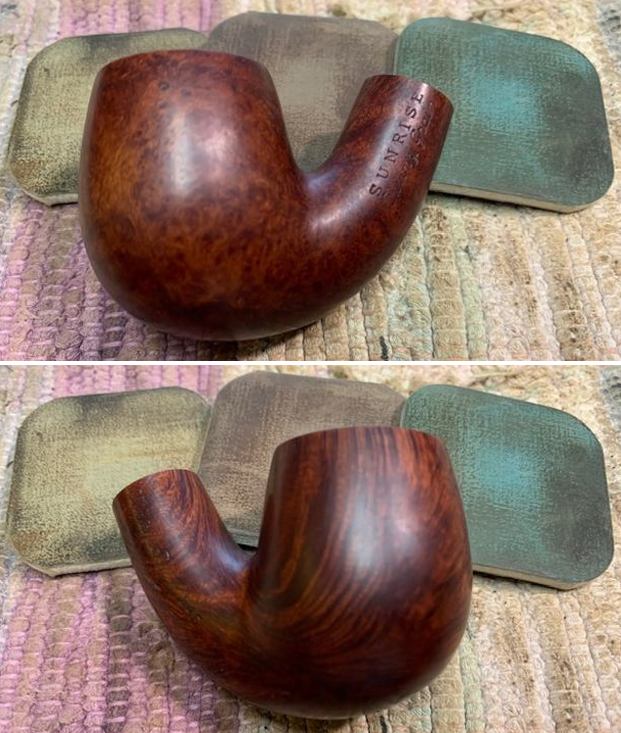
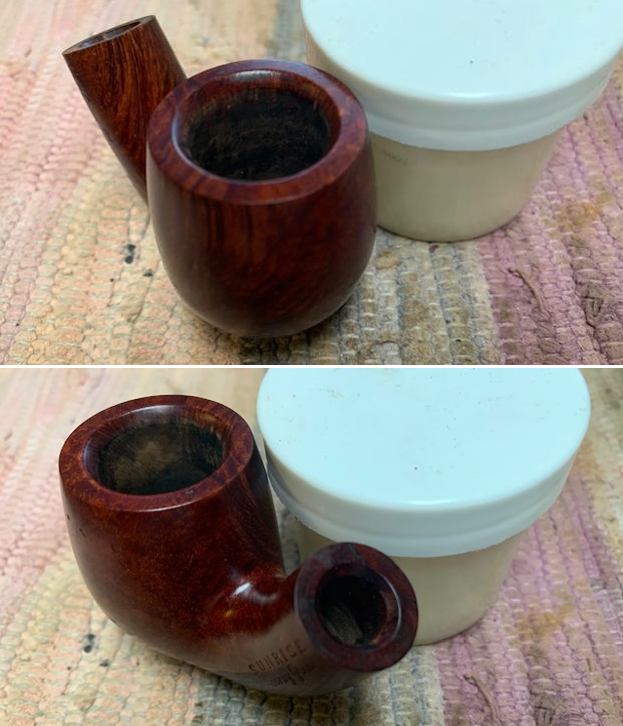
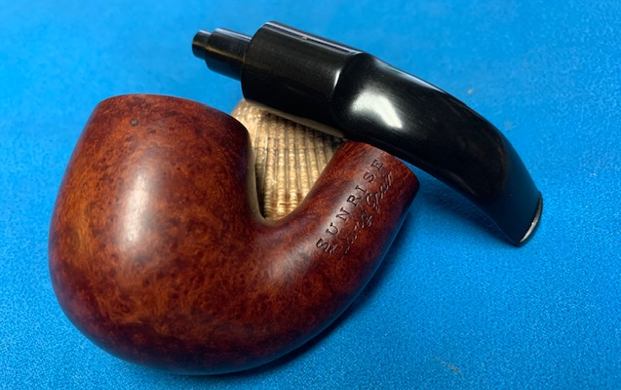
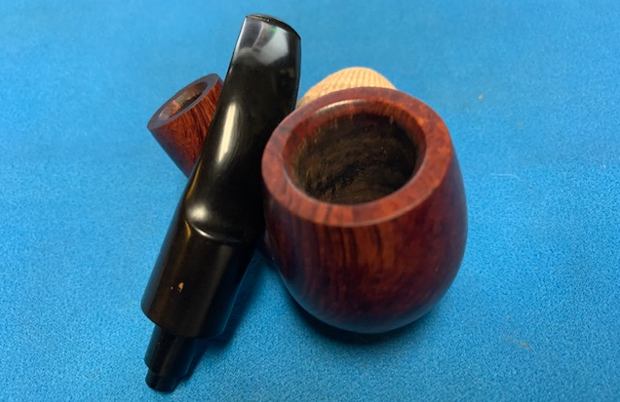
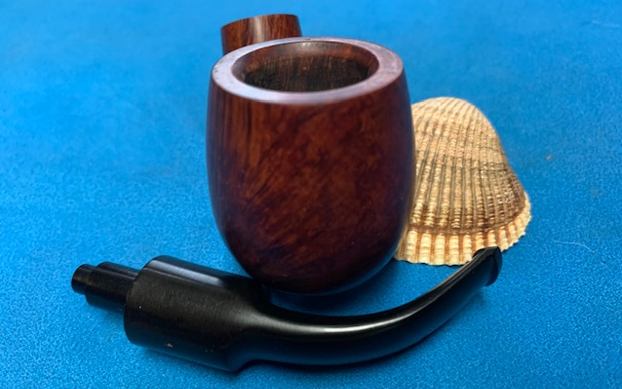
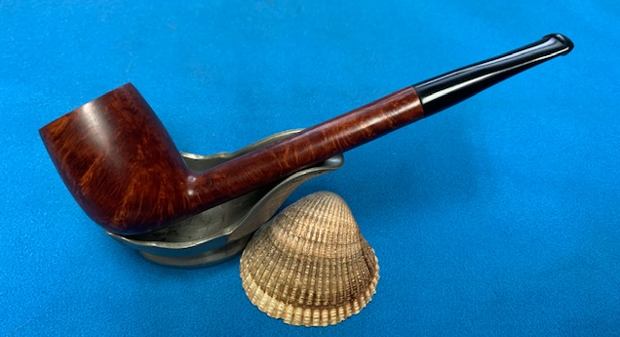
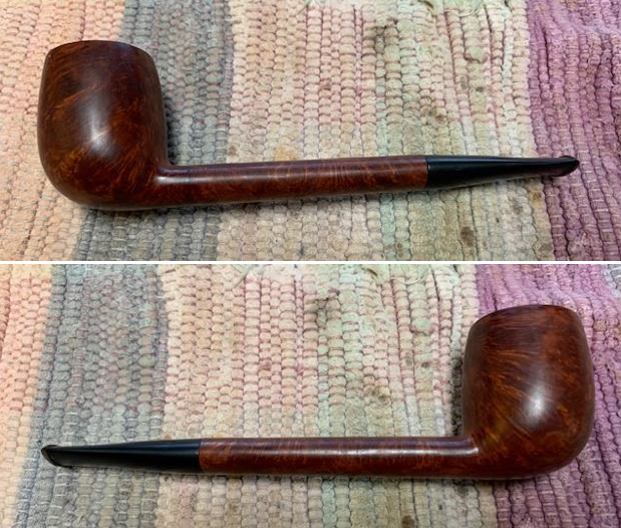
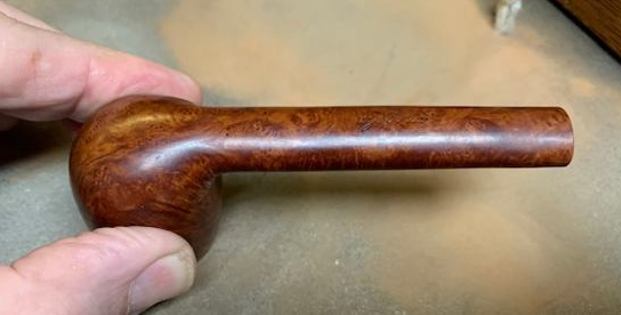
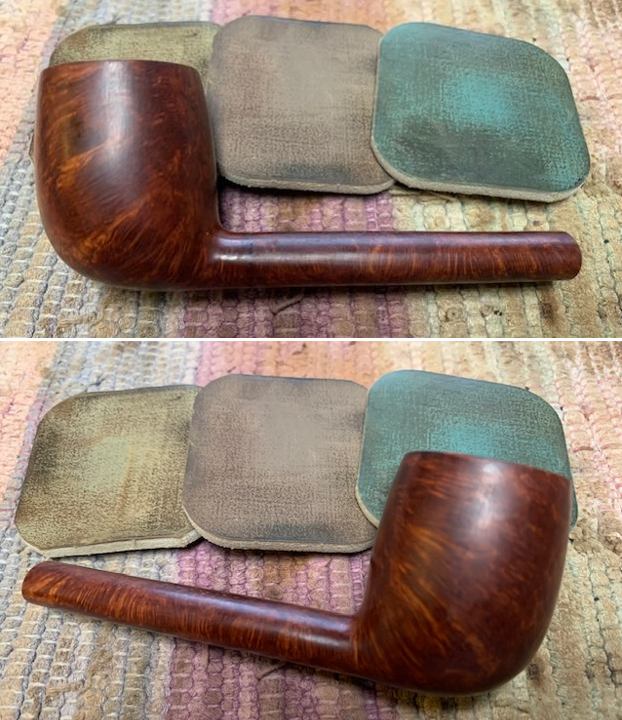
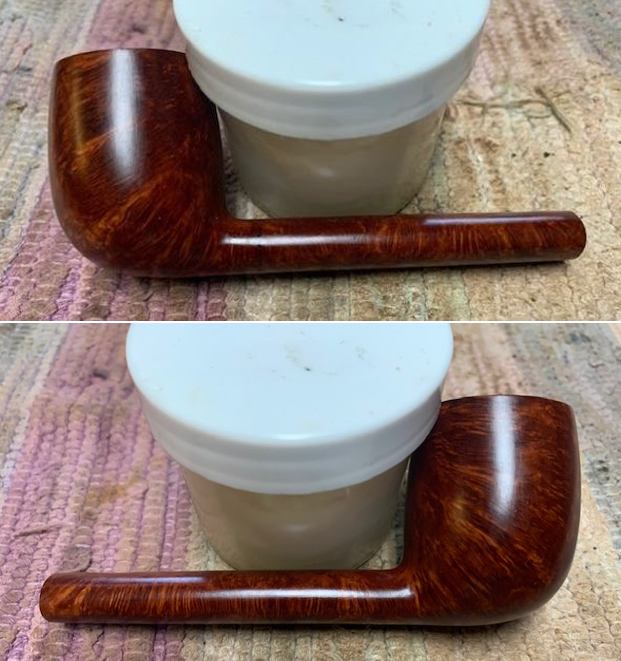
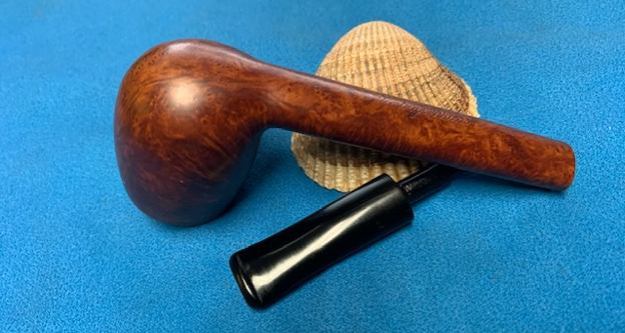
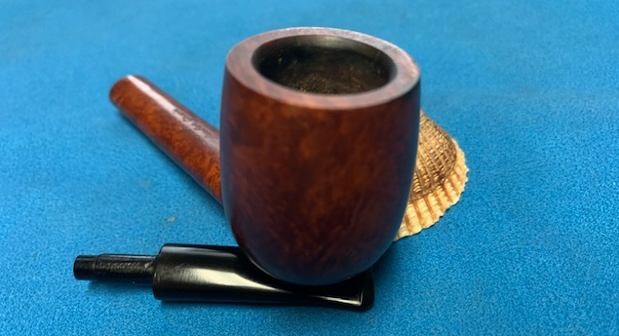
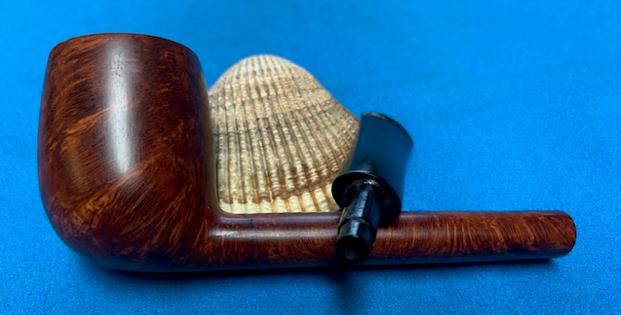
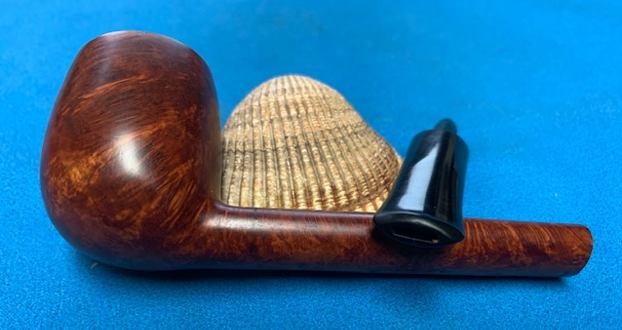
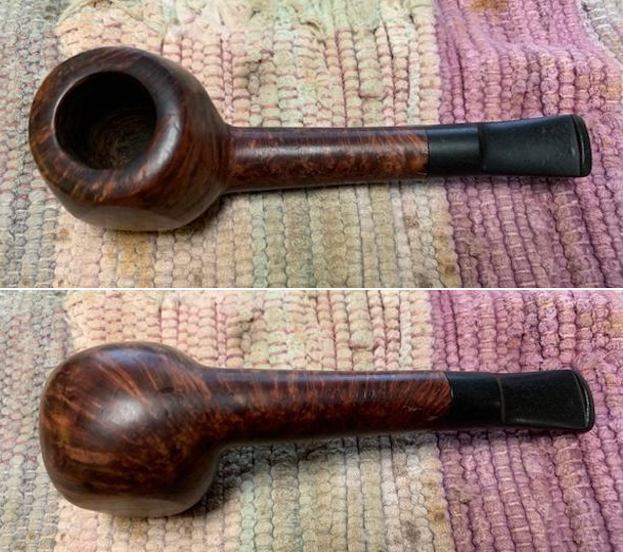
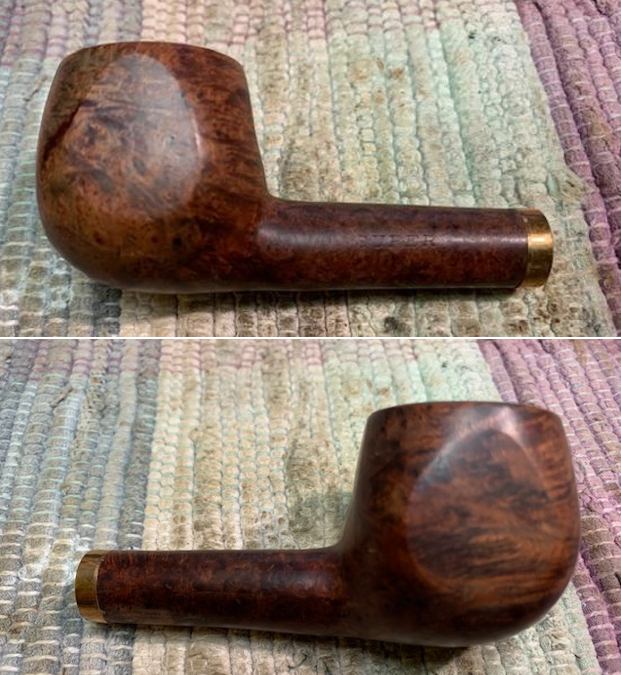
 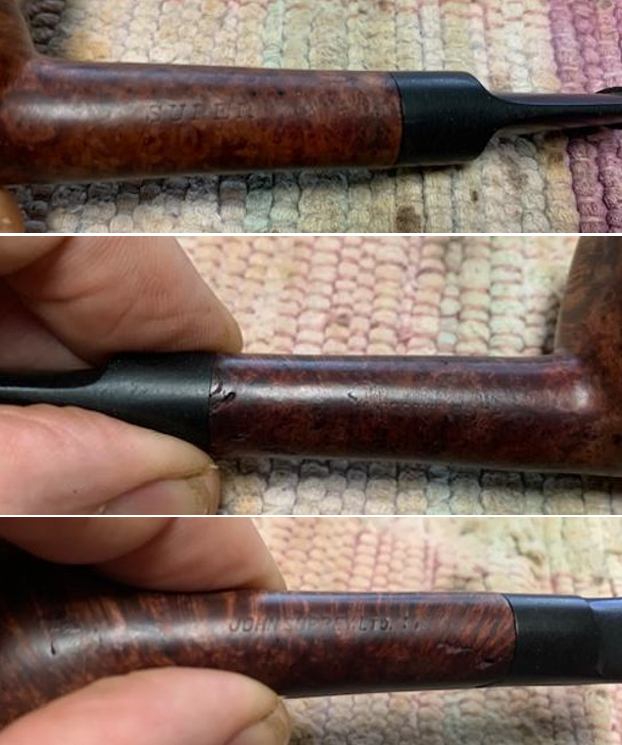 I removed the stem and took two photos of the pipe to give a sense of the shape and the grain on the bowl and shank. It was a unique shape and would be a beautiful pipe when I was finished.
 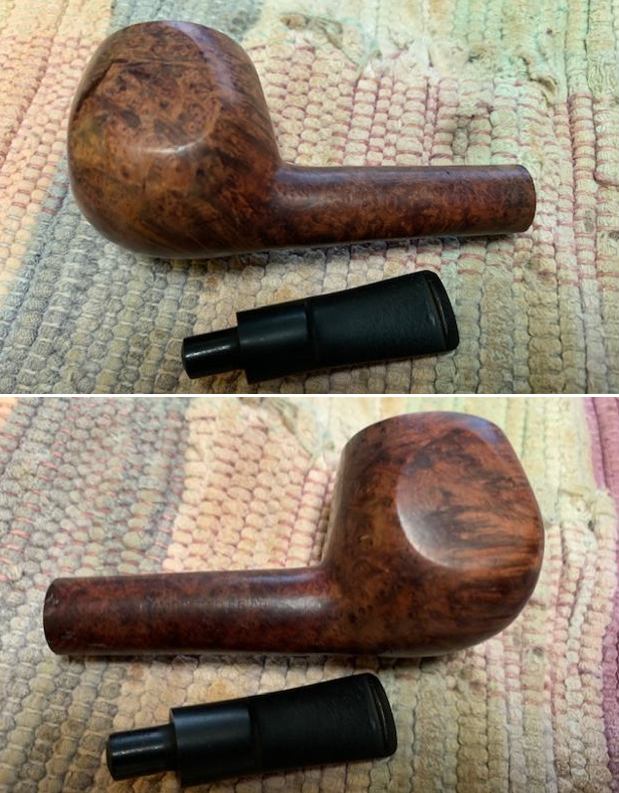 I took a series of photos of the cracks on the shank and flaws where the putty fills had fallen out.
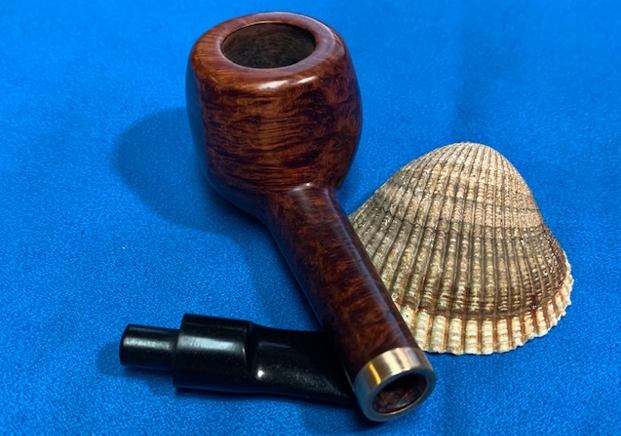
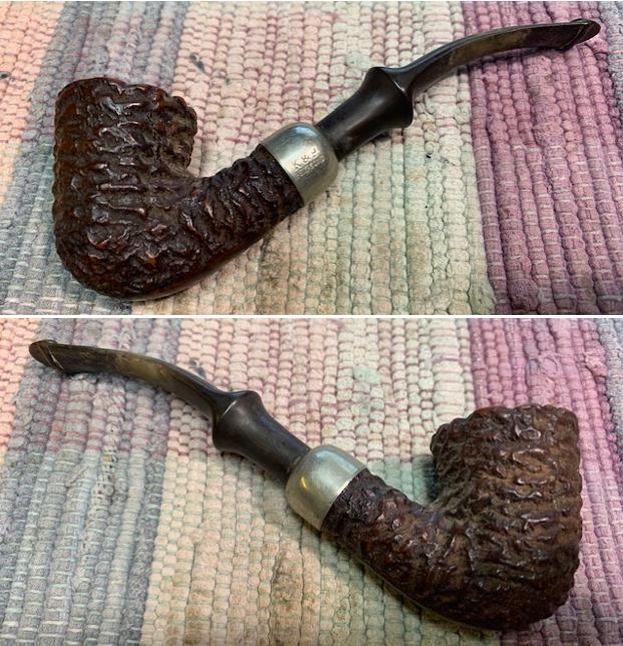
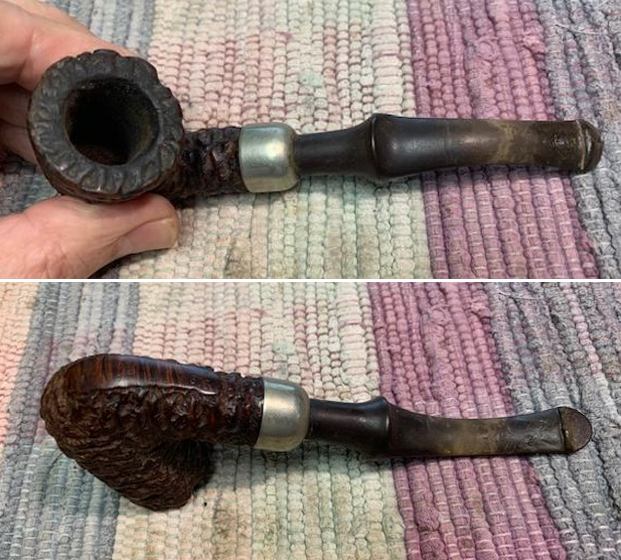
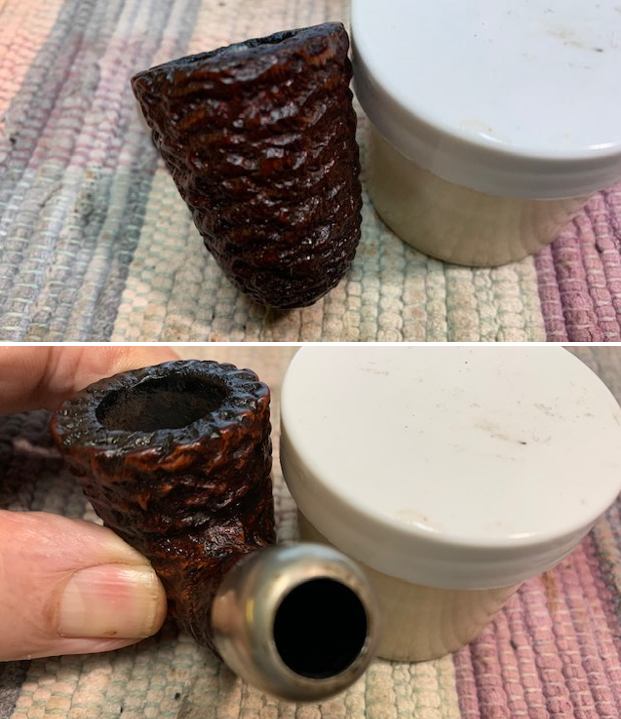
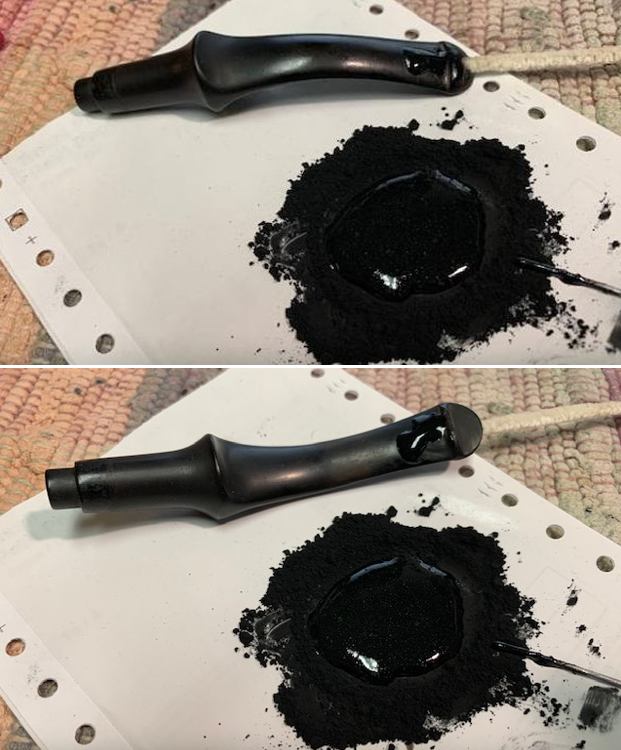
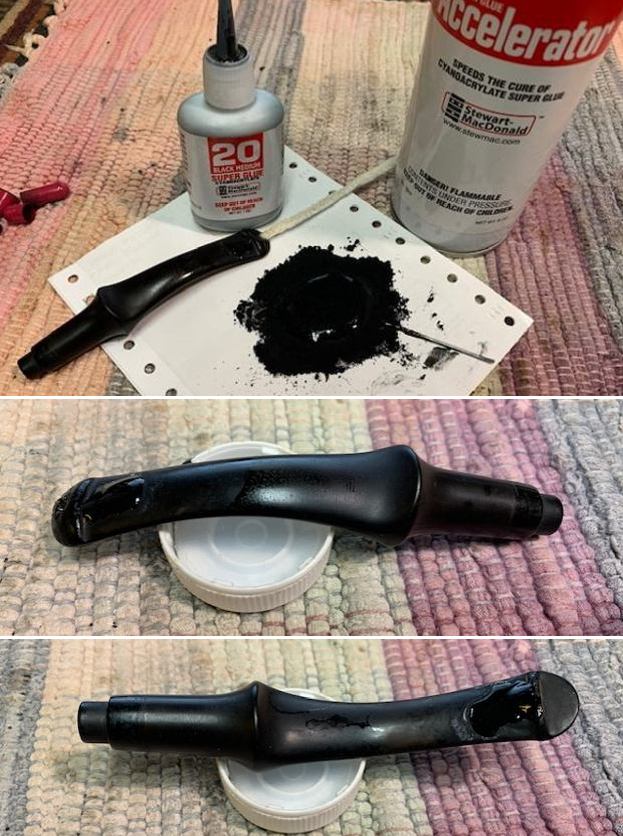
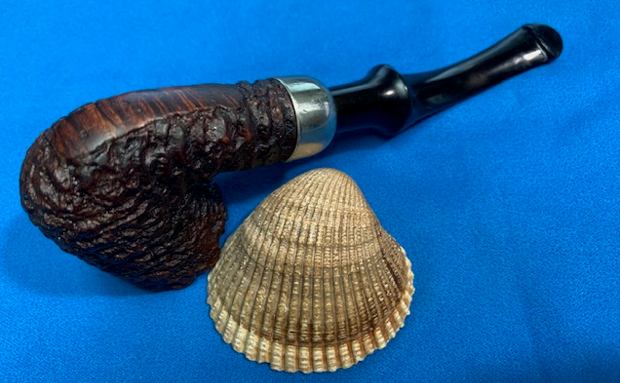
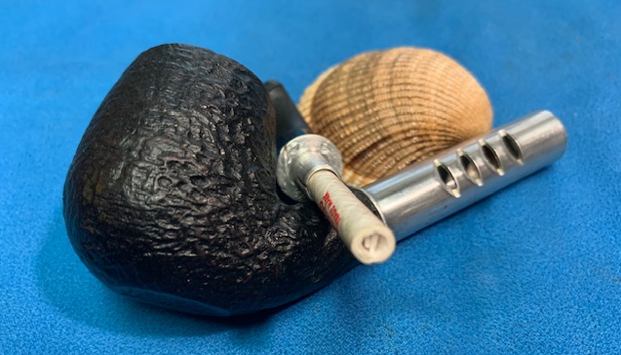
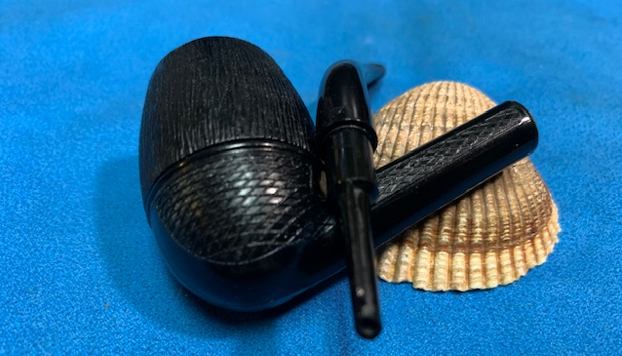
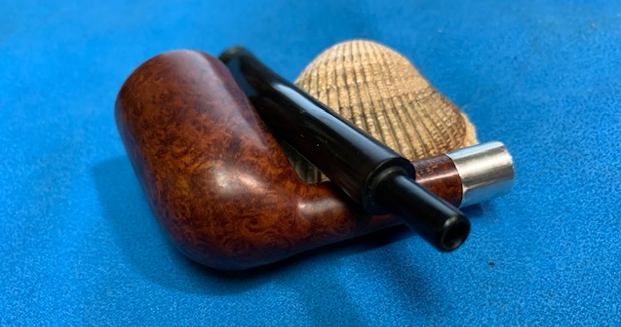
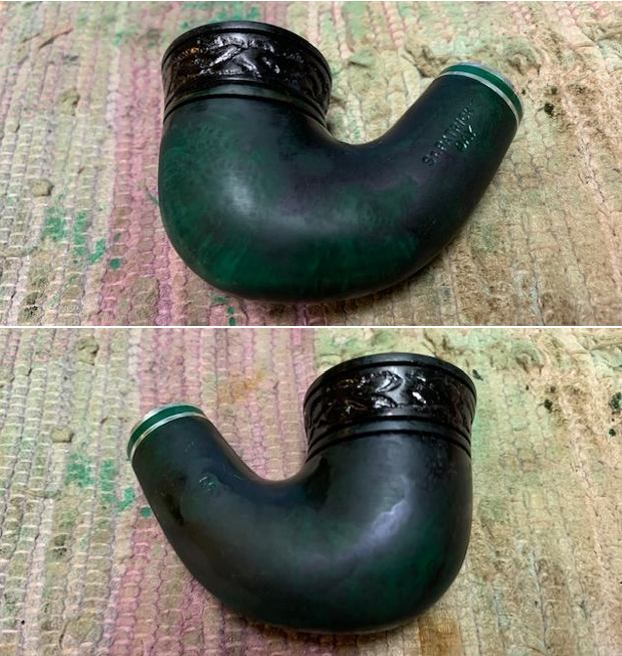
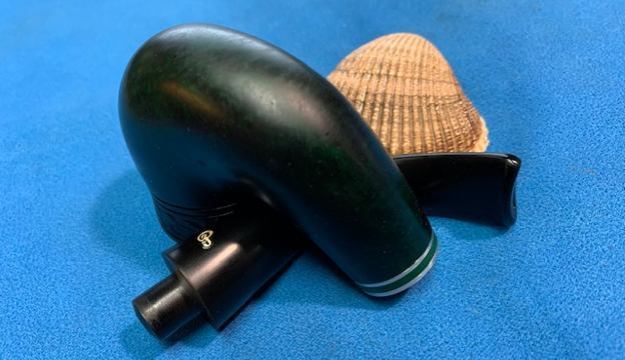
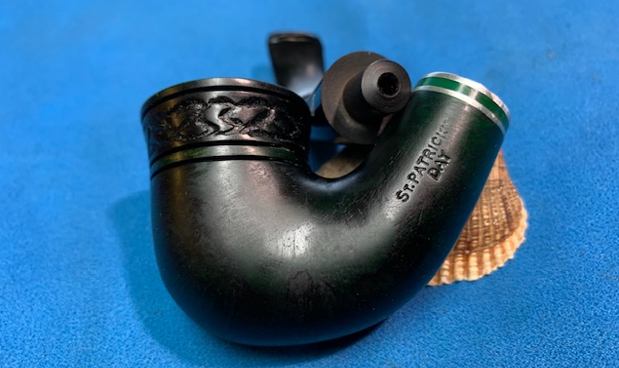
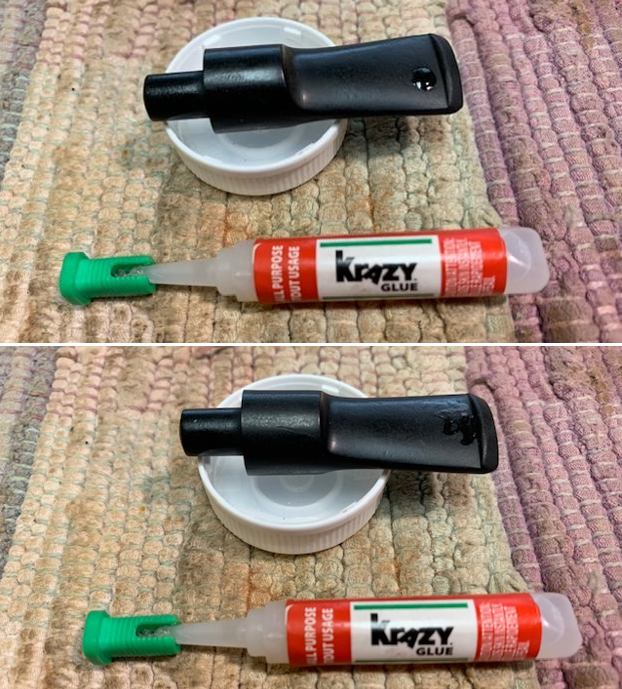
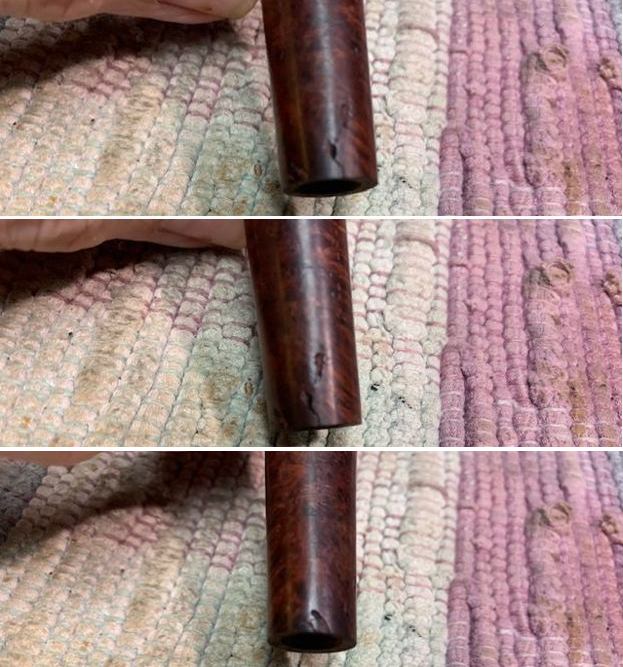 I decided to start my work on the pipe by dealing with the damage on the shank end. I filled in the crack and the damaged fills with briar dust and clear CA glue. I found a thin brass band in my band collection that was a perfect fit on the shank so once the repair had cured and I sanded it down I fitted a band. I put a thin bead of glue around the shank end and pressed the band in place. It bound the repaired areas together and it gave the shank a touch of bling. I took some photos of the banded shank to give a picture of what I was seeing!
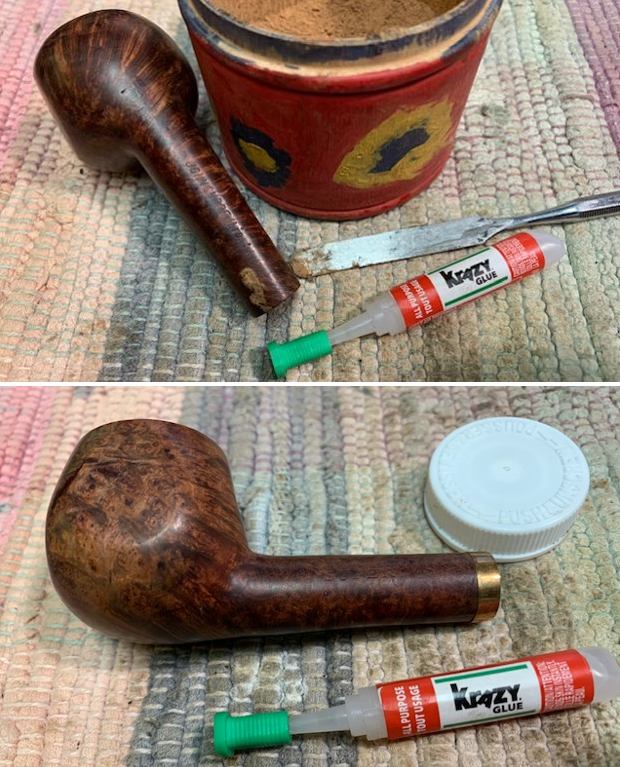
 I dealt with the damage to the rim top by topping it on a topping board with 220 grit sandpaper. Like so many other things in this process I also would need to redo the crowned rim top once I was finished.
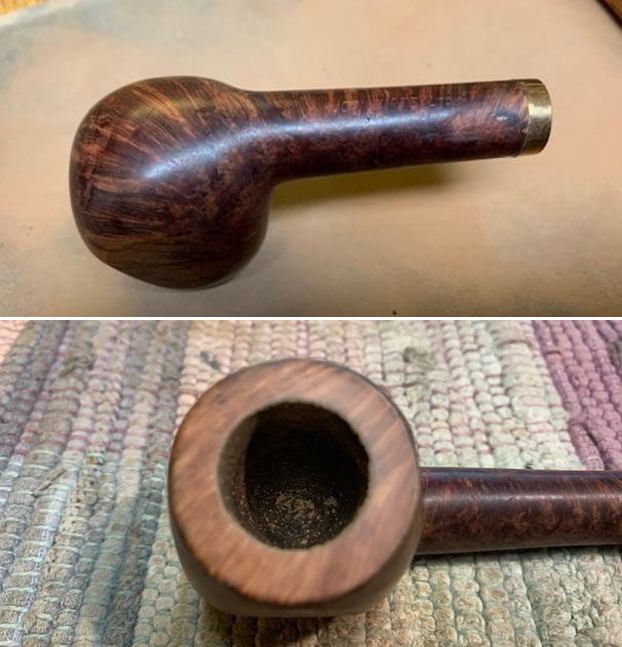 I wiped the bowl down with acetone on a cotton pad to remove the heavy stain around parts of the bowl sides. I wanted really be able to see the grain on the bowl. I also used this in preparation for reworking the bowl crown.
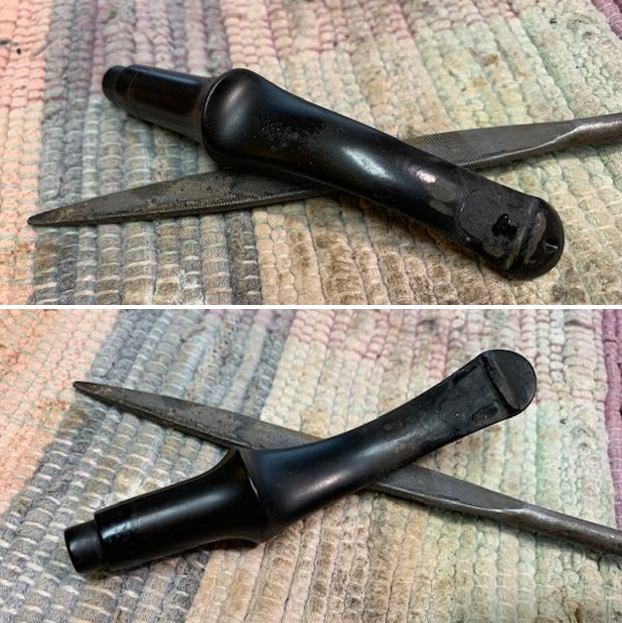
 I used a flat file to take down the outer edge and bevel it to bring the crowned rim back to the top of the bowl.
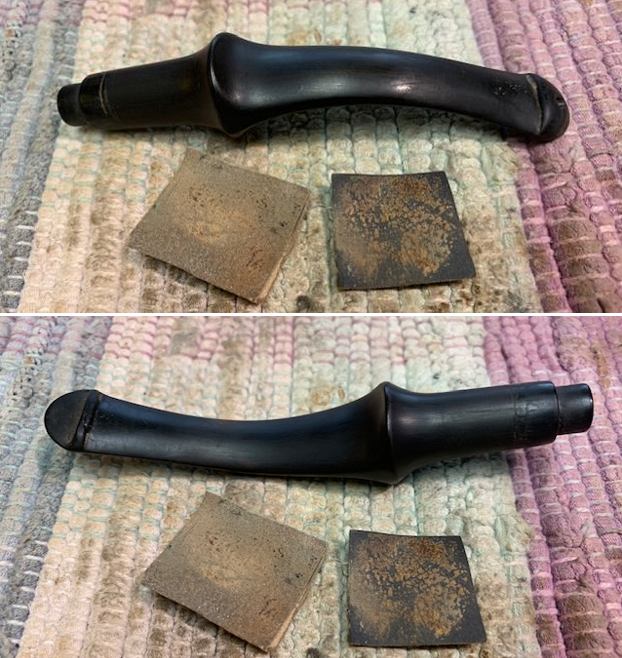
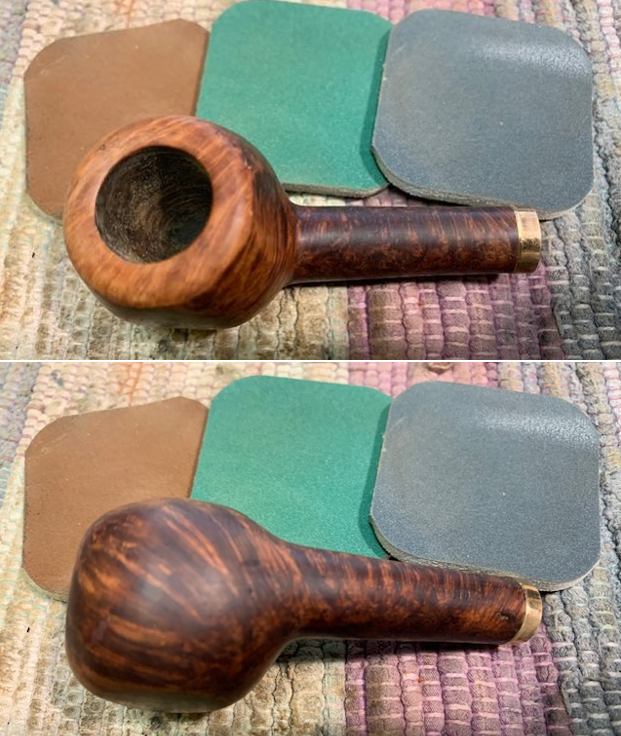
 I sanded the outer filed edge and the inner edge to give a slight inward bevel with 220 grit sandpaper to smooth out the file marks and fine tune the shape of the rim.
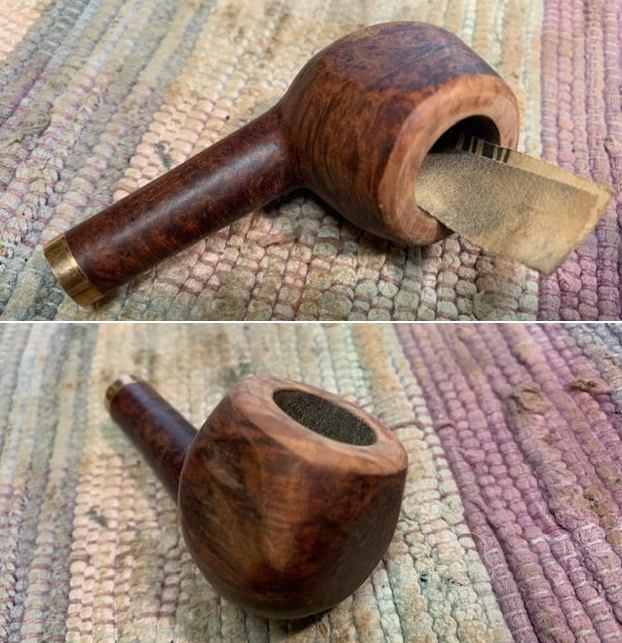
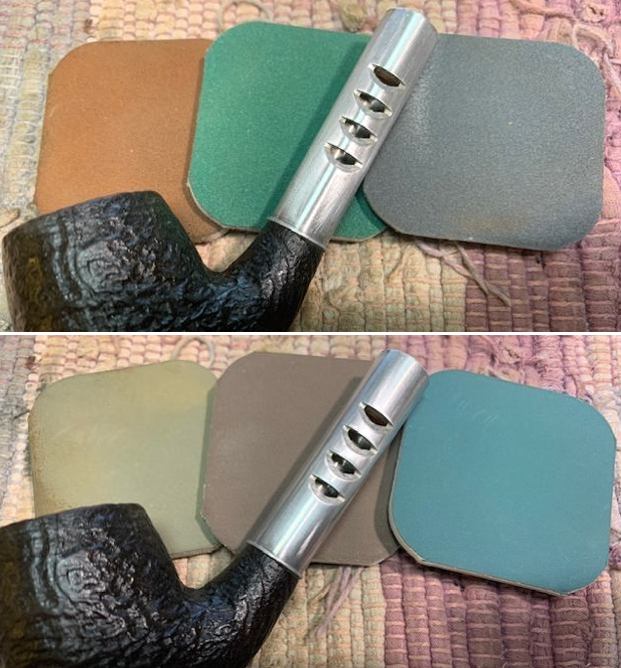
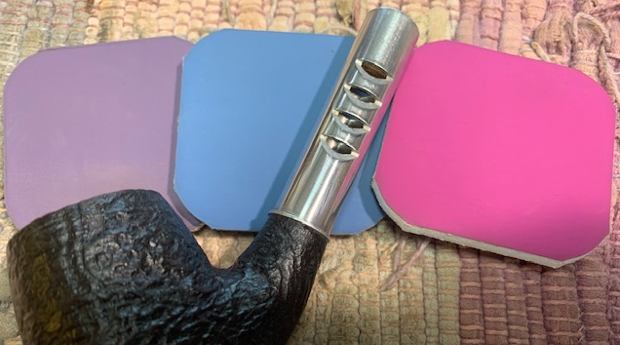
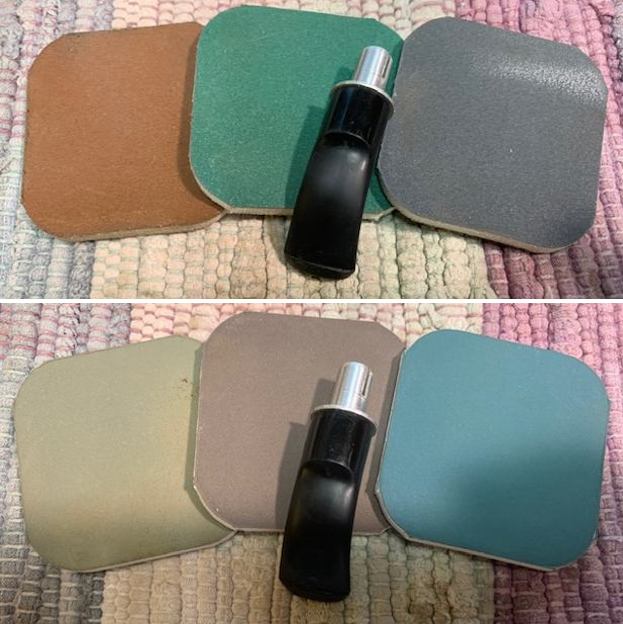
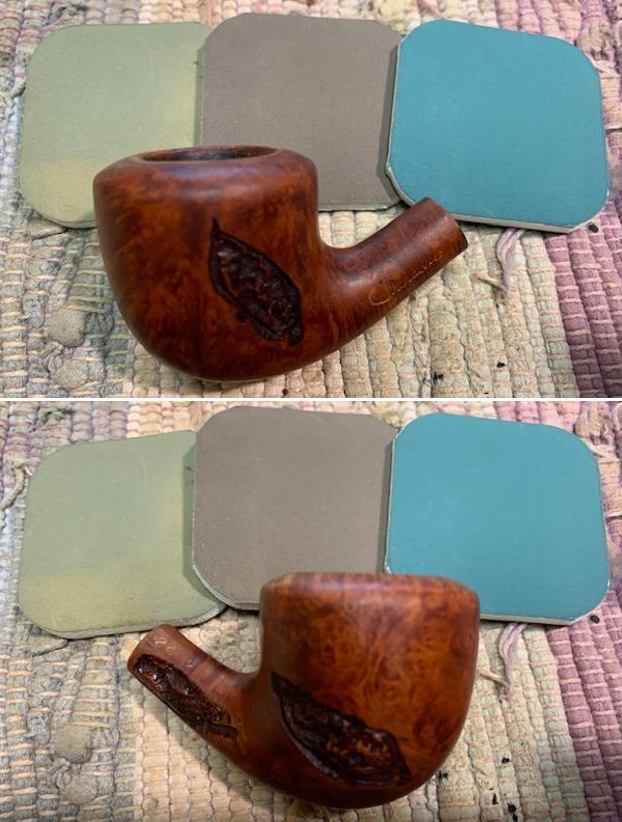
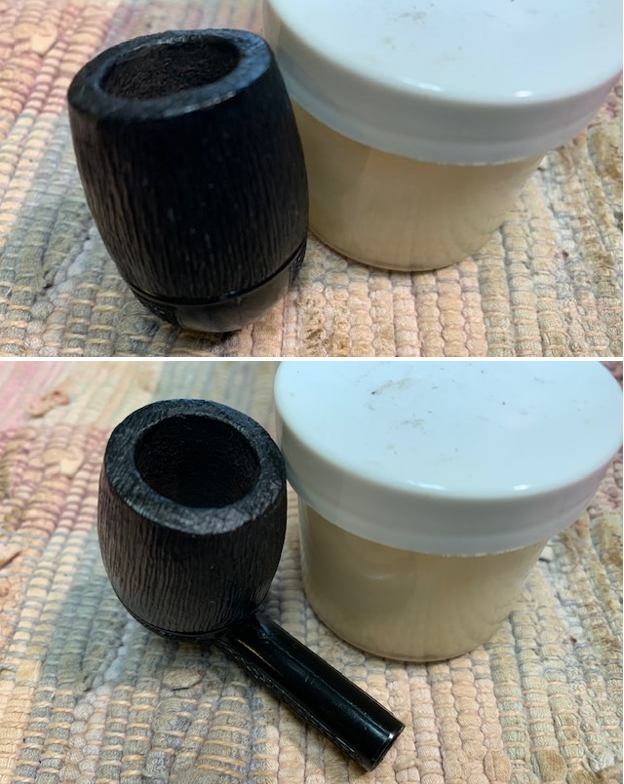
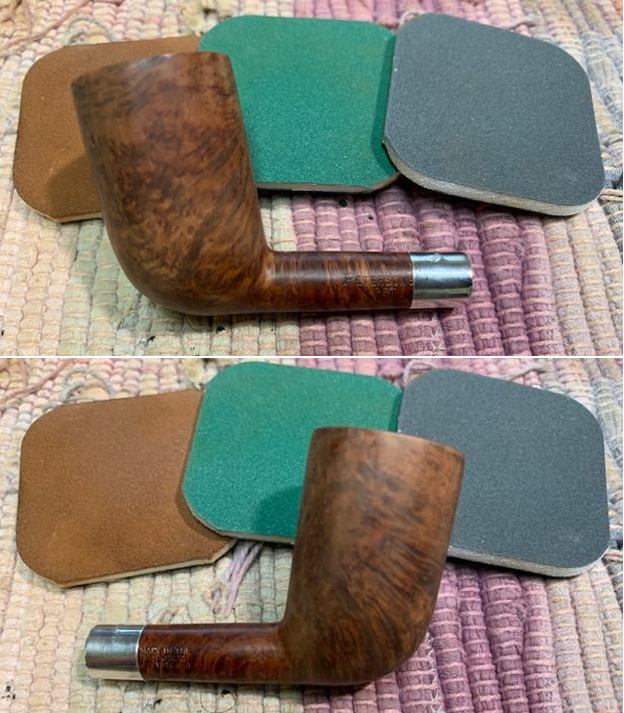
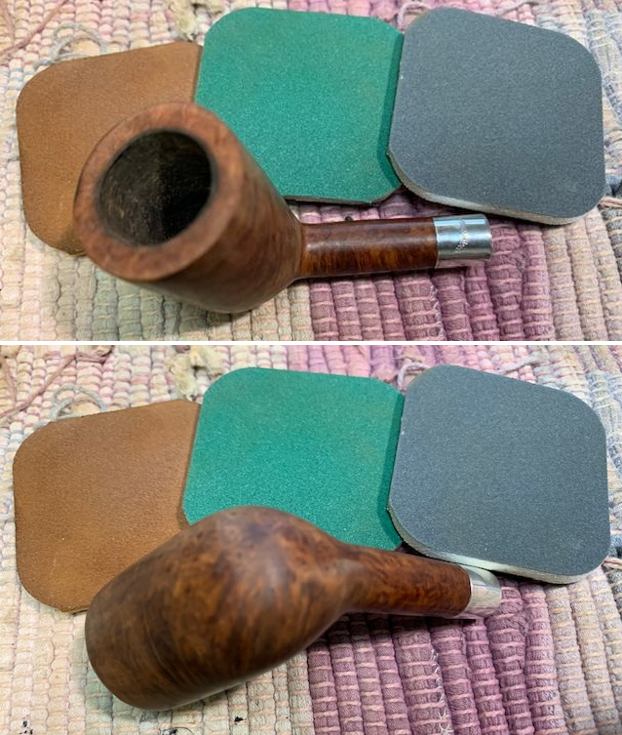
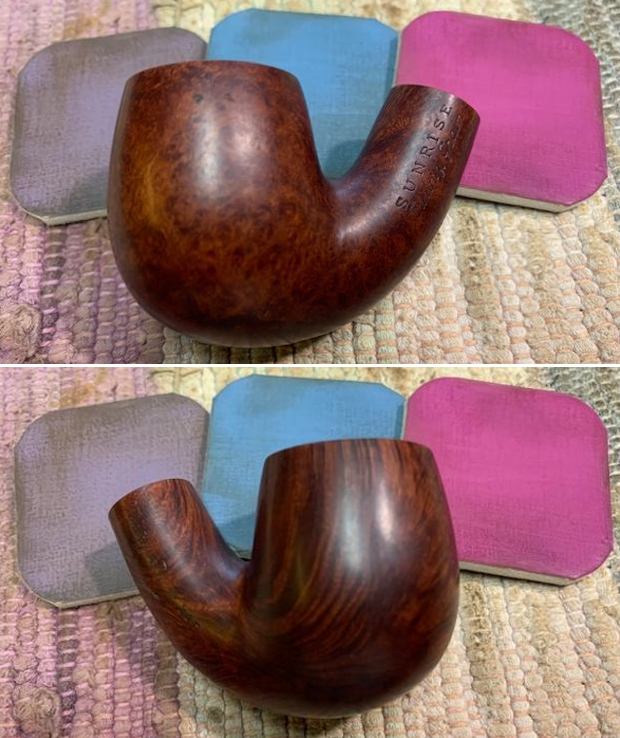
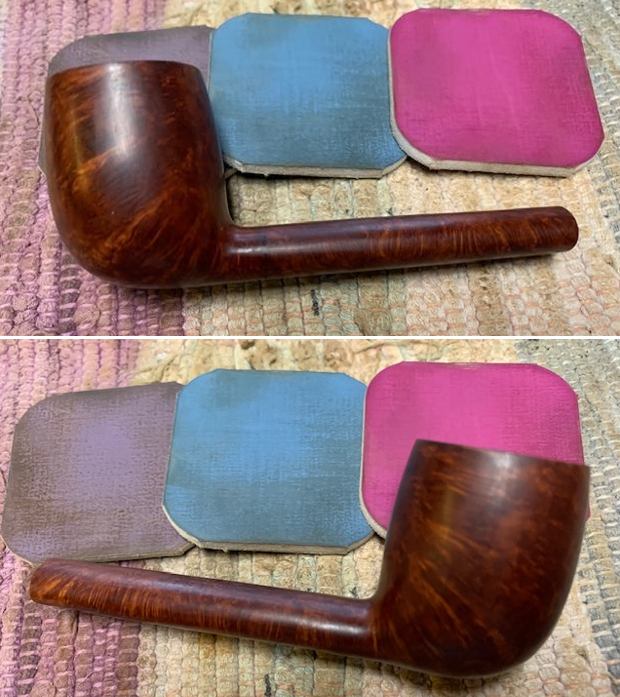
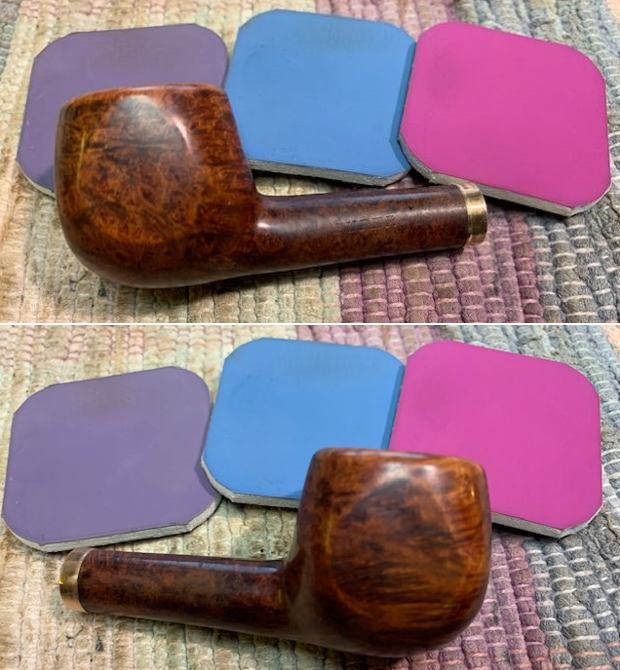
 I polished the newly shaped rim top and edges along with the rest of the bowl with micromesh sanding pads – 1500-12000 grit pads. I wiped it down with a damp cloth after each sanding pad. It was beginning to look good to my eyes.
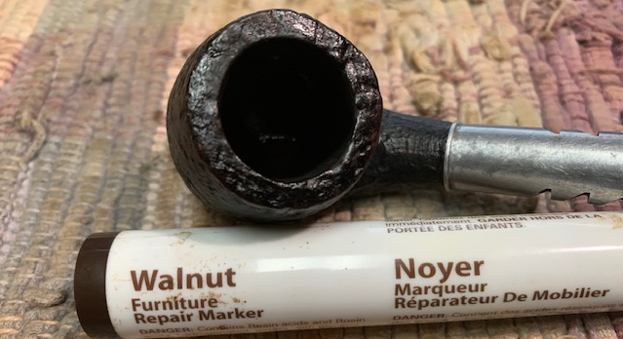
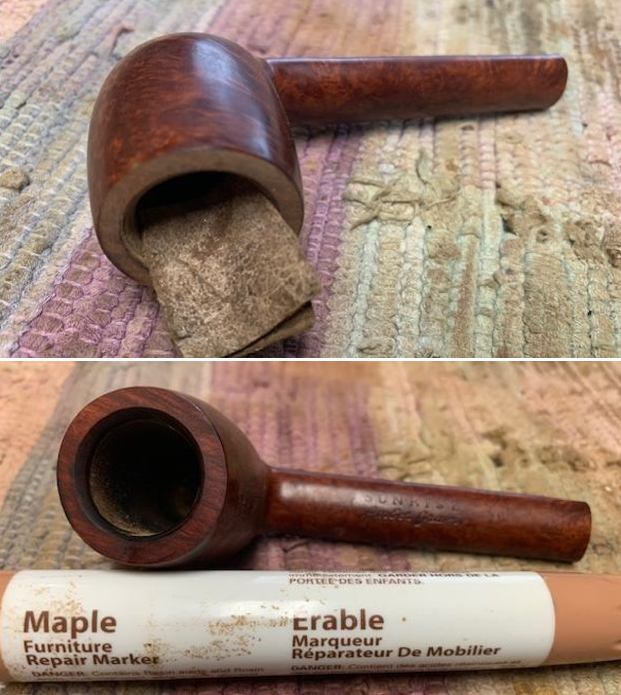
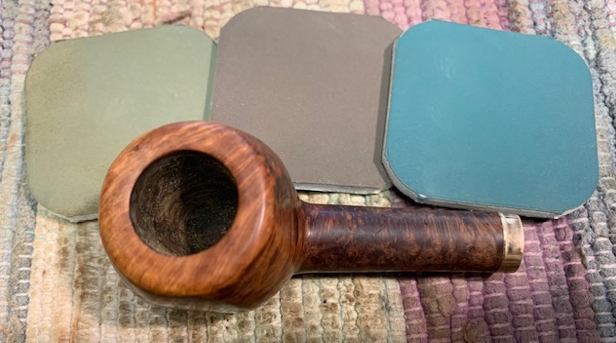 I forgot to take a photo of the underside at this point. I paused the polishing to stain the rim top and edges of the bowl with an Oak Stain Pen. I wanted to see if I could blend it into the bowl sides. I also touched up the light spots on the bowl sides at the same time. Once I finished that I buffed the bowl with Blue Diamond on the buffing wheel and returned to finish the polishing with 6000-12000 grit micromesh pads.
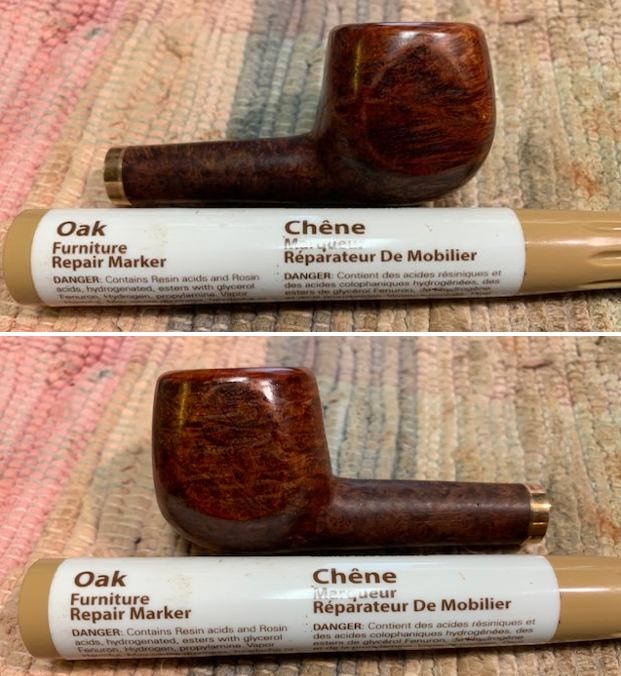
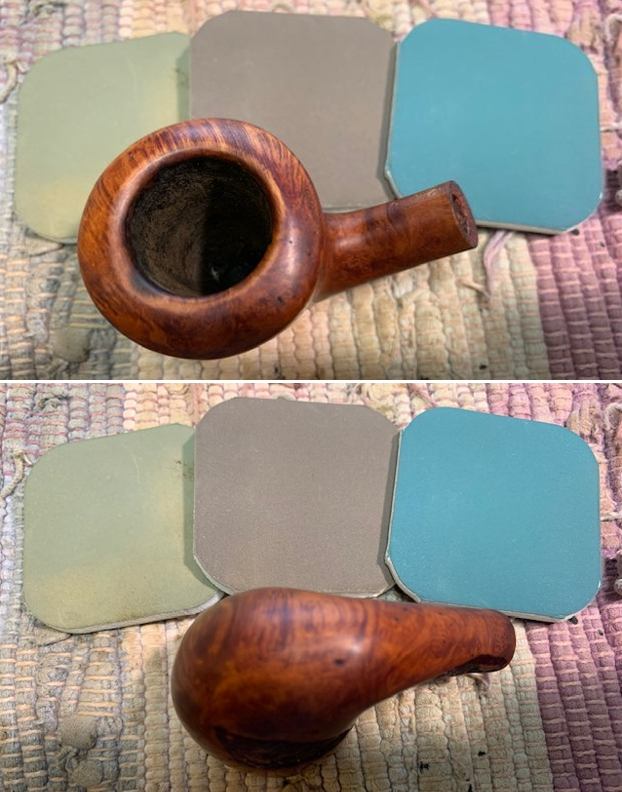
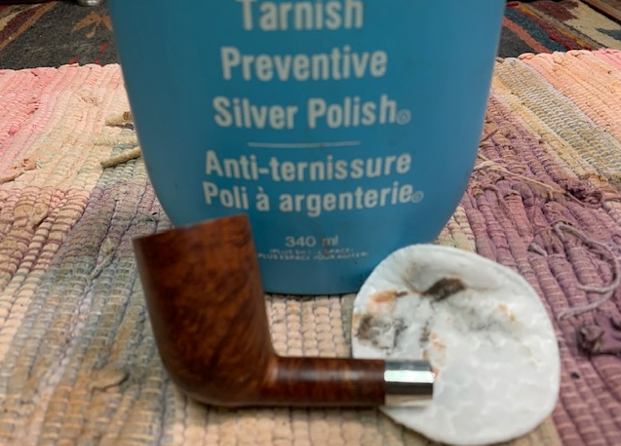
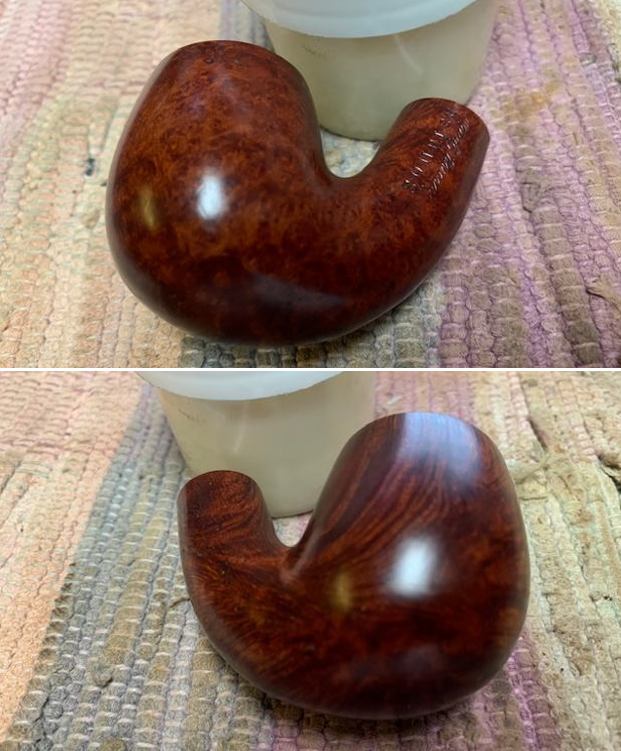
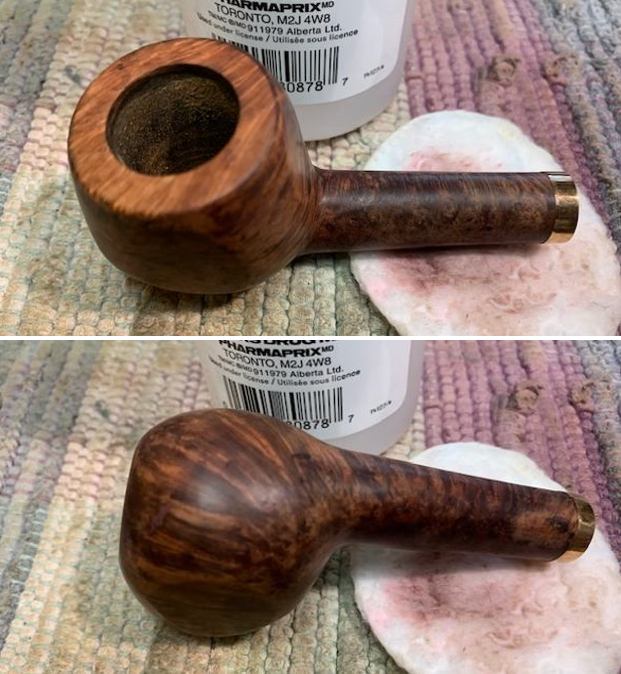
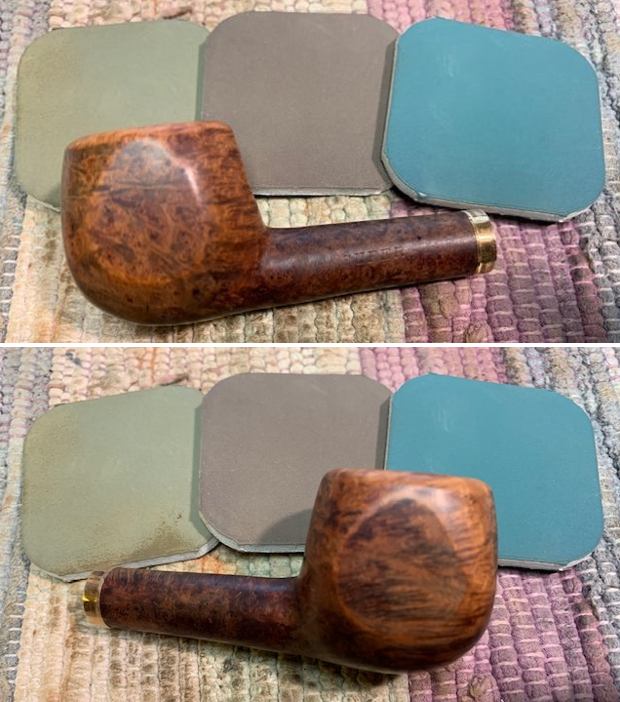
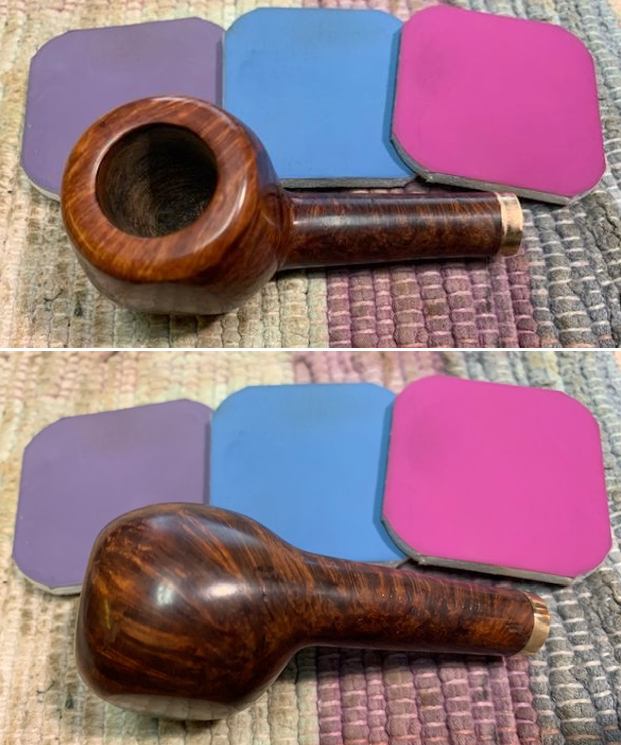 I rubbed the bowl and shank down with Before & After Restoration Balm. I worked it into the surface of the bowl sides and shank with my fingertips to clean, enliven and protect the briar. I let the balm sit for ten minutes then buffed the bowl with a cotton cloth to raise the shine.
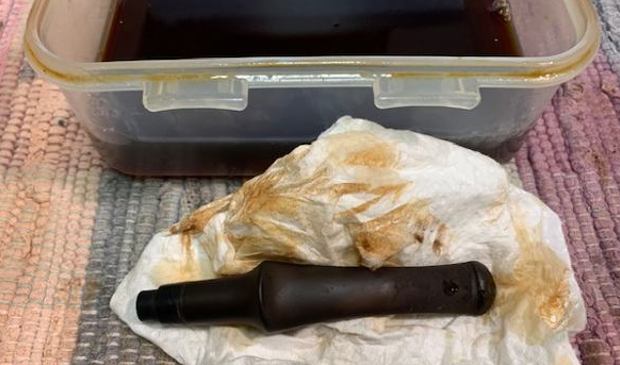
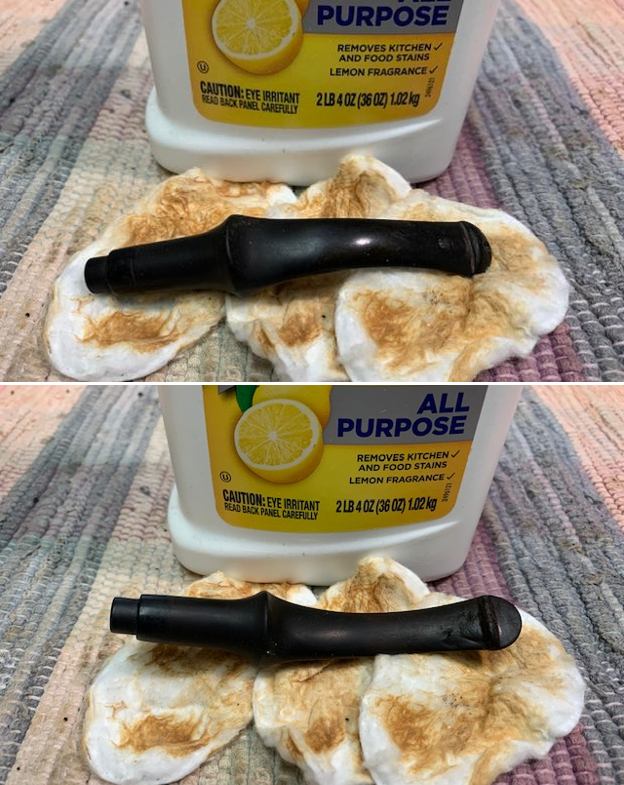
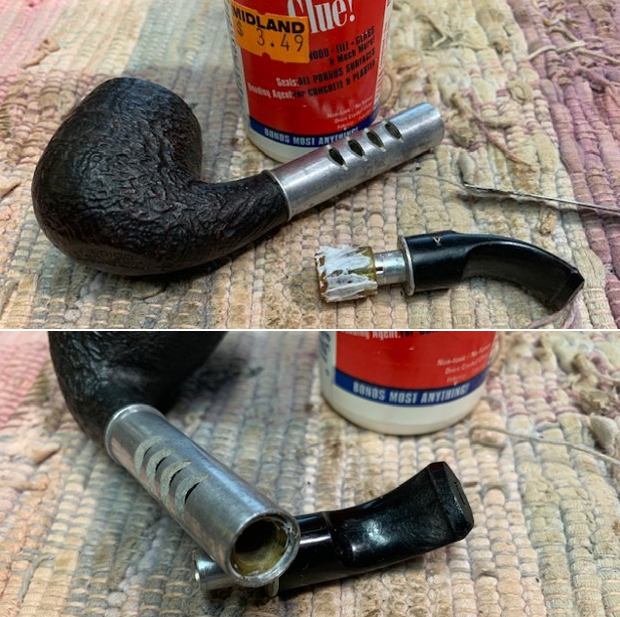
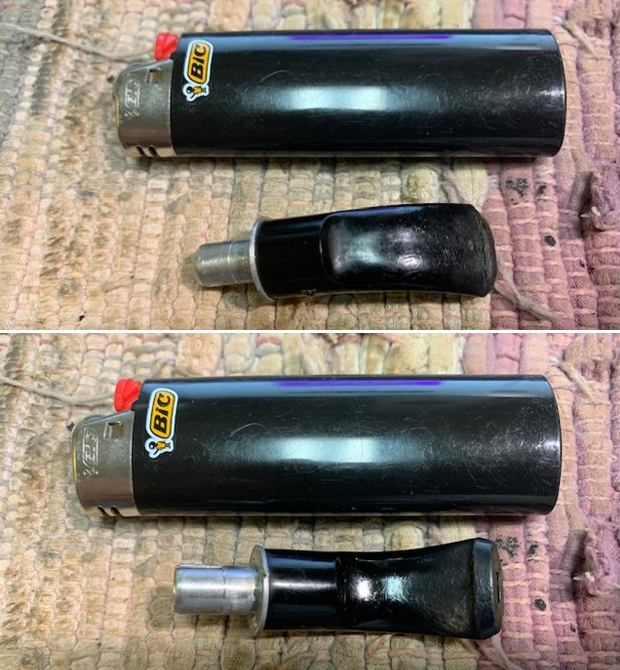
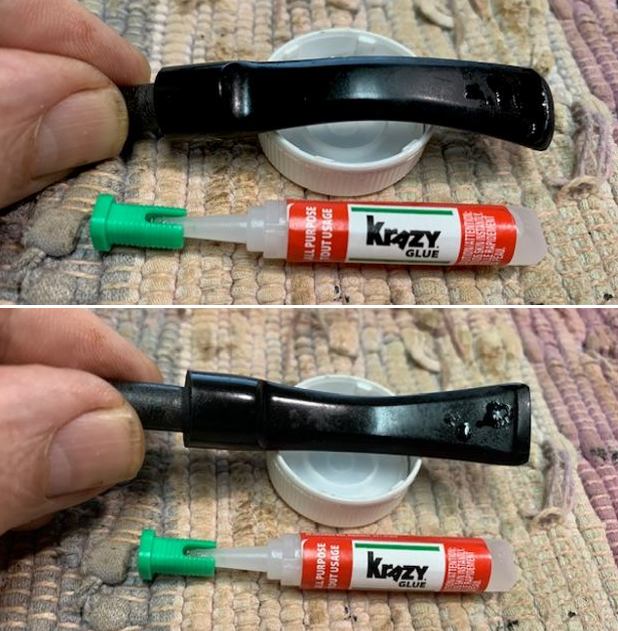
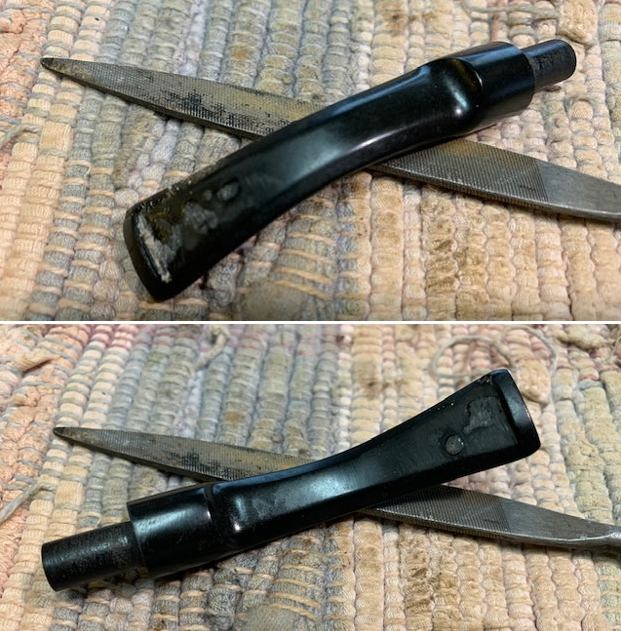
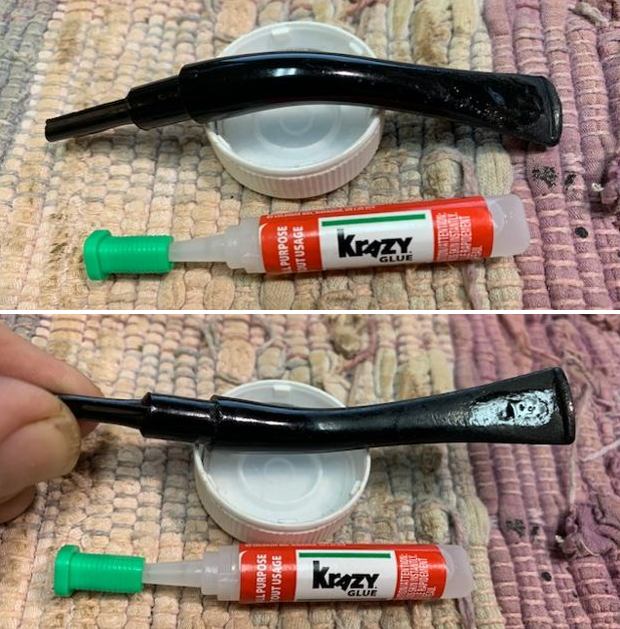
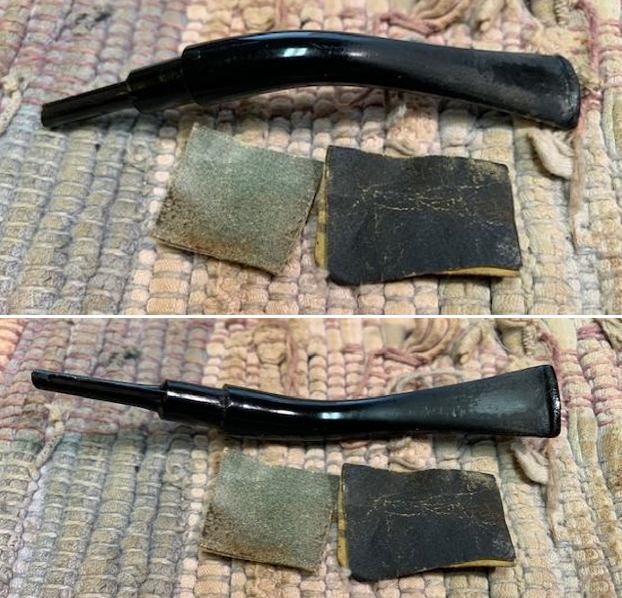
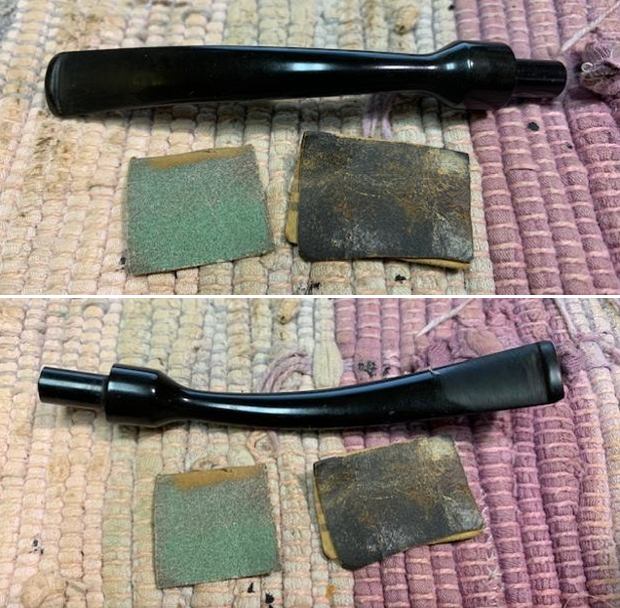
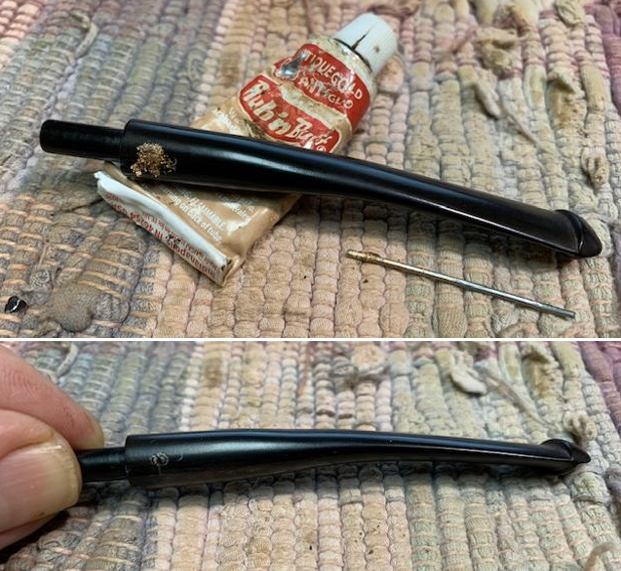
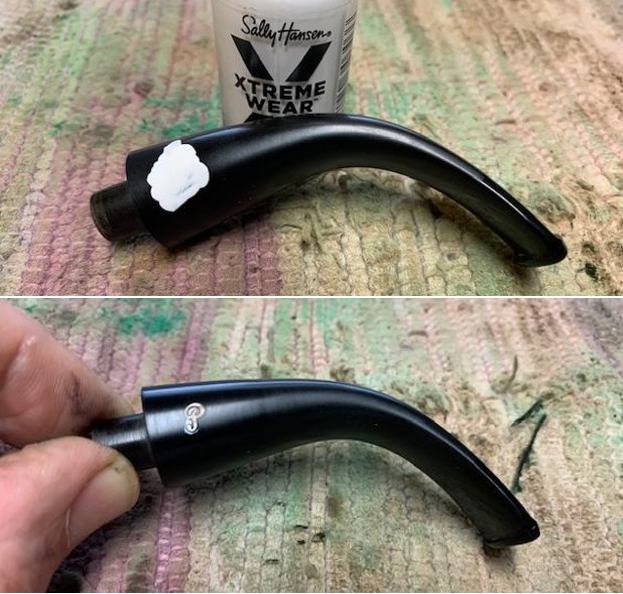
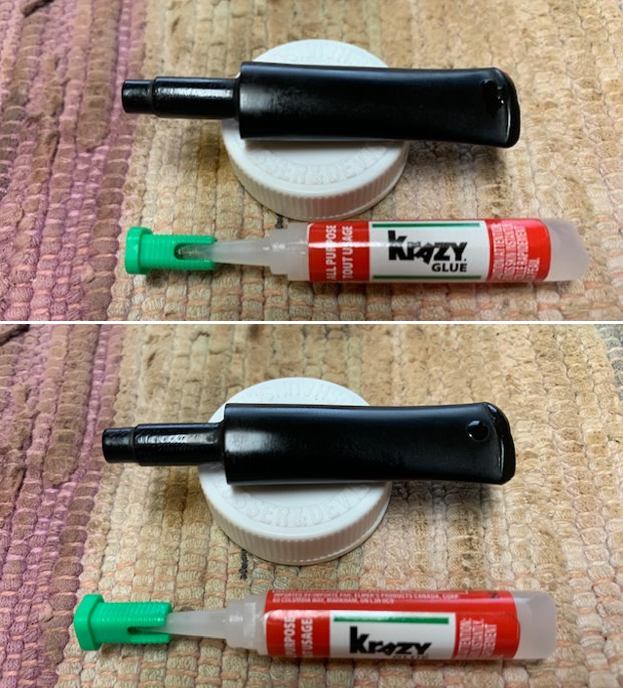
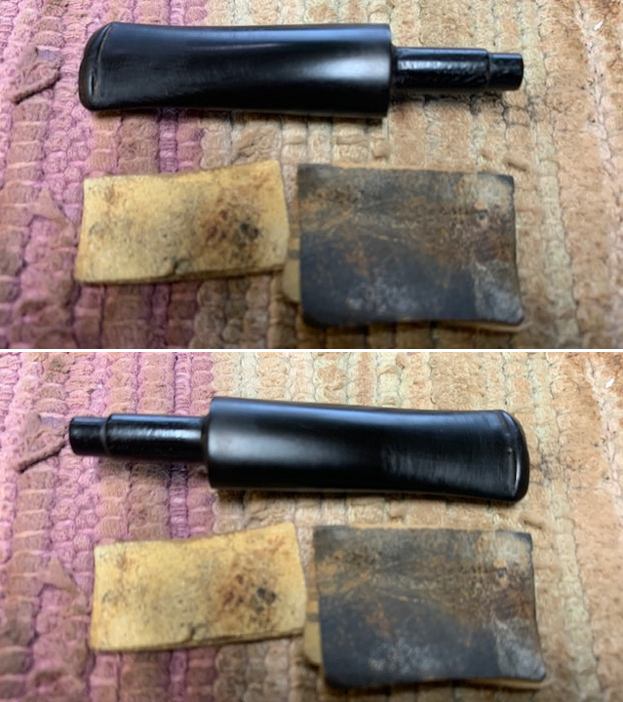
 I set the bowl aside and turned my attention to the stem. I “painted” both sides of the stem with the flame of a lighter to lift the tooth marks. It did a great job and left only one deep mark on the underside and some lighter tooth marks on the topside along the button. I filled them in with clear CA glue and once it cured I sanded the stem with 220 grit sandpaper to smooth out the repairs. I started polishing it with 400 grit sandpaper.
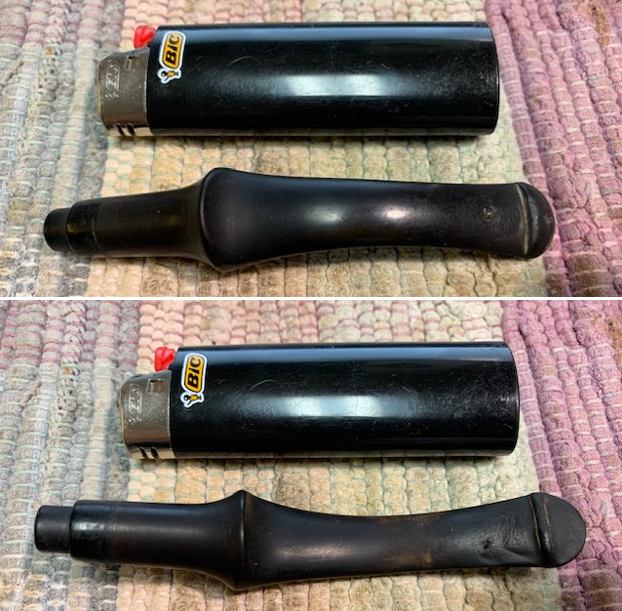
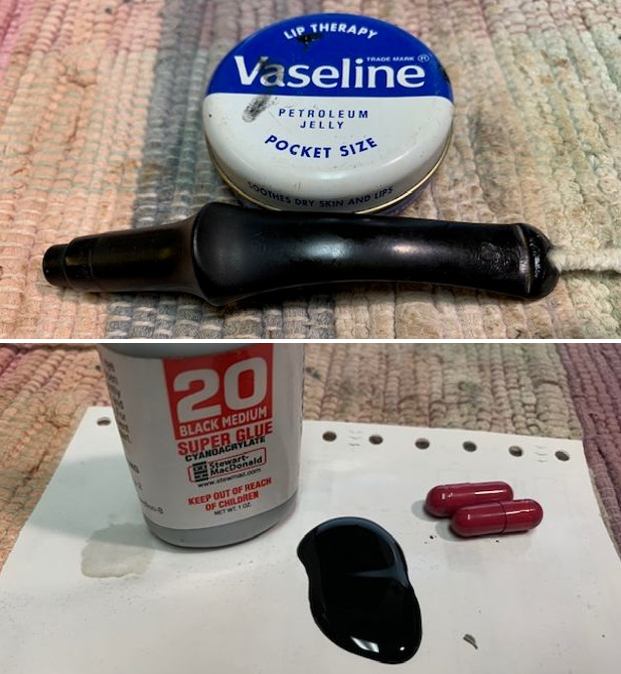
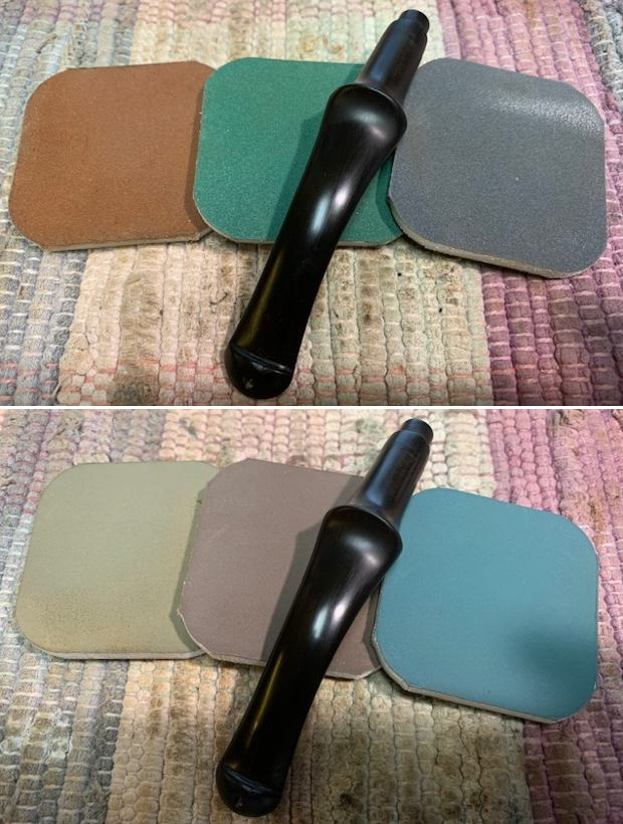
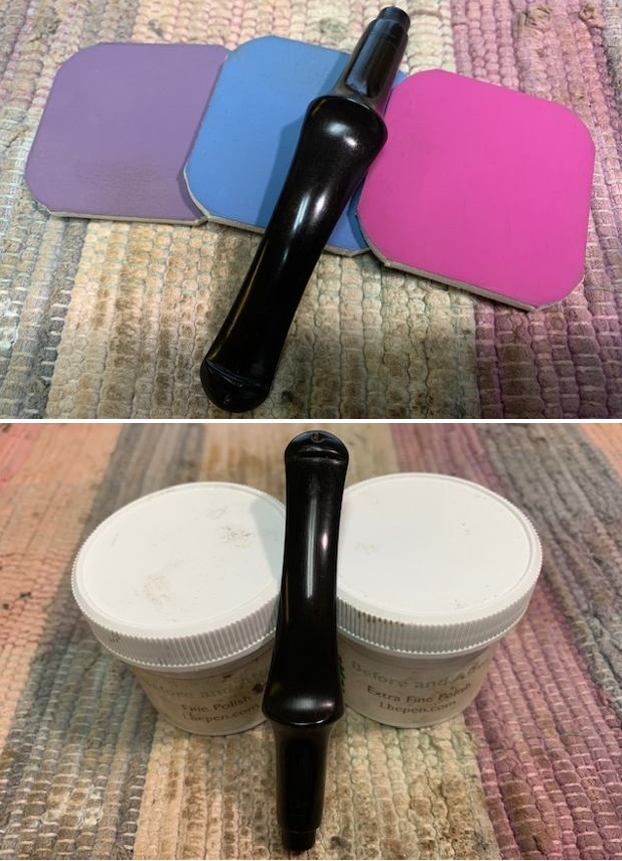
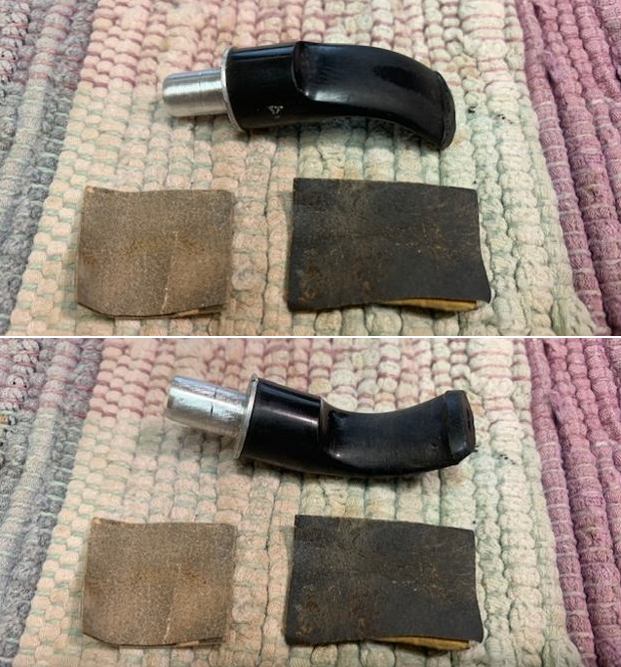
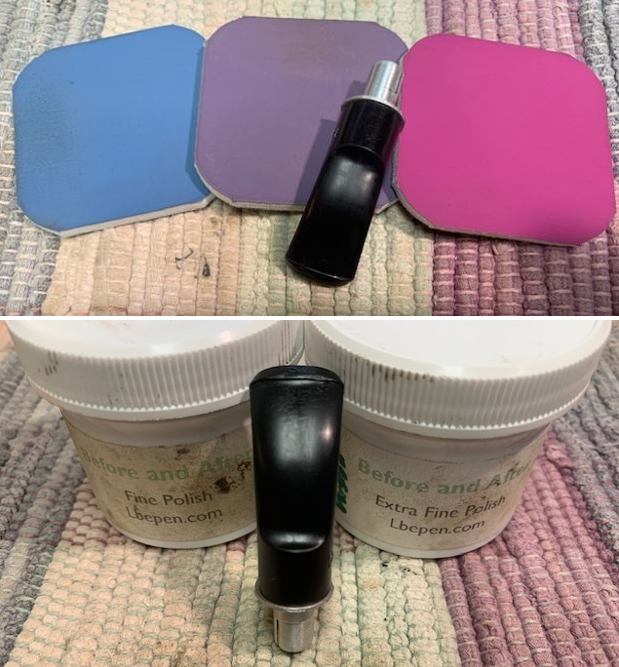
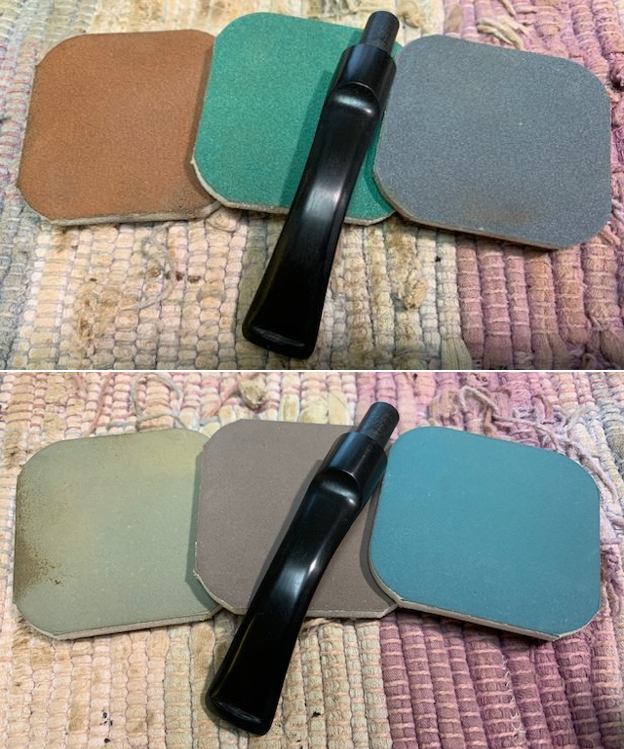
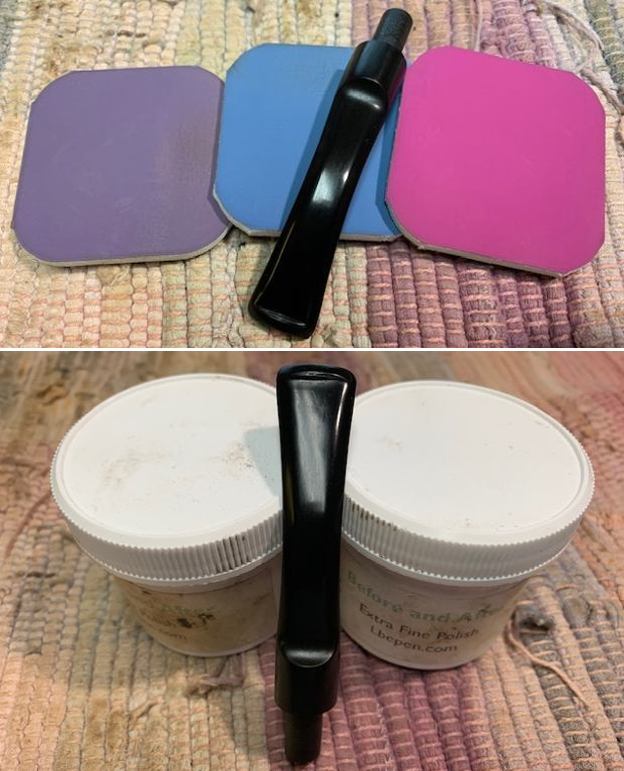
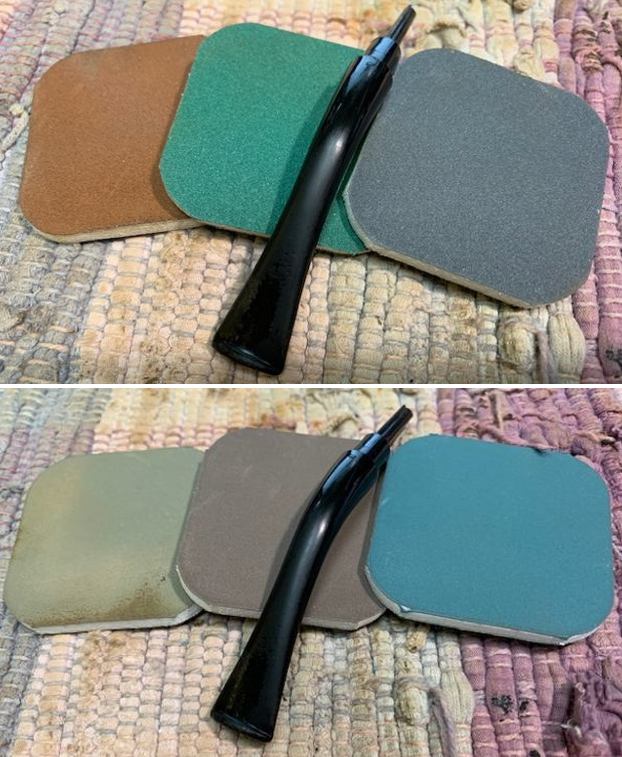
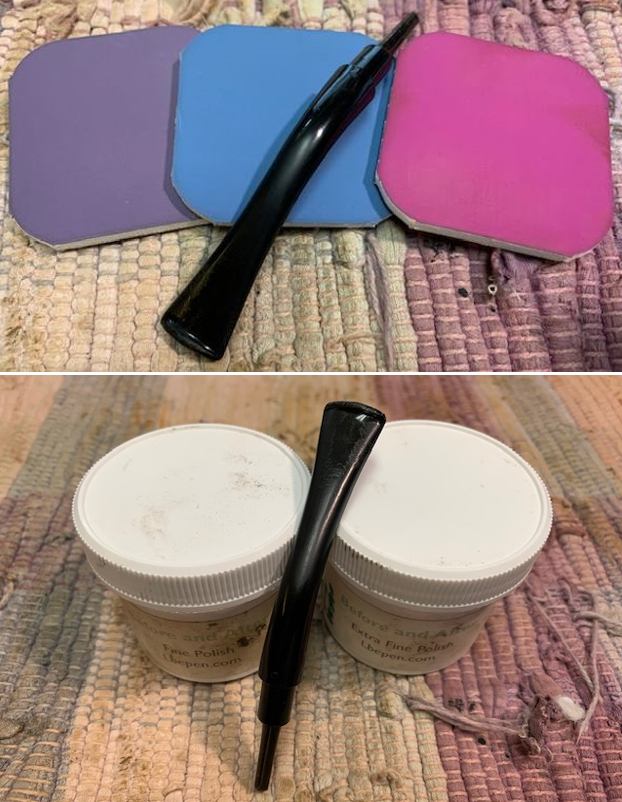
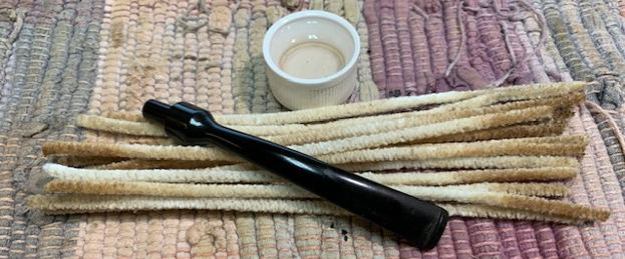
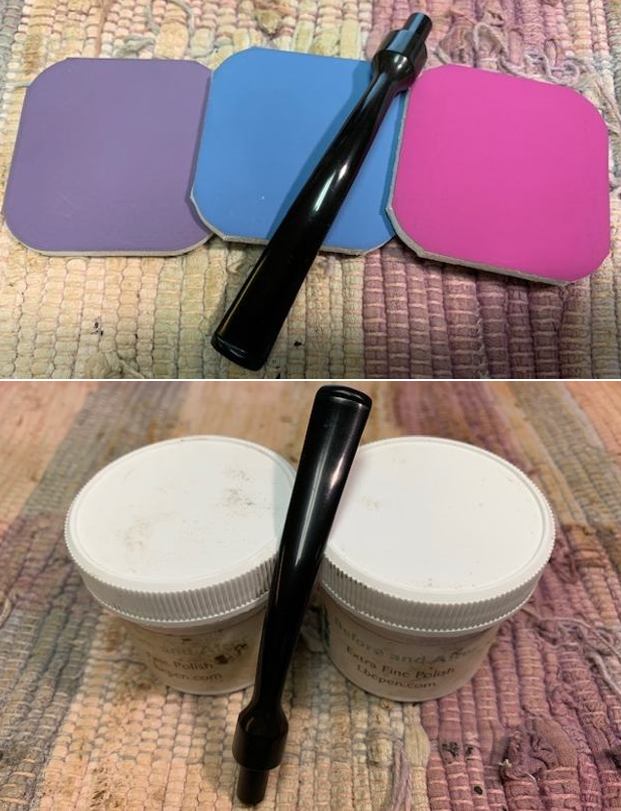
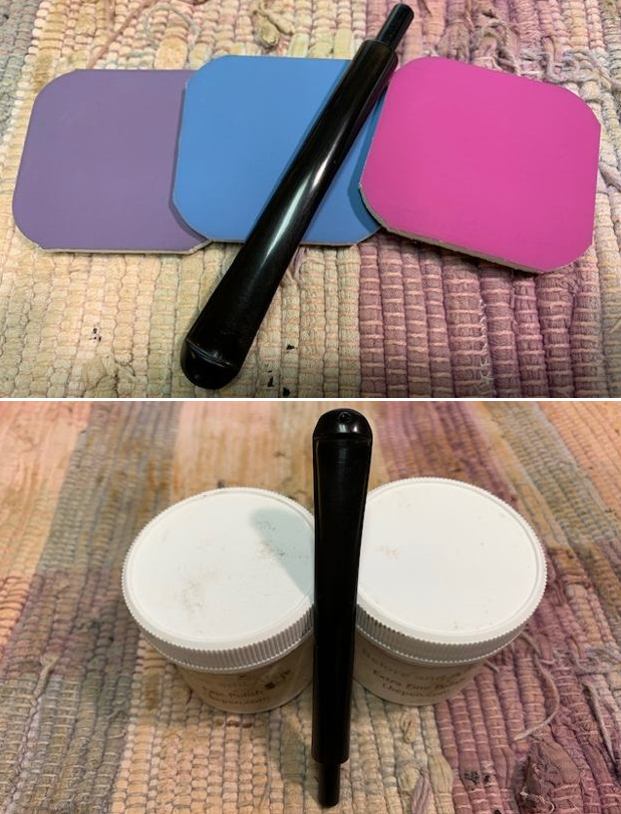
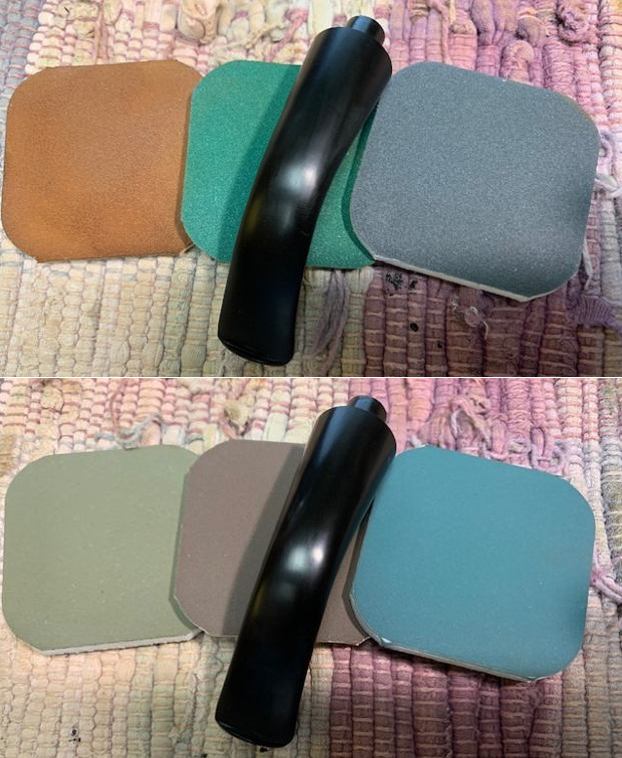
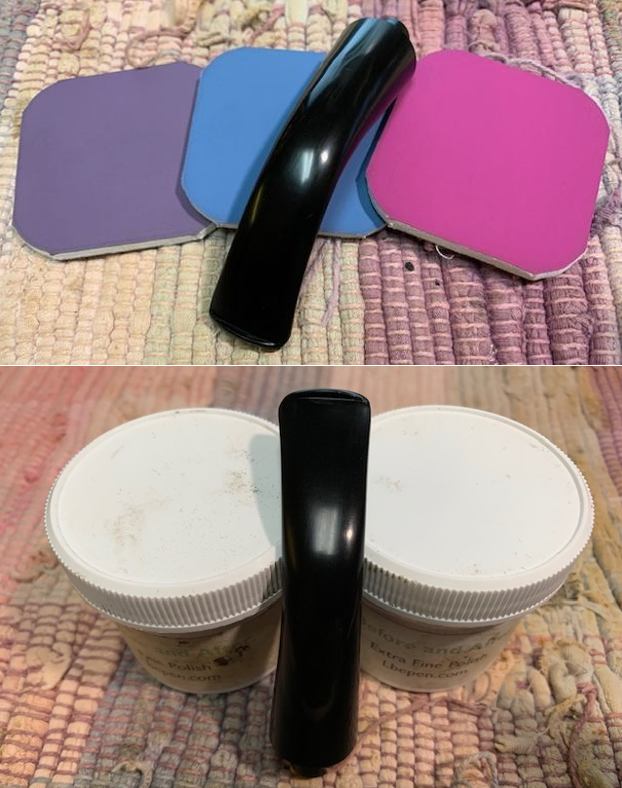
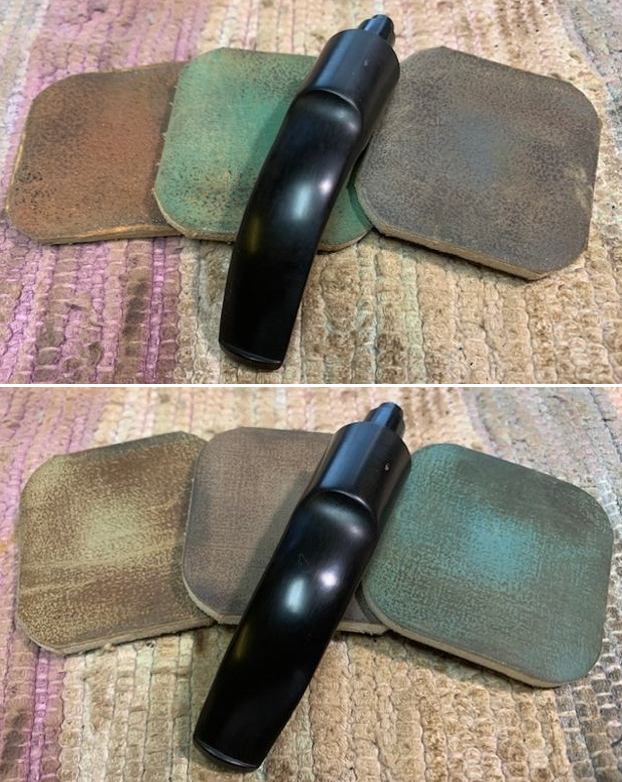
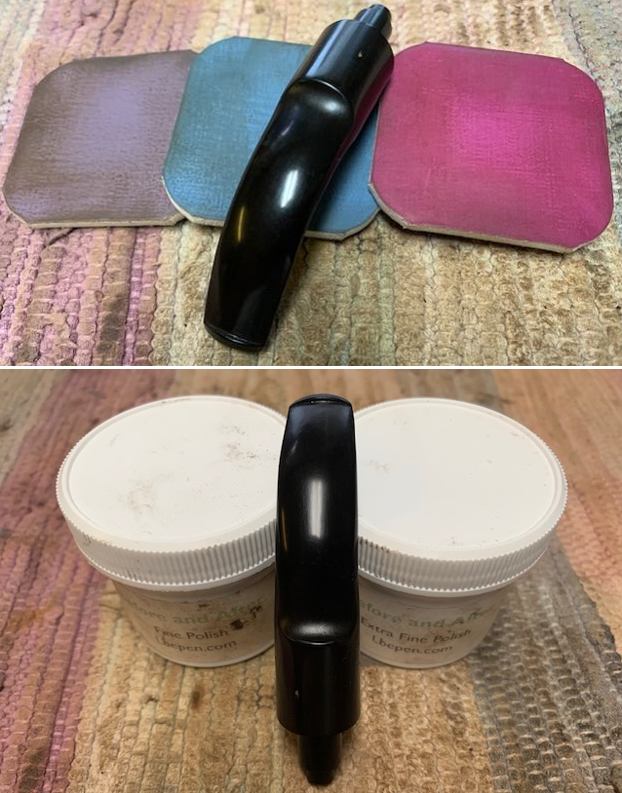
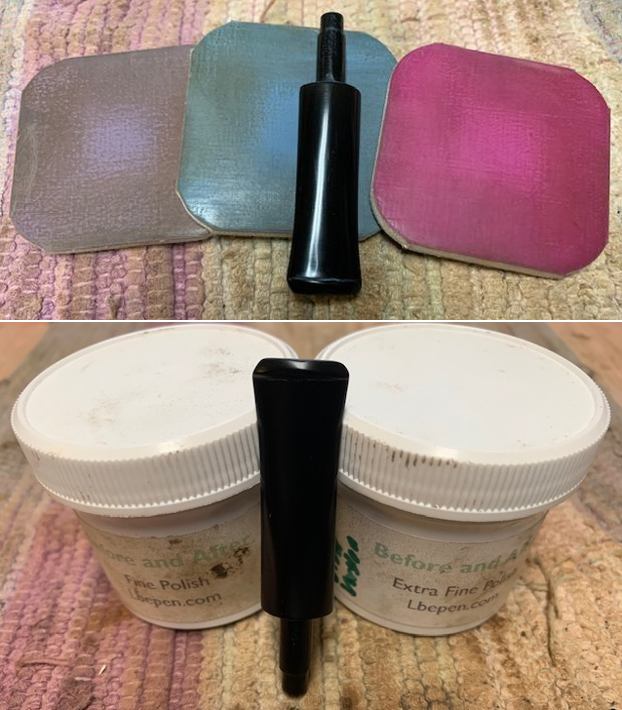
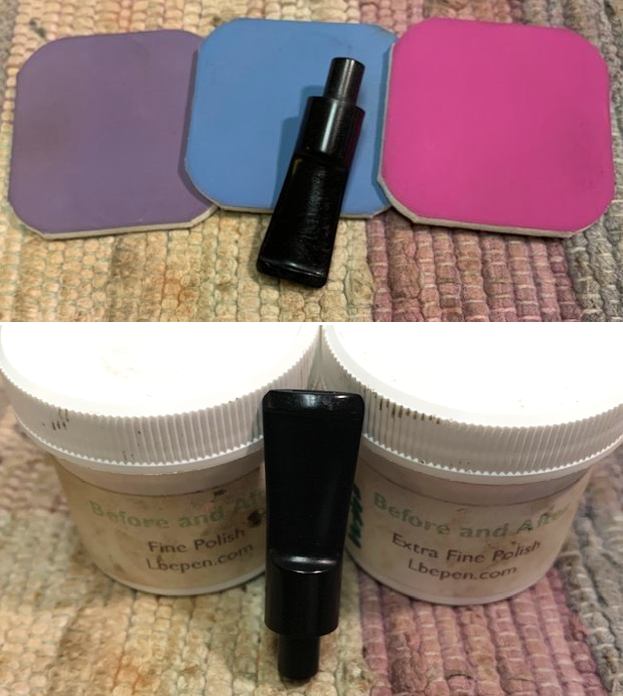
 I polished the stem with micromesh sanding pads – 1500-12000 grit pads. I wiped it down with Obsidian Oil after each sanding pad. I used Before & After Pipe Polish – both Fine and Extra Fine to further polish the stem.
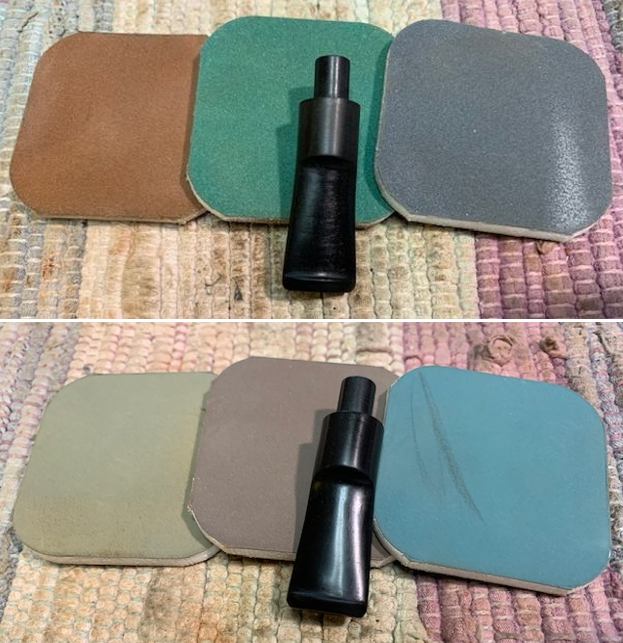
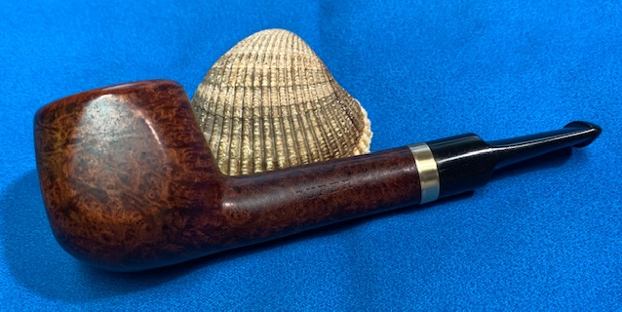
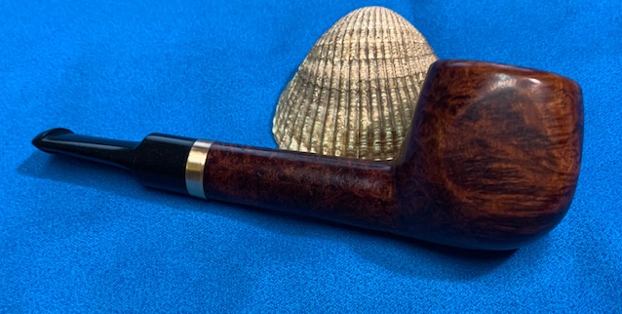
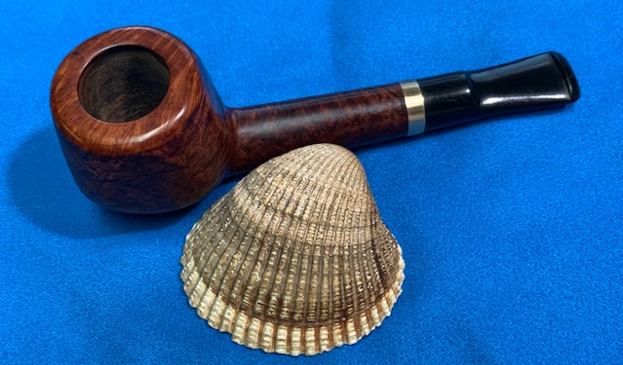
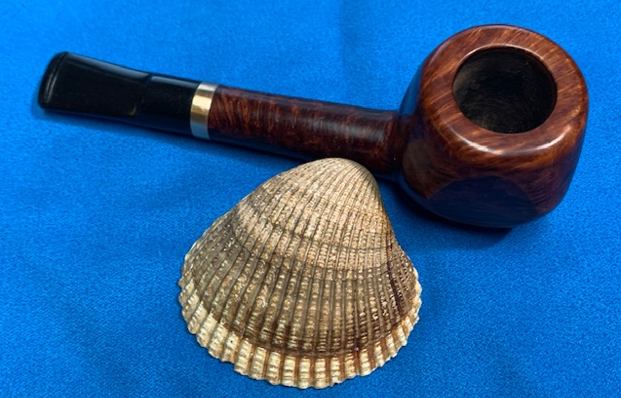
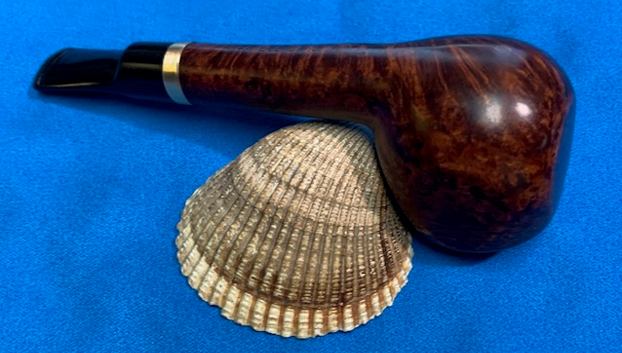
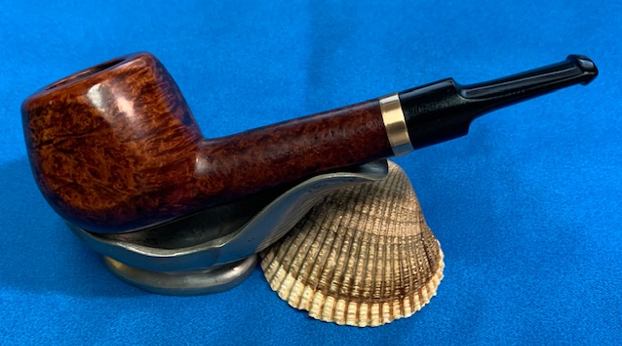
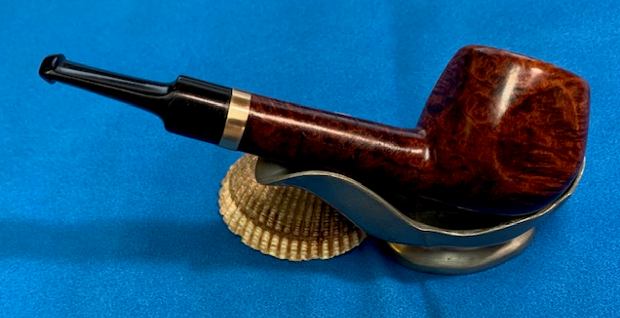
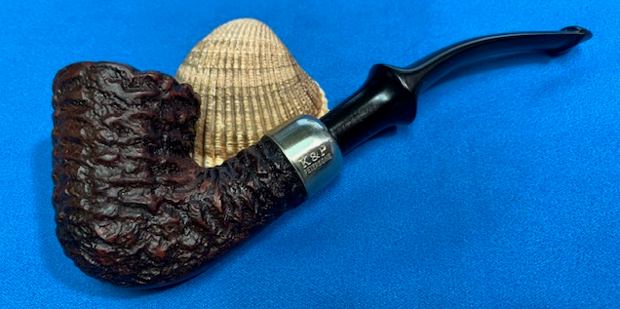
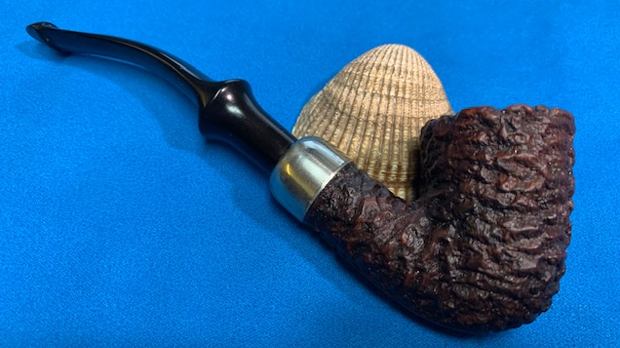
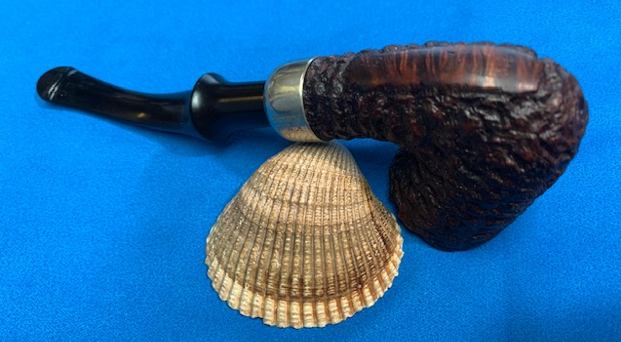
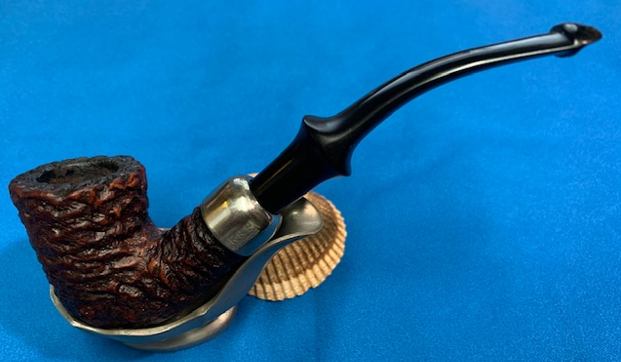
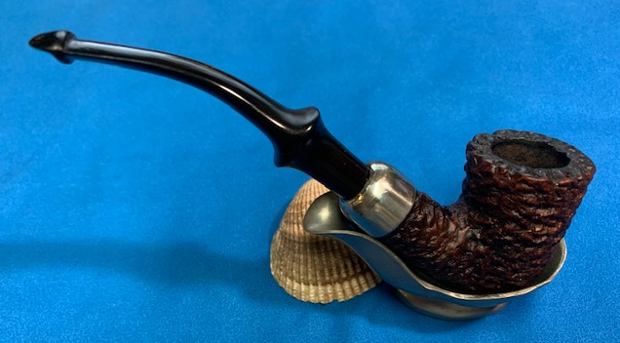
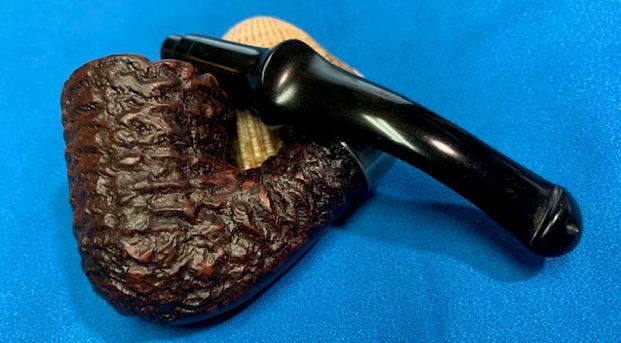
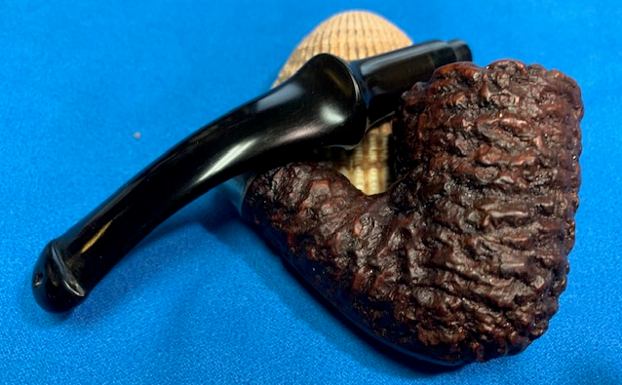
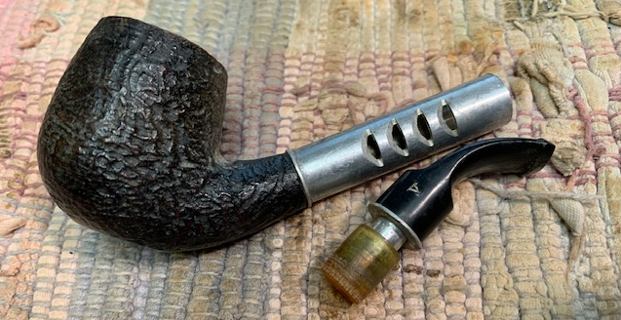
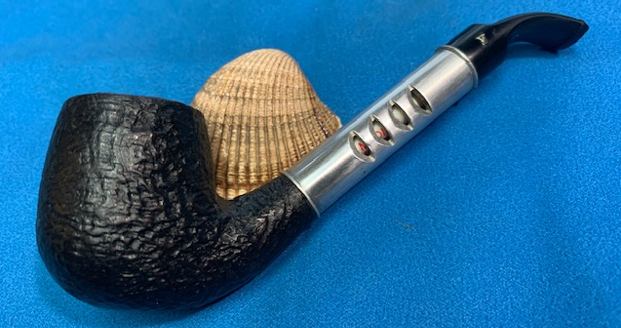
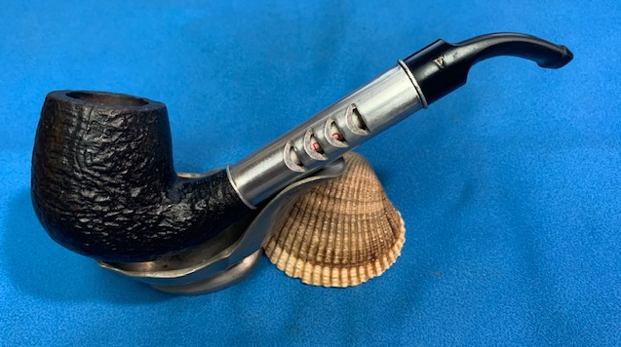
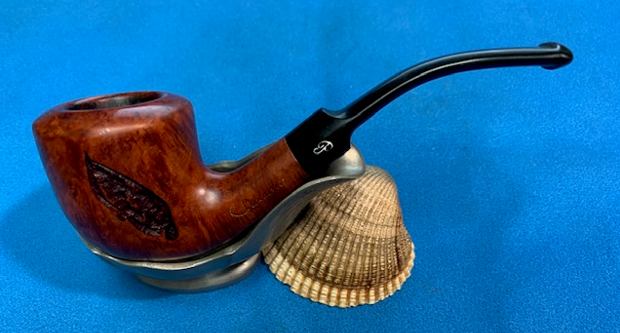
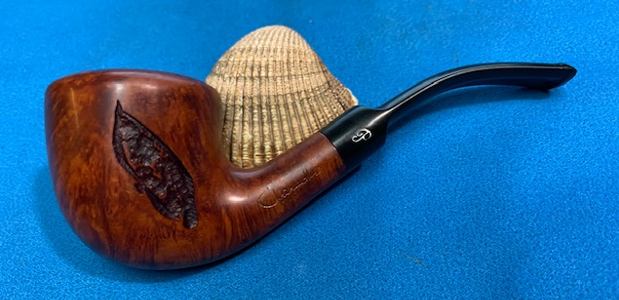
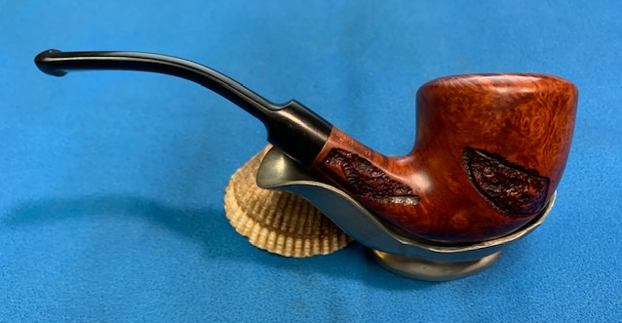
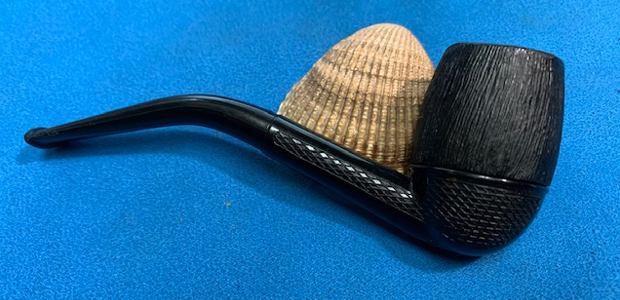
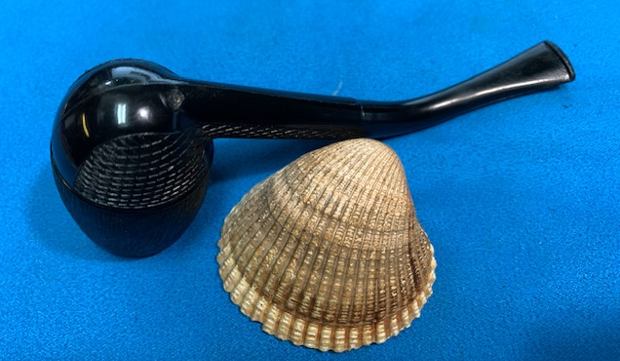
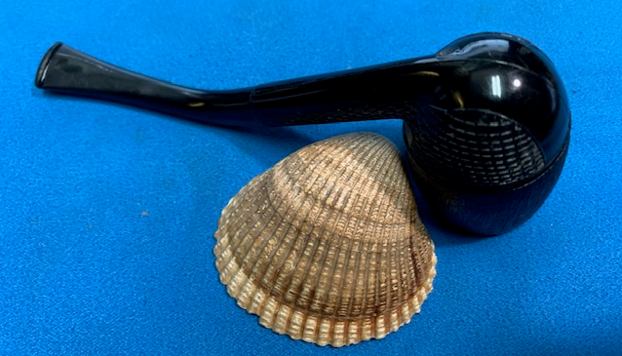
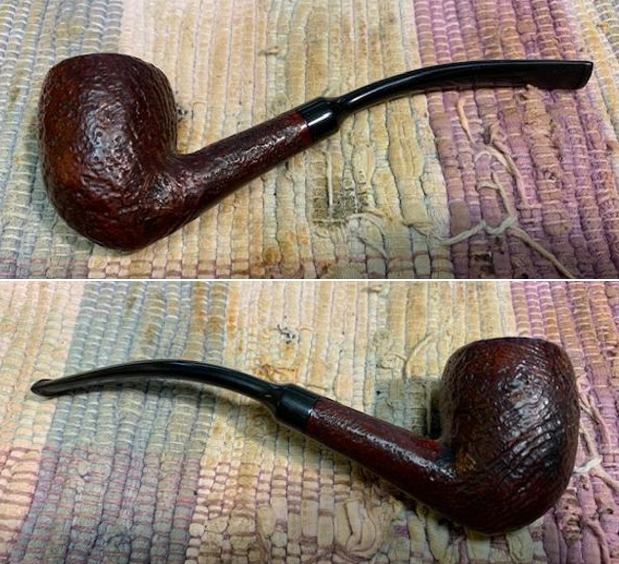
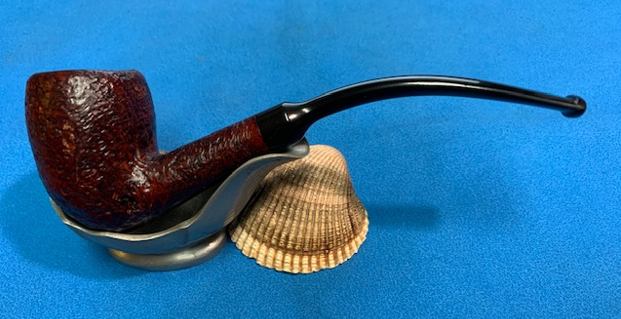
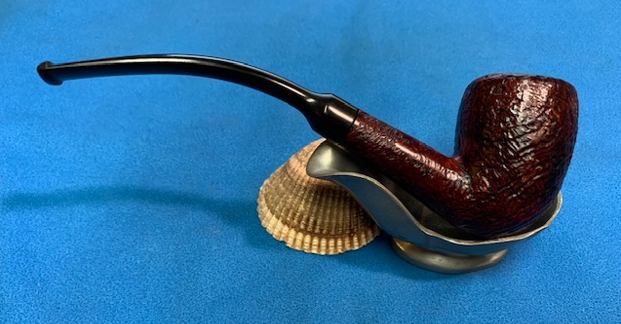
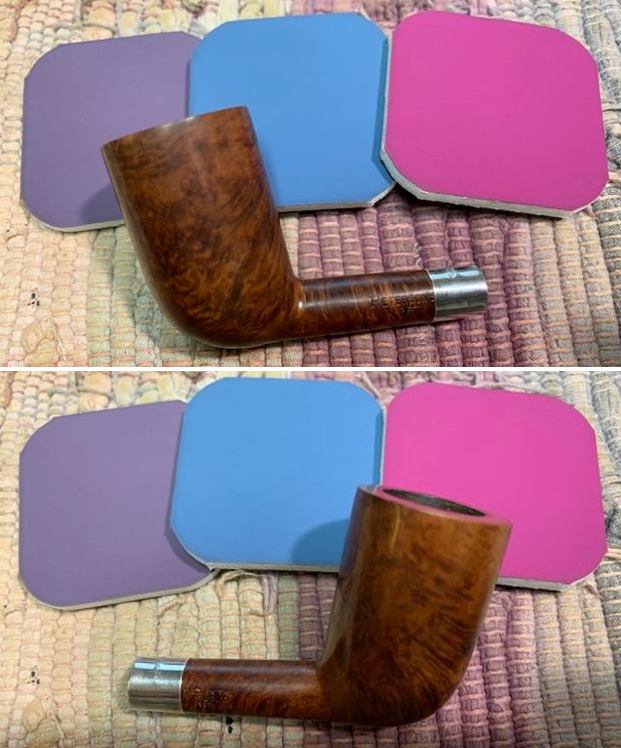
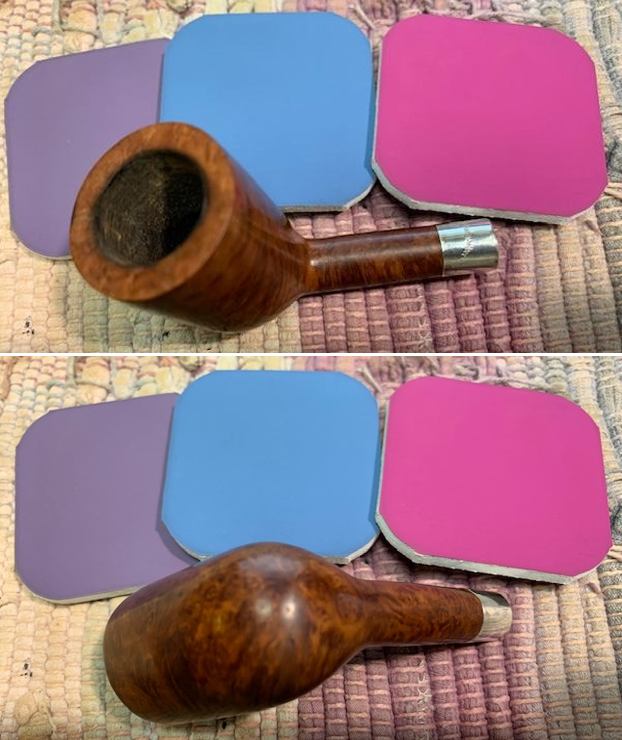
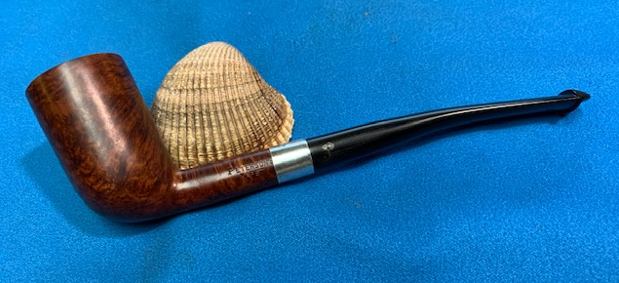
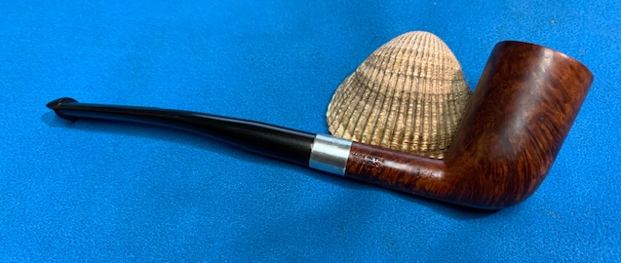
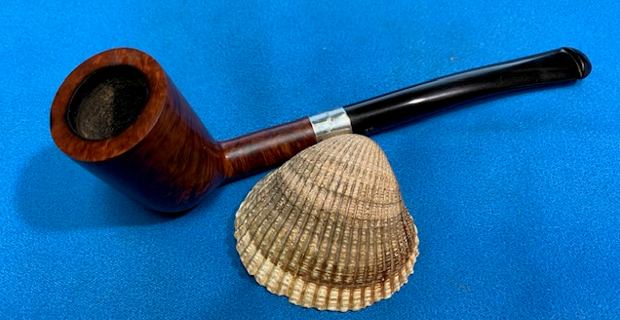
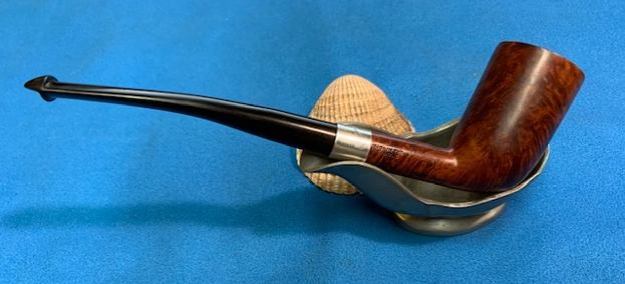
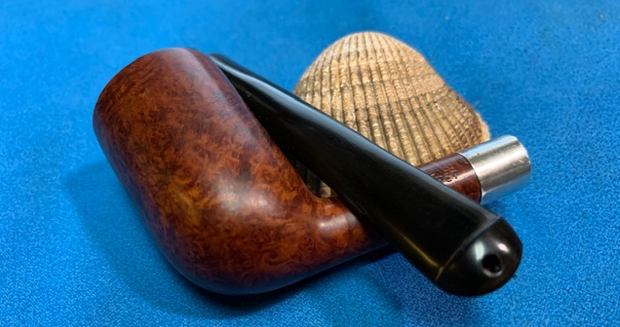
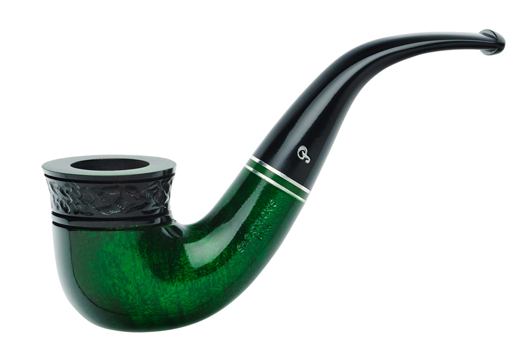
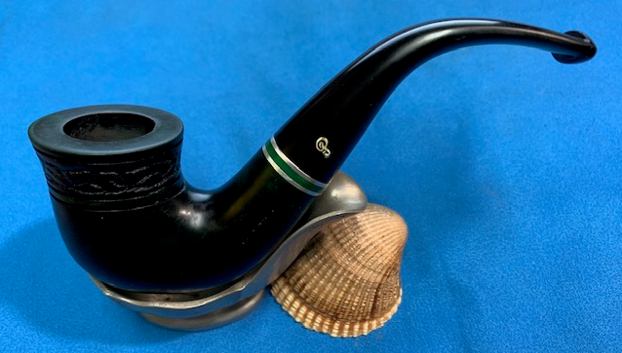
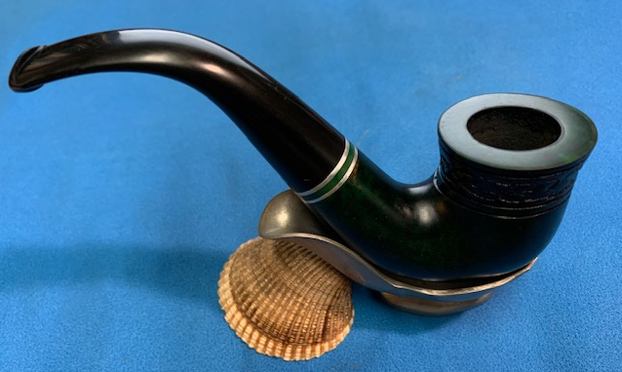
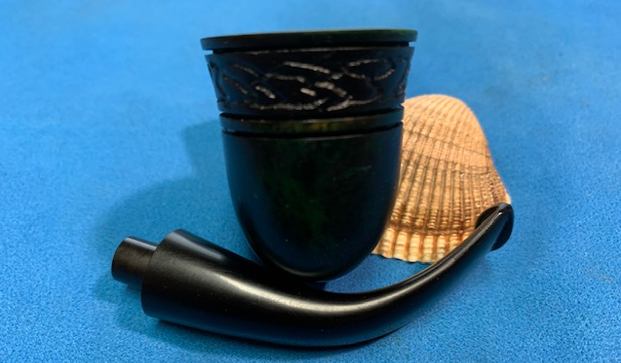
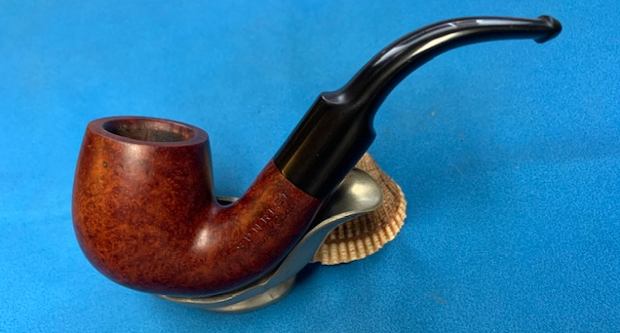
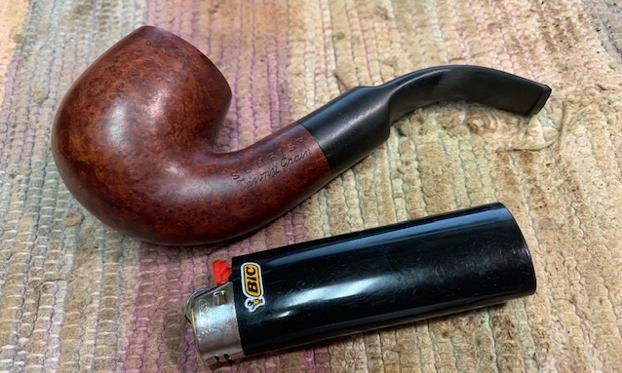
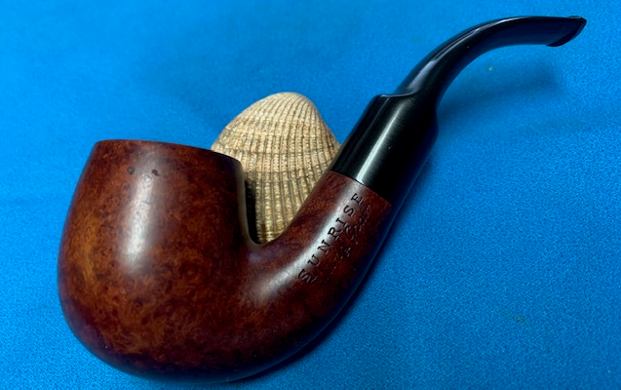
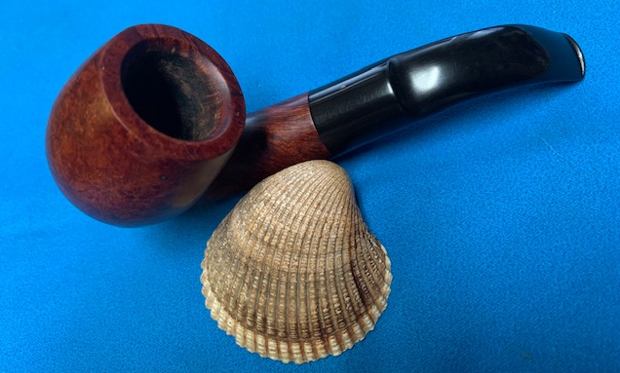
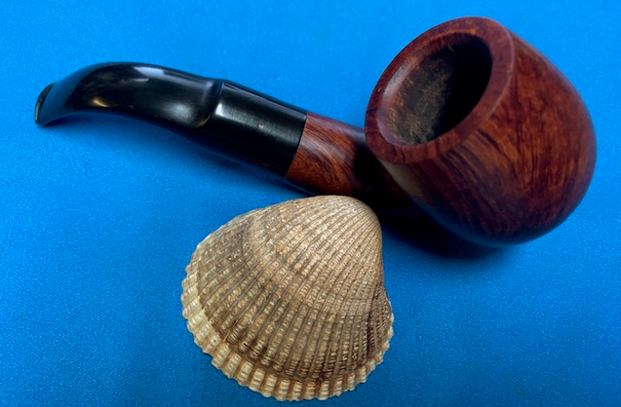
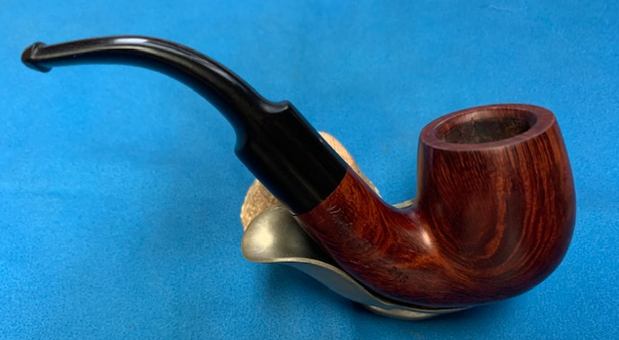
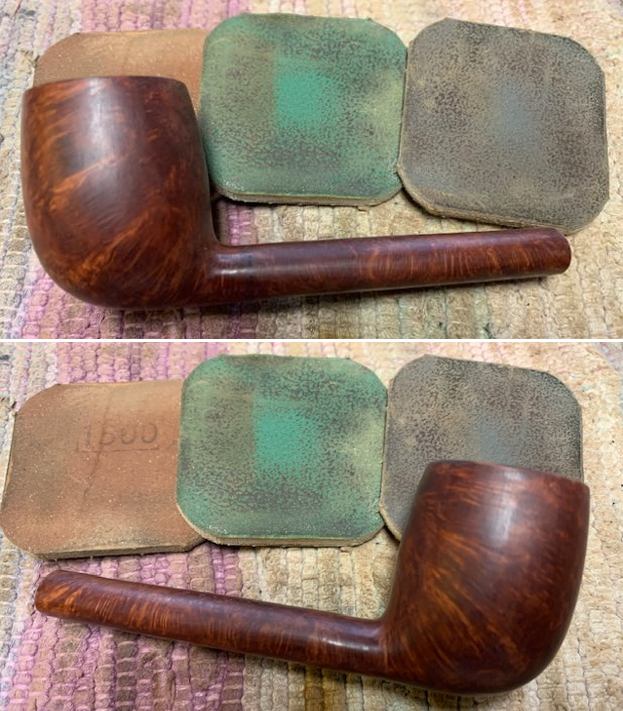
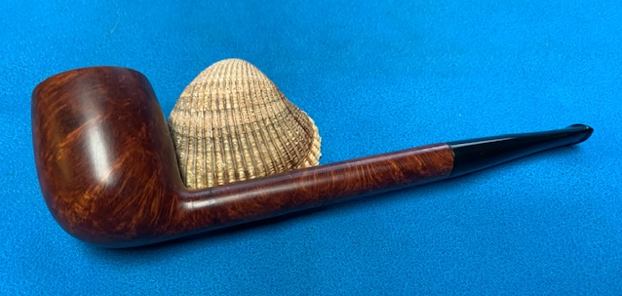
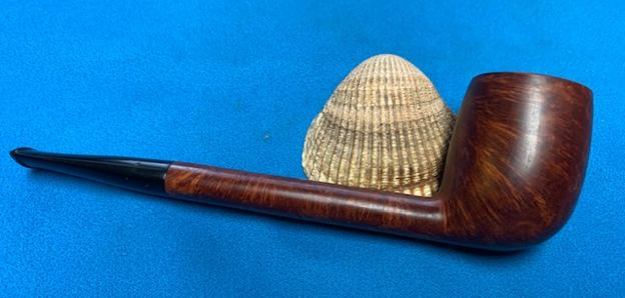
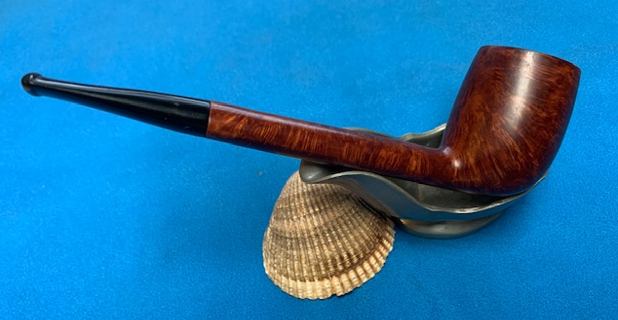
 This John Surrey Ltd. Super Imported Briar Panel Lovat is a great looking pipe now that it has been restored. The combination of various brown stains around the bowl is quite beautiful and highlights grain very well. The finish works well with the thin brass band on the shank end and the polished vulcanite saddle stem. I put the stem back on the bowl and carefully buffed the pipe with Blue Diamond on the buffing wheel using a light touch on the briar. I gave the bowl and the stem multiple coats of carnauba wax on the buffing wheel and followed that by buffing the entire pipe with a clean buffing pad. I hand buffed the pipe with a microfiber cloth to deepen the shine. The finished John Surrey Ltd. Super Panel Lovat sits nicely in the hand and feels great. Give the finished pipe a look in the photos below. The dimensions of the pipe are Length: 4 ¾ inches, Height: 1 ½ inches, Outside diameter of the bowl: 1 ¼ inches, Chamber diameter: ¾ inch. The weight of the pipe is 38 grams/1.34 ounces. I will be putting it on the American (US) Pipemakers section of the rebornpipes store shortly. If you are interested in adding this pipe to your collection send me a message or an email. Thanks for reading this blog and my reflections on the pipe while I worked on it. There are many more to come!