by Kenneth Lieblich
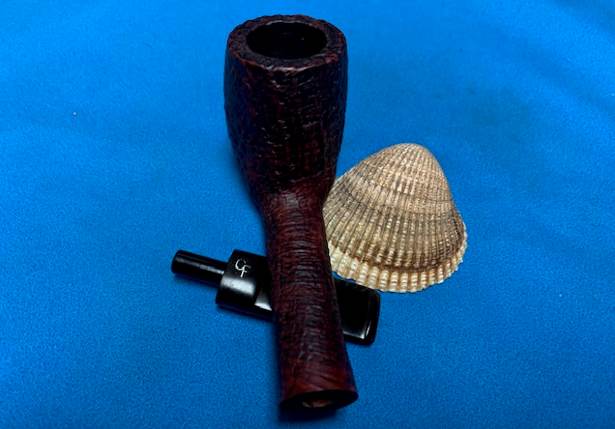
Next on the chopping block is a robust, rugged, rusticated pipe which I acquired in a lot of pipes from a gentleman living on Vancouver Island. He had quite an assortment of pipes and they ranged from the ridiculous to the sublime. This is not a Custom-Bilt – it is a BP Jum. They could easily be mistaken for one another.

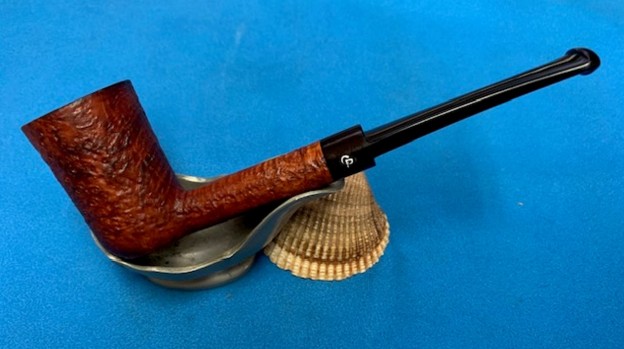
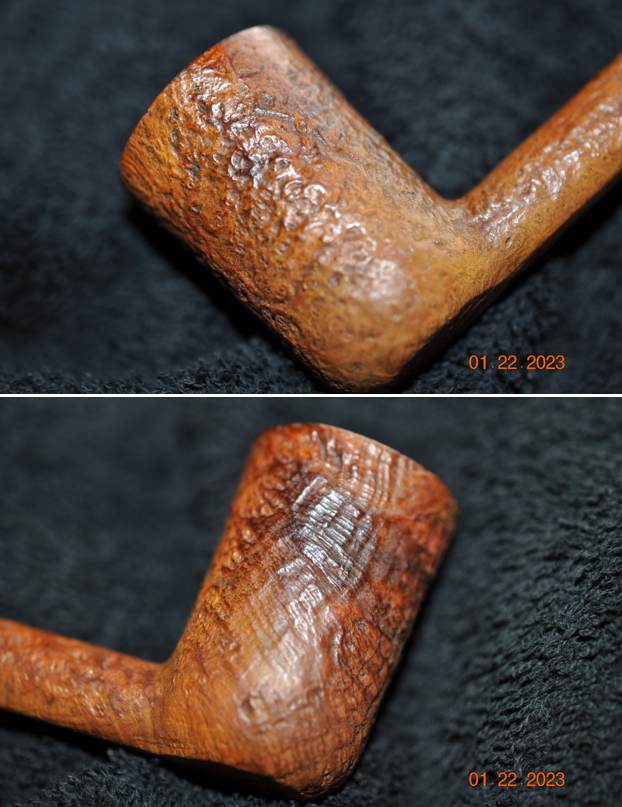
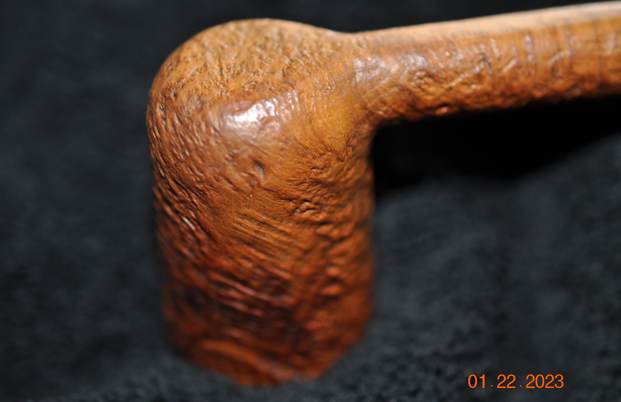
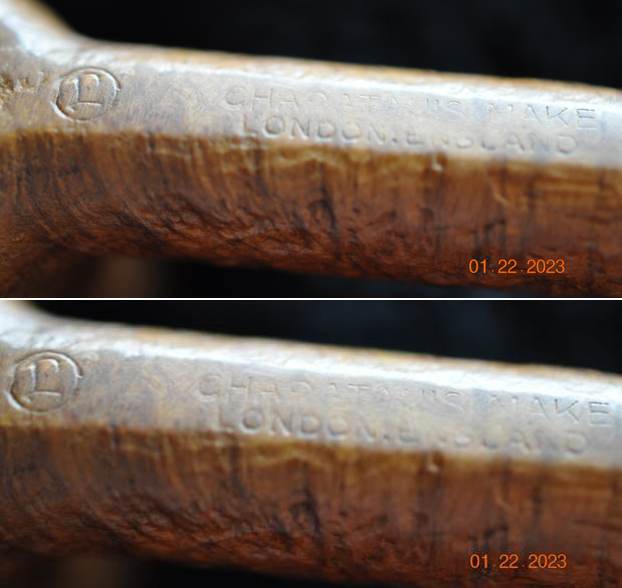
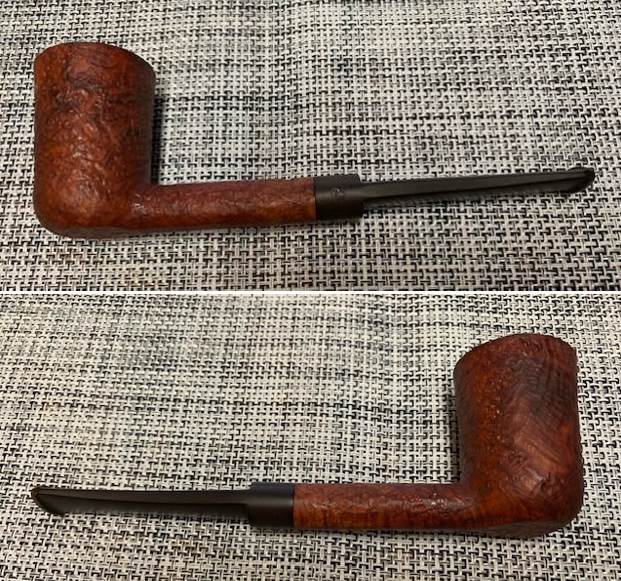
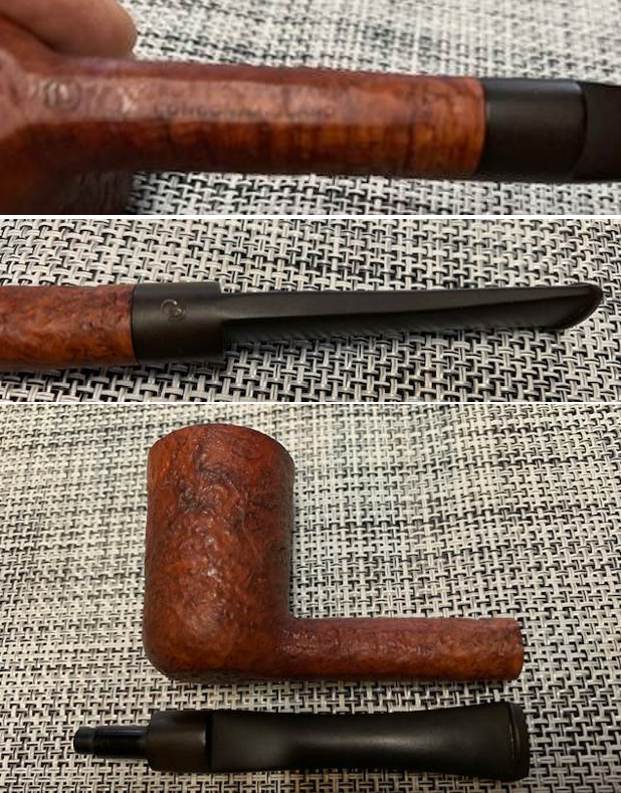
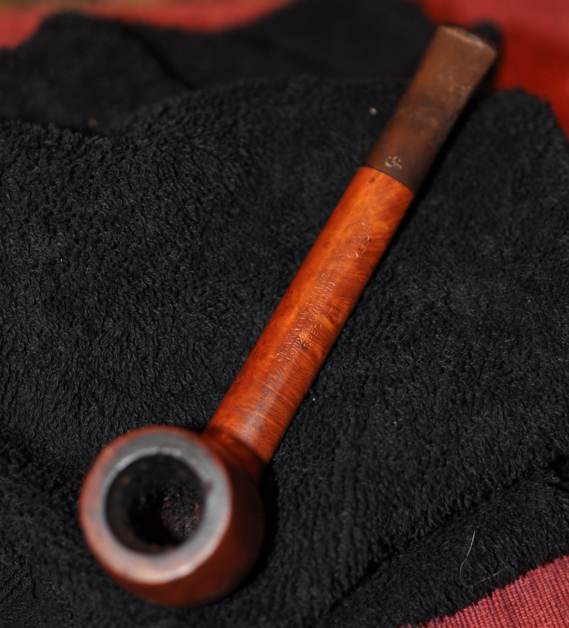
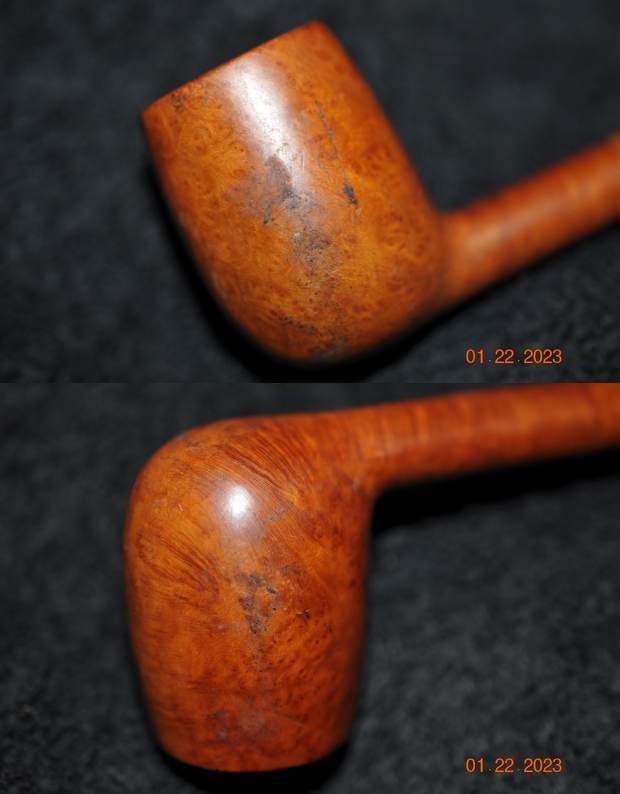
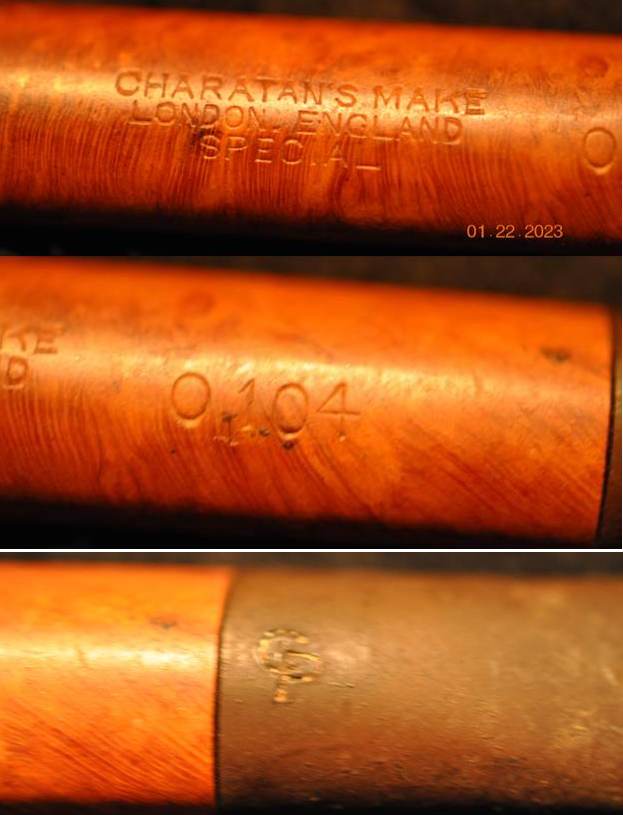
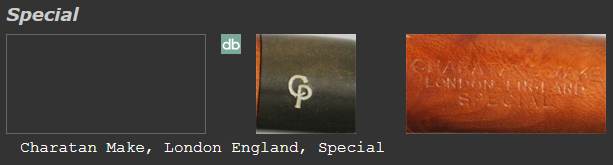
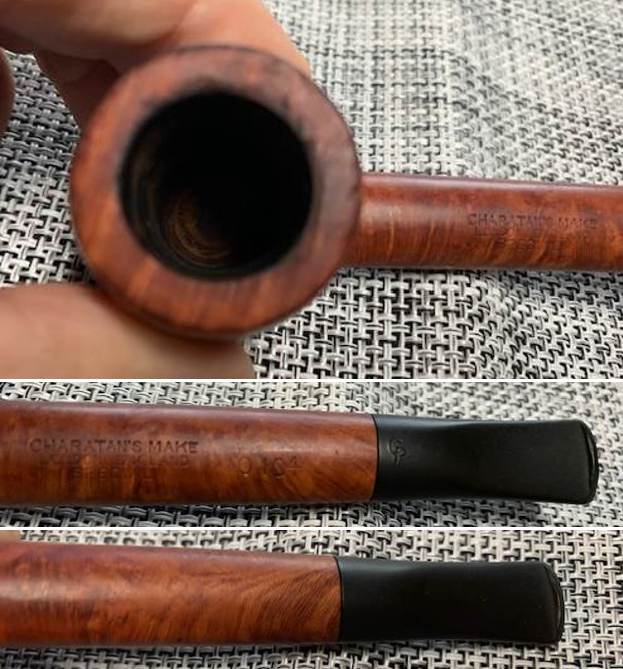
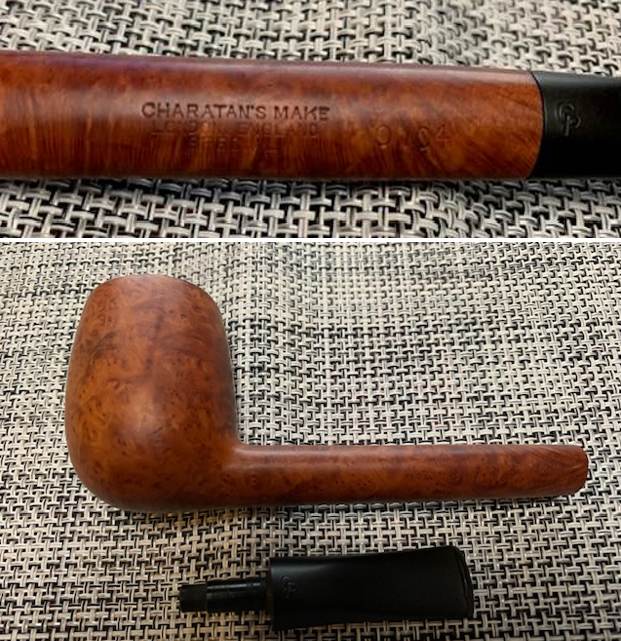
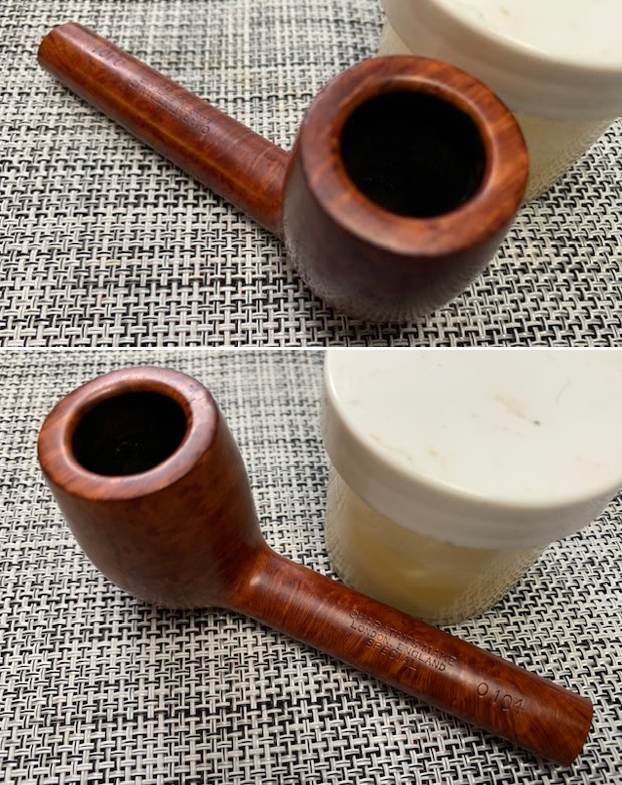
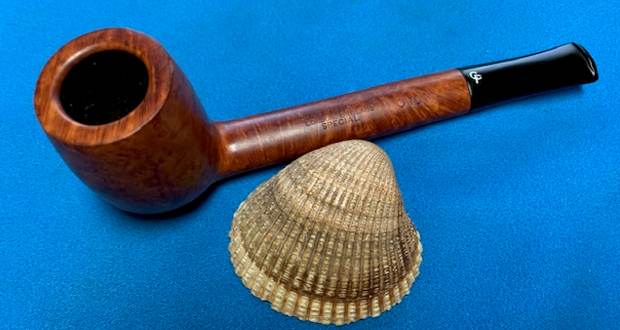
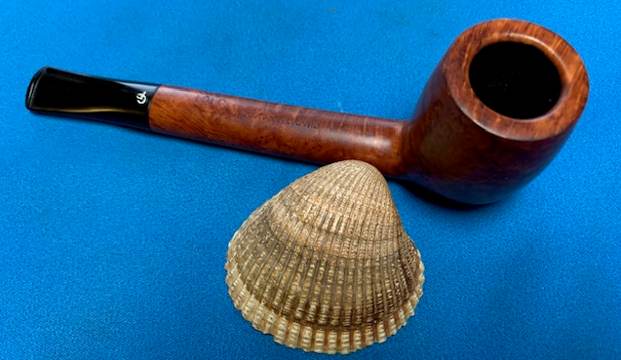
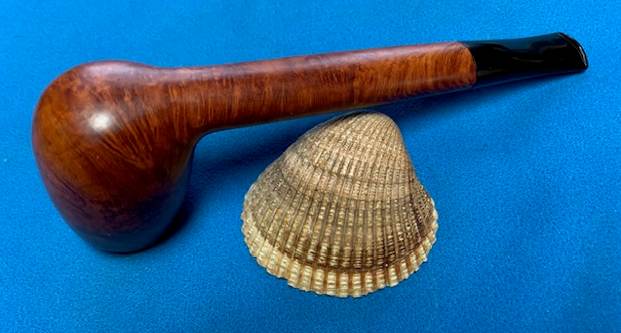
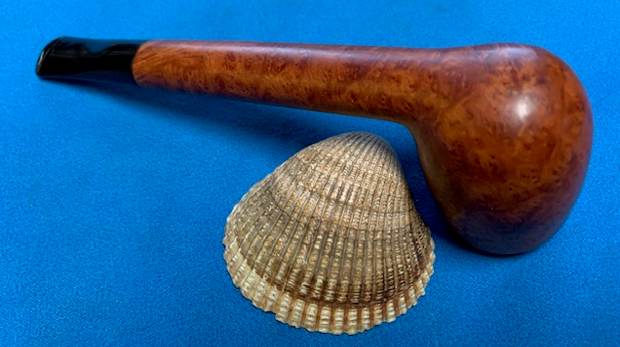
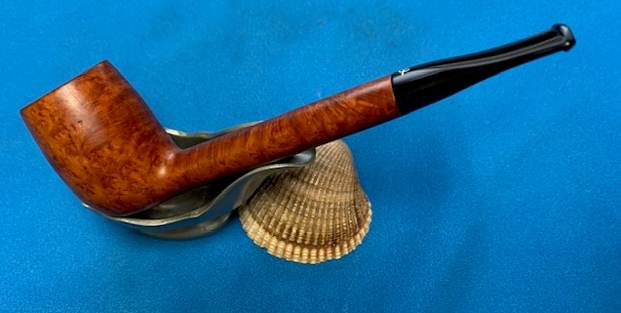
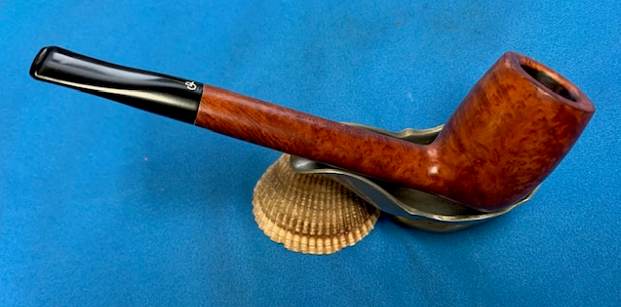
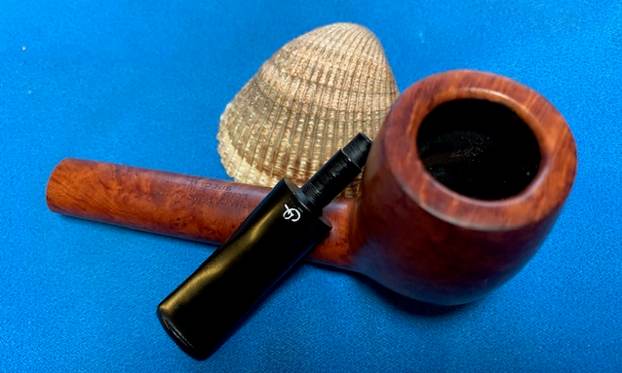
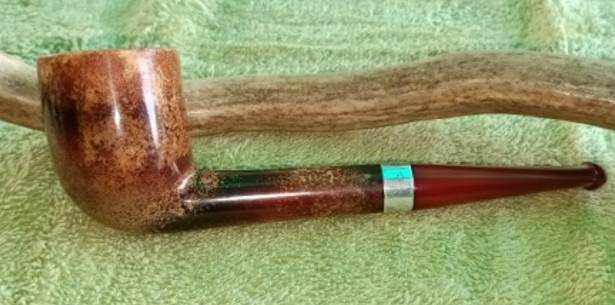
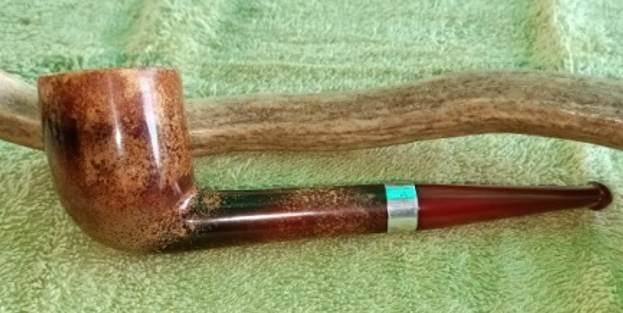
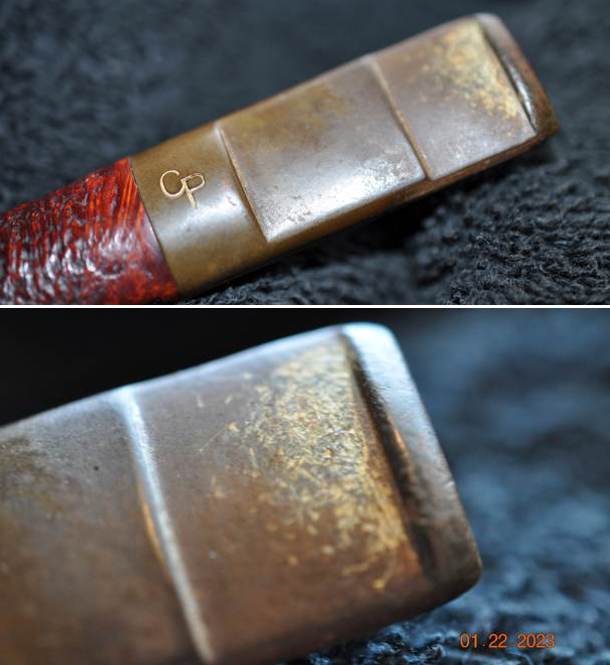
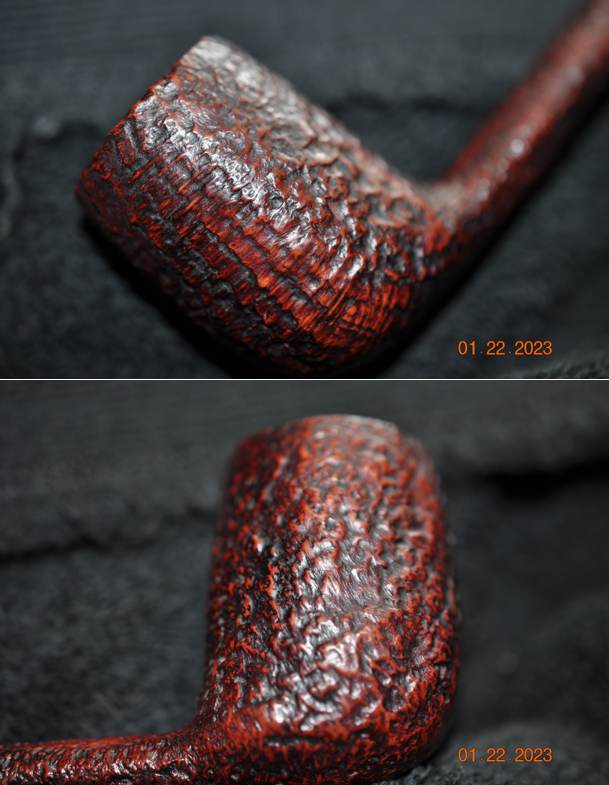
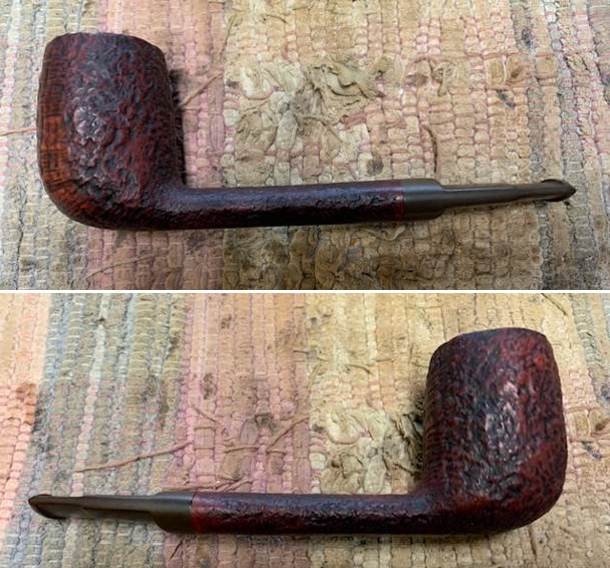
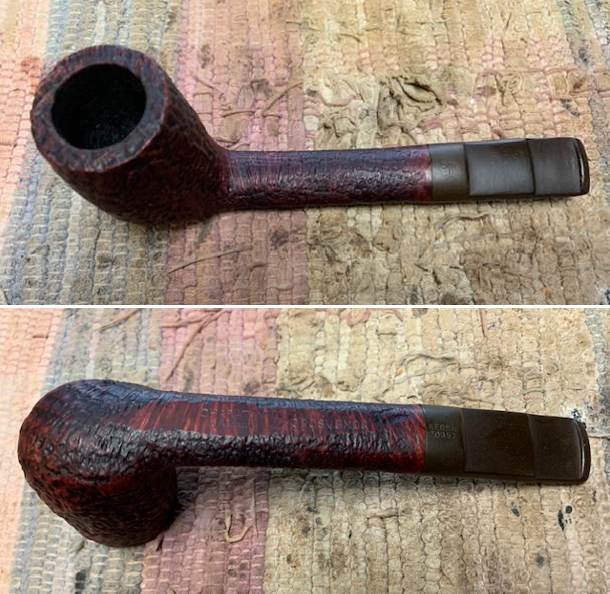
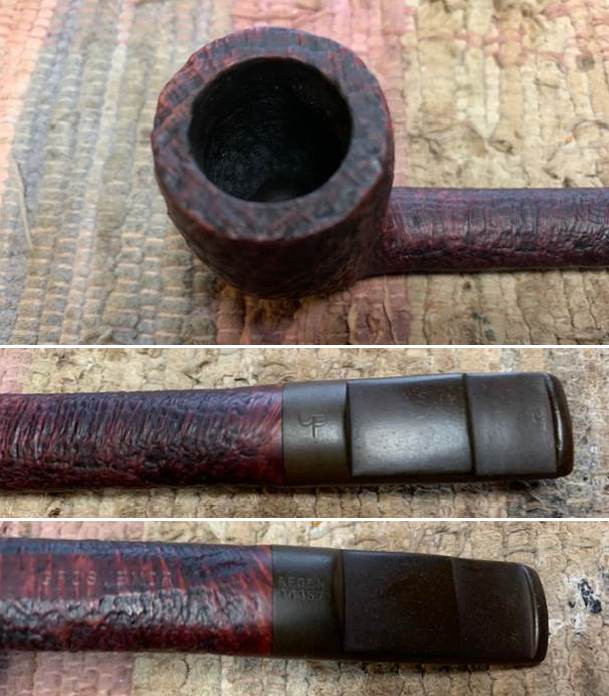
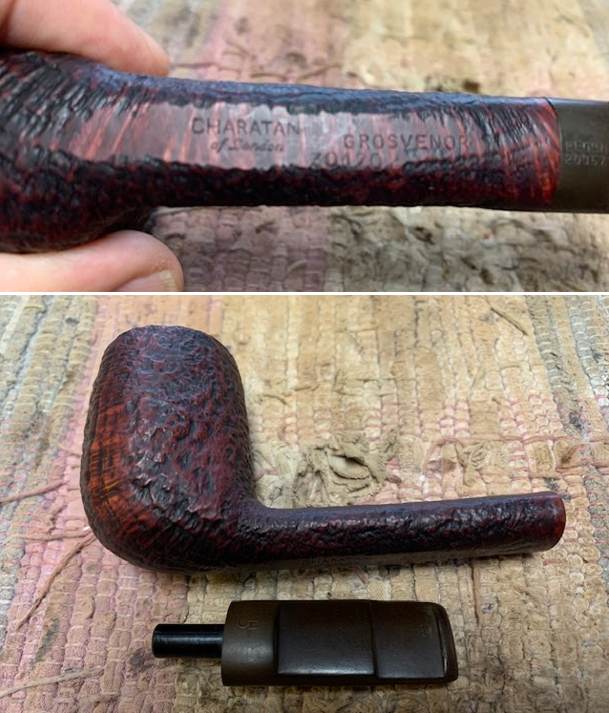
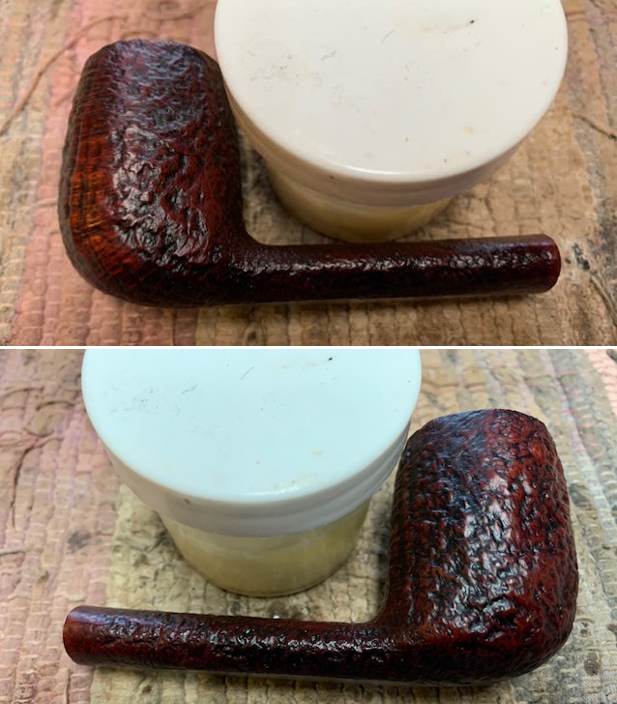
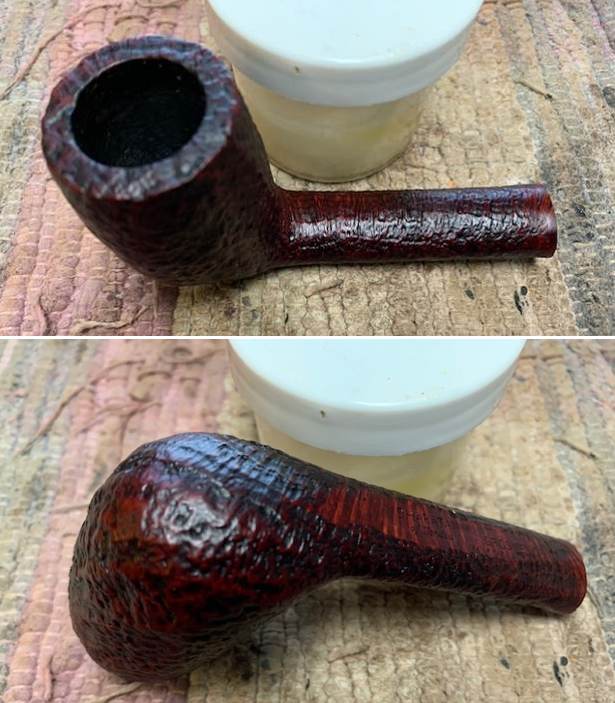
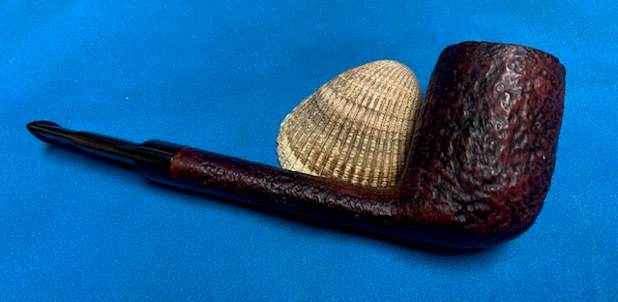
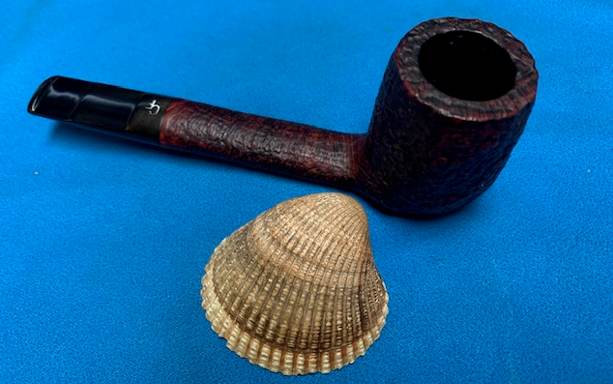
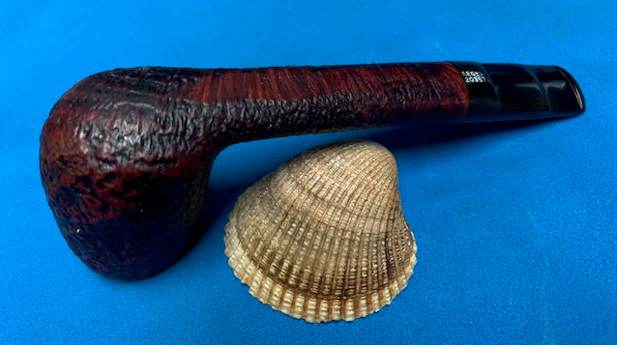
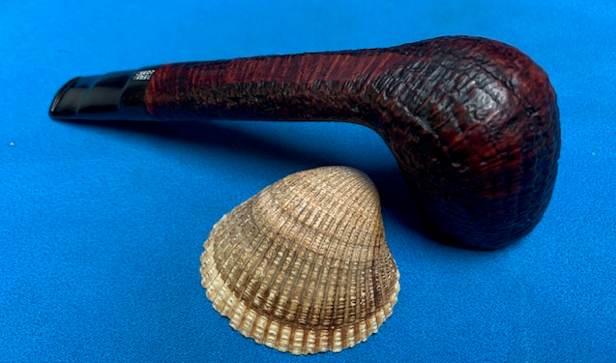
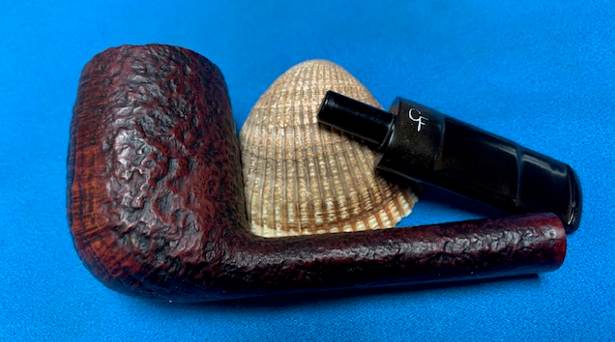
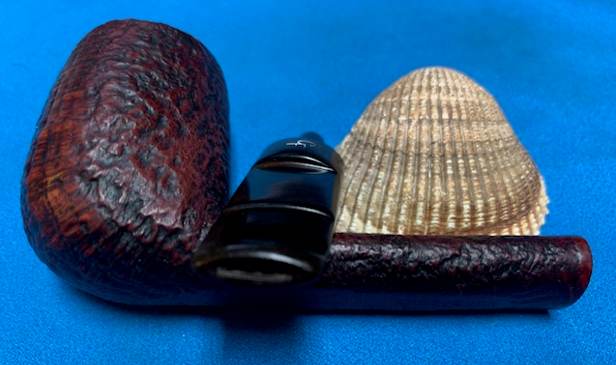
 This is a very handsome pipe and promises to be a great smoker. It’s a bent pot (or a “War Club”, as Steve calls it), with a vulcanite, wide saddle stem. And what a wonderful rustication on this one! On the left side of the shank, the markings read BP Jum [over] Imported Briar. These are the only markings.
 The history of BP Jum, like many pipes of the same era, is shrouded in some mystery. The brand name has no mention on either Pipedia or Pipephil. Some pipe folks have proposed that BP Jum pipes are, in fact, Custom-Bilt seconds, but there is no direct evidence to support this. In previous restorations that Steve has done, he wrote the following: “There was a lot of conjecture as to whether the brand was made by Tracy Mincer of Custombilt fame. There is no definitive proof other than the common shapes, sizes and look of the pipes. Bill Unger, of Custombilt fame and author of a history of the brand, mentions BP Jum but cannot definitively connect the two. So the maker remains a mystery that is still unsolved.”
 Well, I’ve taken up the mantle to see what else could be found. A gentleman who commented on one of Steve’s restorations said “BP Jum pipes are shown in a 1971 Kentucky club premiums [sic] catalog I have. They are not labeled in the text but I can see it stamped on shank of the picture of the pipe. The rustication on these is also very telling and looks the same on most of them.” I took it upon myself to see if I could find photos of the 1971 Kentucky Club Premium Catalog. I did find some online, but the images did not include the page with the BP Jums that were mentioned. Alas.
 Another potential source is a fellow named Tom, who goes by the handle, NWPipesmoker, on YouTube. As a devoted fan of both Custom-Bilt and BP Jum pipes, he has a few videos speculating on the origins of BP Jum pipes. In one video, he quotes from an unnamed correspondent of his who says that the BP Jum name comes from “Bilmore Pipes Jumbo”. Now, it is important to stress that there is only circumstantial evidence to support this. The information is enticing, but no more than indirect. The advertisement below (for Biltmore) displays some drawings of pipes that are very close (or identical) to BP Jum pipes. We don’t see the words “BP Jum” anywhere on the pipes or in the ad, but I am still impressed with this.
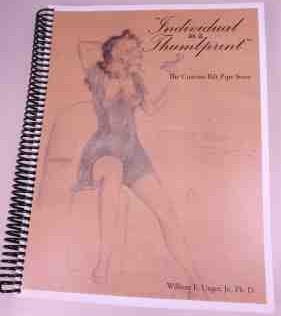
 As an aside, the connection between Tracy Mincer’s Custom-Bilt and Biltmore is circuitous, to be sure, but it exists. Briefly, both Bilmore pipes and Mincer pipes (specifically the Doodler) were either owned by or produced by National Briar Pipe Co. of New Jersey. In Bill Unger’s book, As Individual as a Thumbprint: The Custom-Bilt Pipe Story, he writes: “Apparently, both Tracy Mincer and the National Briar Pipe Co. continued to produce Doodlers concurrently until Mincer was no longer able to make pipes, sometime before his death in 1964. Bill Mincer then sold all rights to the Doodler to the National Pipe Co. in 1966.”
 Finally, NWPipesmoker has another video where he compares two pipes that he owns: one marked “Custom-Bilt” and the other marked “BP Jum”. He has entitled this video, “CustomBilt and BP Jum connection confirmed”. I think that’s overstating it a bit, but I am including the link to this video here, for your examination: https://www.youtube.com/watch?v=GdsBYoydYu8
It is certainly possible (and perhaps even likely) that Custom-Bilt and BP Jum pipes are related in some way – even if we are not able to make a definitive statement about it. I feel comfortable in saying that there is a connection between the pipes, but this connection is not ironclad. To put it colloquially, they may be brothers but they are not twins.
Let’s move on…
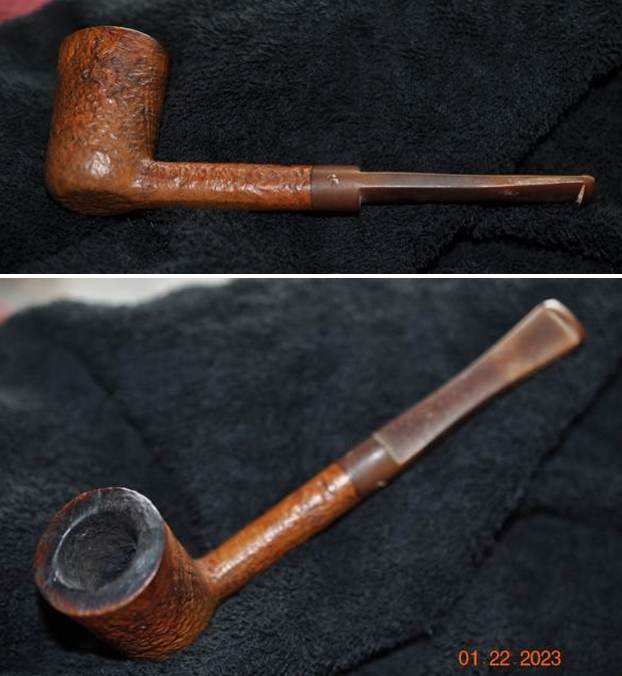
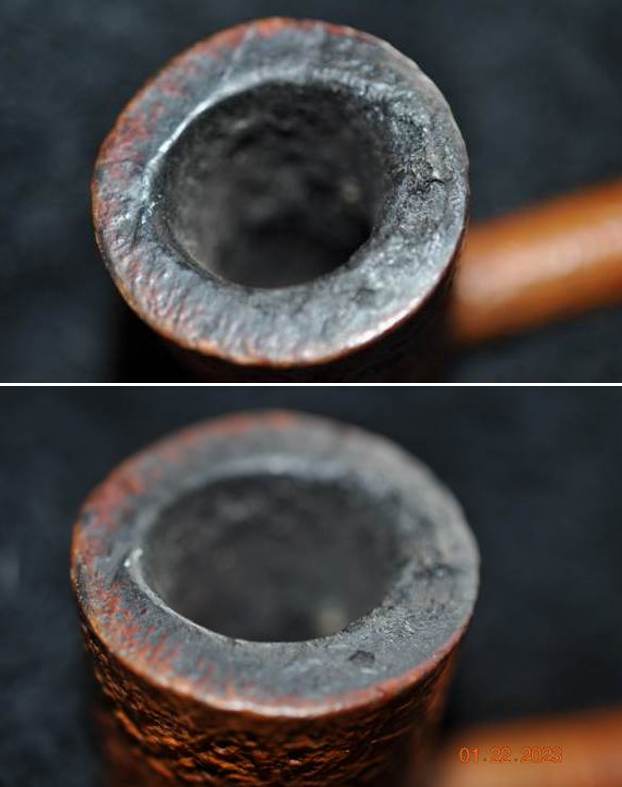
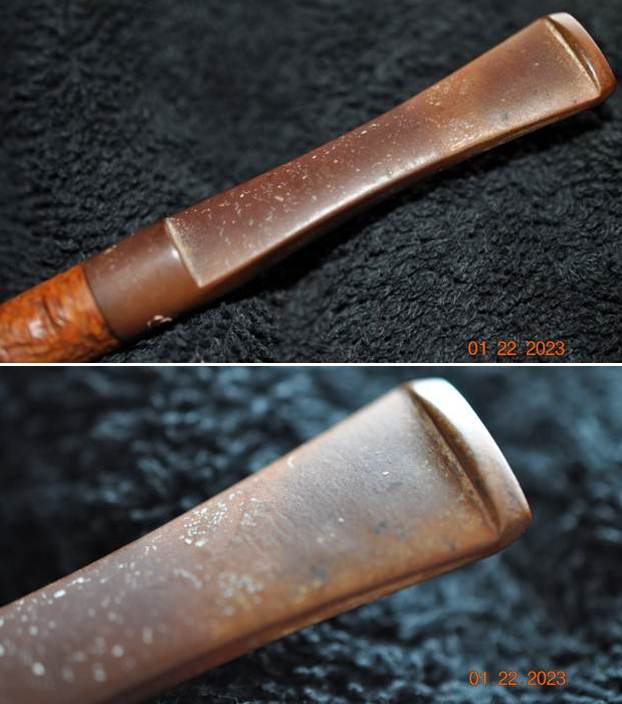
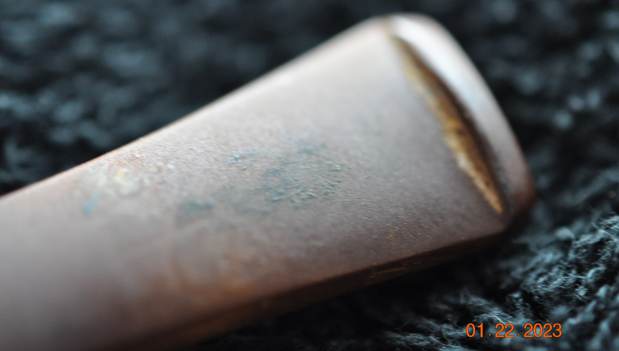
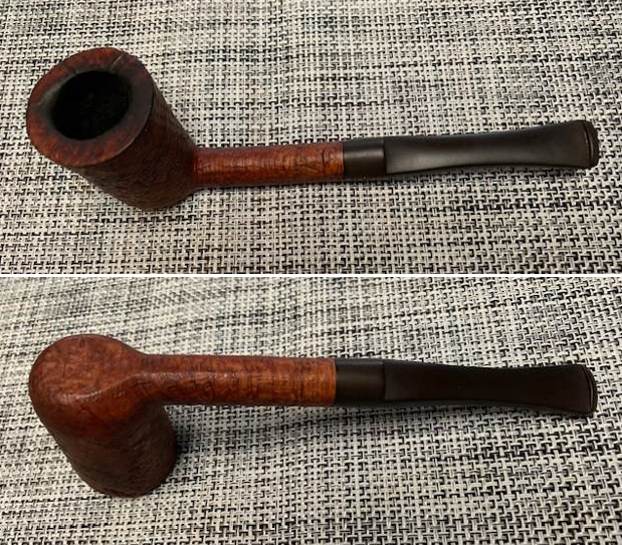
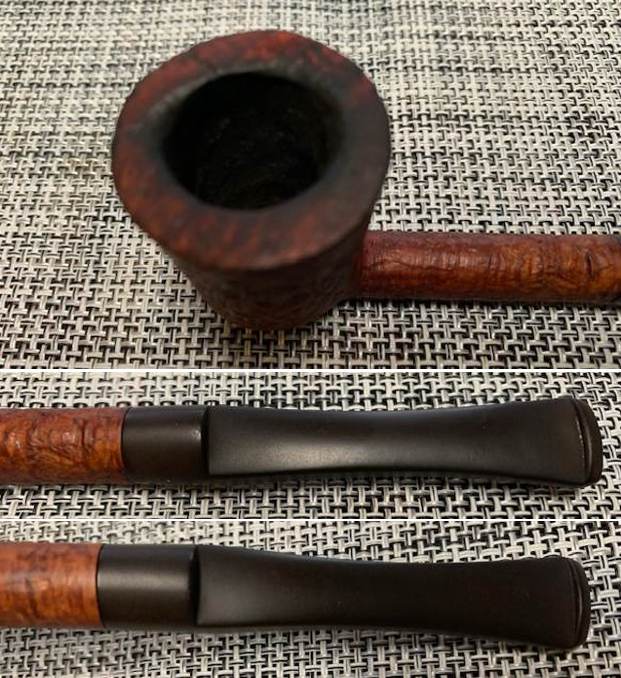
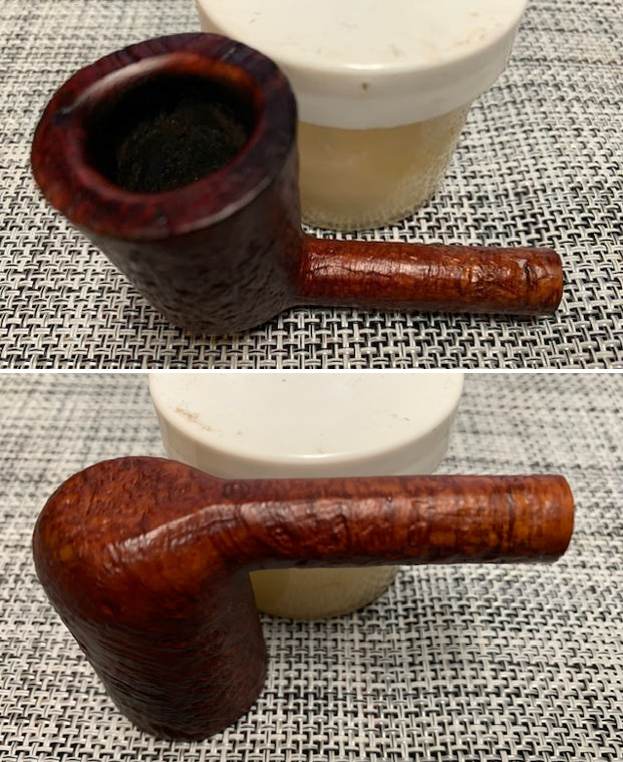
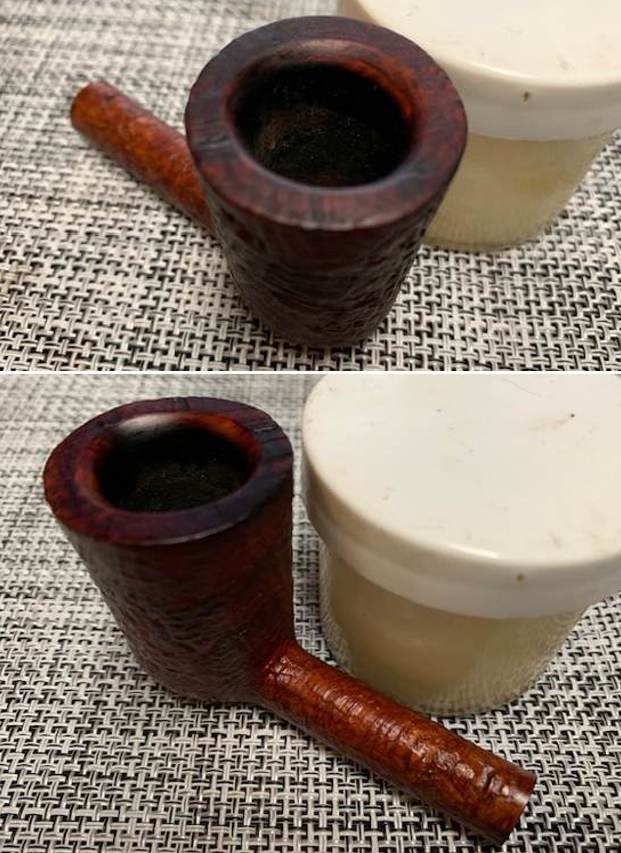
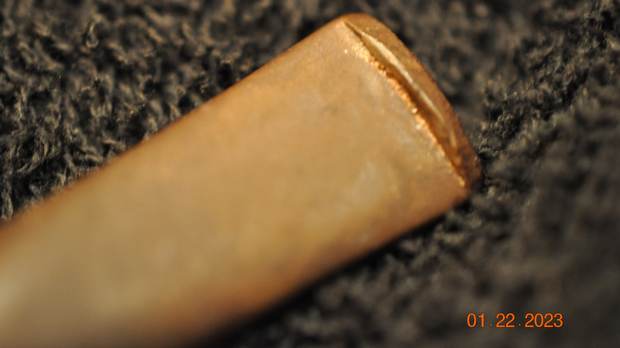
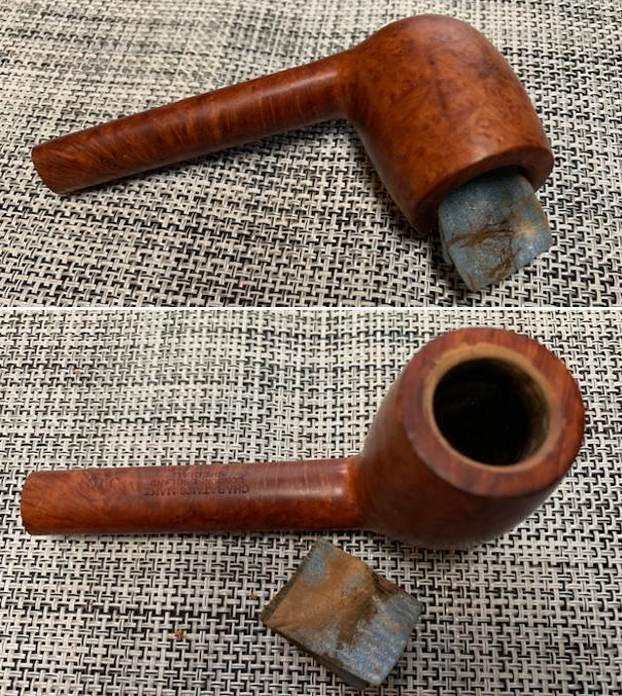
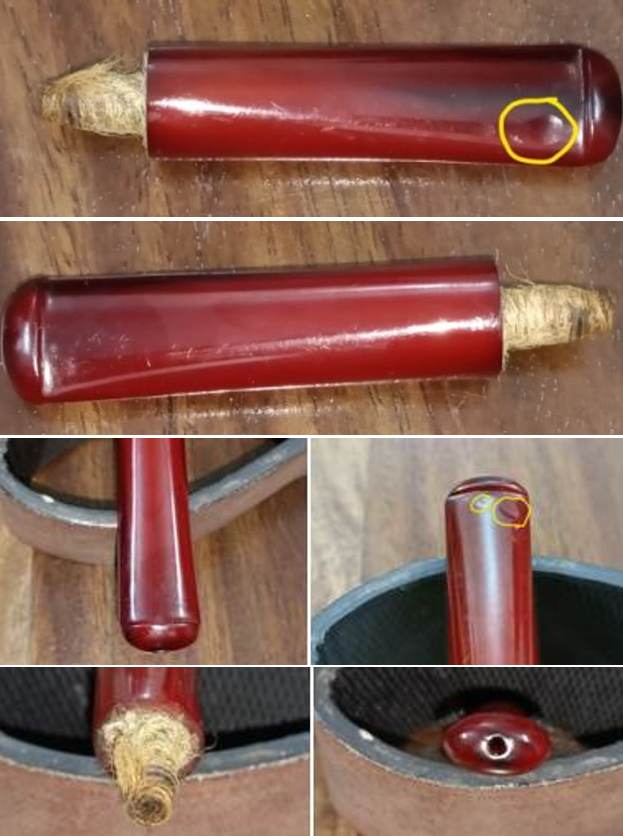
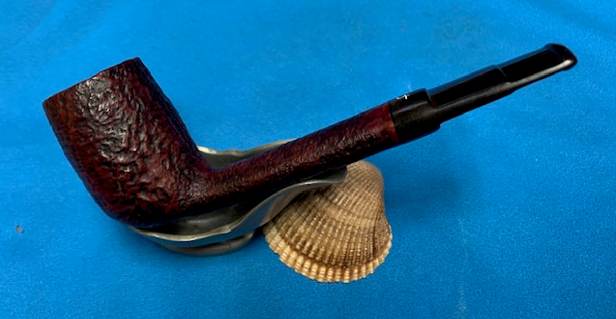
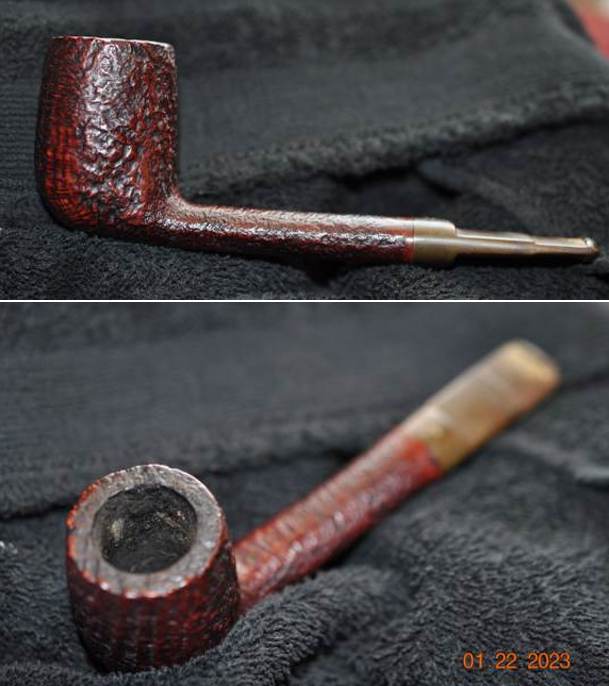
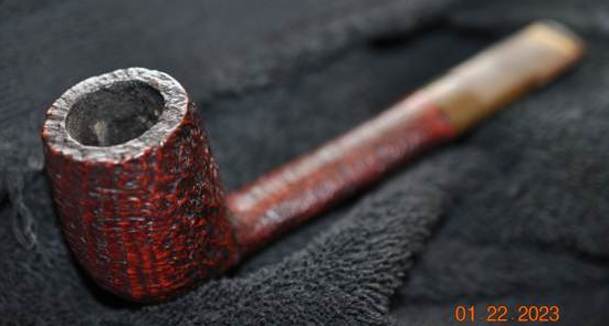
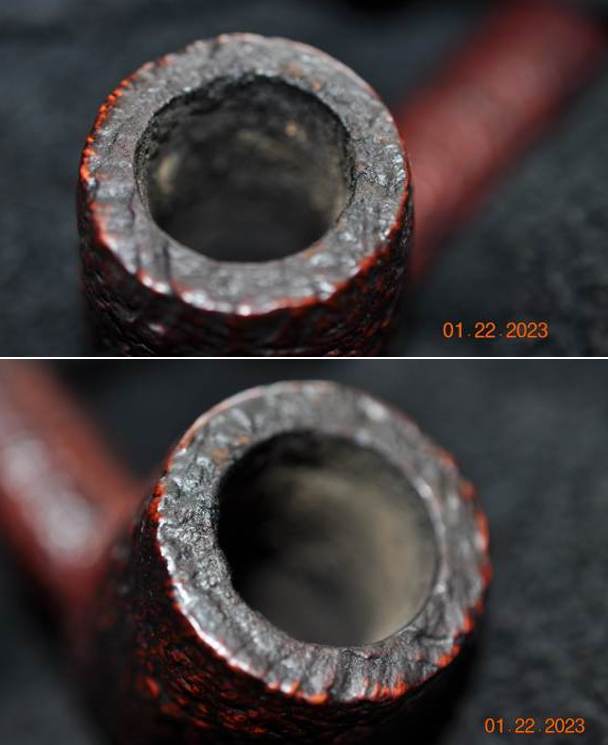
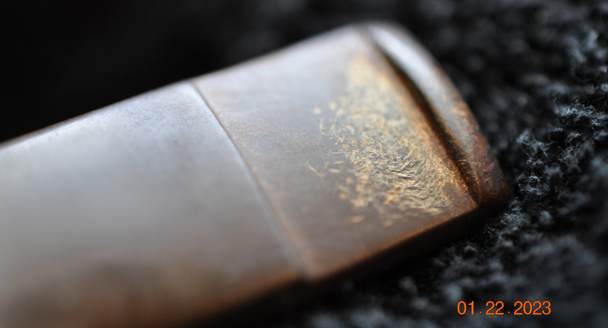
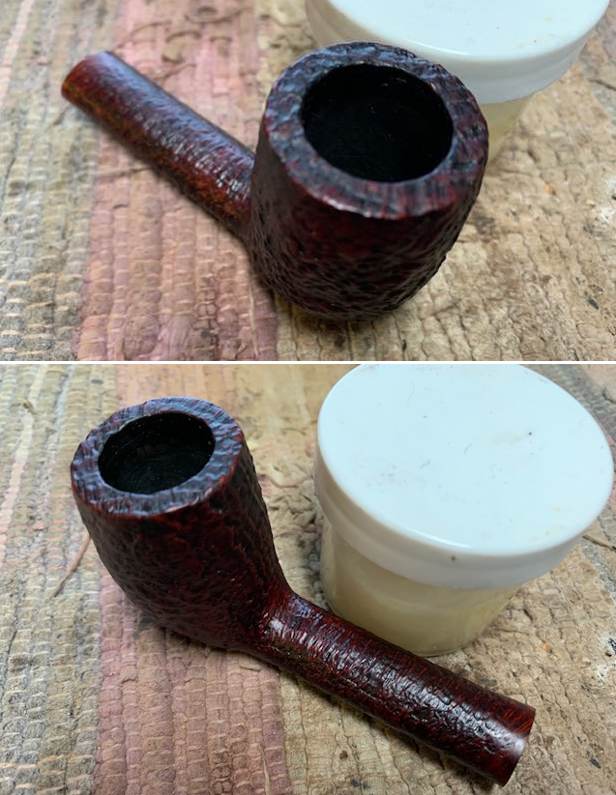
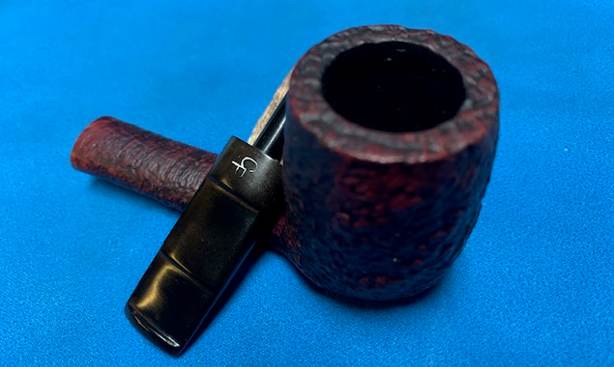
This pipe had been well-loved and well-smoked, as it arrived with some marks and general wear. The stem was dirty and had lots of dents and tooth marks. Most of the stummel was in decent shape, but the rim was pretty nasty – the were burns and lava, and the rustication grooves were full of gunk.


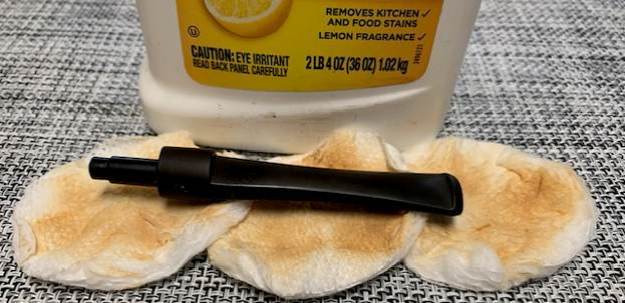
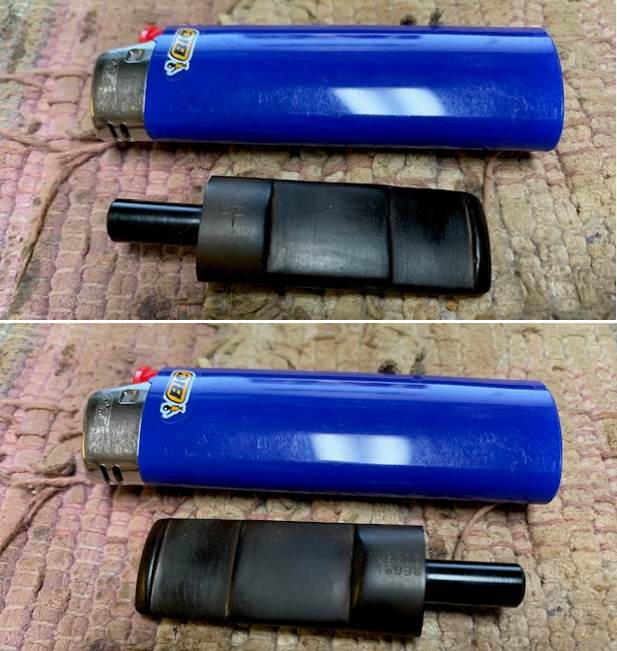
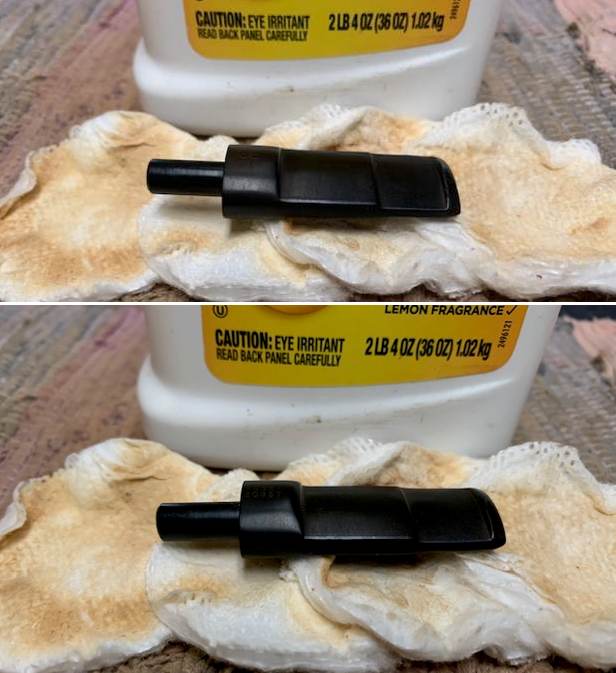
 I took up the stem and cleaned it off with Murphy’s Oil Soap. It was quite dirty and needed some scrubbing. Following that, I used pipe cleaners and lemon-infused isopropyl alcohol to clean out the internals of the stem. As you can see, there was much muck to be removed!
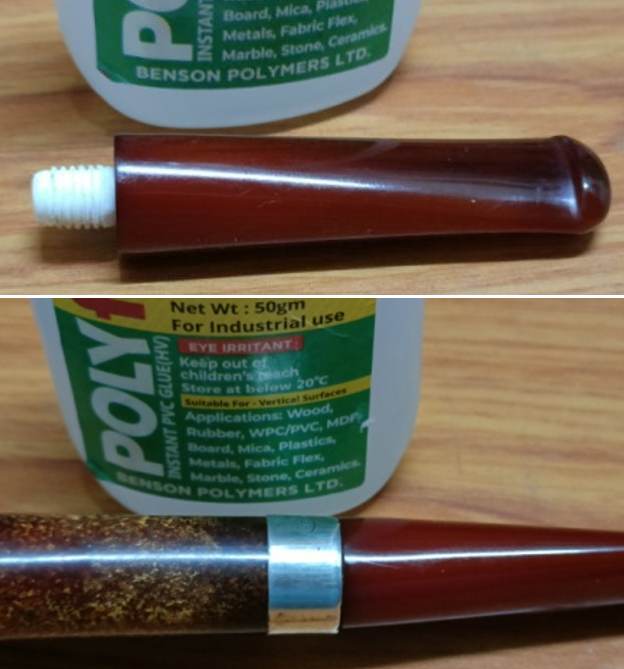
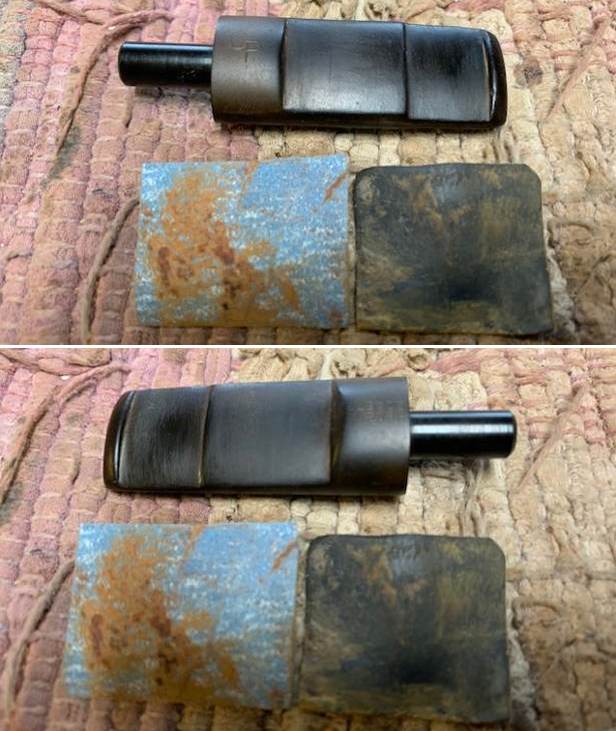
 Next, I wiped down the stem with some SoftScrub cleanser and then put the stem in my container of deoxidizing fluid. This works to draw the oxidation to the surface of the stem, so that it can be cleaned off again with more SoftScrub.
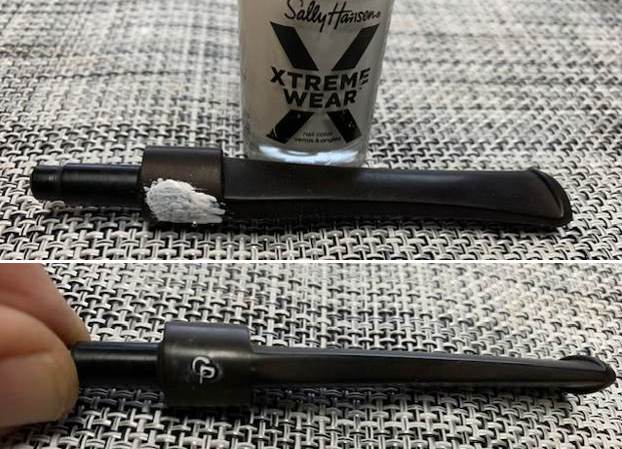
 With the stem nice and clean, I needed to address the damage to the stem. To achieve this, I applied a type of black cyanoacrylate adhesive (impregnated with carbon and rubber) to the damaged area. I sprayed these areas with an accelerant to cure the adhesive immediately.
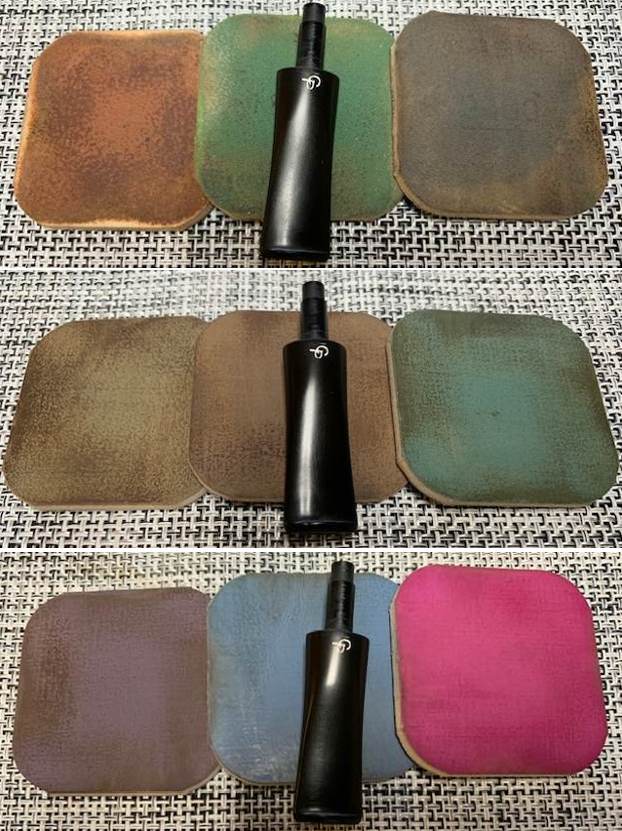
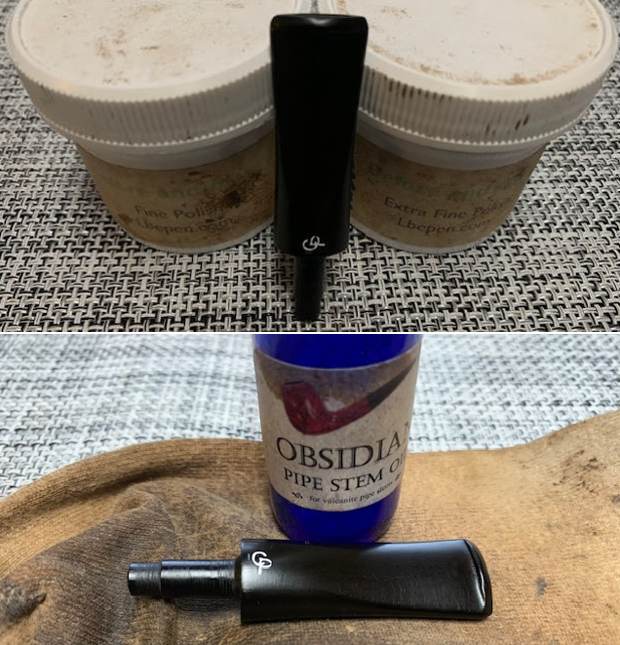
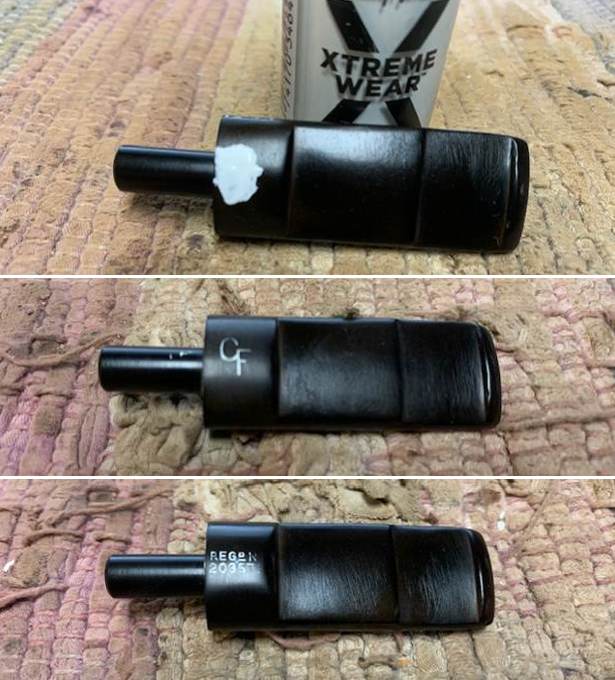
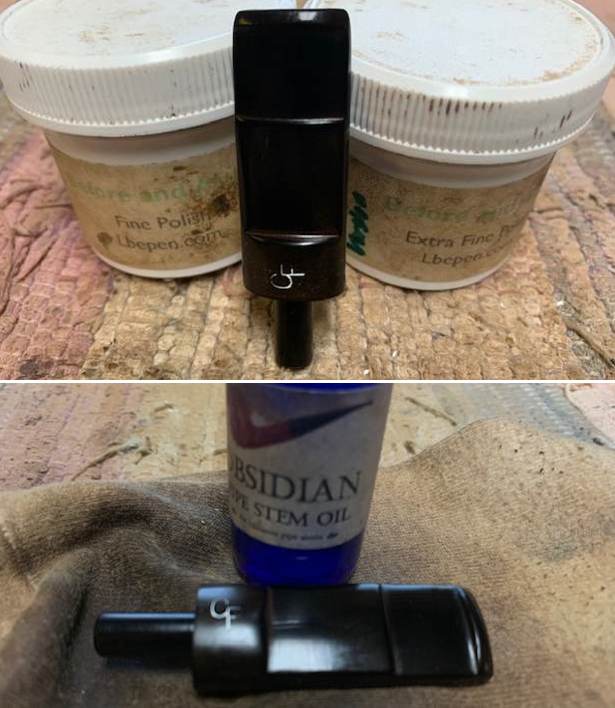
 I then had to shape these repairs so that they would look great! I began by taking a needle file and shaping the hardened adhesive. Continuing, I used 200- and 400-grit sandpapers on the repairs to smooth them out. I finished up by using all nine of my MicroMesh pads to sand the entire stem. I also used some pipe stem oil to assist with the sanding and protect the vulcanite.
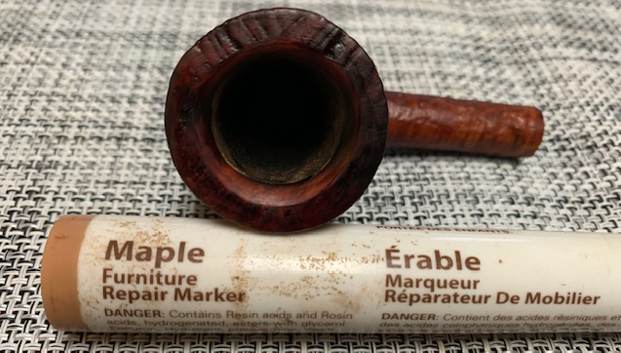
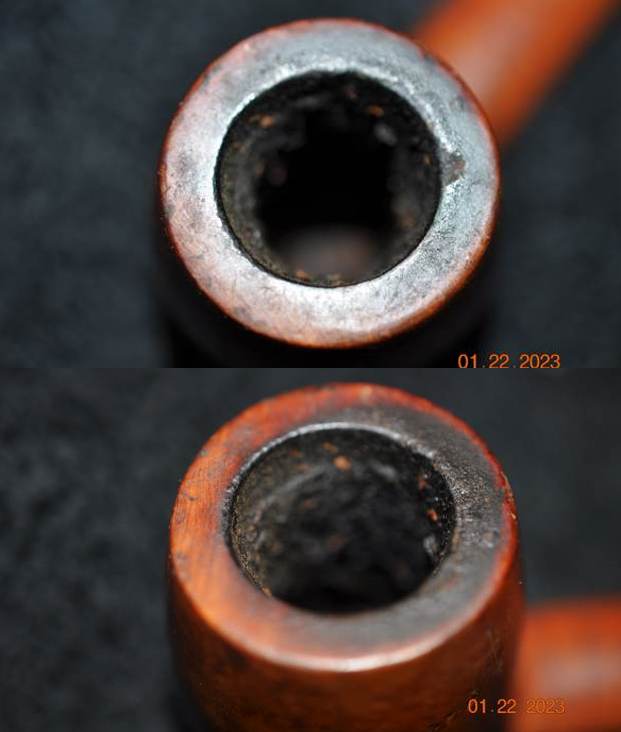
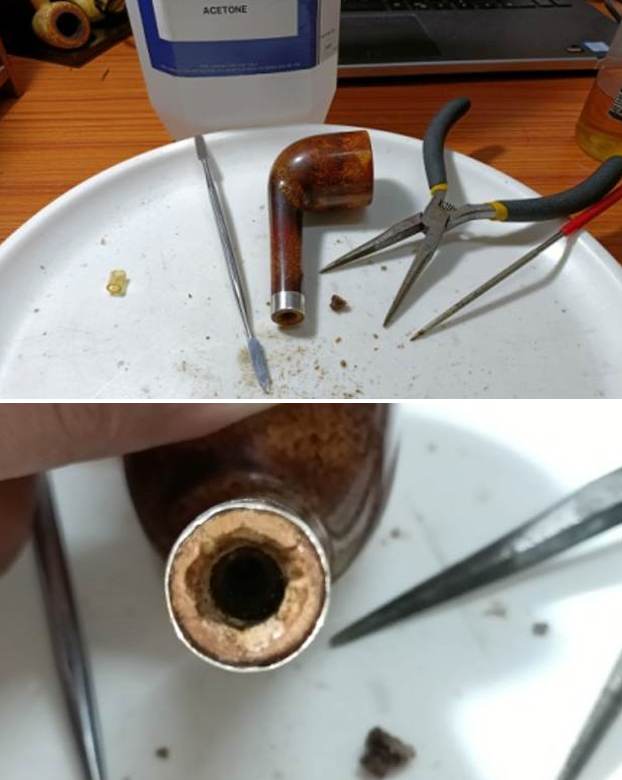
 Having put aside the stem, I moved on to the charming, chunky stummel. First on the agenda was to ream out the bowl, as it was full of cake. The PipNet reamer made short work of this, and I followed up by sanding the walls down with some 220-grit sandpaper attached to a wooden dowel. This revealed a tiny bit of damage to interior wall – but this would be easily fixed.
 Next on the list, I thoroughly cleaned out the shank. Using a combination of Q-tips and pipe cleaners dipped in lemon-infused isopropyl alcohol, I removed all the awful filth in there. The photo shows a mere portion of the cotton used. As the girls in the 80s used to say, grody to the max!
 I always like to ameliorate the cleaning of the stummel by performing a “de-ghosting” on the stummel. I placed some cotton balls in the bowl and the mortise of the shank, then saturated them with straight isopropyl alcohol. I let this sit overnight while the oils and tars (and evil spirits) leeched into the cotton.
 I broke out the Murphy’s again and wiped down the outside with some cotton rounds. Once I felt the outside was clean, I then took out my two brushes and castile soap and washed both the inside and outside. The internals were lovely and clean after that – but there were still some issues on that rim.
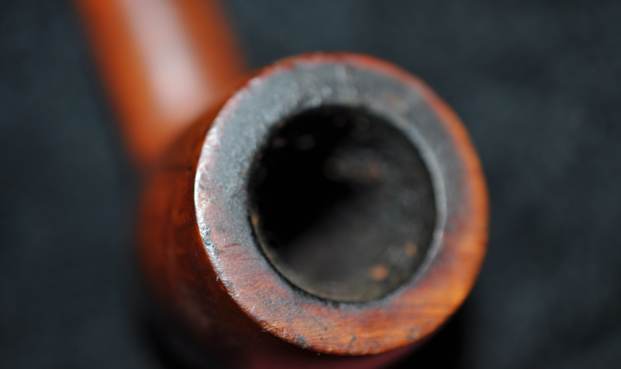
 Even though I’d used both a toothbrush and a wire brush on the rim, there was still some filth to be dealt with – not to mention some burning. I began by “topping” the pipe – in other words, I placed the top of the pipe, level and flat, on a piece of 220-grit sandpaper and gently ground it down to smooth and even out the rim. The rim still required a bit more beautification. I took a small piece of sandpaper and evened out some rough parts that topping wasn’t able to address.
 I then went “next level” insane. I took a dental tool and individually excavated each groove on the rim to remove the crud. It took awhile, but the results were worth it.
 In order to address the burns, I dissolved some oxalic acid crystals in some hot water. Then, taking a Q-tip and tipping it in the acid, I rubbed and rubbed and rubbed until it removed most of the burning that was there. It didn’t all come off (it rarely does), but was much improved.
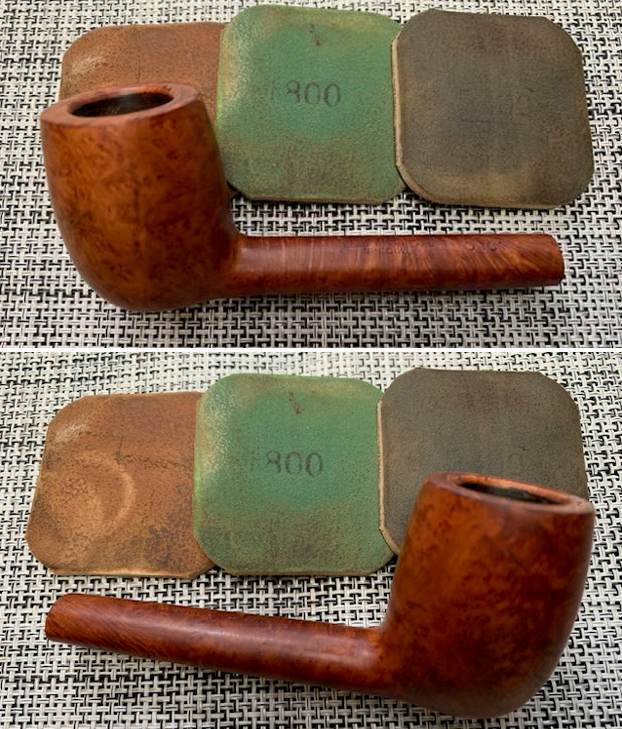
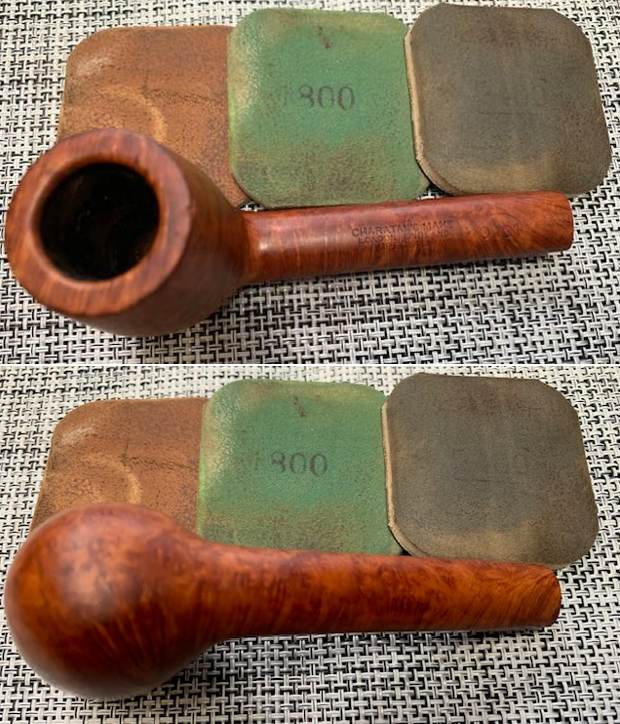
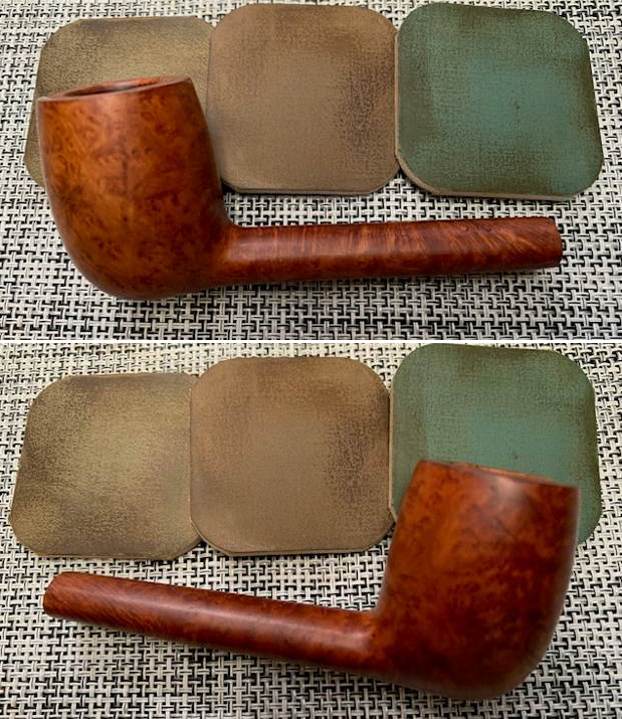
 Once I was satisfied with that, the finishing sanding was next, so I took all nine of my MicroMesh pads and sanded the whole stummel until it was super-smooth and handsome.
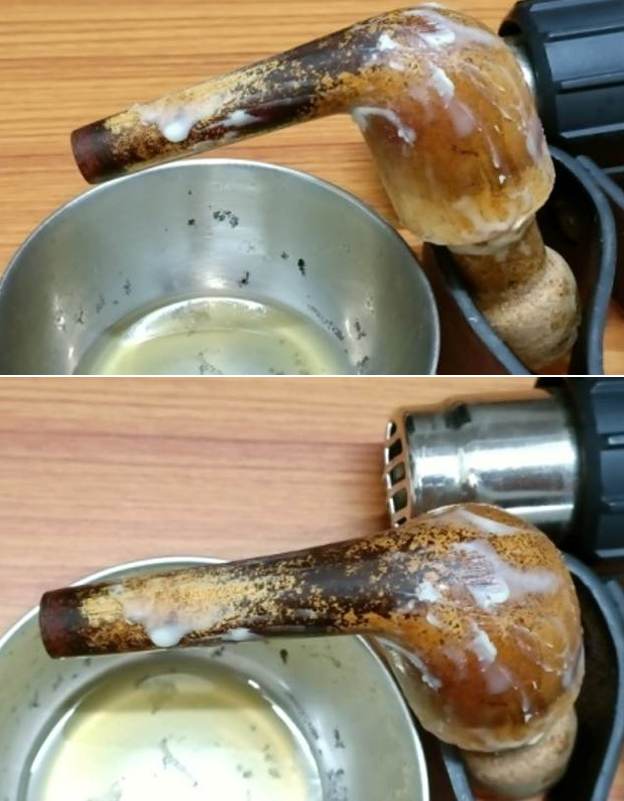
 The pipe had benefitted from a lot of work, but this wore out the colour of the wood. I decided to restain the pipe. First, I brought out my heat gun and spent a couple of minutes thoroughly heating the wood, so it would be as receptive as possible to the stain. I wanted the stain to penetrate well into the wood, to give the best results. I applied Fiebing’s Light Brown Leather Dye with a cotton dauber. I flamed it with my Bic lighter, let it set, then coated it again with dye, flamed it again, and let that set too. I decided to let the pipe sit overnight. This dye is alcohol-based, so I used isopropyl alcohol to wipe down the pipe and remove excess stain. I am very happy with the results.
 Earlier, I referred to a little hairline crack emanating from the draught hole. Steve recommended repairing it some pipe mud. This is made by mixing cigar ash (not pipe ash) with the merest bit of water to create a paste. I then applied the paste with a tiny spatula and let it set until dry. I then gently sanded it down.
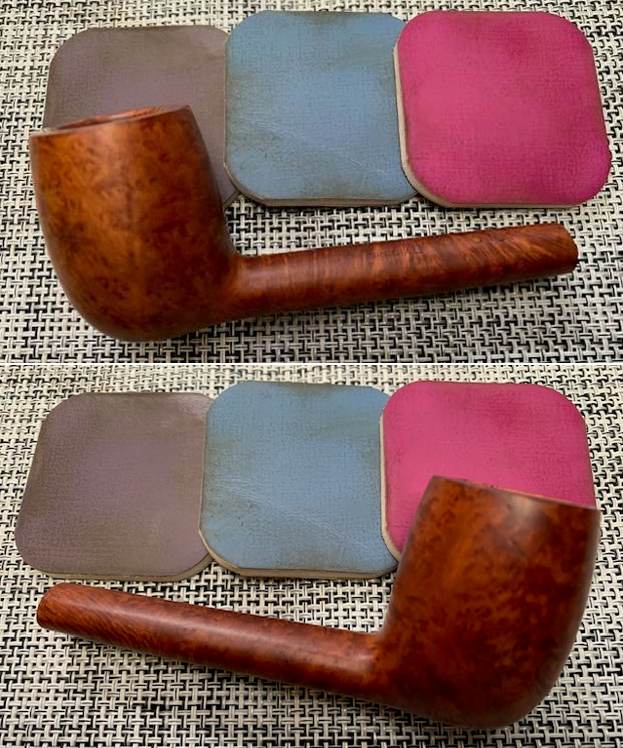
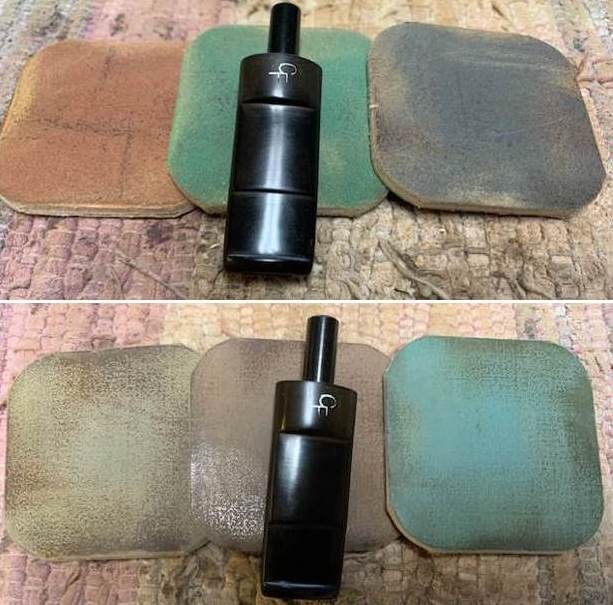
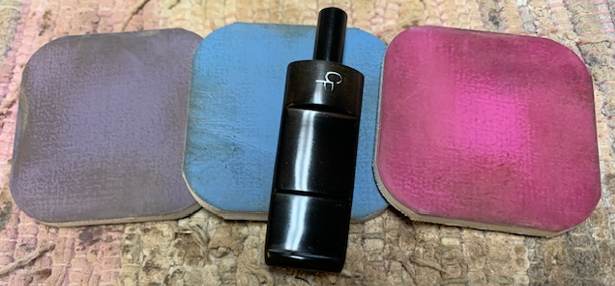
 Later, I added some Before & After Restoration Balm to the stummel. This does good things to wood, enhances the grain, and brings out some lustre.
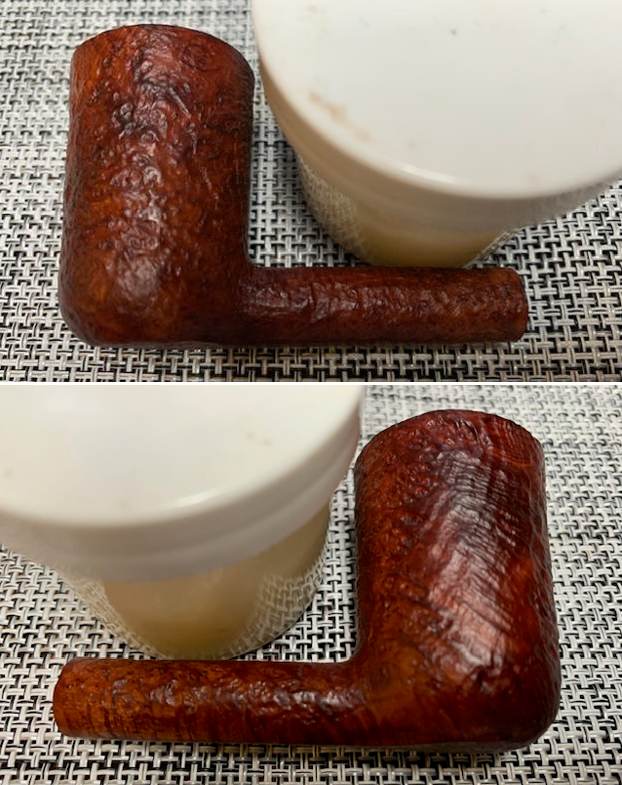
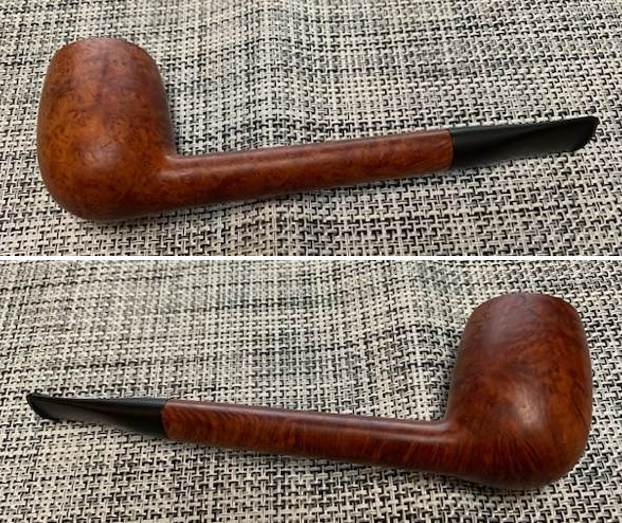
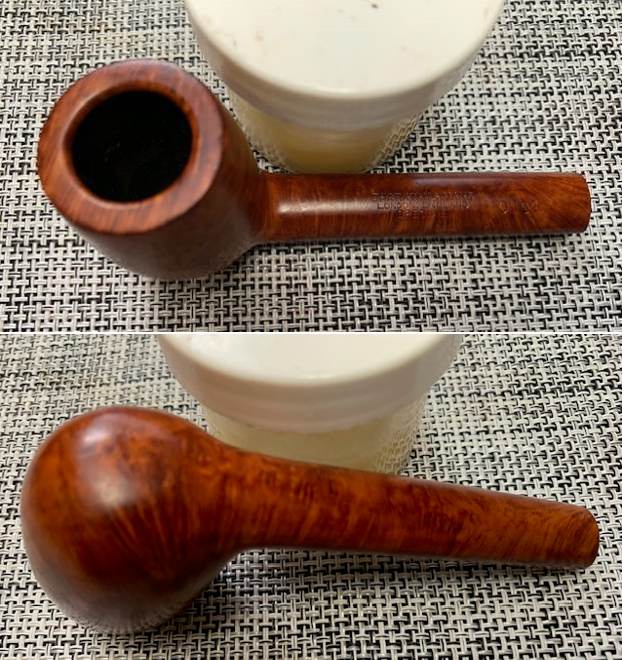
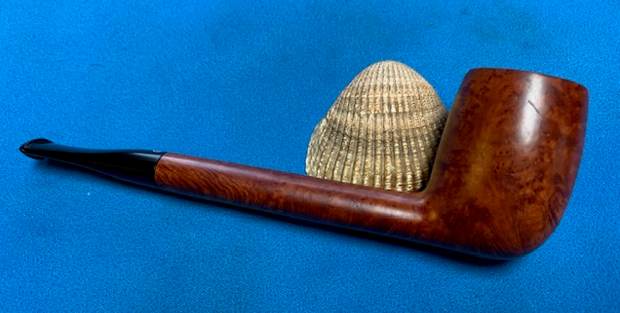
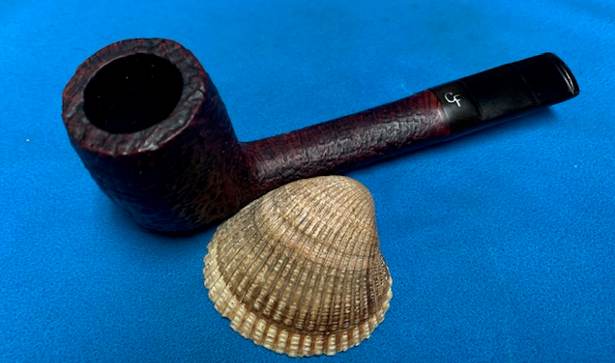
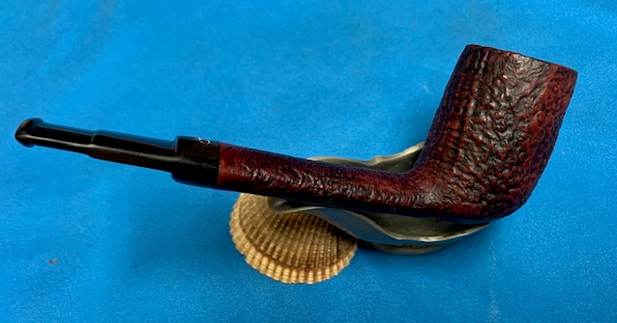
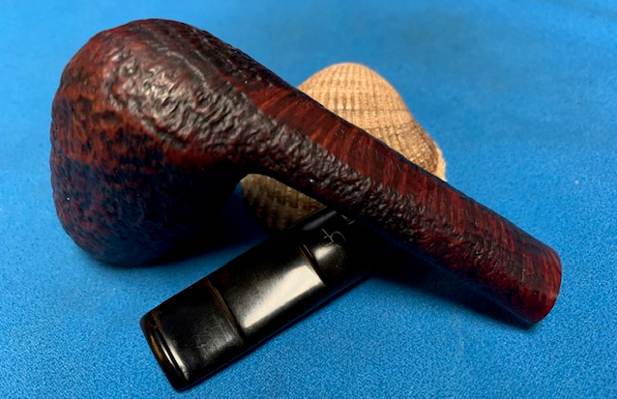
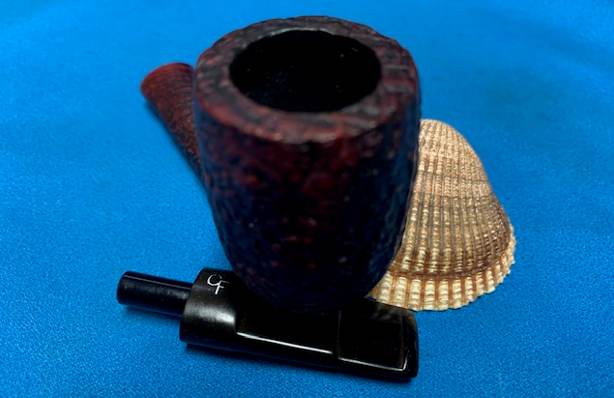
 Then it was off for a trip to the buffer. I applied a few coats of Conservator’s Wax and the pipe really popped. The lovely shine made the wood very attractive. This is a very handsome pipe and will provide many years of smoking pleasure.
 This BP Jum is much improved and is ready to be enjoyed again by the next owner. I am pleased to announce that this pipe is for sale! If you are interested in acquiring it for your collection, please have a look in the American pipe section of the store here on Steve’s website. You can also email me directly at kenneth@knightsofthepipe.com. The approximate dimensions of the pipe are as follows: length 5⅜ in. (137 mm); height 1⅝ in. (41 mm); bowl diameter 1⅞ in. (48 mm); chamber diameter ⅞ in. (24 mm). The weight of the pipe is 2⅛ oz. (61 g). I hope you enjoyed reading the story of this pipe’s restoration as much as I did restoring it. If you are interested in more of my work, please follow me here on Steve’s website or send me an email. Thank you very much for reading and, as always, I welcome and encourage your comments.