I received this article from Robert on Christmas day. I appreciate Robert’s willingness to write for the blog and to post about what he is learning as he works on pipes that he is refurbishing. He has an inimitable style of writing that is a pleasure to read. Thanks again Robert. With no further ado here is the article.
About a well-used, unassuming Ropp billiard that I bought from the talented pipe maker and restorer, Victor Rimkus, for $5, and the immediate odd wariness that something serious must be wrong with my perception of beauty in the grimy, almost blackened specimen of French craftsmanship and the conflicting fear of taking advantage of Victor’s generosity.
Guest Blog by Robert M. Boughton
“…Above all
Were re-established now those watchful thoughts
Which, seeing little worthy or sublime
In what the Historian’s pen so much delights
To blazon–power and energy detached
From moral purpose–early tutored me
To look with feelings of fraternal love
Upon the unassuming things that hold
A silent station in this beauteous world.”
William Wordsworth, “The Prelude,” Book 13 (1850)
Introduction
Wordsworth had a righteous beef with that haughty society of humans, known as the upper class,which thrives in the rarefied heights of self-idolatry and therefore revels in the delusion of Divine Right over the so-called common man. The notion of only those fortunate enough to possess large amounts of money and property being capable of appreciating the little things in life, on the absurdity of the premise alone, rankled the 18th to 19th century English poet, who not only admired the many qualities of the “common man” but advocated incorporating the more relaxed, informal speech and other idiosyncrasies of the commoner throughout his life as a writer – most of which encompassed a time when epic poems were still more in vogue than Wordsworth’s new lyrical, Romantic style.
Pipes, their crafting from raw materials, the countless possible final results of forming and finishing, the often elusive pursuit of the history behind a given sample(whether of high class or more common origin) and, at my particular phase of development in the whole grand learning process, the choices that are made when restoring one of these wondrous innovations of relaxation and contemplation, are all aspects of the trade, art and, above all, pleasure of the sometimes overwhelming experience. Put another way, regardless of the fact that the poet himself never made this connection in so many words, Wordsworth’s view that there is no more such a thing as a common man than there is common sense reflects my passion for all things related to pipes, which of course includes the myriad types and blends of tobaccos used in their smoking.
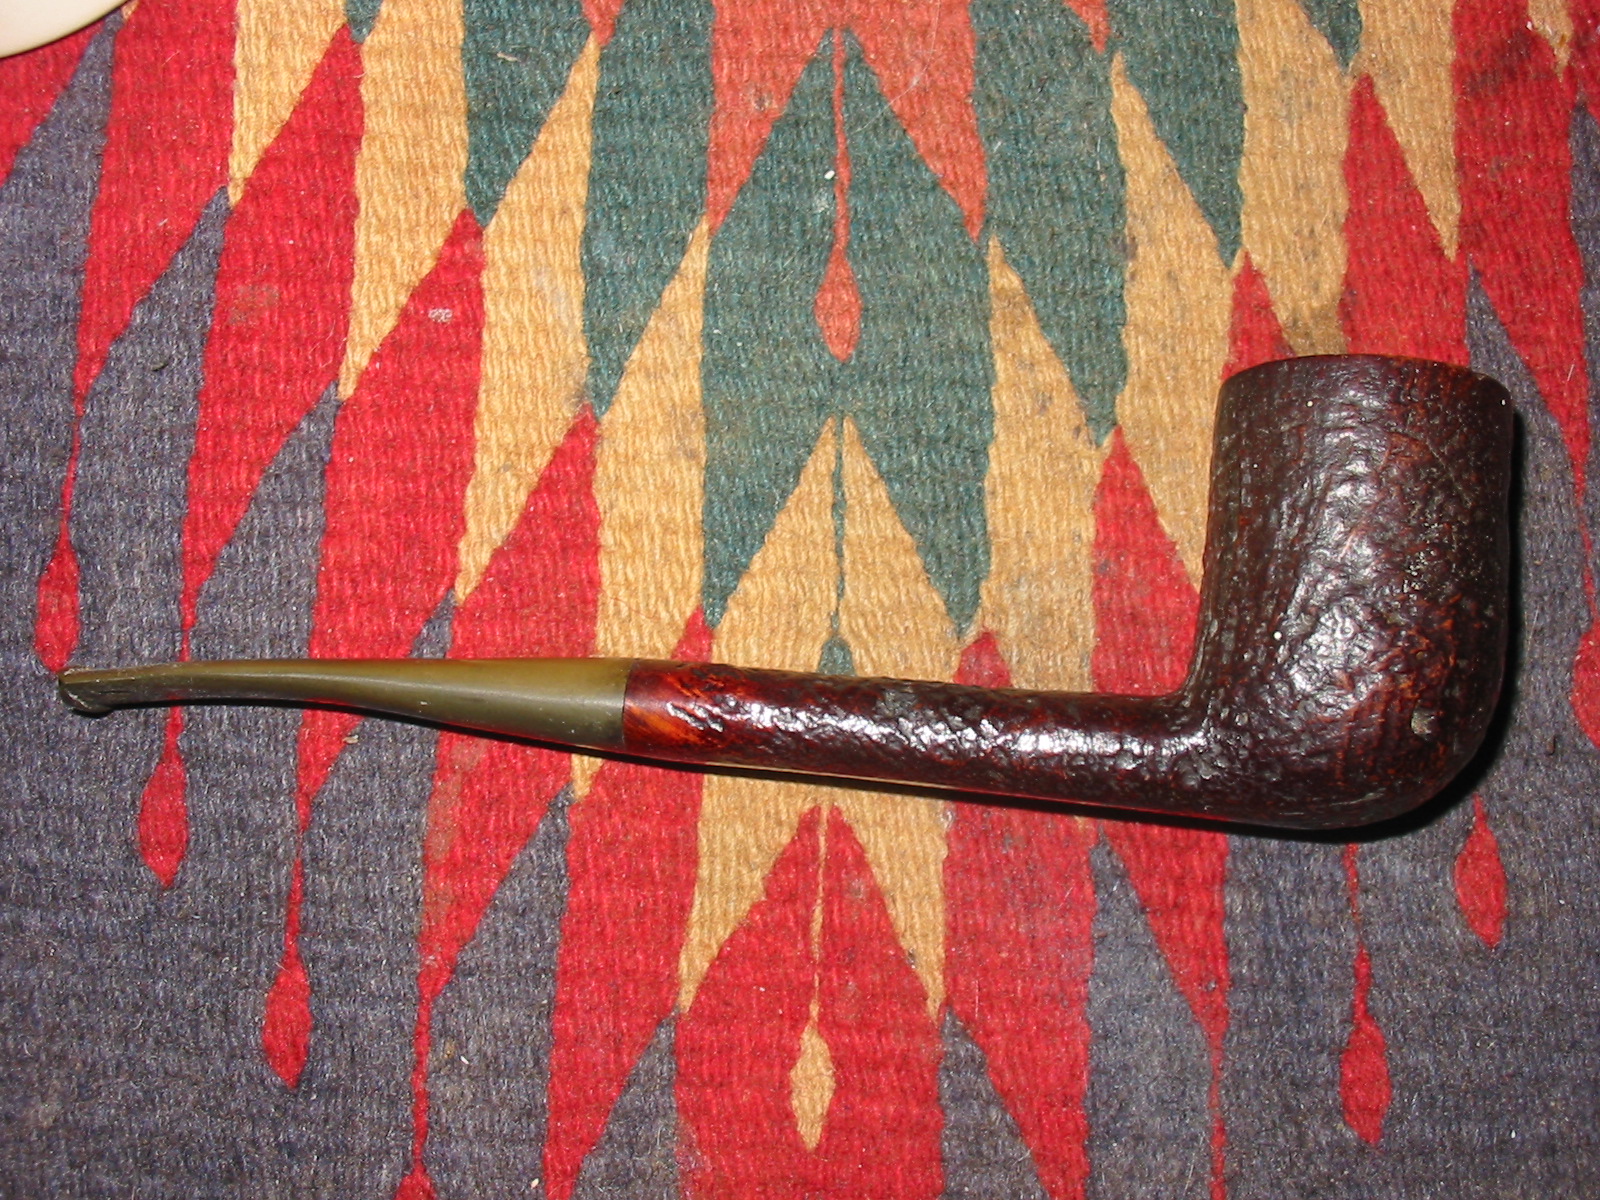
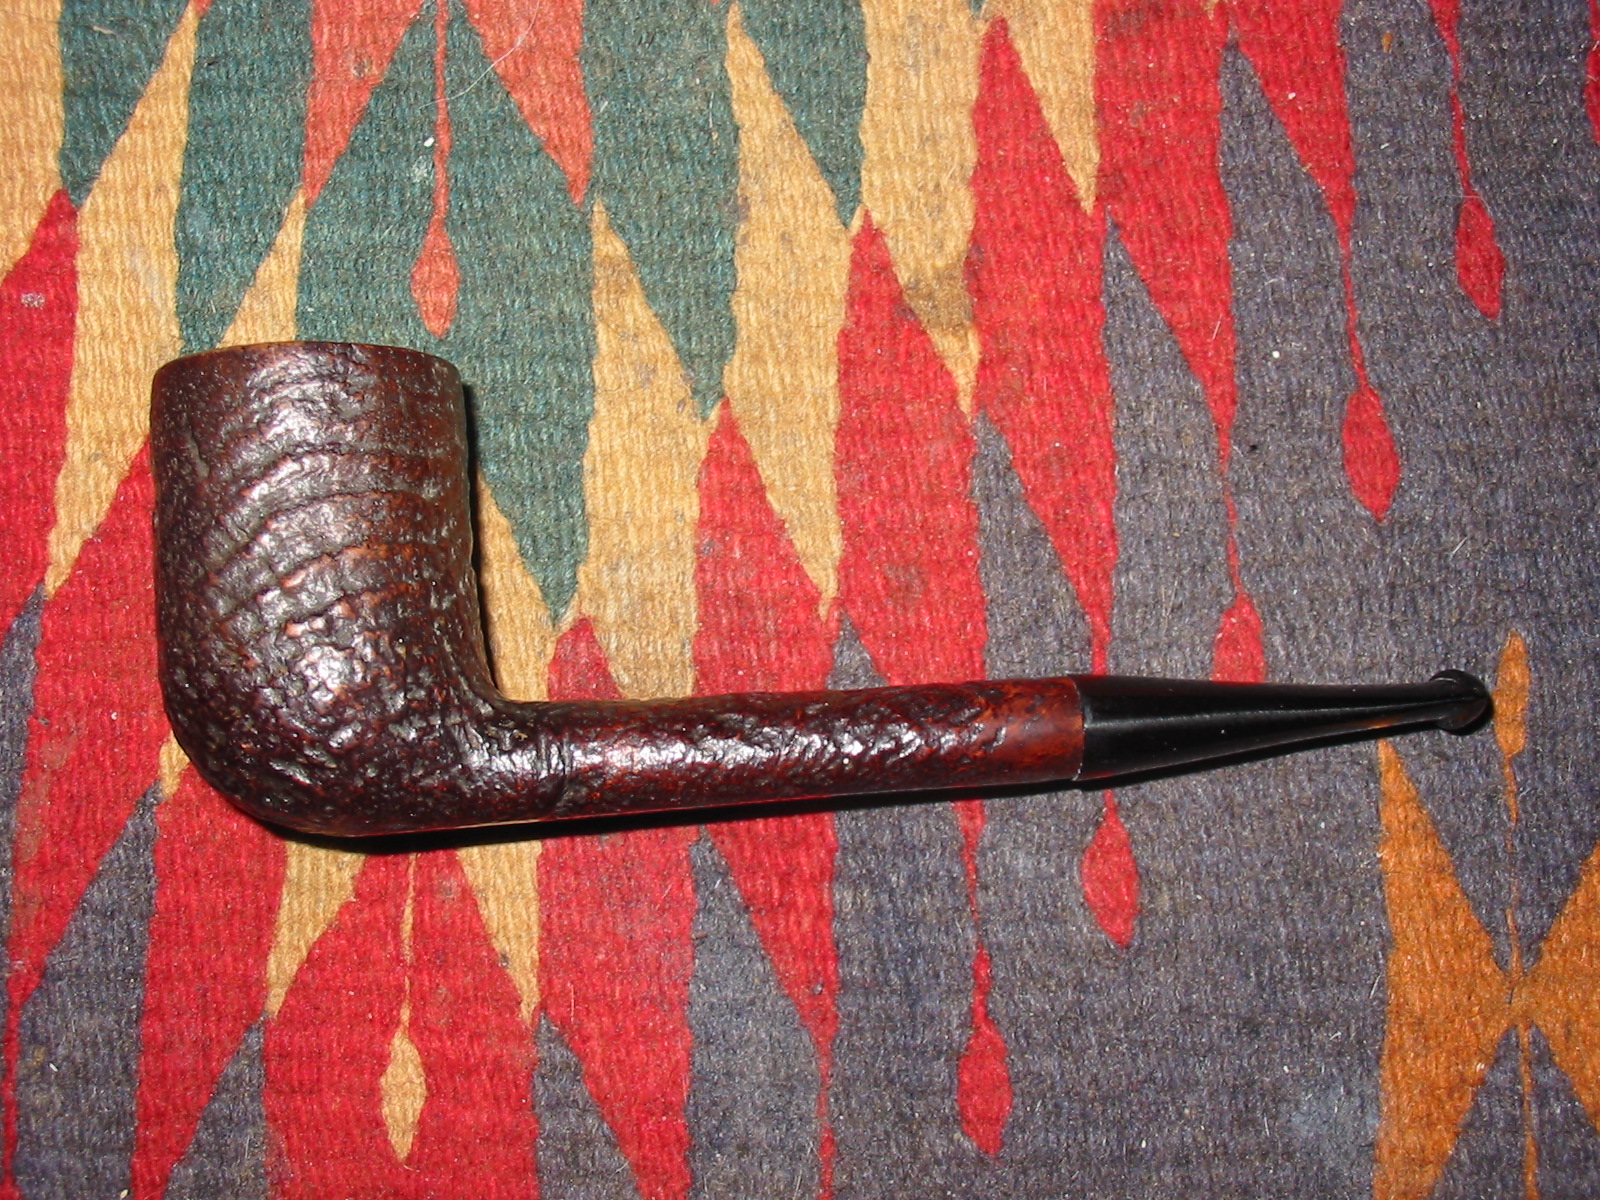
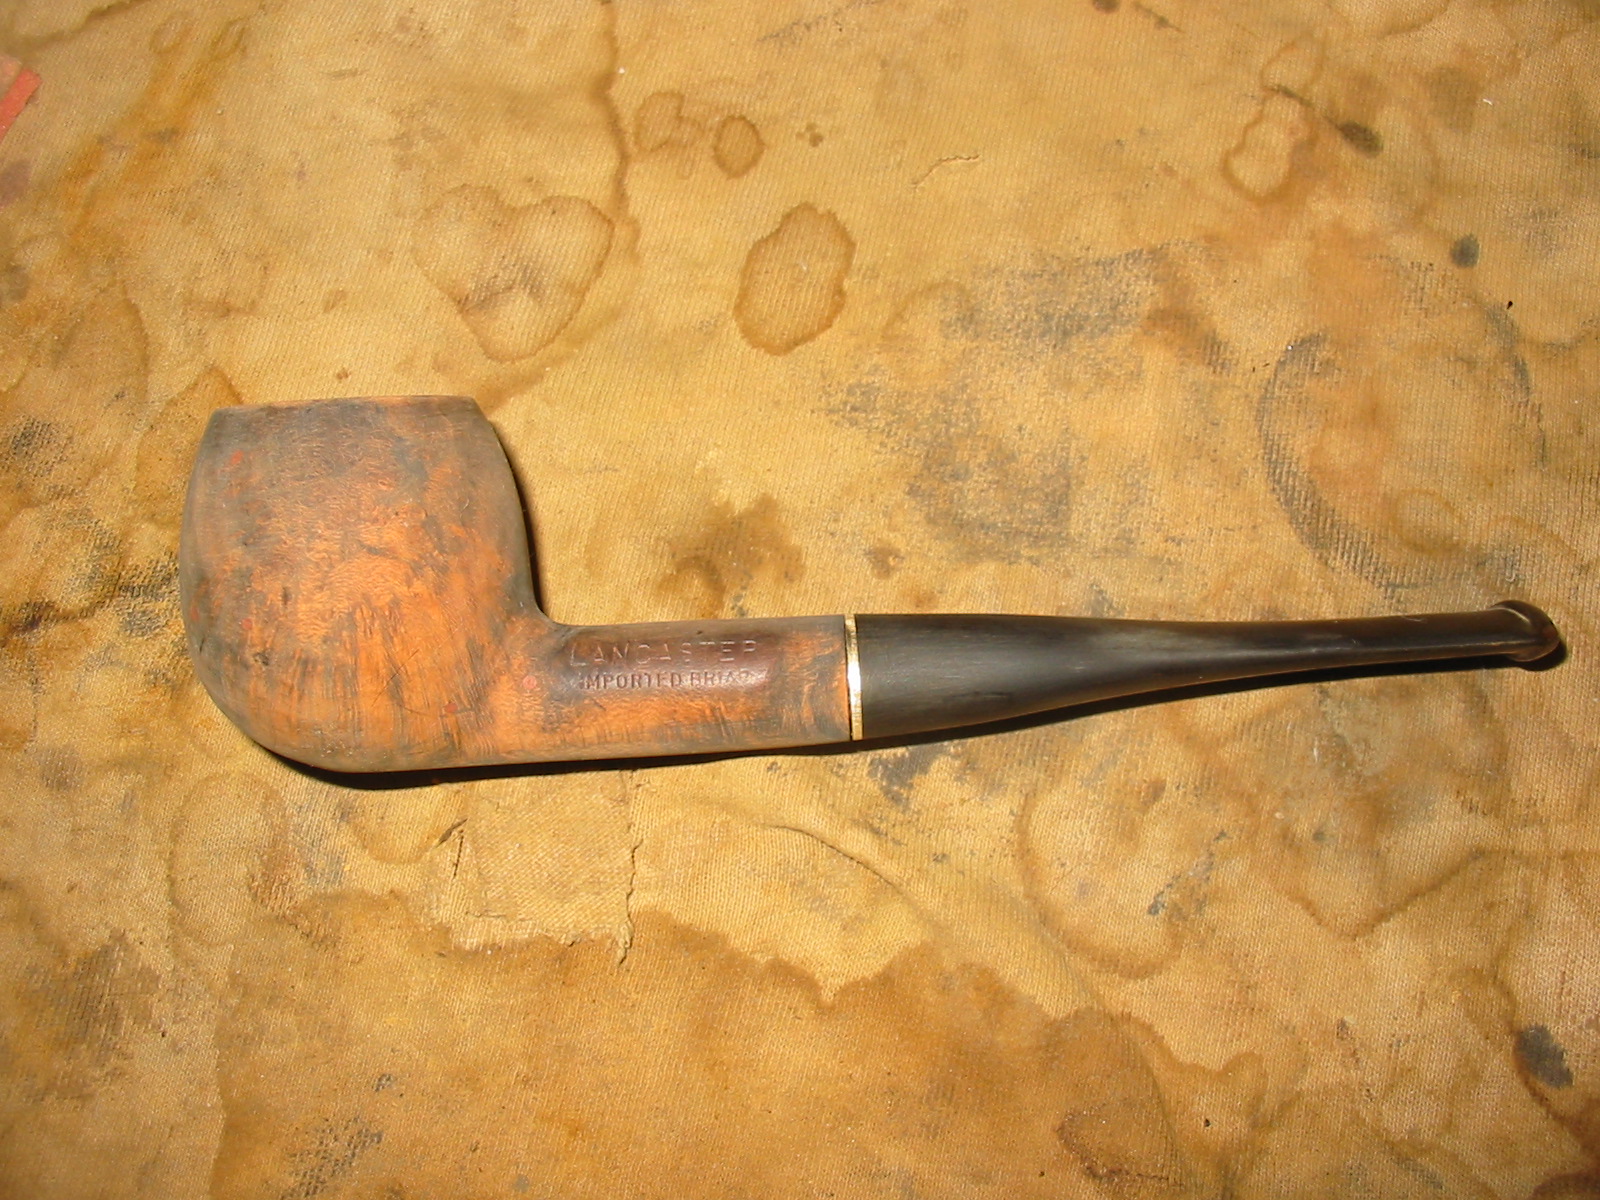
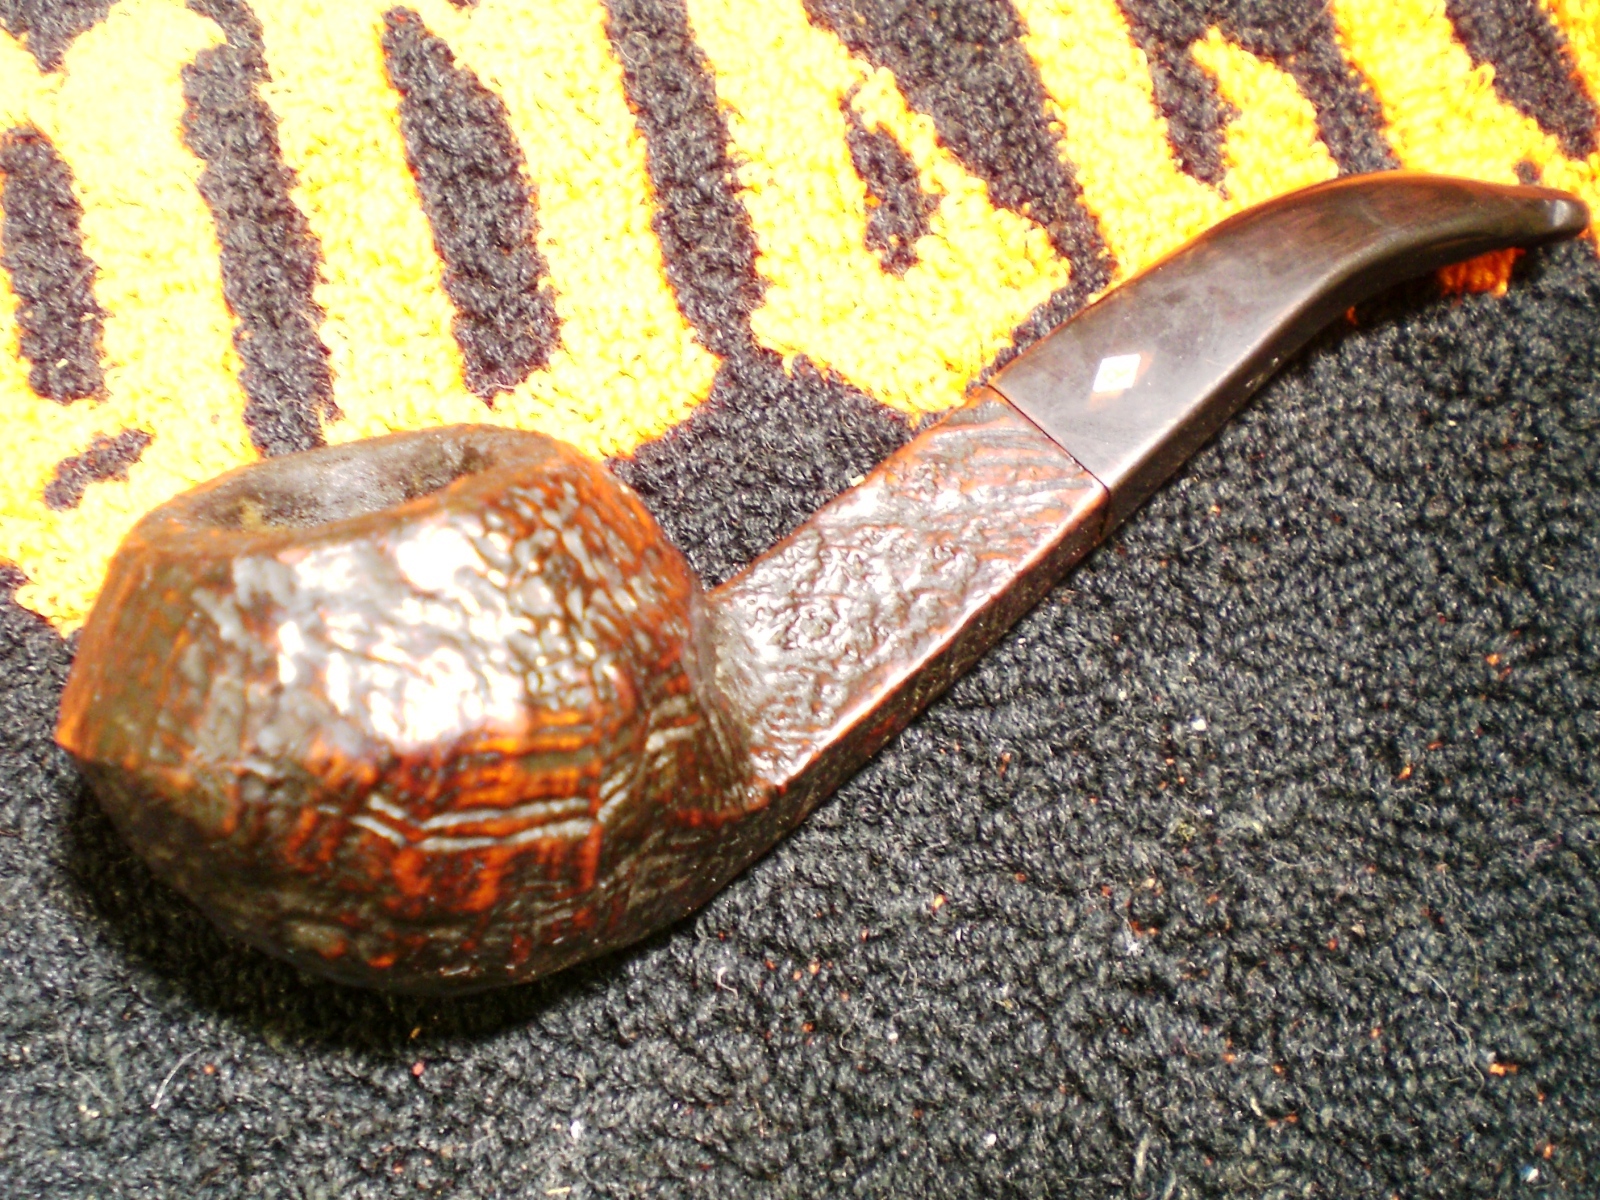
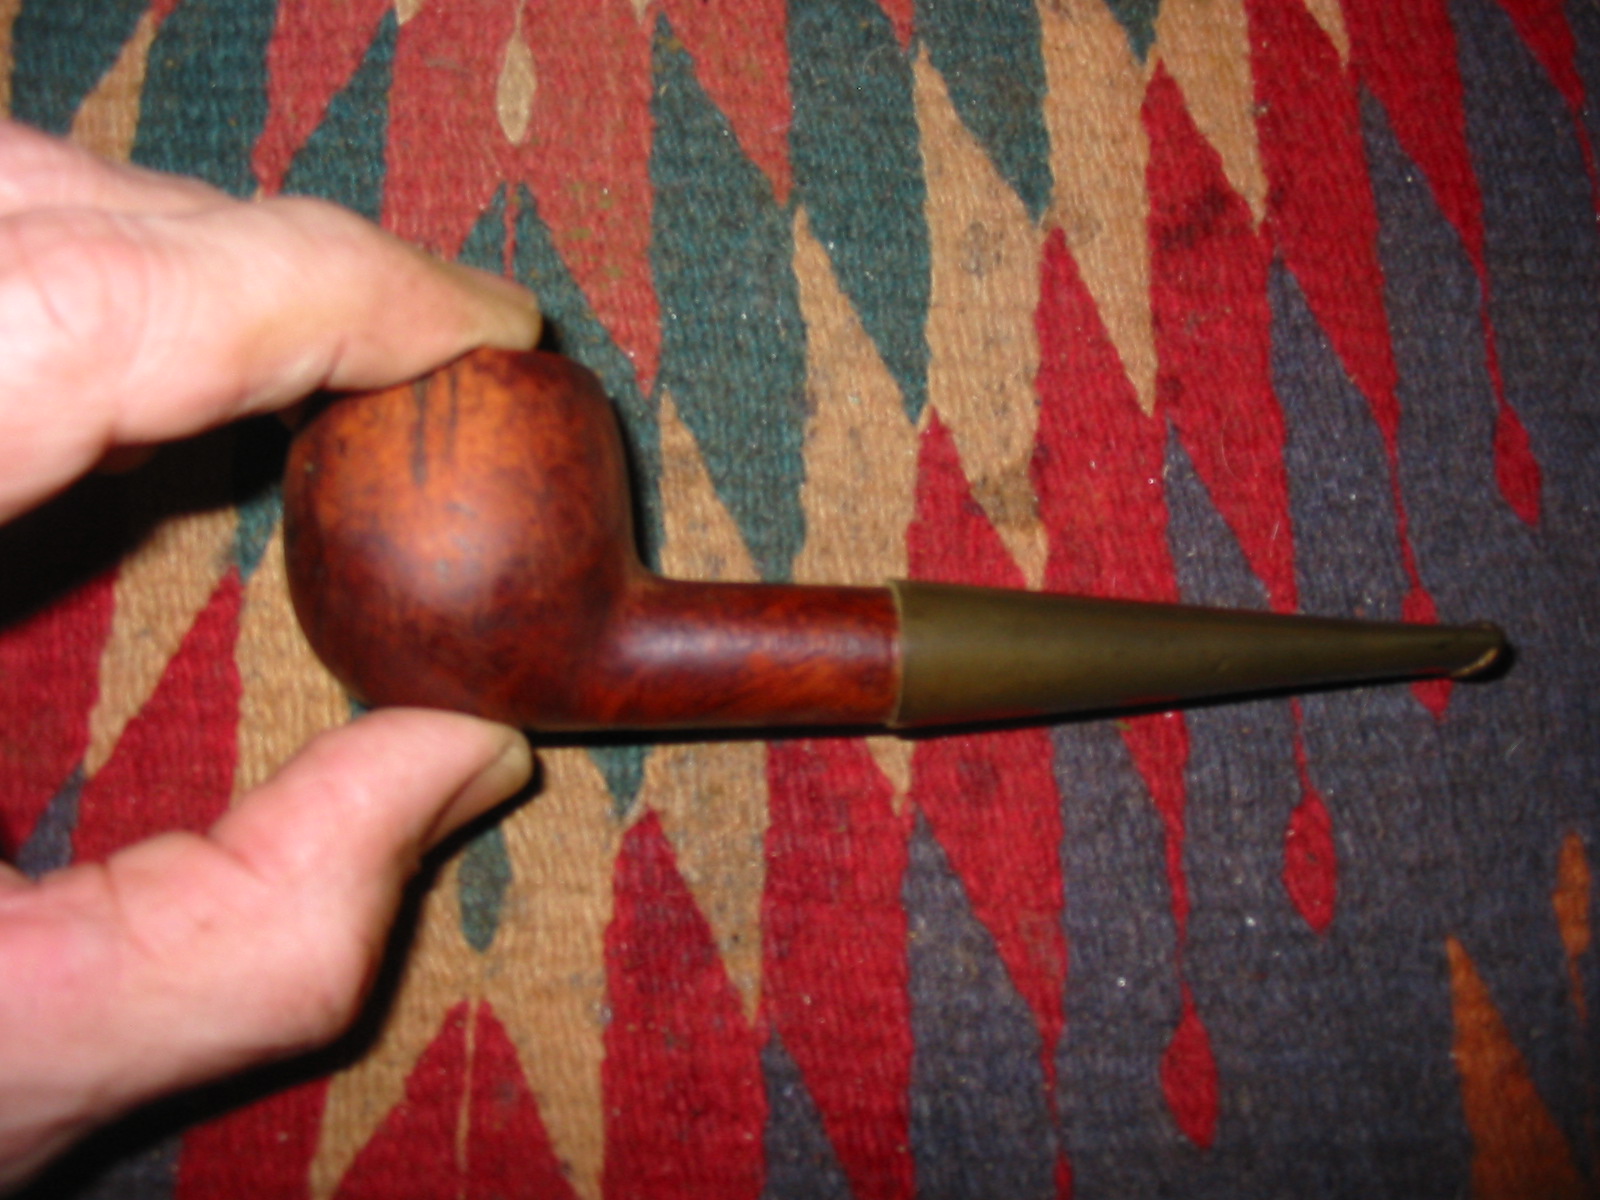
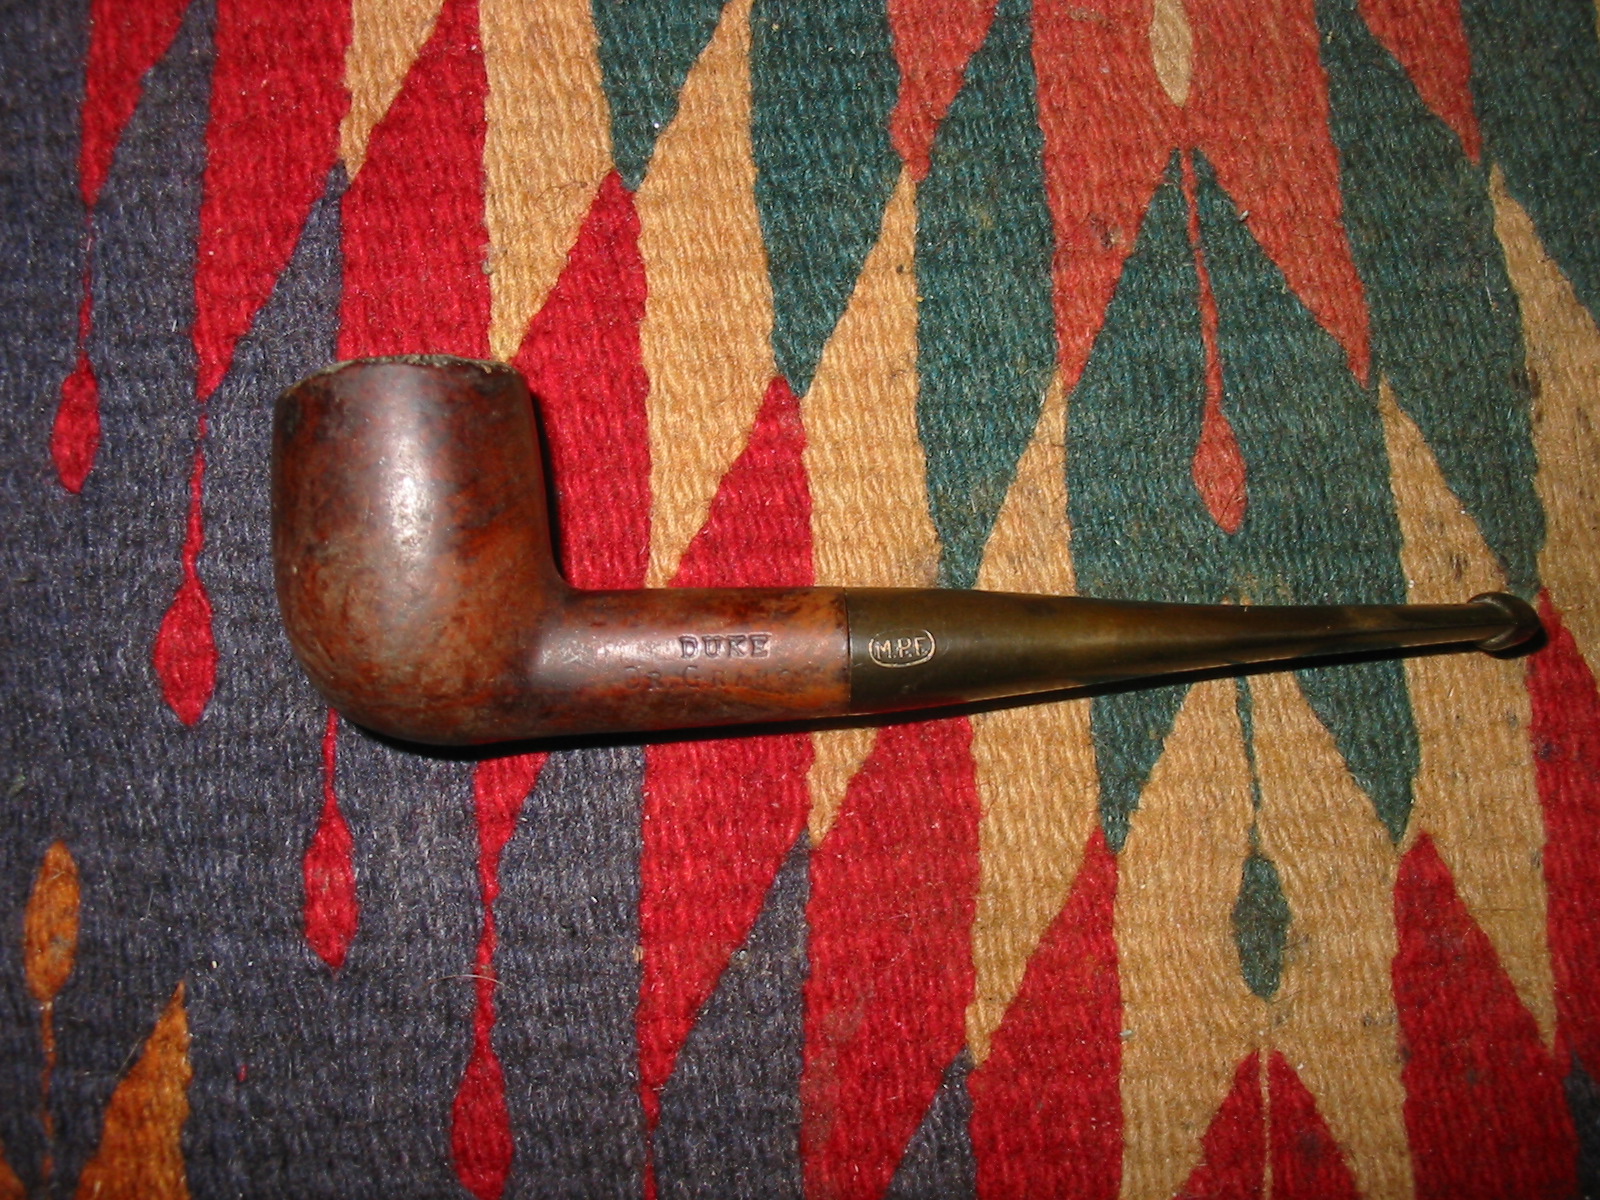
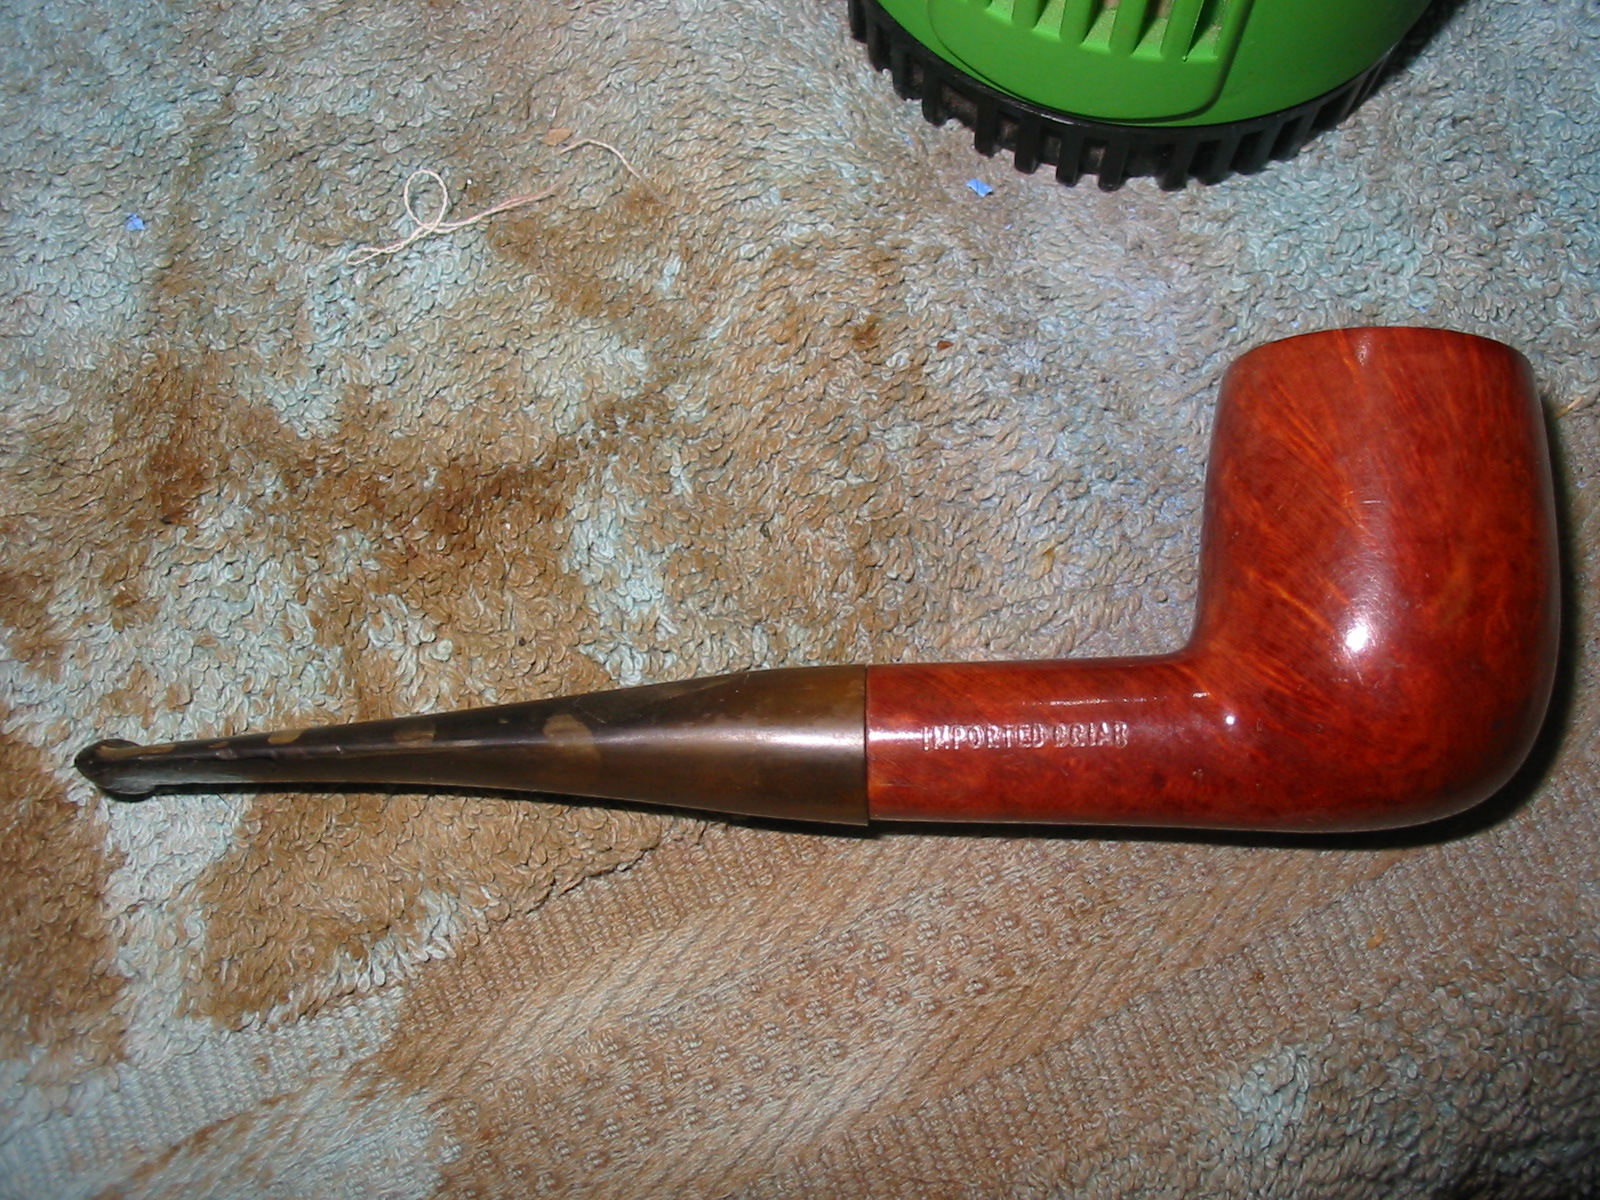
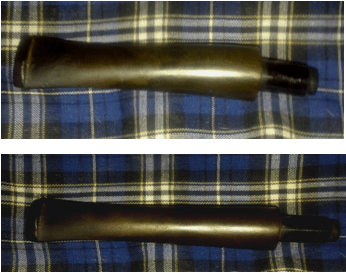
In such a state of mind did I find myself at the monthly meeting of my pipe club some time past, glancing through Victor’s large selection of $5 pipes in varied conditions, from unblemished and ready to smoke to one or two with nearly burned out bowls. Now and then I gave one with nice curves more than a once over, even caressing a few, but all of these I spurned based on whatever uncertain reasoning guided me. I only had eyes for something new, special; something not yet tried, but only imagined. What poet can accurately describe the fickle laws of attraction? Suddenly, on that enchanted evening, as if across a crowded room, I saw her – a stranger, yet somehow familiar, when I got beyond the initial wild, unkempt look. I picked up the dark, full-bodied billiard and right away noted the total blackening of the bowl rim and a few dings here and there, as well as the lack of luster. The briar and stem were rough to the touch. But none of these signs of extreme use deterred me. On the contrary, they were exciting. They showed experience, character. Someone had loved that pipe, and for a long time.
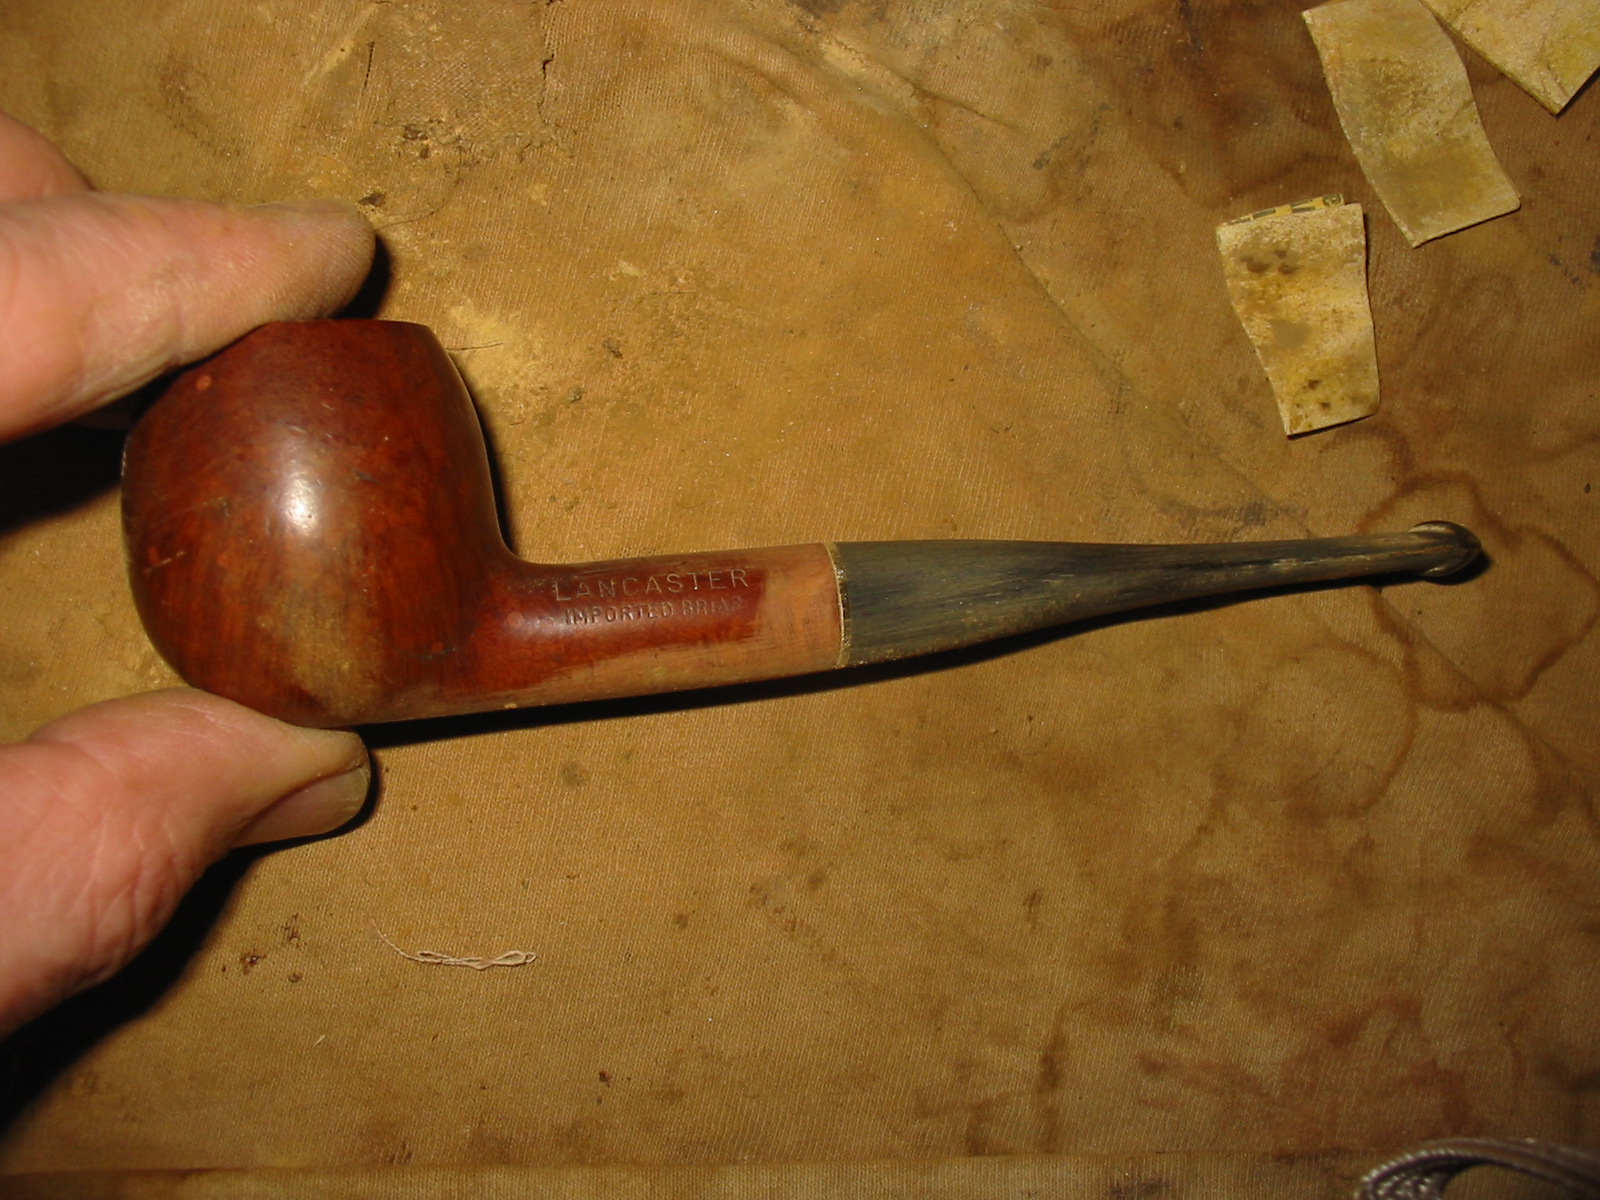
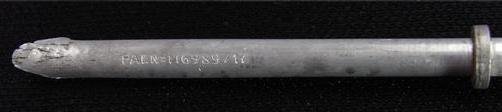
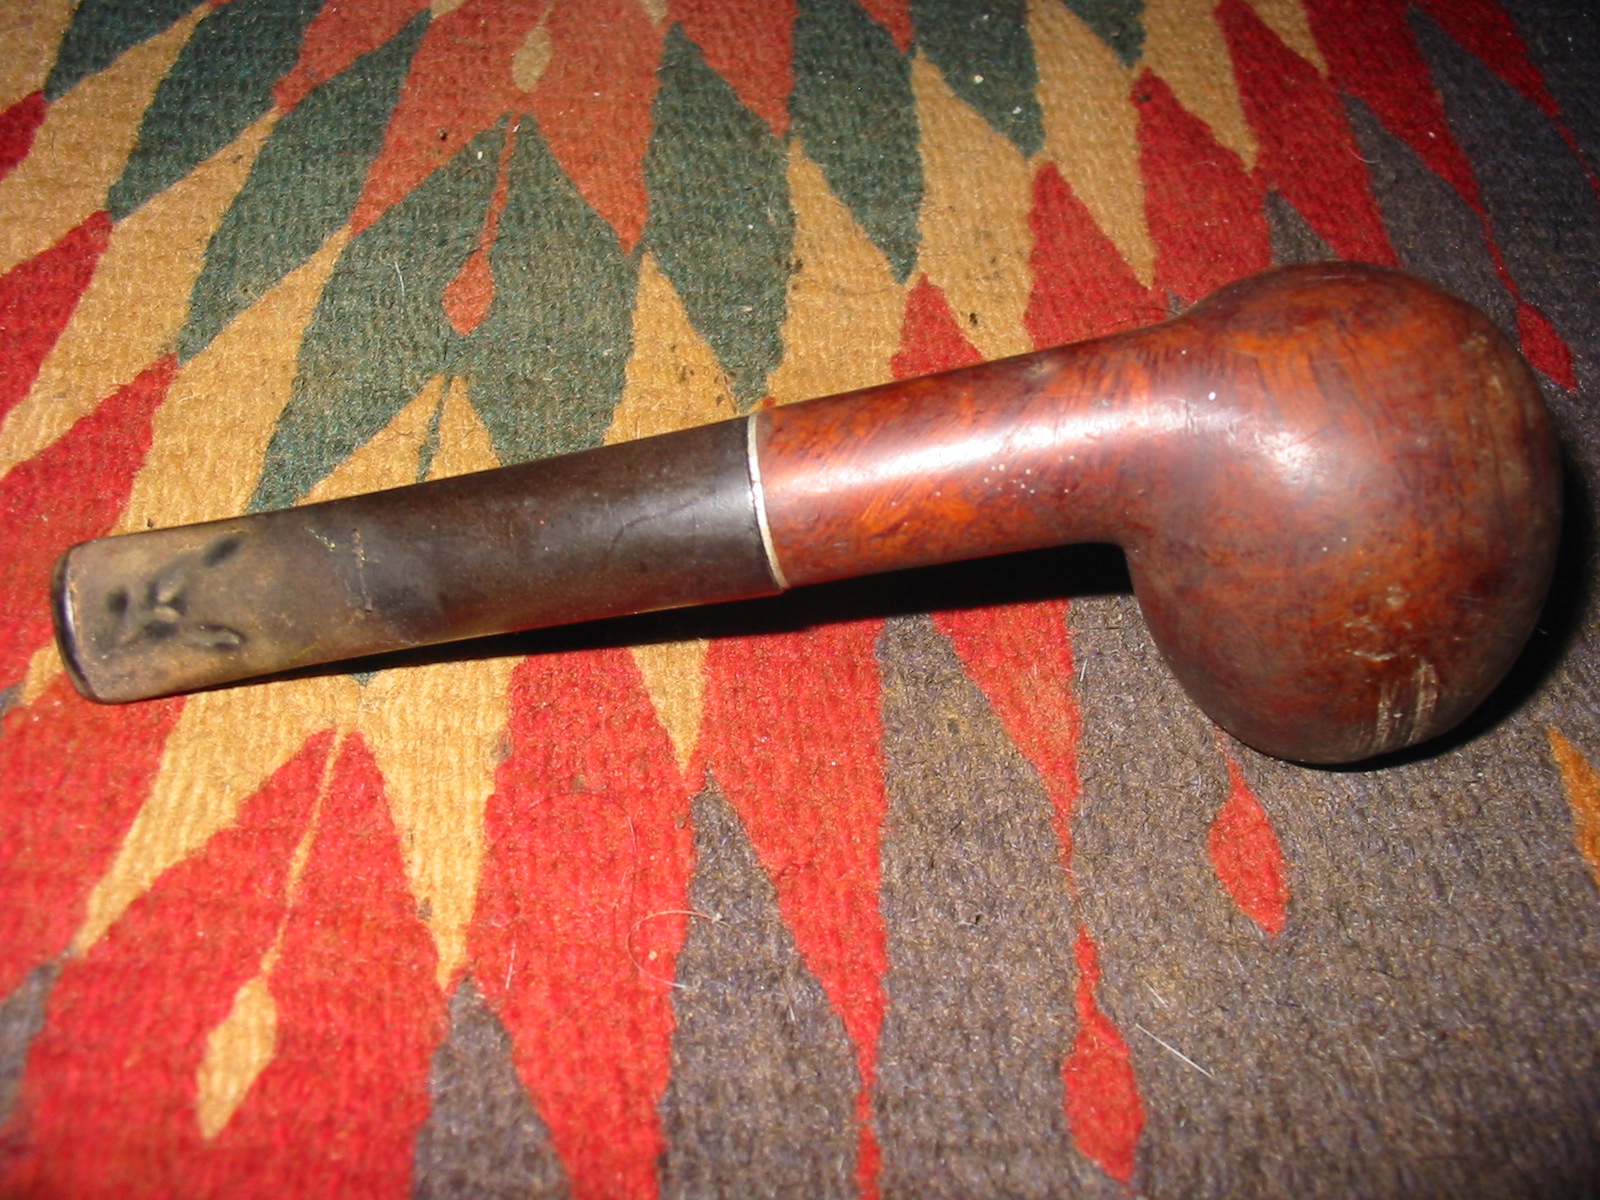
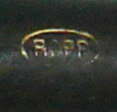
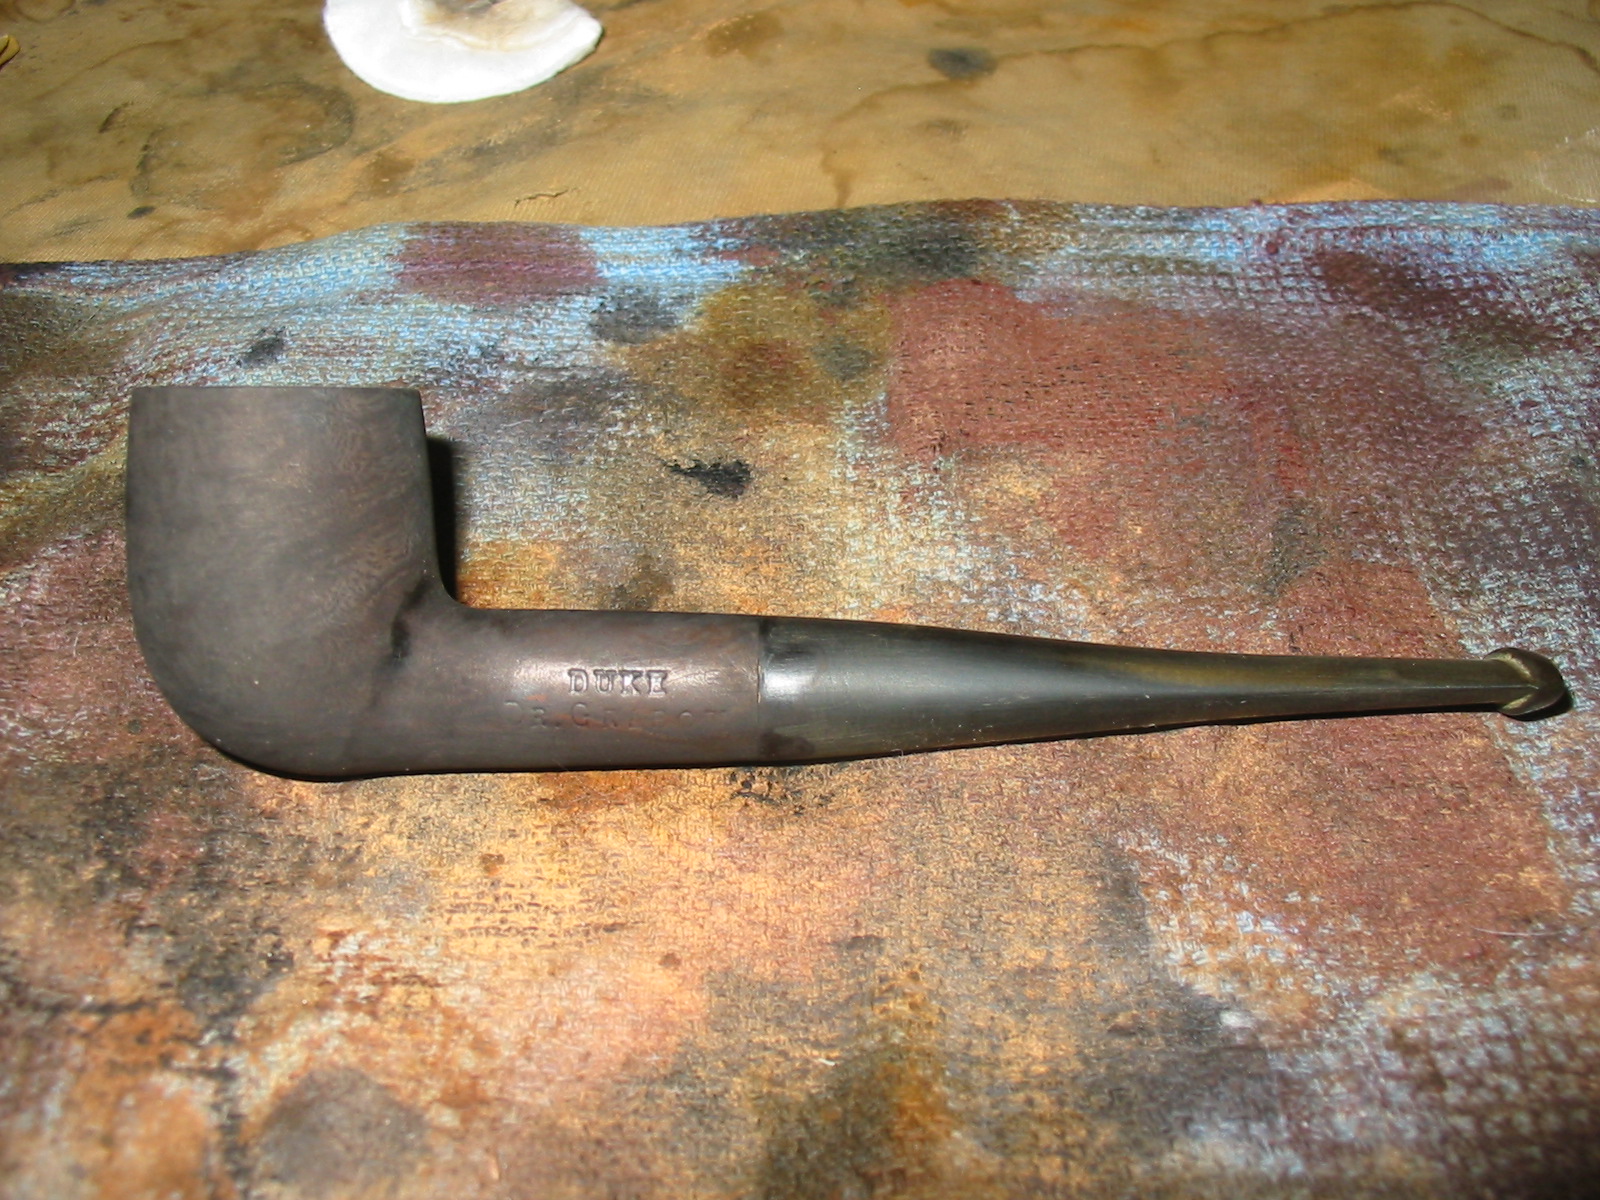
And so I pushed my Dollar Store 3X glasses backward from the tip of my nose to take a closer look, for birth marks, as it were… and was not surprised that the shank was stained with substances not part of the pipe-making craft and the words there mostly obscured, but indeed jolted enough by what I read on the stem to let out a little grunt of dismay:
 Why, Ropp was on my actual mental list of new experiences I wanted to have! Still not convinced it could be a real Ropp, but considering the possibility which in my near-fevered engrossment then presented the viable alternative that someone had switched the stem, I peered again at the shank, still unable to make out the murky engraving there. So I moved away from the darkness of the back bar at the Moose Lodge where we have our monthly meeting and closer to Victor, who was sitting and talking with other members. Standing there, I thought I could at least read “opp” on the shank. During a pause in the conversation, I handed Victor the pipe and asked if it was in fact a Ropp, to which he shrugged and asked, “What does it say it is?” Much like Chuck, Victor can be blunt that way. I was nonplussed. Fortunately for me, Victor broke the silence by getting out his own eyeglasses and giving the pipe a quick closer exam before pronouncing it a real Ropp after all. That was good enough for me, and I handed him $5. Considering the loopy grin of satisfaction on my face, Victor must have thought I was a little touched.

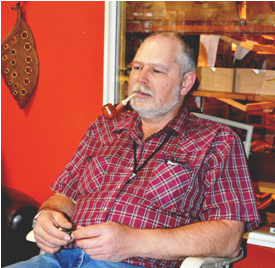
Victor Rimkus. Photo © the Author
Cleaning the Pipe
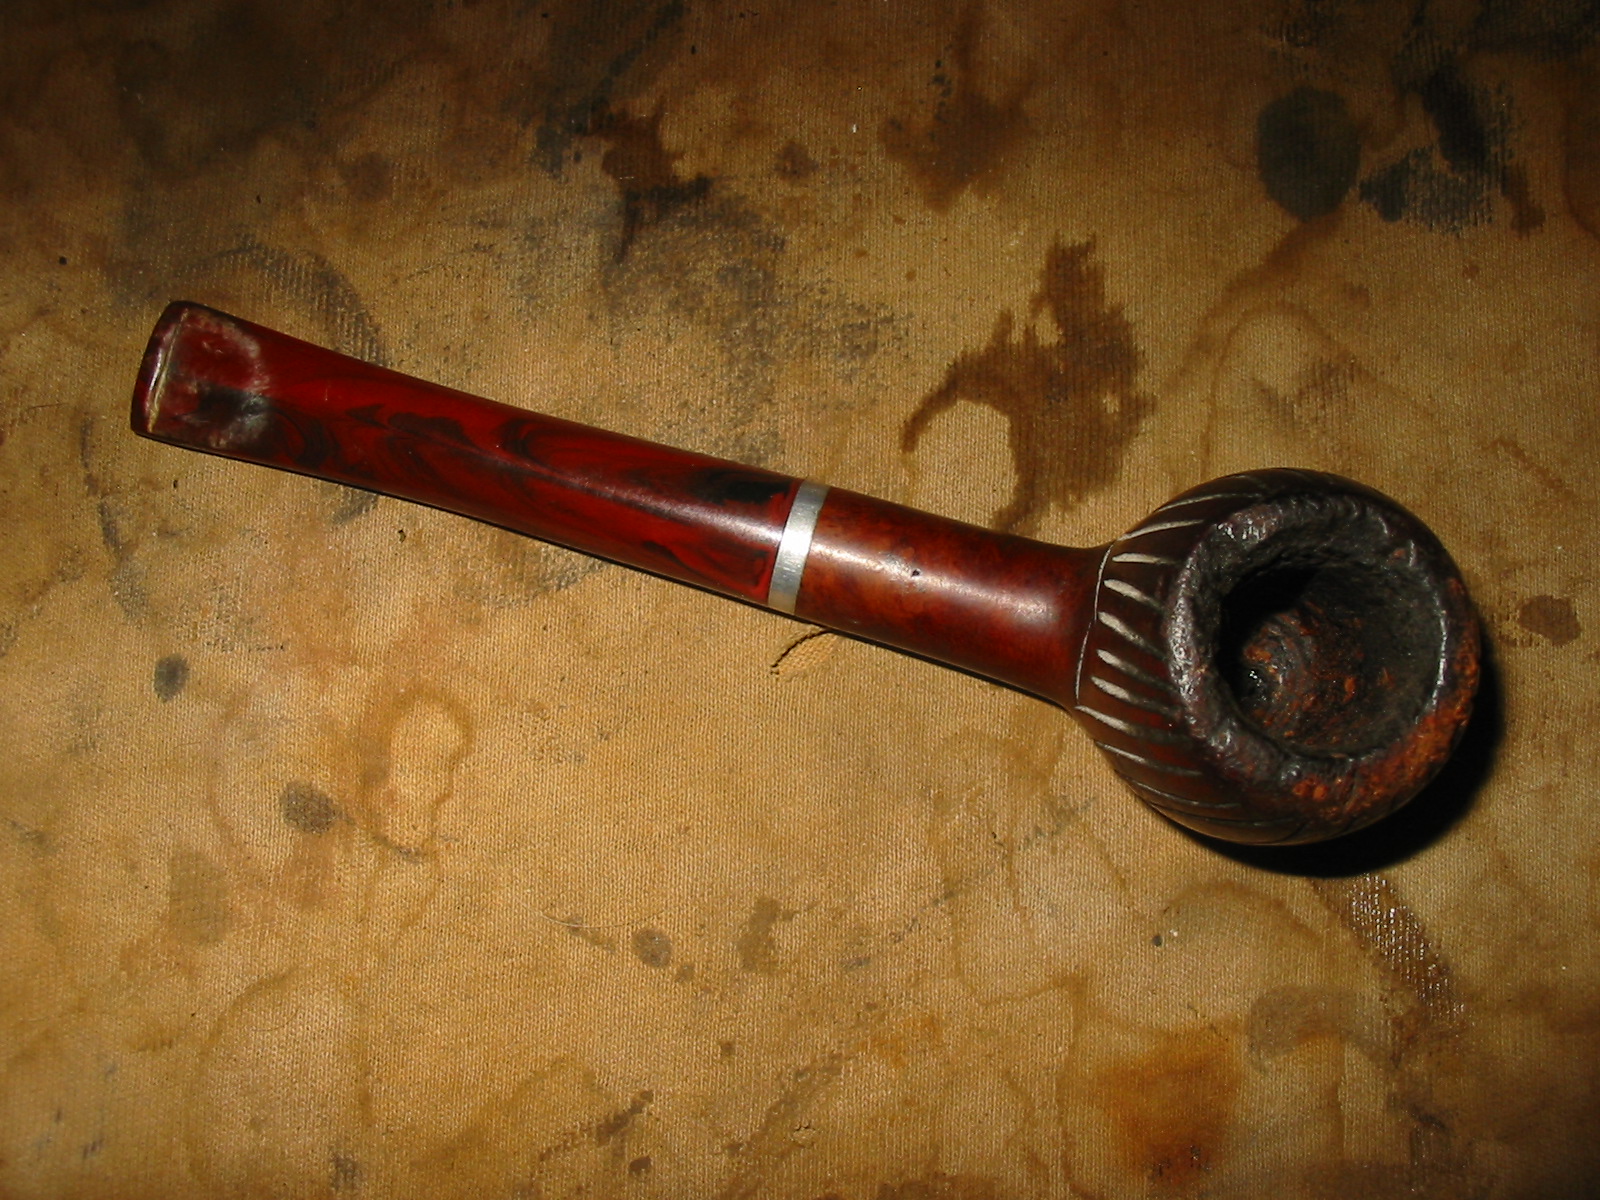
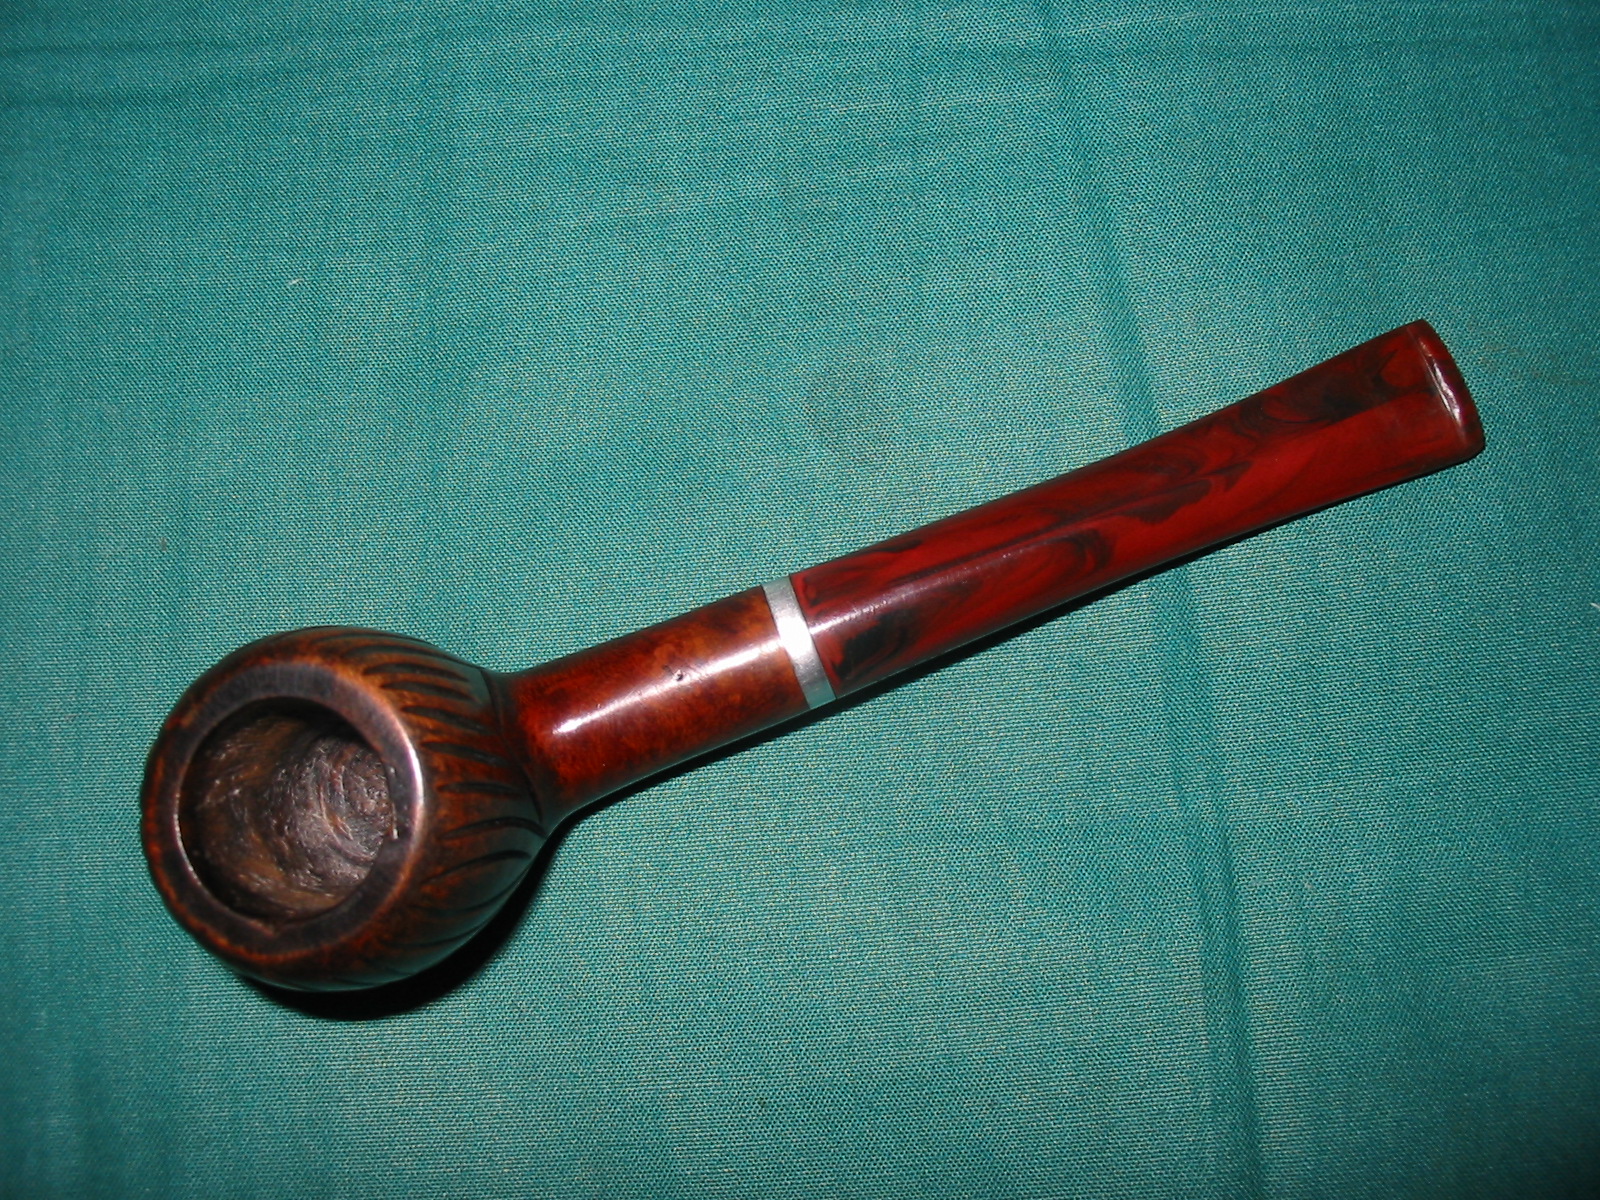
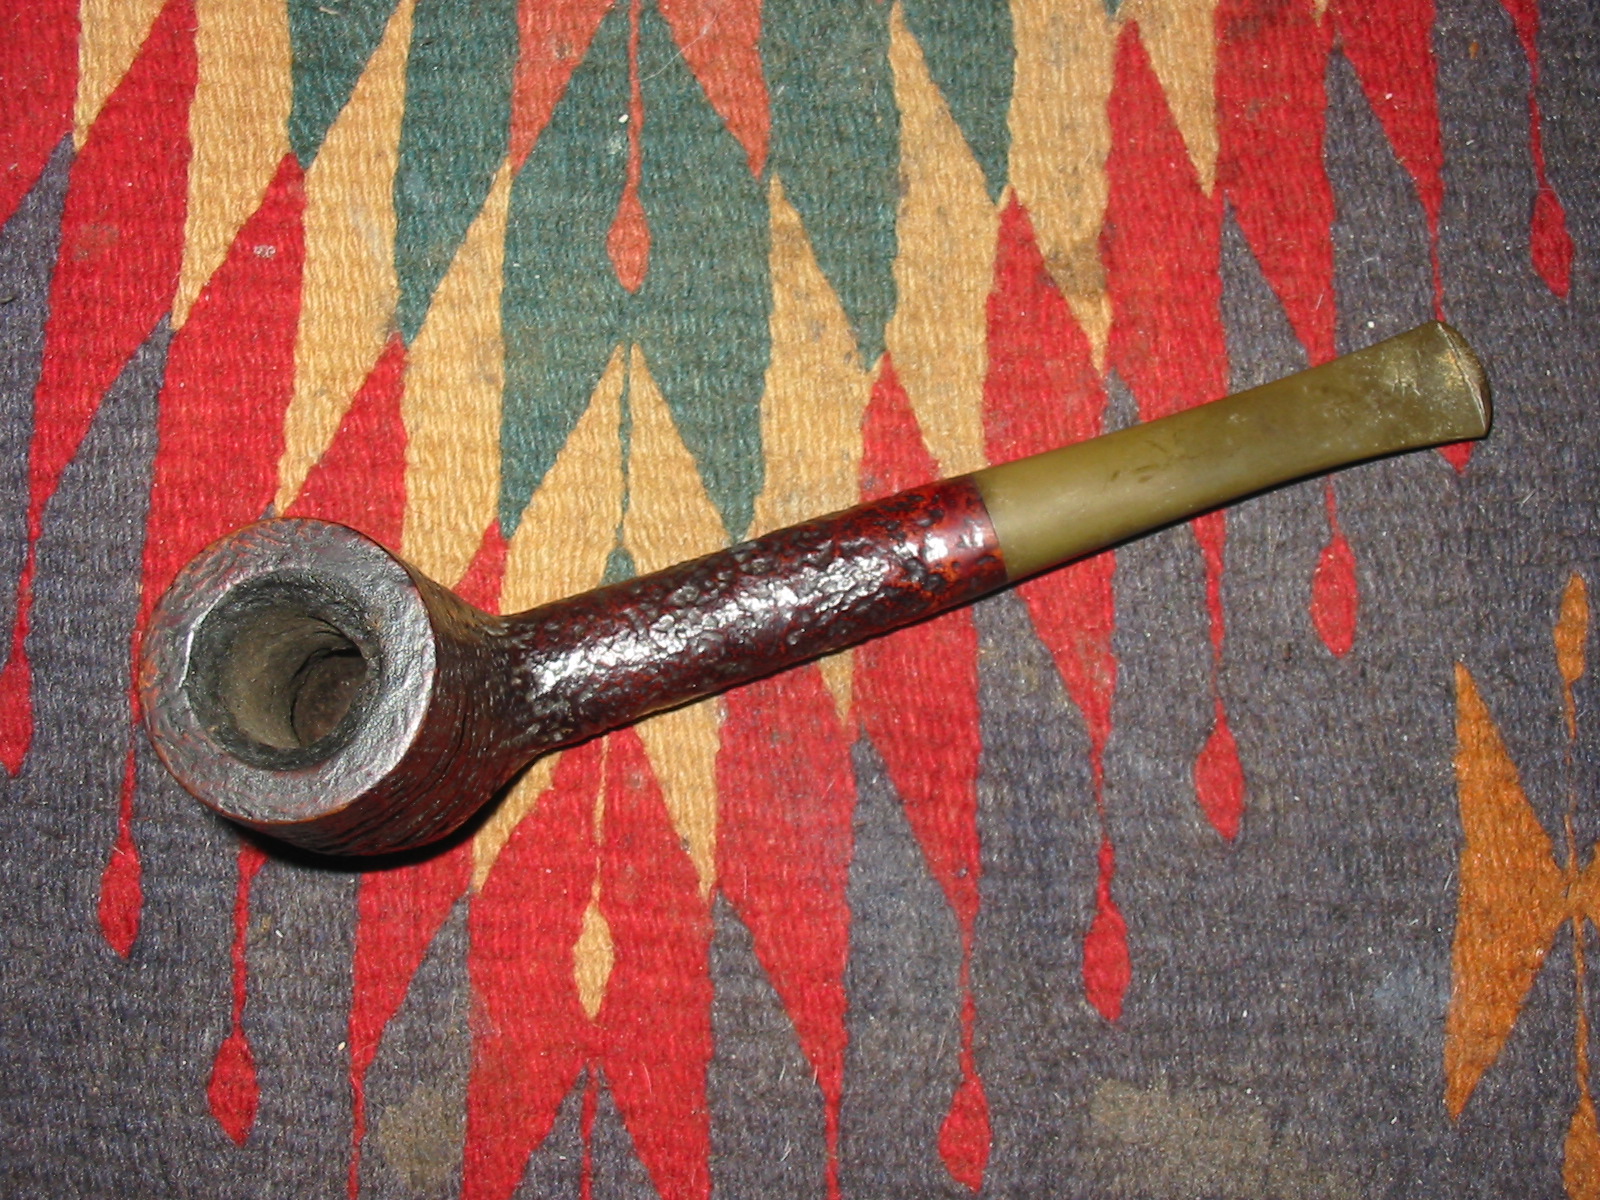
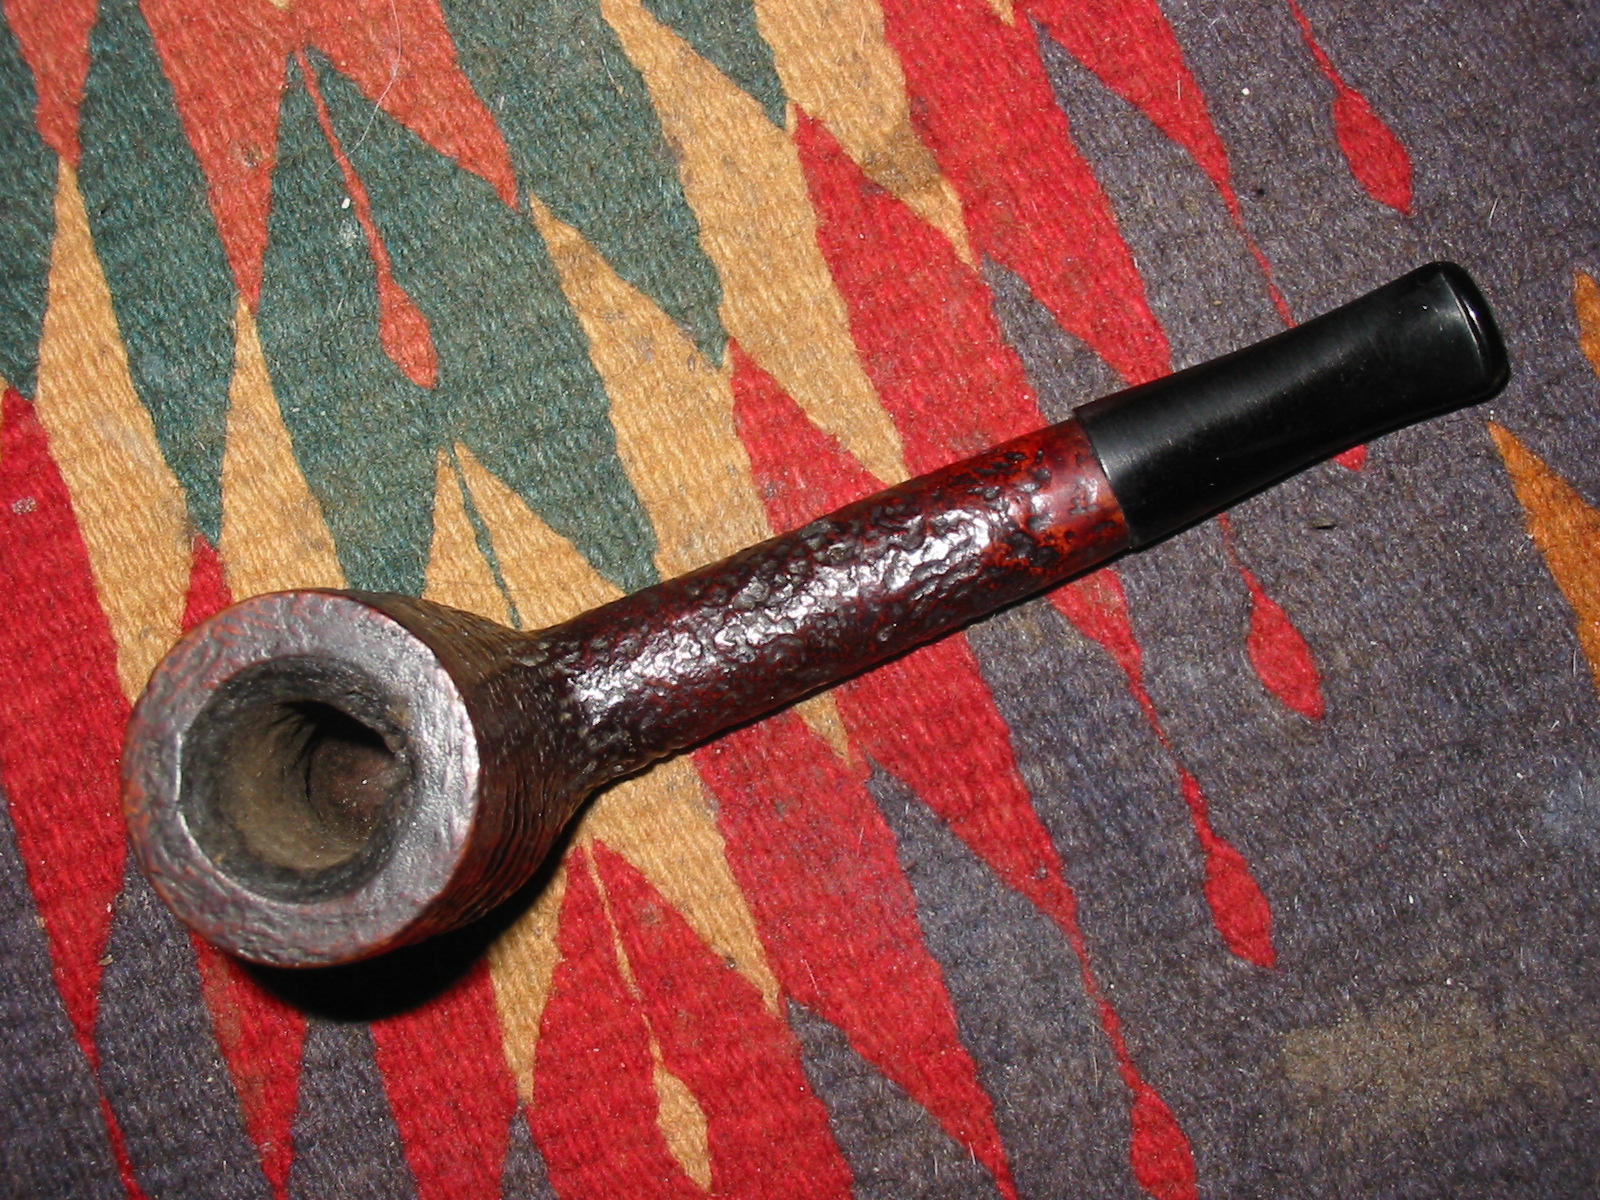
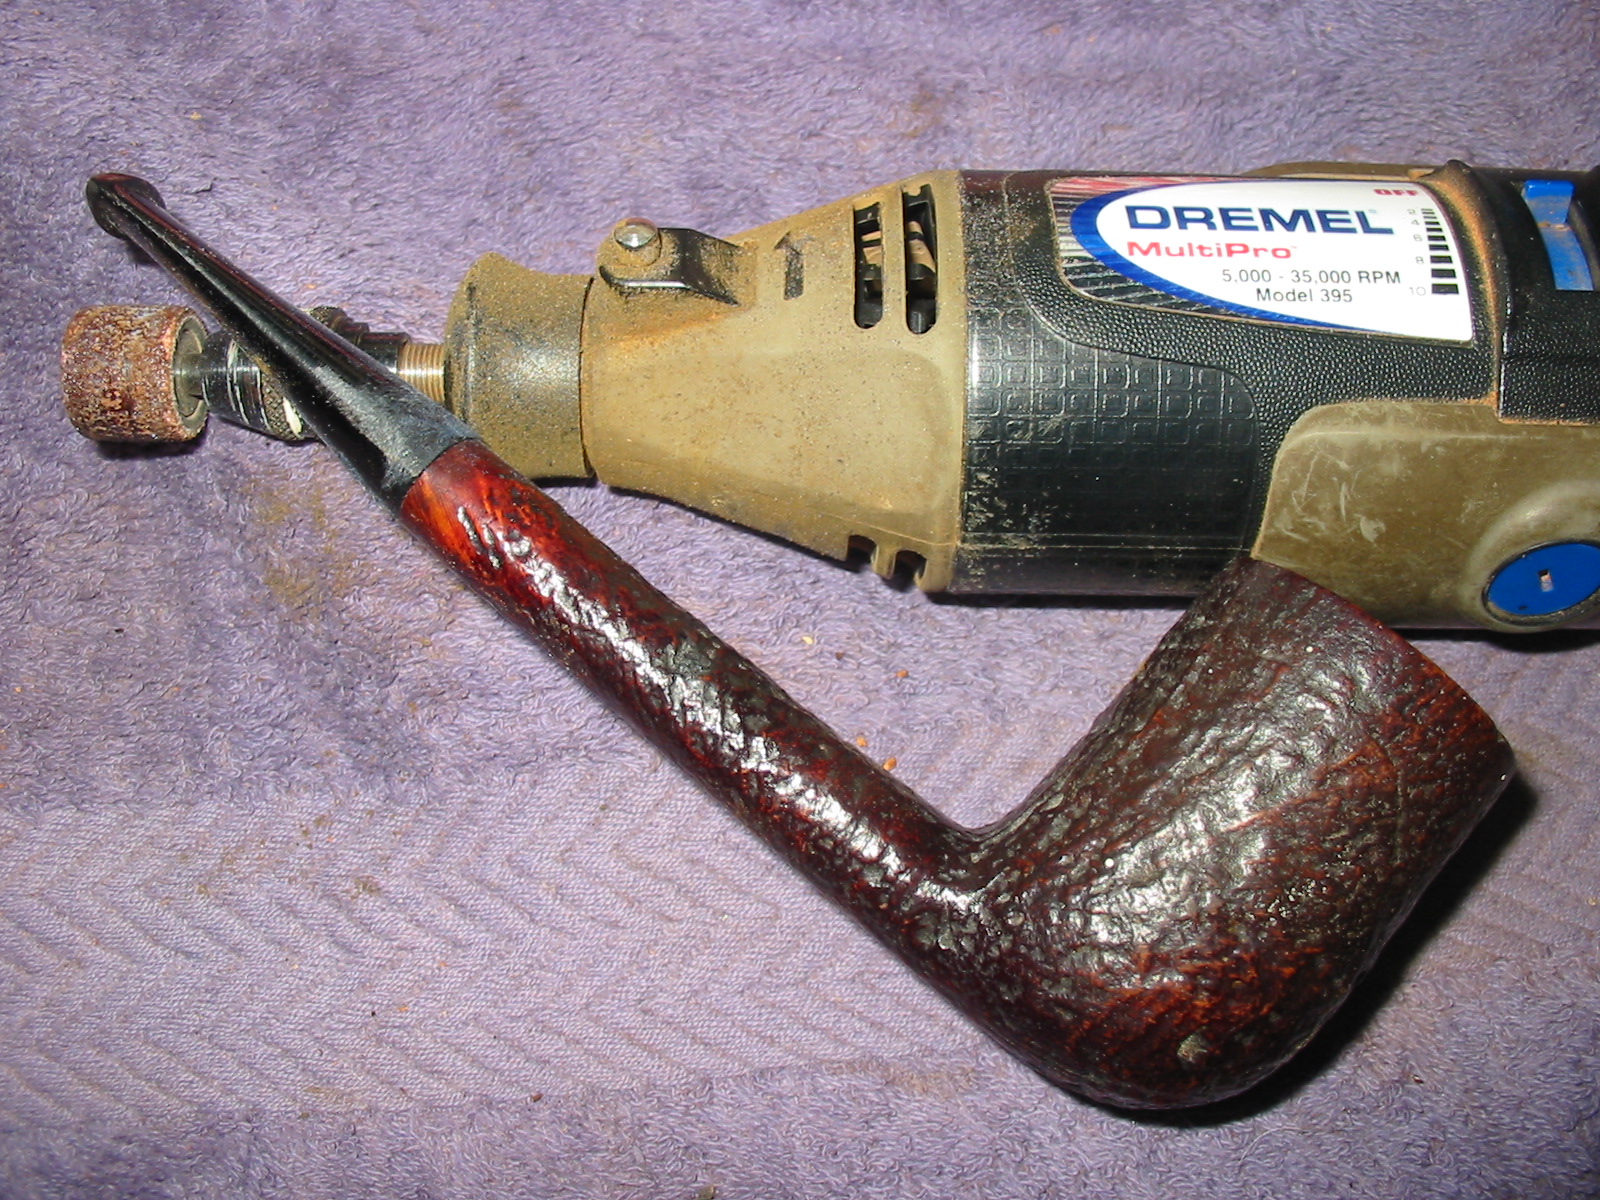
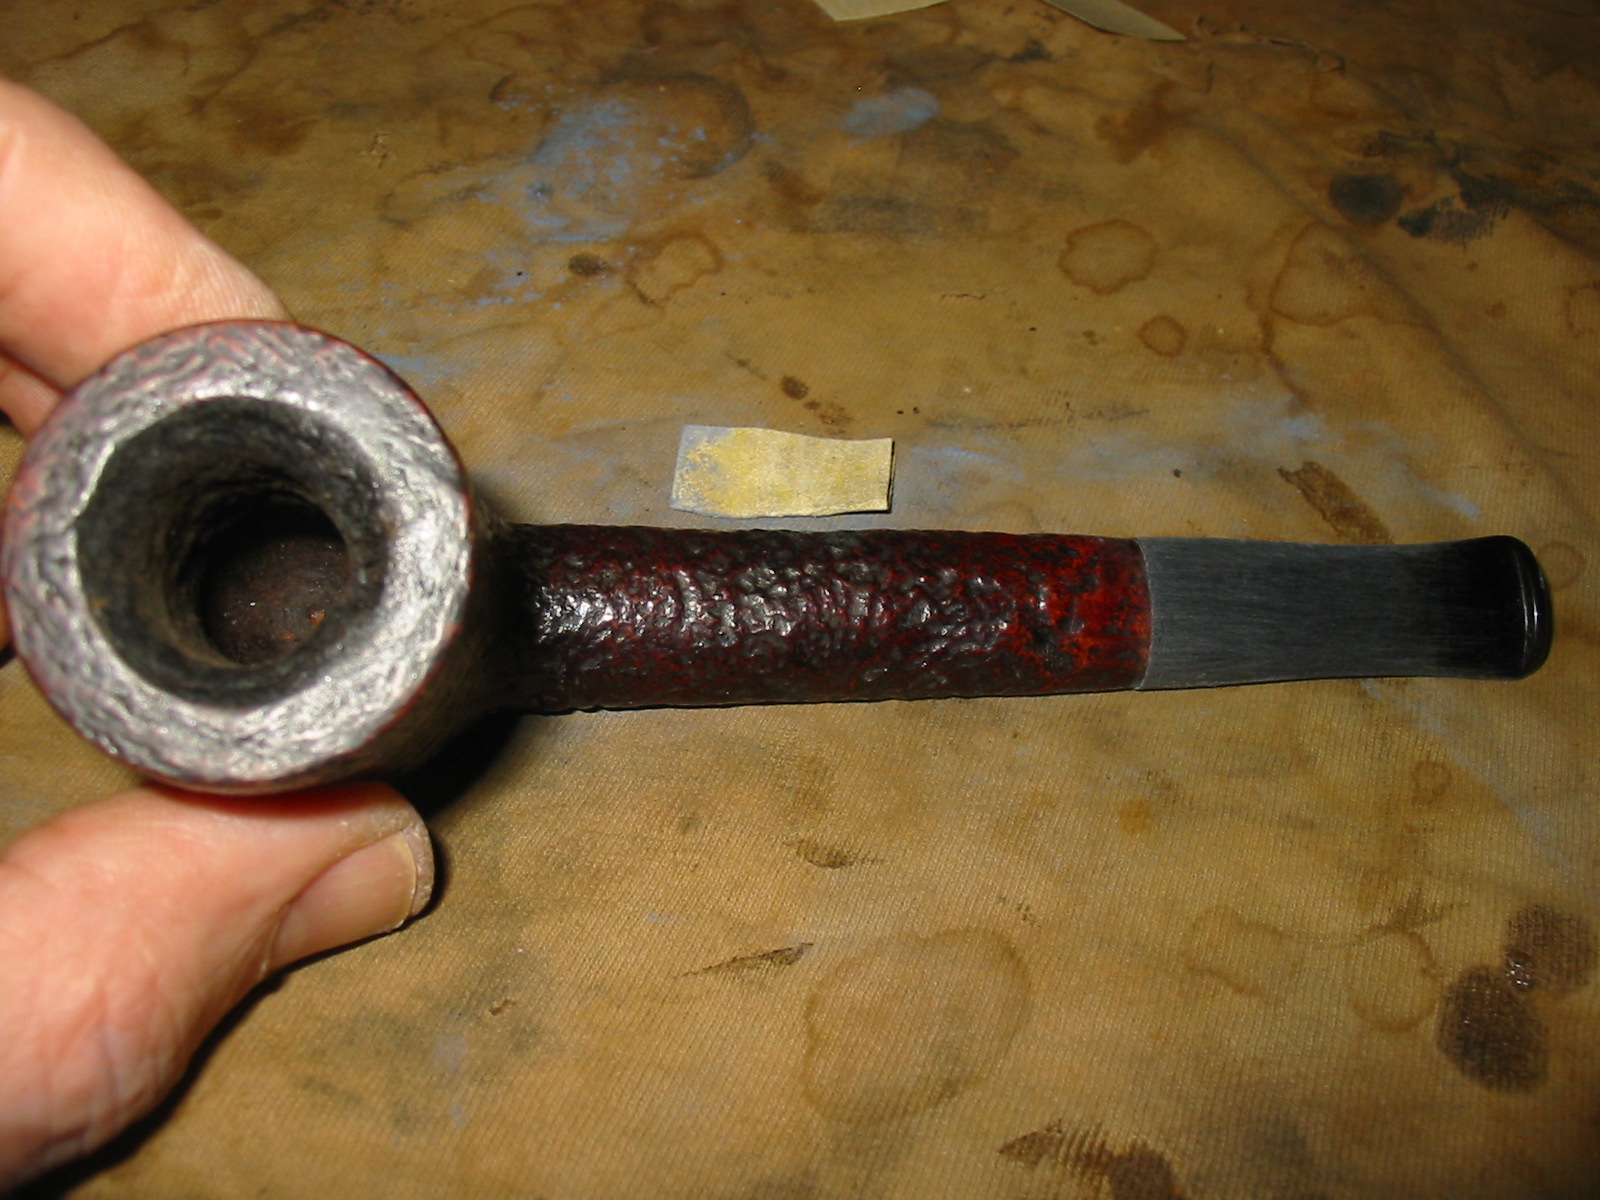
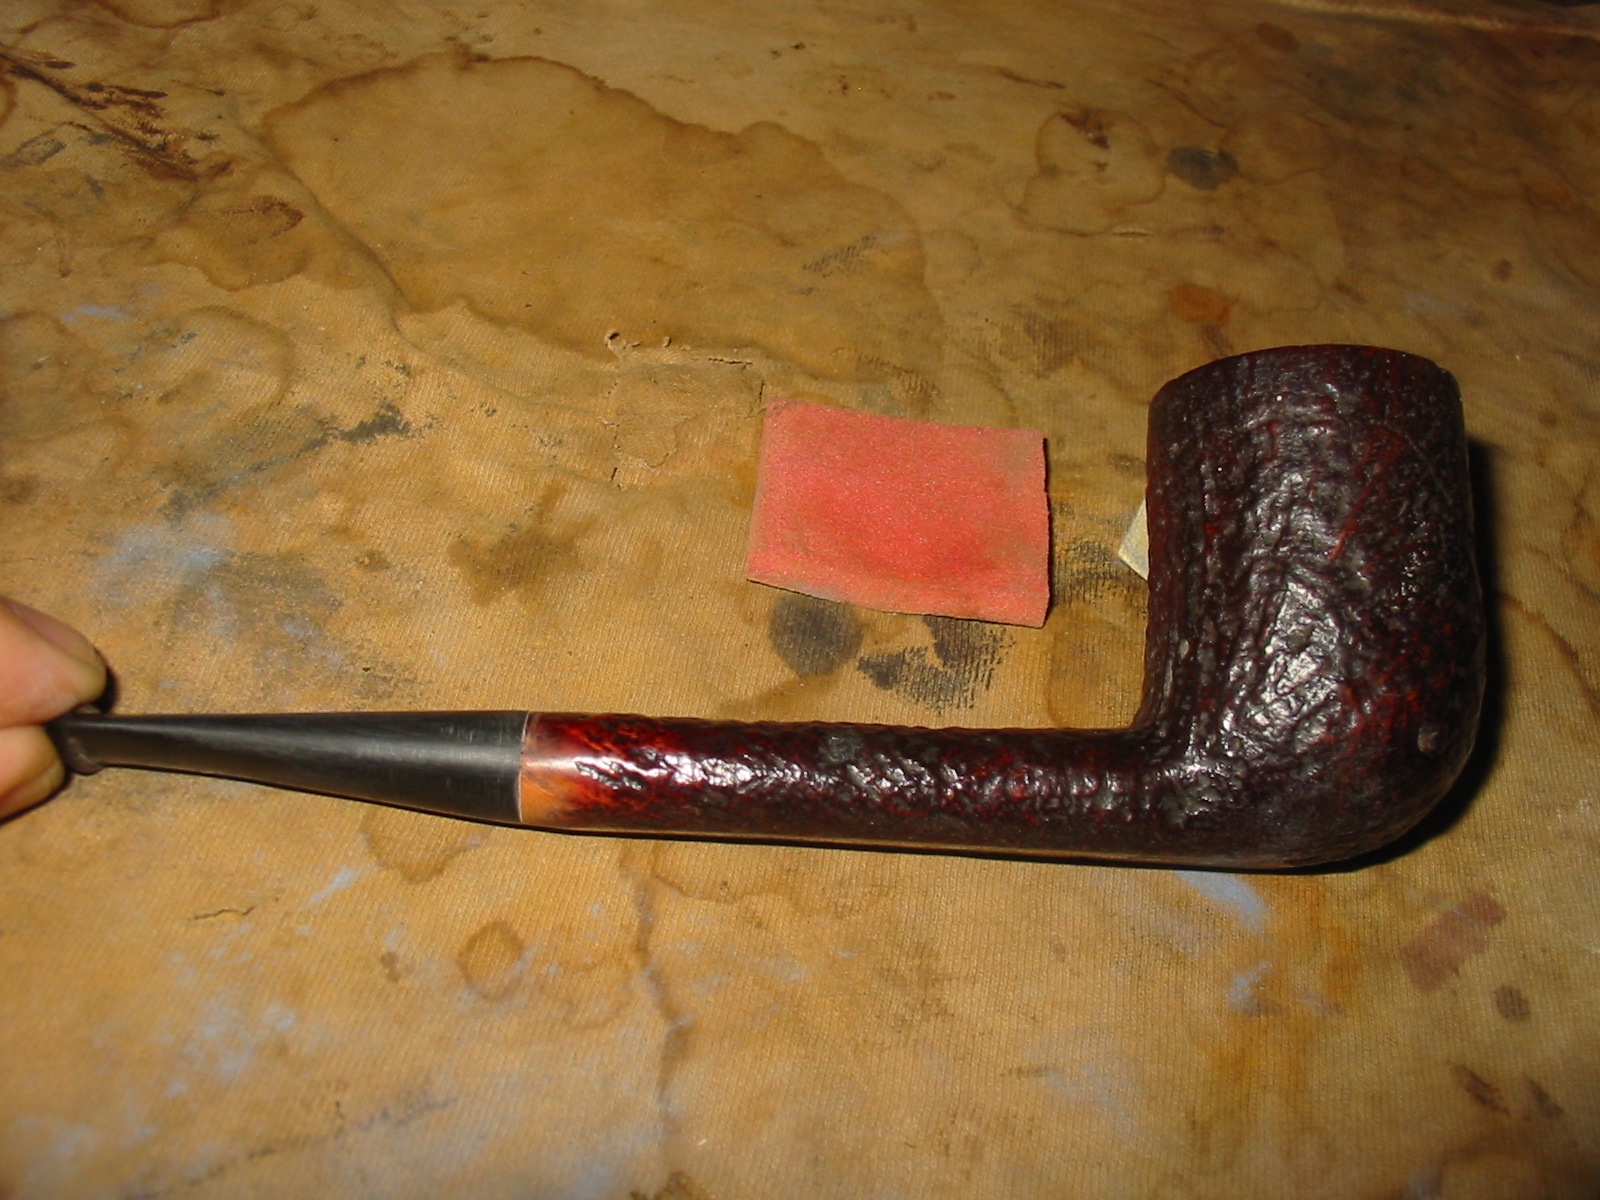
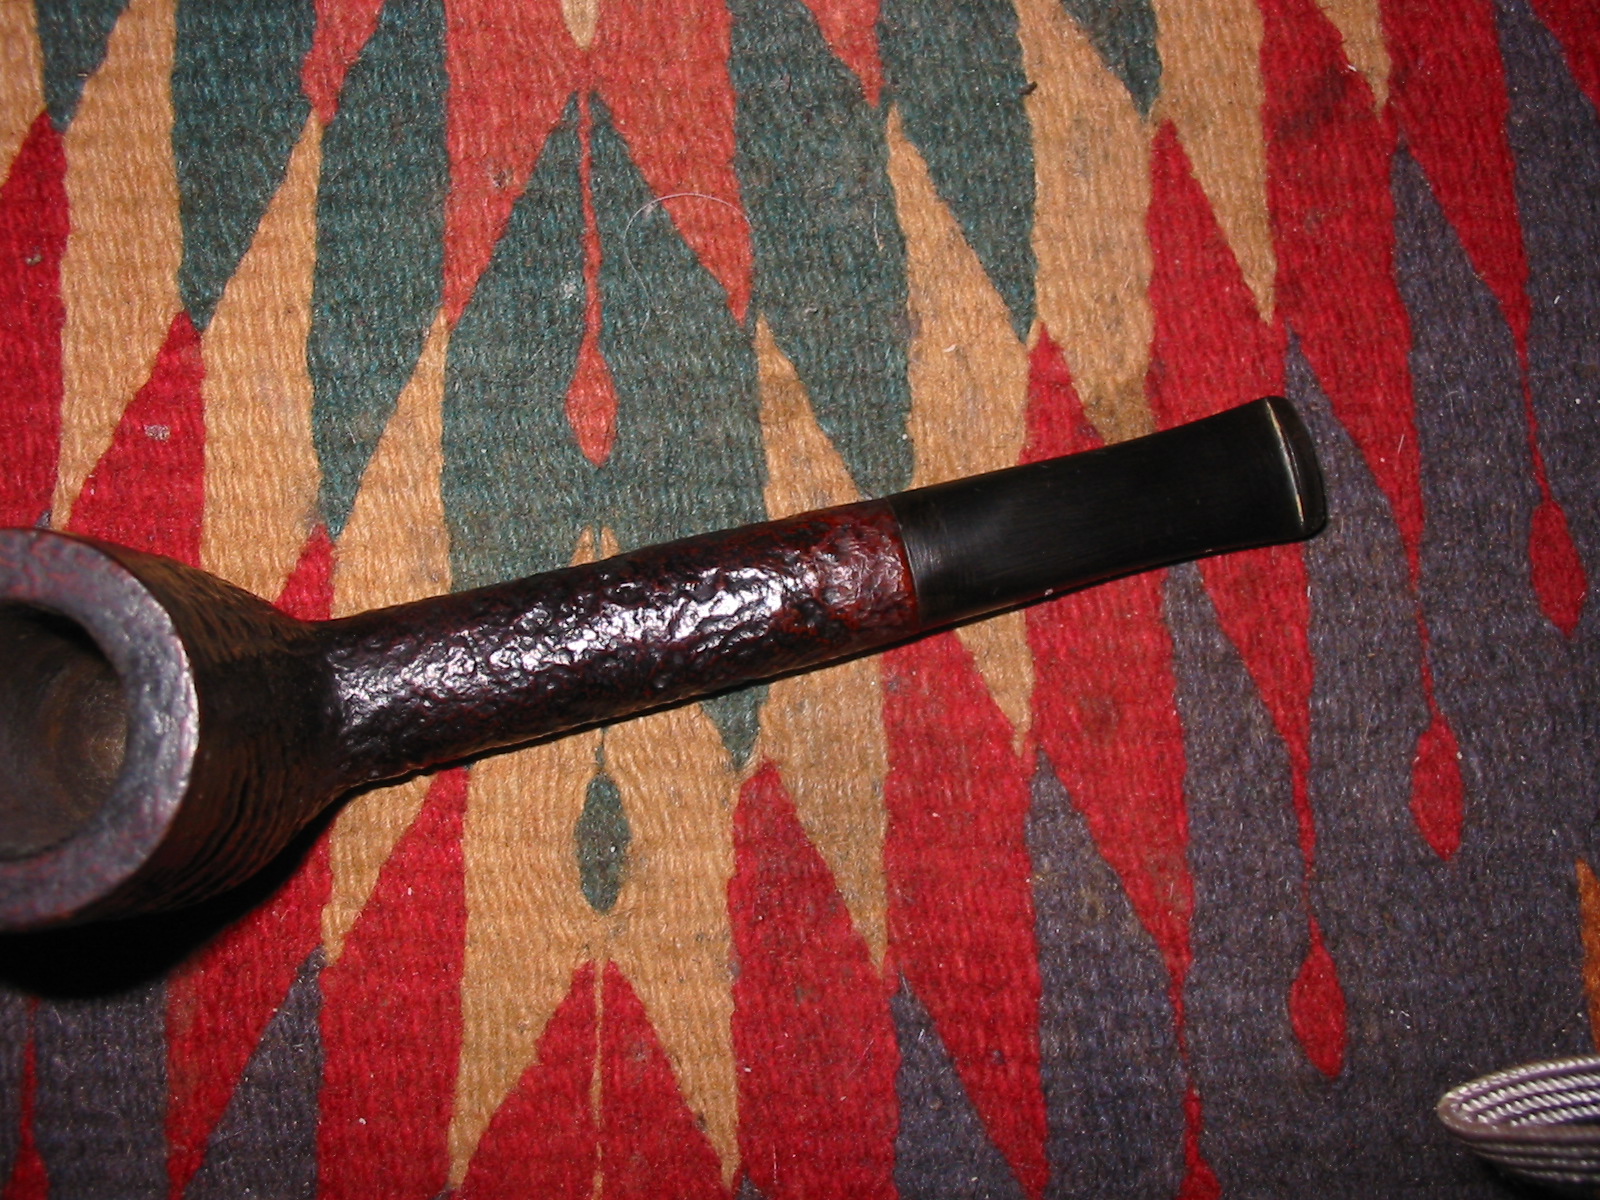
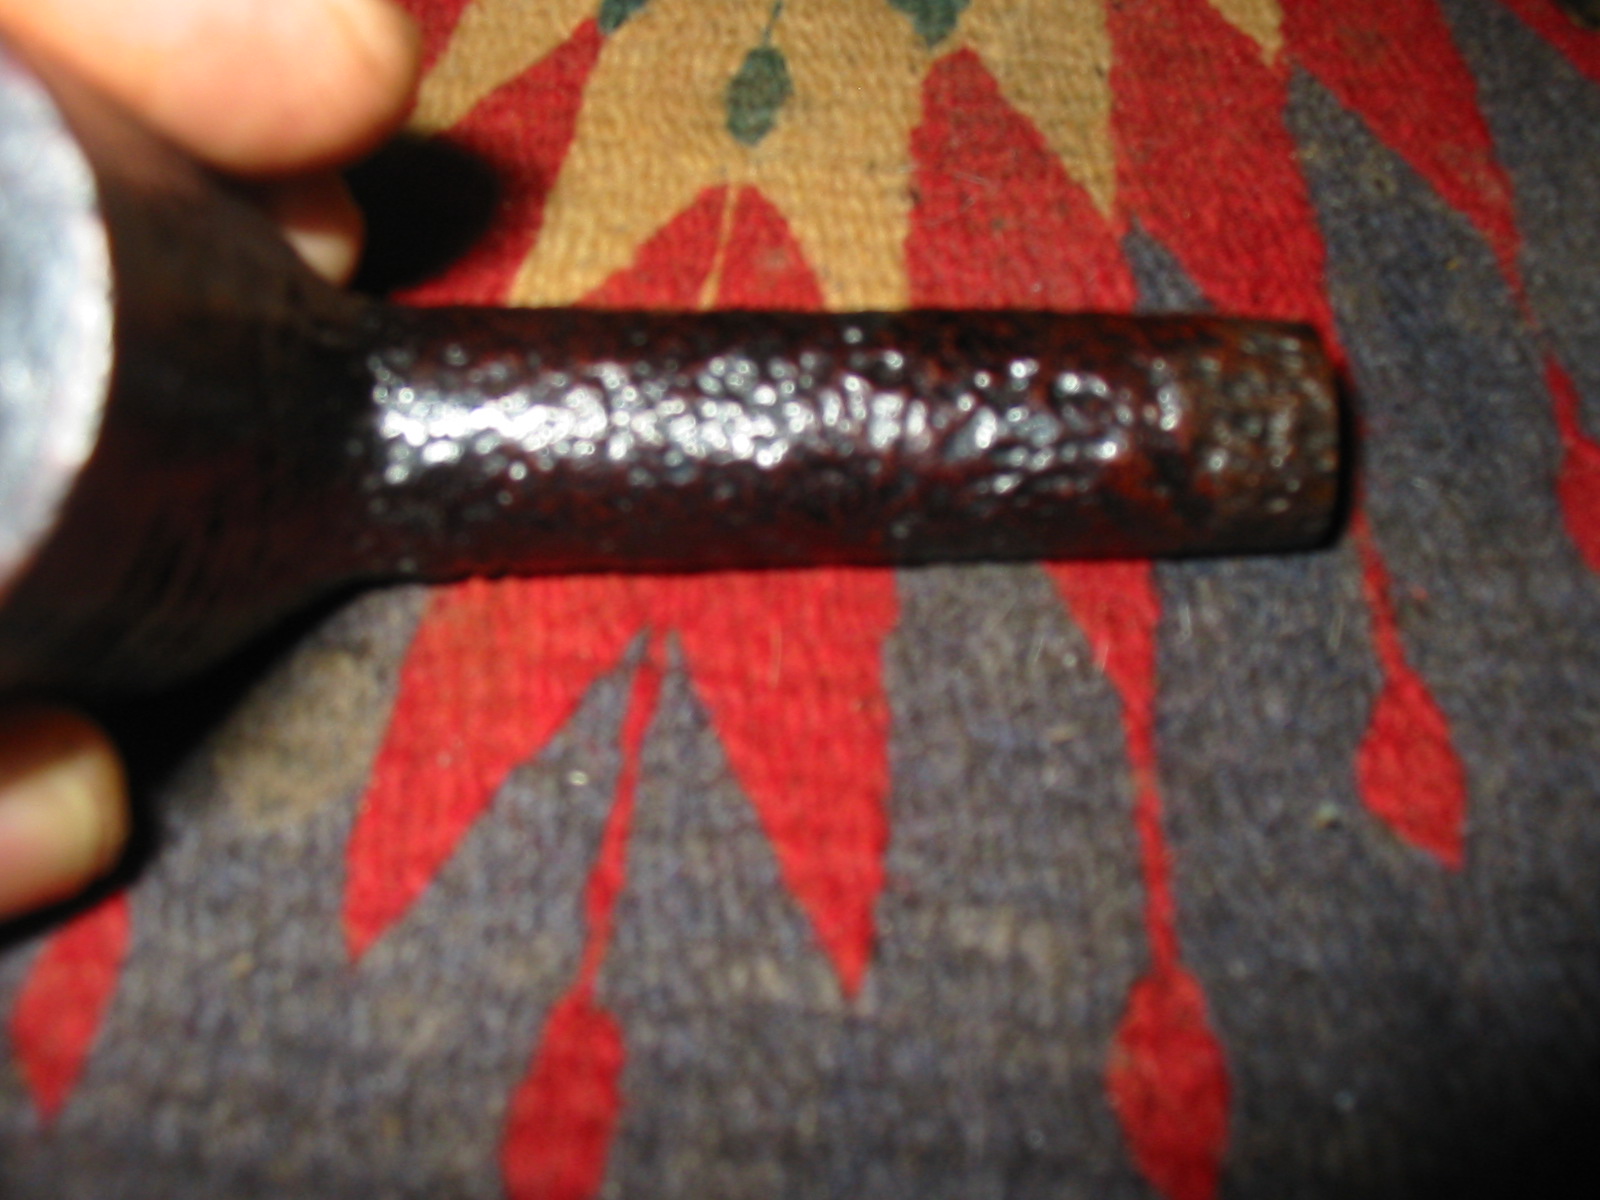
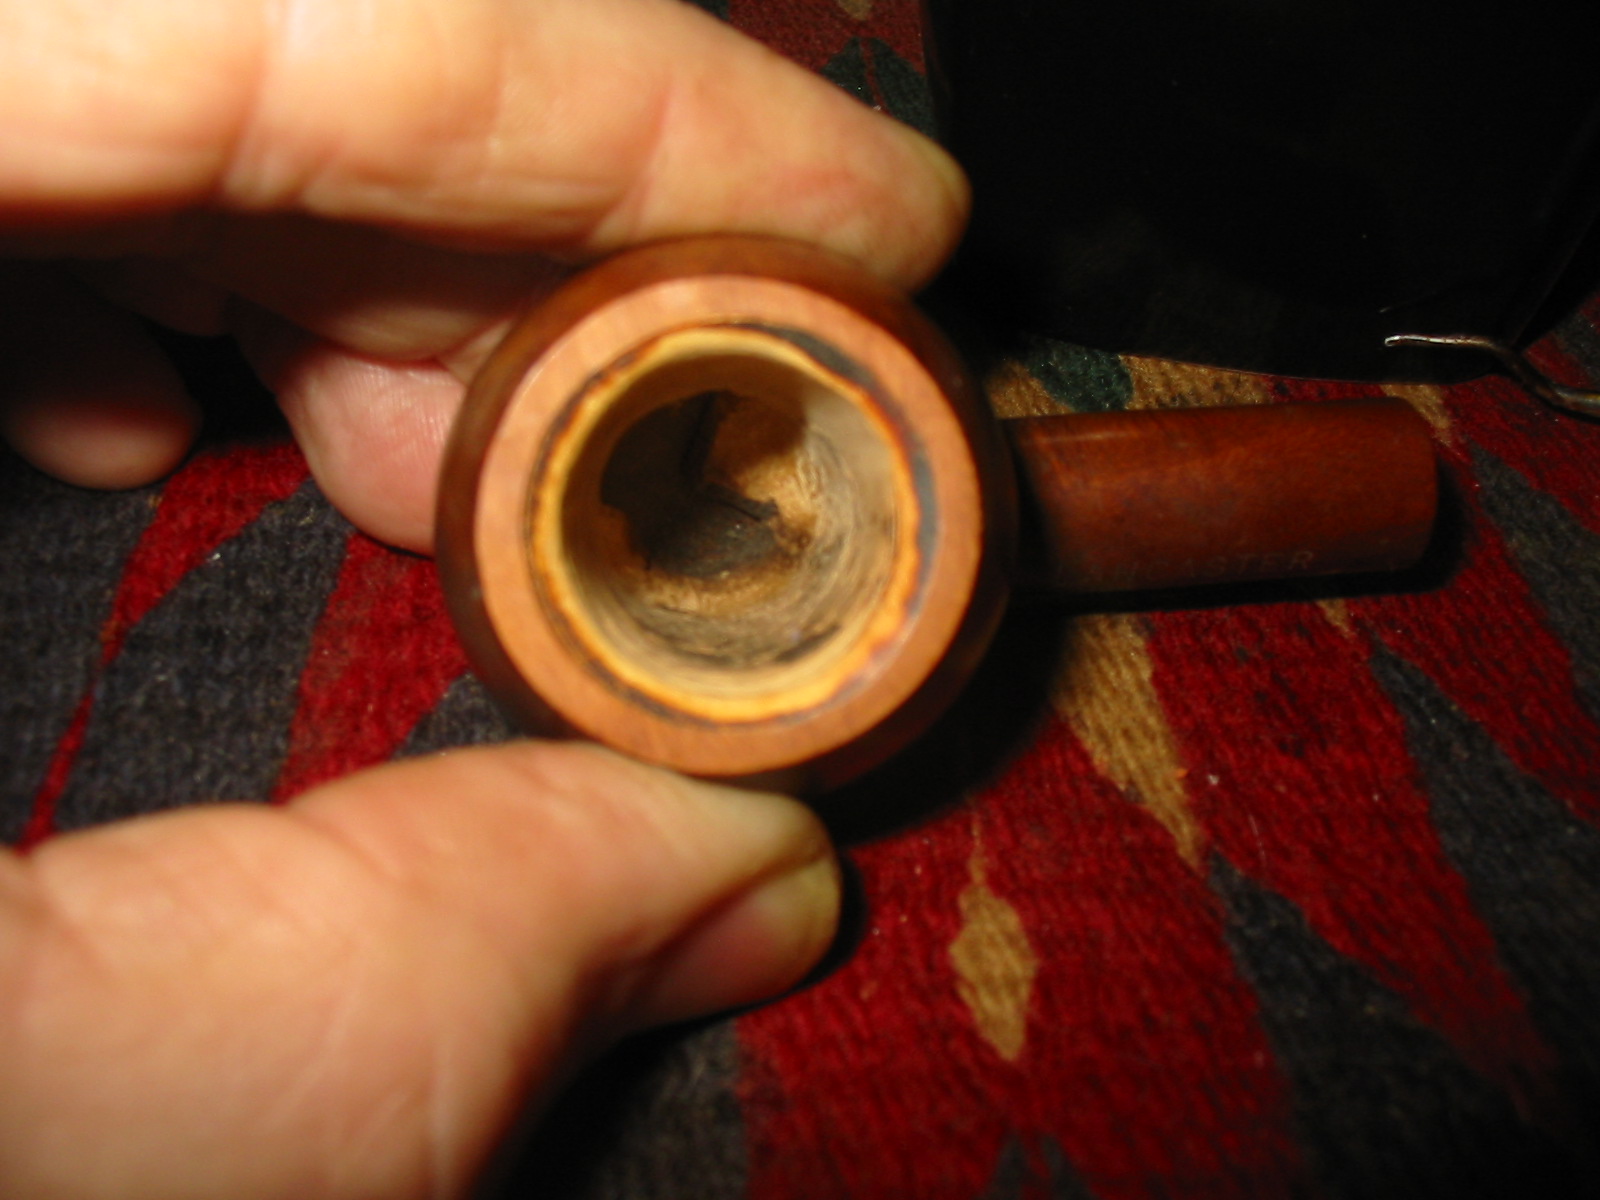
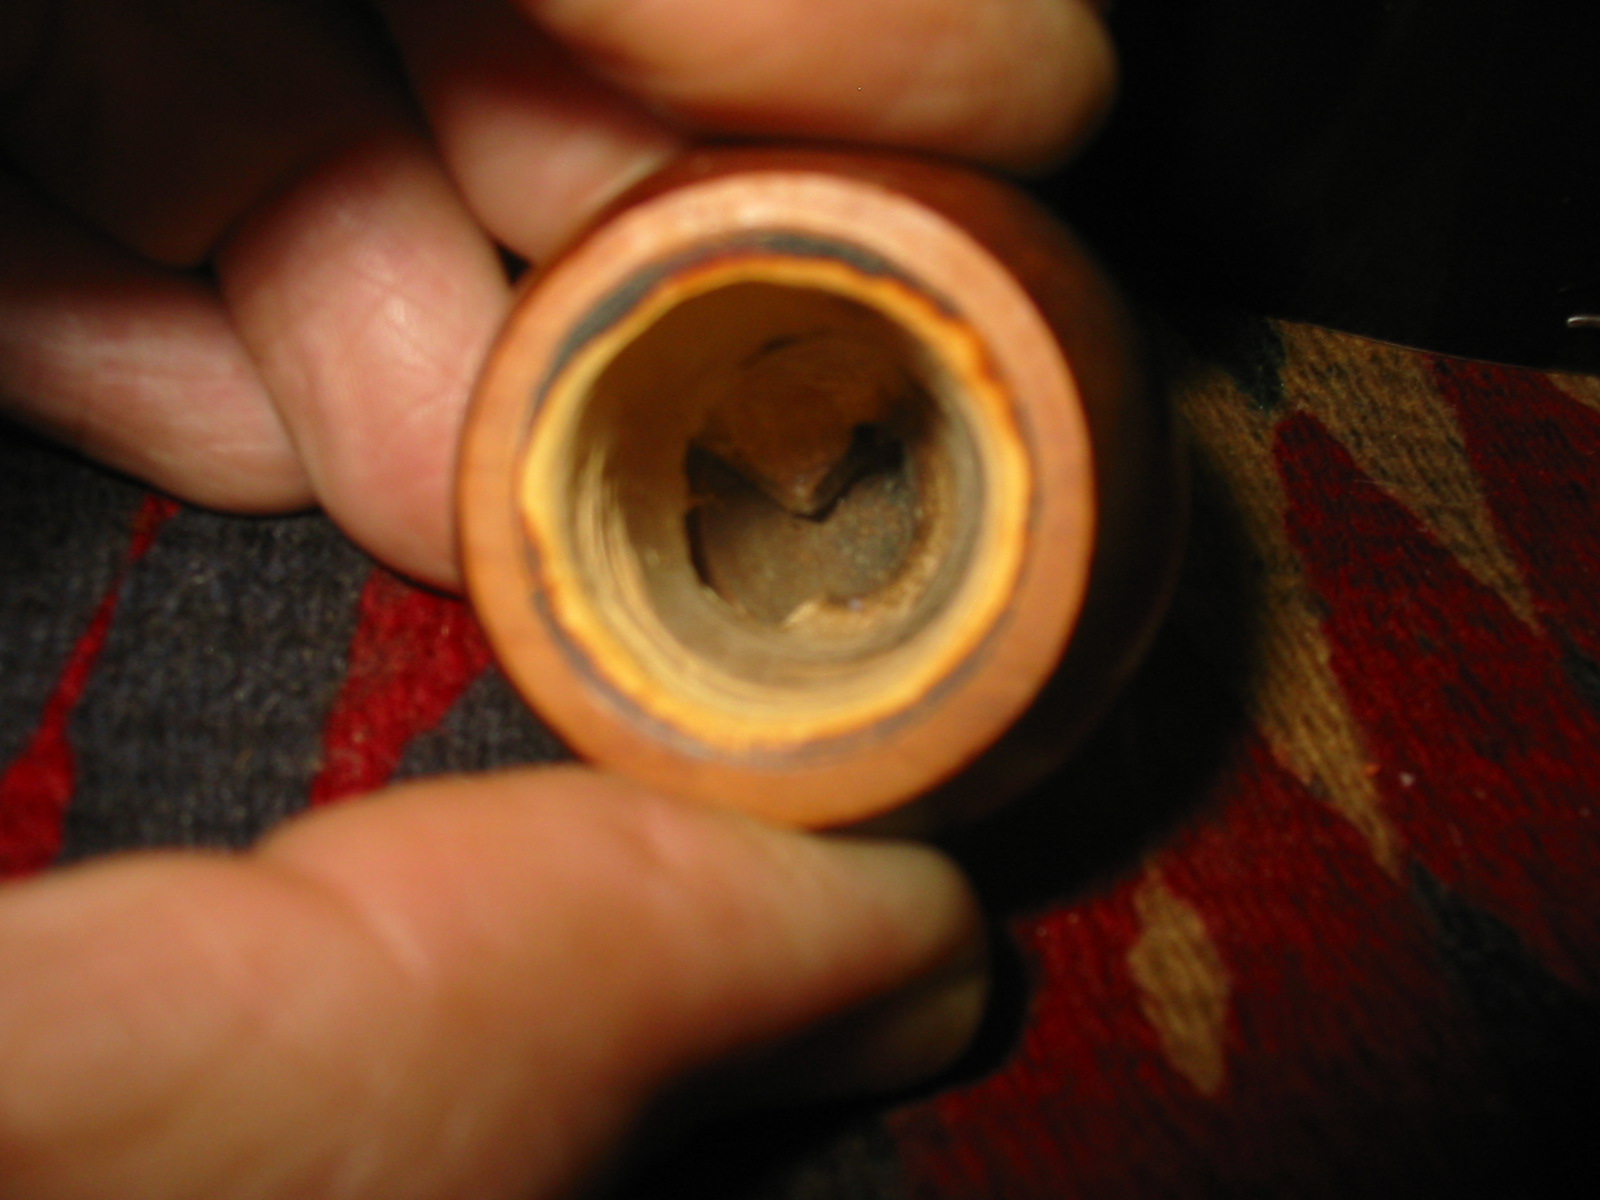
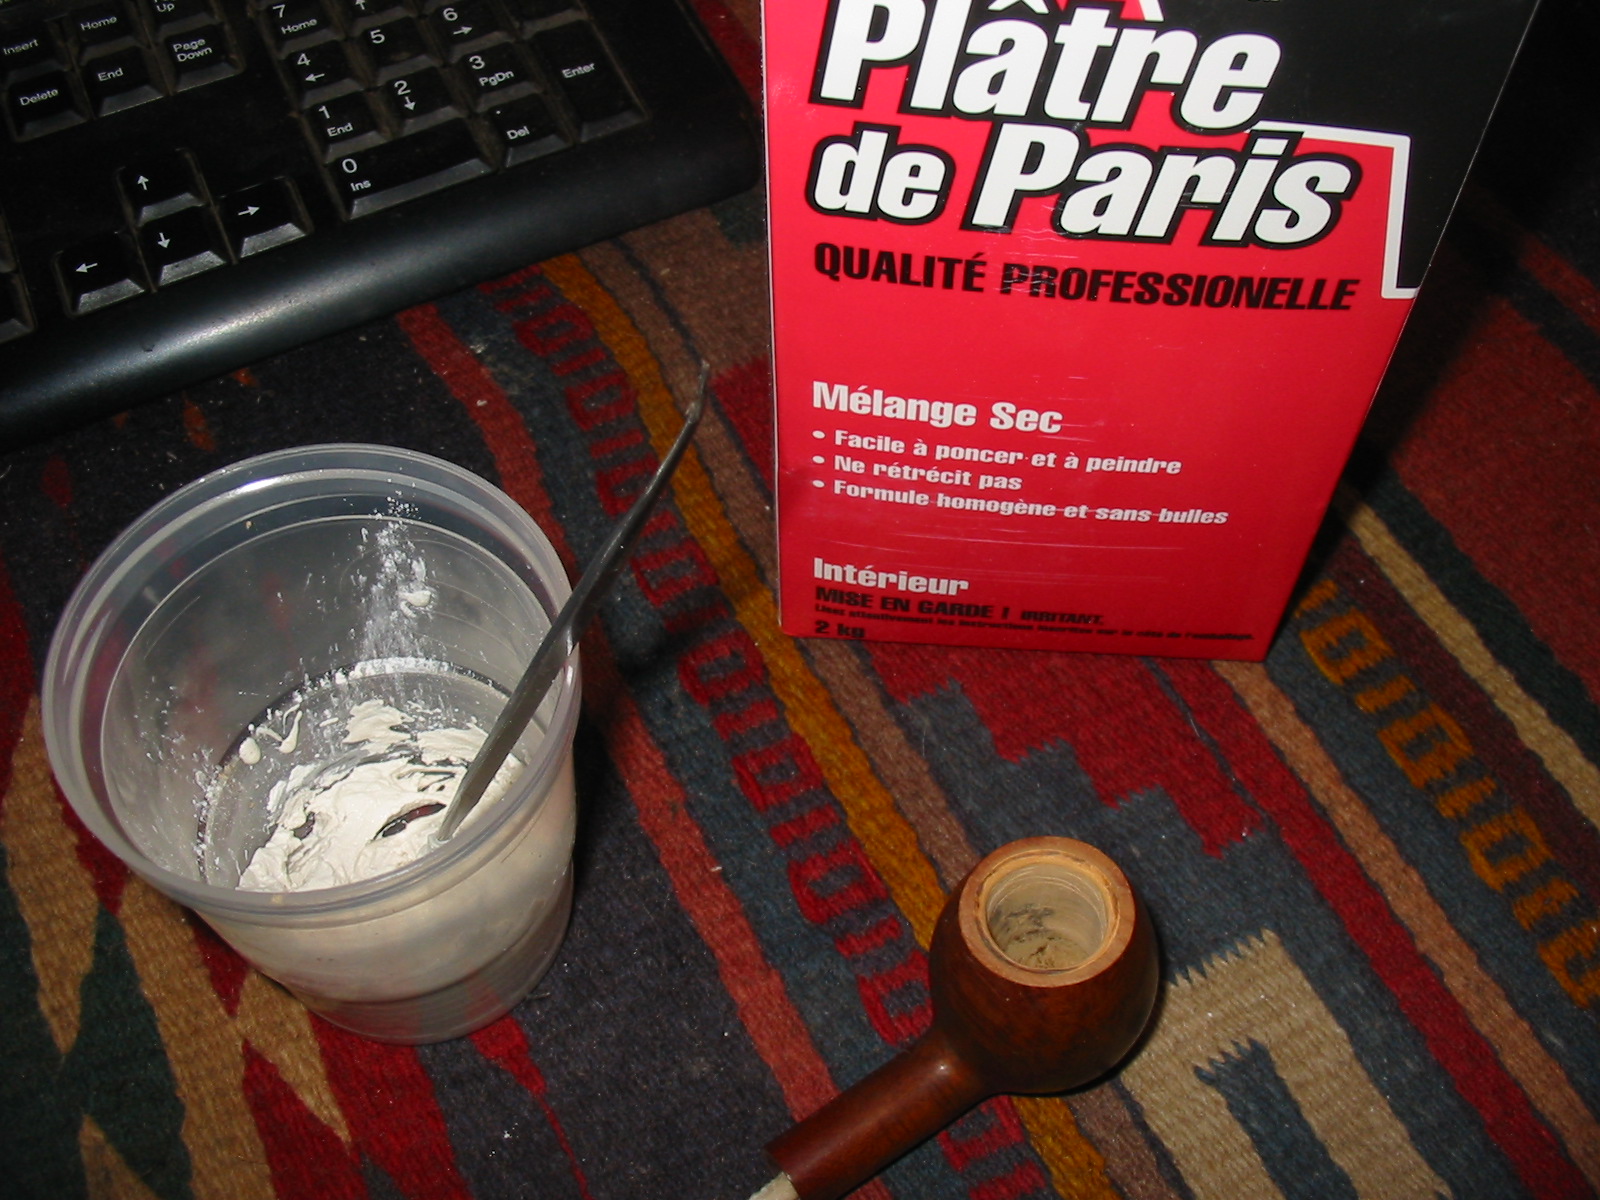
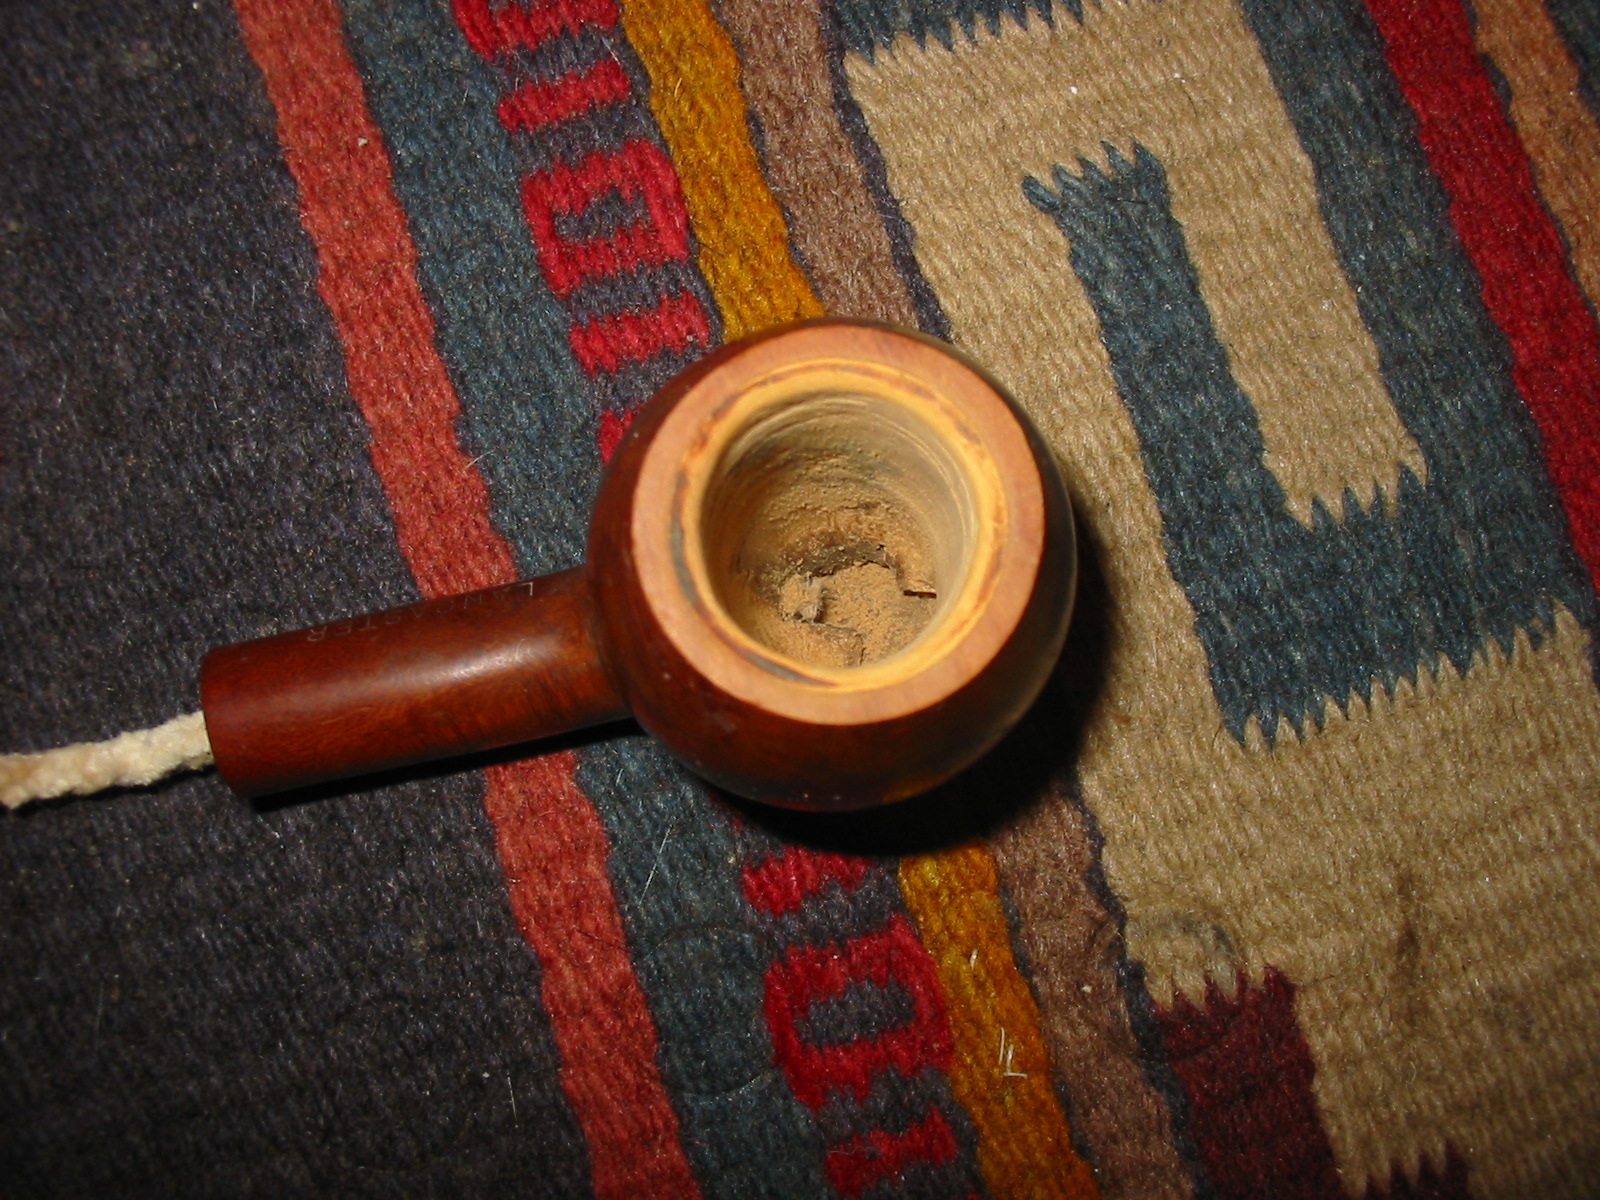
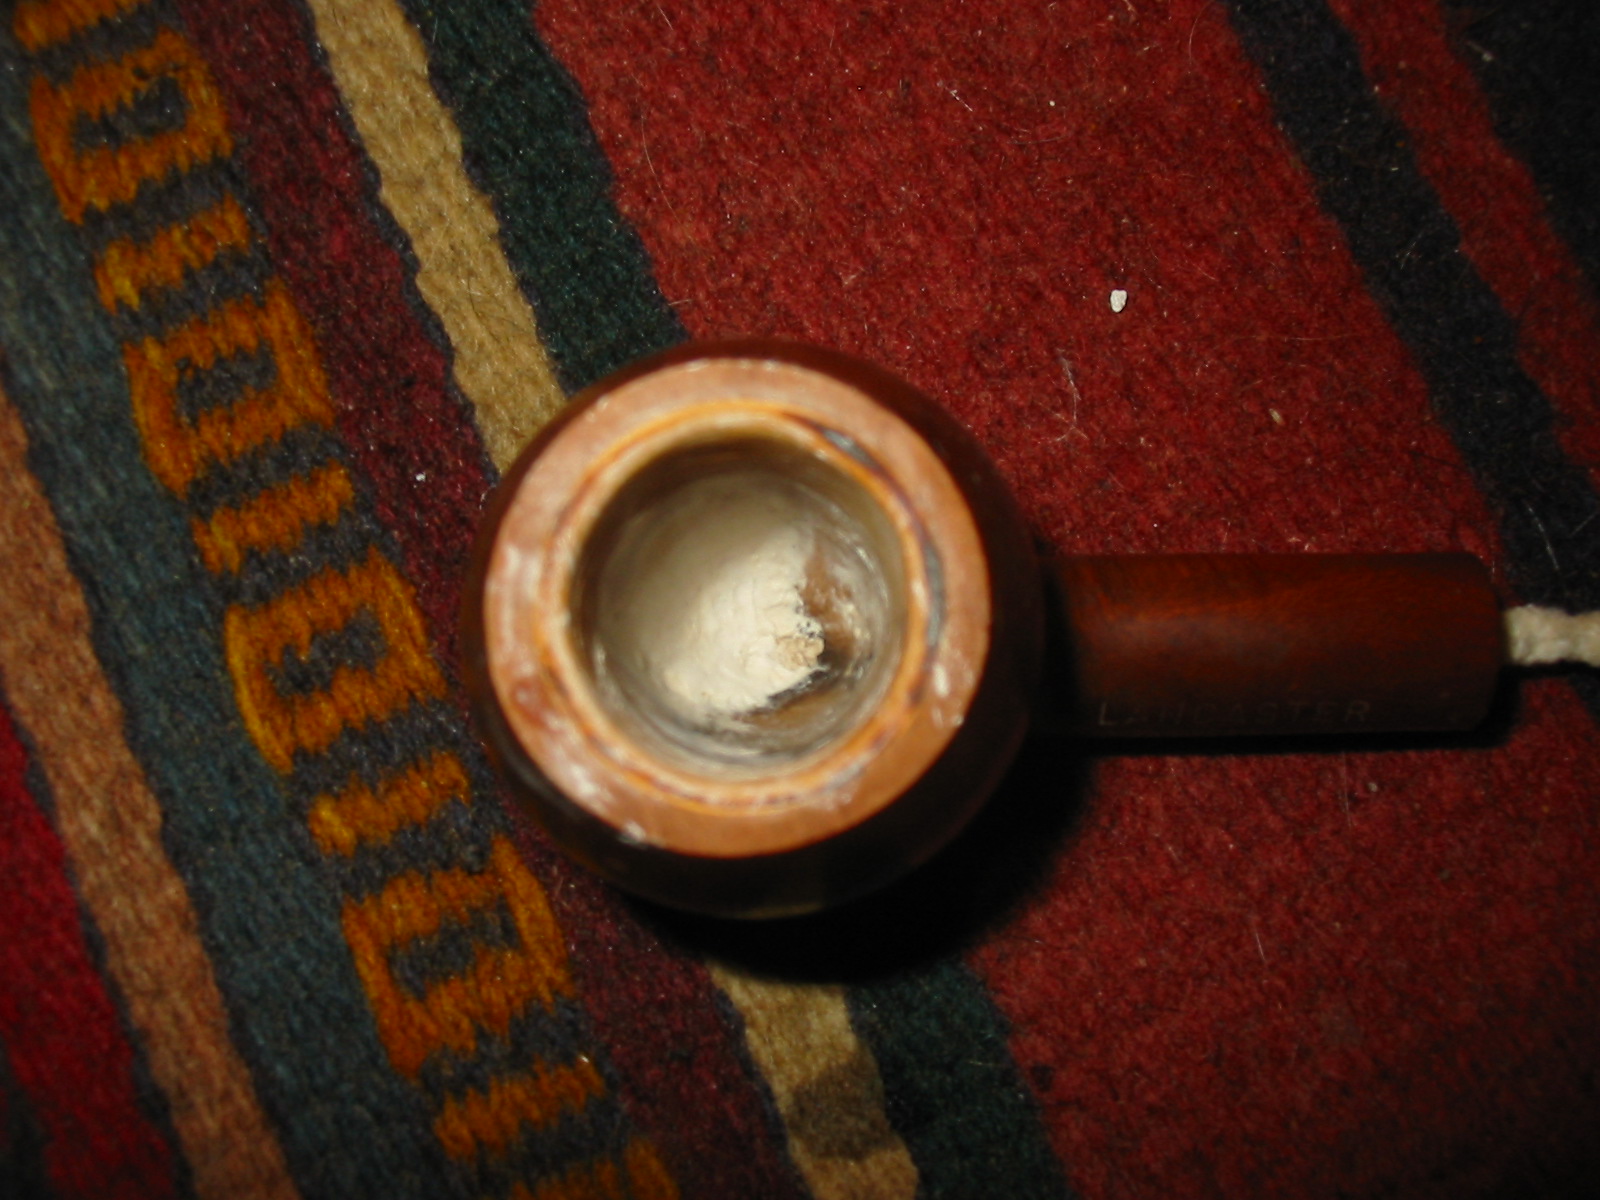
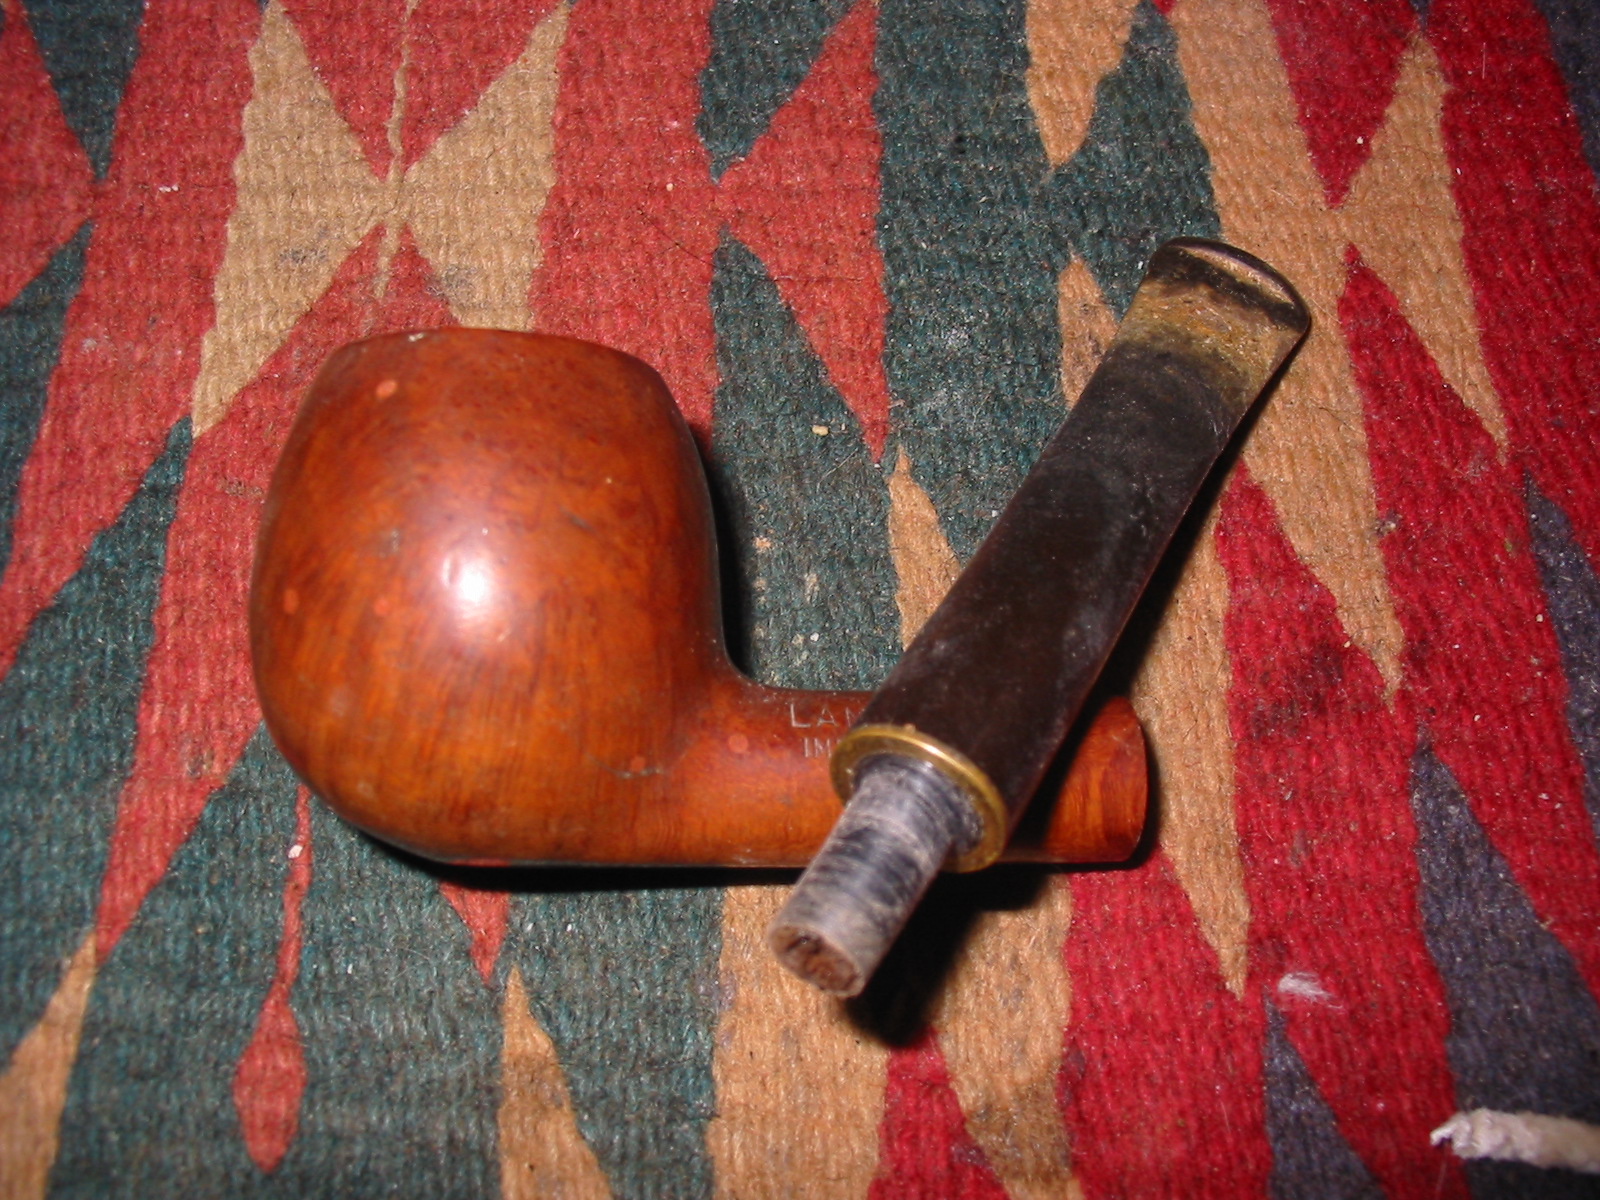
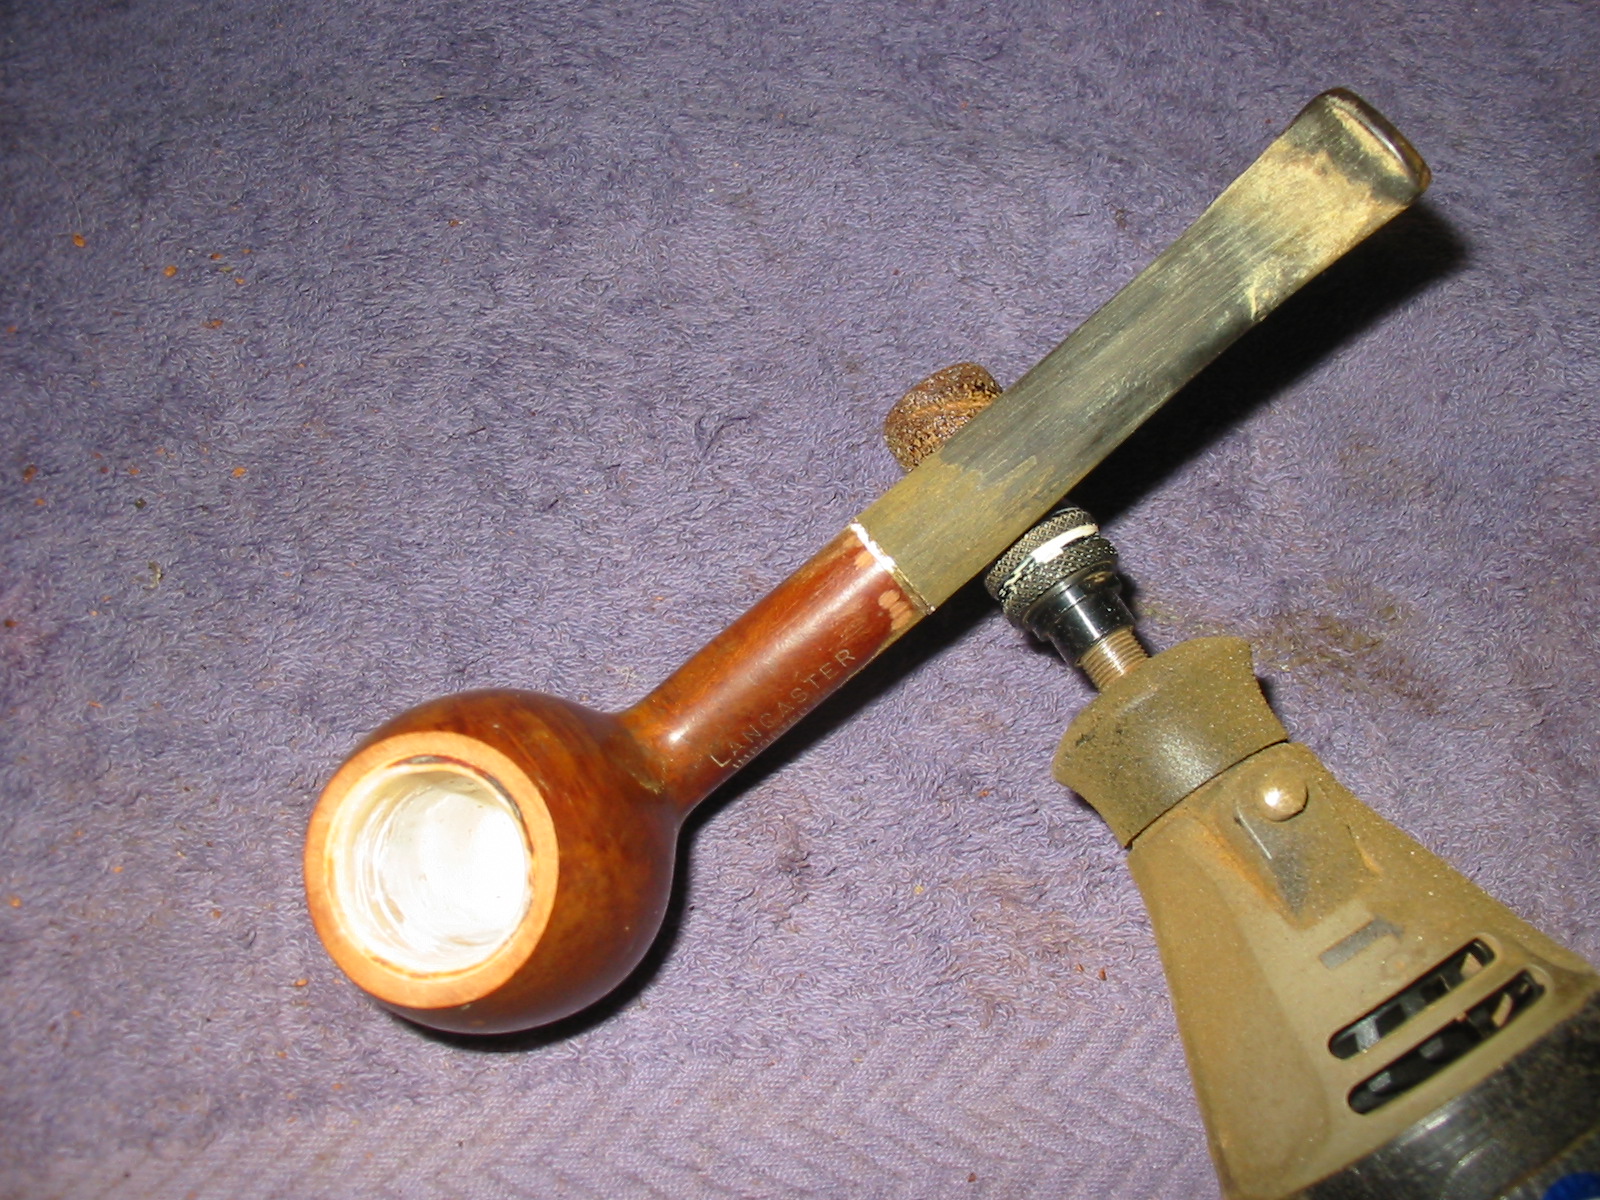
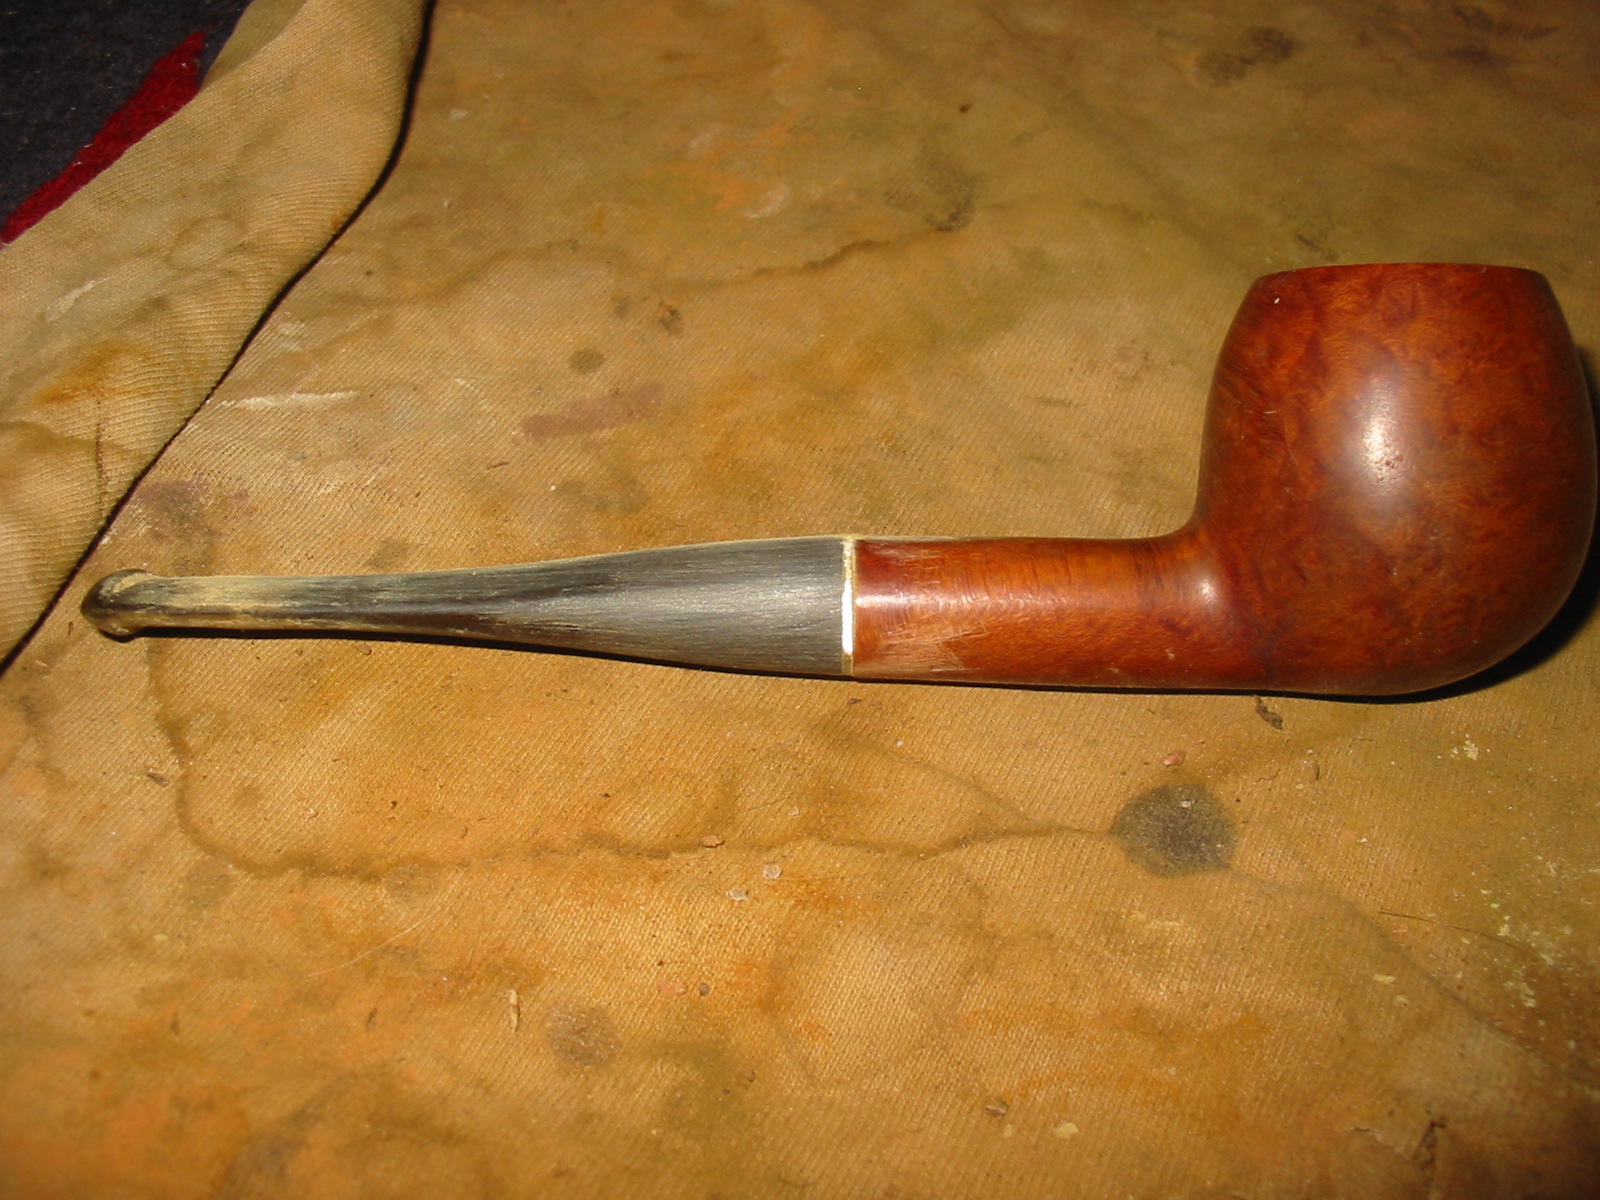
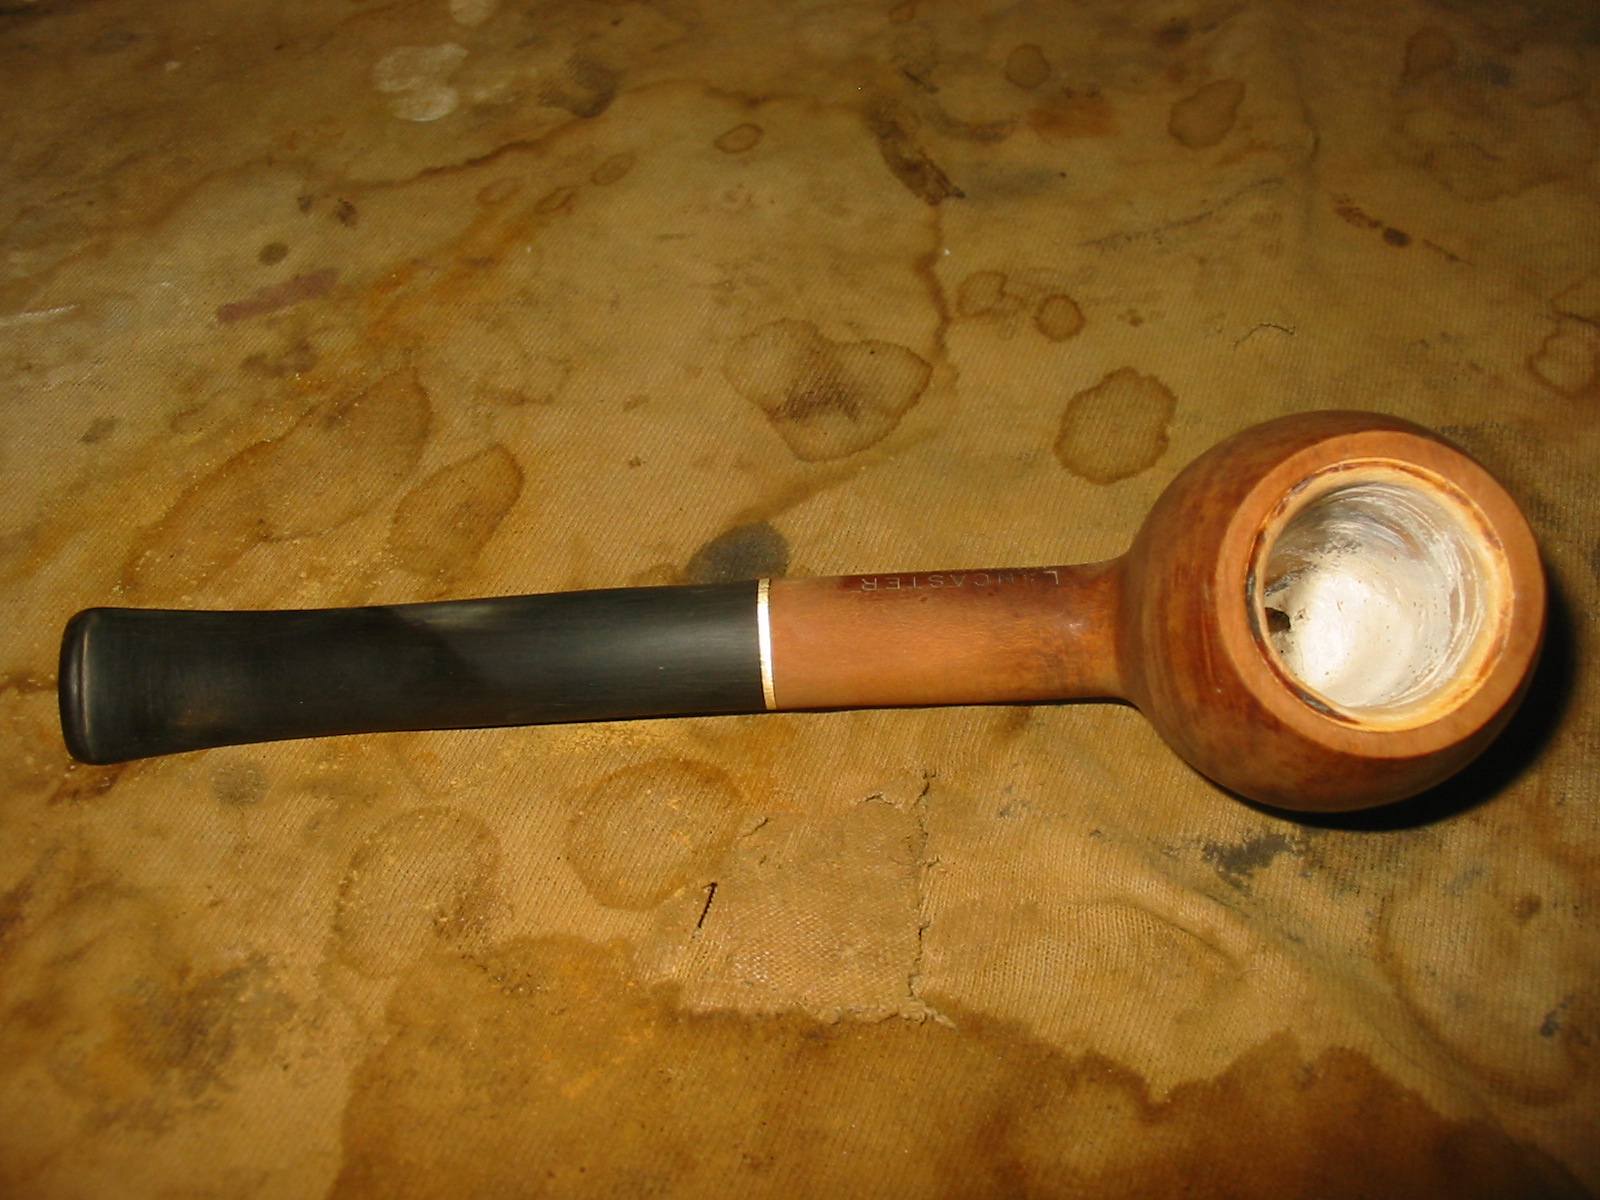
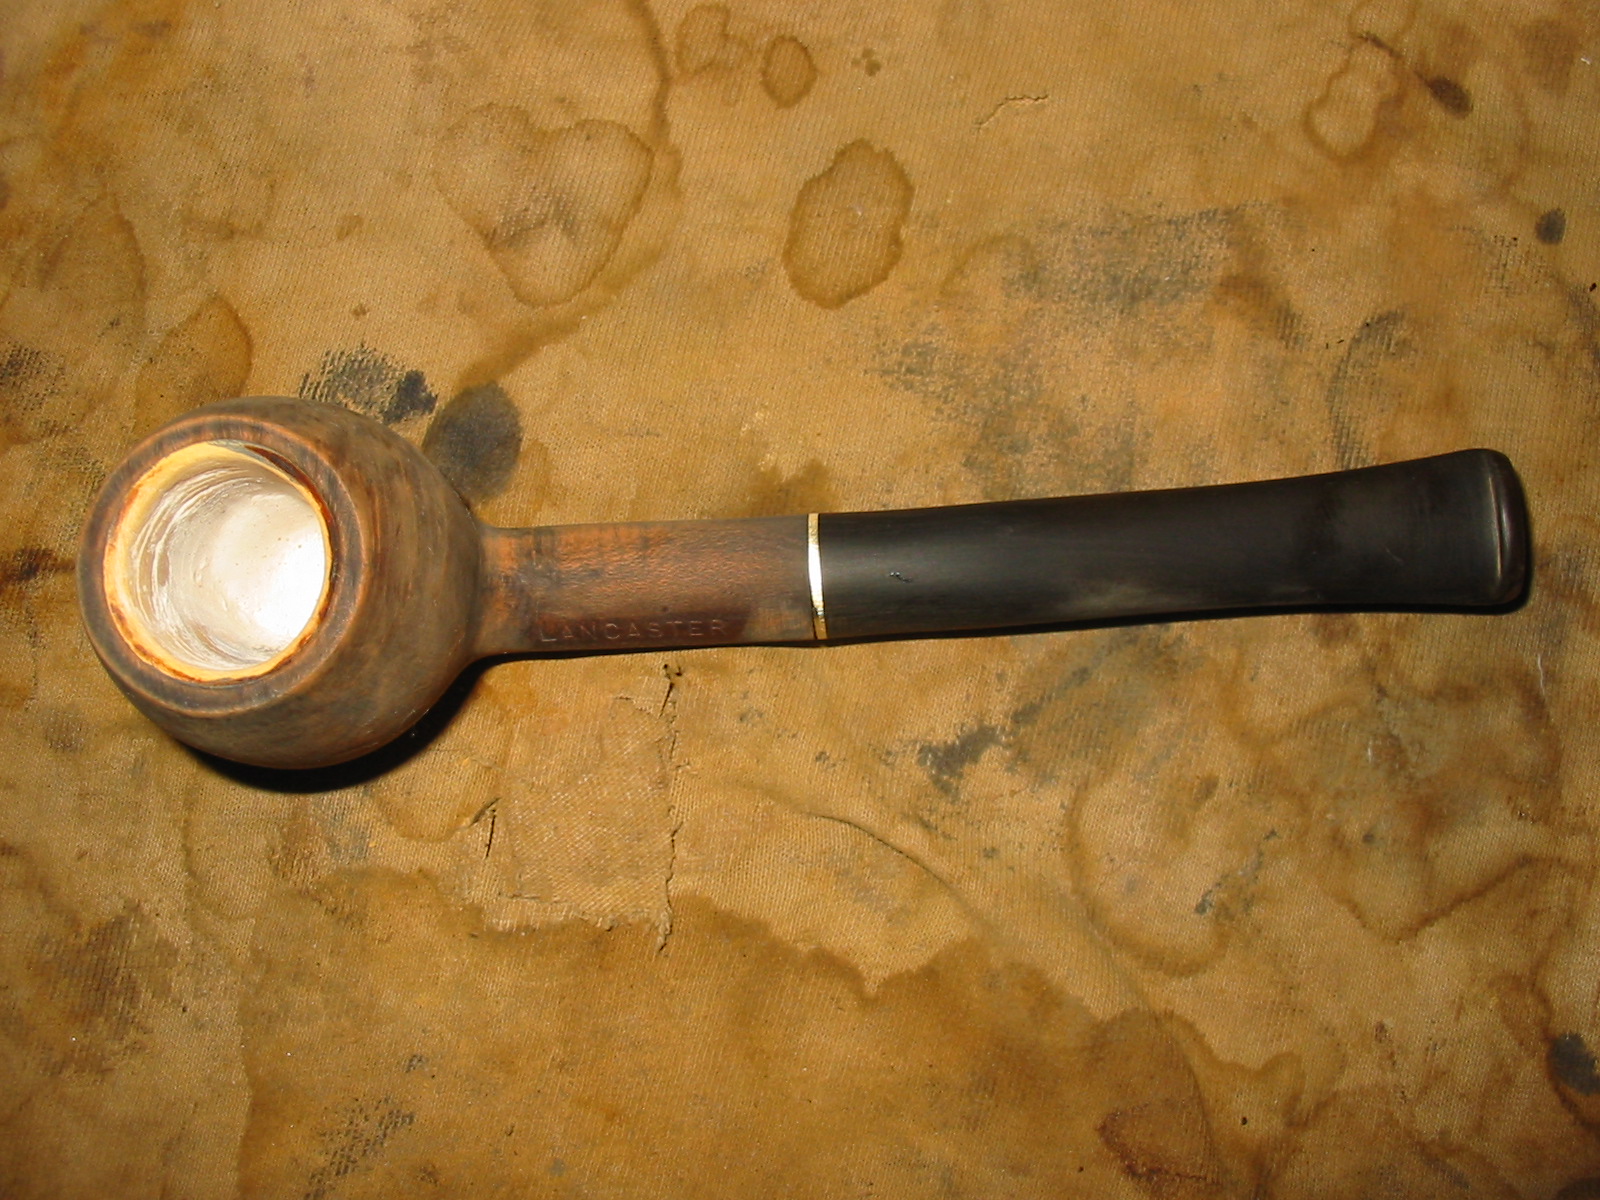
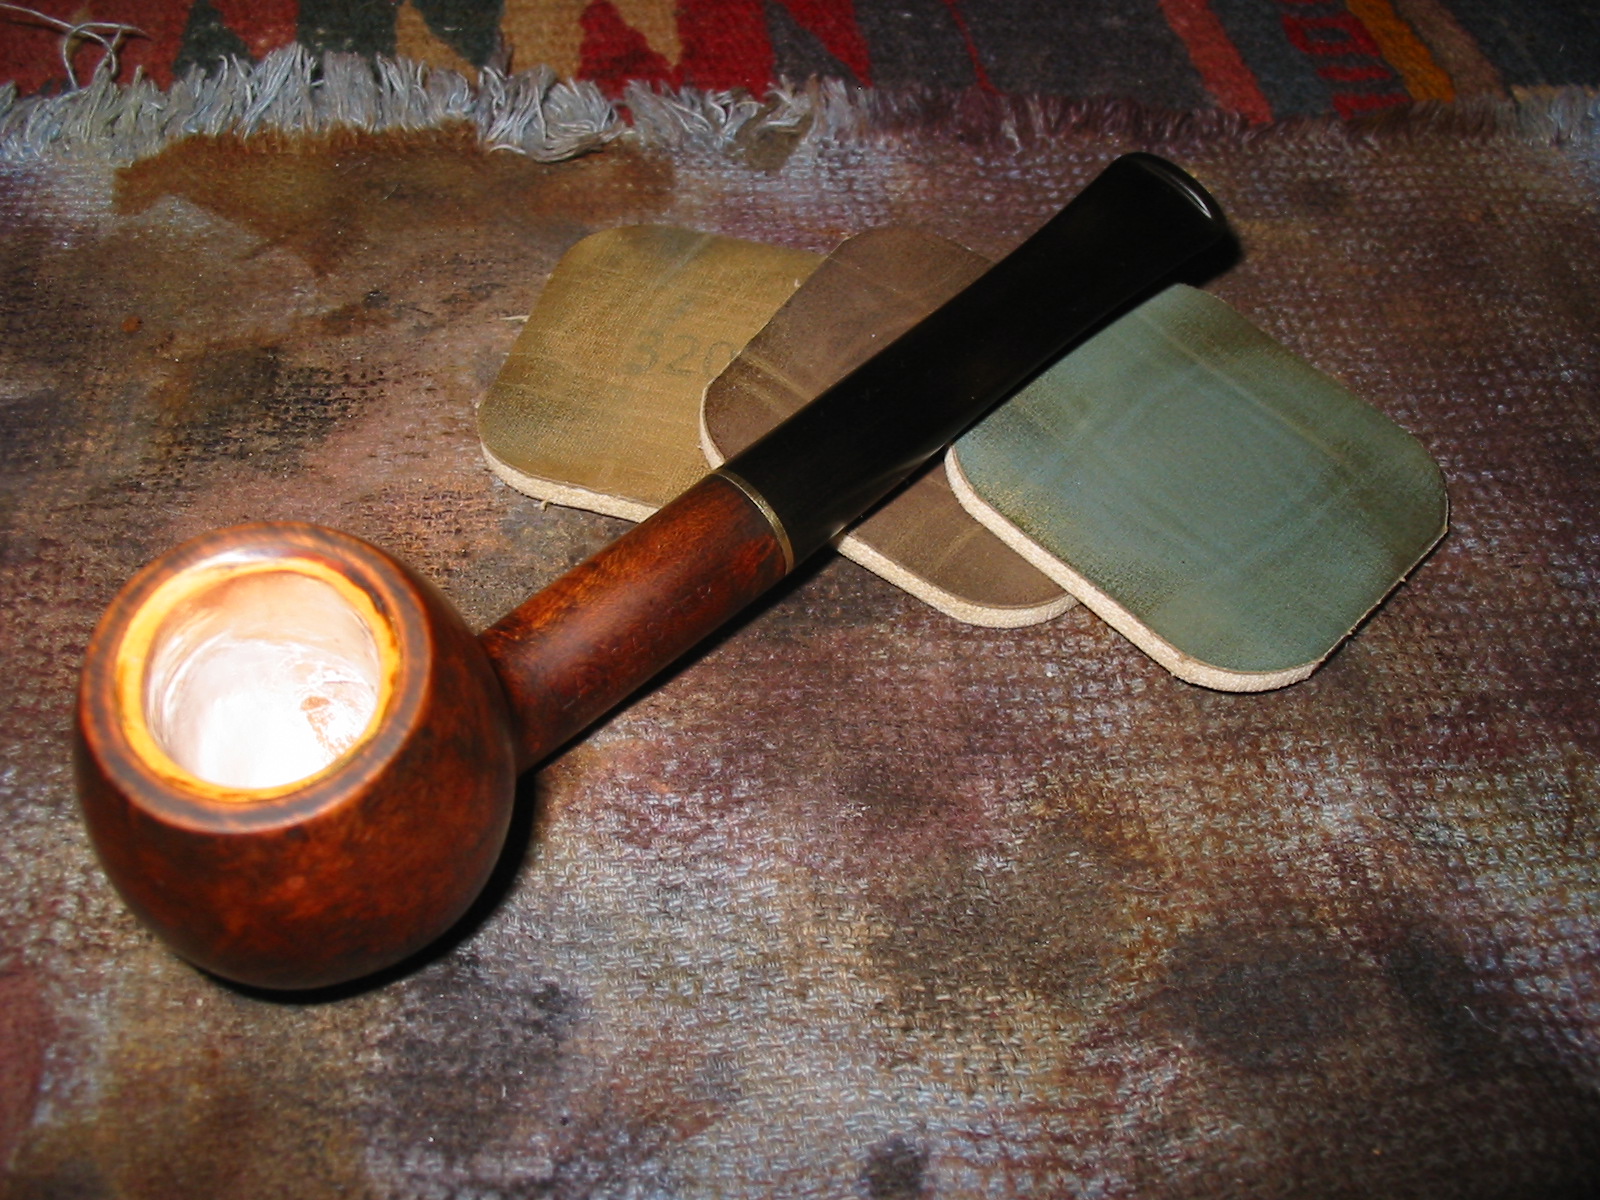
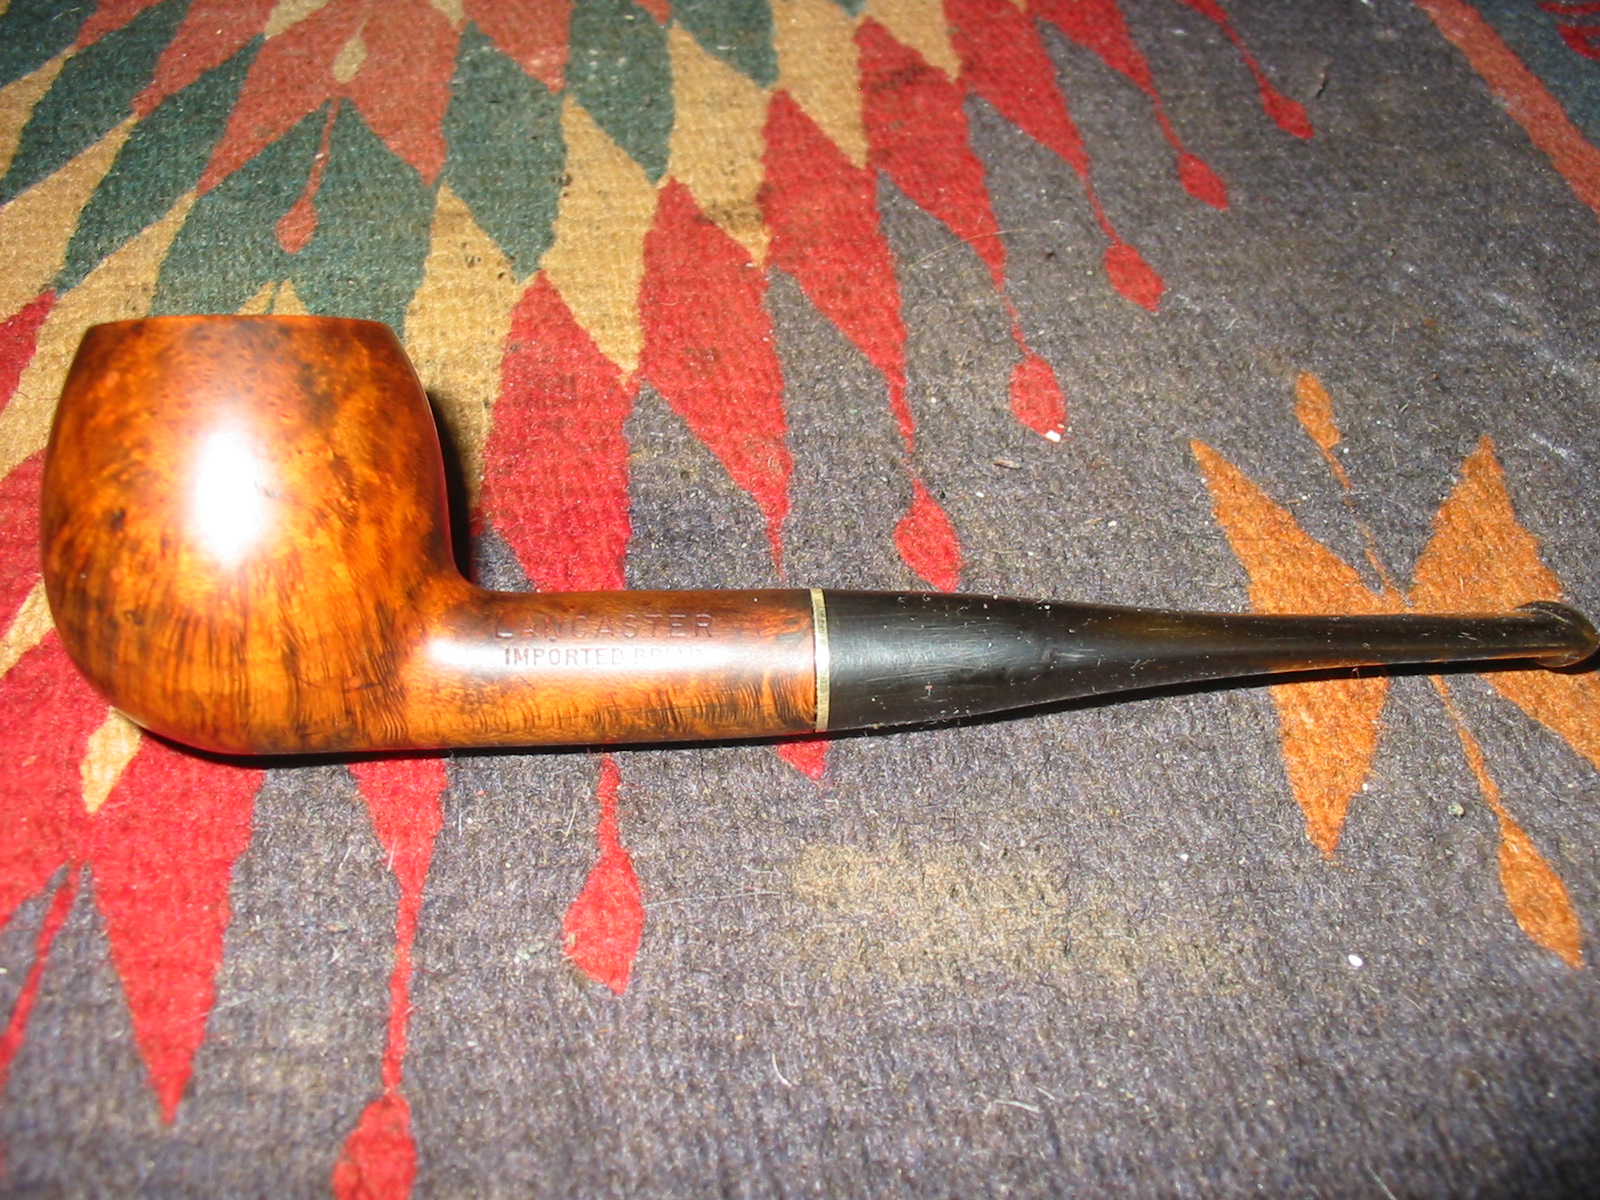
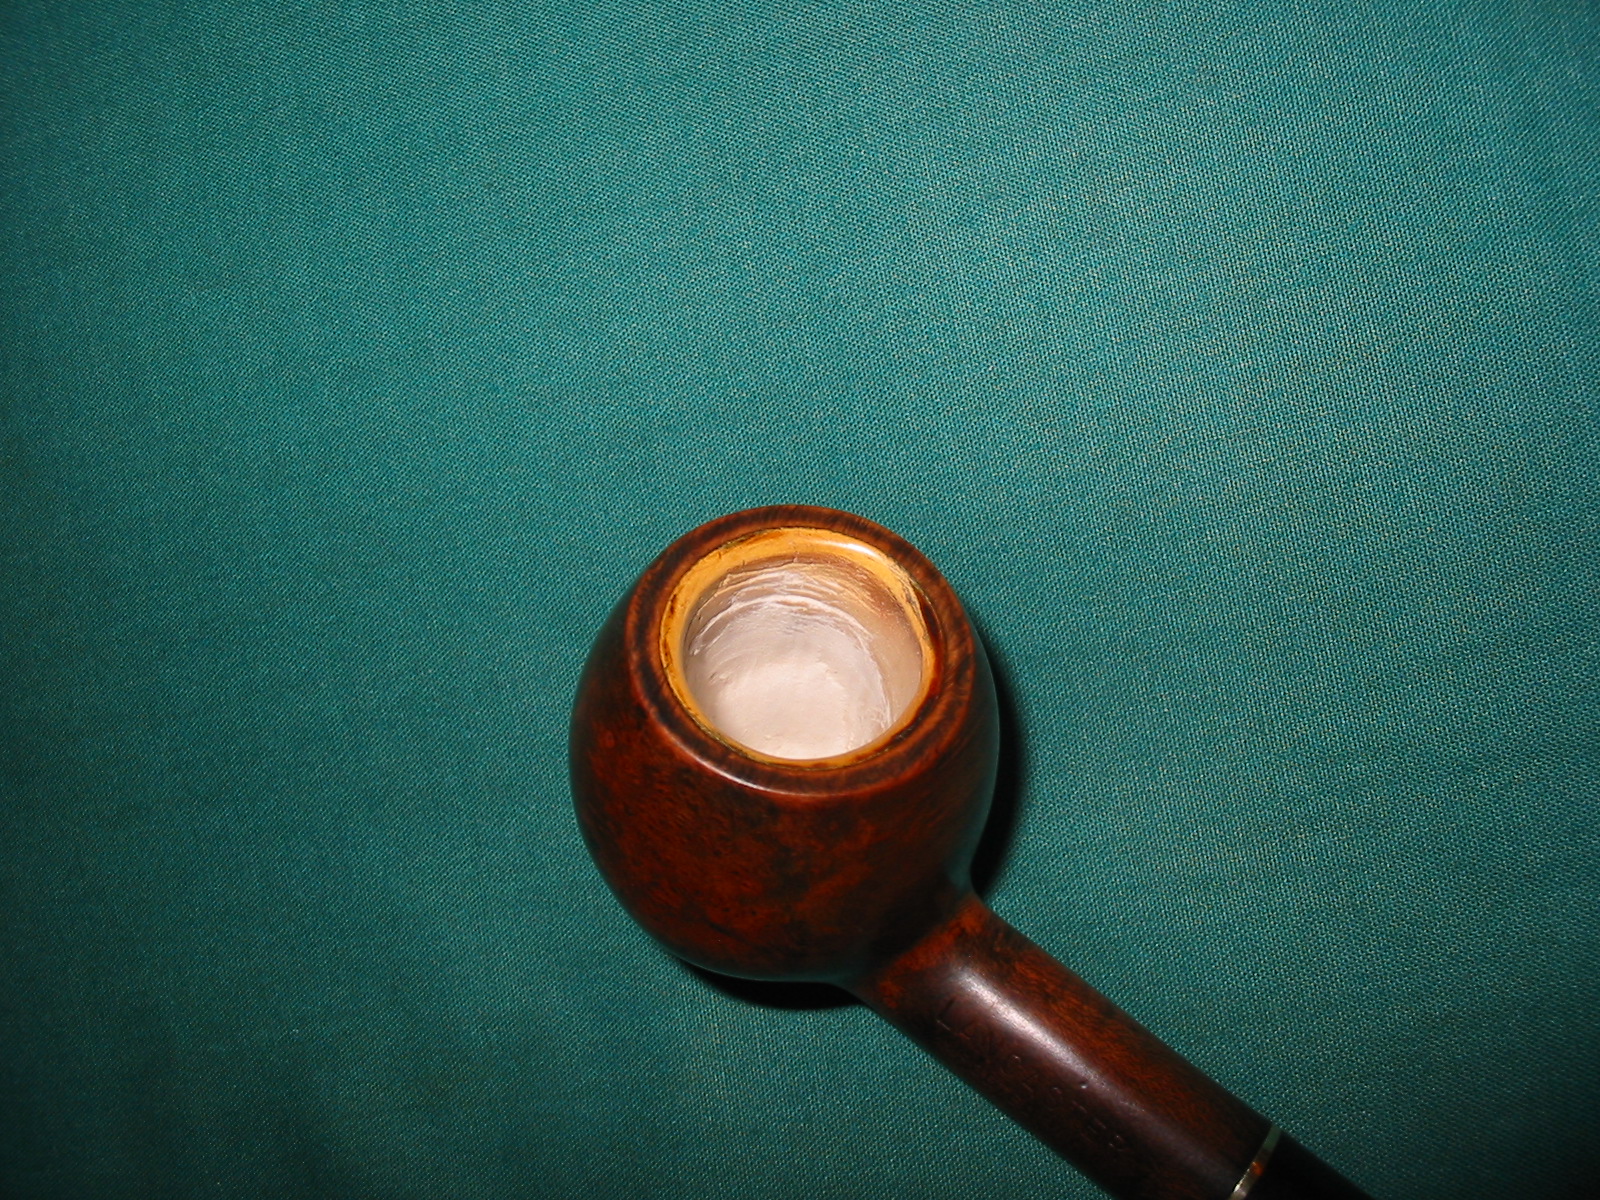
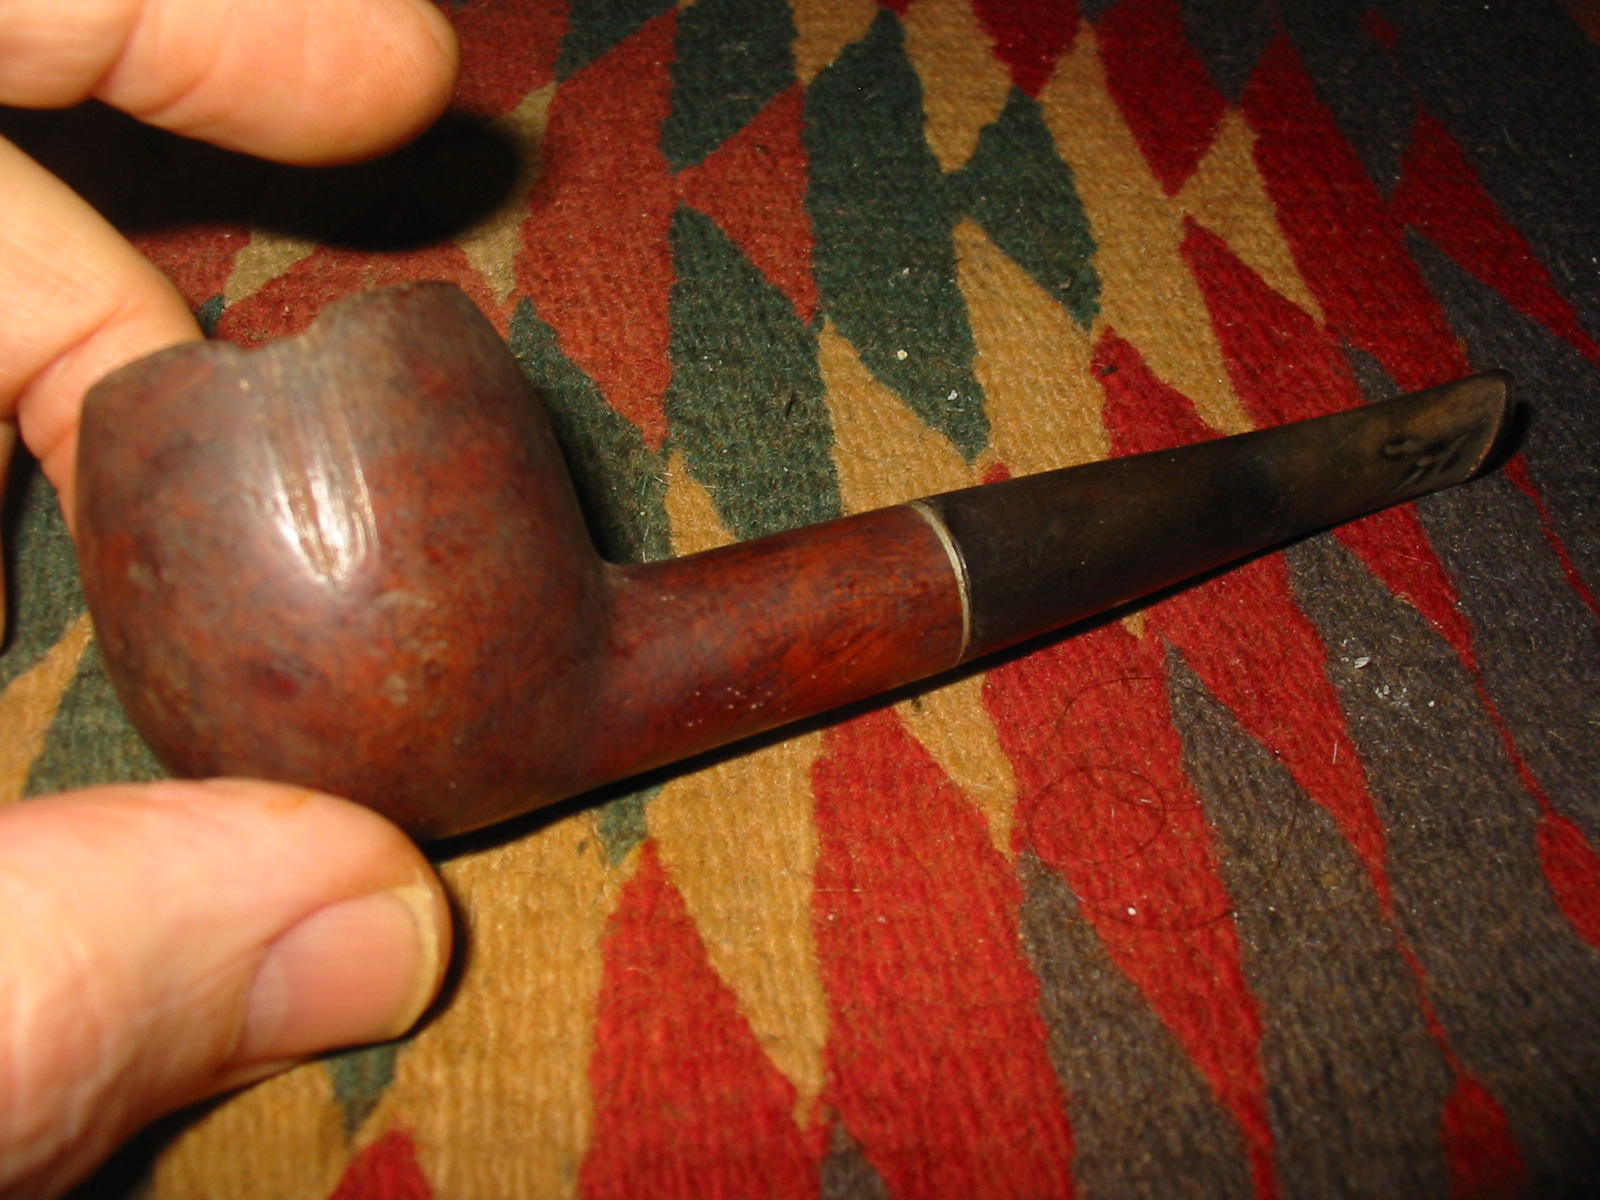
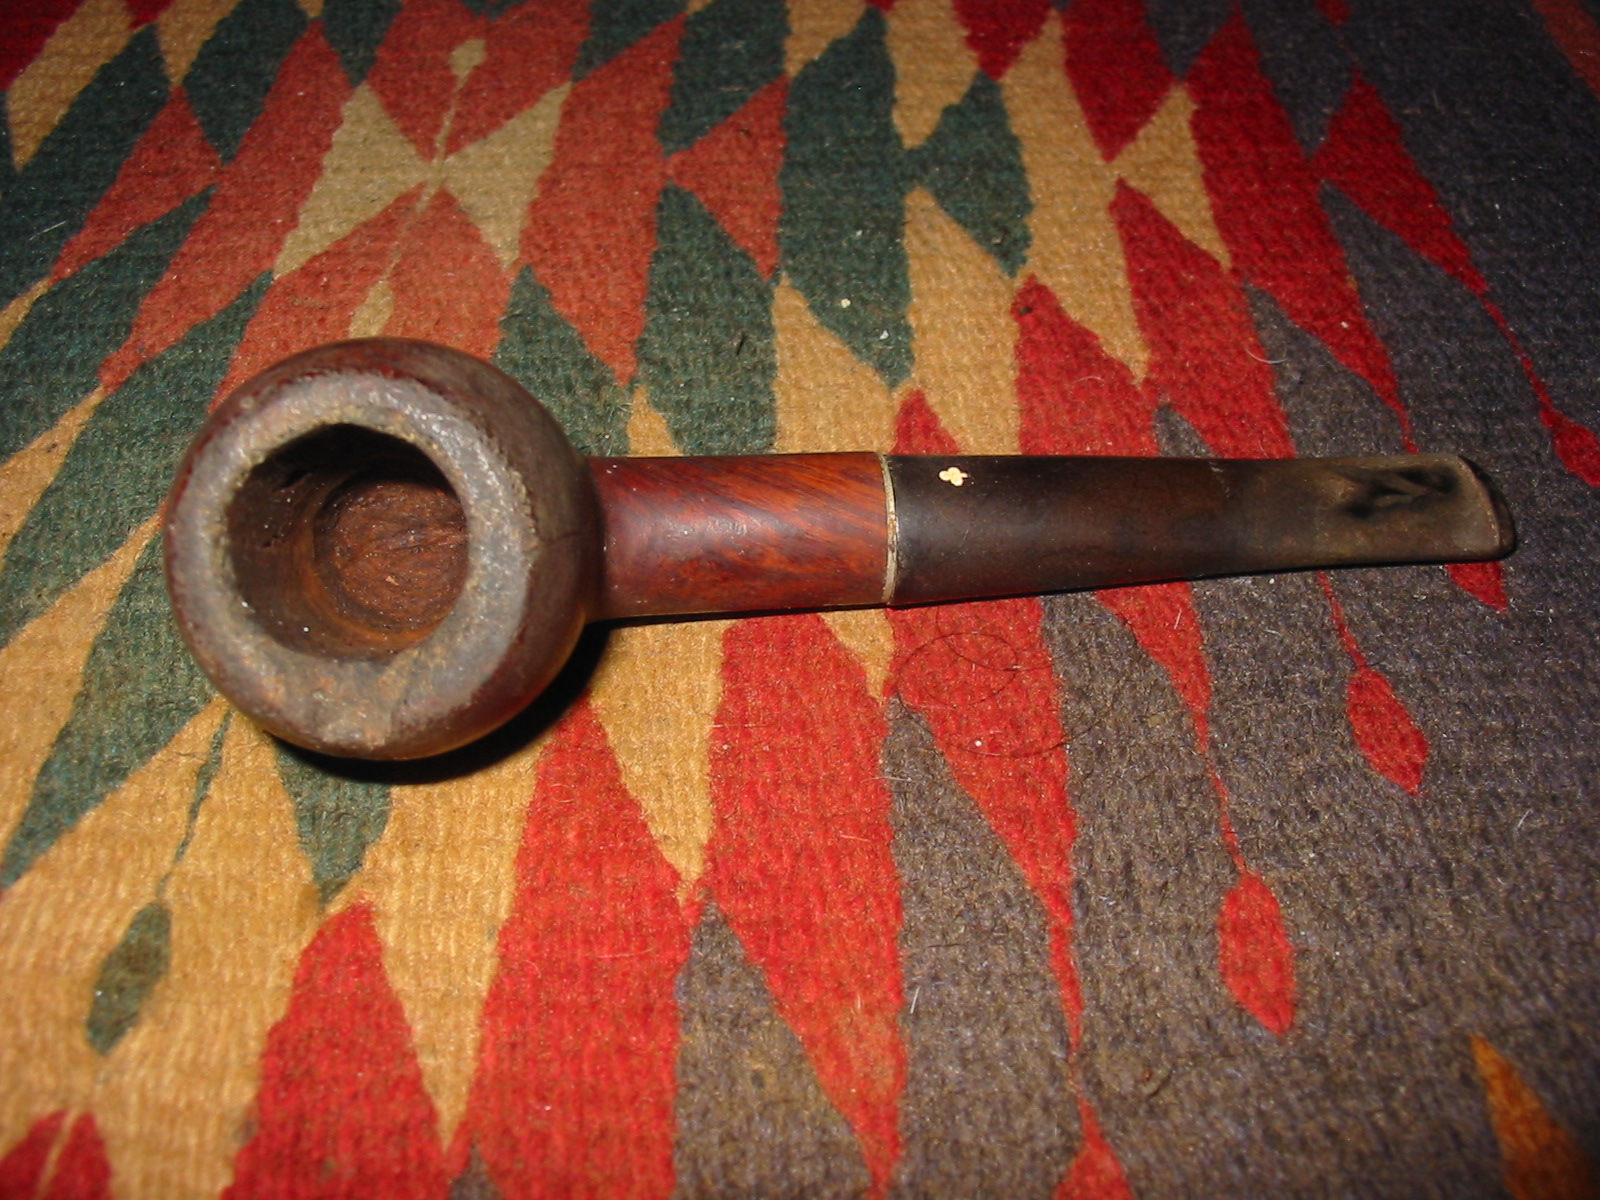
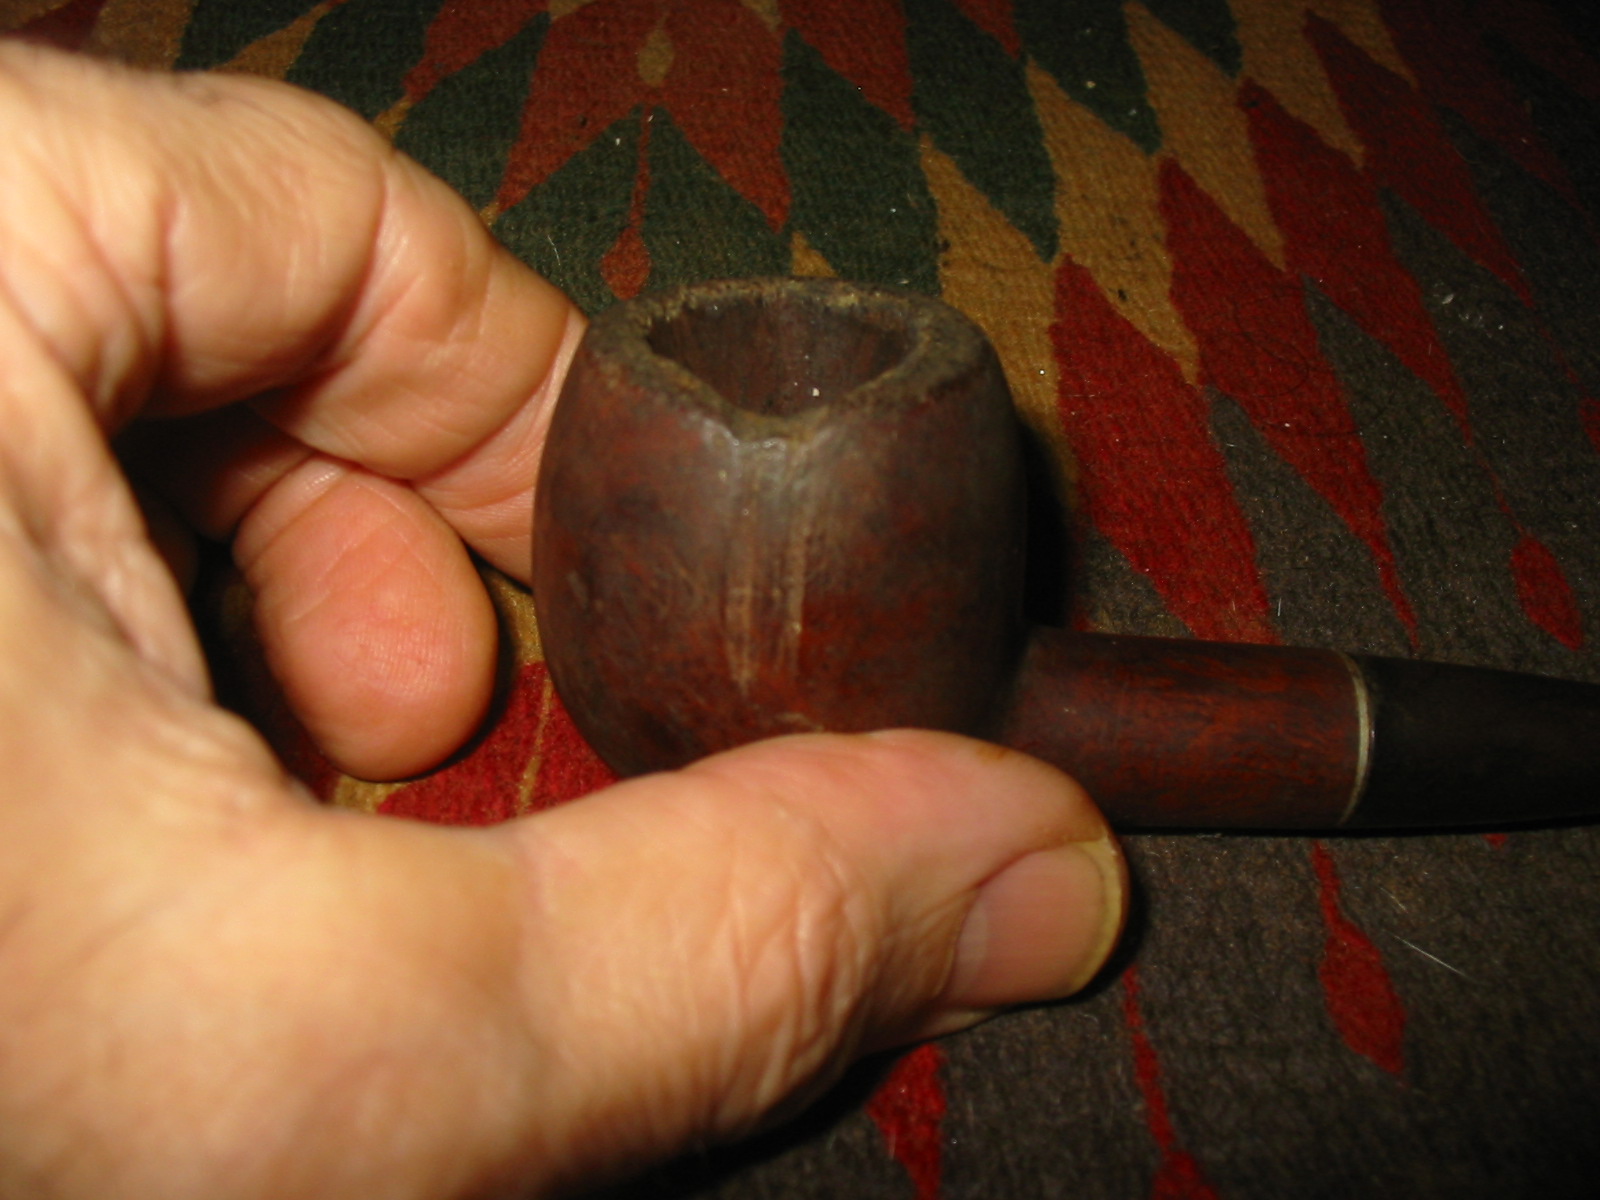
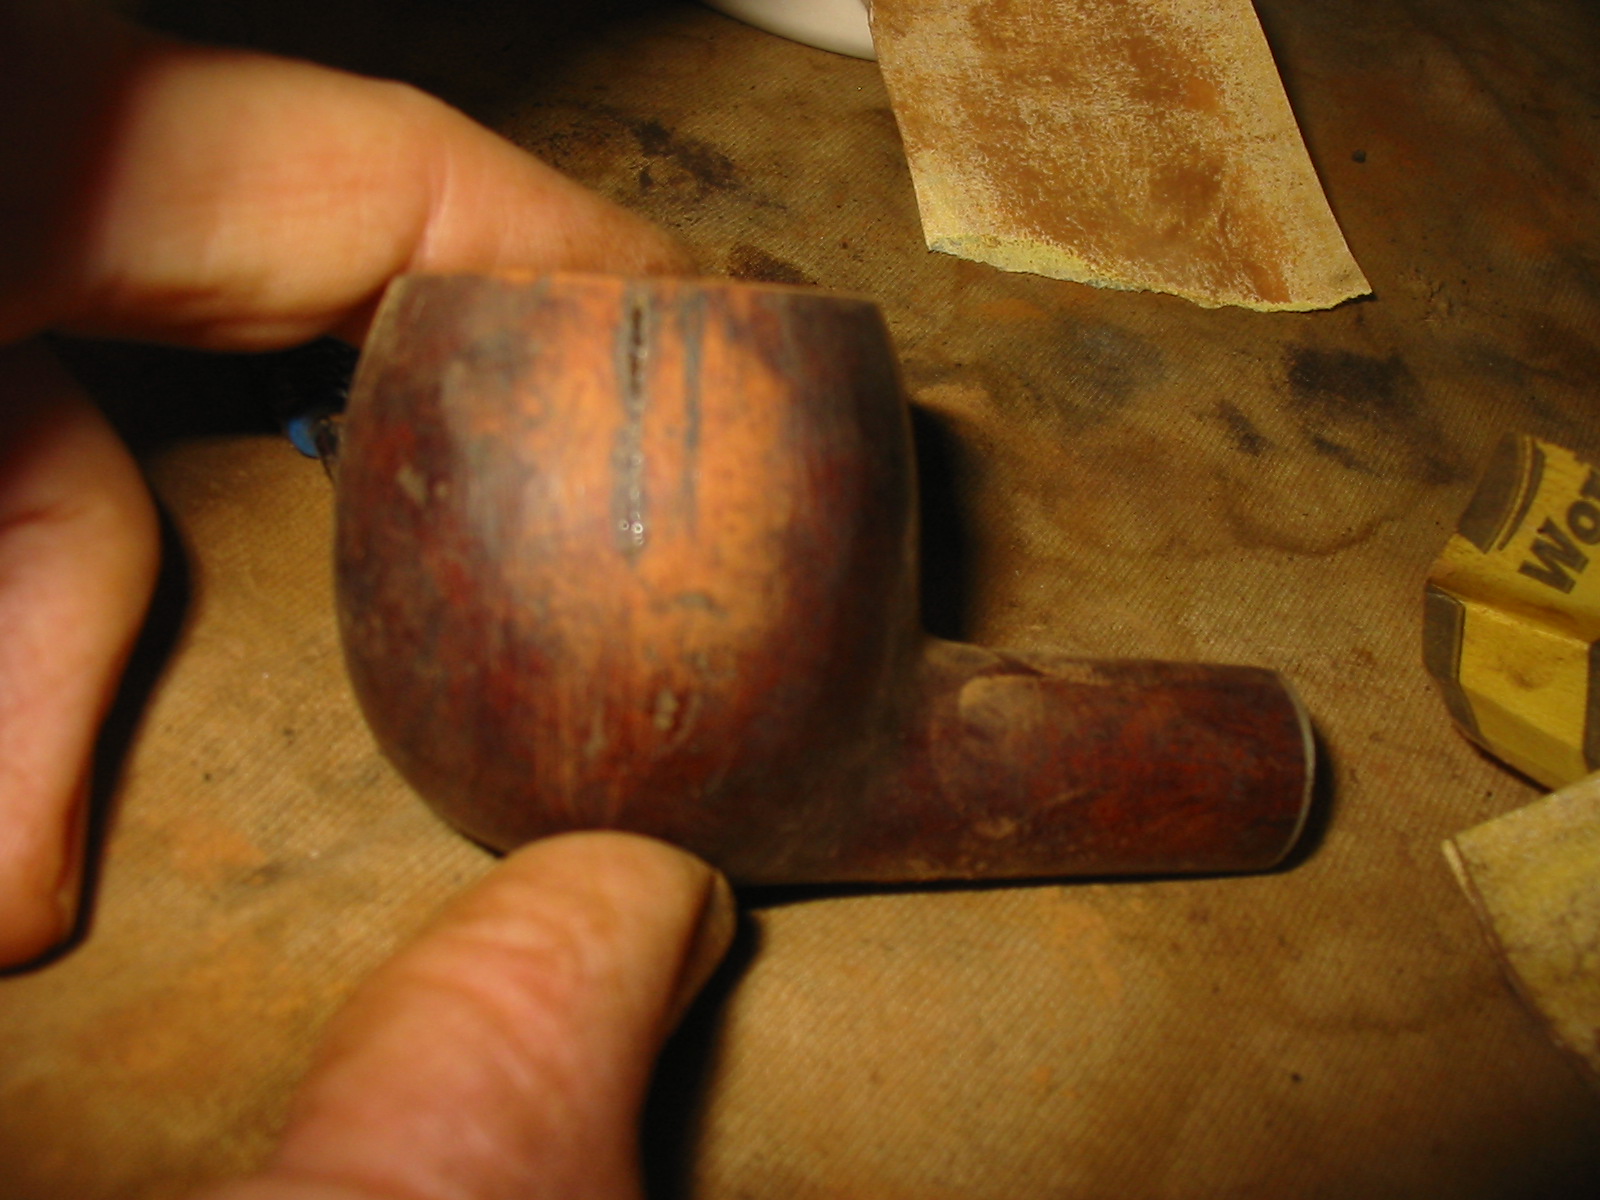
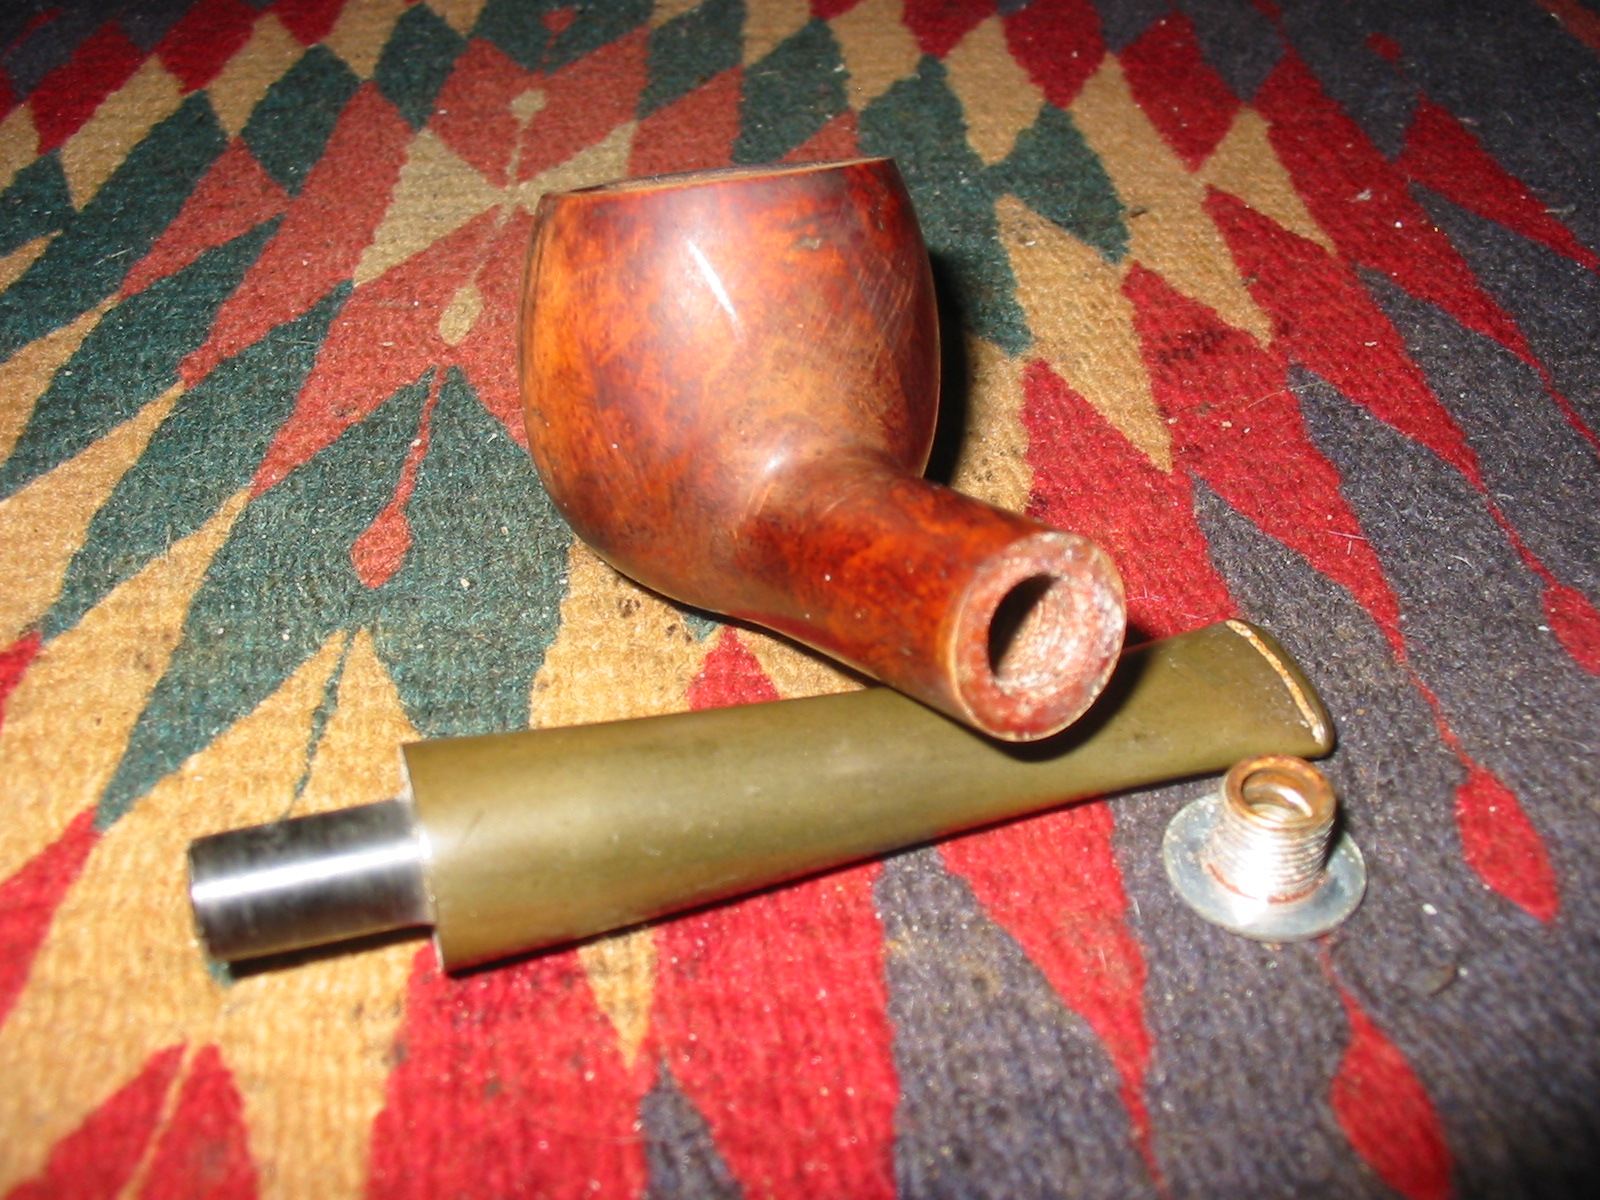
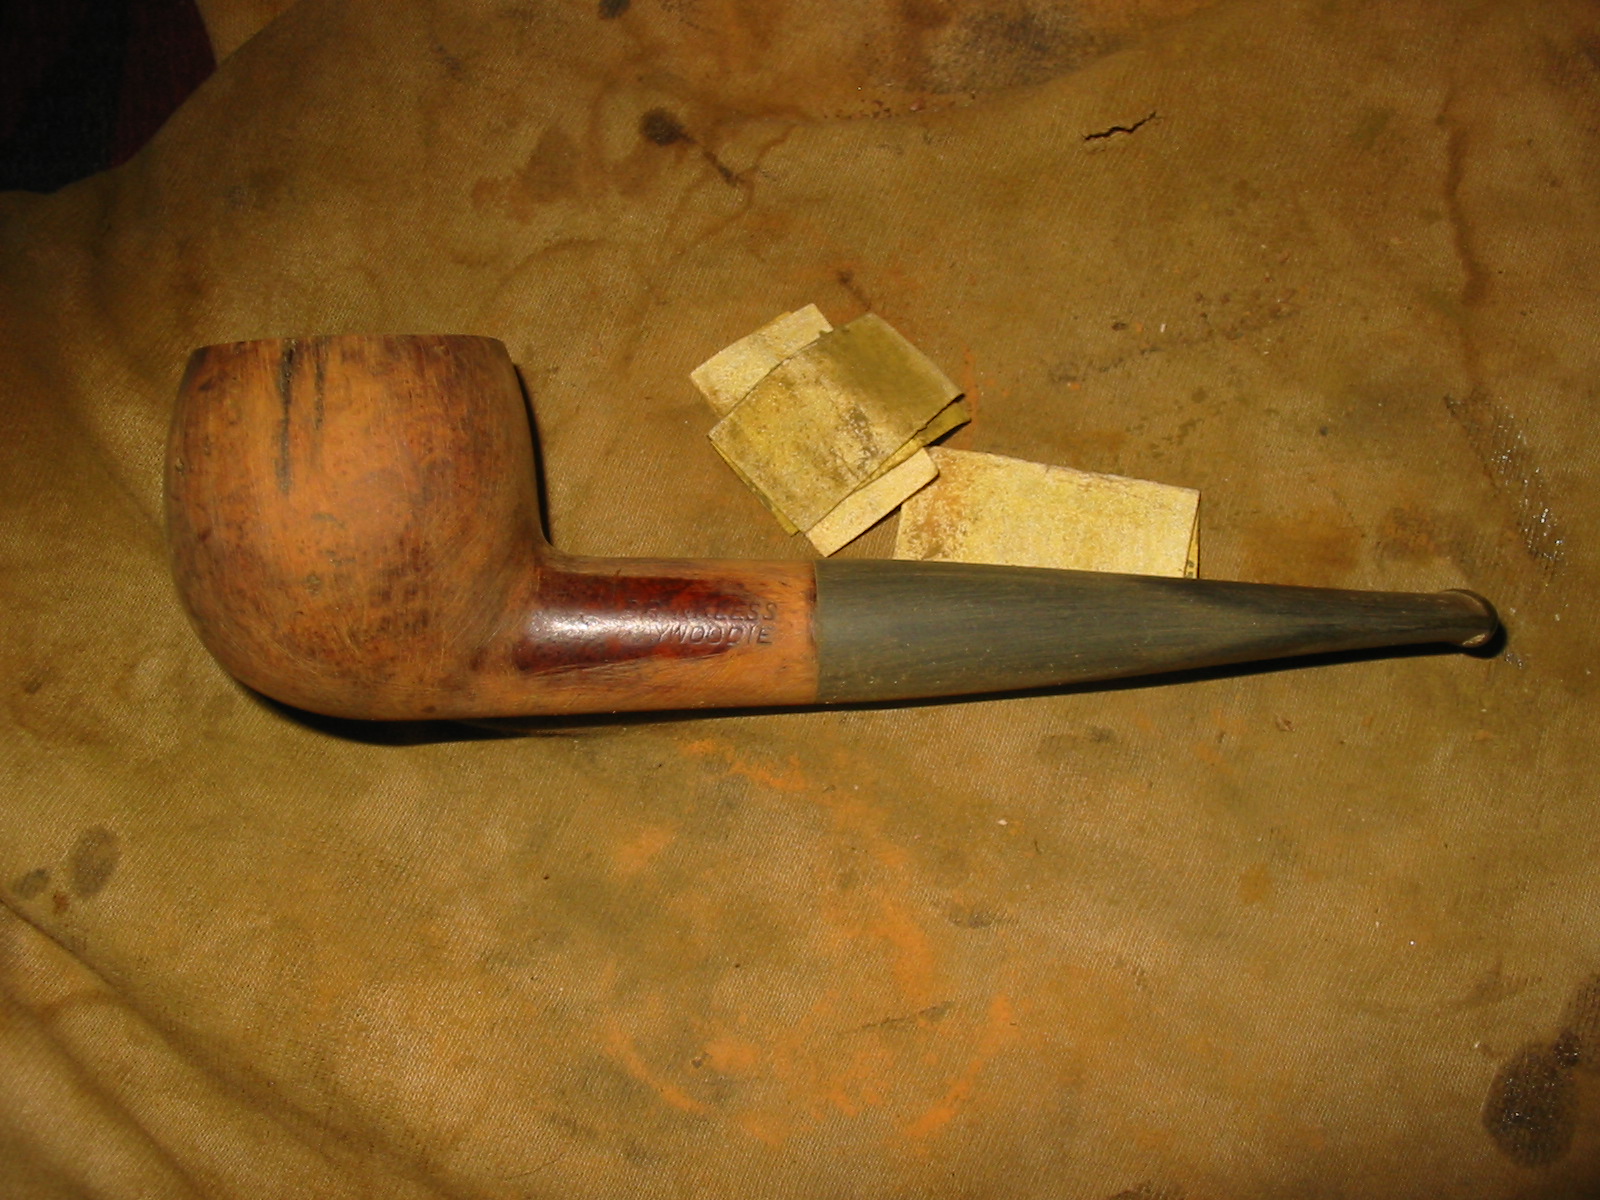
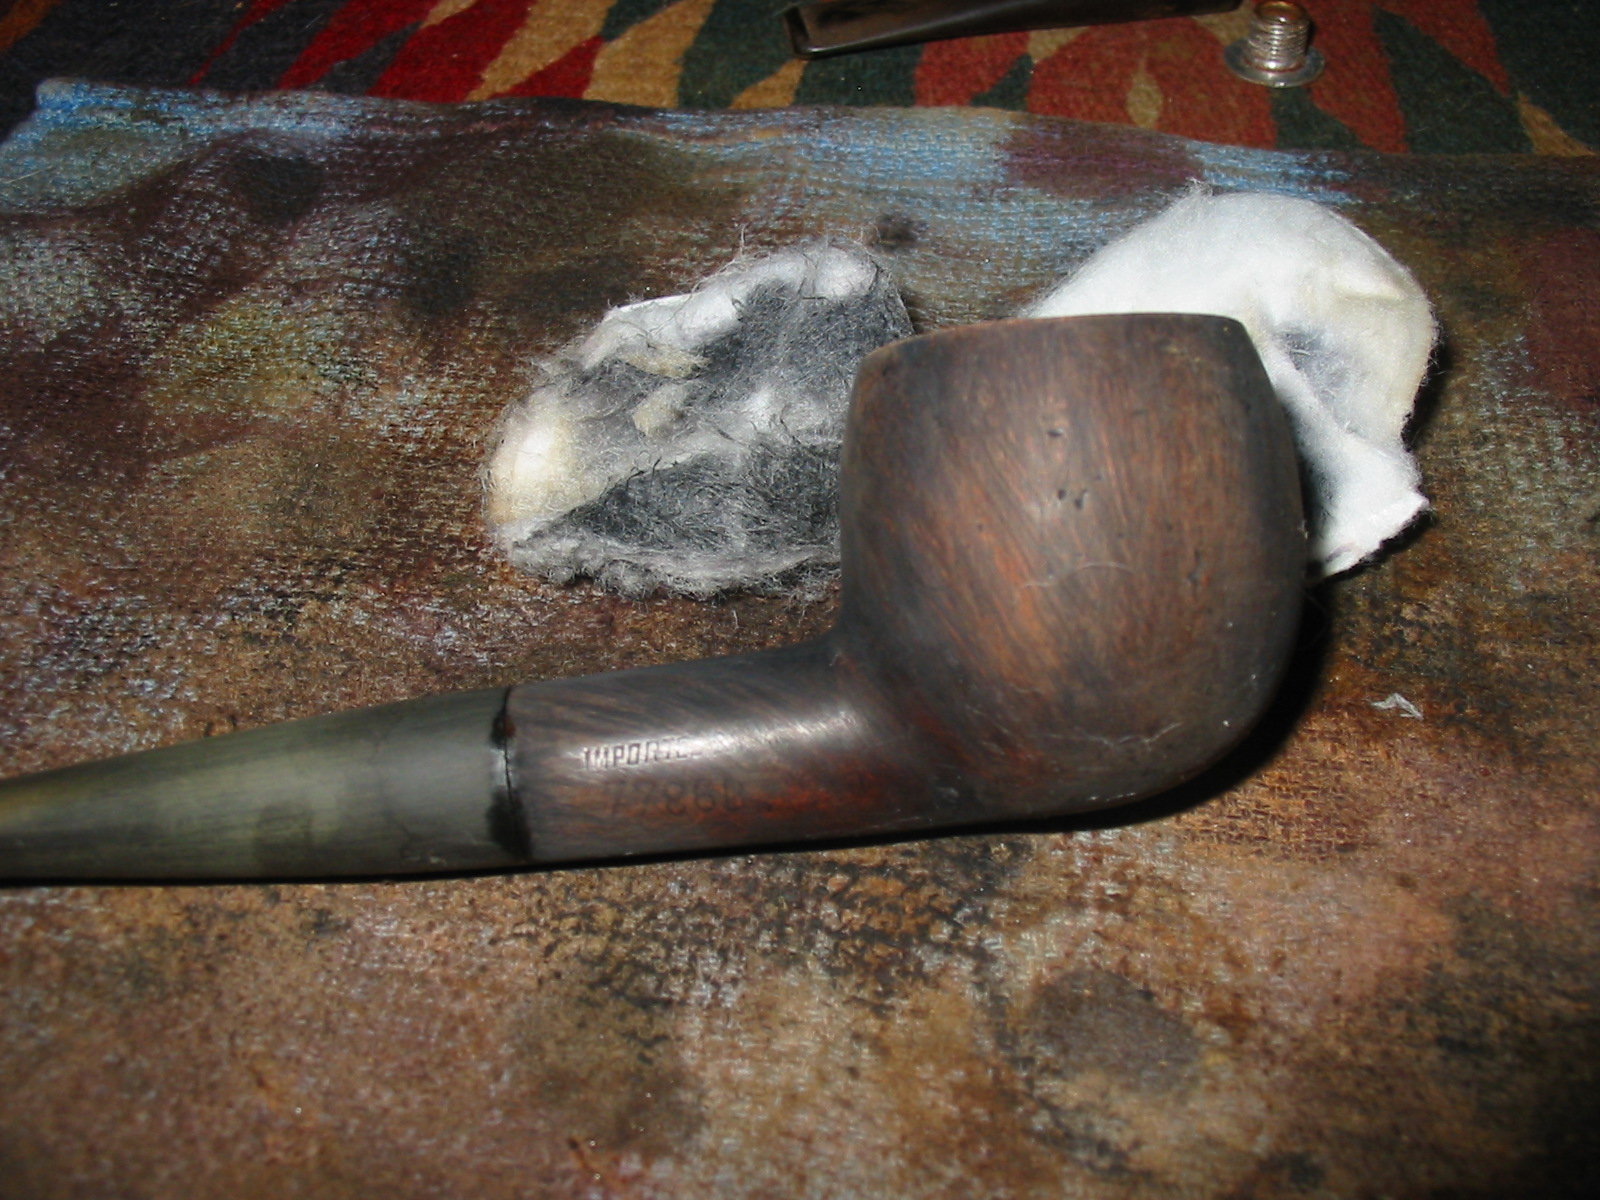
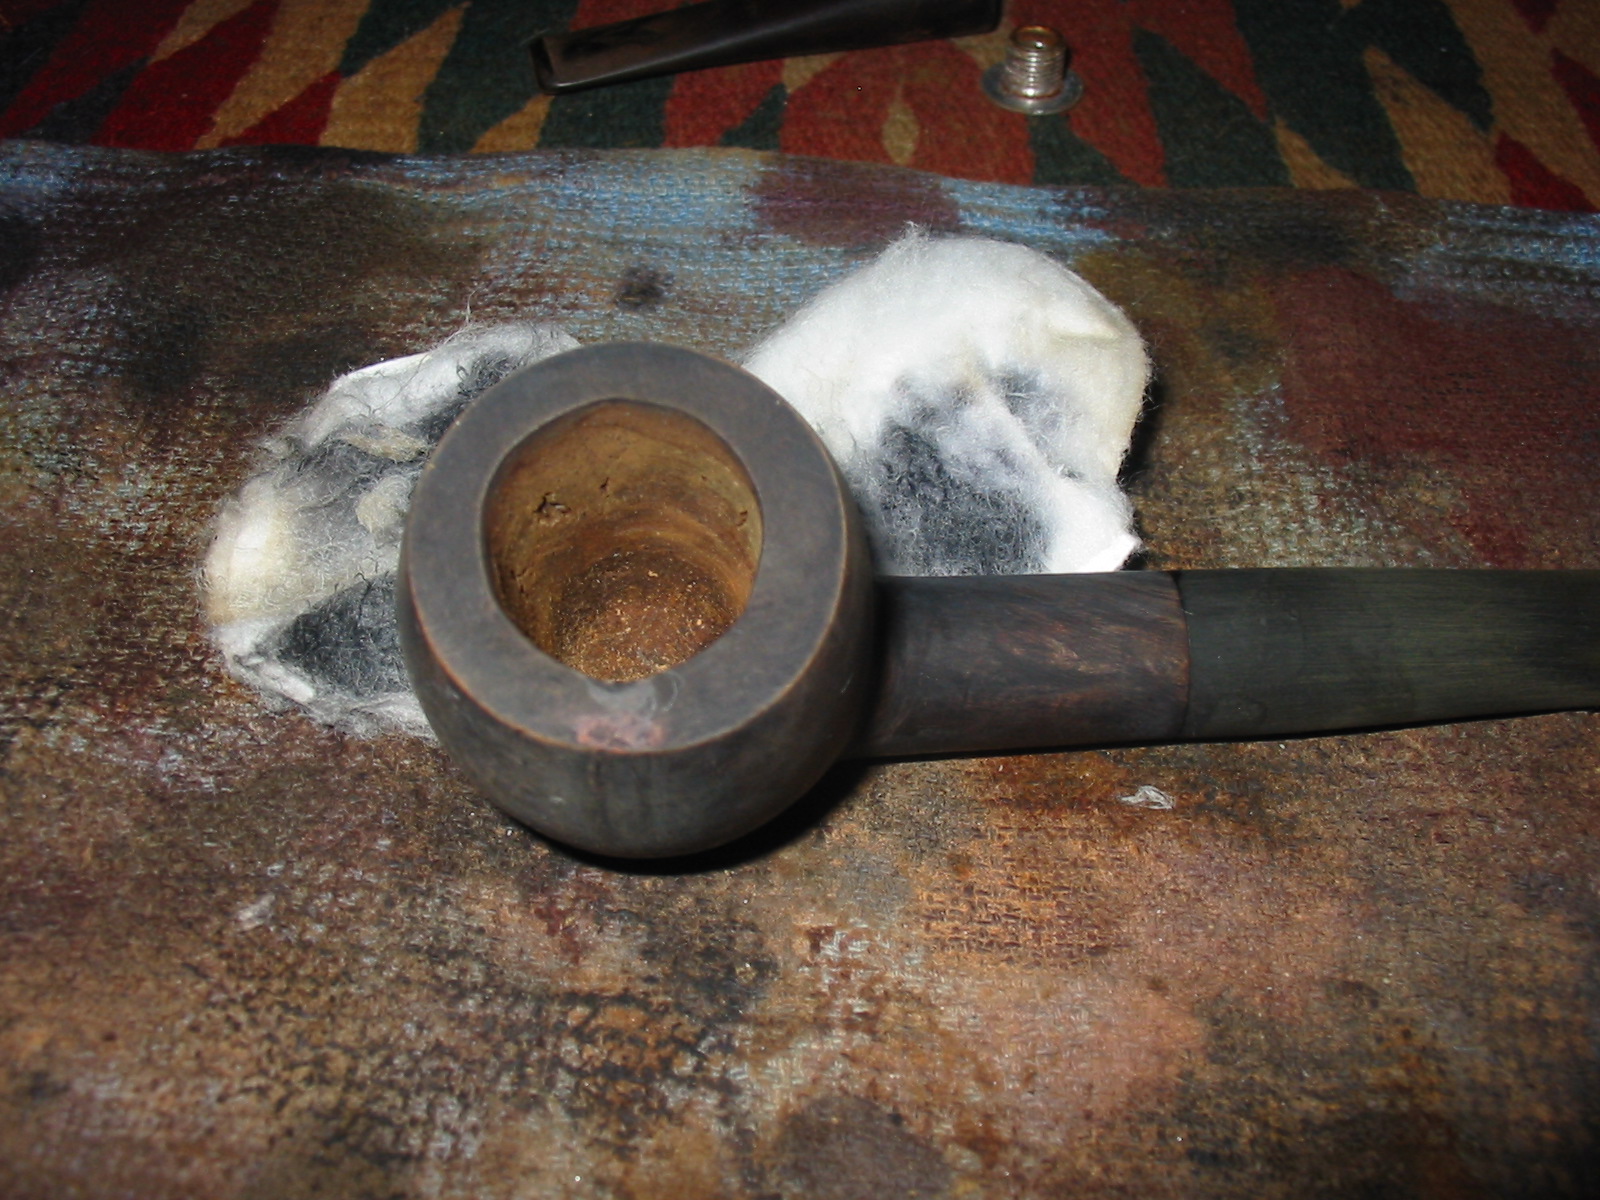
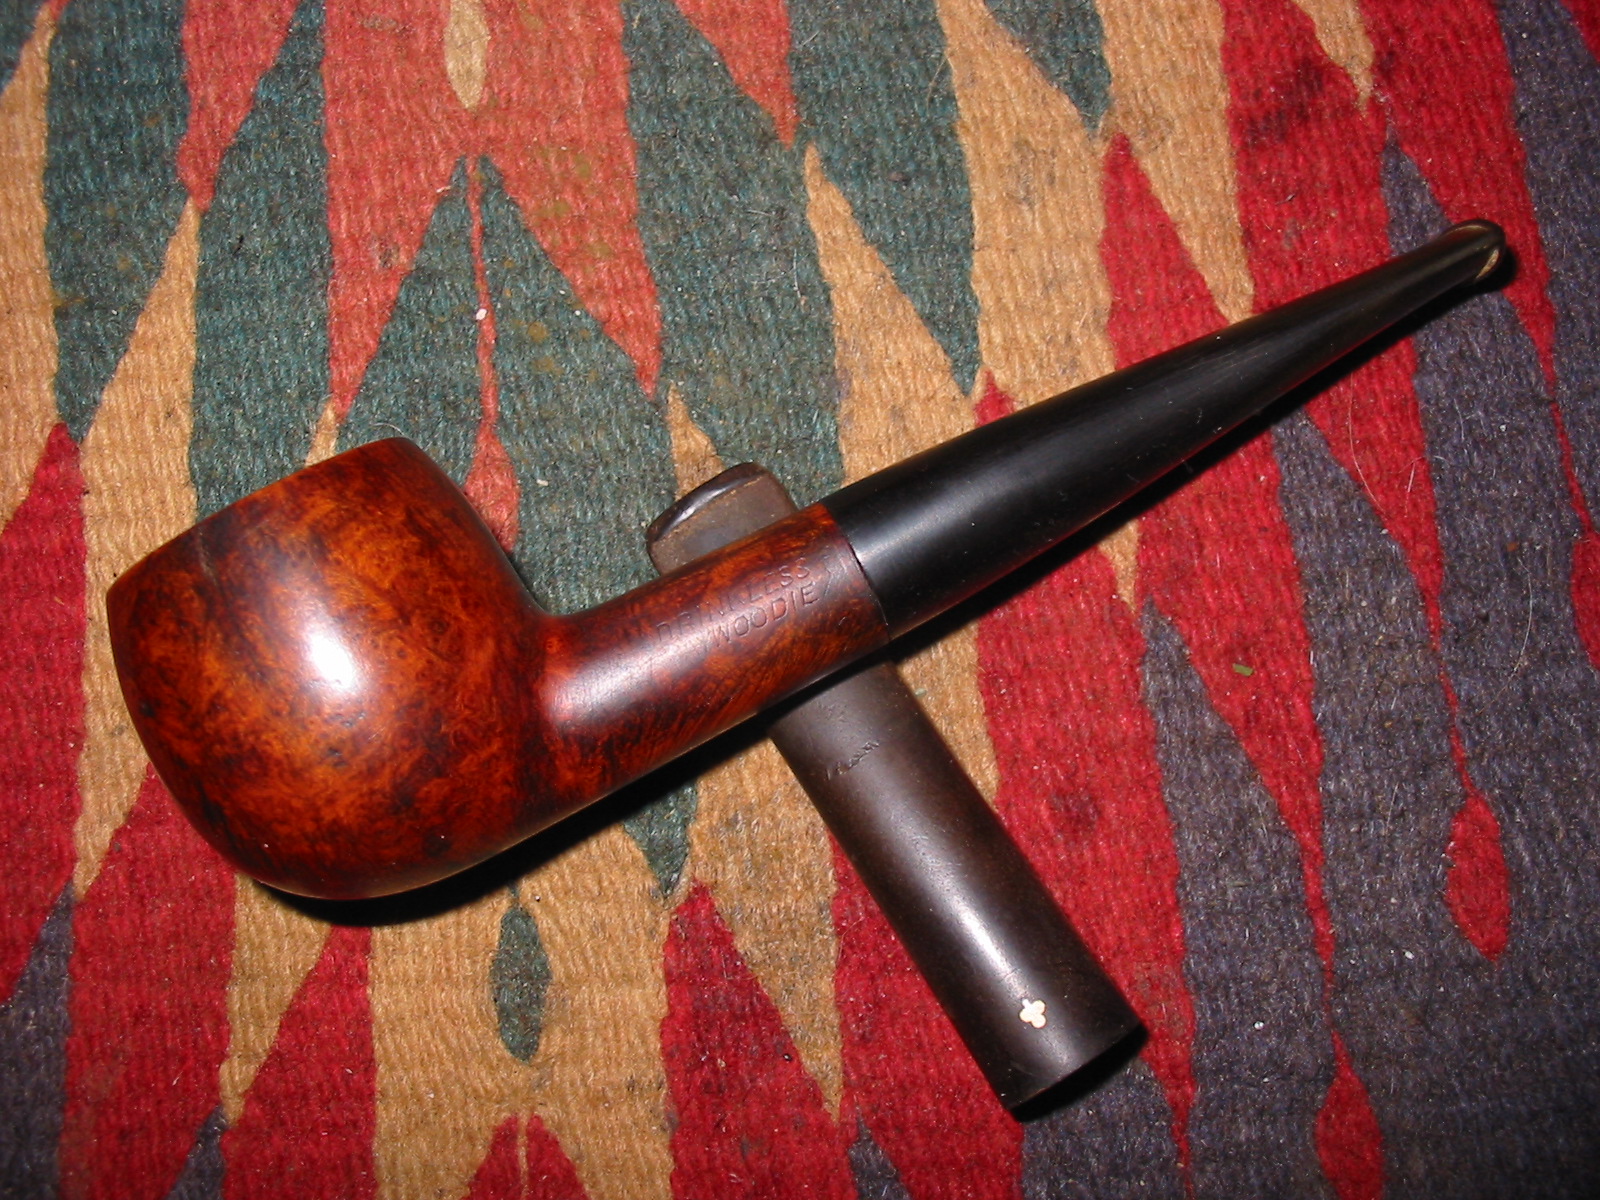
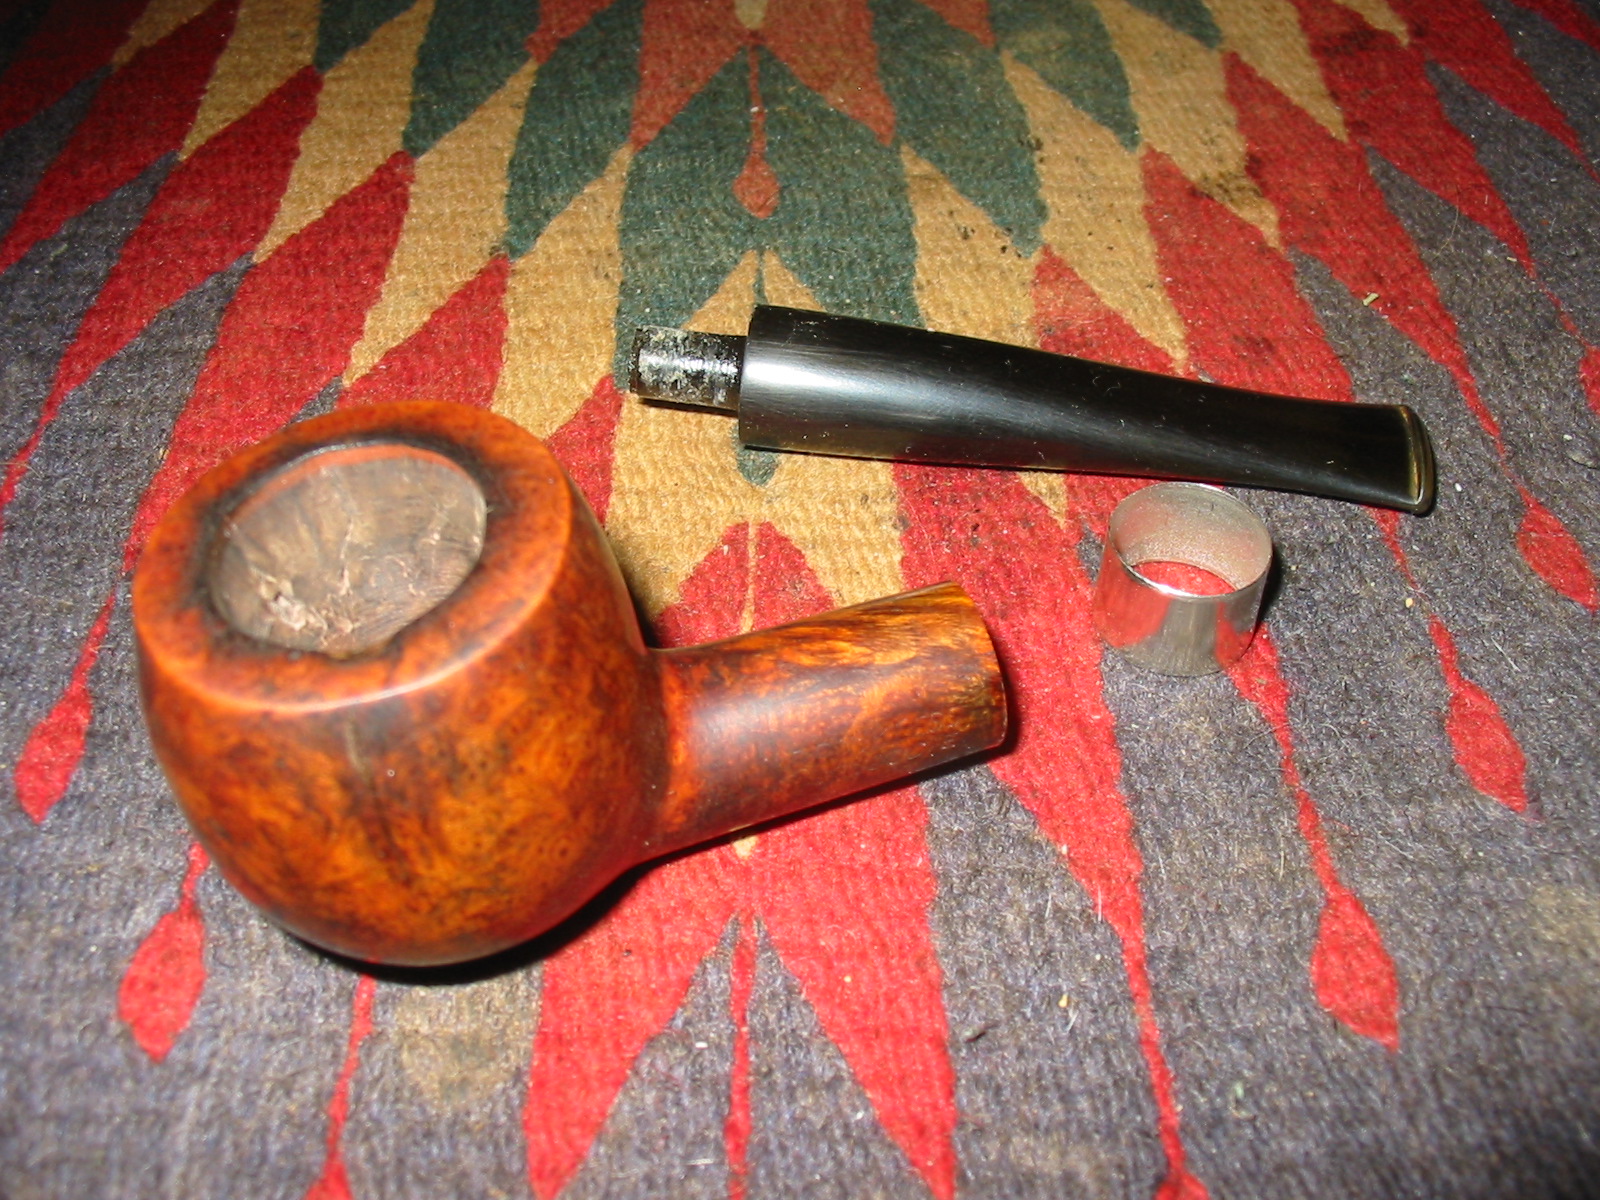
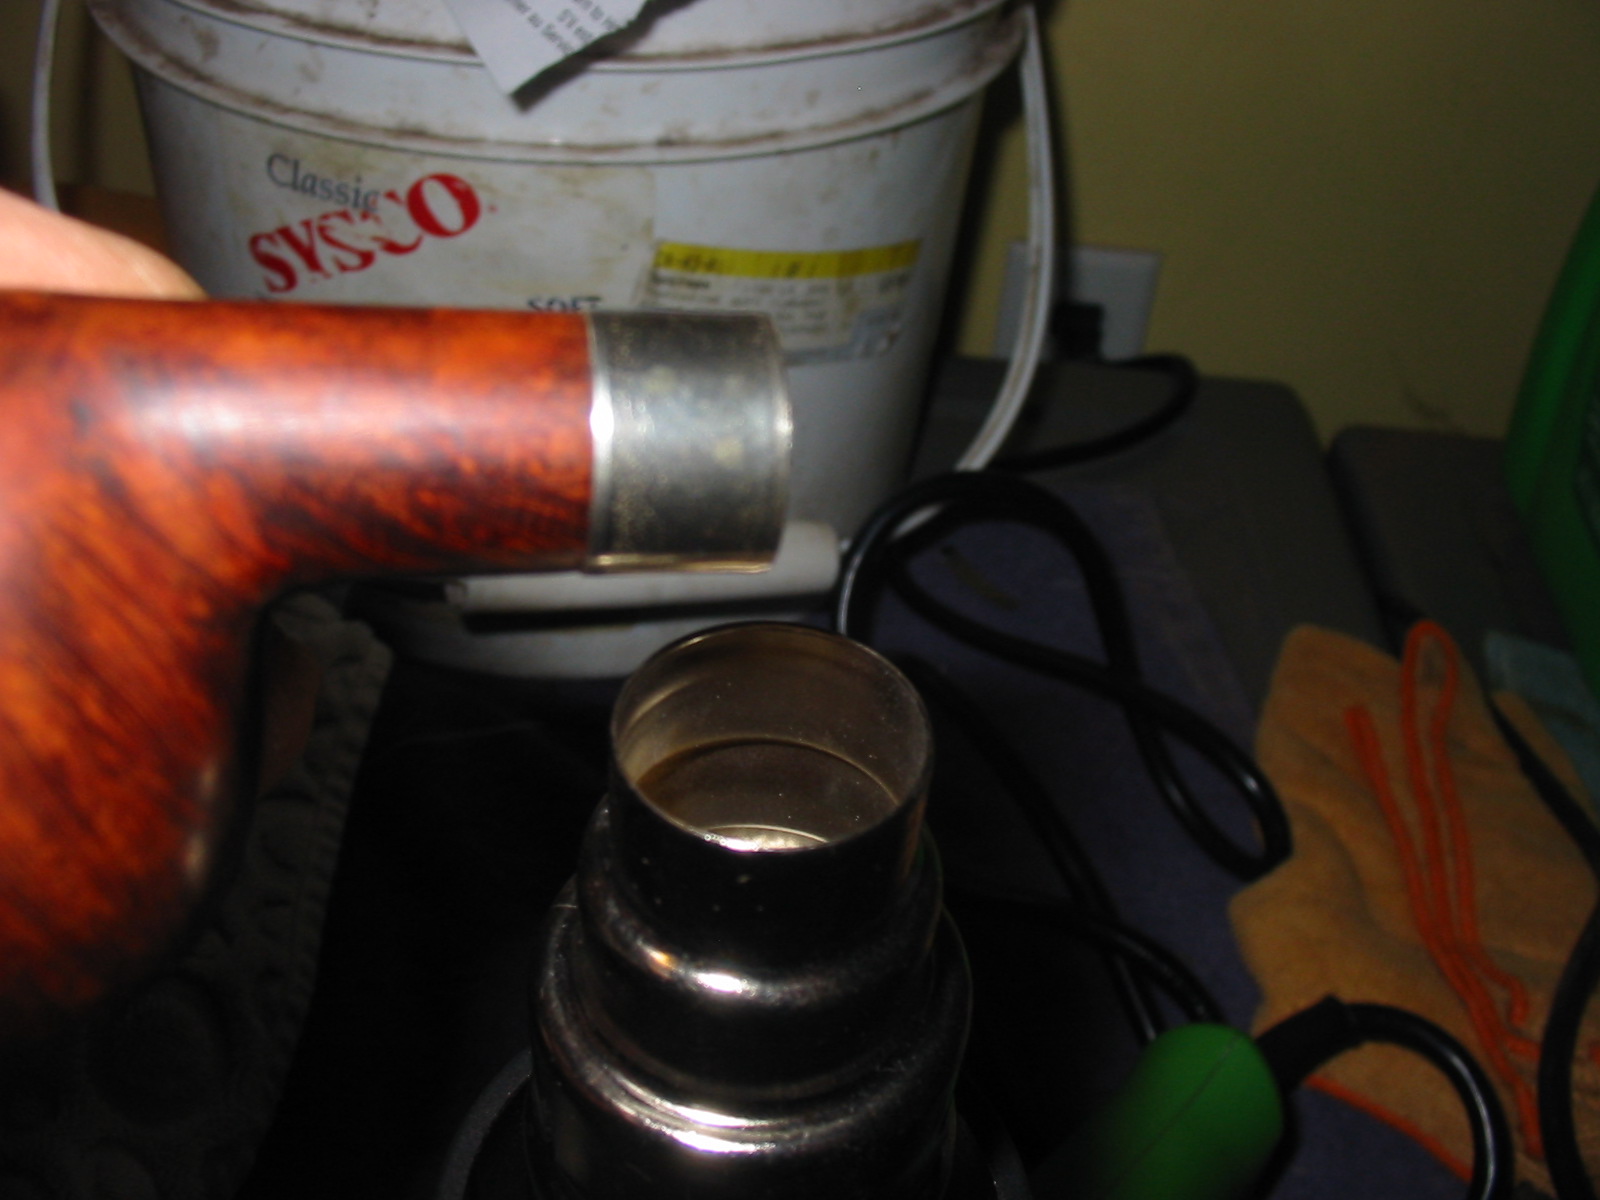
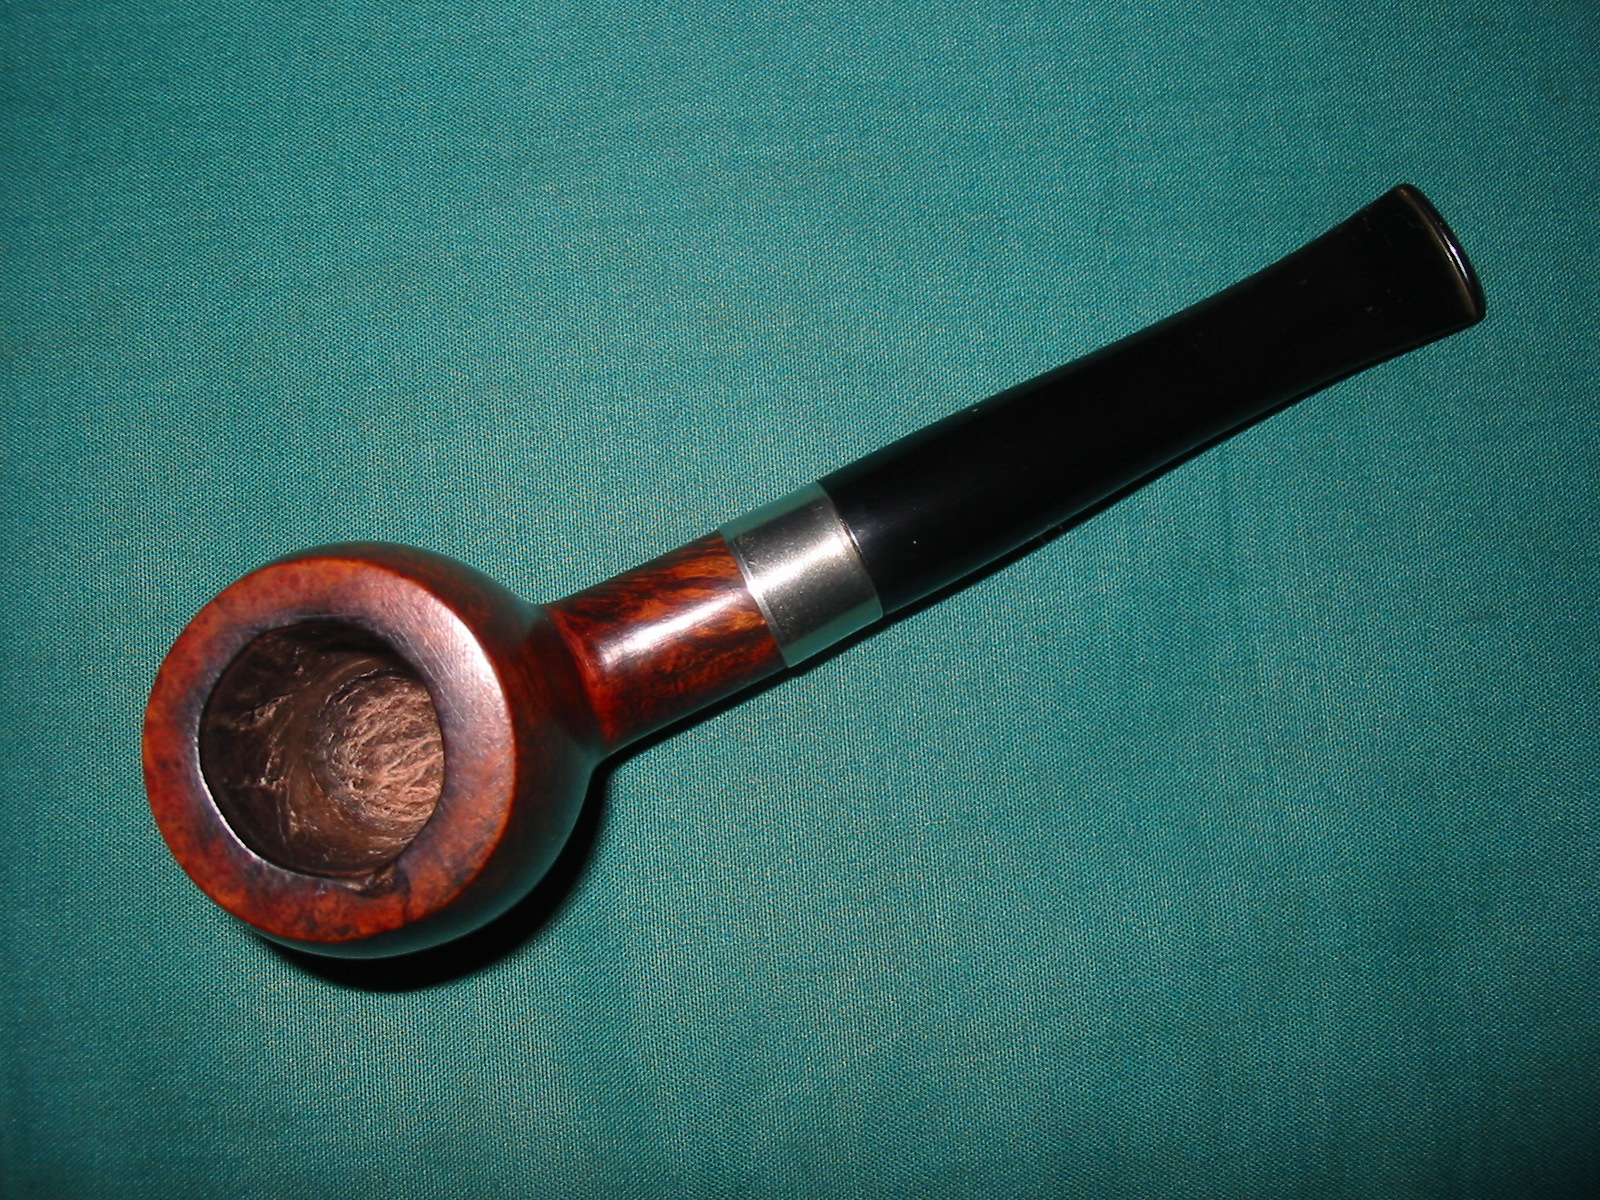
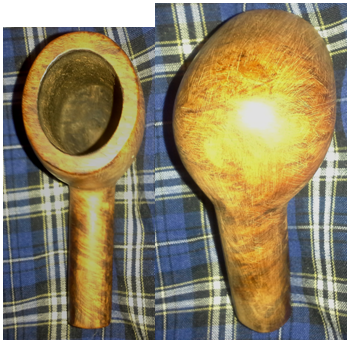
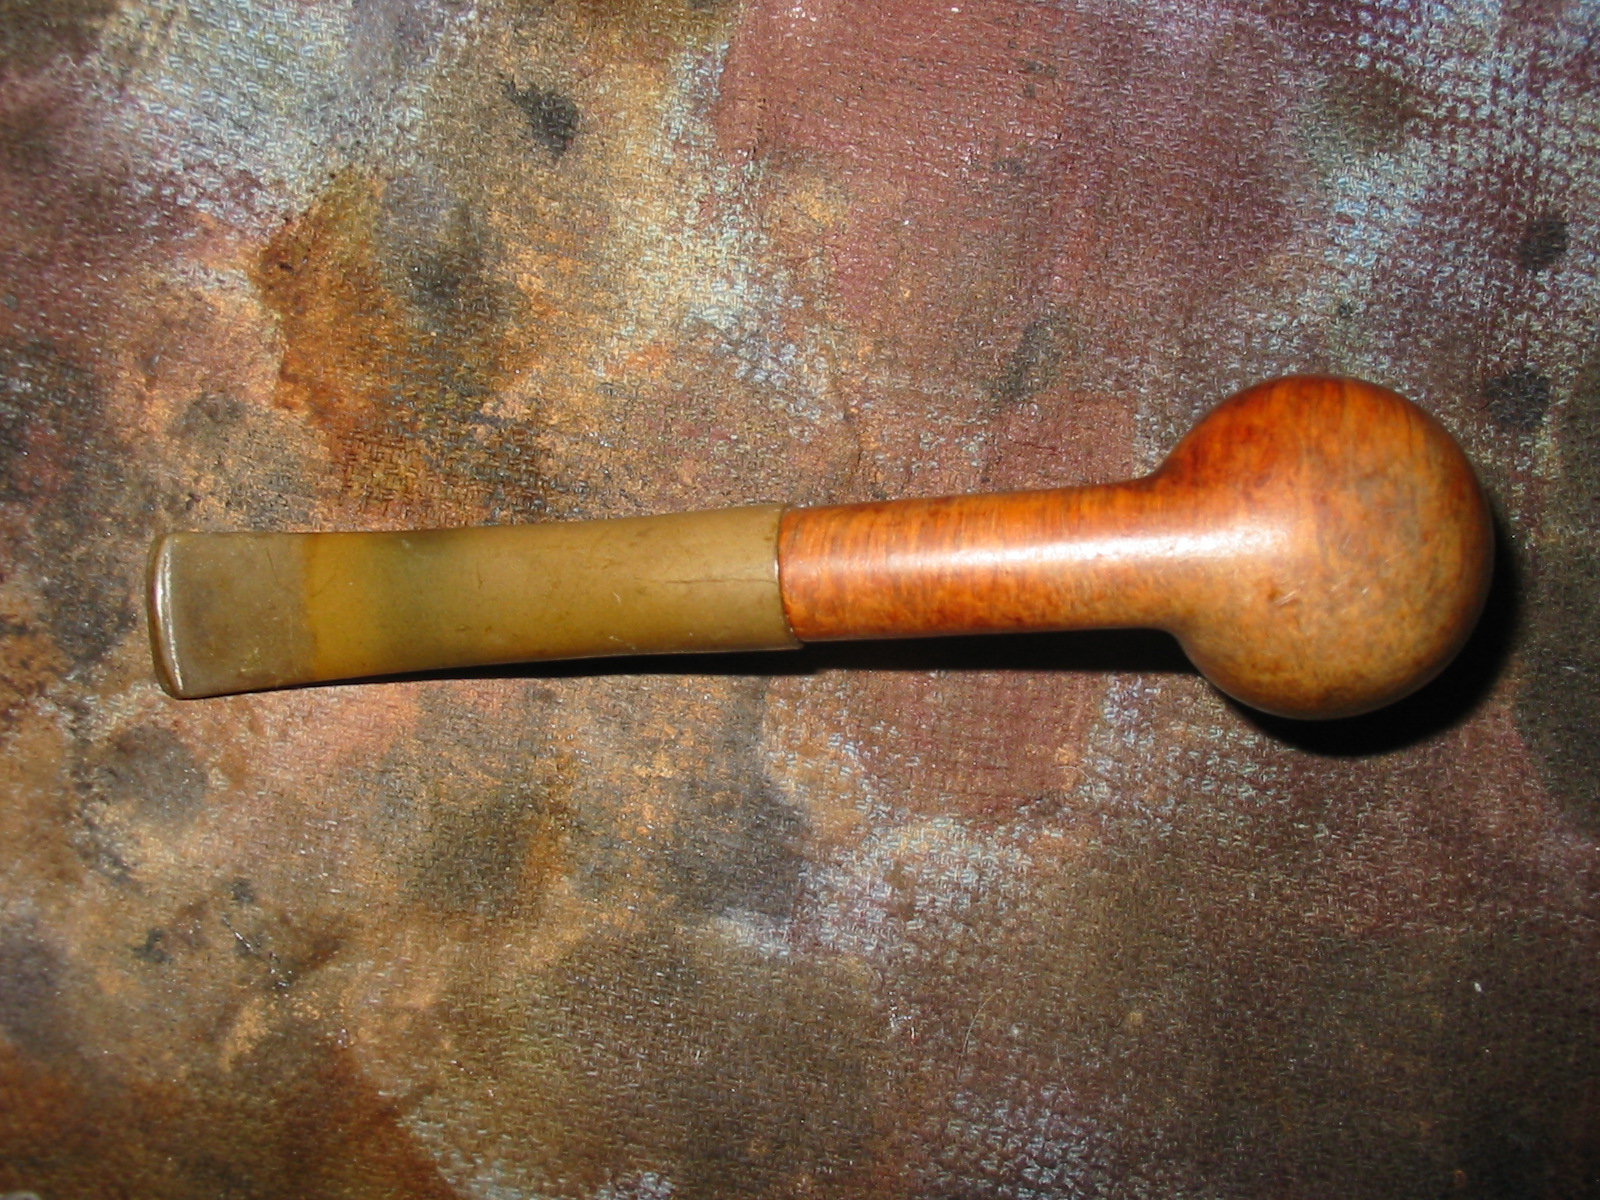
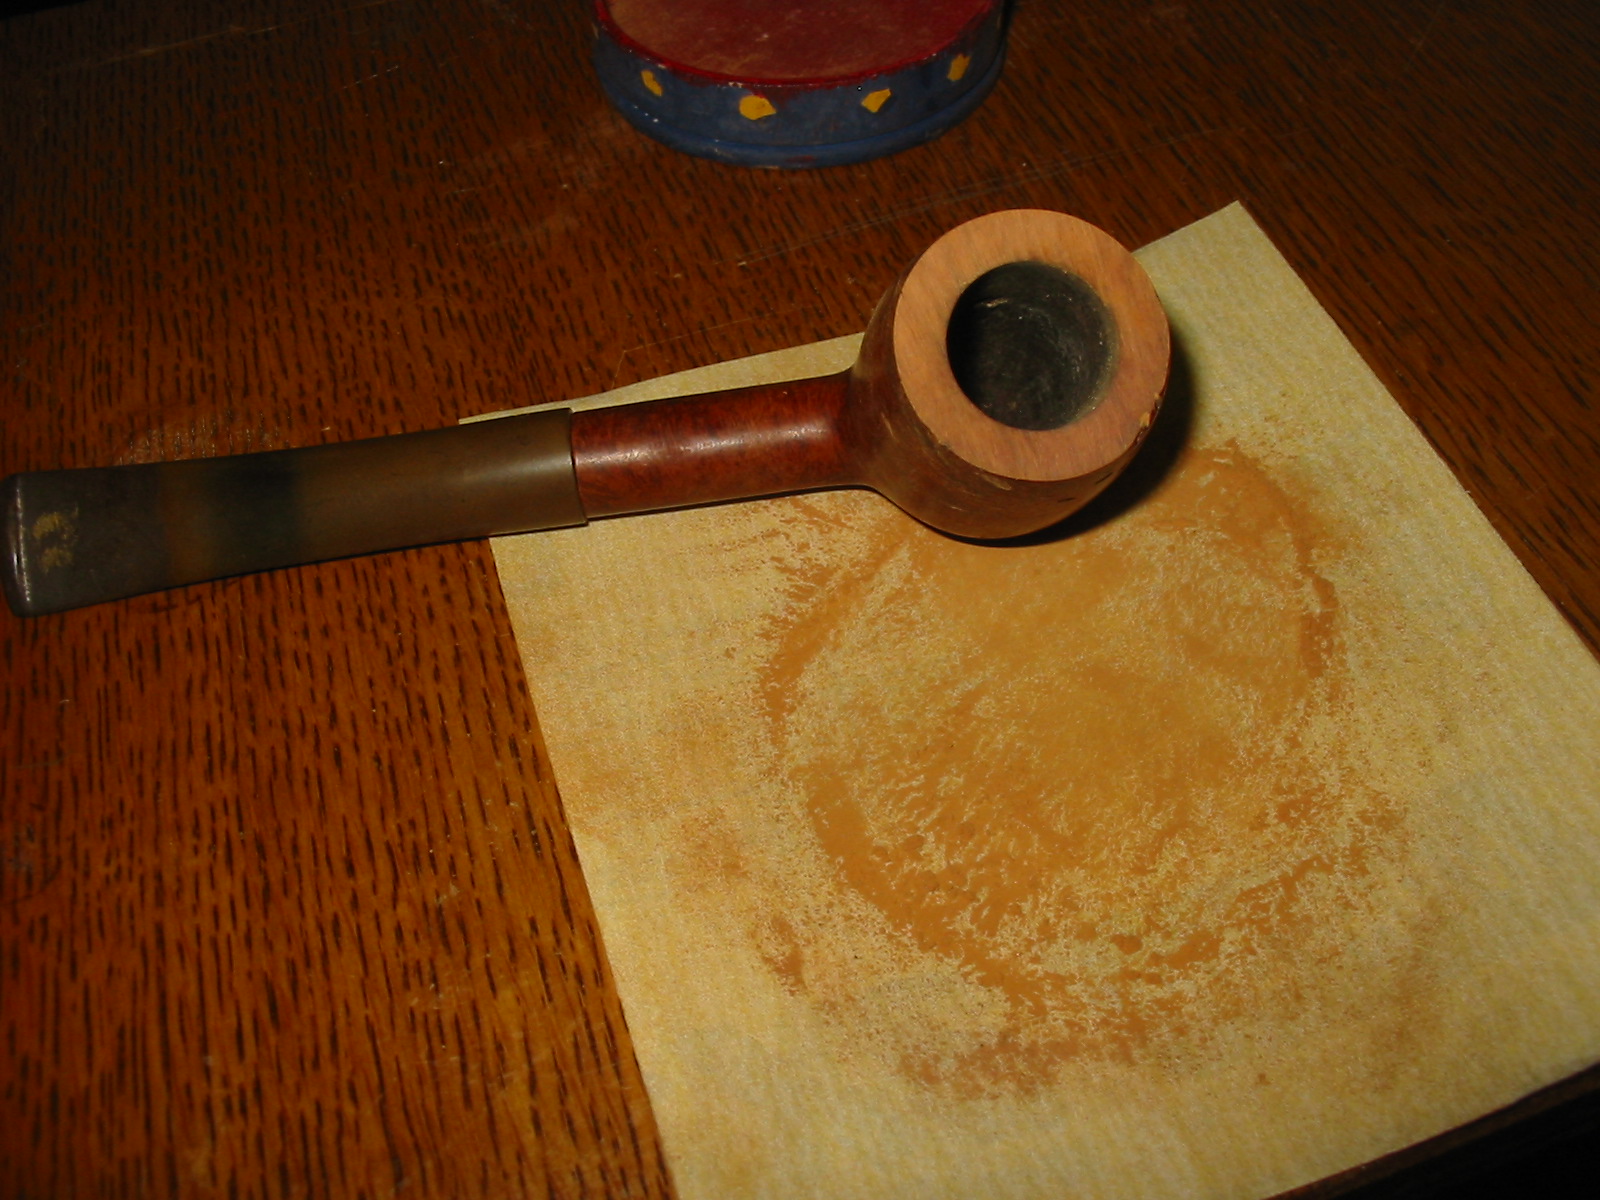
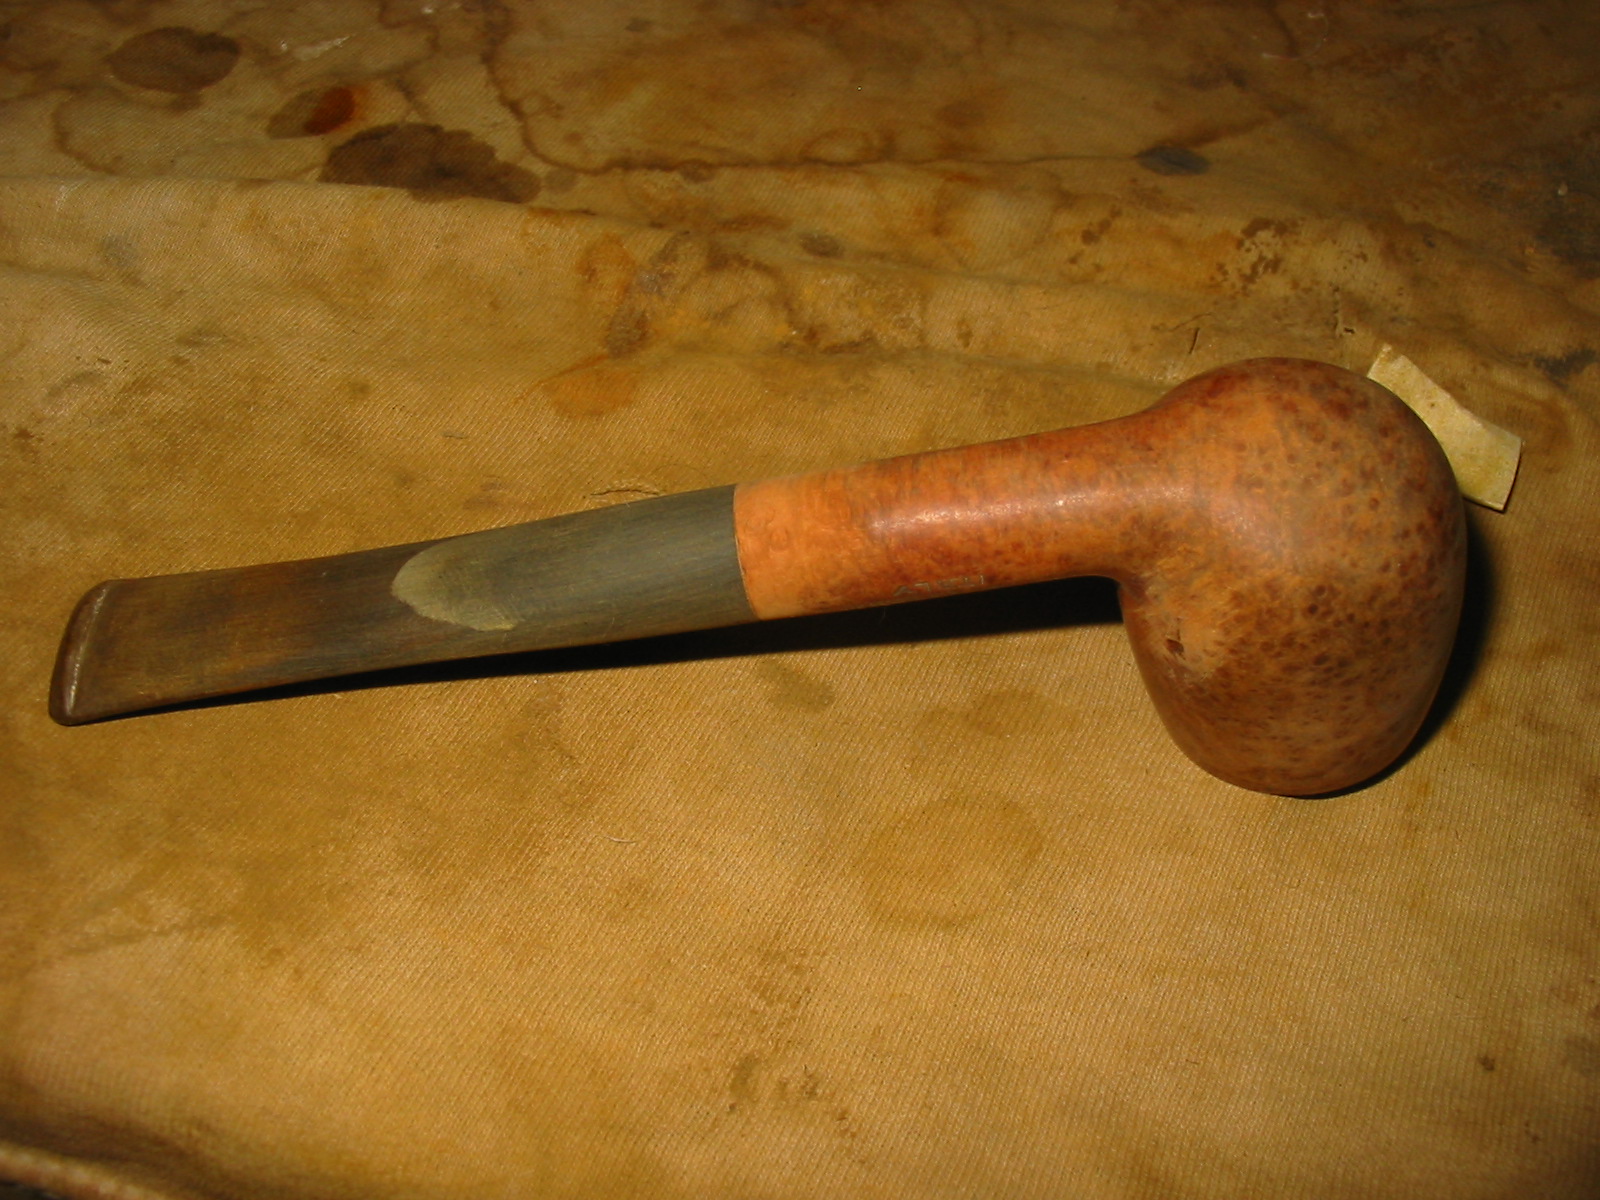
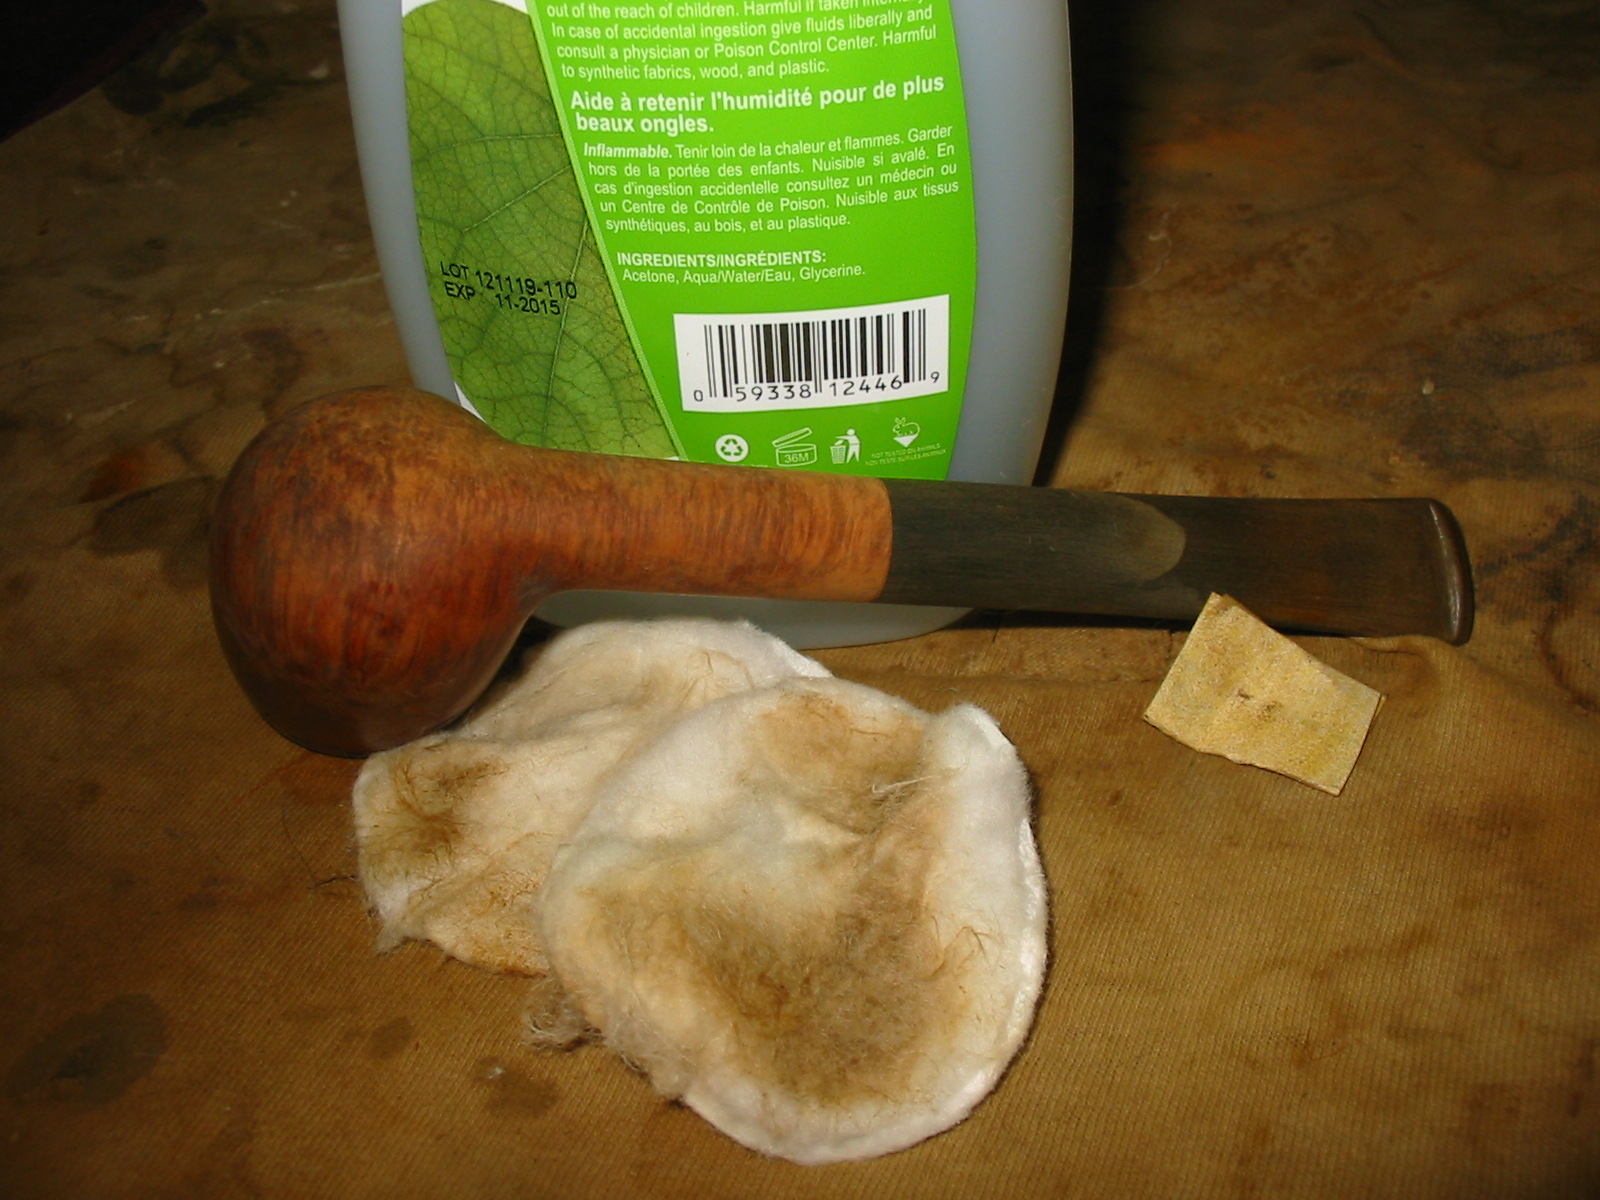
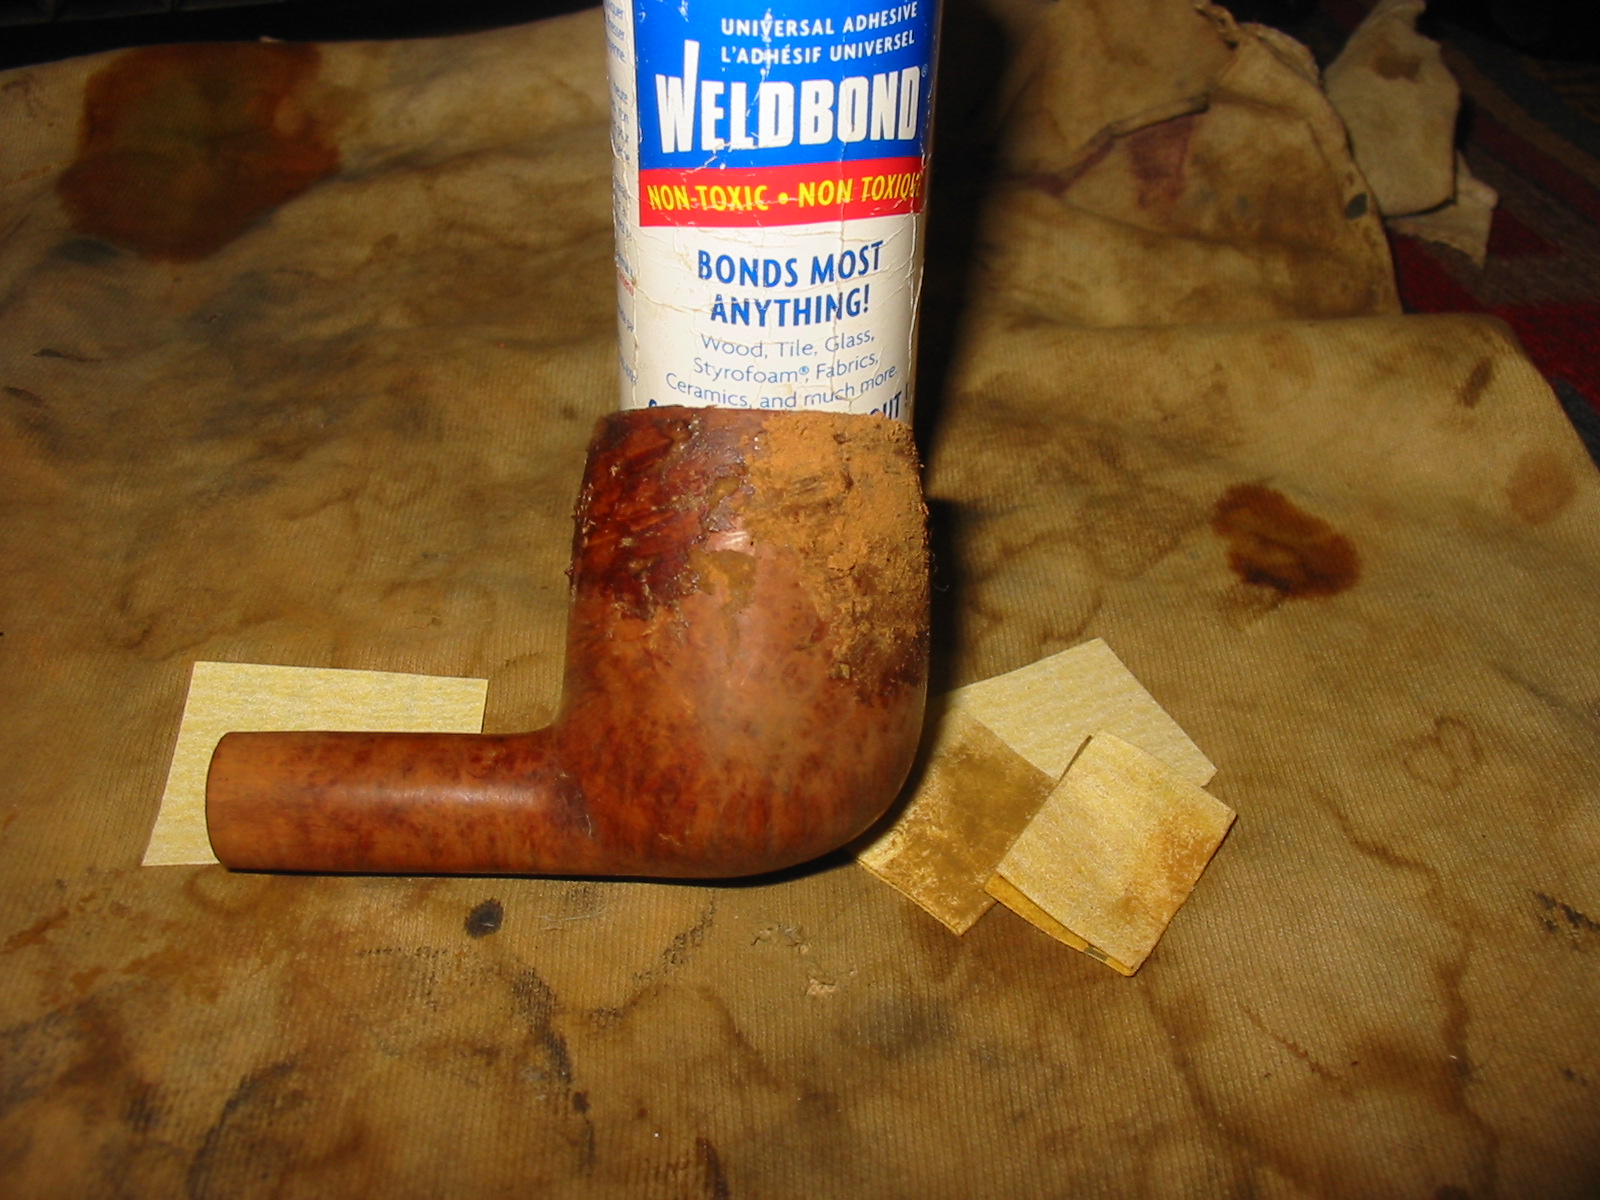
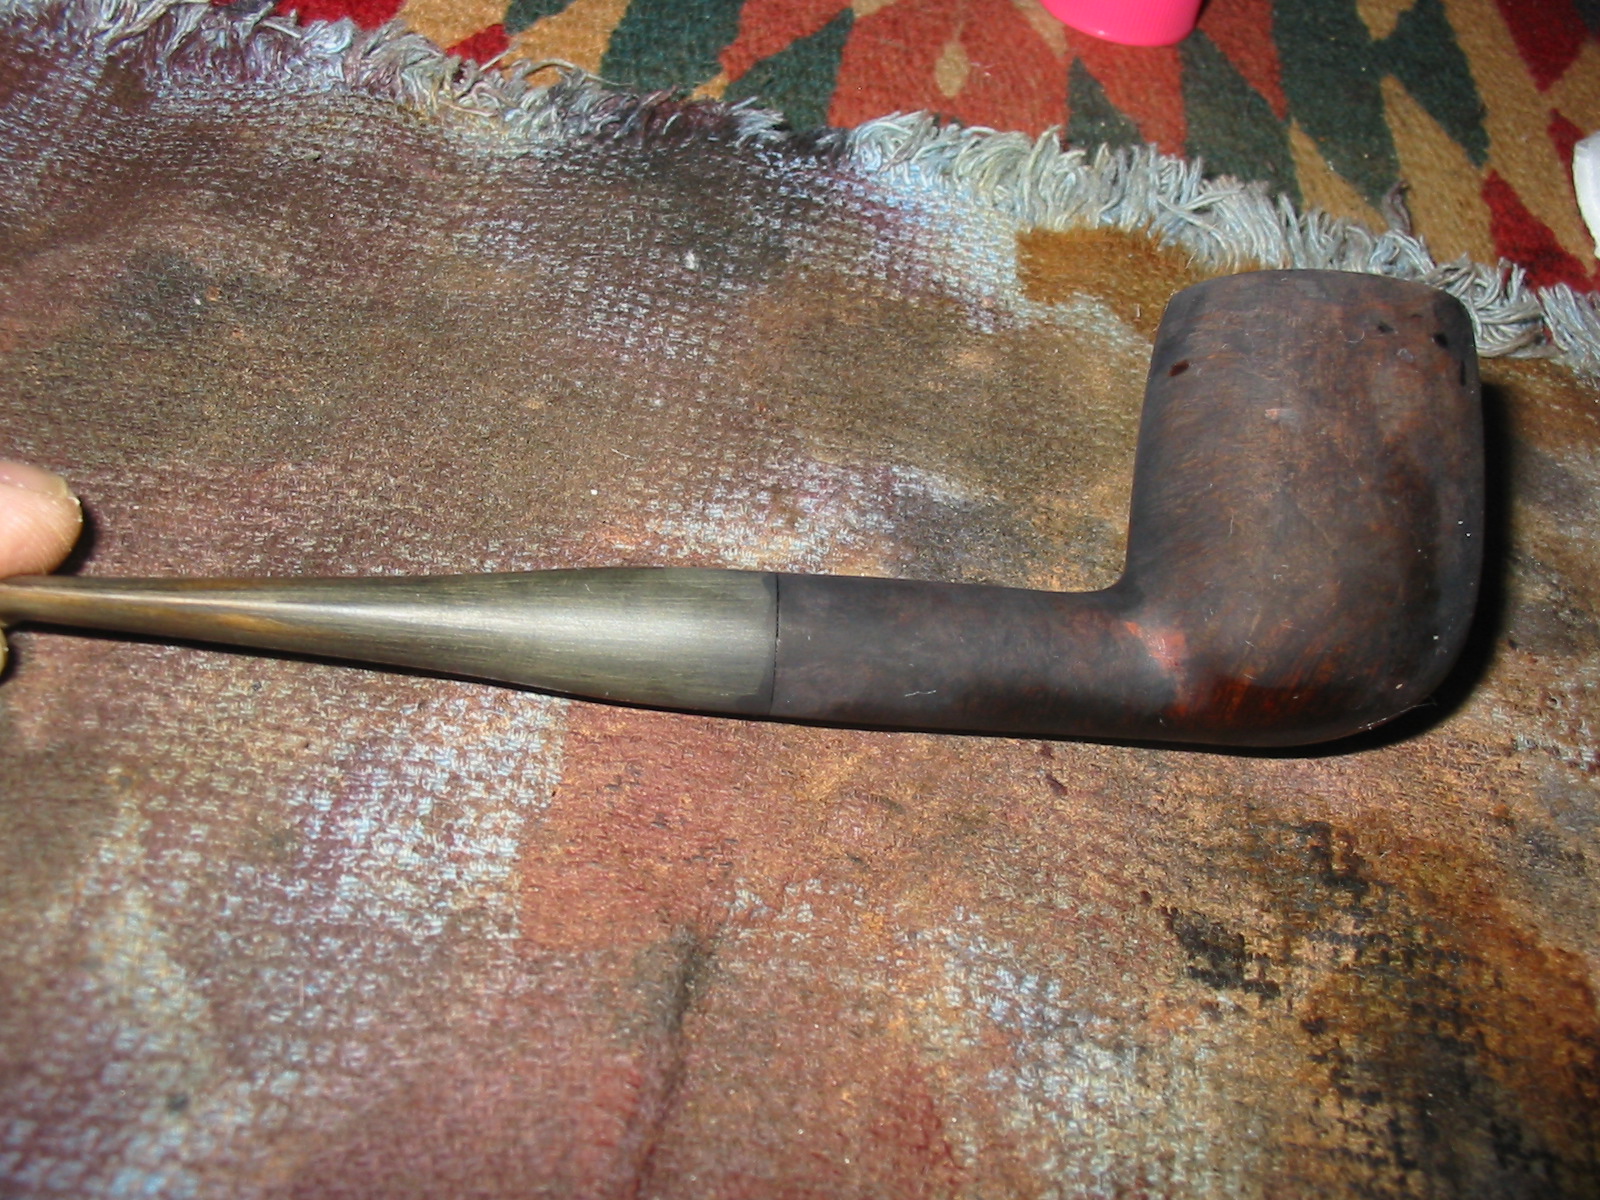
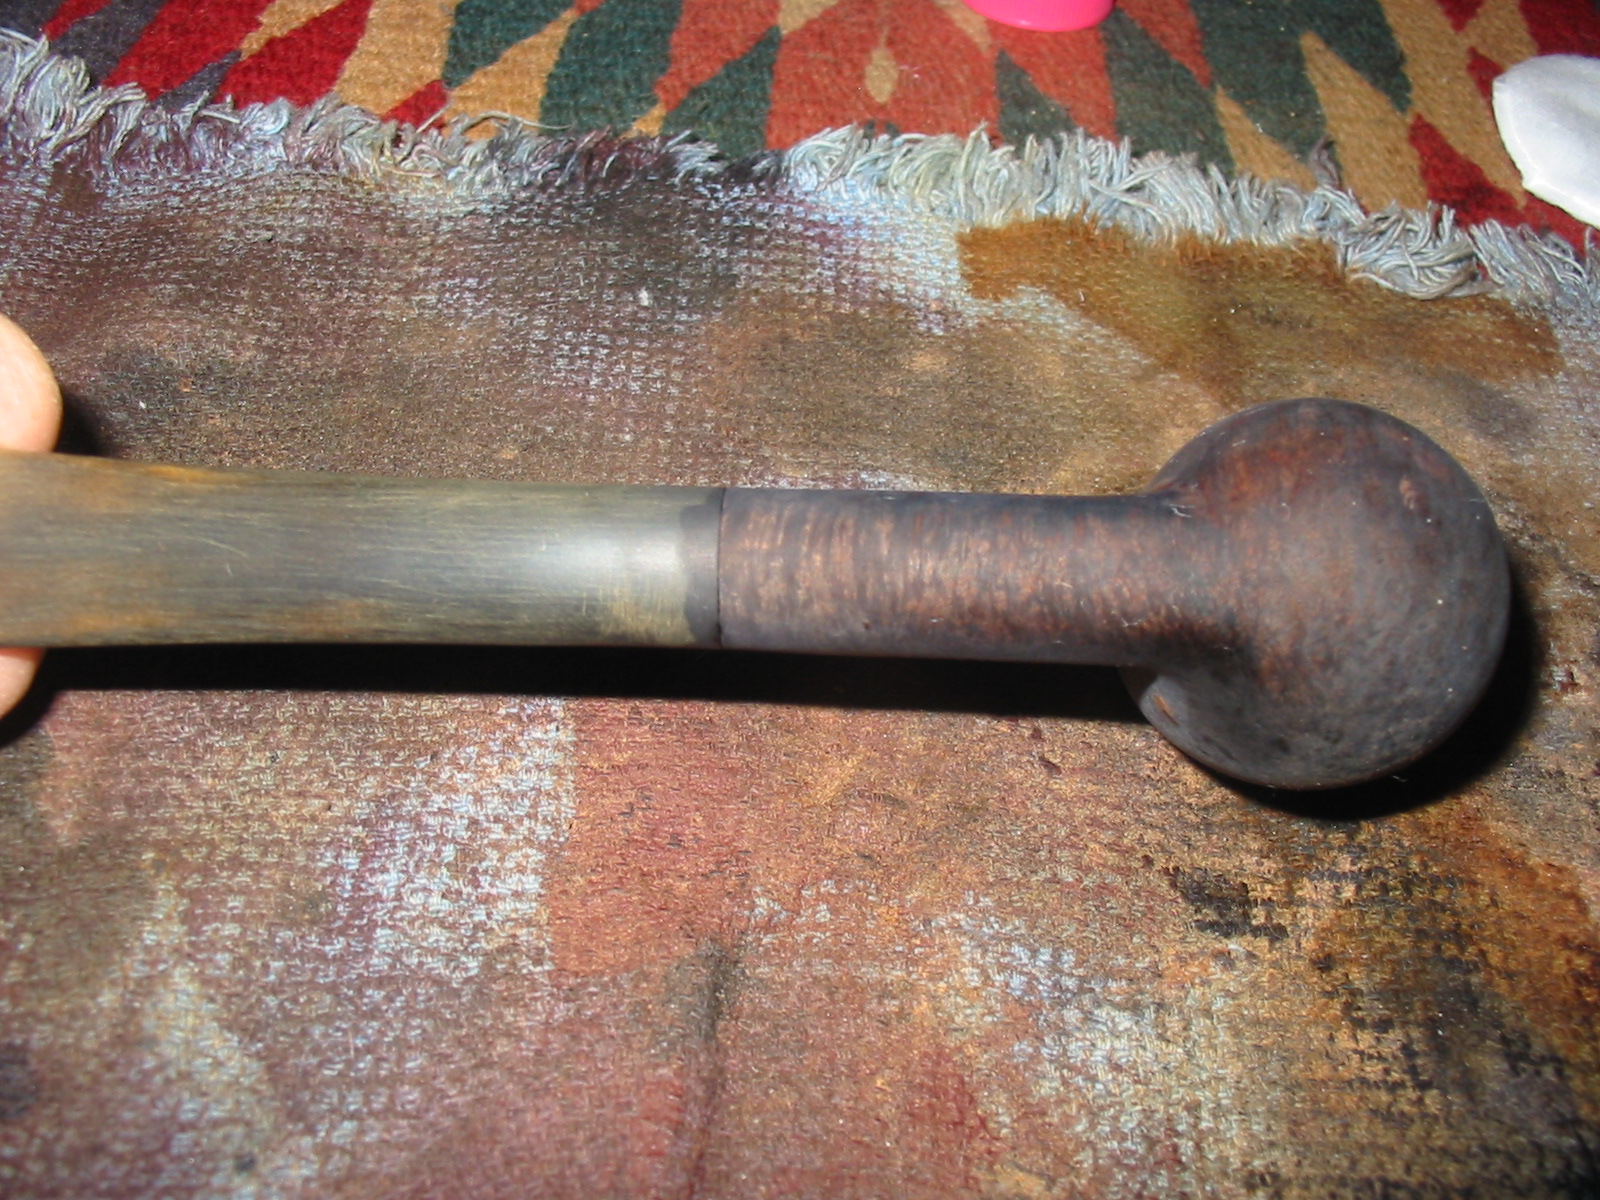
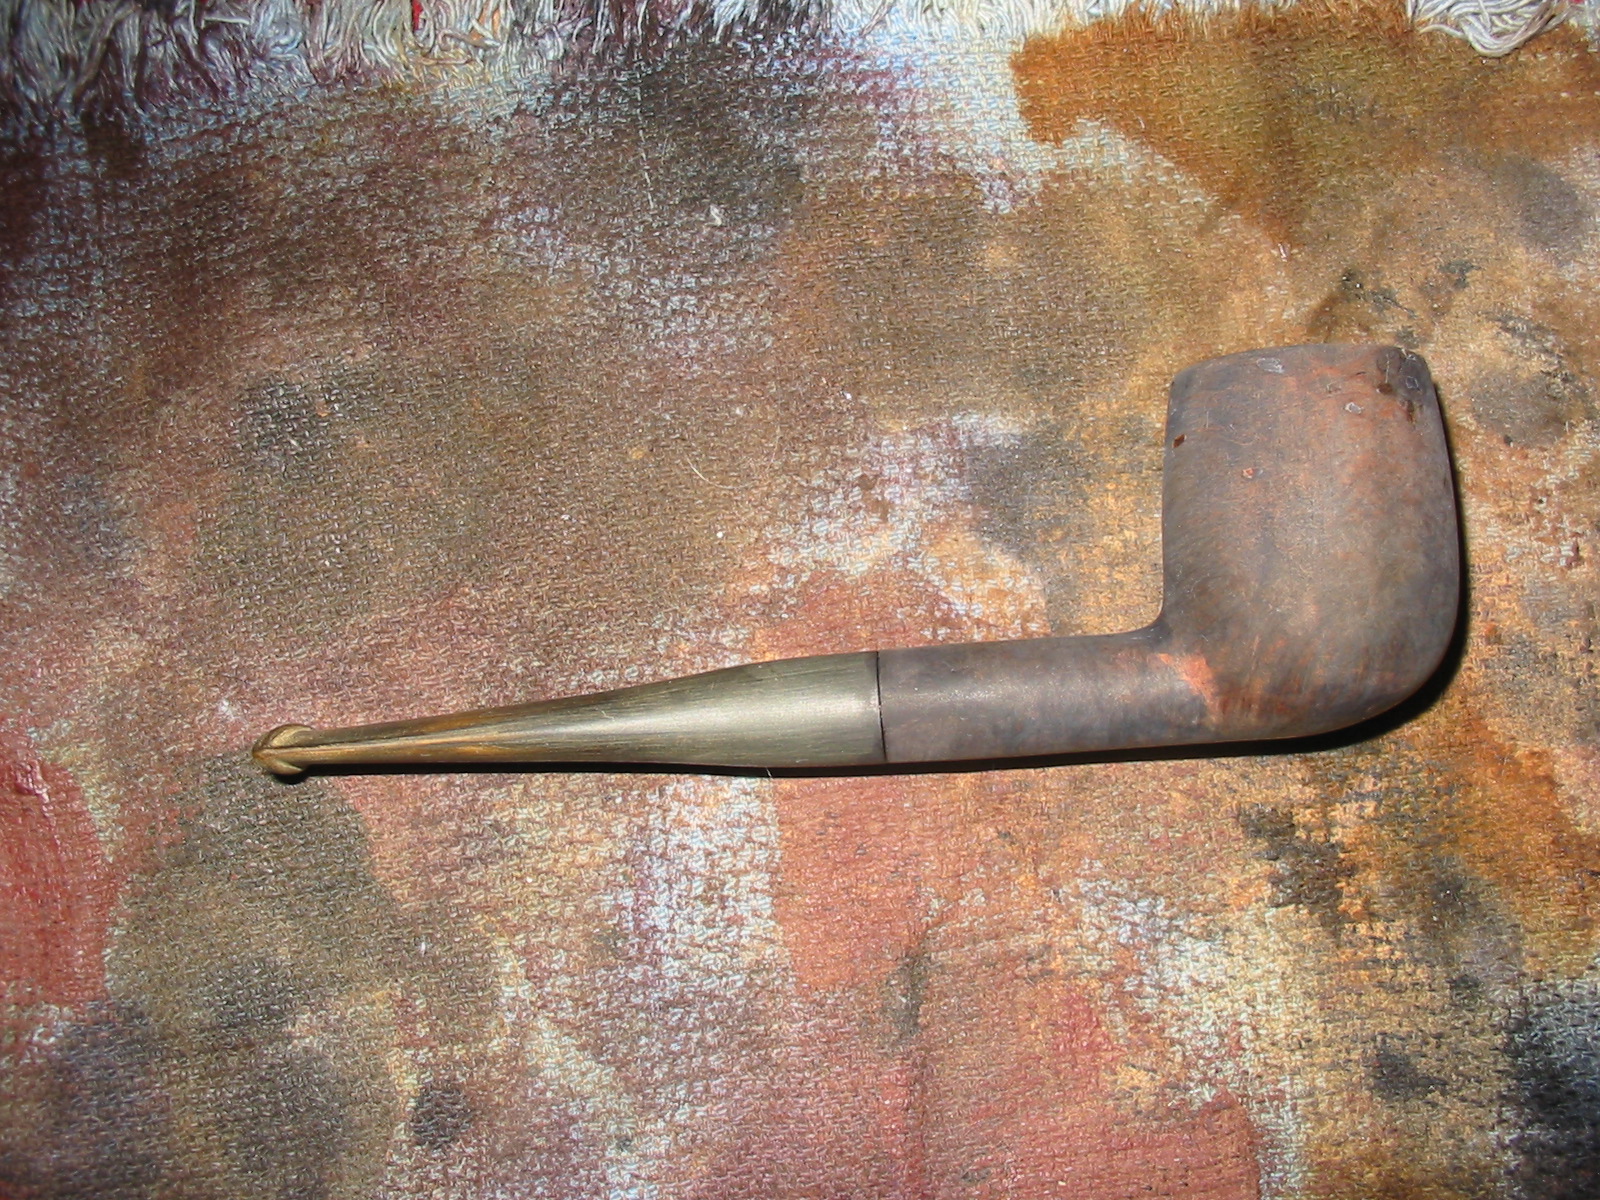
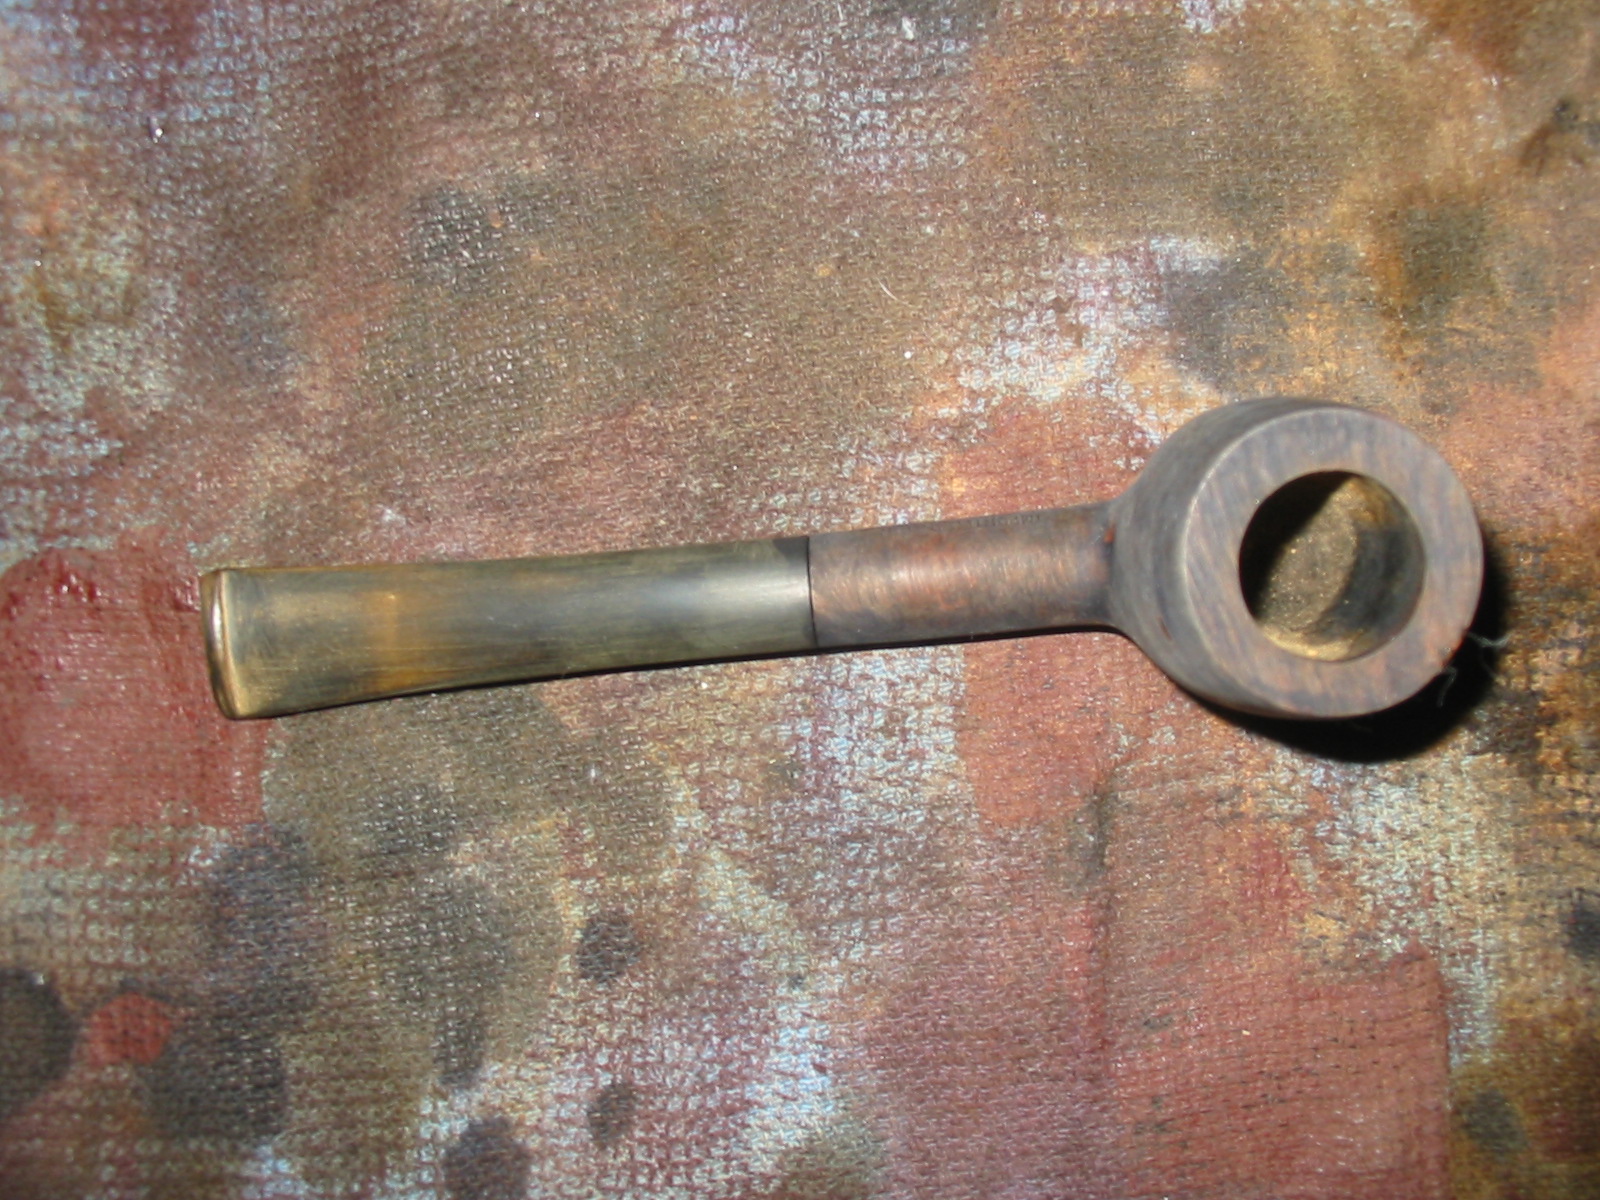
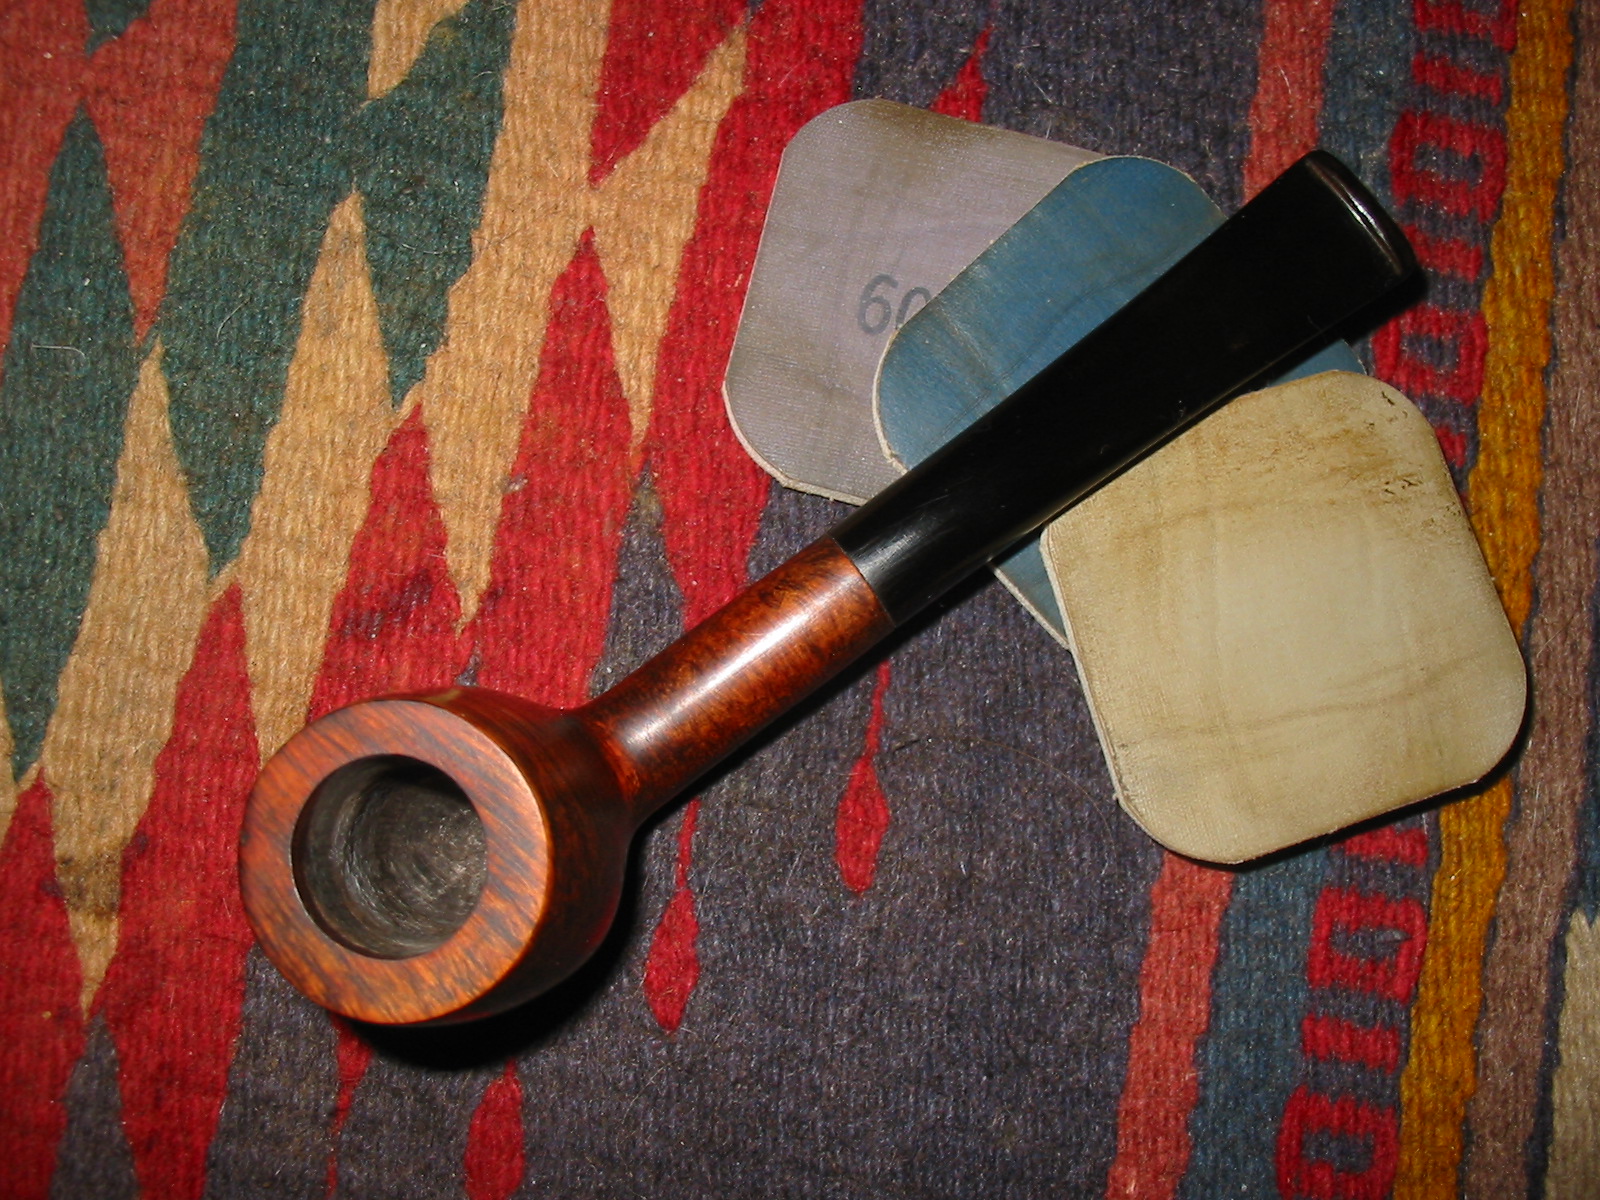
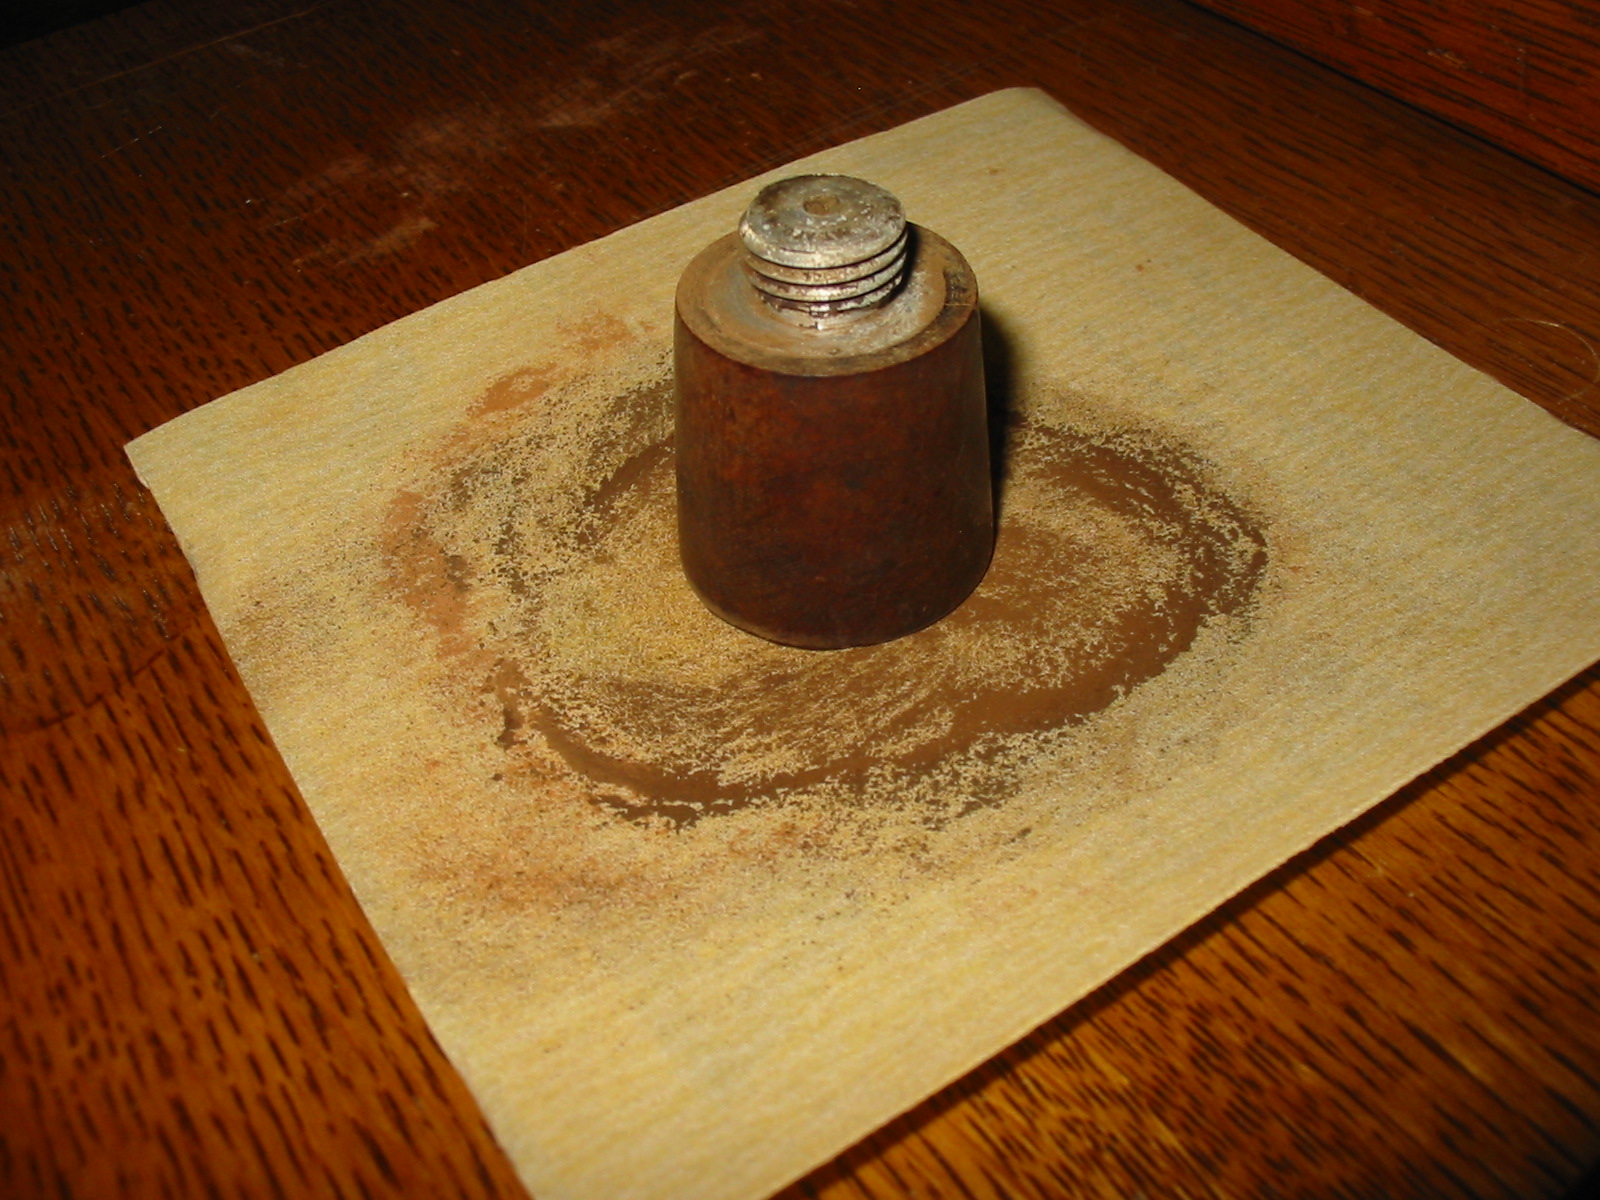
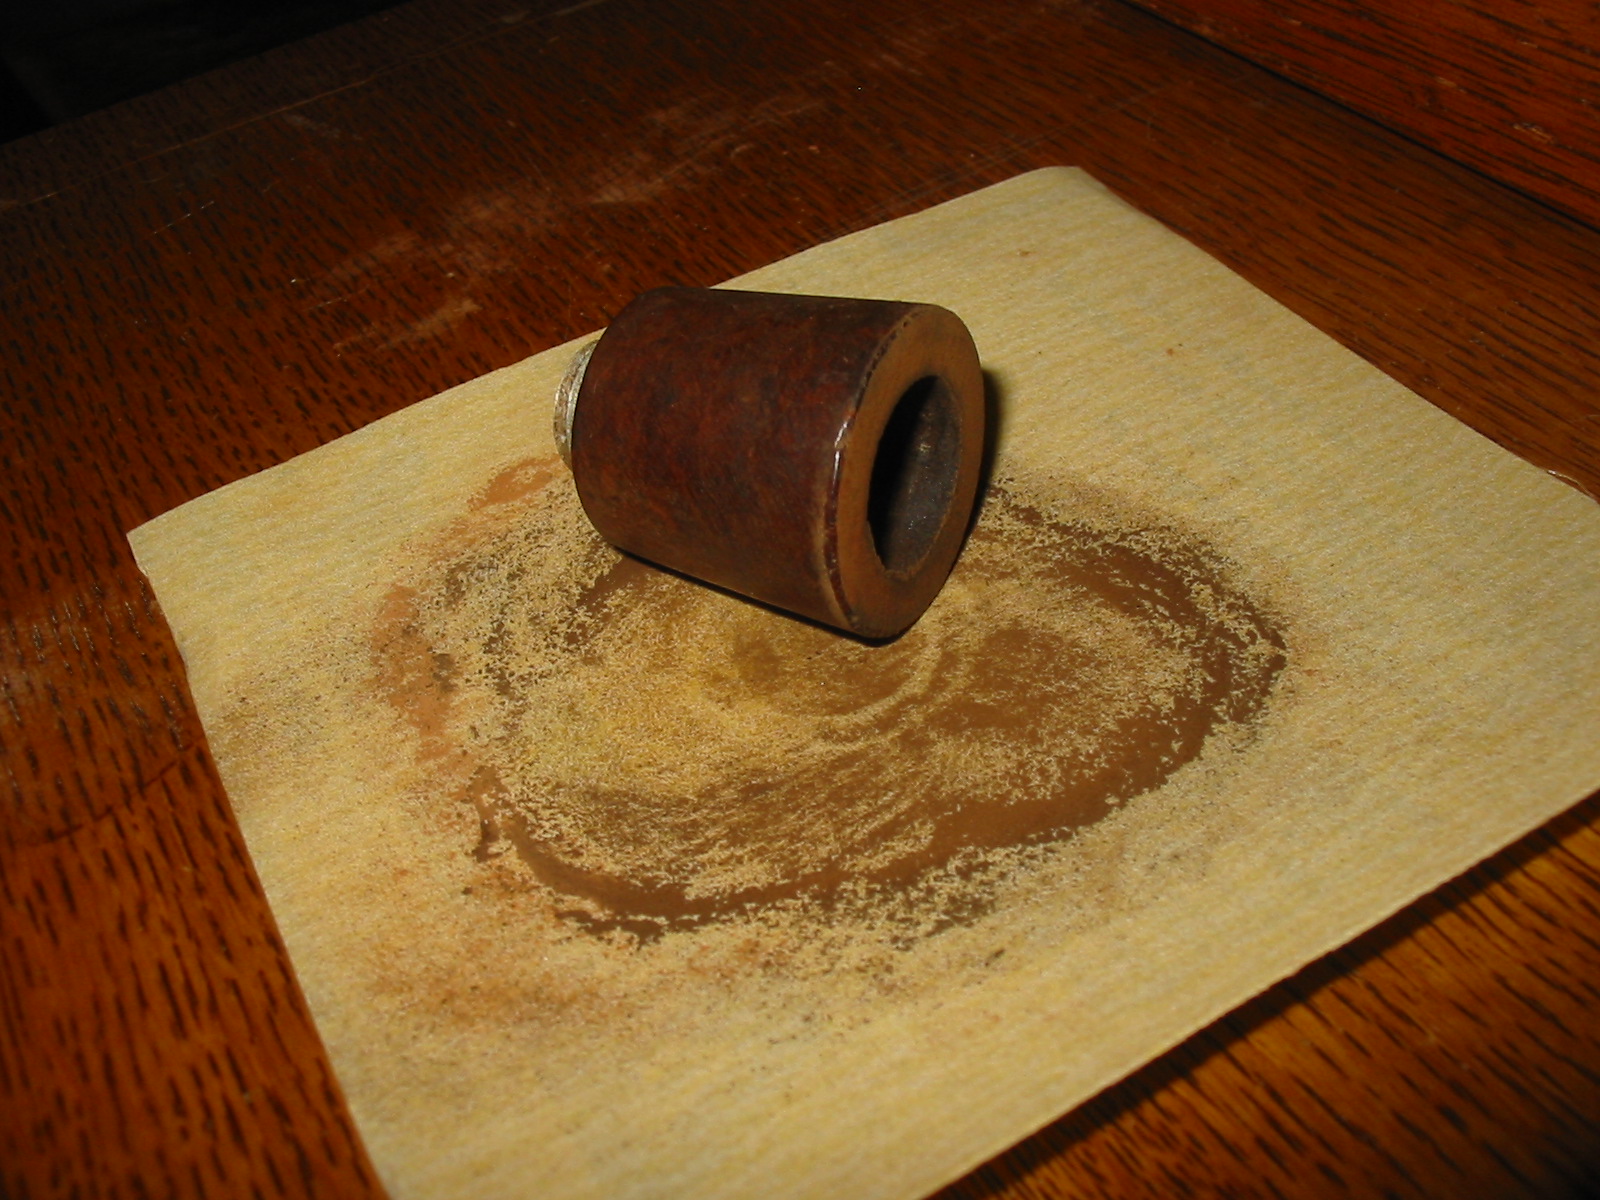
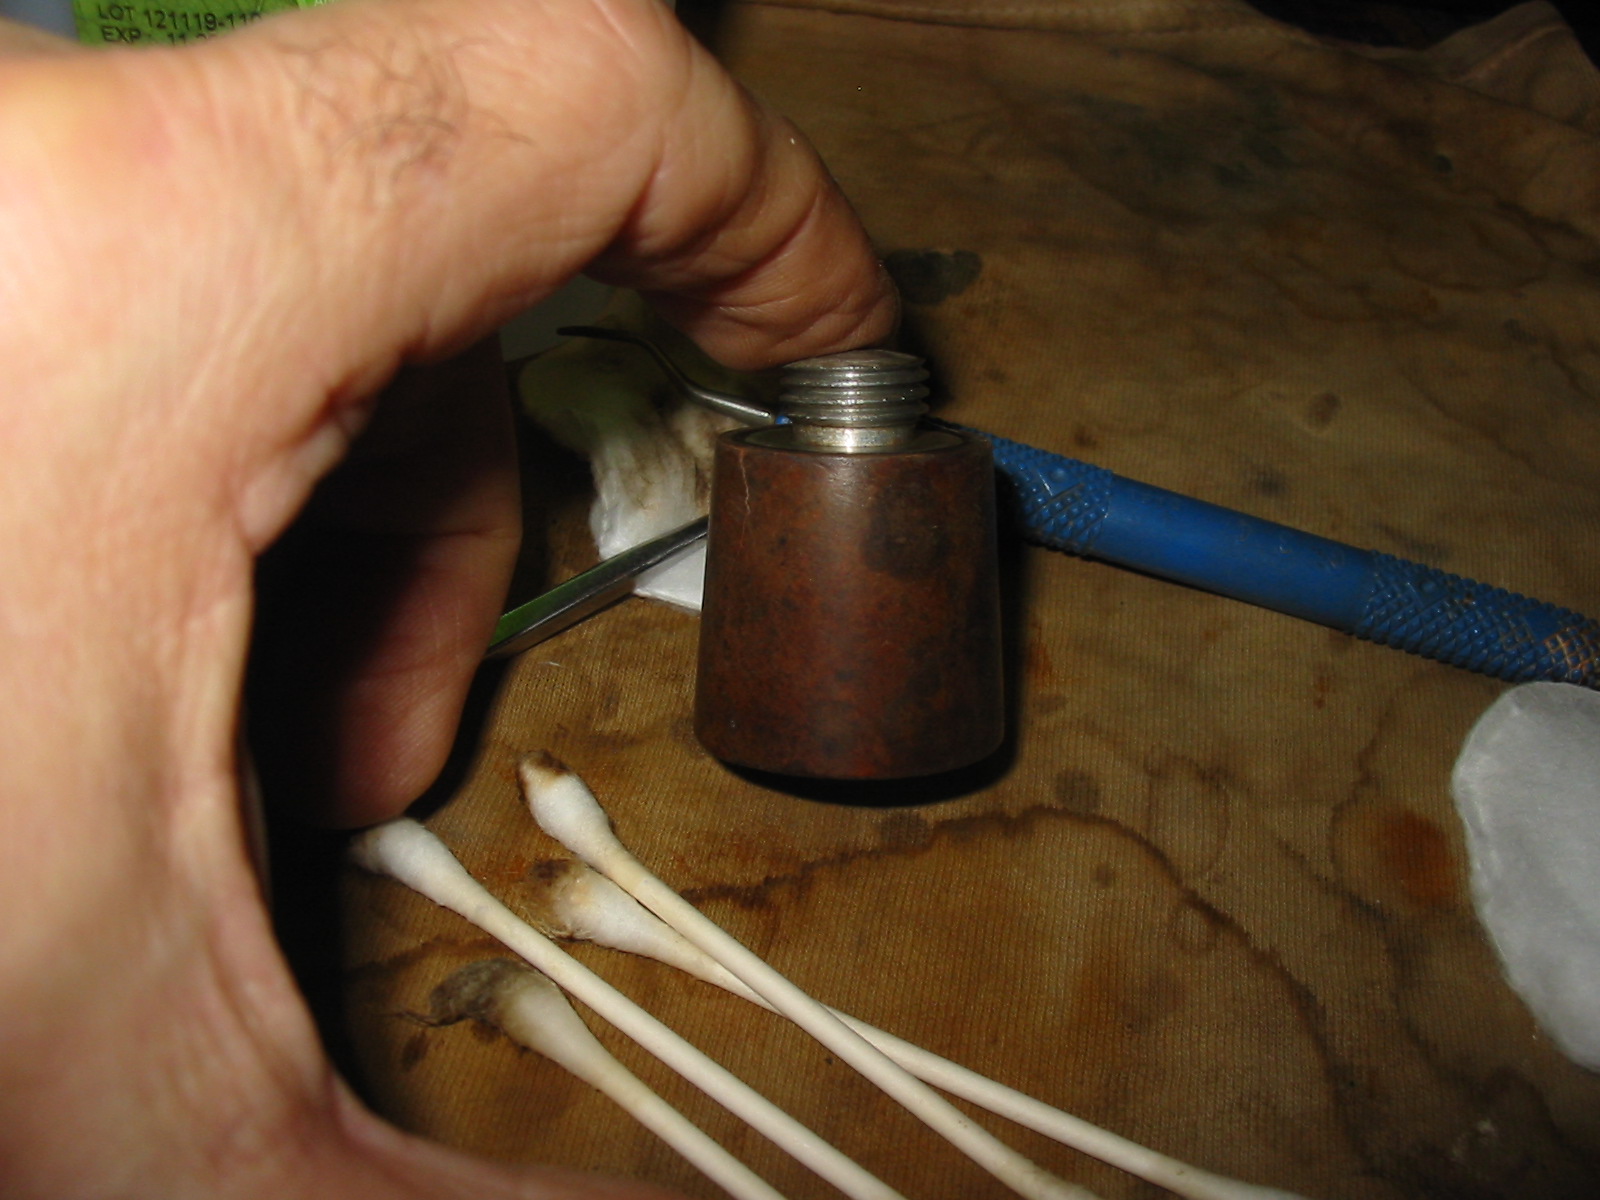
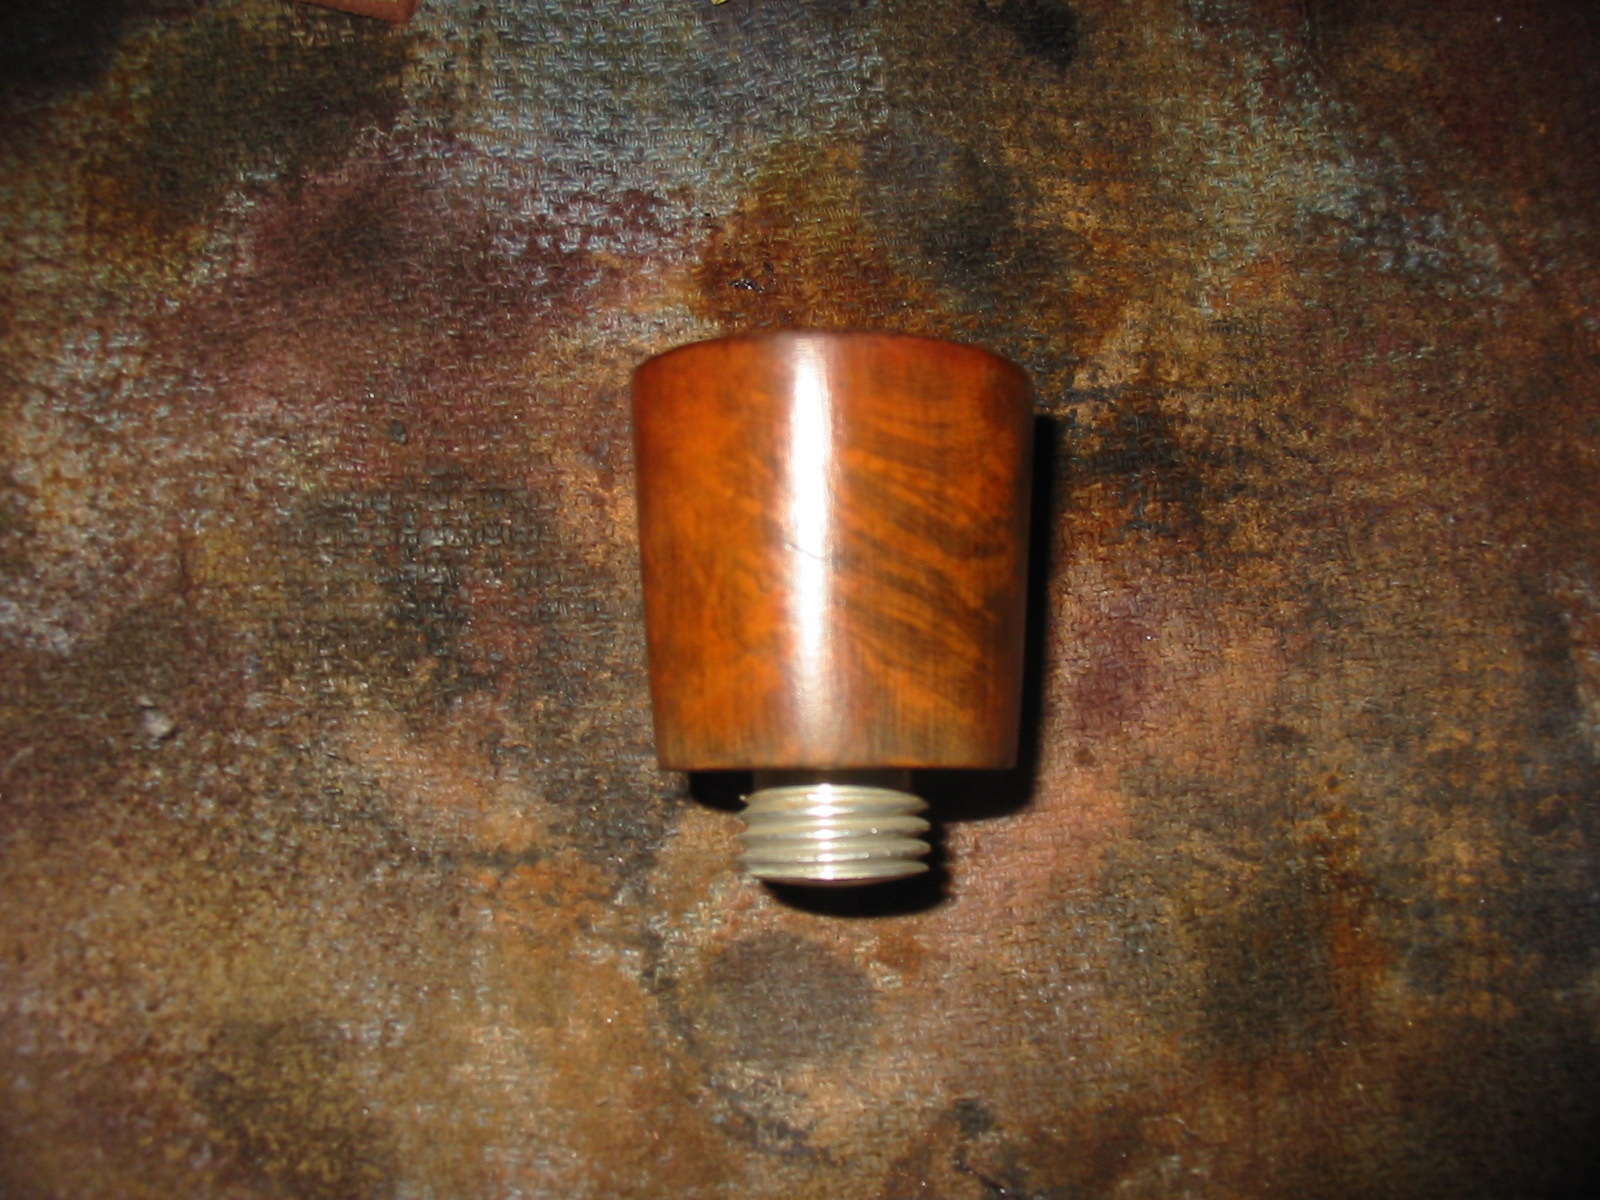
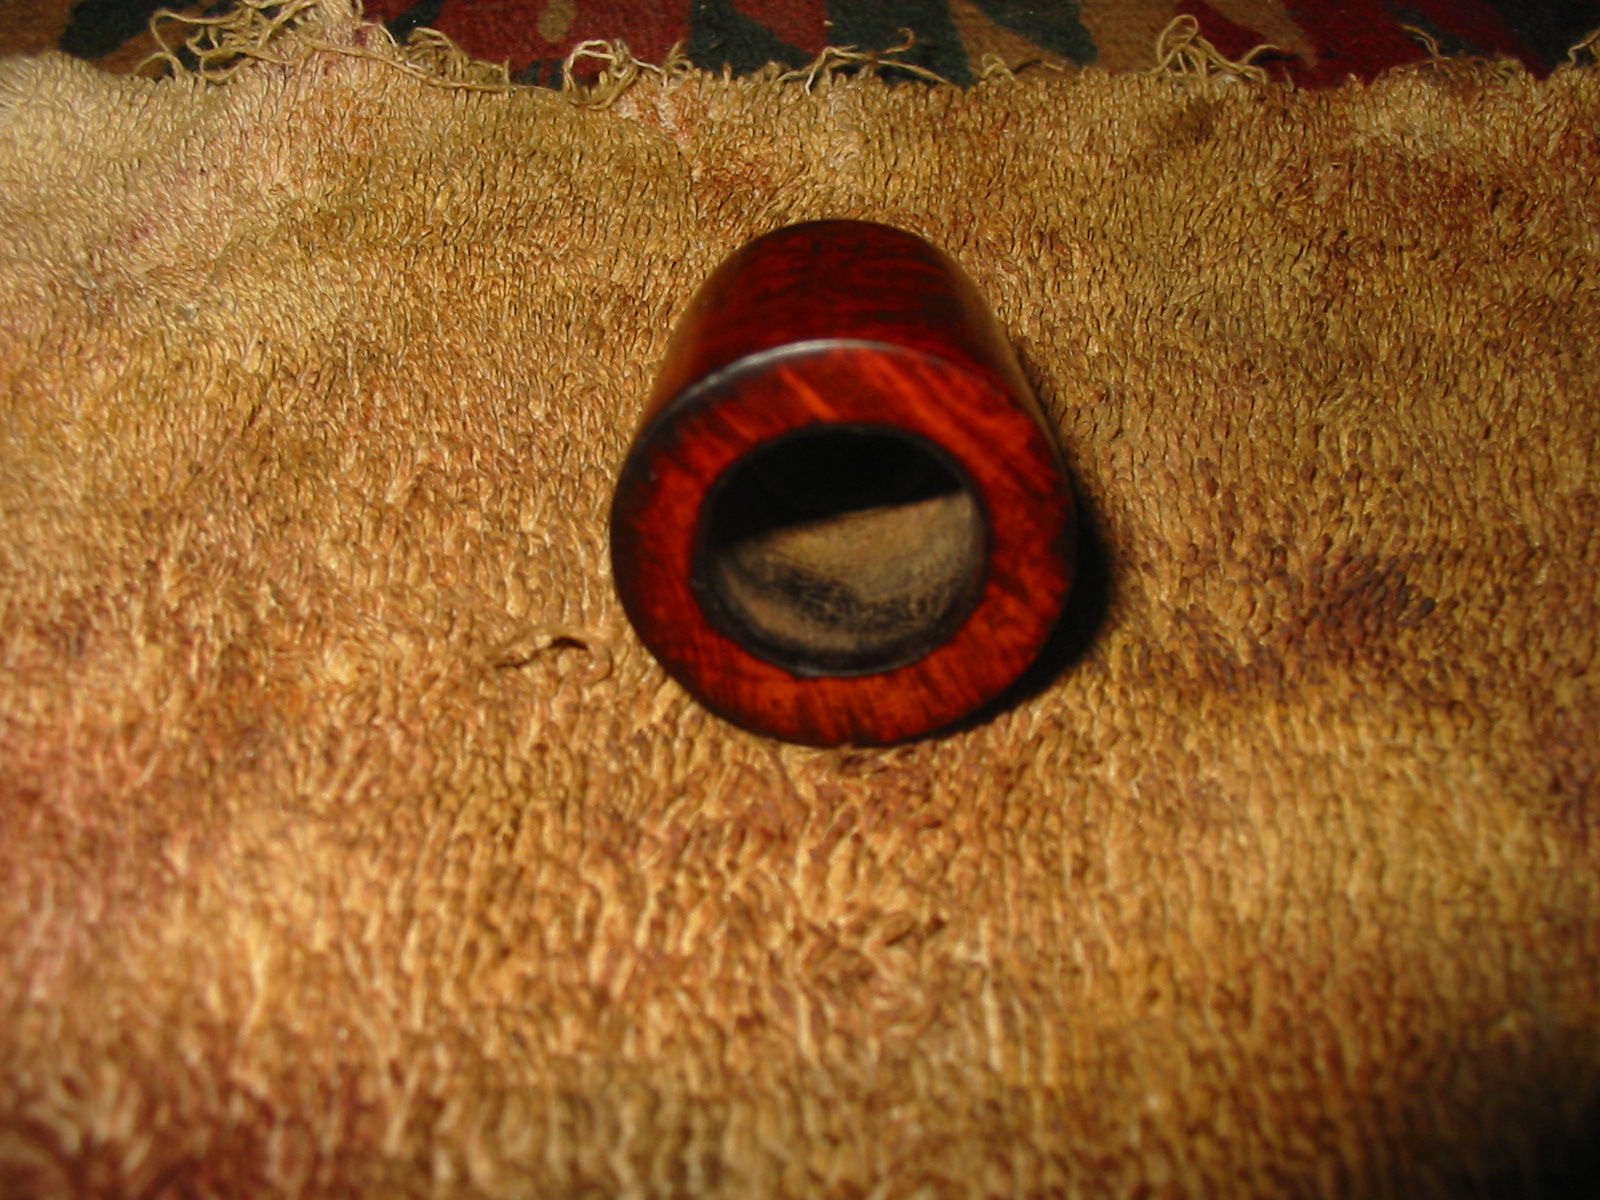
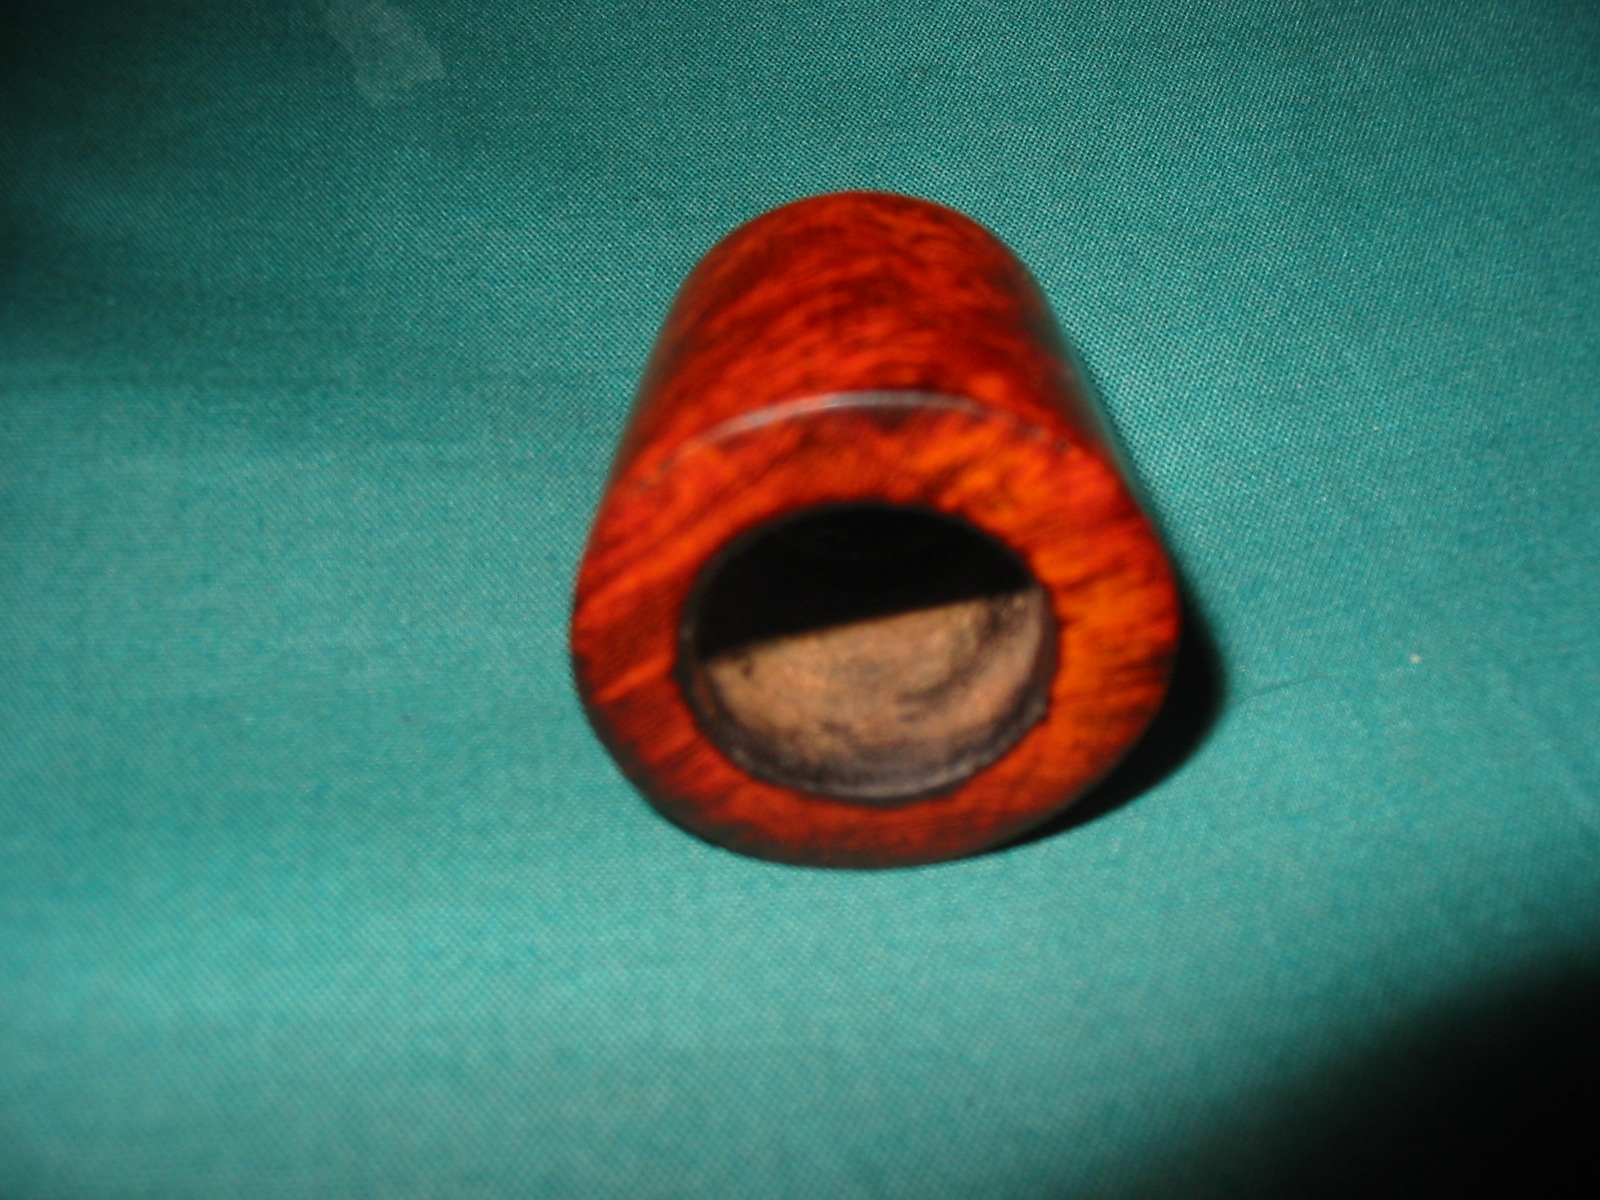
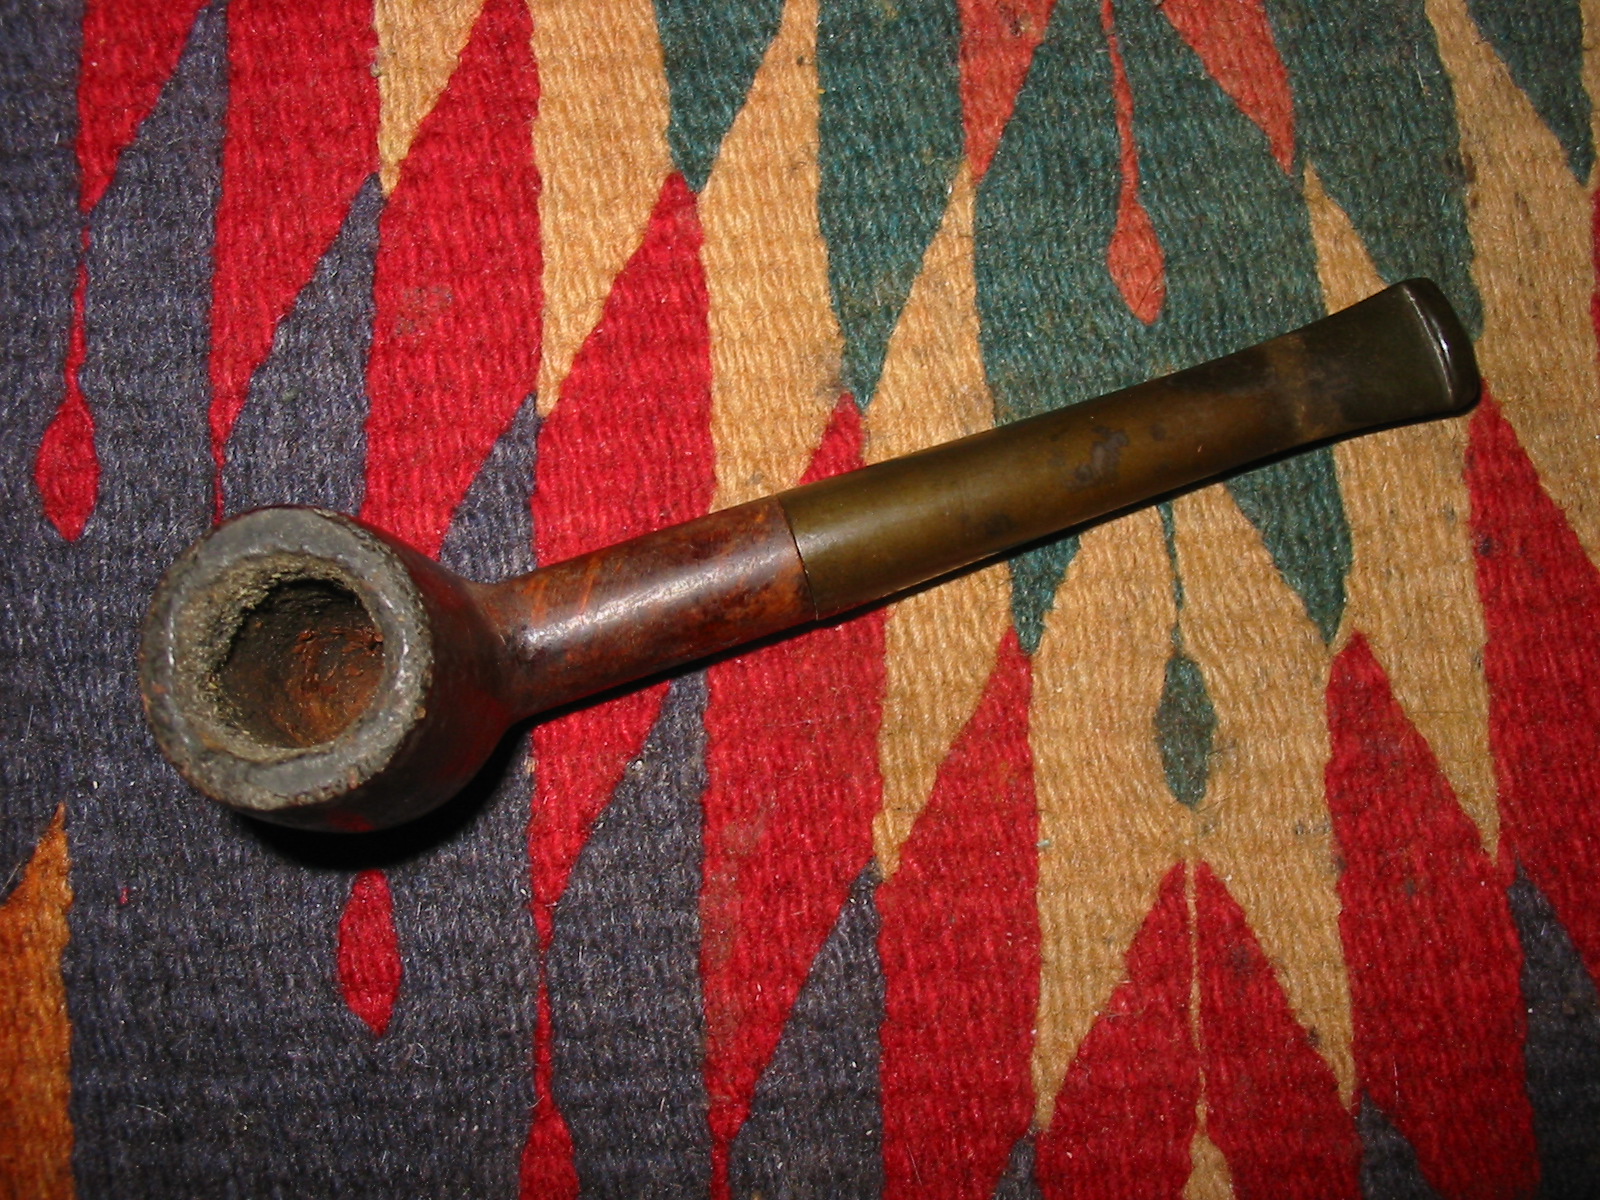
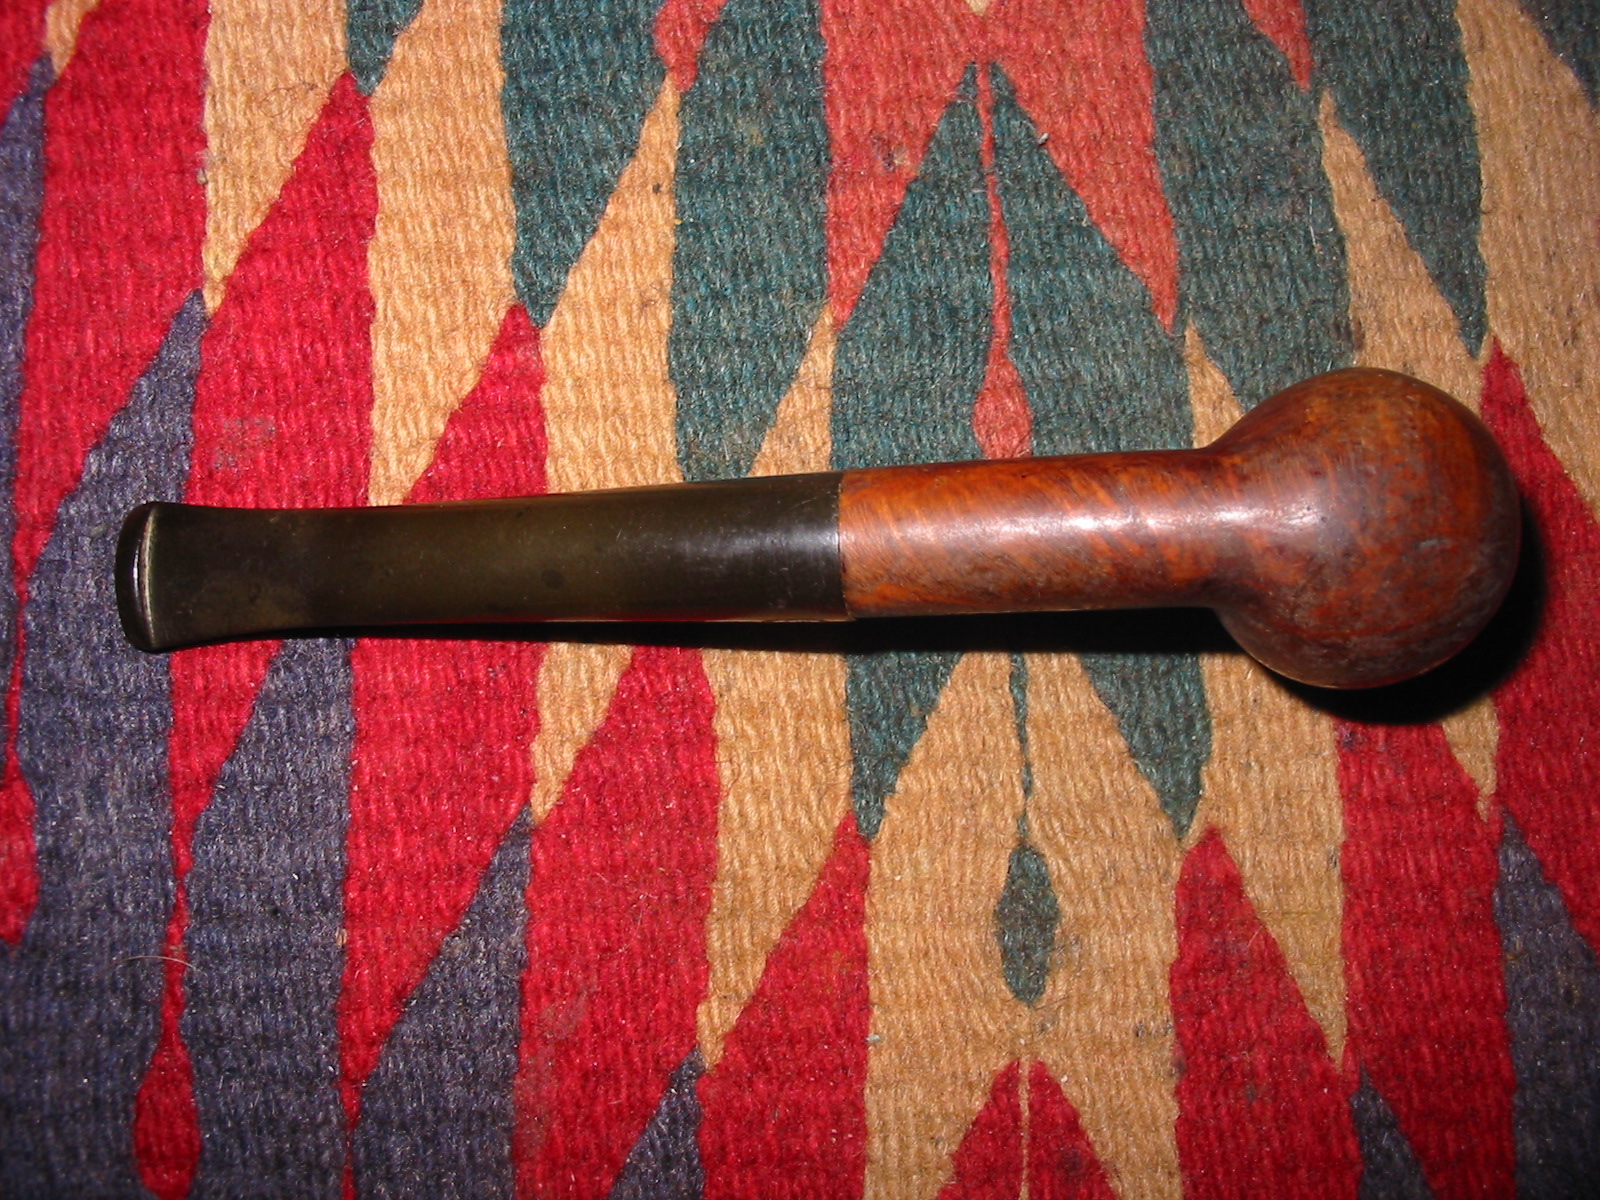
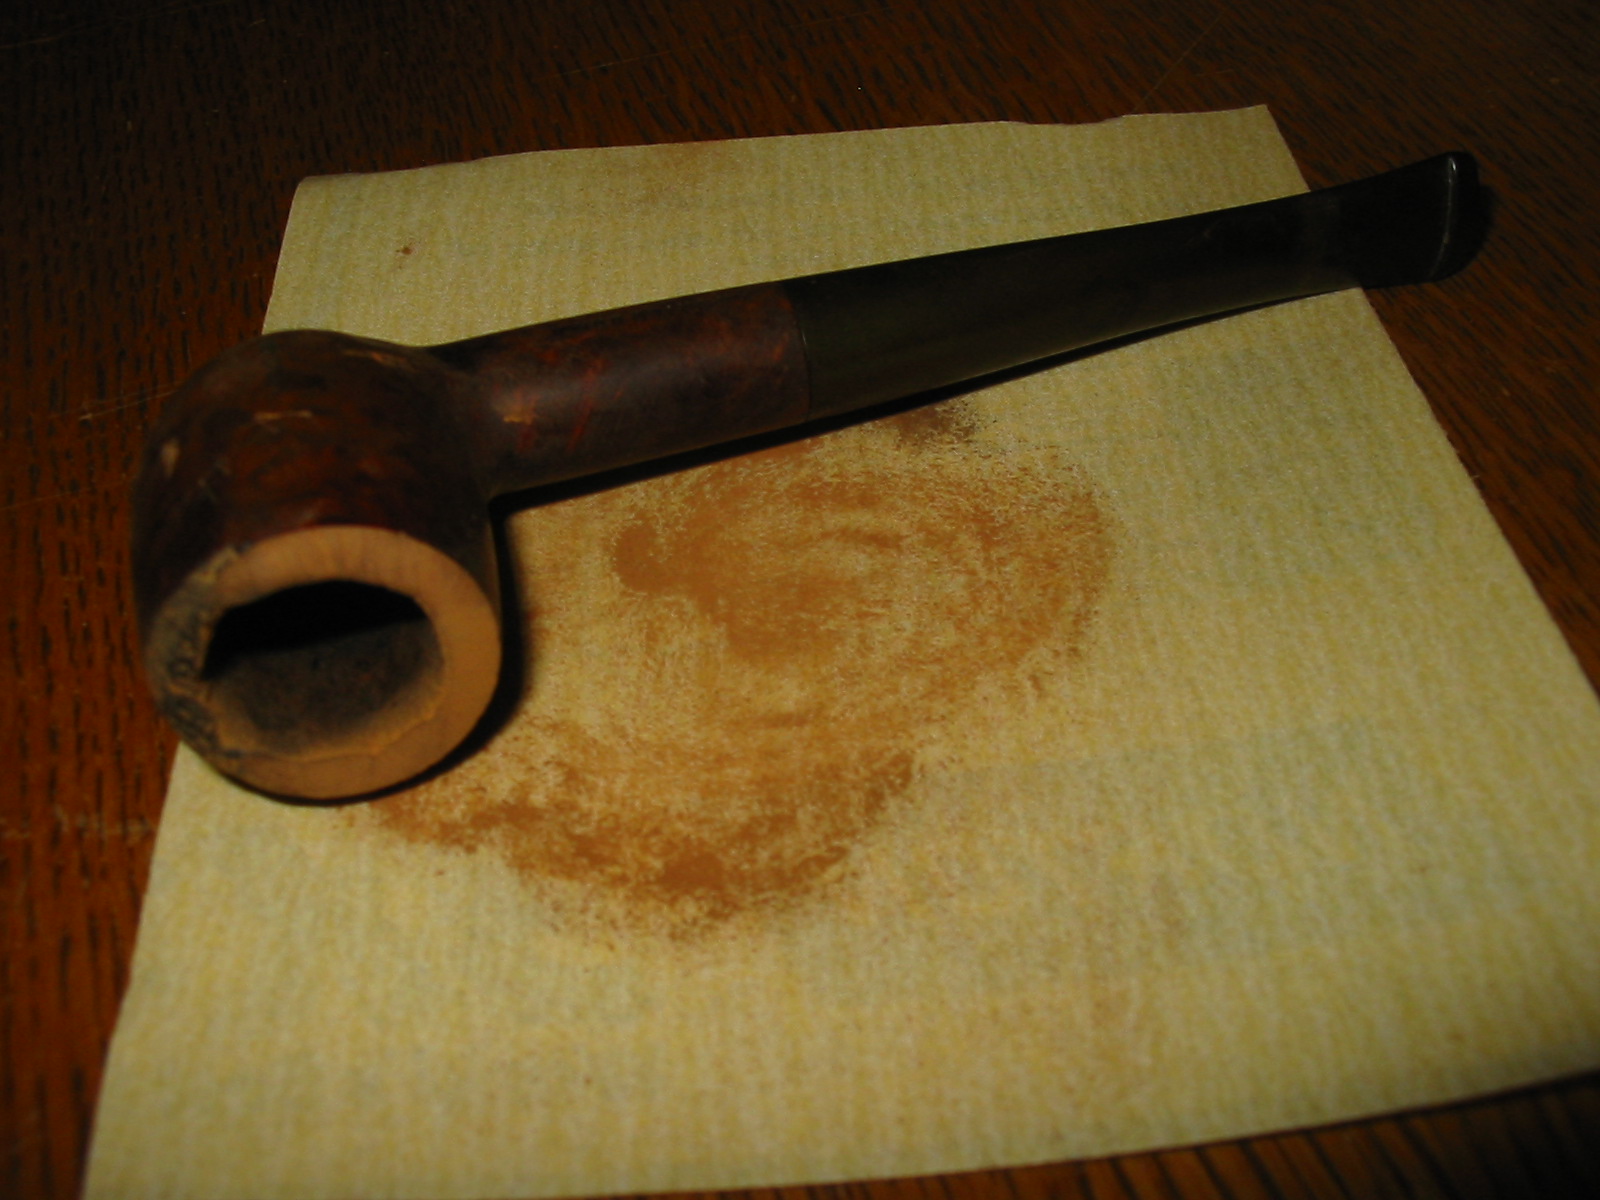
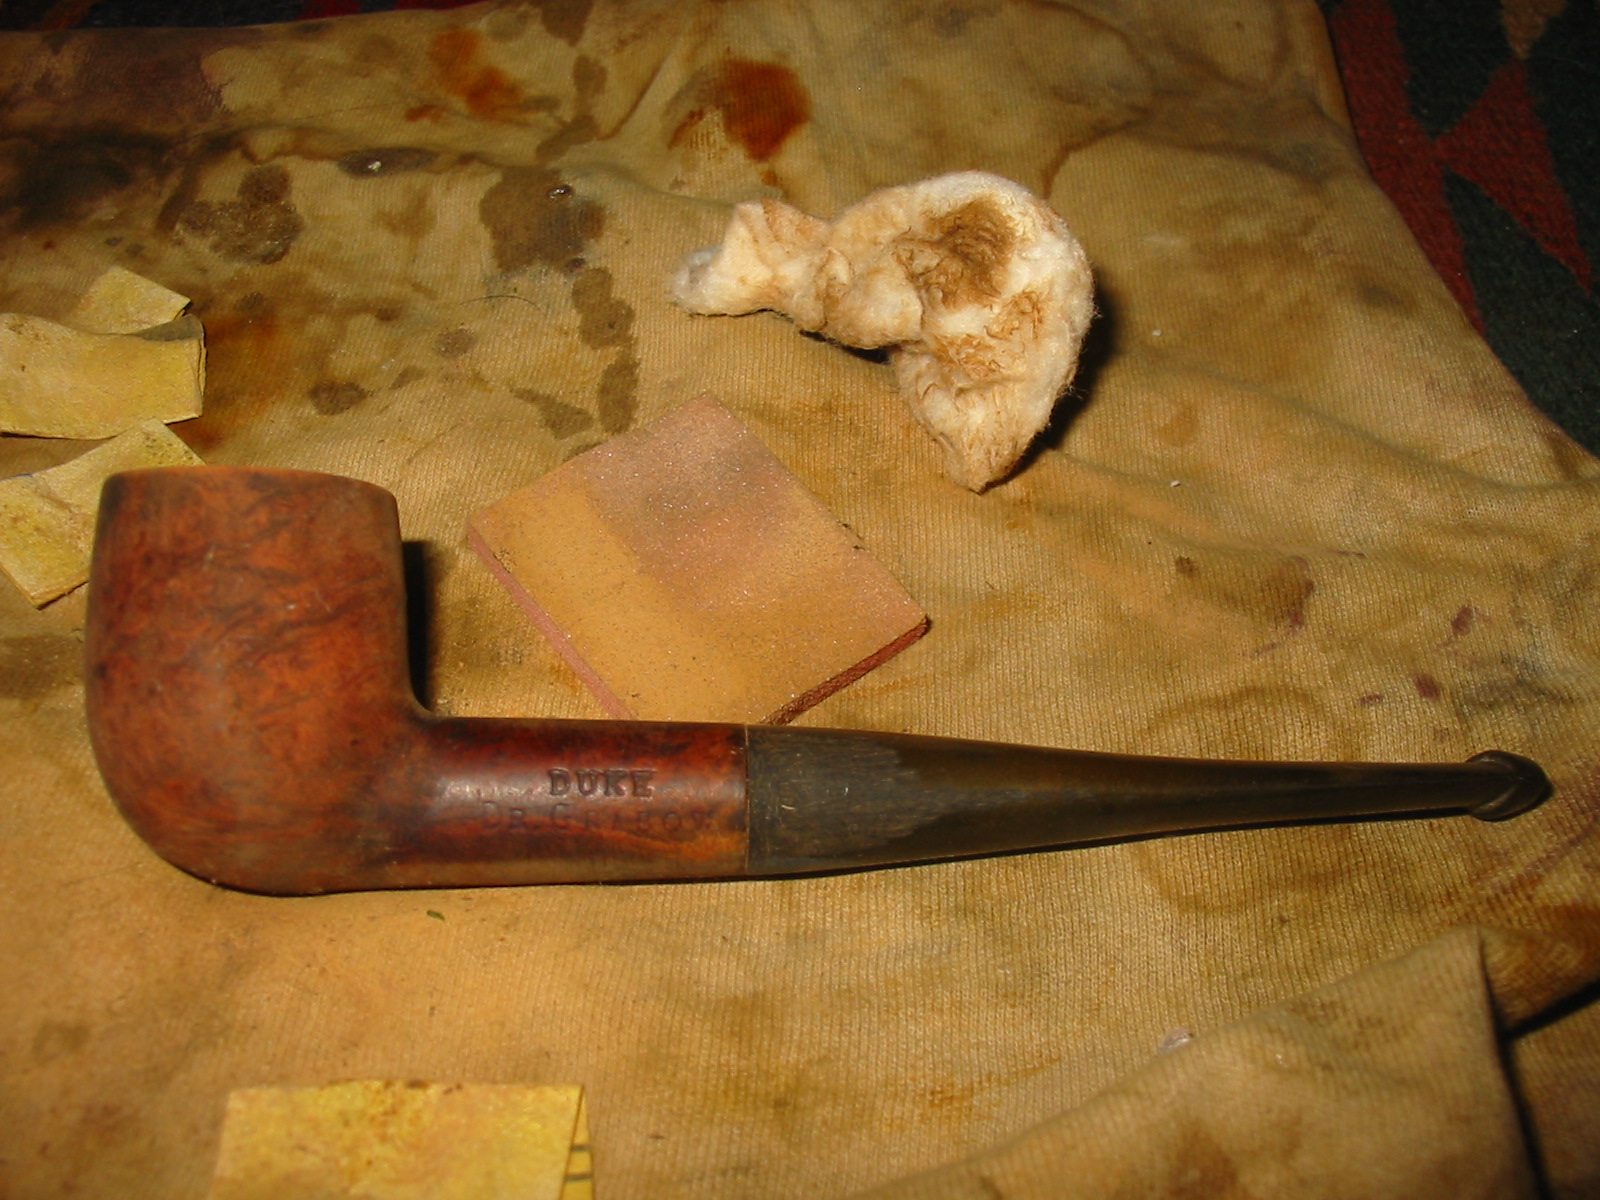
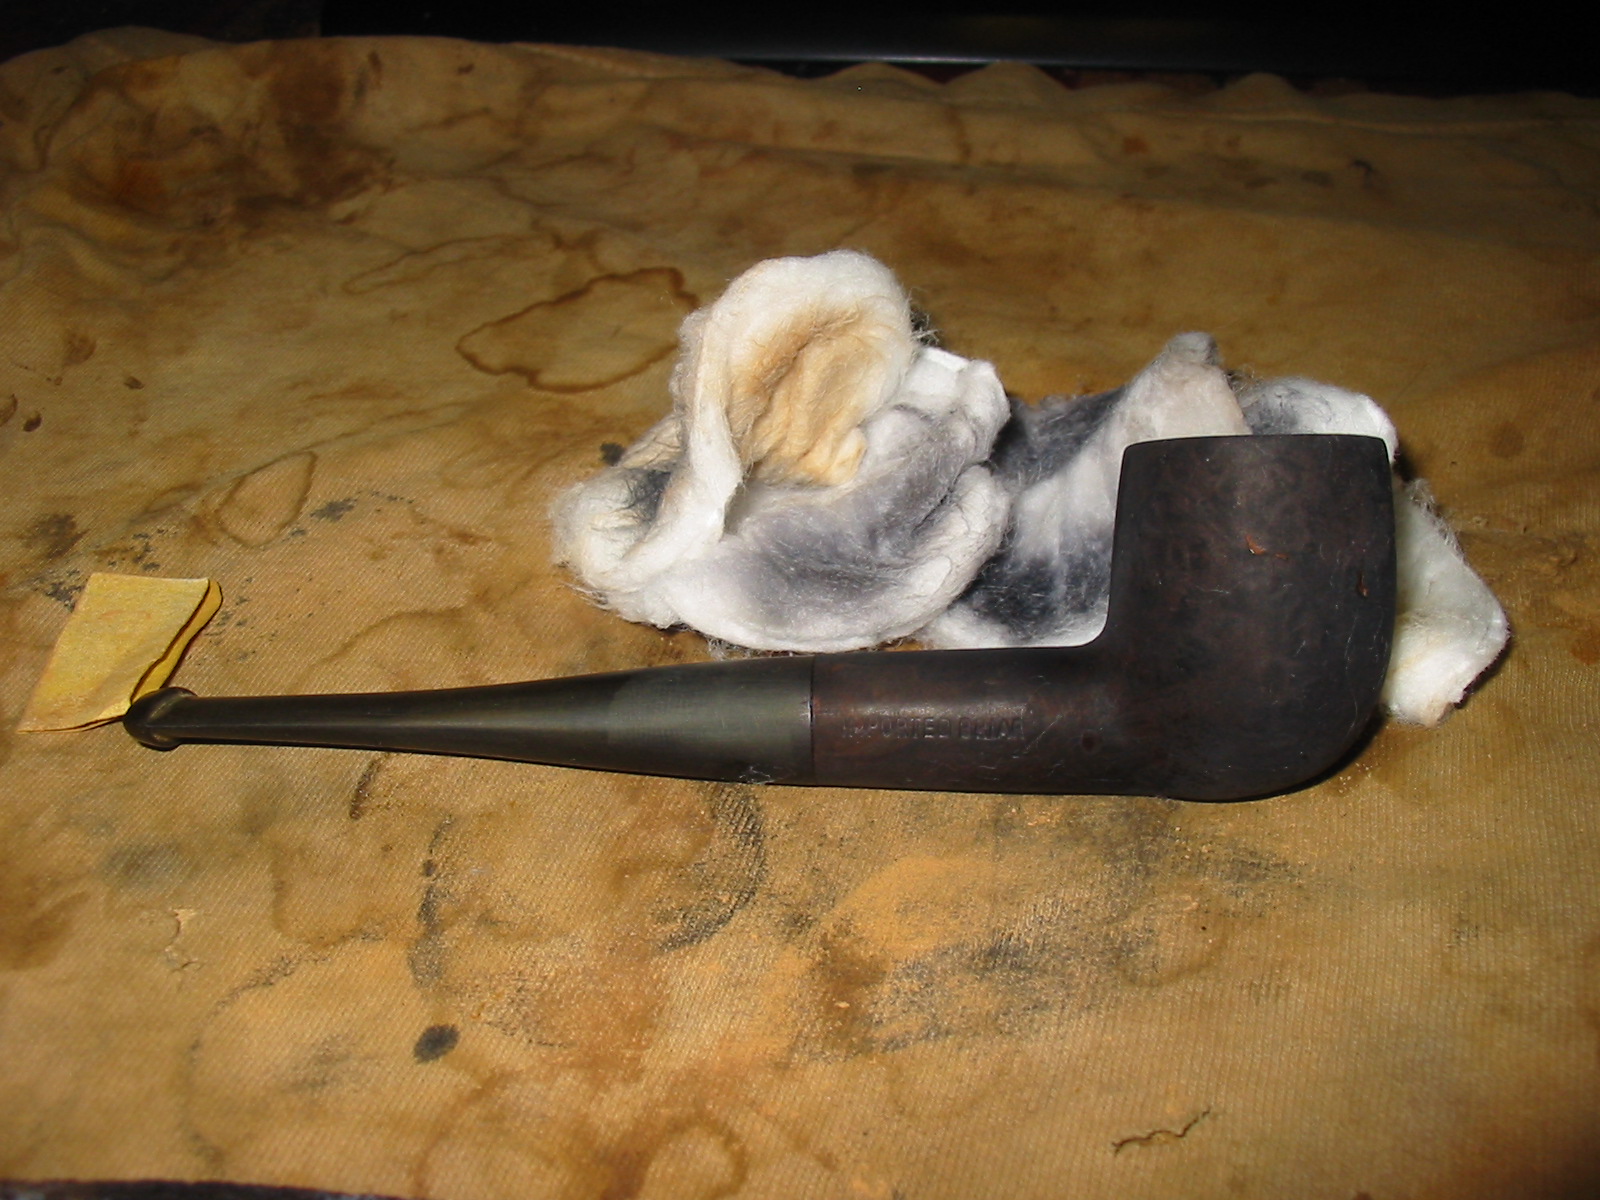
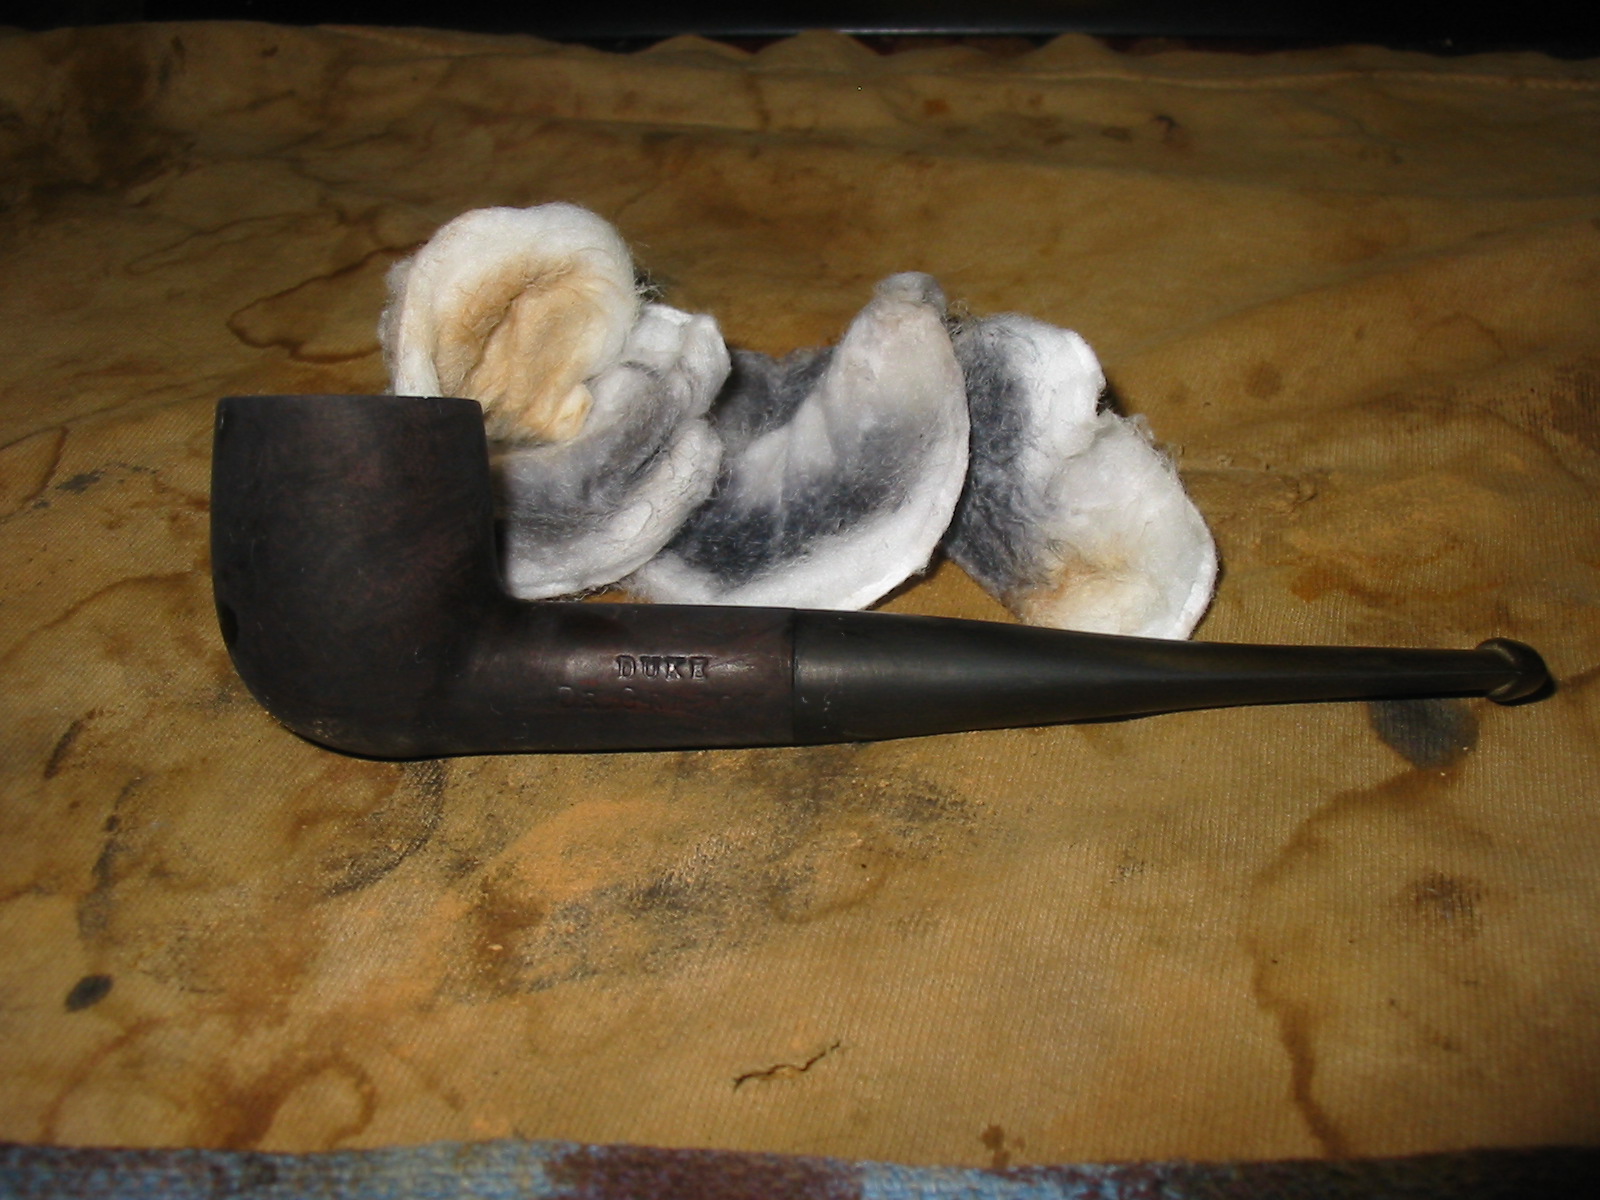
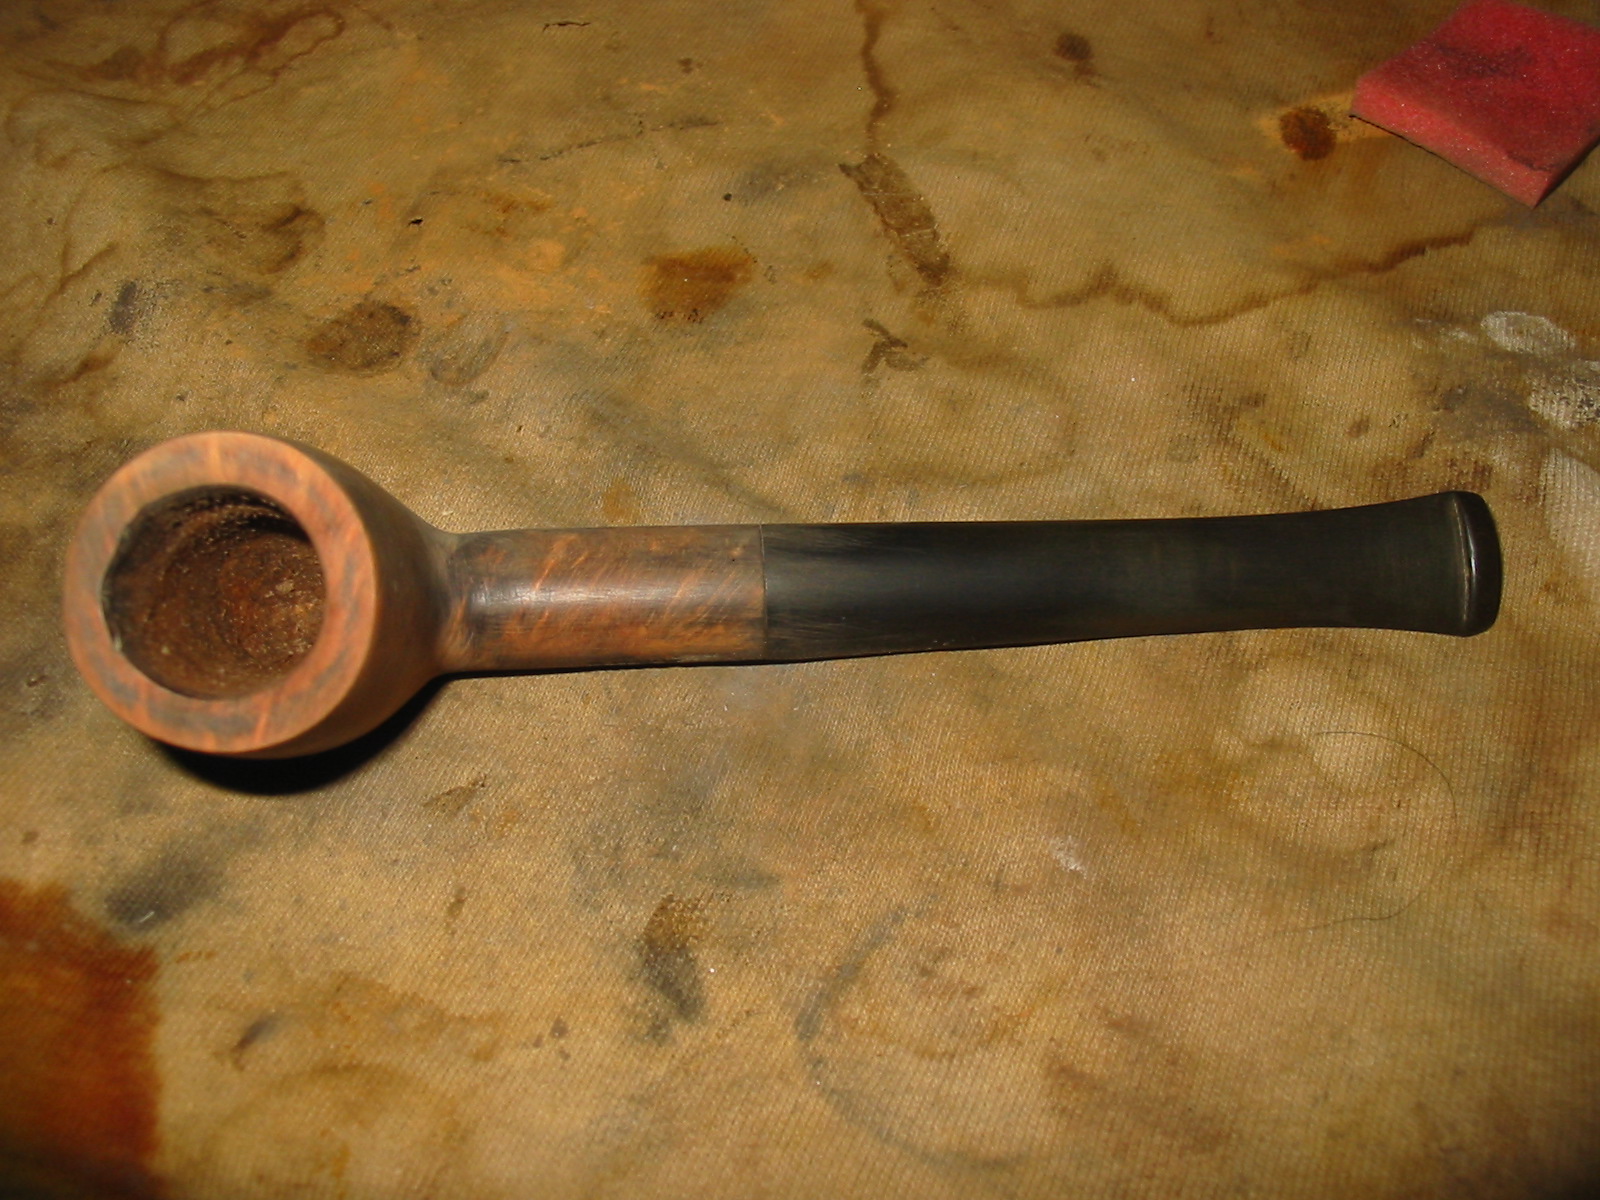
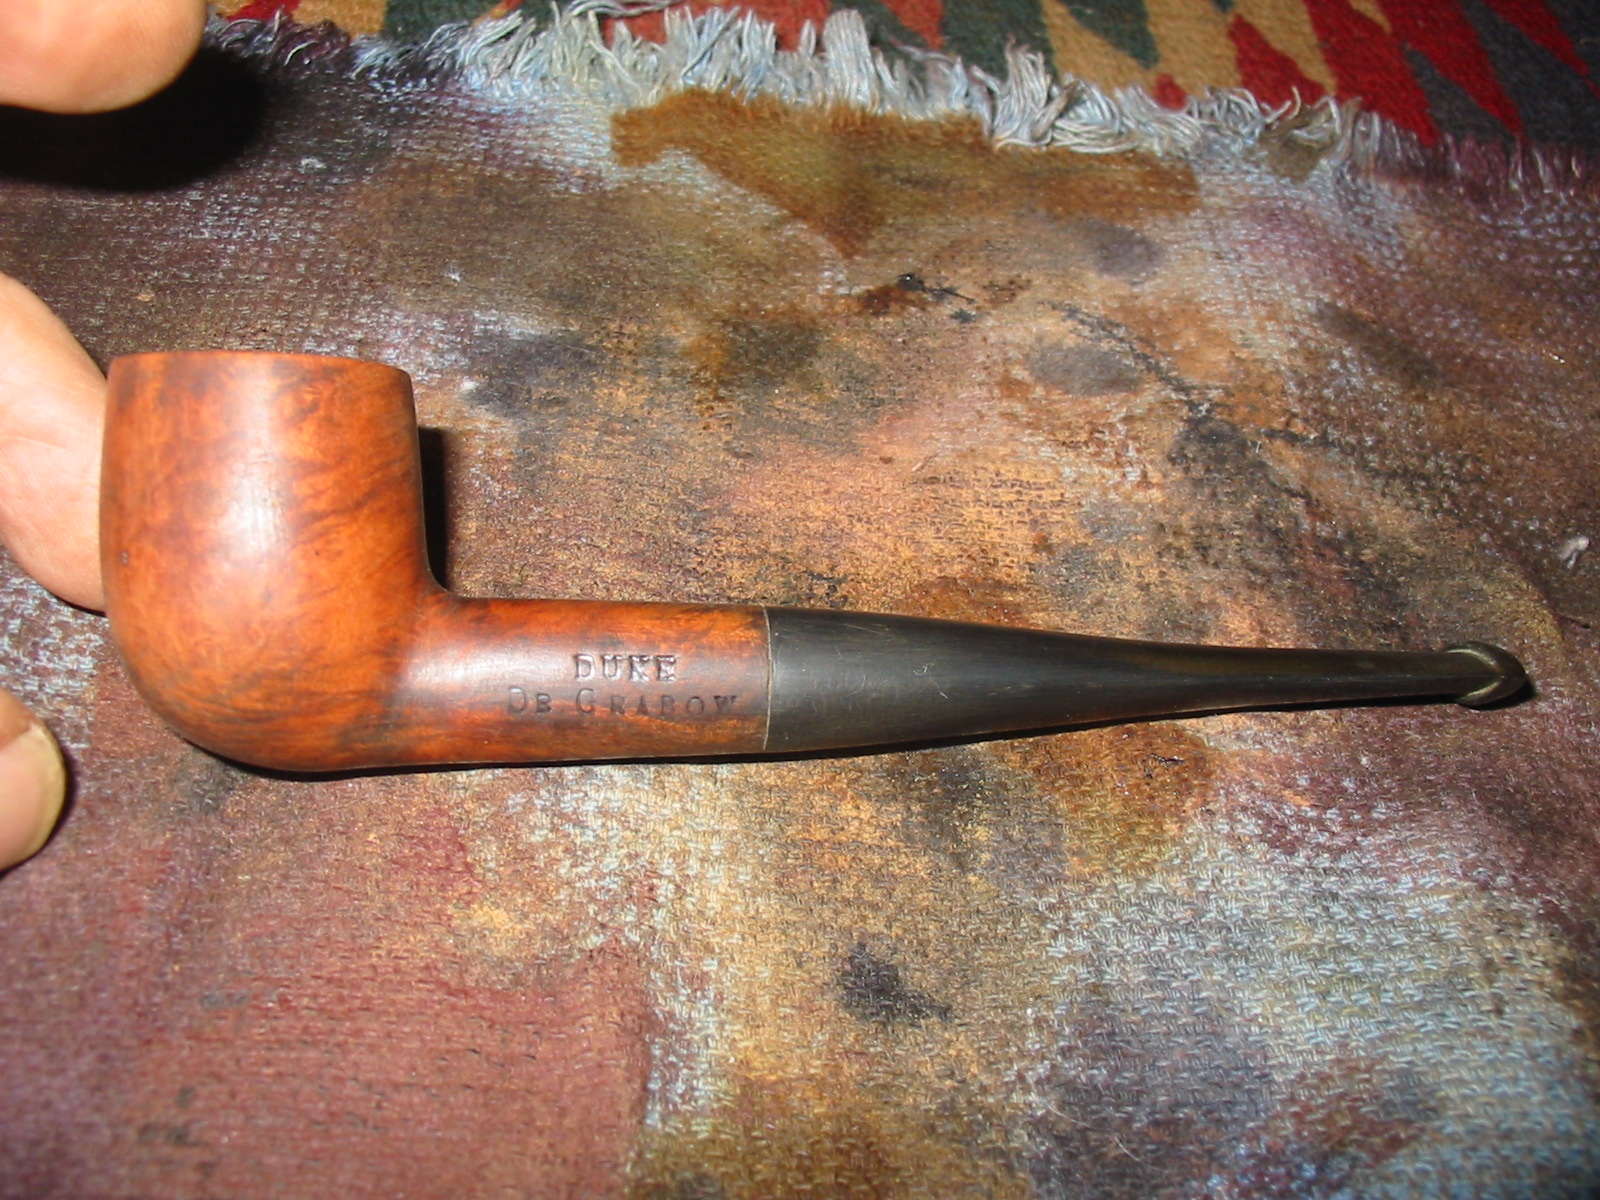
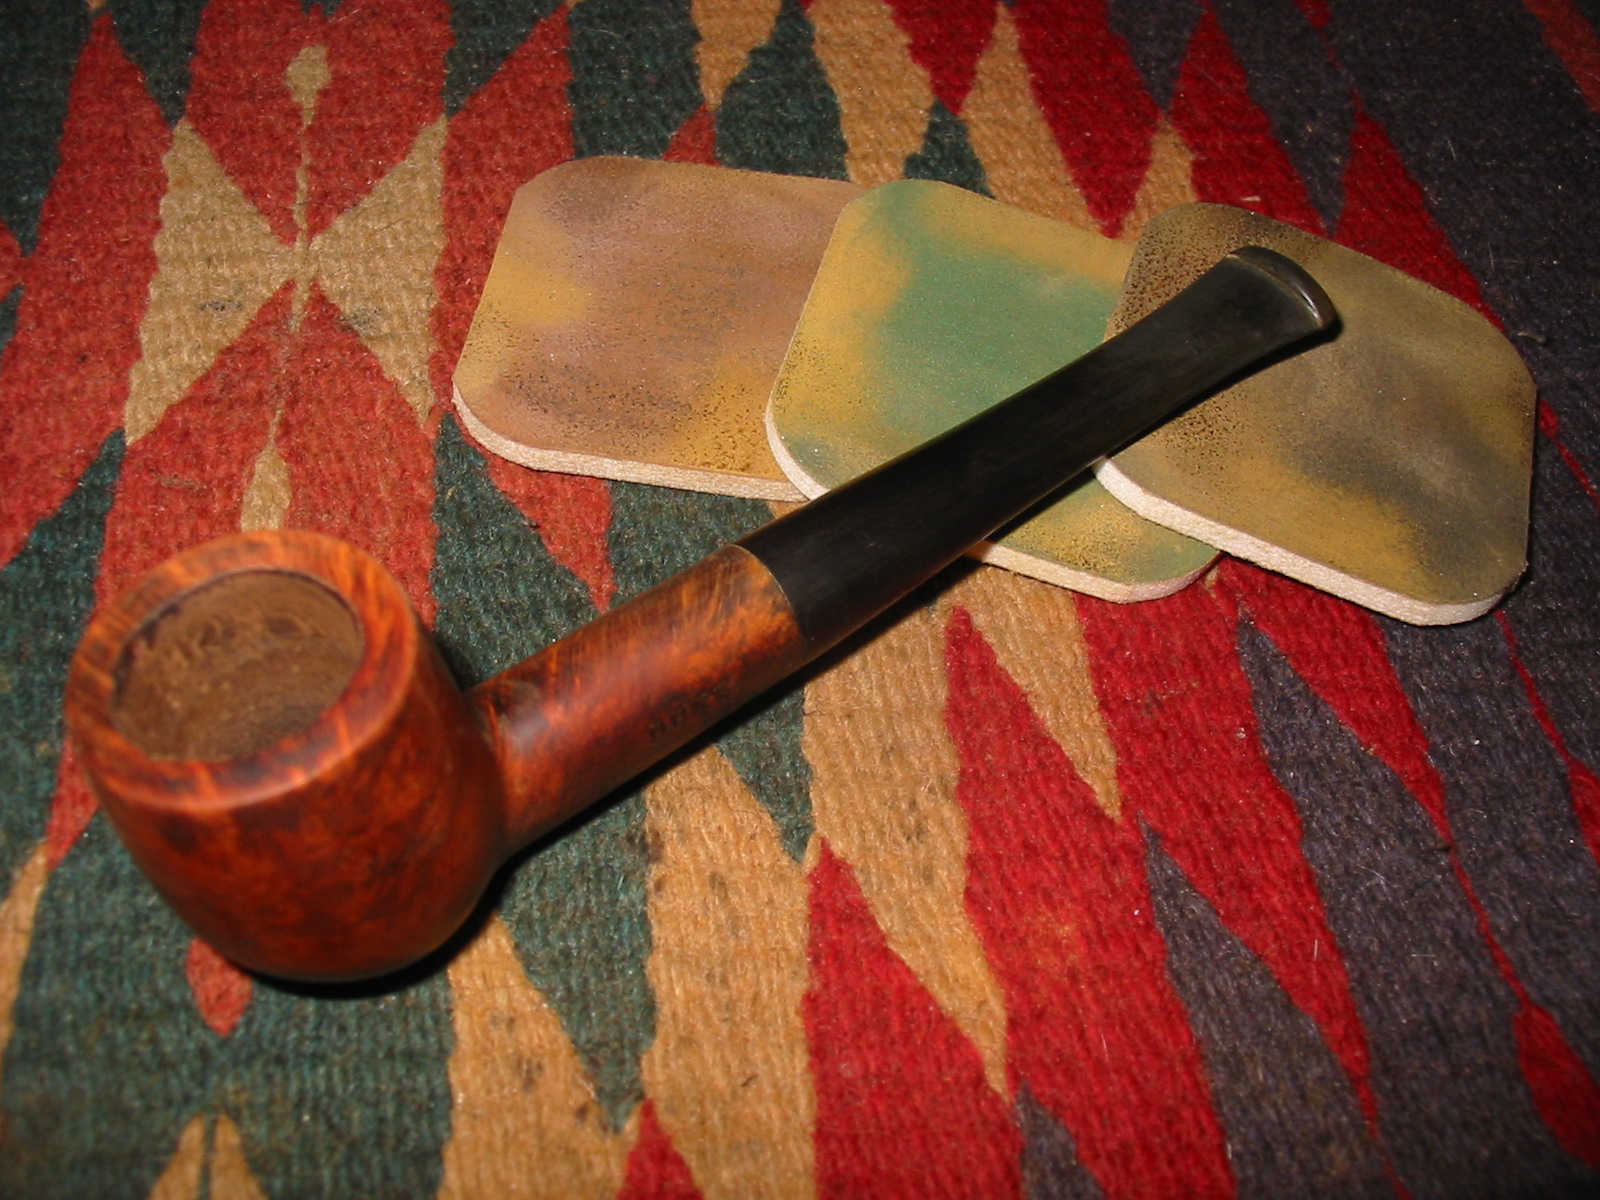
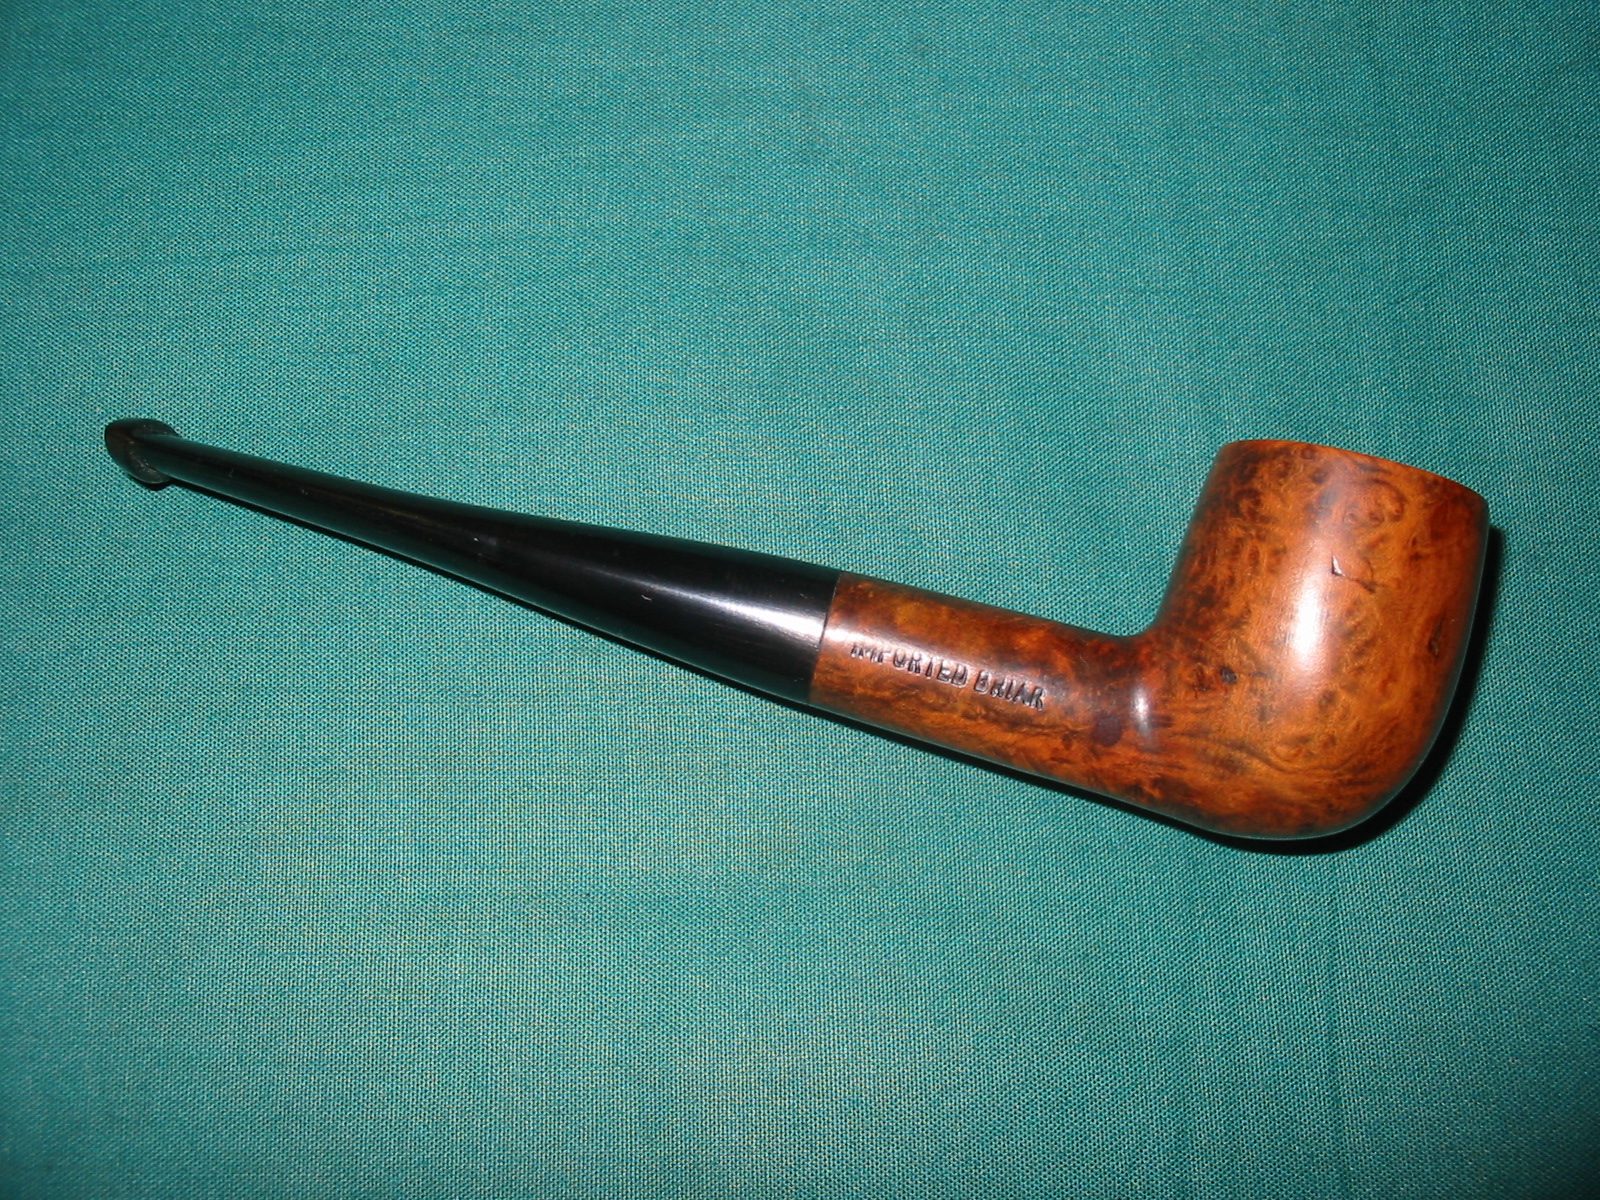
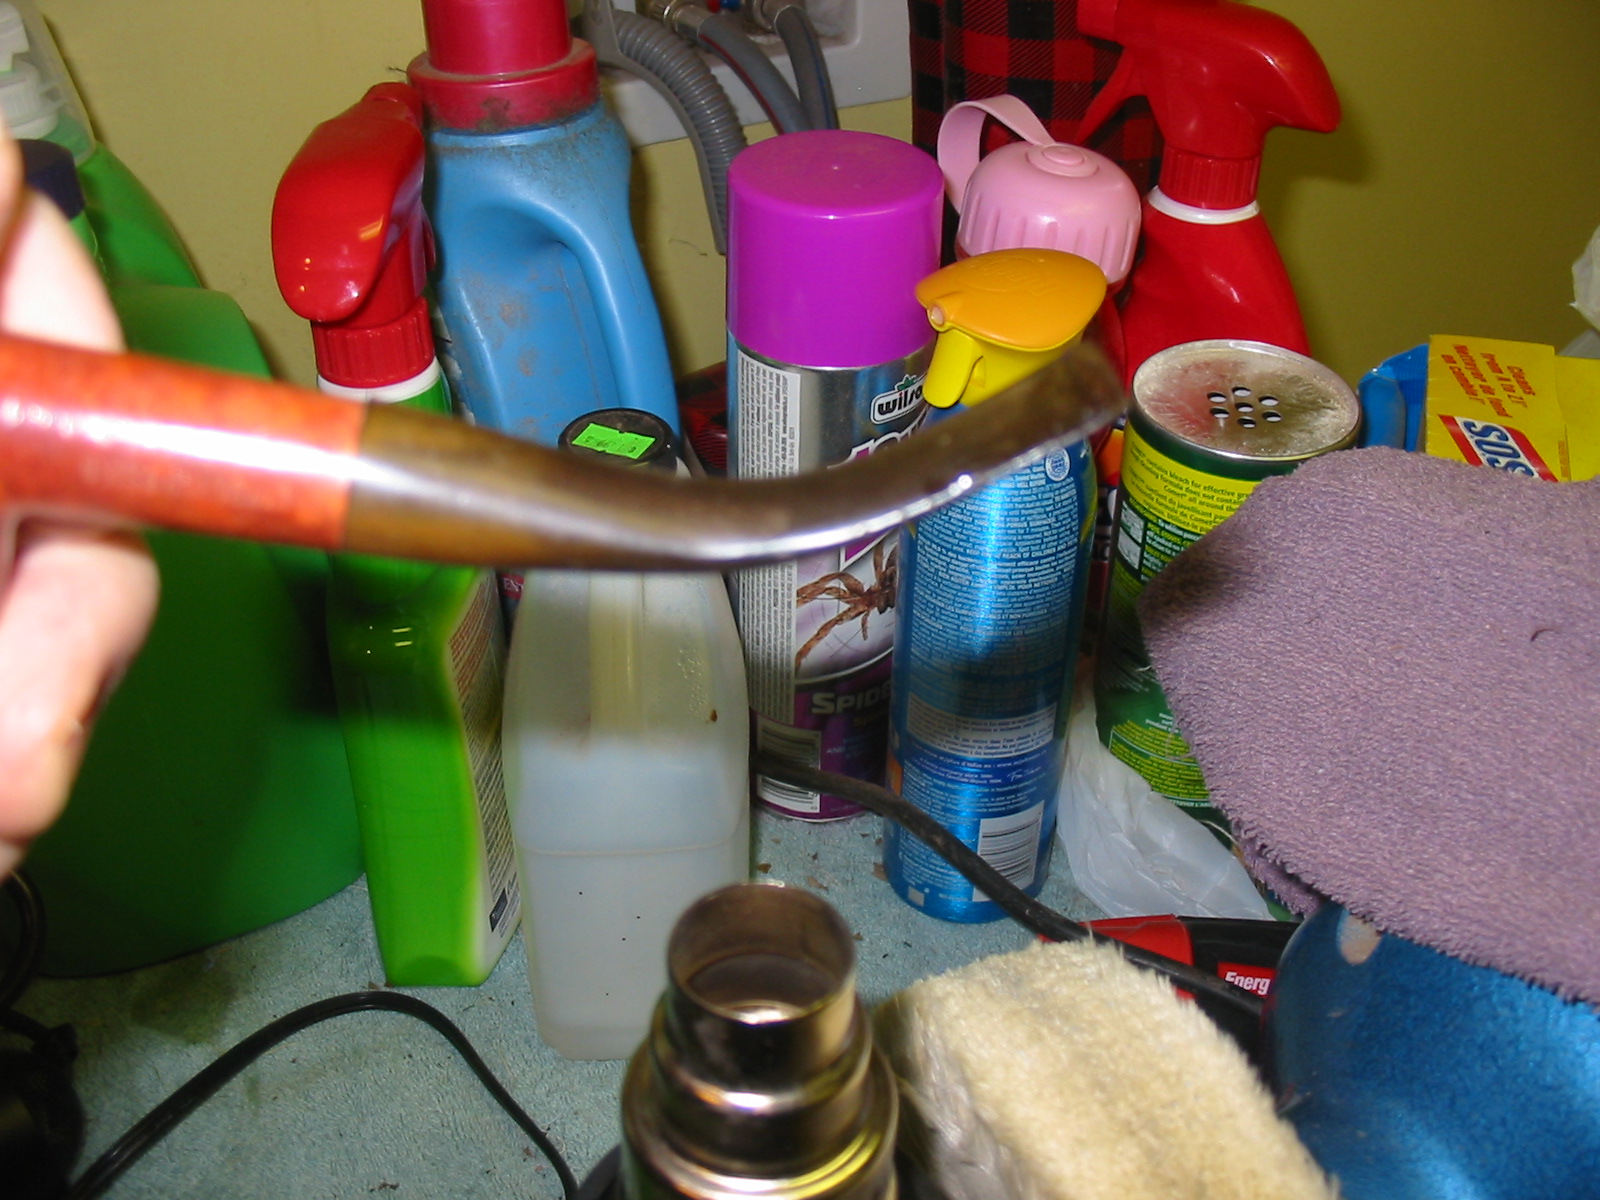
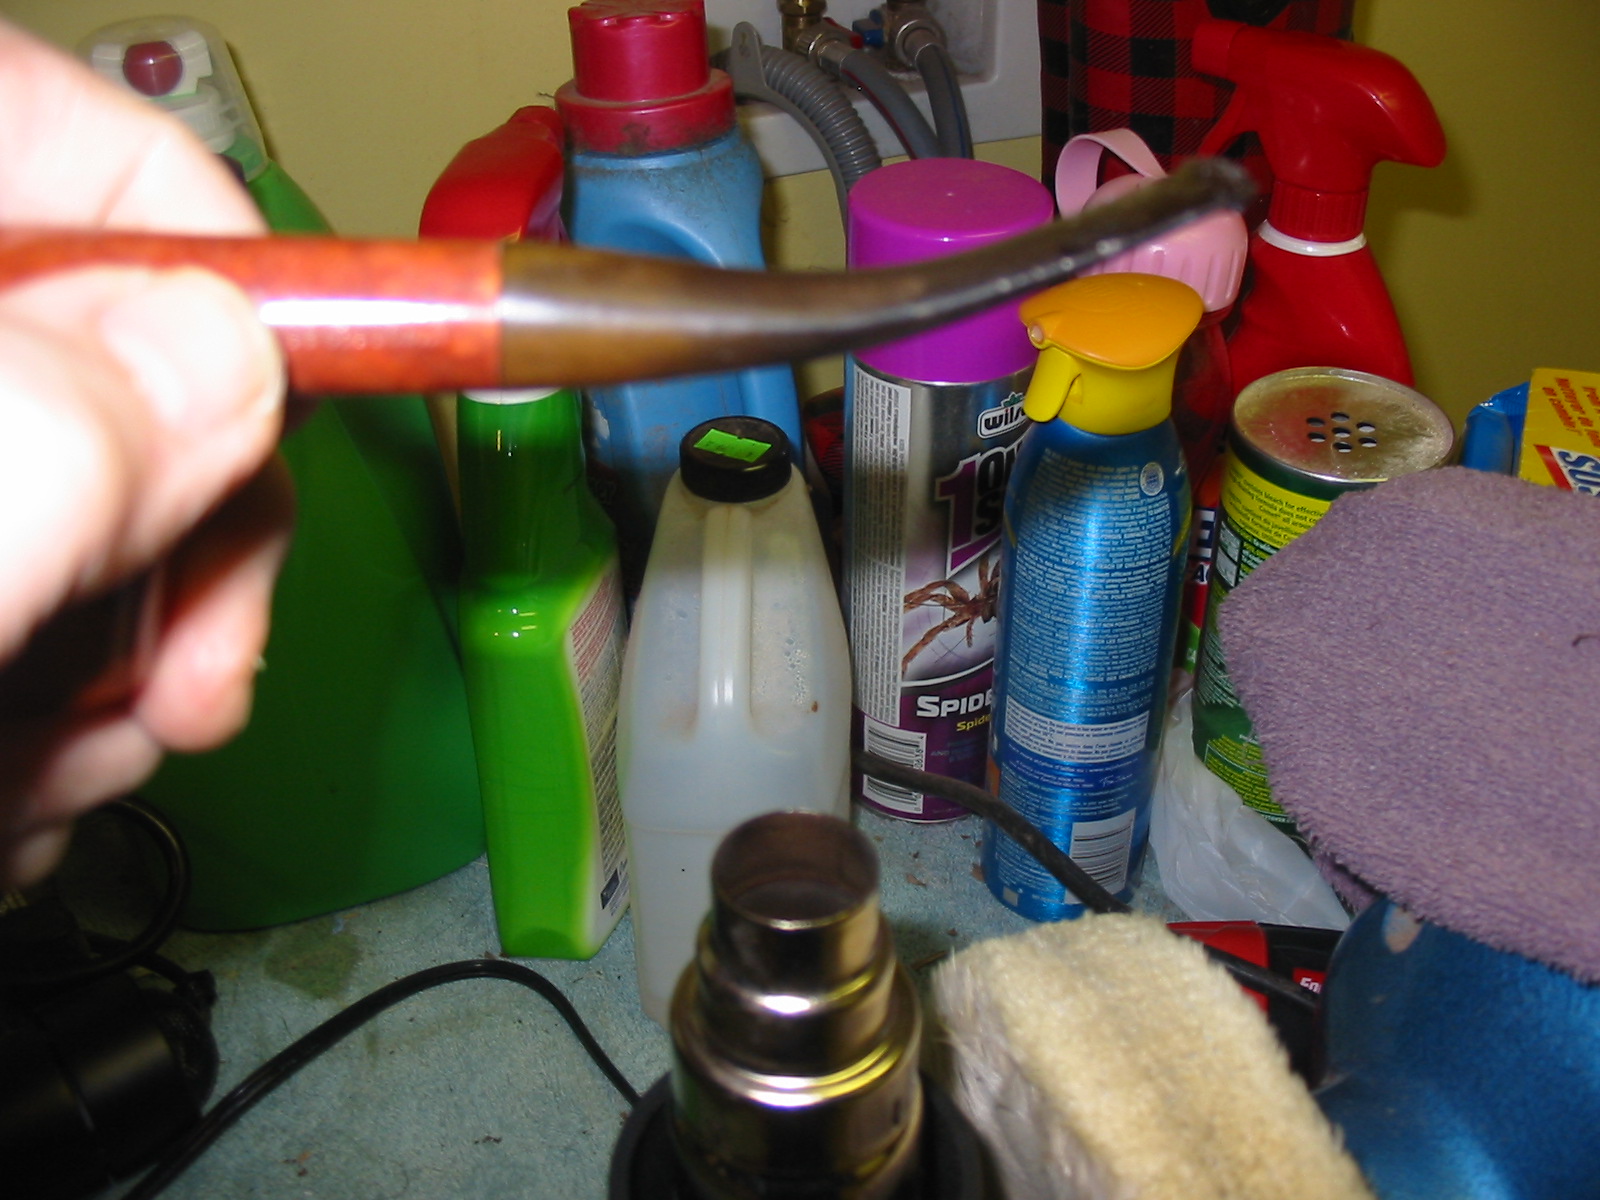
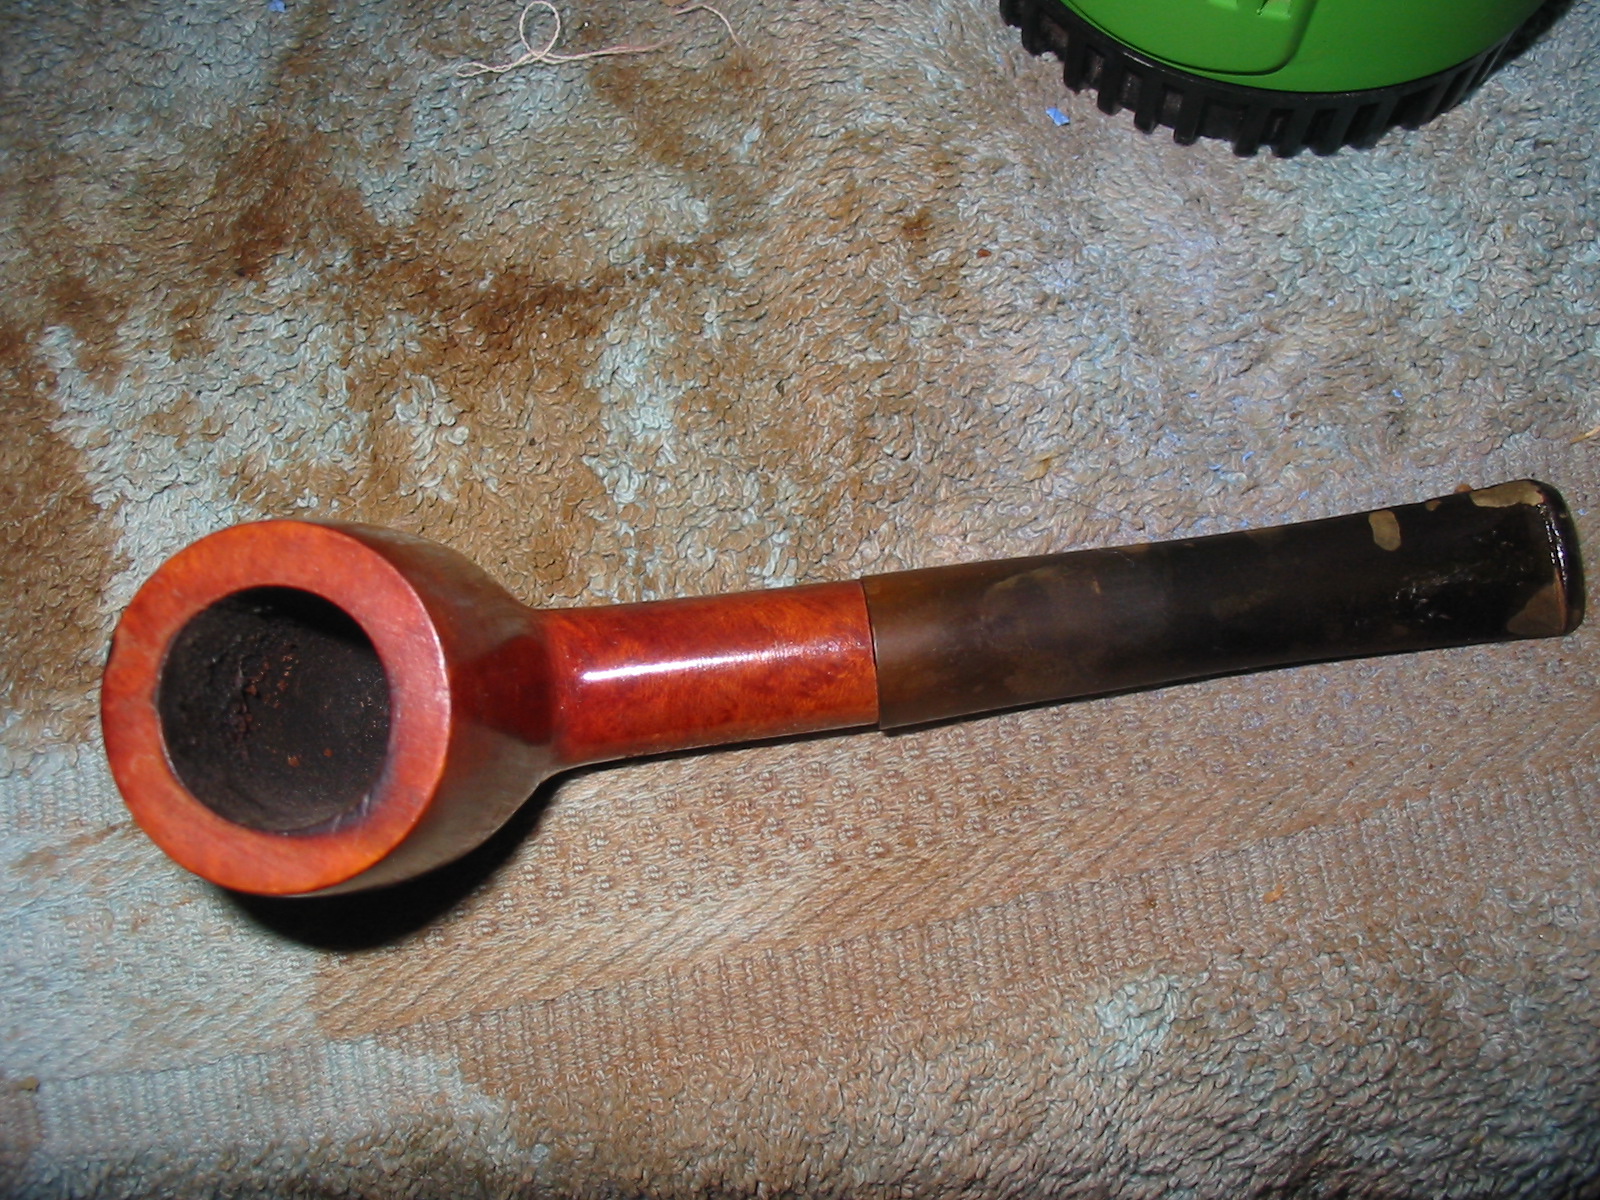
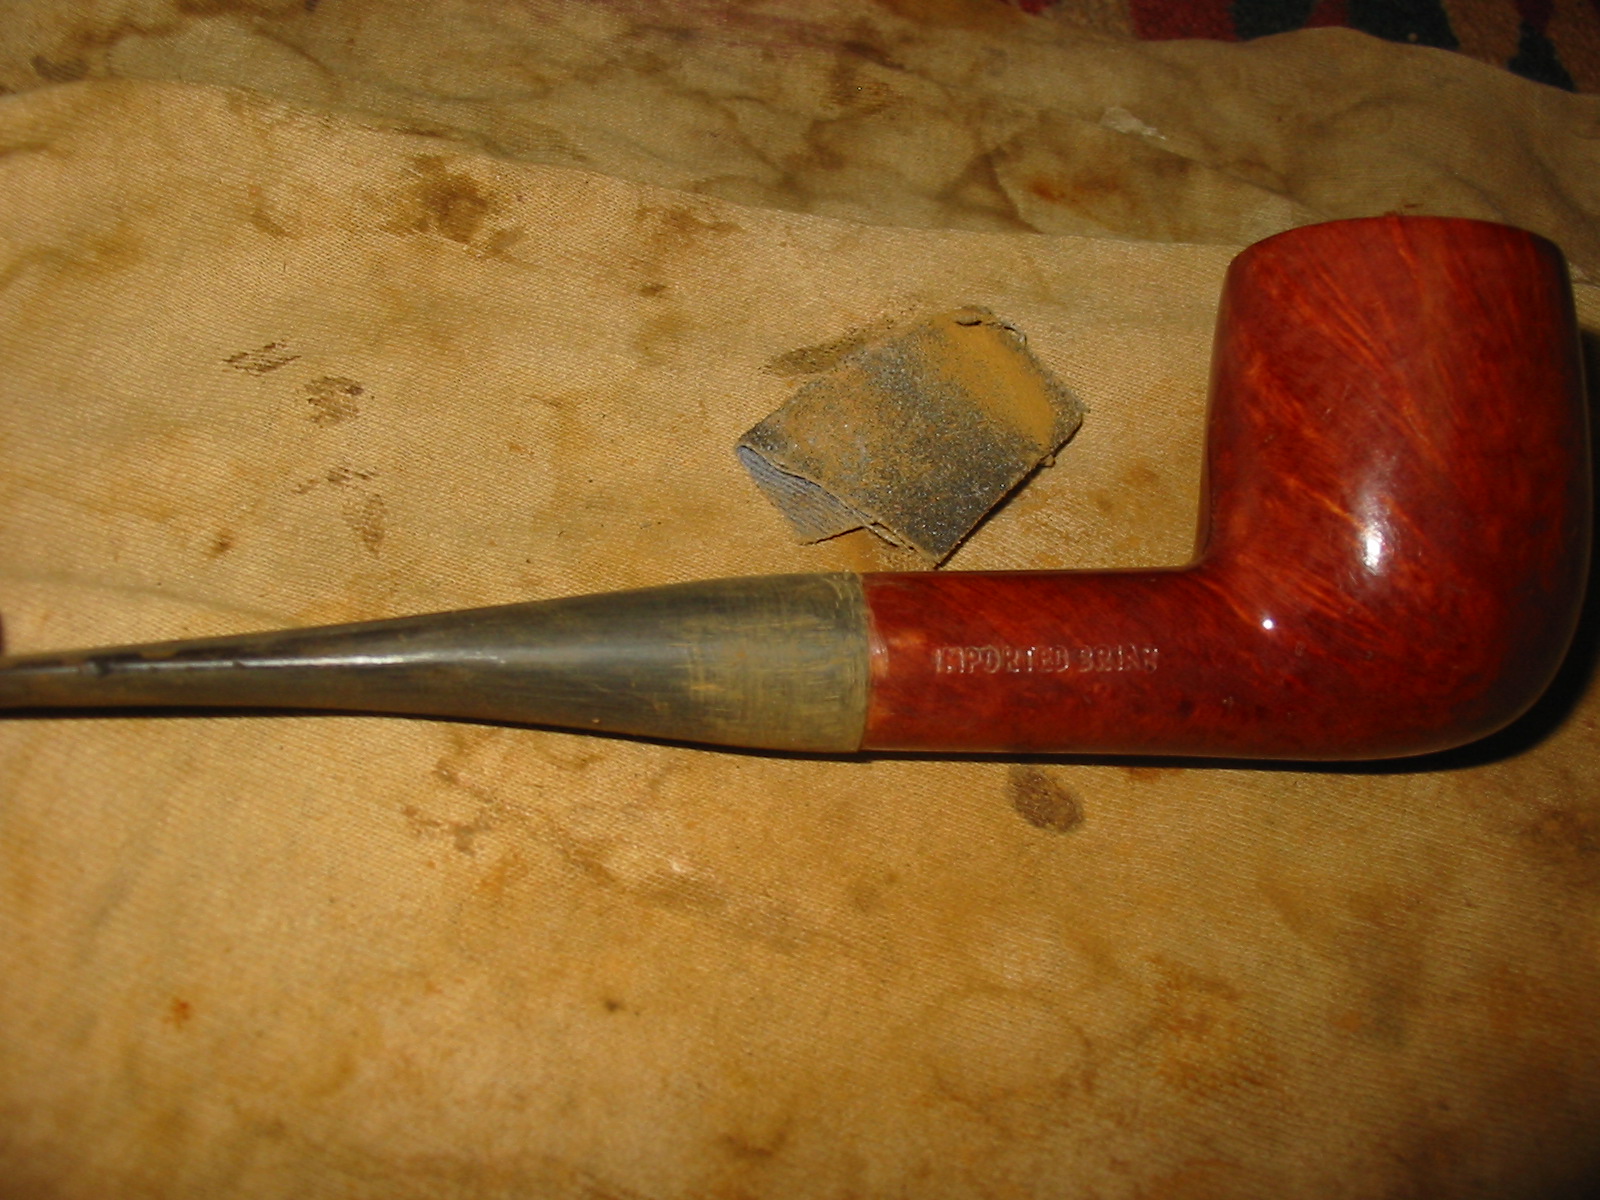
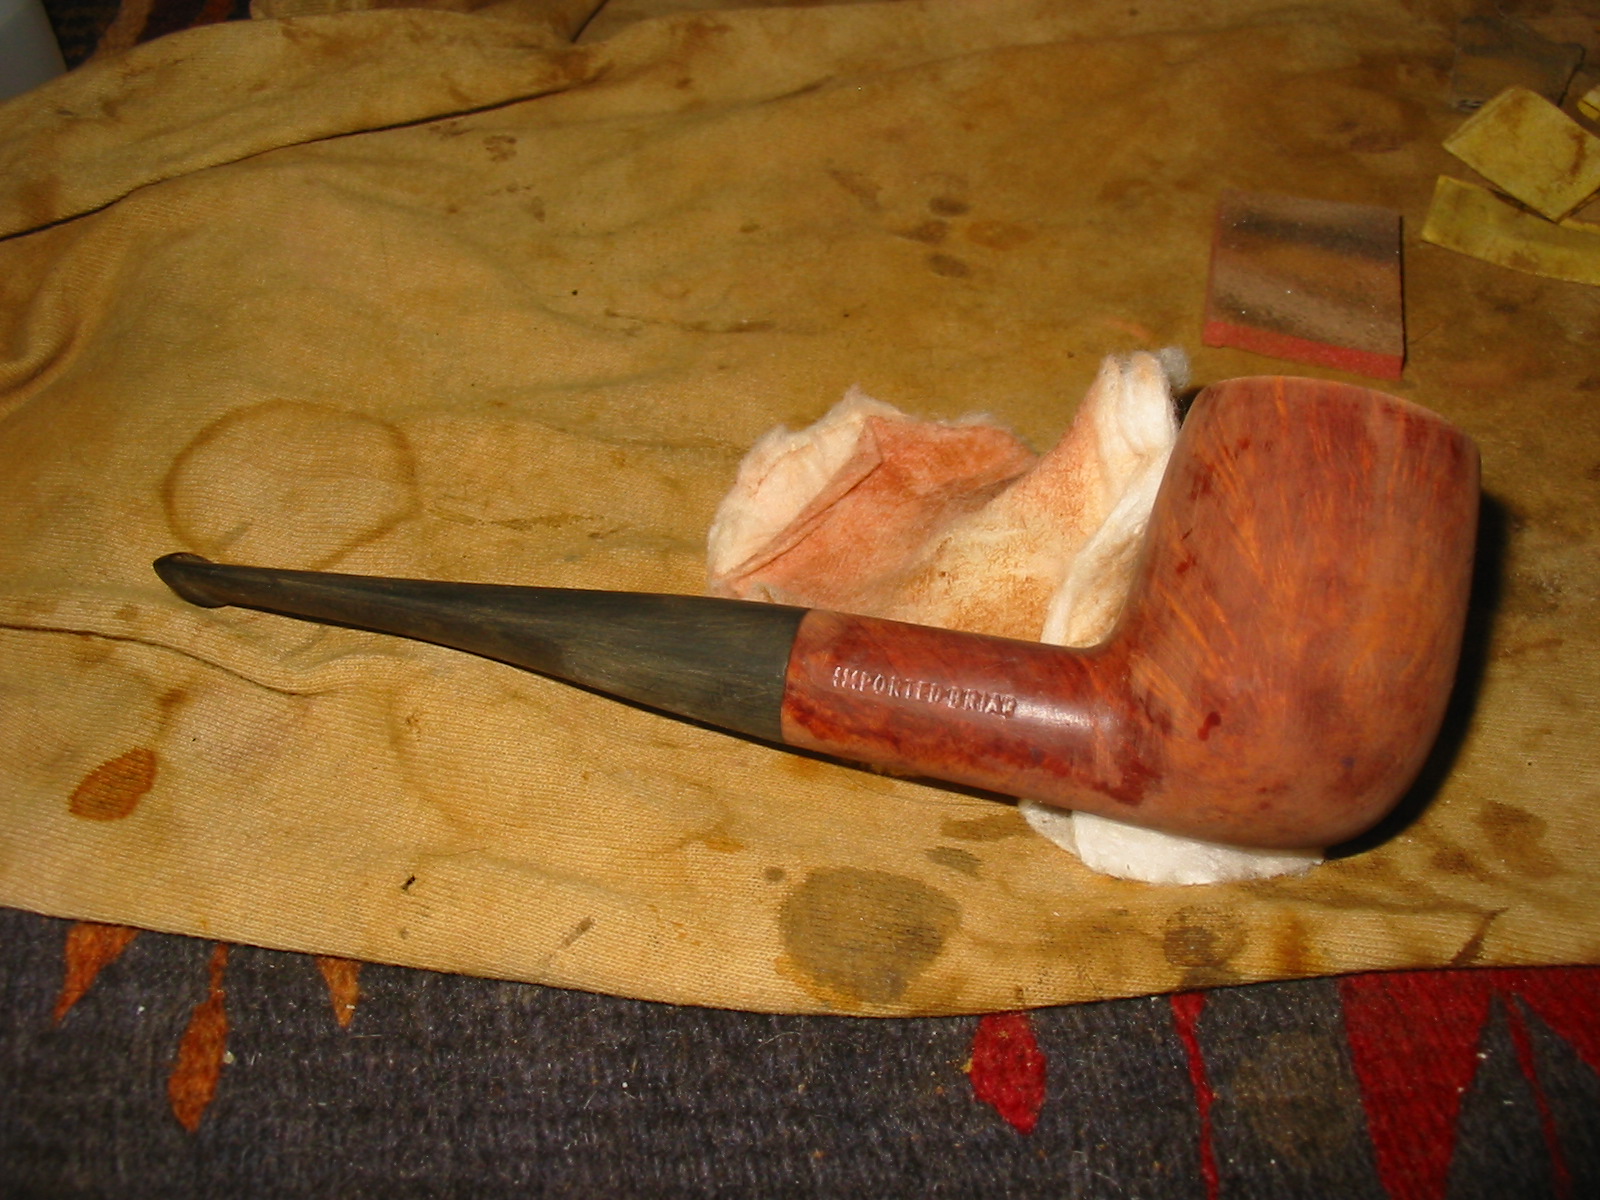
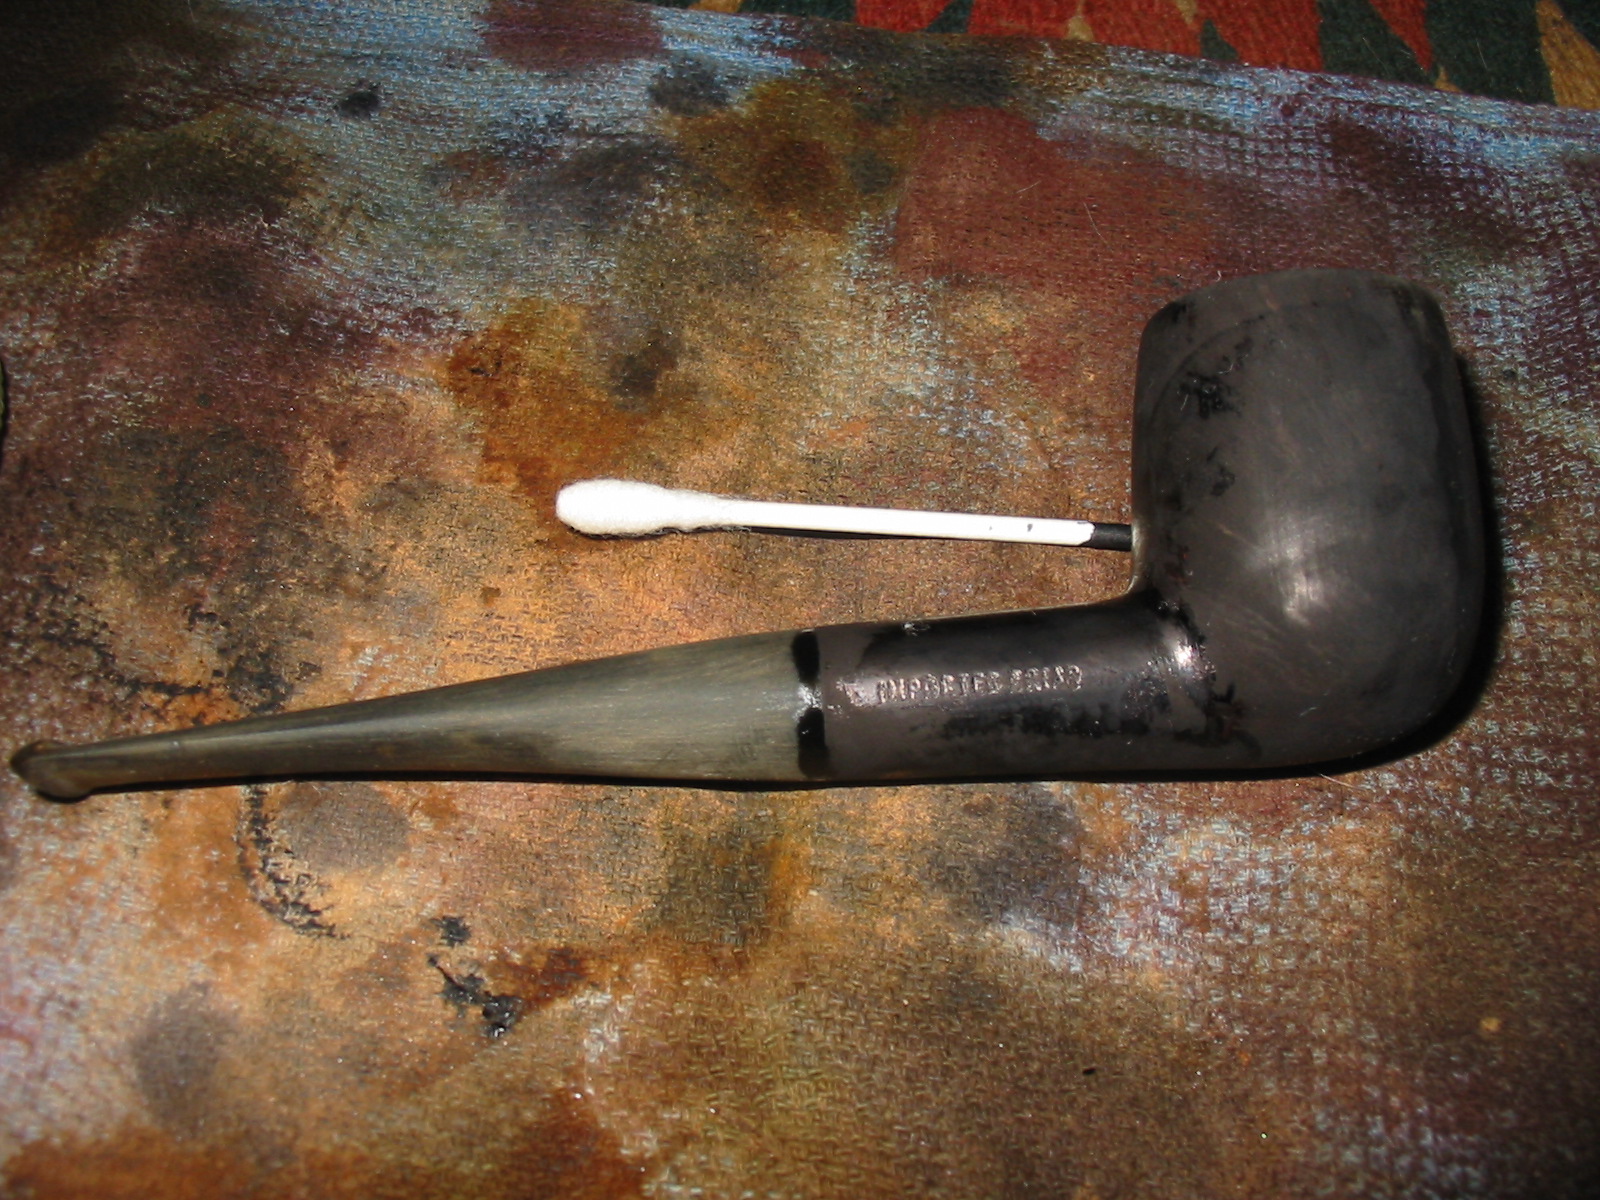
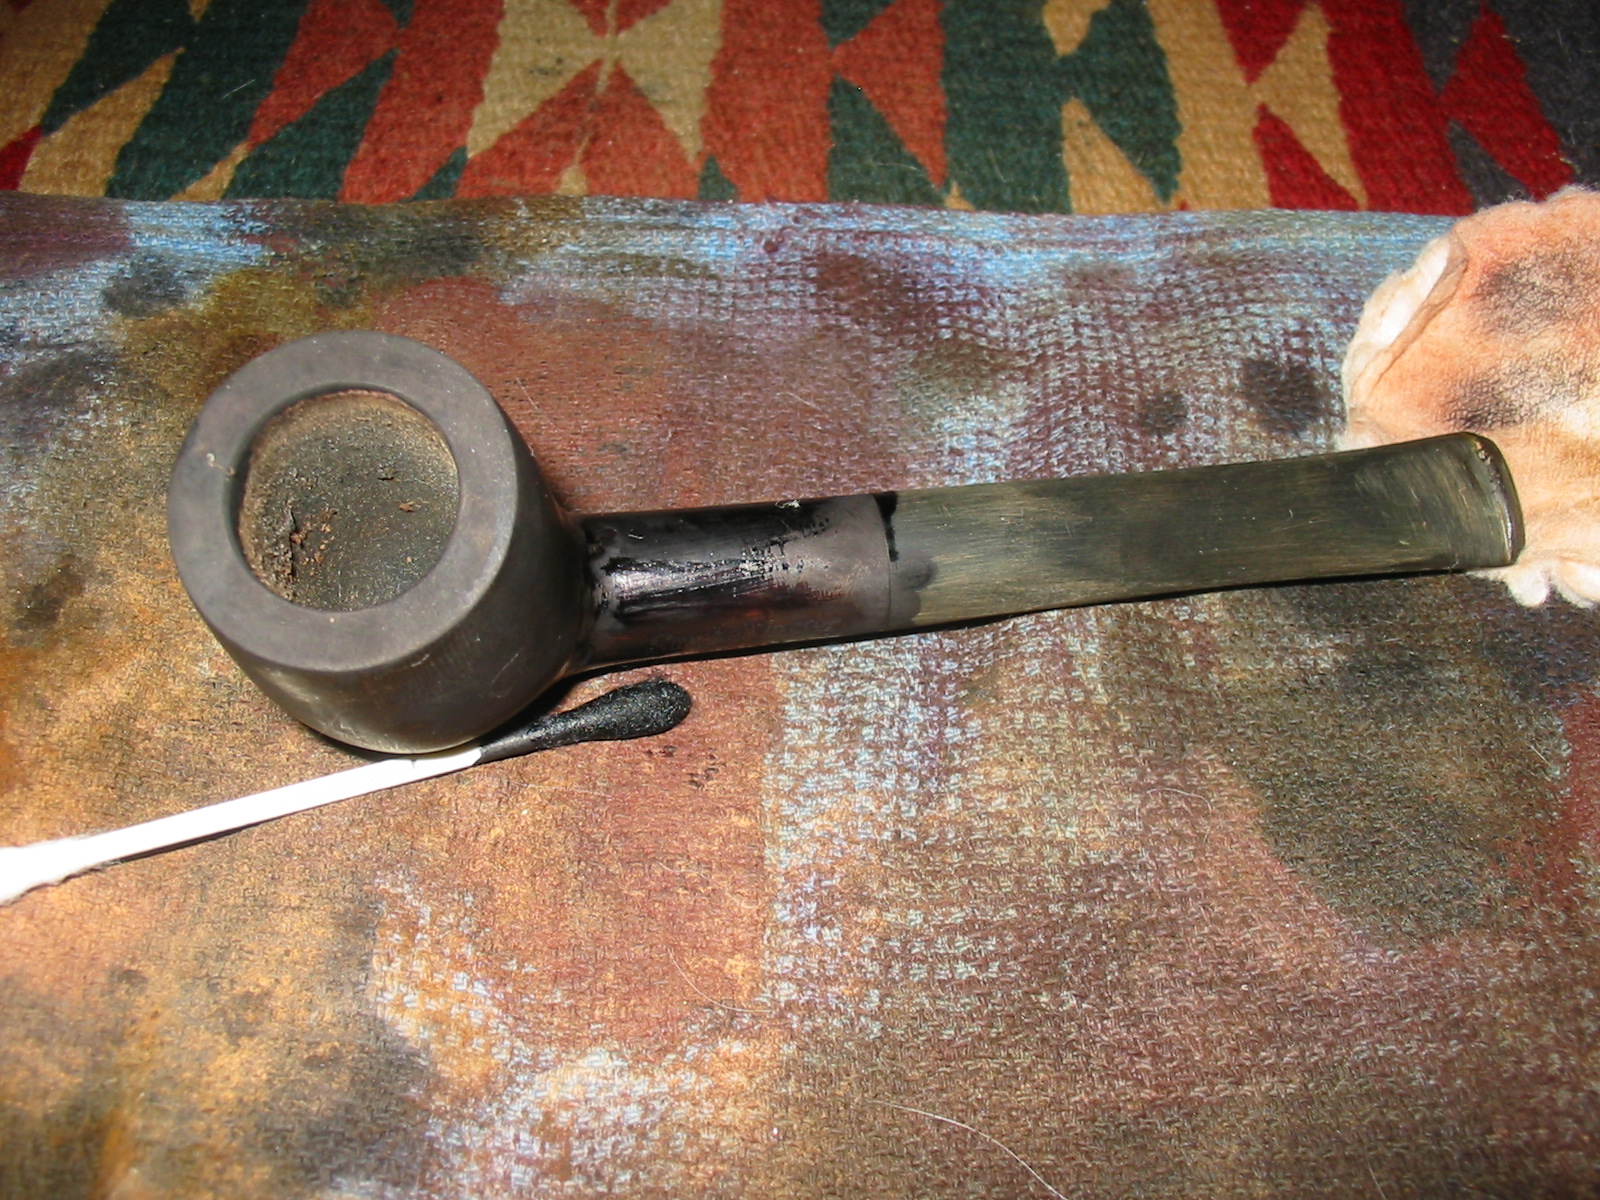
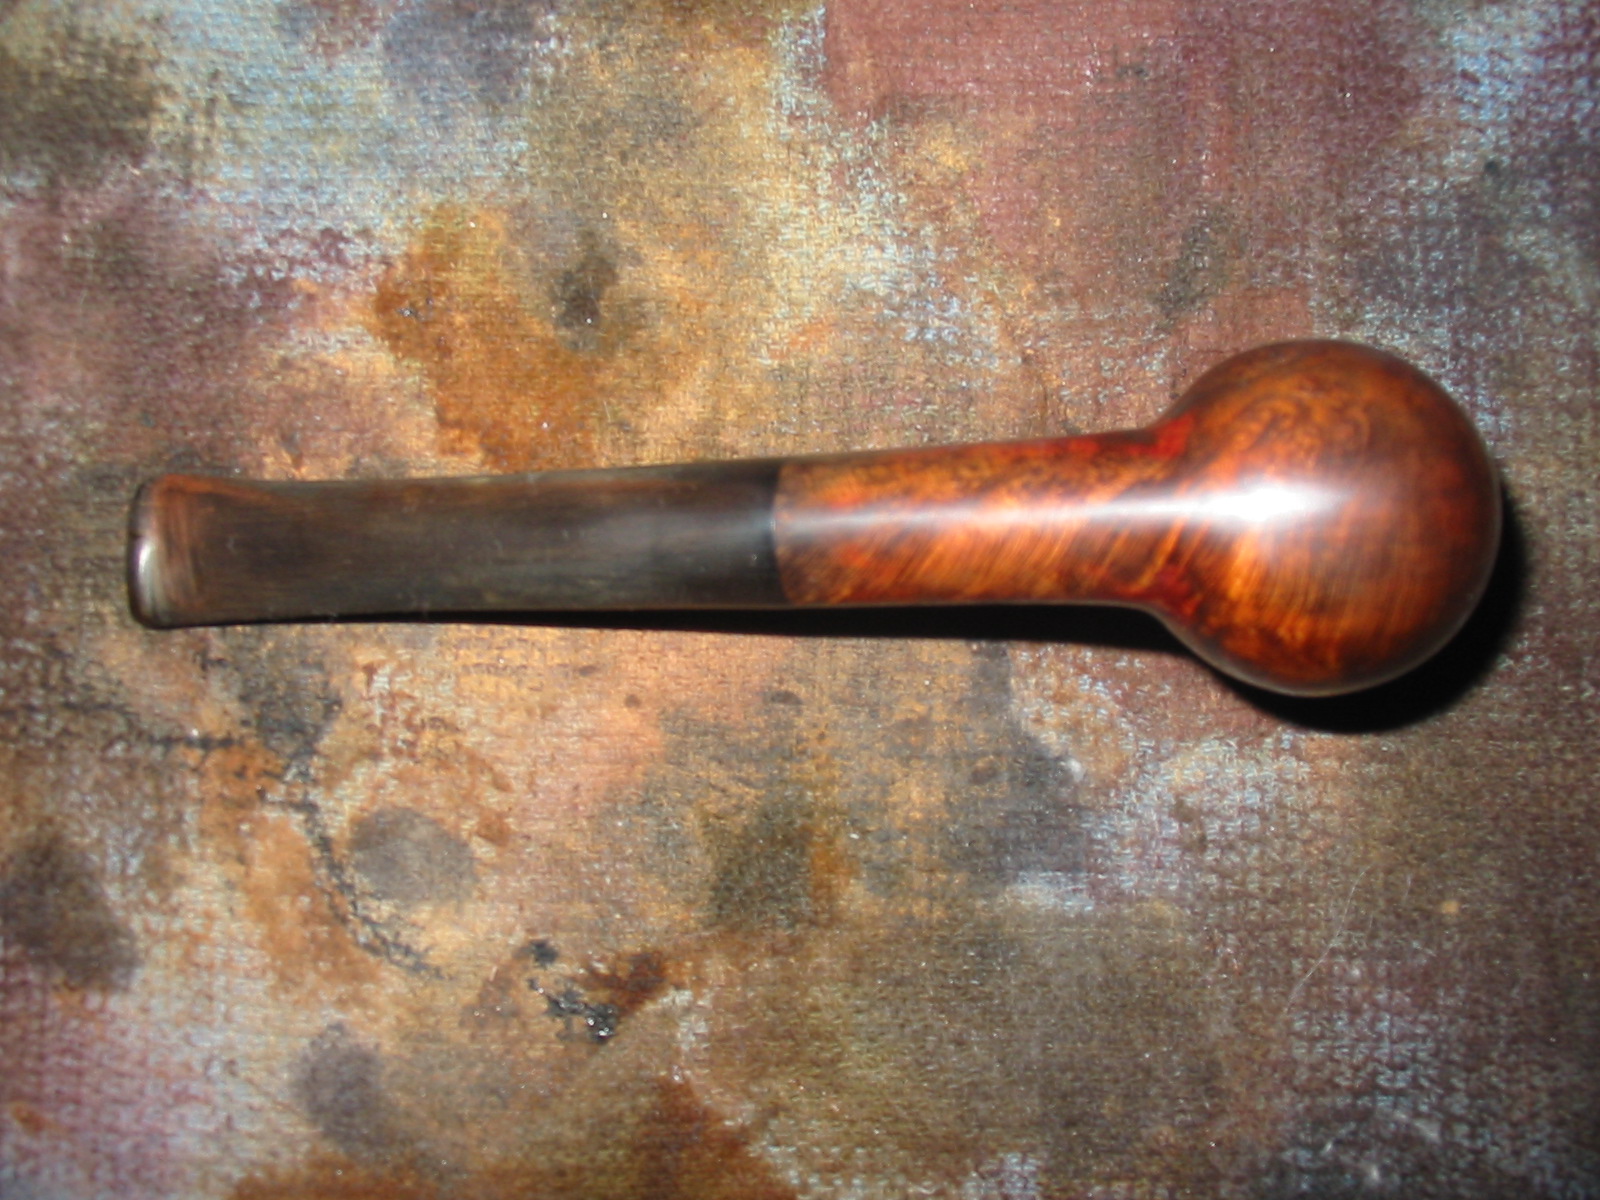
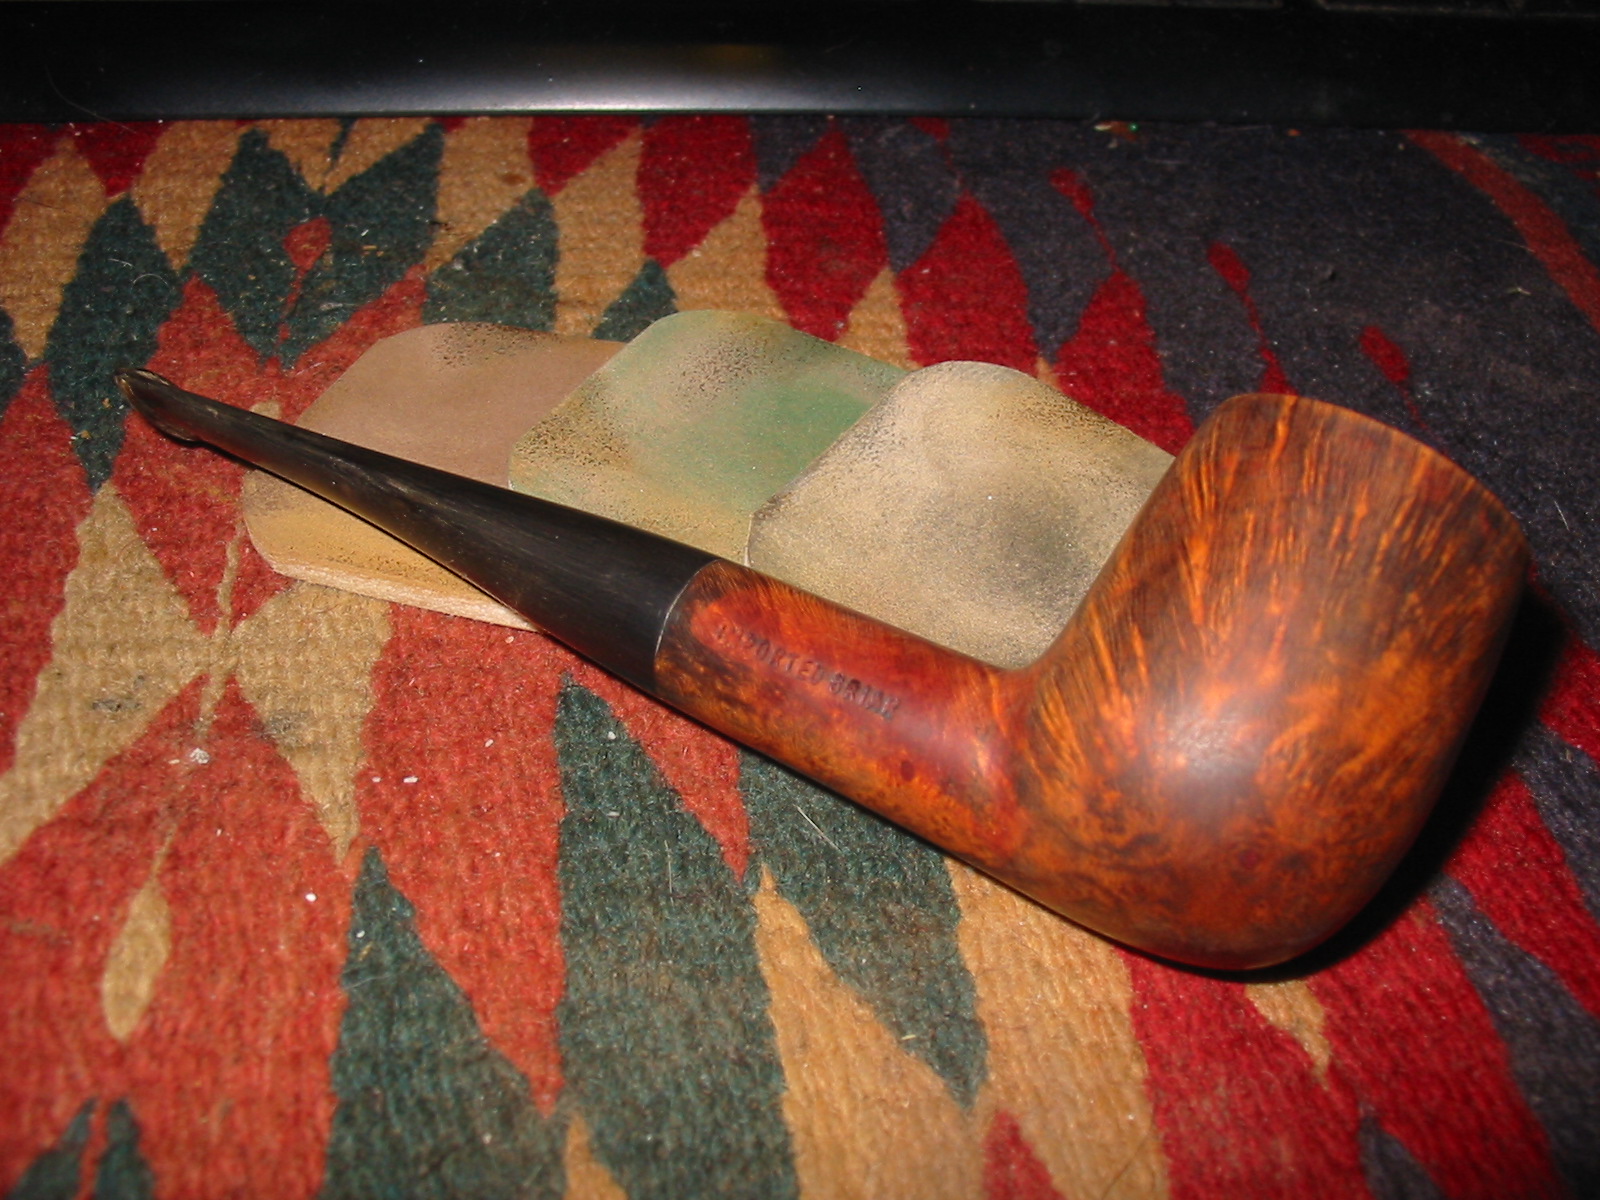
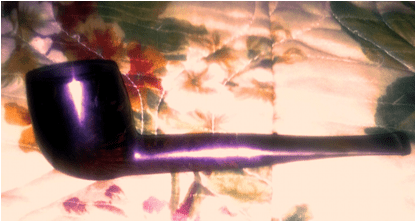
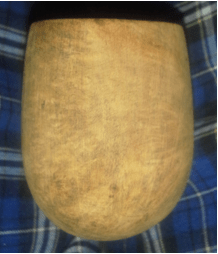
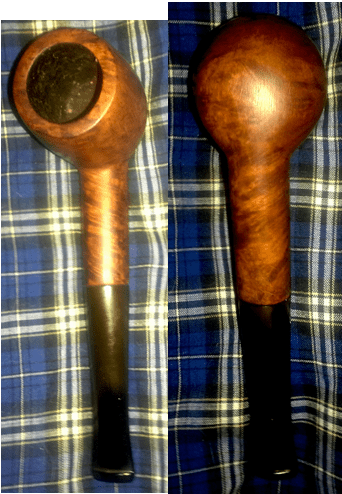
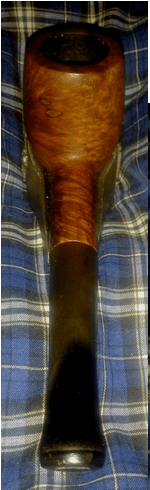
As I noted already, the pipe was dirty. How dirty was it? There was so much dirt, finger oil and other unwanted growth that the bowl and shank were almost blackened, and the main nomenclature all but illegible. See for yourselves:
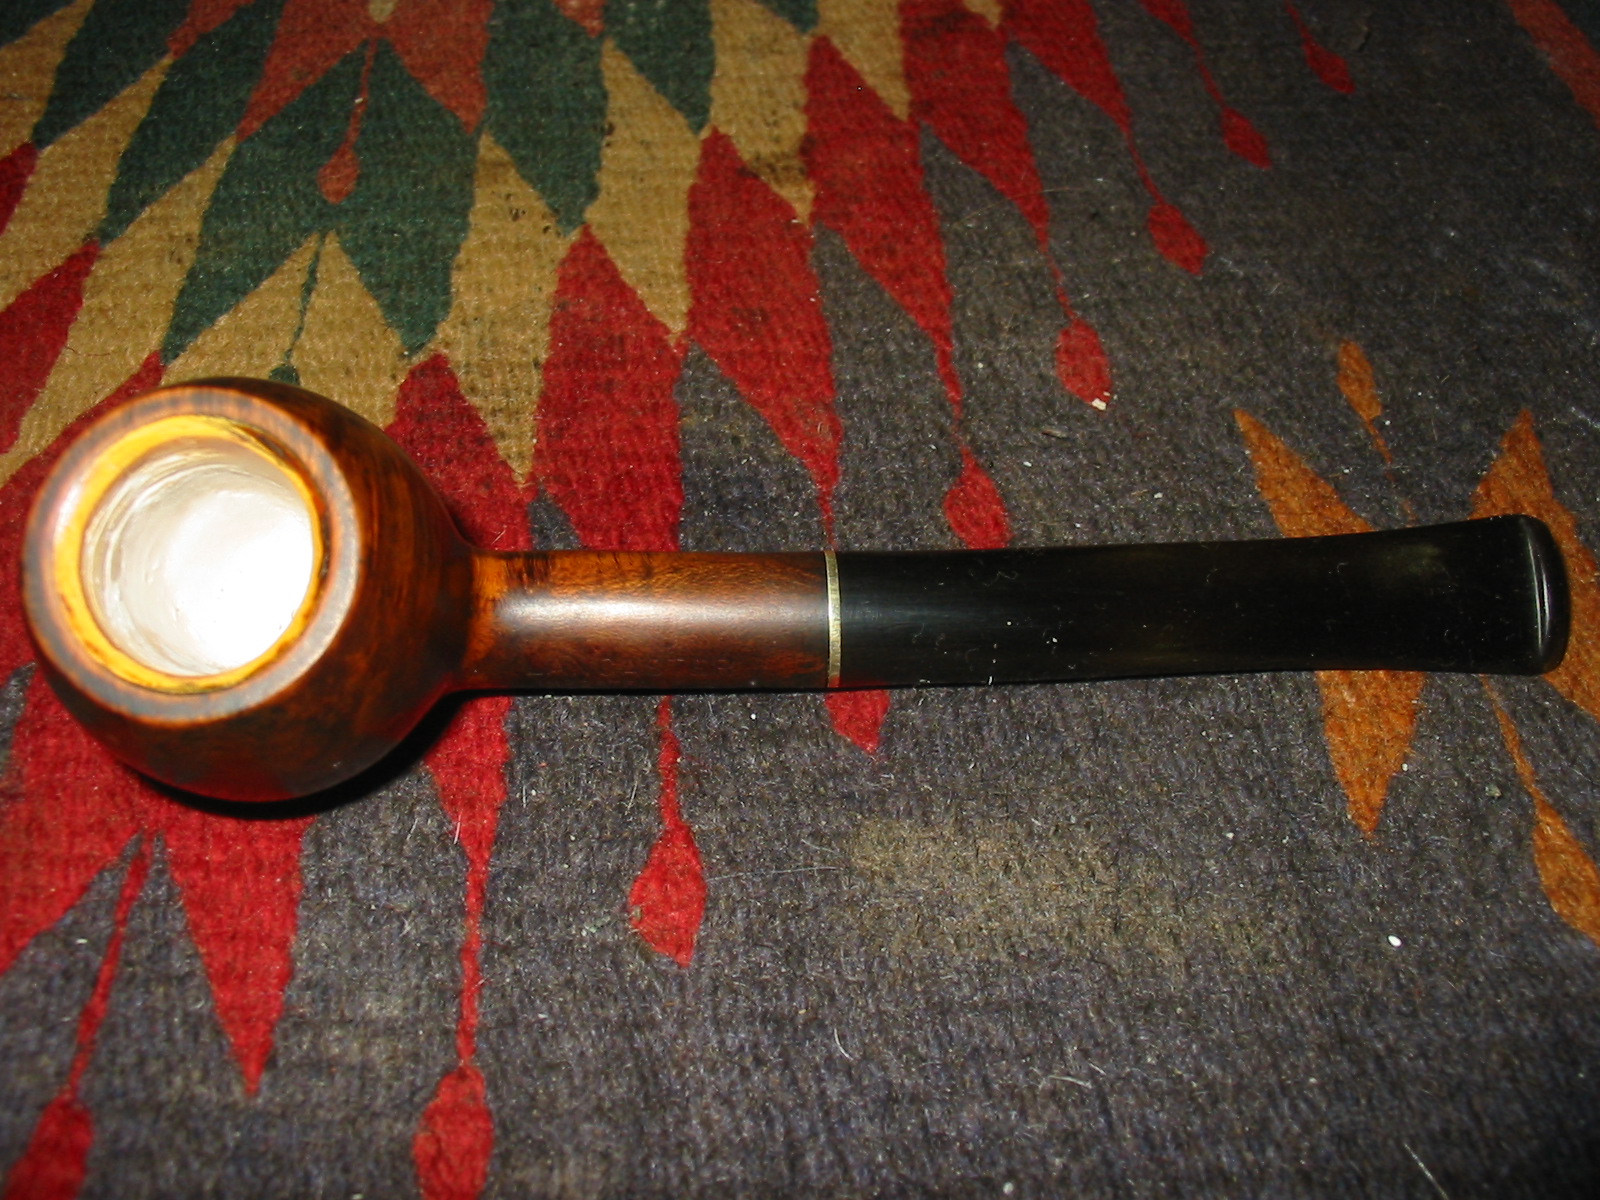
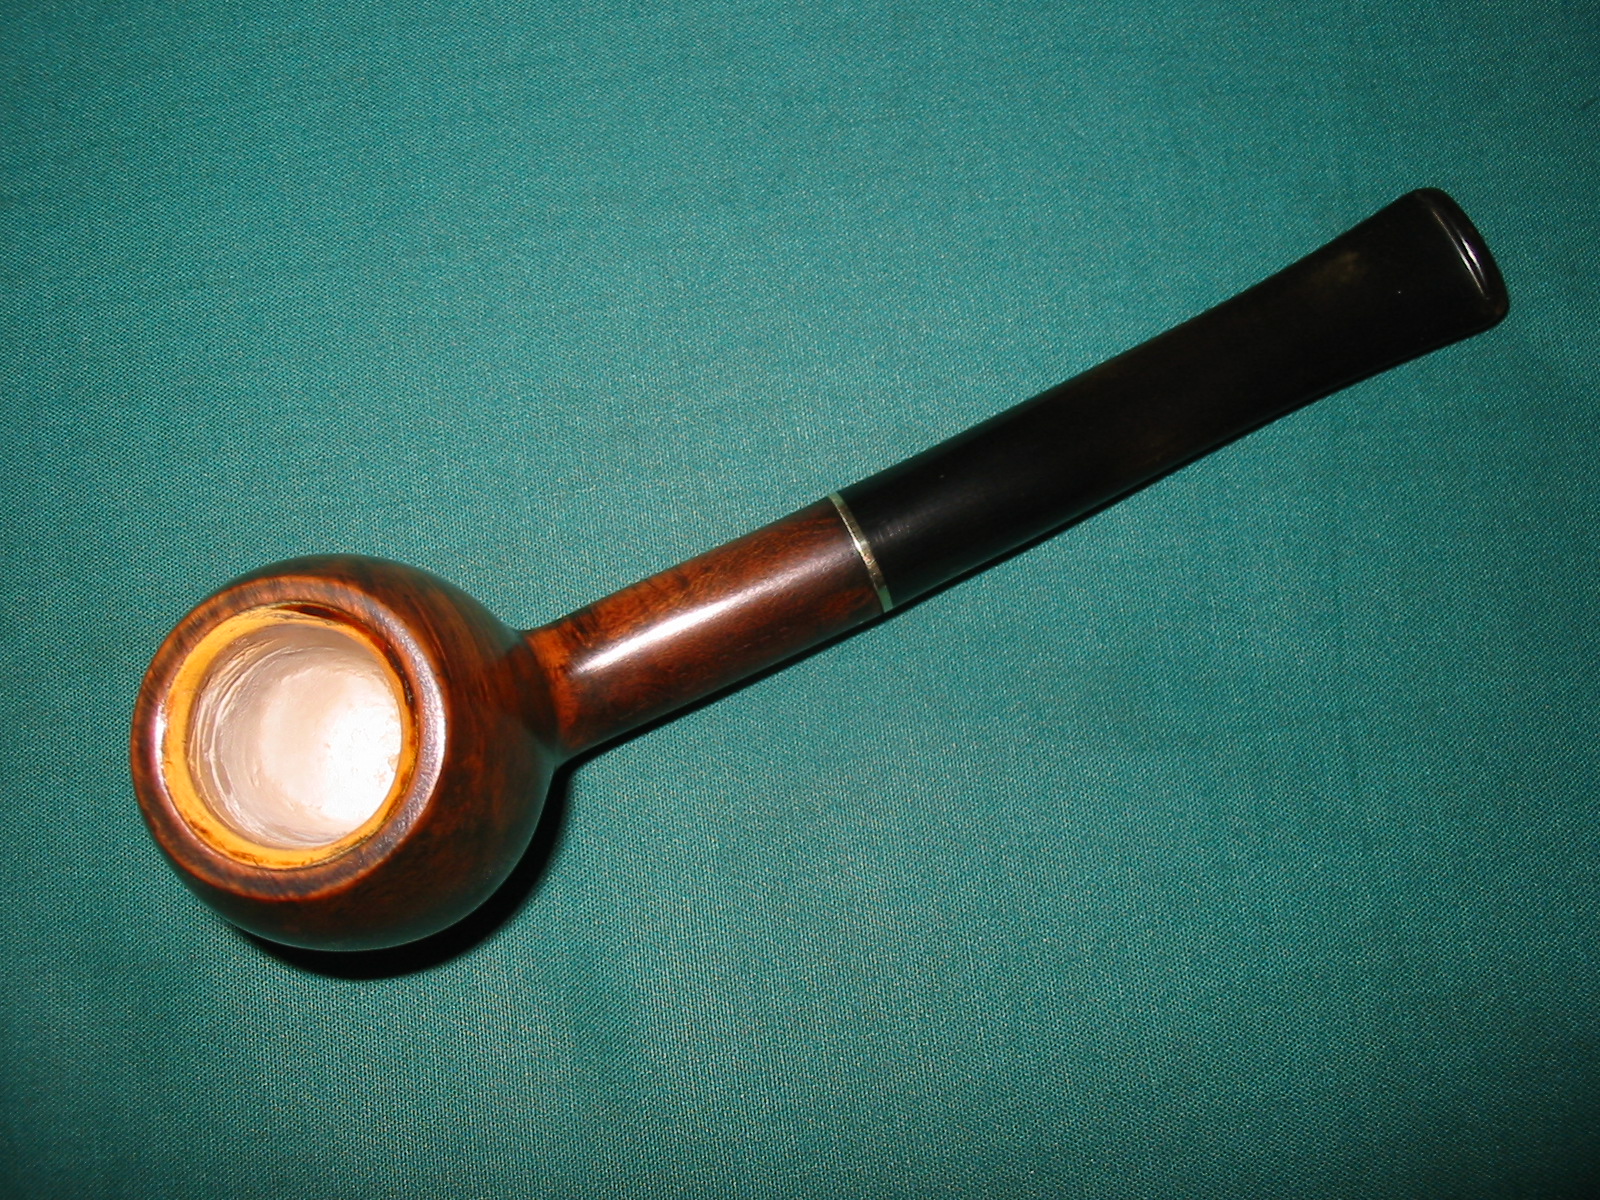
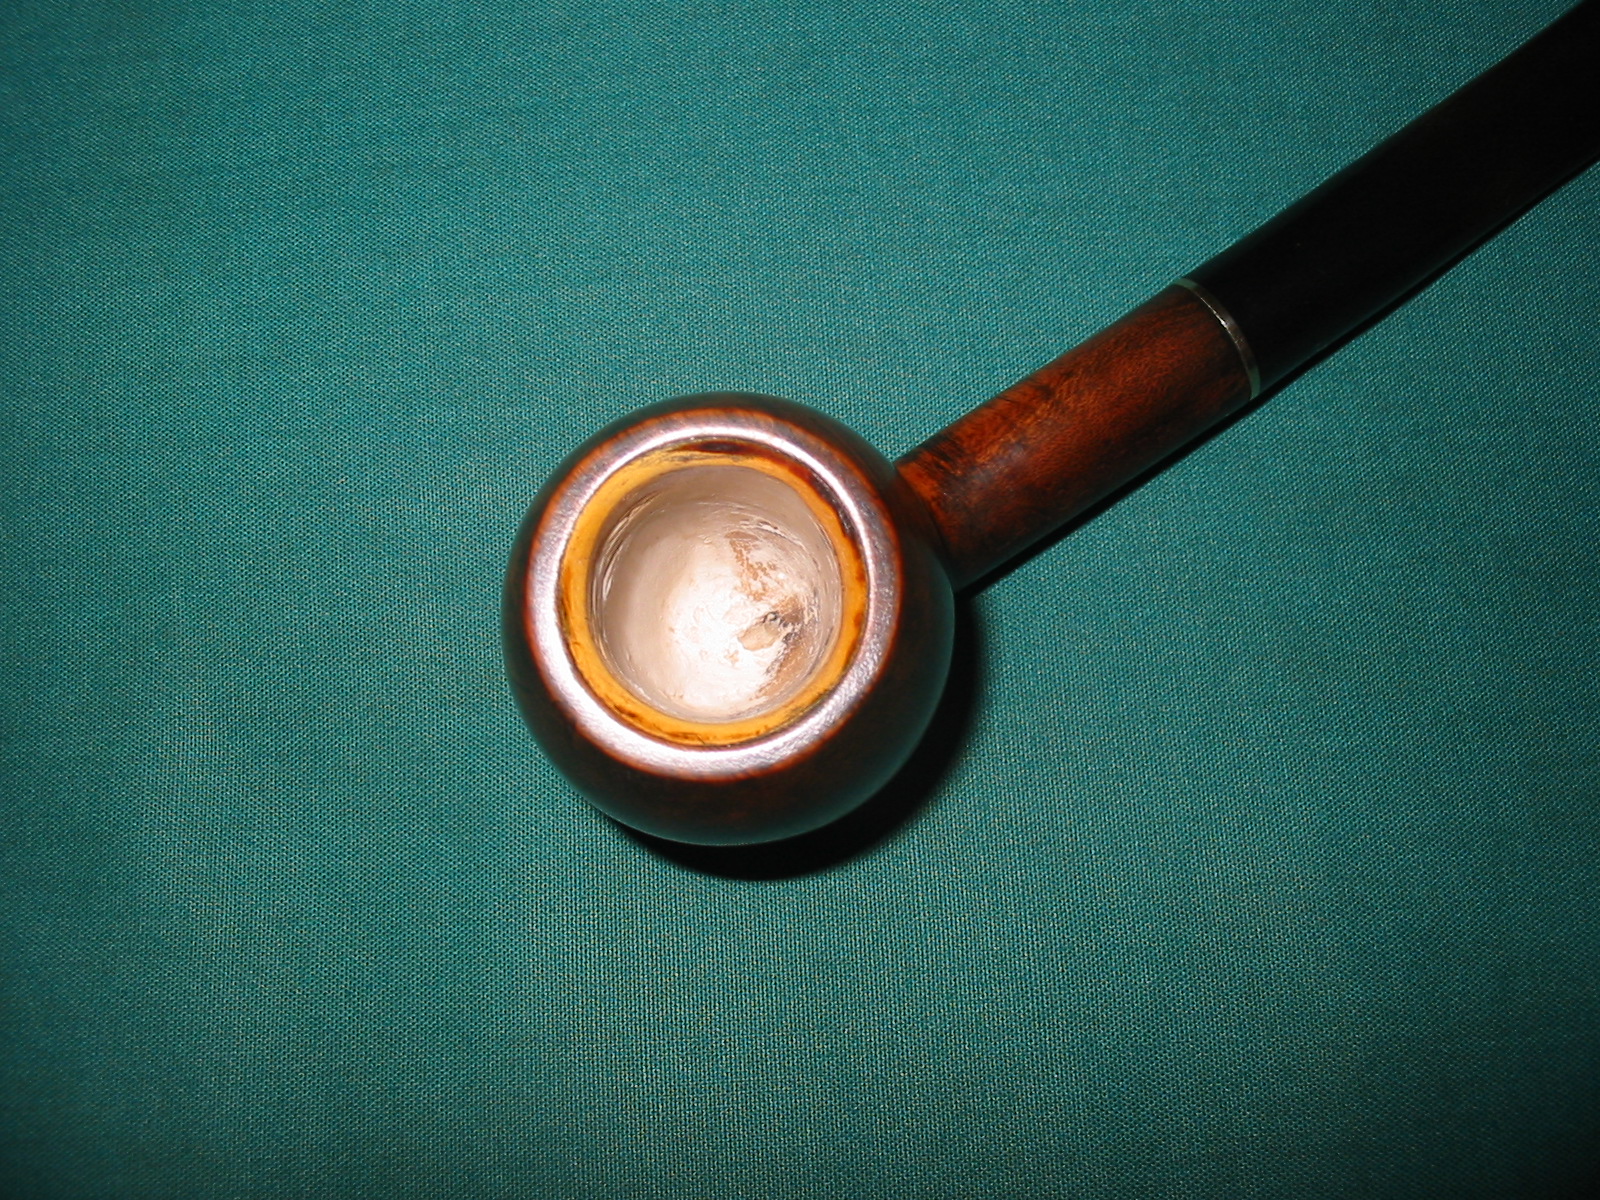
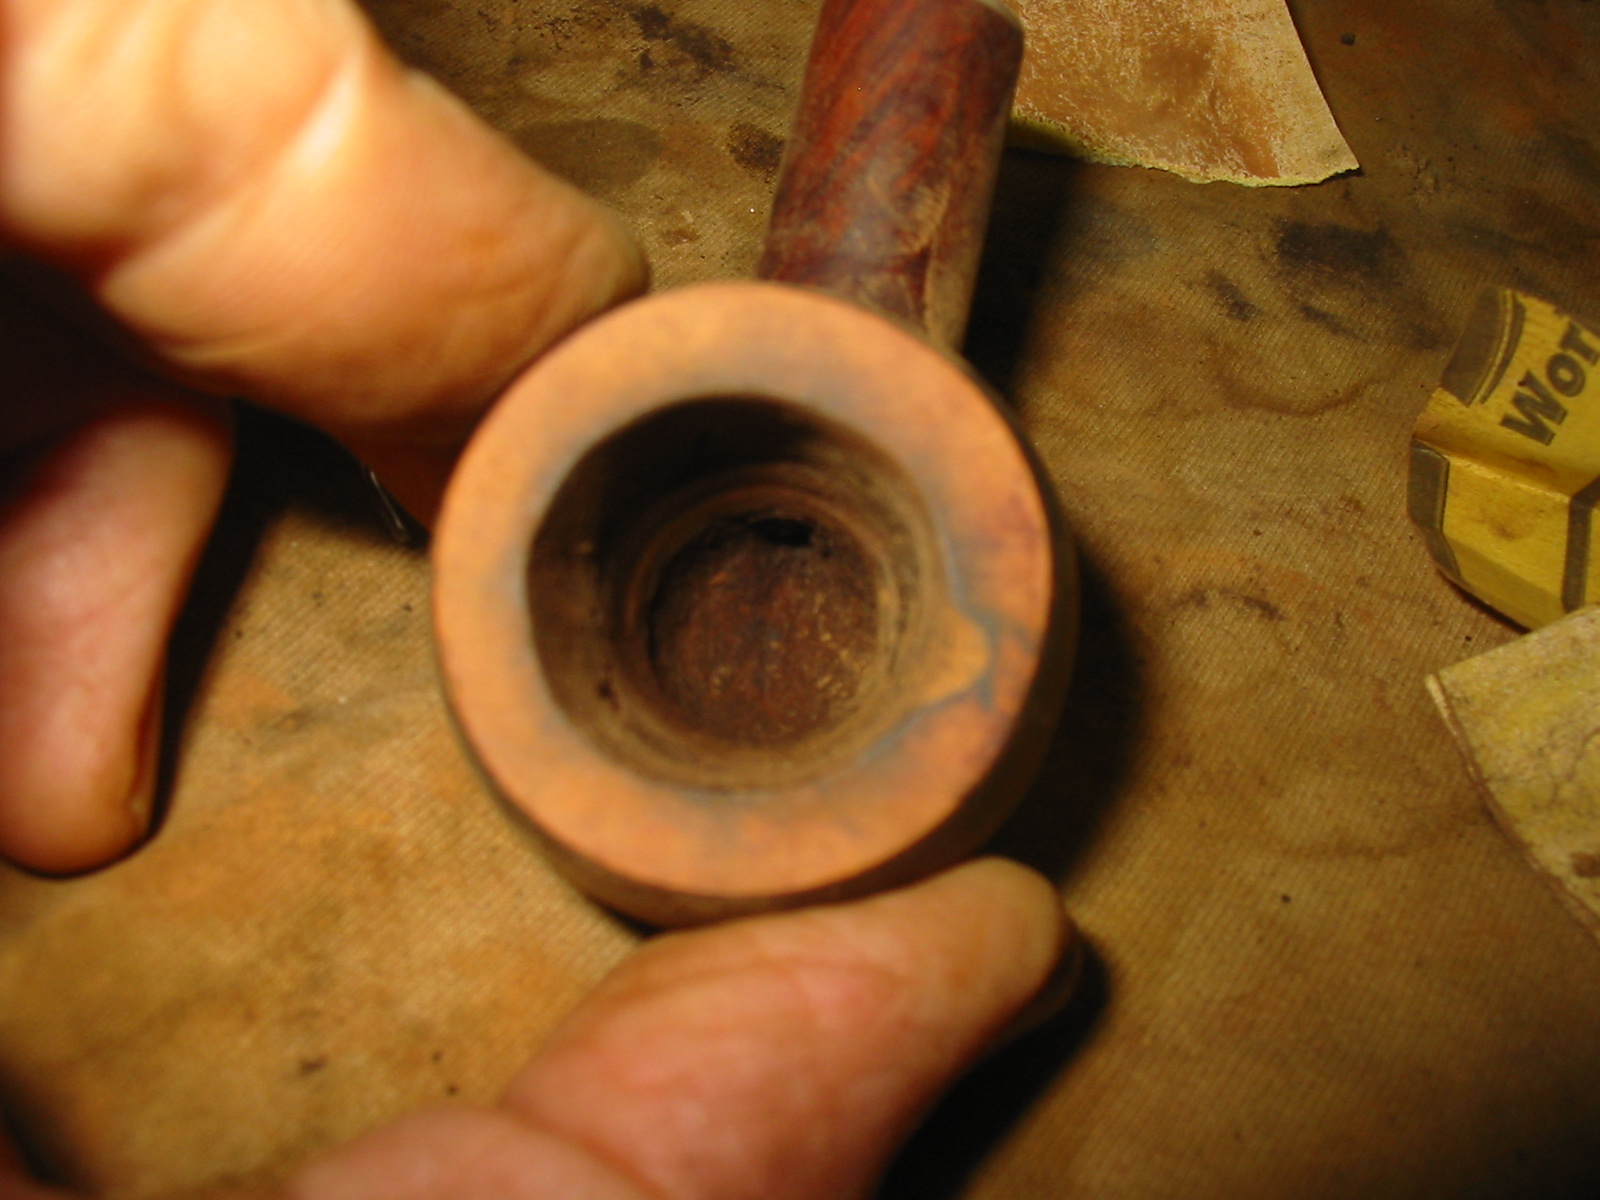
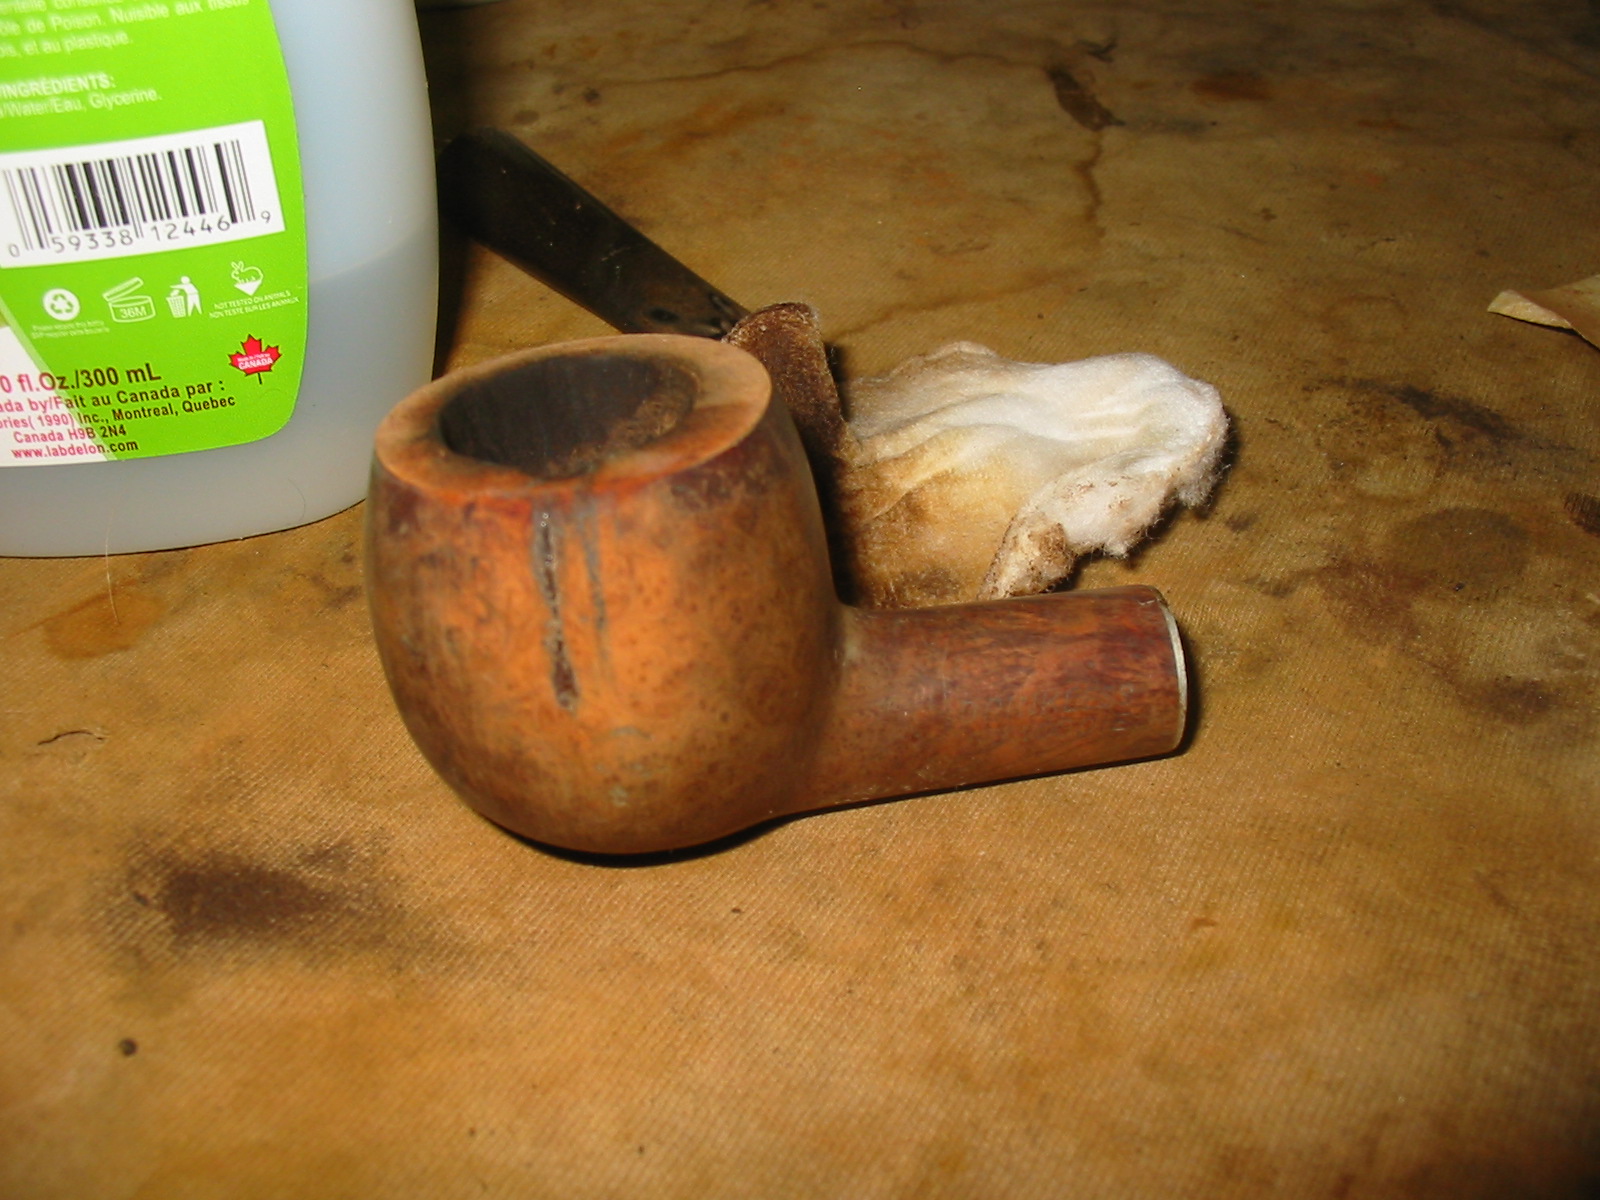
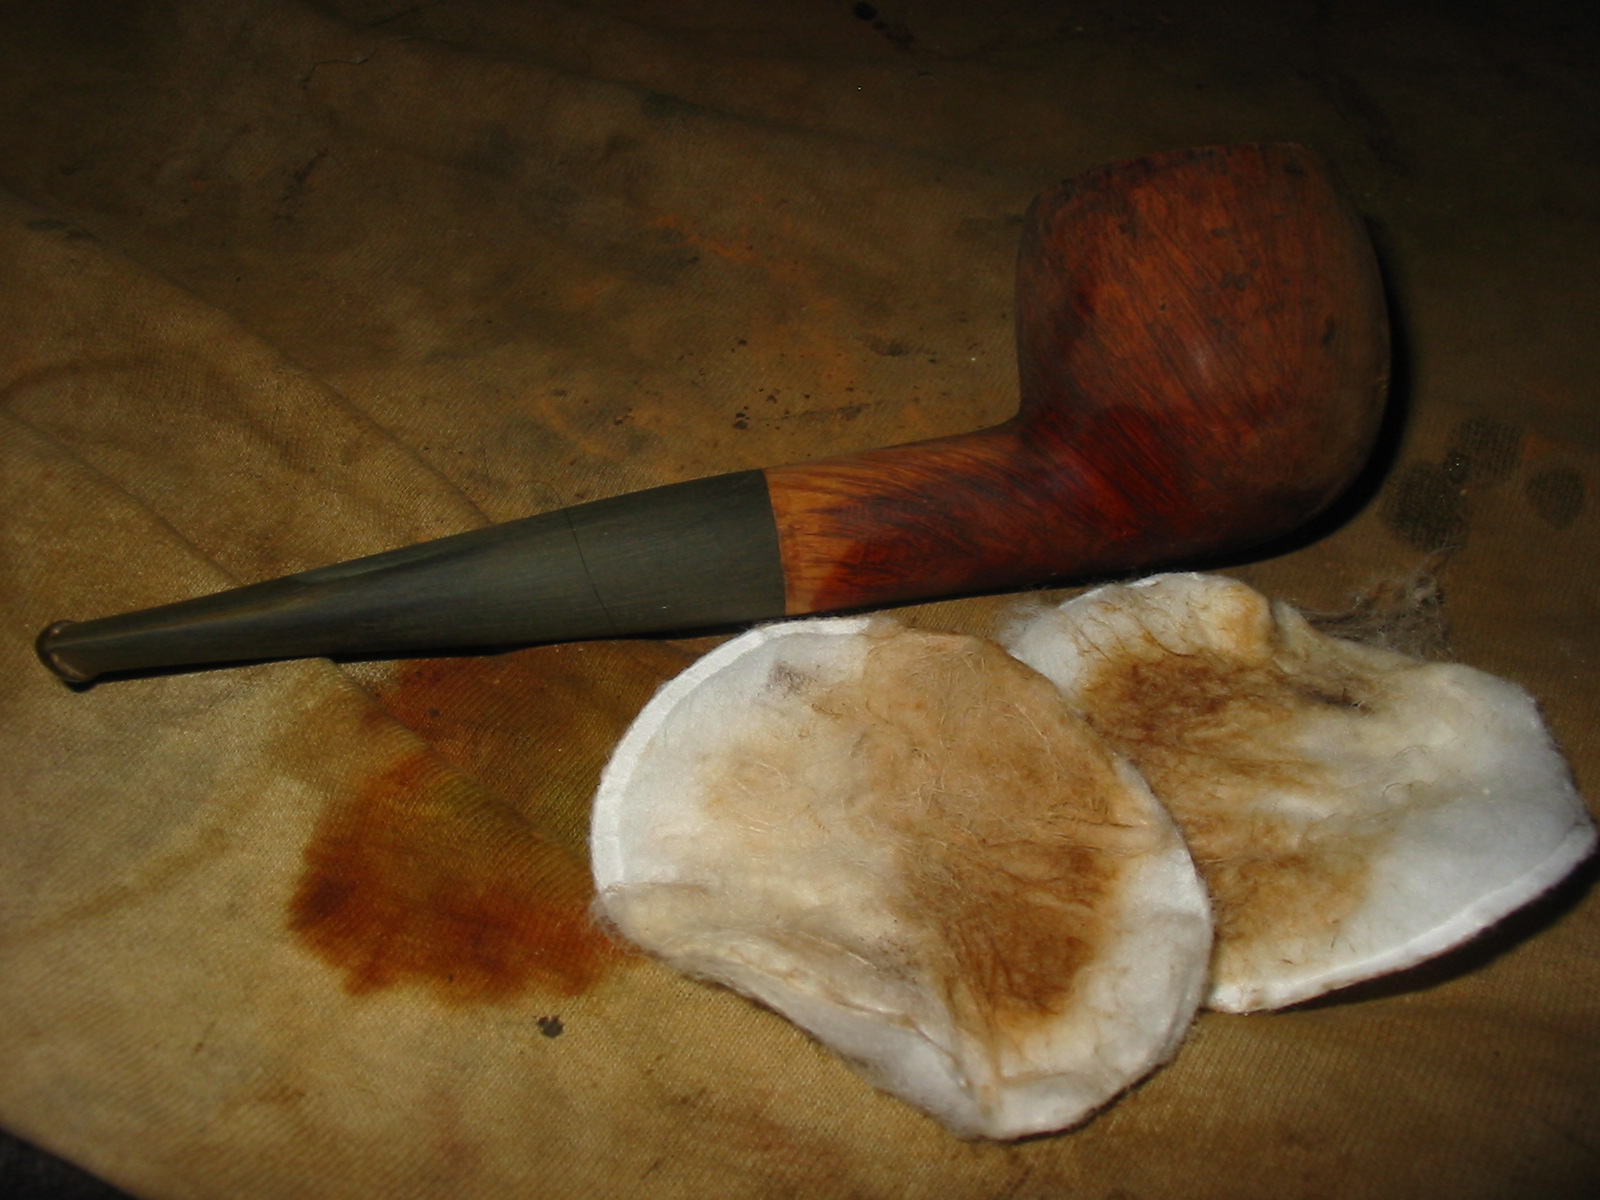
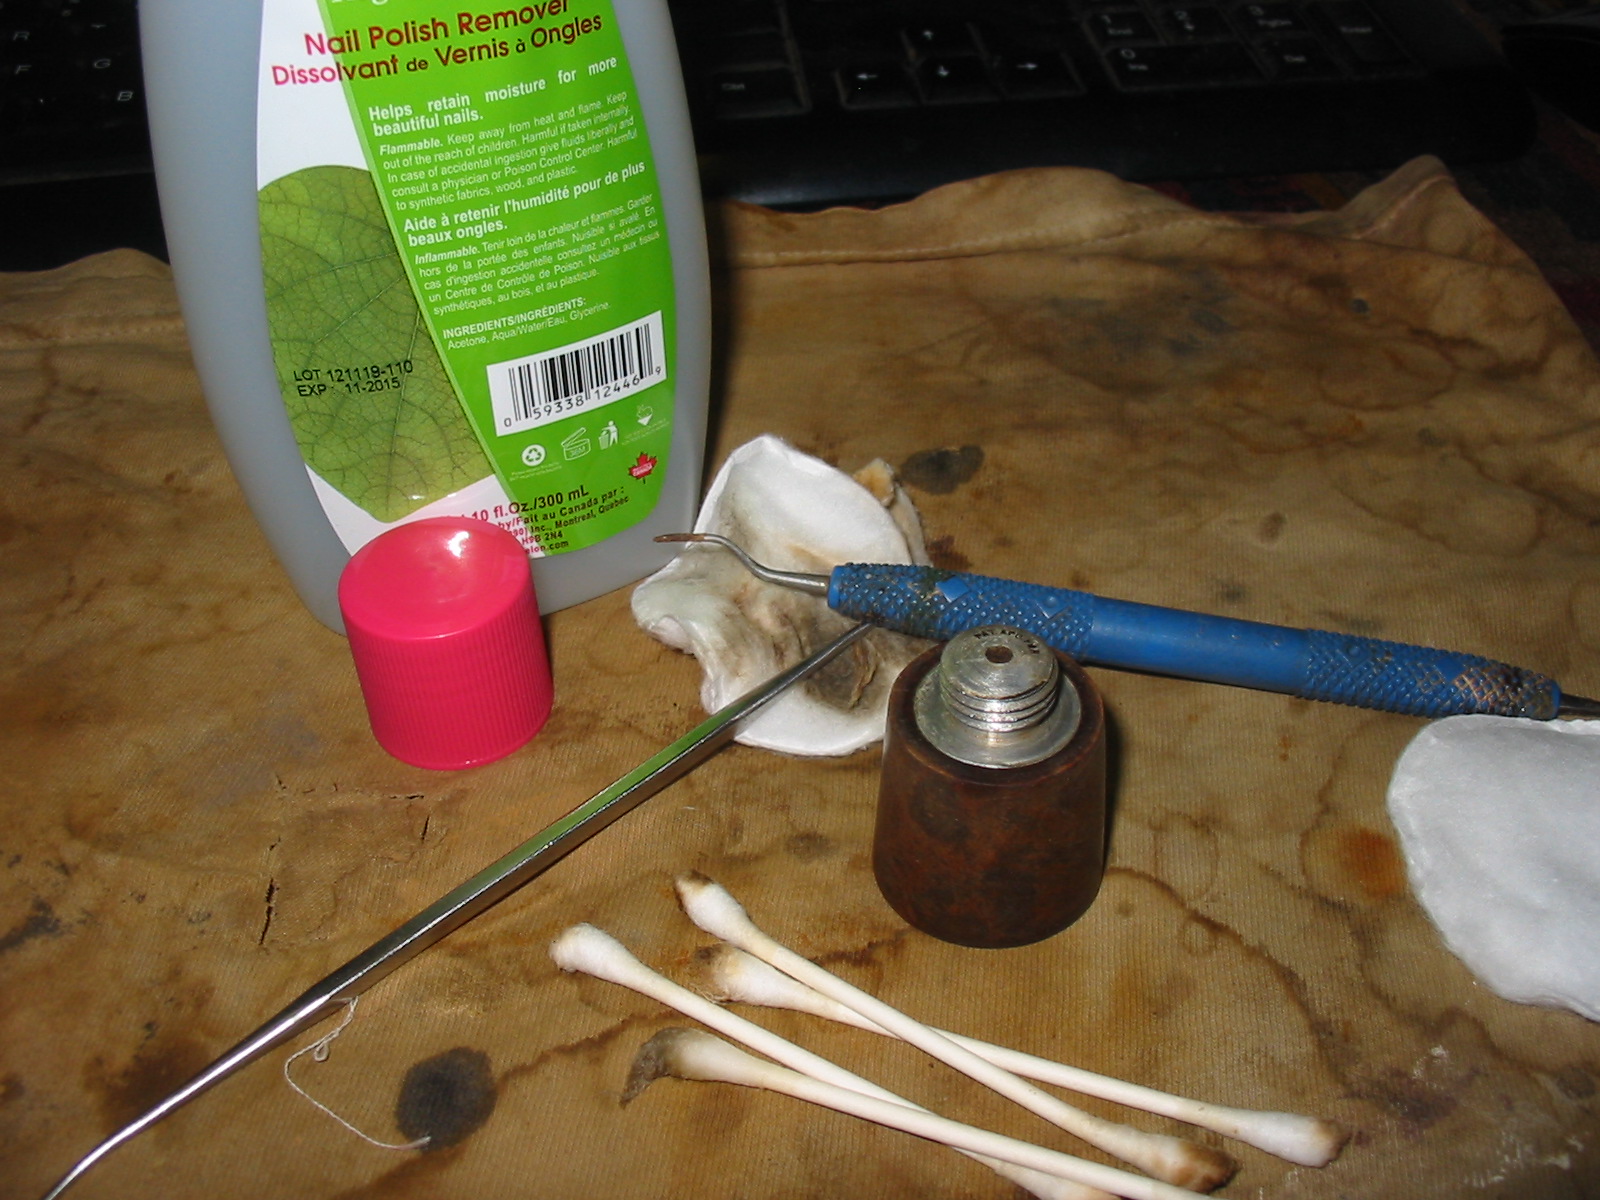
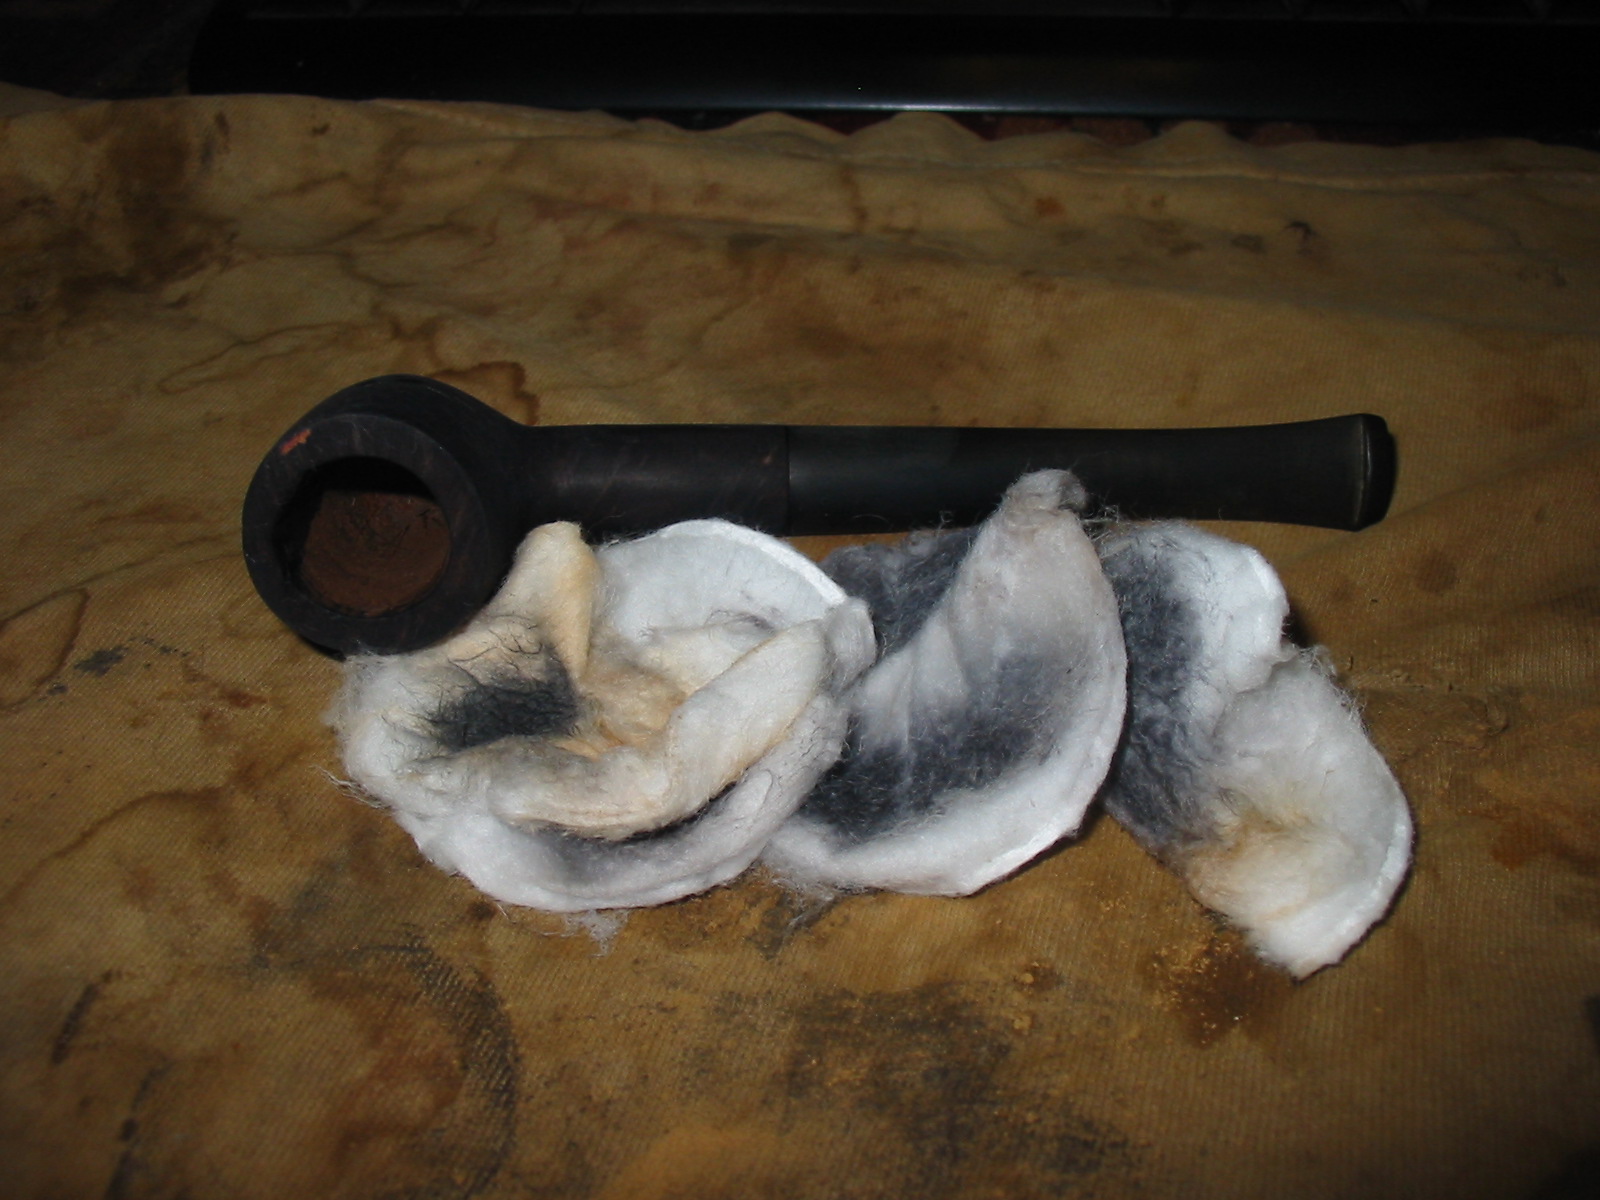
An alcohol cleansing was in order, so I dug out some cotton and Isopropyl I happened to have in my mobile pipe shop box in the motel room where my roommate and I were staying between apartments. Although I never over-pack clothes and personal hygiene products, I am like a woman when it comes to my pipes and accessories: they go everywhere with me. More or less saturating the cotton, I let the excess drip back into the bottle before applying it quickly but evenly around the outside of the bowl, rim and shank. I was gratified and horrified to see the accretion of filth disappear from the wood and ruin the first piece of cotton in no time. Already I could observe the fine grain I knew was down there, but another swab was needed to finish the process, this time applying a little pressure, in particular around the rim which was pretty well charred. To complete the rim, I switched to a bristly pipe cleaner dipped in the alcohol and gently moved it around the top of the bowl, watching as I did so the buildup of black burns transfer to the cleaner and rotating the thin bristles as needed until they, too, were a nasty dark brown. Again, a second bristle cleaner was needed, but when I was done the rim was like new.
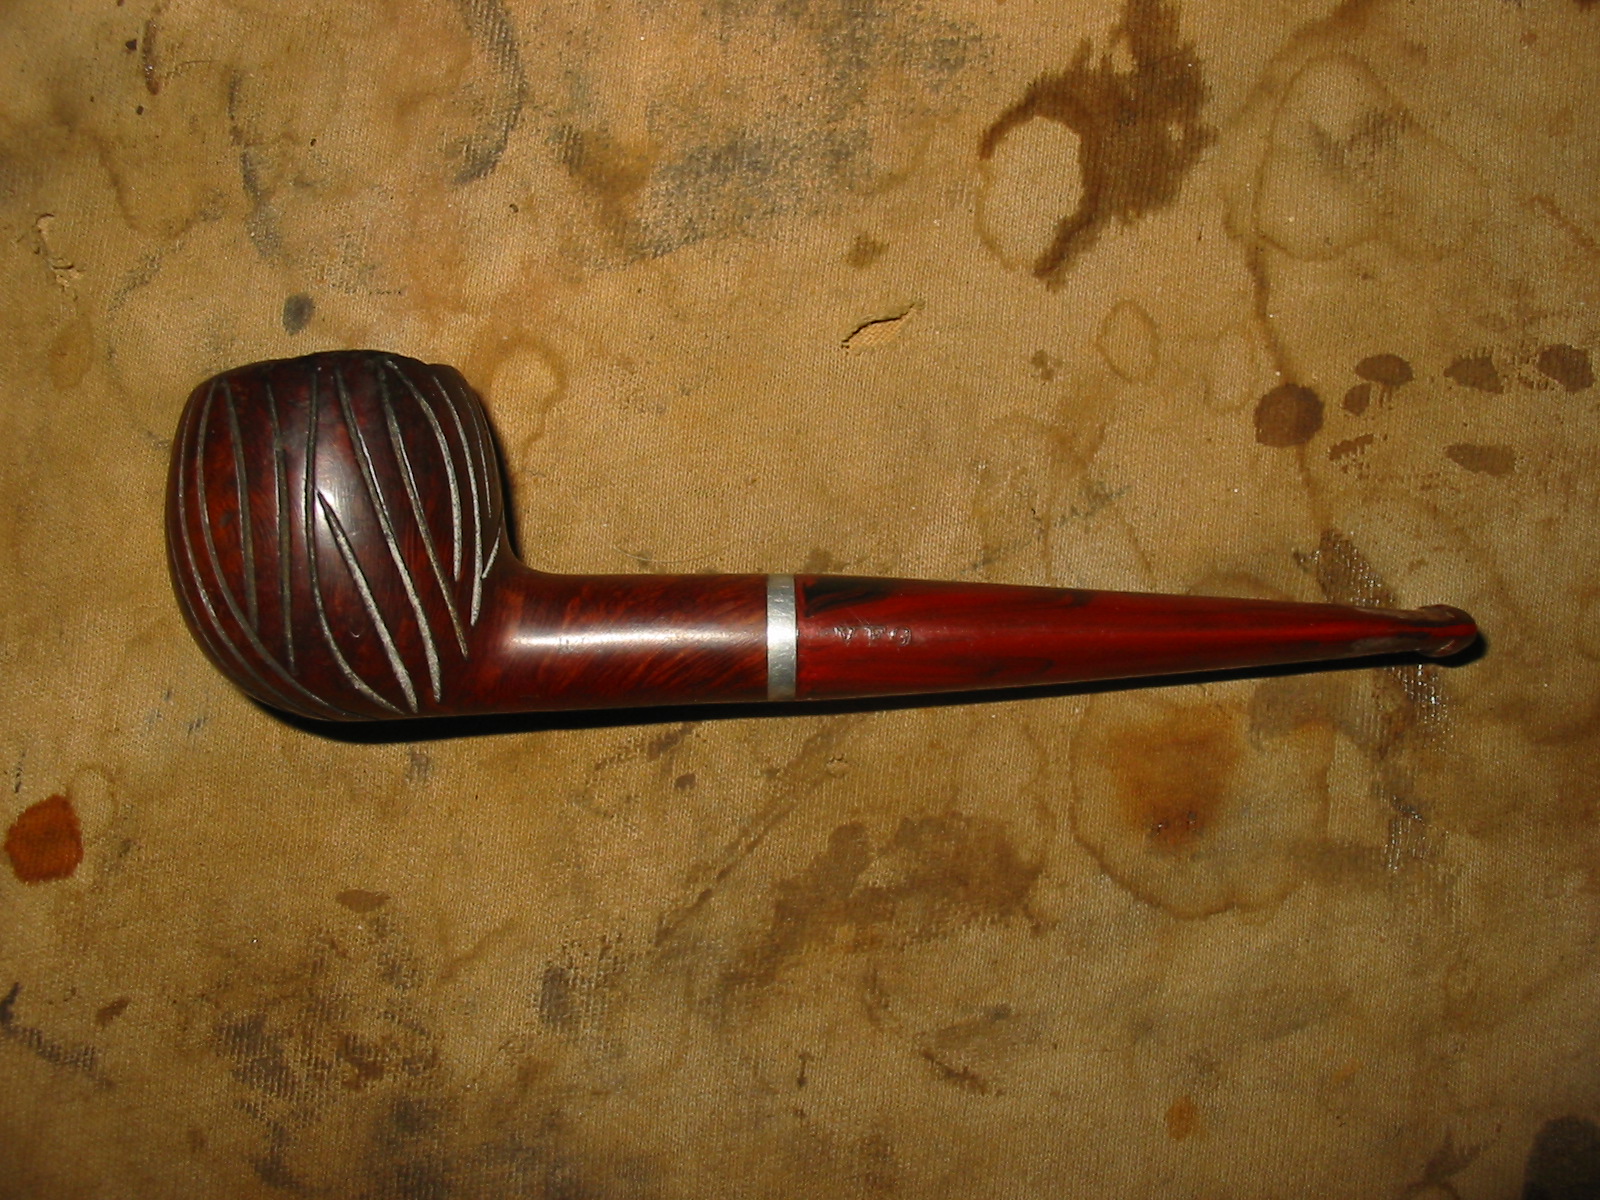
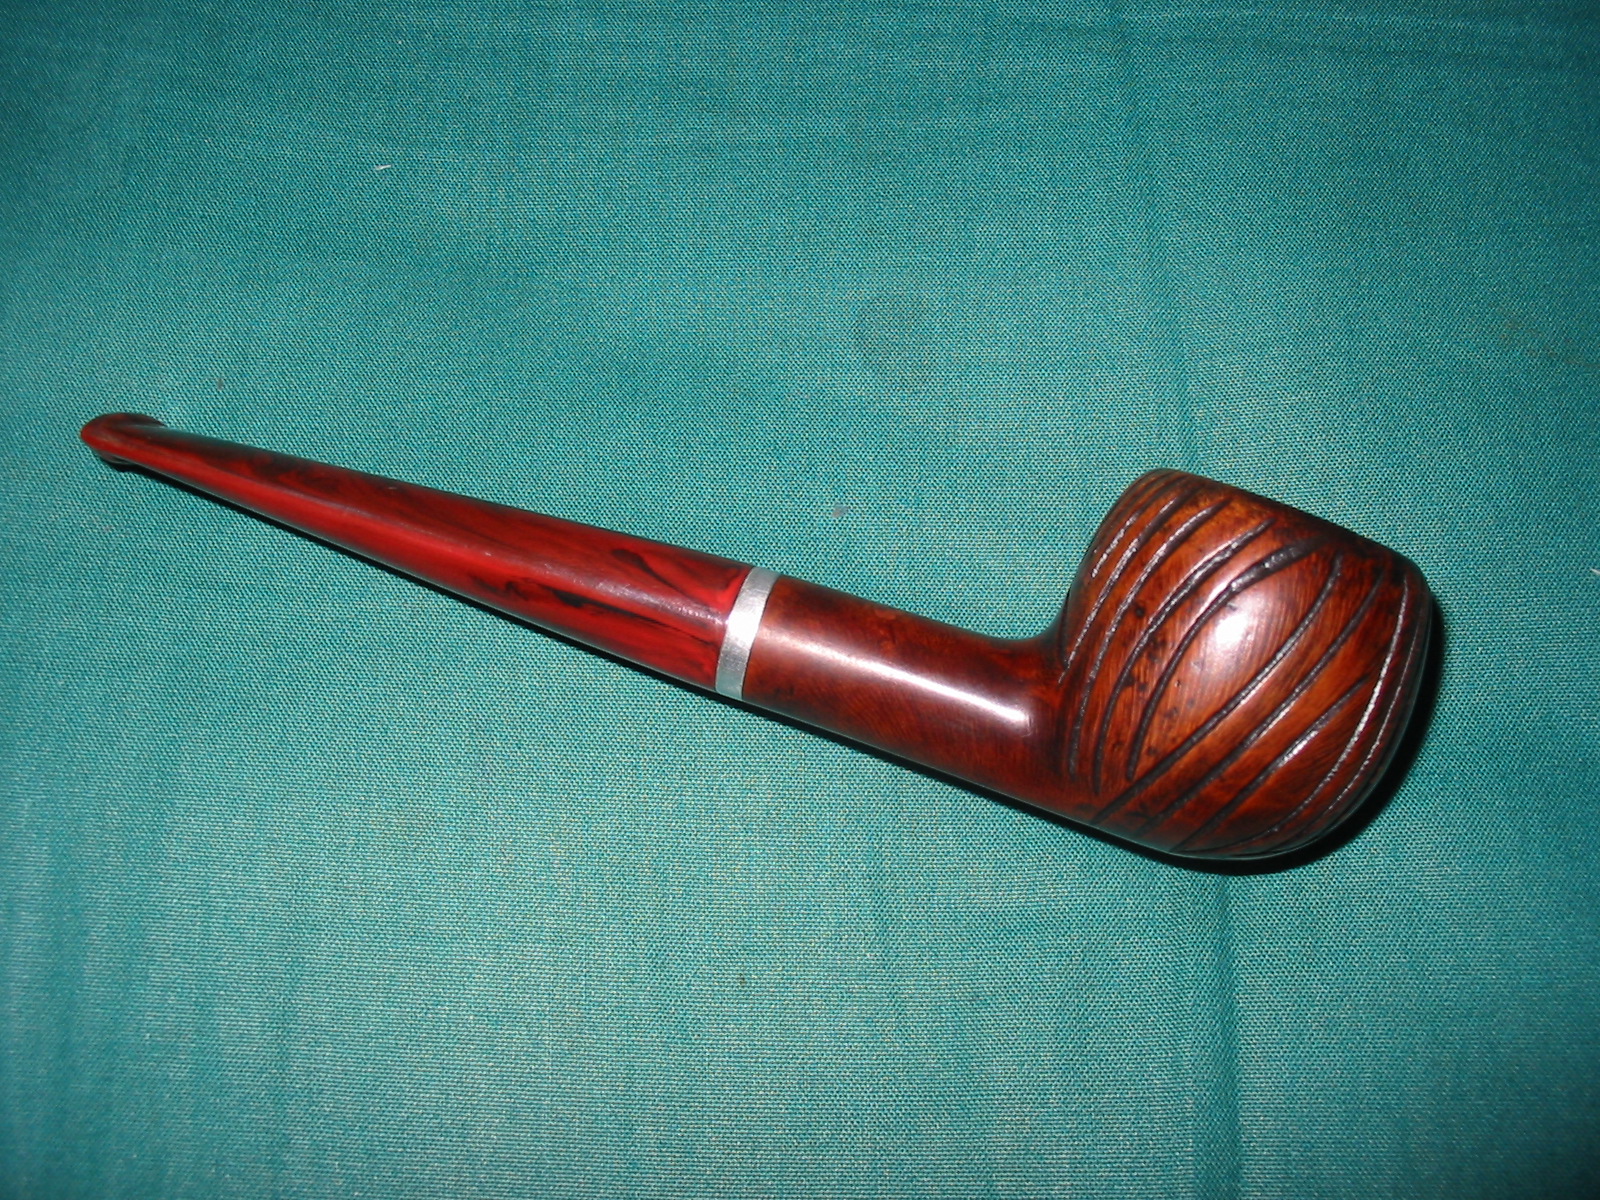
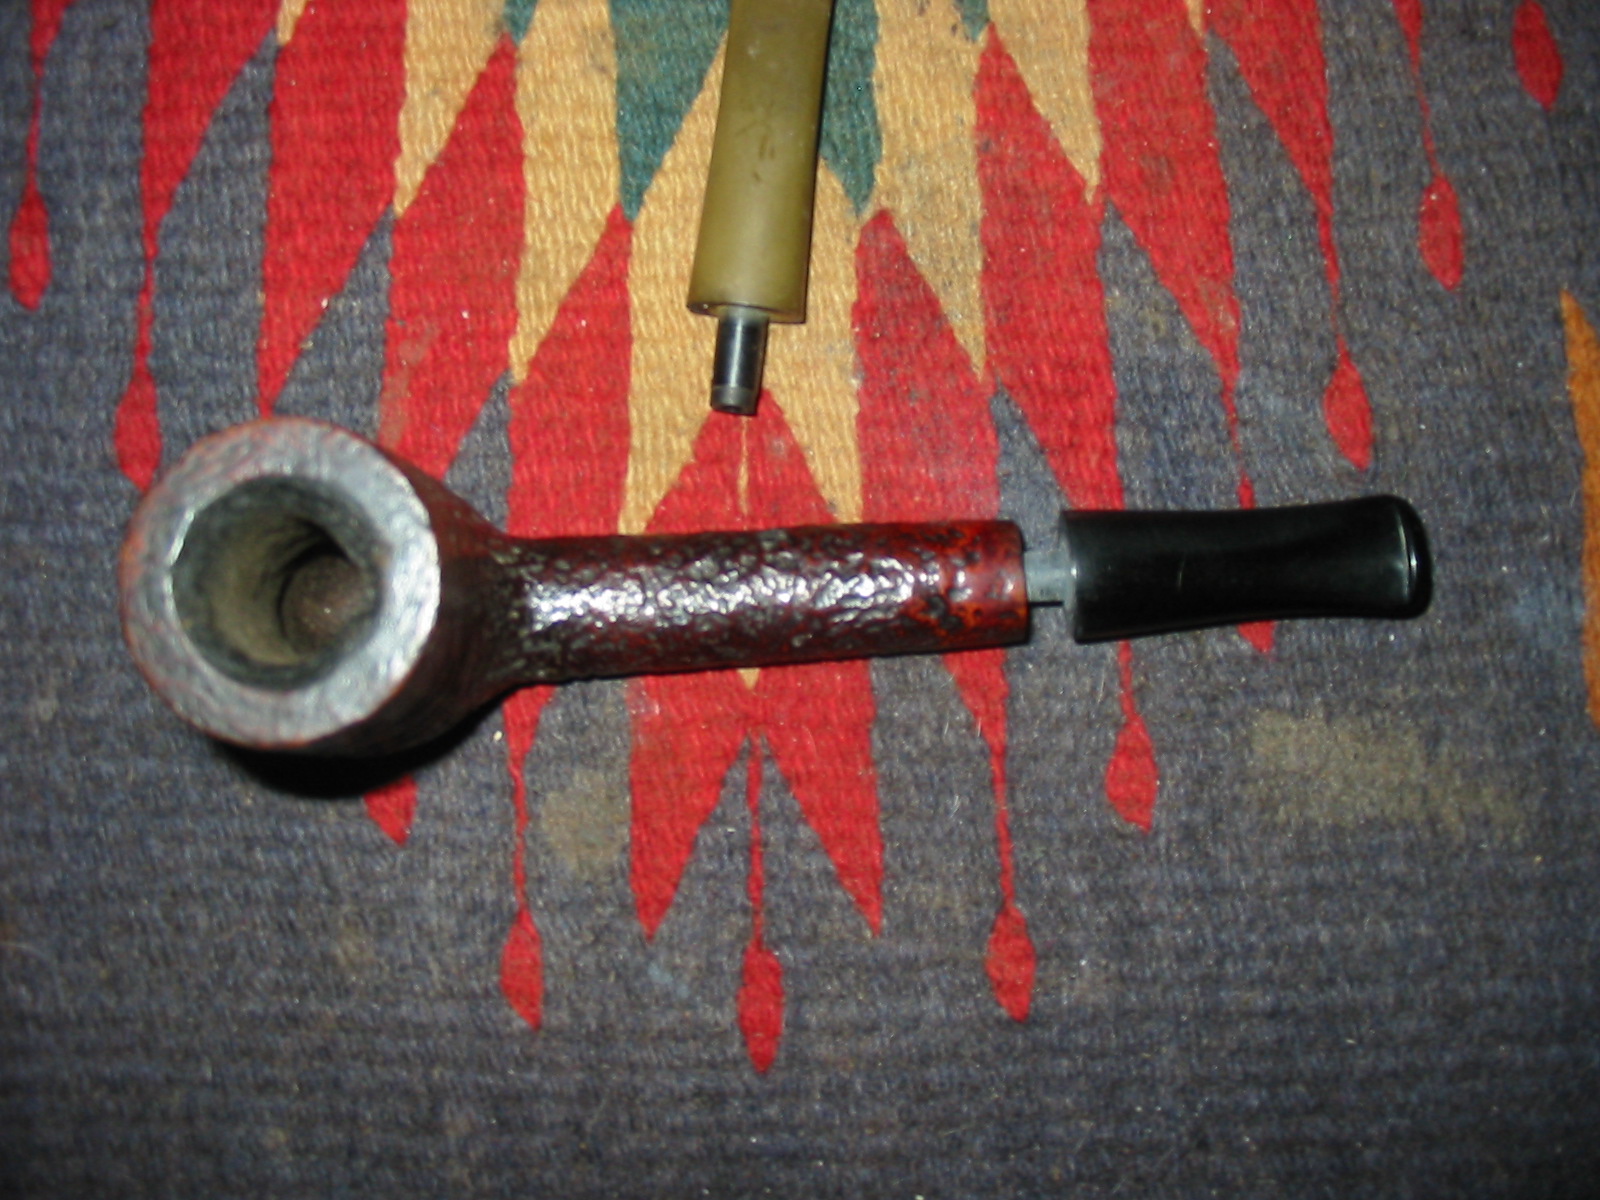
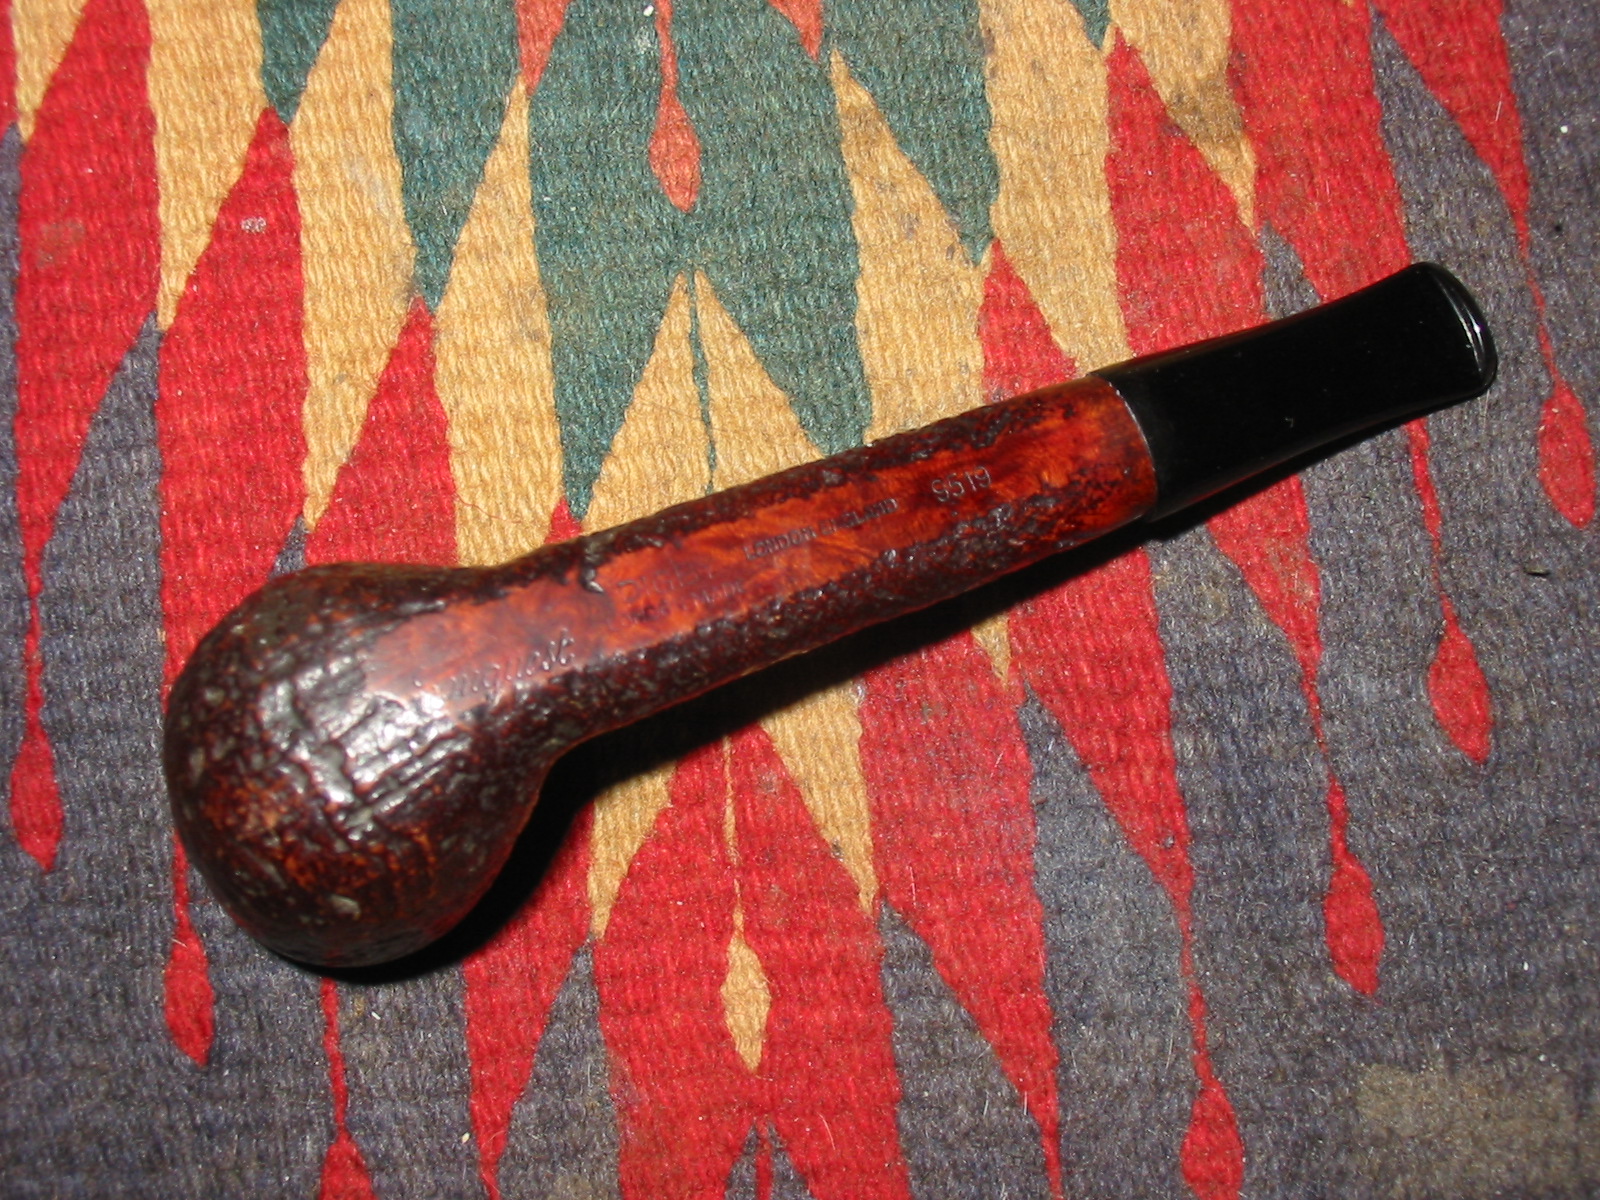
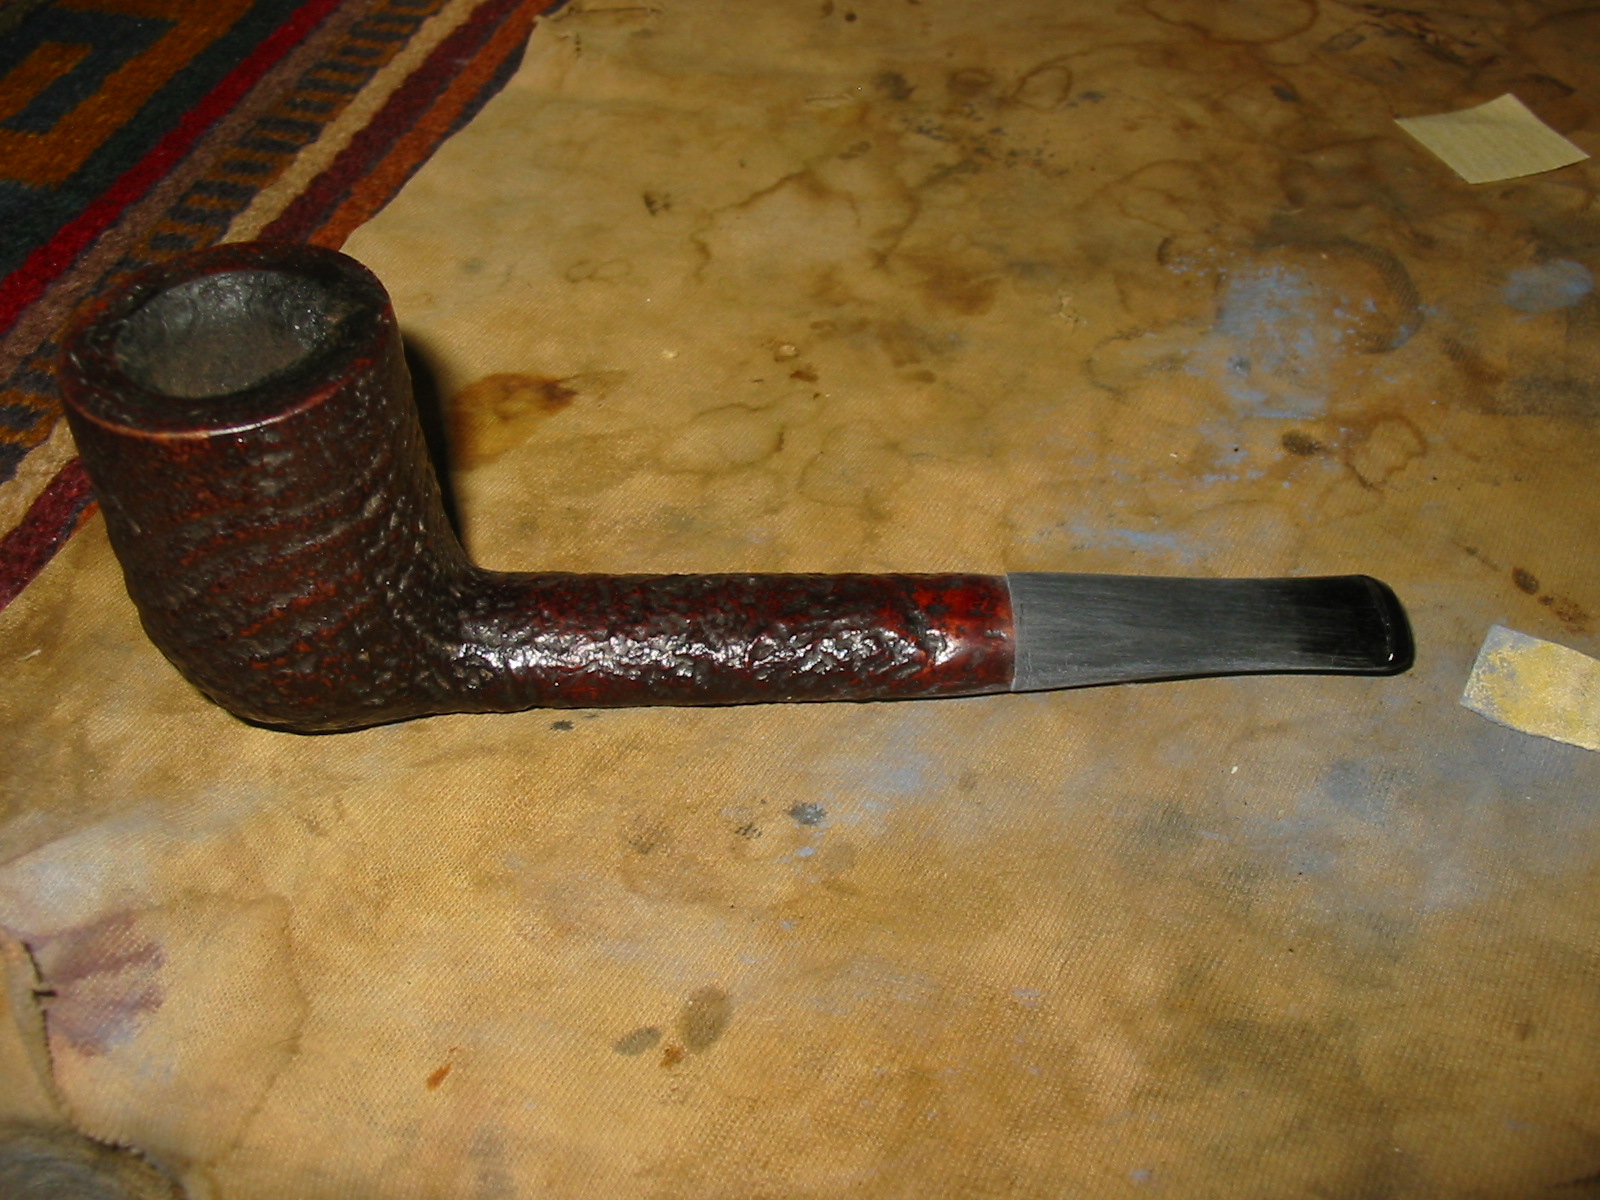
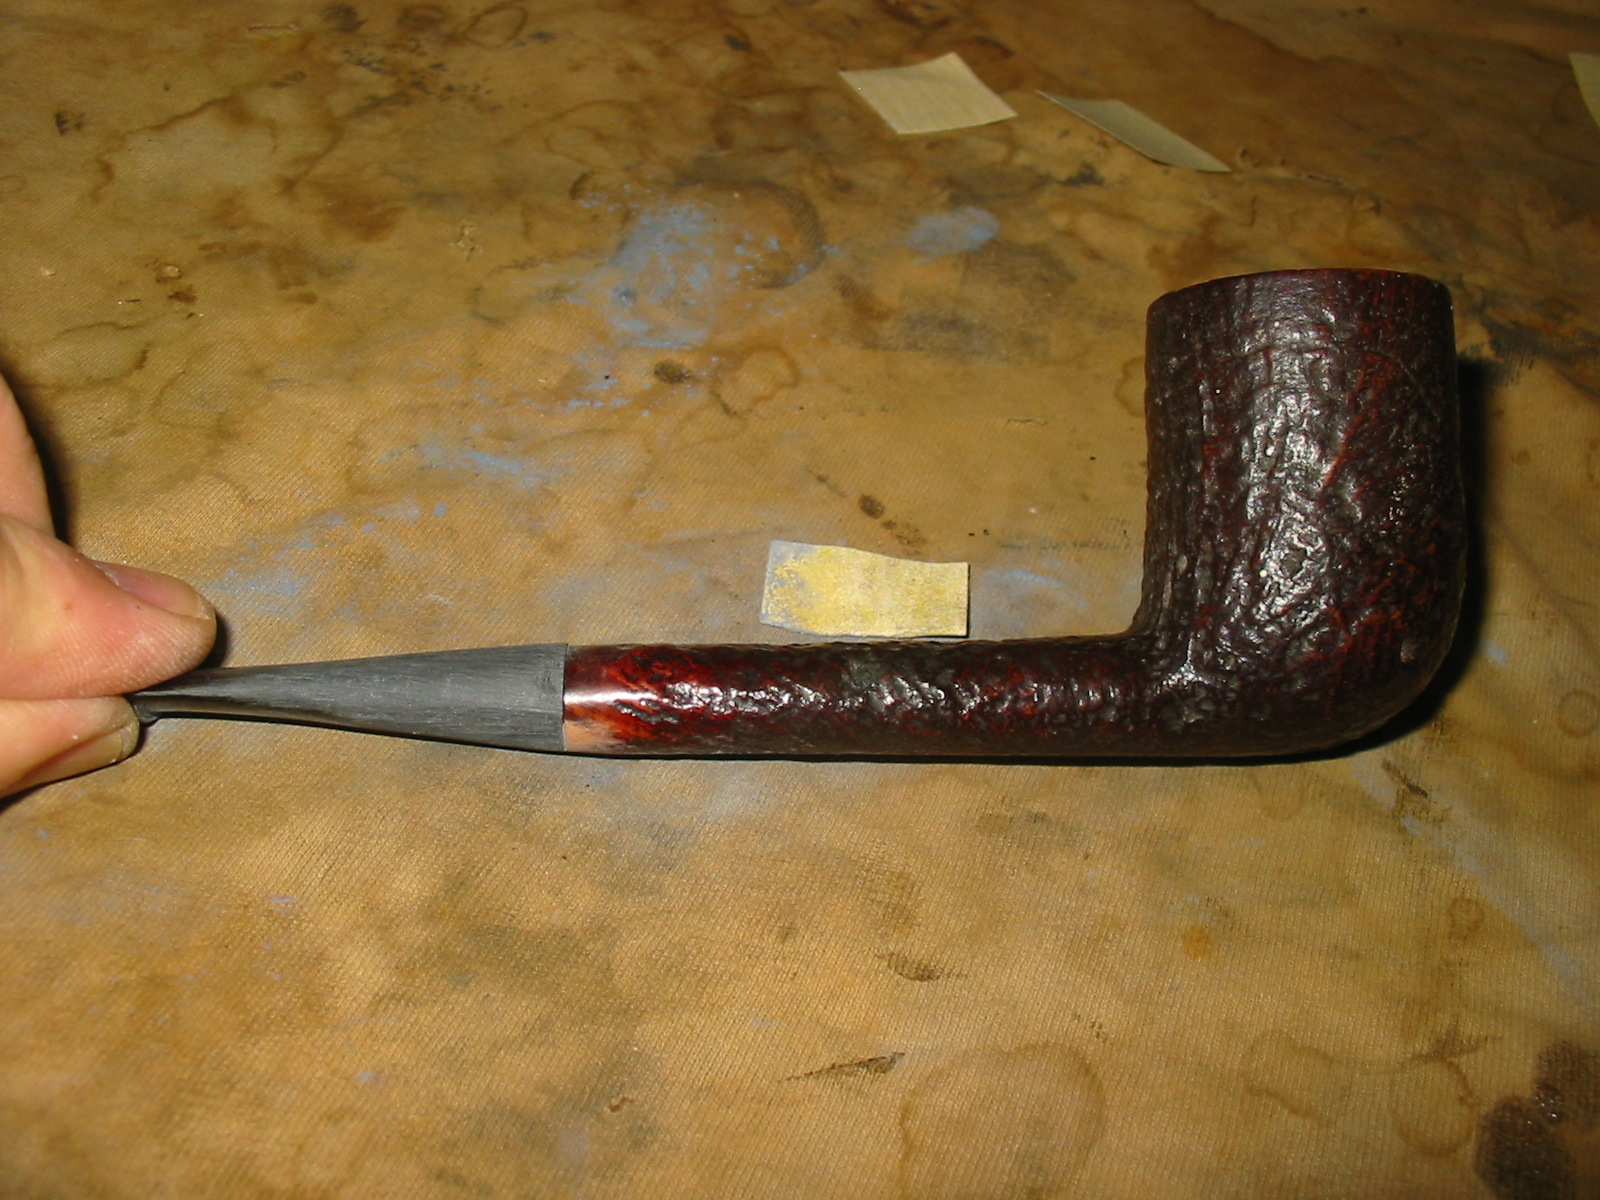
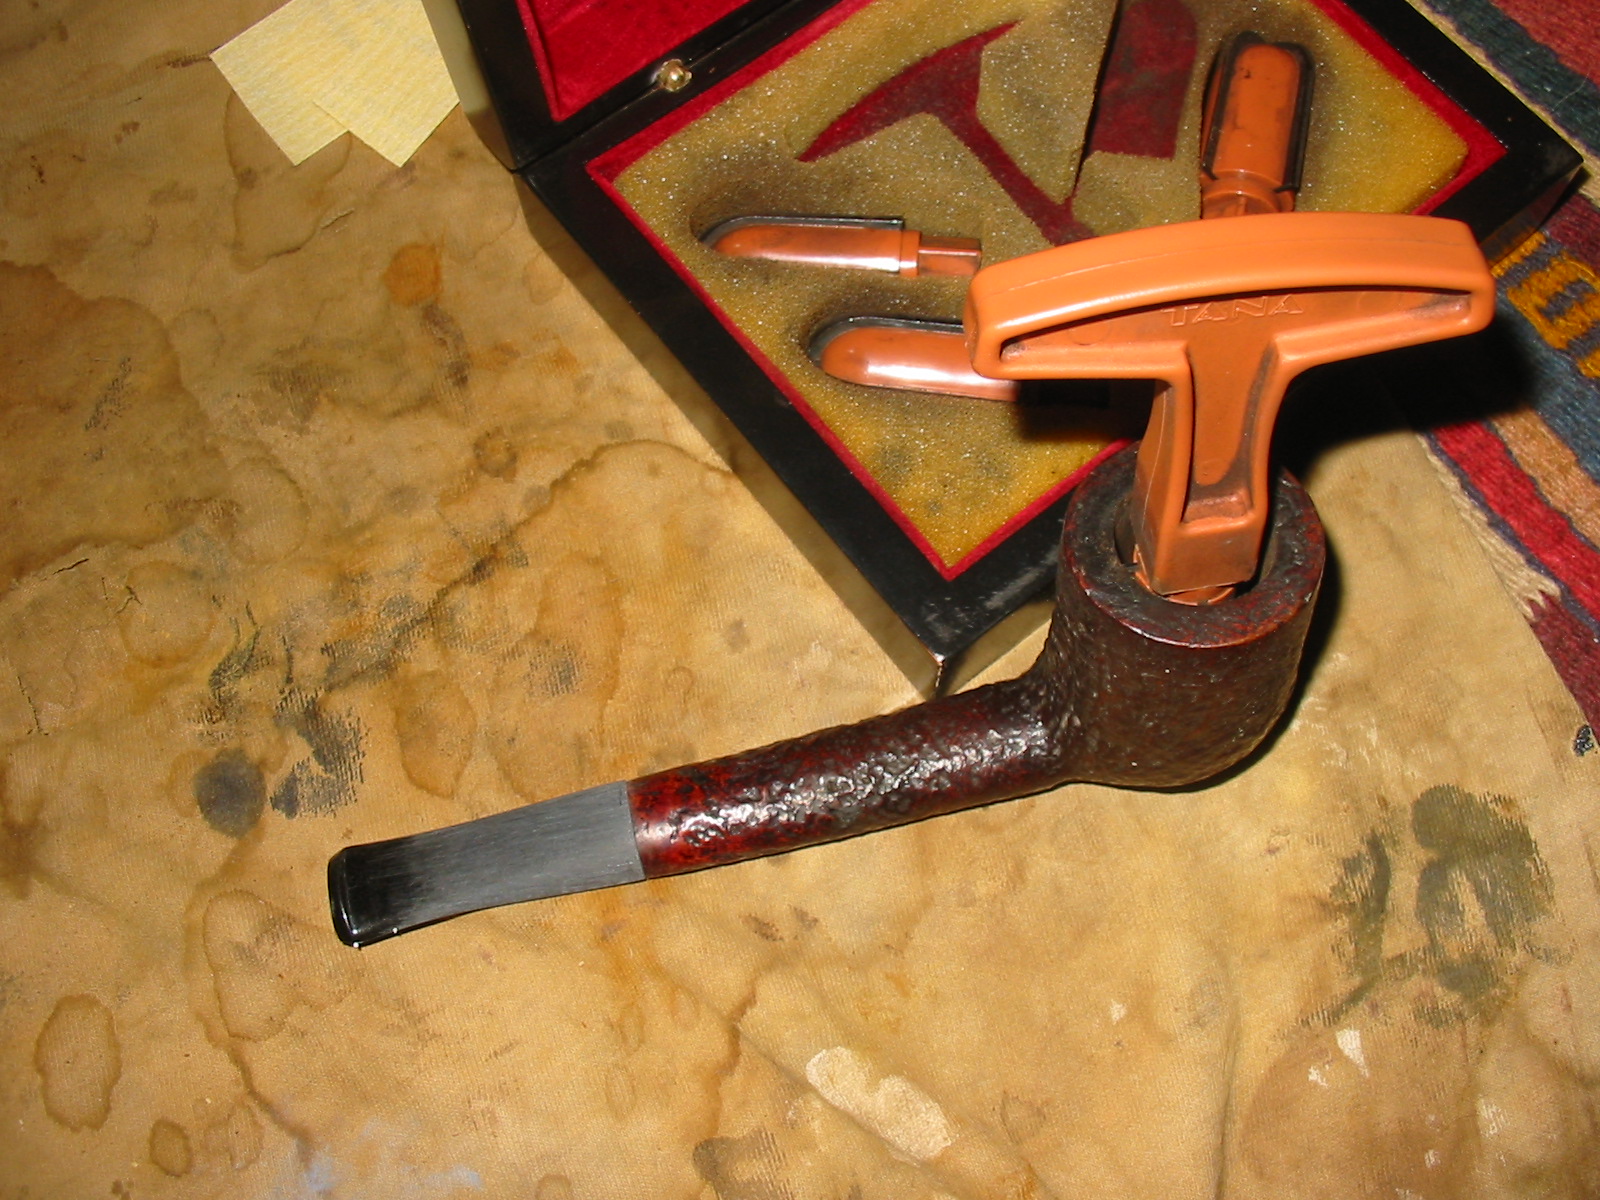
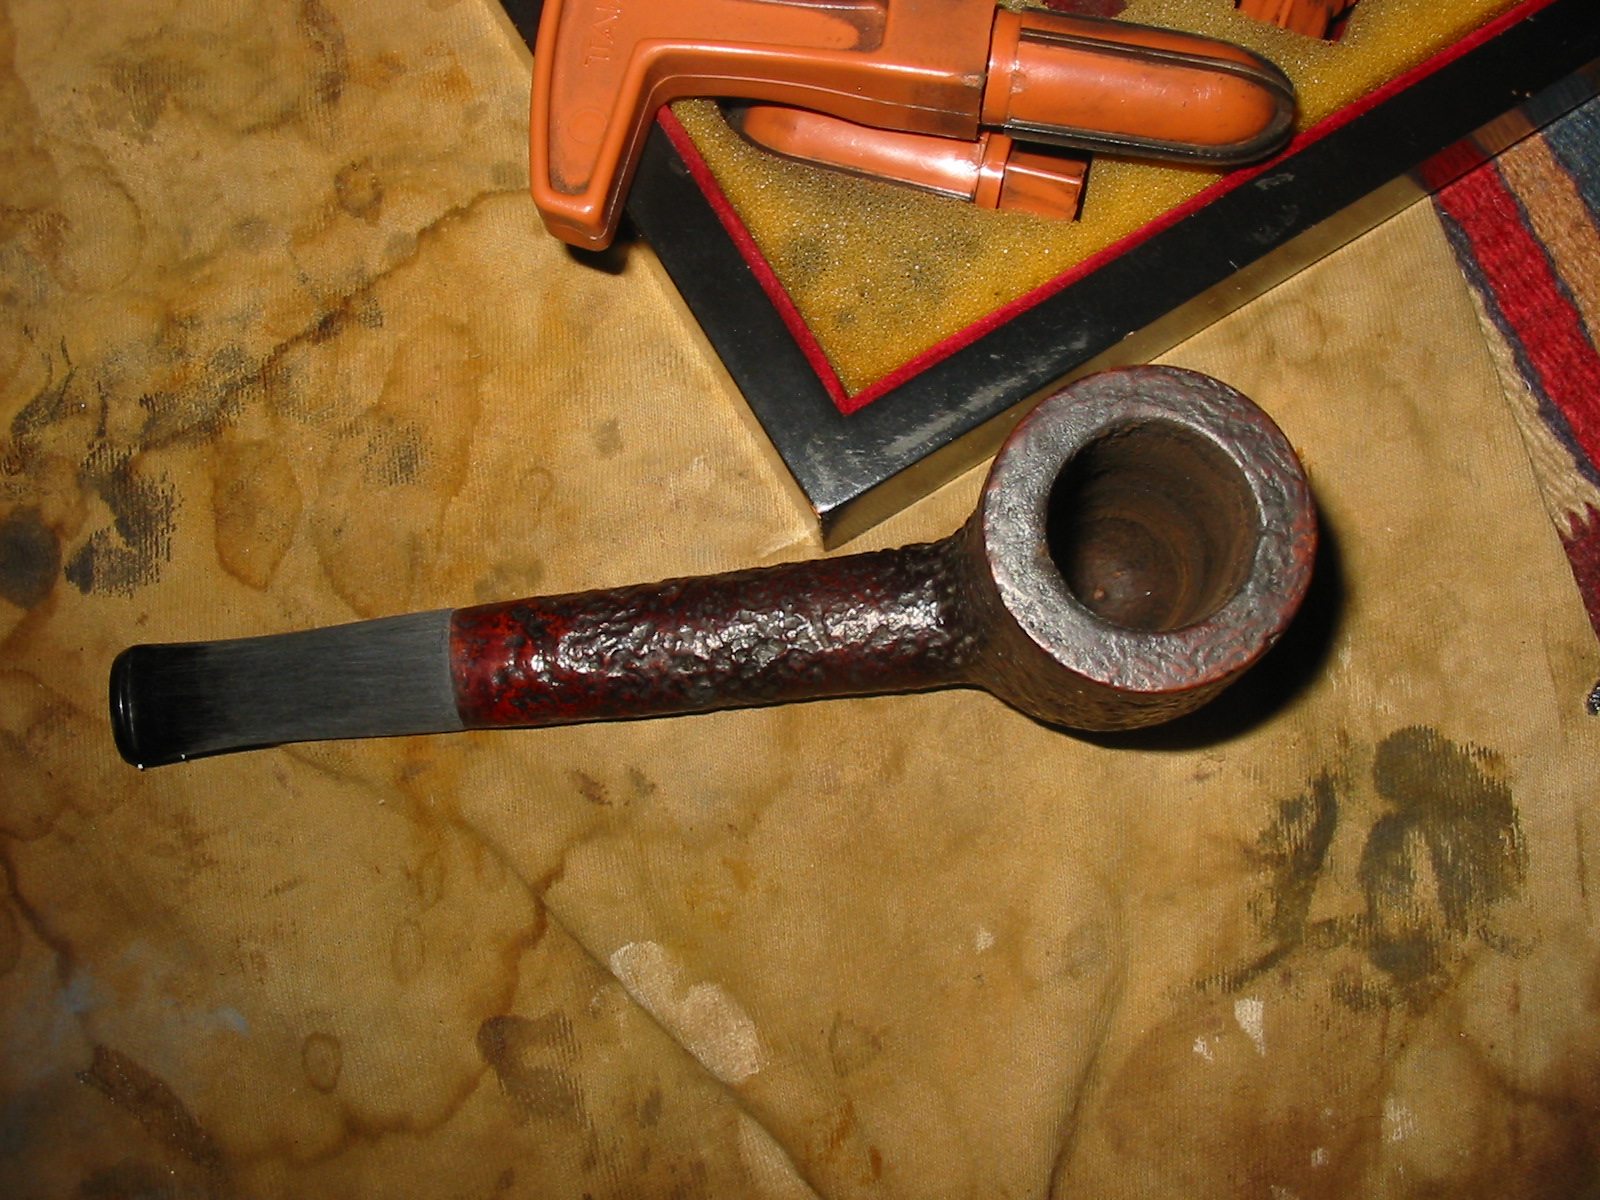
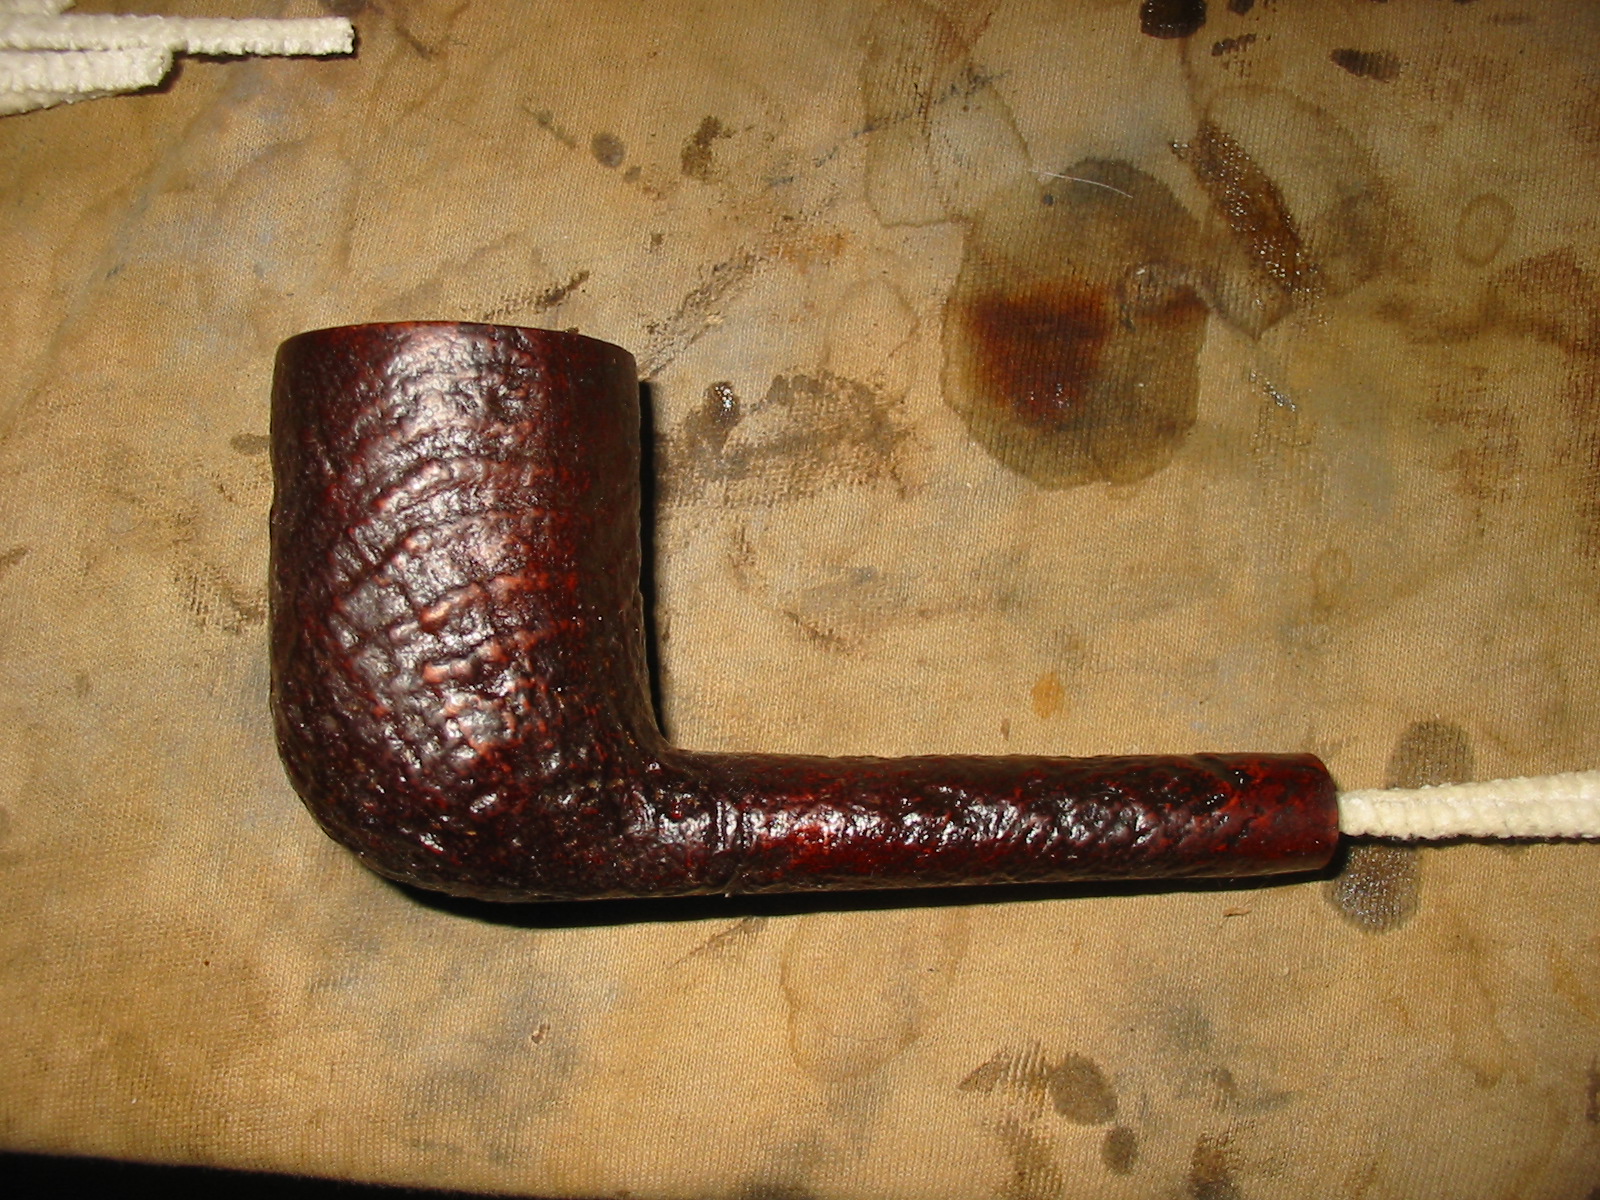
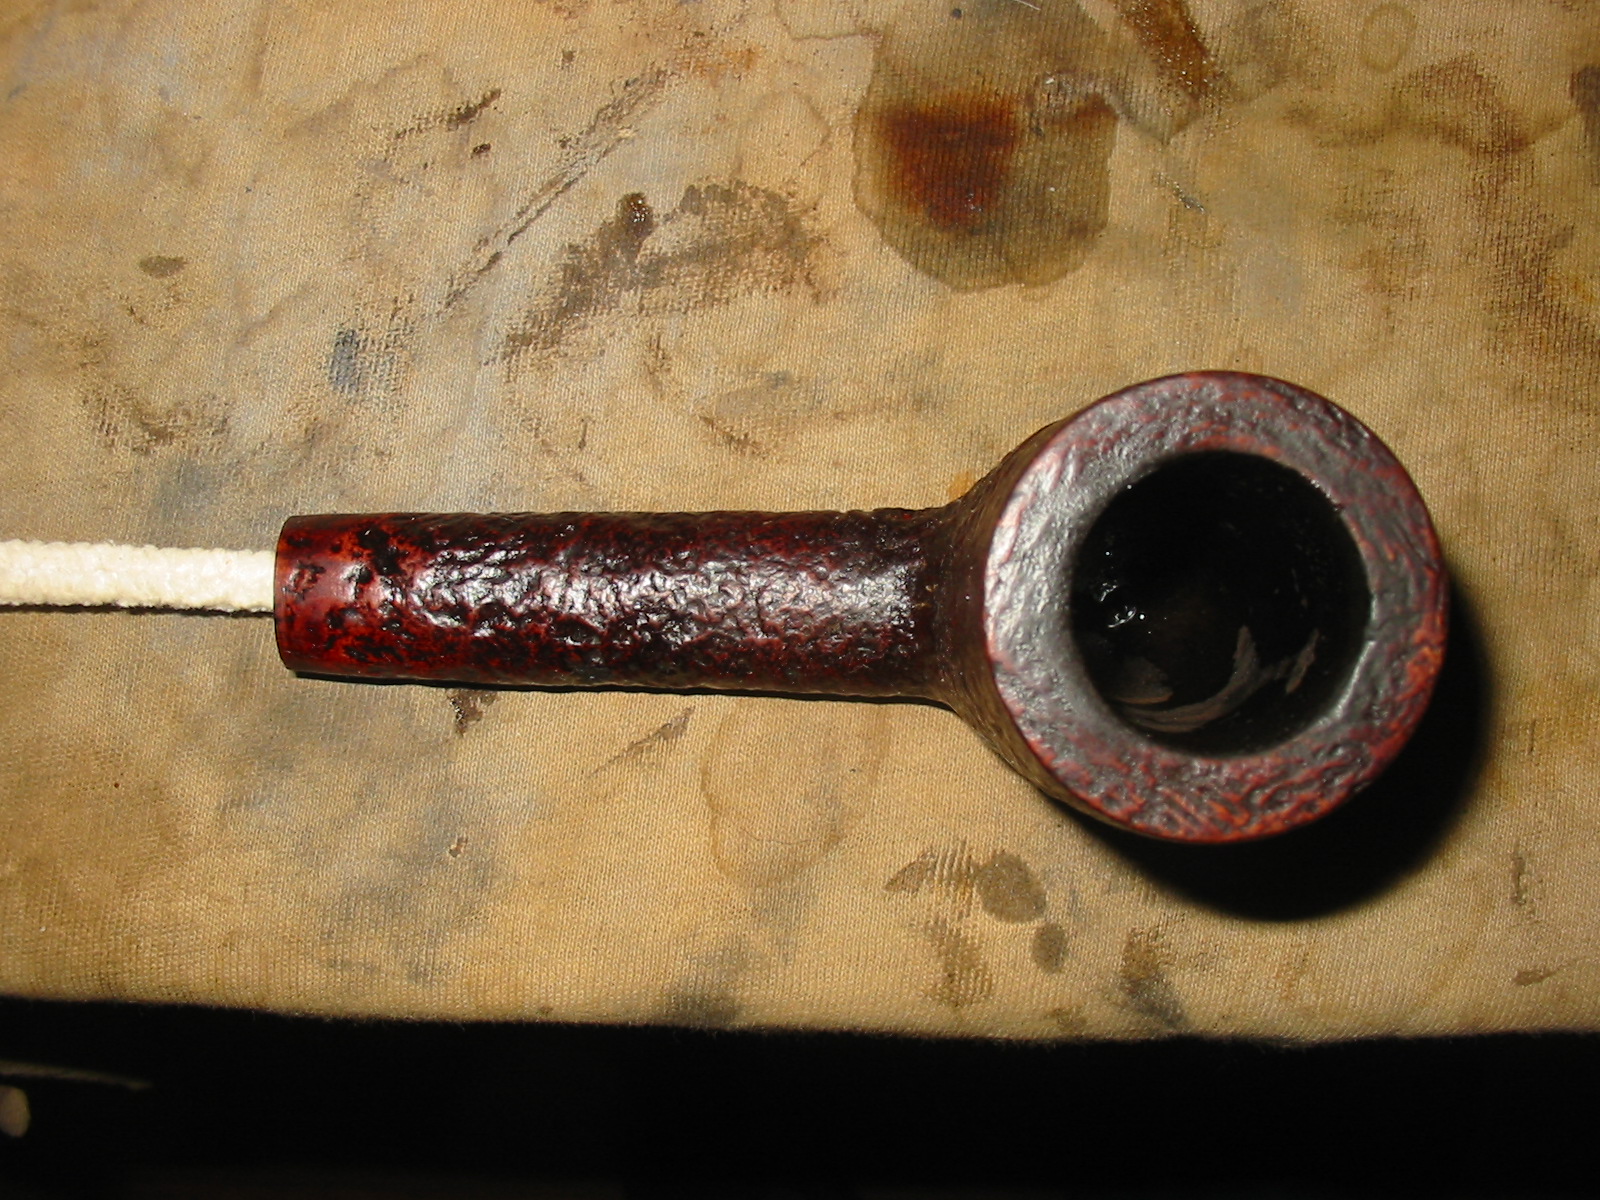
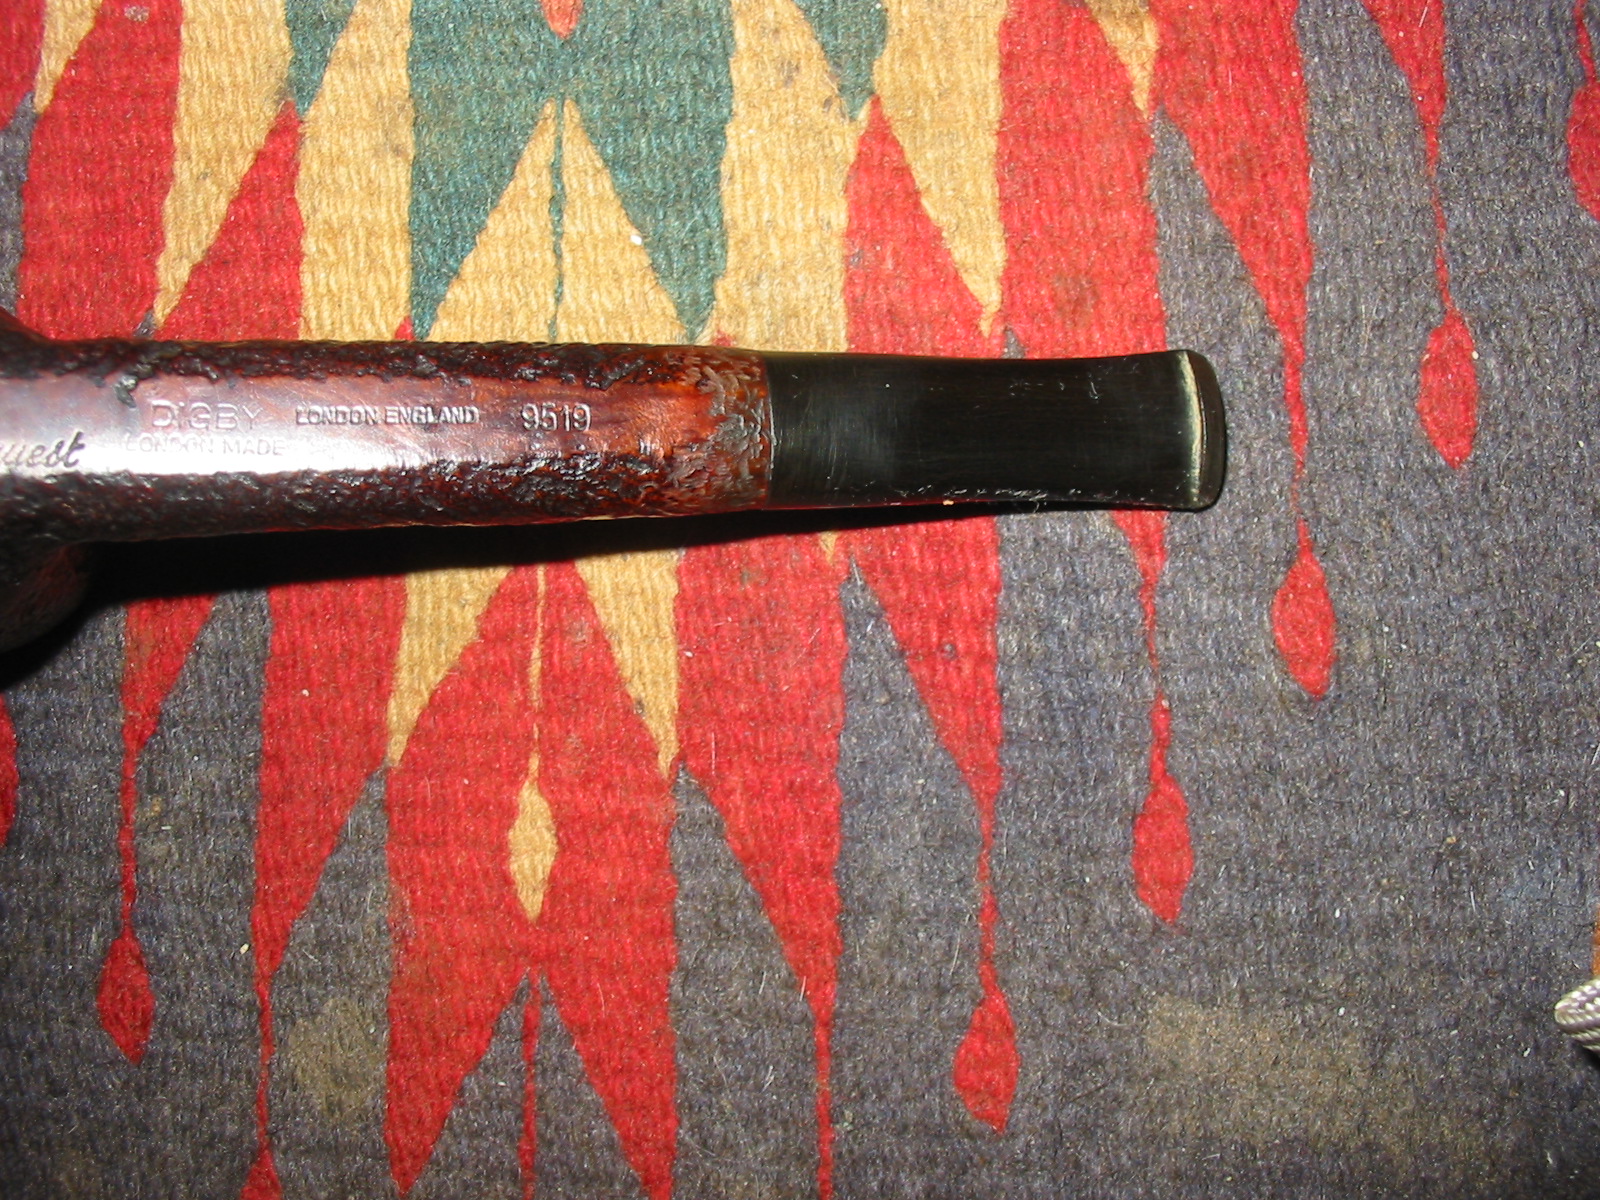
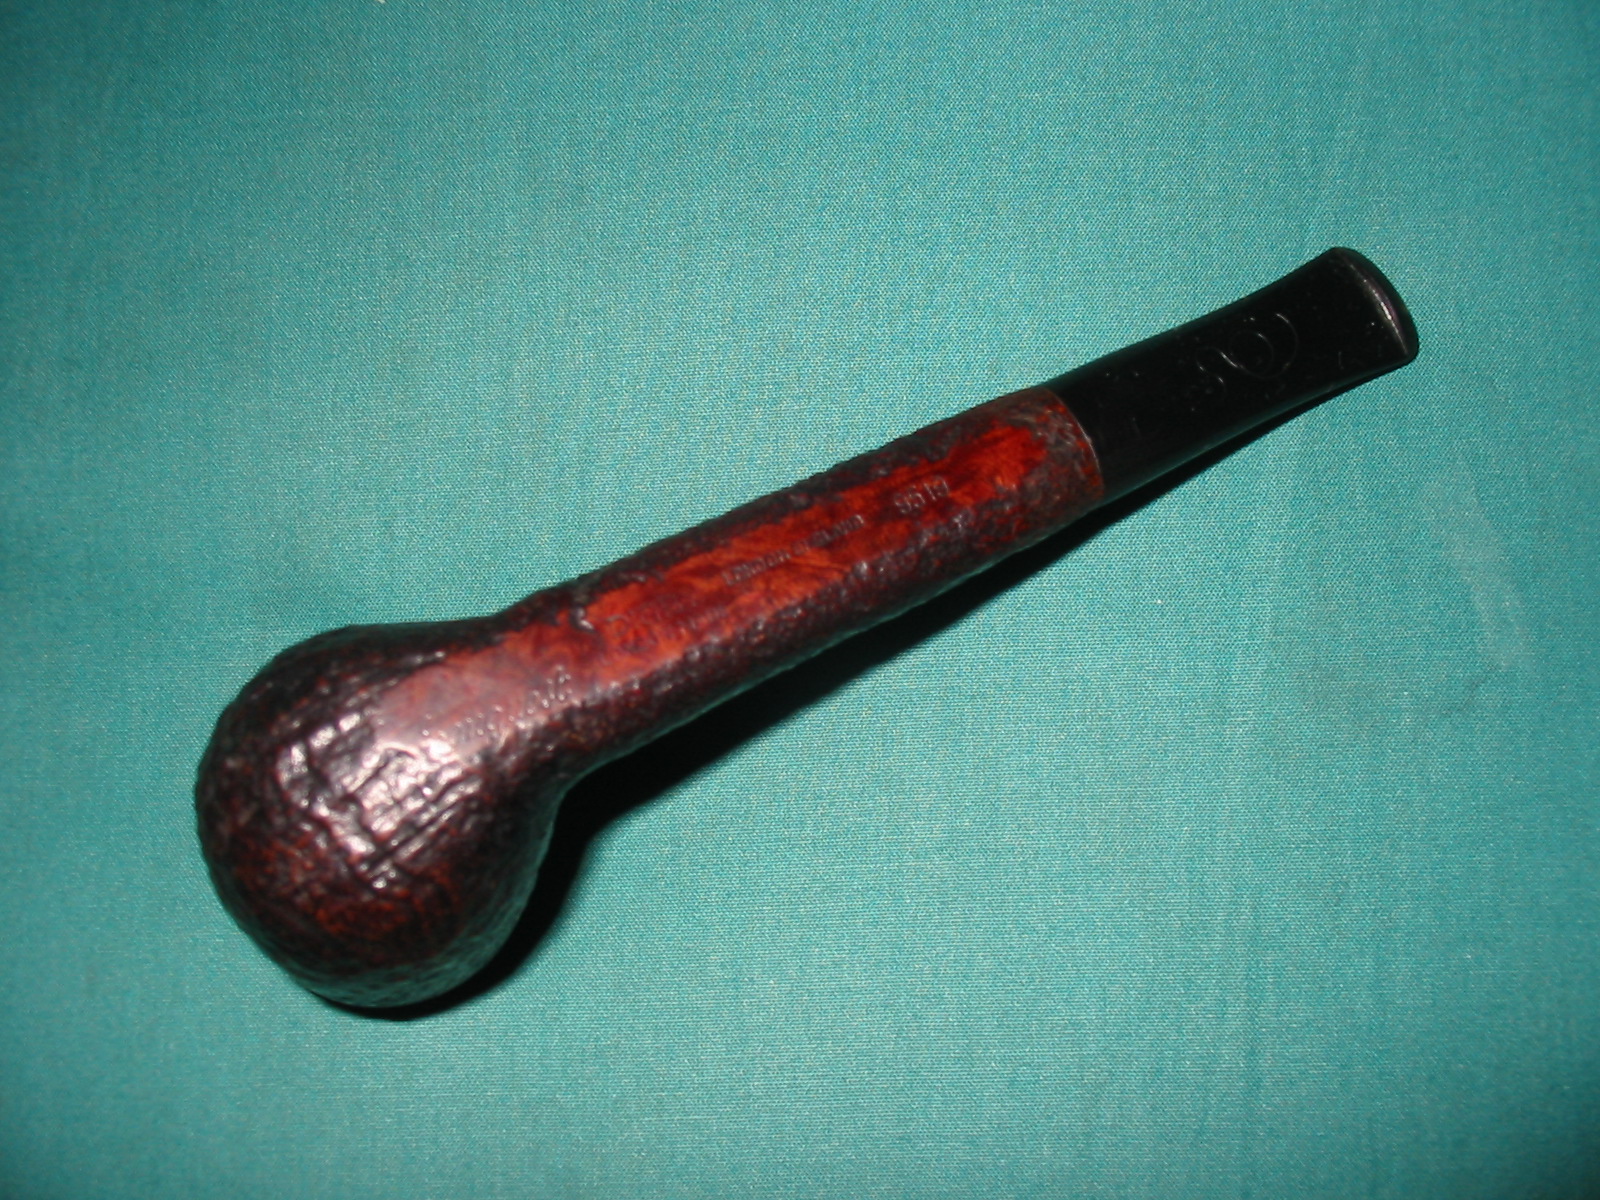
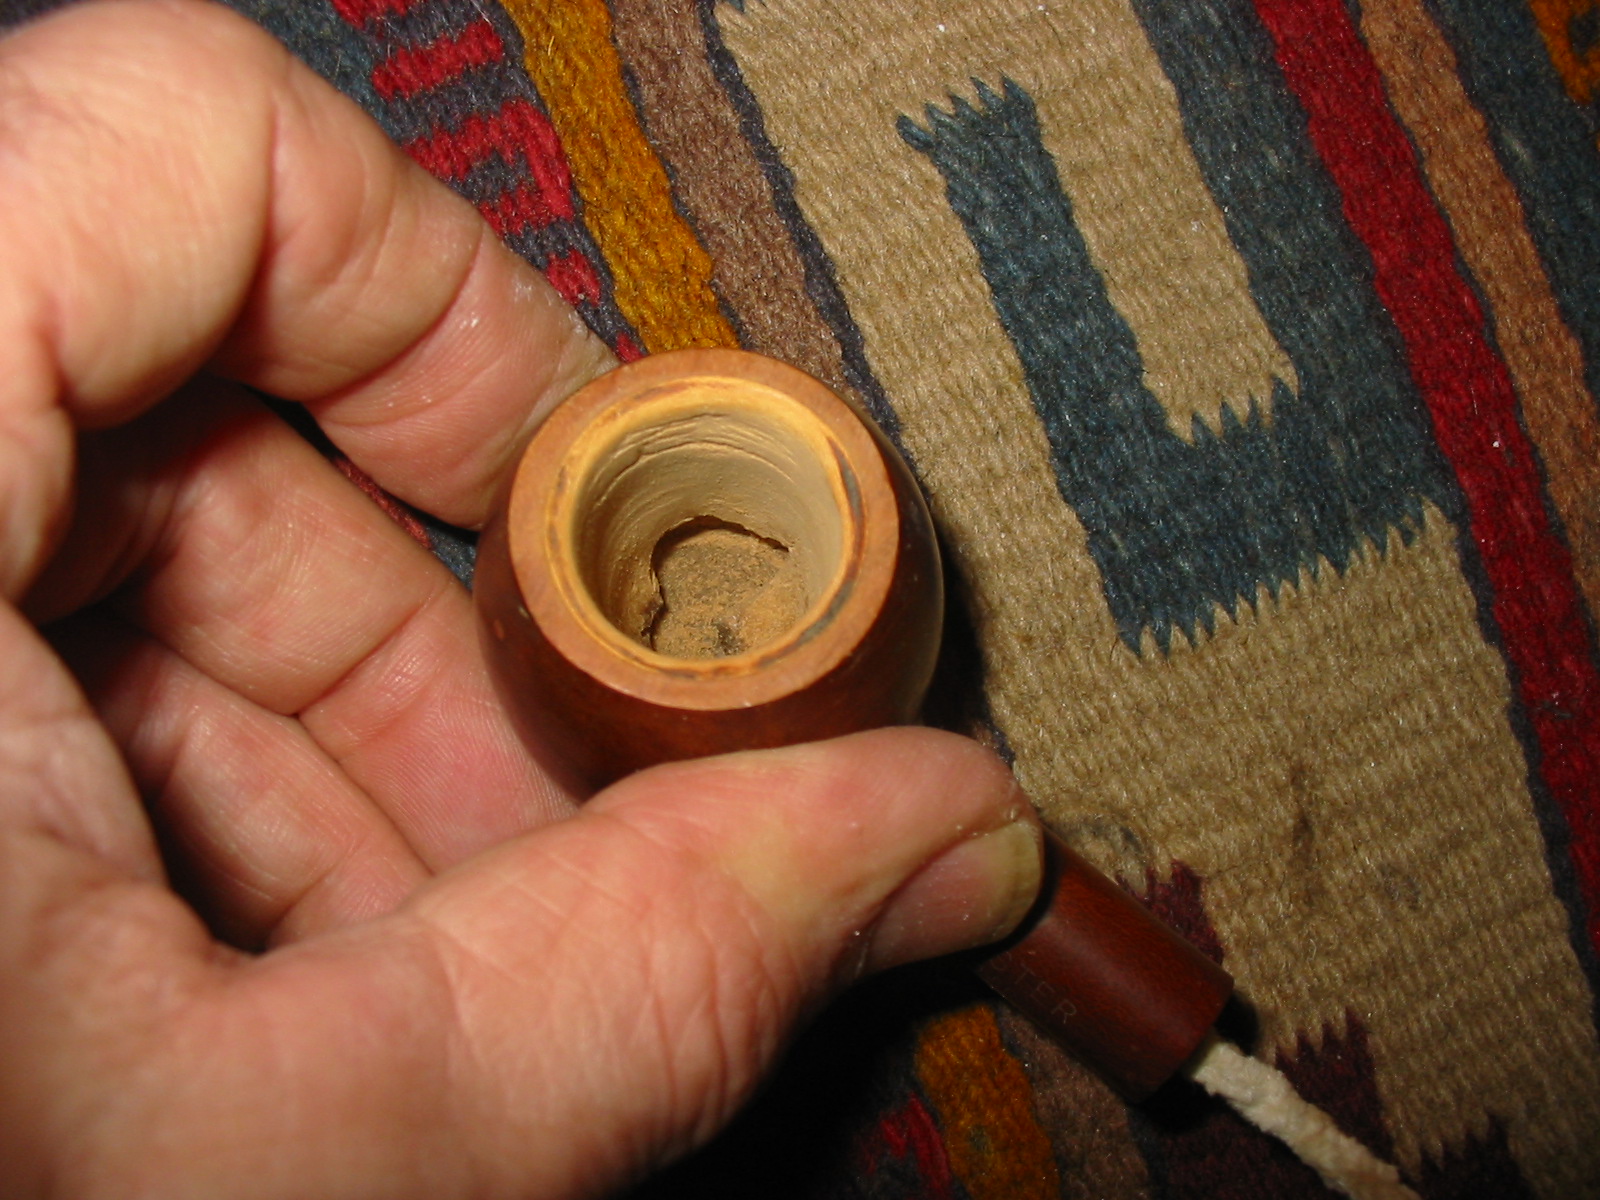
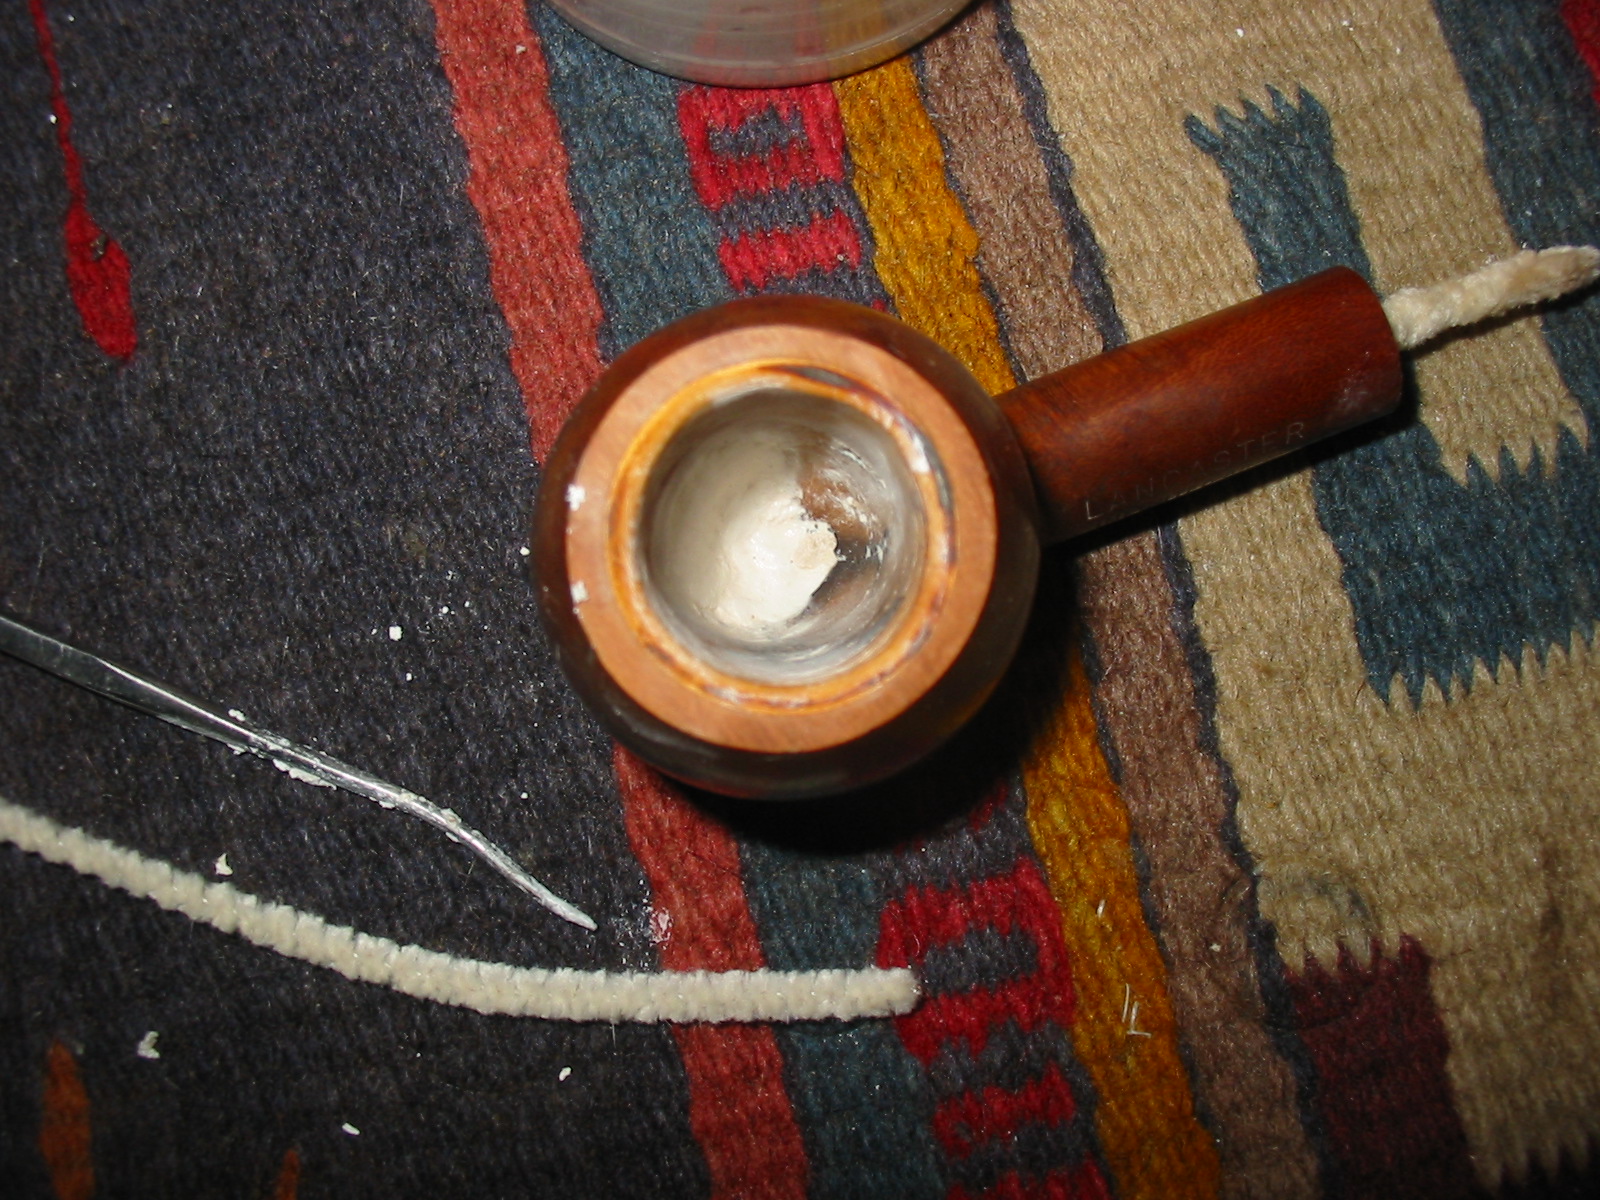
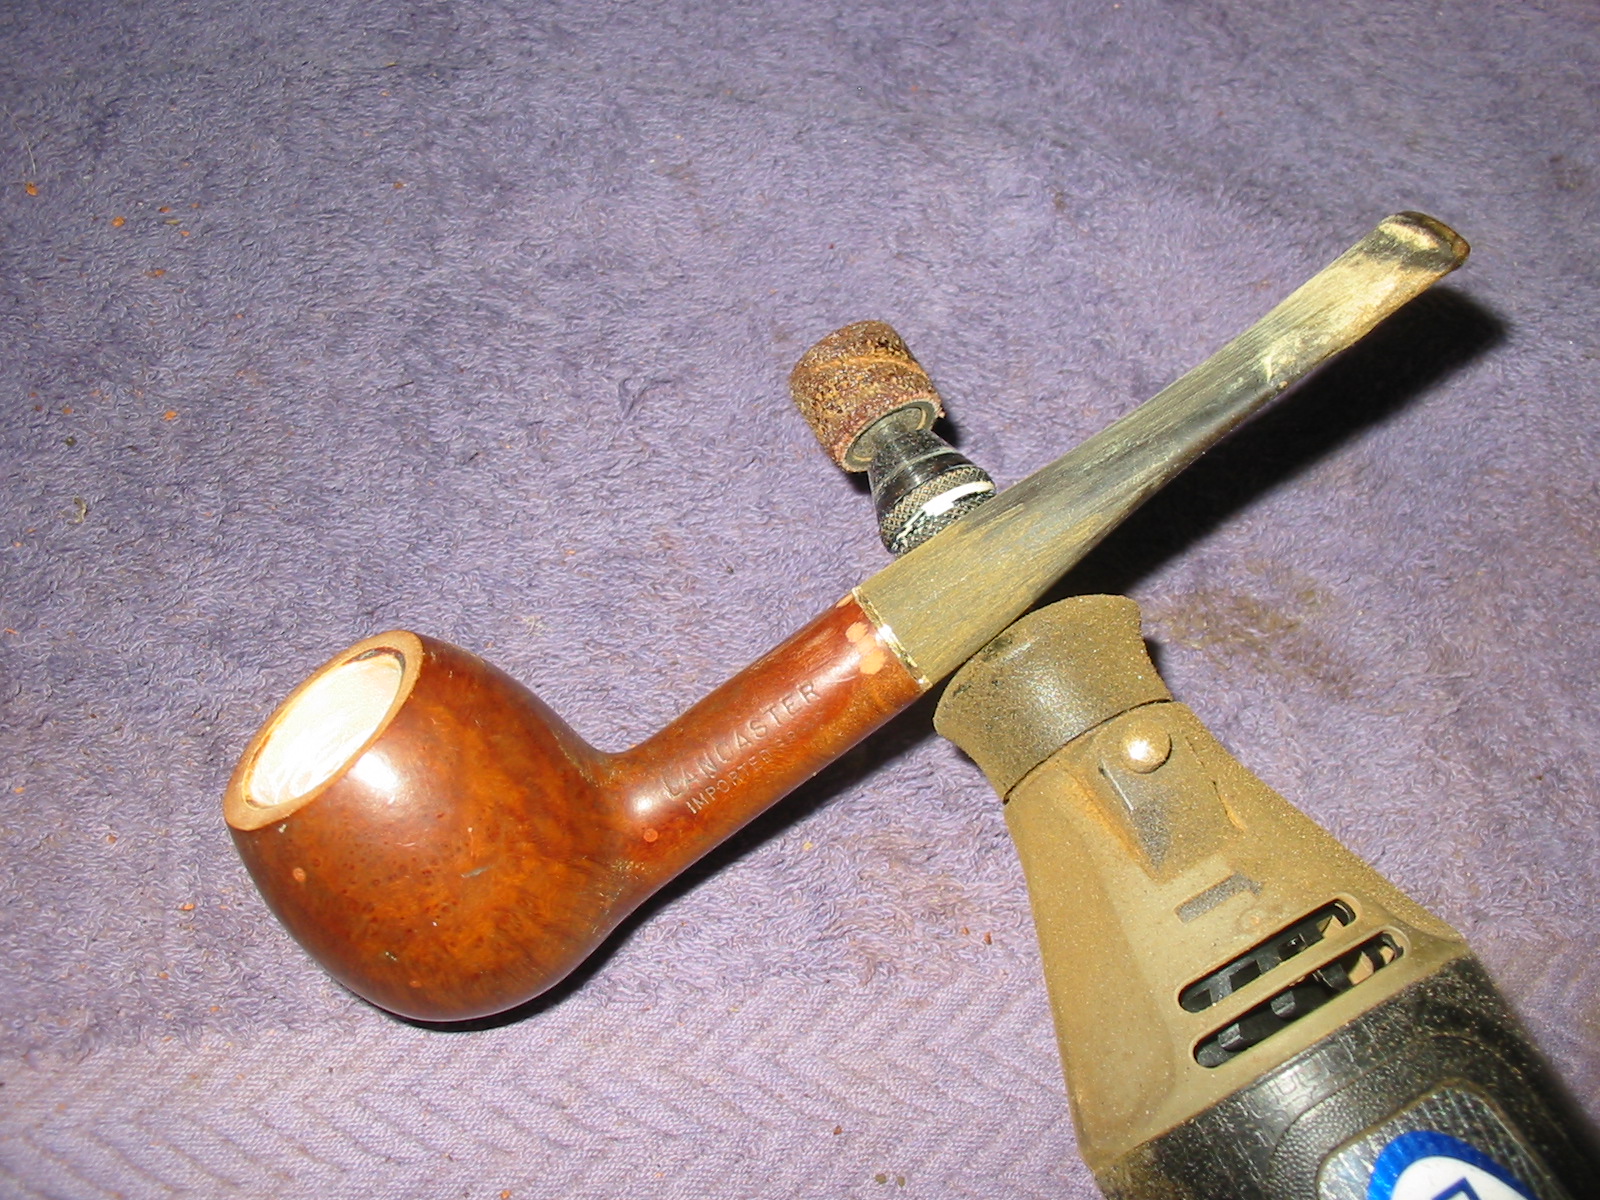
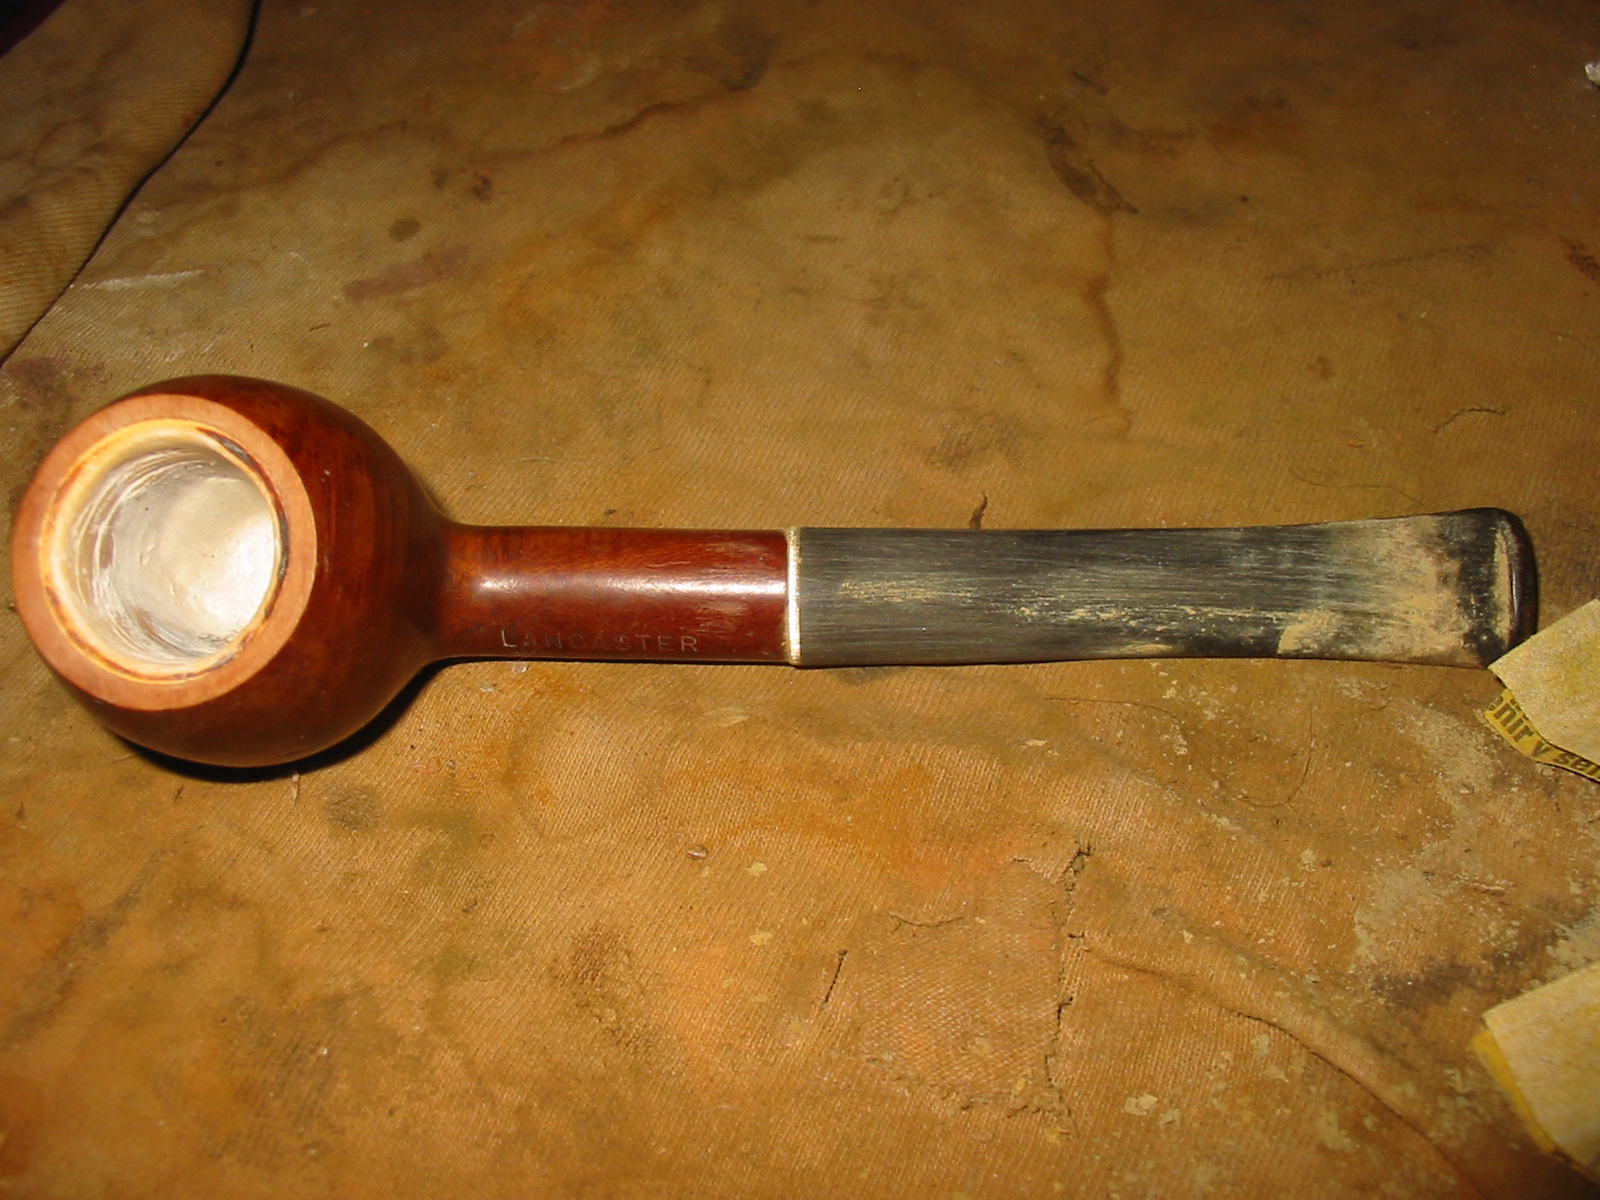
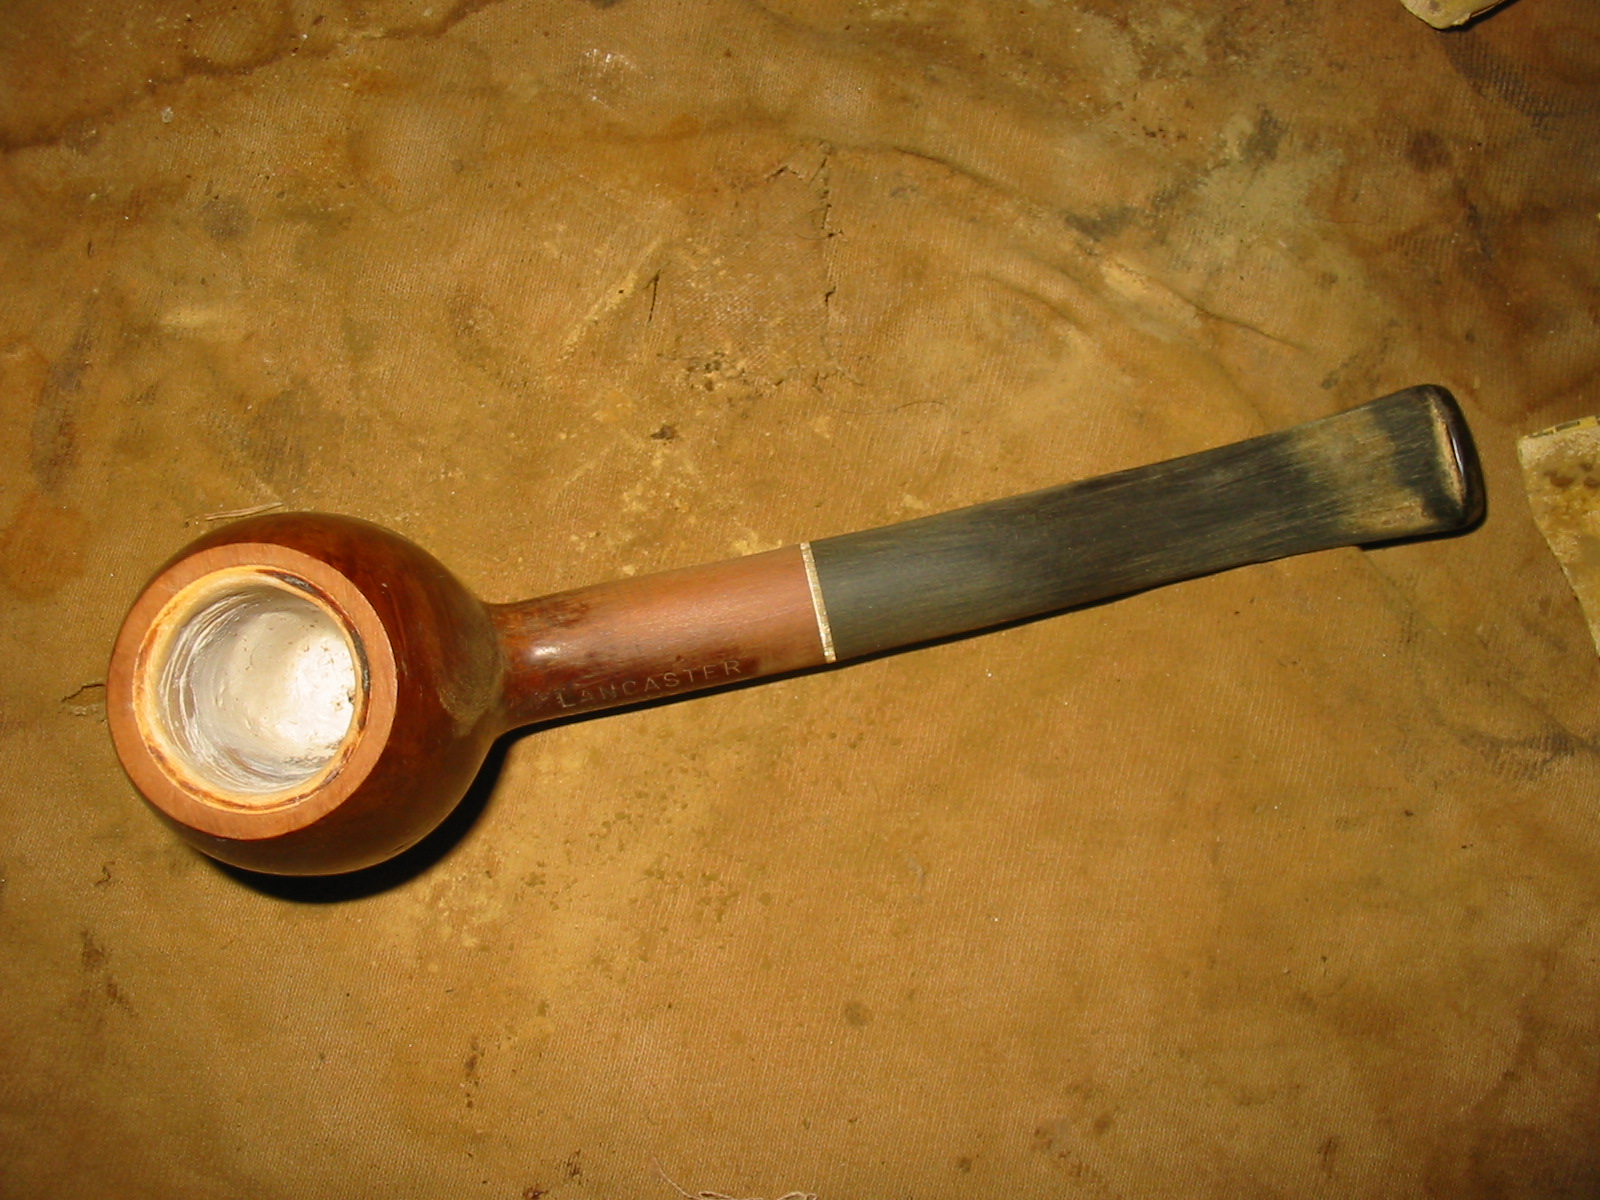
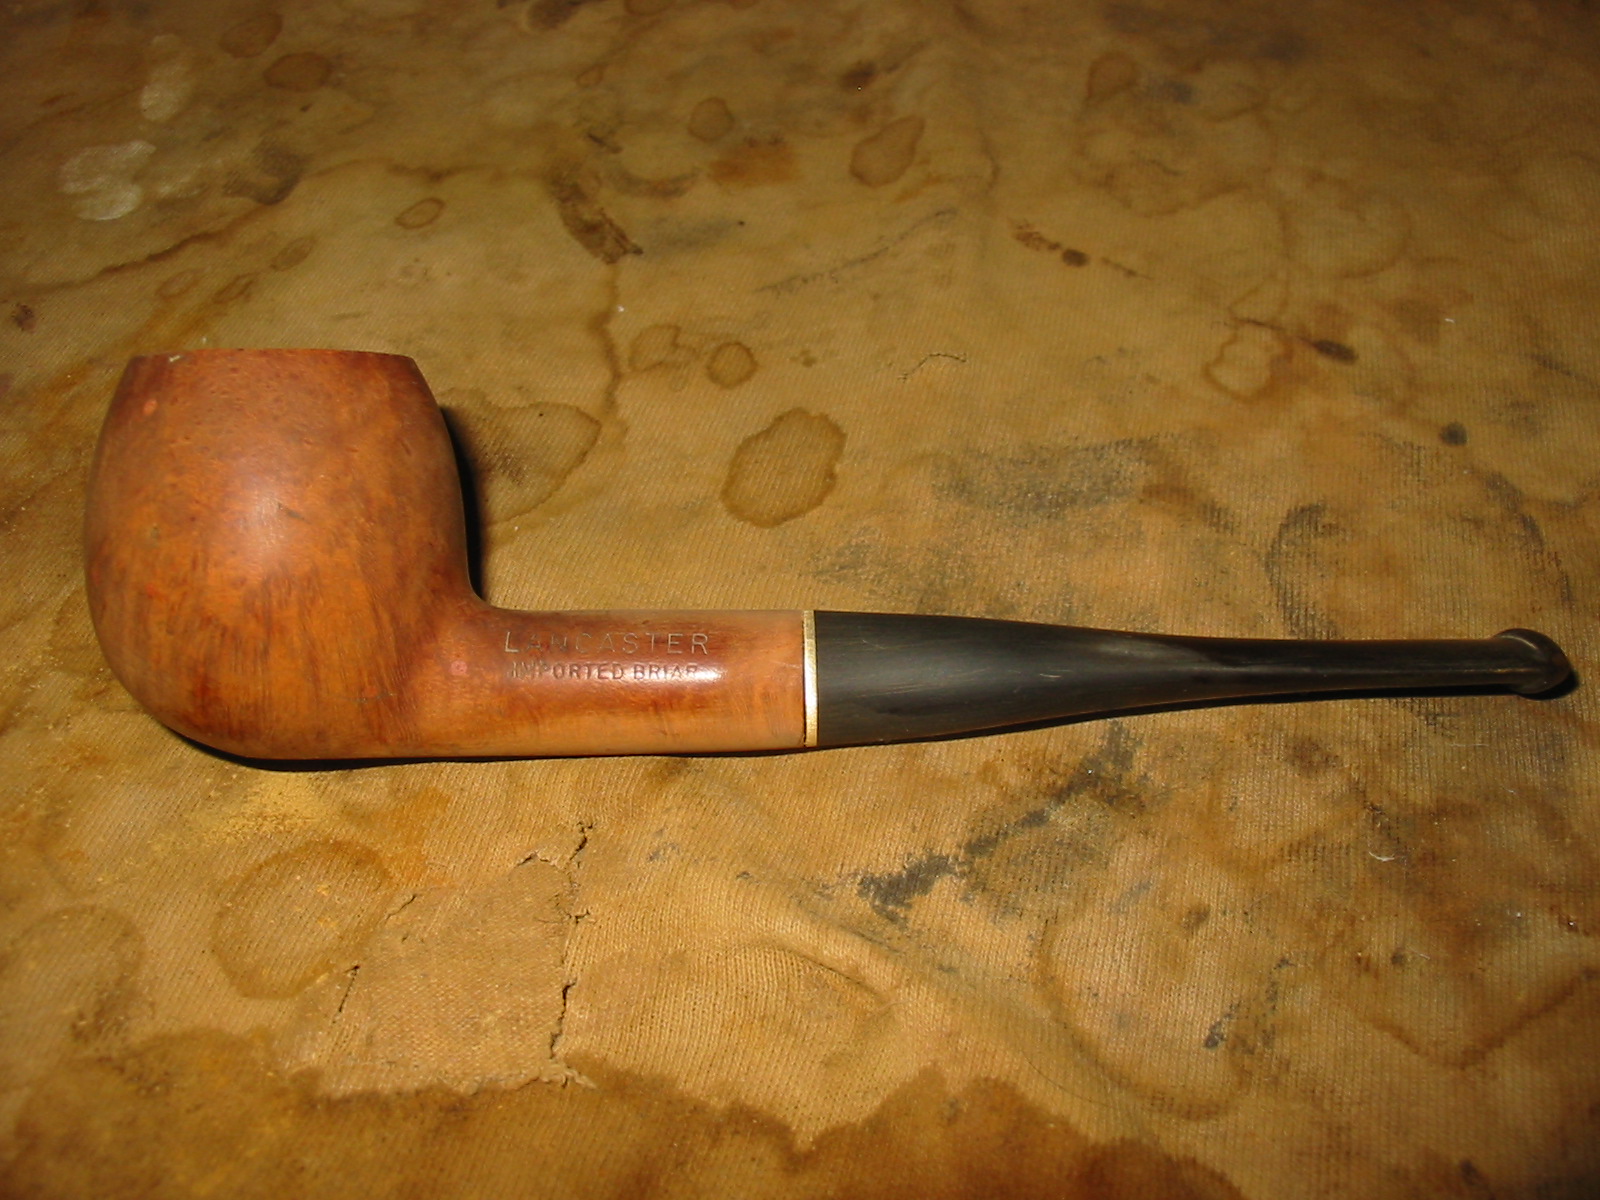
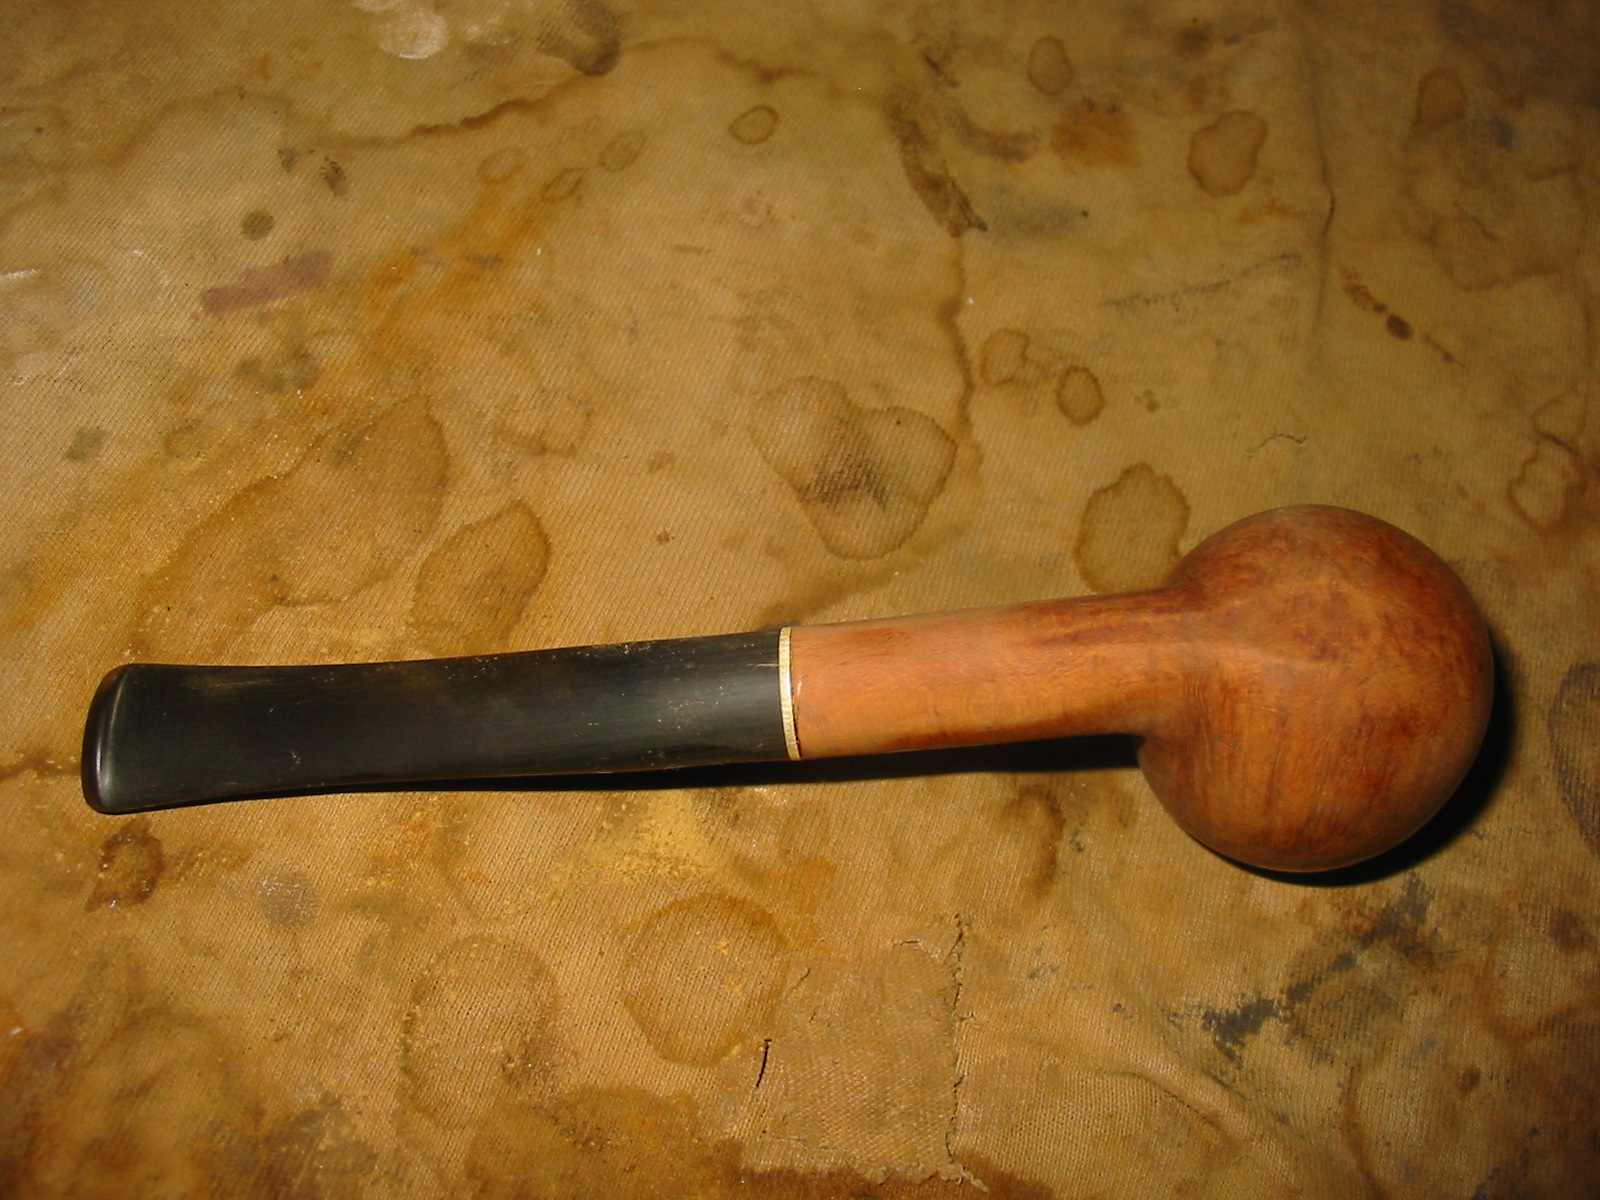
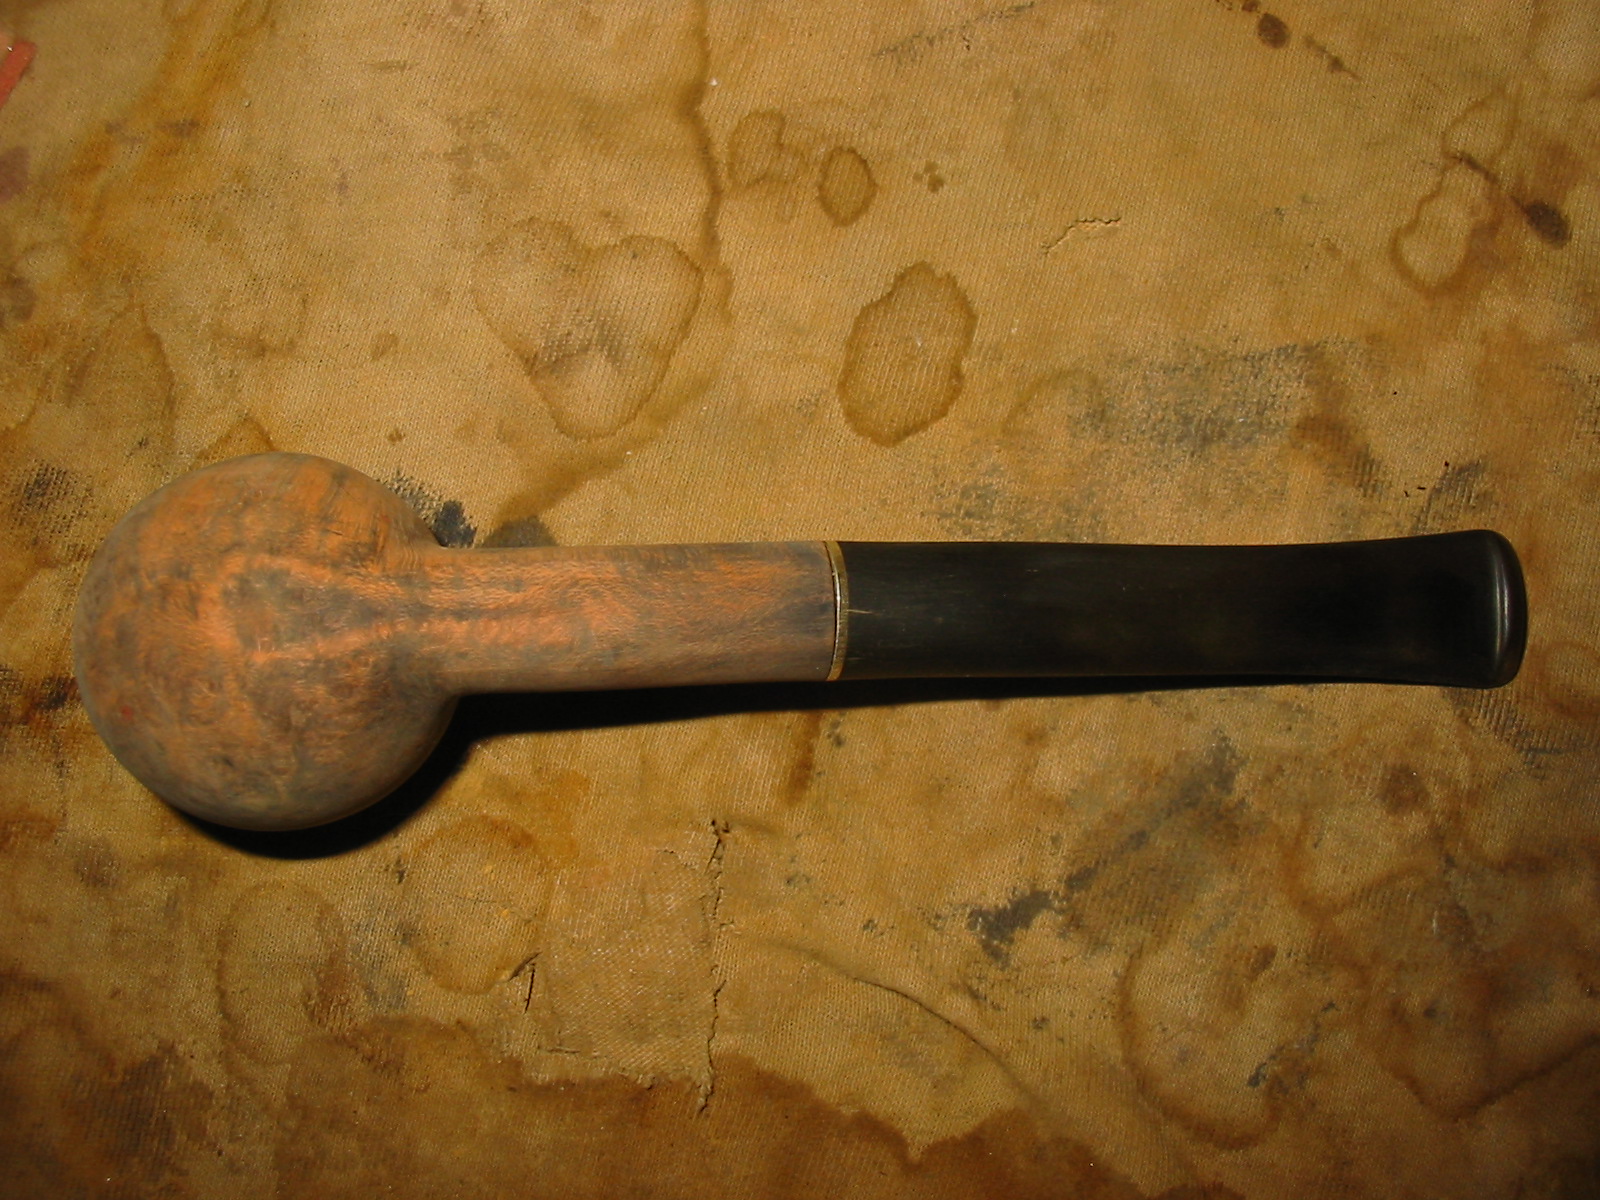
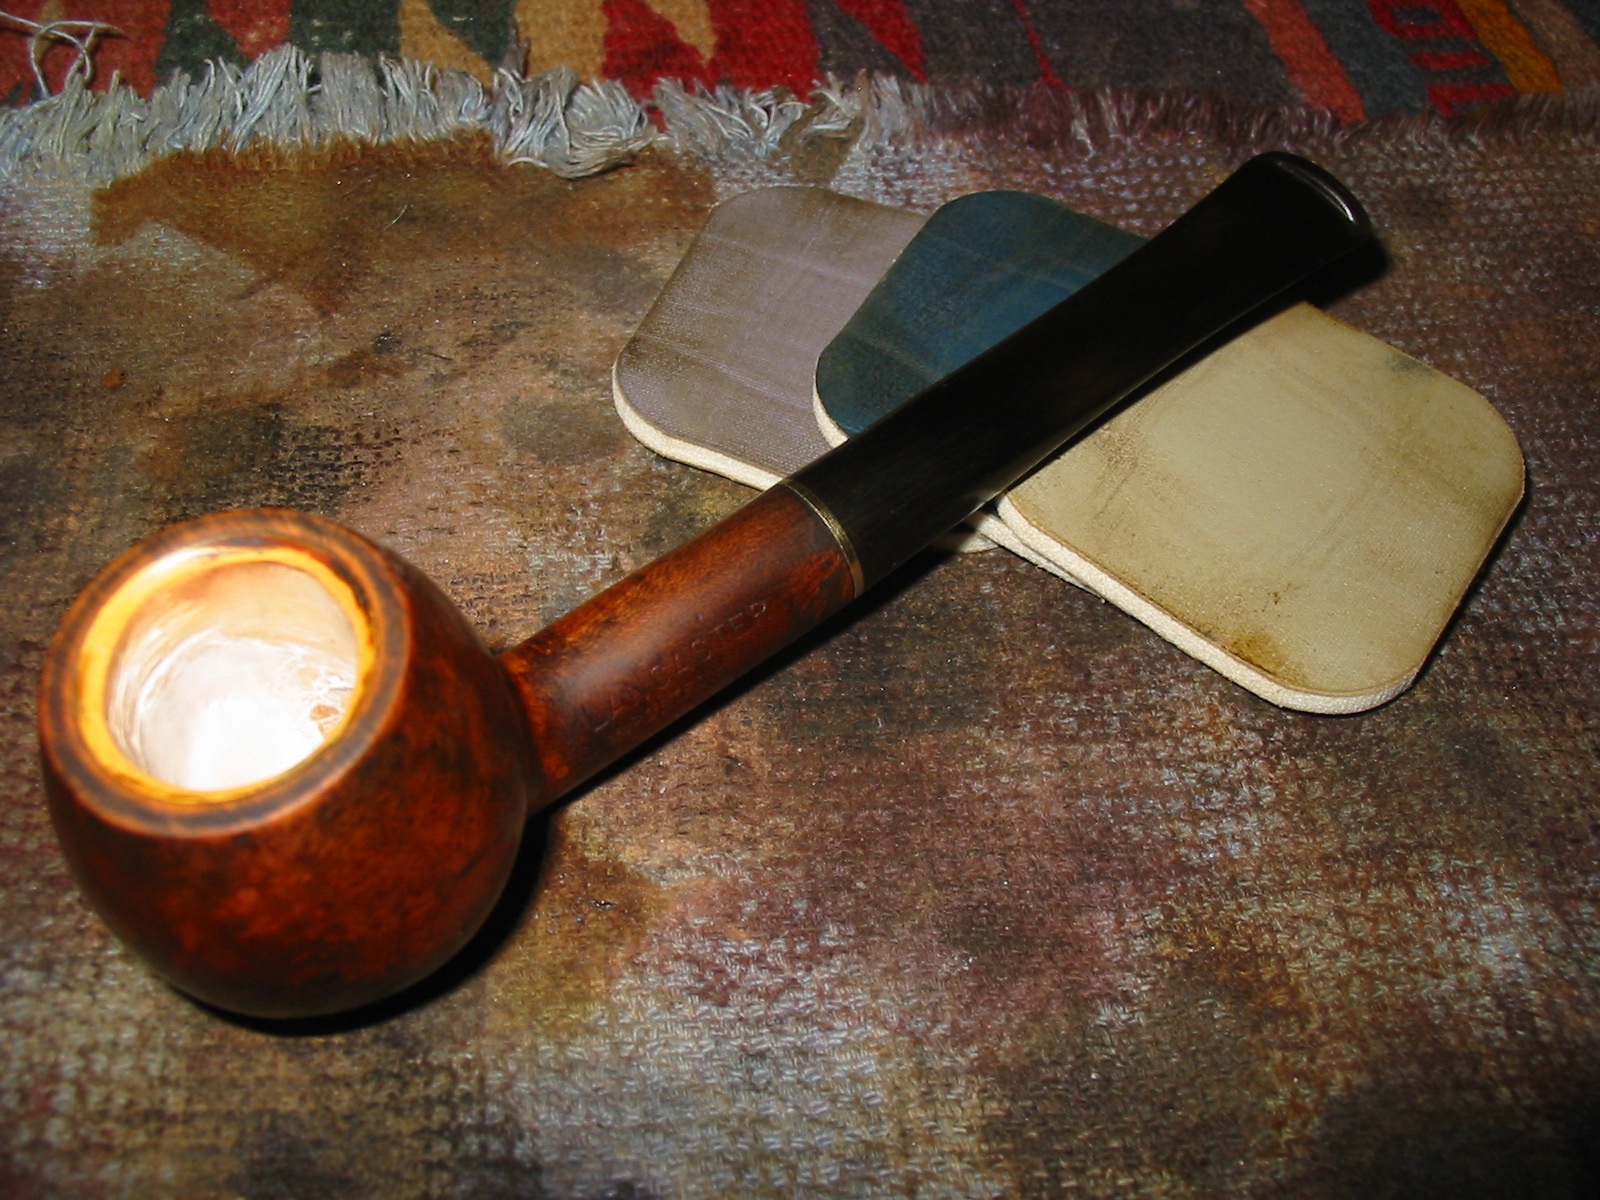
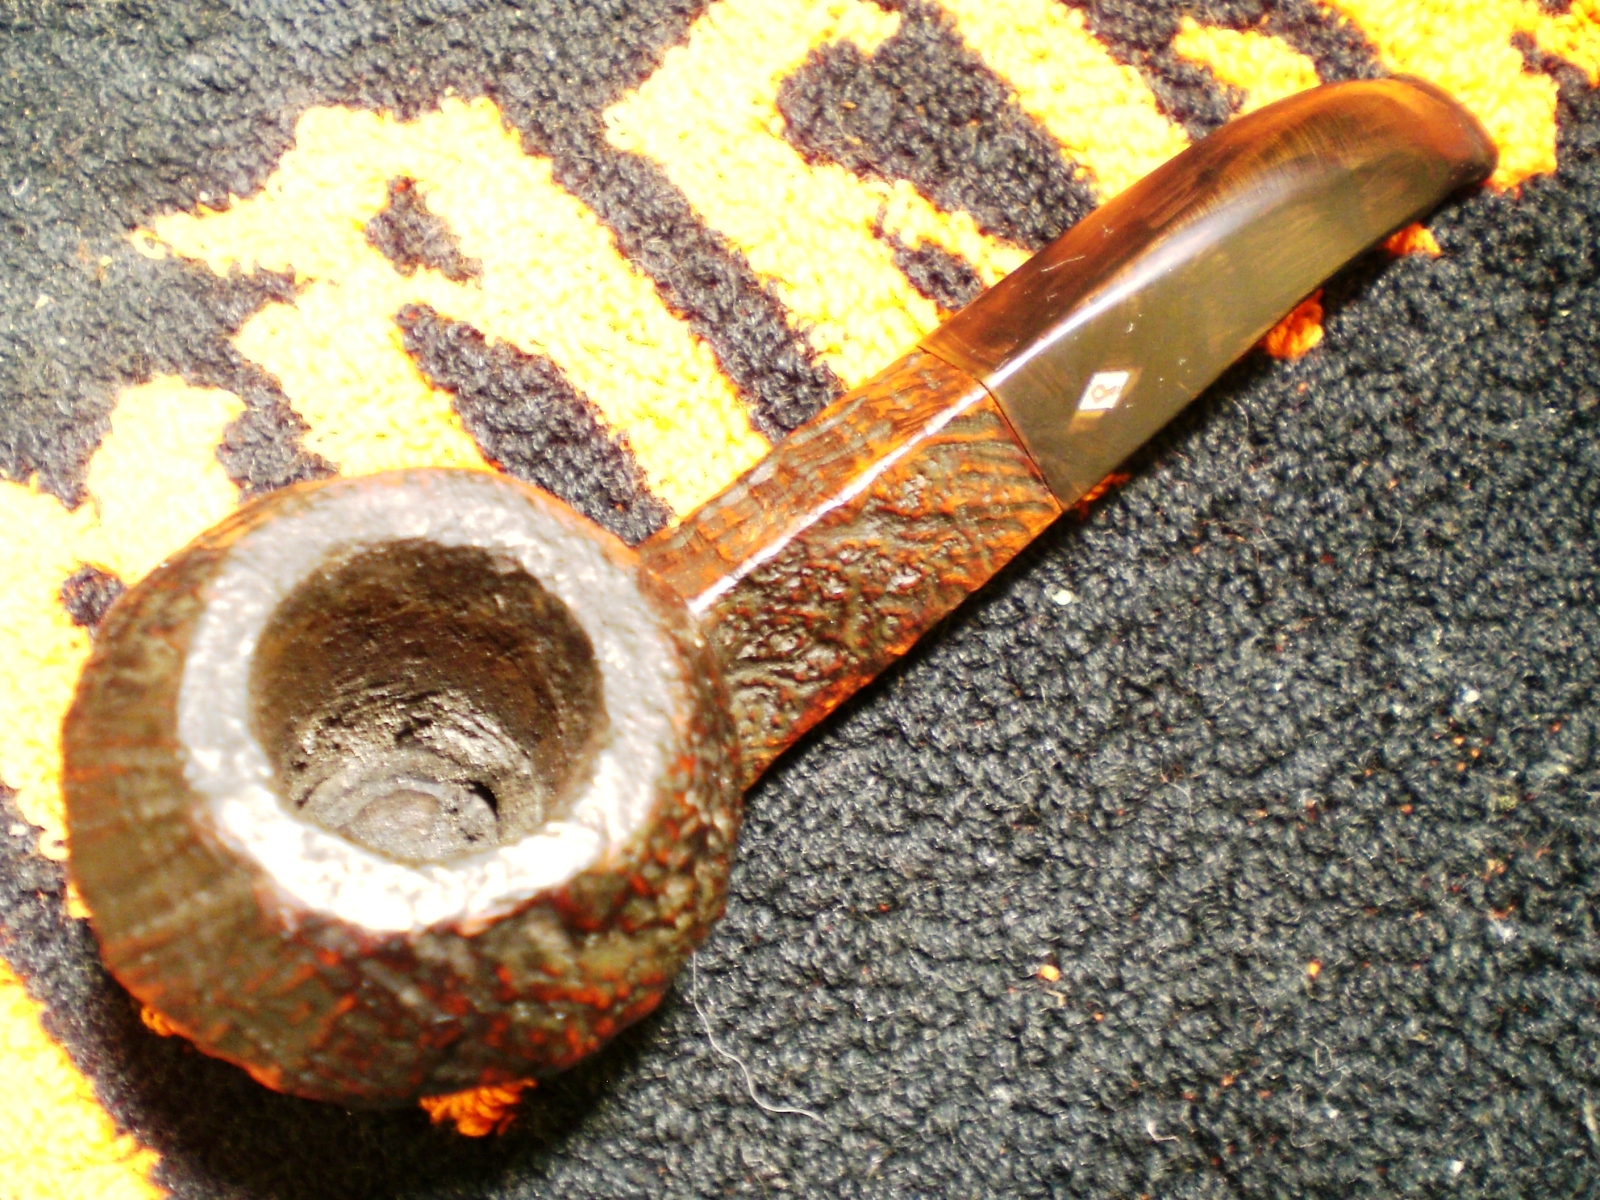
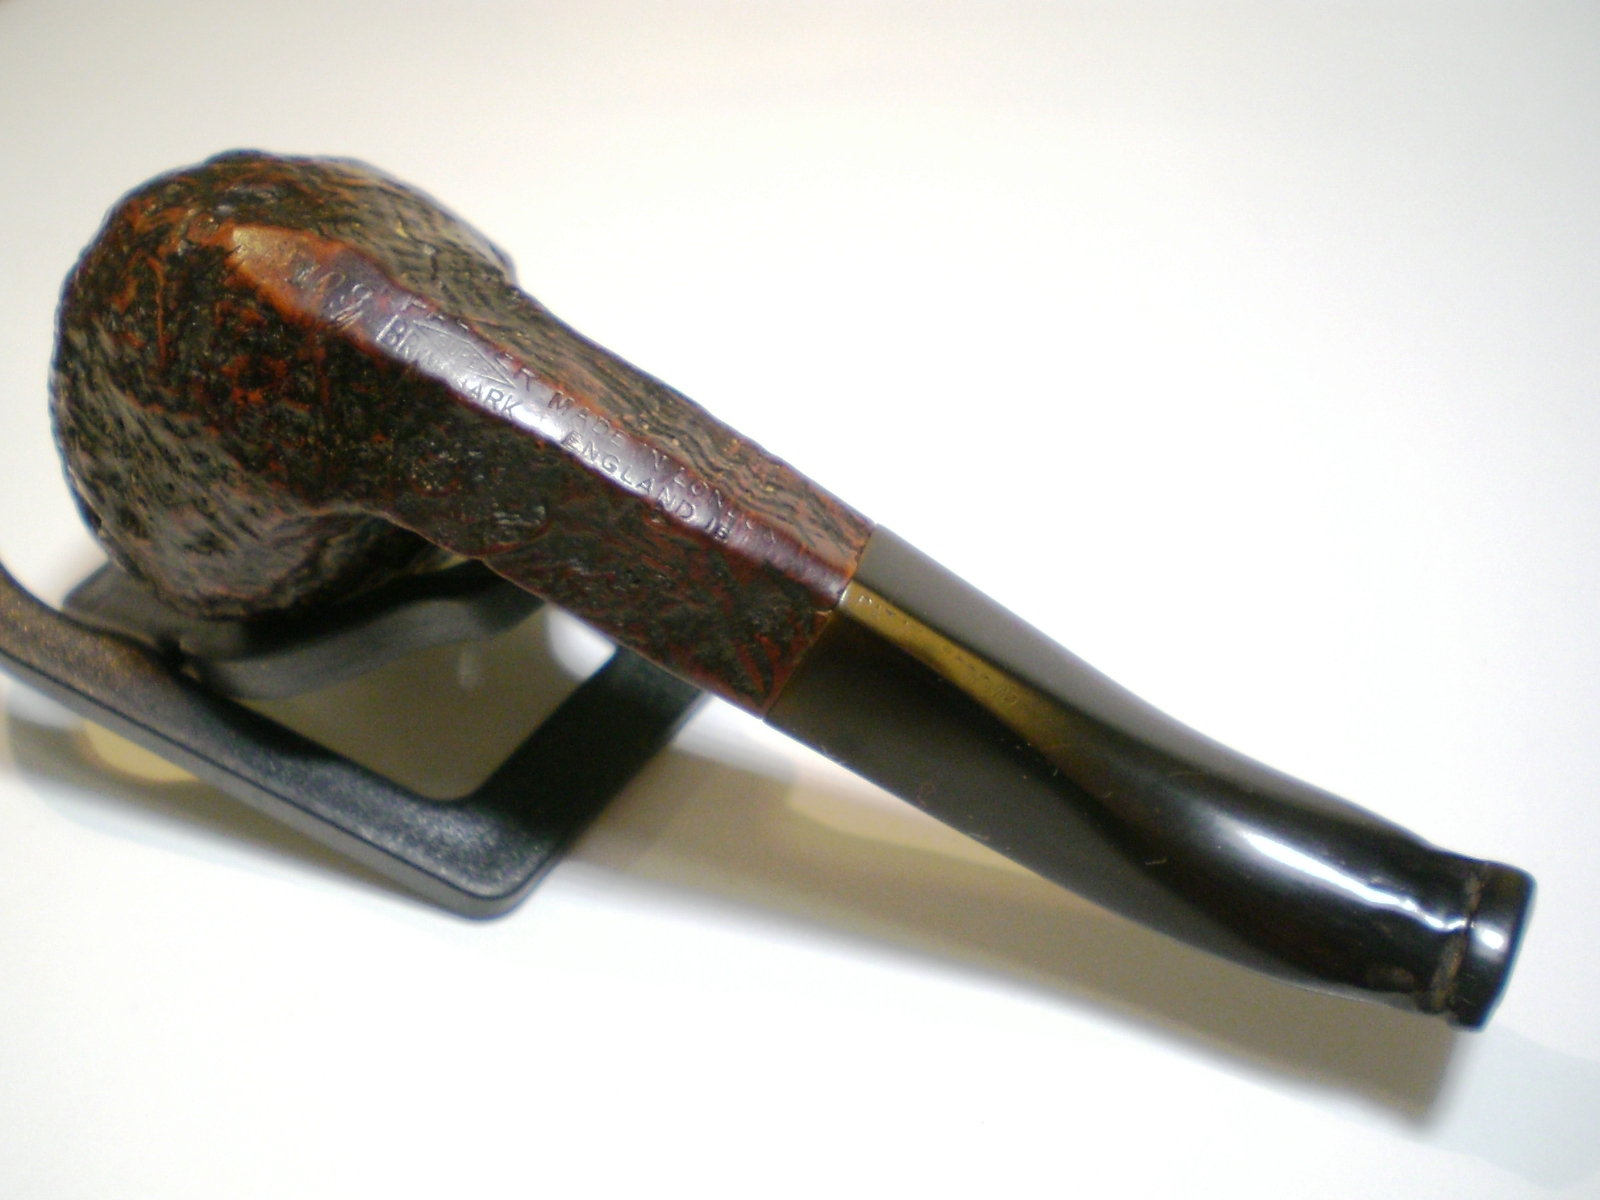
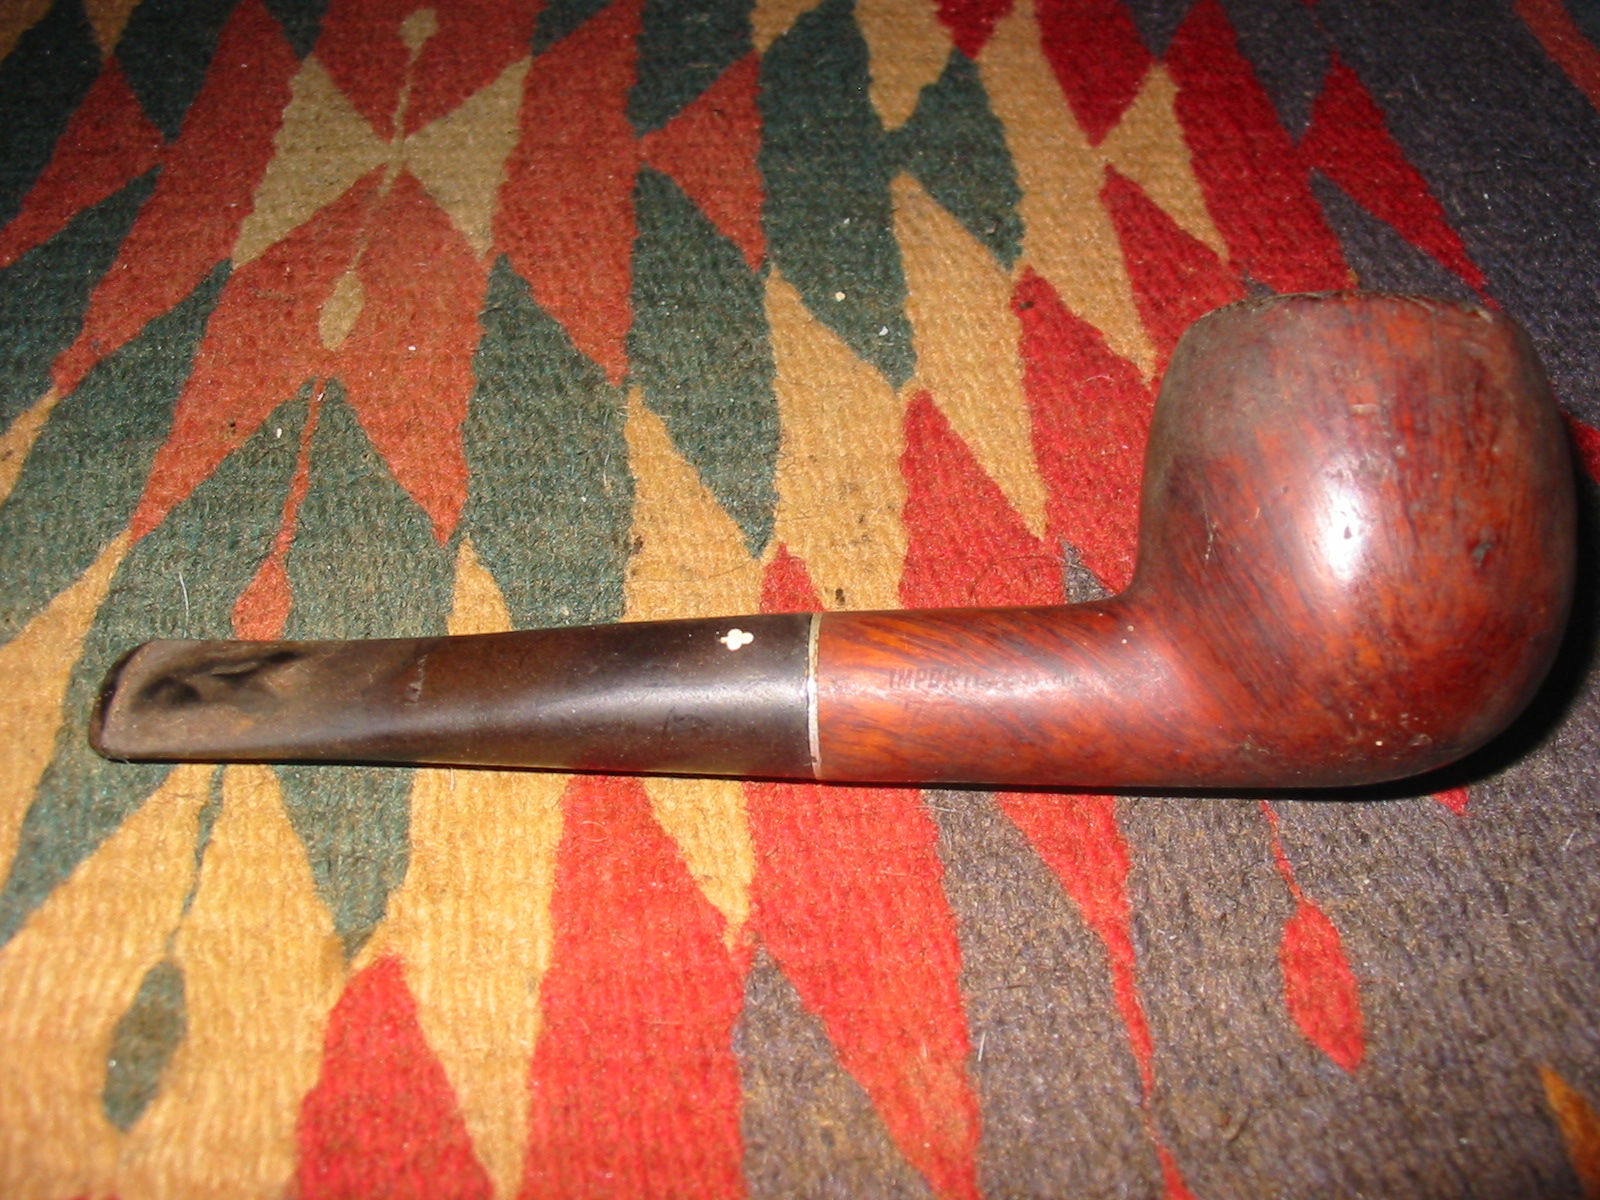
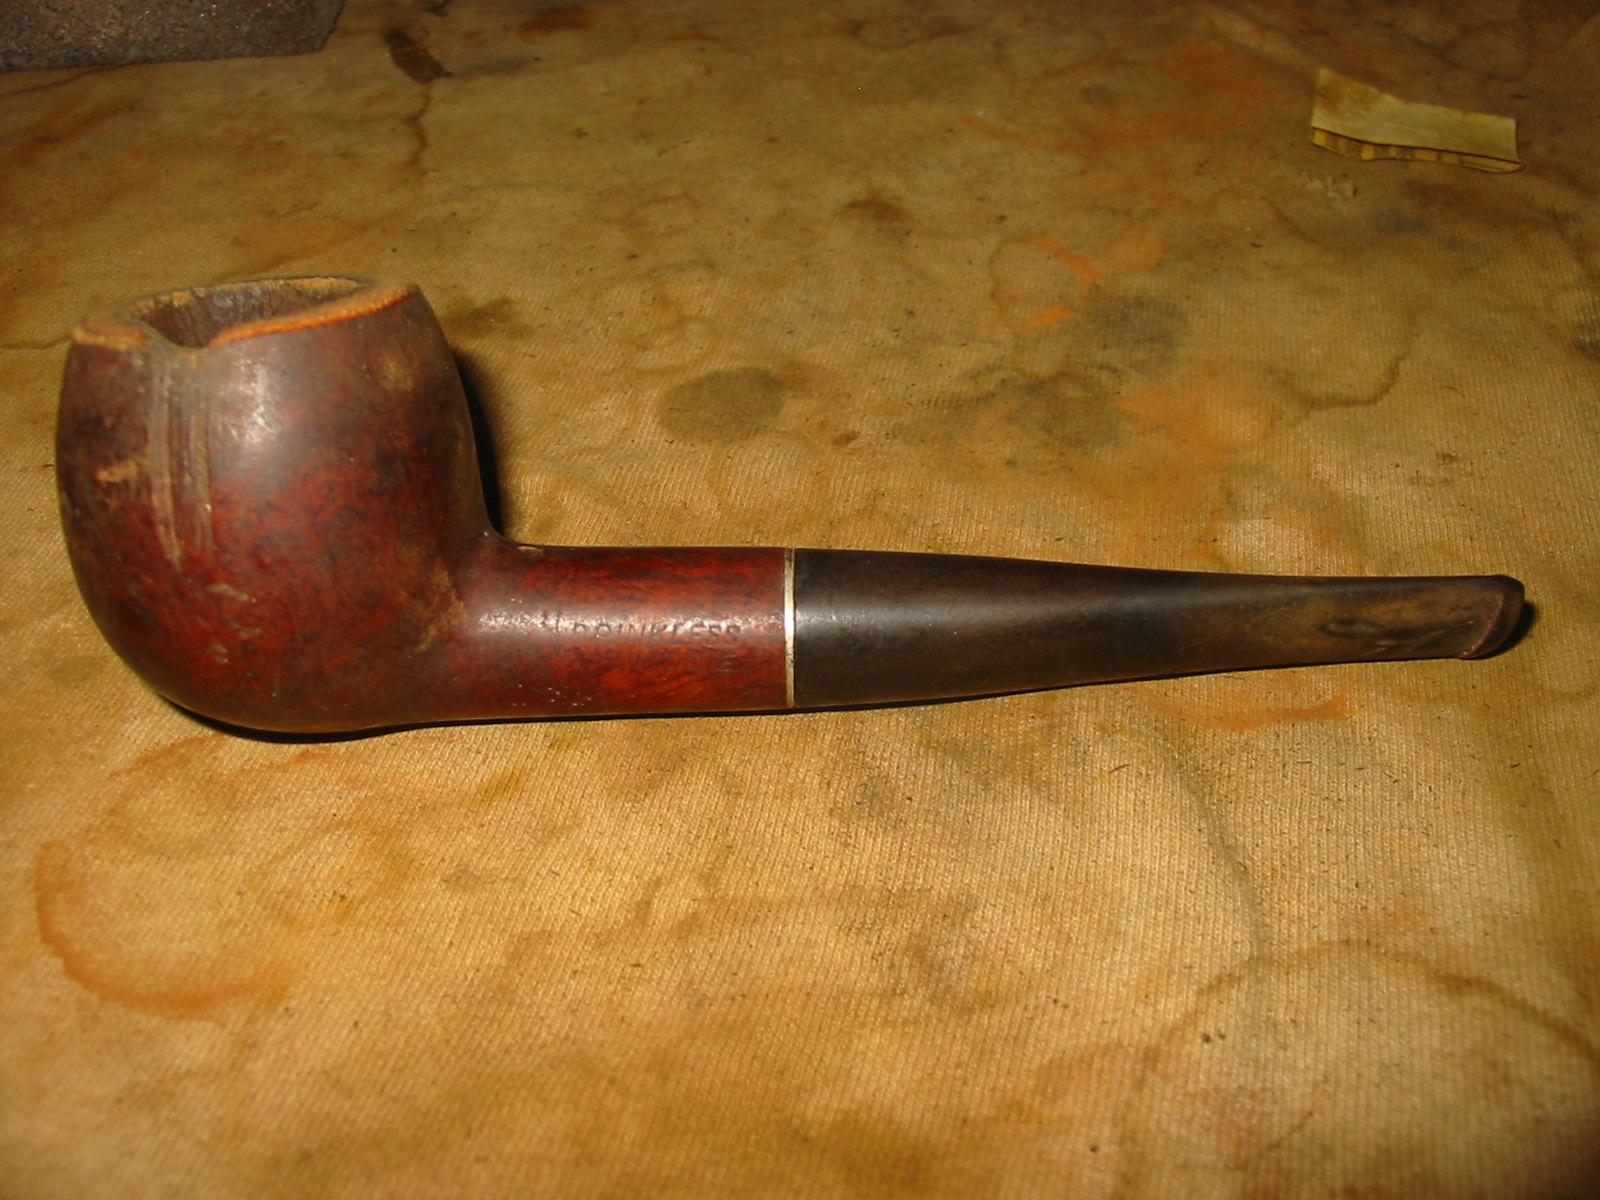
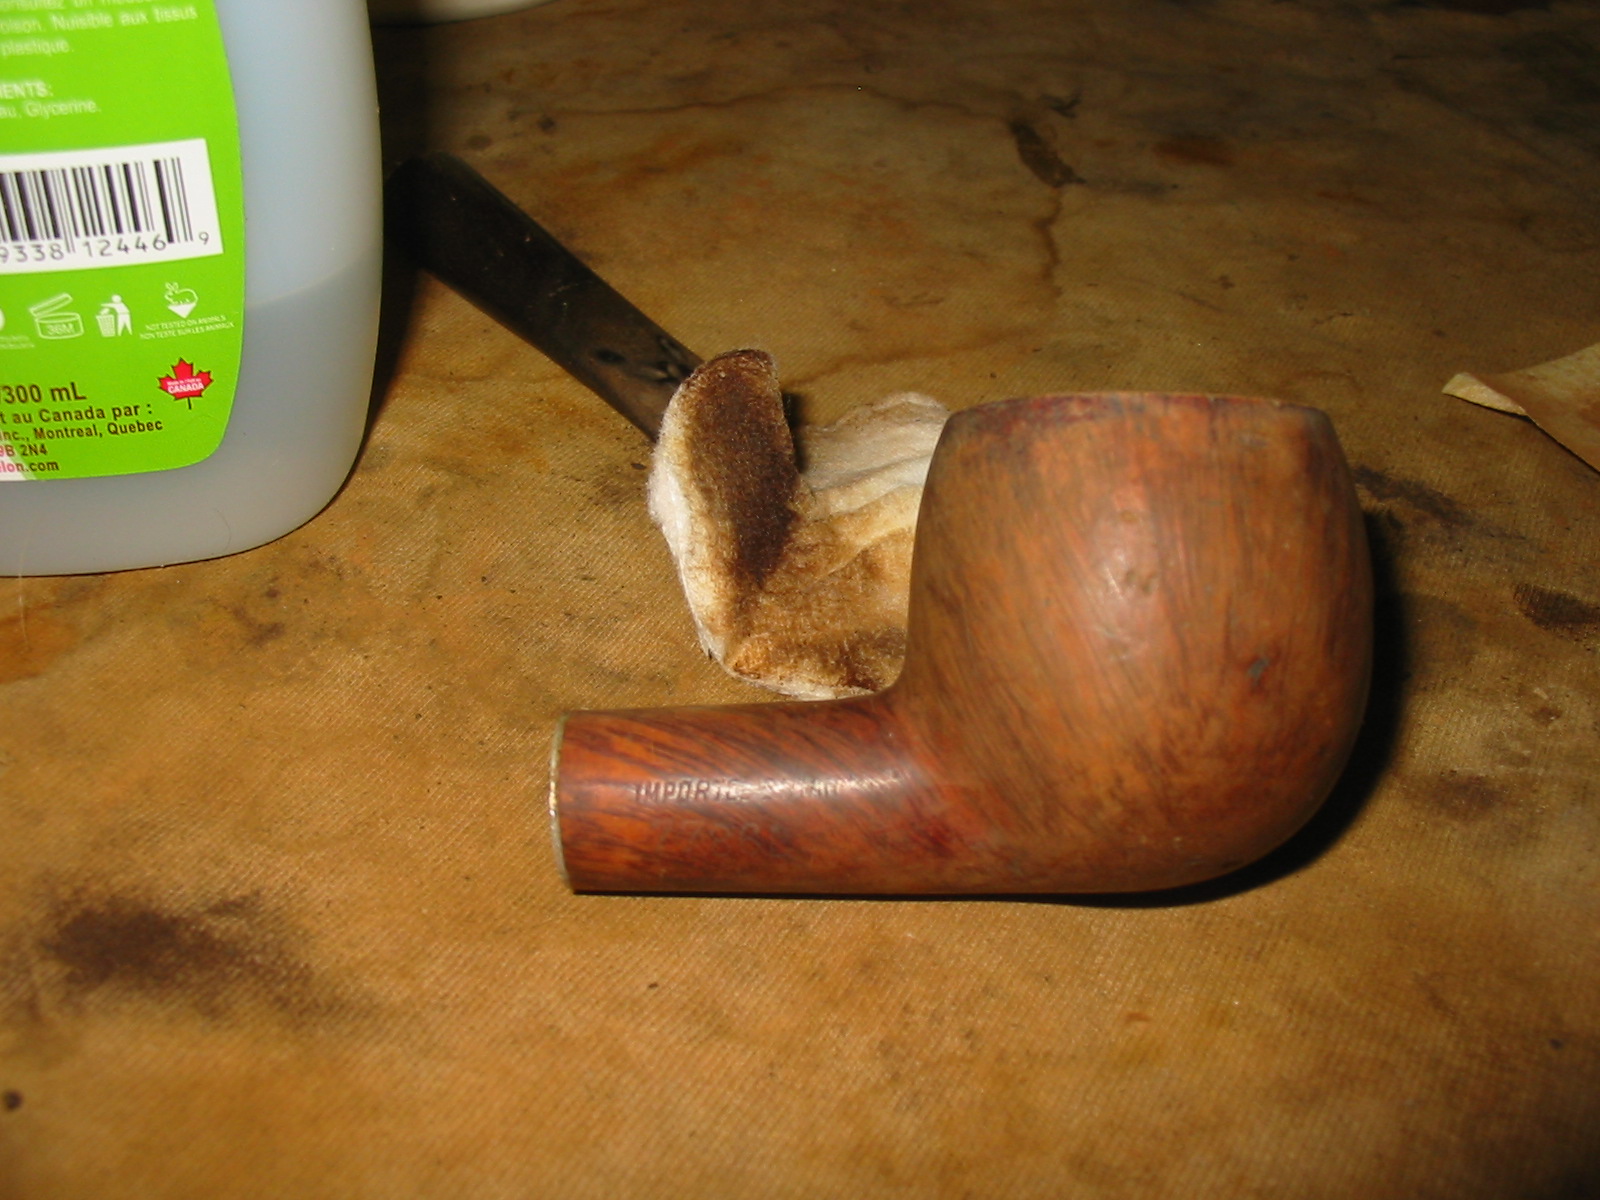
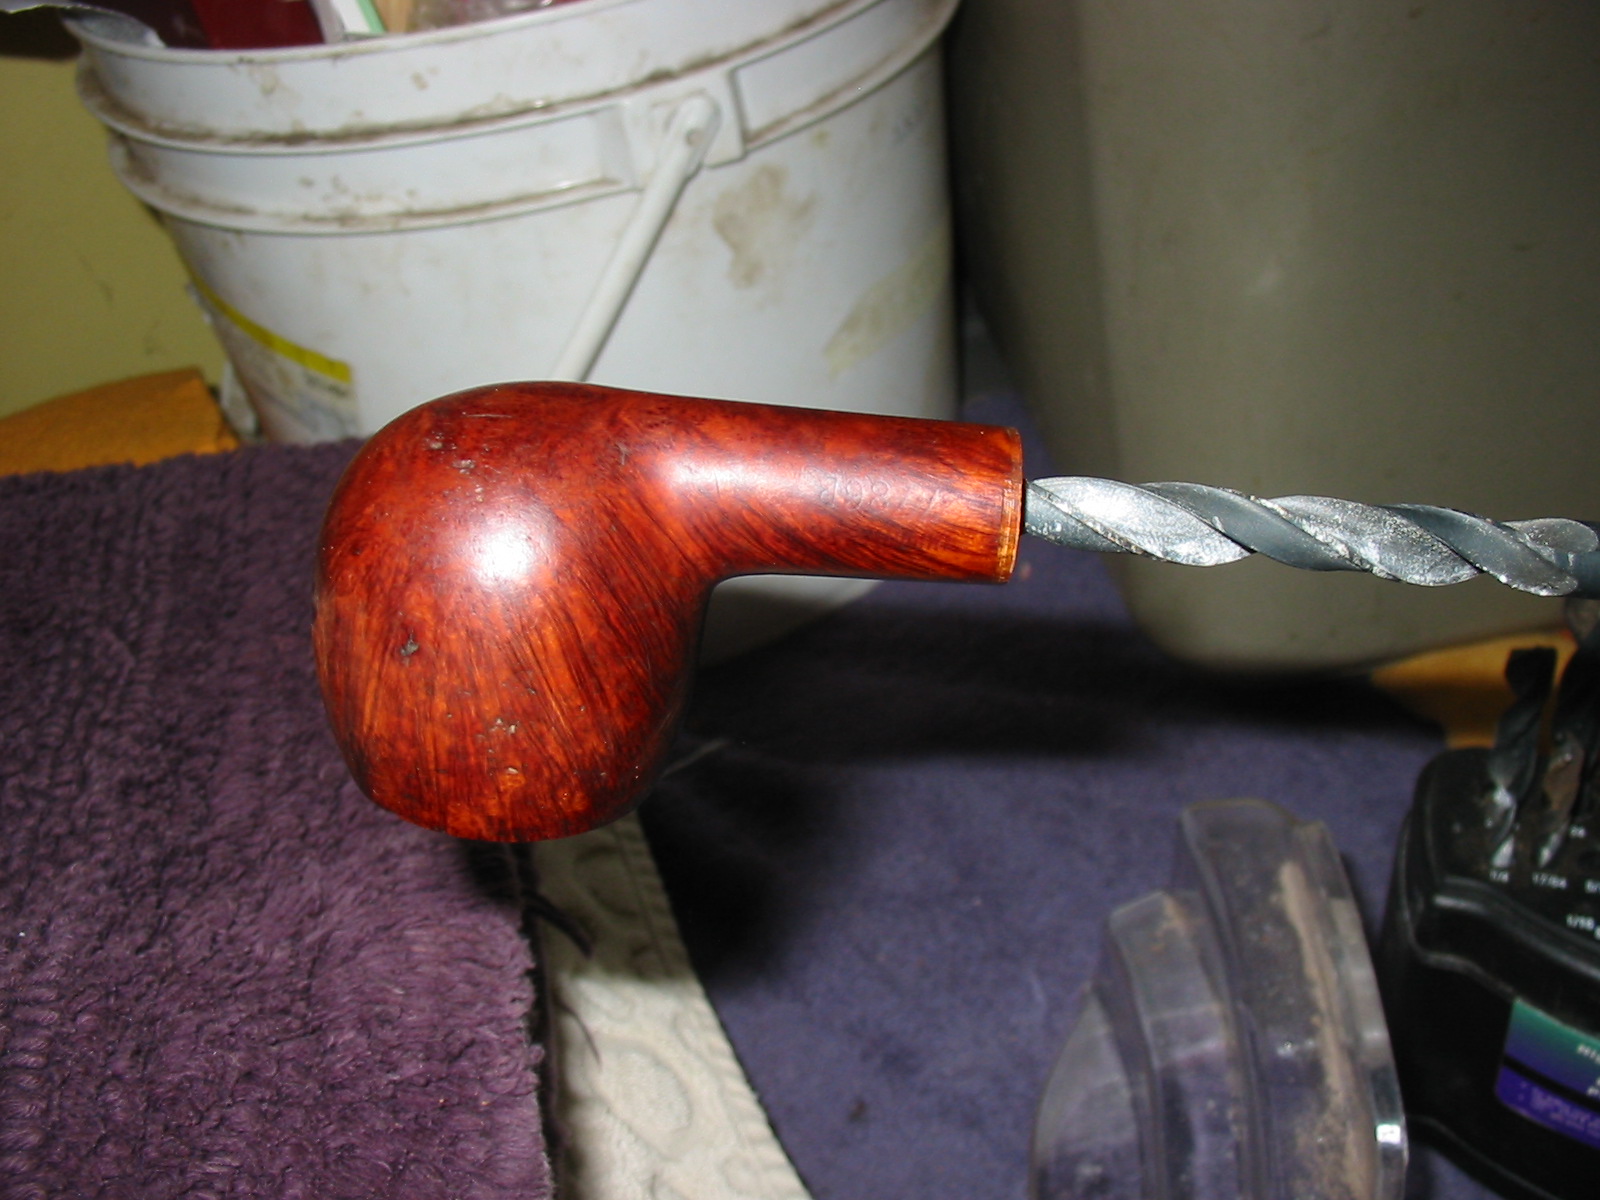
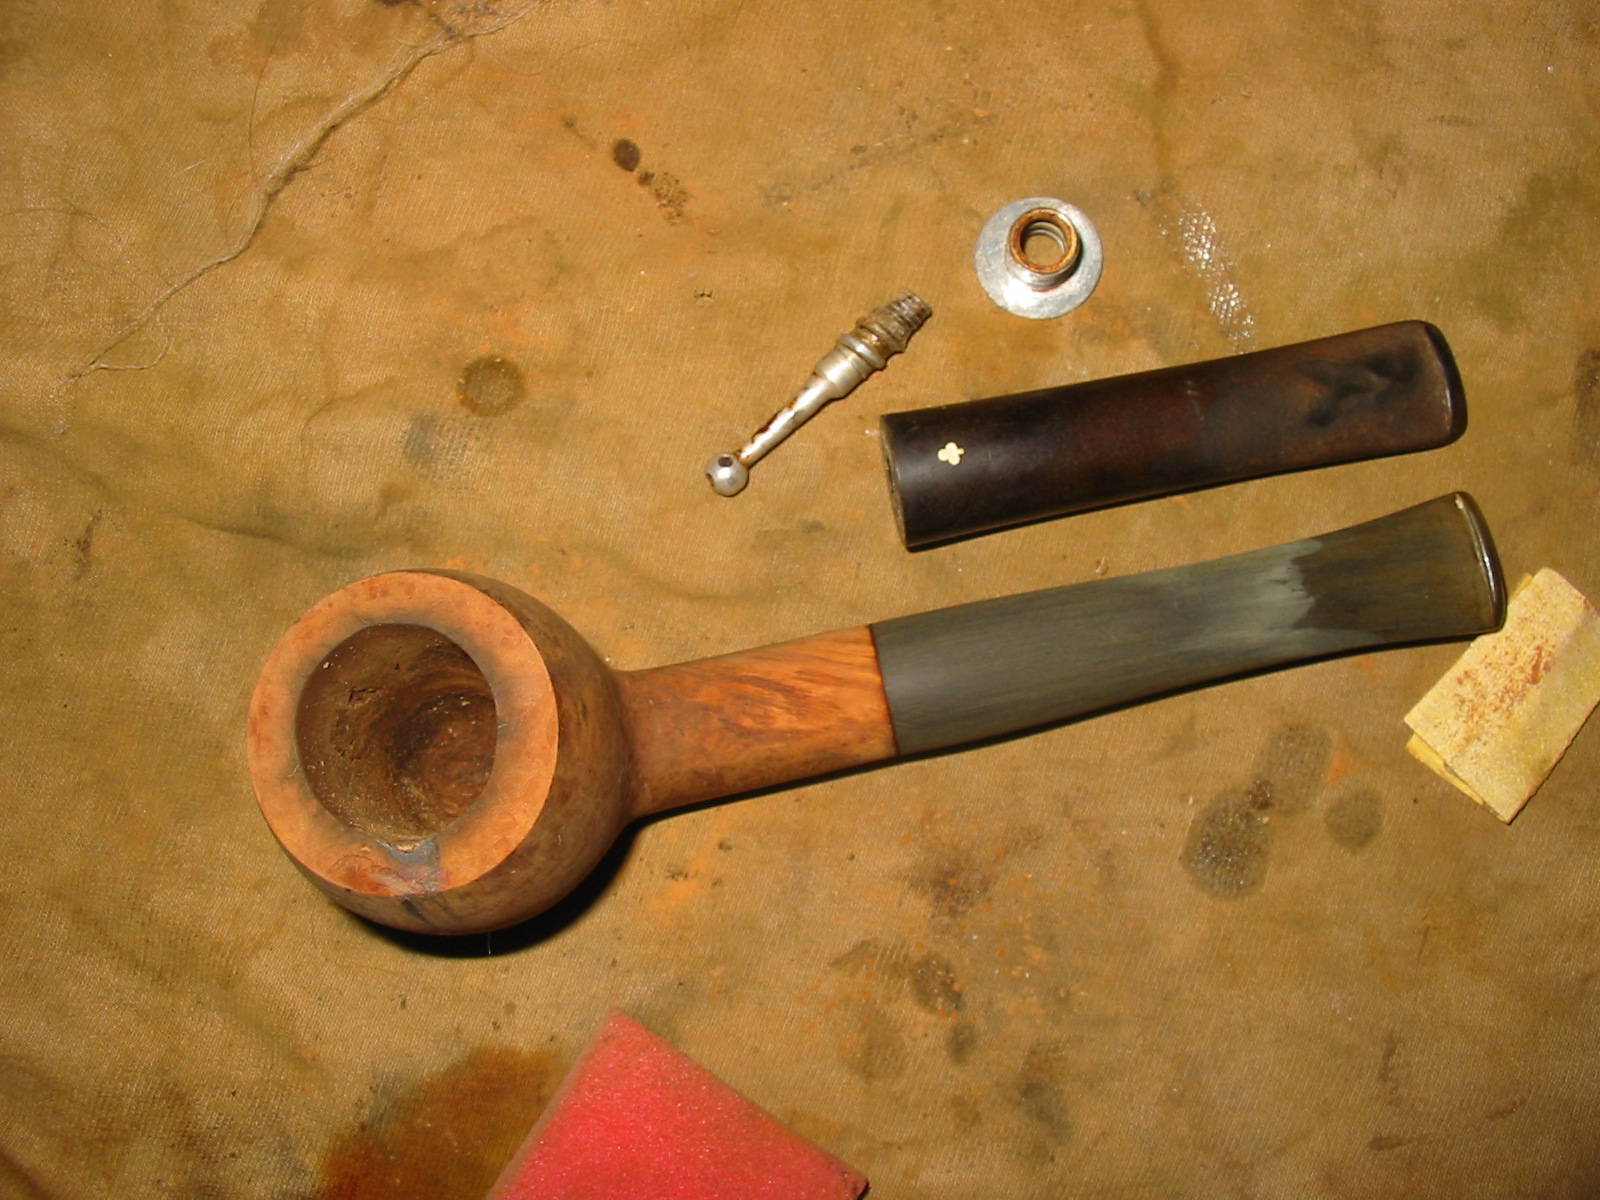
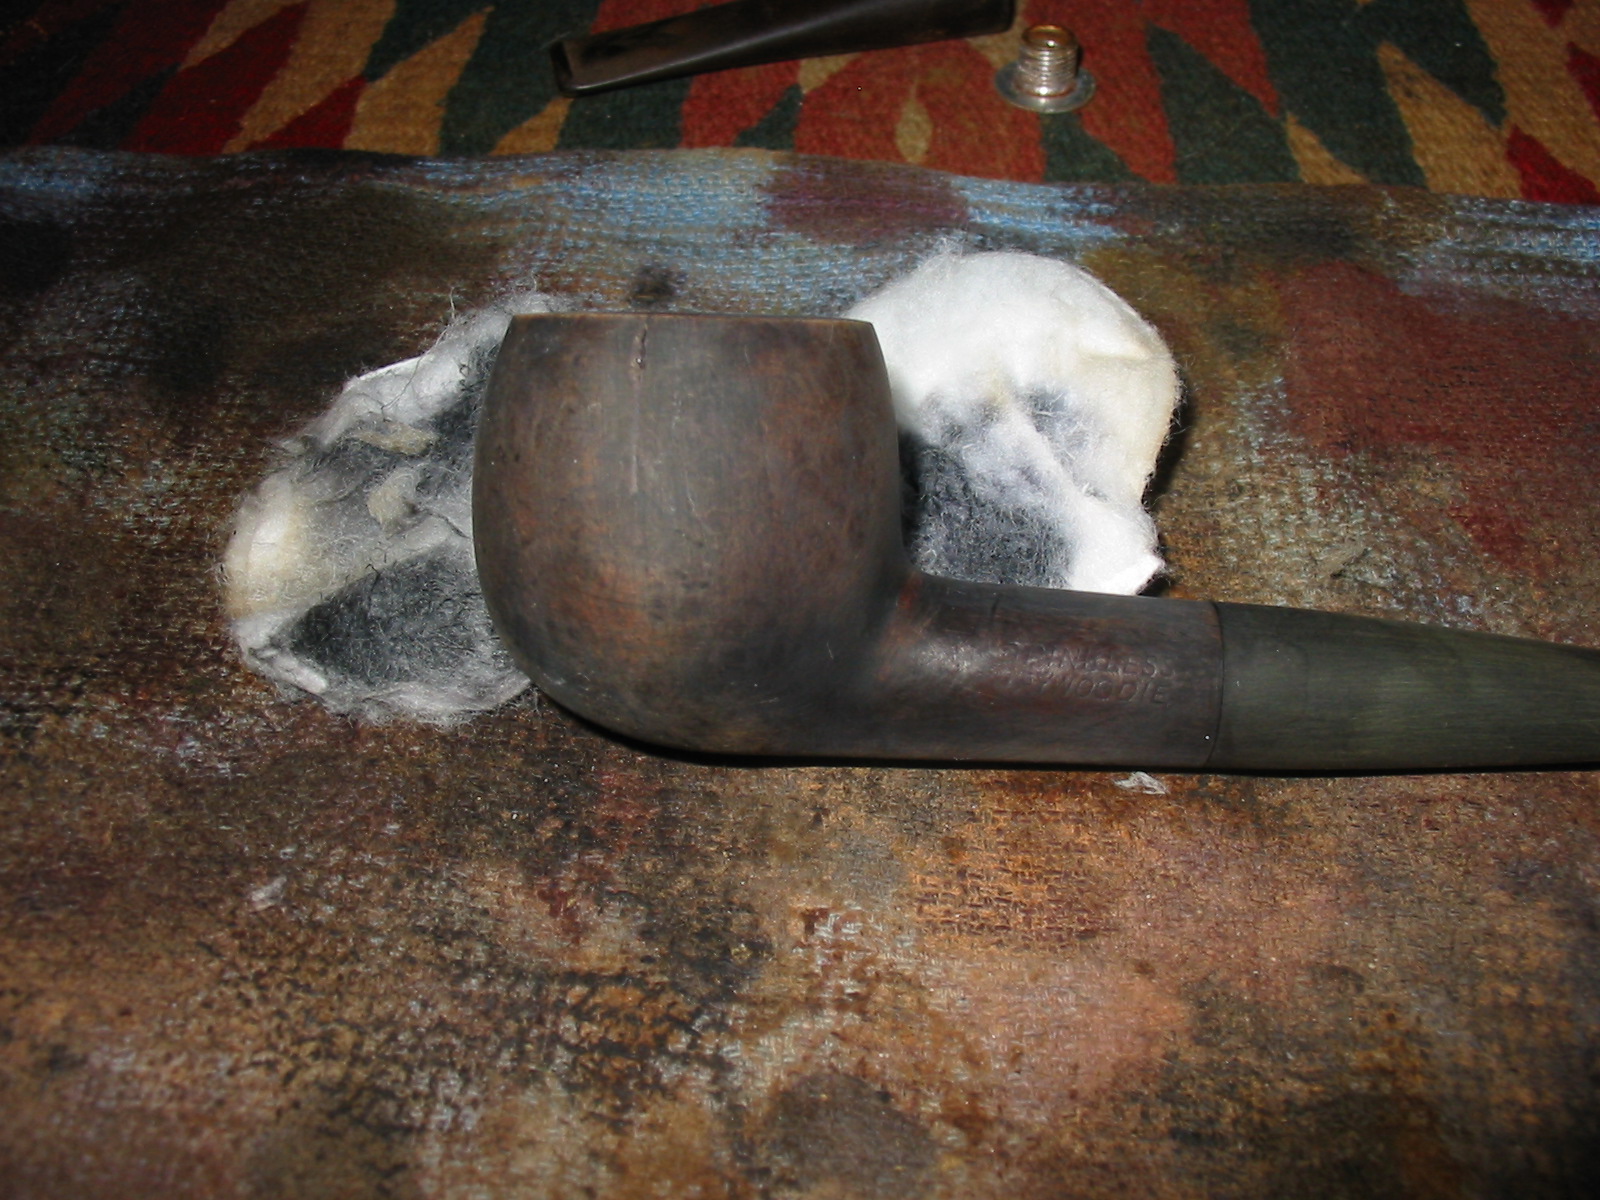
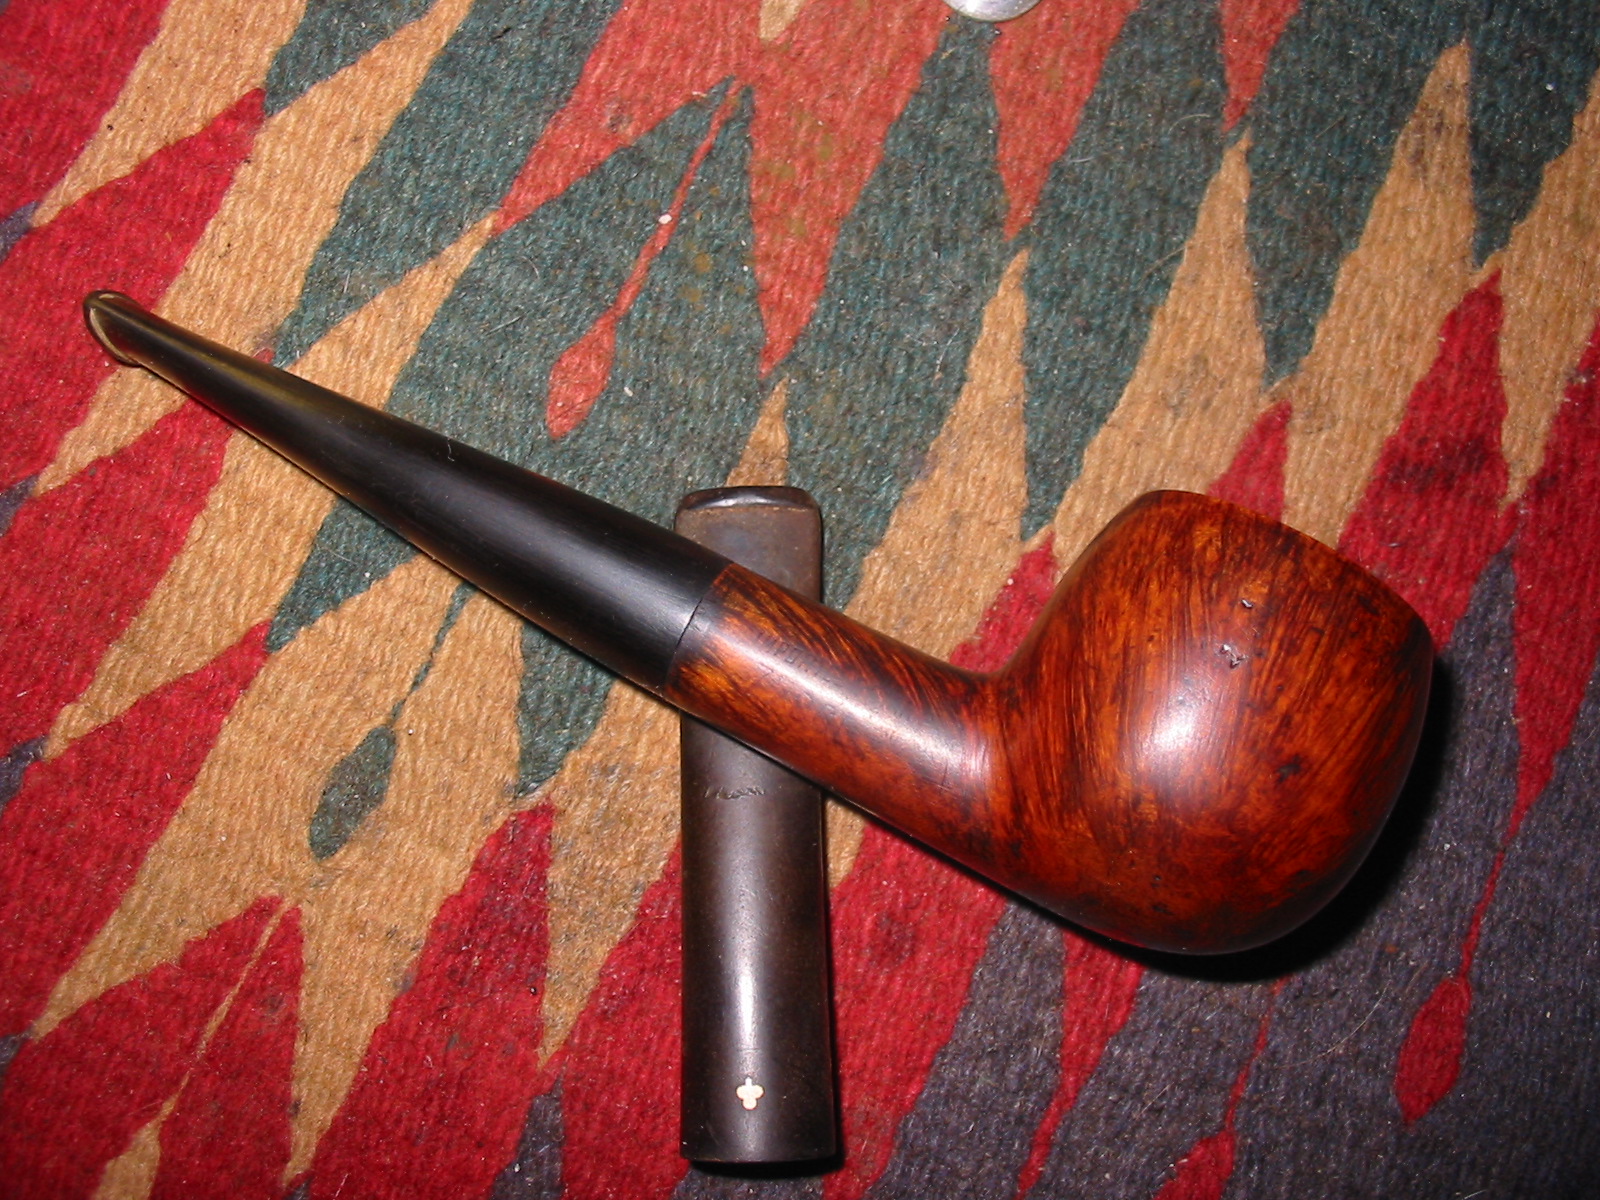
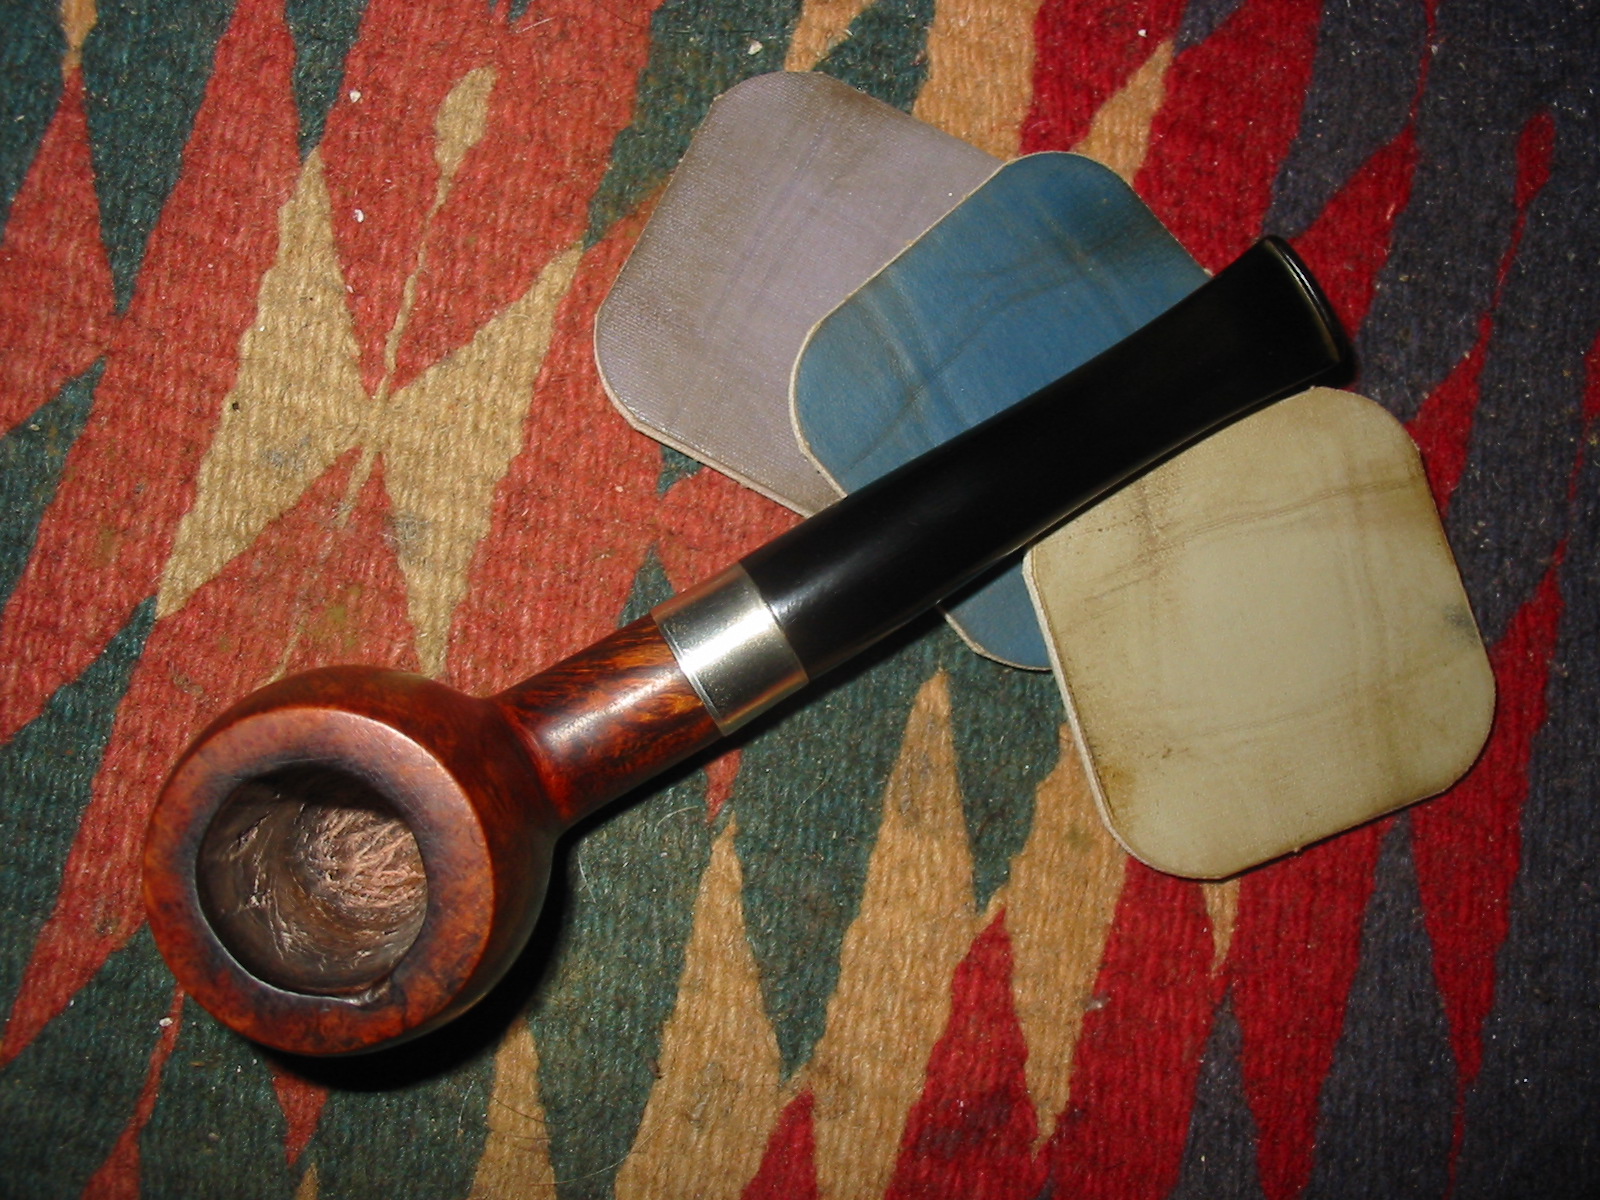
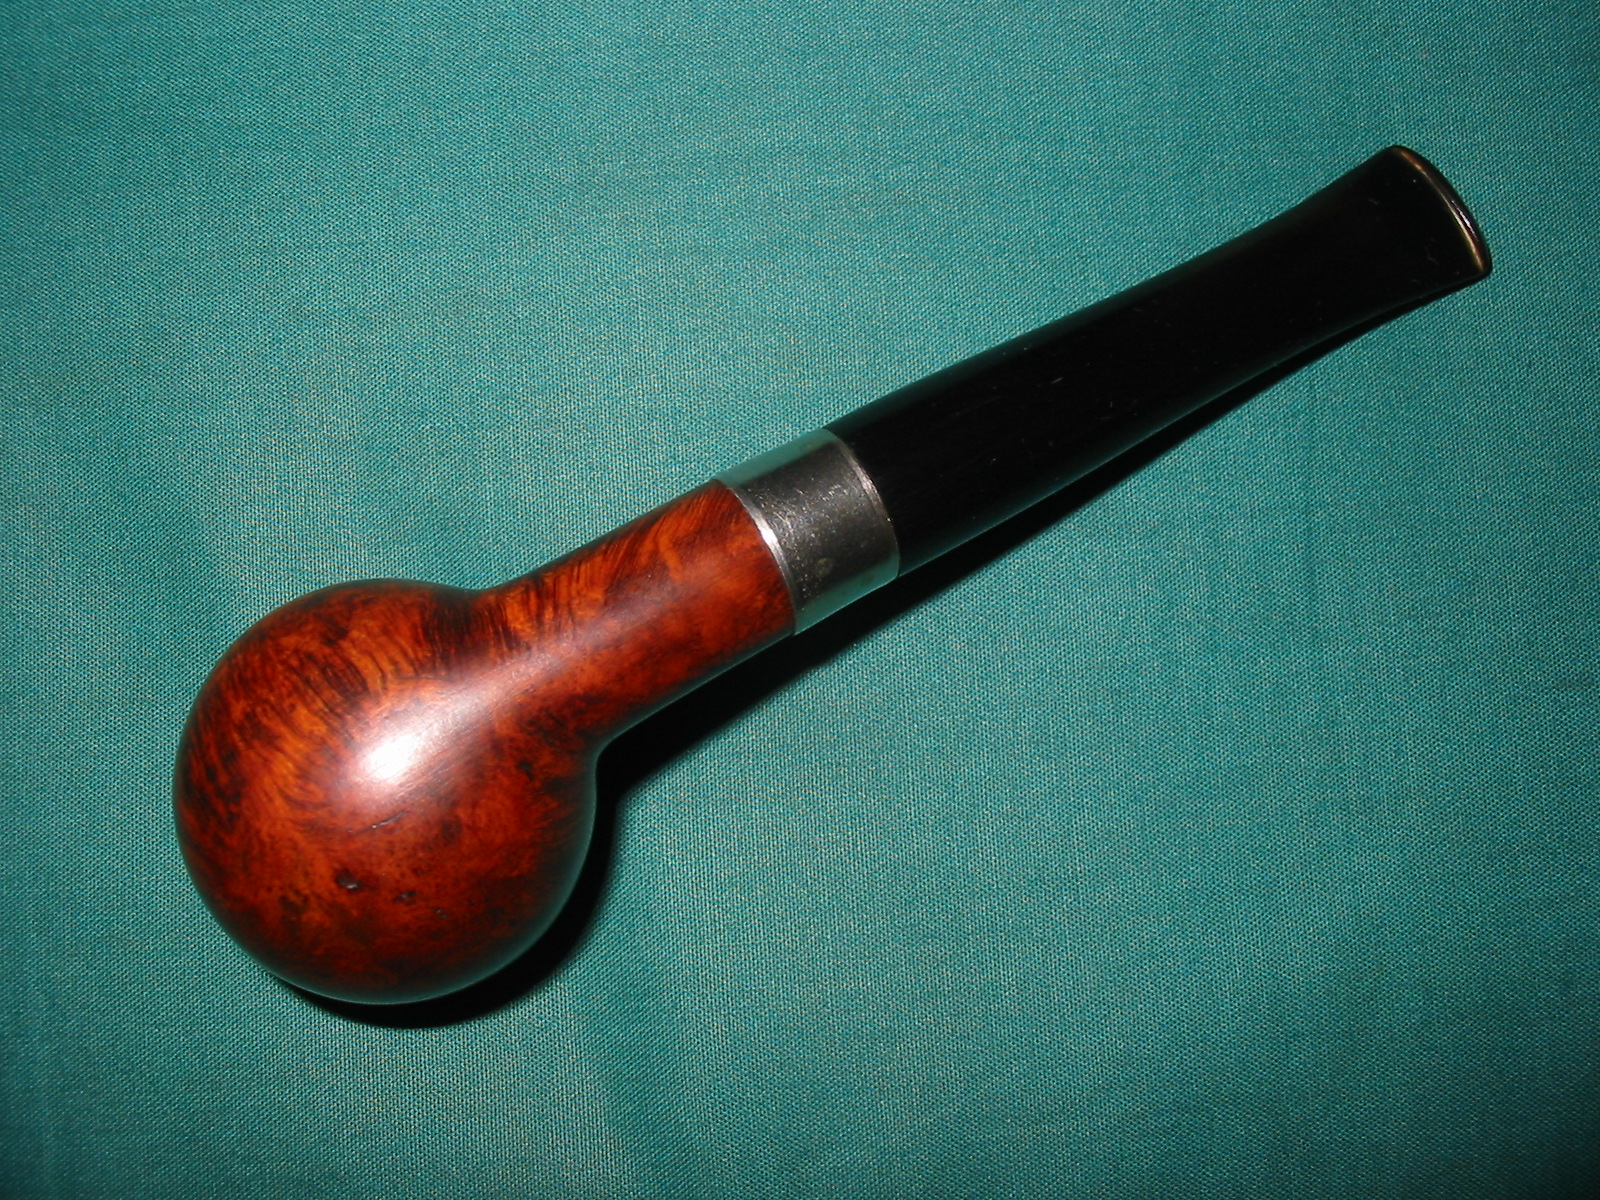
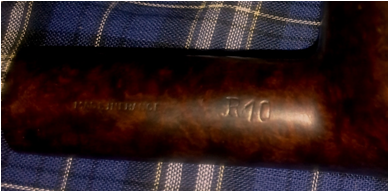
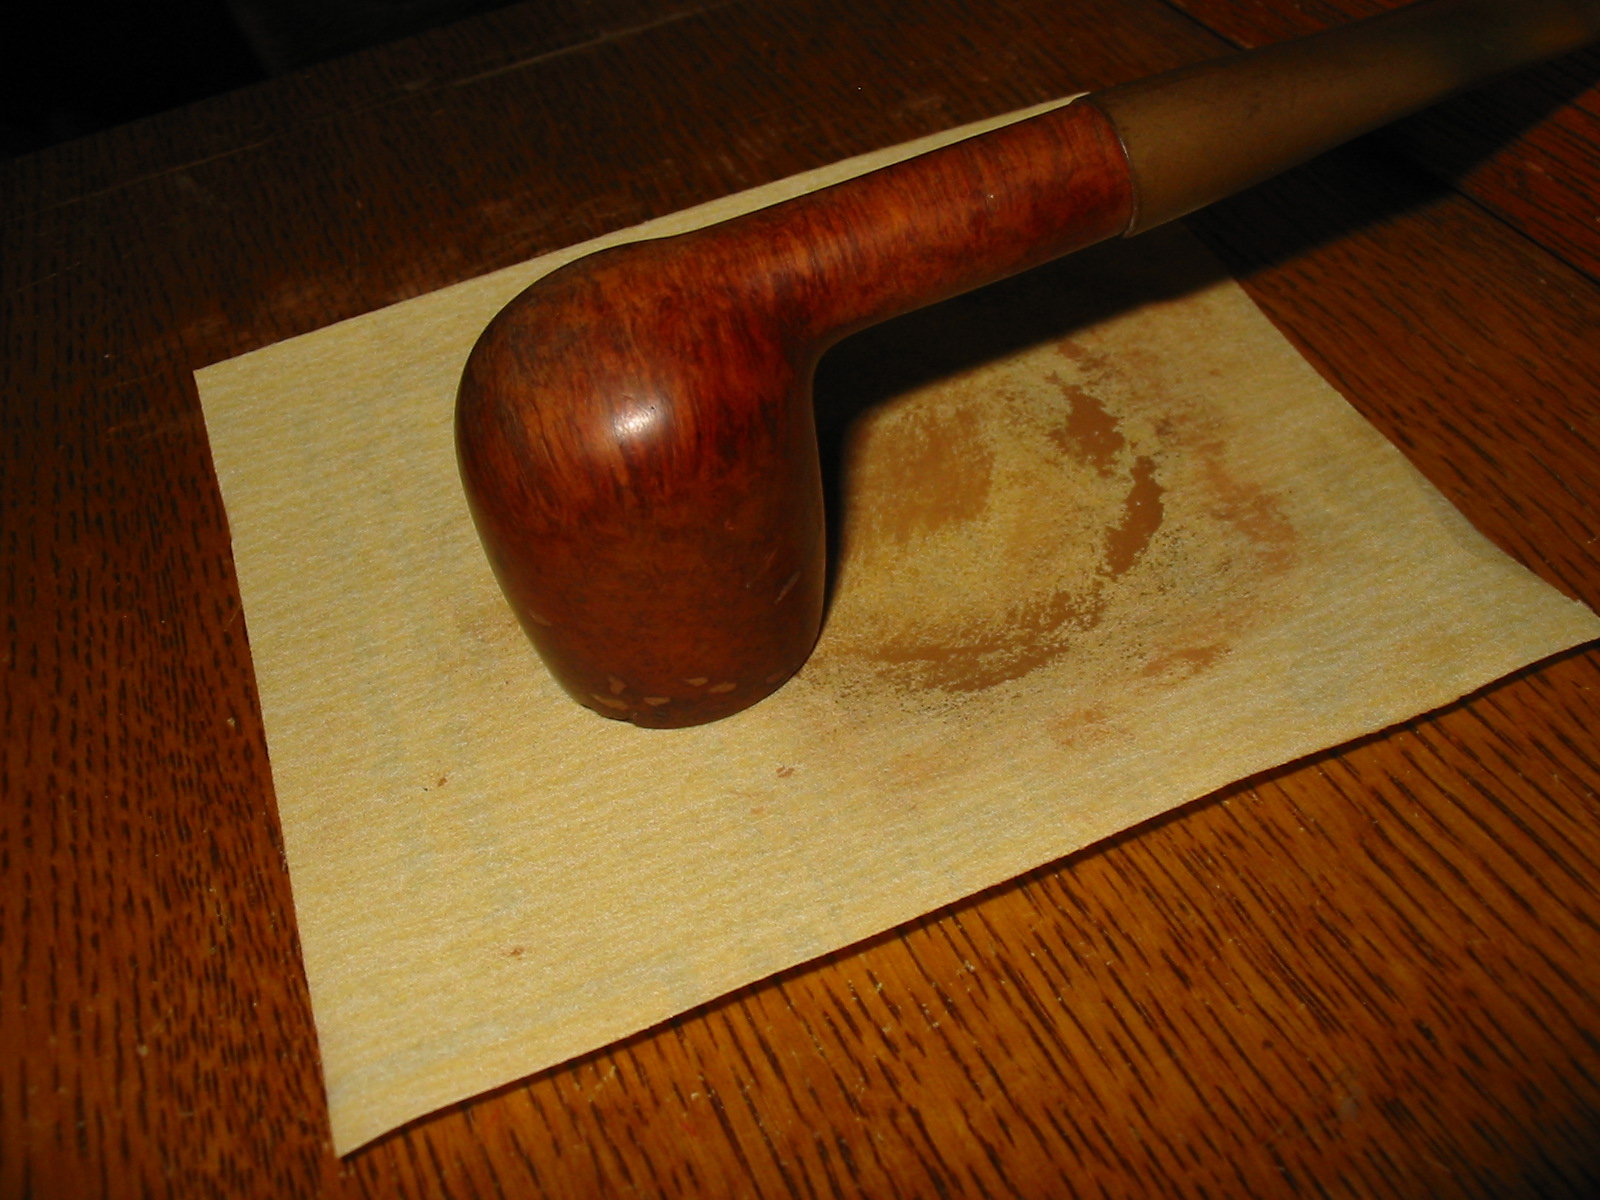
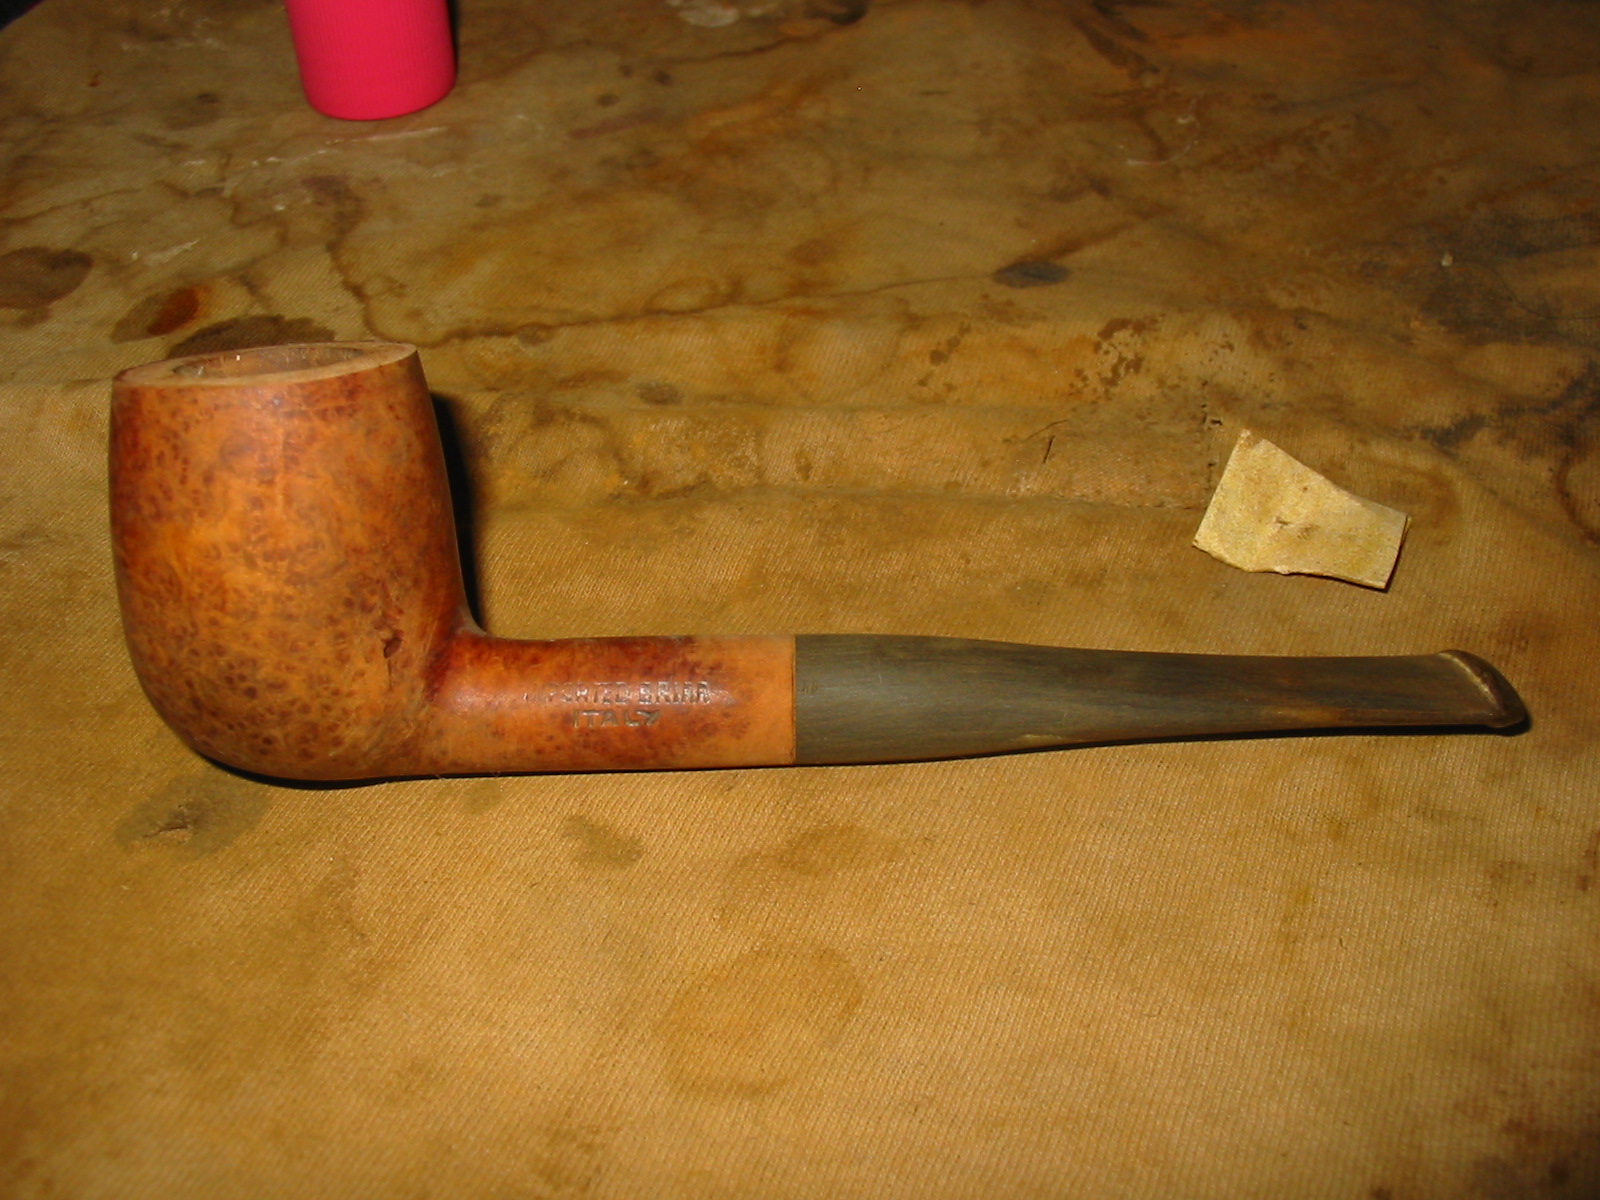
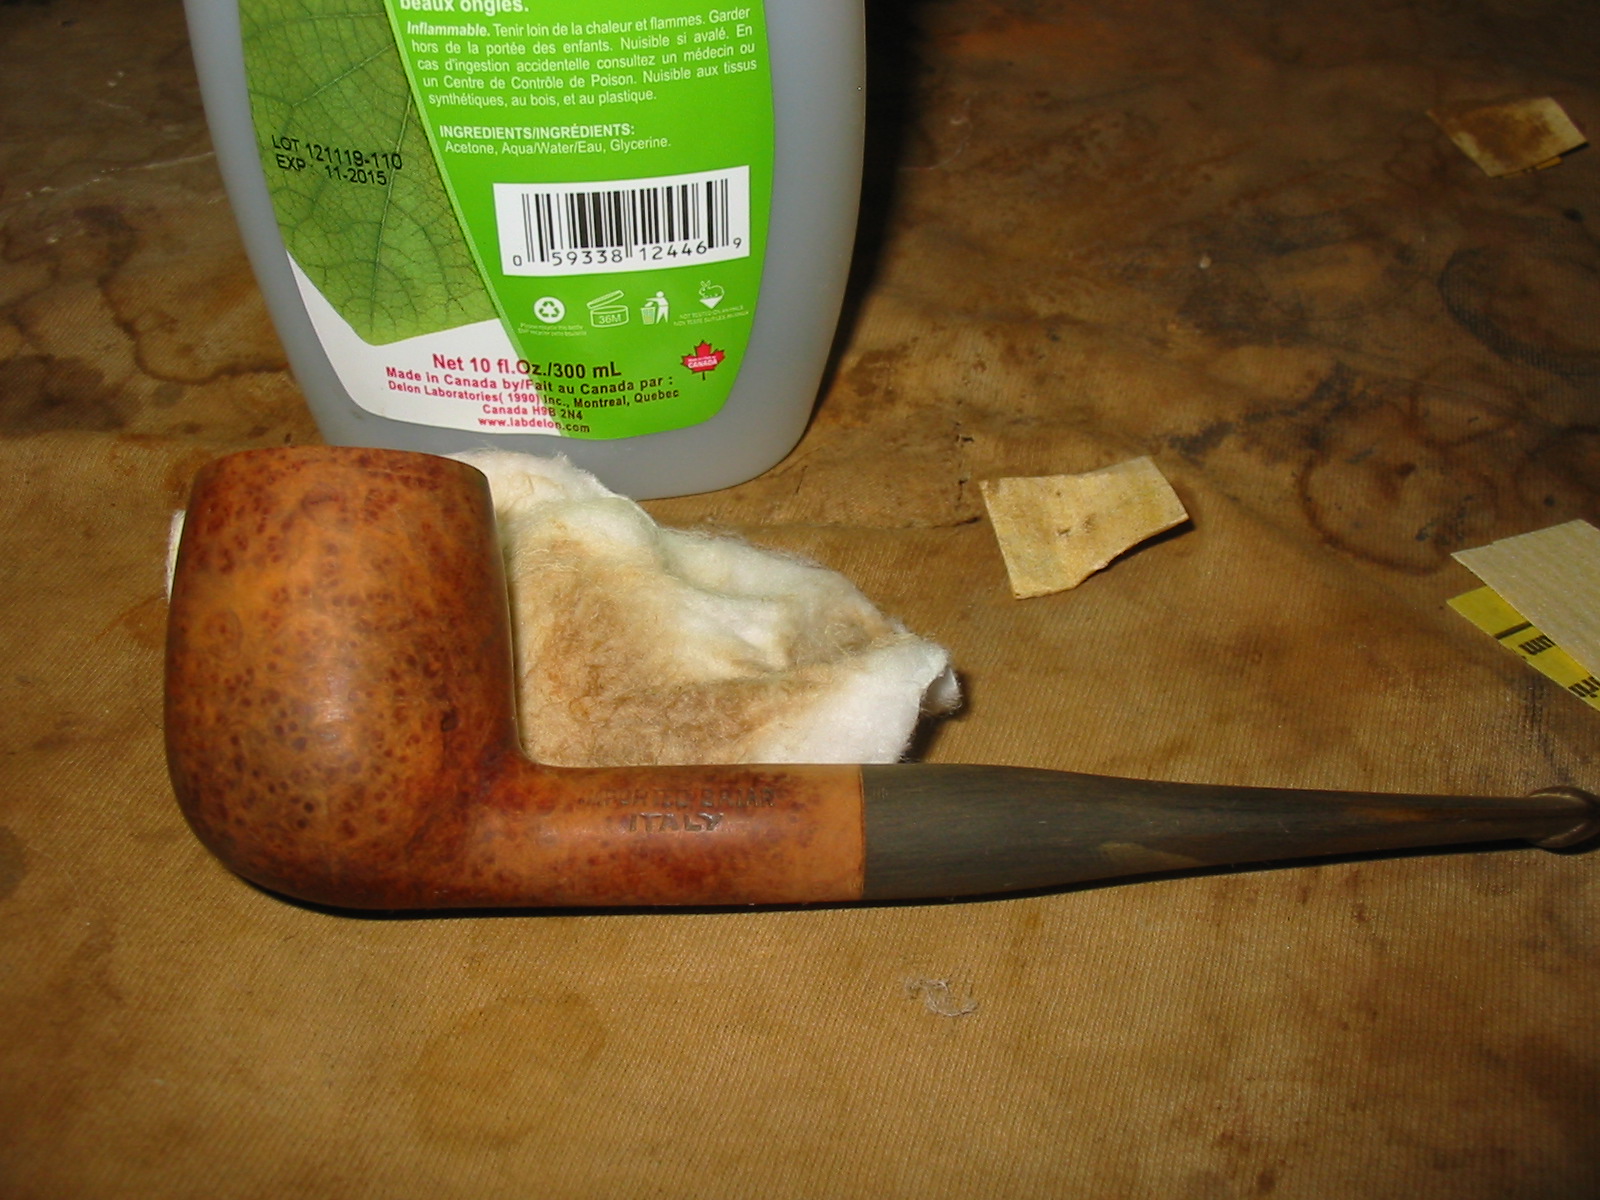
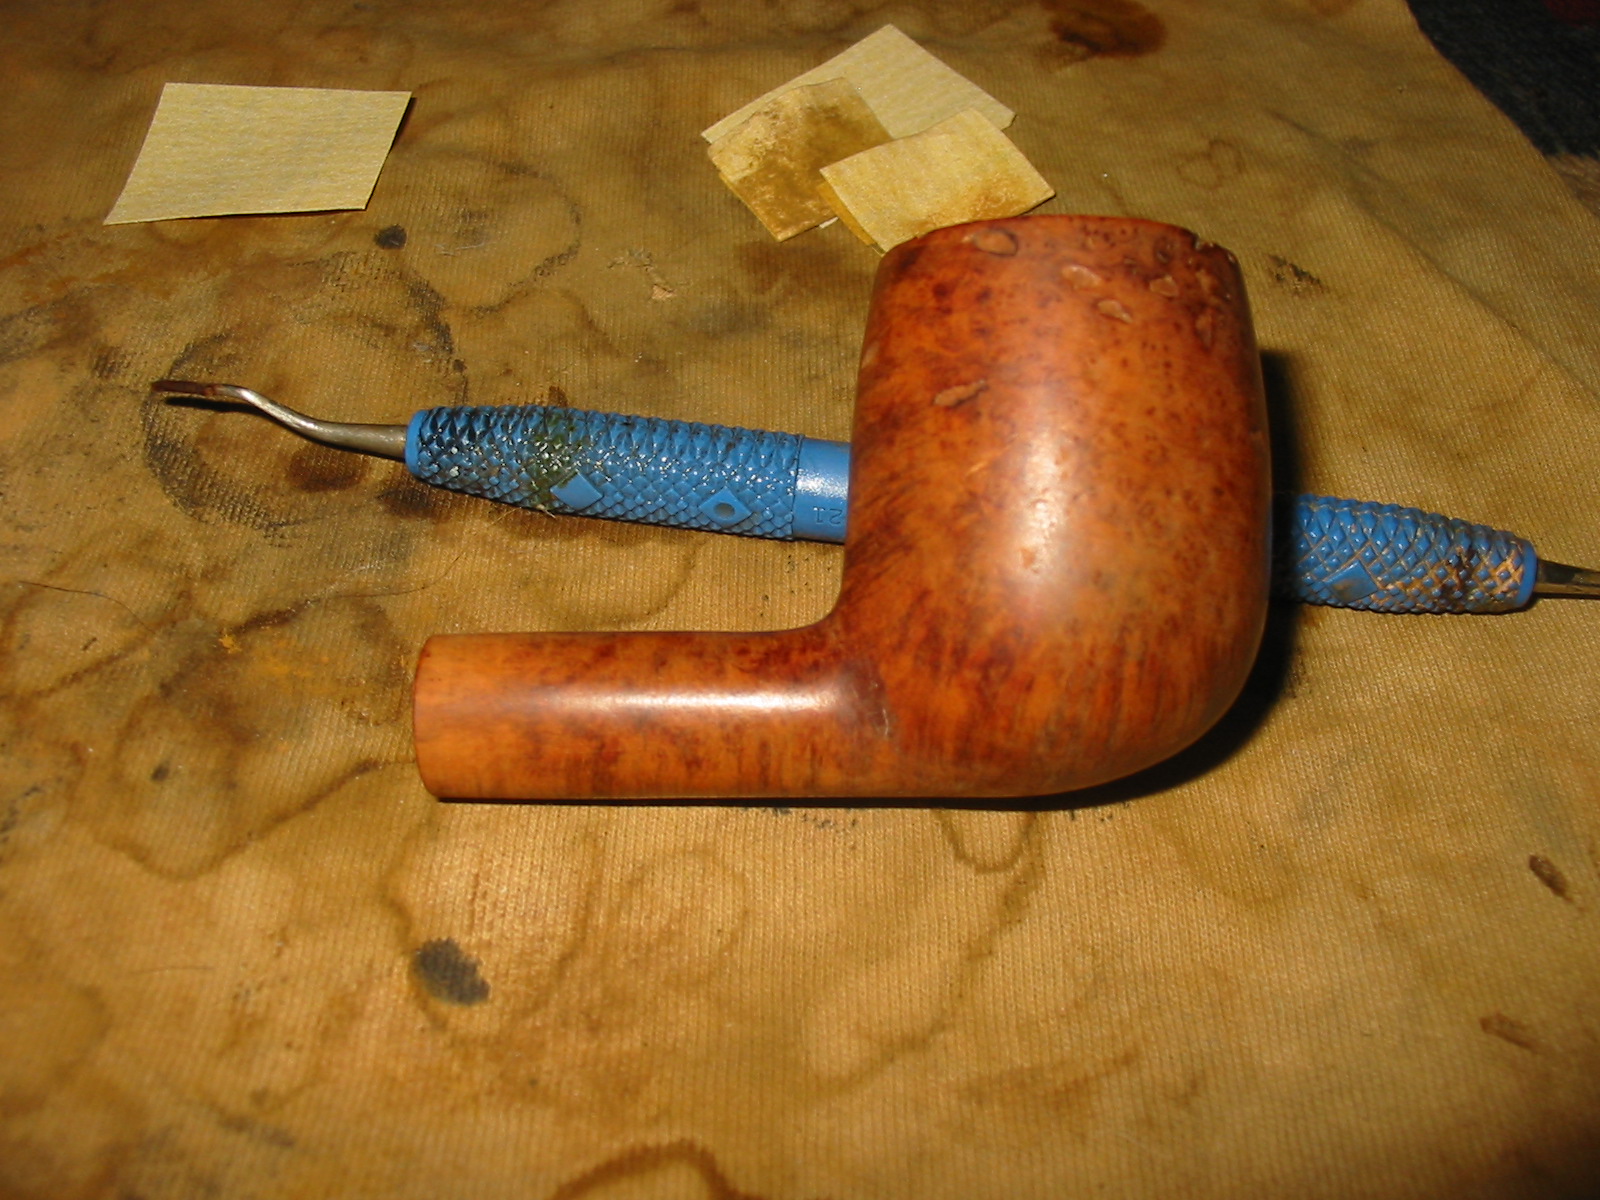
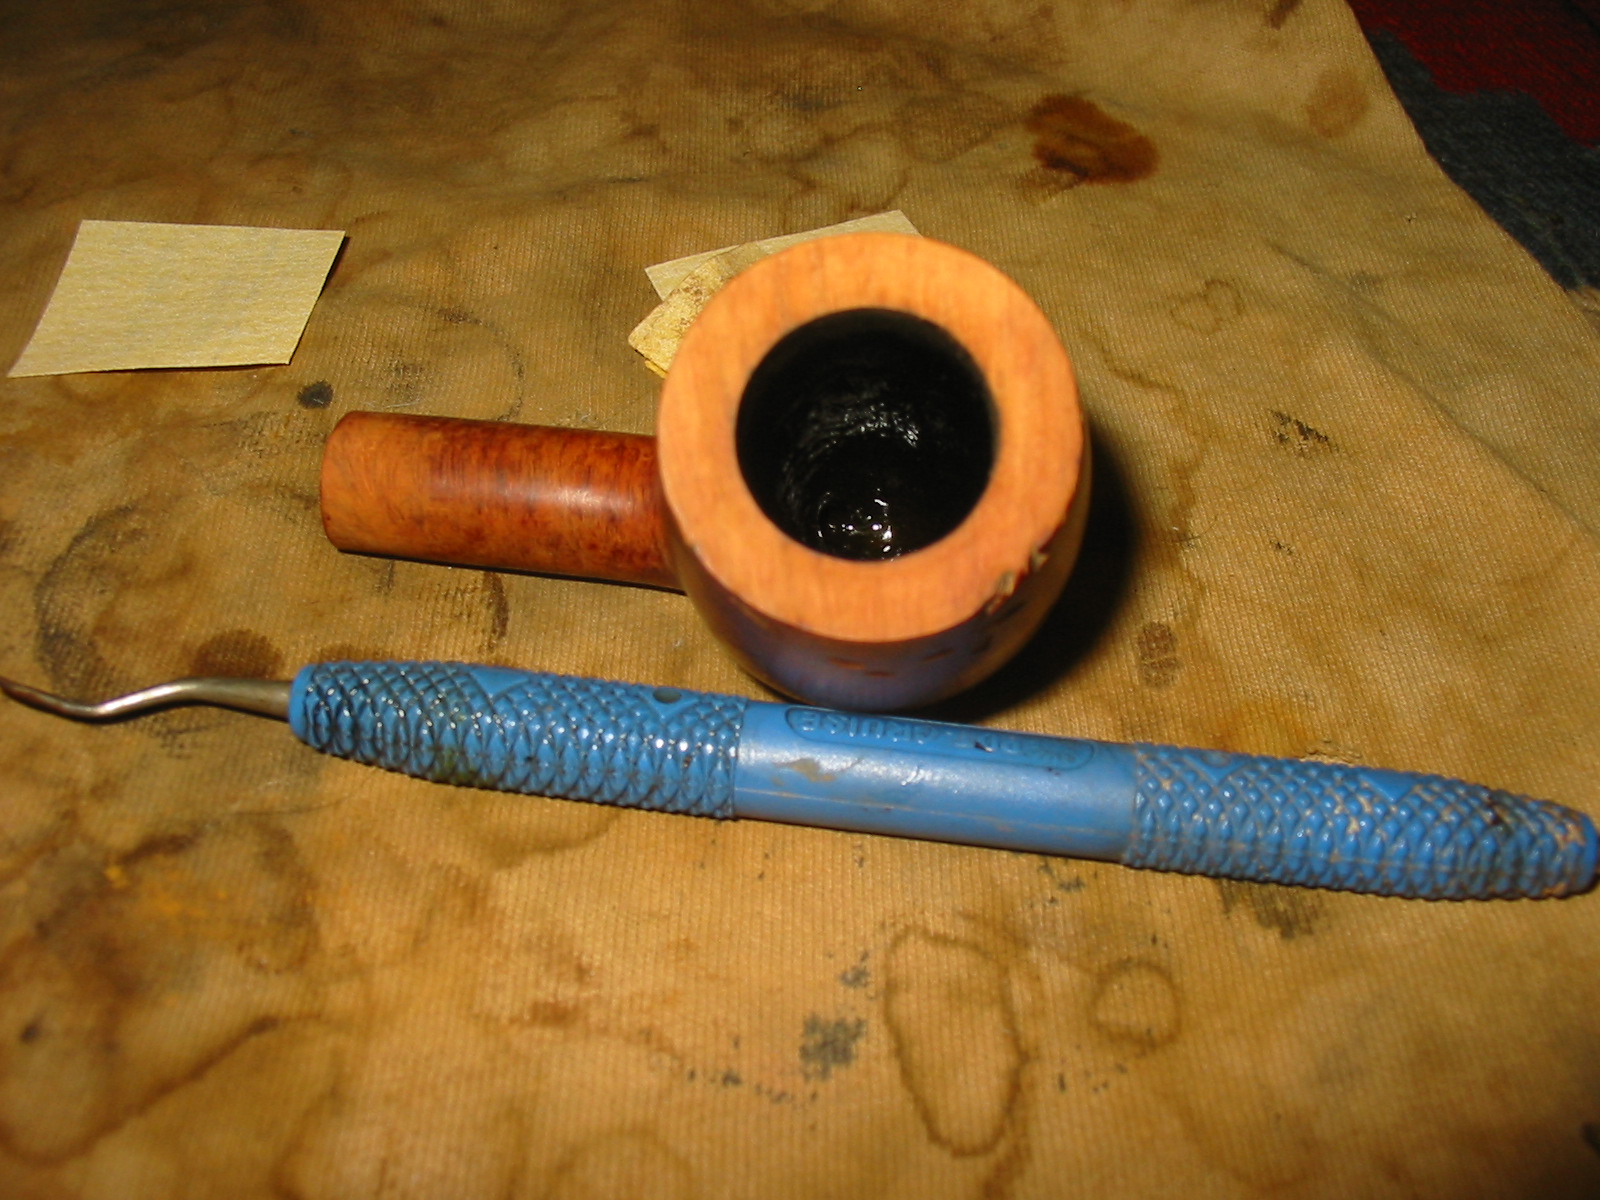
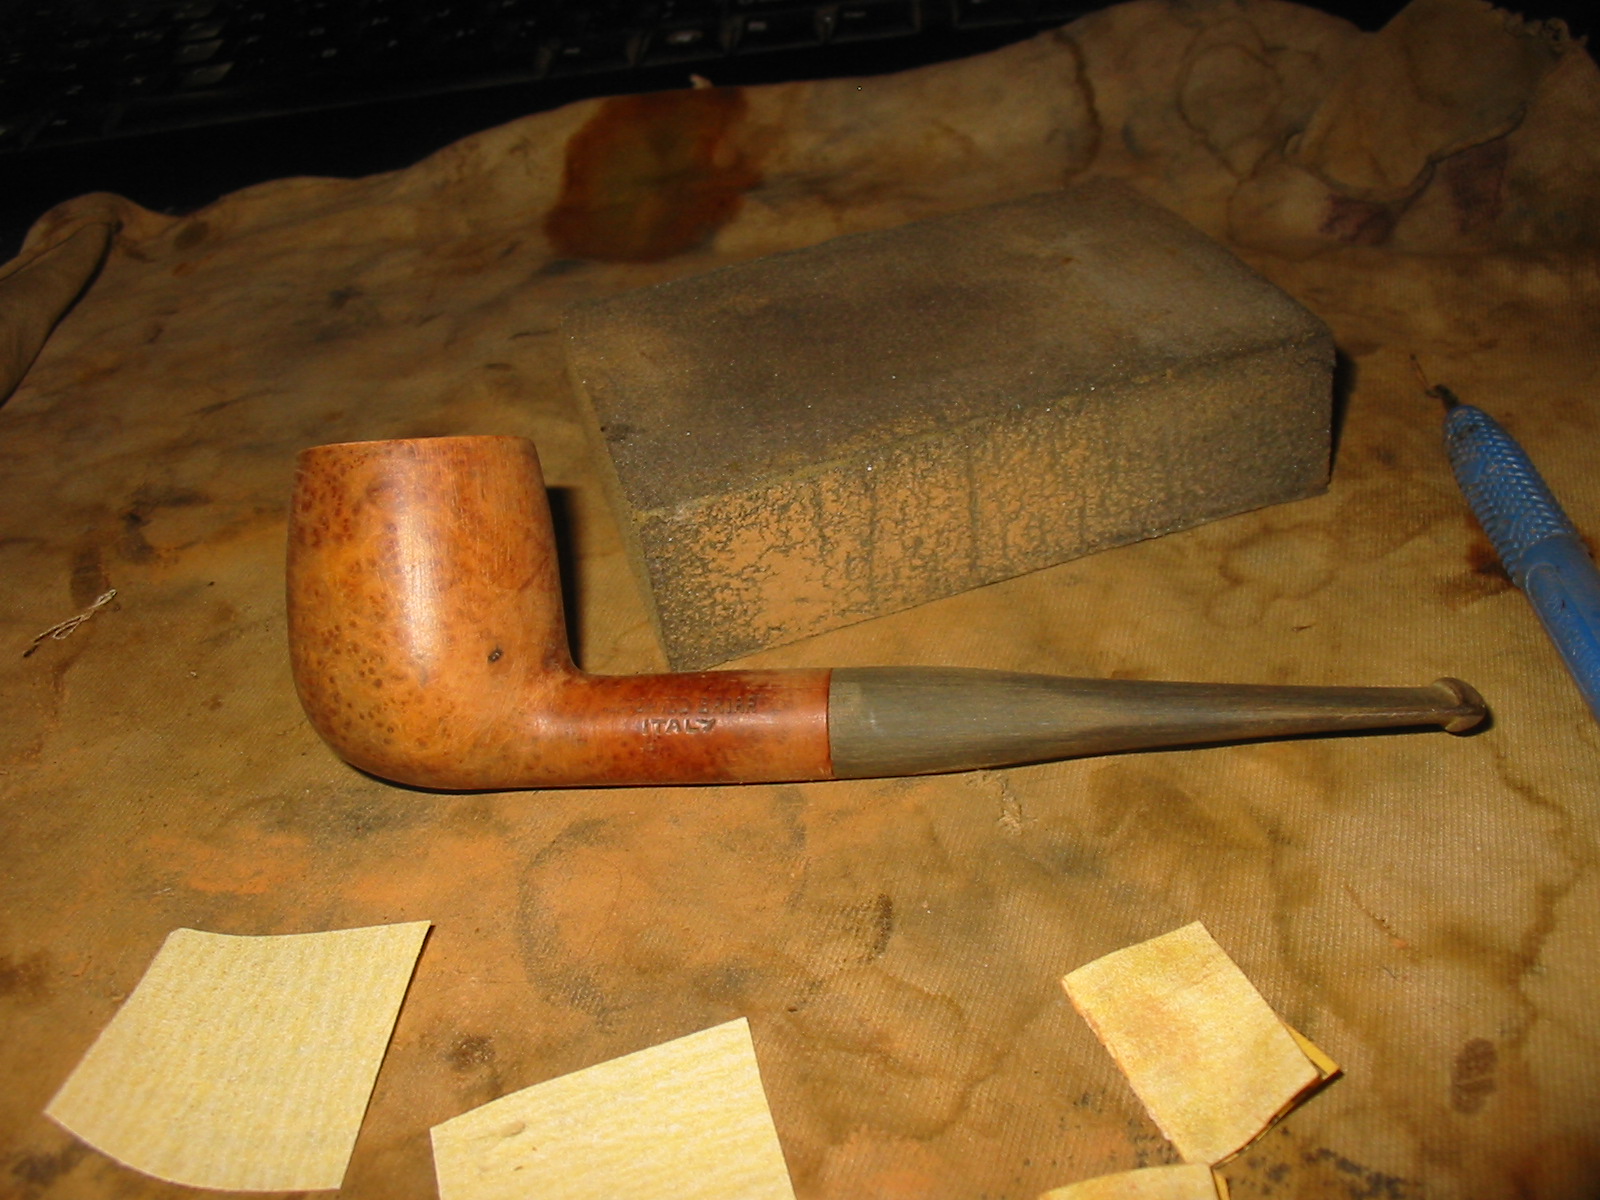
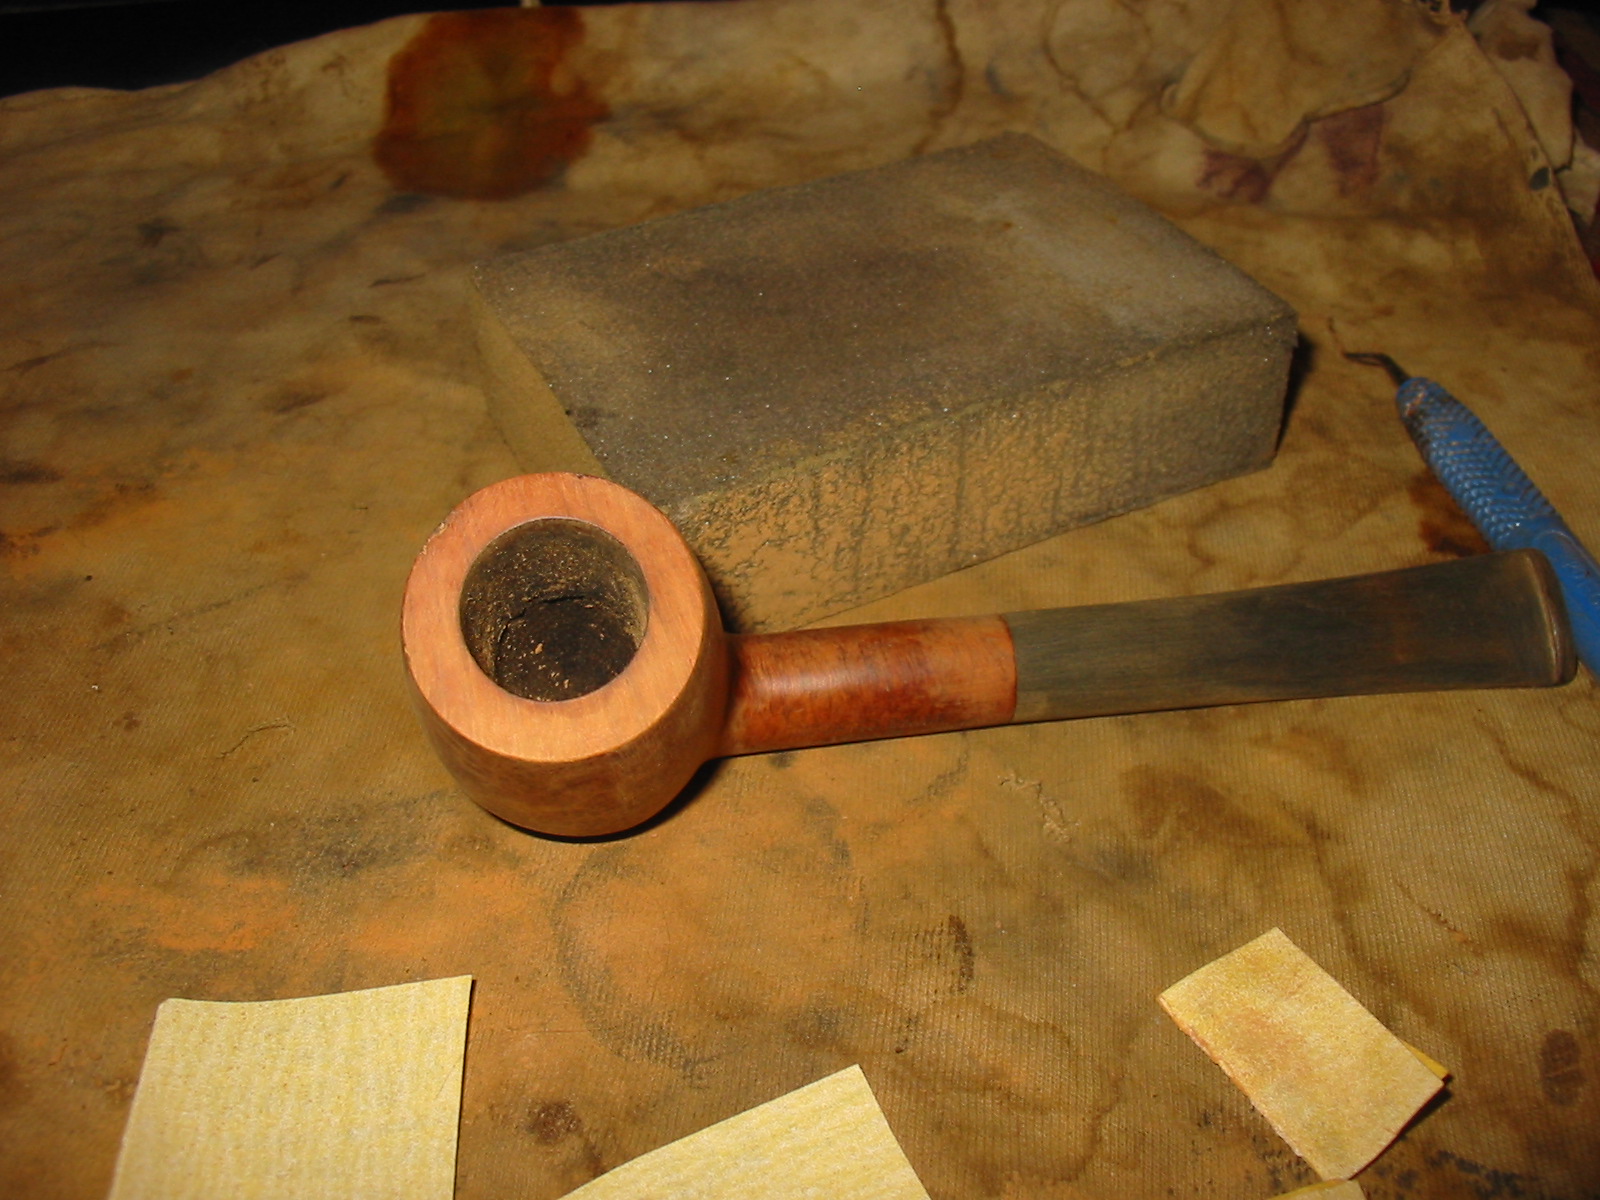
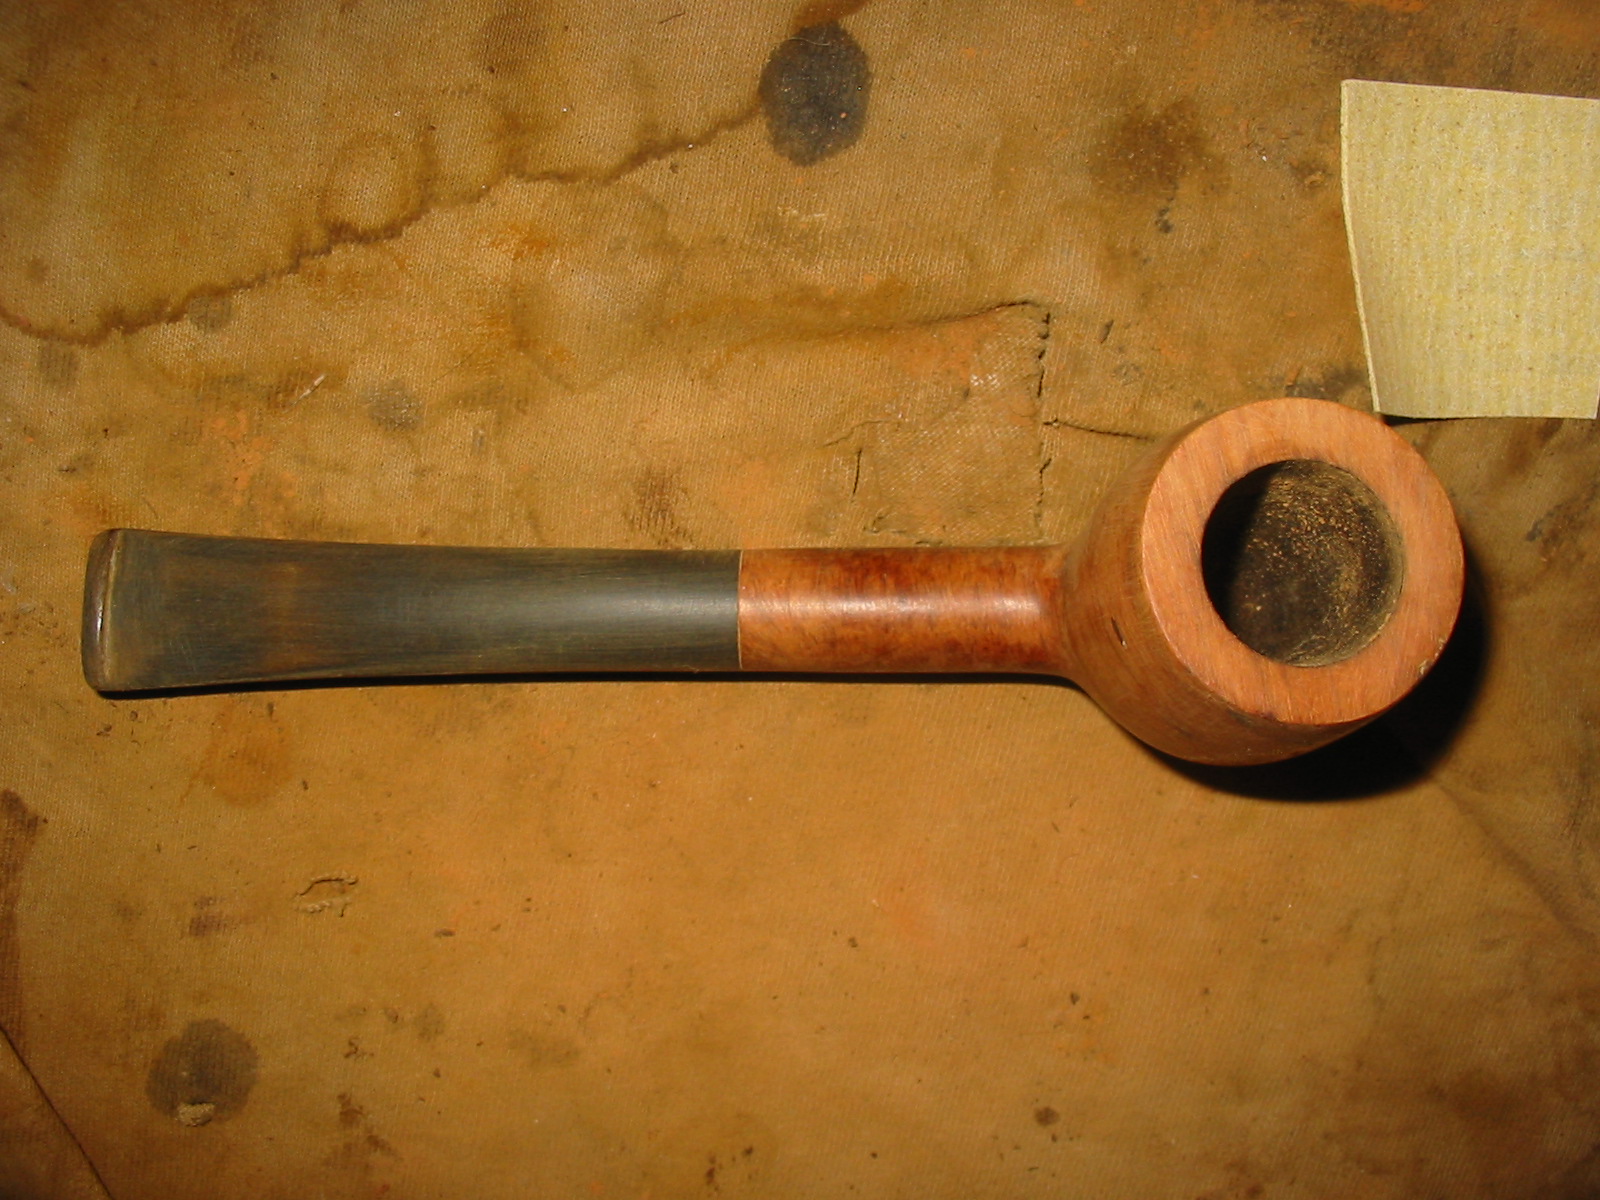
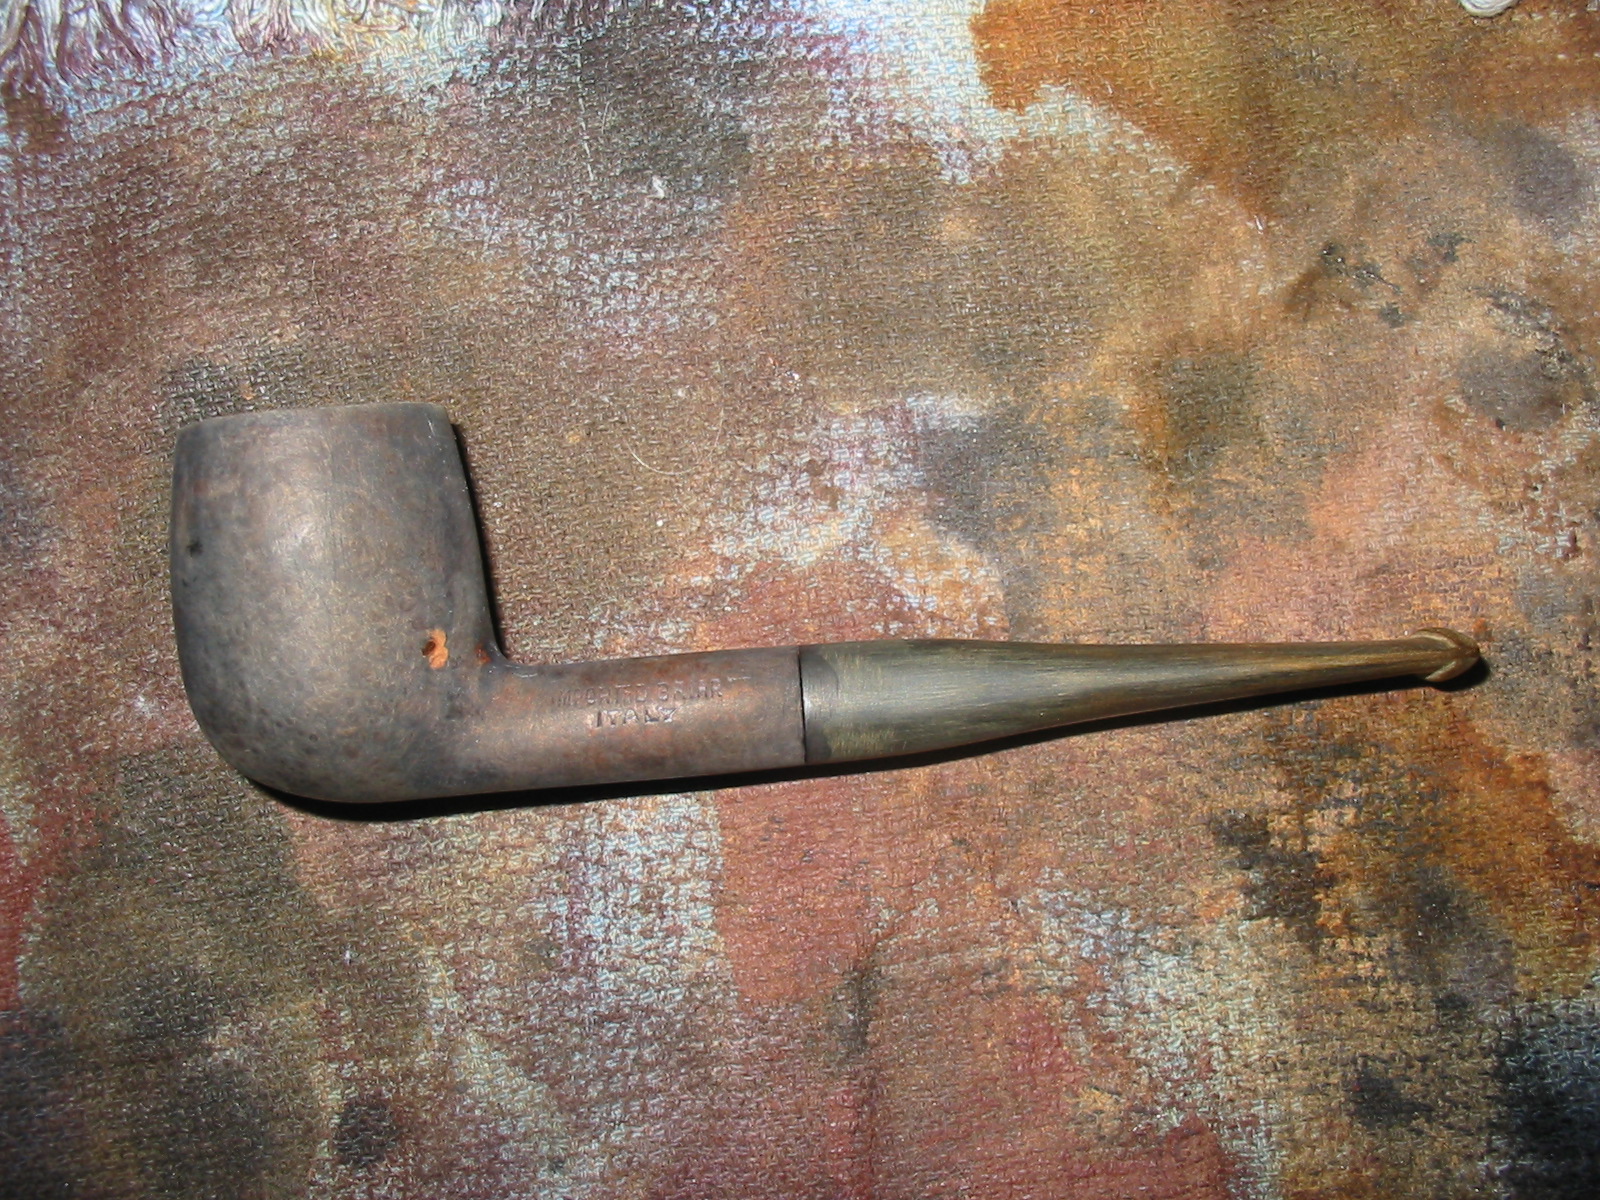
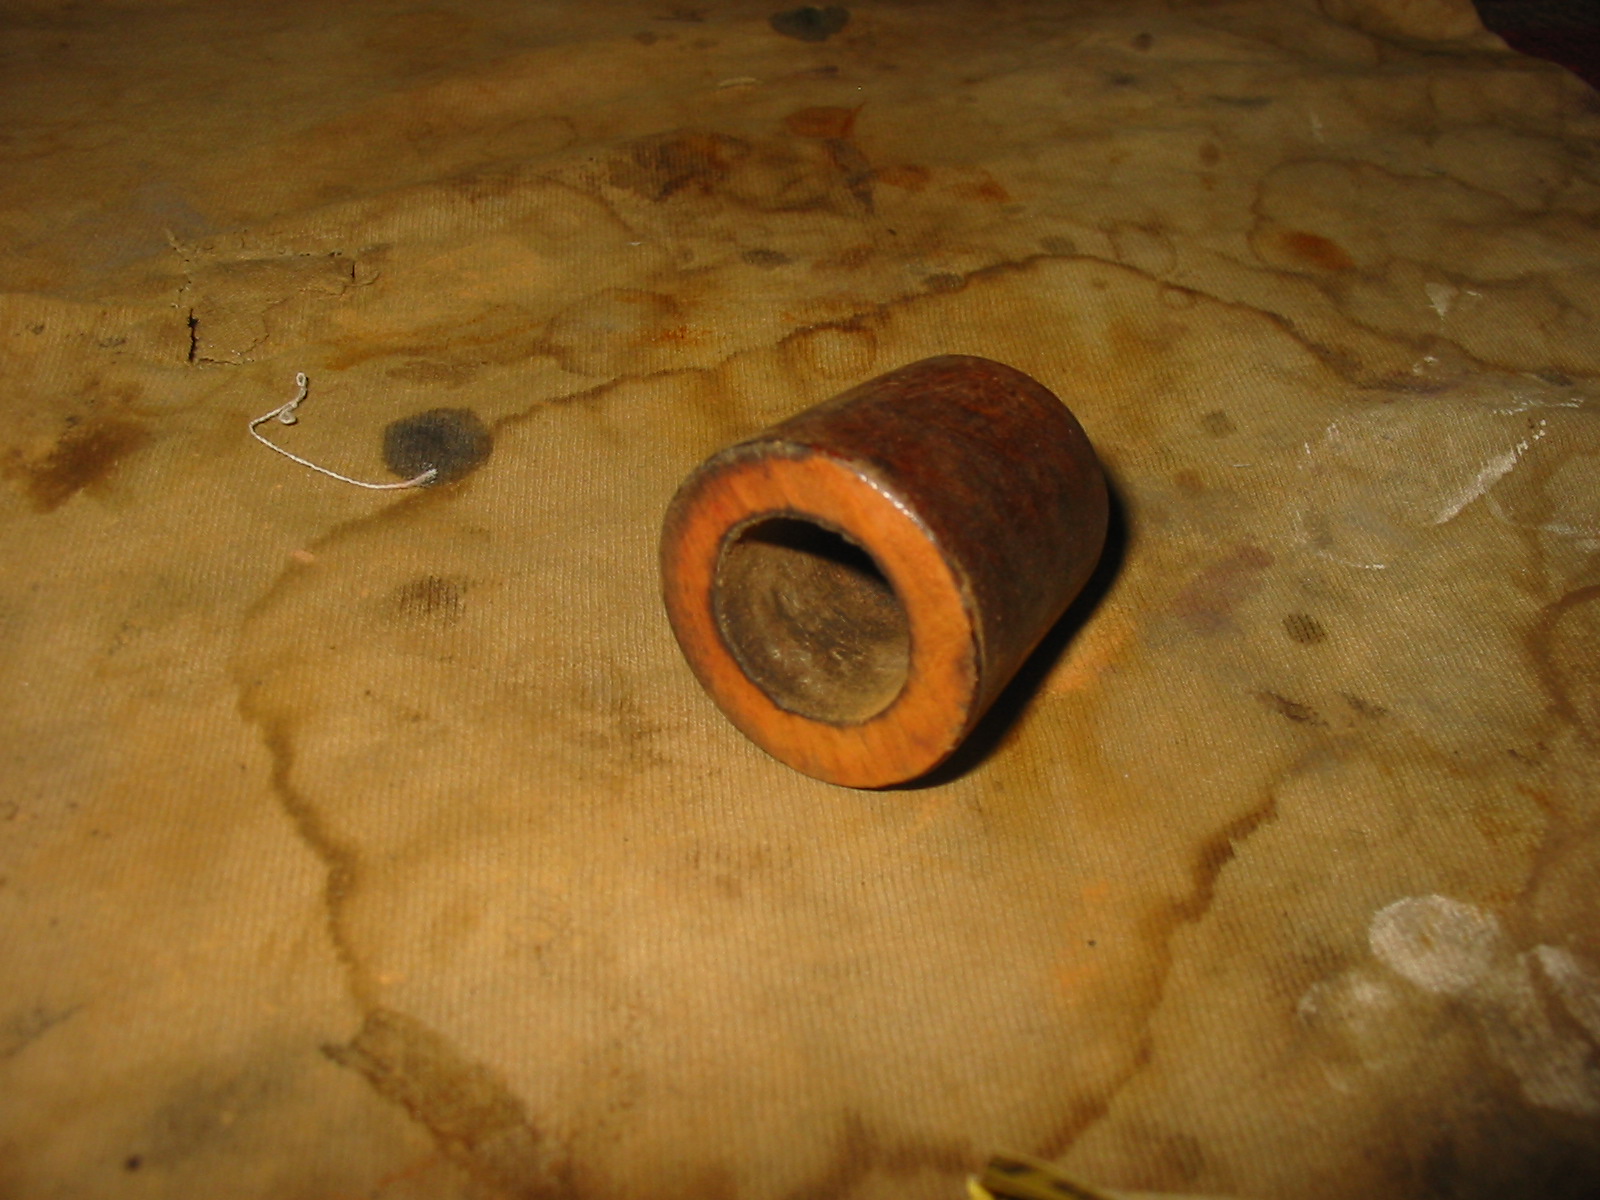
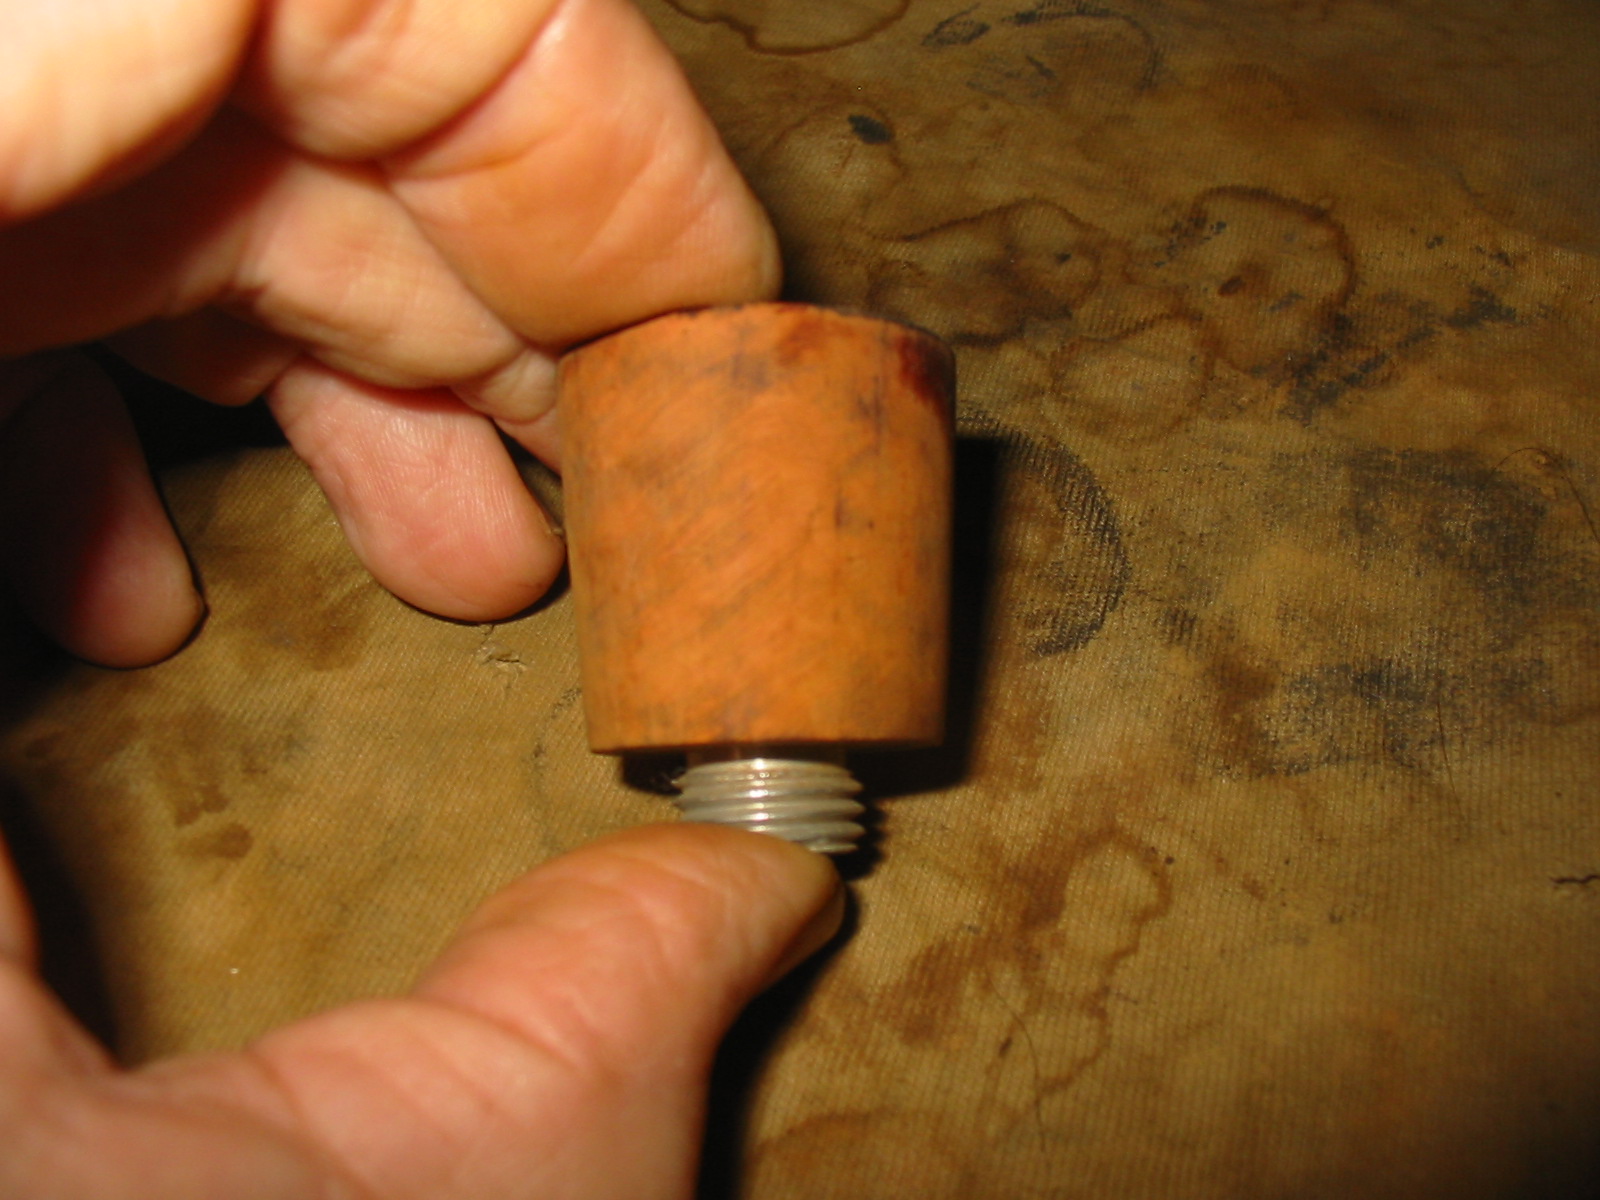
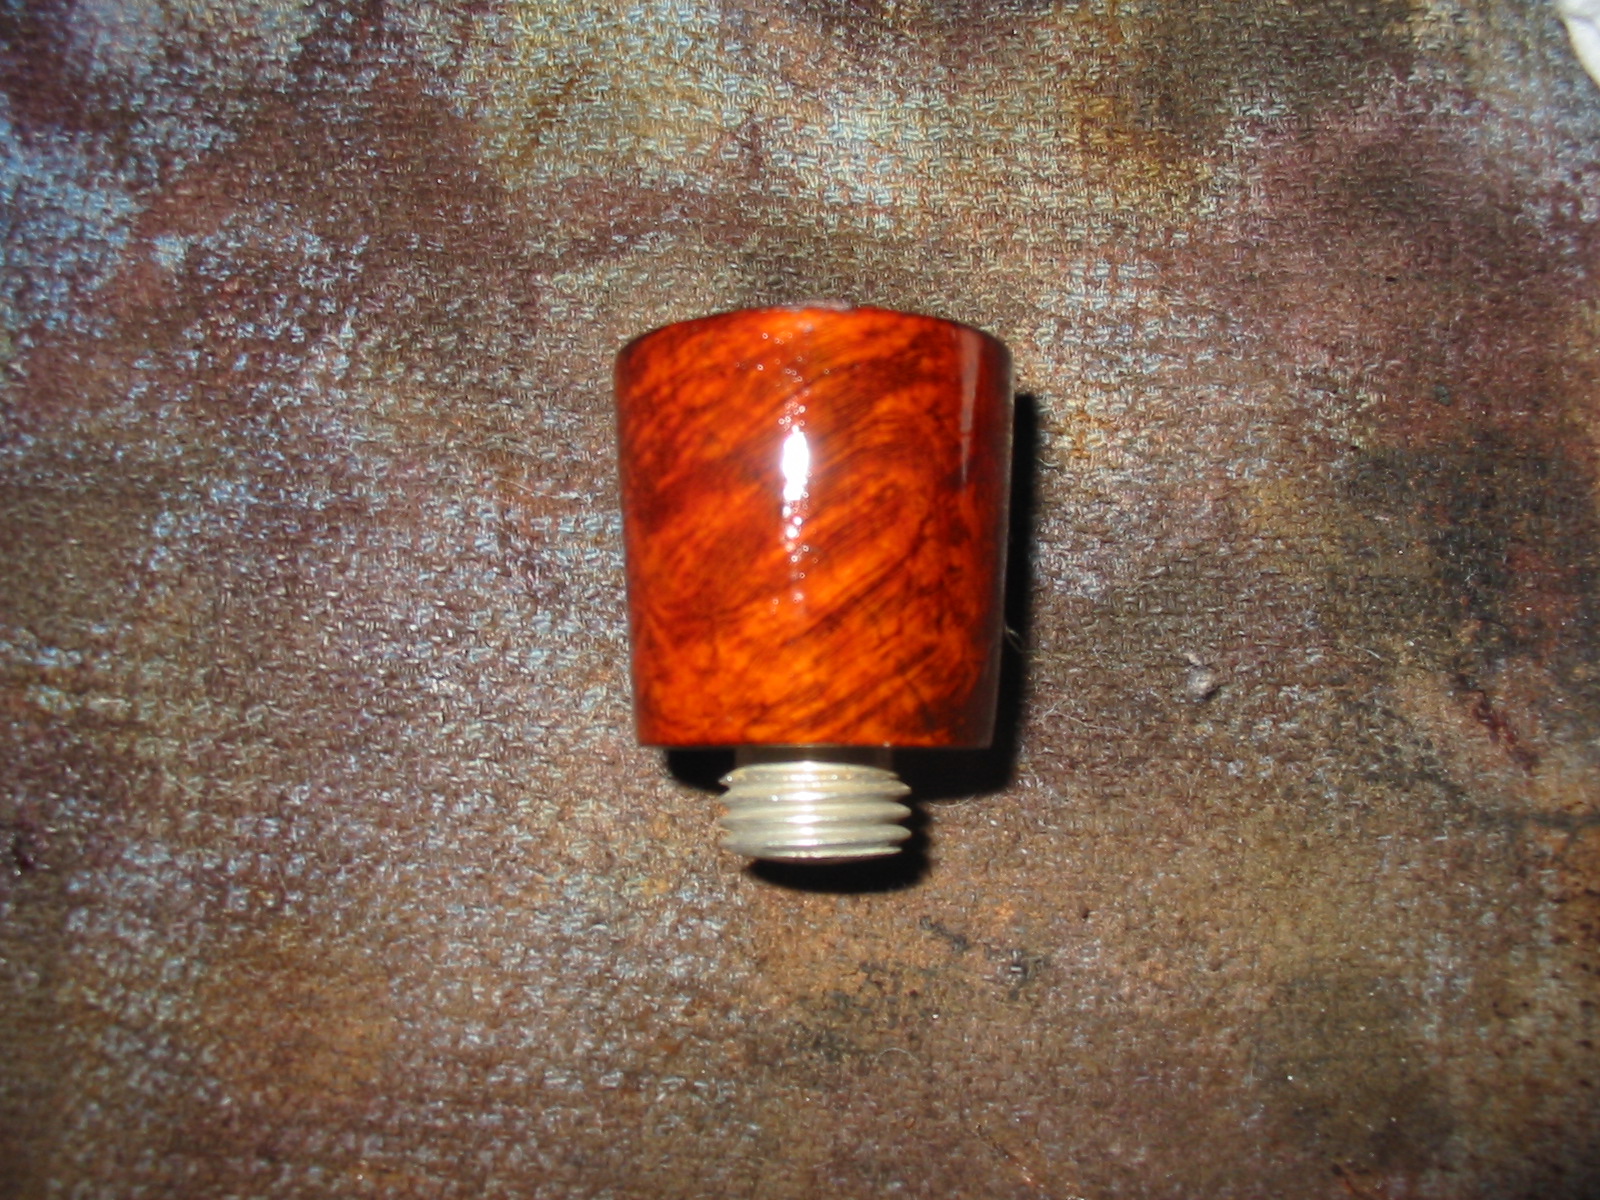
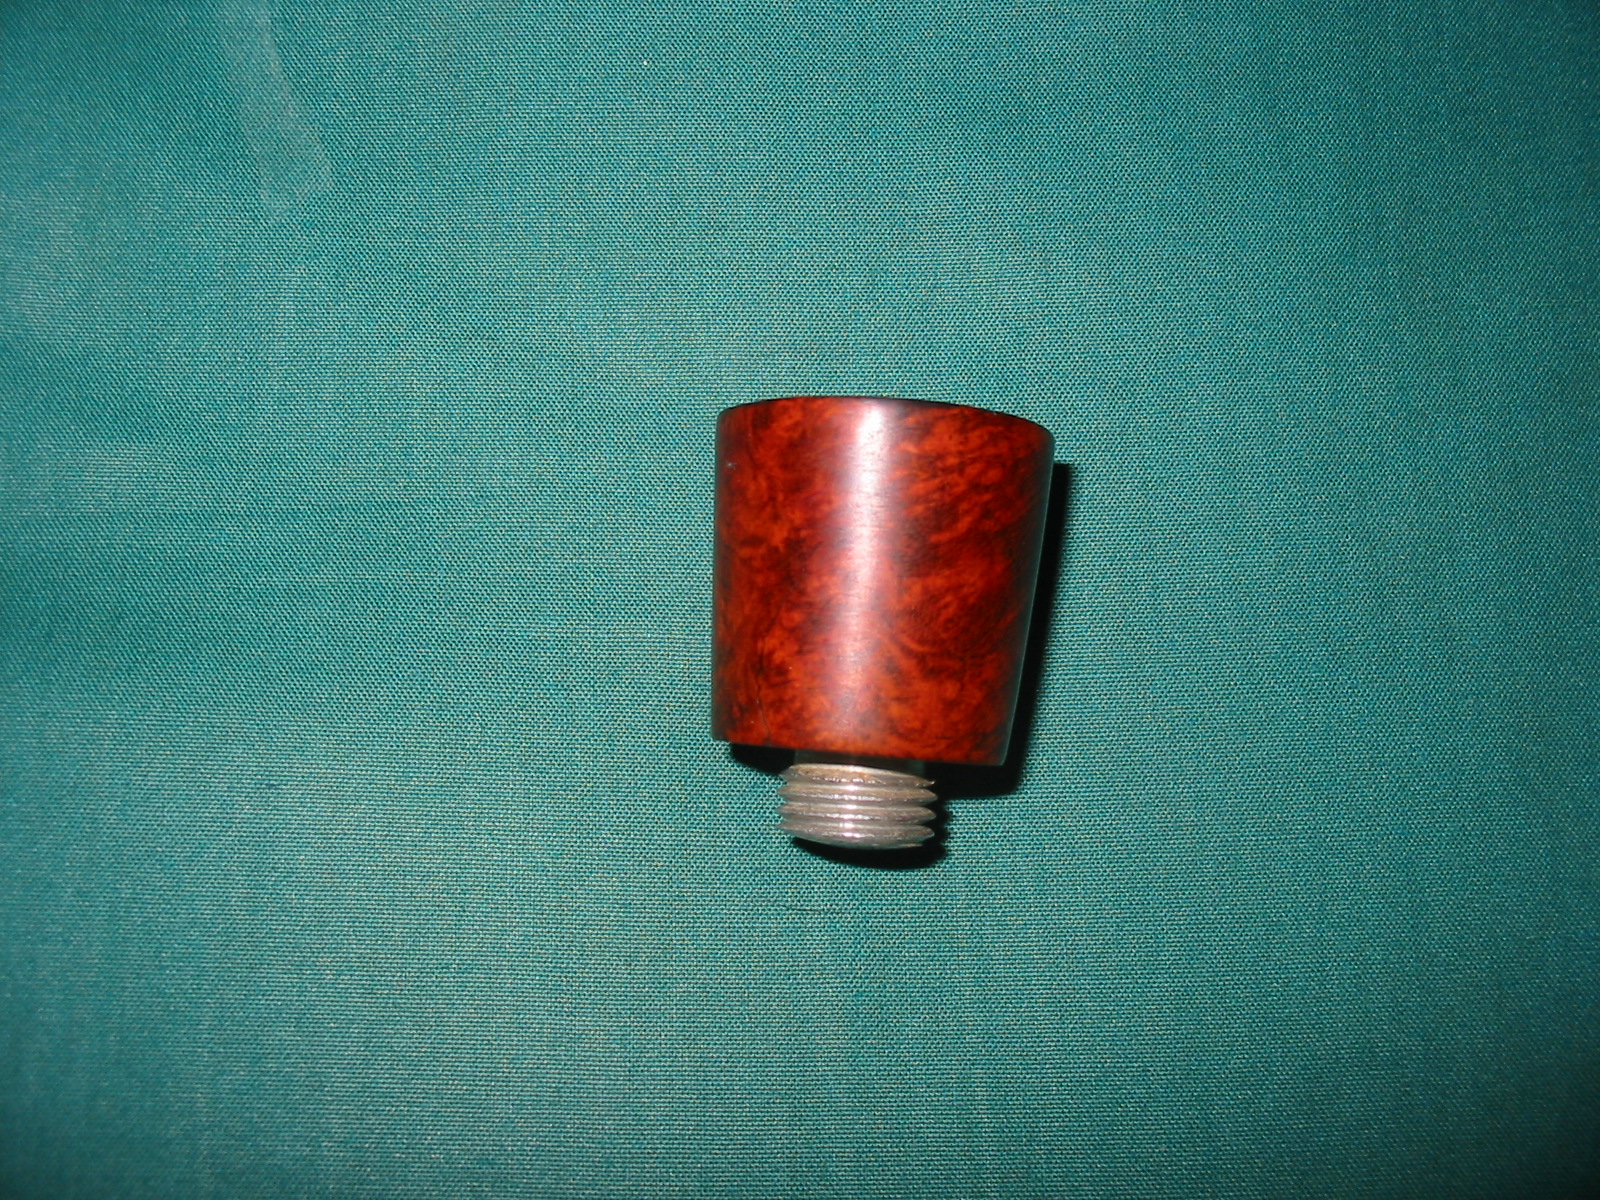
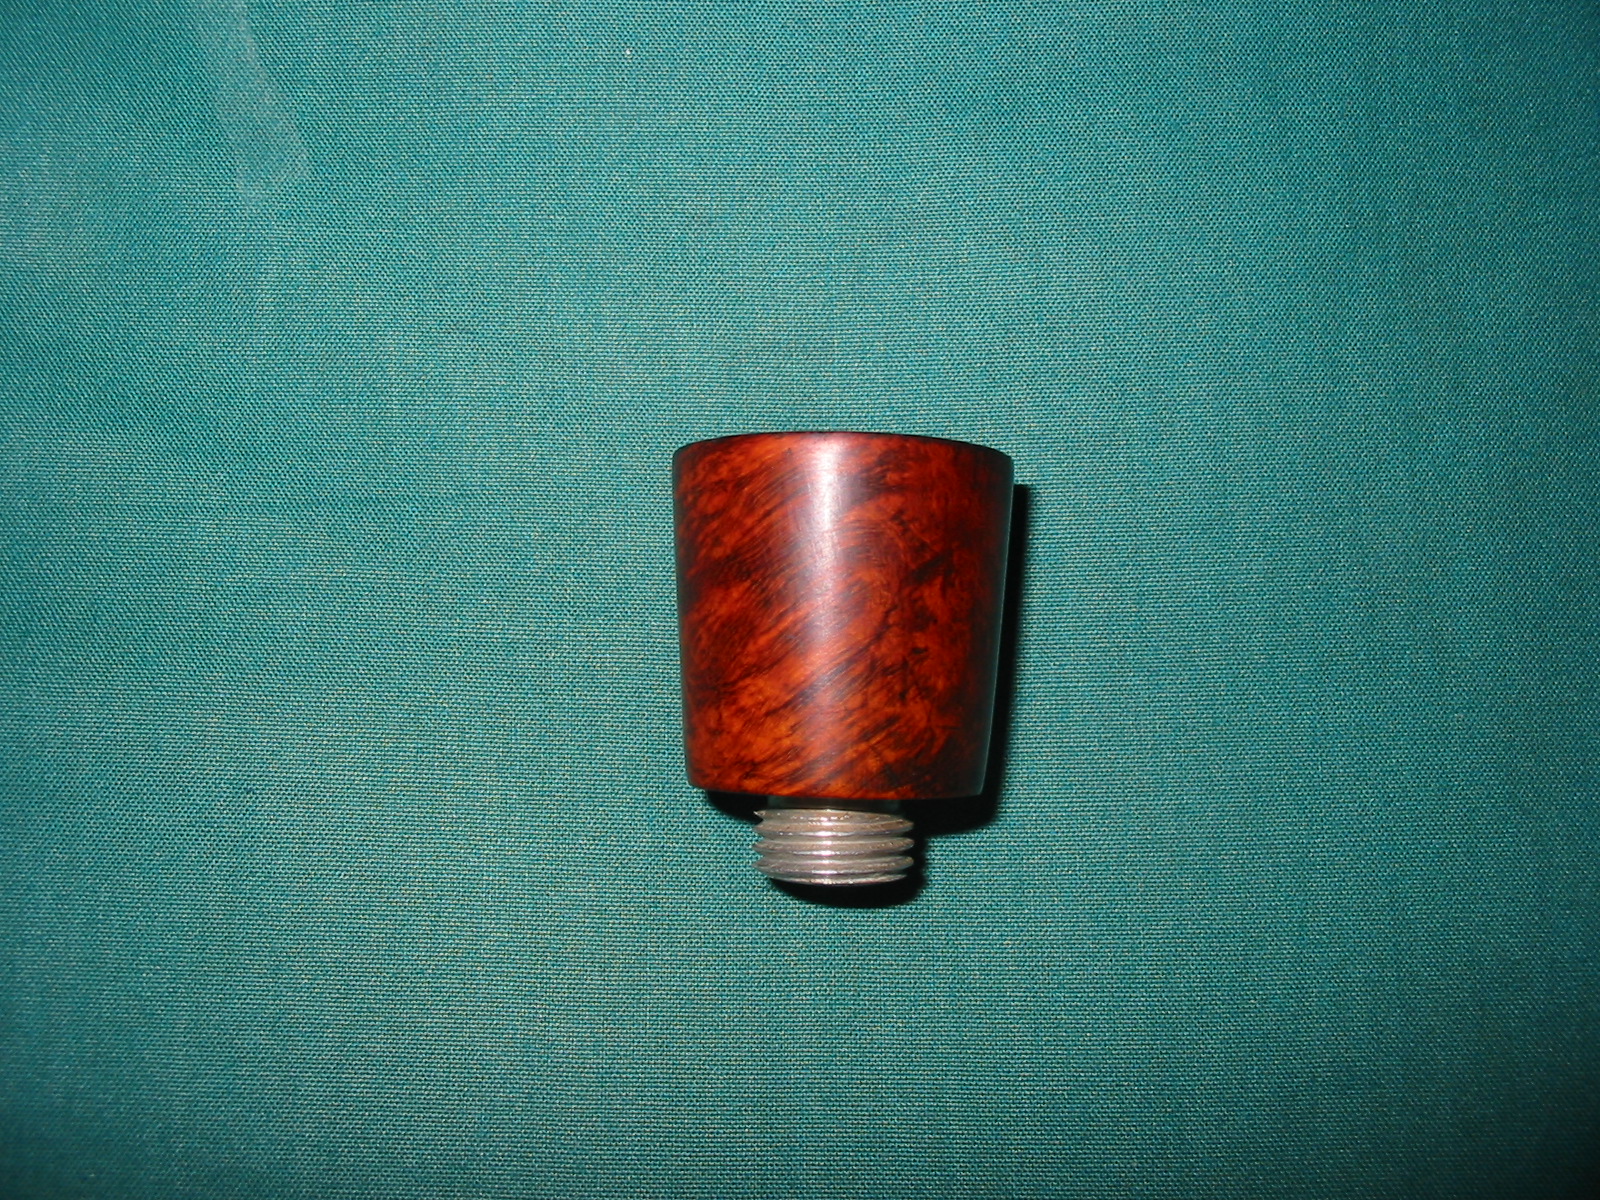
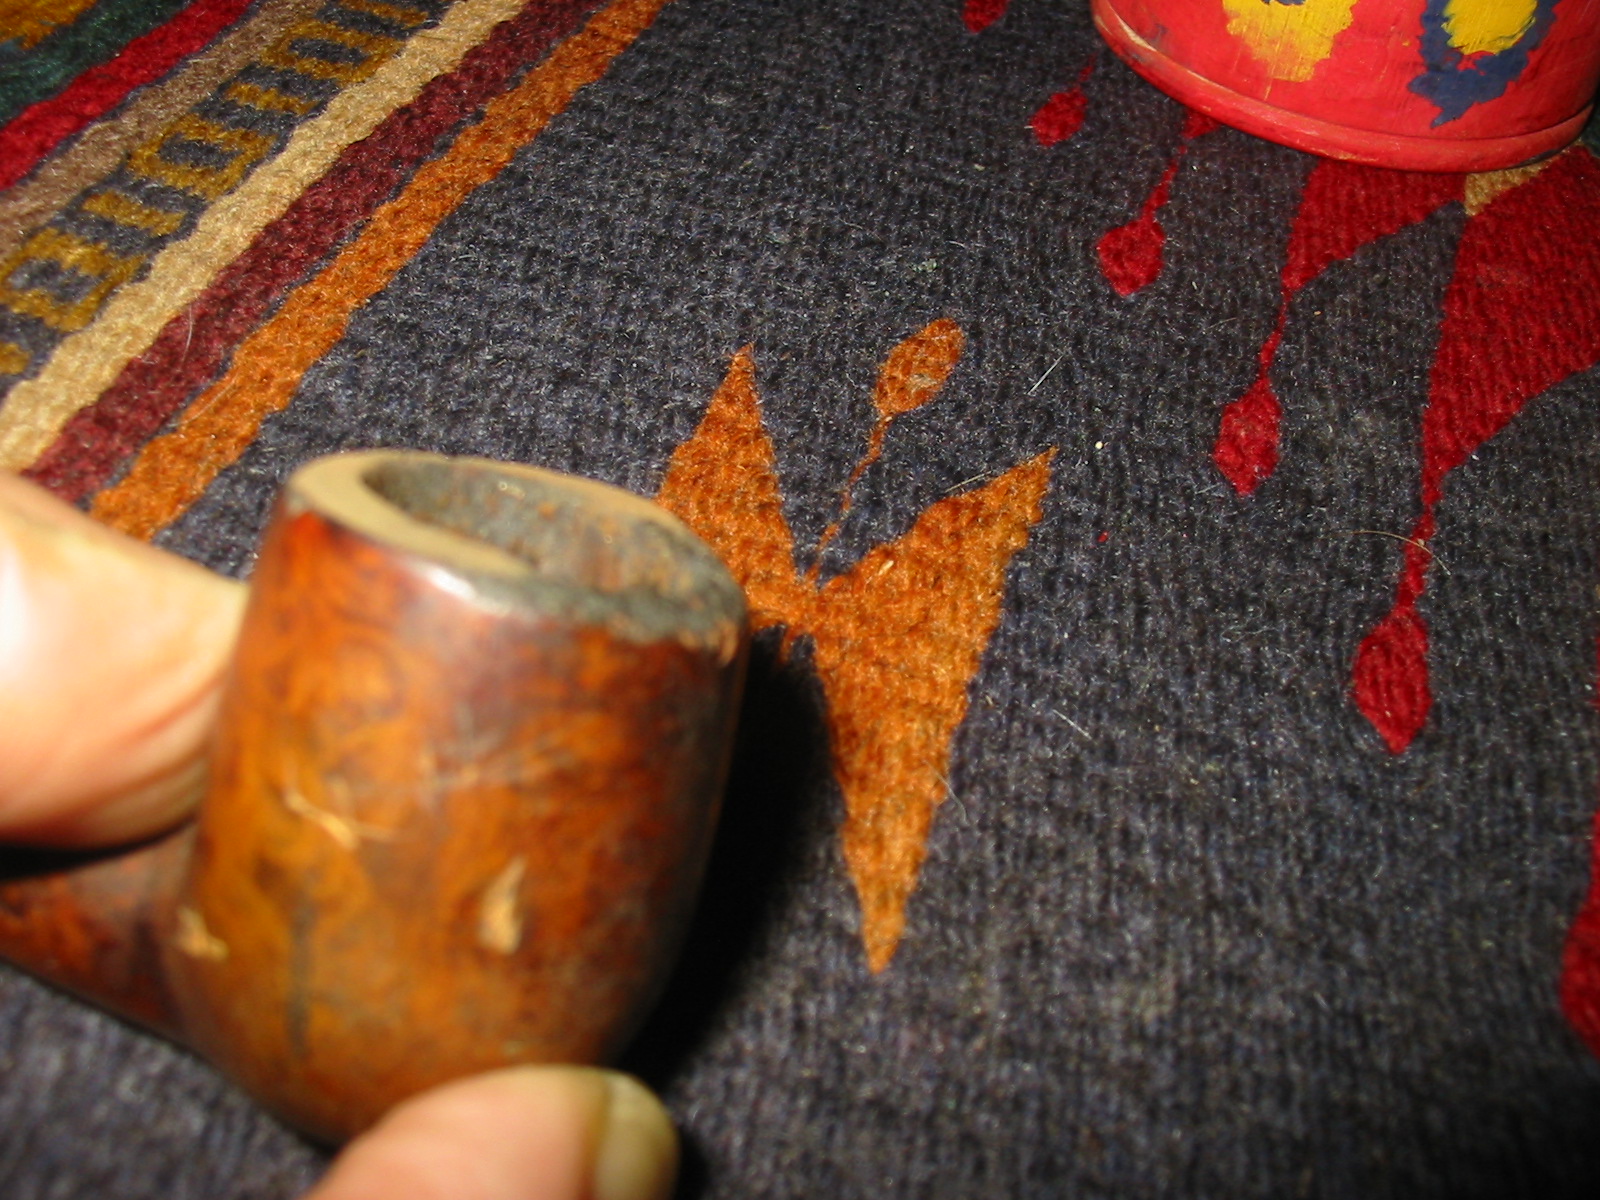
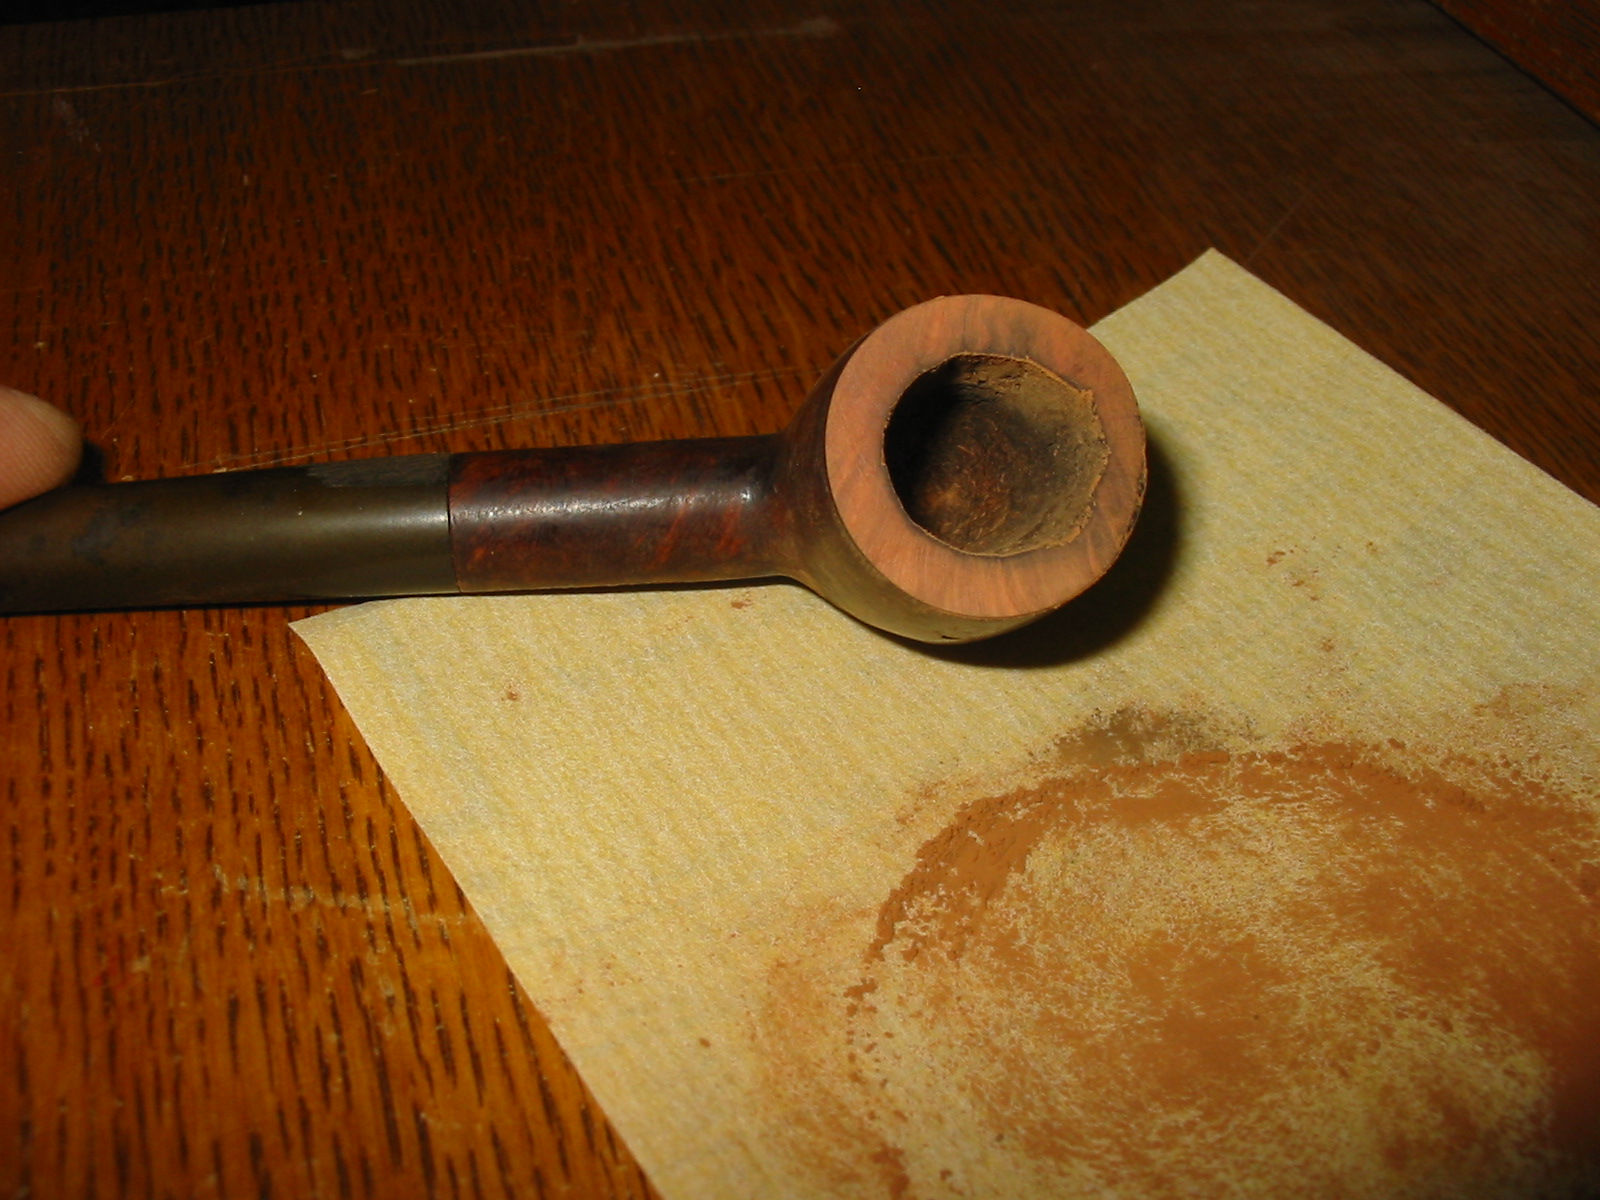
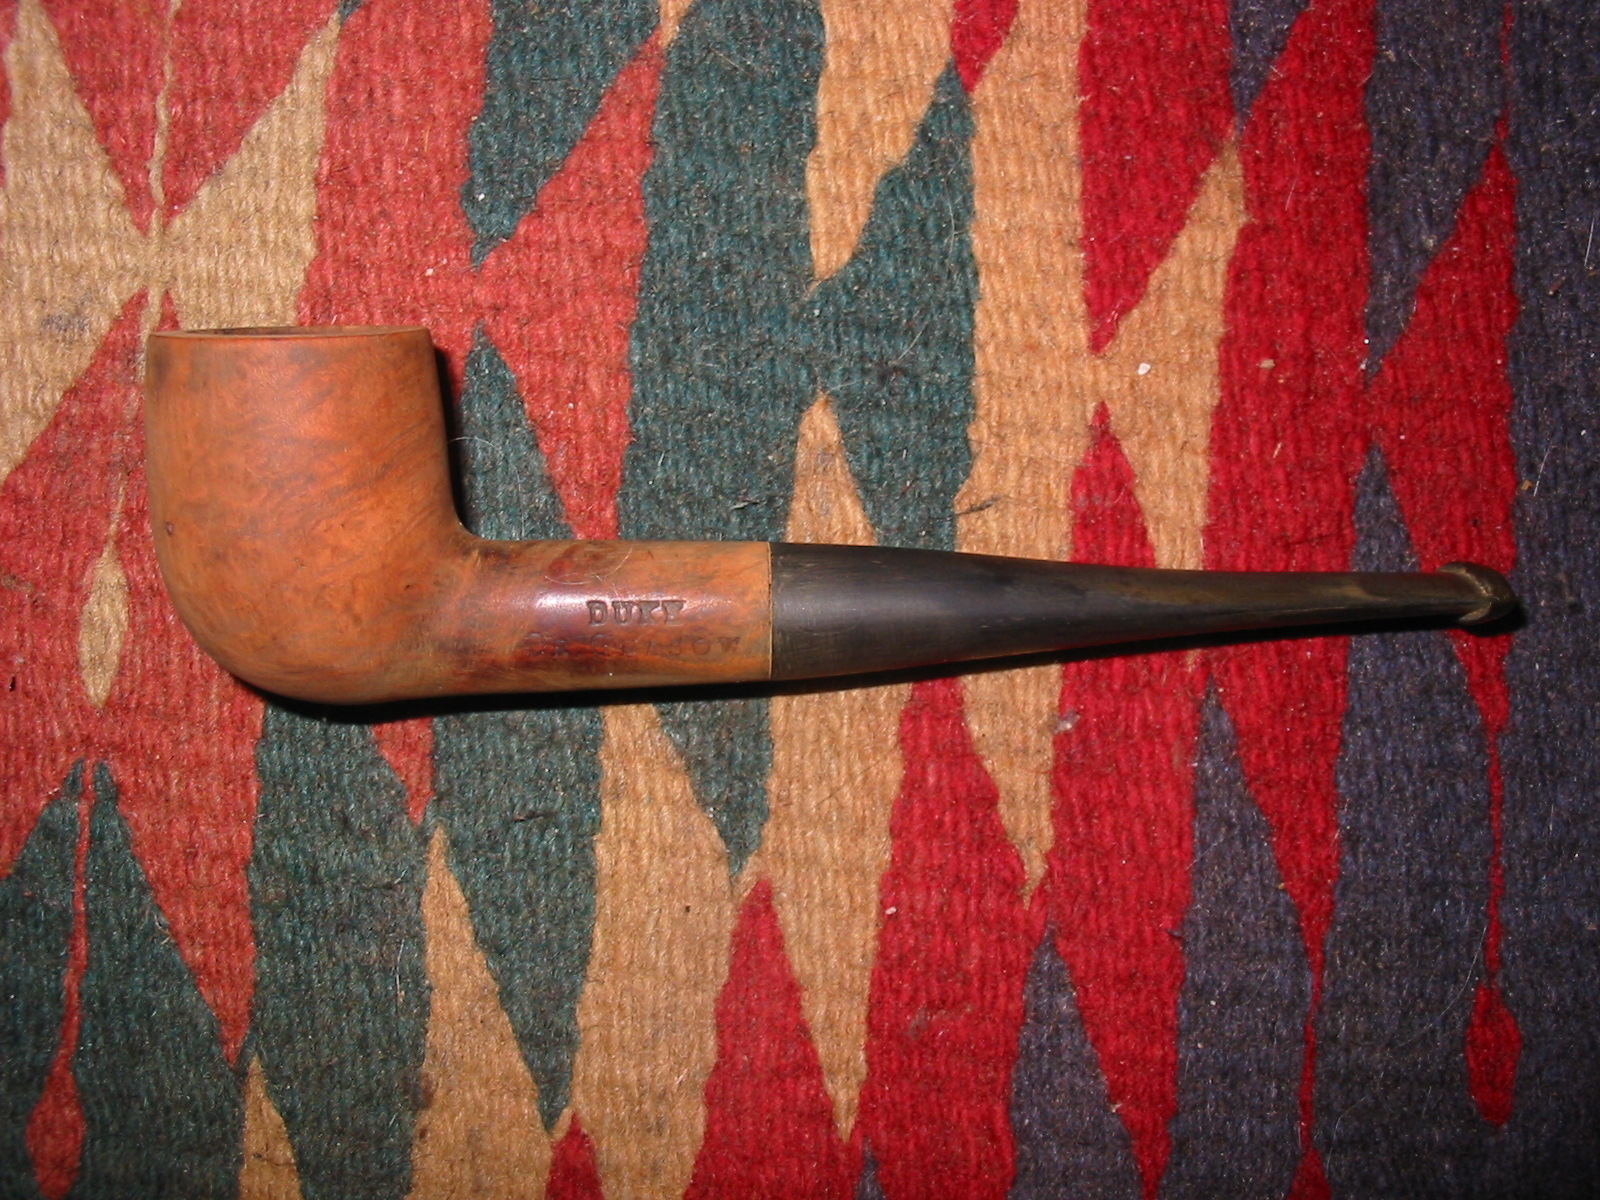
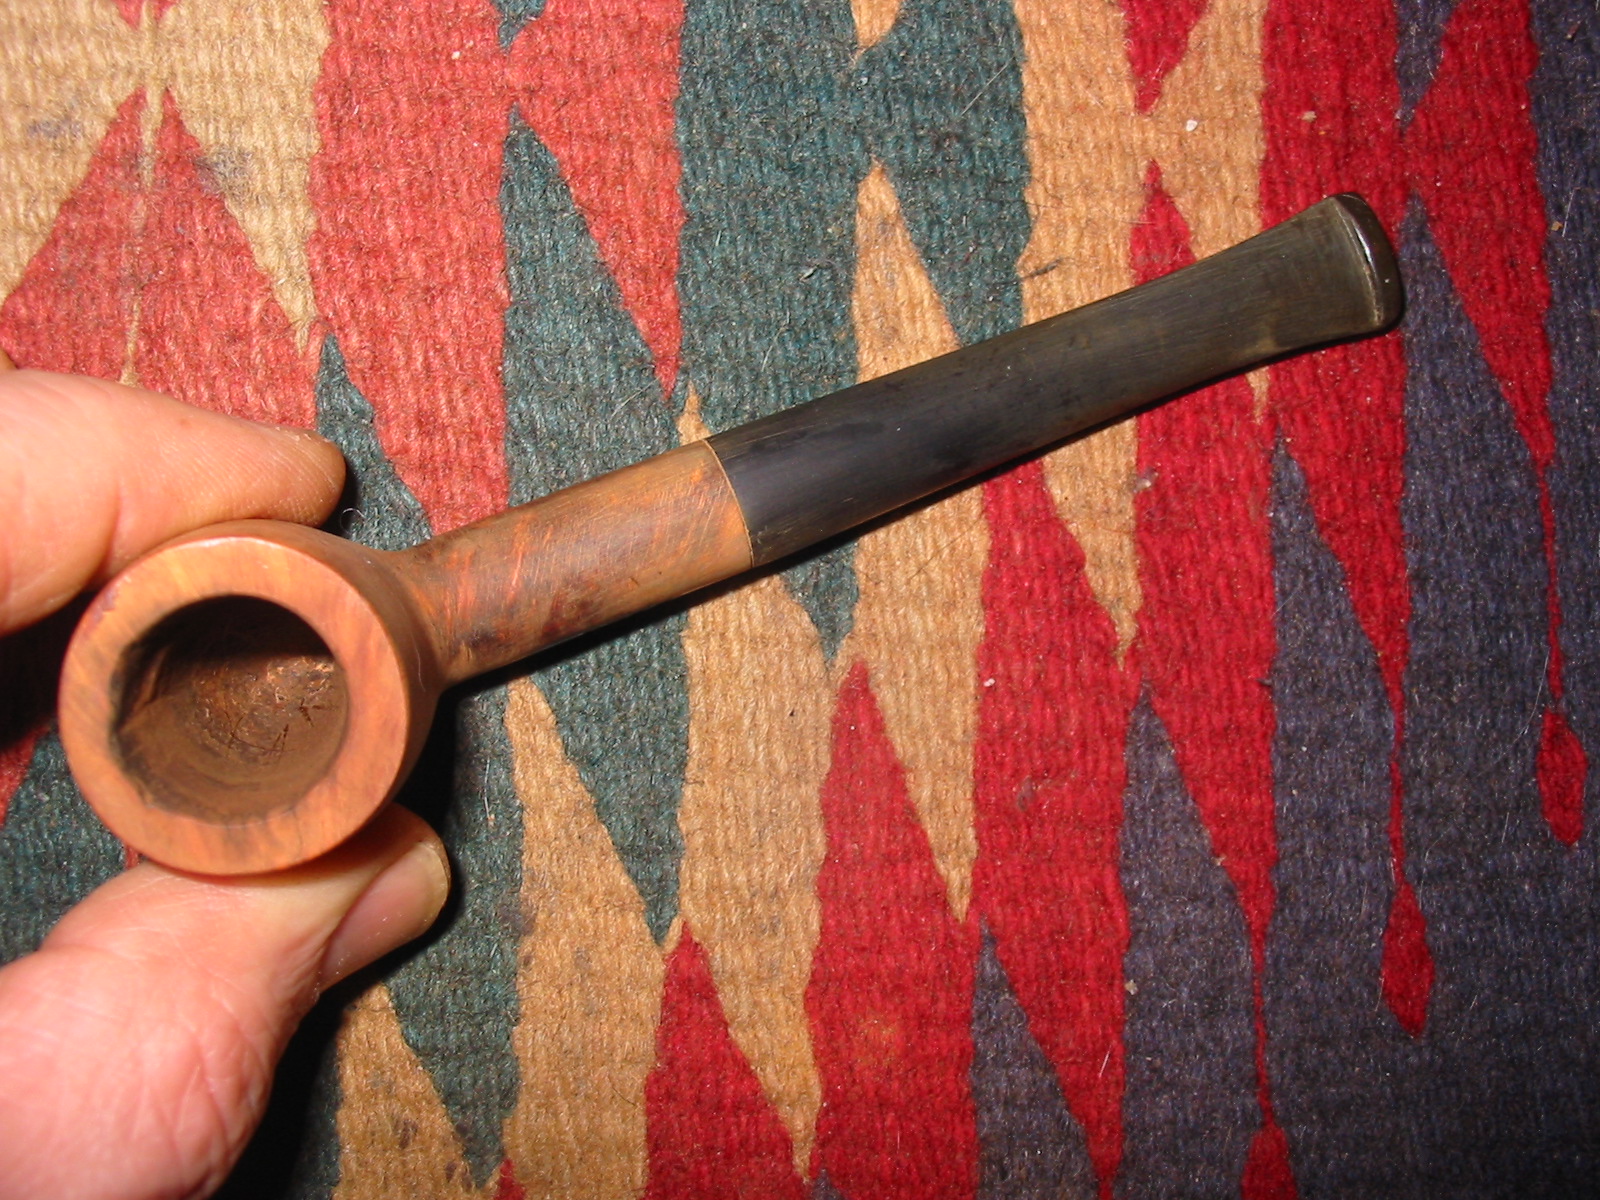
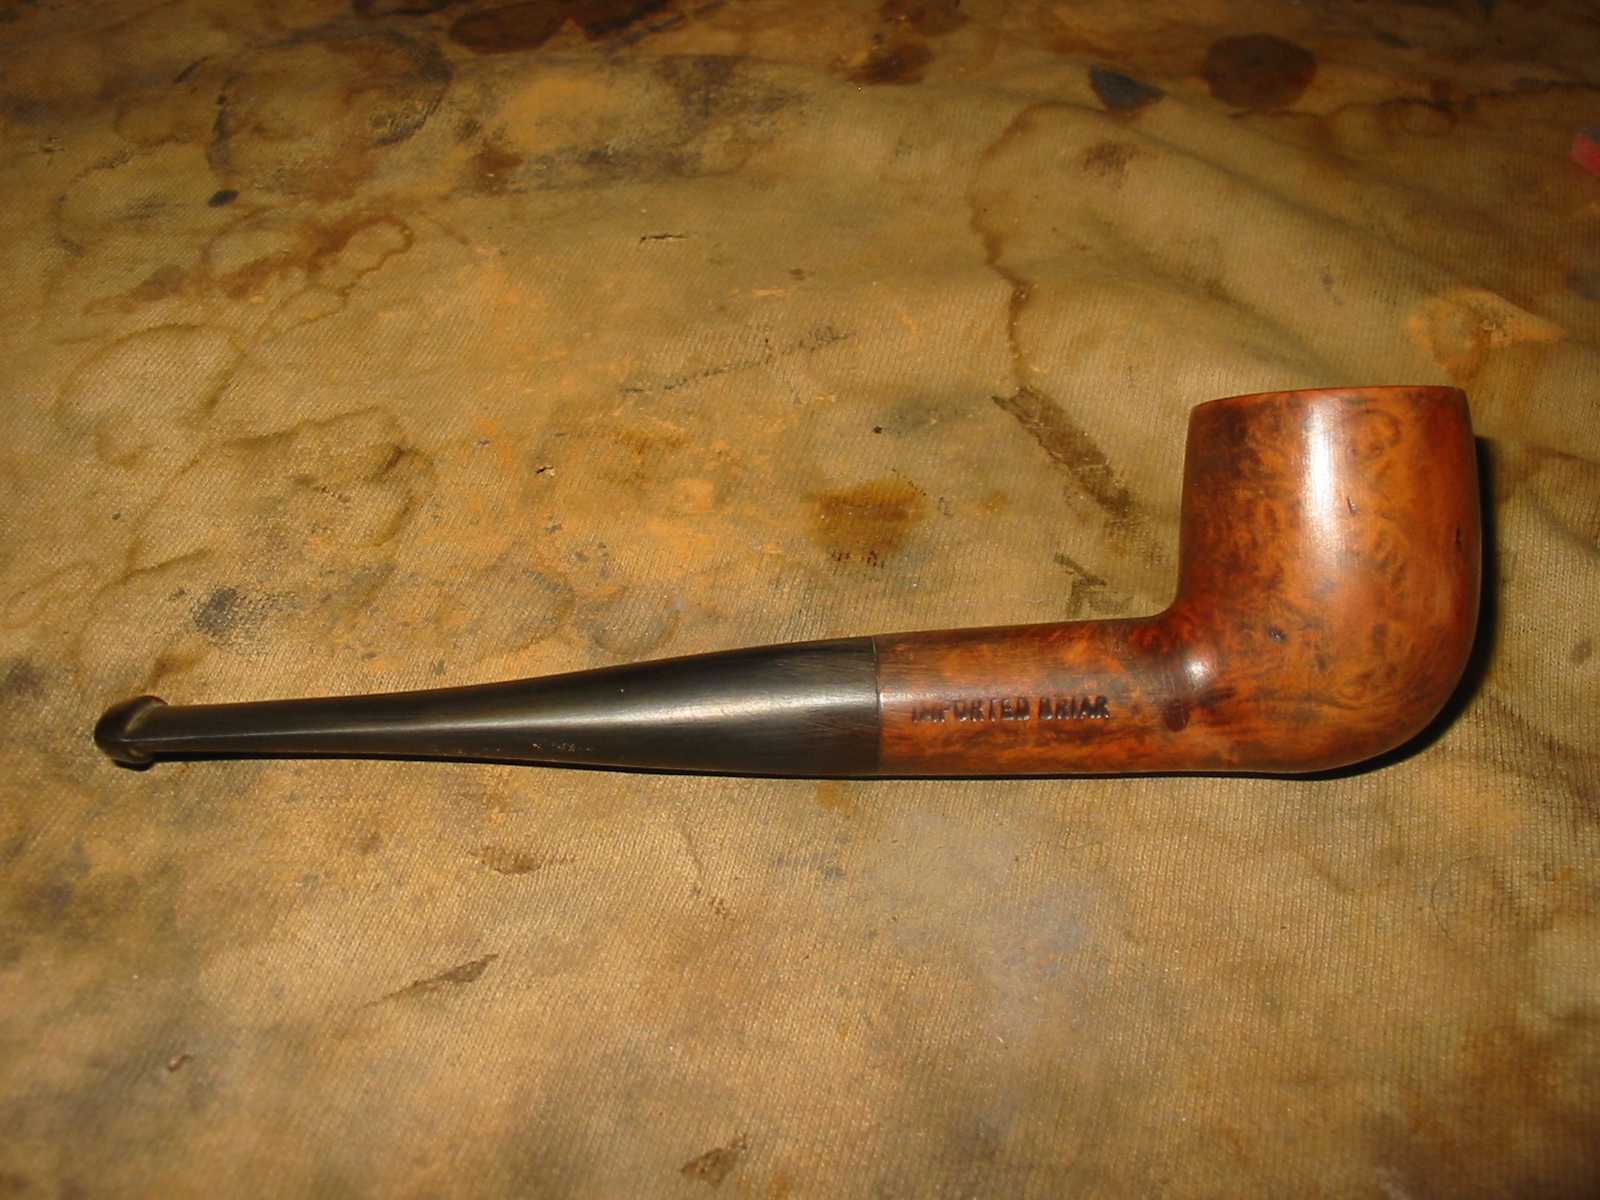
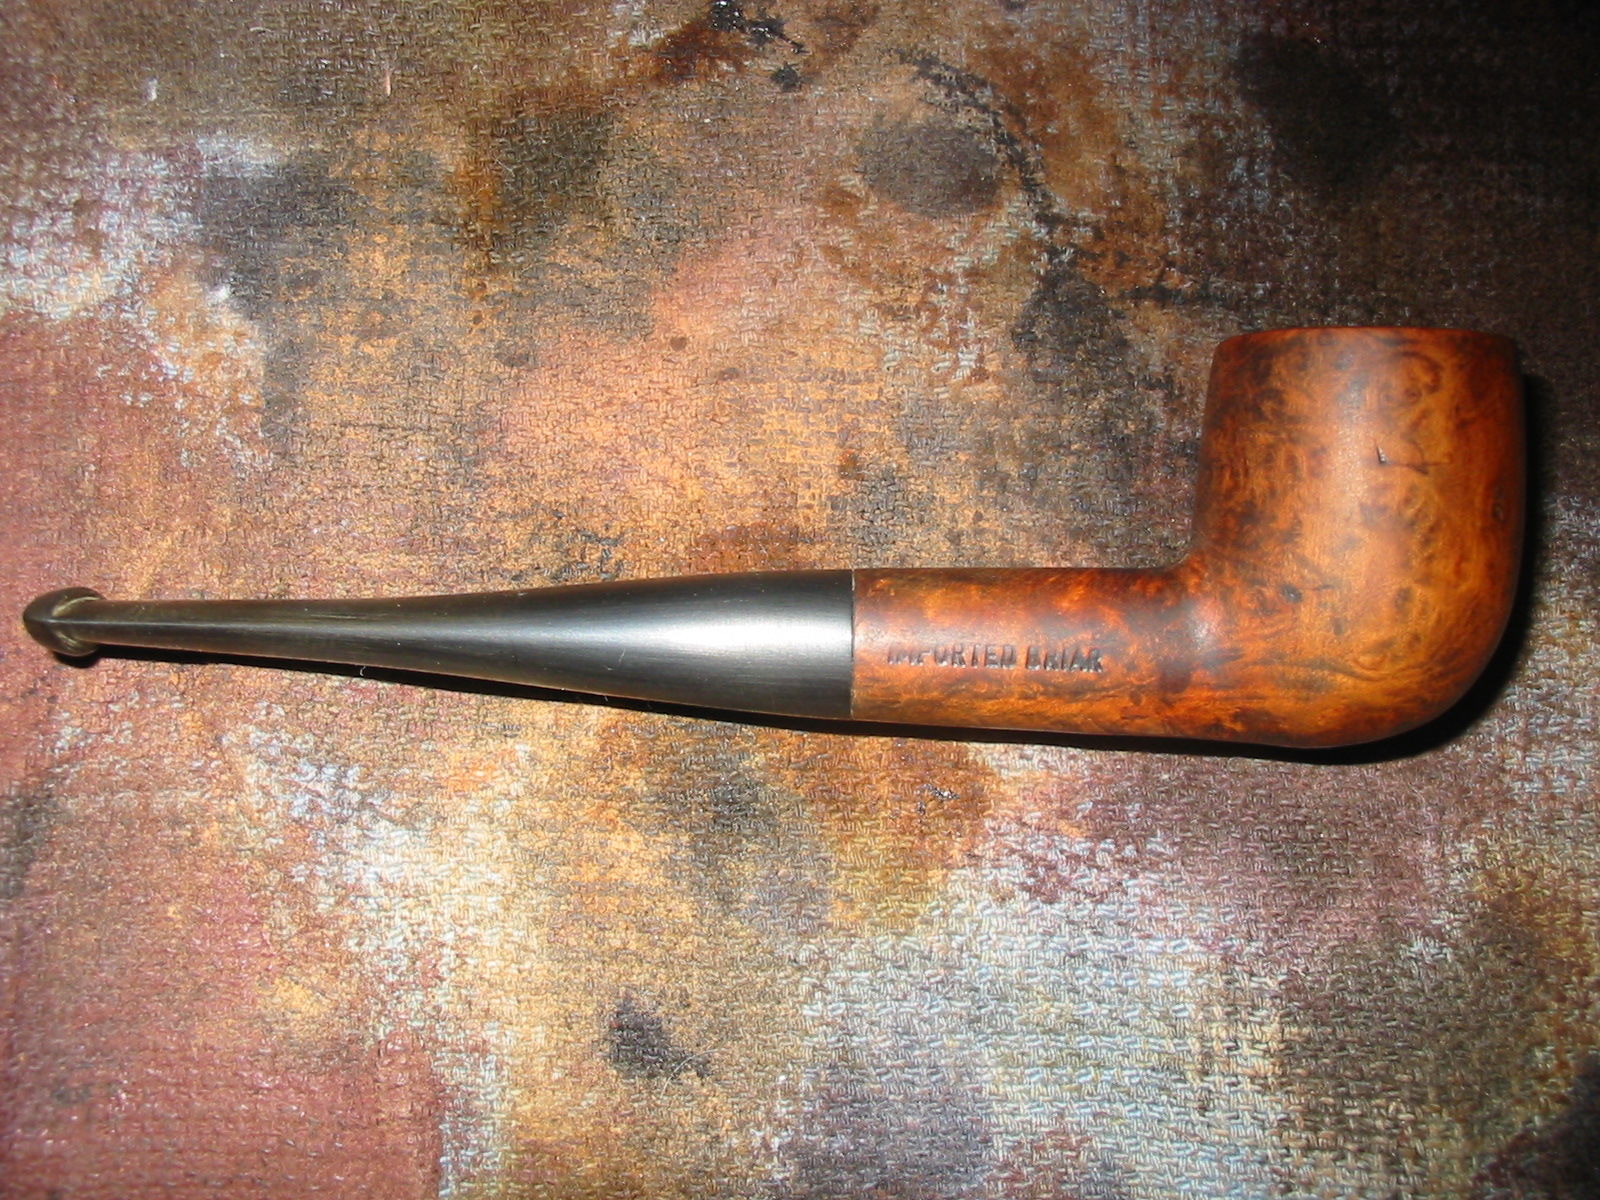
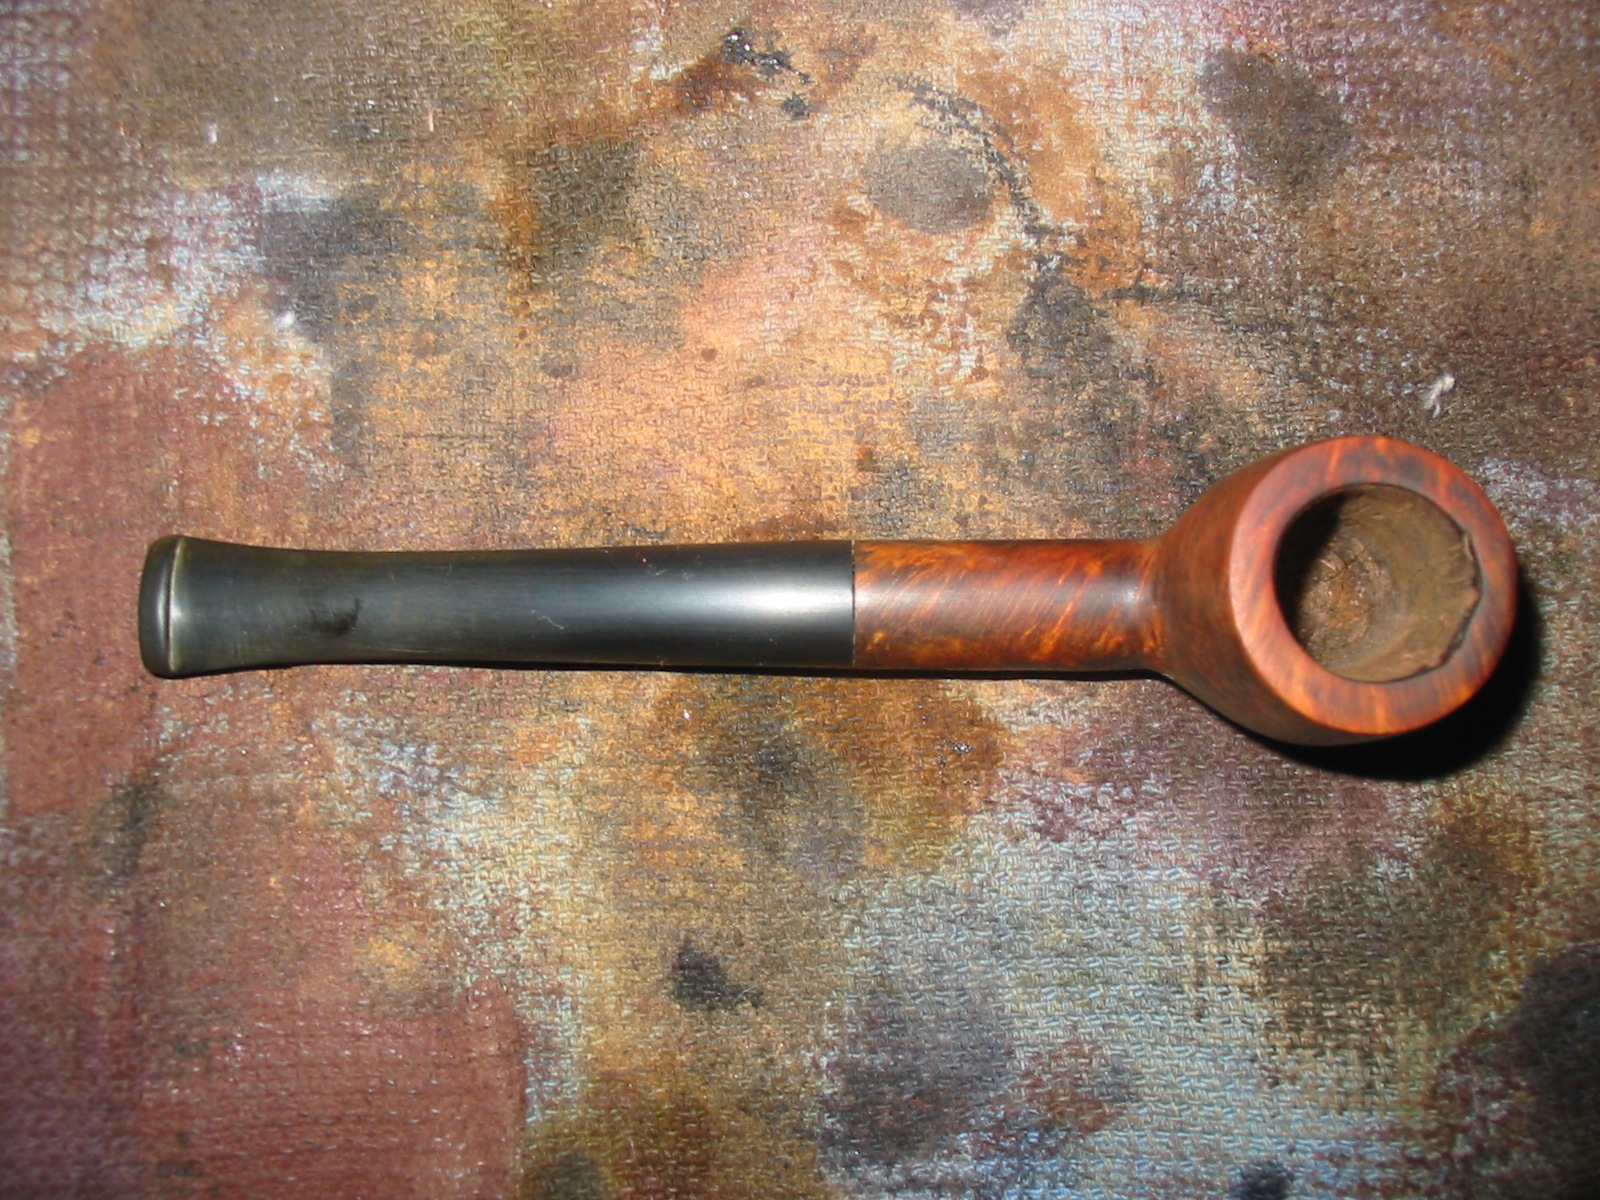
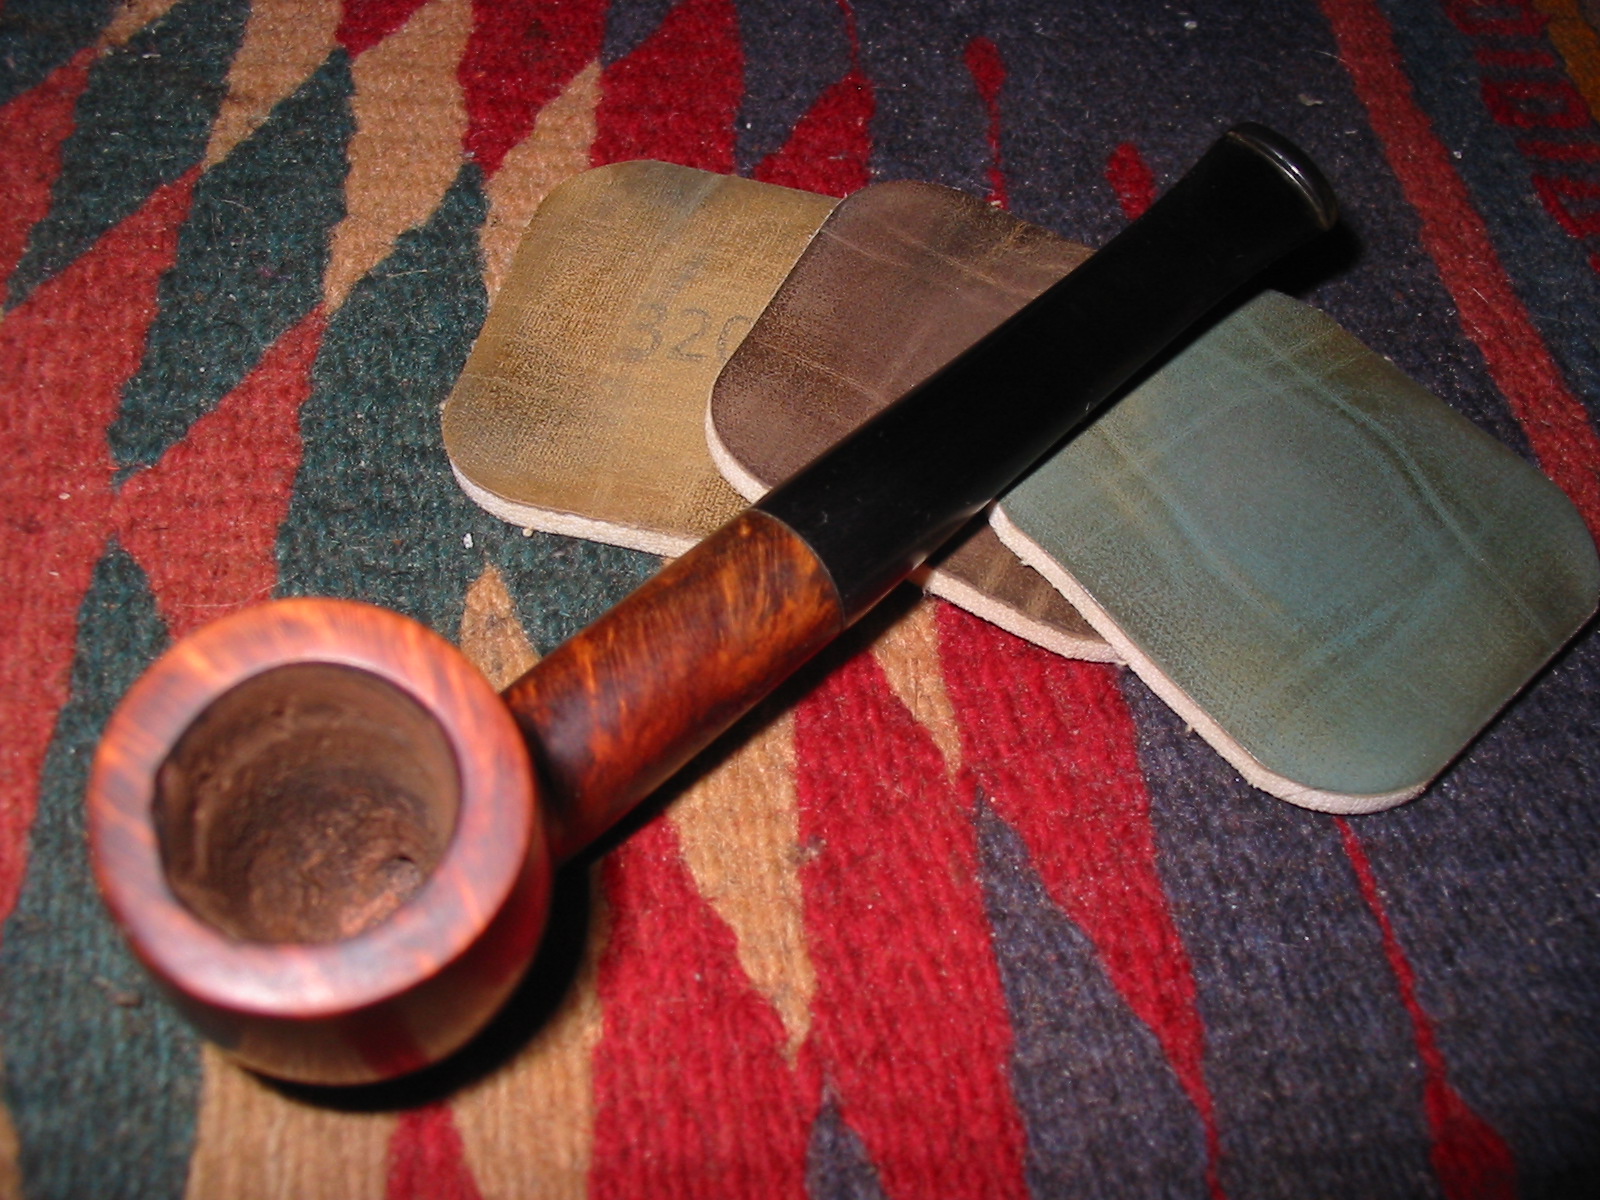
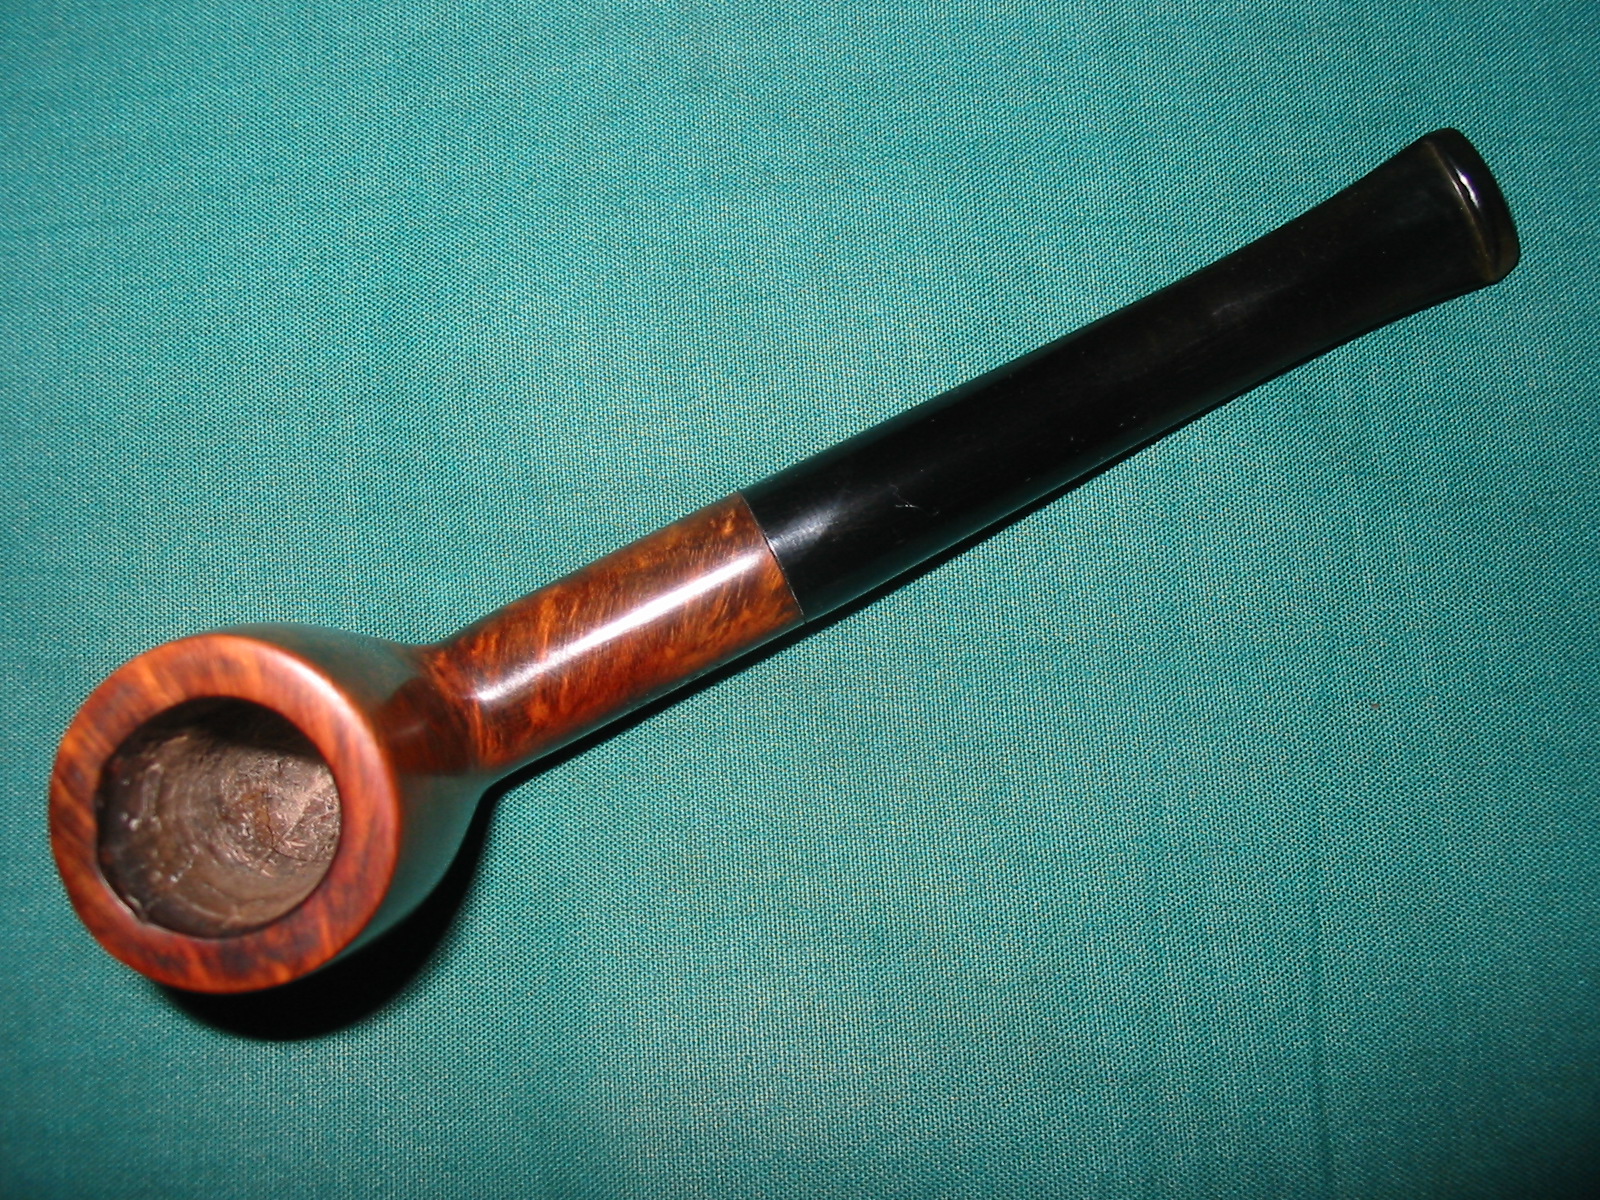
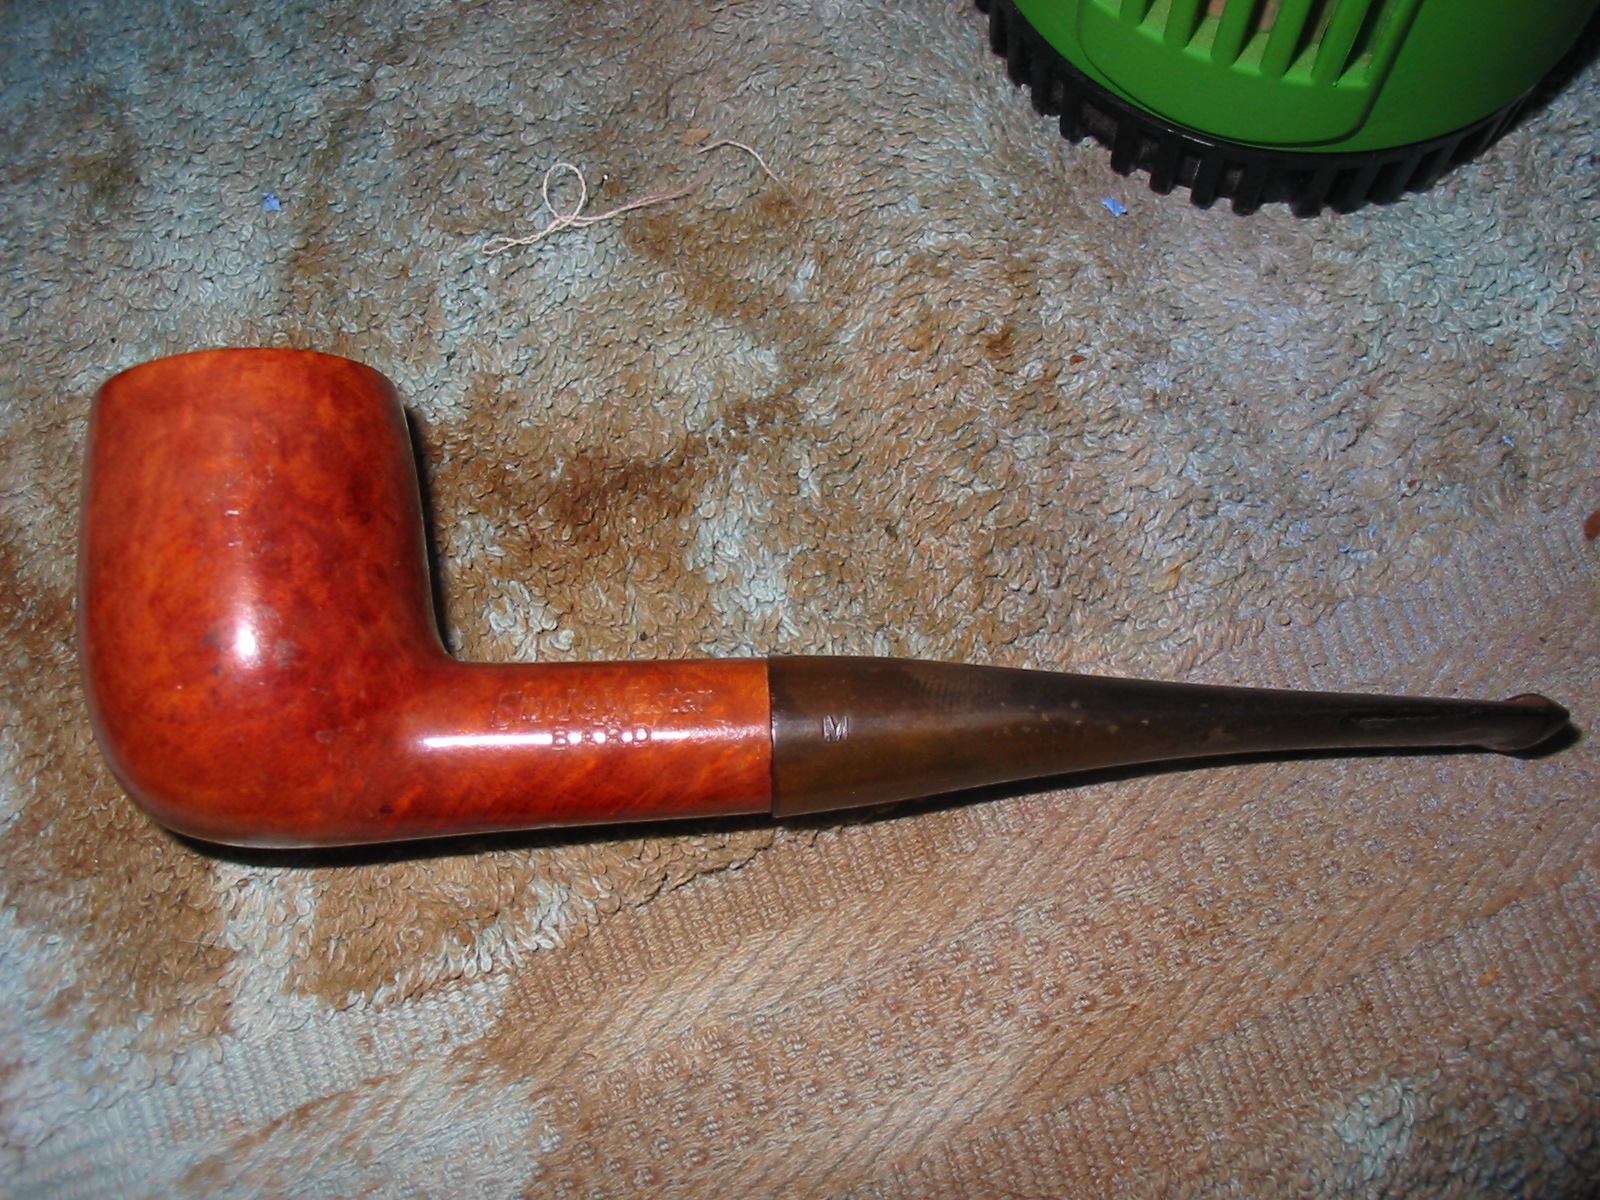
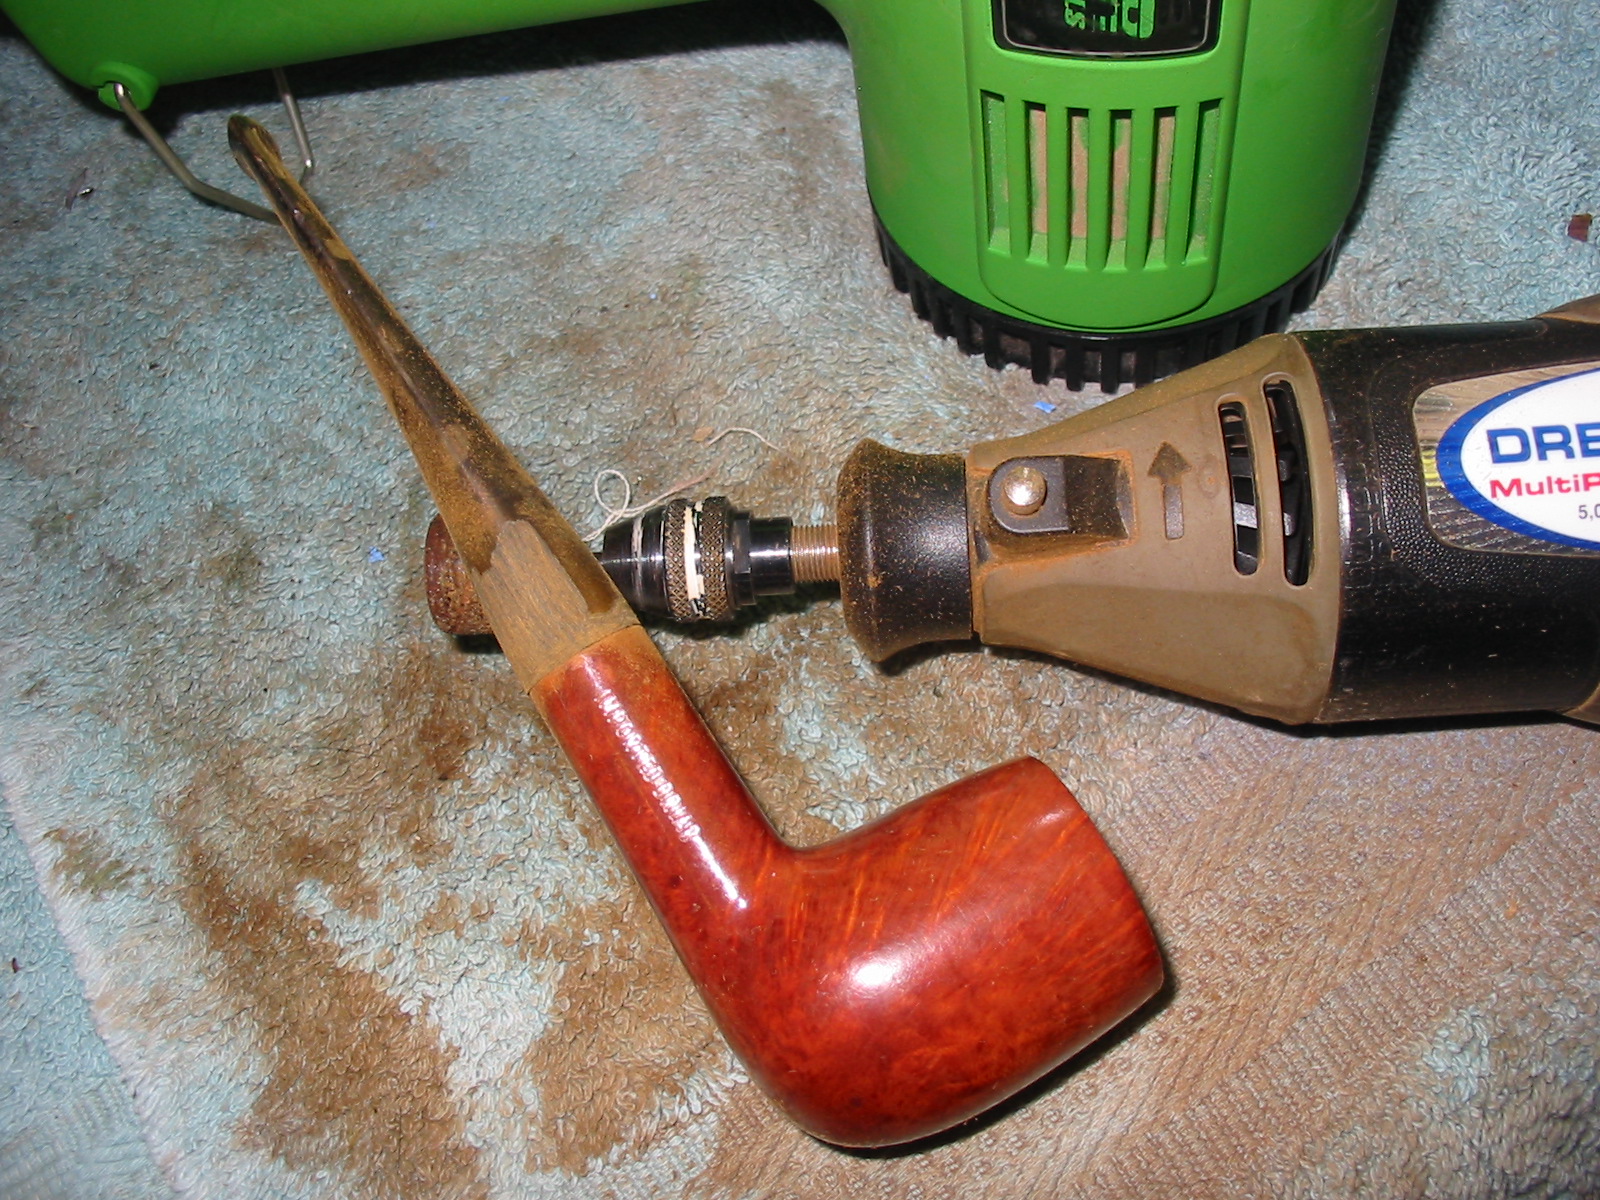
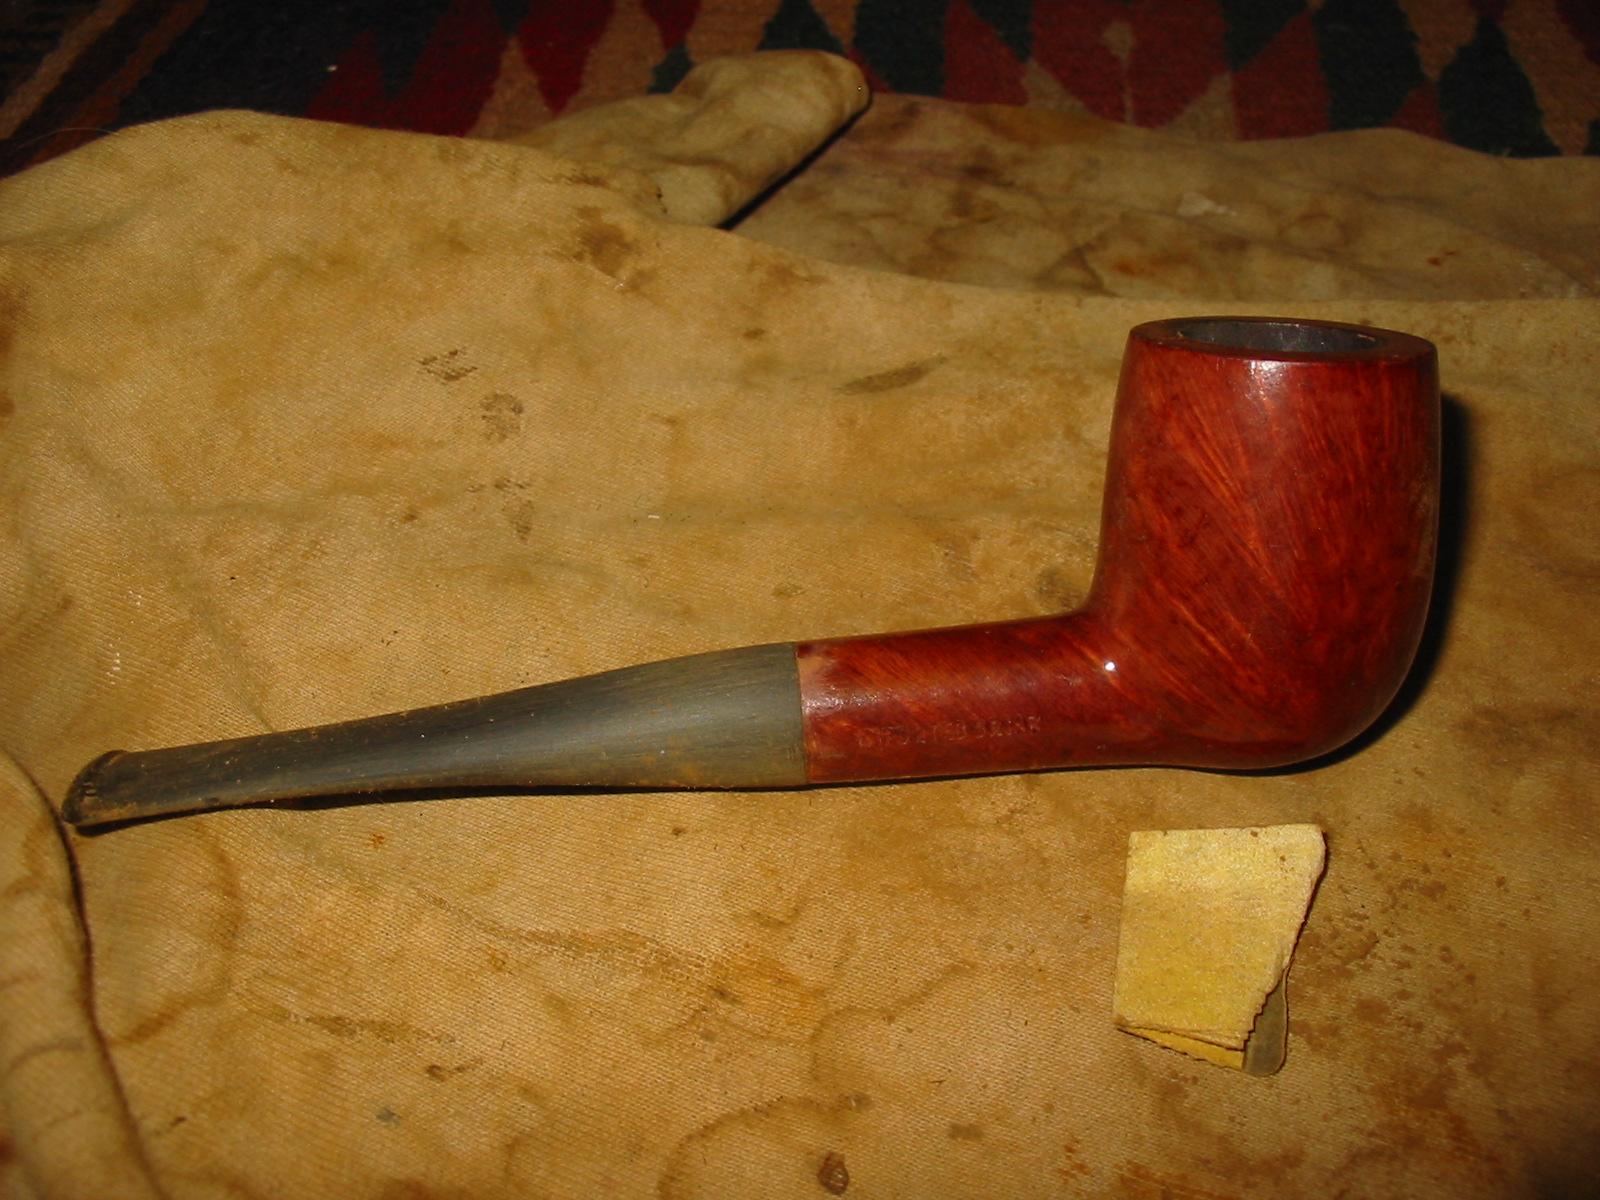
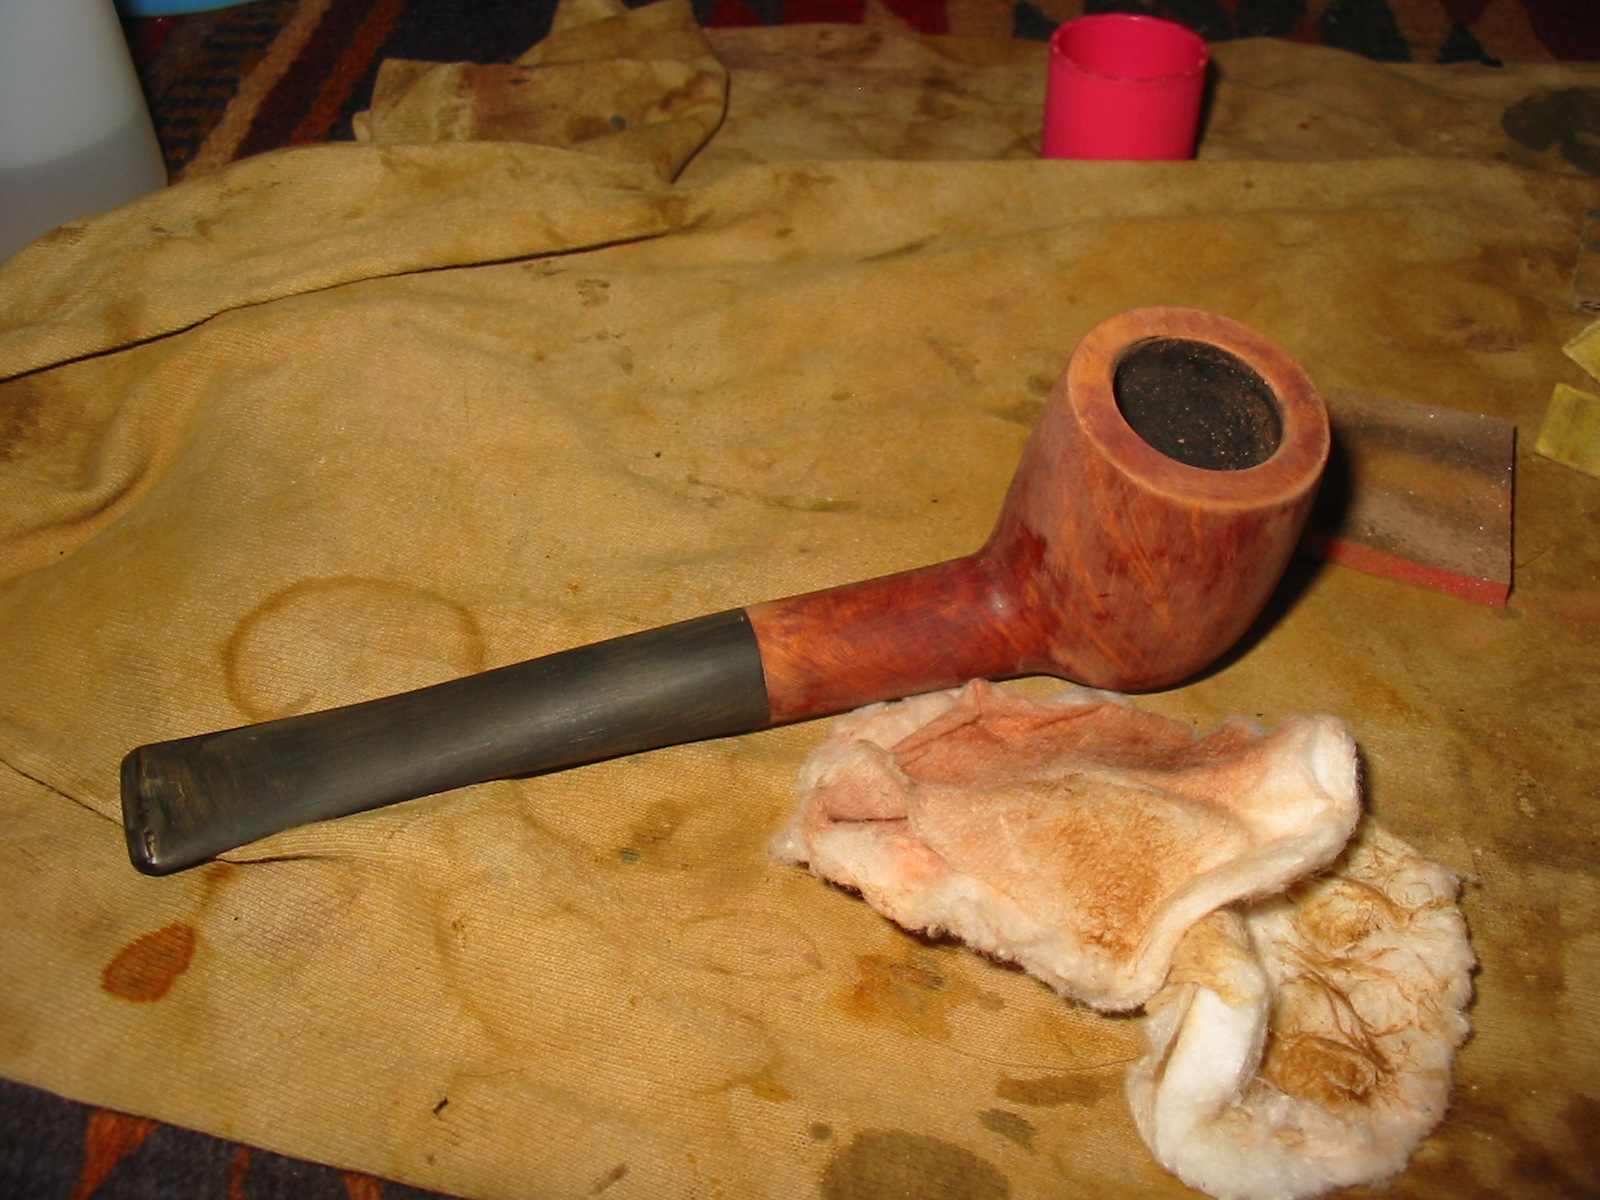
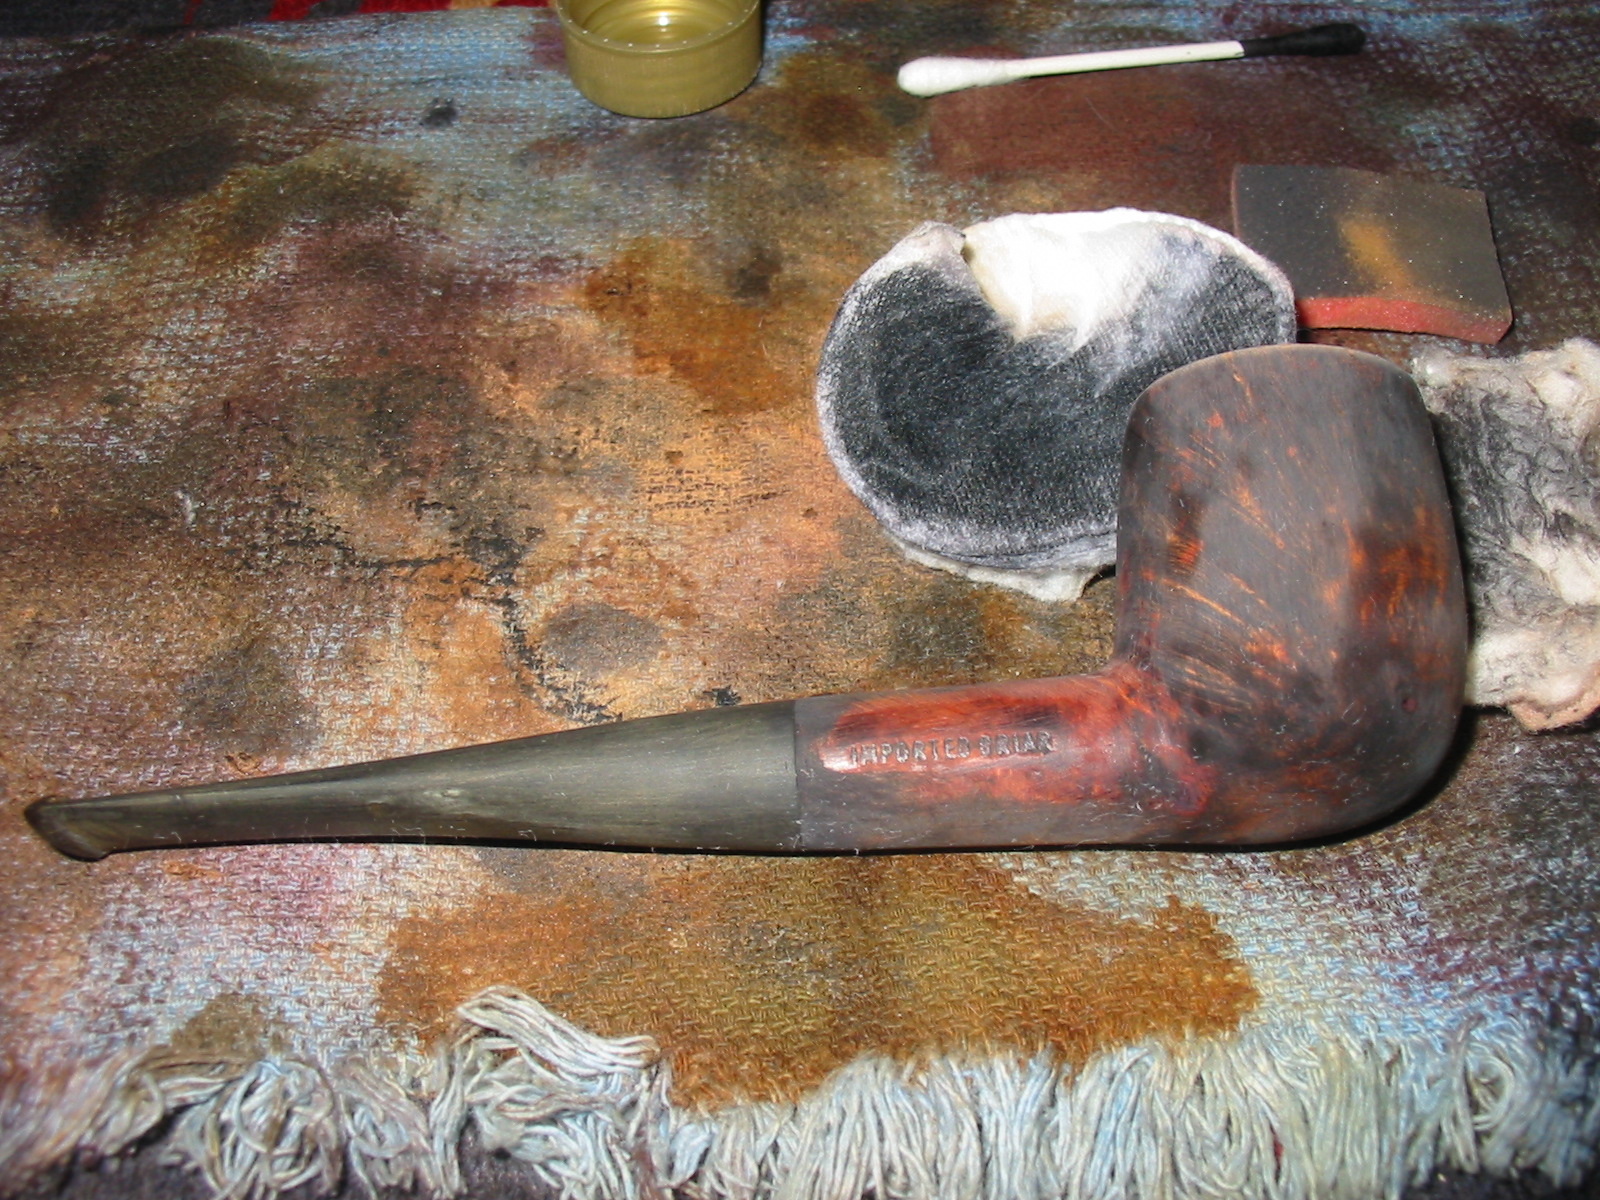
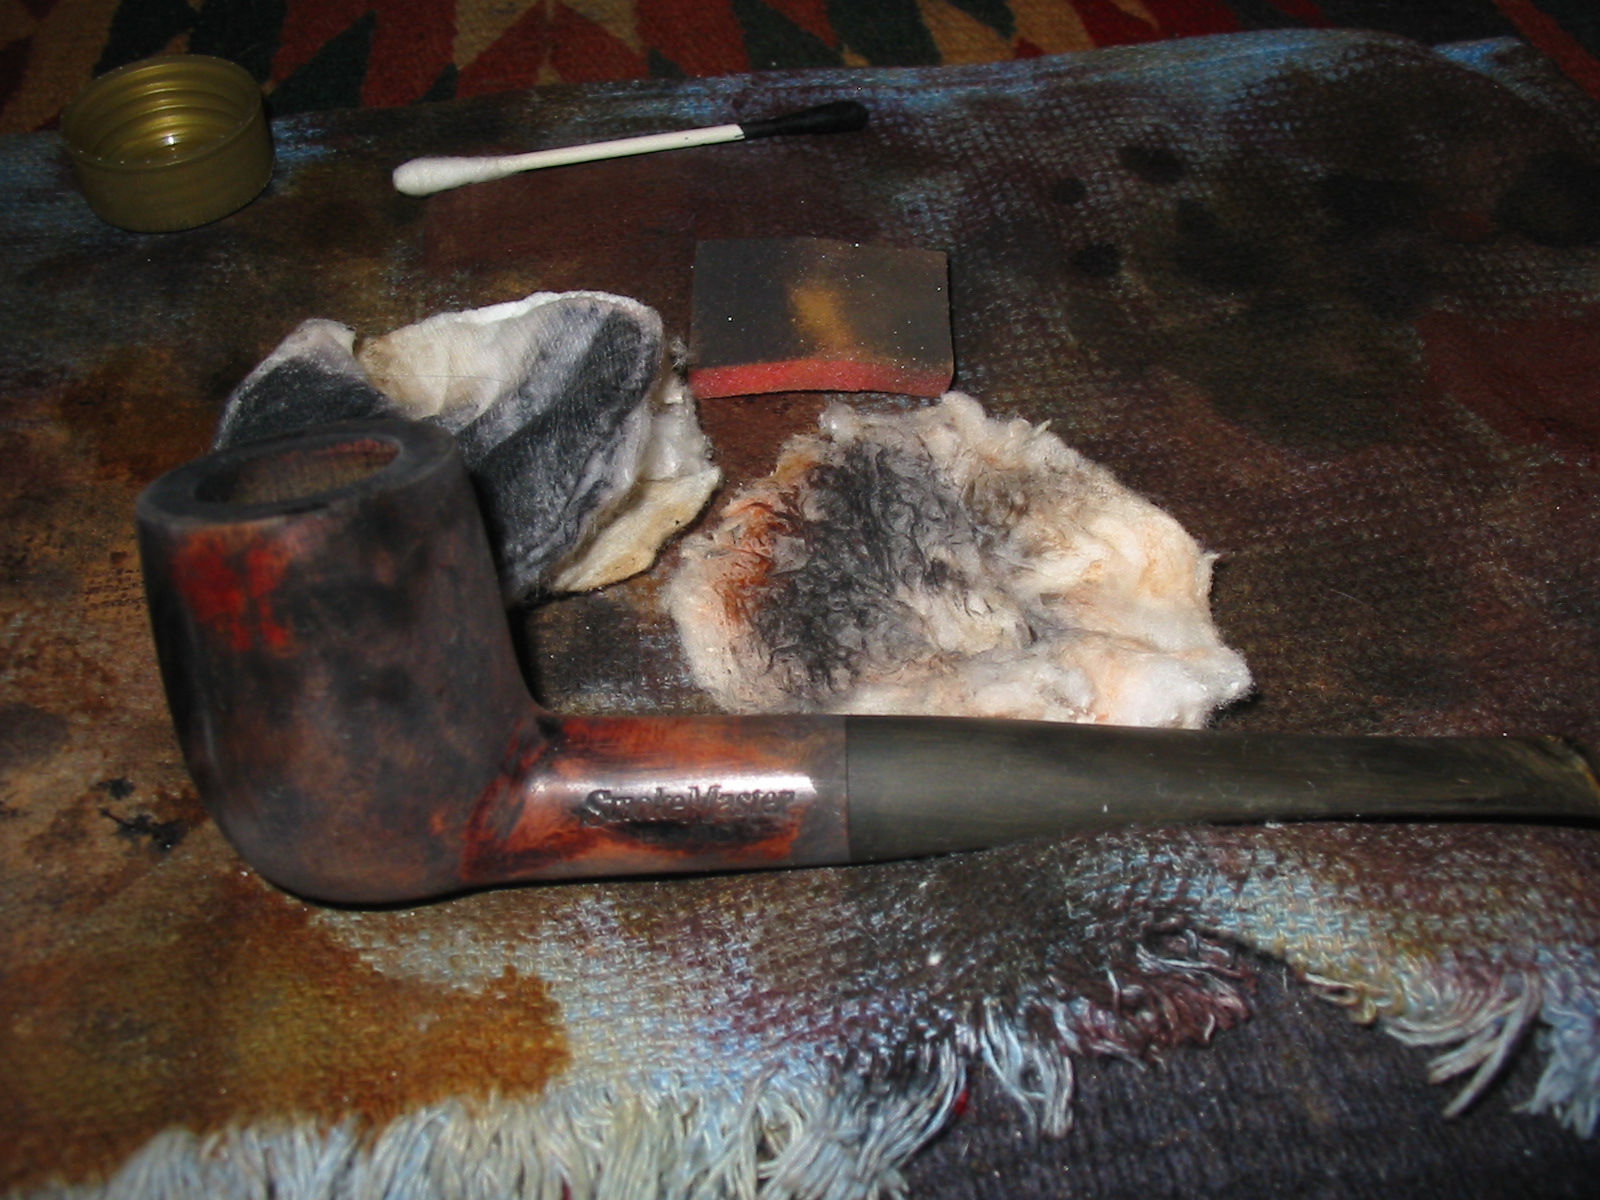
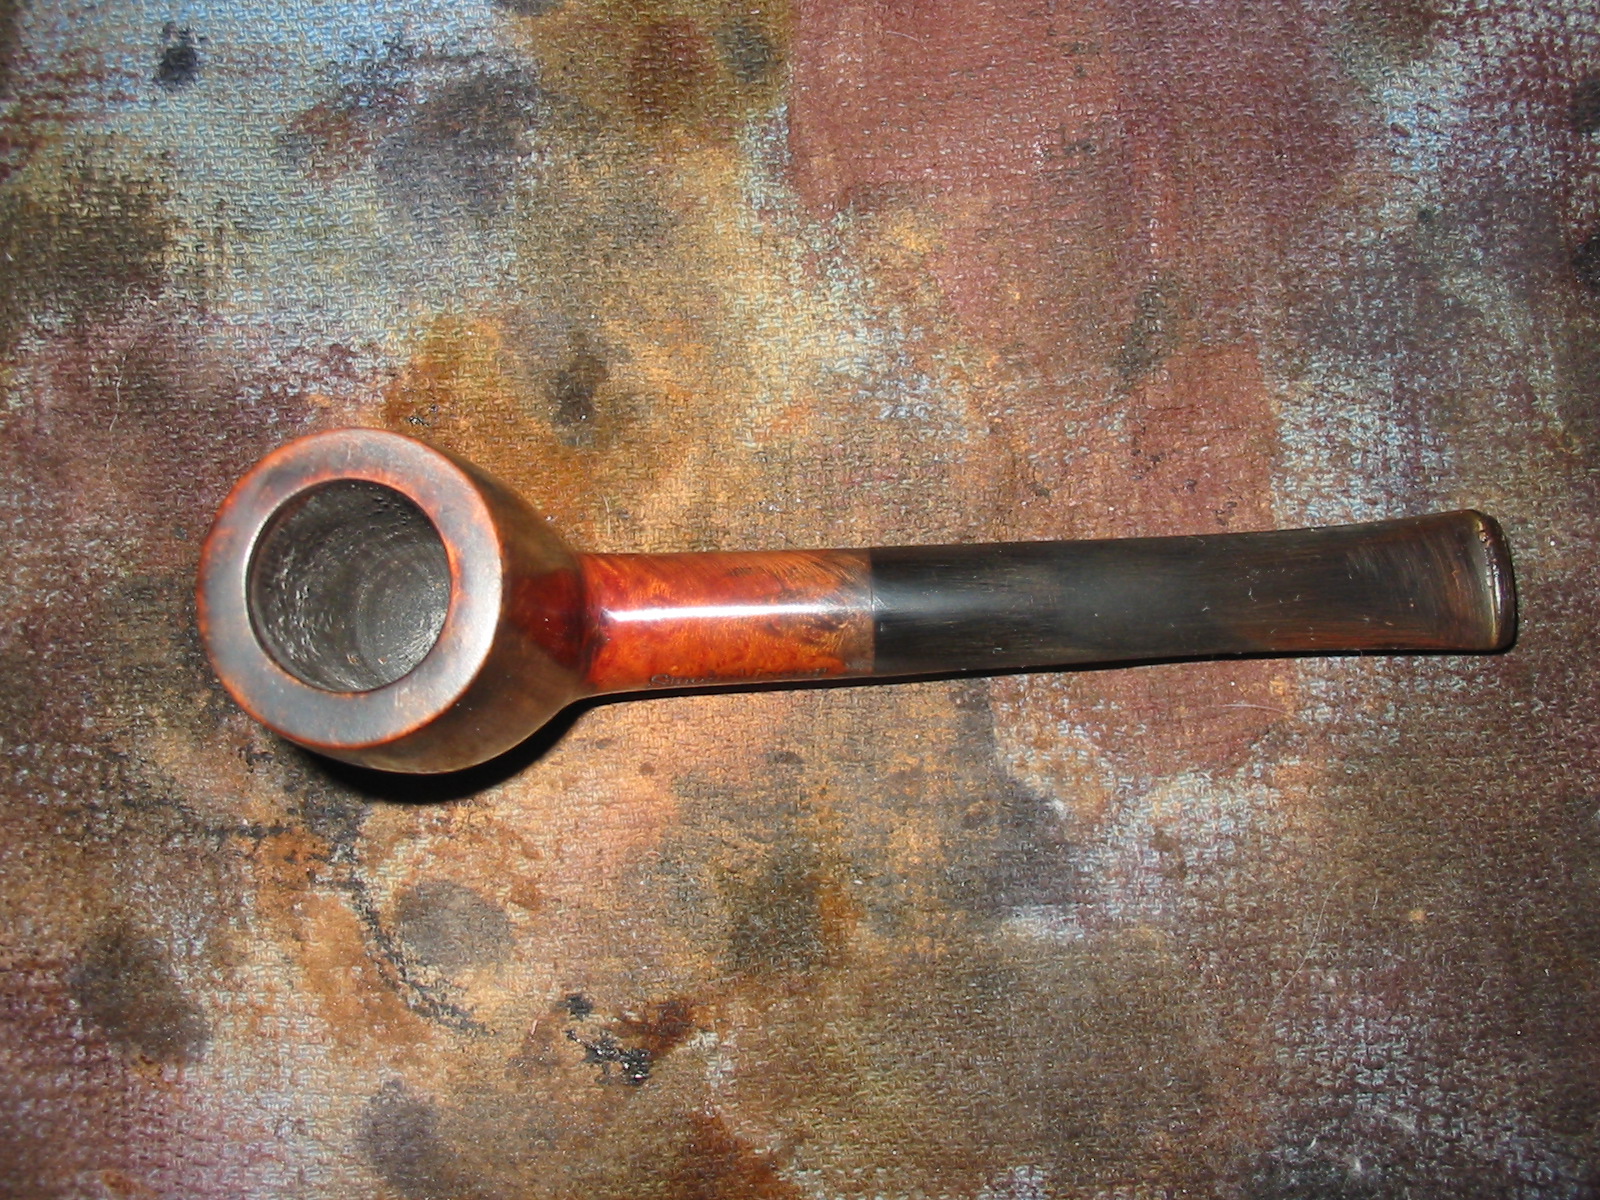
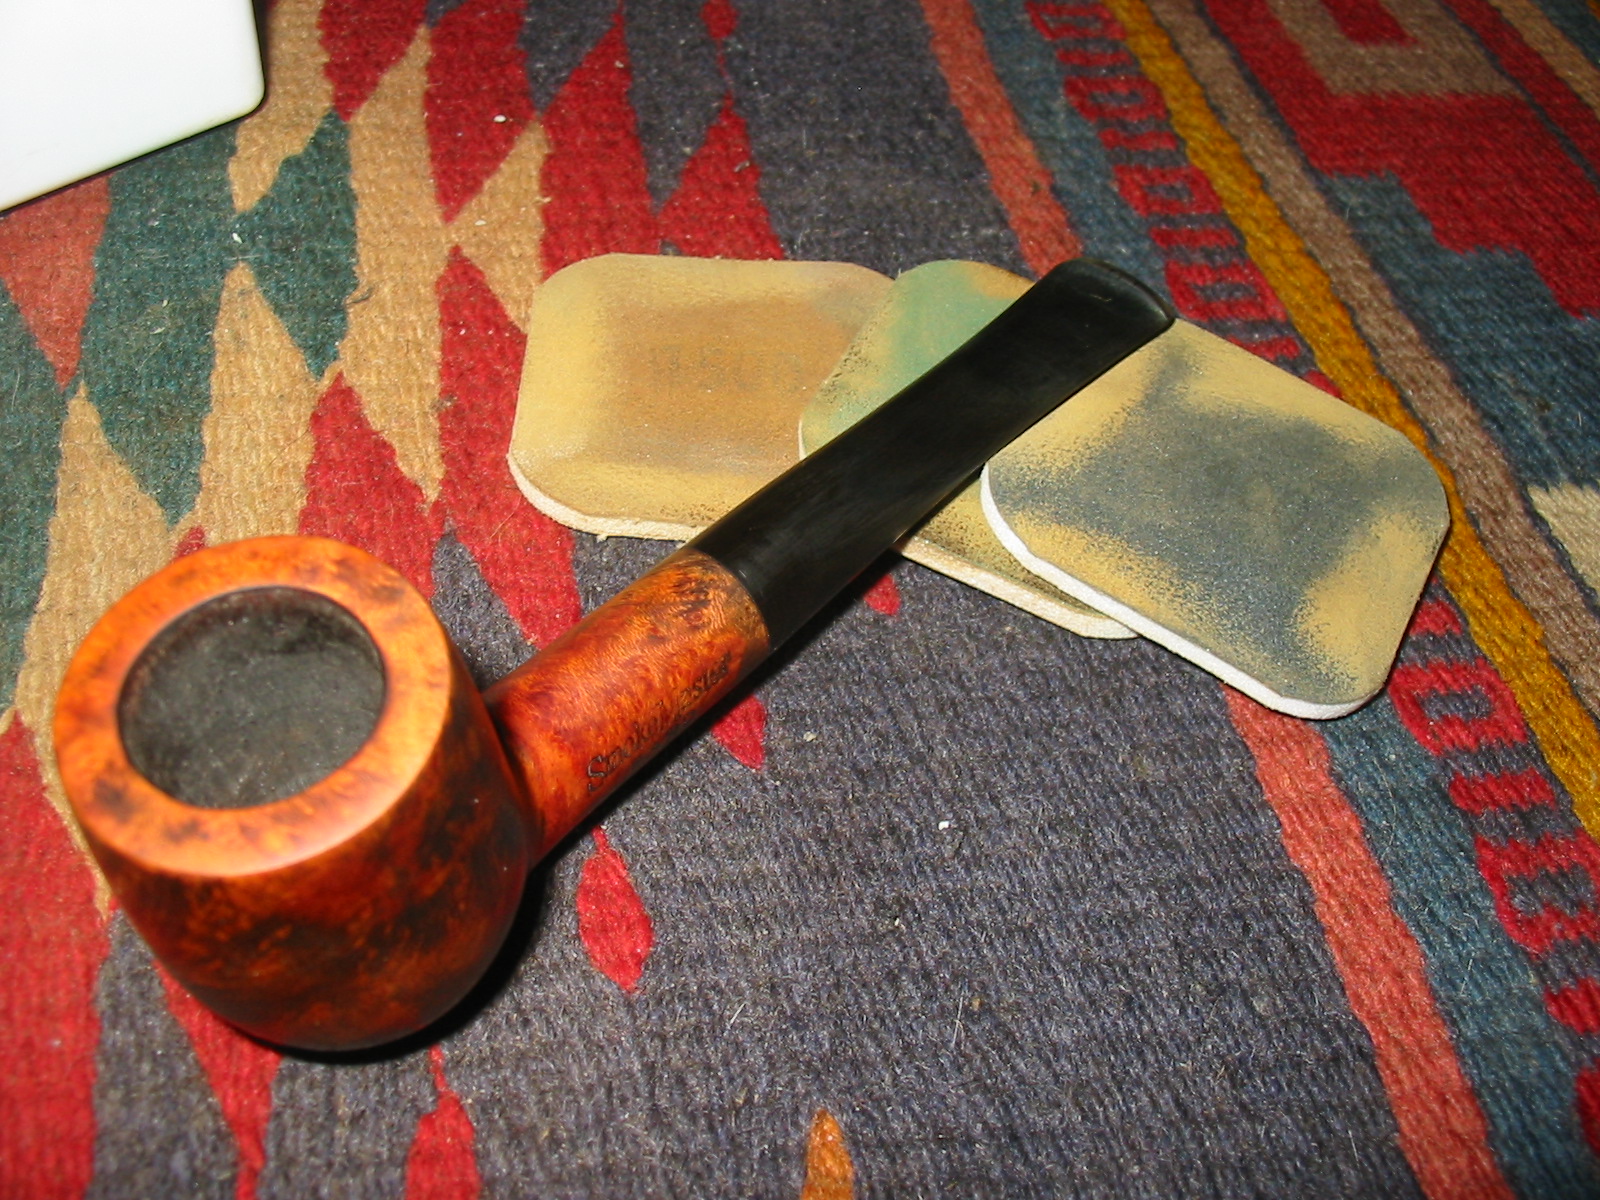
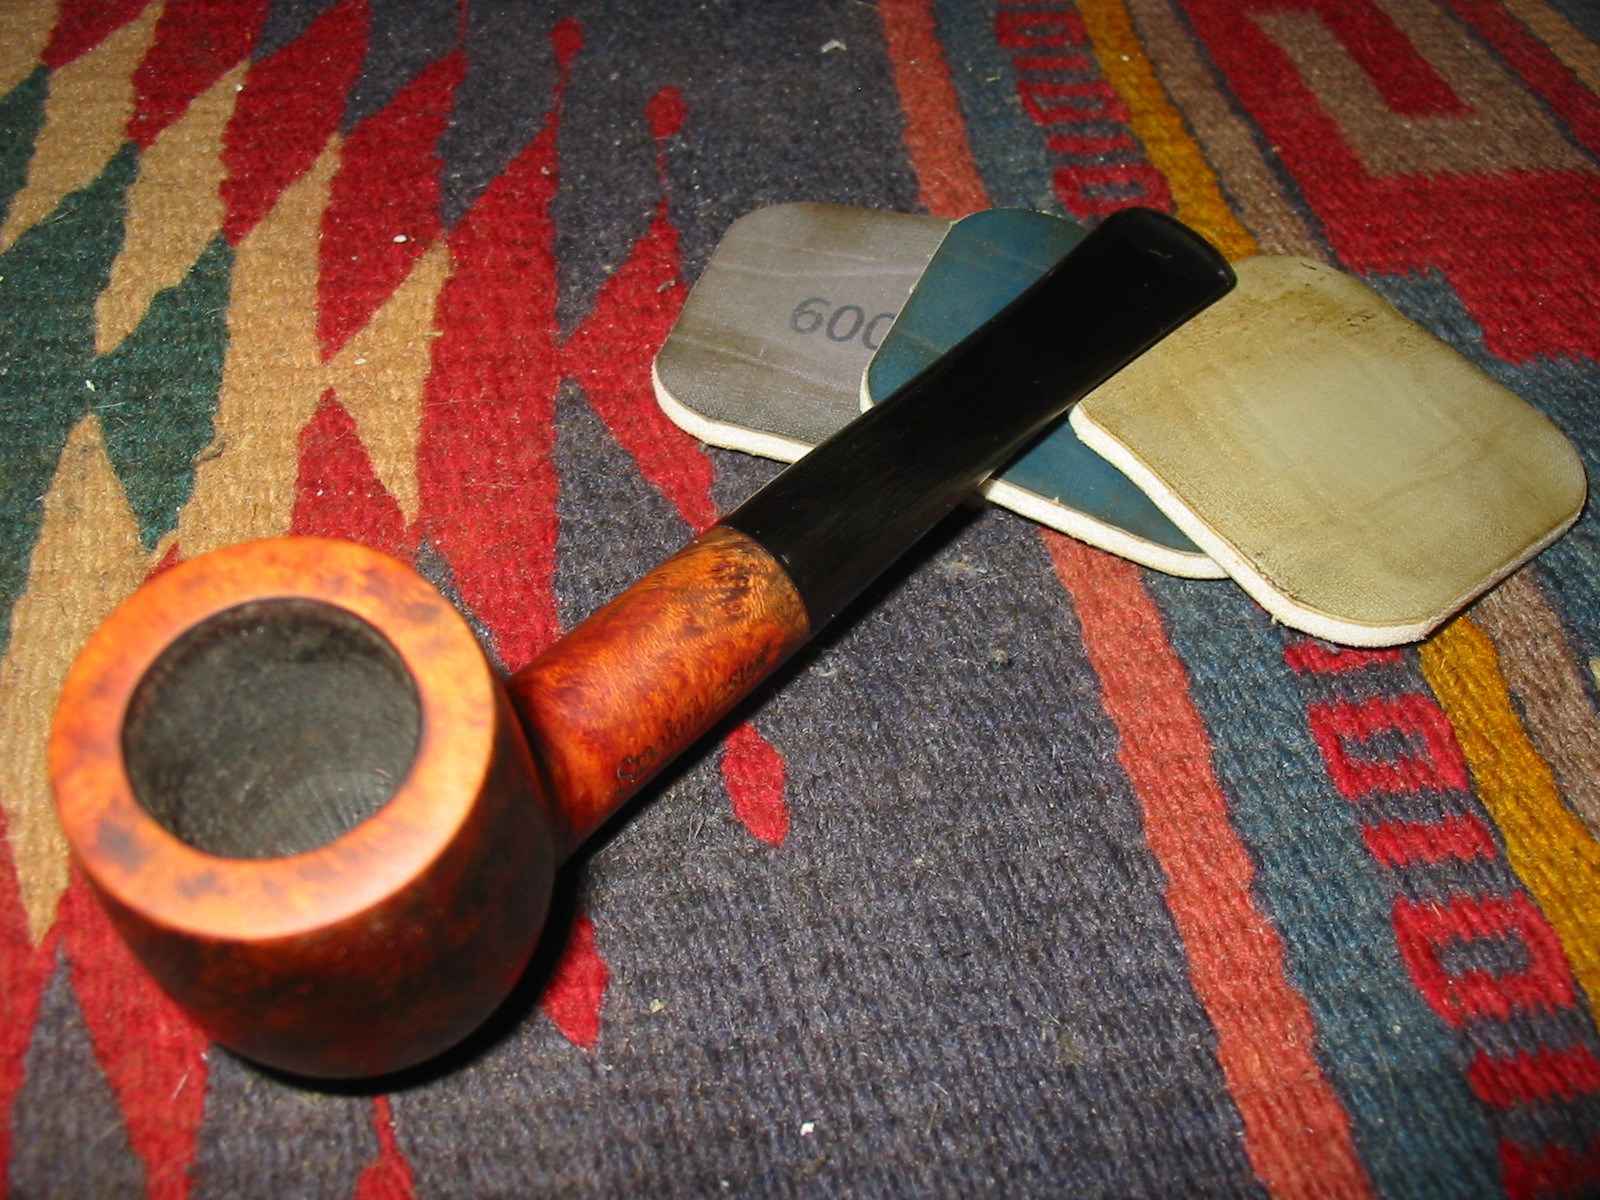
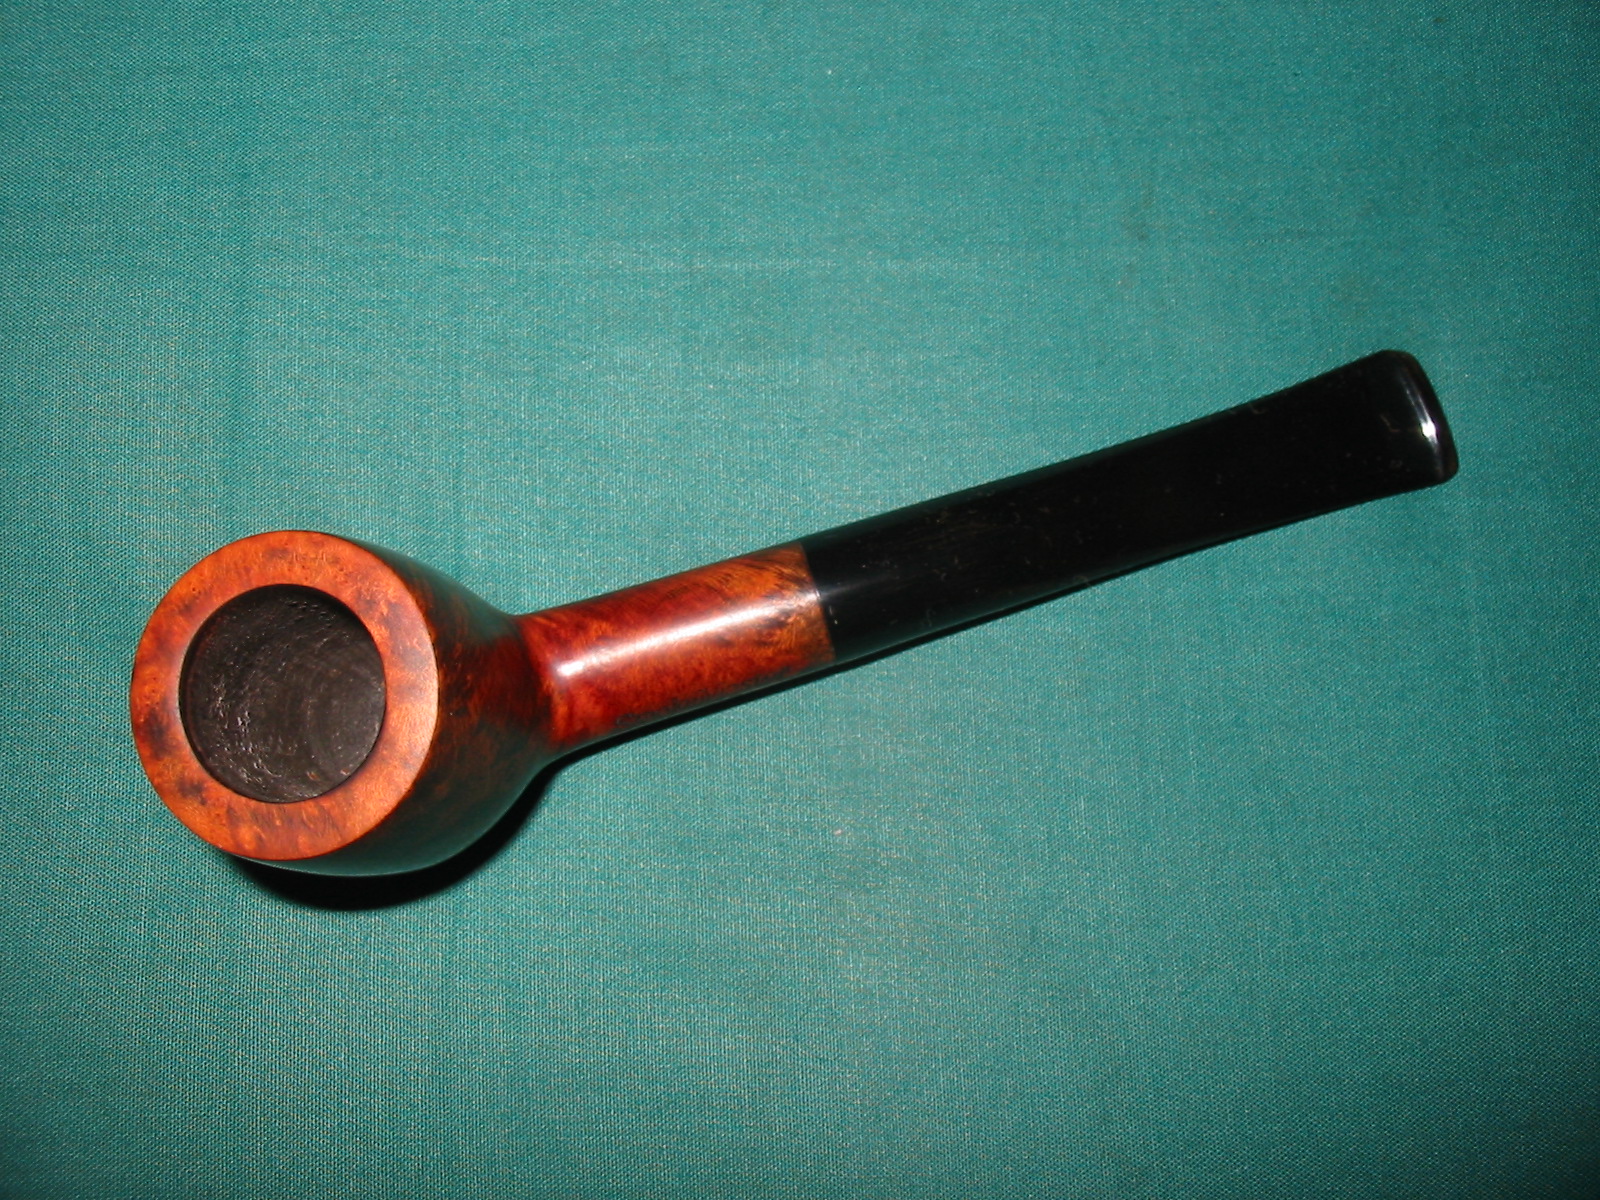
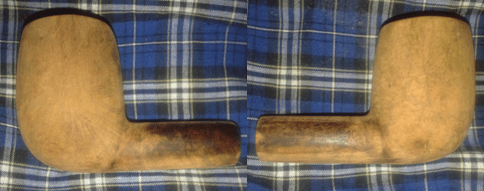
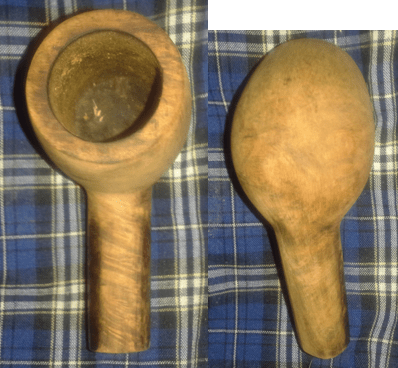
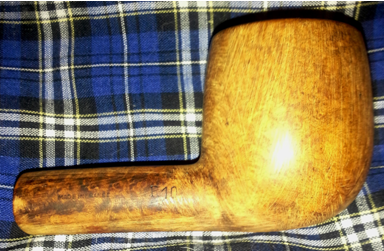
In these photos we can see not only the improvement as far as the uncovering of the grain is concerned but also the flaws – the pits that are obvious in places.
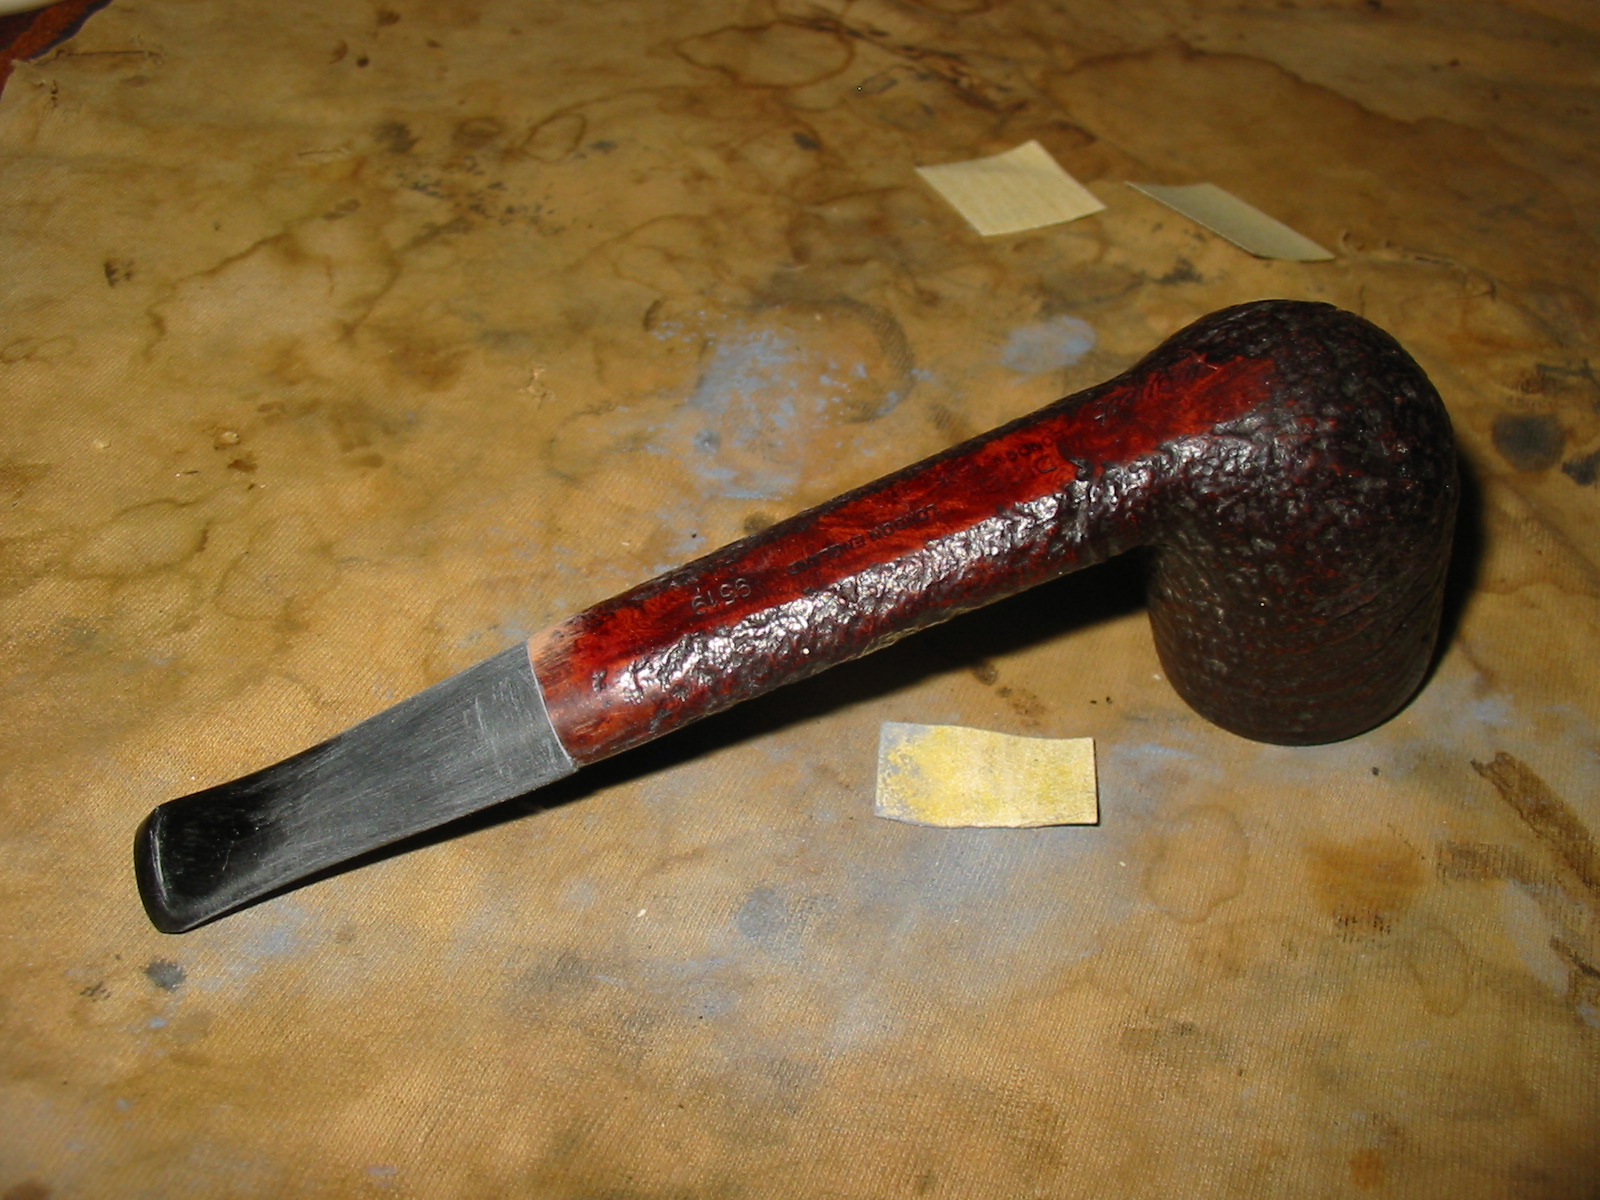
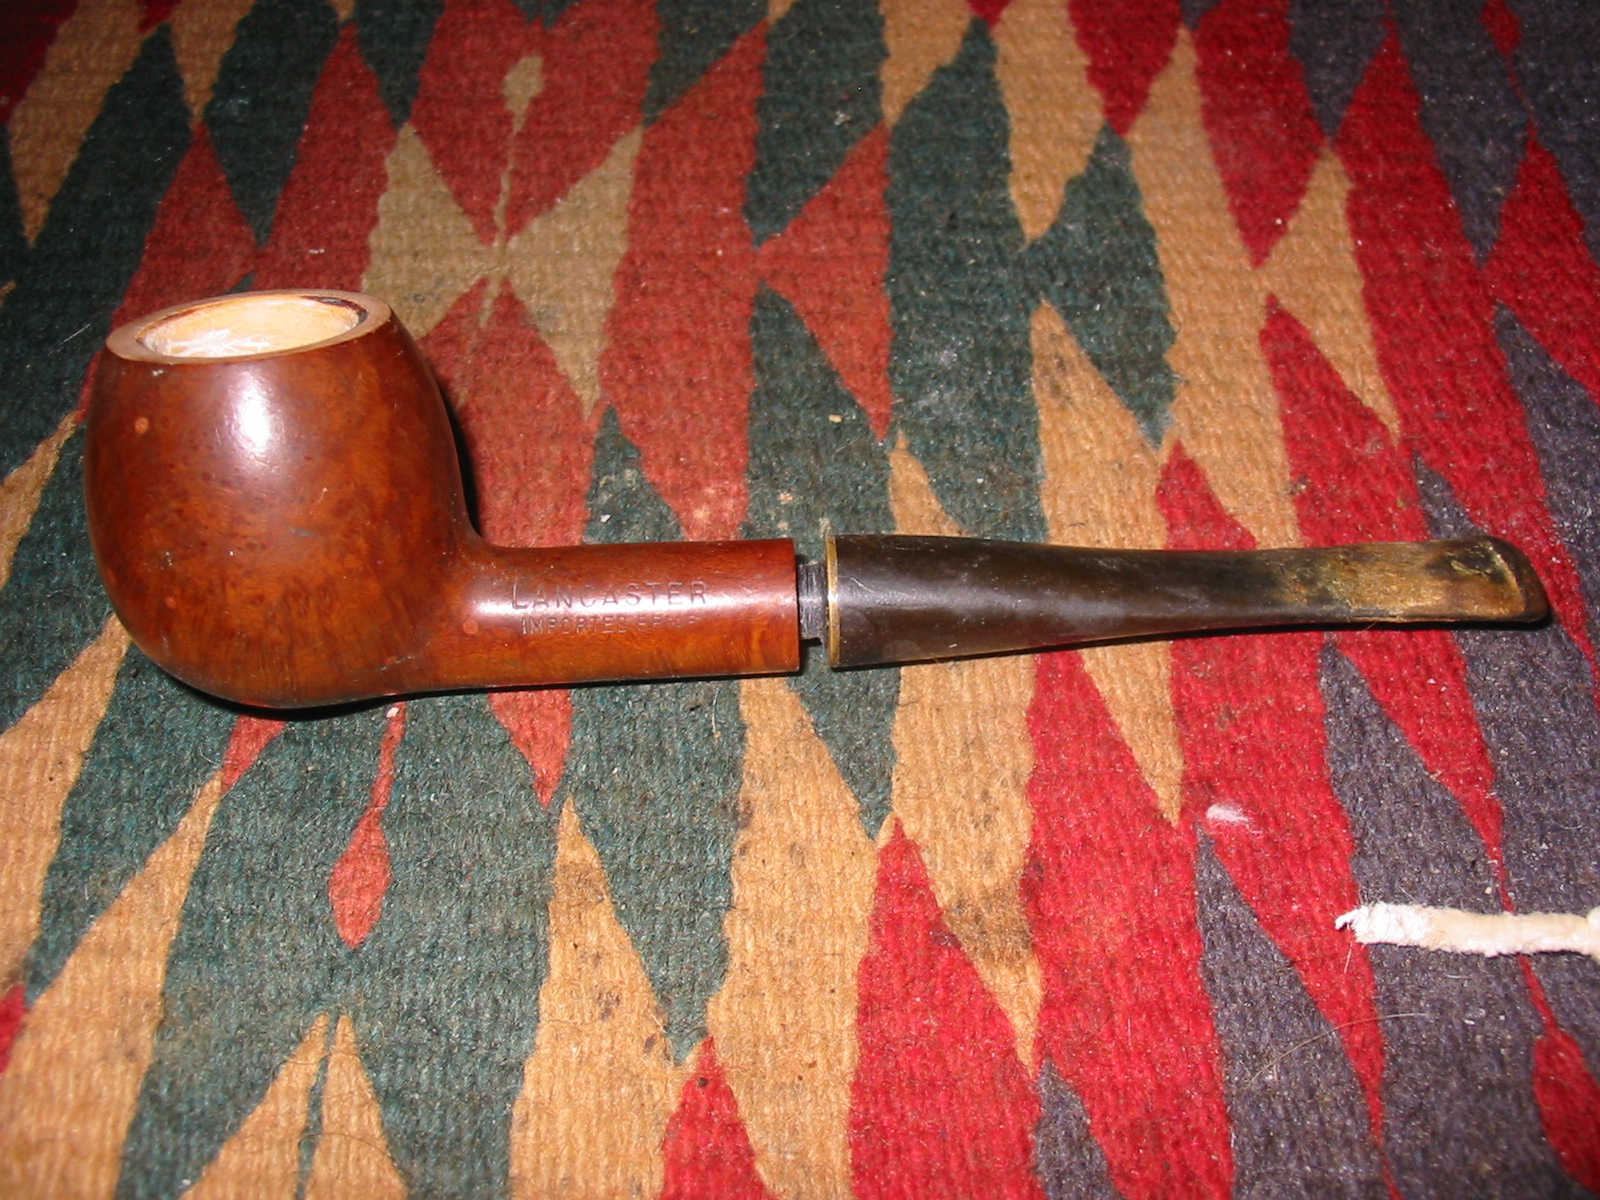
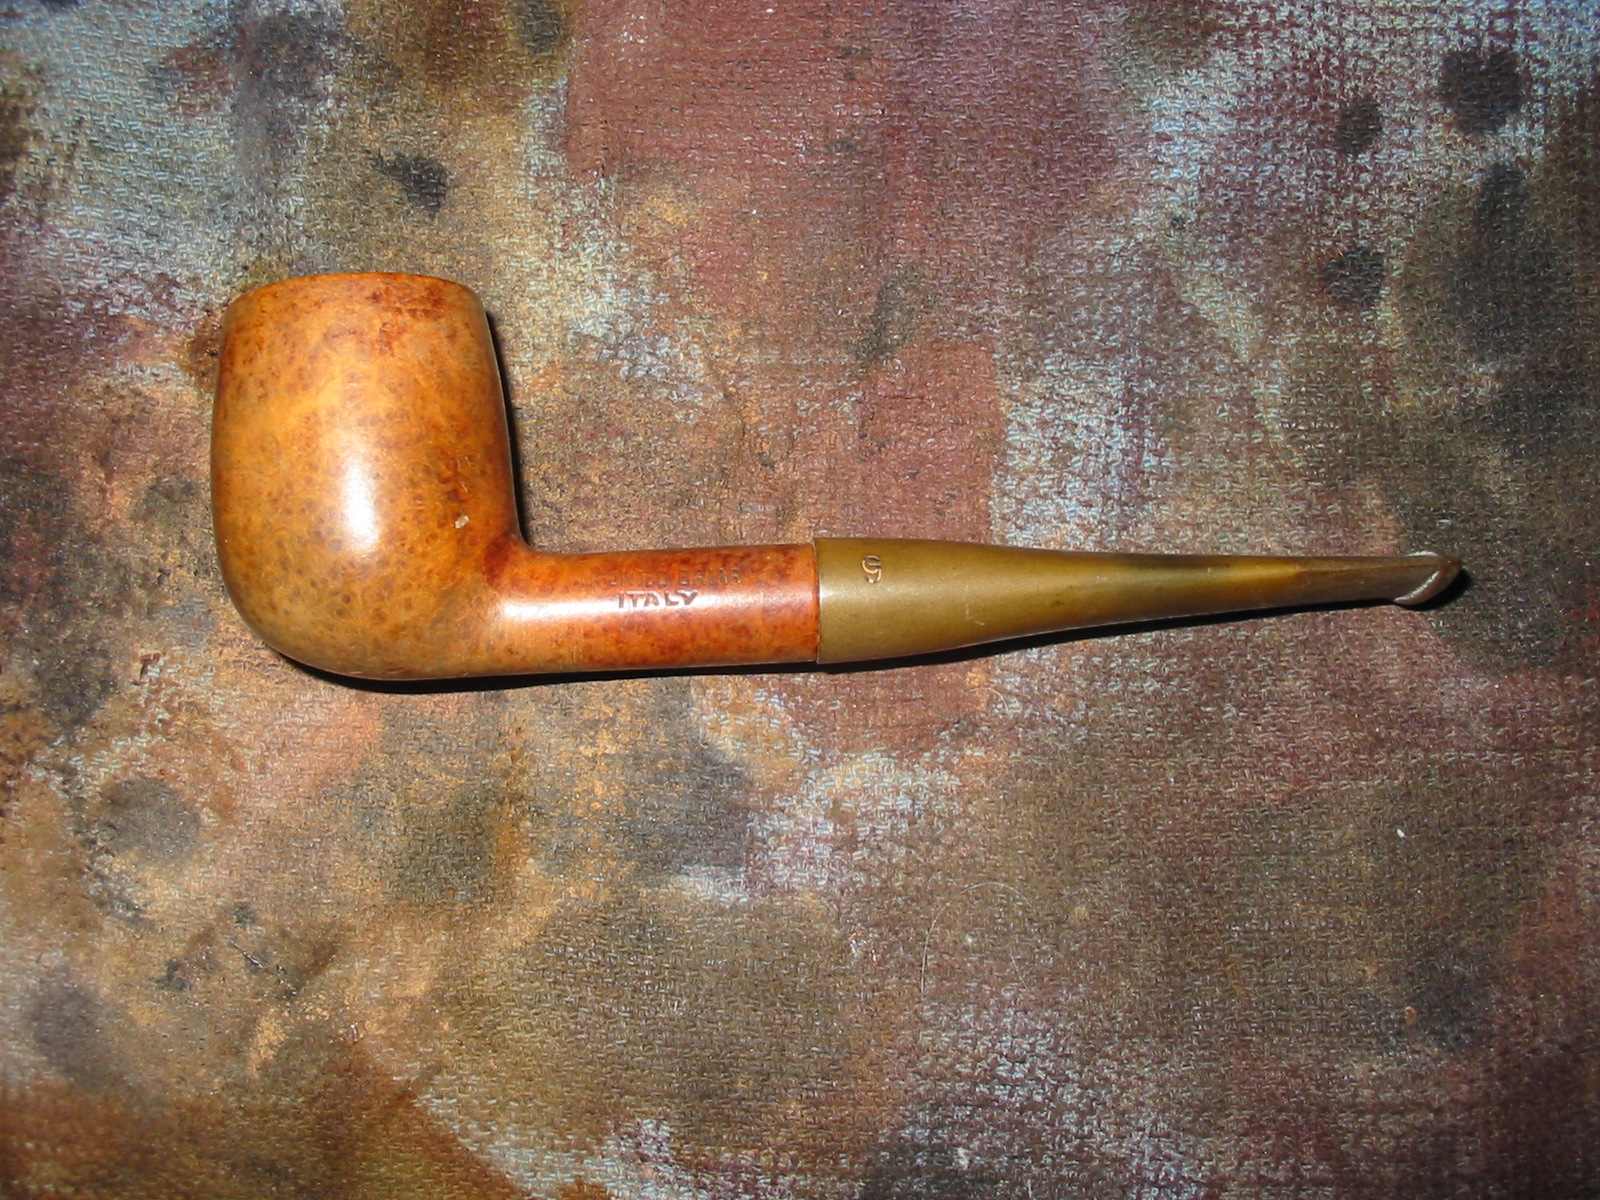
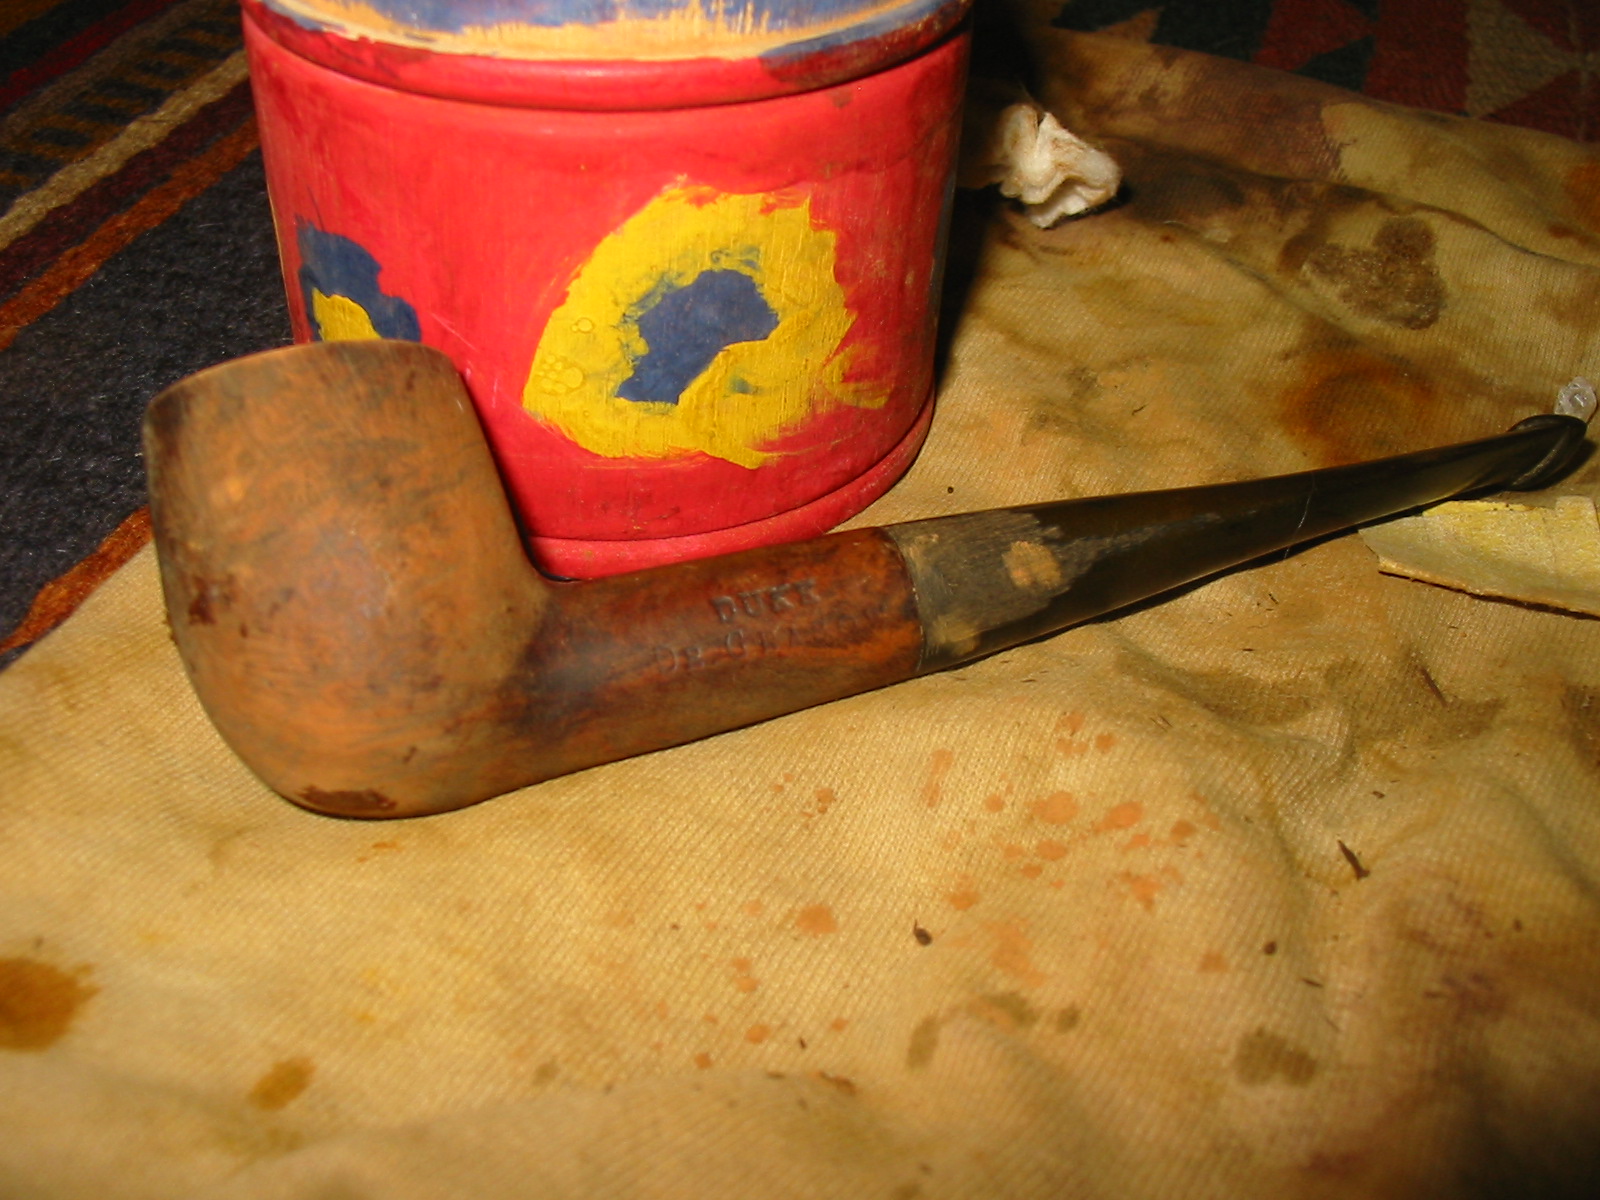
“Eug. Ropp,” underlined, is clearly visible, marking this seemingly unassuming billiard an actual Eugene Ropp Signature pipe. As Eugene Ropp was the second master pipe-maker in the French dynasty, and lived from 1859-1937, I date this billiard to the 1930s.
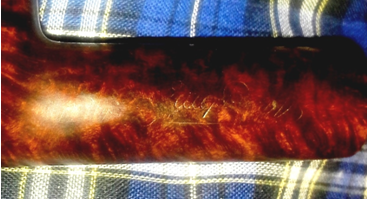
Eug. Ropp signature, underlined

Made in France, R10
The Restoration
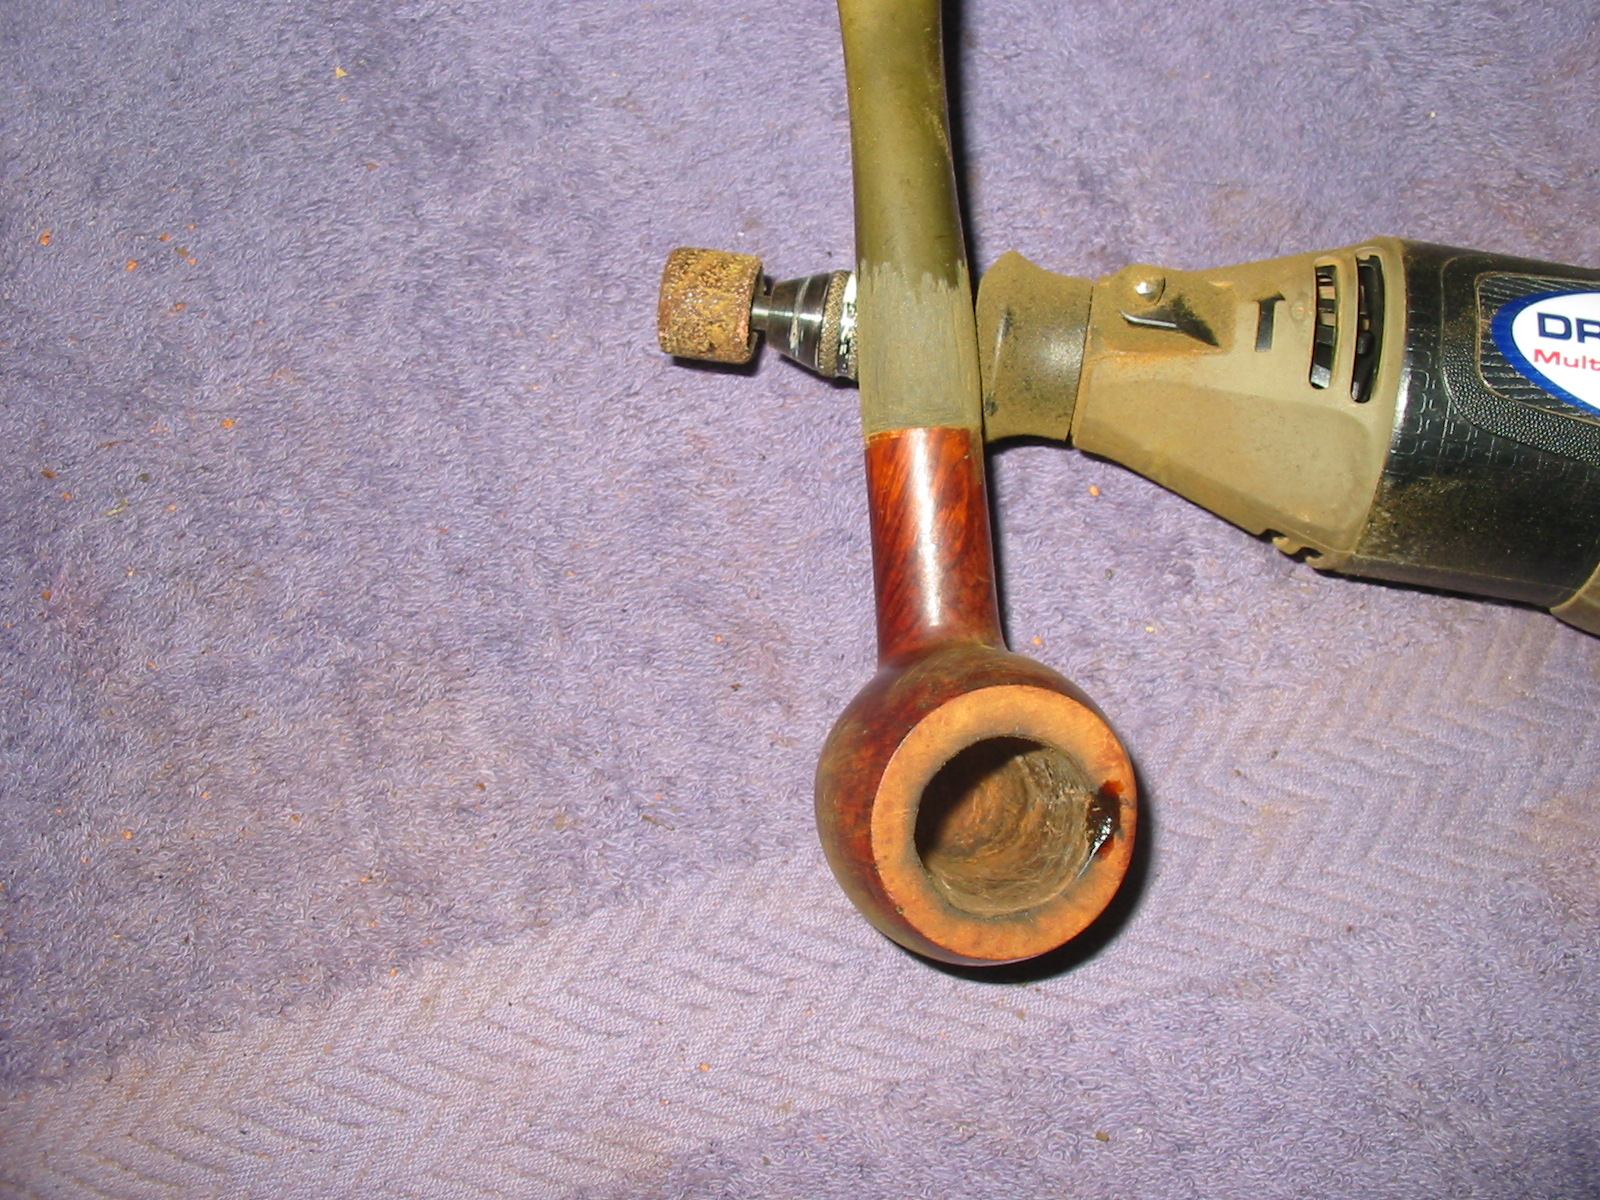
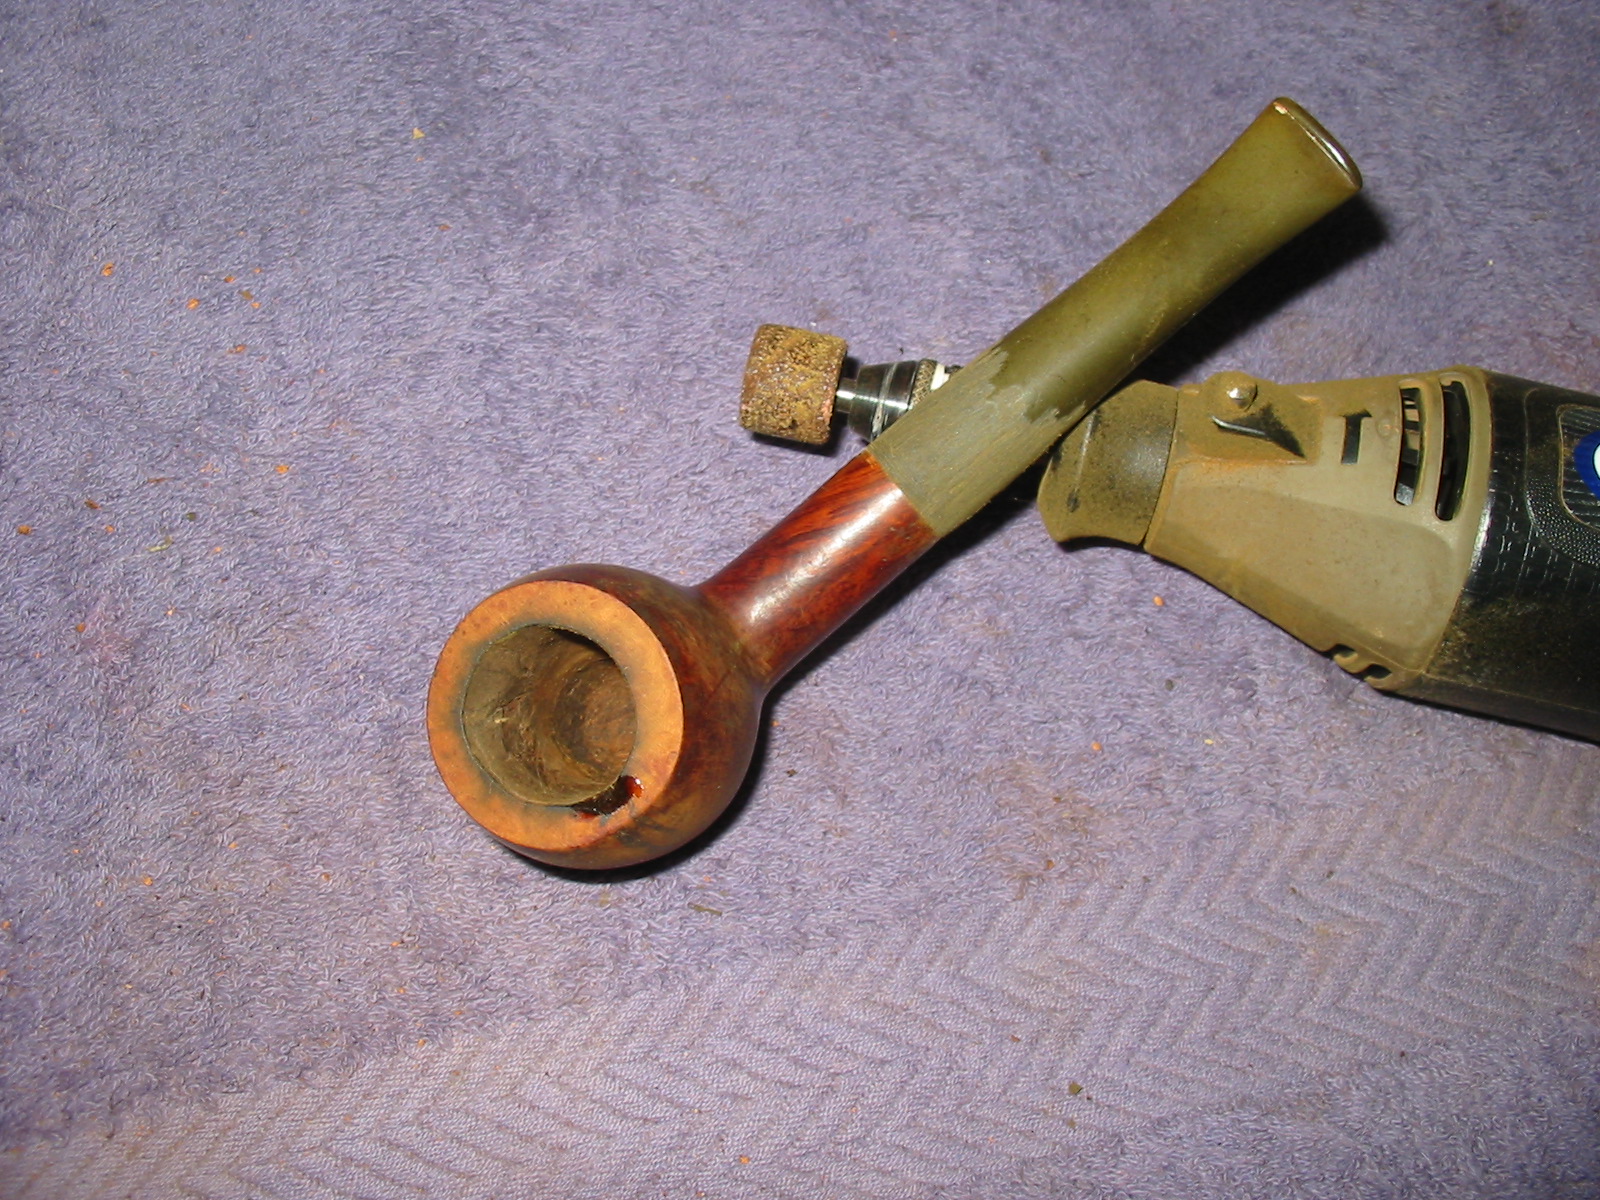
By now, it should go without saying that I consulted my friend and mentor, Chuck Richards, before beginning the restoration of this pipe. Rather, I should say I did so in a round-about fashion. After all, I merely needed to hand him the pipe and tell him I was about to begin work to get his advice! Chuck is very generous and loquacious that way, and I am grateful, for I soak it all up and would be nowhere now without his invaluable input. For example, I would not have known to clean the pipe with alcohol without Chuck’s input. He also saw, as had I, the pits in the wood, but suggested an ingenious solution to the problem: using brown and black markers to fill in the holes before applying small amounts of Super Glue, then gently buffing away the rough parts. I must say, that seemed a perfect solution as well as one I would enjoy describing in this blog.
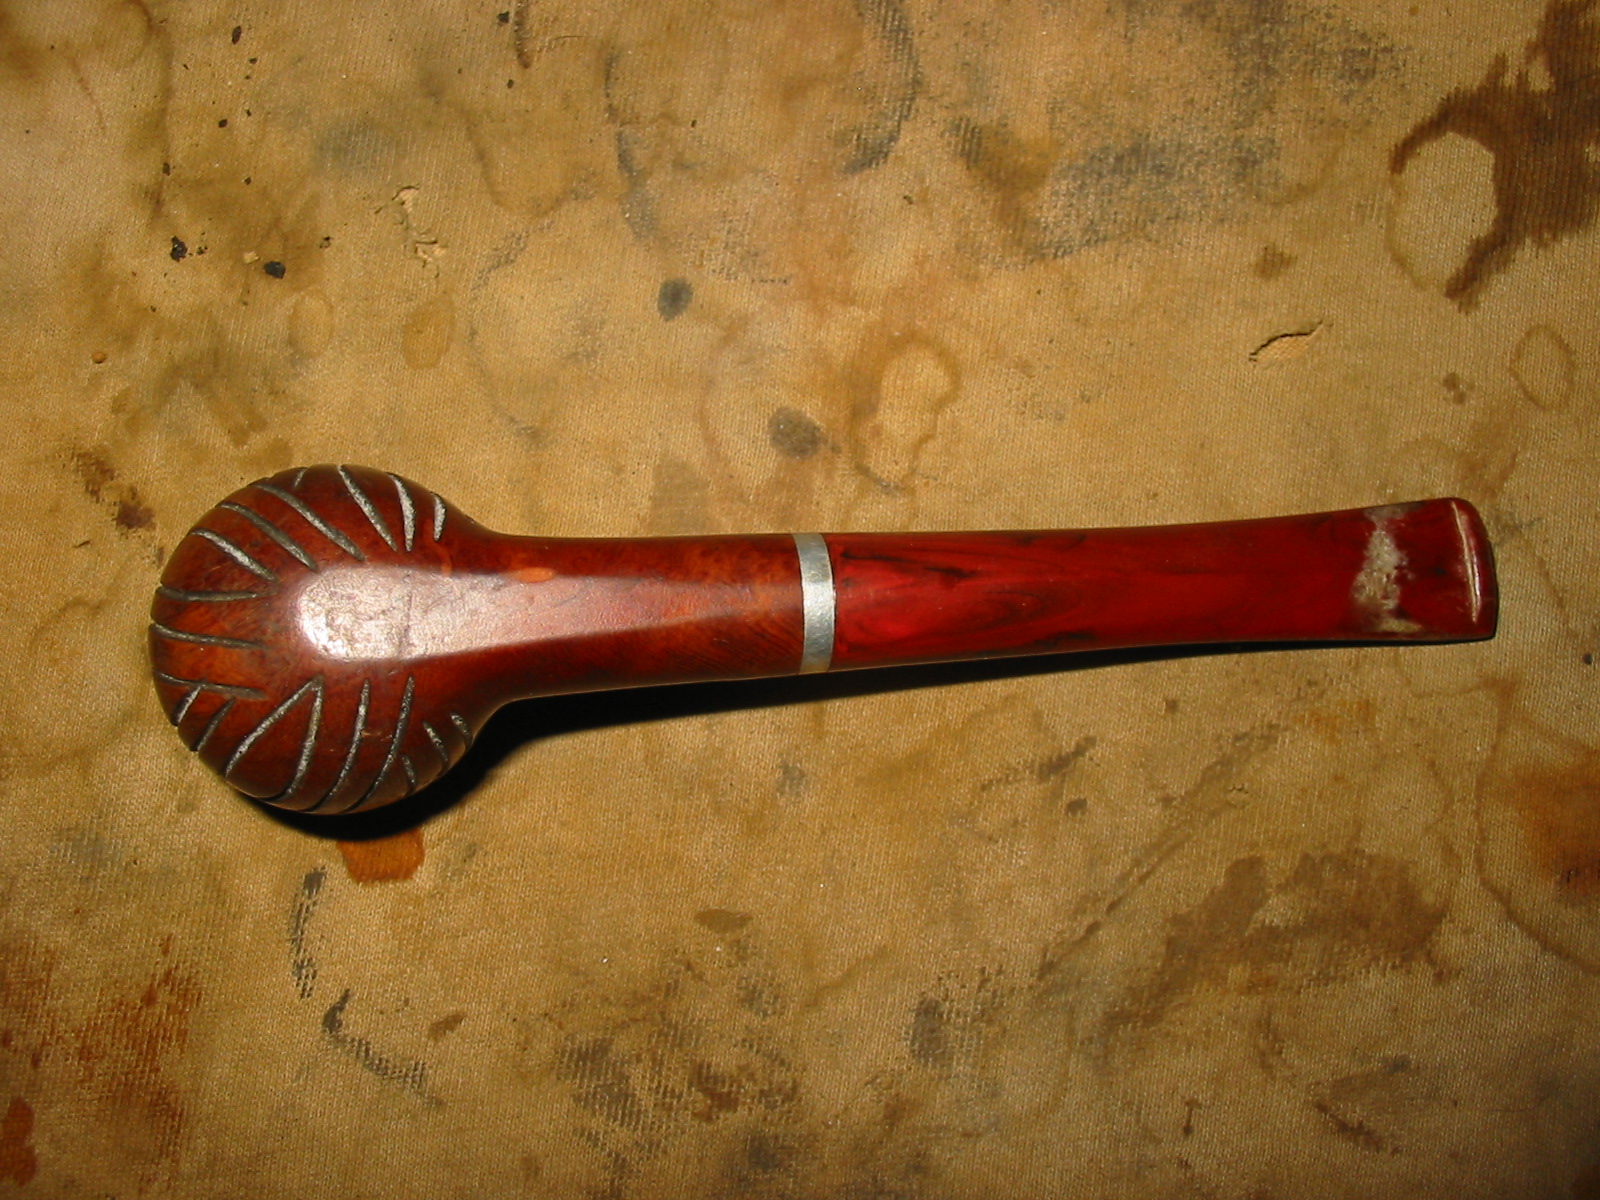
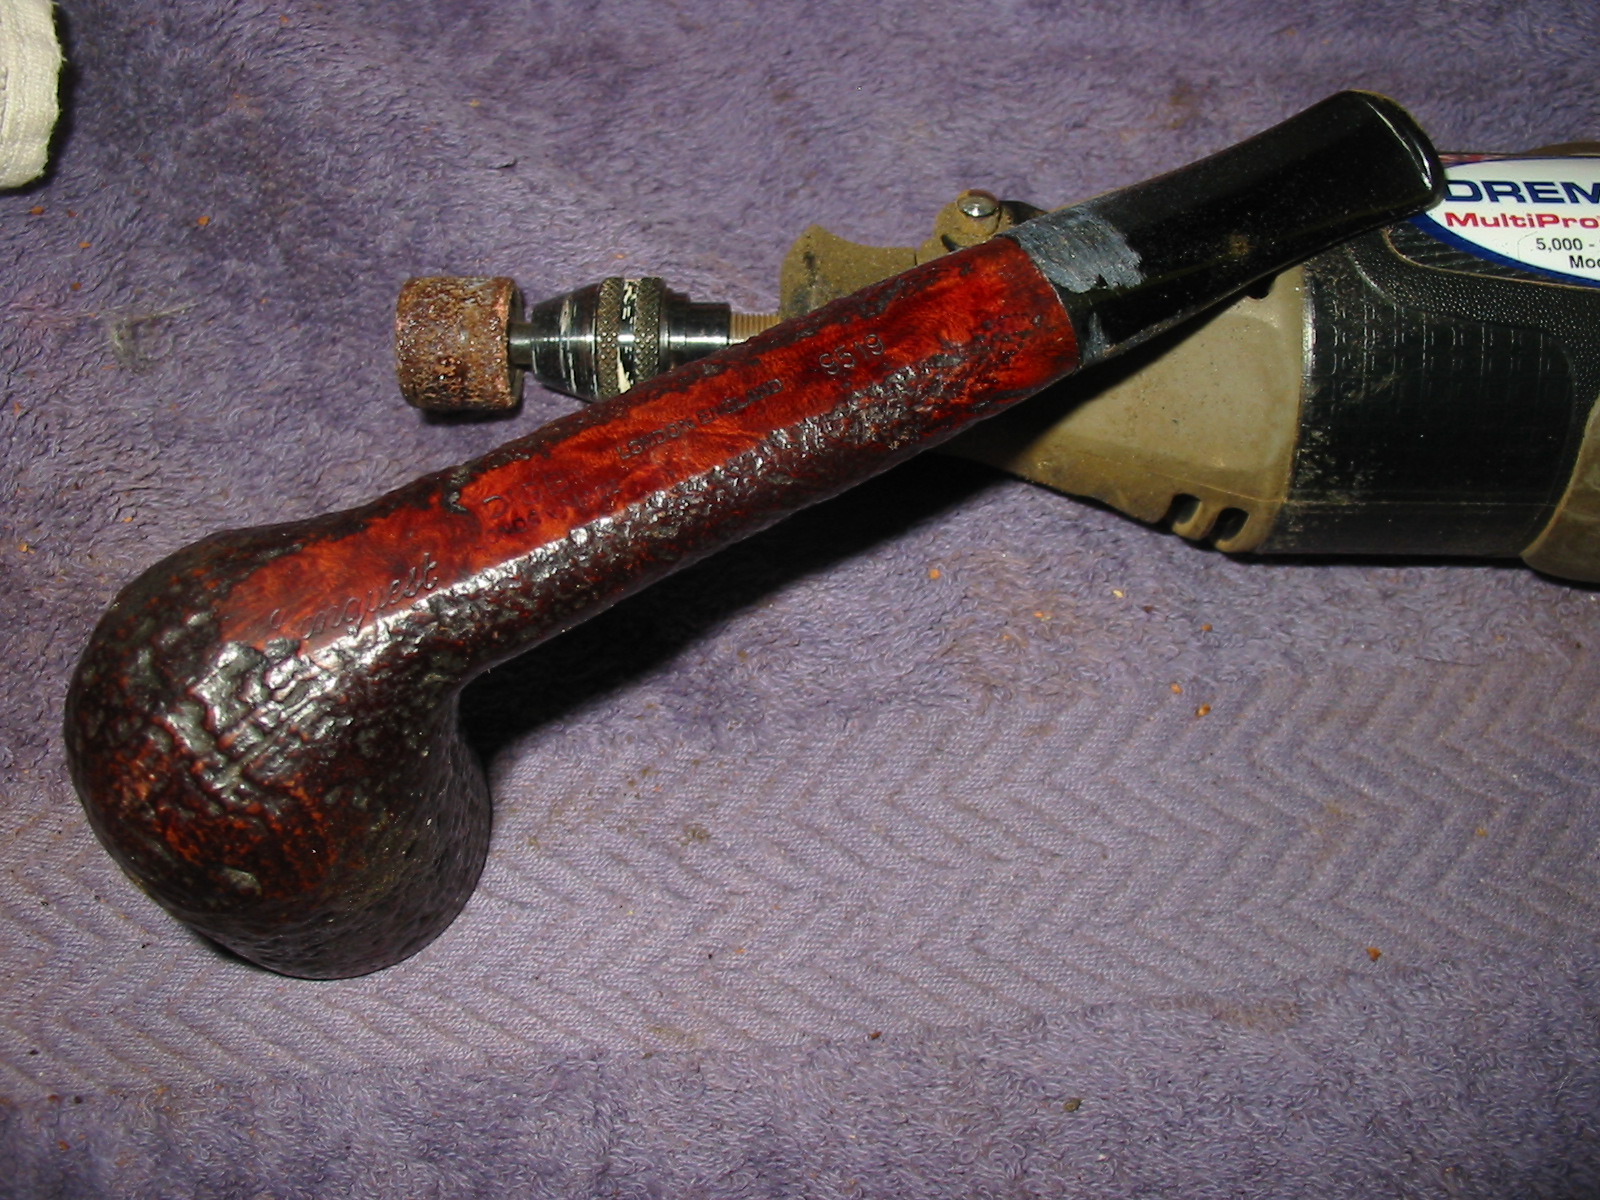
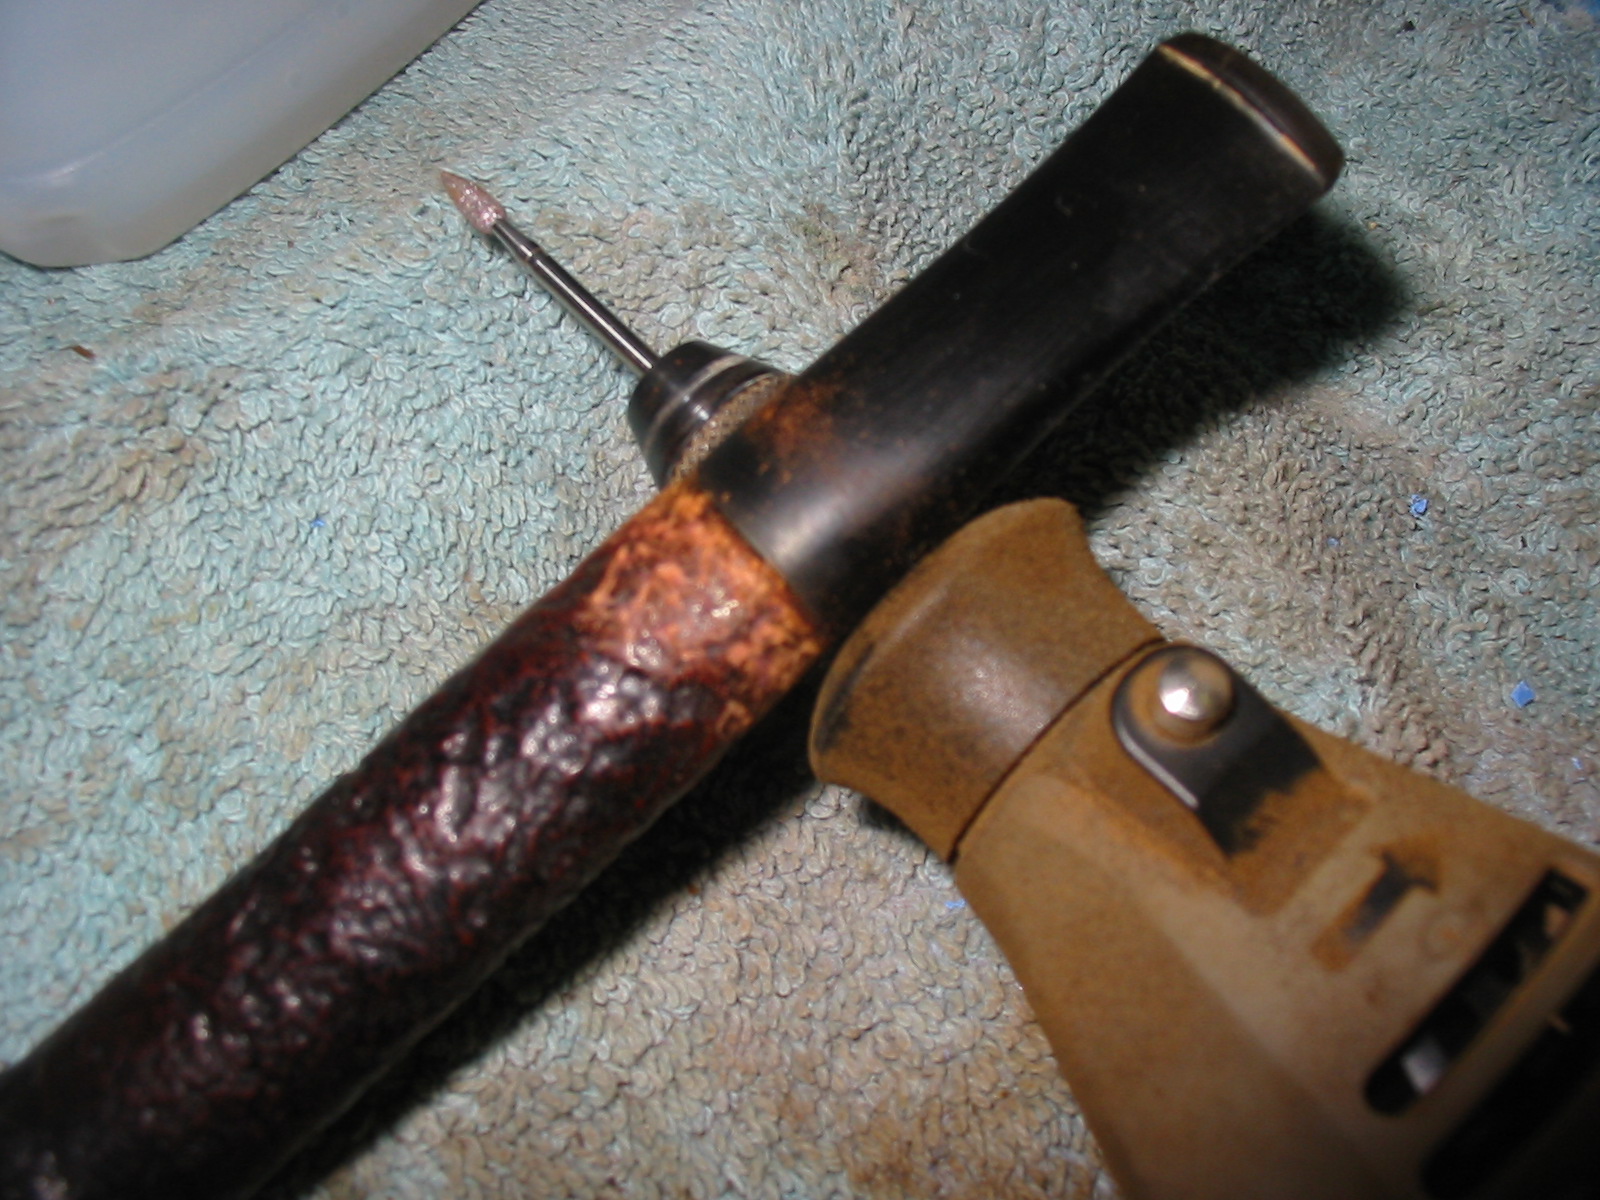
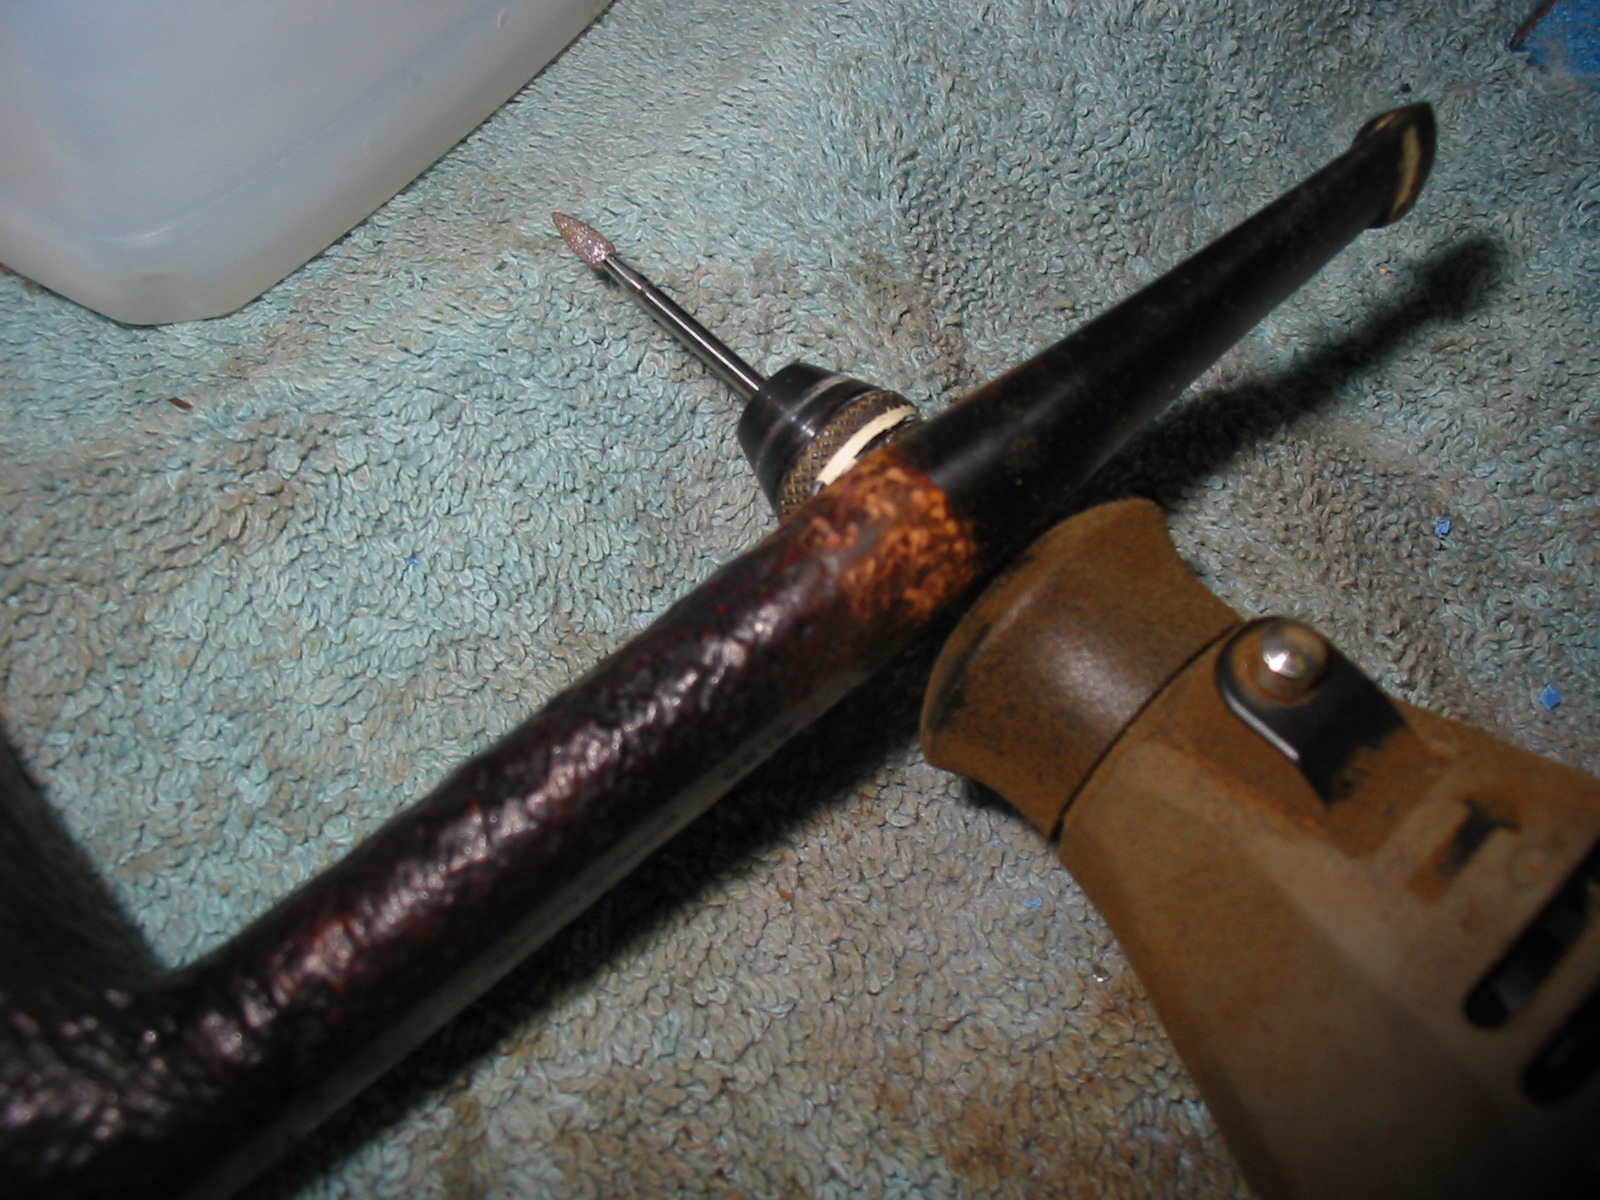
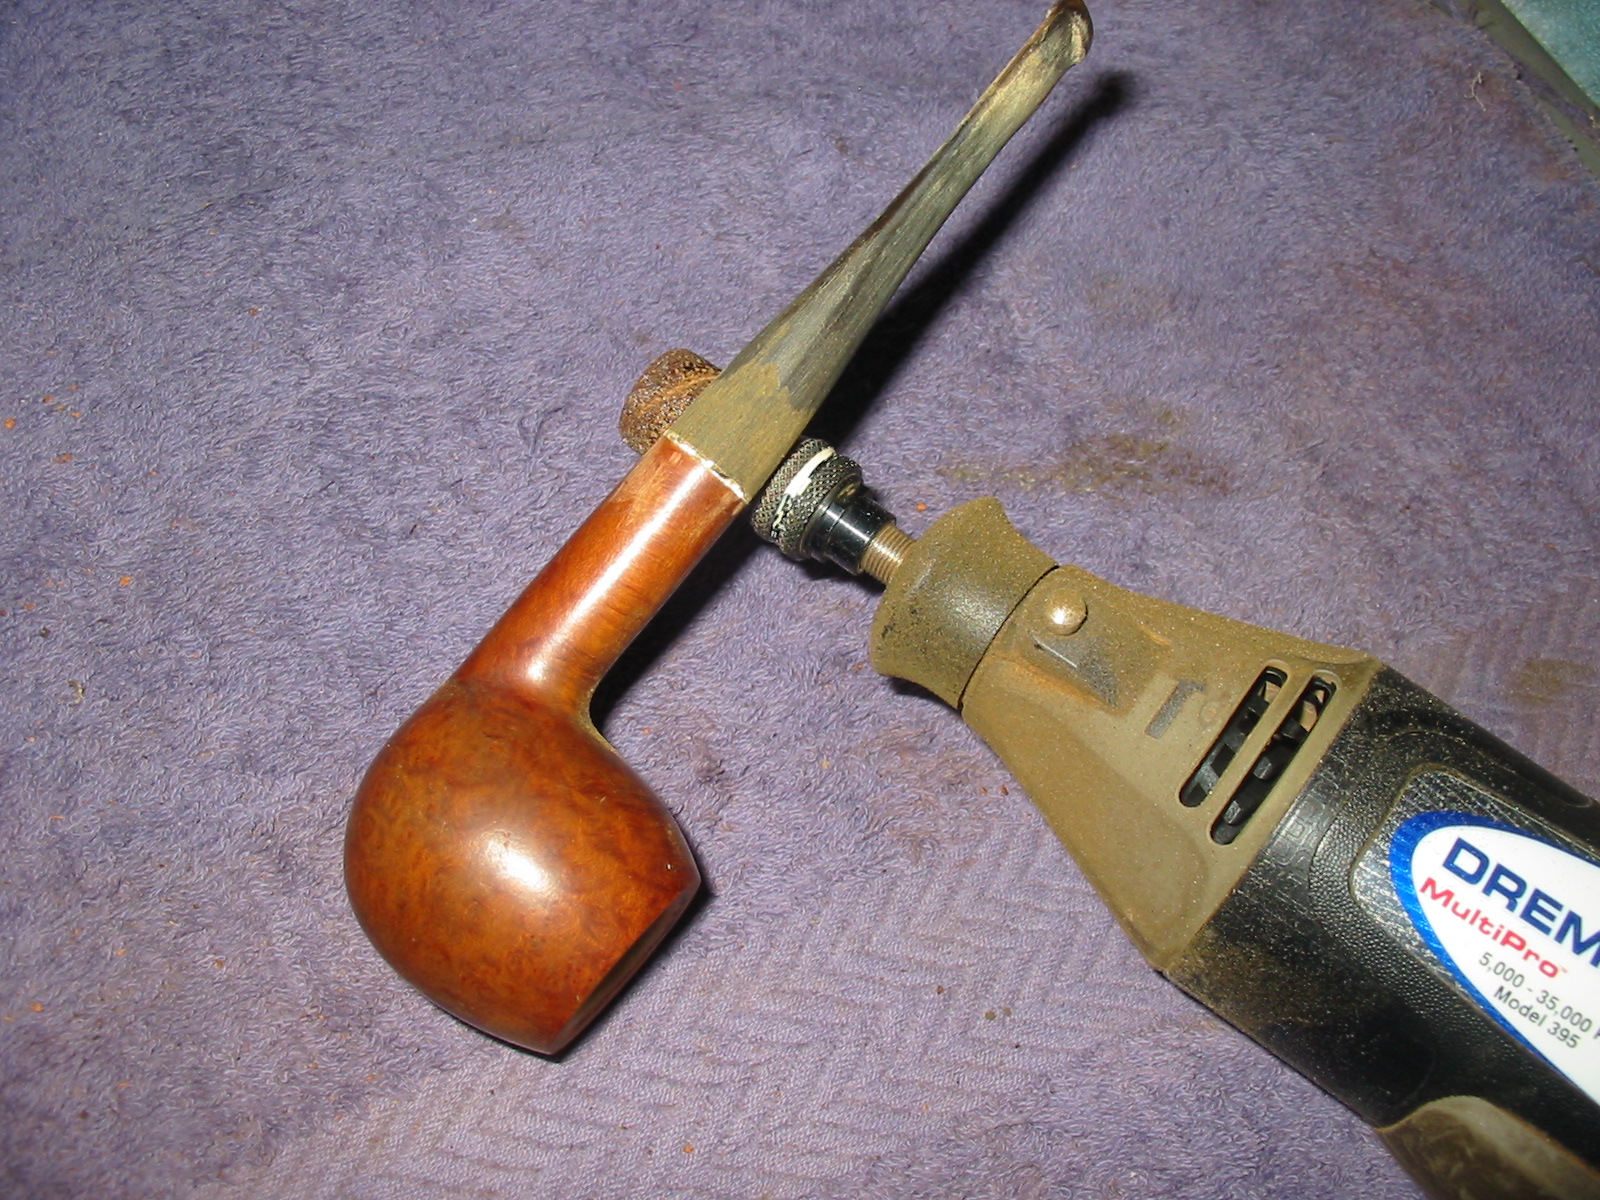
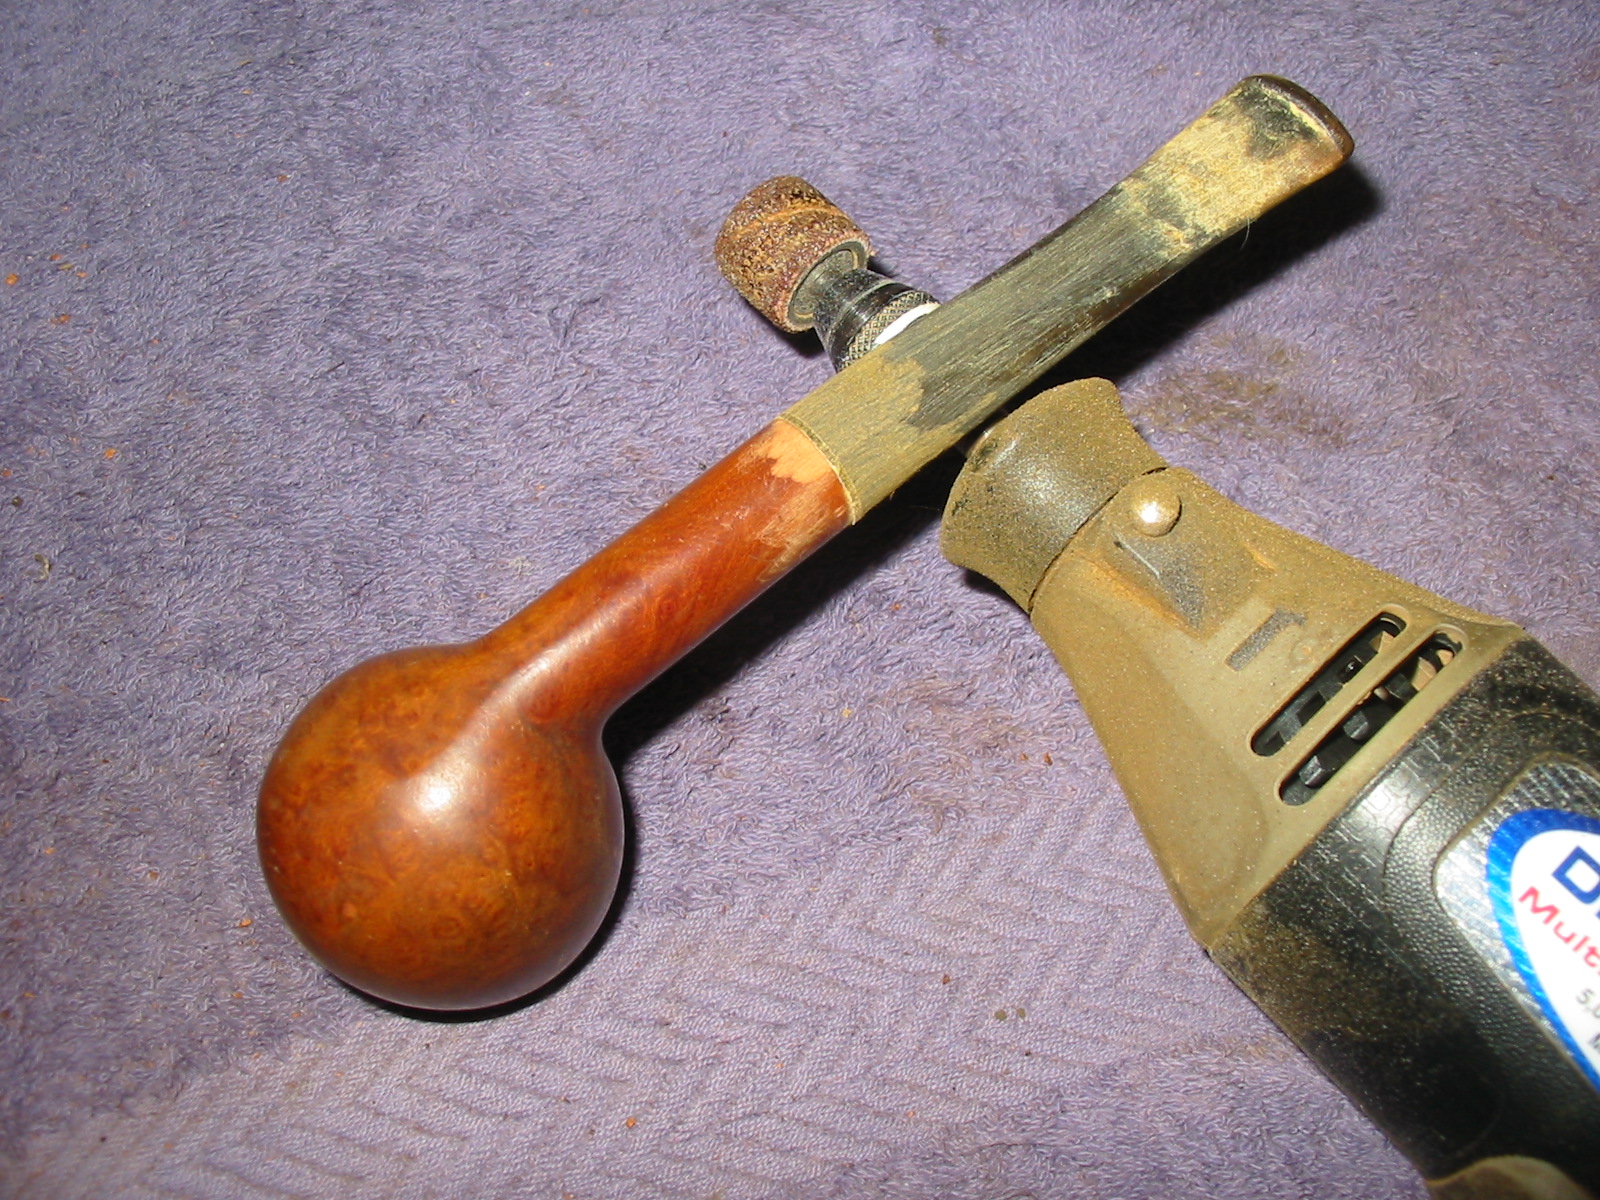
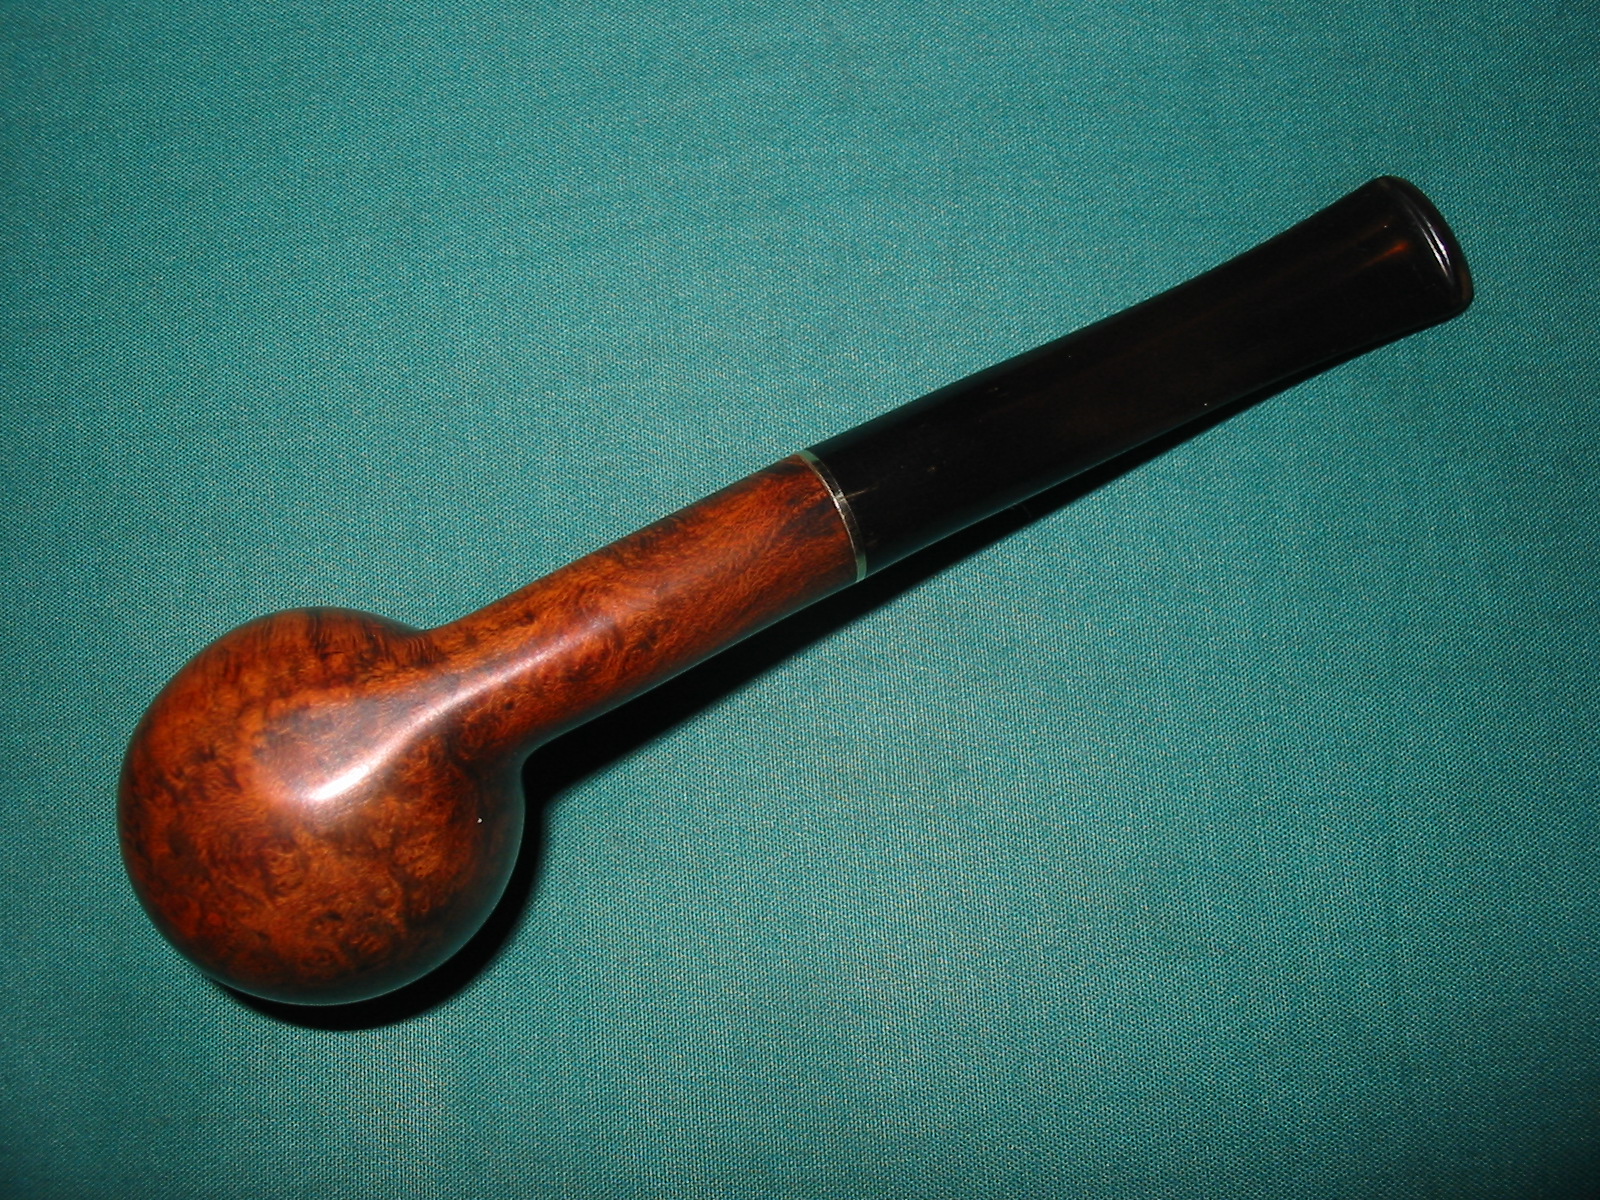
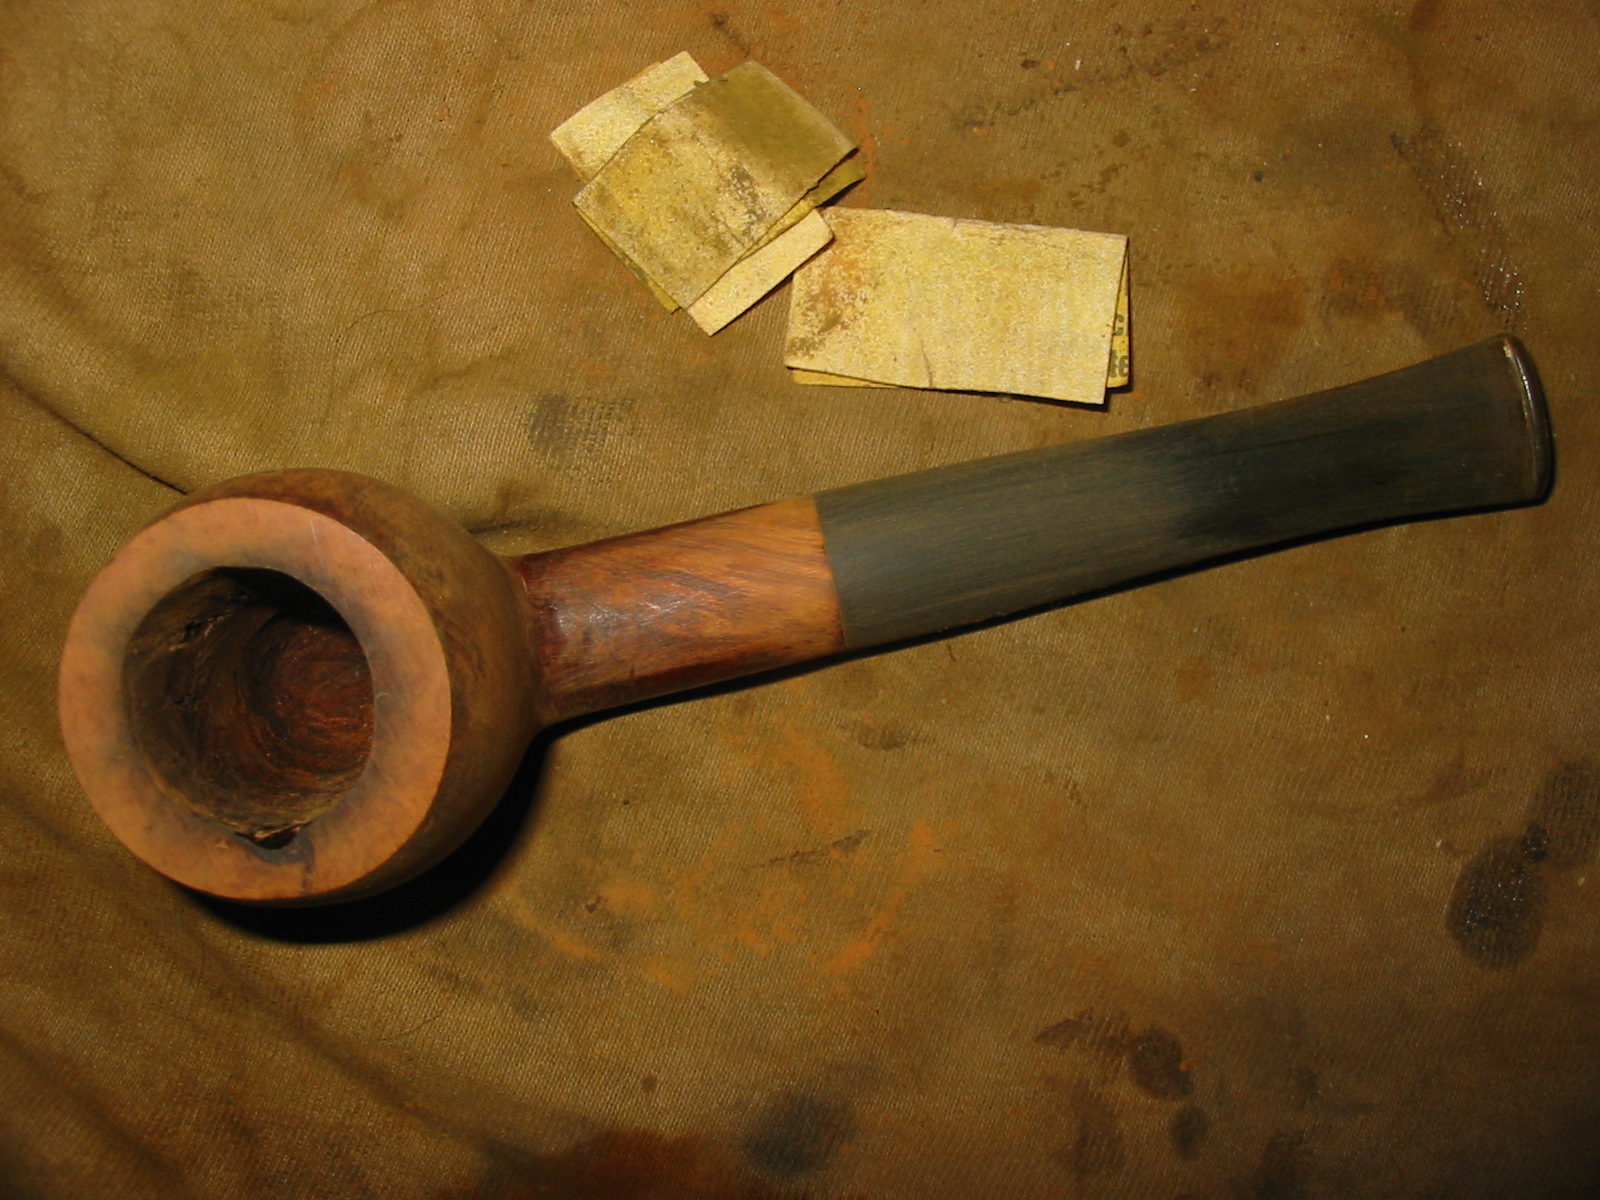
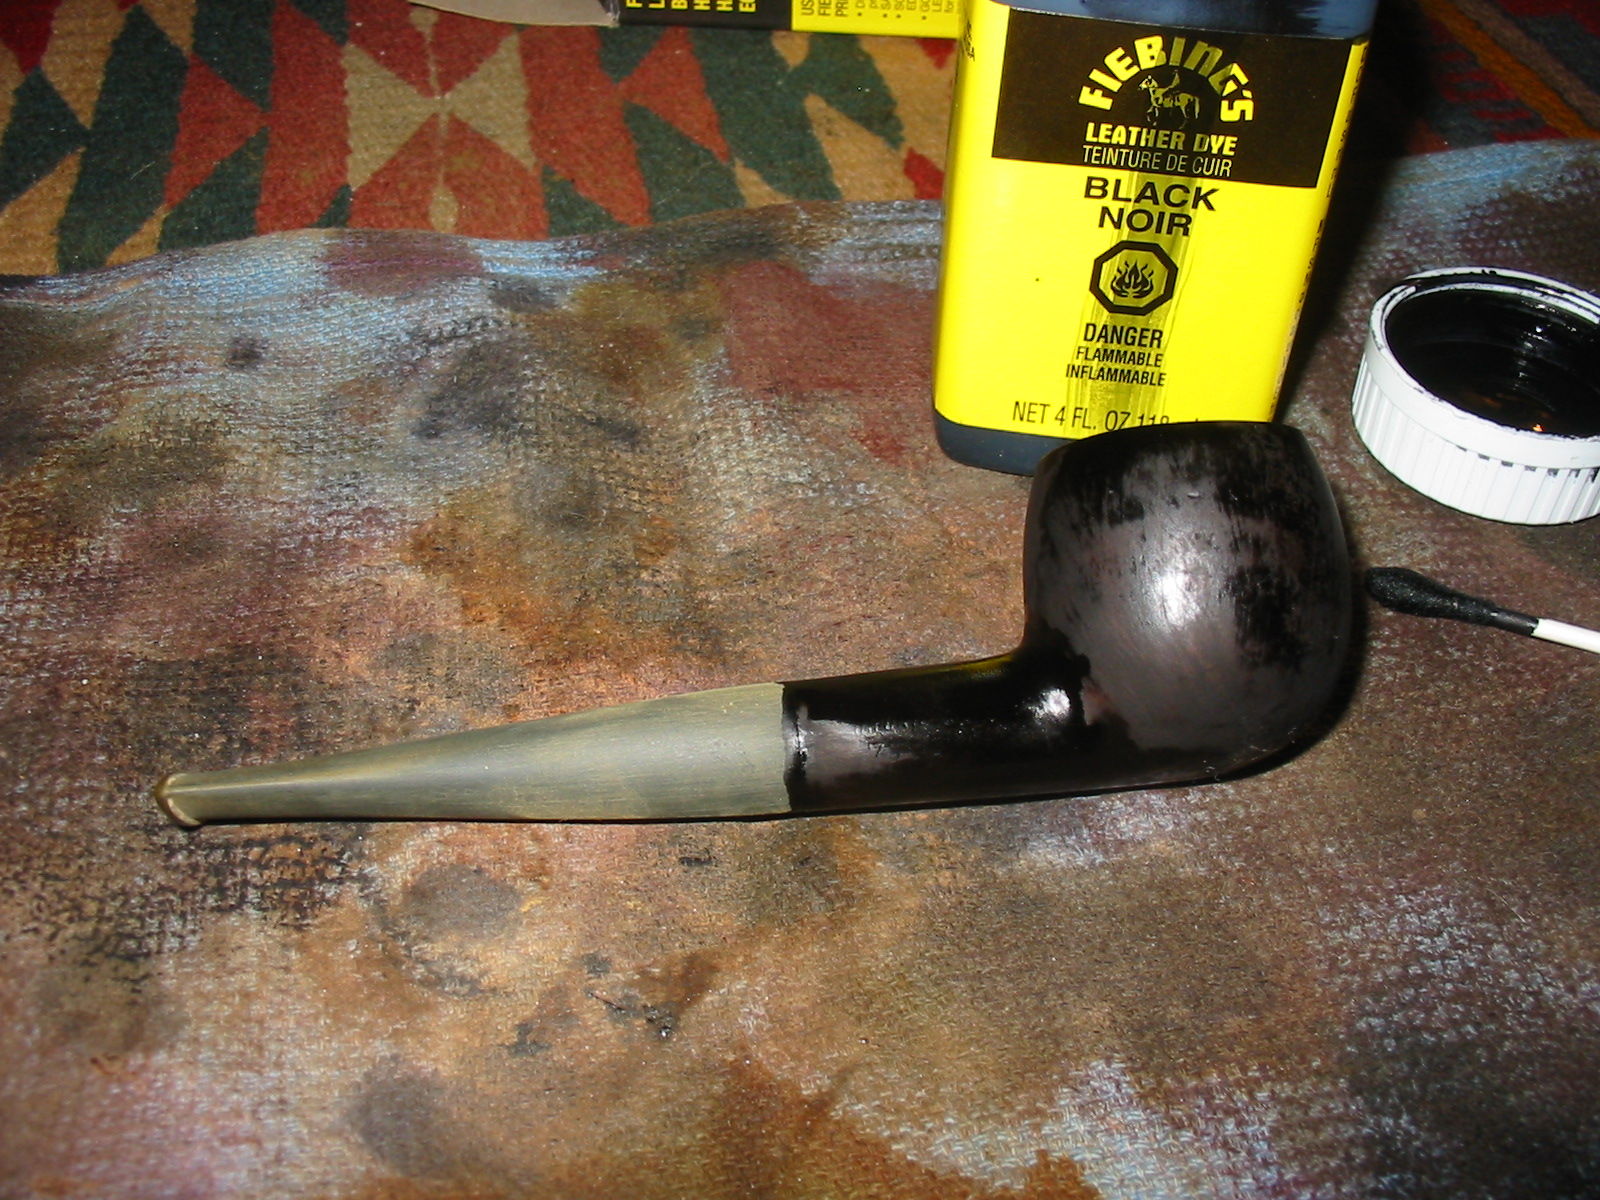
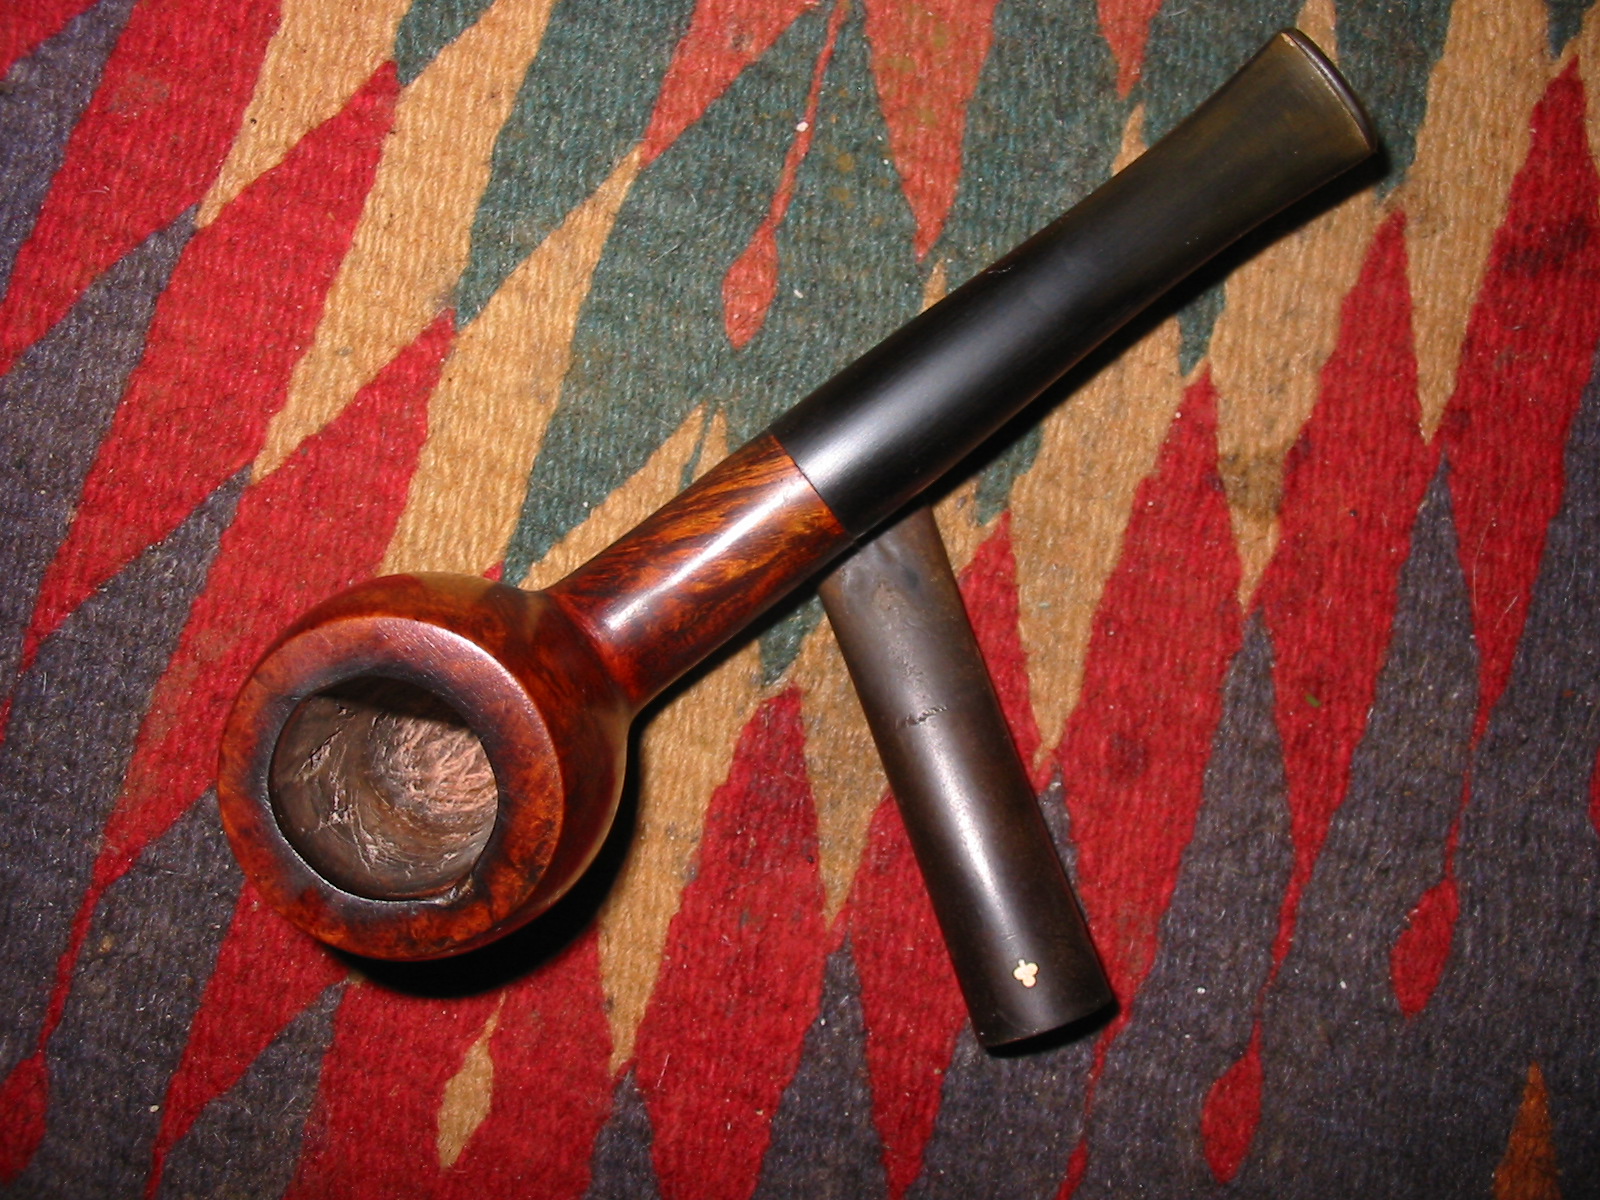
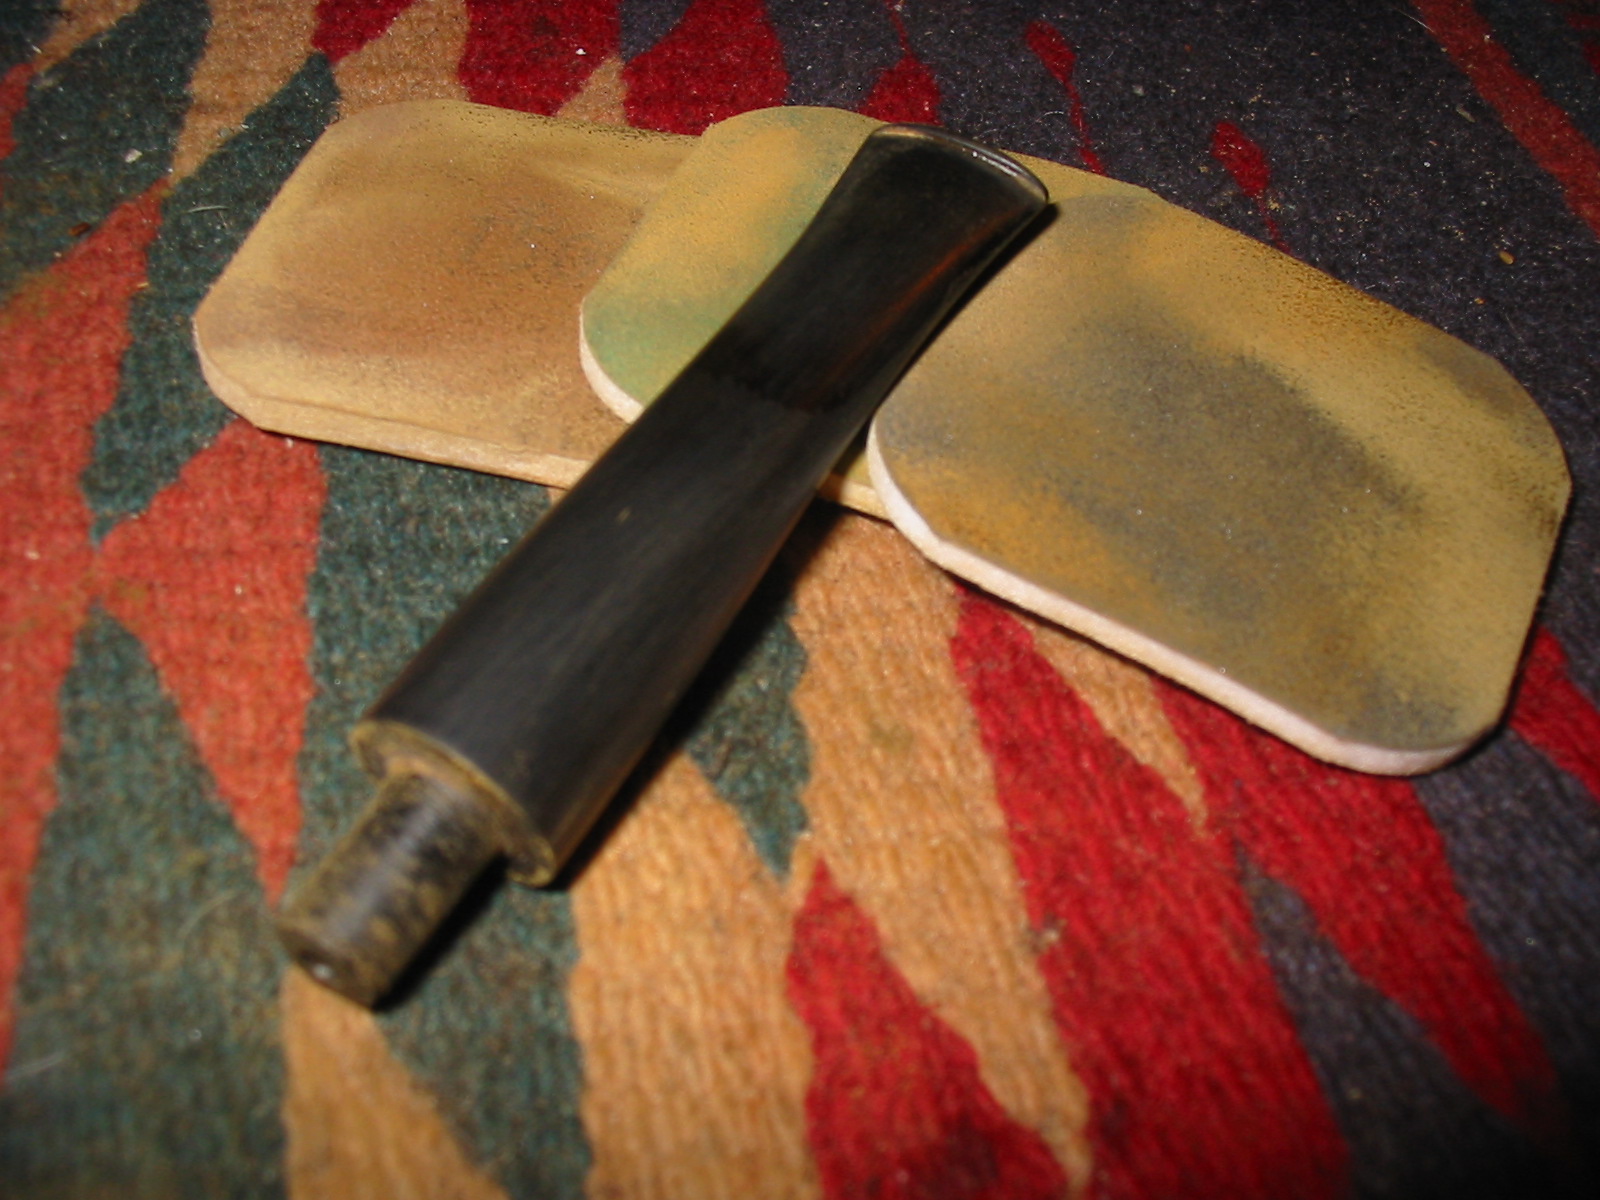
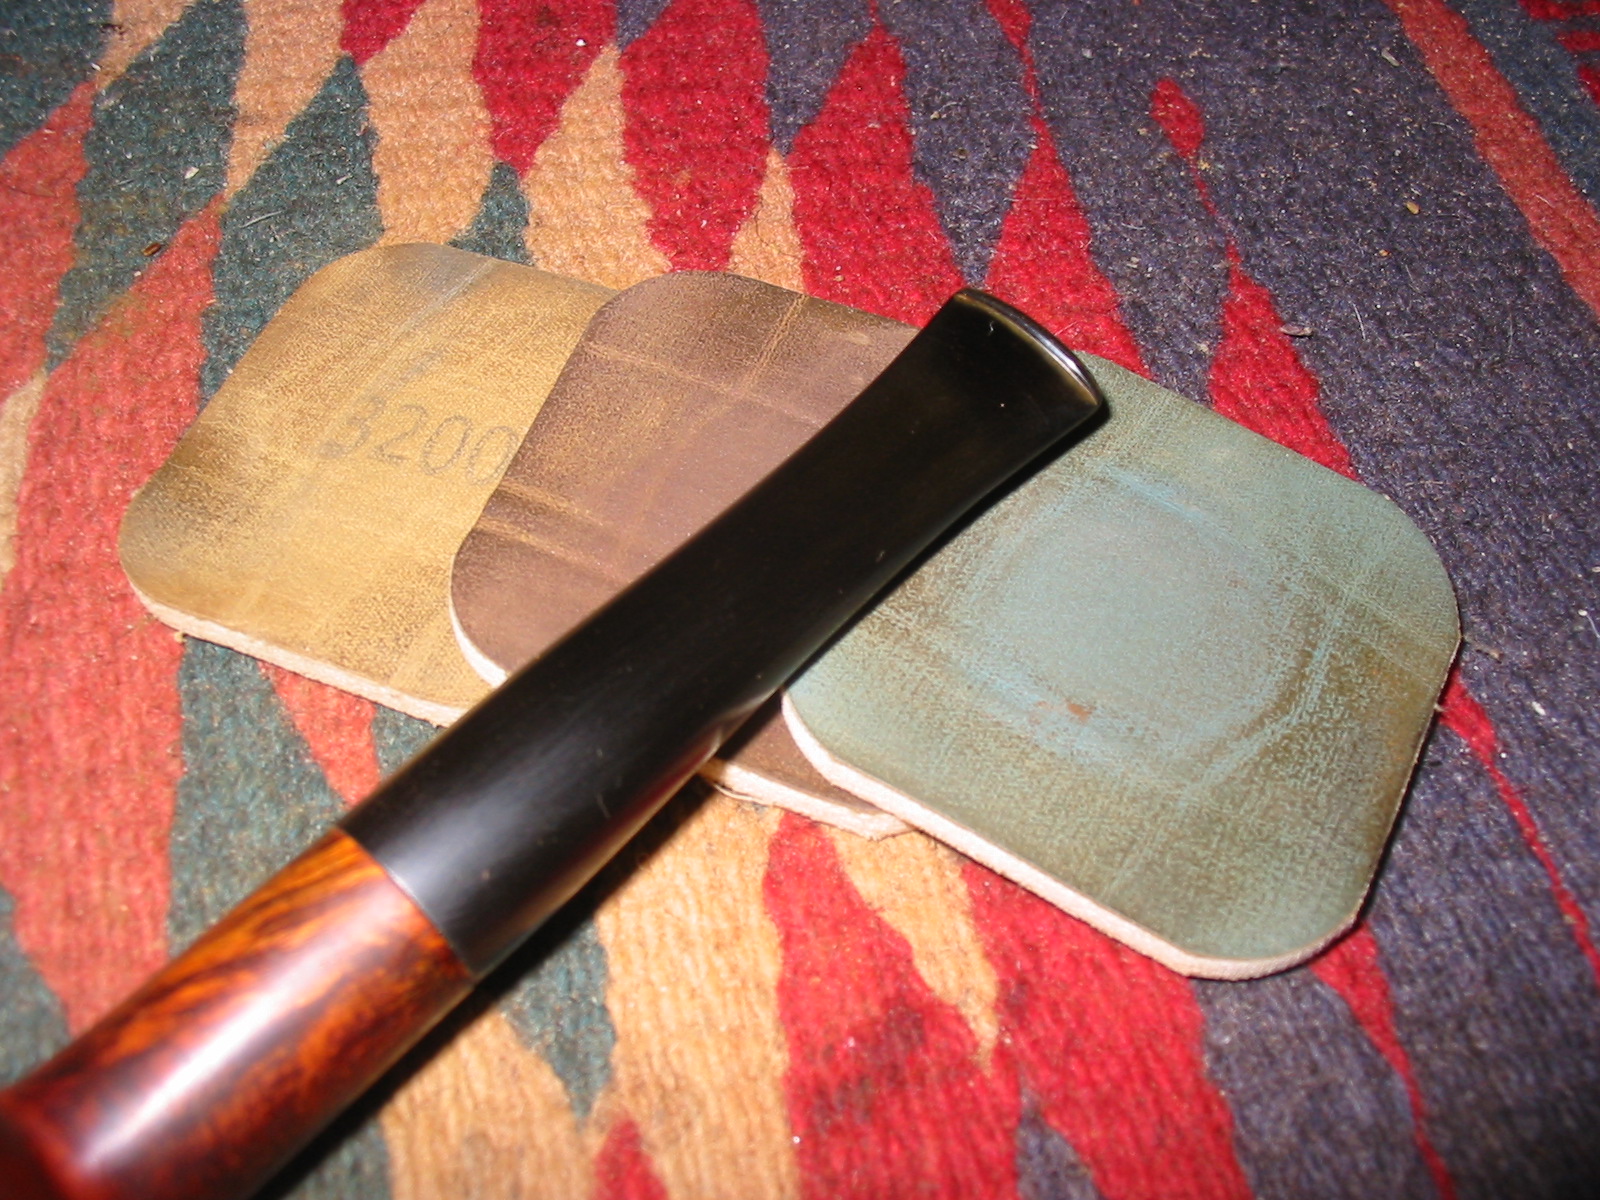
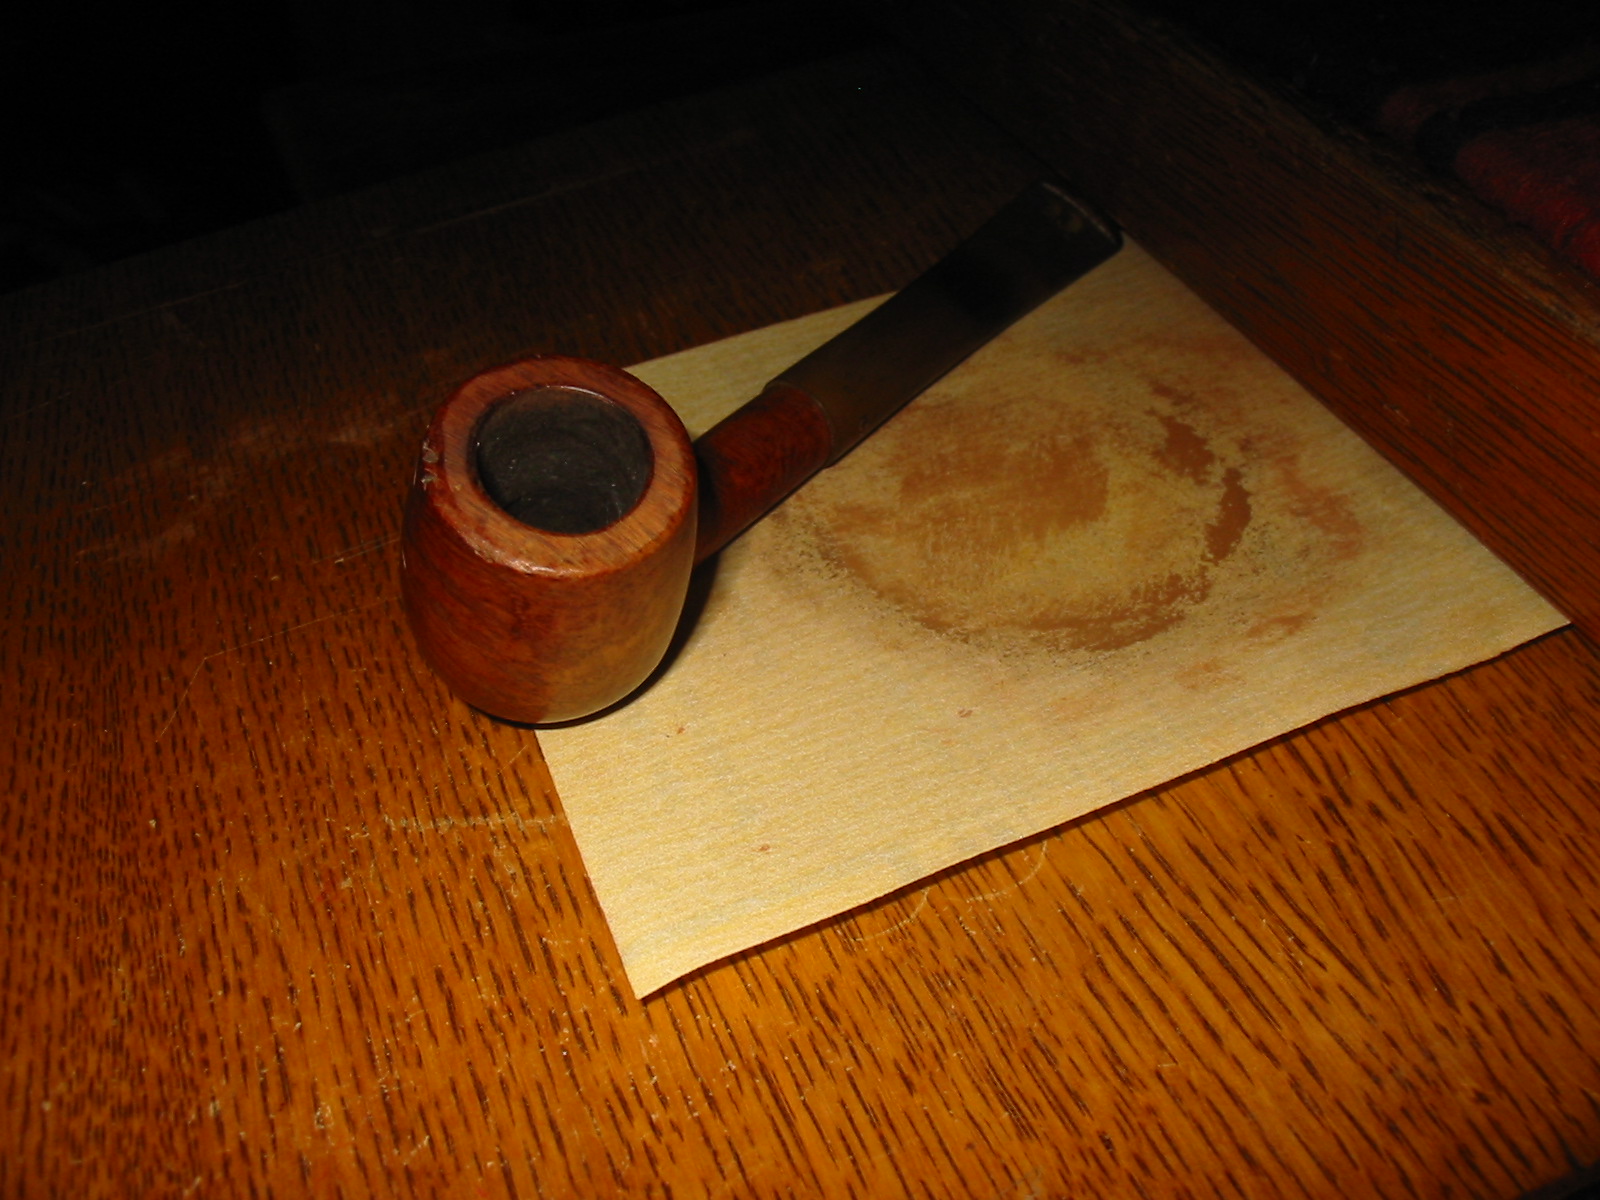
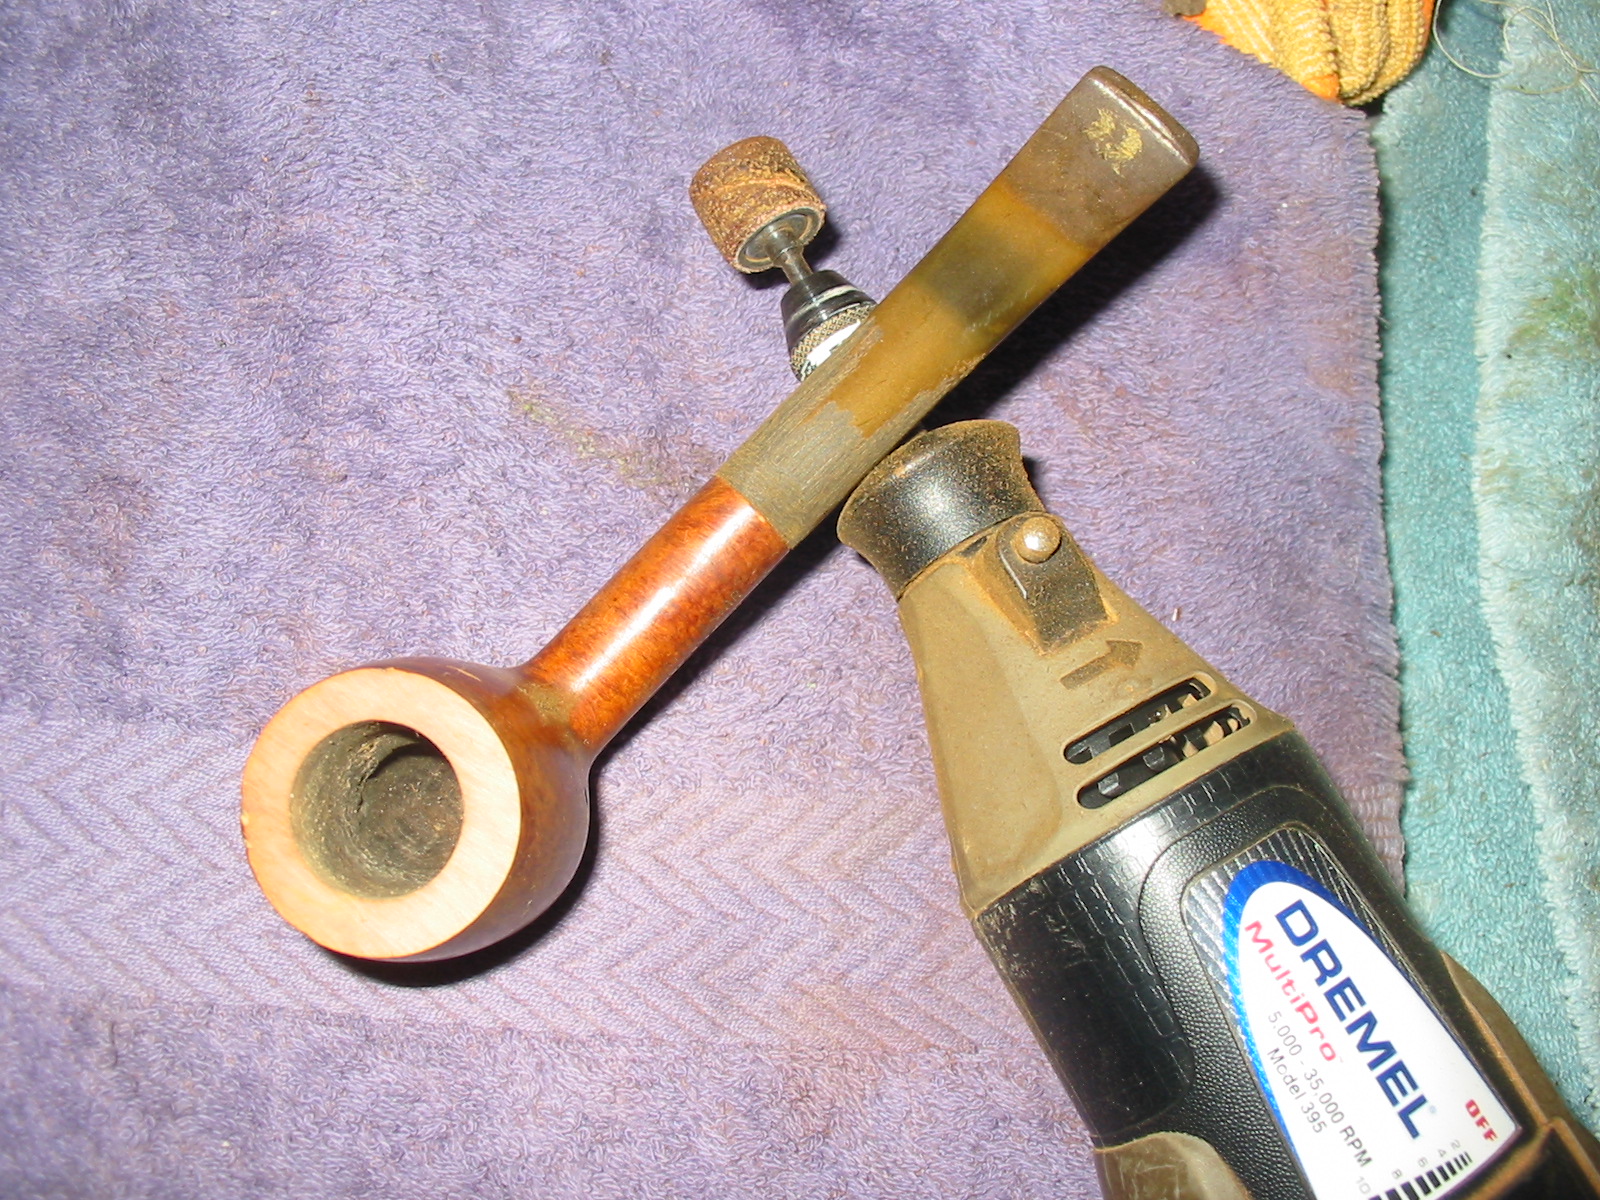
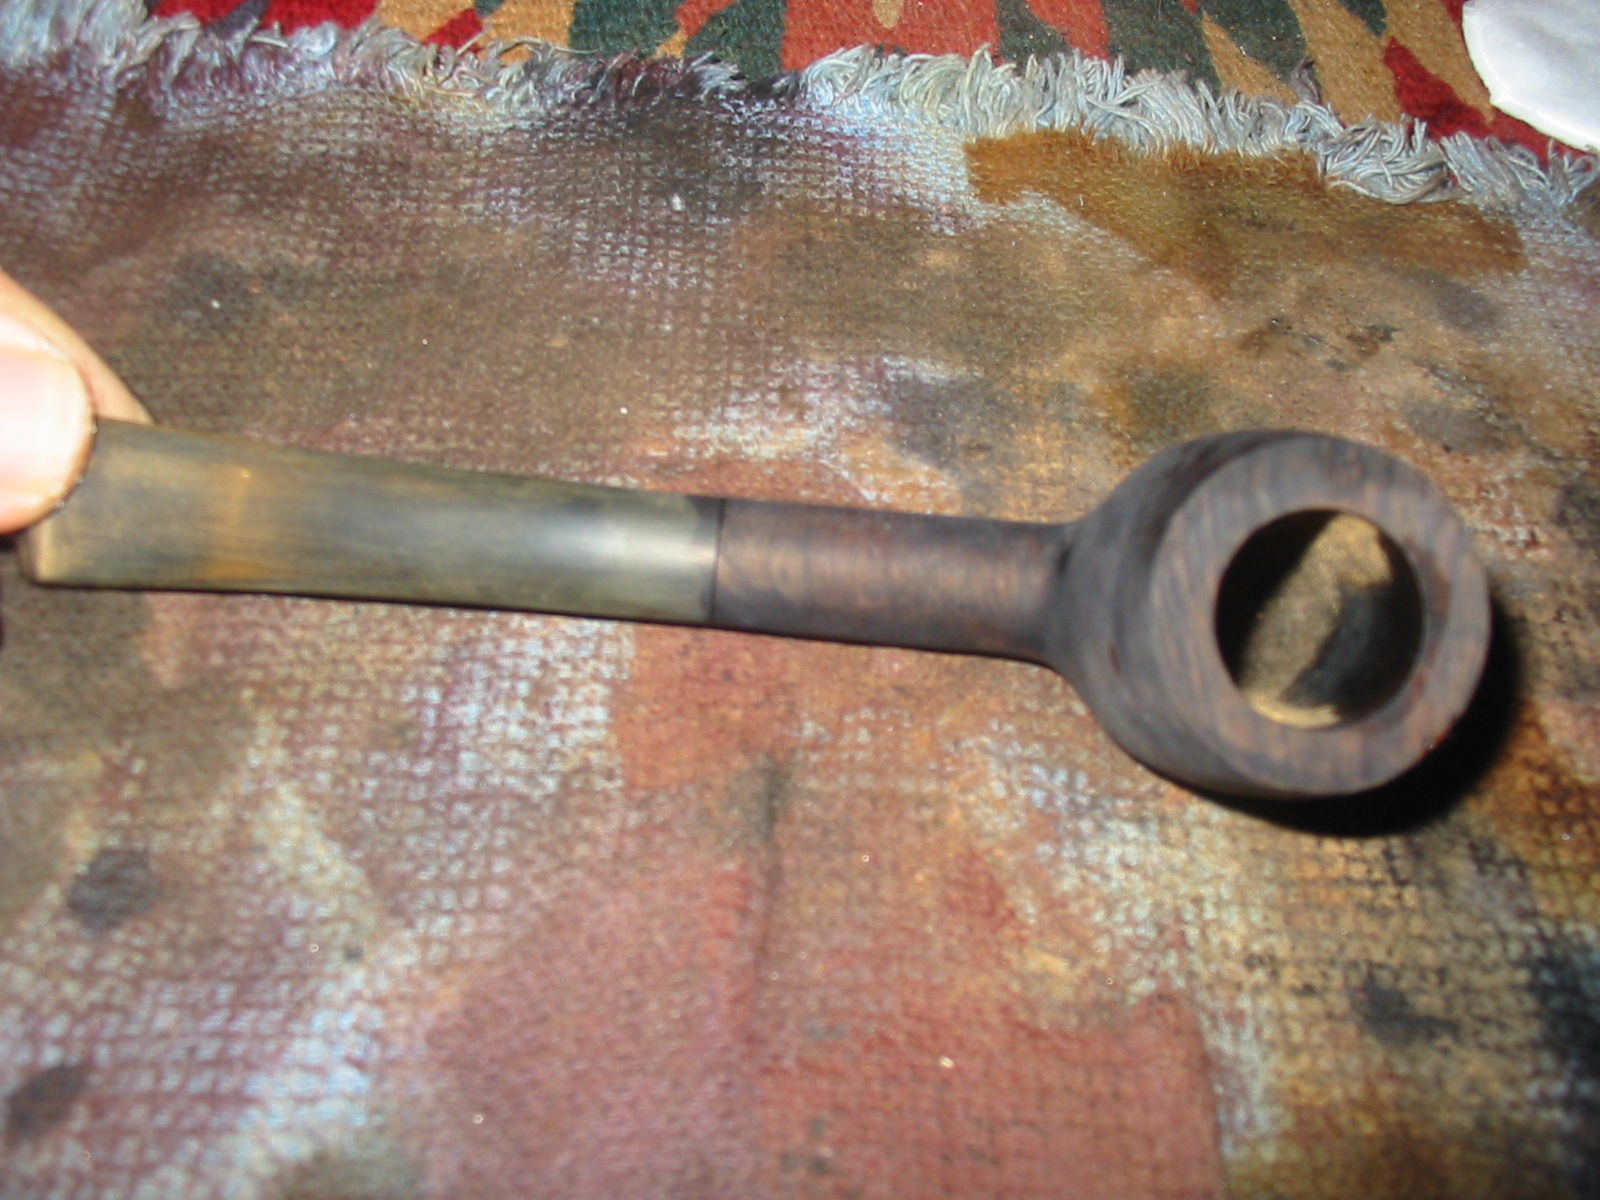
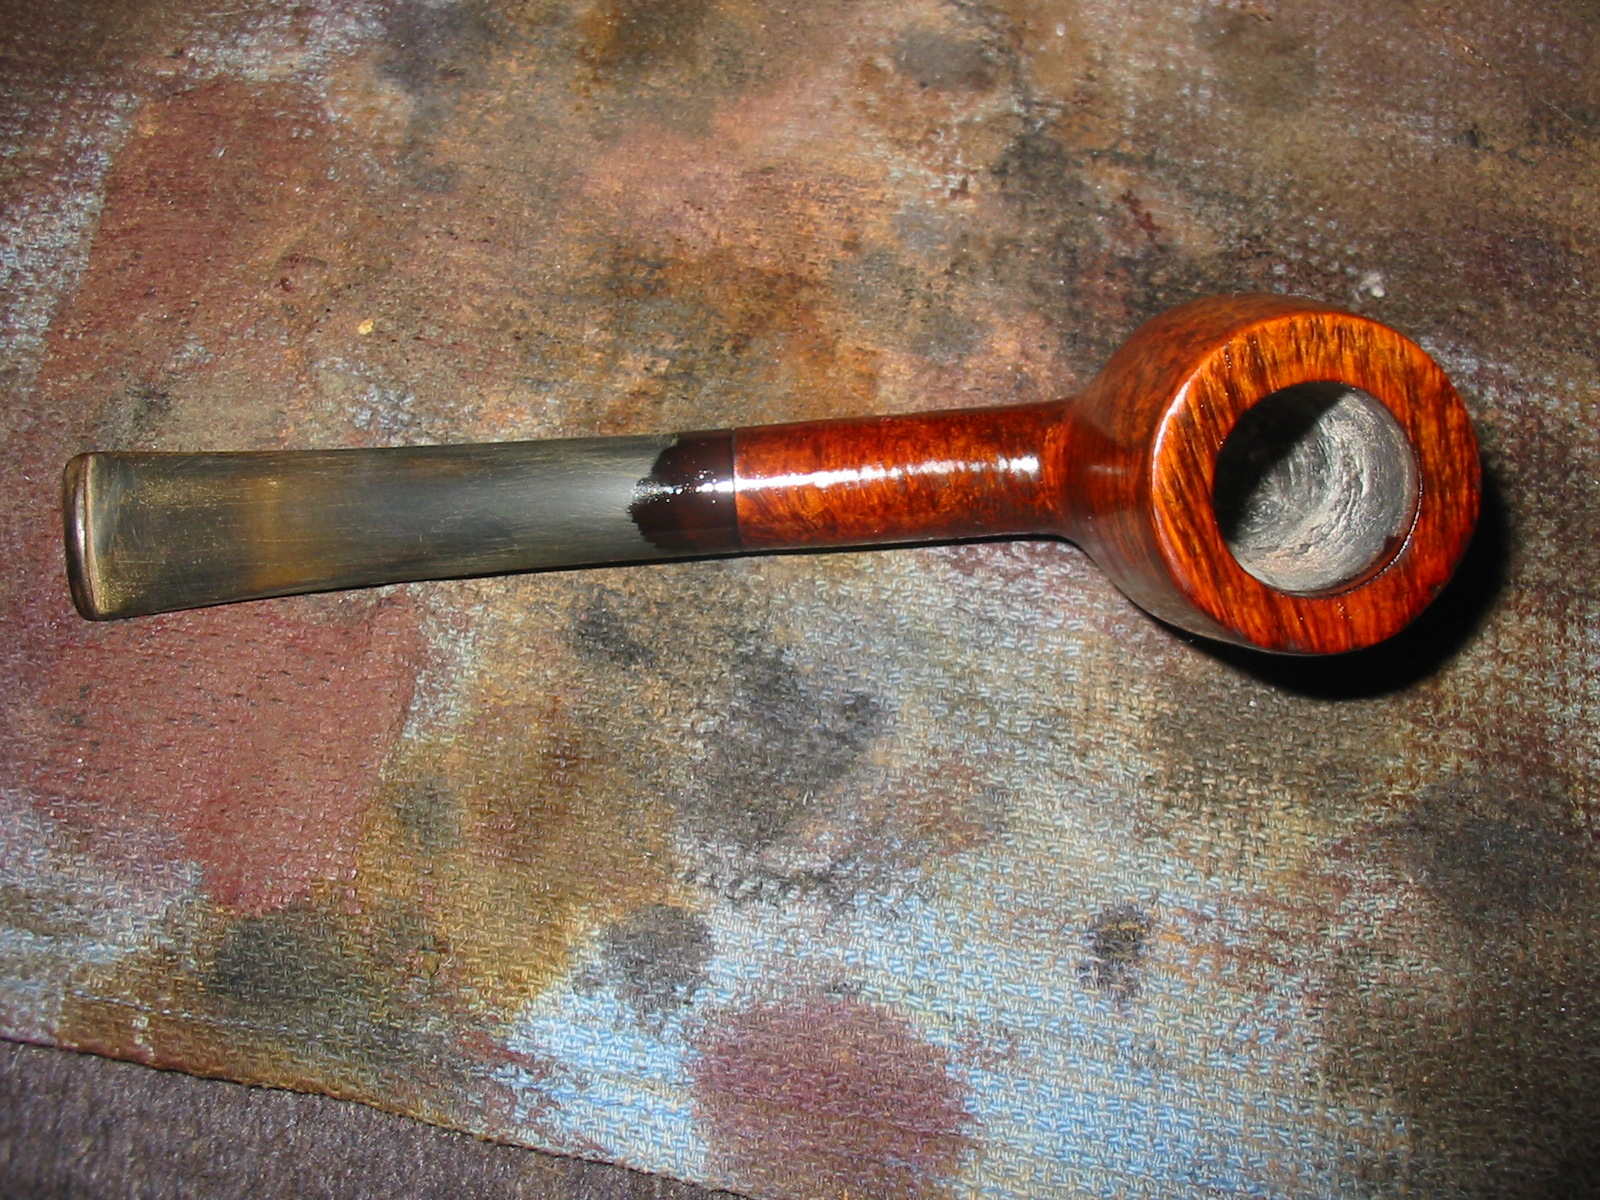
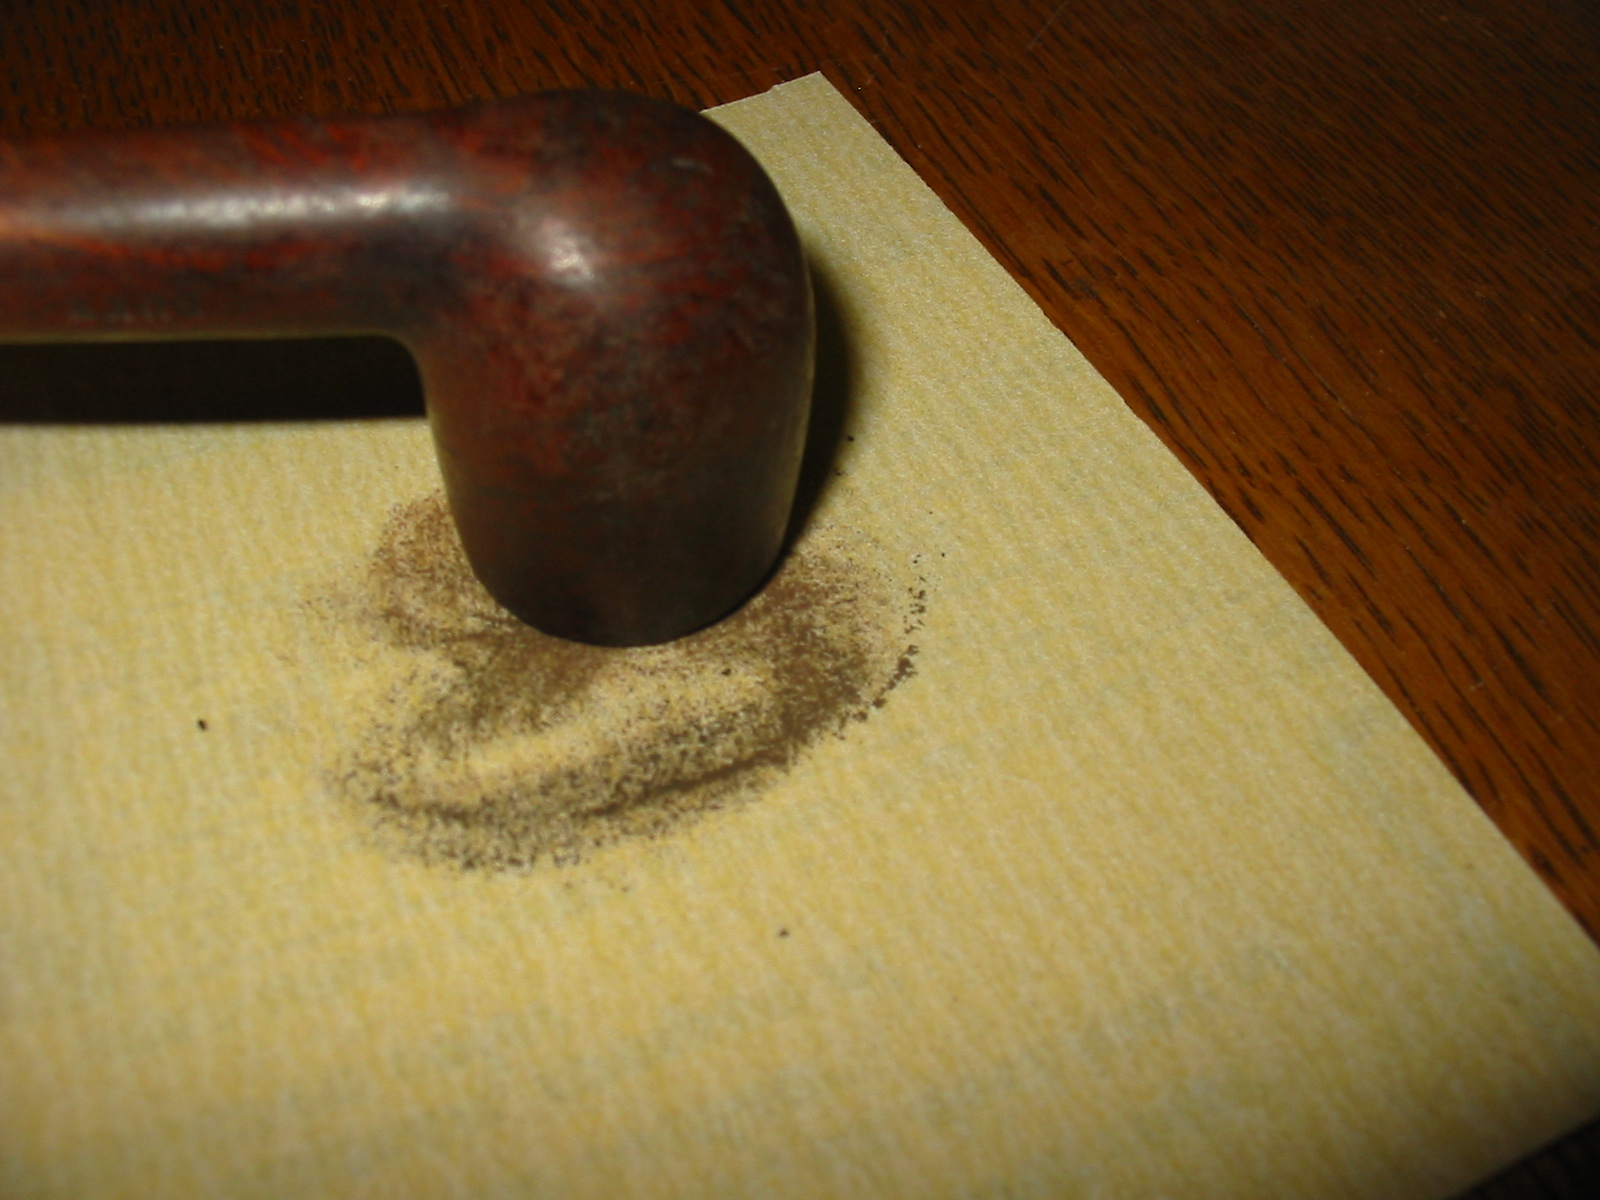
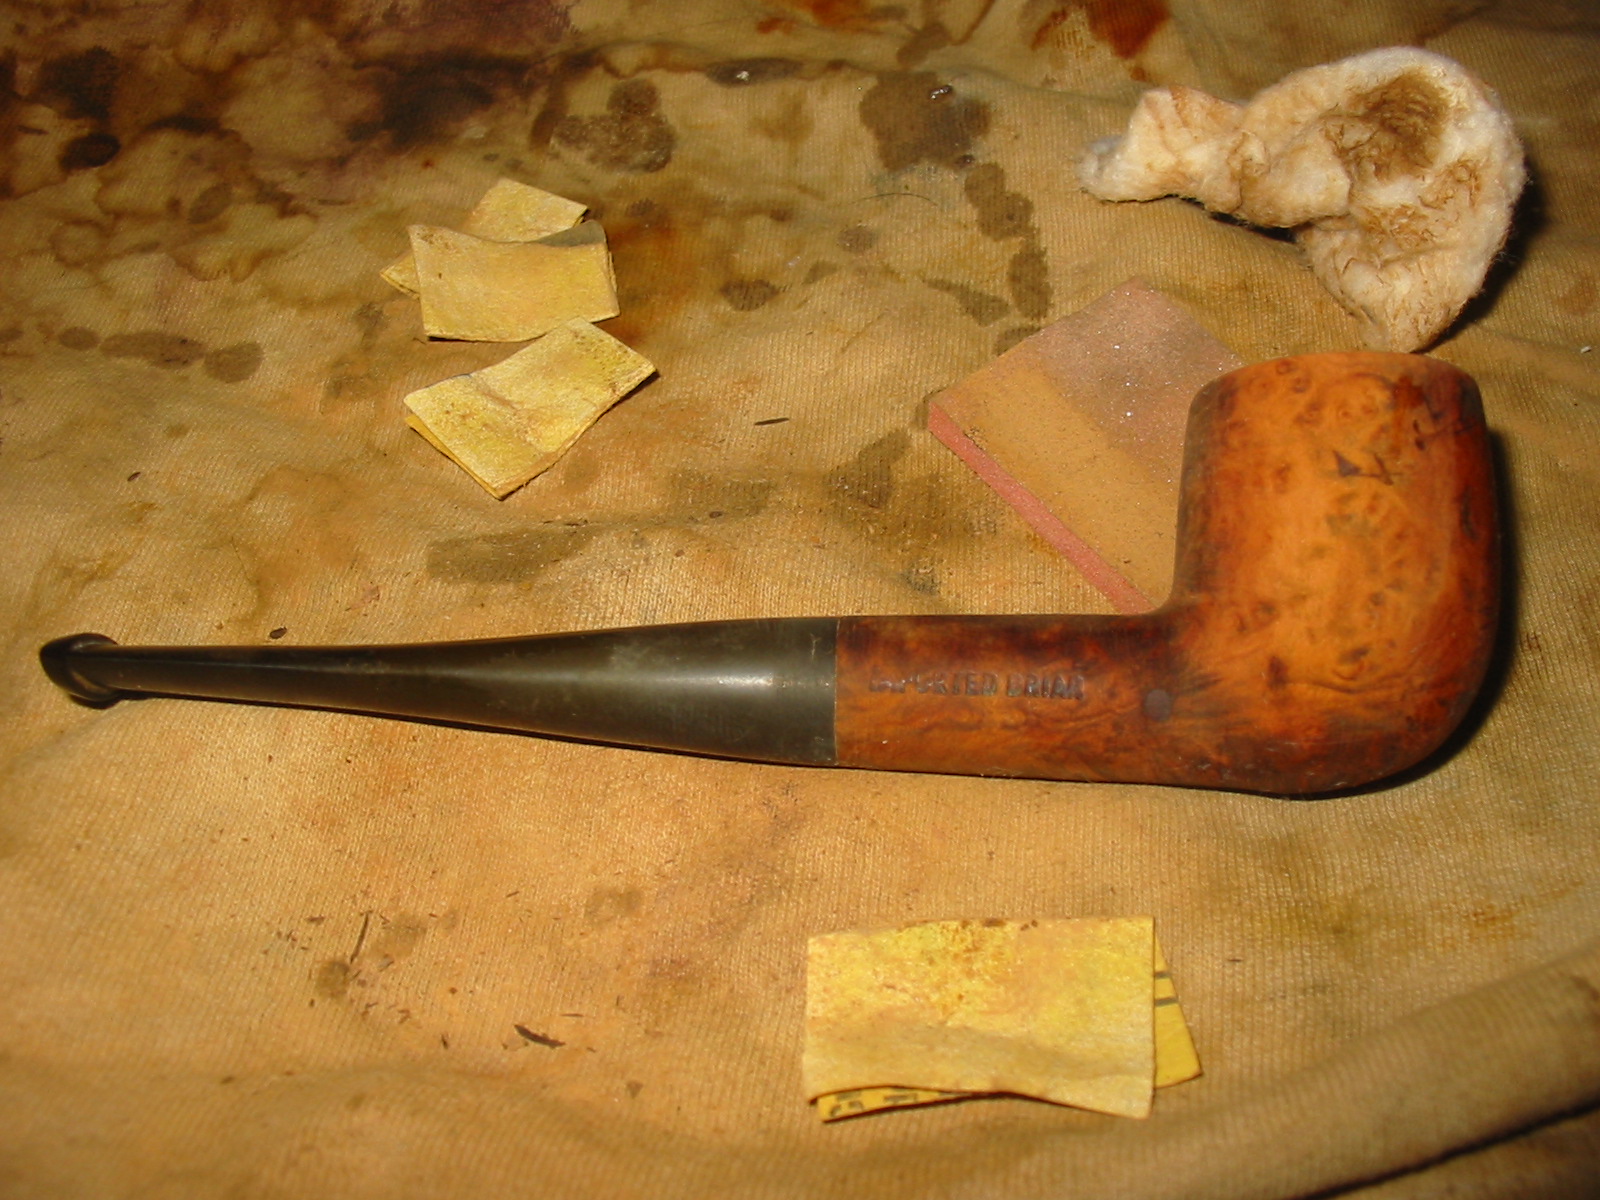
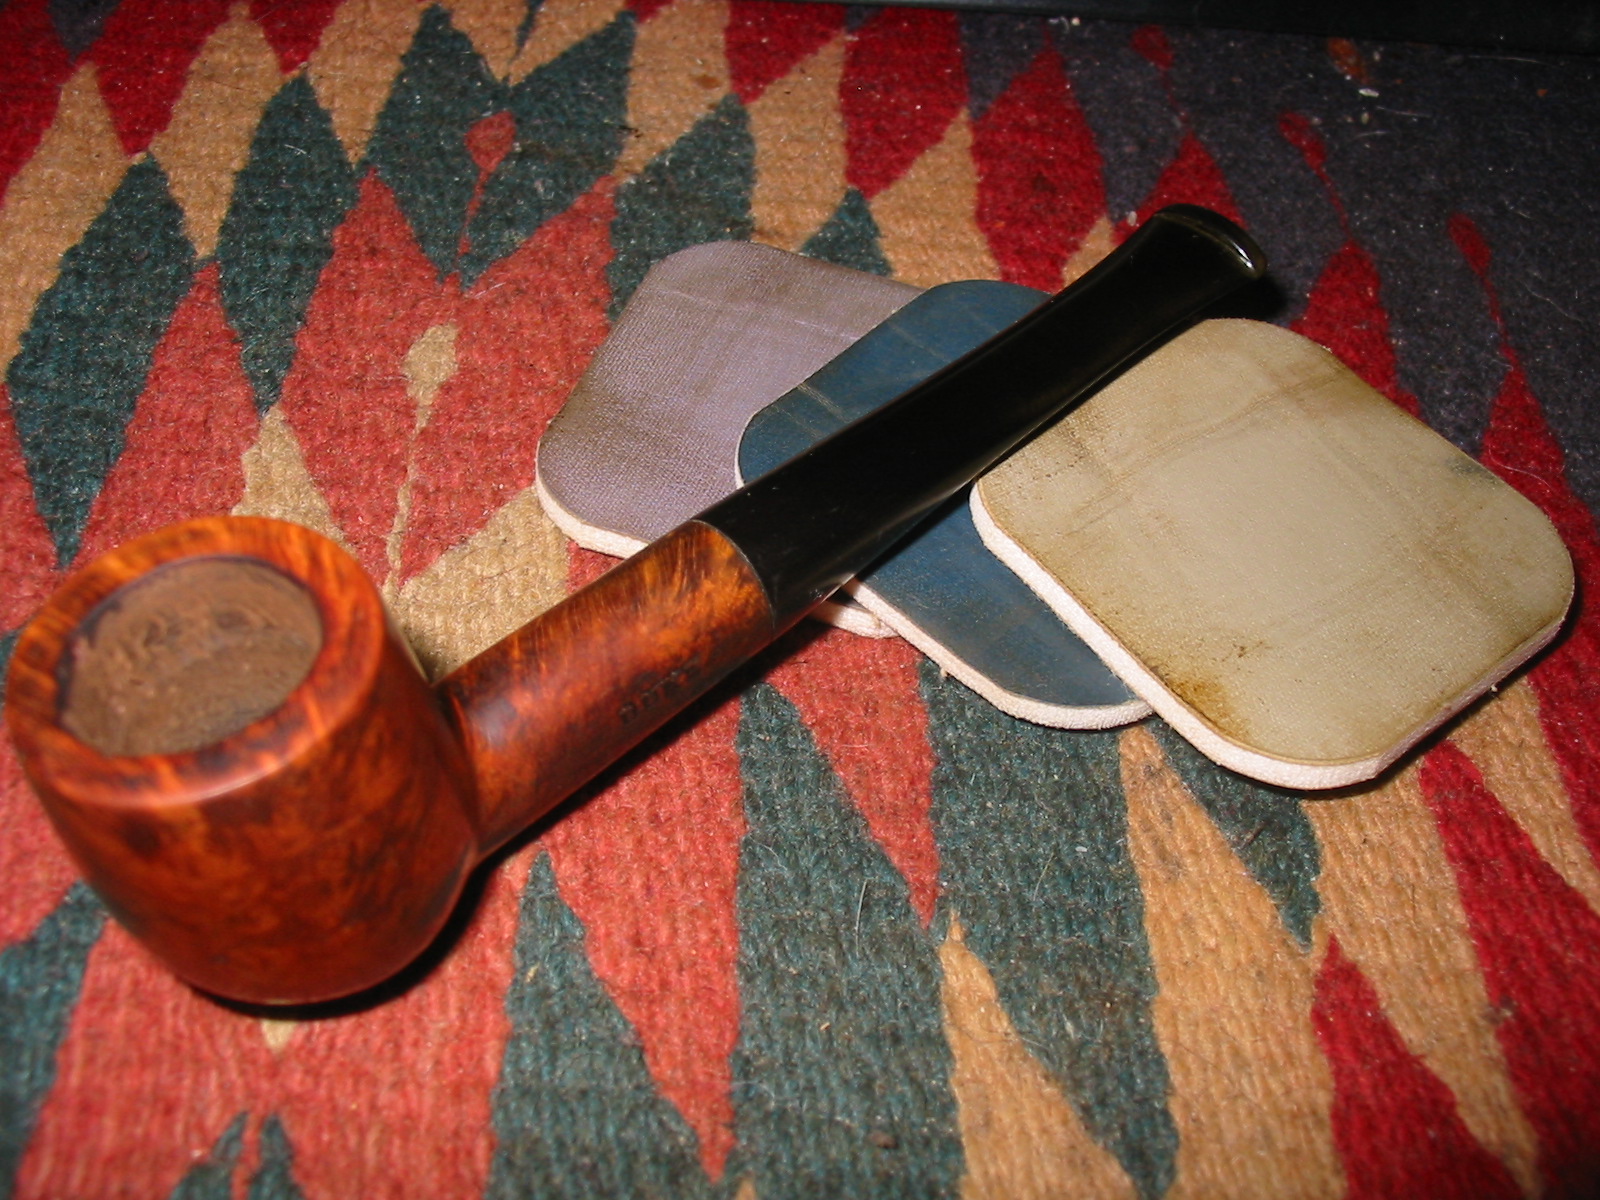
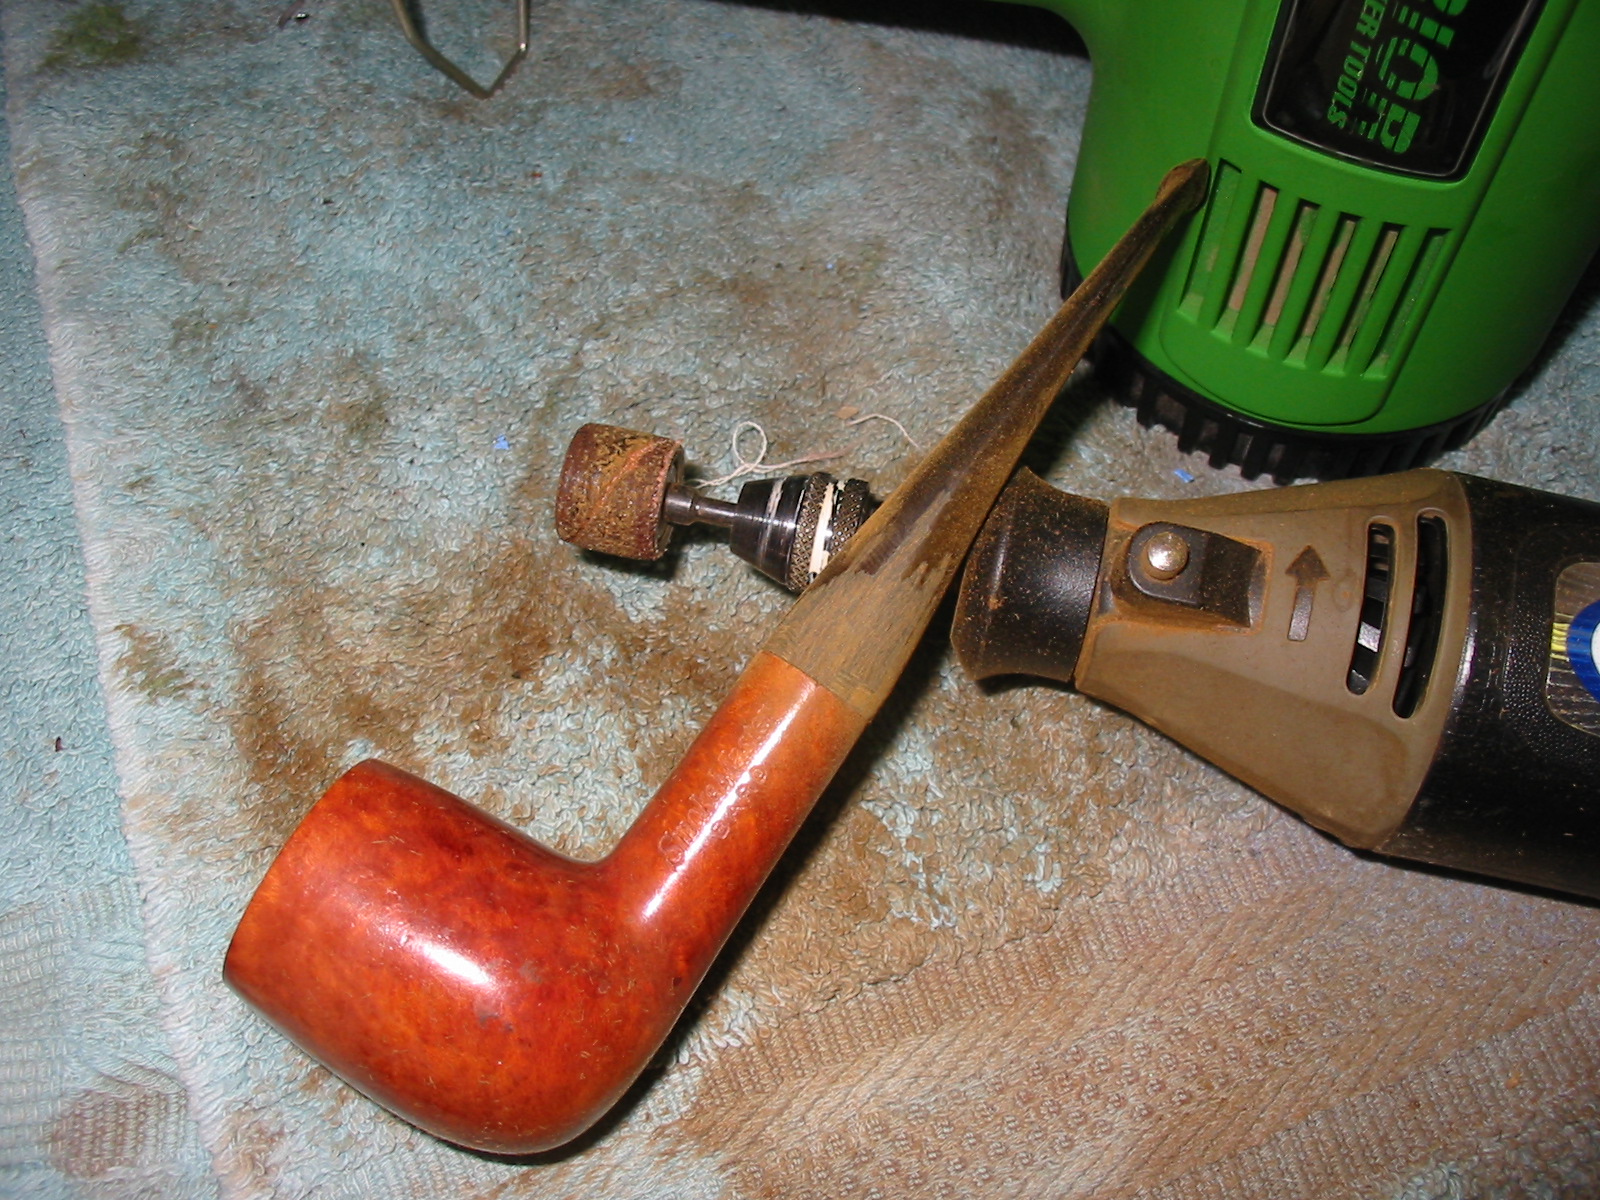
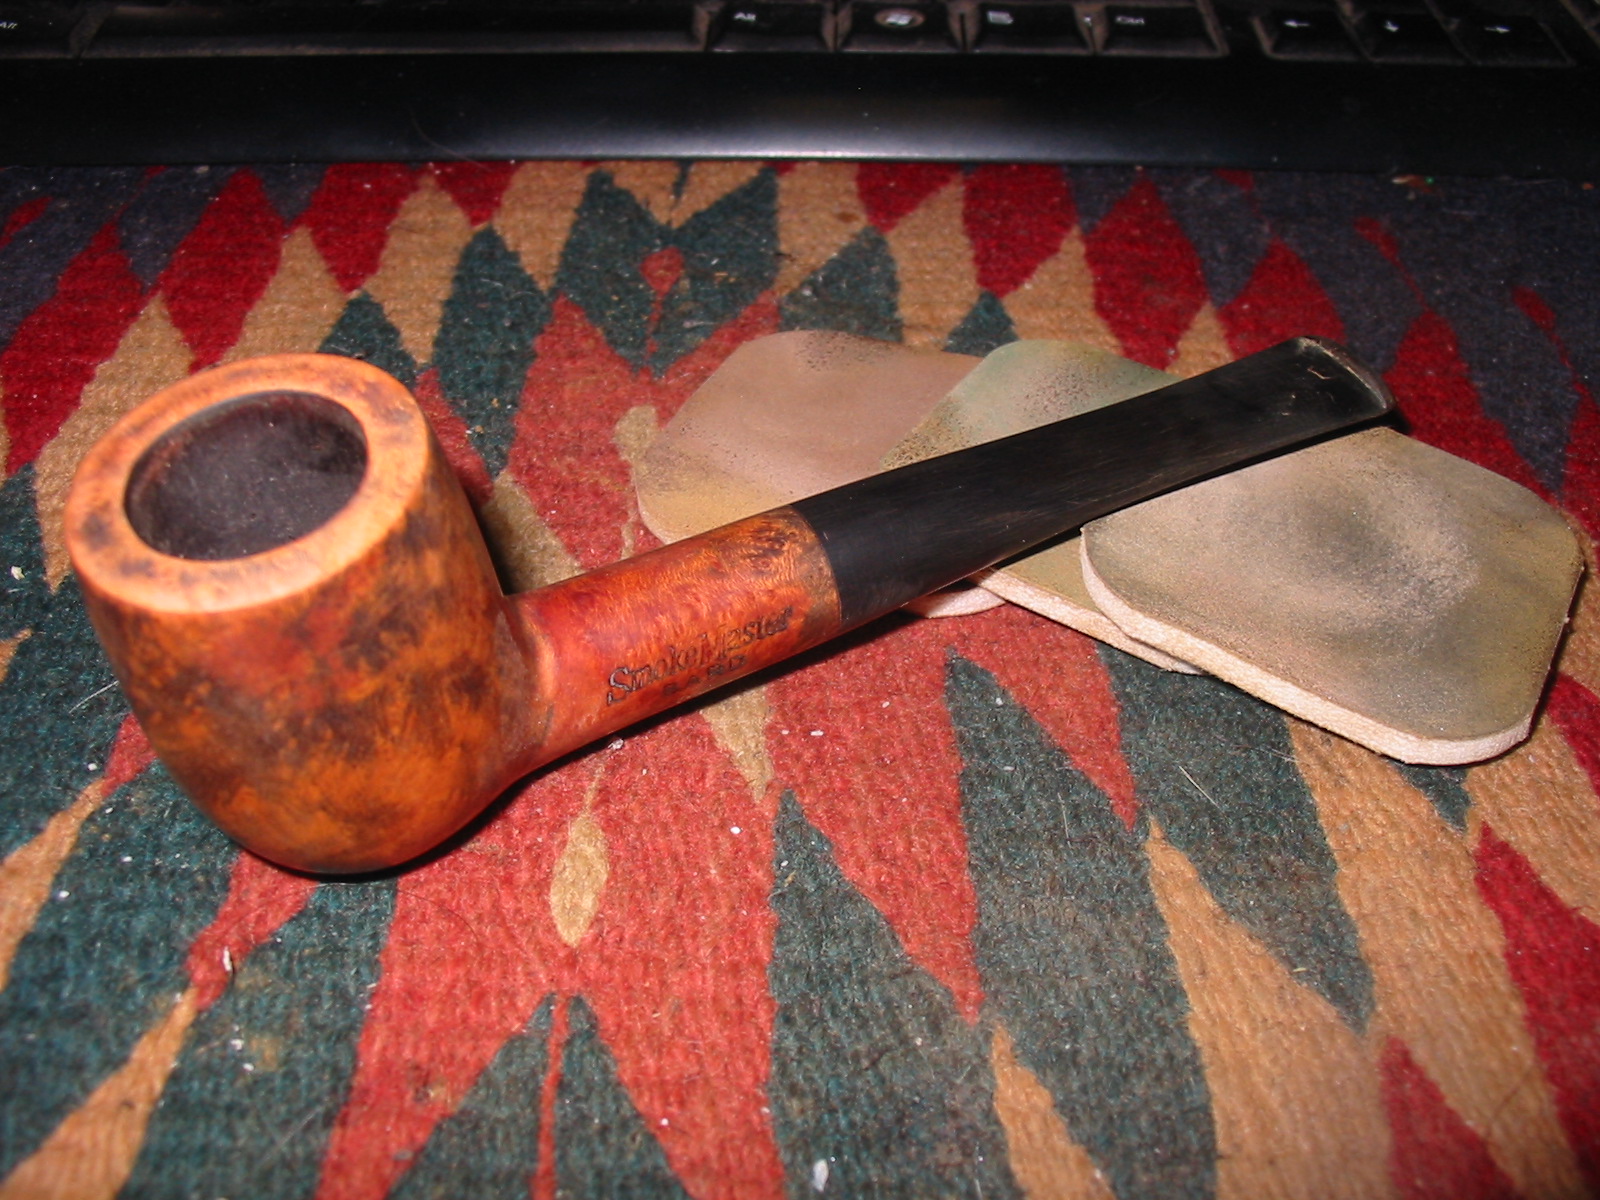
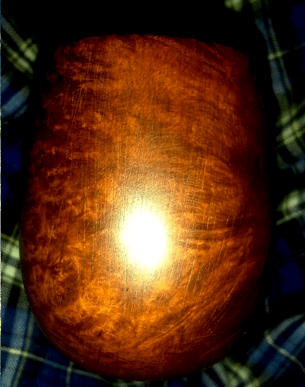
However… upon completion of the alcohol cleaning, I saw that the old stain on the wood was still too dark for my taste and would, therefore, require removal. I suspected that in the process the pits would be eliminated. Thus began the stage of restoration that for me, before this pipe, was always the first: sanding. Besides, I have always found that part of the job necessary for the pipes I have restored due to the severe build-up of coloration from over-staining or even varnishing in the first place or previous restores upon restores. Whatever the causes, I find the sanding a relaxing, contemplative process that also gives special meaning to the term full restoration. I used an 80-grit paper, careful to avoid obliterating the nomenclature with one fell swipe.

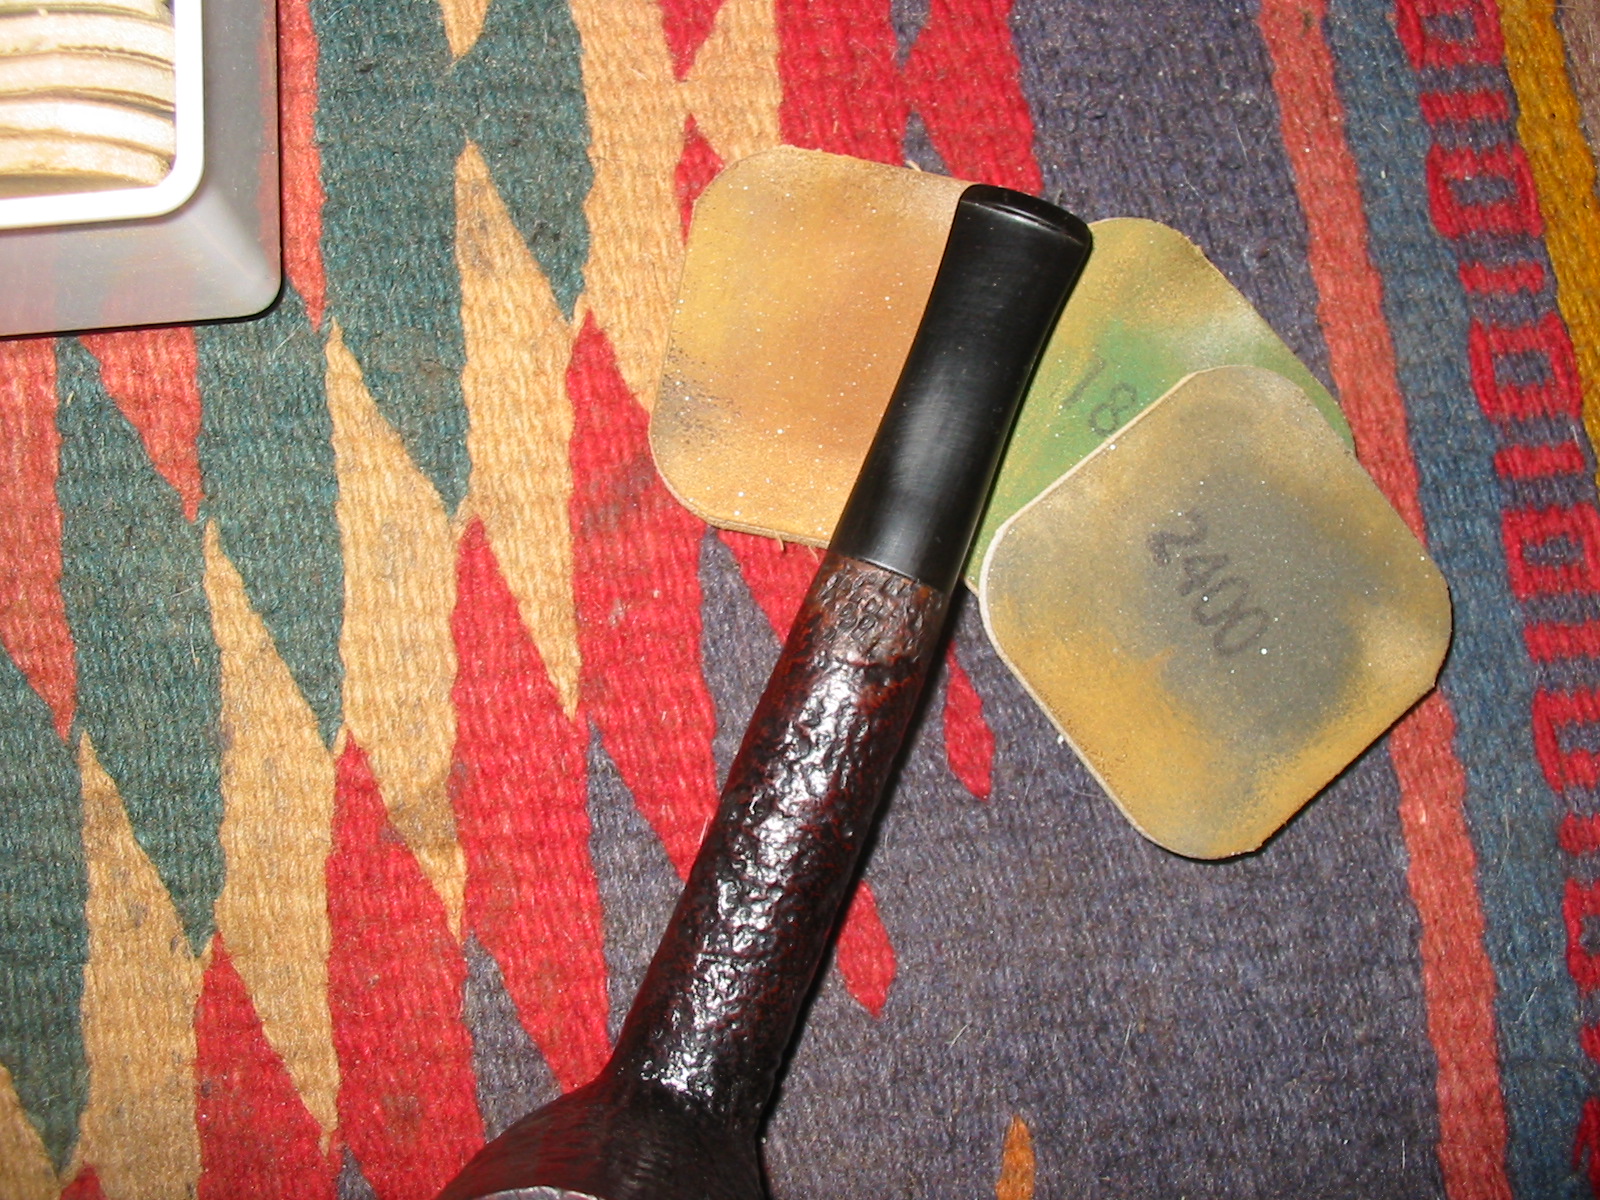
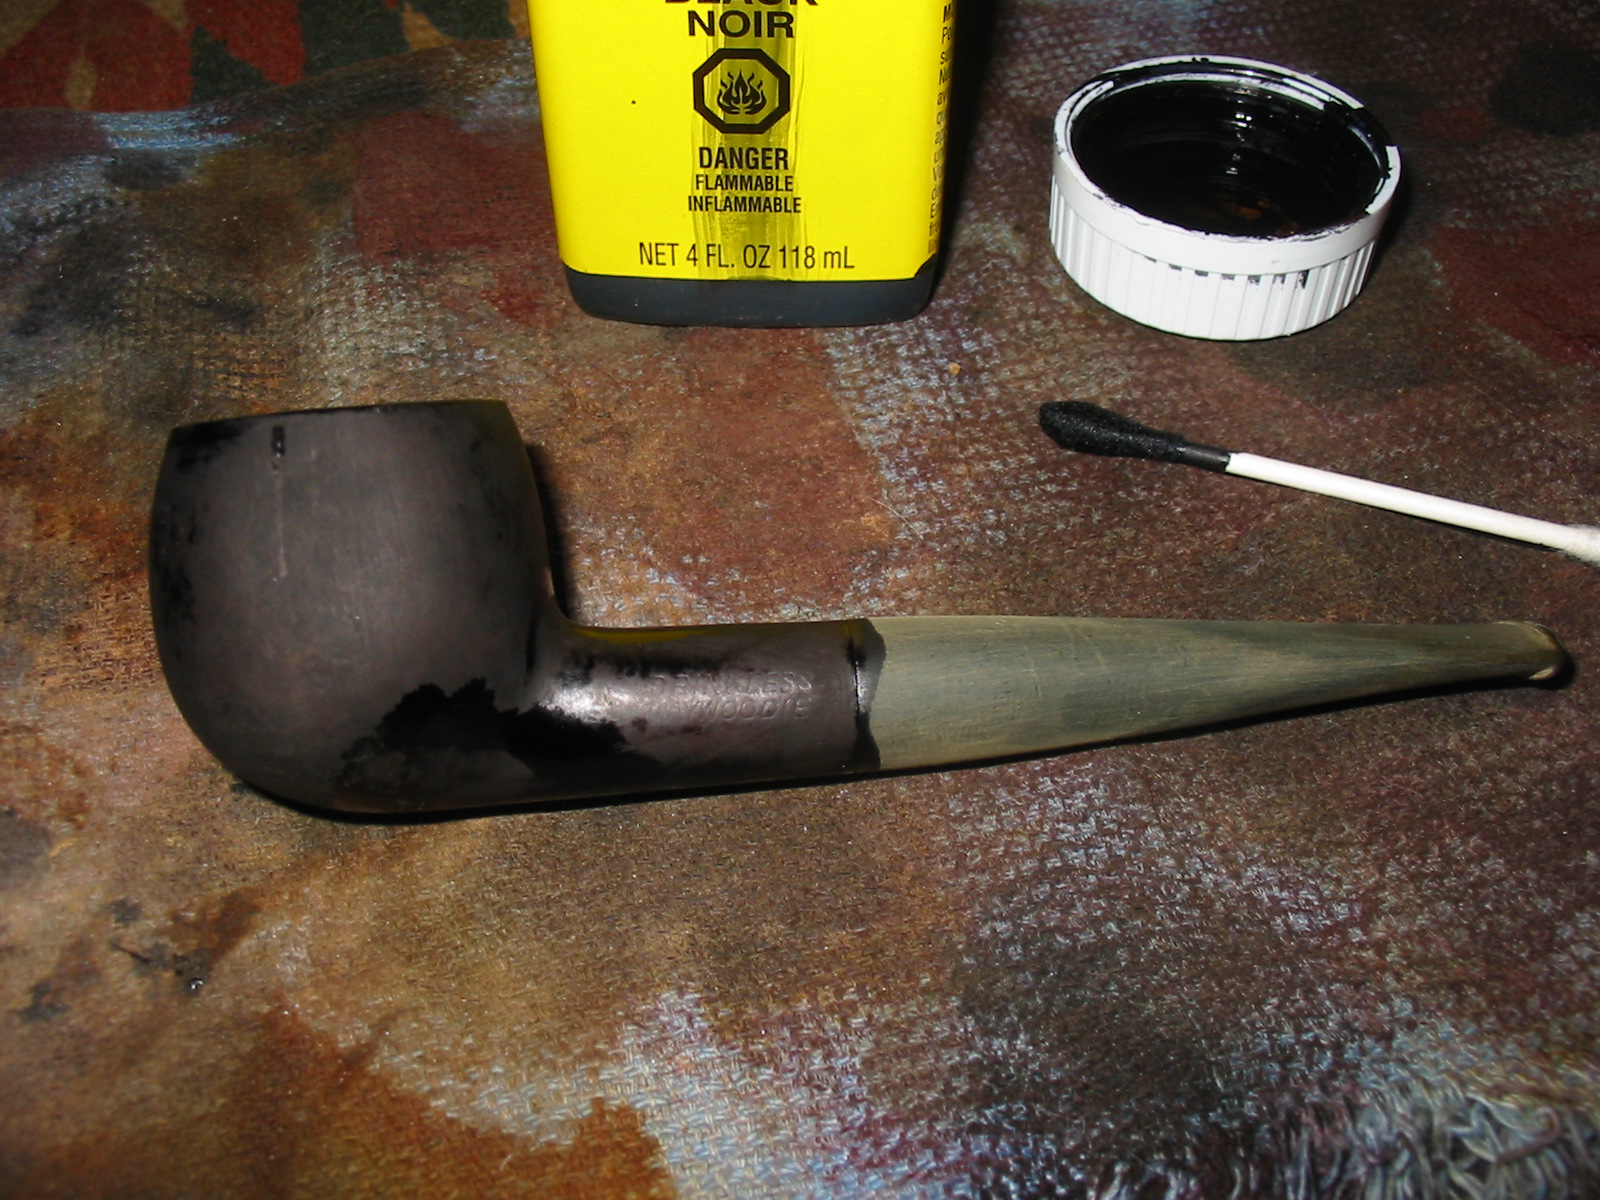
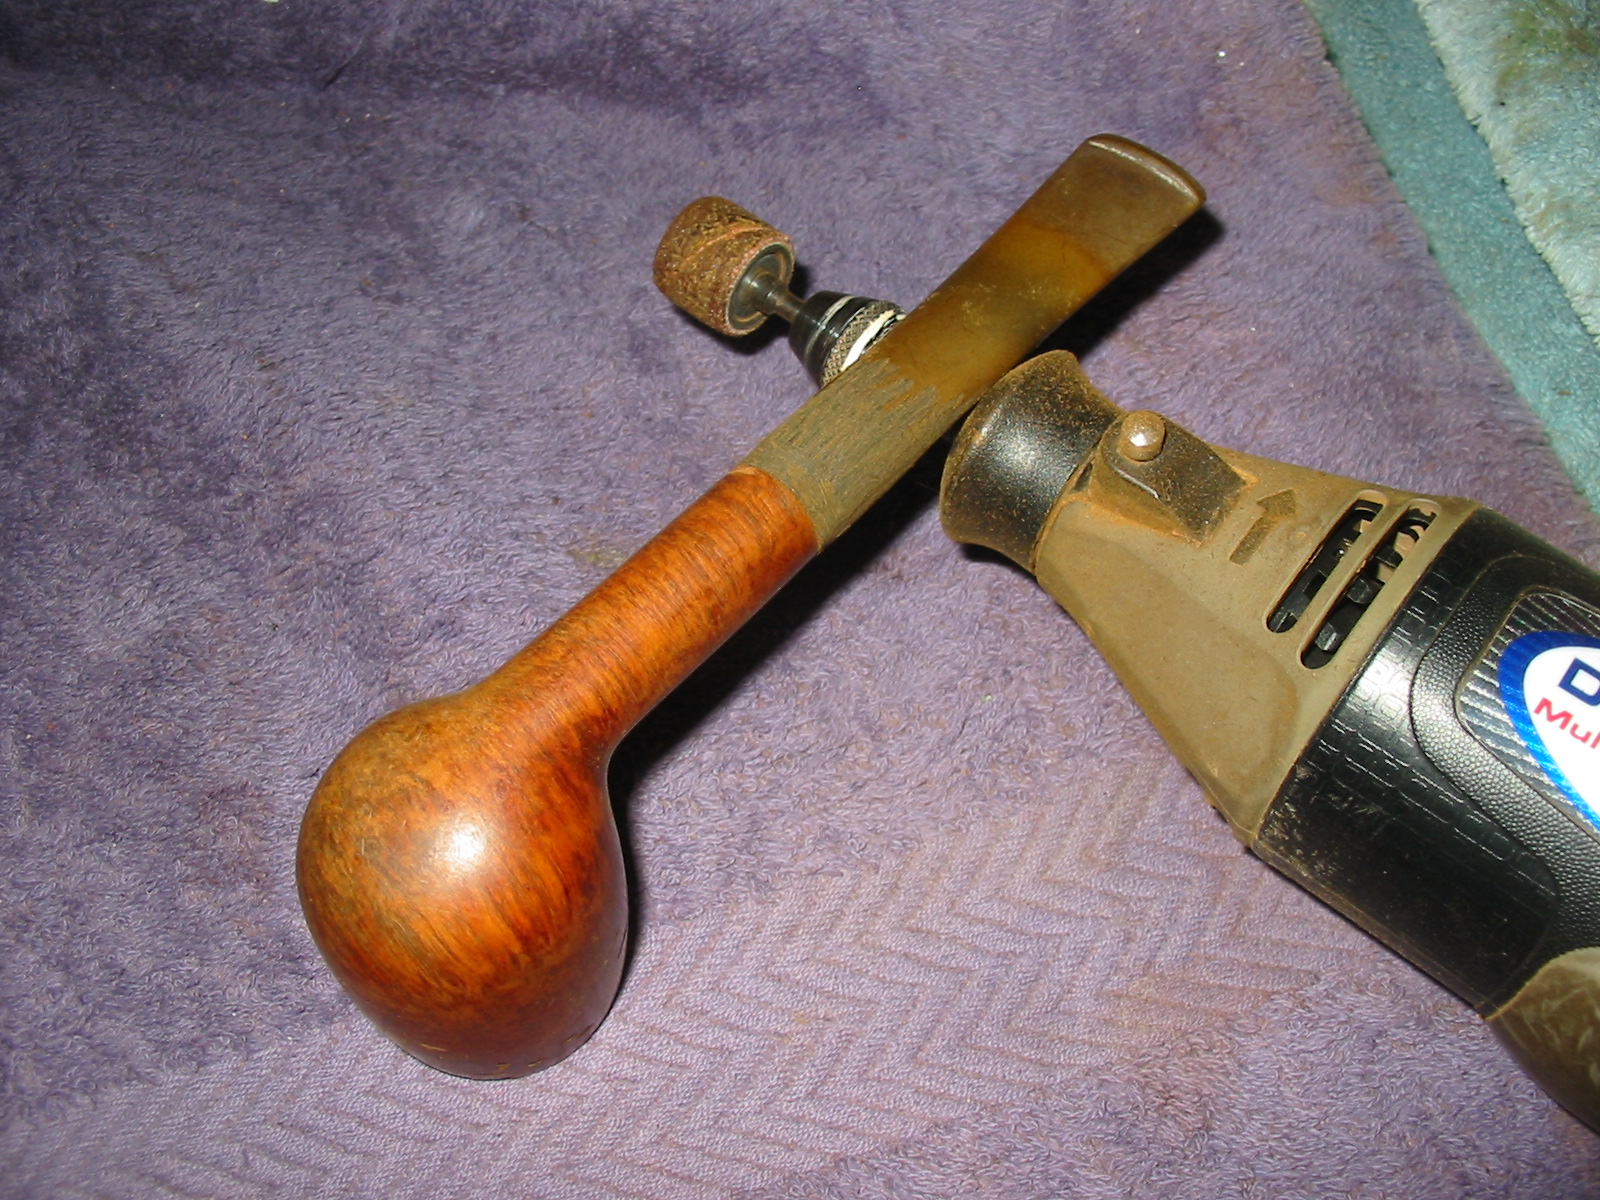
This time I remembered my old habit of following the sanding with a gentle buff using grade 0000 steel wool and, with a very damp soft cloth, clearing away and leftover shavings. Then I commenced a regimen of micro-meshing, starting with a vigorous circular buff with 2400 grain, which improved the looks nicely, then what turned out to be a final round using 8000. Together they left a beautiful pre-finish sheen.


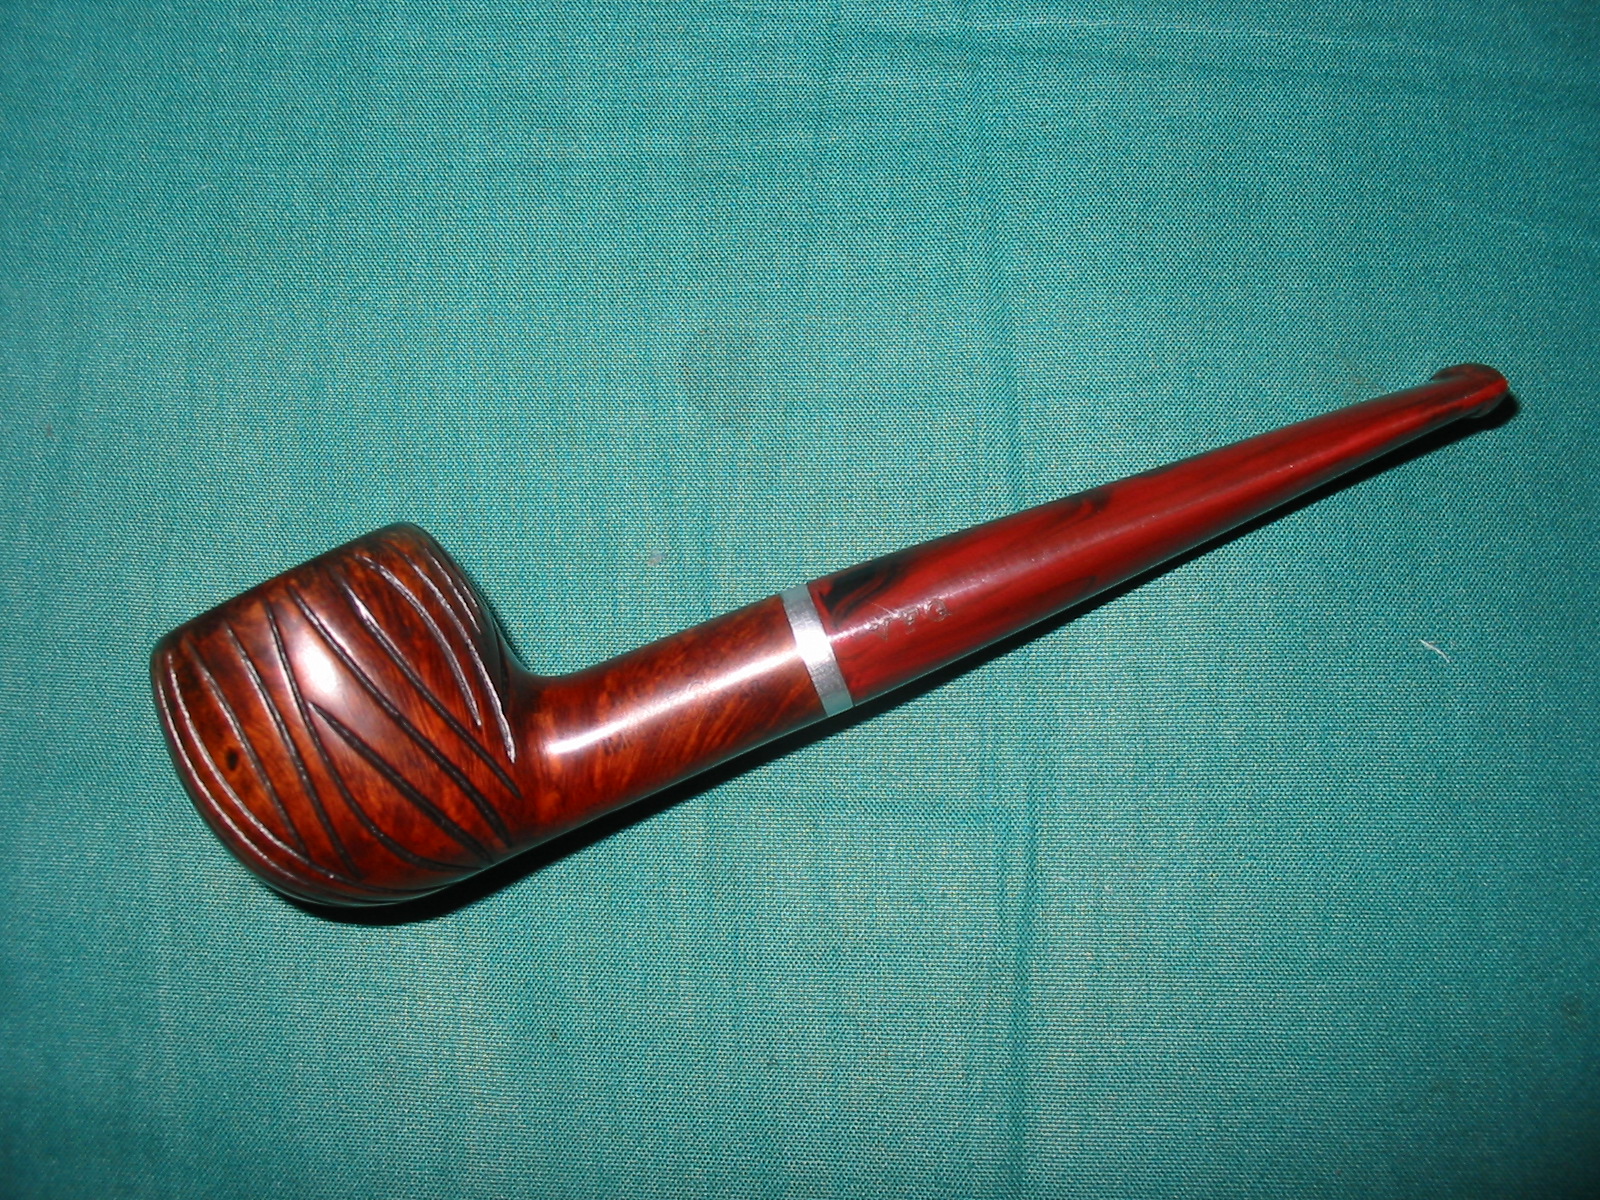
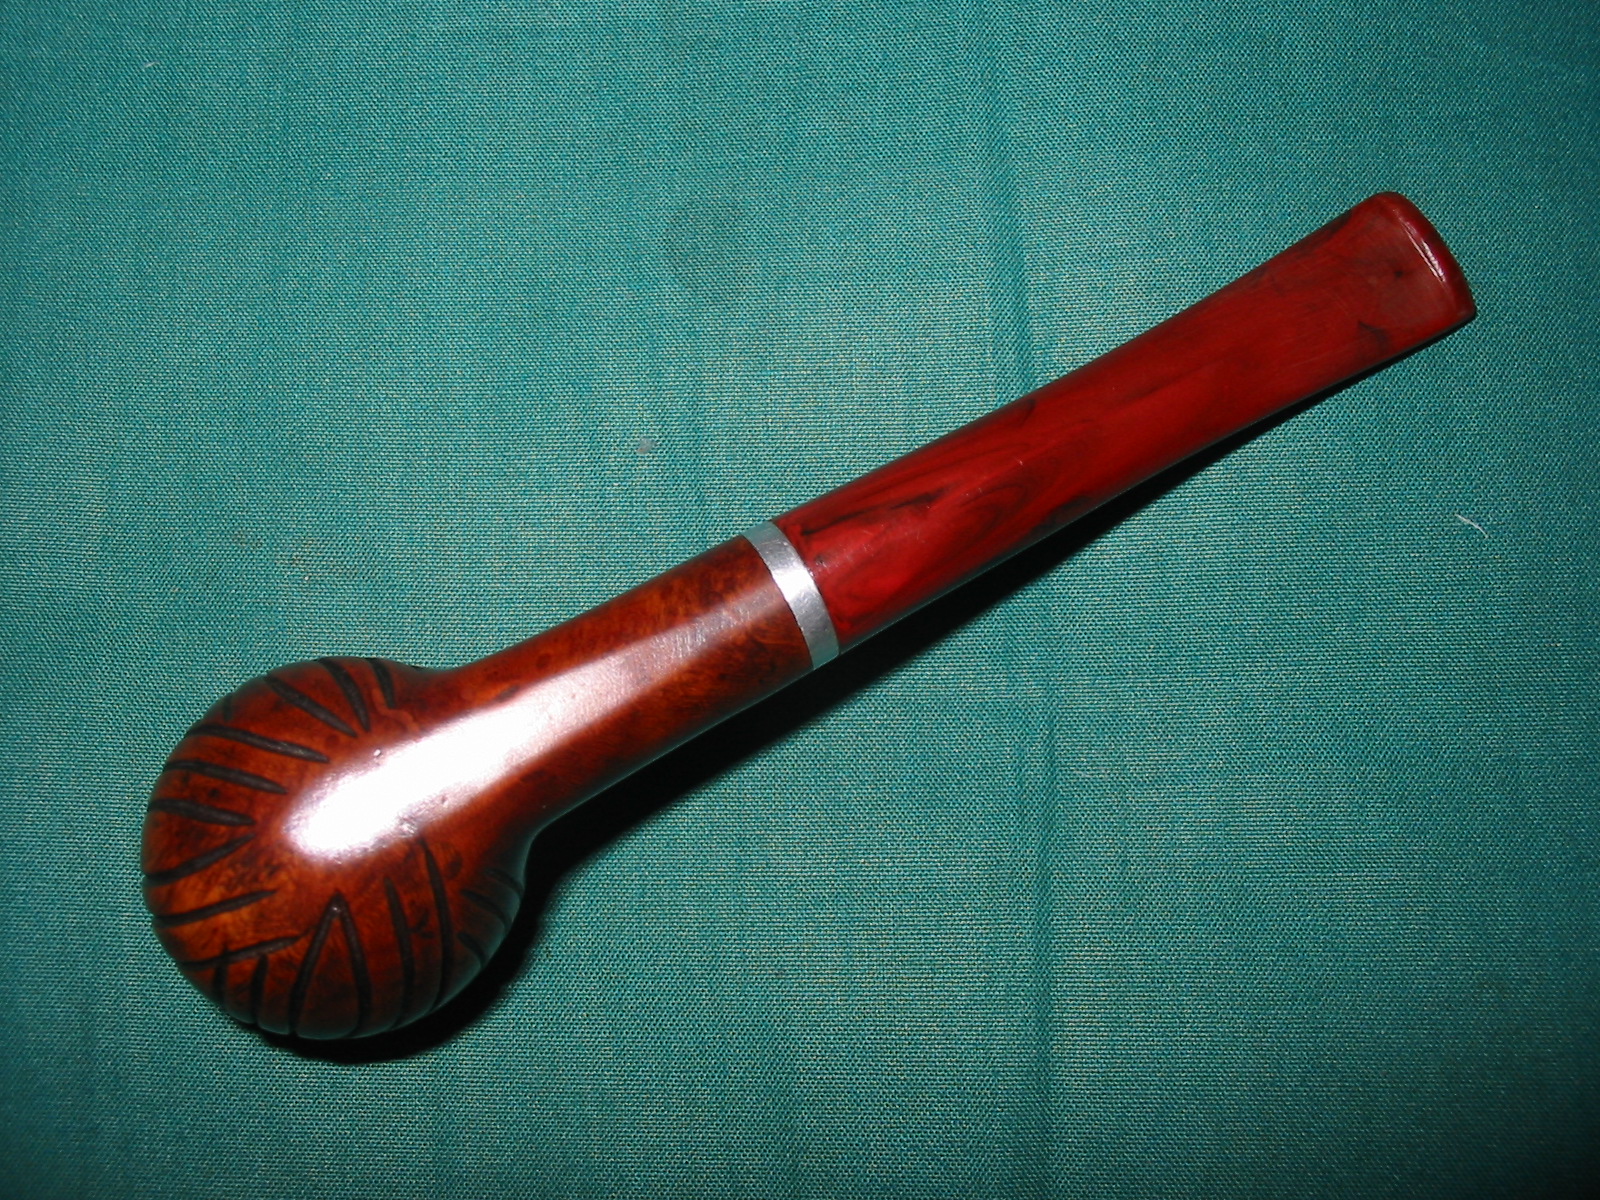
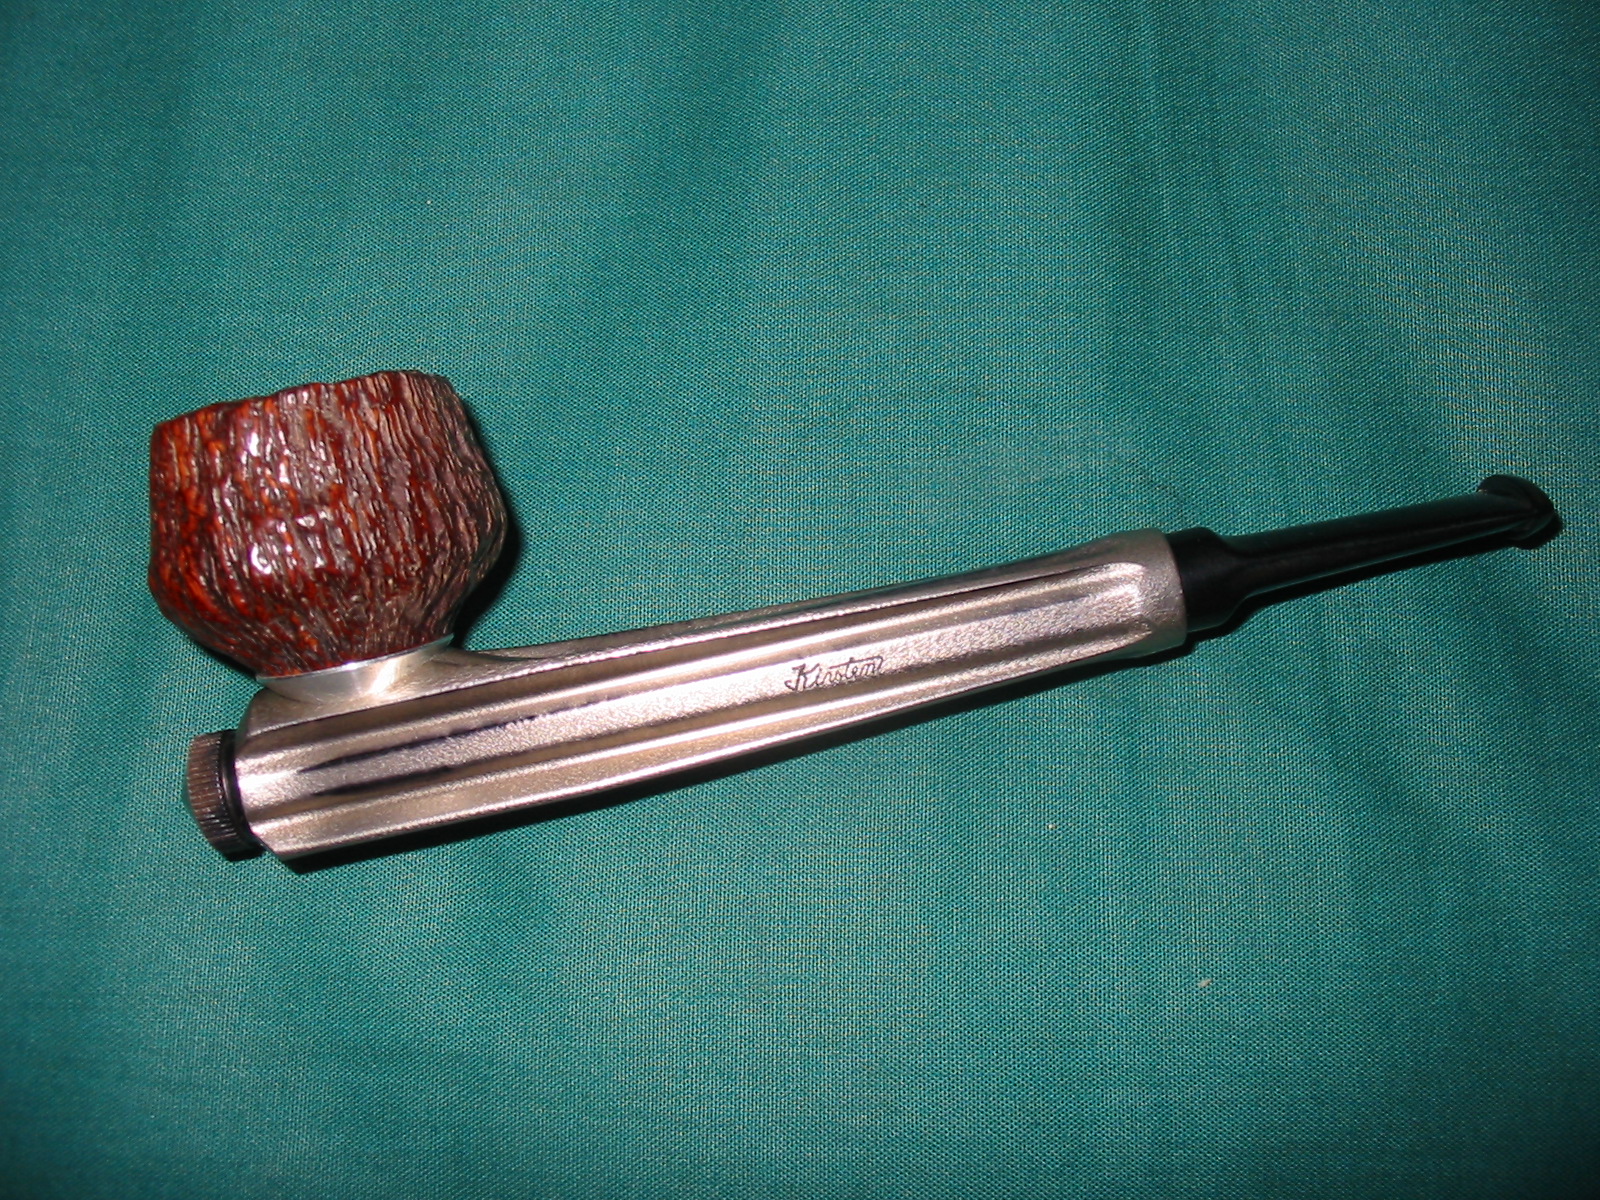
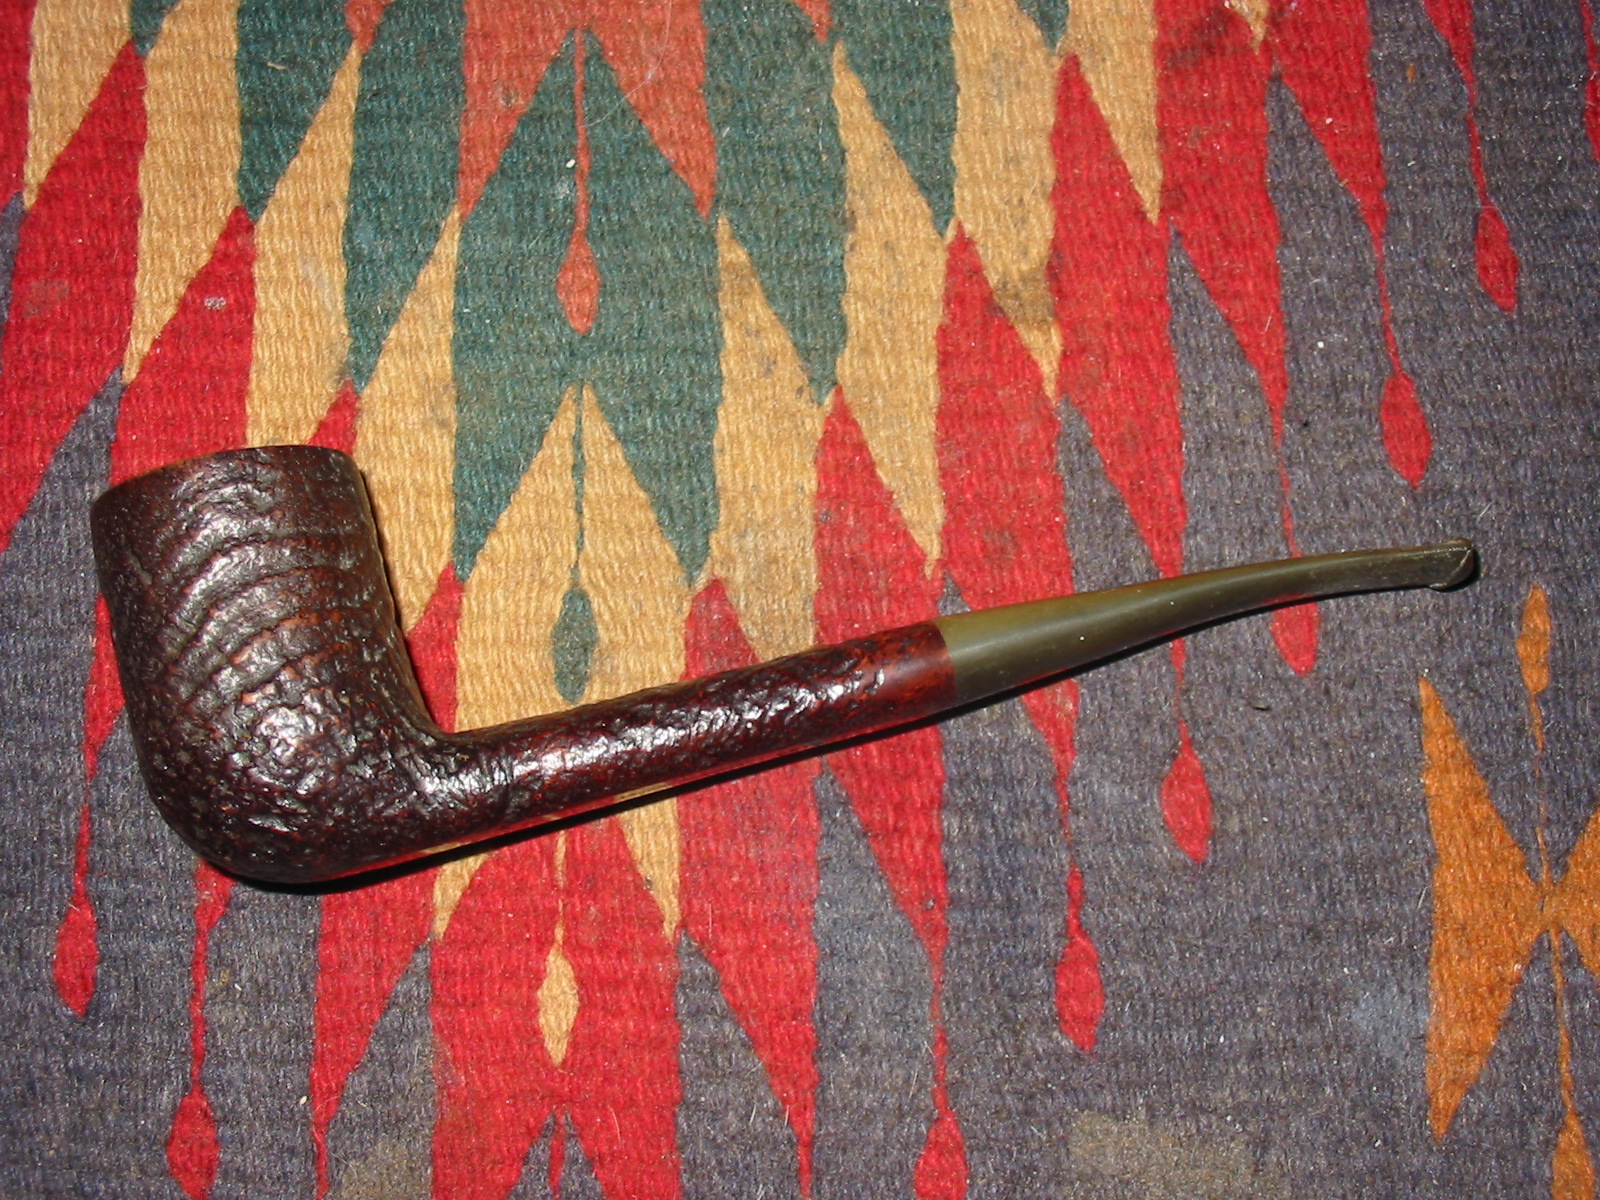
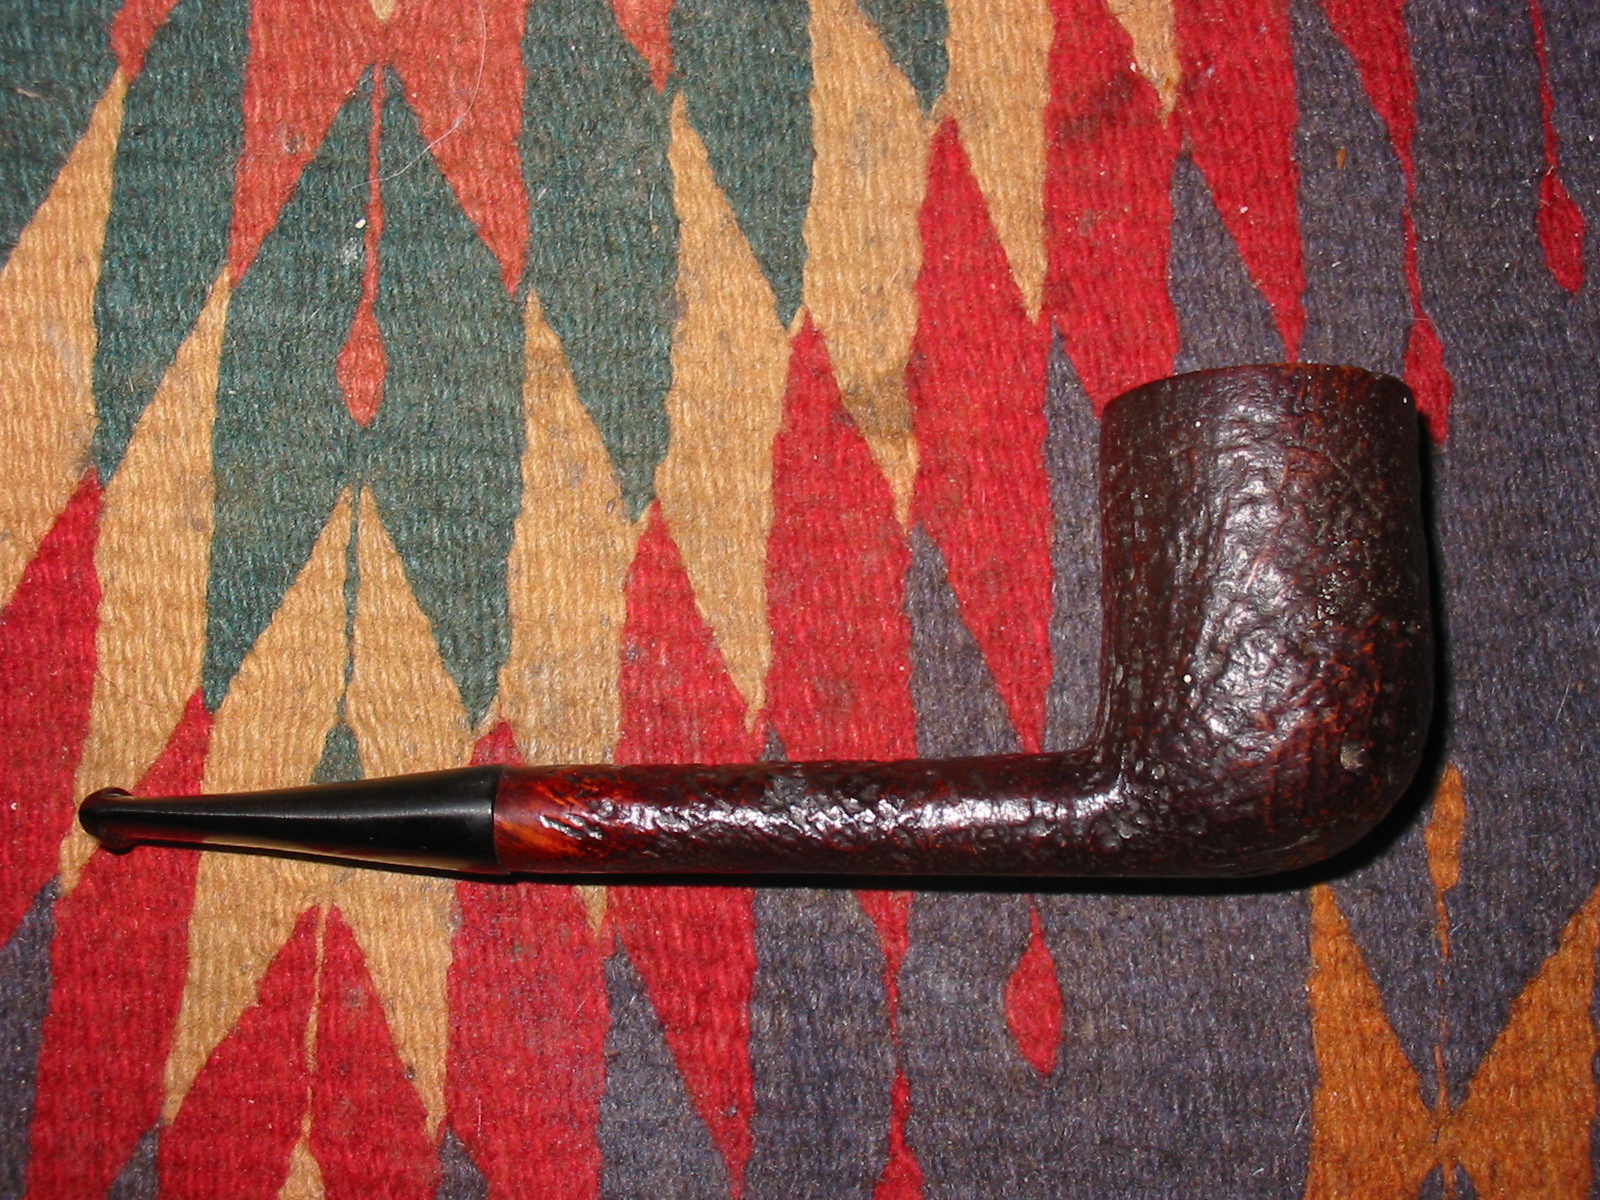
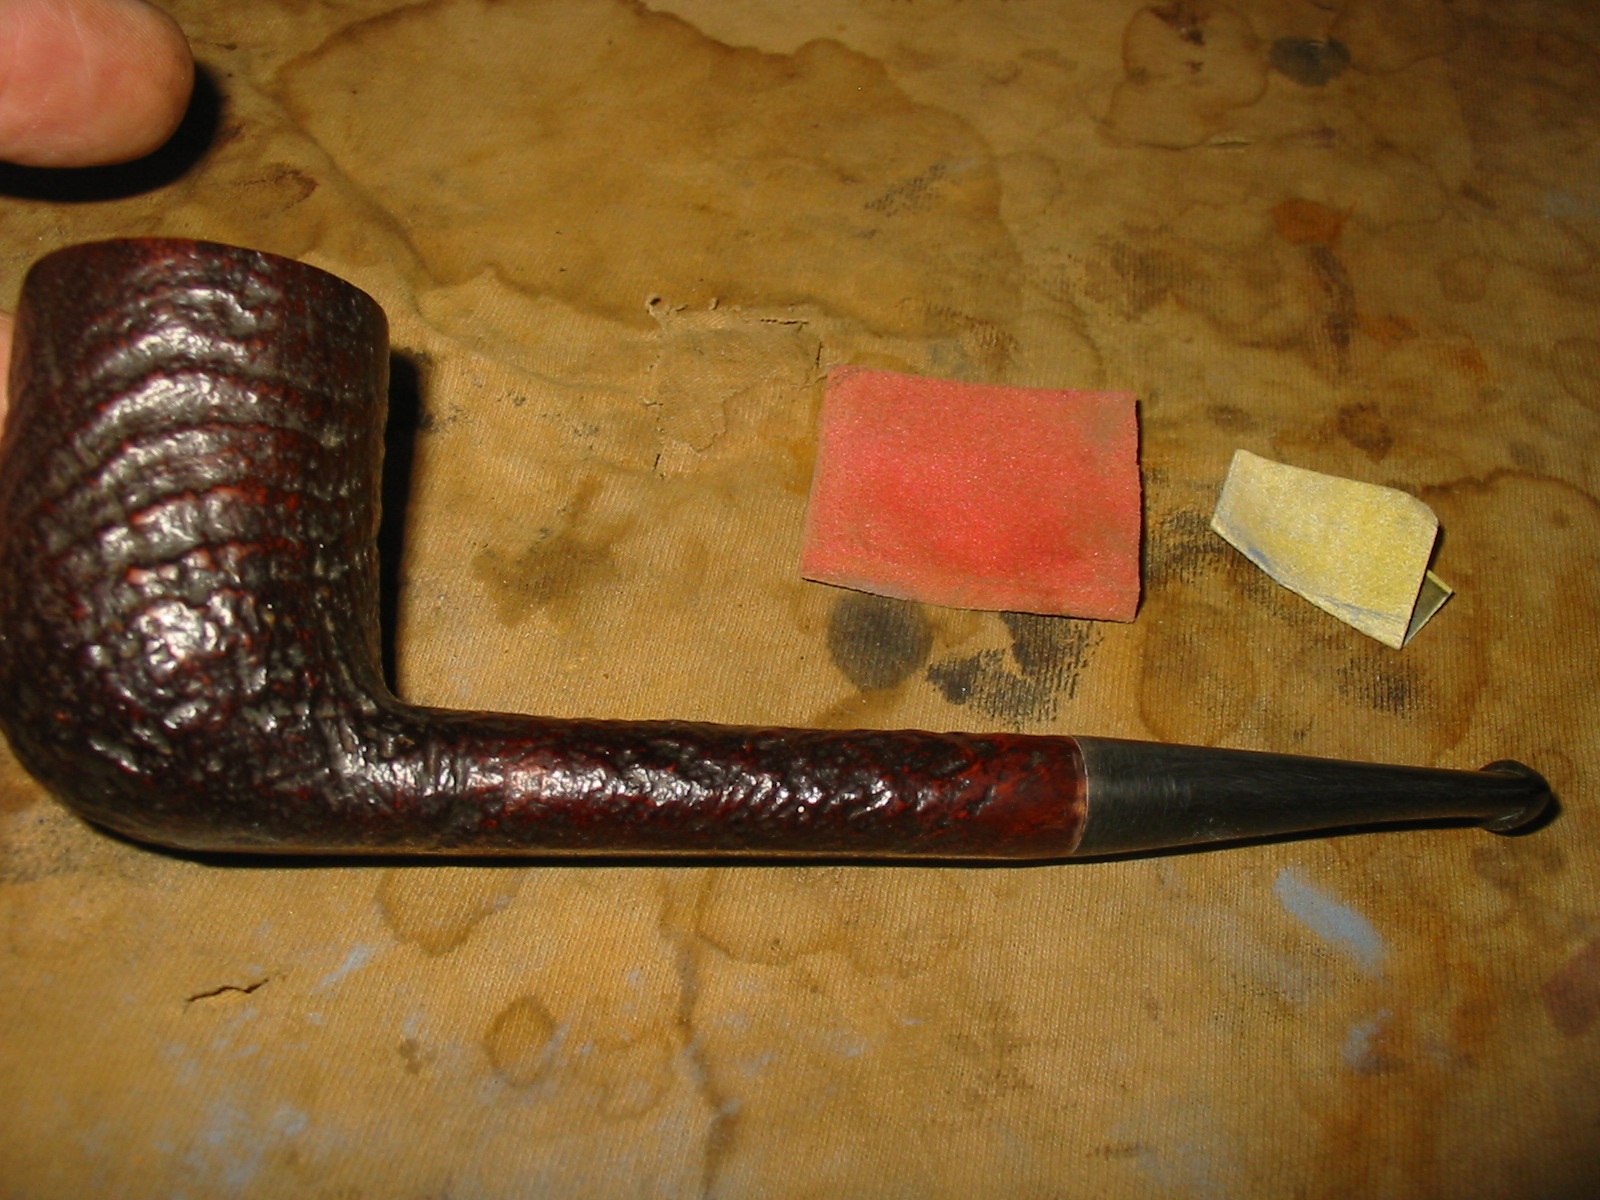
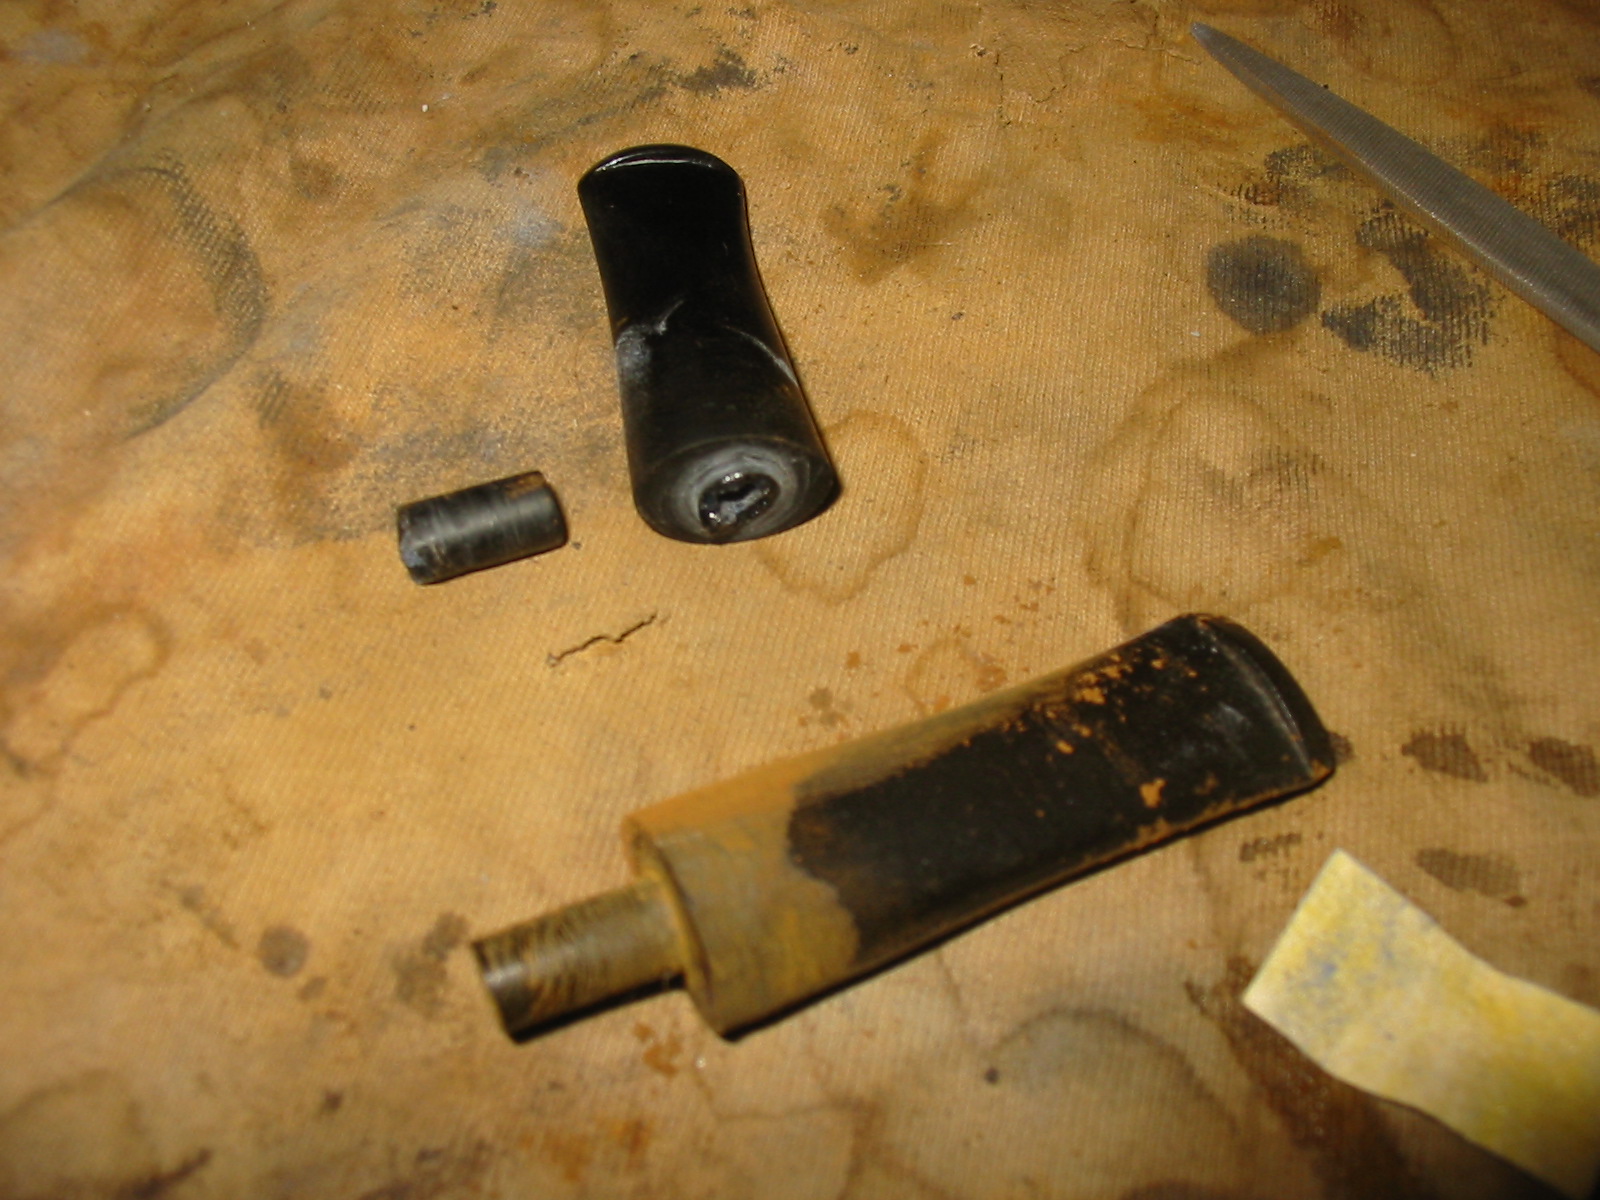
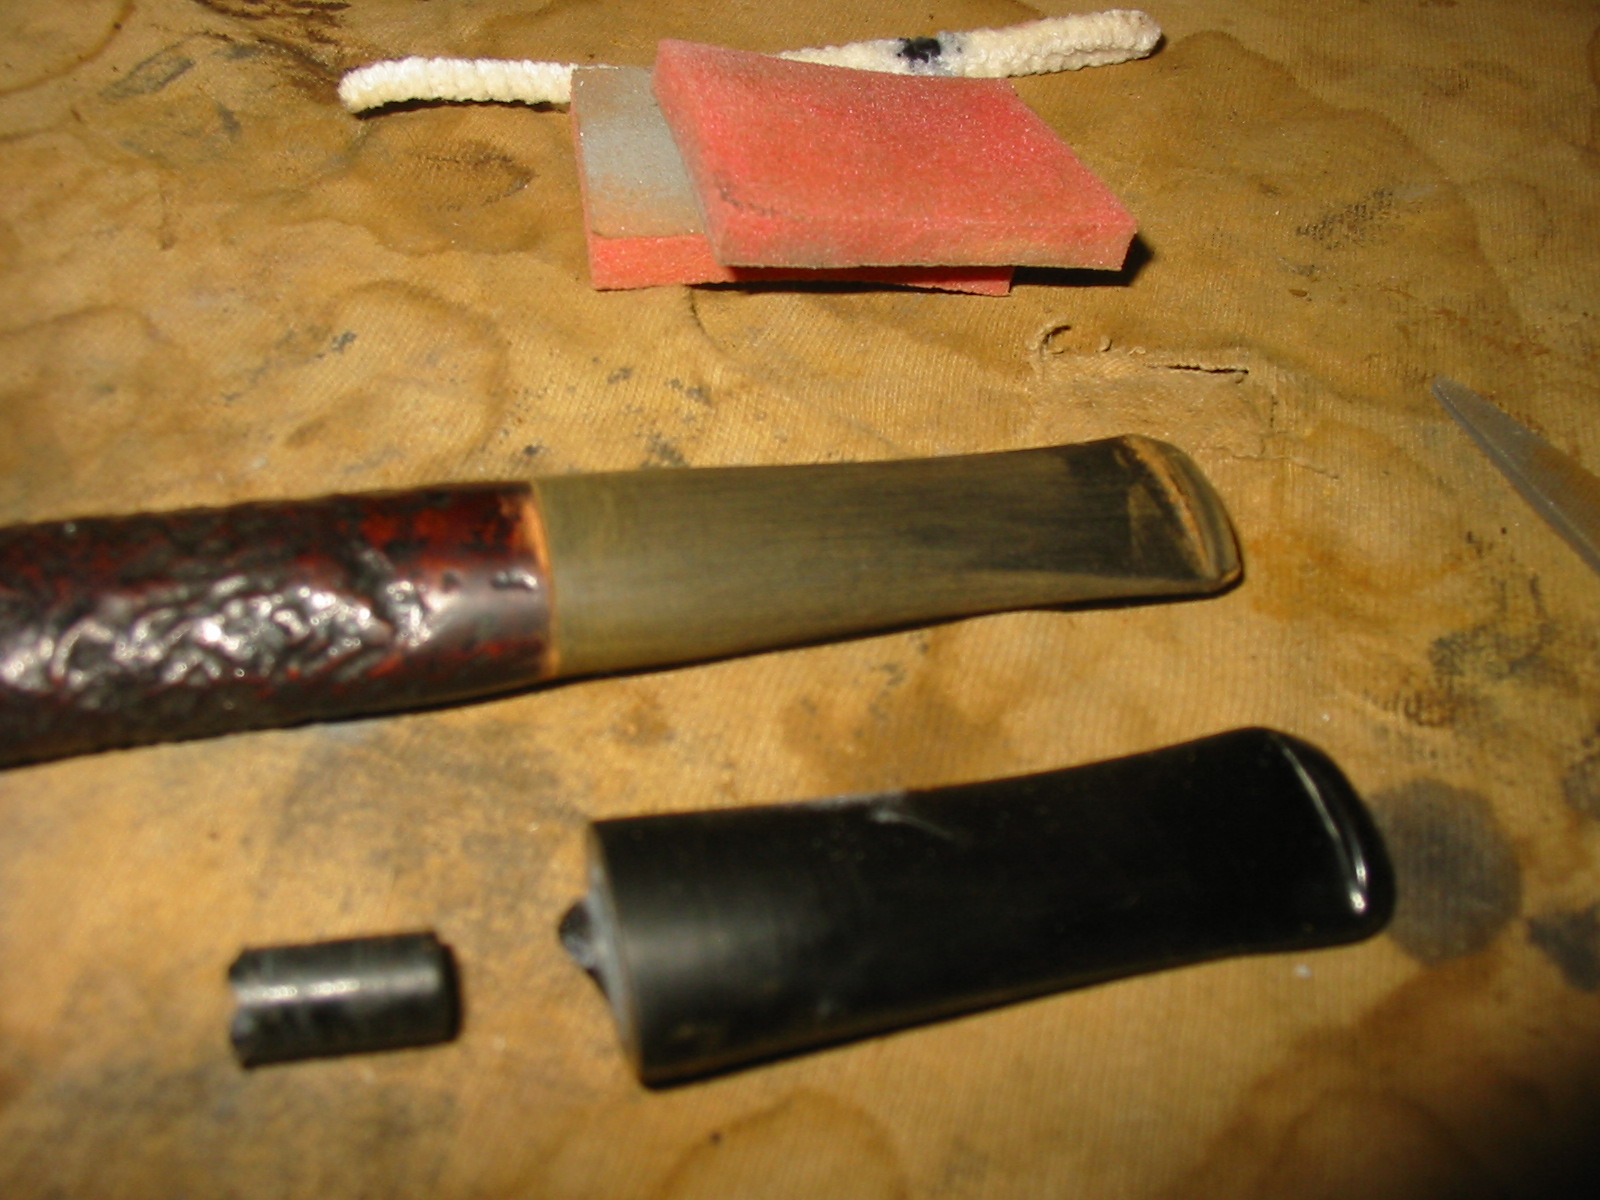
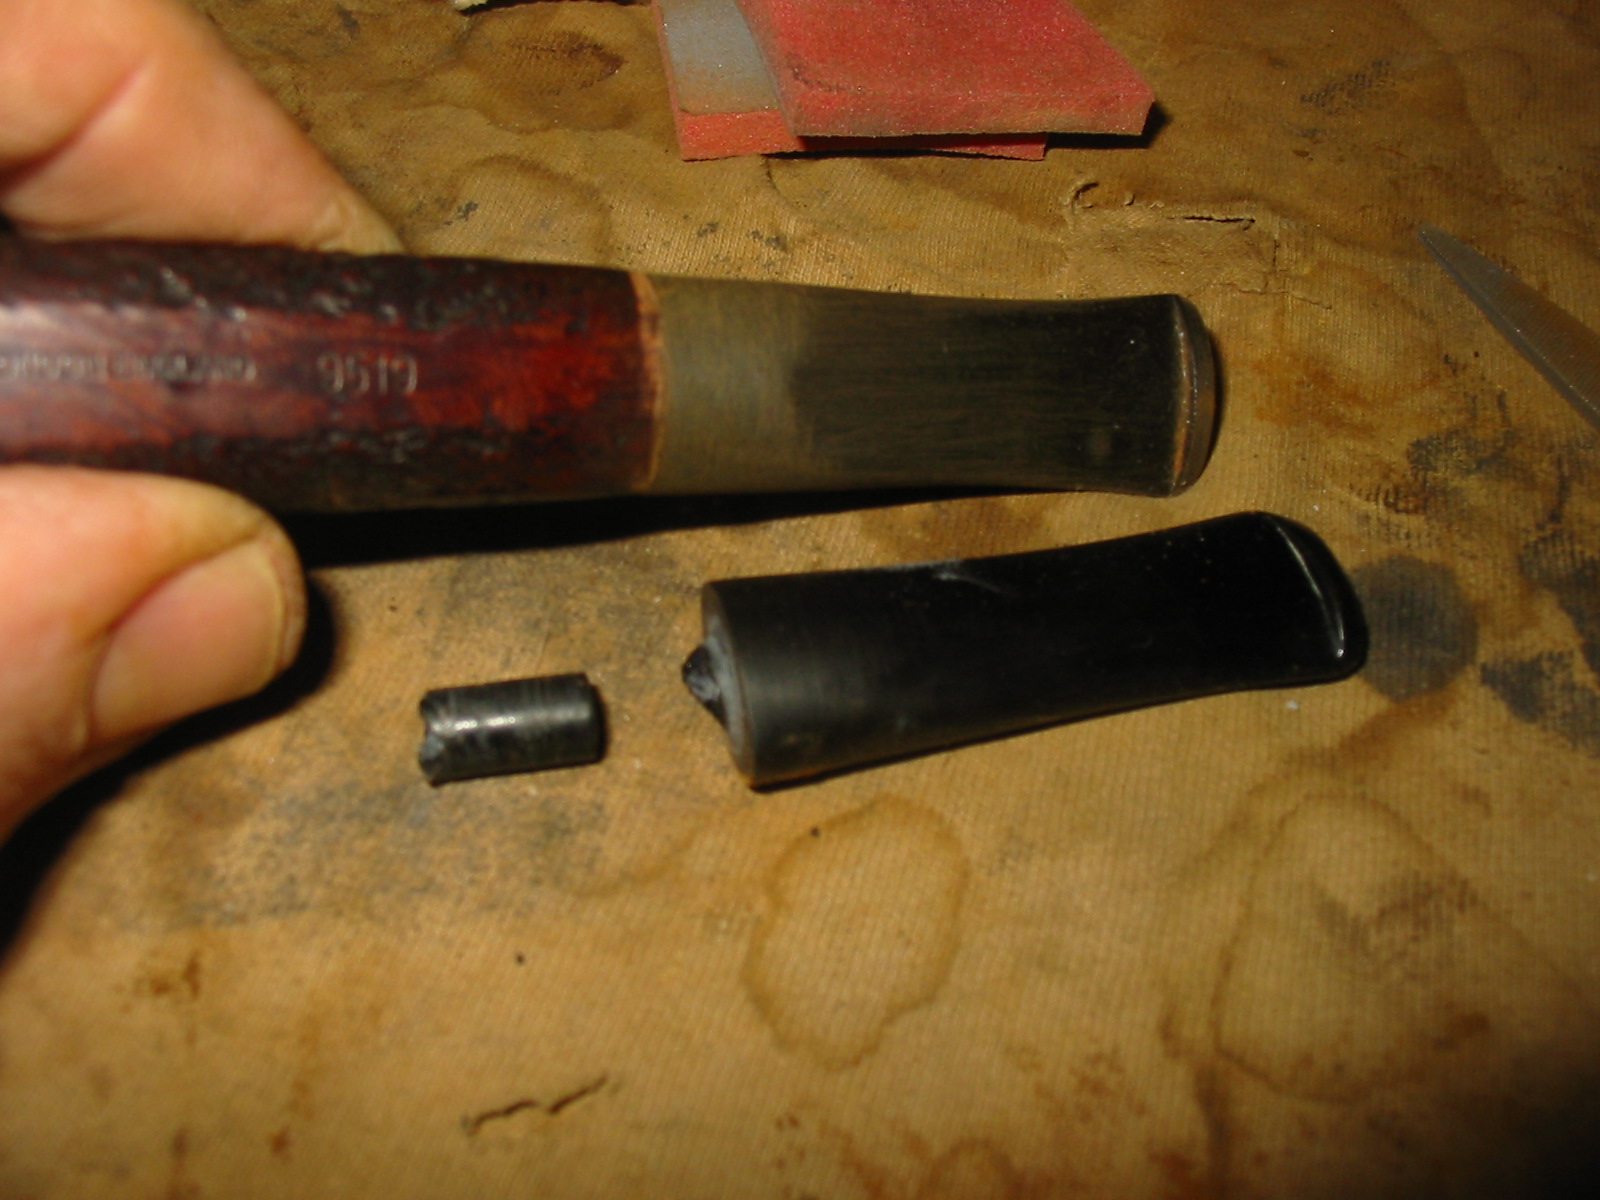
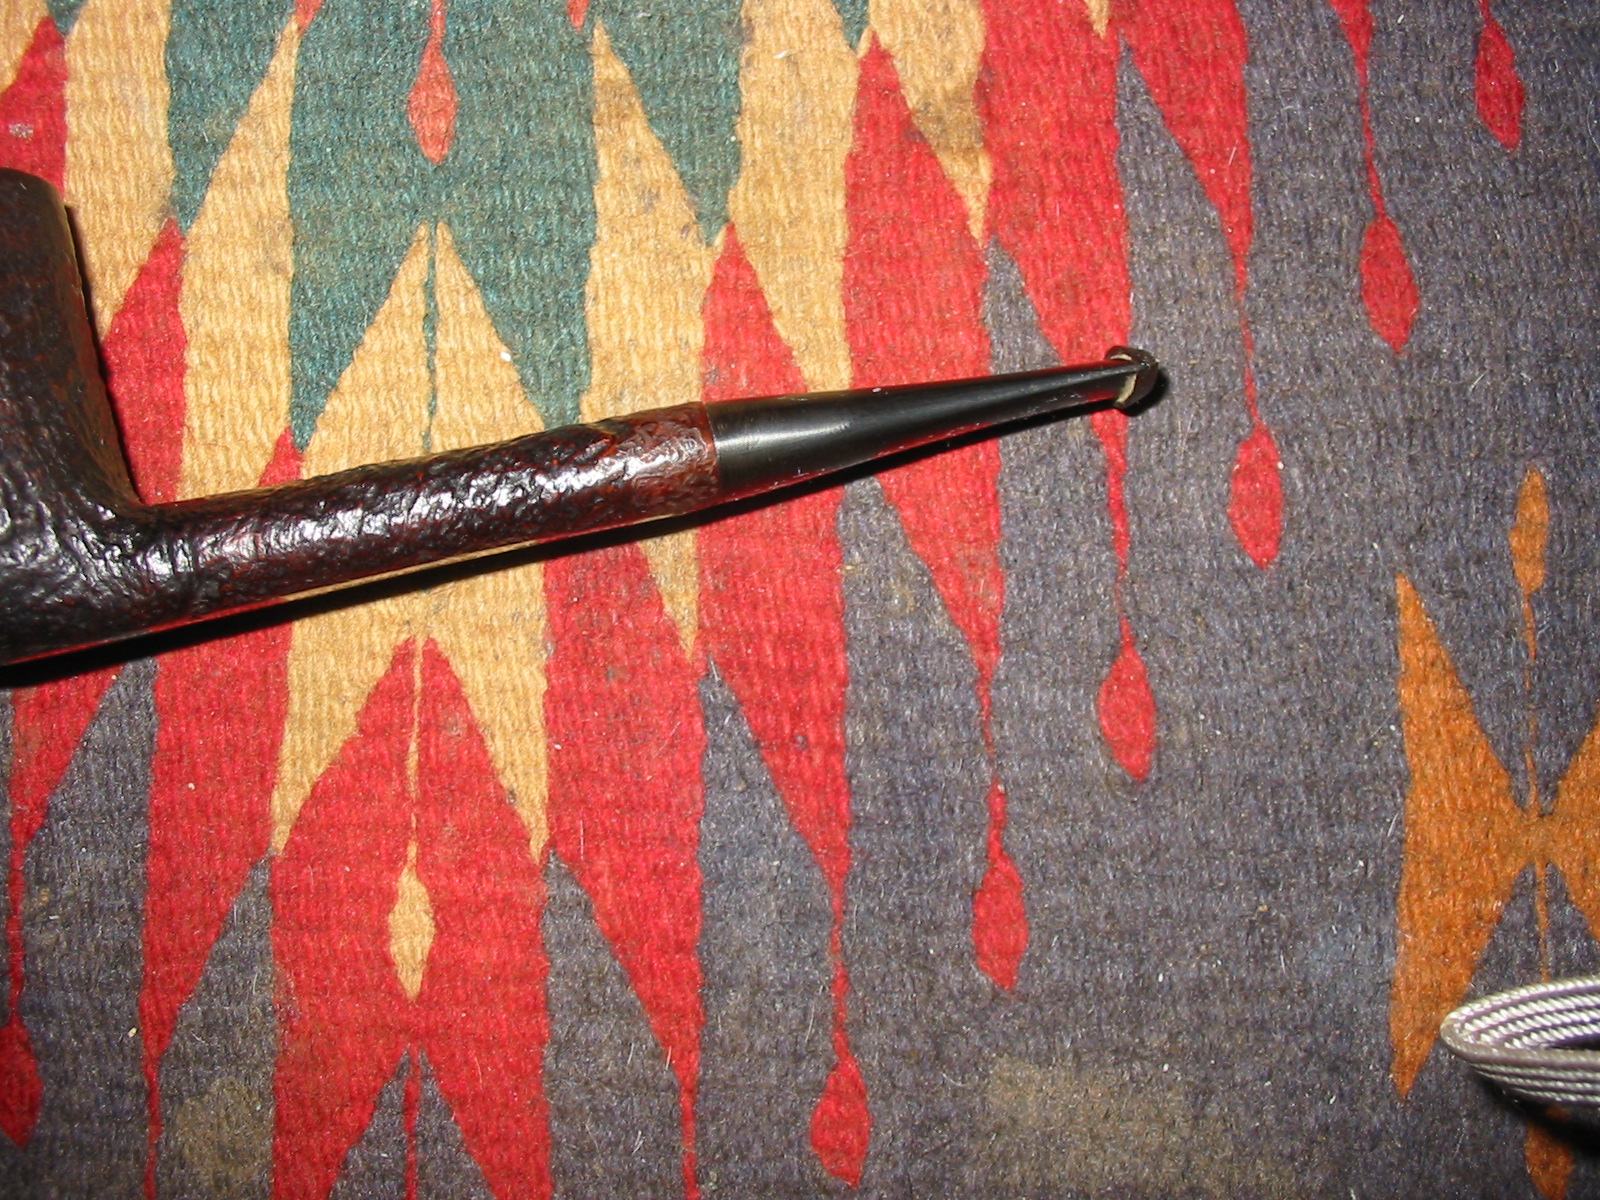
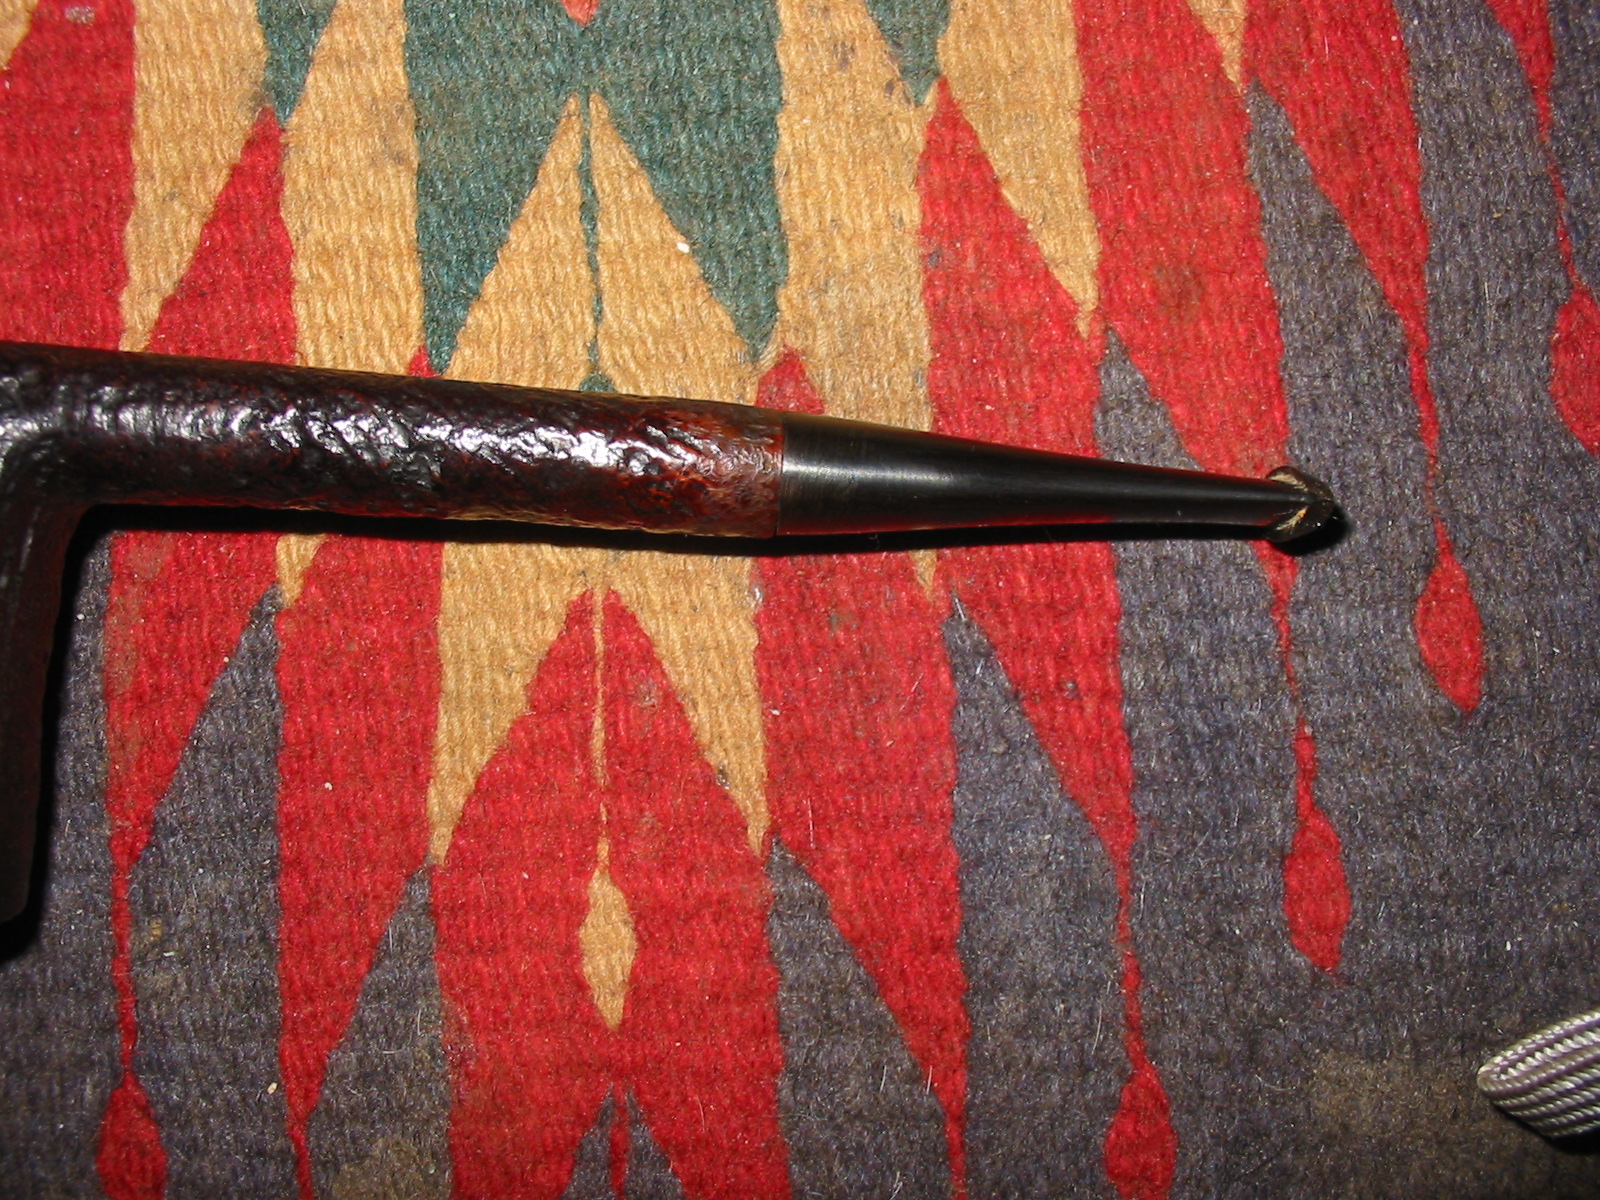
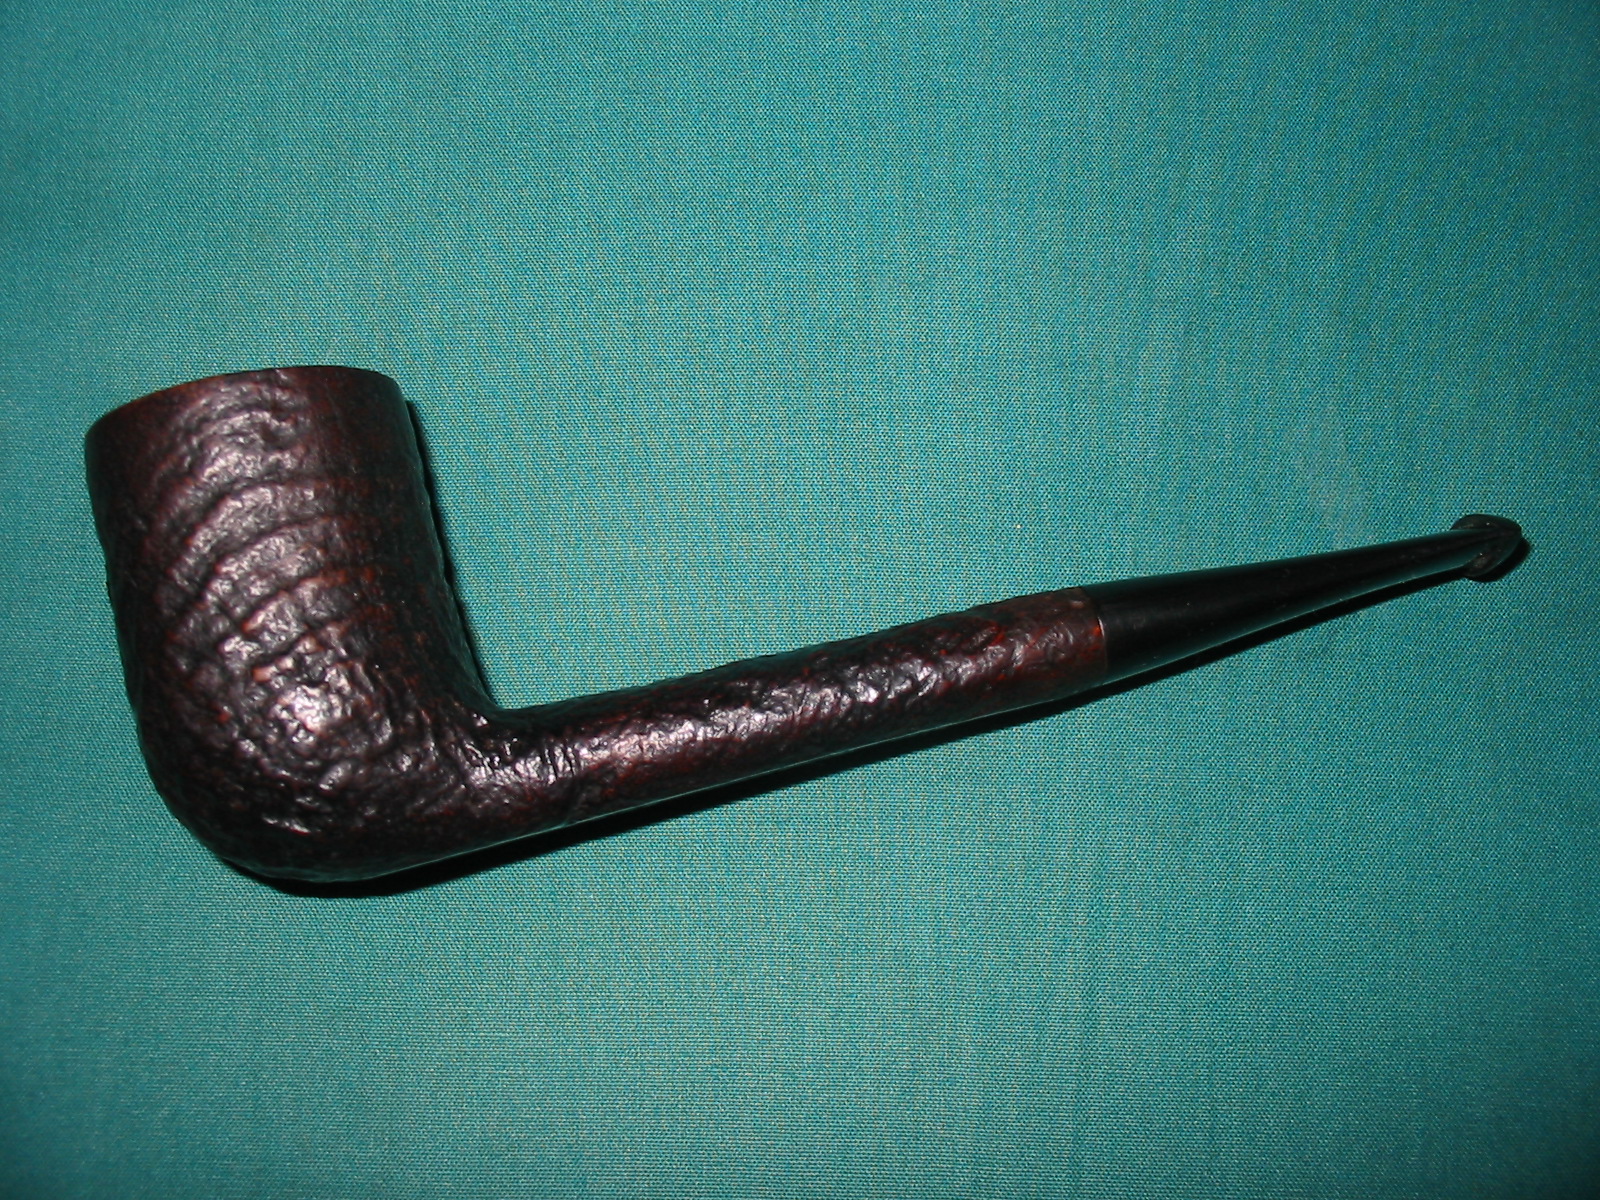
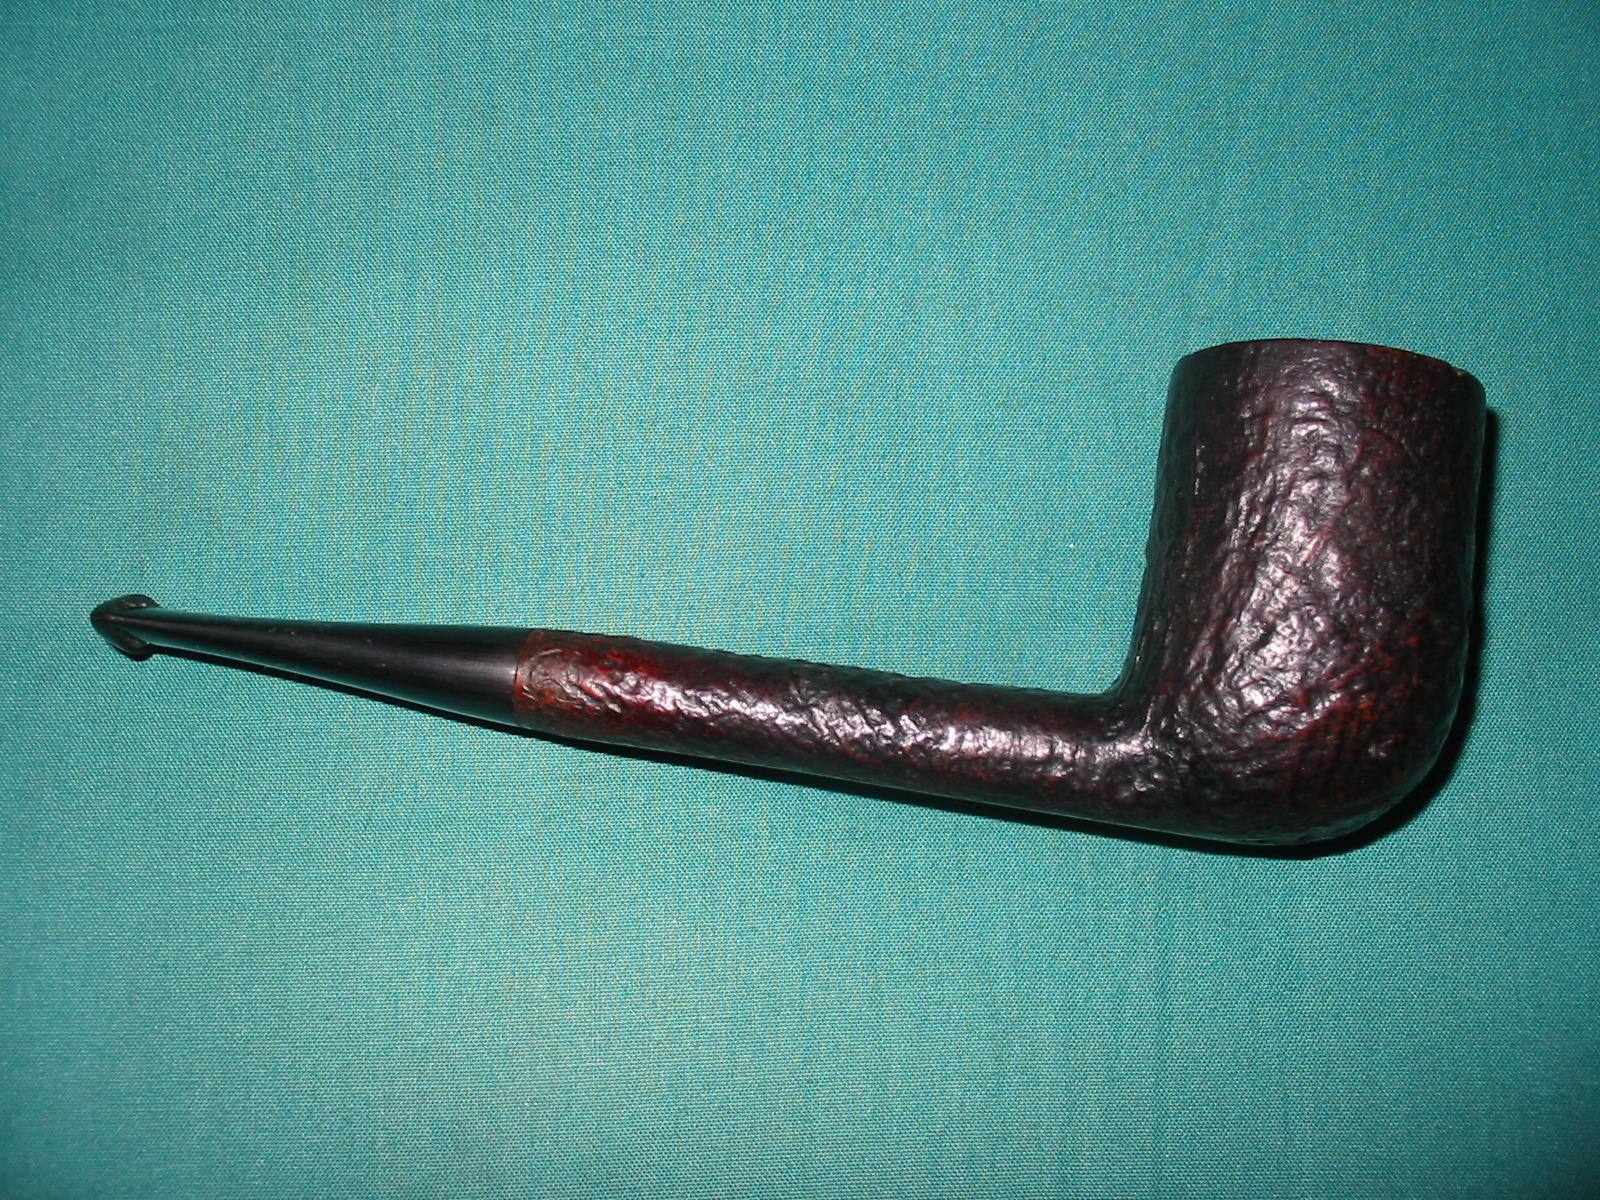
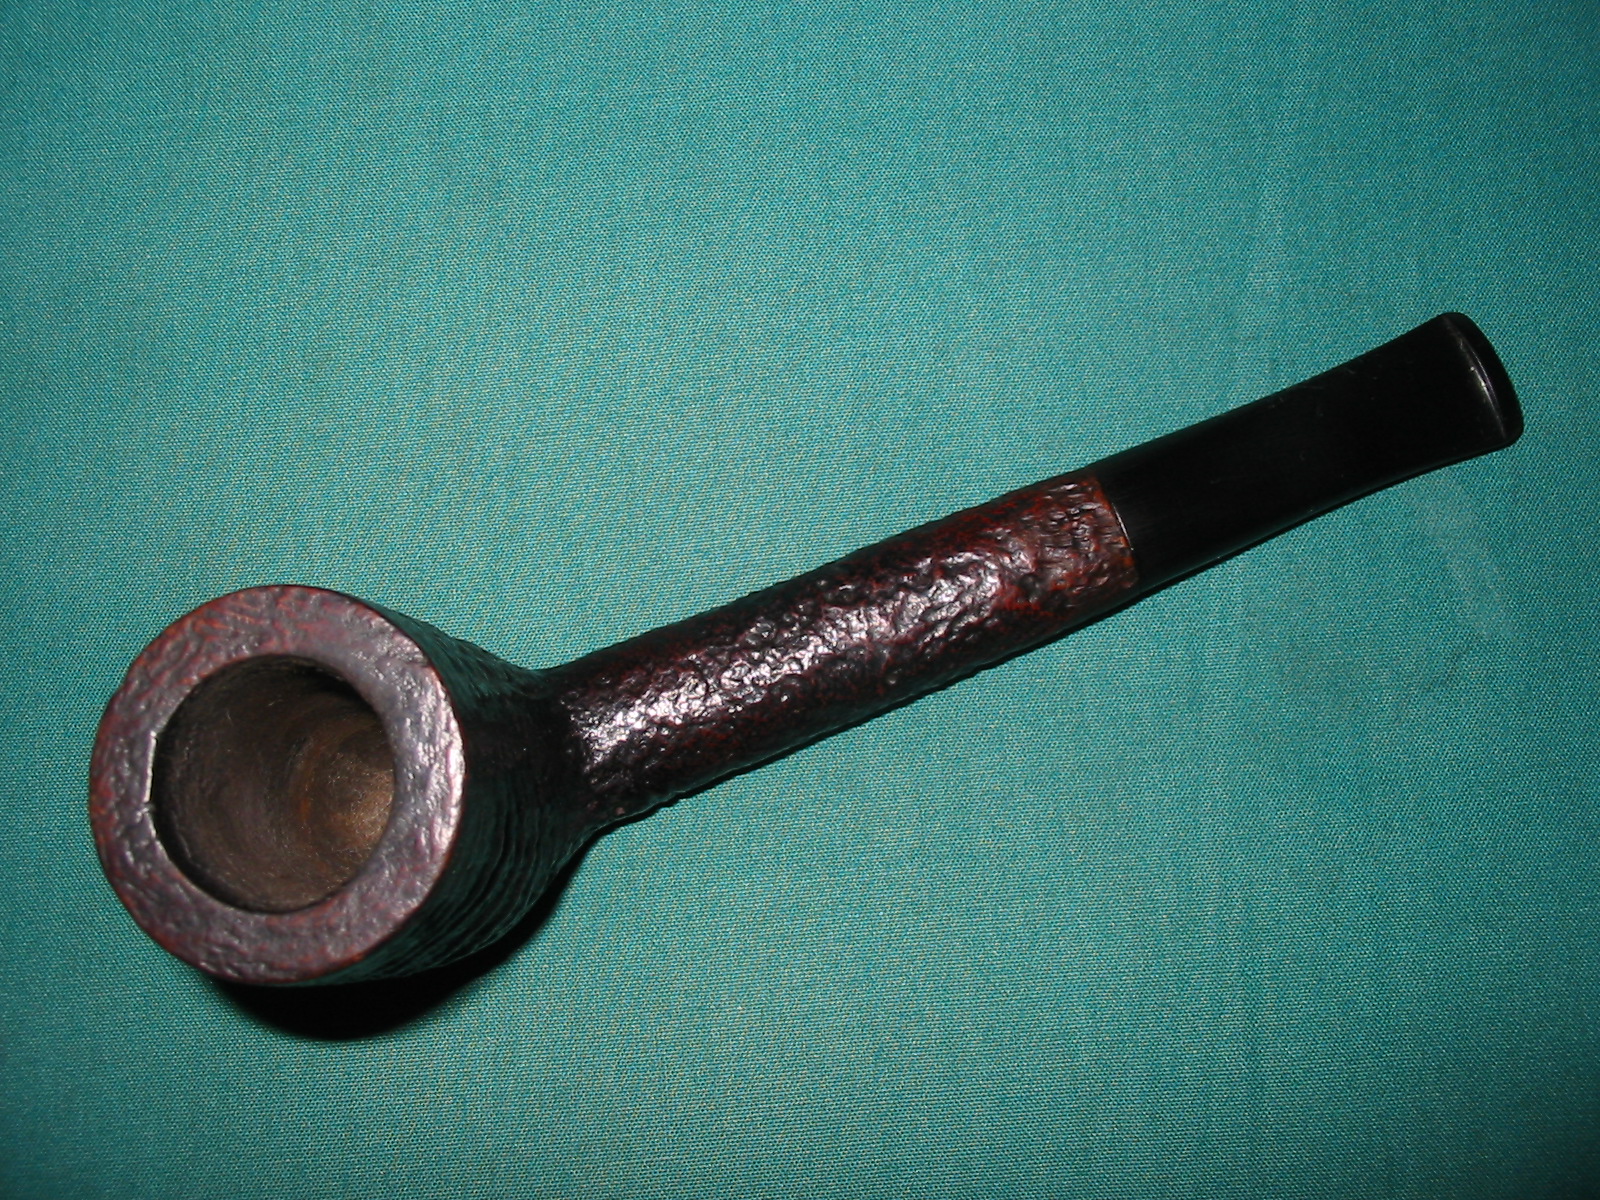
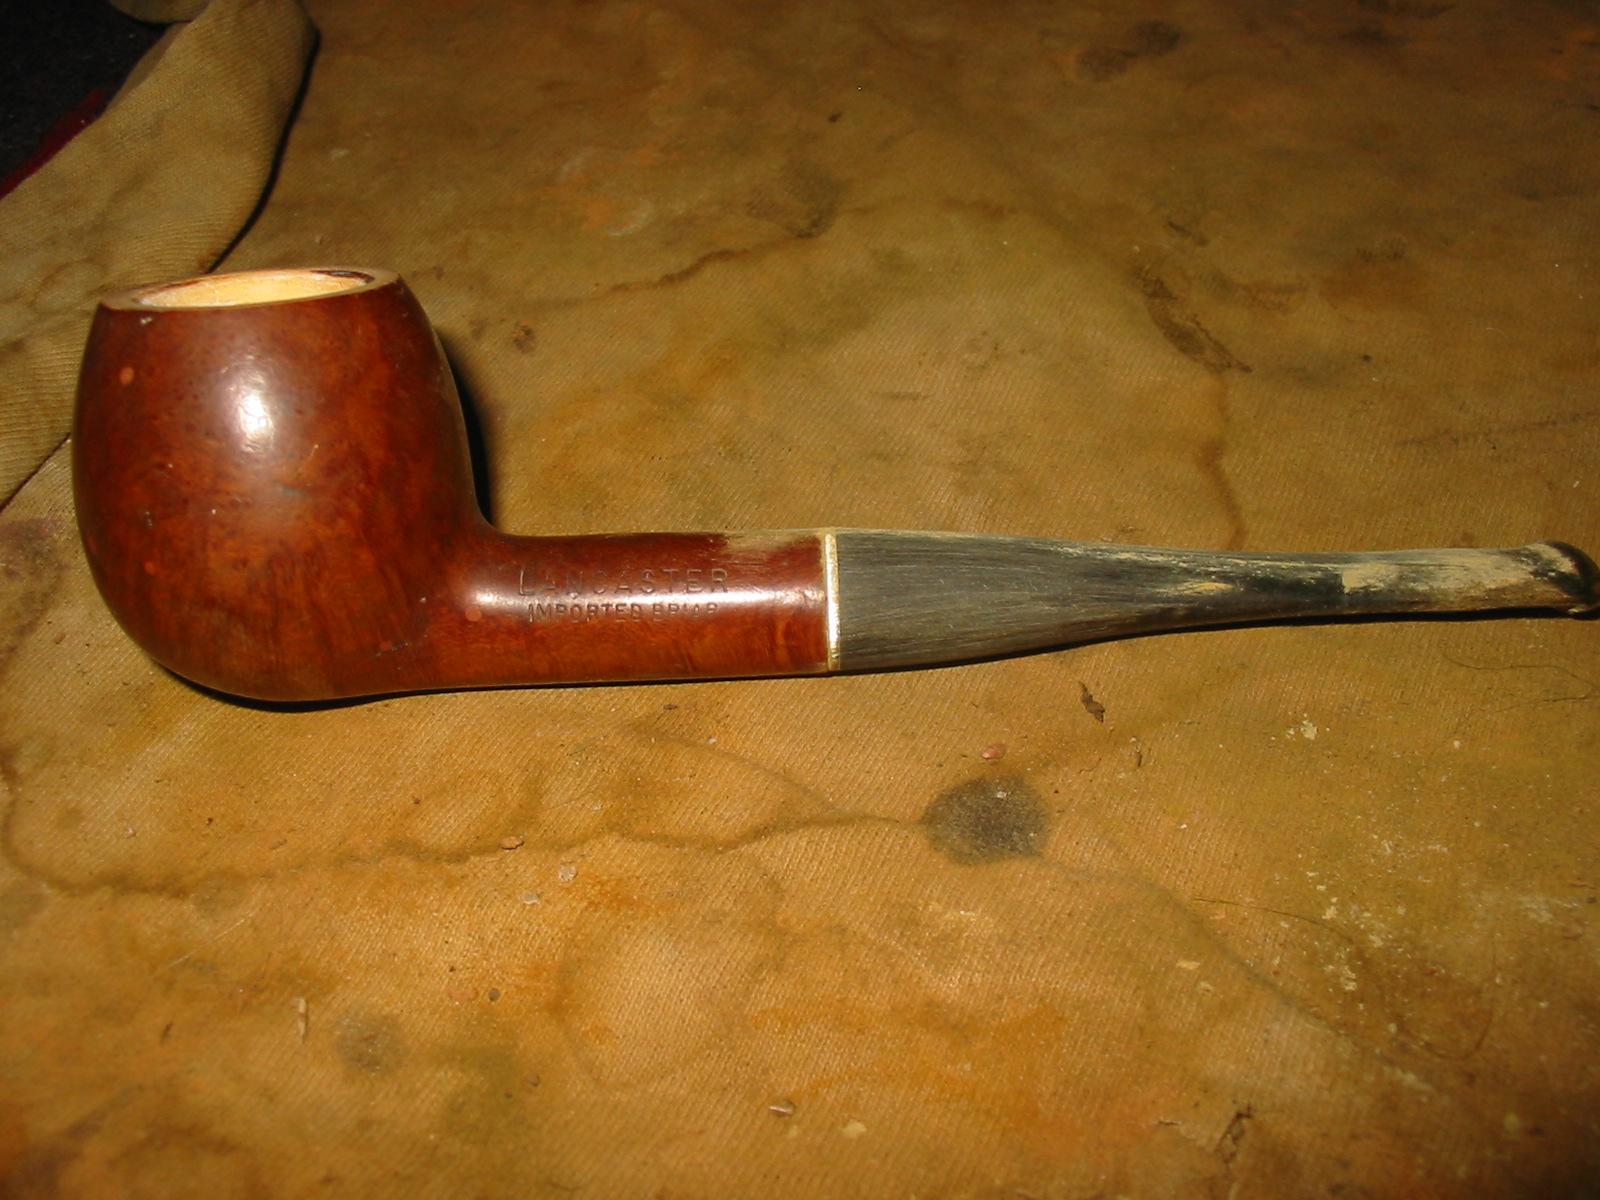
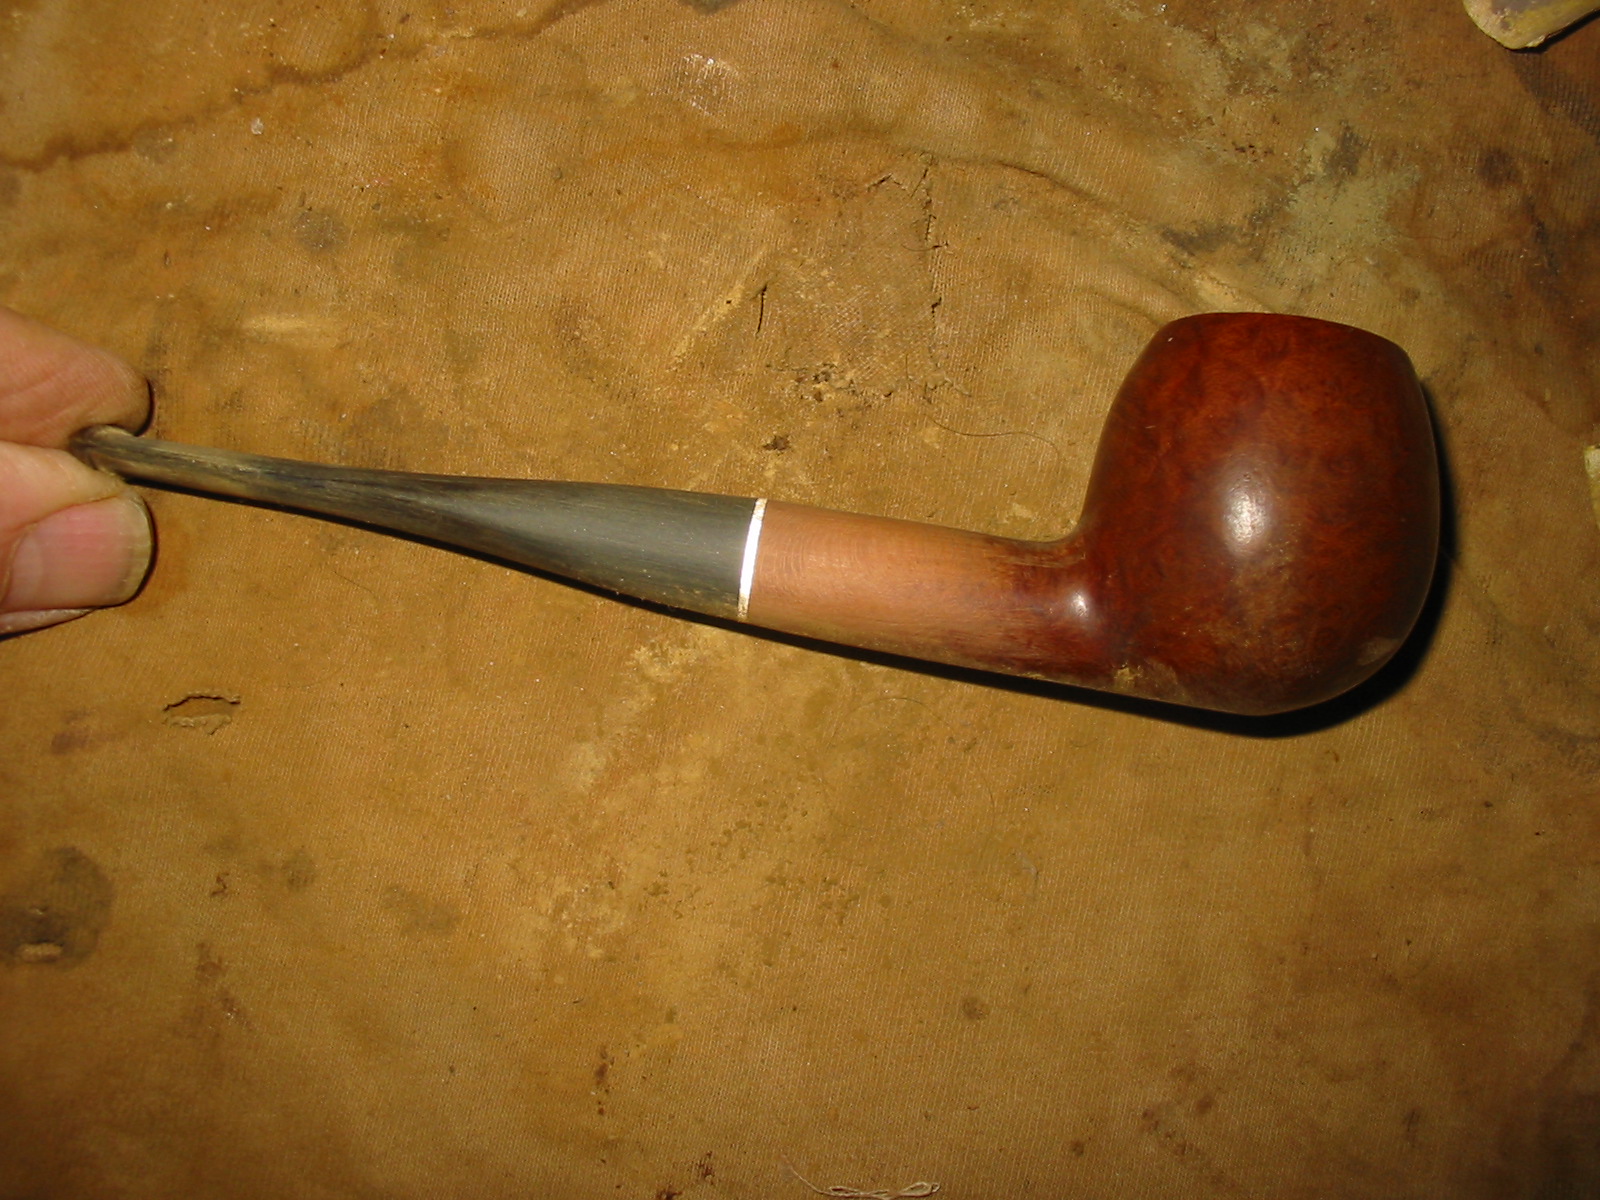
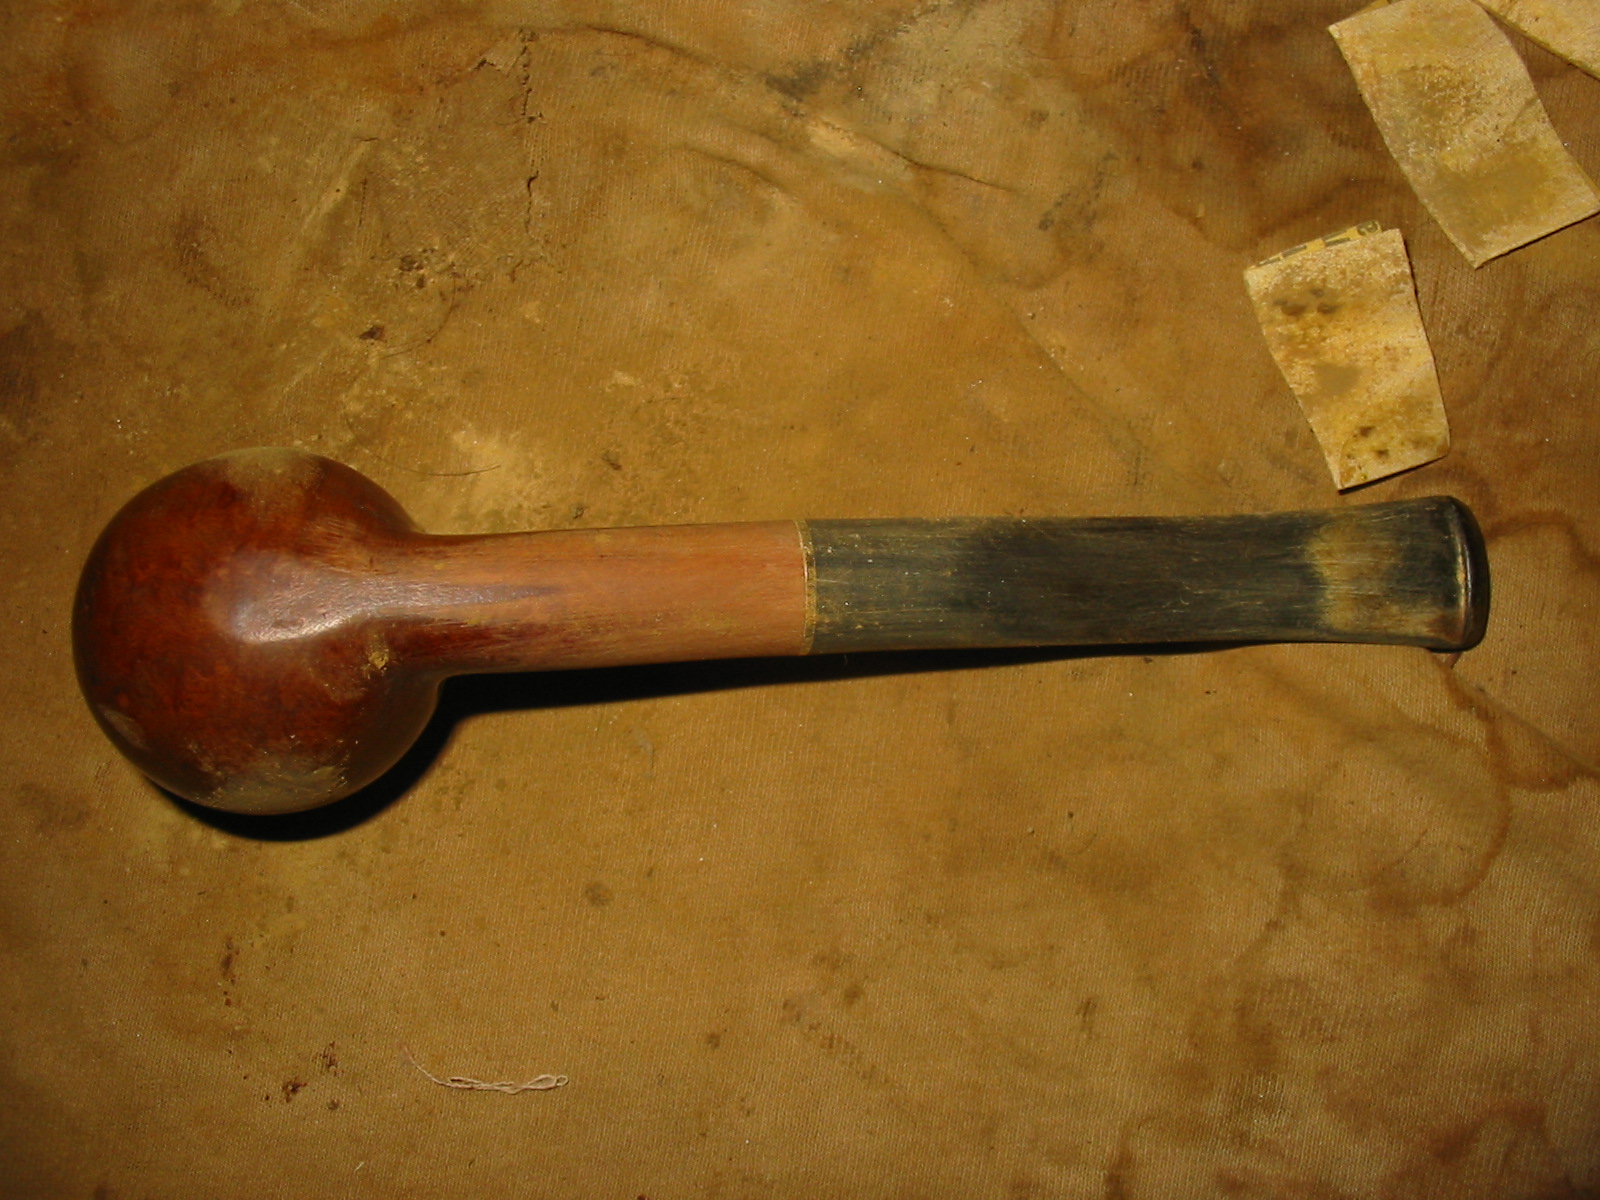
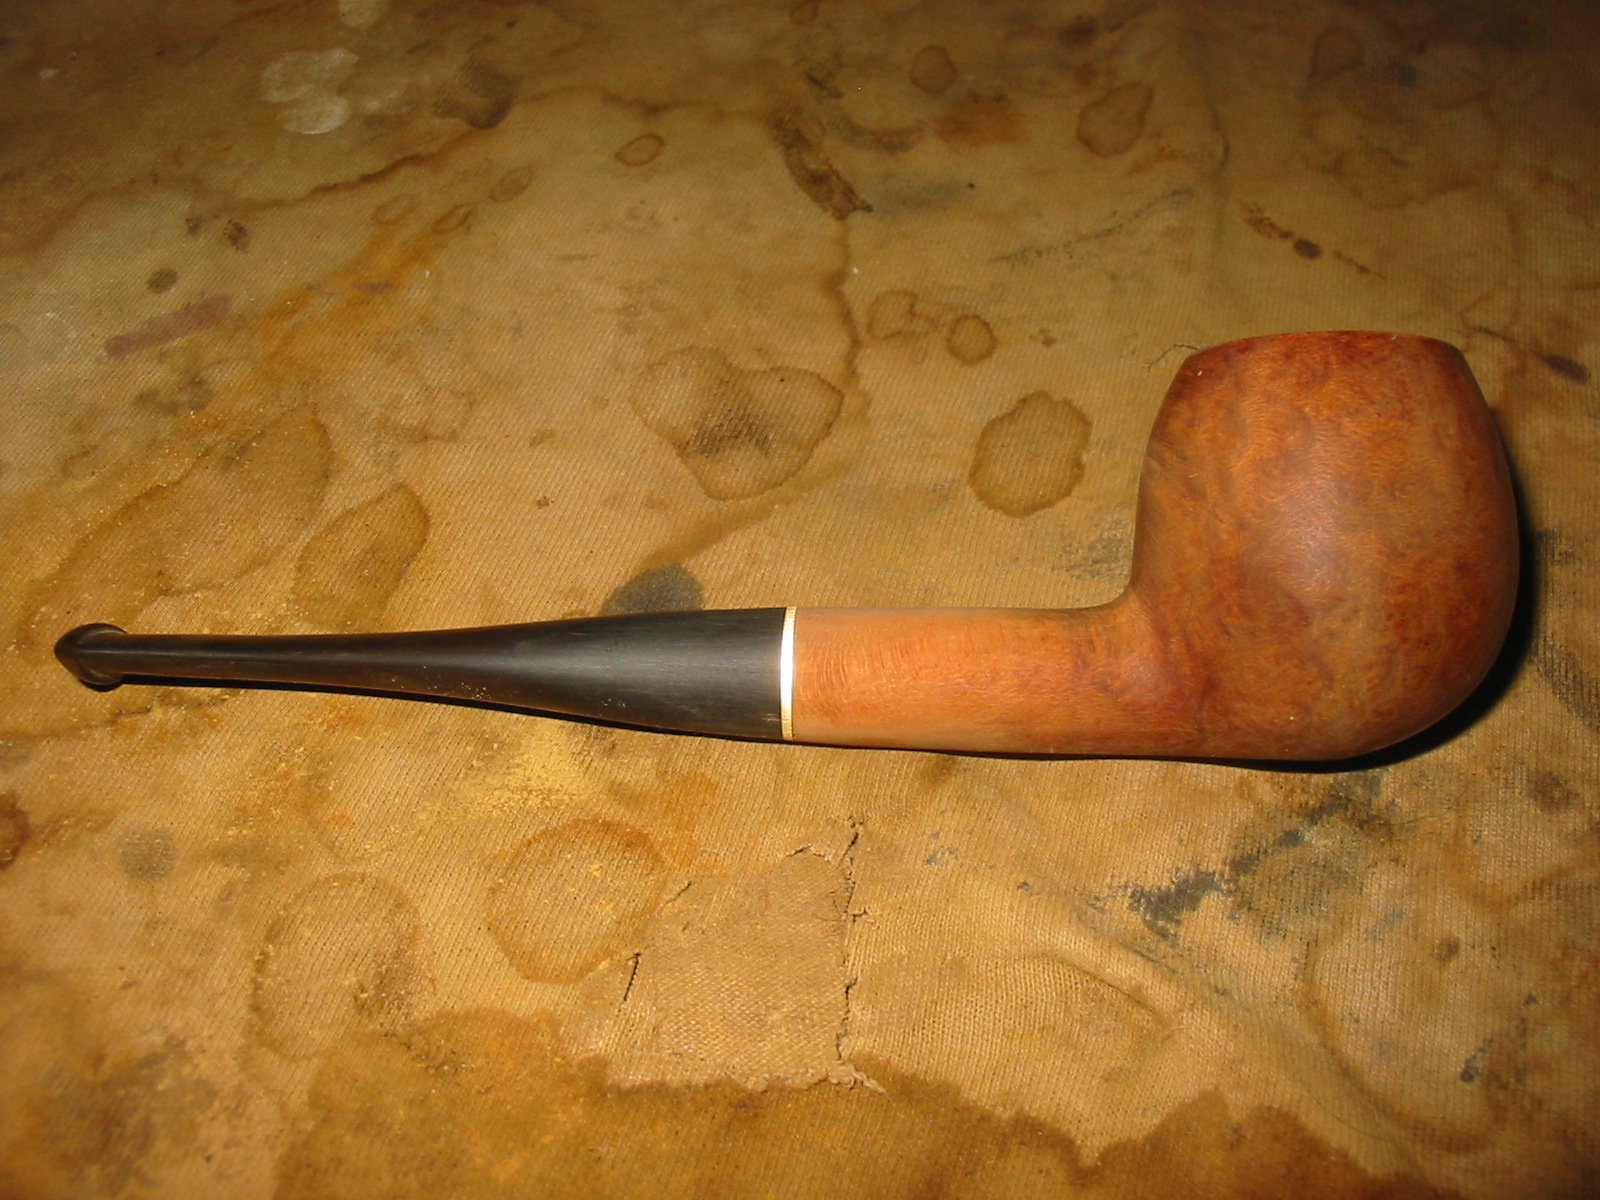
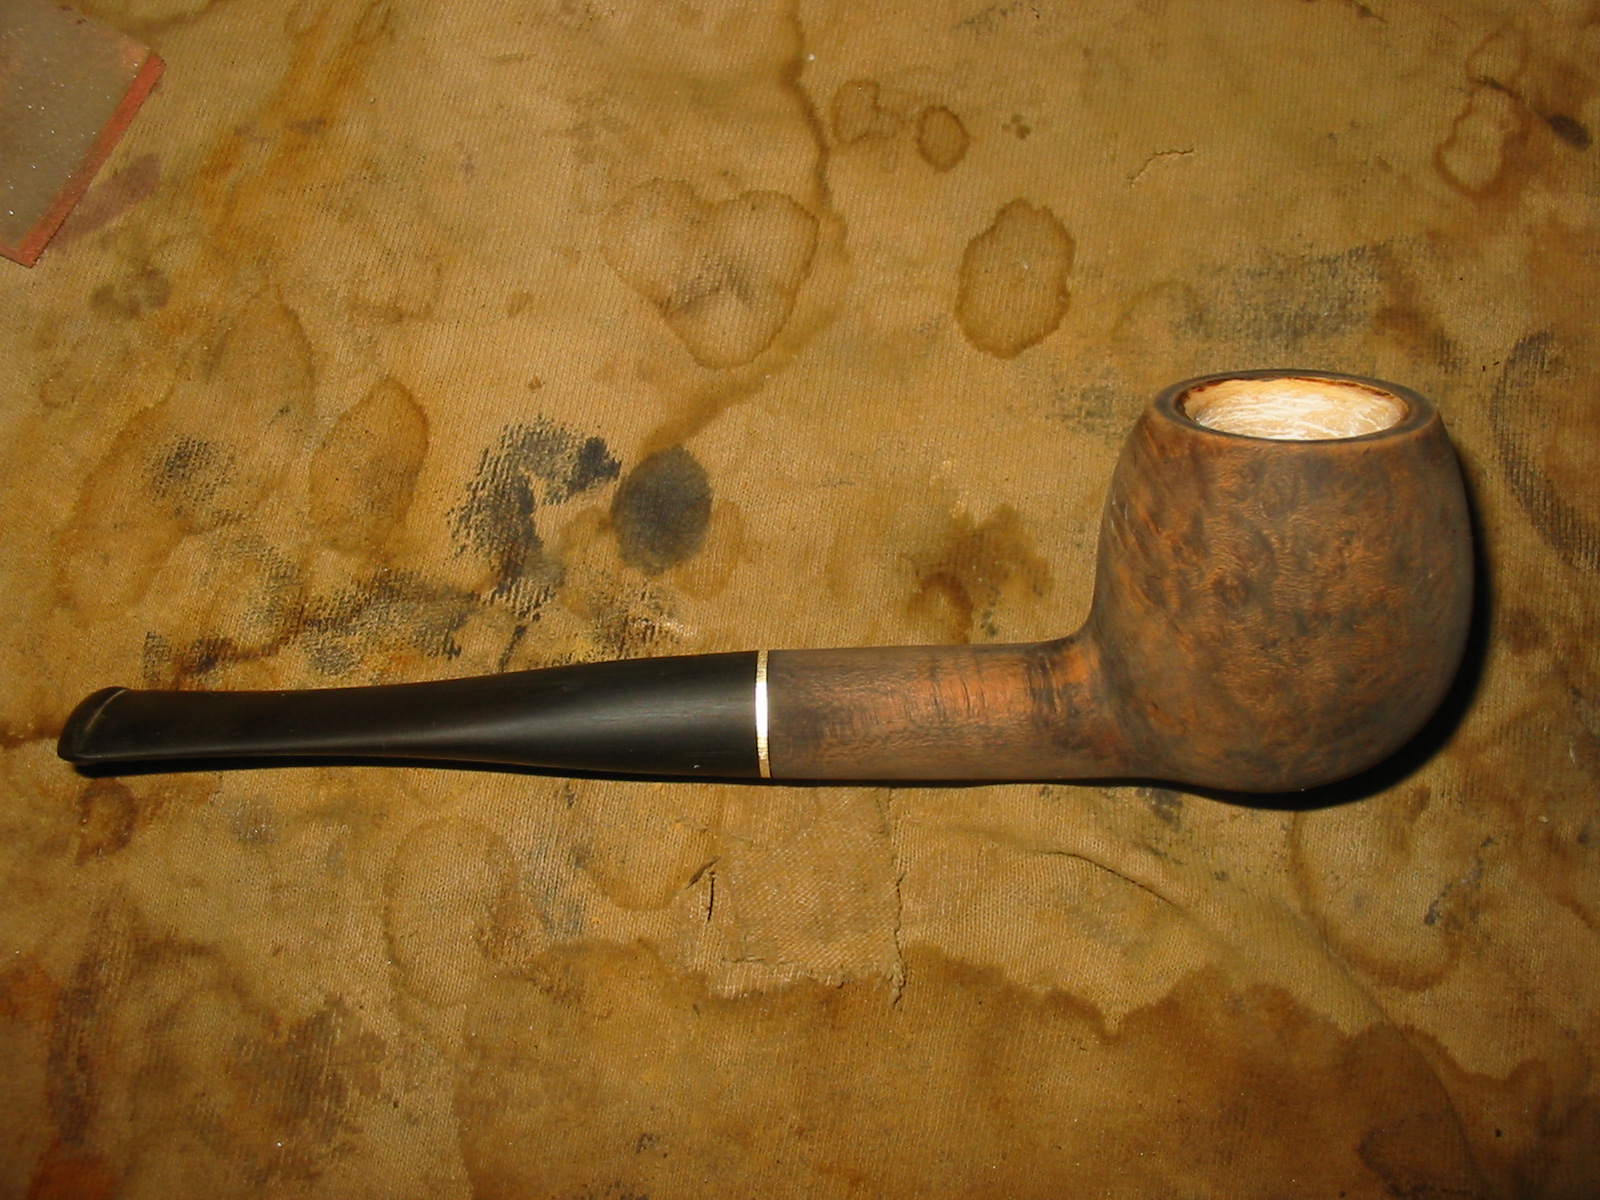
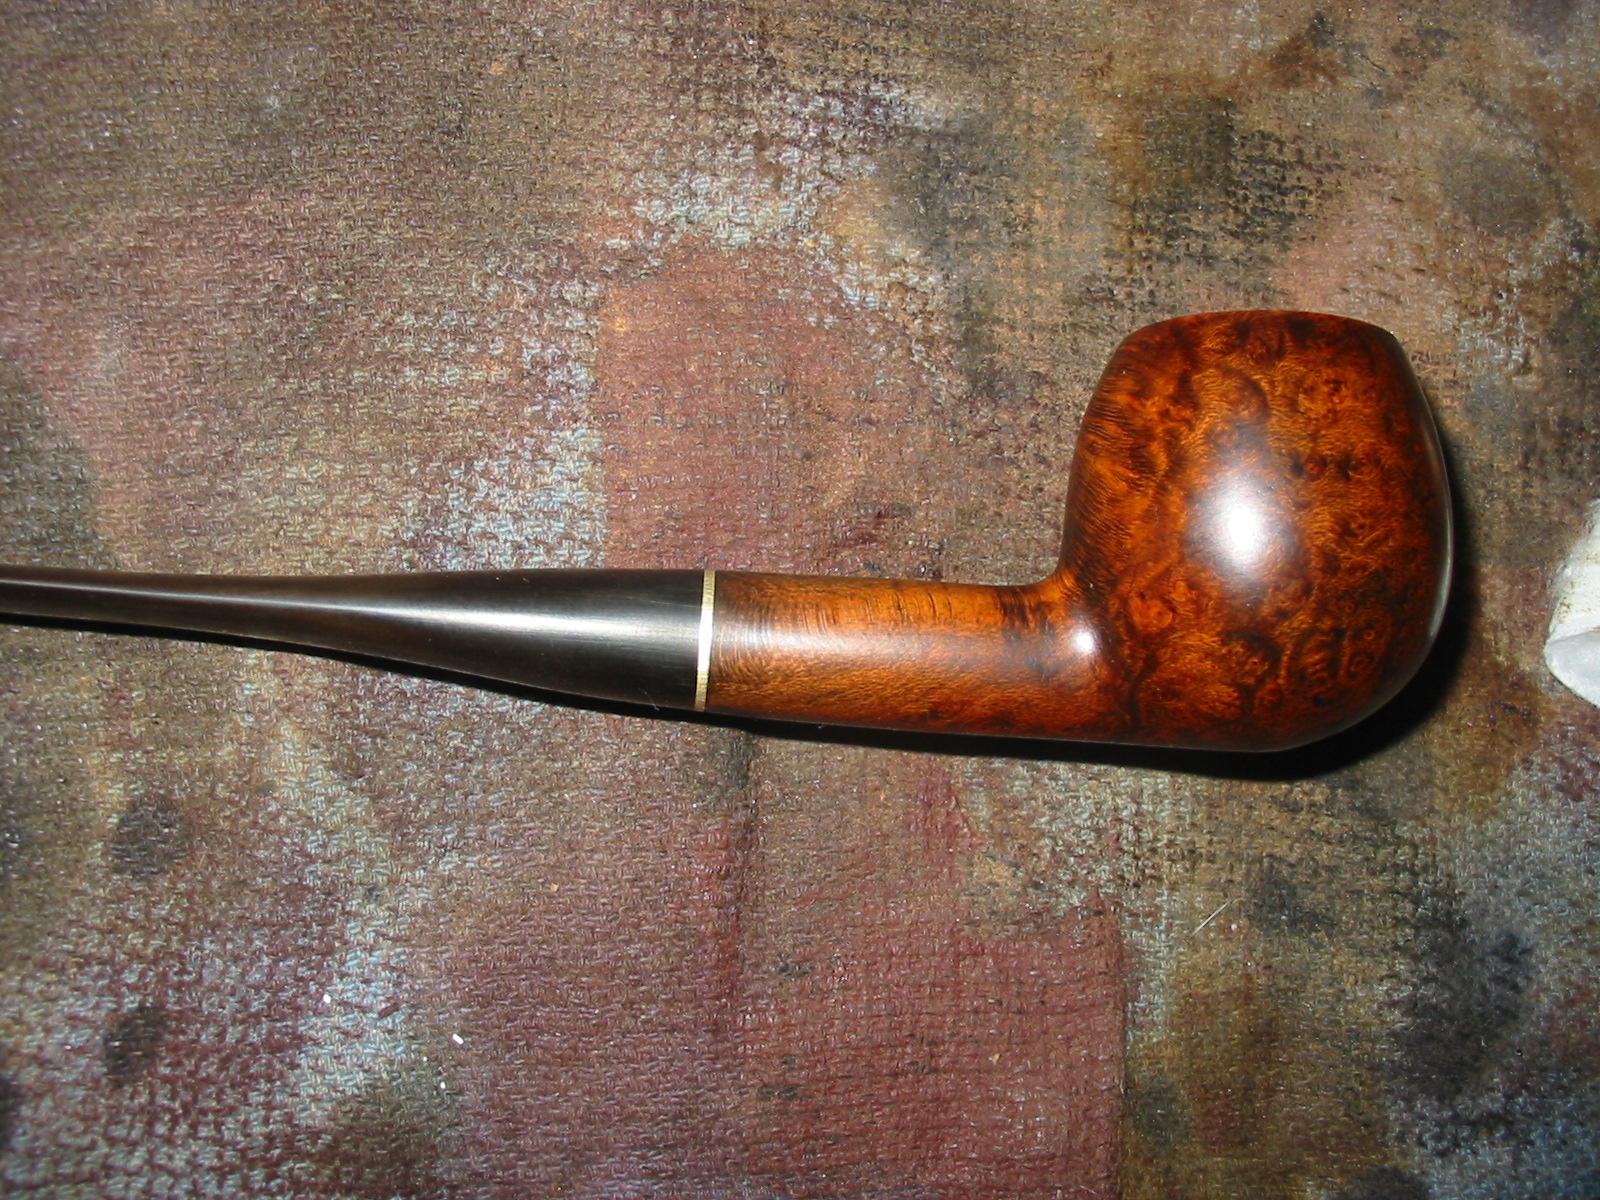
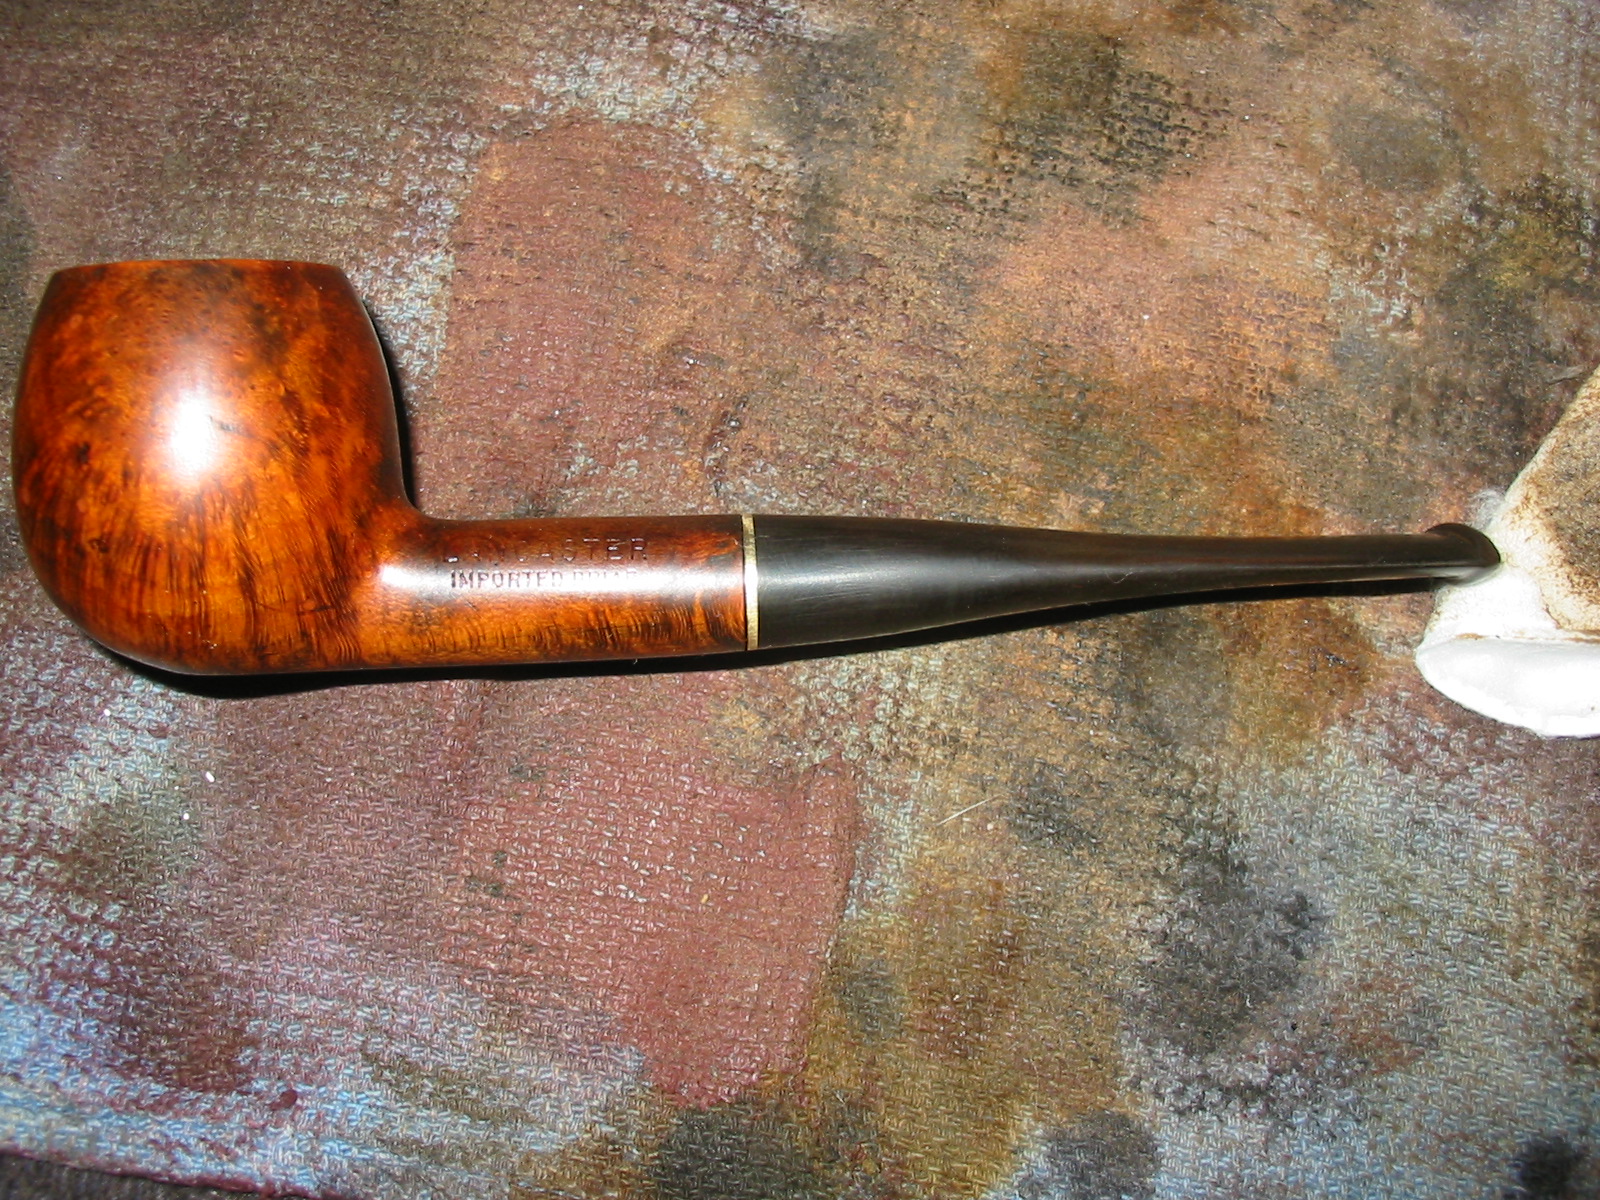
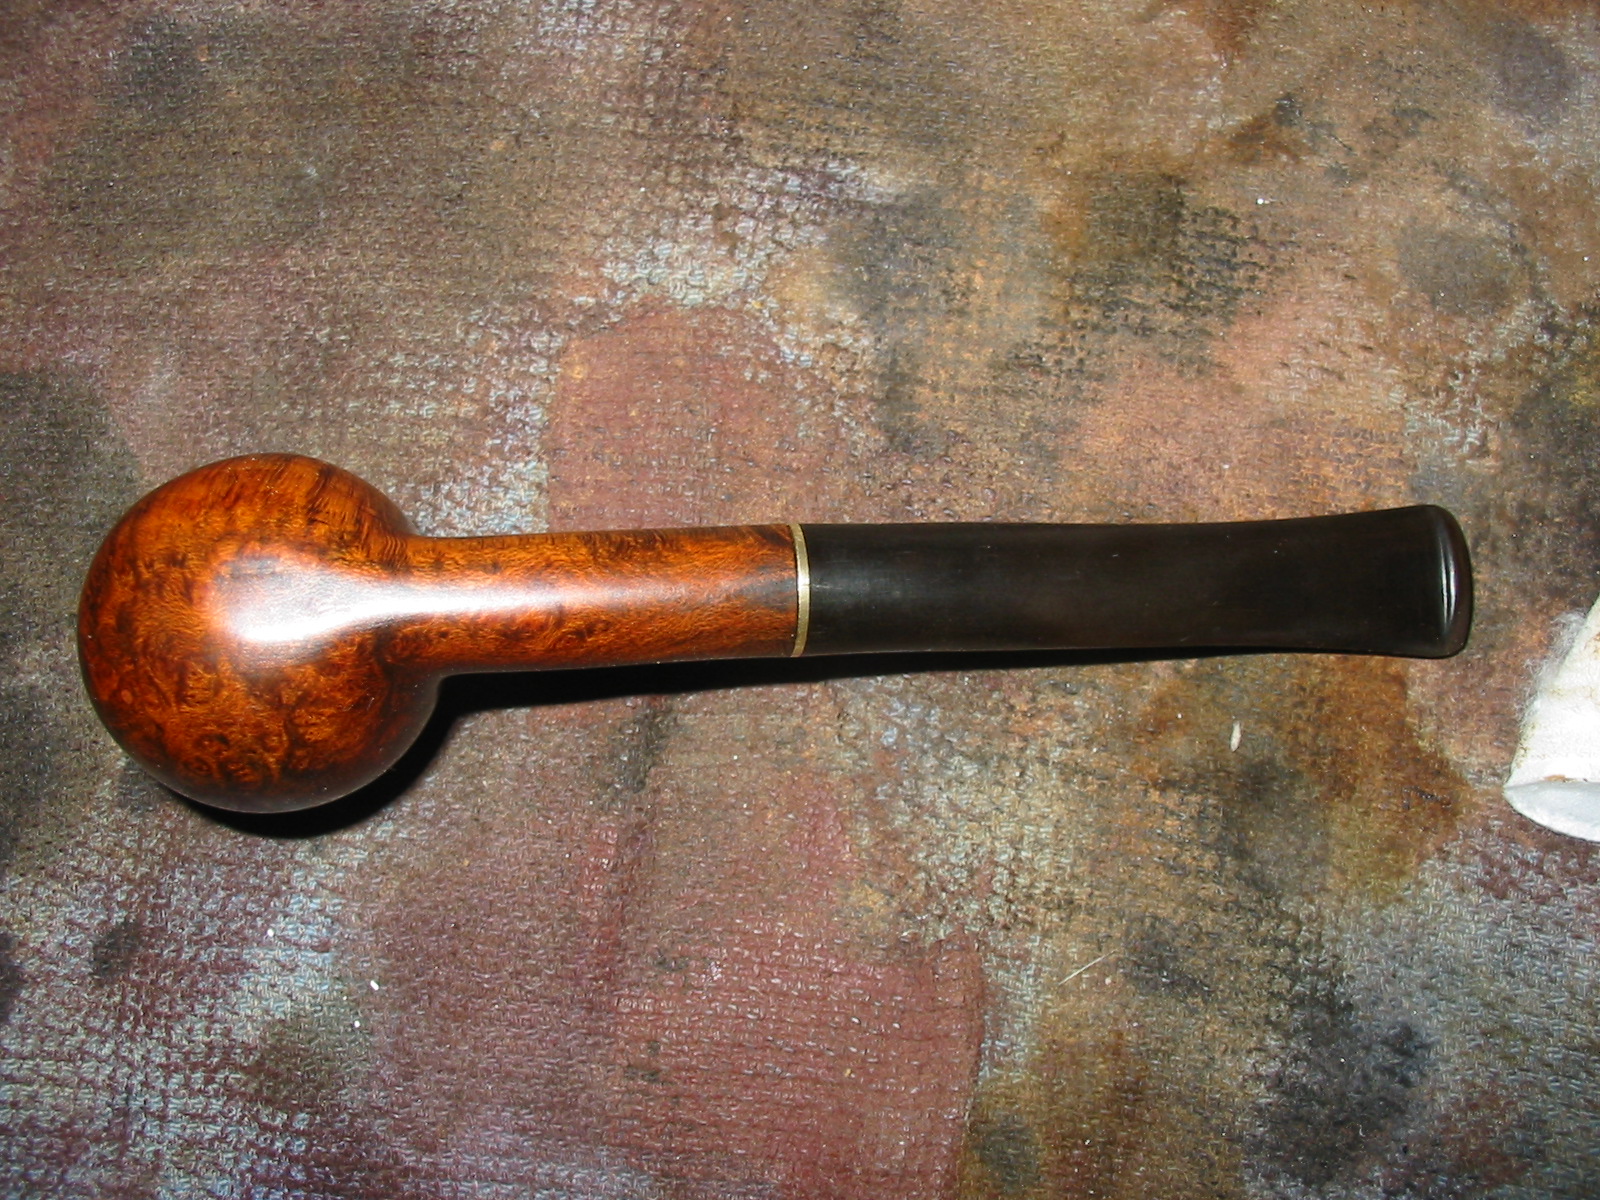
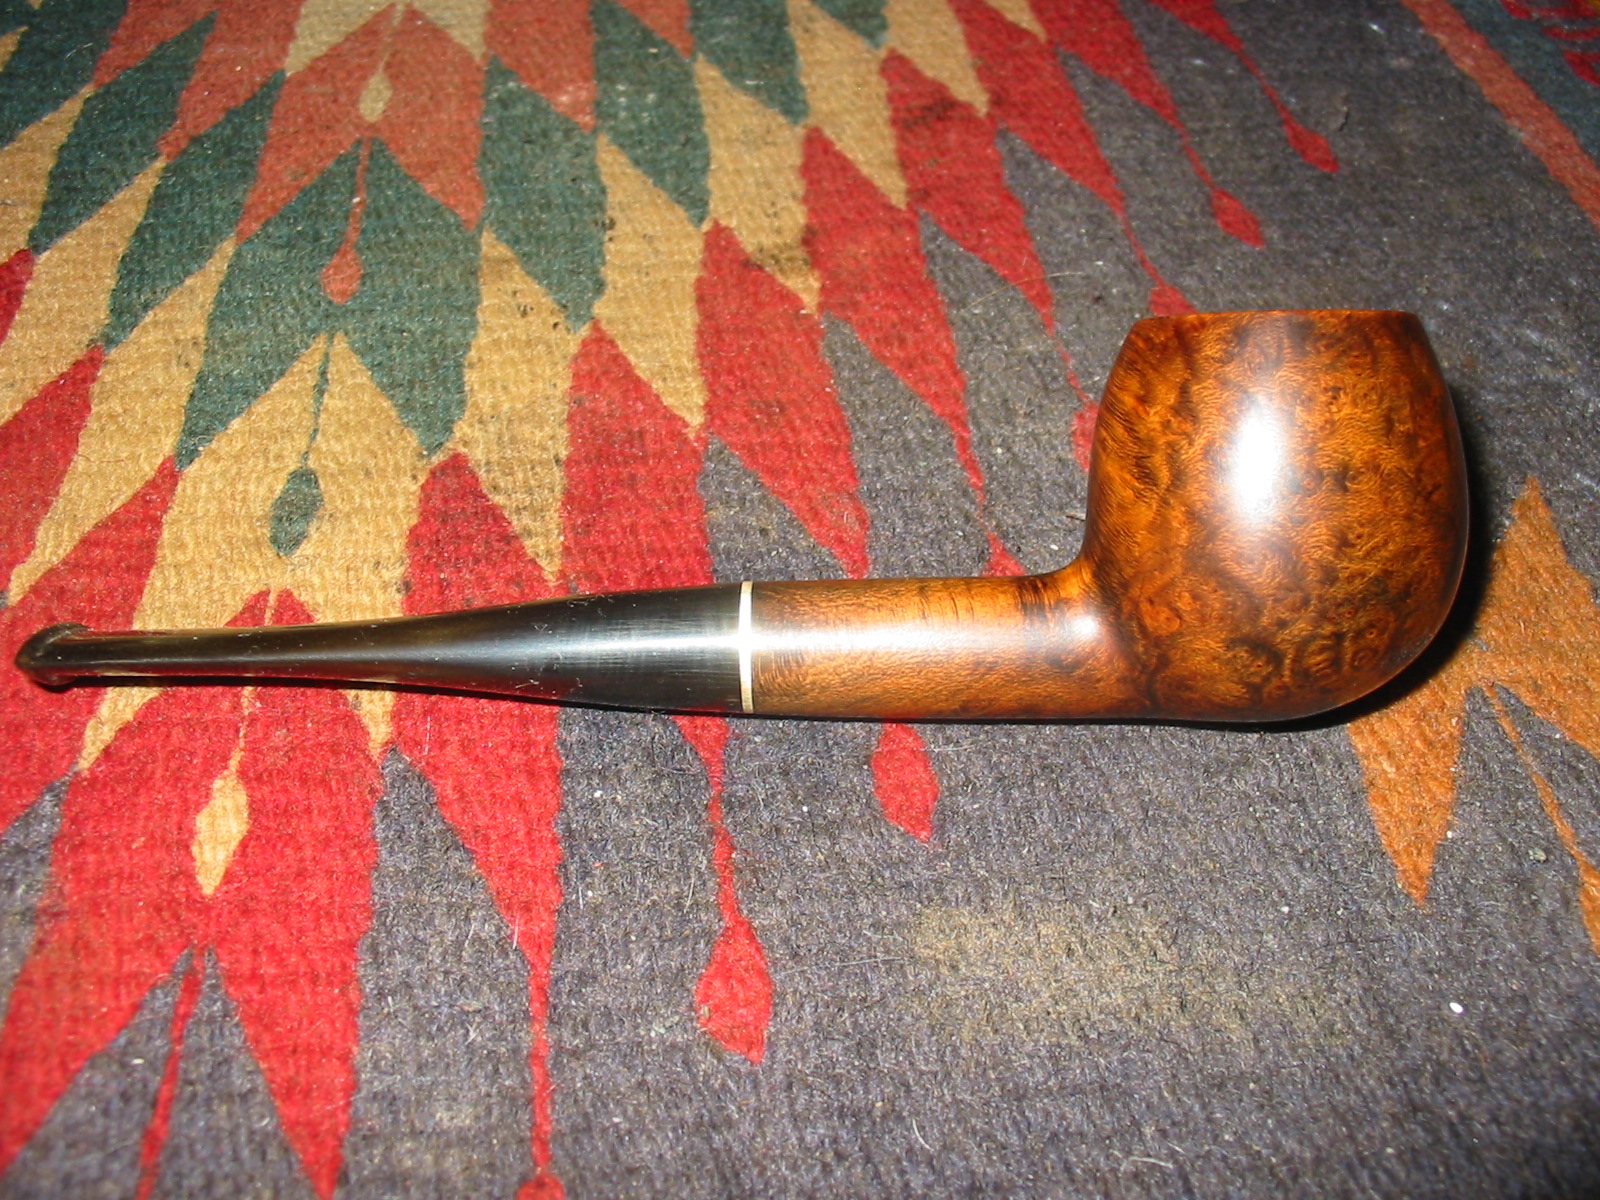
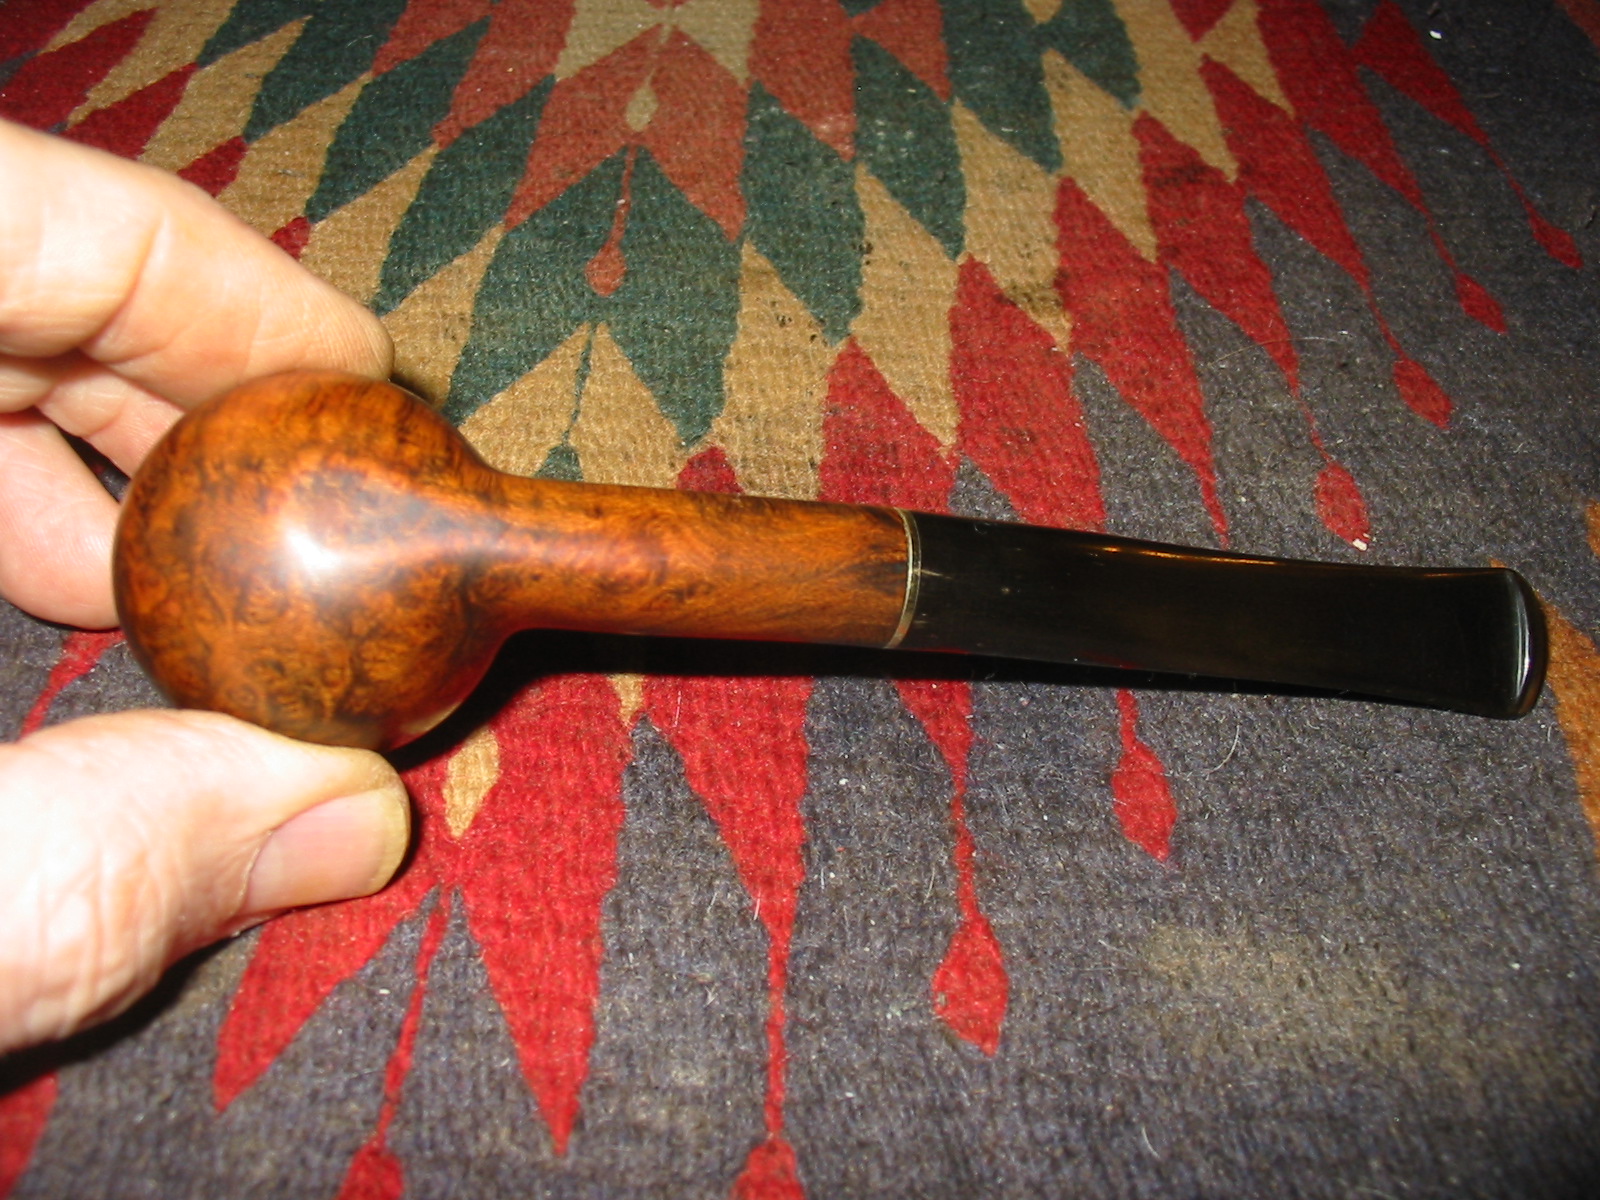
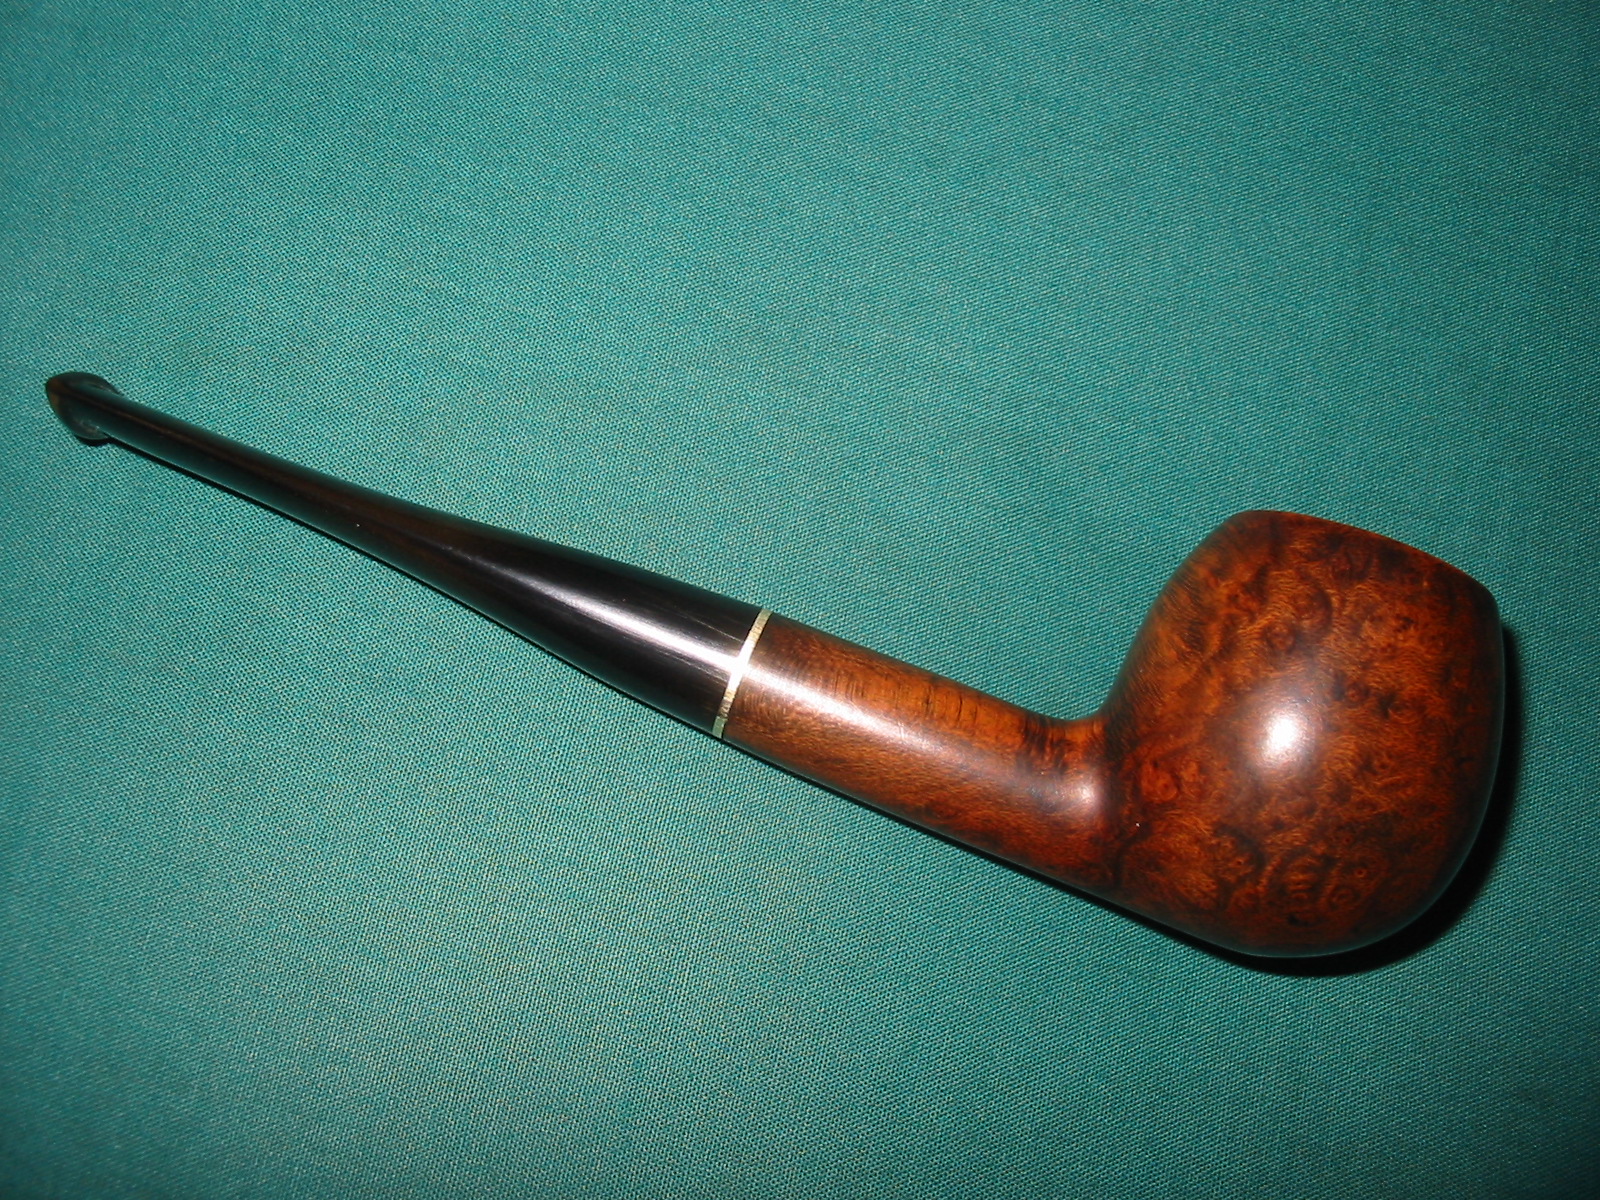
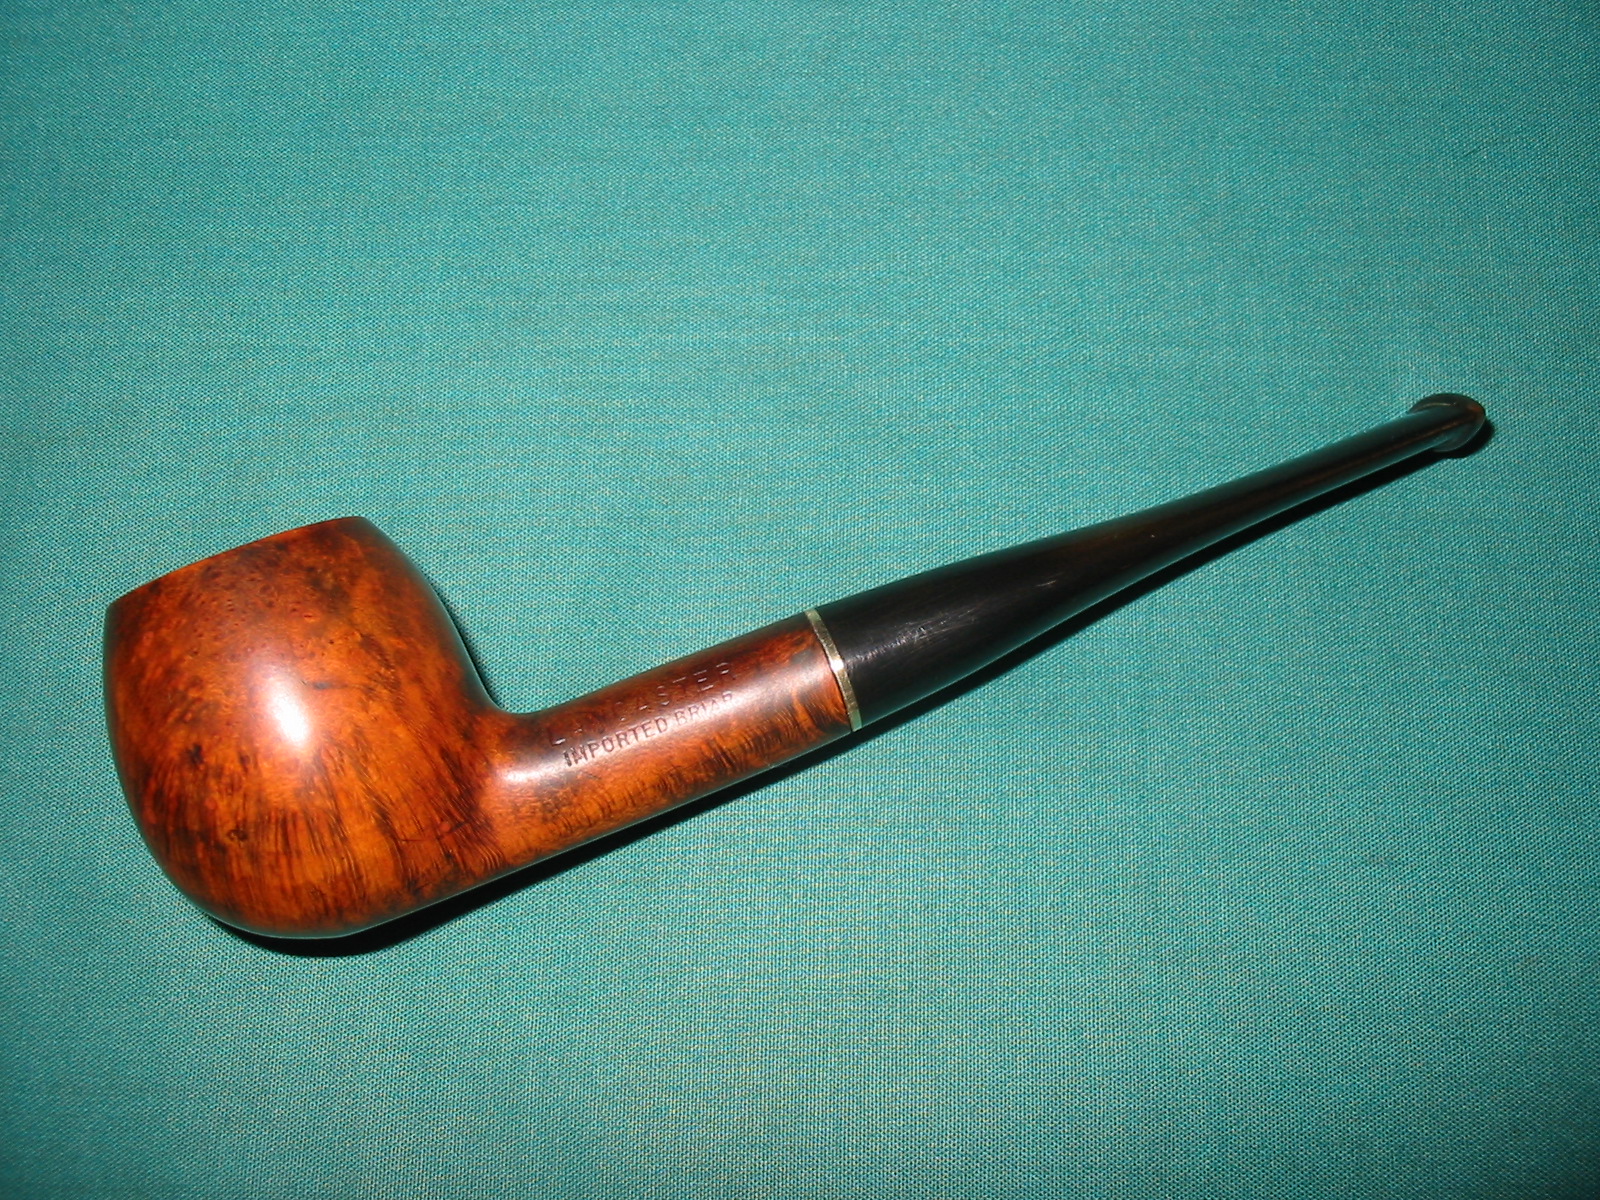
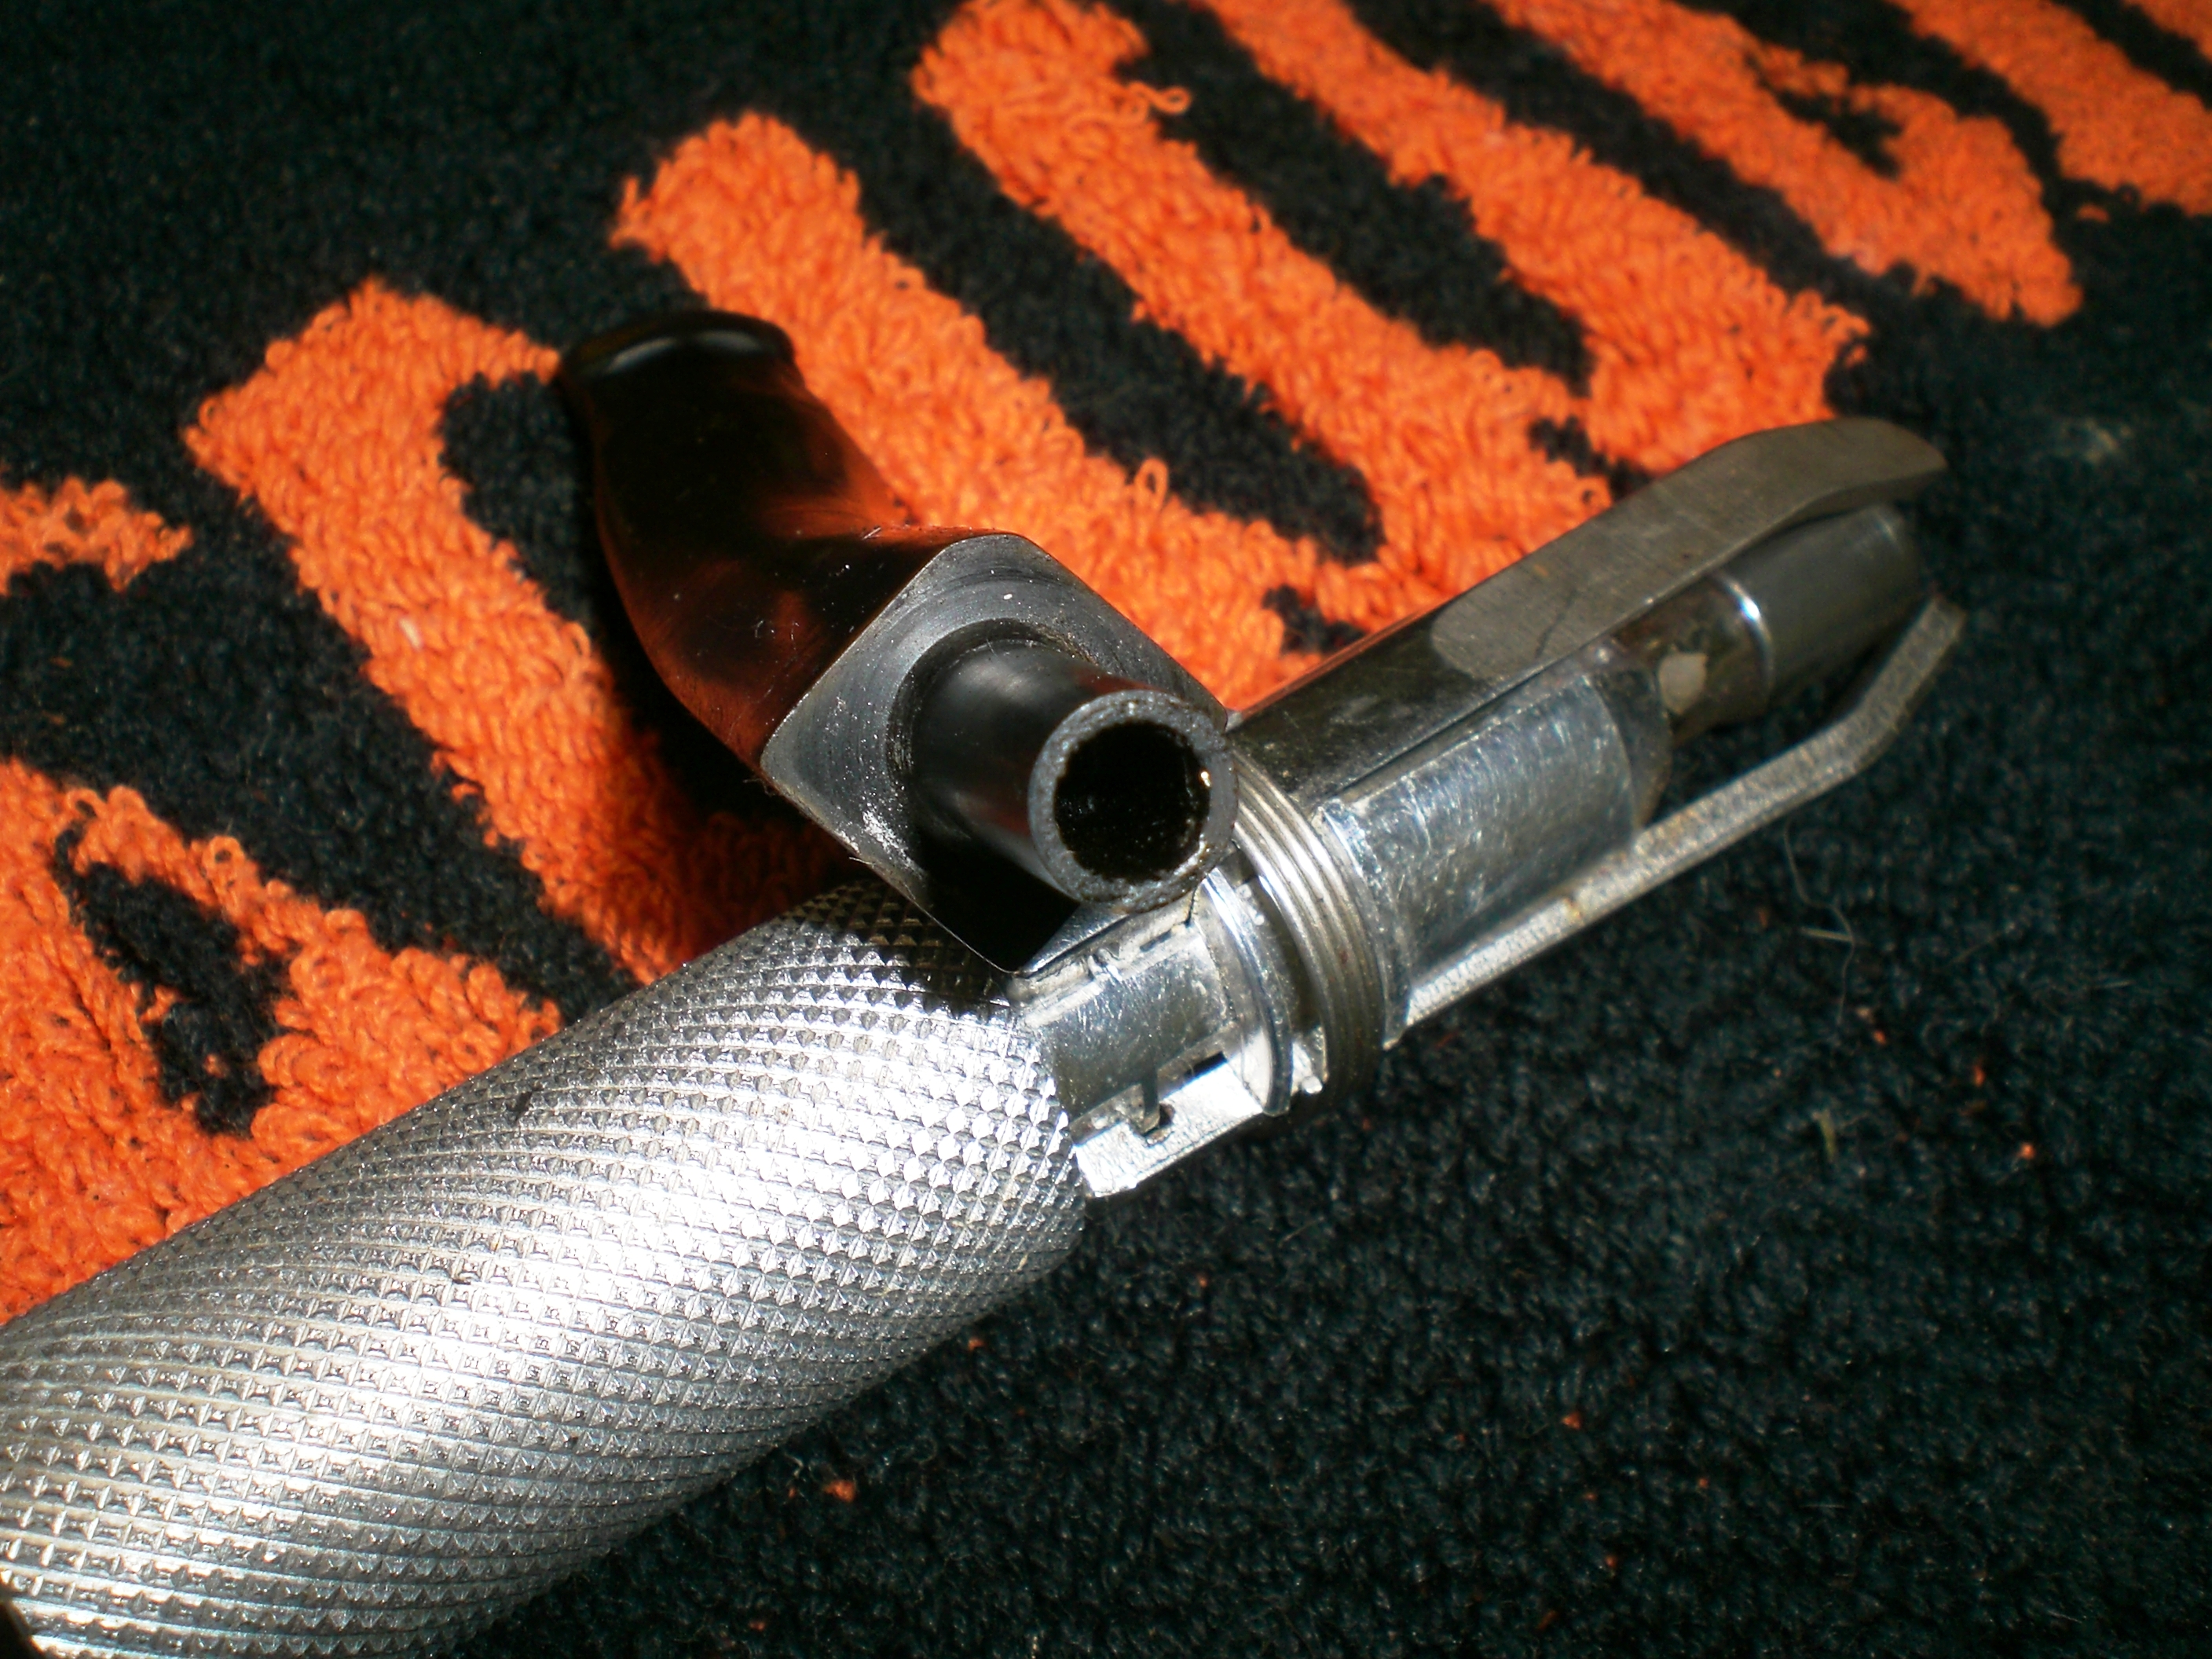
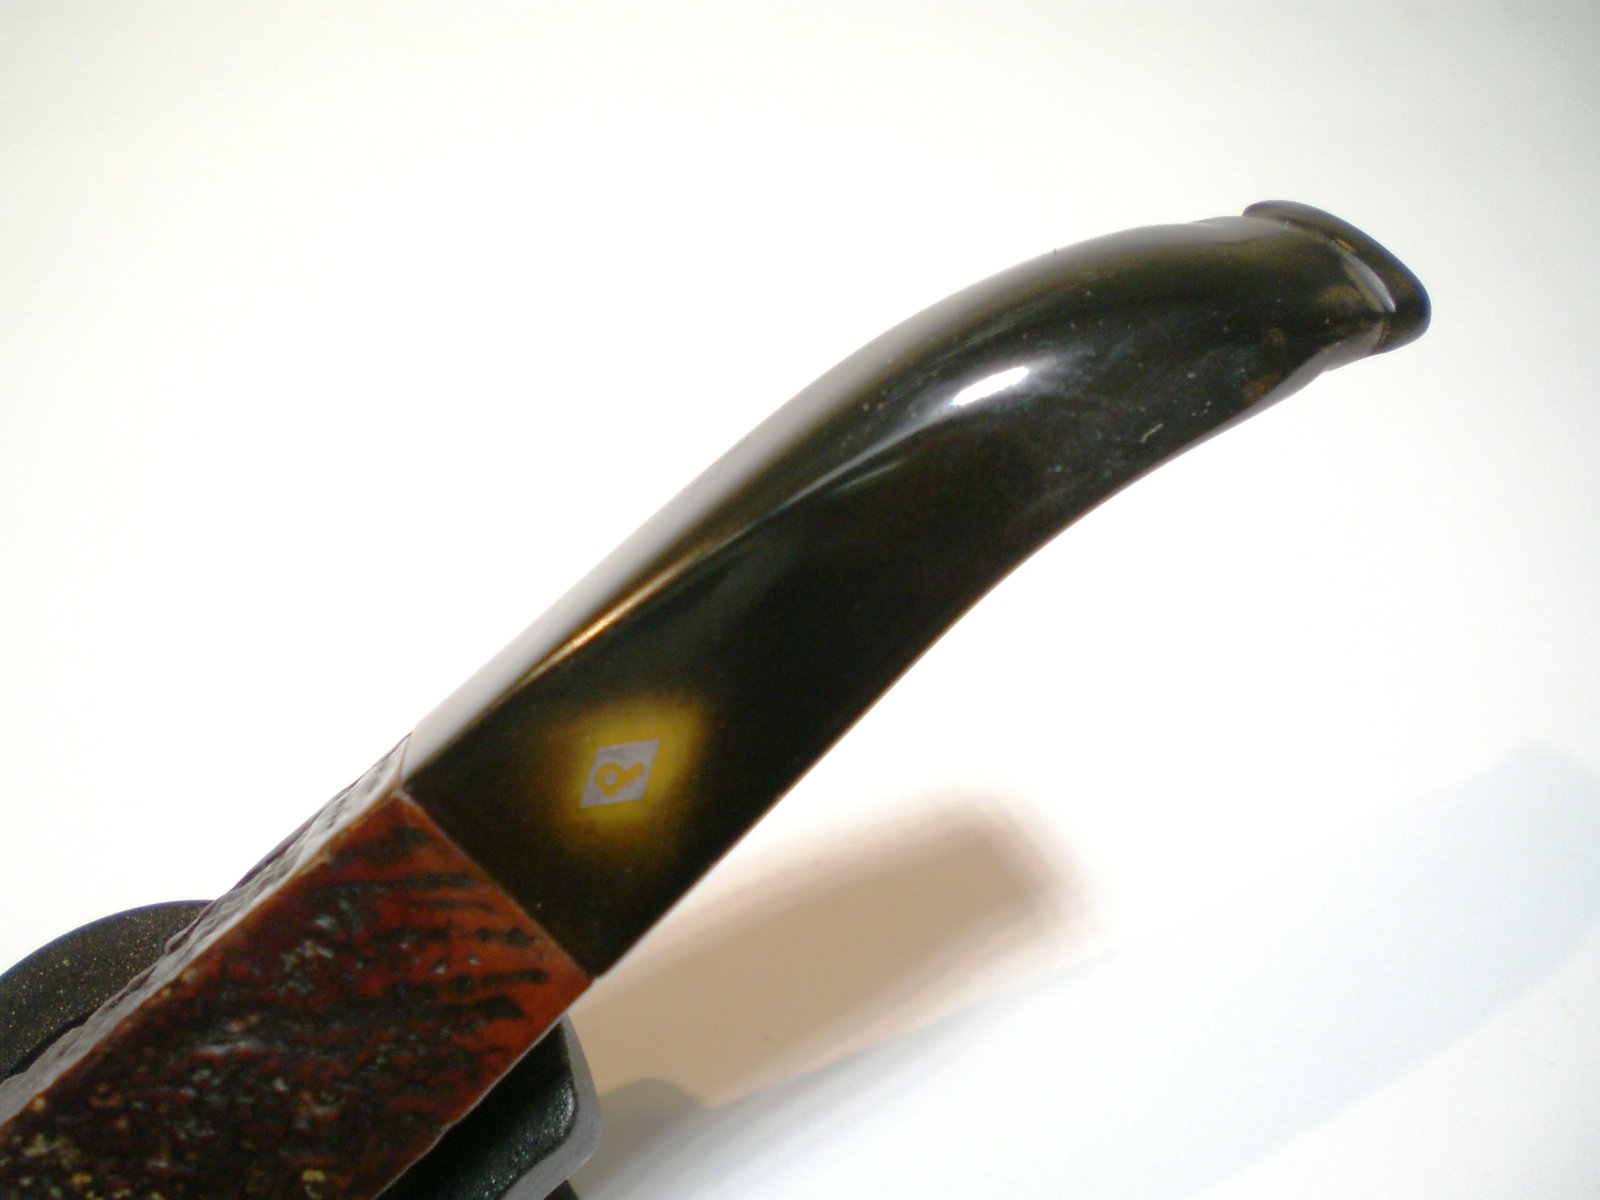
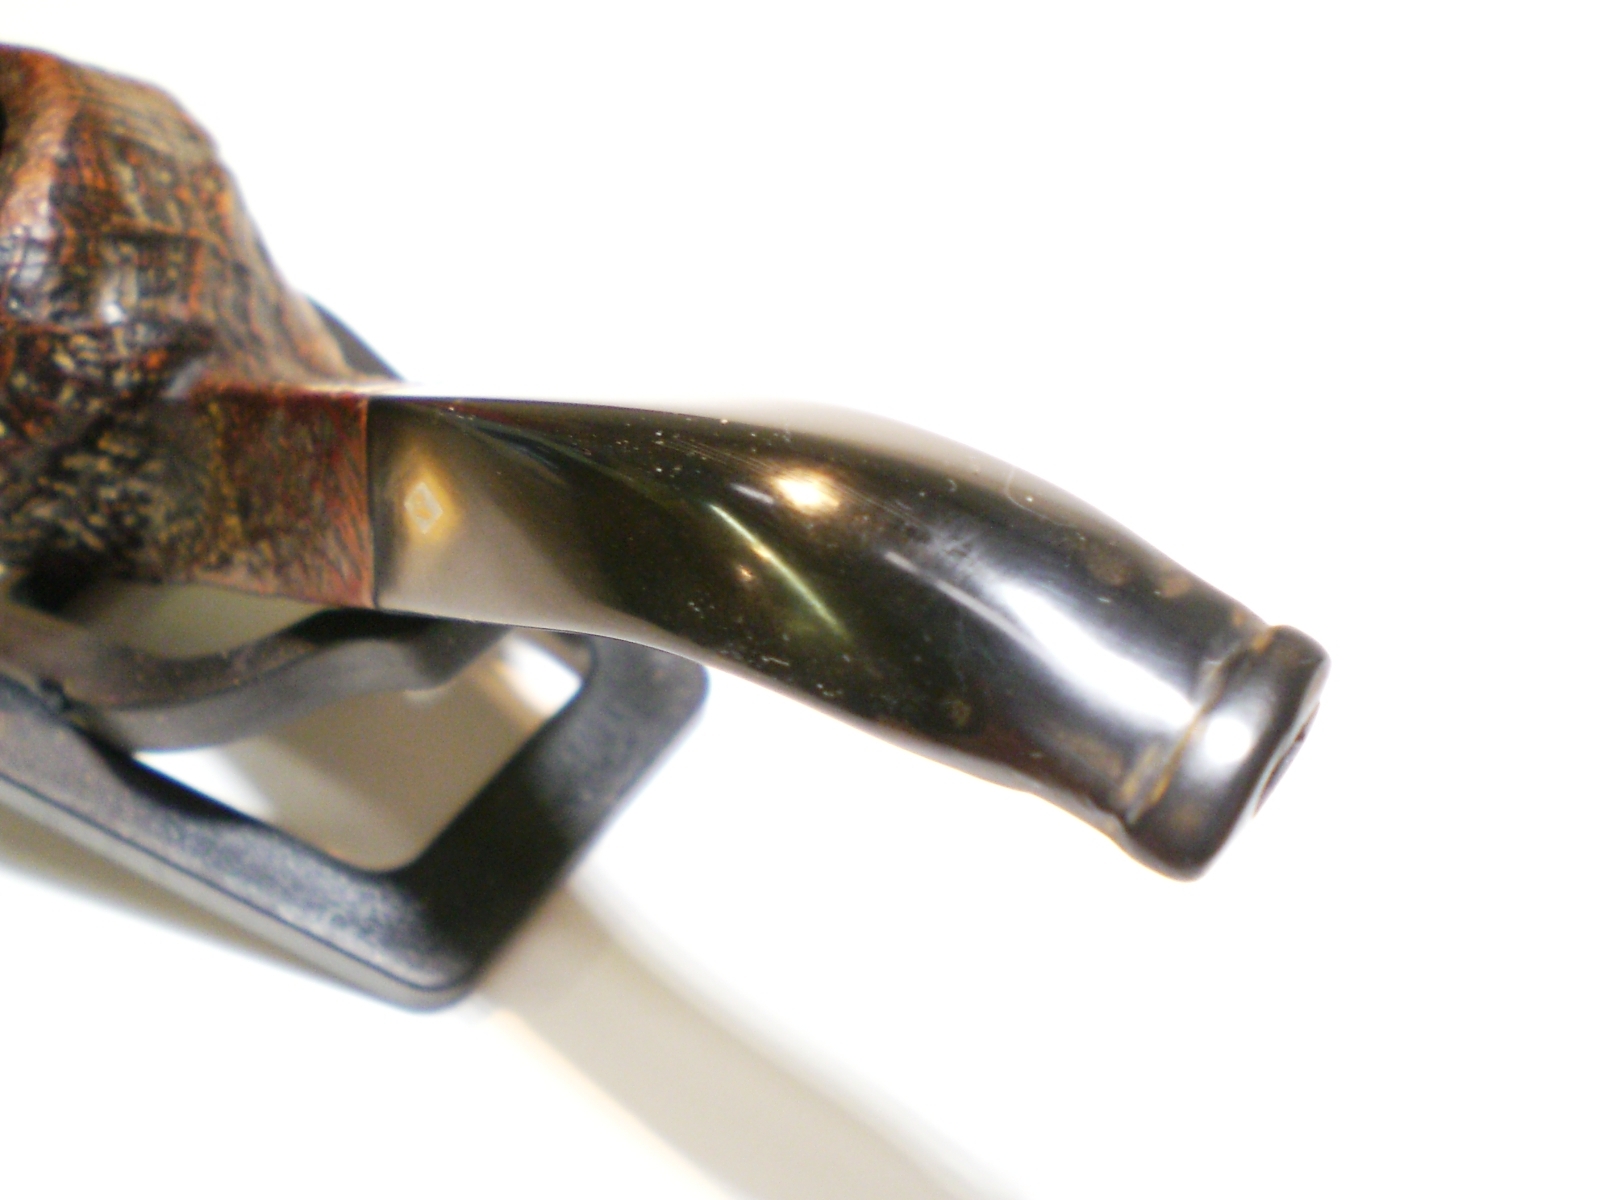
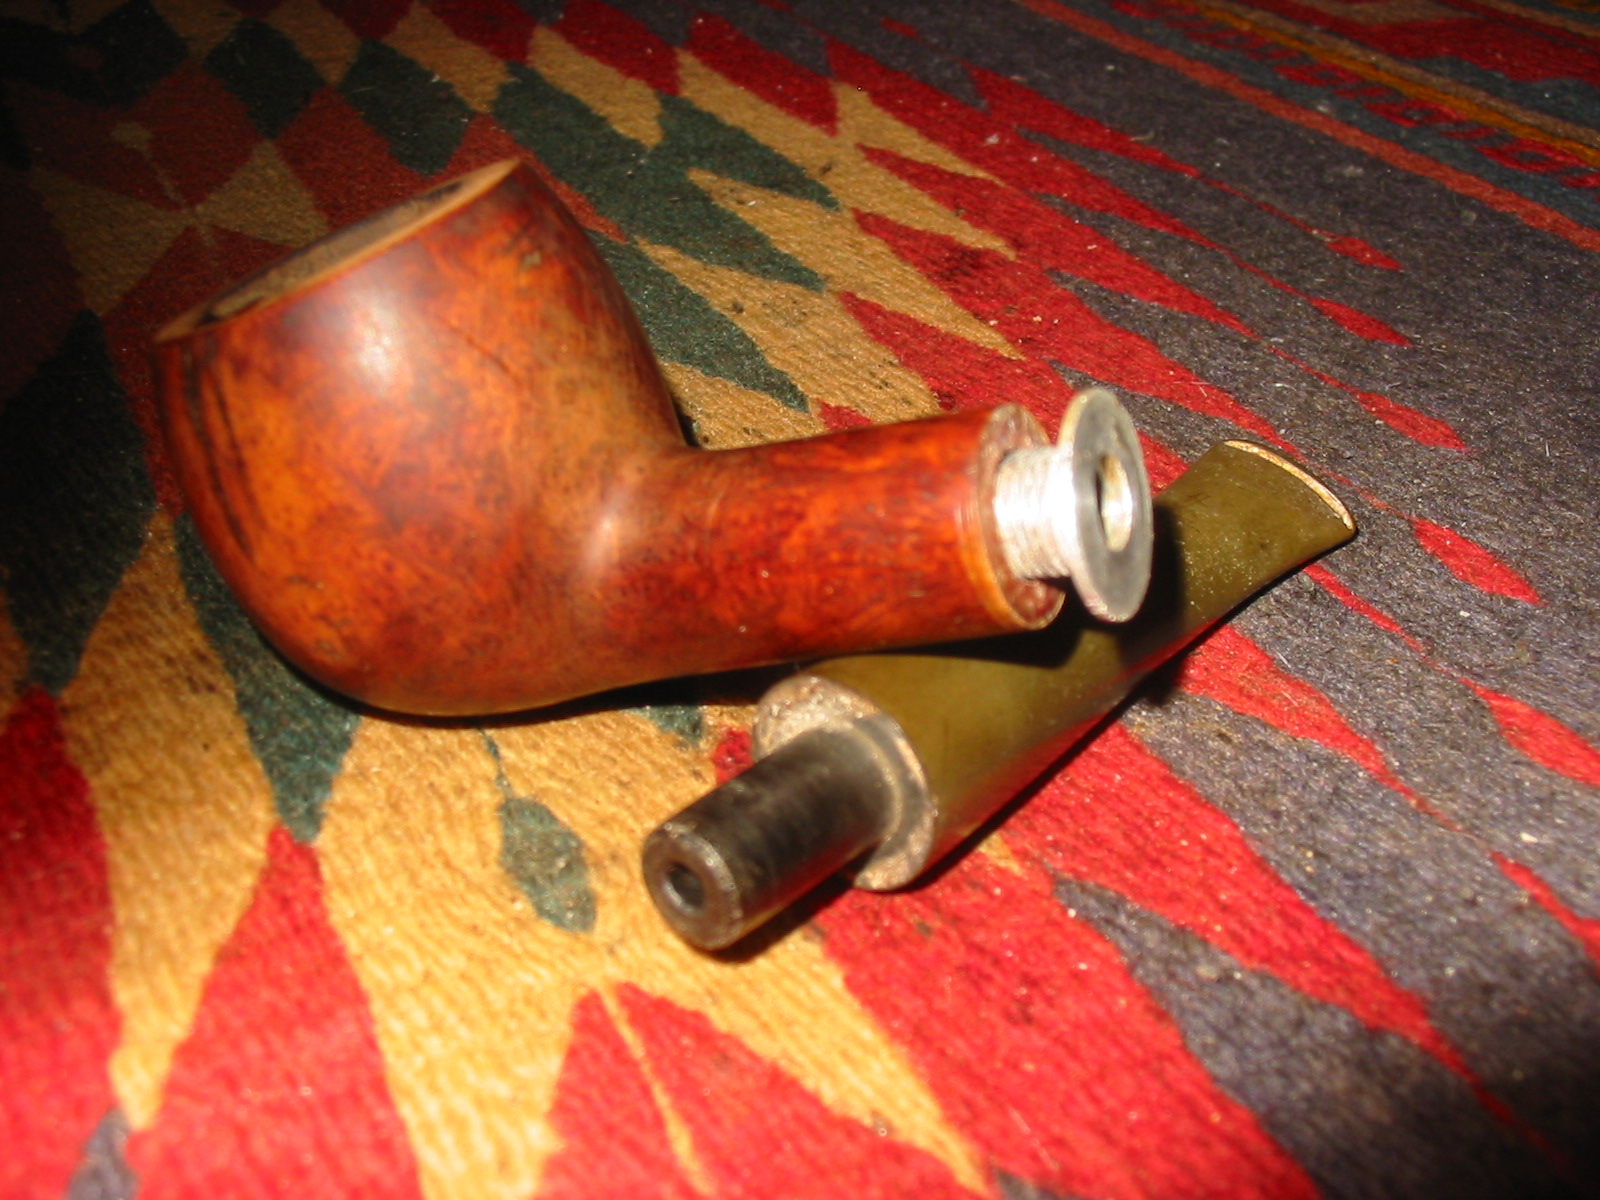
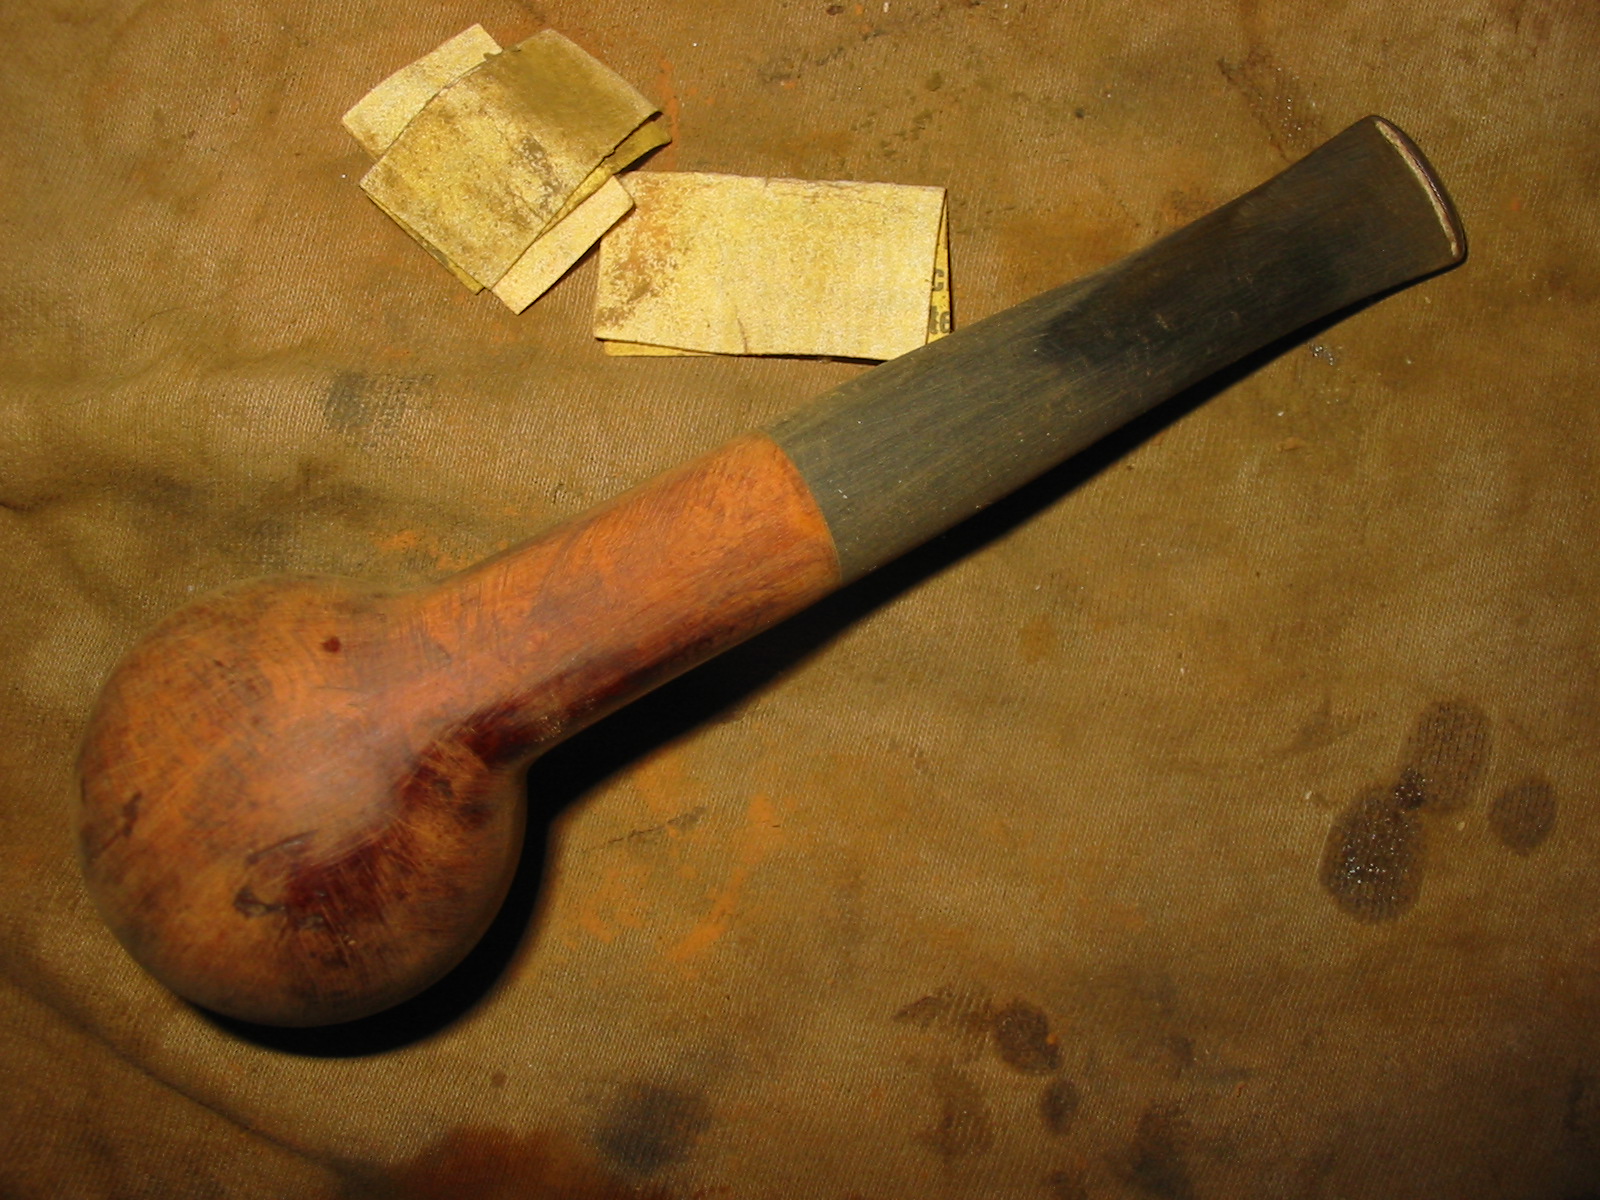
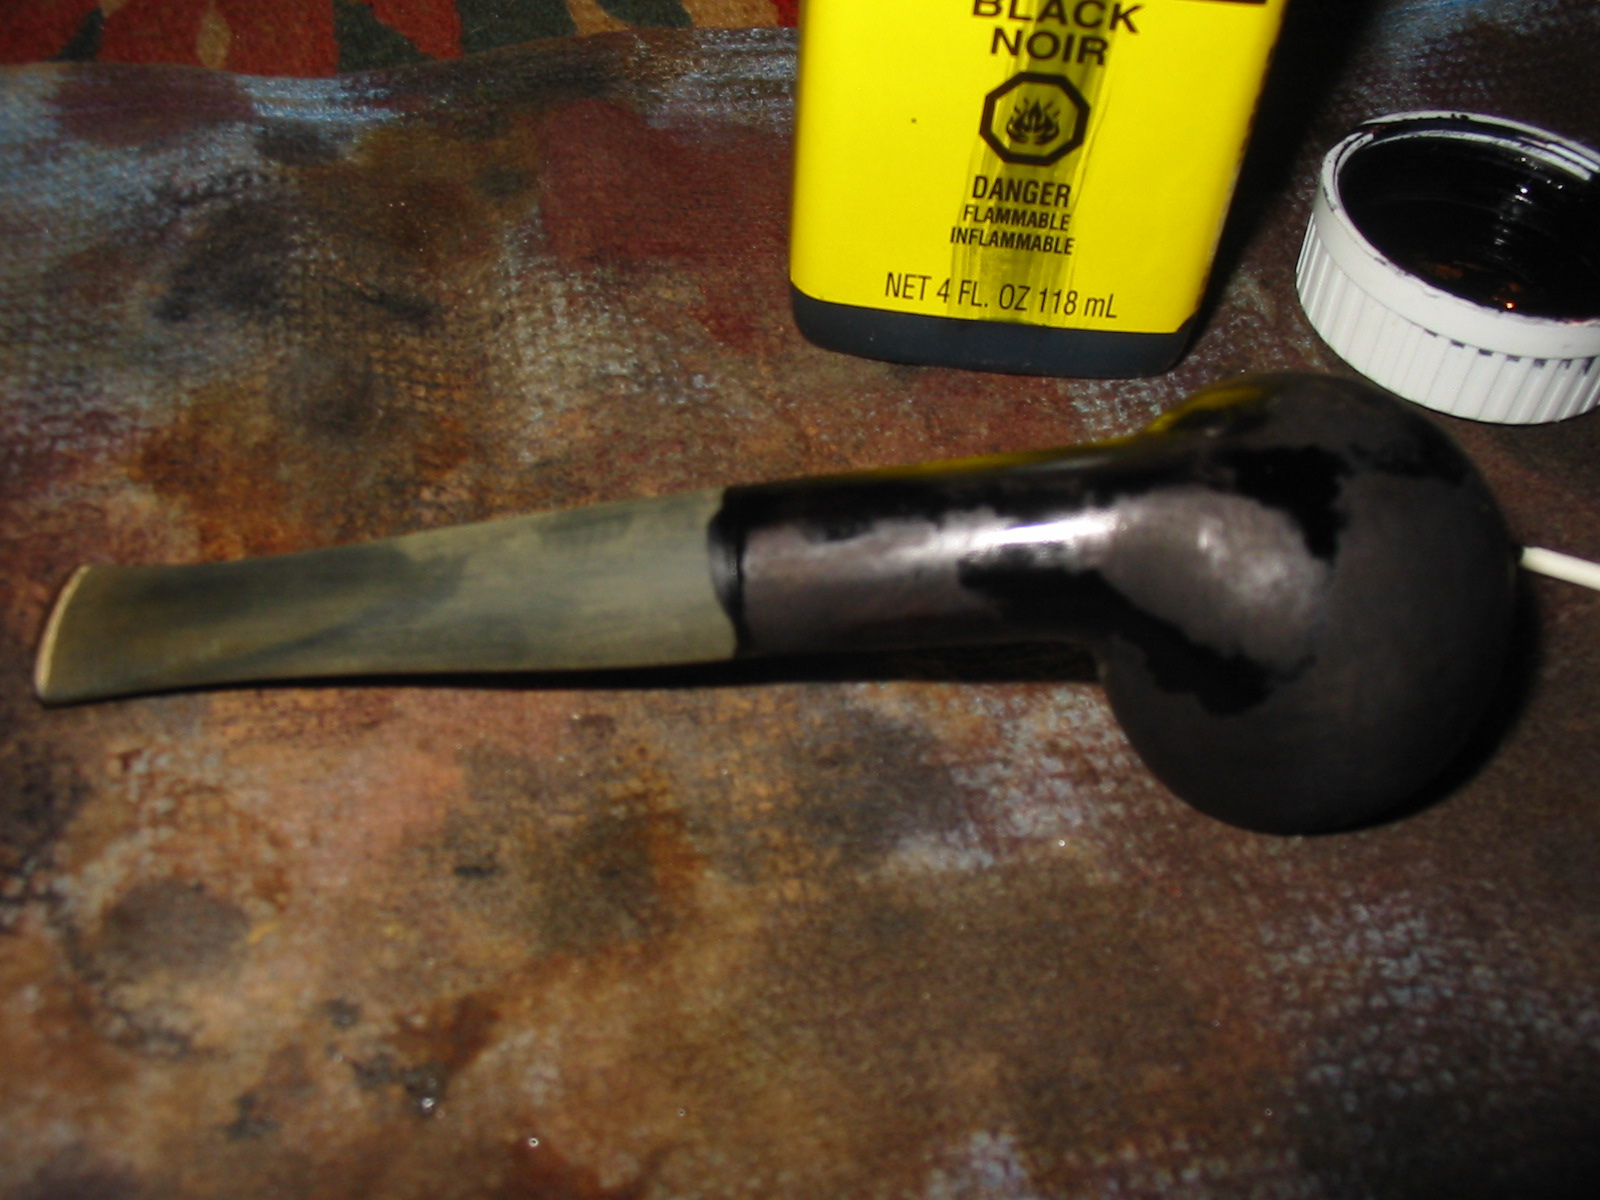
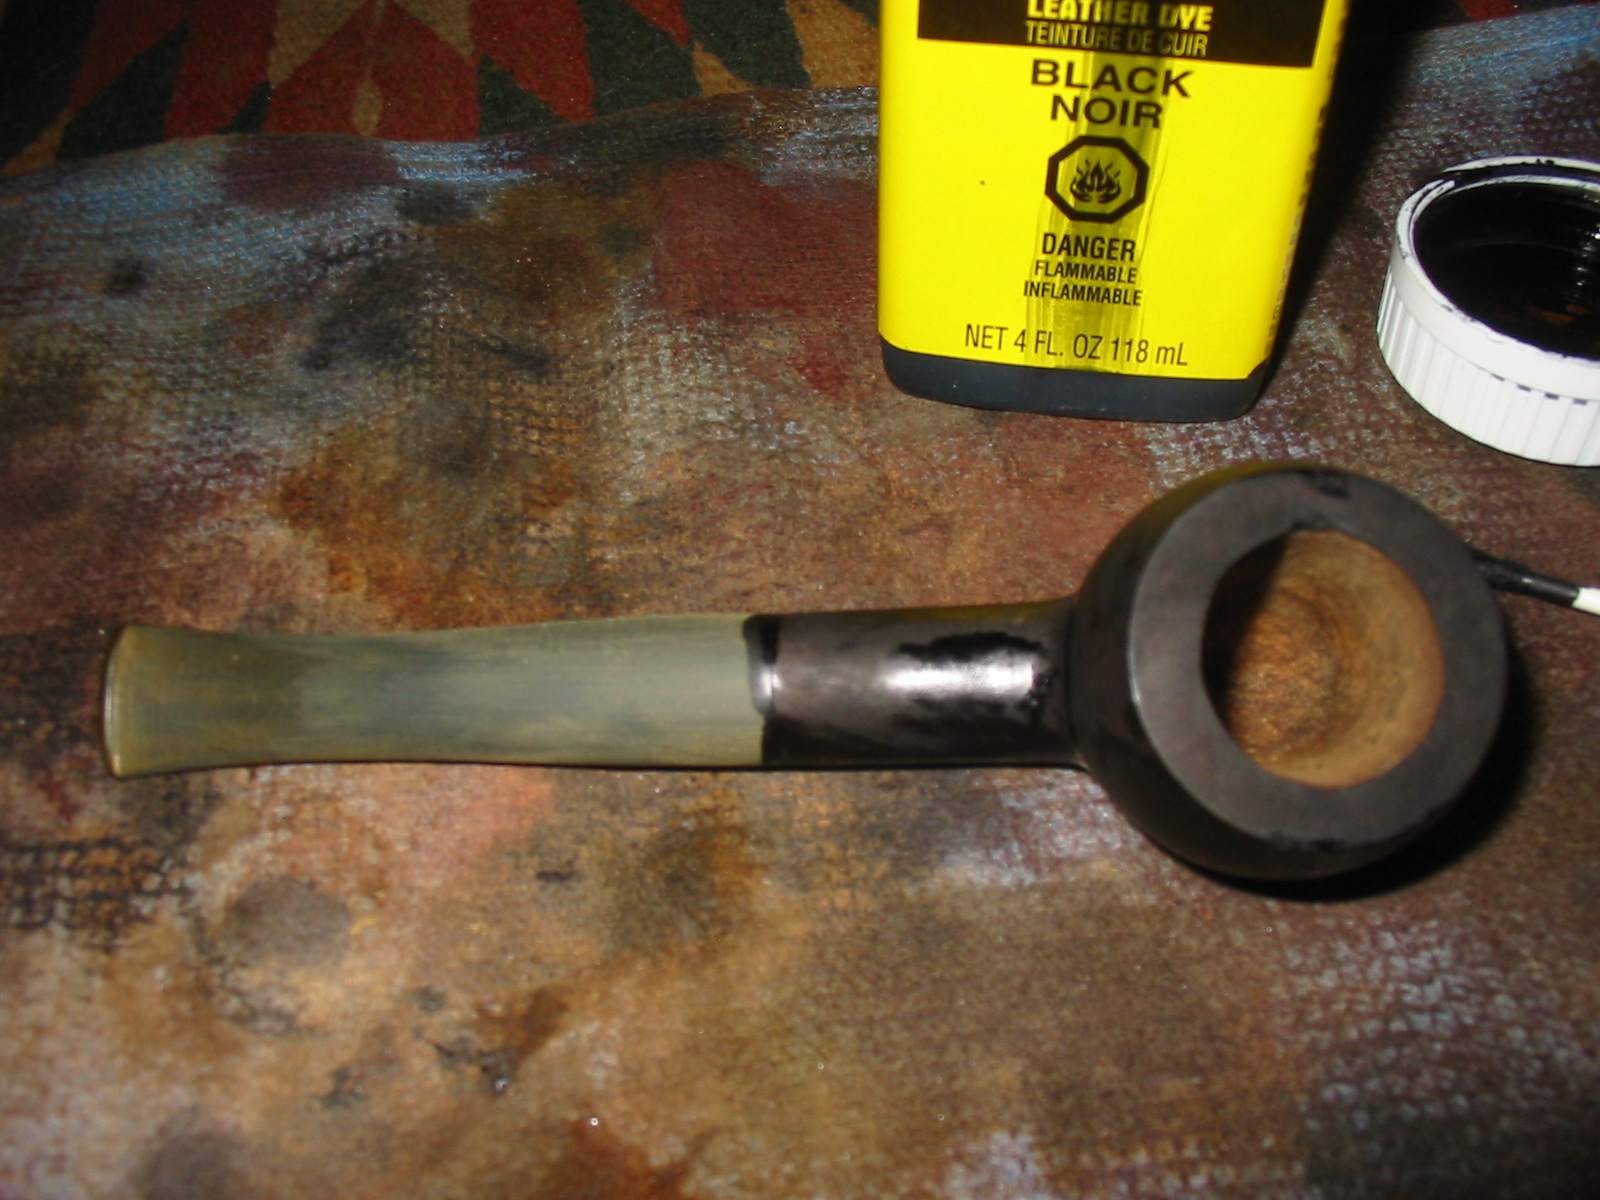
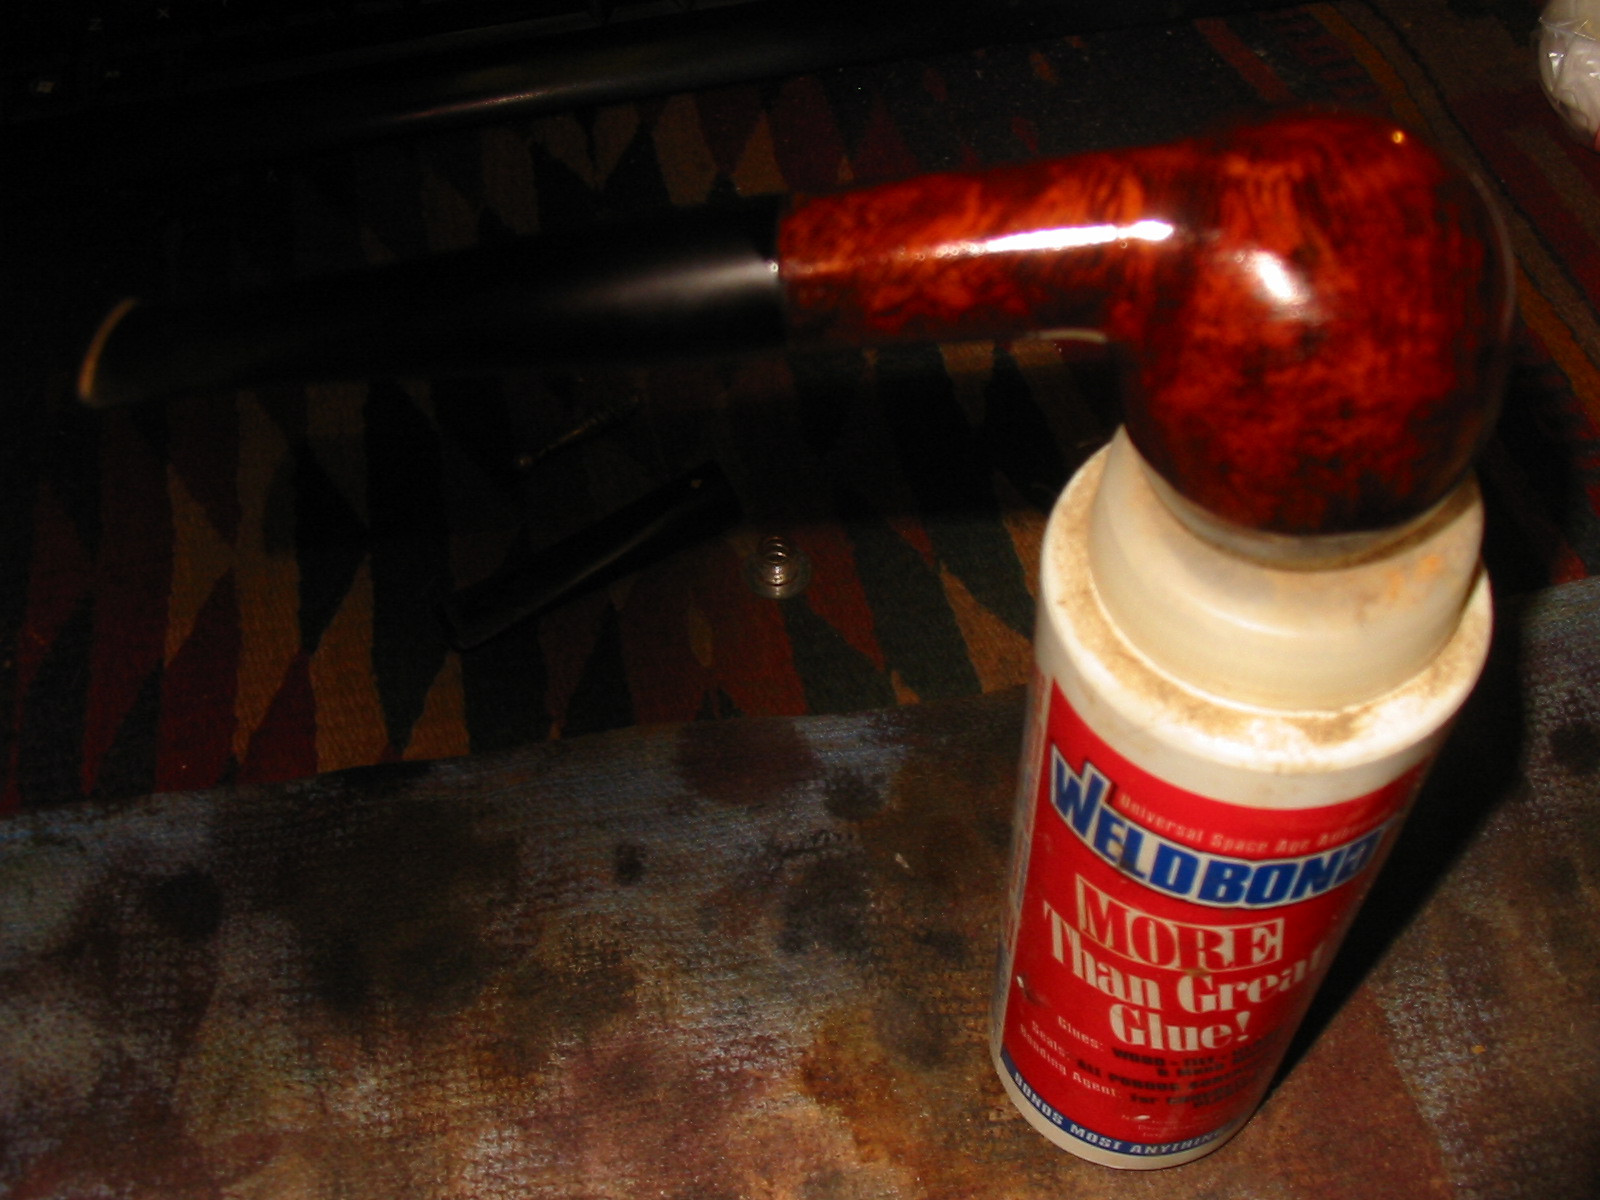
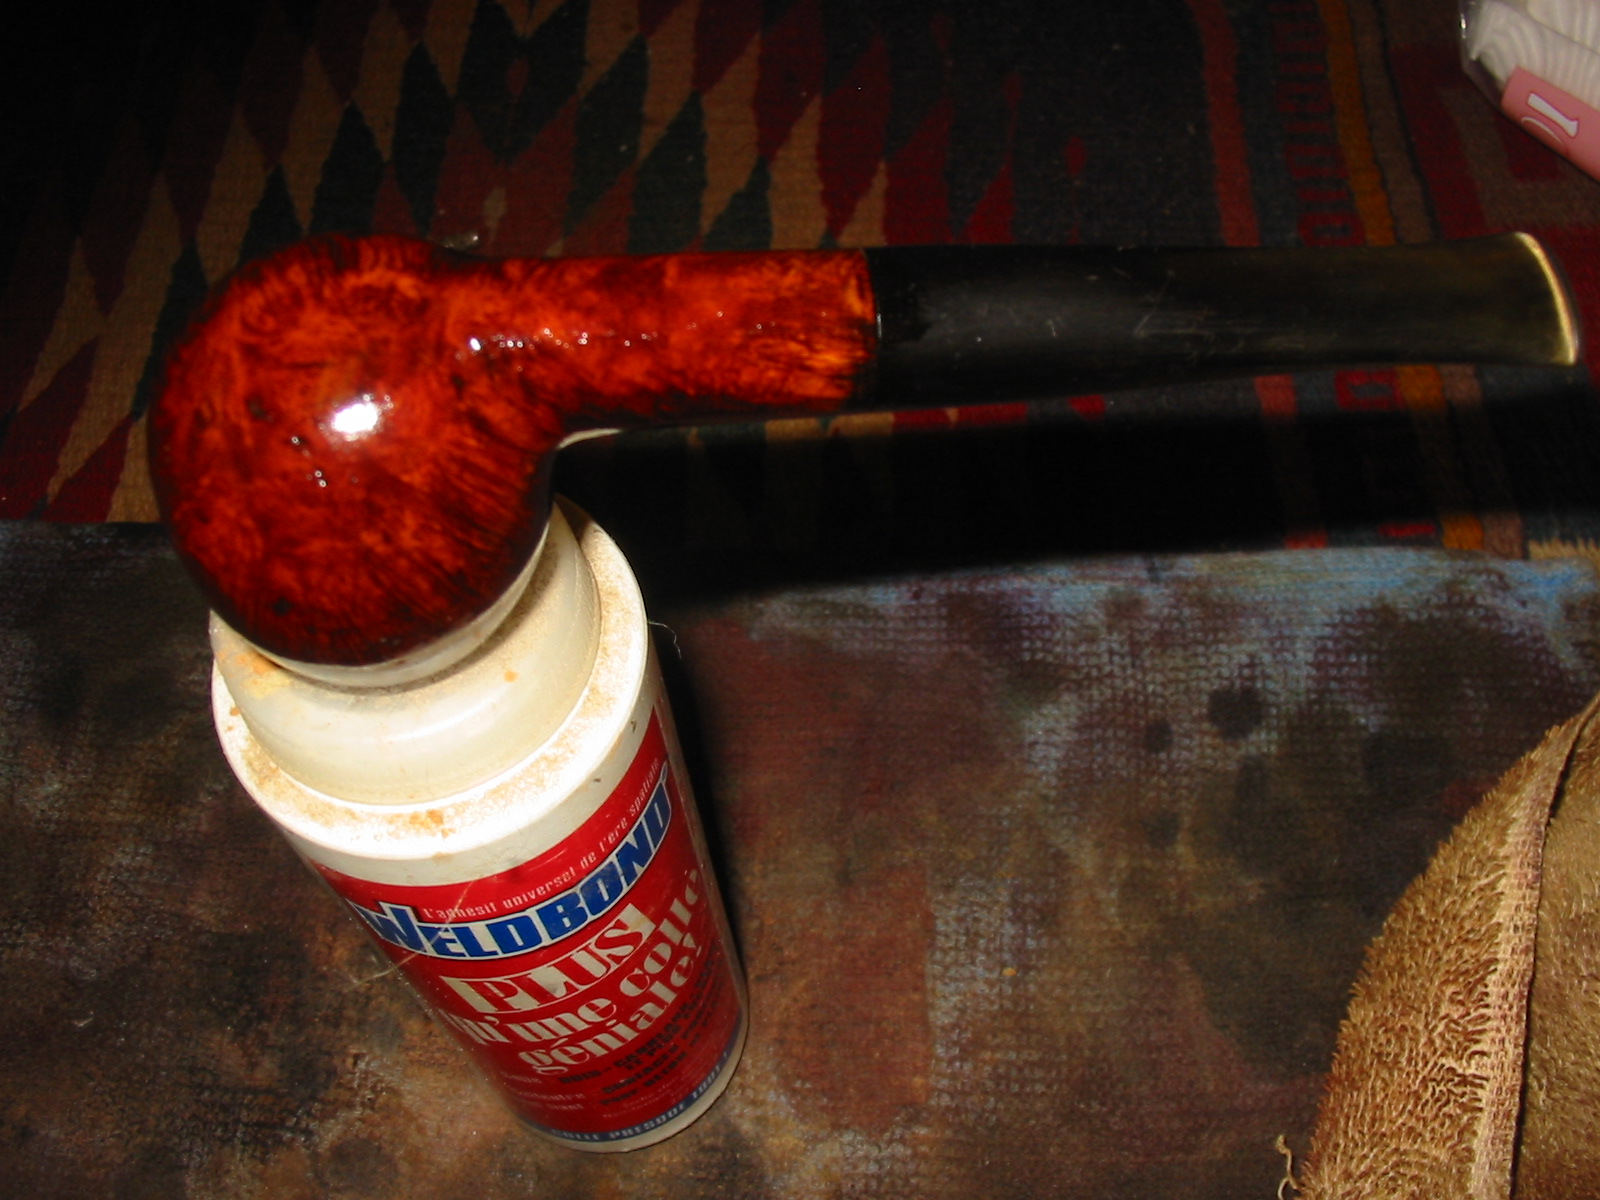
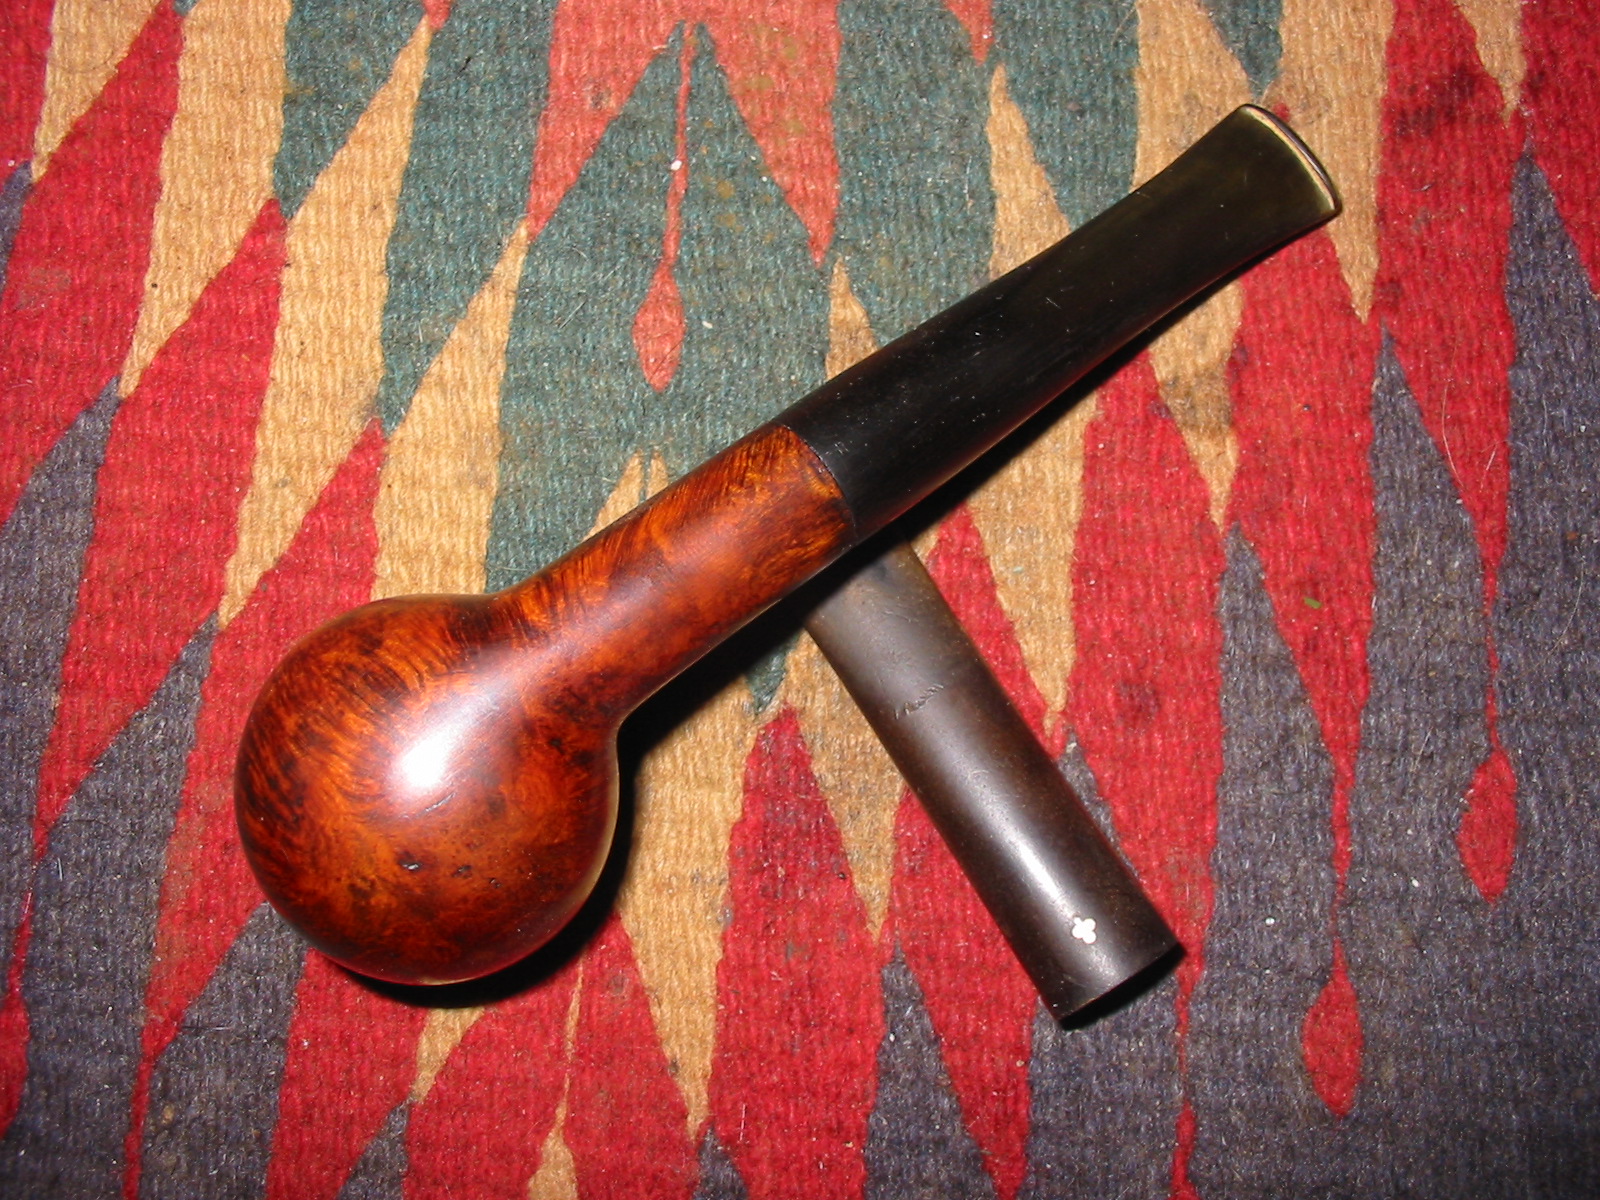
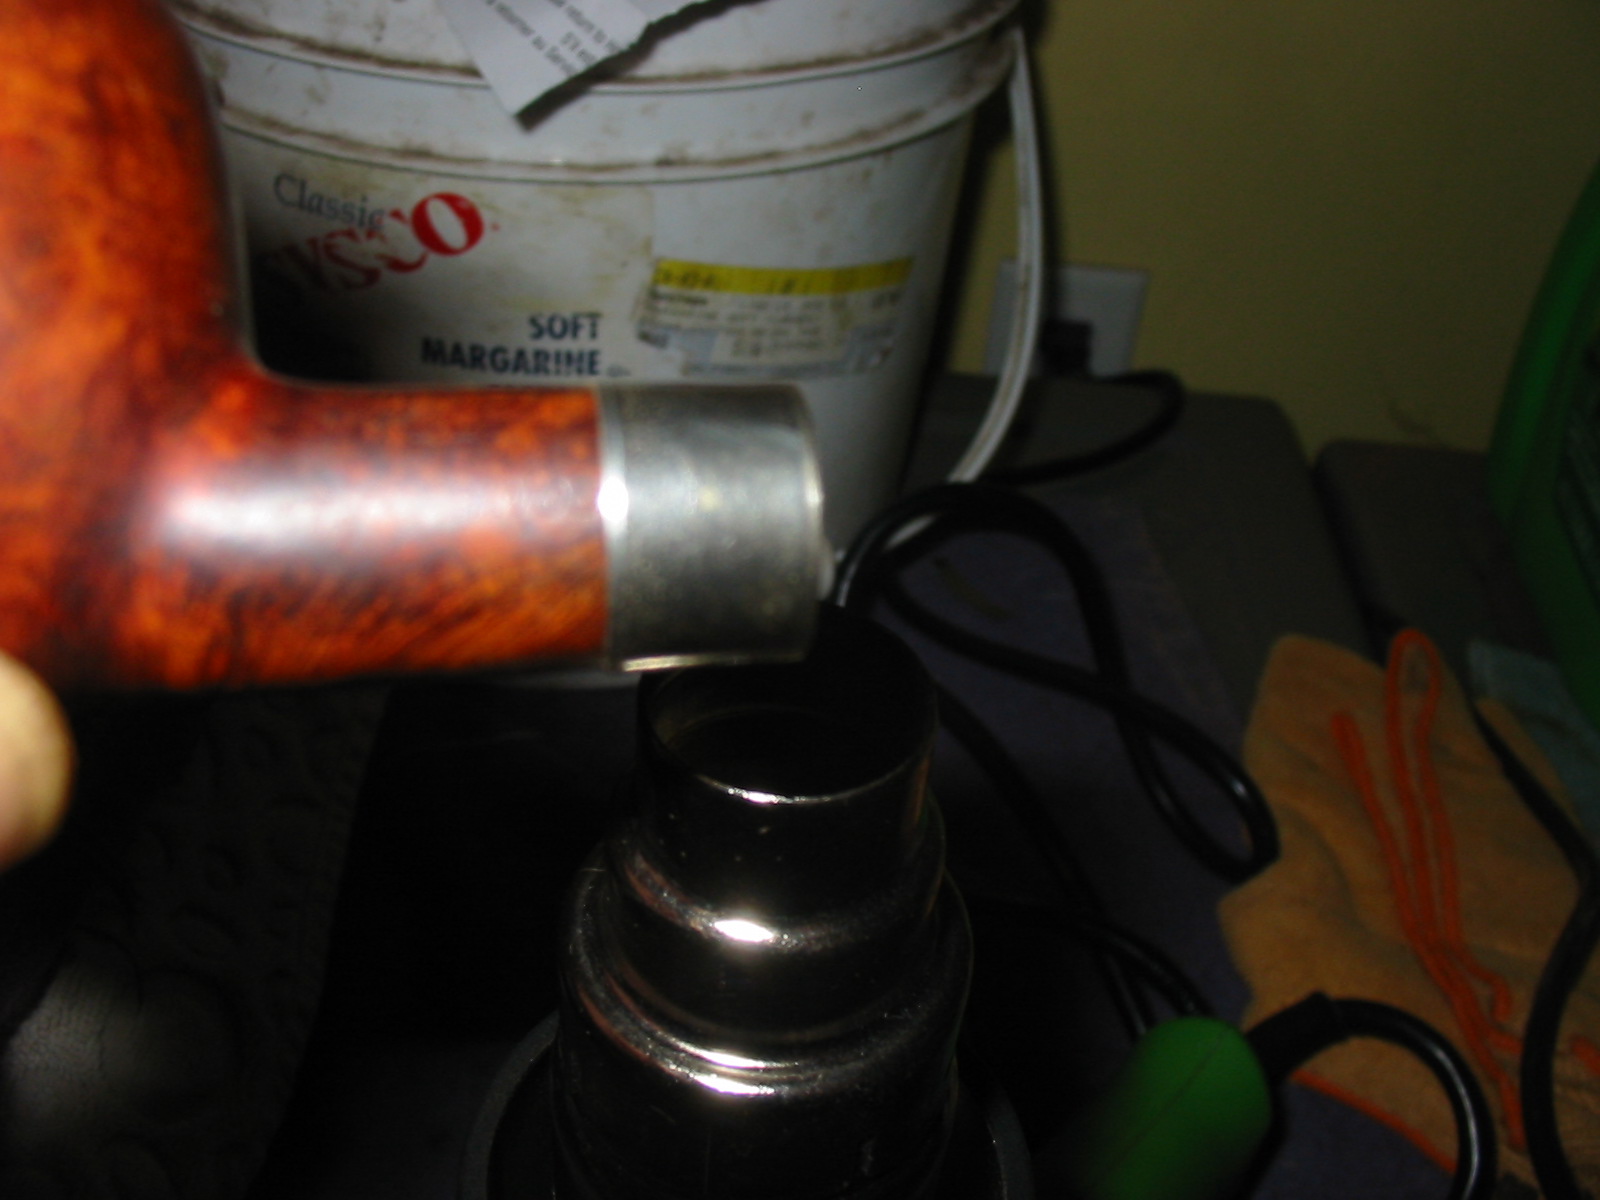
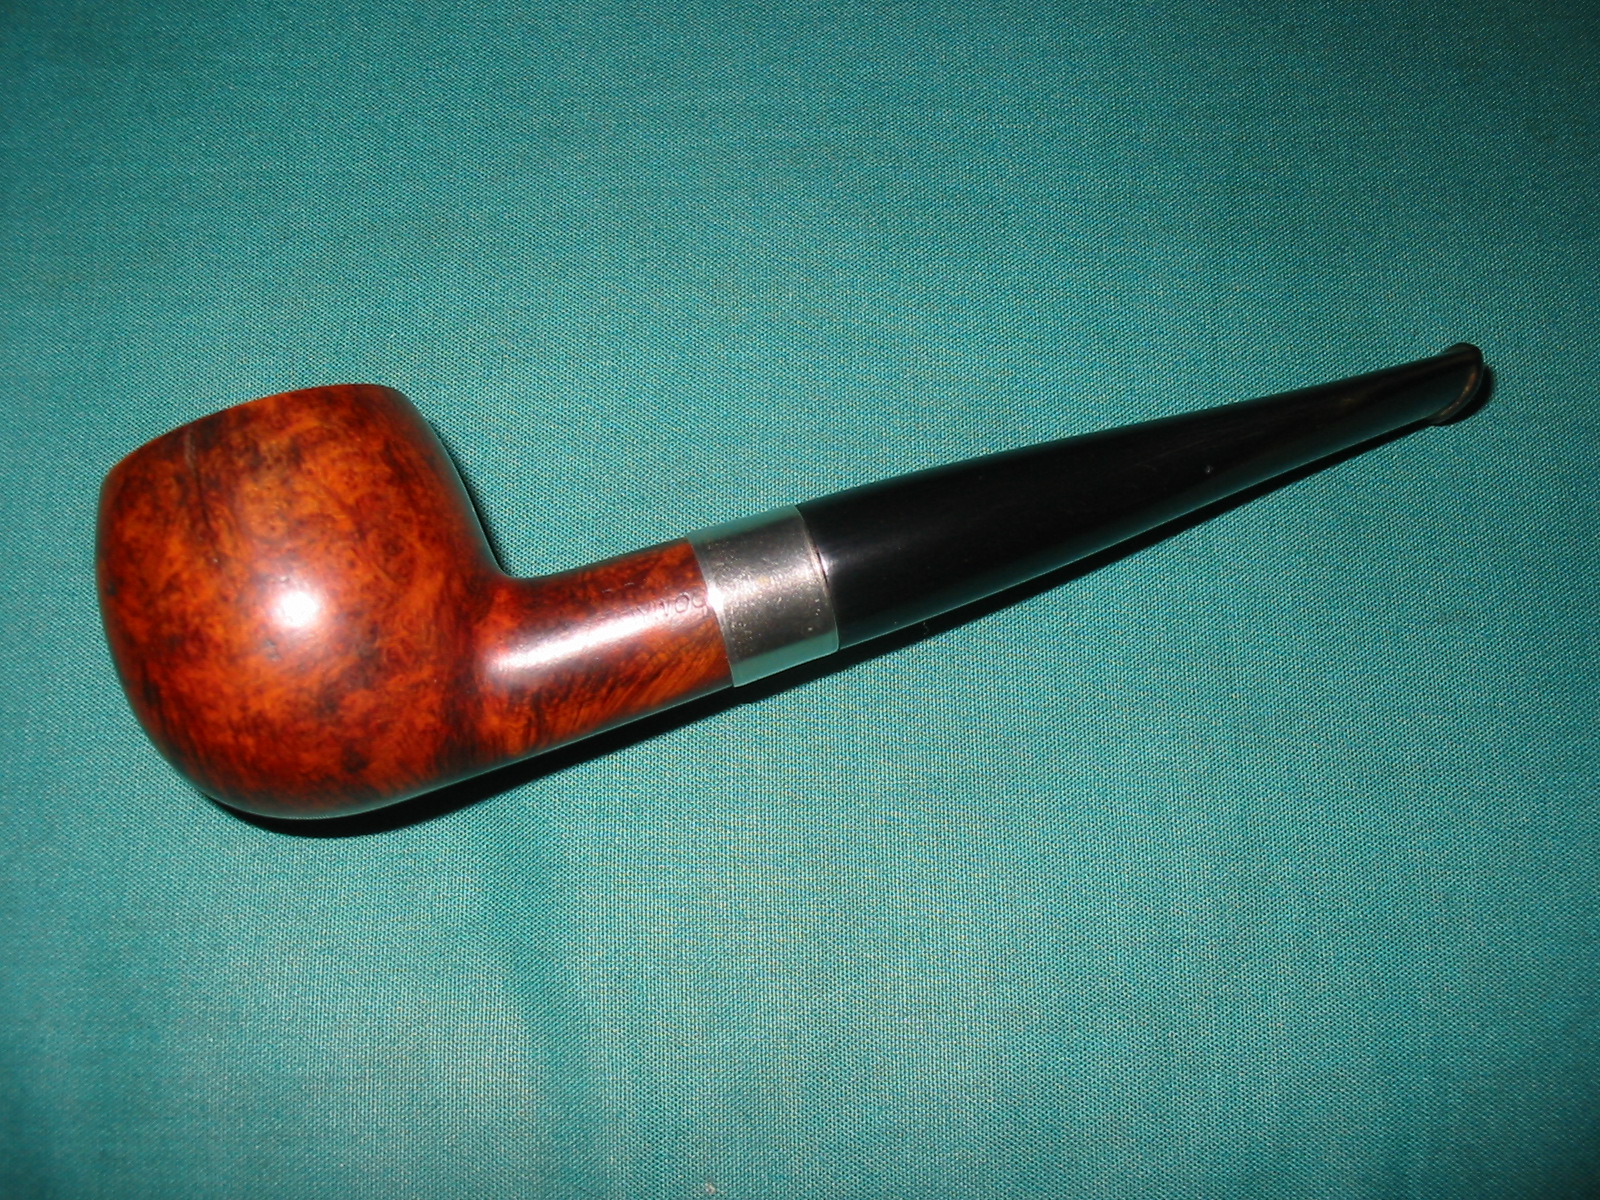
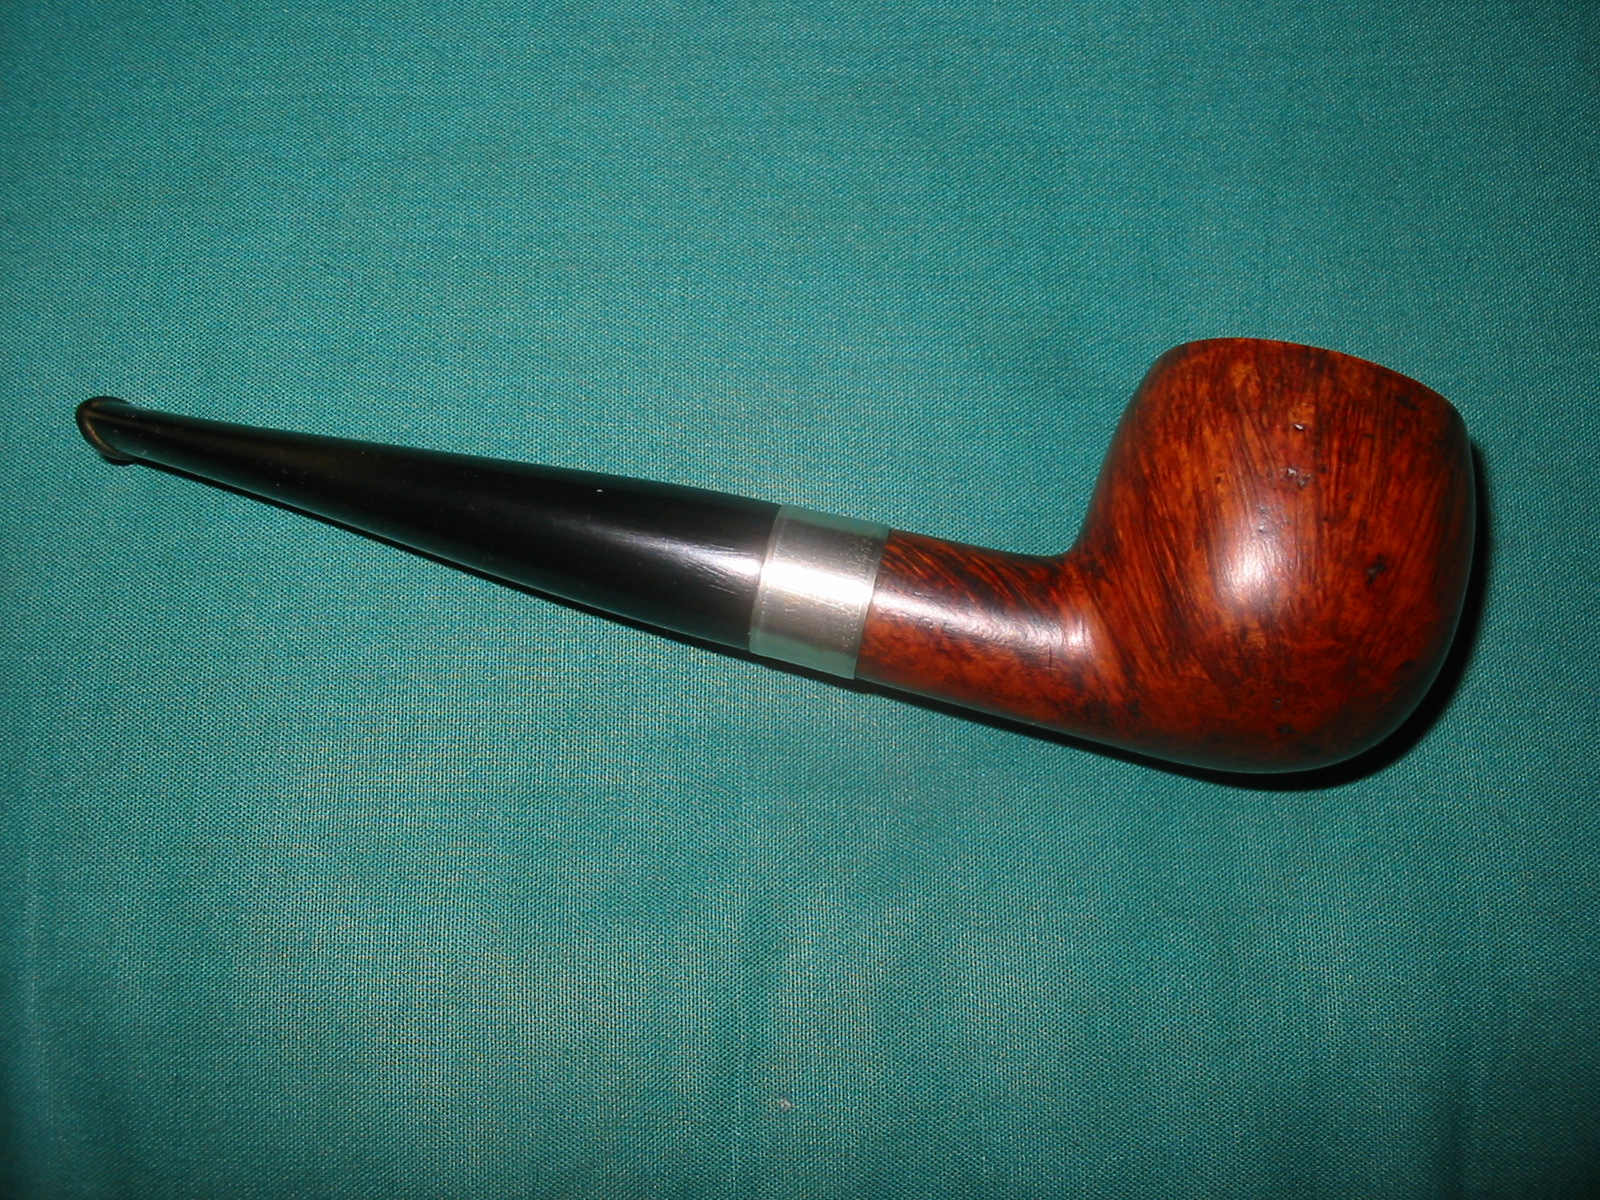
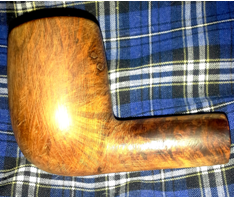
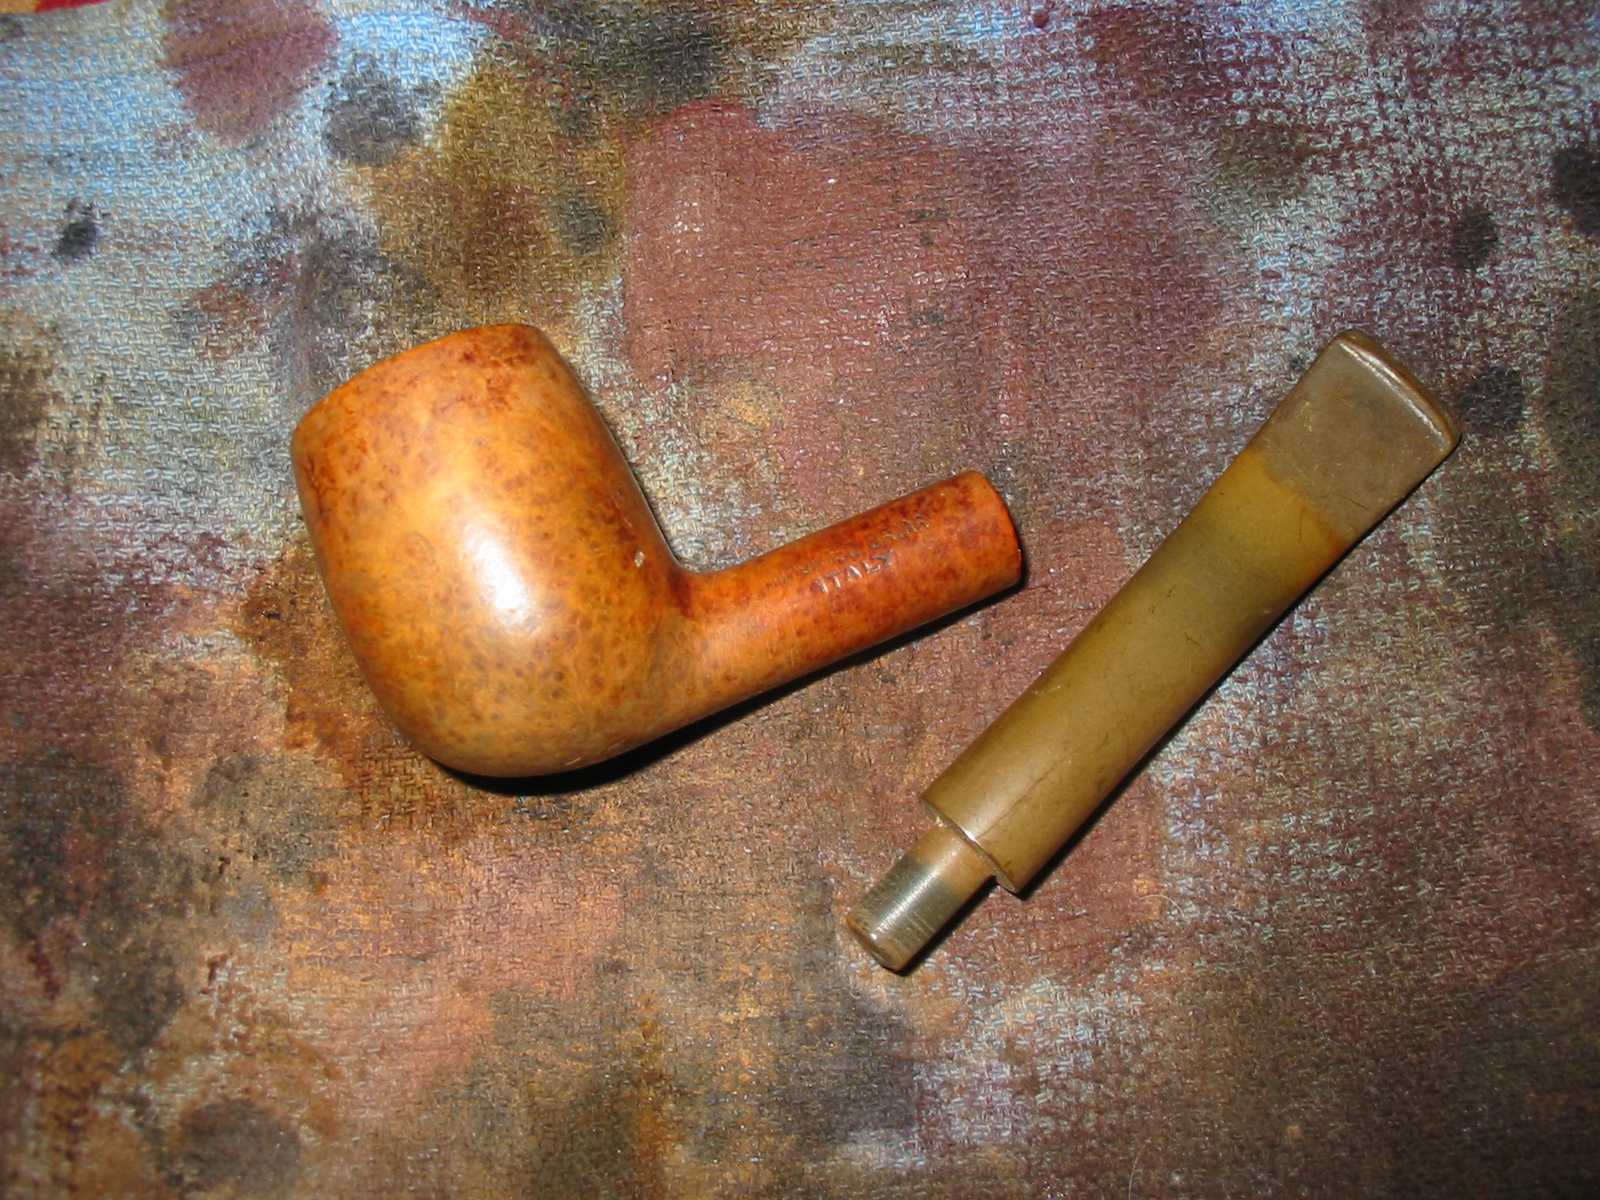
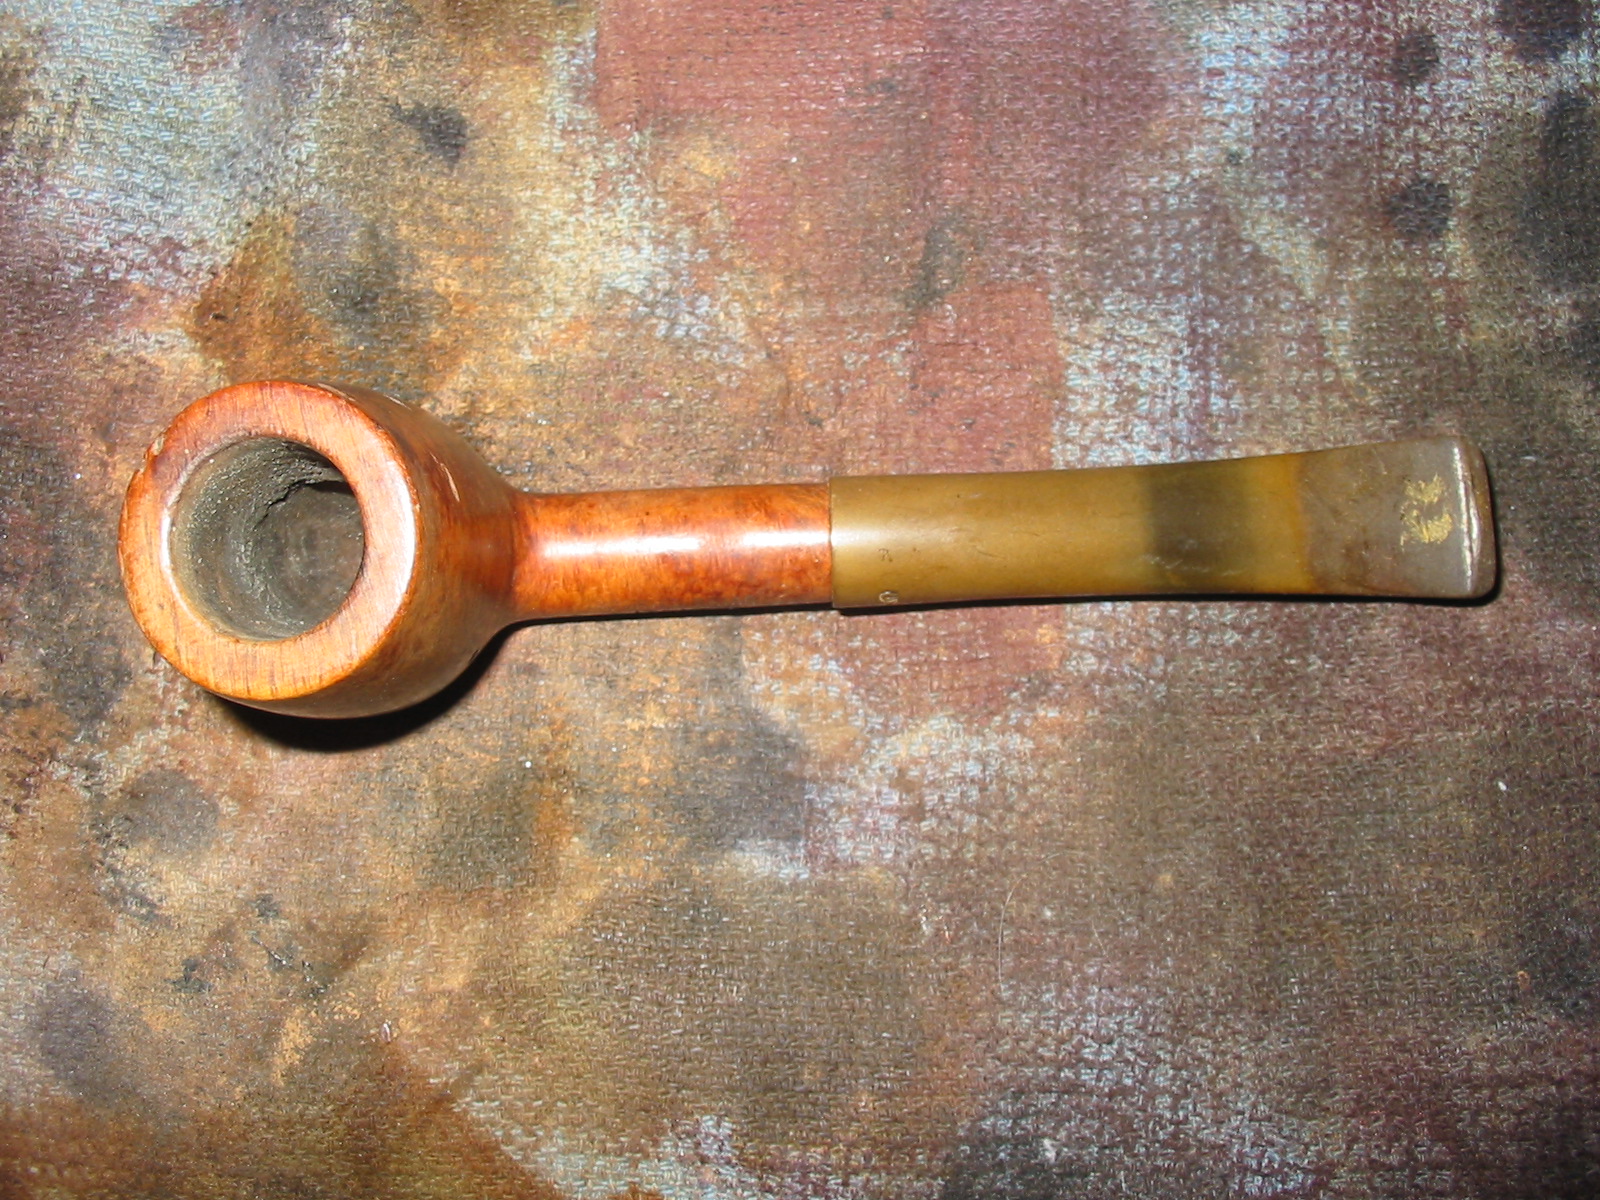
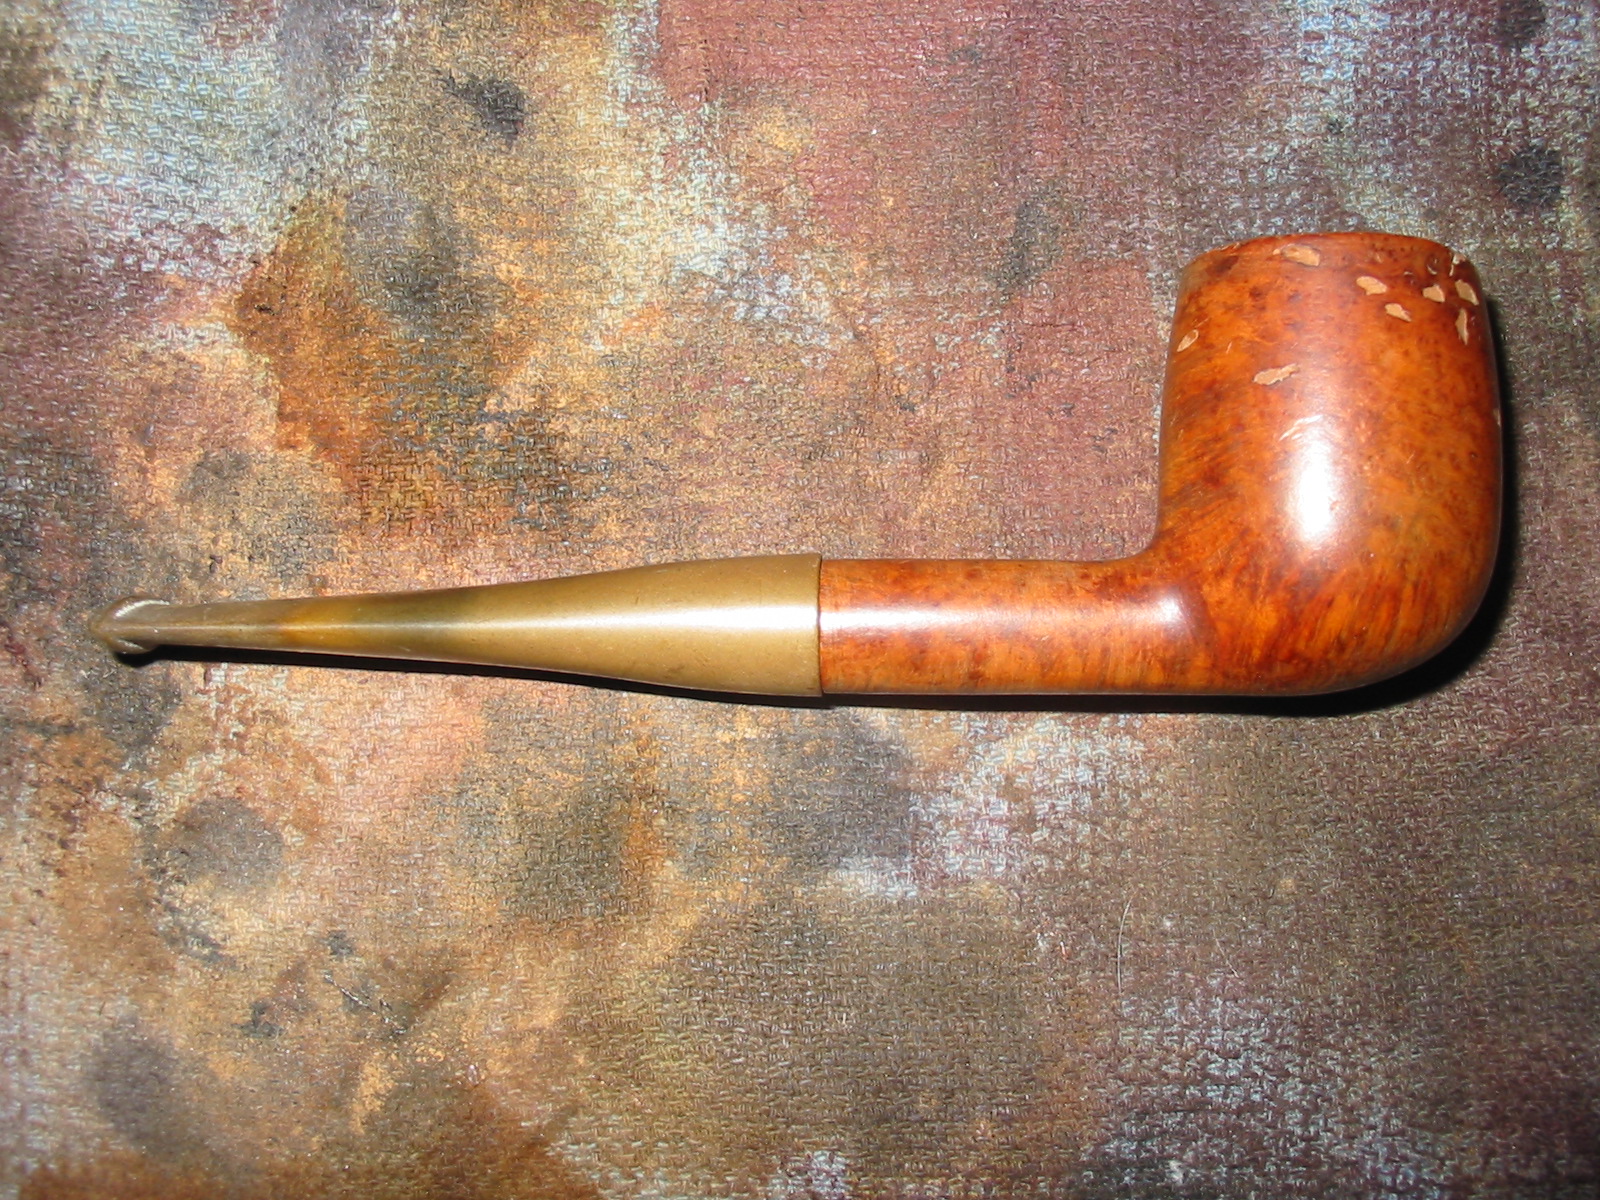
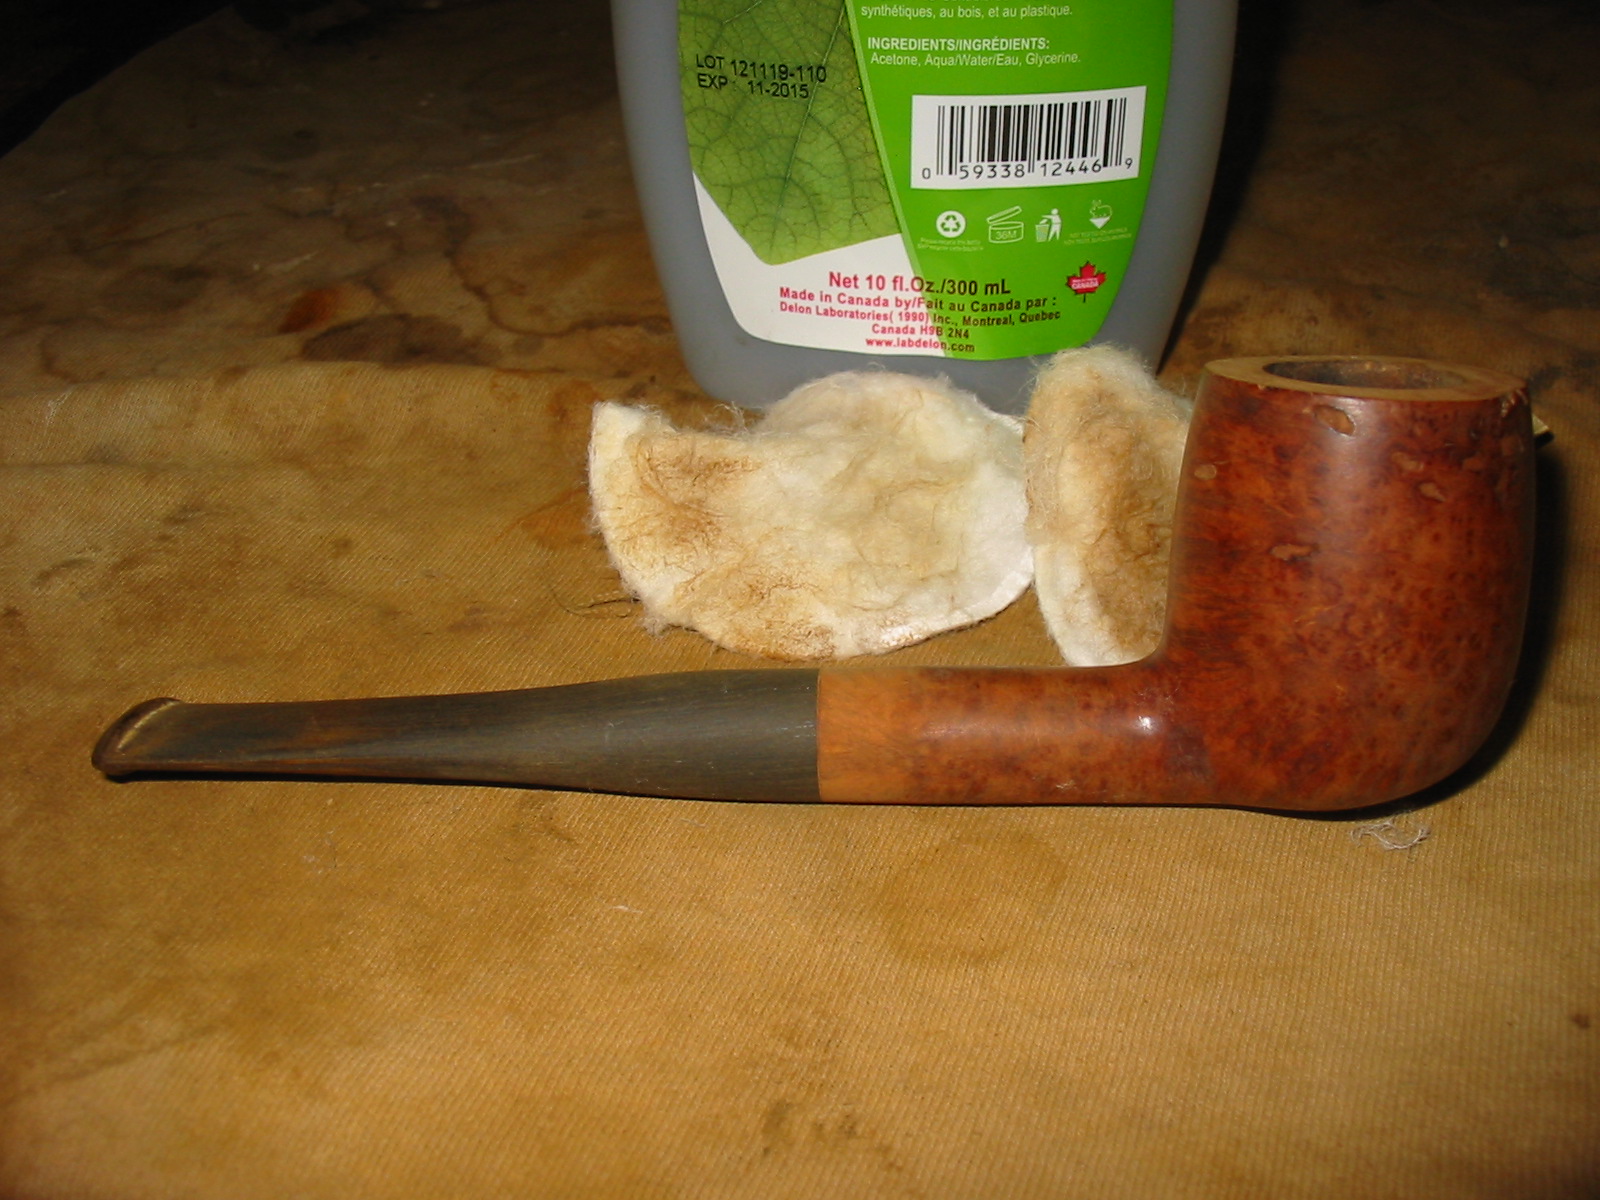
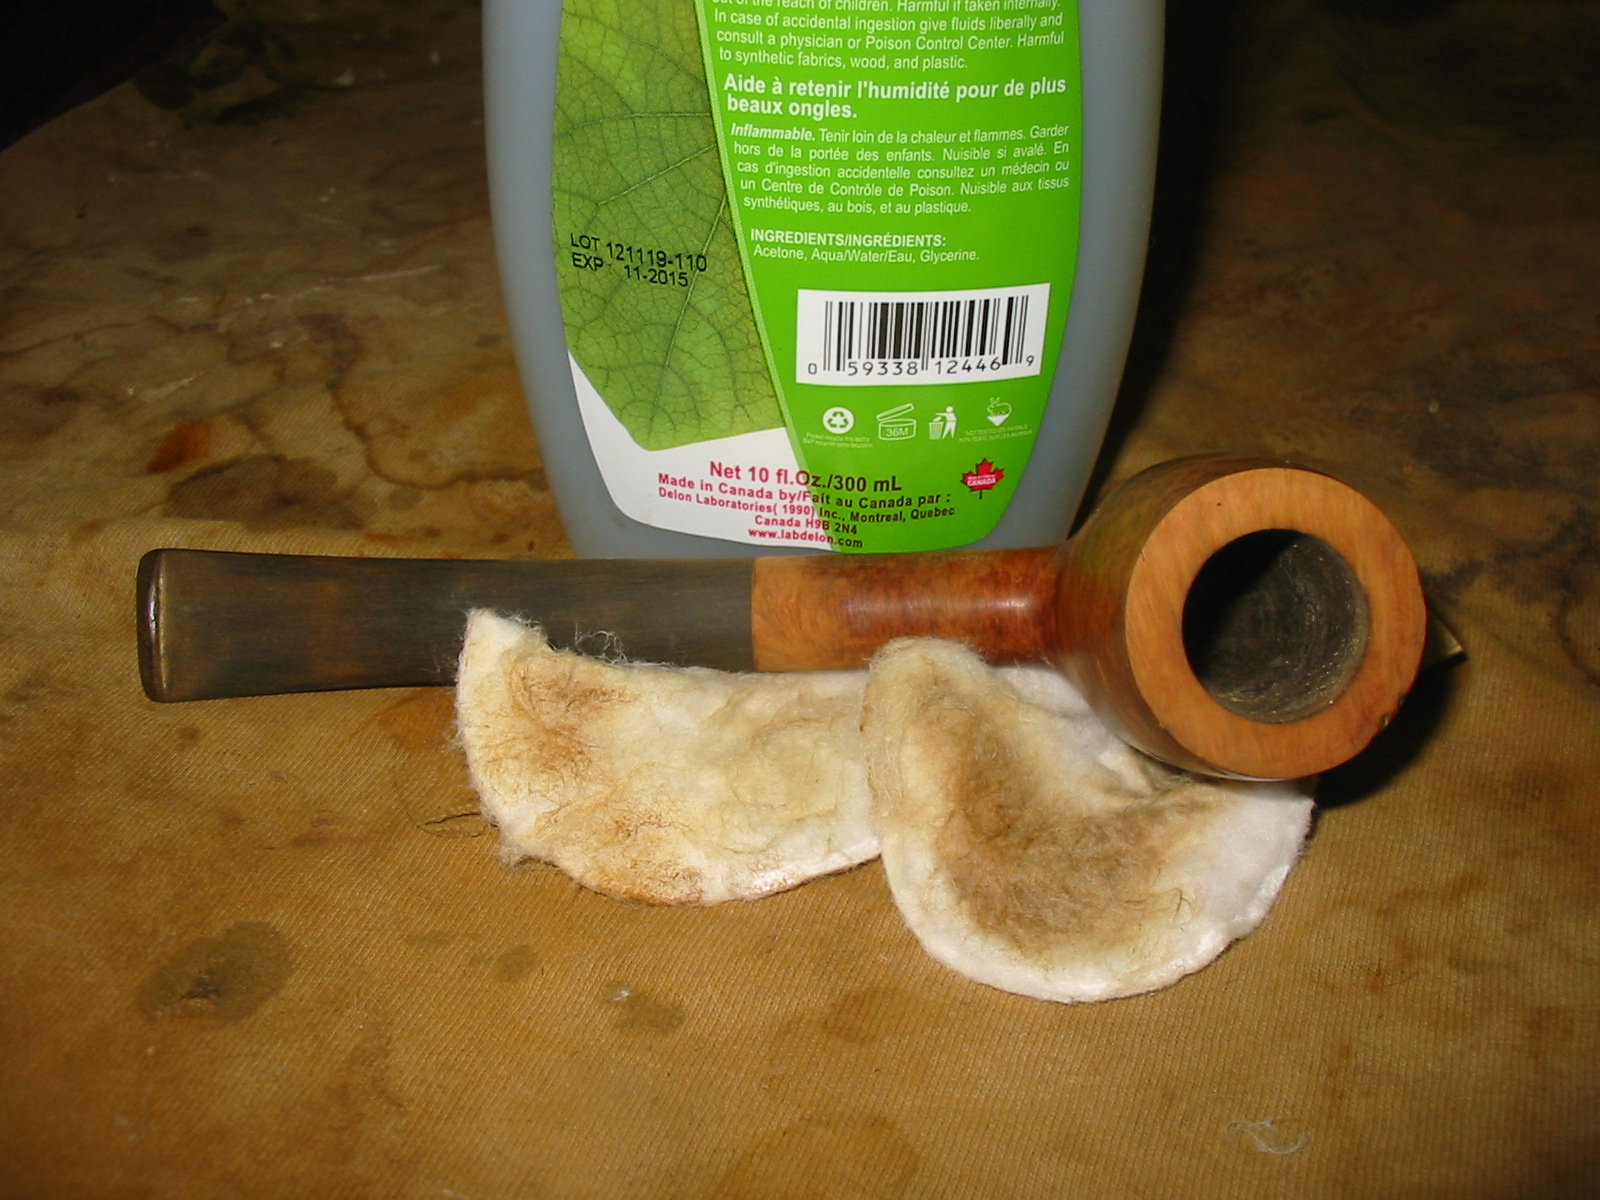
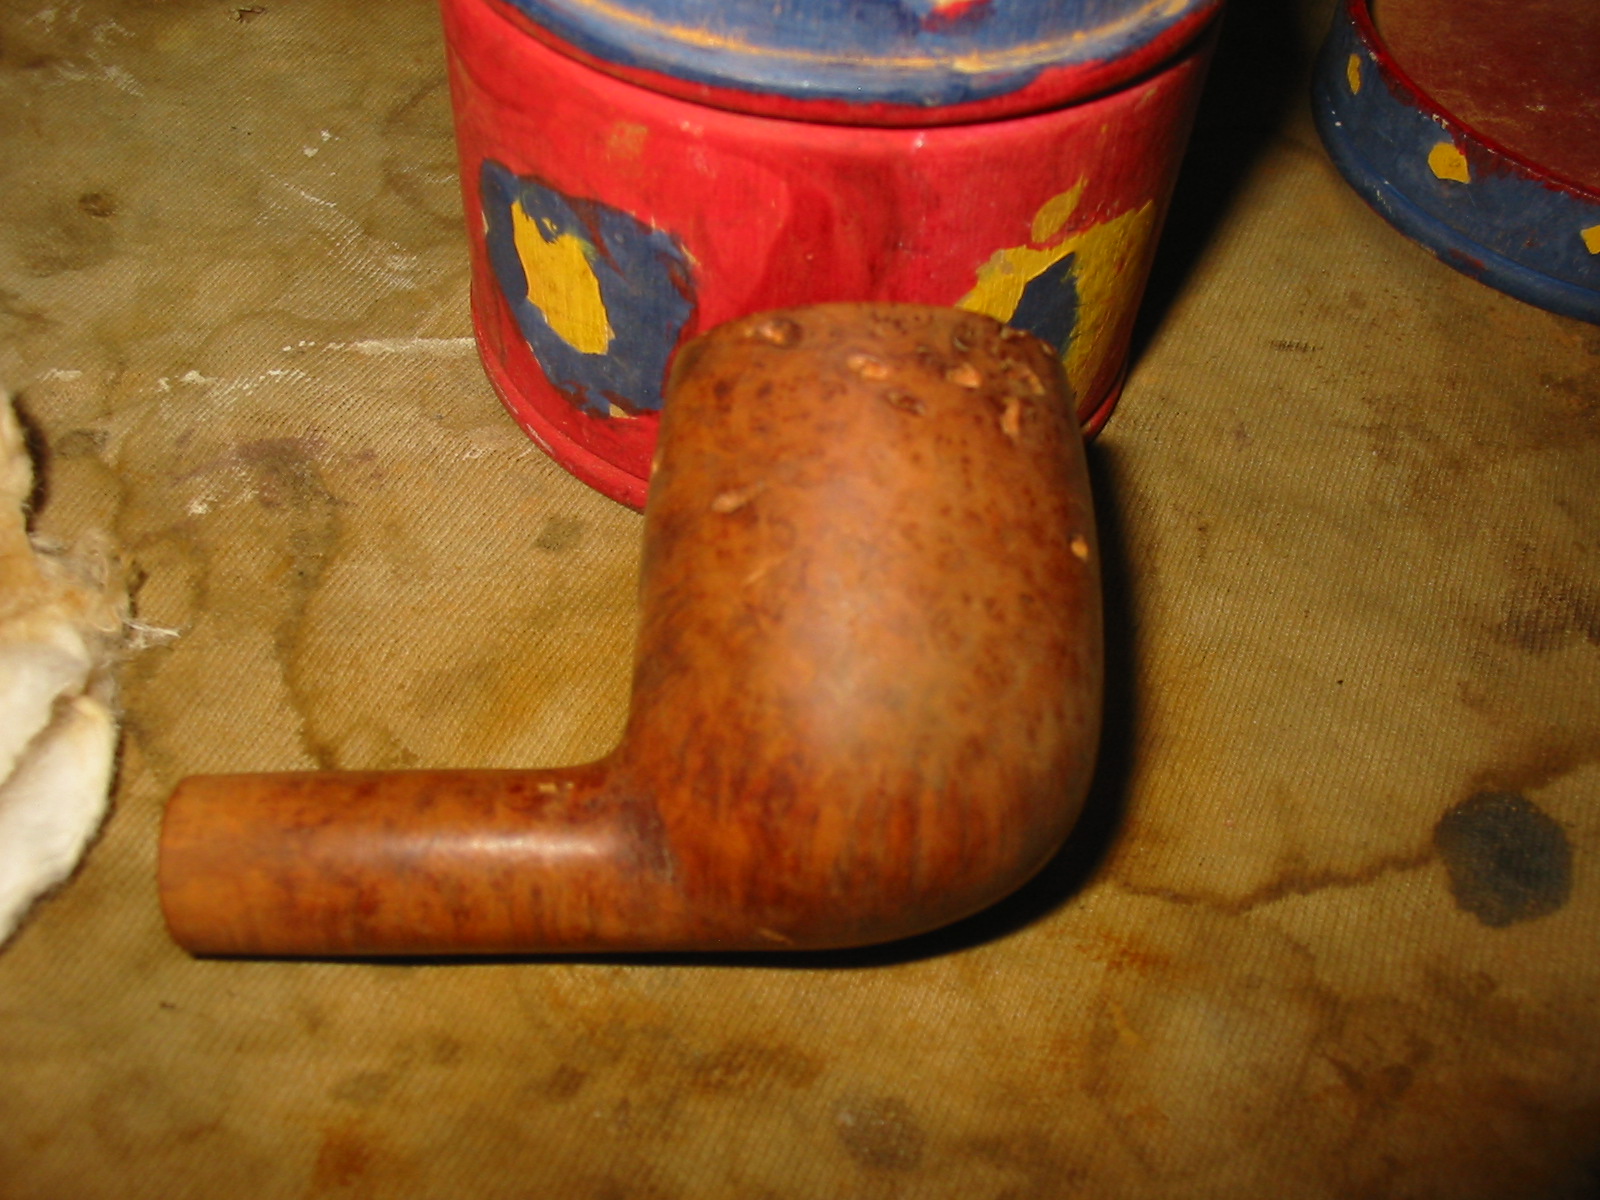
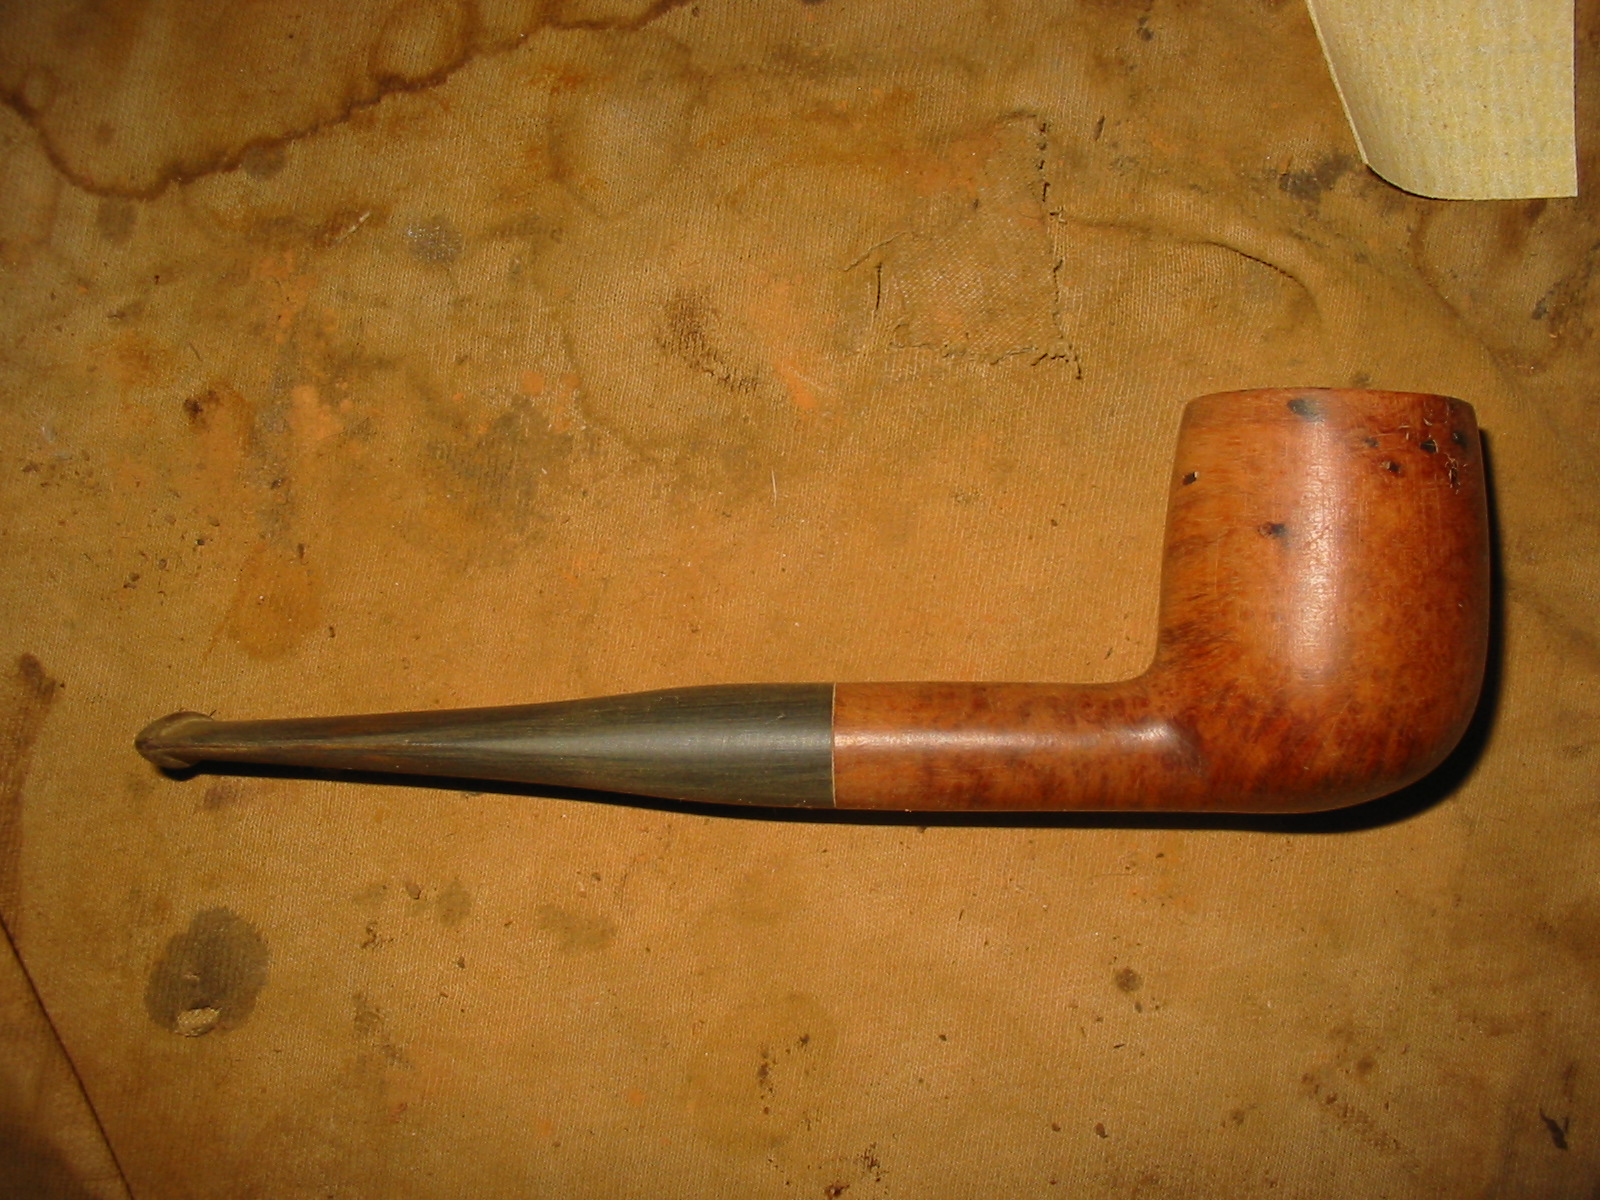
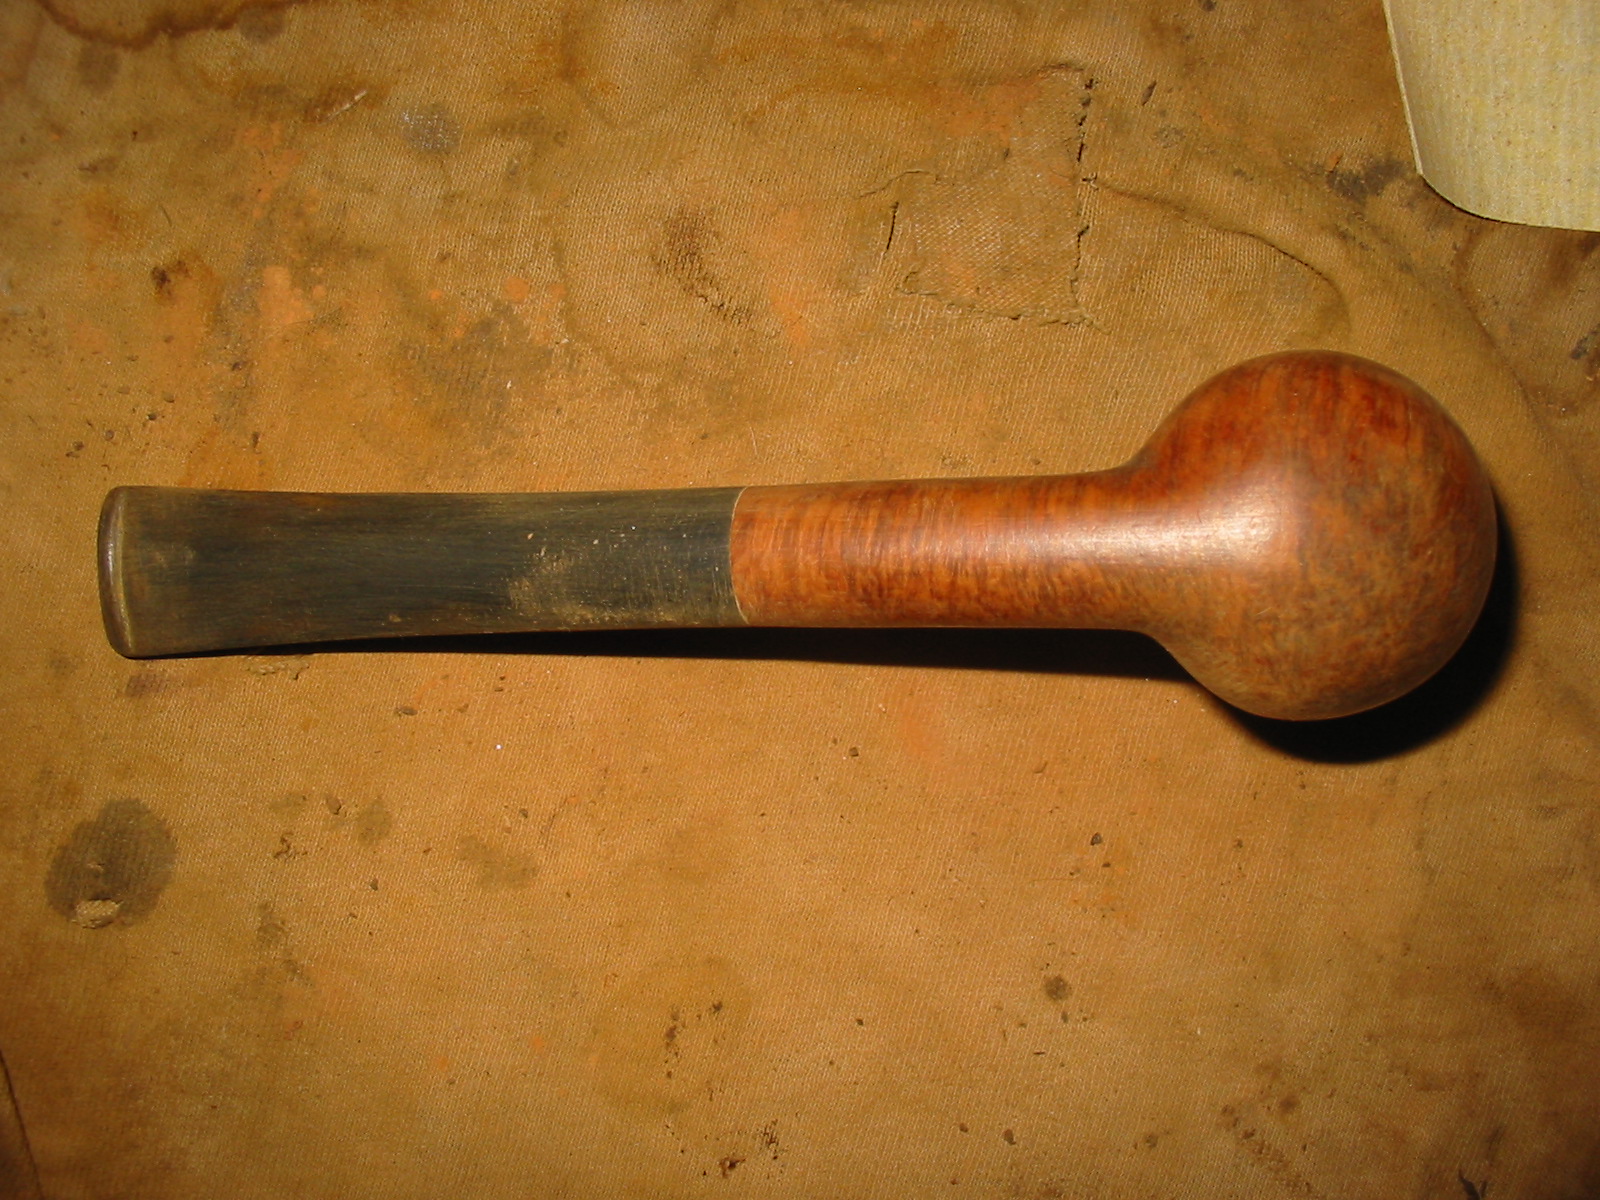
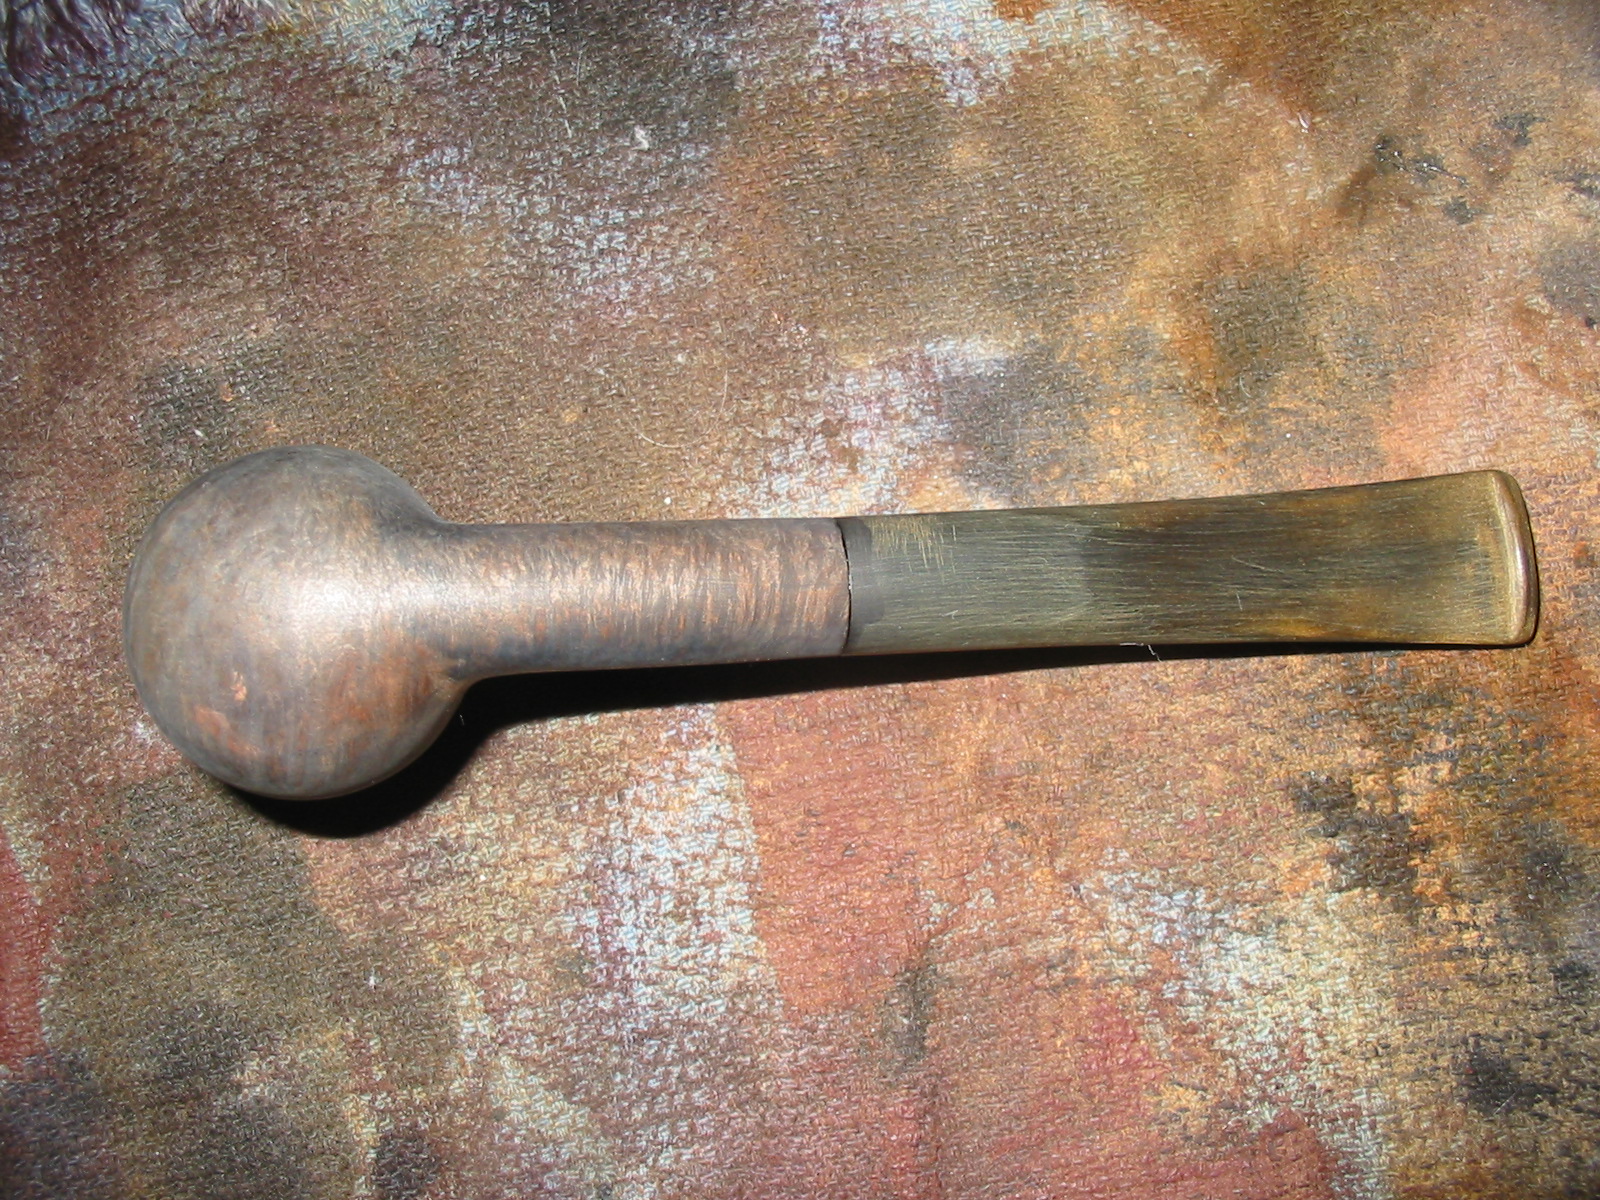
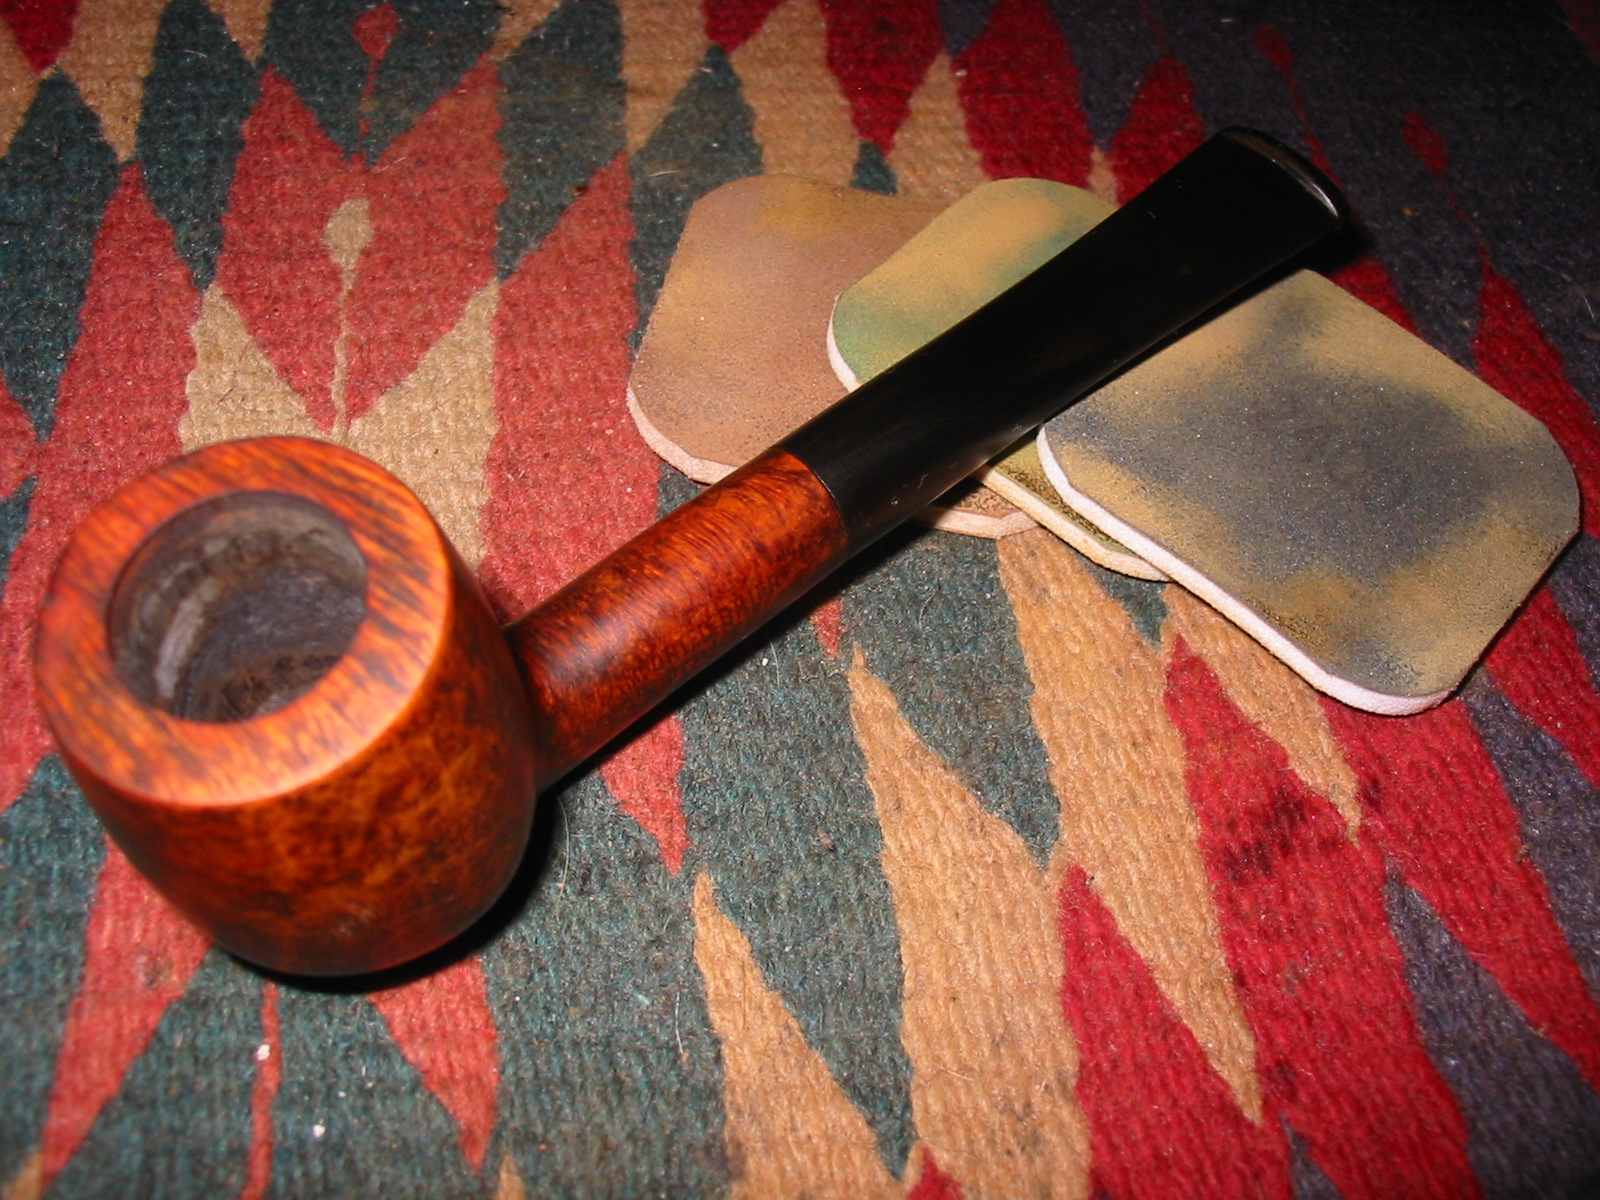
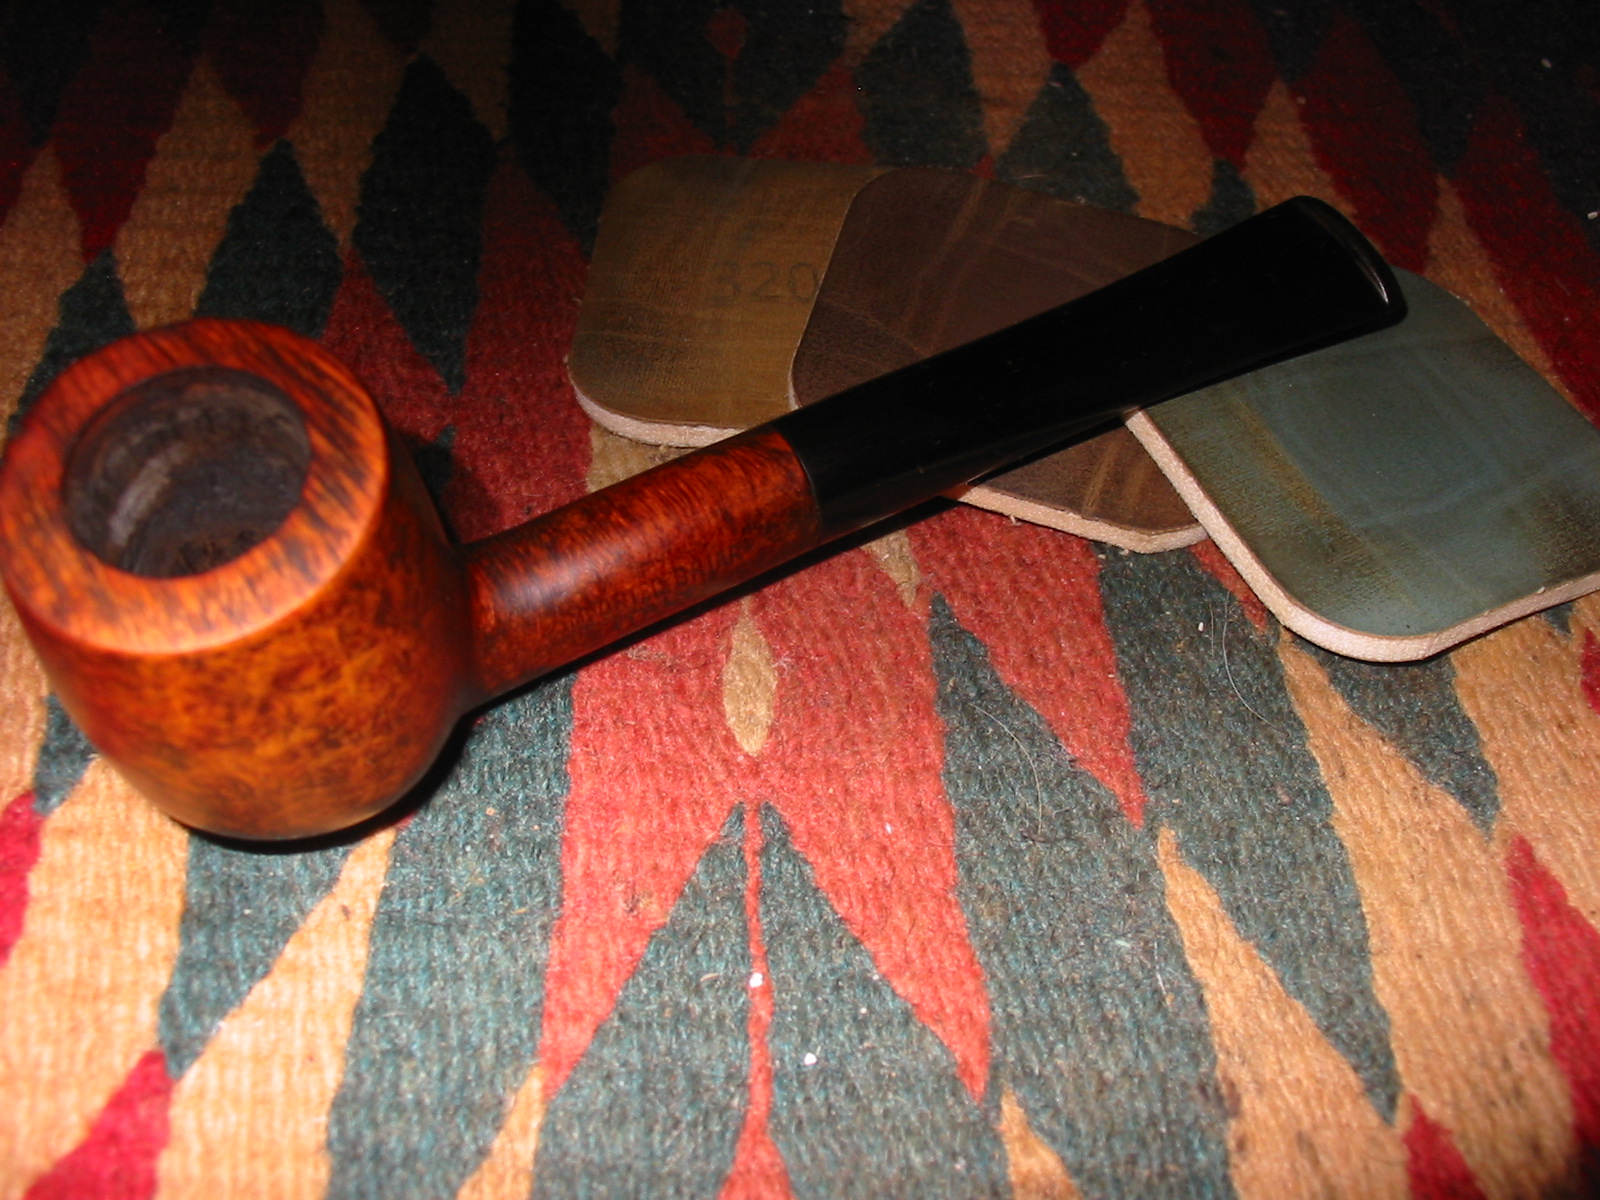
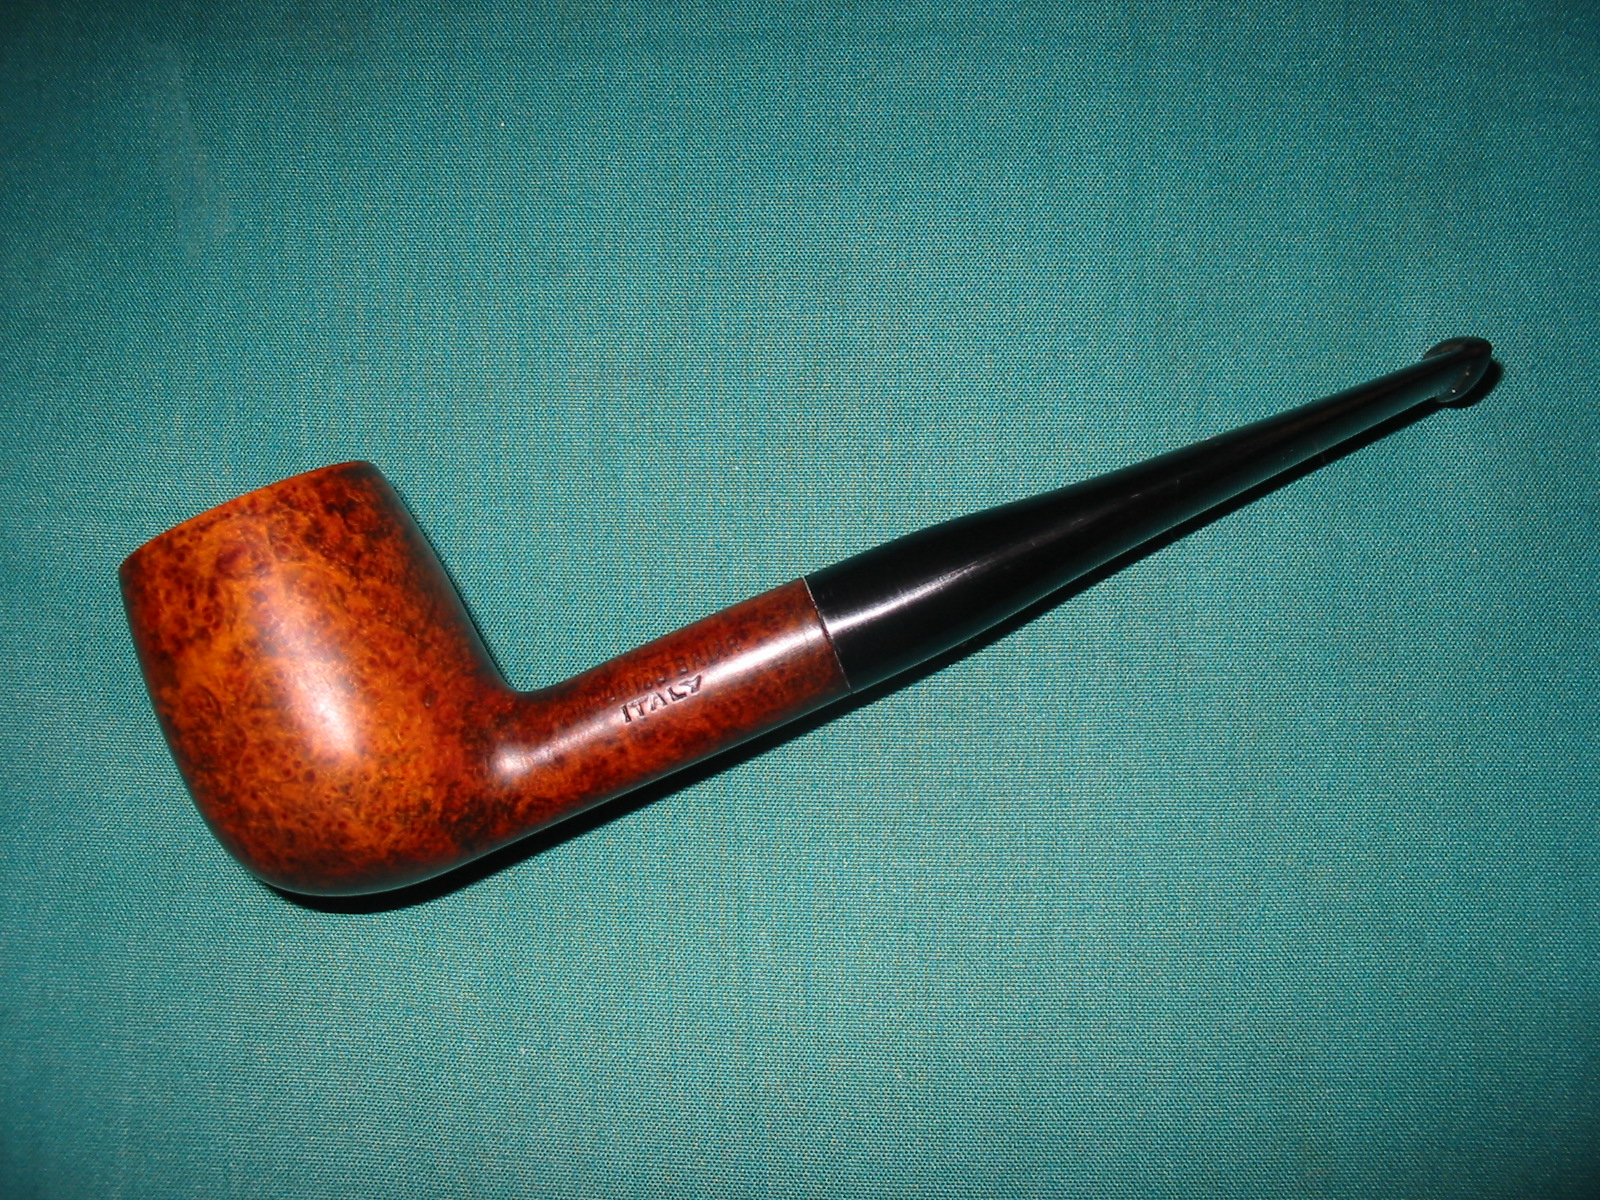
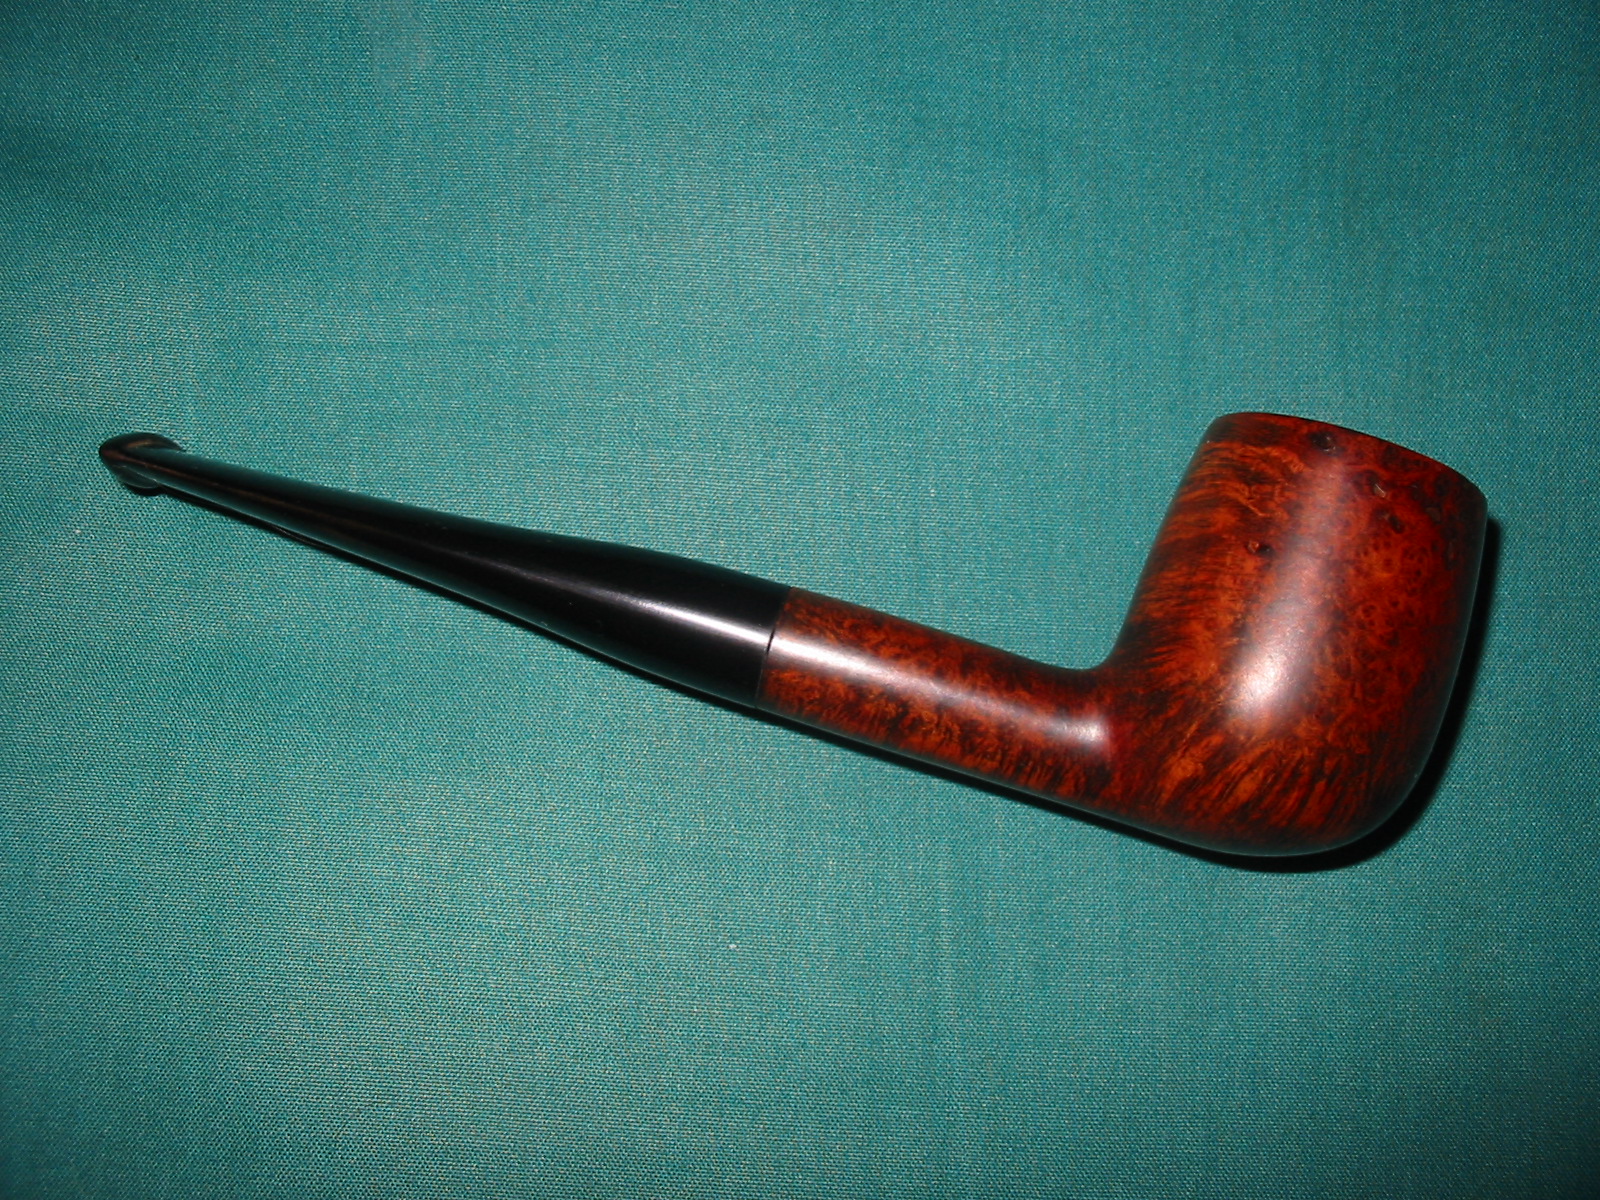
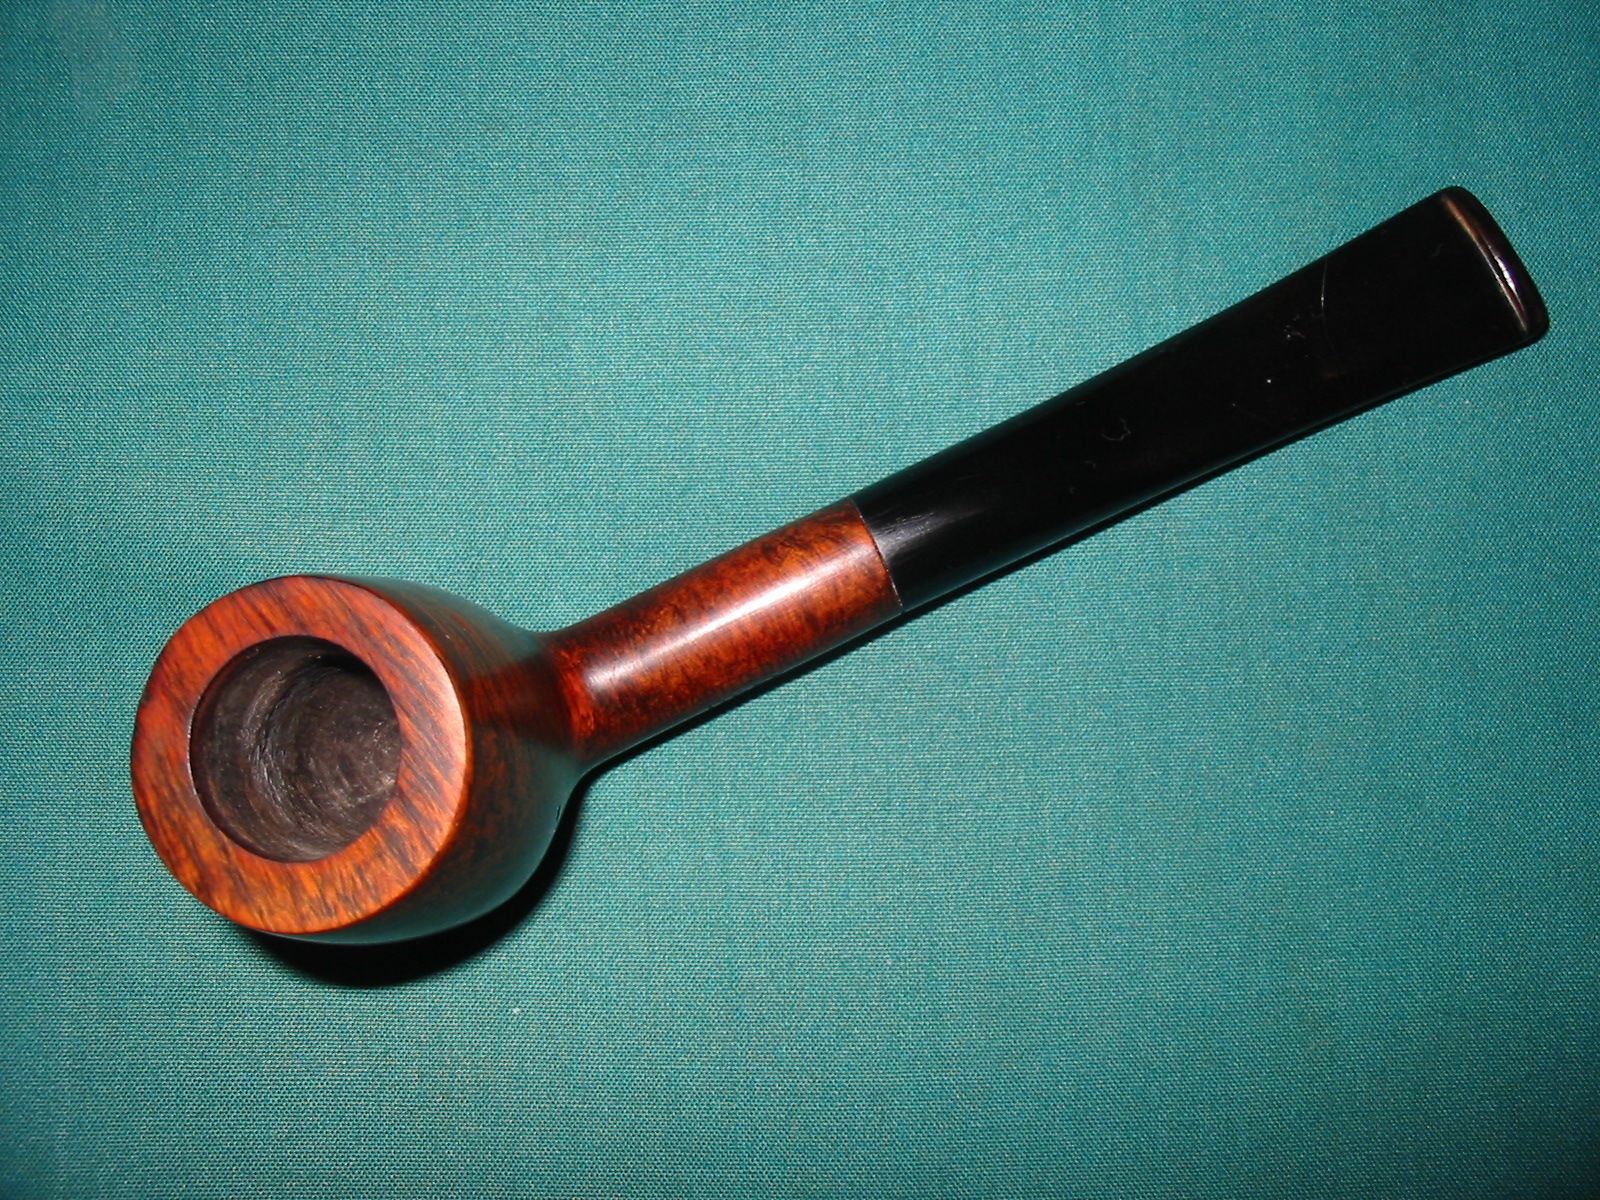
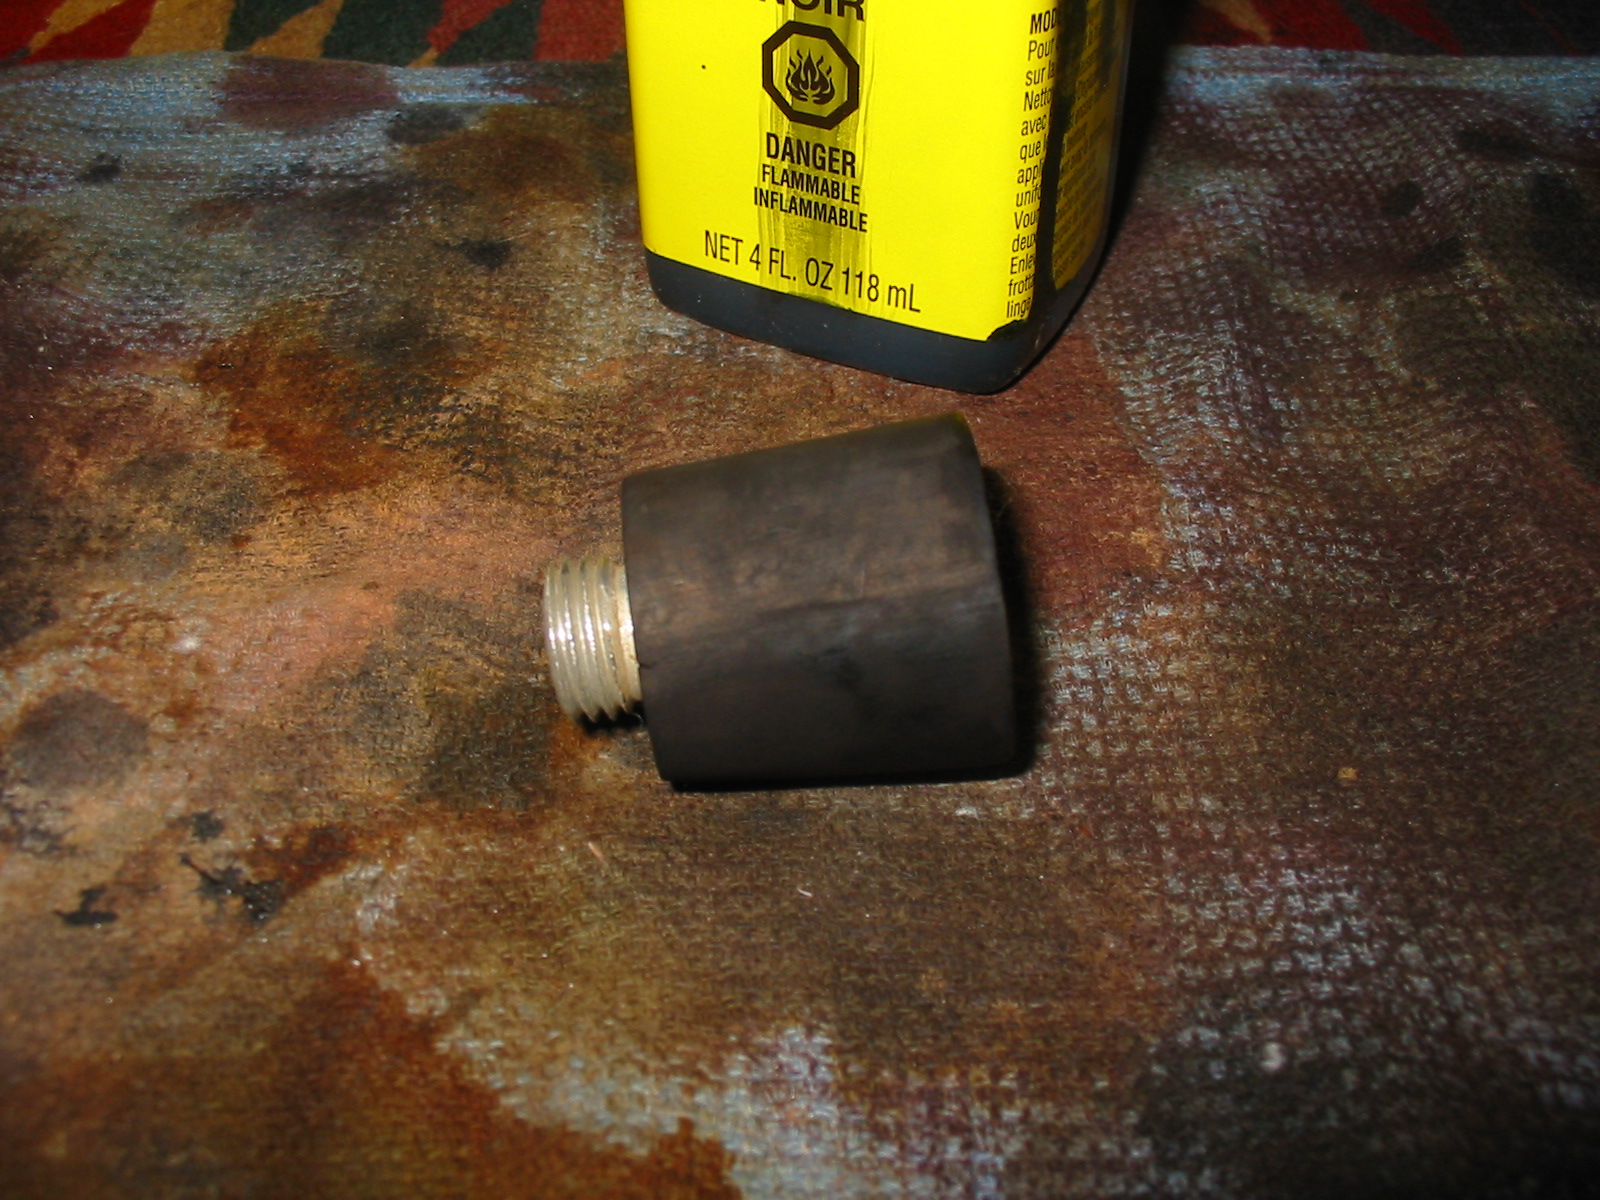
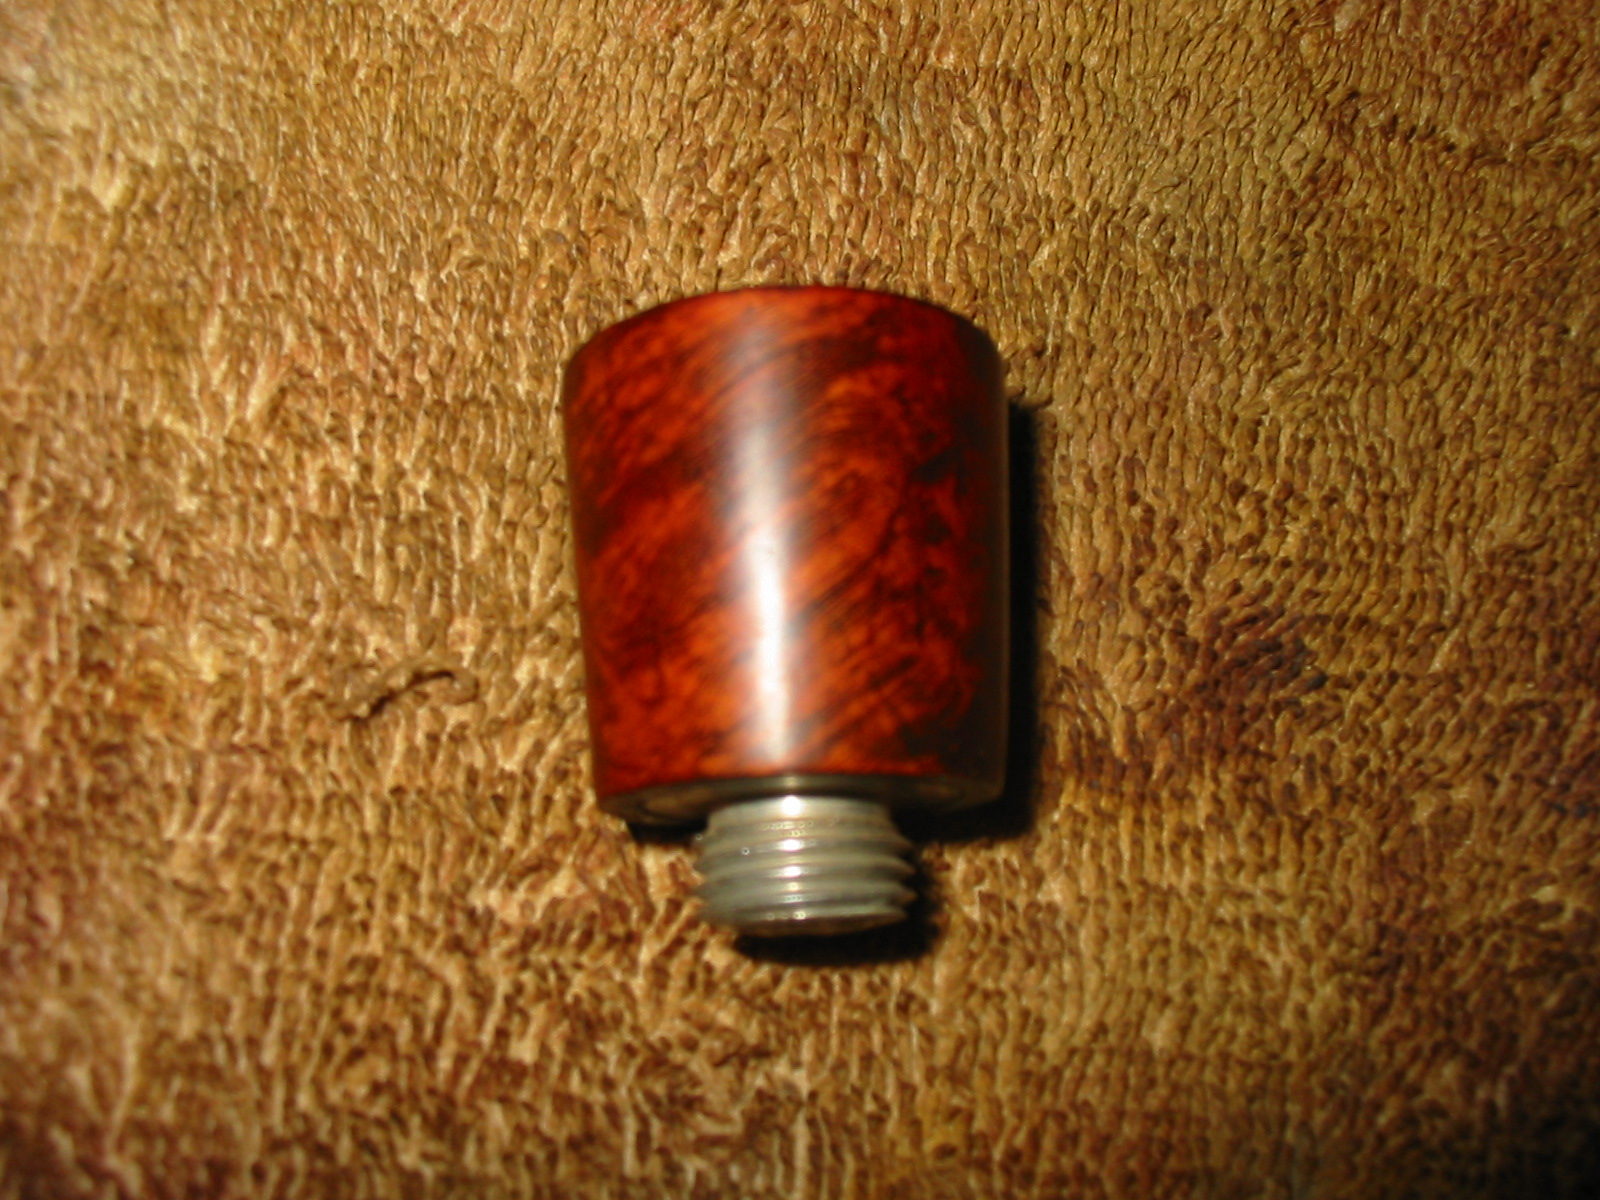
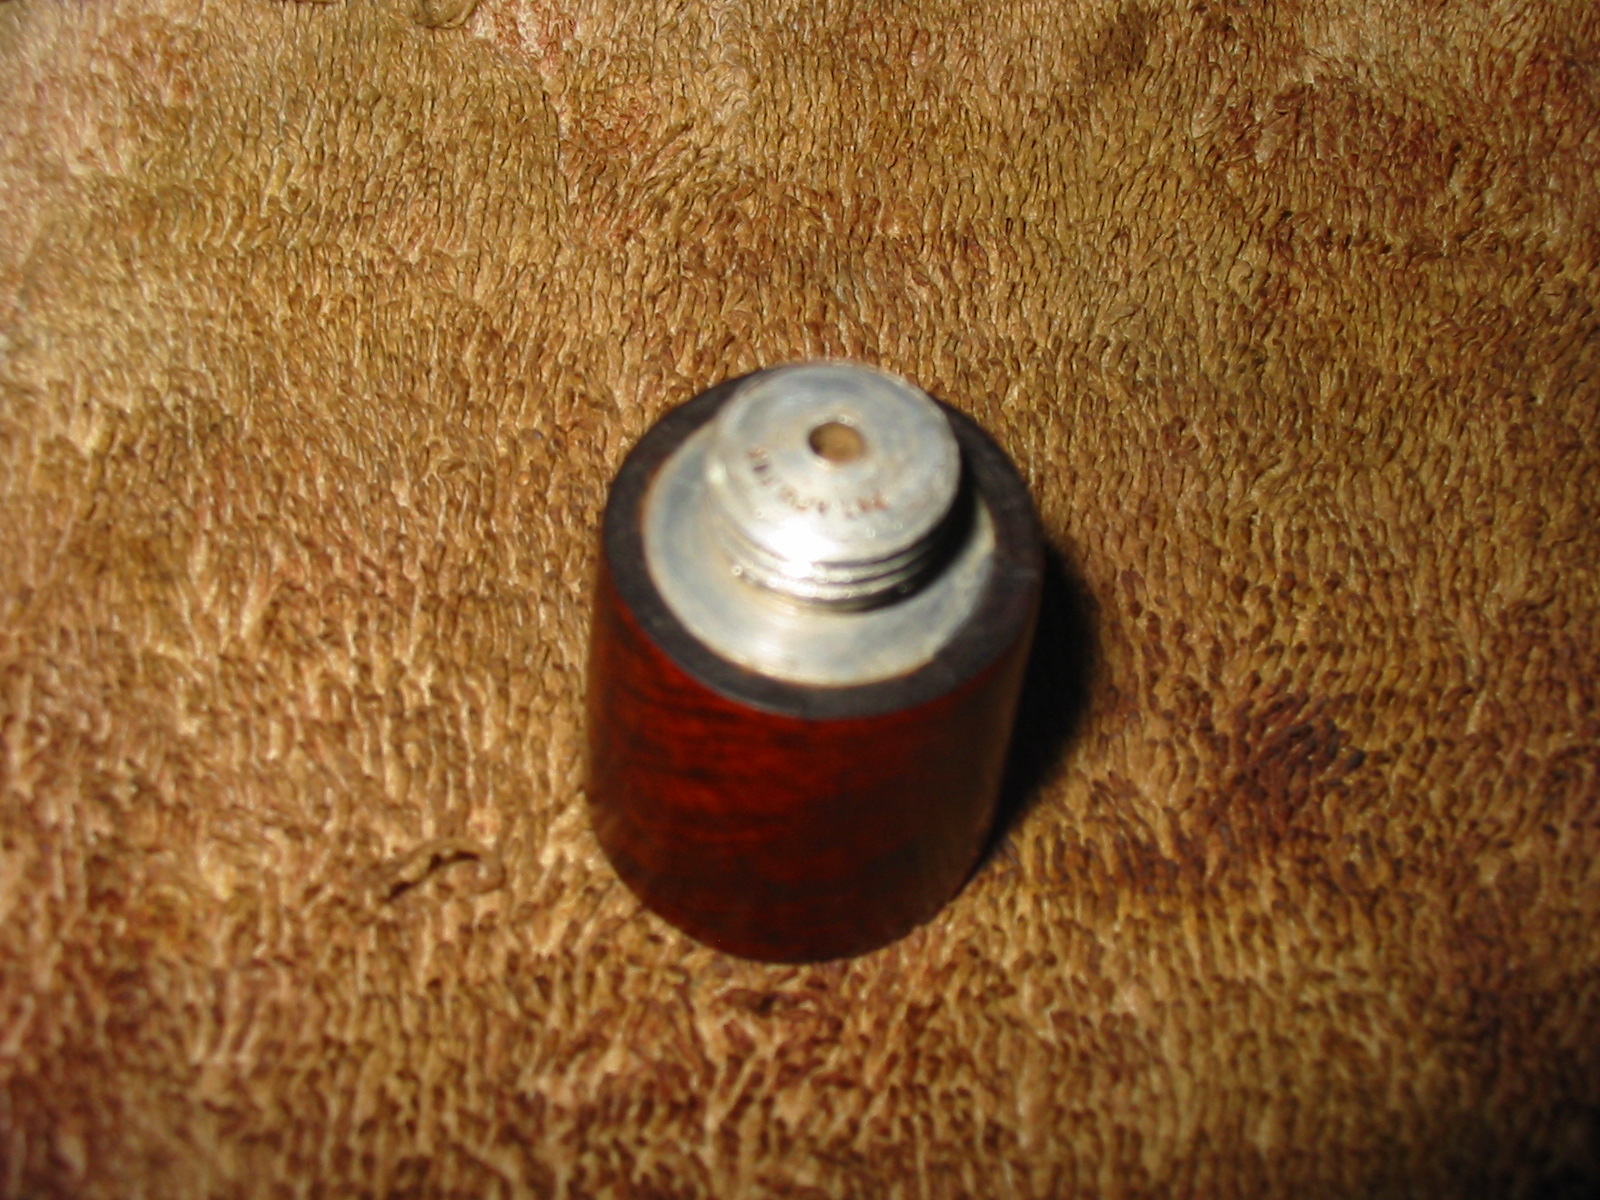
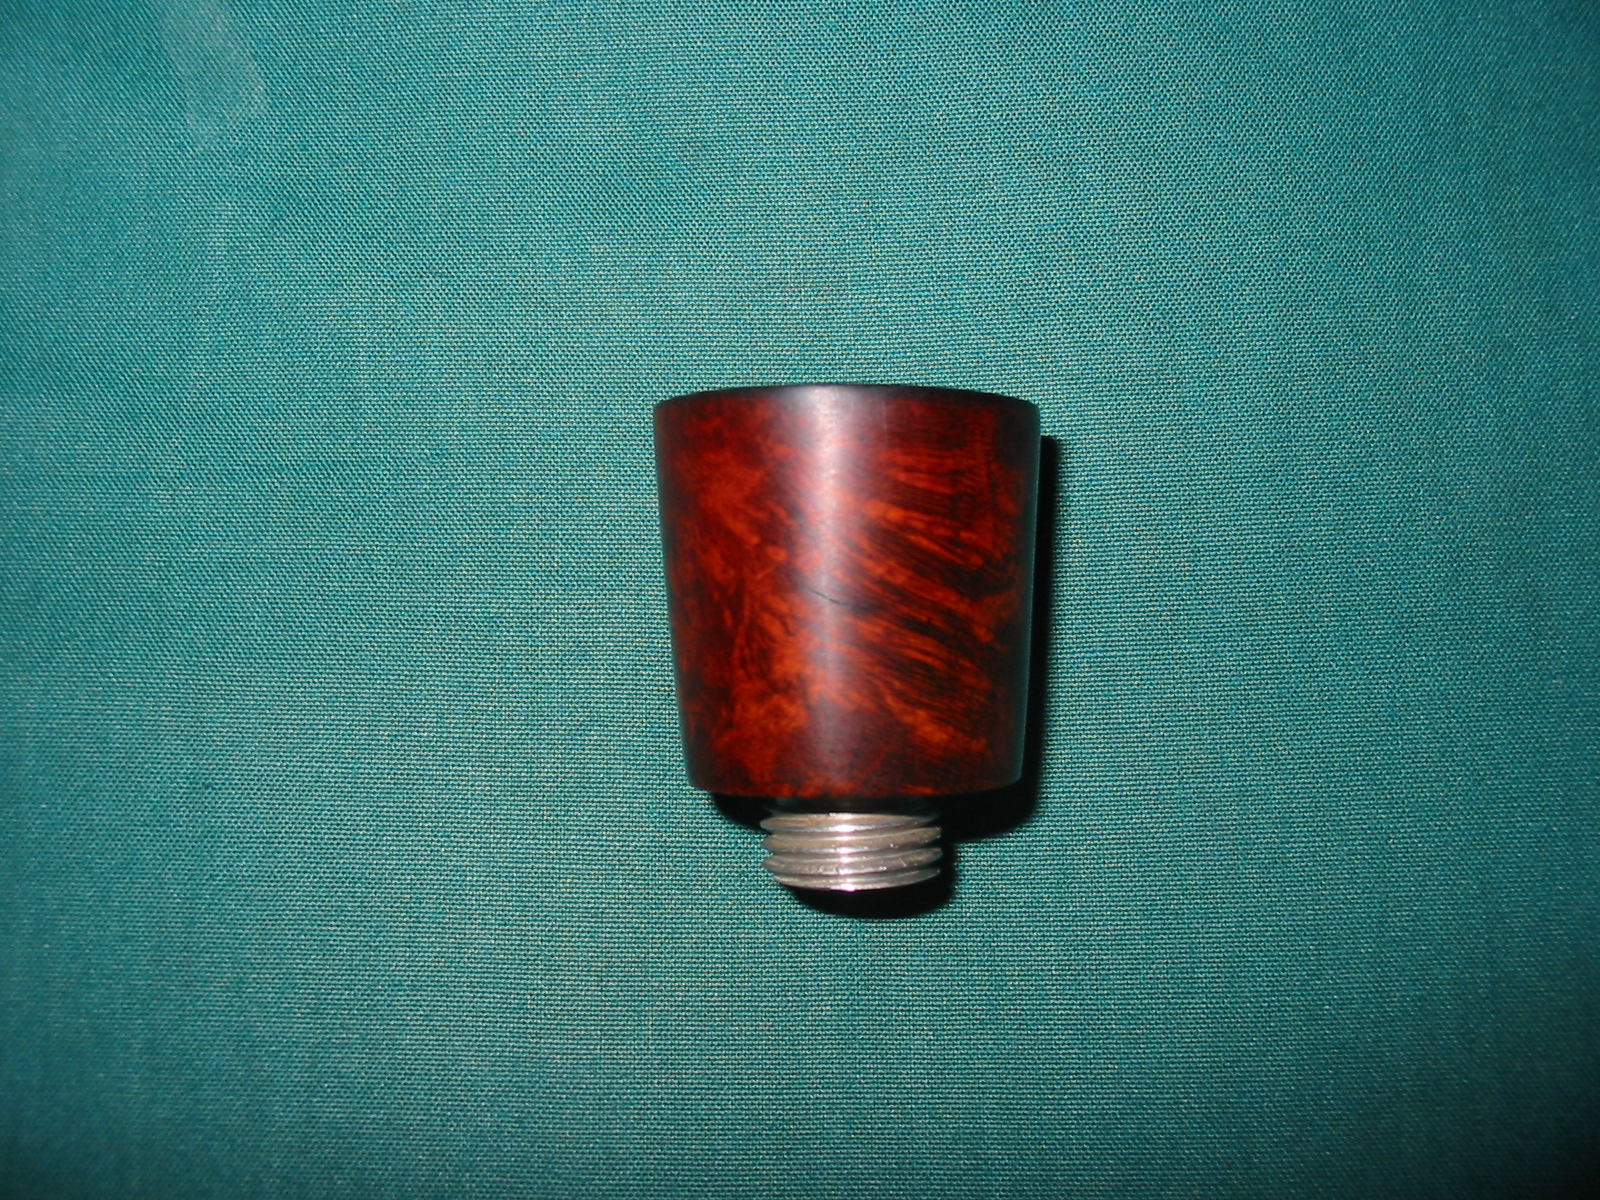
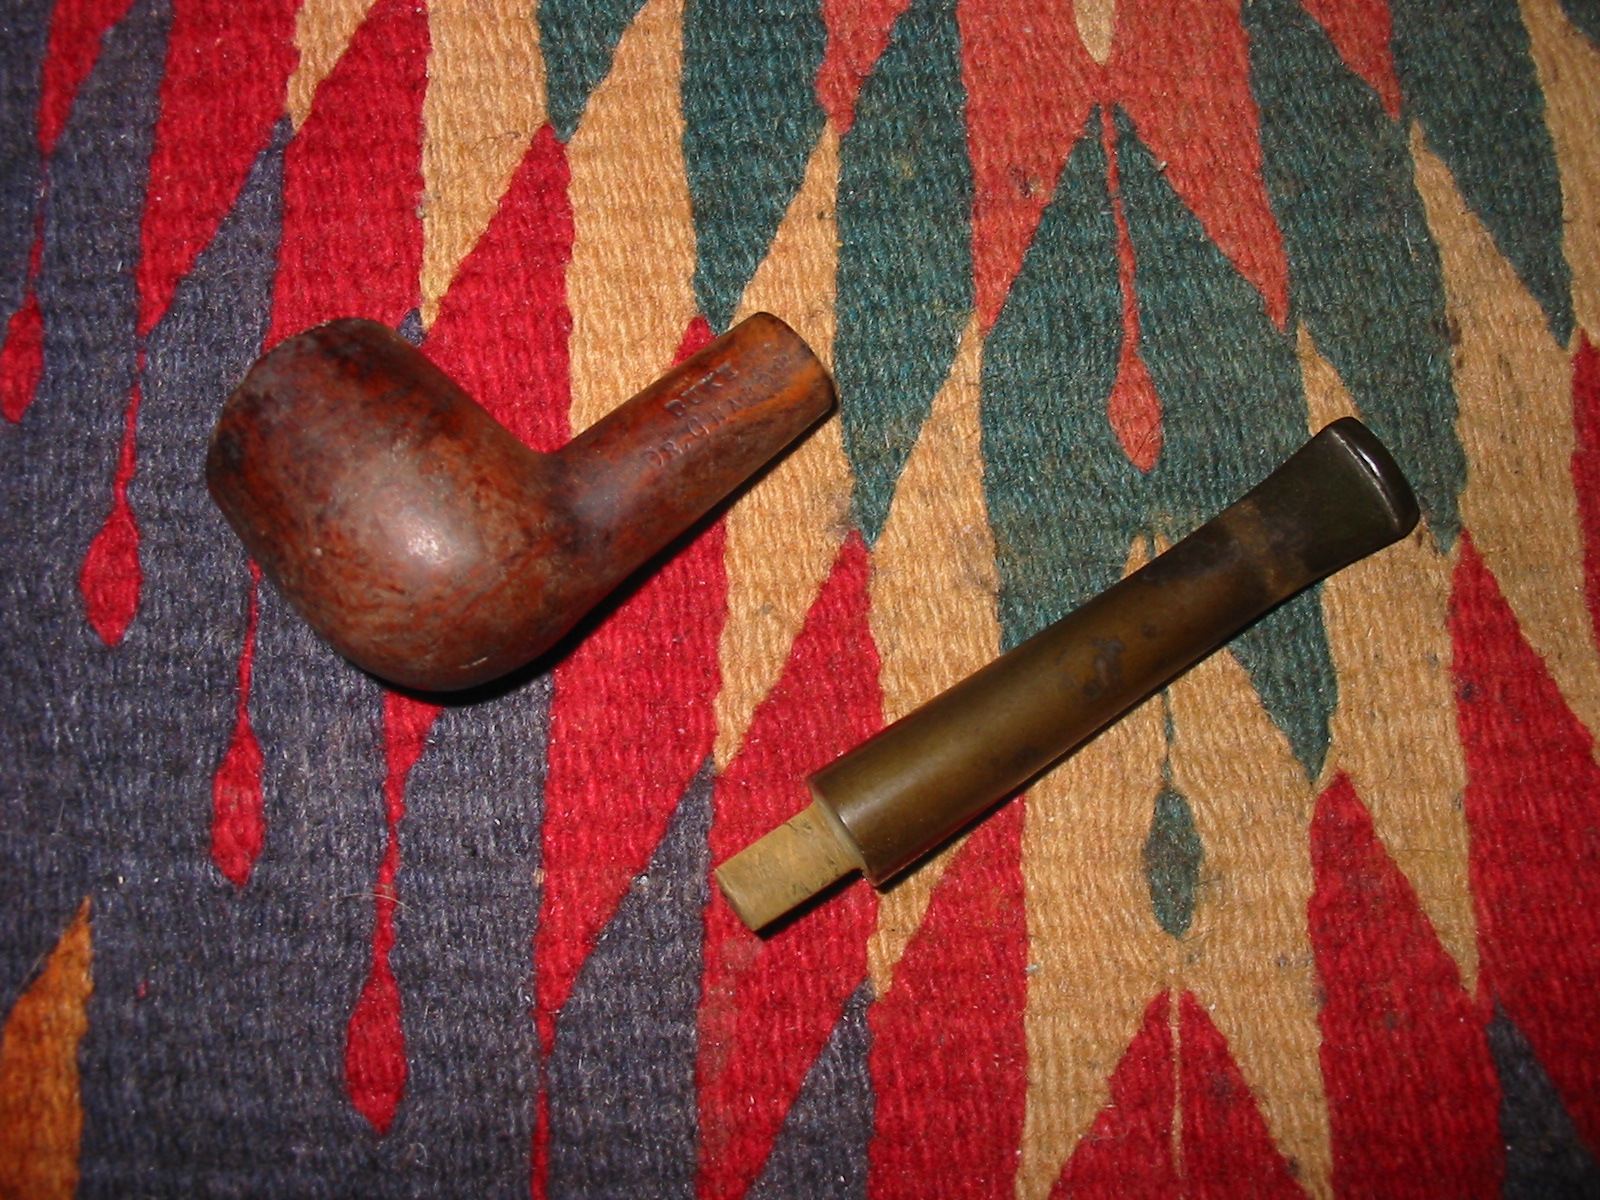
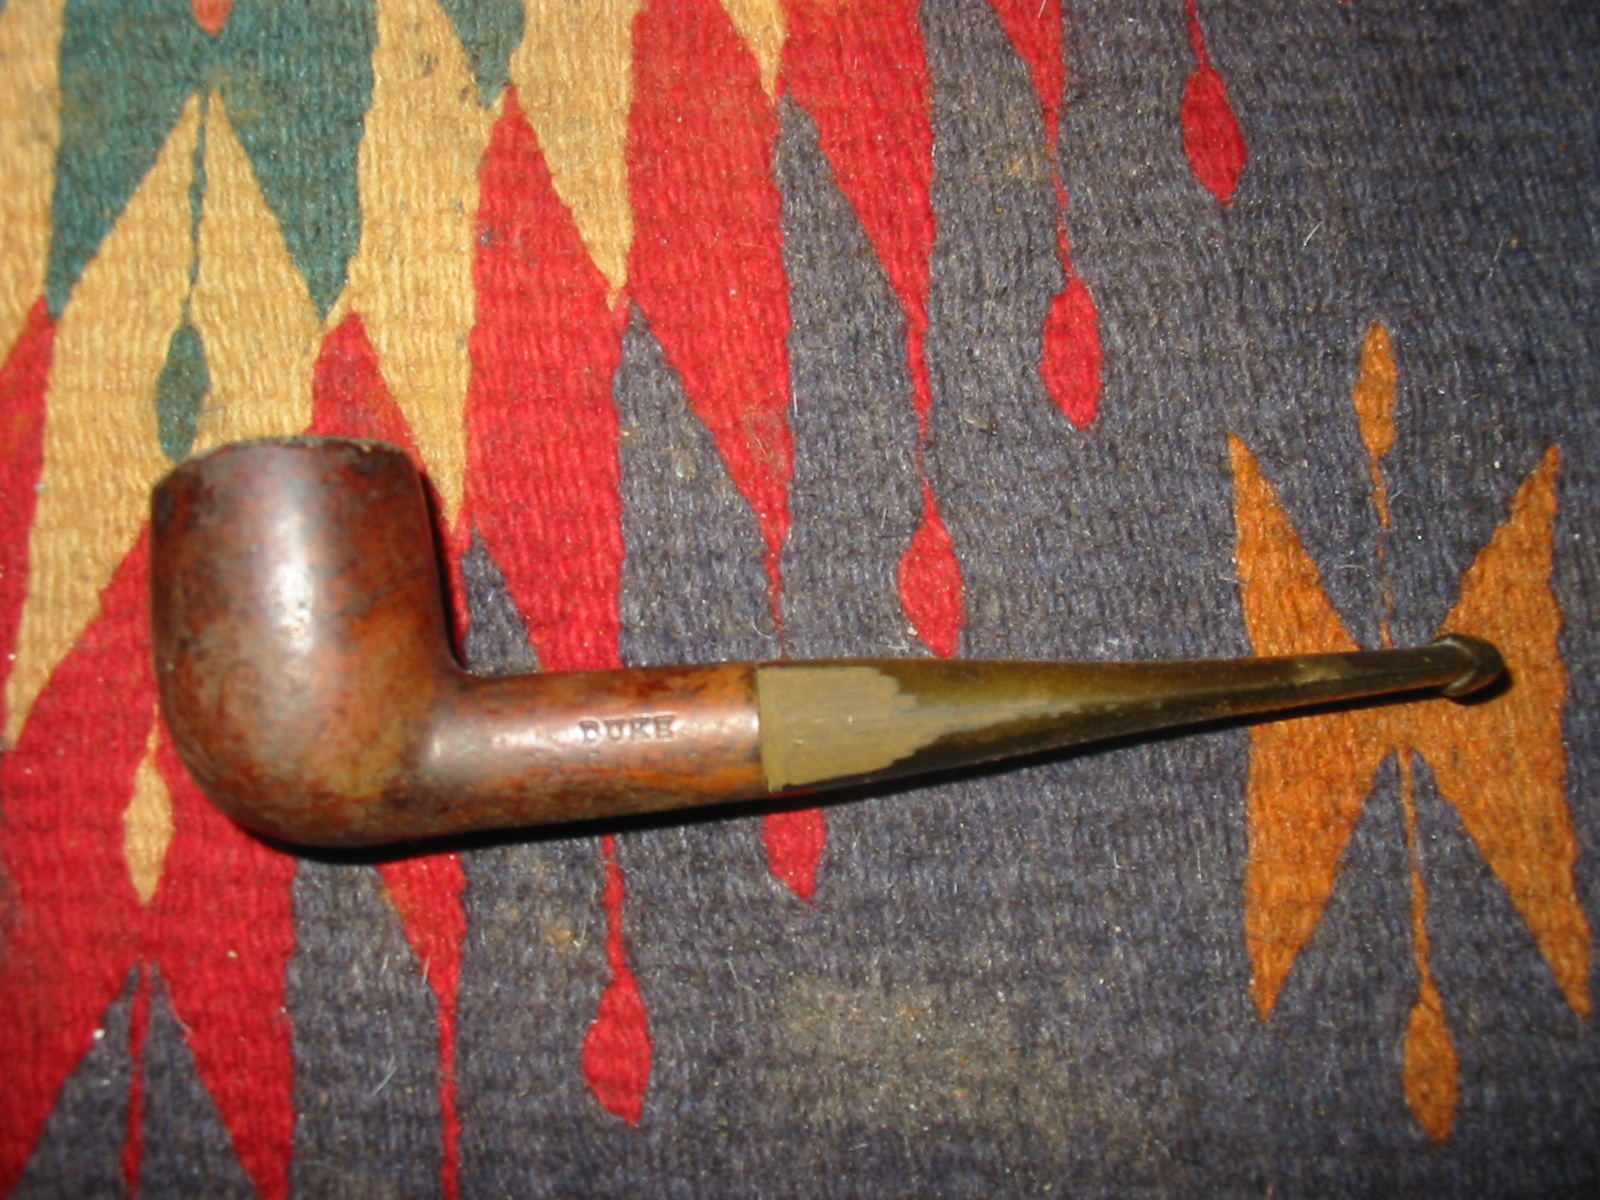
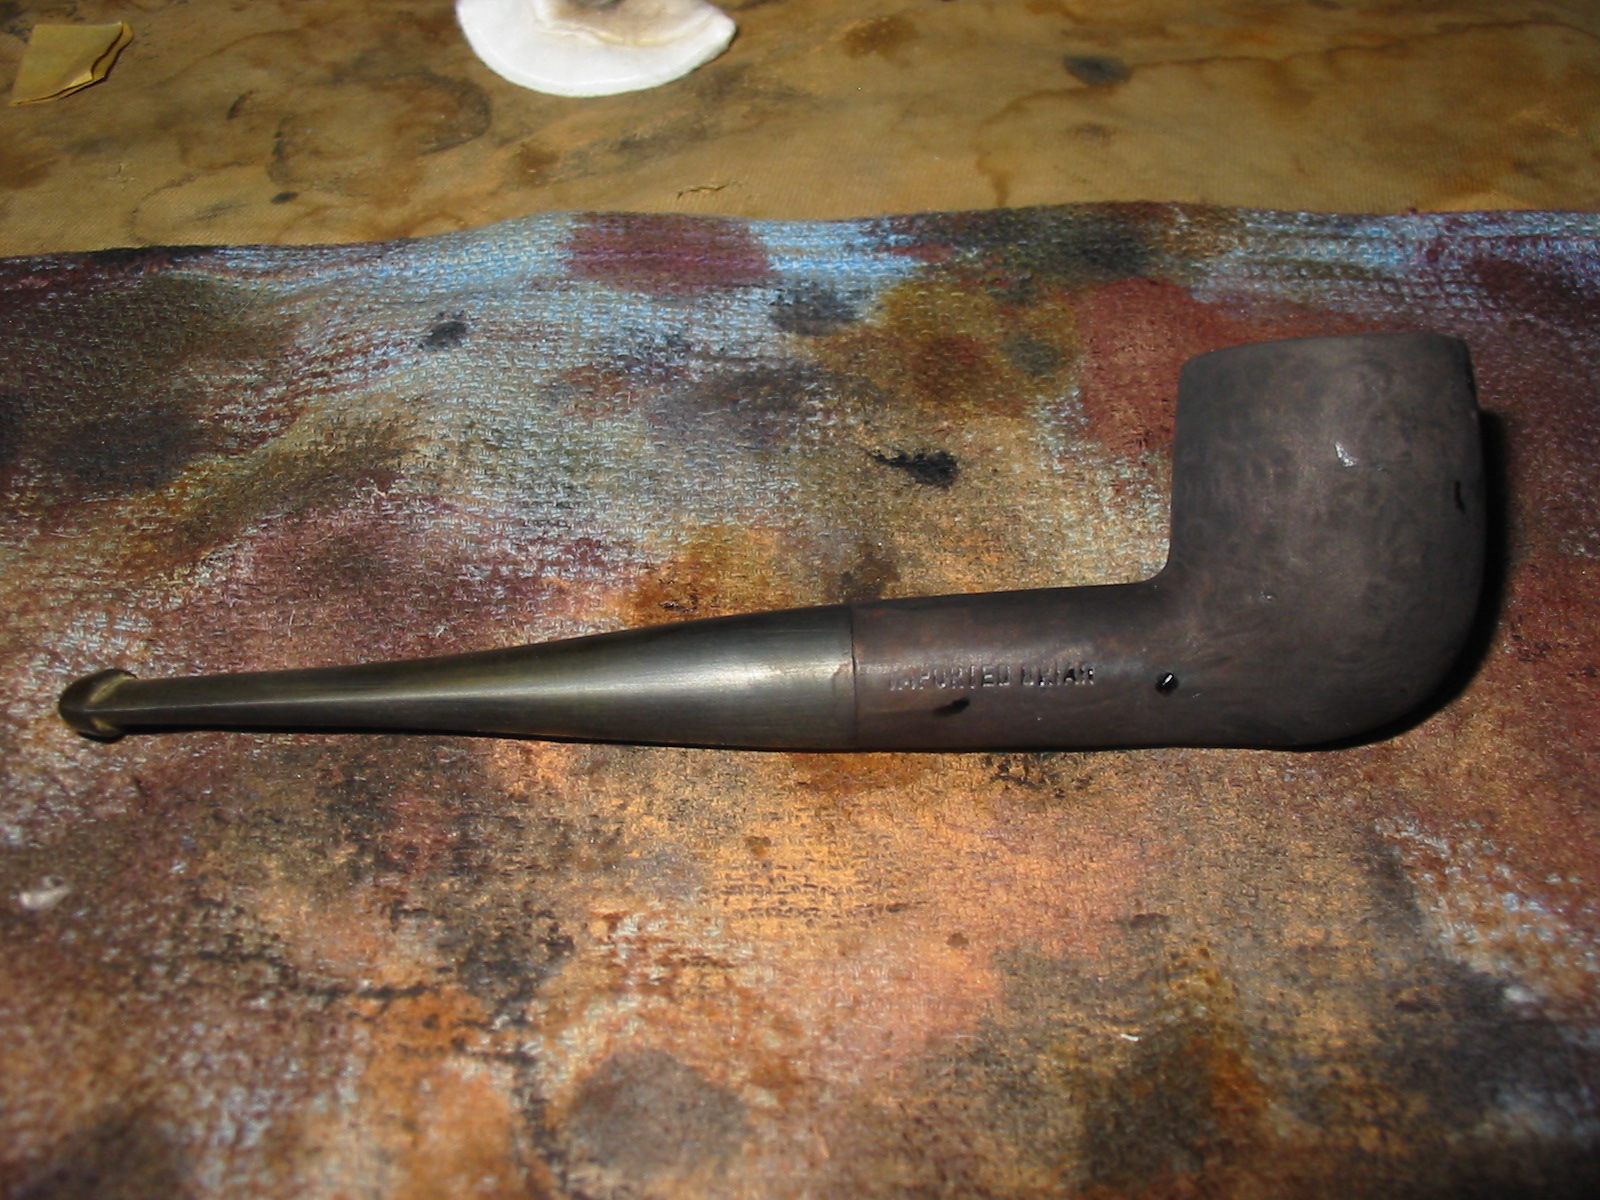
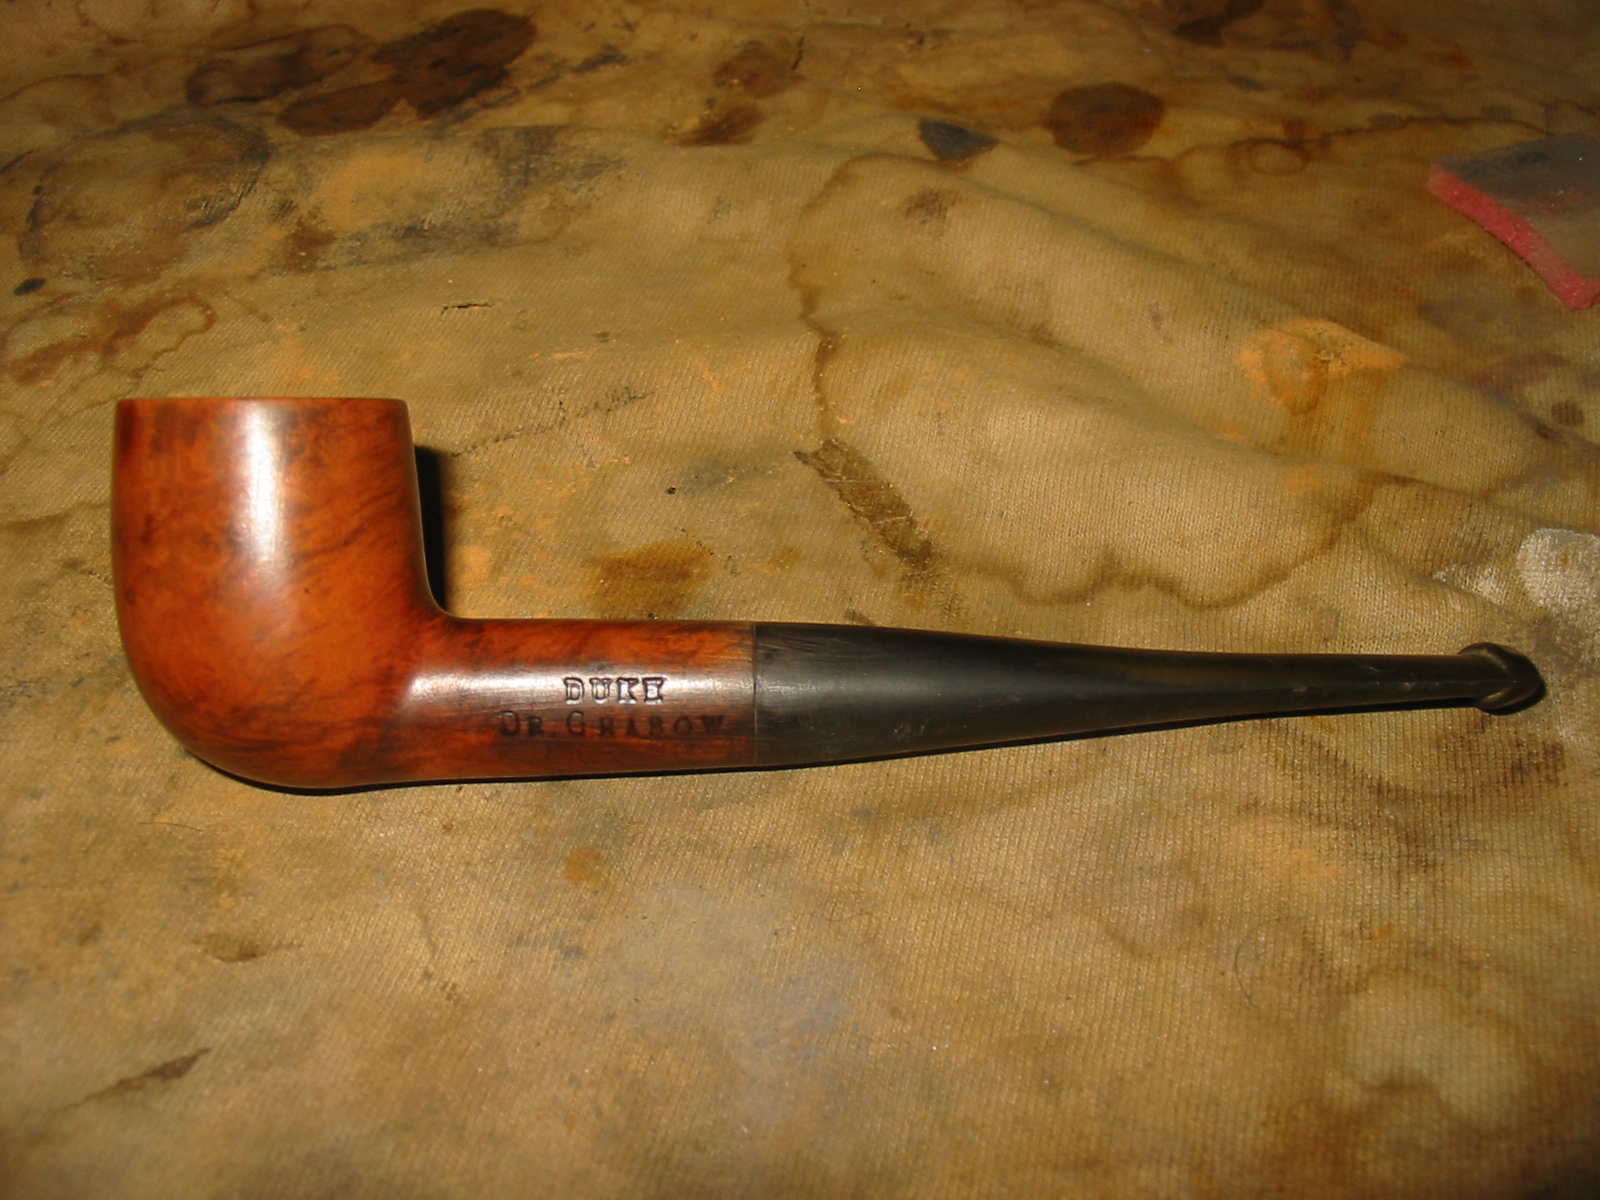
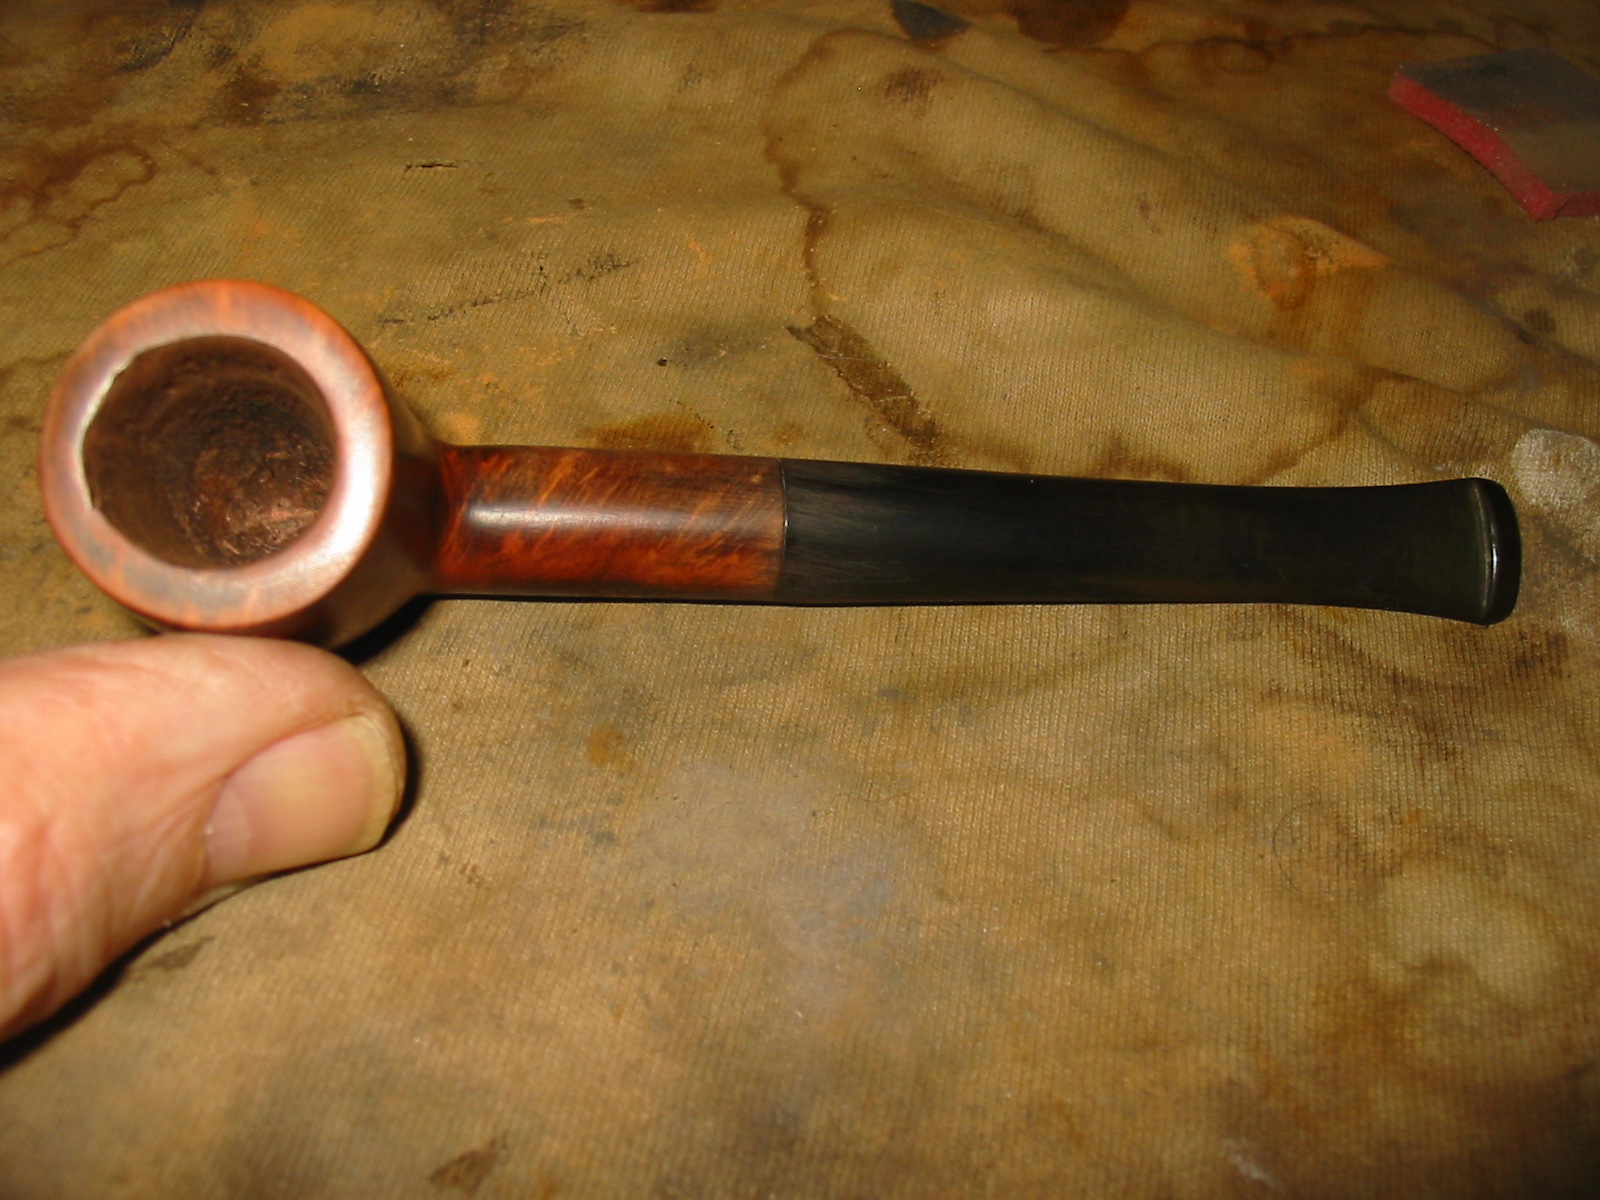
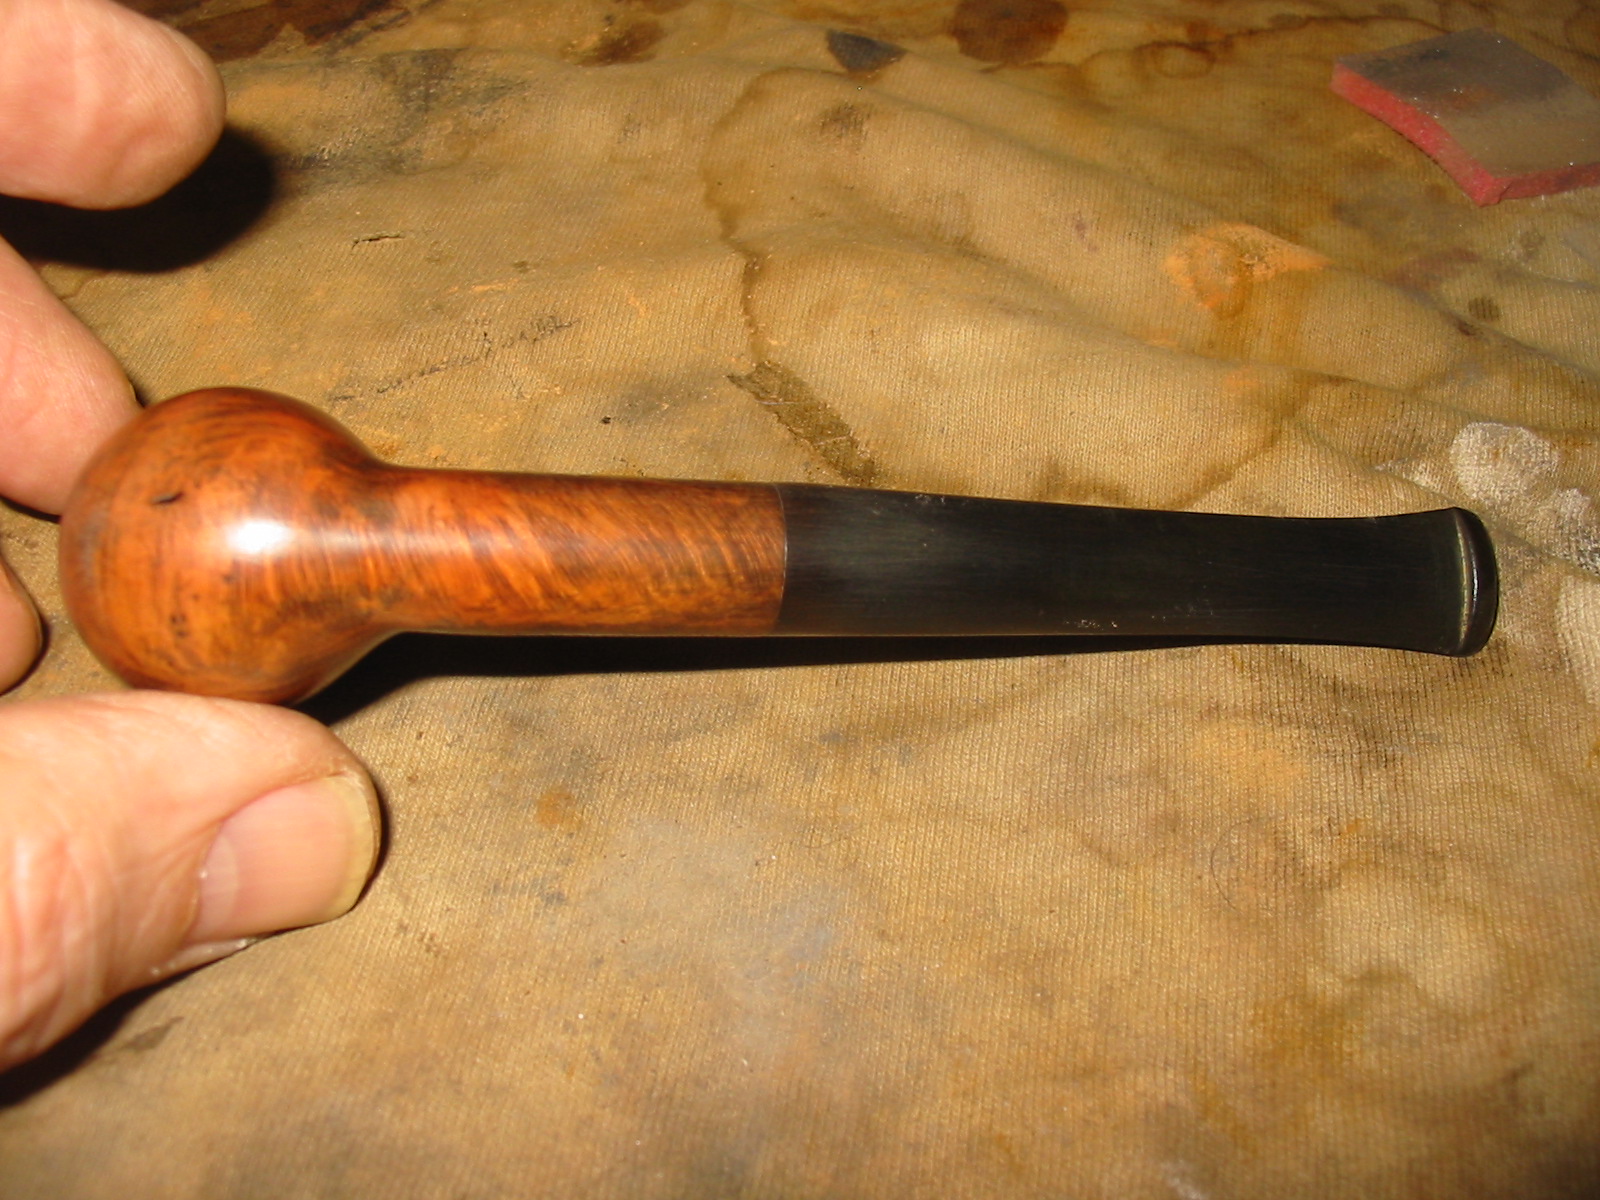
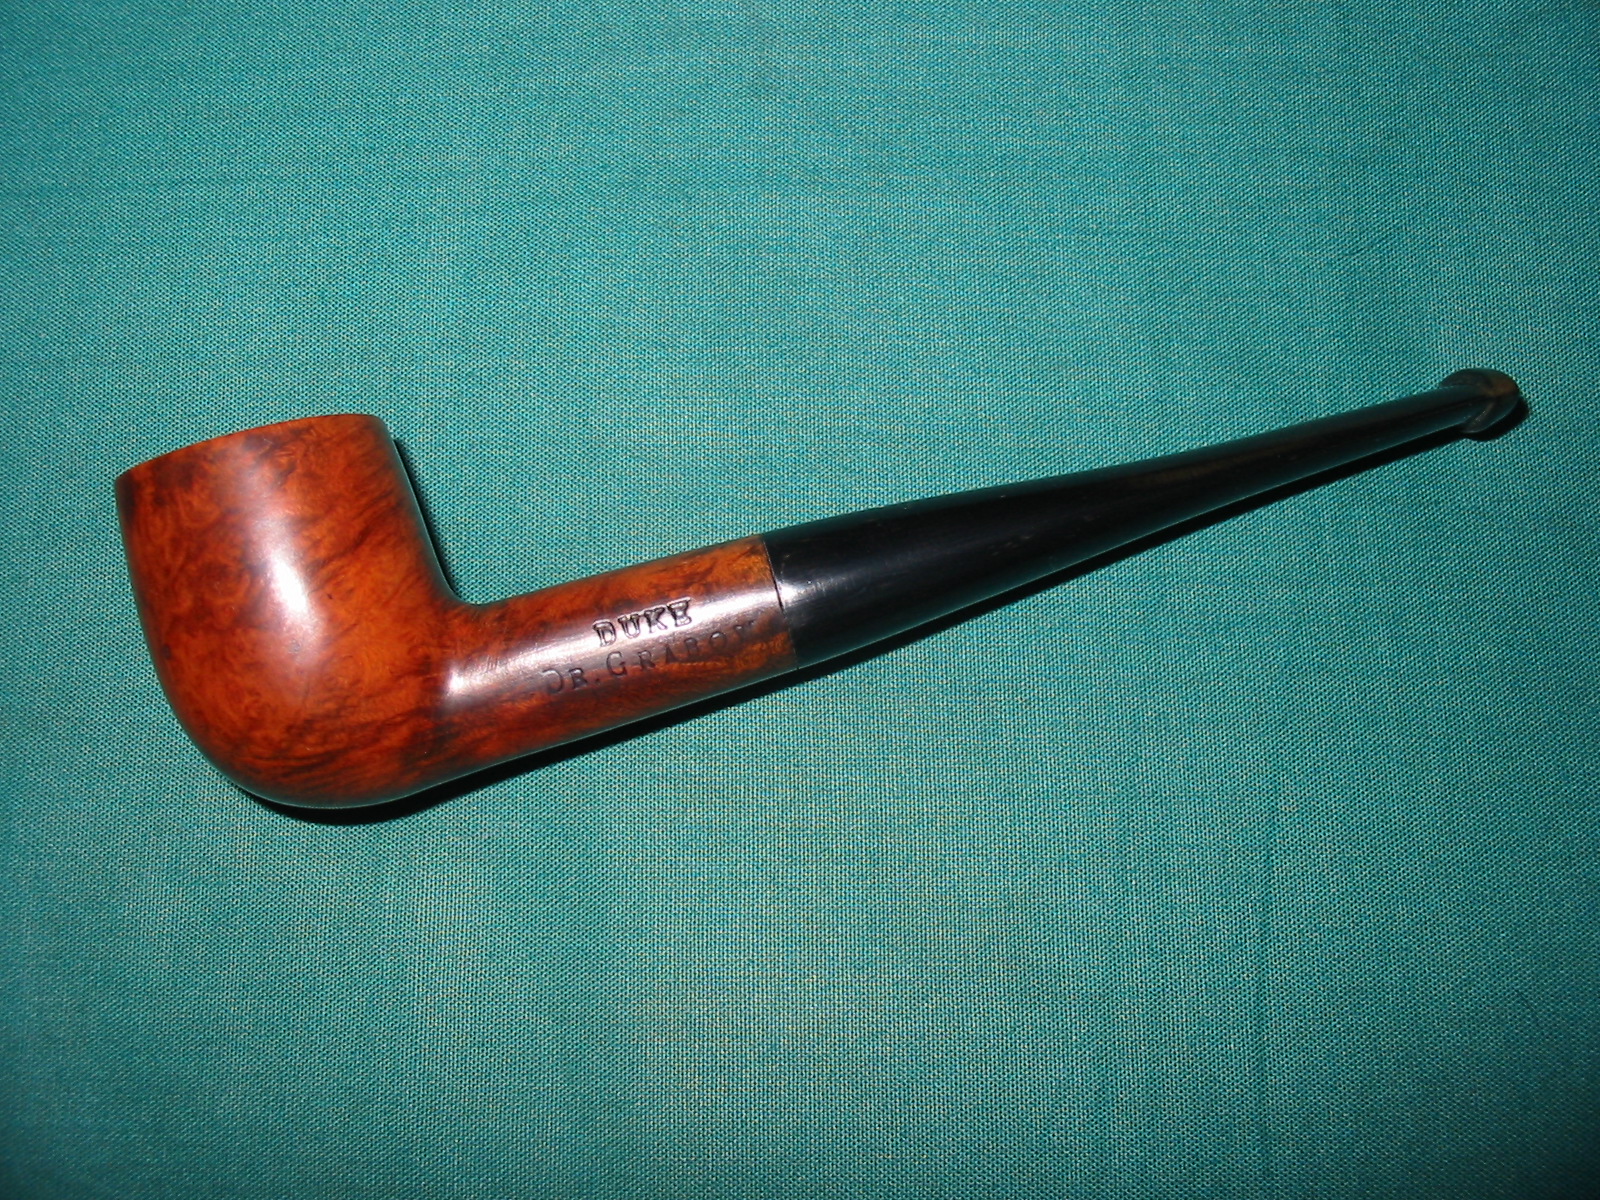
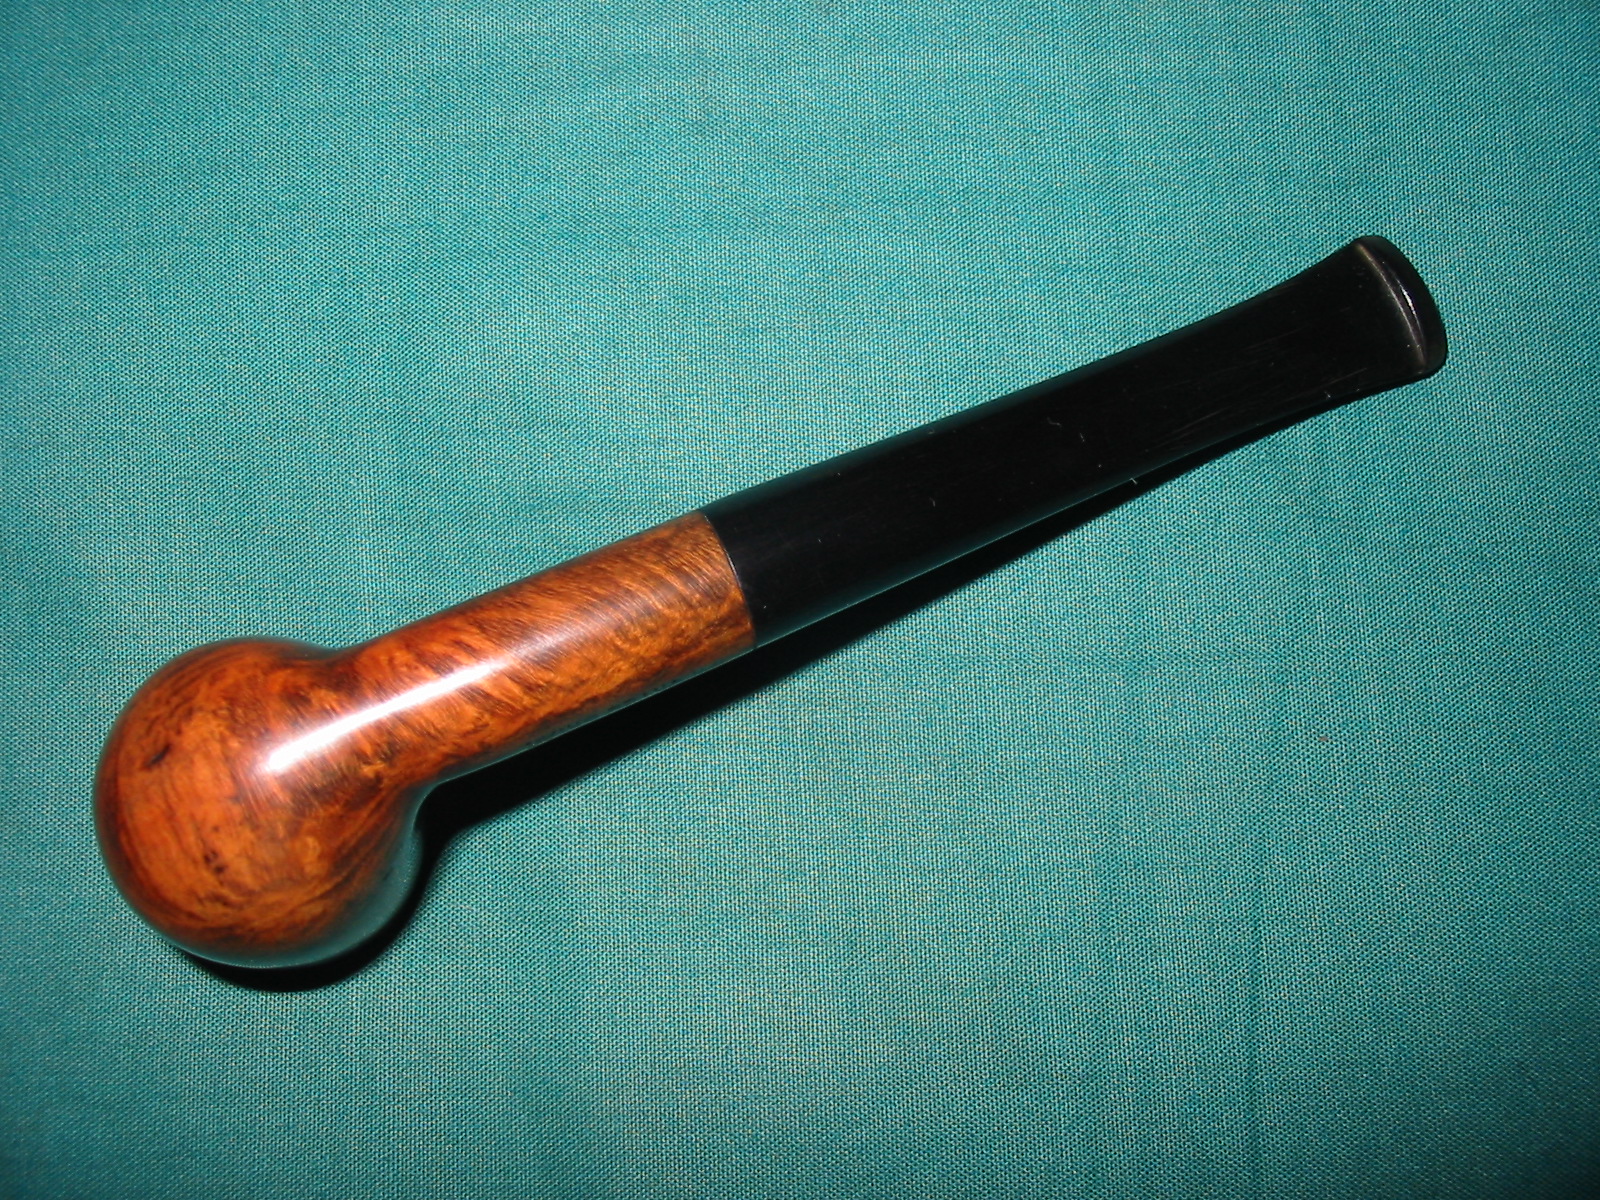
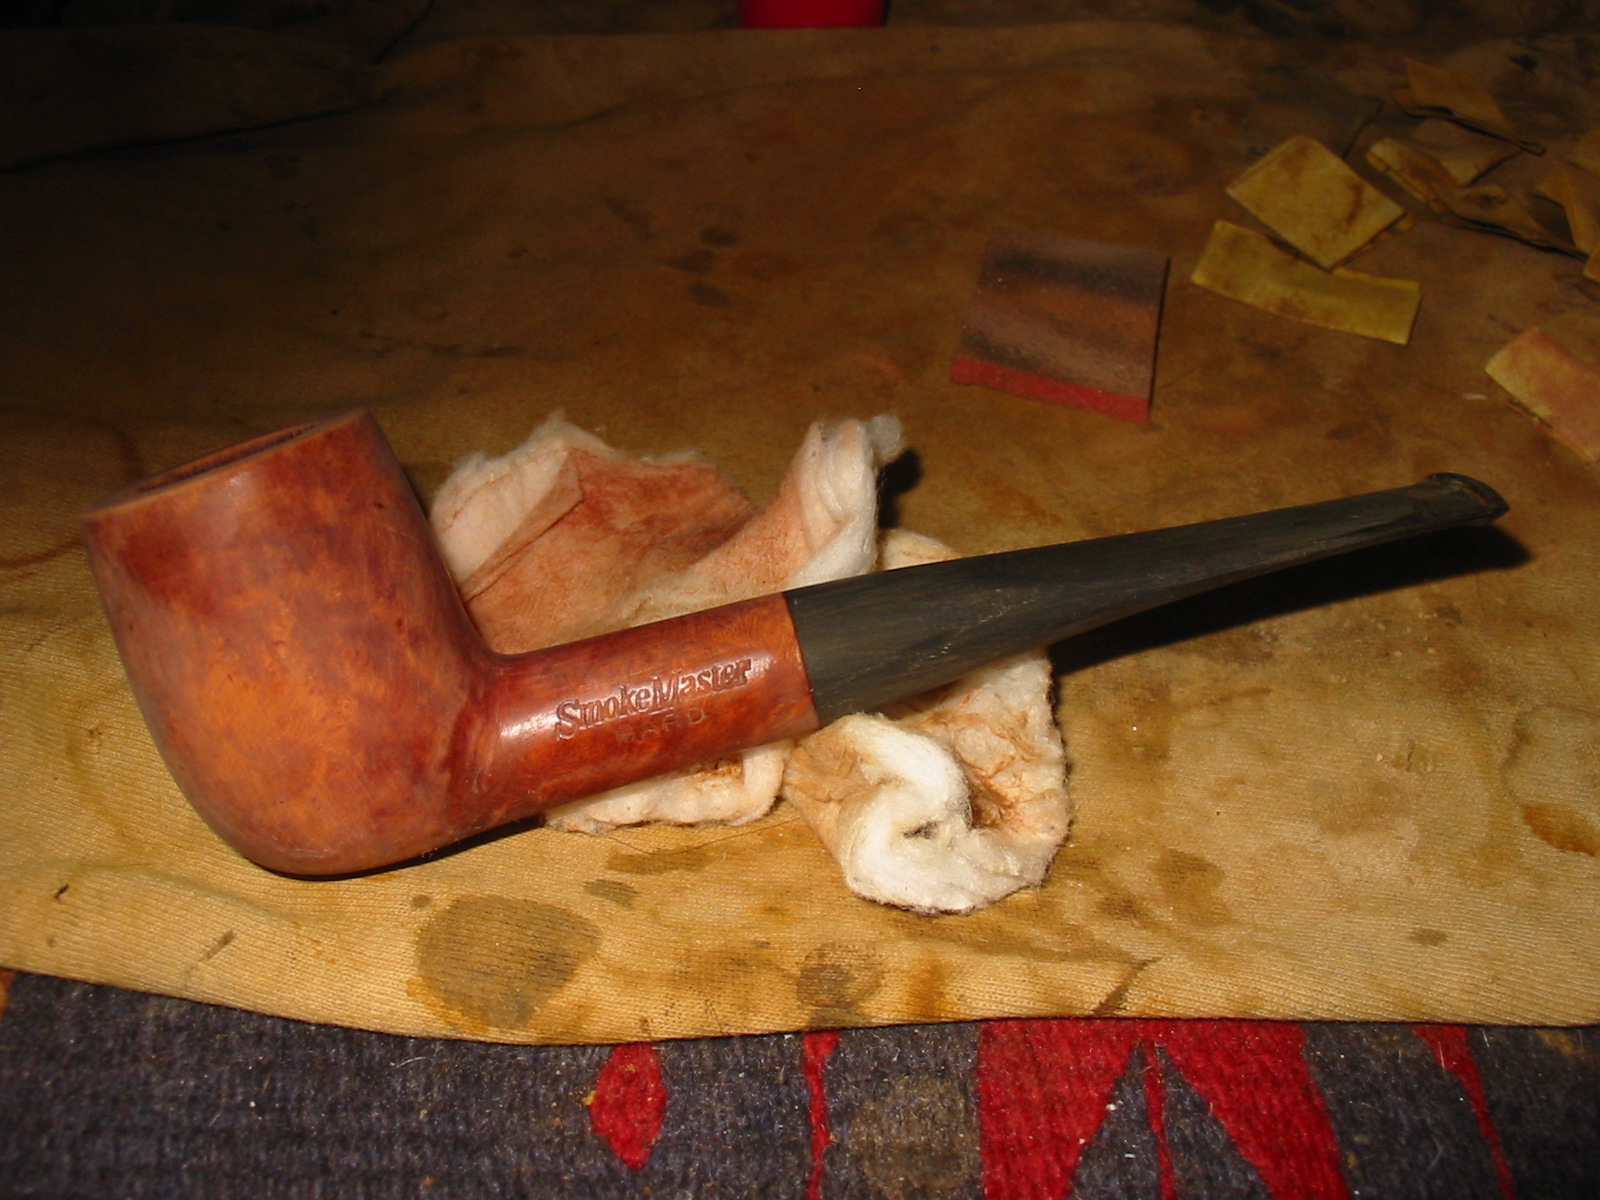
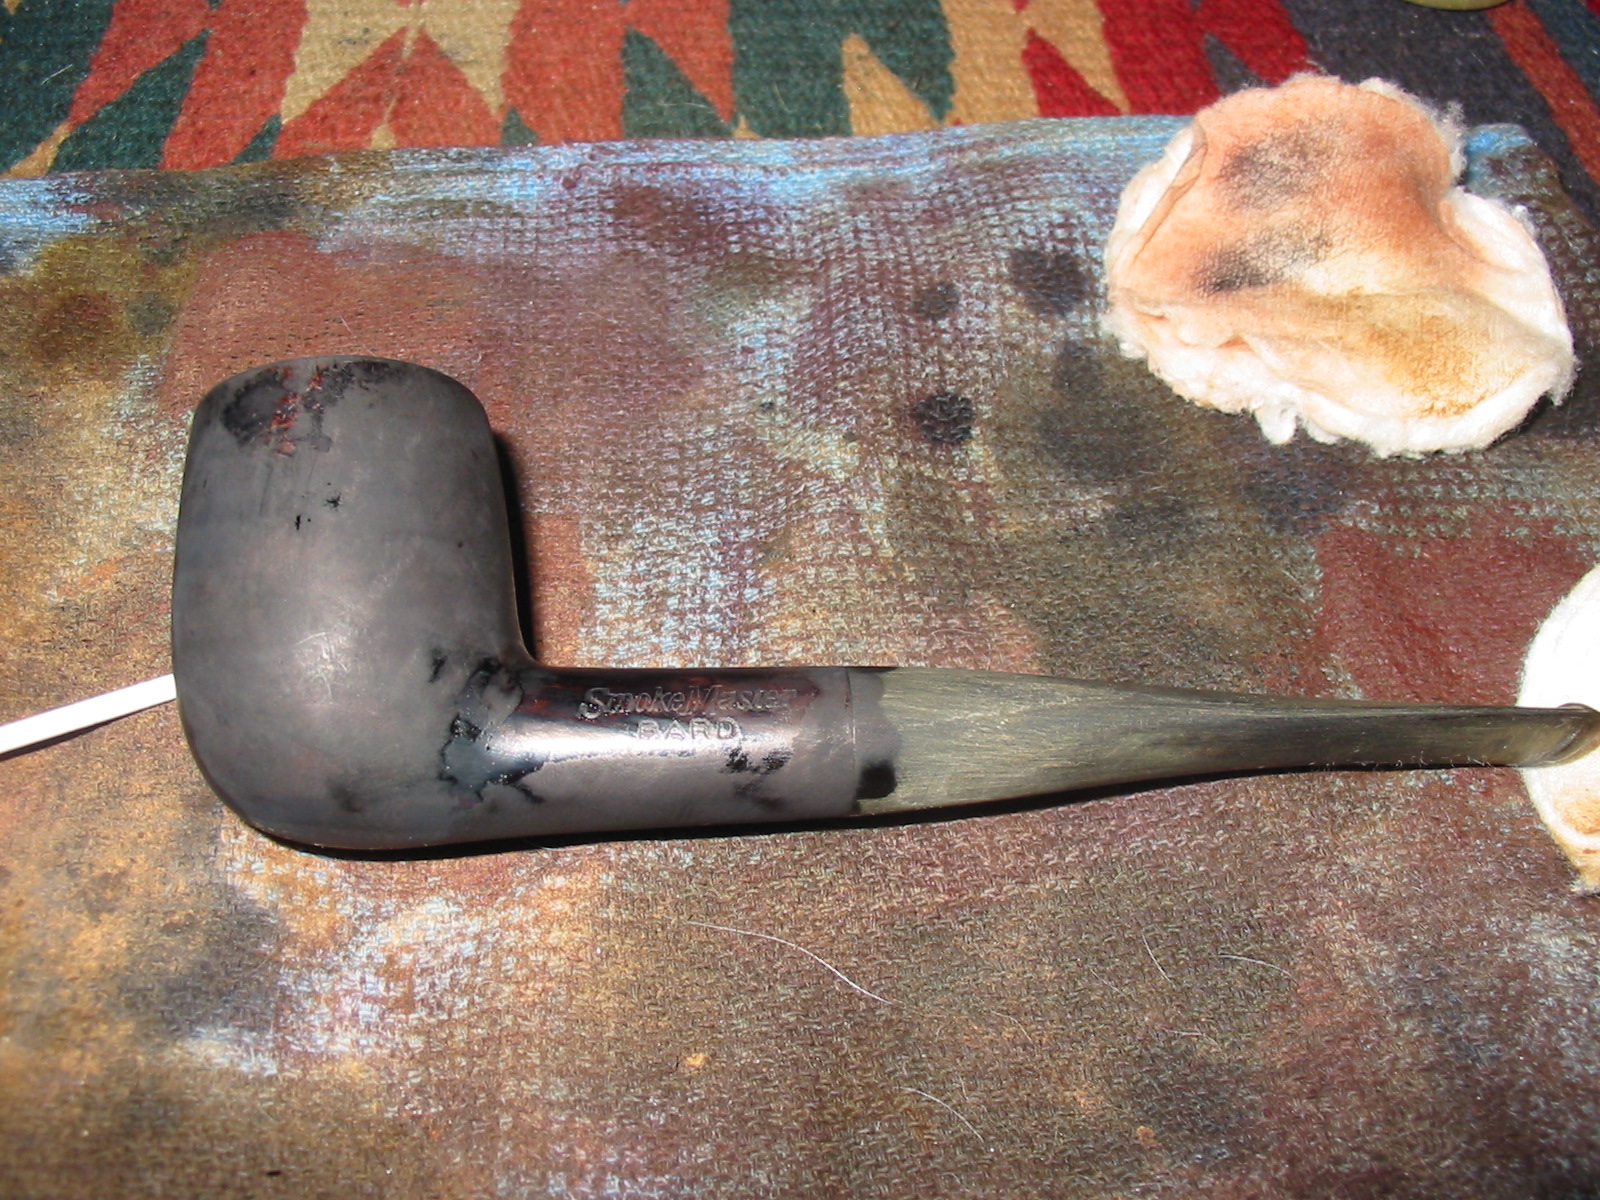
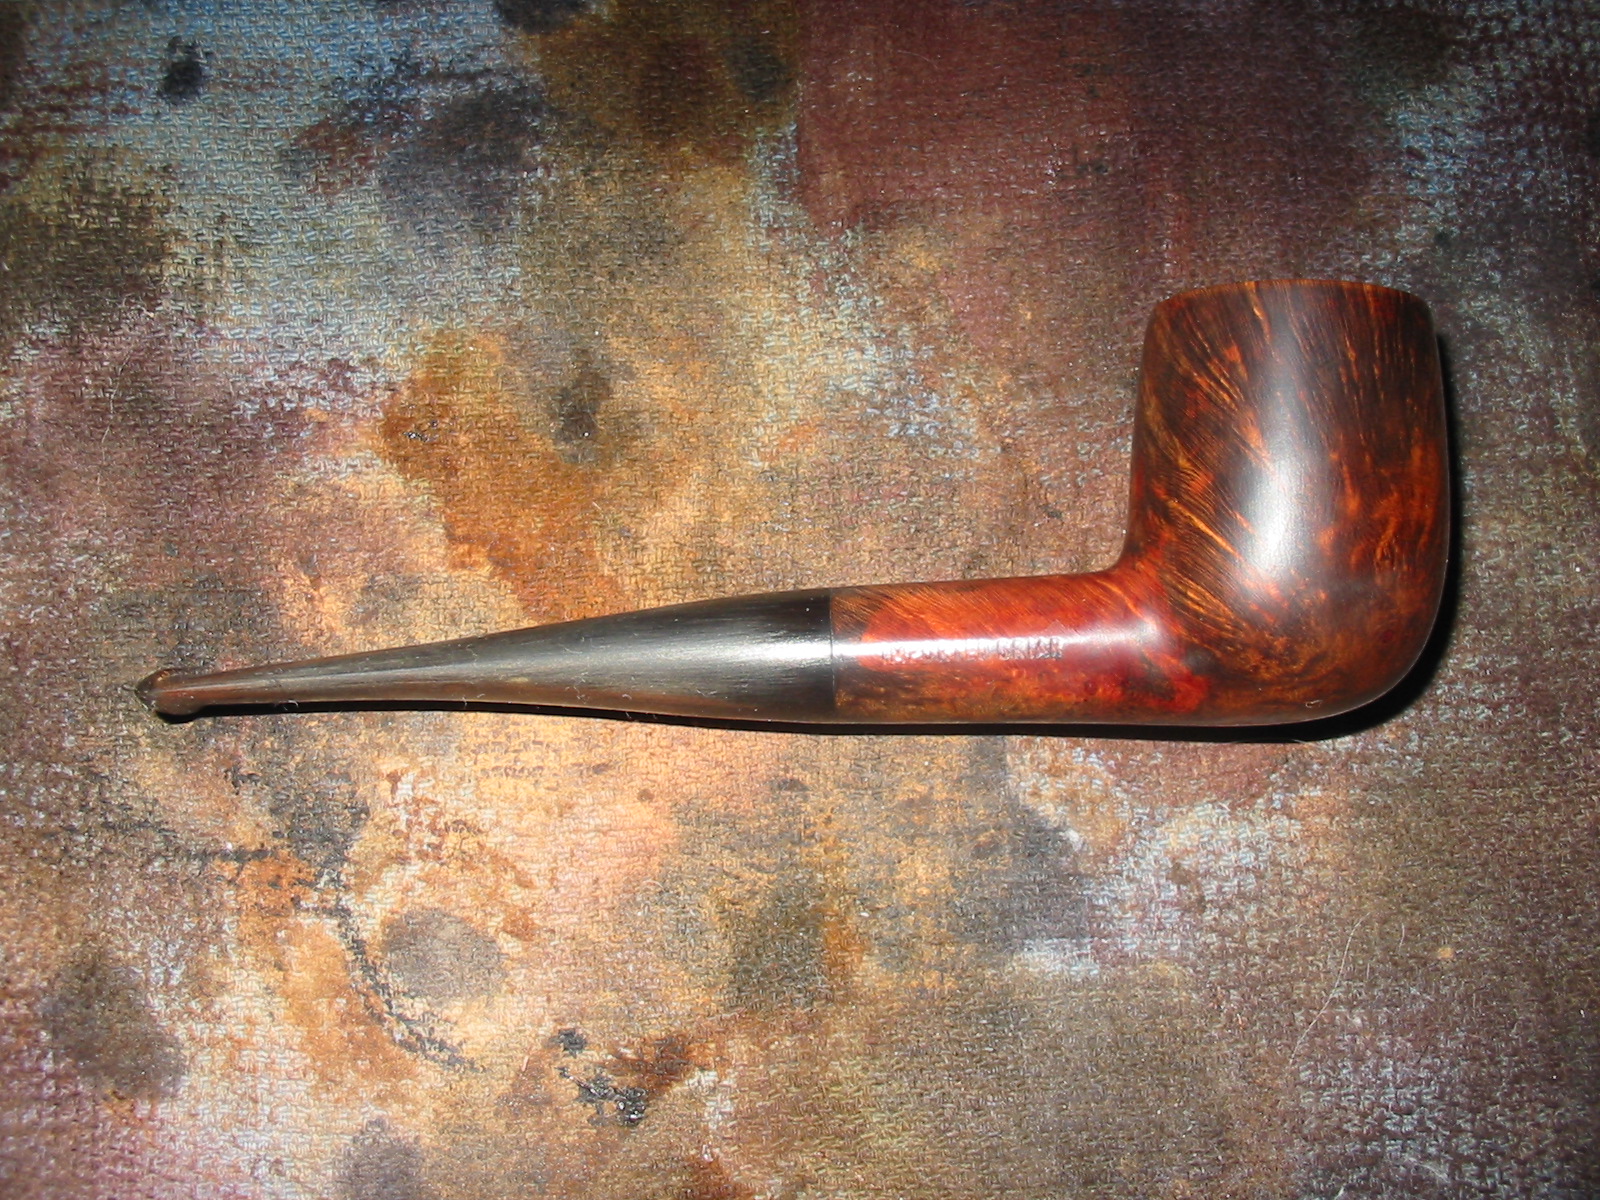
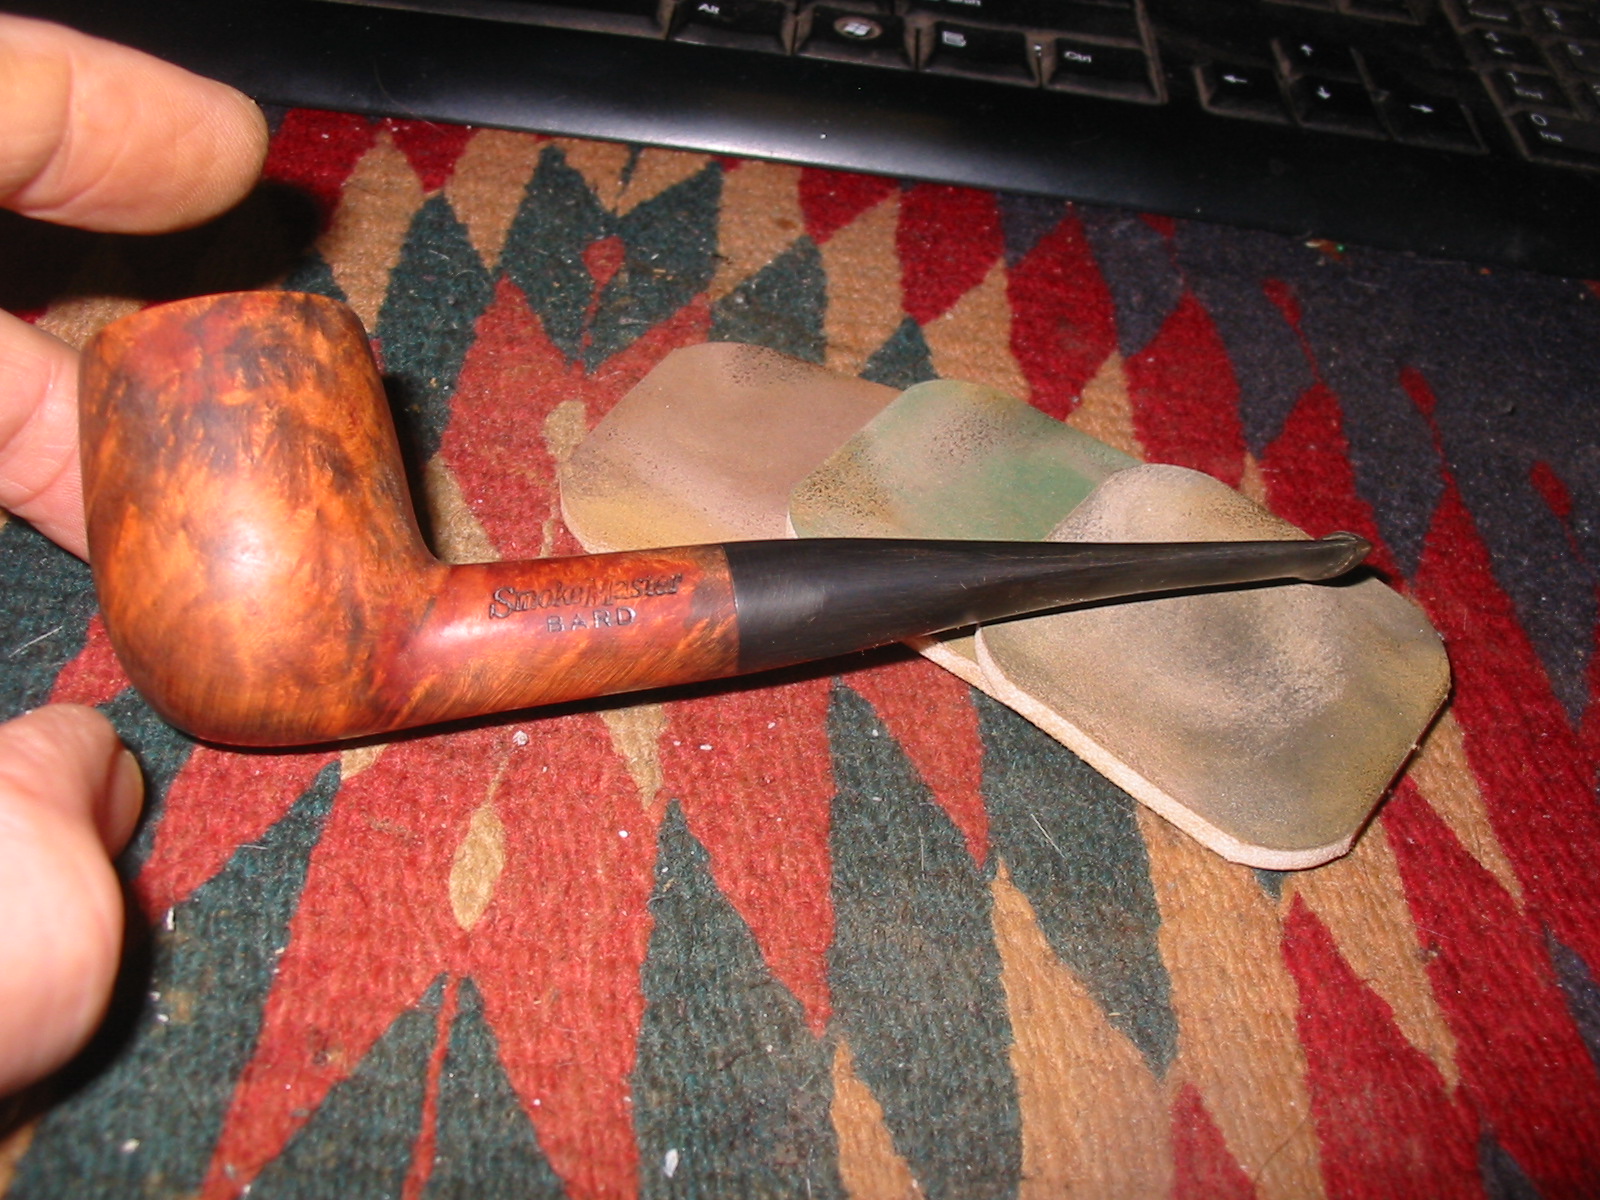
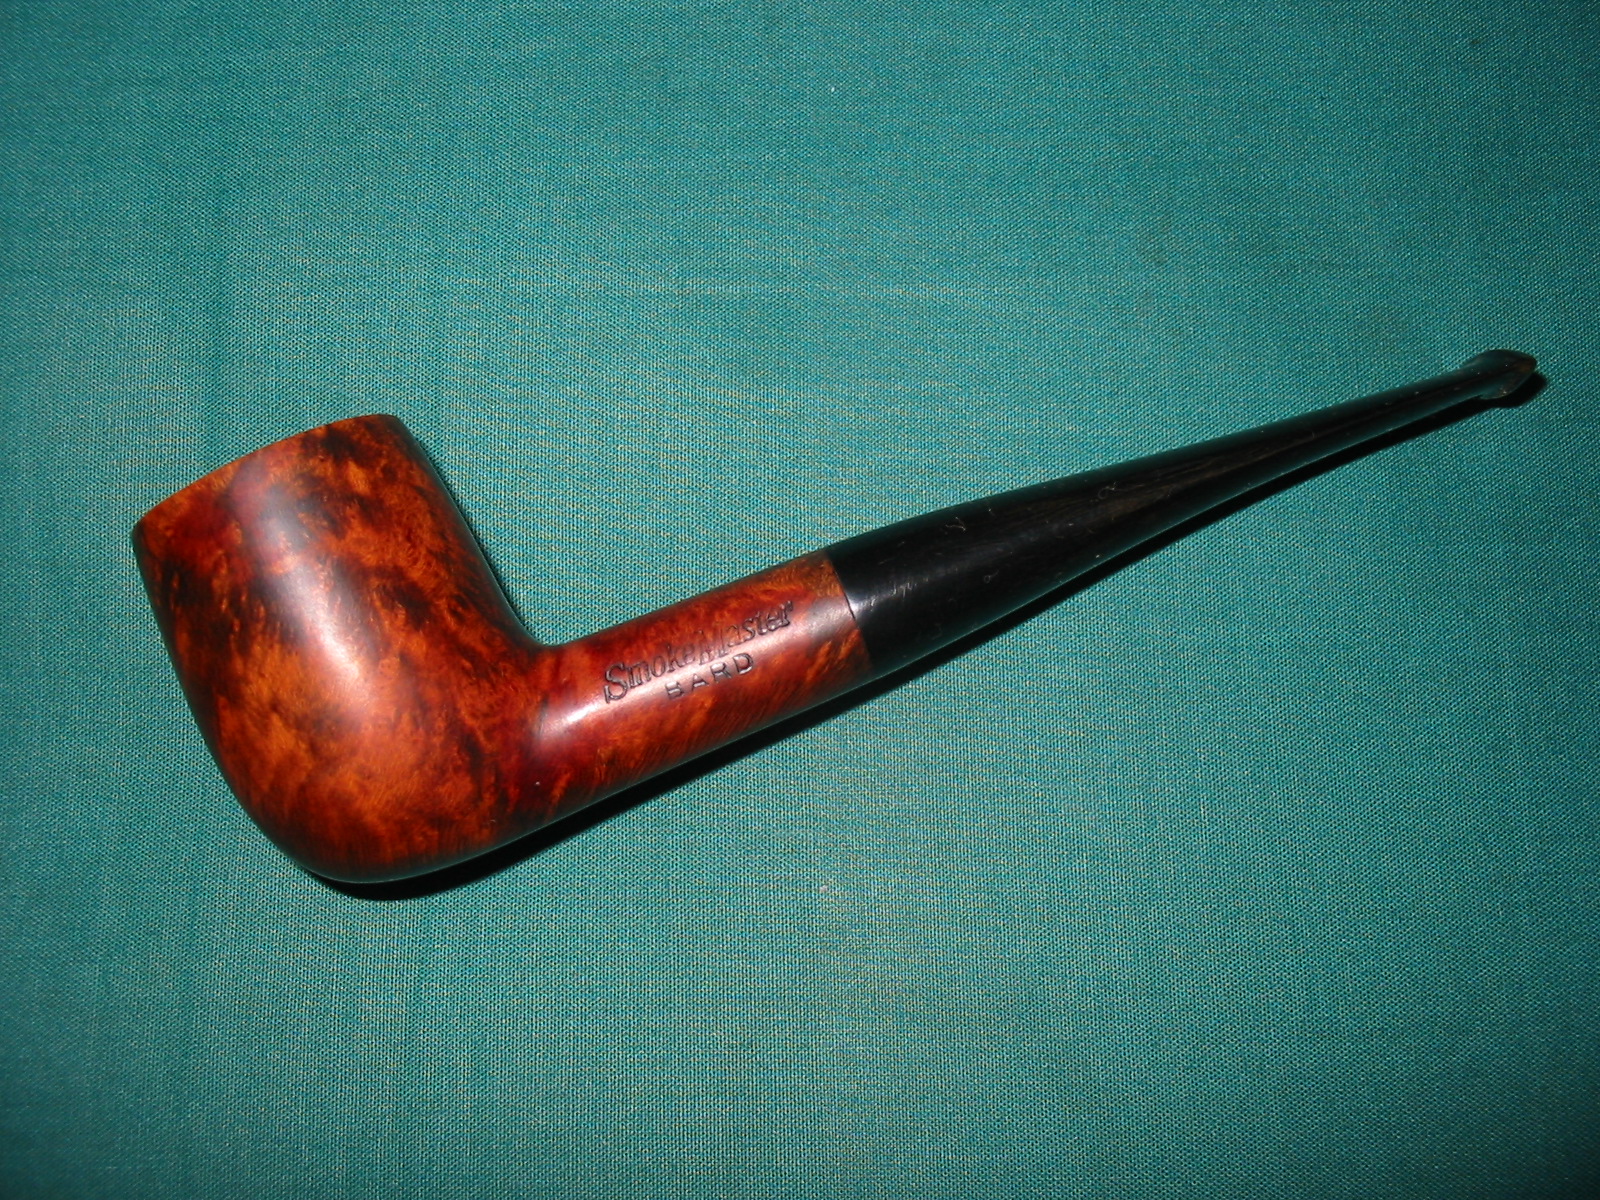
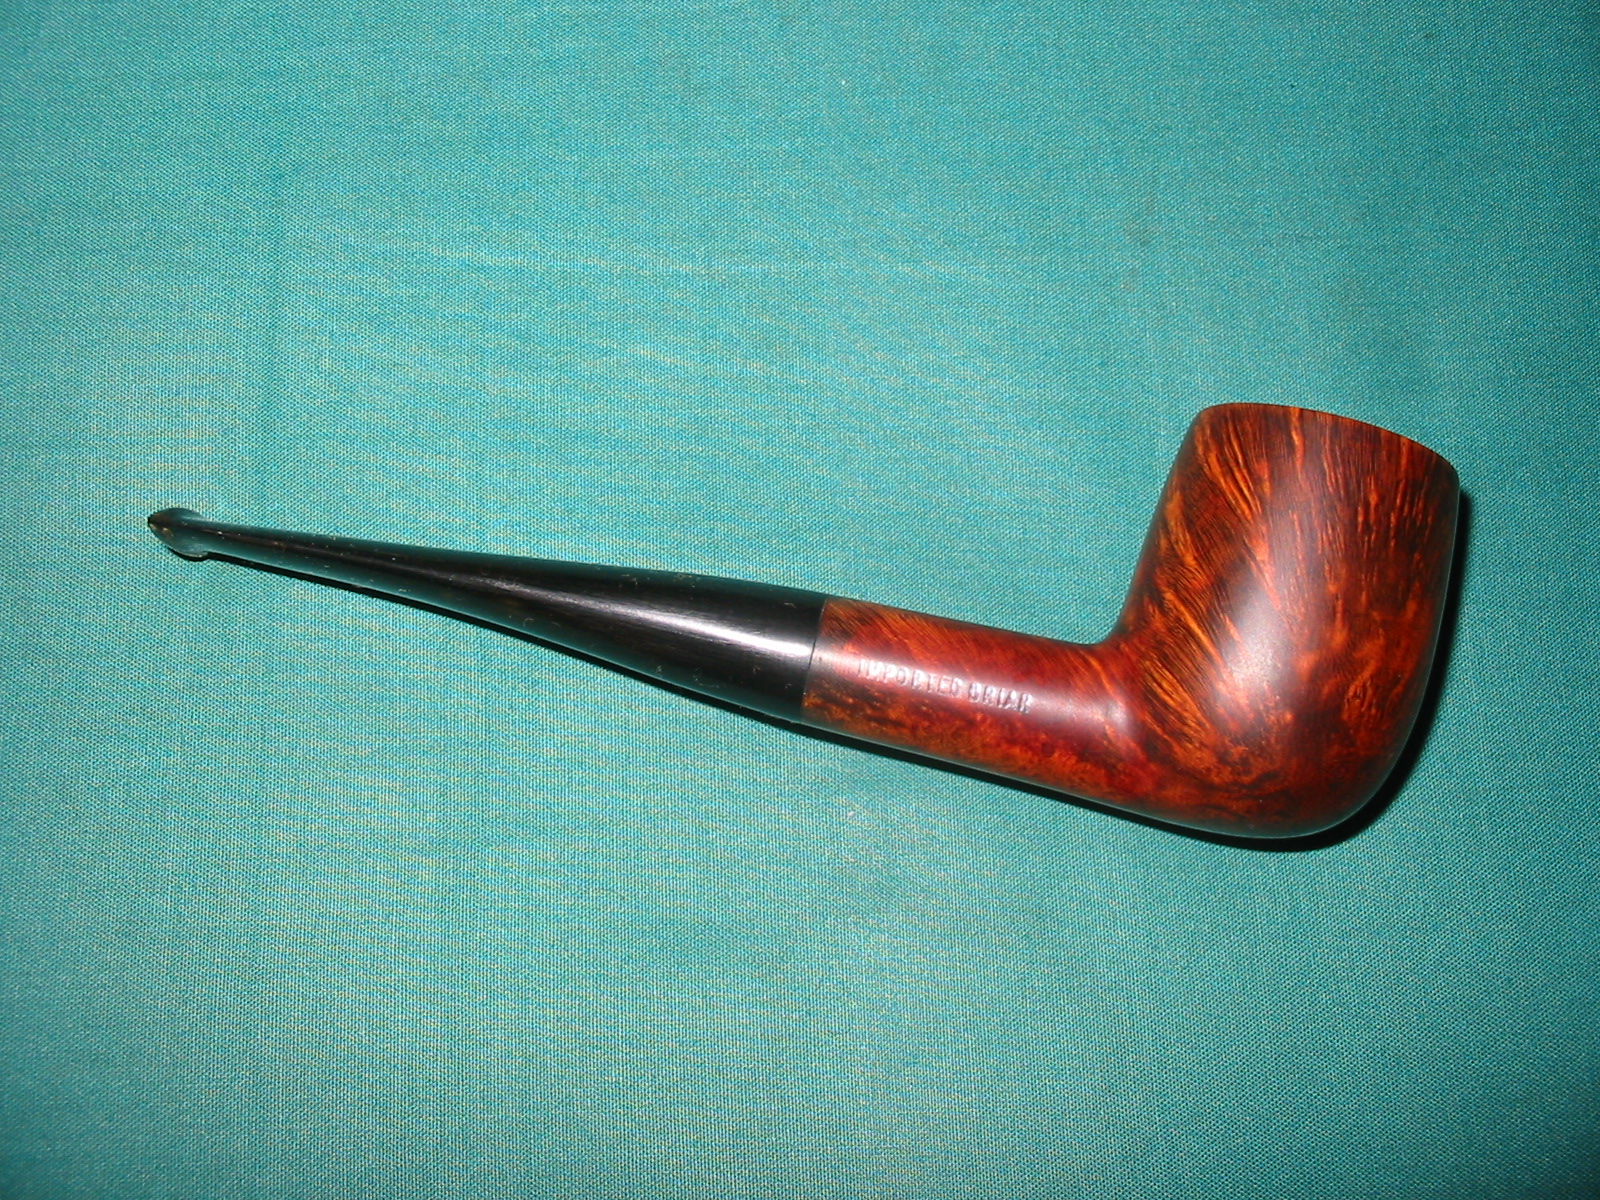
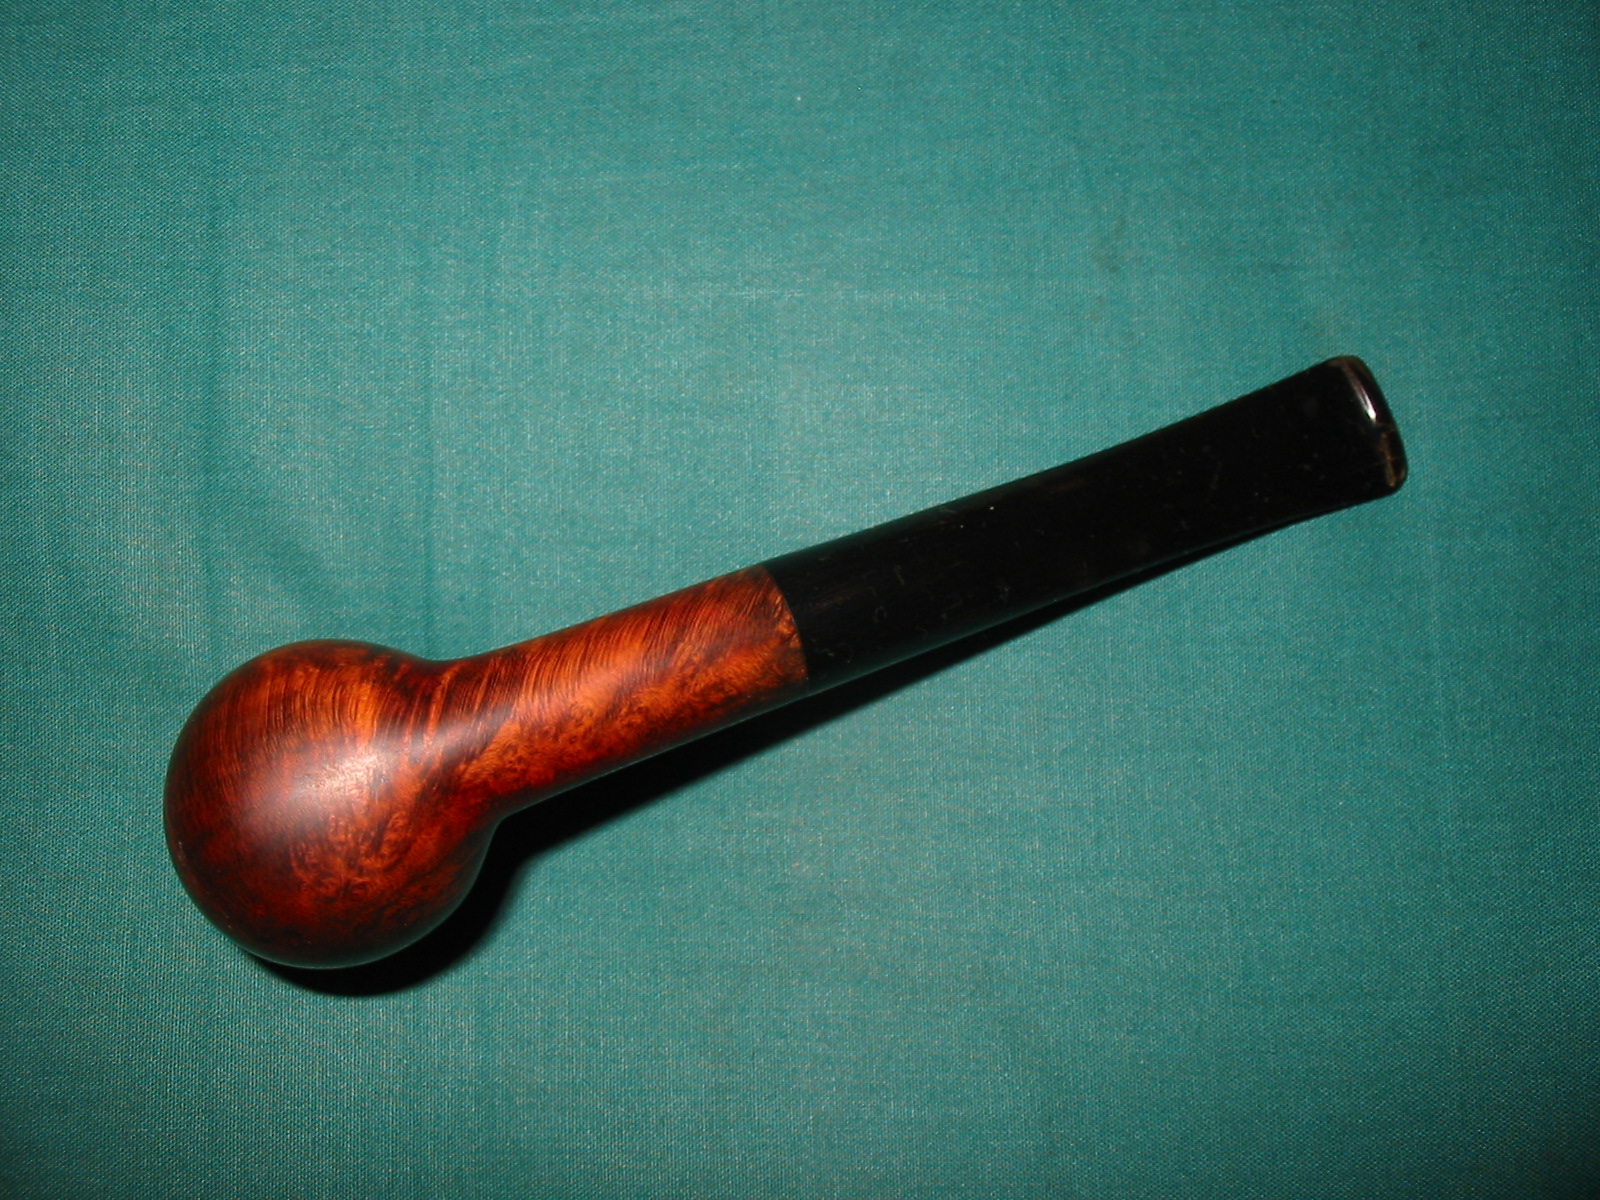
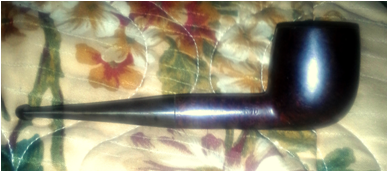
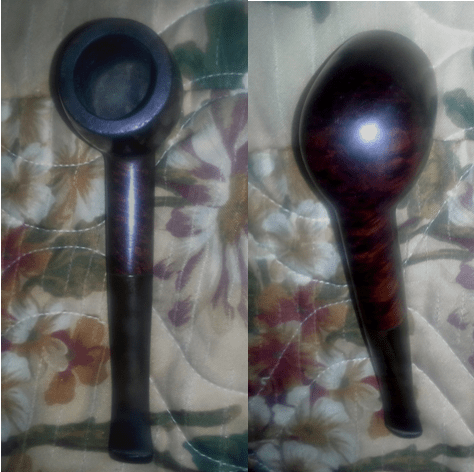
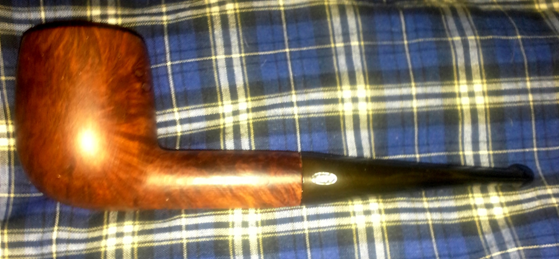
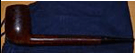
Other than the stem – which, although the photos of its two unrestored sides make it look in foul shape, really presented no great difficulty sanding, waxing and buffing back into pre-chomping condition – all that was left was the carnauba waxing. I ended up giving it two coats, and this was the end result:
Conclusion
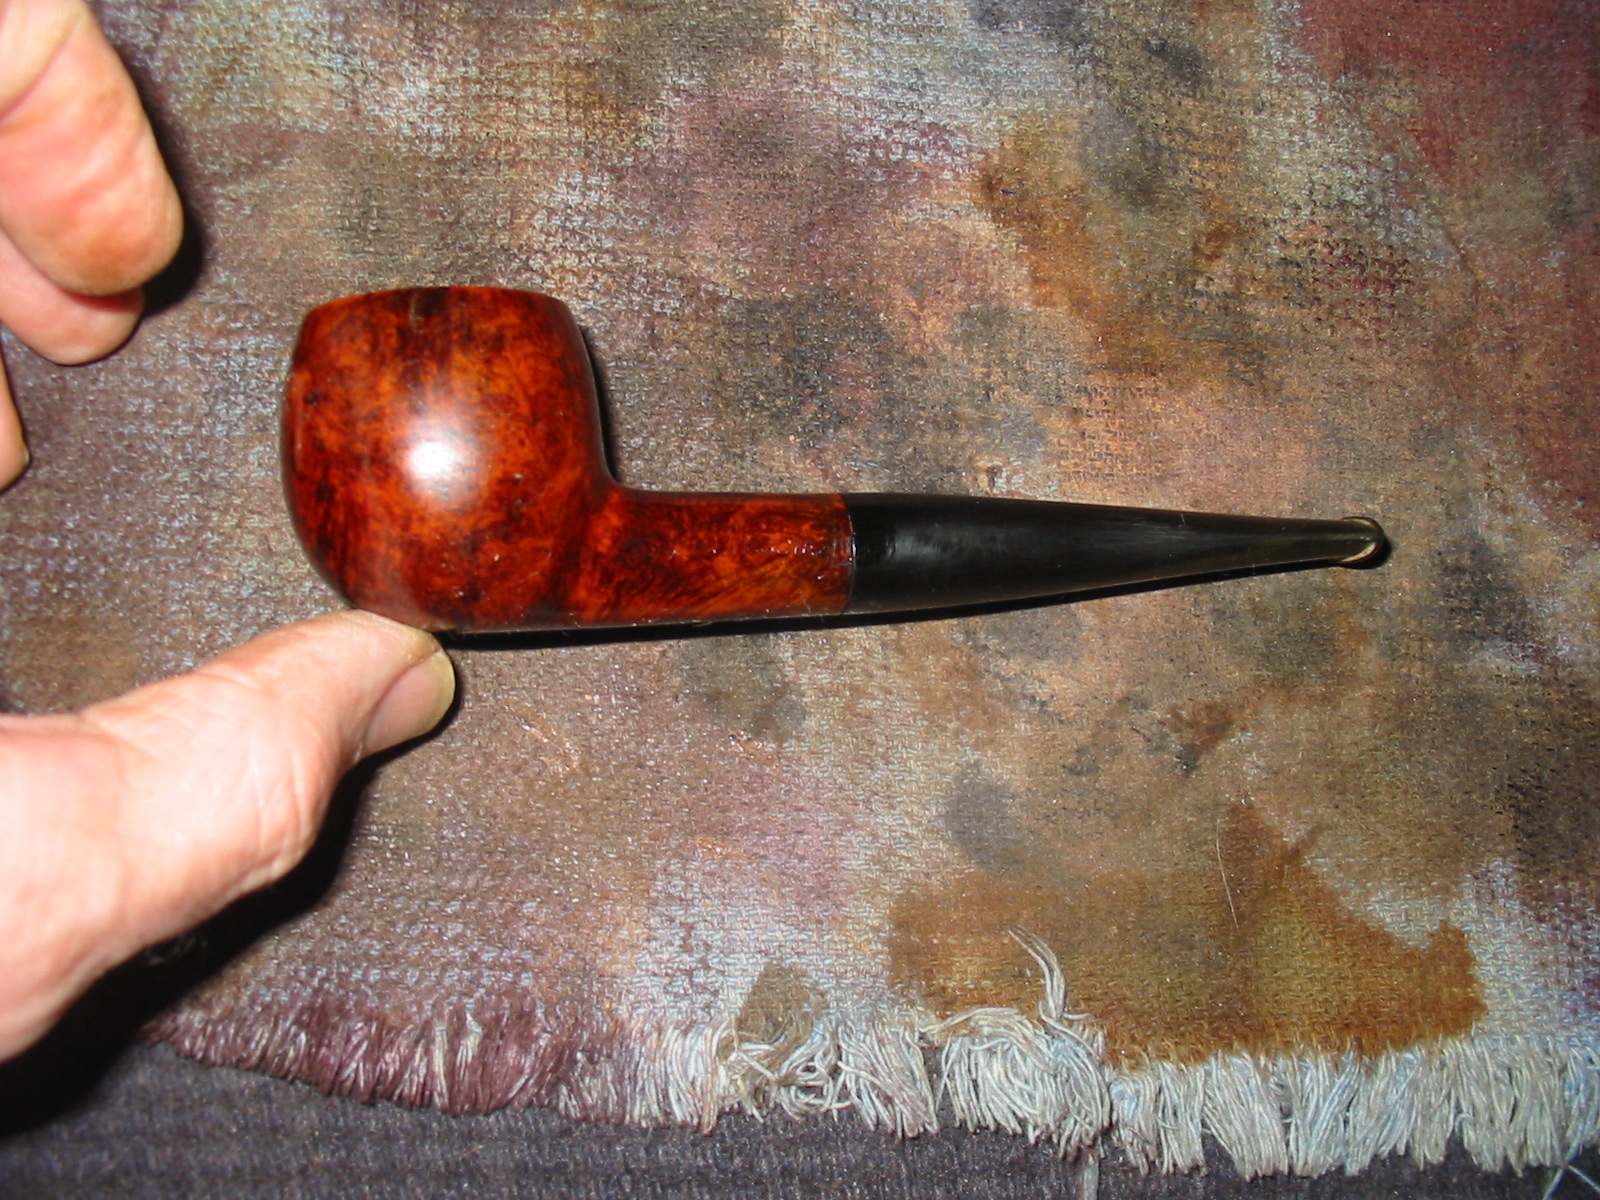
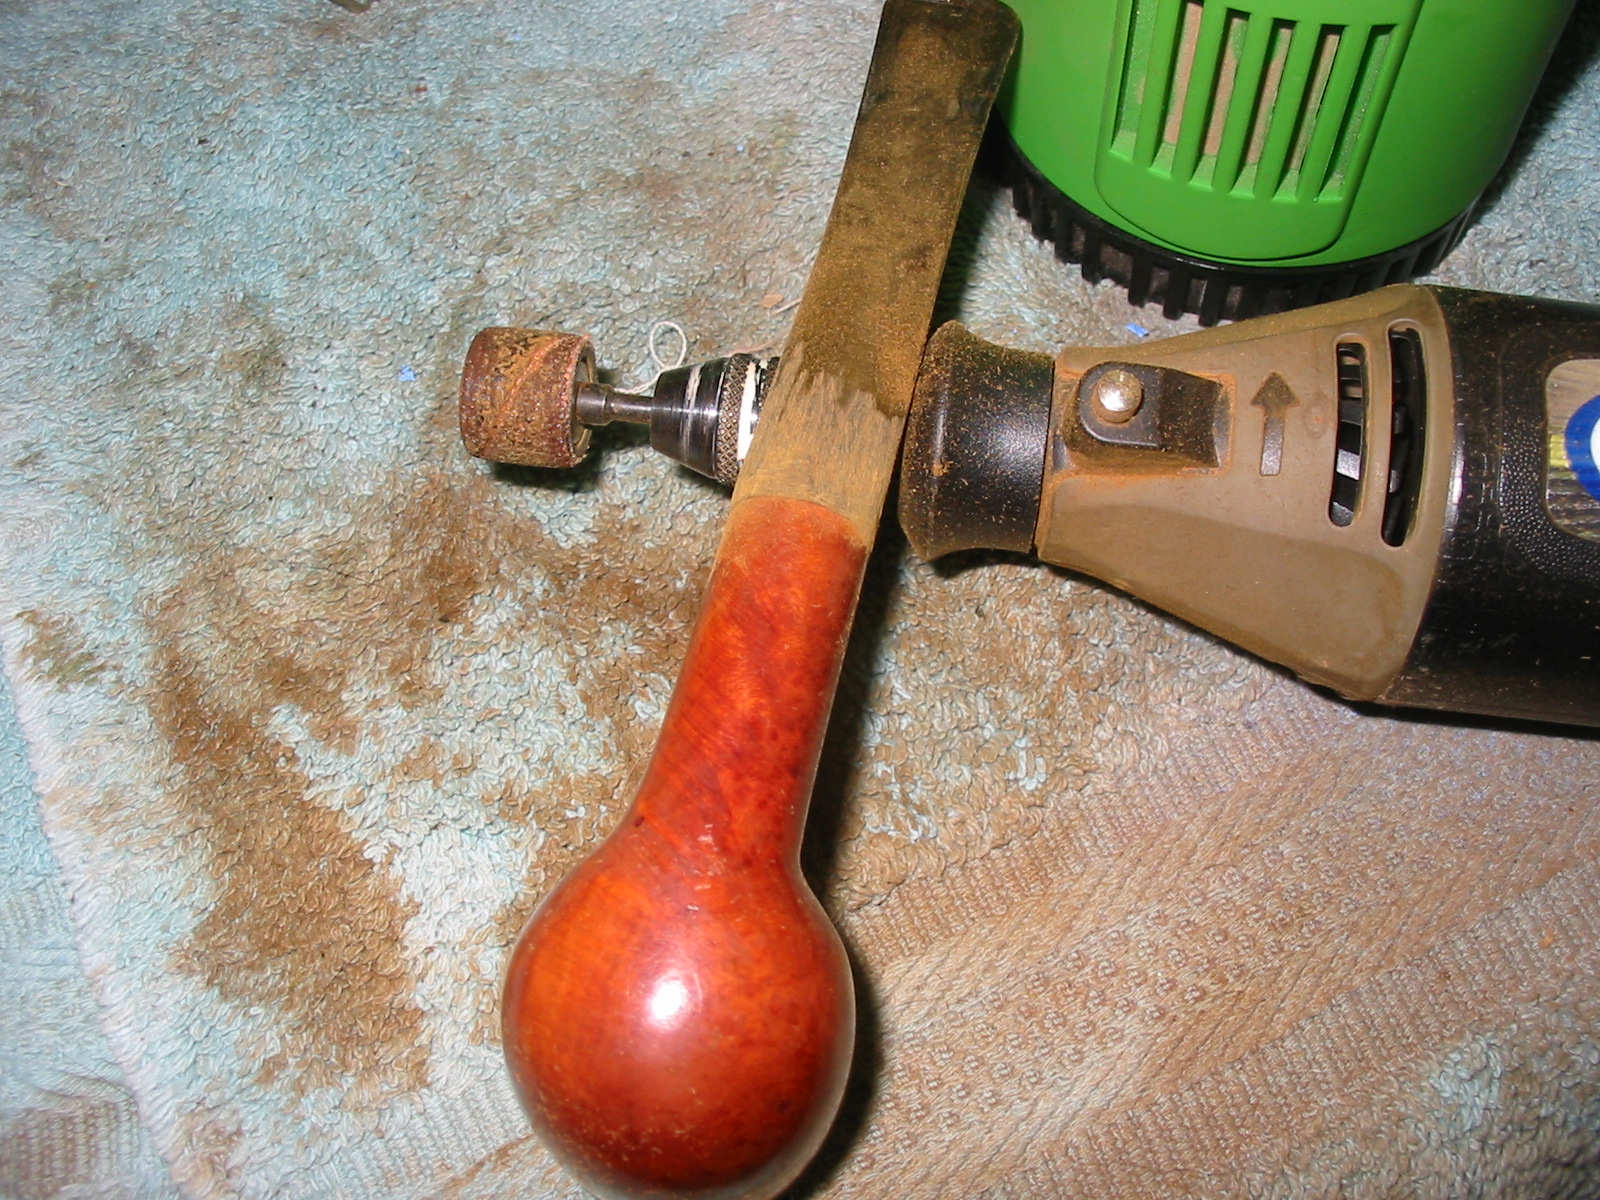
I know, I know: I admit I overdid the sanding just a wee bit, if I may couch the offense in such nice terms by ways of saving face. Chuck was first and no doubt not last to point out this gaff of mine, for which I am sure I will lose countless nights of sleep. Nevertheless, I was and remain rather proud, despite the sin of that reaction in certain circles, of my efforts to take that which was not even recognizable as an antique Ropp signature pipe and, rather than restoring it, as a purist might have done, to its more-or-less original condition, instead cleaning off the approximately 80 years of crud and giving it a somewhat newer, fresher appearance without detracting from the classic 1930s French lines and curves that remain unmistakable. Of course, I am as always grateful to Chuck and others who continue to guide me through this magnificent course I have only just begun, even when the constructive criticism is not of the glowing type. Chuck being the natural born leader and teacher he is did not leave his comments at that, by the way. He explained the simple use of the wheel that could have been employed to remove the old coloring. Another day, another lesson learned.
Anything any of you can add as far as information about this antique Eug. Ropp Signature R10 Billiard would be appreciated. I am somewhat talented at searching the Internet but have no books on the subjects, and so far my efforts have disappointed me, except for the basic determination of its approximate age. So I look forward to hearing from you!
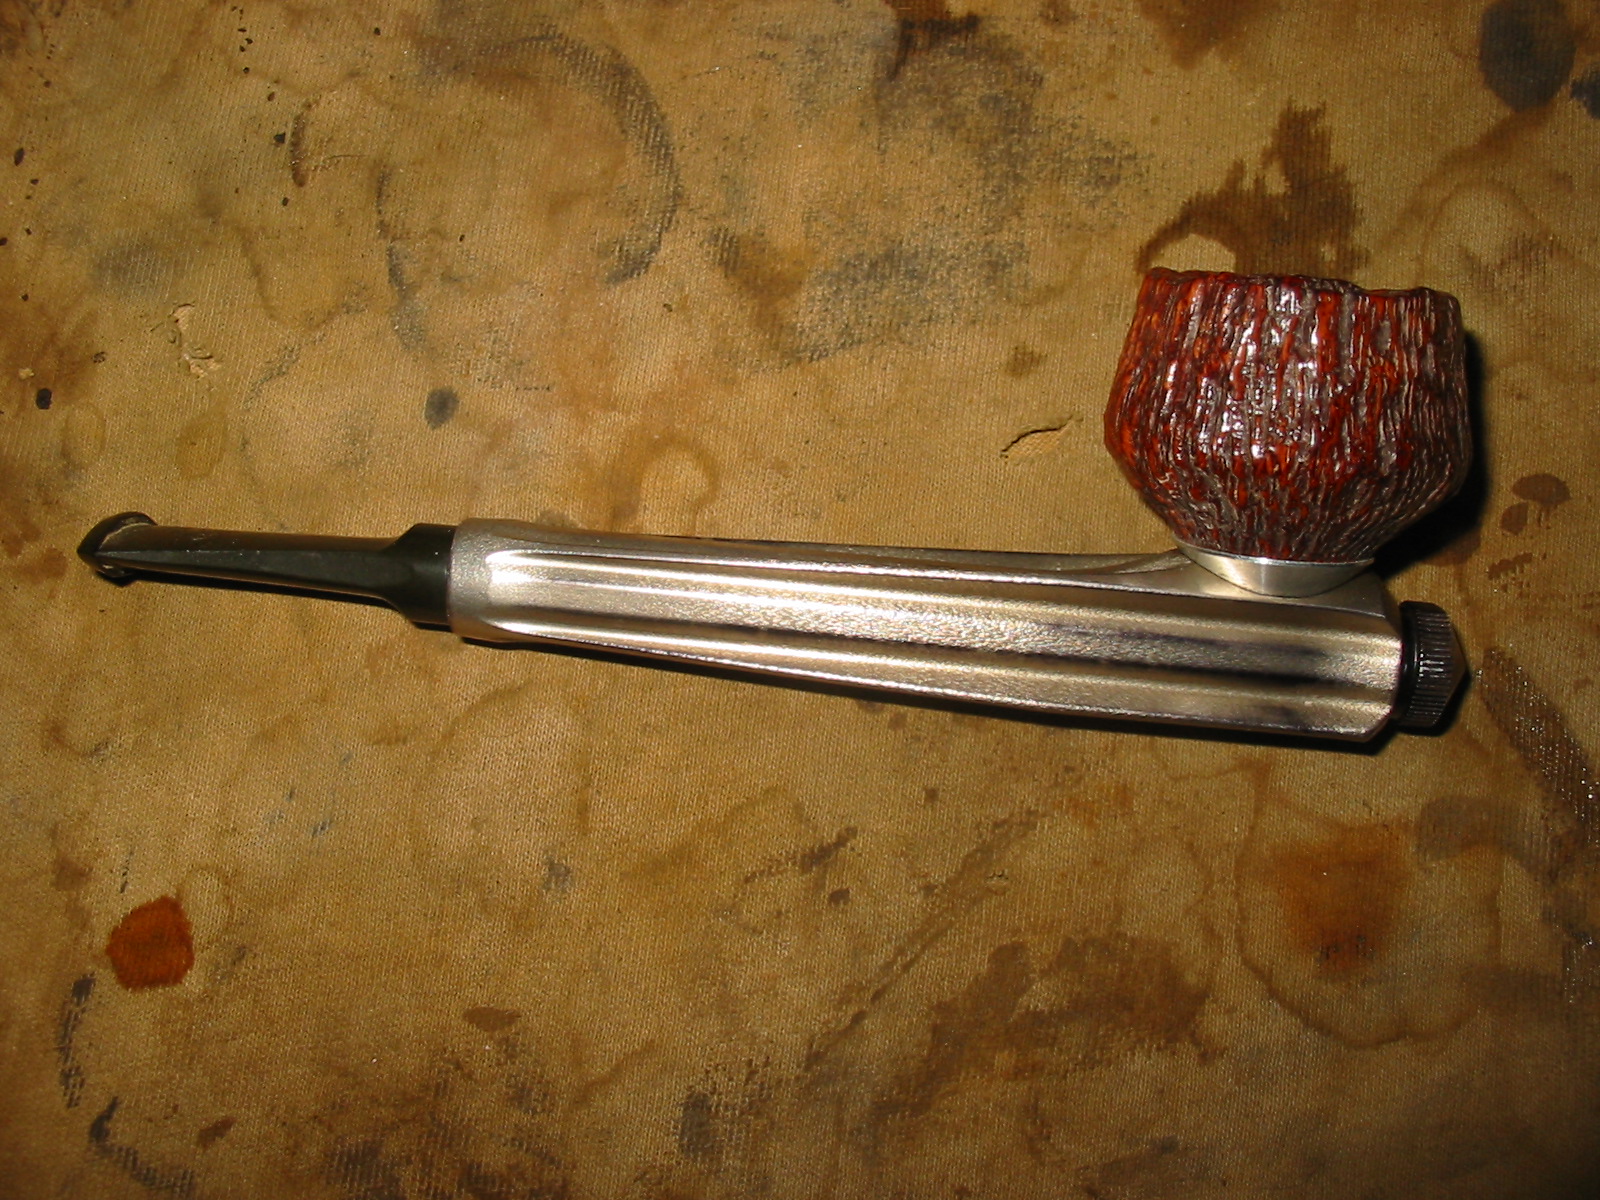
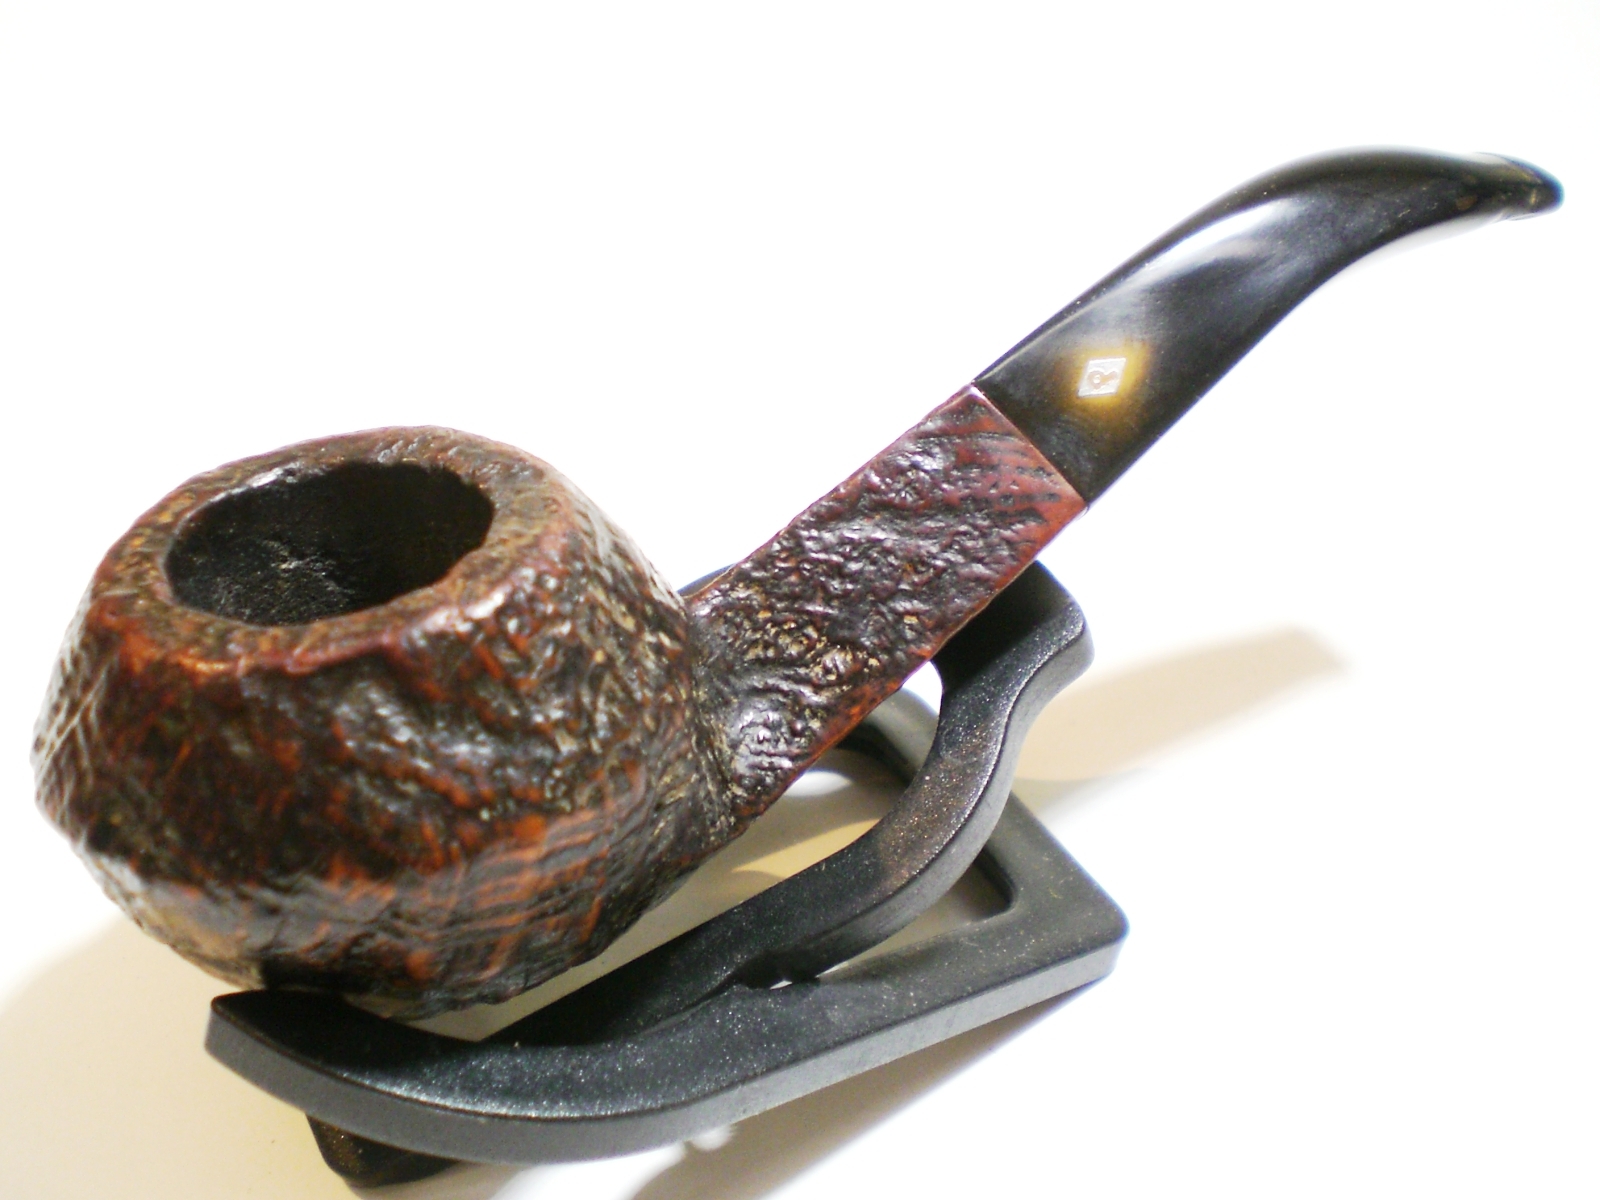
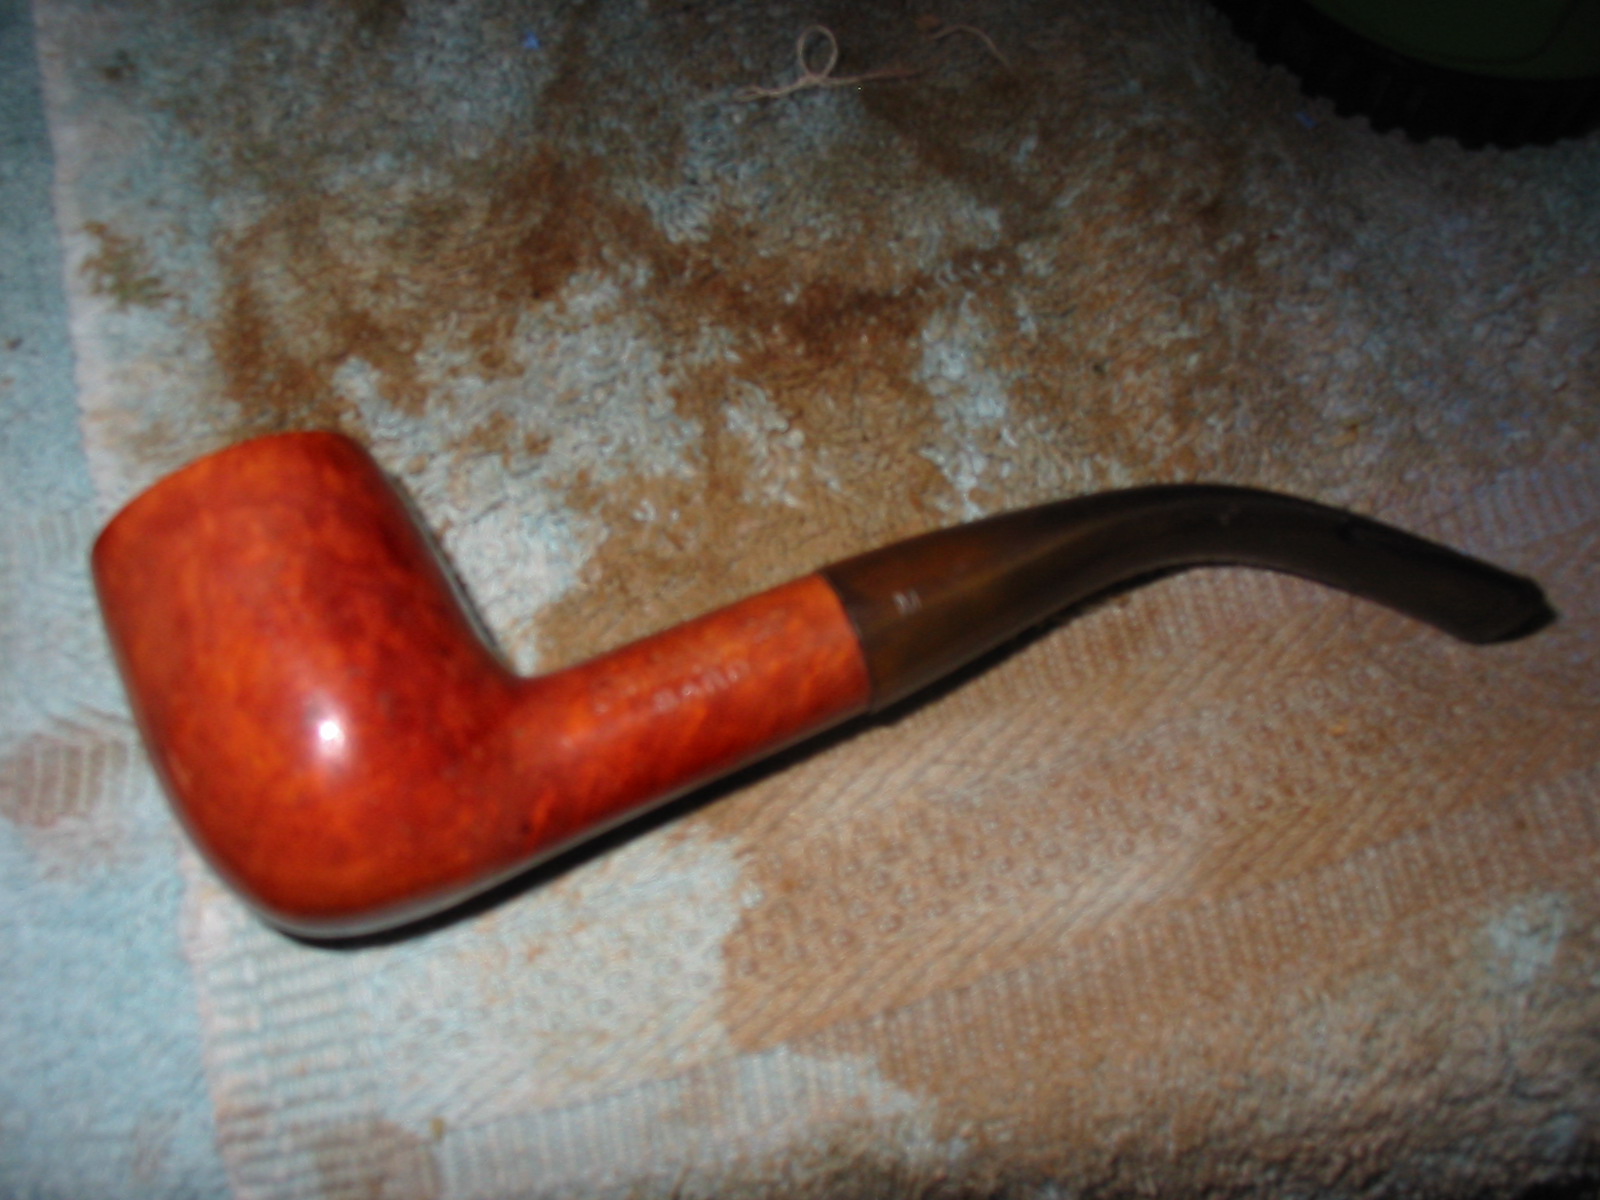
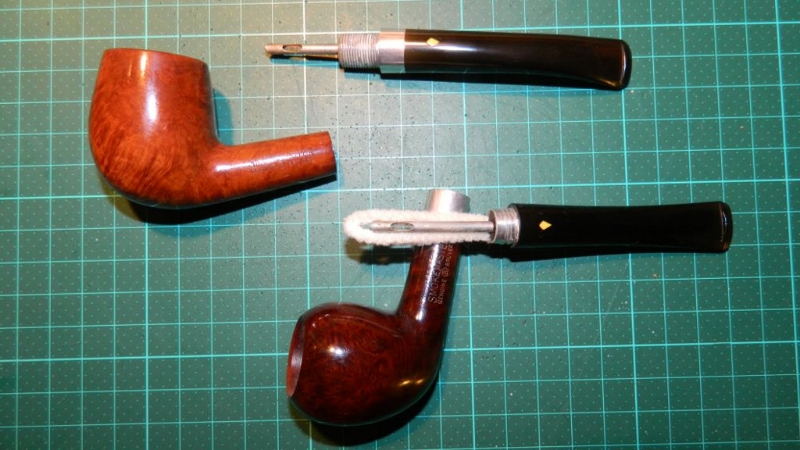
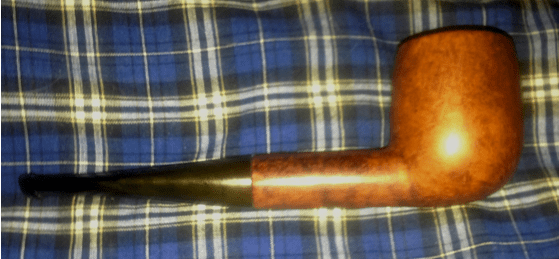
I will close with photos of two other Ropps I own, one that I acquired in good condition on eBay and might make part of a future blog on pipes of that variety, and the other a second I have had for a few years and just learned is derived from Ropps.
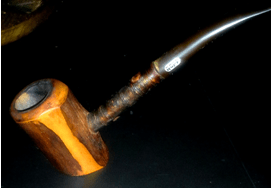
Deluxe Cherrywood
Grande Morez #15 Second
Happy holidays!