Blog by Dal Stanton
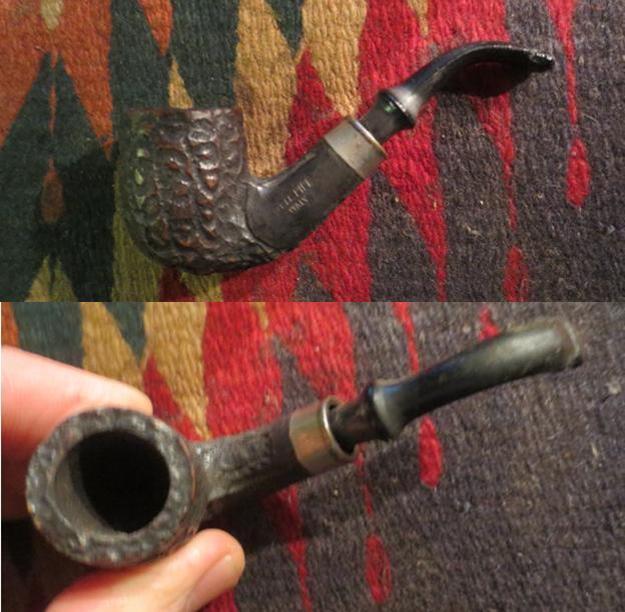
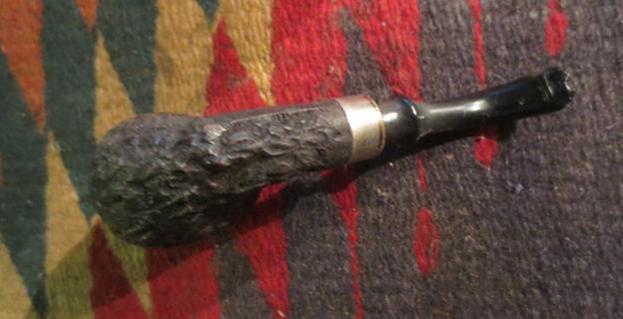
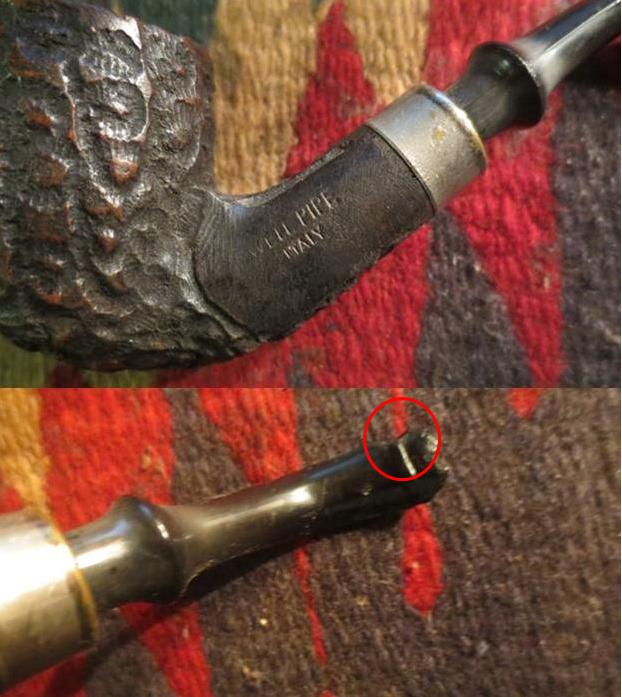
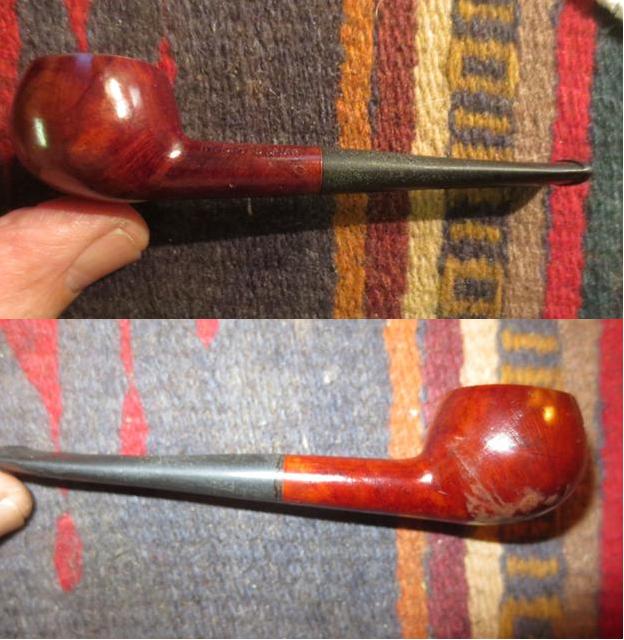
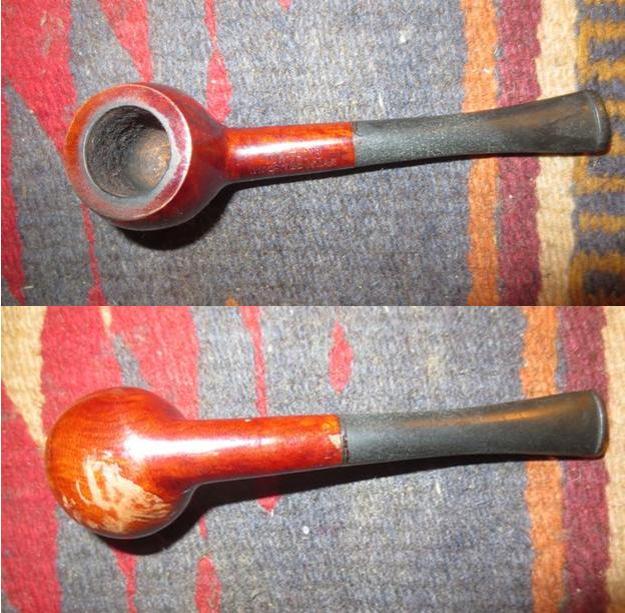
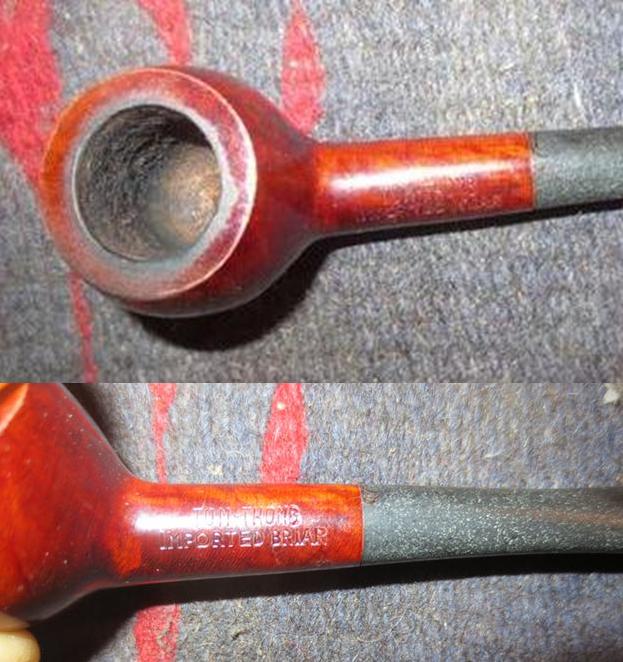
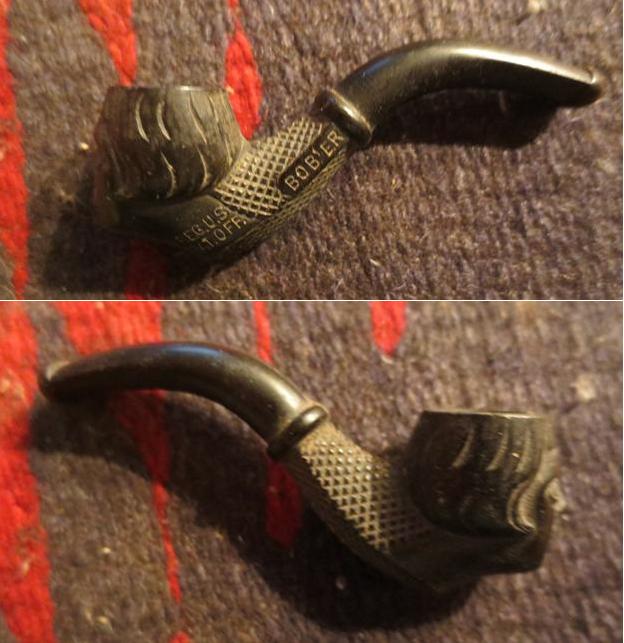
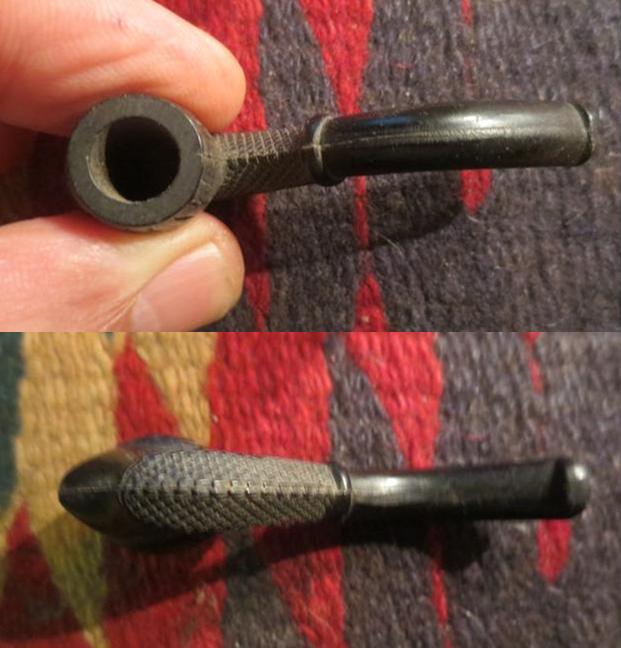
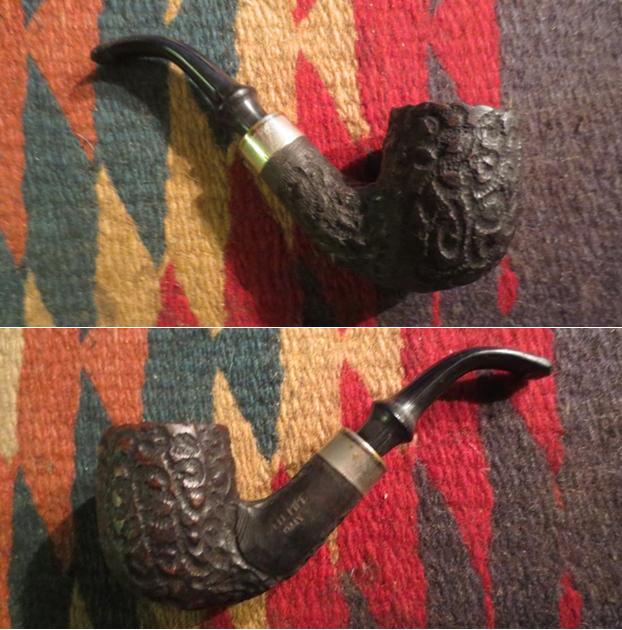
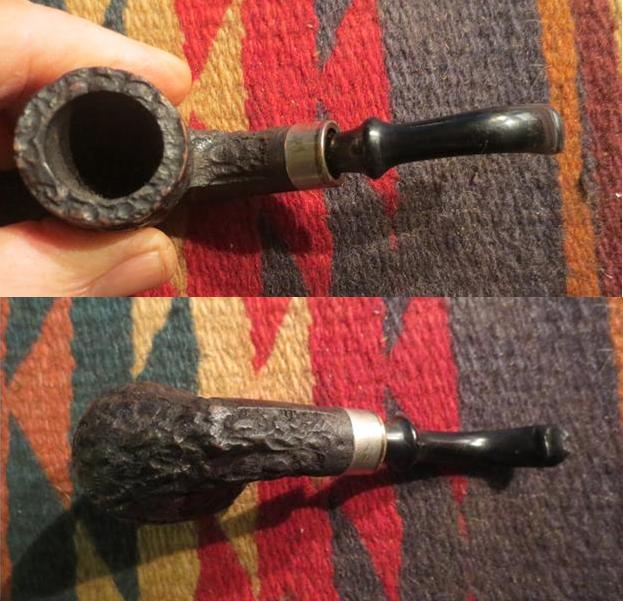
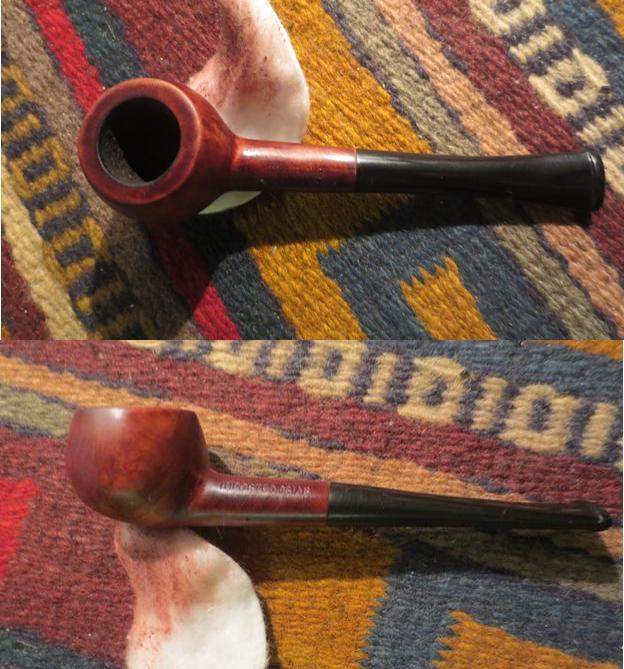
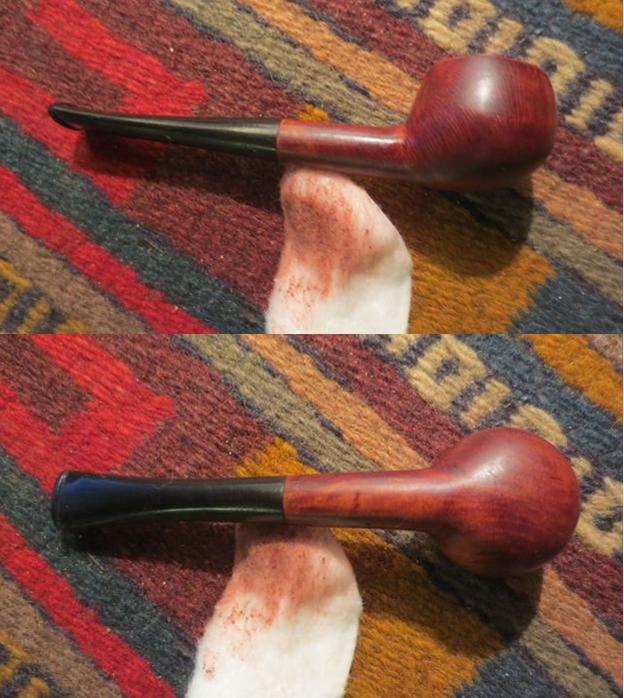
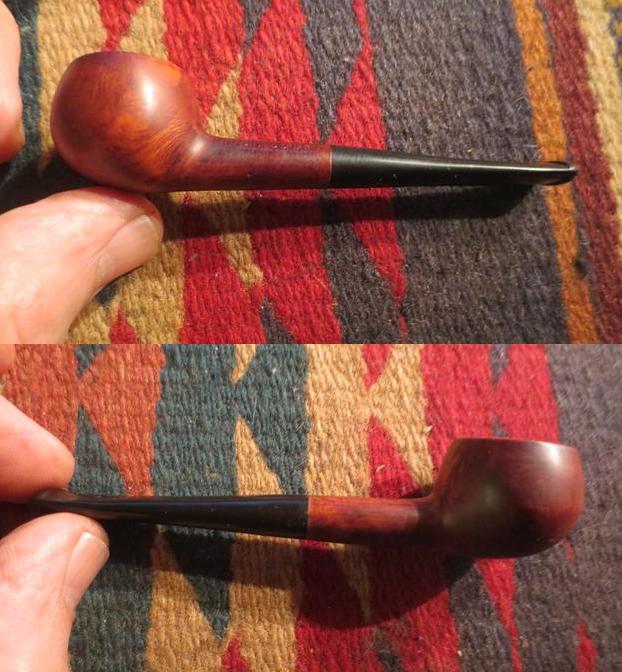
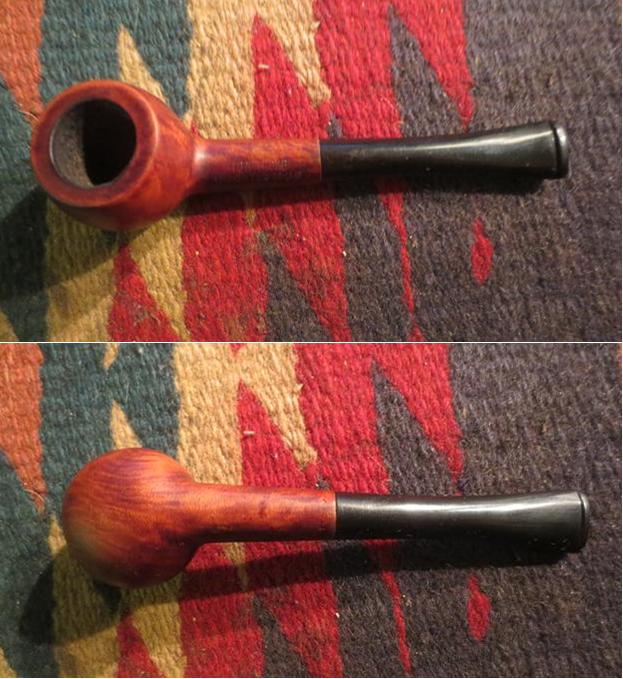
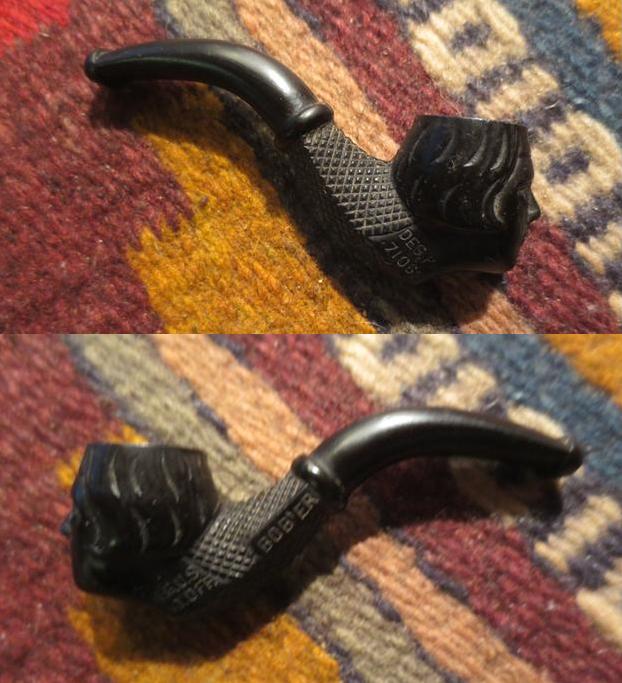
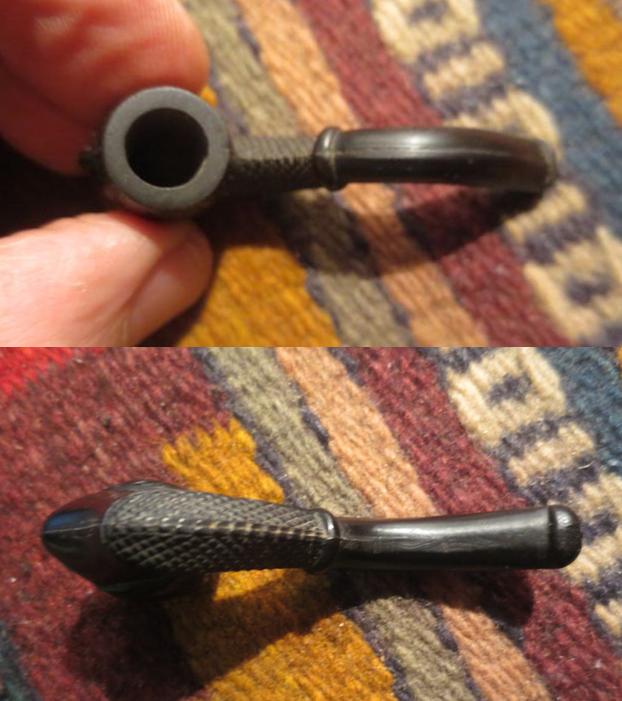
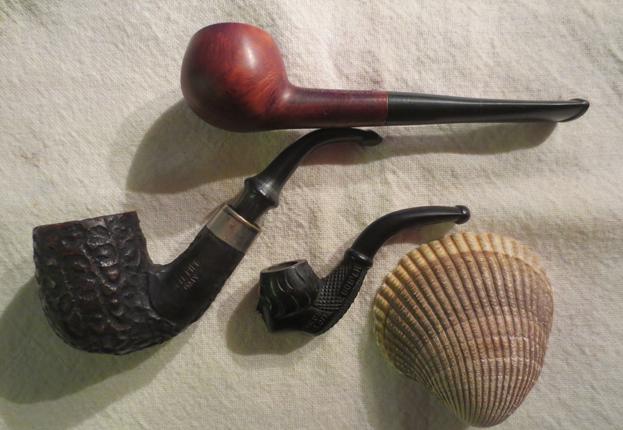
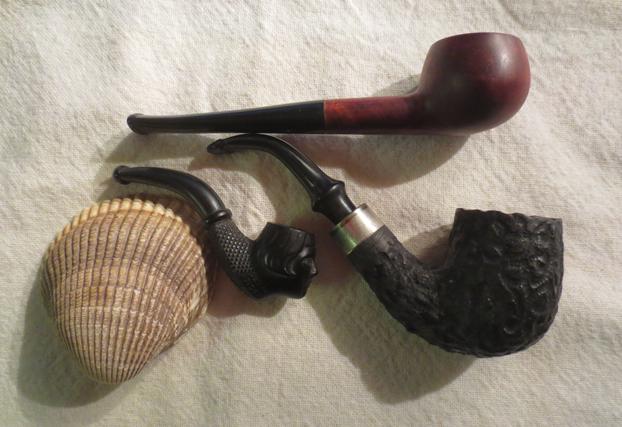
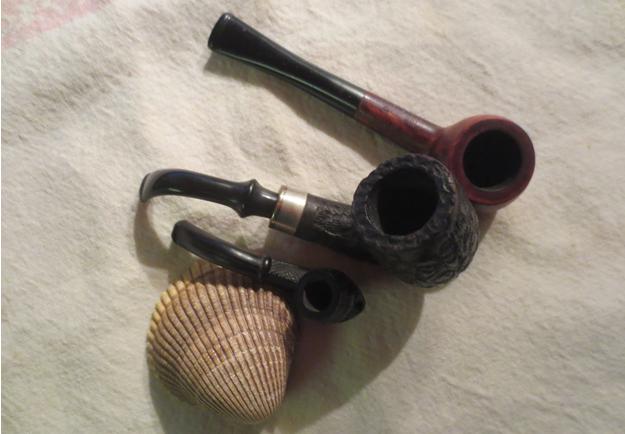
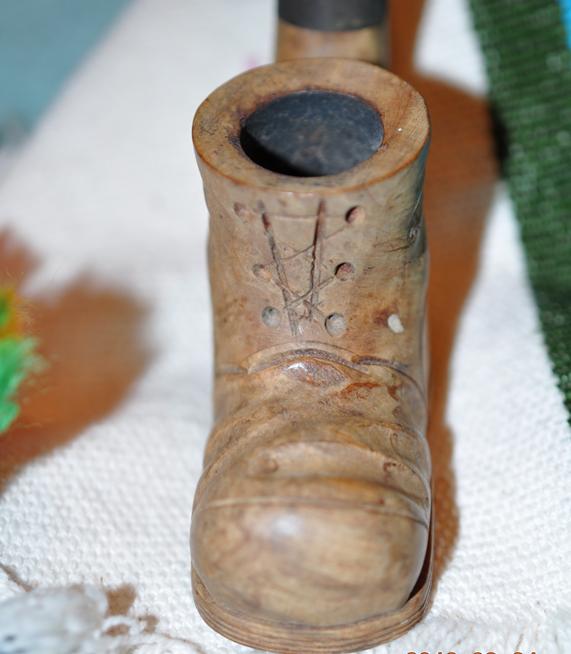
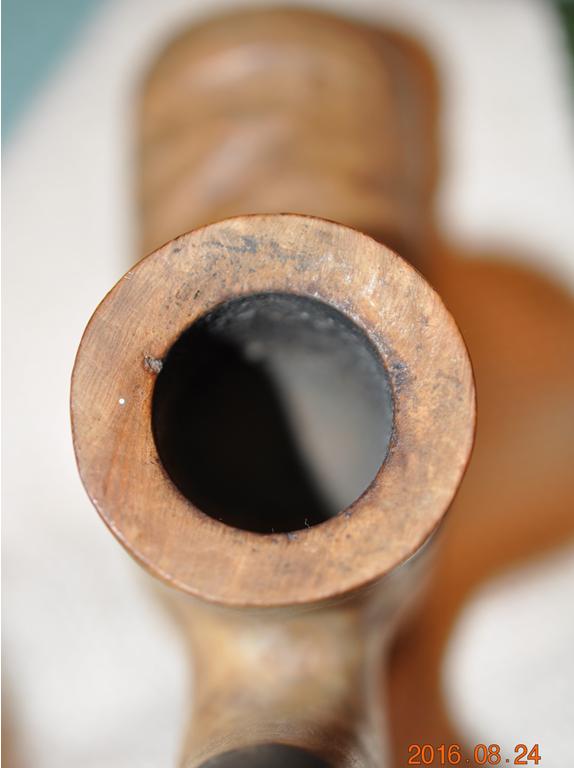
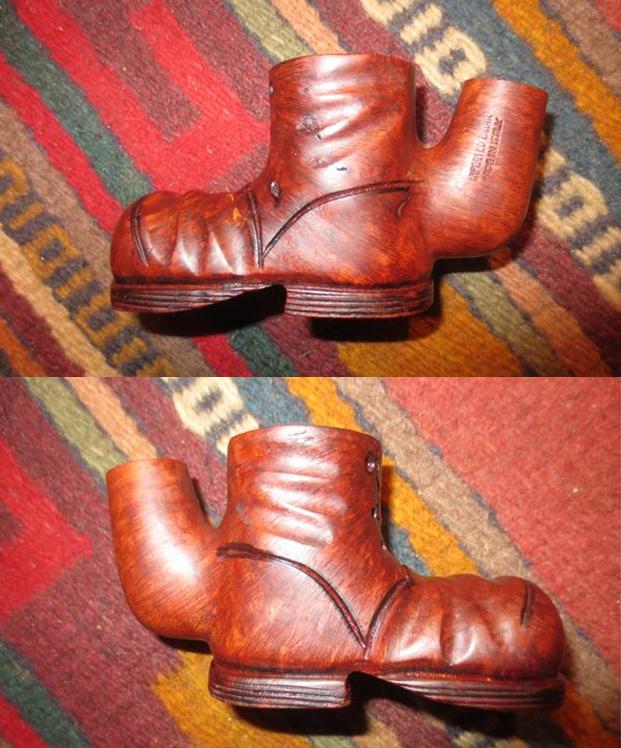
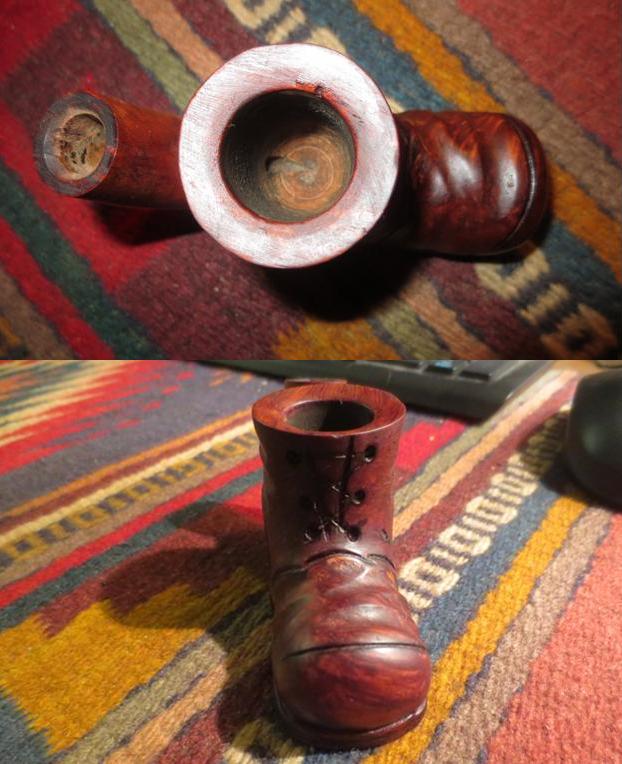
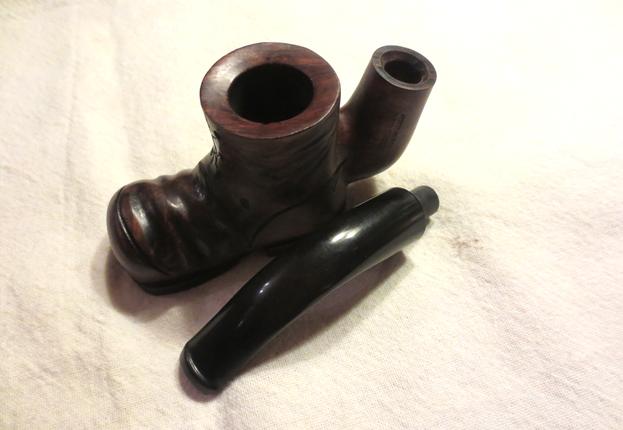
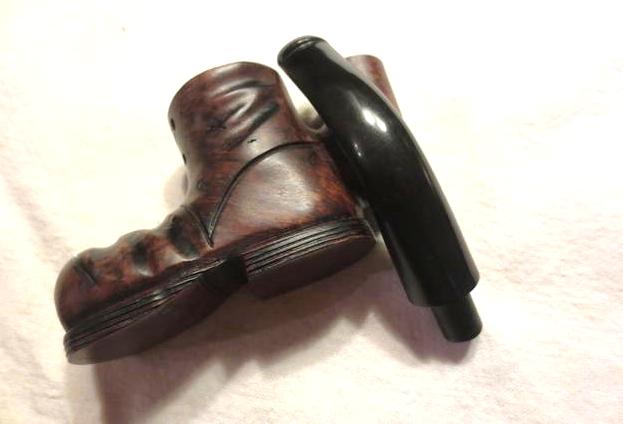
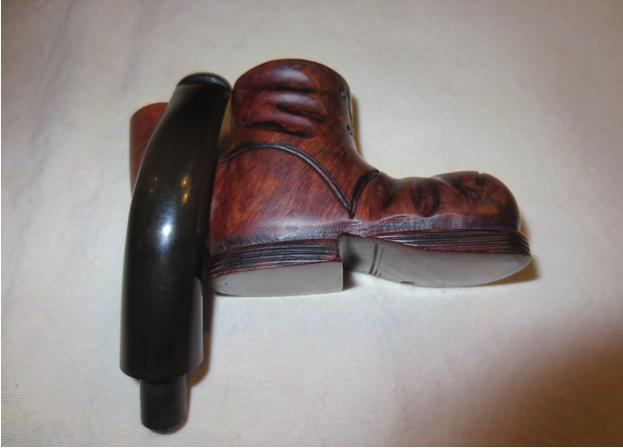
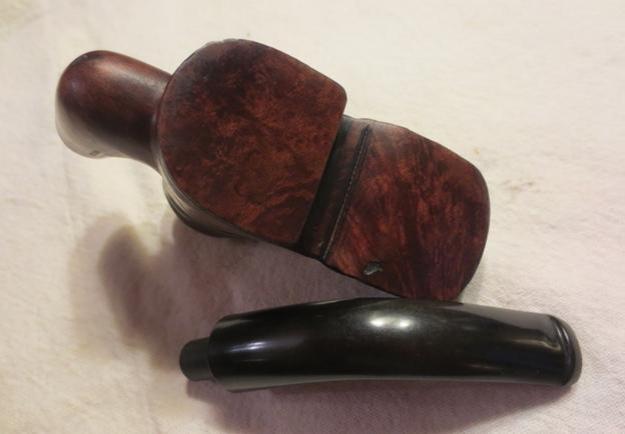
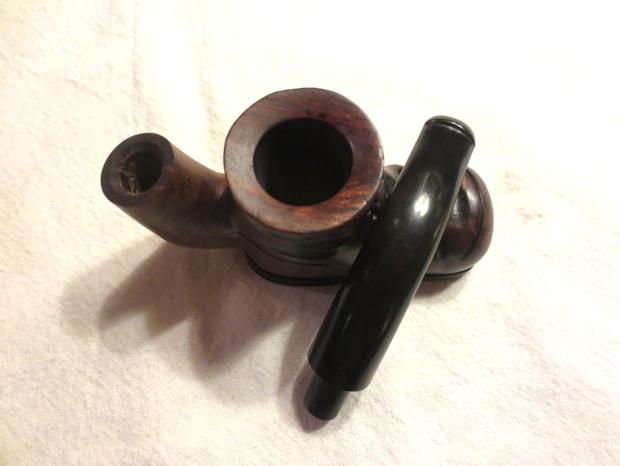
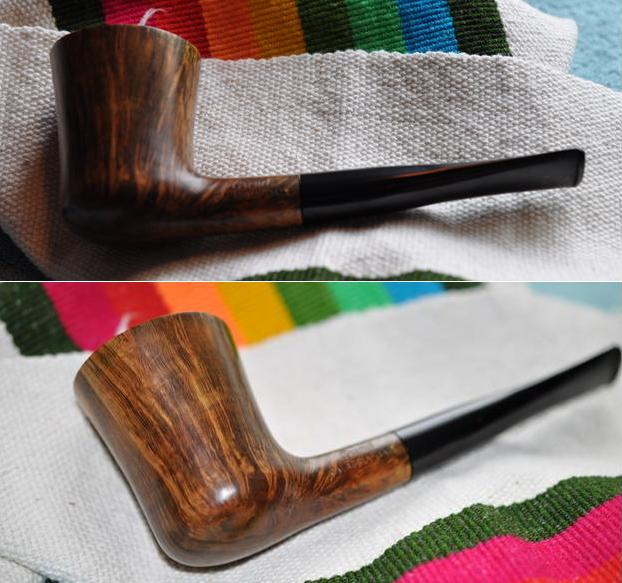
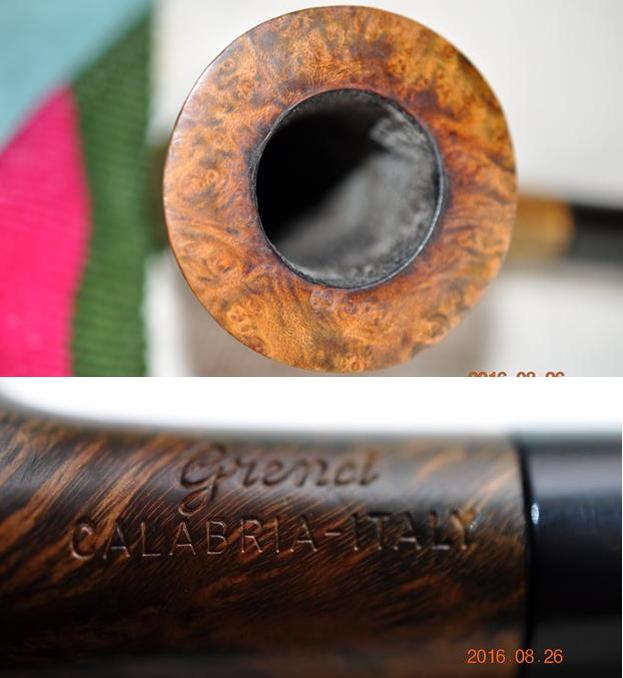
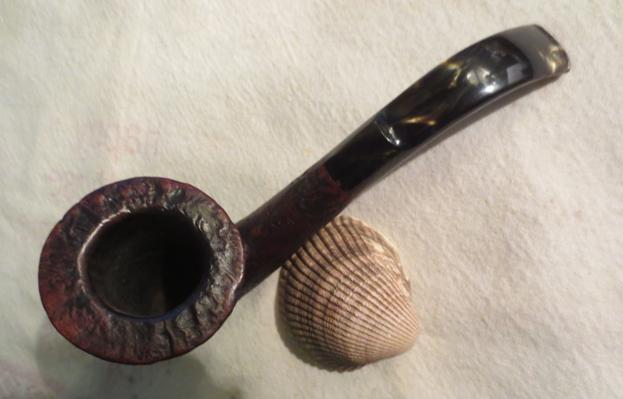
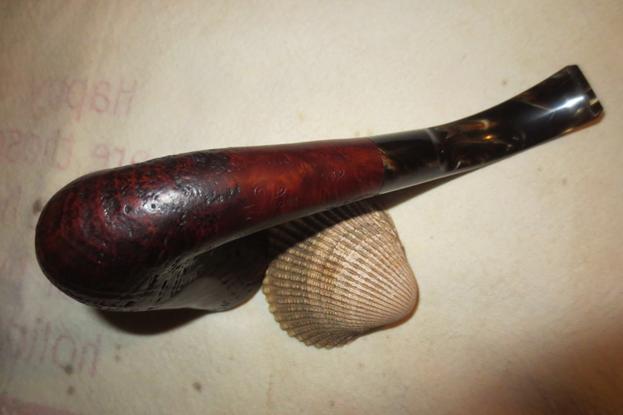
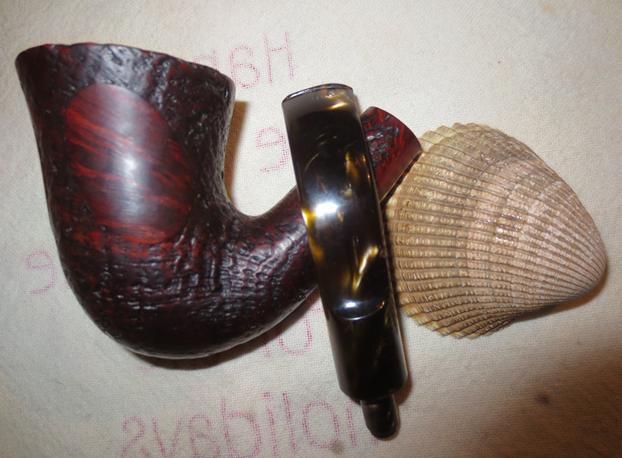
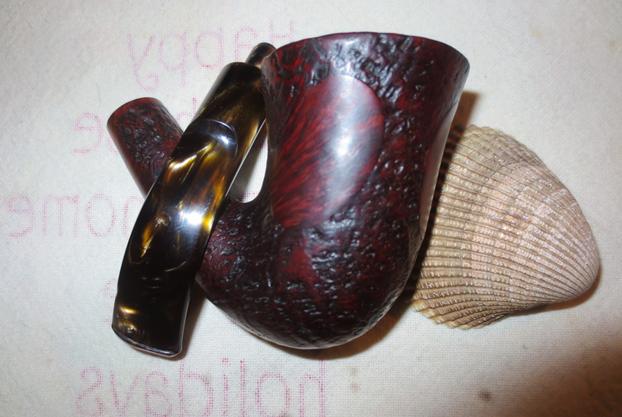
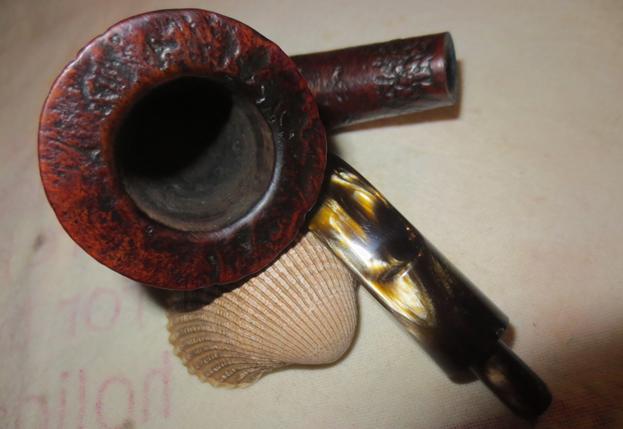
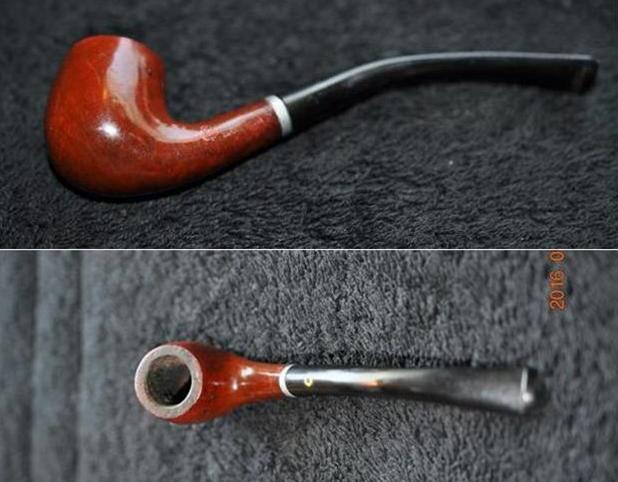
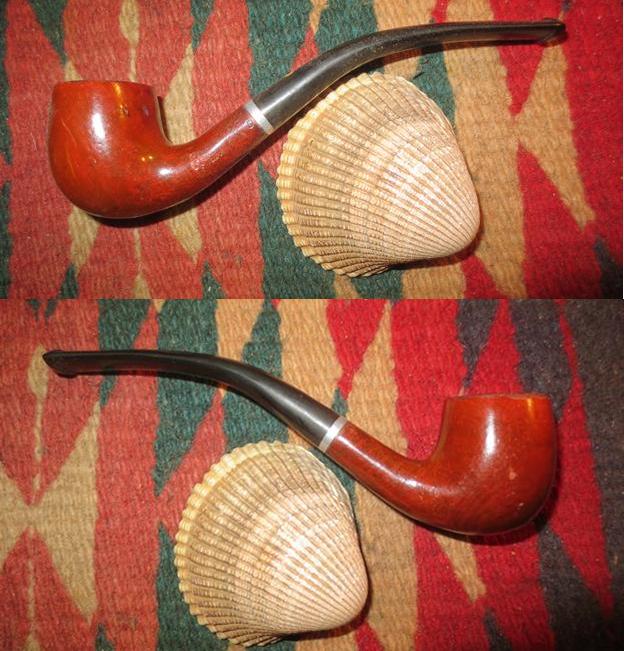
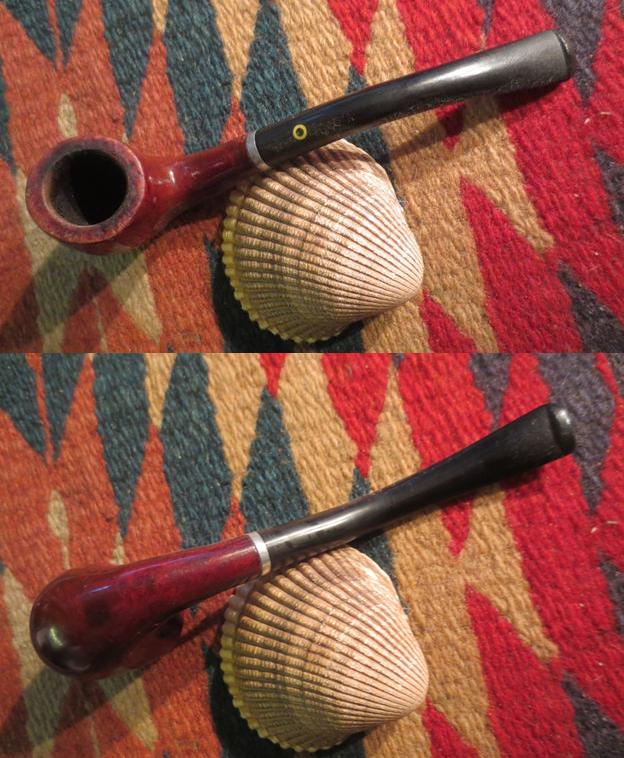
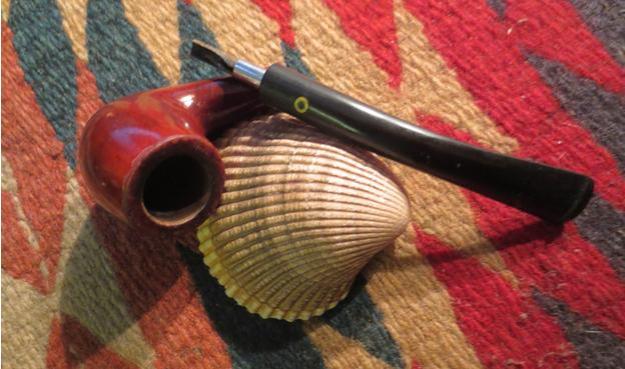
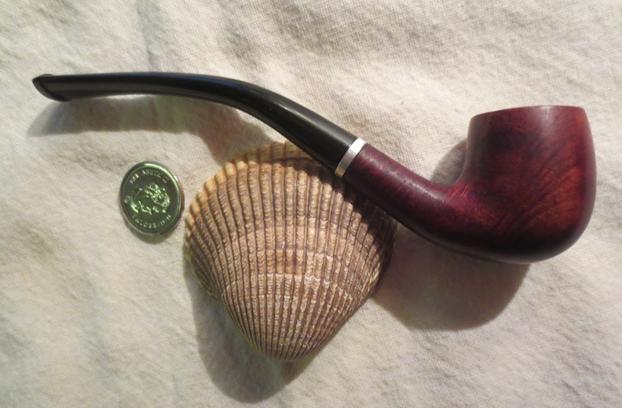
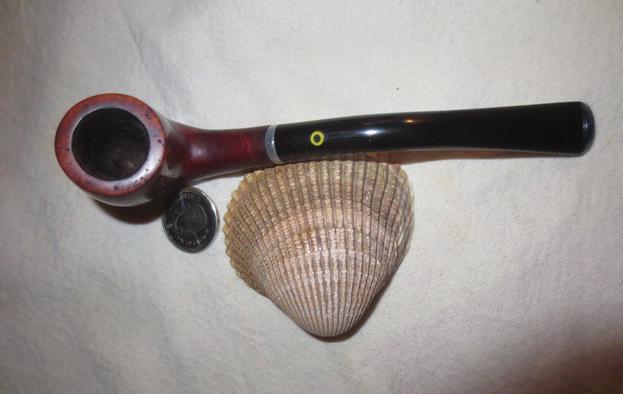
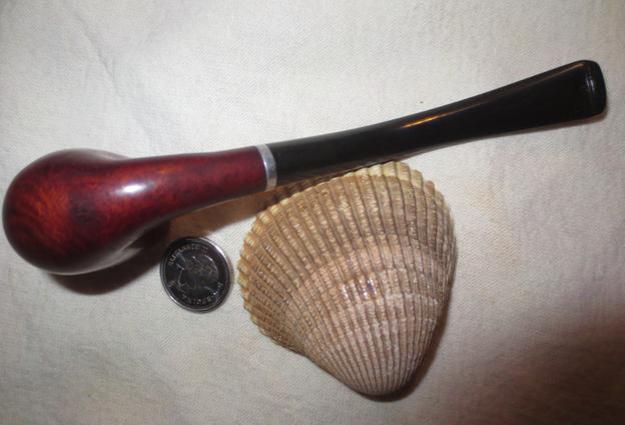
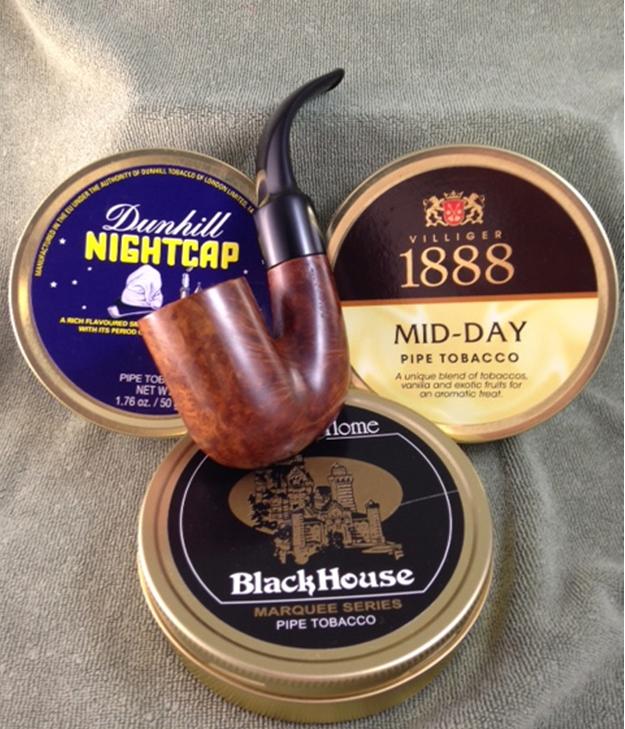
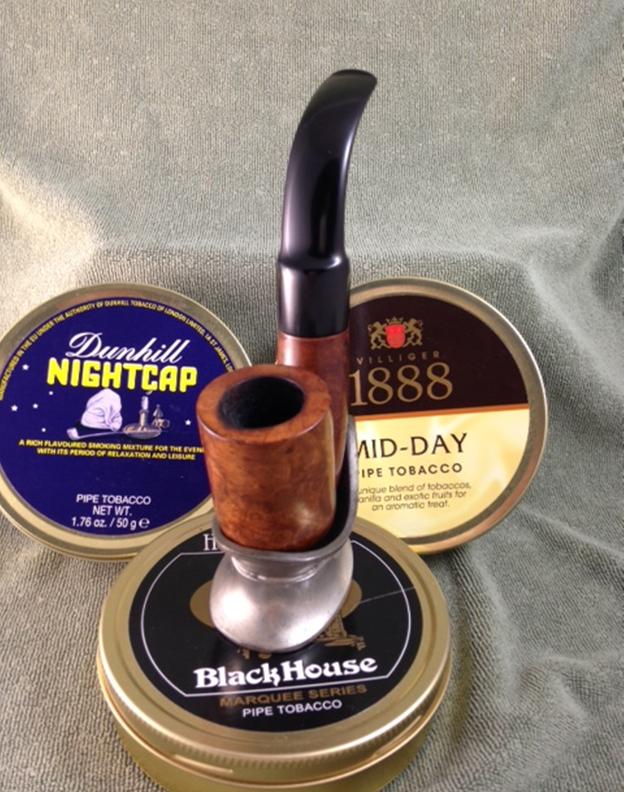
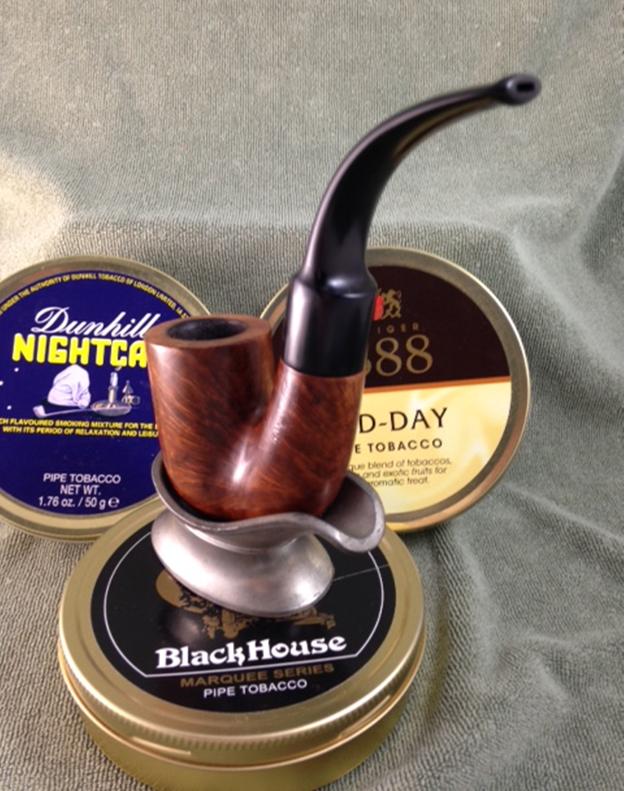
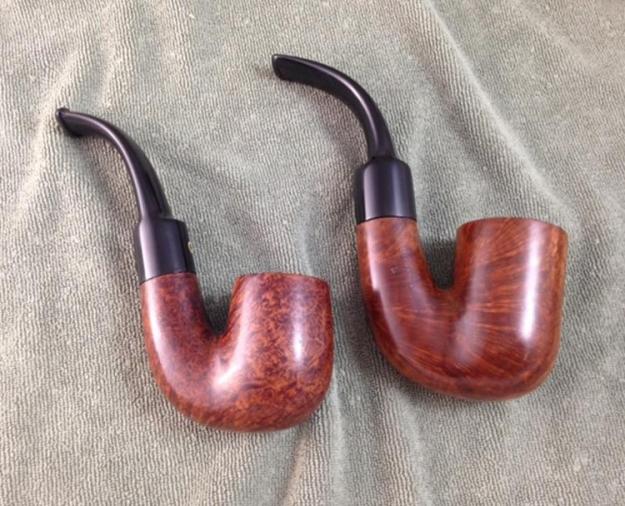
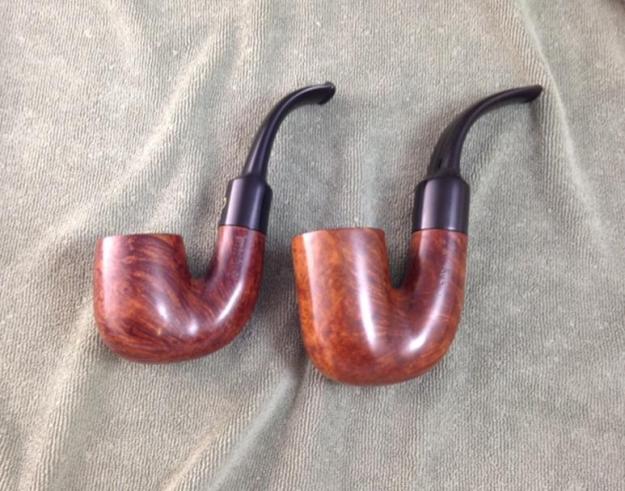
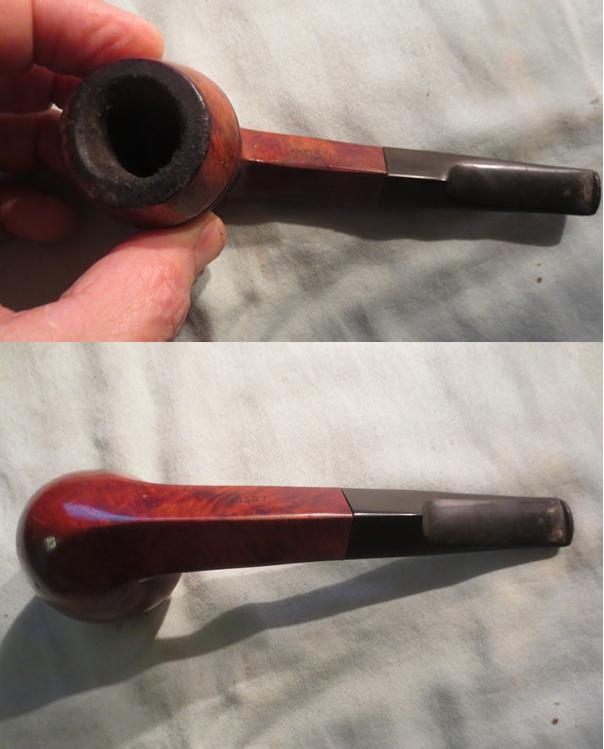
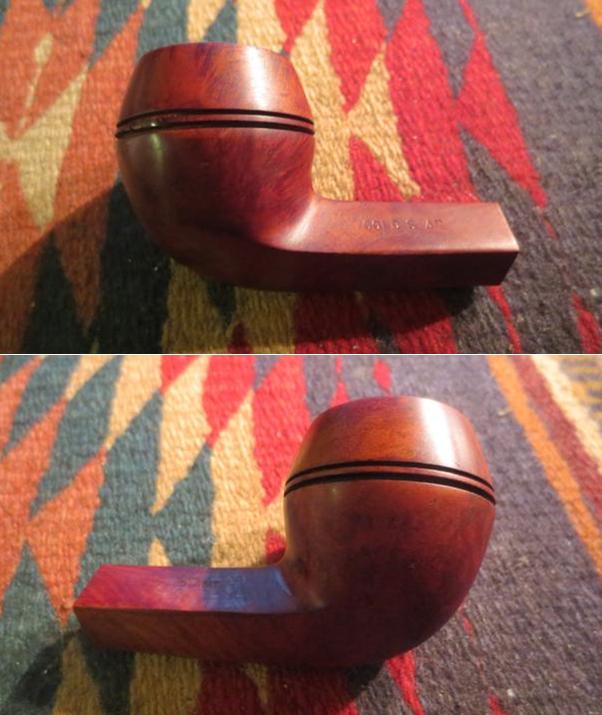
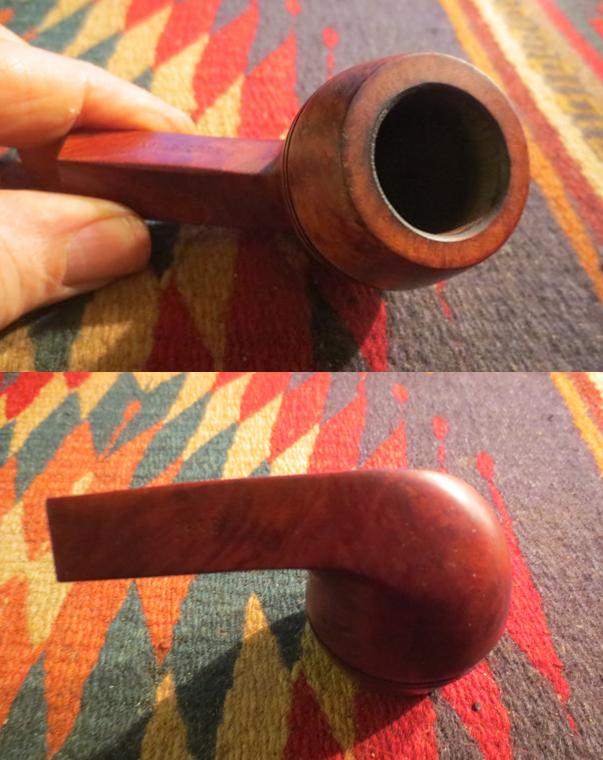
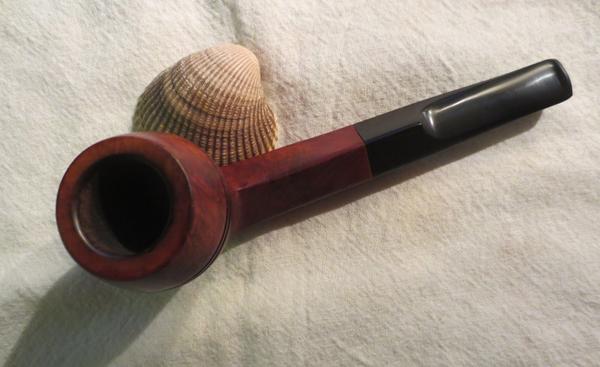
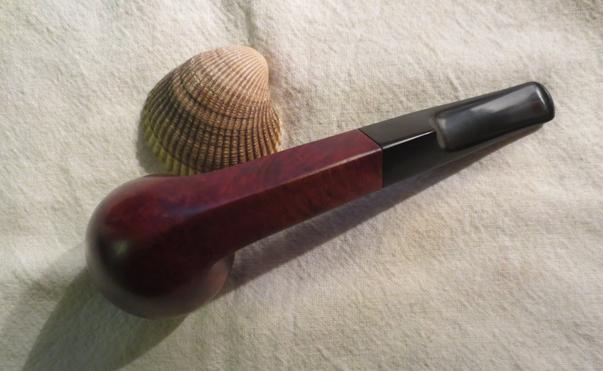
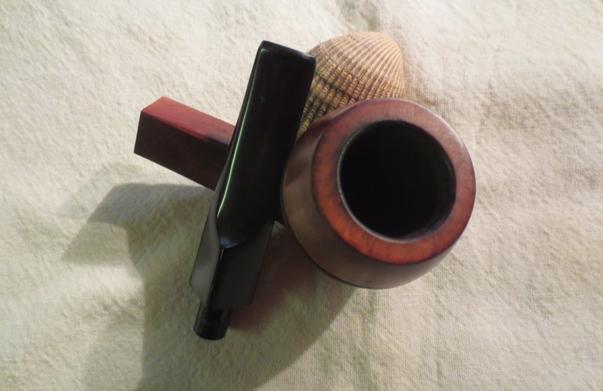
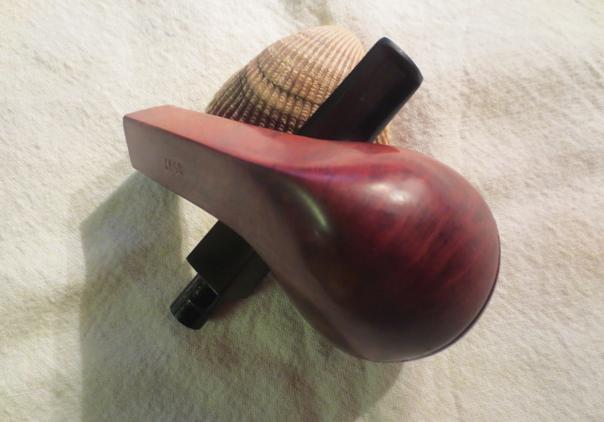
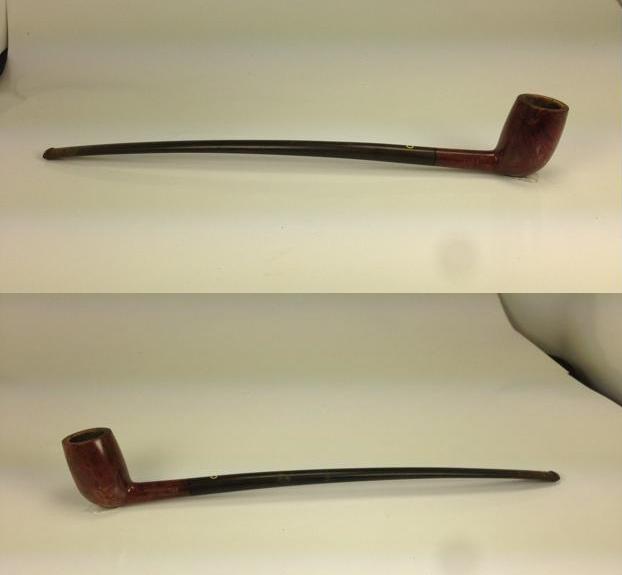
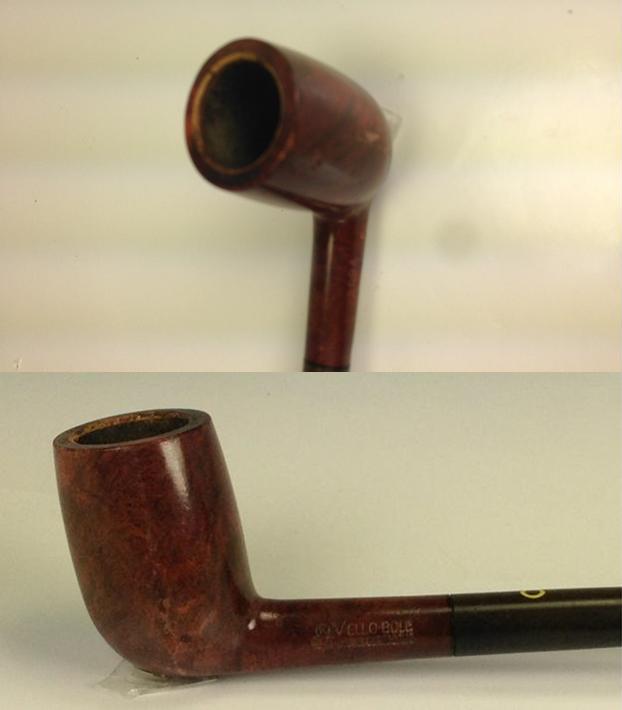
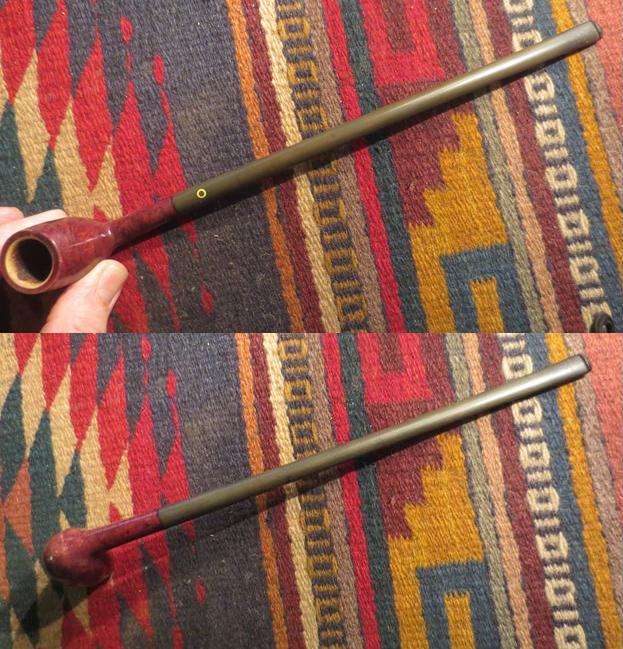
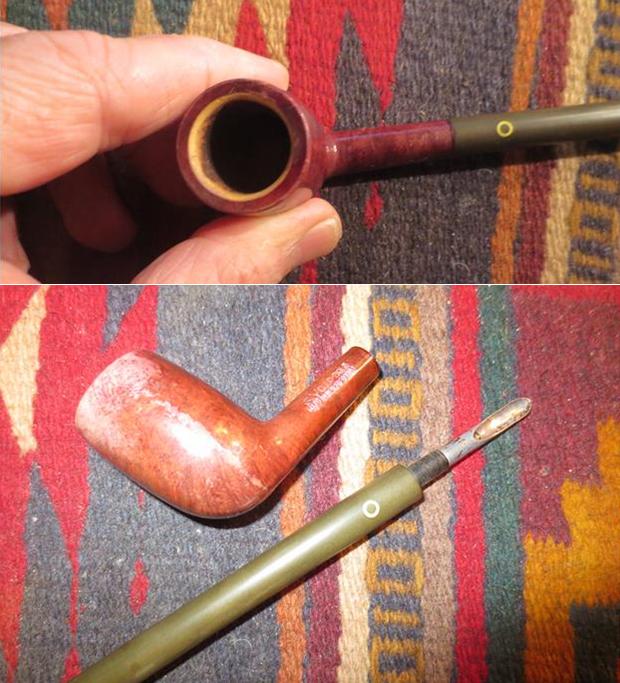
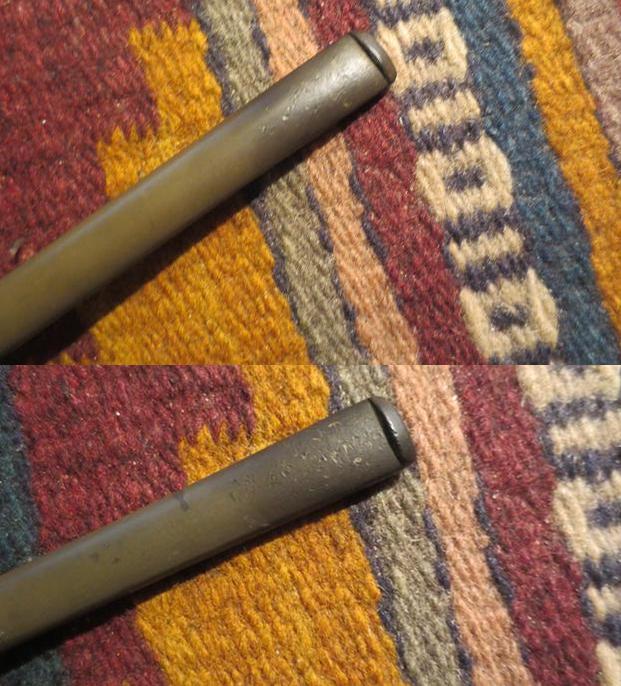
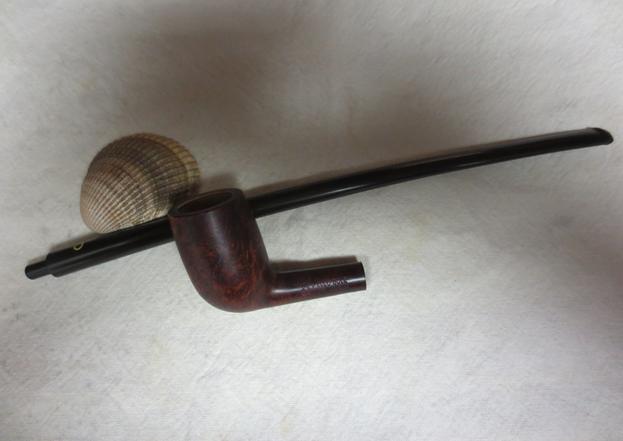
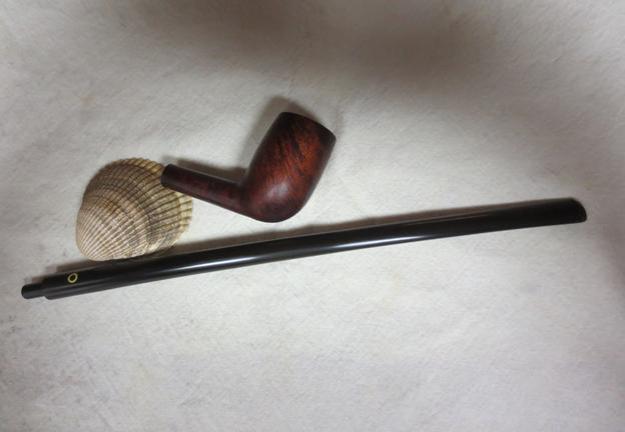
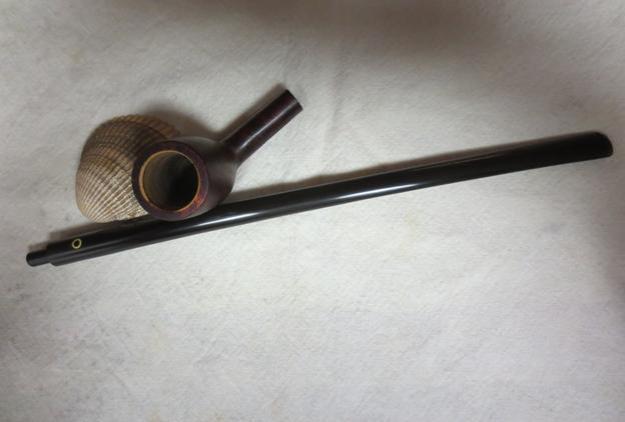
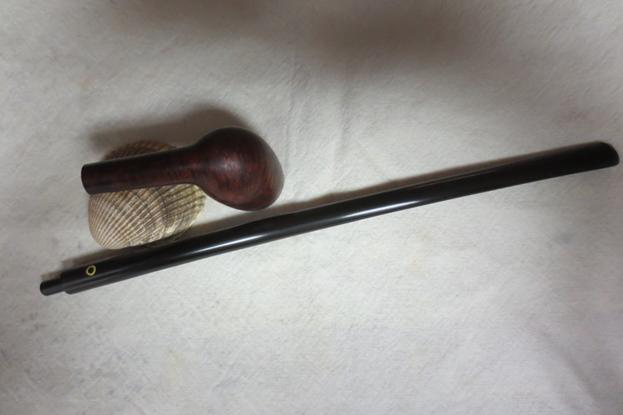
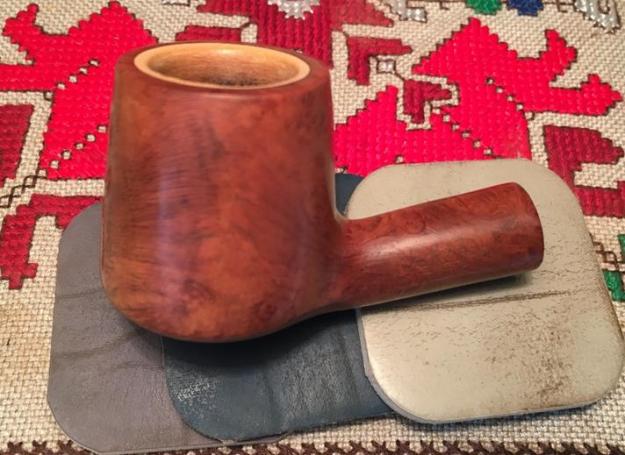
When southerners in the US invoke the phrase, “Bless his heart….”, I’ve learned that it usually means that there is some problem or abnormality associated with the person that usually isn’t something he can control, or can’t be explained, or perhaps, even better, should be left without too much comment. When I received these emailed pictures from Gary, my colleague in Plovdiv, and set my gaze on the two pipes he had purchased at a local antique shop and was gifting me, my reaction was to invoke, “Bless their hearts….” Here are Gary’s finds that summoned forth my southern invocations.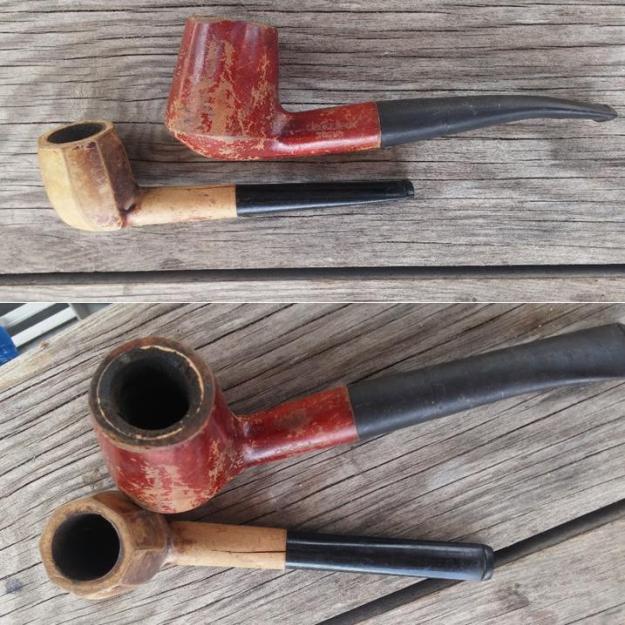
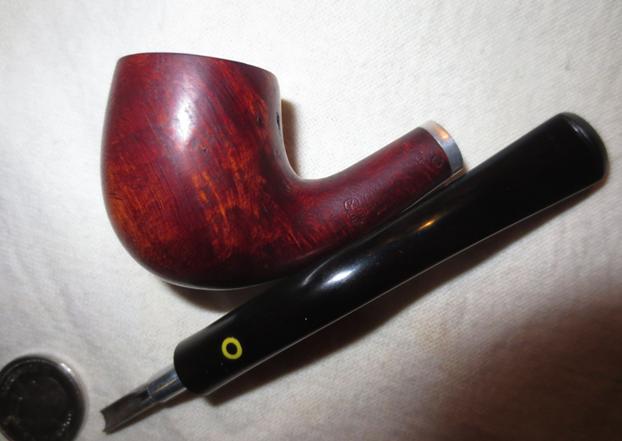
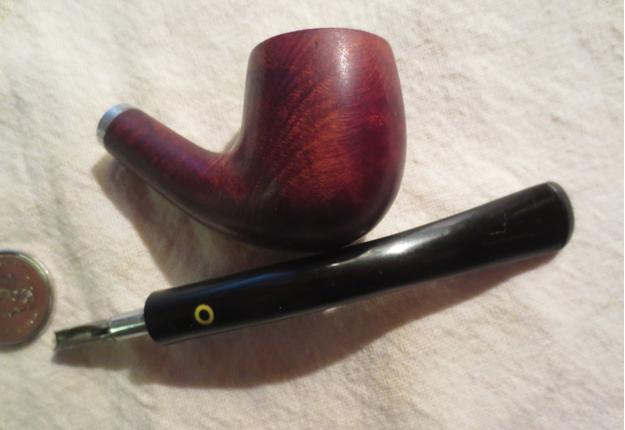
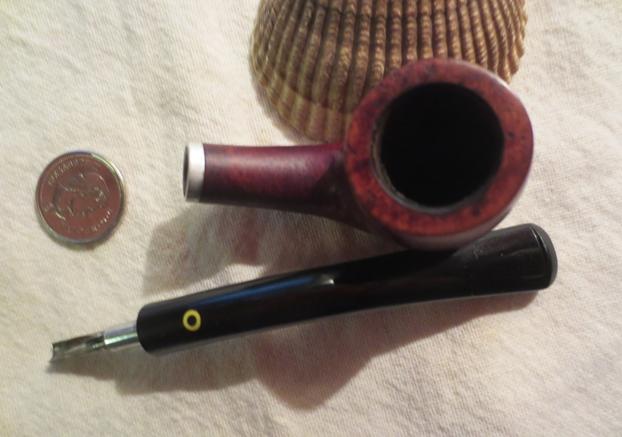
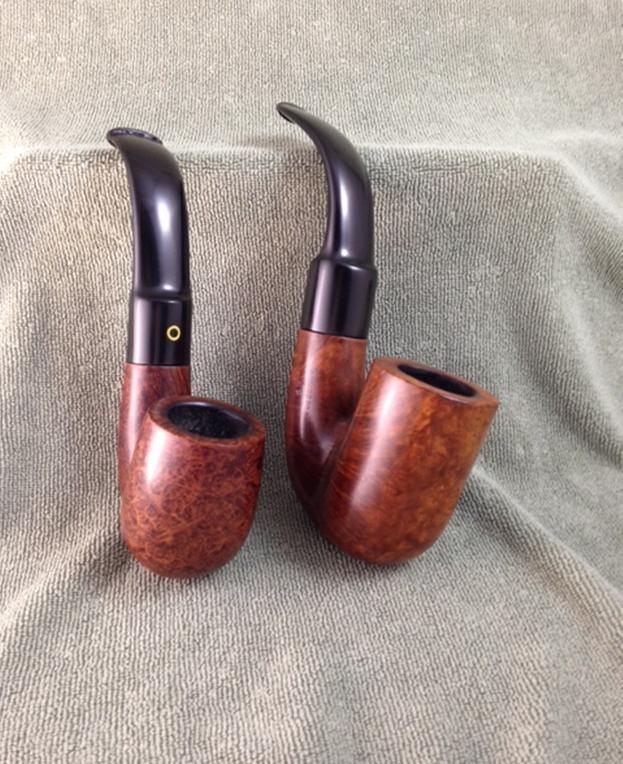
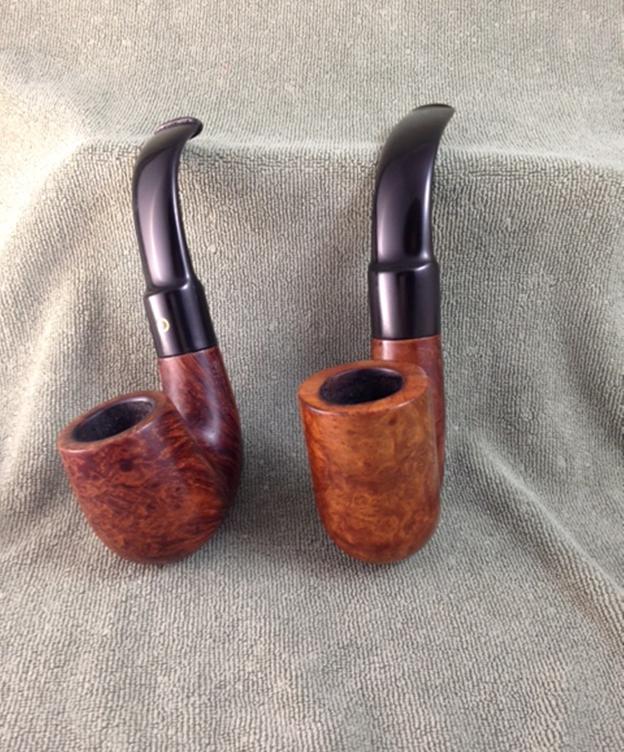
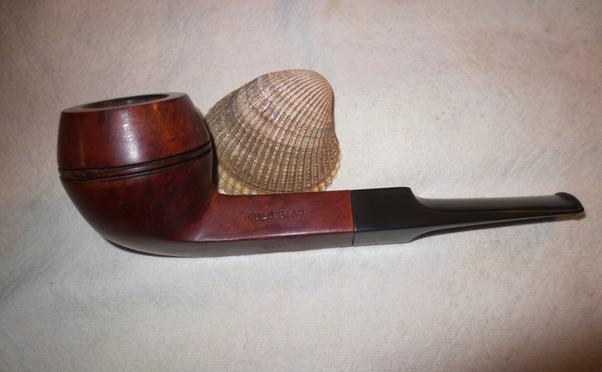
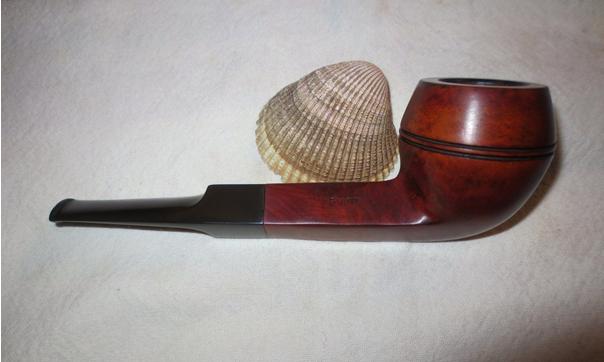
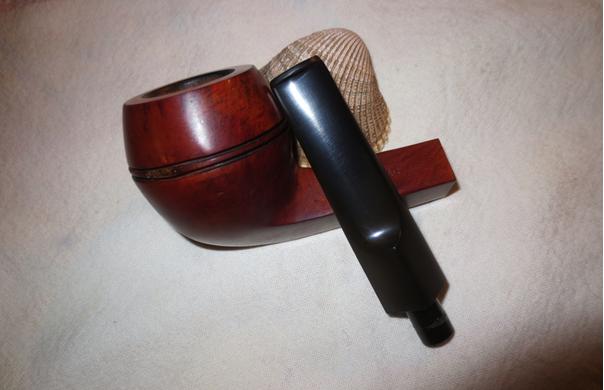
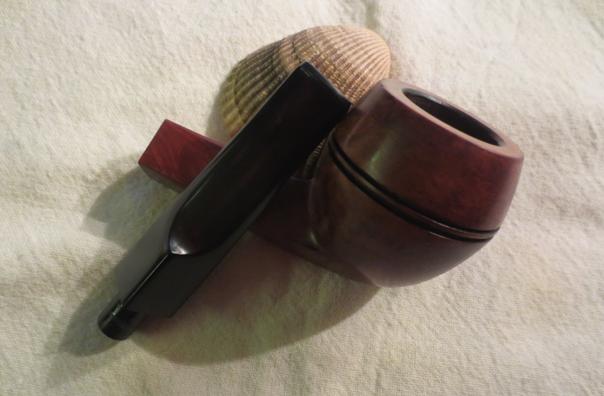
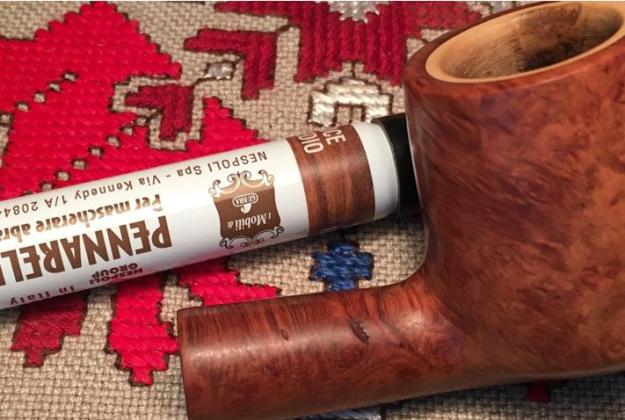
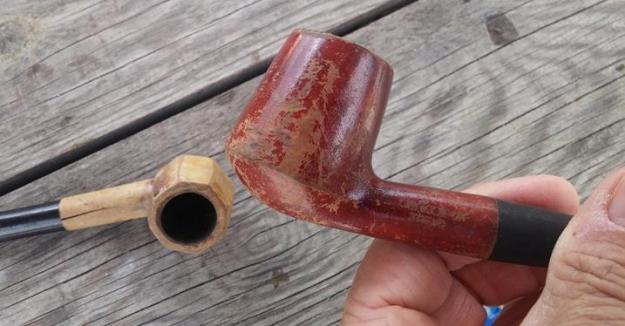 I would like to say how much I appreciate Gary – the stories we have shared and life we’ve experienced together – he with a choice cigar, I with a favorite blend and a named pipe – all my rotation pipes have names! I also appreciate how he has kept his eyes alert to possible pipe reclamations and restorations for me on the Plovdiv front, about 2 hours away from Sofia. After he sent me these pictures, I emailed back saying that I wasn’t sure how much I could do to help the little brother, but the big boy had potential. How much? I couldn’t say, but I was indeed attracted to what appeared to be a meerschaum lined, large volcano shaped stummel which seemed to be hopeful of again being nestled in someone’s palm! A week or so later, I found the gifted pipes waiting for me in my office in Sofia. When they made it to my work desk at home, I added these pictures of the Denicotea volcano to fill in the gaps.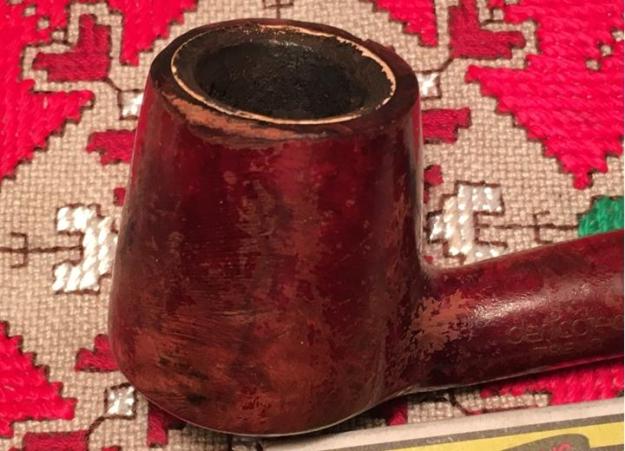
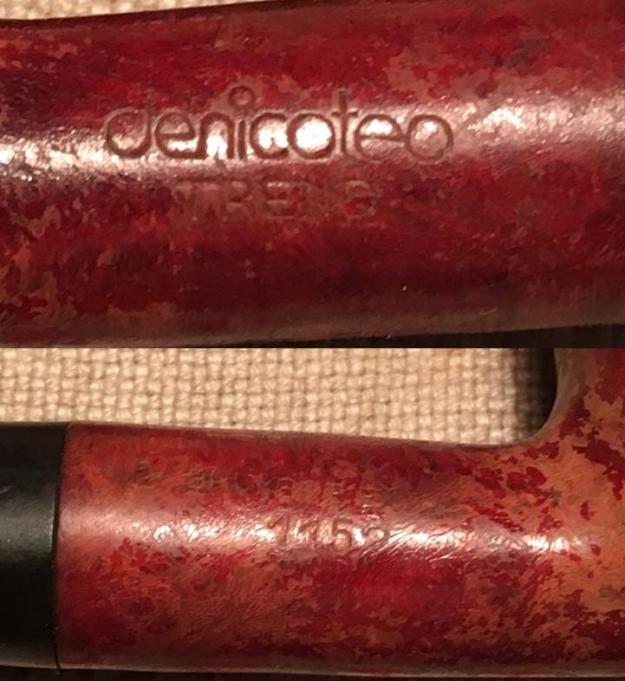

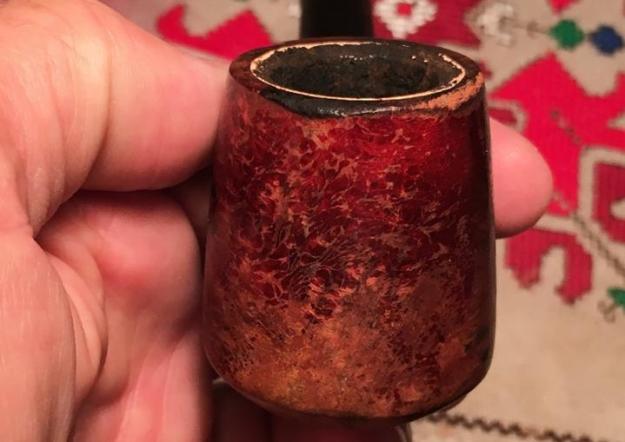
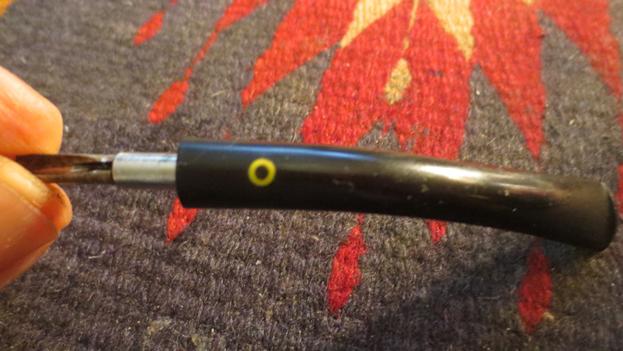
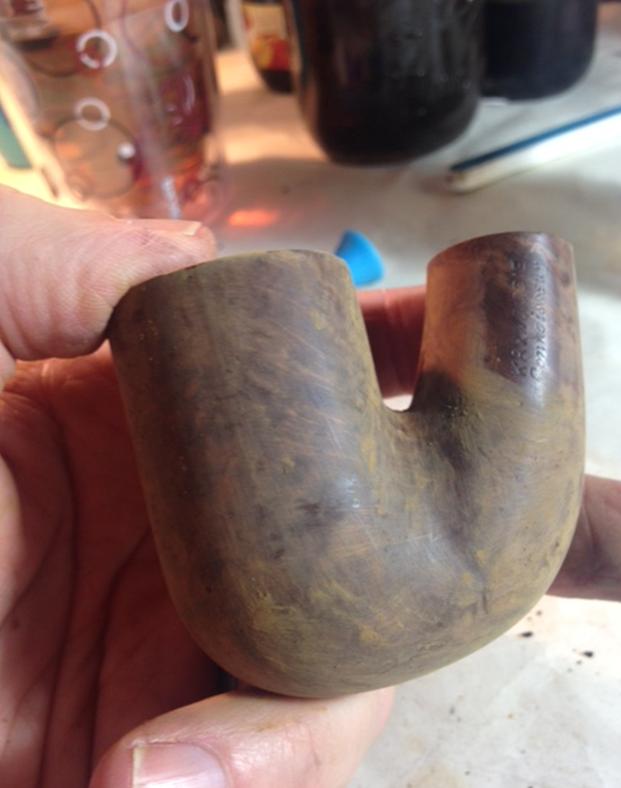
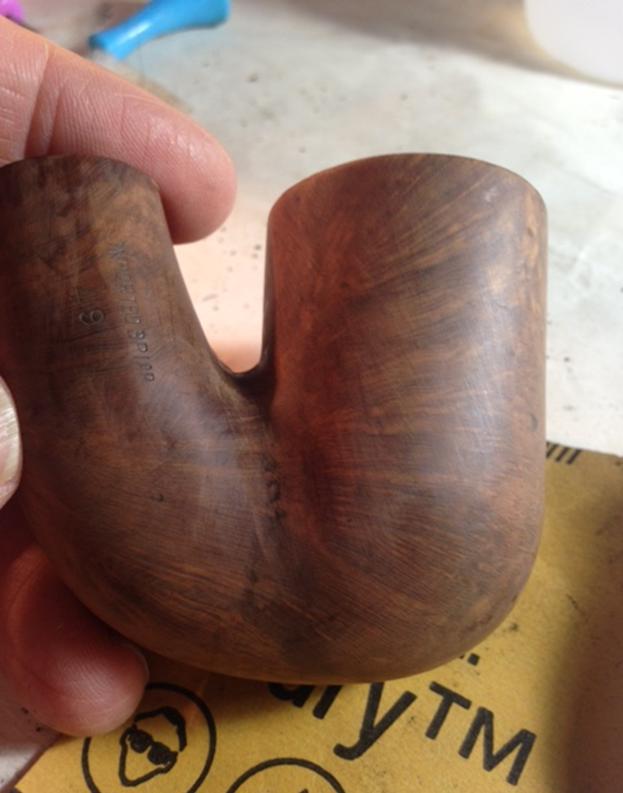
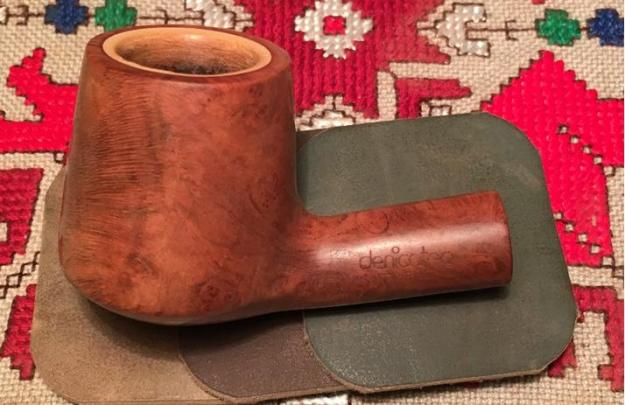
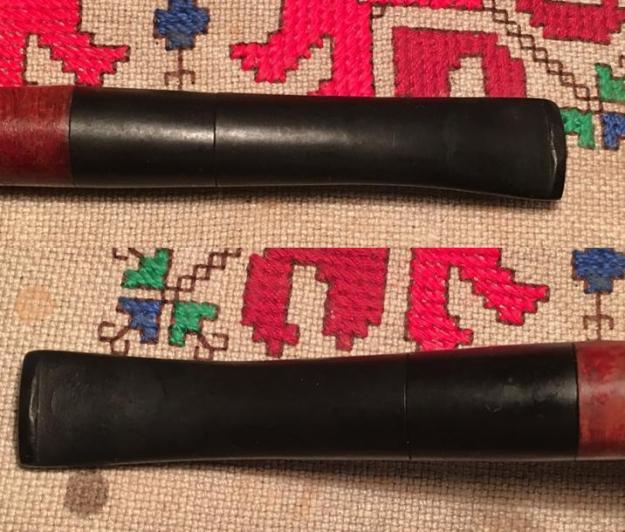 This is the second Denicotea I’ve worked on in as many weeks! The Denicotea Curling turned out to be a beautifully detailed grained pipe but the filtration internals were interesting. I’m wondering what filtering wonders this one holds! The left side of the shank has what appears to be a newer script of Denicotea stamped over Trend. The right side of the shank has a very worn stamp Bruyere Extra over shape number 1152. Bless its heart…the bowl finish is in bad, bad shape. It appears to have had a thick shellac varnish on it that has simply worn away and chipping presenting shiny spots of the haggard finish hanging on. I’ll need to clean the surface thoroughly to see fills that might need attention. The rim is majorly scraped and dented yet, for what I can see of the meerlining, it looks like it might be intact, not having any cracks. I’m hopeful! The bowl itself is heavily caked and I’ll need to clean it carefully. This will be my first meerschaum to work on so I’ll be reading up on other blogs’ meerlined clean-ups and restores. The stem has some oxidation but only minor teeth chatter. The button has some tooth bites/dents that need attention. Most interesting about the stem is that it is comprised of two pieces. When I disassemble the stem for the first time, I discover that the main slightly bent stem, has an interlocking twist mechanism connecting it to the stem’s filter extension. The shorter vulcanite filter extension inserts normally into the mortise and has a normal looking air restricting tenon. Nice – you can use the pipe with or without filters. My first impression of the interlocking twist action of the stem is that it is ingenious and seems to work quite well. I took some pictures to show the stem assembly.
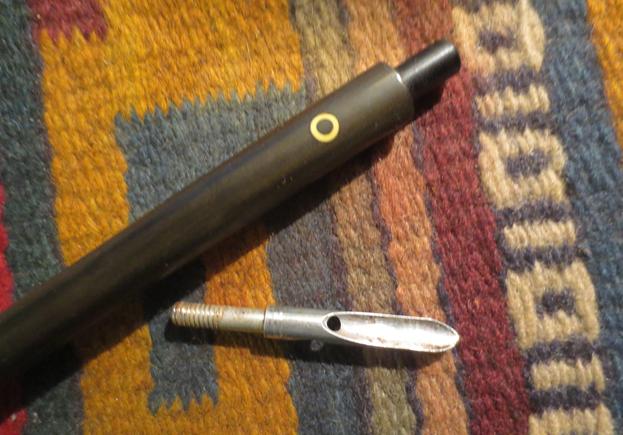
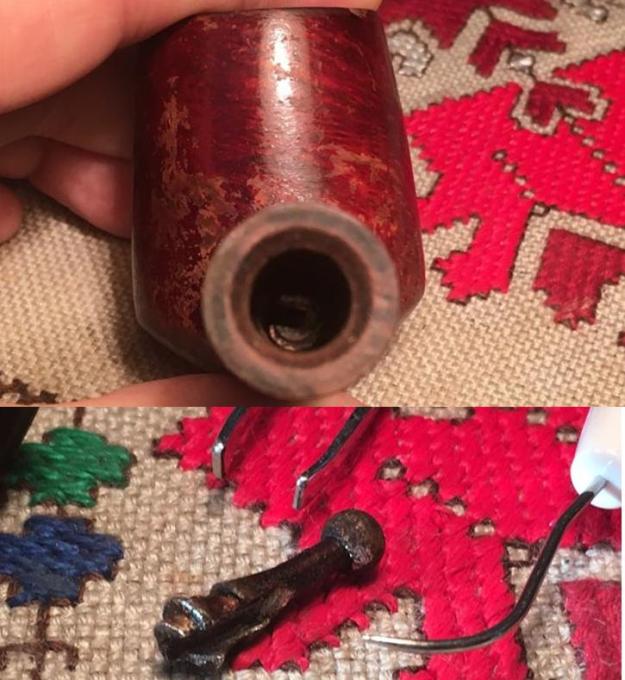
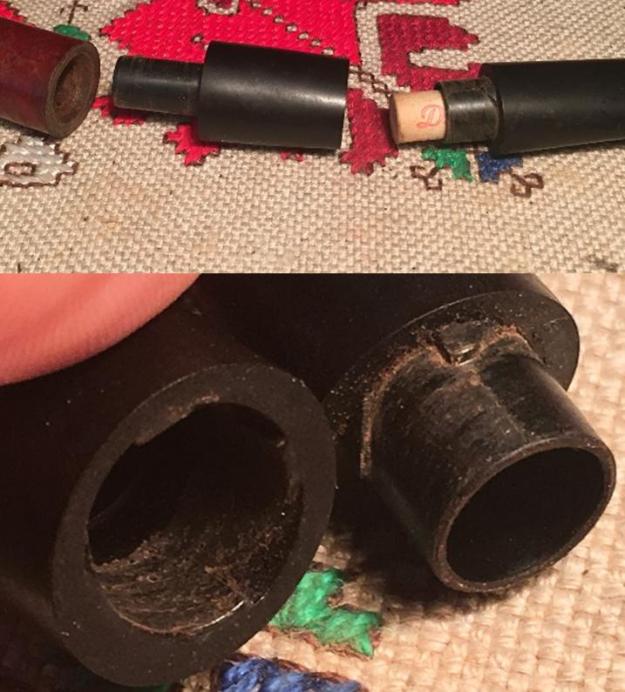 While playing with and admiring the stem interlocking mechanism, which I discovered would only engage at the correct alignment between stem and filter insert, I looked down the vacated mortise. Denicotea did not disappoint – had I any doubt? I could see a deeply implanted metal insert. Again, as with the Denicotea Curling I had just finished, is this a rogue stinger of sorts that dropped out of the filter insert tenon or is this another filtration machination? At first glance I’m guessing, rogue stinger, but…. By palm thumping the mortise and a little help from my handy dental probe and tweezers the stinger is extracted. The end of the stinger appears to have broken off shortening the inserted portion that would grip the vulcanite tenon. This stinger becomes history.
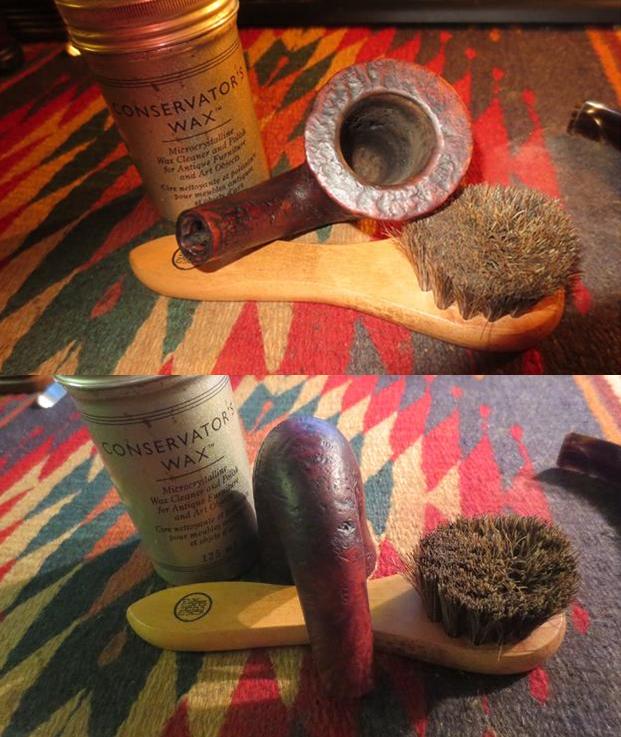
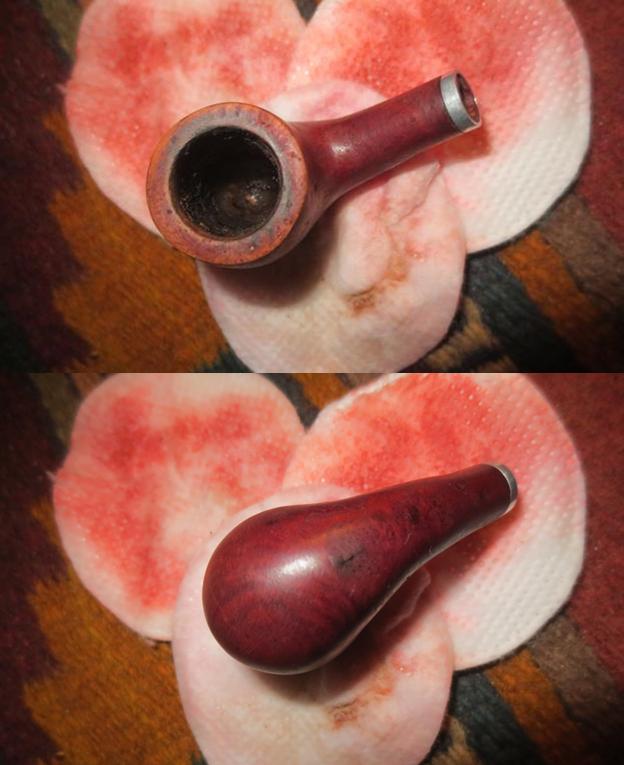
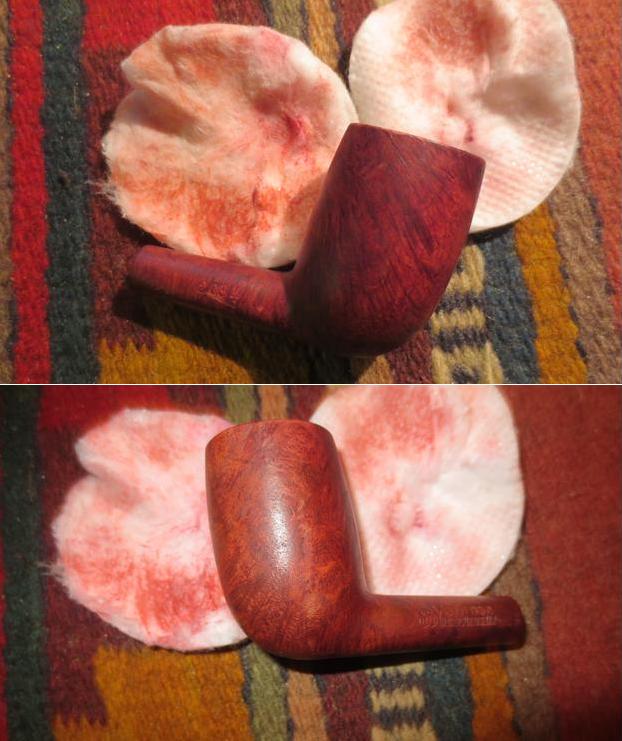
 With this being my first meerlined project, I read different entries to make sure I was moving through the learning curve. Unlike briar, I know that a cake is not needed with meerschaum which is a stone (German for ‘sea foam’). I found Steve’s essay (Link) helpful as he dealt with the two major questions I have about this Denicotea: First, how to approach cleaning out the cake? Secondly, how to approach the rim surface which combines/intermingles the repairs of both briar and meerschaum? Can I top meer as I would a briar rim? How do I approach applying stain later with the meerschaum in the mix – sharing the rim surface? These are some of the questions as I approach the Denicotea Trend, ‘Bless his heart’, I don’t want to make things worse than they already are! Attacking the cake, with the cake as thick as it is, I could employ my Pipnet blades to start the reaming and finish up with the Savinelli pipe knife for the fine tuning, but on the maiden voyage with ‘sea foam’ I resolve to take a slower voyage with the Savinelli knife. Also, since it is a new tool in my chest, I’m anxious to hone in on the techniques of its use. I take another close-up of the bowl to mark the progress. After taking the picture and taking a closer look, I decide first to clean the rim area with Murphy Oil Soap using the brass brush. I want to see the meer more clearly to inform the reaming process of possible cracks. I also decide to wash the entire stummel with Murphy while I was at it. Using cotton pads, I apply Murphy Soap undiluted and scrub the stummel surface and rim. With a brass brush, I work at loosening and cleaning up the lava and cake build up to see the rim better. The Murphy Soap doesn’t make much of a dent on the stummel – it is looking more like residue varnish left over on the surface. But, progress is made on the rim and I can see the meerlining much better. It seems to be in good shape, but the rim will need topping to restore clean, healthy briar to the rim.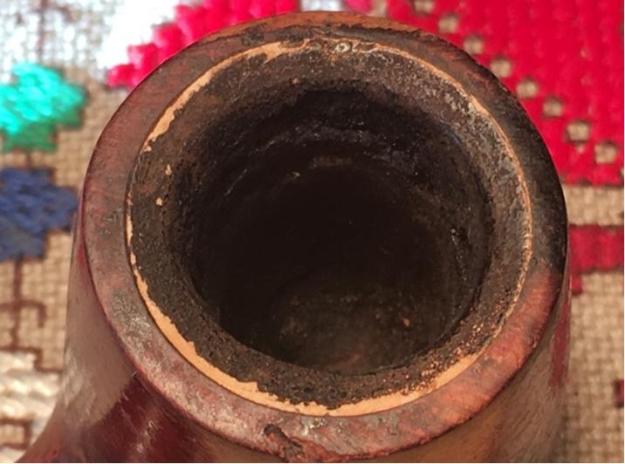
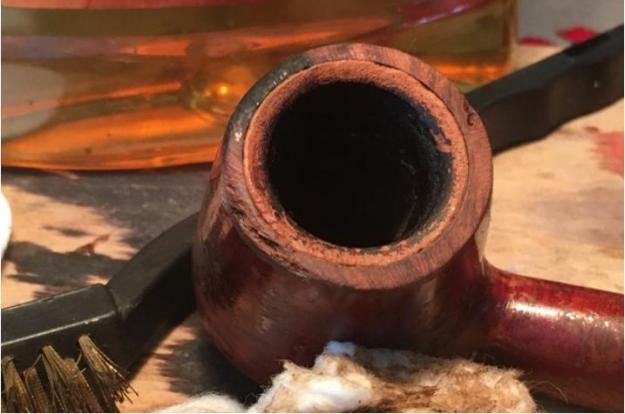 Satisfied with my improved perspective, I take the stummel with Savinelli pipe knife in hand to the 10th floor ‘Man Cave’ balcony to ream the pipe. The additional sunlight helps me see the internal bowl surface as I bring the knife into contact with the cake. The technique that develops is that I start from the rim, where the actual meerschaum surface is more evident, and work down gradually into the bowl where the cake thickens. As I work with the knife, I also can detect a difference in the sound and feel of the knife as it has contact with the cake or with the meerschaum surface. Using the knife, it became more difficult to judge what was going on when I was at the floor of the fire chamber around the draft hole. I take a picture at the completion of the knife reaming. I then take 240 sanding paper rolled around my finger as well as around the thinner end of a plastic toothbrush handle and continue to clean the meer surface of cake residue. Even though the meerschaum is dark colored, it is smooth to the touch and the cake is eliminated! I wipe out the chamber with a damp cotton pad. I’m pleased and relieved. The pictures show the progress.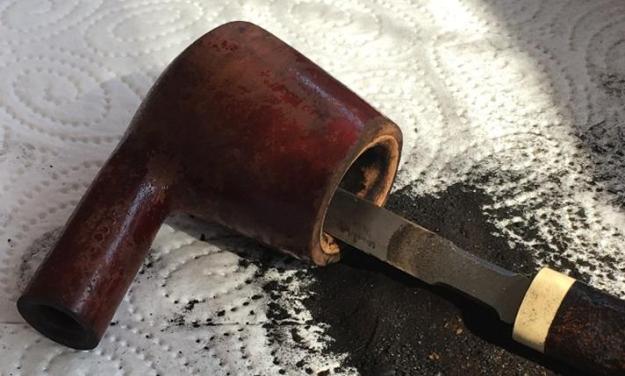

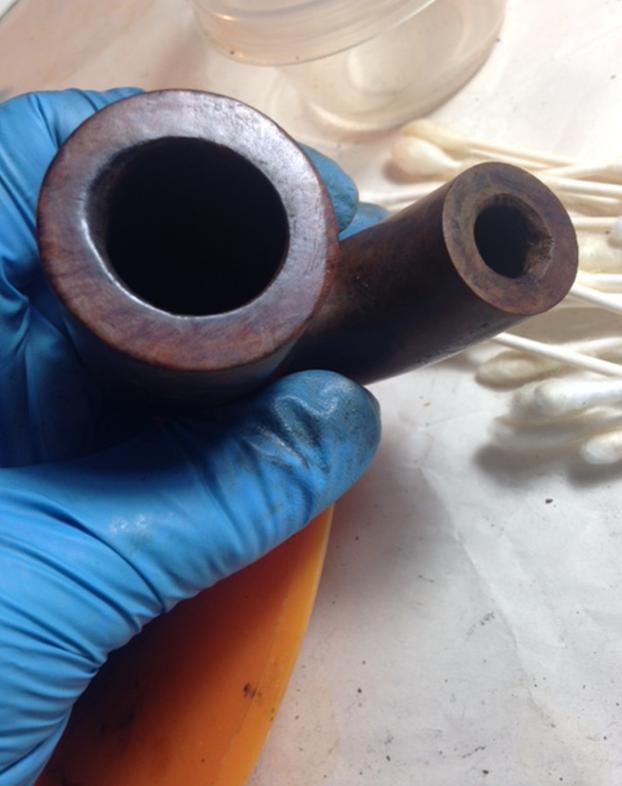
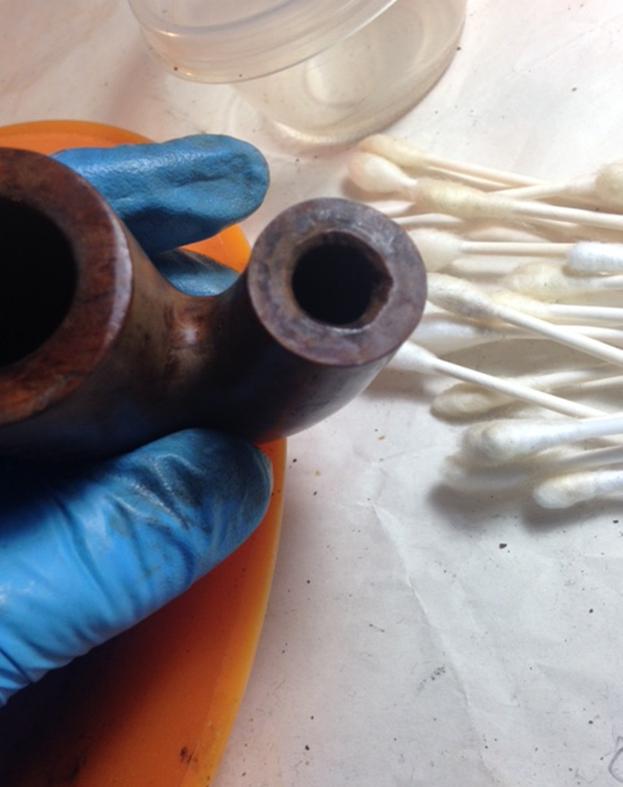
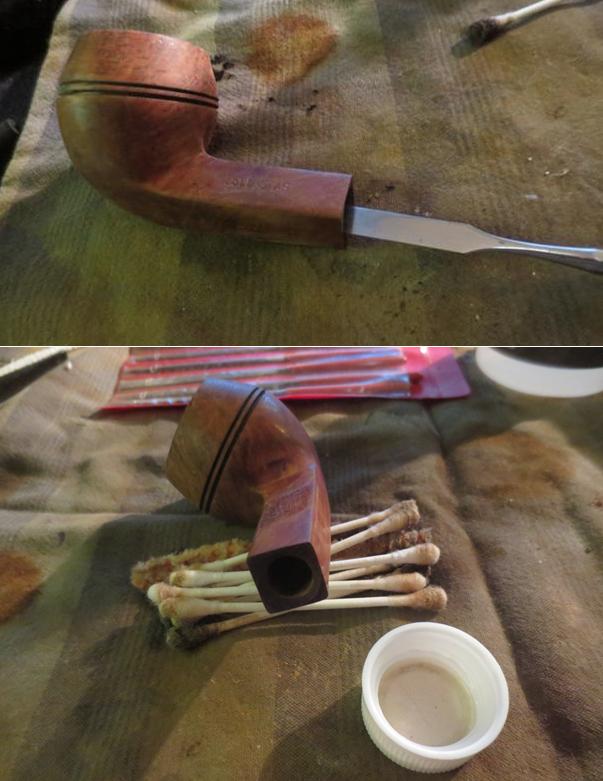
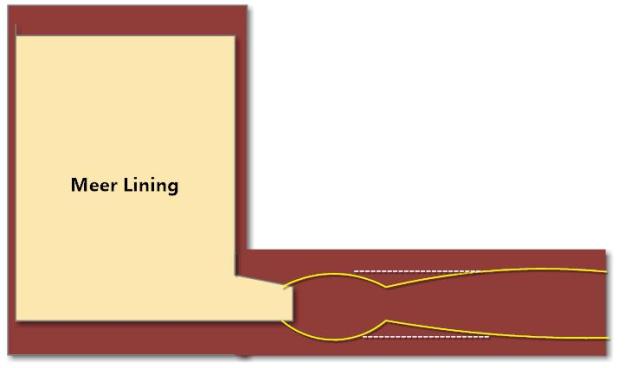
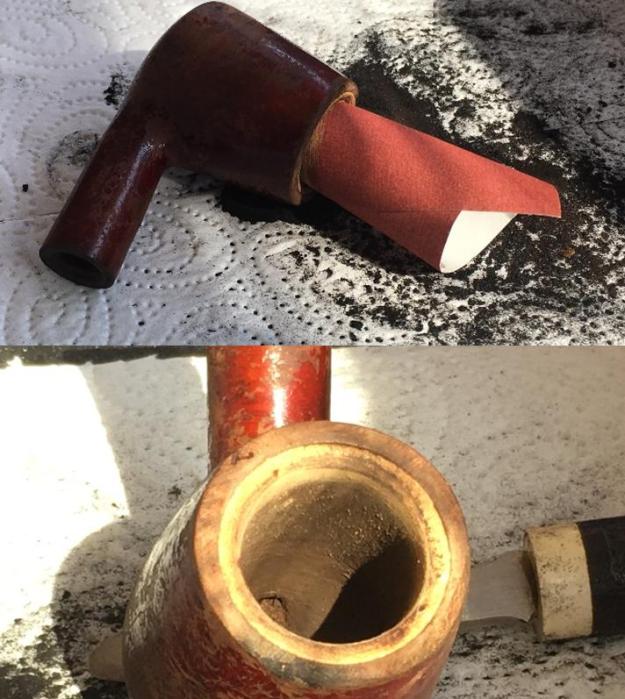 With the bowl reamed and cleaned, I take Q-tips and pipe cleaners and clean the internals of the stummel using isopropyl 95%. As I work on the internals with the Q-tips and pipe cleaners I watch the growing pile of used Q-tips and pipe cleaners change from being a hopeful small pile to a frustrated virtual Mt. Everest of expended Q-tips and pipe cleaners with no ‘gunkless’ end in sight. From what I can see with my iPhone light down the mortise and what I can detect from the touch of the many Q-tips that have made the plunge, there seems to be a cavity of sorts between where the meerschaum lining terminates with the draft hole (as it transitions into the shank) and a tightening or closing of the mortise about ¾ in from the tenon side formed when the shank was factory bored. This cavity seems to be a natural gunk reservoir that Q-tips pass over.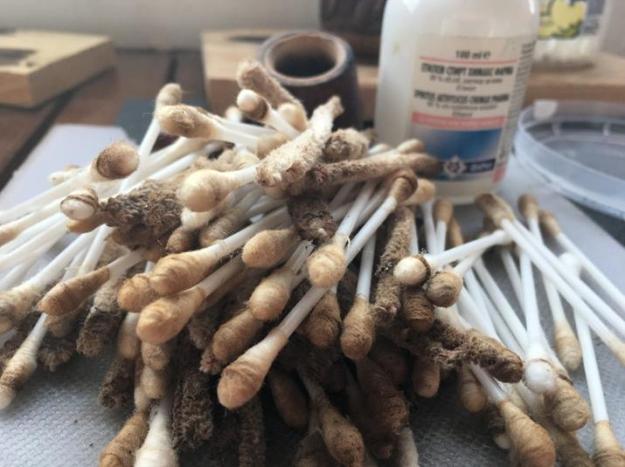
My first thought is to pull out the retort, but after a quick email to Charles Lemon (Dad’spipes.com) my concerns that the meerlining might not stand up to the boiling alcohol were confirmed. Instead Charles recommended:
Without using the retort, I would suggest using a flat-ended tool (the square end of a flat needle file?) or an appropriately sized drill bit turned by hand to scrape out as much of the old tars and gunk as possible and then going at it again with swabs and cleaners dipped in alcohol.
I grab my flat spoon and pointed dental probes and reach in over the ‘hump’ in the mortise to scratch up the muck cavity and it does stir things up – following again with Q-tips which are saturated with fresh, loose muckness that had been scraped up by the dental probes. As I scrape and Q-tip plunge repeatedly, the reality of what I believe is a design flaw with this Denicotea Trend forms in my mind. It will be nigh impossible to keep this pipe clean with normal use and cleaning with the cavity existing deep within the mortise. Therefore, a plan starts formulating, using the drill approach that Charles recommended above, I decide to take it one step further and attempt to re-engineer the internals of the mortise by removing the ‘hump’ in the mortise as much as I am able. Since it is beyond (deeper) the reach of the tenon’s full insertion point within the mortise, widening the mortise by removing the hump (or some of it) should not impact the tenon’s fit. My goal would be to create a straightened mortise that would expose a more uniform interior for cleaning. I put down the dental probes and Q-tips and put the stummel aside to give more consideration to this plan. The pictures below show the lack of progress with the cleaning job and a diagram I couldn’t resist creating to conceptualize the obstacle (yellow line) and solution (white dashed line)!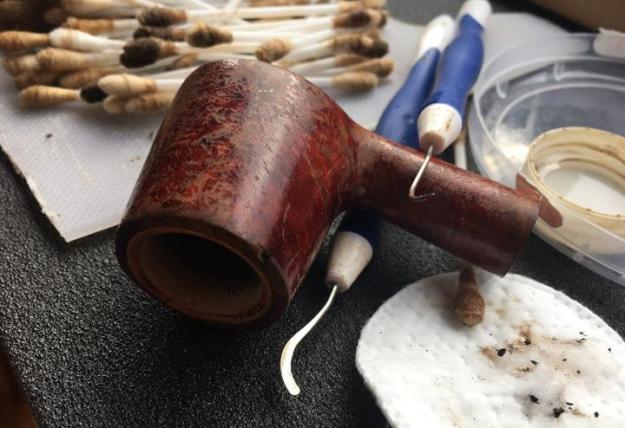
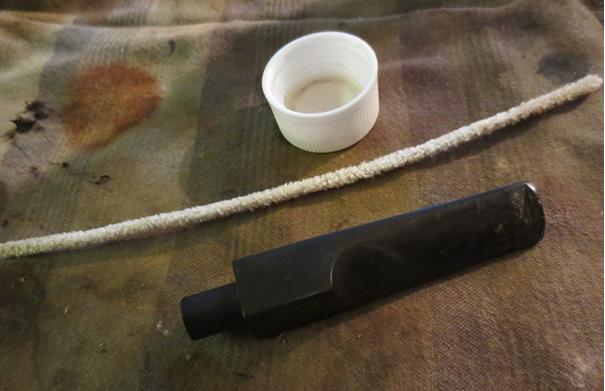
 While reflecting on the emerging stummel game plan, I fish the multi-pieced stem out of the Oxi-clean bath and remove the oxidation that has emerged on the vulcanite surface with 320 sanding paper followed by 000 steel wool. The stem surfaces look good so I turn to cleaning the internals of the two stem pieces. I use Q-tips, cotton balls and pipe cleaners dipped in isopropyl 95%. Not nearly as much resistance as the stummel is putting up. The final picture shows more clearly tooth dents and button biting work that need to be tackled.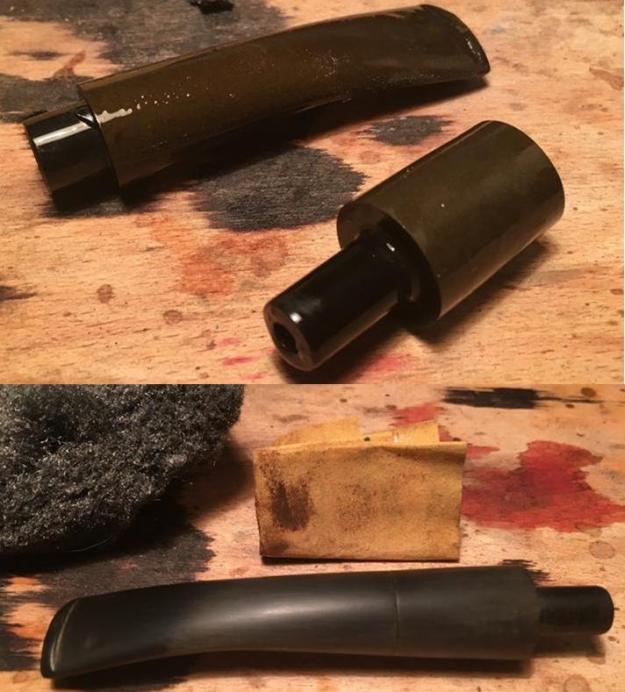
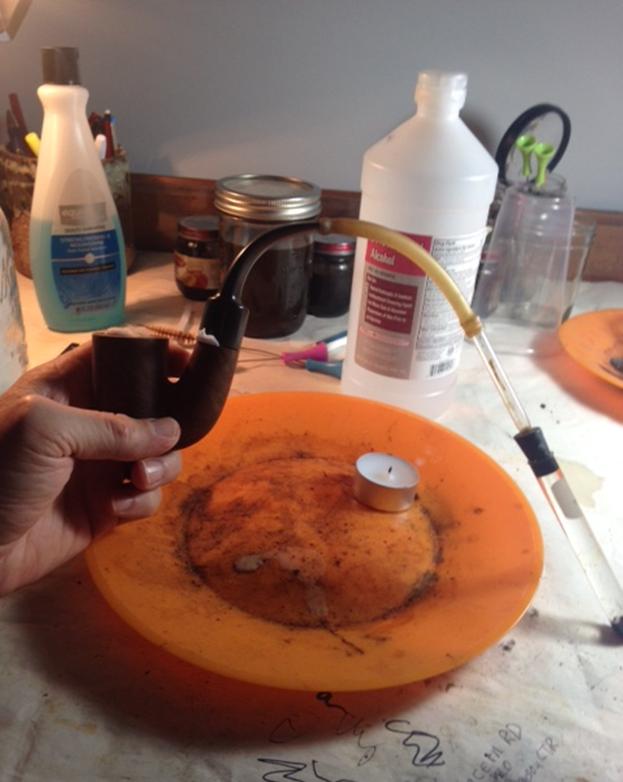
 Back to the stummel, I decide to take a drill bit just at the size needed to match the narrow hole created by the tapered factory bore in the mortise – creating the ‘hump’ forming the cavity beyond it collecting the gunk. I turn it by hand without impacting the mortise wall. It’s not easy maintaining a straight approach with the bit by hand. I turn the bit only at the hump not going deeper and potentially impacting the meer. That seems to work as briar ‘saw dust’ drops out of the mortise. I then take the next larger bit and do the same thing – not as easy as it bites into the briar hump more. After doing this a few minutes I realize that this approach is not going to work to the degree I had hoped. To do this properly, I need a stationary drill press and a secure way to position the stummel and re-bore or deepen the mortise. So, I take a semi-circular needle file and with nerves of steel, attack the hump without touching the mortise walls. This was helpful in bringing the hump down a bit, but my hope for a straightened mortise was evaporating. Putting away the file, I return to the scape and clean technique I began with and I make some progress! The partial hump removal did help with the cleaning angles. Finally, clean Q-tips start emerging and I take a final picture of ‘Cleaning Job Done!’ Then I recalled Charles’ suggestion of using a ‘flat’ edged file to scrape. Hmm. So, I take my flat end needle file and scrape – unbelievable! More muck! Thankfully, not too many more Q-tips were expended and I can say, to the best of my ability and understanding: Clean! When I put this pipe on eBay to find it a new home, I do not want to put forward a ‘hypocrite pipe’ – looking good on the outside but nasty on the inside! Pipes often remind me of people and how God’s work starts on the ‘internals’ and then moves to the ‘externals’!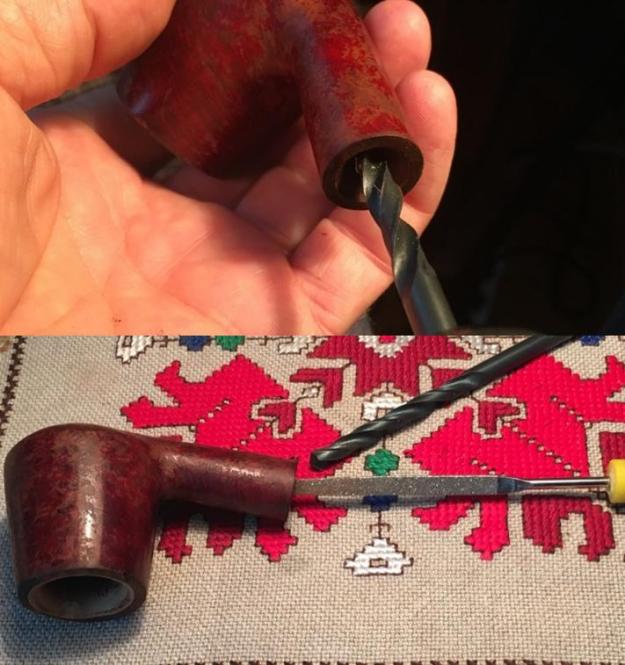
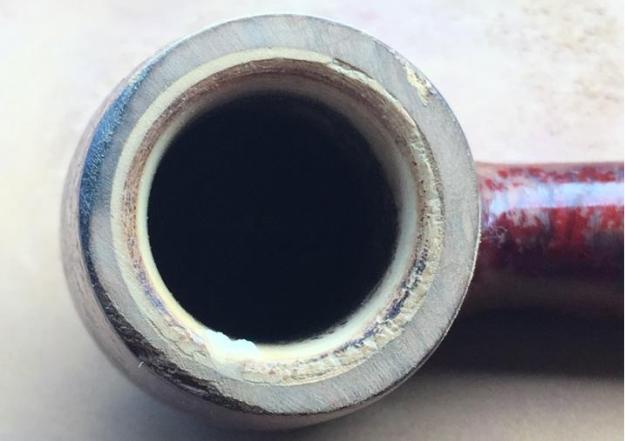
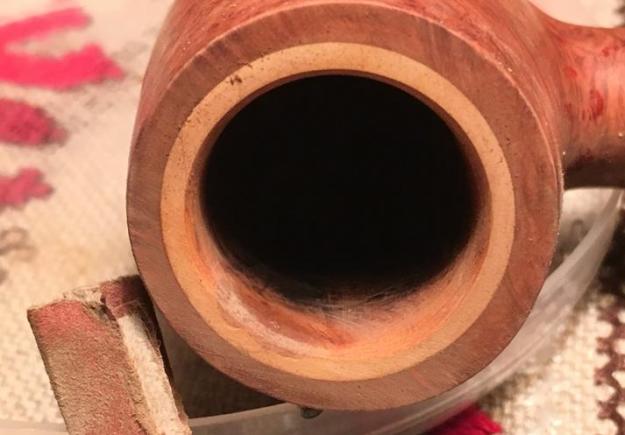
 With ‘internals’ of both stummel and stem now in good shape, I move to the externals. The next step is to work on the rim. When I look at the rim I discover a place in the meerschaum that has cracked (ugh!) at about 6:35 o’clock in the picture below and what might be a hairline crack running from in. Even though I plan to top the rim, I apply some superglue to the chipped area hopefully to add a bit of strength. It’s late, I’m tired from the longest muck cleaning contest in my record book, so I put the stummel down to allow the superglue to cure overnight.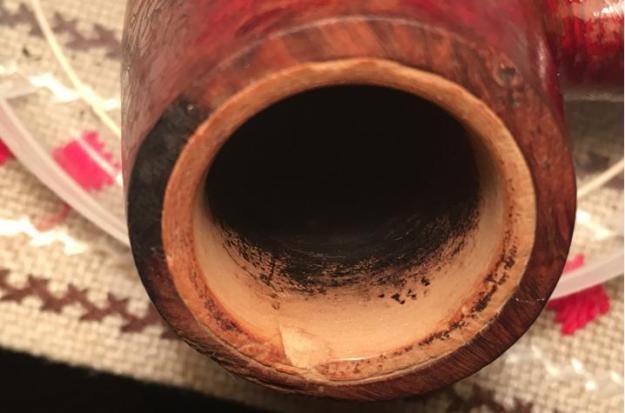
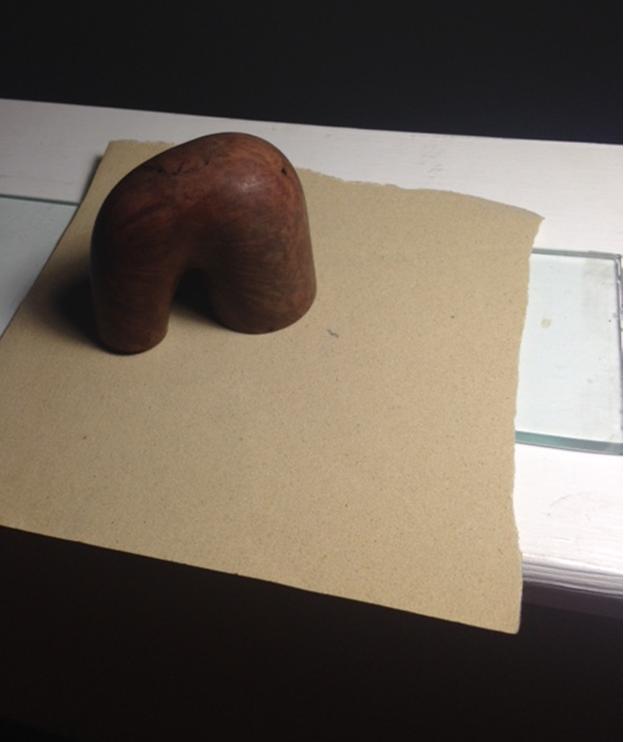
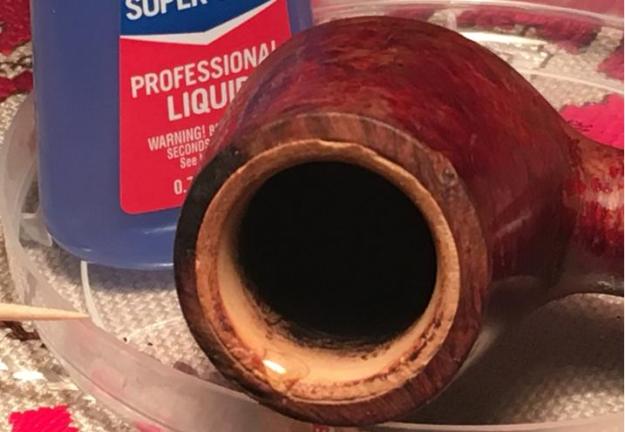 The next day, I take a picture of the rim to show the spot on the rim where I applied superglue the night before and to show the progress as I top the rim. I have not topped a meerlined pipe before, so I proceed cautiously and I want to see how it turns out before moving to the stummel external finishing (Thought: “O ye of little faith!”). With 240 grit sanding paper on a chop block I go out on the 10th floor Man Cave balcony and begin the topping process. I move the stummel around in a circular motion for a few rotations and stop to check to make sure I’m staying true – not dipping into soft spots and checking out the meerlining. I take pictures along the way to show the progress.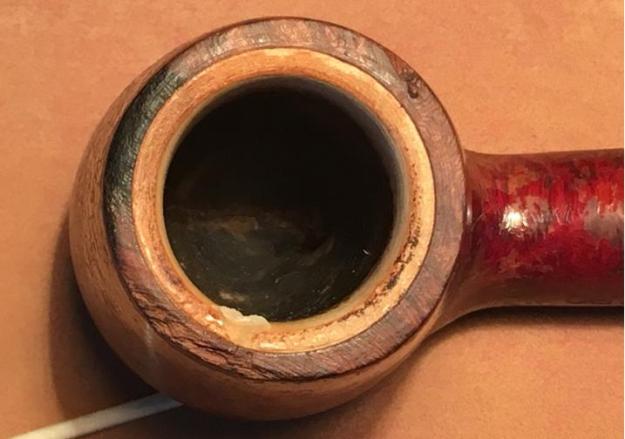
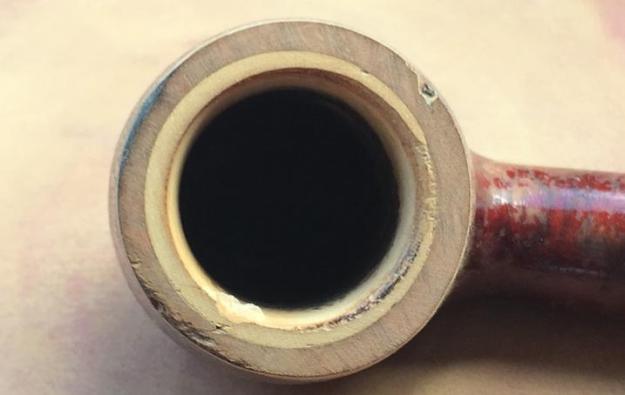 As they say, all was going so well until it wasn’t! The chipped area in the meerschaum that I reinforced with superglue crumbled under the stress of the topping. In the last picture above you can see the fault line developing. What to do? After looking at the new damage, I decide to continue to top the rim a bit more to increase the solid meer bordering the briar and to reduce the area in need of repair (3rd picture below). I’m thankful that the volcano cone stummel has some space to give up to the topping process!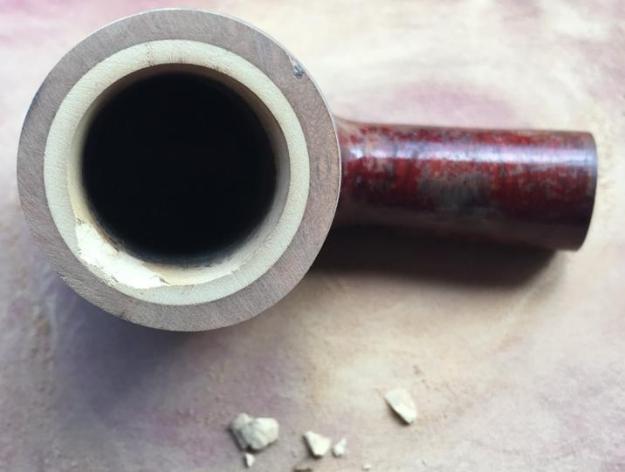

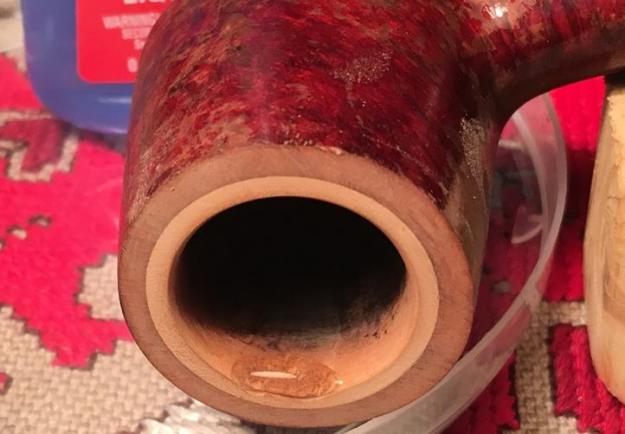
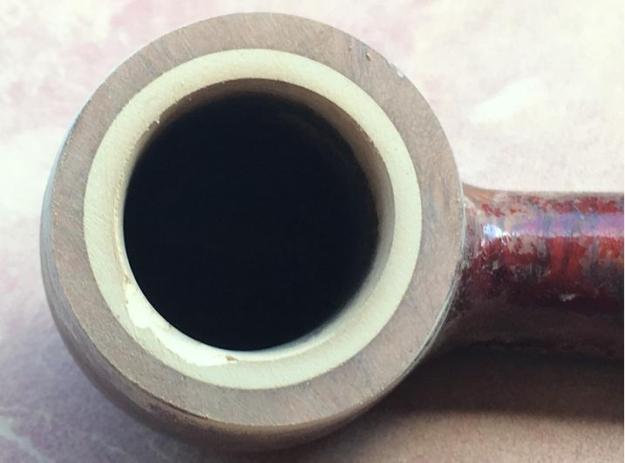 Another email is sent with the pictures above to Steve for his input. So far, a ‘Two Email’ restoration…another record. I’m thankful for willing mentors! With Steve’s response in hand describing plaster of Paris and superglue options, I elect to rebuild the chipped area using superglue. I apply it to the area and balance the stummel to allow the superglue to settle in place and I go to bed. The next morning, I look at the patch and realize another layer of superglue is needed to build up the surface further. After lightly sanding the patched area to smooth the first layer of glue I carefully apply another coat to the needed patch area. Again, I balance the stummel allowing the second application of superglue to cure is the desired place. My goal is to rebuild the meerschaum rim chip enough to be able to sand the wall side of the patch smooth, hopefully blending the patch with the meerlining. I will probably again lightly top the stummel with a finer grit sand paper to bring the rim surface in sync with the patched area. Finally, I will carefully cut a bevel on the meerschaum lining to minimize the patched area. From earlier pictures, it appears that the pipe had a light bevel texturing the meerschaum lining look – I like it.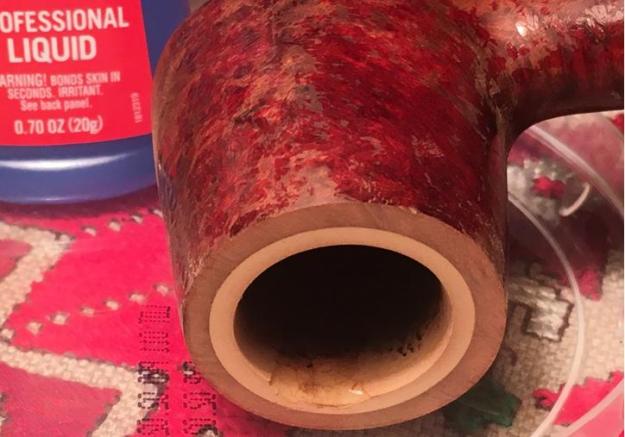
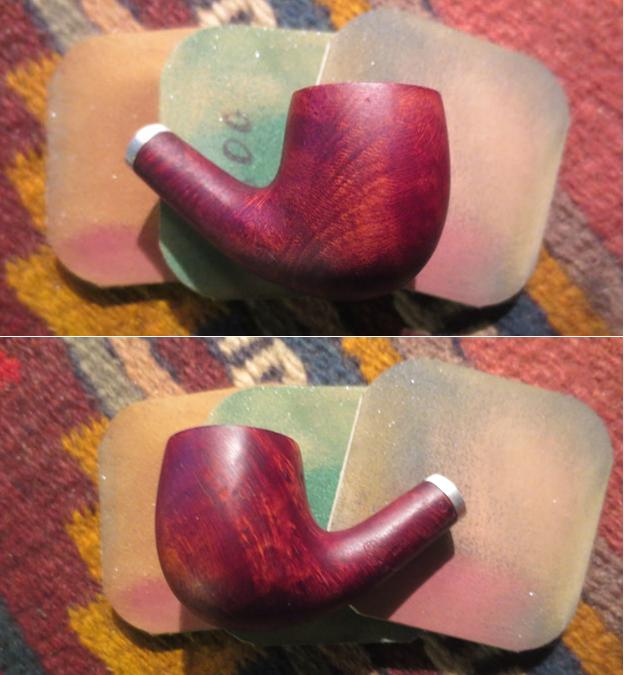
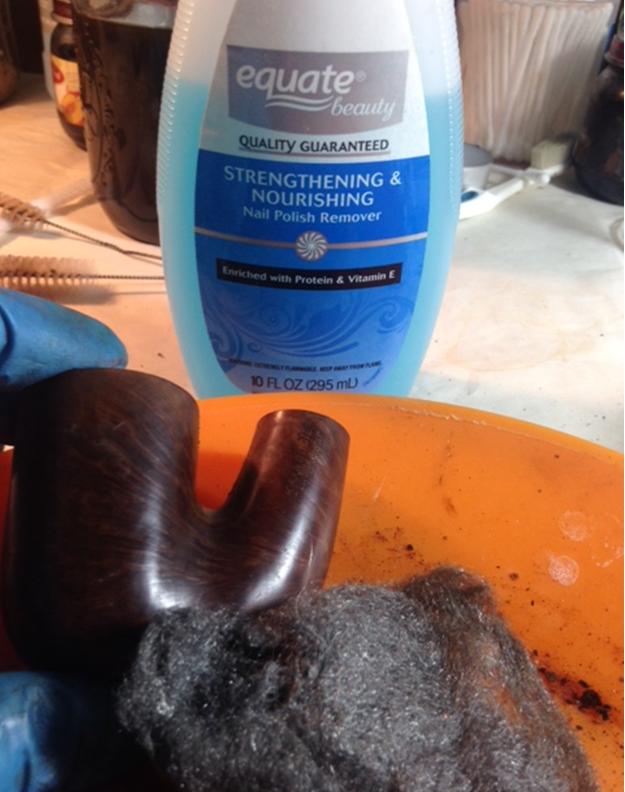
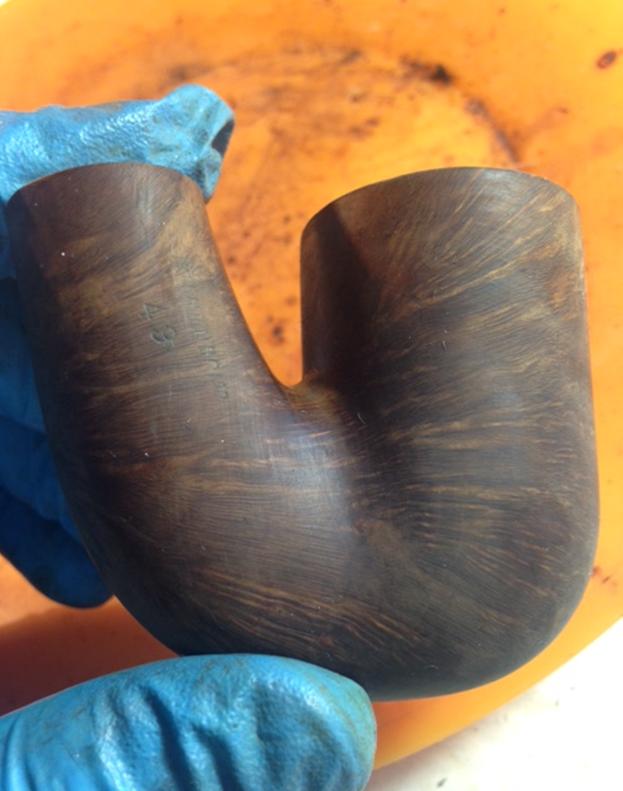
 After several hours, I return to the Denicotea Trend anxious to make some progress. The superglue patch has hardened to touch but I want to give it more time to cure thoroughly. I decide to start a thorough removal of the old finish to coax the hidden briar grain into the light – I like this part! I take another look at the stummel surface. The old finish looks very much like the ‘shellacy’ candy apple varnish sheen which often is a bear to remove. With cotton pads and acetone, I scrub down the stummel to loosen up the old finish careful to avoid the ongoing rim repair. After a lot of elbow grease and cotton pads as expected, the old finish is not giving up easily. I decide to use 000 steel wool with acetone and lightly rub the surface with the wool and that does the trick. Utilizing the spittle test to moisten the bare wood, I get a sneak peak of the briar’s potential.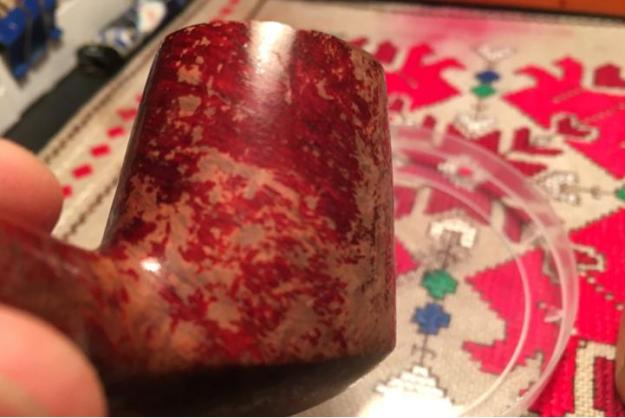
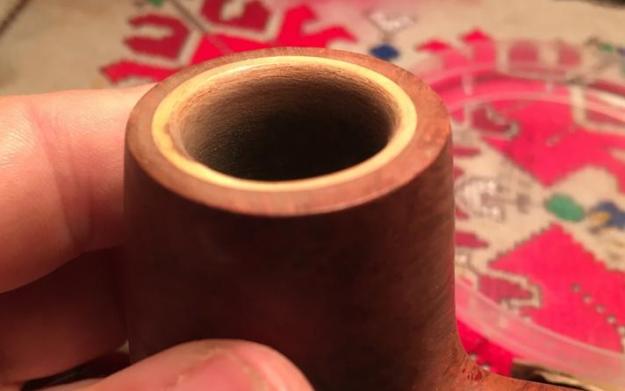
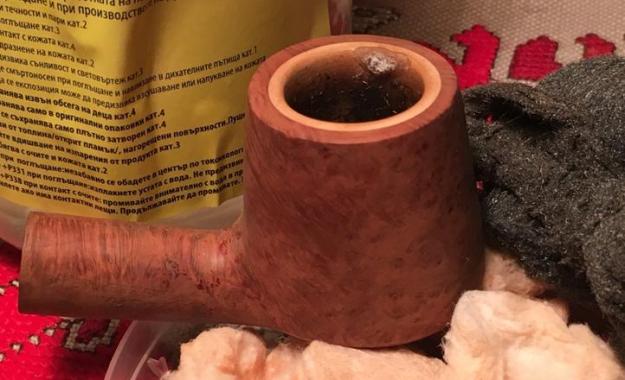 Now to the complete the rim. The picture directly above and below show the superglue patch for the chip in the meerschaum lining of the bowl. With 240 grit sanding paper, I sand the patch down to the meer surface rounding it to blend with the curvature of the bowl. I concentrate only on the wall area of the patch leaving the rim surface for later. When the surface of the patch wall is smooth and blends with the curvature, I sand the patch on the rim surface to bring it down to blend. I had intended to return to the topping board for a few revolutions, but decide that it would be better to work directly on the patch instead of removing more of the bowl on the topping board and stressing the patch more than needed. It didn’t take long to sand the patch bump down to the rim surface. At this point, also with 240 grit sanding paper, I cut a bevel on the inside of the meer rim to help blend the patch but also simply to soften the meer’s rim edge. I’m satisfied with the patch even though the patch has a different hue from the surrounding meer. It’s the best I can do and I’m thankful it seems strong and I’m hopeful it will hold up well for many bowlfuls of tobacco to come.
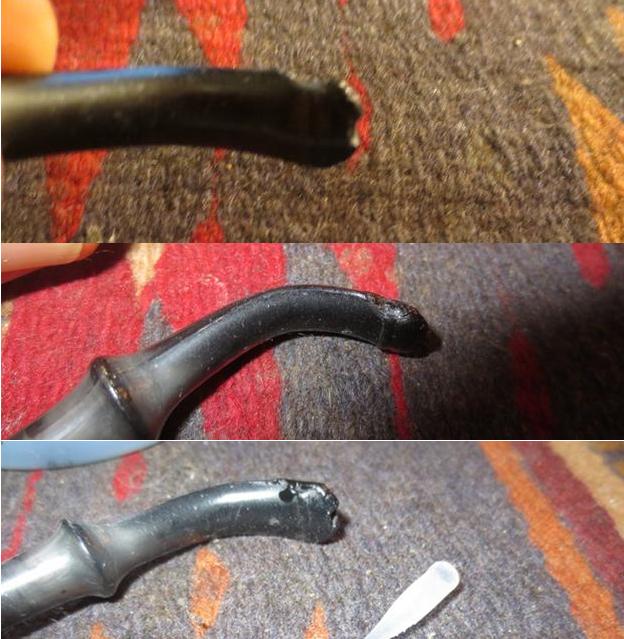
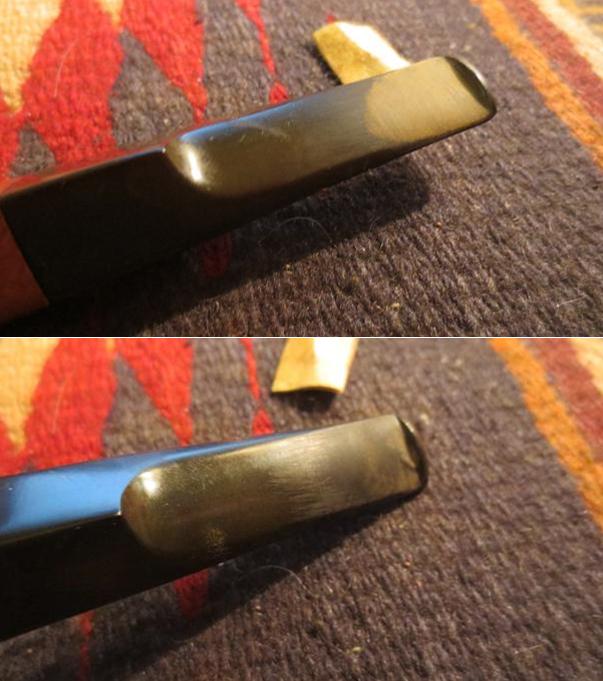
 Turning back to the stem, I take close-up of the repair needed with a tooth dent and a bite on the button lip. I decide to try the heating technique to address these problems. Another first for me on the restore! With a butane lighter, I gingerly place the flame over the areas – remembering Steve’s description when he did this – ‘painting the surface’ with the flame. Well, I’m not sure if it was a success or not. After the flame, I use 240 grit sanding paper and finish removing the tooth dent and smooth out the button lip. I also refine the button lip above and below with the straight edge of a needle file. Pictures show the progress.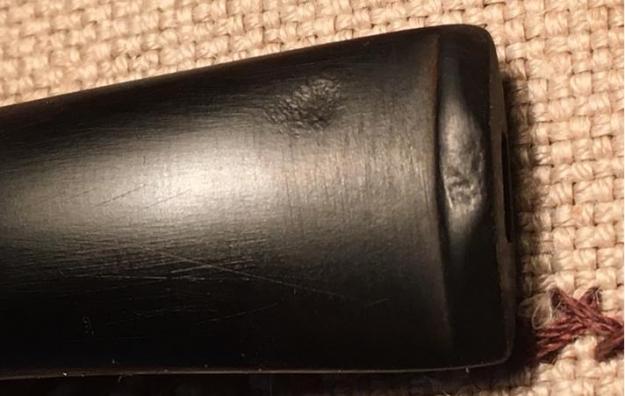
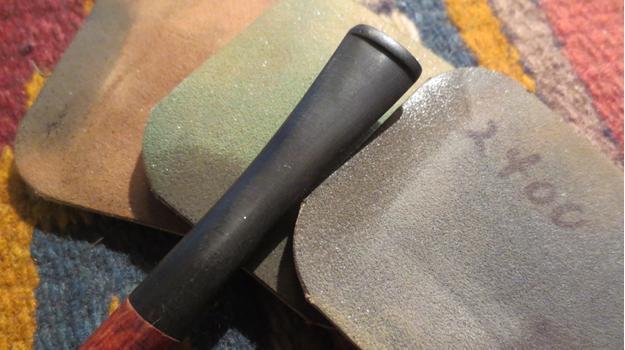
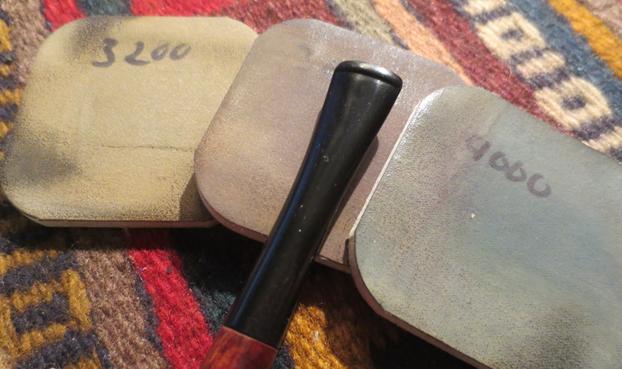
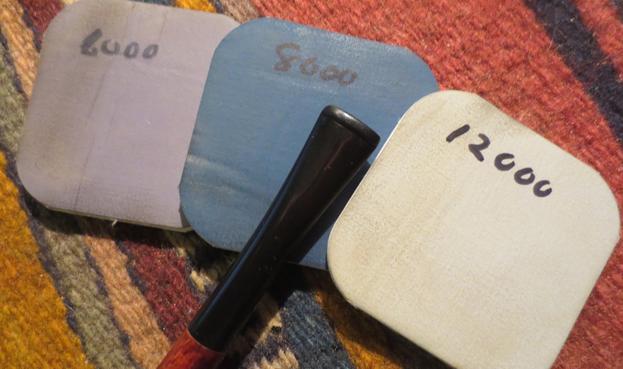
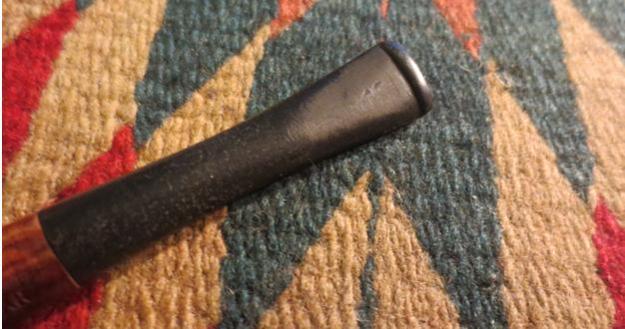
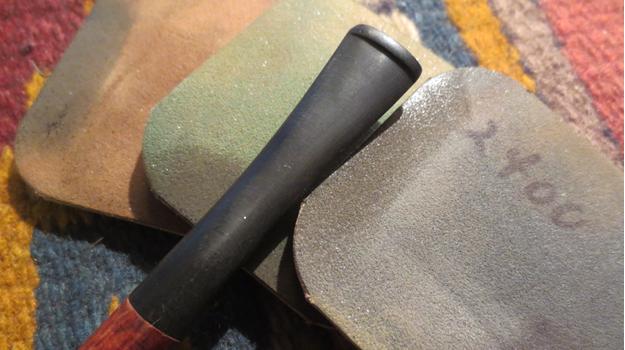
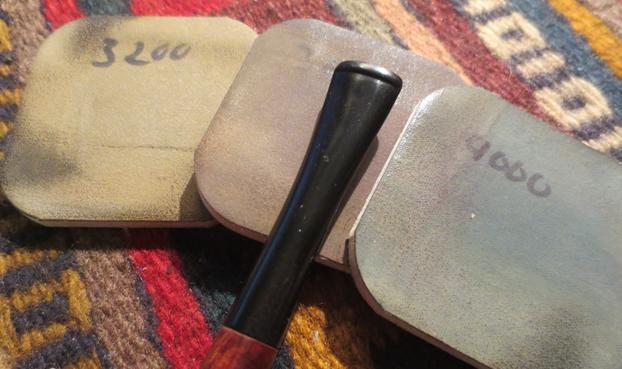
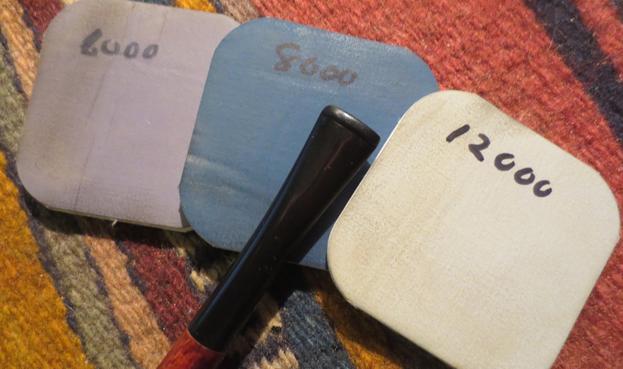
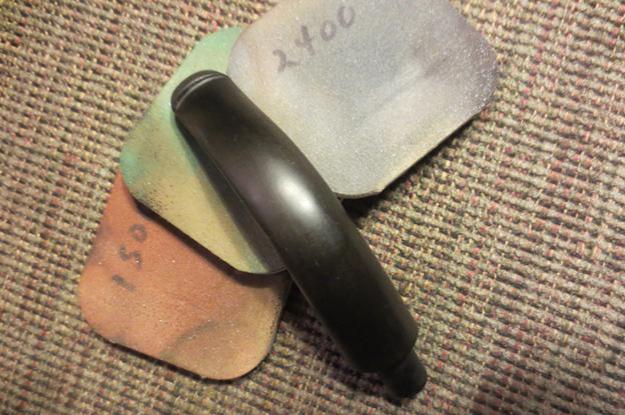
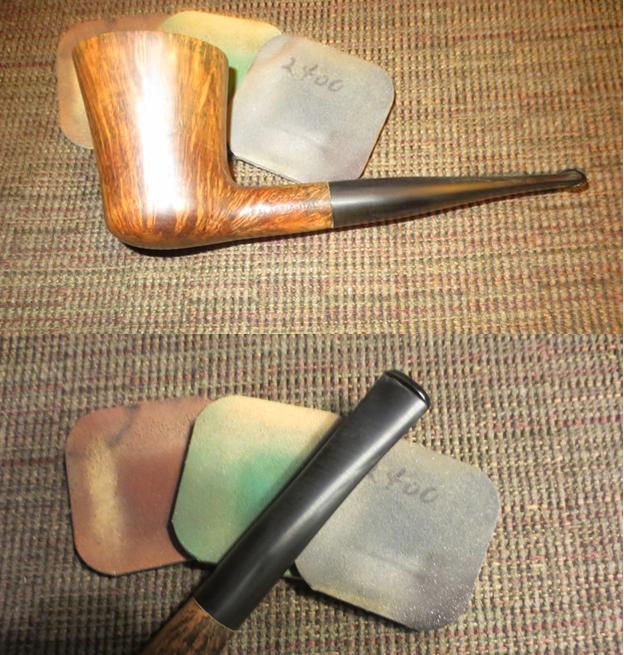
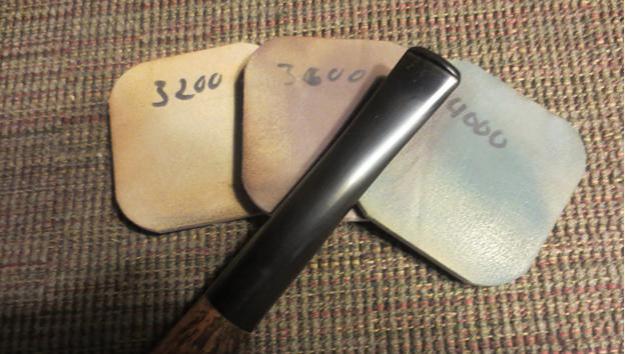
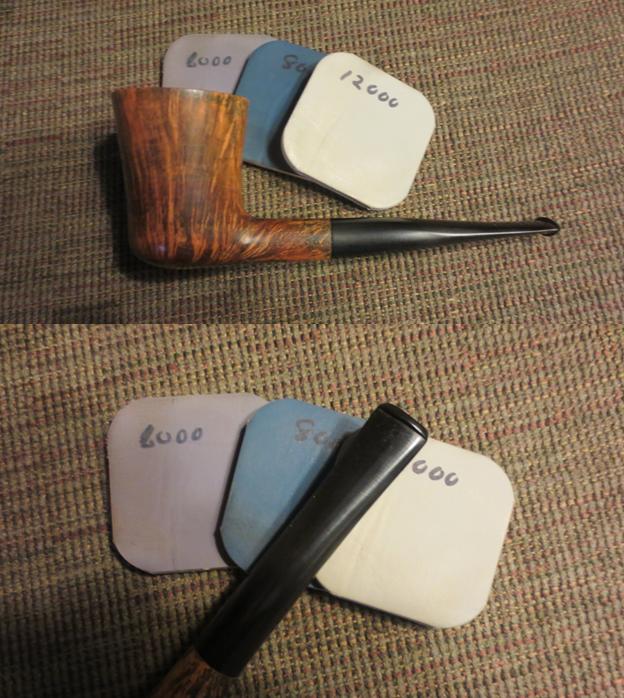
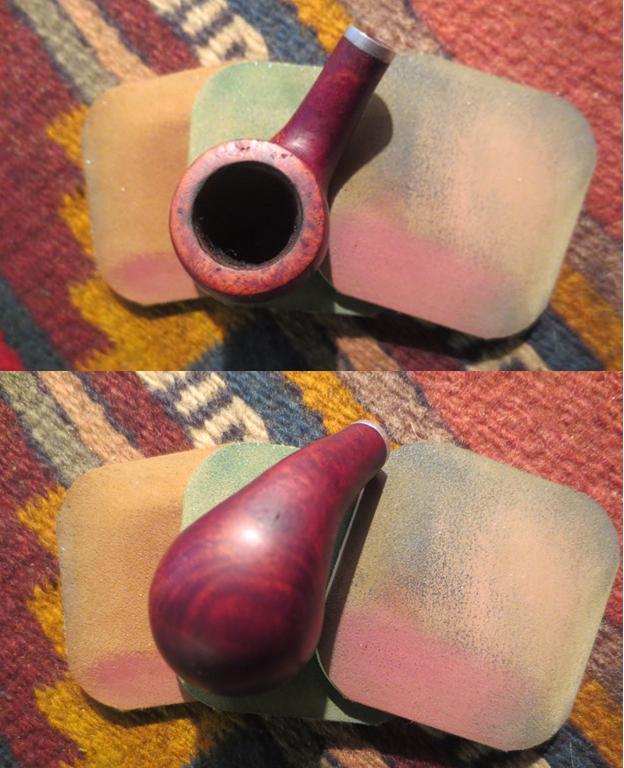
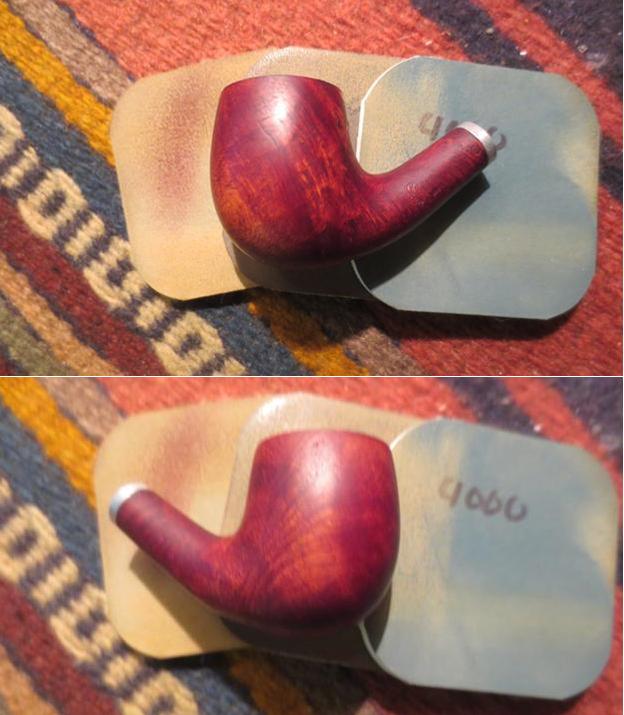
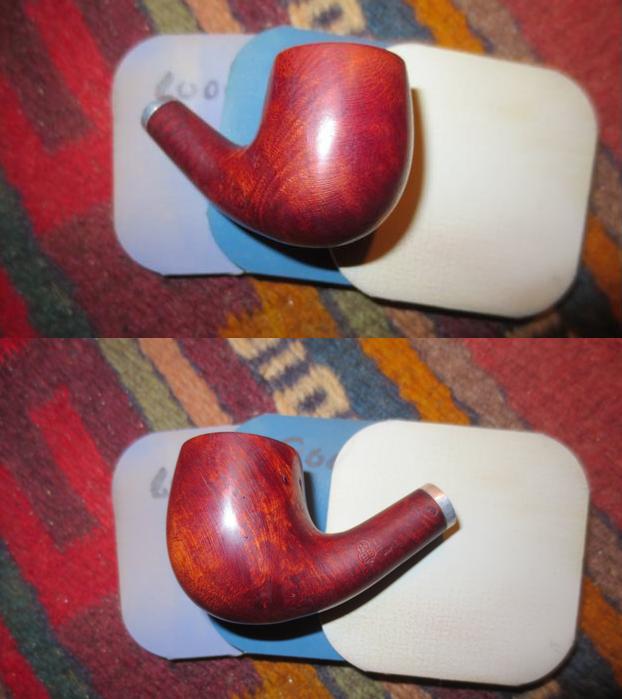
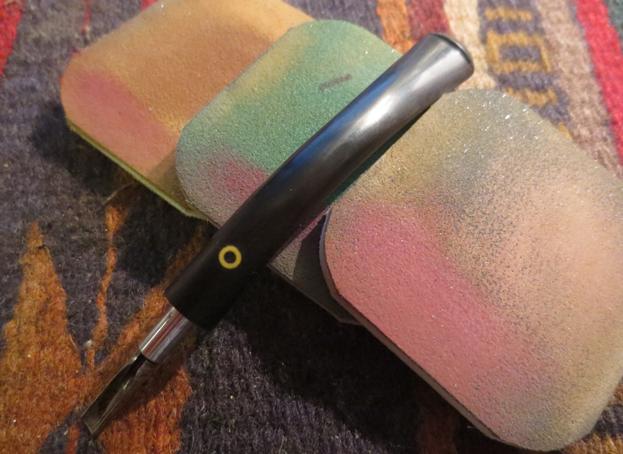
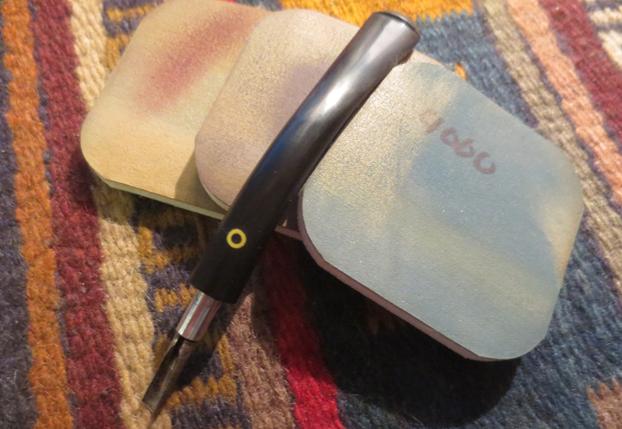
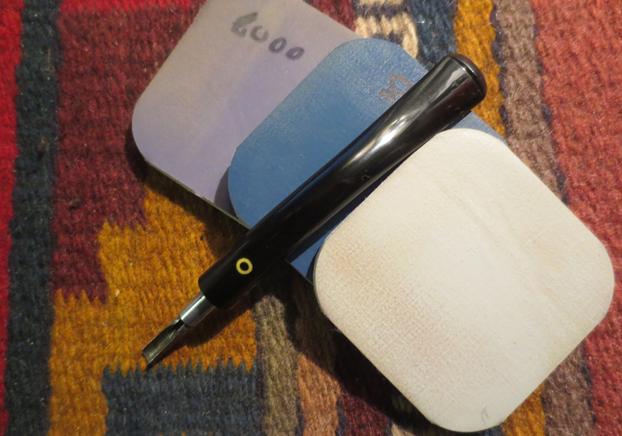
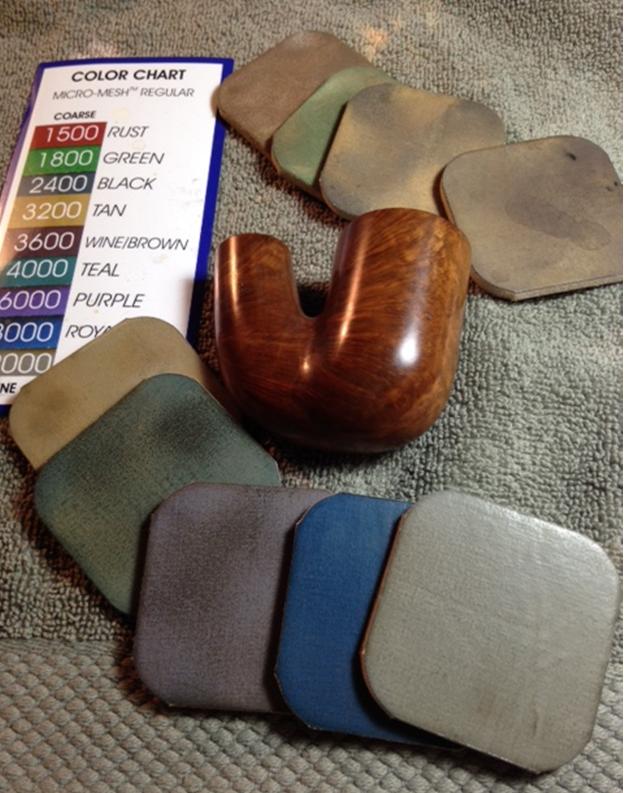
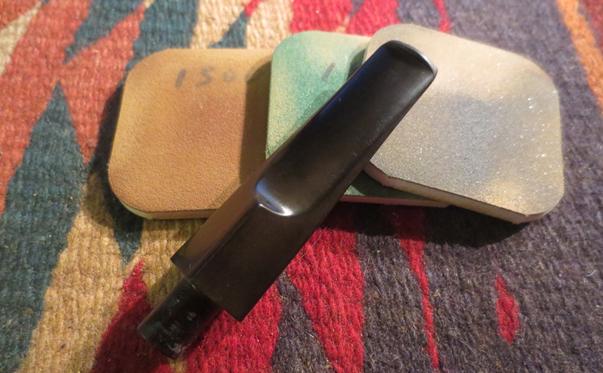
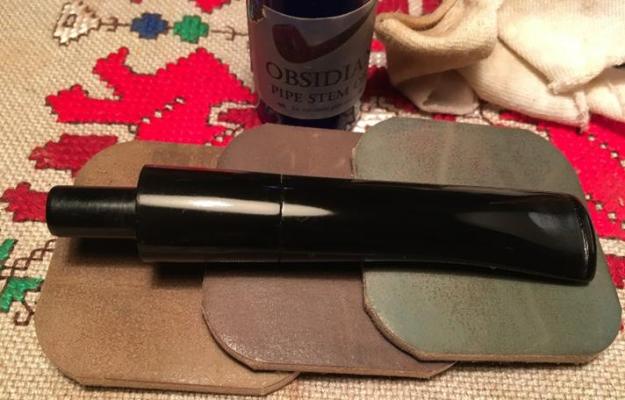
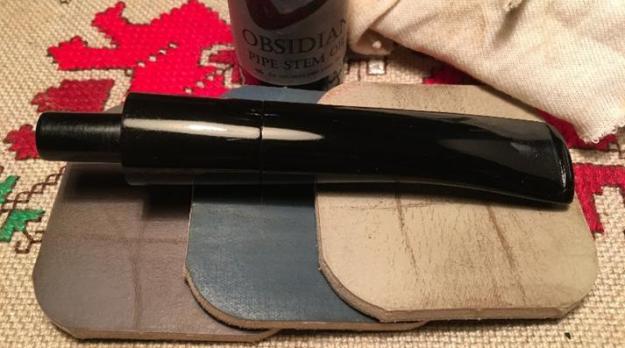
 Satisfied with how the repairs look, I begin the micromesh sanding/polishing cycles on the stem. Reattaching the reassembled stem to the stummel, using micromesh pads 1500-2400 I wet sand the stem follow with applying Obsidian Oil. Following the wet sand, I dry sand using micromesh pads 3200-4000 and then 6000-12000, following each cycle with an application of Obsidian Oil. I love the vulcanite pop after the micromesh polishing. The pictures show the progress on the stem polishing.
 With the stem work completed, I return to the stummel and take a medium sanding sponge and use it to lightly top the rim rotating it in a circular motion over the sponge. I do this to finish the sanding of the rim preparing for the micromesh polishing. With a light grade sanding sponge, I sand the rim as well as the stummel removing small nicks on the briar surface. Using micromesh pads 1500 to 2400 I wet sand the stummel and rim followed by dry sanding with pads 3200-4000. After completing this cycle, I notice two small pits that looked like they had been fills on the front bottom of the volcano shape. I didn’t notice them before and the question in my mind is, do I fill them and then spot sand the area and repeat the micromesh process? My answer was, ‘Yes’. I applied a couple drops of super glue to the pits and set the project aside and because its late, I go to bed! Pictures show the stummel progress and stoppage of progress!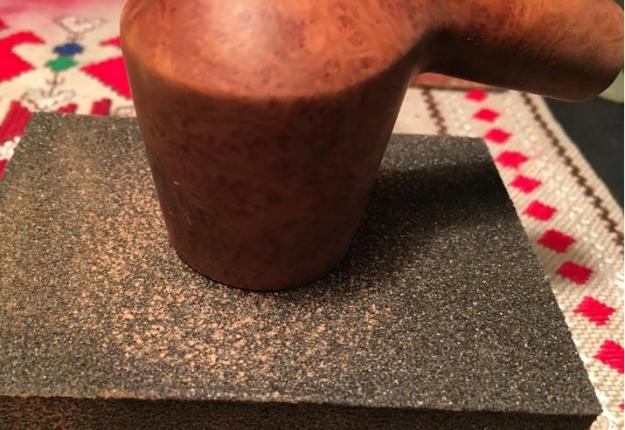
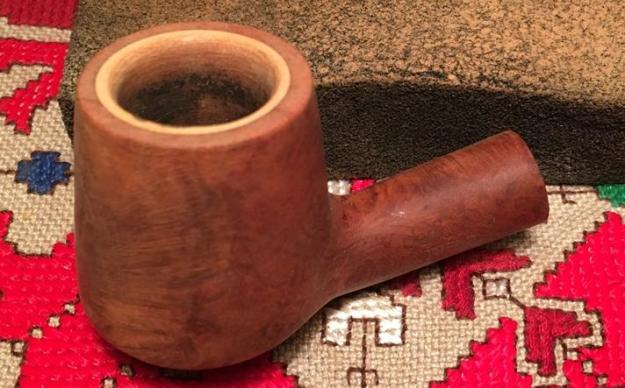
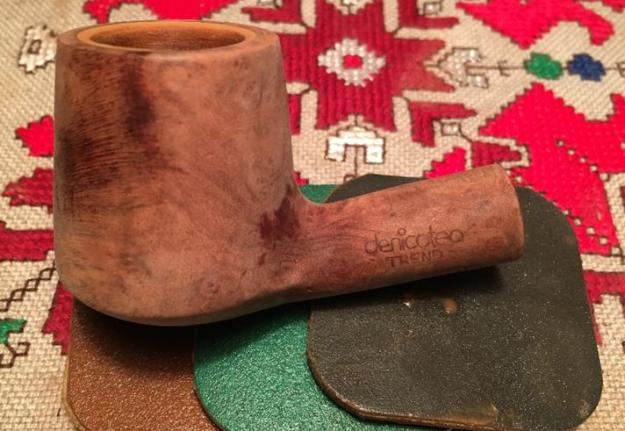
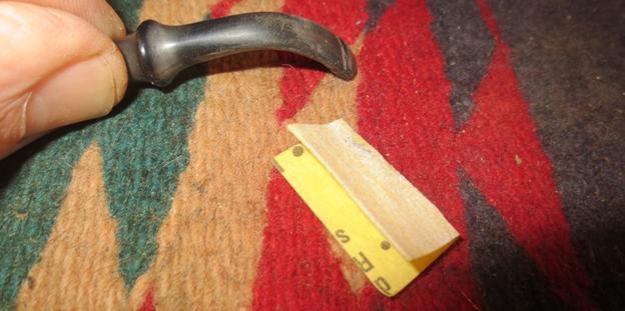
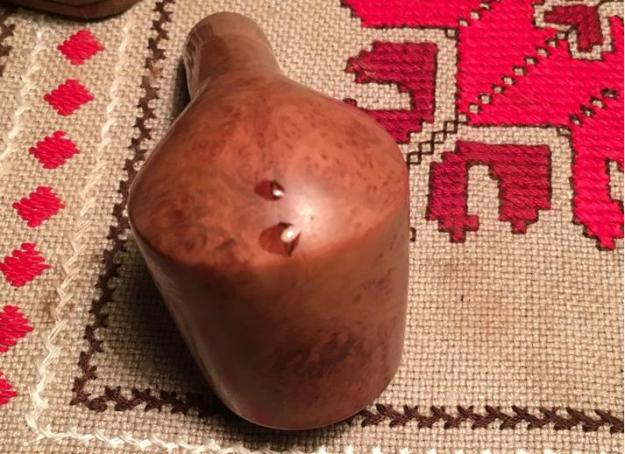 The next morning, I played patch catchup! Folding a small piece of 240 grit sanding paper into a knife edge, I strategically sanded the patch bumps down to the briar surface (pictured). Then, repeating use of the light weight sanding sponge, followed by repeating the micromesh cycles 1500-4000, I can then bring the patched area back in pace with the rest of the stummel. I complete the micromesh polishing process using pads 6000 to 12000. I notice a few other fill areas that simply need to be darkened with a stain stick. The pictures show the catch up and completion!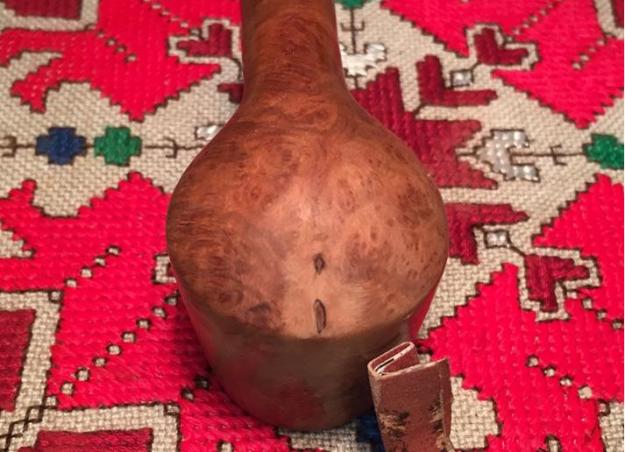
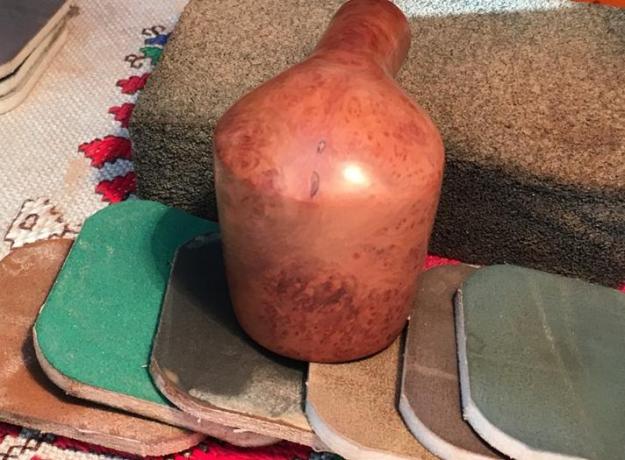
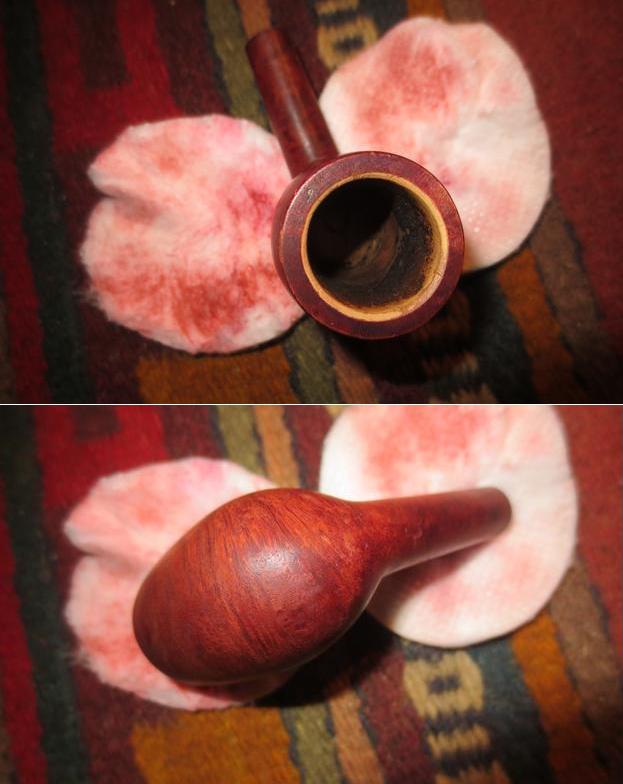
 Decision time. Do I stain this Denicotea Trend or simply bring the briar up to full glow directly with the polishing process? The question that I had since the beginning with the meerschaum lining was how to approach staining the briar that shared the rim surface with the meer? With input from Steve (Oh my, a 3-email restoration!), patience, a steady hand and a Q-tip was the advice. After this, still unsure of a direction, I pulled in the ultimate authority and did a ‘Wife Taste Test’. I explained to her that if I did stain, I wanted to use Fiebing’s Dark Brown and cut it by half with alcohol to lighten it. With options spelled out, her choice was to leave the Denicotea as is. Rationale: “Most all my pipes have a dark hue – you need a lighter one.” Good enough for me! After applying Dark Walnut to a fill on the shank with an Italian brand stain stick, I take my Dremel tool with a felt wheel and I apply Tripoli compound to the stummel surface. I use the slowest speed available and keep the wheel moving across the surface. I don’t apply much pressure on the wheel allowing the speed of the Dremel and the compound to do the work. Most blogs I’ve read that describe the use of polishing compounds warn against loading the wheel up on too much compound. So, when I reload the wheel, I lightly touch the compound block. After completing the Tripoli, I apply Blue Diamond compound with its own felt wheel, same speed and technique as with Tripoli. Then, switching to a cotton cloth wheel and increasing the speed of the Dremel by one number, I apply several coats of carnauba wax on both stummel and stem, watching the wax as it liquefies and spread it evenly over the surface. Following the carnauba application, I Dremel buff the entire pipe with a clean cloth wheel. Completing the restoration, I hand buff the pipe vigorously with a microfiber cloth.
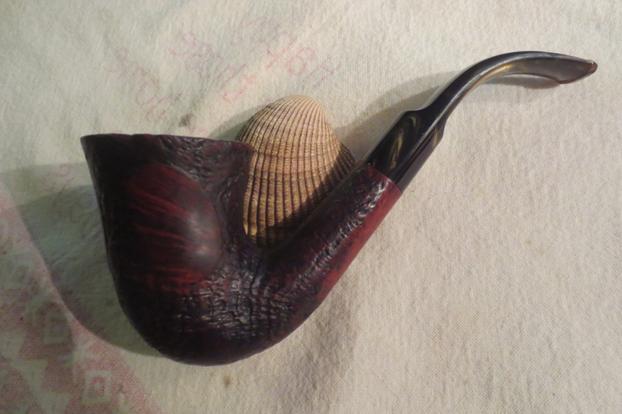
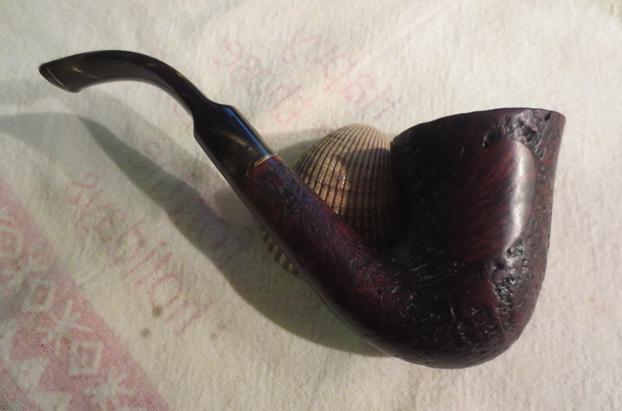
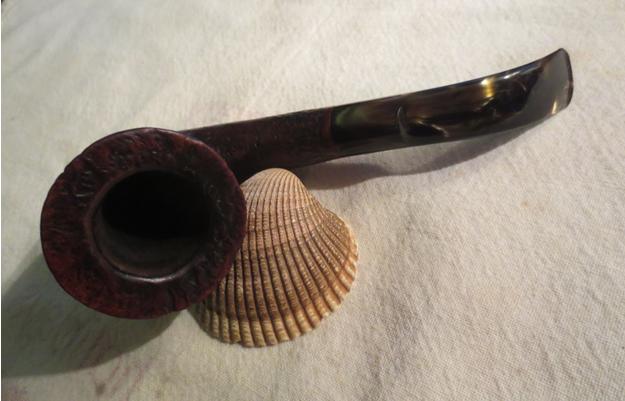
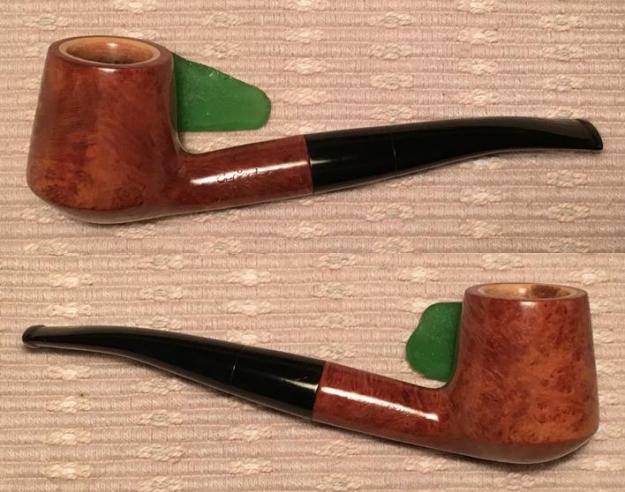
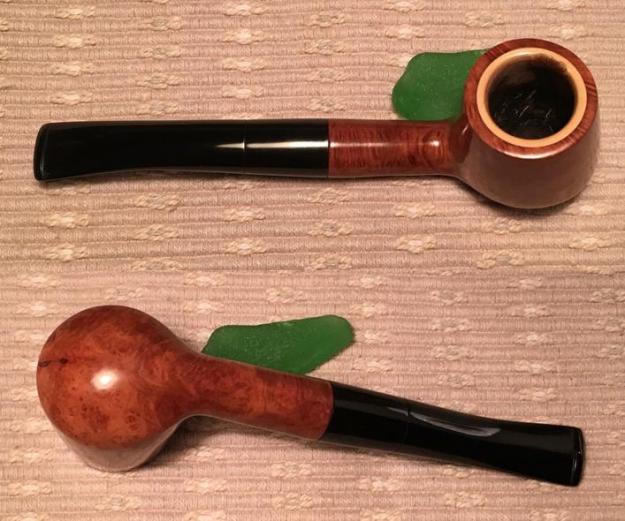
  I started this restoration with, “Bless his heart….” Now, this old boy stands on his own and though he has some scars of battle in the form of a meerschaum patch, he looks good. My wife’s input to maintain the natural briar hue was spot on. The beautiful caramel coloring blends well with the meerschaum lining and the depth of grain on this Denicotea has been liberated from being encased under the nasty shellac varnish. I’m very pleased – especially with the last view below – the steward’s perspective. The lateral fire grain will be a great view for the pipe man that adds this rescued Denicotea to his collection. I couldn’t help starting off with pictures before (“Bless his heart….”) and after (“Dang!”). If you would like to add this pipe to your collection, leave me a note in the comments. Thanks for joining me!
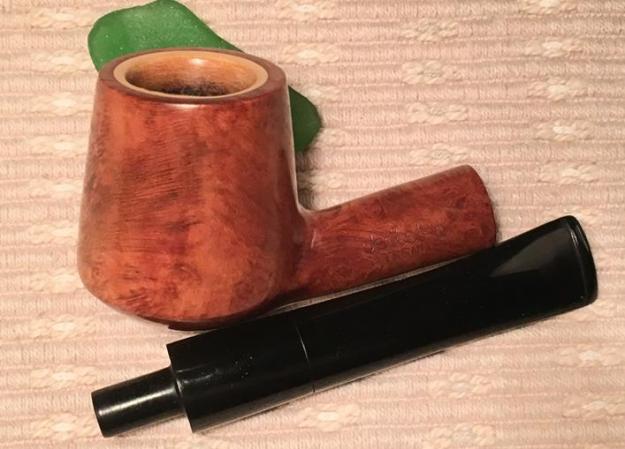
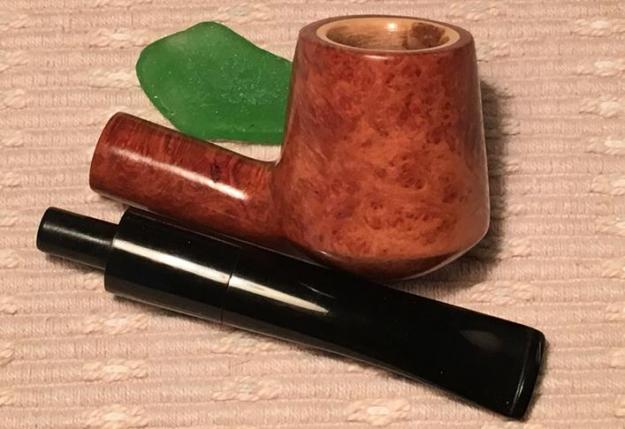
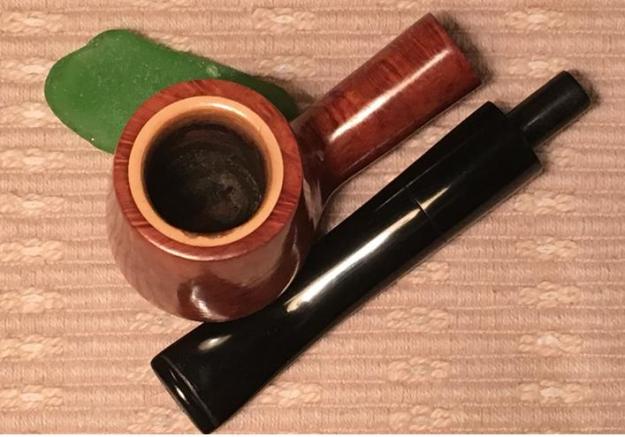
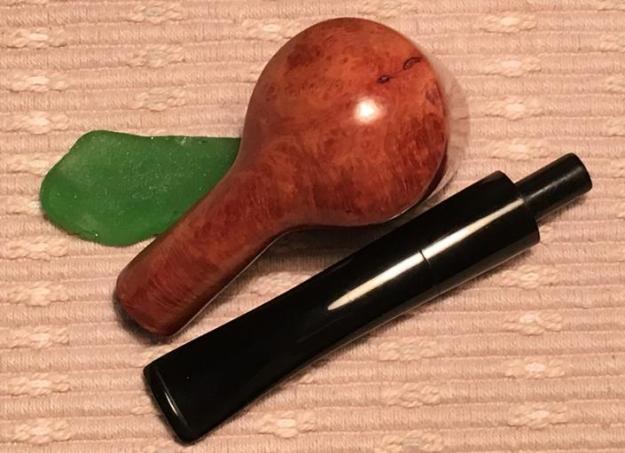

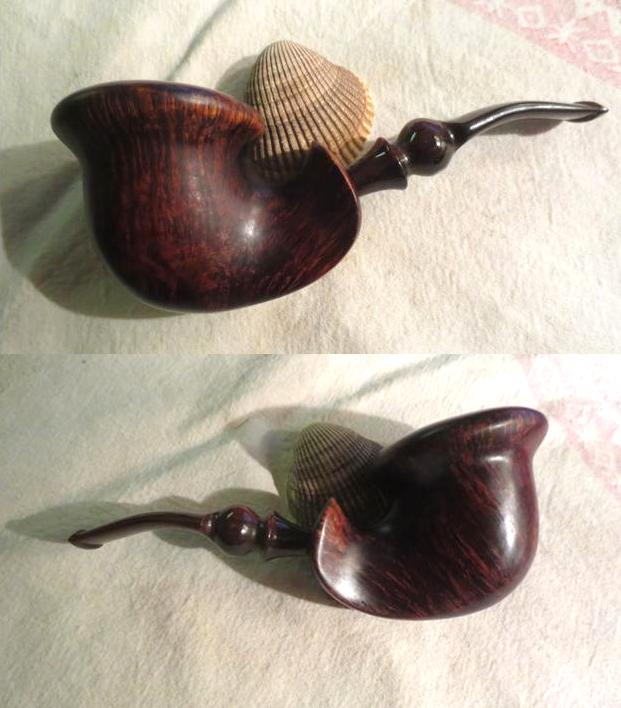
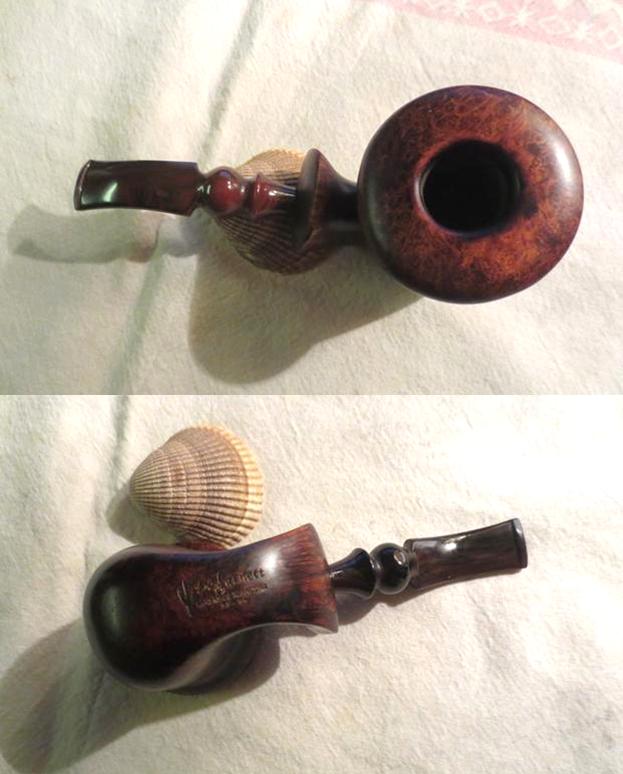
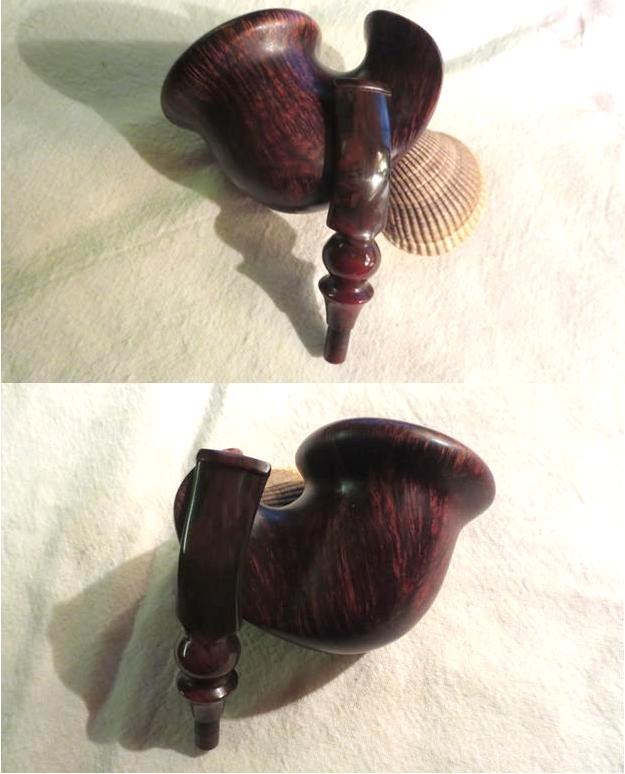
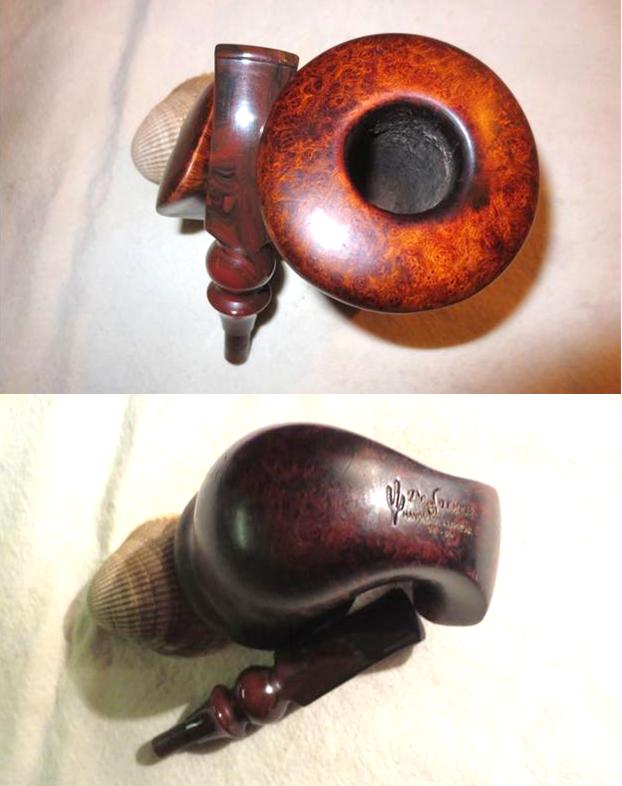
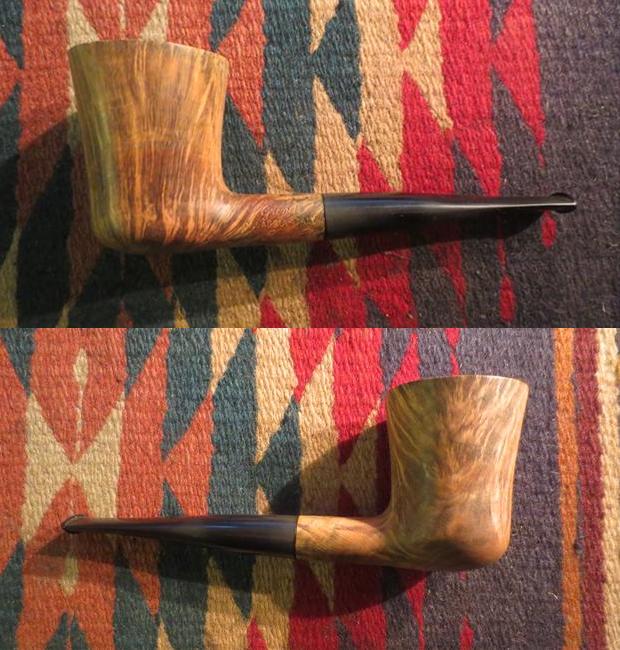
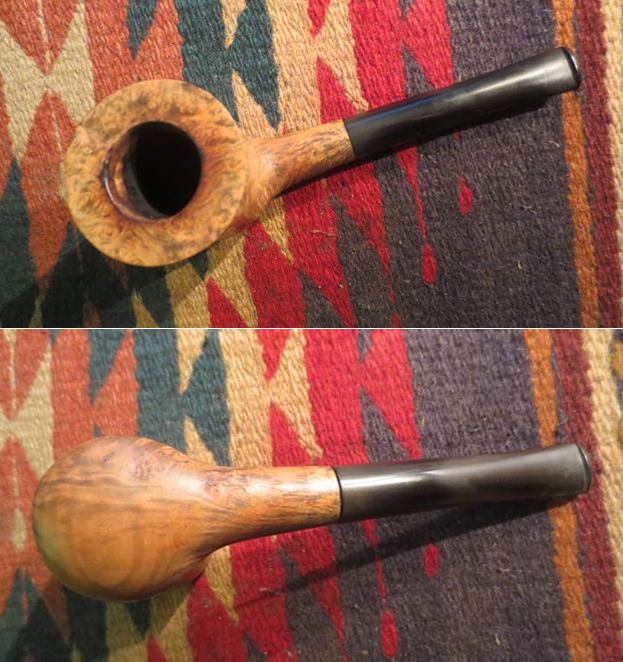
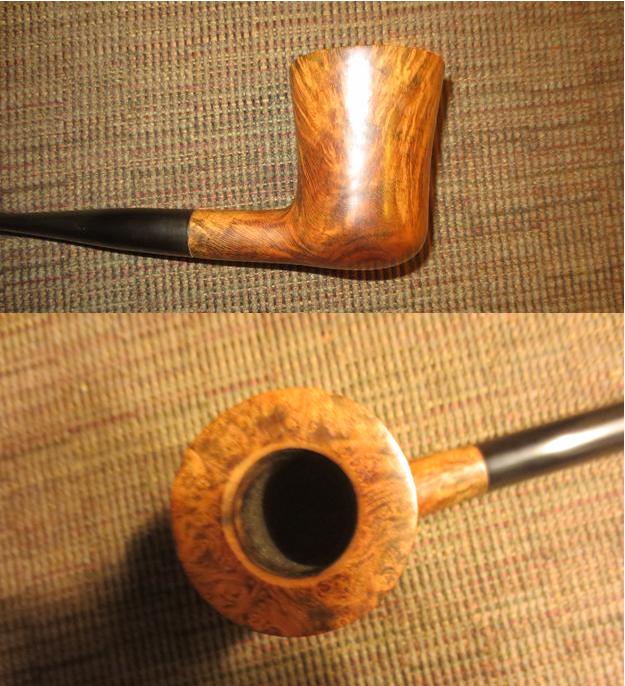
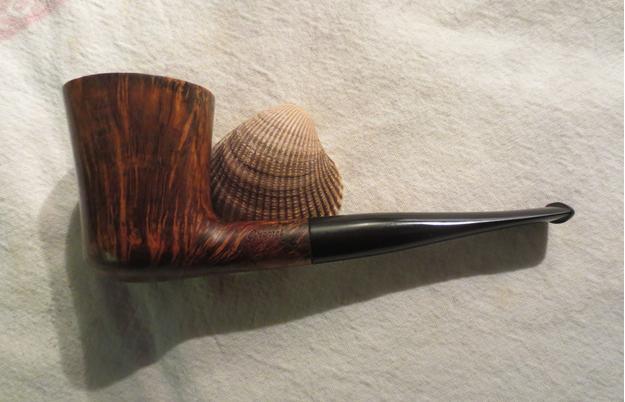
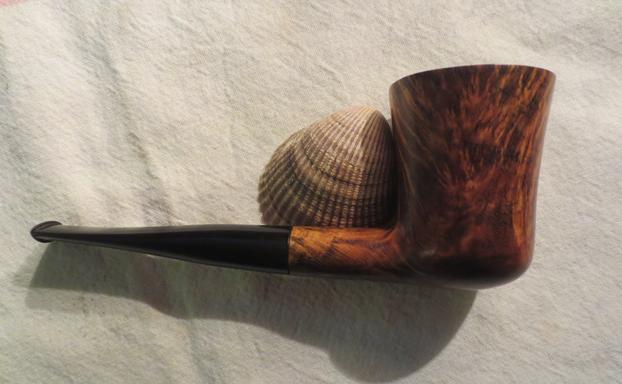
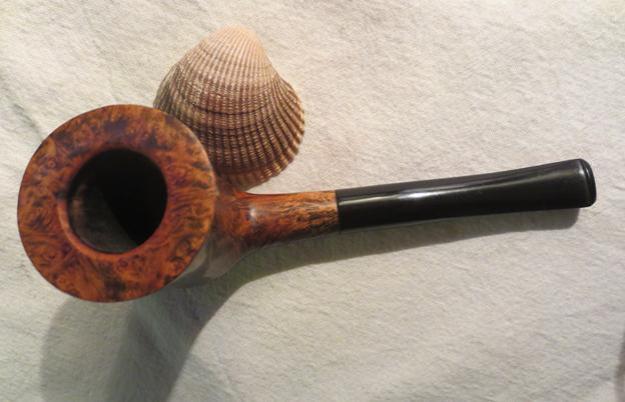
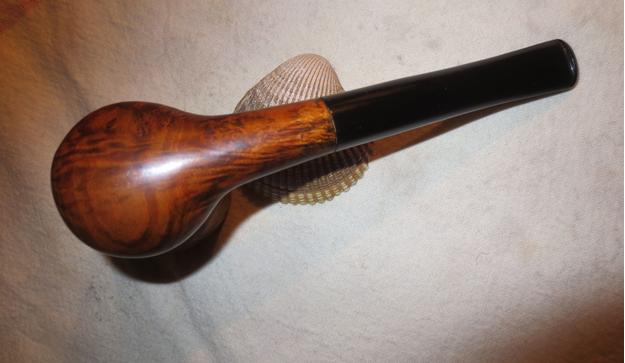
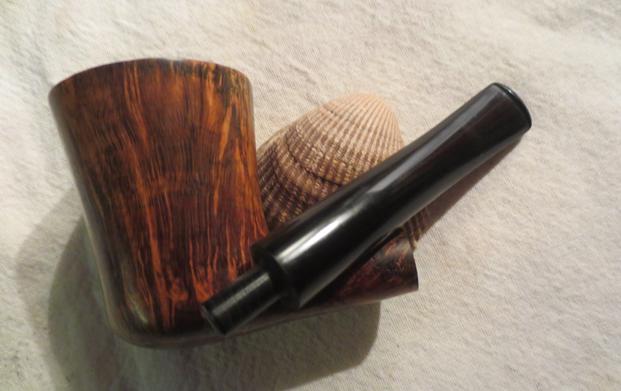
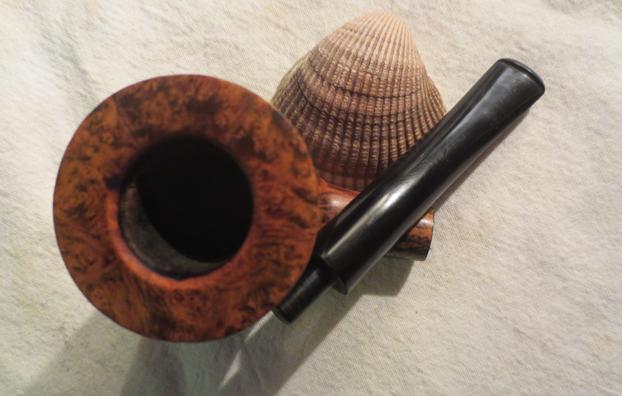
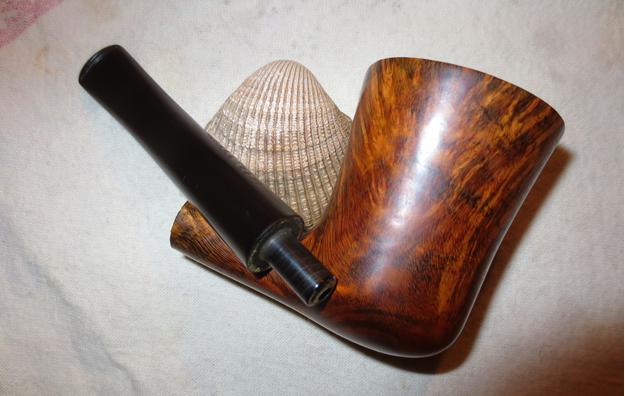
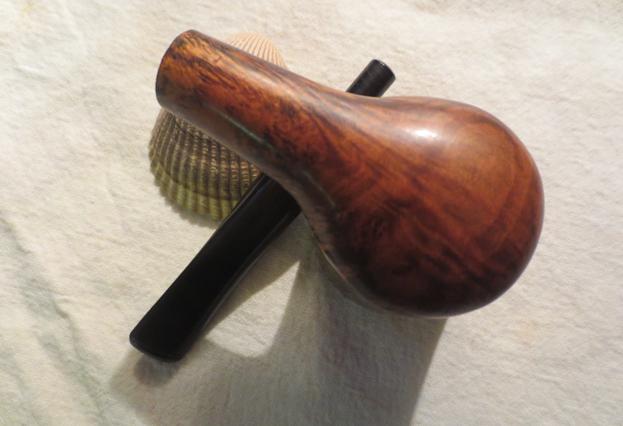
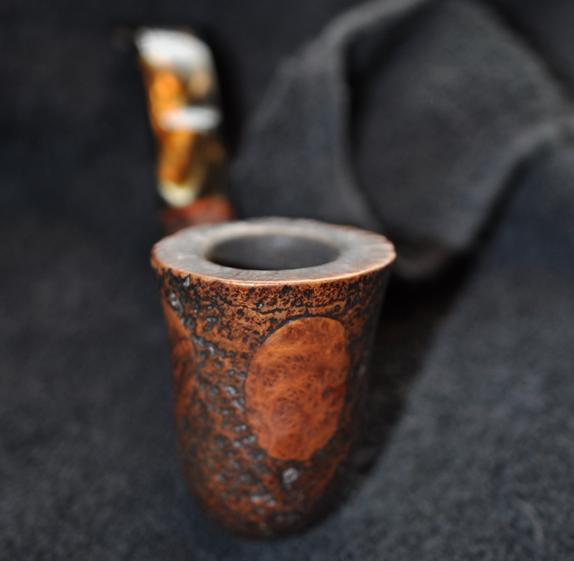
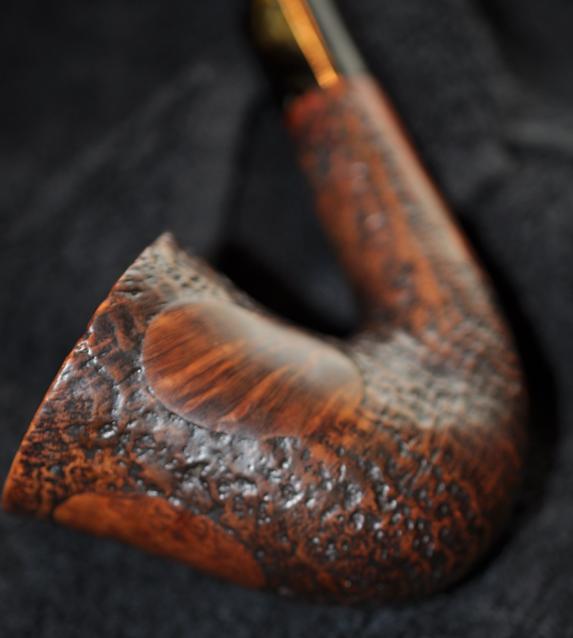
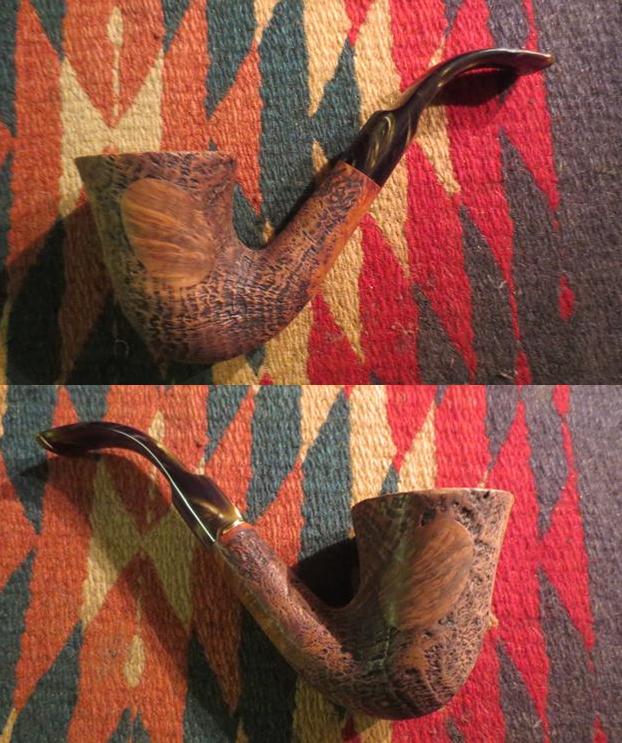
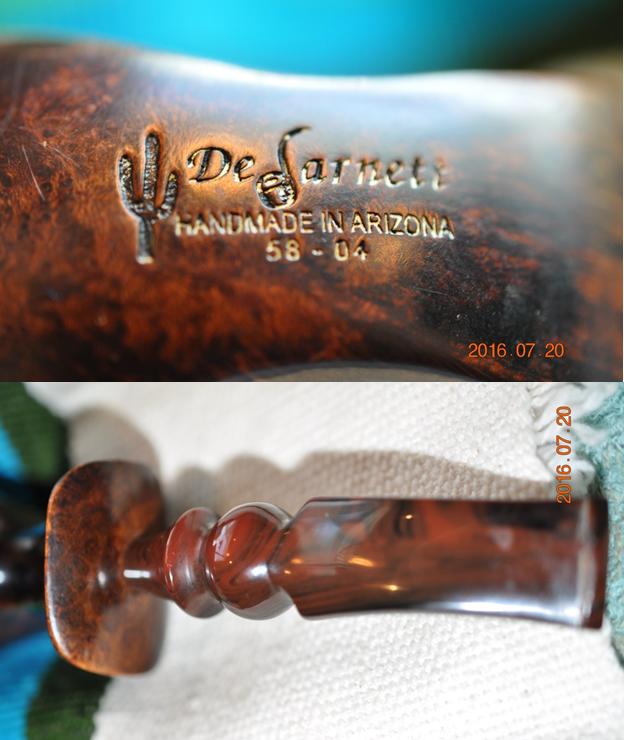
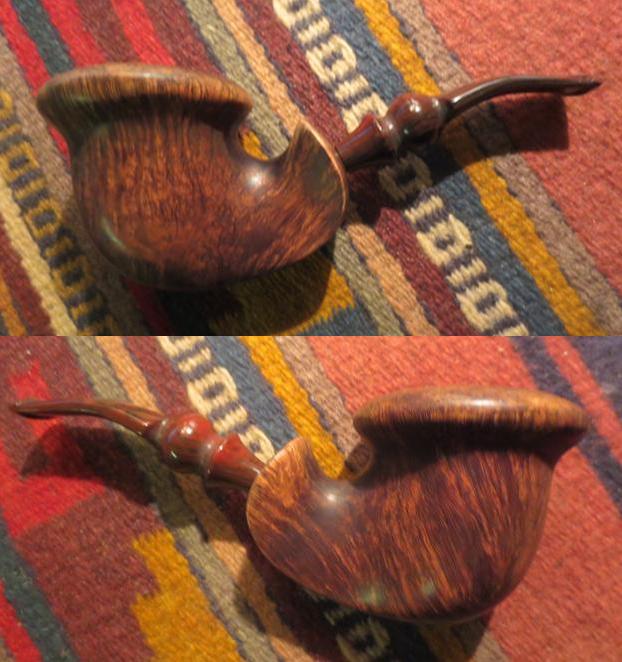
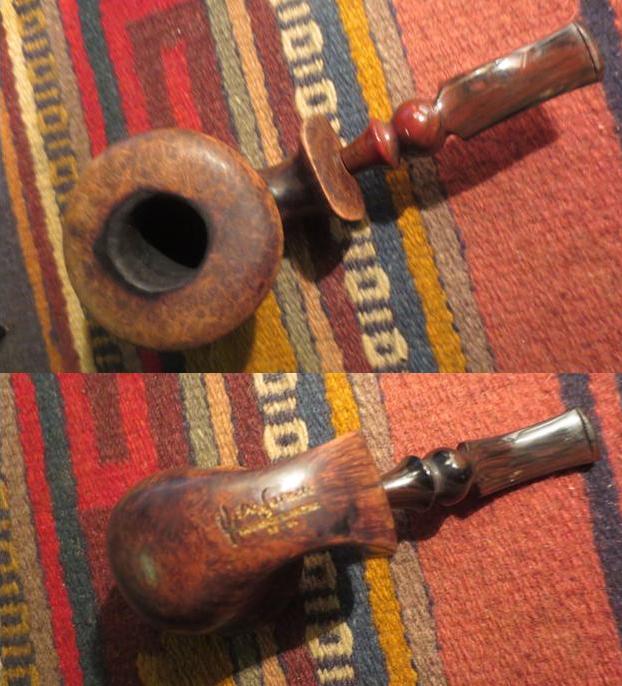
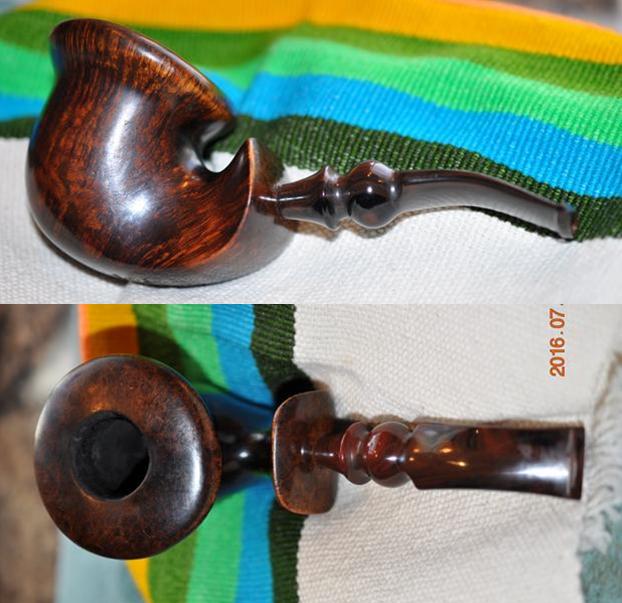 It looks really nice but I had no idea how large the pipe was until I had it in hand. It is 6 ½ inches long, 2 ¾ inches tall, 2 ¼ inches in diameter with a chamber size of 7/8 inch. It is a handful. The stamping on the underside of the shank has a cactus which was Horace’s logo and the name De Jarnett with the J stylized into a pipe. Underneath it says Handmade in Arizona over 58-04. My guess is that the number stamping tells me that the pipe is the 58th pipe he made in 2004.
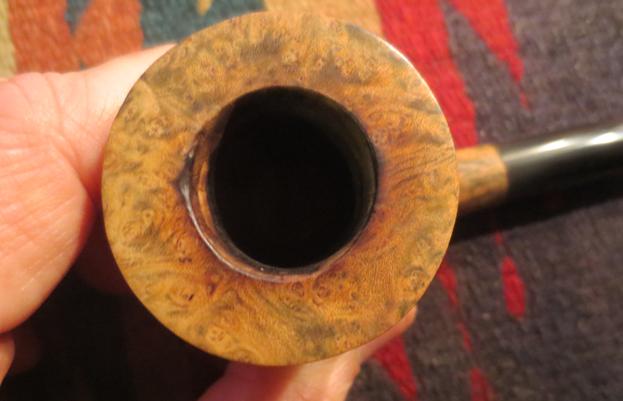
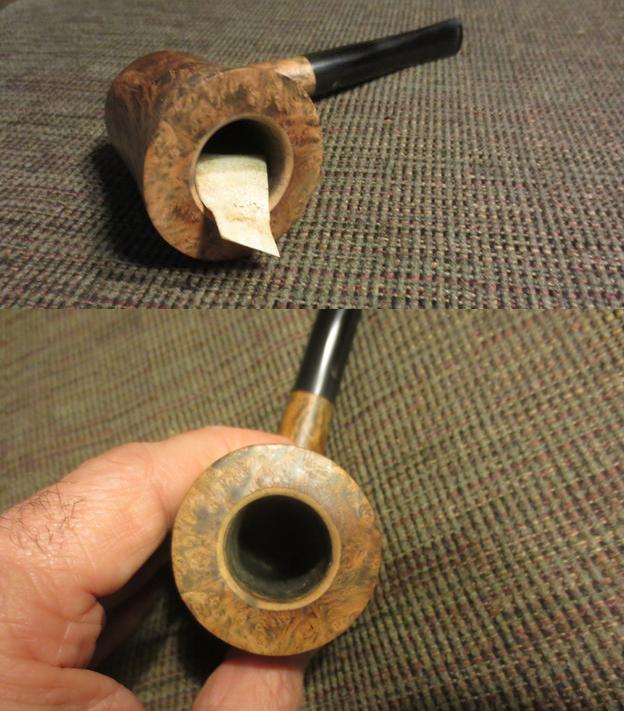
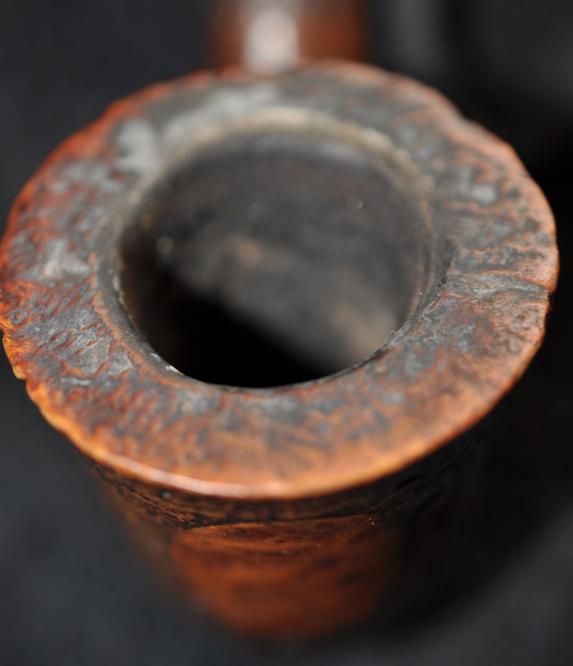
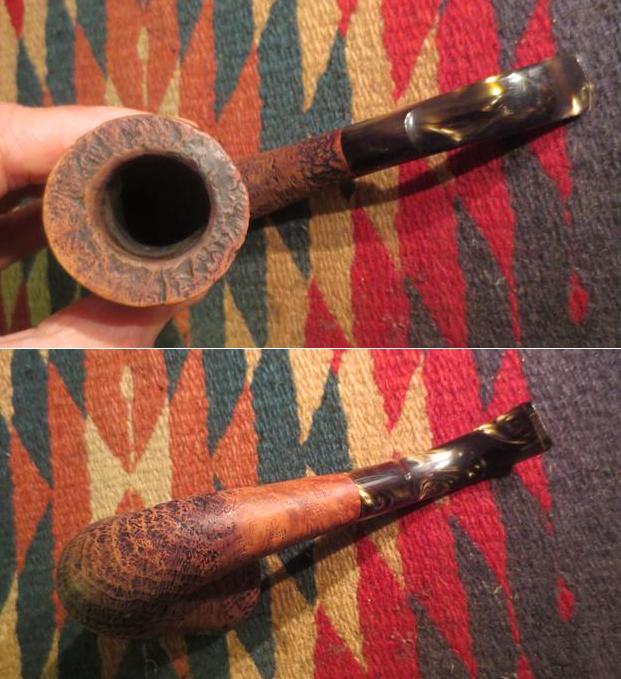
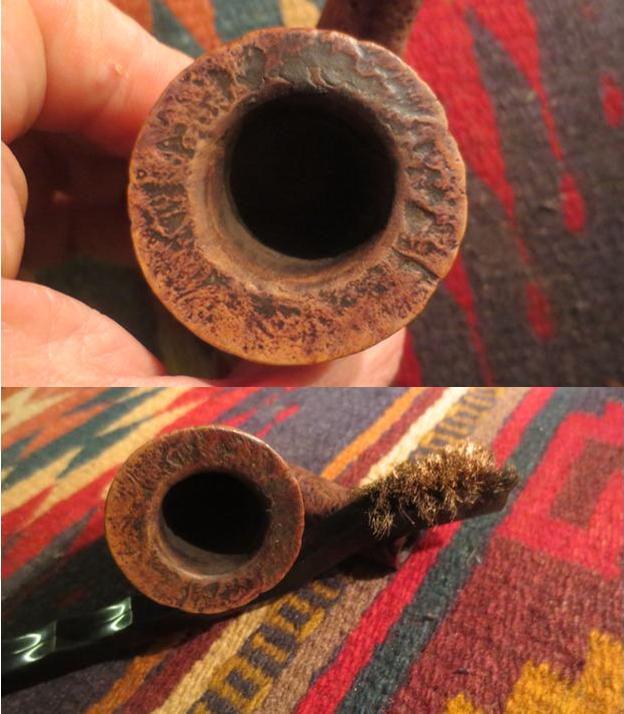
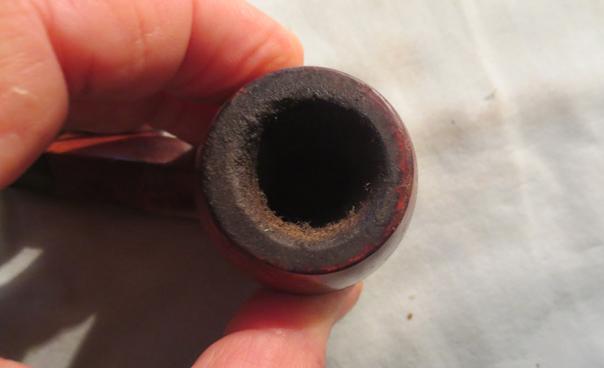
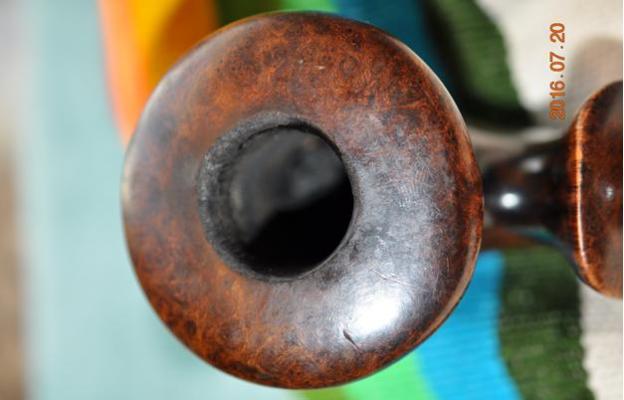
 The photo he sent me of the rim shows the cake in the bowl and the damage to the inner edge of the rim. It looks like it is burned but once I see it and examine it I will know how bad the burn mark is. There is also a sizable dent on the bowl top and some overall darkening of the rim cap.
 I had heard of De Jarnett pipes in the past and talked to others about them. I have also done repairs on one of them in the past but I had never taken the time to read about the maker. I assumed he was still living which turns out to be false. I turned to my two go to sites Pipephil and Pipedia for information and found little other than the dates of the maker which showed he had died and the location of the shop which is on the pipe anyway. However, Pipedia was more fruitful. Here is the link: https://pipedia.org/wiki/DeJarnett_Pipes
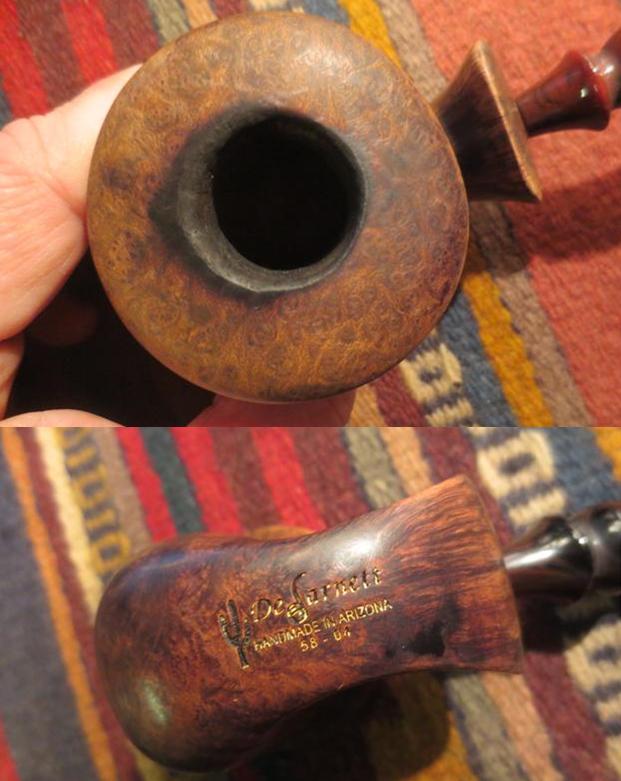
 The next photo shows the darkening and burn mark on the rim. A close up of that area is shown in the photos that follow.
 The burn mark and darkening at the front of the bowl was more extensive than I had originally guessed from the photos sent. The front inner edge is burned and beveled inward with the darkening extending quite a way into the rim top. The back edge also shows some burning that will need to be address. The second photo gives another view of the stamping.
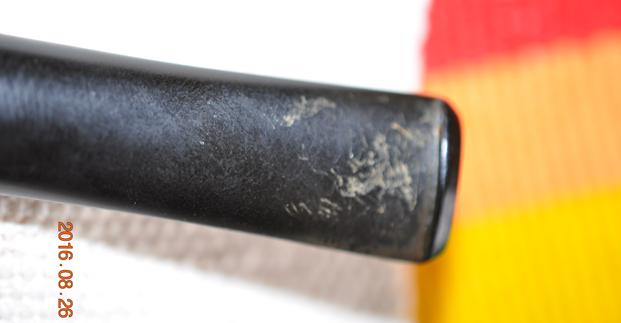
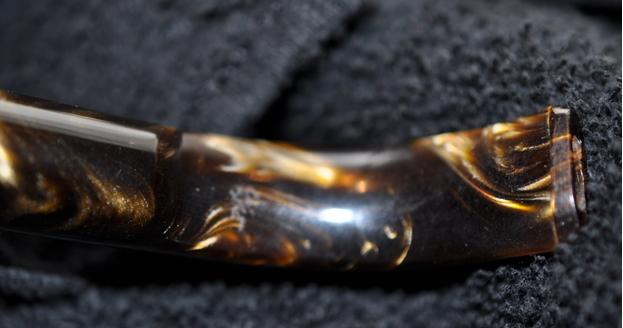
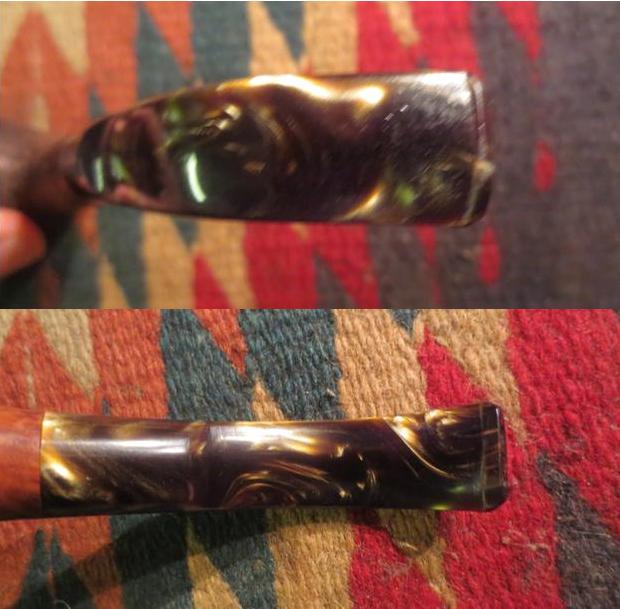
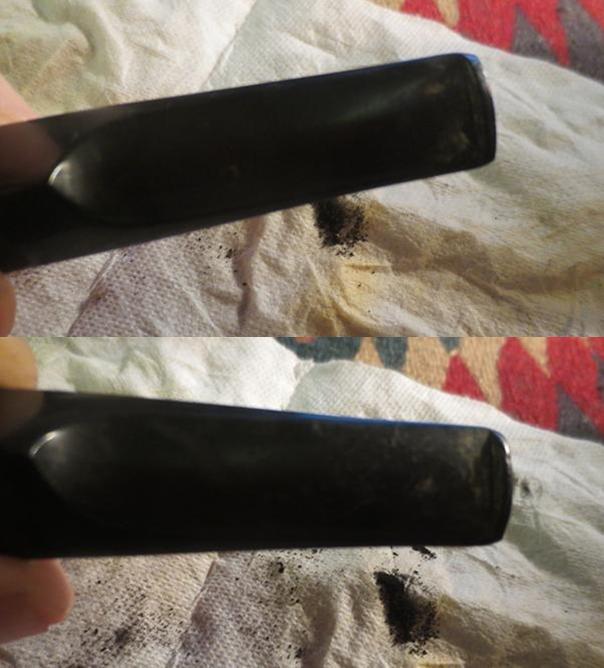
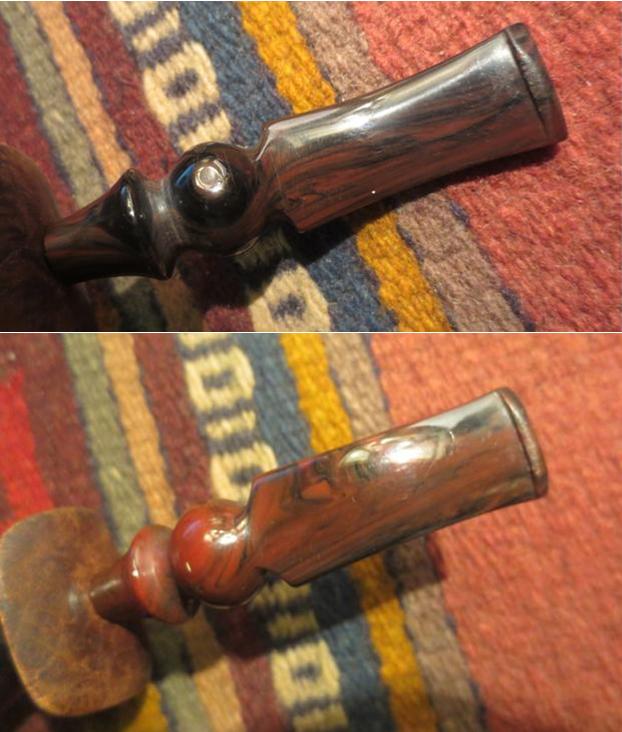
 The stem had some tooth chatter on the top and the underside and the edge of the button was worn and flattened.
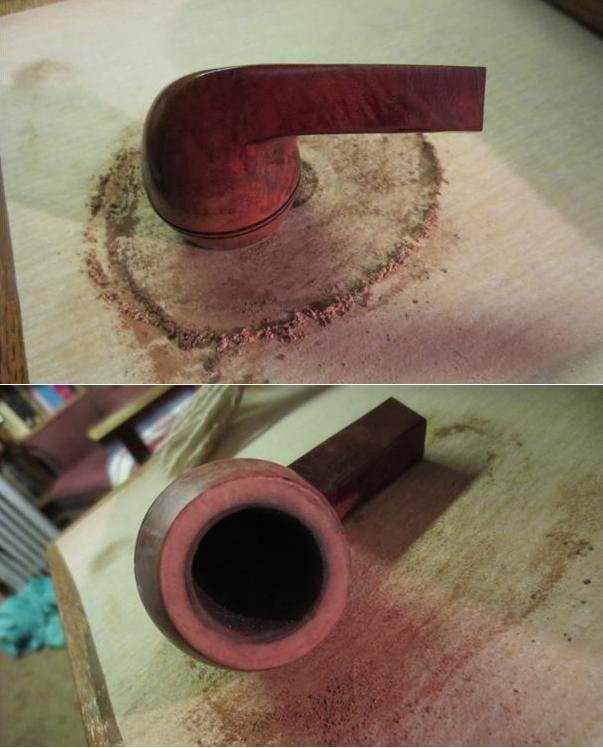
  To remove the burn damage on the inner edge of the rim I used a folded piece of 220 grit sandpaper to bevel the rim edge inward to accommodate the damage on the bowl front. I carried that bevel around the entire rim edge to clean up the damage at the rear as well. The next two photos show the newly beveled rim. The angle on the second photo makes the bevel appear to be thicker at the front of the bowl than the back. However, in hand the bevel is the same size around the bowl.
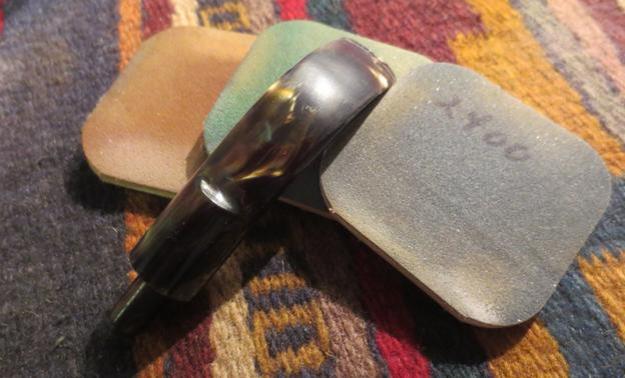
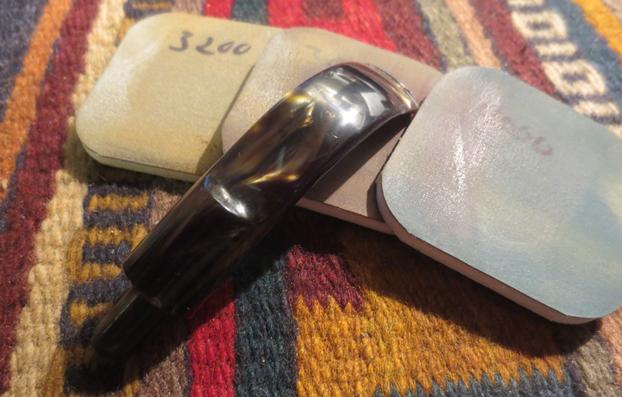
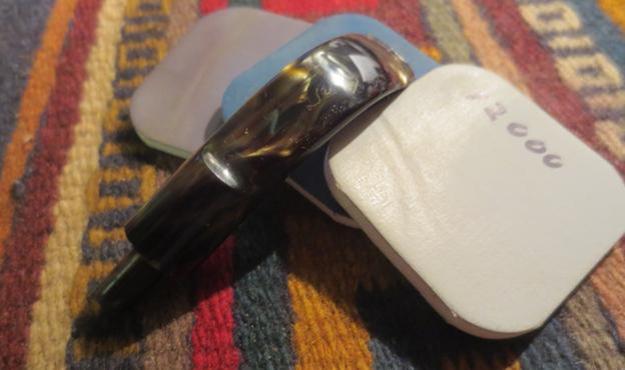
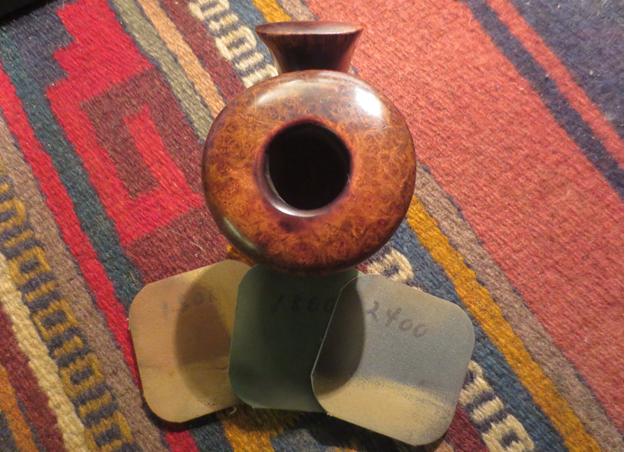
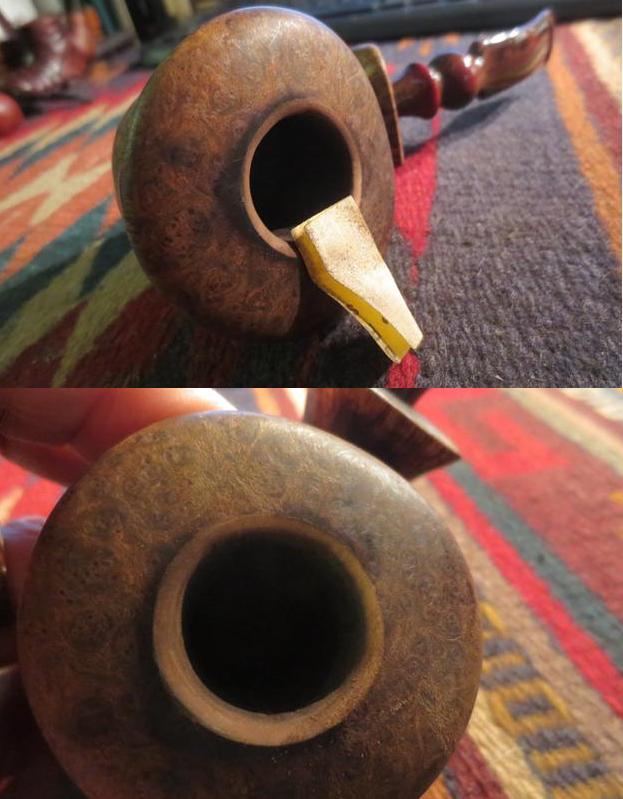 I wet sanded the rim with 1500-2400 grit micromesh sanding pads and dry sanded it with 3200-12000 grit pads to polish the scratches and the new bevel. I used a dark brown stain pen to touch up the inner edge of the rim to match the colour of the bowl. All that remains of the burn mark is a small dark spot on the front top of the bowl and some darkening in the inner edge. It is far better than when I began.
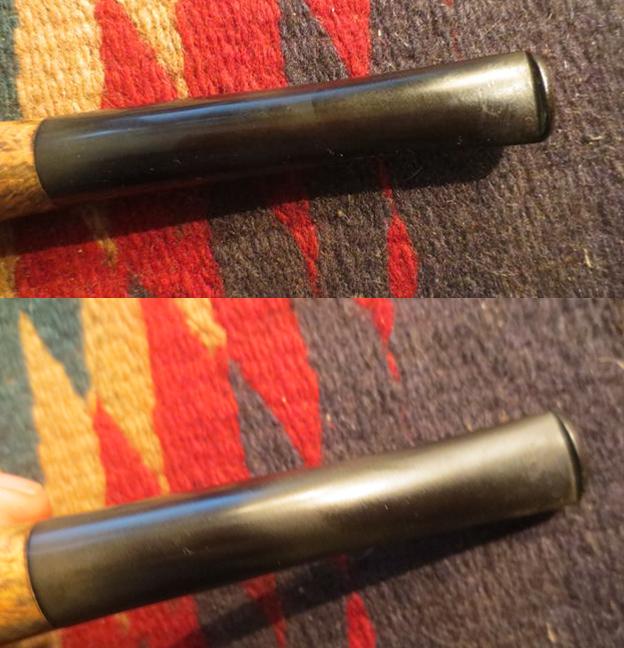
  I sanded out the tooth chatter and reshaped the button with 220 grit sandpaper. I wet sanded the stem with 1500-2400 grit micromesh sanding pads, wiped it down with a damp cloth and dry sanded it with 3200-12000 grit pads. I wiped it down with a damp cloth a final time.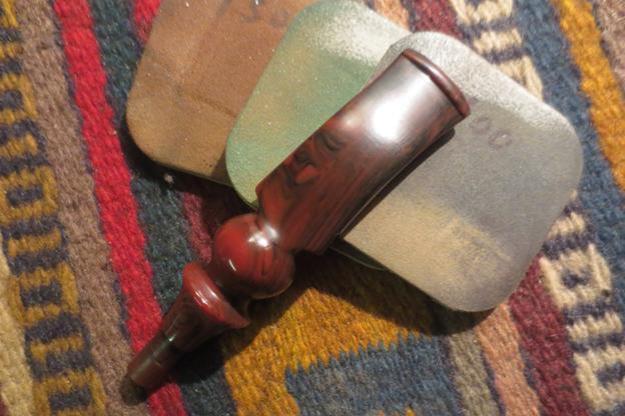
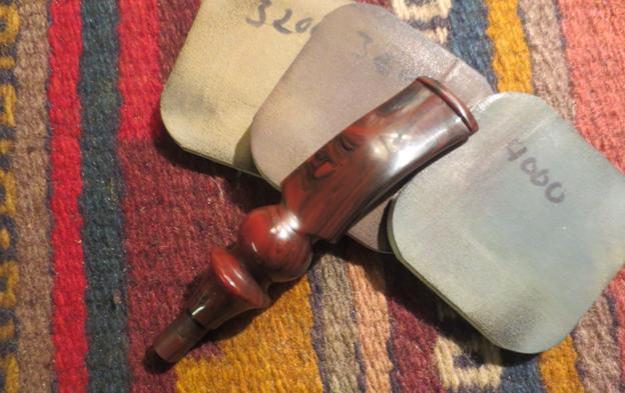
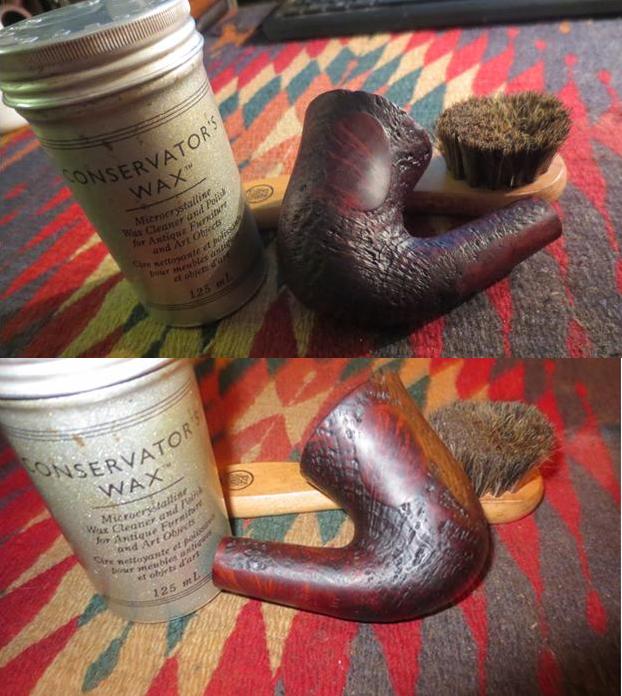
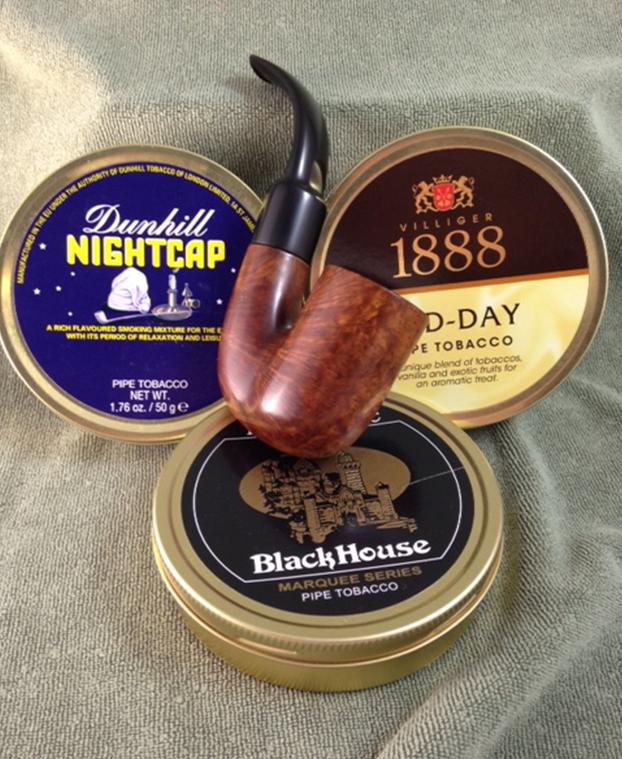
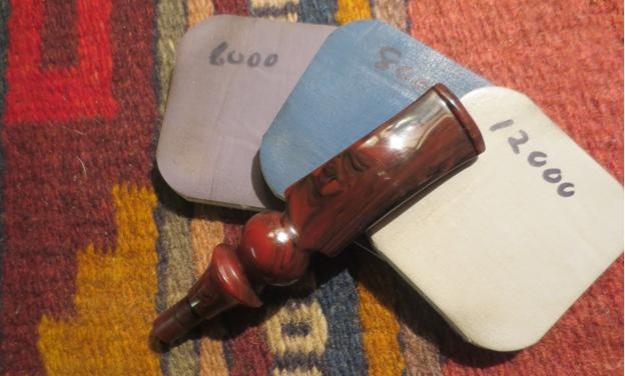 I buffed the pipe and stem with Blue Diamond on the buffing wheel. I gave the bowl and stem multiple coats of carnauba wax. I buffed the pipe with a clean buffing pad to raise and shine and hand buffed it with a microfibre cloth. The finished pipe is shown in the photos below. It is a big pipe so it will eventually be listed on the store for sale. If you are interested in it before that time just send me an email at slaug@uniserve.com or send me a message or a comment here or on Facebook. Thanks for looking.