Blog by Steve Laug
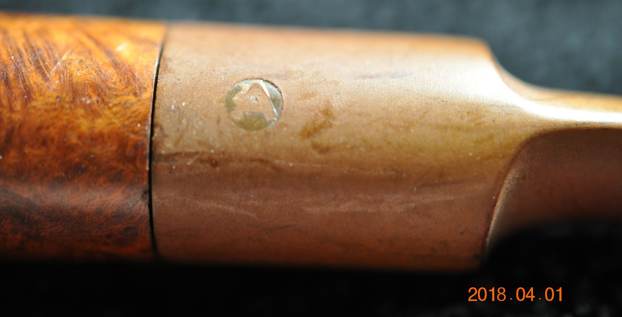
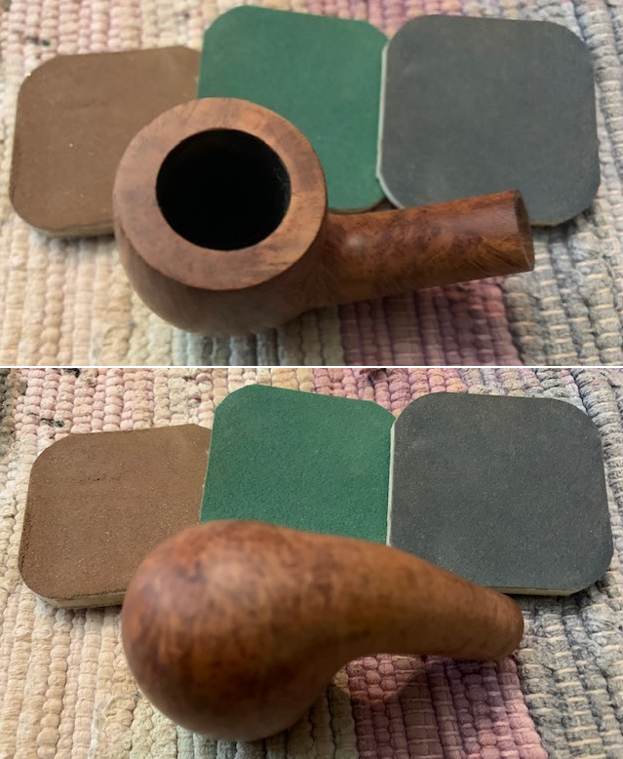
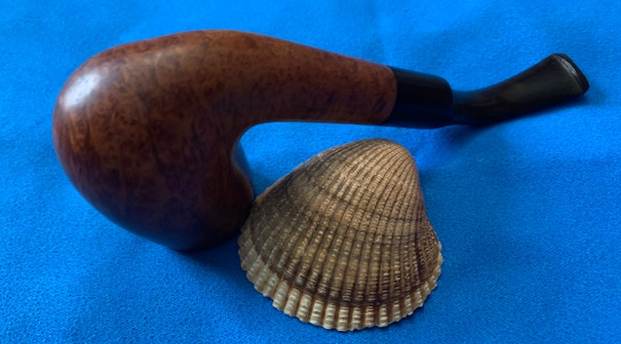
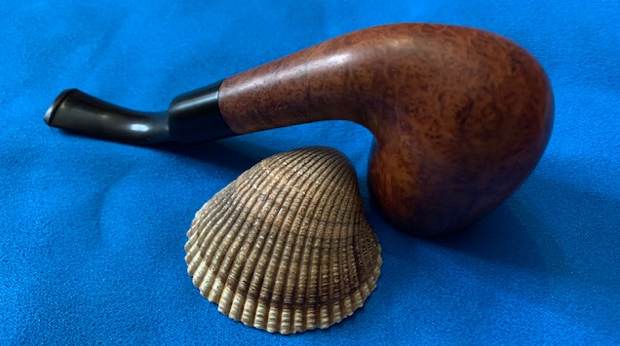
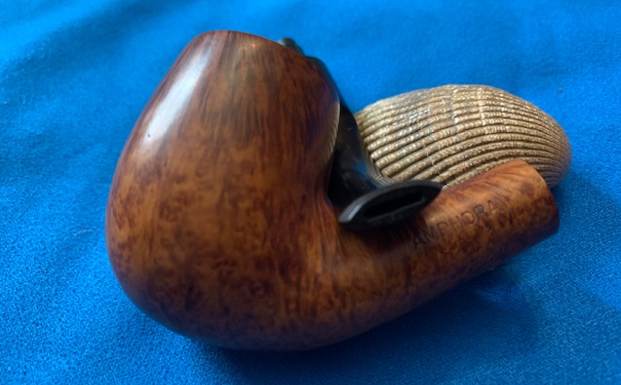
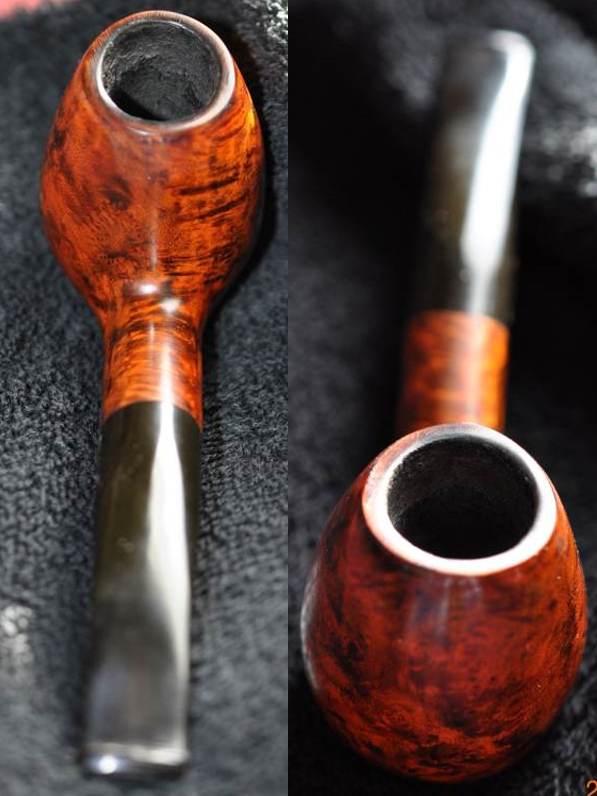
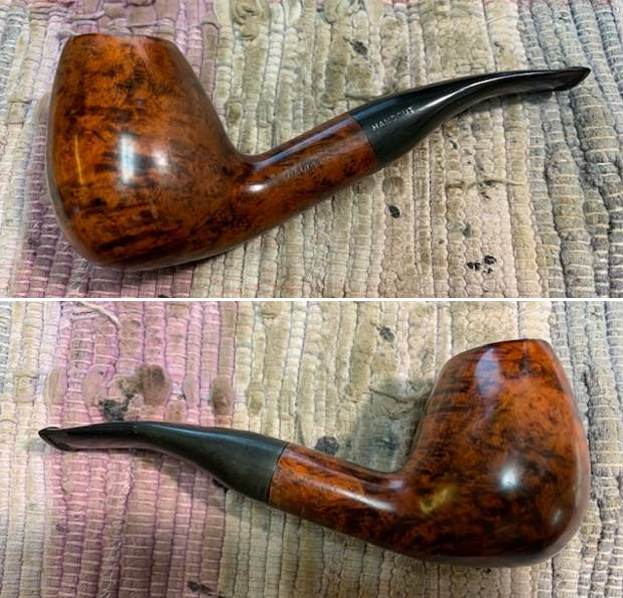
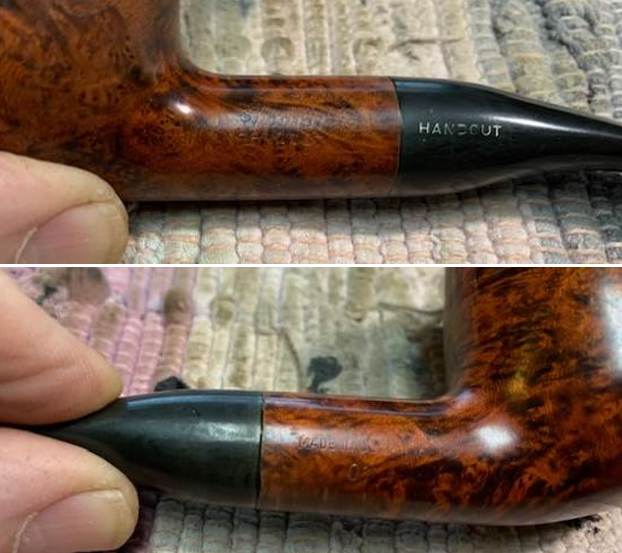
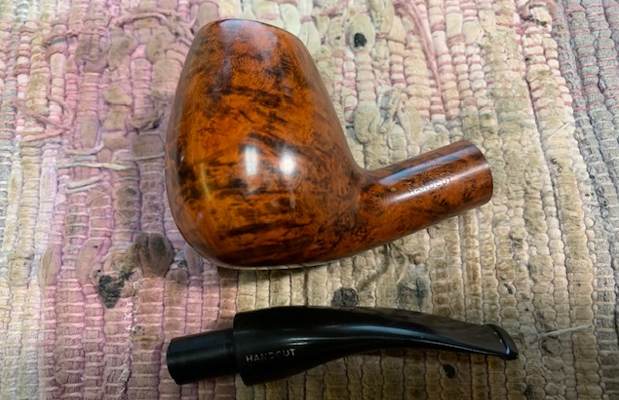
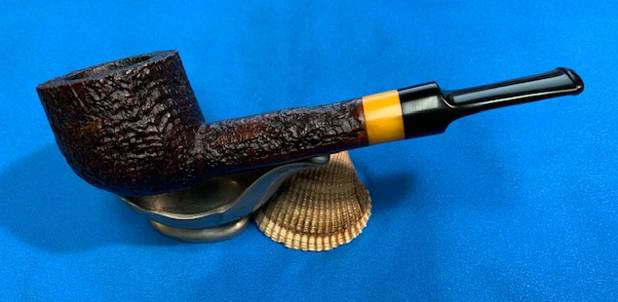
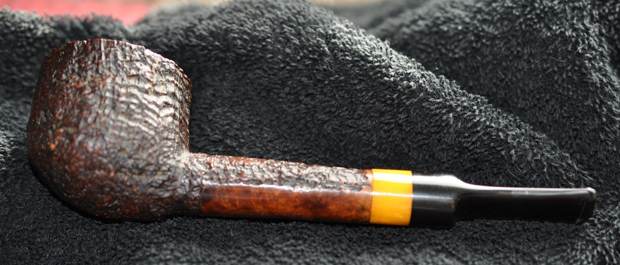
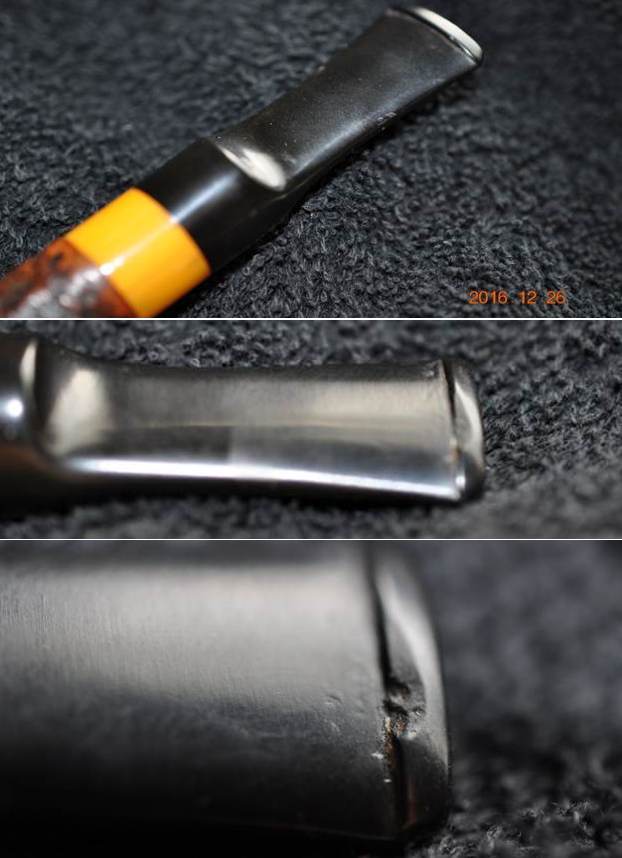
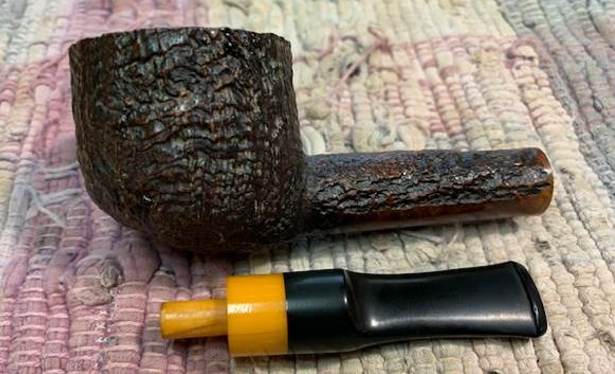
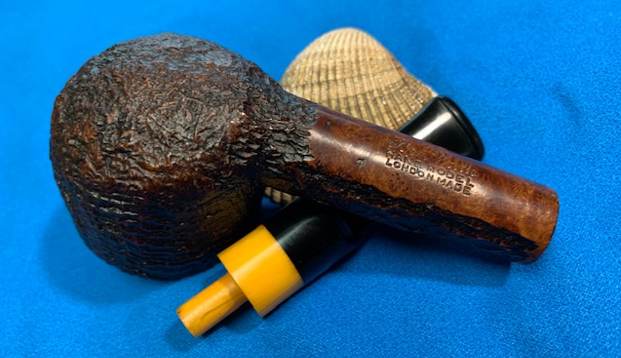
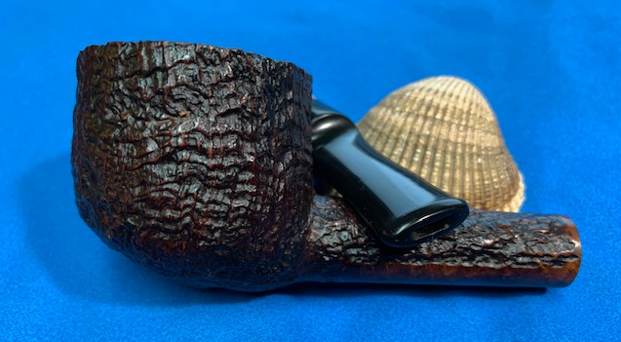
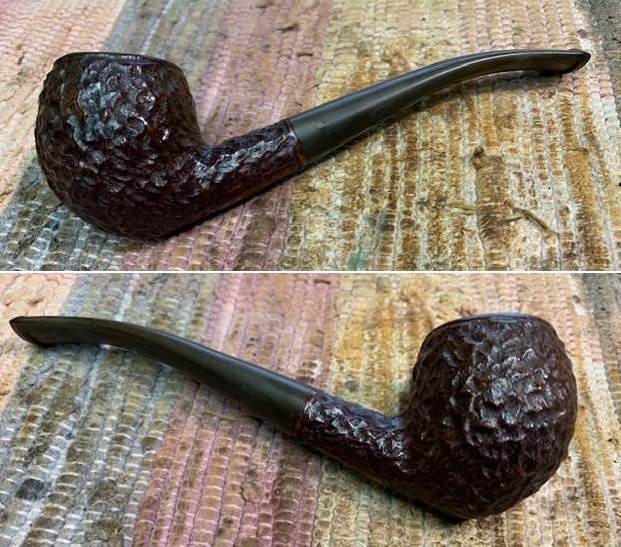
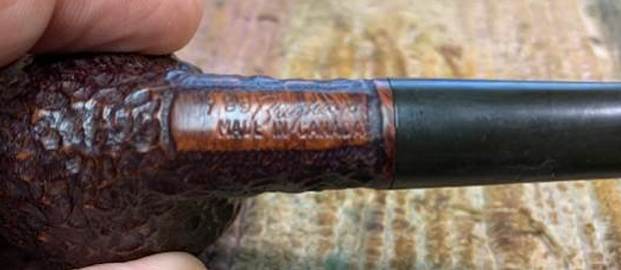
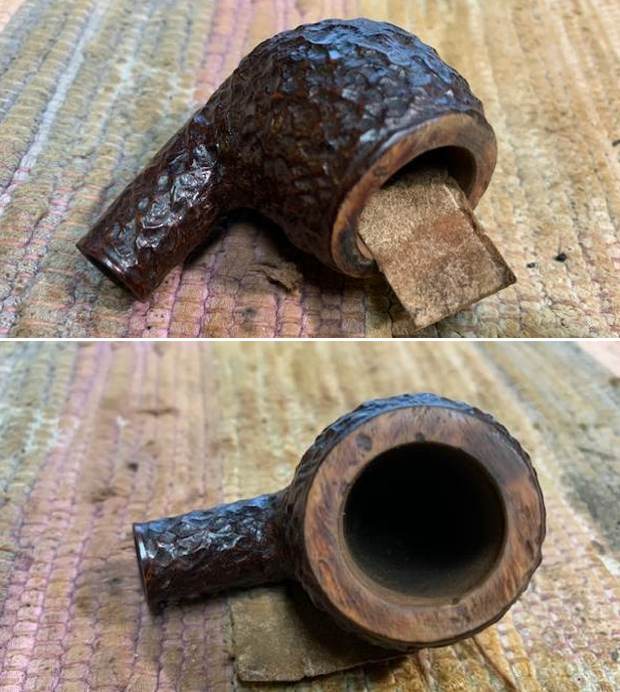
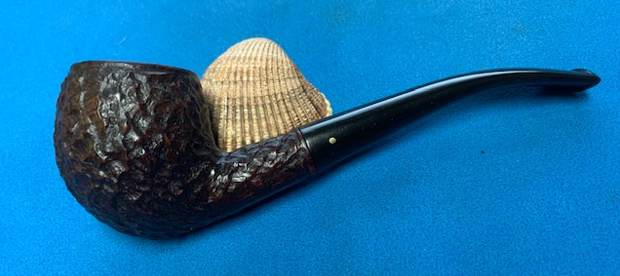
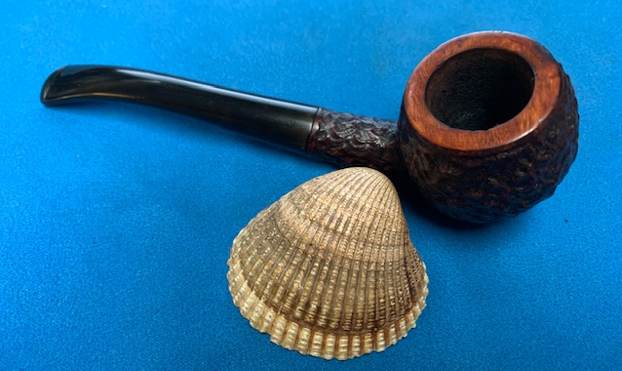
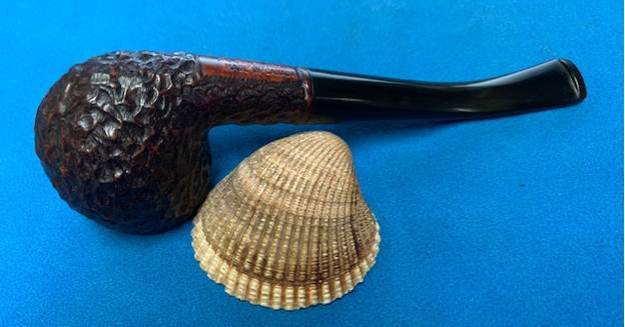
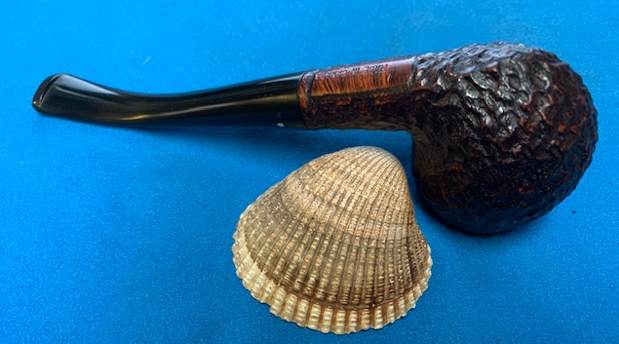
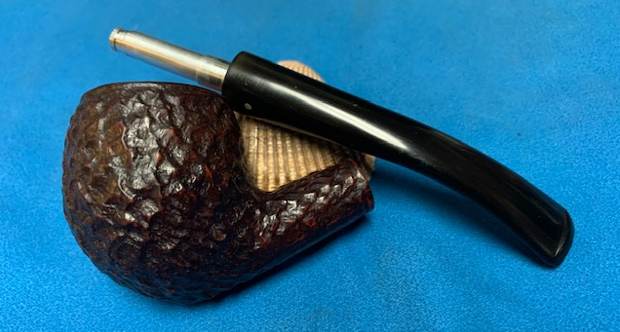
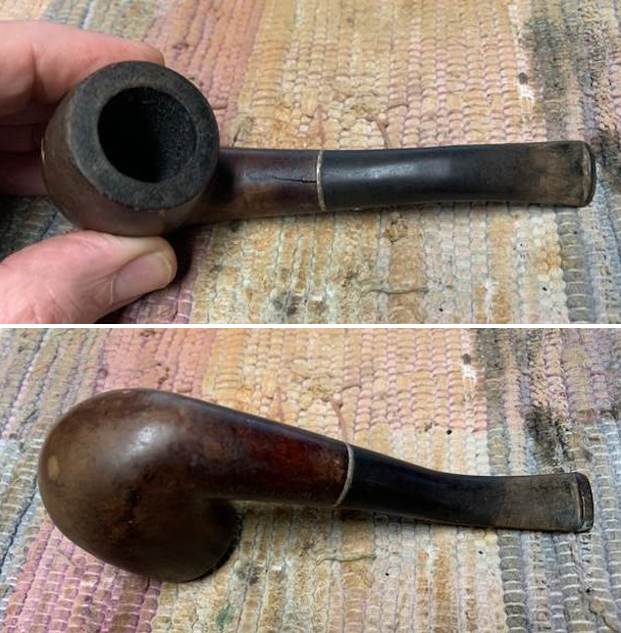
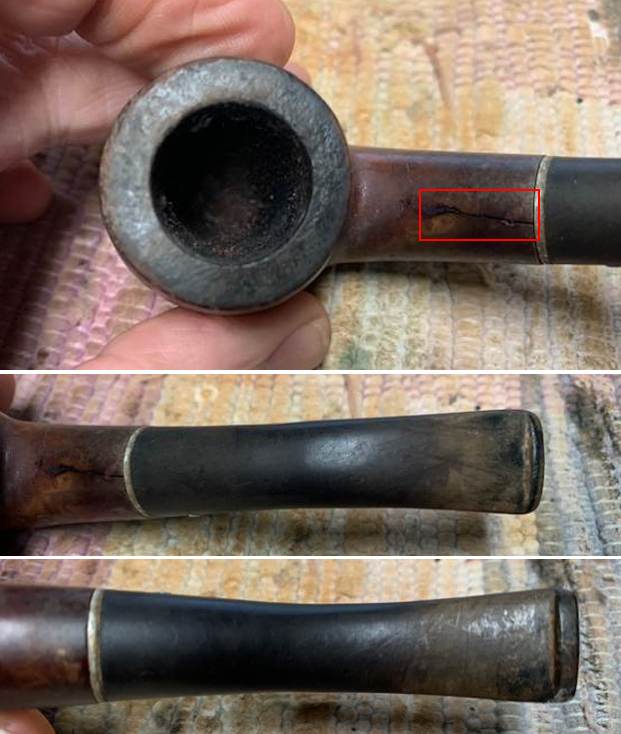
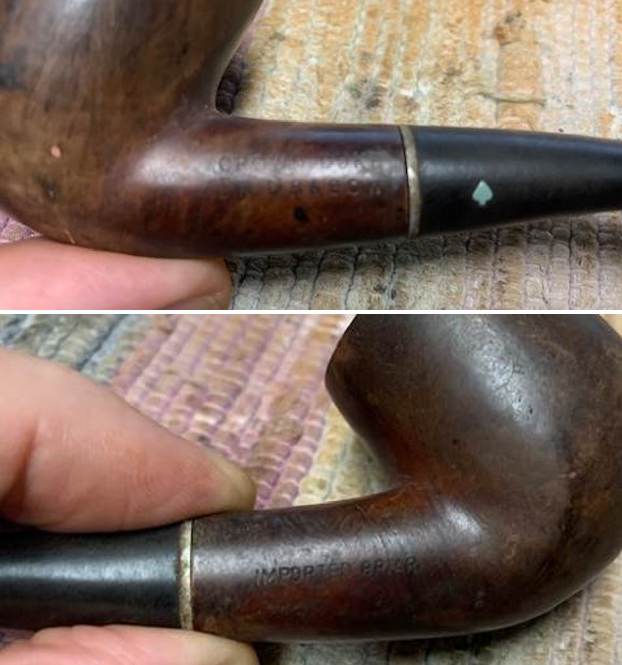
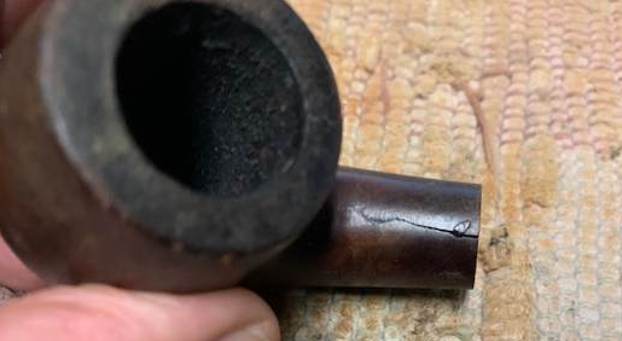
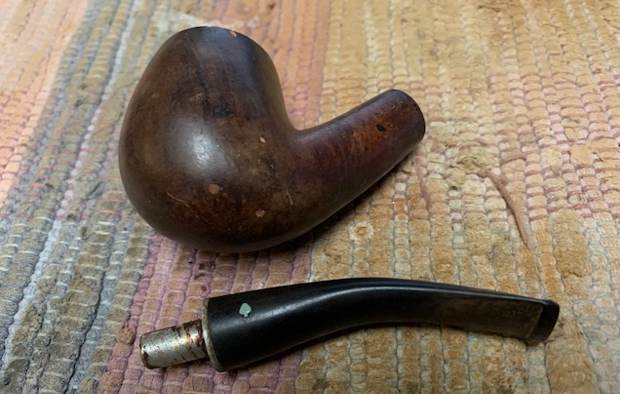
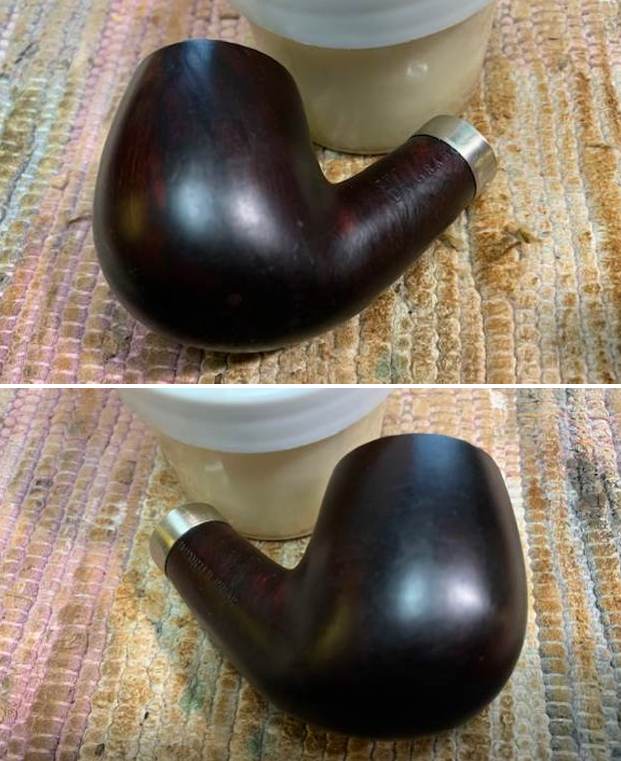
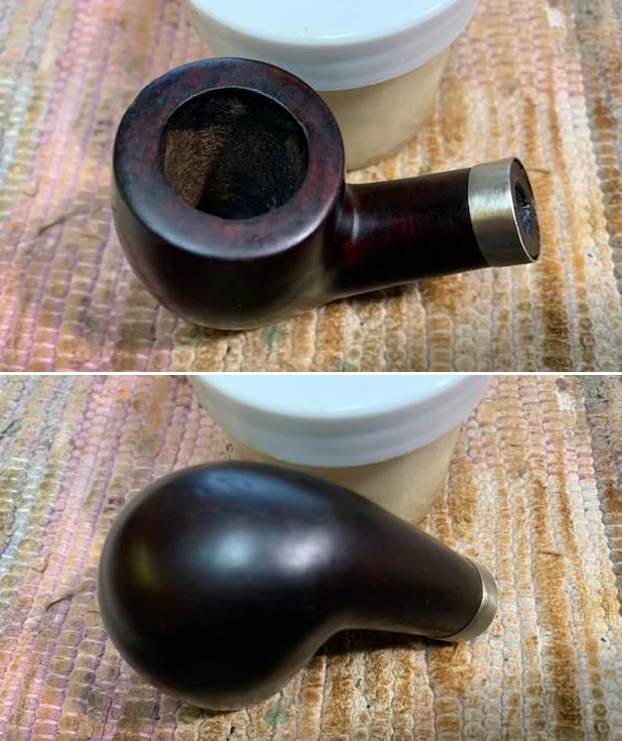
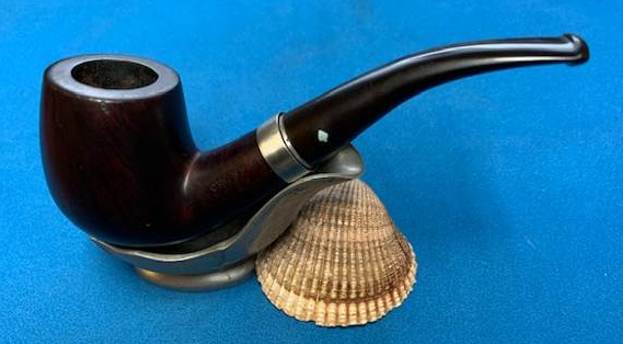
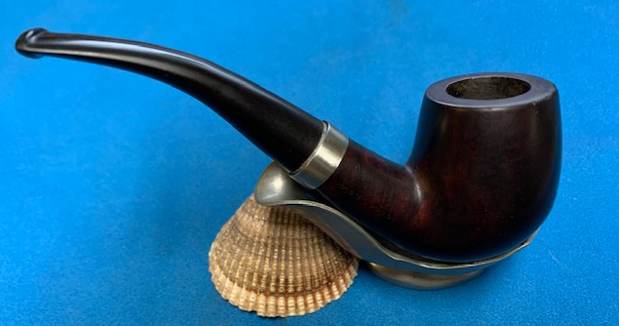
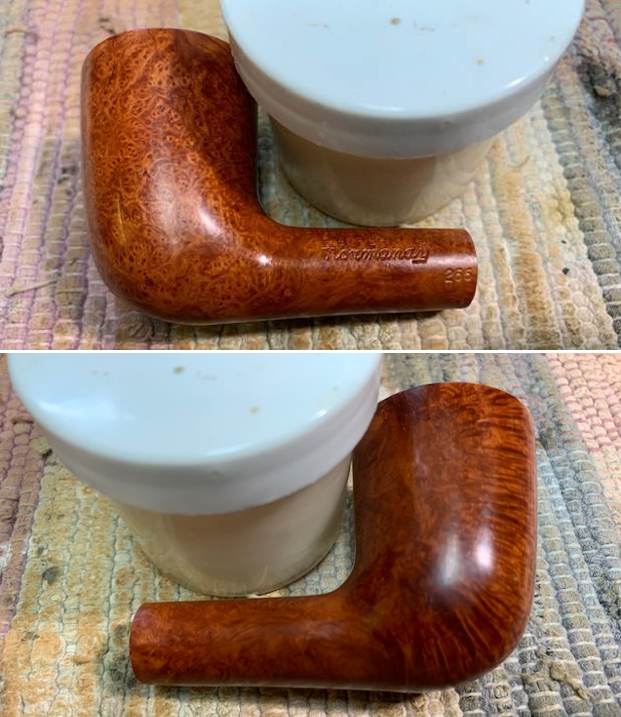
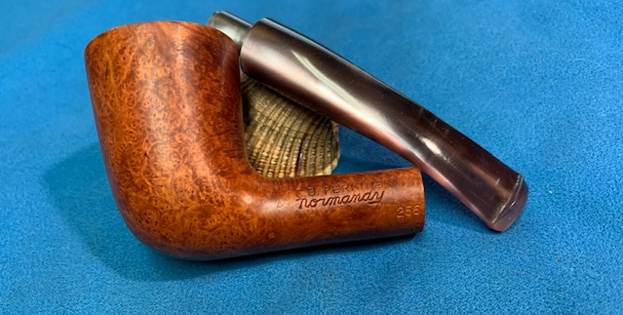
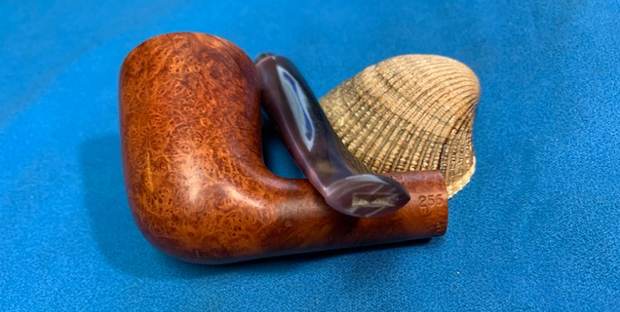
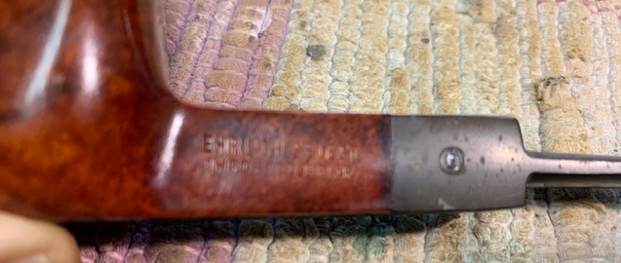
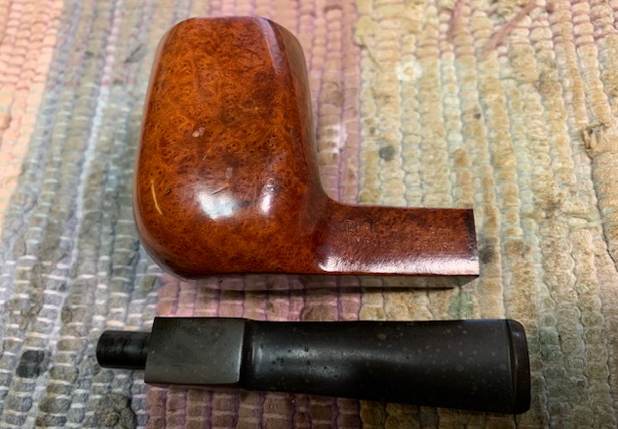
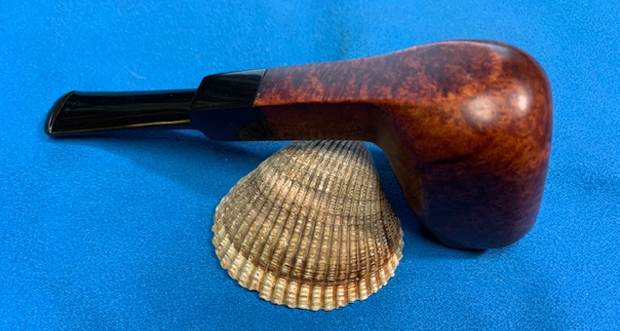
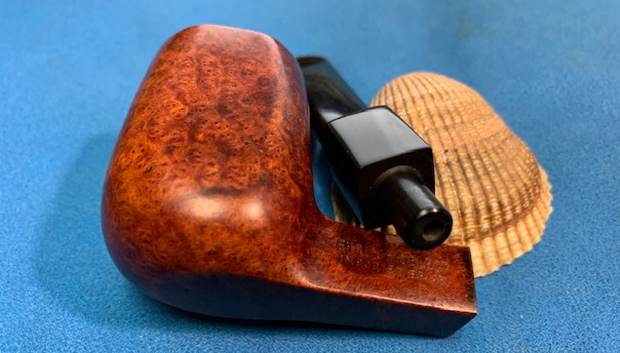
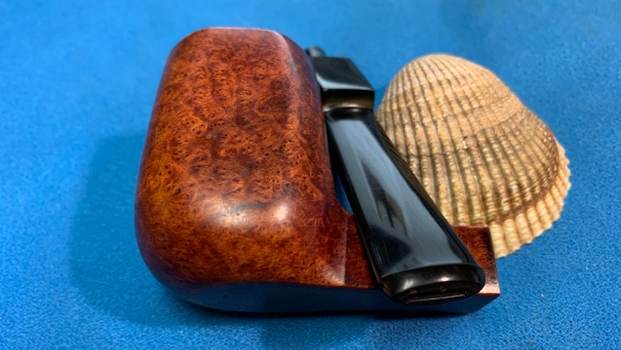
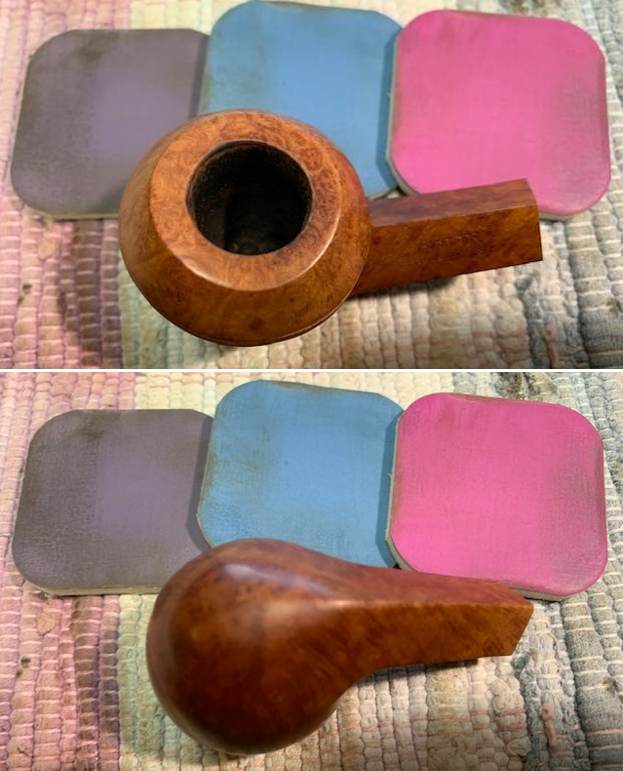
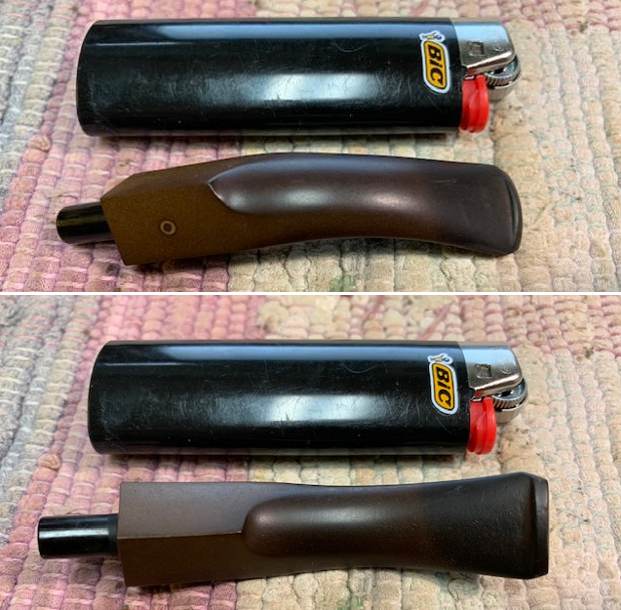
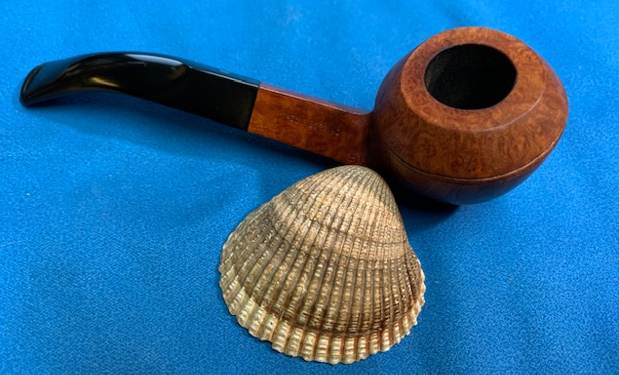
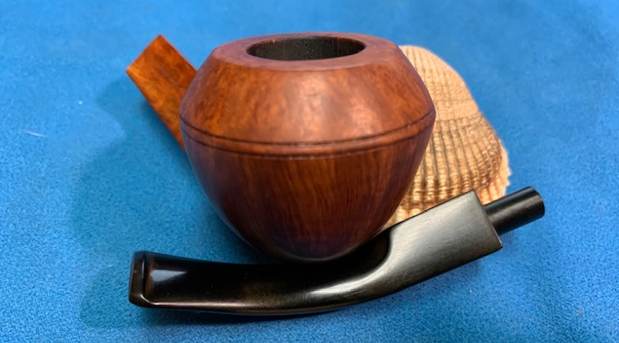
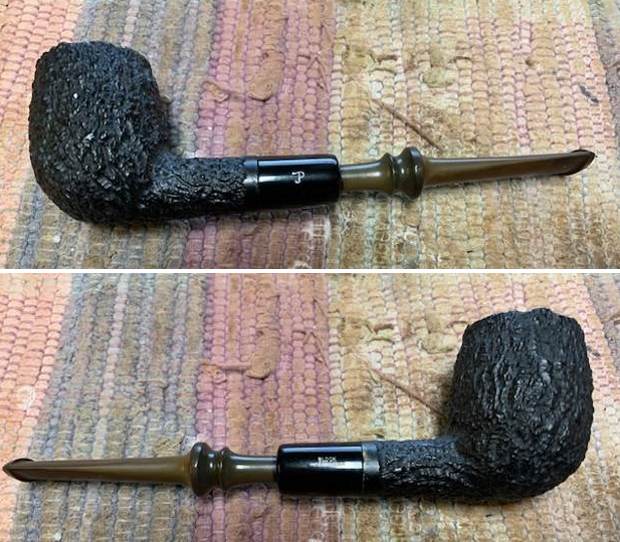
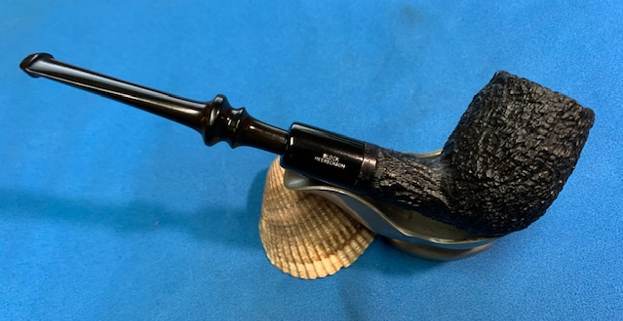
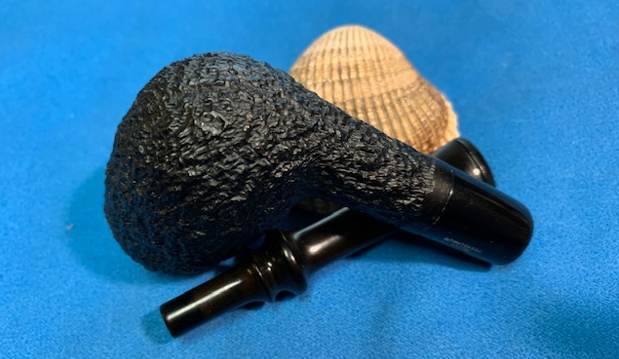
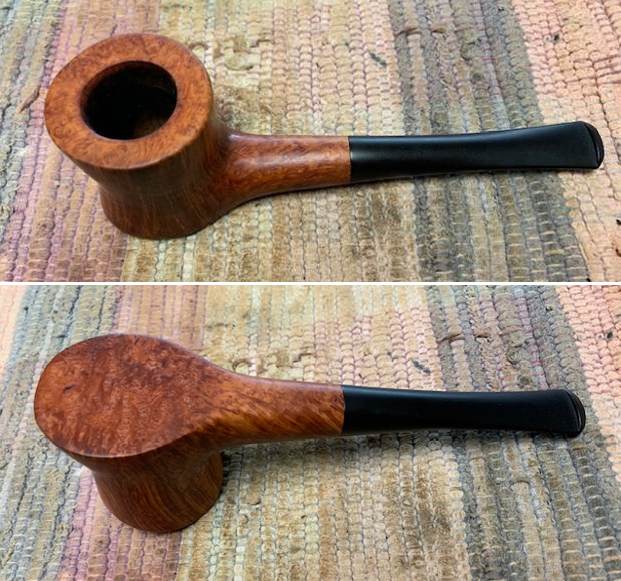
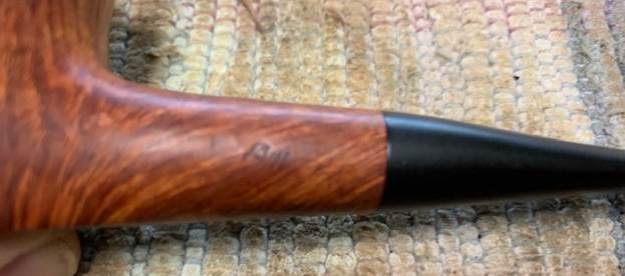
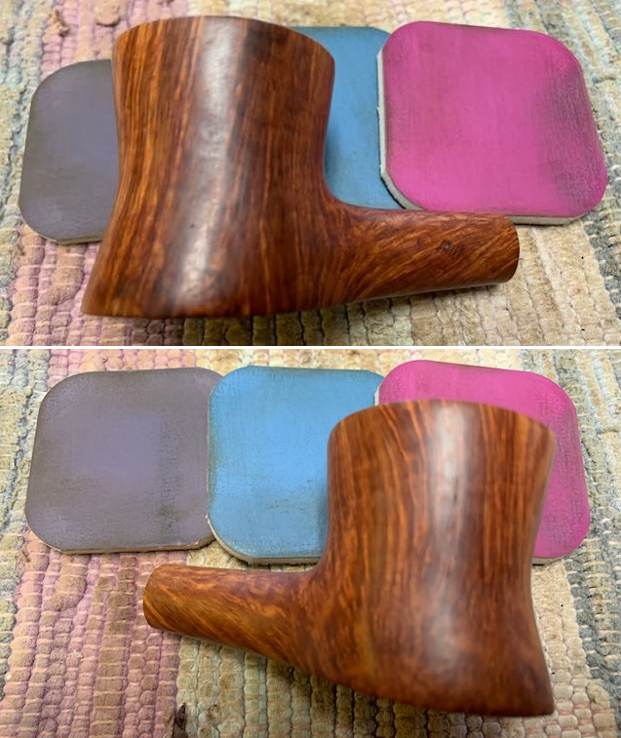
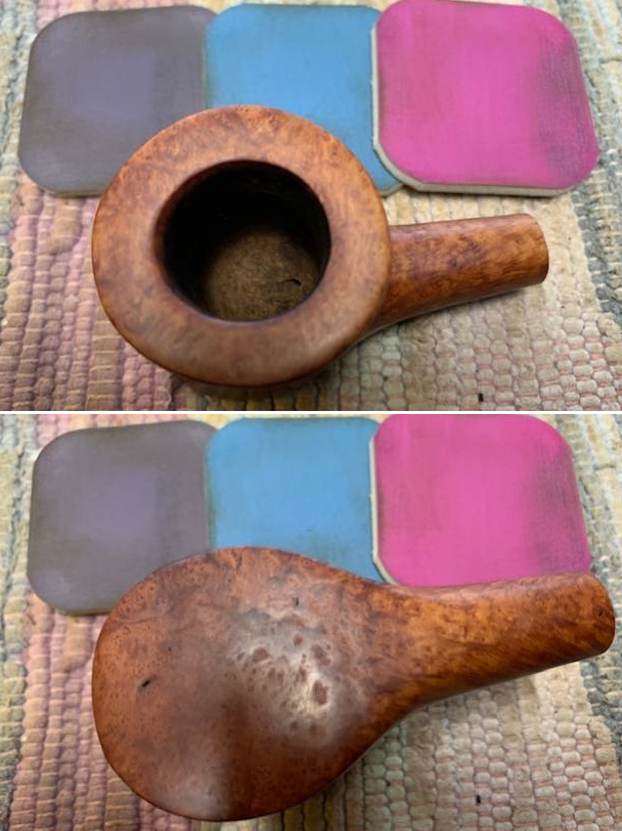
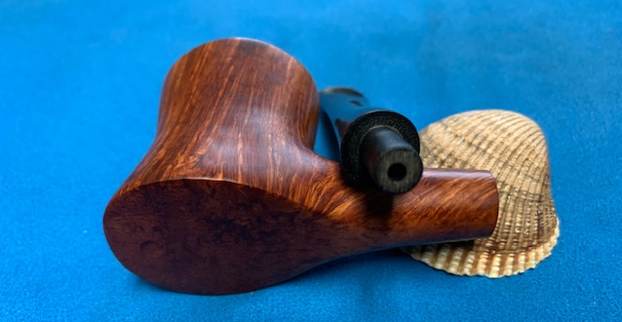
For the next pipe, I chose a unique looking pipe that we picked up back in March of 2018 from a friend in St. Leonard, Maryland, USA. It has been here for a while and I am just now getting to it. This one is an Amphora Bent Billiard. It has a really nice mix of flame and straight grain around the bowl and shank. It was stamped on the sides of the shank. On the left side it reads Amphora [over] X-tra [followed by] the shape number 725. On the right side it reads Genuine Briar [over] AMPHORA, Holland. The pipe was dirty with grime ground into the finish. The grain really shined through the grime. There was a thick cake in the bowl and a light lava overflow and darkening on the thin rim top. The inner edge of the rim looked very good. The vulcanite saddle stem was heavily oxidized and had tooth marks and chatter ahead of the button on both sides. There is an A in a circle inset on the left side of the saddle stem that is faded and worn looking. Jeff took photos of the pipe before he started his clean up.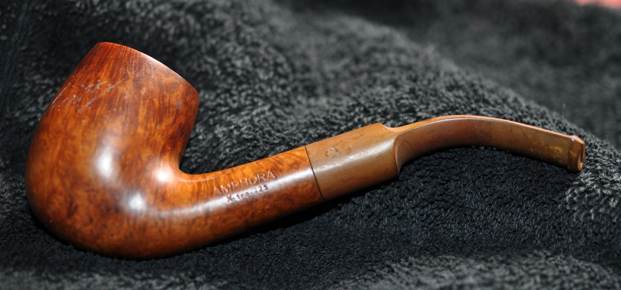
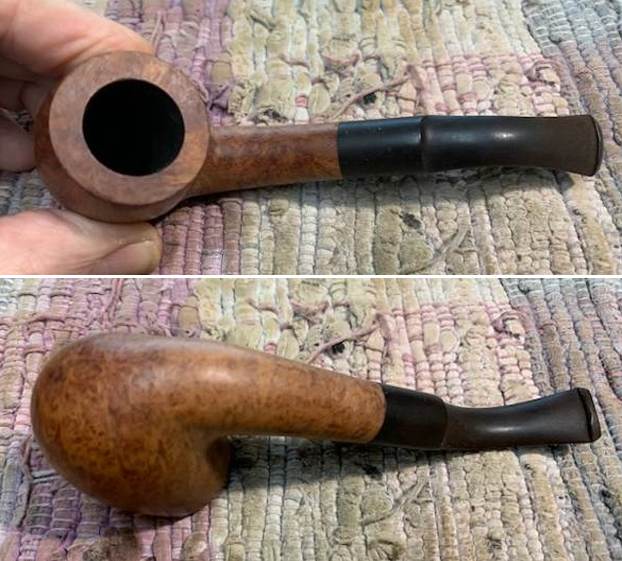
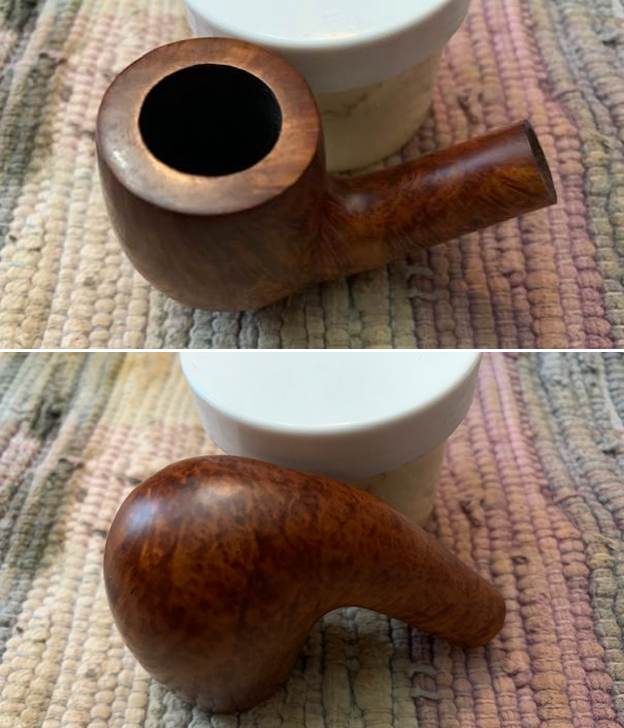
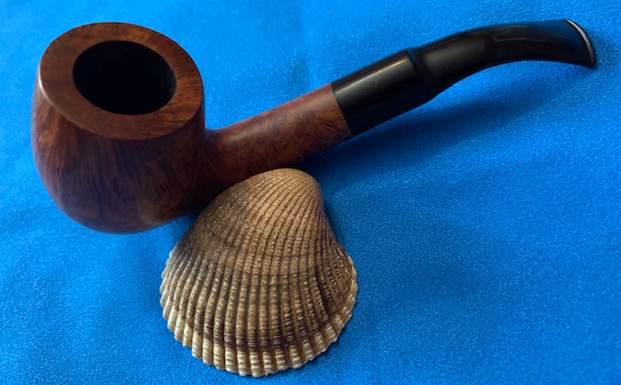
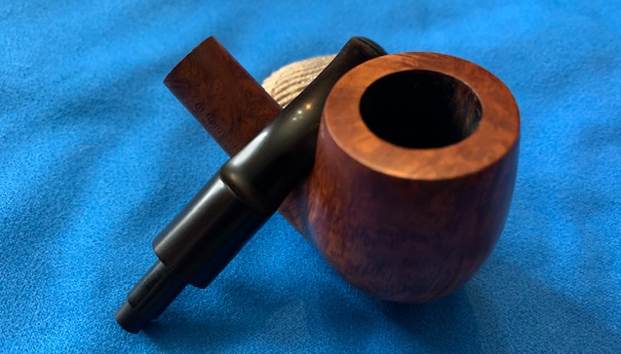
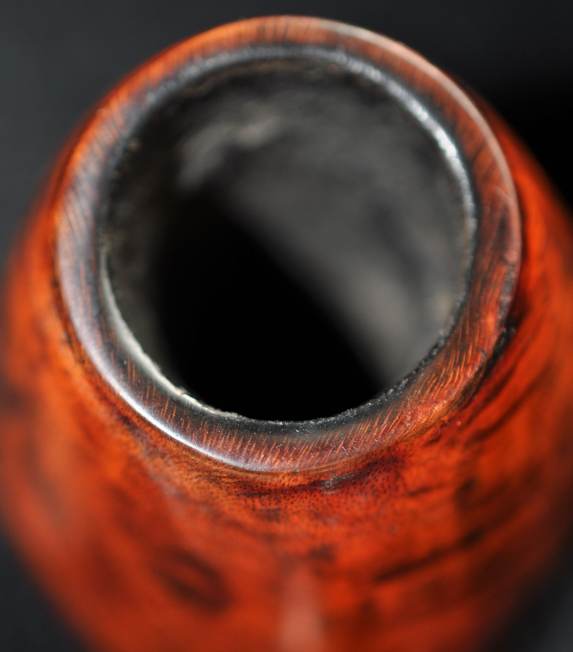
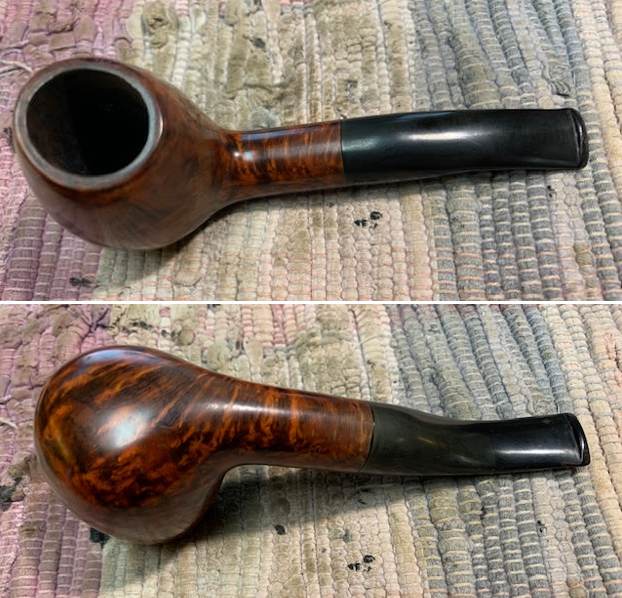
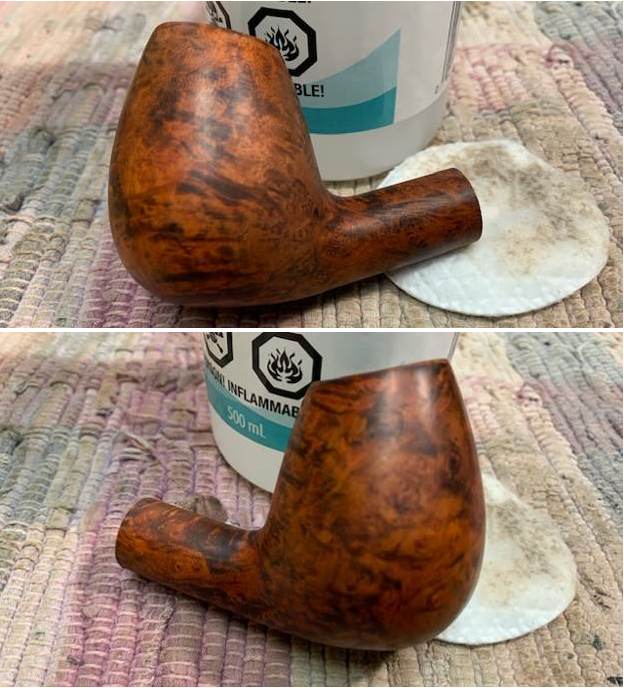
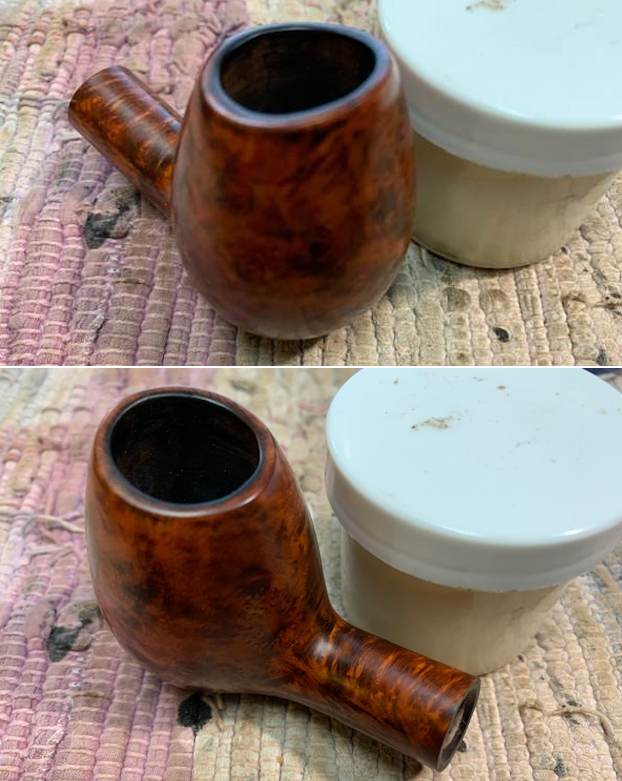
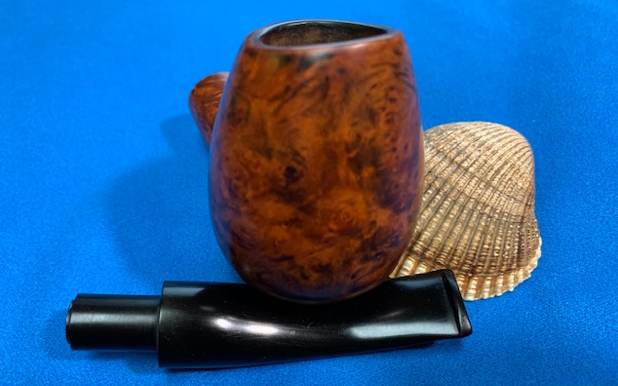
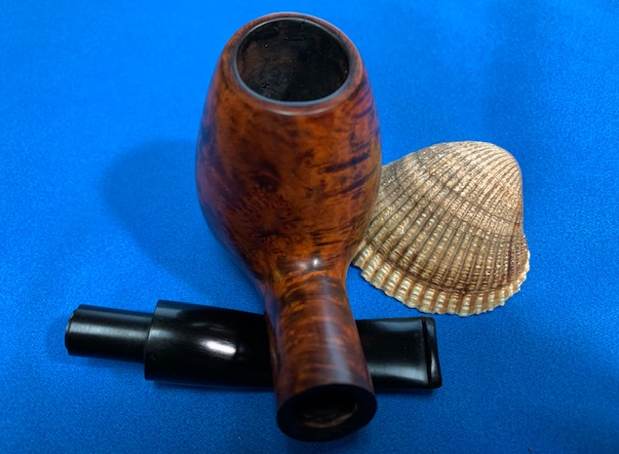
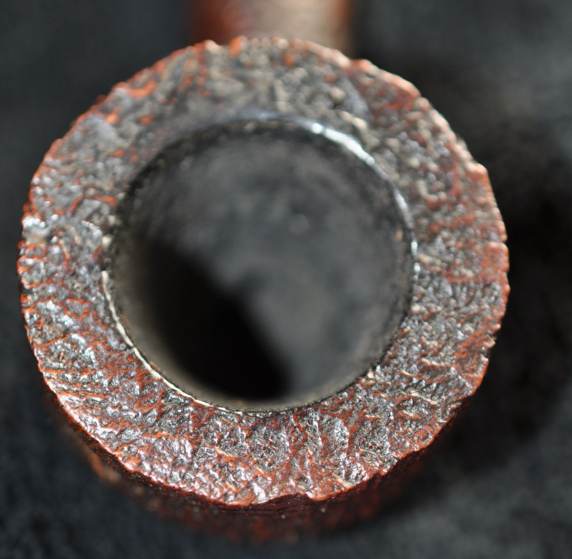
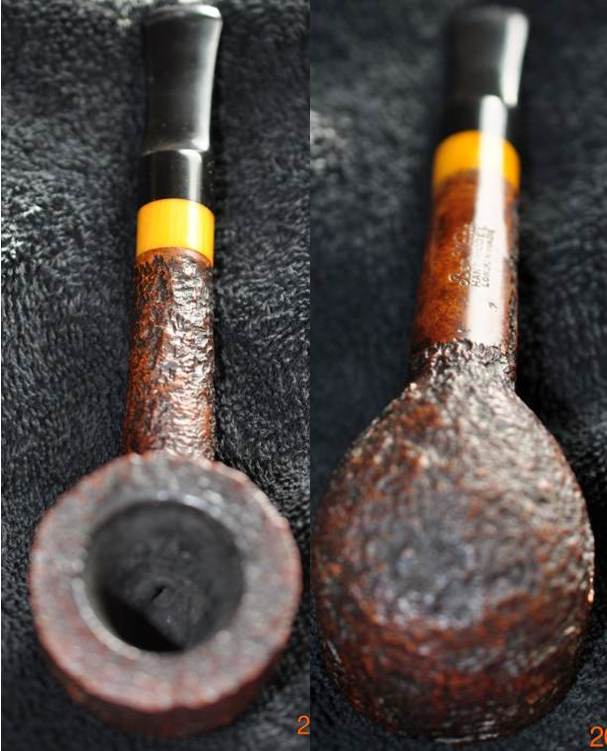
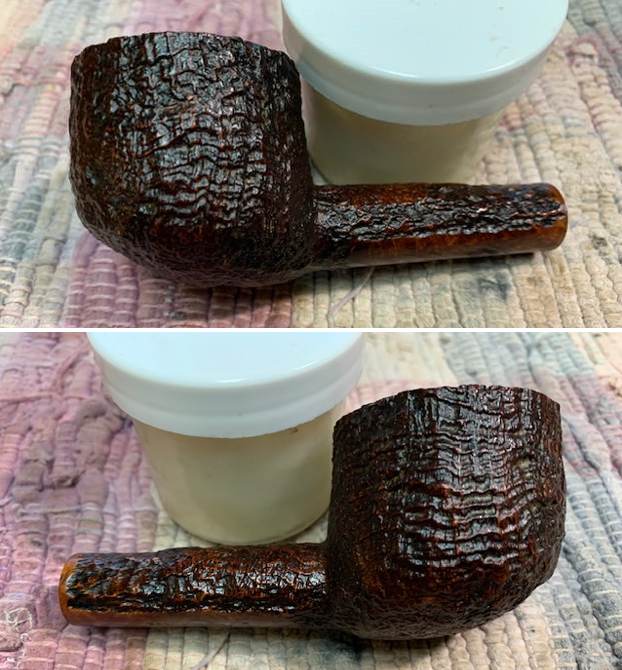
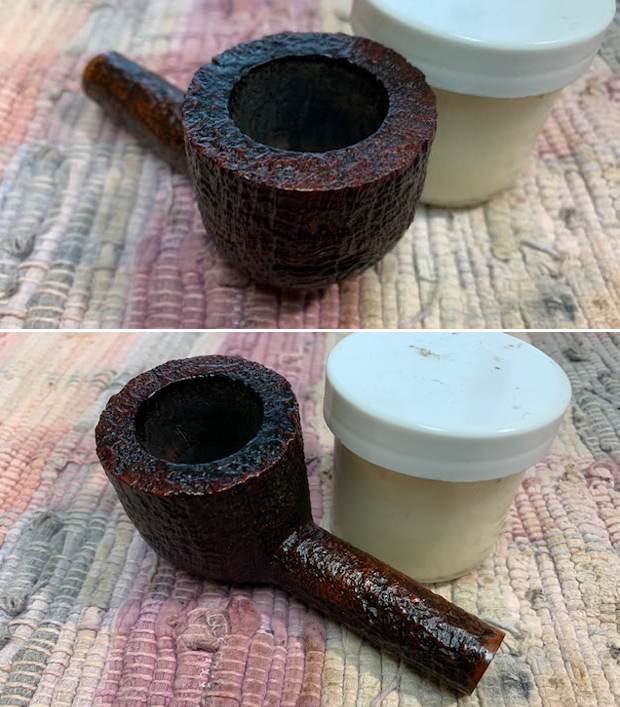
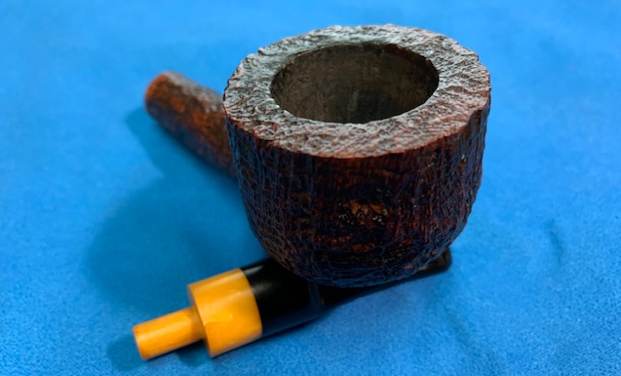
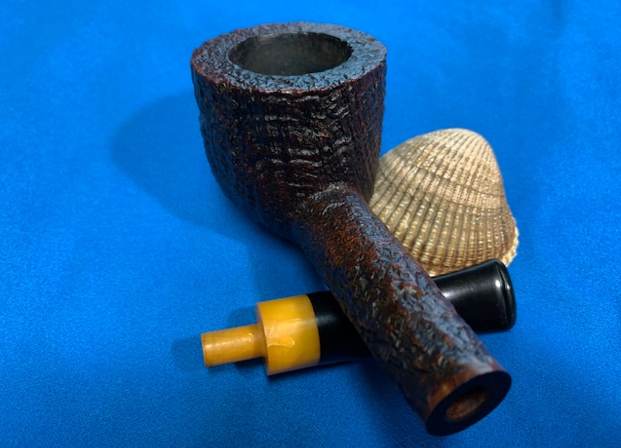
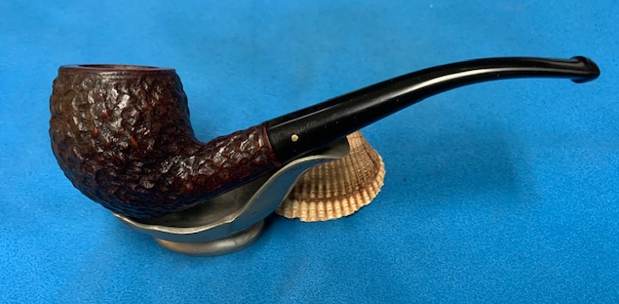
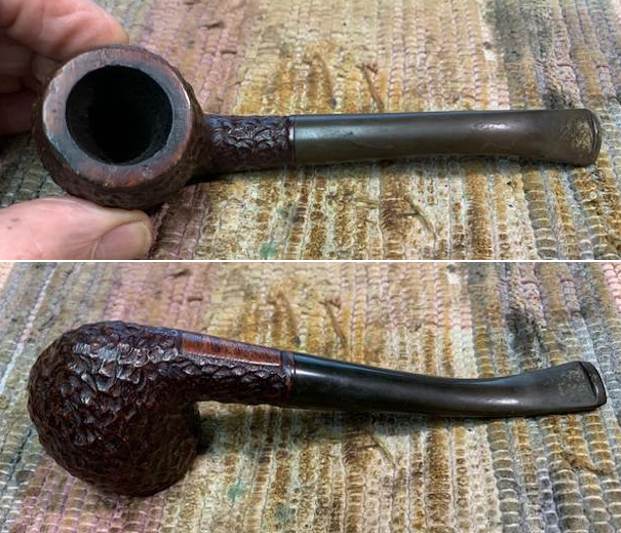
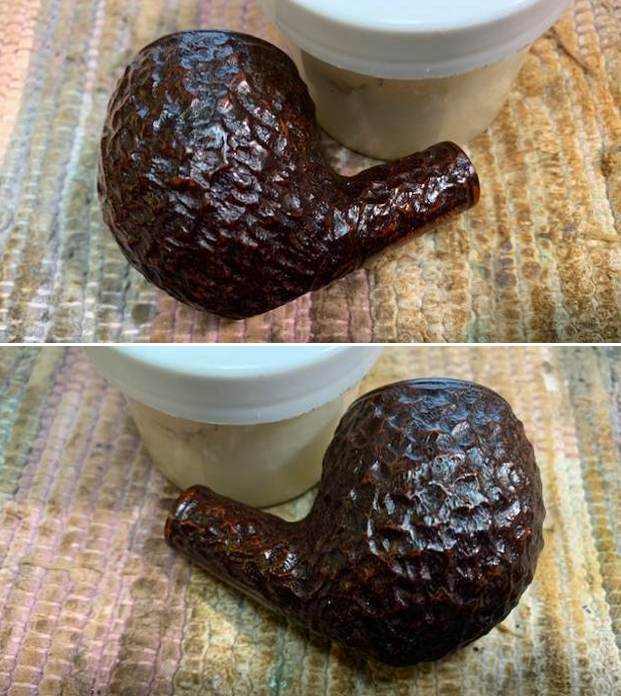
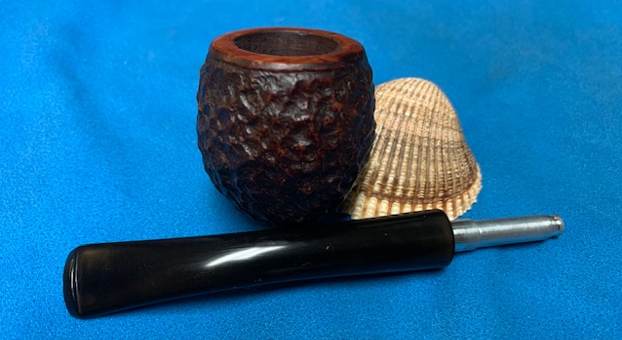
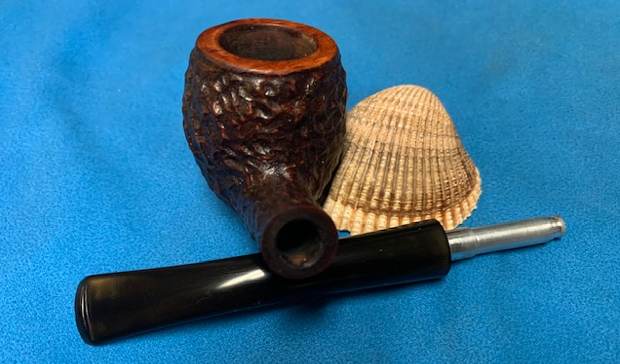
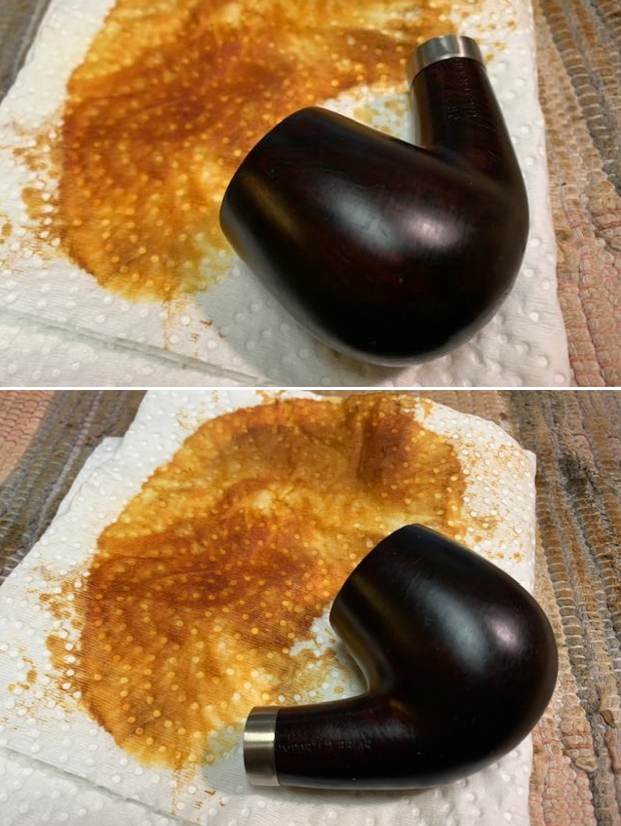
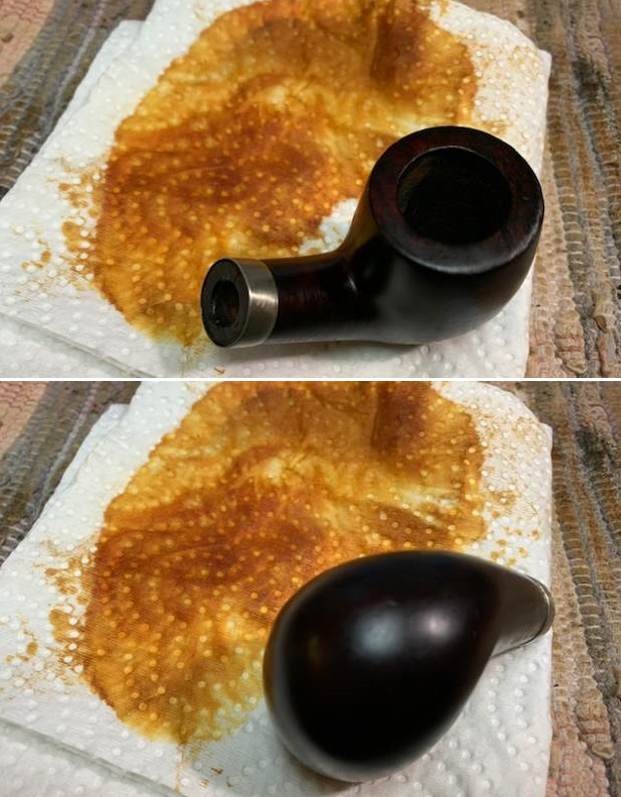
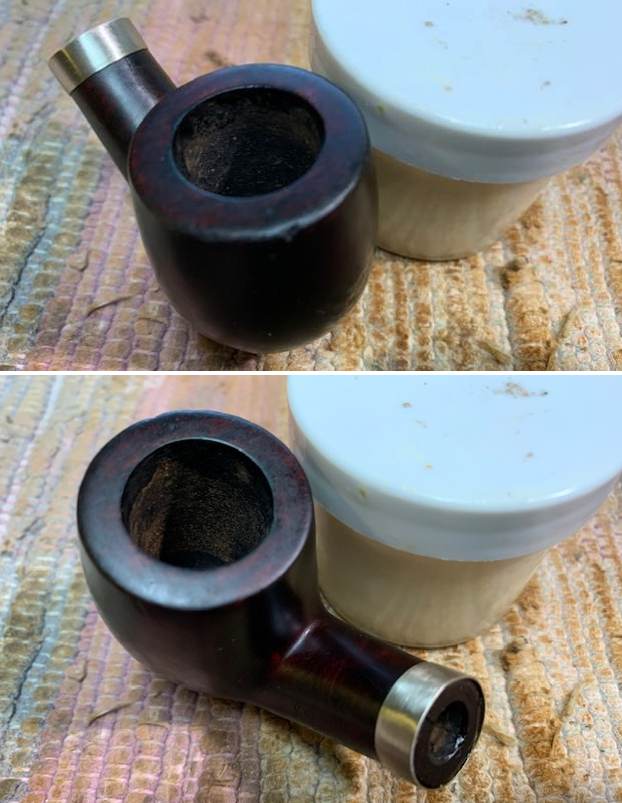
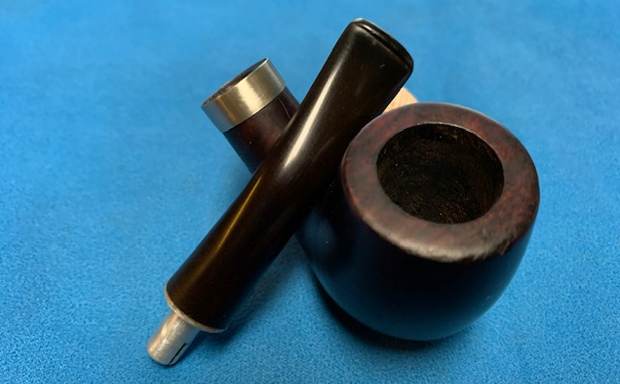
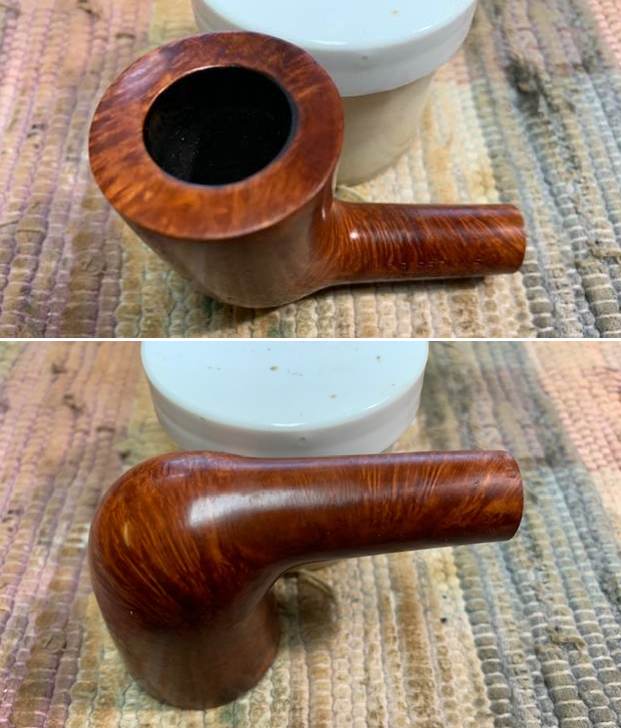
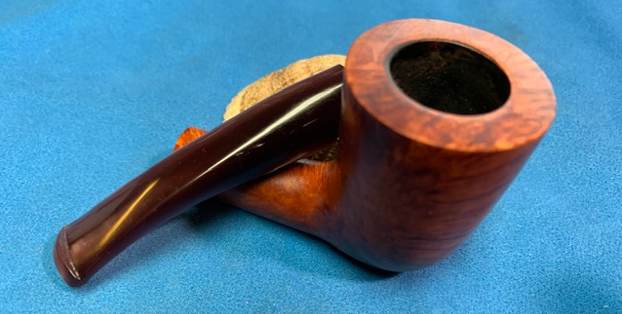
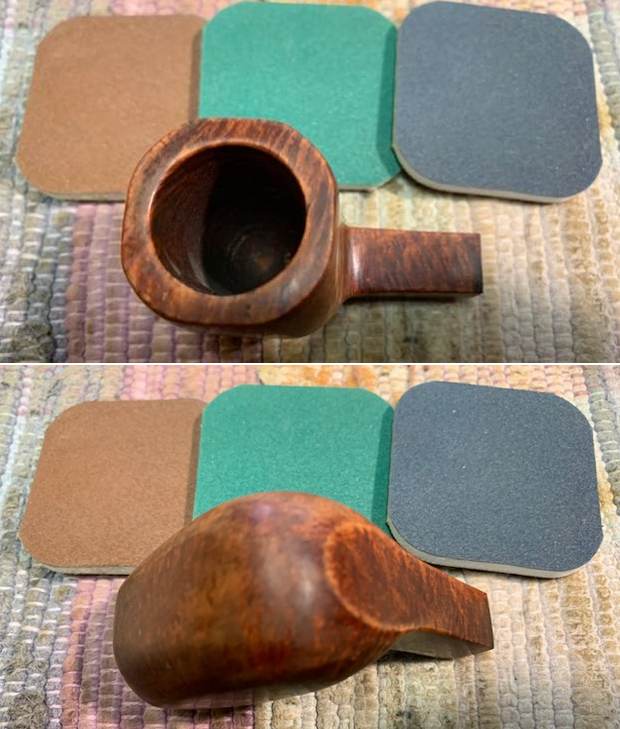
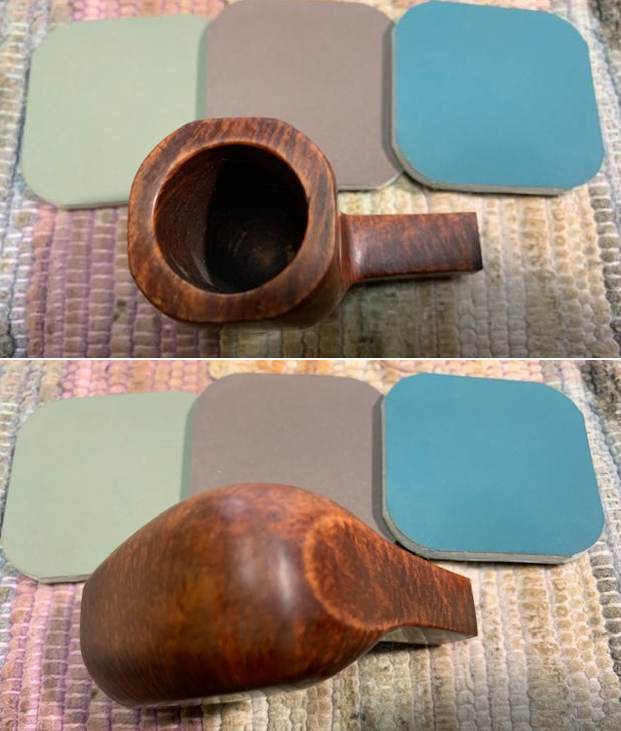
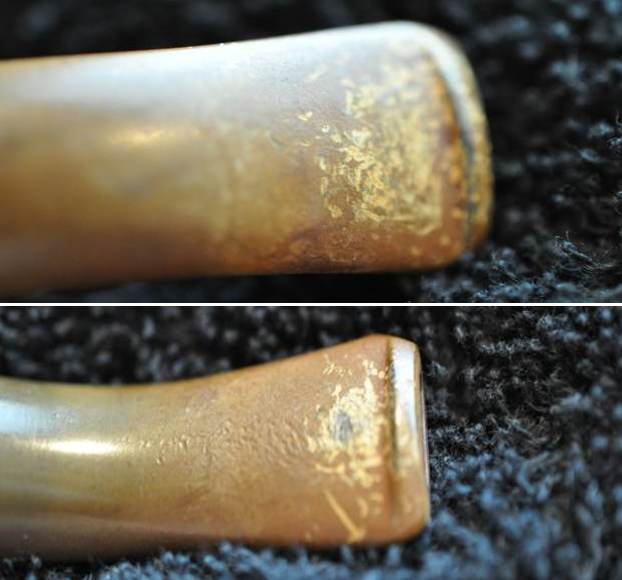
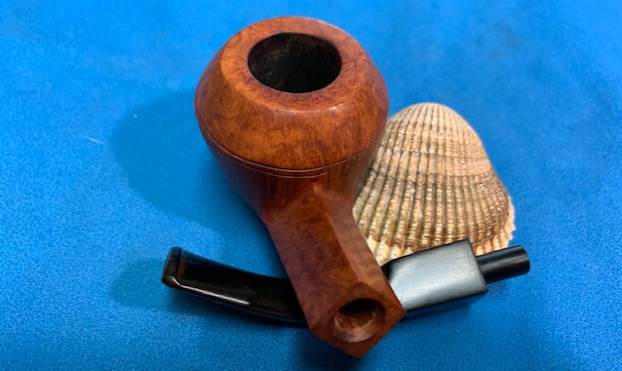
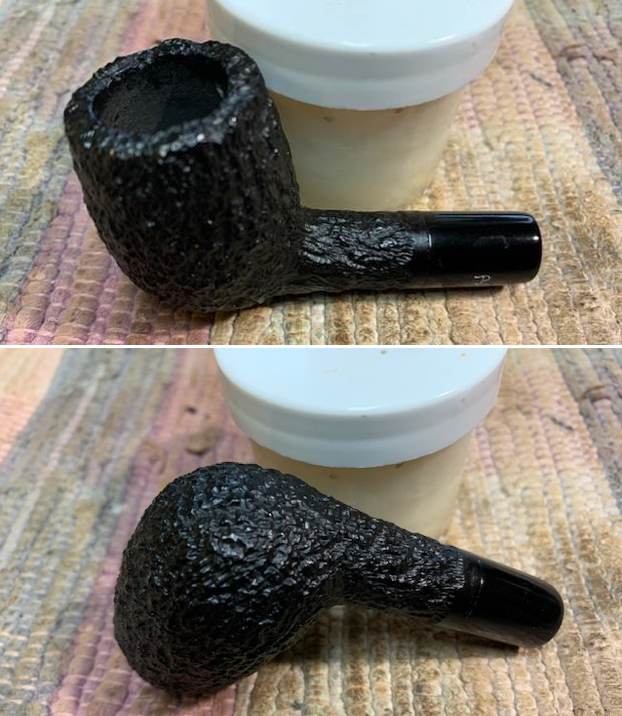
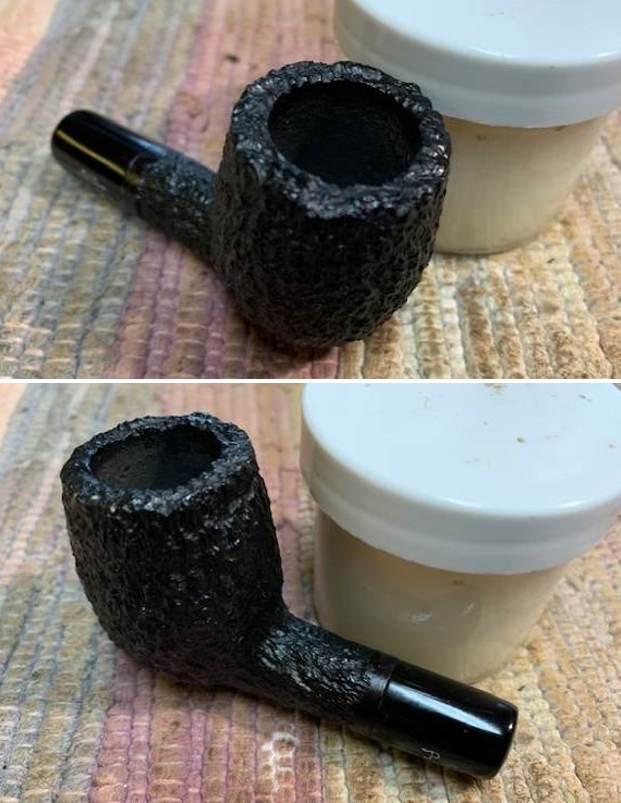
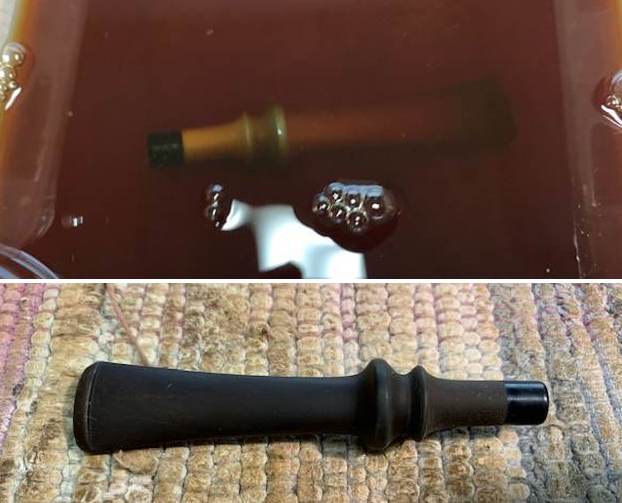
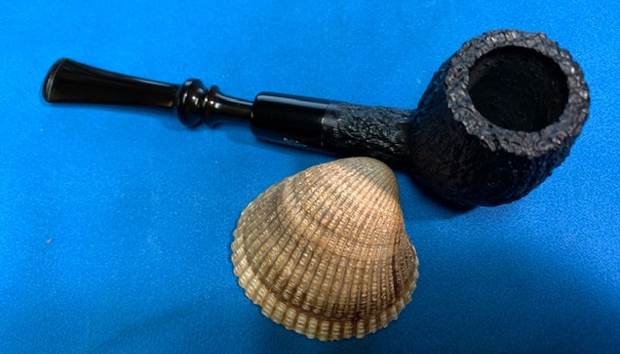
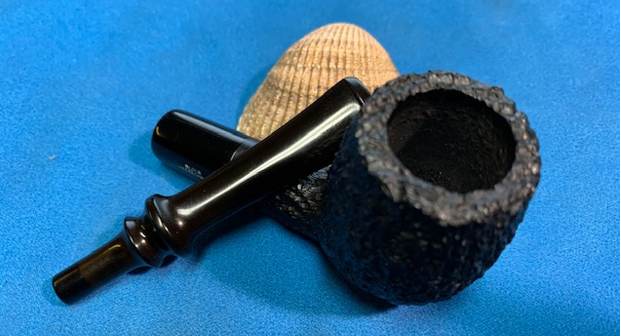
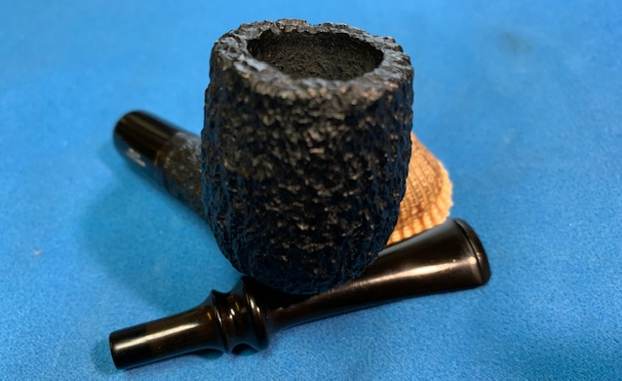
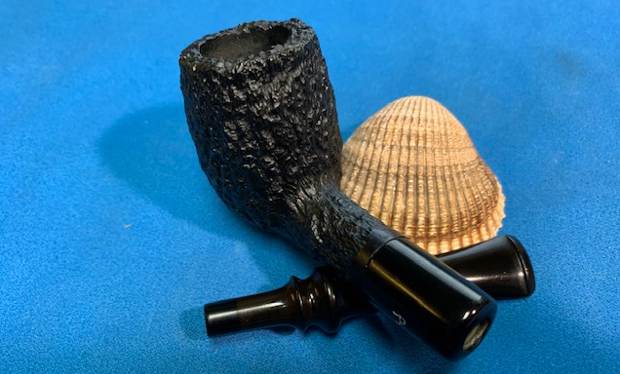
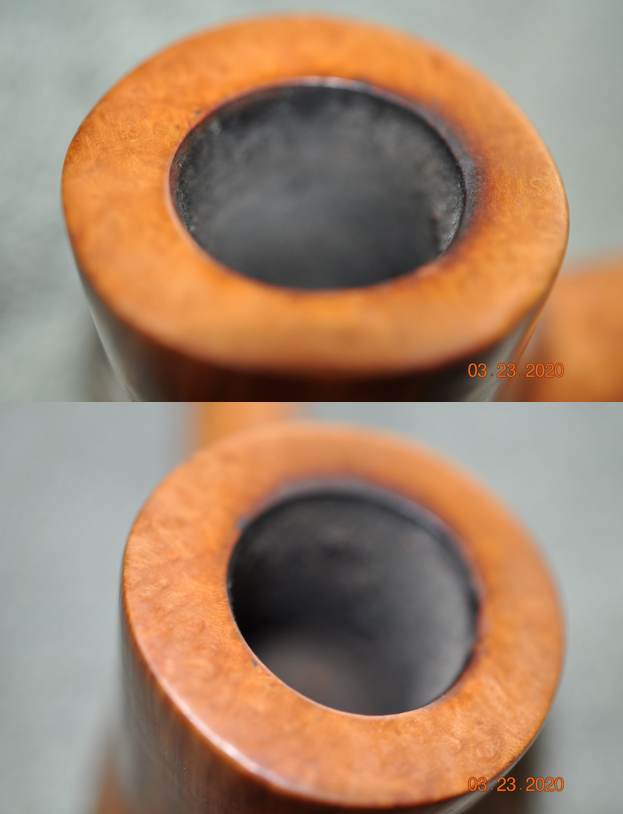
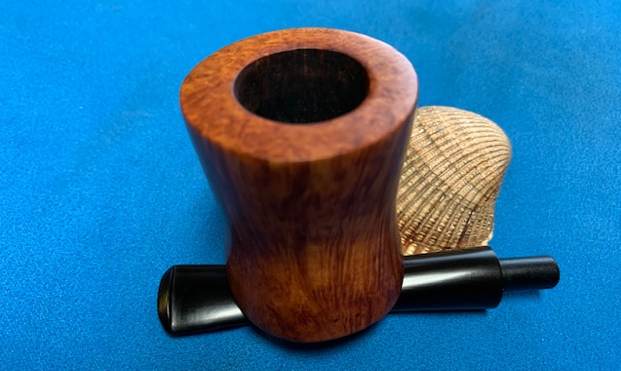
 He took photos of the bowl, rim top and stem to show the condition of the pipe. The bowl is heavily caked and you can see the light lava and darkening on the rim top around the bowl. The stem is very oxidized and there are some light tooth mark on the top and underside of the button.
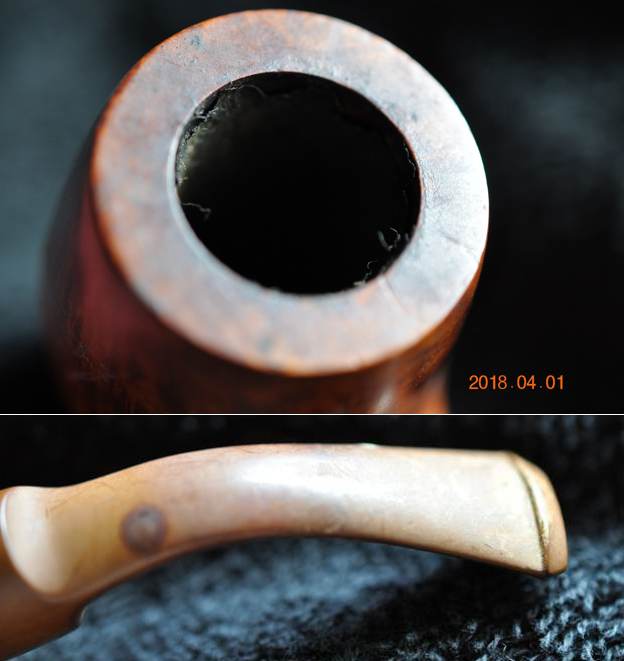
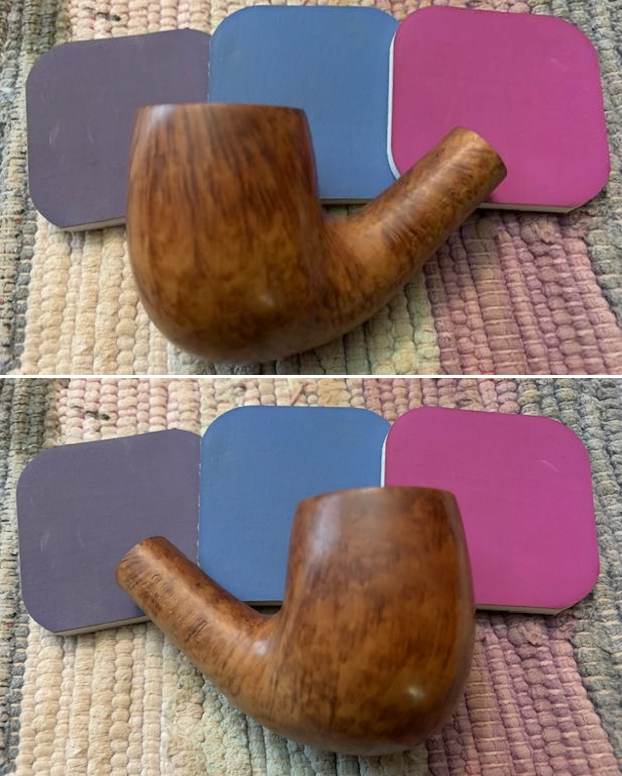
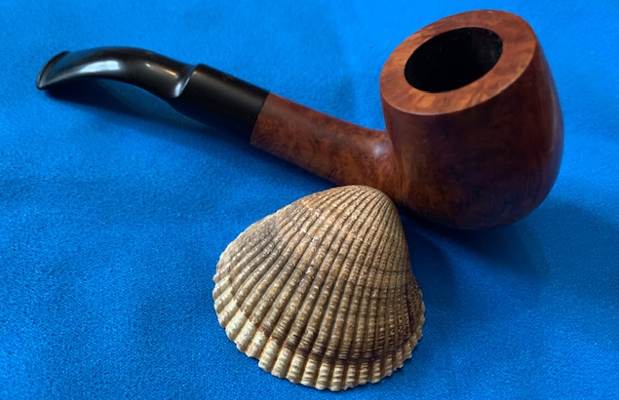
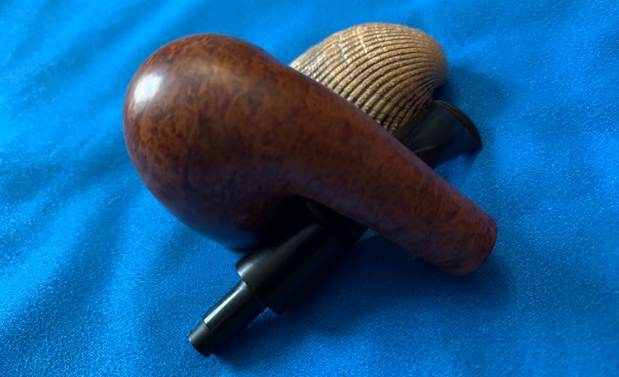
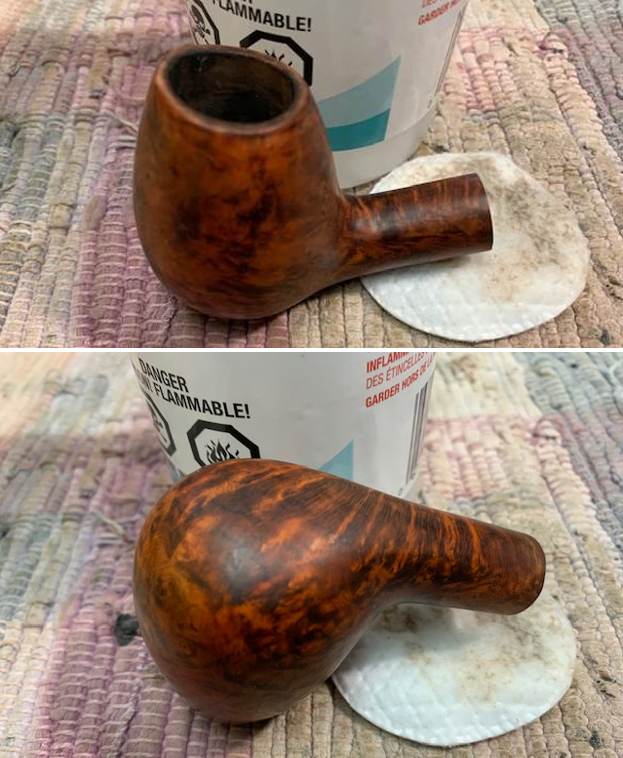
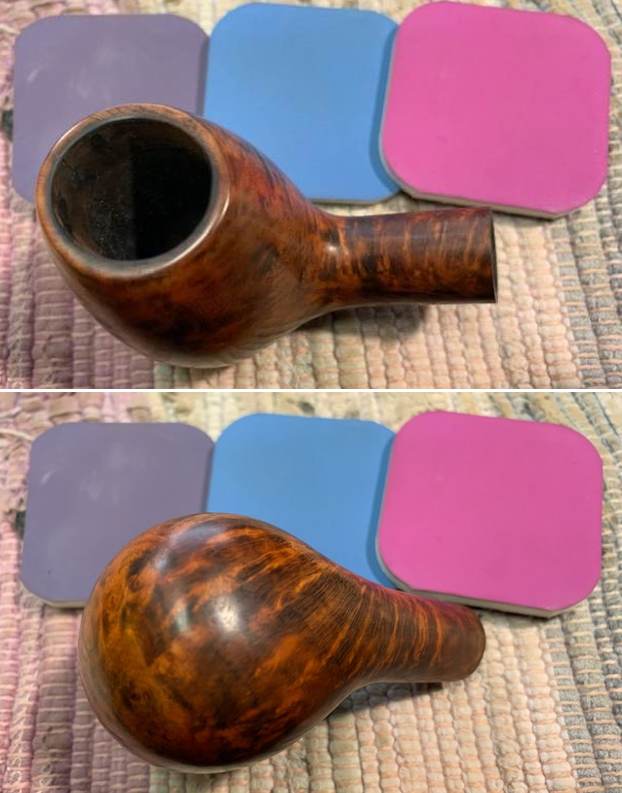
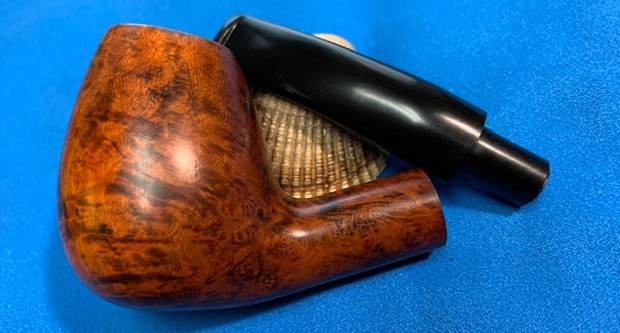
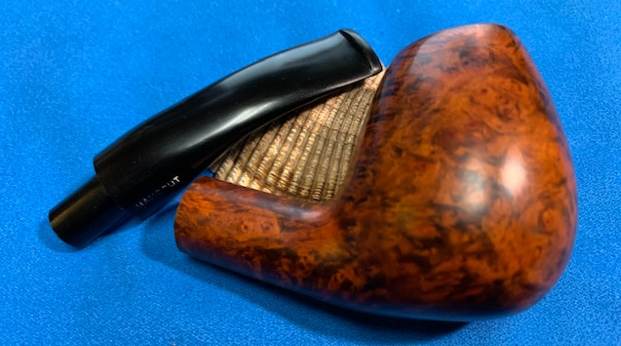
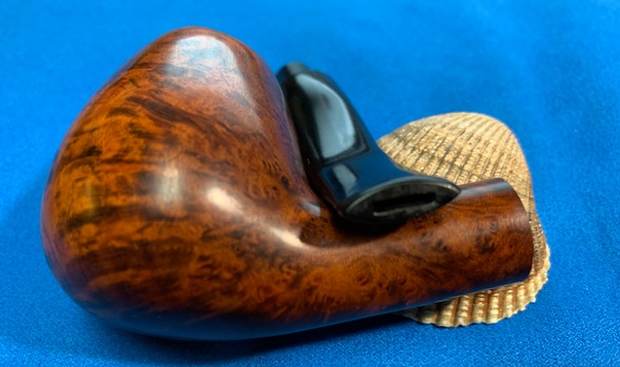
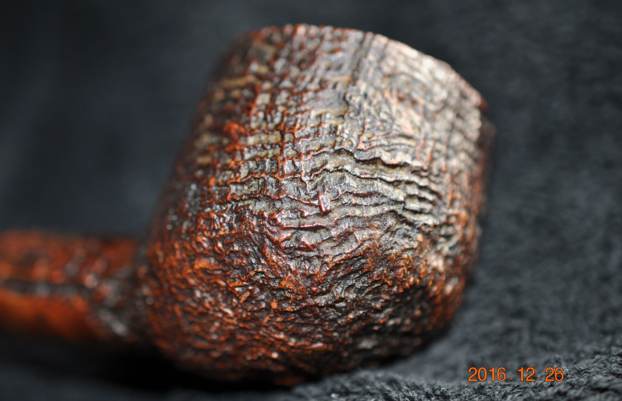
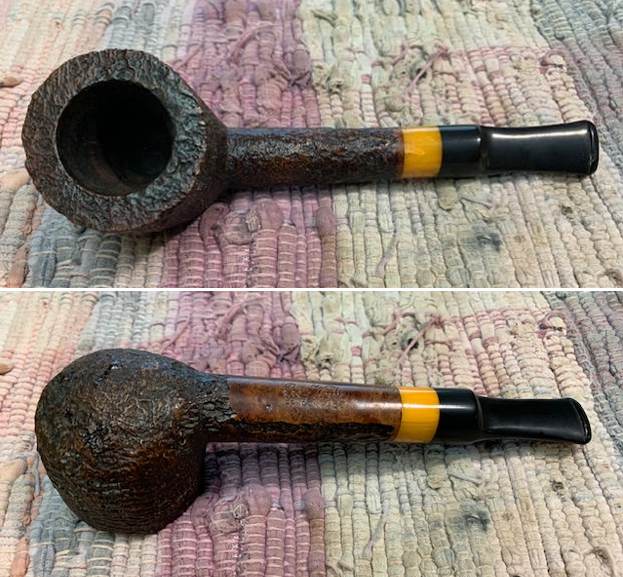
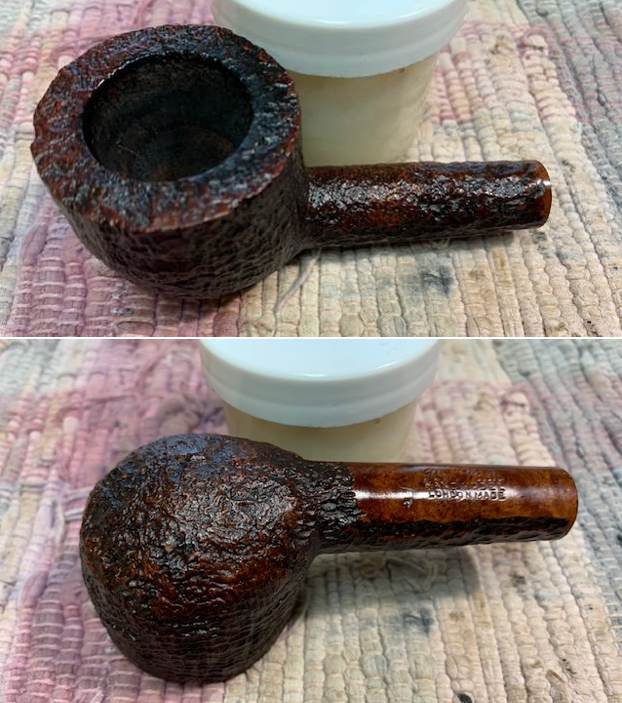
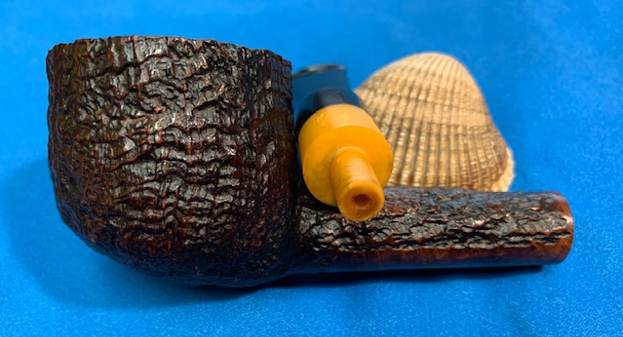
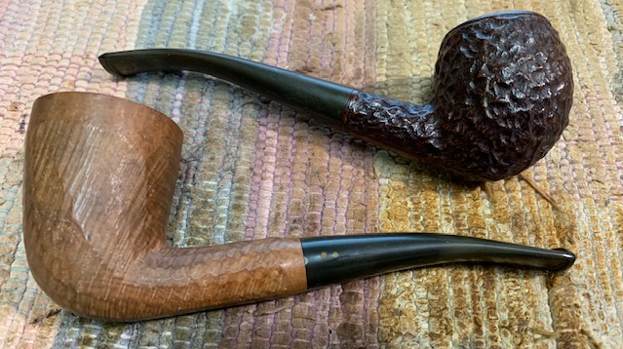
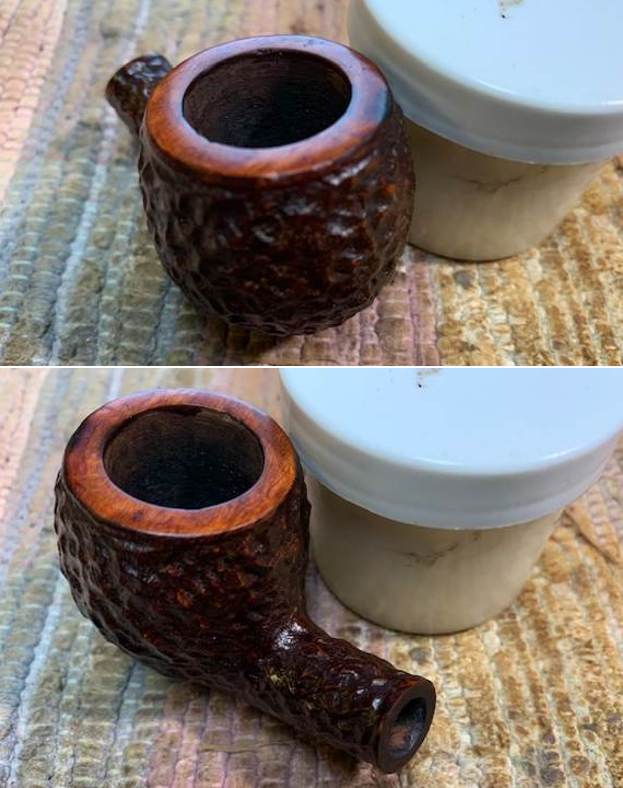
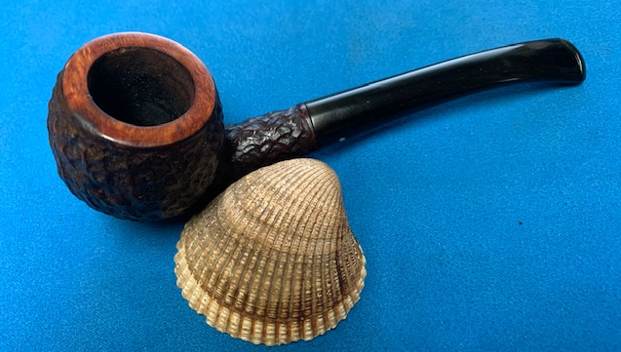
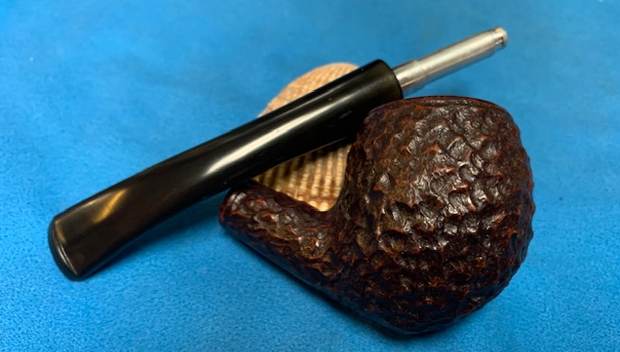
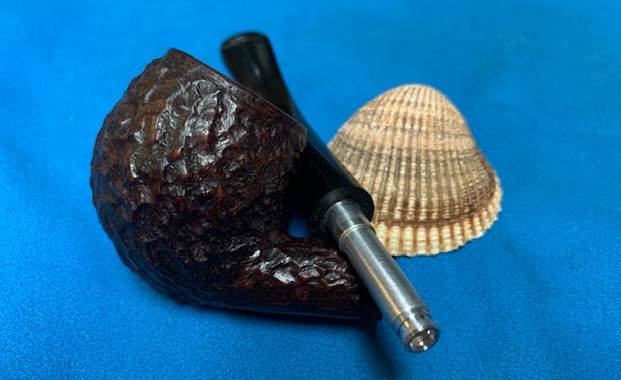
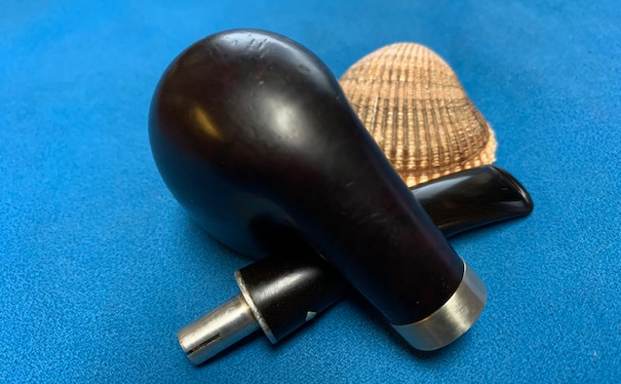
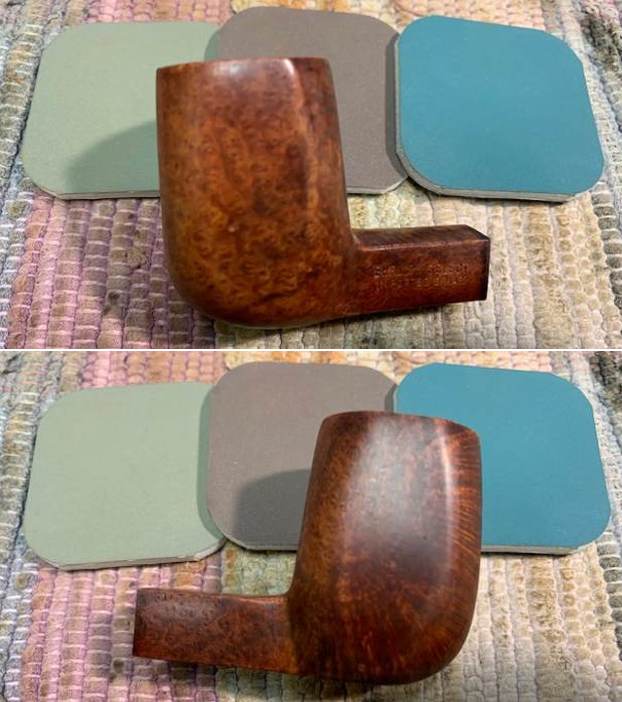
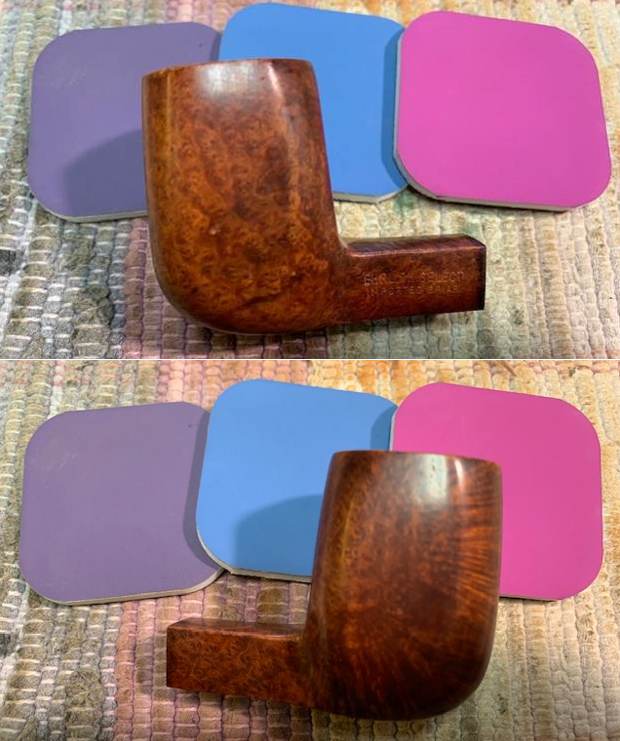
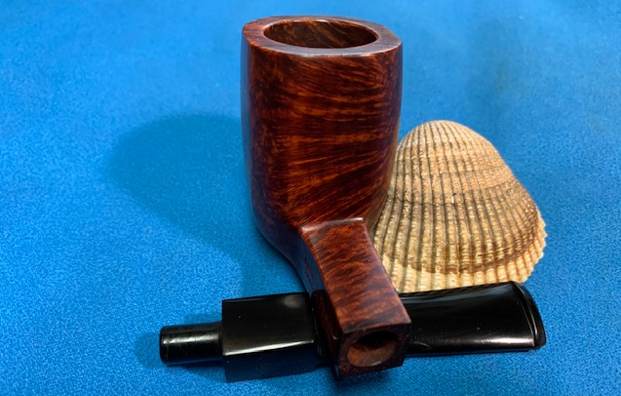
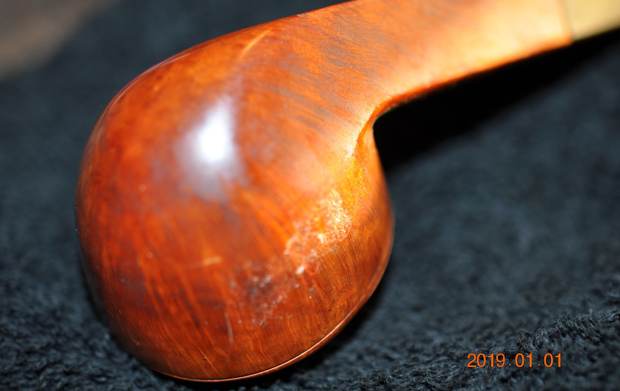
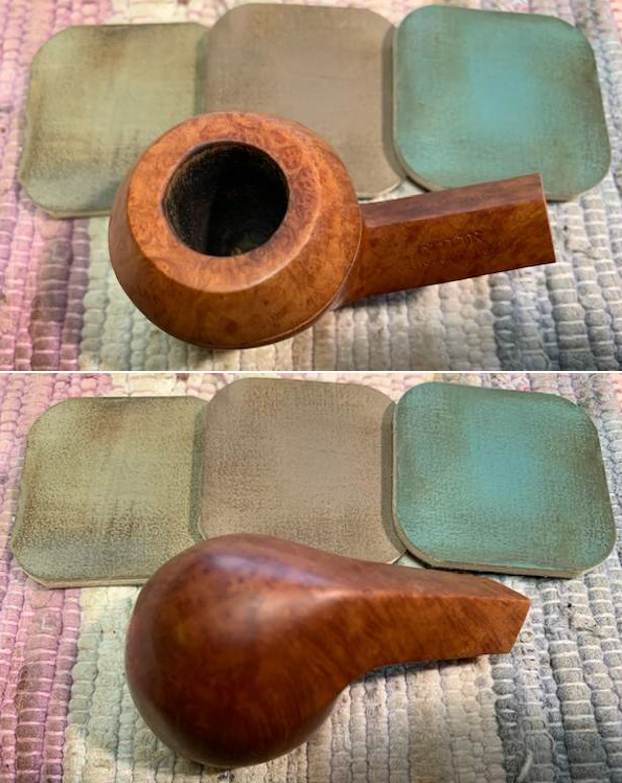
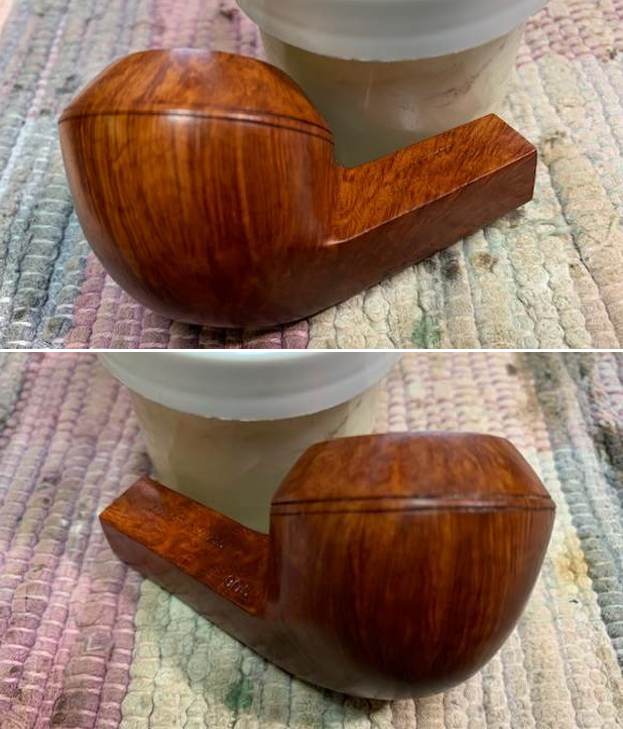
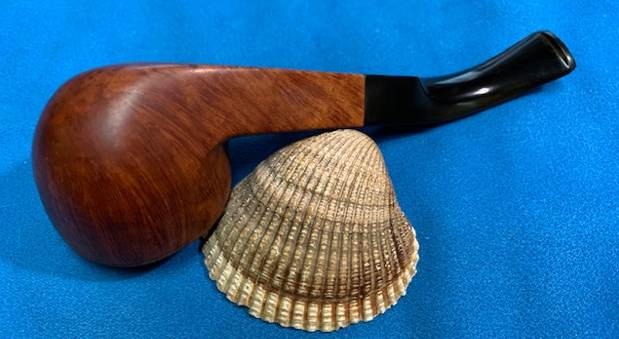
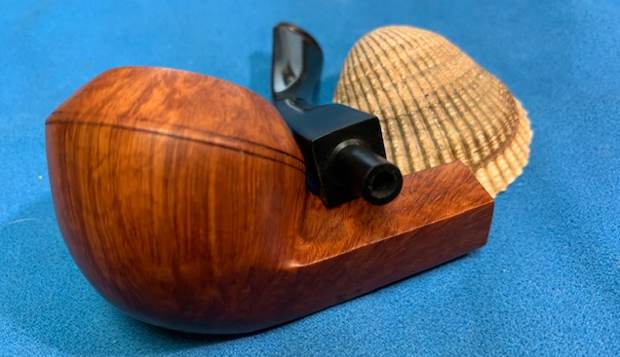
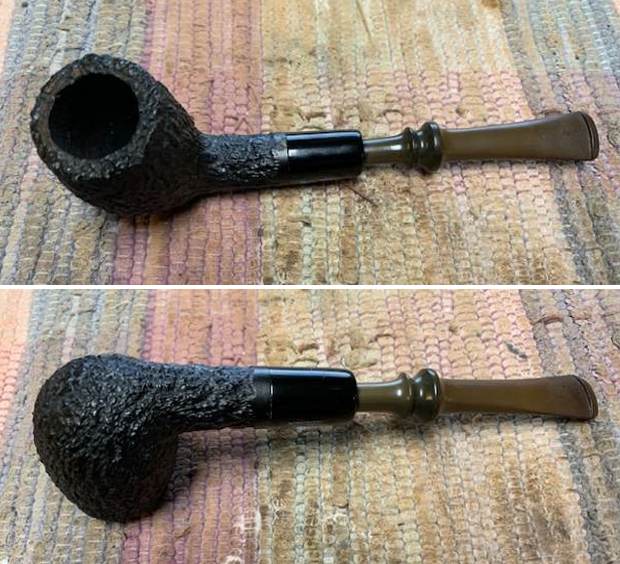
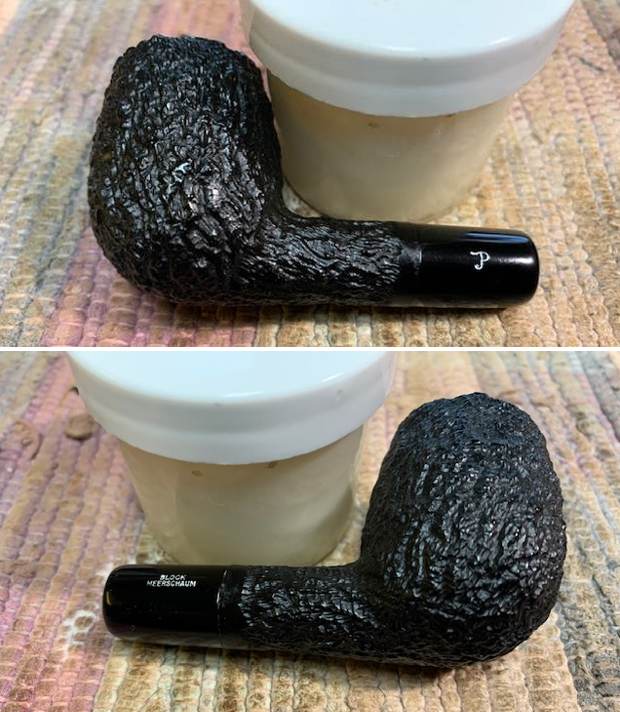
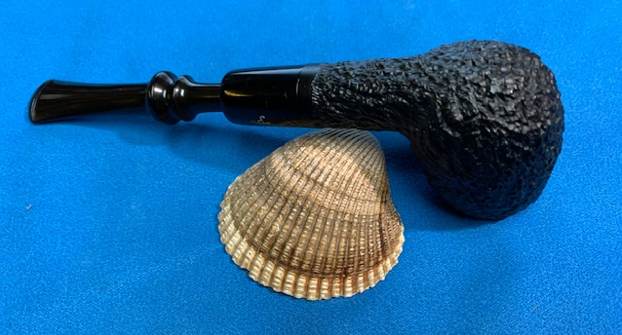
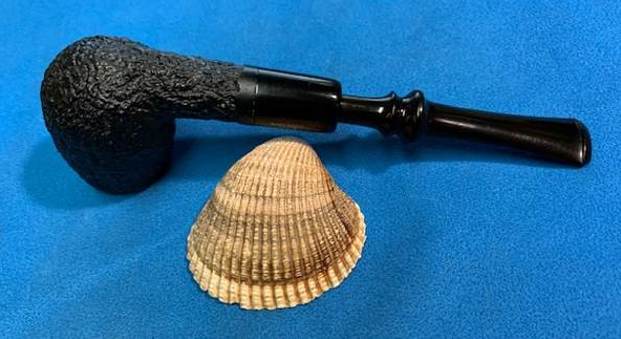
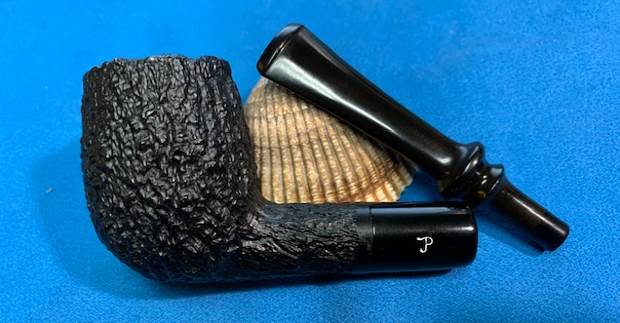
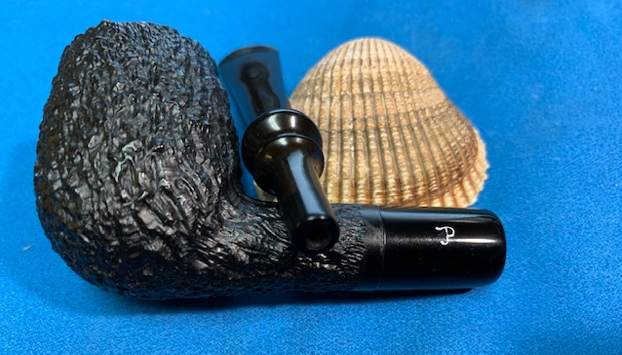
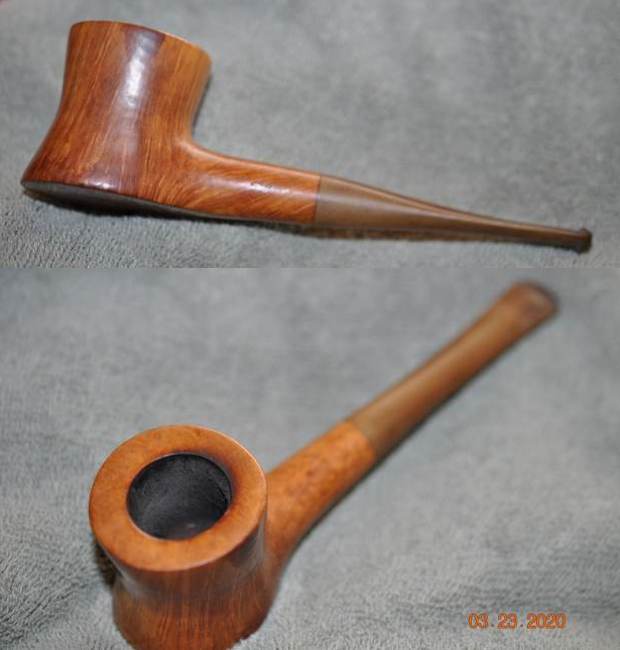
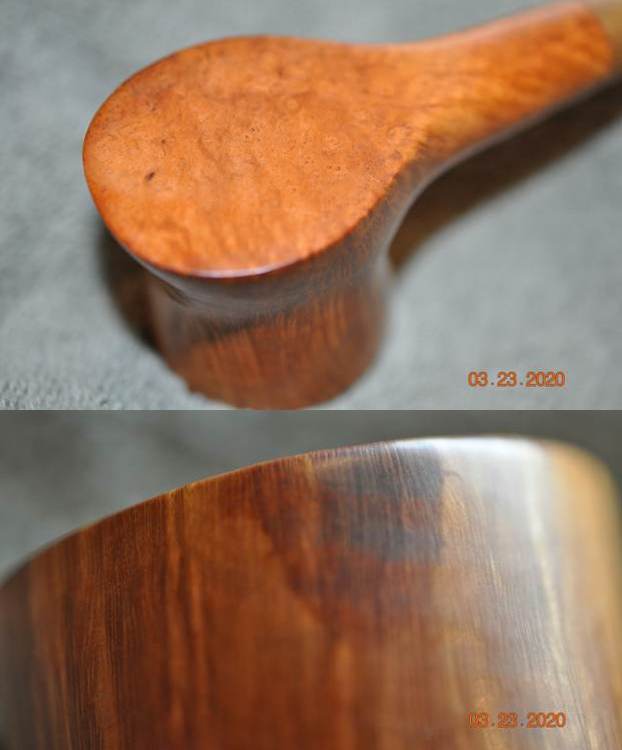
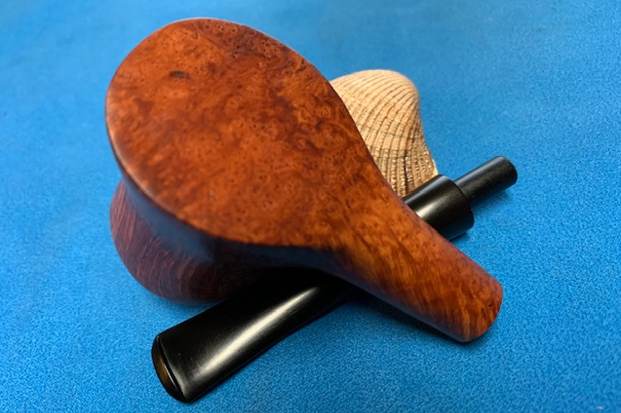
 Jeff took photos of the sides of the bowl to show the grain on the sides. It is really quite a pretty looking piece of briar.
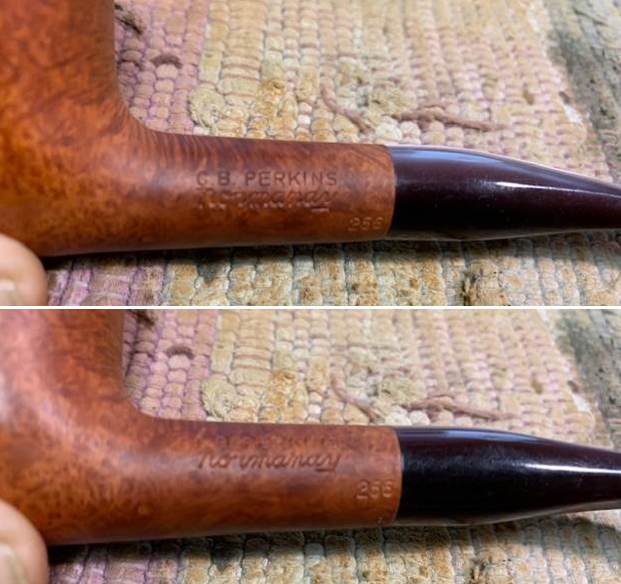
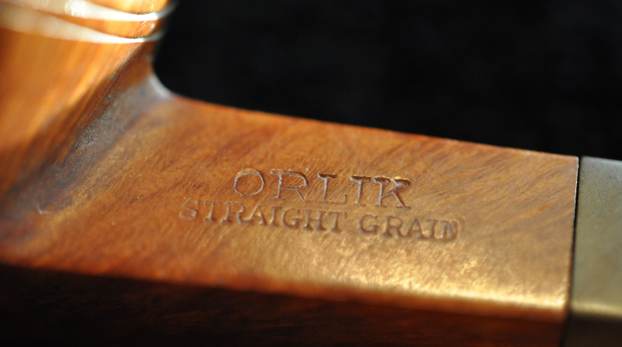
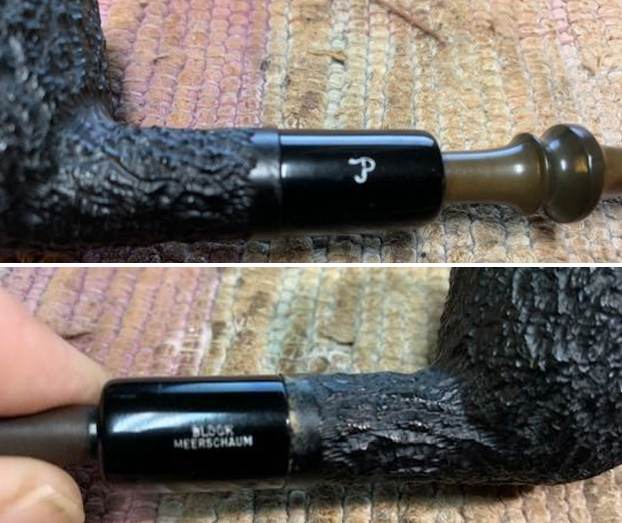
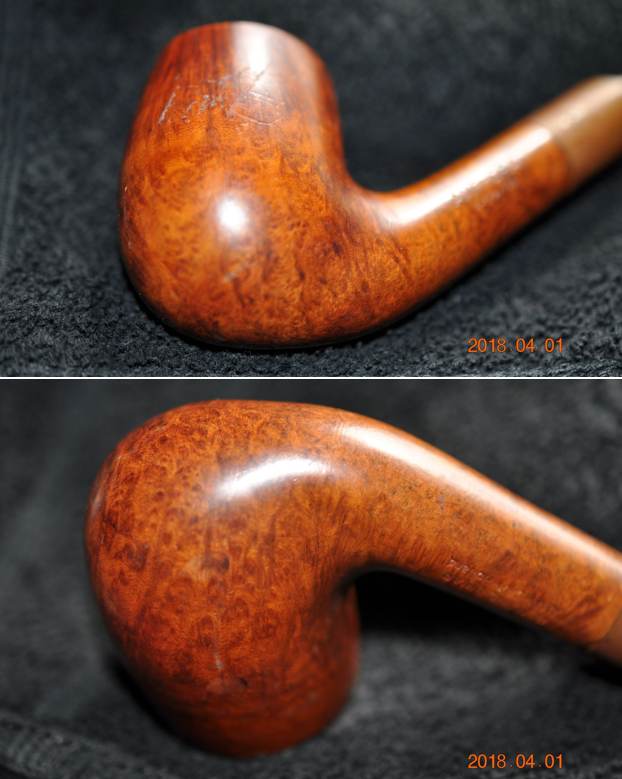 He took photos of the stamping on the sides of the shank. It is clear and readable with some faint stamping on the edges.
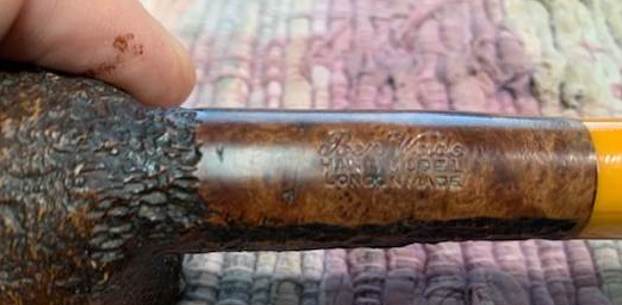
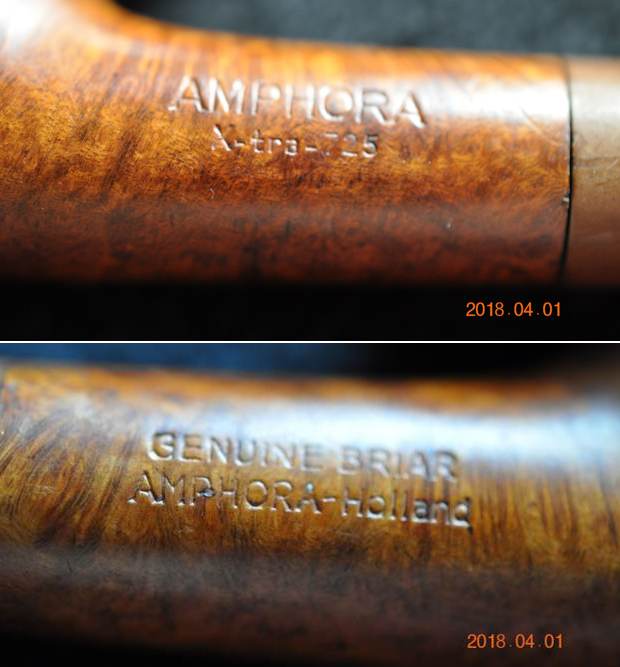
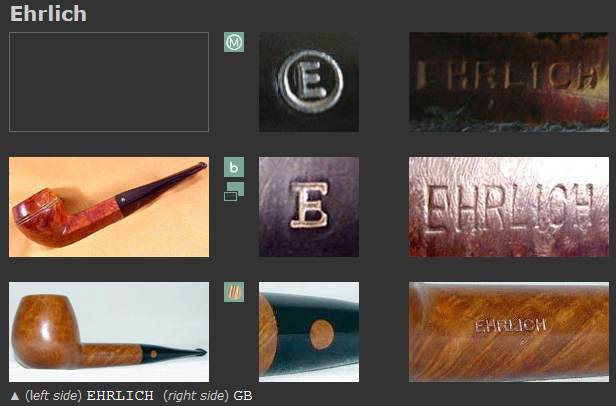
 I knew from past work that there was a connection between Amphora and the Royal Dutch Pipe Factory. The Amphora – Holland stamped pointed to that for me. I turned to Pipephil’s site to remind myself of the connection (http://pipephil.eu/logos/en/logo-a5.html). I have included a screen capture of the section on the site that give some photos of the stamping. The pipe I am working on is stamped like the first photo below.
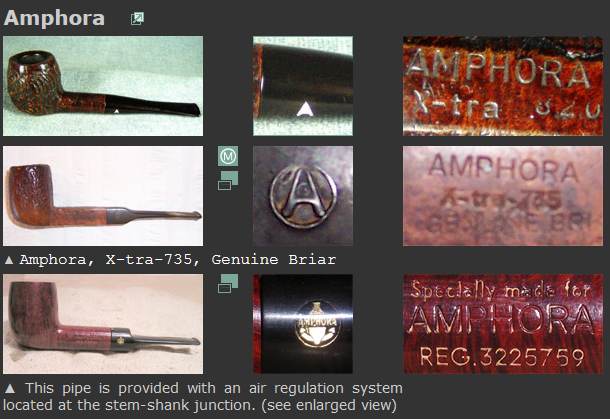 There was also some information in the side bar that I have included below:
A brand of Elbert Gubbels & Sons – Royal Dutch Pipe Factory who has gone bankrupt on March 2012. See also: Big-Ben, Humbry, IRC, Roermond, Royal Dutch, Thompson and Porsche Design.
Now that I was reminded about the Royal Dutch Pipe Factory connection it was time to work on the pipe on my end.
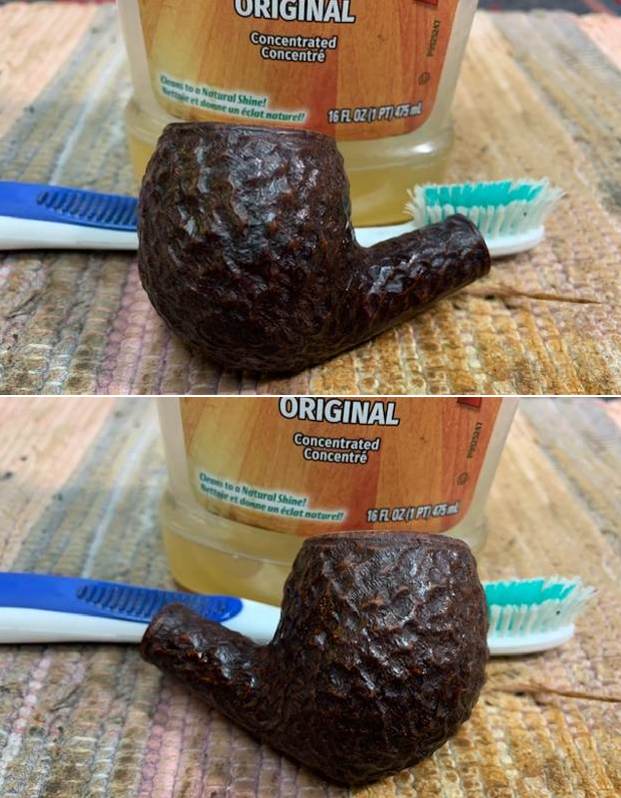
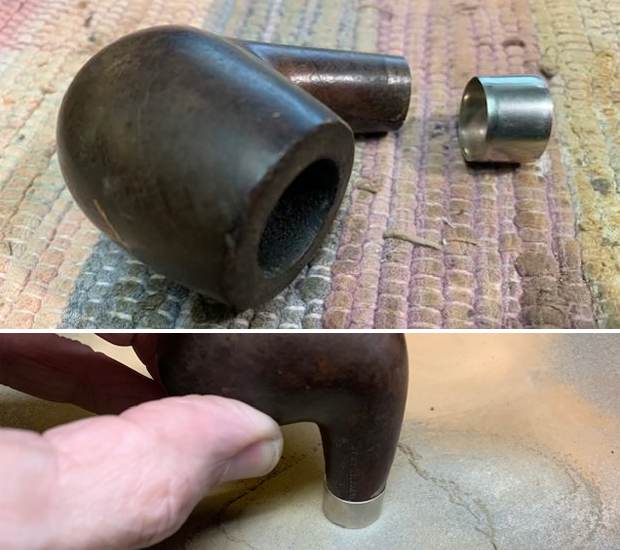
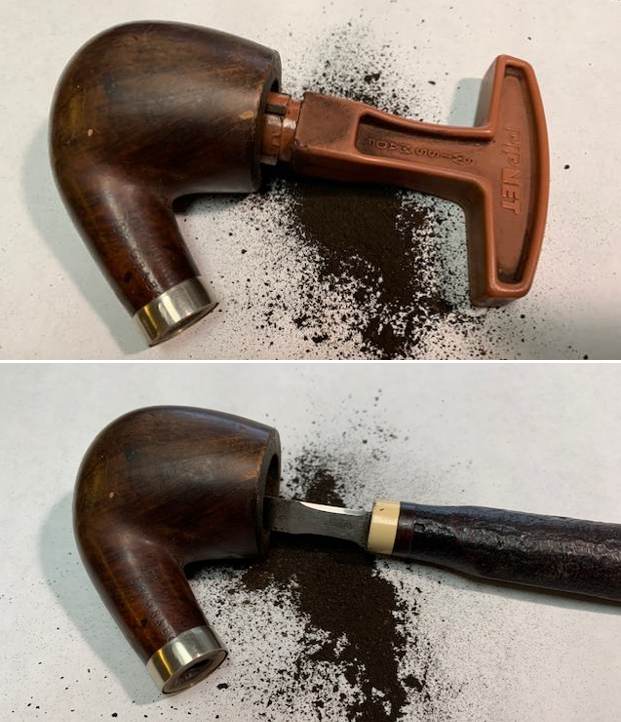
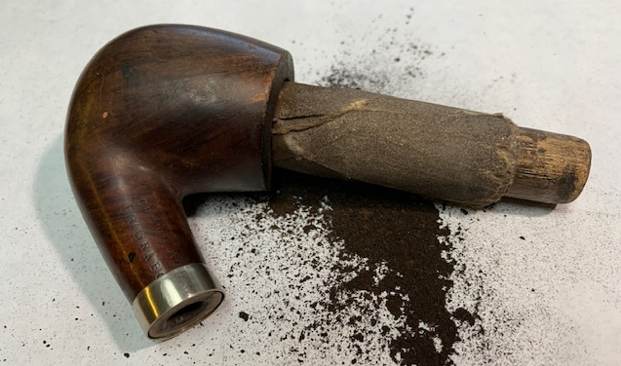
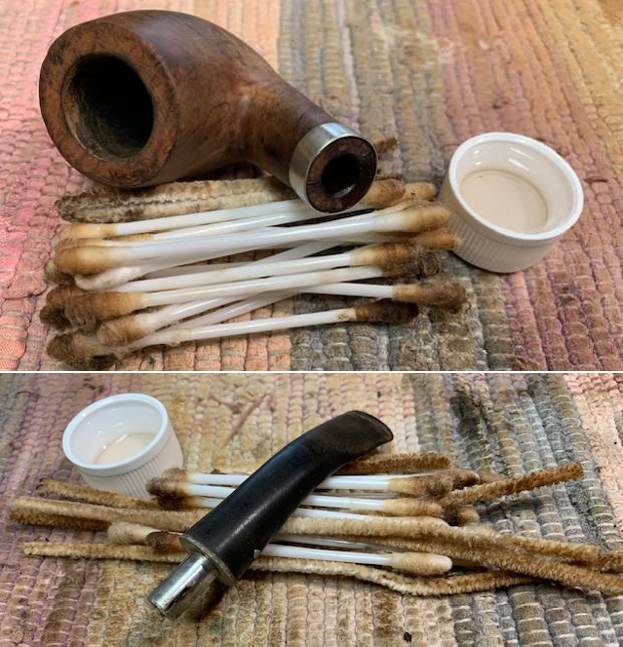
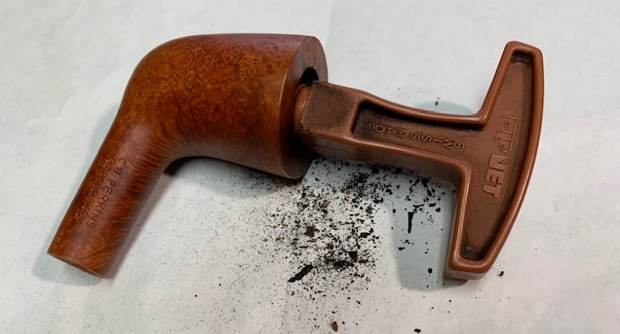
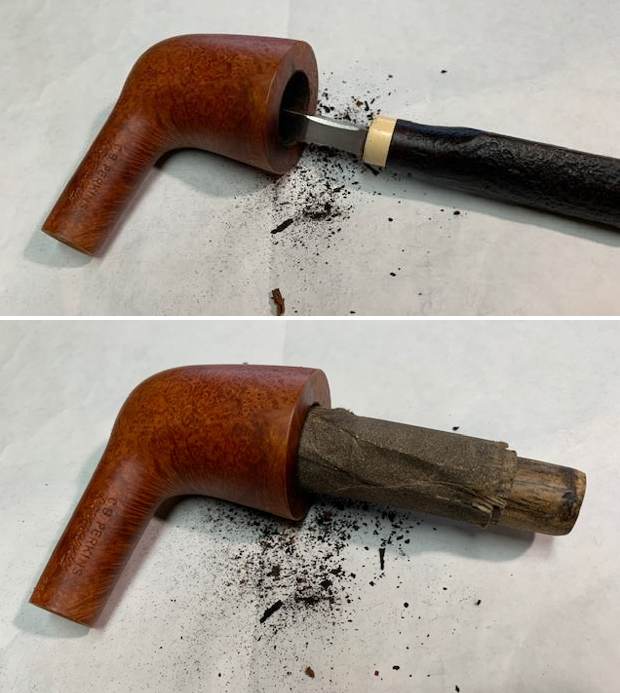
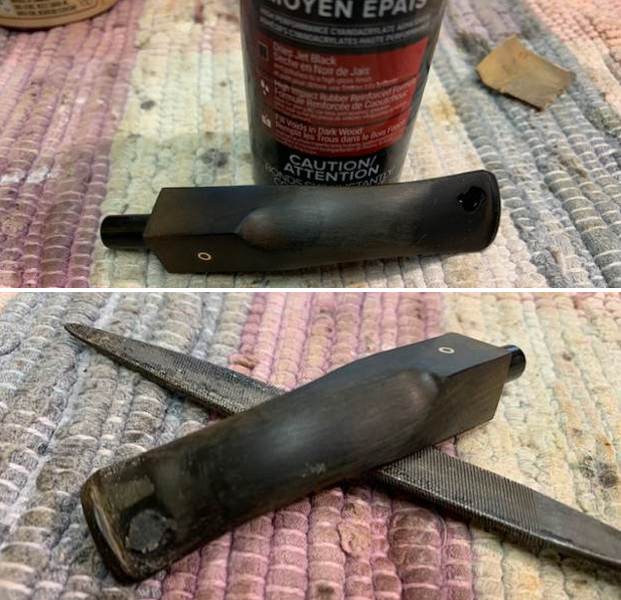
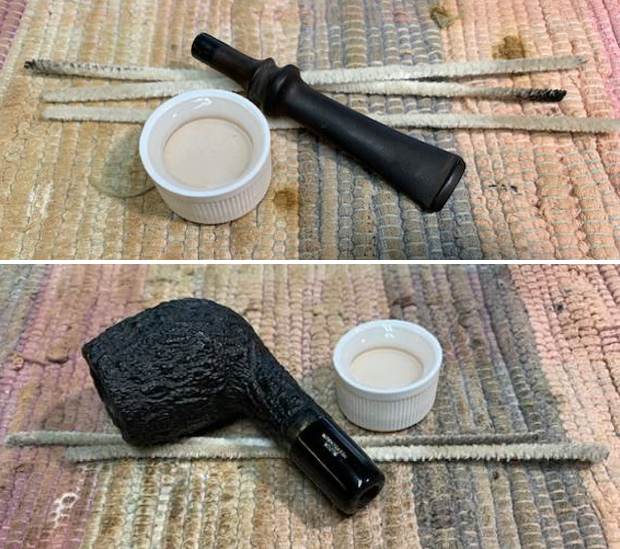
Jeff had done a great clean up of the pipe. He had reamed it with a PipNet reamer and took the cake back to bare briar. He cleaned up the remnants with a Savinelli Fitsall Pipe Knife. He scrubbed internals of the shank and stem with alcohol, cotton swabs and pipe cleaners. He cleaned the exterior of the pipe with undiluted Murphy’s Oil Soap and a tooth brush to remove the grime and the lava on the rim top. He scrubbed the stem with Soft Scrub to remove the debris that had accumulated on it. The pipe looked clean and ready for the next step in the process. Here are some photos of it when I finally got around to working on it 4 years later. 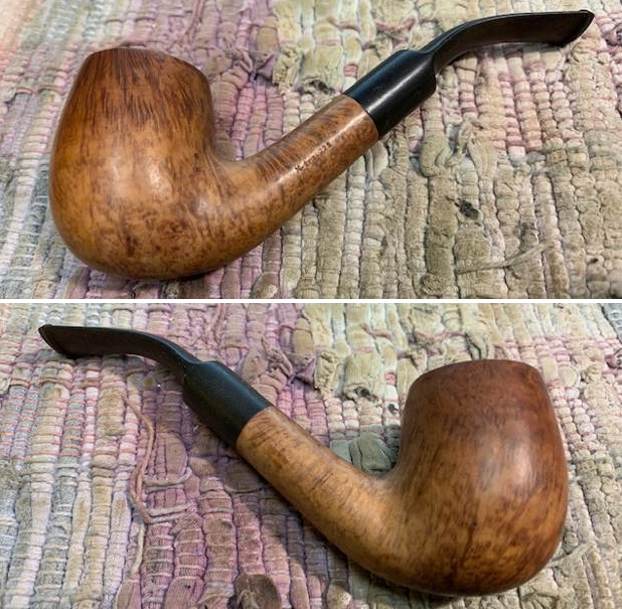
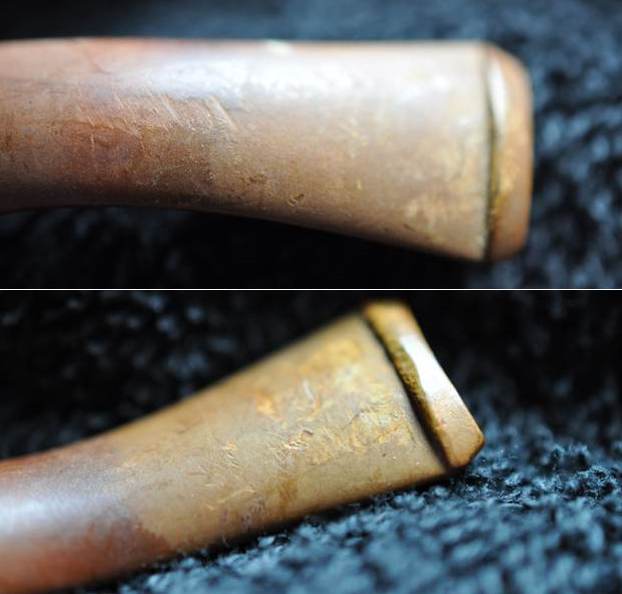
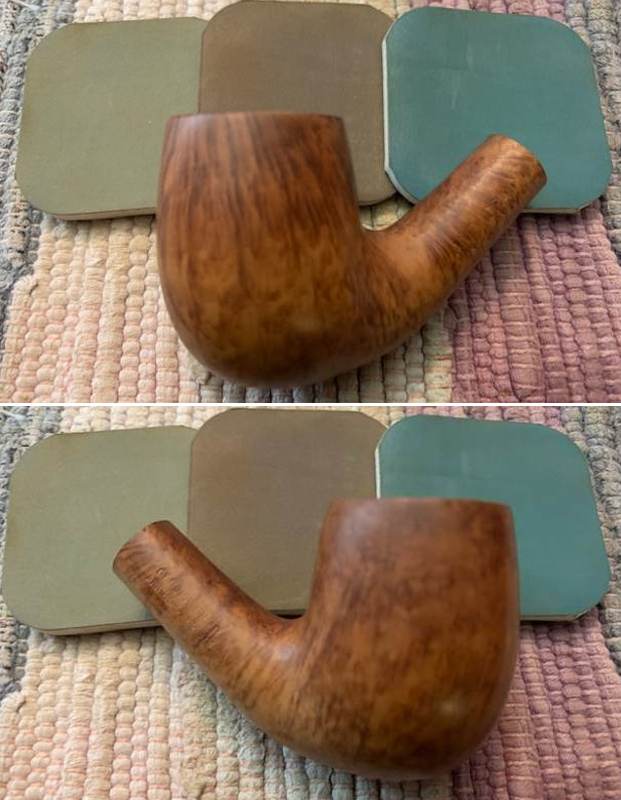
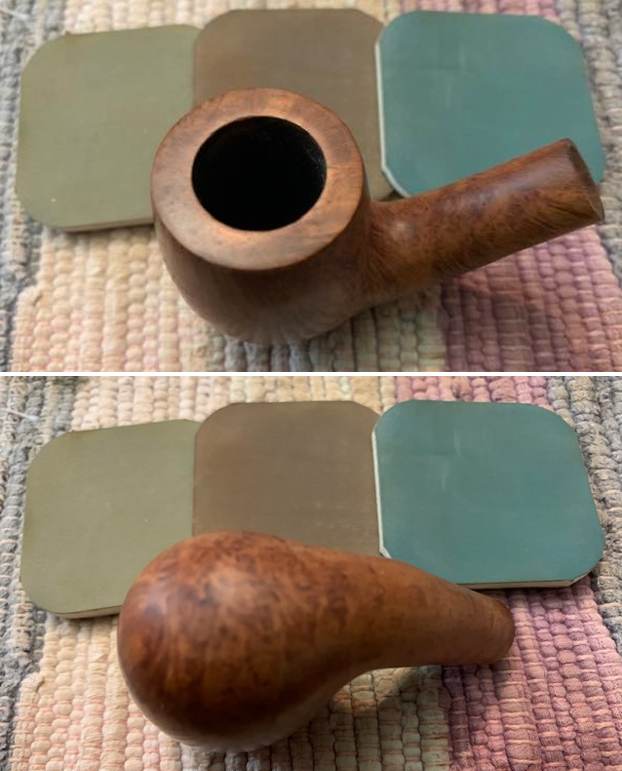
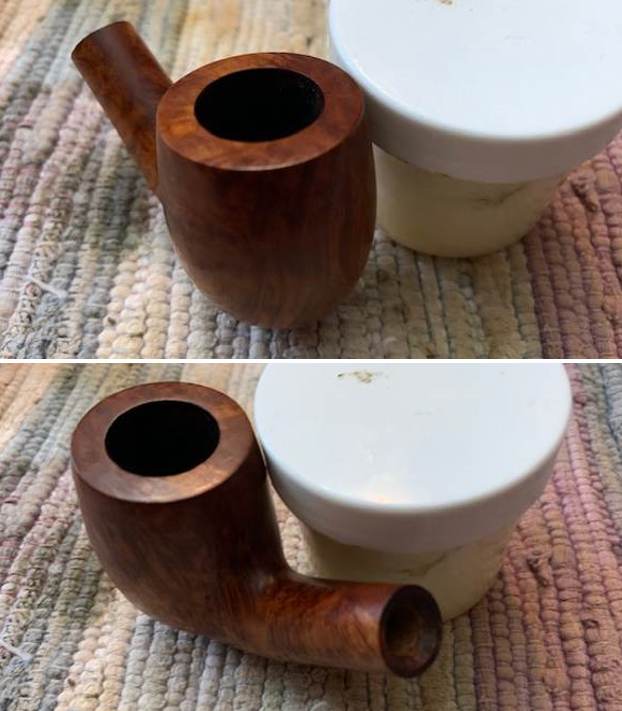
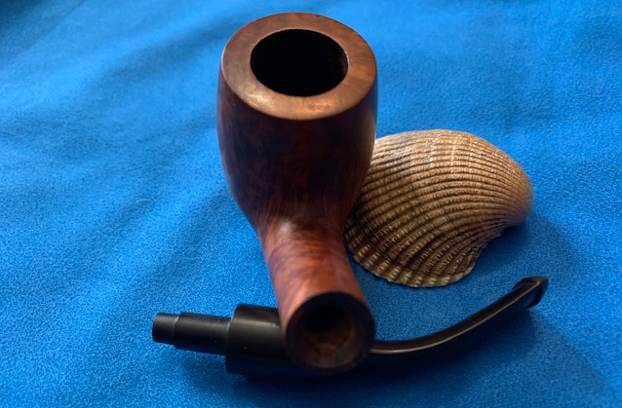
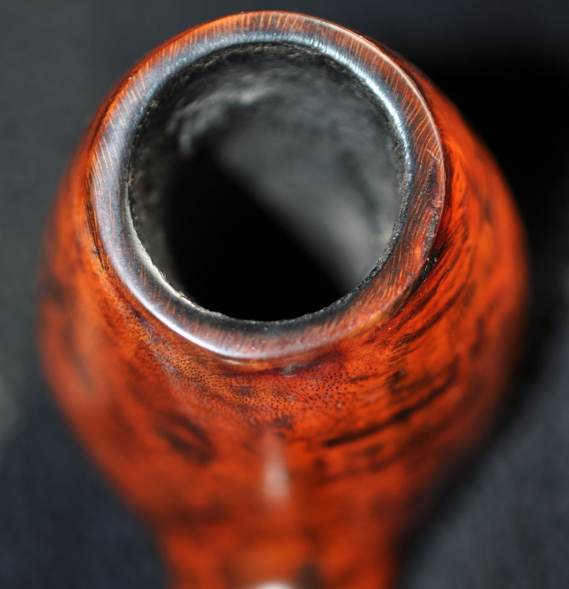
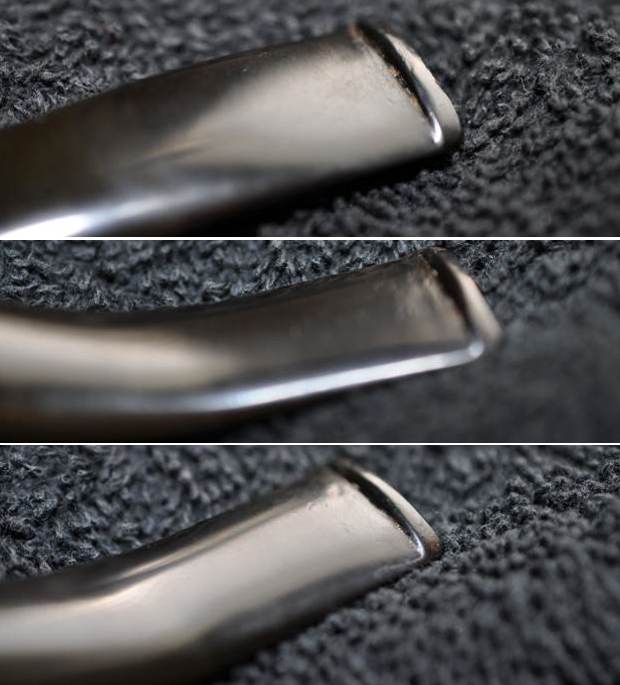
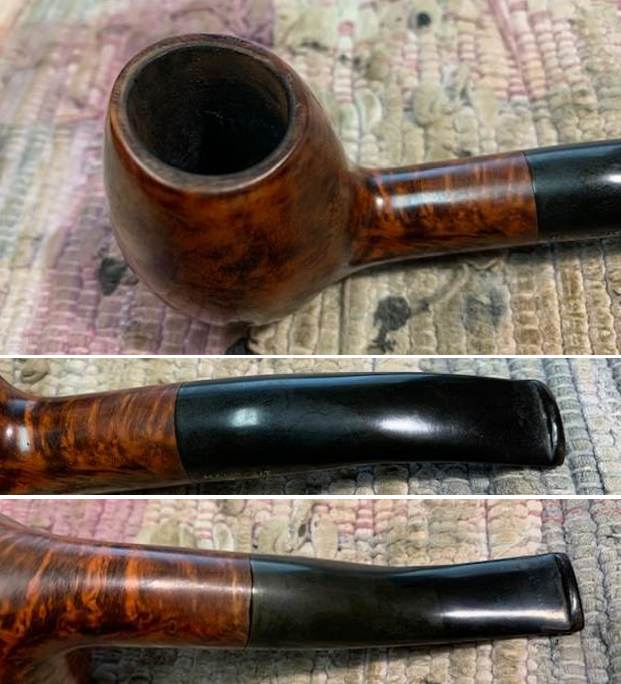
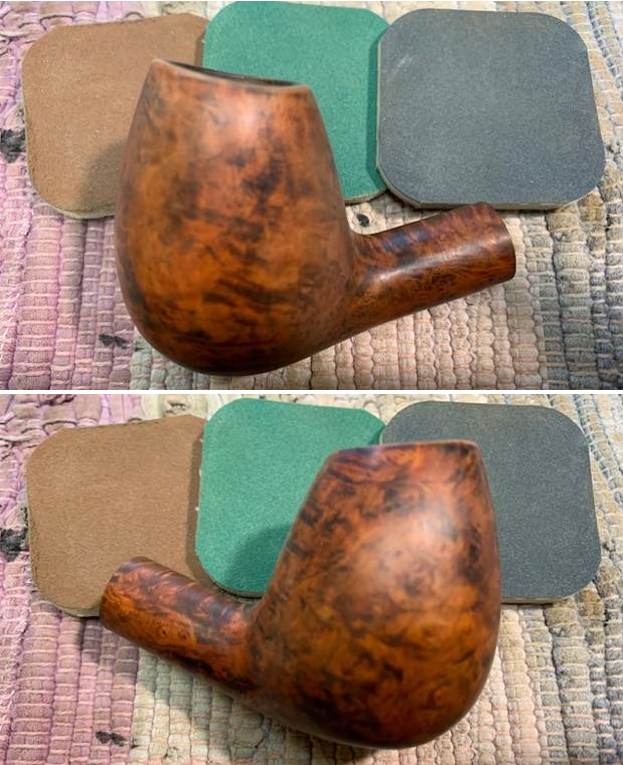
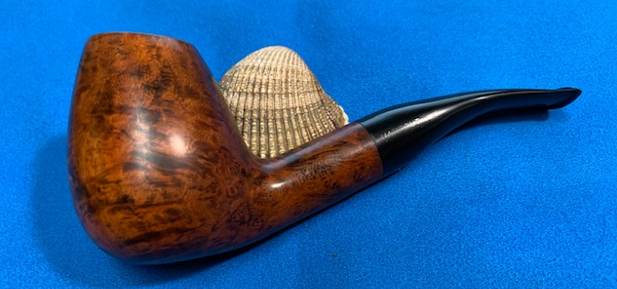
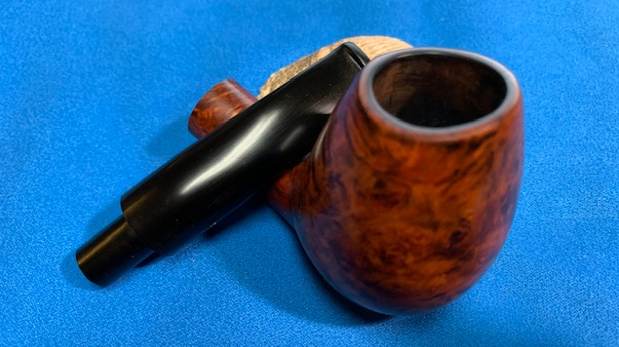
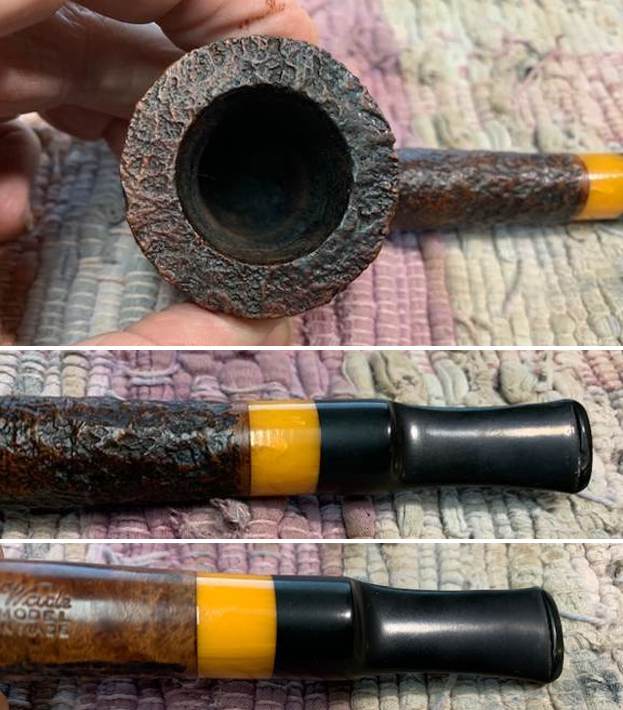
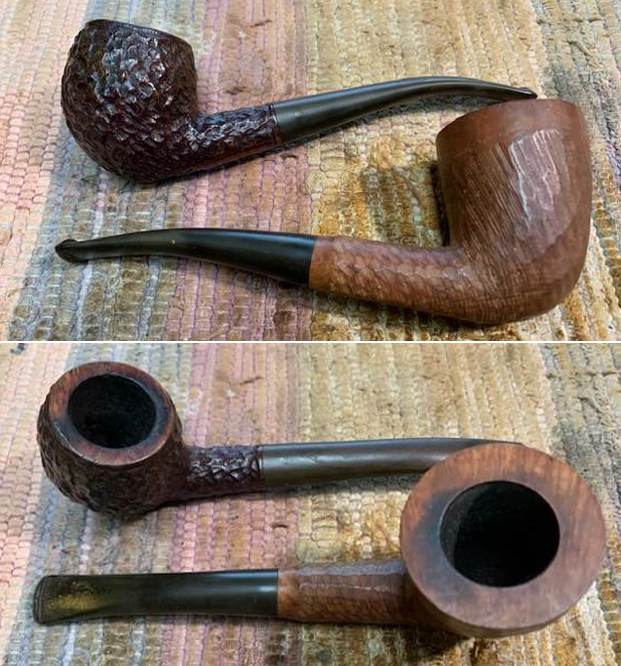
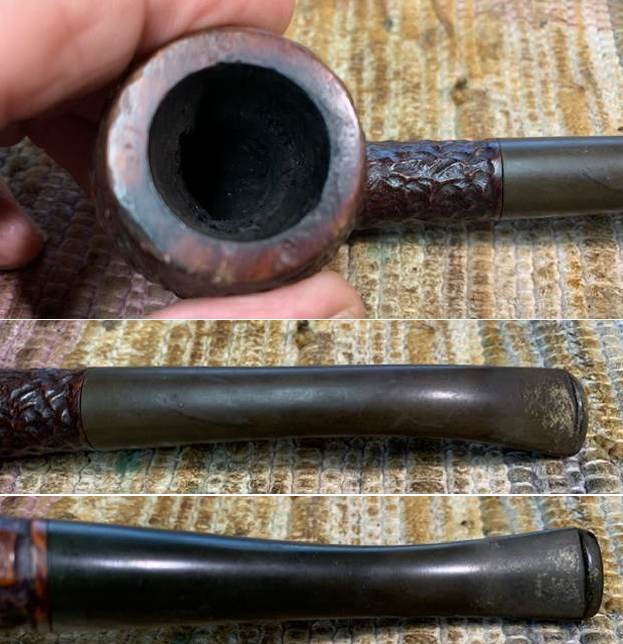
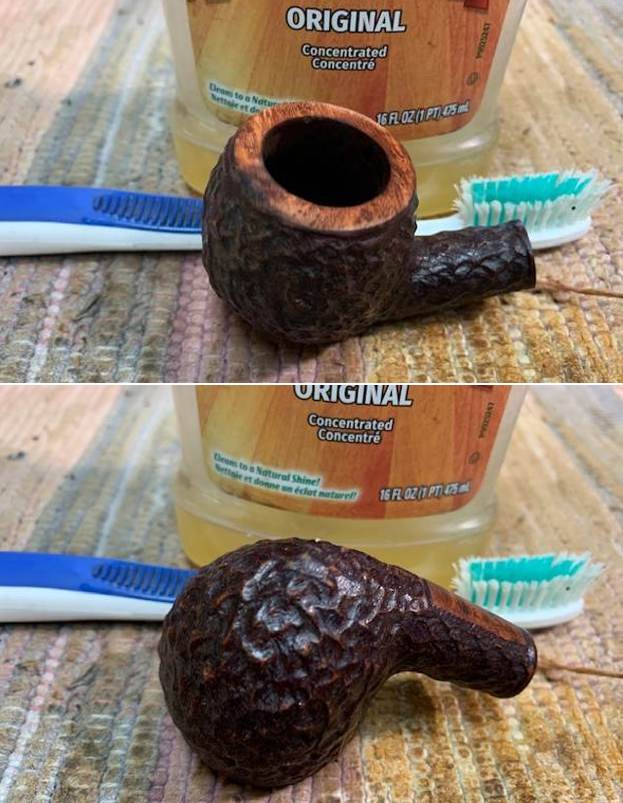
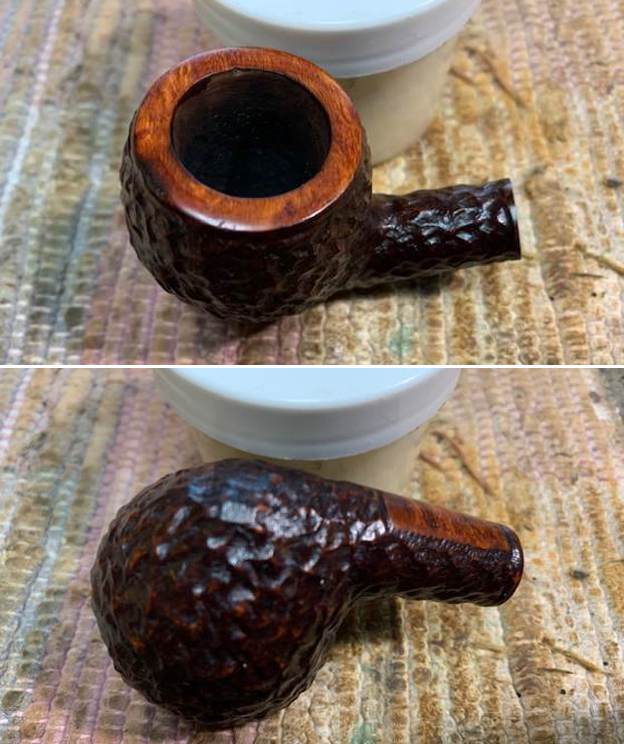
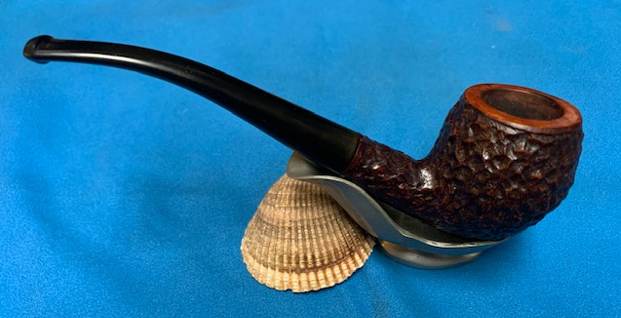
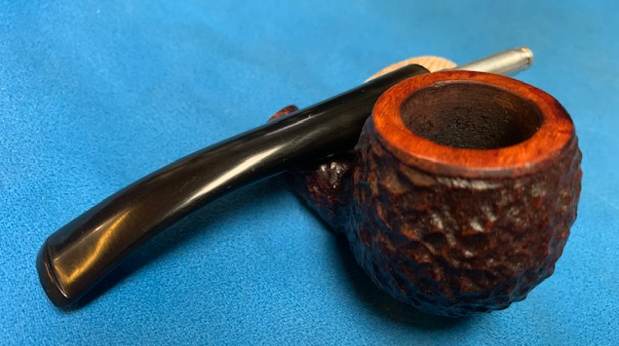
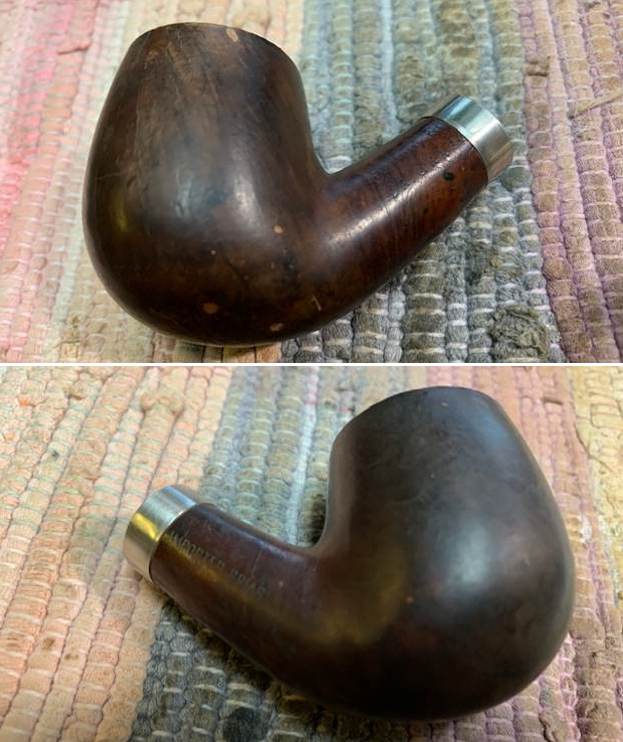
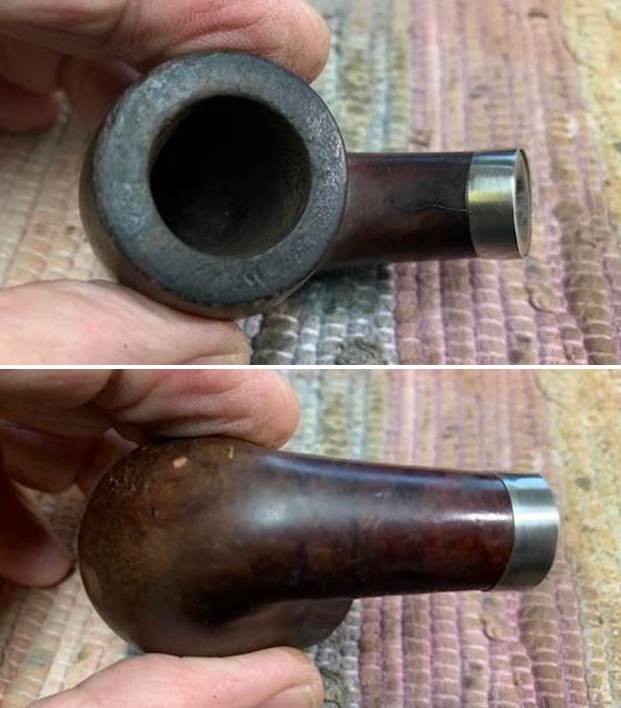
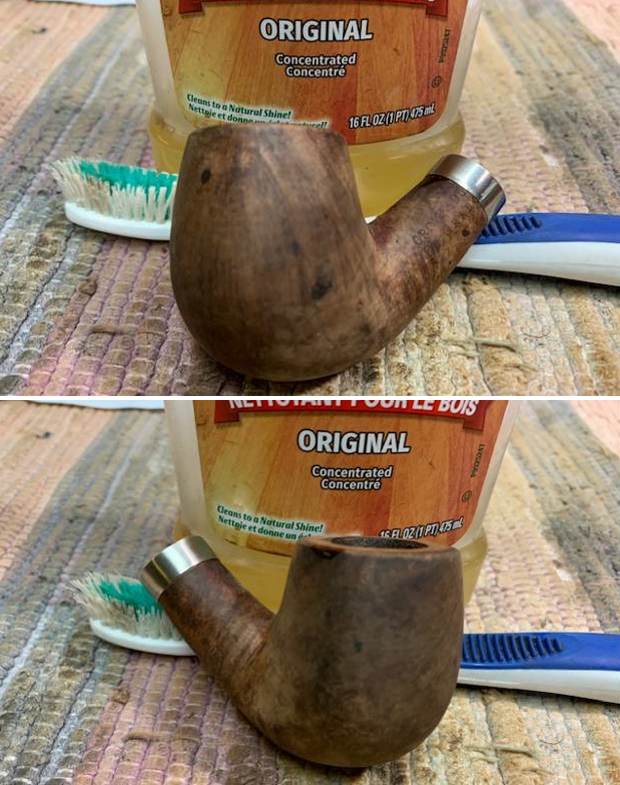
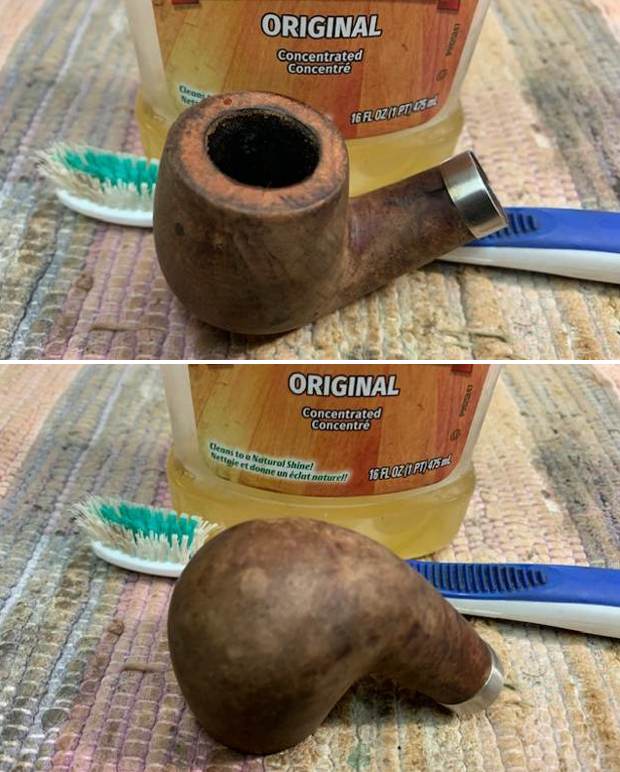
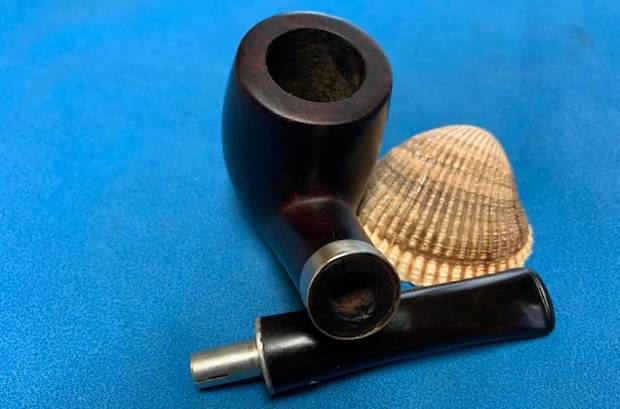
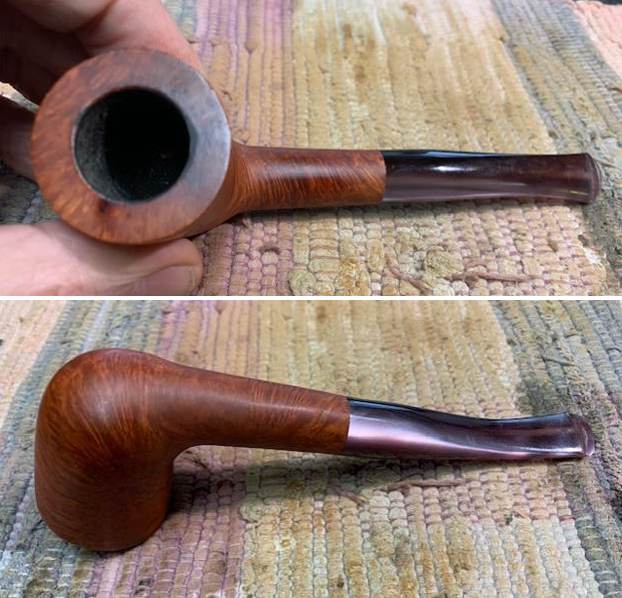
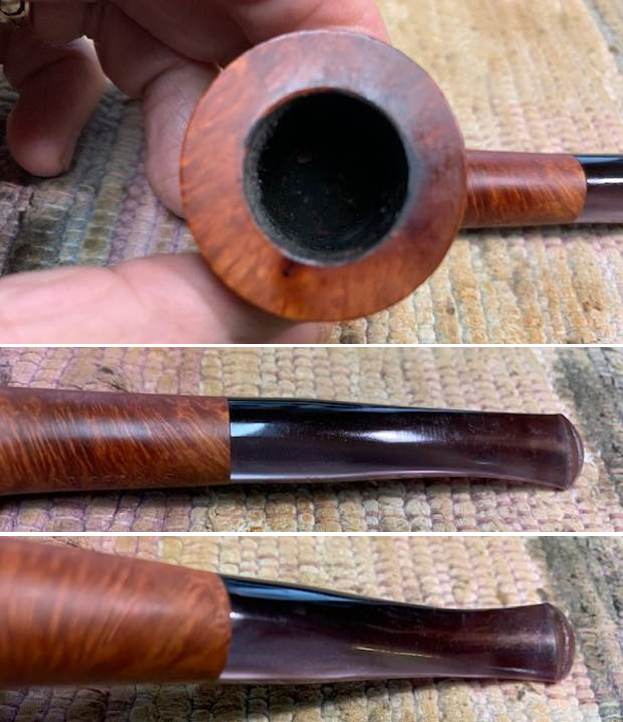
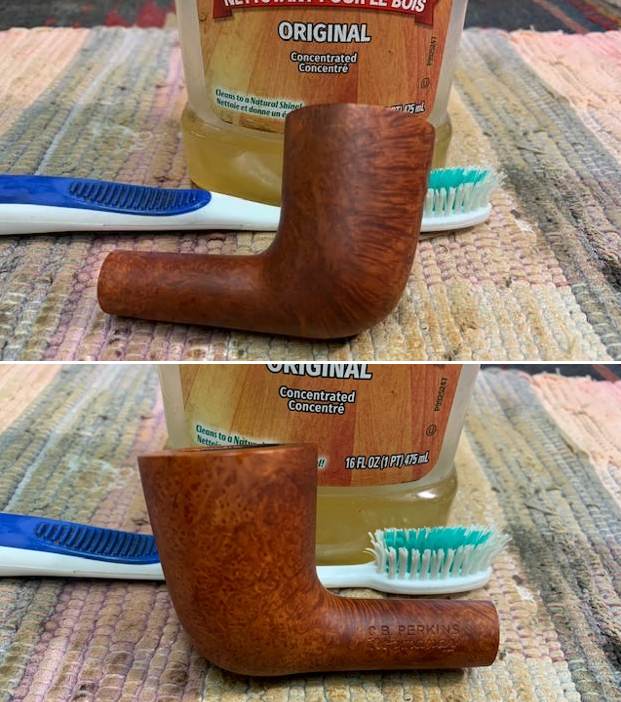
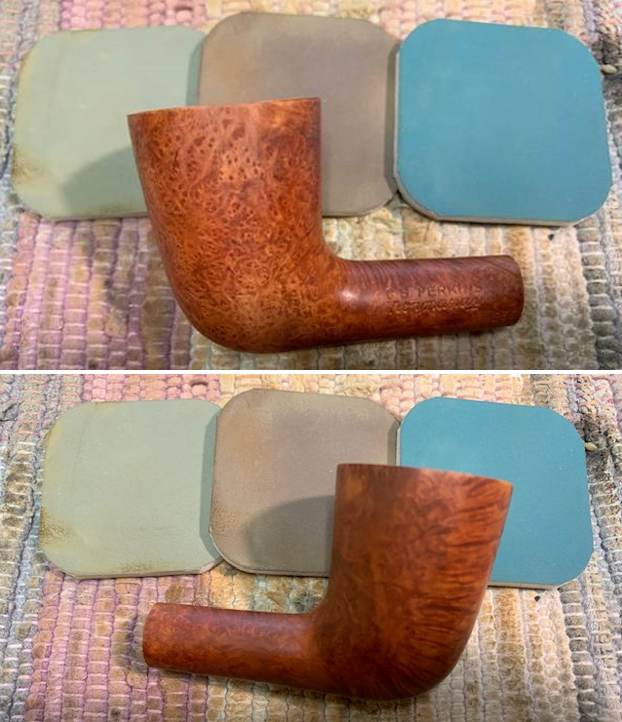
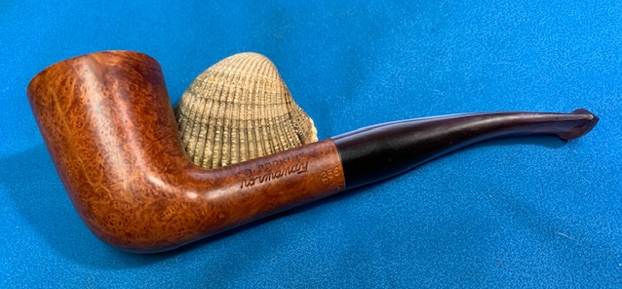
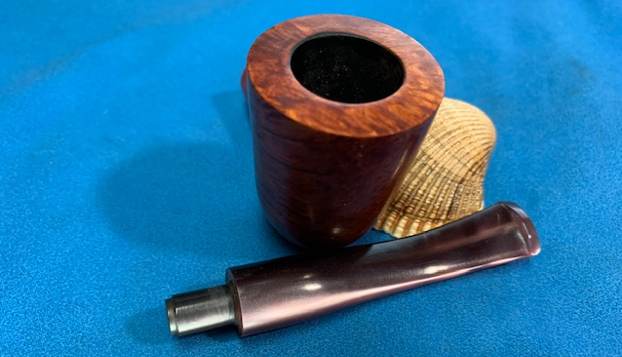
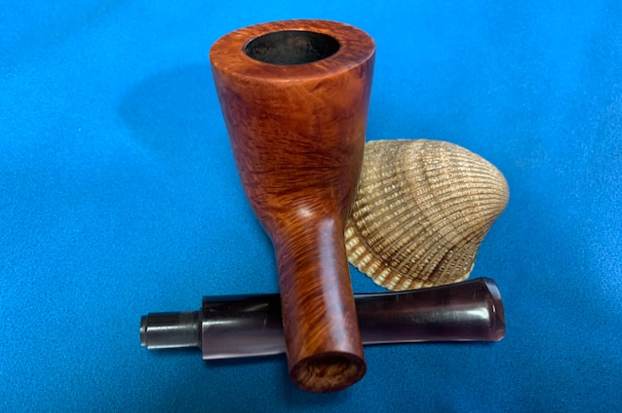
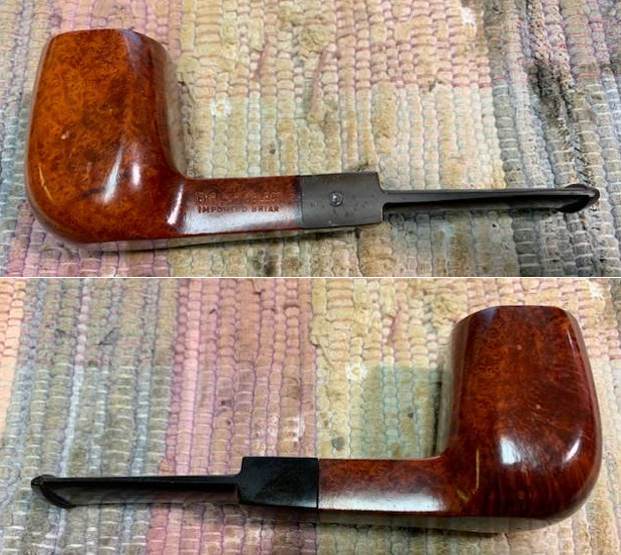
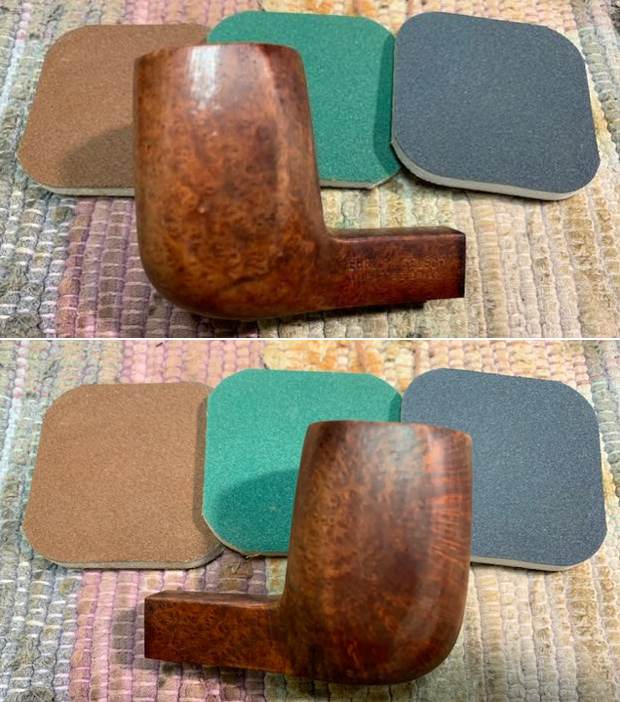
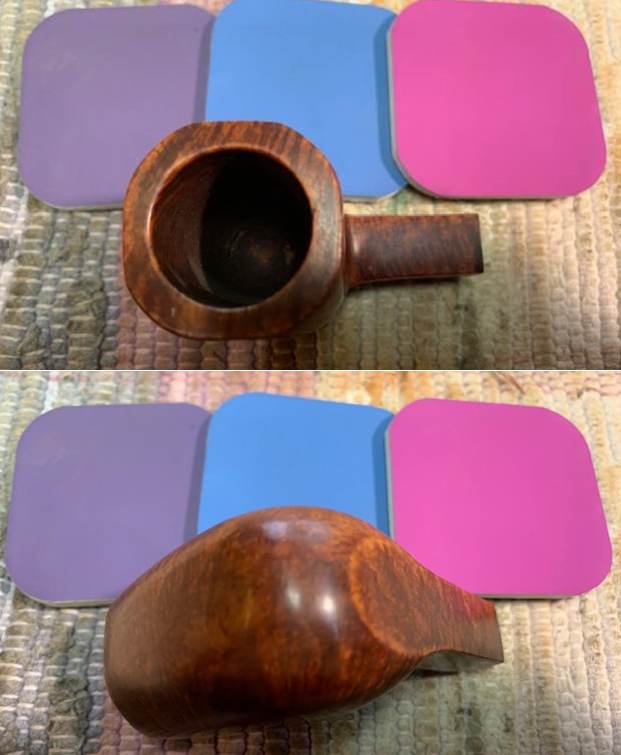
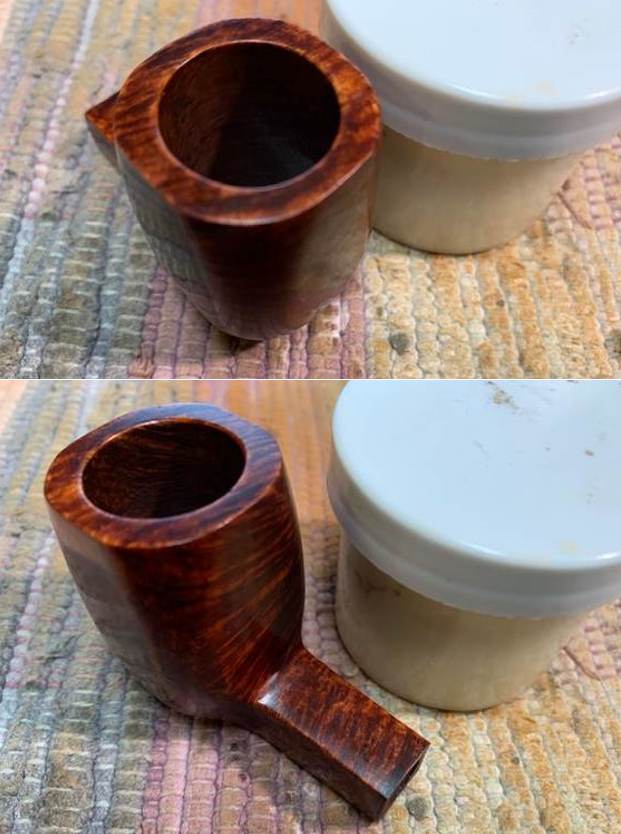
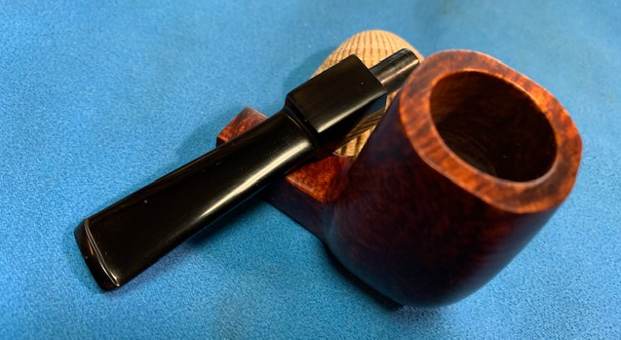
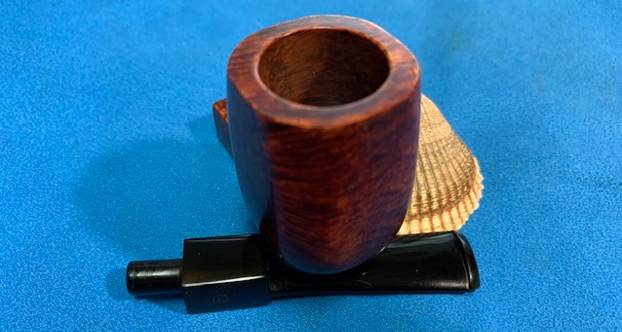
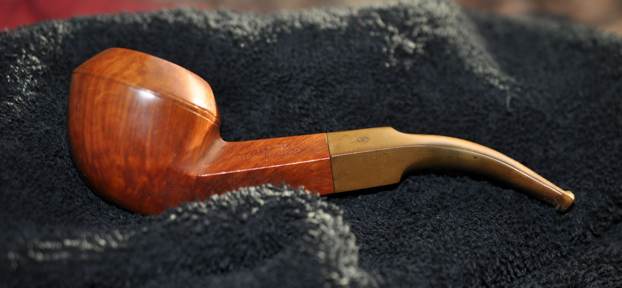
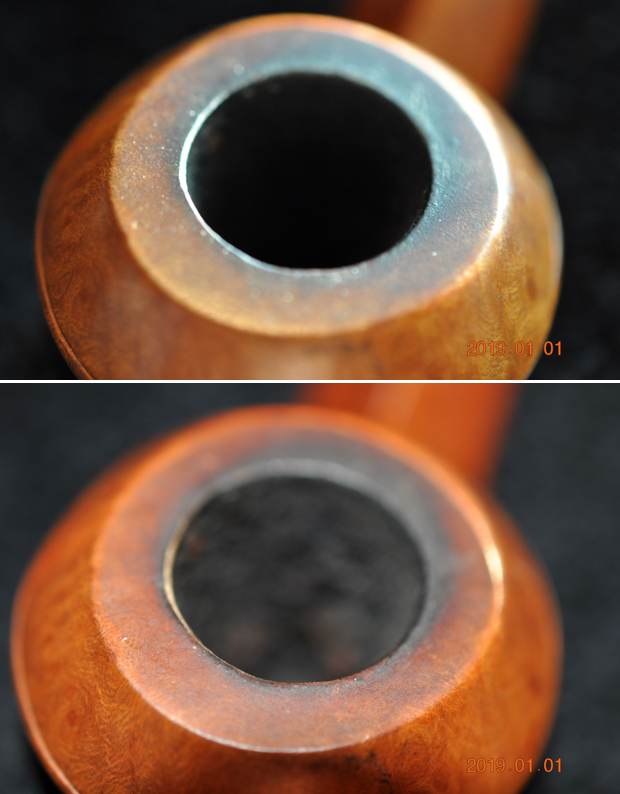
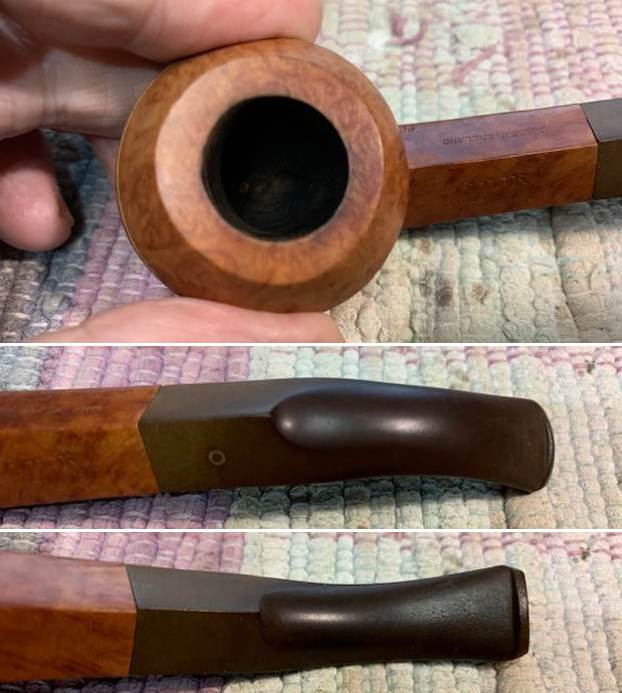
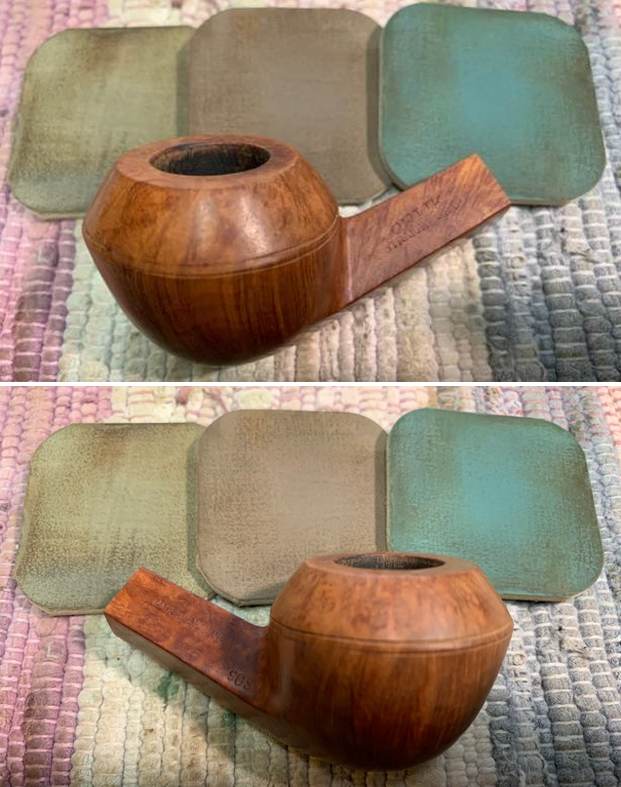
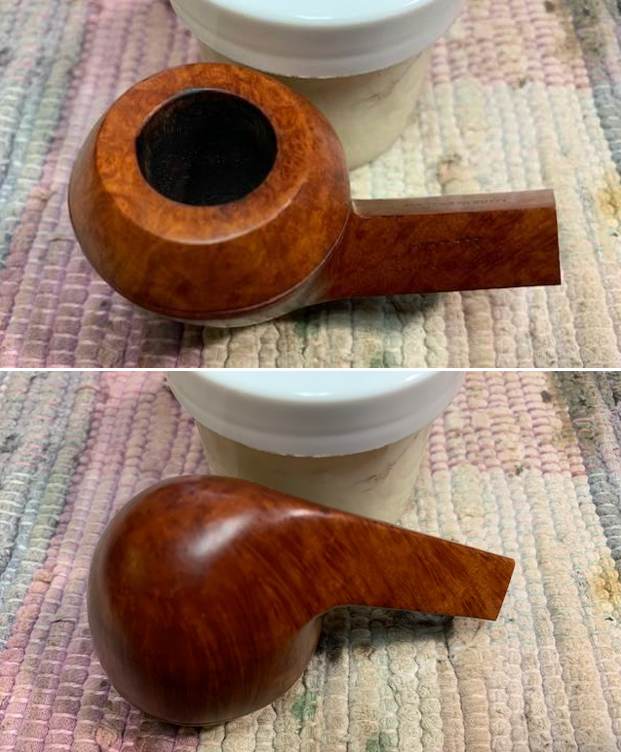
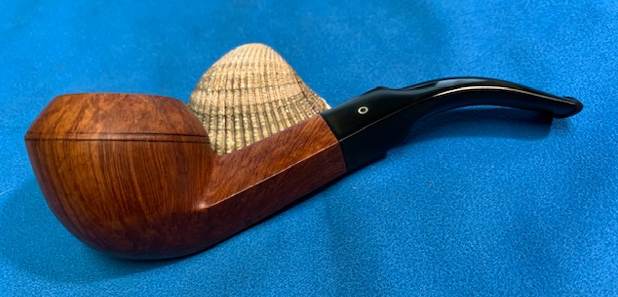
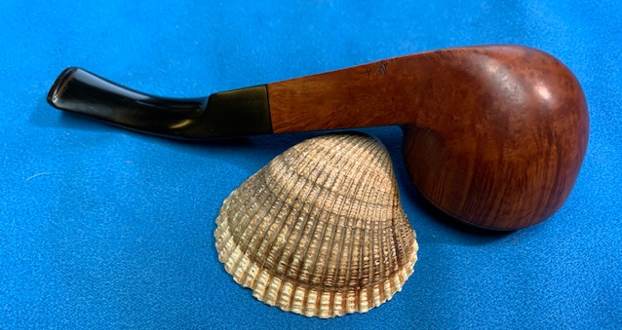
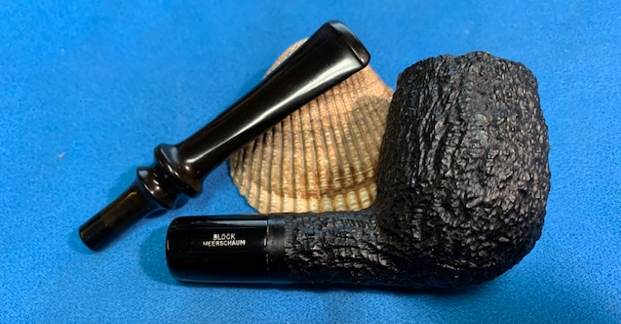
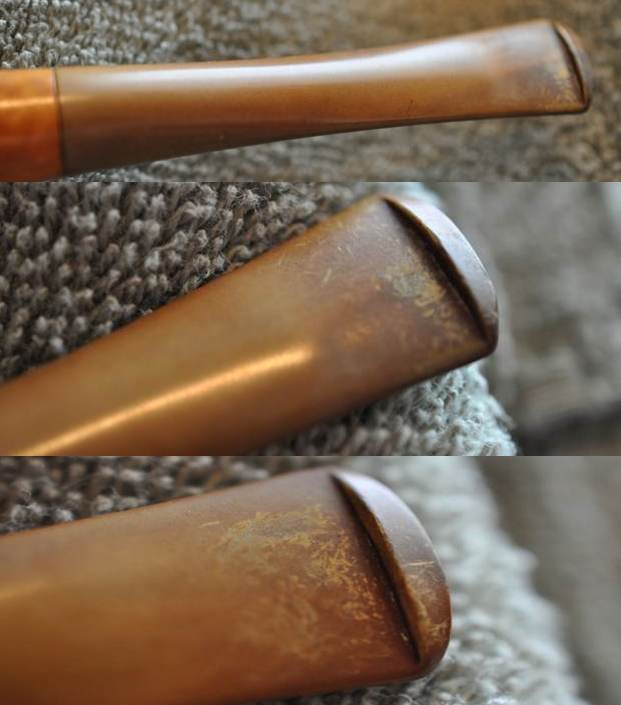
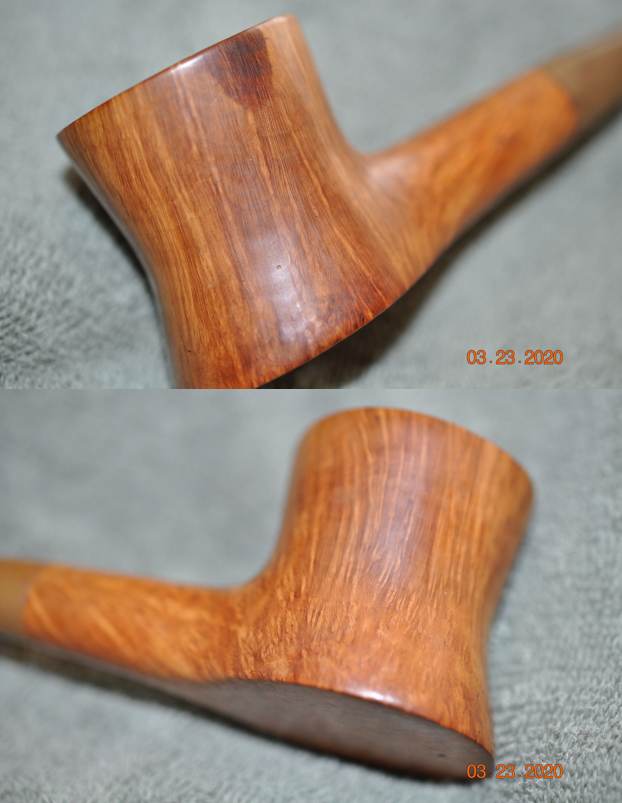
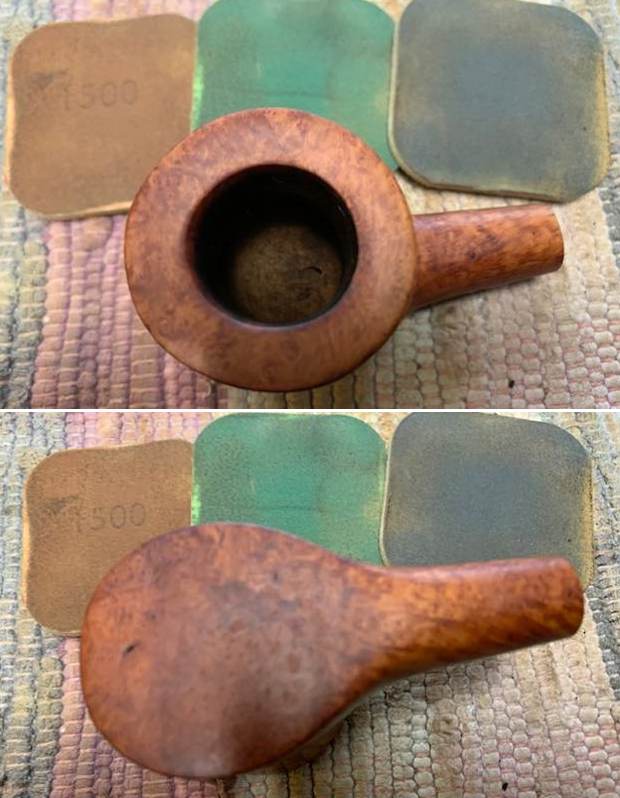
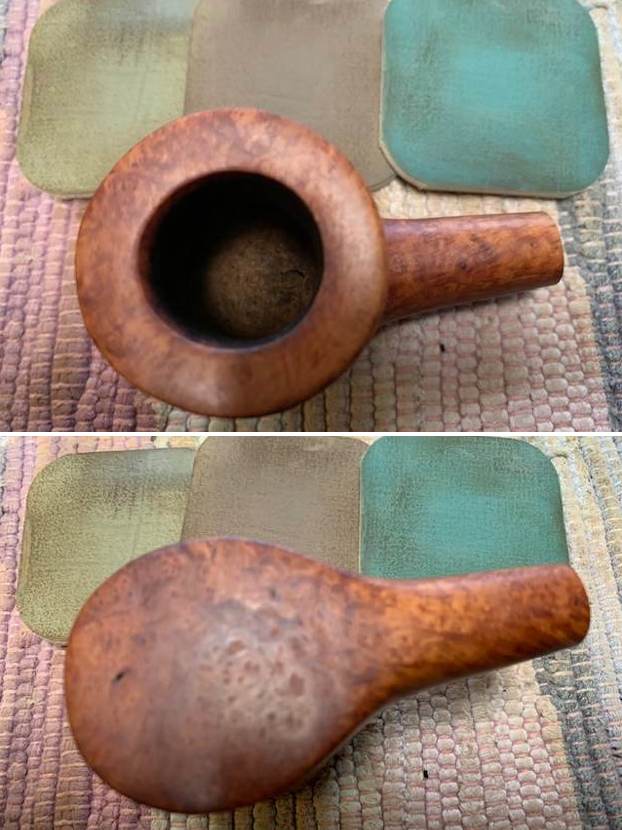
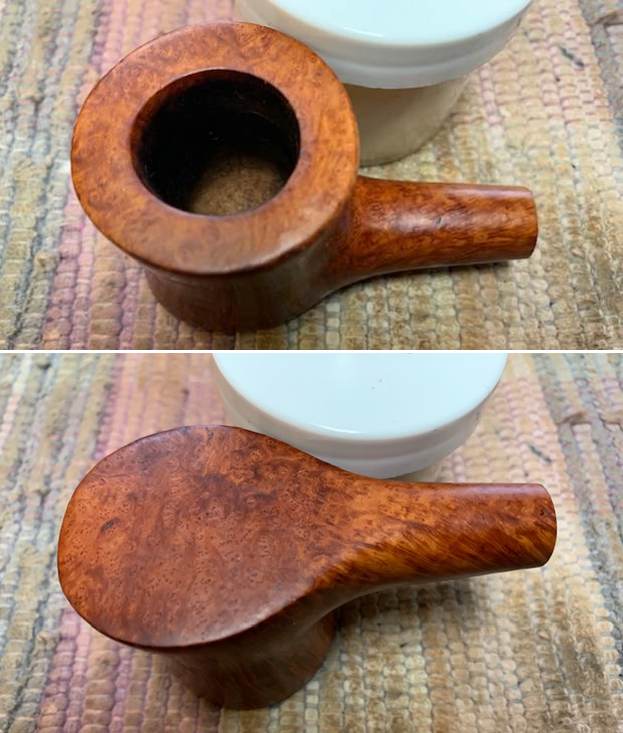
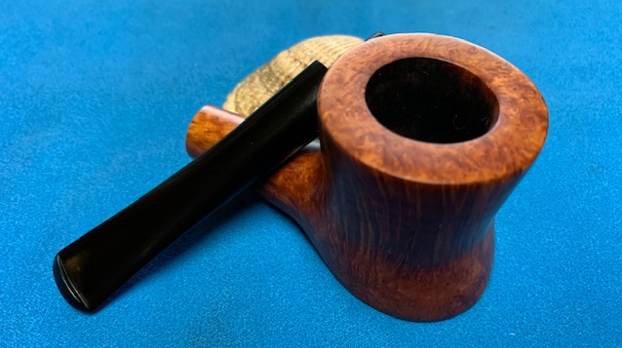
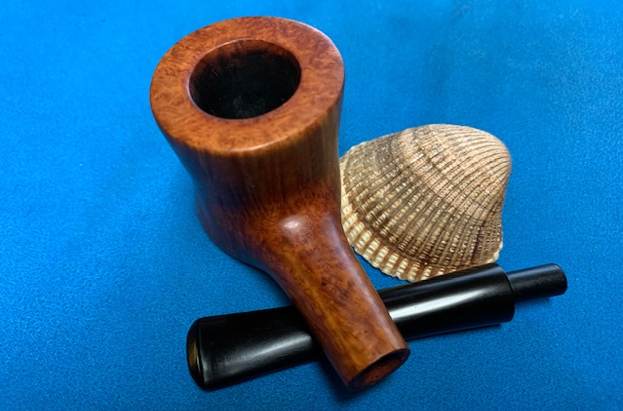
 I took some close up photos of the bowl, rim top and the stem surface. It looked amazingly good. The stem looks good with a little oxidation at the button end. There were also some light tooth marks and chatter on both sides near the button.
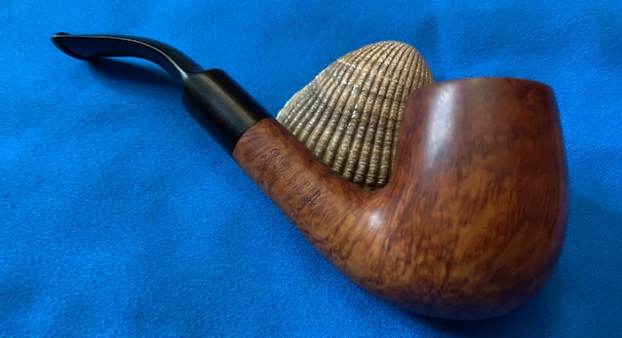
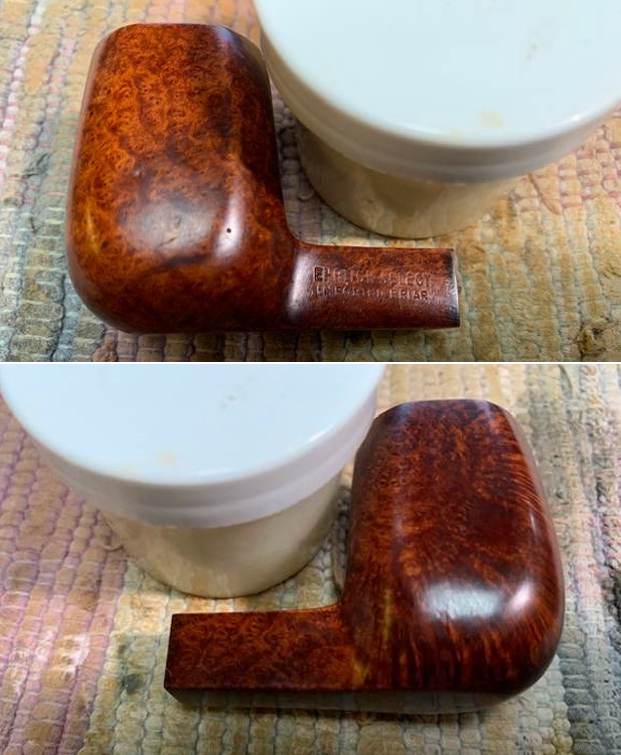
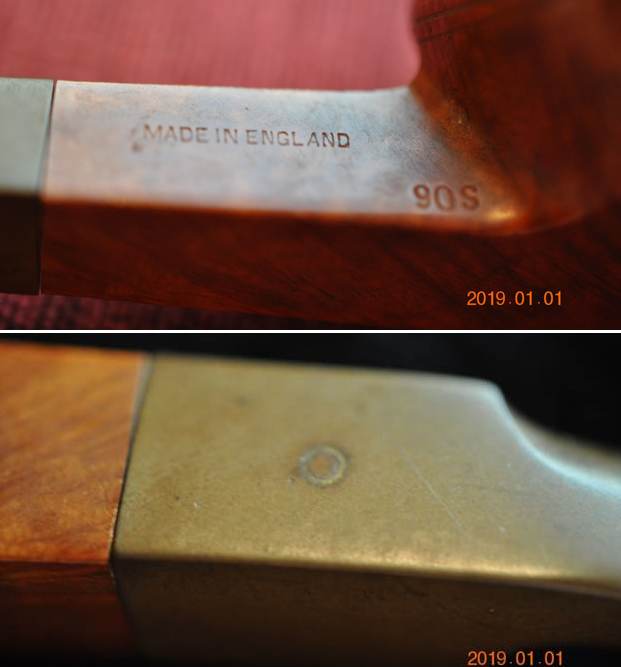
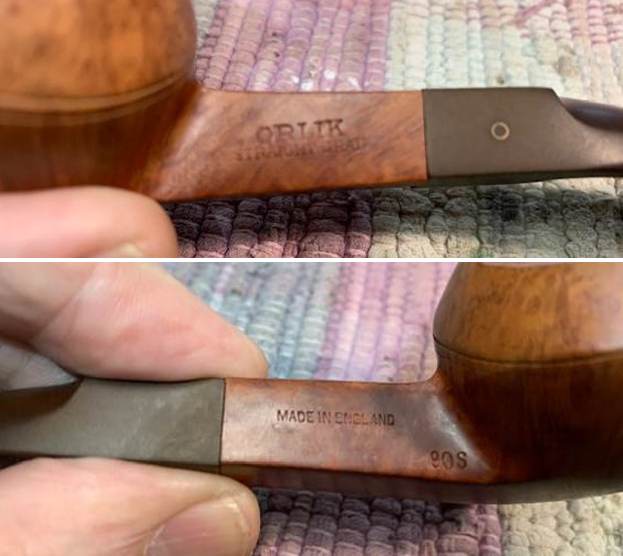
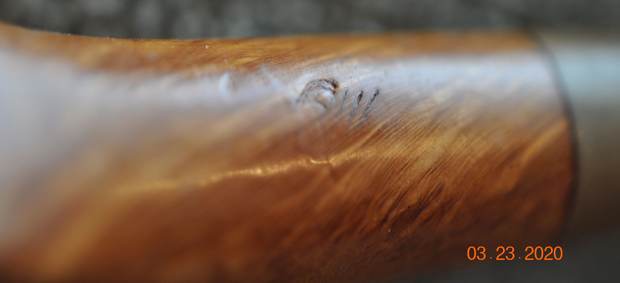
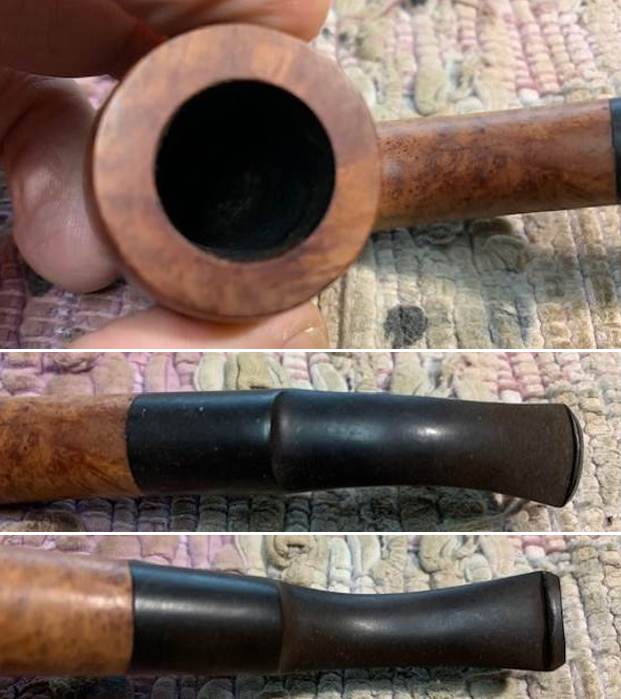 I took photos of the stamping on the sides of the shank. It was readable though faint on both sides of the shank and stem side.
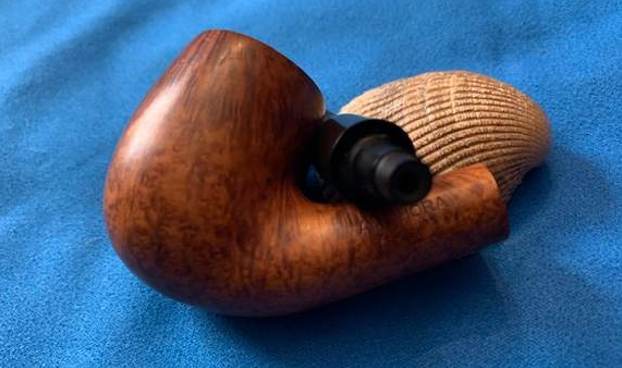
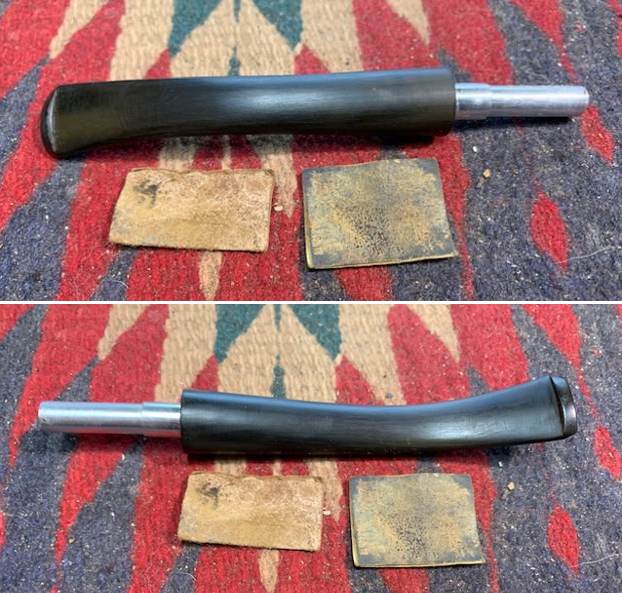
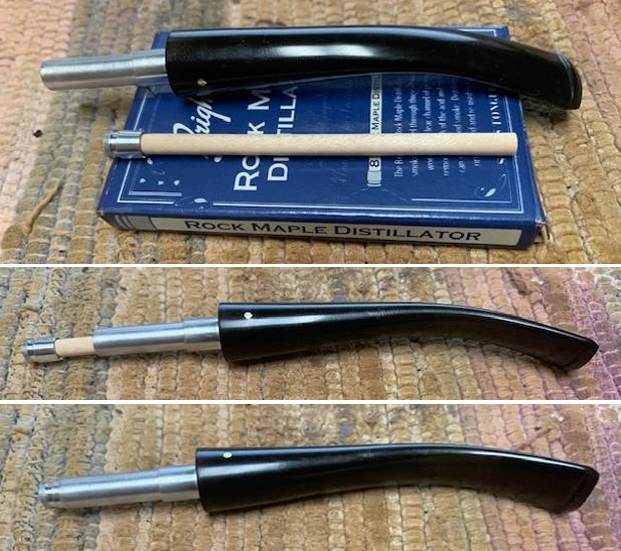
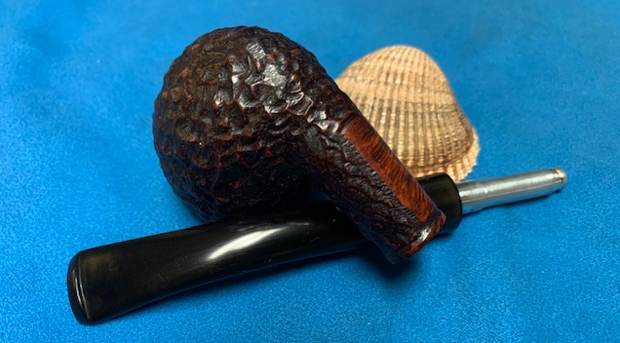
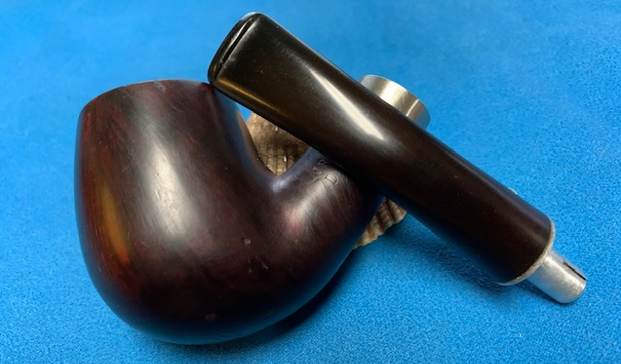
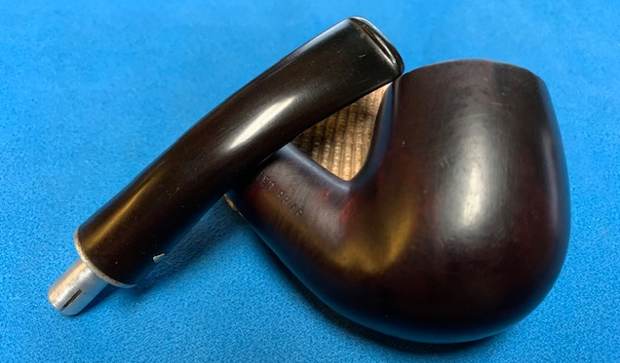
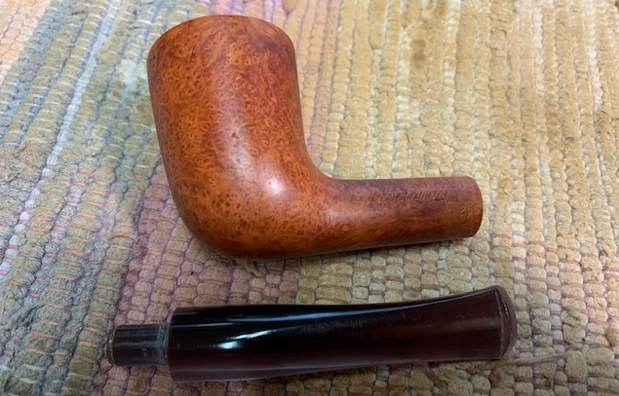
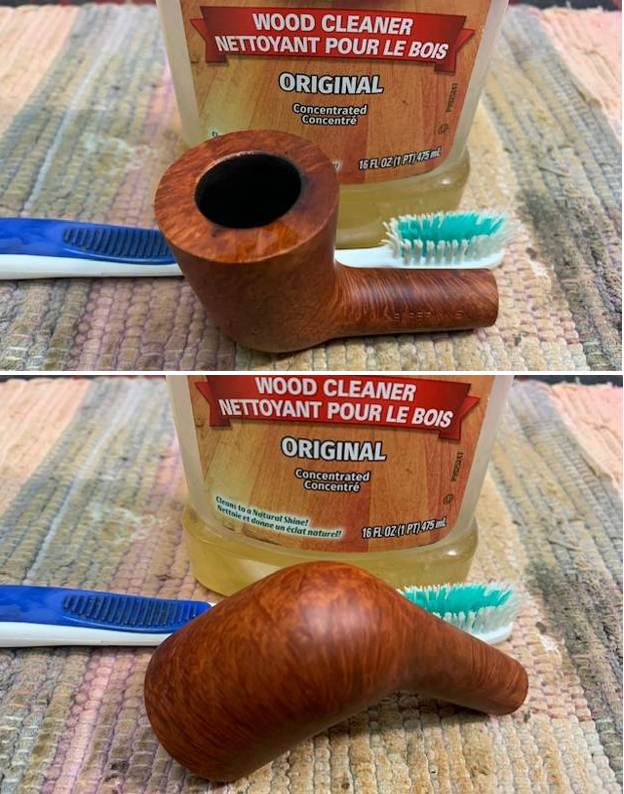
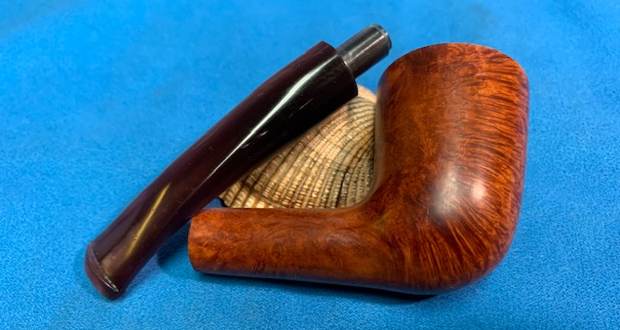
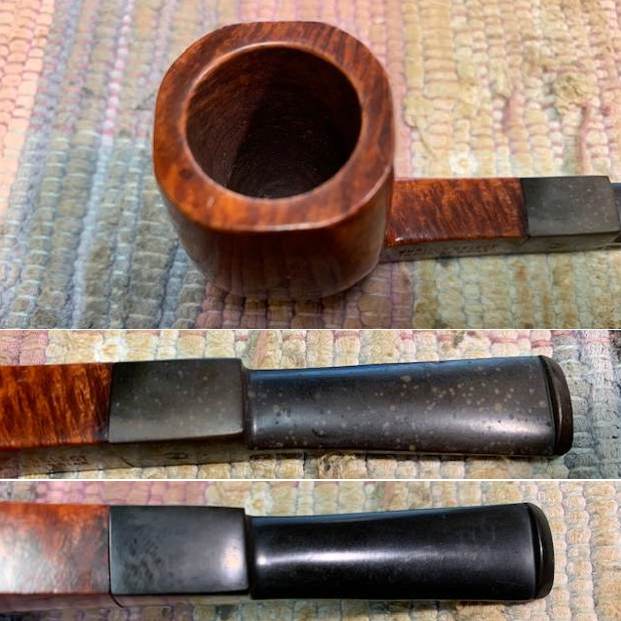
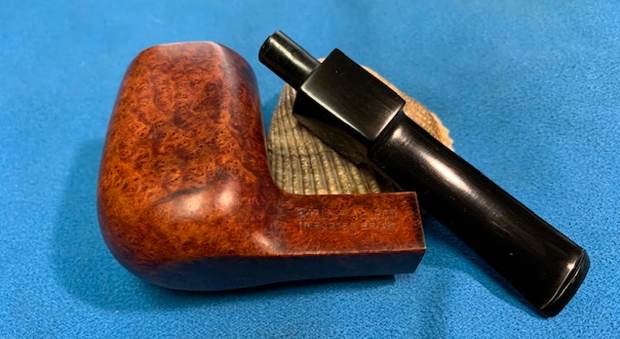
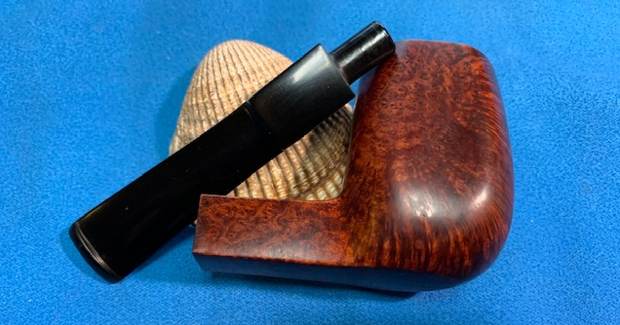
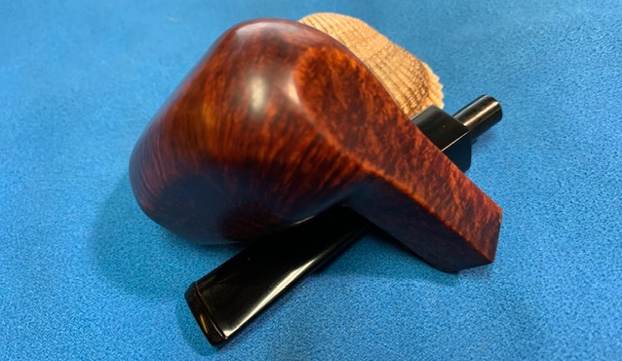
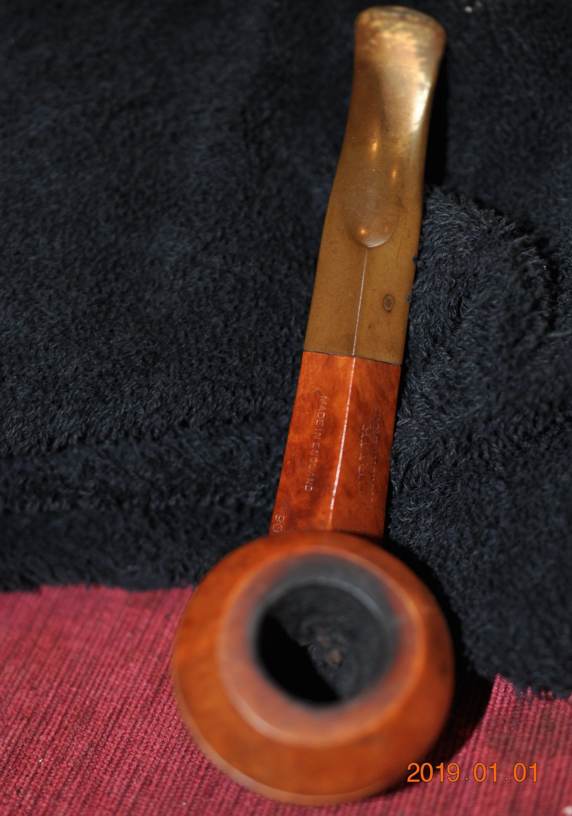
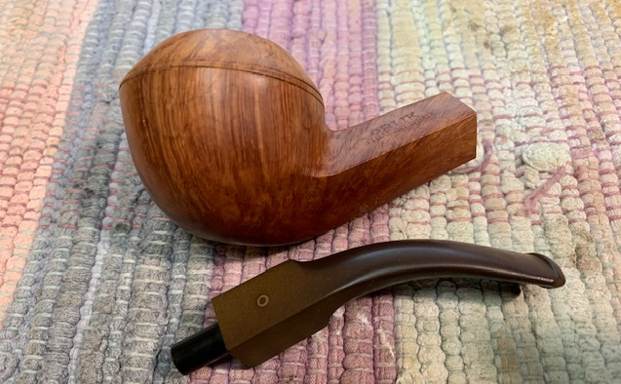
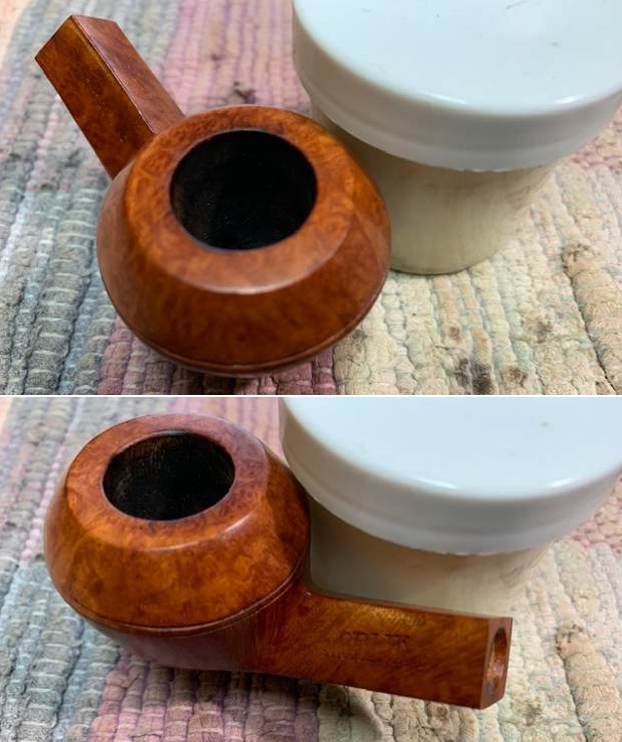
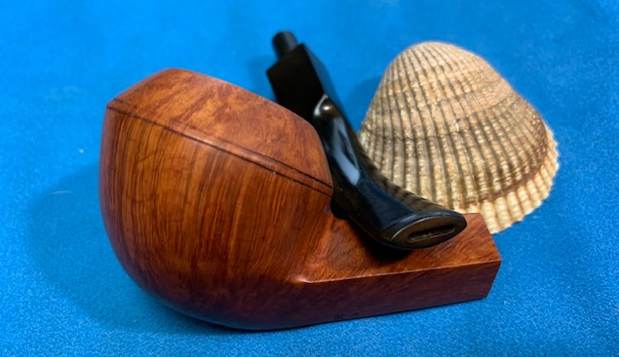
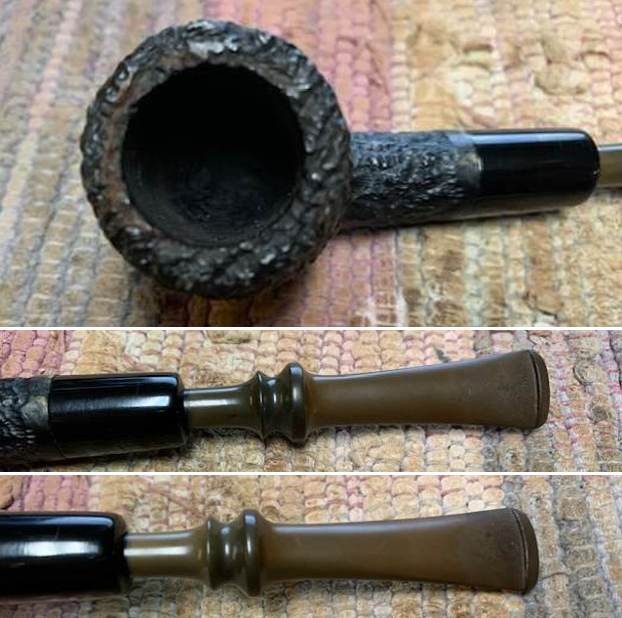
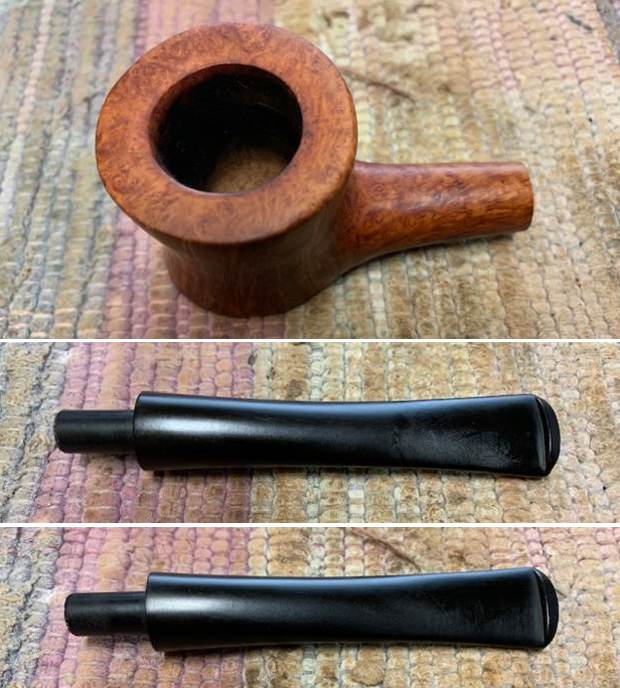
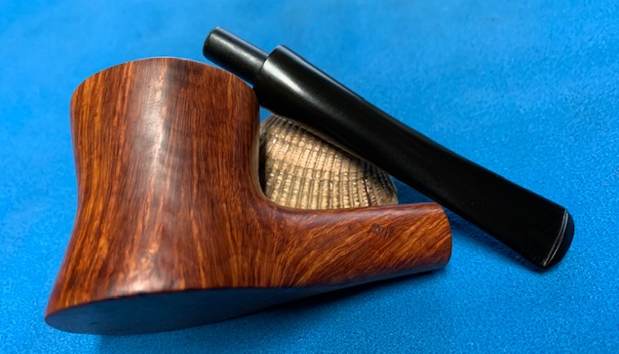
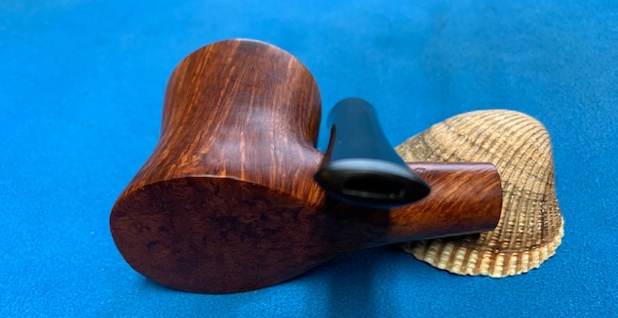
 I removed the stem from the shank to show the components of the pipe. It is a great shape and is a beauty.
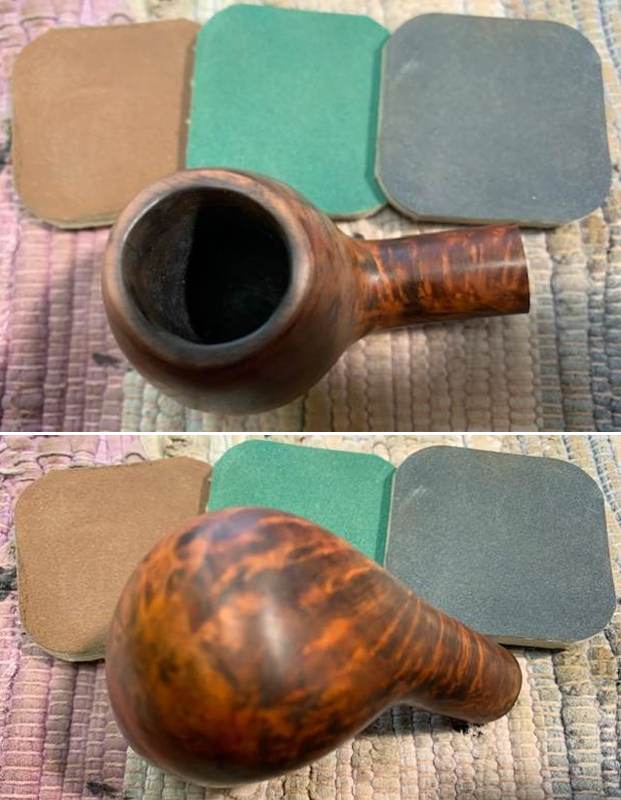
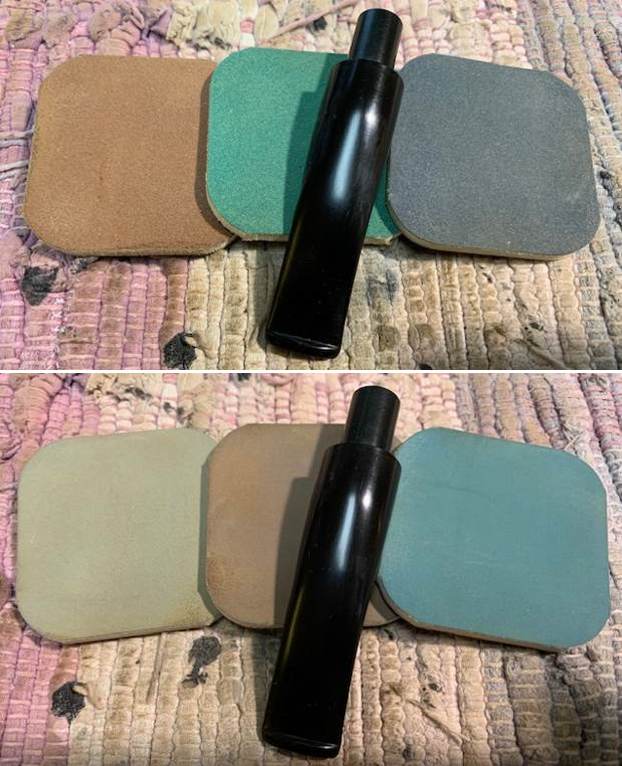
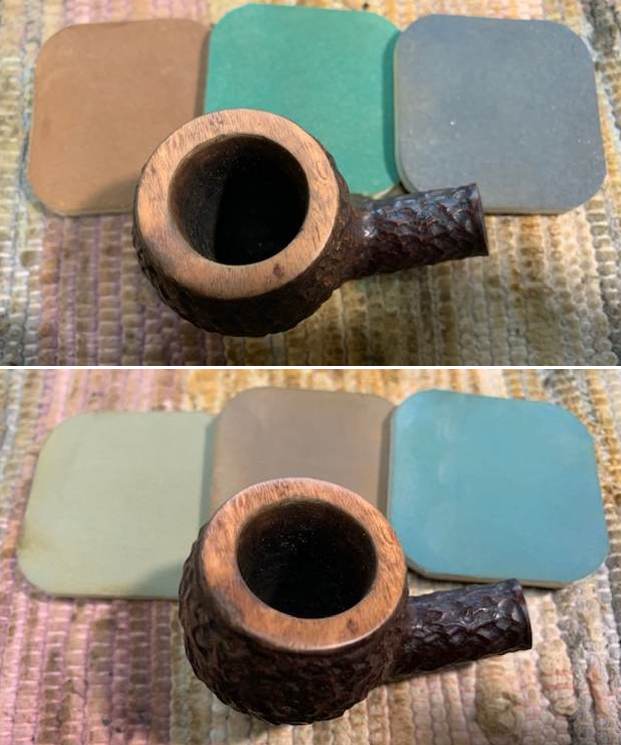
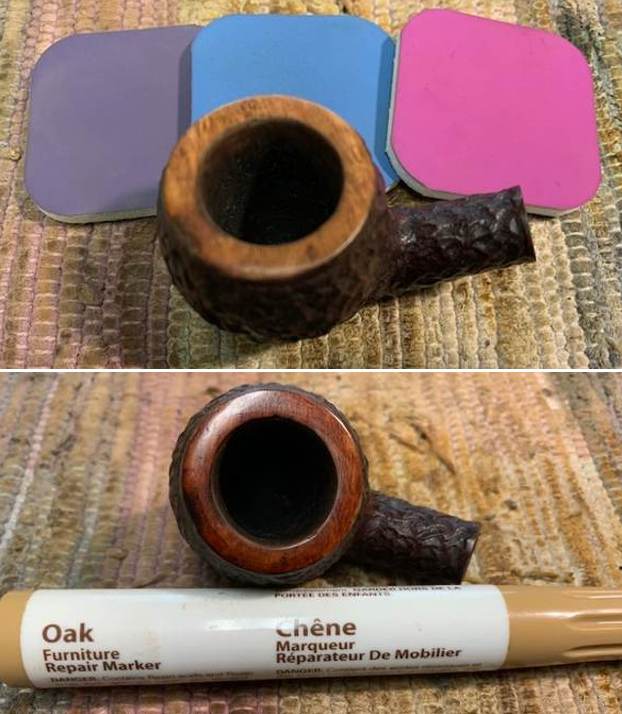
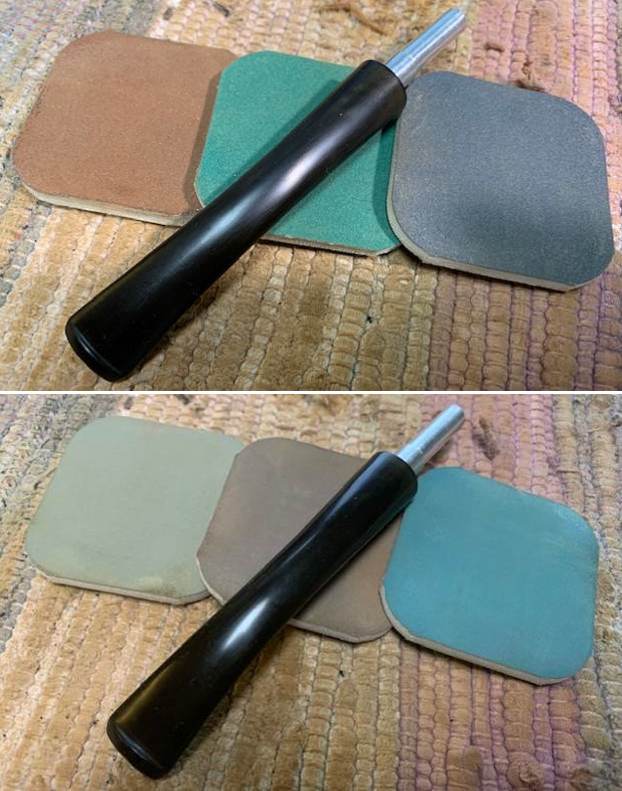
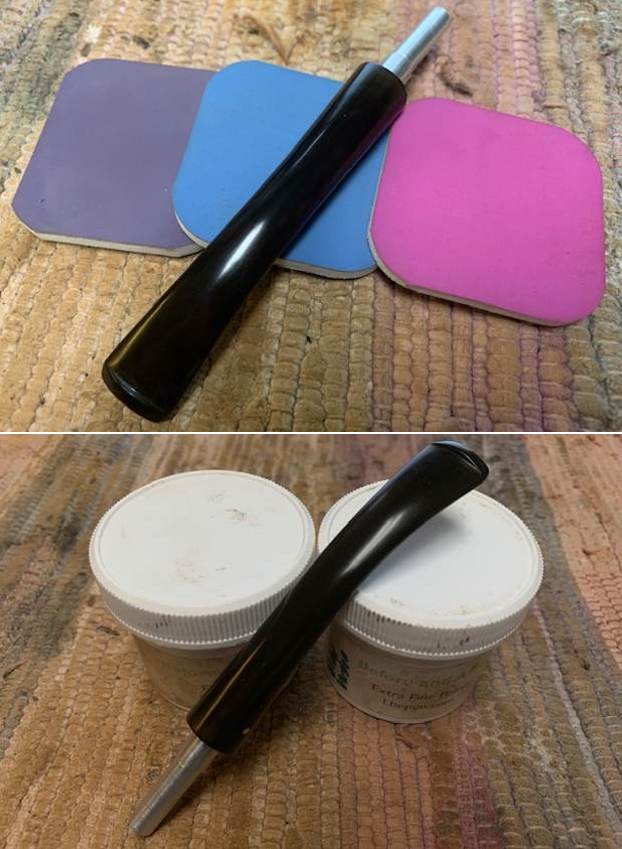
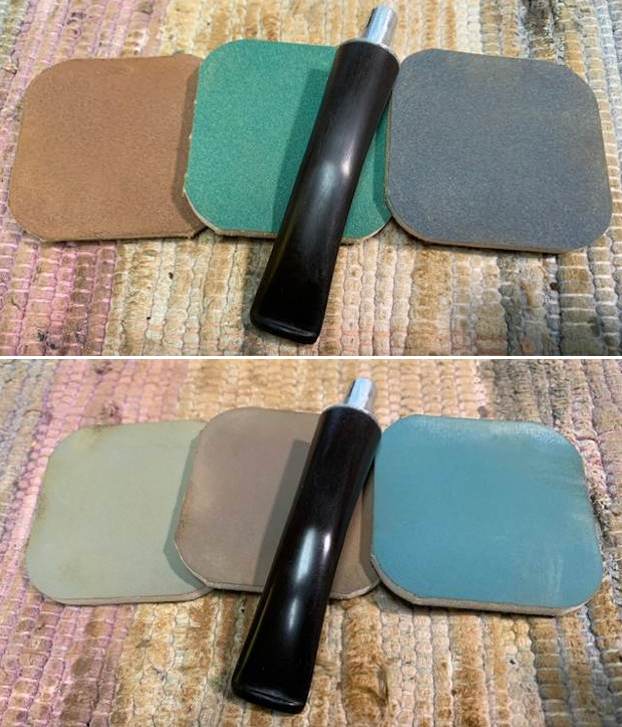
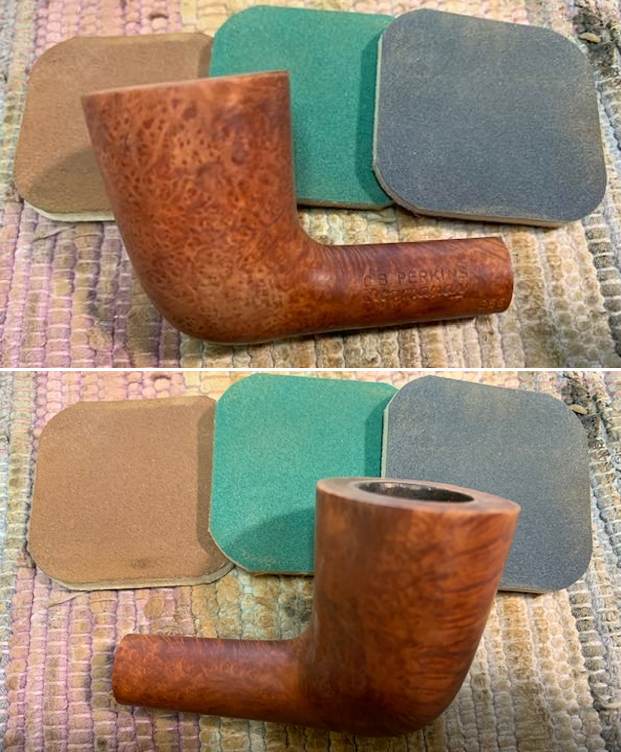
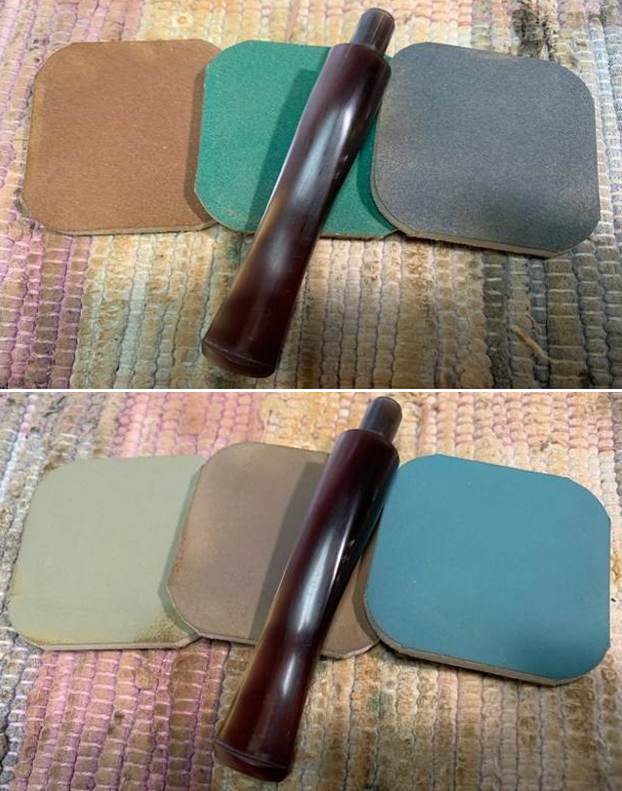
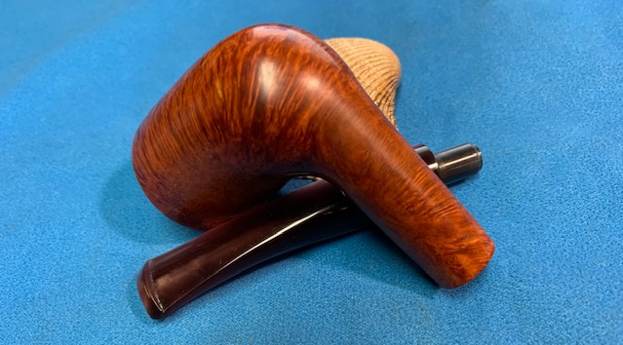
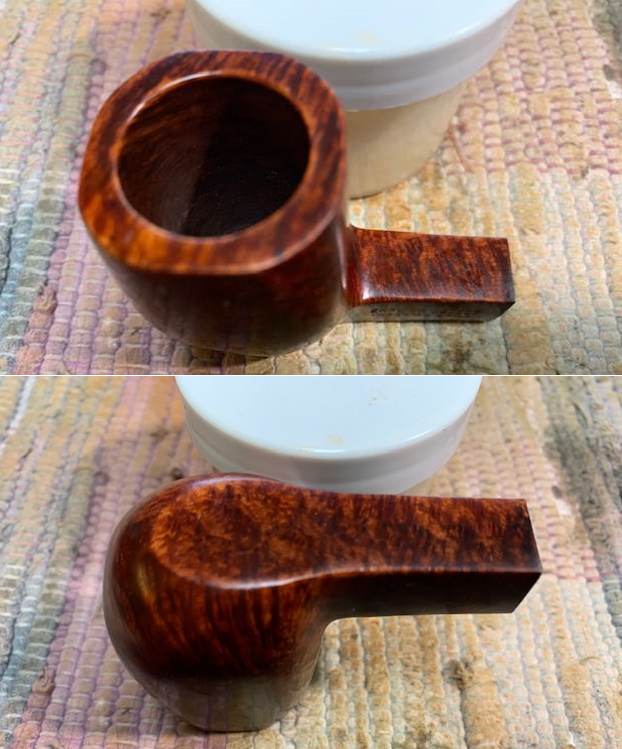
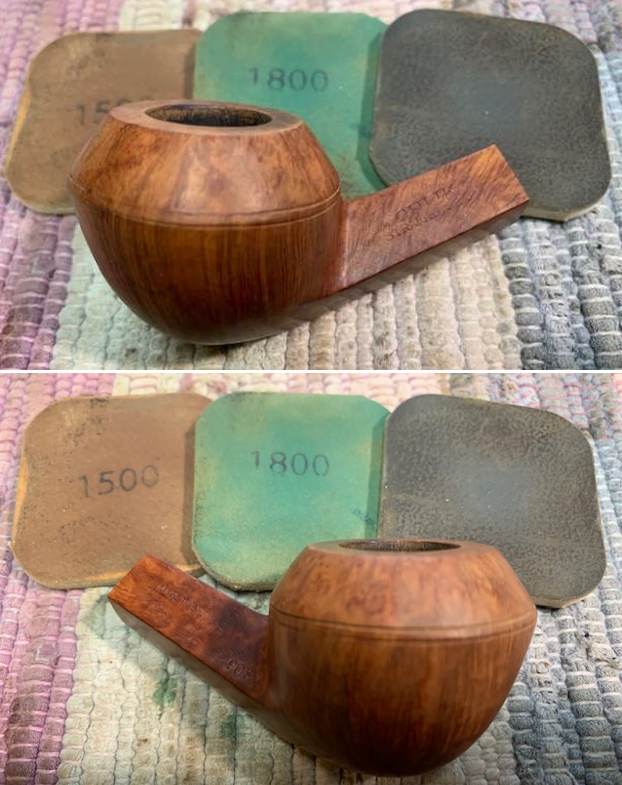
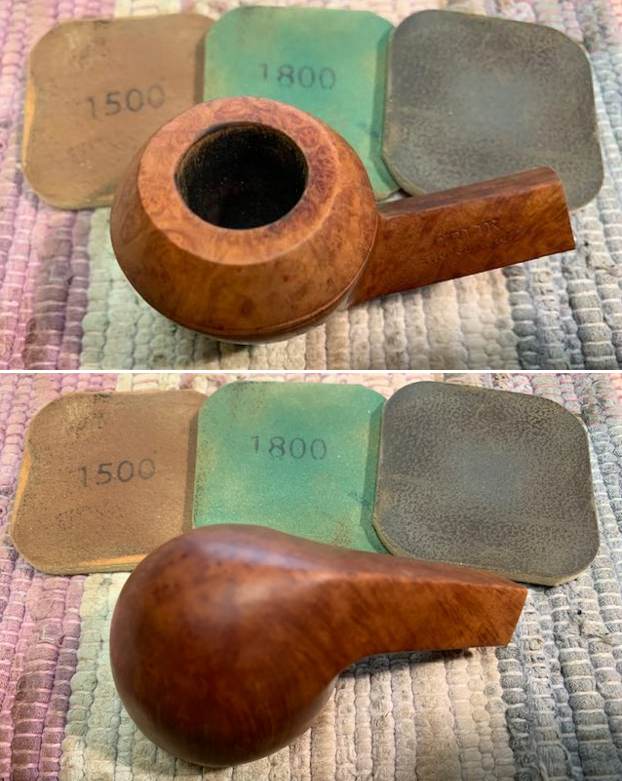
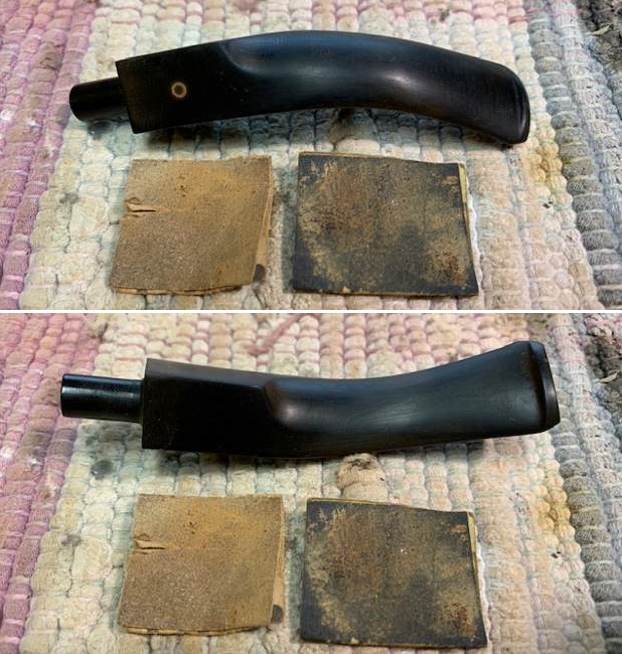
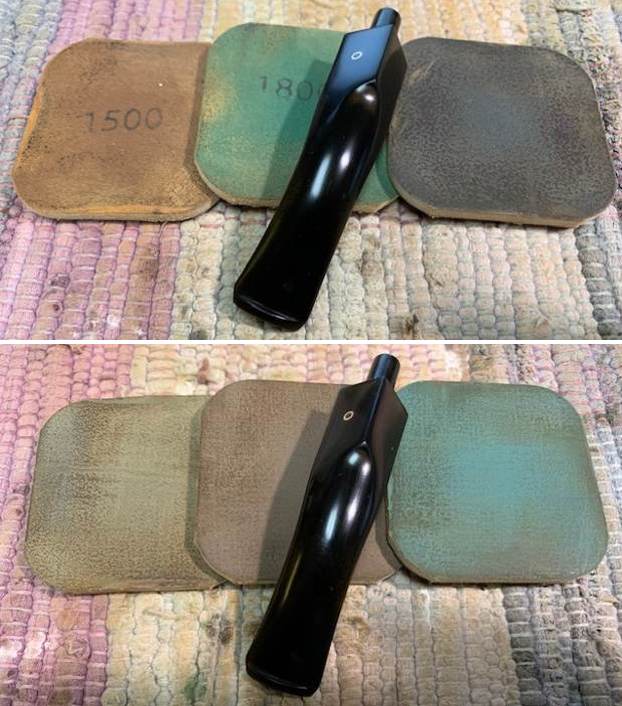
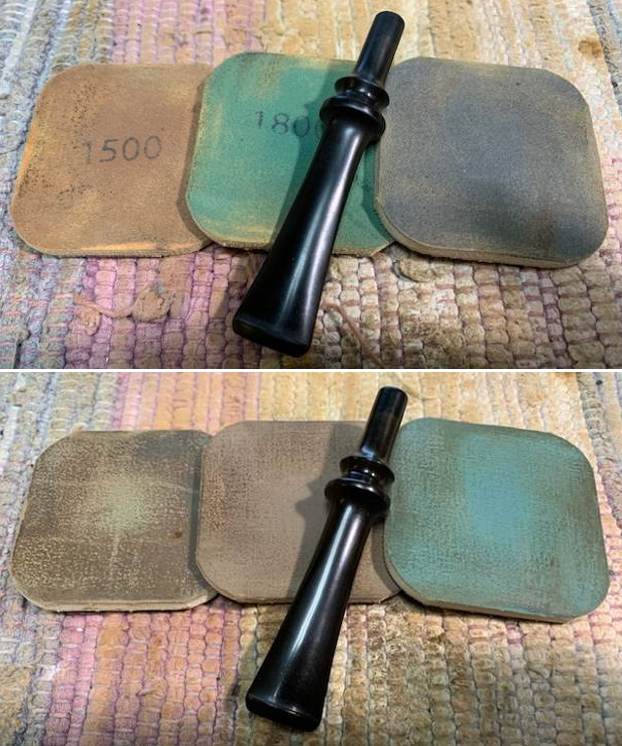
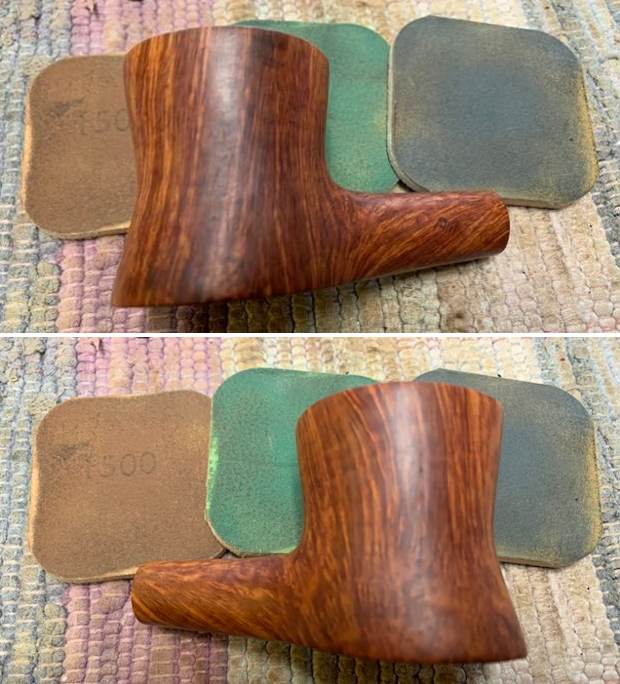
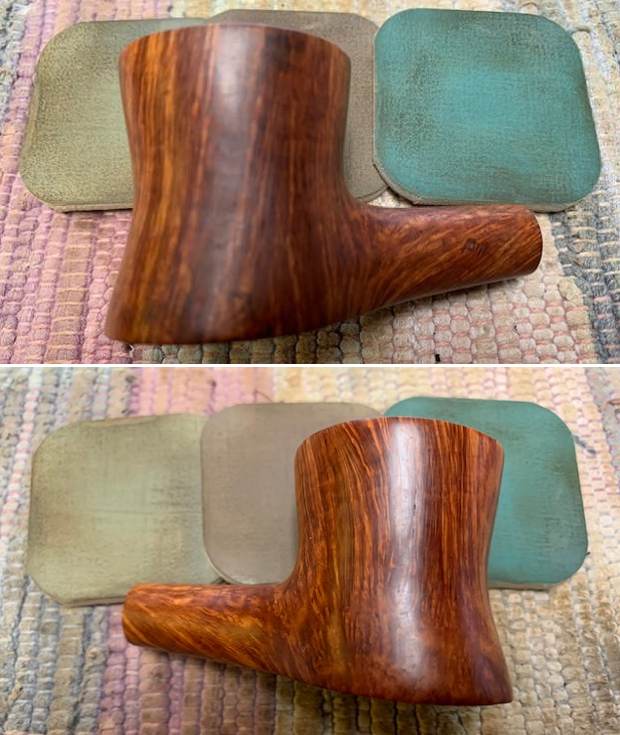
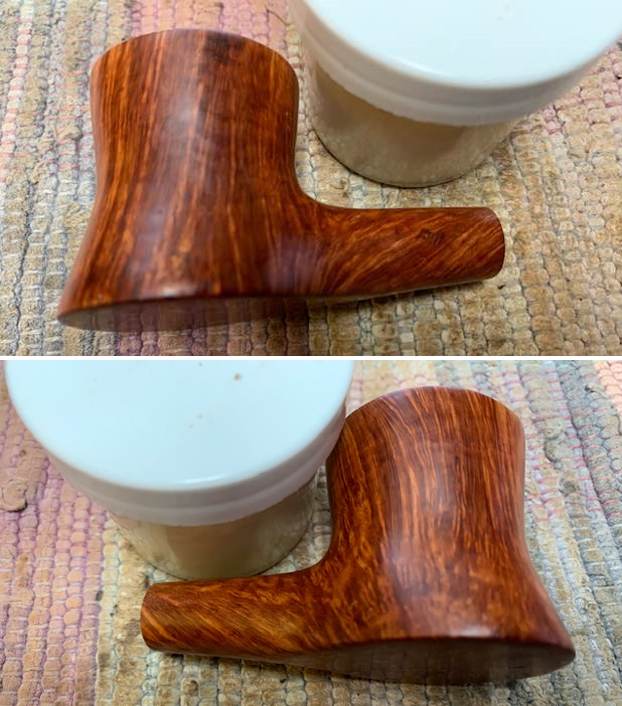
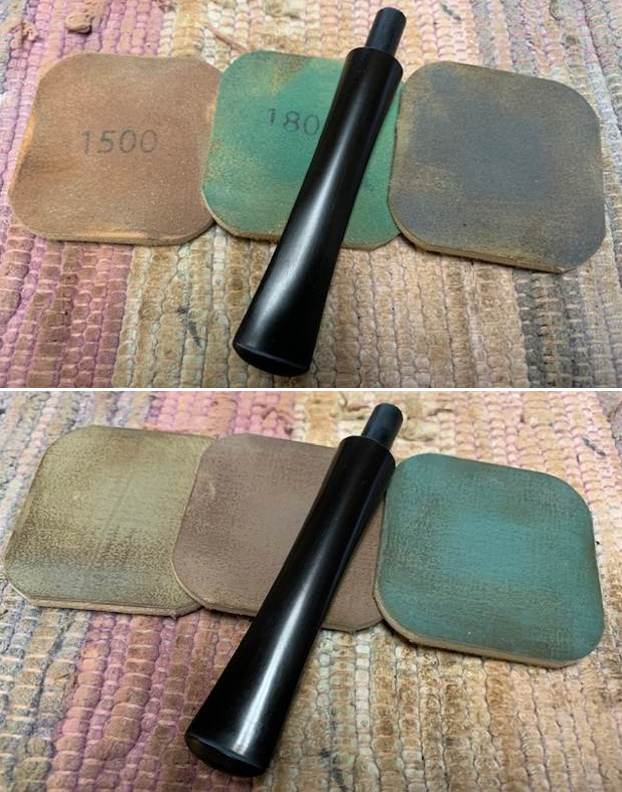
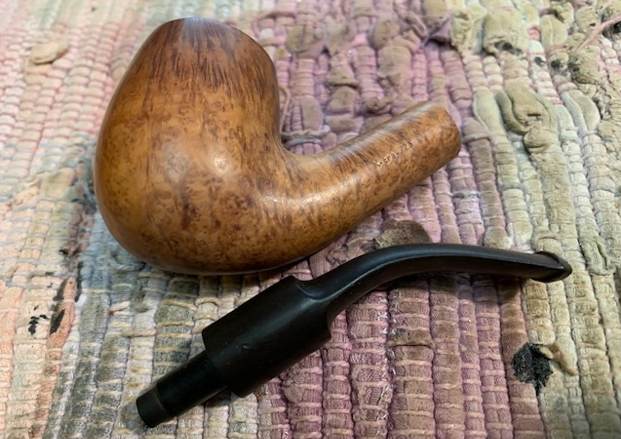 I polished the briar with micromesh sanding pads – dry sanding with 1500-12000 grit pads. I wiped the bowl down with a damp cloth after each sanding pad. It really began to take on a shine.
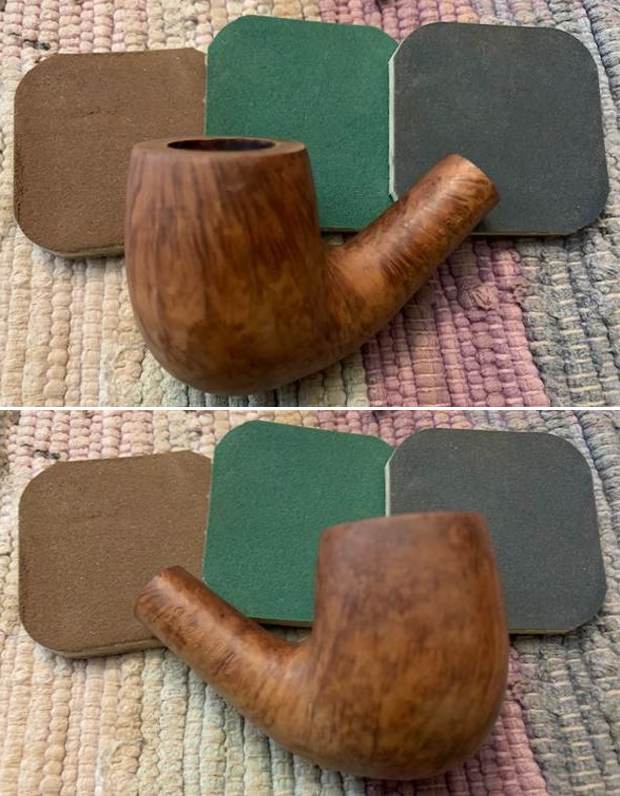
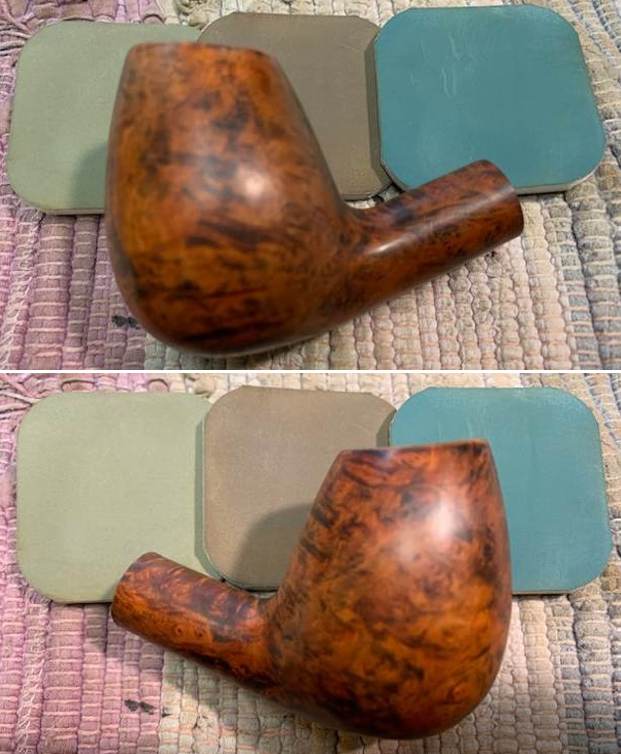
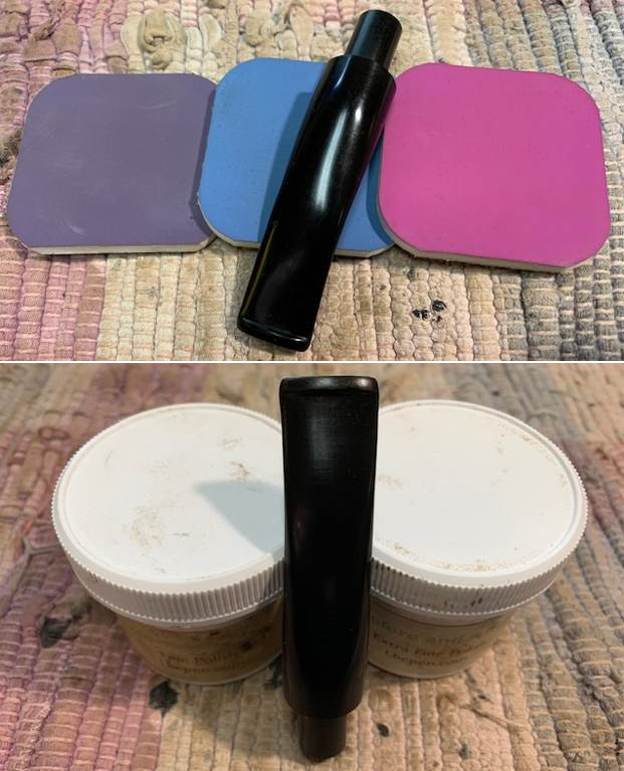
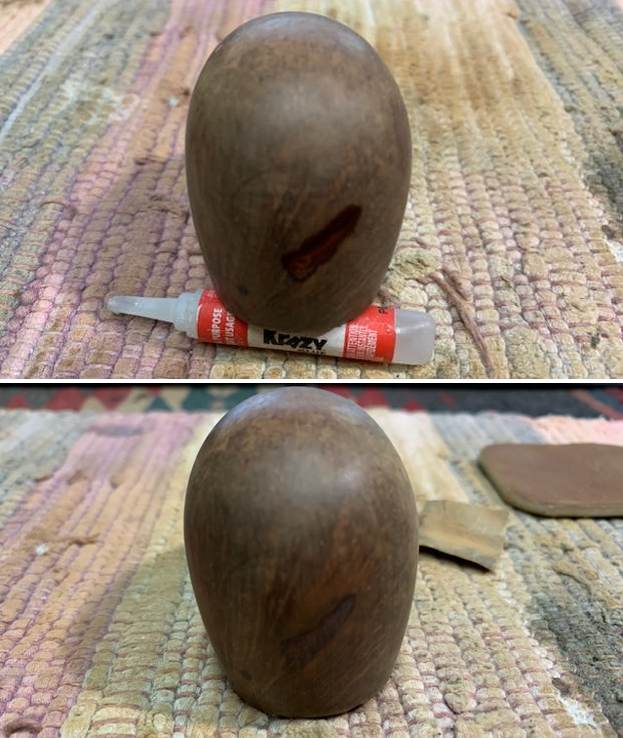
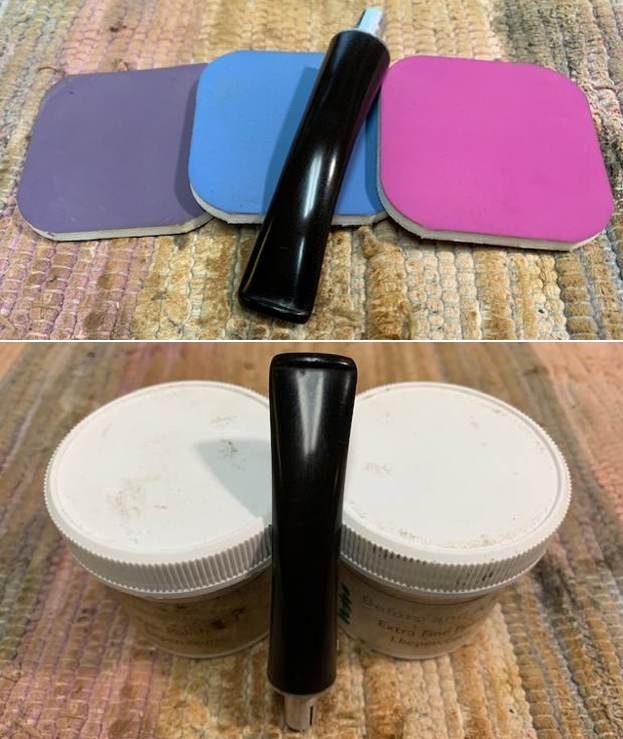
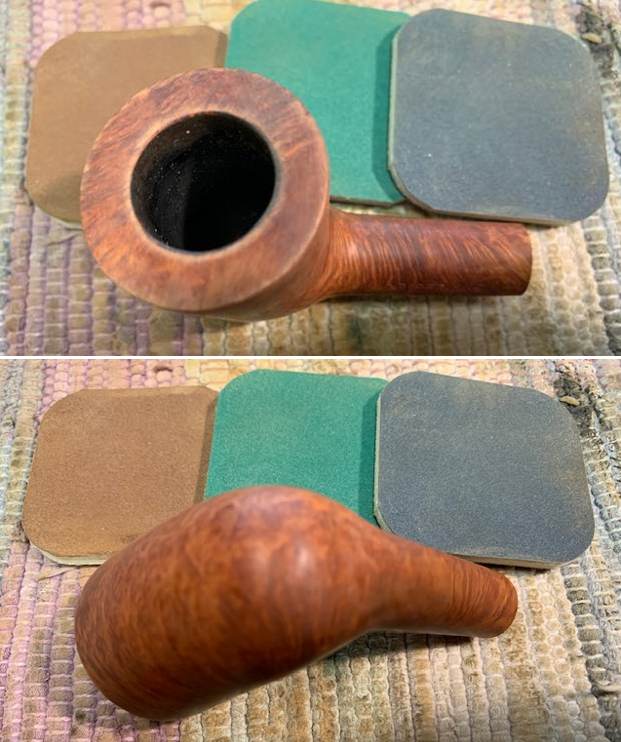
 I rubbed the bowl down with some Before & After Restoration Balm. I worked it into the briar with my fingertips. The product works to clean, renew and protect briar. I let it do its work for 15 minutes then buffed it off with a soft cloth. The pipe is really quite a beauty.
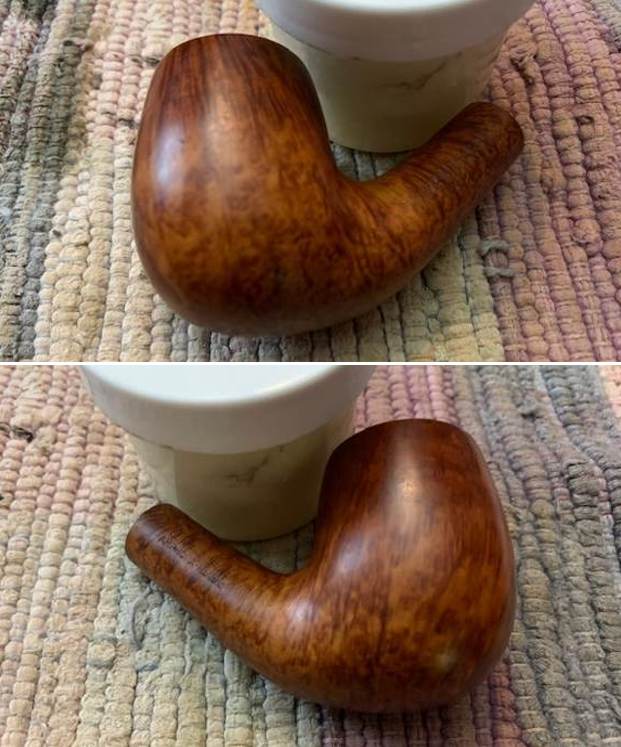
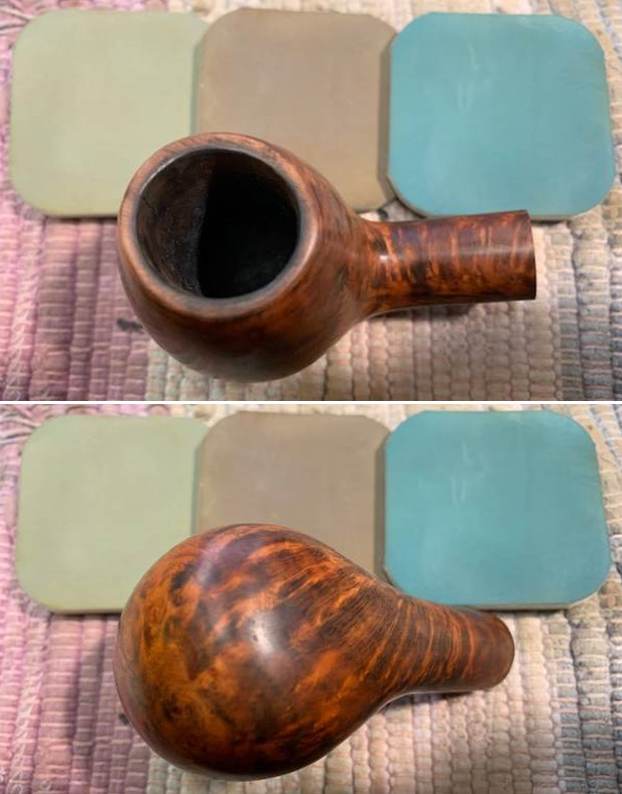
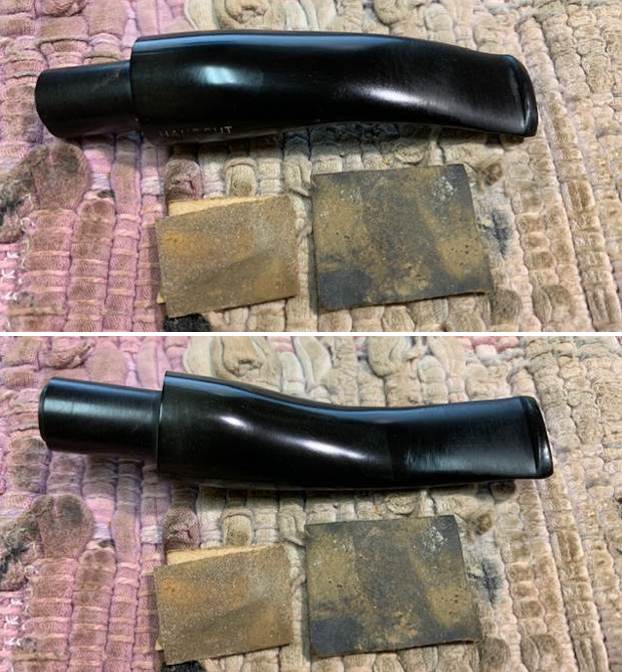
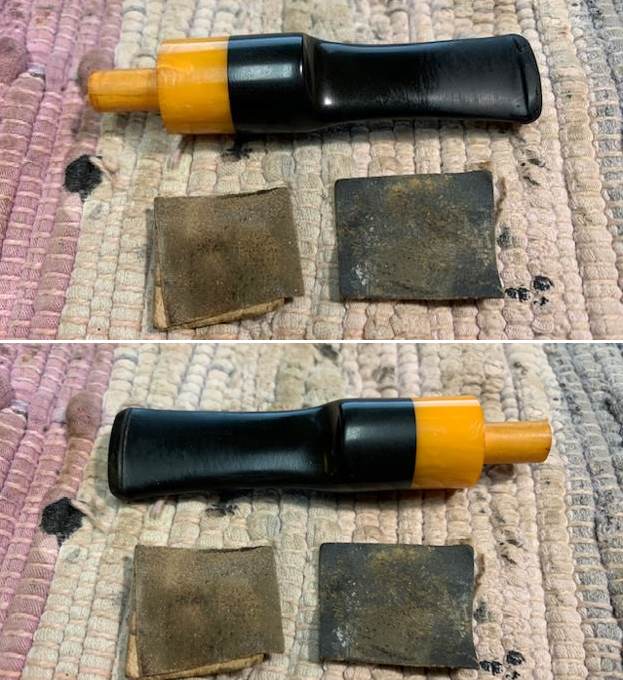
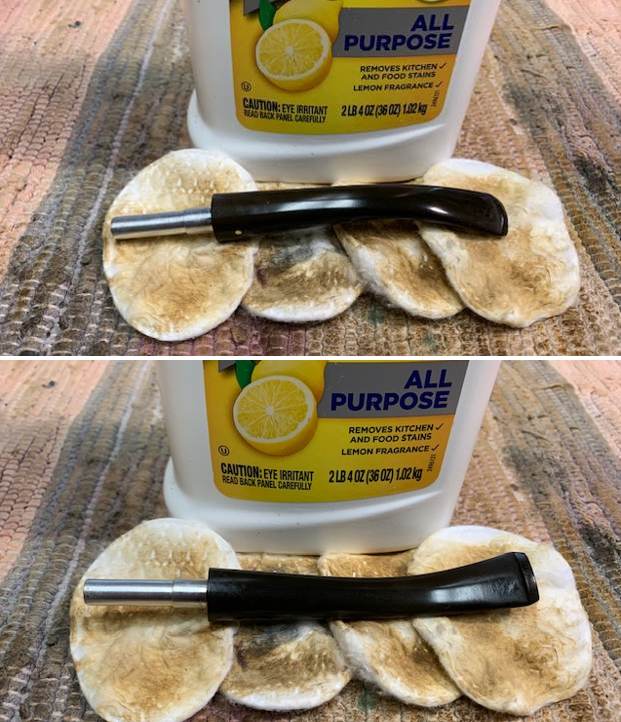
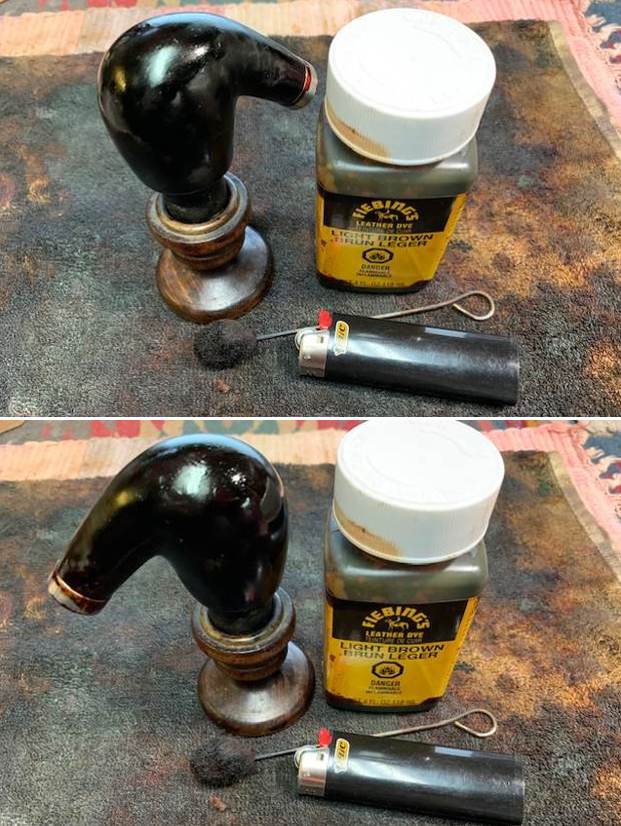
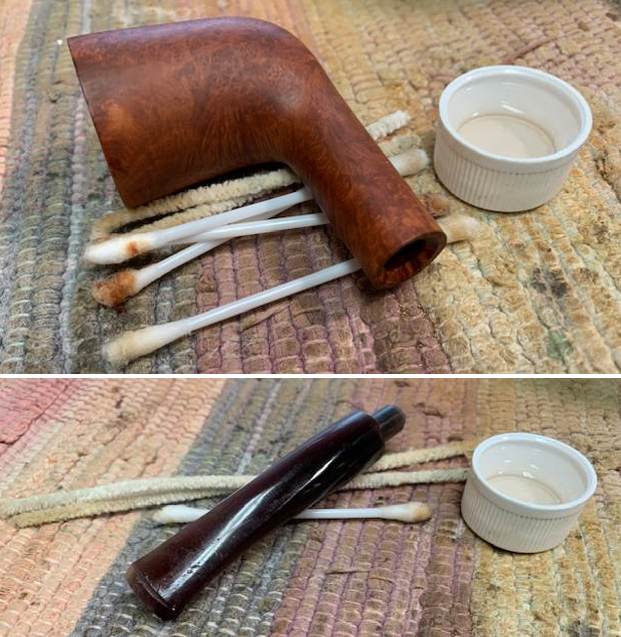
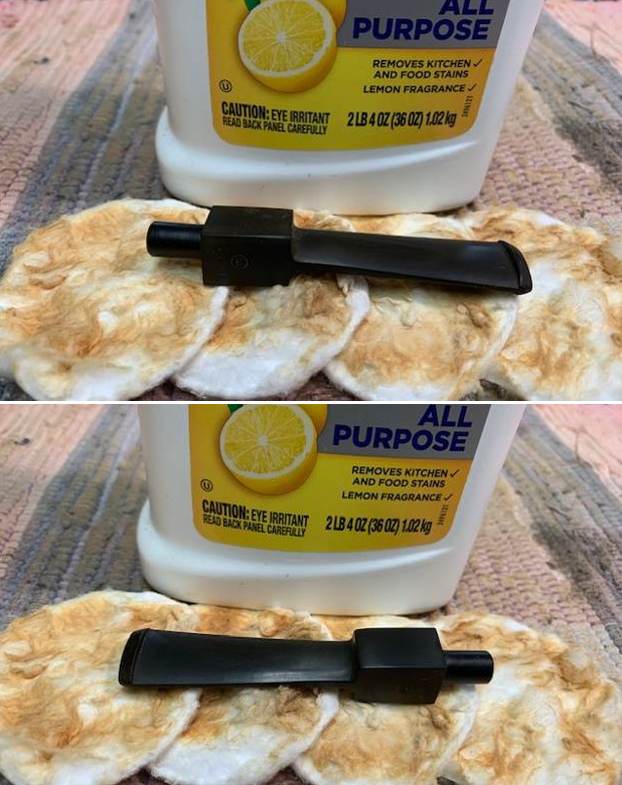
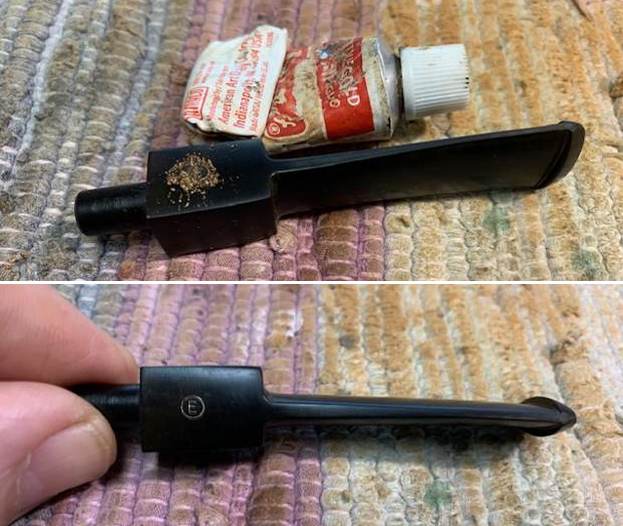
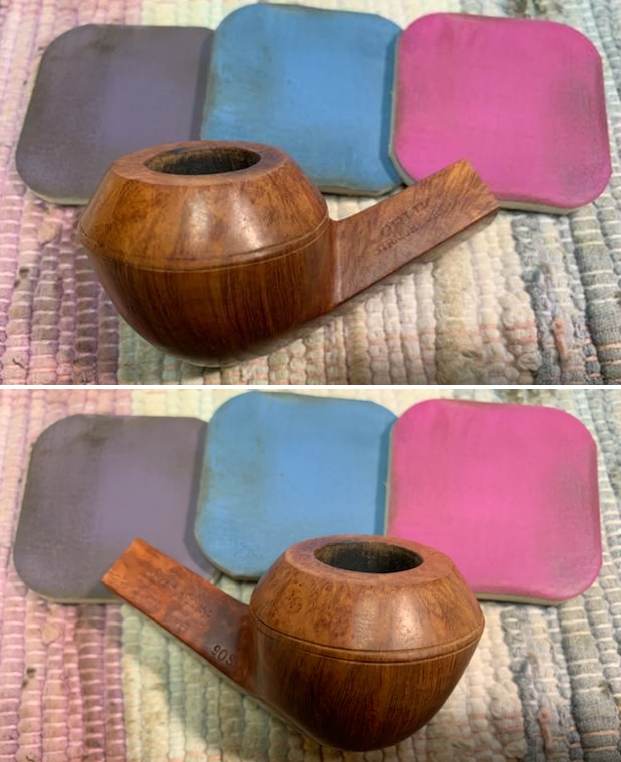
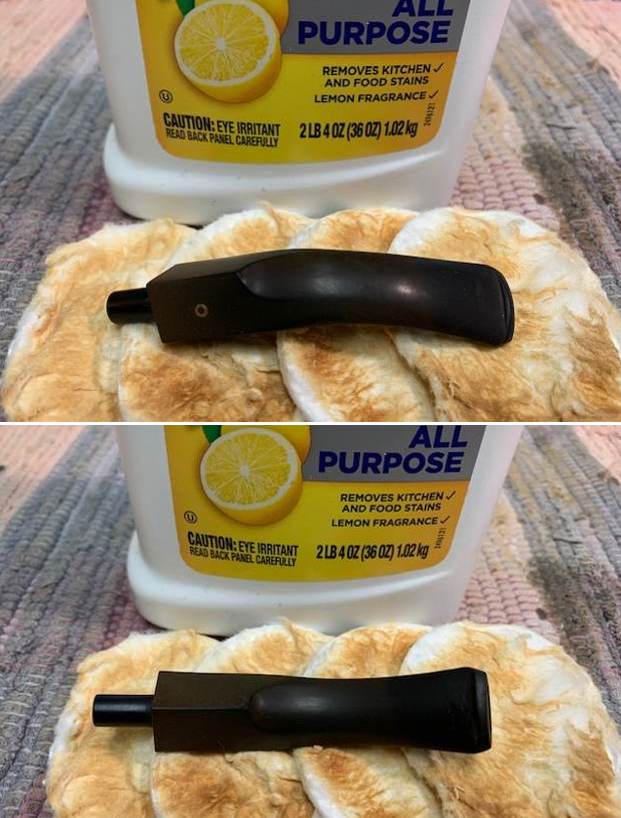
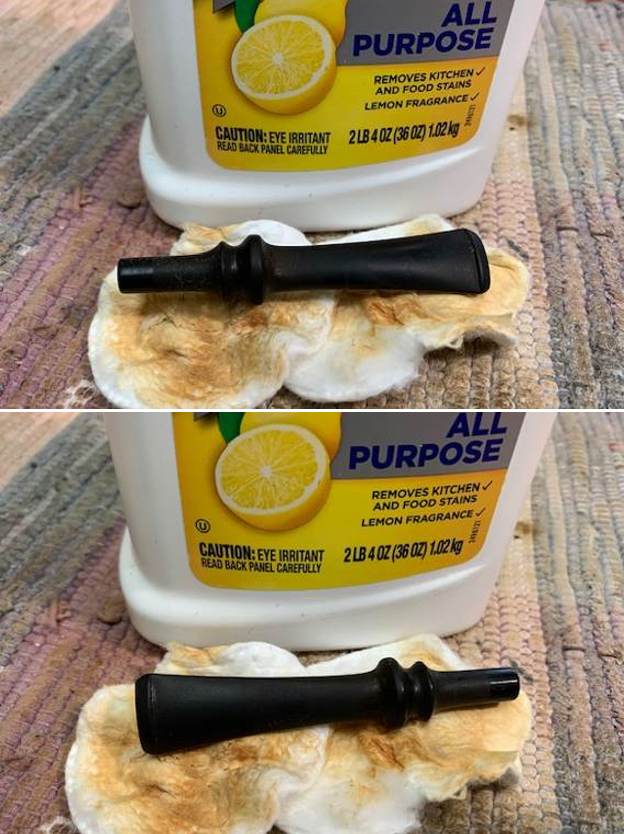
 I set the bowl aside and turned my attention to the stem. I scrubbed off the surface of the stem with Soft Scrub All Purpose Cleanser to remove the residual oxidation on the shank end of the pipe. It looked much better.
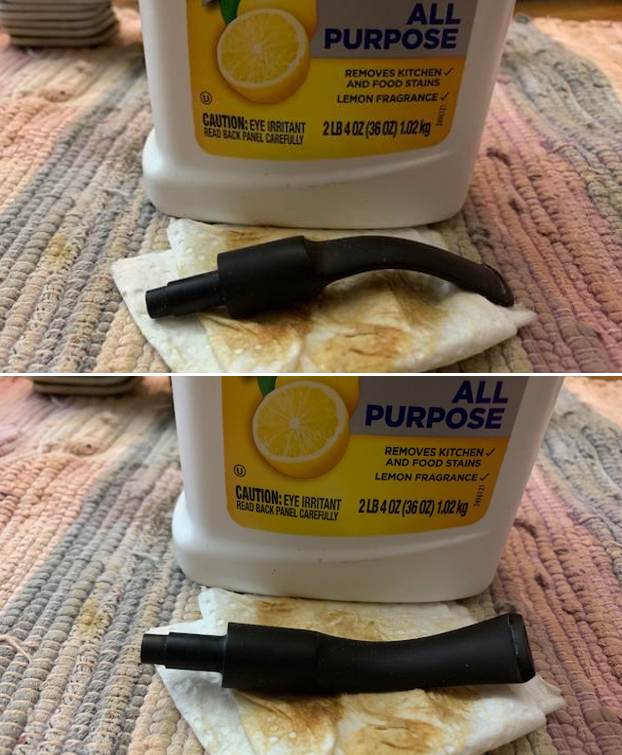 I used 220 grit sandpaper to sand out the tooth marks and chatter on both sides near the button. I started the polishing with 400 grit wet dry sandpaper to further blend in the sanded areas.
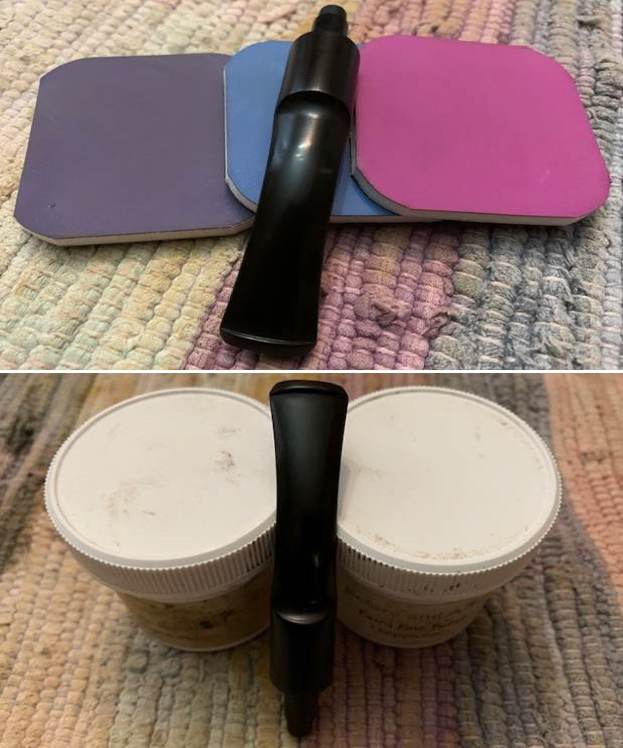
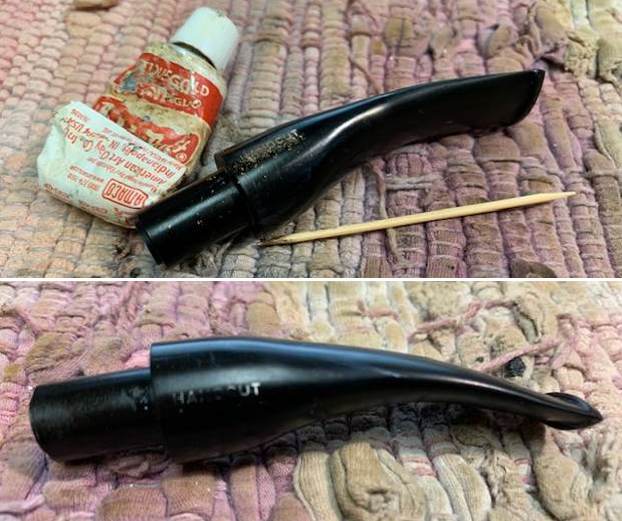
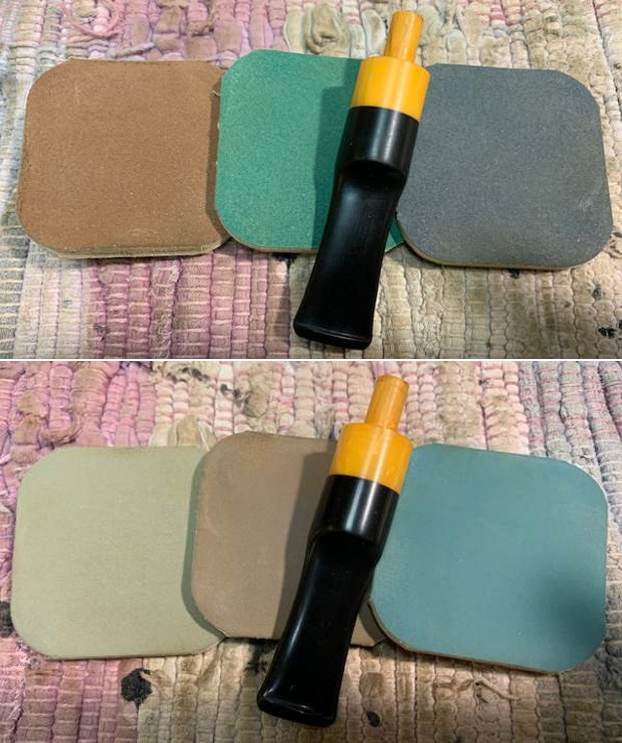
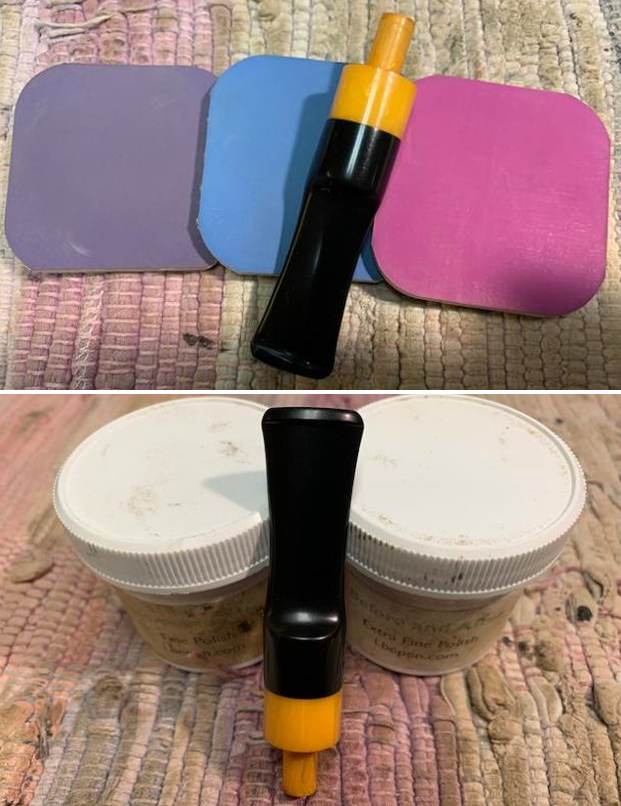
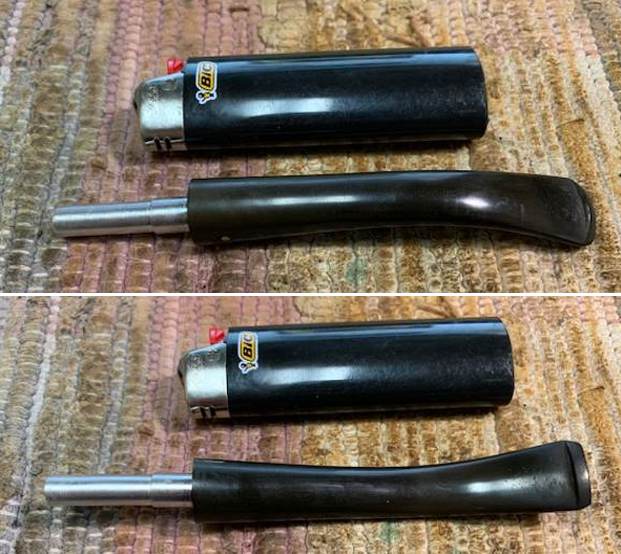
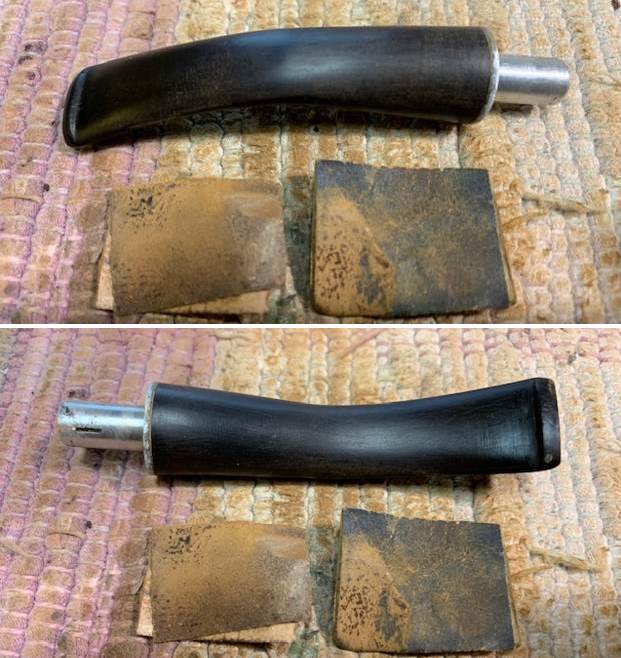
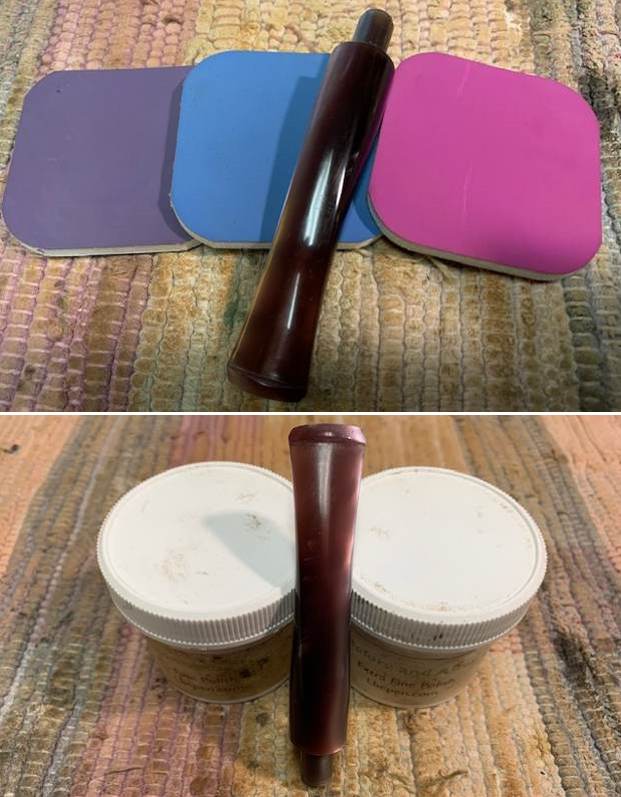
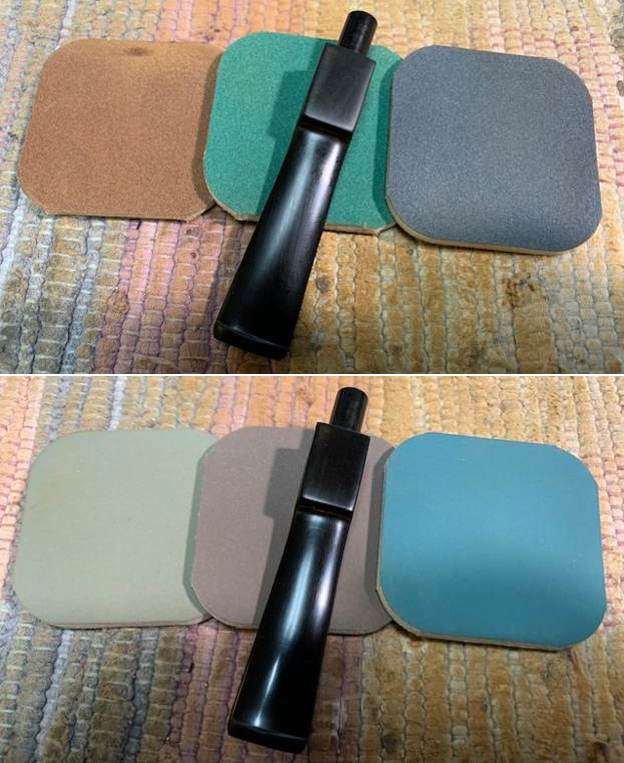
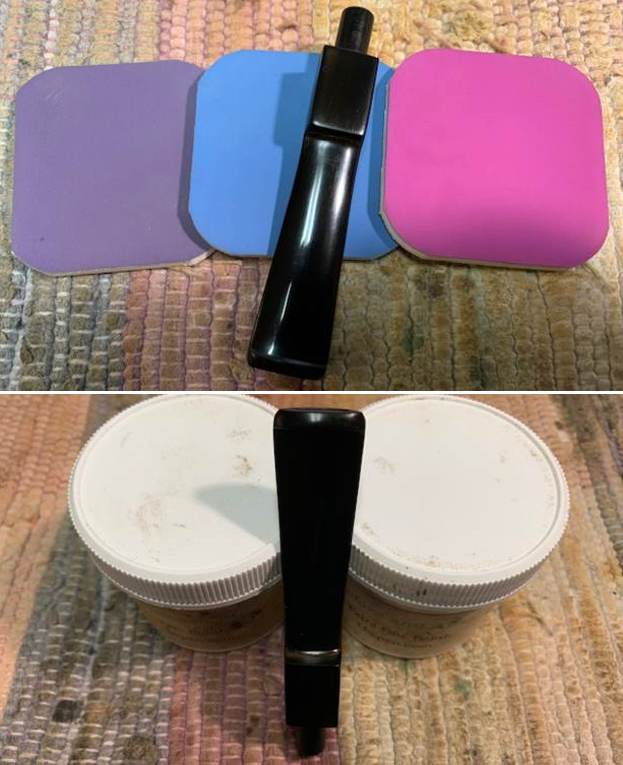
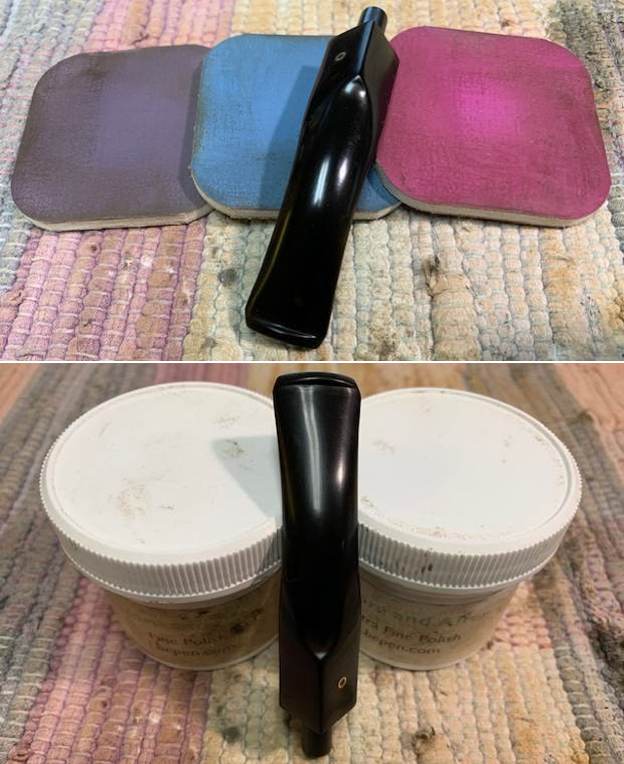
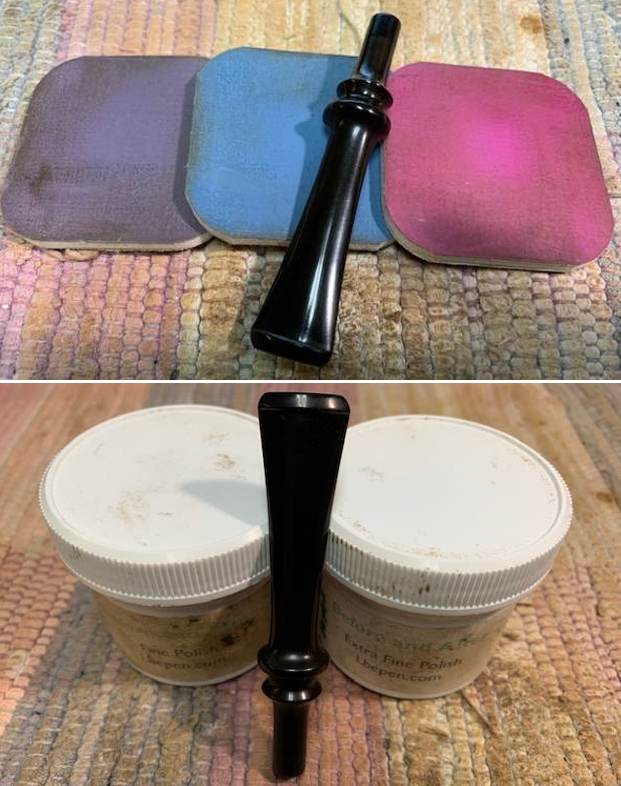
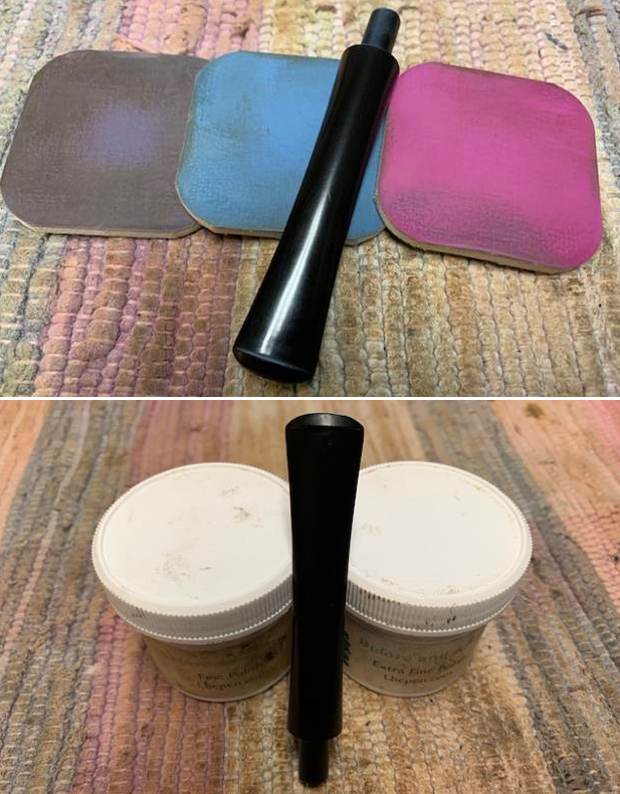
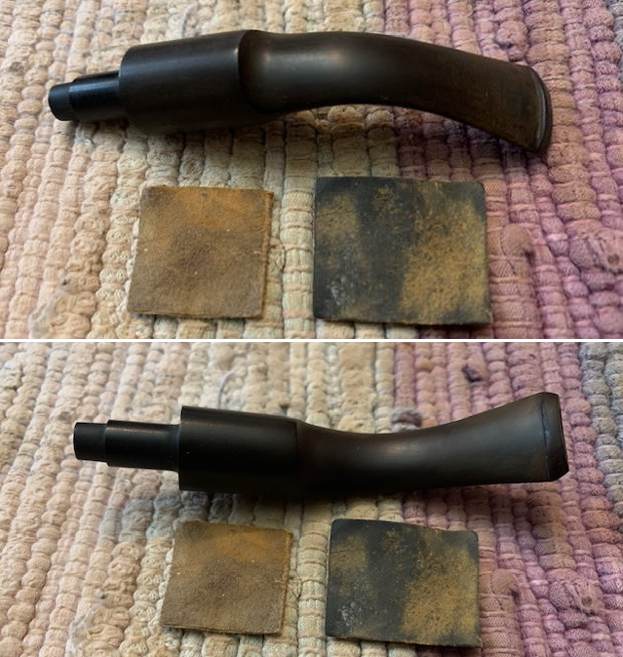 I polished the stem on both sides using micromesh sanding pads. I dry sanded the stem with the 1500-12000 grit pads, then wiped it down with a cloth impregnated with Obsidian Oil. I finished polishing it with Before & After stem polish – both Fine and Extra Fine. I gave it a final coat of Obsidian Oil and set it aside to dry.
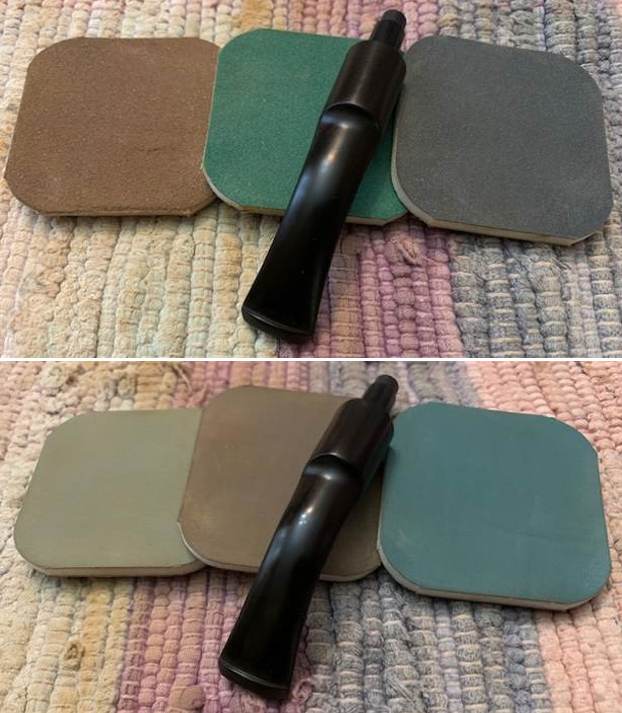
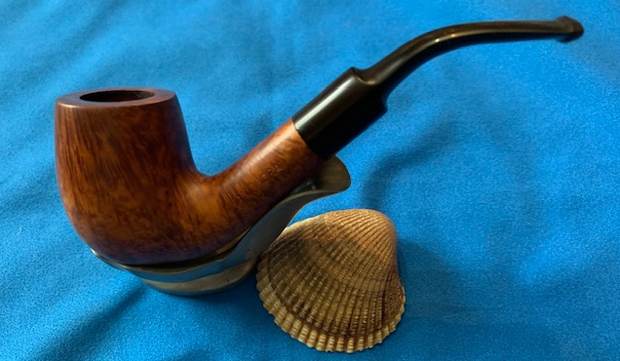
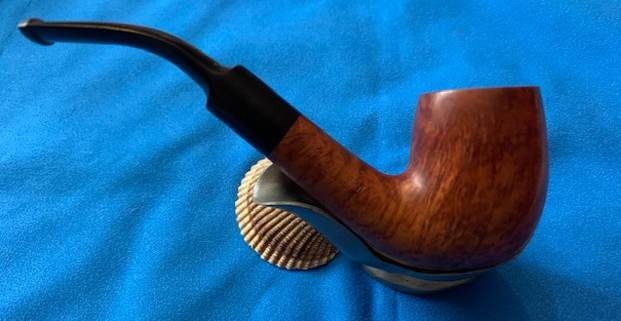
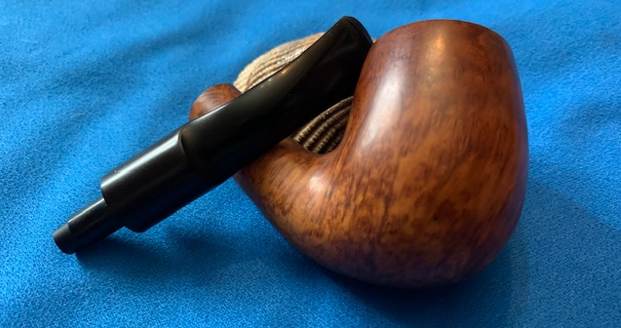
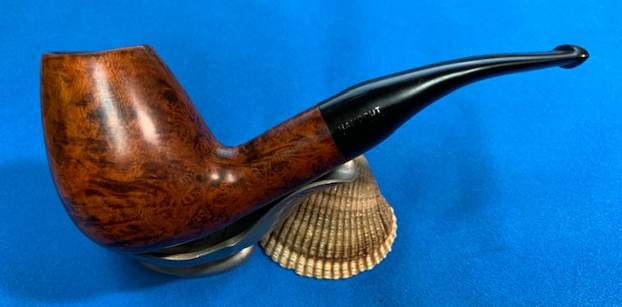
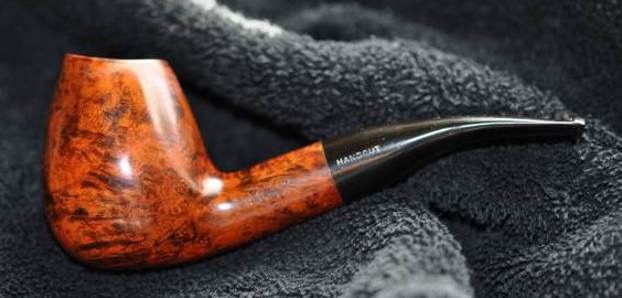
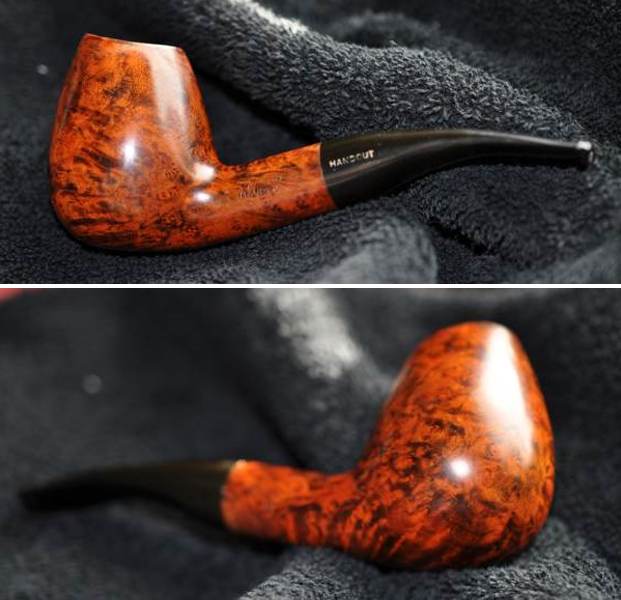
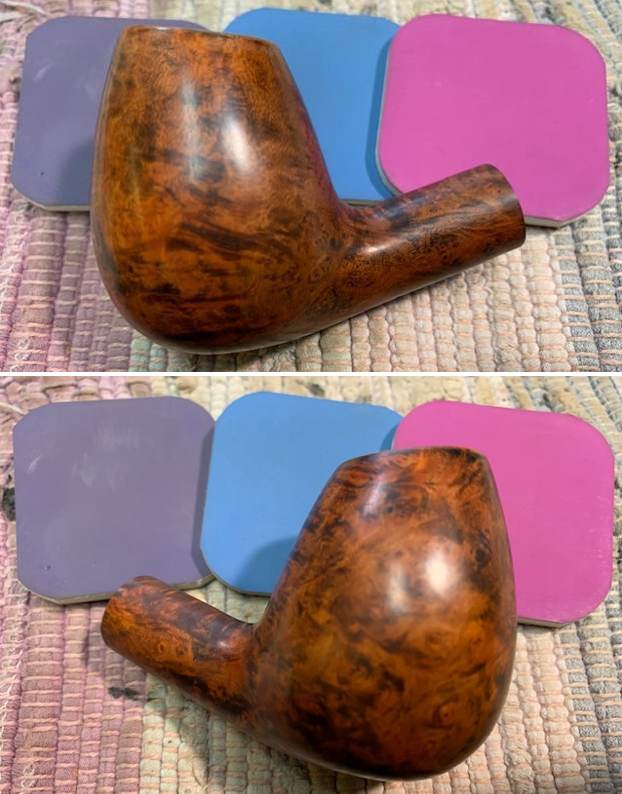
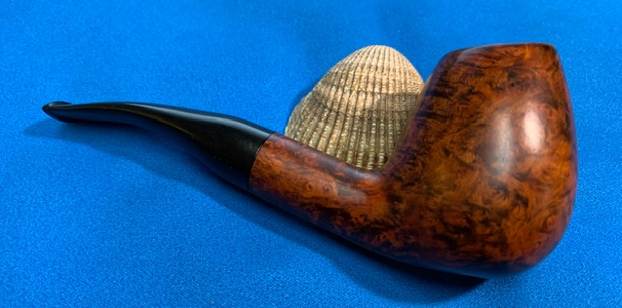
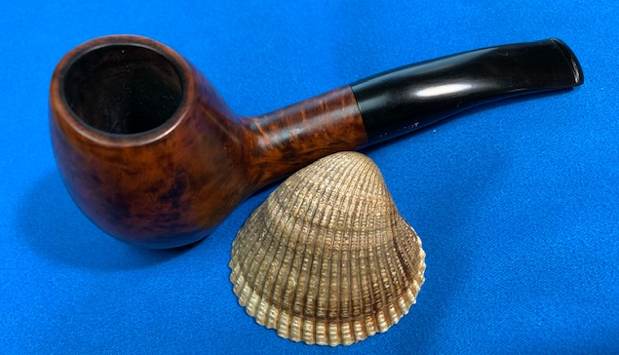
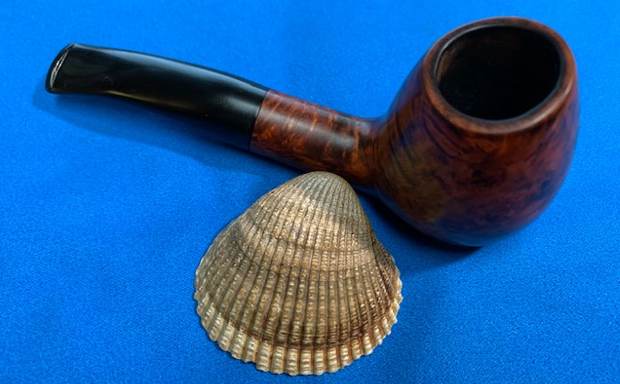
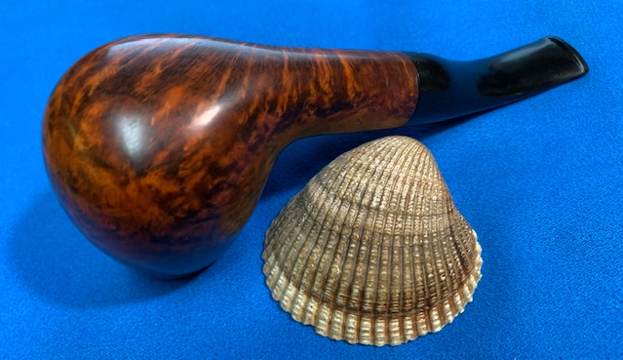
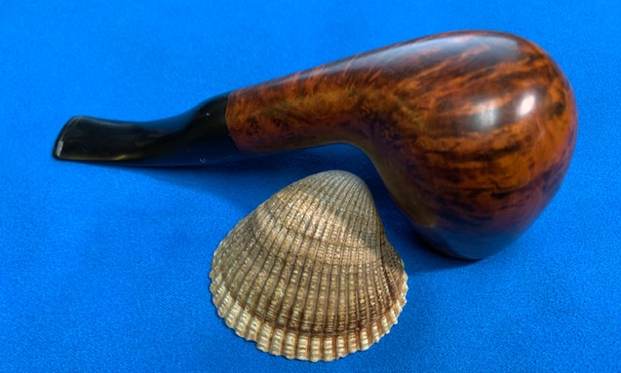
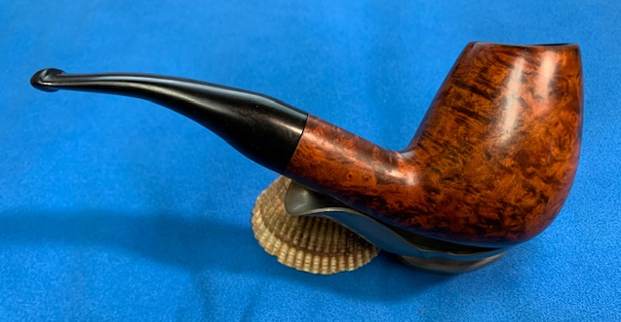
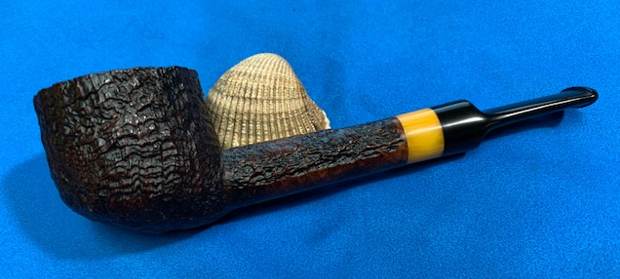
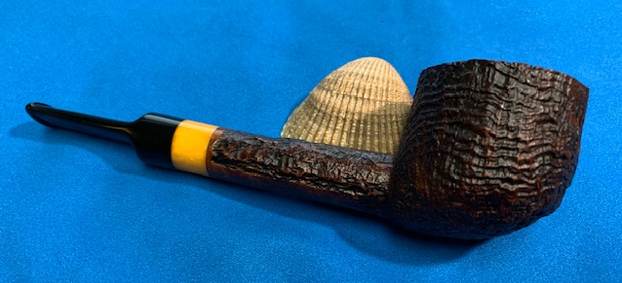
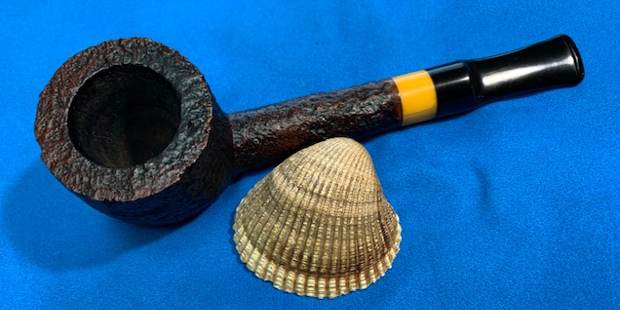
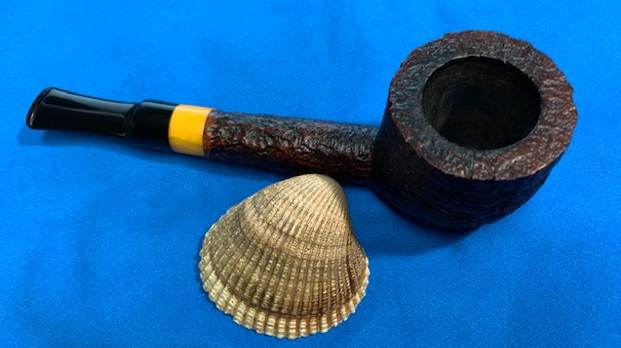
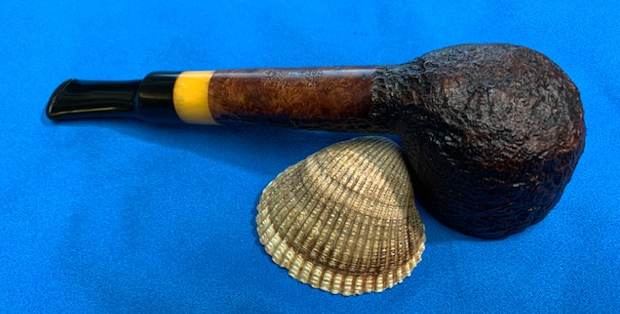
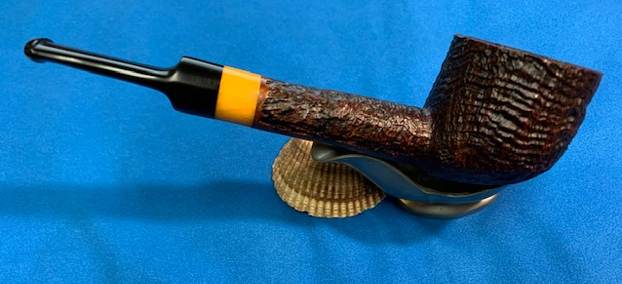
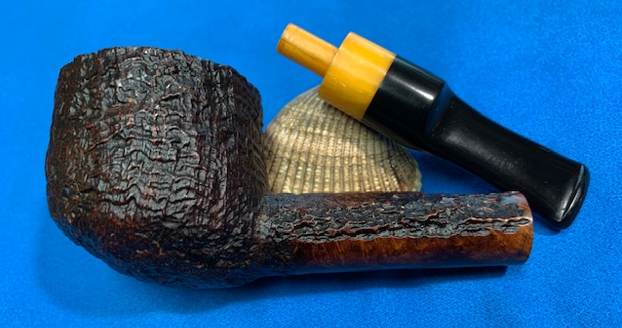
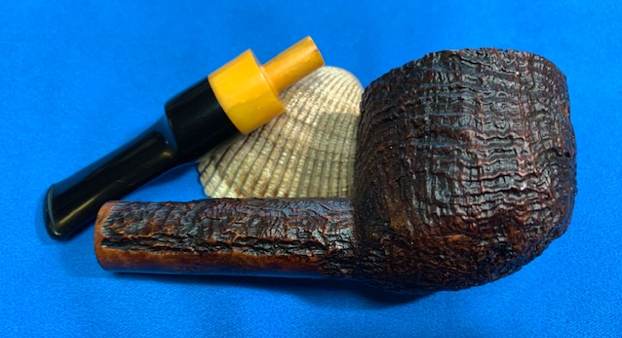
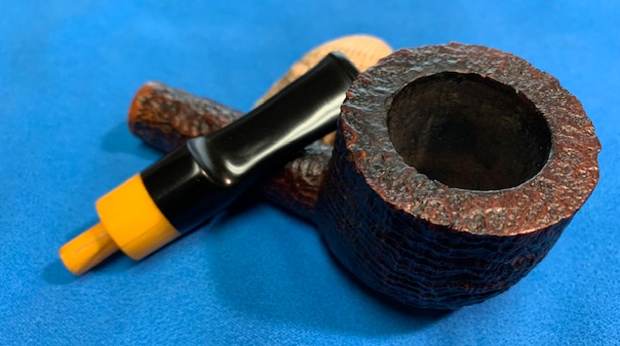
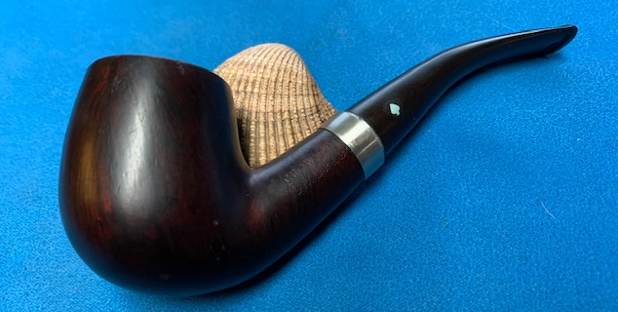
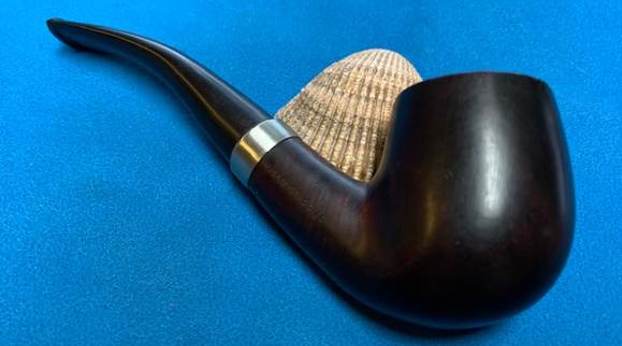
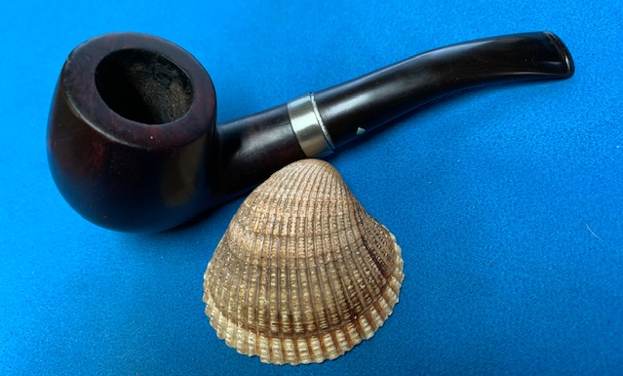
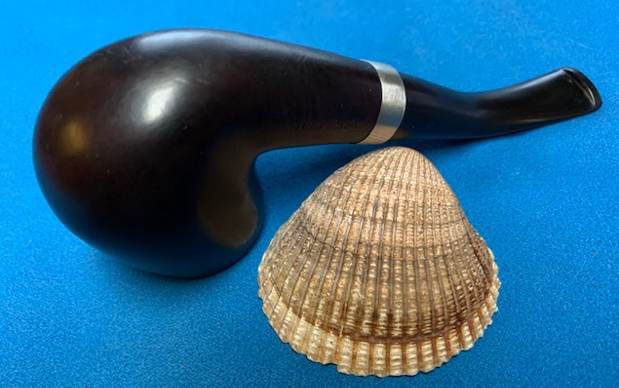
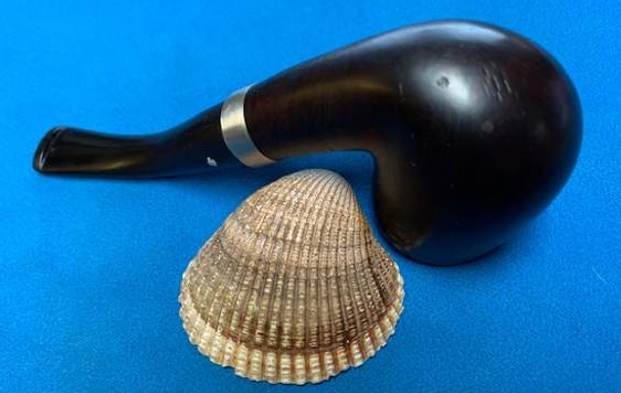
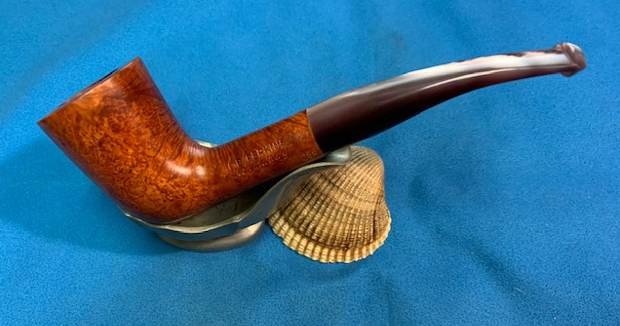
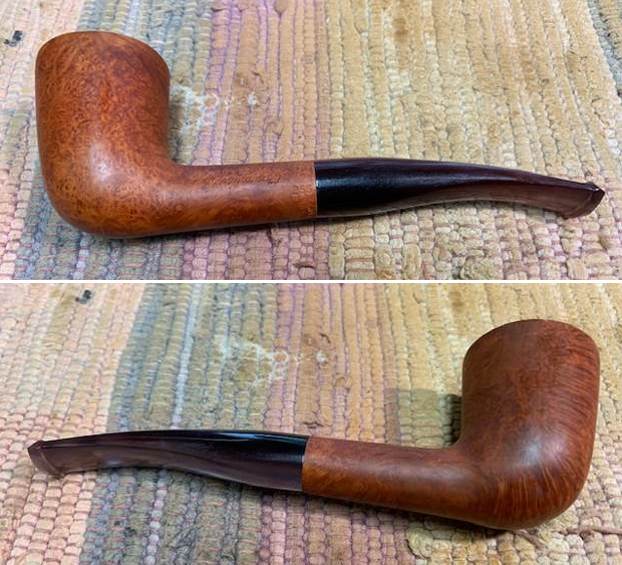
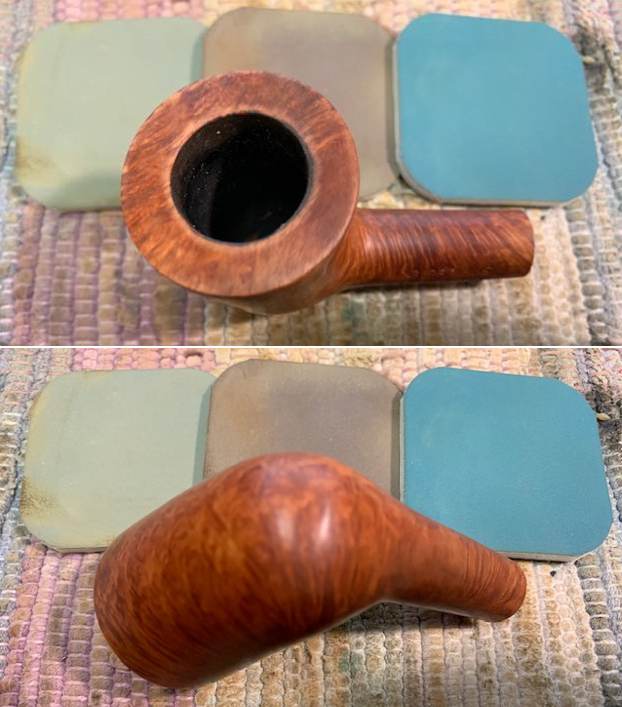
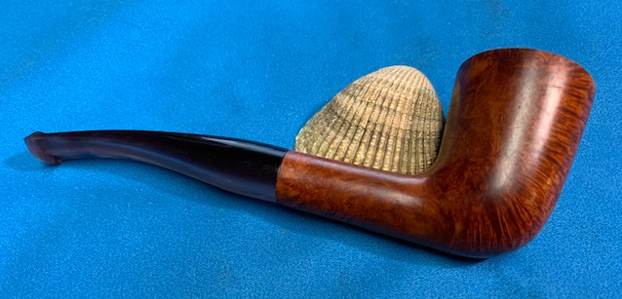
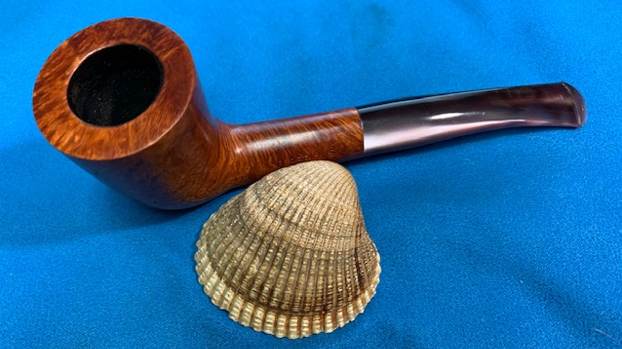
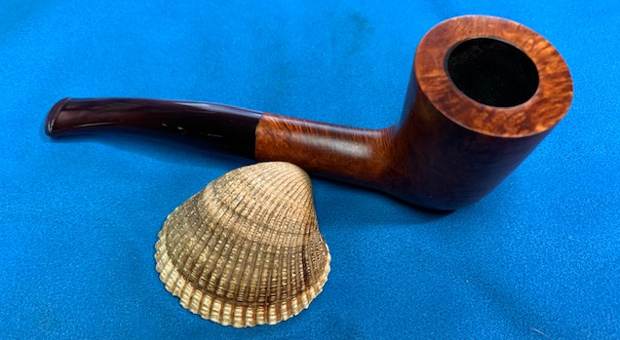
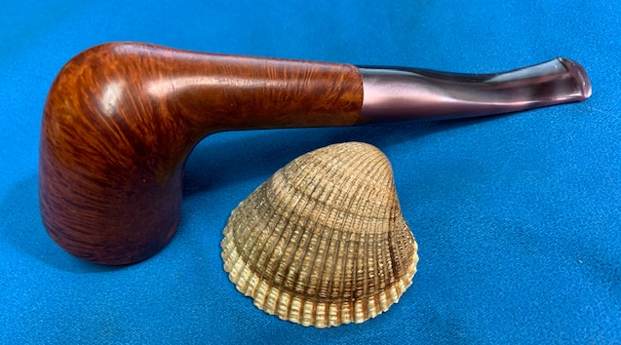
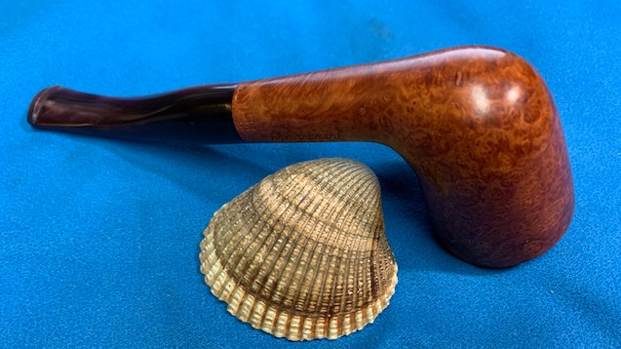
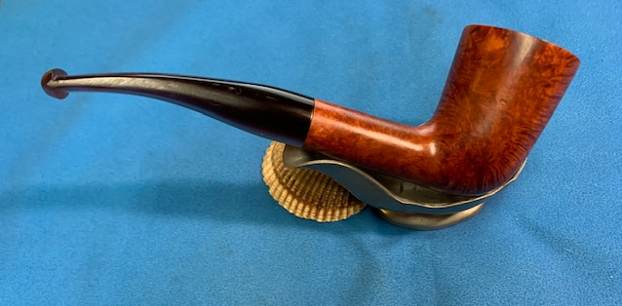
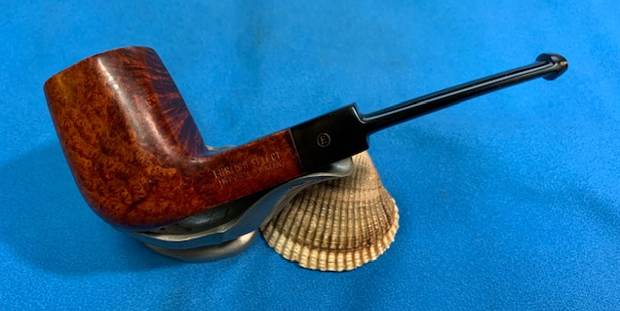
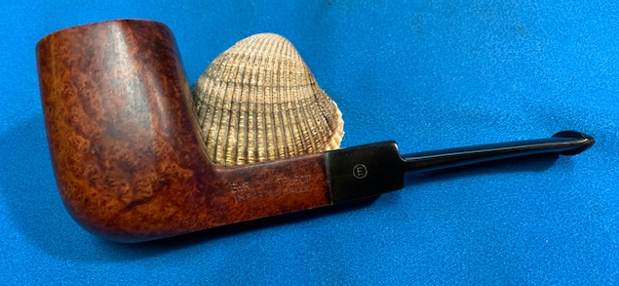
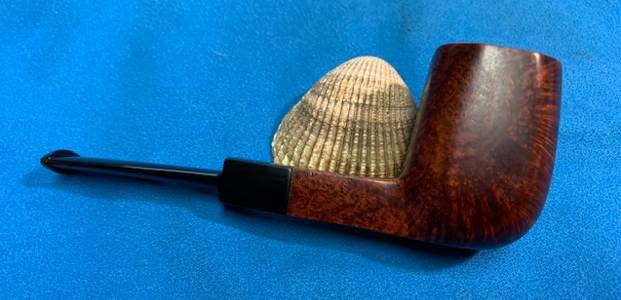
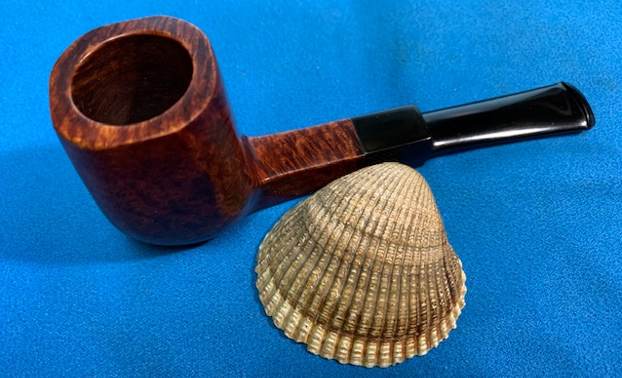
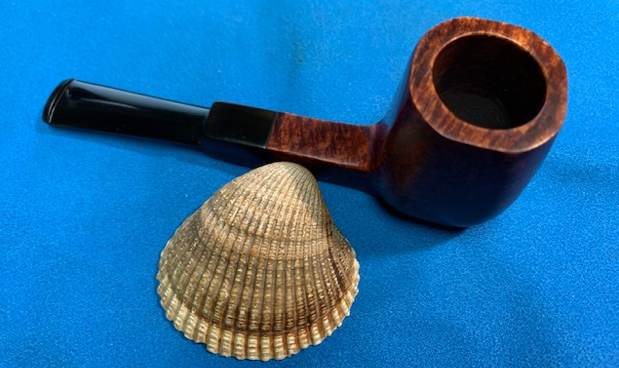
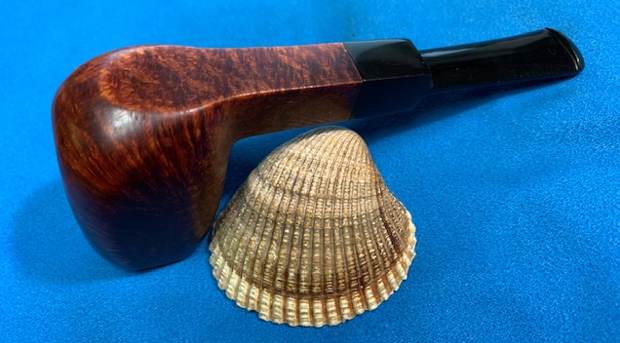
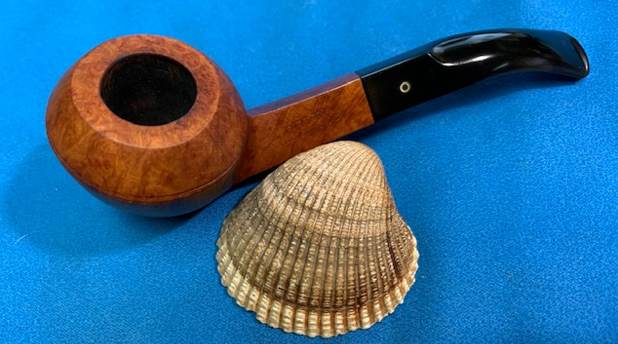
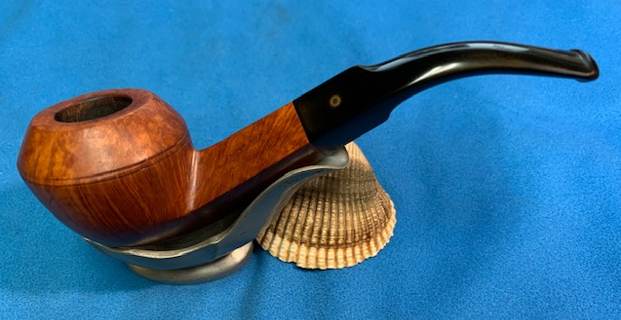
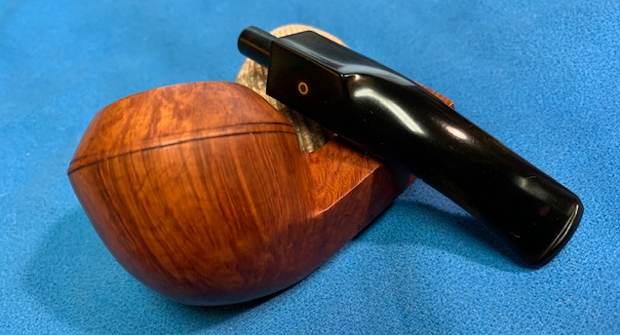
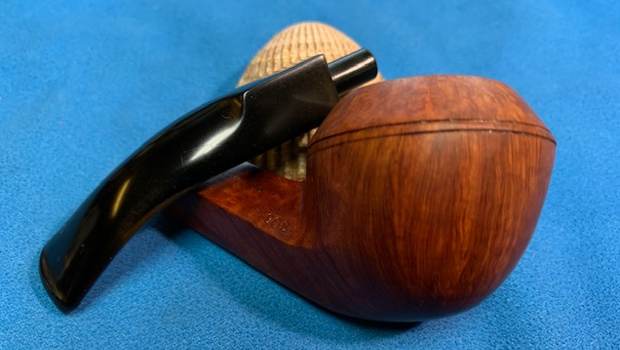
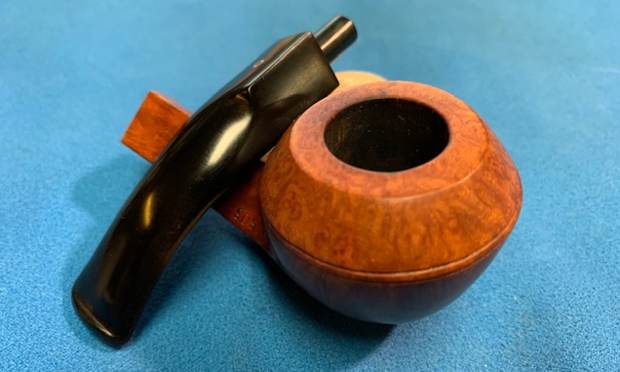
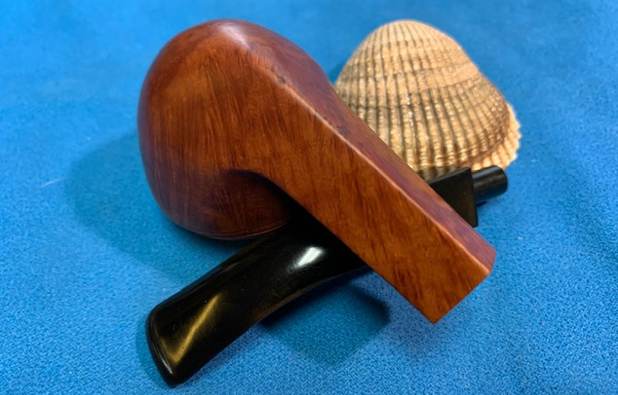
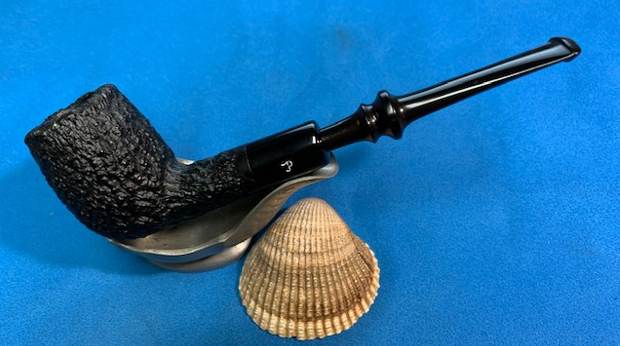
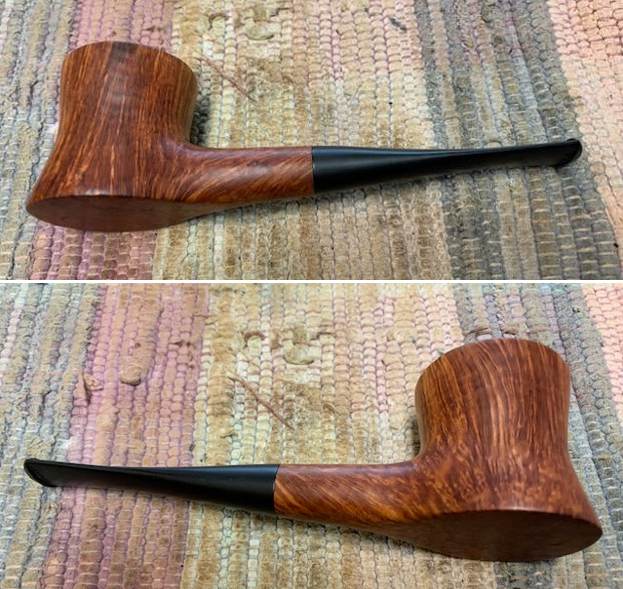
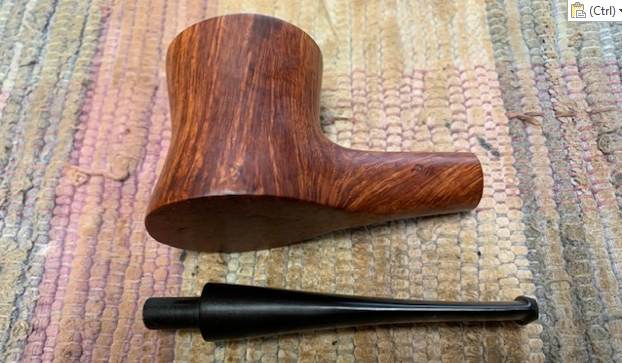
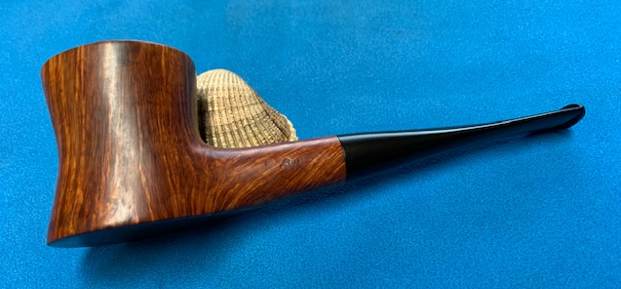
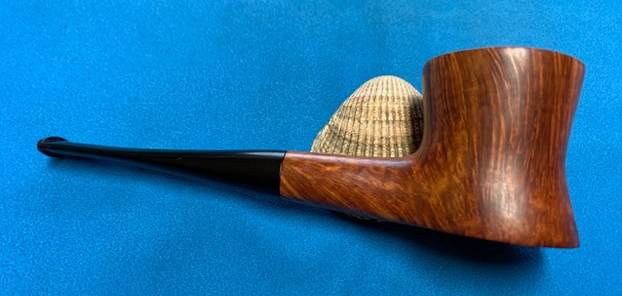
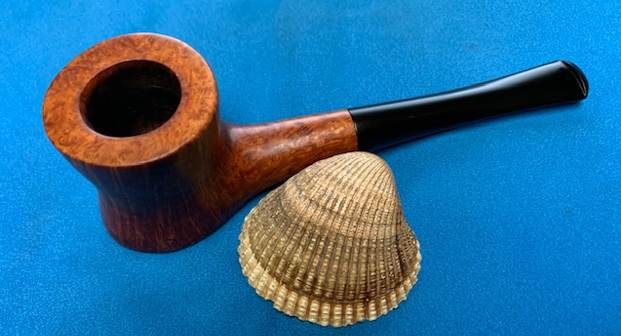
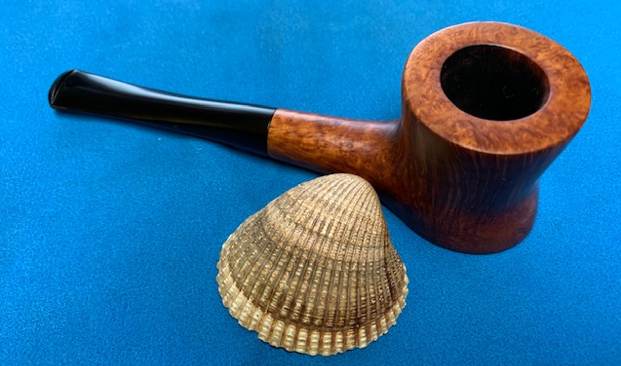
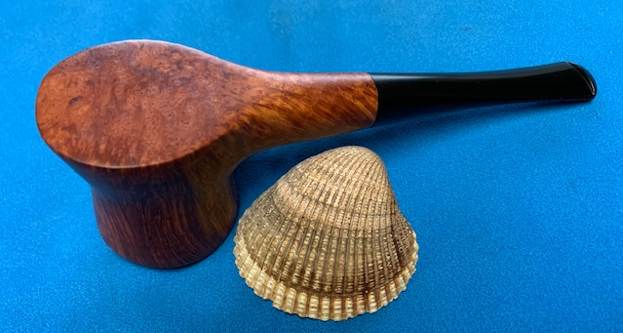
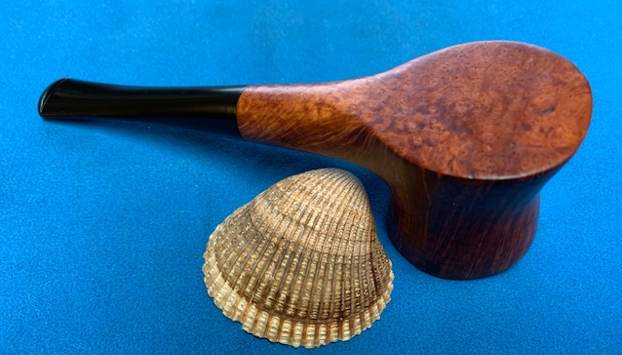
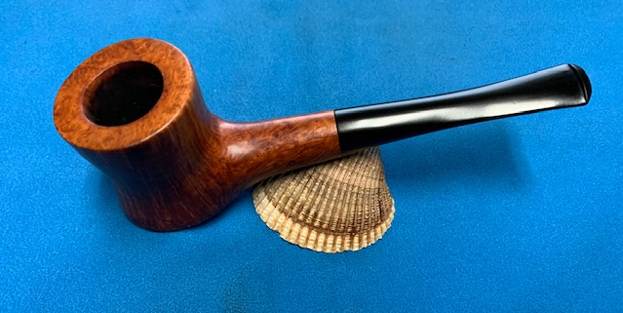
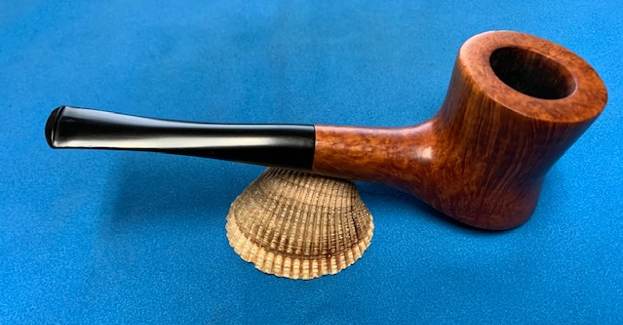
 This is another pipe I am excited to finish. It is a Amphora X-tra 725 Bent Billiard with some beautiful grain. I put the pipe back together and buffed it lightly with Blue Diamond on the buffing wheel. I gave the bowl and the stem multiple coats of carnauba wax. I buffed the pipe with a clean buffing pad to raise the shine and hand buffed it with microfiber cloth to deepen the shine. It is fun to see what the polished bowl looks like with the polished stem. It really was a beautiful pipe. The mix of flame and straight grain shining through the rich browns/black stain on this Amphora X-tra Bent Billiard is nice looking and the pipe feels great in my hand. It is light and well balanced. Have a look at it with the photos below. The dimensions are Length: 5 ½ inches, Height: 1 ¾ inches, Outside diameter of the bowl: 1 ¼ inches, Chamber diameter: ¾ of an inch. The weight of the pipe is 1.48 ounces/42 grams. It is a beautiful pipe and one that will be on the rebornpipes store in the Pipe From Various Makers section soon. If you are interested in adding it to your collection let me know. Thanks for walking through the cleanup with me as I worked over this pipe. Thanks to each of you who are reading this blog. Remember we are not pipe owners; we are pipemen and women who hold our pipes in trust until they pass on into the trust of those who follow us.
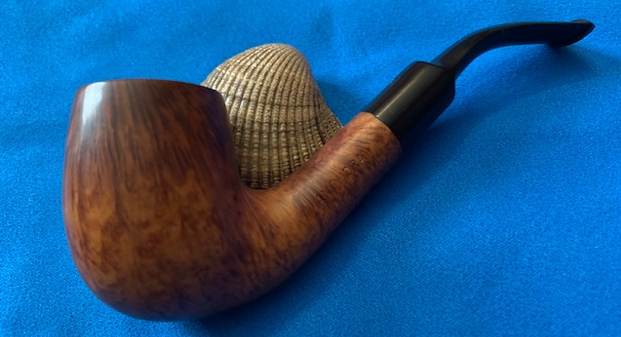


