Blog by Kenneth Lieblich
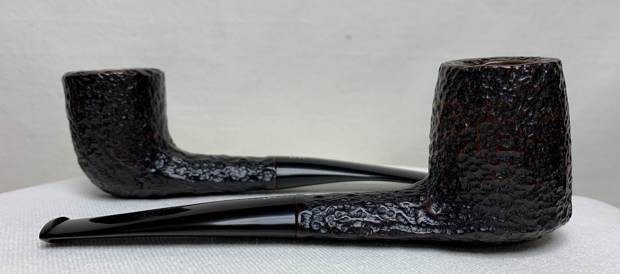
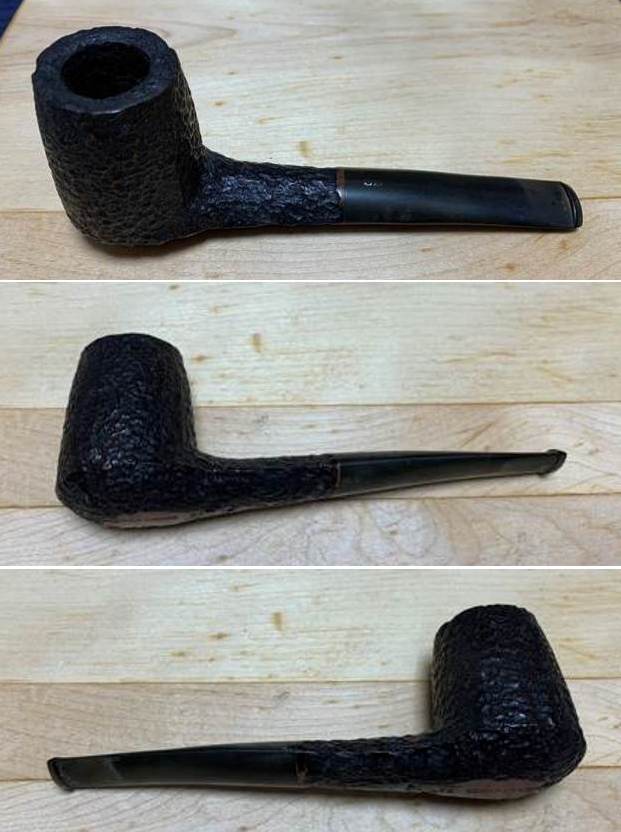
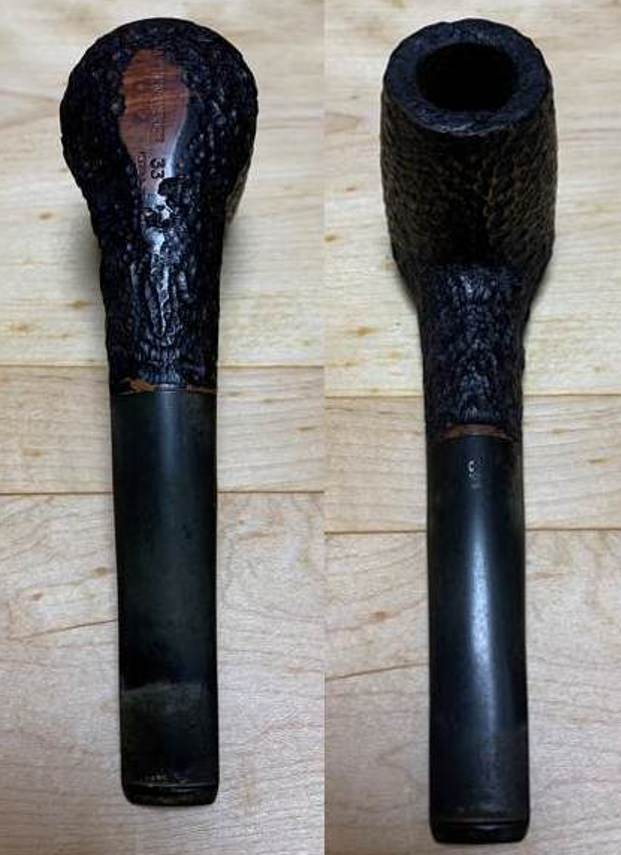
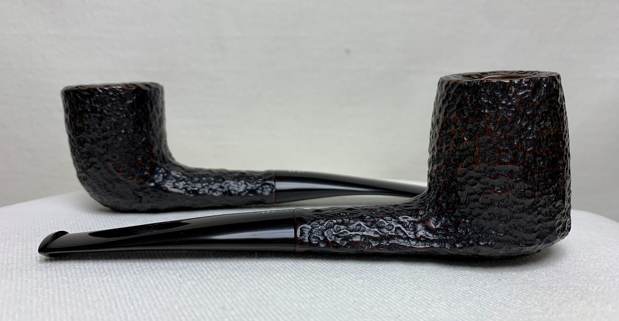
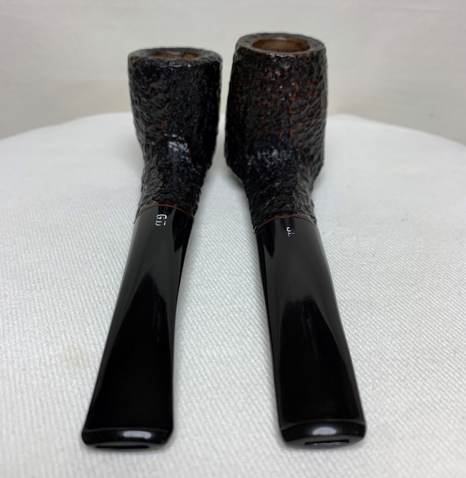
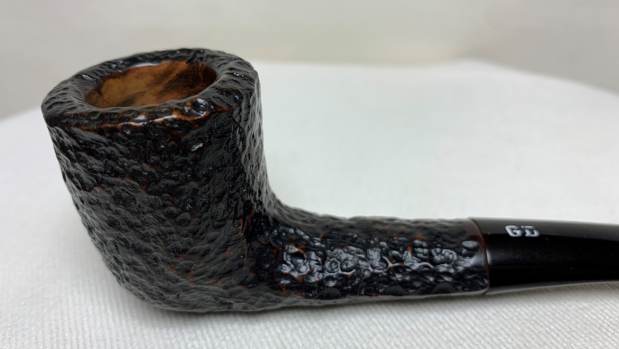
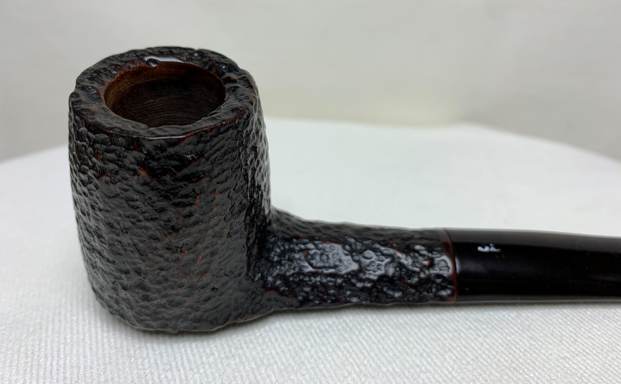
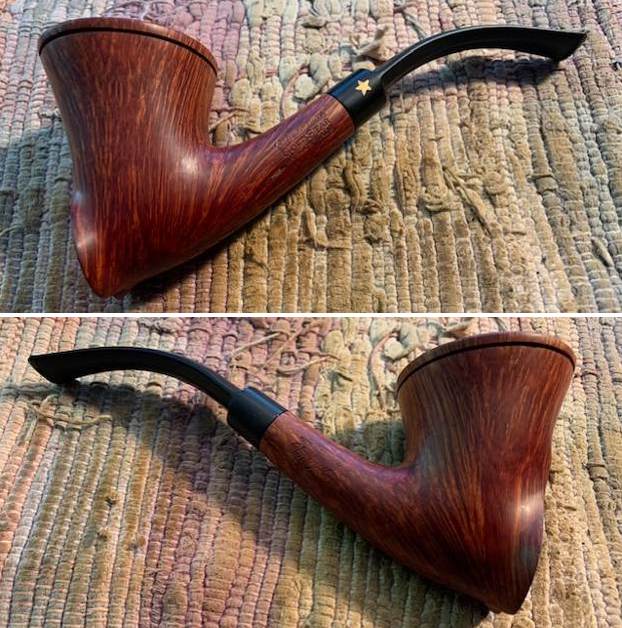
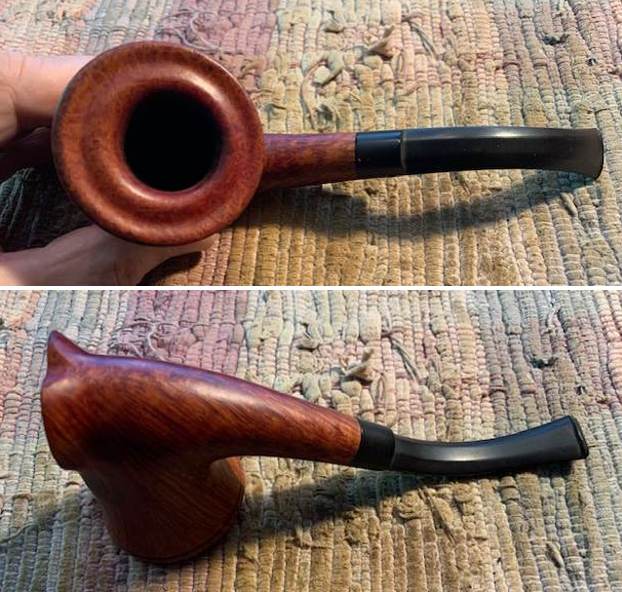
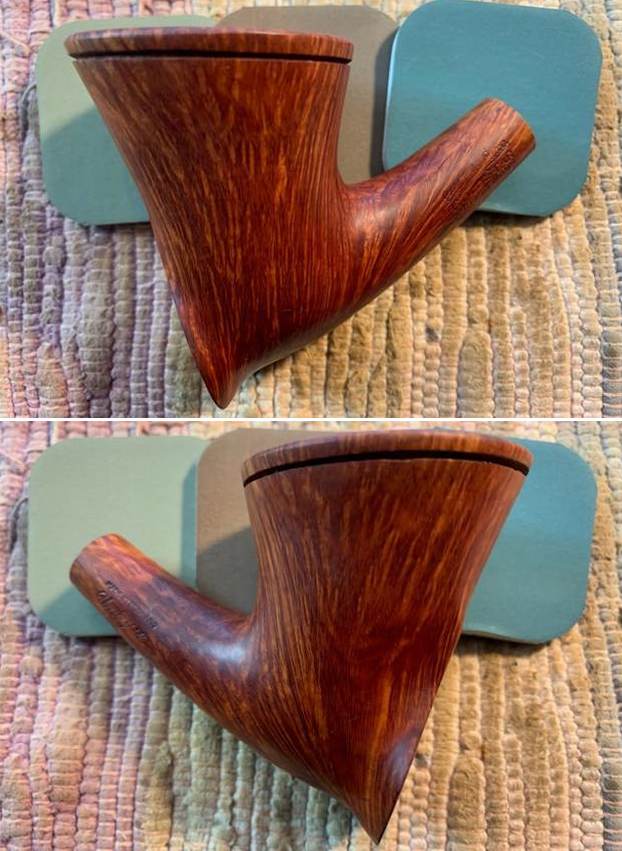
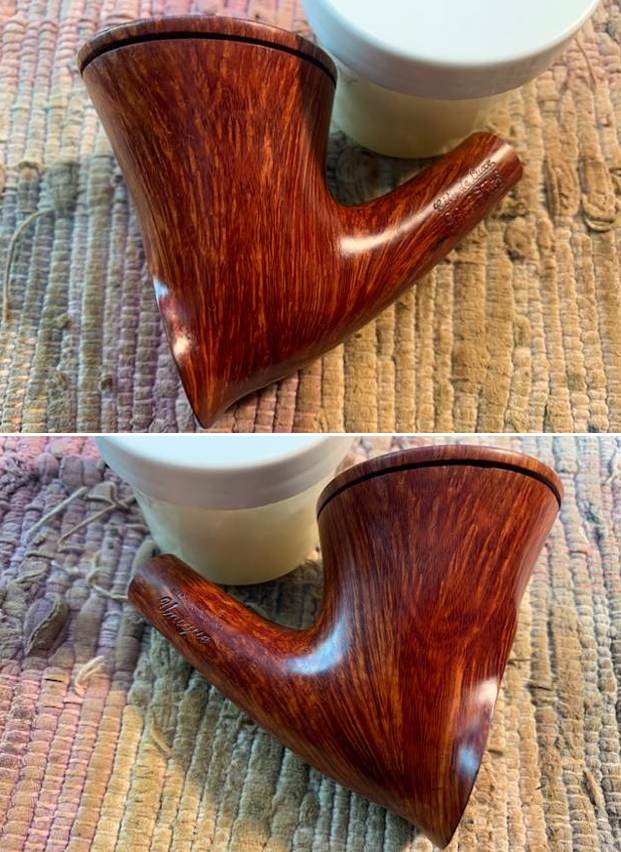
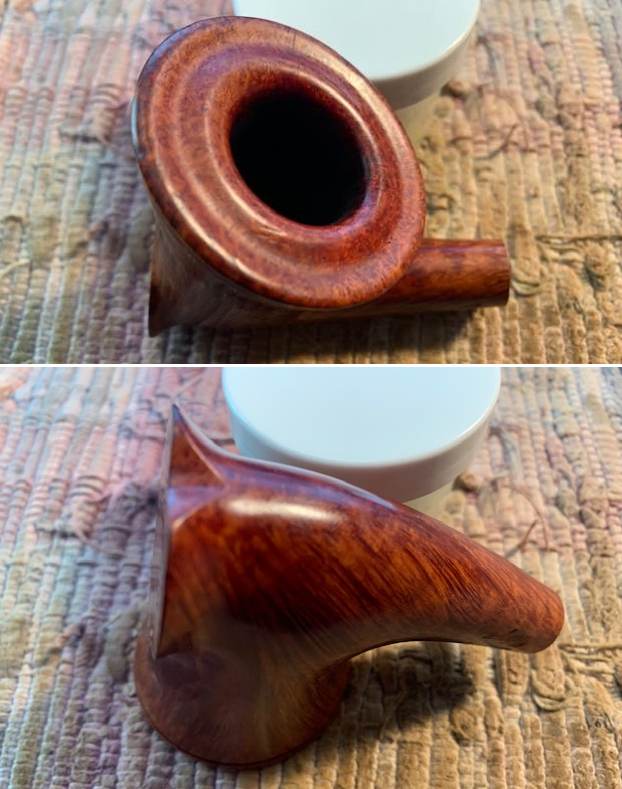
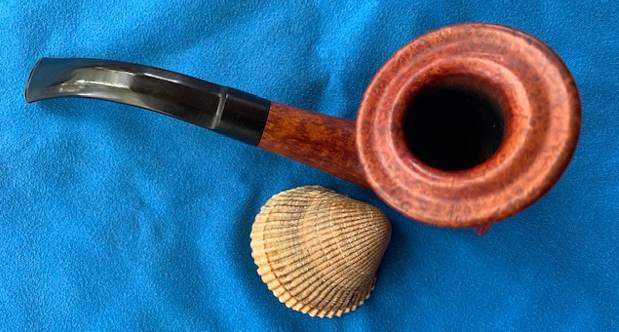
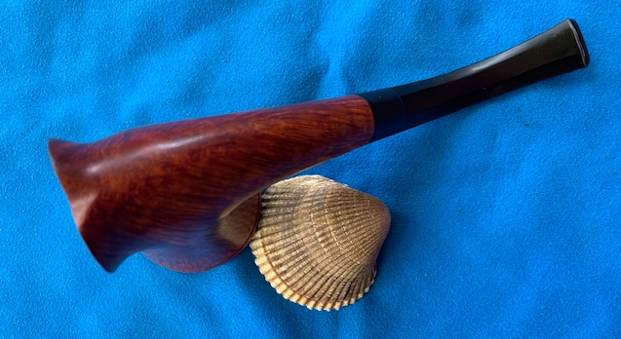
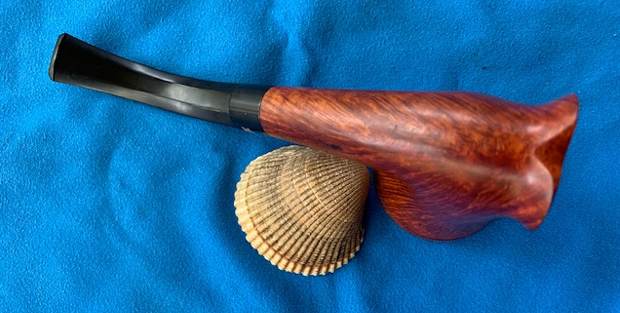
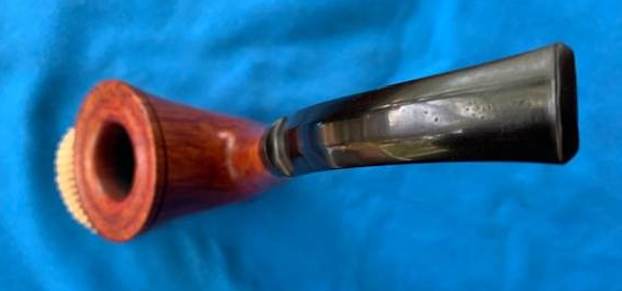
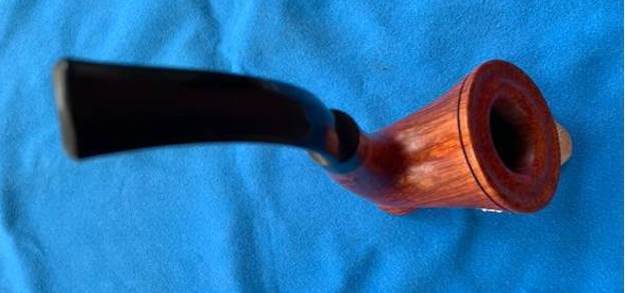
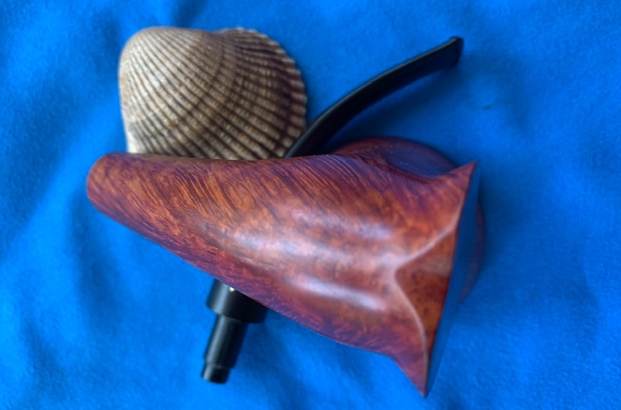
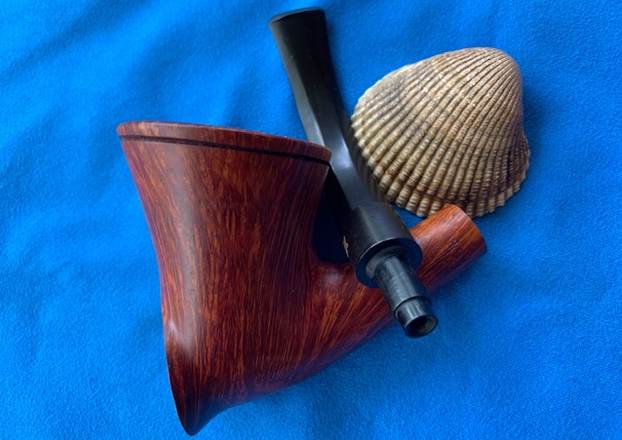
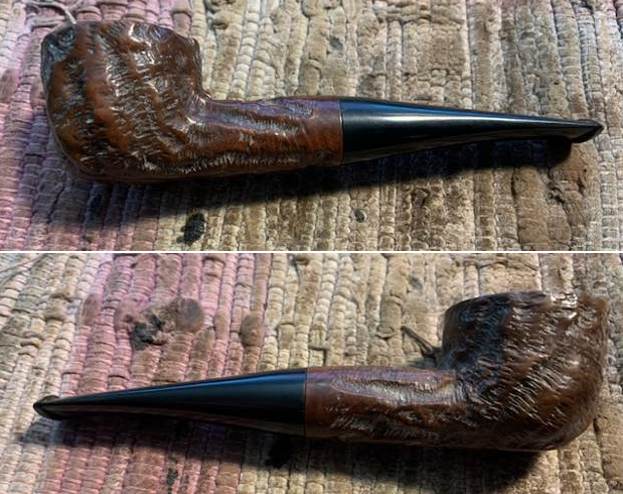
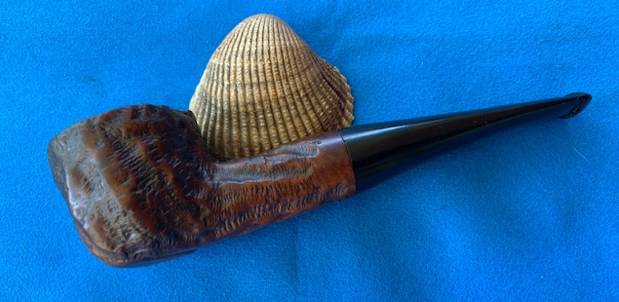
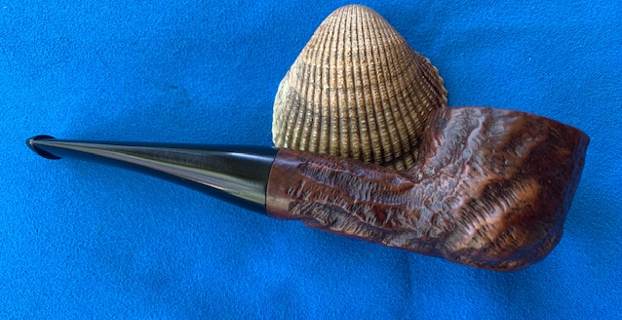
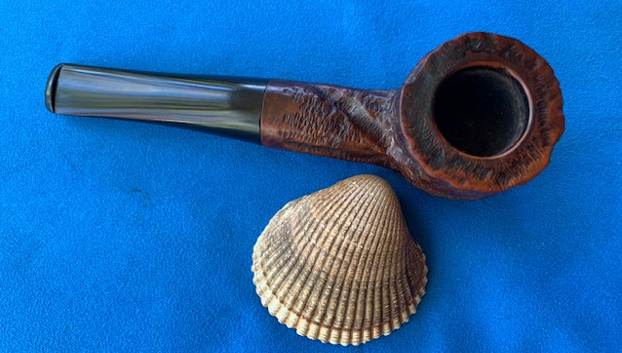
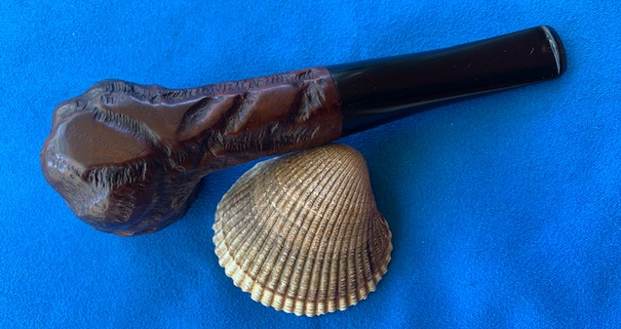
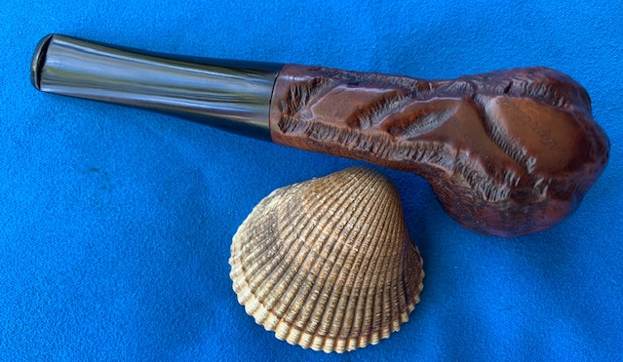
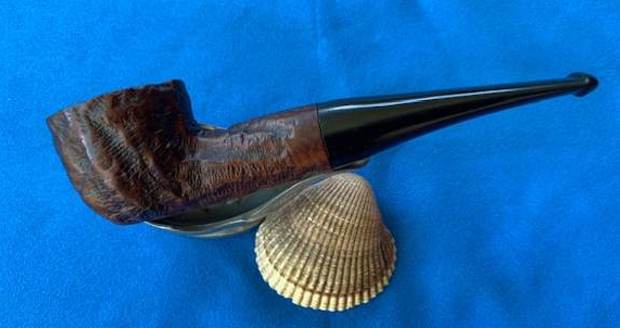
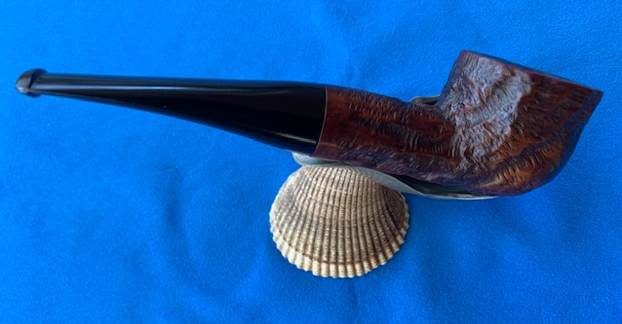
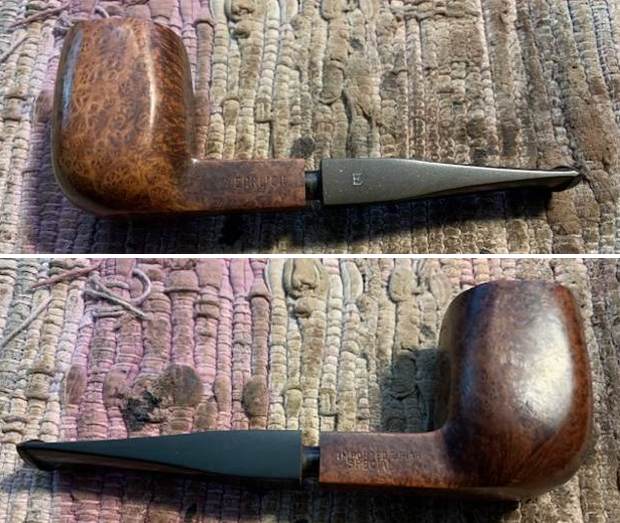
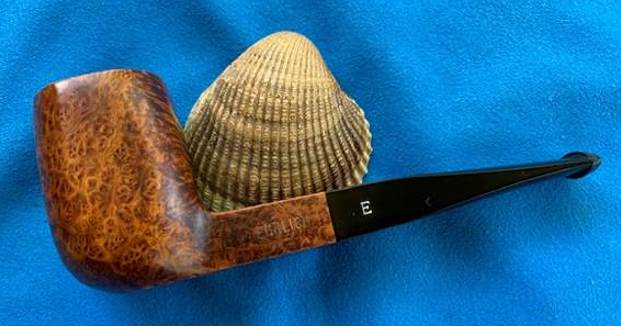
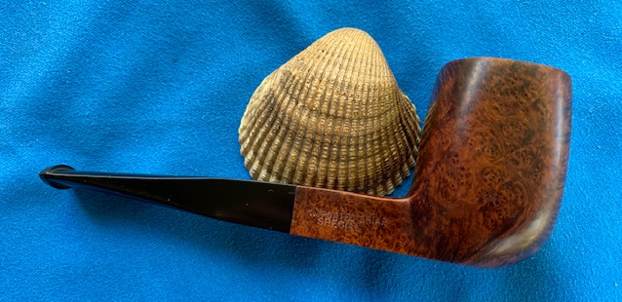
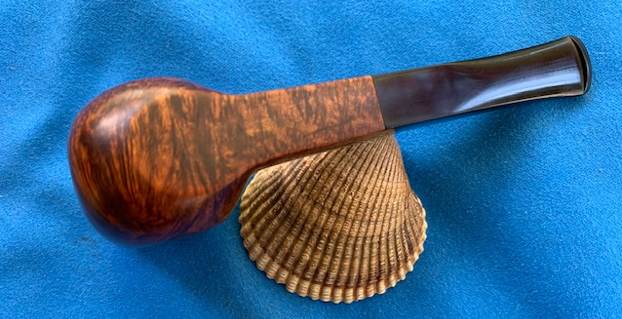
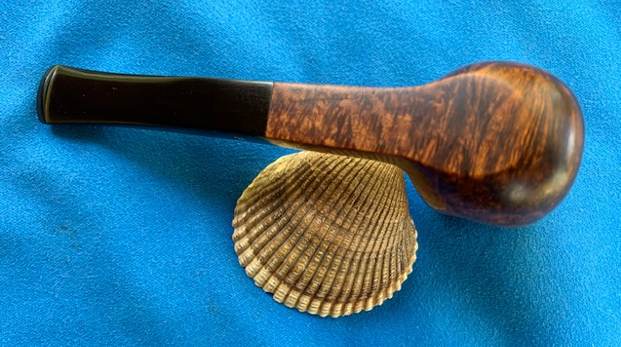
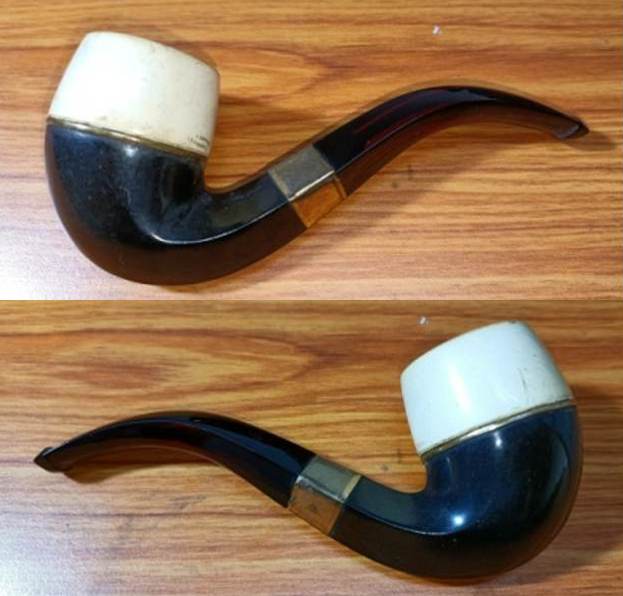
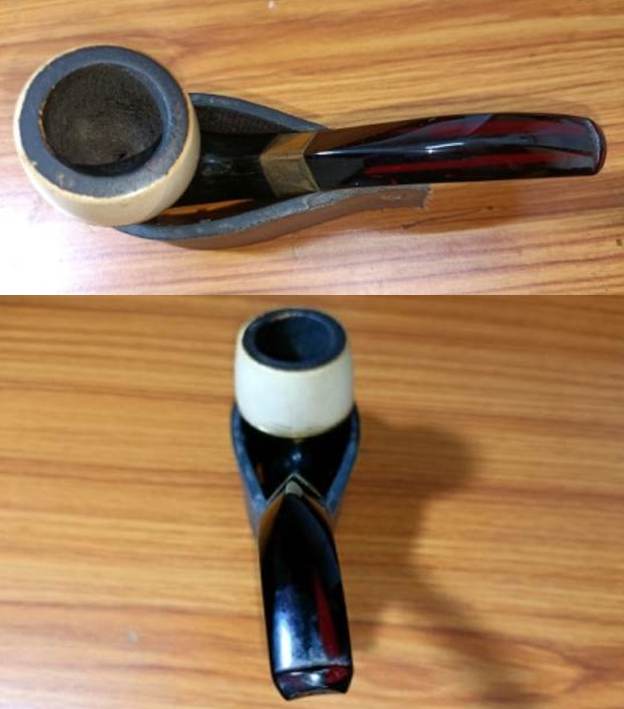
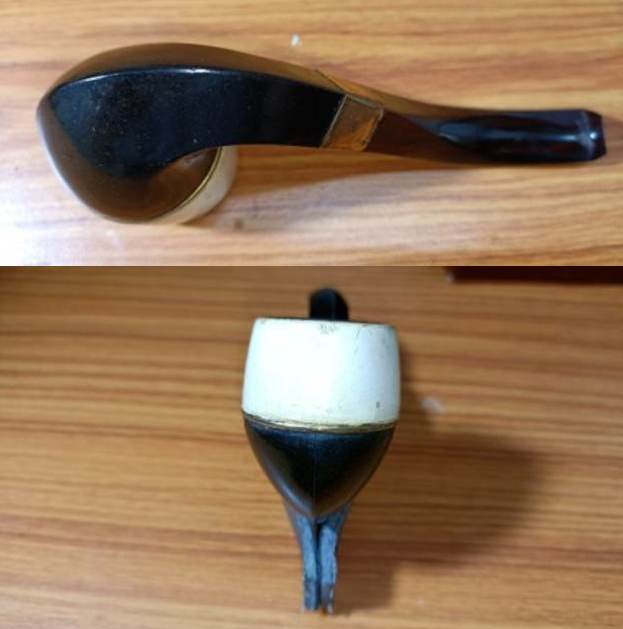
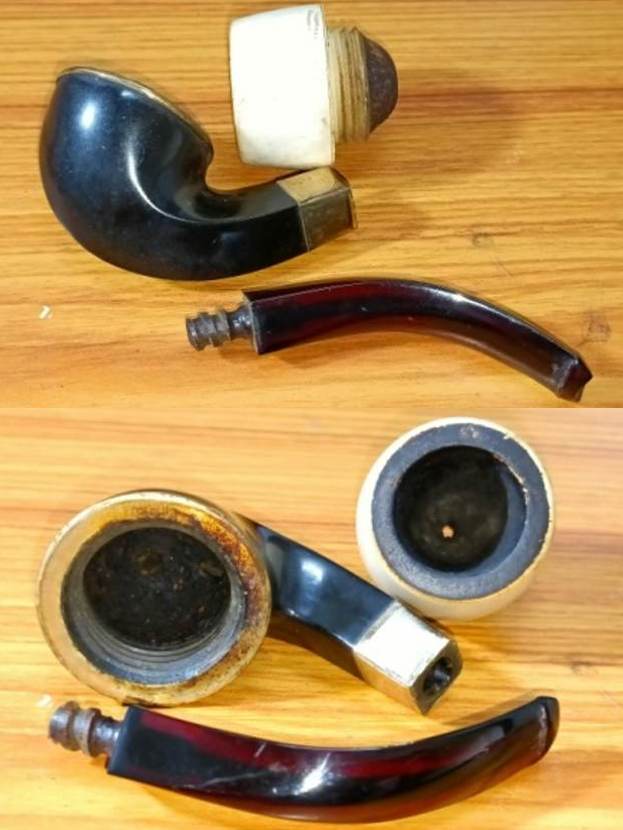
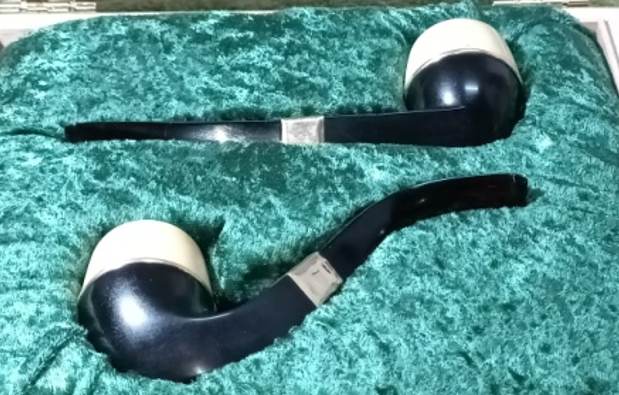
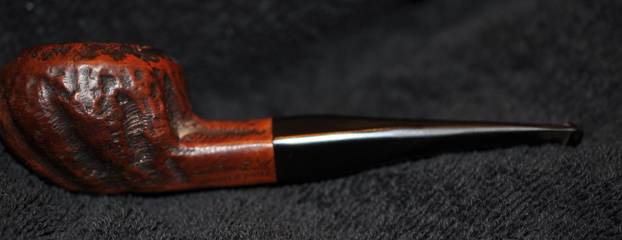
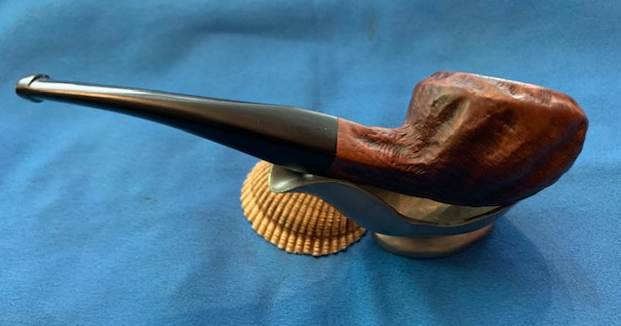
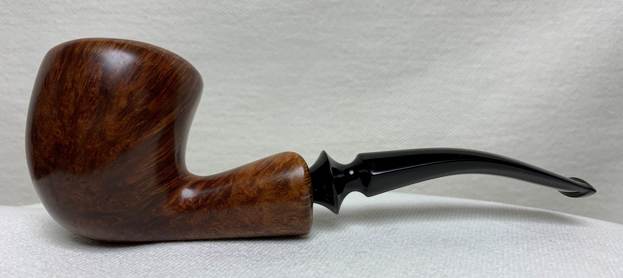
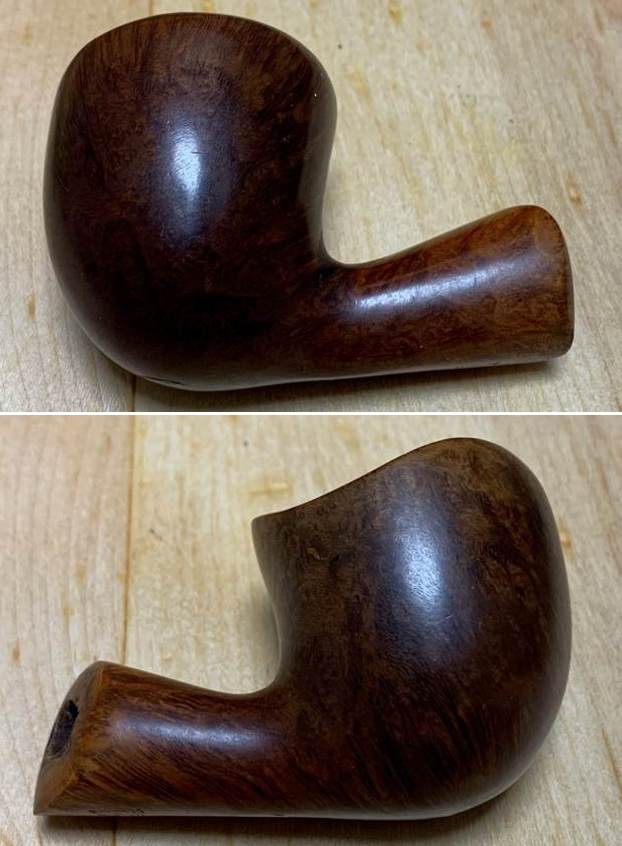
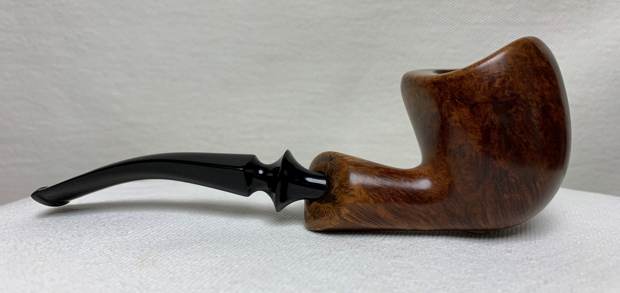
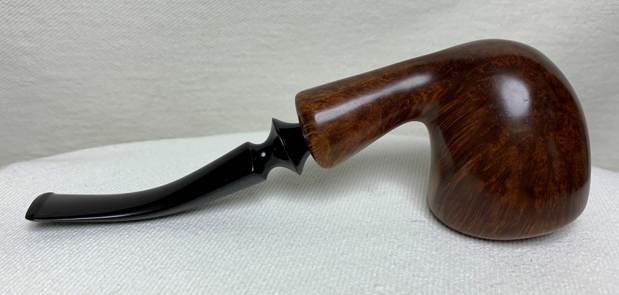
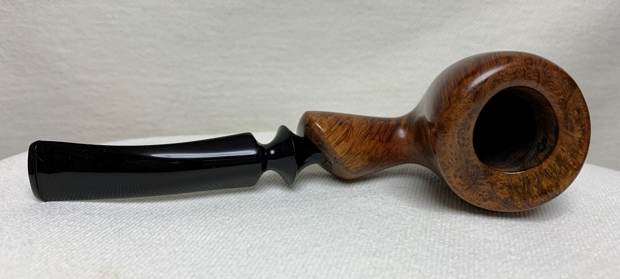
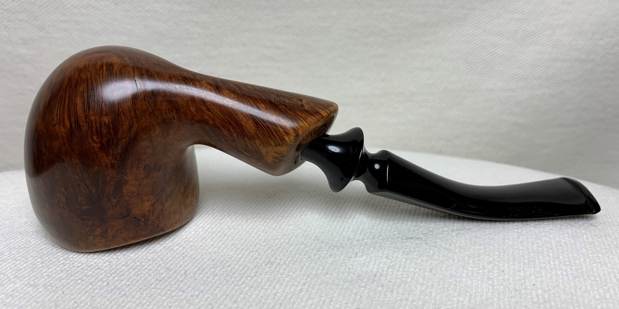
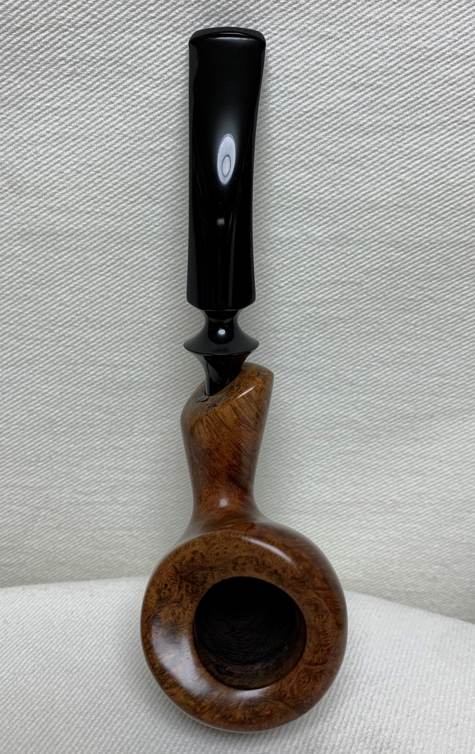
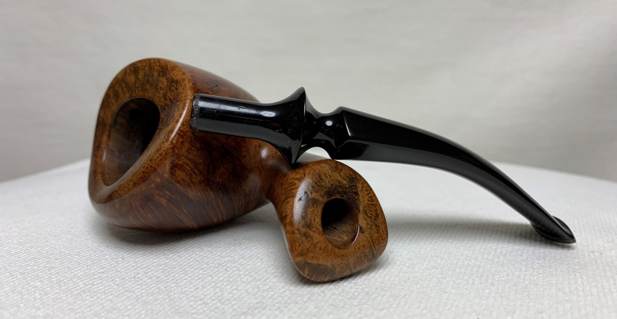
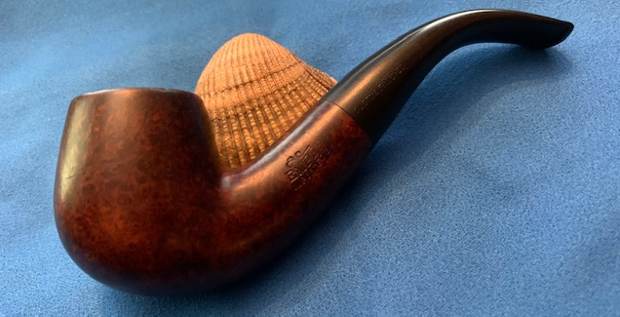
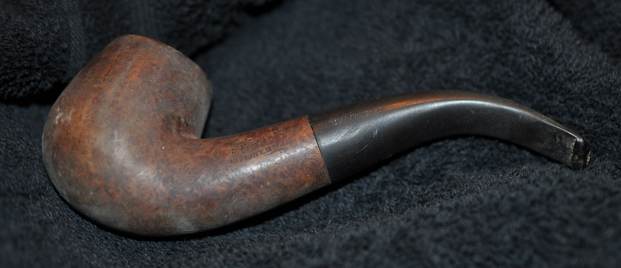
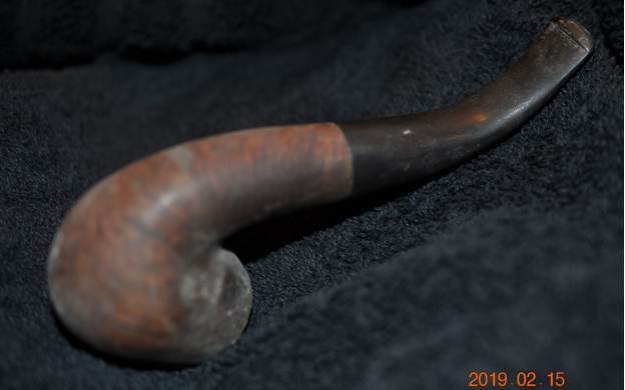
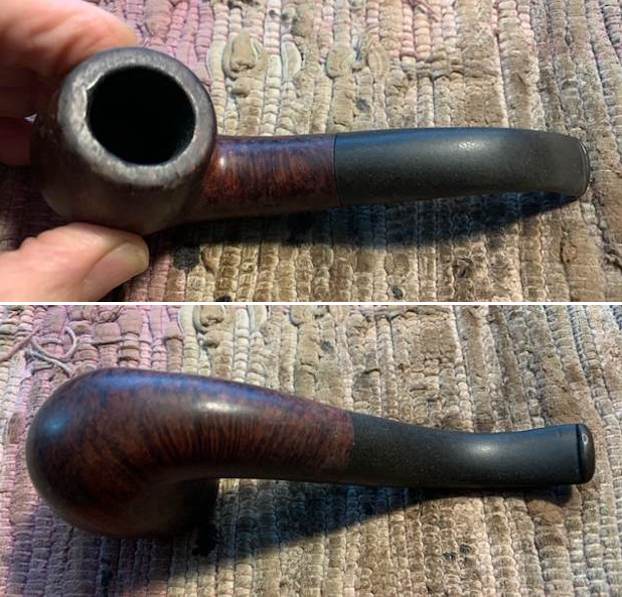
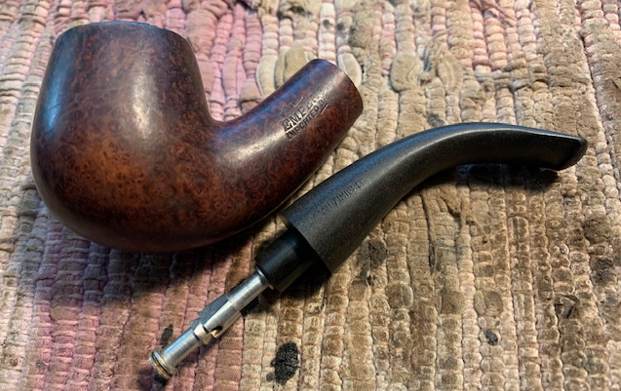
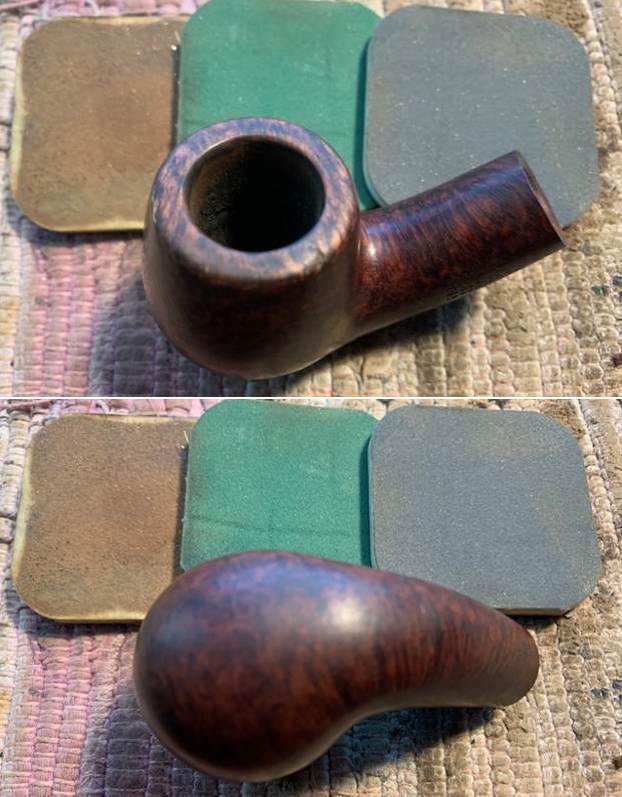
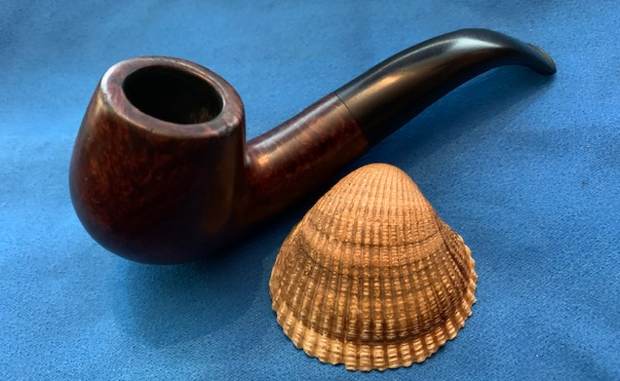
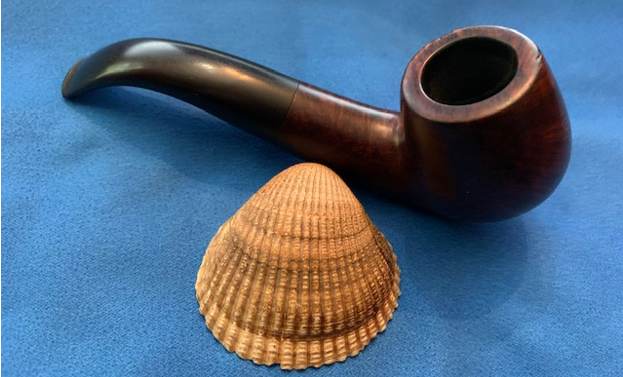
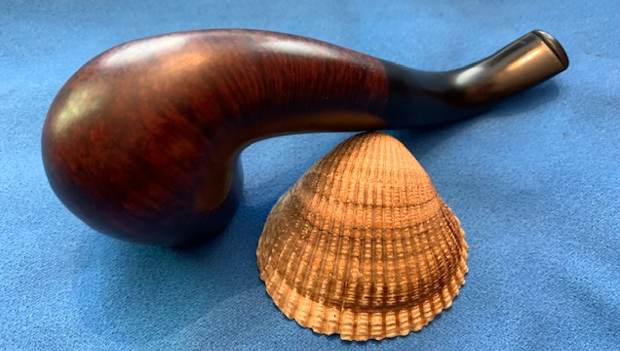
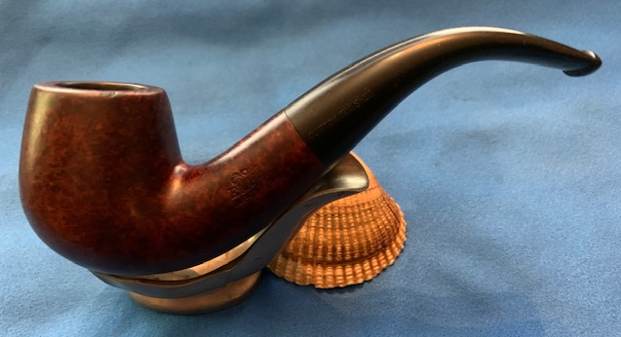
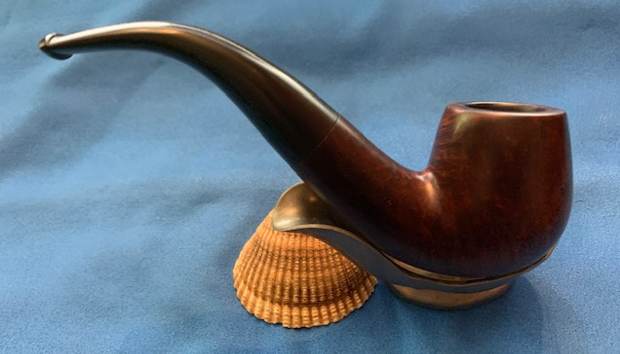
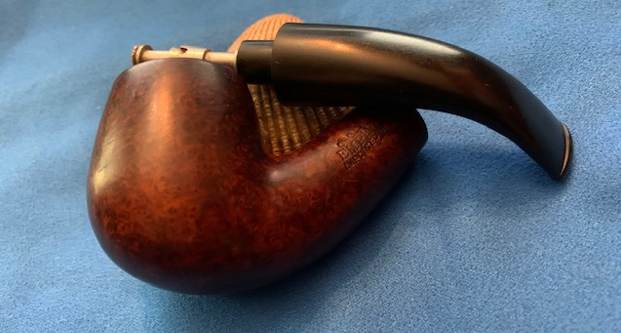
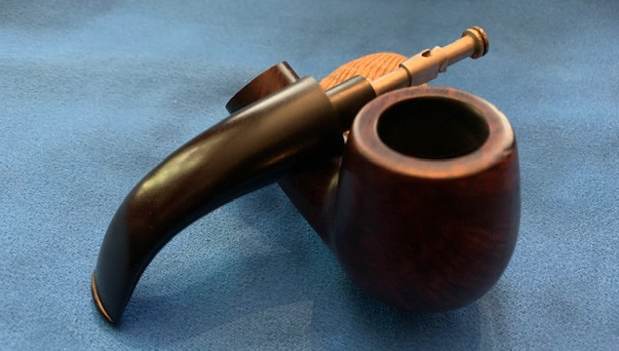
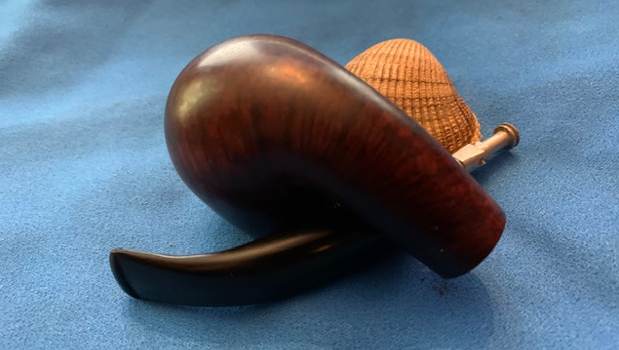
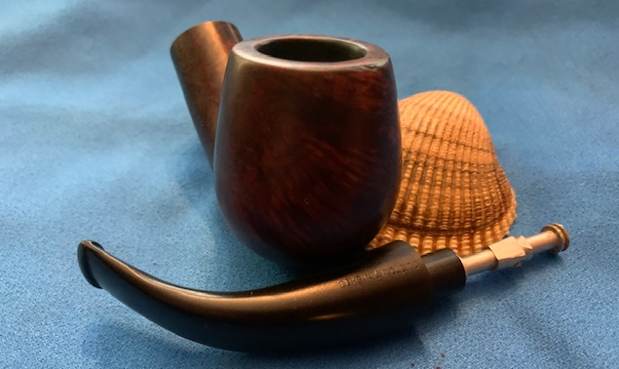
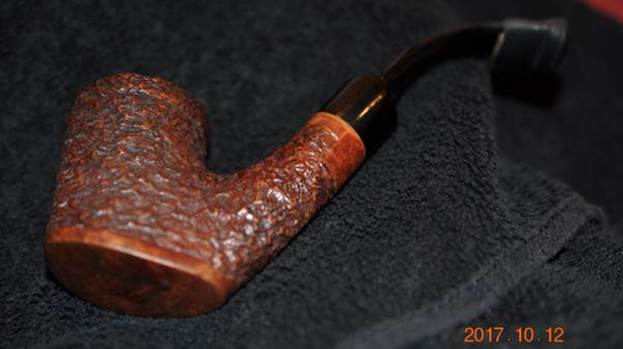
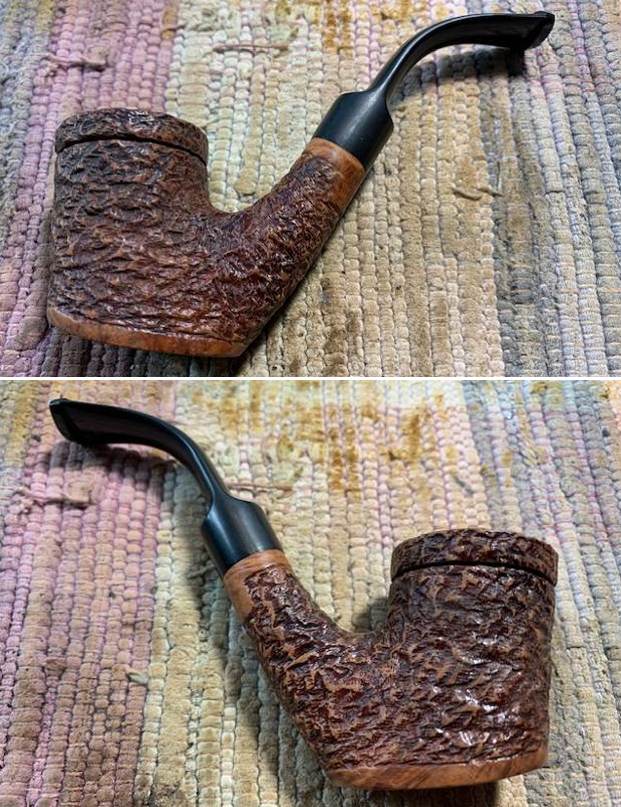
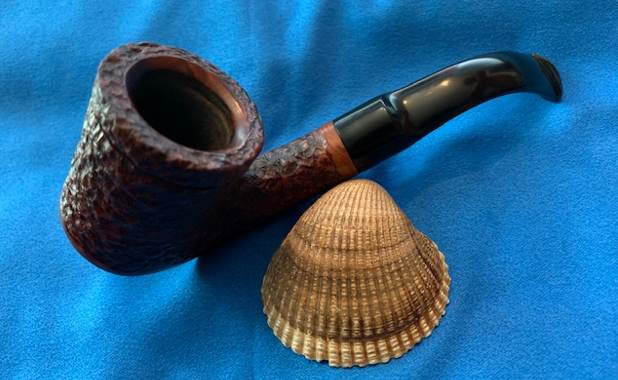
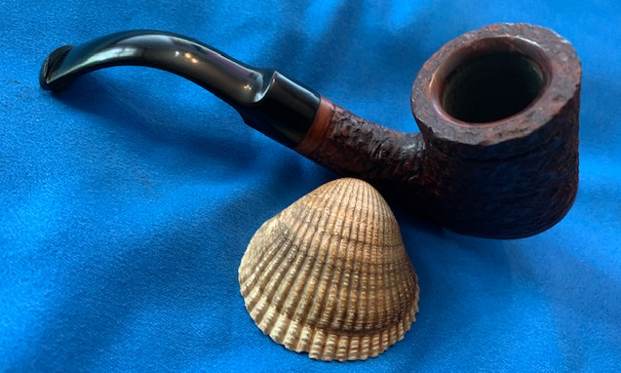
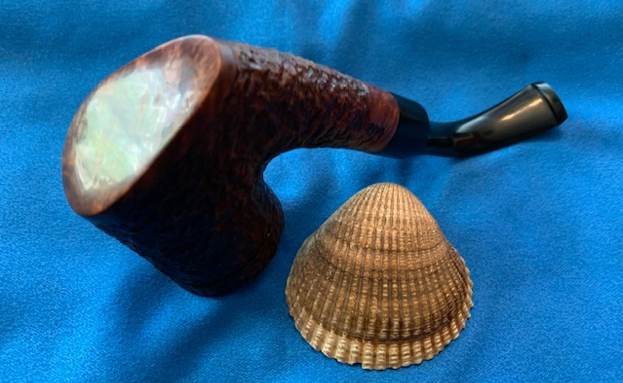
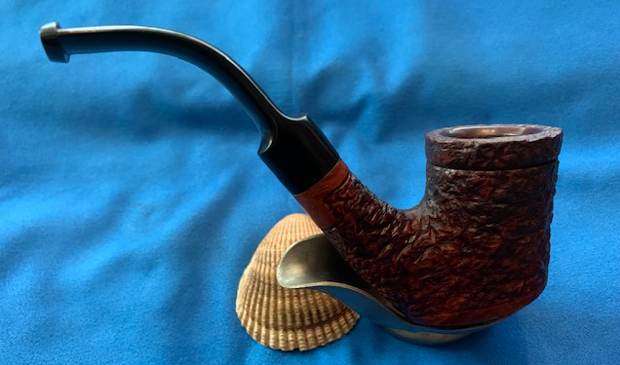
Next on the chopping block is a lovely pair of pipes, formerly belonging to an old gentleman from Winnipeg. I acquired them in a lot of pipes from a relative of his here in Vancouver. The two pipes are both sub-brands of the famous Savinelli factory. The slightly bent Dublin is a Gulden Dansk; the stylized poker/sitter is a Silveren Dansk. They are really handsome pipes and clearly well-loved by their previous owner. 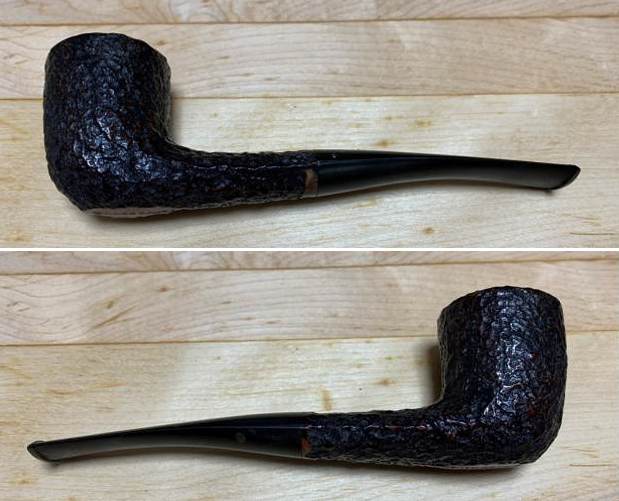
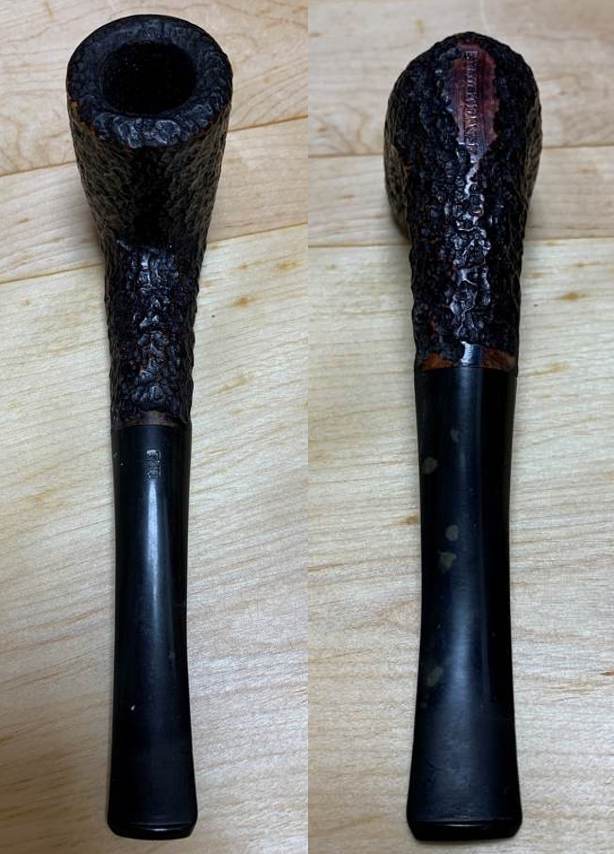
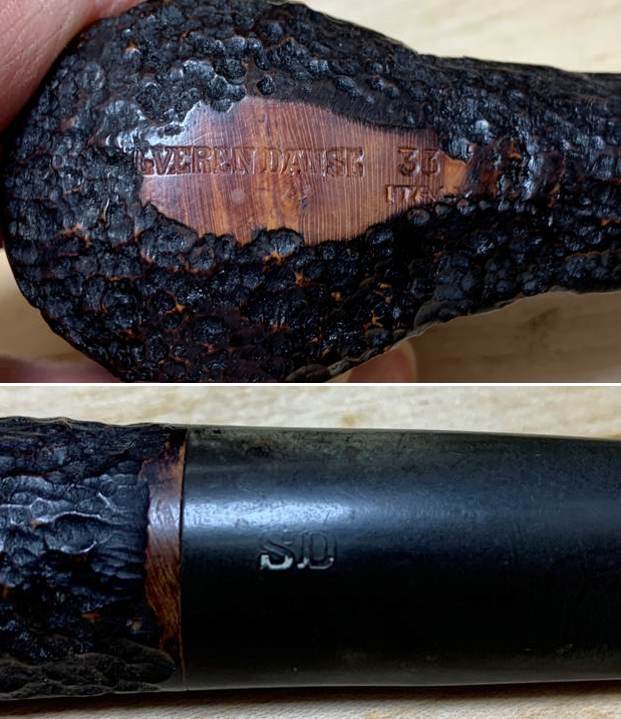
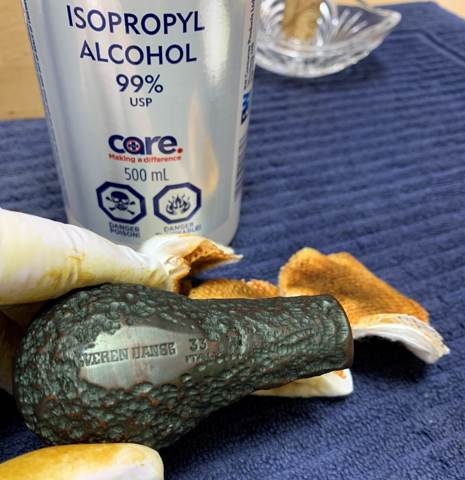
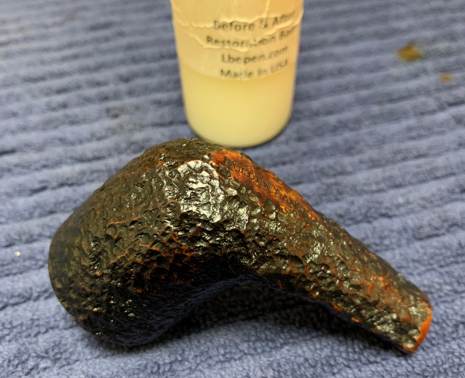
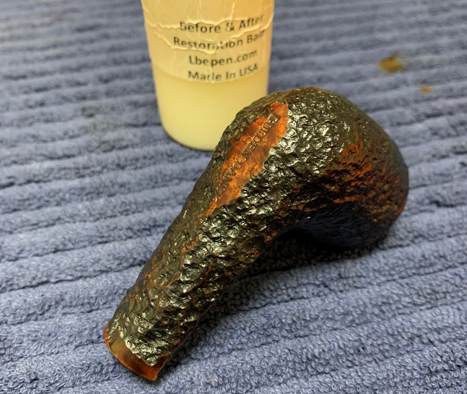
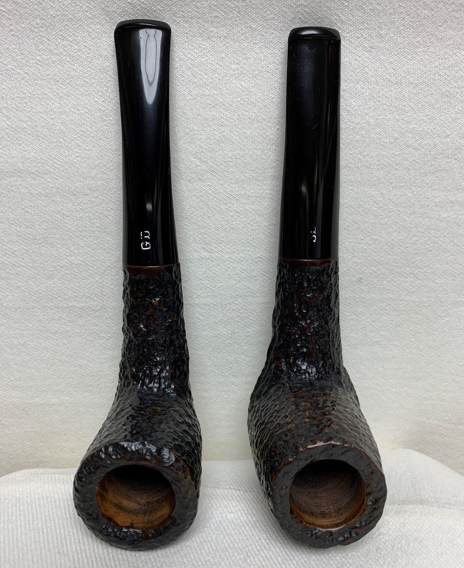
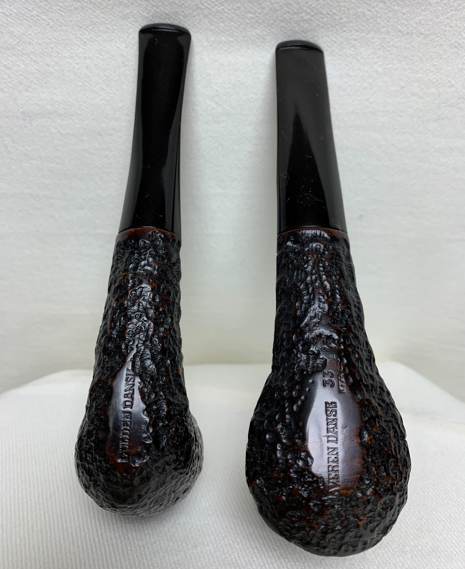
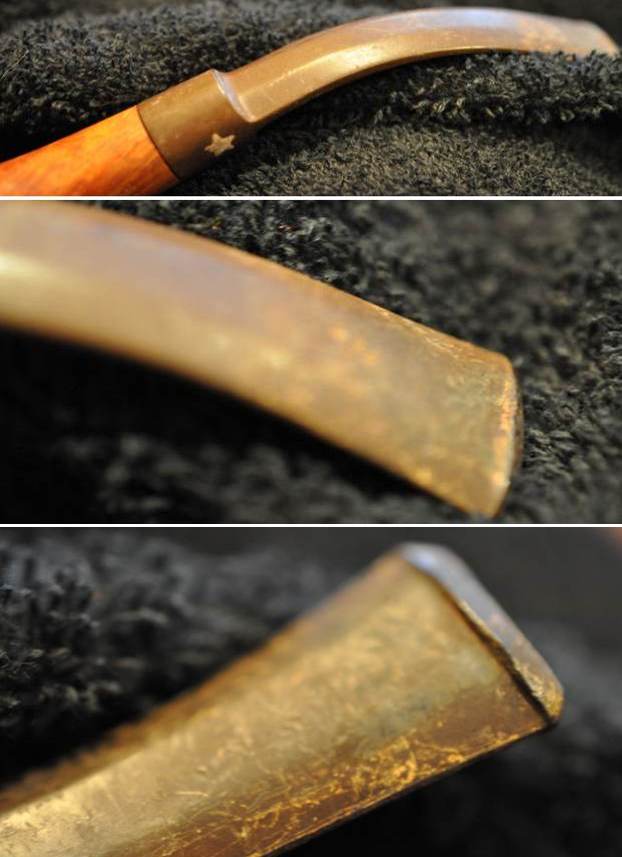
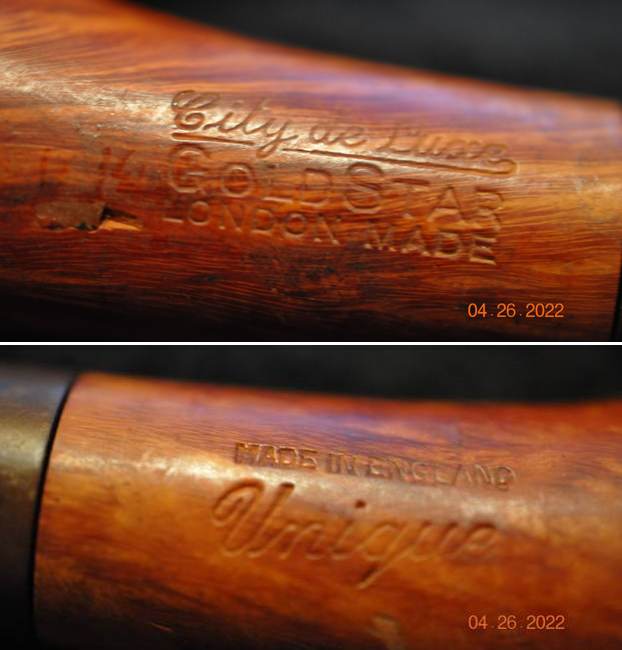
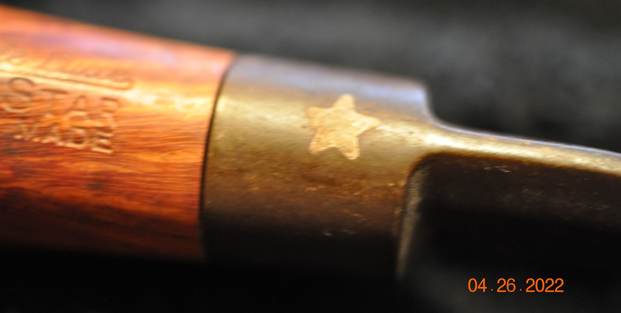
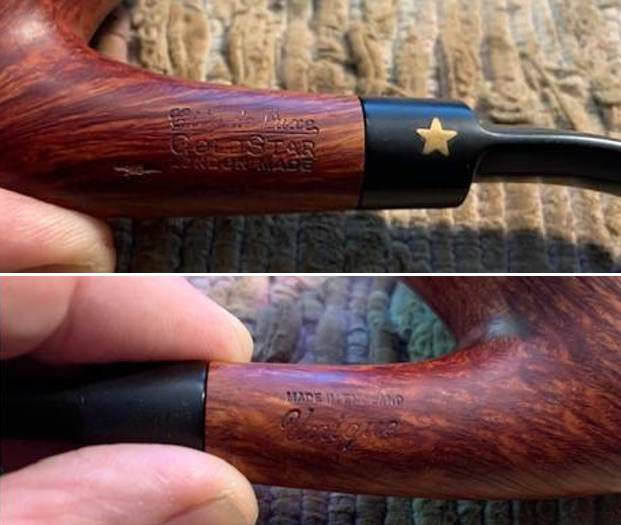
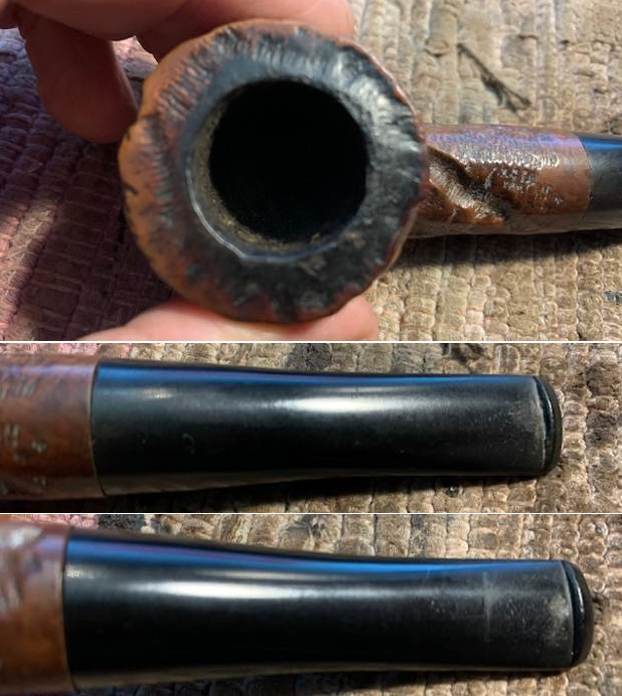
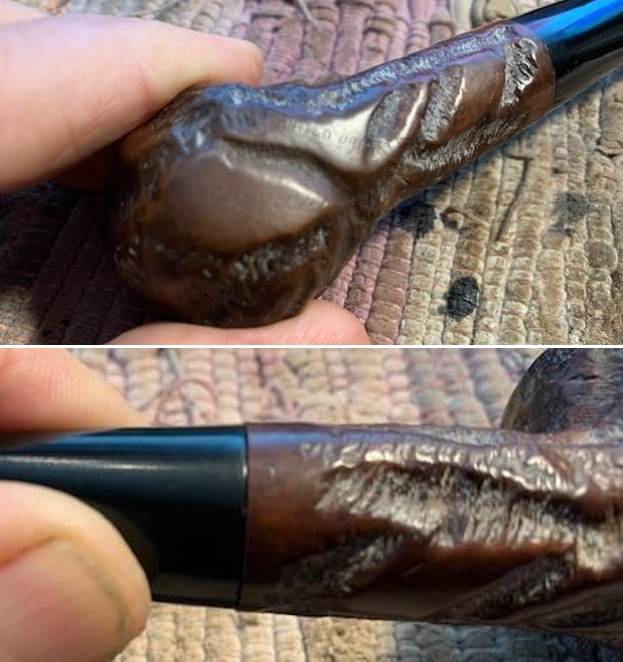
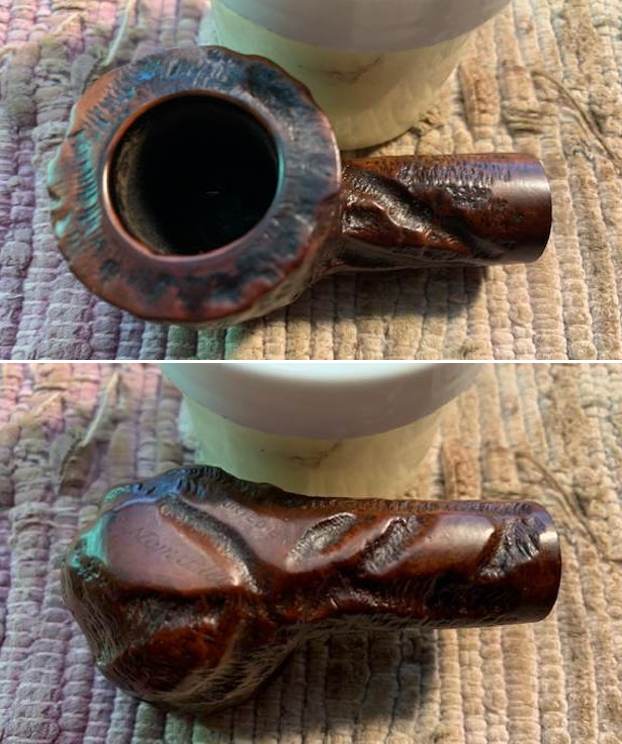
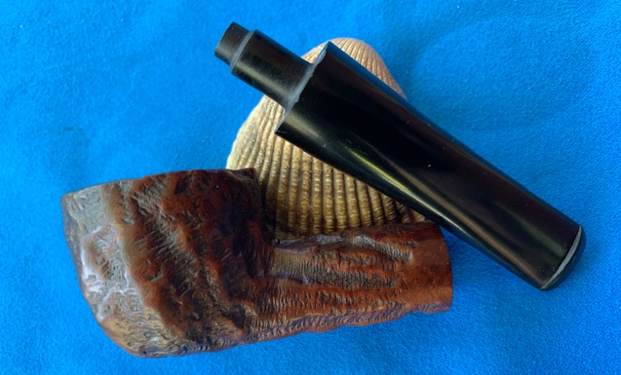
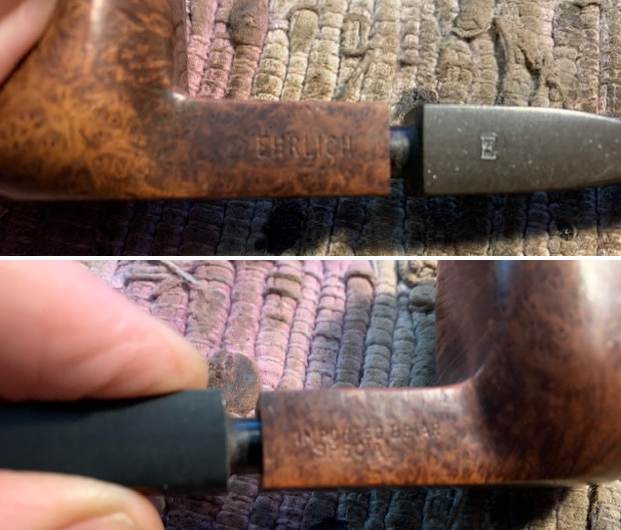
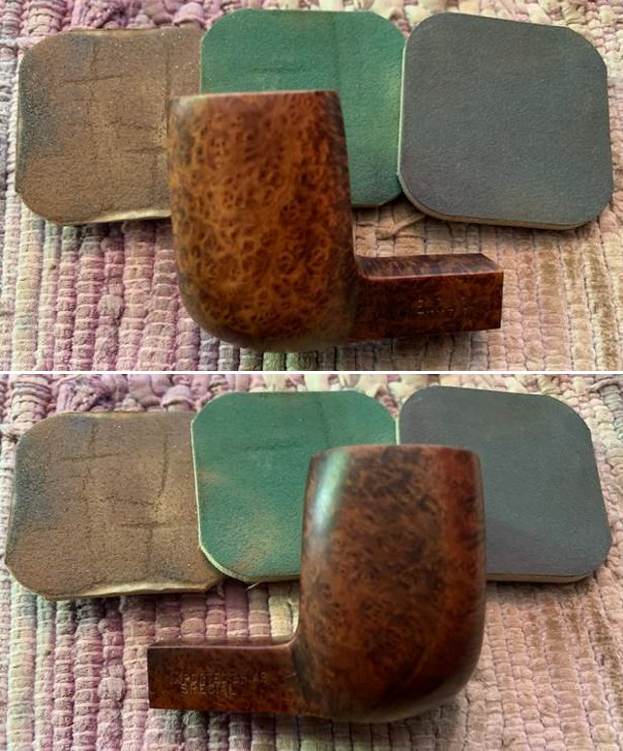
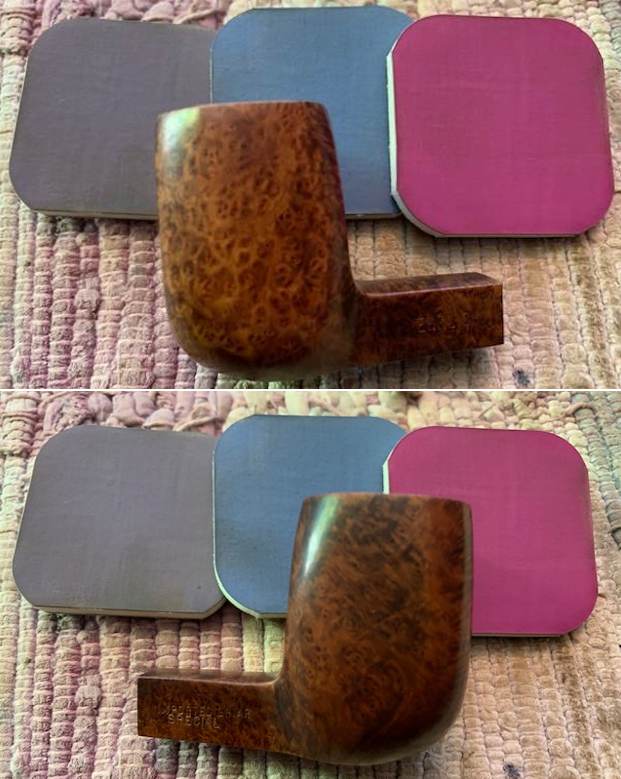
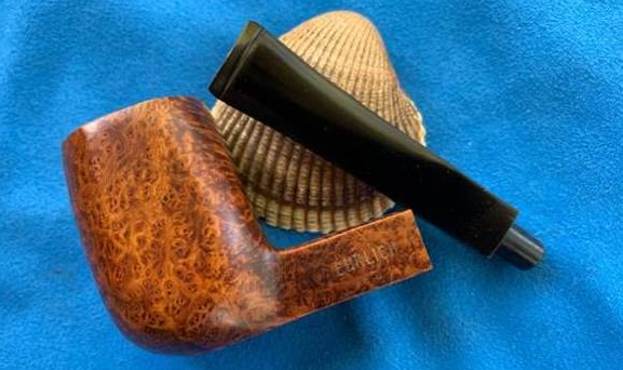
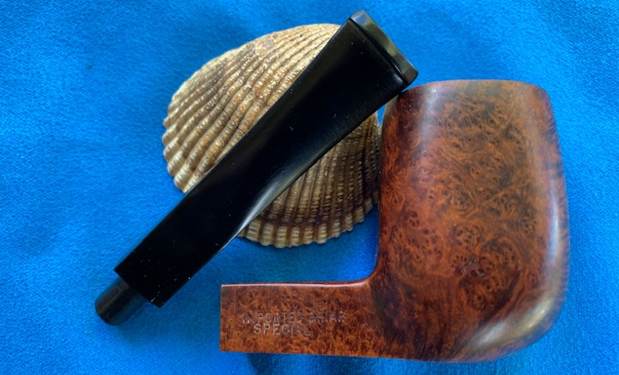
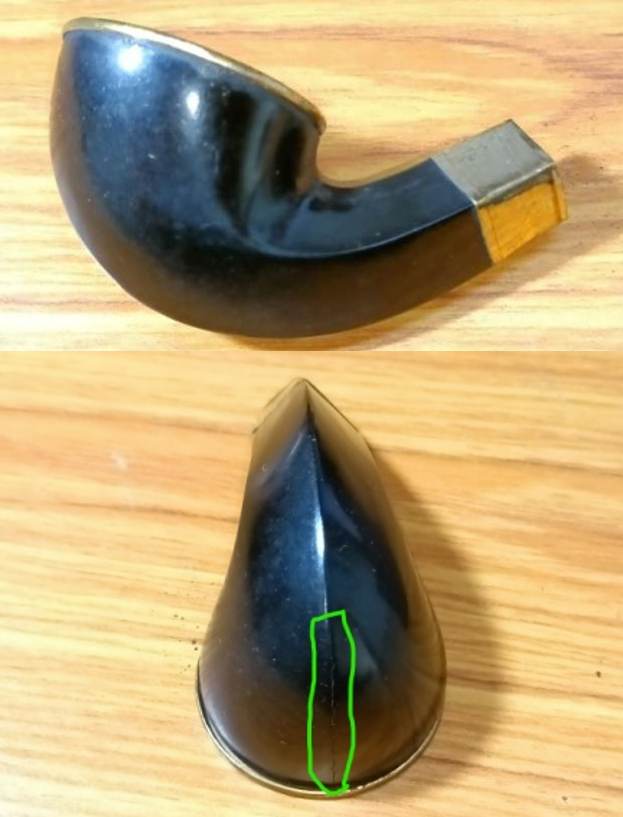
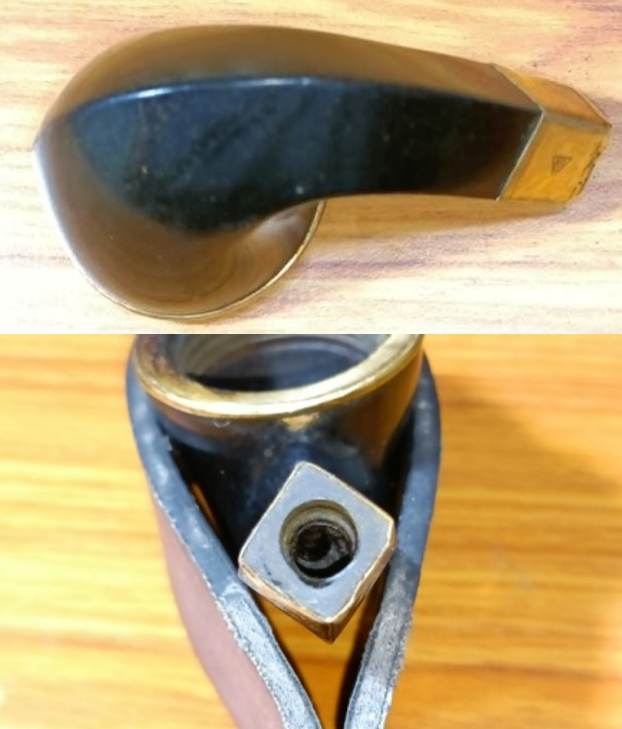
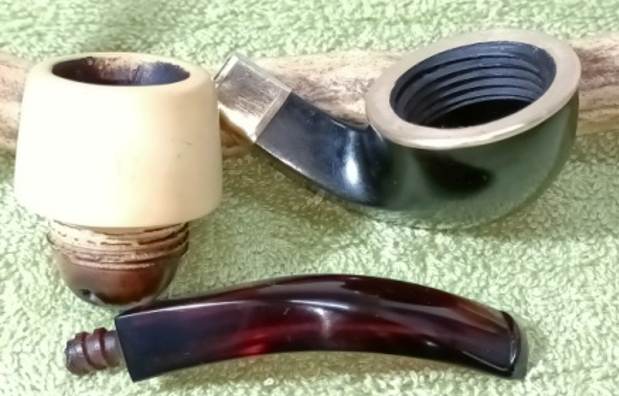
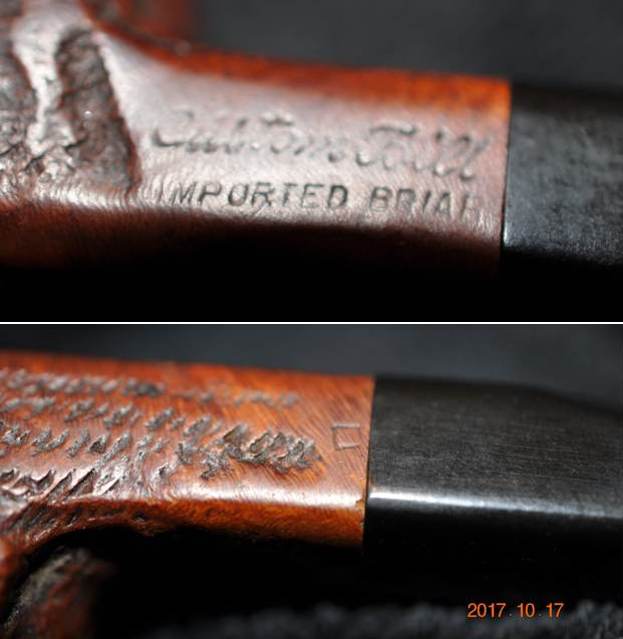
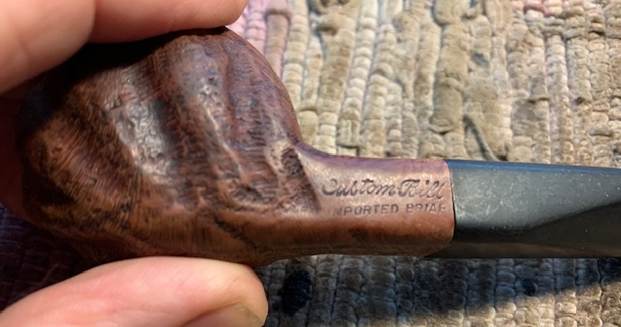
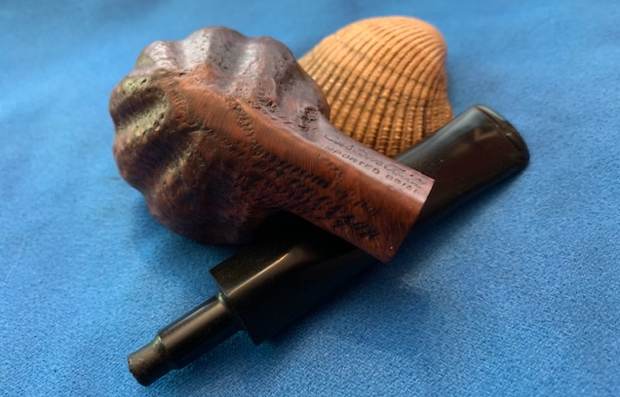
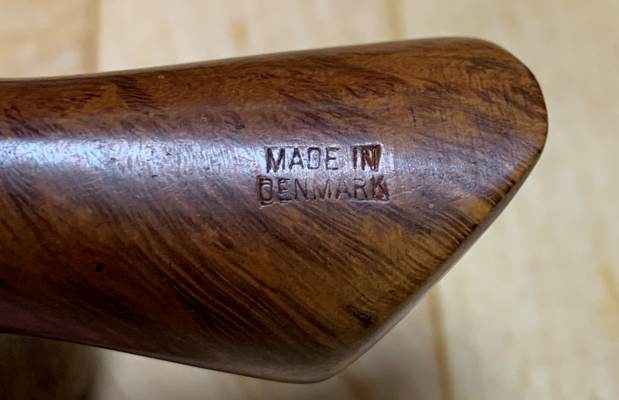
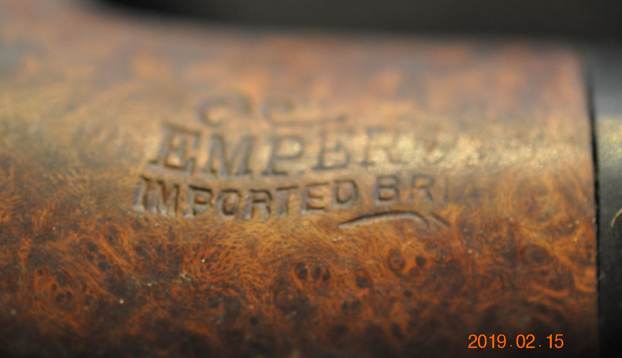
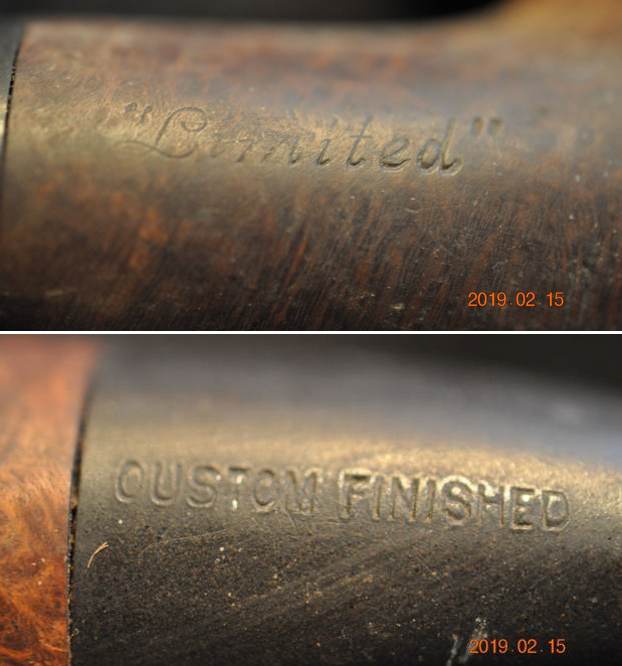
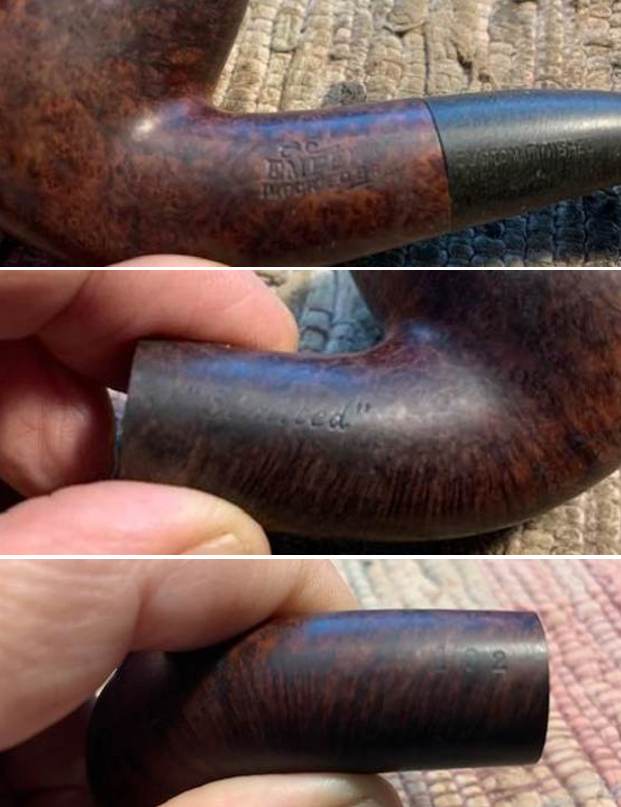
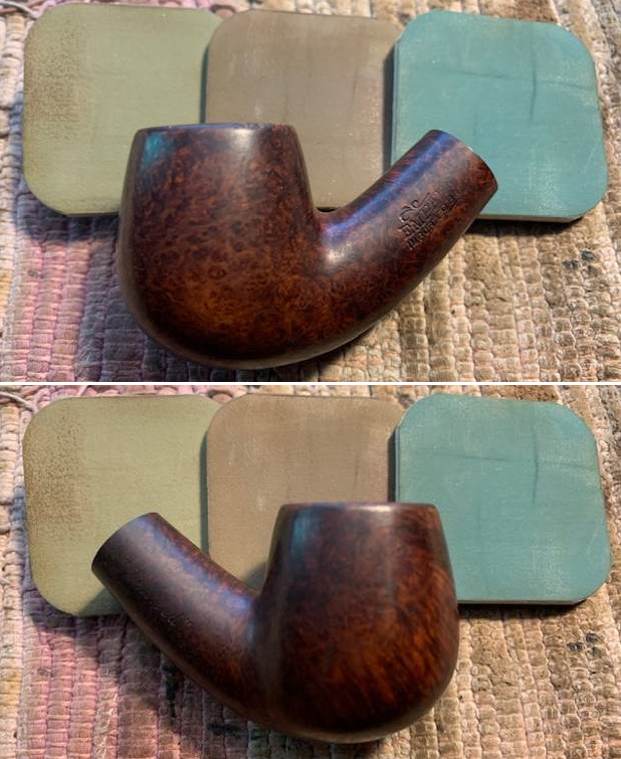
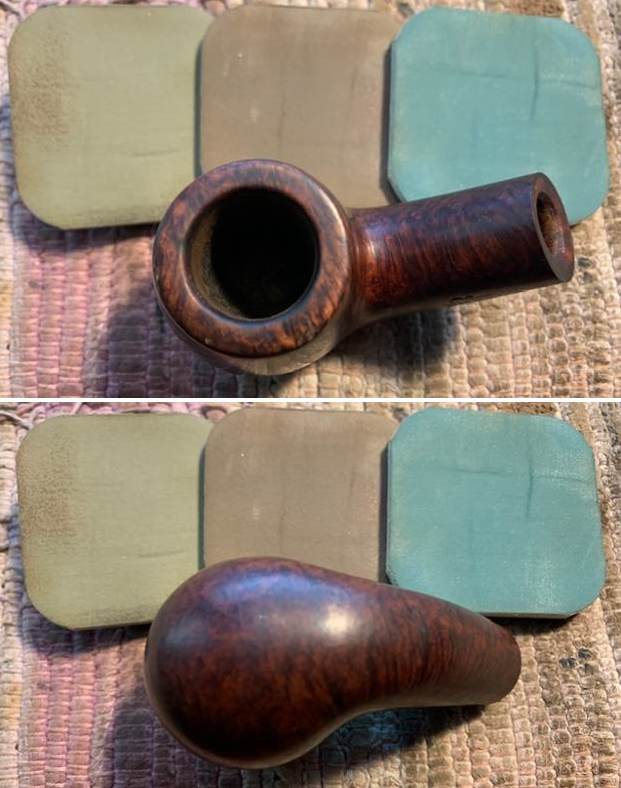
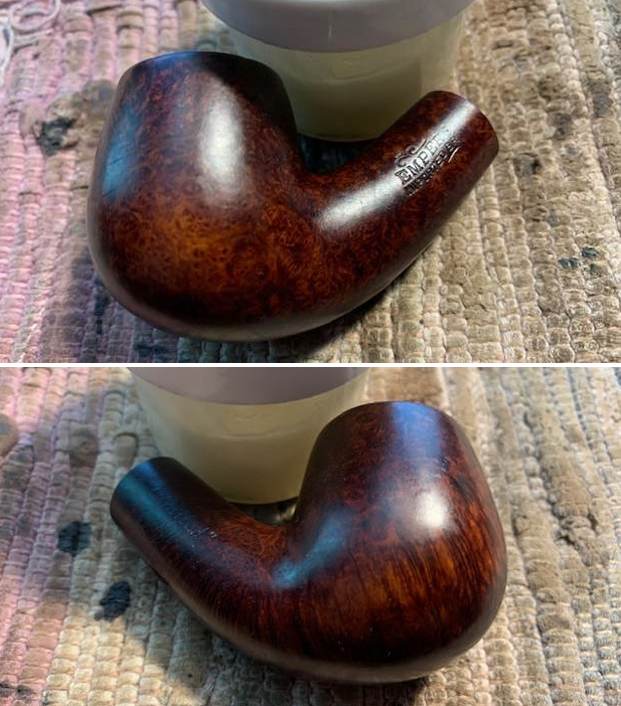
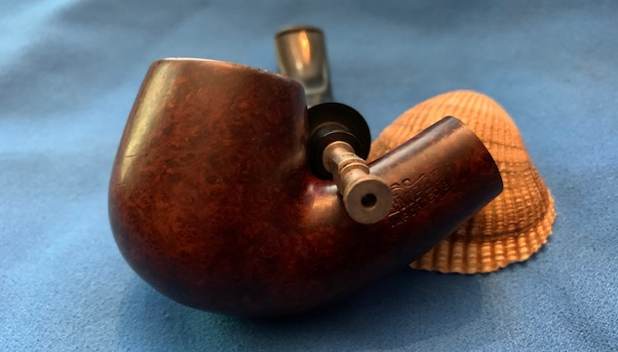
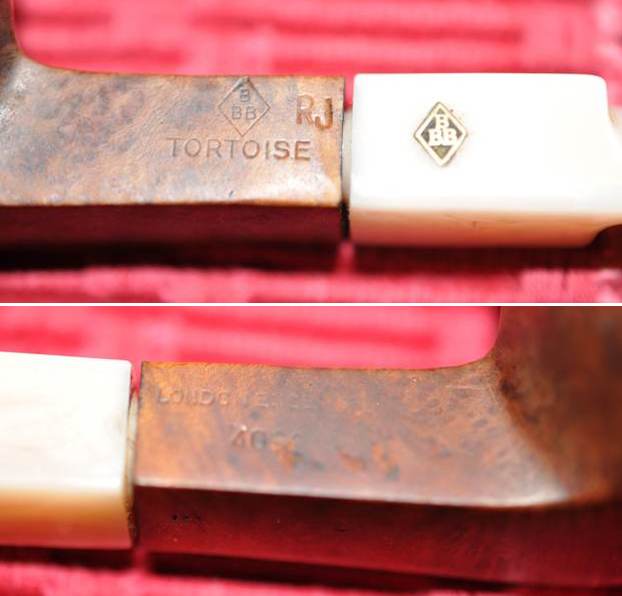
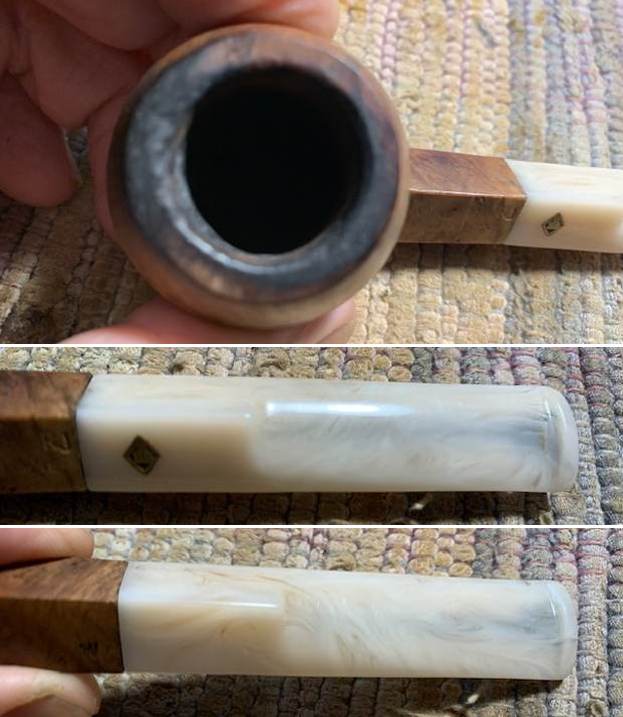
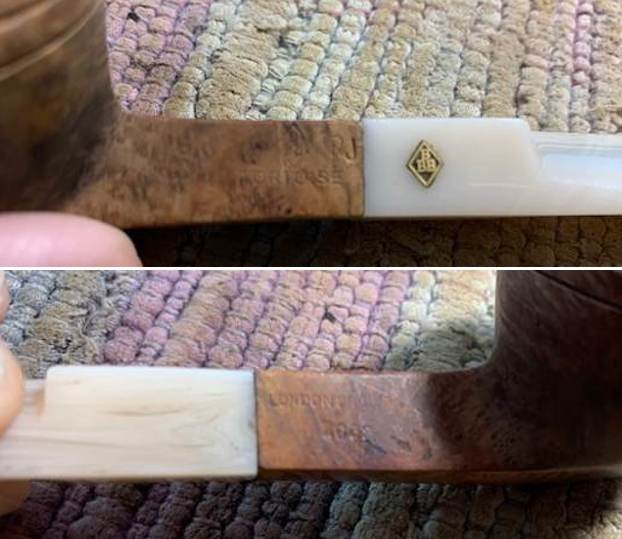
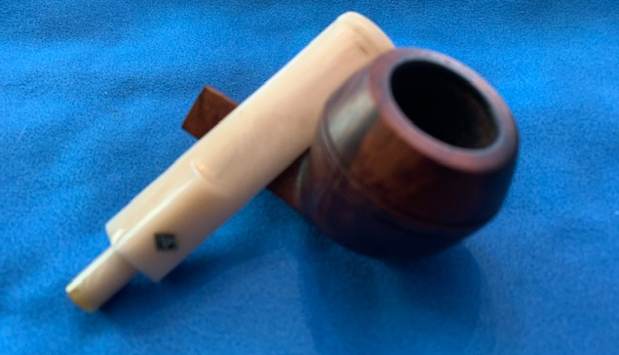
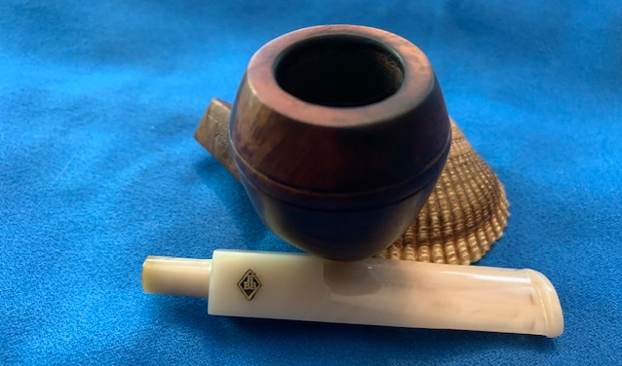
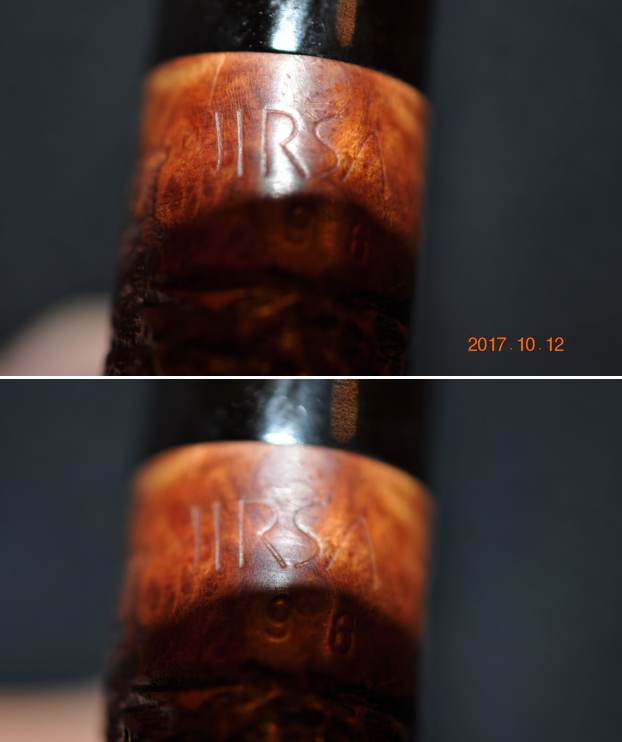
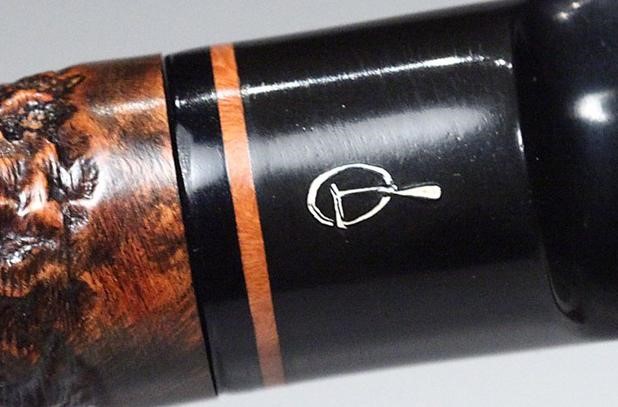
 The markings on these pipes are quite interesting. On the Dublin, the markings on the underside of the pipe read Gulden Dansk, followed by a model number which is obscured by the rustication. The number might be 4130, but it’s difficult to tell. On top of the stem are engraved the two letters GD, obviously referring to Gulden Dansk. Meanwhile, the Silveren Dansk’s underside shows the words Silveren Dansk, next to the model number 33 [over] Italy; the ‘s’ and ‘i’ have vanished into the rustication, however. Like its sibling, the top of the stem has the initials SD for Silveren Dansk, of course.
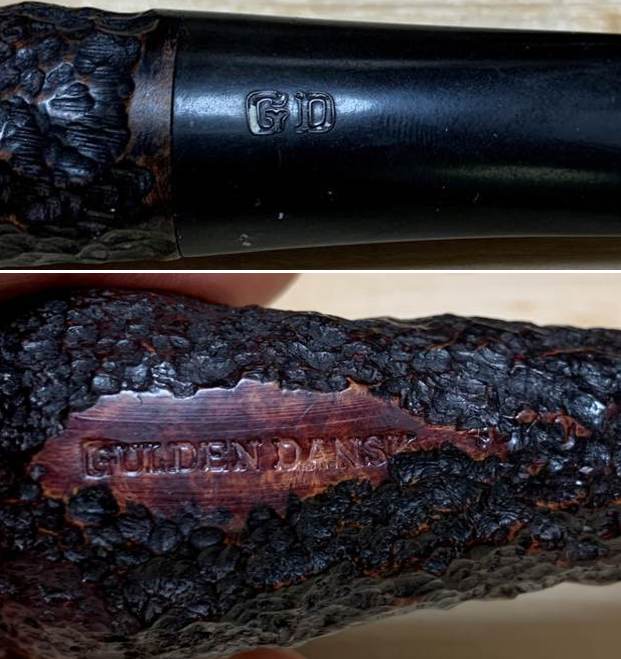
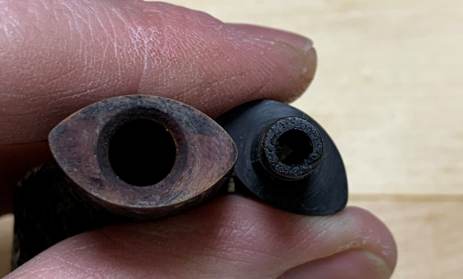
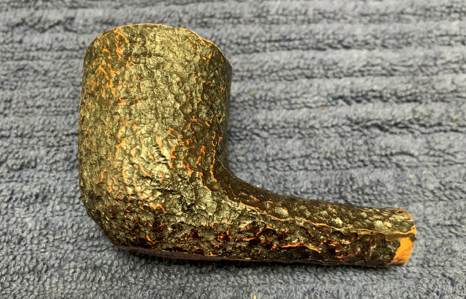
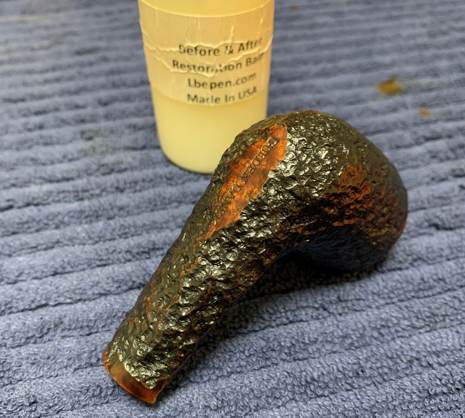
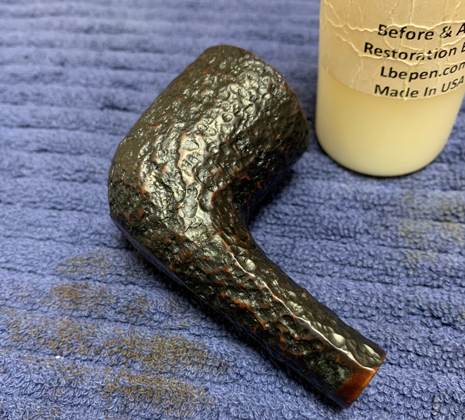
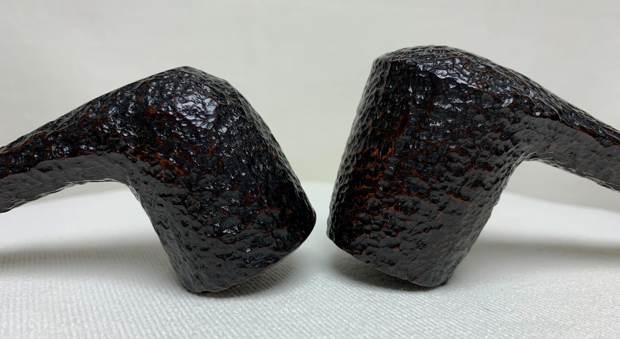
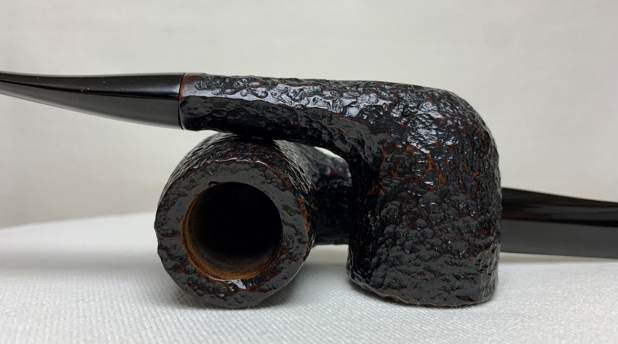
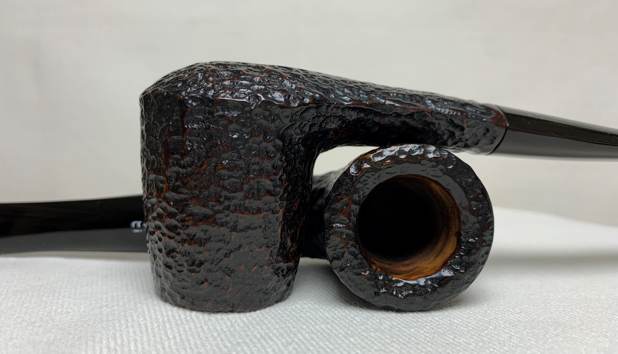
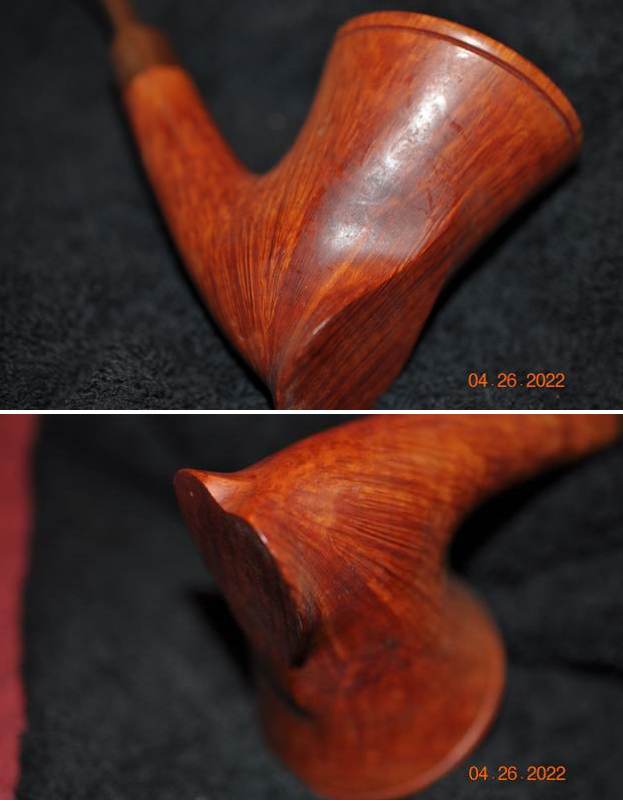
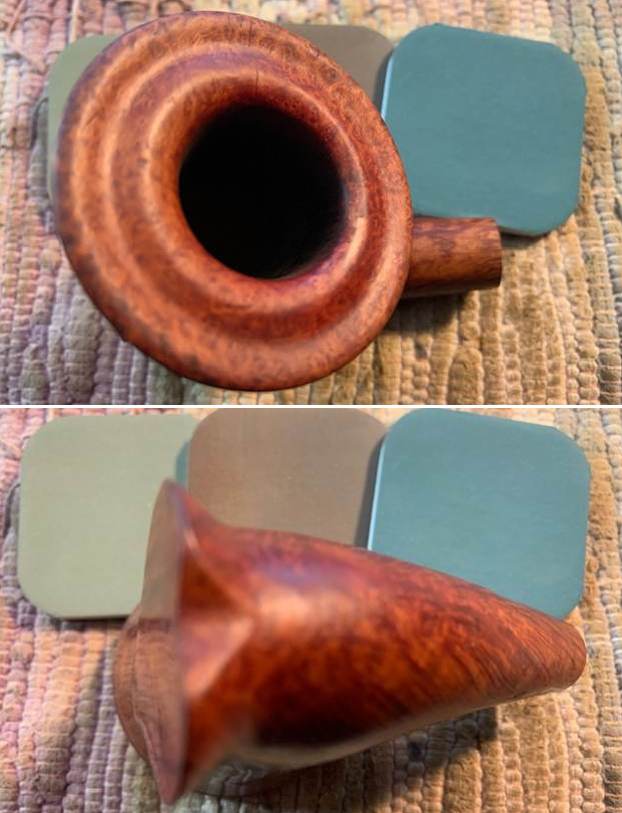
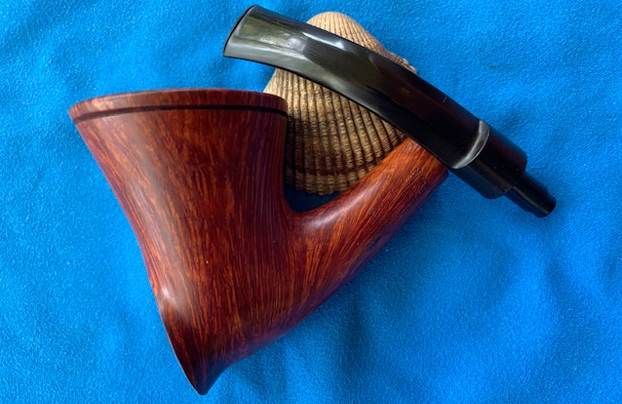
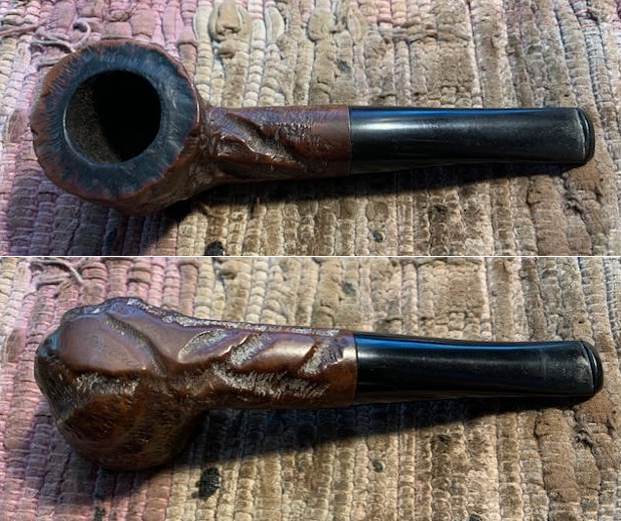
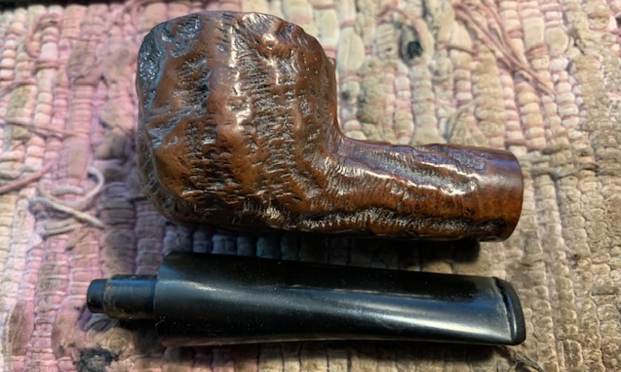
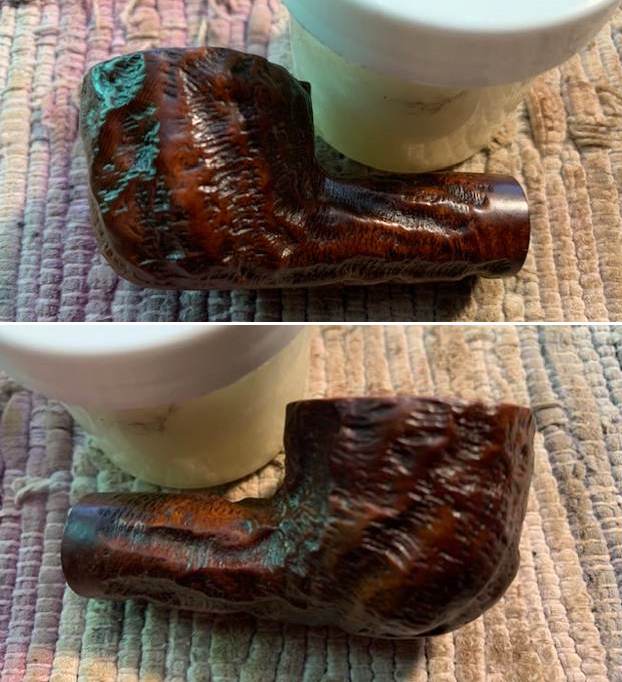
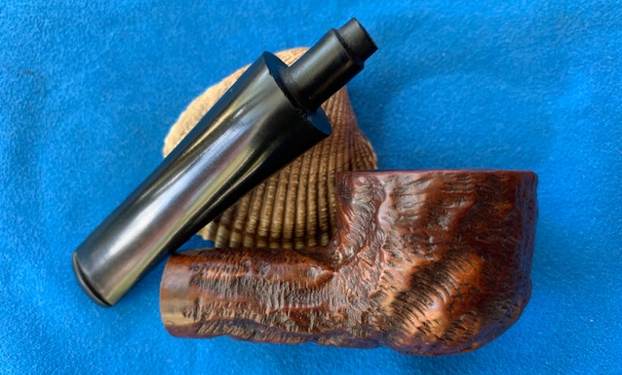
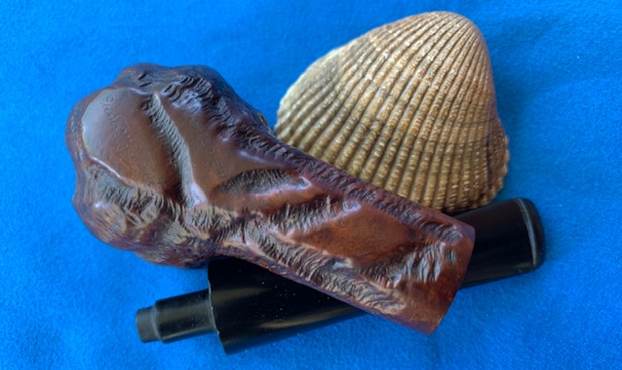
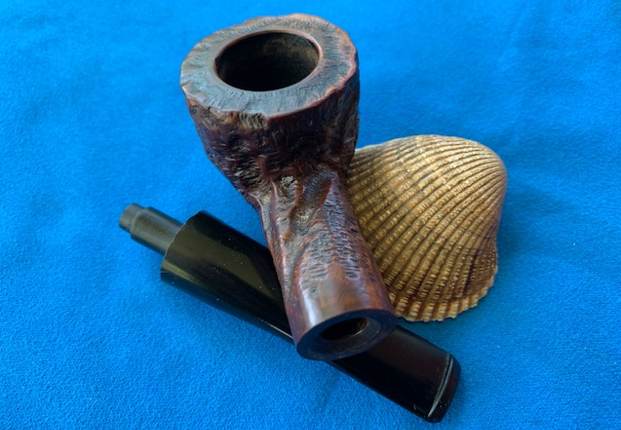
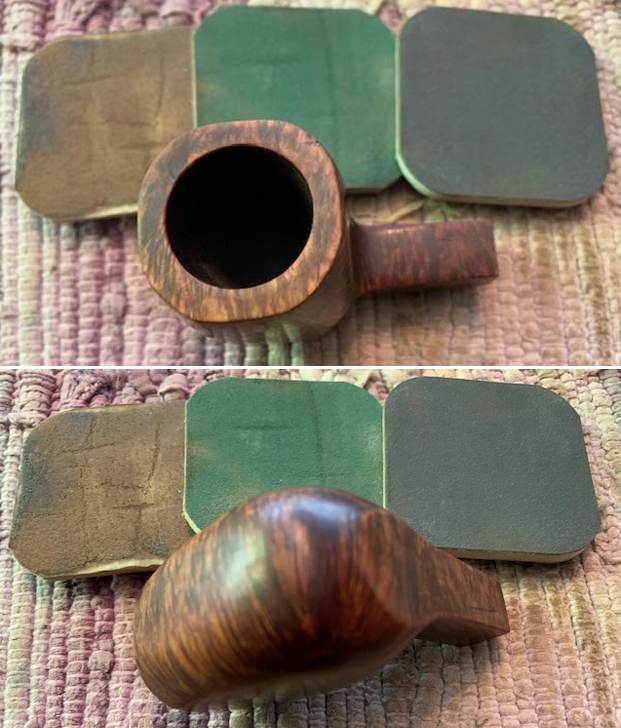
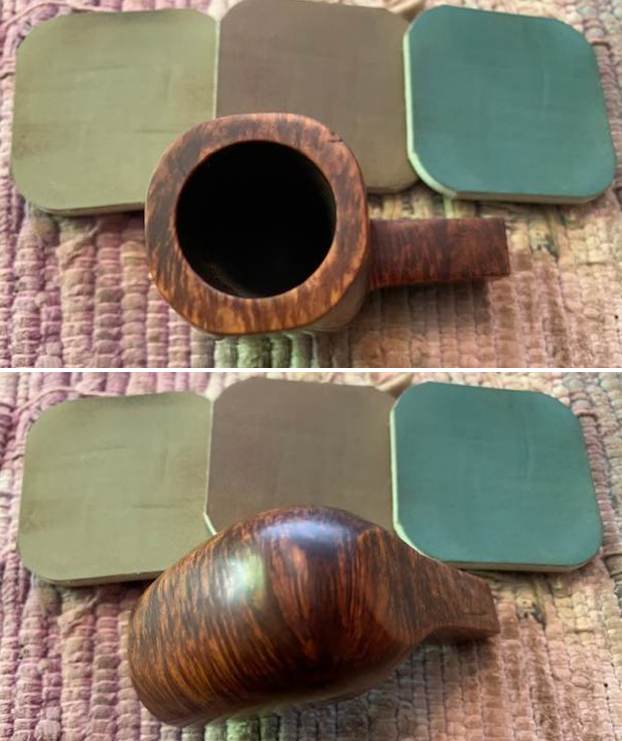
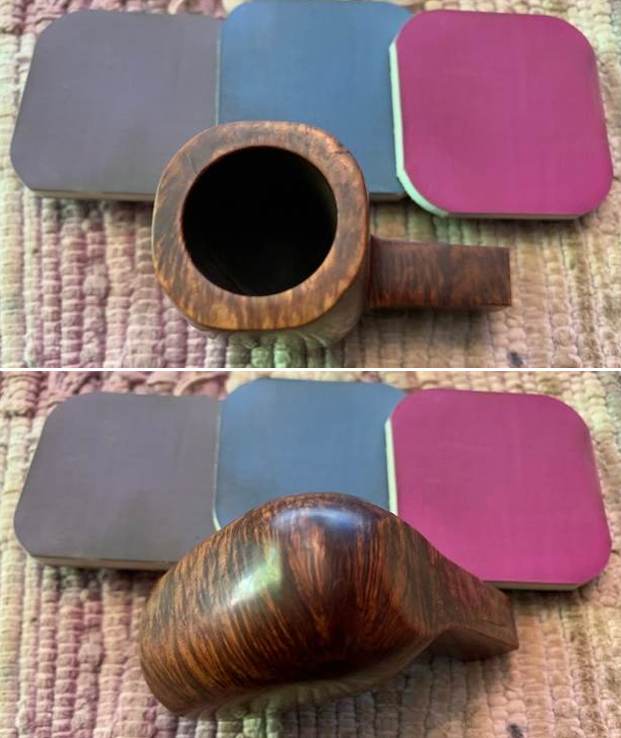
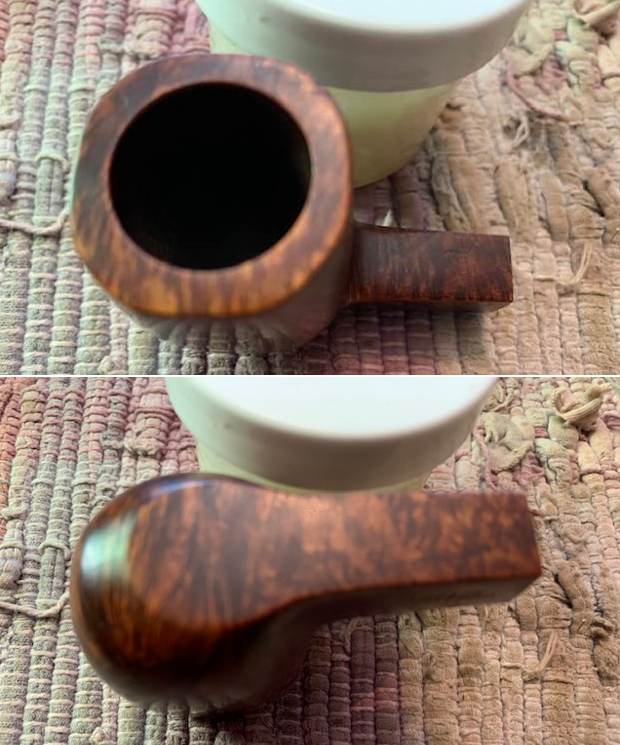
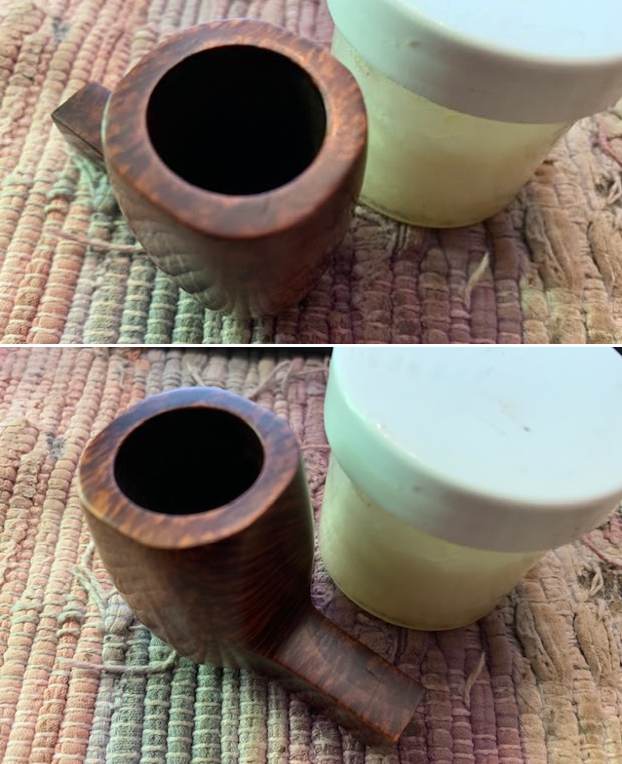
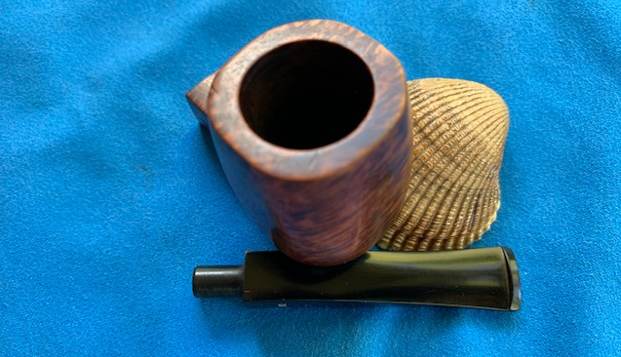
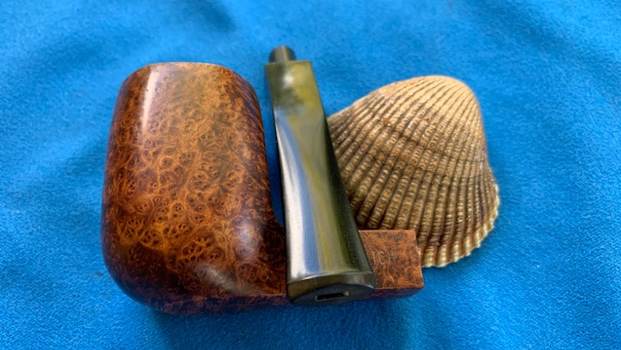
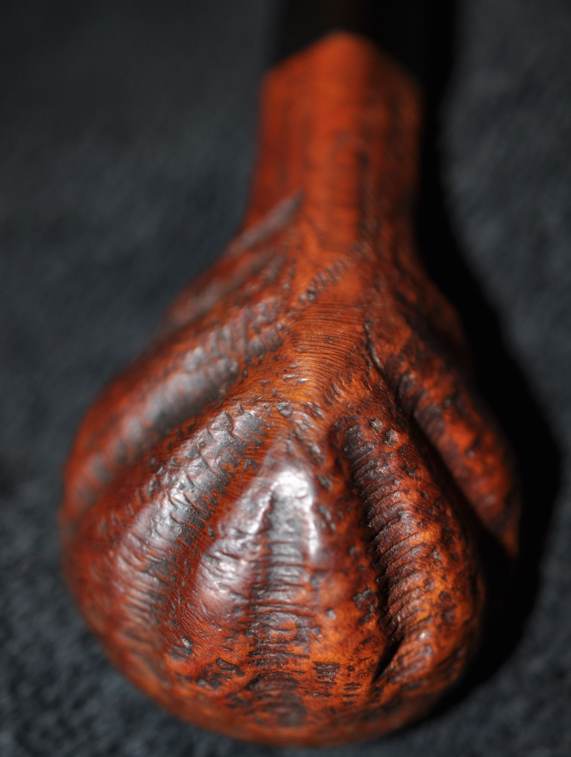
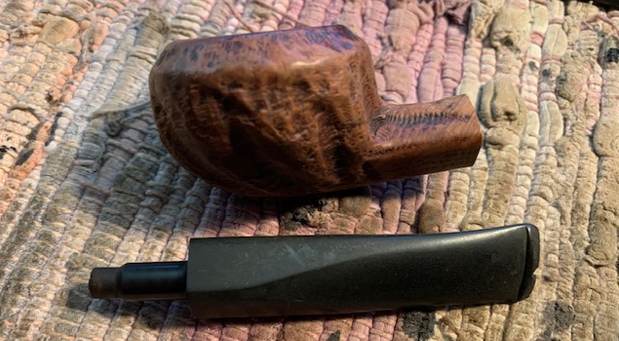
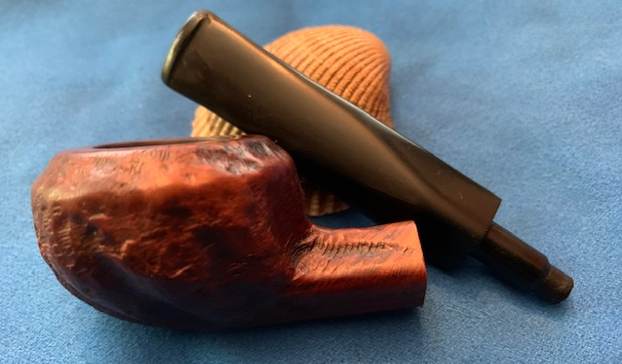
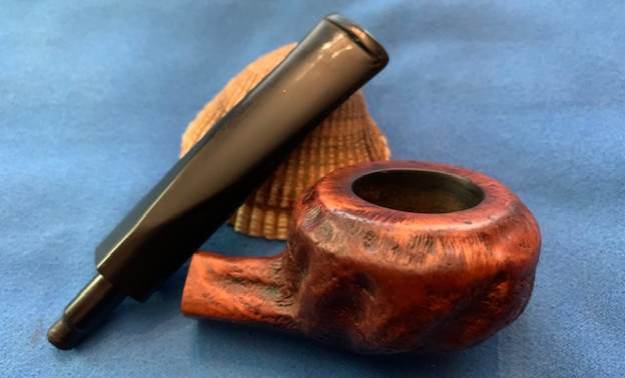
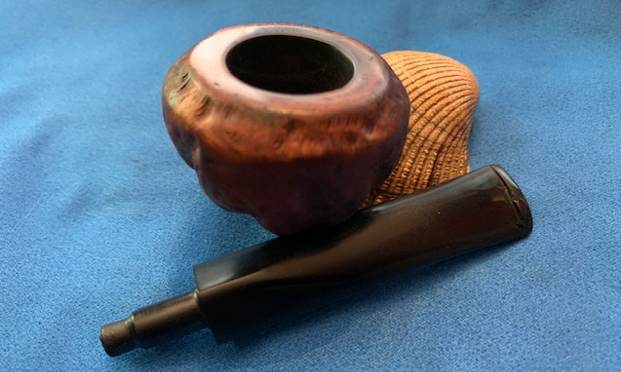
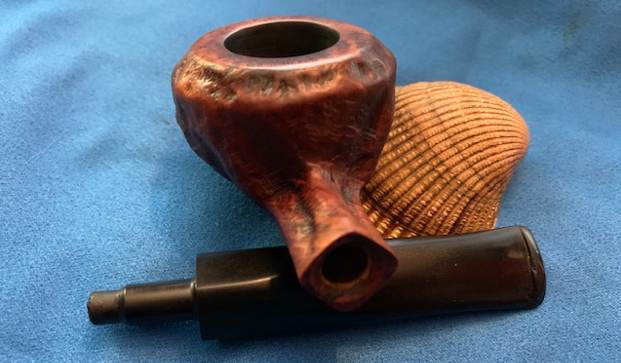
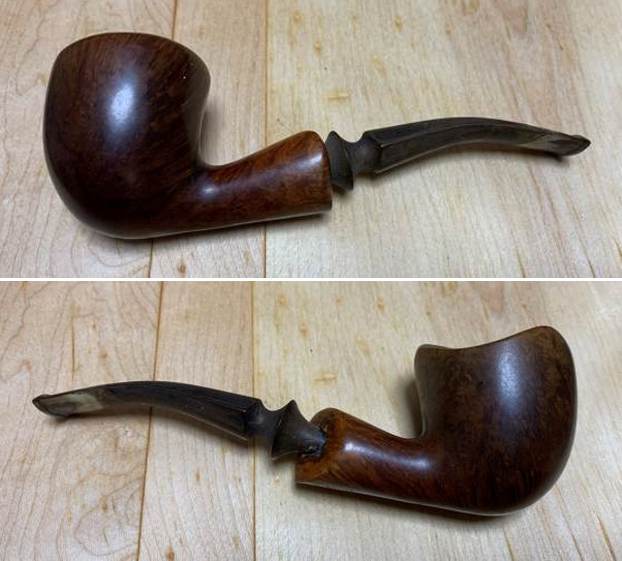
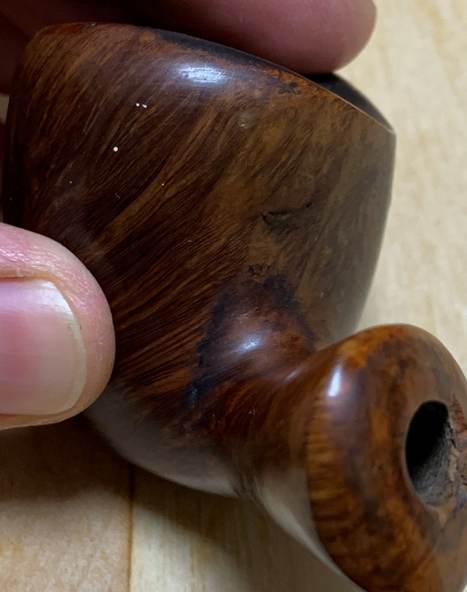
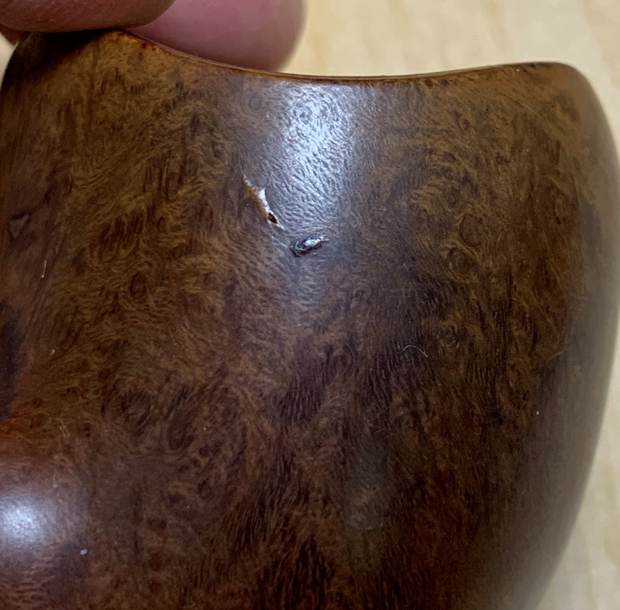
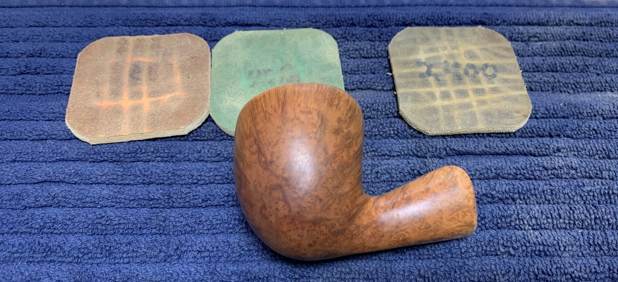
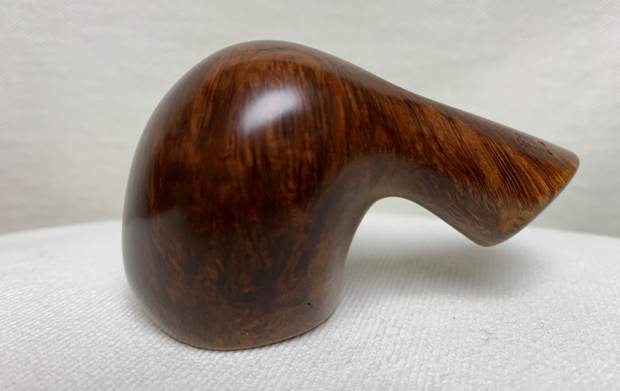
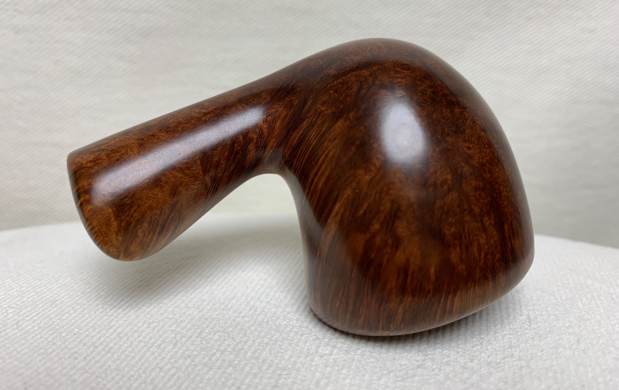
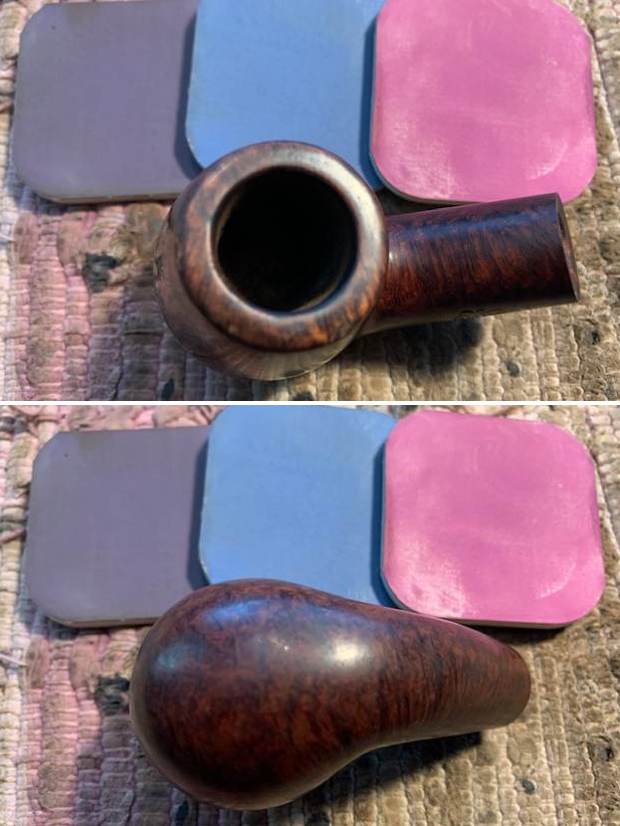
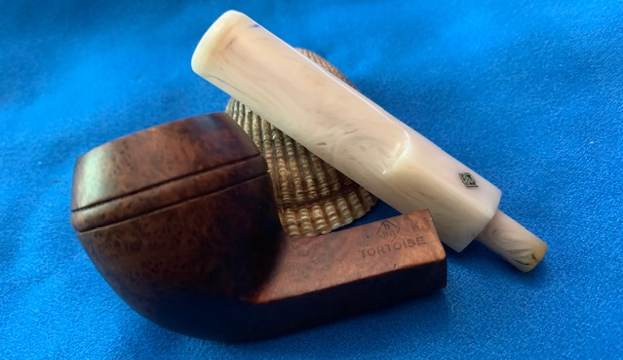
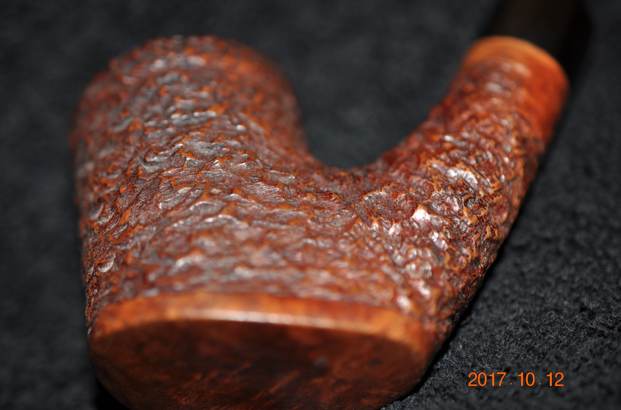
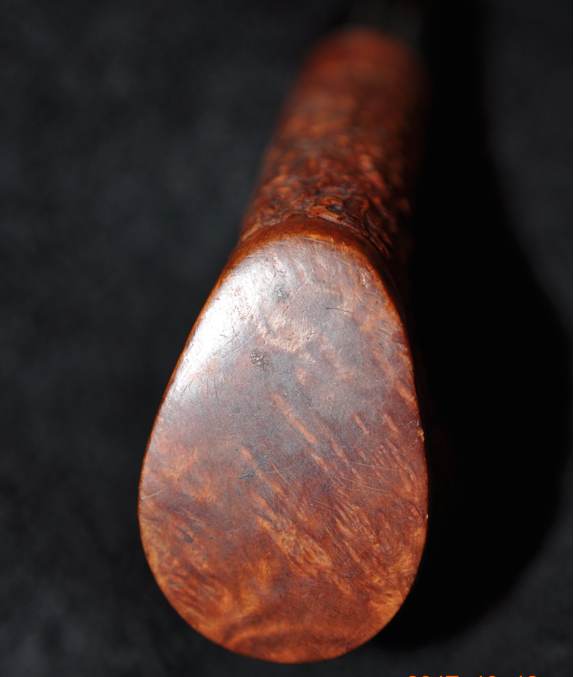
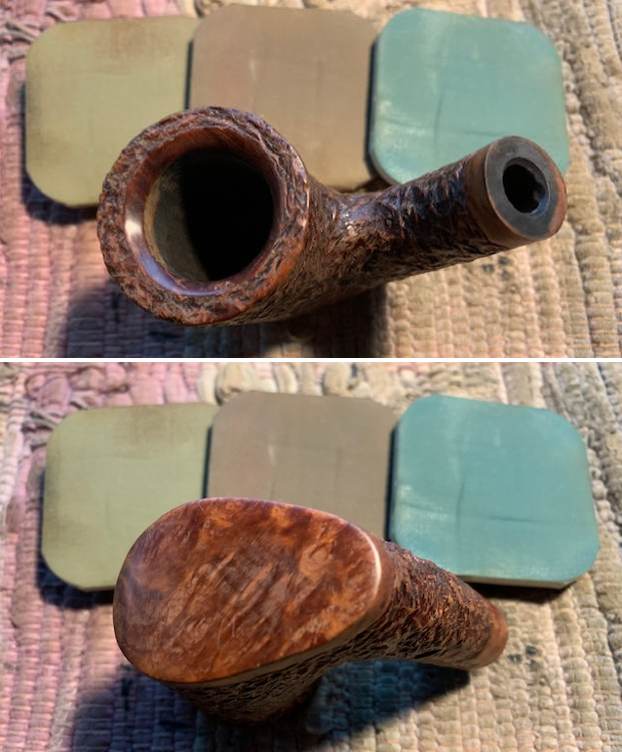
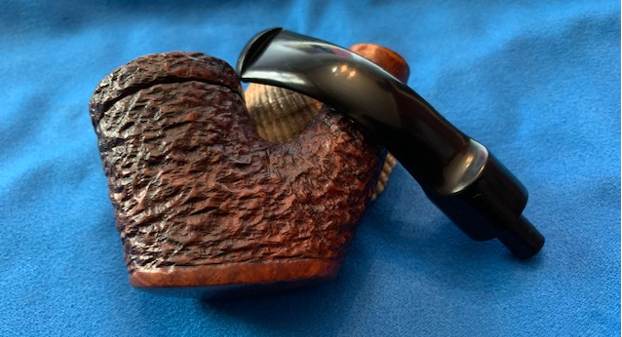
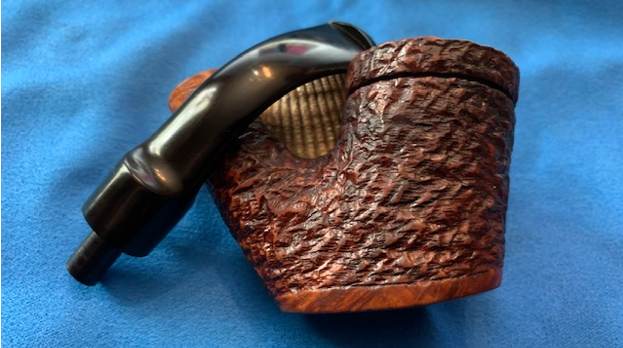
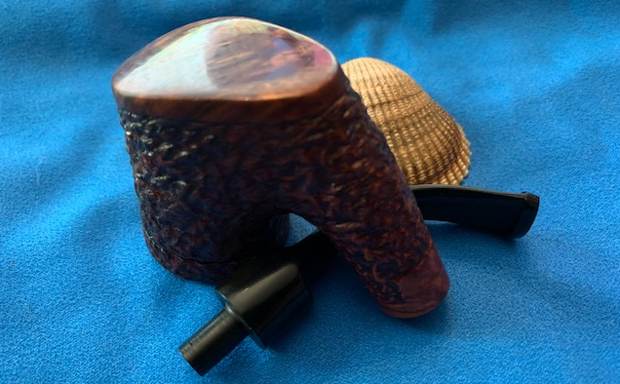
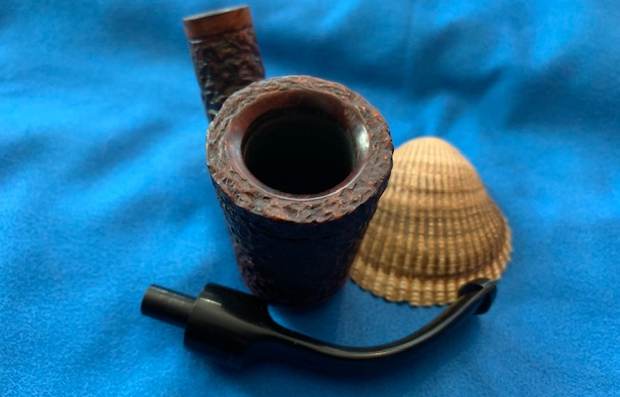
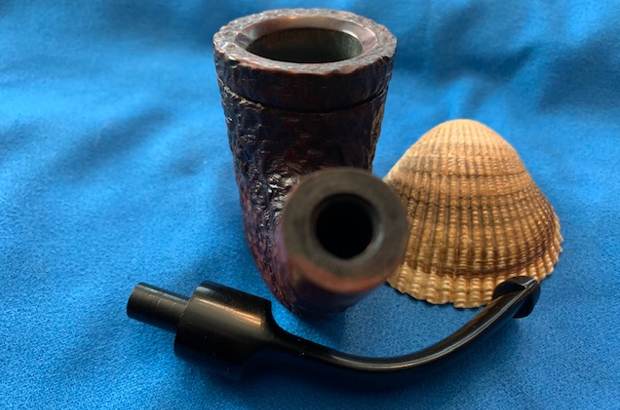
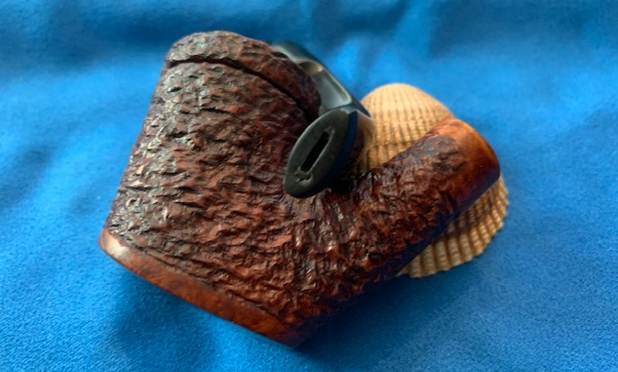
 These pipes were evidently cut from the same cloth (or block of wood?), as you can see in the pictures. The rustication and colour are the same on both. The rustication is actually quite well done, and there is a combination of both black and brown colour on the wood, which I will attempt to replicate.
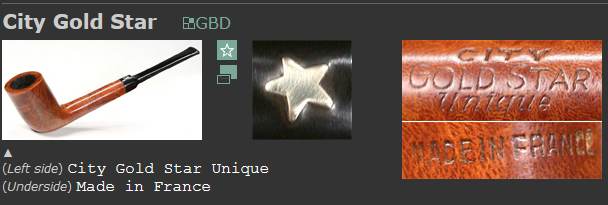
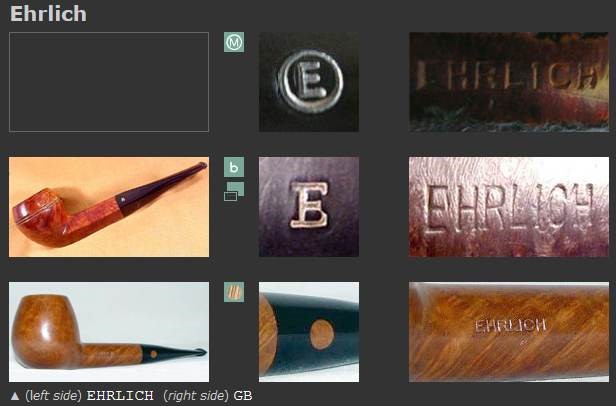
The brands Gulden Dansk and Silveren Dansk are ones about which there is very little information. I cobbled together as much information as I could, and I will do my best to record that here. Both brands are sub-brands of Savinelli, according to smokingpipes.com. You can see in the photo below that smokingpipes.com states this clearly, and they are quite knowledgeable.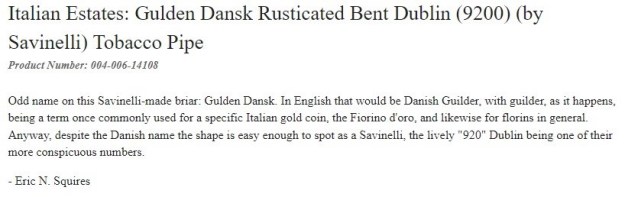 Pipedia had no information at all regarding these brands. Meanwhile, pipephil.eu had precious little info (see below). One small clue is their reference to Italy in the Gulden Dansk image.
 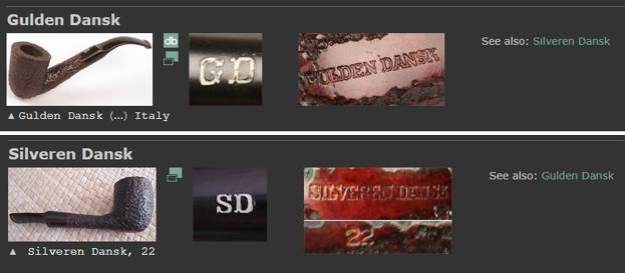 Comments from some old pipe forums suggest that the brand(s) might be made for the Canadian market and came to full prominence in the early 1980s. See below.
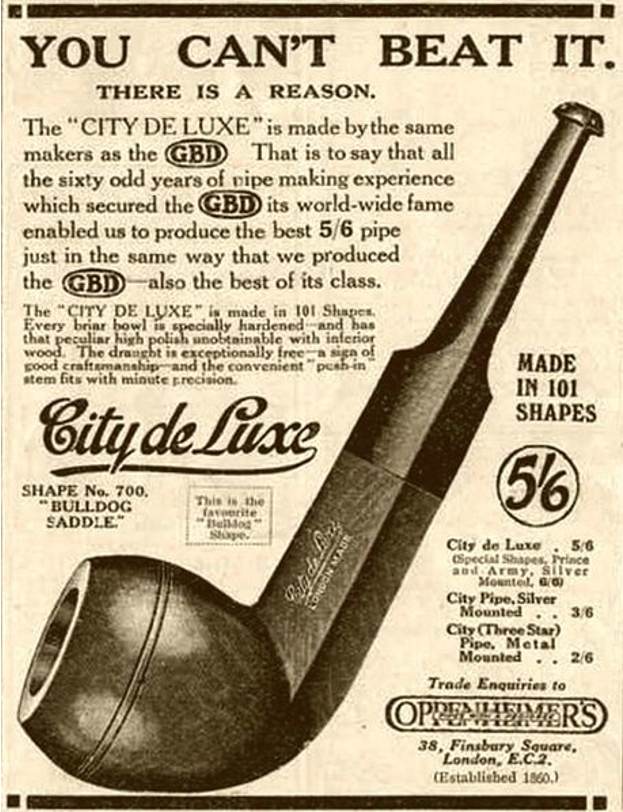
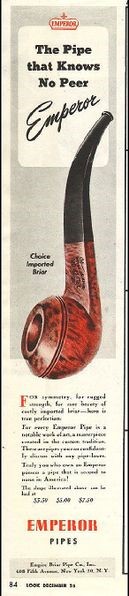
 The newspaper ad above (sorry for the poor quality) is taken from the Montreal Gazette, November 1st, 1980. It shows that, in addition to pipes, they also sold tobacco.
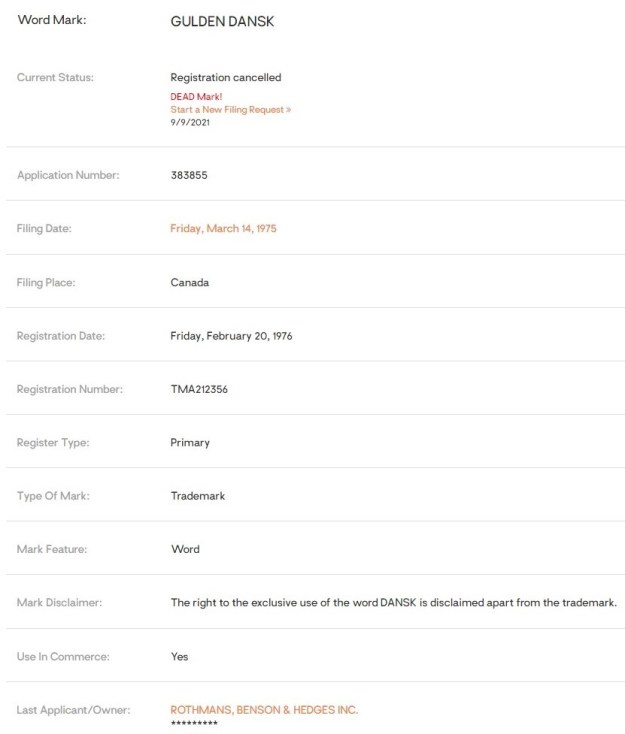
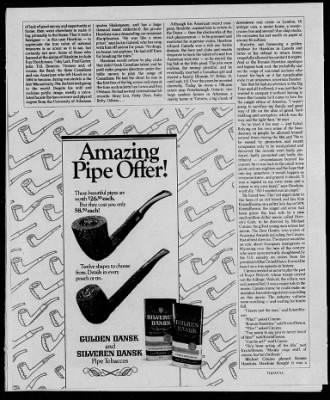 Furthermore, I found Canadian trademark registrations for both brands. I have shown some of that information below. For reasons unknown, the Silveren Dansk trademark is still active, whilst the Gulden Dansk one has expired. I also found an Australian trademark registration for the same, but it was noted on the Australian site that the origin of the application was Canada.
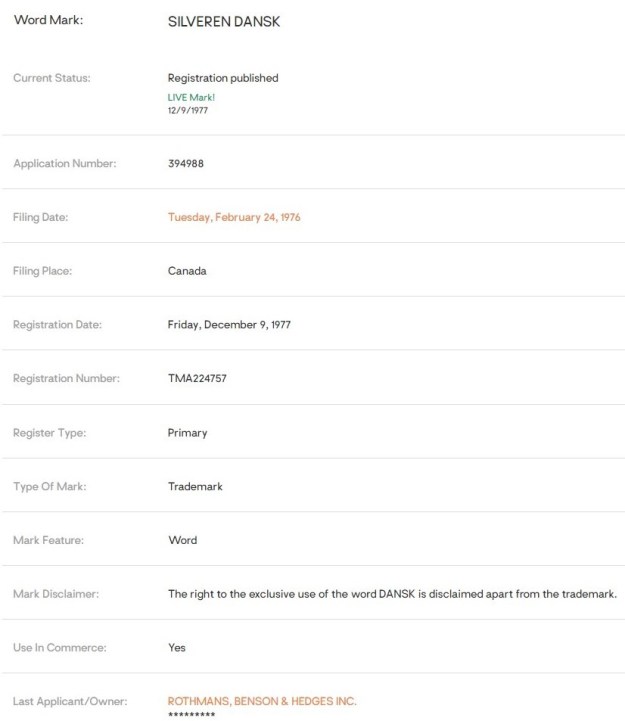
 In short, we can say a few things about both Gulden Dansk and Silveren Dansk. They were both made by Savinelli, probably for the Canadian market (and perhaps other markets). The Canadian connection obviously fits with the gentleman in Winnipeg. They made pipes and tobacco, and all the comments I could find on the quality of the pipes were very positive. If you have any further details on these brands, I would love to hear from you.
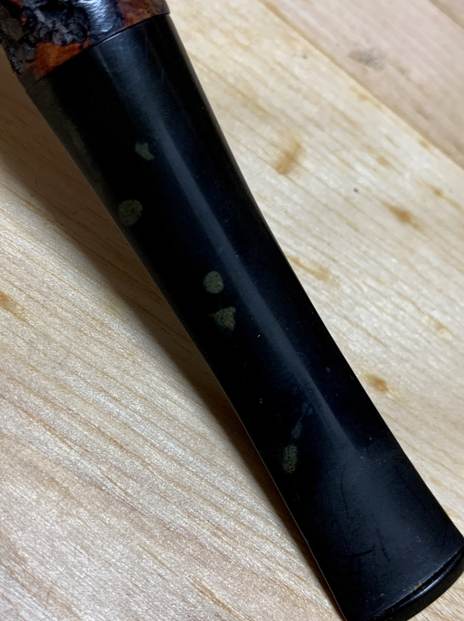
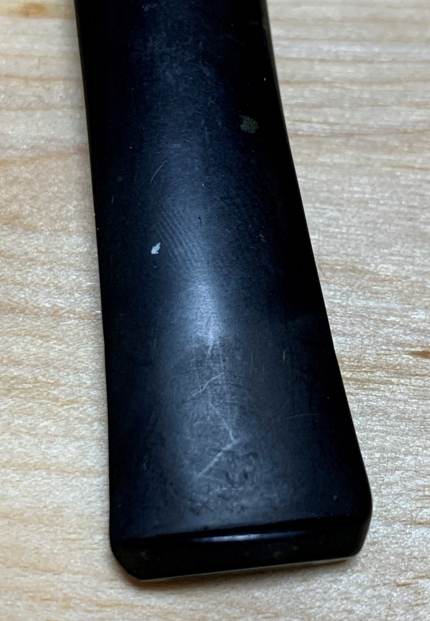
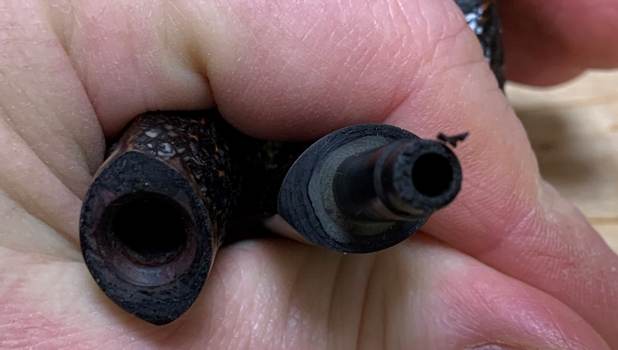
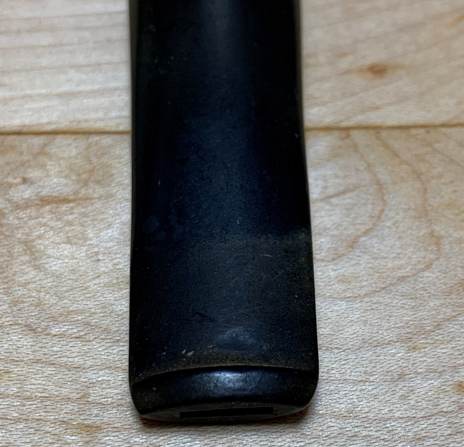
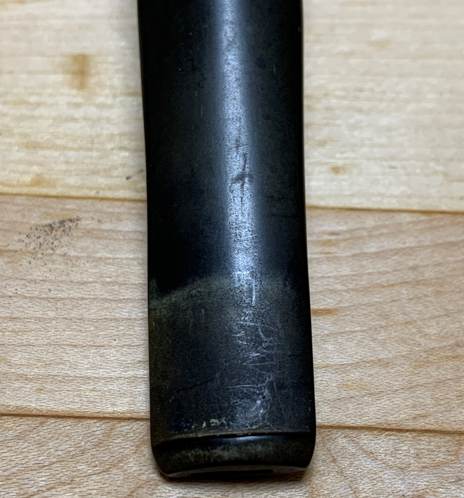
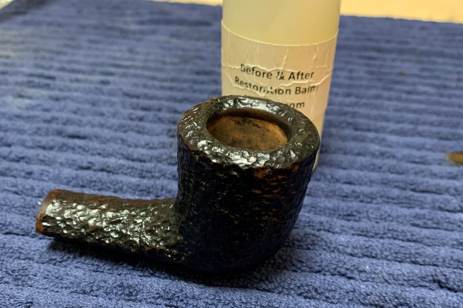
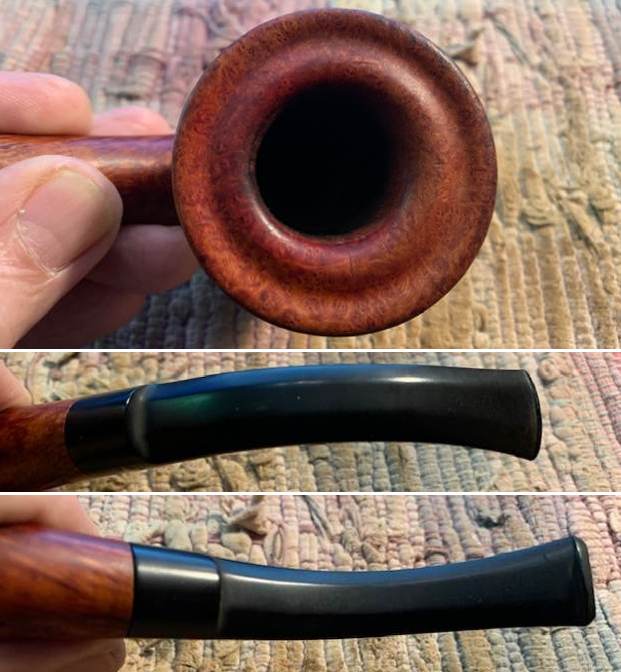
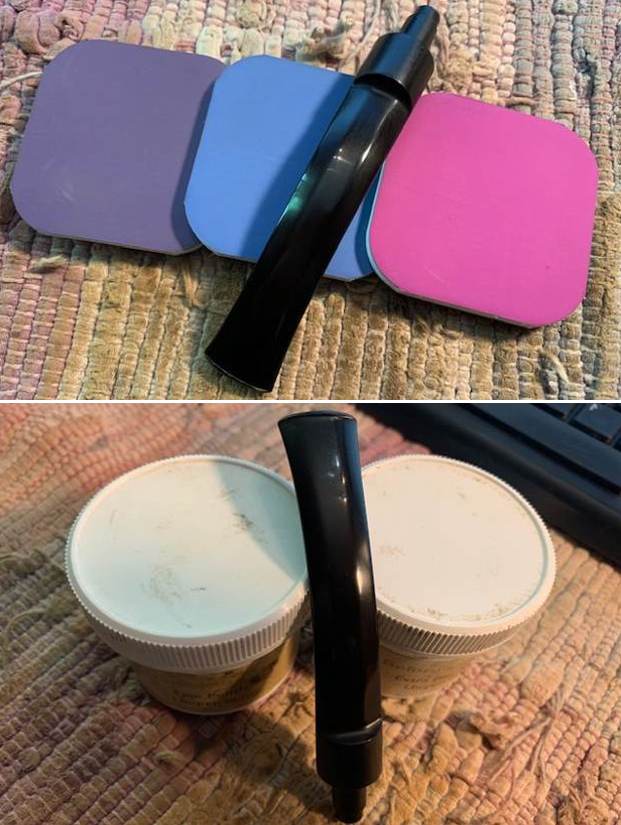
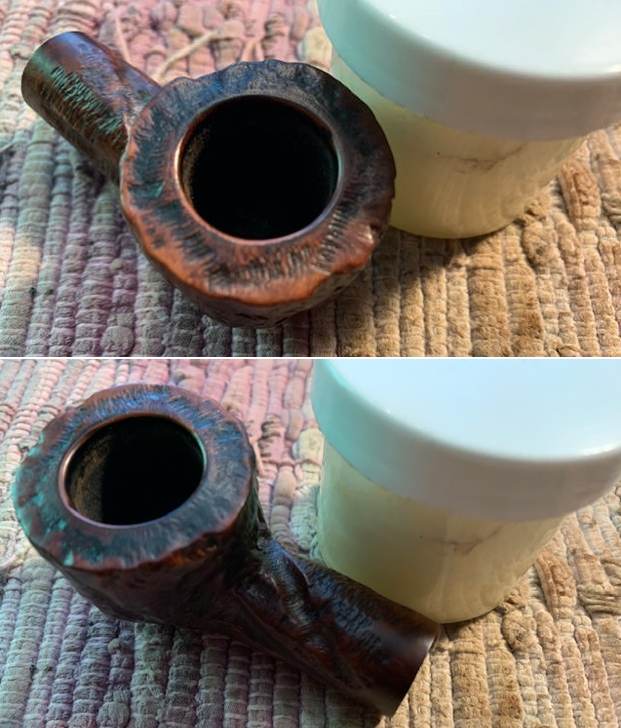
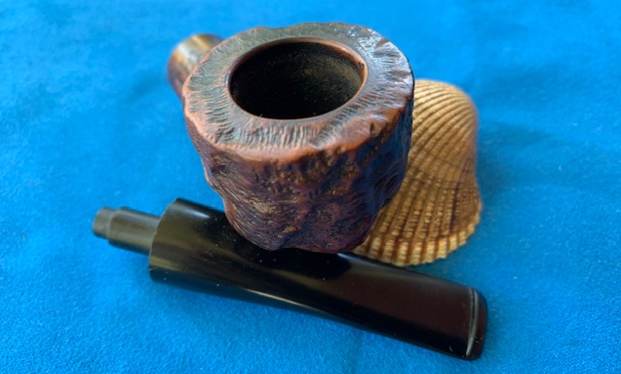
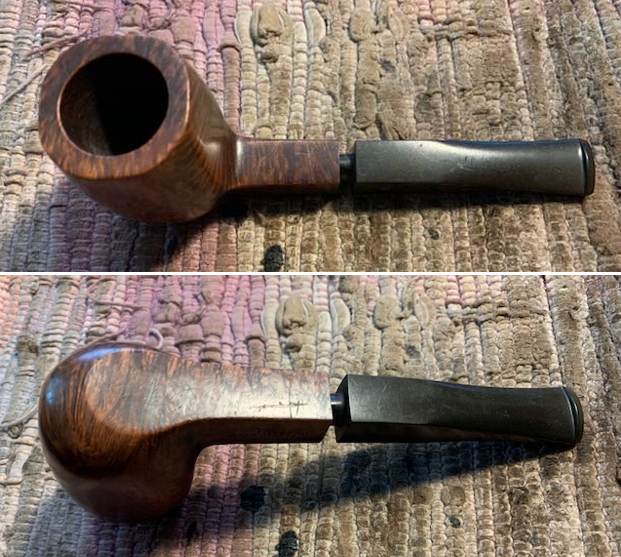
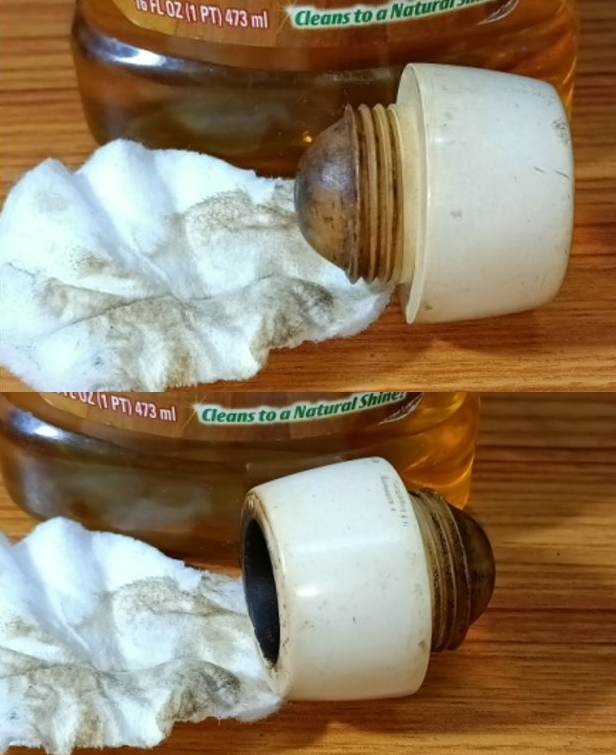
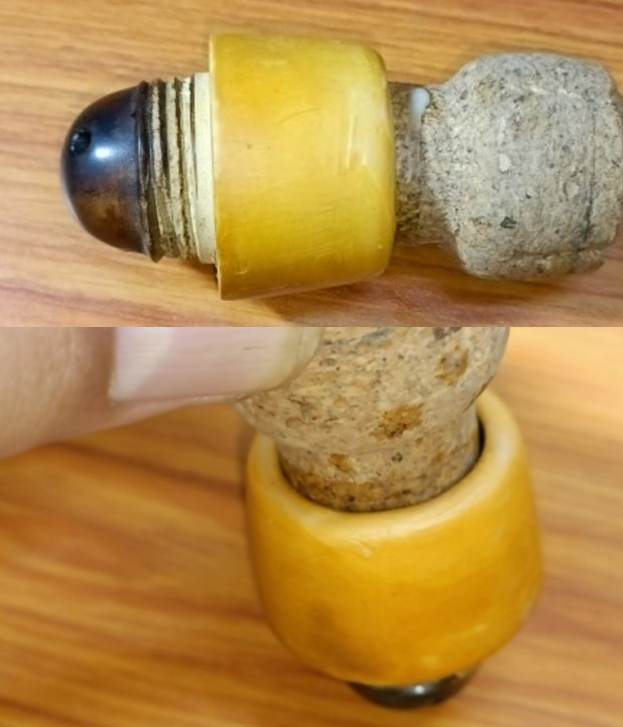
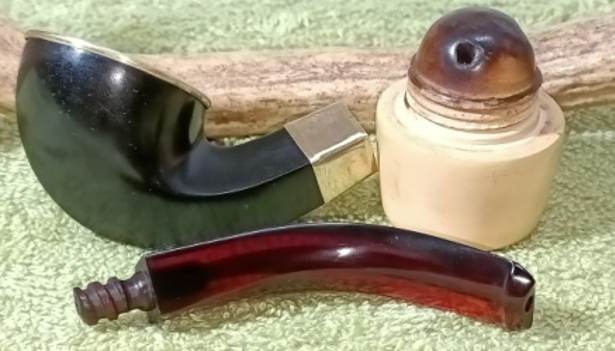
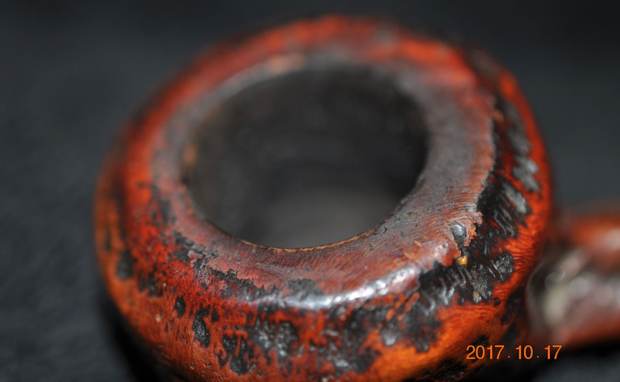
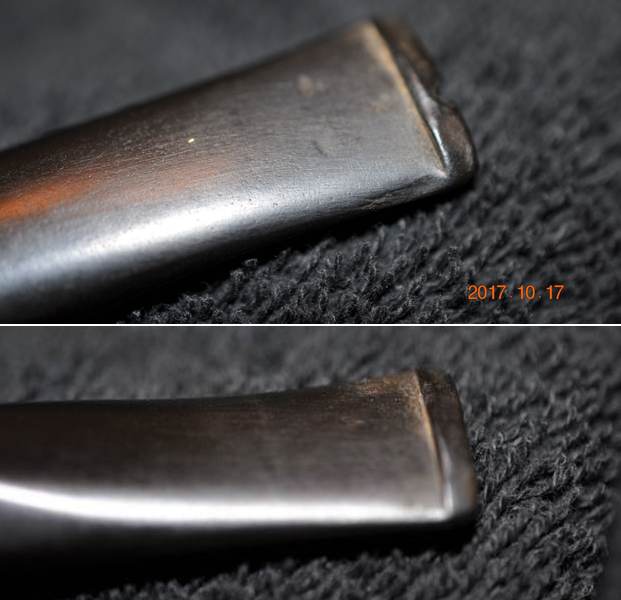
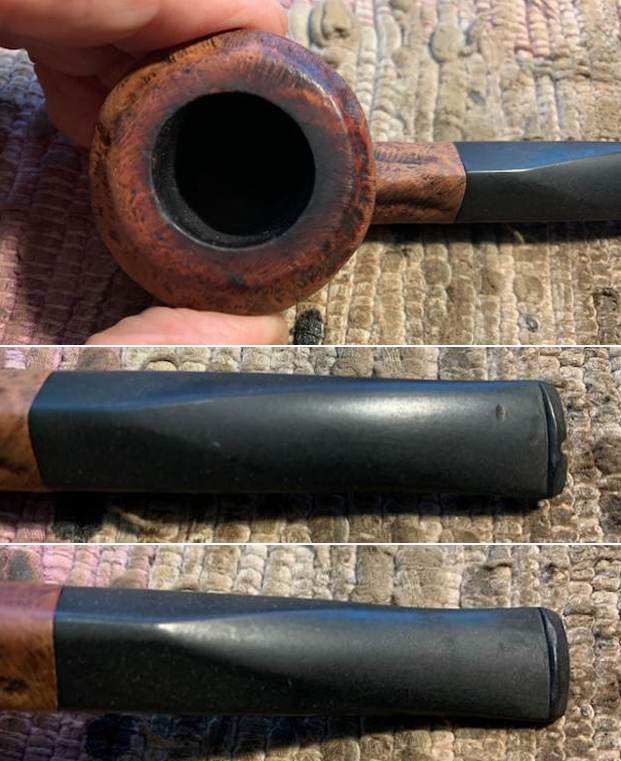
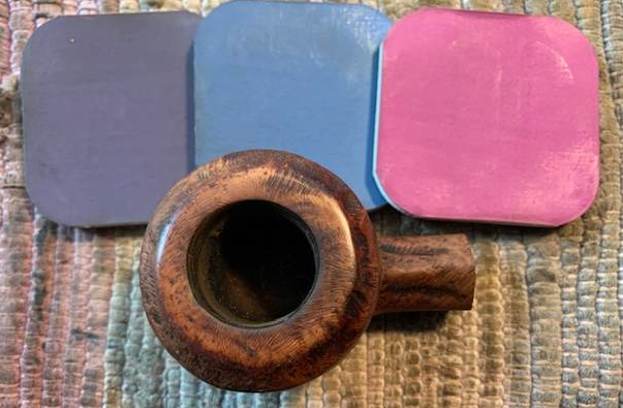
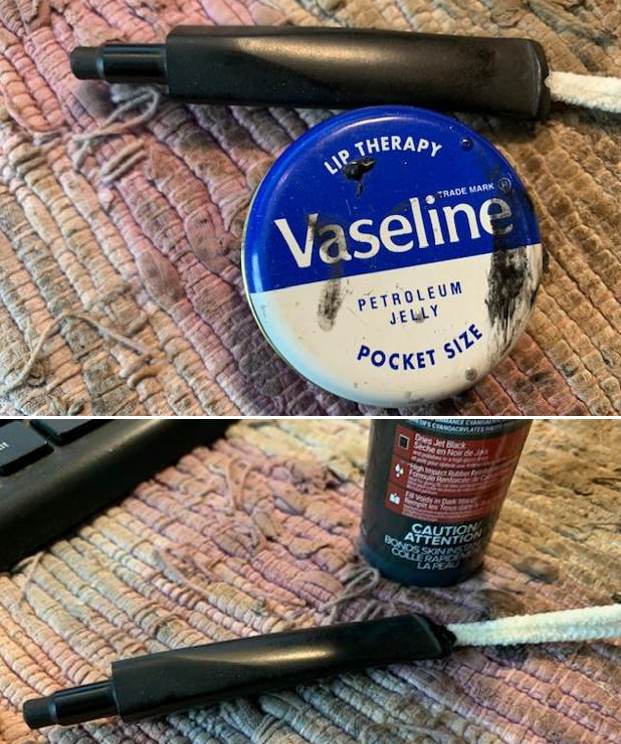
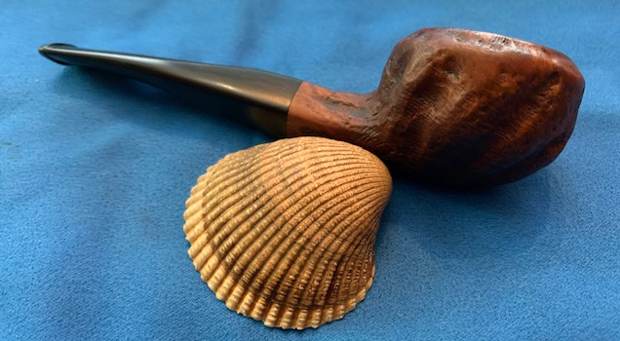
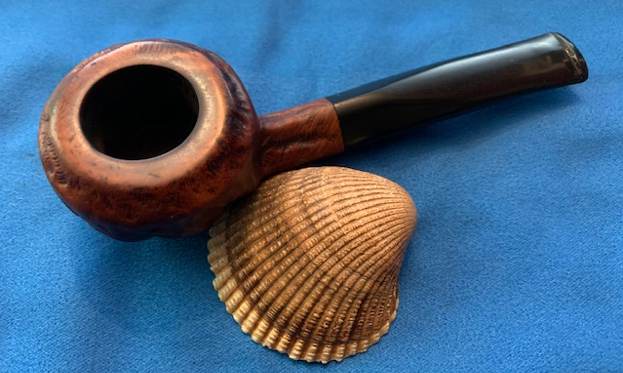
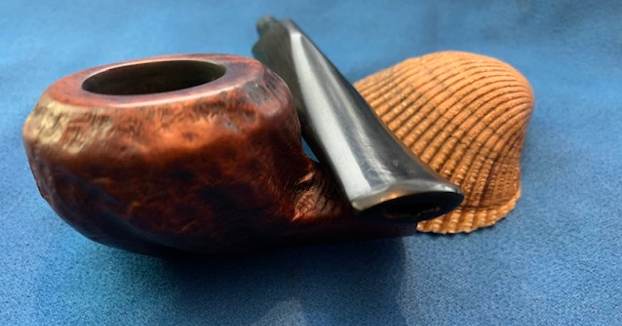
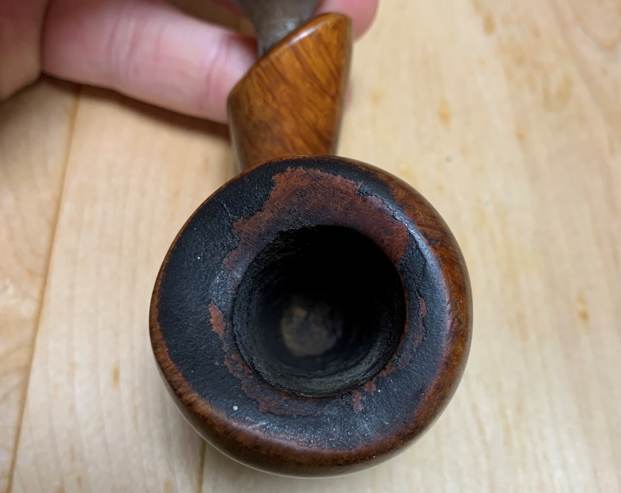
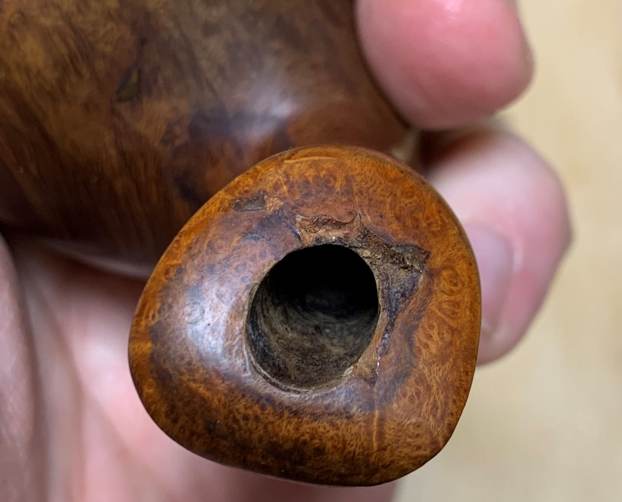
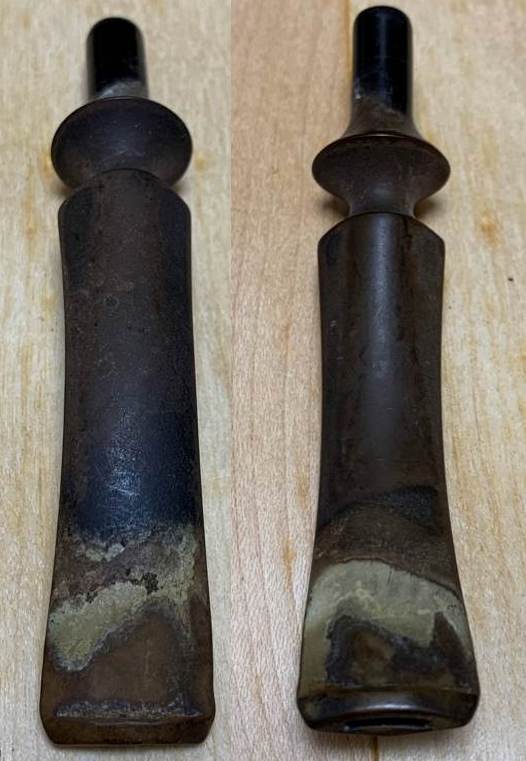
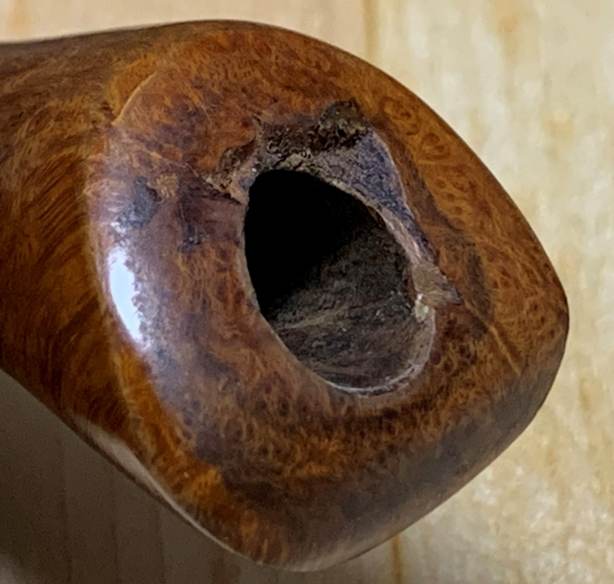
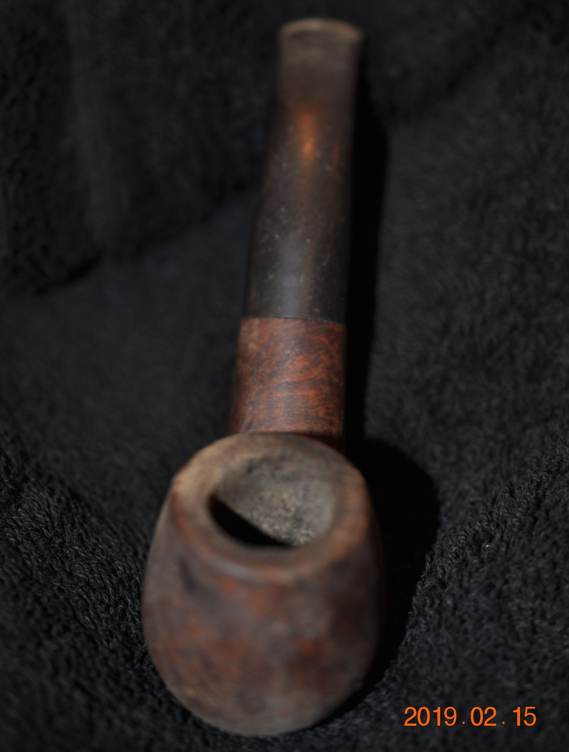
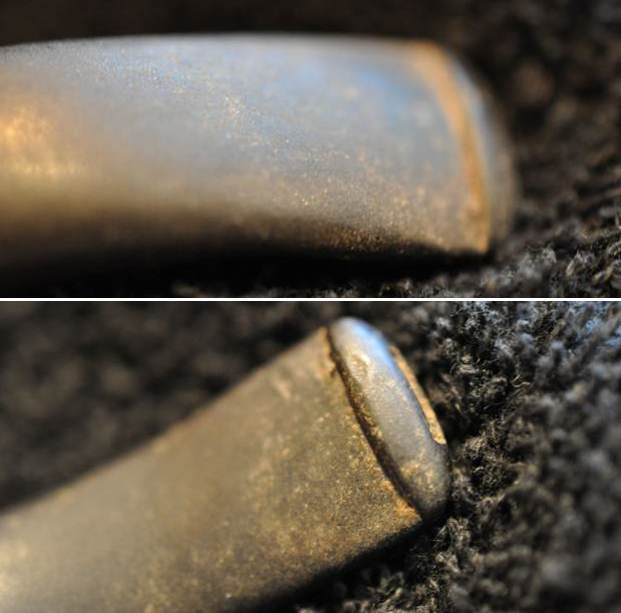
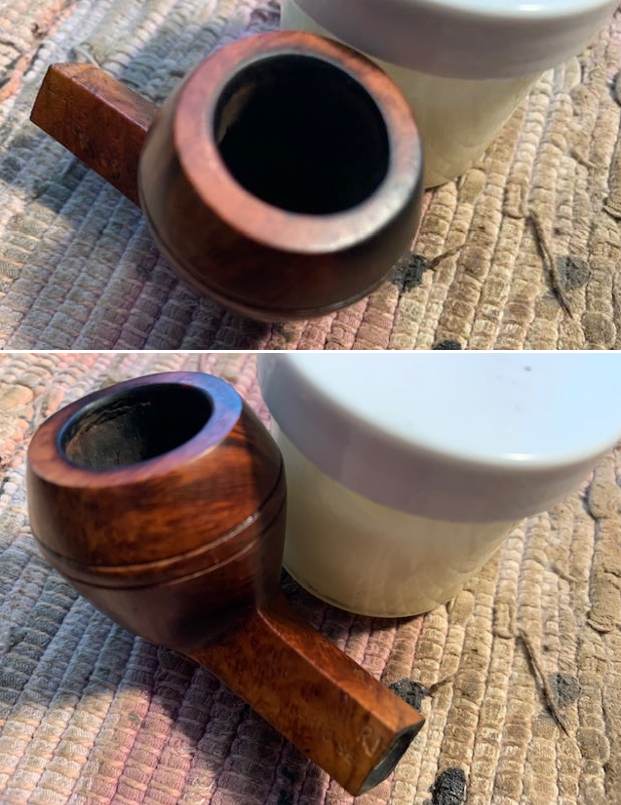
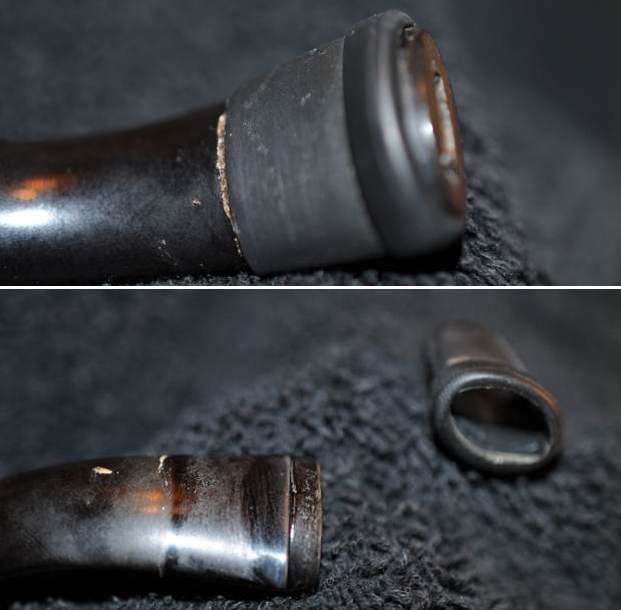
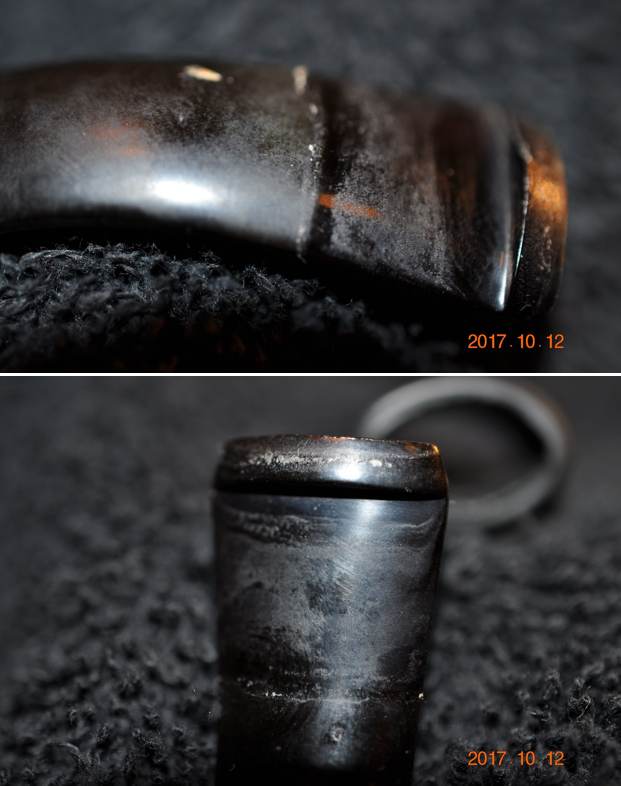
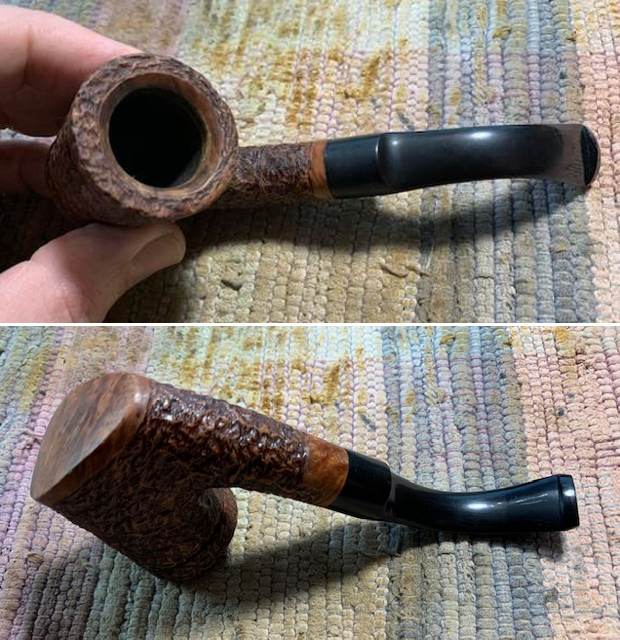
On to the pipes: both were in decent condition — they just looked a little shabby. Both pipes’ stems were dirty and had some oxidation, but the damage from tooth marks was minimal on both. Similarly, the bowls were dirty and definitely needed a cleaning, but there wasn’t any notable damage. 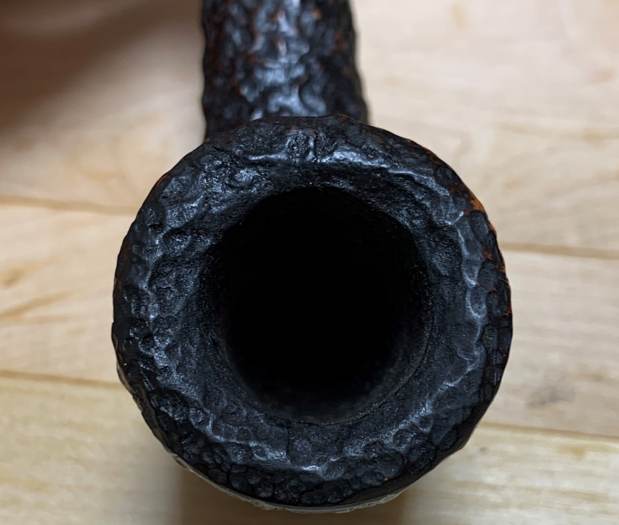
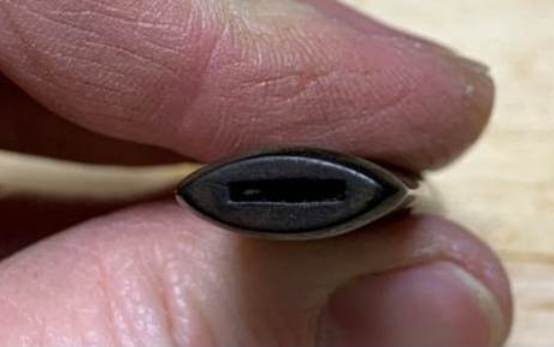
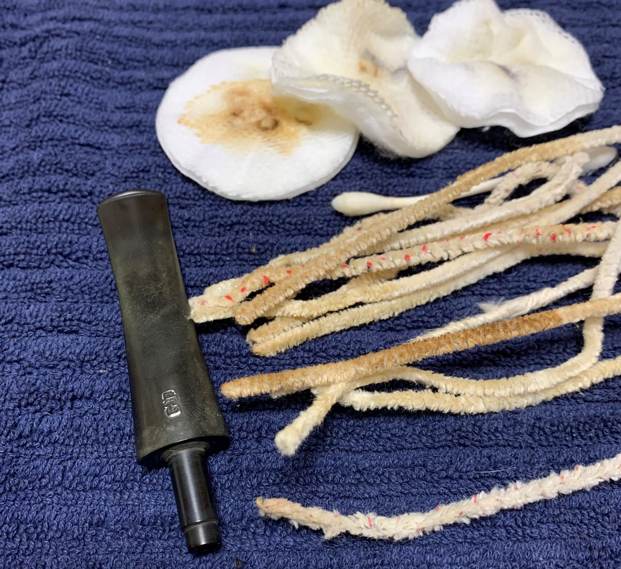
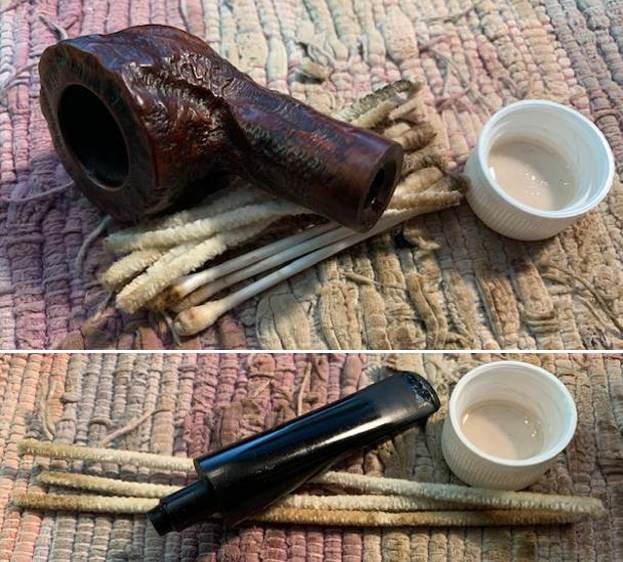
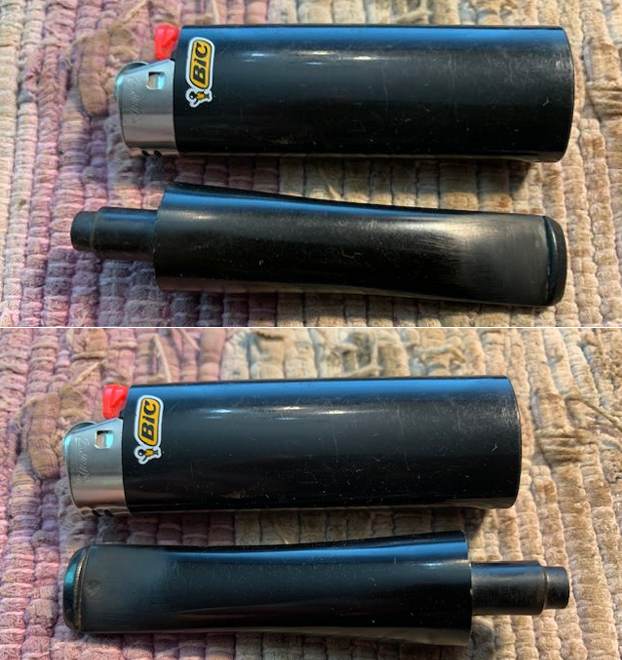
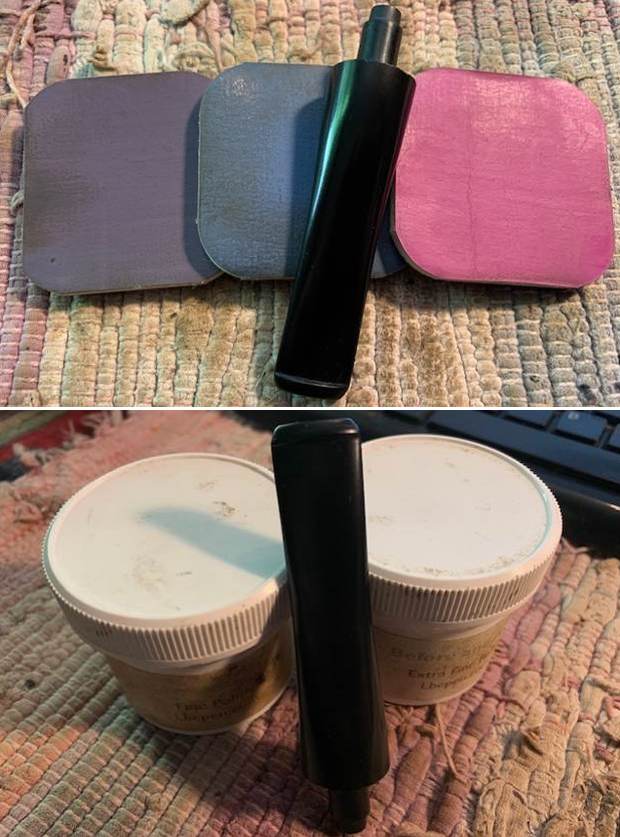
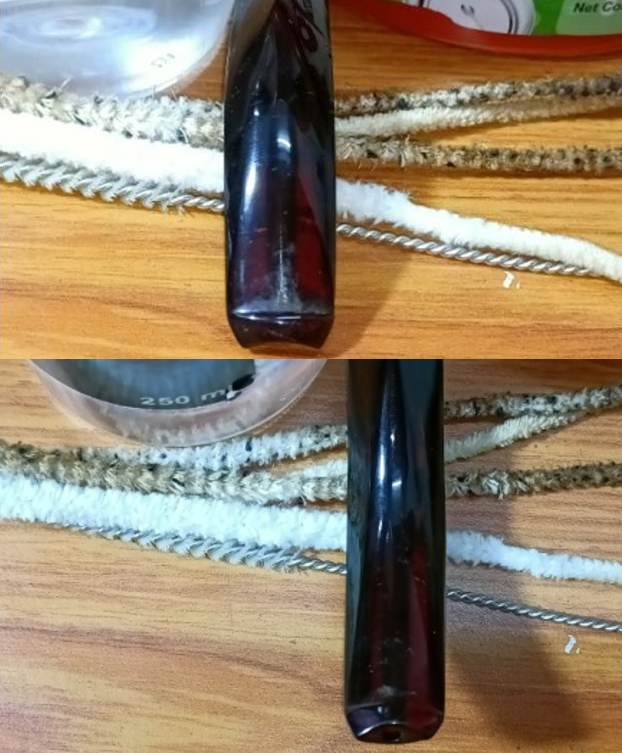
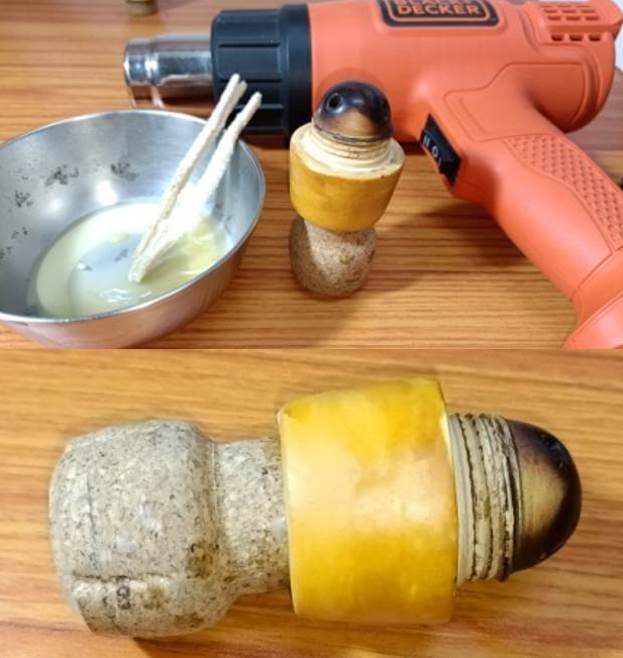
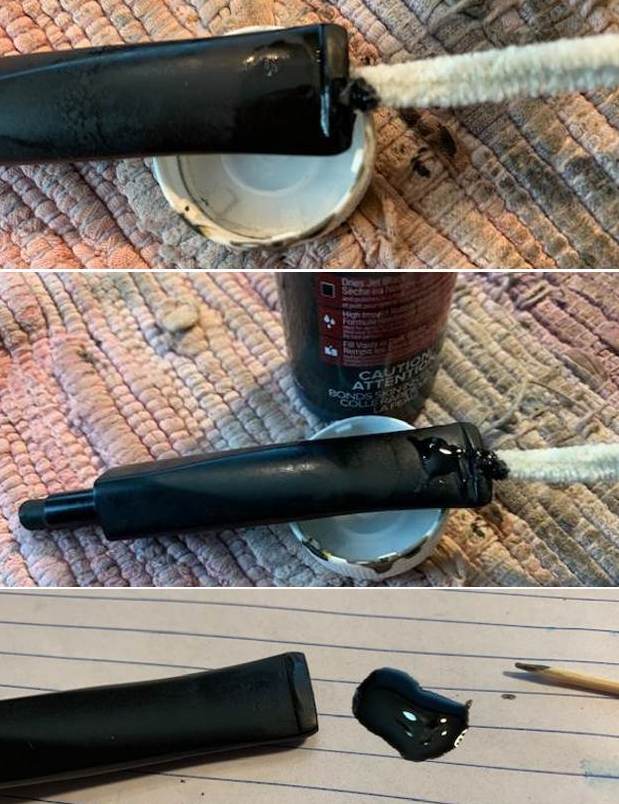
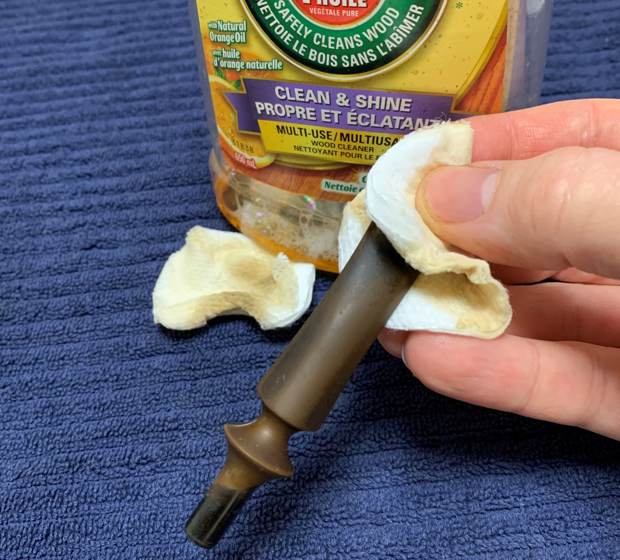
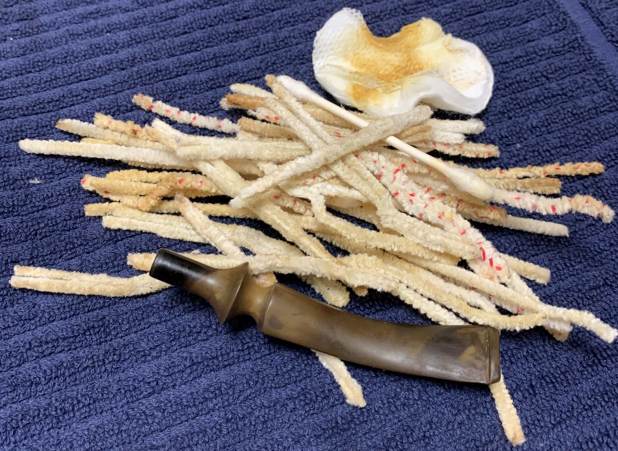
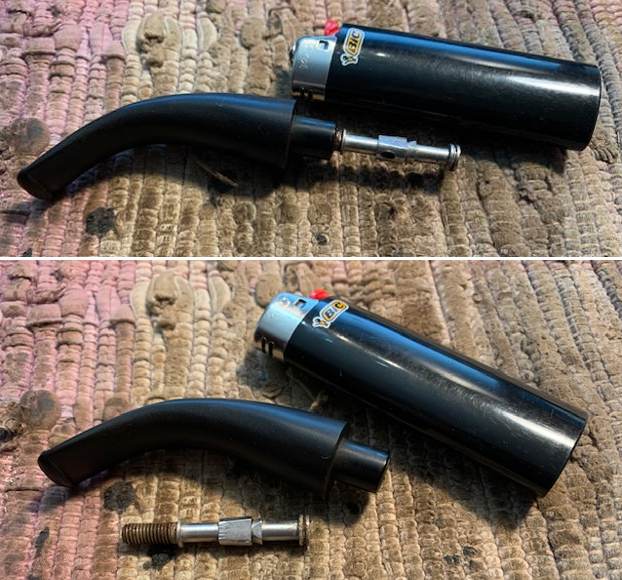
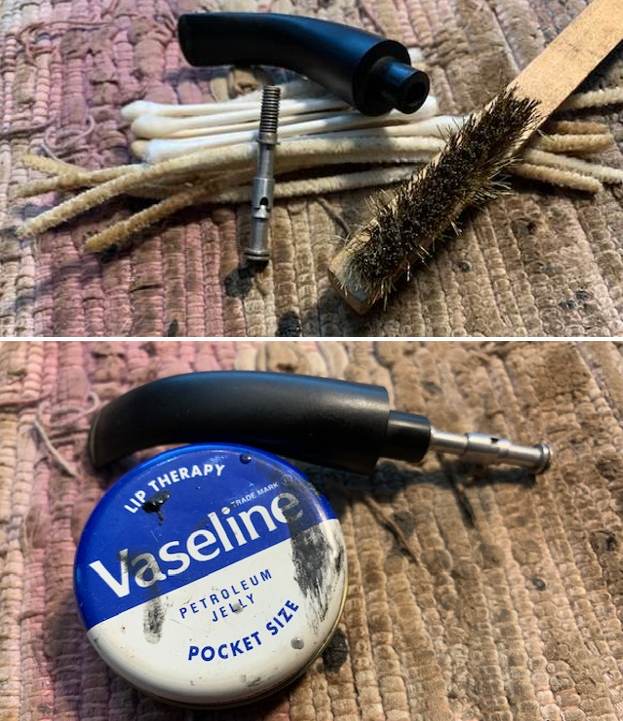
 The stems were first on my list. I wiped down the outside of the stem with Murphy’s Oil Soap on some cotton pads. I also took a BIC lighter and ‘painted’ the stems with its flame in order to lift the few bite marks and dents. Then I cleaned out the insides with pipe cleaners and isopropyl alcohol. They were fairly dirty, but not too bad and I only went through a handful of pipe cleaners to finish each one.
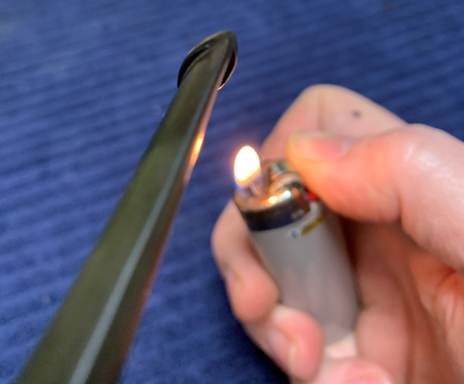
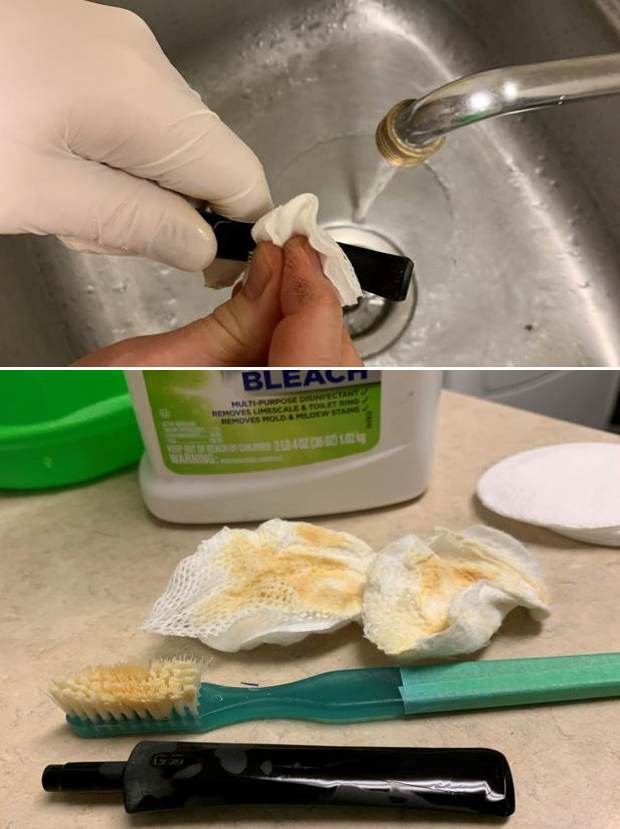
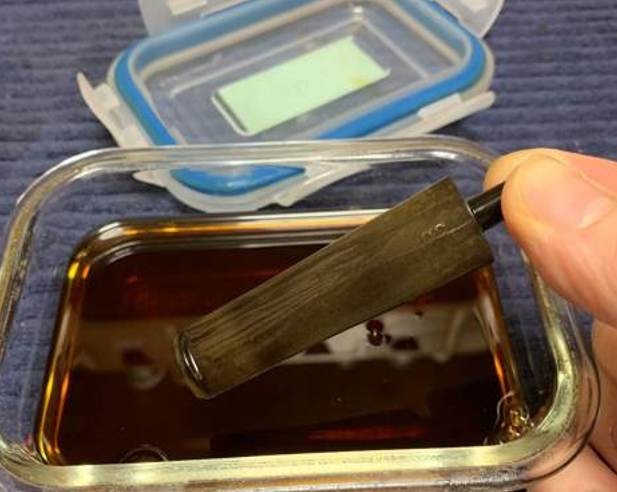
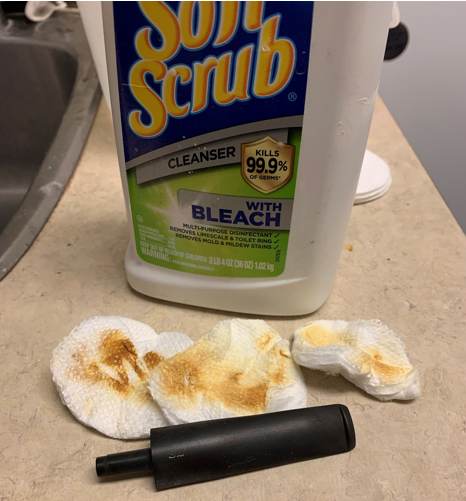
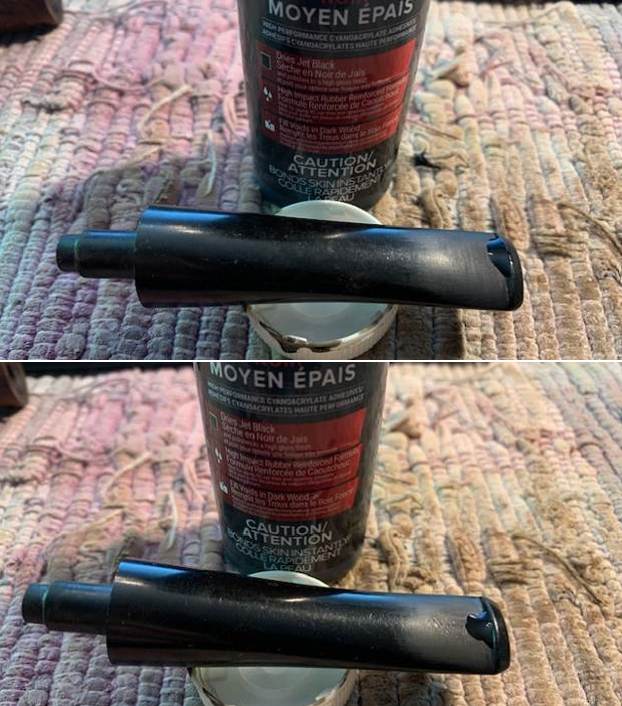
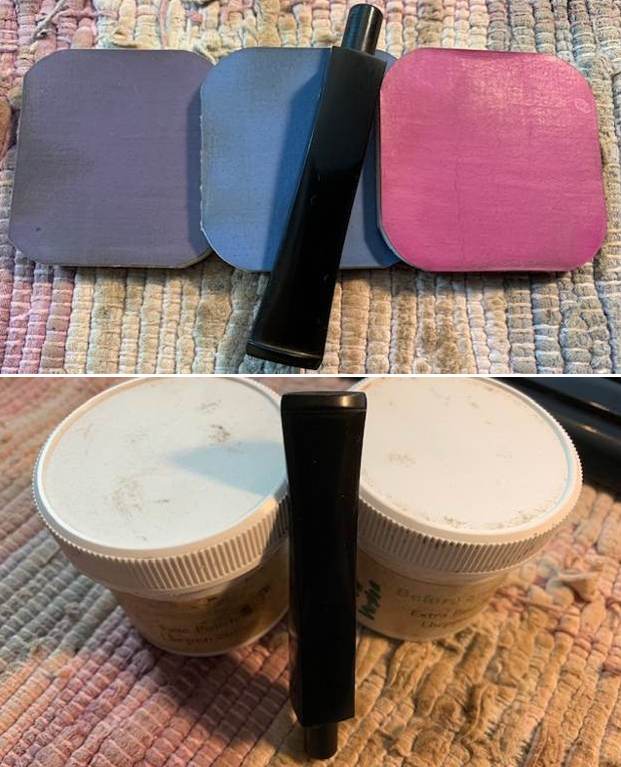
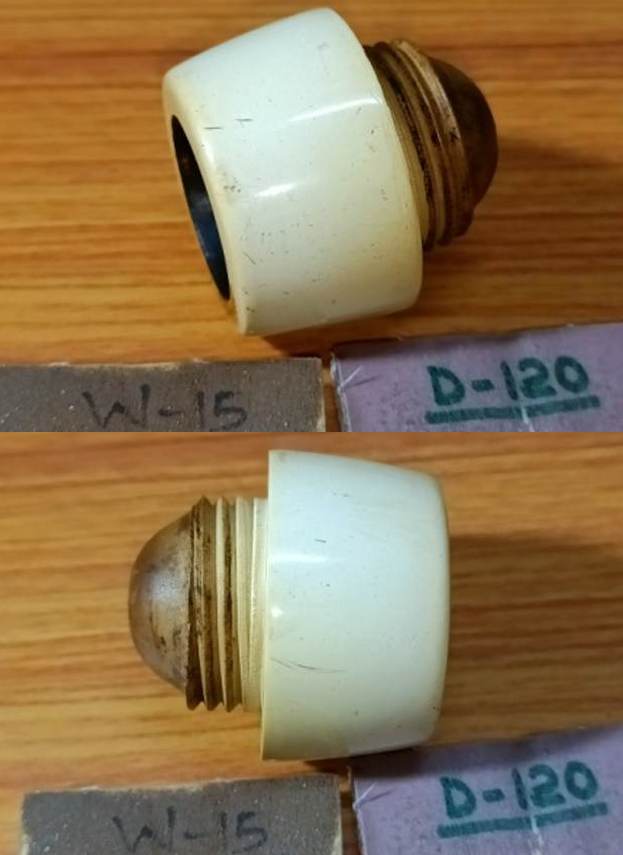
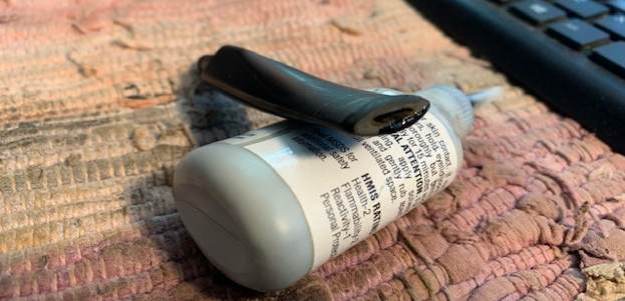
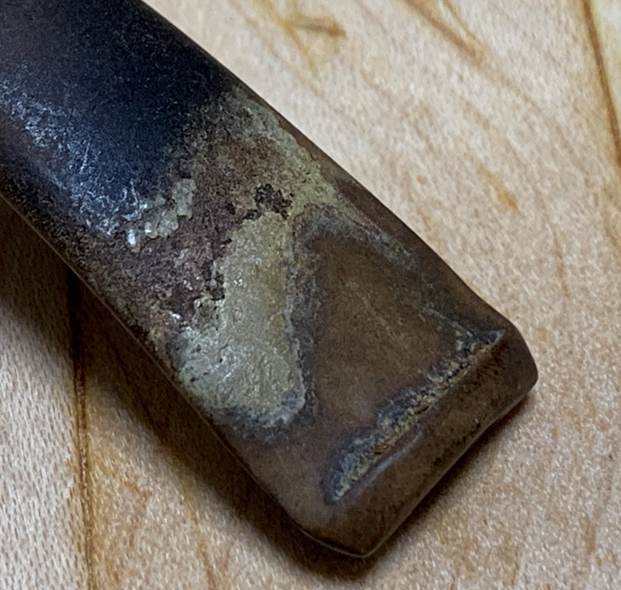
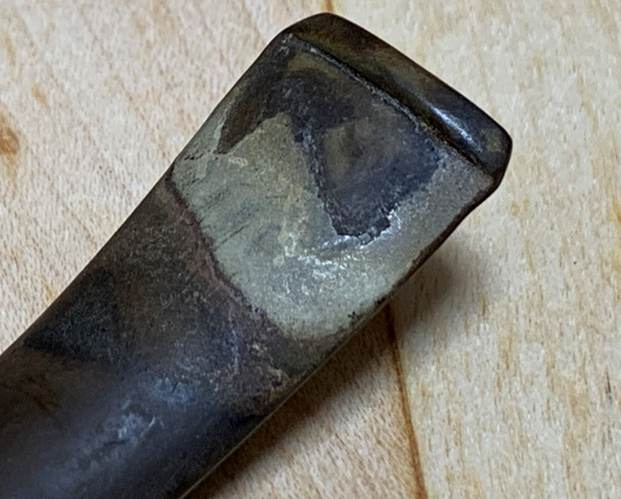
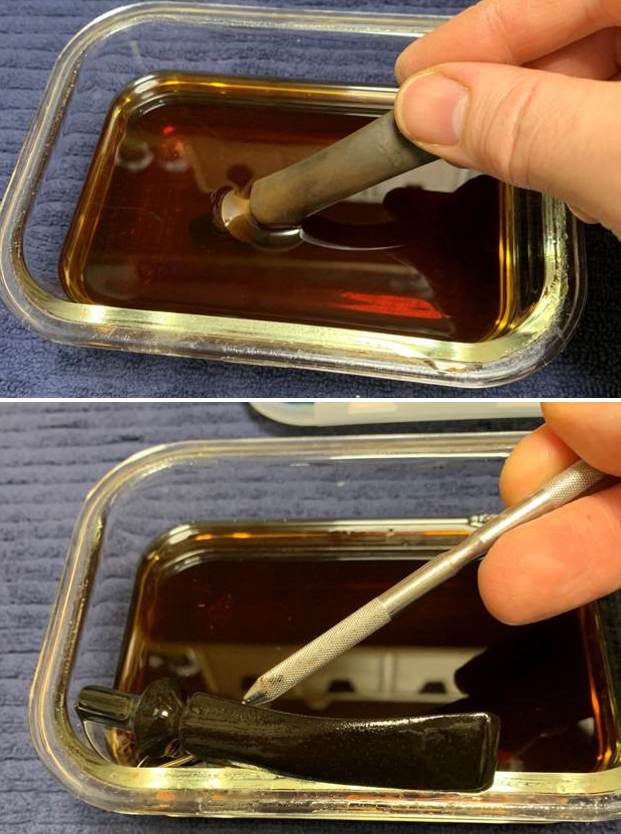
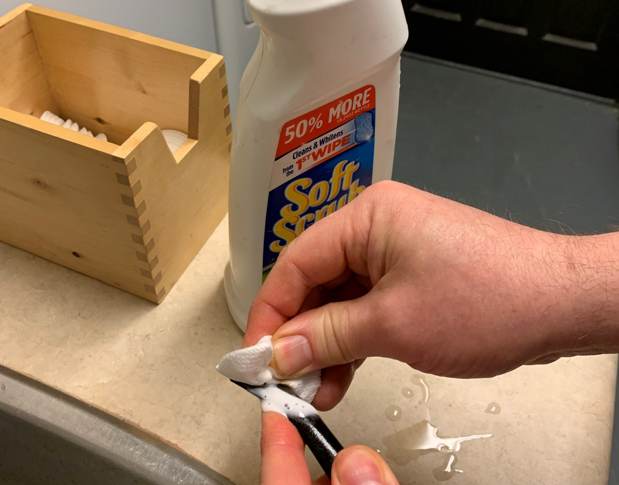
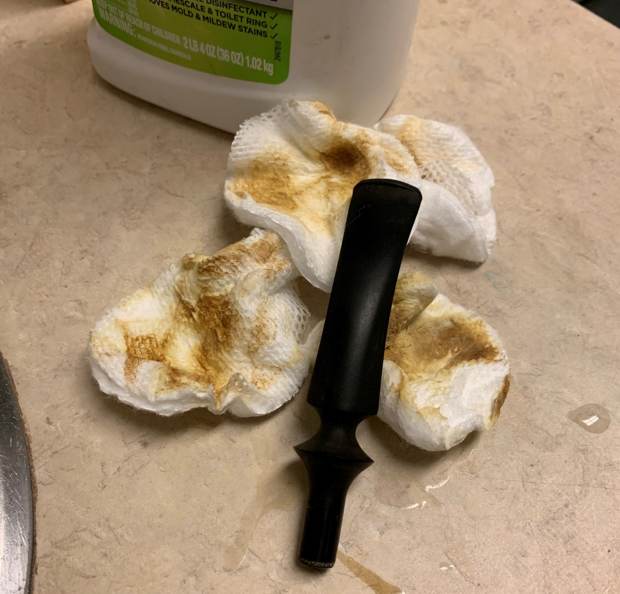
 Once this process was done, the stems went for an overnight soak in the Pipe Stem Oxidation Remover. The following day, I cleaned all of the de-oxidizing mess off with alcohol, pipe cleaners, et cetera. The oxidation had migrated to the surface and would be fairly straightforward to remove. I scrubbed with SoftScrub on some cotton pads to remove the leftover oxidation on each stem.

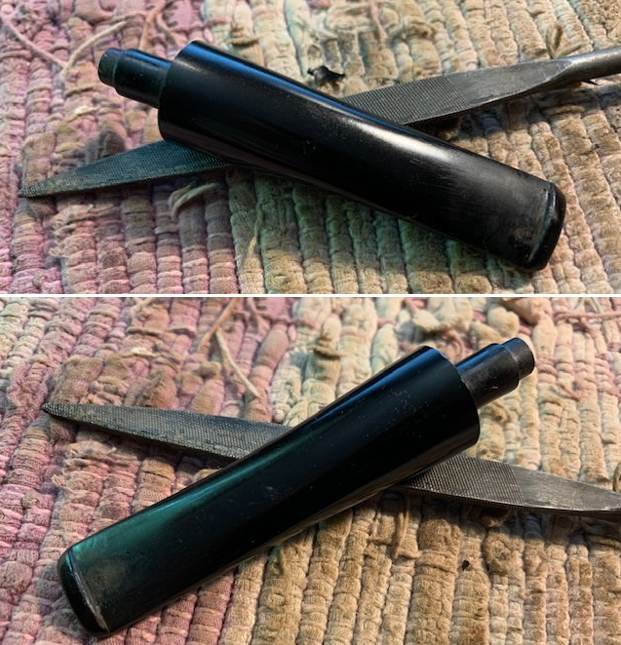
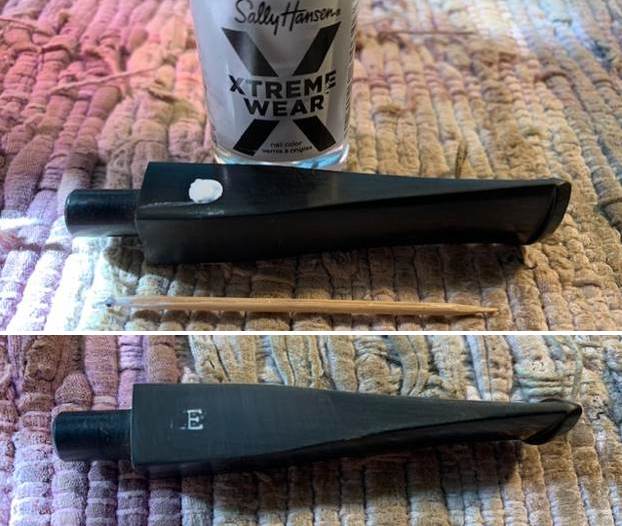
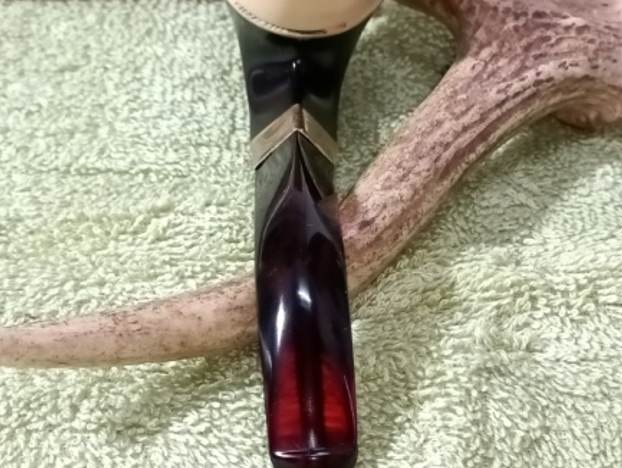
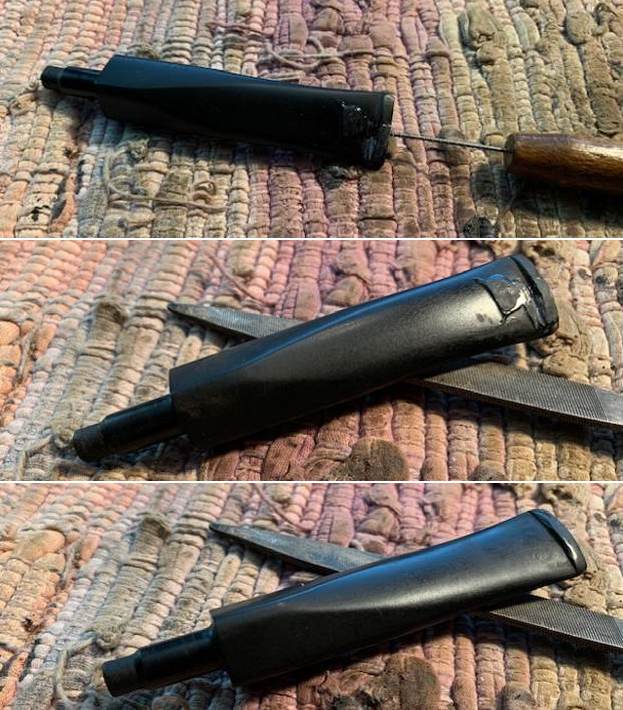
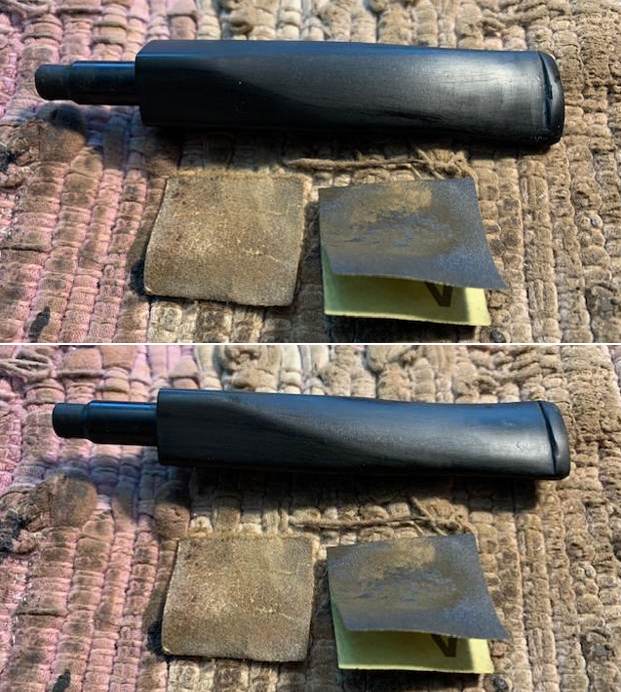
 After this, I used some nail polish to restore the two letters on each stem. I painted the area carefully and let it fully set before proceeding. It’s worth noting that the GD ultimately emerged from the restoration far better than the SD. Presumably, the SD had been rubbed more over time and lost some of its groove (literally, not figuratively).
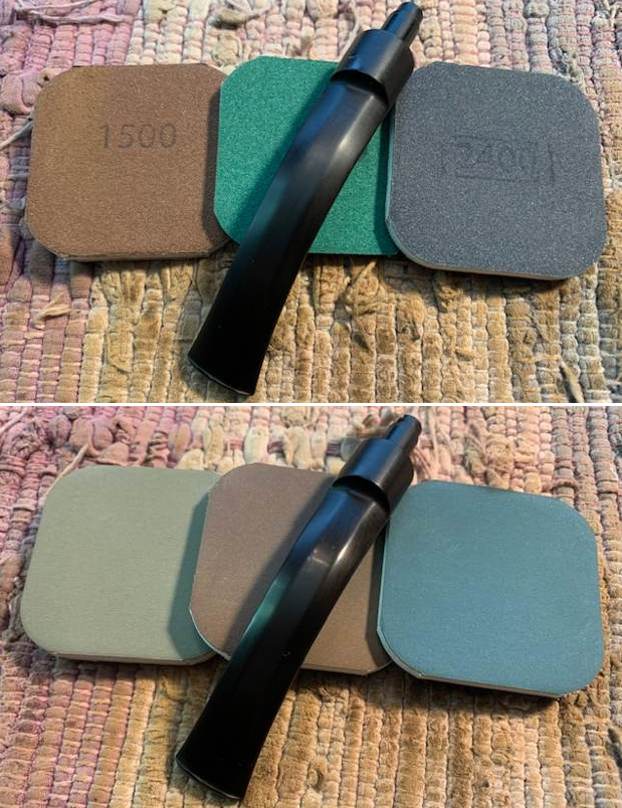
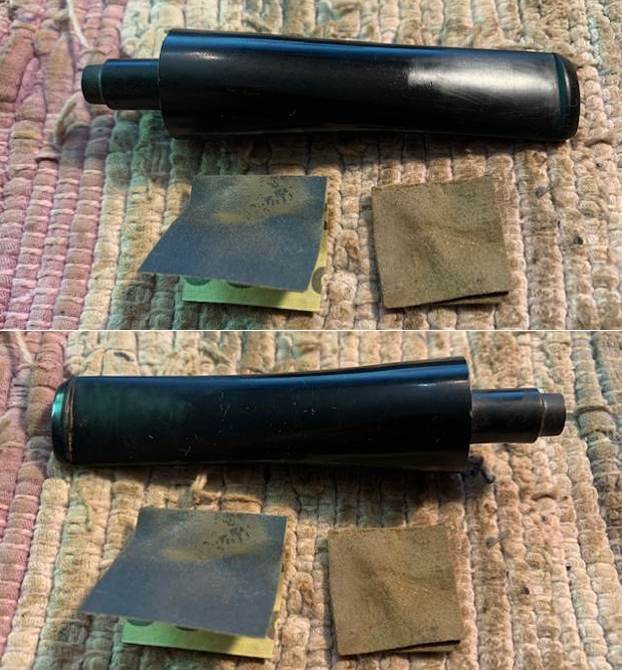
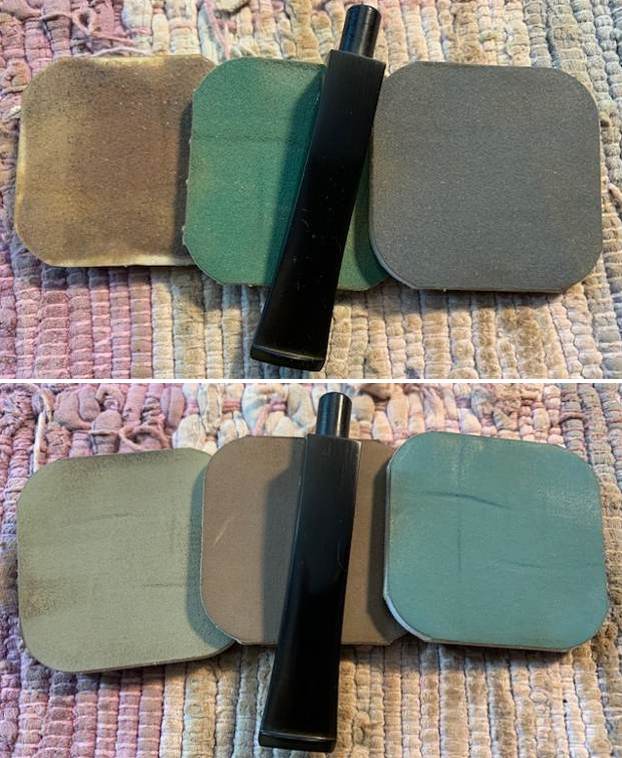
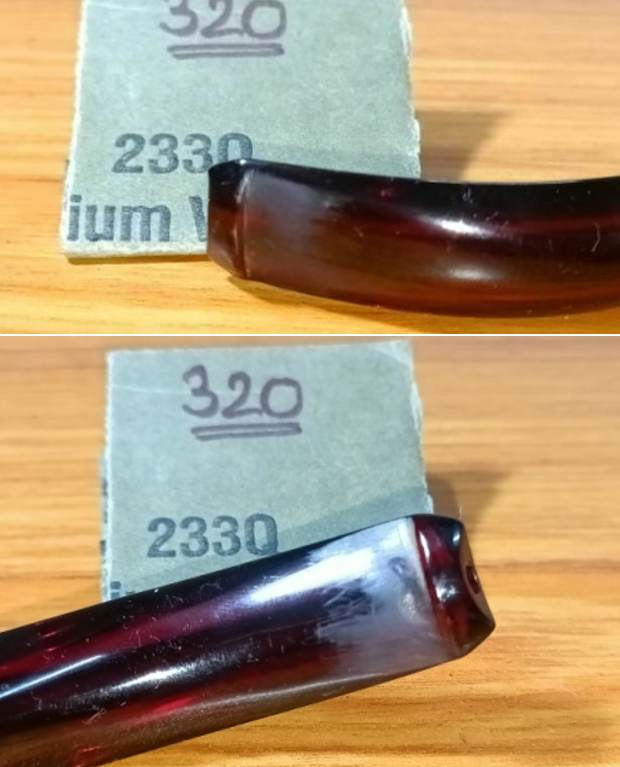
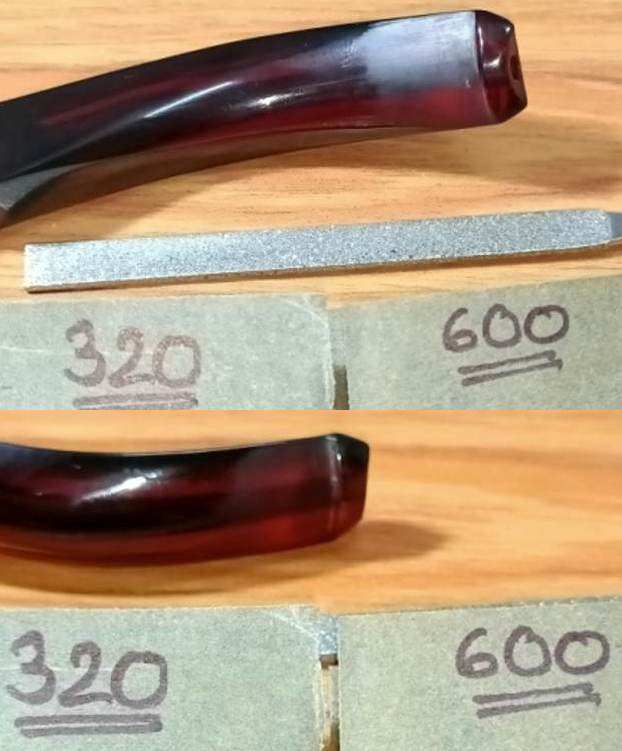
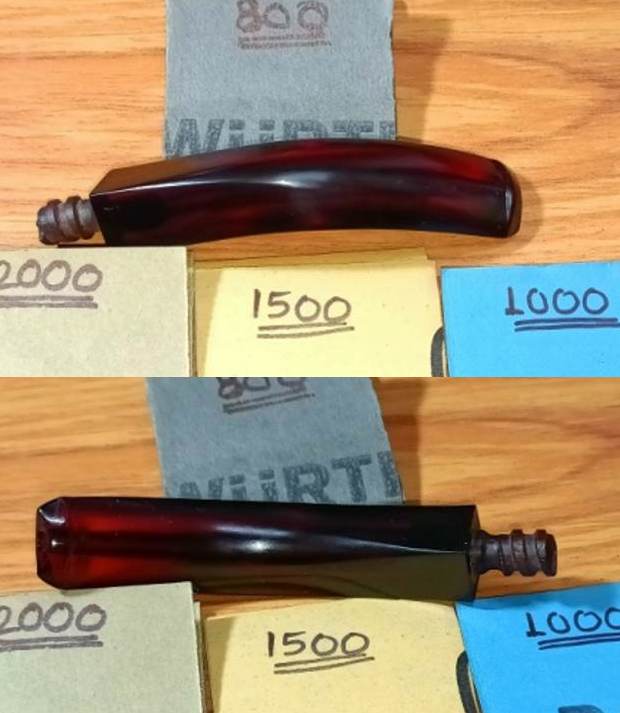
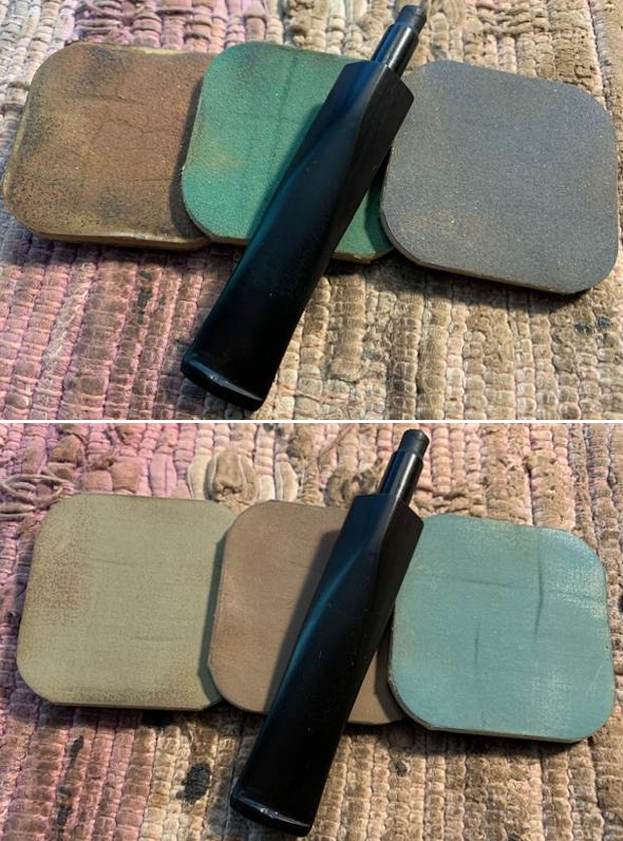
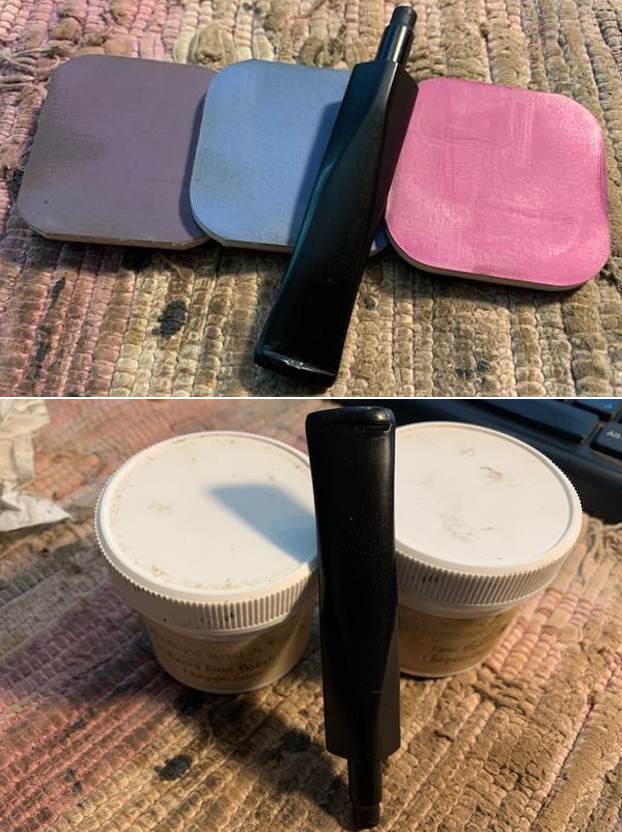
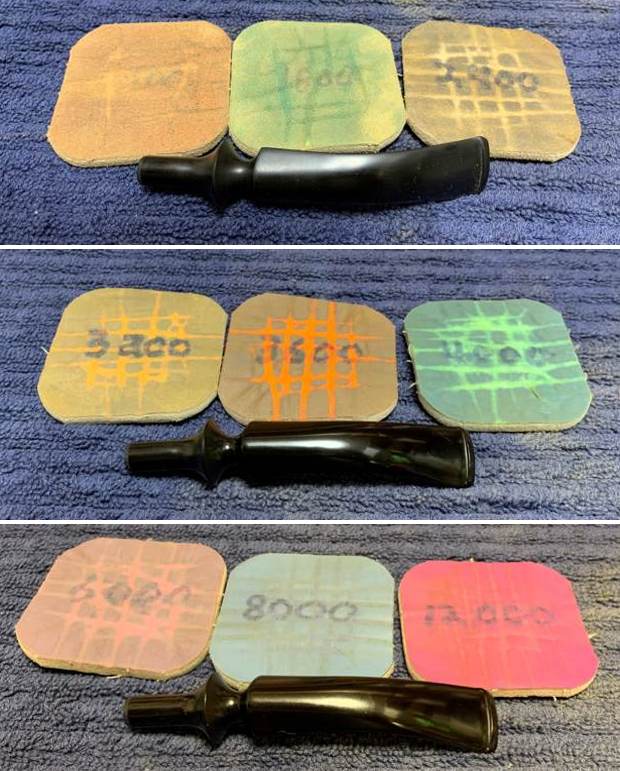
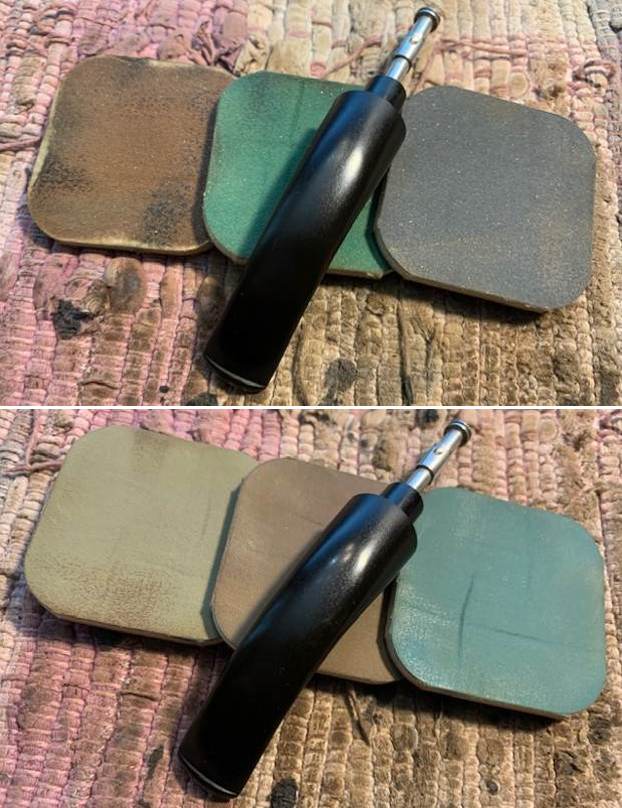
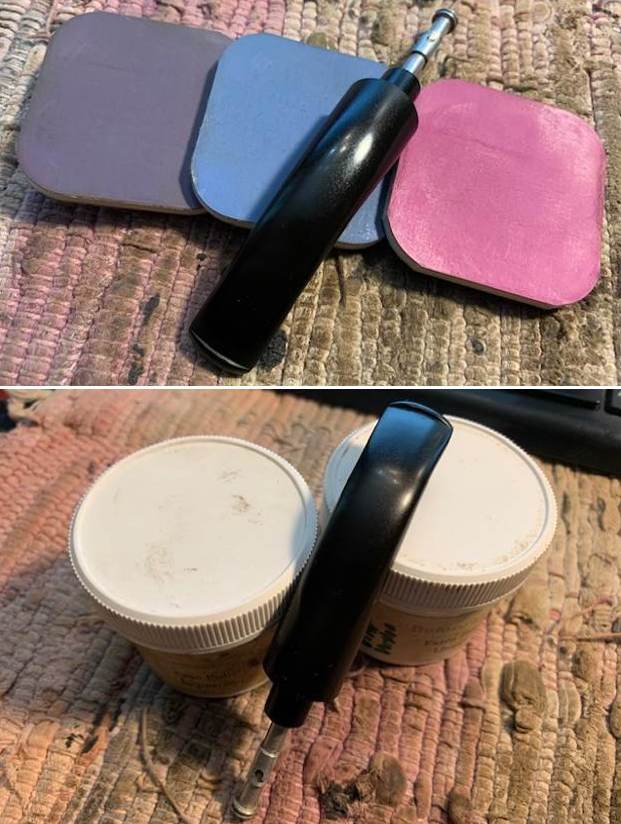
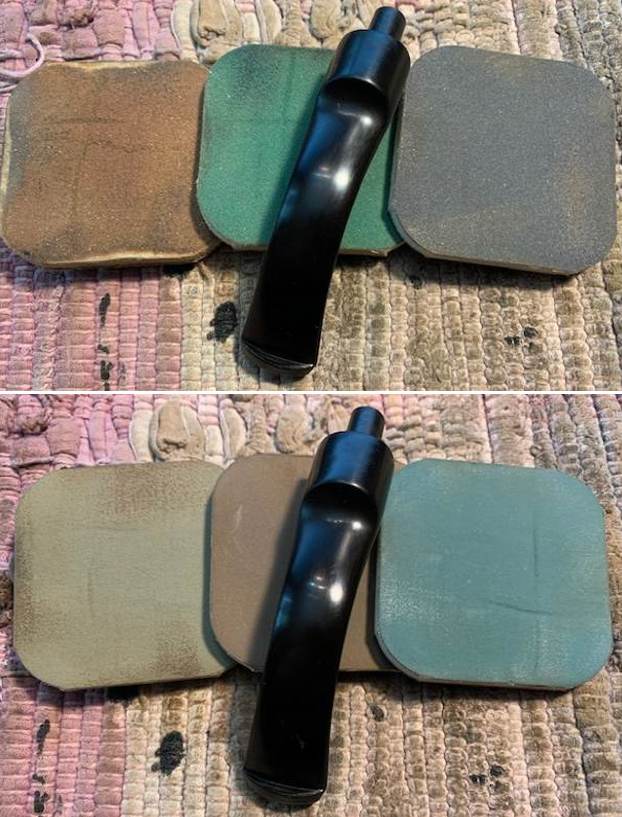
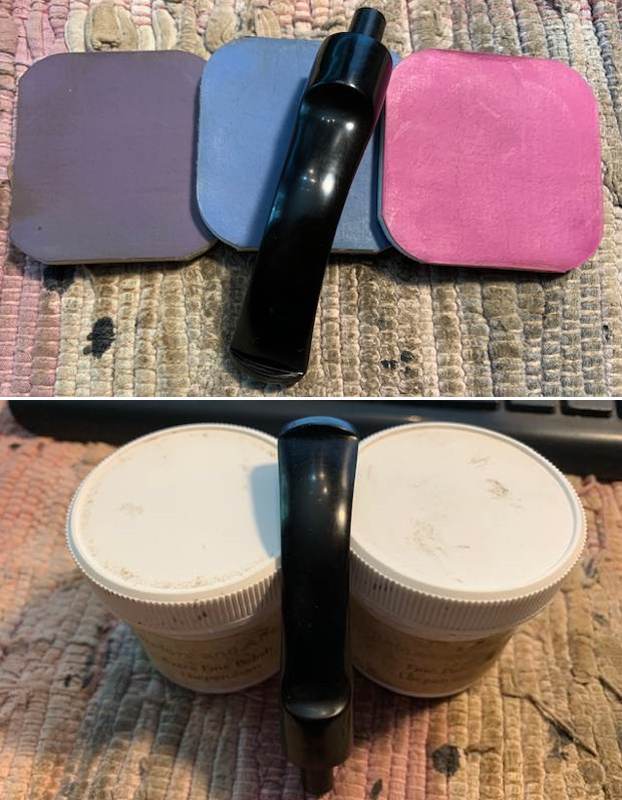
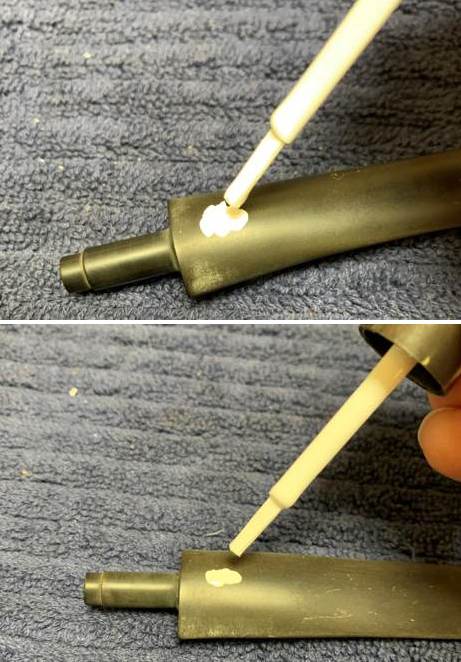 Then I sanded the stems down with 220-, 400-, and 600-grit sandpapers. Finally, I used all nine Micromesh pads (1,500 through 12,000 grit) to bring out the lovely black lustre on the stems. I also used Obsidian Pipe Stem Oil in between each pad scrubbing.
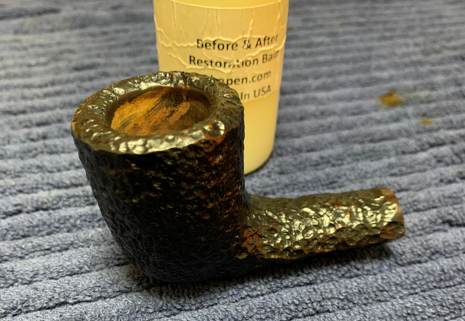
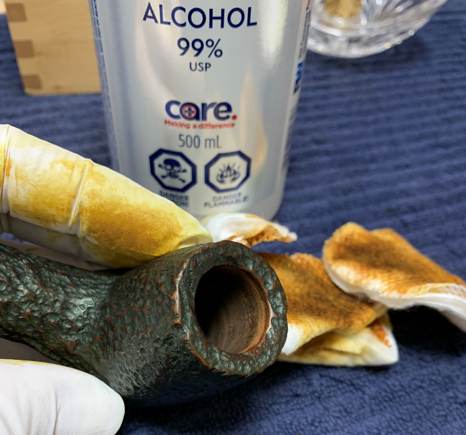
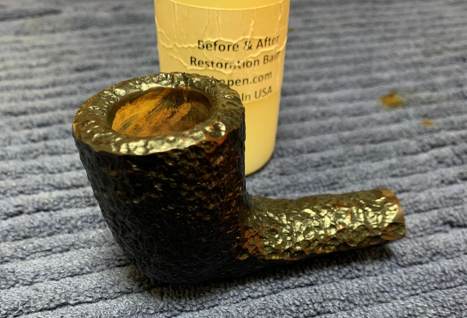
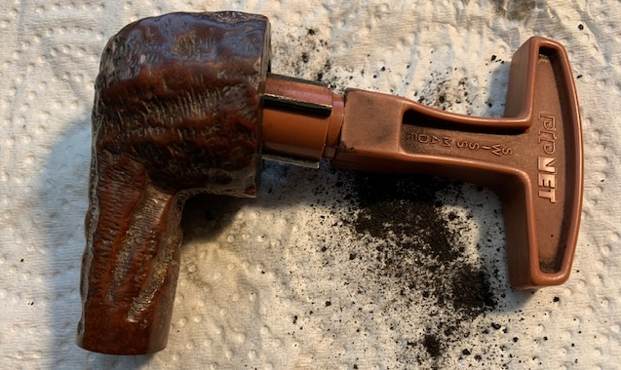
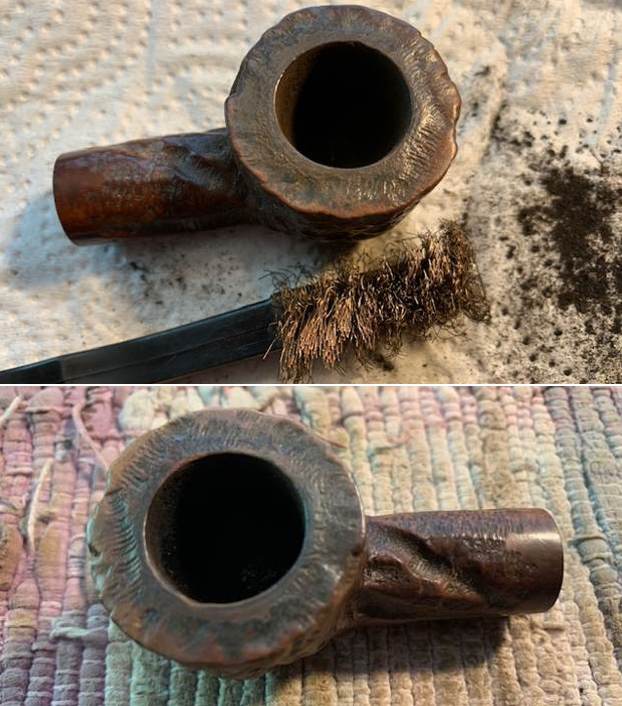
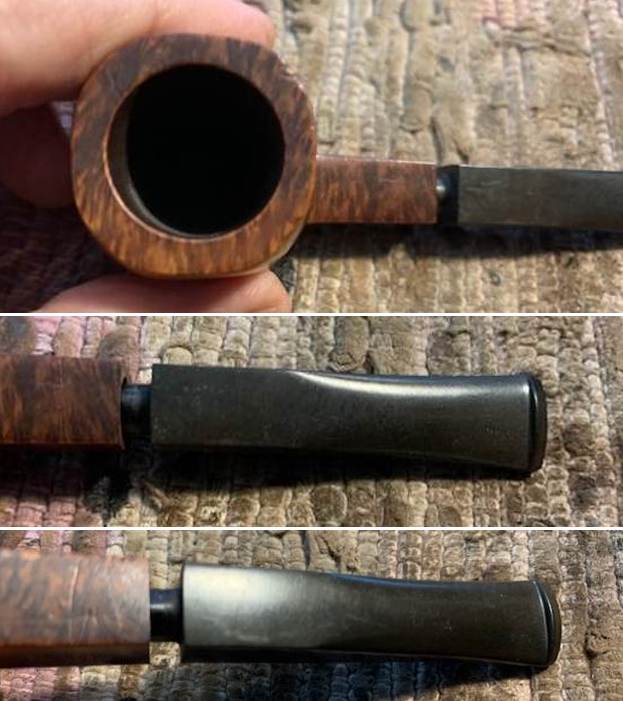
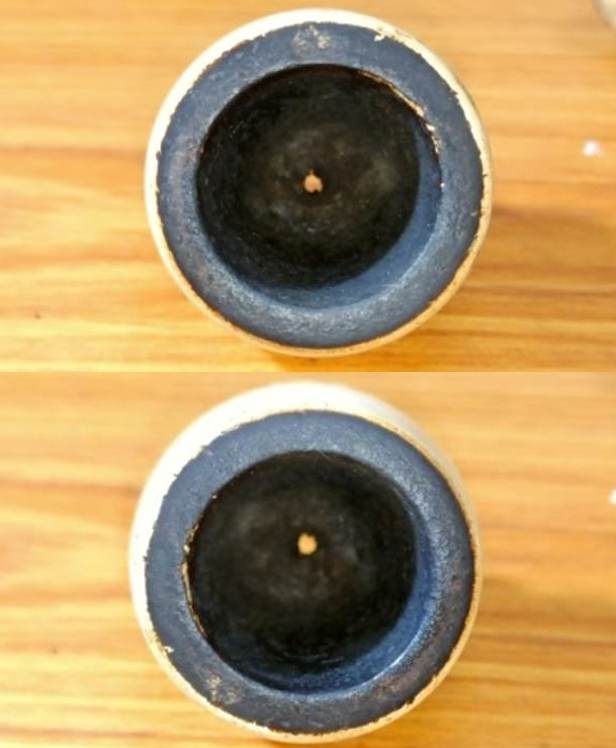
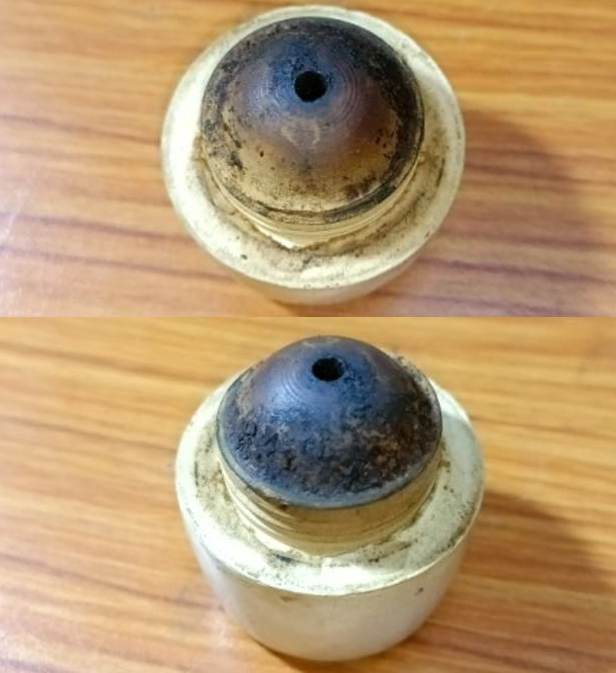
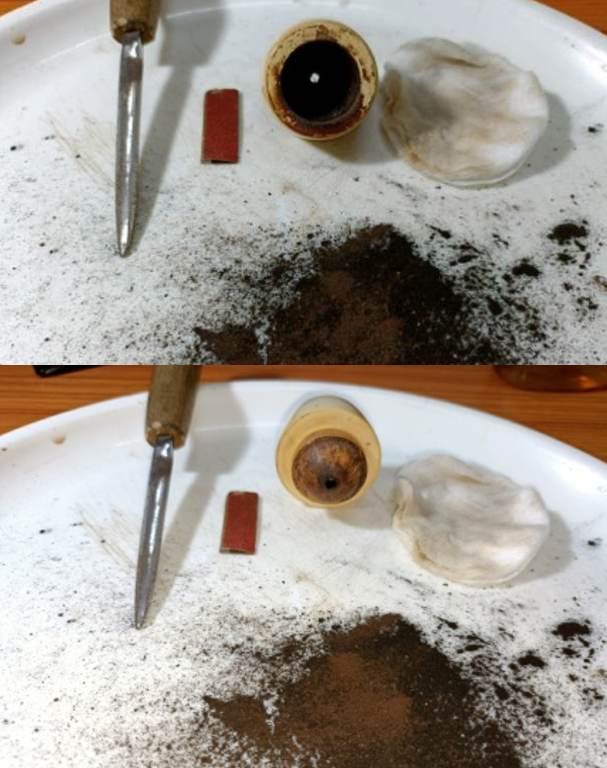
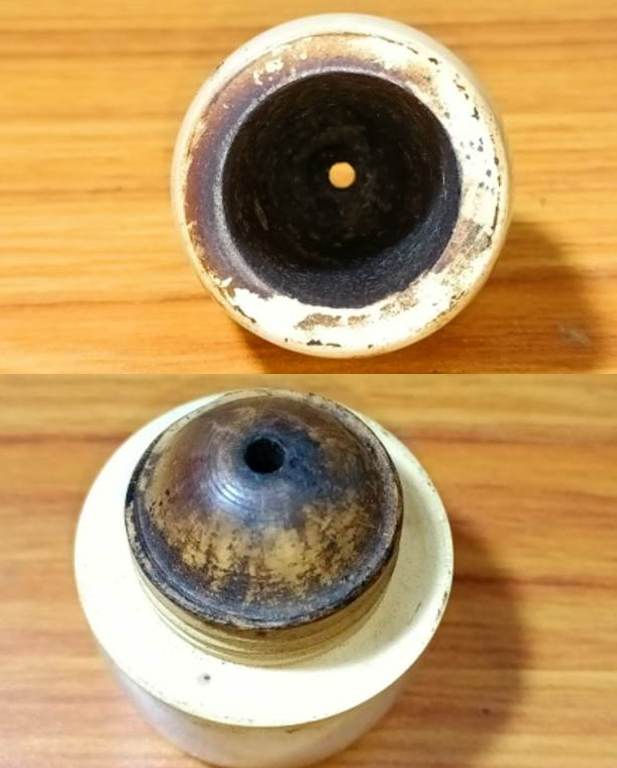
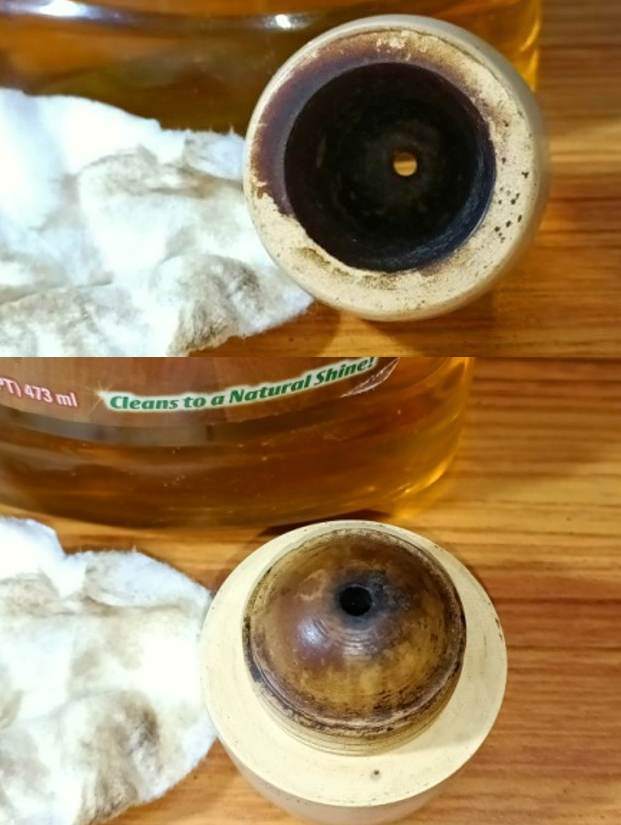
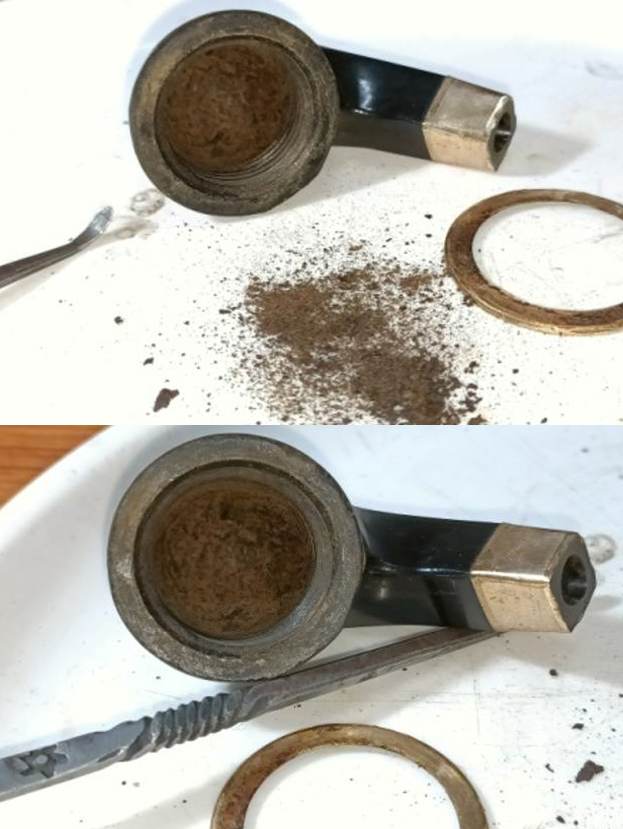
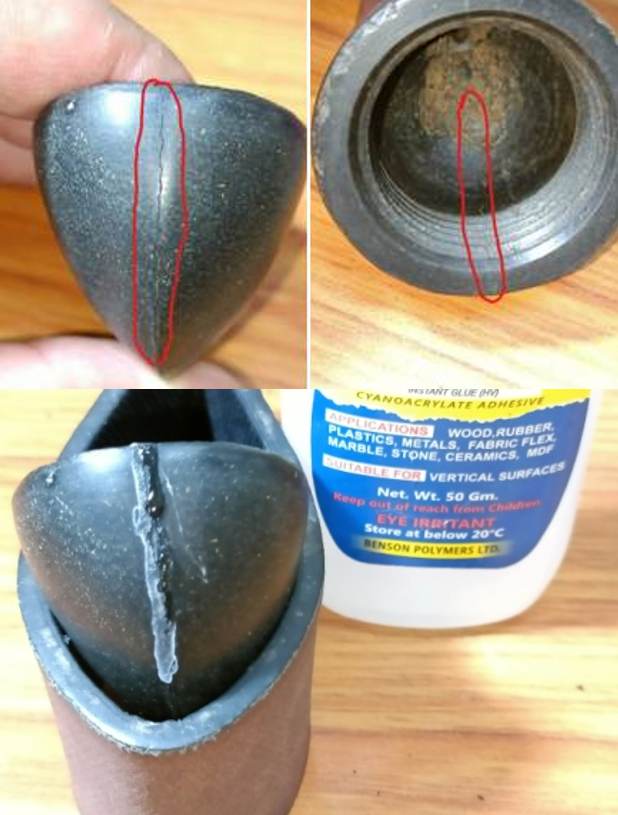
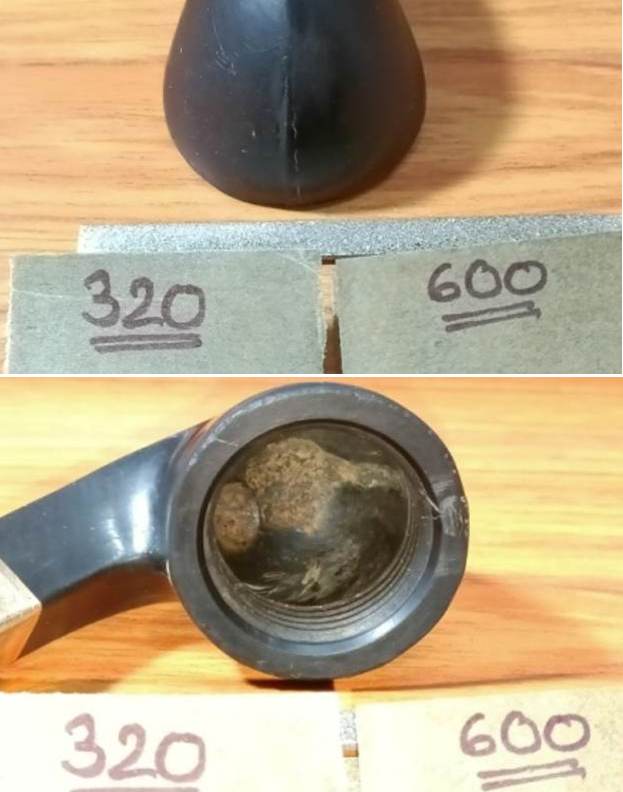
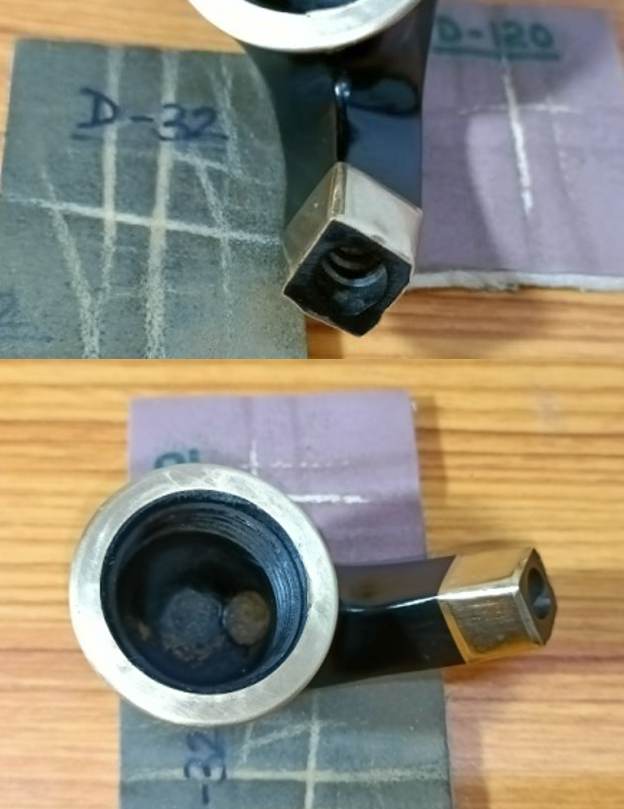
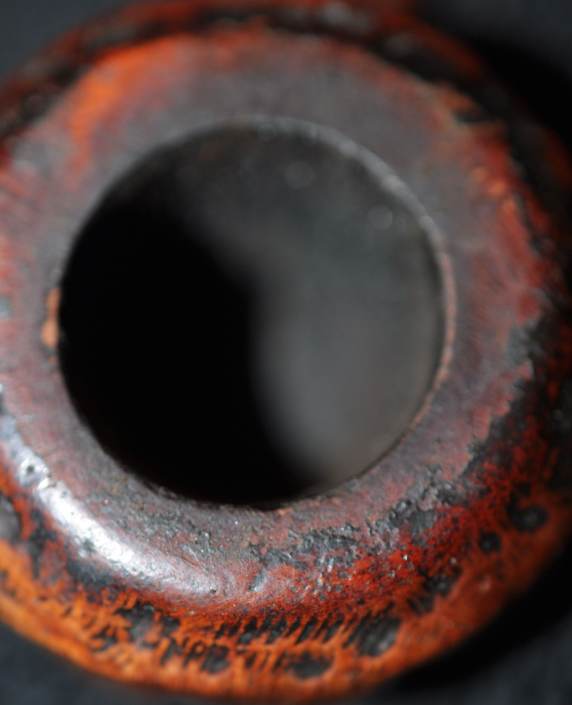
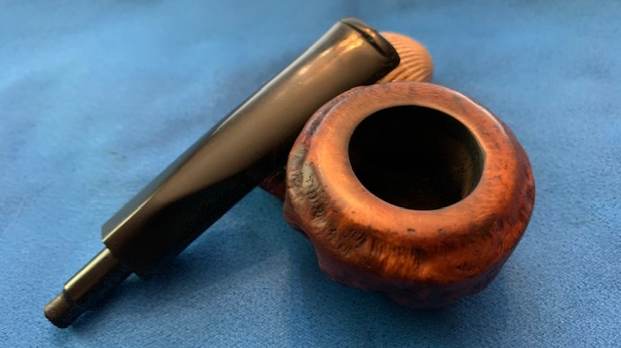
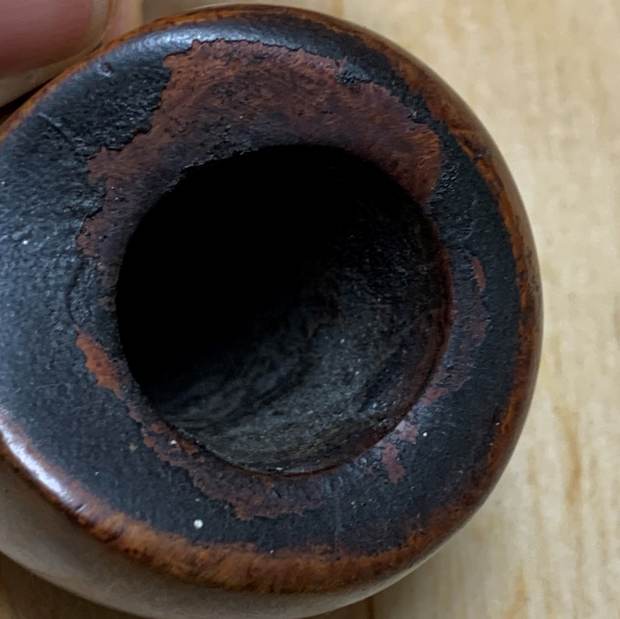
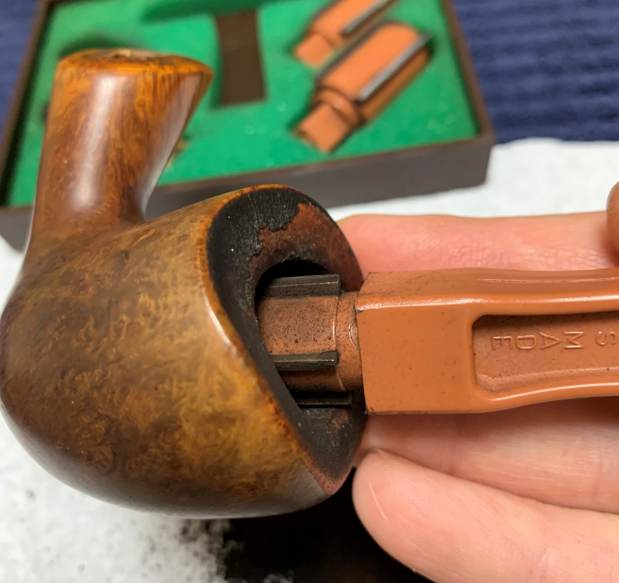
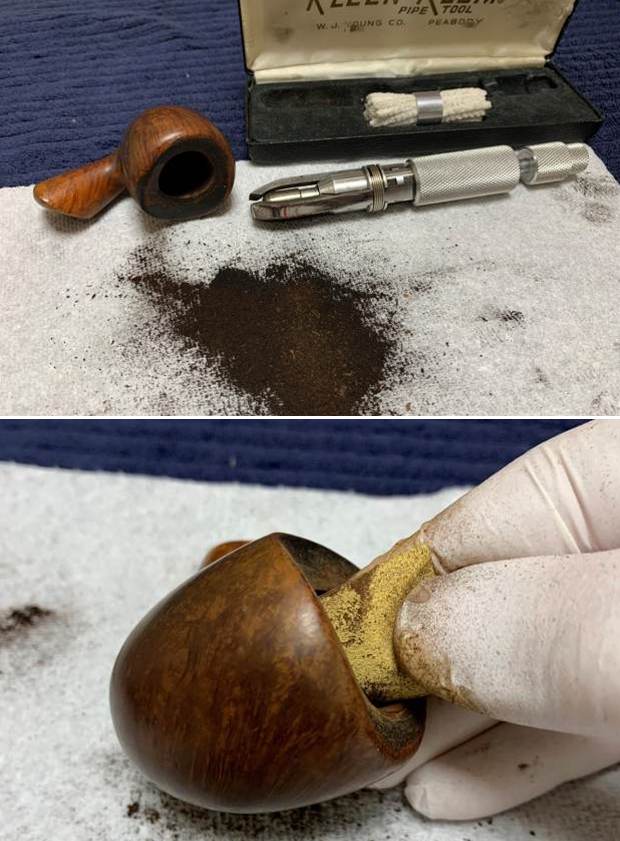
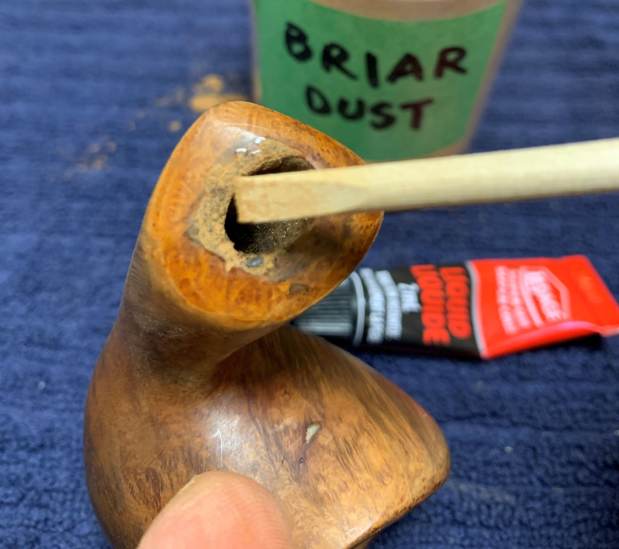
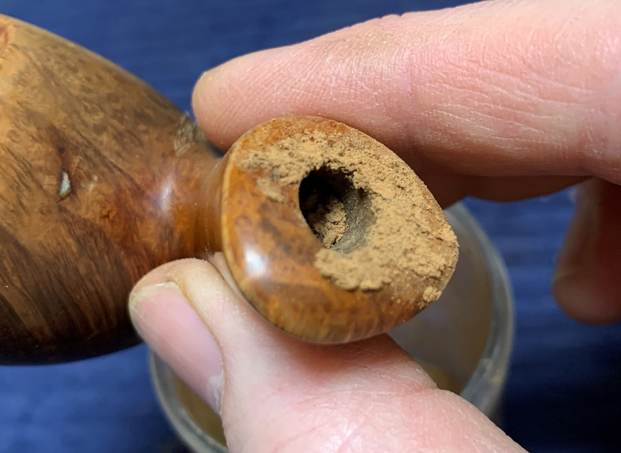
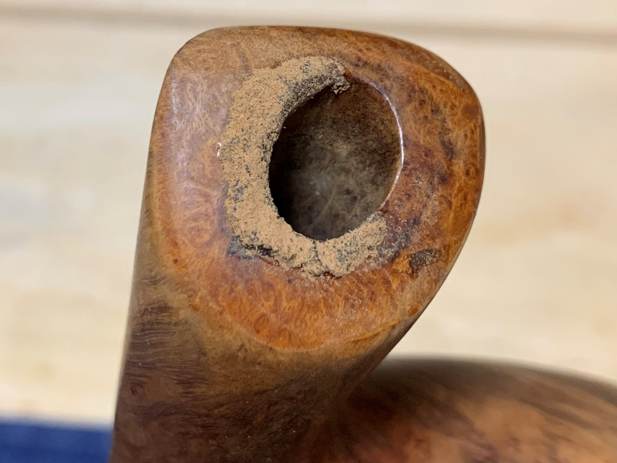
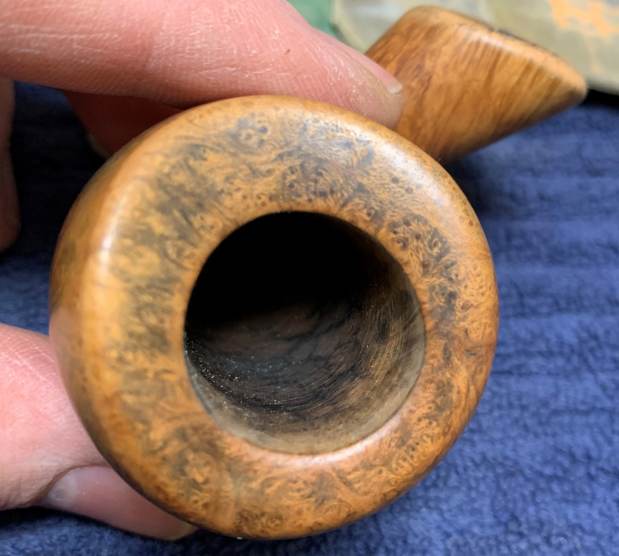
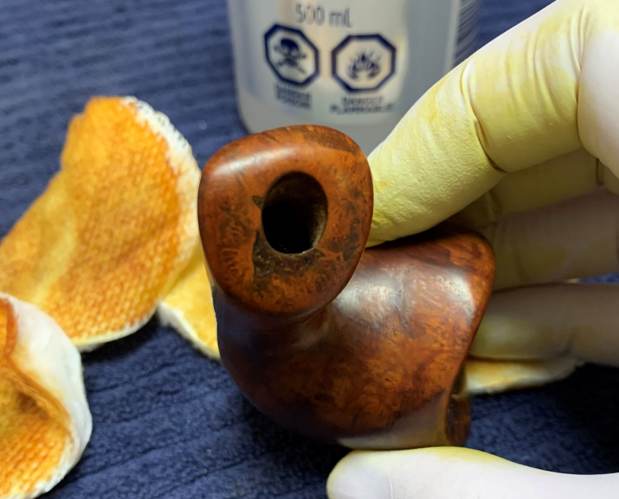
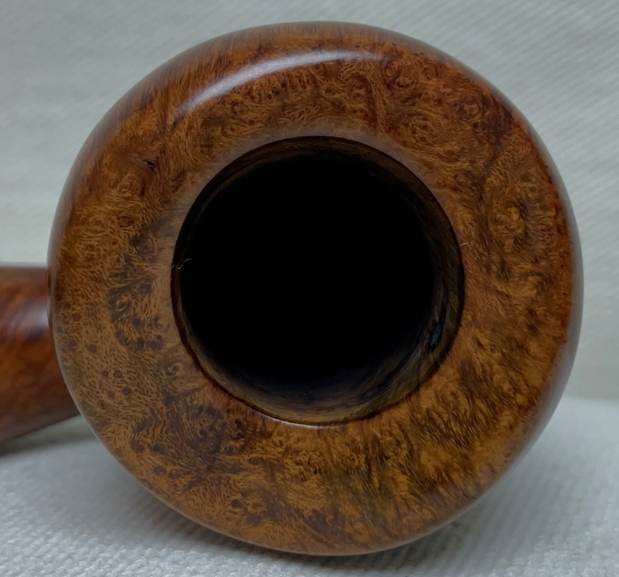
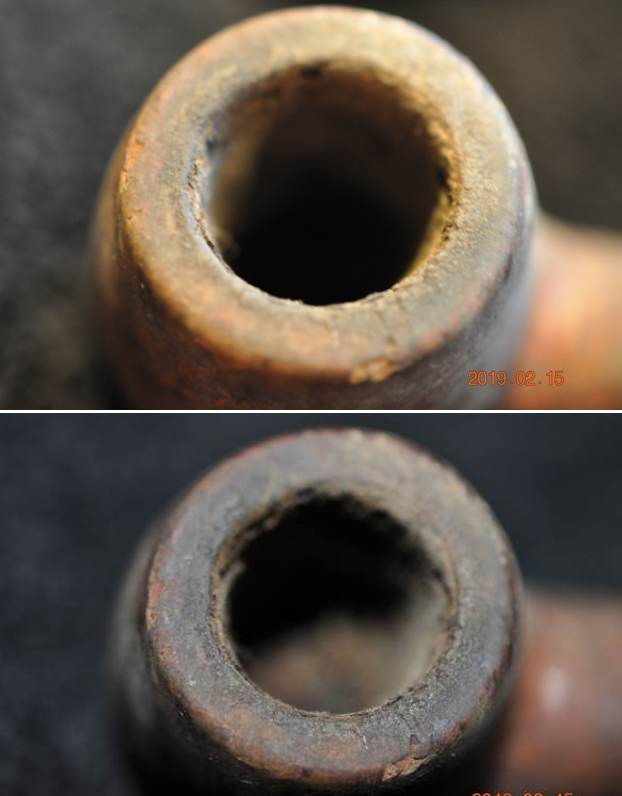
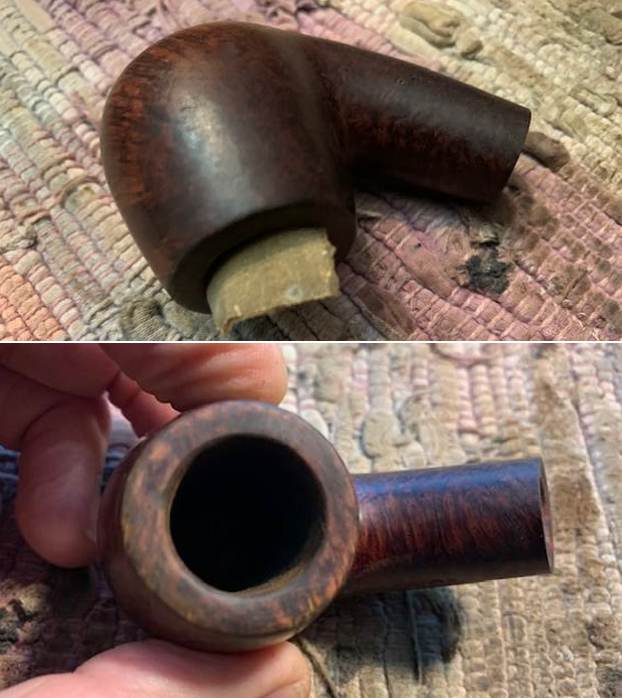
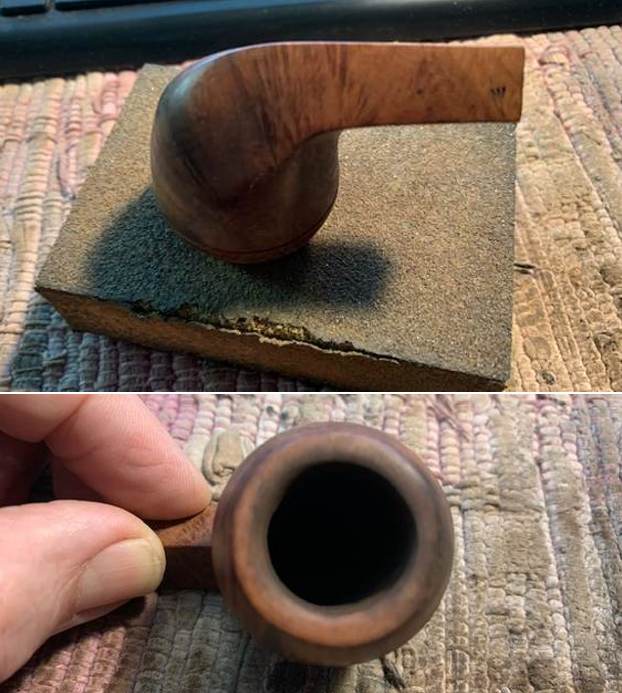
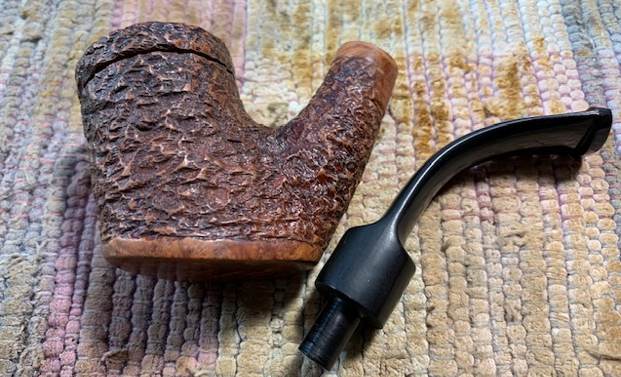
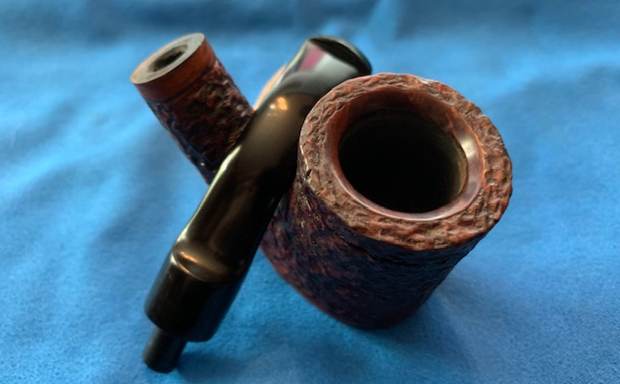
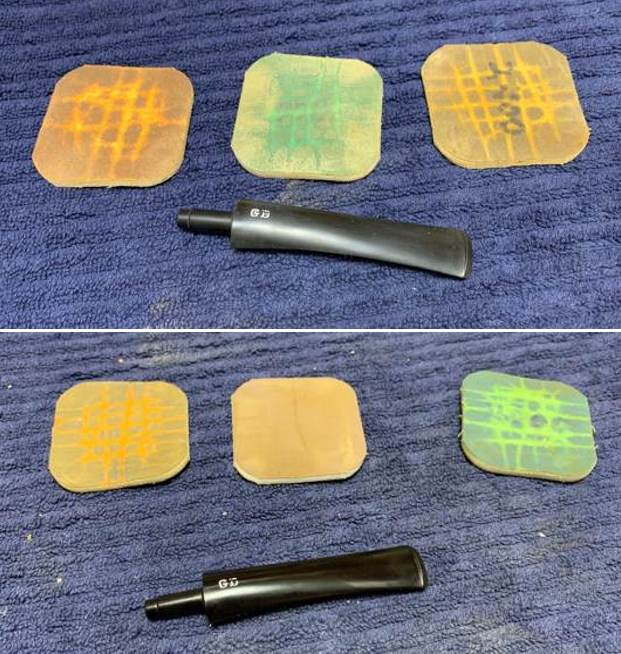 On to the stummels, and the usual cleaning procedures were in order for these two. Firstly, I decided to ream out the bowls. I used the PipNet Reamer on Gulden and the KleenReem on Silveren to remove the built-up cake and followed that with 220-grit sandpaper to eliminate as much as I could. I took the two chambers down to bare briar, as I wanted to ensure there were no hidden flaws in the walls. Fortunately, there were none.
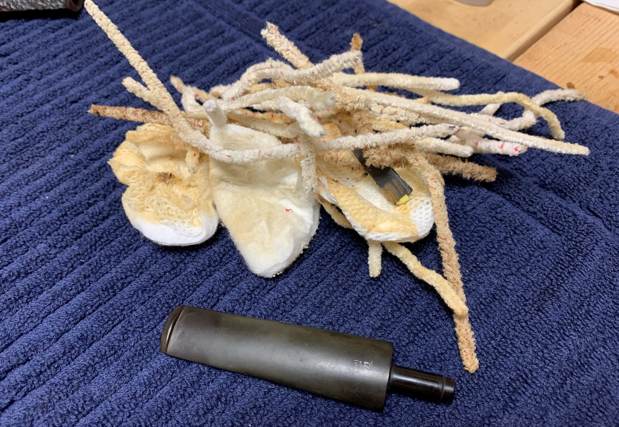
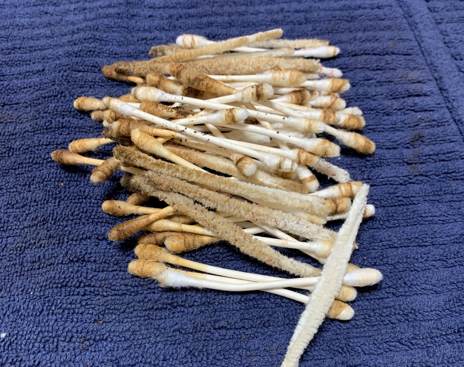
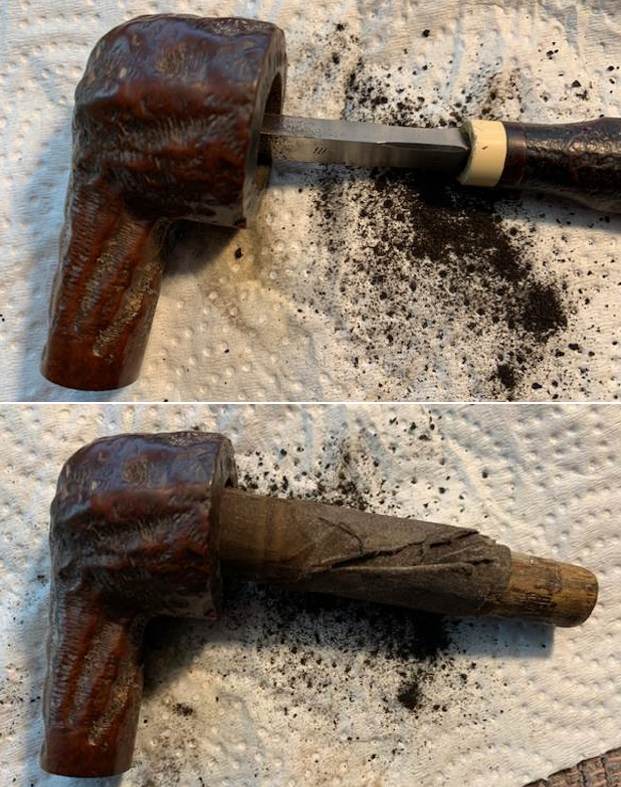
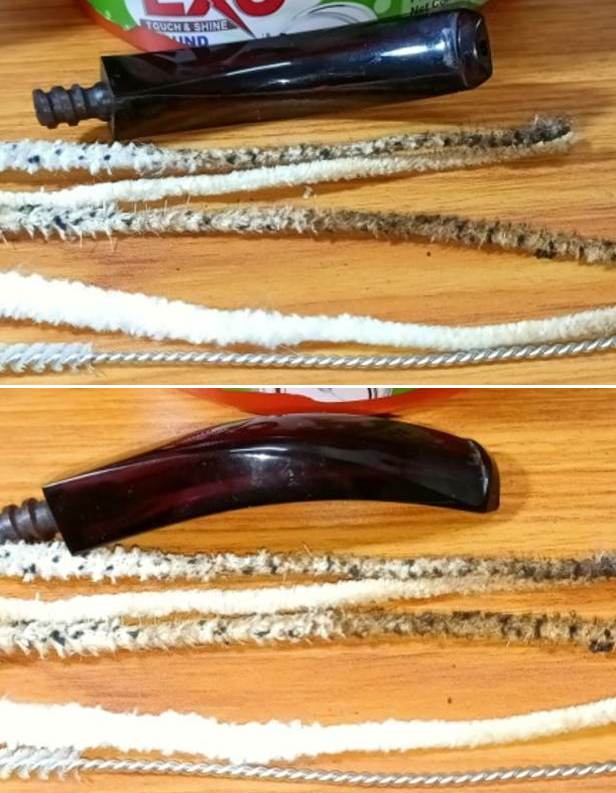
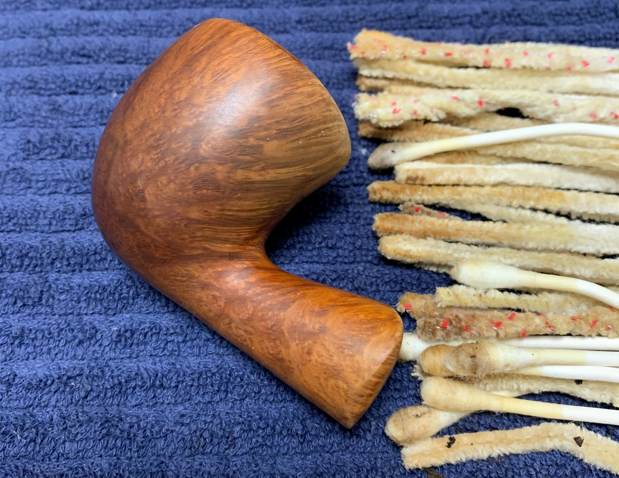
 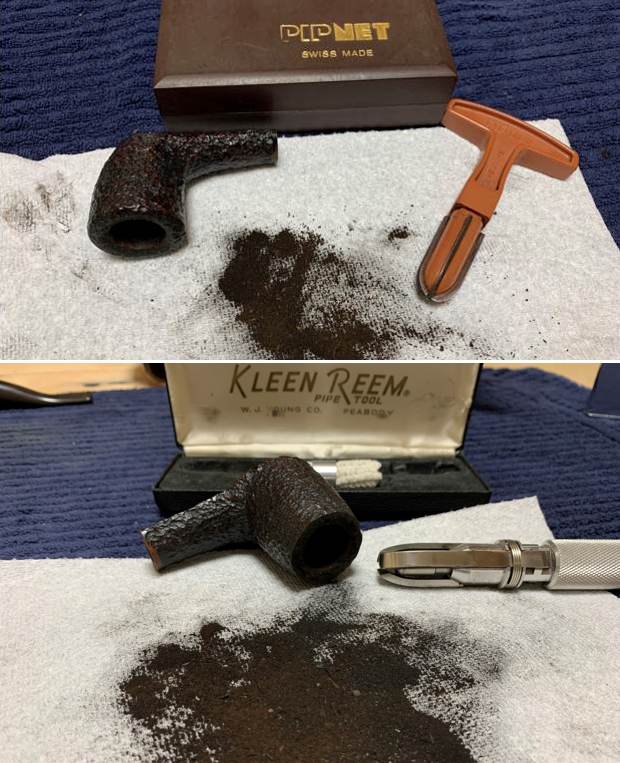 I then proceeded to clean out the insides of the two shanks with Q-tips, pipe cleaners, and isopropyl alcohol. There was quite a bit of filth inside these stummels, and it took a lot of cotton to get them clean. I followed that up by cleaning the insides with some dish soap and tube brushes.
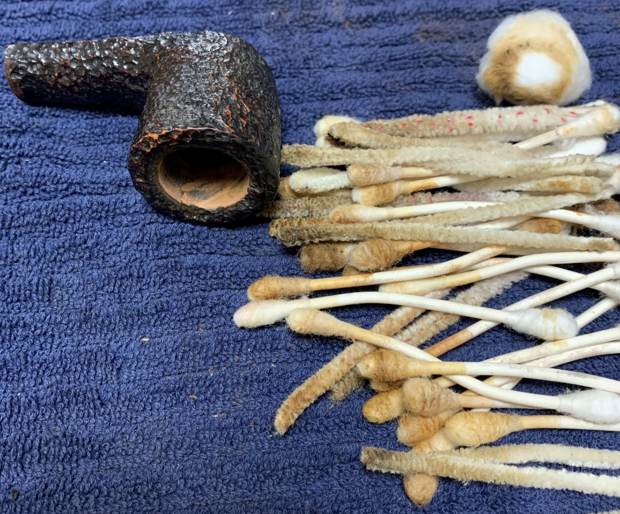
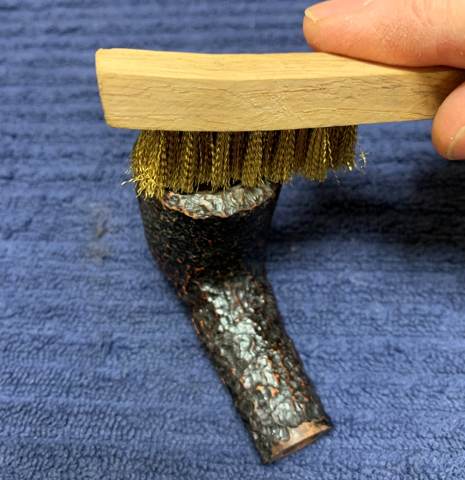
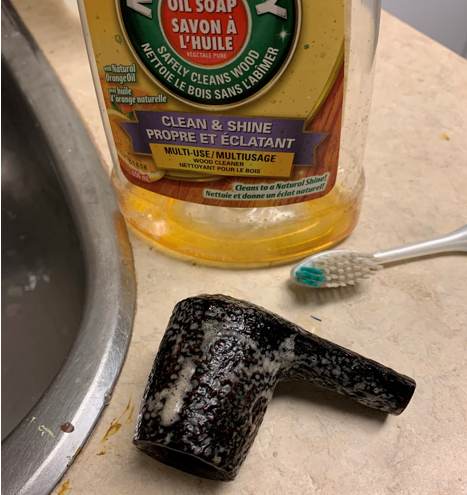
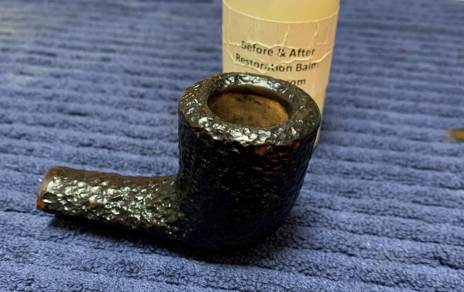
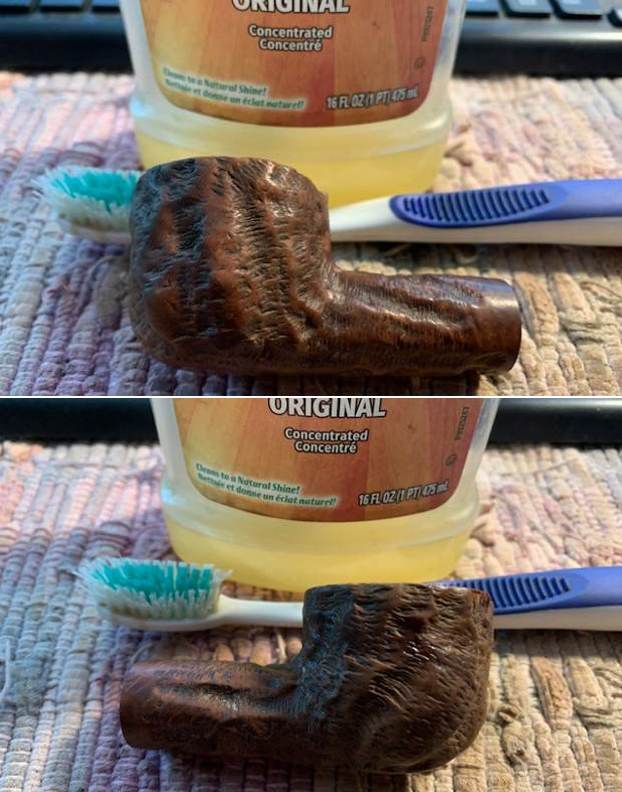
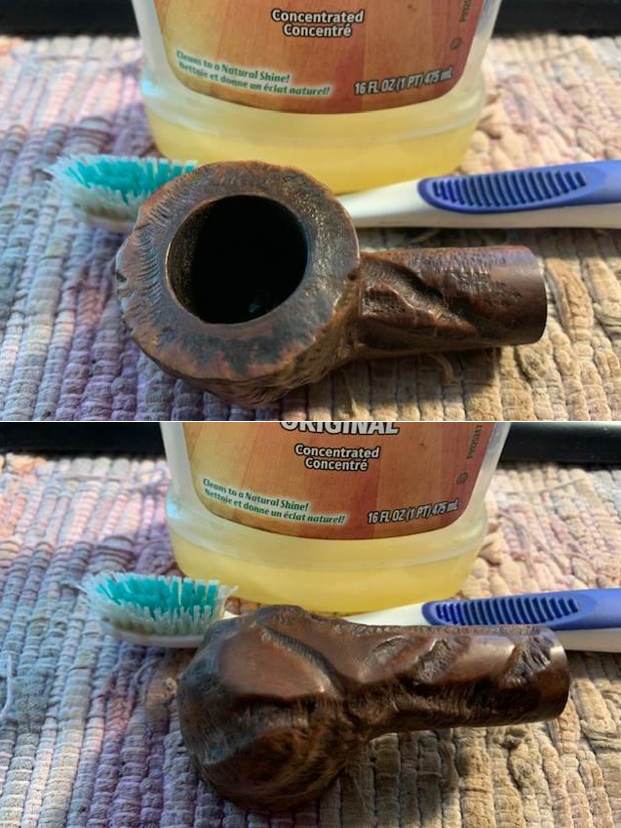
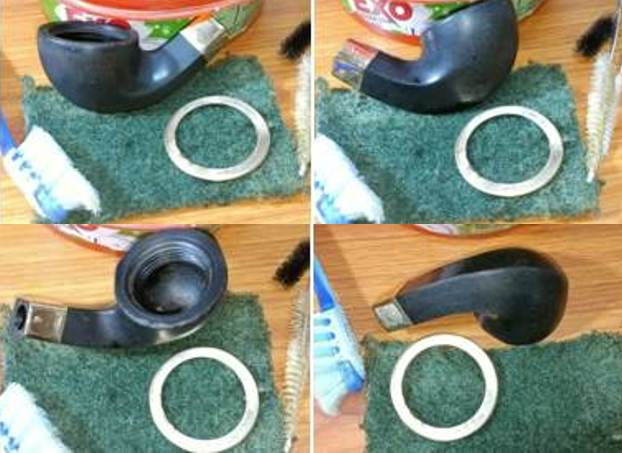
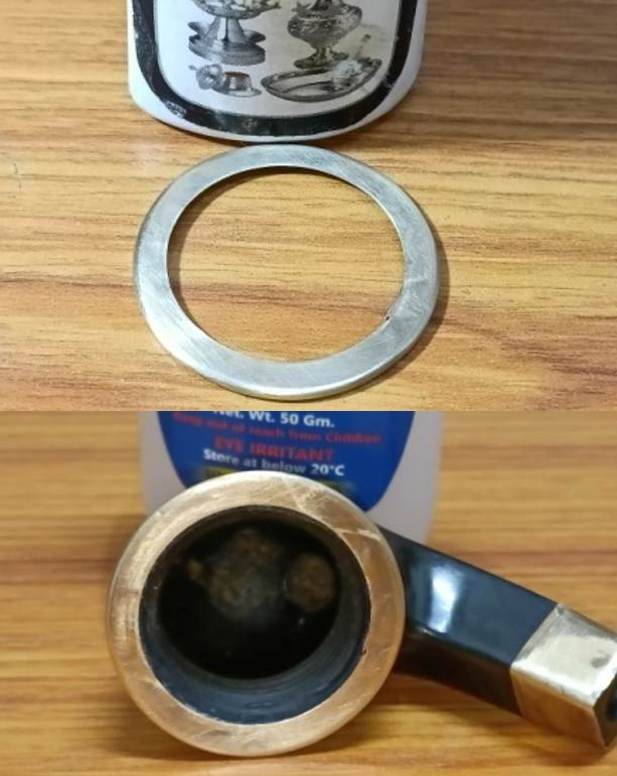
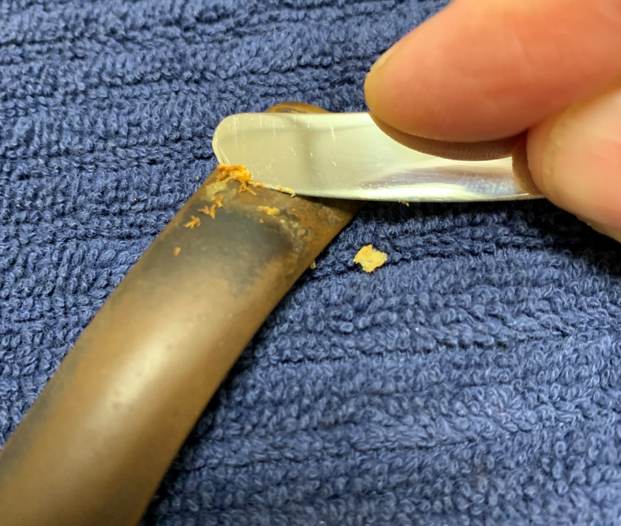
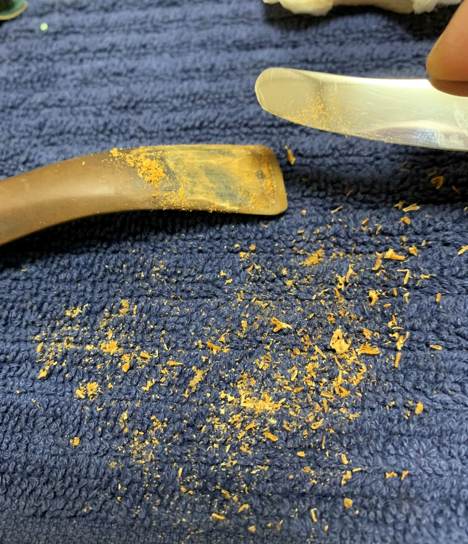
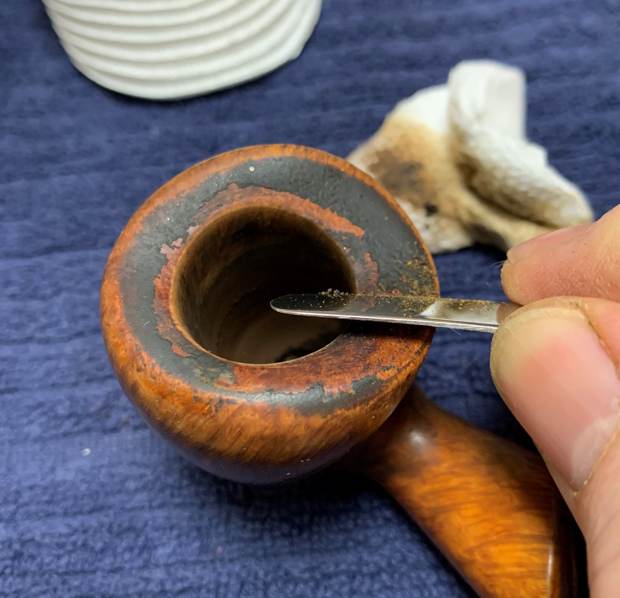
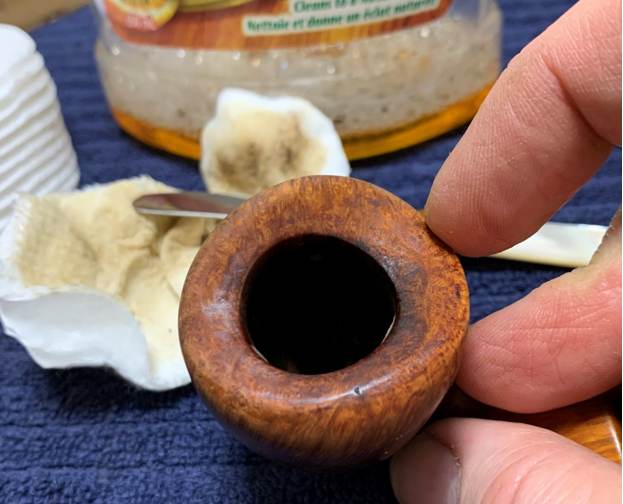
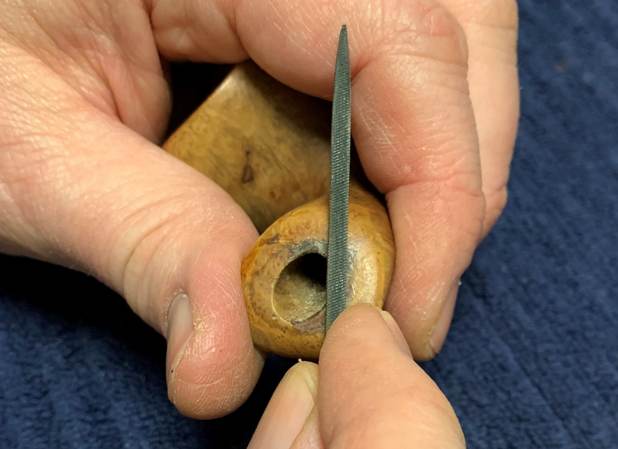
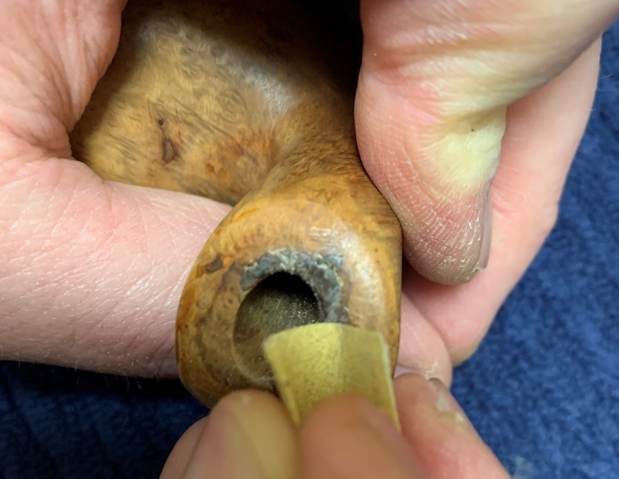
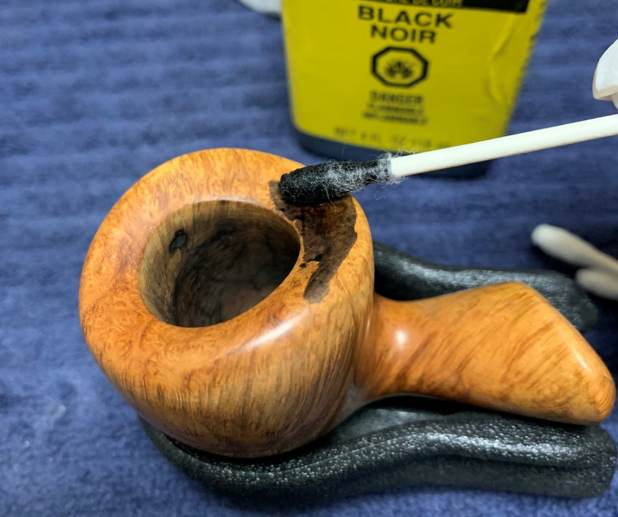
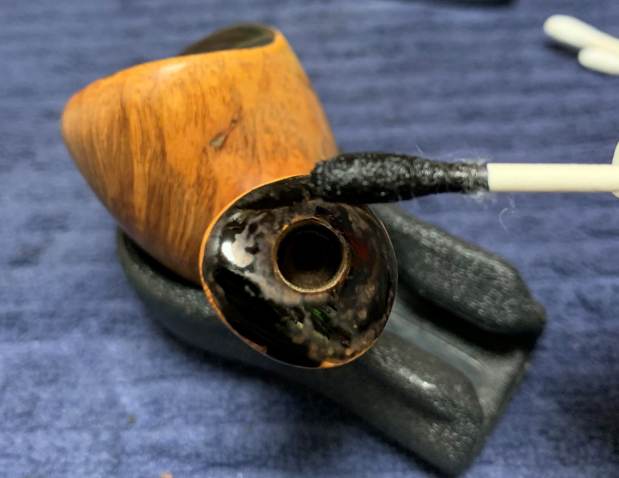
 I used a wire brush and some Murphy’s Oil Soap to remove the lava on the rims of the two pipes. This worked very well. I then moved on to cleaning the rustication on the outside of the stummels with Murphy’s and a toothbrush. That removed any latent stains that blighted the wood.
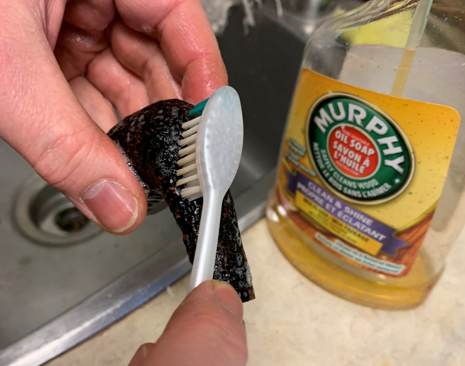
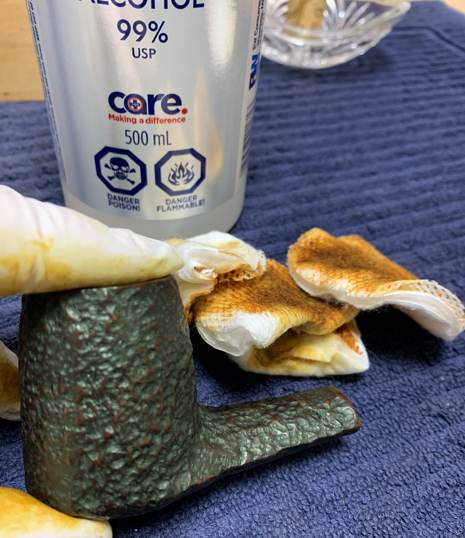
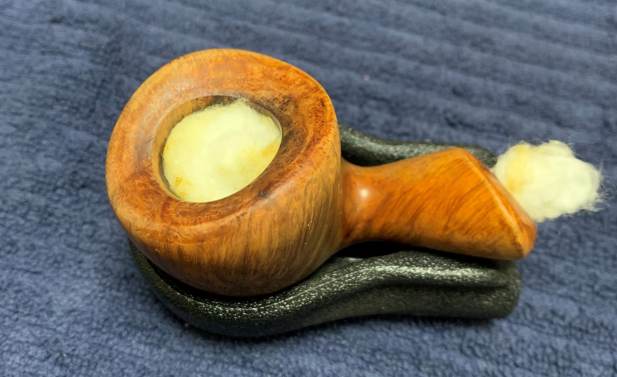
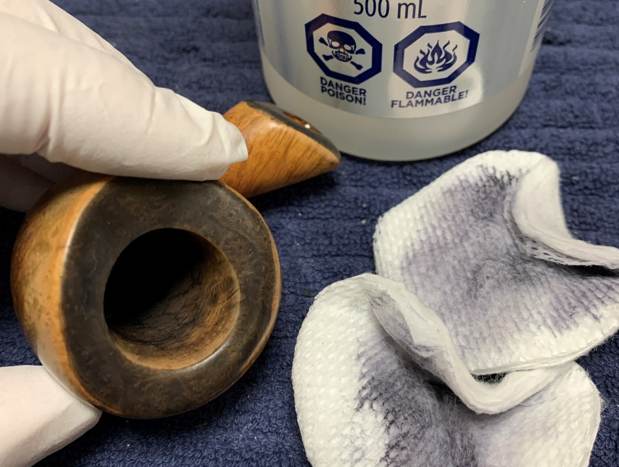
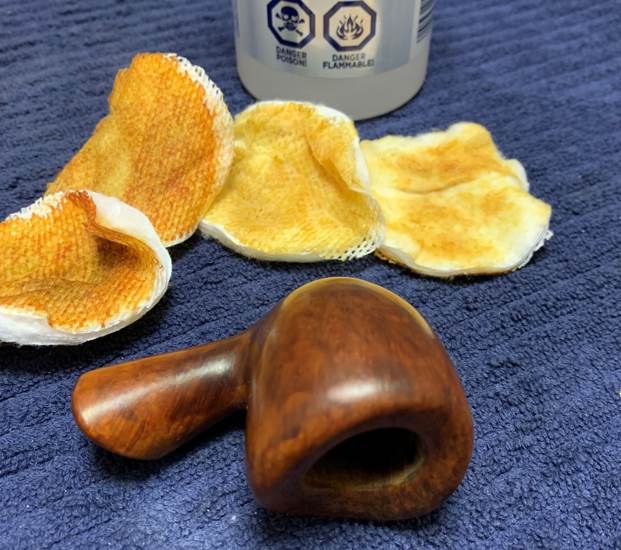
 A de-ghosting session also seemed in order, so I thrust cotton balls into the bowls and the shanks and saturated them with 99% isopropyl alcohol. I let the stummels sit overnight. This caused the oils, tars and smells to leach out into the cotton. The bowls were nice and clean after this.
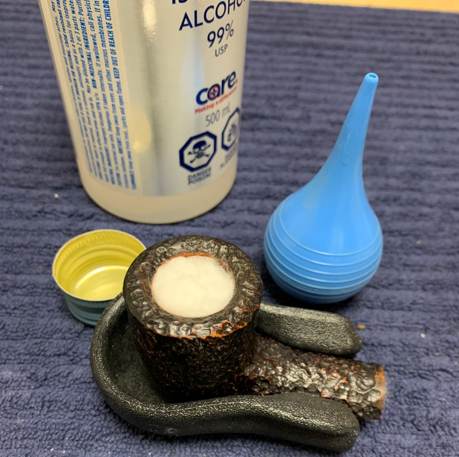 I wanted to redo the finish on the pipes: it may have looked good once upon a time, but no longer. So, I opted to soak the stummels in isopropyl alcohol overnight. This will usually remove some of the deteriorating finish I was faced with. When I took the stummels out of the alcohol bath, I scrubbed the wood with a brush (to remove any remnants) and left it to dry.
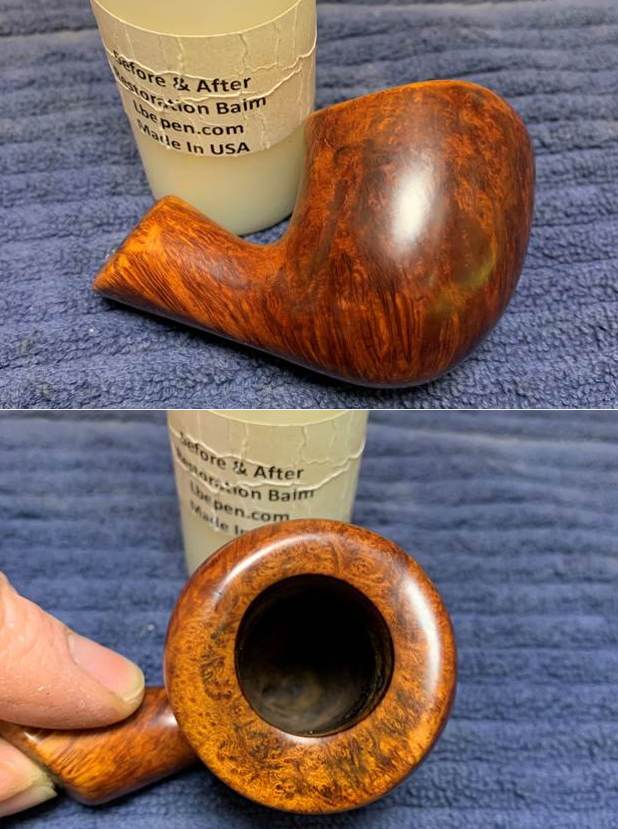
 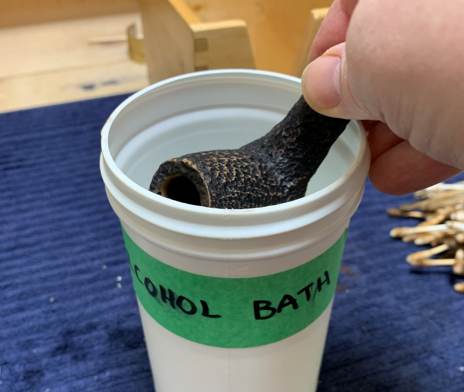 At this point, I rubbed some Before & After Restoration Balm into the briar and left it to sit for 10 or 15 minutes. It really does wonderful things to the wood.
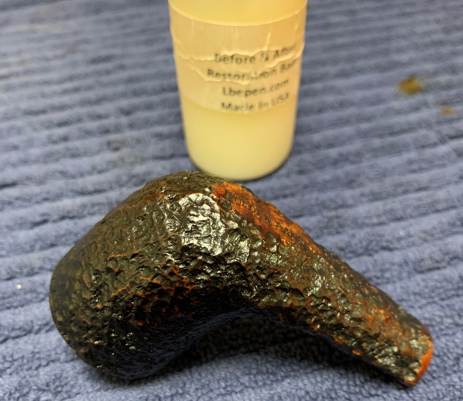
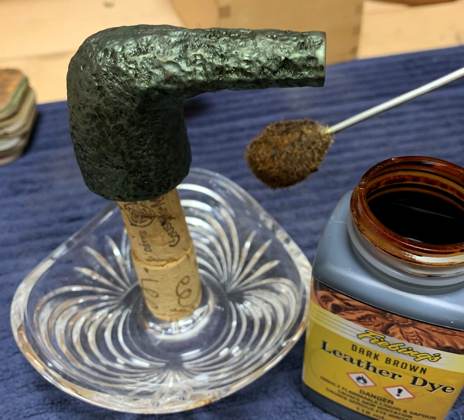
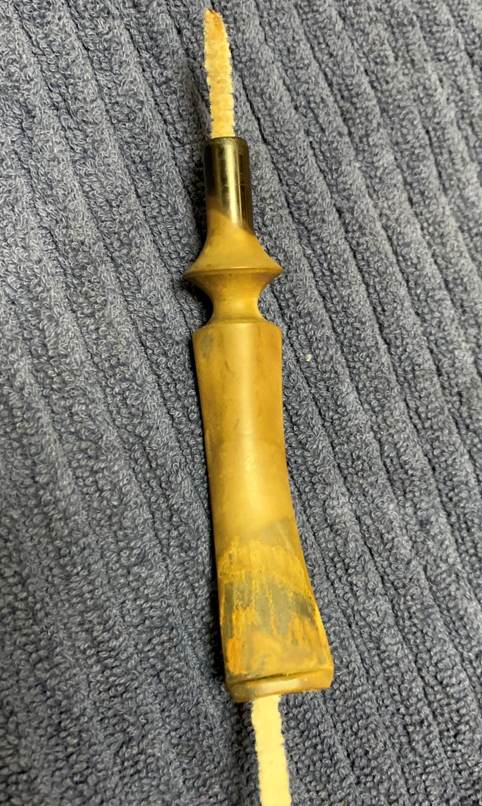
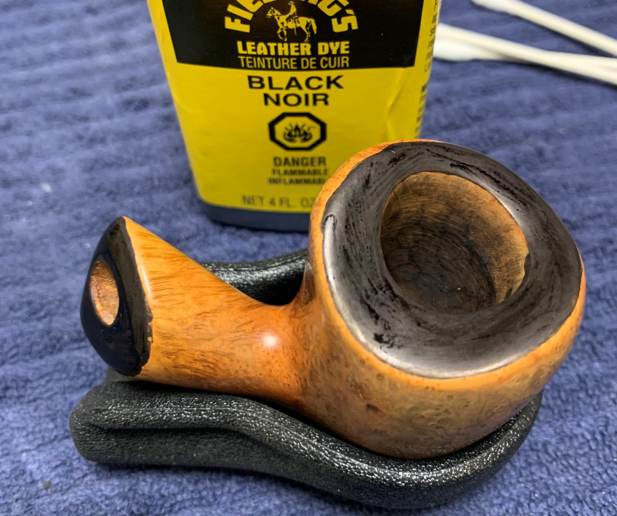
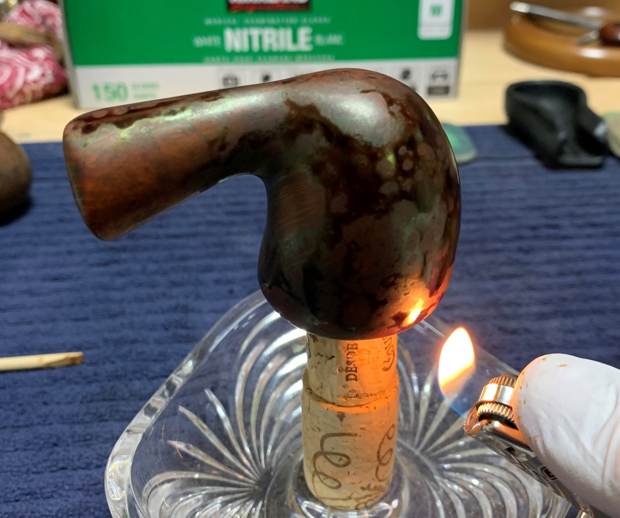
 On to the staining. This turned out to be an unnecessarily laborious and error-strewn procedure. As I don’t want to bore you with the details of my minor blunders, I will simply give you the quick and dirty version of the staining procedure. I began by applying a layer of Fiebing’s Black Leather Dye to both pipes. After applying the dye, flaming it with a BIC, and letting it set for a few hours, I wiped the stummels down with isopropyl alcohol to remove much of the dye. I wanted to achieve a two-tone effect of black and brown to replicate what had been there originally.
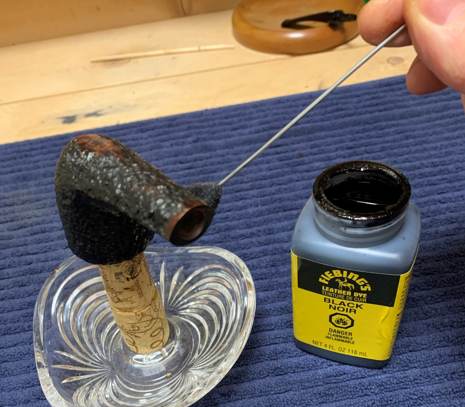
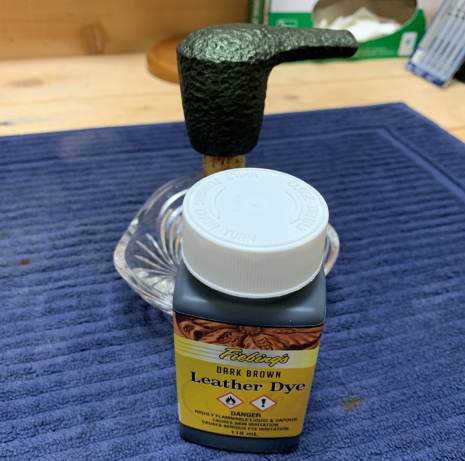
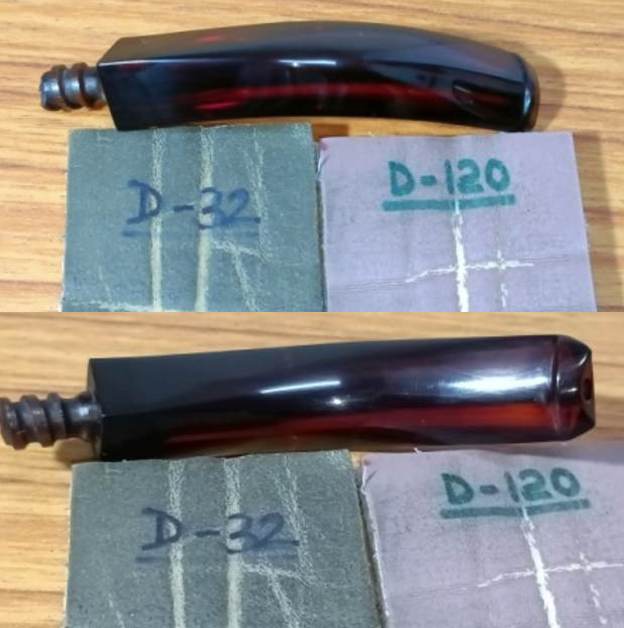
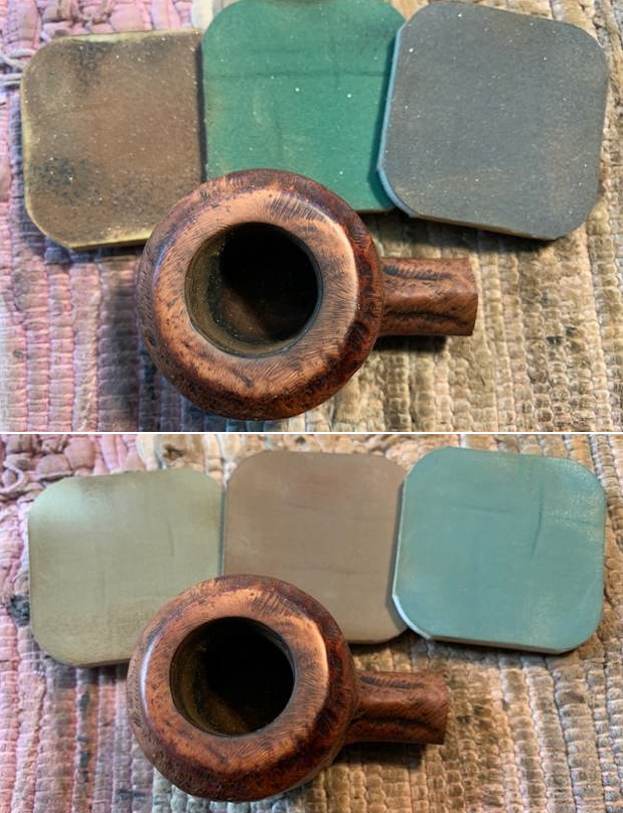
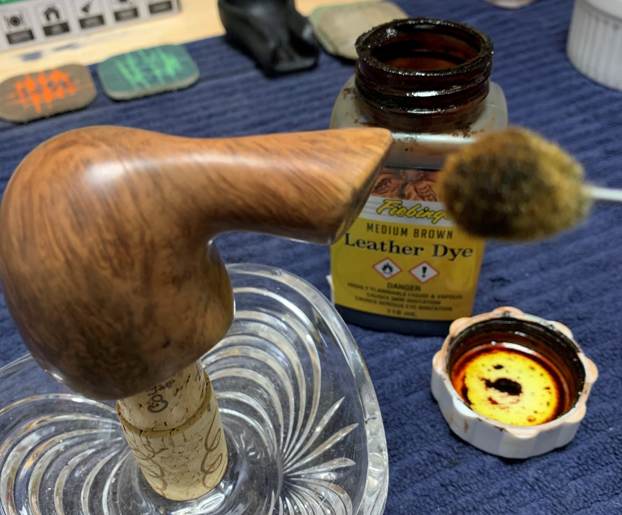
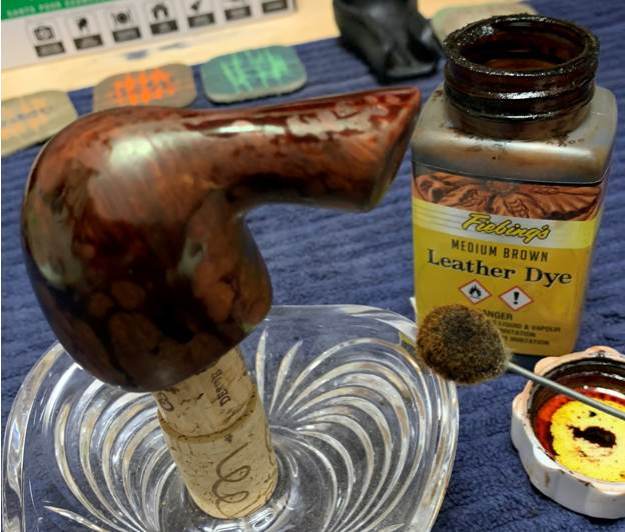
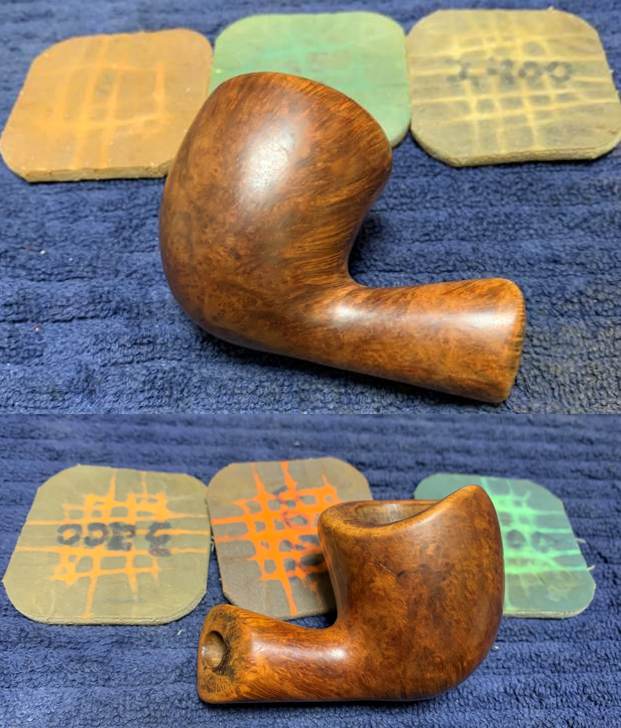
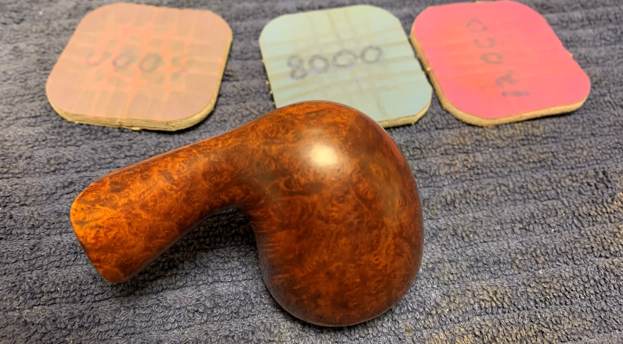
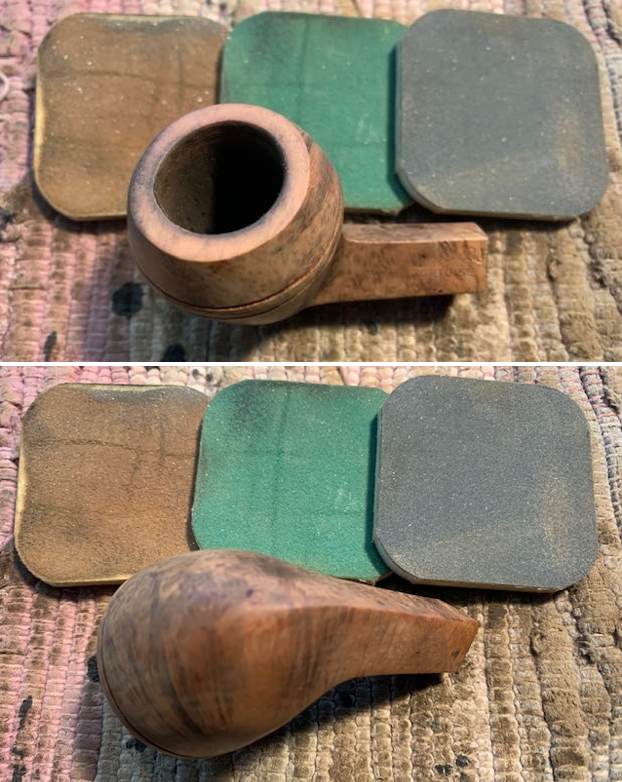
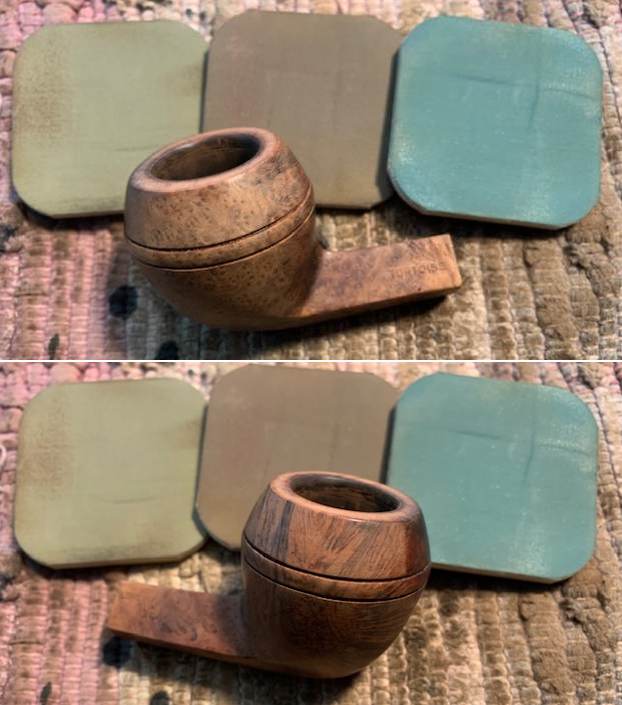
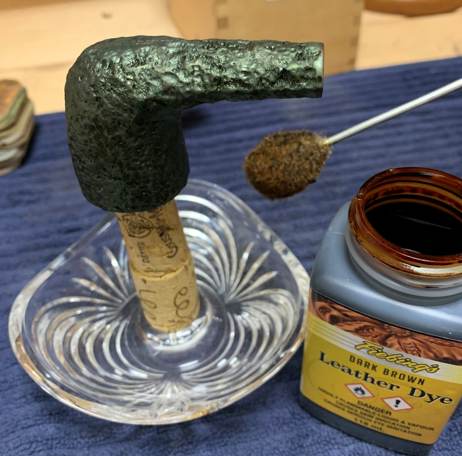 Then it was time for the second round of staining. To do this, I applied some of Fiebing’s Medium Brown Leather Dye over both stummels. As before, I applied flame from a BIC lighter in order to set the colour. I then used all nine Micromesh pads (1,500 through 12,000 grit) on the stummels to polish the surface. I then added a second coat – just to make sure. It looked so much better with a richer colour. Once again, I wiped the stummels down with isopropyl alcohol to remove any excess.
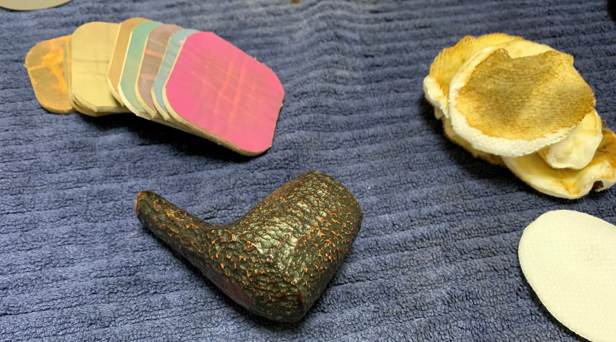
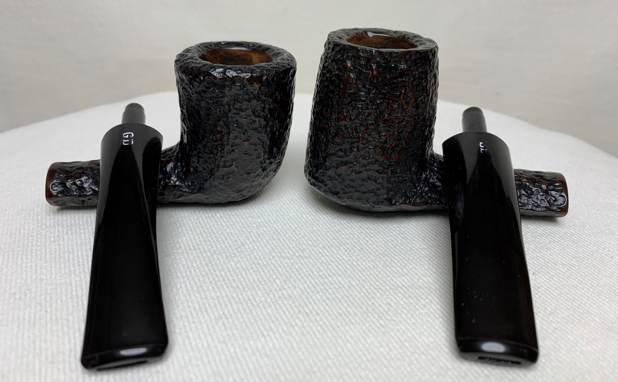
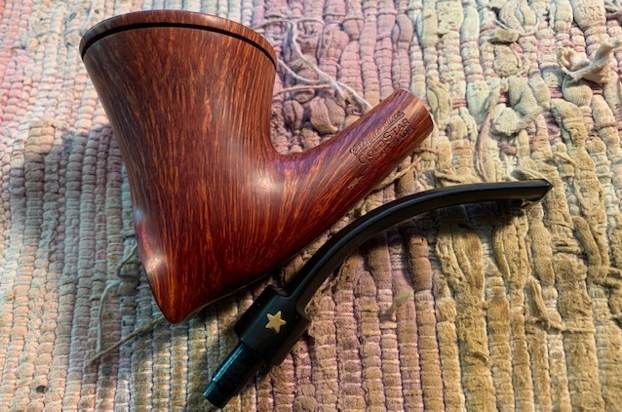
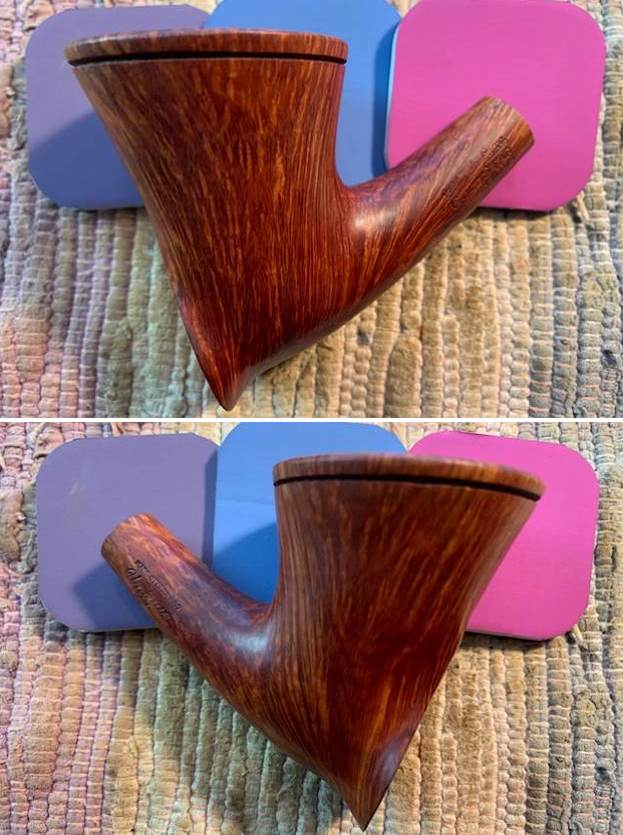
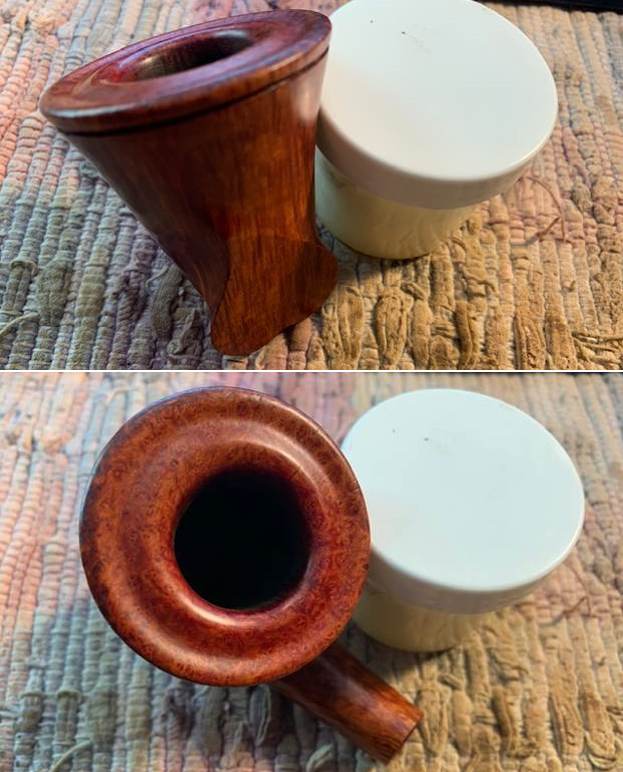
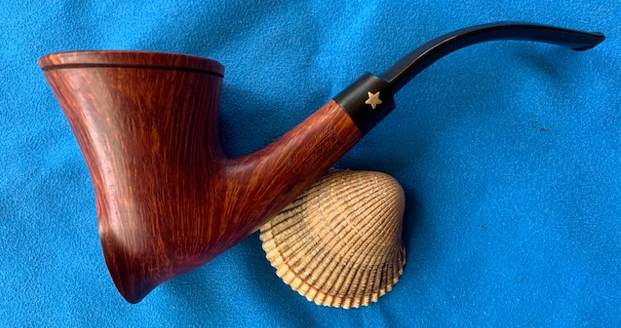
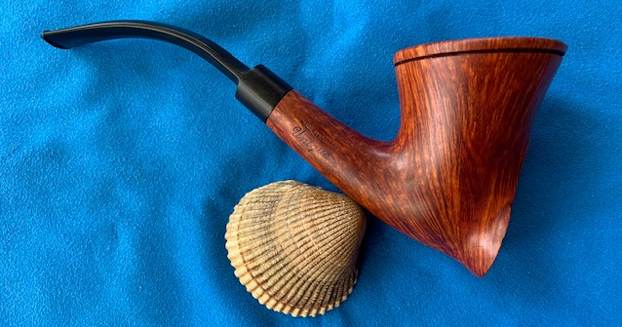
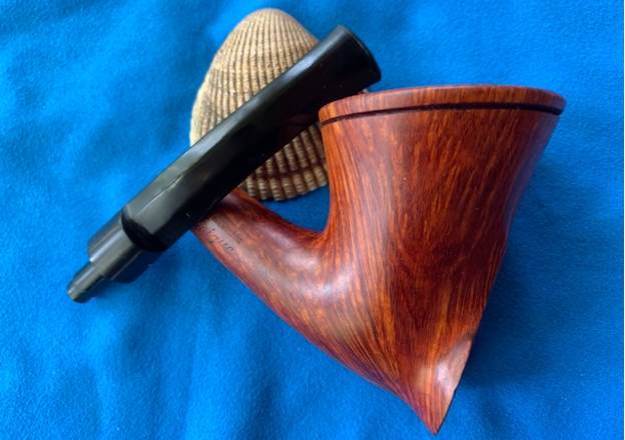
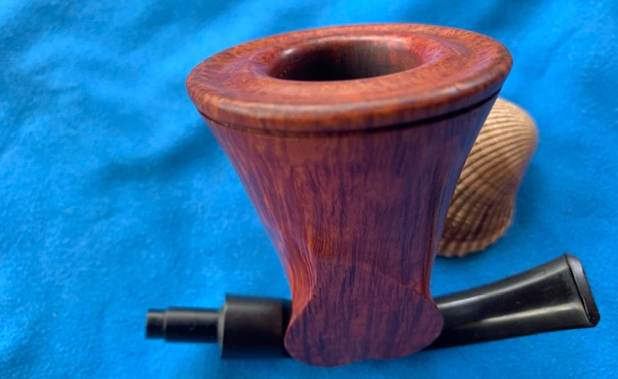
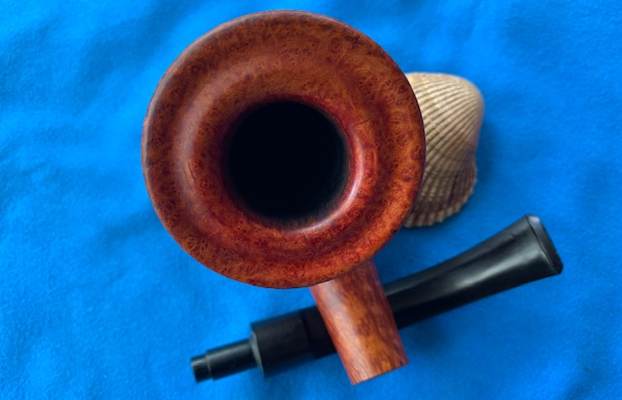
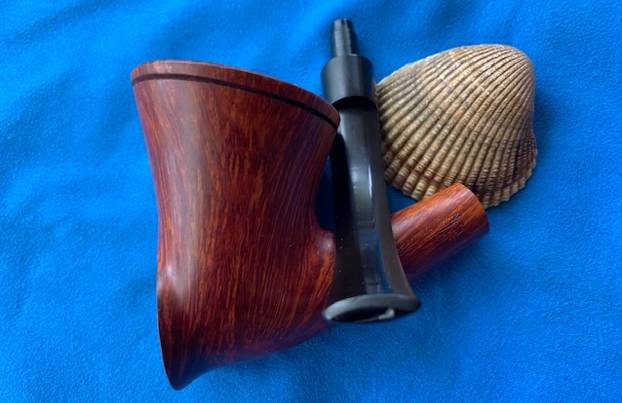
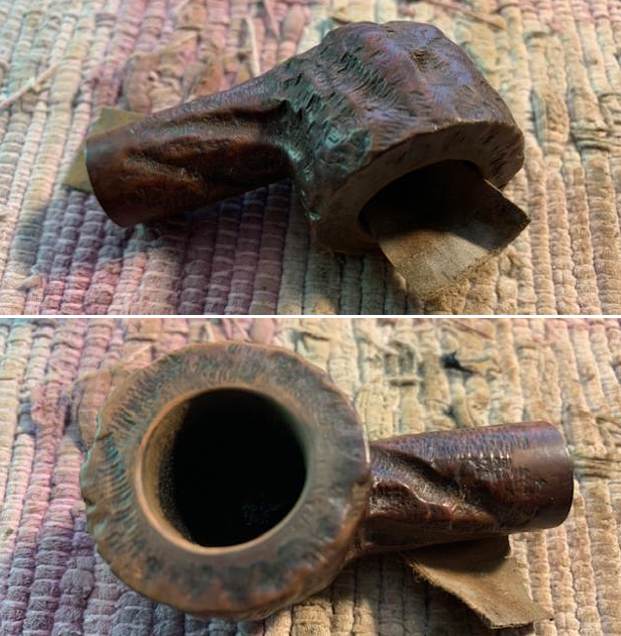
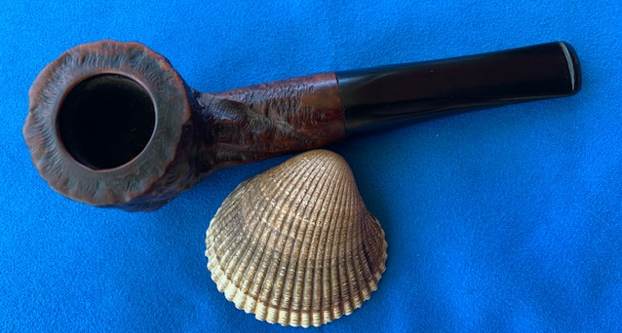
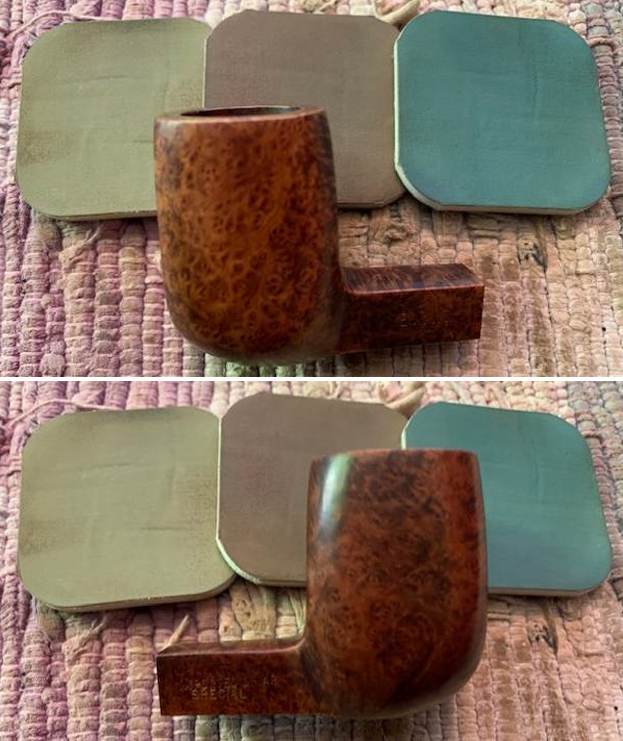
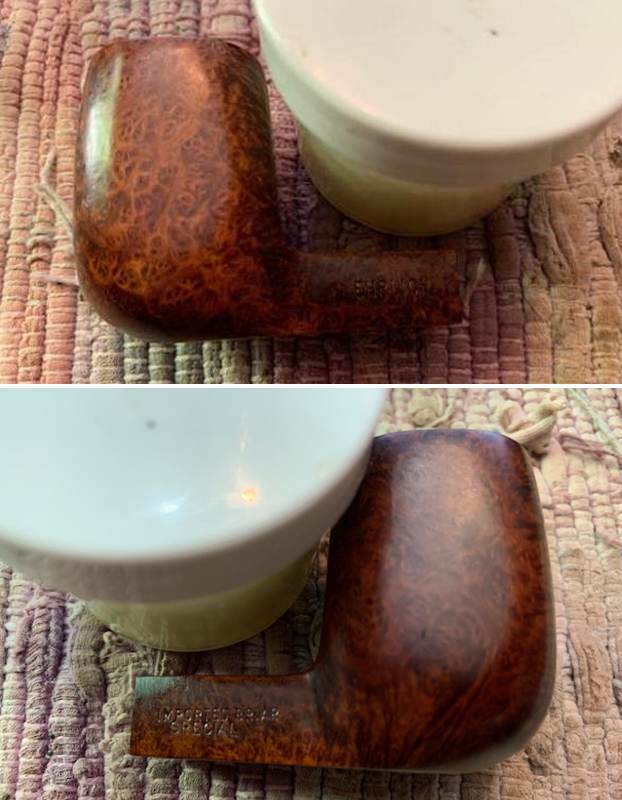
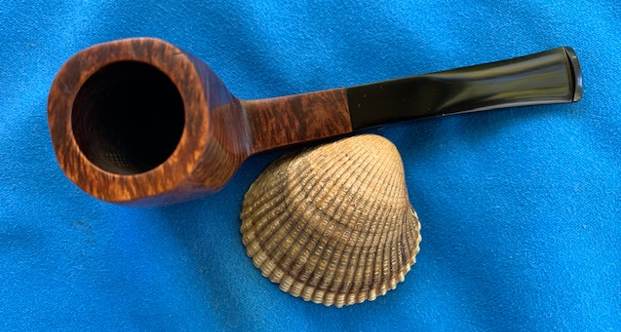
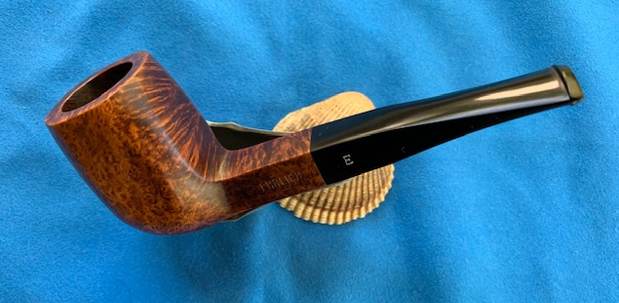
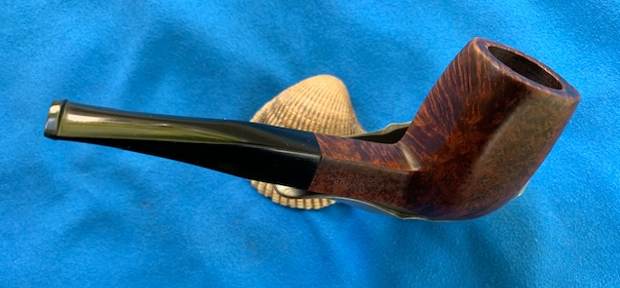
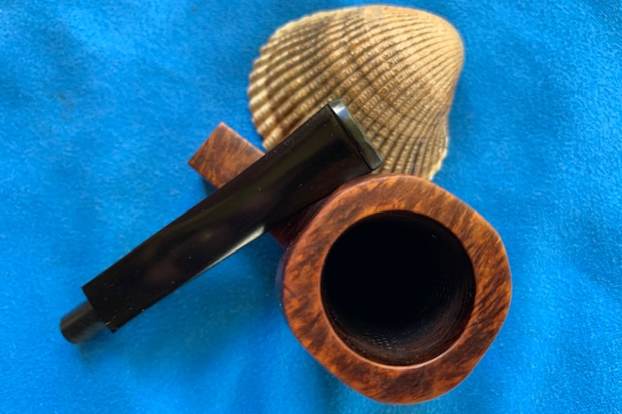
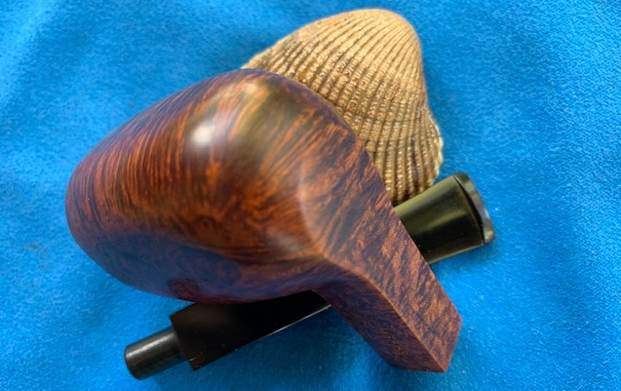
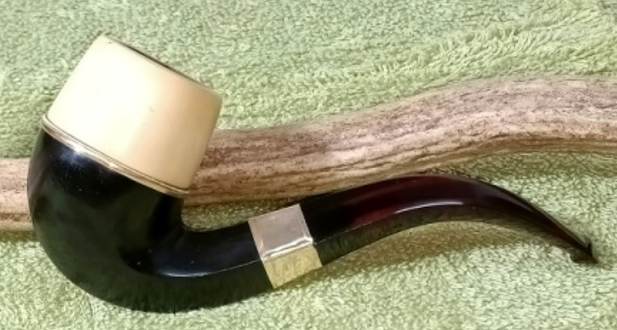
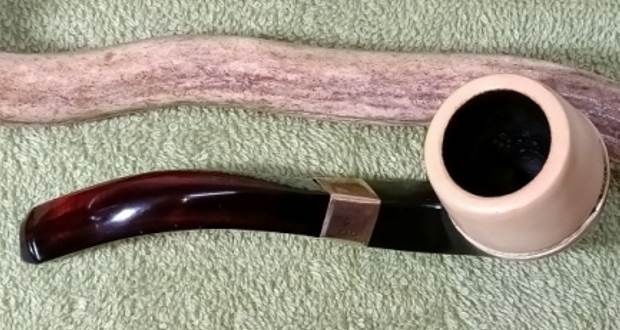
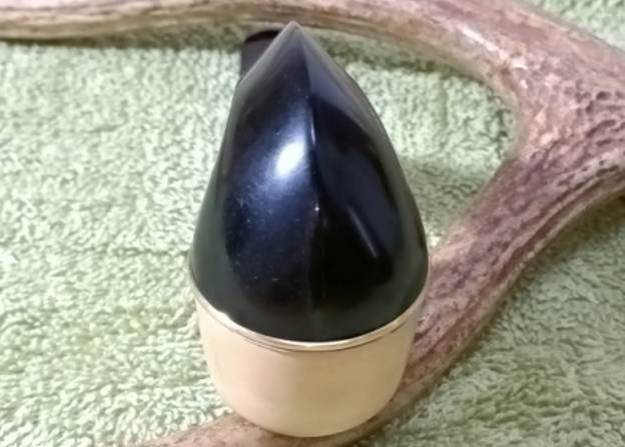
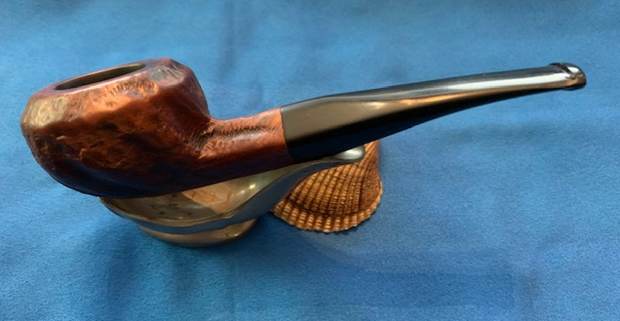
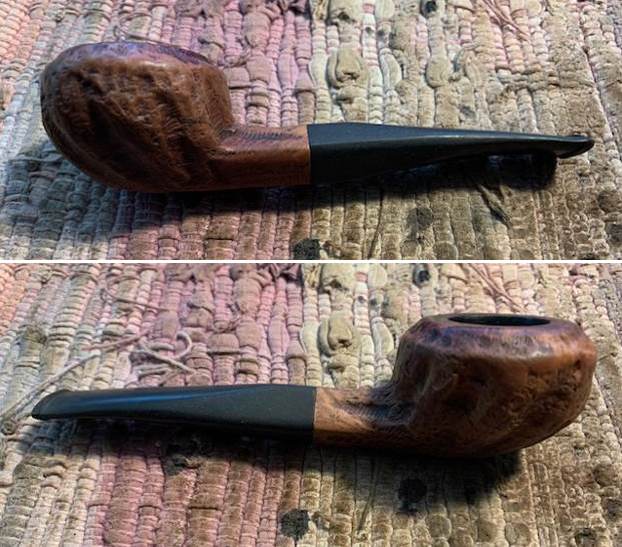
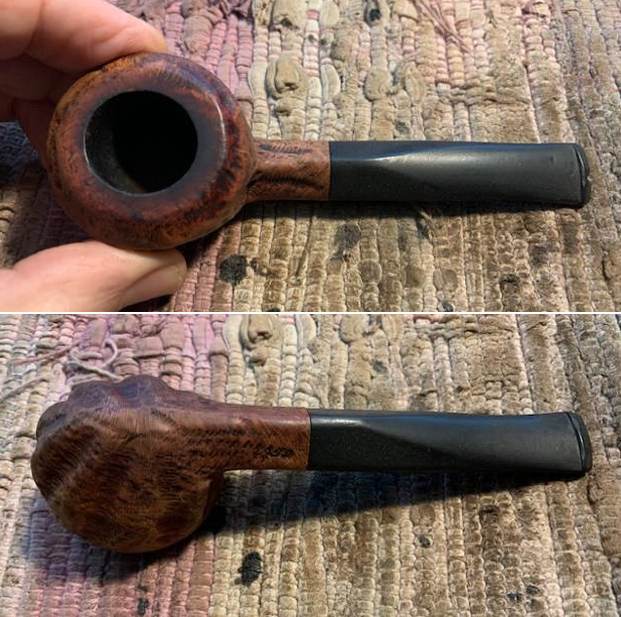
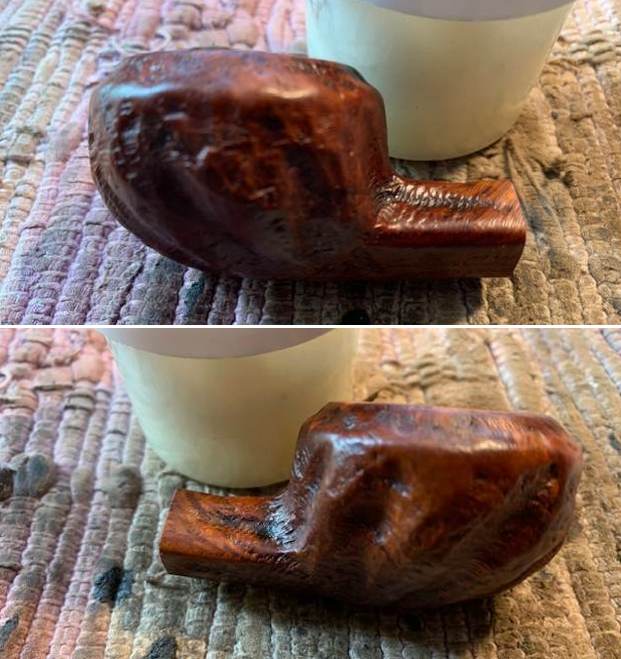
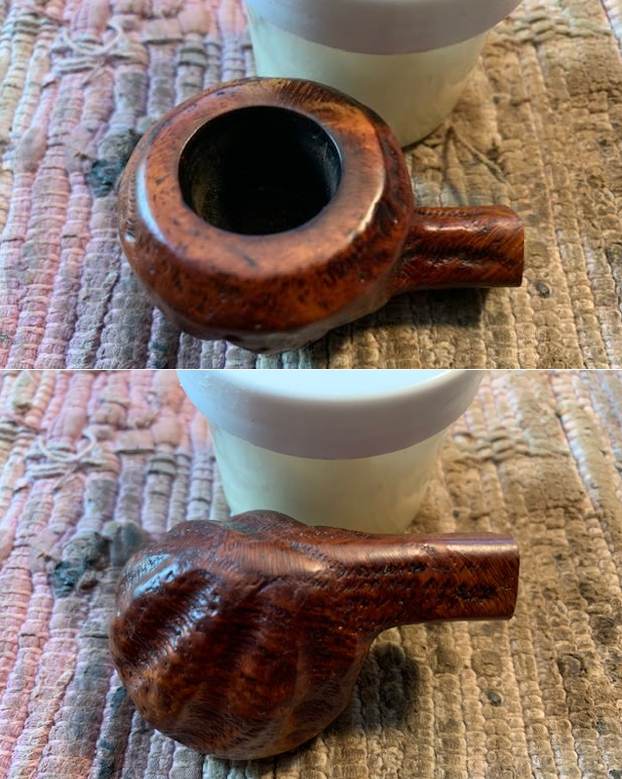
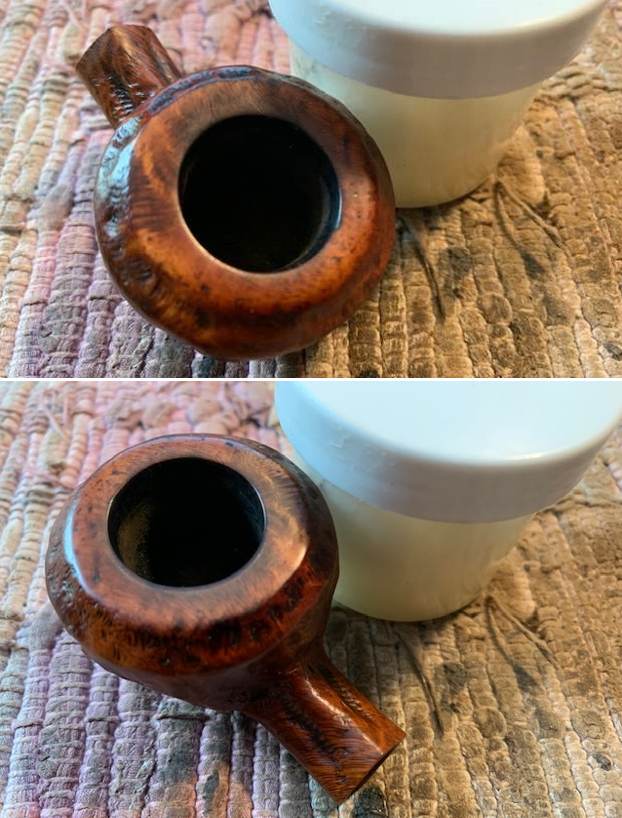
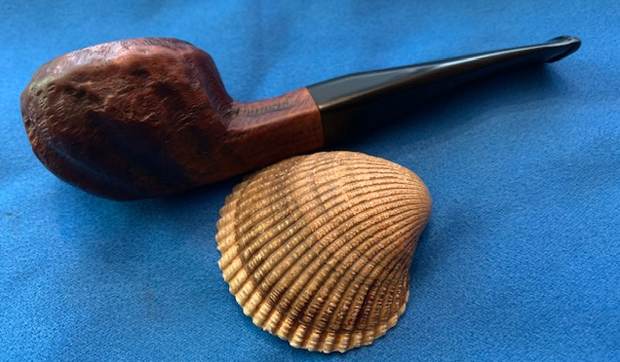
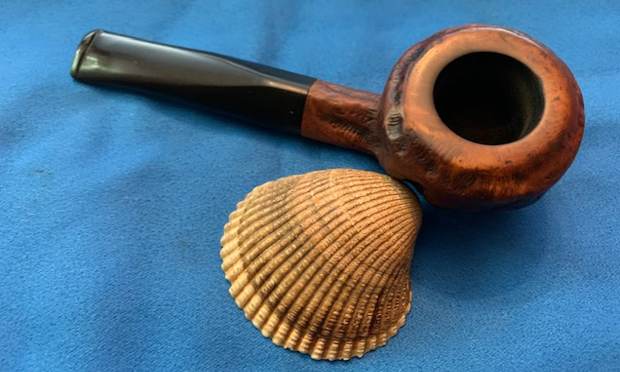
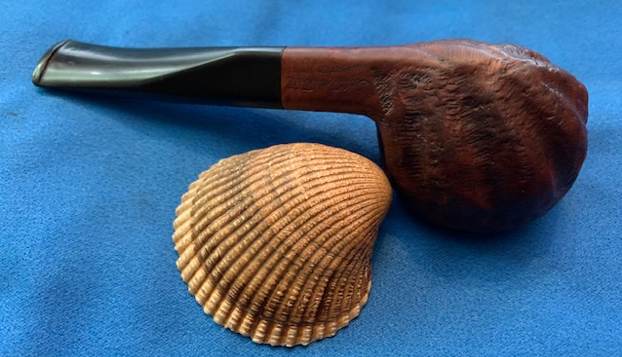
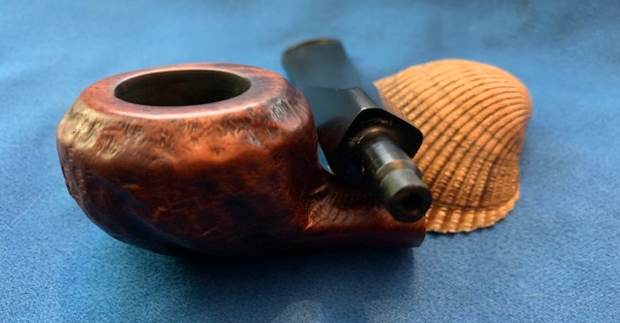
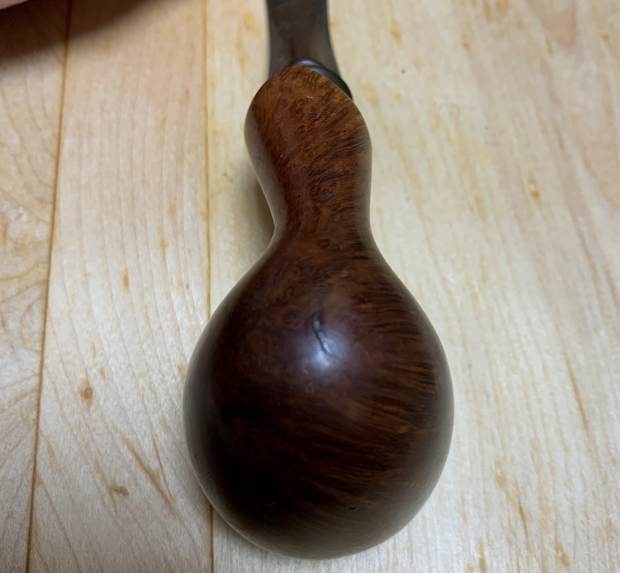
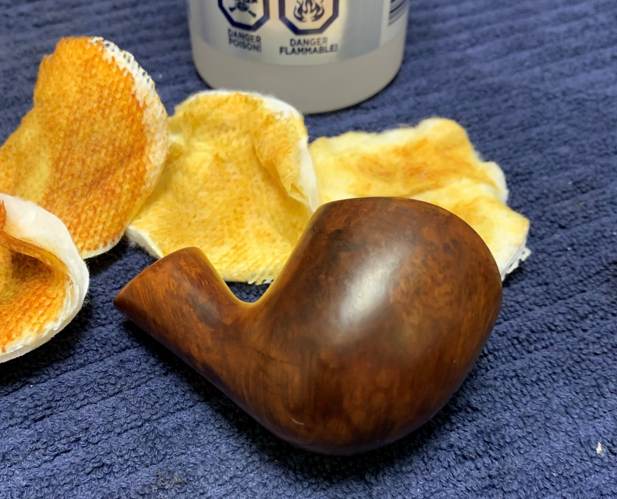
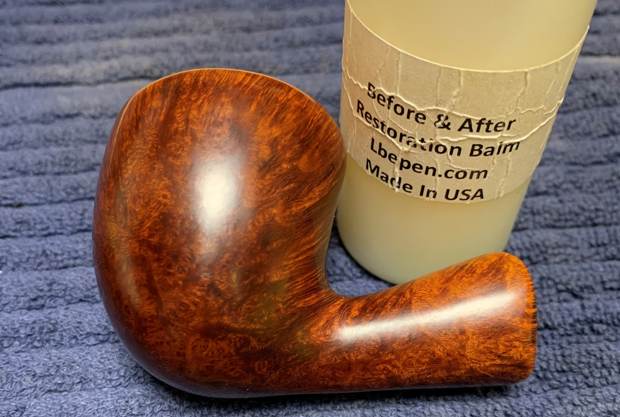
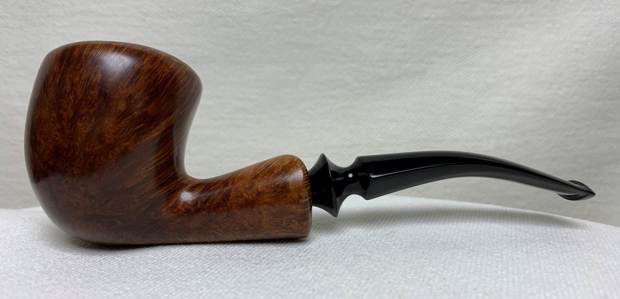
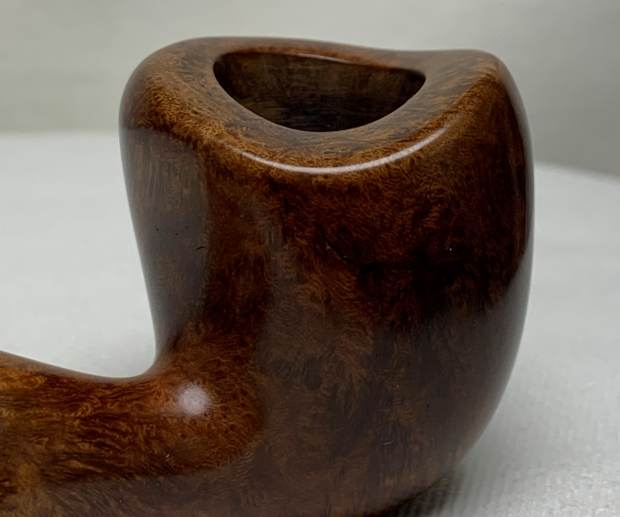
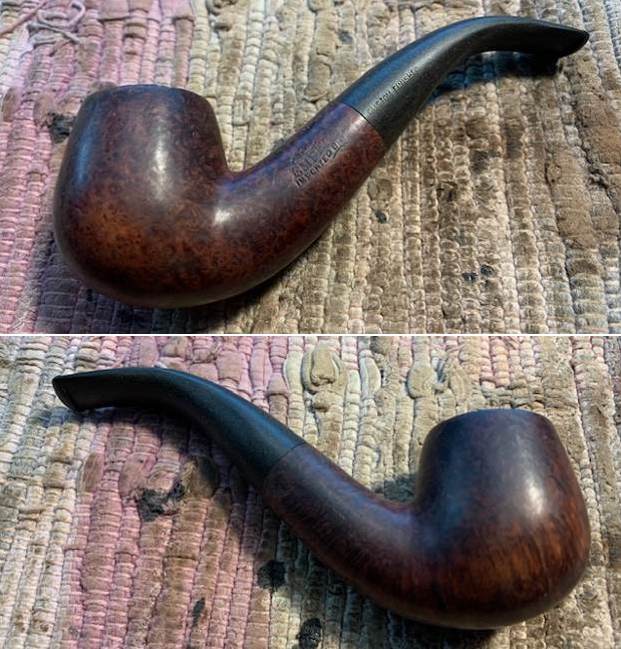
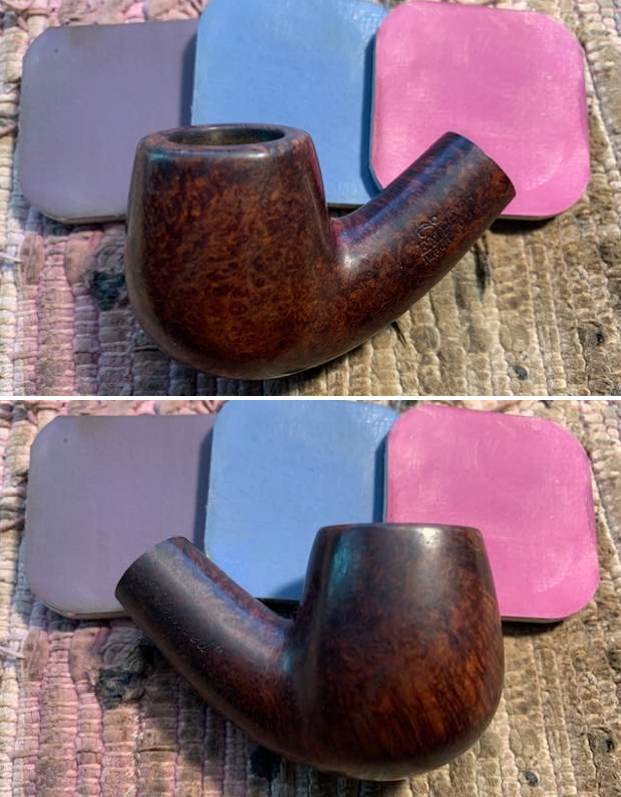
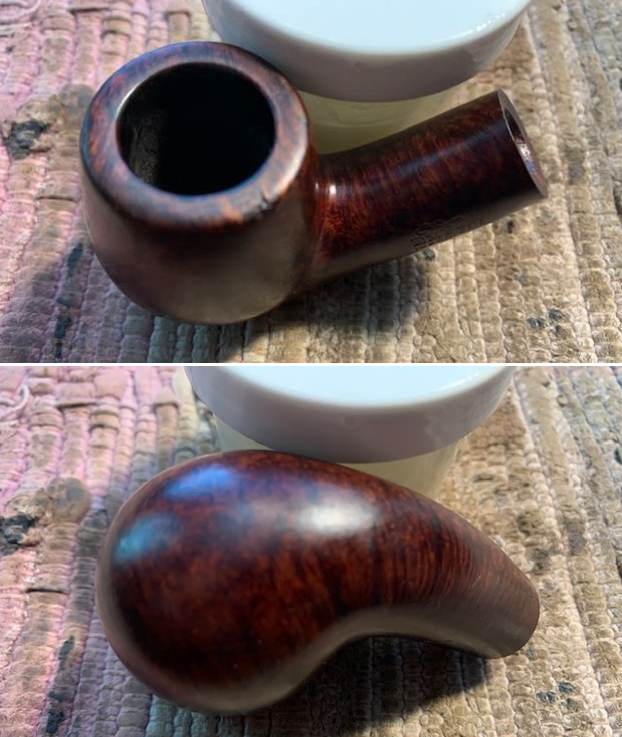
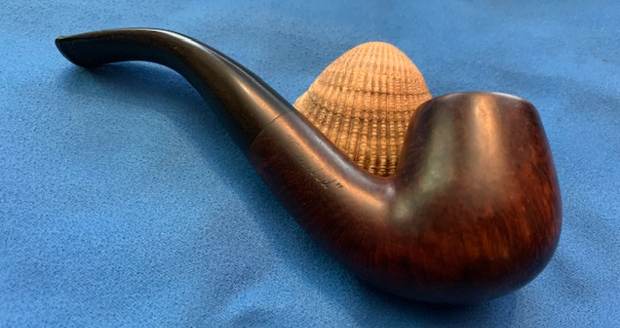
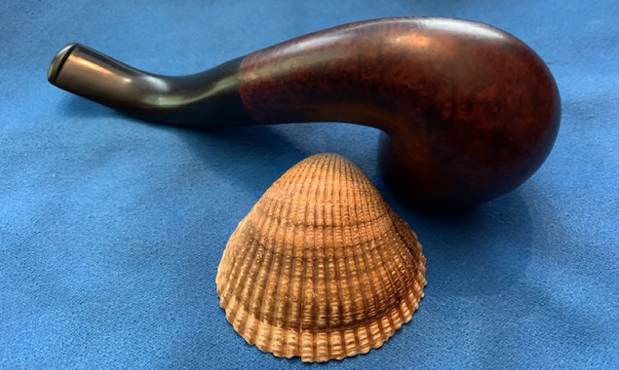
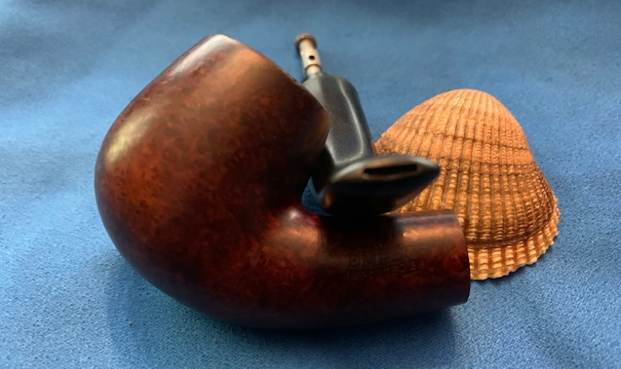
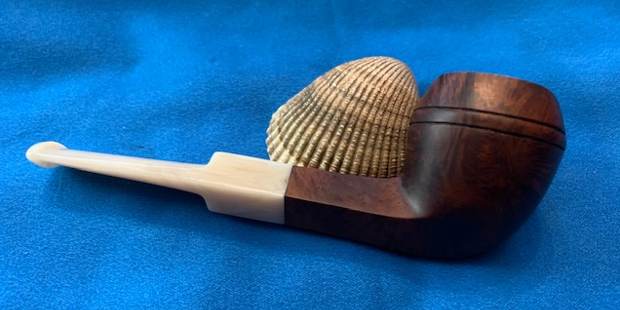
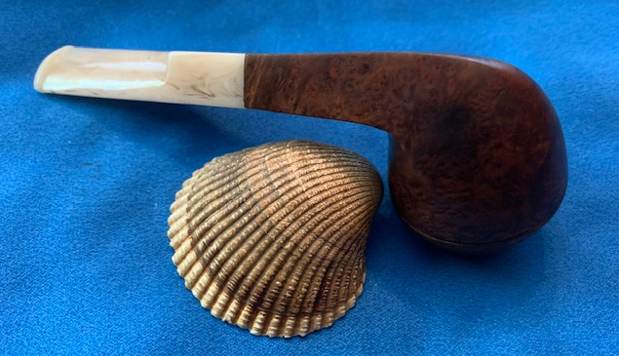
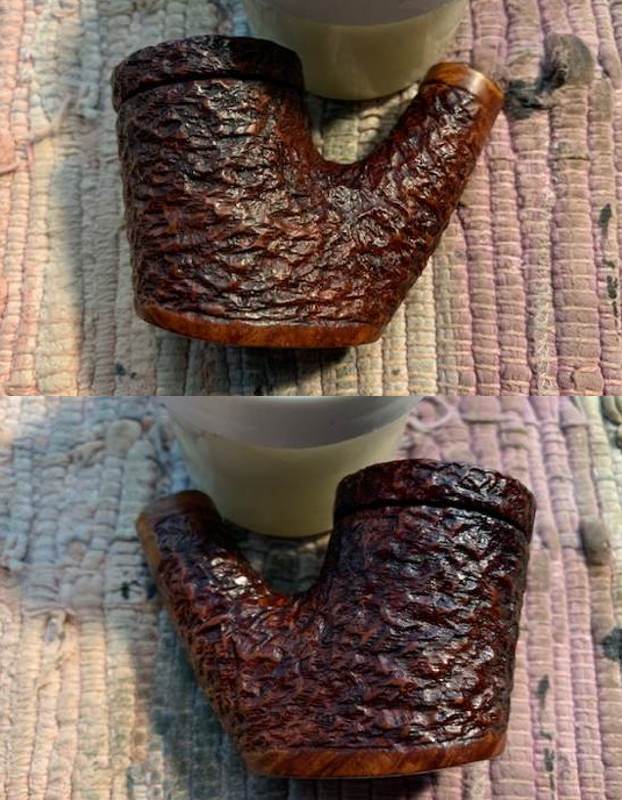
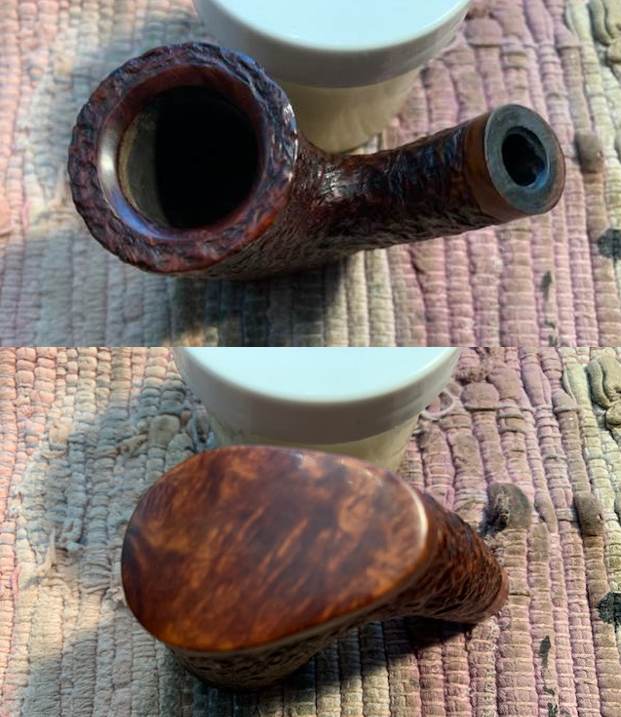
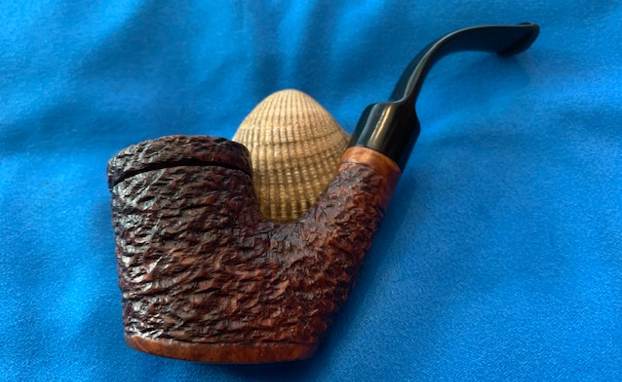
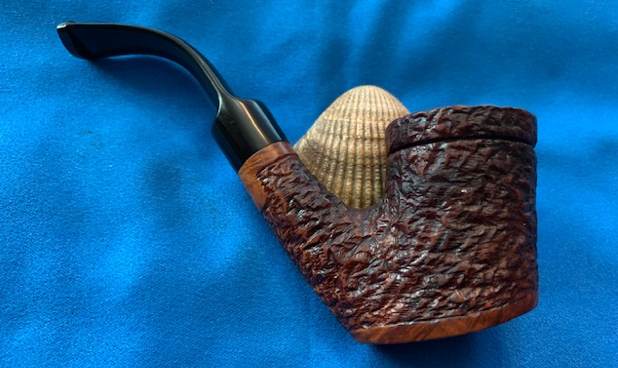
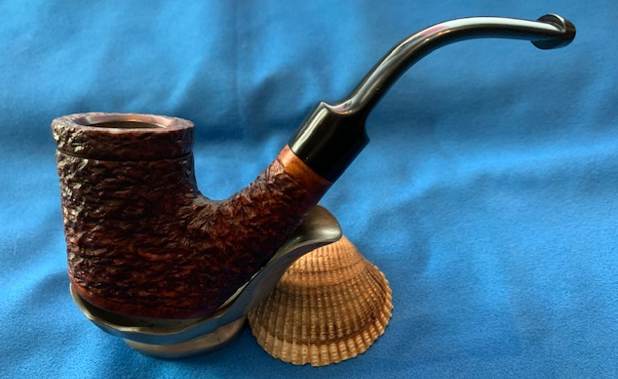
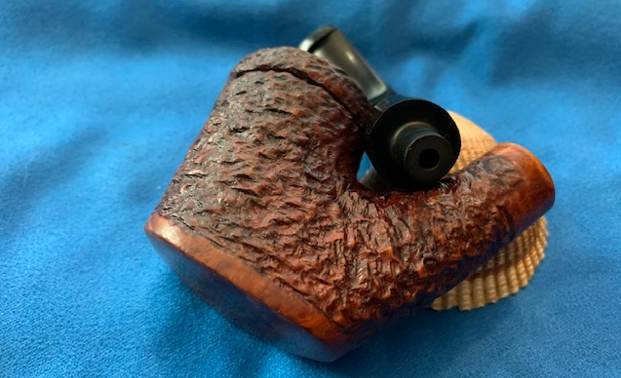
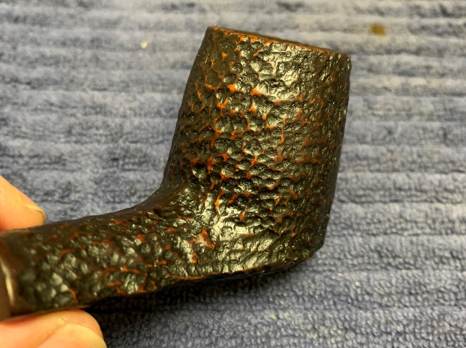 After that, a light application of Before & After Restoration Balm brought out the best in the stummels’ grain. These siblings are a good-looking pair and they feel great in the hand!
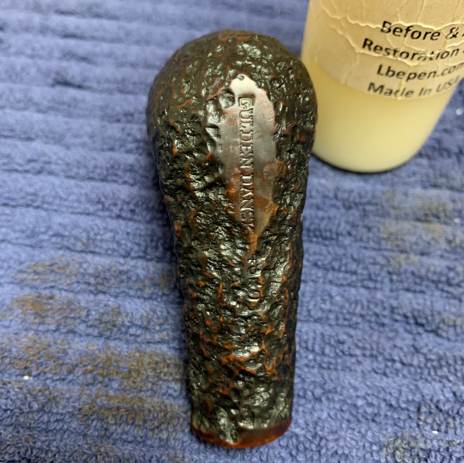
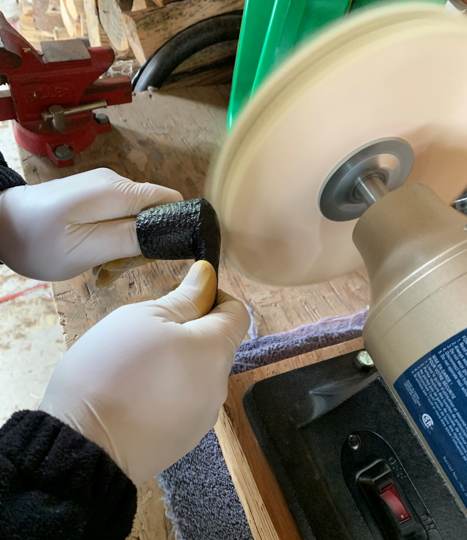
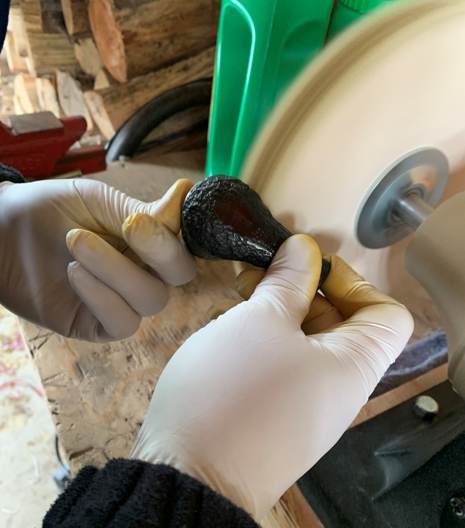
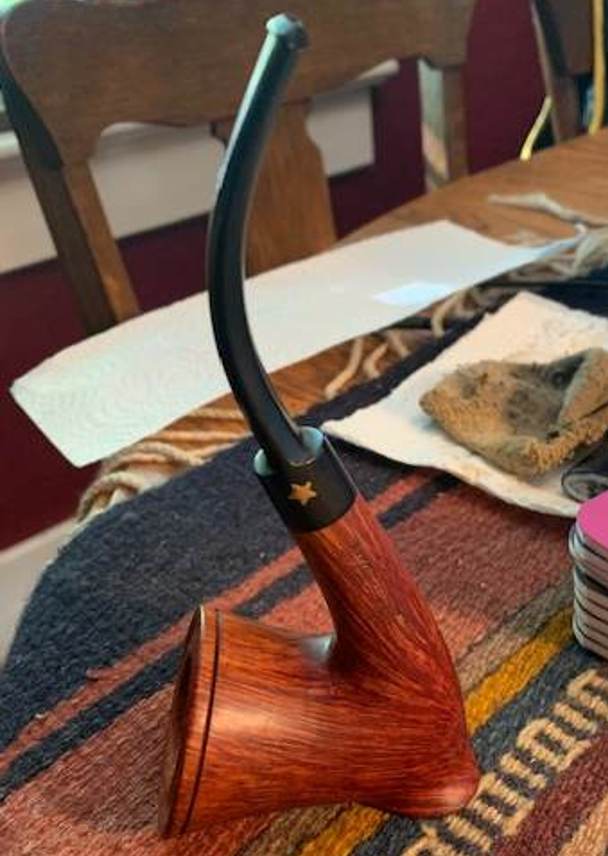
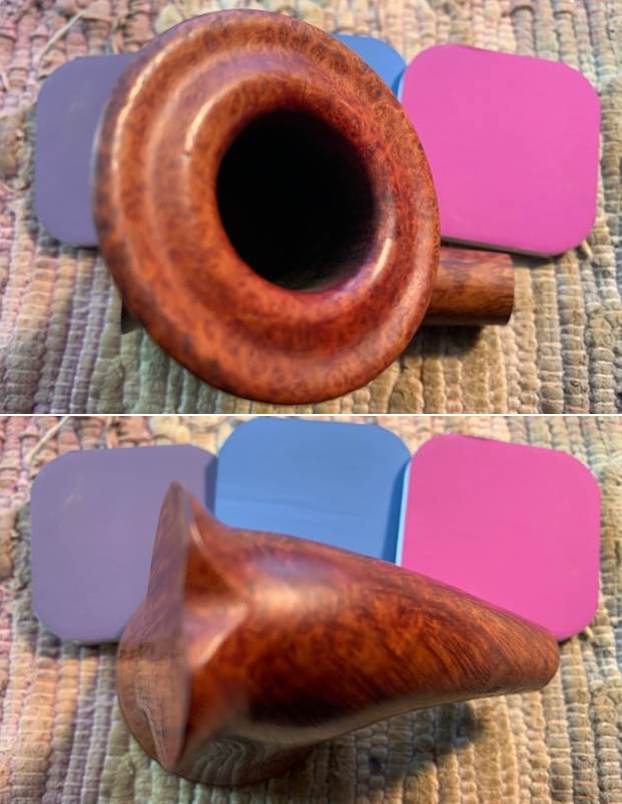
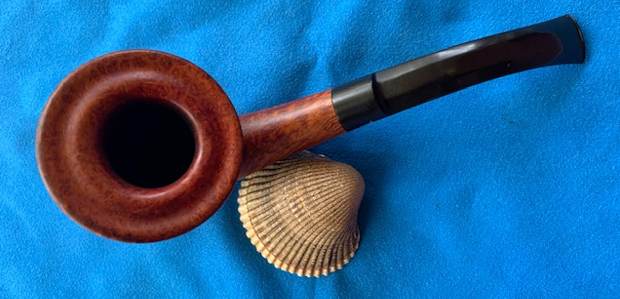
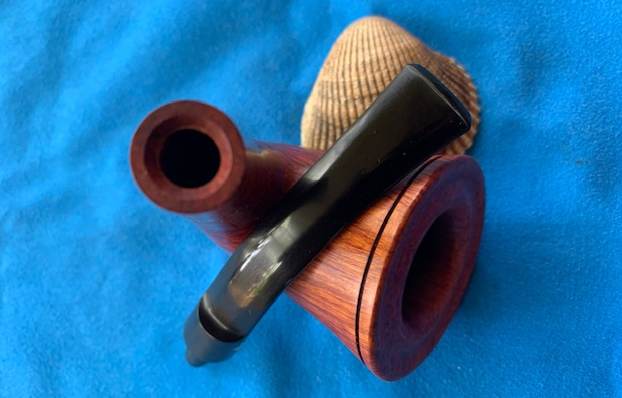
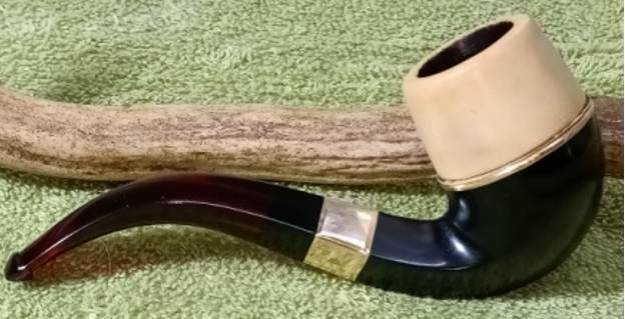
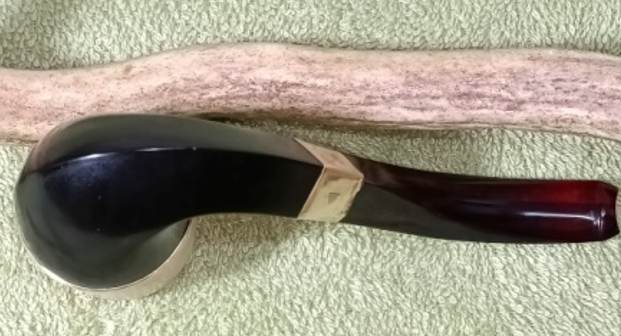
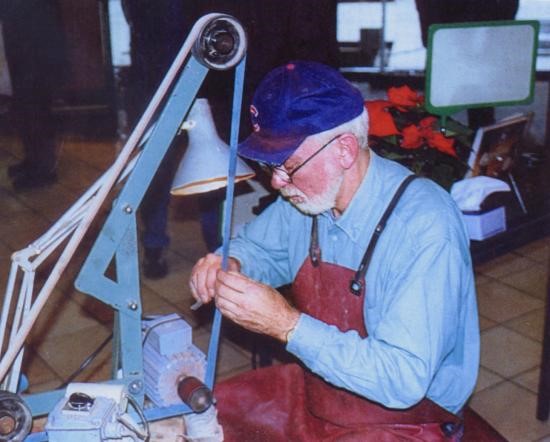
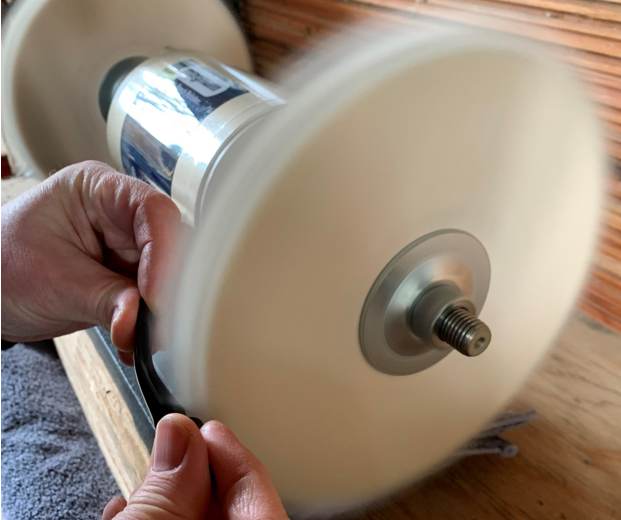
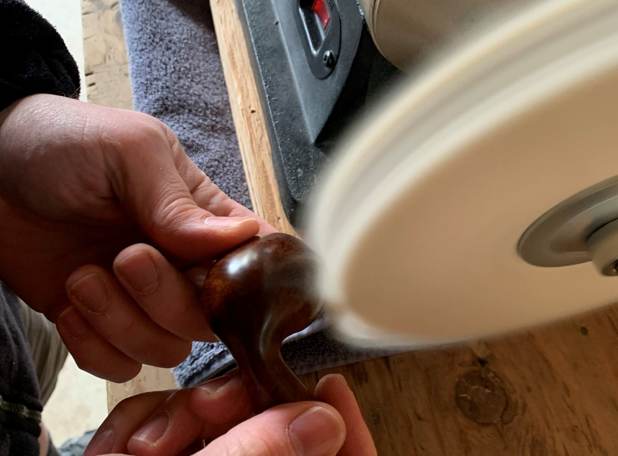
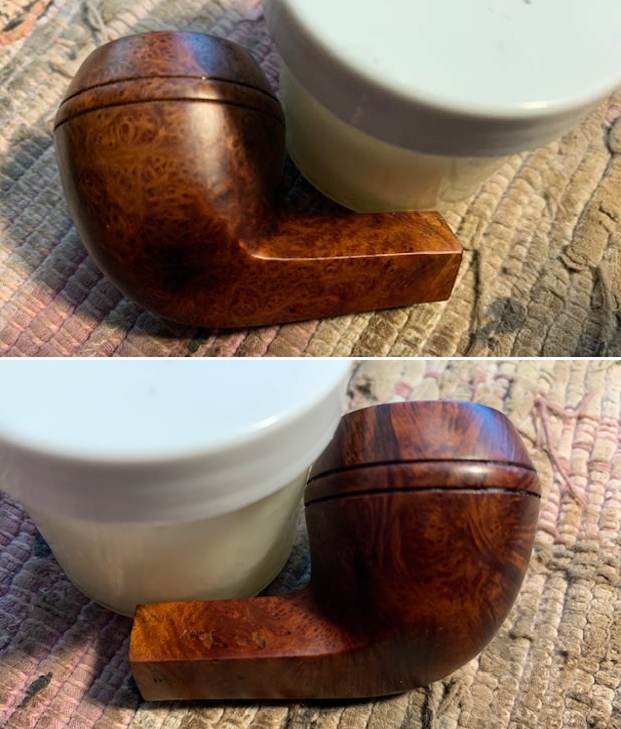
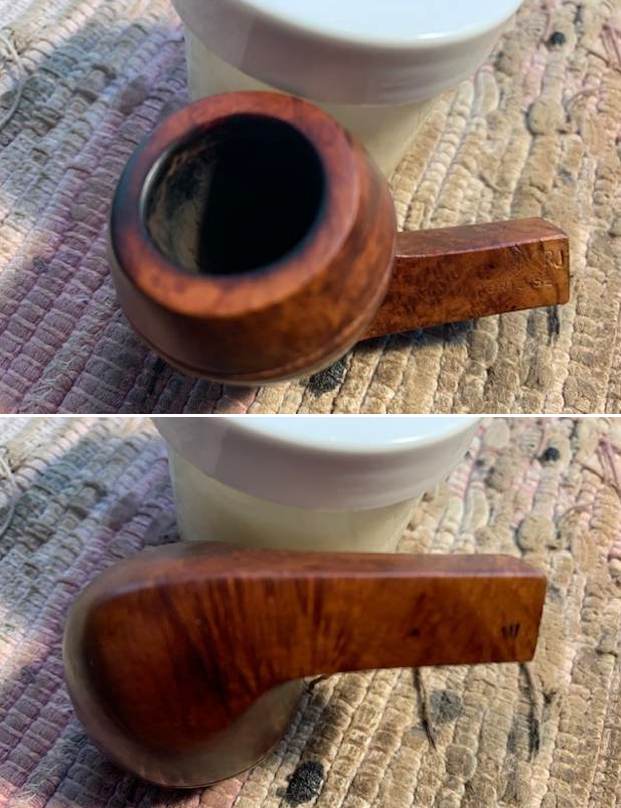
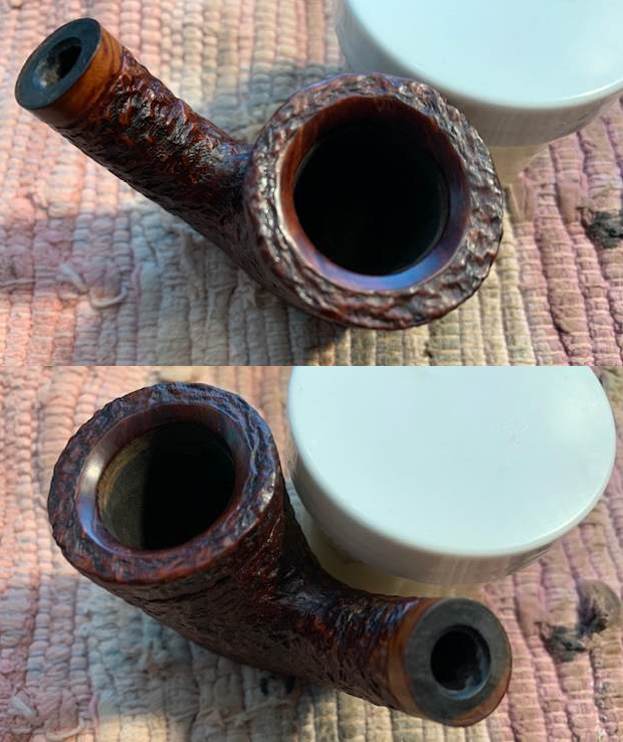
 Then it was off for a trip to the bench polisher. A dose of White Diamond and a few coats of Conservator’s Wax (from Lee Valley) were just what these two pipes needed. Boy – that wax really makes these pipes pop! The lovely shine made the wood look absolutely beautiful. The Gulden Dansk and Silveren Dansk look fantastic and are ready to be enjoyed again by the next owner.
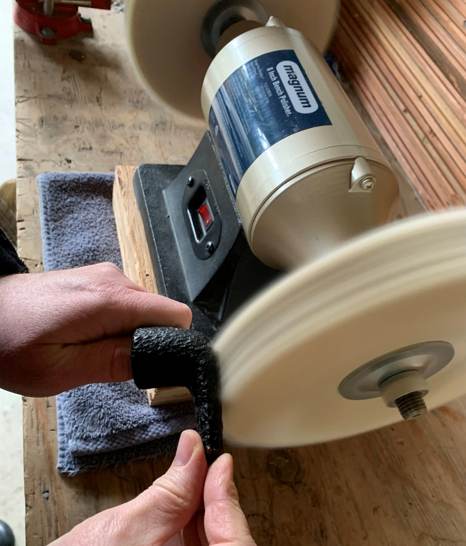
 I am pleased to announce that these pipes are for sale! You can buy them either individually or as a set (as you wish). If you are interested in acquiring them for your collection, please have a look in the “Italy” pipe section of the store here on Steve’s website. You can also email me directly at kenneth@knightsofthepipe.com. The approximate dimensions of the Gulden Dansk Dublin are as follows: length 5⅛ in. (130 mm); height 1¾ in. (45 mm); bowl diameter 1⅜ in. (35 mm); chamber diameter ¾ in. (19 mm). The weight of the pipe is 1¼ oz. (35 g). The approximate dimensions of the Silveren Dansk poker/sitter are as follows: length 5⅝ in. (143 mm); height 2 in. (51 mm); bowl diameter 1⅛ in. (29 mm); chamber diameter ¾ in. (19 mm). The weight of the pipe is 1½ oz. (44 g). I hope you enjoyed reading the story of this restoration as much as I did restoring them. If you are interested in more of my work, please follow me here on Steve’s website or send me an email. Thank you very much for reading and, as always, I welcome and encourage your comments.
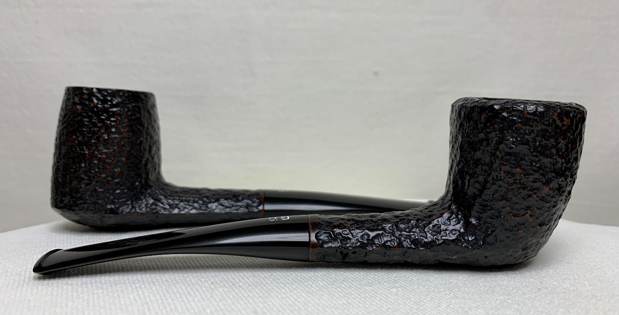


