Robert M. Boughton
Member, International Society of Codgers
Member, North American Society of Pipe Collectors
Member, Facebook Gentlemen’s Pipe Smoking Society
http://www.roadrunnerpipes21.biz (under construction)
http://about.me/boughtonrobert
Photos © the Author except as noted
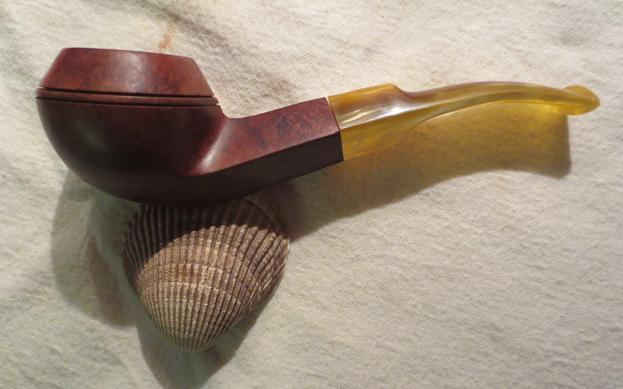
Two years ago, I became the sudden, very fortunate and most of all surprised owner of four Dunhill pipes. Two – a natural Bruyere billiard #4103 and a sandblasted Shell Briar billiard #114 – were made in years not yet determined, although I suspect 1977 and 1965 respectively. The other two are a 1976 smooth Root Briar #433 and the 1954 sandblast Shell Briar Patent Canadian that is the cause of my mixed sorrow and pleasure in blogging its refurbish. You see, the four splendid examples of briar’s best use were gifted to me by a good friend who was ordered by his cardiologist to stop enjoying his beloved pipes, the only reason he gave them to me, and now I am forced to offer one for sale. Of course, the logical choice happens to be the jewel of my eye.
Larry L., as I will call him, was my patron in two senses of the word: for his generosity, and his status as the first person to buy a pipe on my original online store, and then another. He was a regular member of my local pipe club for a short time when he was 90 years old, which, based on the date of the bounteous gift makes him 92 now. Now he is the club’s only Emeritus Member. I’ve stayed in touch with Larry, by email and phone and several times in person, and although his physical and mental faculties are fit, he lacks the zest for life he had while savoring his large collection by himself and I’m sure more so in the company of his fellow pipe peers, where he was the fastest draw I’ve ever heard with raunchy and off-color jokes.
I have to question the wisdom of his young, well-meaning doctor who forced Larry to quit the hobby and activity he loved more than anything but his wife. And so to refurbish the pipe for sale after the cursory cleaning I performed when it was gifted to me was not an easy decision. When times are rough, the cost can be dear. At least I know I will get a decent price for the sacrificial and beautiful piece of craftsmanship or sleep better keeping it. My only happiness is the opportunity to share the details of the ’54 Canadian with readers.
When I first took a careful look at the pipe to date it, I thought the sandblasted Canadian was much older based on one of the many erroneous dating methods published online. Then, a few months ago as I began to advertise the pipe for sale on various forums, I made a better estimate but was still off by three years. On that occasion I had not understood parts of the dating flowchart on Pipephil. Returning to the same chart four days ago, with clarification of what Pipephil meant by “Dunhill aligned with Shell” in the nomenclature, I took a third stab at dating the sandblast Shell Briar, starting with Patent No. 417574, on Google’s Patent Search service. Google Patents almost always finds the desired invention, but again I came up with nothing.
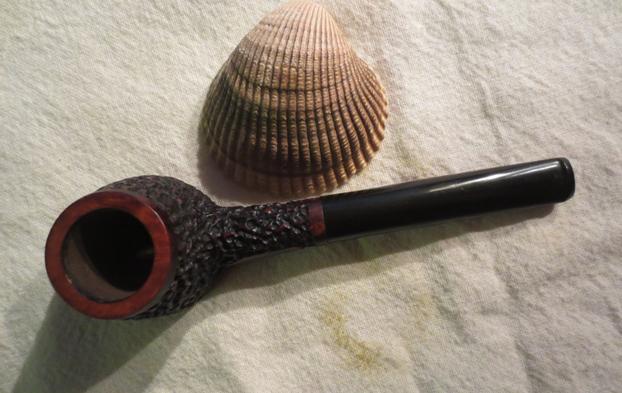
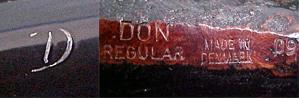
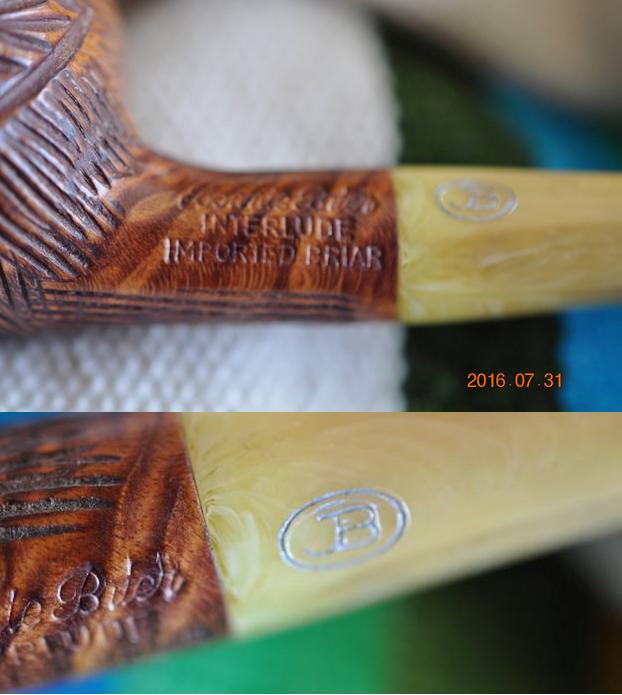
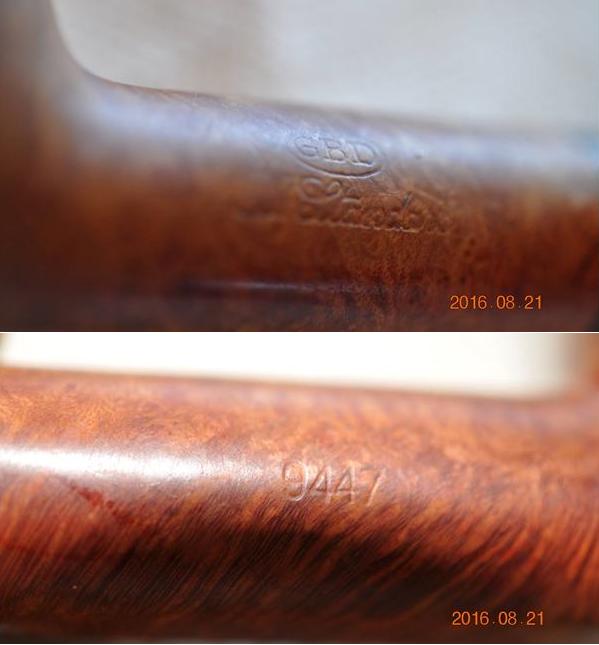
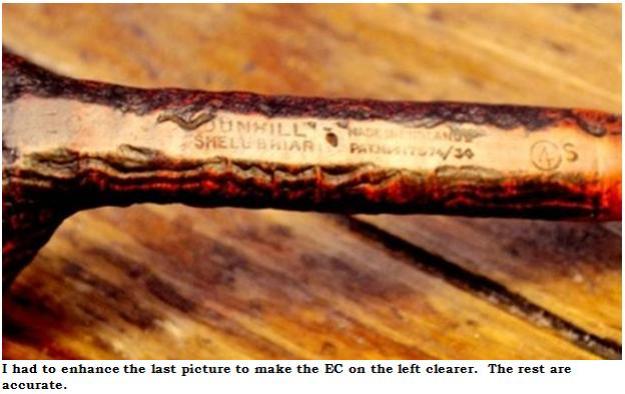
The nomenclature on the pipe reads, in capital blocks, EC on the far left of the smooth sitter bottom; Dunhill above Shell Briar; Made in England and a small 4 with a line under it above Patent No. 417574/34, and then to the far right, a circled 4 with an S. I have since learned, or come to believe from the veracity of certain sources, that EC is Dunhill’s way of indicating the pipe is a 5½″ Canadian; Shell is the type of finish characterized by deep, rugged sandblasting and a black stain, and the circled 4 with an S is a combination bowl size (running from 1-6) and group code, seeming to indicate in this case a Shell. I also was informed that 1954 was the last year of the Patent nomenclature and the same year Shell was replaced with Shell Briar.
Somewhat late, to be sure, I came to the conclusion the Patent might be British. I found the Espace.net link for the European Patent Office shown in the sources below, and had no trouble locating the Patent No. GB417574, granted October 8, 1934. From this research, it wasn’t difficult to understand the /34 represents the year the proprietary rights were granted to Dunhill for the special tube system within the bit and shank and extending to the mortise hole, and not the year of manufacture. Steve was good enough to explain something, the answer to which I suspected, when he clarified that “aligned with,” in respect to the words Dunhill and Shell, means beside and not above and below. As it turned out, therefore, mine was not aligned. This is central to dating the Dunhill.
Therefore, following the flowchart shown at the first source link below, I answered yes to the pipe having a suffix and Patent Number and then clicked on Narrow Down Your Dating. The next page said at the top, “Your Dunhill pipe has been crafted between 1921 and 1954.” Again I followed the yes line under “The Patent Number is 417574/34,” then (and here is the key to whether the pipe was made c. 1940 or c. 1950) no to “Dunhill stamping over London or Dunhill stamping aligned with Shell.” This led down to Dunhill suffixes 2-4, and mine being the little 4 with a line under it, the chart led to the bottom line: 1950 + suffix, making the year of manufacture 1954. I tell you, this has to be the most clandestine dating system I have encountered, reminiscent of the sort of codes and tradecraft of MI6, or what Le Carré called by a more apt name, the Circus. But I found my year of manufacture at last.
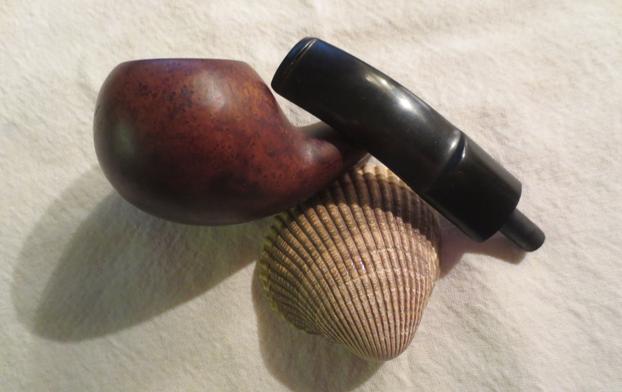
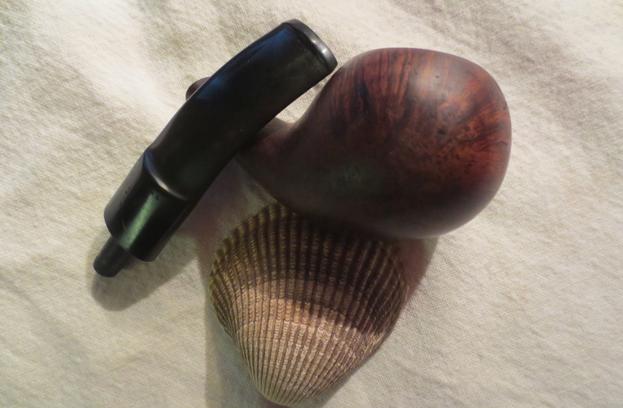
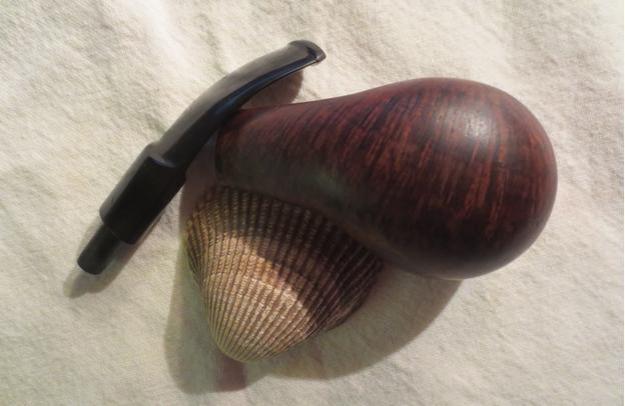
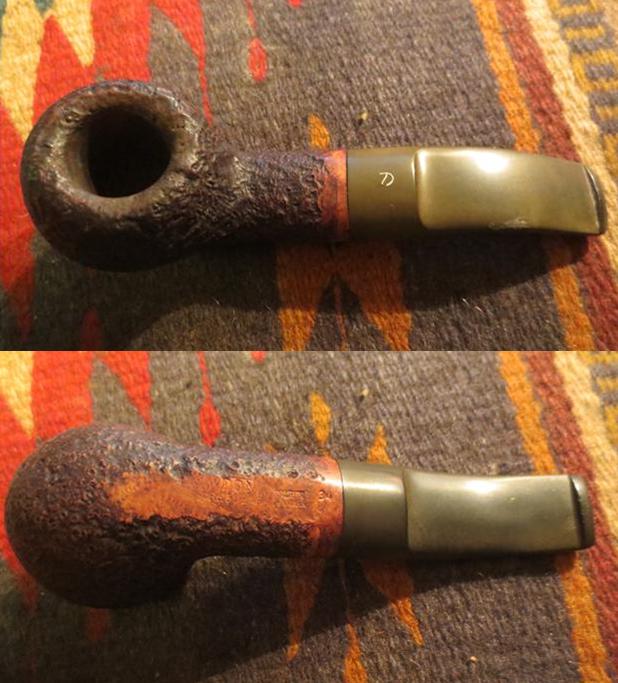
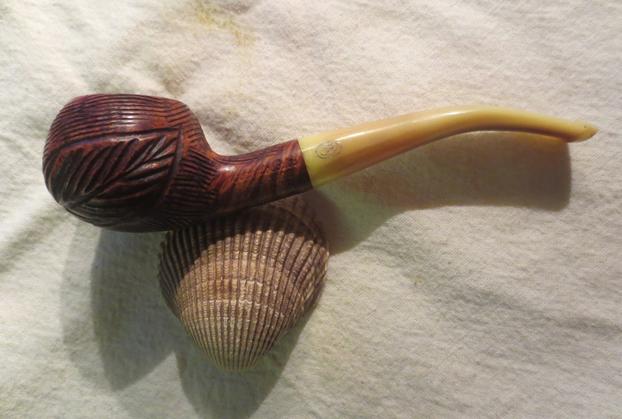
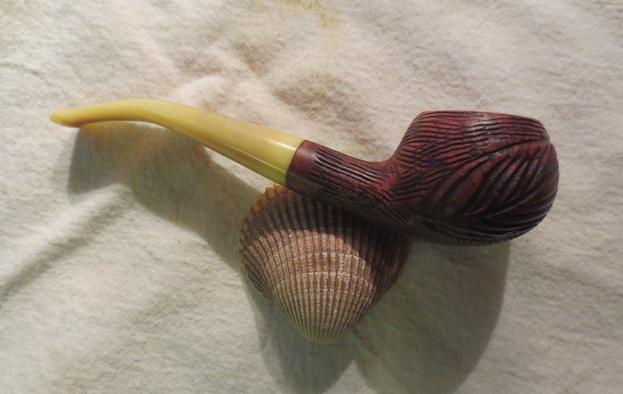
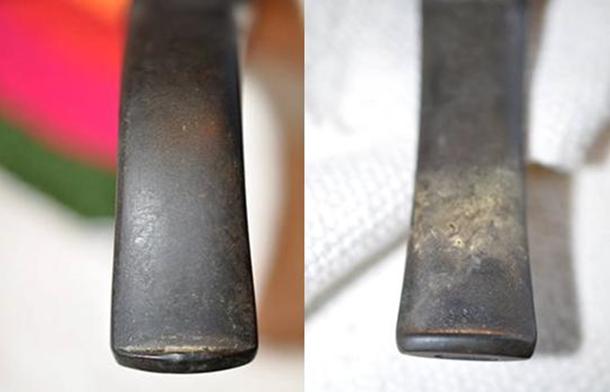
A couple of days ago, double-checking my course through the flowchart, I came across a blog by Steve, called “Reflecting on My Dunhill Collection,” from two years ago. My conclusion was vindicated by the following photos of his “ultimate pleasure” from one batch of pipes he received, a 1954 Dunhill Canadian identical to mine. Having emailed Steve the updated result from the flowchart, I read his response within seconds after copying and pasting the photos of his pipe above: “That is my birth year pipe…what does it look like?” I referred him to his own blog and inserted the two pics of the twins above, adding that they are identical except for a lighter shade I gave mine.
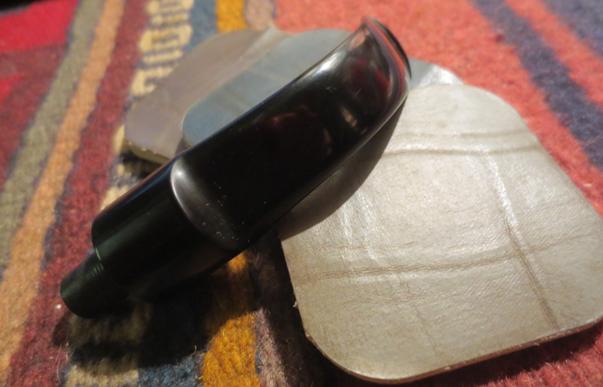
Here is a copy of GB417574. 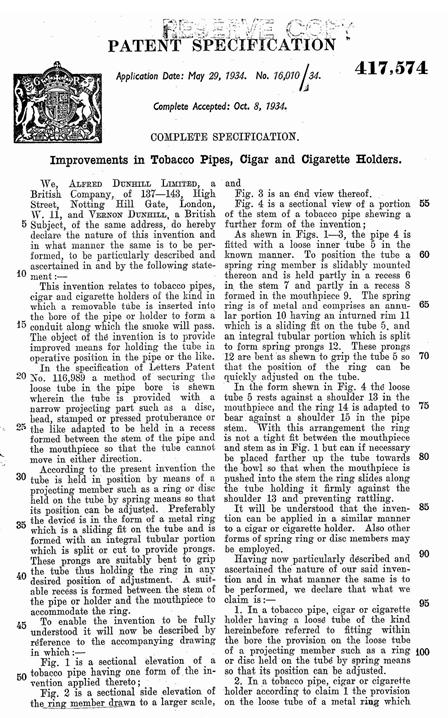

 The Patent is fascinating on several levels, some of which will be described later. Of particular importance to this blog is its detailed description of the system in which an improved, removable metal tube “is inserted into the bore…to form a conduit along which the smoke will pass.” A revised, spring ring to hold the tube in place with better effect than earlier Patents is added to supplement an improvement that was part of another Patent, GB116989, requested along with this one but granted the next year.
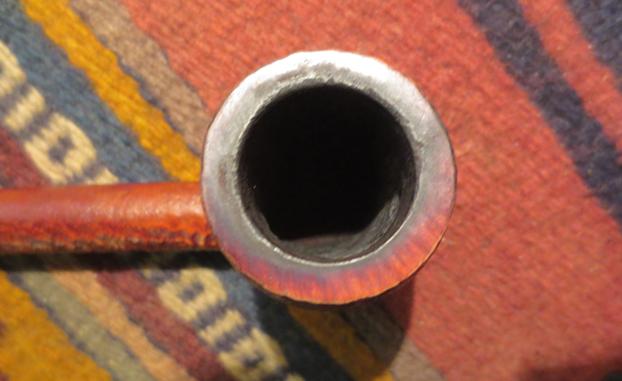
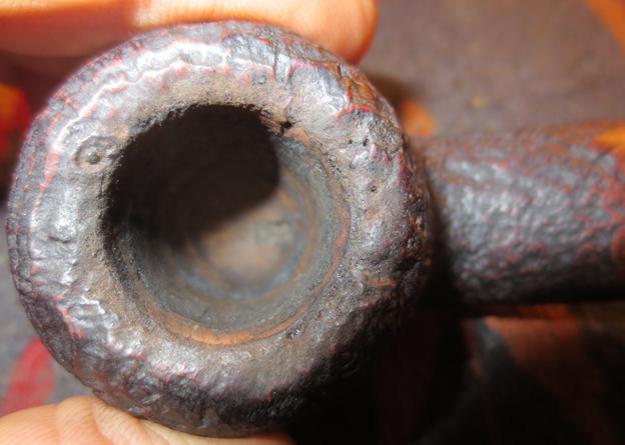
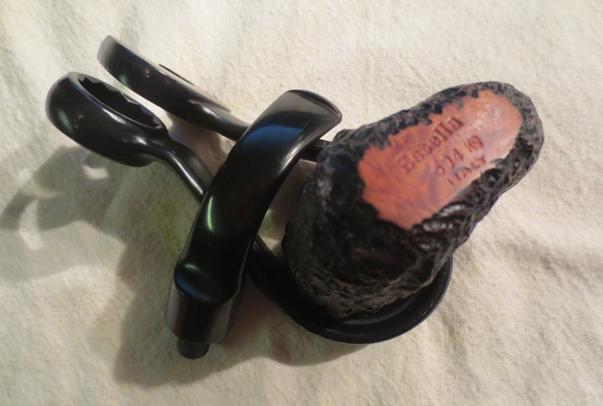
The version in the 1954 Canadian has two tubes and rings, one pair in the shank and leading to the mortise and the other within the mouthpiece and the rest of the bit. These innovations are not only clever but quite durable and effective, and the tubes can be seen with close scrutiny within the openings of the push tenon and shank. The most amazing aspect of the invention is the tiny size of its pieces that somehow fit the slim bit and shank of the Canadian.
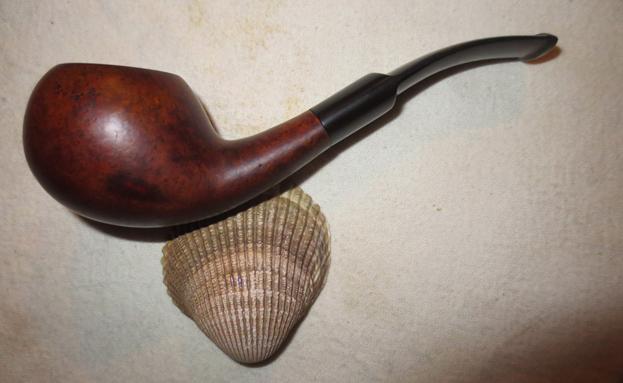
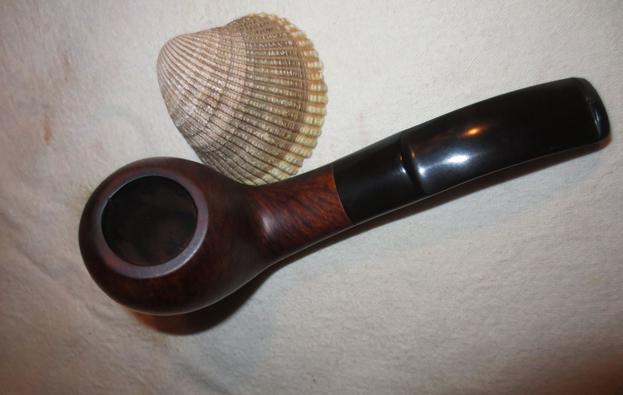
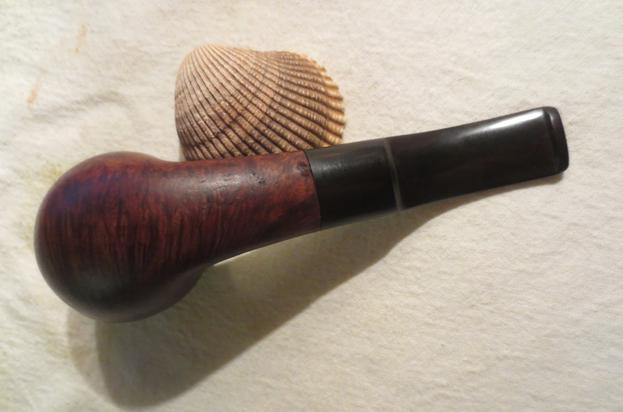
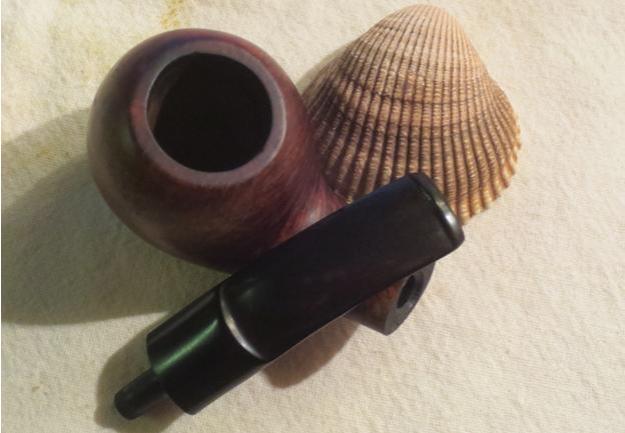
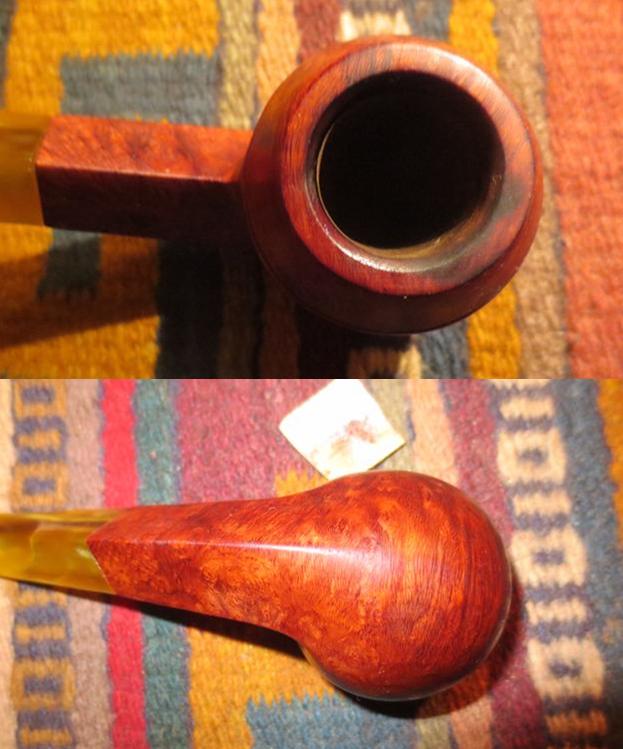
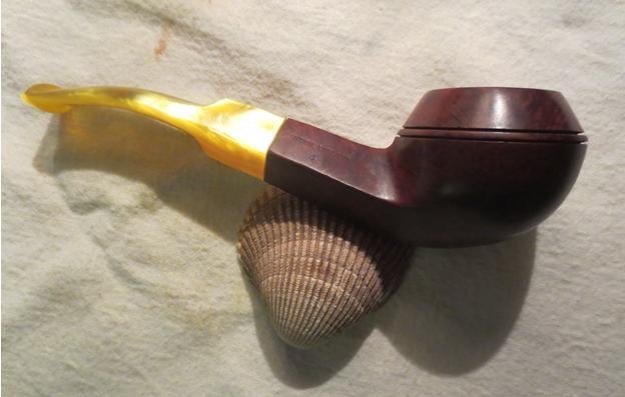
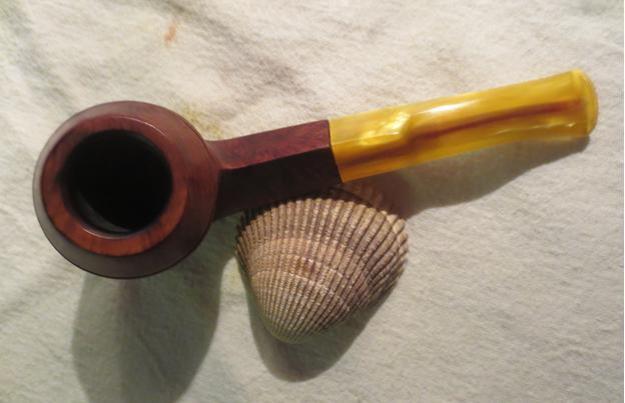
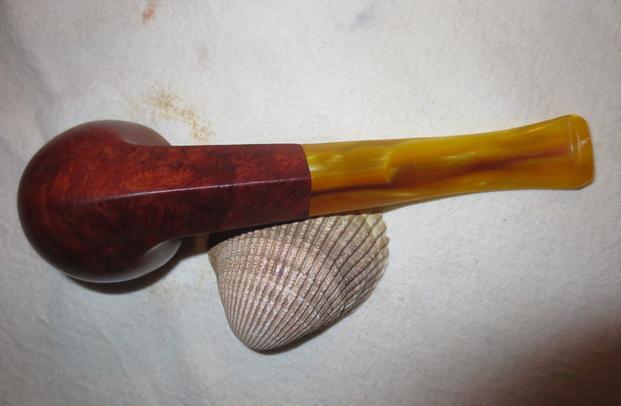
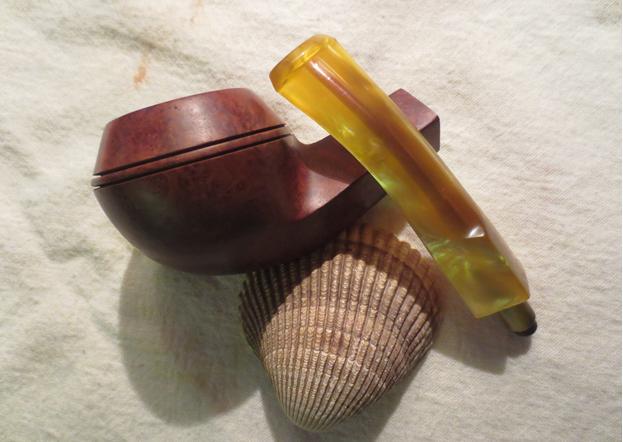
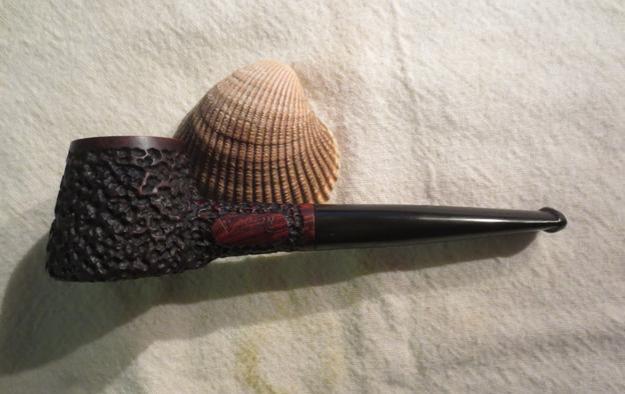
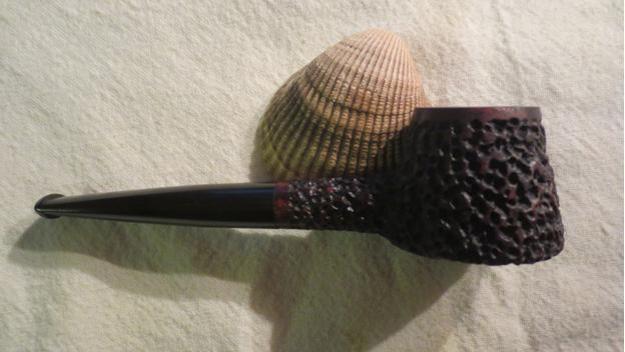
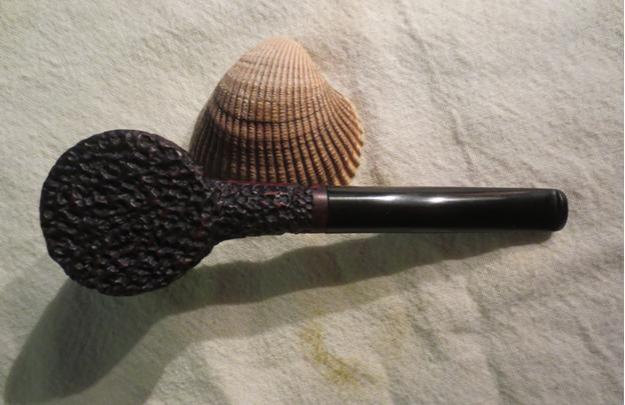
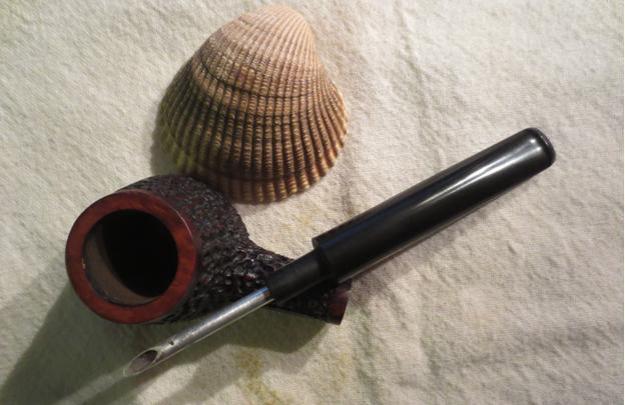
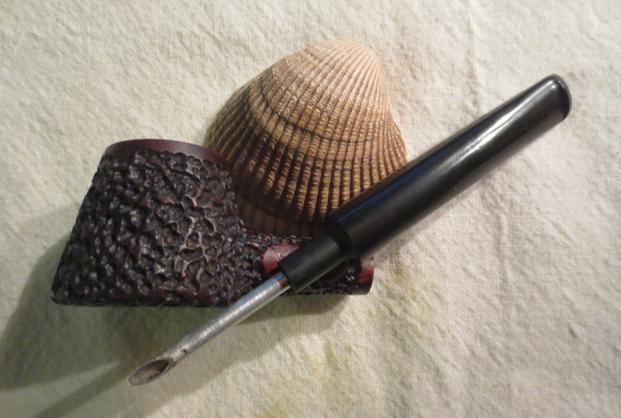
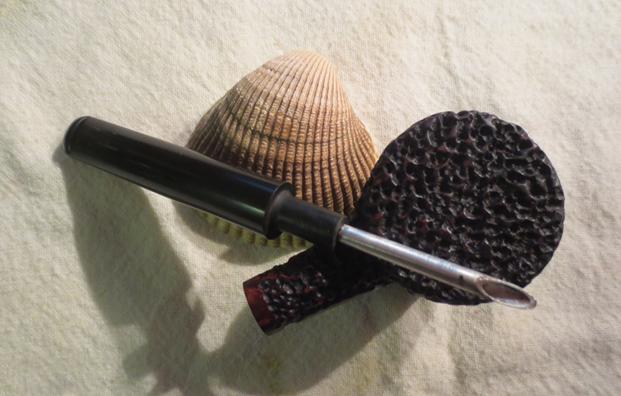
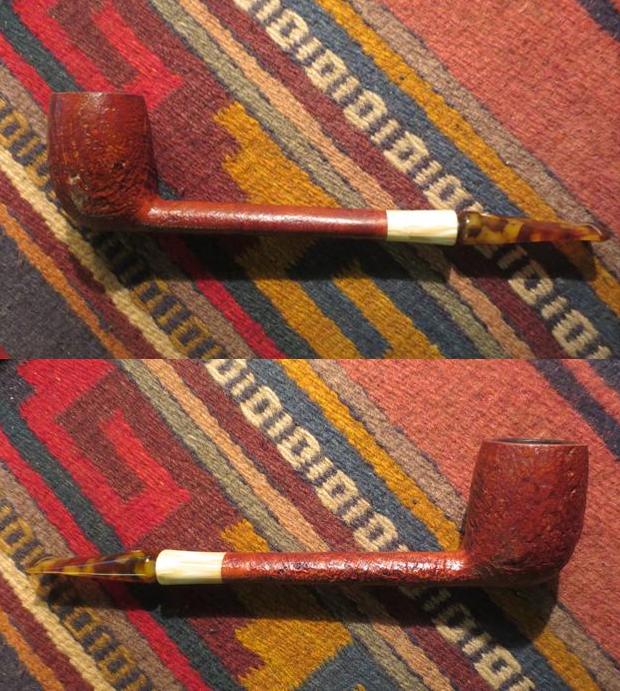
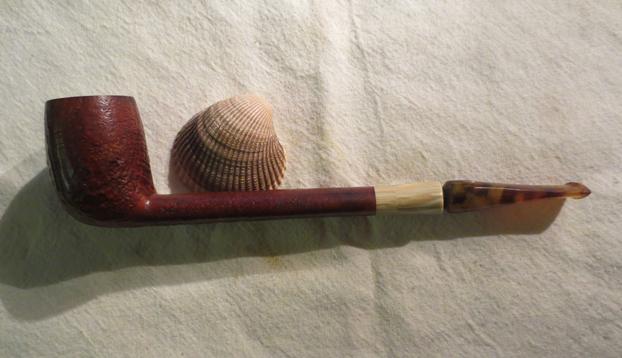
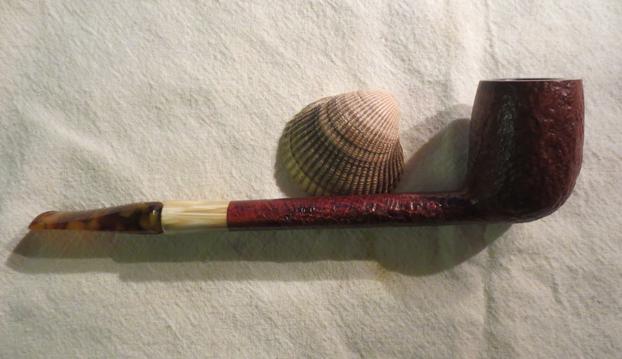
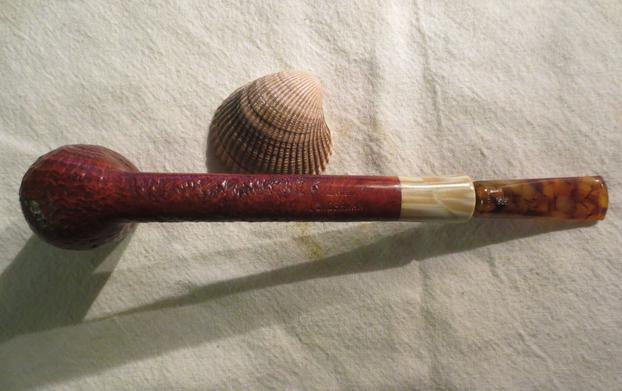
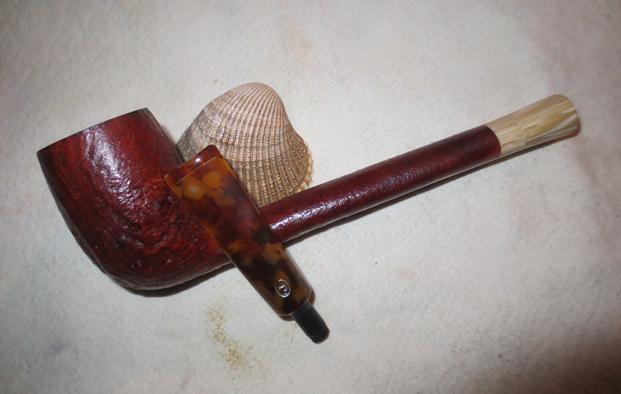
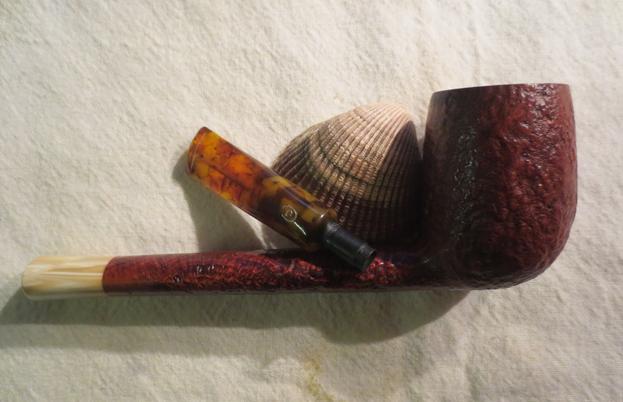
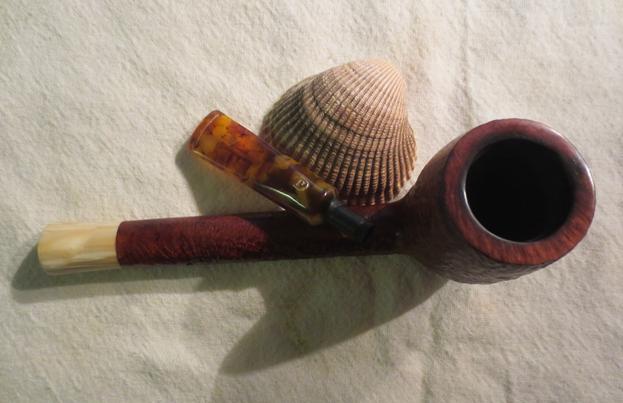
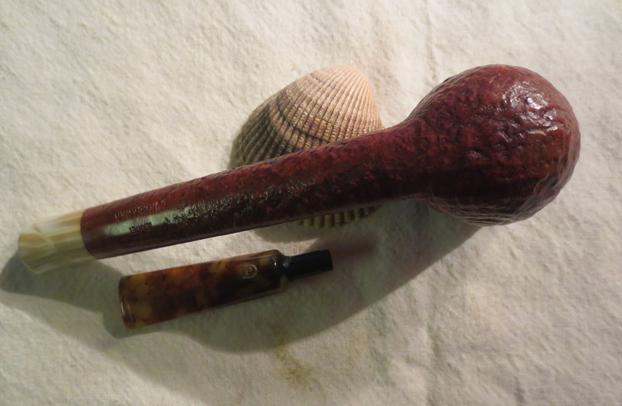
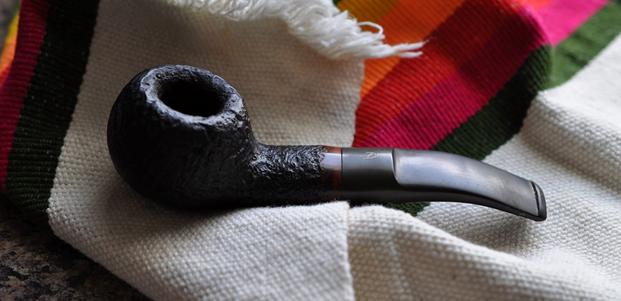
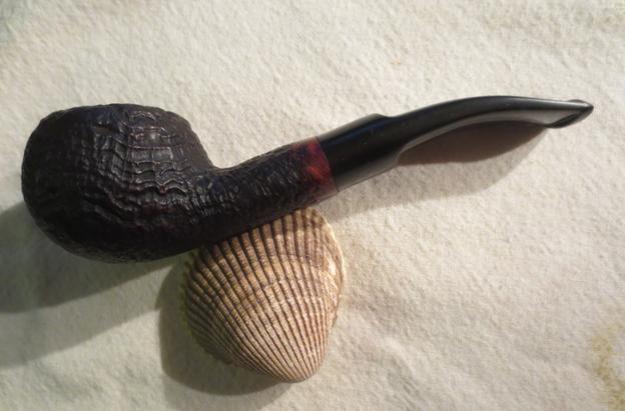
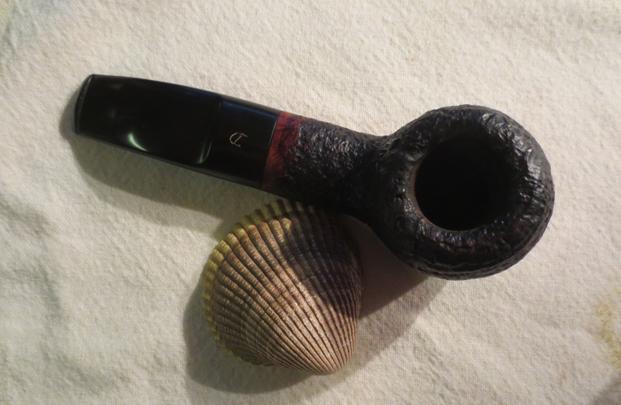
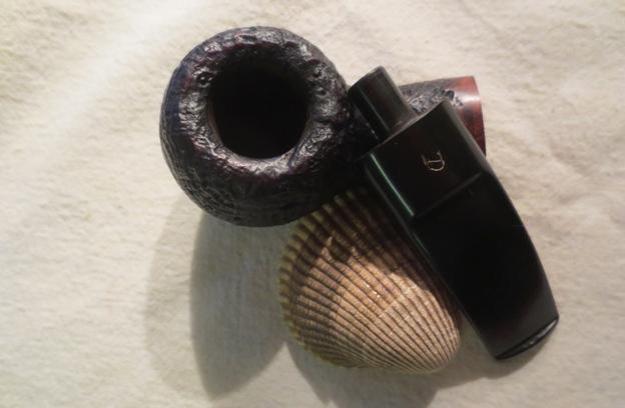
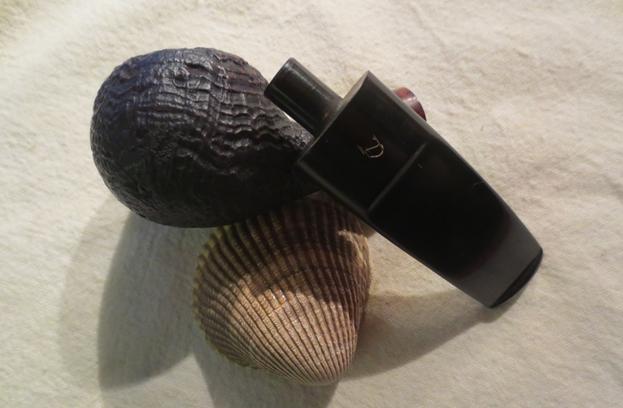
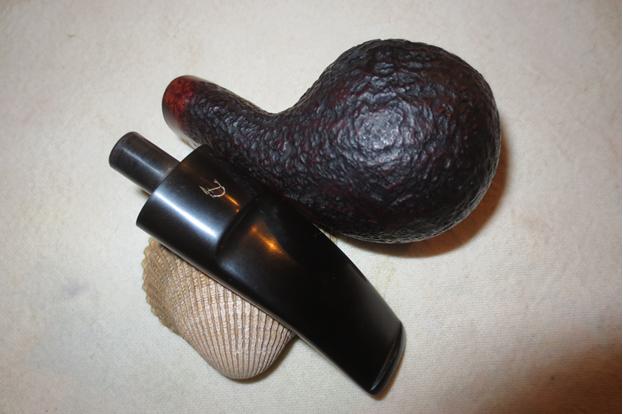
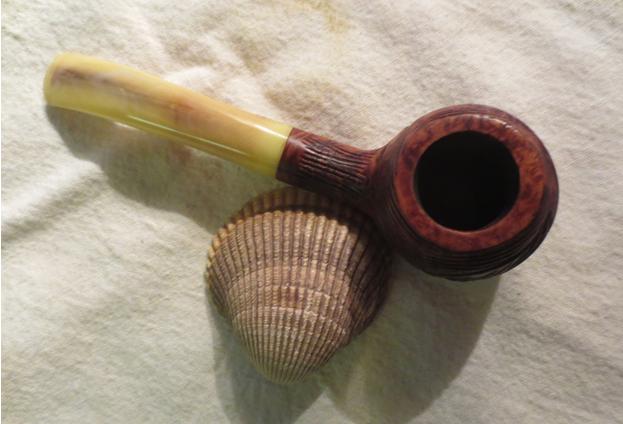
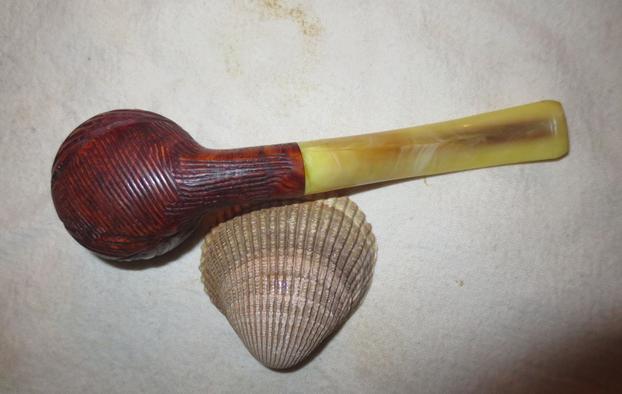
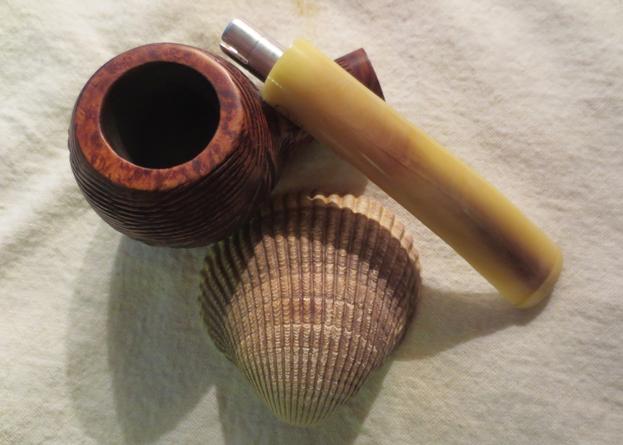
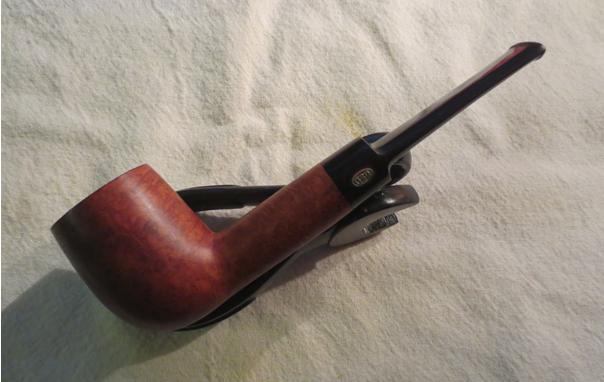
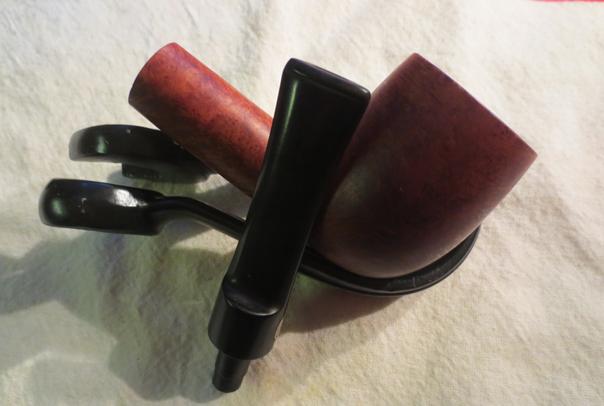
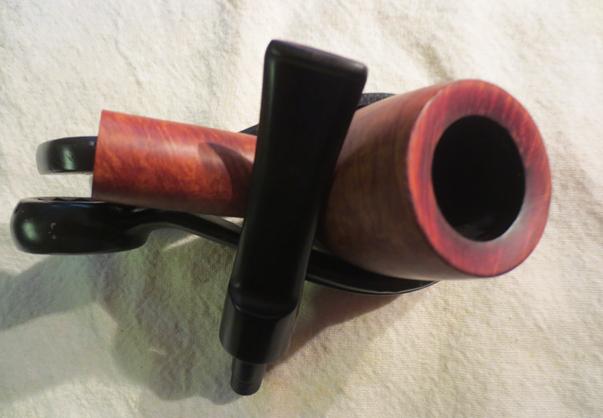
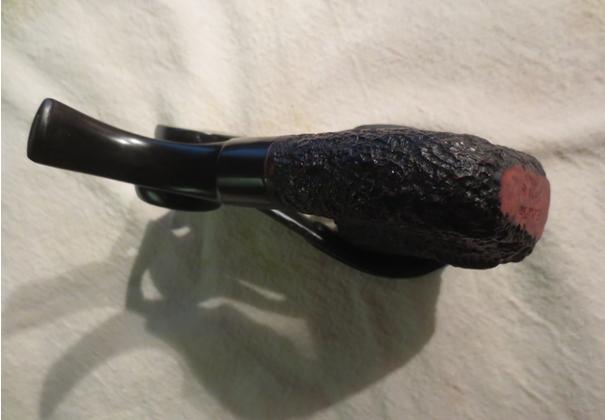
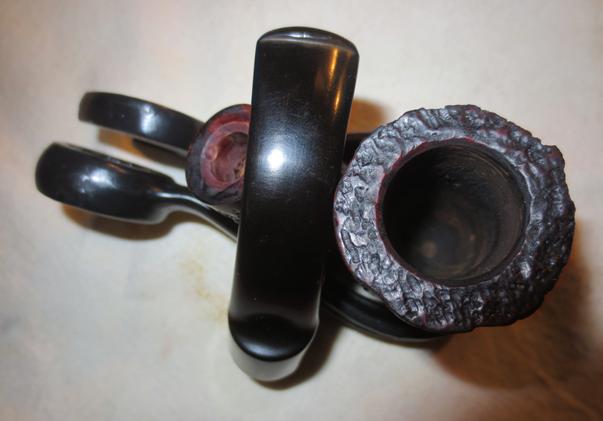
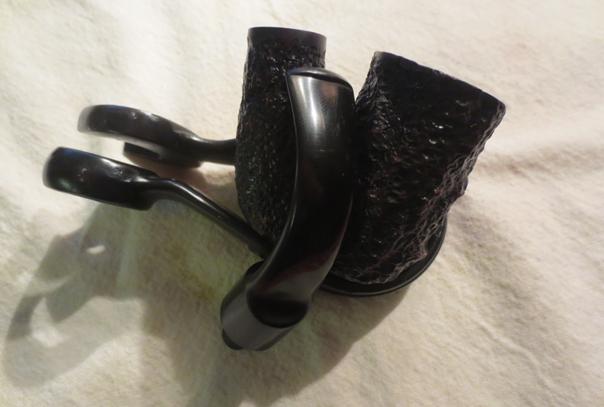
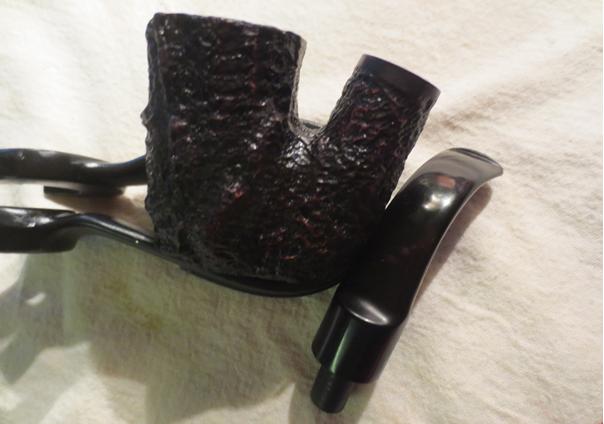
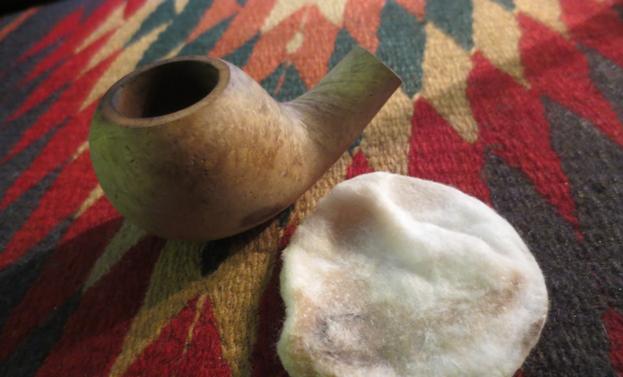
The pipe was in great condition when I received the gift.


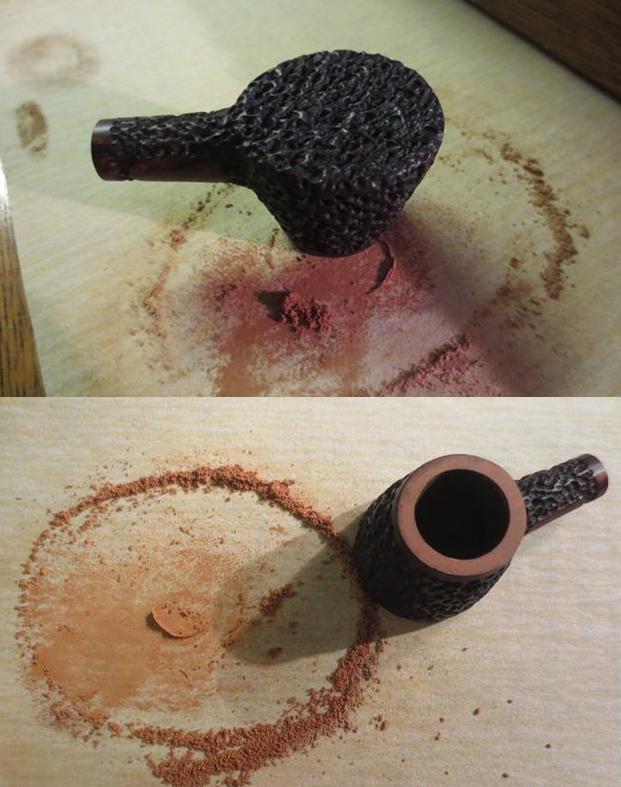
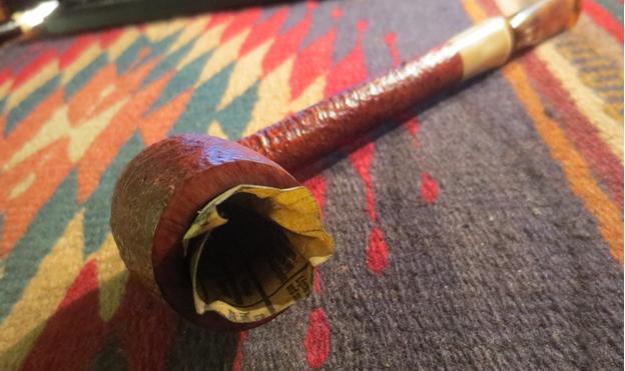
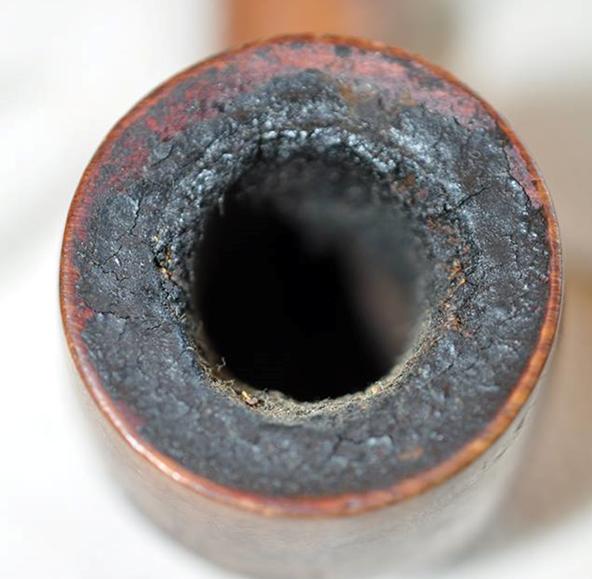
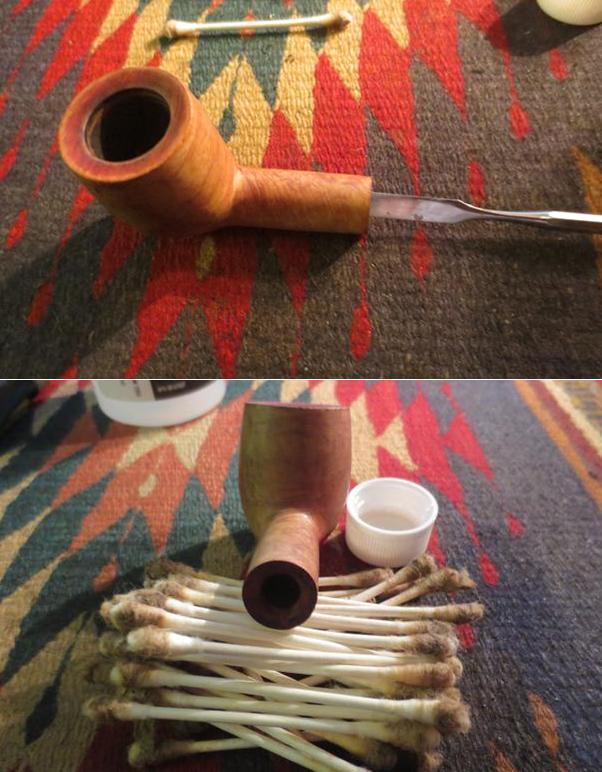
 To start the restore, I went at the rim with 220-grit sandpaper because of some dings that were too deep for micro mesh or even very fine paper. Even so, more work was needed later, as will be shown. Then I reamed the chamber and sanded it smooth with 180- and 320-grit paper and wiped the exterior using a soft cotton gun cleaner cloth with a little purified water.
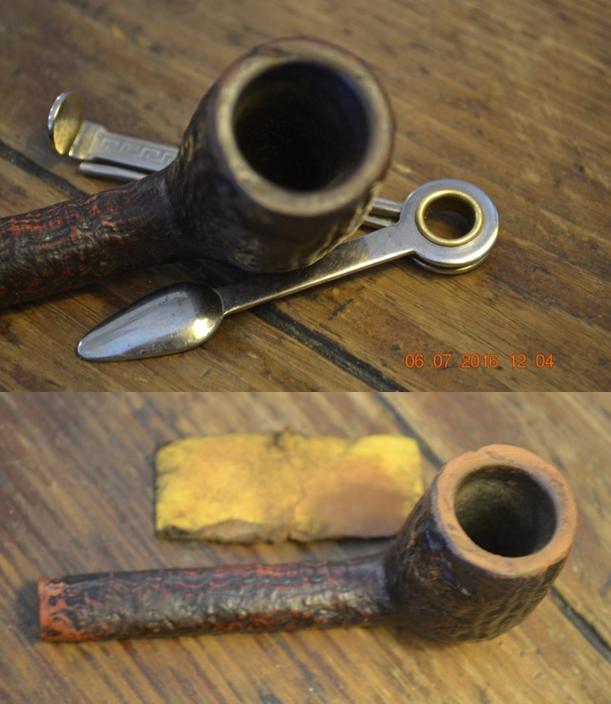
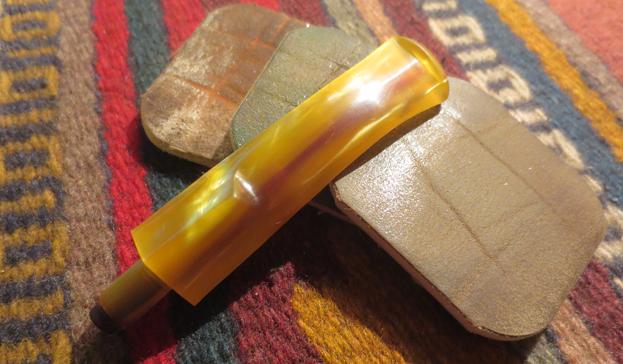
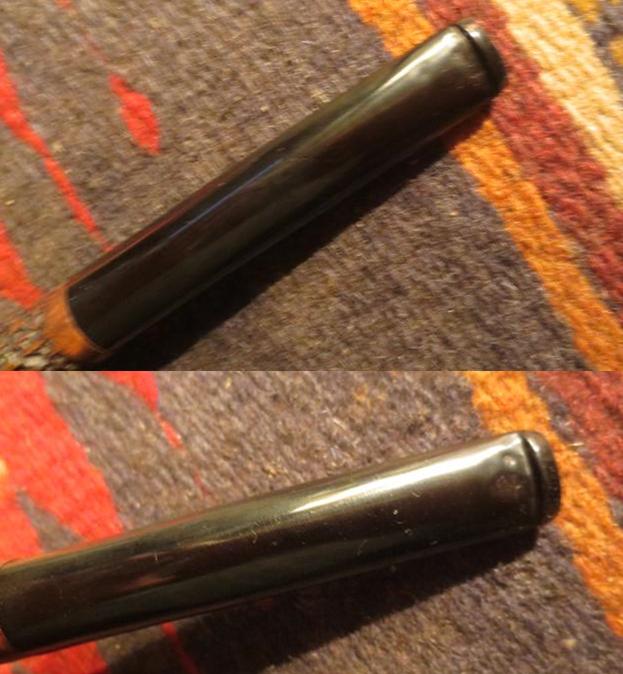
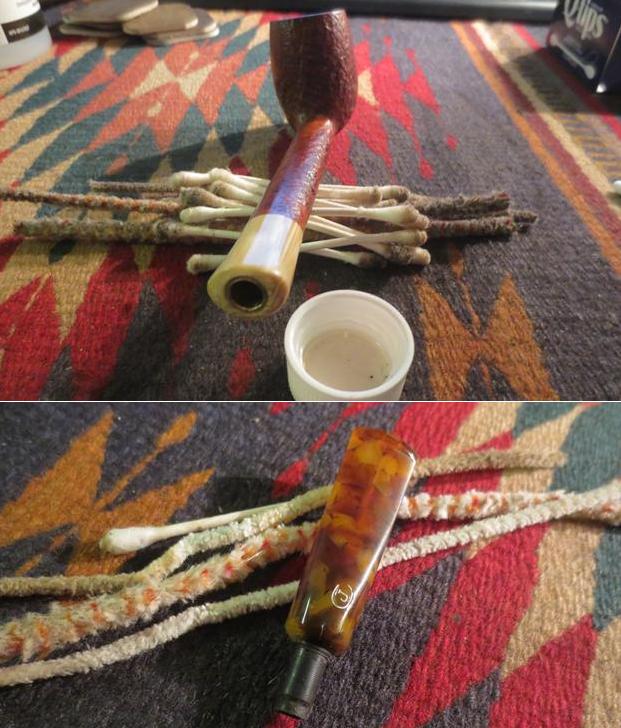
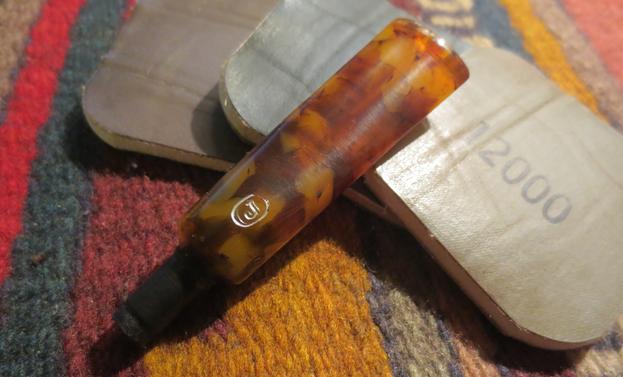
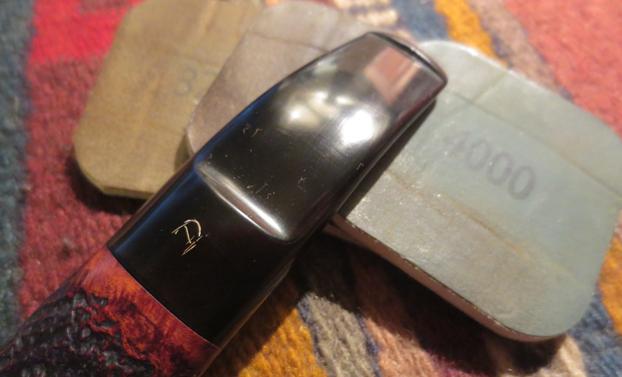
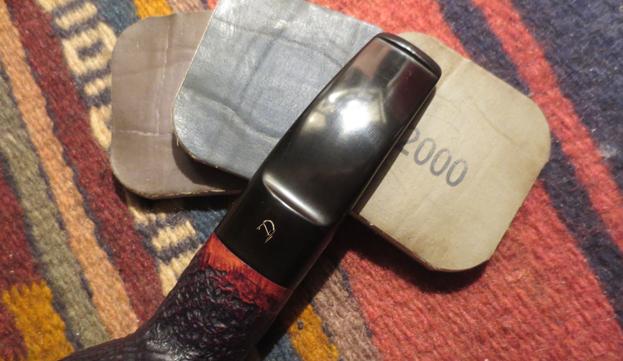
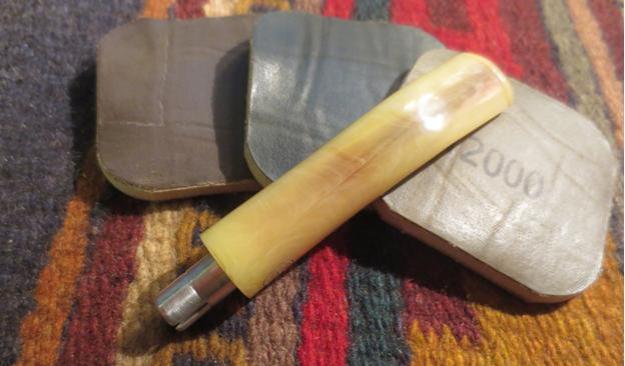
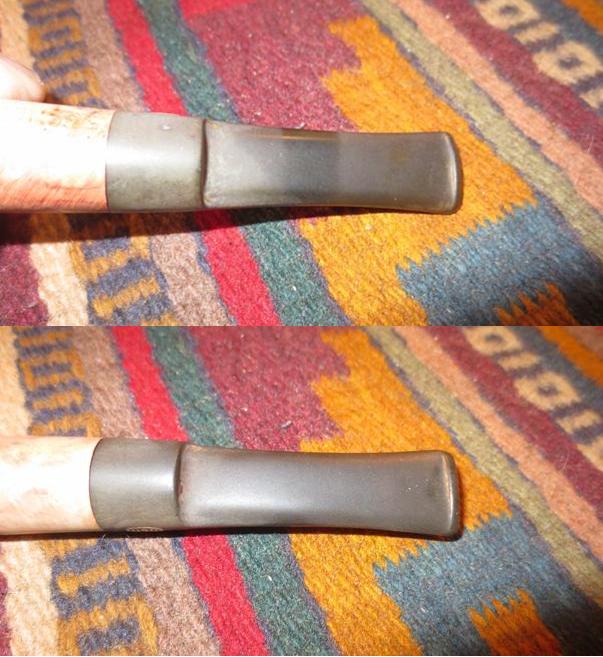
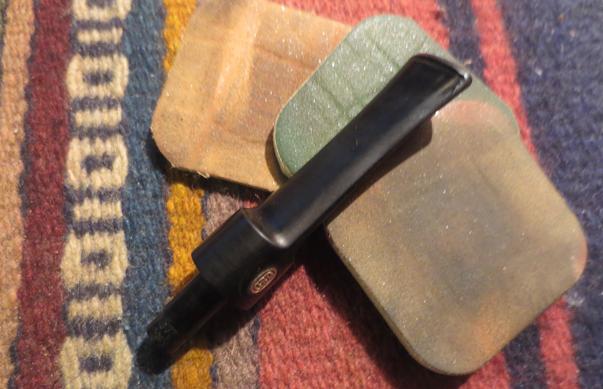
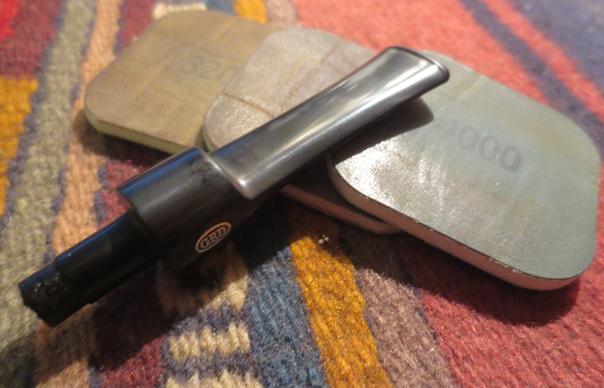
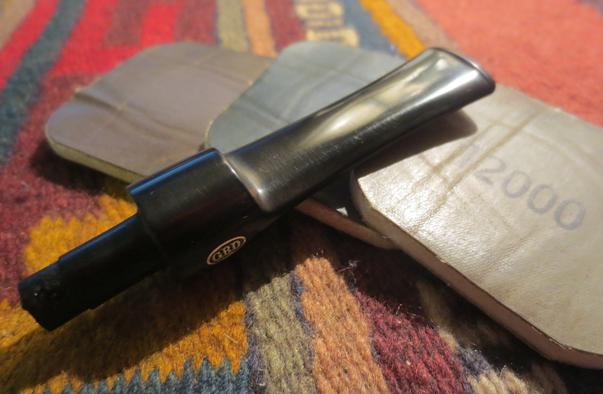
 I figured I might as well knock off the bit, which was in good shape but needed some quick work with the only viable micromesh kit I had at the time. This was only last June, but my old set of usual pads was decimated and not yet replaced.
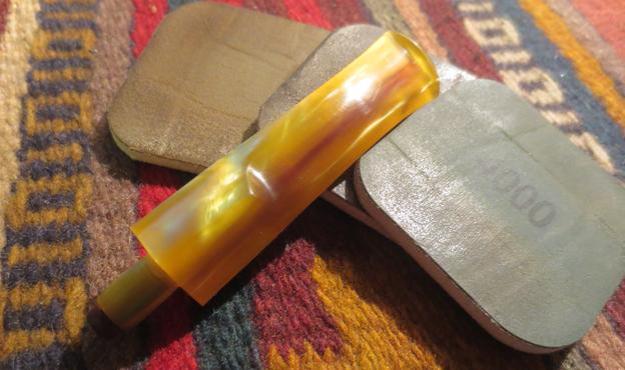
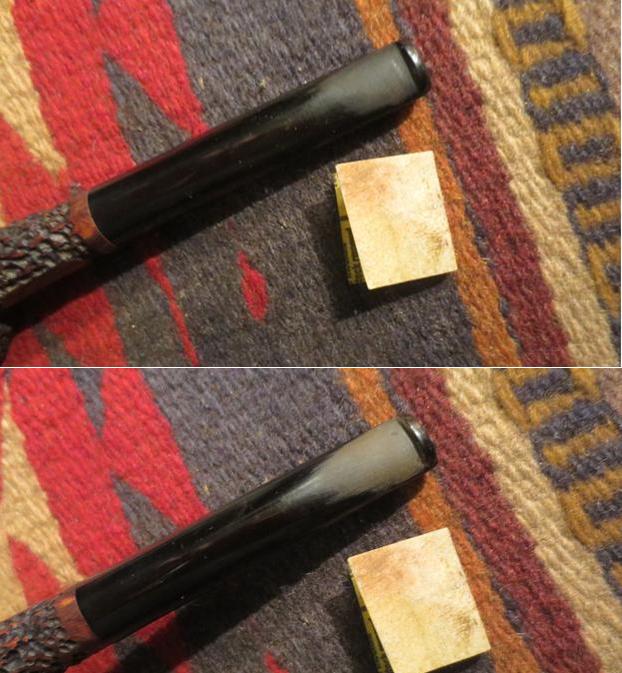
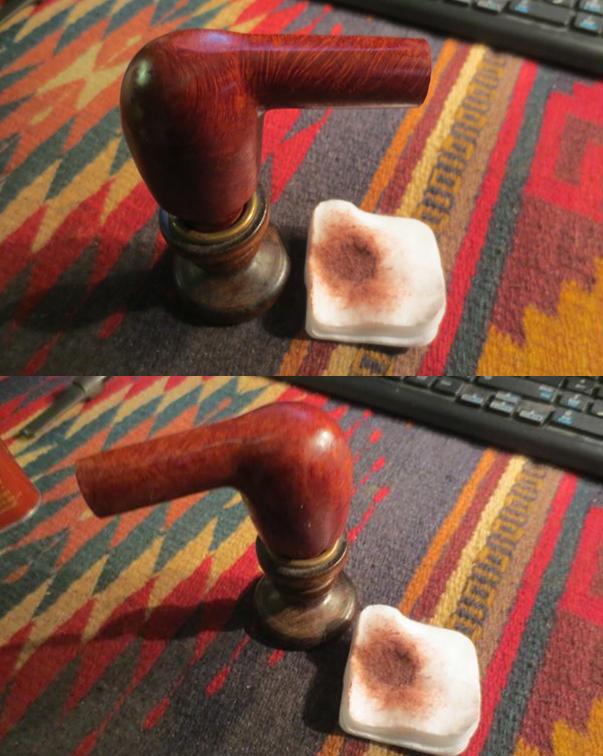
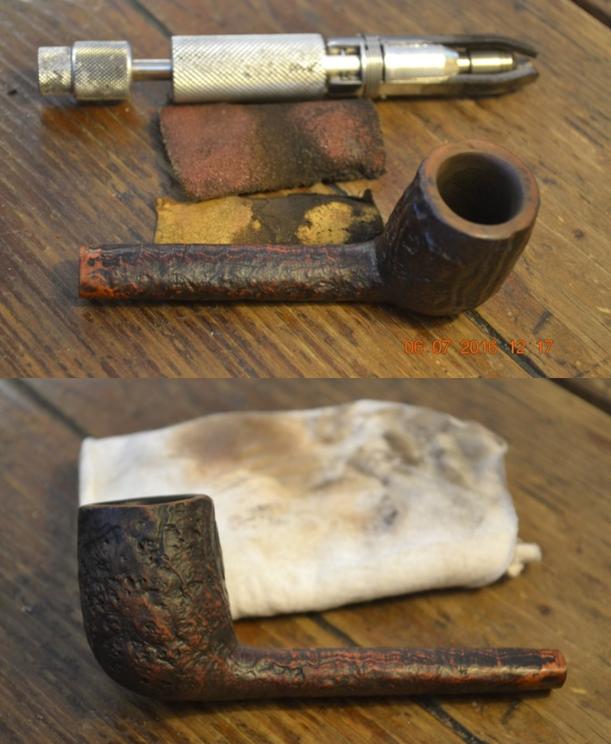
 Retorting the pipe, I decided to take off a little of the darker color to show more of the natural rust hue of the briar, using super fine 0000 steel wool.
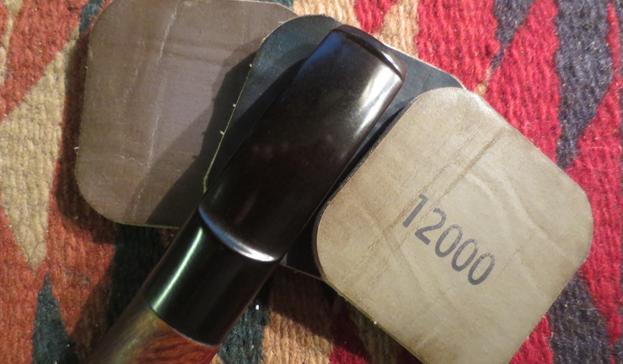
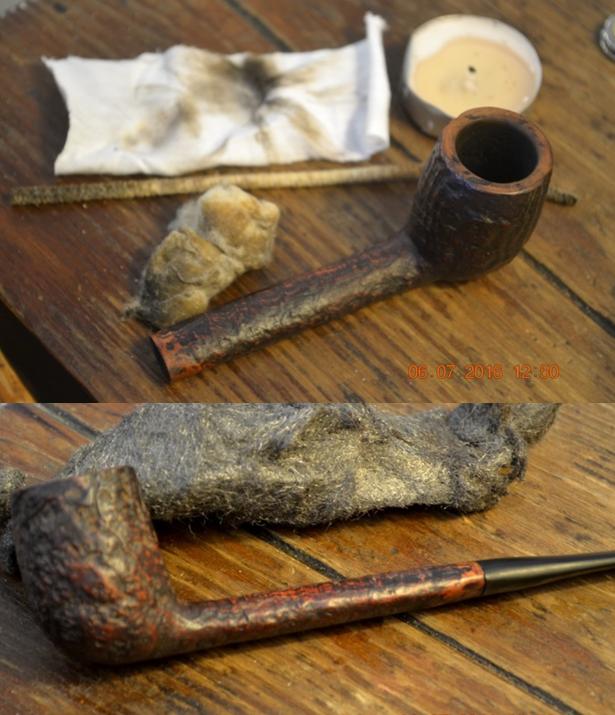 I re-stained the rim with Fiebing’s Medium Brown alcohol-based boot conditioner, flamed it with a Bic and micro meshed off the thin coat of char with 800 and 12000.
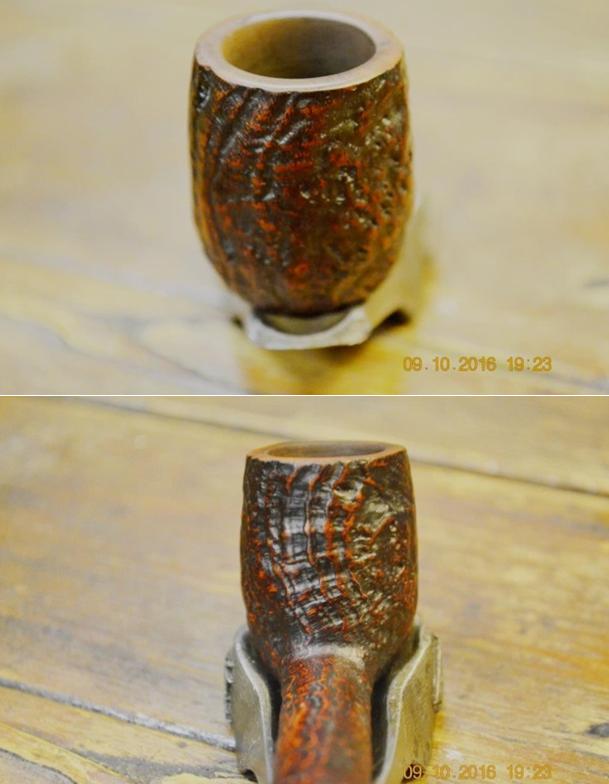
 The touch-ups above were made June 7. I revisited the Canadian after transferring all of the photos so far, as well as seven more of the “finished” pipe, from my DSLR memory stick to the computer. Next is the left side view as it appeared two months to the day later.
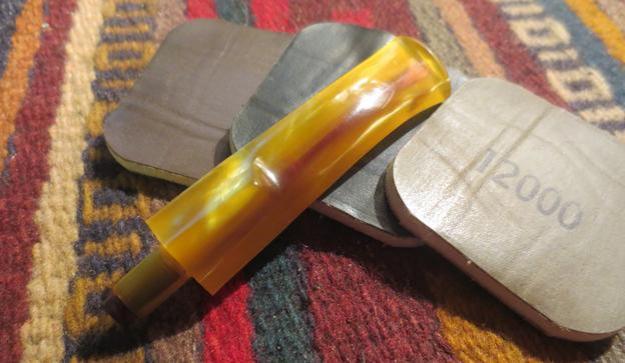
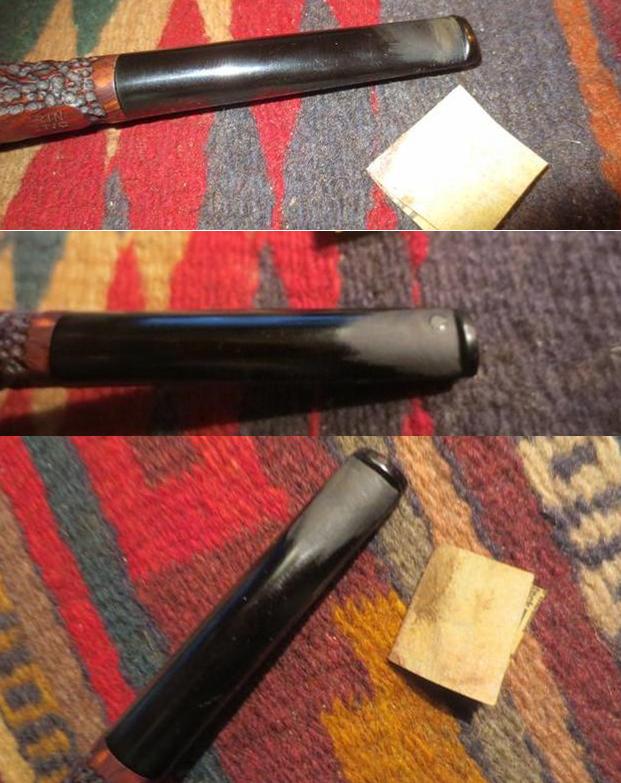
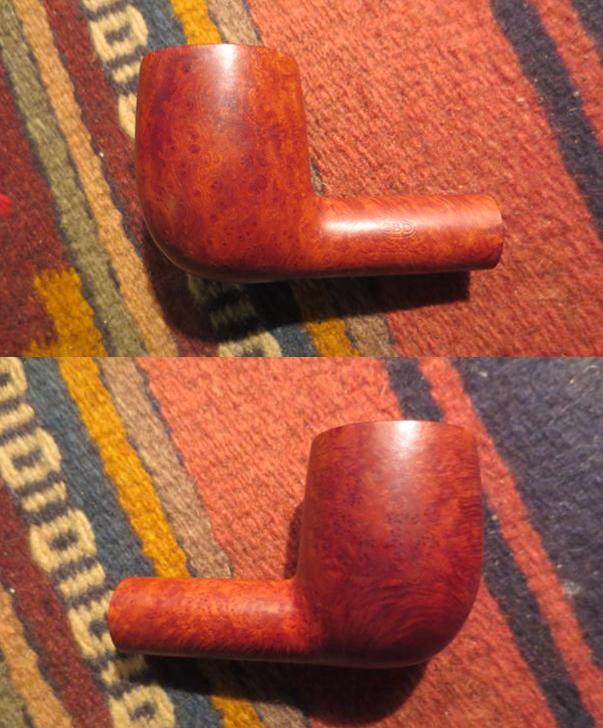
 I should have kept the original top view from when I thought the work was complete in July. As I did not, you’ll just have to take my word that the rim work was, I must confess, sloppy. And so, here is the rim after sanding again, with 180- and 320-grit papers, micro meshing all the way, staining with the medium brown and flaming it again, and micro meshing off the thin band of light char with 4000, 8000 and 12000 micro mesh once more.
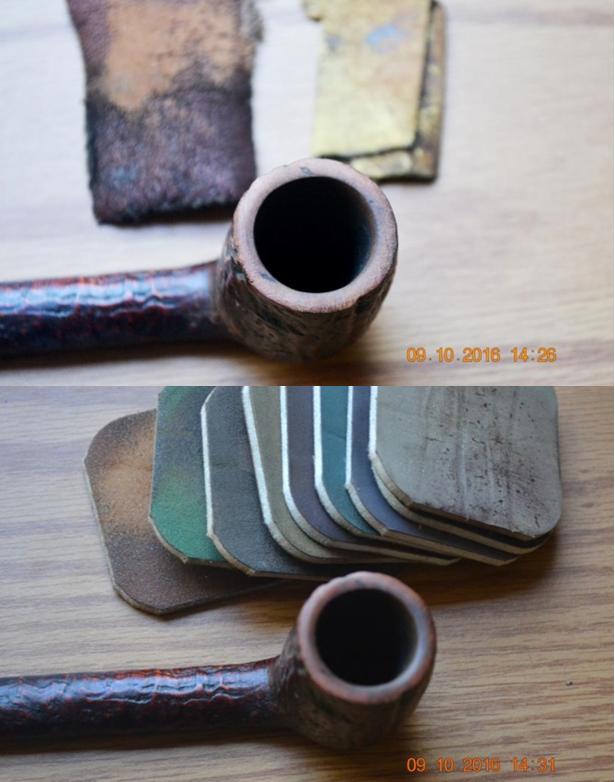
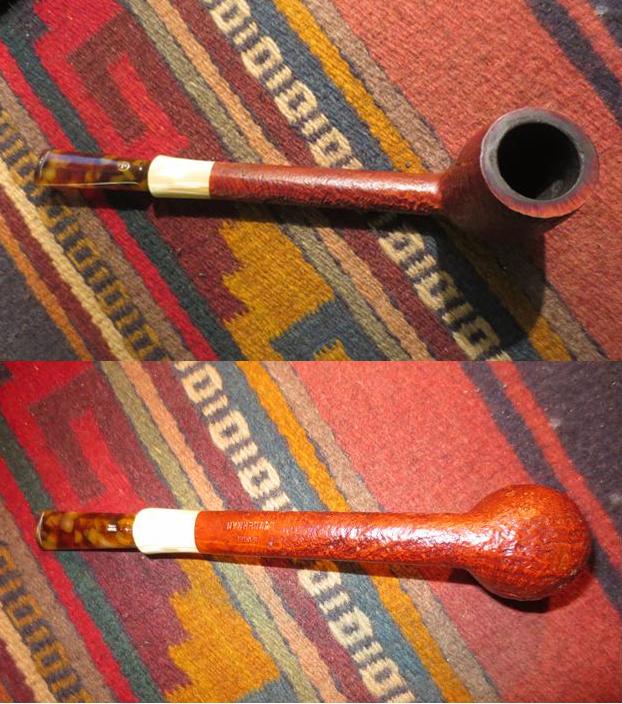
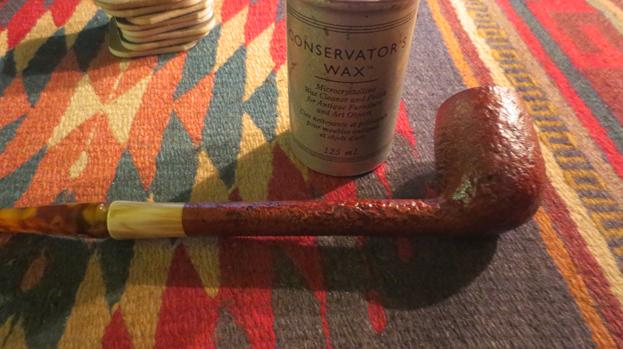
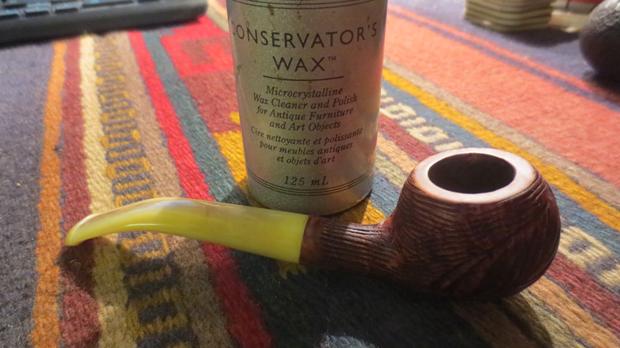
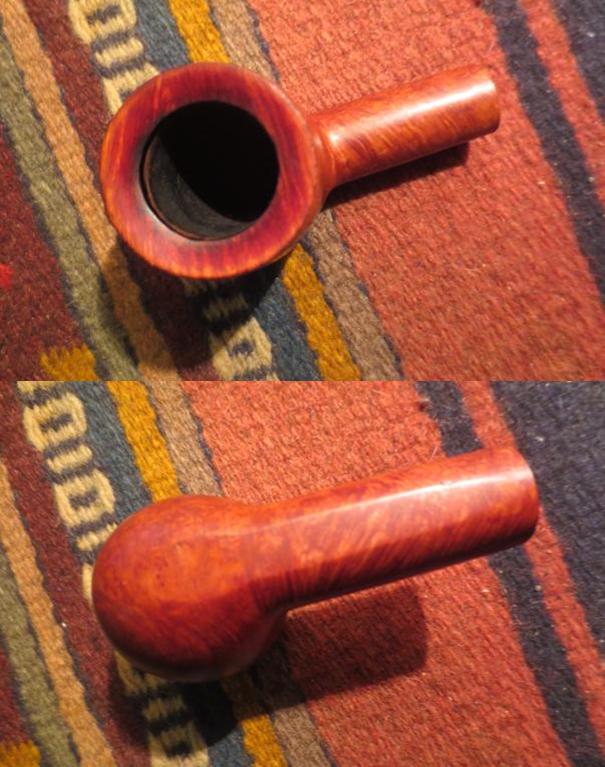
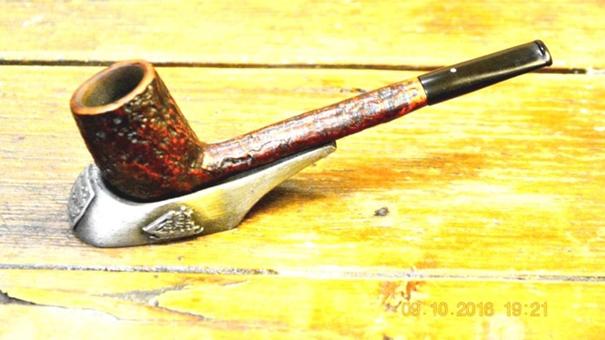
 The true finishing touches were adding a thick coat of Halcyon II wax, setting the stummel aside for a half-hour and buffing on the clean electric wheel as much of the wax as possible into the wood while removing the excess.
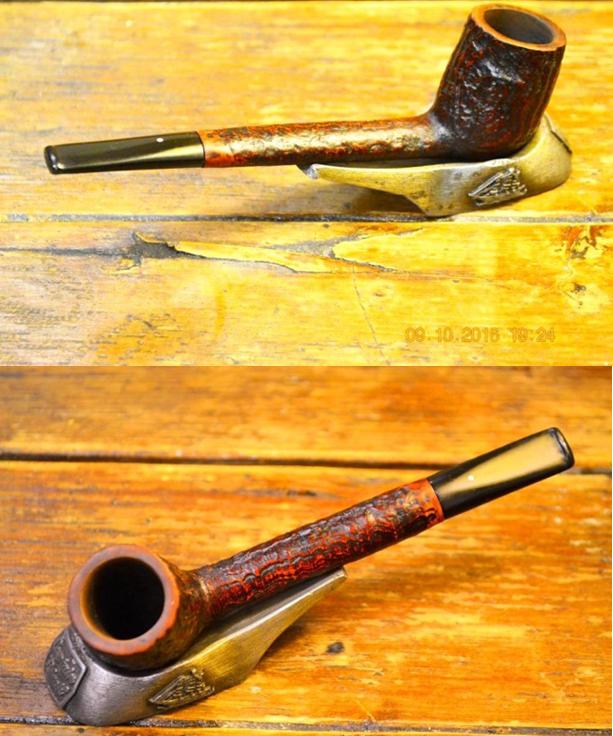

 The Patent, again, is an engaging document. In fact I consider the text worth reading despite its detailed description that is styled in universal Patent-ese. Somehow this Patent, among the millions of sterile, lackluster examples that tend to put most unaccustomed readers to sleep, shines with refined elegance one would expect only from the British. The just-more-than-one-page of text as well as the drawings have a secure place in pipe history. And then there are the little touches to enjoy For example, easy to miss, with the eyes scanning and expecting to read “shown,” is the repetition of the antiquated (chief. Brit., as the staid but thorough Oxford English Dictionary might add) “shewn.” Still more overlookable is the typical economy of language displayed in the first paragraph, referring to “We, Alfred Dunhill Limited, a British Company, of 137-143, High Street, Notting Hill Gate, London, W. 11, and Vernon Dunhill, a British Subject, of the same address….” At last, seen only by the greatest of Anglophiles, is the printer’s credit that states:
“Redhill: Printed for His Majesty’s Stationery Office, by Love and Malcomson, Ltd. – 1934.”
Redhill is a U.K. town next to Surrey, south of London. Love and Malcomson Ltd. was a British printer and later book publisher established in 1901 and lasting until 1983, when it was dissolved. The reference to His Majesty at the time of printing was King George V (r. 1910-1936). Easy to forget are the other His Majesties during Love and Malcomson’s illustrious time: prior to George V, King Edward VII (r. 1901-1910); King Edward VIII (r. 1936), until he became the only monarch in British history to abdicate – for the woman he loved – and King George VI (r. 1936-1952) of “The King’s Speech” fame.
And then, of course, there is Queen Elizabeth II (r. 1952-present), to whom Love and Malcomson was a loyal British Company for the first 31 years of her monarchy that has so far lasted 64 years, the longest of any British sovereign.
I’ll finish up with a fascinating tidbit about Dunhill history, what Saturday Night Live might have called a “Deep Thought by Jack Handy.” I never even considered the origin of the now famous White Dot atop Dunhill pipe stems. Then one day my research took me to a Pipedia page with a time line. Among the long list of dreary, bygone dates and facts, I came across this single, novel and somewhat sad bit of intelligence: in 1915, five years after the company formed, Alfred and his advisors came to the bright idea that their customers should be given some help whilst reattaching the bit, like, I suppose, after removing it to clean. I can’t with honesty know what they were thinking. But anyway, that conundrum gave birth to the now revered single White Dot – so that Dunhill buyers everywhere might know which side of the stem goes on top! I don’t know about the rest of you, but I find this reasoning behind the White Dot somehow discouraging, disappointing and downright depressing. I mean, did Alfred Dunhill Limited, the mighty British Company, get so many complaints about which side was up to conclude its loyal fans must be stupid? And were they maybe really that dense? The whole thing is just too much for me. My deepest thoughts on the meaning of the mysterious single White Dot have been dashed forever. I think I need to take a nap now, as the melancholy Jack Handy would do. 
SOURCES
http://www.pipephil.eu/logos/en/dunhill/cledat-en1.html
http://www.rdfield.com/Articles/A%20Dunhill%20Pipe%20Dating.htm
https://rebornpipes.com/2012/11/01/dunhill-pipe-shapes-collated-by-eric-w-boehm/
https://pipedia.org/wiki/Dunhill#Shell
http://www.loringpage.com/attpipes/dundate.htm
https://rebornpipes.com/2014/03/23/reflecting-on-my-dunhill-collection/
http://www.epo.org/searching-for-patents/technical/espacenet.html#tab1
https://worldwide.espacenet.com/publicationDetails/originalDocument?CC=GB&NR=417574A&KC=A&FT=D&ND=3&date=19341008&DB=en.worldwide.espacenet.com&locale=en_EP
https://worldwide.espacenet.com/publicationDetails/biblio?FT=D&date=19341008&DB=en.worldwide.espacenet.com&locale=en_EP&CC=GB&NR=417574A&KC=A&ND=4
http://www.cooperativepatentclassification.org/cpc/scheme/A/scheme-A.pdf
http://www.pipephil.eu/logos/en/dunhill/cledat-en1b.html
https://companycheck.co.uk/company/00070719/LOVE-AND-MALCOMSON-LIMITED/companies-house-data
https://en.wikipedia.org/wiki/English_and_British_monarchs_family_tree_(simple)
https://pipedia.org/wiki/Dunhill
http://www.historyonthenet.com/monarchy/timelinetwentiethcentury.htm
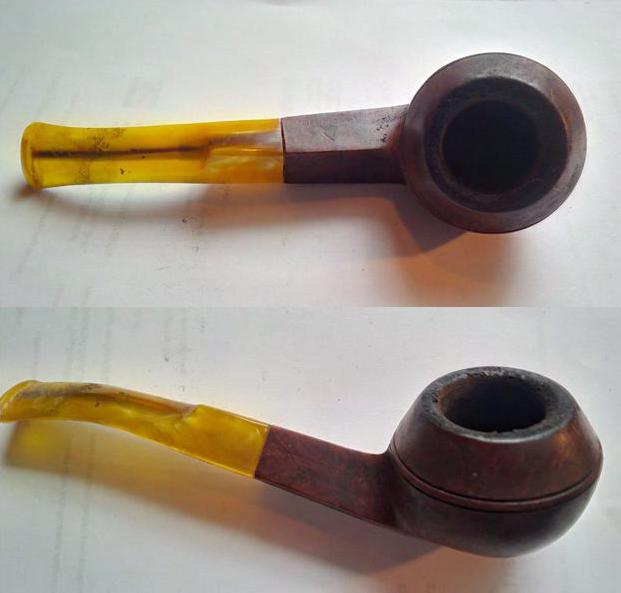
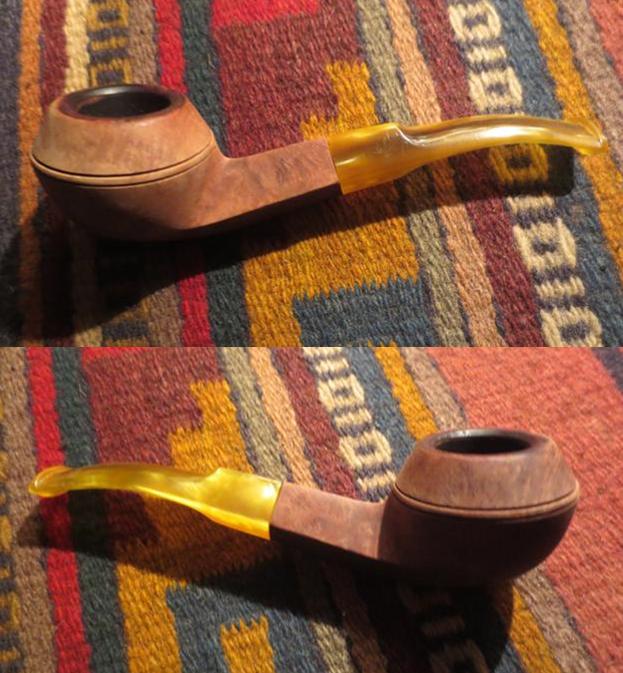
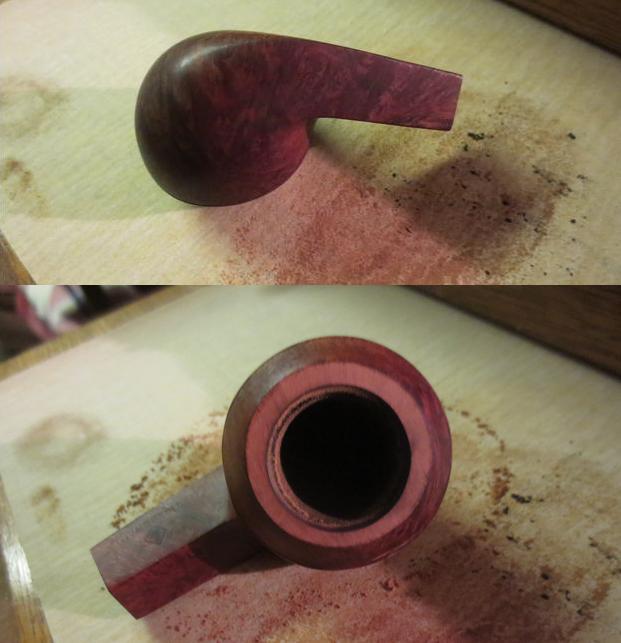
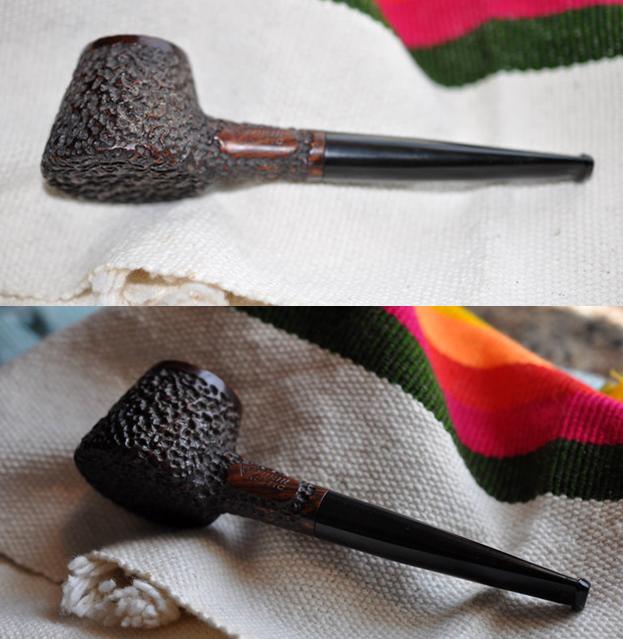
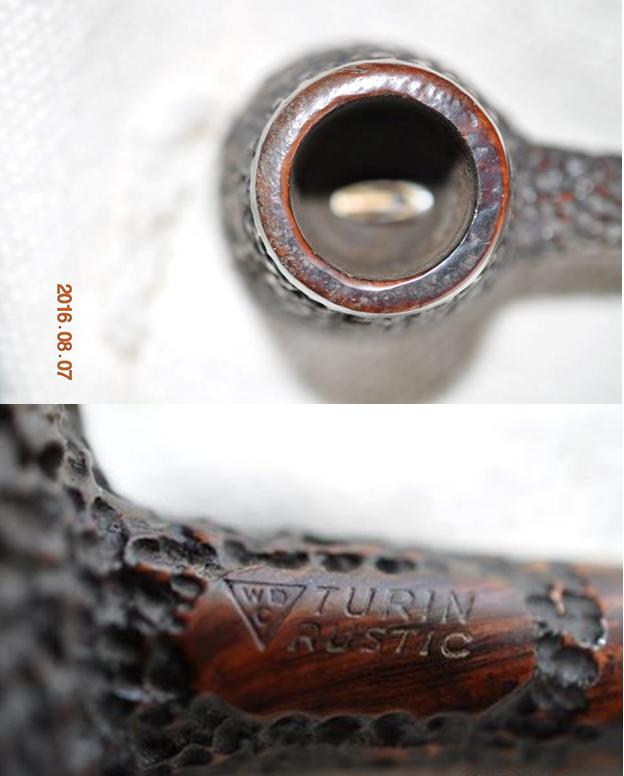
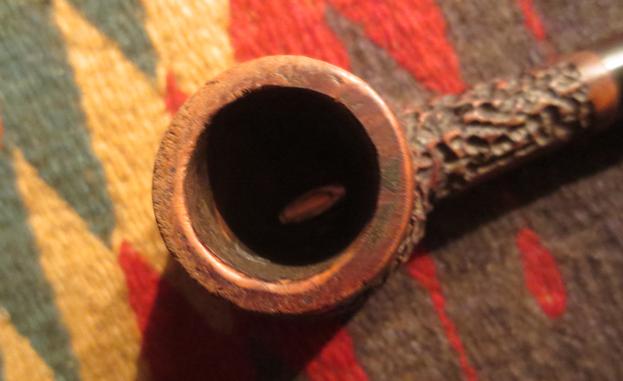
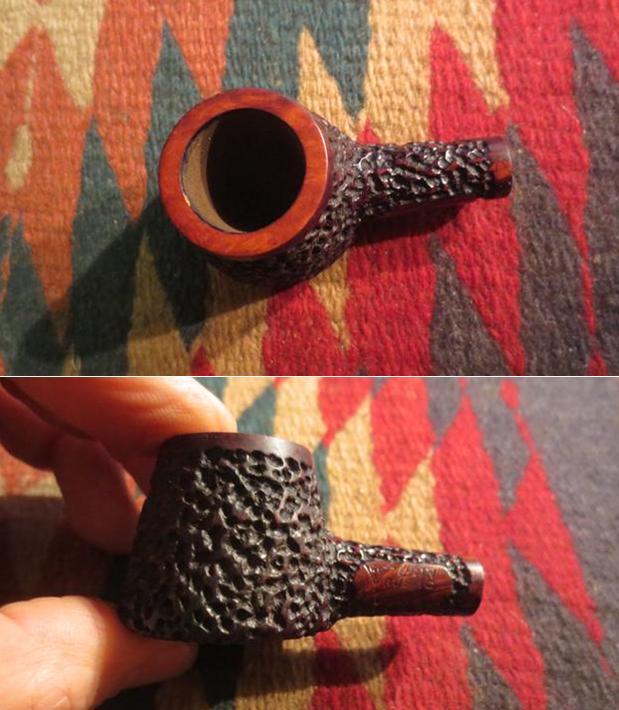
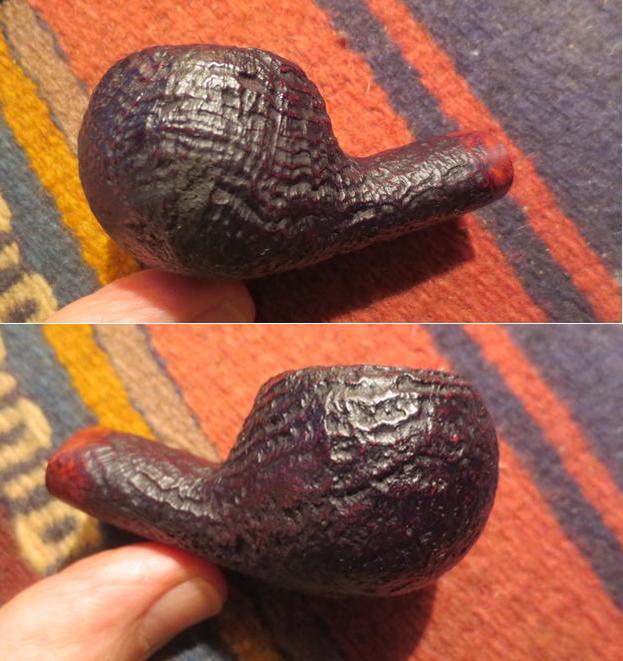
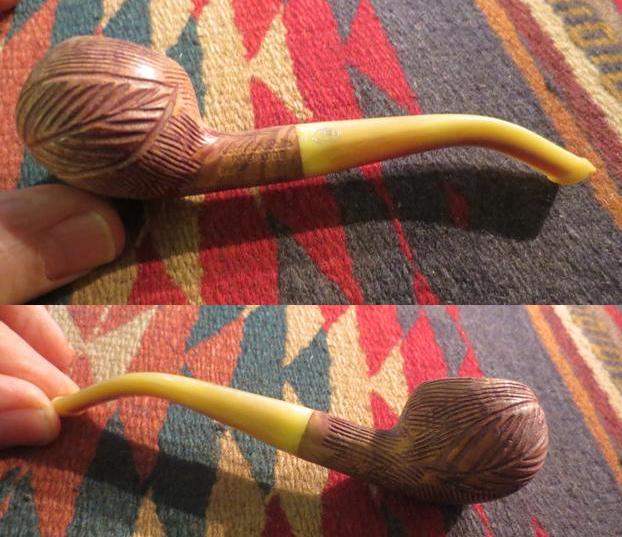
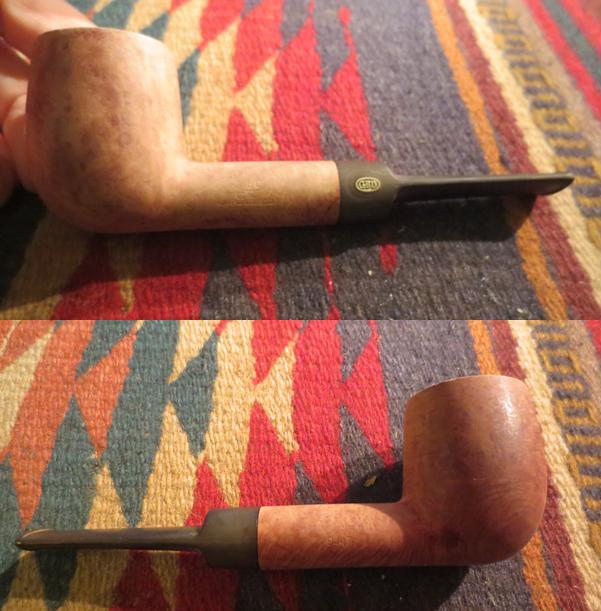
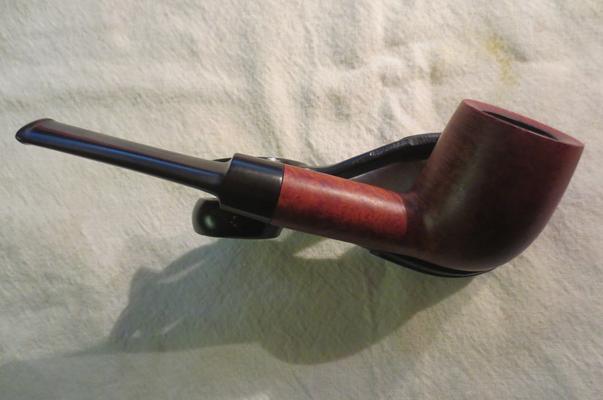
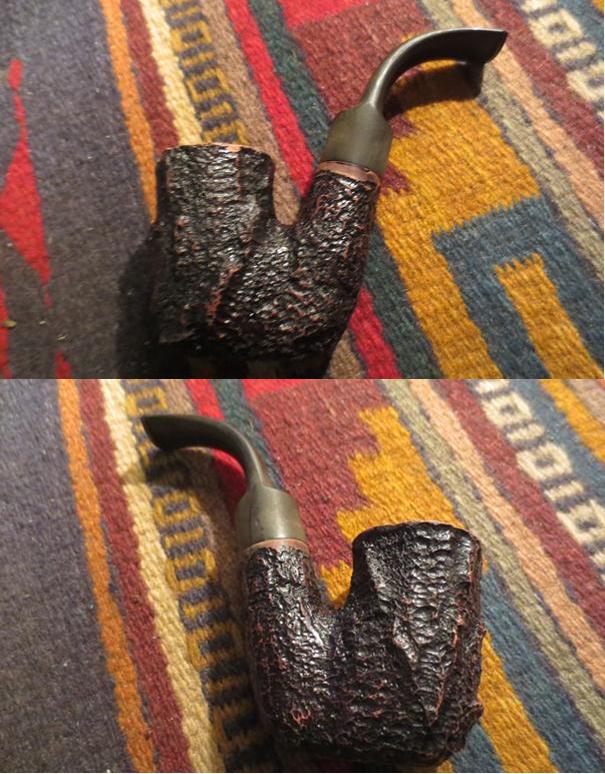
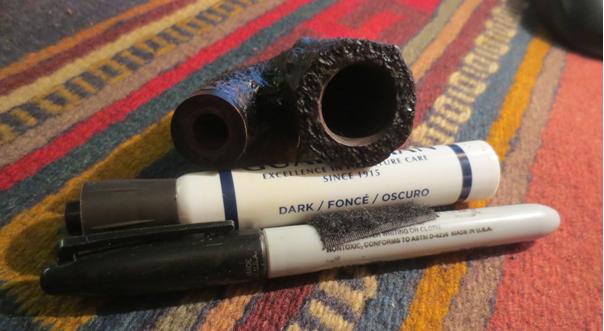
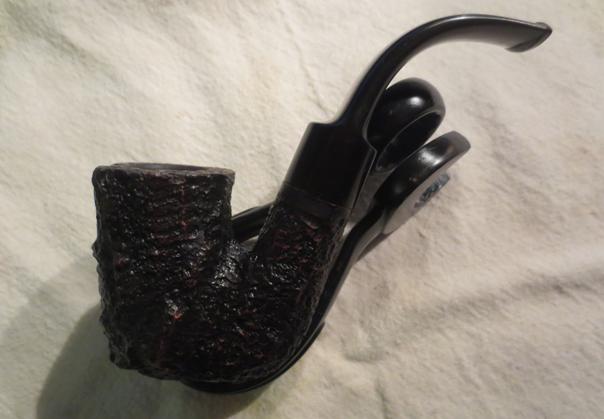
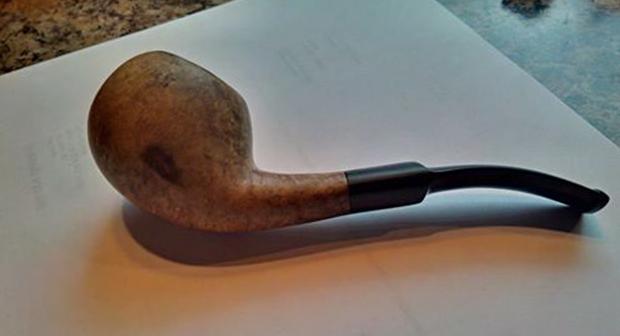 My brother cleaned the pipe really well and the grime and remnants of the finish were all gone by the time I received the pipe. I took some photos of the pipe before I started to work on it. The dark spots on the sides of the bowl are visible in the photos below. The damage to the rim is also visible. There are some nicks in the top of the bowl and some burned areas that will need to be addressed. He cleaned out the airway in the shank and the stem as well as the mortise area. I noticed however that there was a slight ledge in the mortise that was hard and made me wonder what was happening there.
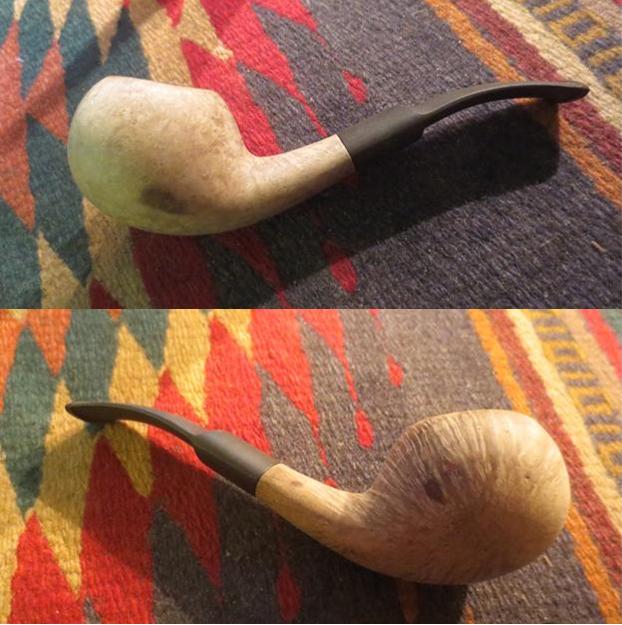
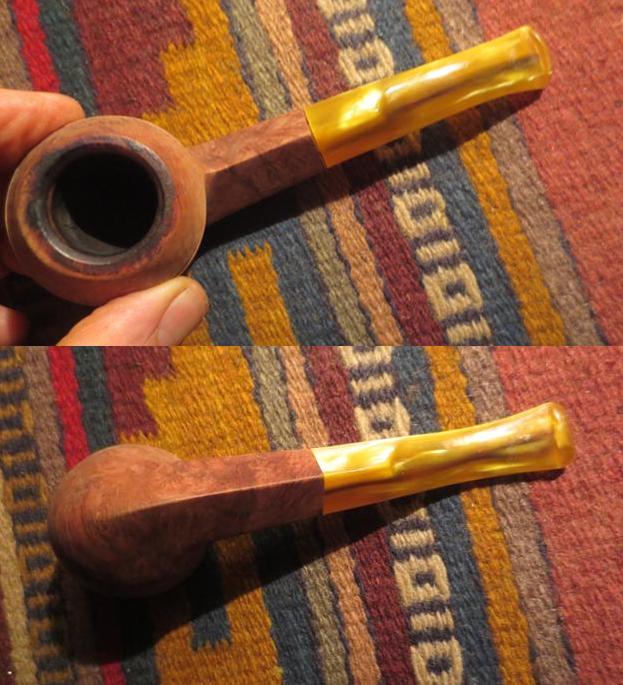
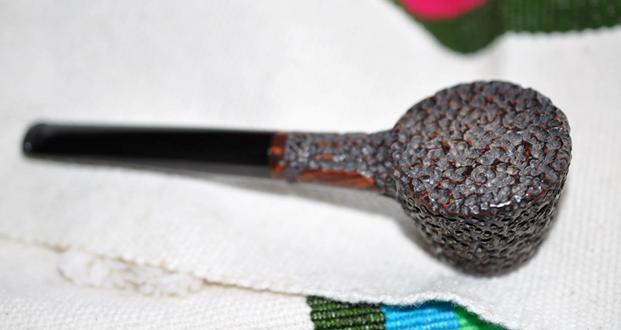
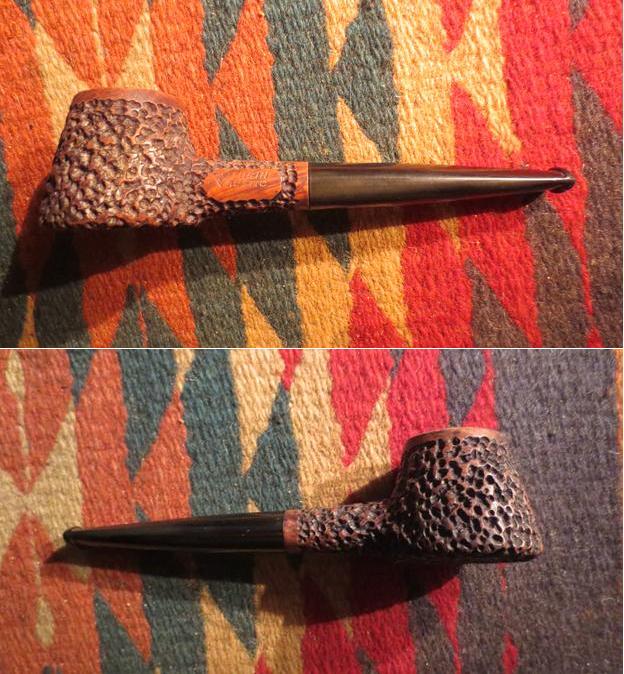
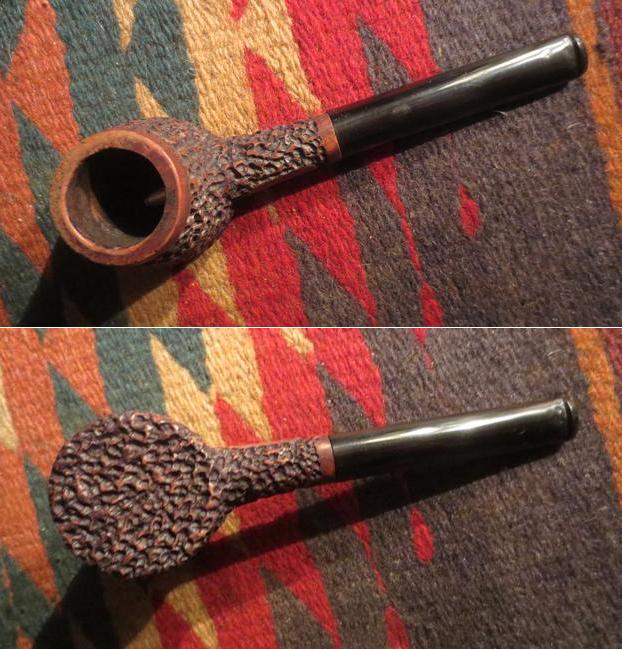
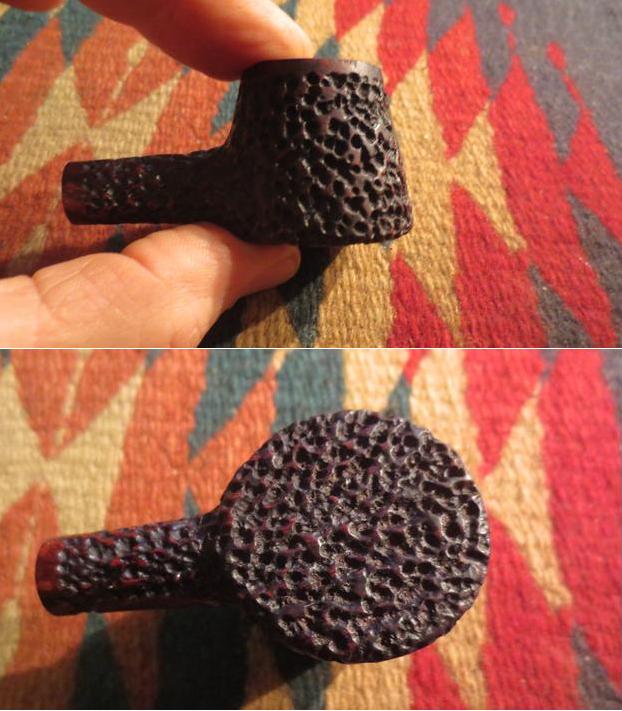
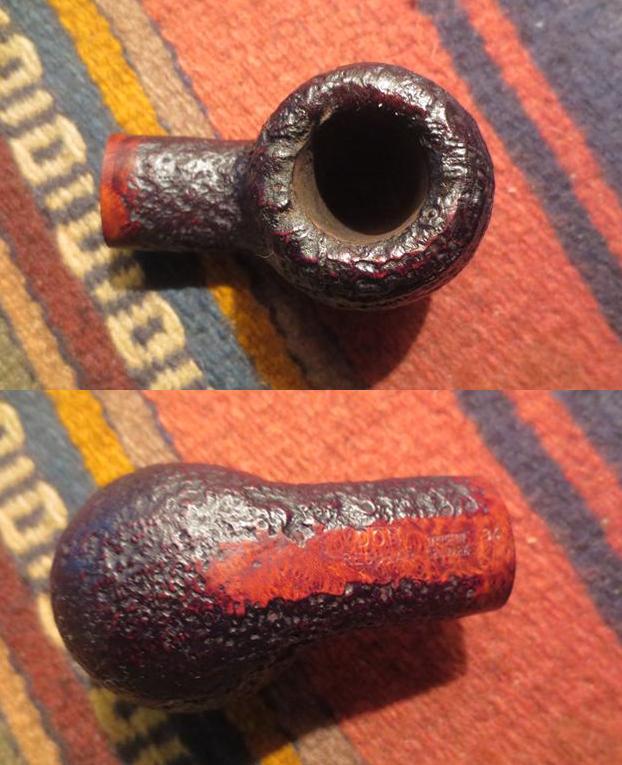
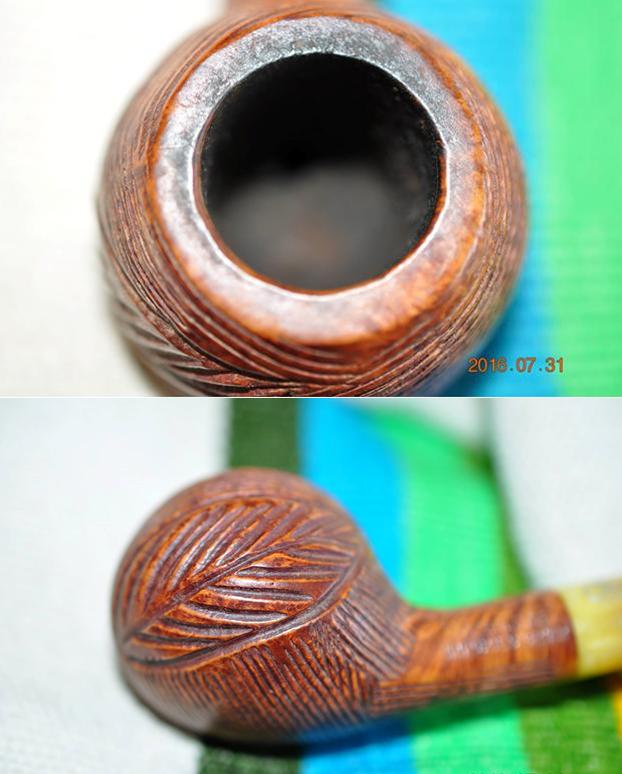
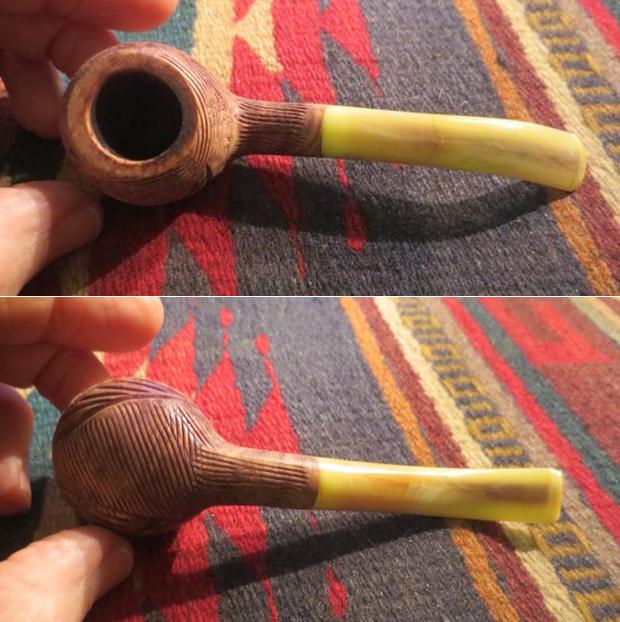
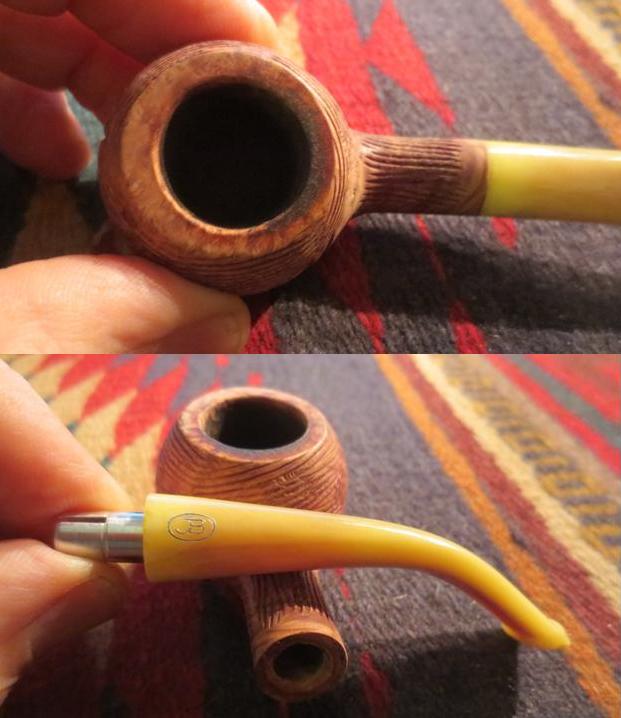
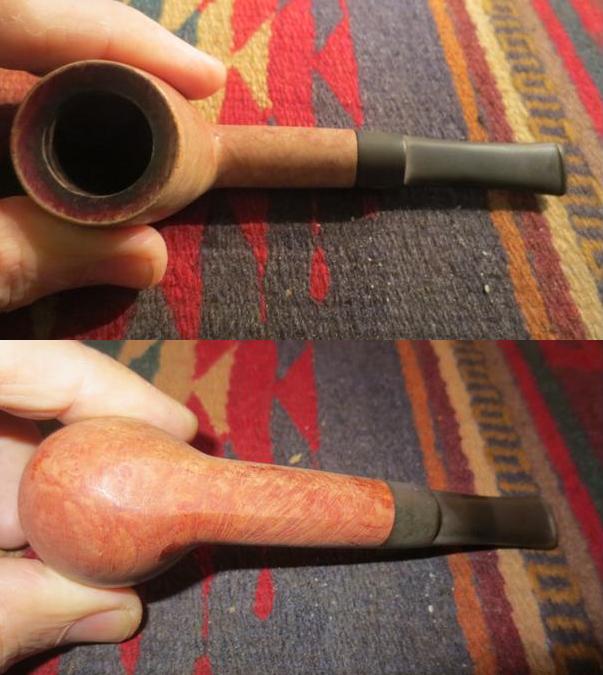
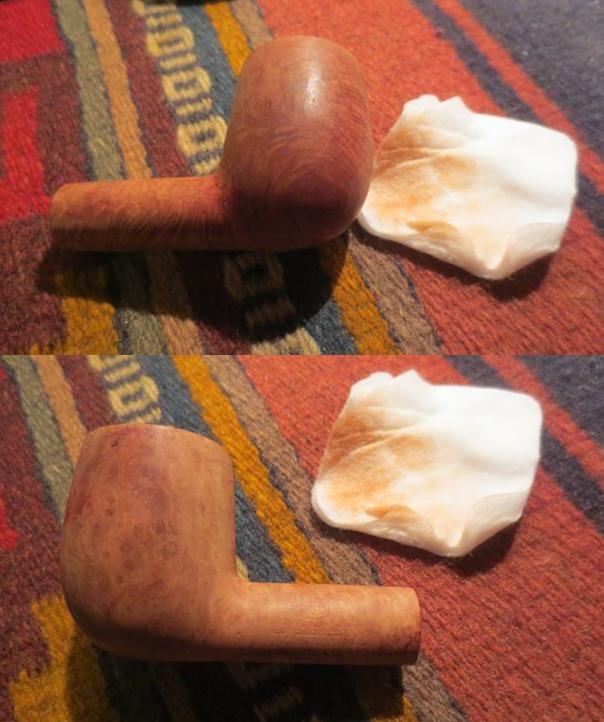
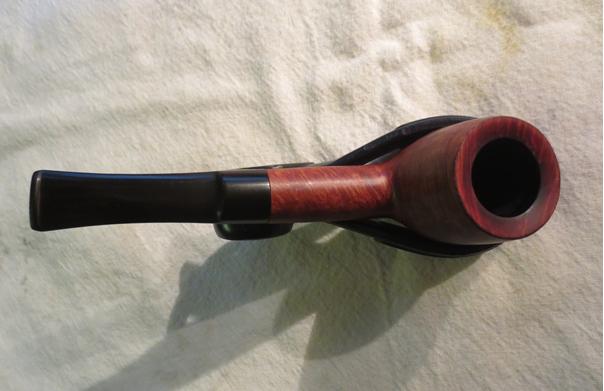
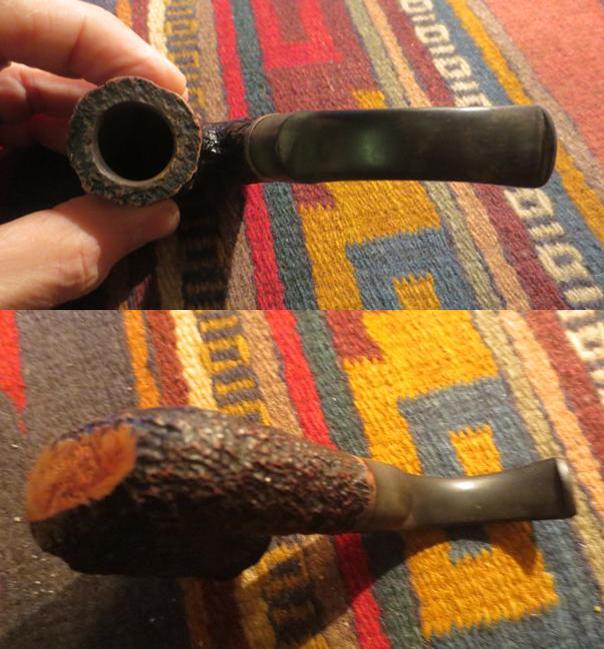
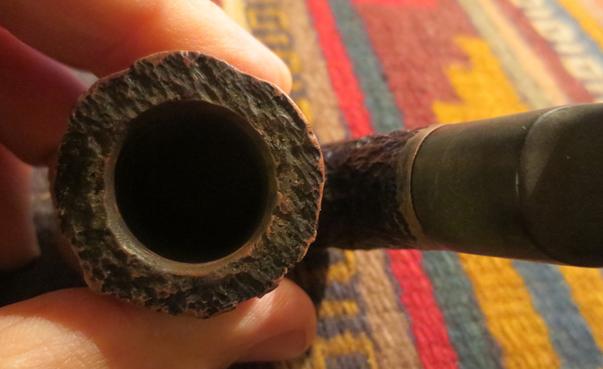
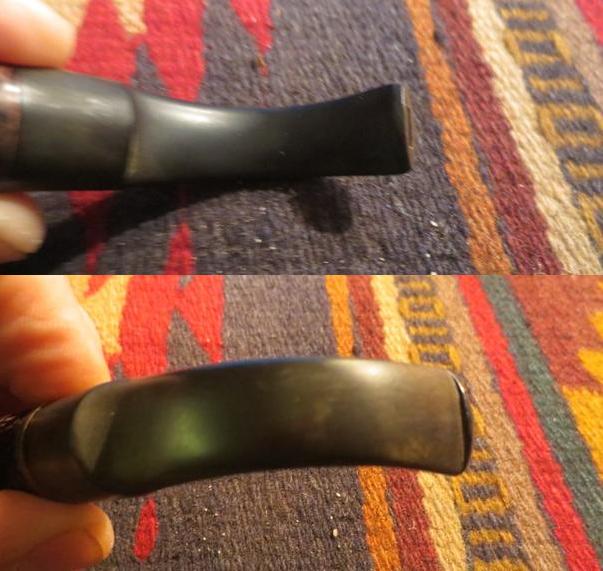
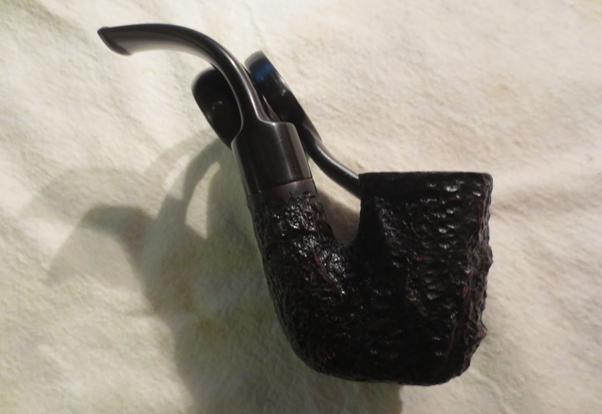
 I took a close up photo of the bowl to show the extent of the damage to the inner edge of the rim and the rim top. The bowl was quite out of round and the burn marks though not deep were prevalent in the briar. I took some close up photos of the stem as well to show the condition they were in when I started the clean up.
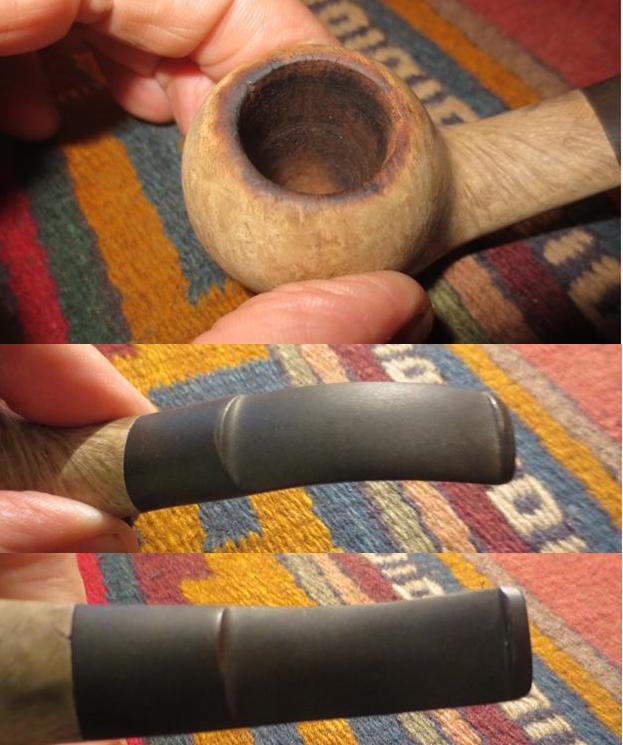 I topped the bowl on the topping board with 220 grit sandpaper until all of the damage was removed.
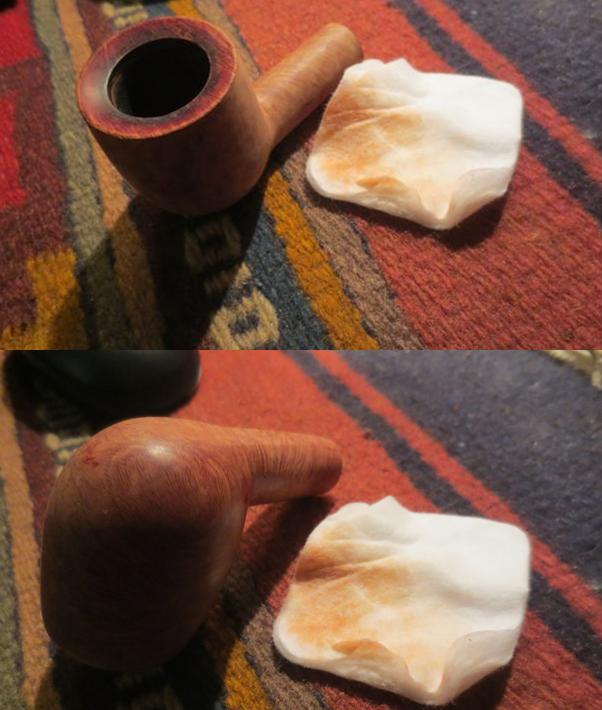
 I sanded the inside of the bowl and the inner edge of the rim with a tube of sandpaper until the edge was smooth and round.
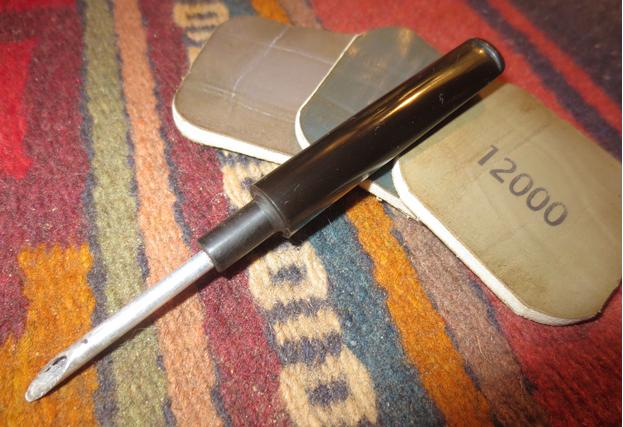
 I sanded the top of the rim with micromesh sanding pads – wet sanding with 1500-2400 grit pads and dry sanding with 3200-12000 grit pads. The rim took on a shine.
 I wiped the bowl down with acetone on a cotton pad to remove the remaining debris and worked on the dark areas. The dark areas turned out to be fills and the darkening occurred around the edges of the fills.
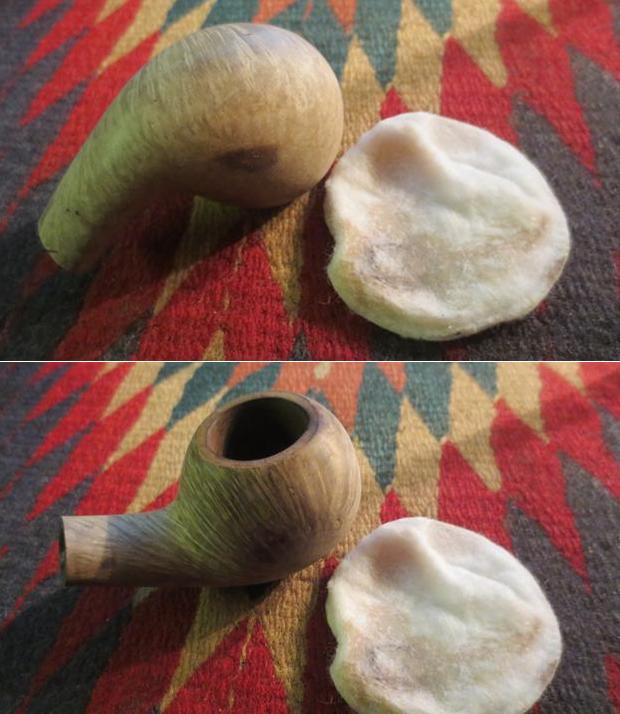
 I warmed the briar and then stained it with a dark brown aniline stain mixed 50/50 with isopropyl alcohol. I flamed the stain to set it in the briar and then repeated the process until the coverage on the bowl was good.
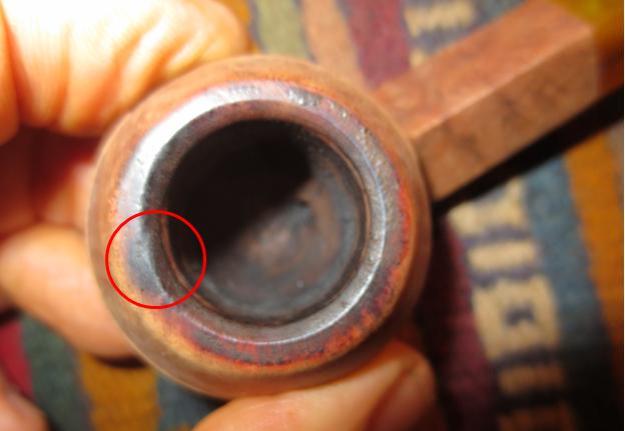
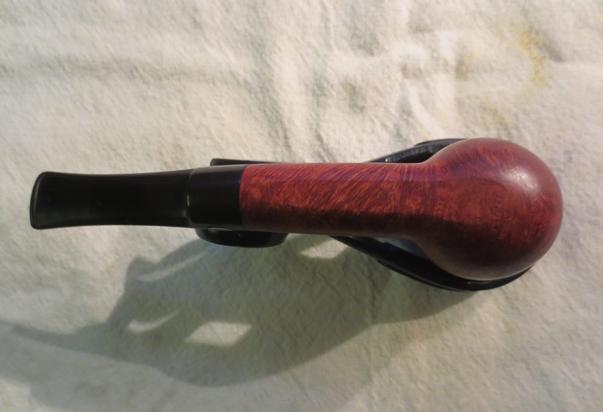
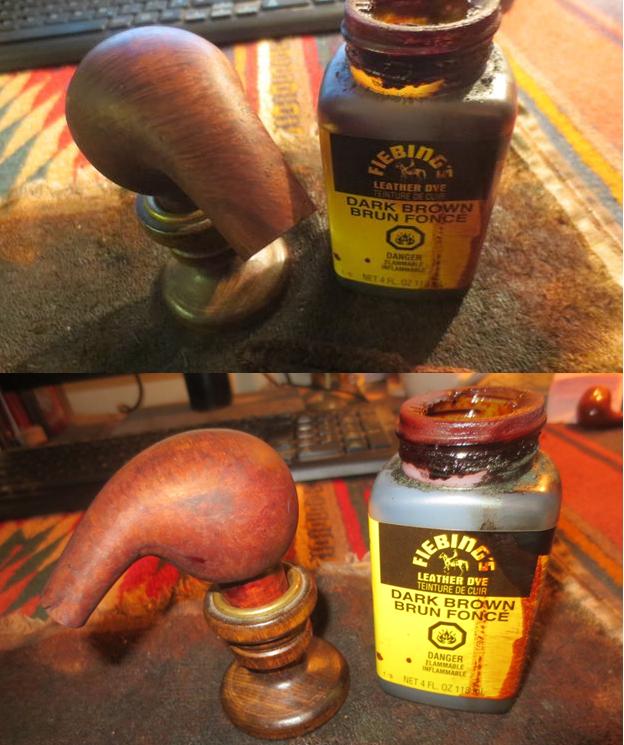 I hand buffed the bowl with a microfiber cloth to see what the coverage looked like particularly over the filled areas. The photos below show the pipe at this point in the process. The putty spots are visible in the first two photos. I have circled them in red to make them clear. Both fills were solid and tight but had a red overtone that stood out.
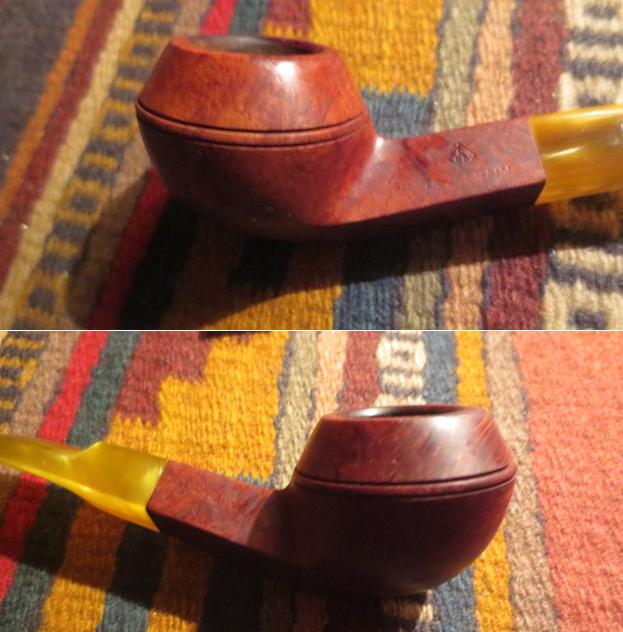
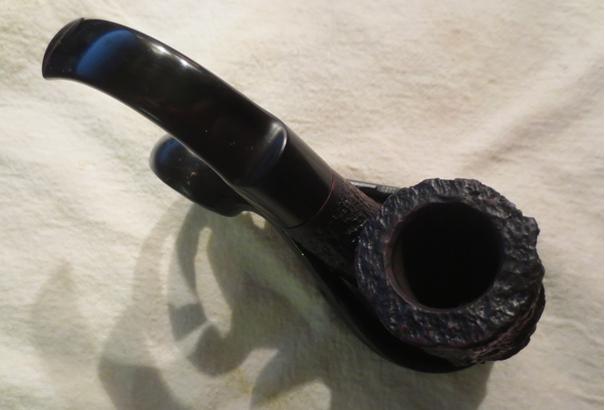
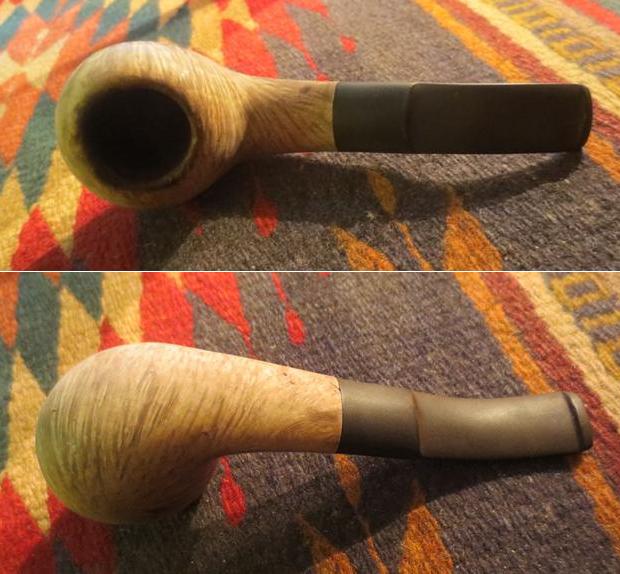
 The top of the rim came out looking really good. The burned spots and damage to the rim top and inner edge have been minimized.
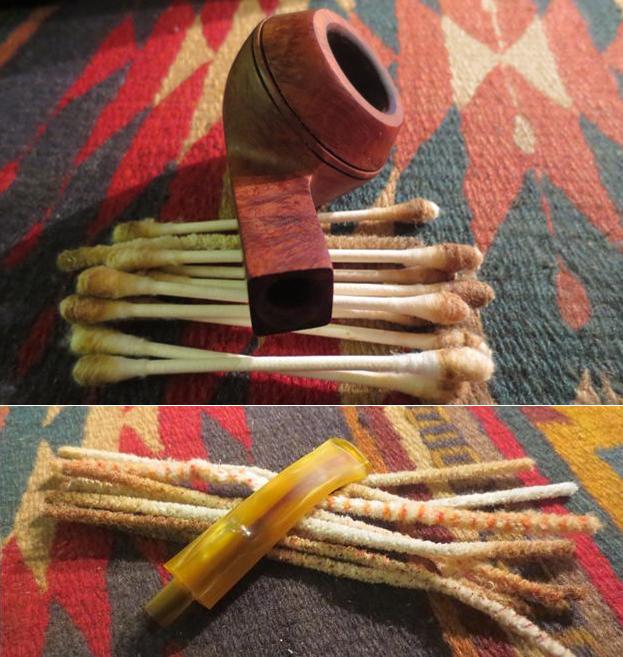
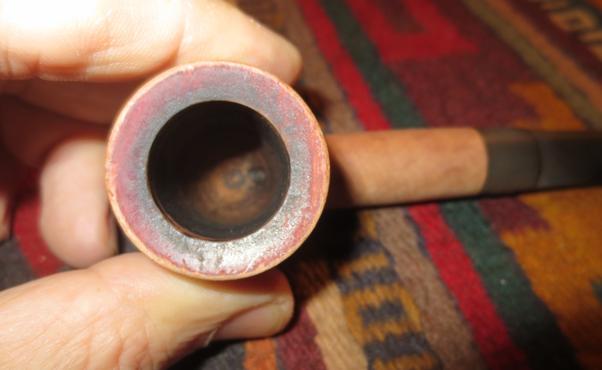
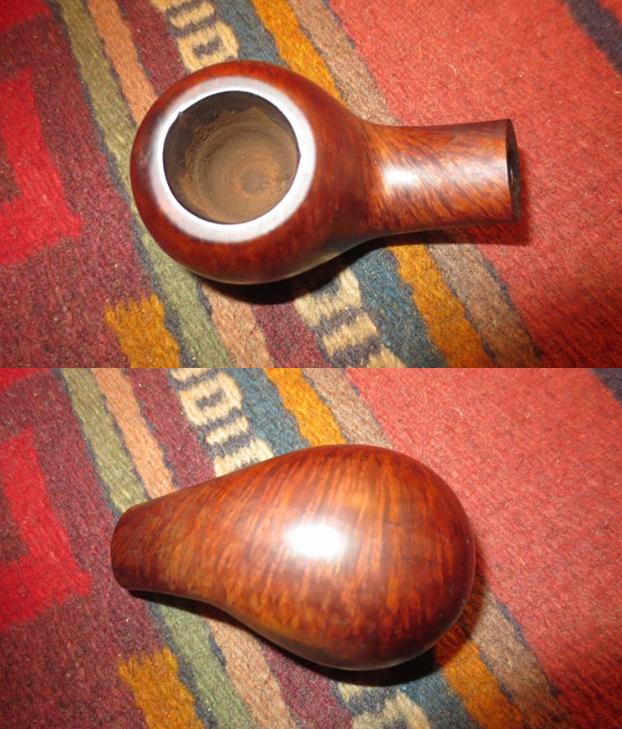 I recleaned the interior of the shank using the dental spatula to scrape away the hardened tars and oils. I scrubbed it with pipe cleaners, cotton swabs and alcohol until it was clean. I cleaned up the airway in the stem with bristle cleaners and was able to remove the last of the tars.
 The stem fit against the shank with a slight gap on the right side. I heated the tenon with a Bic lighter and while it was still soft held it straight in the shank until it cooled.
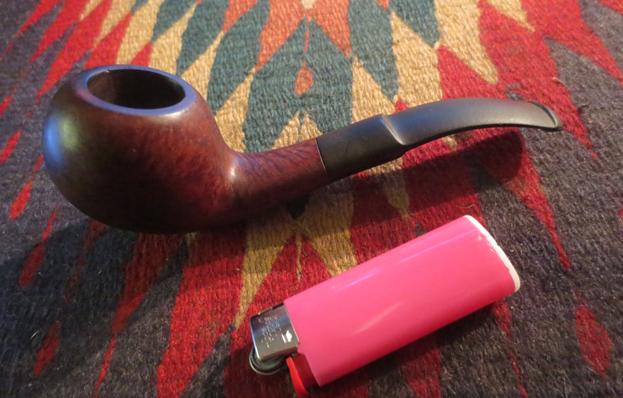 On the underside of the shank next to the stem there was a chipped area where the briar was missing from the shank. I cleaned out that area and filled it in with clear super glue and briar dust. Once it dried I sanded it smooth with 220 grit sandpaper and then polished it with 1500-4000 grit micromesh sanding pads. I used a dark brown stain pen to touch up the sanded area.
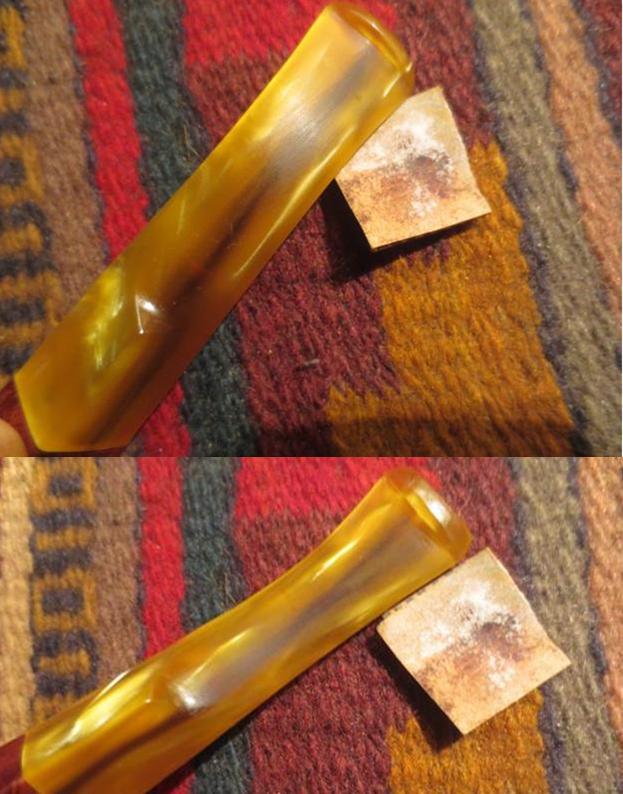
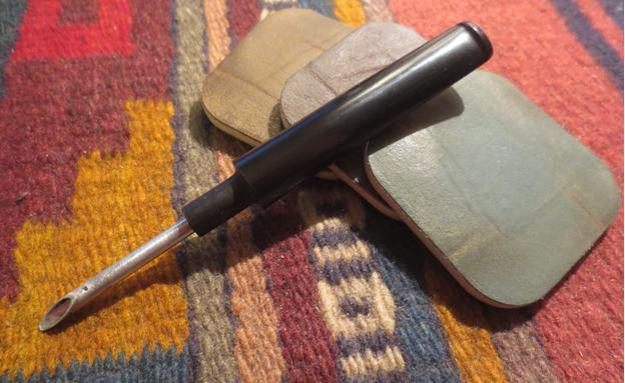
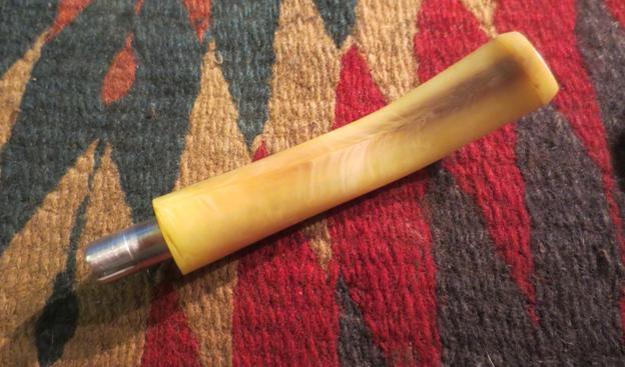
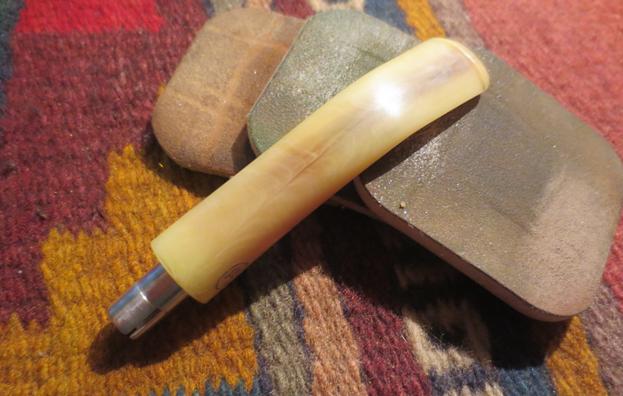
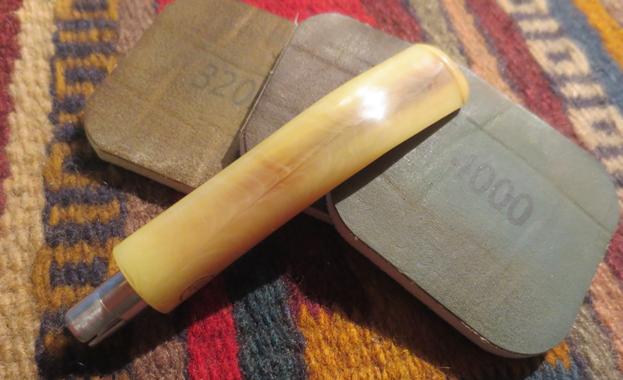
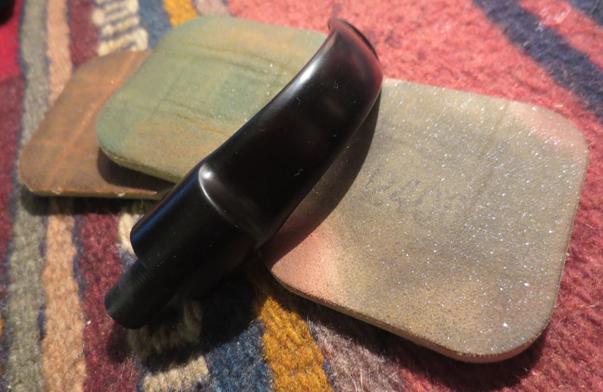
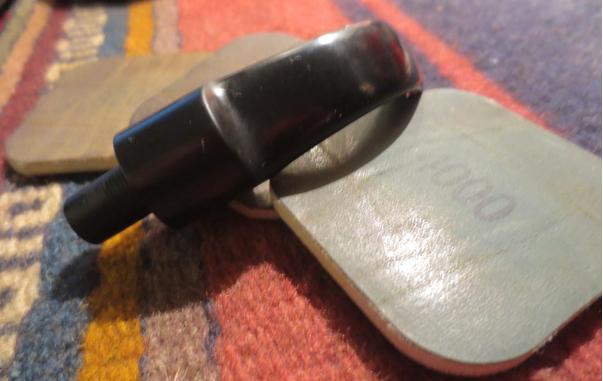
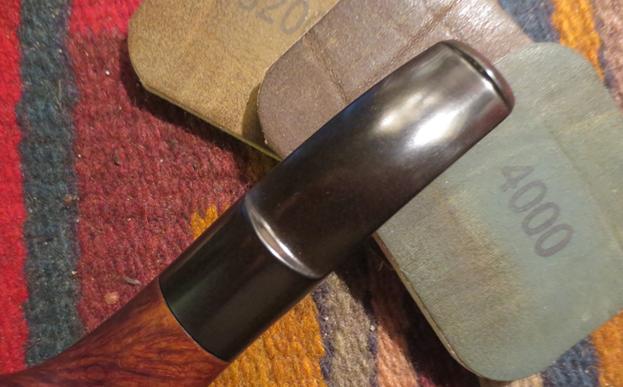
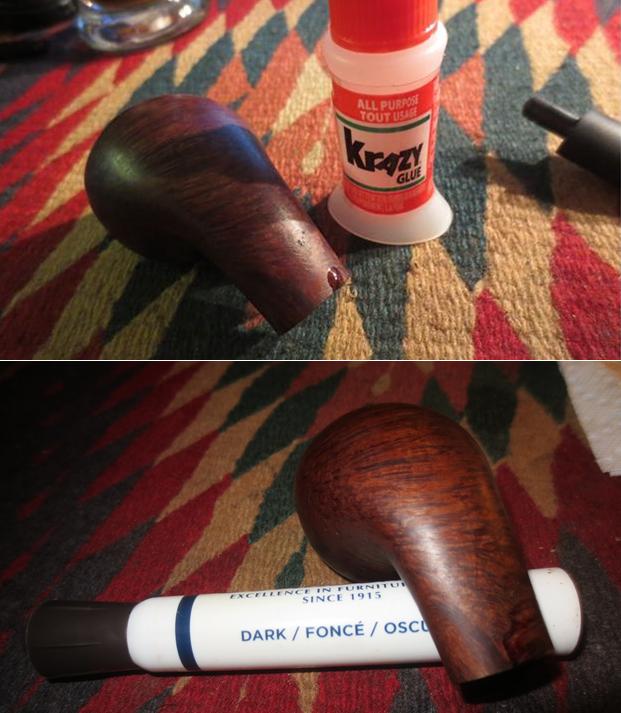 I sanded the stem with 220 grit sandpaper to smooth out the pits and roughness. I polished it with micromesh sanding pads. I wet sanded it with 1500-2400 grit pads and dry sanded it with 3200-12000 grit pads. I rubbed the stem down with Obsidian Oil between each set of three pads. After the final rubdown I let the stem dry.
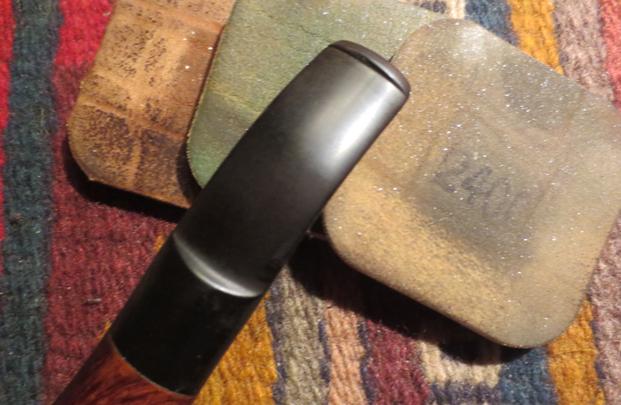
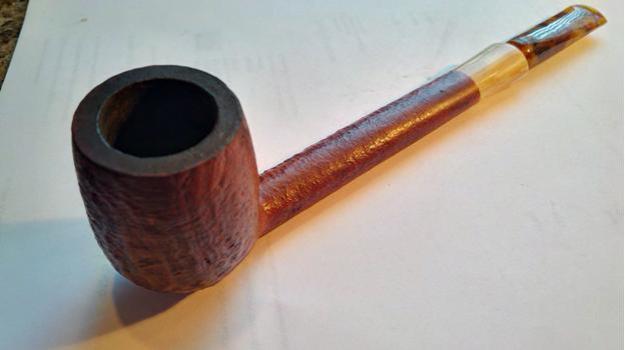
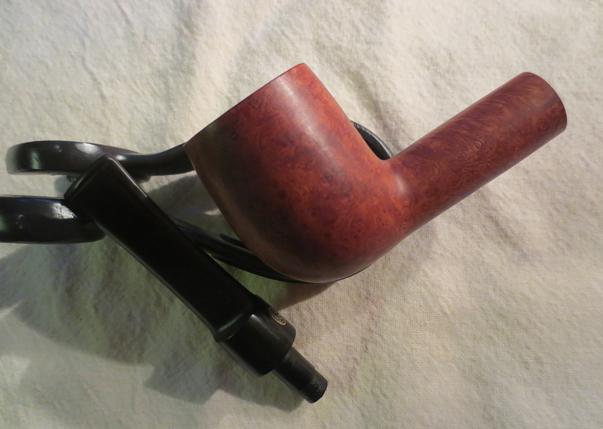
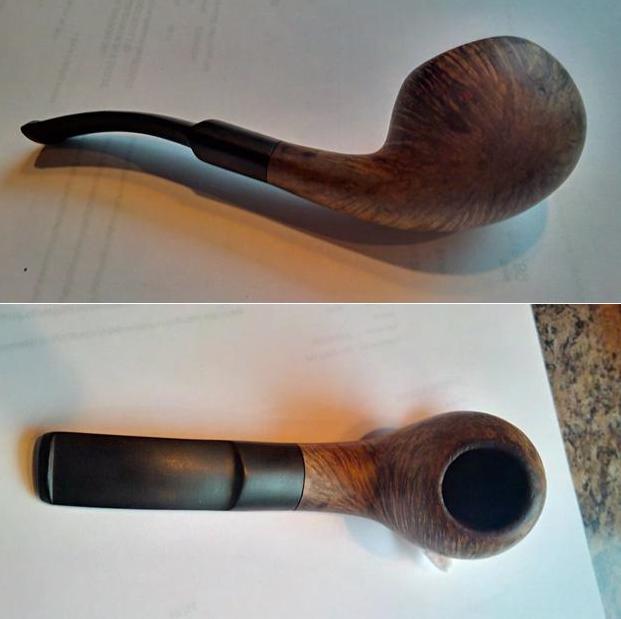
 I used a black Sharpie Pen to draw “grain” lines through the fills and used the dark brown stain pen to blend the pen lines into the body of the pipe. I buffed the pipe and stem with Blue Diamond polish on the buffing wheel to finish cleaning up the small remnants of oxidation. I gave it several coats of carnauba wax and buffed it with a clean buffing pad. I hand buffed it with a microfibre cloth. The finished pipe is shown in the photos below. Thanks for looking.