Blog by Steve Laug
The next pipe on the work table is one that a fellow just dropped by. He had written to me earlier this week about a Stanwell that he had that needed some work. Here is his first email.
Your name was passed to me by the folks at City Cigar. I was lamenting to them how my decade old Stanwell was not doing well, and they suggested I check in with you. I would love to hear your thoughts on it. — Mike
I replied to him as follows:
Thank you. Can you send me a photo of the pipe on your phone?
He did not waste anytime and sent me an email with the first three pictures below and also a description of what he knew was wrong with the pipe. He wrote as follows:
Thanks for getting back to me so quickly! In the photos you can see that there are stem problems, but also a little crack in the bowl. If I could save this piece, I would so grateful. I just love the shape, as well as the elegant mouthpiece. I haven’t really seen anything else like it. — Thanks, Mike
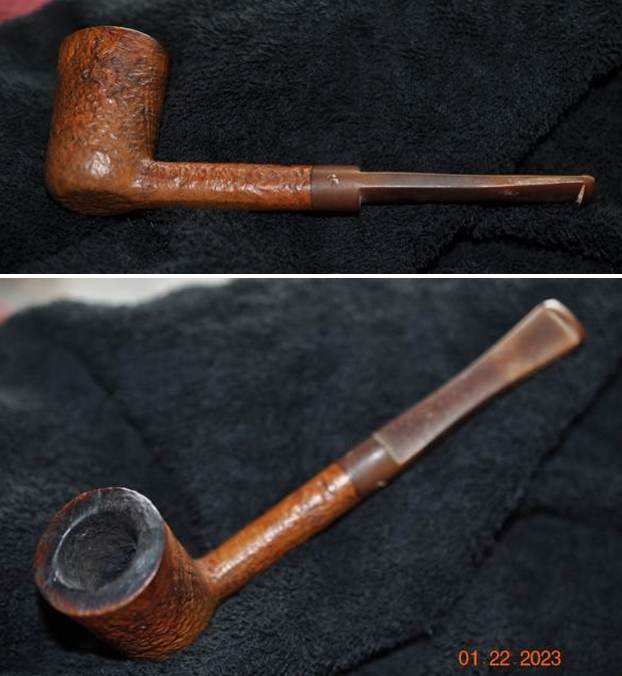
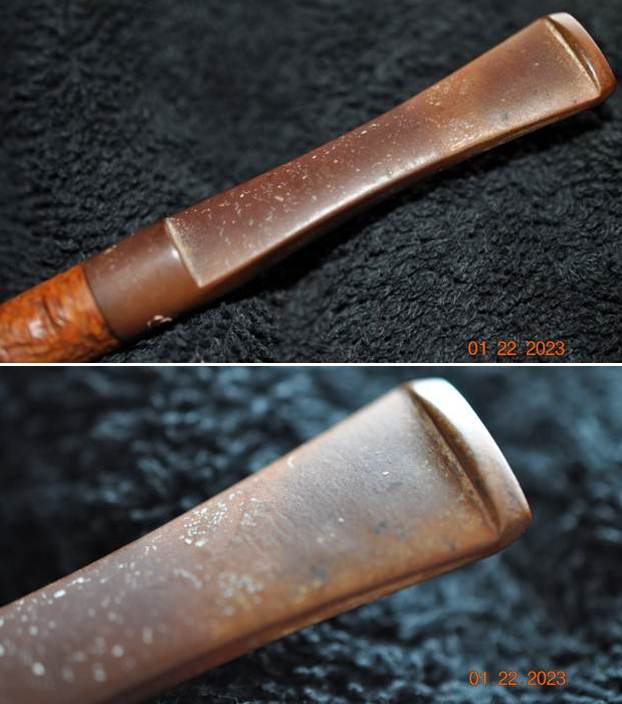
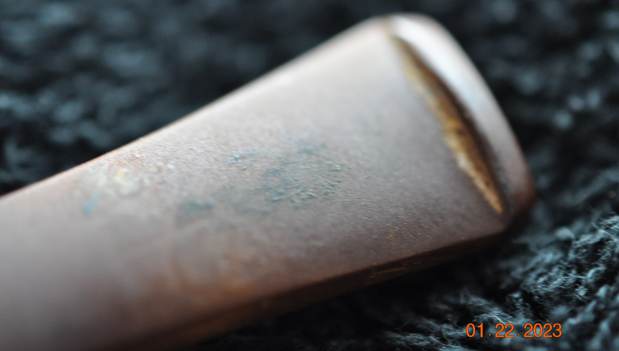
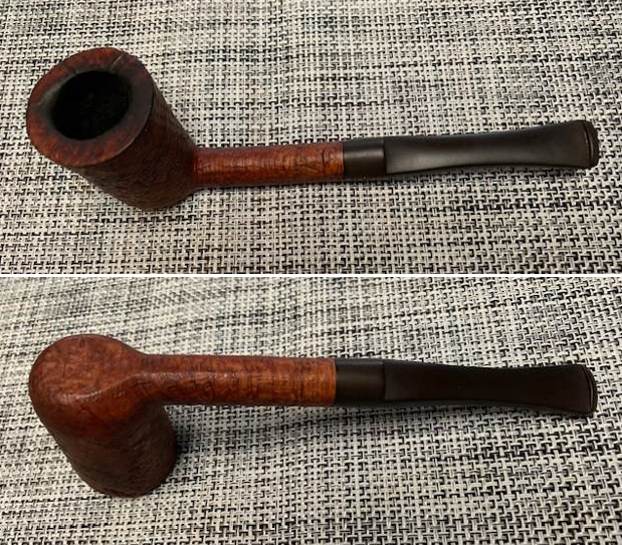
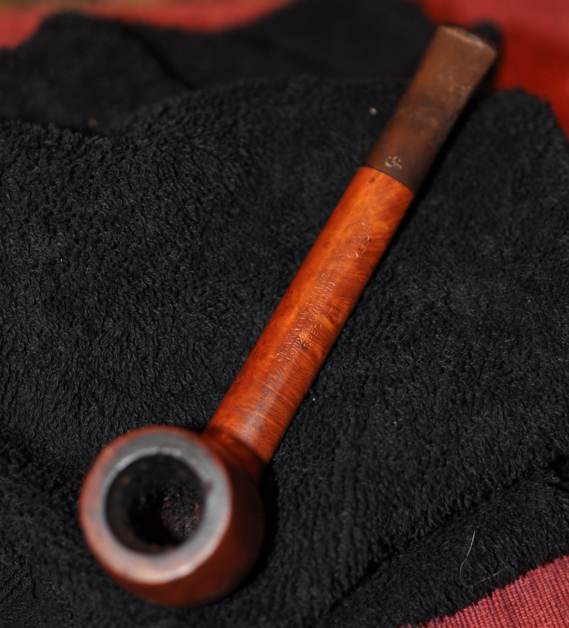
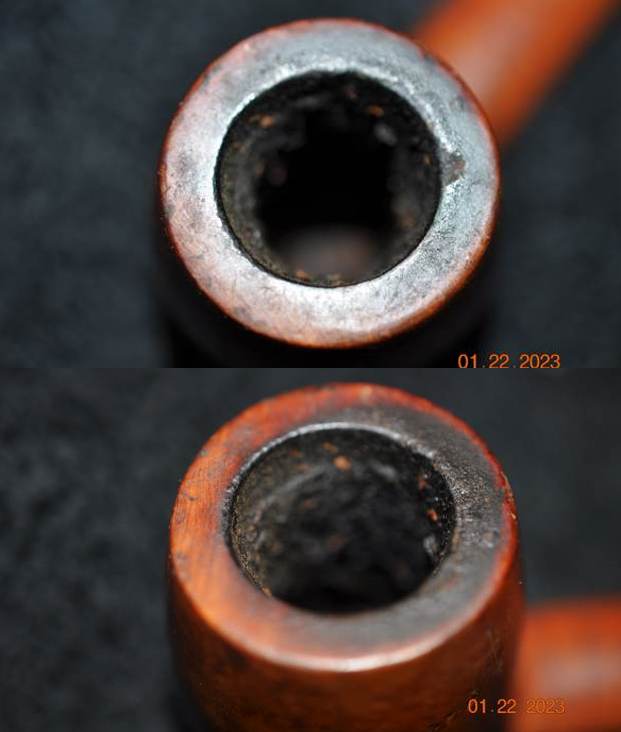
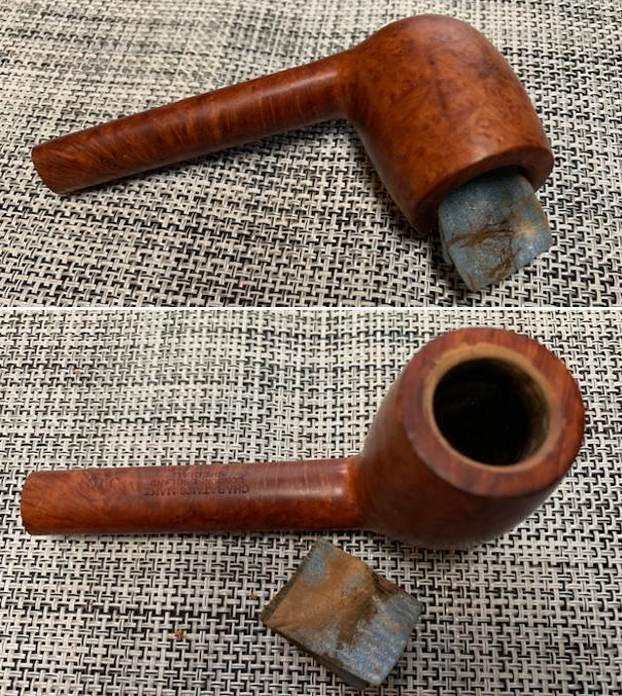
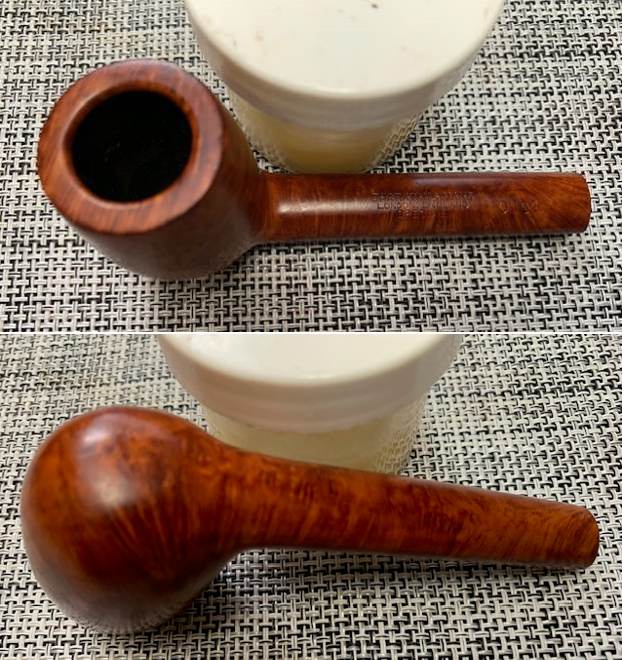
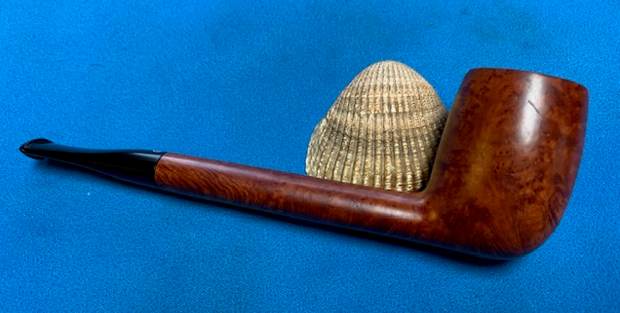
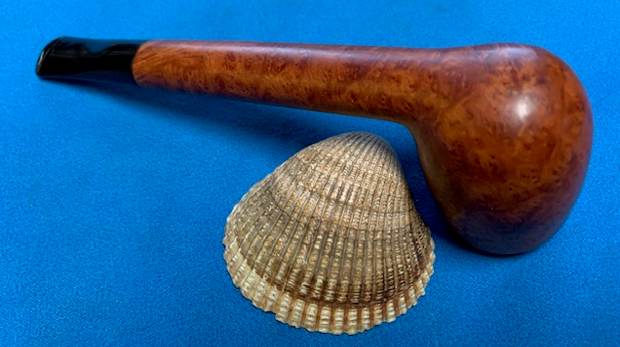
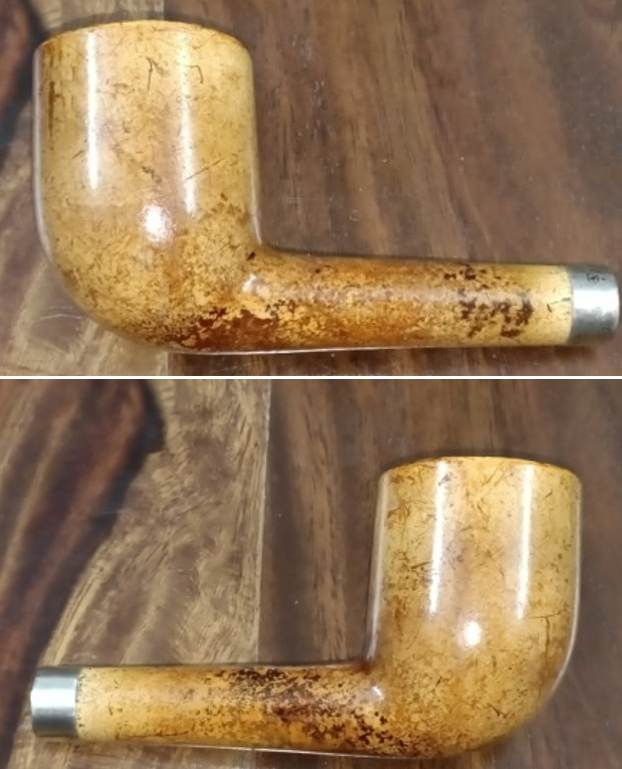
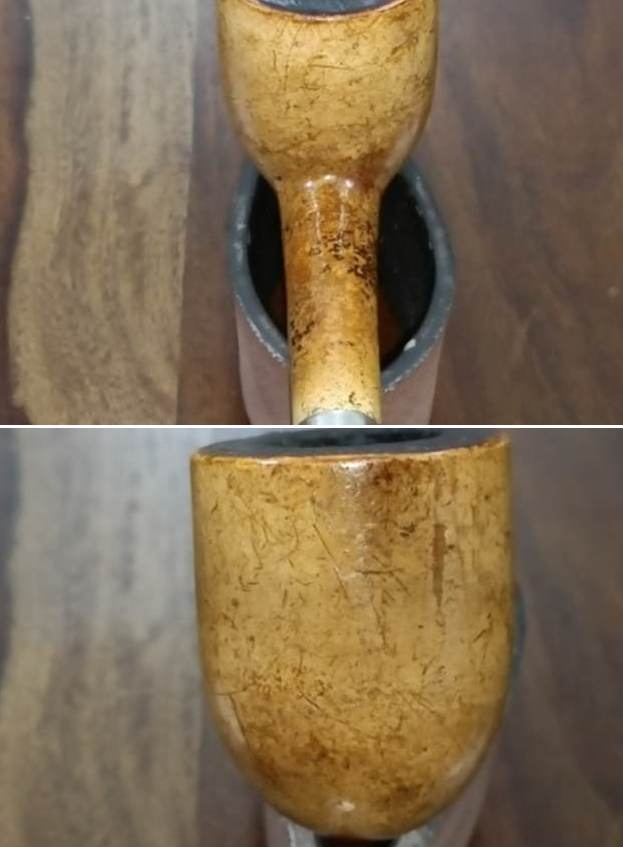
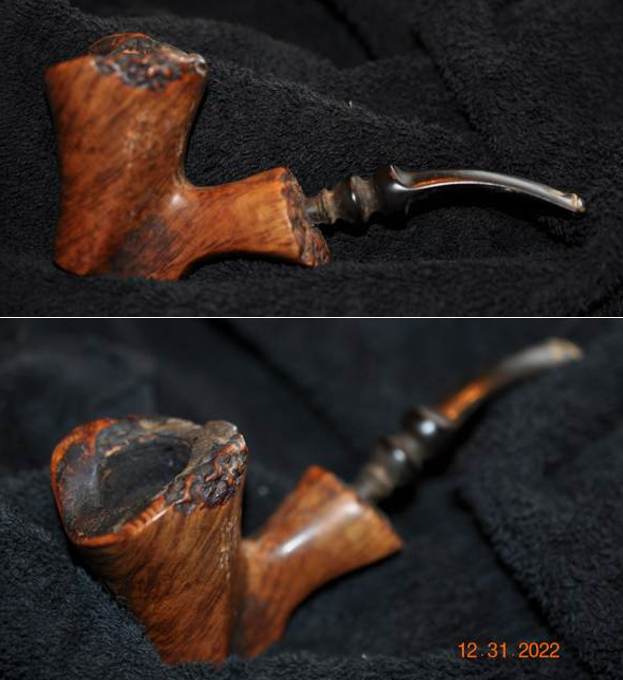
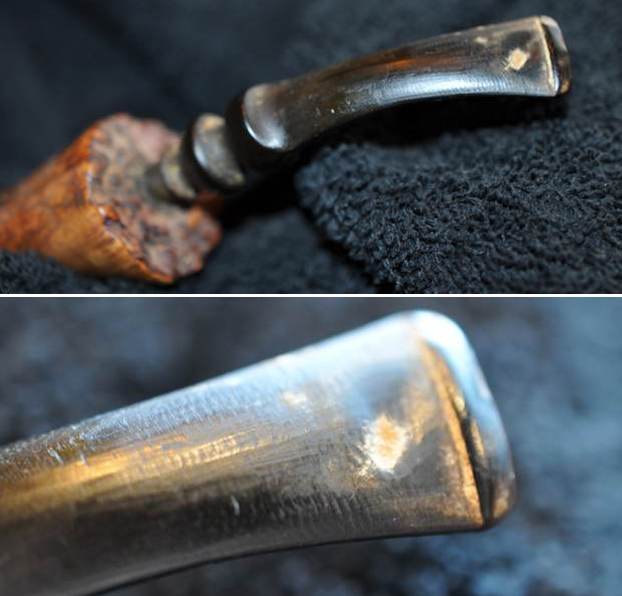
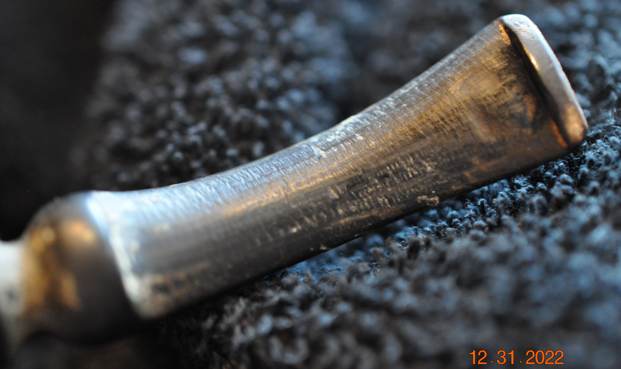
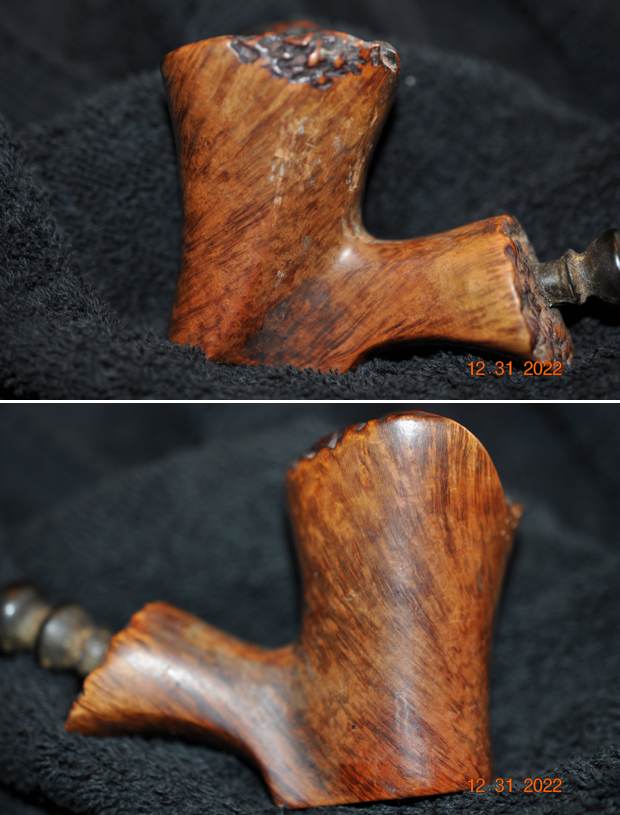
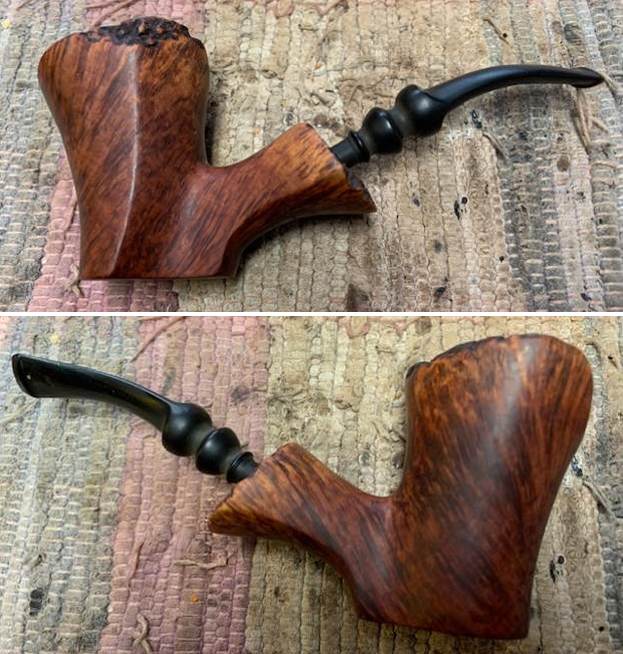
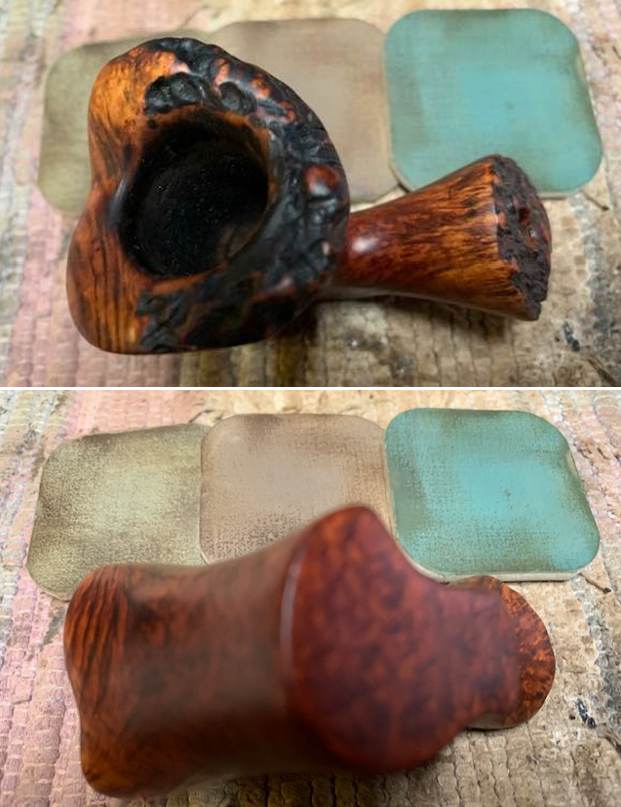
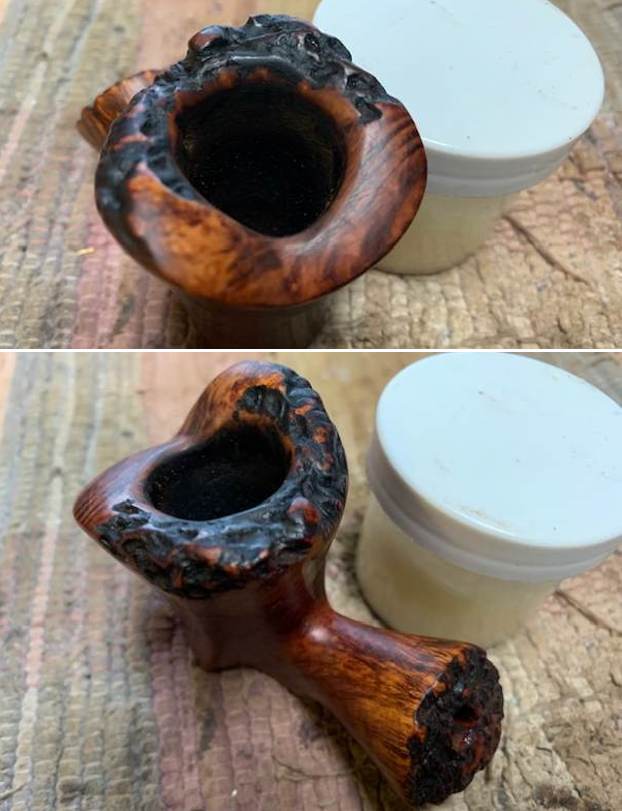
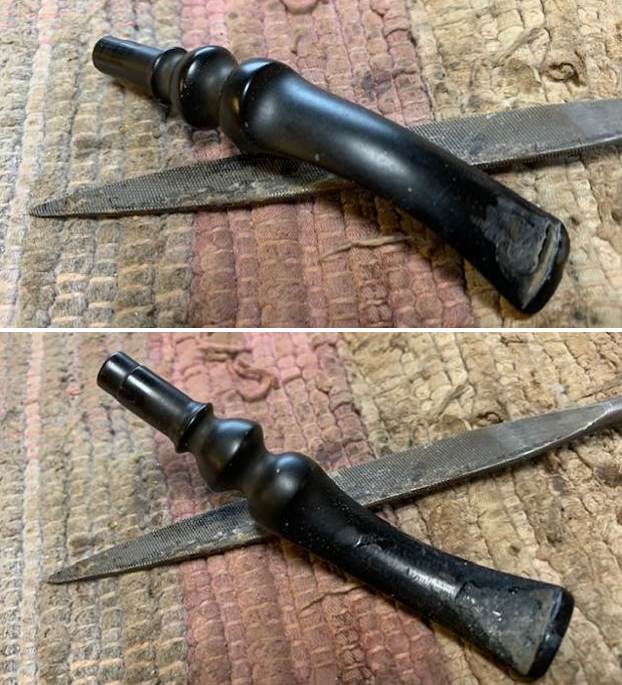
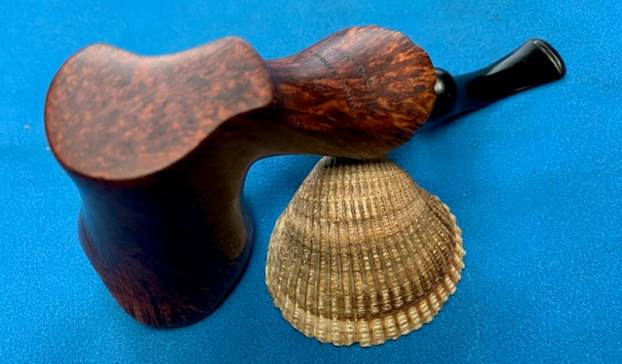
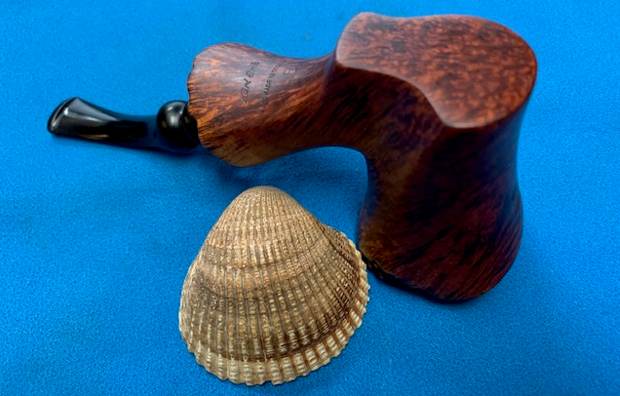
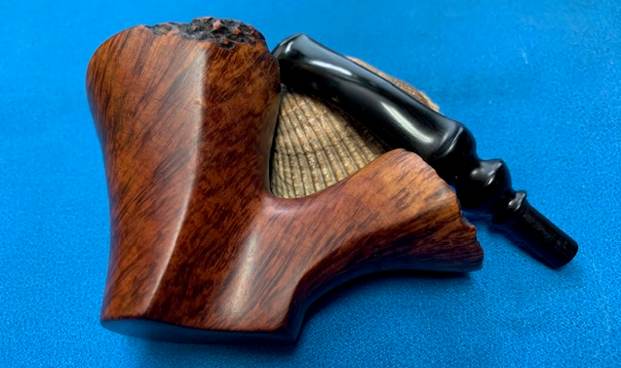
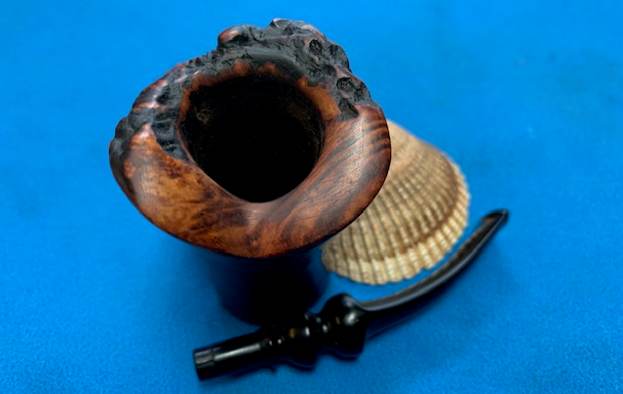
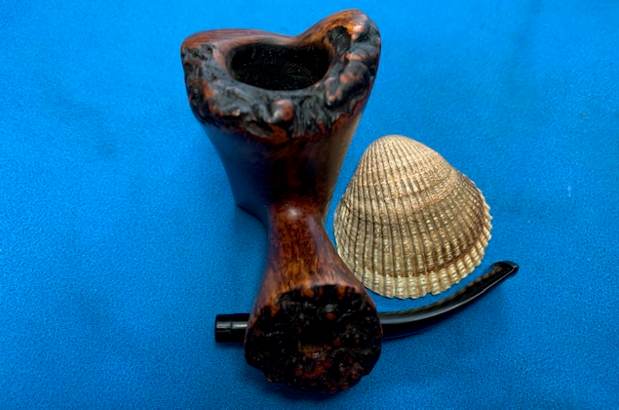
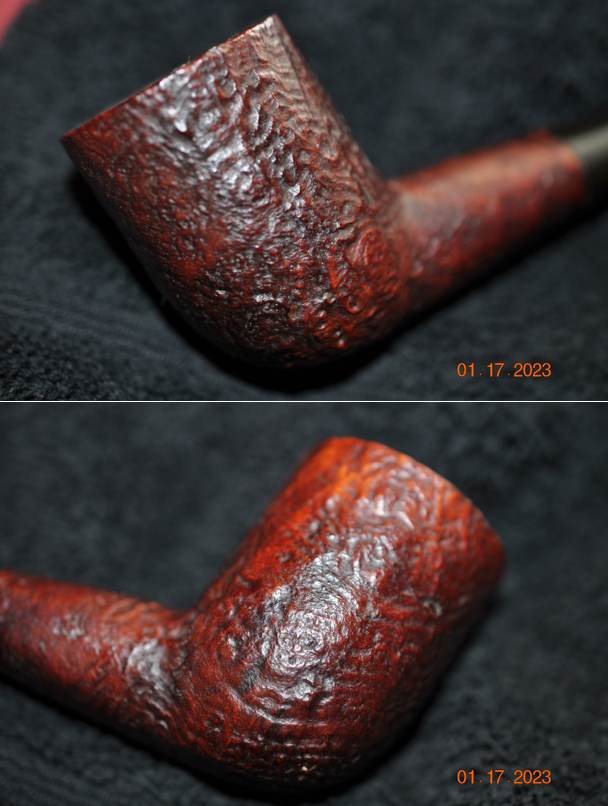
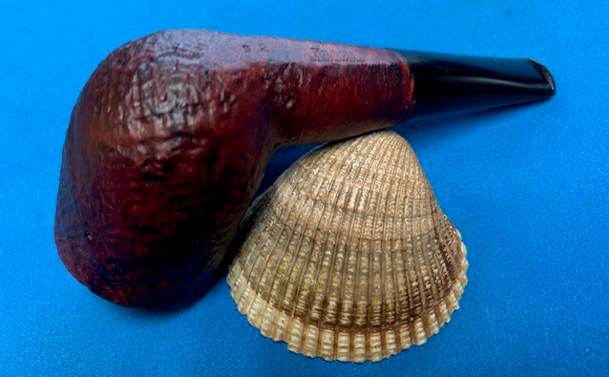
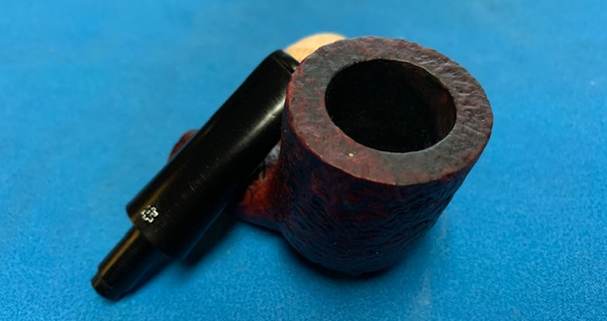
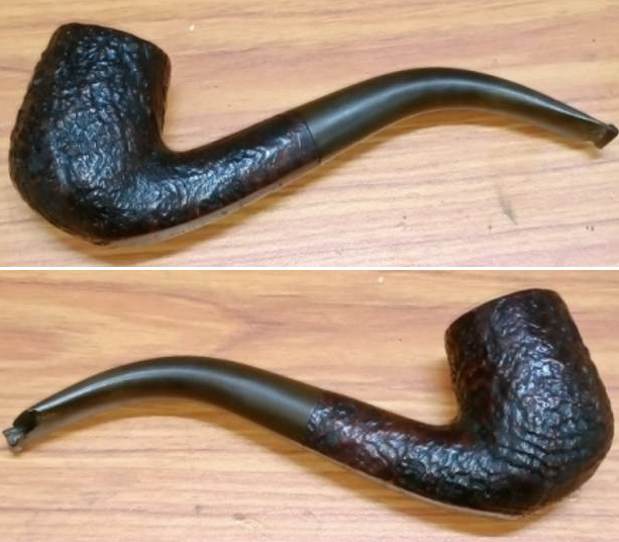
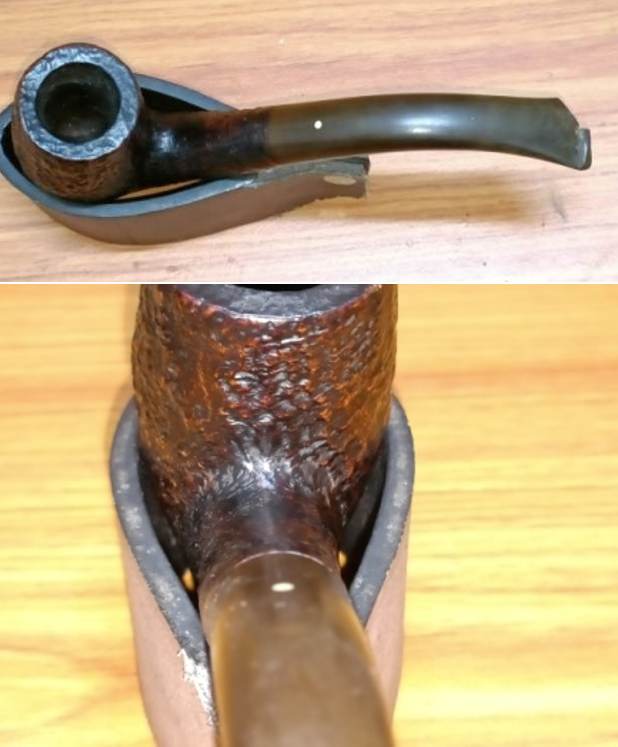
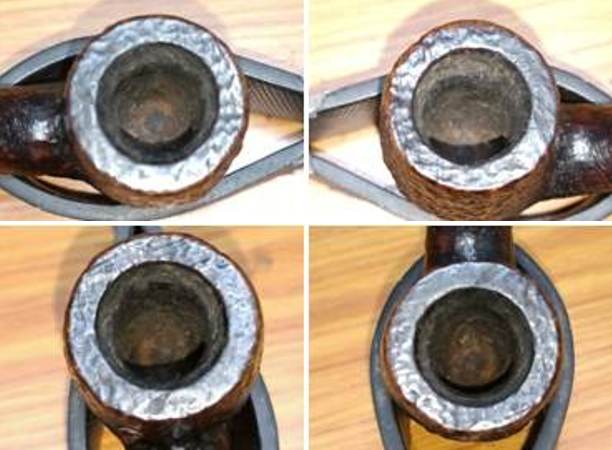
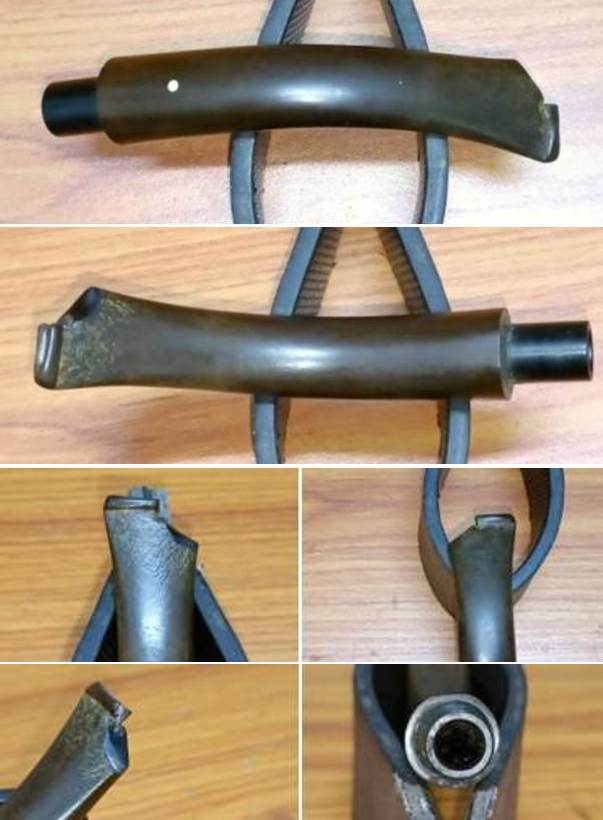
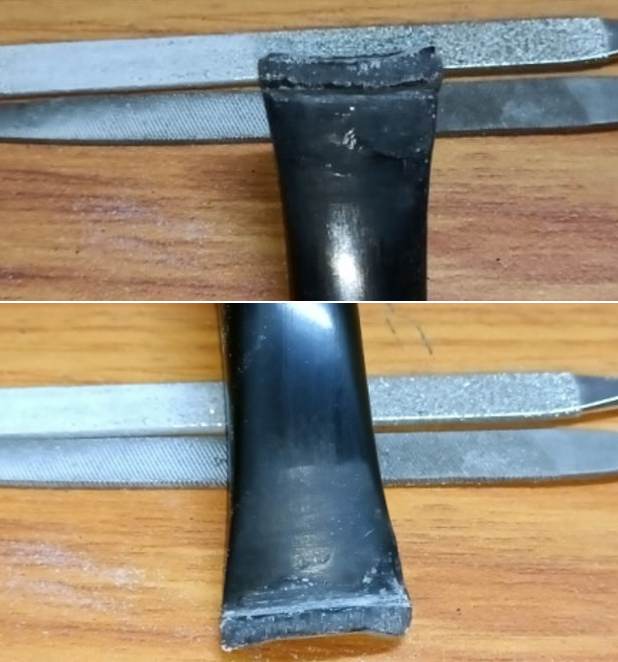
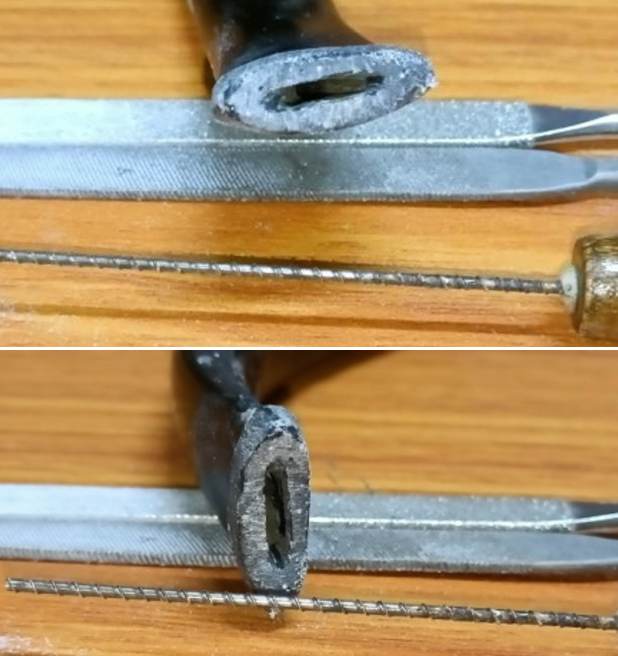
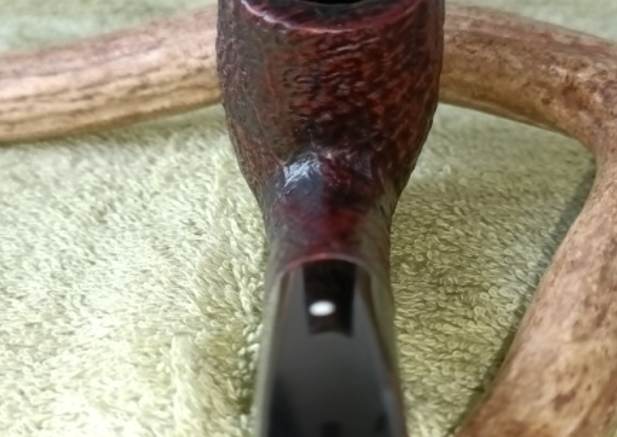
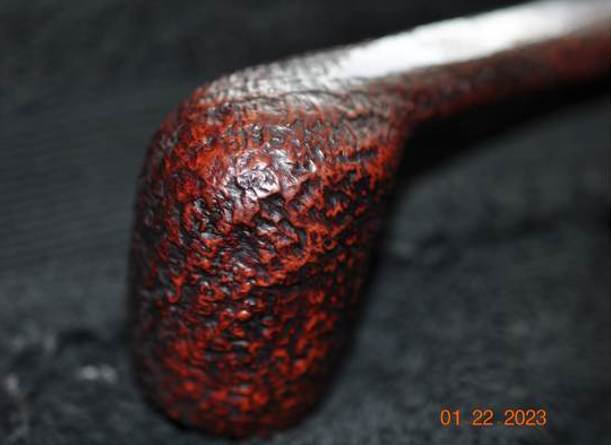
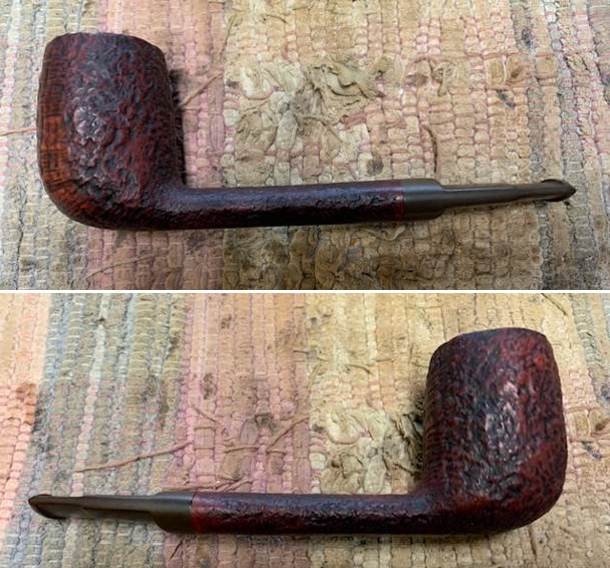
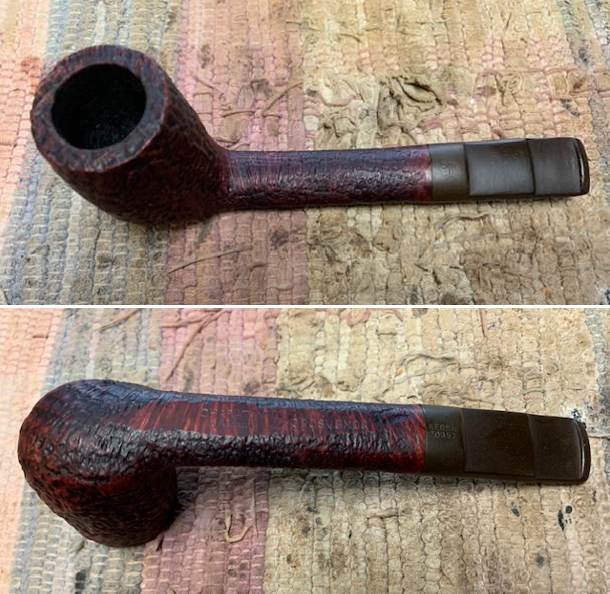
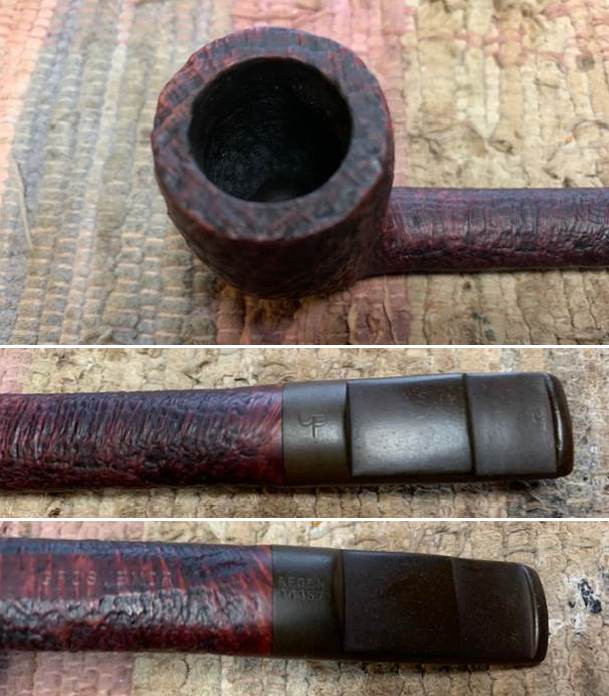
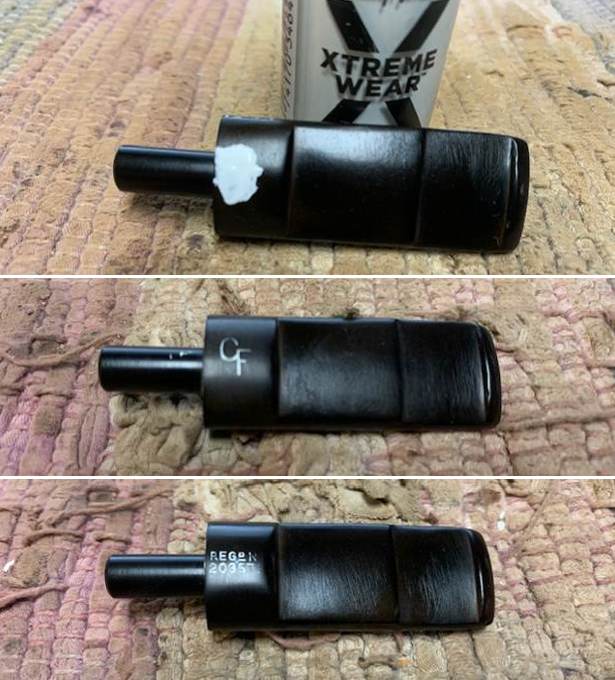
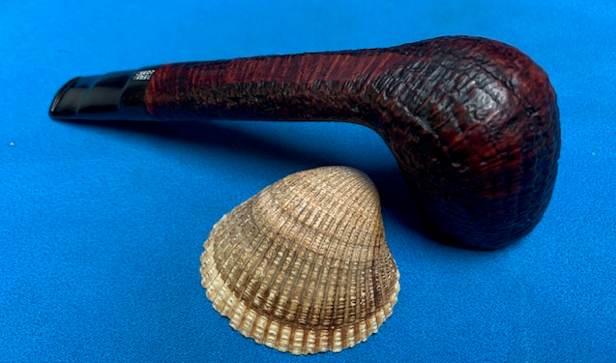
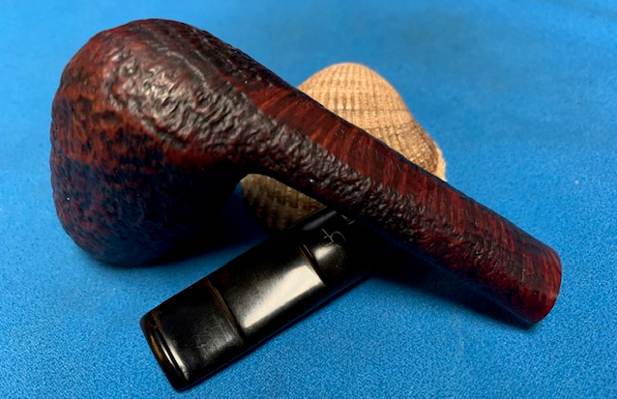
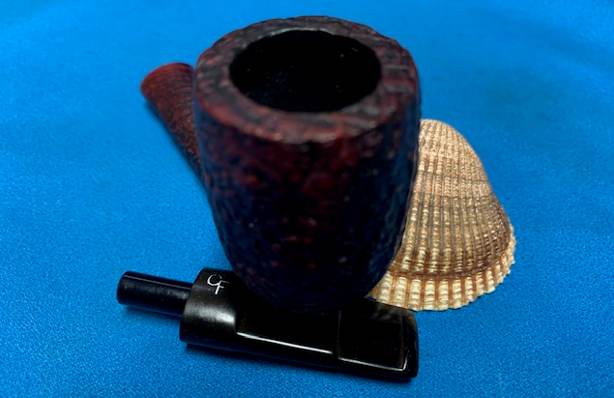
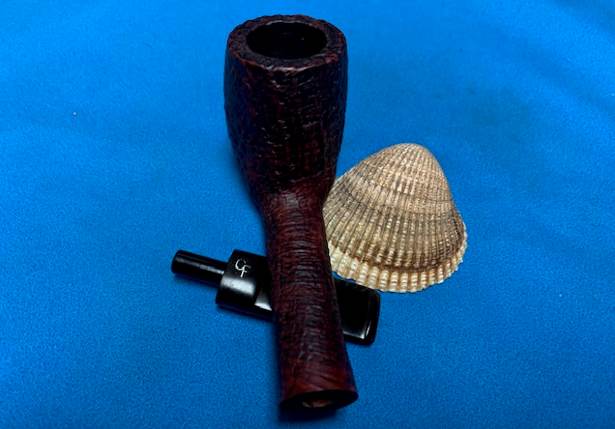
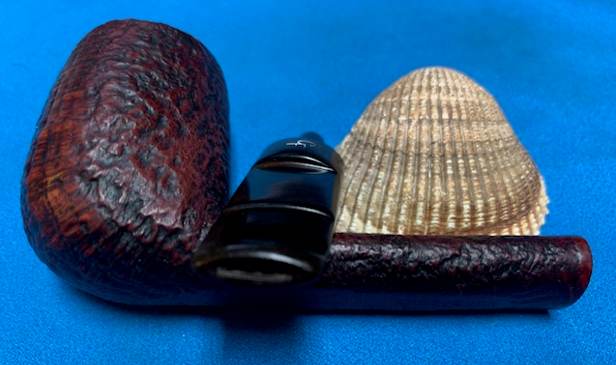
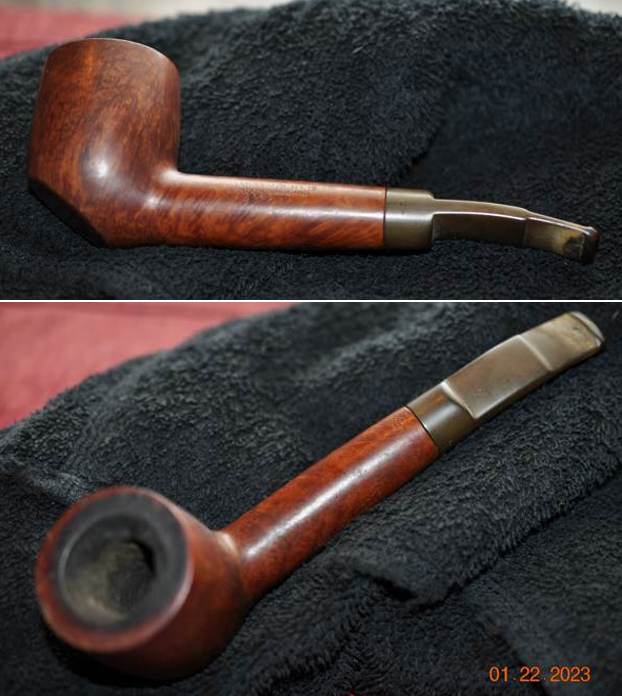
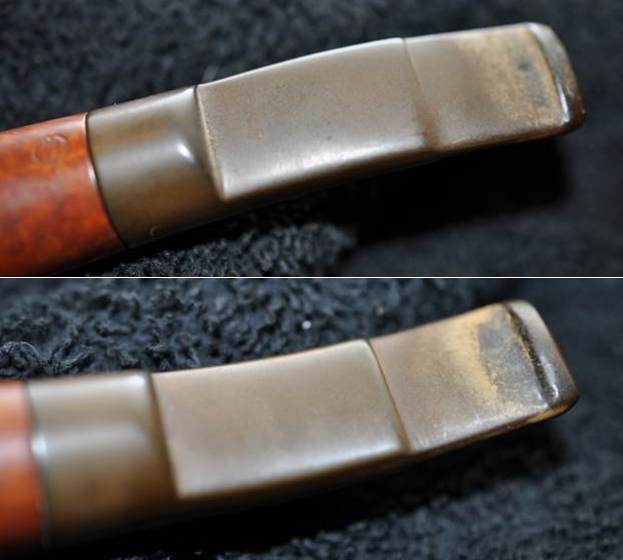
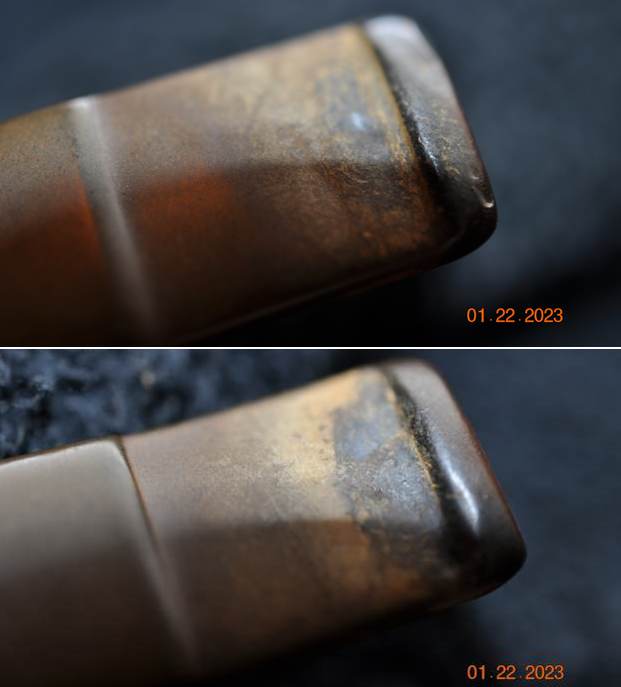
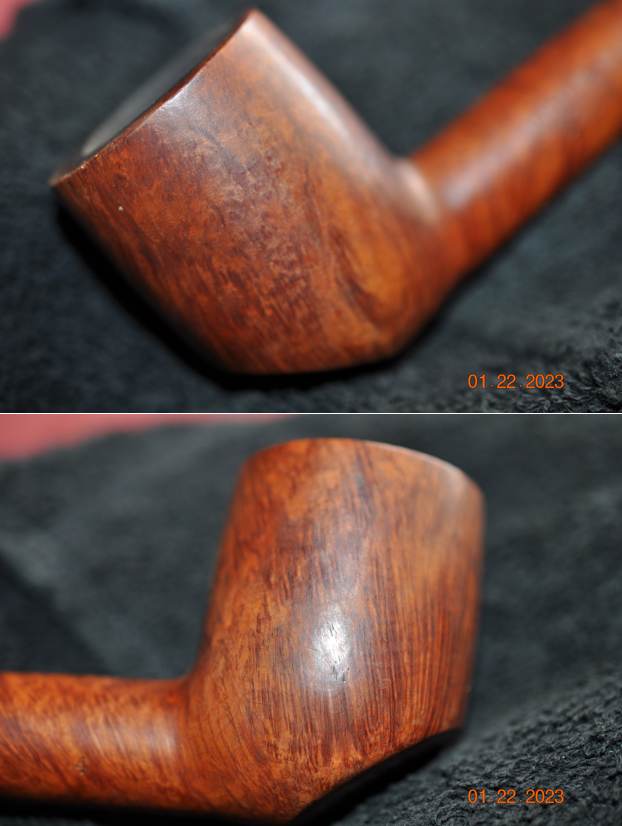
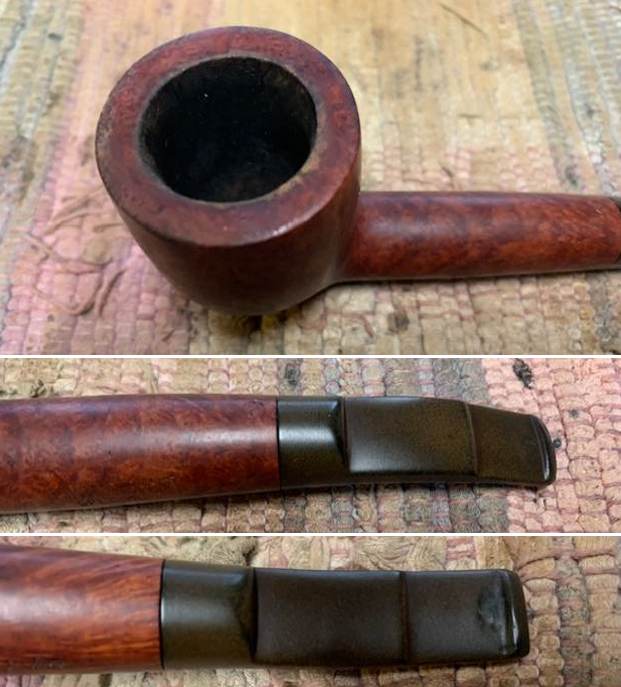
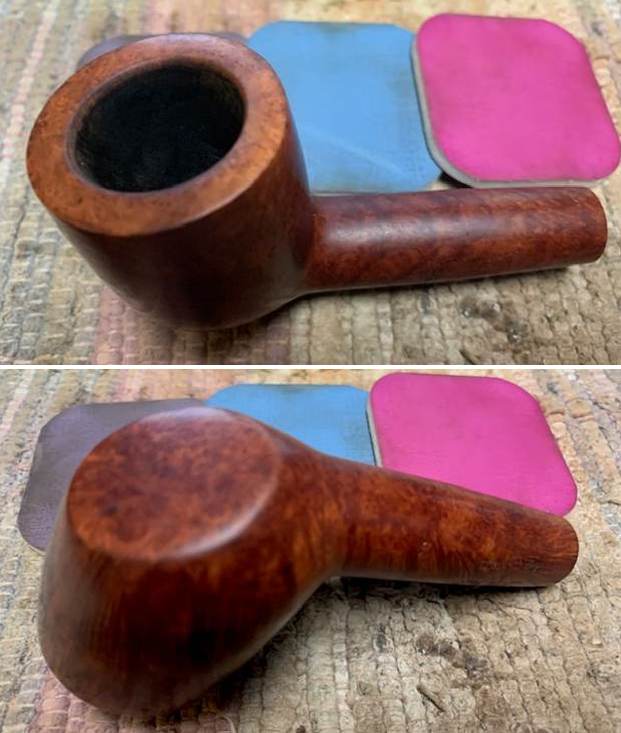
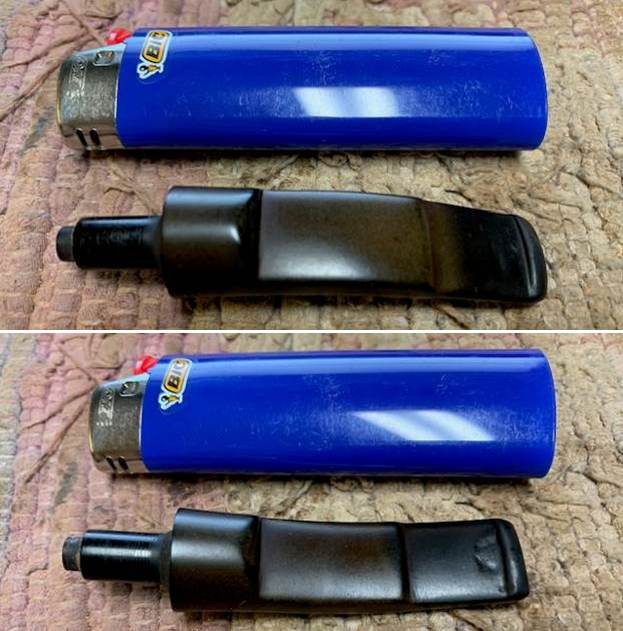
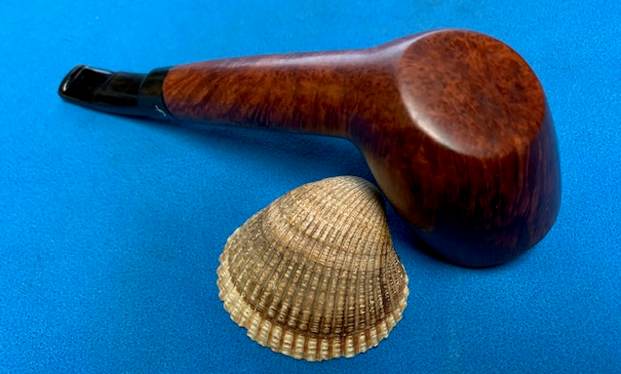
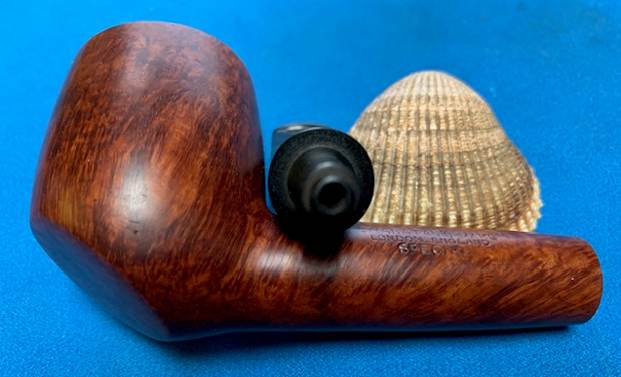
The pipe appeared to be very dirty in the photos that were included. He also circled the crack that was on the top of the shank at the bowl shank joint. The rim top was dirty and worn with some knock out marks on the top edge. The finish was grimy and tired looking. The inner edge of the bowl showed some damage and darkening around the bowl. The stem was wrapped with scotch tape around the end that fit in the shank. I speaking with Mike he stated that it was loose in the shank extension so he had wrapped it to give the stem more of a fit in shank. It was worn out and sticky but it had done the job keeping the stem from falling out of the bowl.
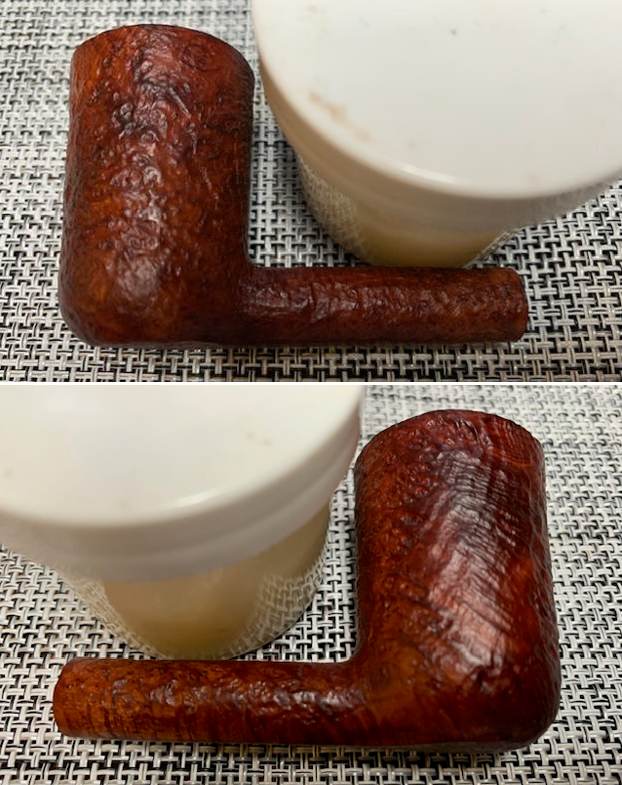
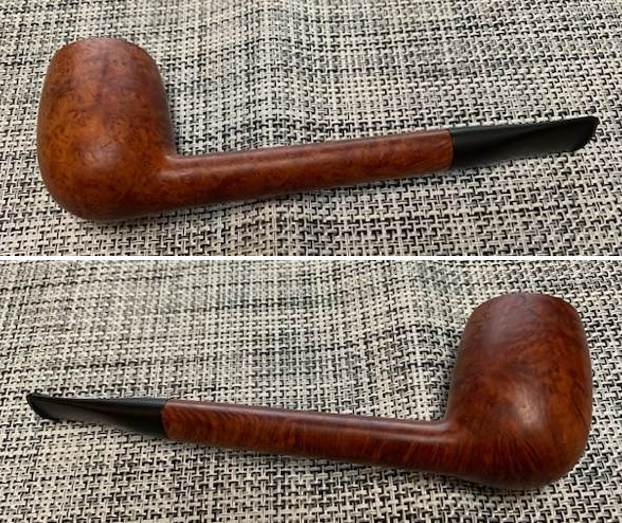
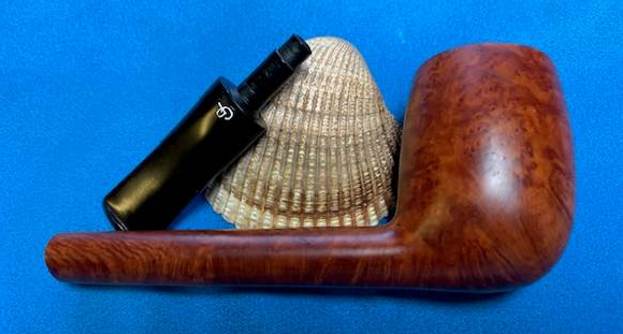
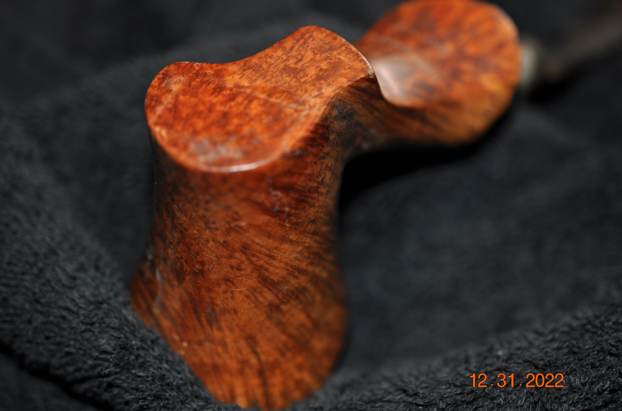
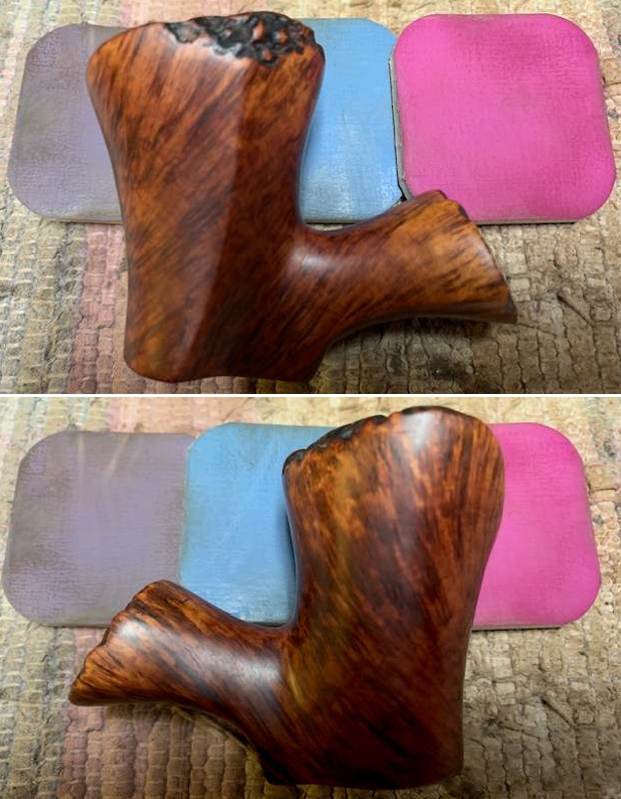
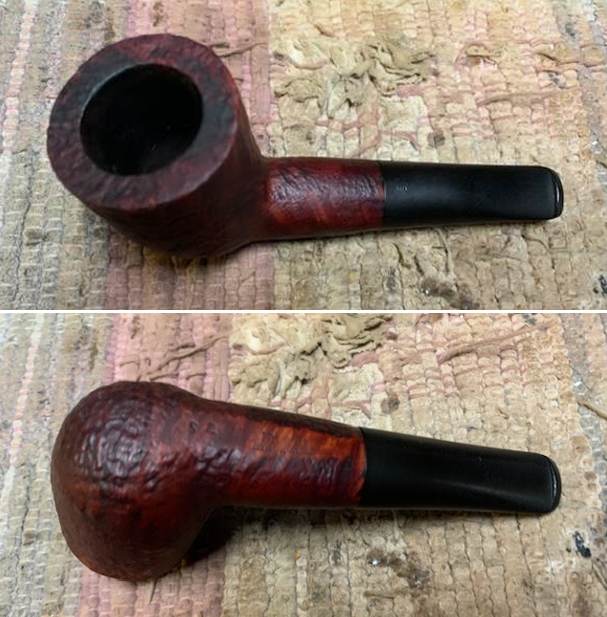
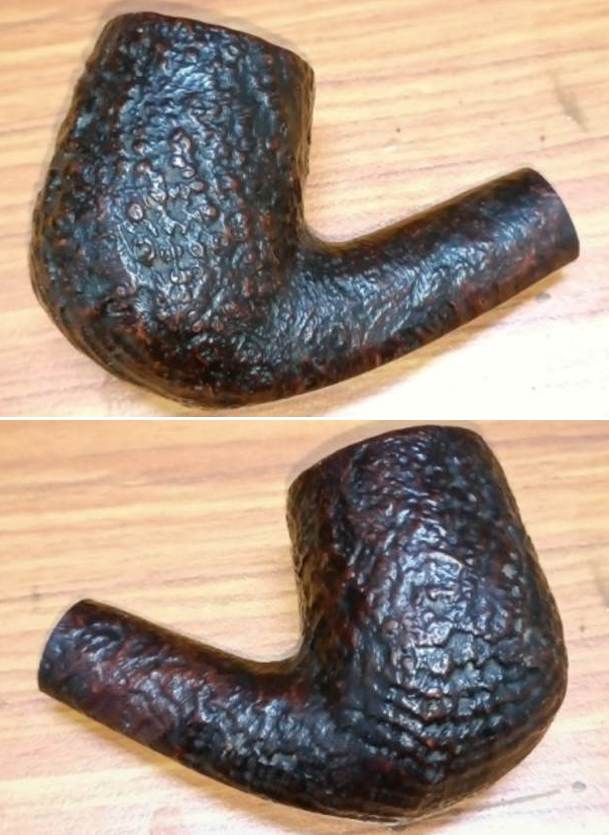
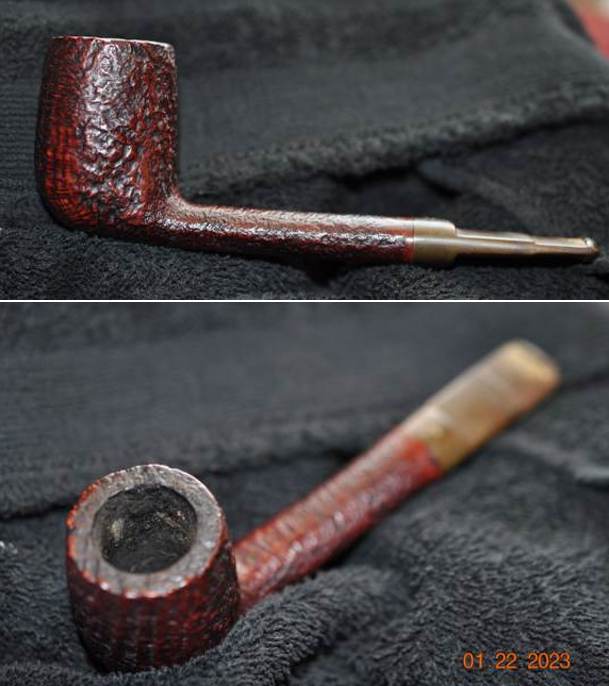
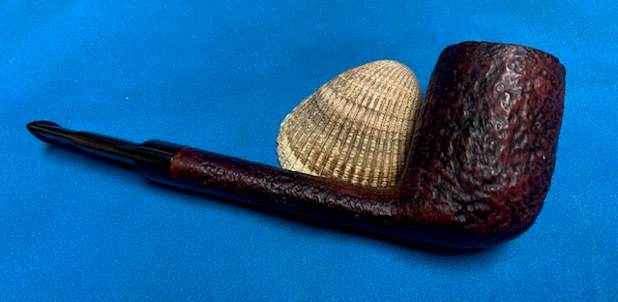
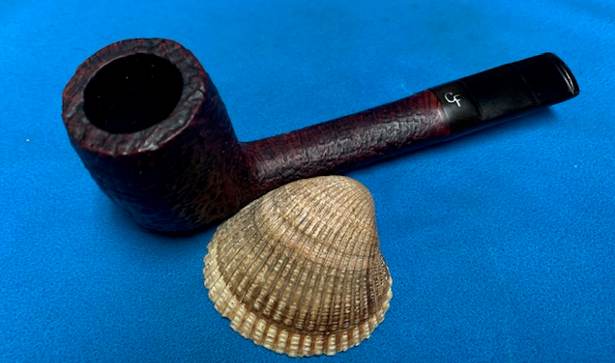
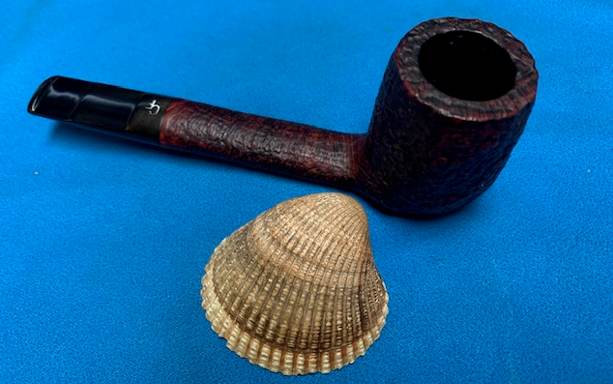
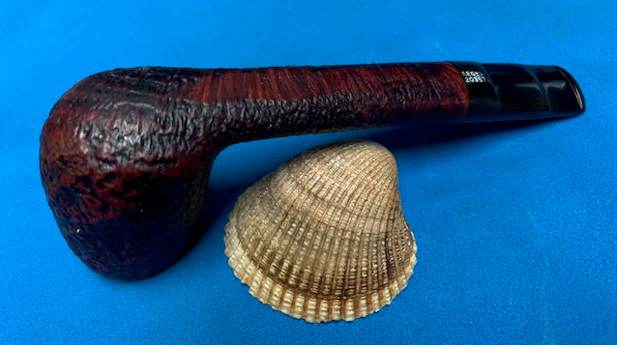
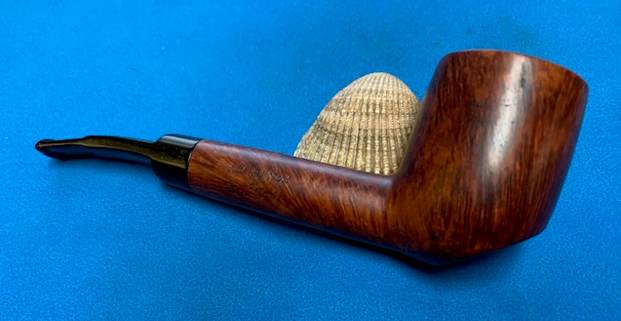
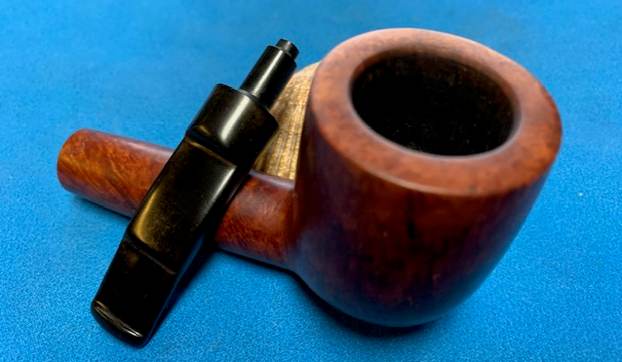
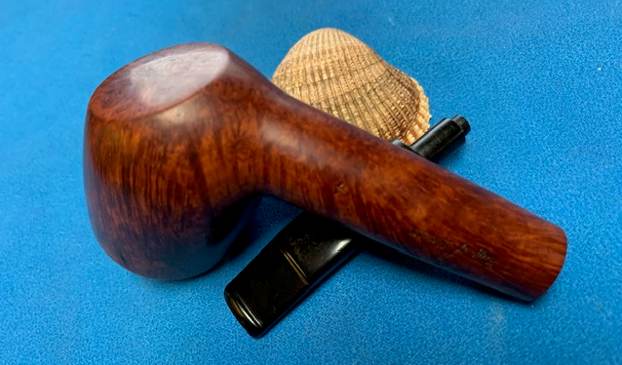
 After viewing the photos and talking with Mike about the pipe I asked him to drop it by the house so I could work on it. I took photos of the pipe once it was dropped off before I worked on it. My evaluation of the pipe confirmed all of the things that I noted above in my communication with Mike about his pipe. There was one other issue that became visible when it was here. The shank extension was loose in the shank. The glue that had held it in place had broken loose and it turned freely in the shank. It is a uniquely shaped pipe that I really like the looks of and I think that once it is cleaned up it will be a real beauty.
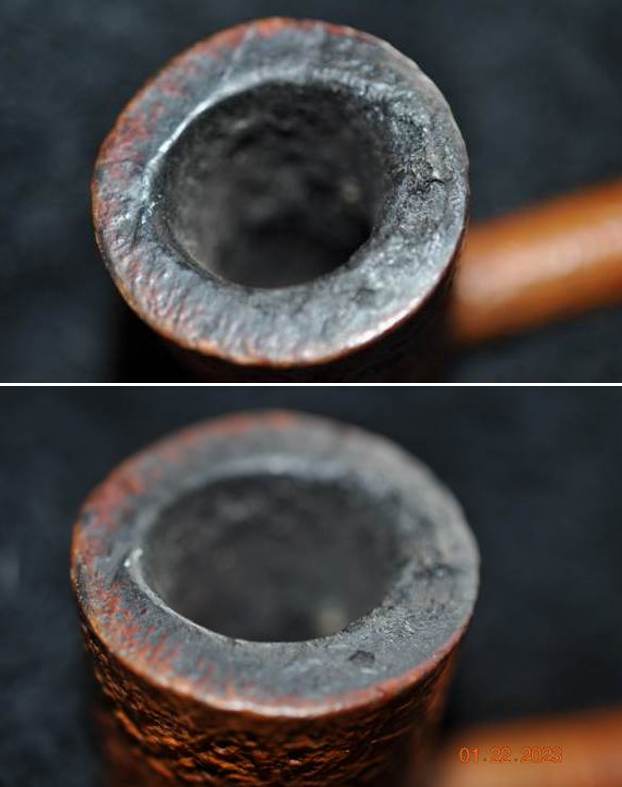
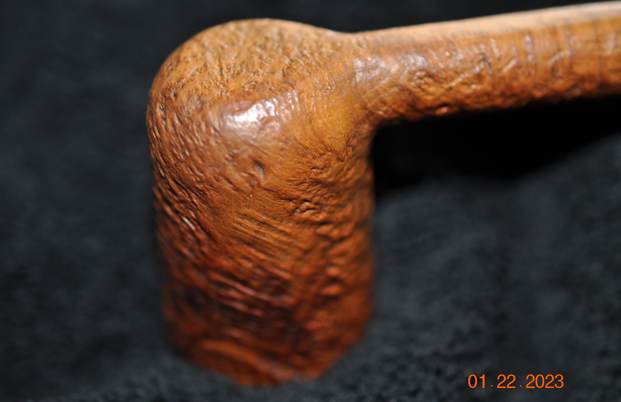
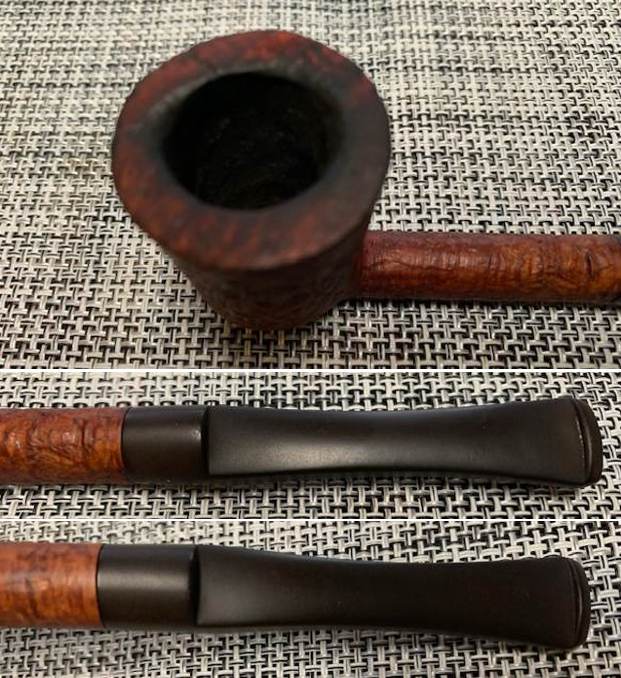
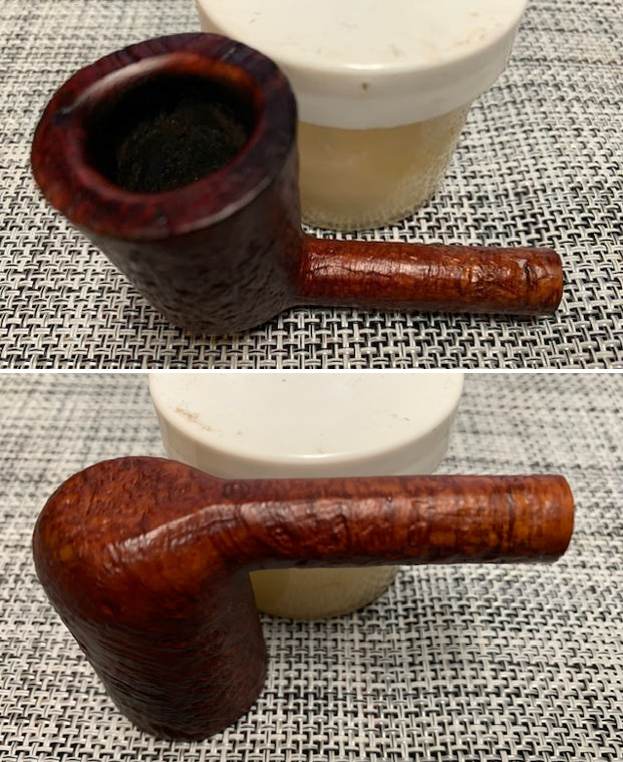
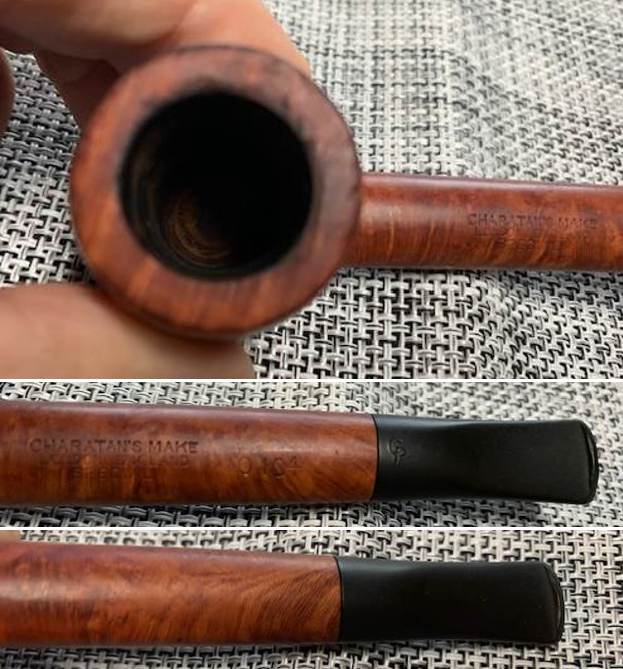
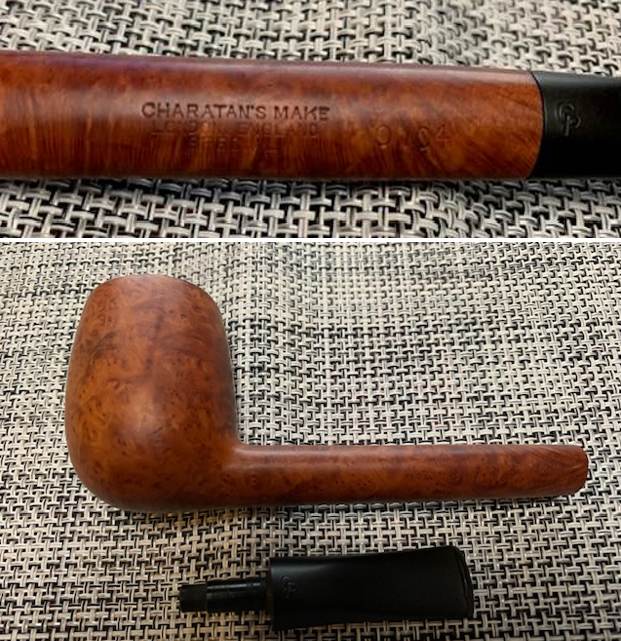
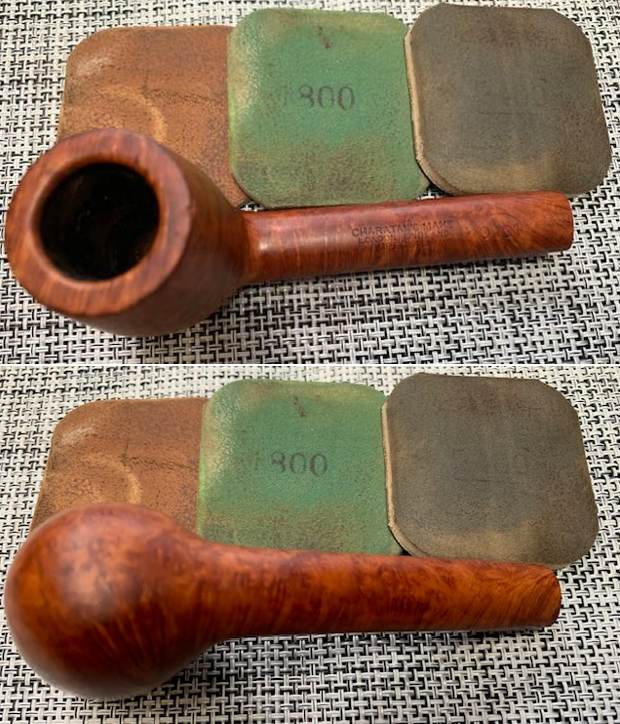
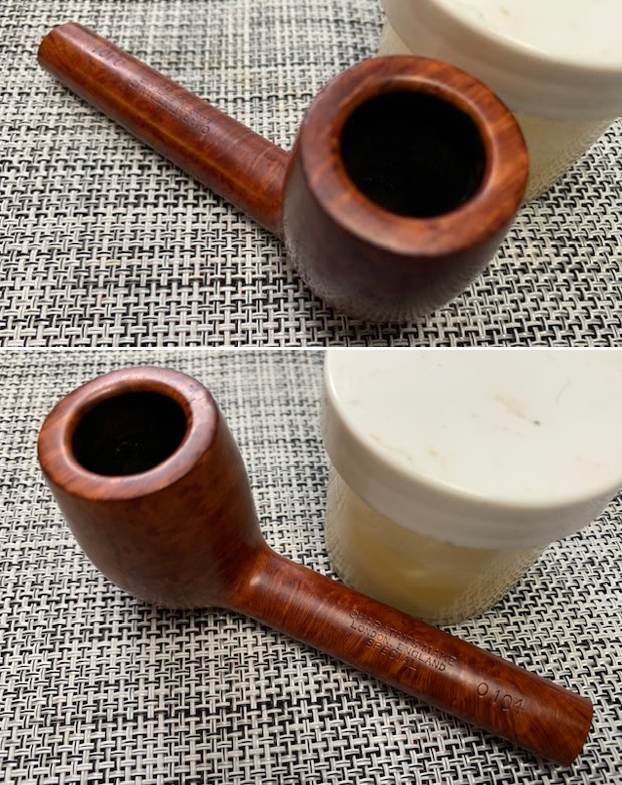
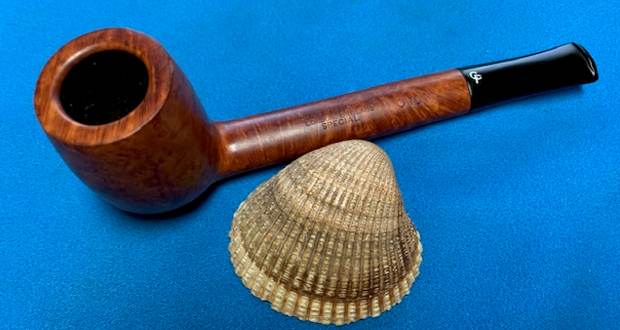
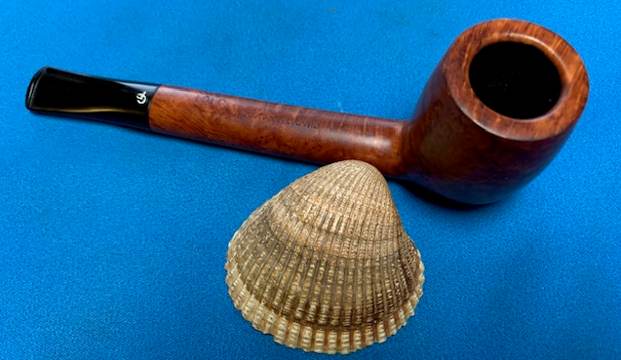
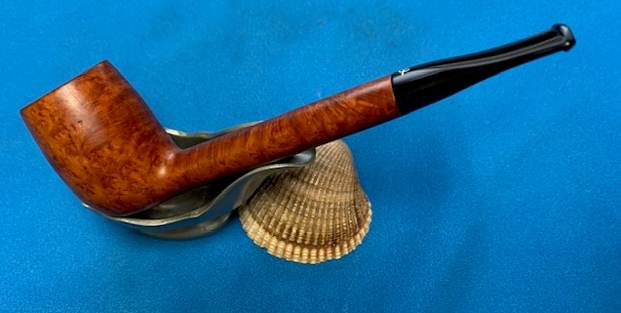
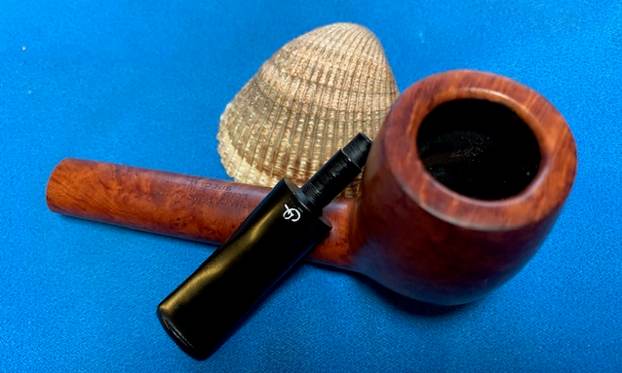
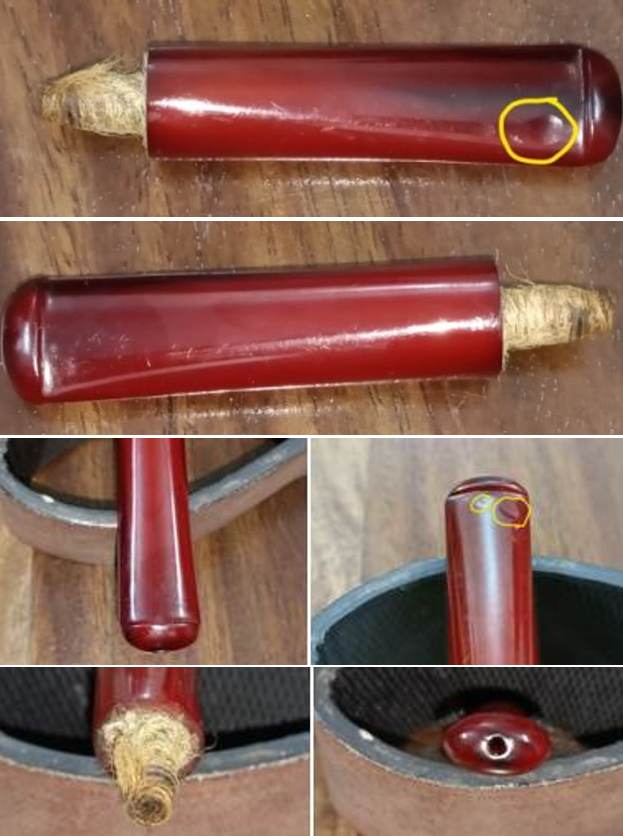
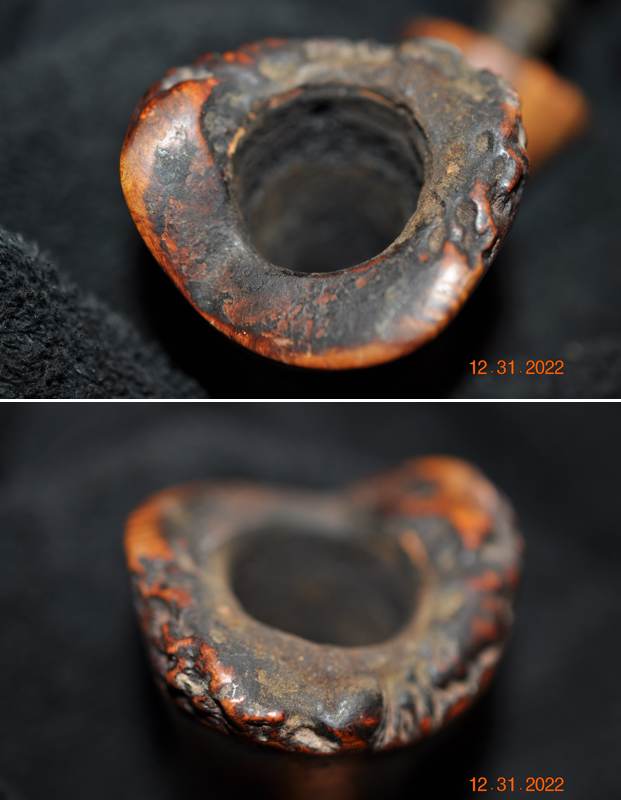
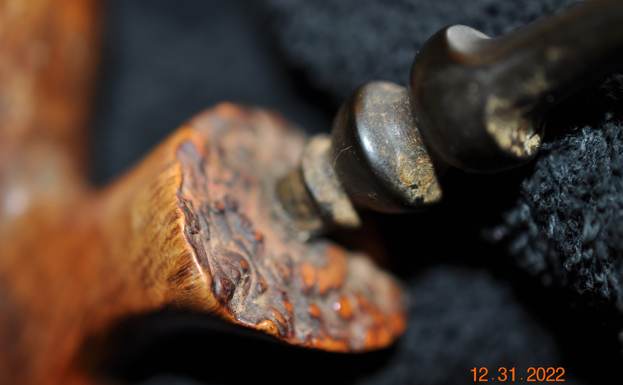
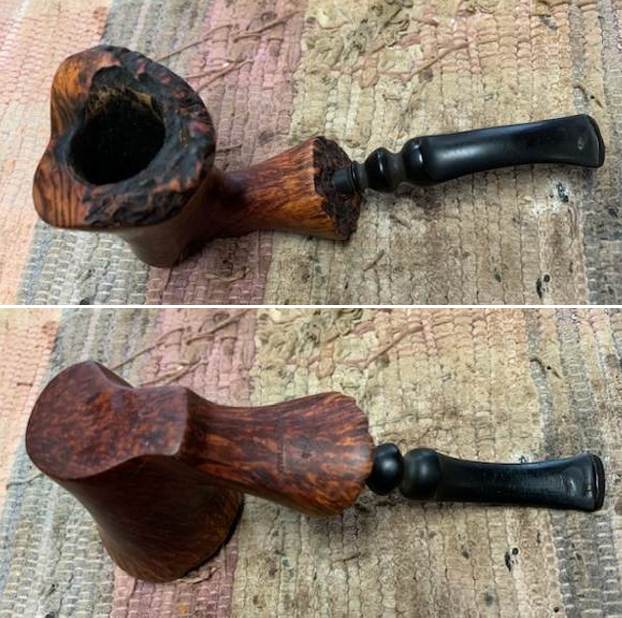
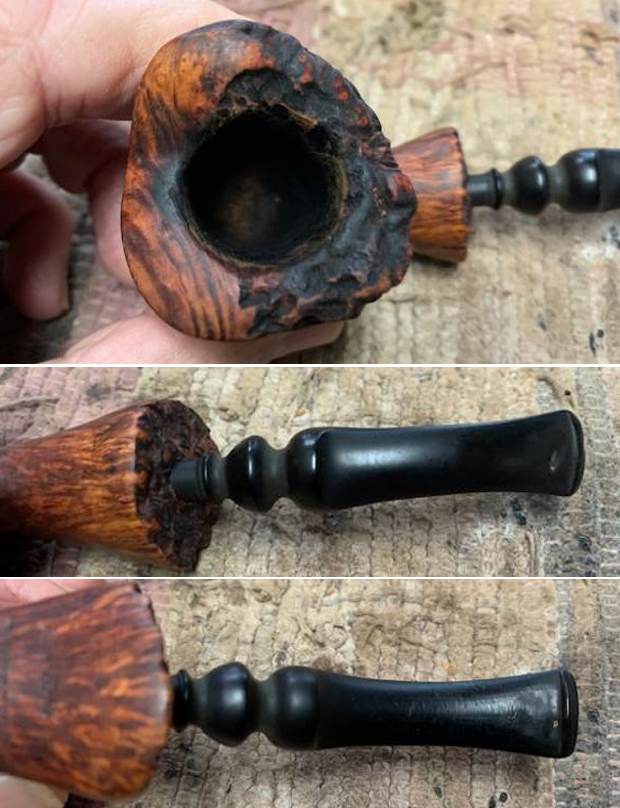
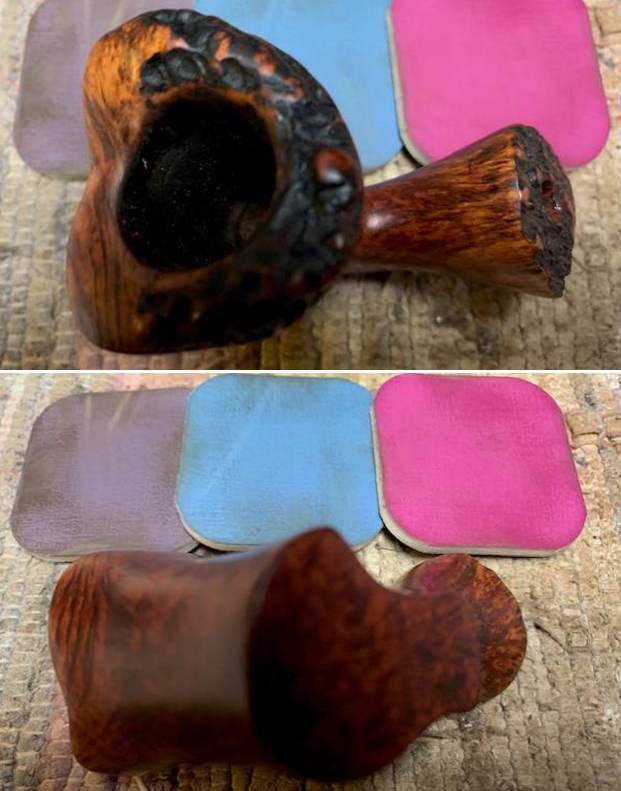
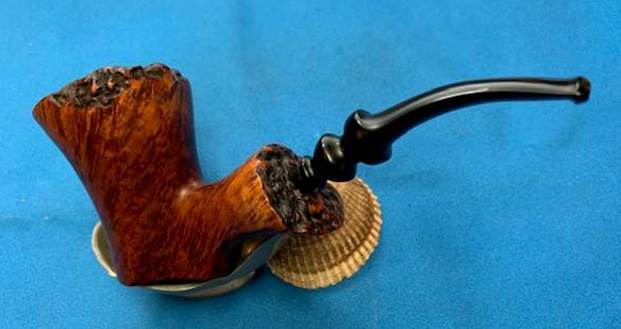
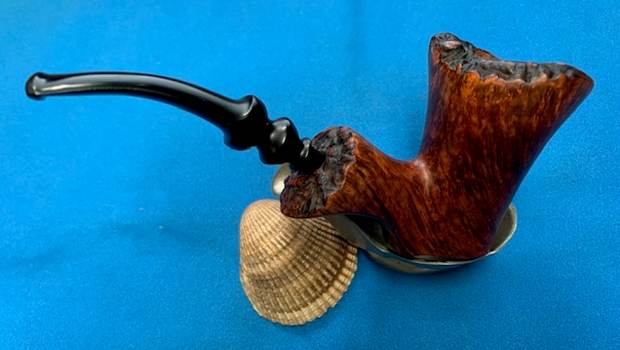
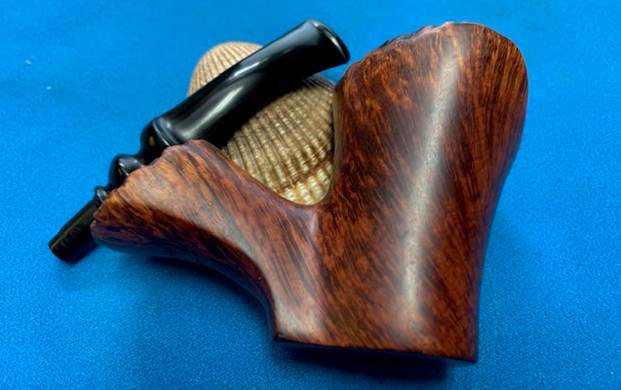
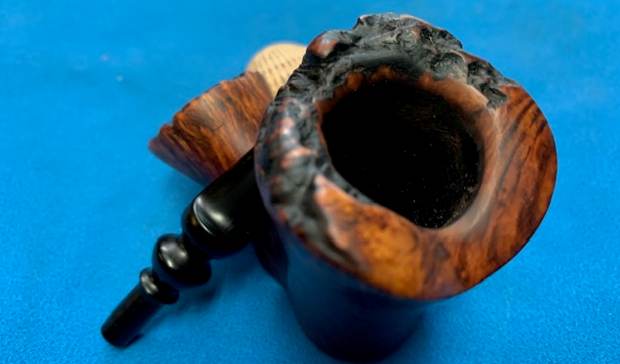
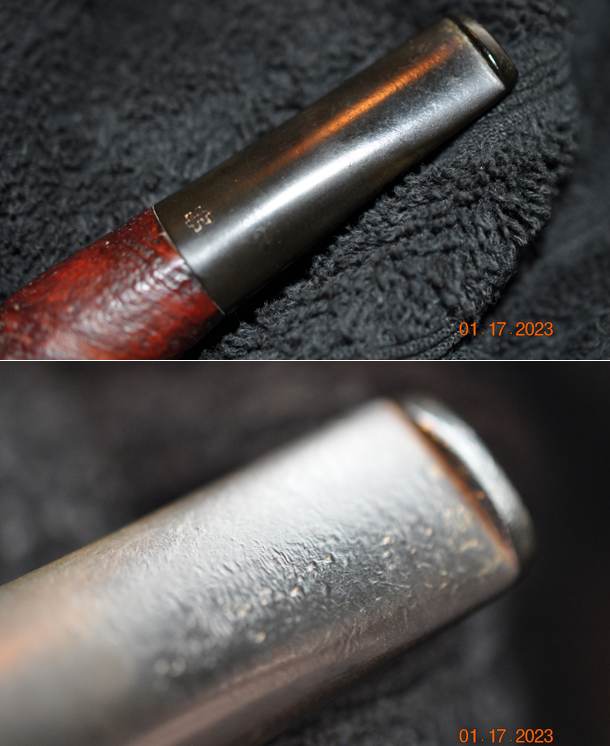
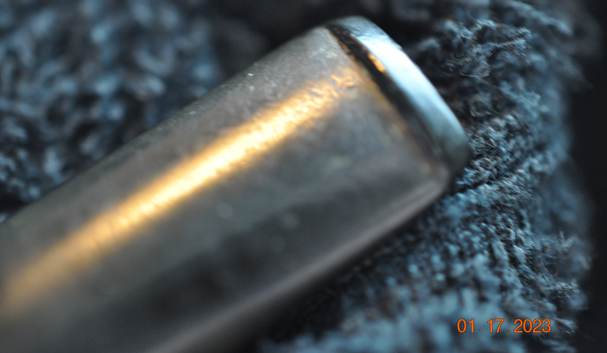
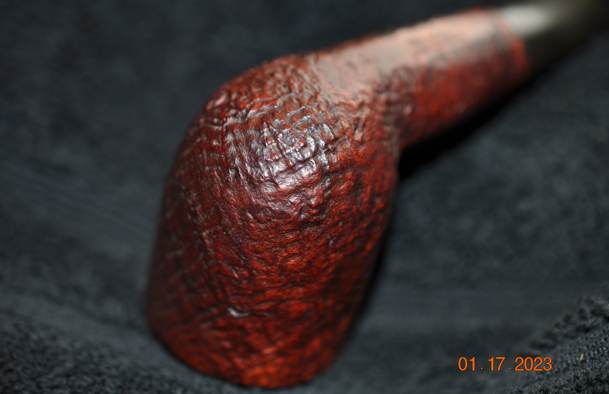
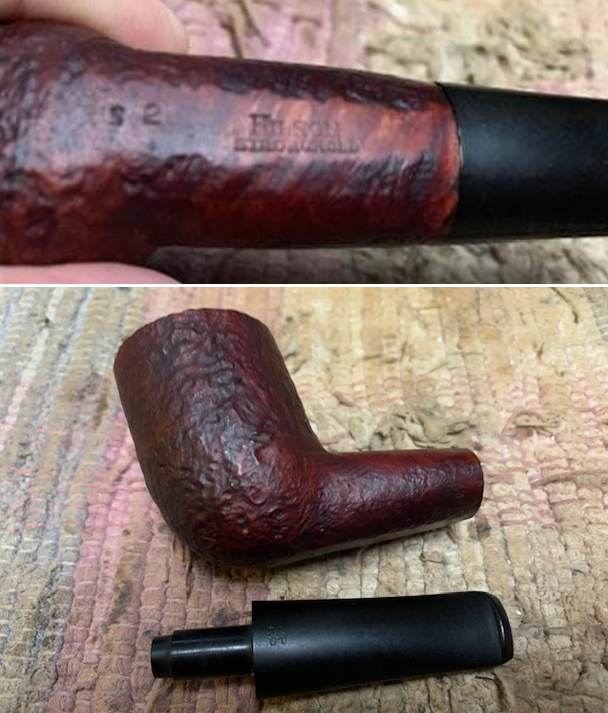
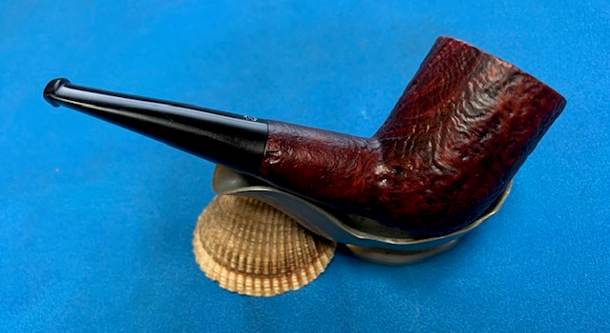
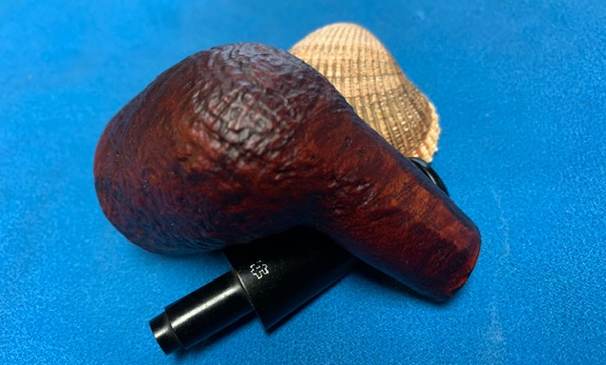
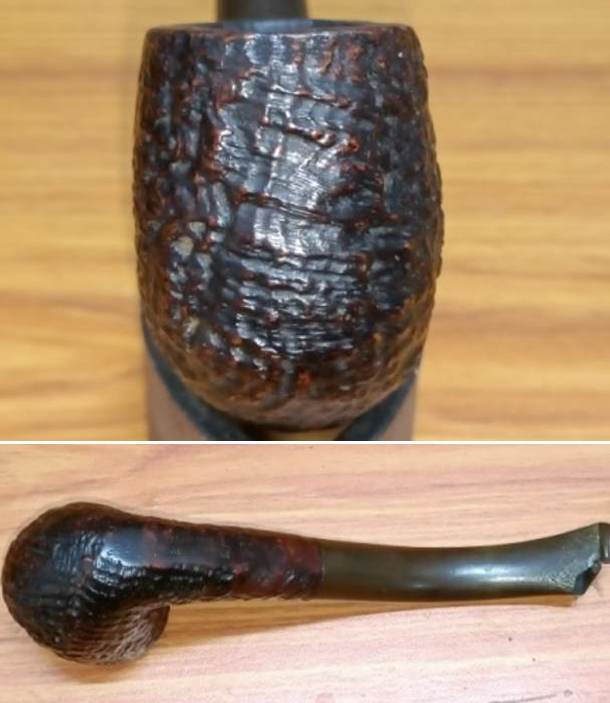
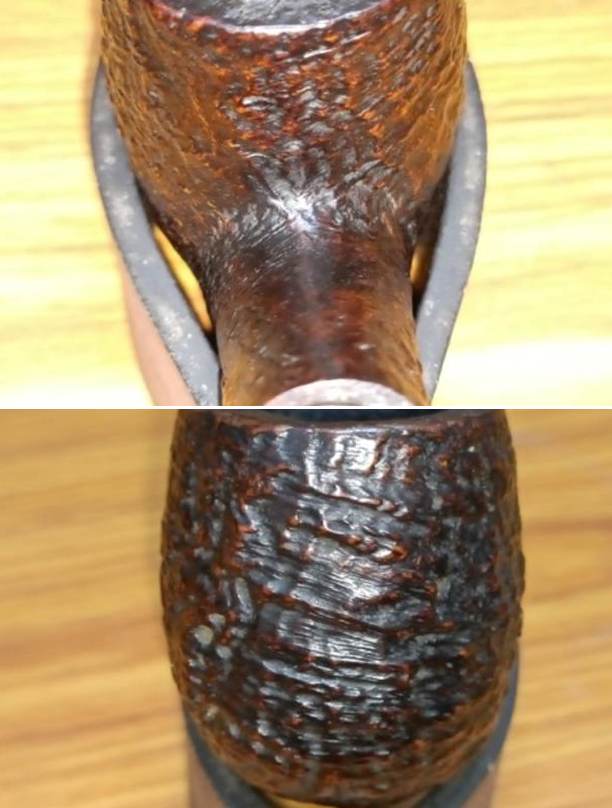
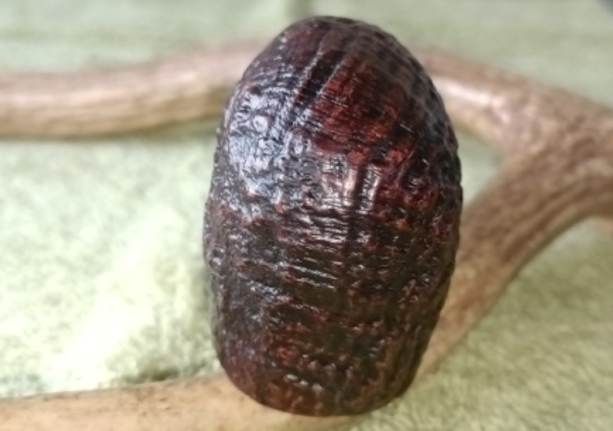
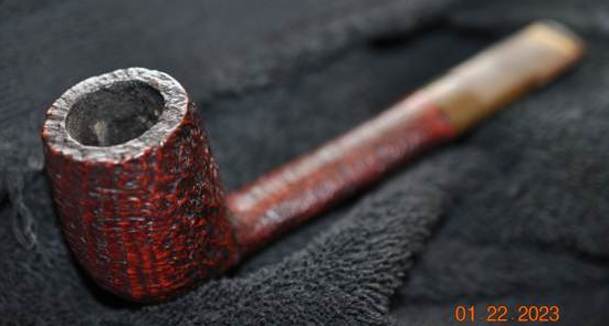
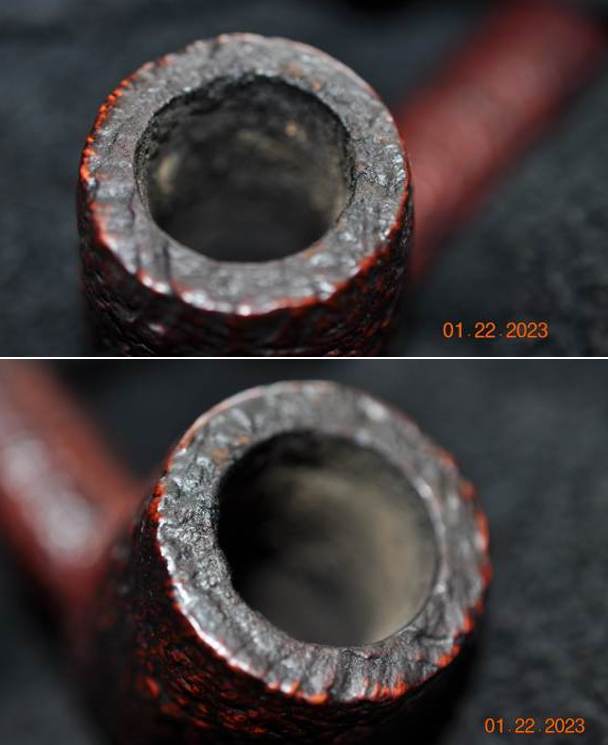
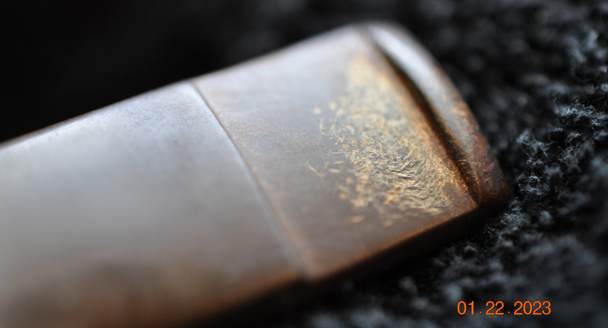
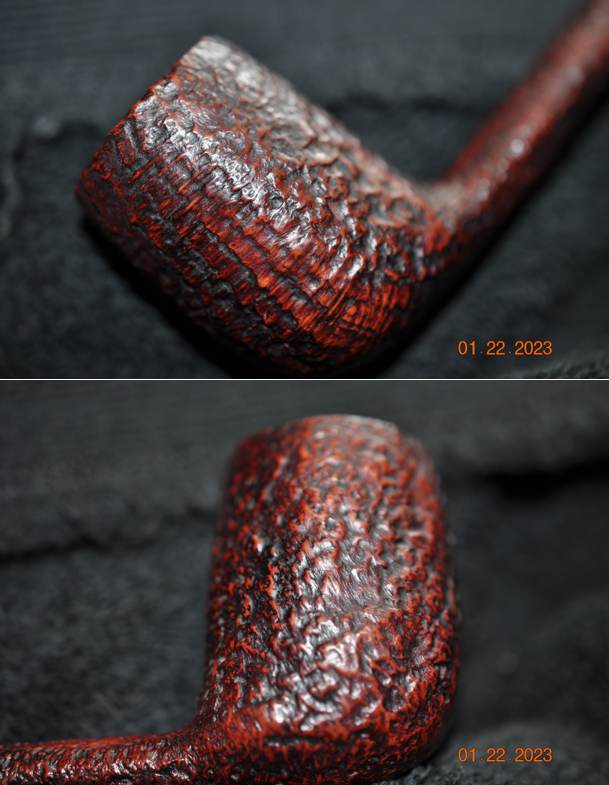
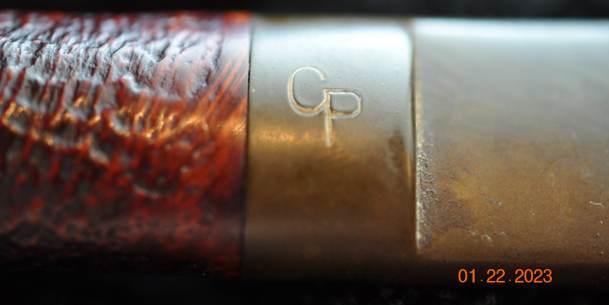
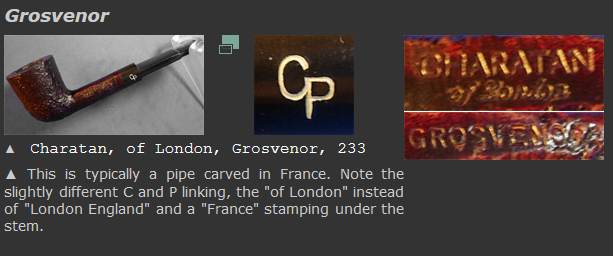
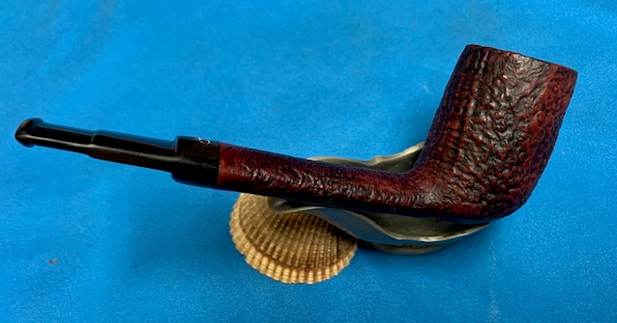
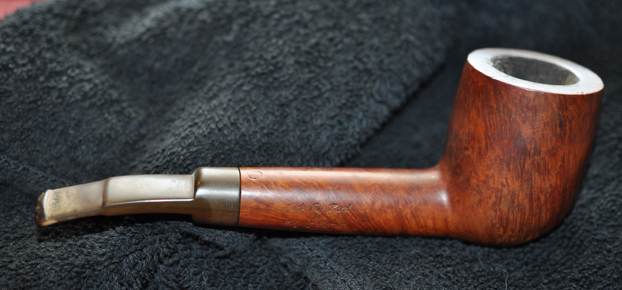
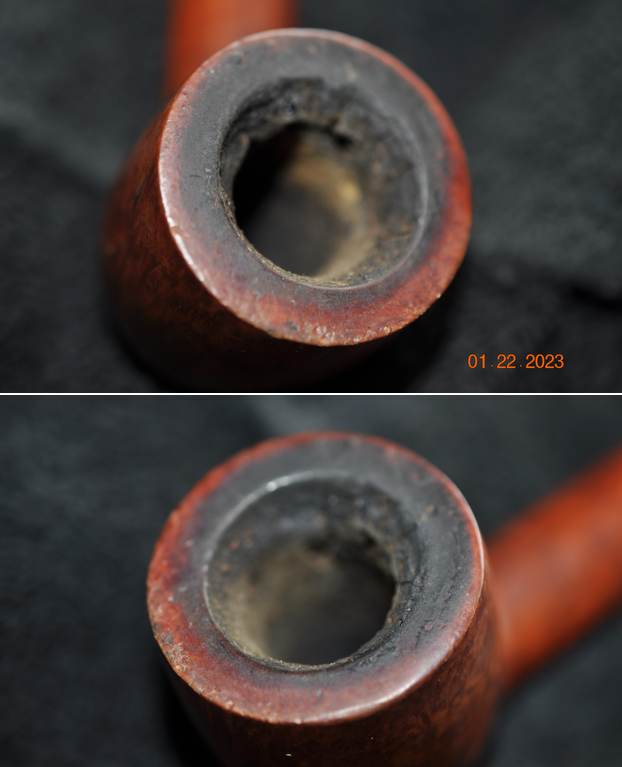
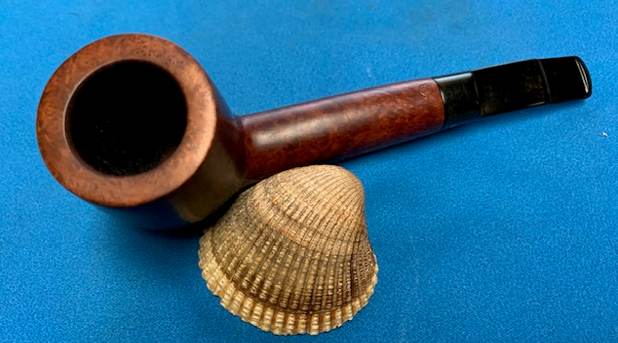
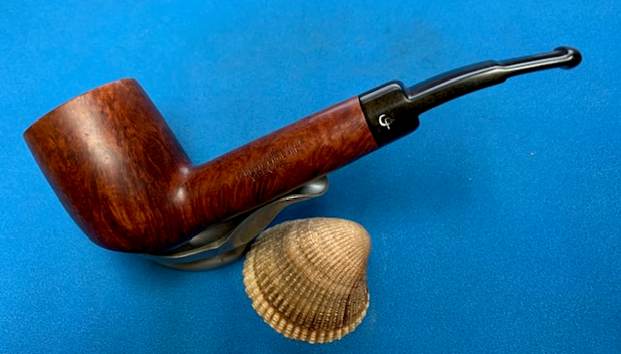
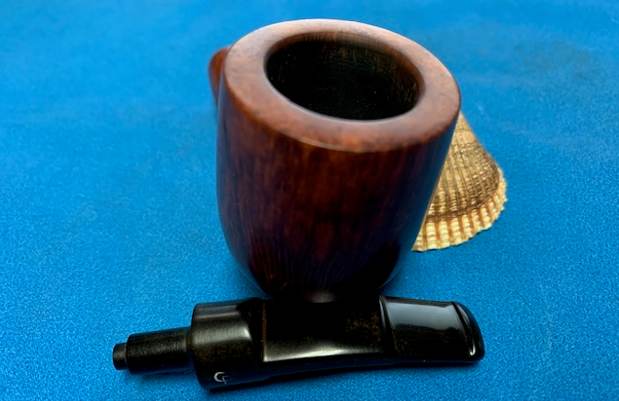
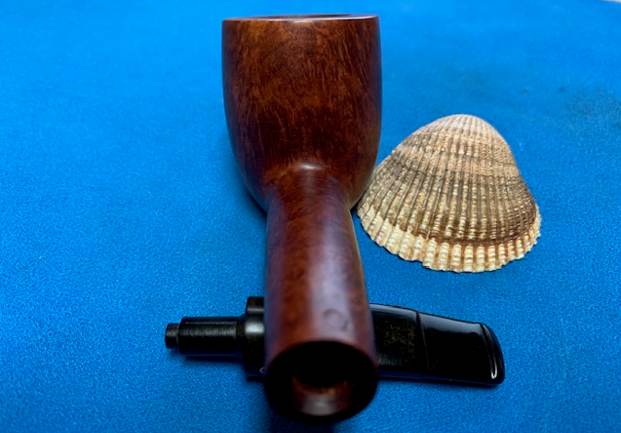
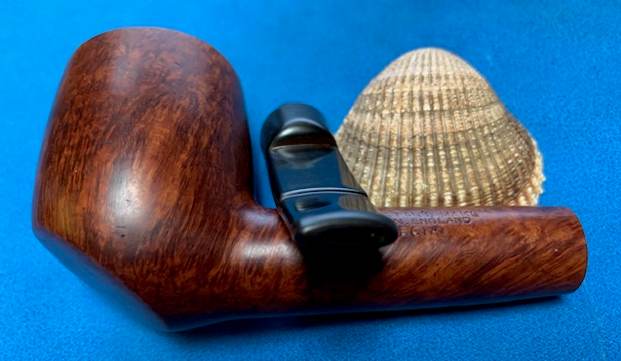
 I took photos of the bowl and rim top as well as the stem. The rim top shows the thick lava coat on the top and the inner edge of the bowl. It is heavier on the back side than the front. You can also see the tape around the stem diameter to attempt to tighten the fit in the shank extension. You can see the oxidation around the stem sides and the deep tooth marks and chatter on both sides ahead of the button.
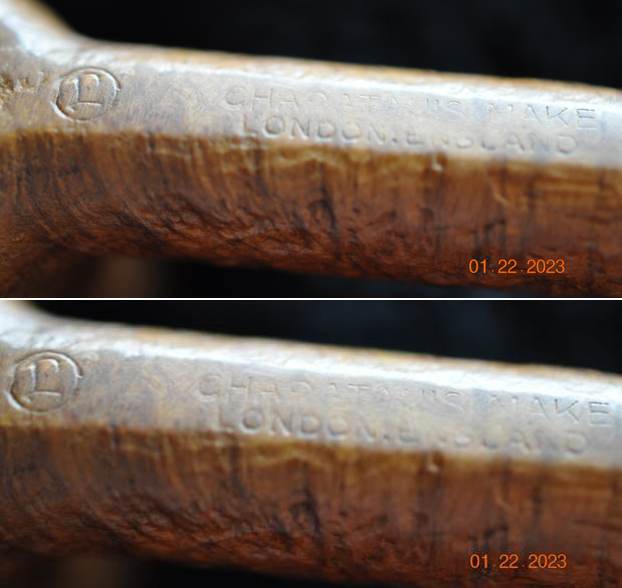
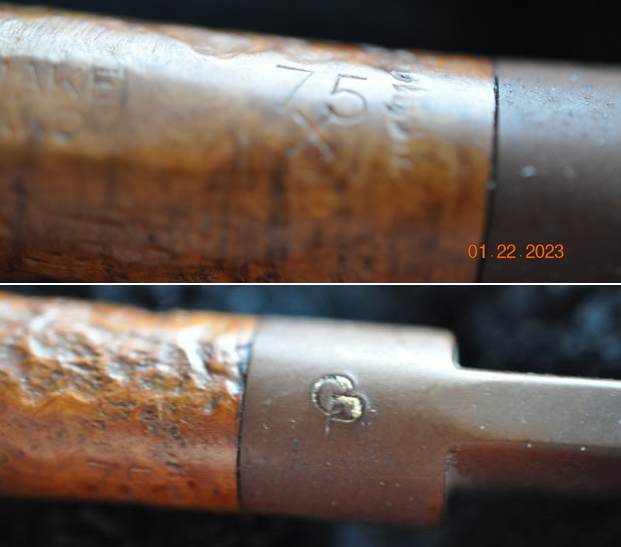
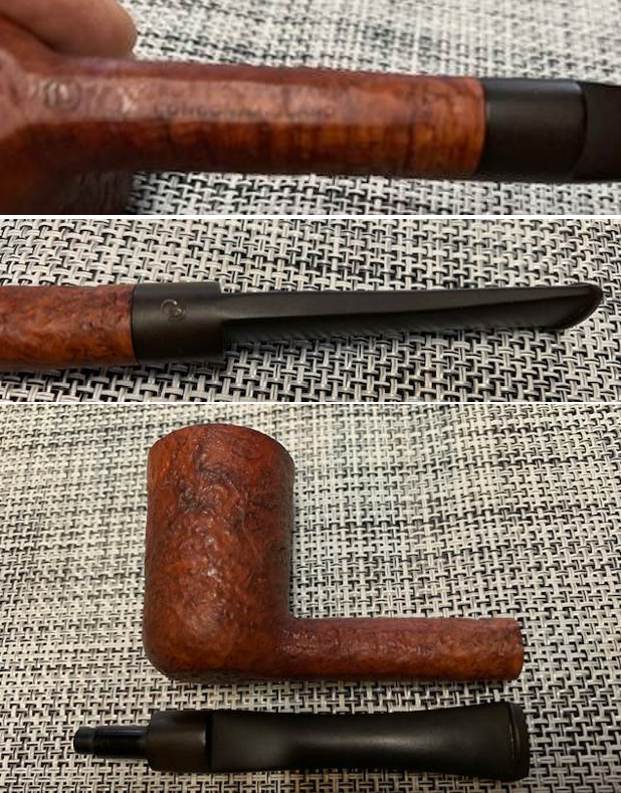
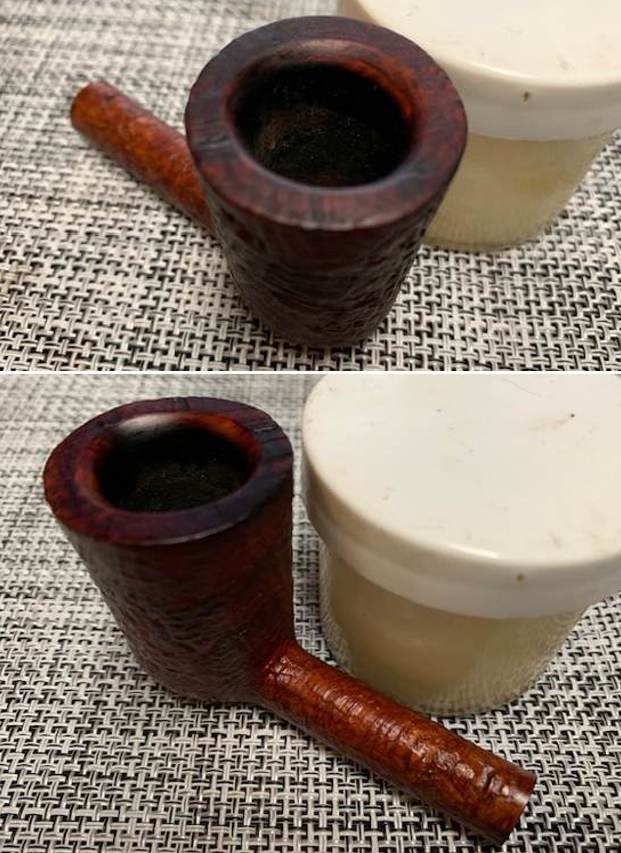
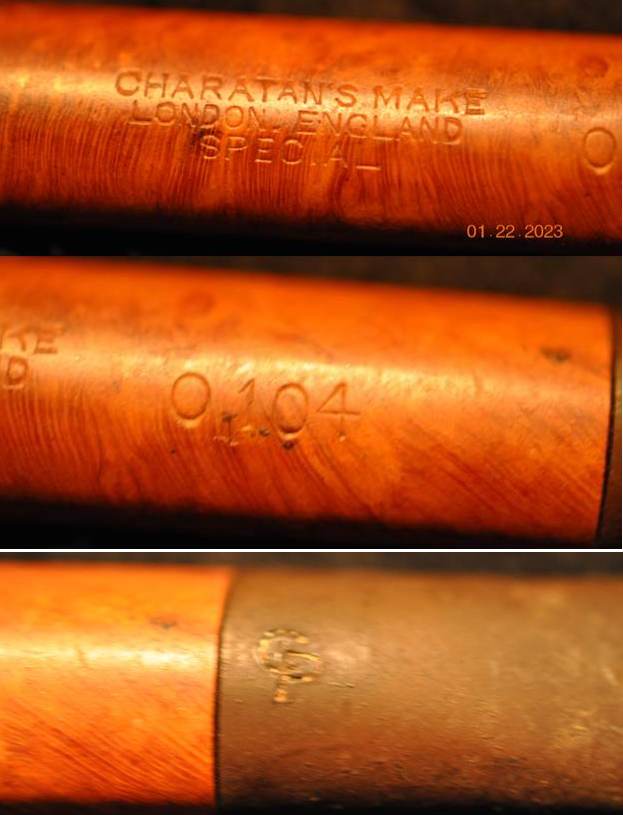
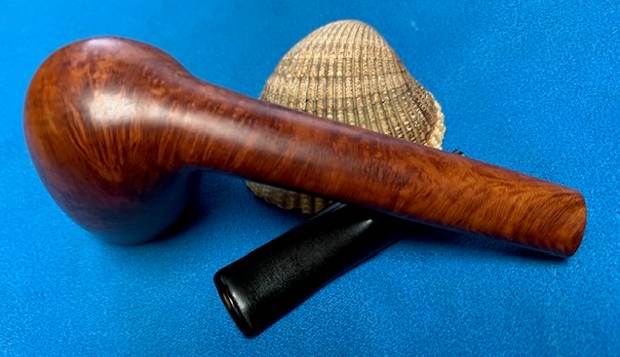
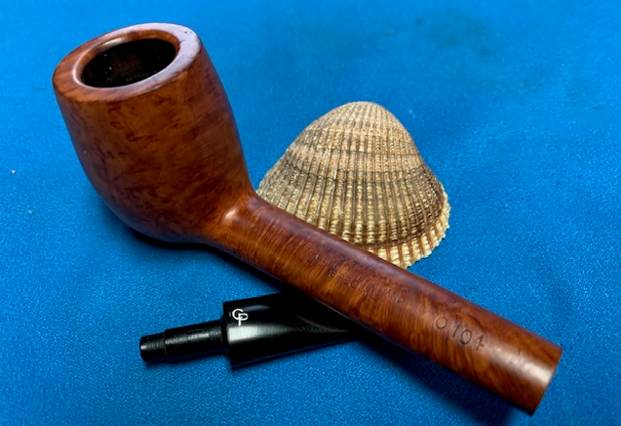
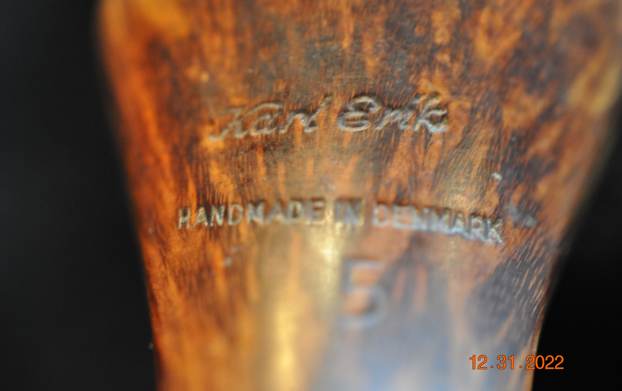
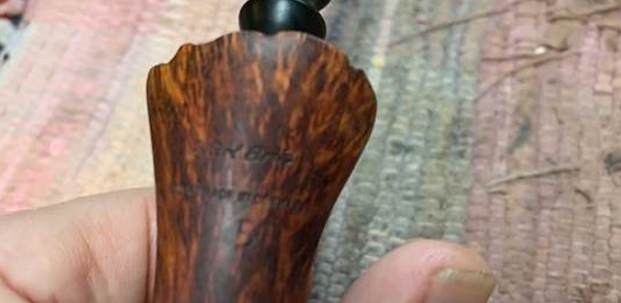
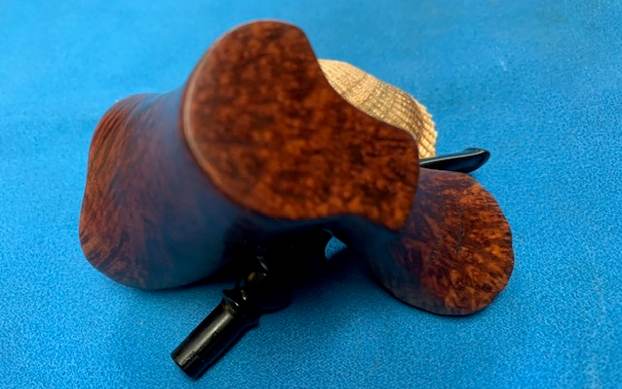
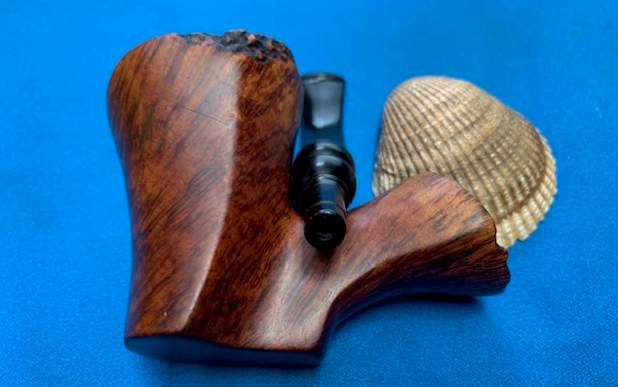
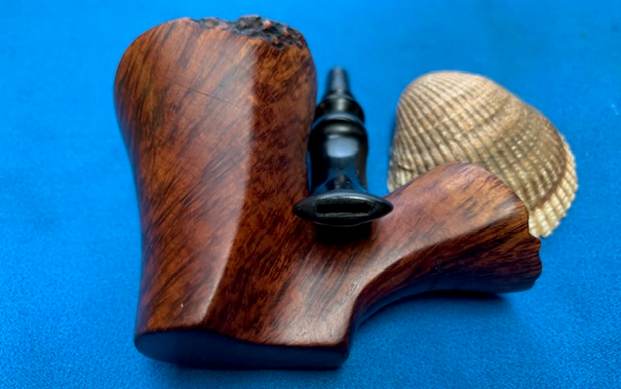
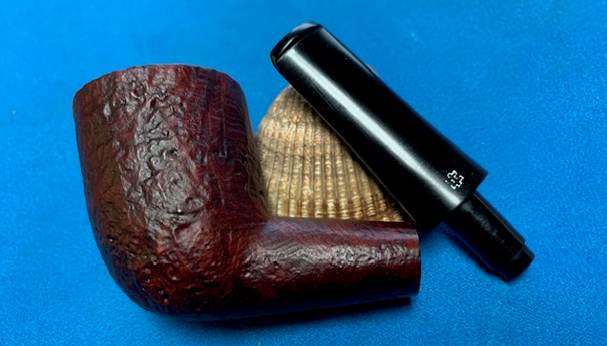
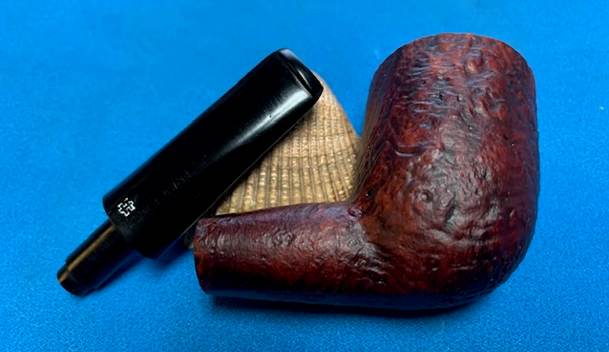
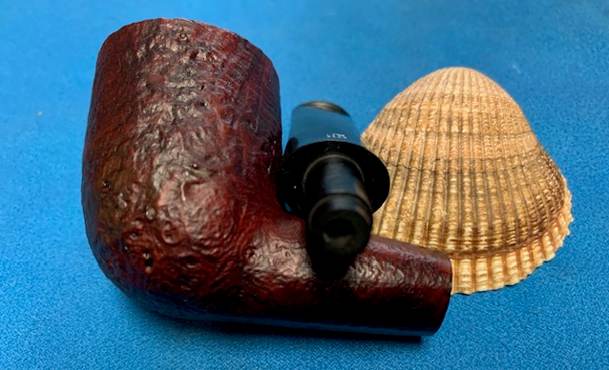
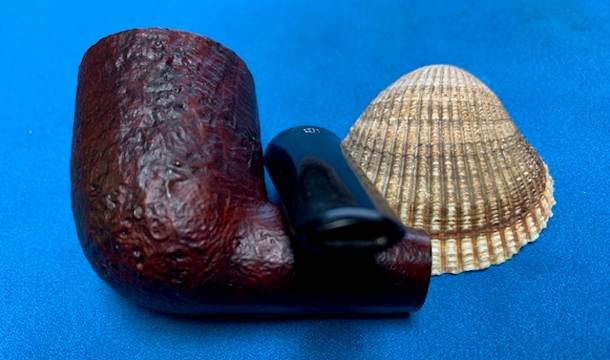
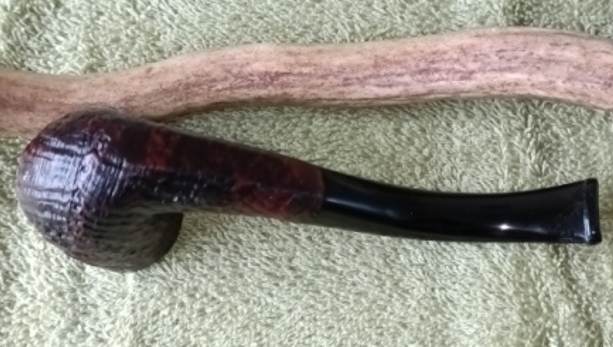
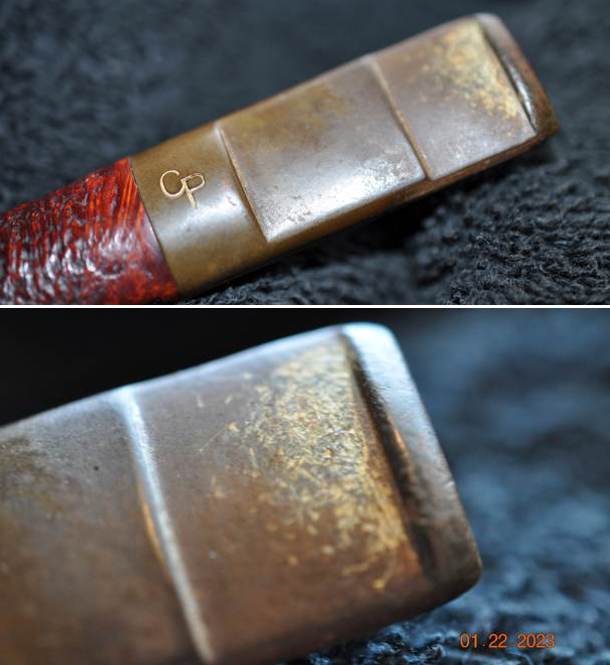
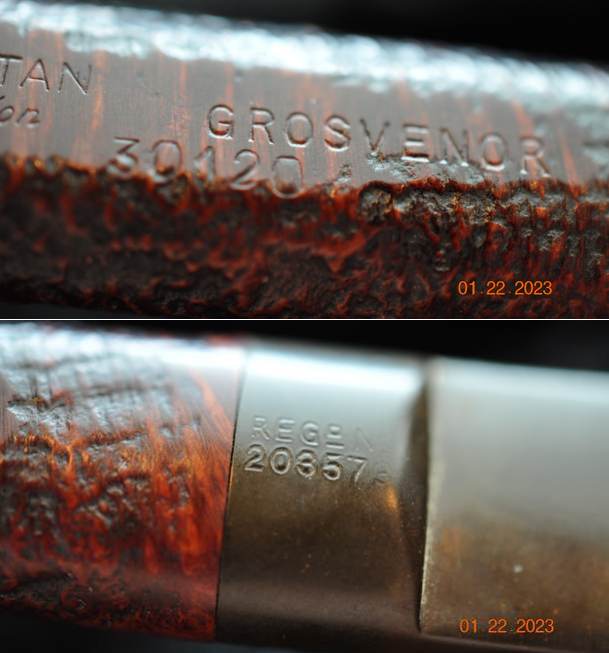
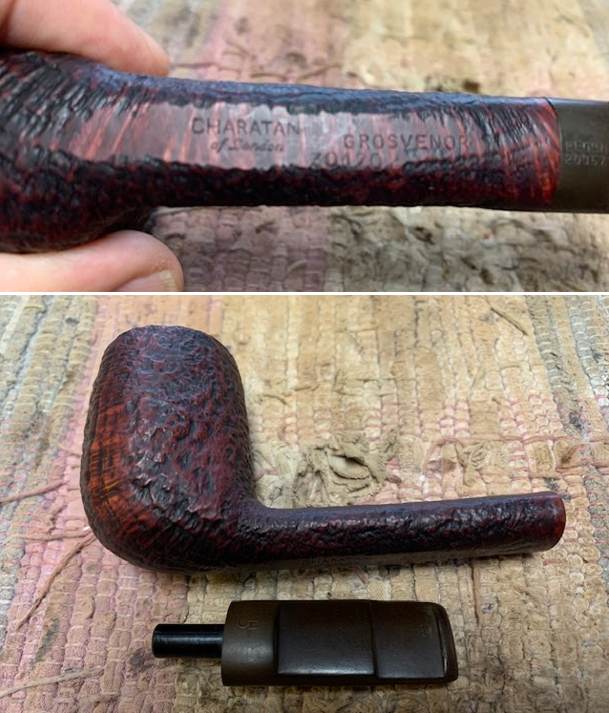
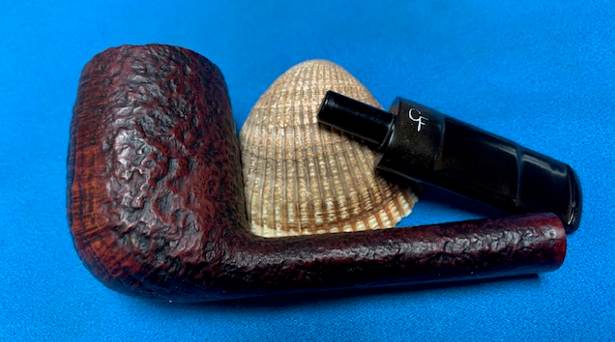
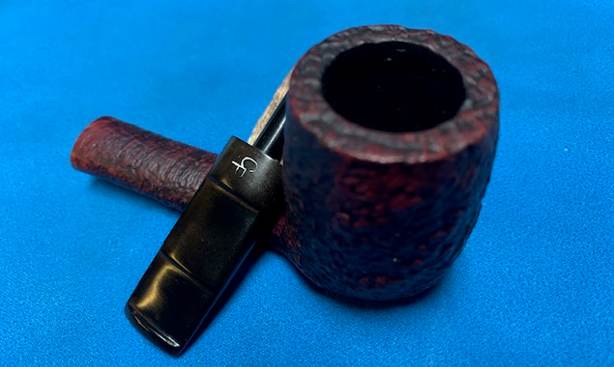
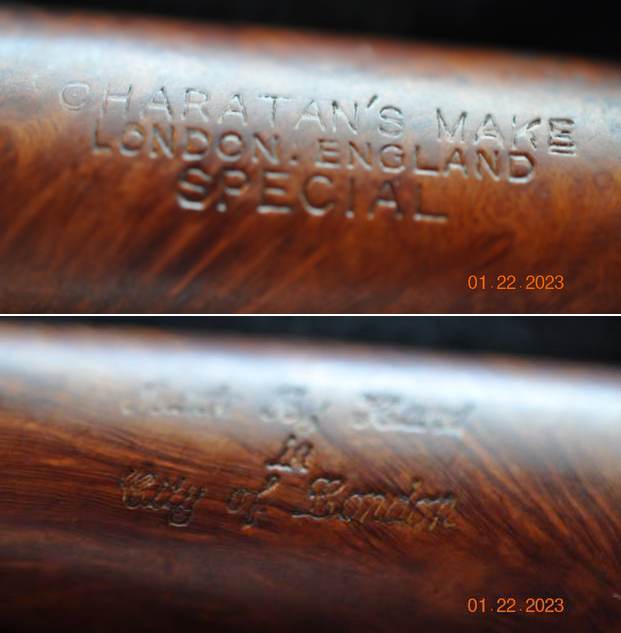
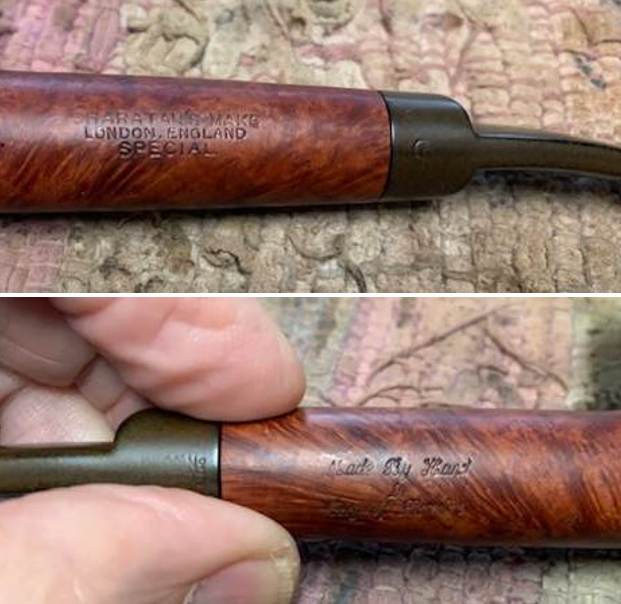
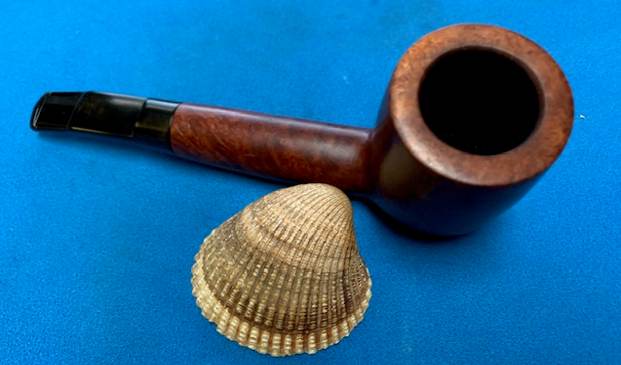
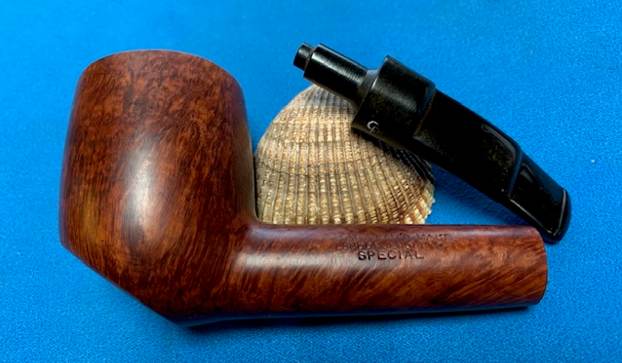
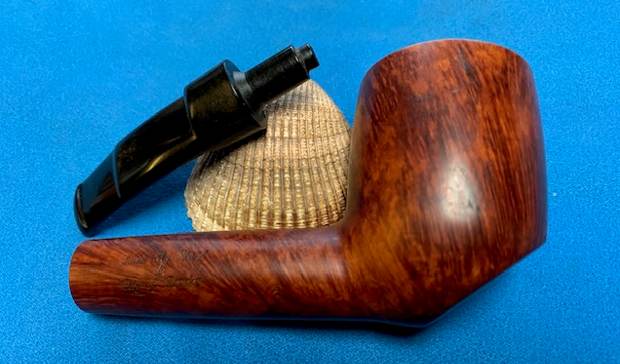
 I took a photo of the stamping on the underside of the shank. It reads as noted above. It is clear and readable. The pipe is quite nice with the stem removed. You can see the flow of the design and the look of the parts.
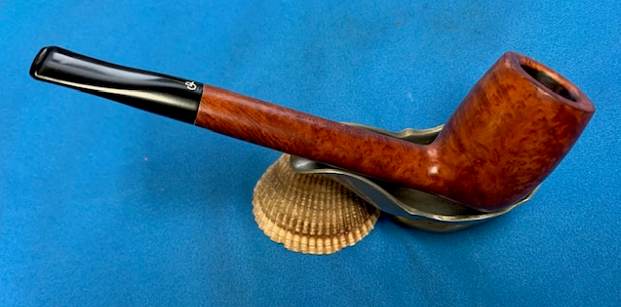
 I turned to Pipedia and the section on the Stanwell Shape Numbers and Designers to see what I could find (https://pipedia.org/wiki/Stanwell_Shape_Numbers_and_Designers). I found the following information that I quote below:
- ‘Elegance’; Bent apple with an acrylic mount and a long tapered stem. A reinterpretation of Sixten Ivarsson’s shape 08(b), by Sixten Ivarsson (1980s, see catalogue).
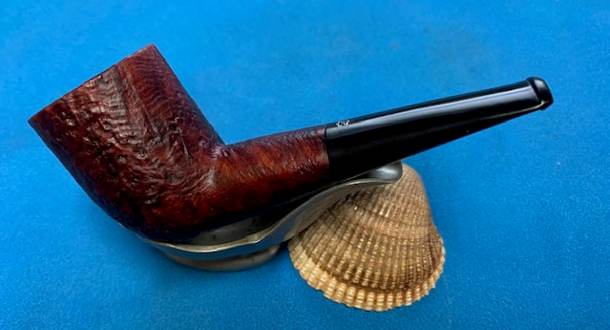
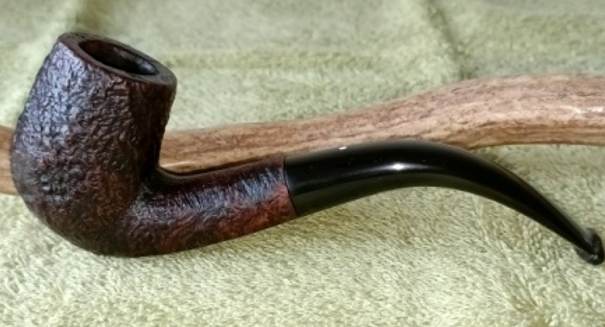
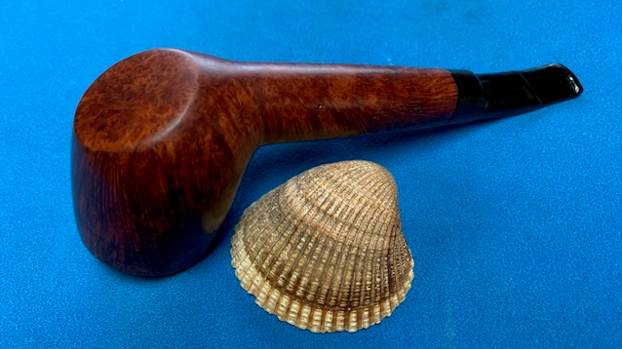
From that I can see that the pipe (105 shape) was a bent apple and was originally designed as a reinterpretation of the Sixten Ivarrson Shape 08b. I have included two pages from the 1980s catalogue below. The first show the 08 and the second page shows the 105. It is called an Elegance on that page rather than a Revival but it is a beauty.
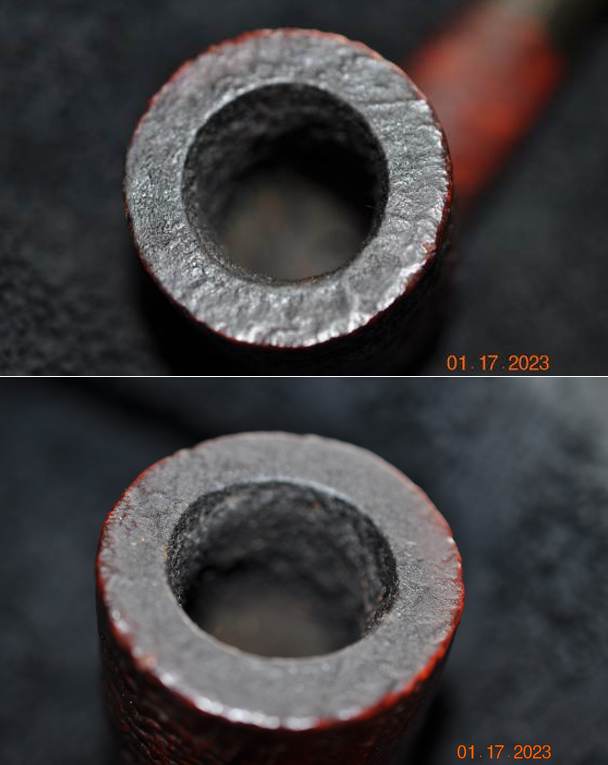
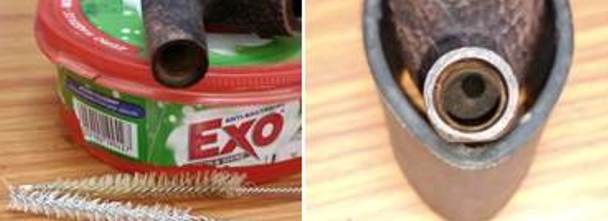
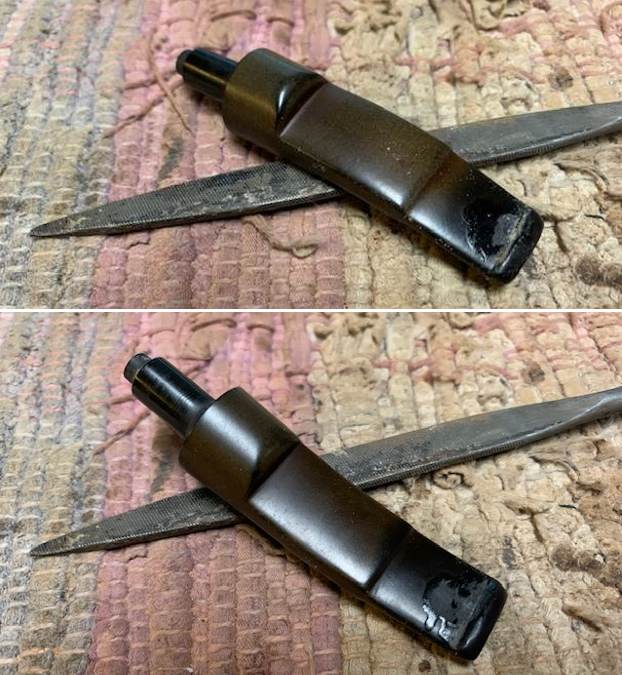
 I started my work on this pipe by reaming the bowl. I started with a PipNet reamer to clean out the cake in the bowl. I cleaned up the remnants of the cake with a Savinelli Fitsall Pipe Knife. I finished by sanding the walls of the bowl with 220 grit sandpaper wrapped around a piece of dowel to smooth out the interior of the bowl.
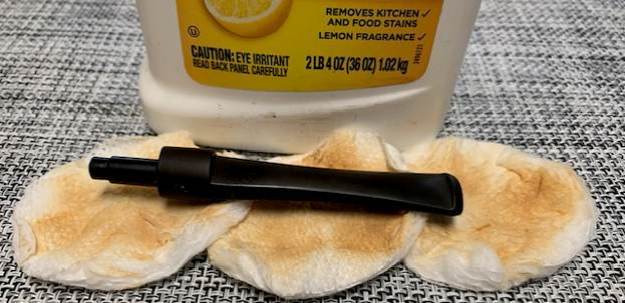
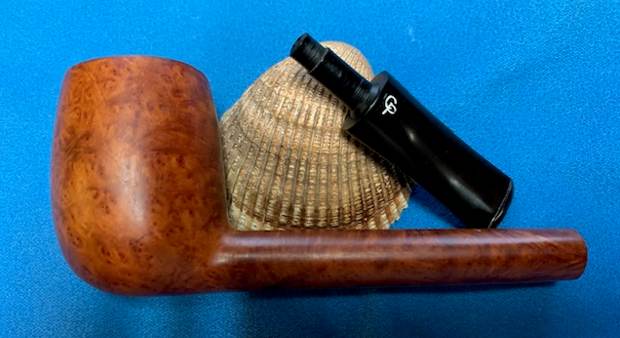
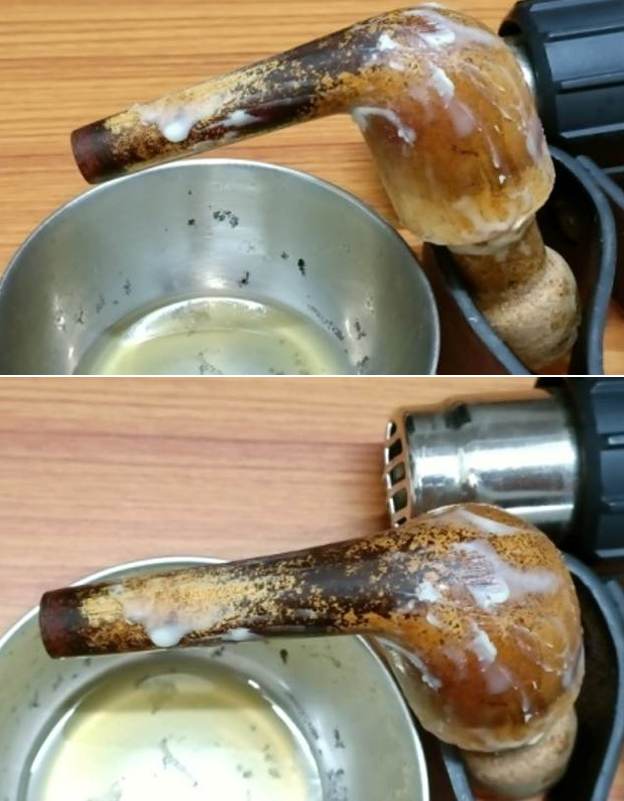
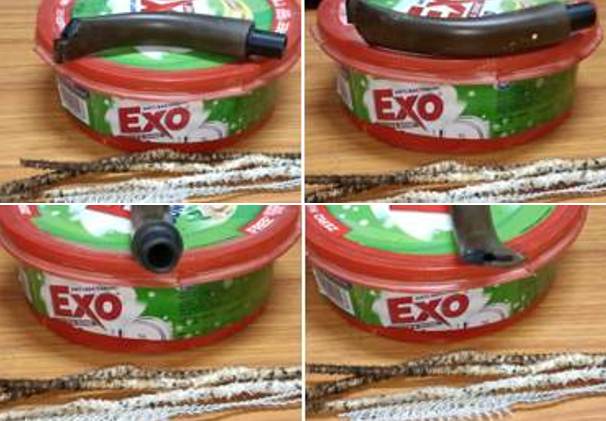
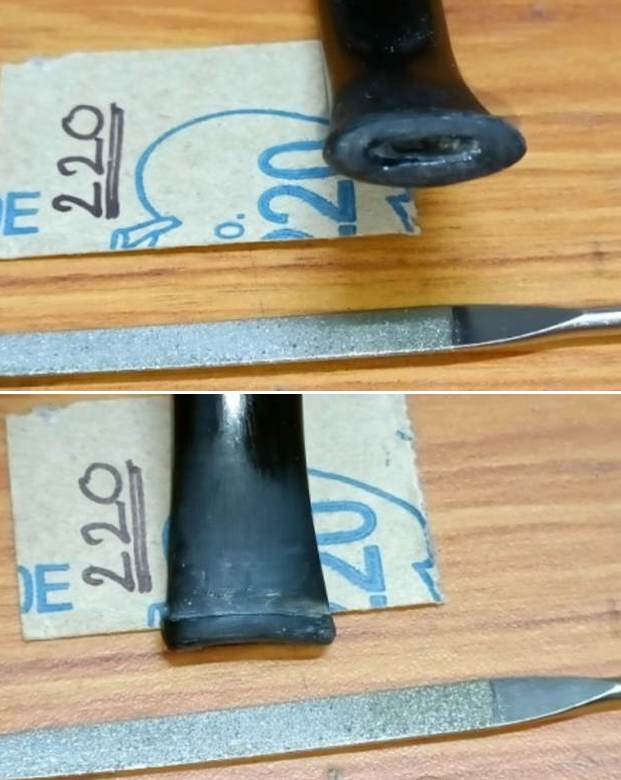
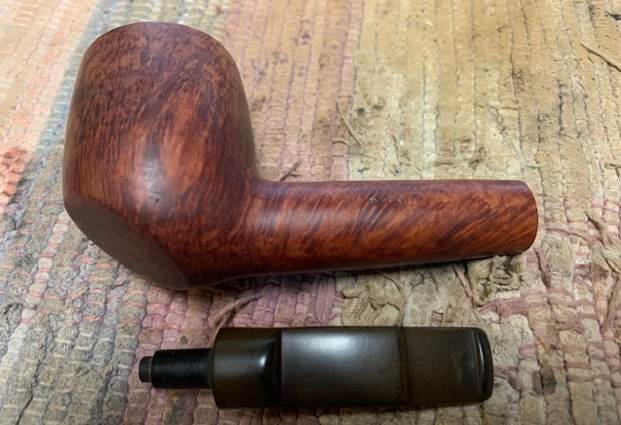
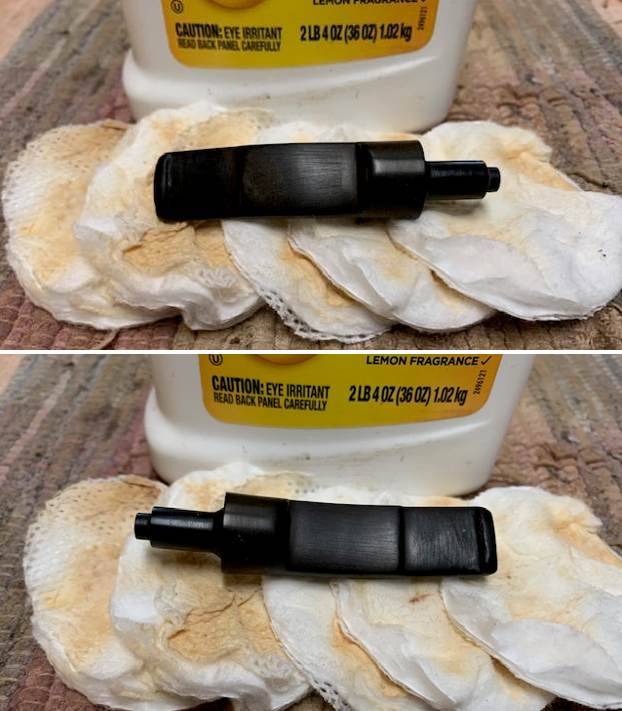
 I cleaned out the internals of the bowl, shank extension and the airway in the stem with alcohol, cotton swabs and pipe cleaners until they were clean. I unwrapped the tape from the stem in order to clean and restore it.
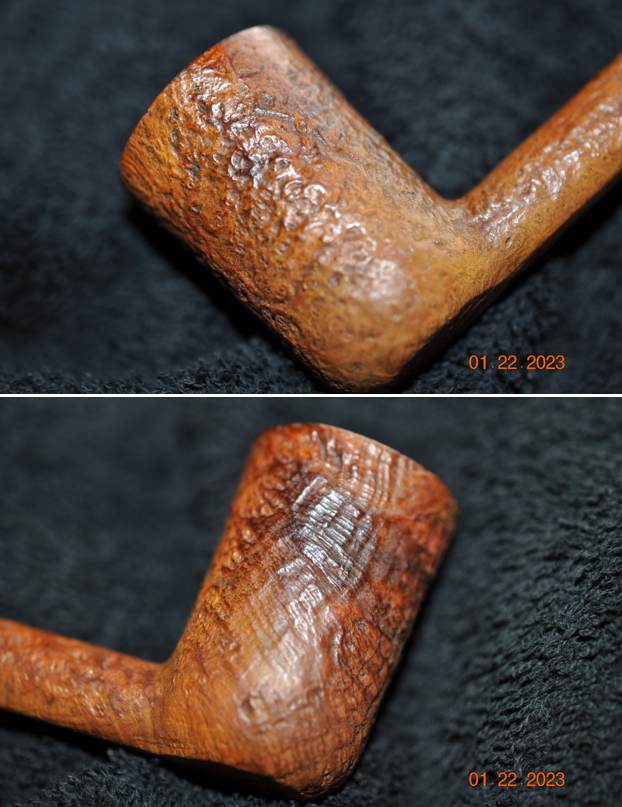
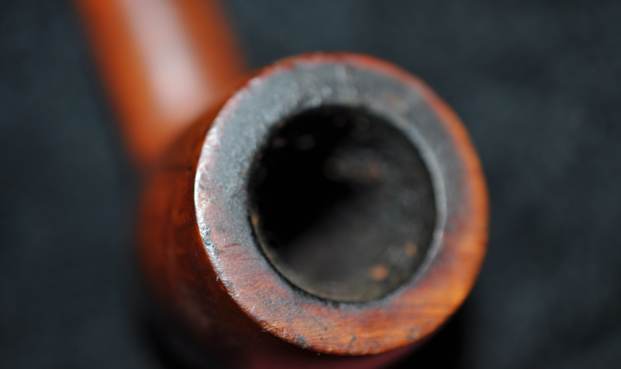
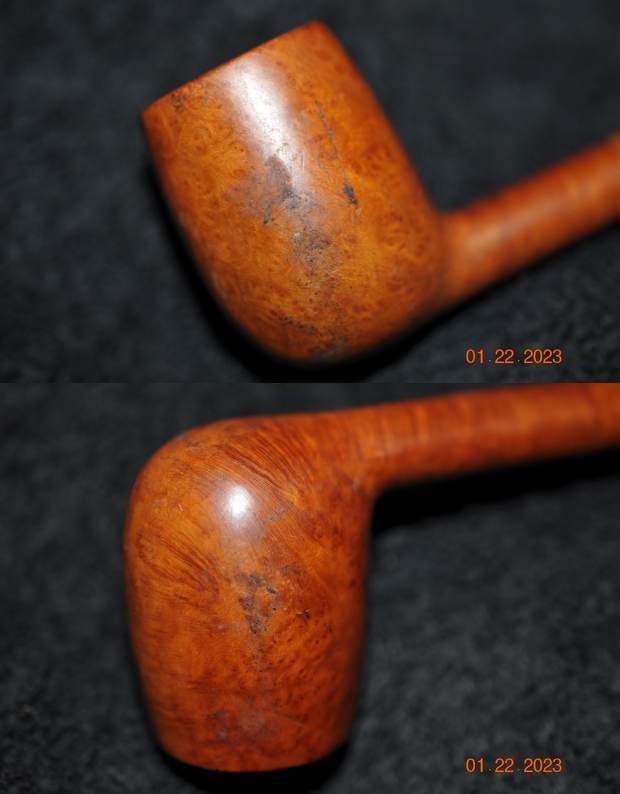
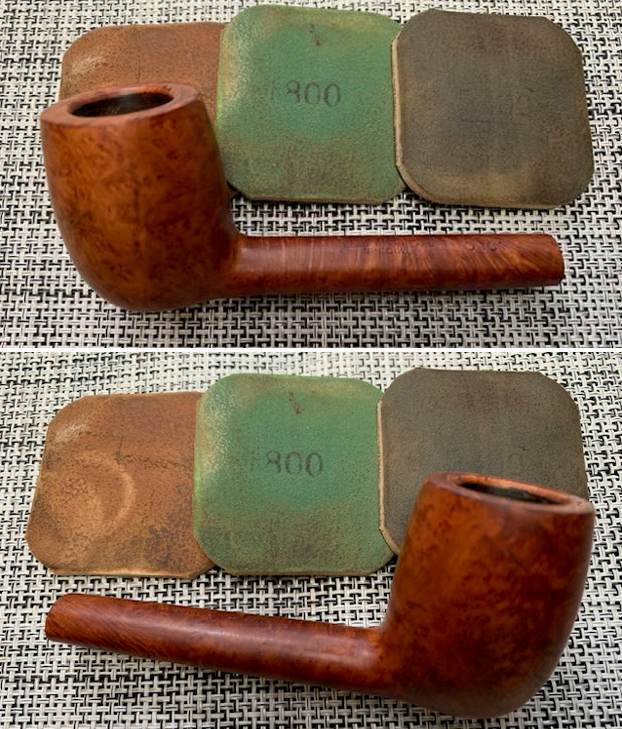
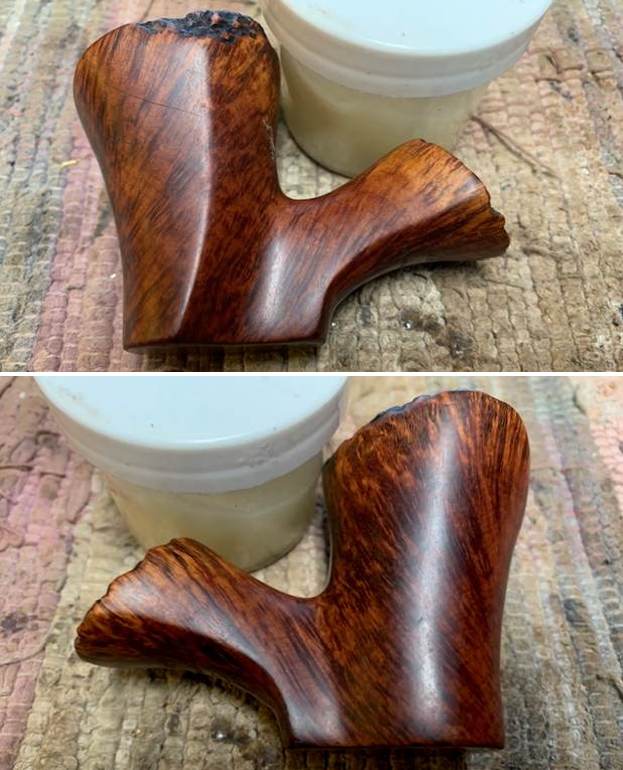
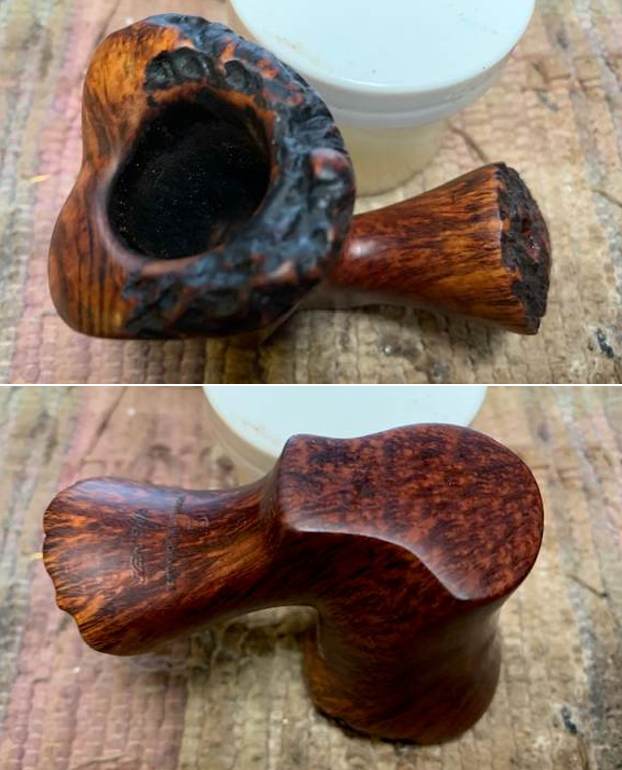
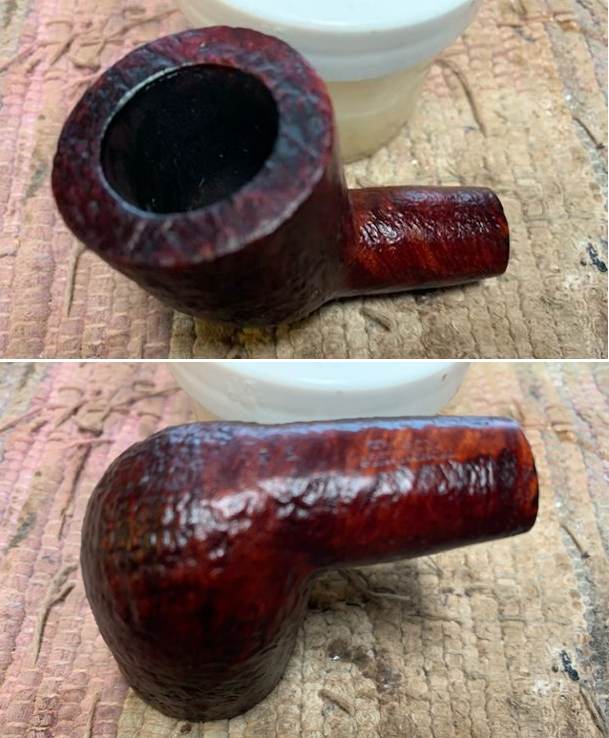
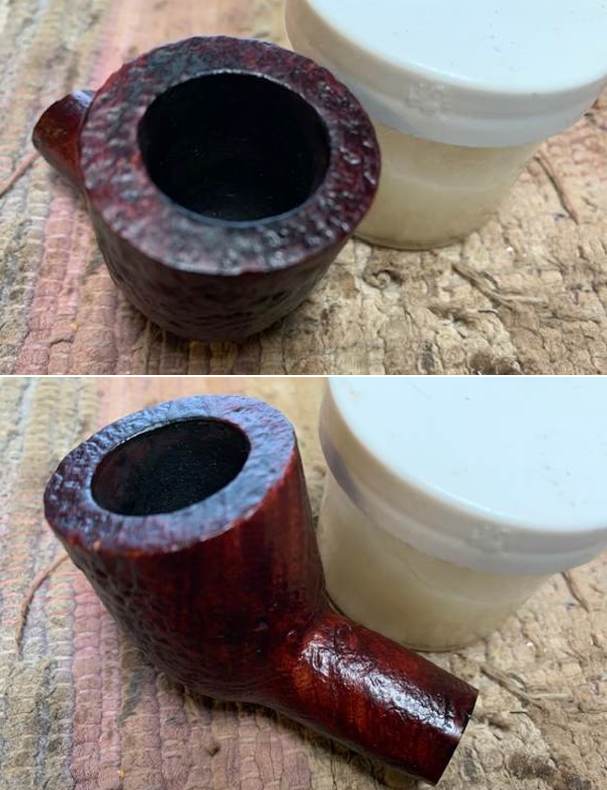
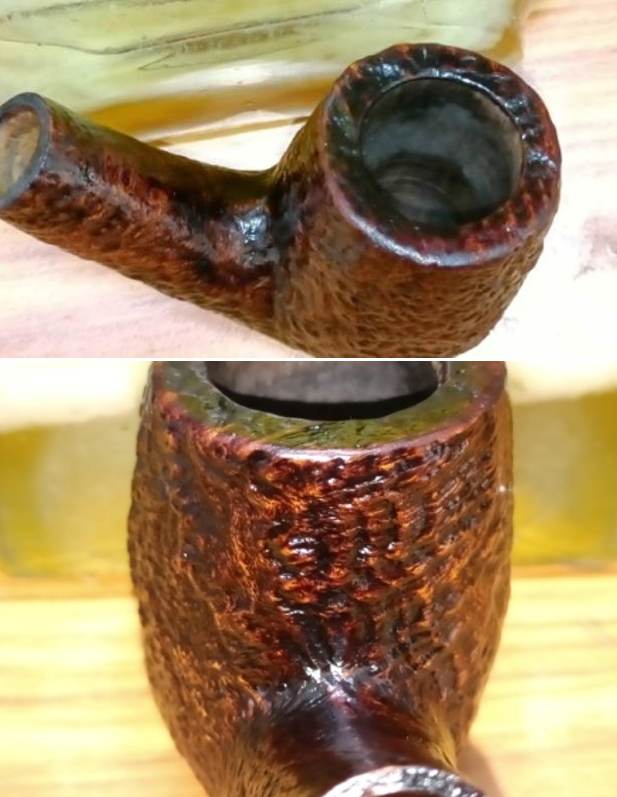
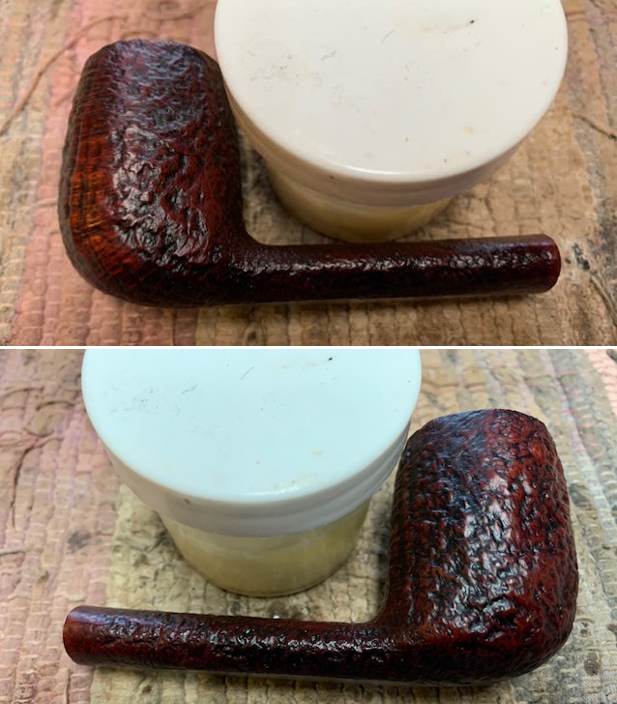
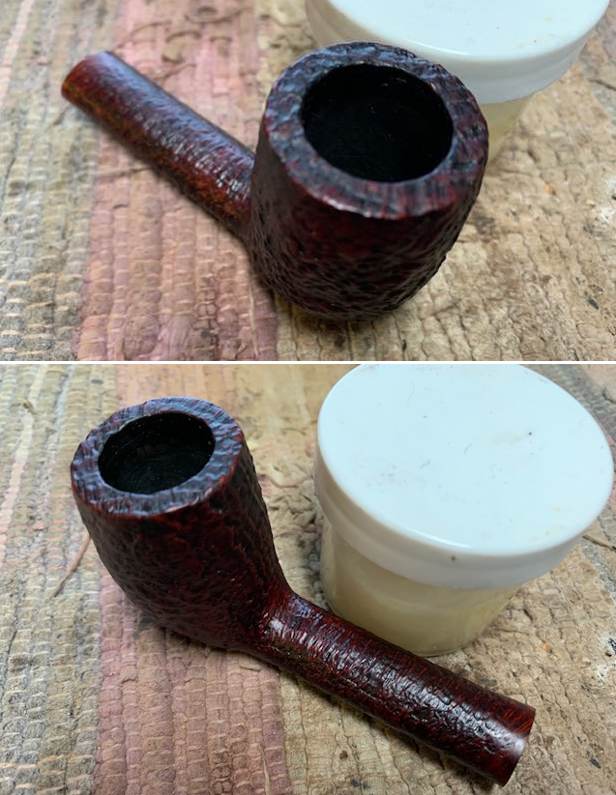
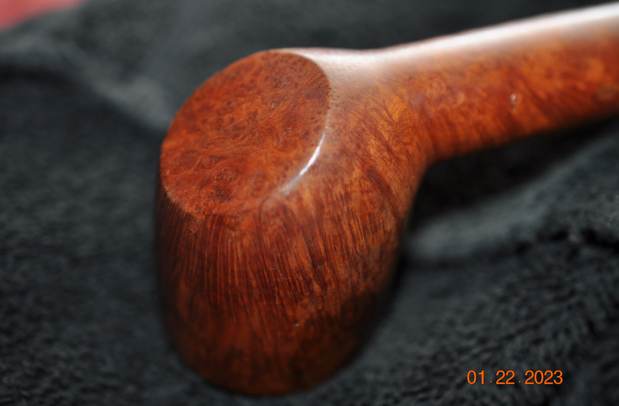
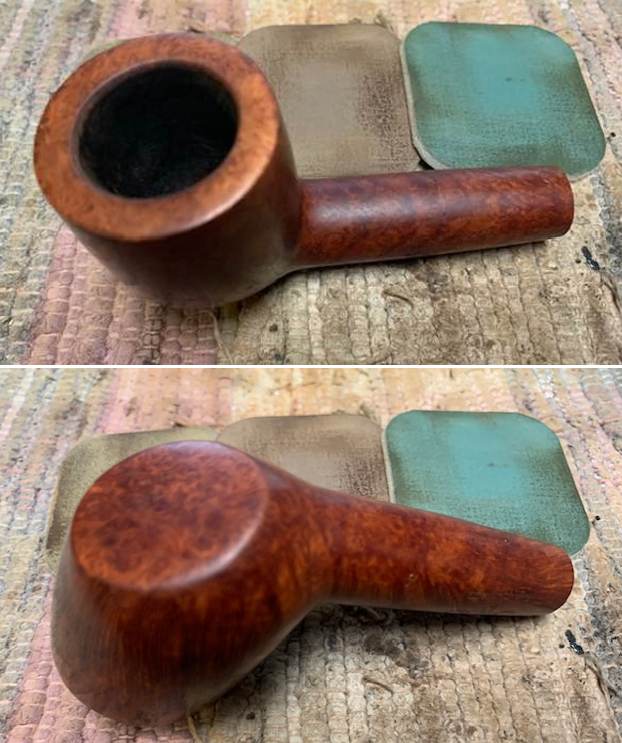
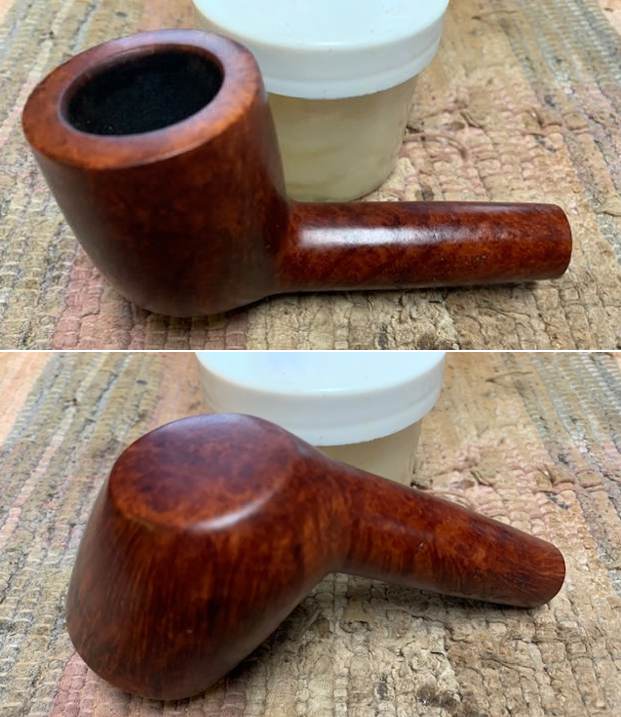
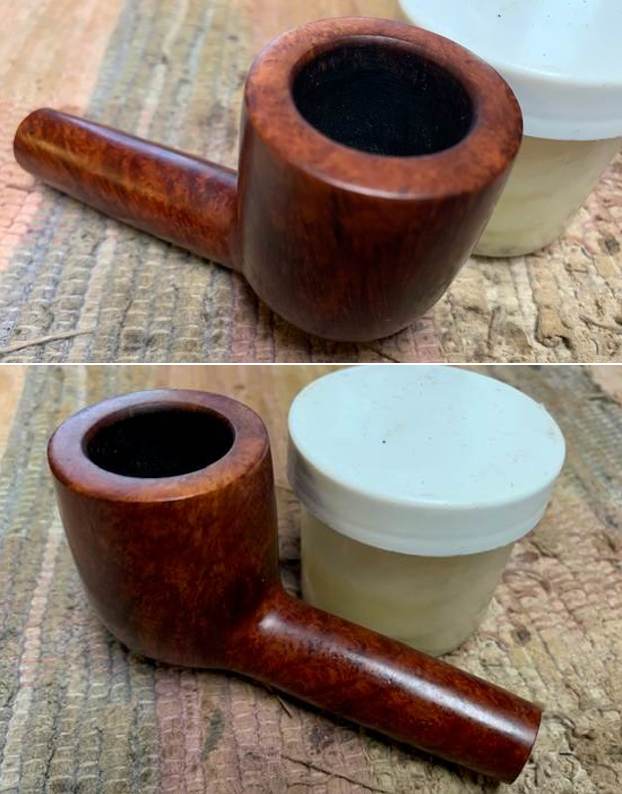
 I scrubbed the exterior of the bowl with undiluted Murphy’s Oil Soap and a tooth brush. I worked on the bowl and rim top as well as the inner and outer edges of the bowl. It cleaned up really well. I rinsed it with warm water to remove the soap and the grime from the briar. I dried it off with a cotton towel. I took photos of the bowl at this point in the process.
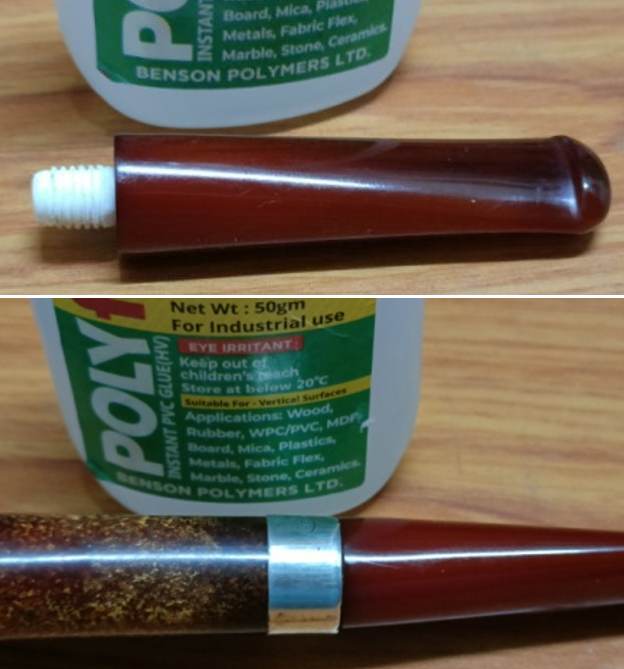
 With the pipe cleaned up it was time to re-glue the shank extension to the end of the shank. I used some Weld Bond white all-purpose glue to reattach the extension to the shank end. I spread the glue around the tenon on the extension and pushed it in place. I adjusted the fit around the shank until it all aligned. I set it aside to cure.
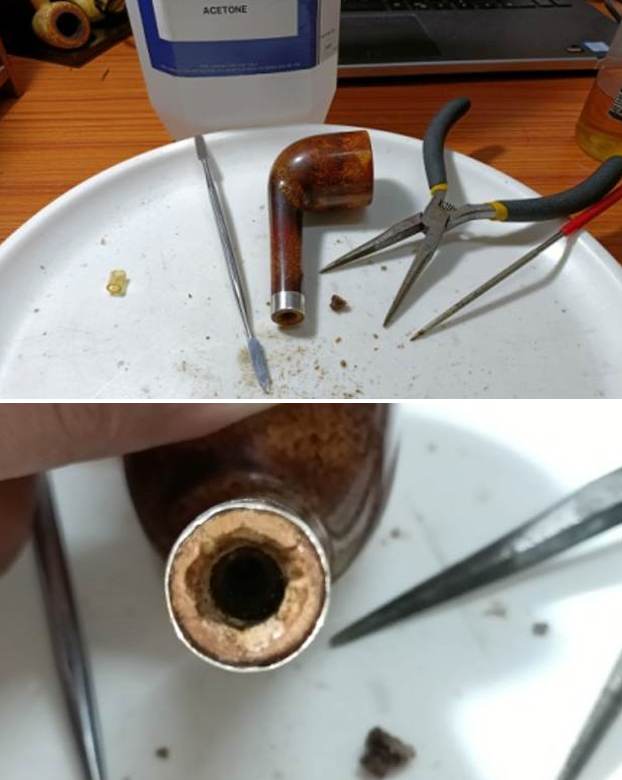
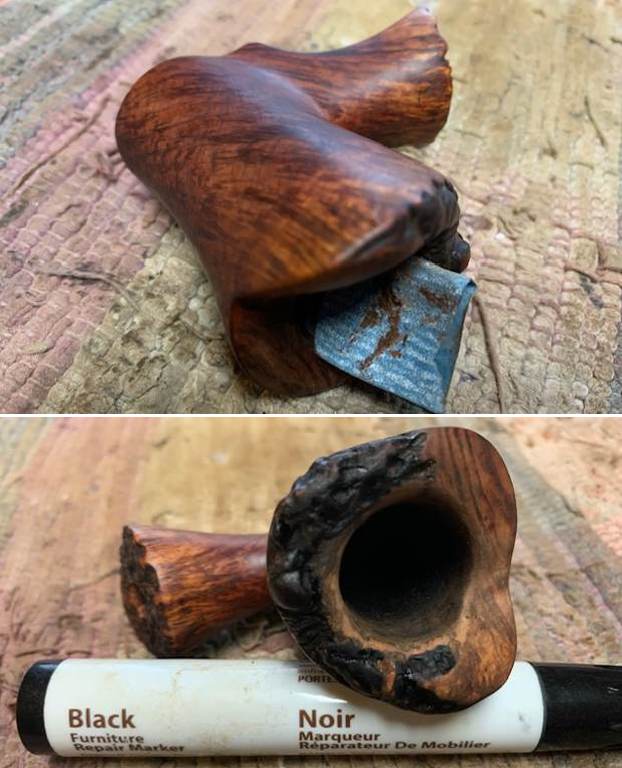
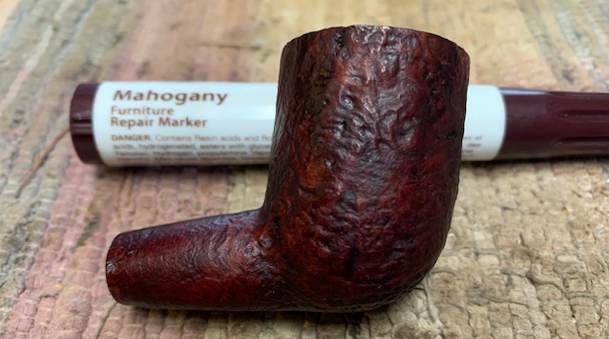
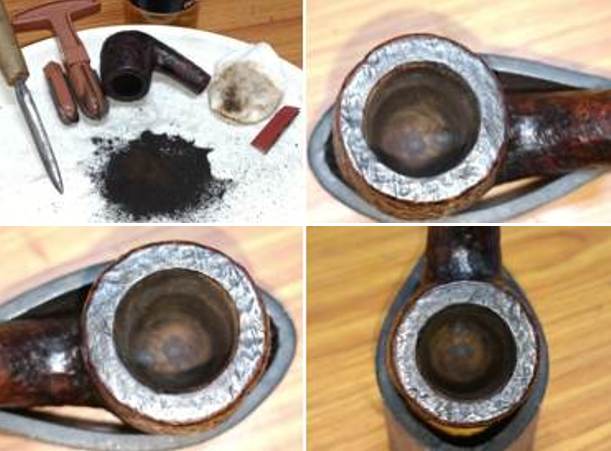
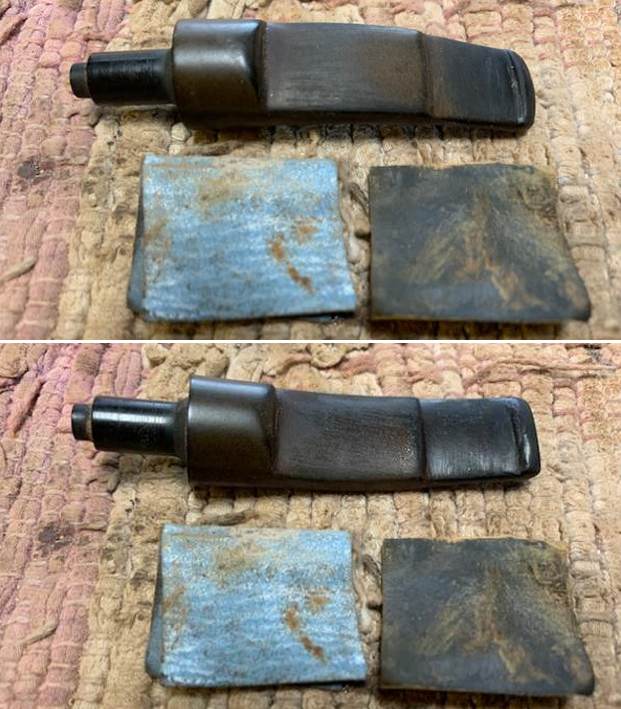
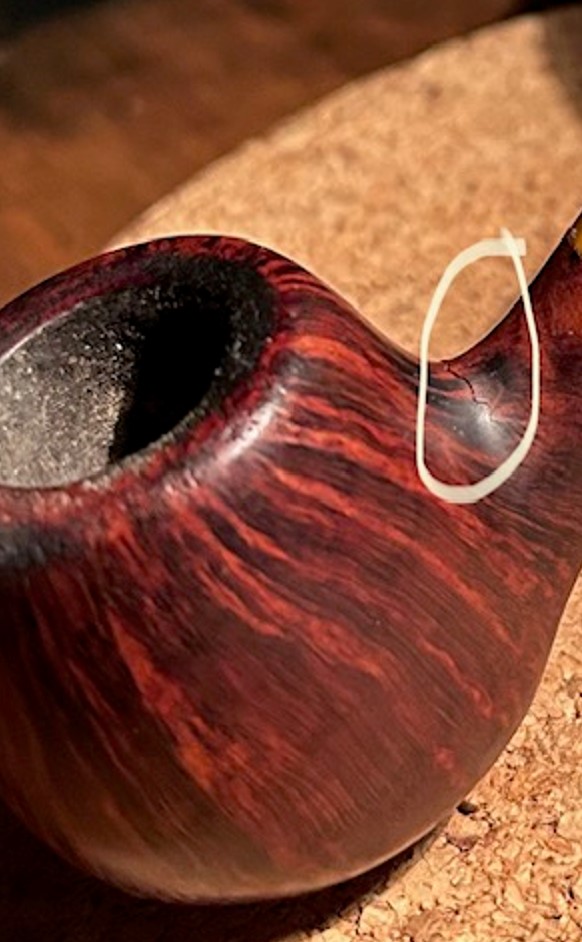
 At this point in the process it was time to deal with the crack in the shank at the shank/bowl union. I used a small pinpoint to mark the ends of the crack on both sides of the shank. I drilled a hole in the small mark on each side of the crack end using a microdrill bit.
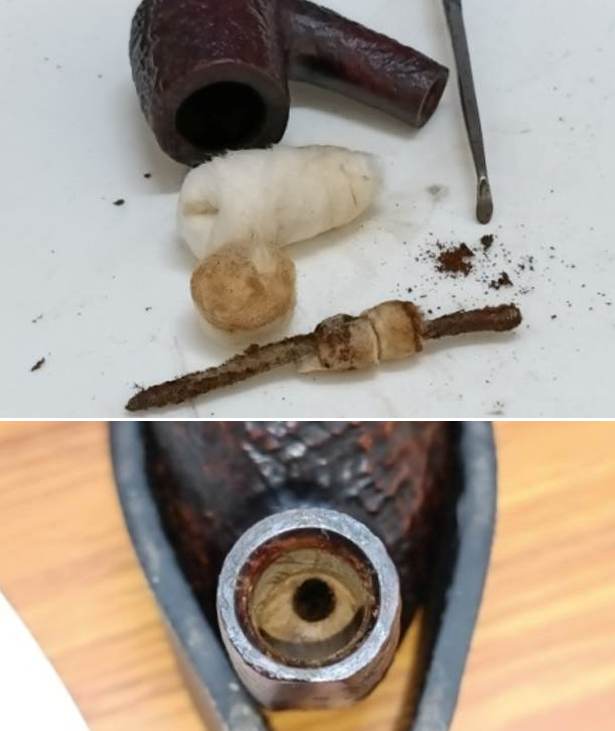
 I filled in the crack and the two drill holes in the shank sides with clear CA glue. I spread it into the crack and the holes with a dental spatula. Once it had cured I sanded the repairs smooth with 220 grit sandpaper and followed it up with micromesh as seen in the next photos.
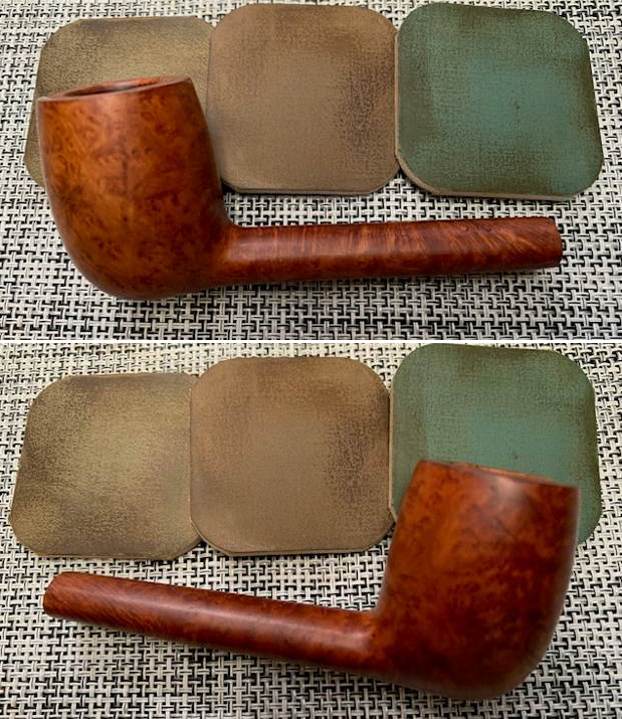
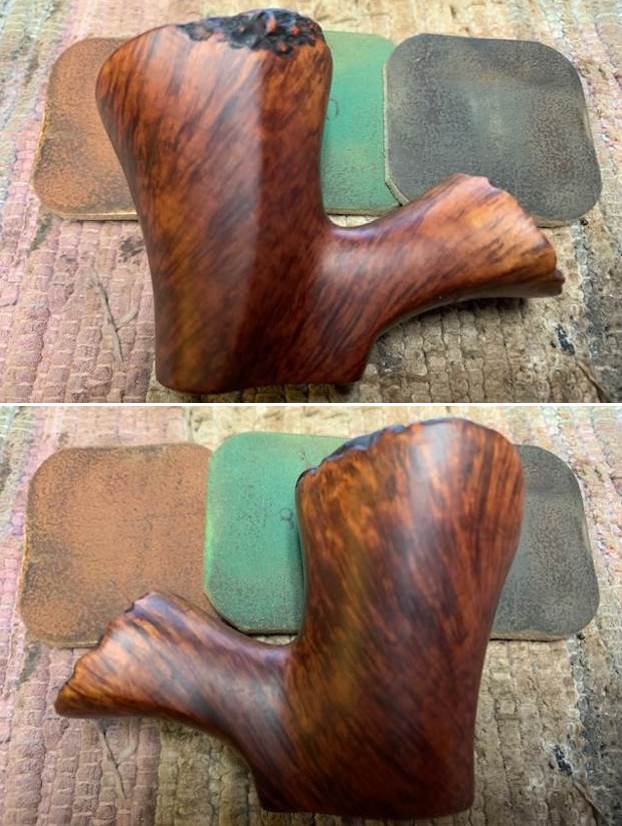
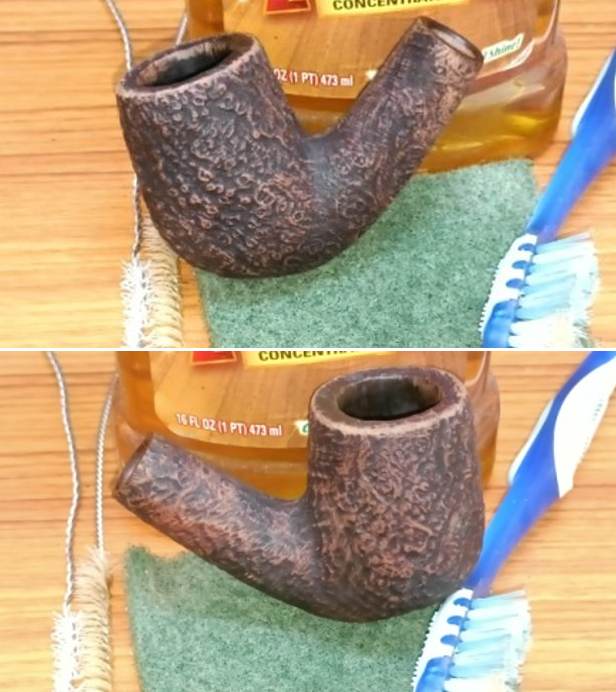
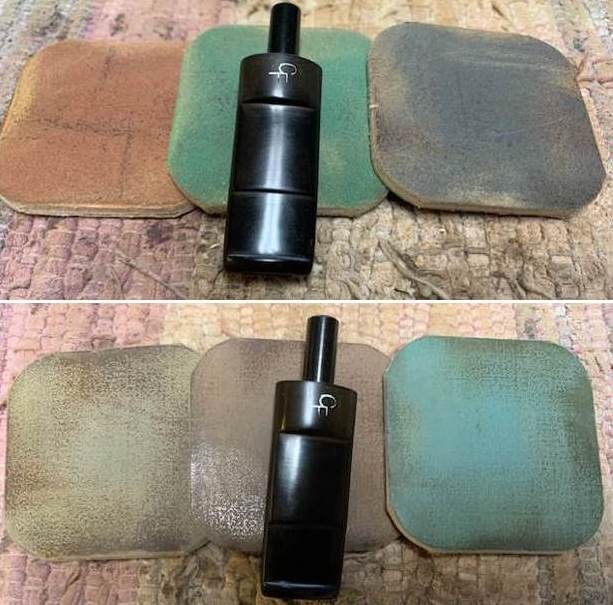
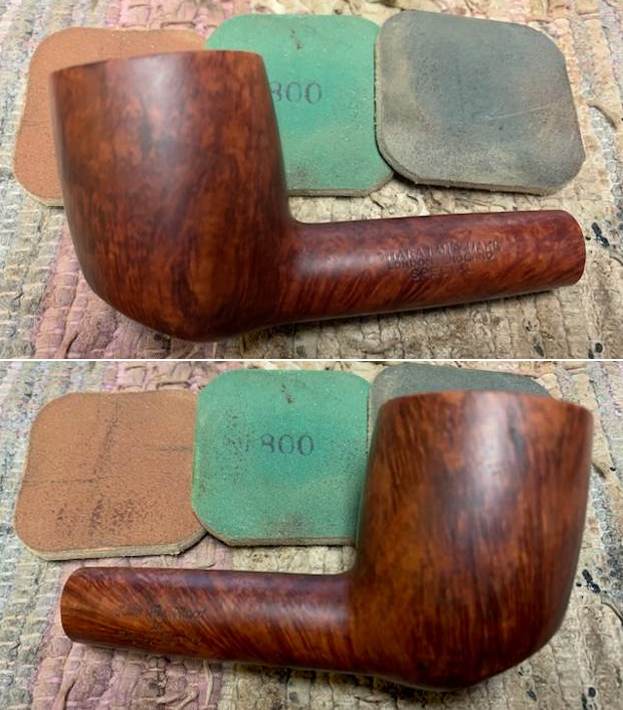
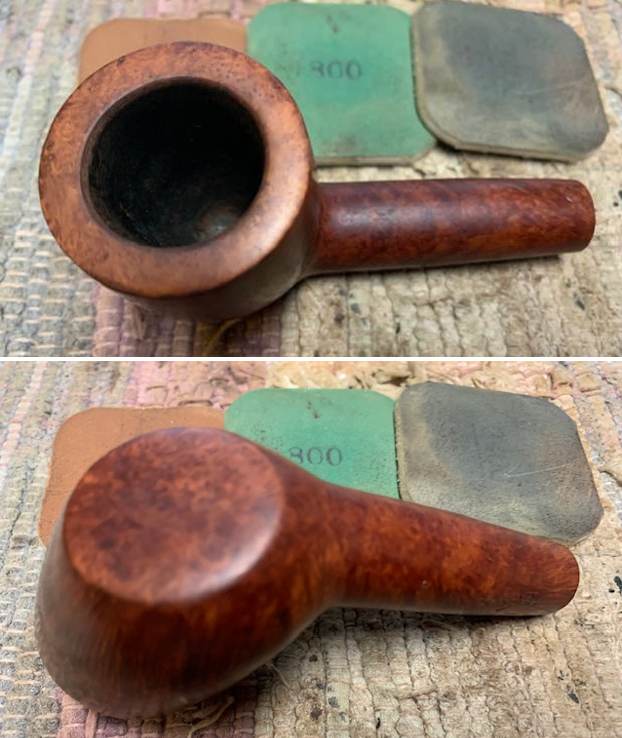
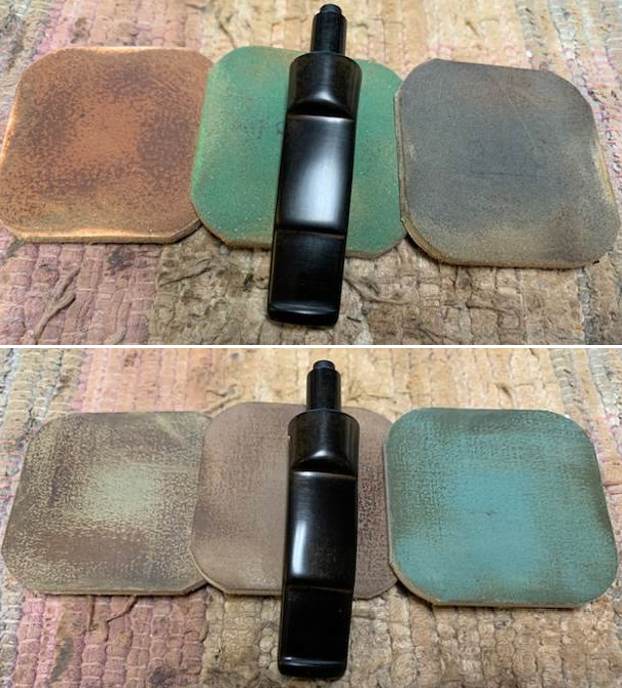
 I polished the briar with micromesh sanding pads – dry sanding with 1500-12000 grit sanding pads. I wiped the bowl down after each sanding pad with a damp cloth to remove the sanding debris. The bowl began to take on a rich glow.


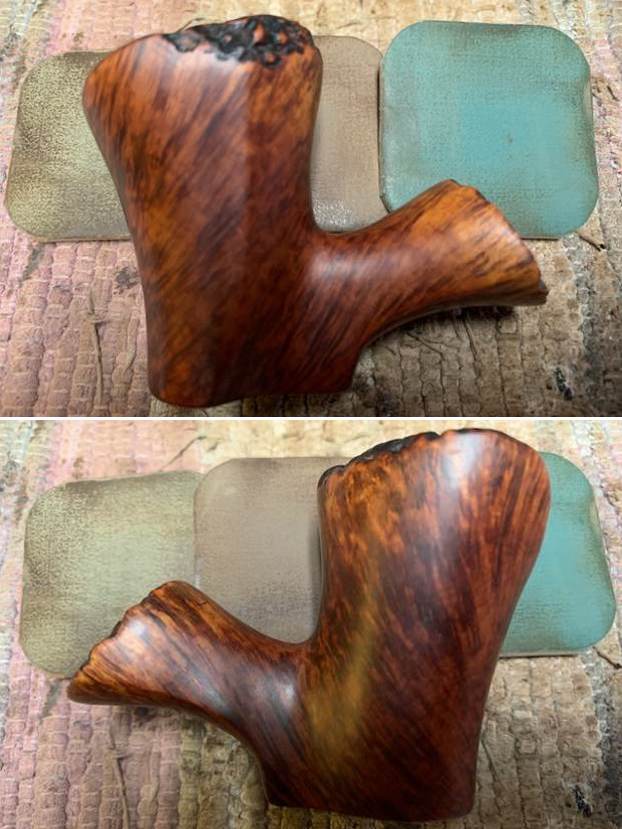
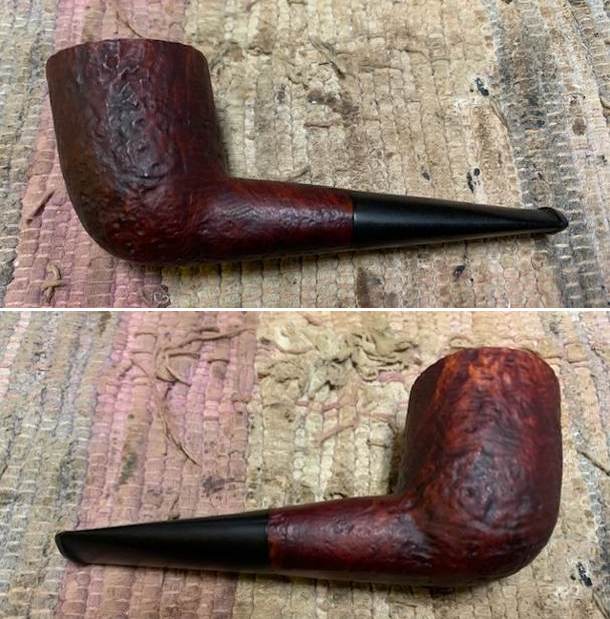
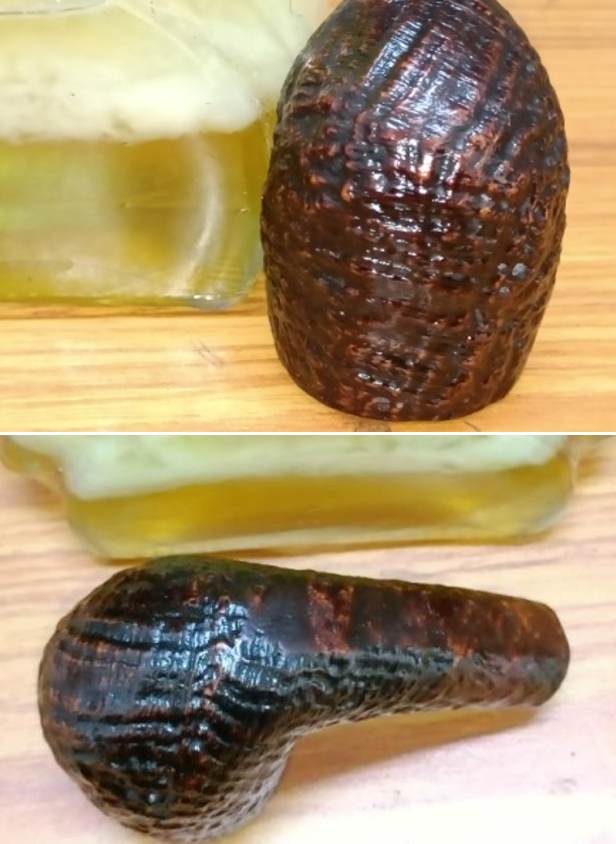
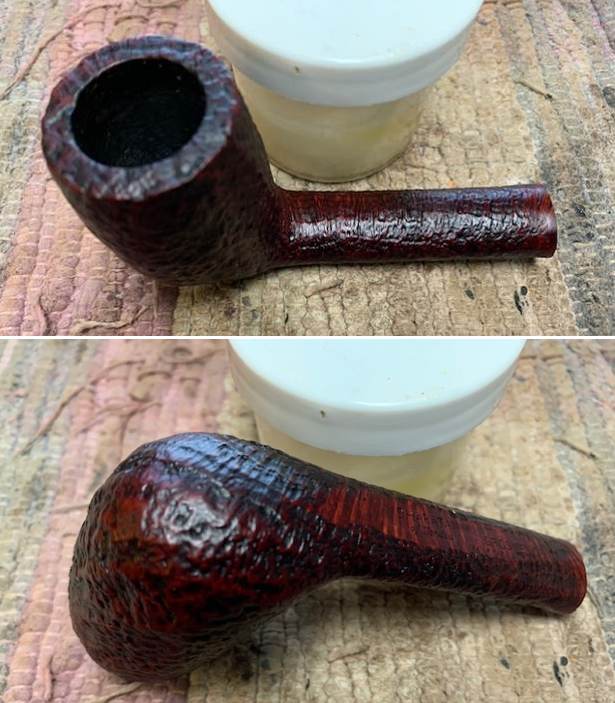
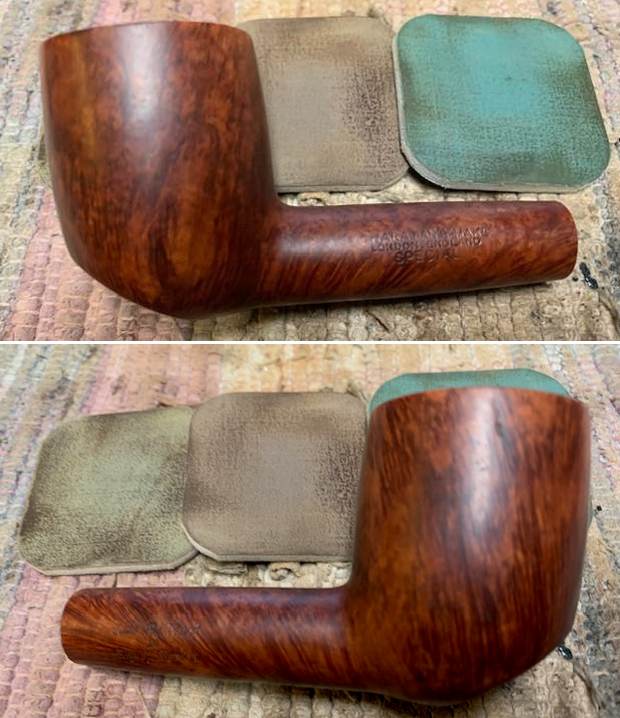
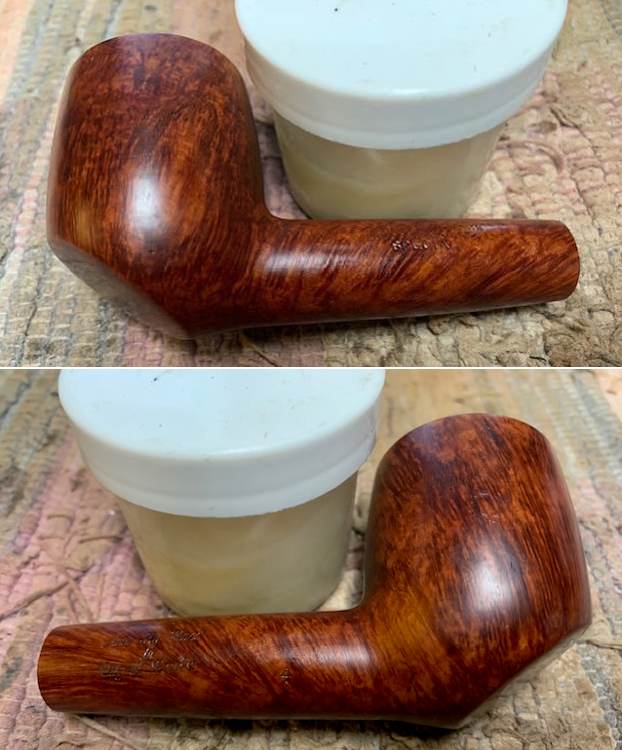
 I rubbed down the bowl and shank with Before & After Restoration Balm. It is a paste/balm that is rubbed into the surface of the briar. The product works to deep clean the finish, enliven and protect the briar. I worked it into the briar with my finger tips. I let it sit for 10 minutes then wiped it off with a soft cloth then buffed it with a cotton cloth. The briar really began to have a deep shine in the briar and the grain shines through. The photos I took of the bowl at this point mark the progress in the restoration. It is a gorgeous pipe.

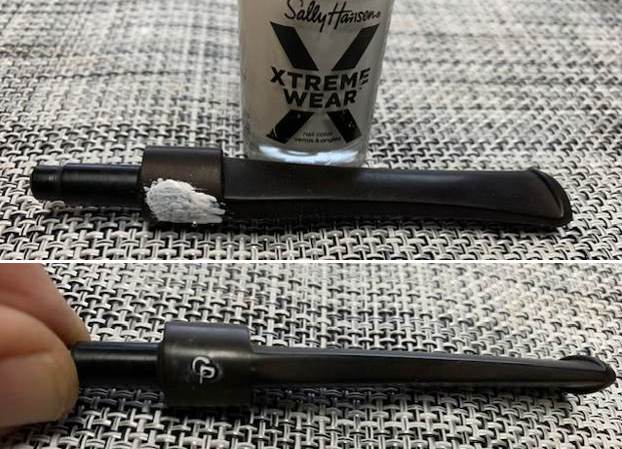
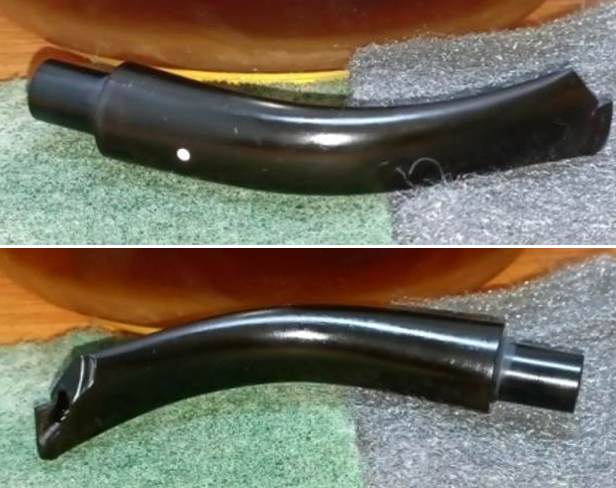
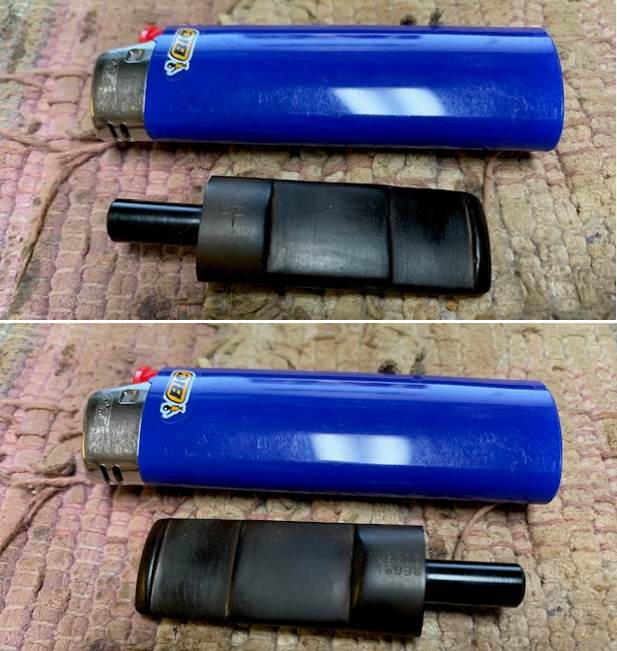
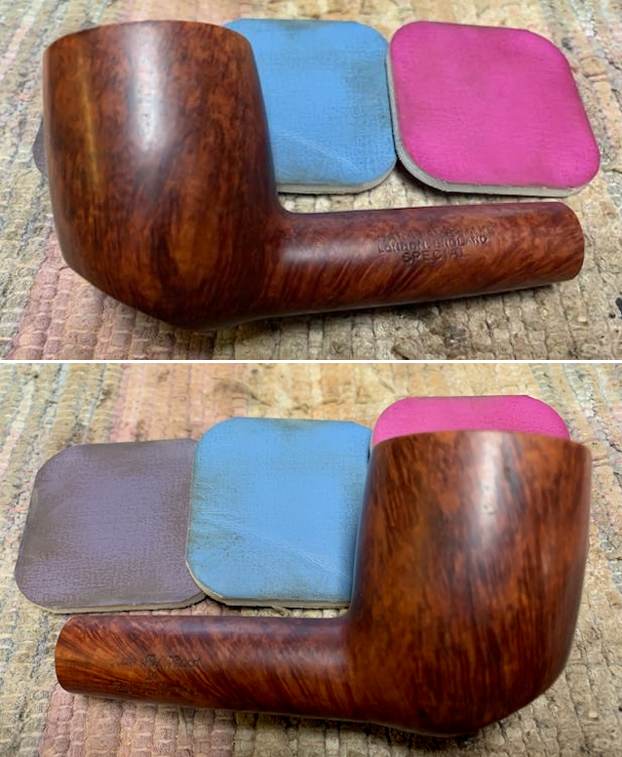
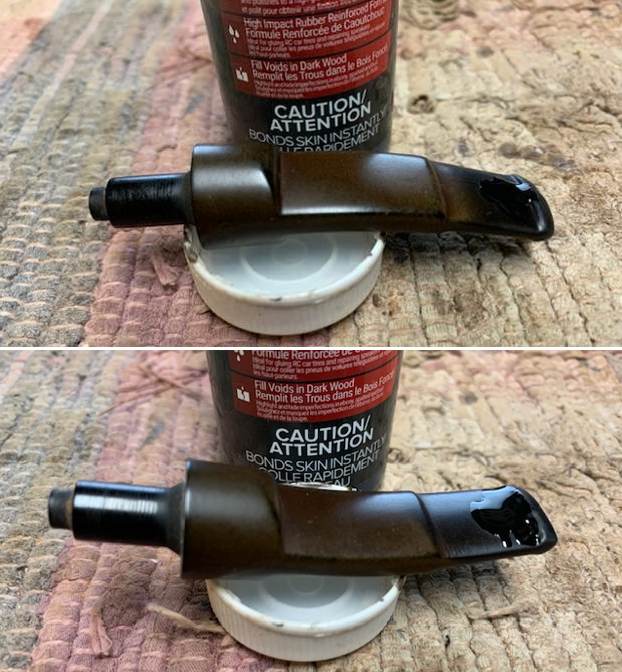
 I set the bowl aside and turned to the stem. It was in rough condition with the gummy tape on the end fitting into the shank and deep tooth marks. I painted the surface of the stem with the flame of a Bic lighter to try and lift them. I lifted them but they were still distinctly present. I filled in the marks with Black CA glue and set it aside to cure. Once cured I flattened the repair with a file and then followed that up with a piece of 220 grit sandpaper and started the polishing with 600 grit wet dry sandpaper. It looked much better.


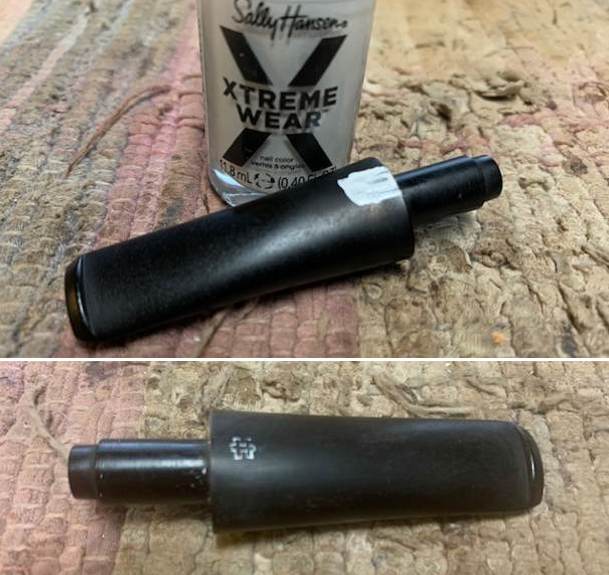
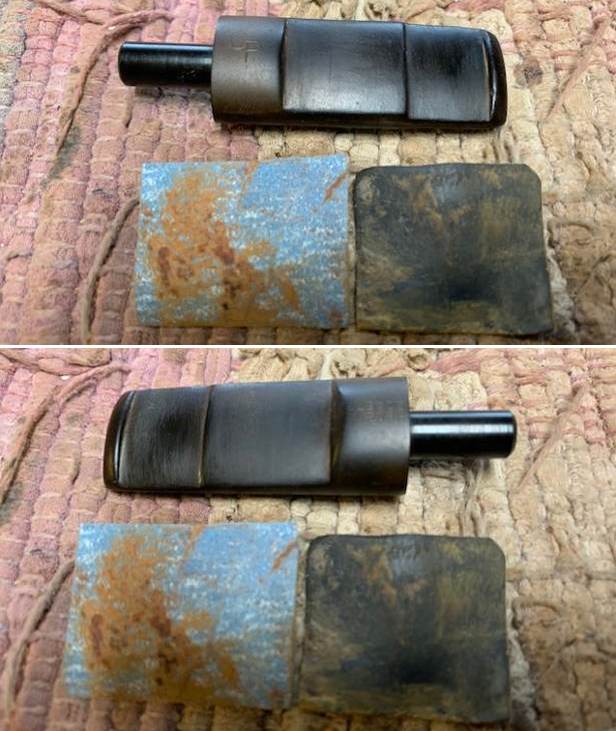
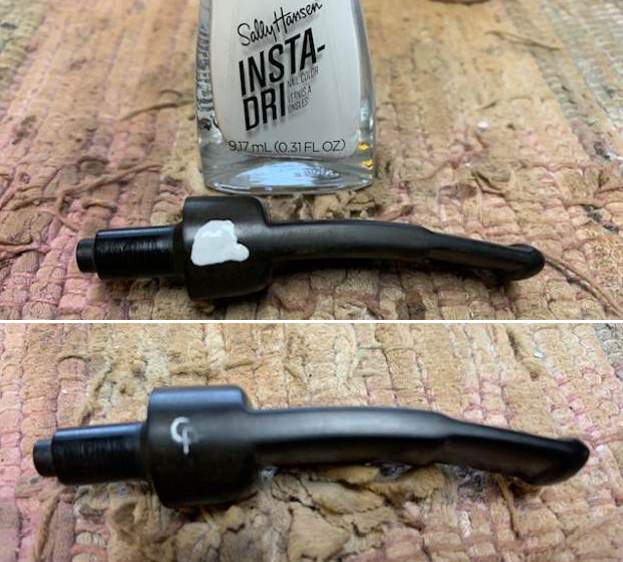
 I built up the end of the stem with clear acrylic fingernail polish. I spread it around the stem with a dental spatula and set it aside to cure. Once it hardened I polished it with micromesh.
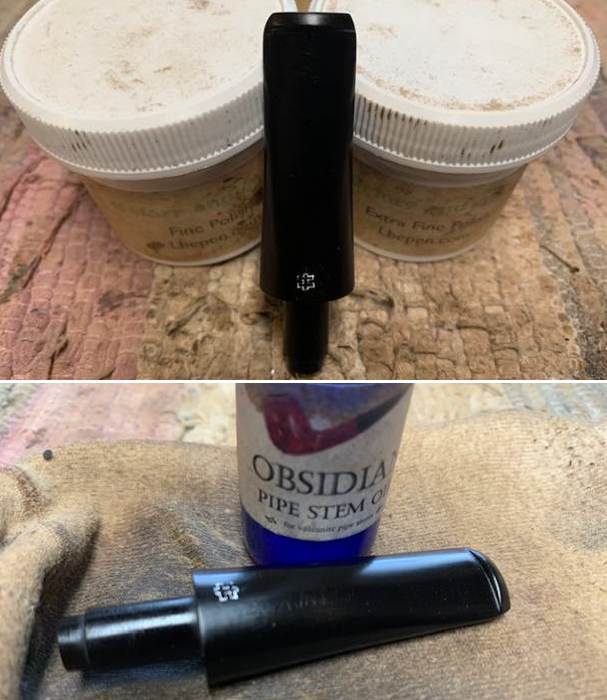
 I polished the stem with micromesh sanding pads – 1500-12000 grit sanding pads and water to wet sand the stem. I wiped it down after each sanding pad with Obsidian Oil on a cotton rag after each sanding pads. I know that many say Obsidian Oil does nothing for acrylic stems, but I find it does two things – first it gives some protection to the stem from buildup and second it give the sanding pads bite in the polishing process.
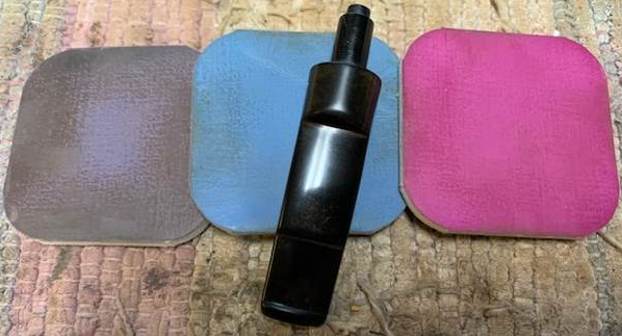
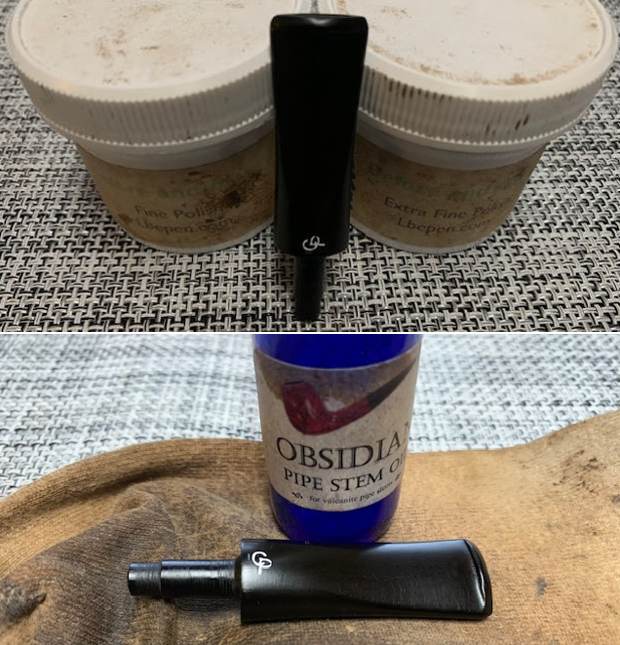
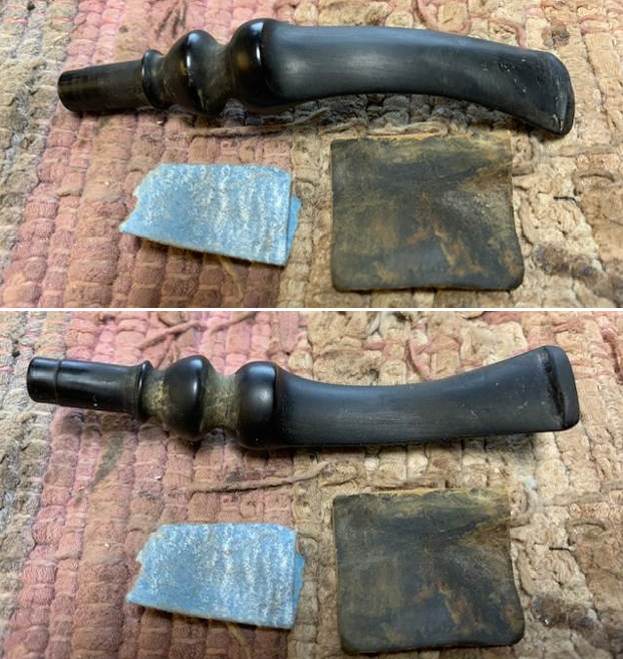
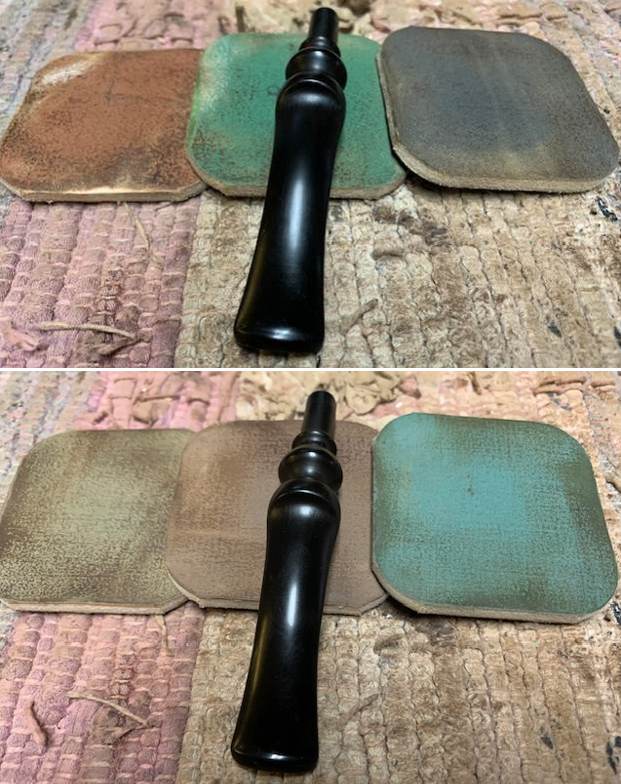
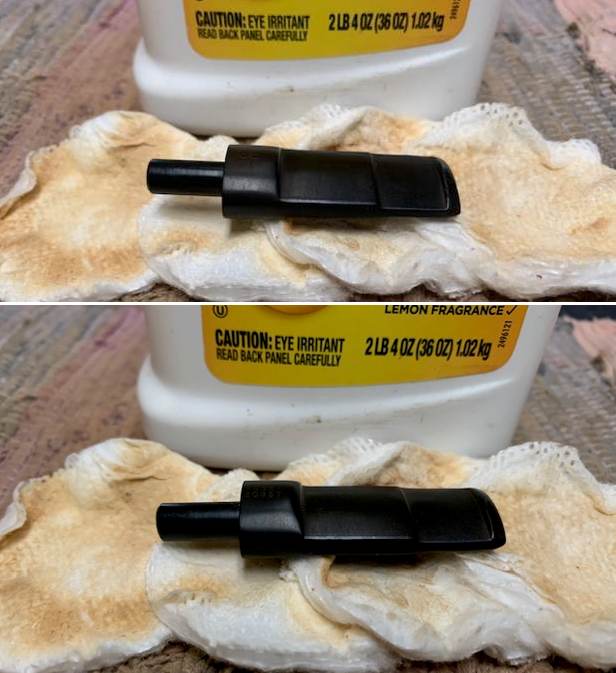
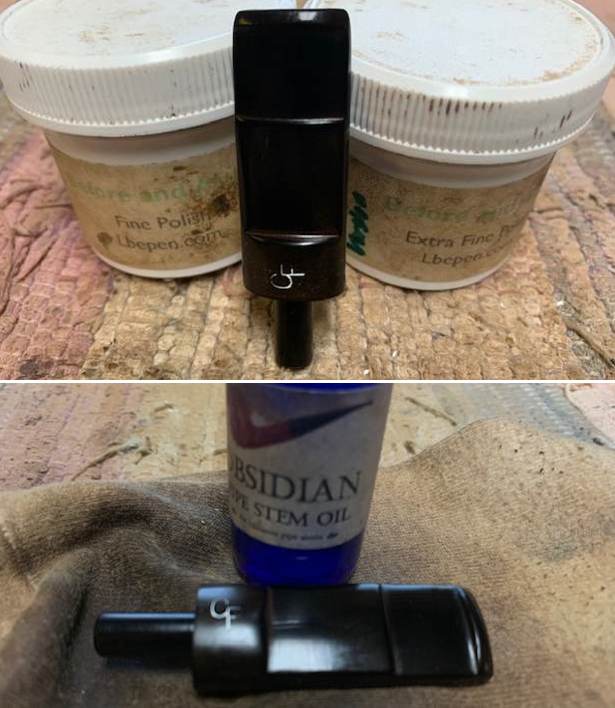
 Fine and Extra Fine stem polish as it seems to really remove the fine scratches in the vulcanite. I rub the Fine Polish on the stem and wipe it off with a paper towel and then repeat the process with the Extra Fine polish. I finish the polishing of the stem down with a final coat of Obsidian Oil and set the stem aside to let the oil absorb. This process gives the stem a shine and also a bit of protection.
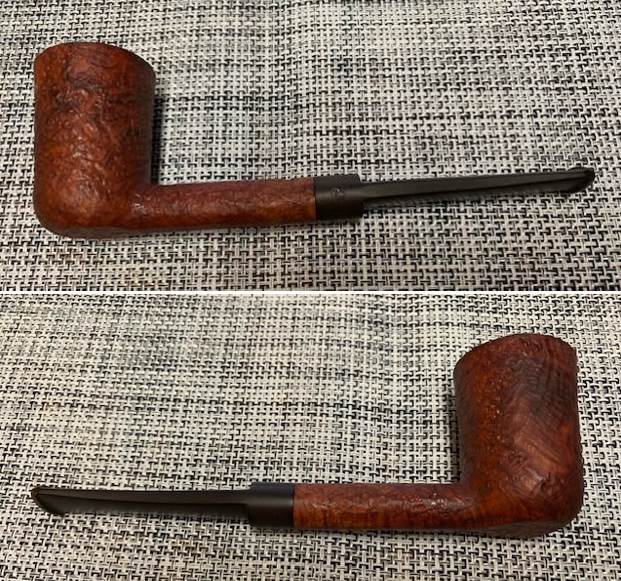
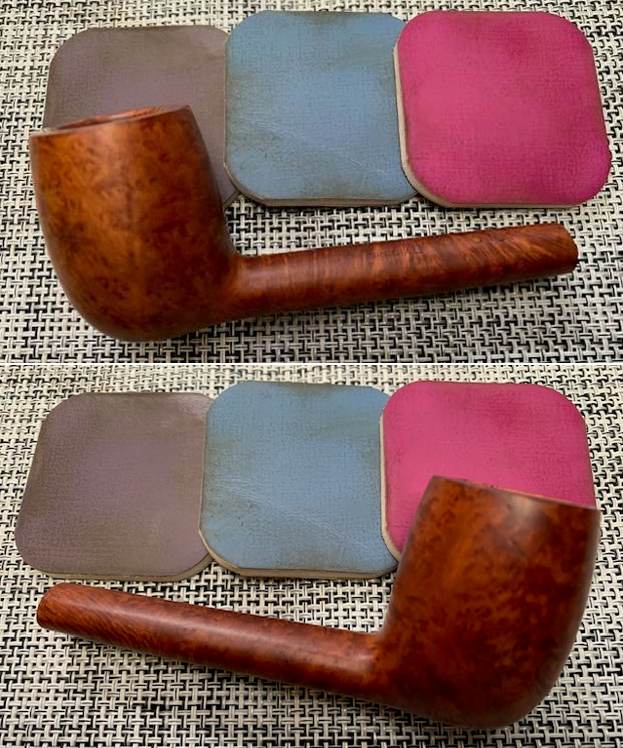
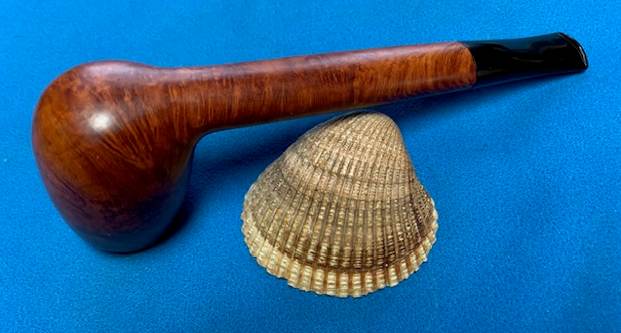
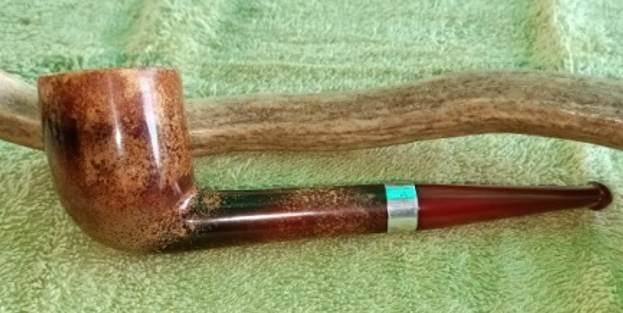
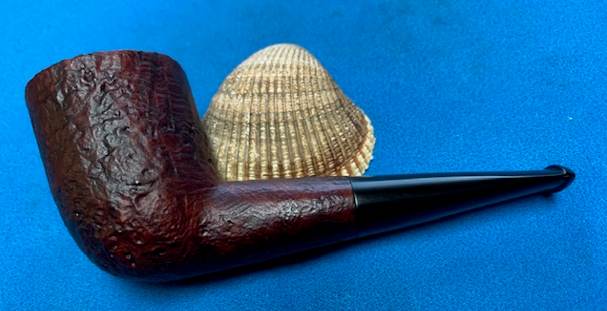
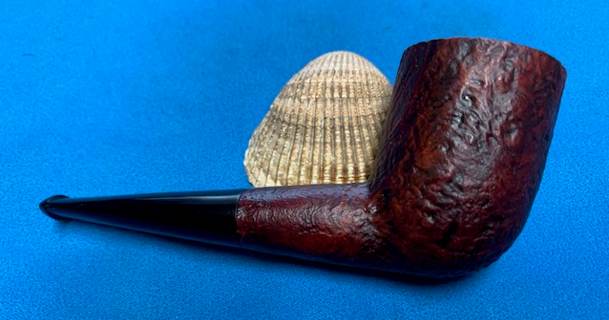
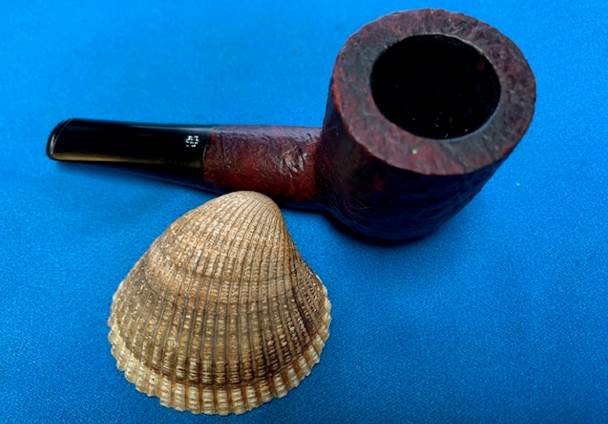
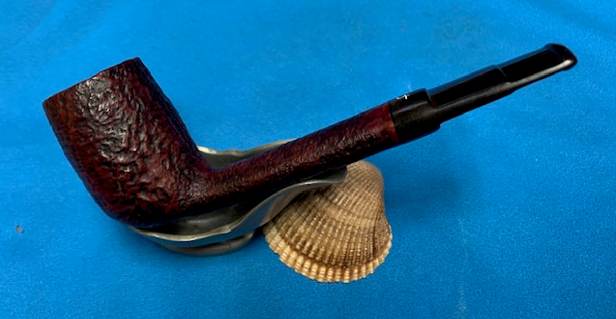
 The final steps in my process involve using the buffer. I buffed the bowl and stem with Blue Diamond to polish out the light scratches in the briar and the vulcanite. I gave the bowl and the stem multiple coats of carnauba wax. I have found that I can get a deeper shine if I follow up the wax buff with a buff with a clean buffing pad. It works to raise the shine and then I hand buff with a microfiber cloth to deepen the shine. It is always fun for me to see what the polished bowl looks like with the polished stem. It really is a nice pipe. The smooth finish around the bowl sides and shank looks great. The oval vulcanite taper stem works well with the pipe. The Stanwell Revival 105 Bent Apple feels great in my hand. It is a well-balanced pipe. Have a look at it with the photos below. The dimensions are Length: 6 ½ inches, Height: 1 ½ inches, Outside diameter of the bowl: 1 ¼ inches, Chamber diameter: ¾ of an inch. The weight of the pipe is 1.31 ounces/38 grams. It is a beautiful pipe that I will soon be giving back to Mike who dropped it off for restoration. I am sure he will enjoy it and it will give many more years of service to him.
As always I encourage your questions and comments as you read the blog. Thanks to each of you who are reading this blog. Remember we are not pipe owners; we are pipe men and women who hold our pipes in trust until they pass on into the trust of those who follow us.