by Kenneth Lieblich
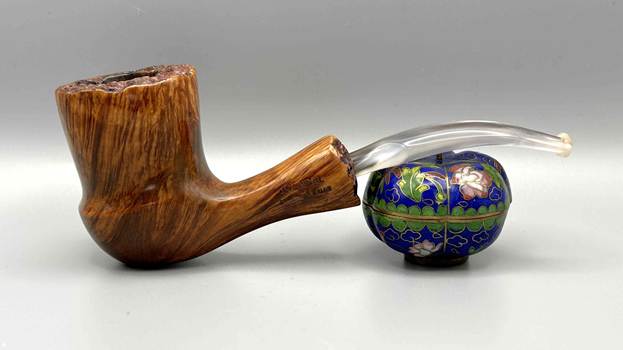
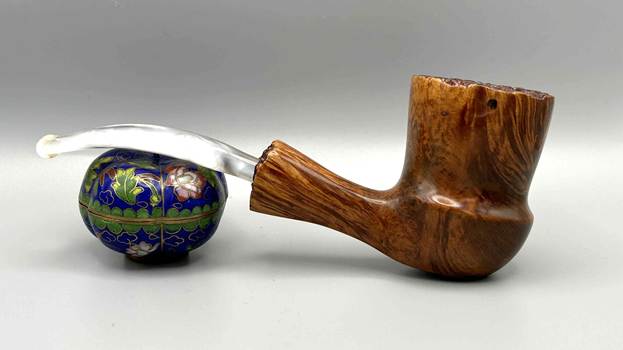
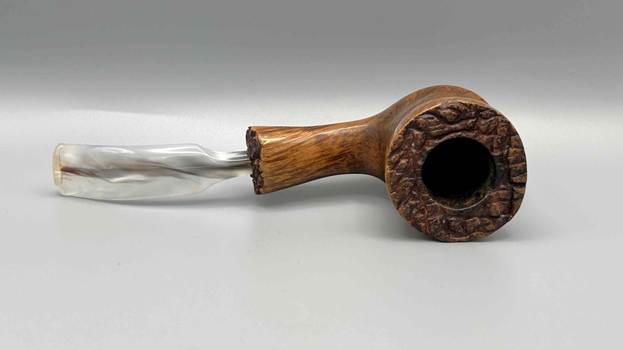
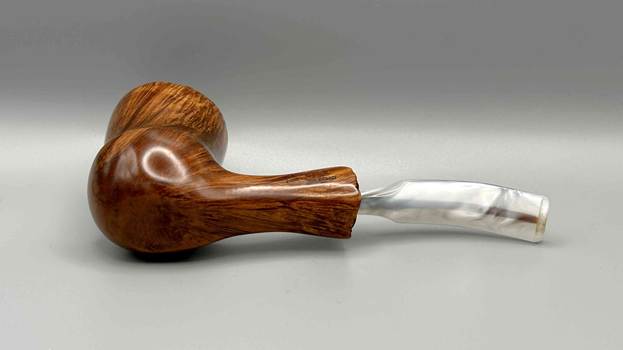
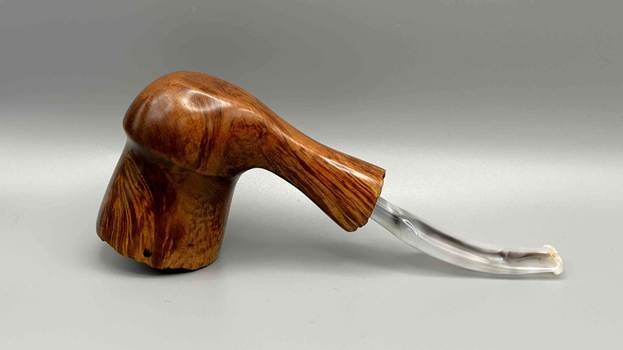
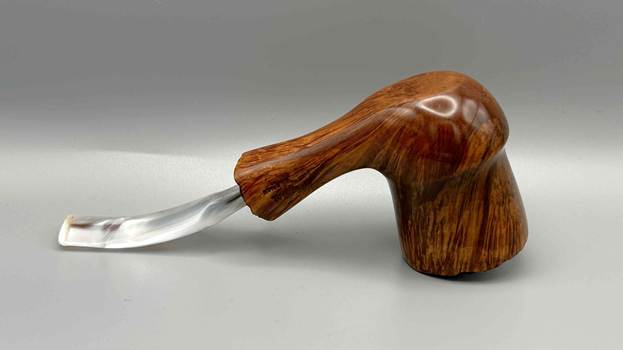
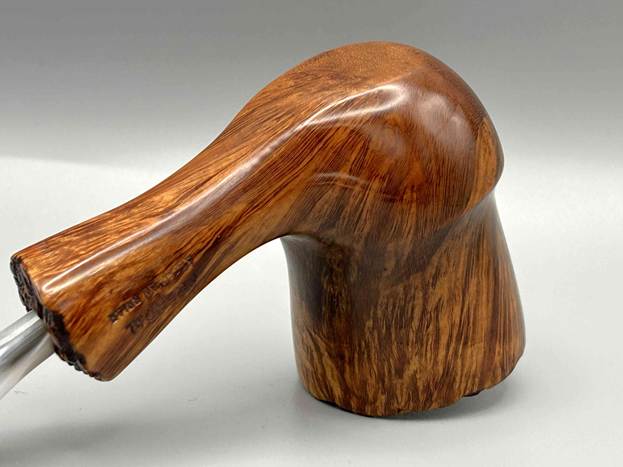
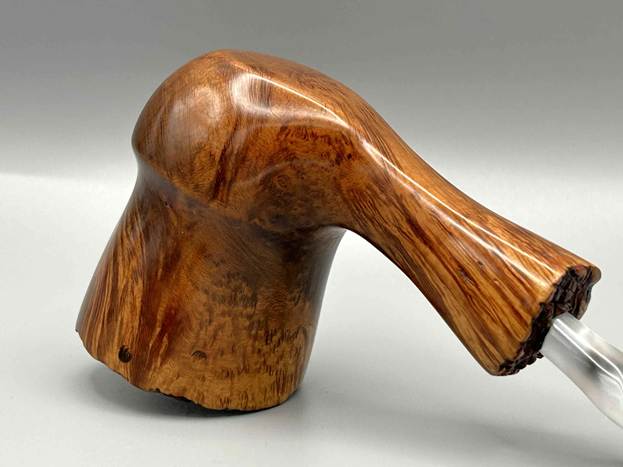
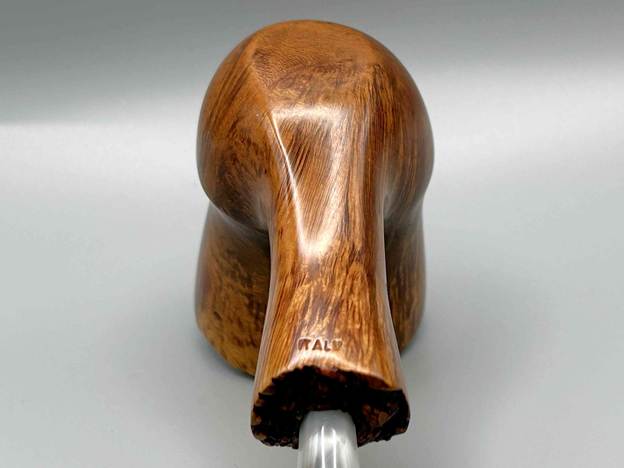
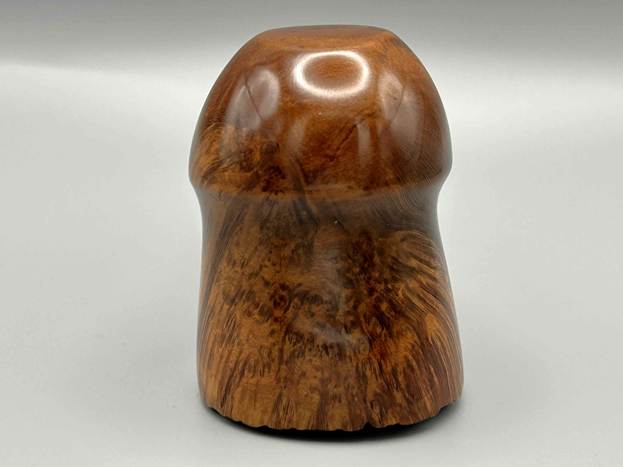
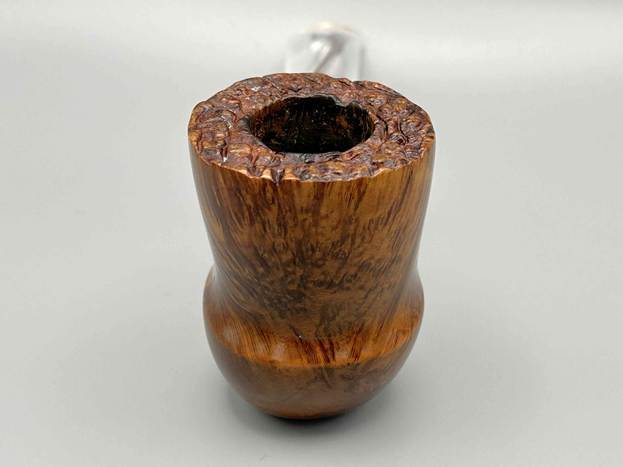
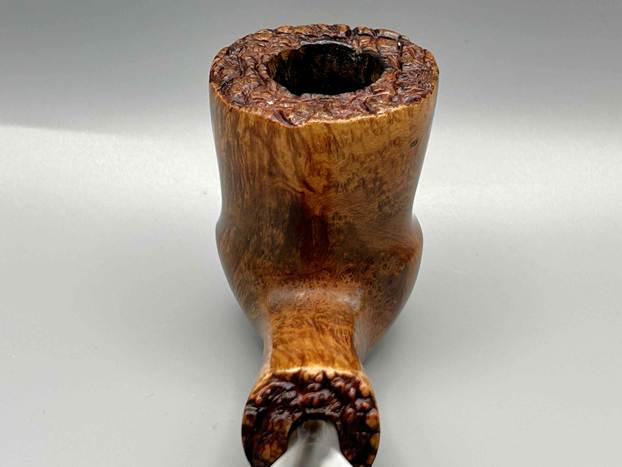
An elegant young lady approached me recently with a pipe belonging to her fiancé. She wanted some tidying up done to it – a bit of spit & polish, so-to-speak. Only too happy to oblige, I took the pipe with me and immediately noticed a certain malodorous quality to it. This pipe was dirty – very dirty – but it was a beautiful piece of wood and I wanted to return something nifty to her. This pipe is an Arendal Algerian Briar freehand, made in Italy. It has a large, gorgeously grained briar bowl, with a plateau rim top and shank end. In addition, the stem was a variegated acrylic, military-mount style. Despite its dirtiness, it held a handsome charm and looked like a good smoker.
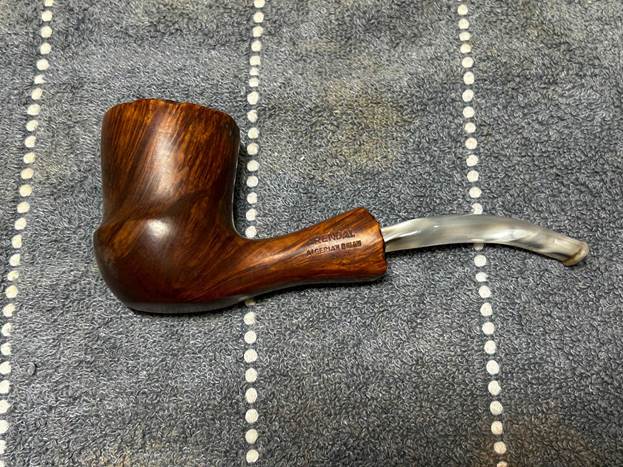
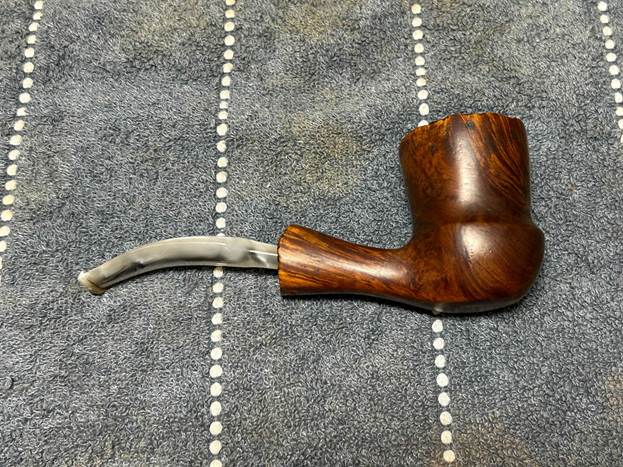
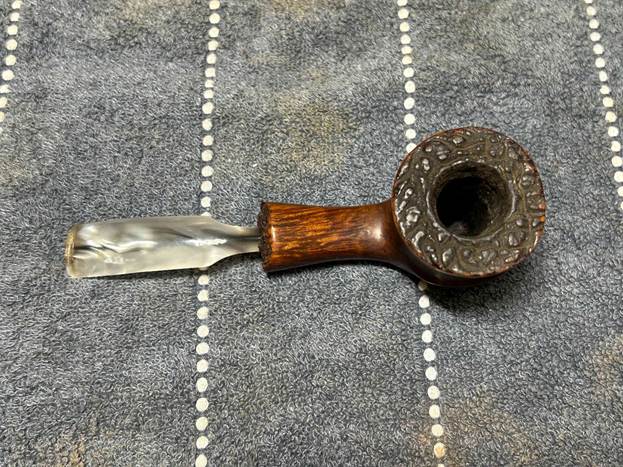
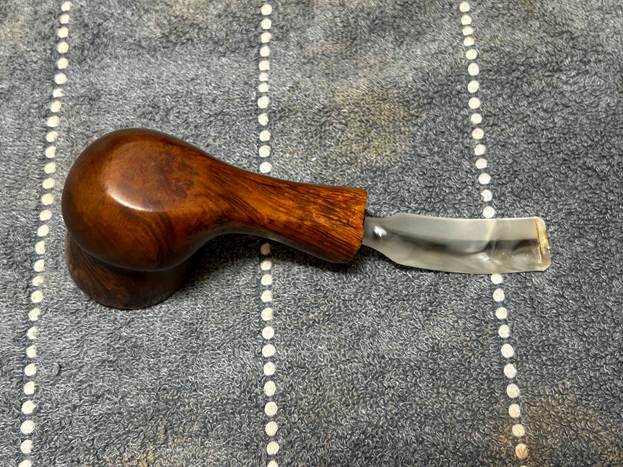
A quick look at the markings was in order. On the left side of the shank were the words Arendal [over] Algerian Briar. On the underside of the shank was the word Italy. Well, that tells us something, but not much. There were no other markings.
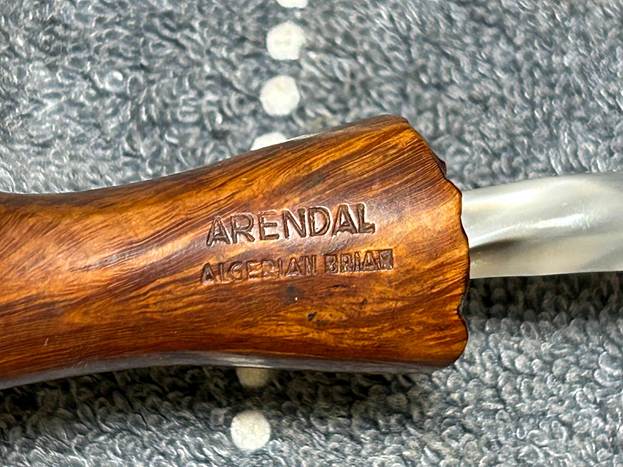
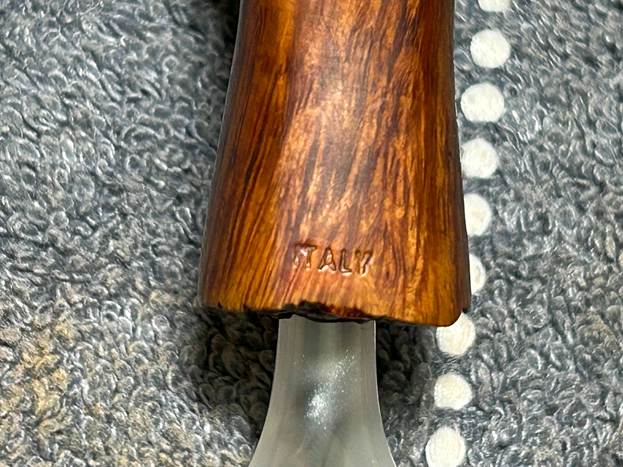
I was not familiar with the Arendal brand, and I couldn’t find any indication that Steve had worked on one before. I looked at Pipedia and Pipephil and the PipesMagazine forums – and found nothing about Arendal. So, I checked my copy of Wilczak and Colwell’s book, Who Made That Pipe?, and got a hit! It associated Arendal with the Hudson Universal Pipe Co. of the United States – despite the pipe having been made in Italy. I went back to Pipedia and searched Hudson Universal Pipe Co. It referred me to José Manuel Lopes’ book, Pipes: Artisans and Trademarks. Fortunately, I have a copy of that book and it told me that Hudson Universal Pipe Co. was a retailer of pipes, selling such brands as Eagle, Excelsior, Harrington Park, and Hilex. No mention of Arendal. I have emboldened those two names because they will come back into this story.
A quick search online uncovered that MBSD Pipes once had another Arendal for sale at some point in the recent past. They provided no more information than I have here, but it was interesting to see that the pipe looked somewhat similar to this one. Here is the MBSD pipe, and you can see the similarity:
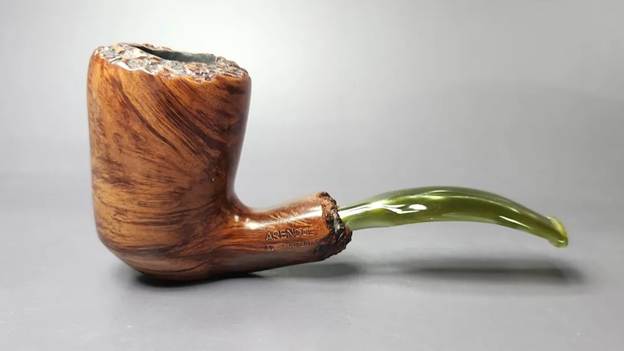
My online search also turned up another clue. It turns out that Arendal is the name of a city in Norway. Here is an interesting point which may be a coincidence or may be a small connection. The Wikipedia article for the Norwegian city of Arendal says that
The Old Norse form of the name was probably Arnardalr. The first element is the genitive case of ǫrn which means “eagle” and the last element is dalr which means “valley” or “dale”, thus meaning the “eagle valley”.
Could there be a connection between this and the fact that Hudson Universal Pipe Co. sold a pipe brand named Eagle? The connection is most certainly tenuous, but I post it here for your consideration.
Here is my final detail. My online searching accidentally turned up the name ‘Omega Arendal’ – and there was a link to it on Pipephil. The entry for Omega pipes on Pipephil includes the following words (emphasis mine):
Pipes with this brand are obviously from the same origin as Bayard, Chadhall, Thomas and Duke of Kent pipes. Others fleur-de-lis logos: Ajustomatic, Cellini, Fleur de lis, Harrington Park, Vincenzo Lombardi.
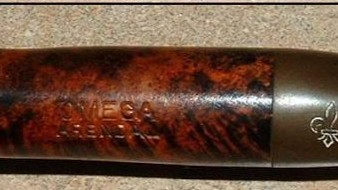
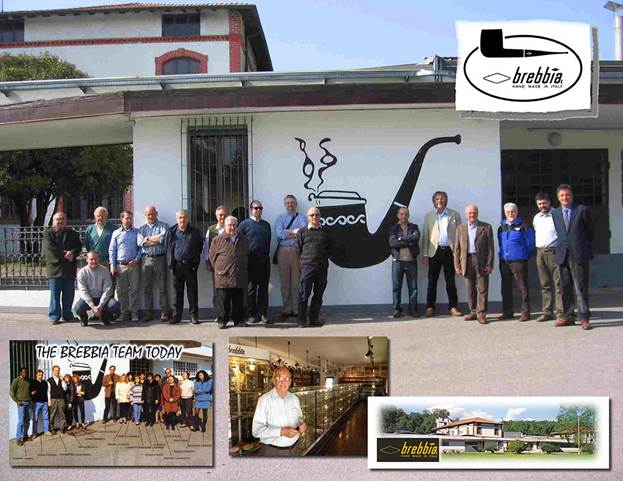
Harrington Park again! Now, almost all of those brands were made in France (I checked). However, Cellini and Vincenzo Lombardi were both Brebbia seconds. Of course, Brebbia pipes are made in Italy – so I wonder if we can conclude that our Arendal pipe was made by the Brebbia factory. That would make sense and I may have solved this little mystery.
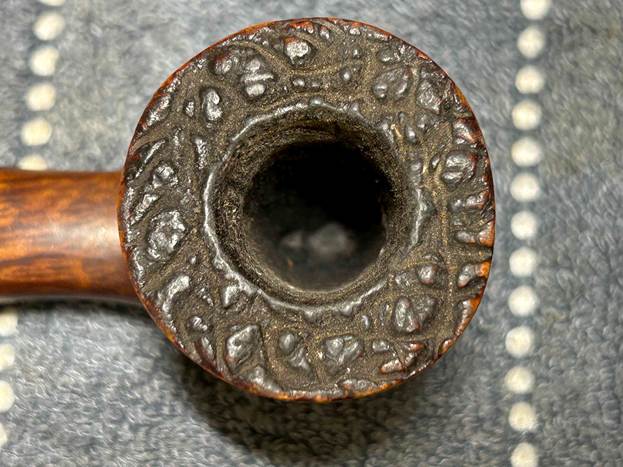
Anyway, enough about that – let’s get on with the pipe! It was pretty darn grungy. There was filth ground into the plateau rim top. The wood was soiled and ever-so-slightly slimy. The bowl had plenty of cake and the mortise in the shank was quite yucky too. The stem was less problematic: it certainly had tooth marks and scratches, but the acrylic meant that there was no oxidation to deal with. On the other hand, no matter how much one scrubs an acrylic stem’s draught, it never loses the tobacco colour inside. Ah well, it is what it is. What was clear, however, was that this was a remarkably attractive piece of briar. I looked forward to seeing what it would look like in the end.
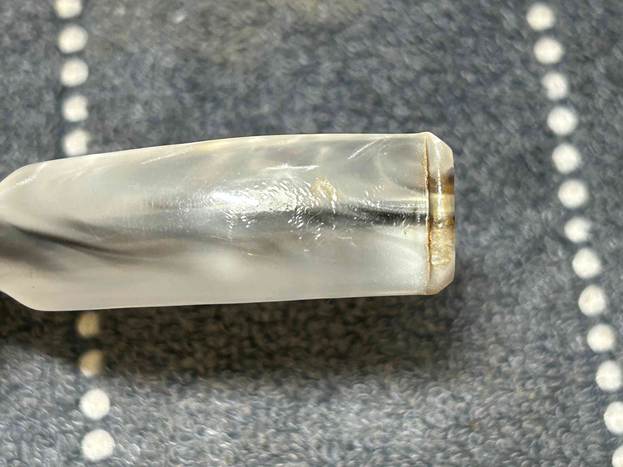
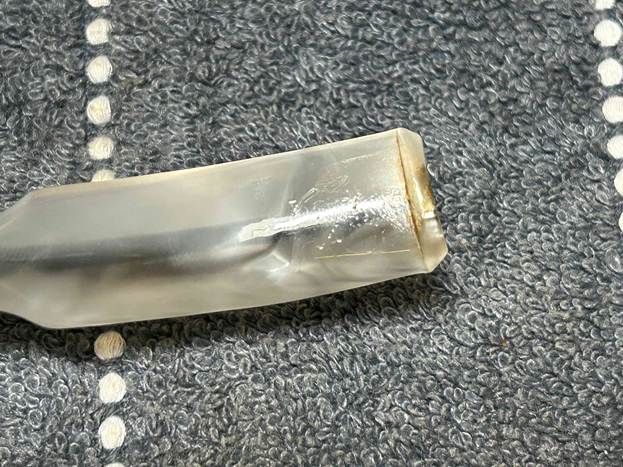
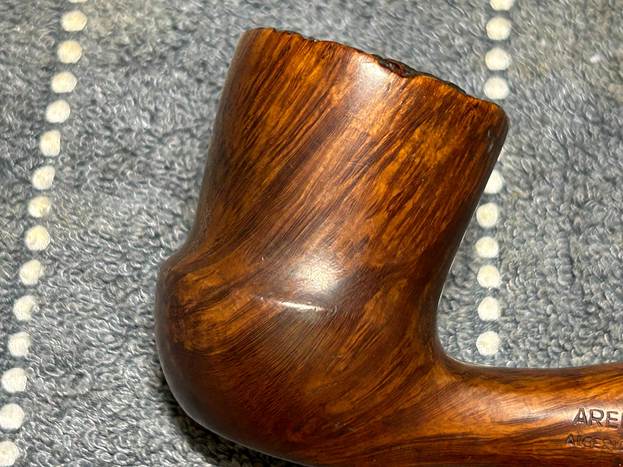
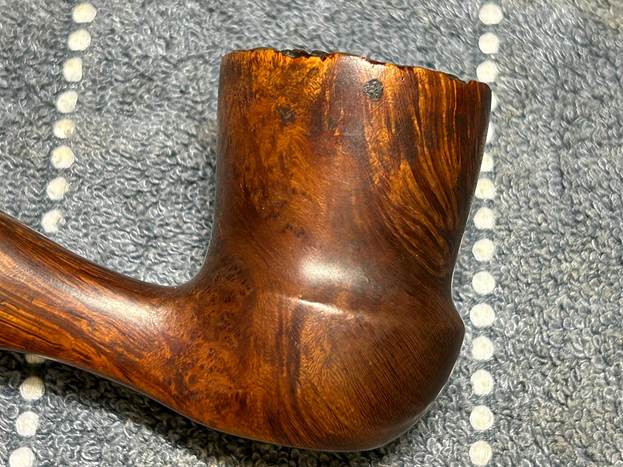
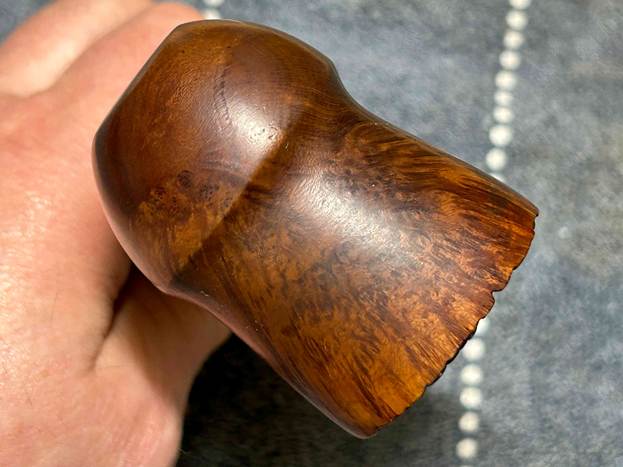
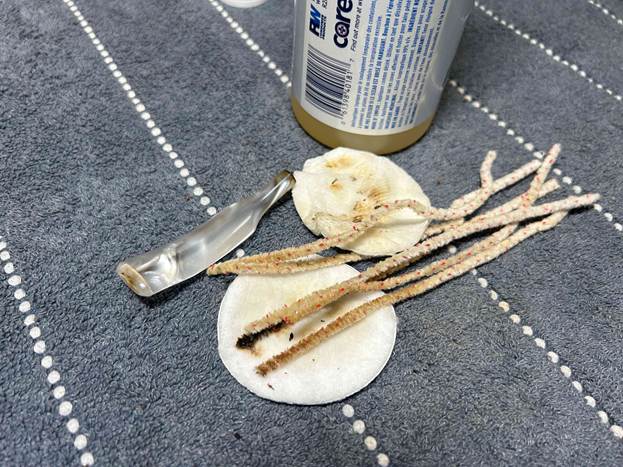
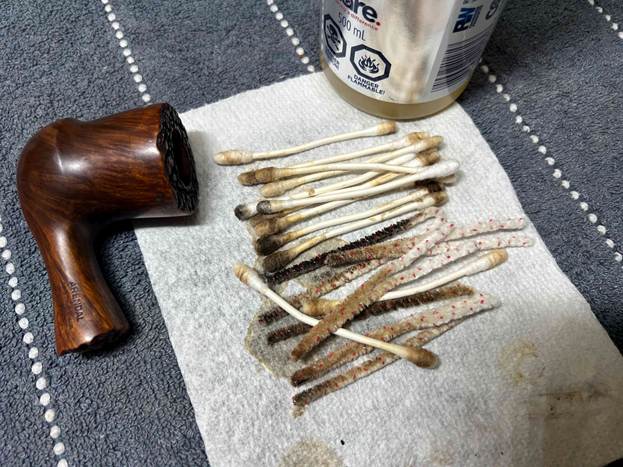
I used isopropyl alcohol on a few cotton rounds and wiped down the stem to provide an initial cleaning of filth before moving on to the next steps. The primary cleaning came next. I disinfected the inside of the stem with both pipe cleaners and cotton swabs dipped in lemon-infused 99% isopropyl alcohol. I scrubbed thoroughly to make sure the interior was very clean. There was a lot more cleaning involved that the photo below would suggest.
I then set about fixing the marks and dents in the acrylic. This was done by filling those divots with clear cyanoacrylate adhesive. I left this to cure and moved on.
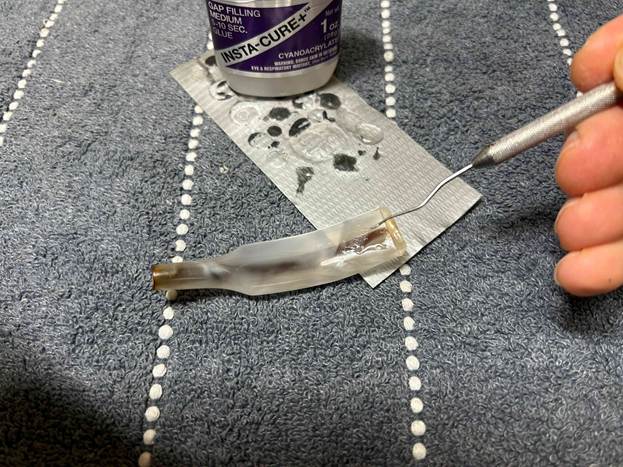
The penultimate step for the stem is sanding. First, with my set of needle files, I reduced the bulk of the cyanoacrylate repairs. I removed the excess adhesive as near to the surface as possible, without cutting into the acrylic. Following that, I used all nine of the micromesh sanding pads (1,500 through 12,000 grit) to sand out flaws, even out the acrylic, and provide gentle polishing of the finished surface. I also applied pipe-stem oil while using the last five micromesh pads. There was a wonderful shine to the stem when I was done.
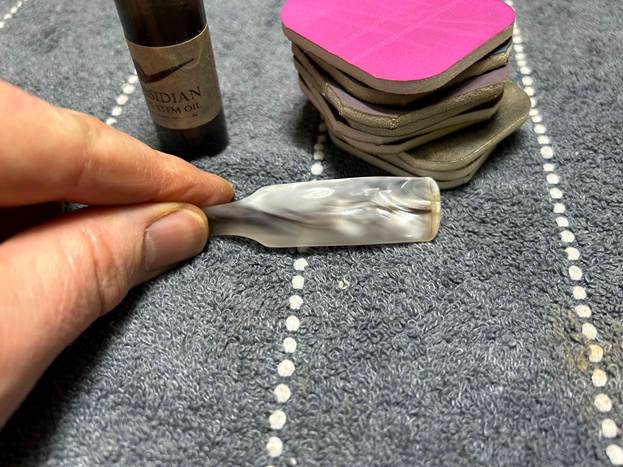
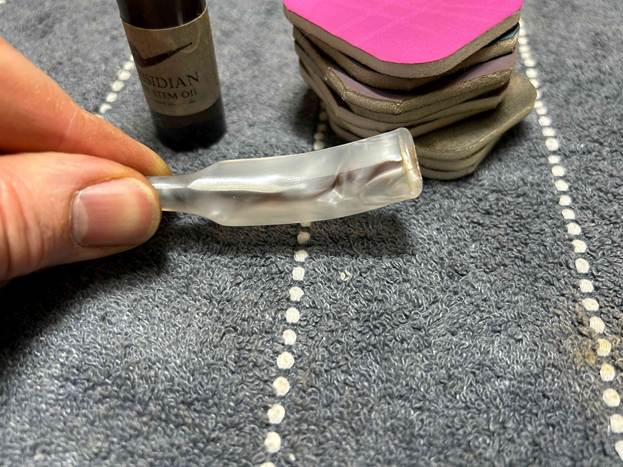
As the stem was (nearly) complete, I moved on to the stummel. The first step was to ream out the bowl – that is to say, remove all the cake inside the bowl. This accomplished a couple of things. First (and most obviously), it cleaned the bowl and provided a refurbished chamber for future smoking. Second, when the old cake was removed, I could inspect the interior walls of the bowl and determine if there was damage or not. I used a reamer, a pipe knife, and a piece of sandpaper taped to a wooden dowel. Collectively, these ensured that all the debris was removed. There was some charring to the walls of the bowl, but I left it as is. It wasn’t significant enough to mess with.
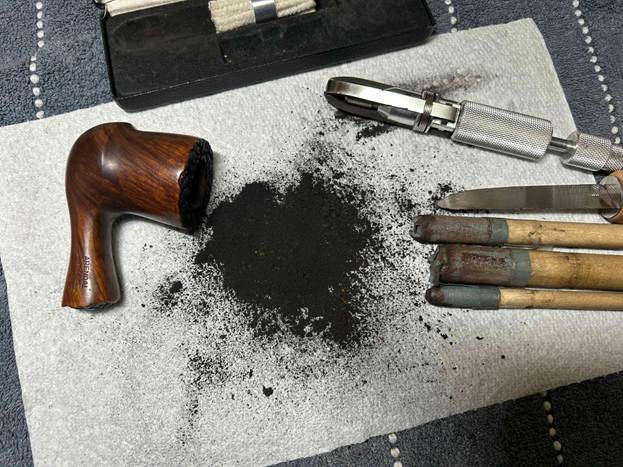
The inside of the stummel needed to be cleaned thoroughly. However, this pipe was so clogged, that I first needed to open the horribly occluded airway. So, I took a long drill bit, held in a drill chuck, and hand-cranked it to dislodge the dreadful detritus inside. Hand cranking is essential because it provides a precision and caution that a power drill cannot provide. Similar to the stem, I then cleaned the stummel with both pipe cleaners and cotton swabs dipped in lemon-infused 99% isopropyl alcohol. With a pipe this dirty, it took quite a while and much cotton to clean.
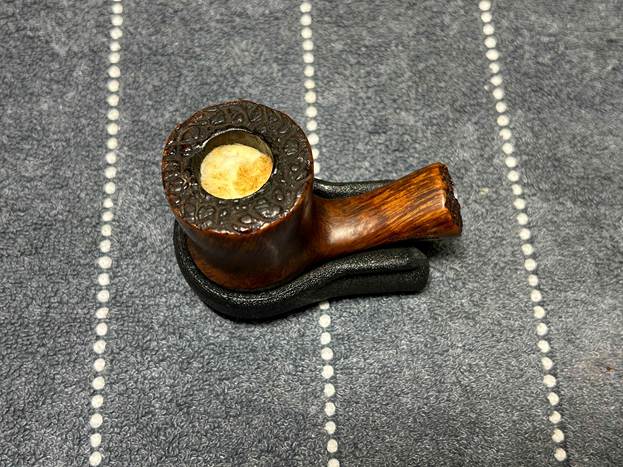
I then decided to ‘de-ghost’ the pipe – that is to say, exorcize the remaining filth from the briar. I filled the bowl and the shank with cotton balls, then saturated them with 99% isopropyl alcohol. I let the stummel sit overnight. This caused the remaining oils, tars and smells to leach out into the cotton.
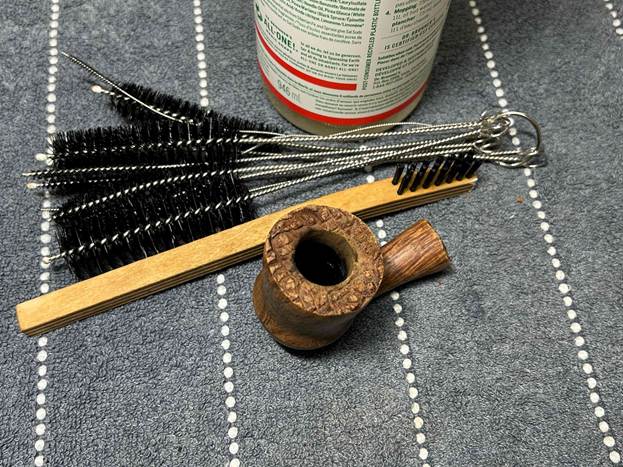
To tidy up the briar, I wiped down the outside, using a solution of a pH-neutral detergent and some distilled water, with cotton rounds. I also used a toothbrush in the crevices – especially on the plateau rim and shank end. This did a good job of cleaning any latent dirt on the surface of the briar. The last step of the cleaning process was to scour the inside of the stummel with the same mild detergent and tube brushes. This was the culmination of a lot of hard work in getting the pipe clean.
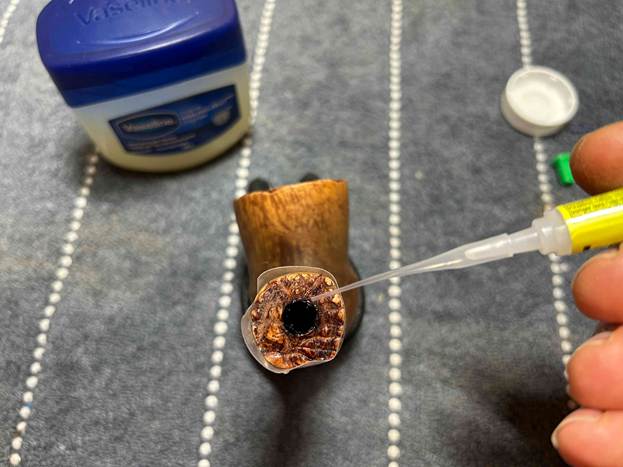
The thorough cleaning I provided revealed some hidden damage to the shank end. As the photo below shows, there were some notable cracks in the briar. This would suggest that the pipe had been disassembled while still warm. This is a no-no! The reason is plain to see.
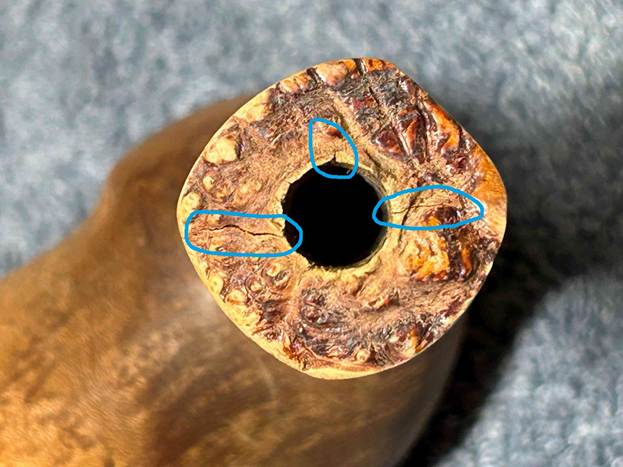
Anyway, I elected to fill these cracks with clear cyanoacrylate adhesive. This was tricky, as I had to select an adhesive that was thin enough to penetrate the cracks, but not so thin that it went everywhere. Before that, I applied some petroleum jelly to the mortise. The petroleum jelly prohibits the adhesive from leaking out over everything. Applying cyanoacrylate adhesive to a plateau like this is fraught with potential problems because it is difficult to hide the repair effectively. However, I feel that, in the end, I did a good job.
I used all nine micromesh pads (1,500 through 12,000 grit) to sand the outside of the stummel and finish it off. This sanding minimizes flaws in the briar and provides a beautiful smoothness to the wood. I rubbed some LBE Before & After Restoration Balm into the briar and let it sit for 30 minutes or so. The balm moisturizes the wood and gives a beautiful depth to the briar. I then buffed the stummel with a microfibre cloth.
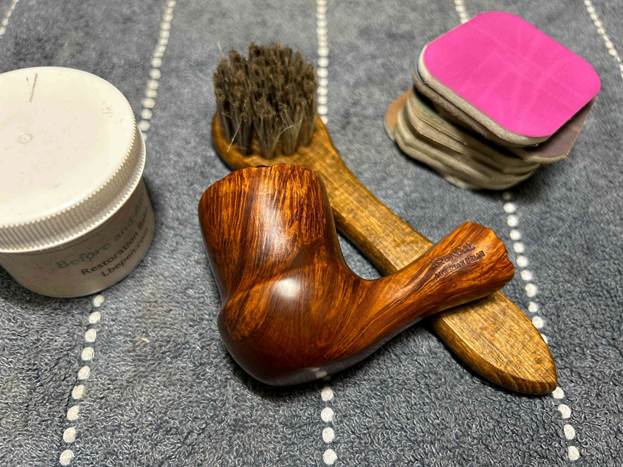
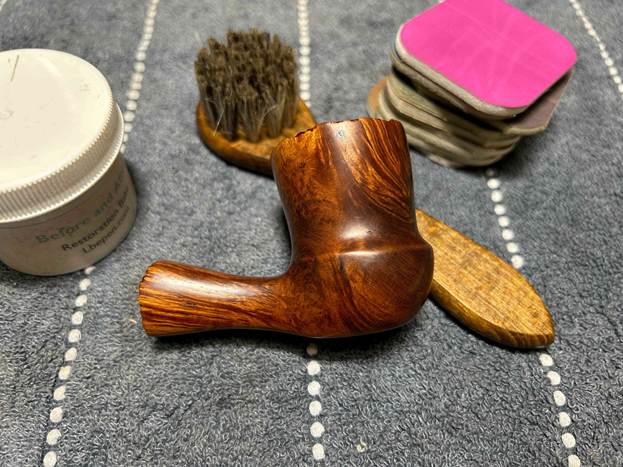
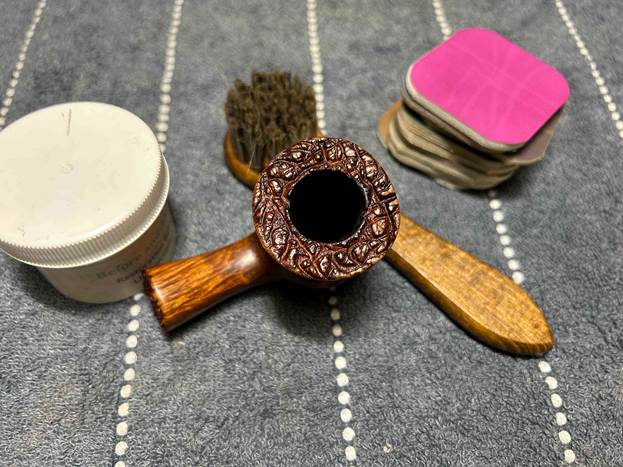
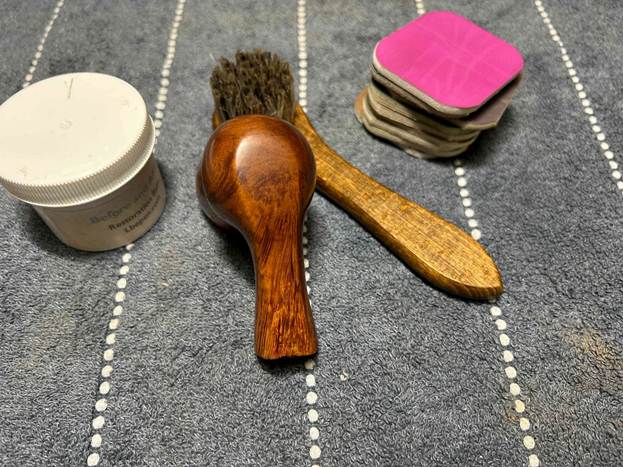
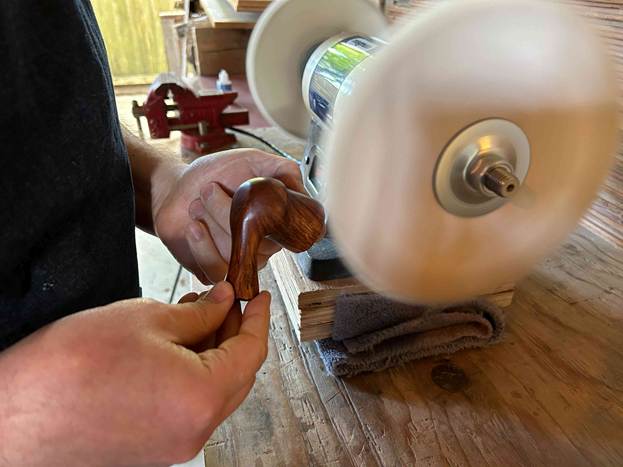
For the final step, I took the pipe to my bench polisher and carefully buffed it – first with a blue diamond compound, then with three coats of conservator’s wax. This procedure makes the pipe look its best – the stummel sings and the stem glows.
All done! This Arendal Algerian briar freehand looks fantastic again and I am delighted with the results. I’m sure the young lady’s fiancé will be too. The approximate dimensions of the pipe are as follows: length 5¾ in. (145 mm); height 2⅛ in. (55 mm); bowl diameter 1⅔ in. (41 mm); chamber diameter ¾ in. (20 mm). The weight of the pipe is 1⅞ oz. (55 g). I hope you enjoyed reading the story of this pipe’s restoration as much as I enjoyed restoring it. If you are interested in more of my work, please follow me here on Steve’s website or send me an email at kenneth@knightsofthepipe.com. Thank you very much for reading and, as always, I welcome and encourage your comments.