by Steve Laug
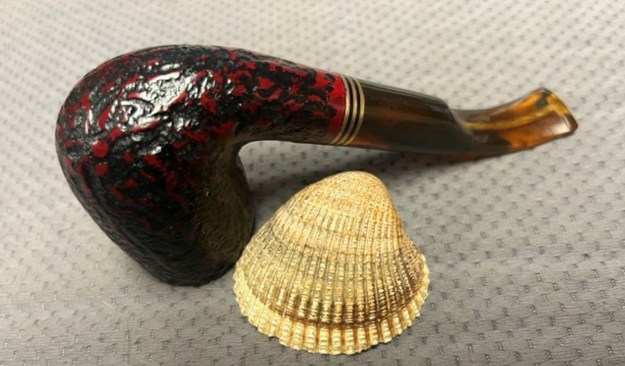
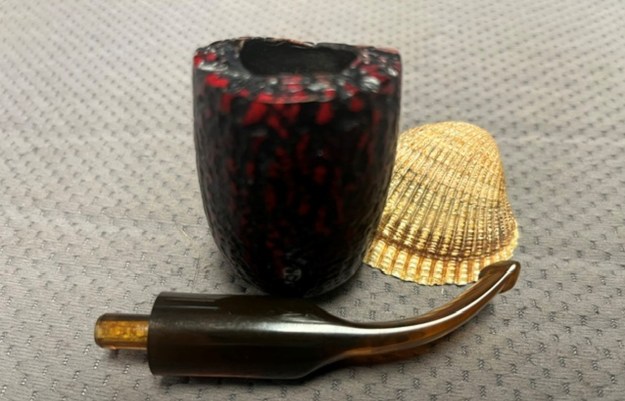
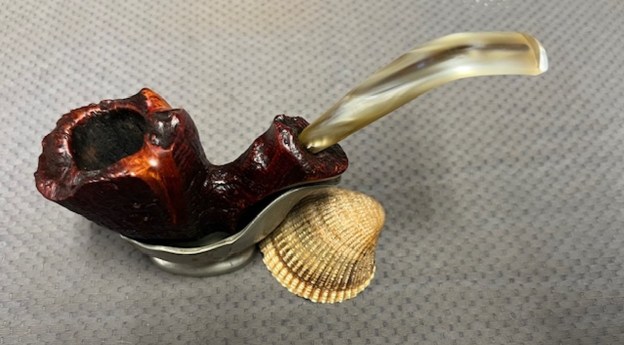
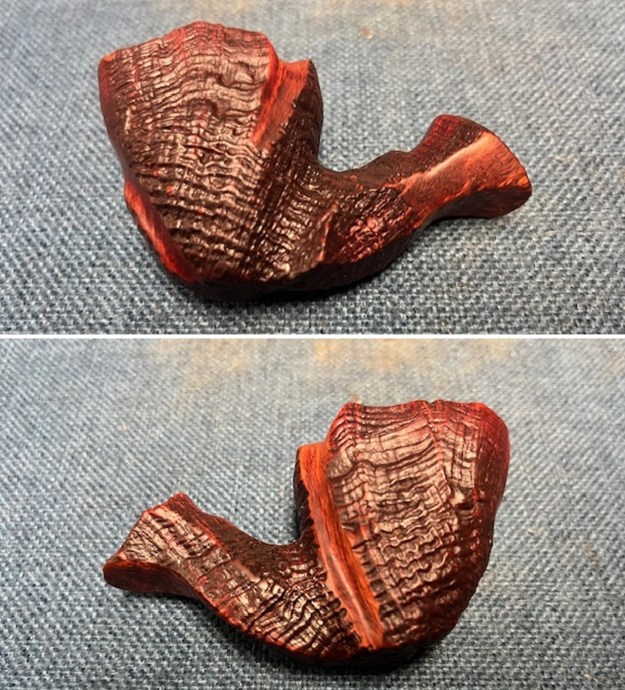
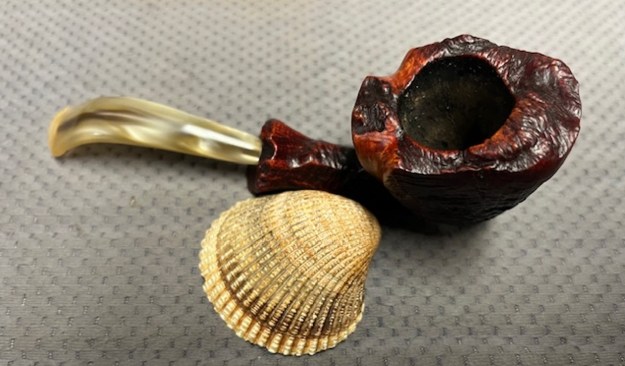
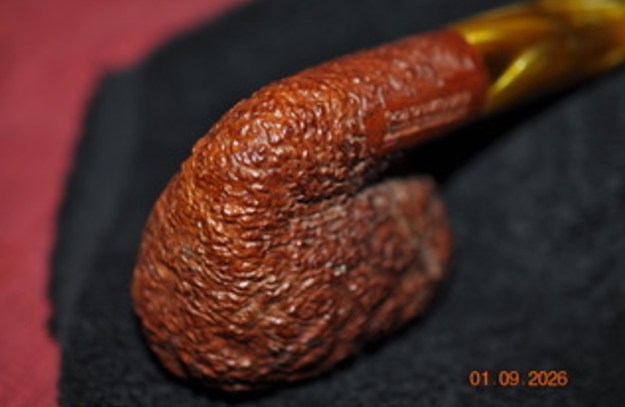
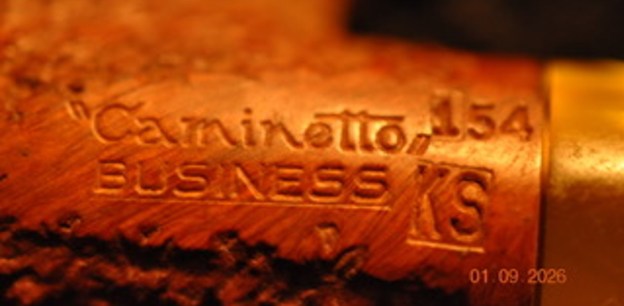
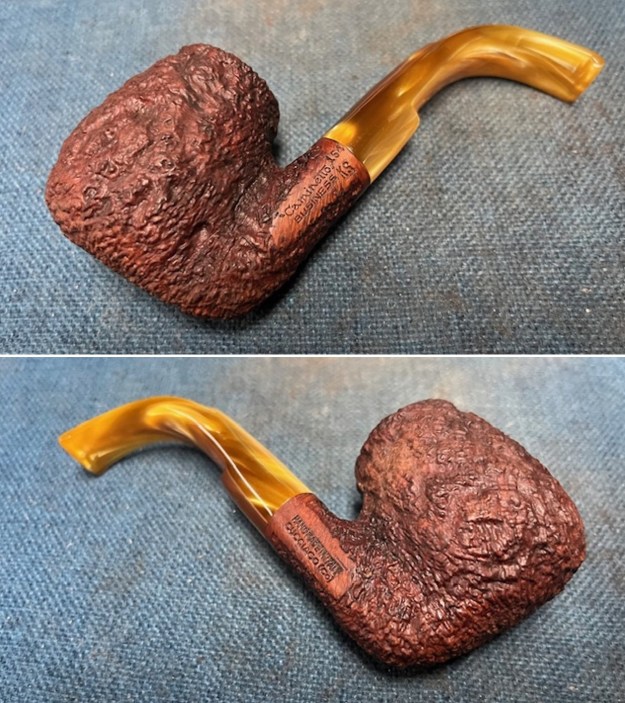
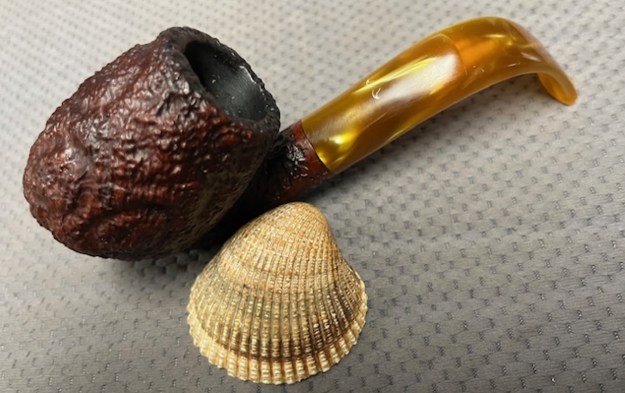
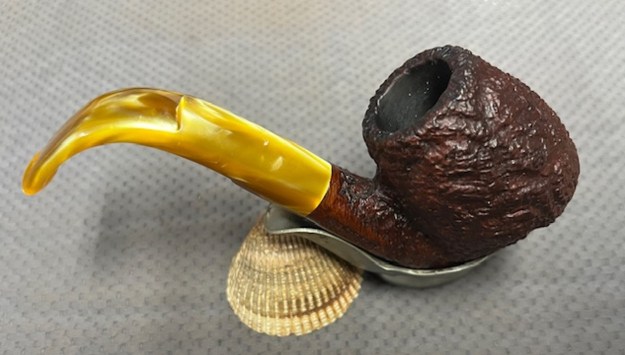
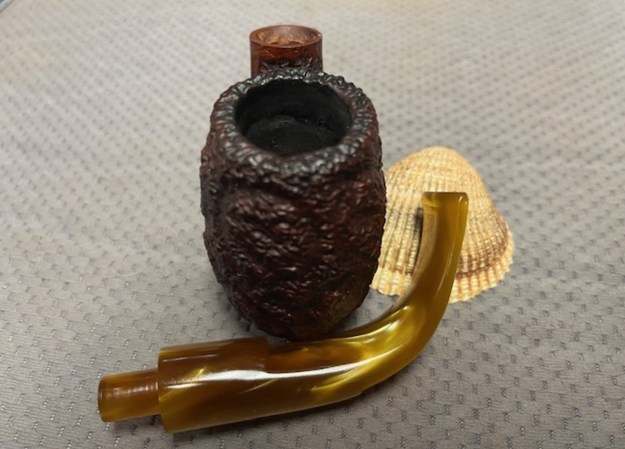
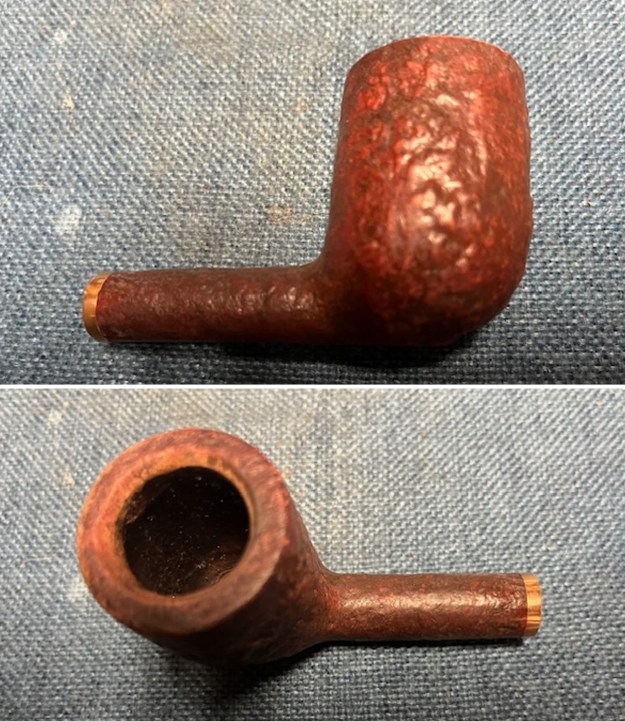
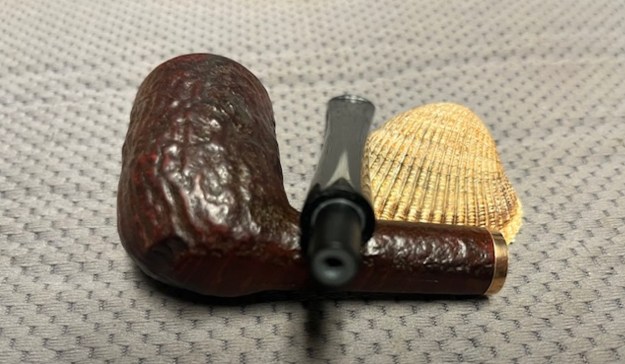
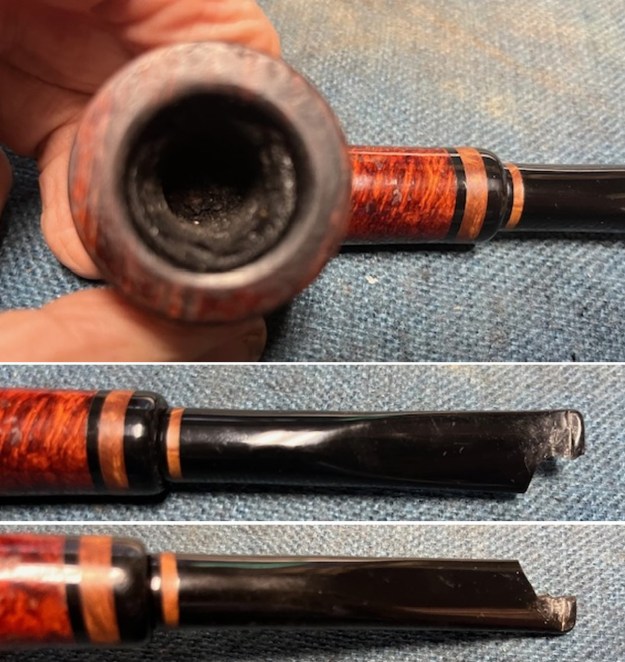
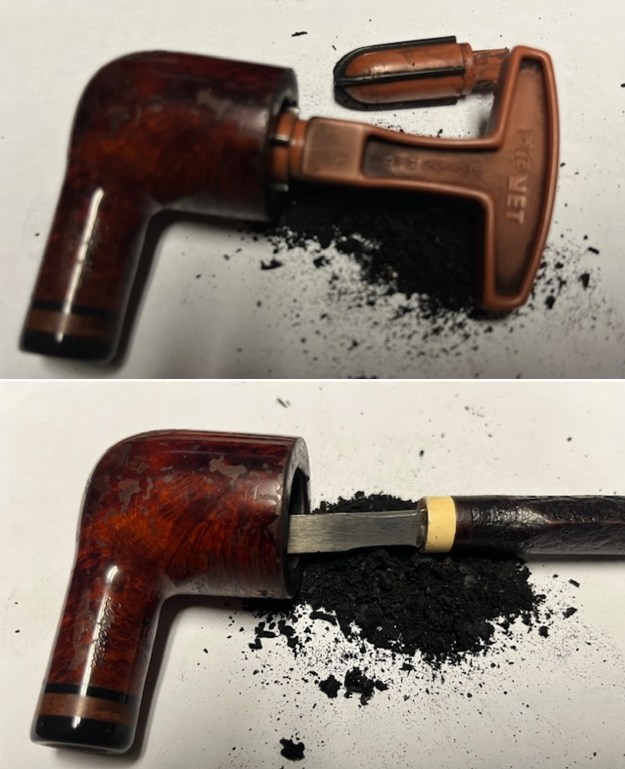
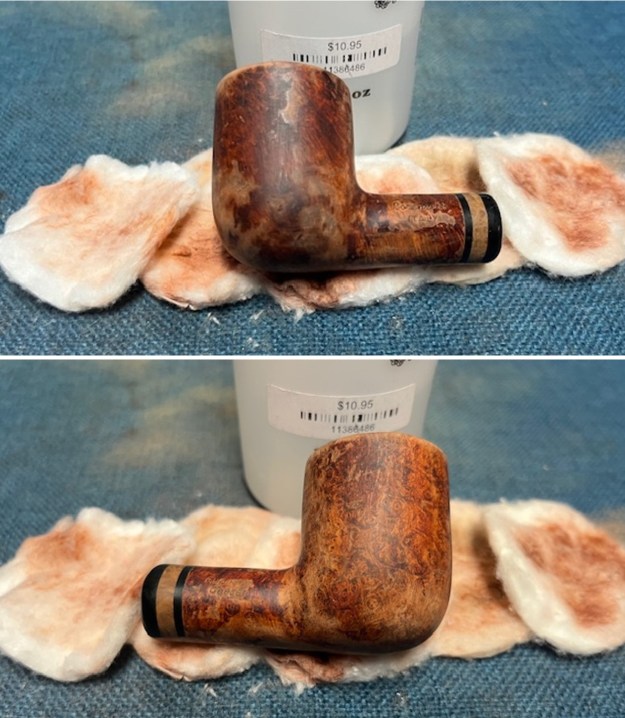
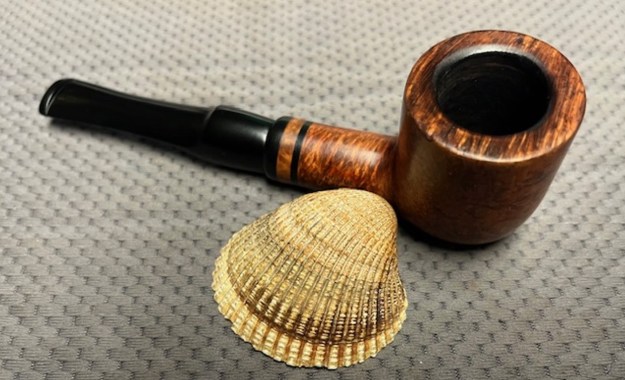
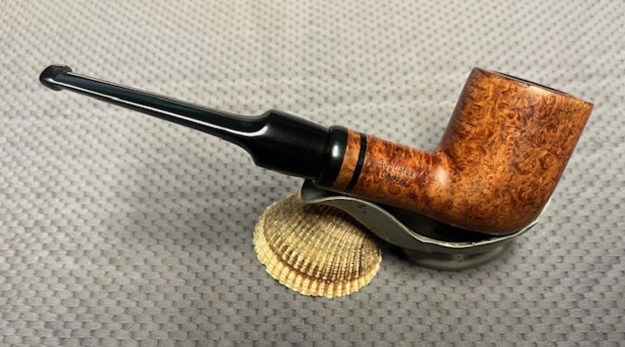
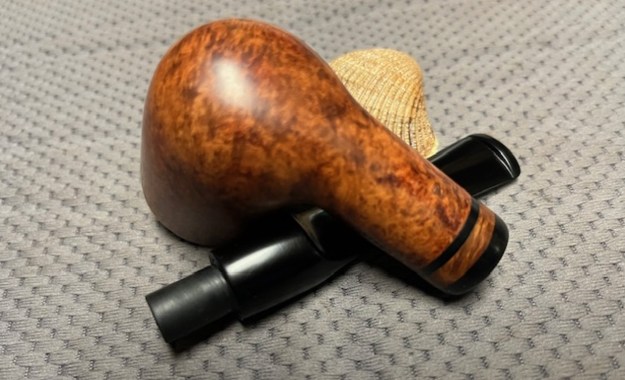
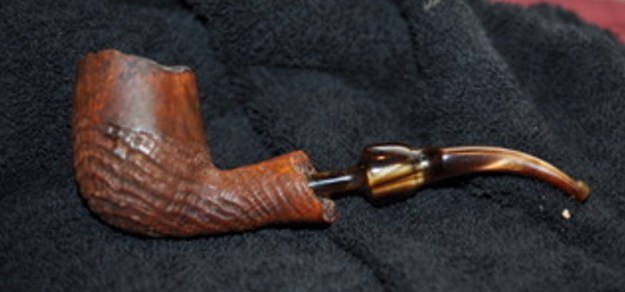
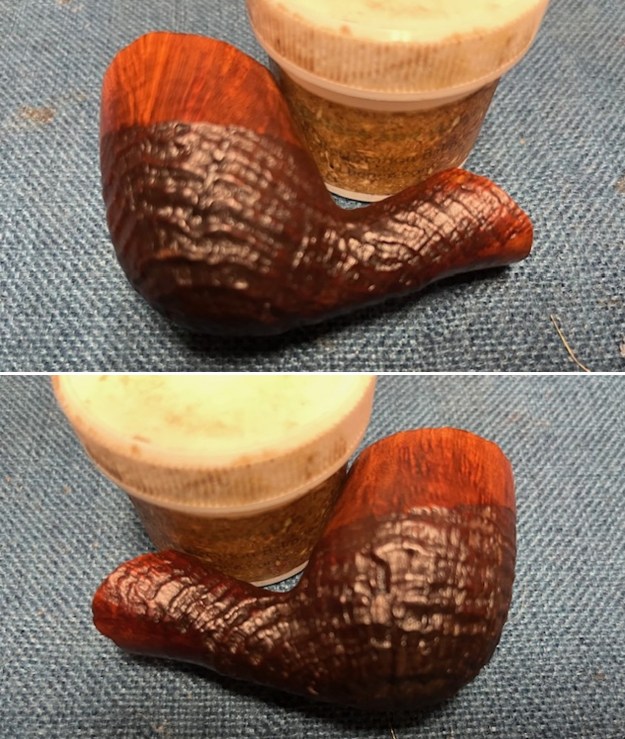
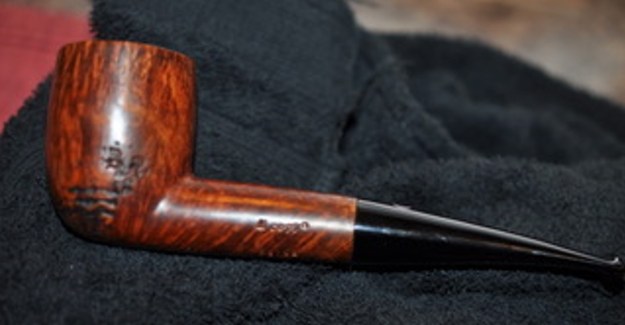
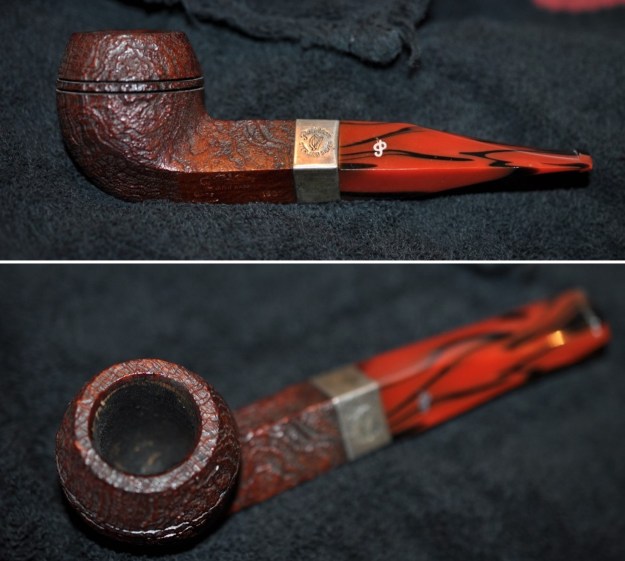
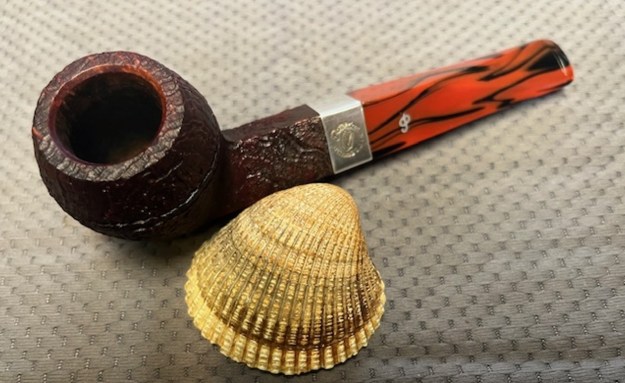
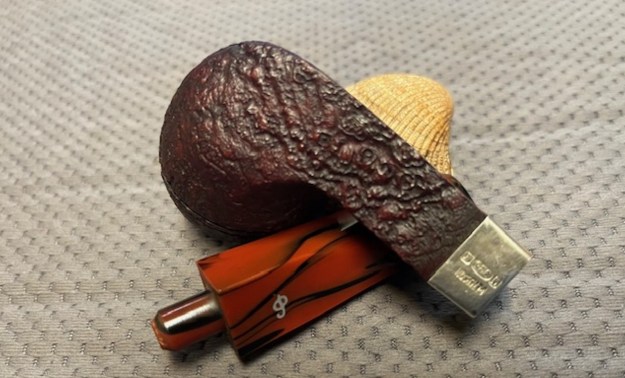
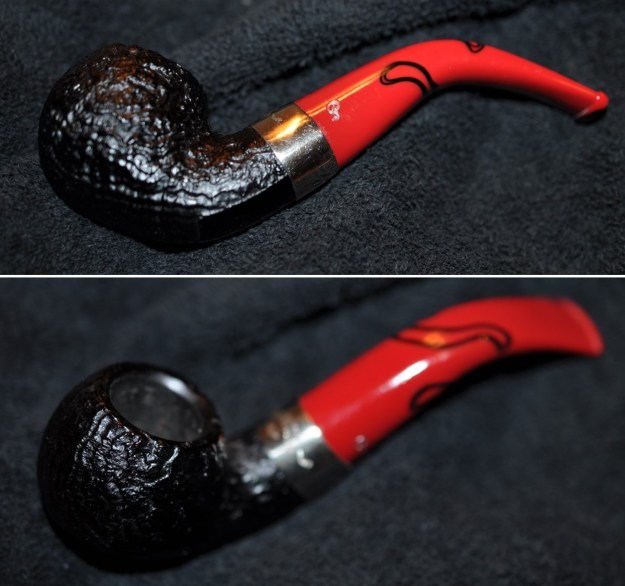
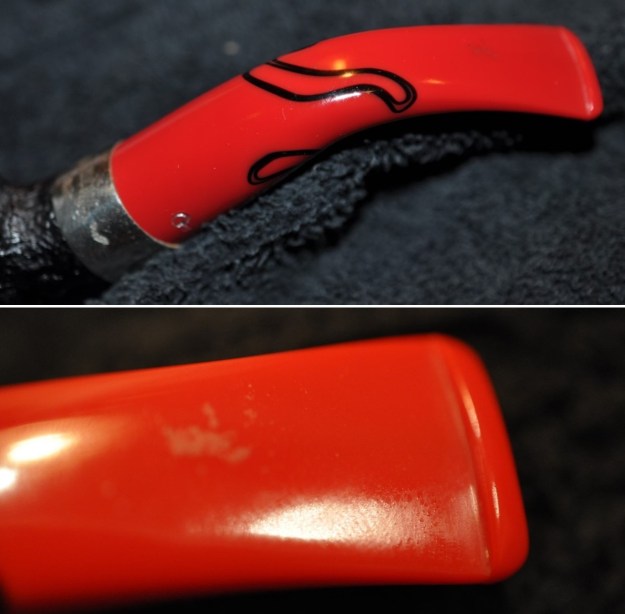
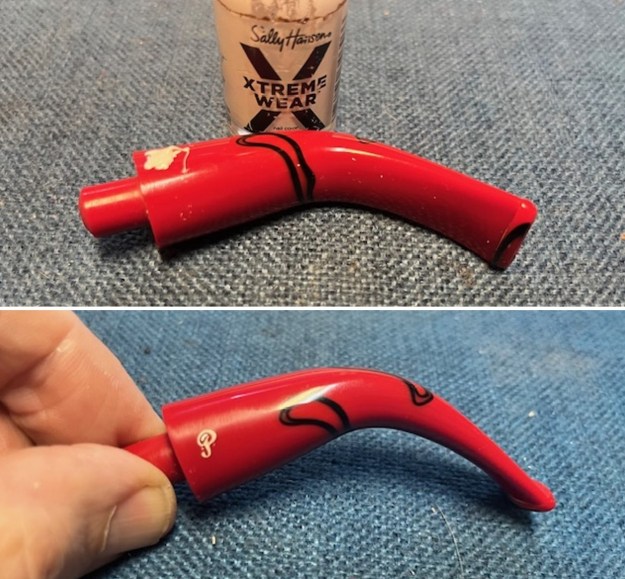
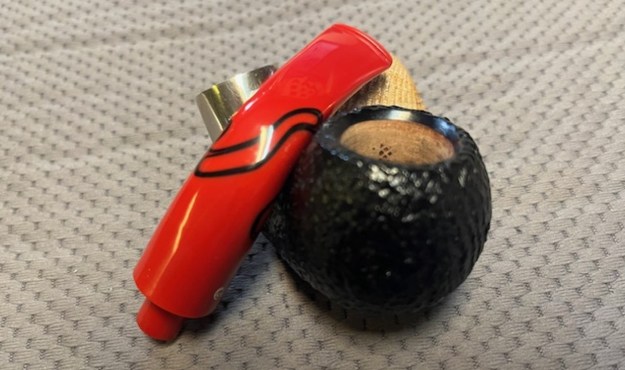
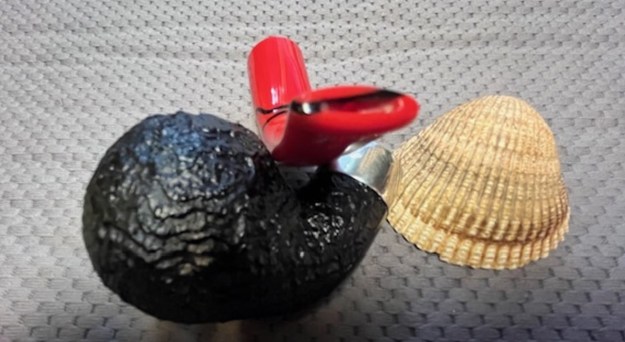
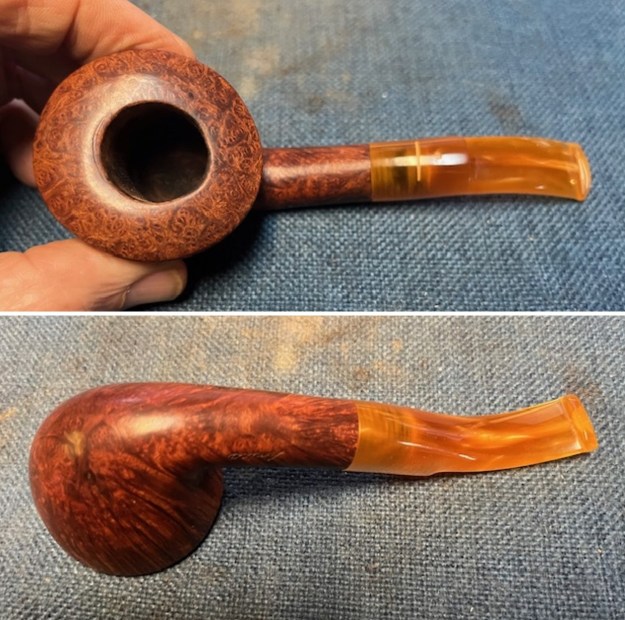
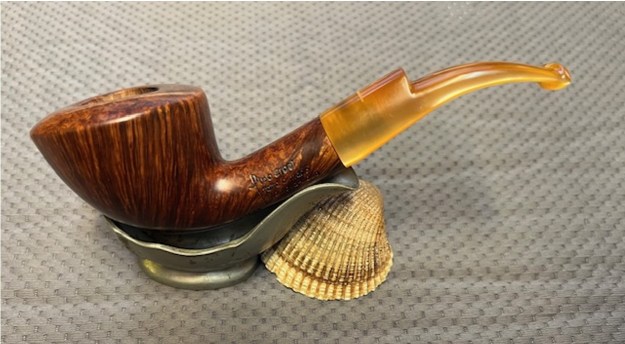
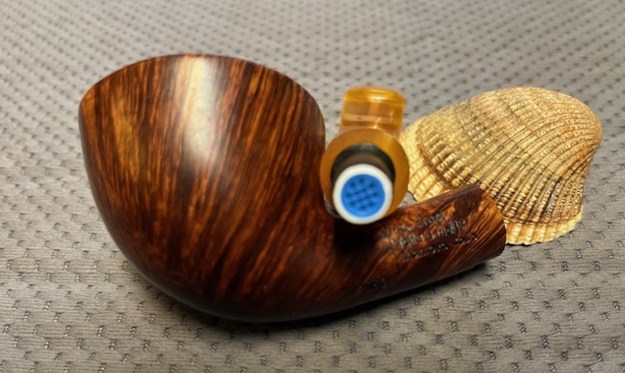
This rusticated Freehand Bent with an amber acrylic stem was purchased on 01/20/2026 from a Facebook seller in Quaker Town, Pennsylvania, USA. It is a rusticated Bent Freehand with a rusticated finish. The stem is an acrylic amber saddle stem. The bowl is stained with a contrast of blacks and reds that give depth to the rustication around the bowl and shank. It is stamped on the left side of the shank and reads Thompson [over] 528 Italy. The bowl had a moderate cake and some tobacco debris on the walls. There was a light overflow of lava and debris in the plateau/rusticated rim top. There was grime ground into the finish which left the look quite dull. The acrylic, amber saddle stem has light tooth marks and chatter on both sides of the stem ahead of the button. Jeff took photos of the pipe before he started his work on it. 
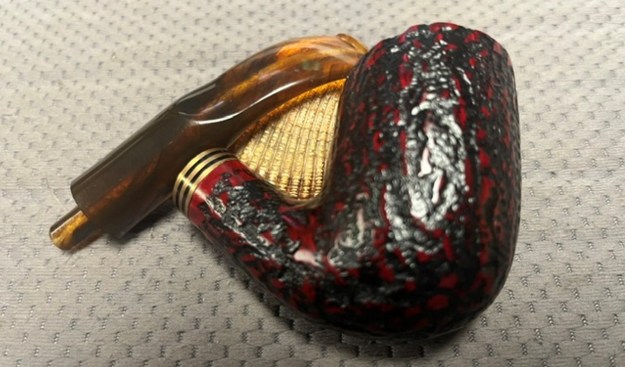
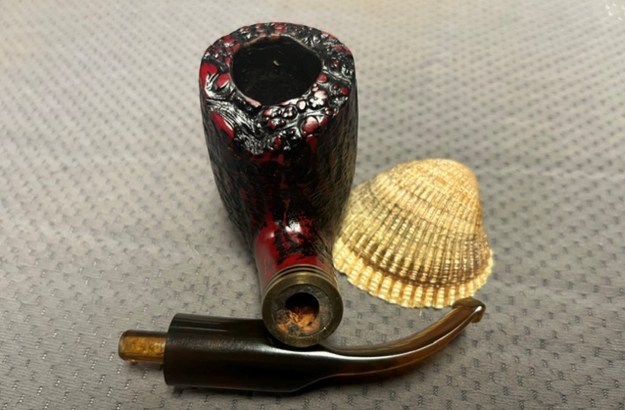
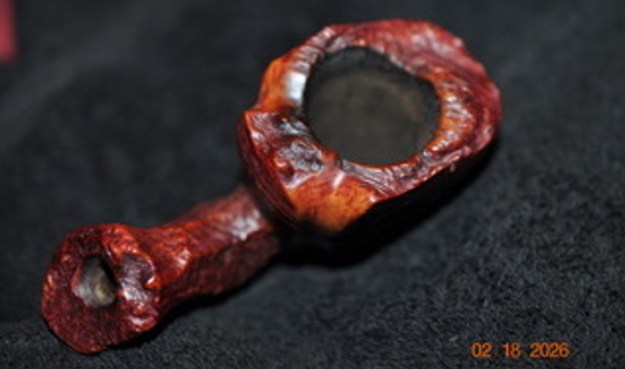
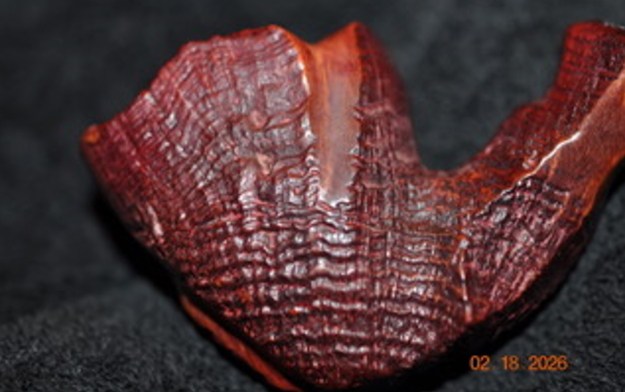
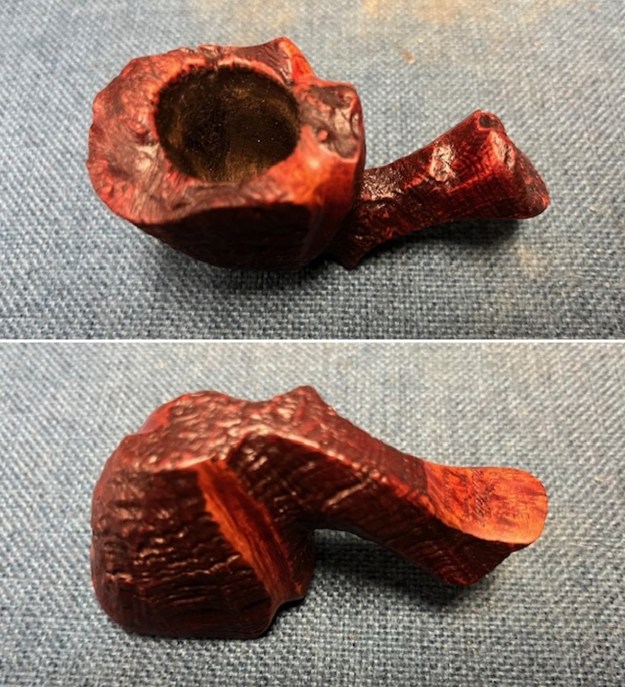
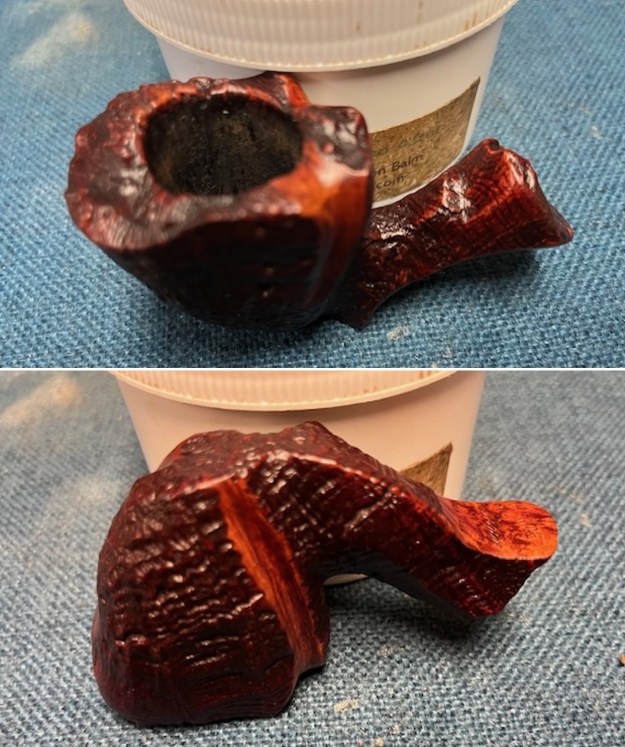
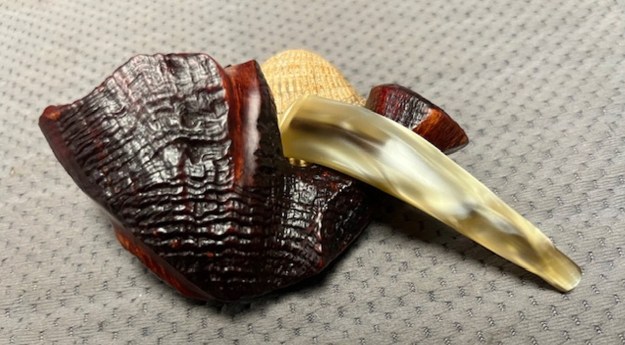
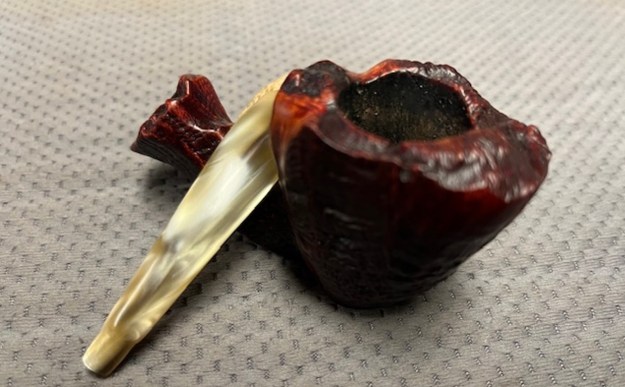
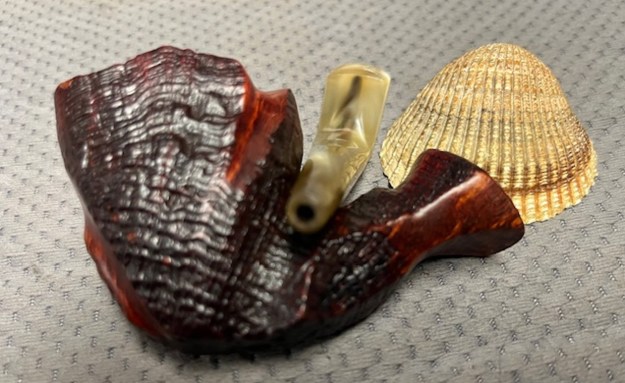
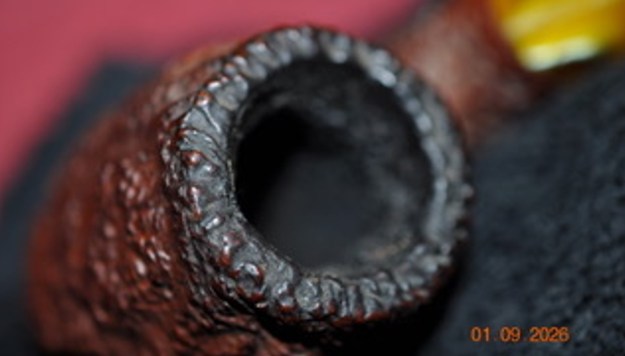
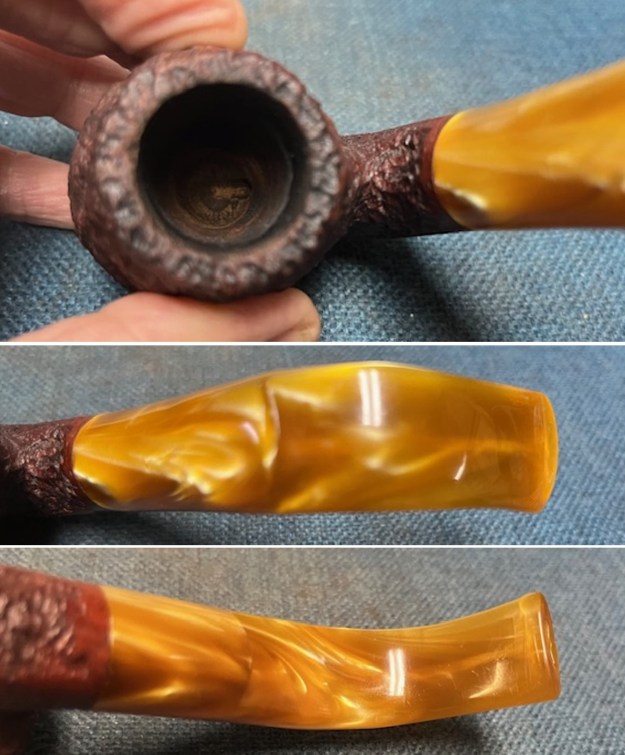
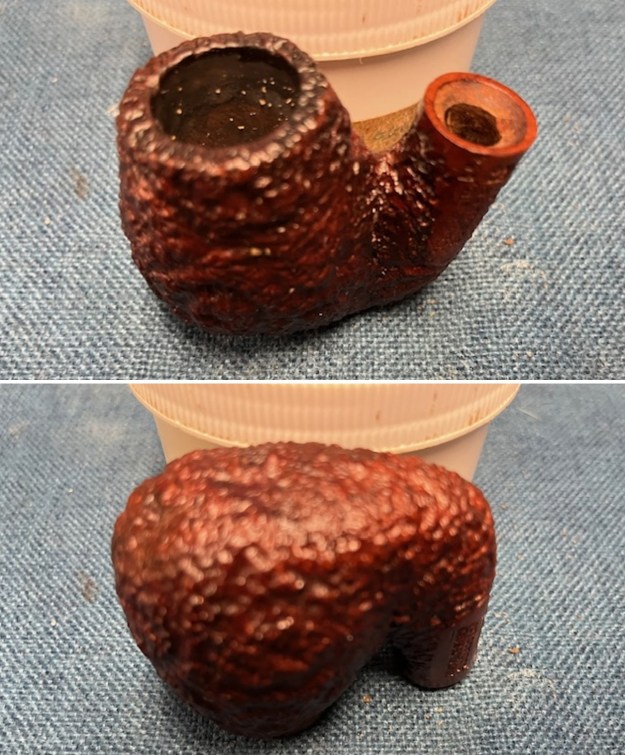
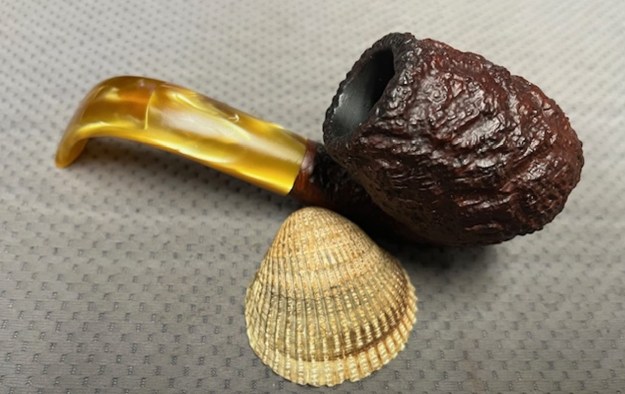
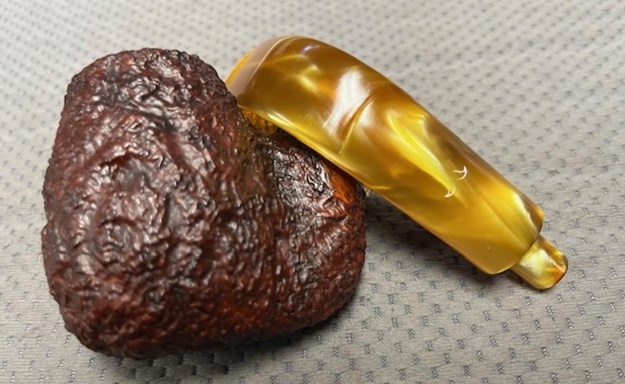
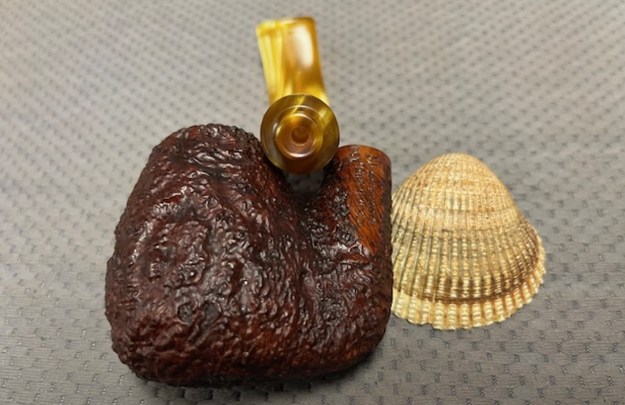
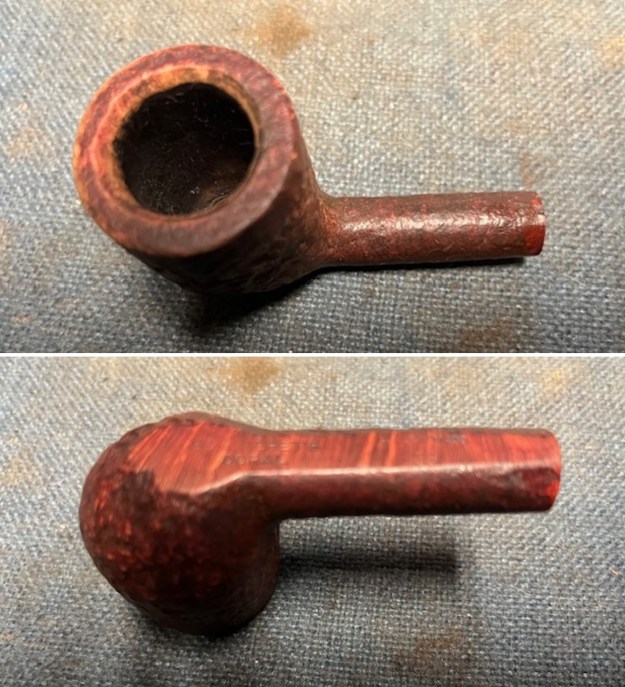
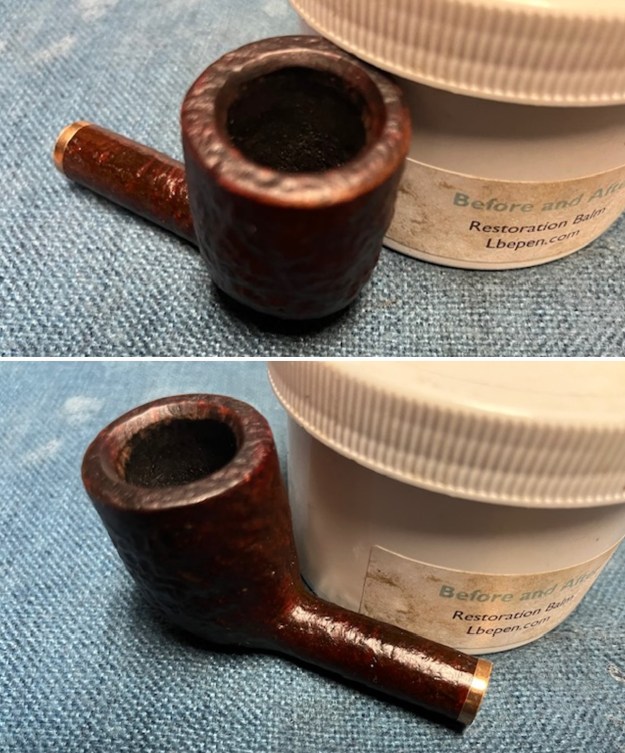
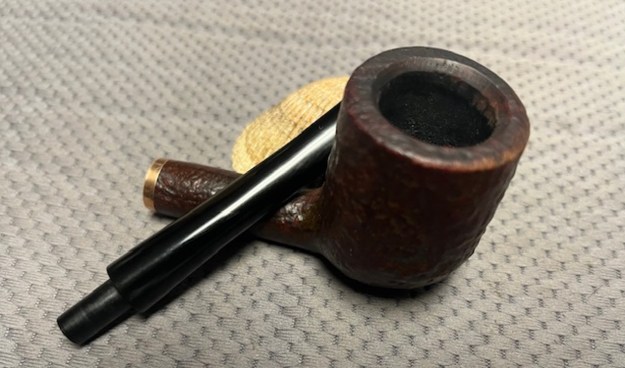
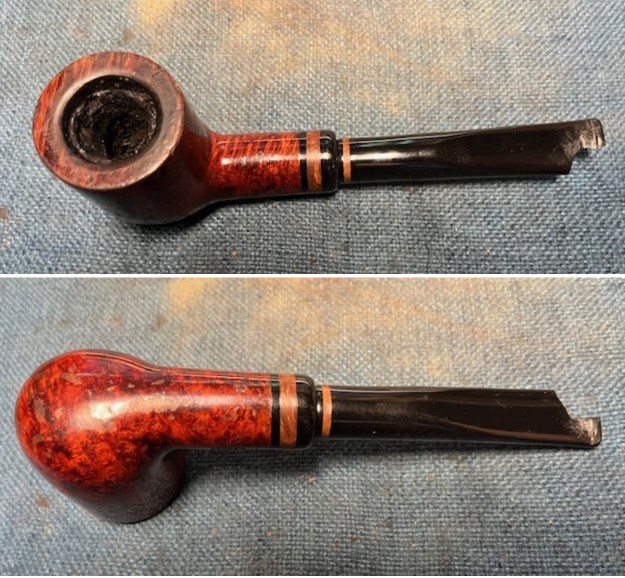
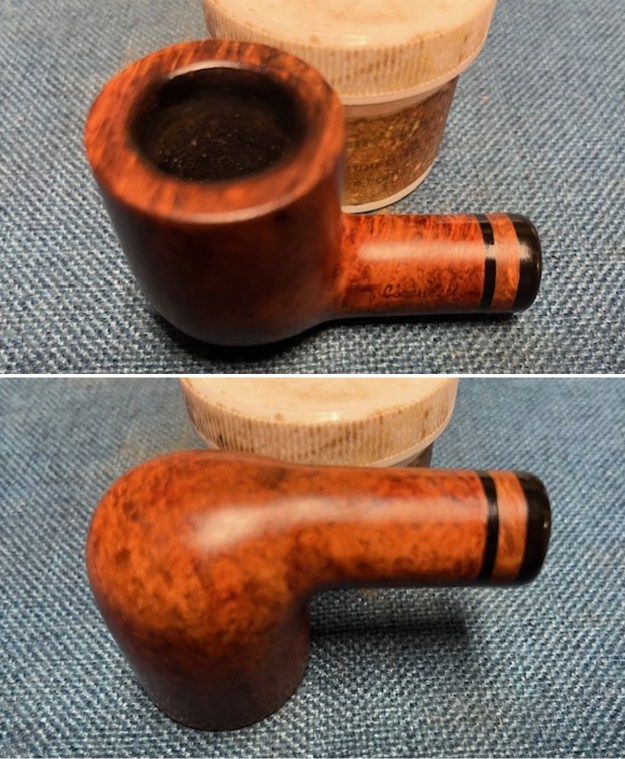
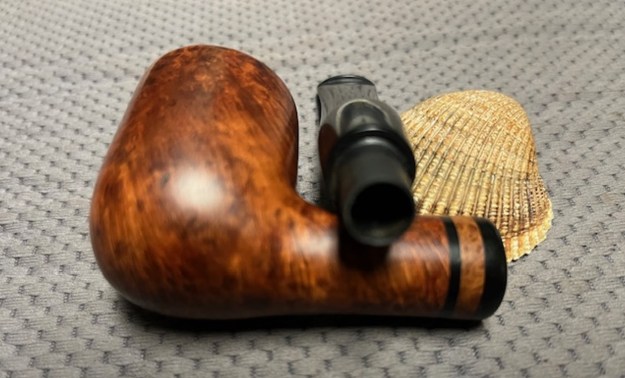
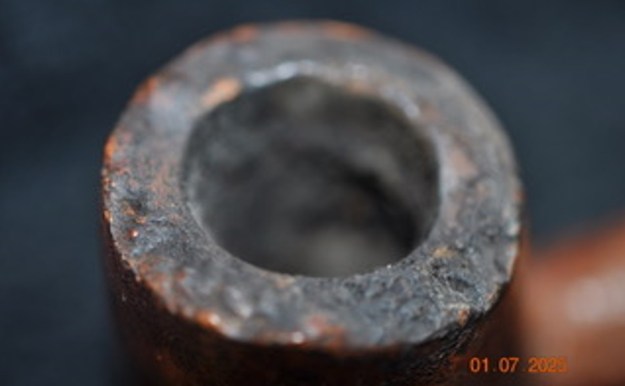
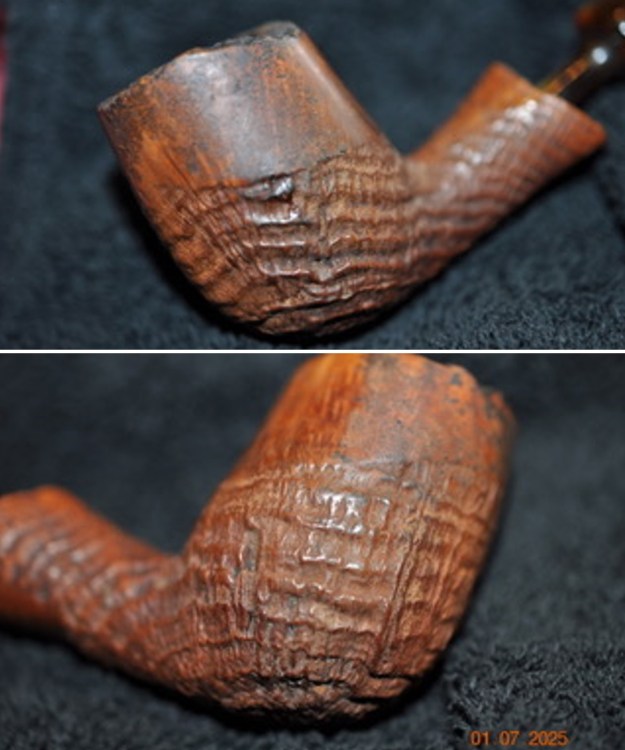
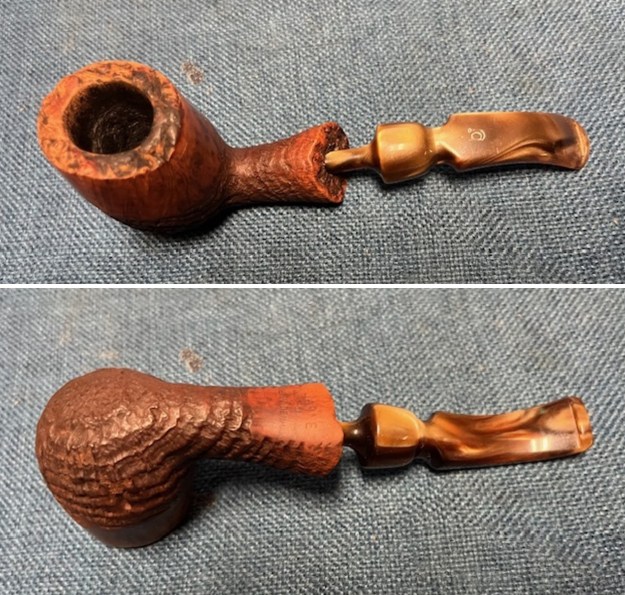
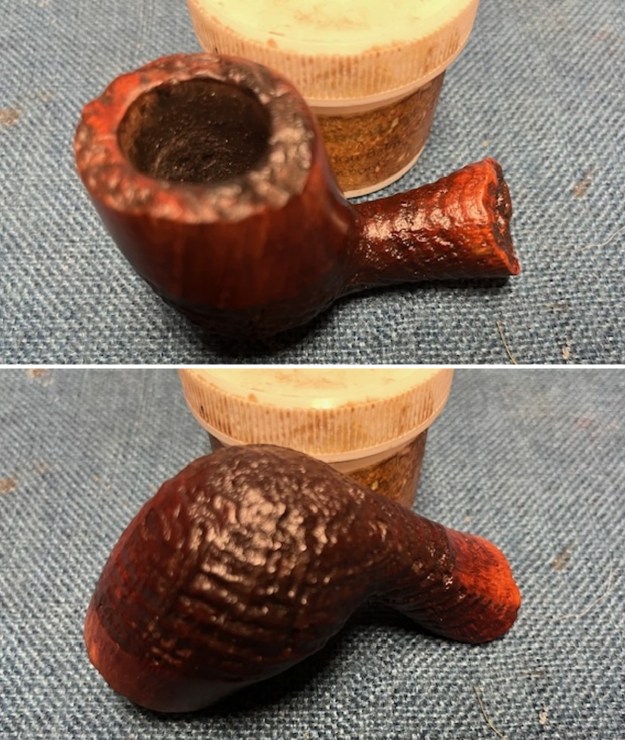
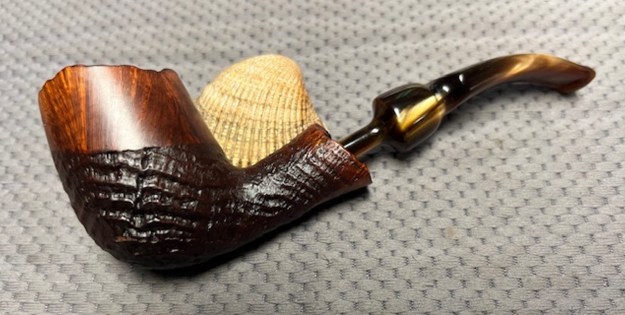
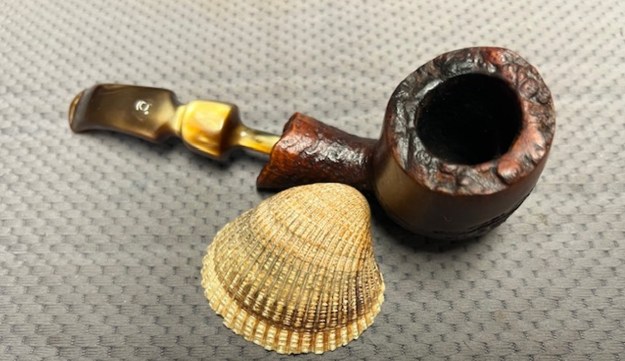
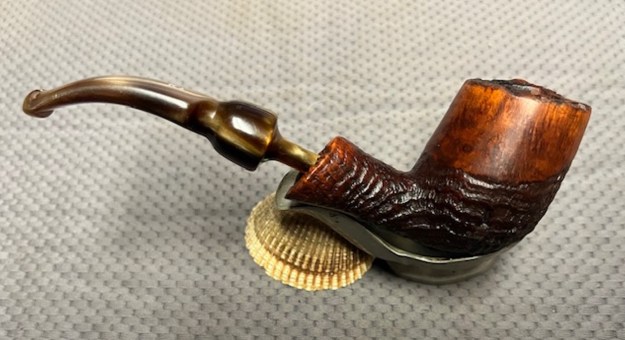
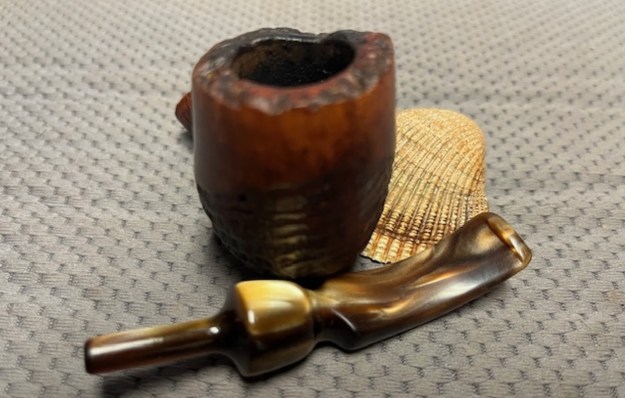
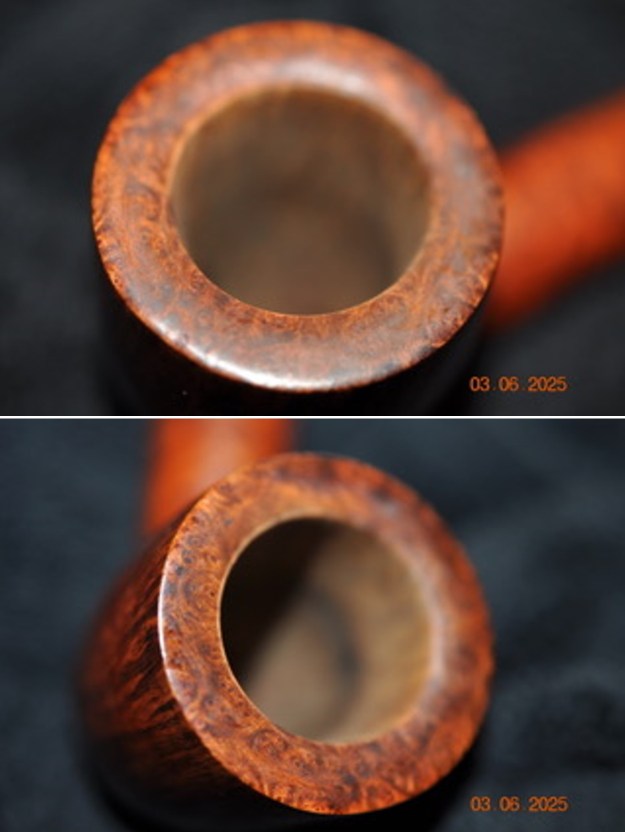
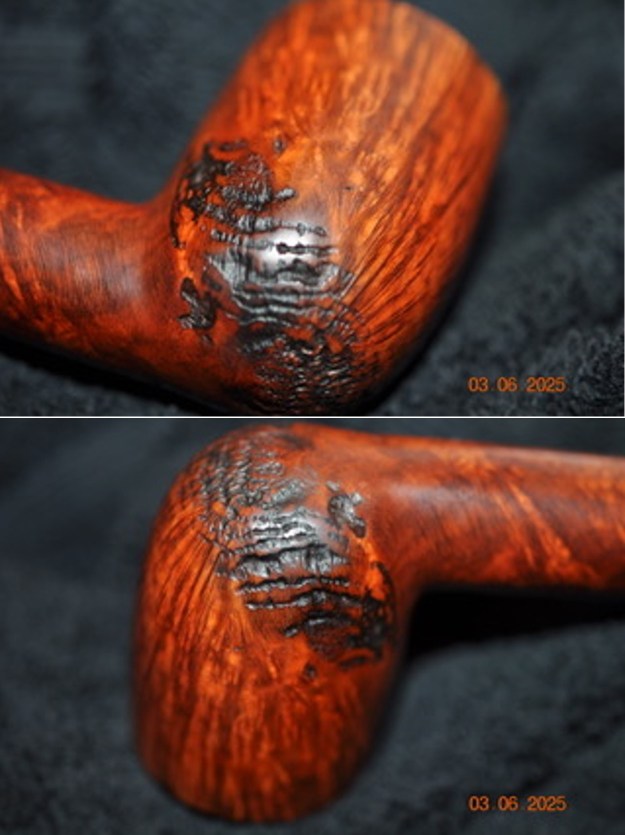
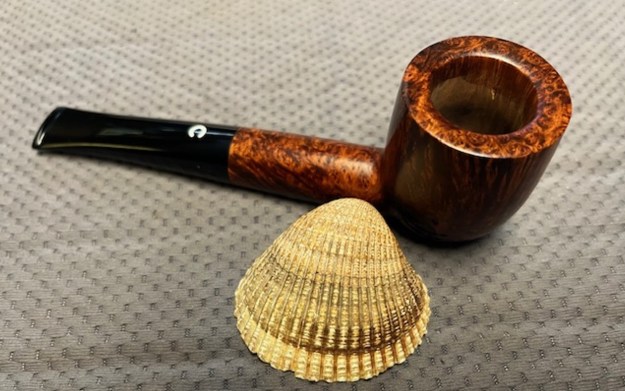
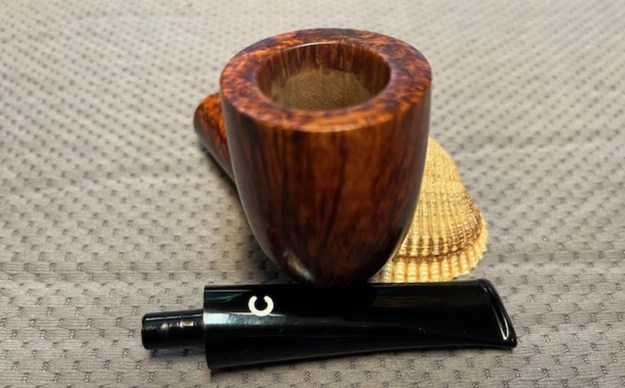
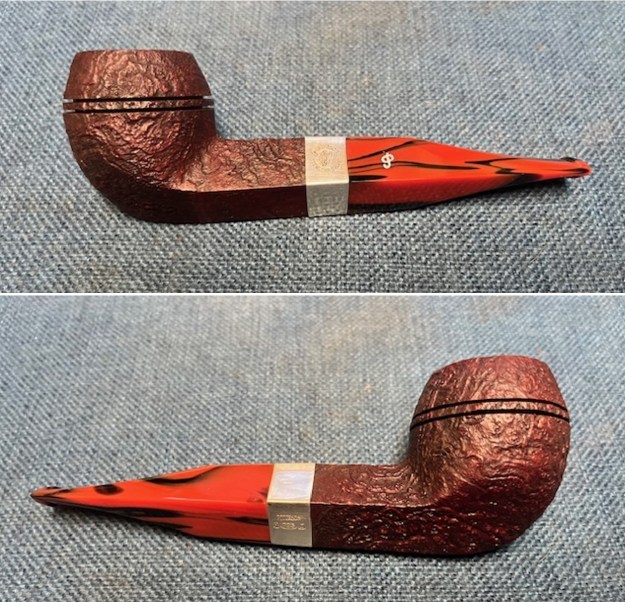
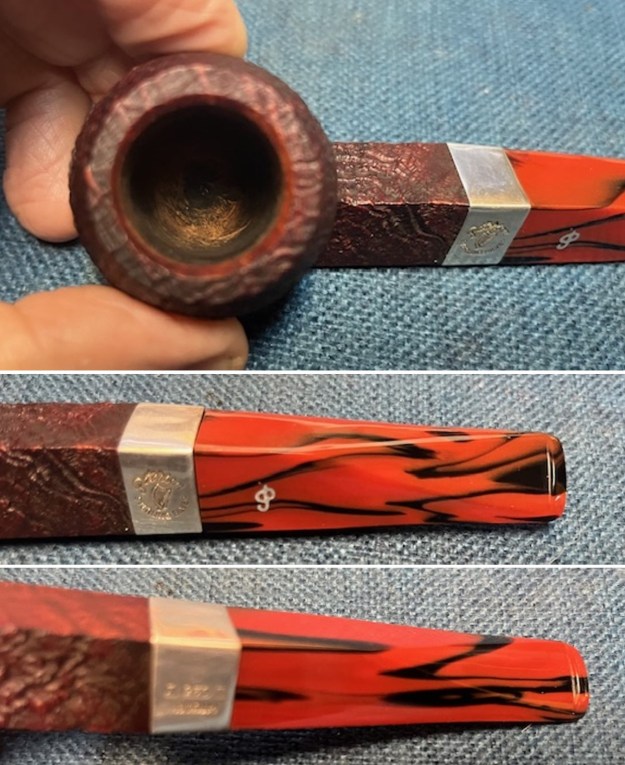
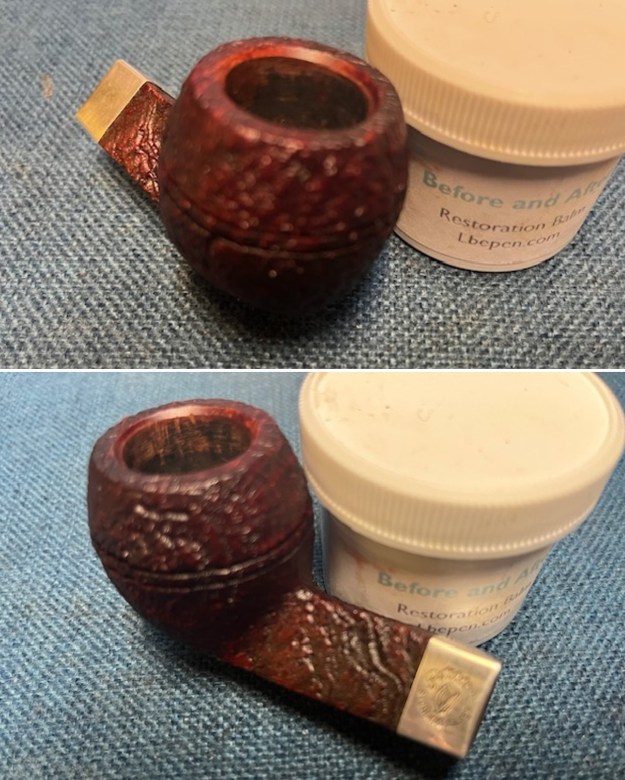
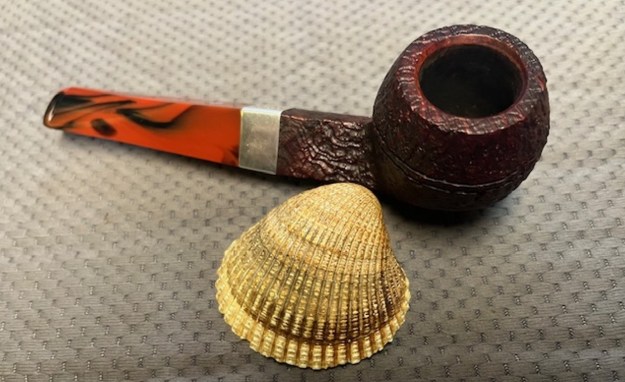
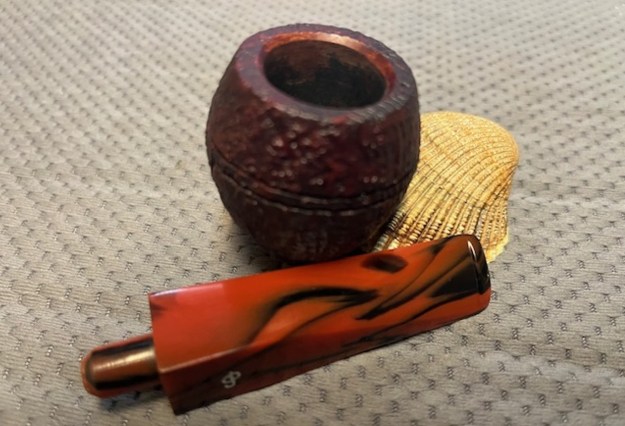
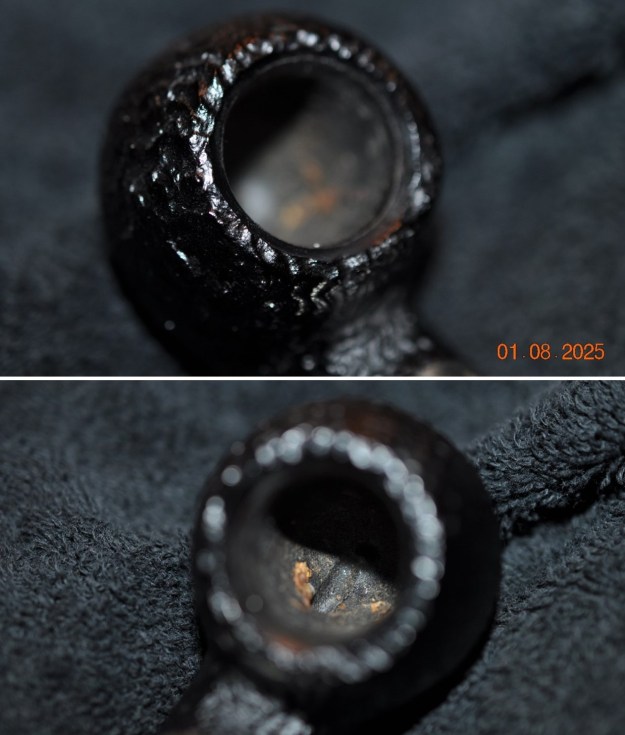
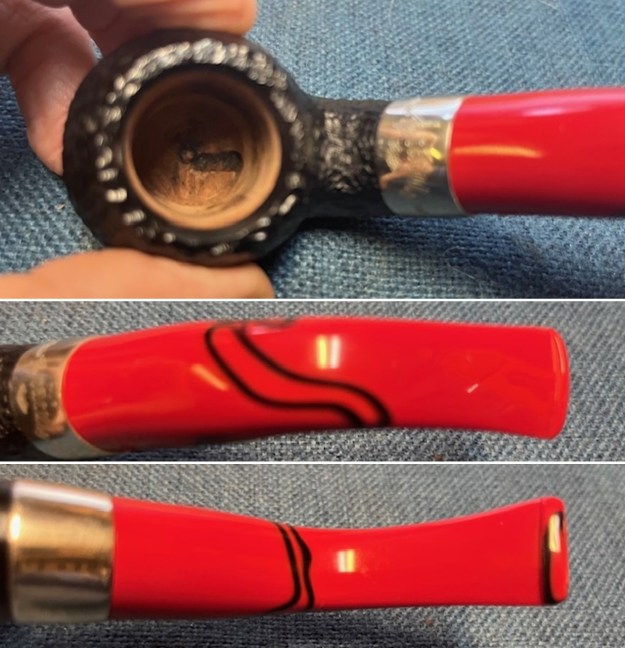
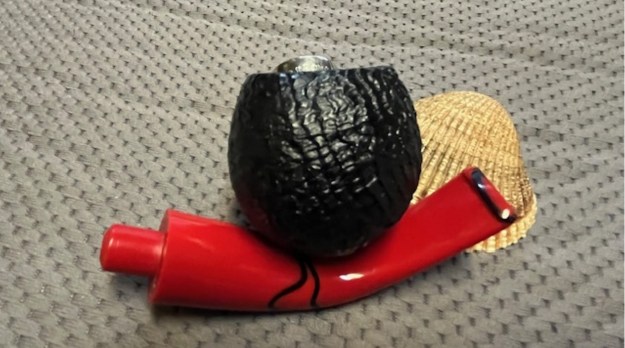
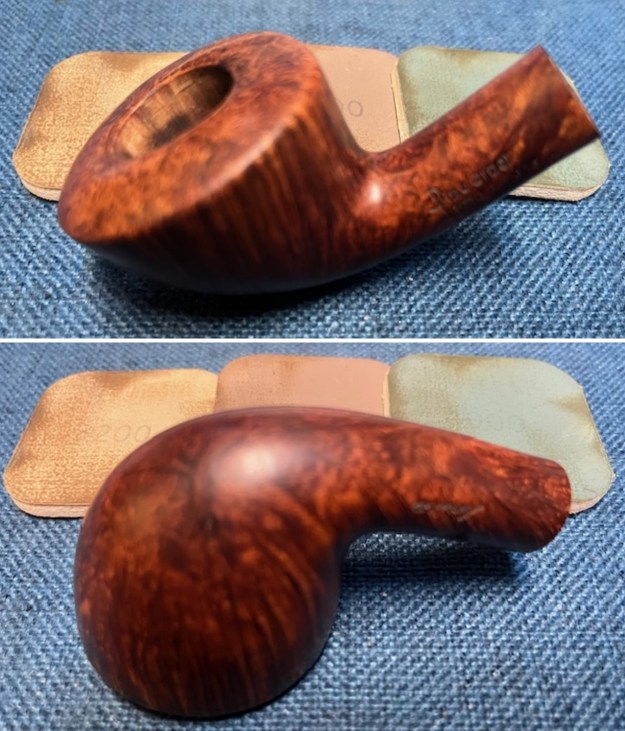
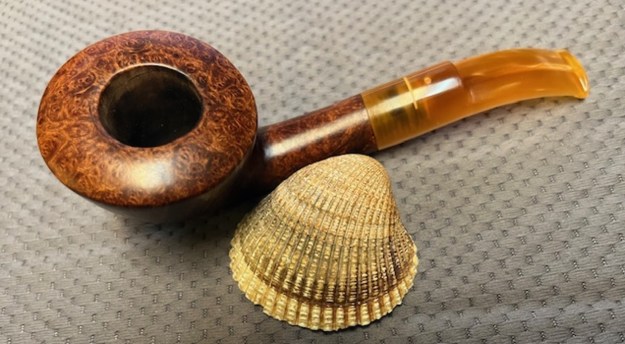
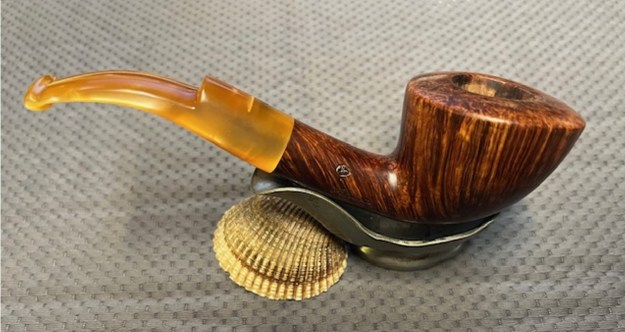
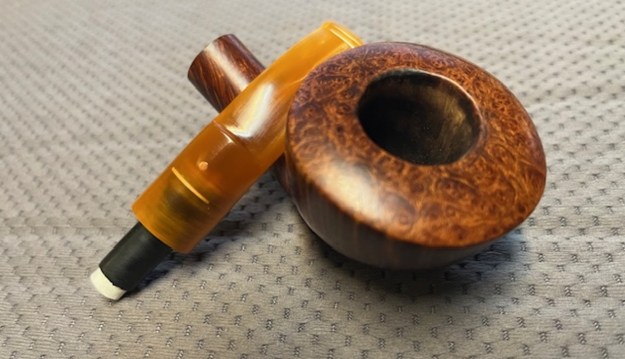
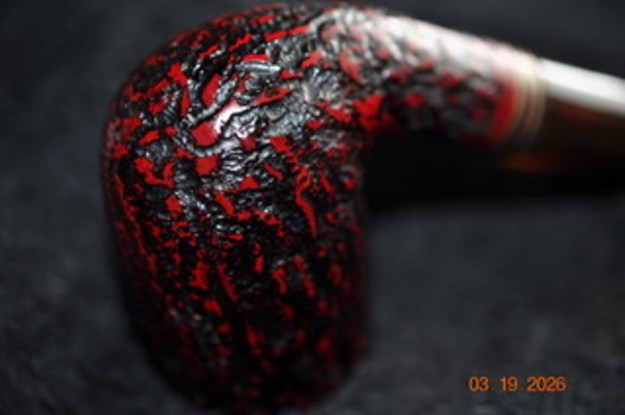
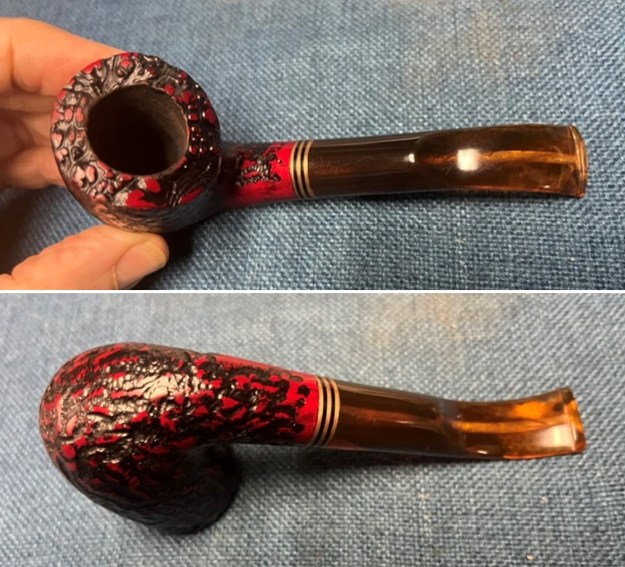
 The photo Jeff took of the rim top and bowl shows the cake in the bowl and the lava overflow on the rim top. The shank end has band that is made of three brass bands sandwiching some black acrylic bands that make a great contrast to the reds/black of the bowl. The amber acrylic saddle stem looks very good with the red and black of the stain on the rusticated bowl.

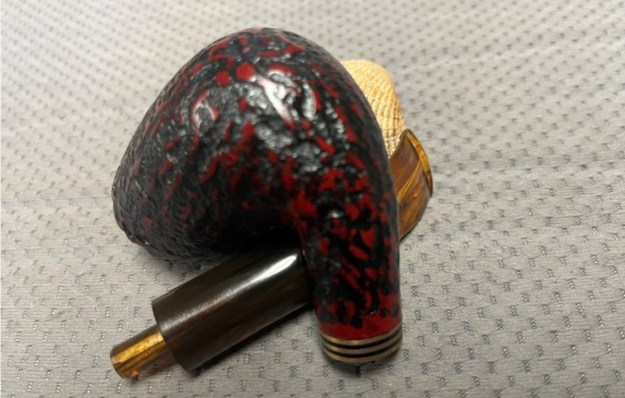
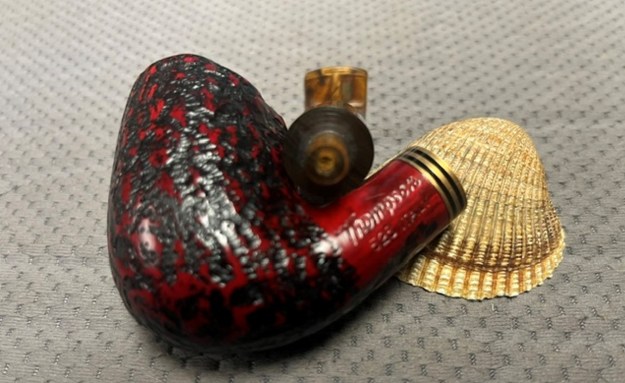
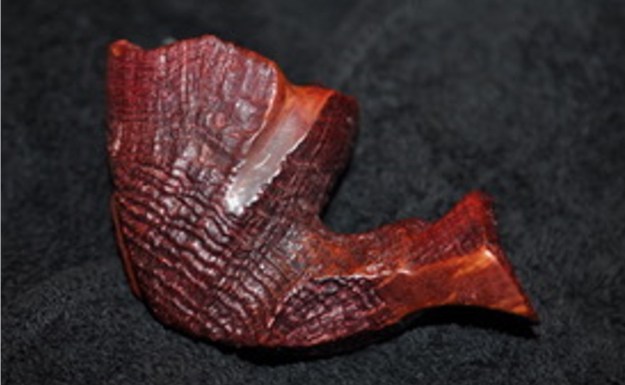
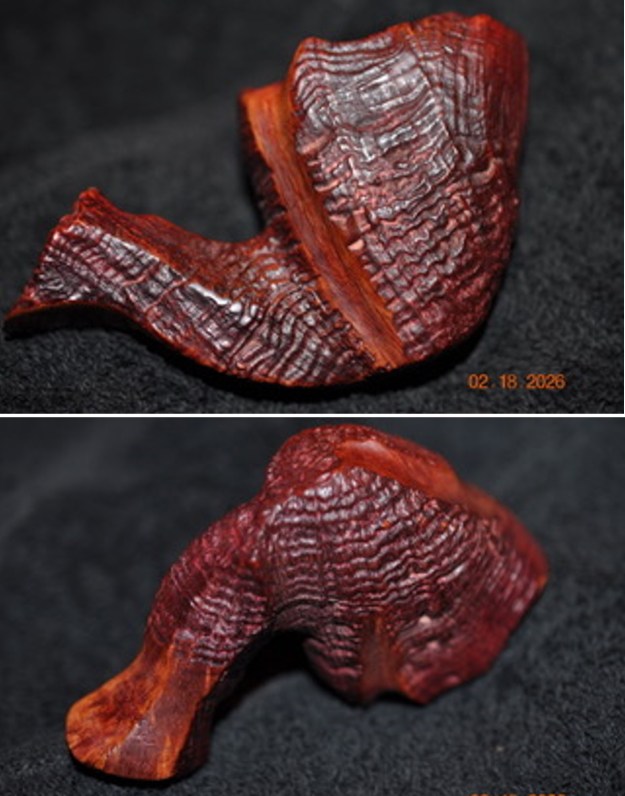
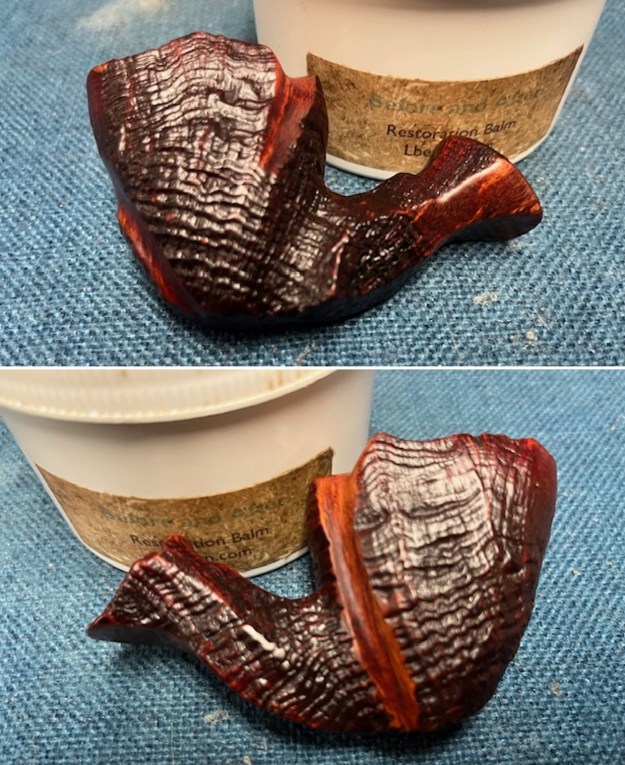
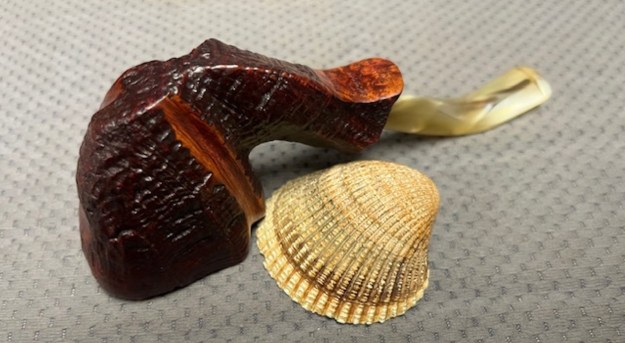
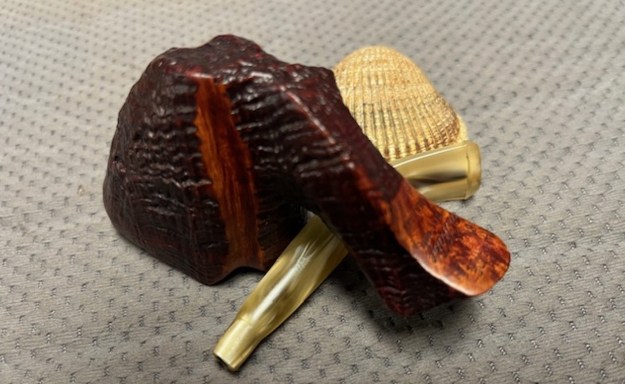
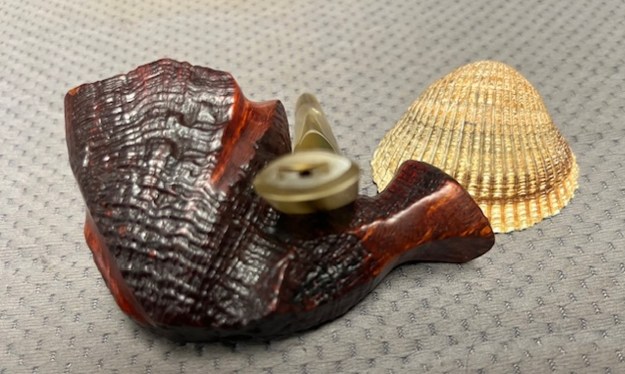
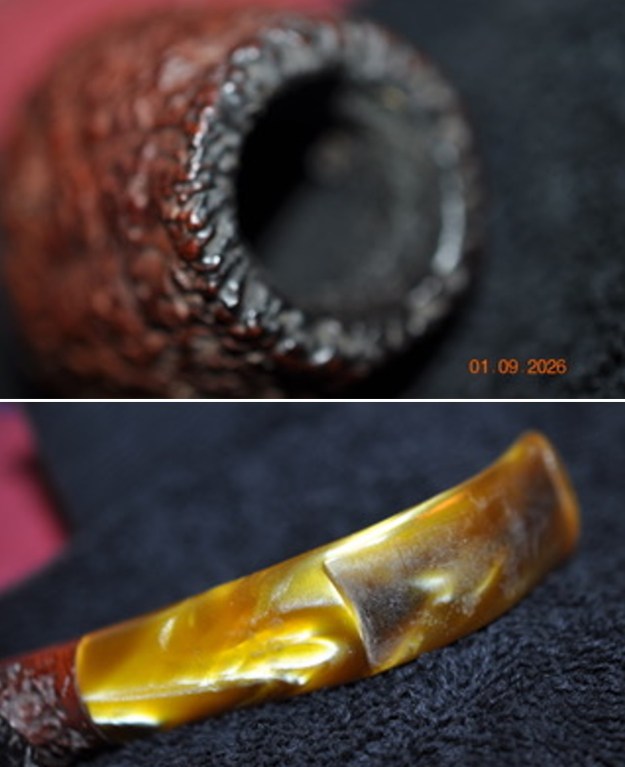
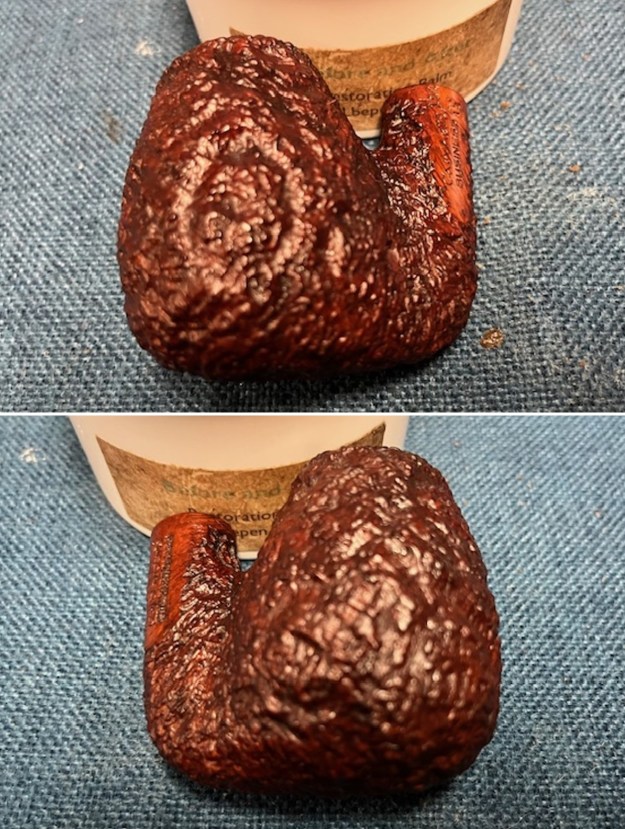
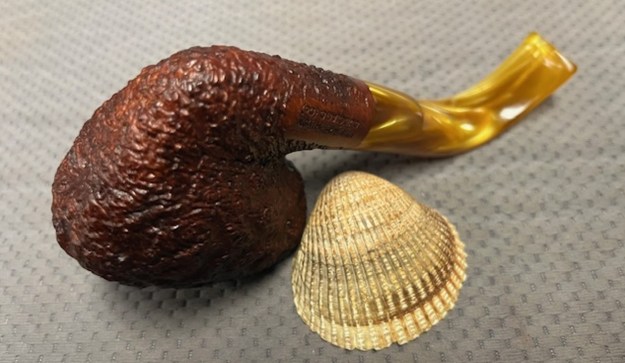
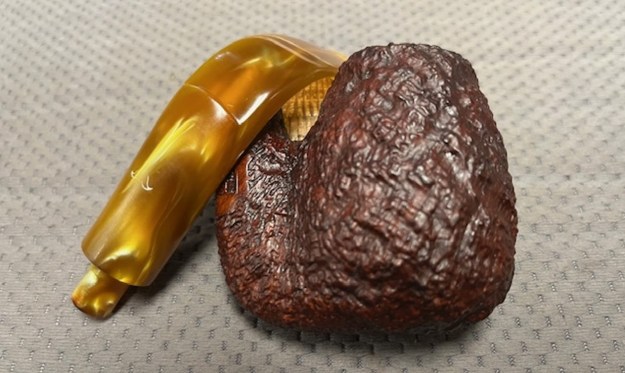
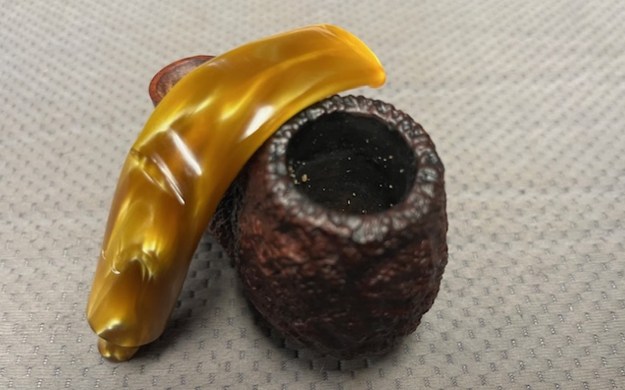
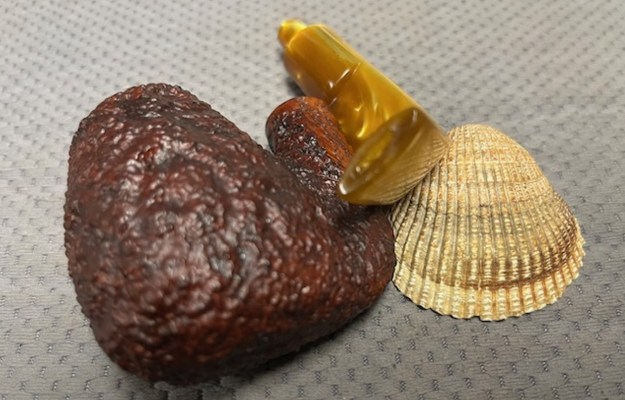
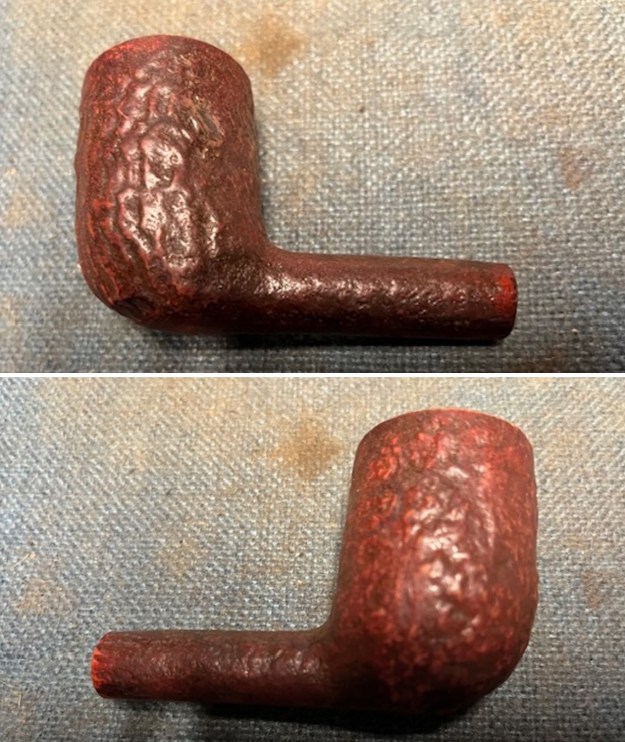
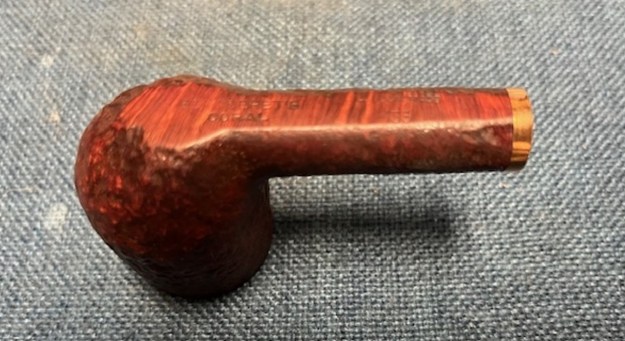
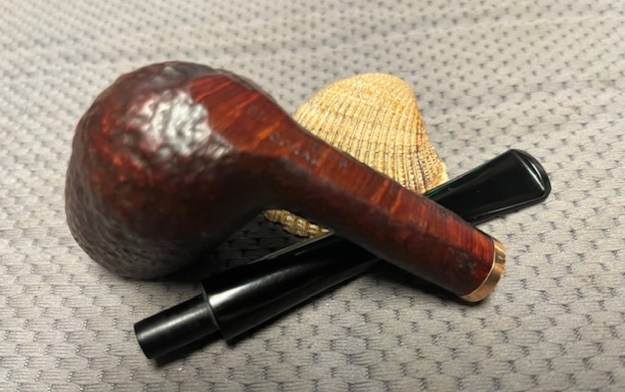
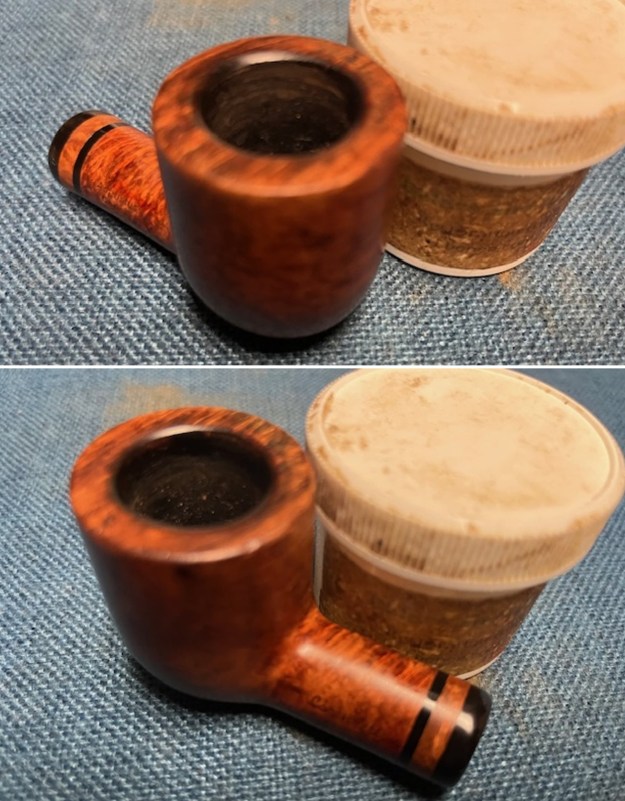
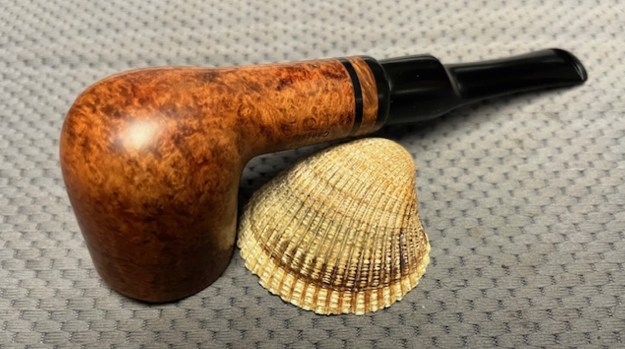
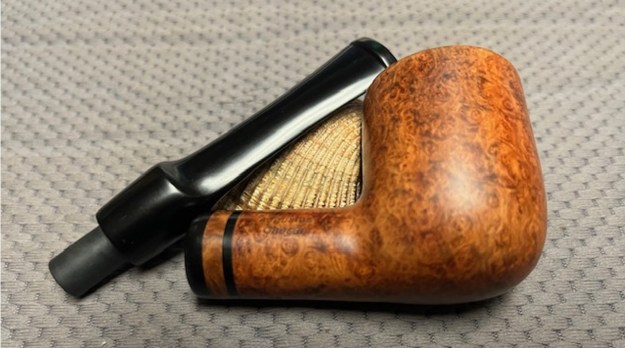
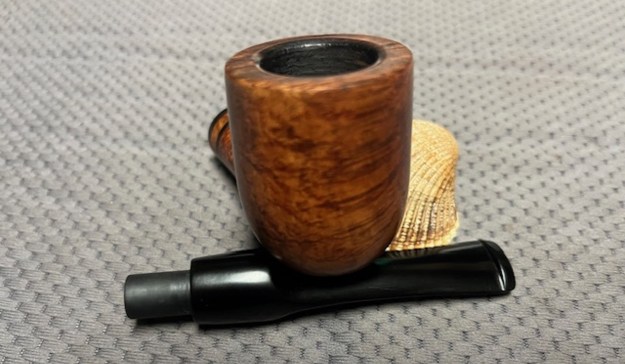
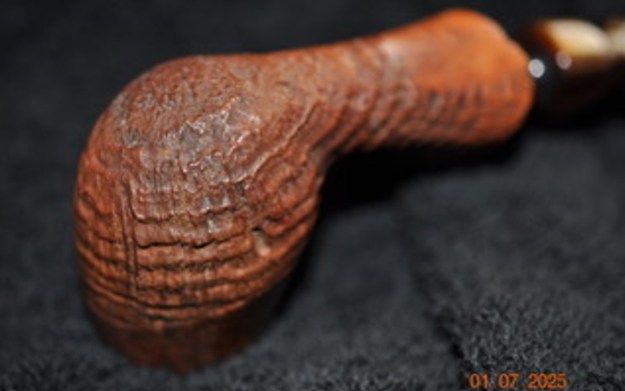
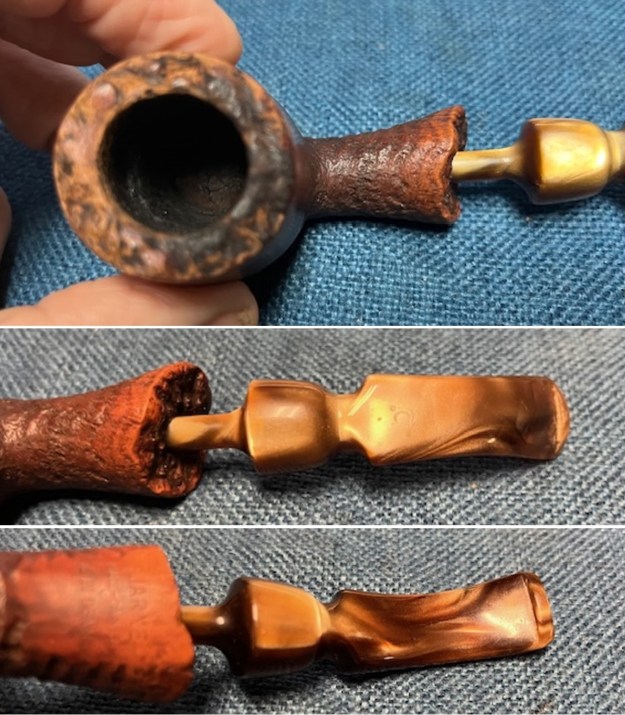
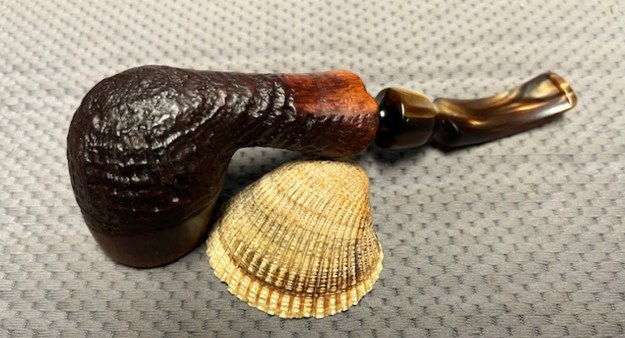
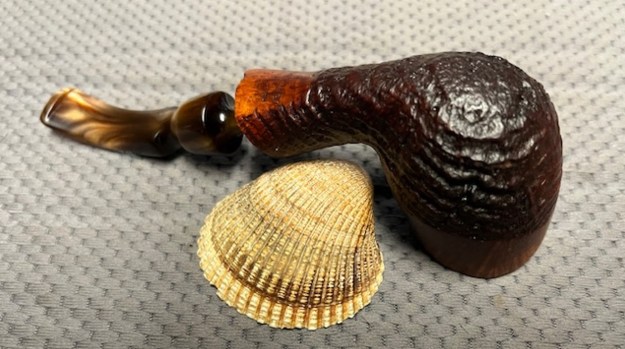
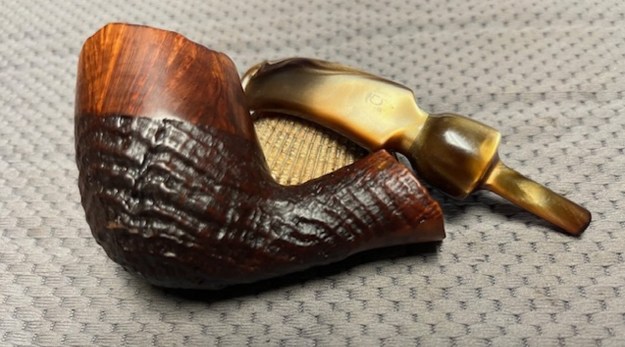
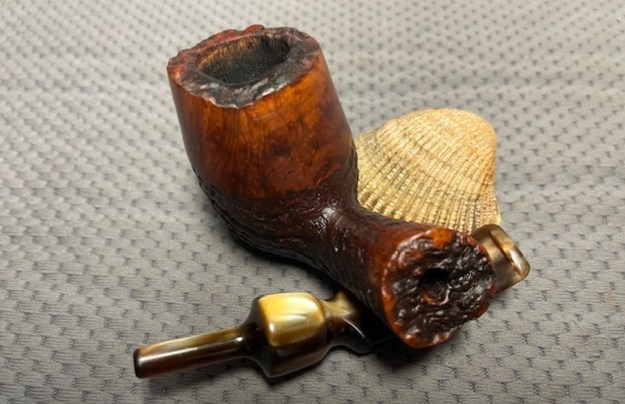
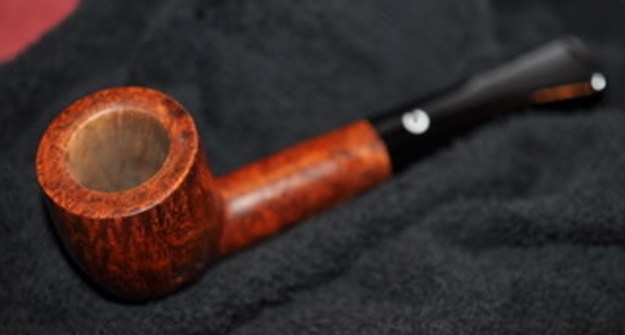
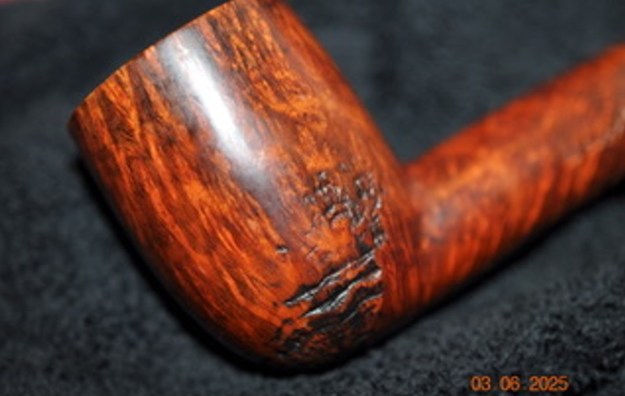
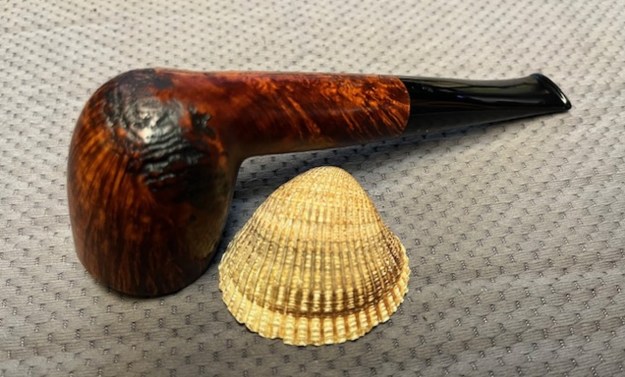
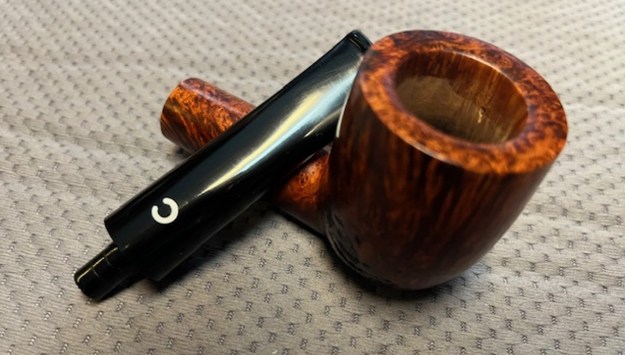
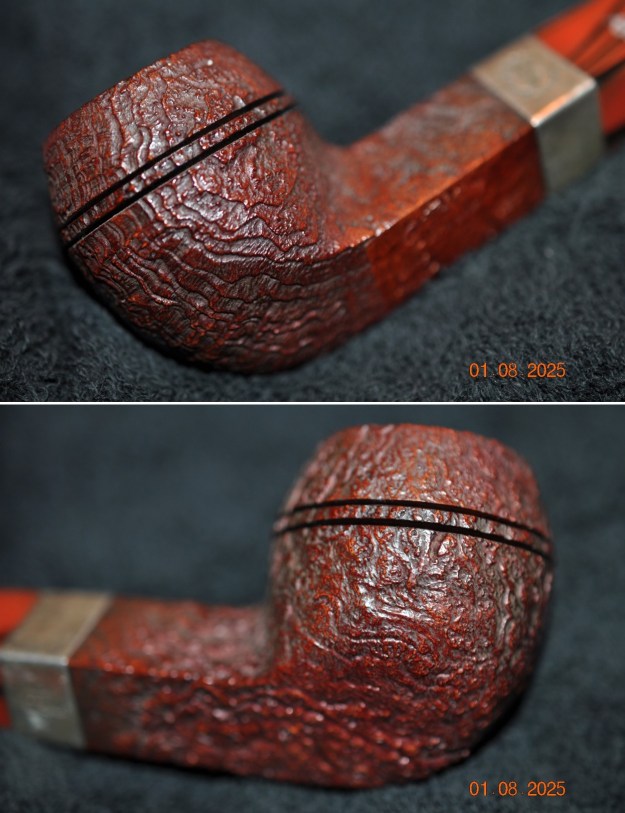
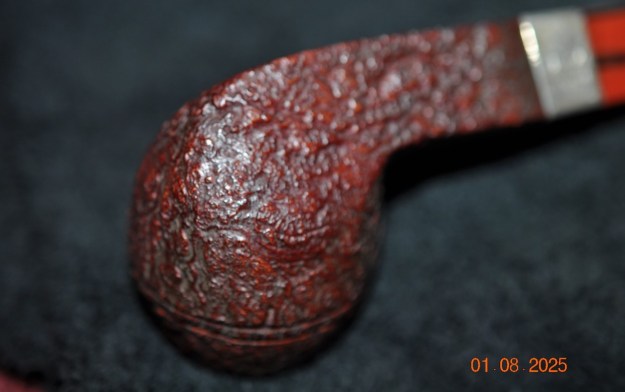
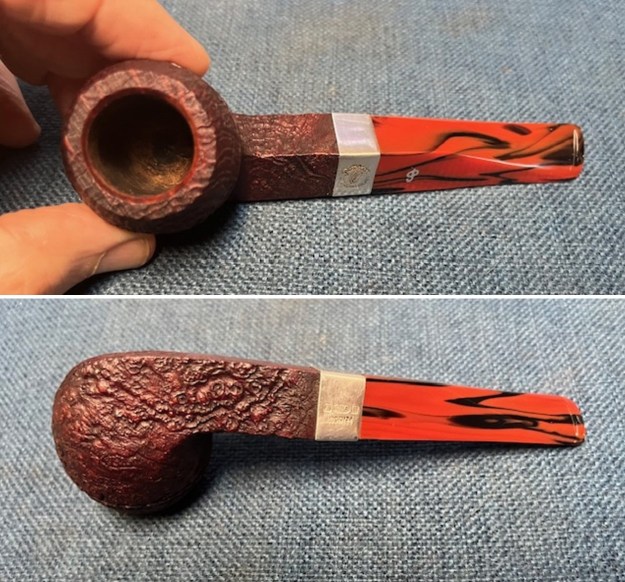
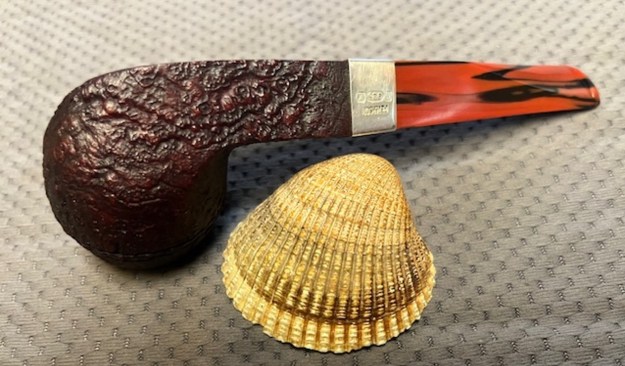
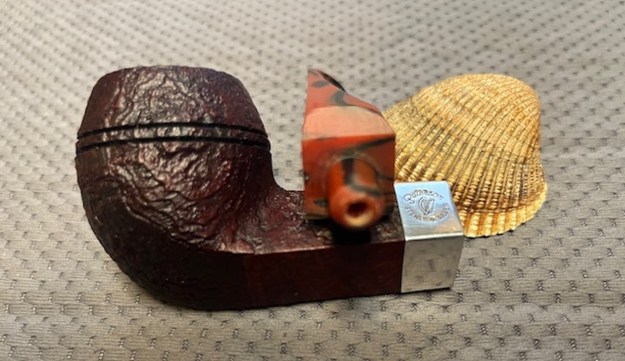
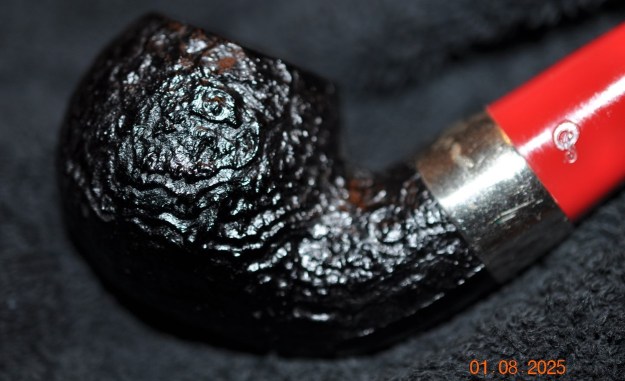
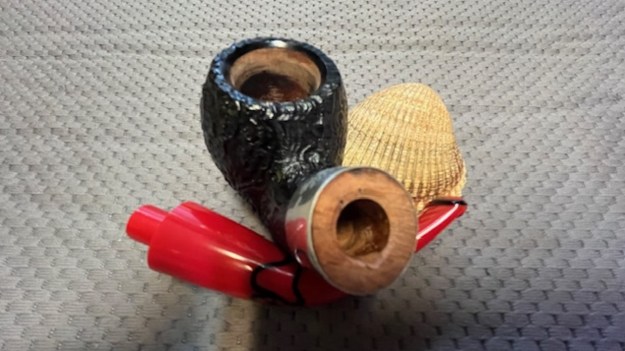
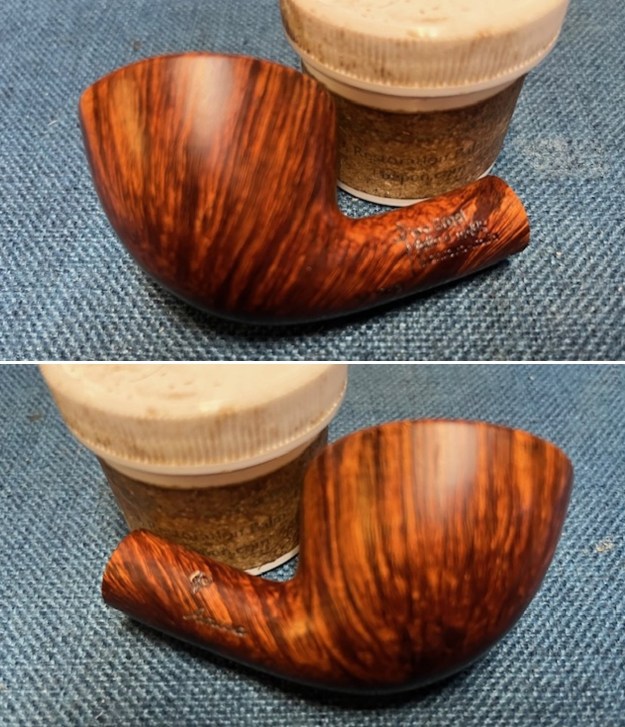
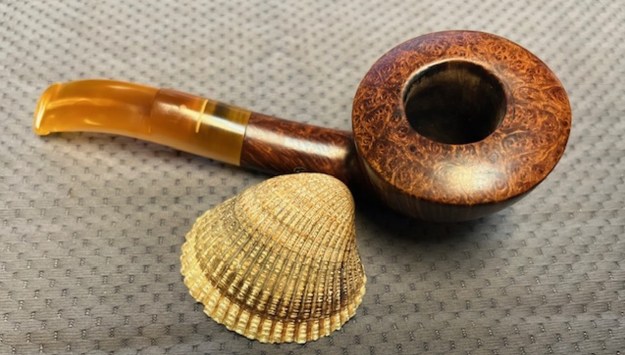
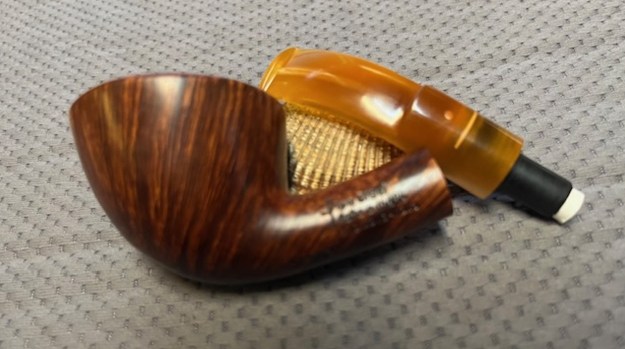
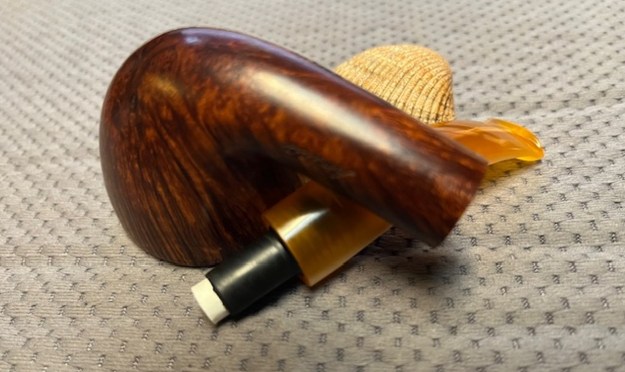
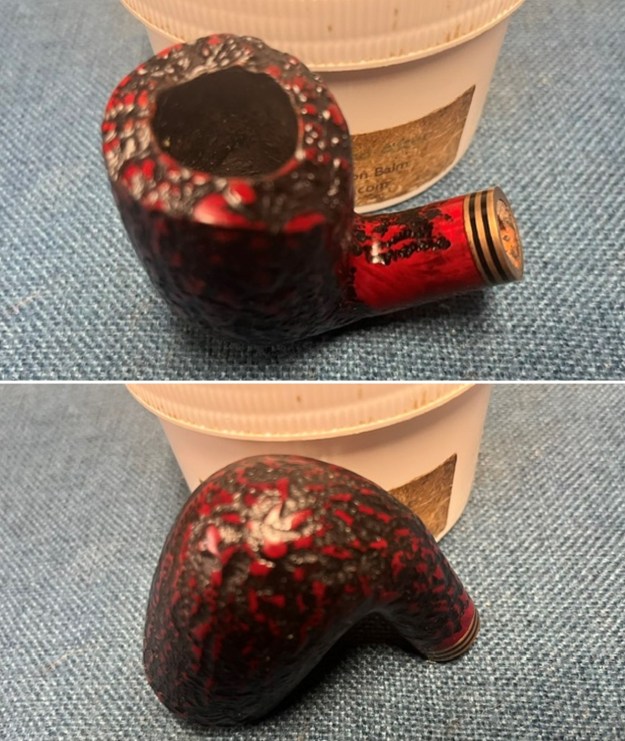
 The sides of the bowl show the rustication pattern on the briar and the of the exterior of the pipe. The rim top rustication/plateau look good as well.
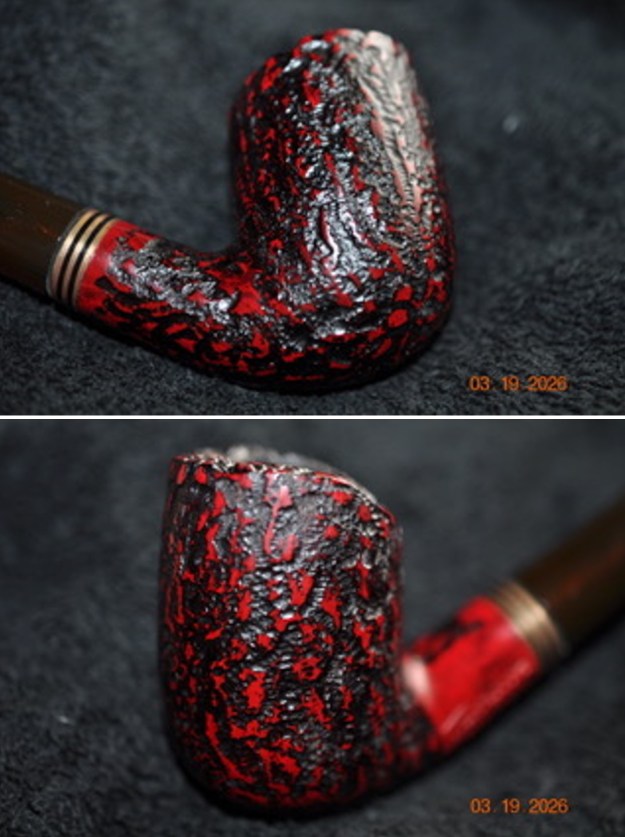
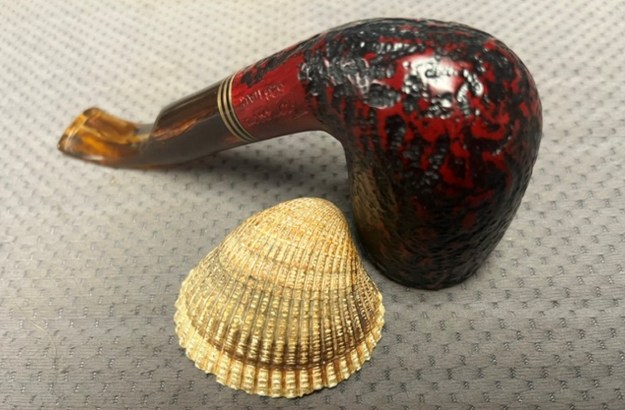
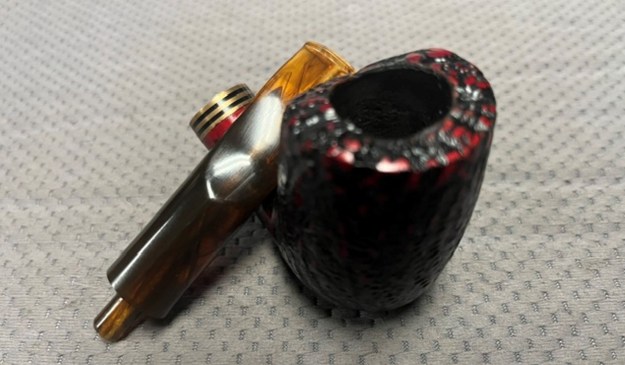
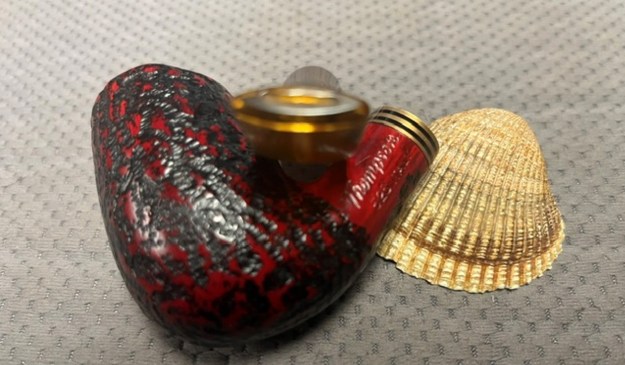
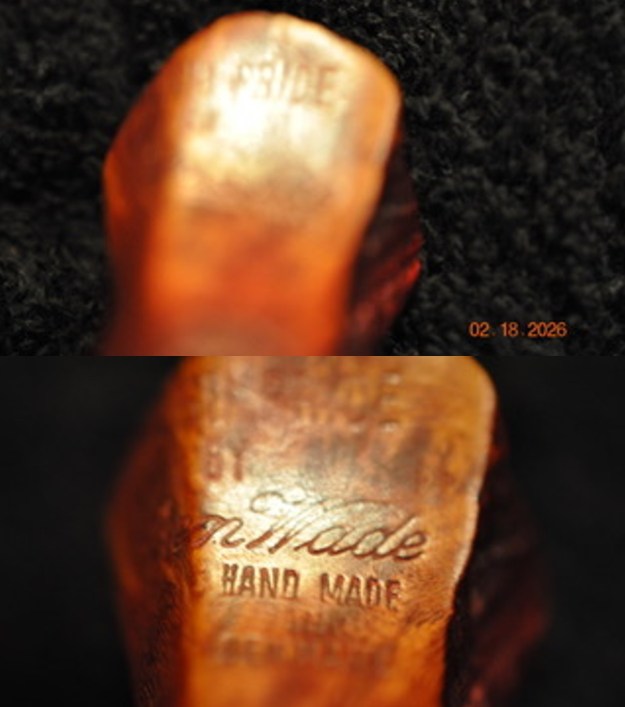
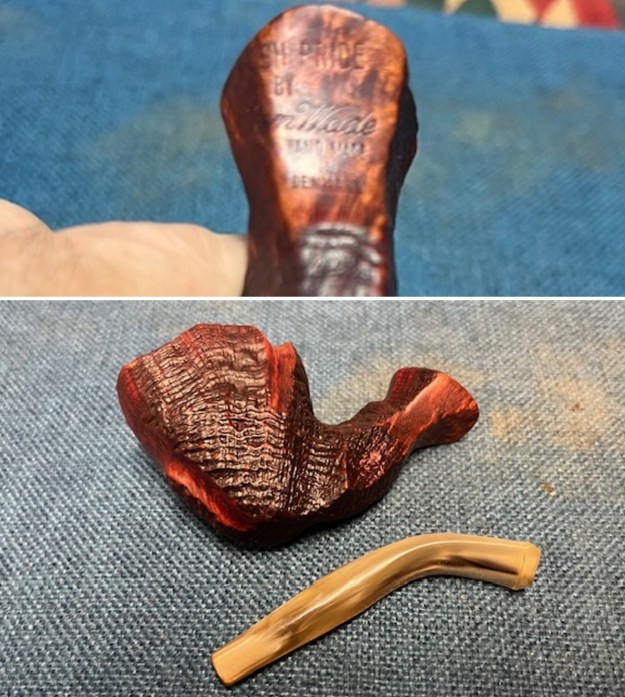
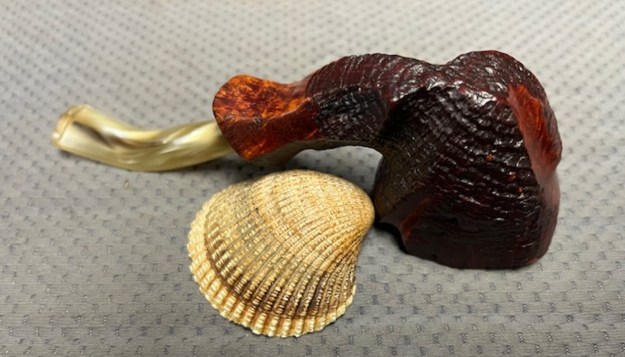
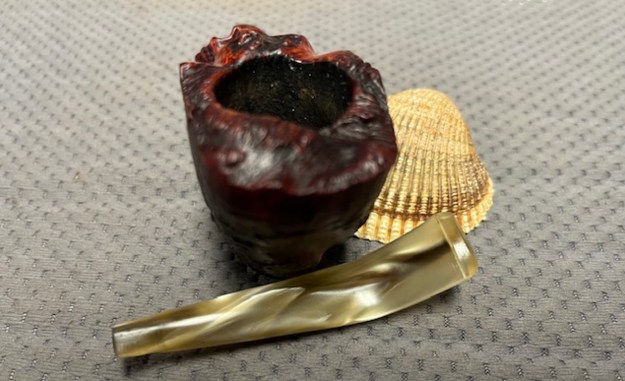
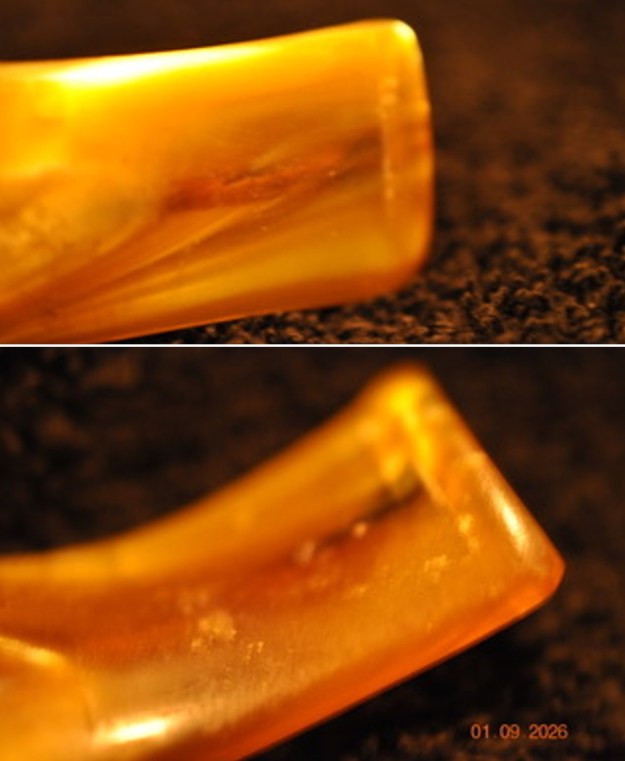
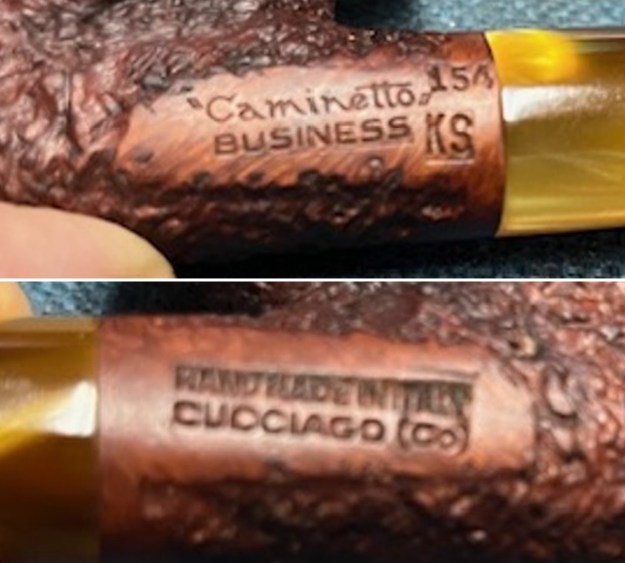
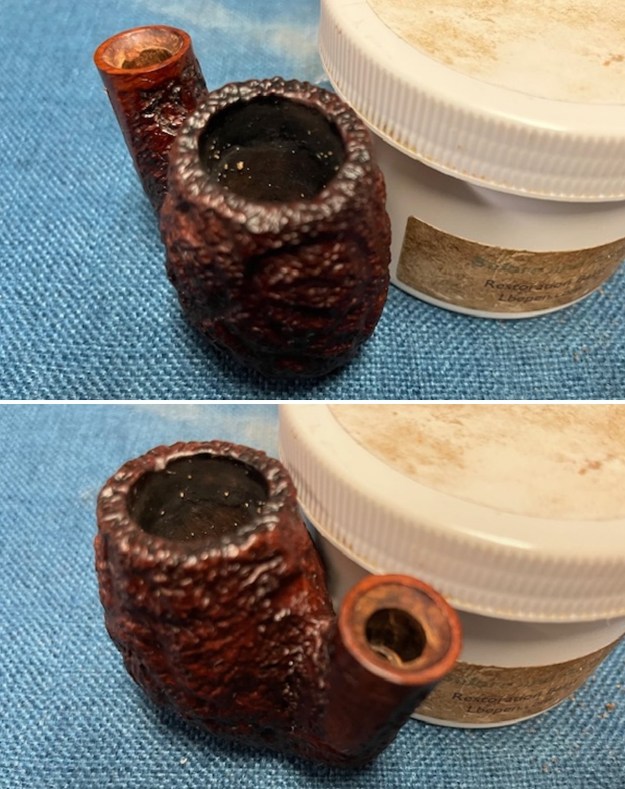
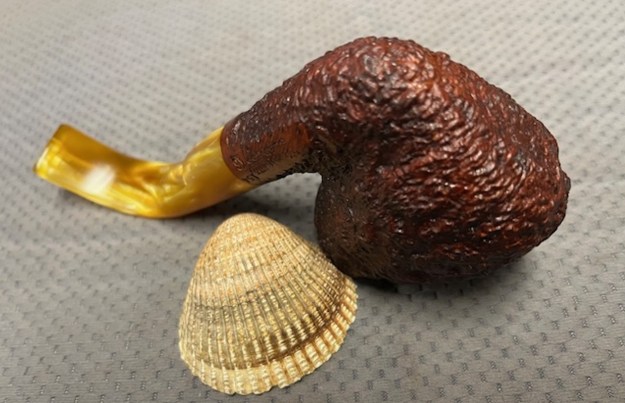
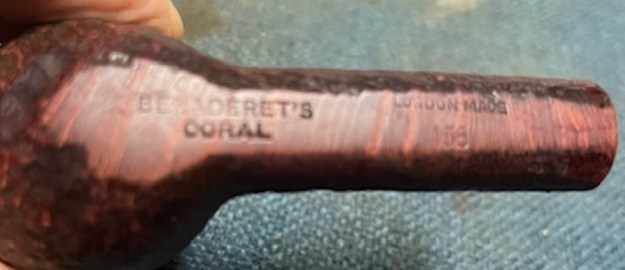
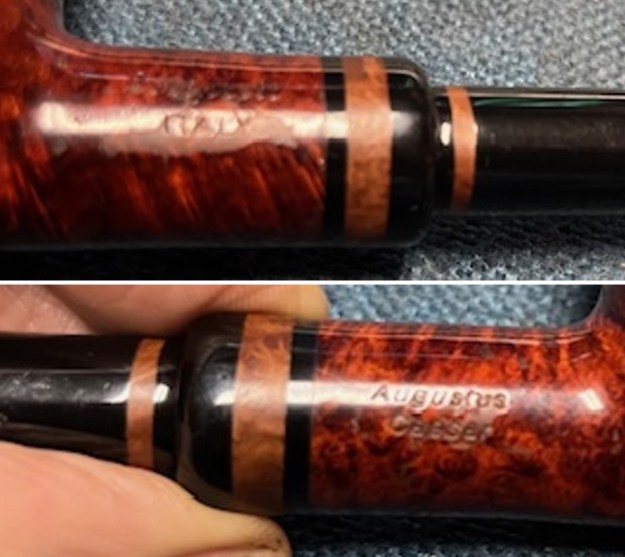
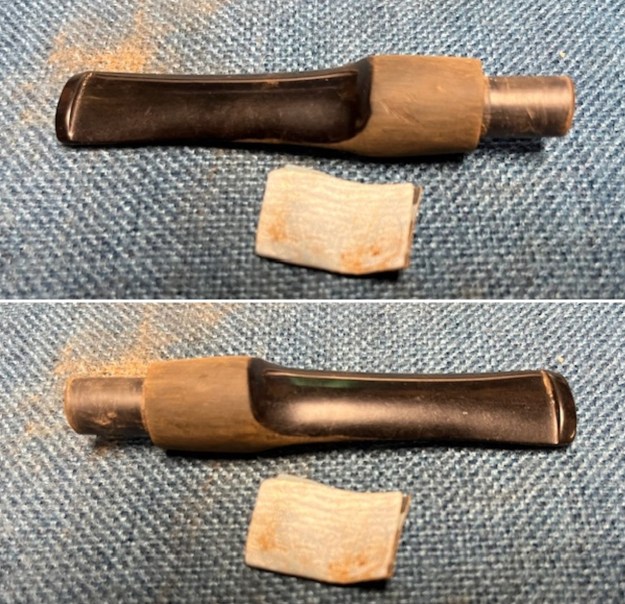
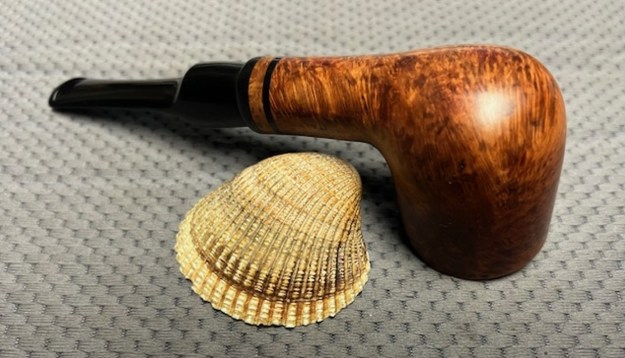
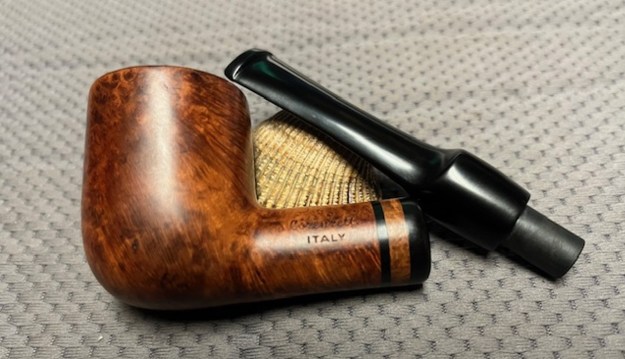
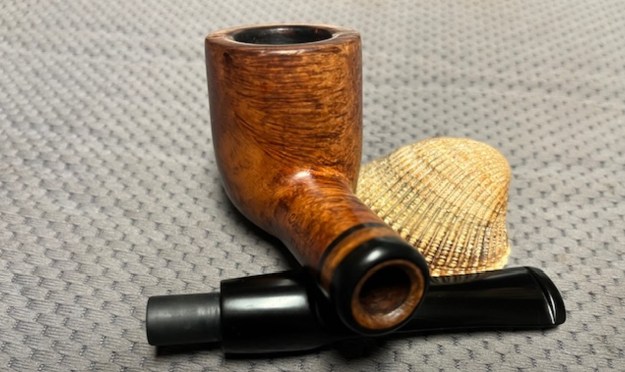
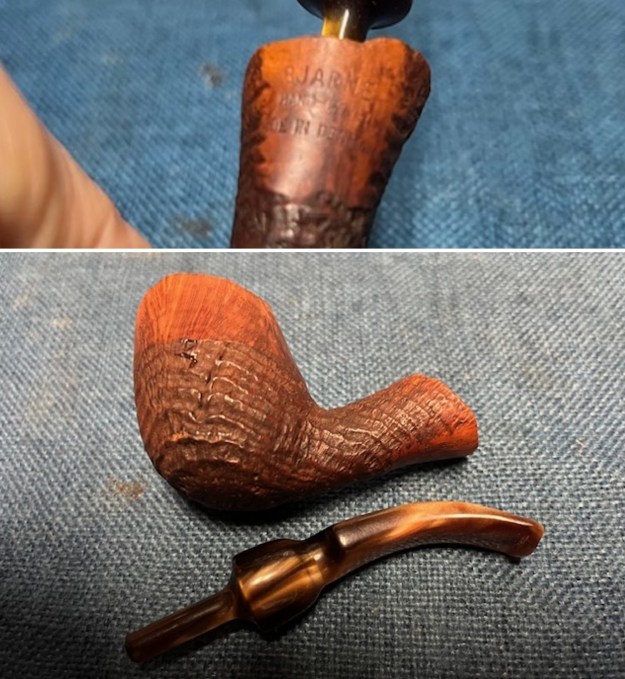
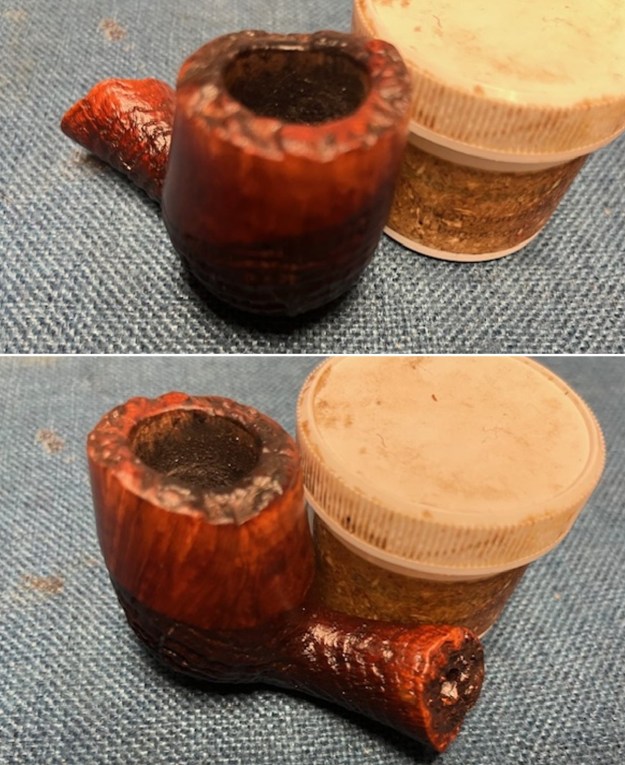
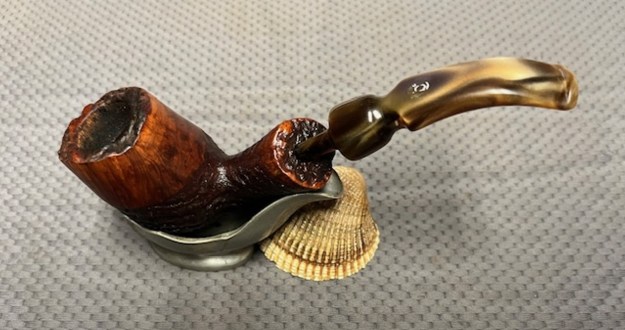
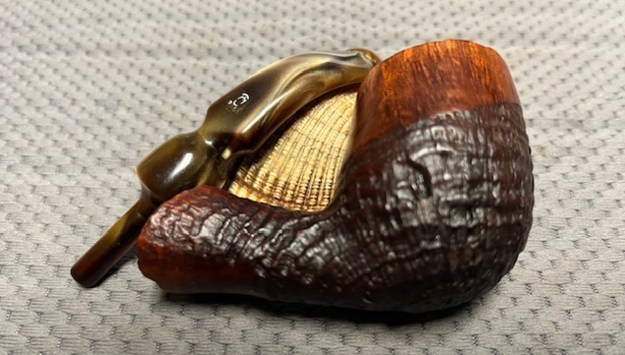
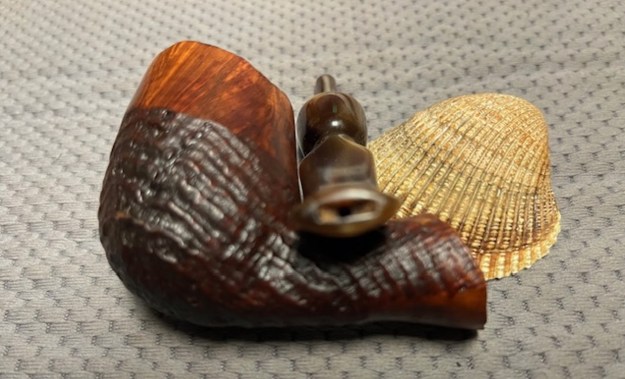
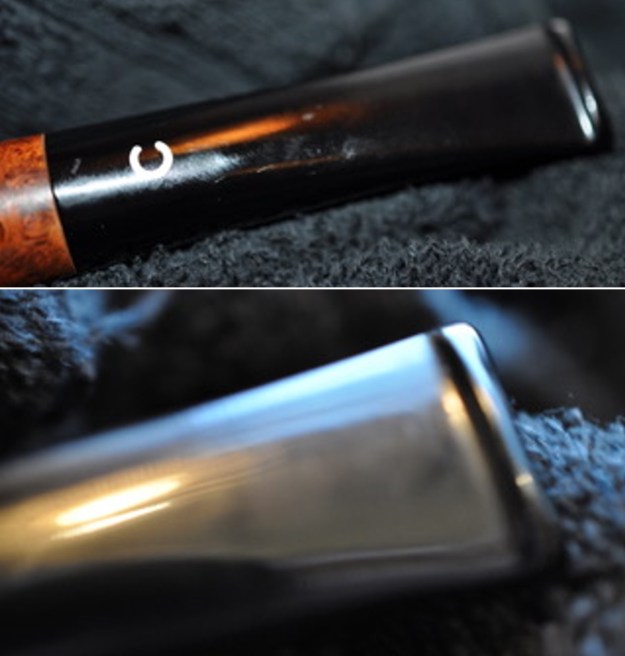
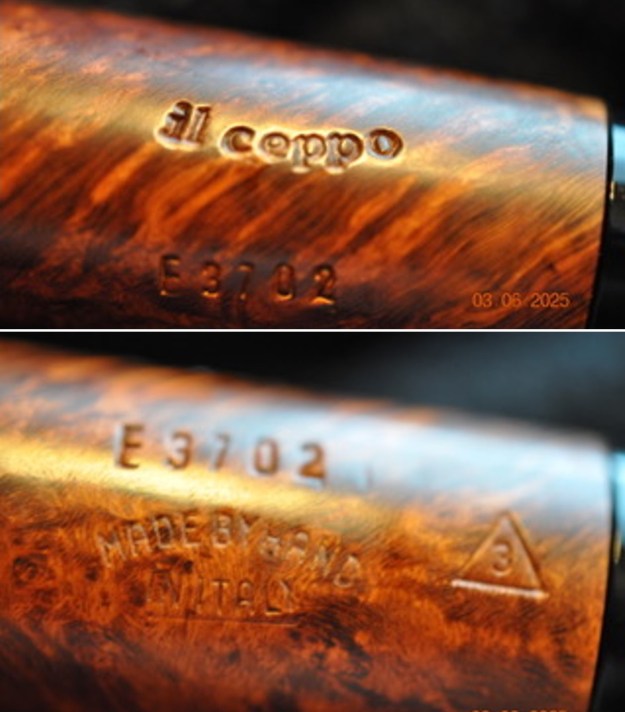
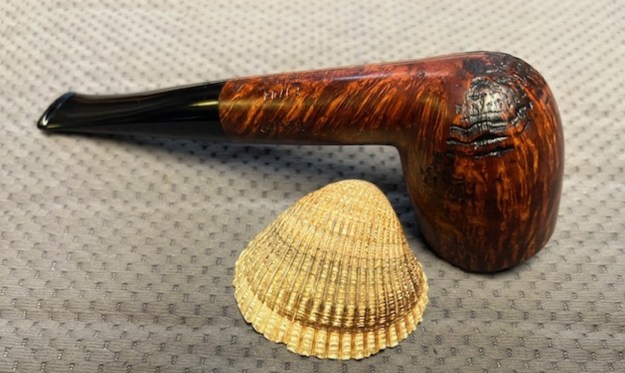
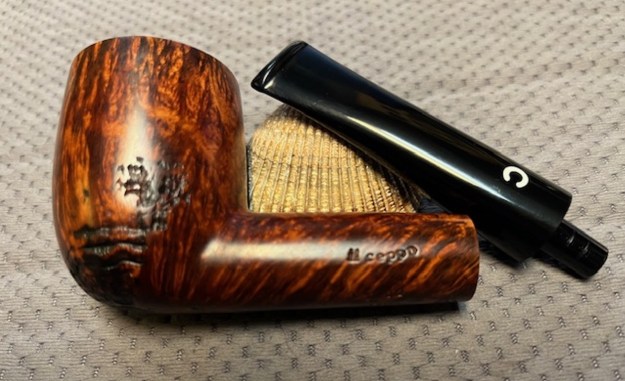
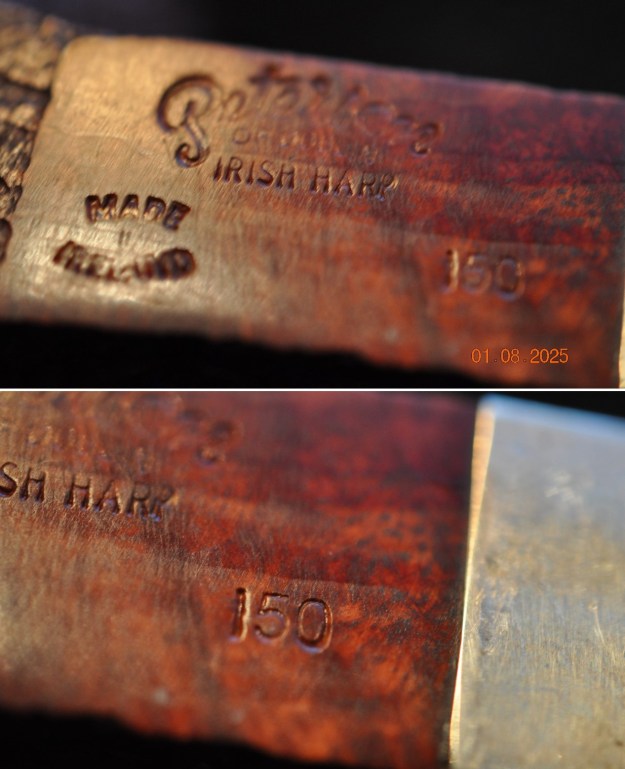
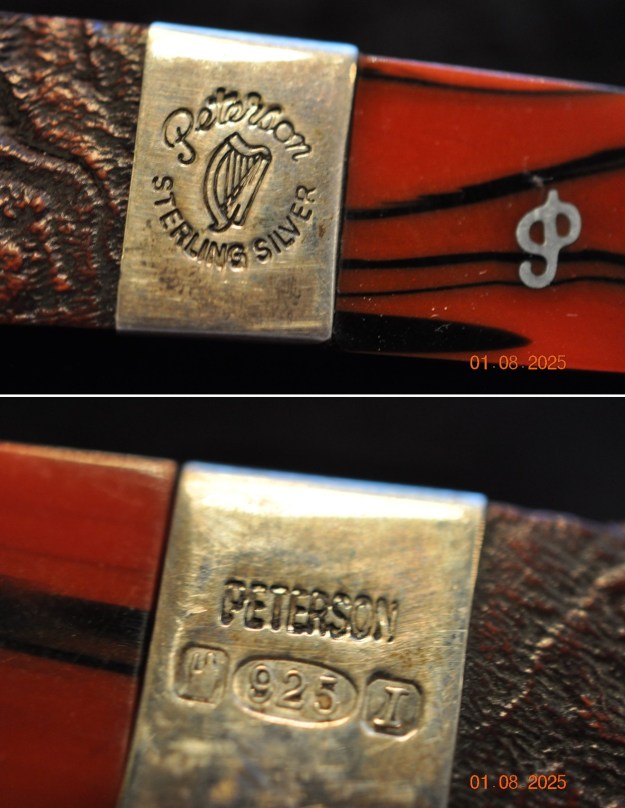
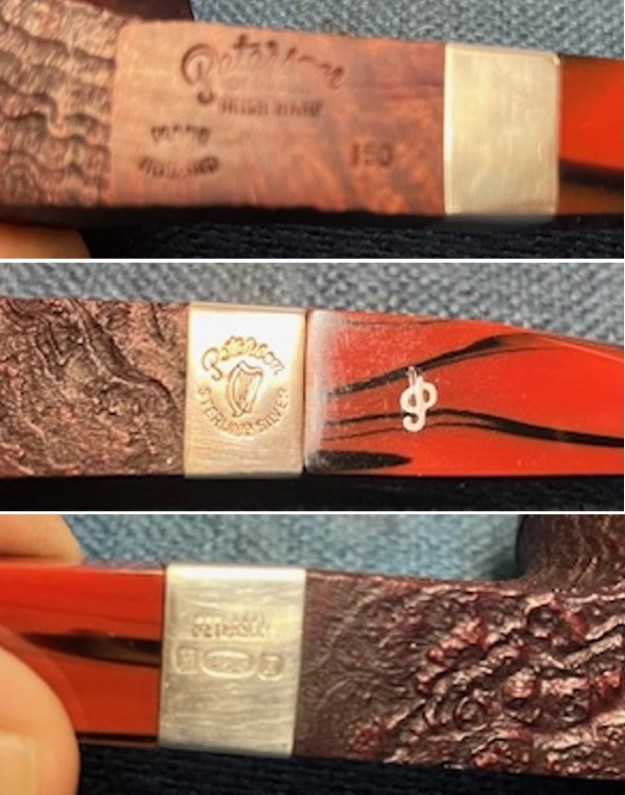
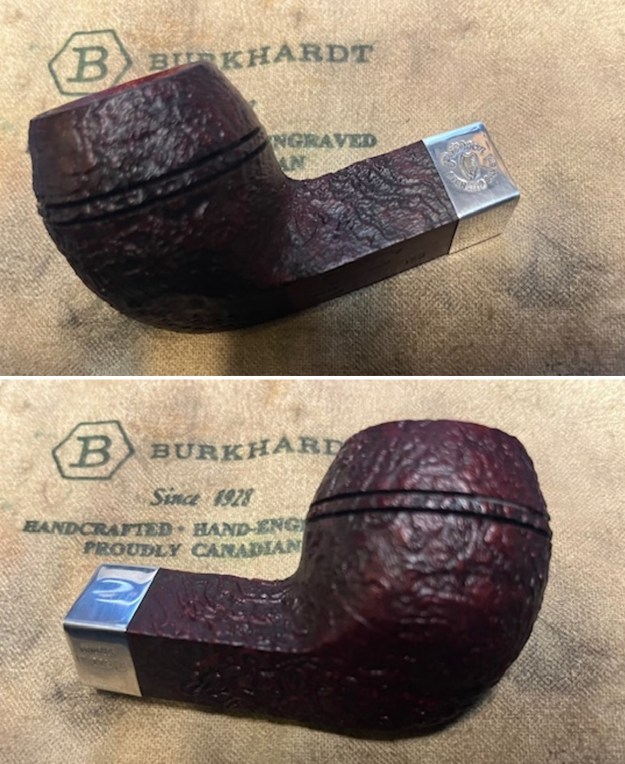
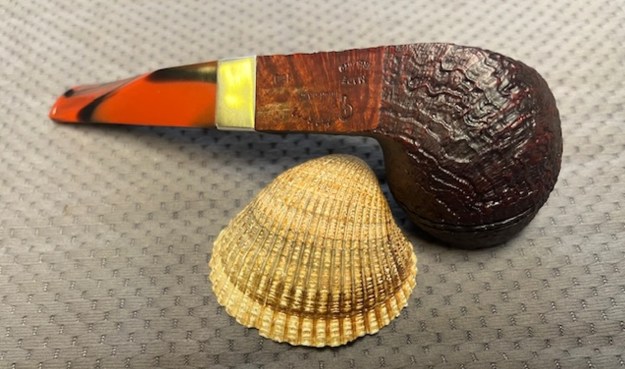
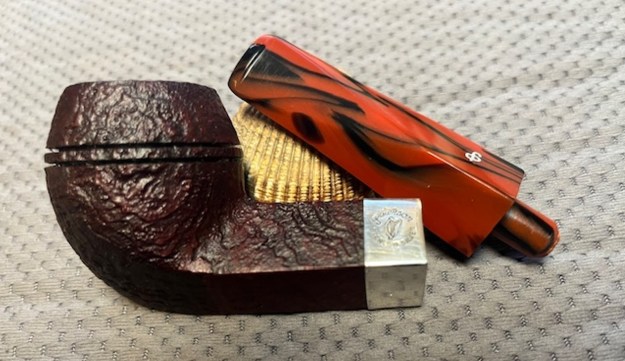
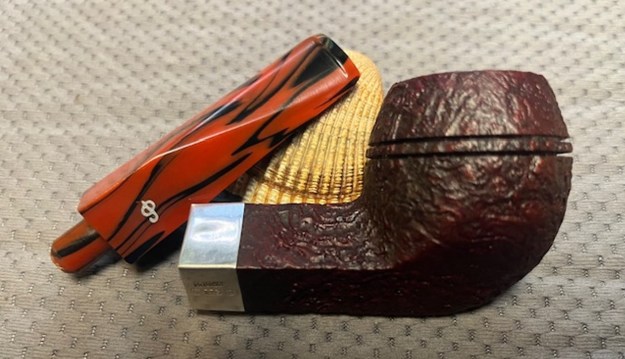
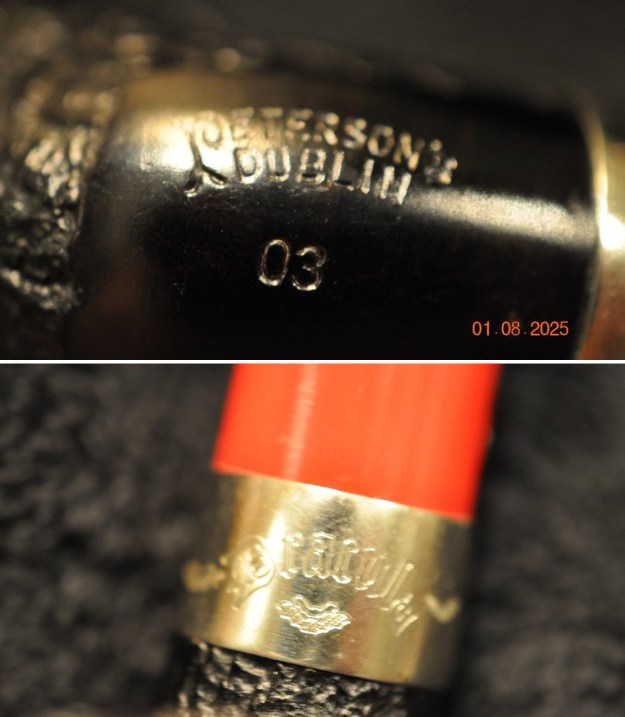
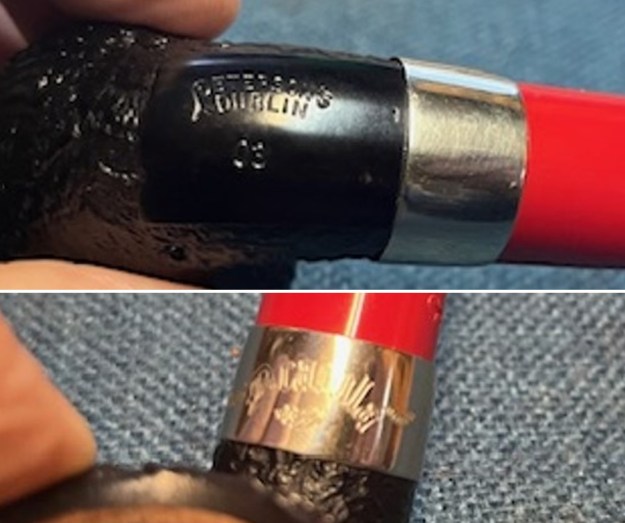
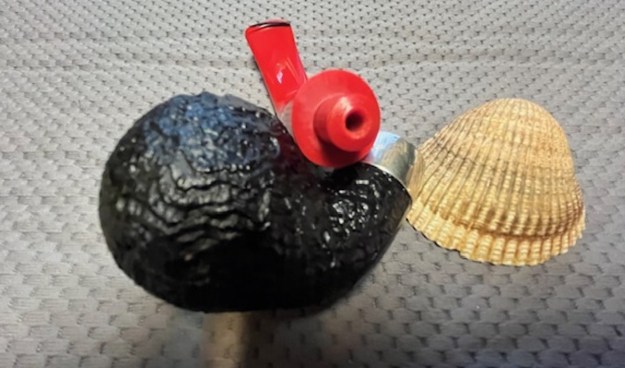
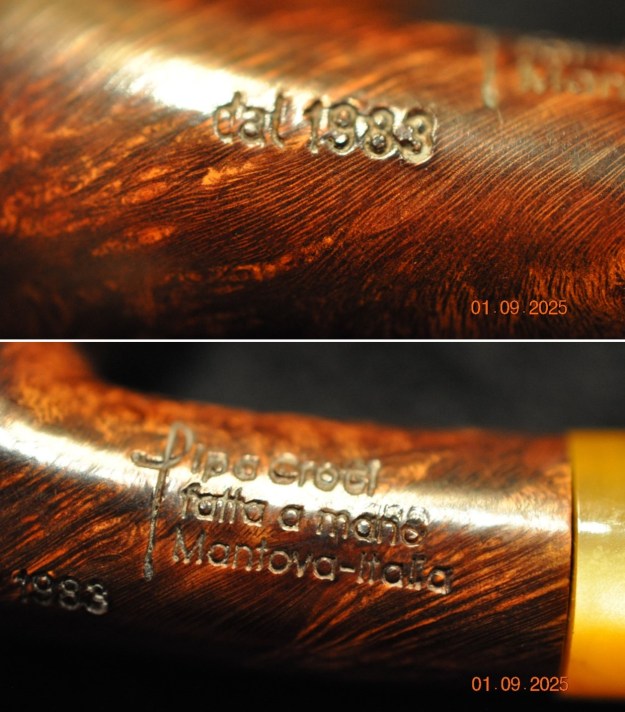
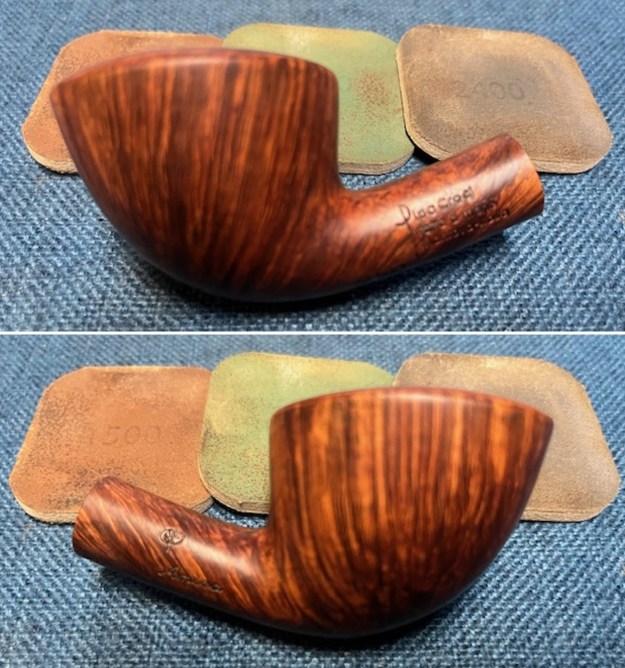
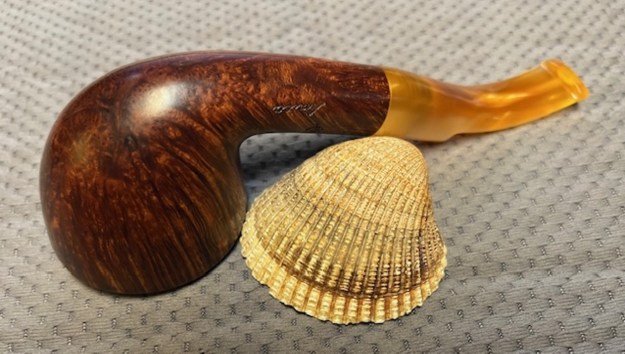
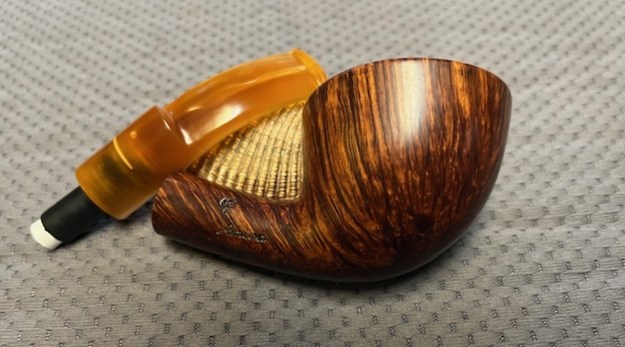
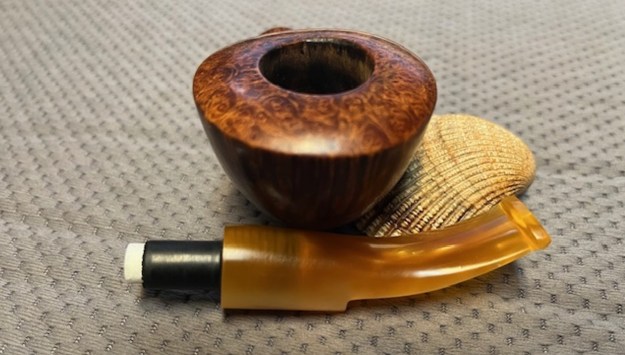
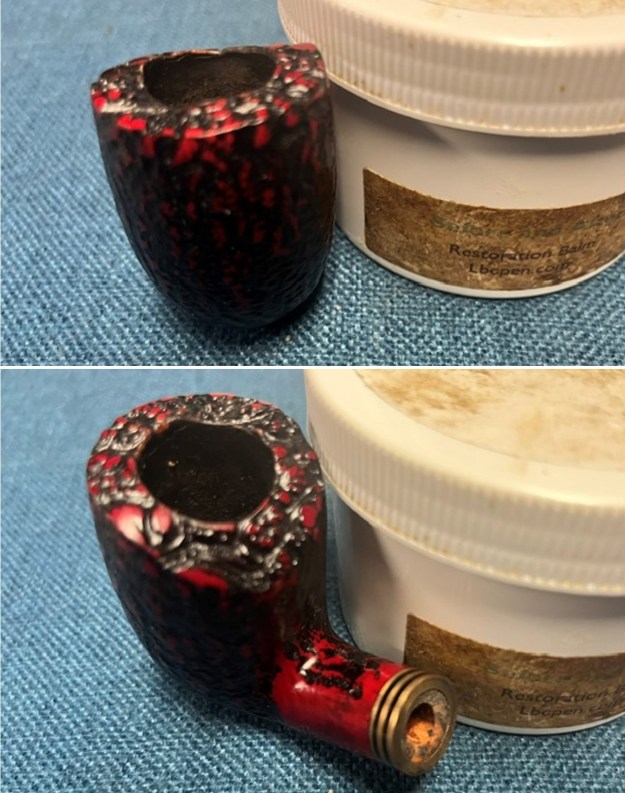
 The next photo shows the stamping on the shank. It is very readable and clear as noted above.
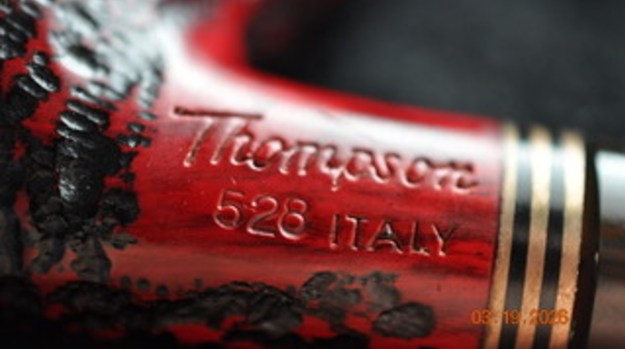 Before I started working on the pipe itself, I turned to Pipedia and looked up Thompson and in this case Norm Thompson. I found a bit of information that gave me the background I was interested in finding. Here is the link (https://pipedia.org/wiki/Thompson,_Norm).
Norman Anchor Thompson, Sr. (known as “Norm Thompson”) was an immigrant from Britain. He had settled in Salt Lake City before fighting for Canada in World War I. After the war he lived briefly in Los Angeles before settling in Portland, Oregon. Norm Thompson started a mail order only business in 1949 as a way to sell his homemade flies for fly-fishing by placing an advertisement in Field & Stream. I understand tobacco products were sold via the mail order business, as well, to a limited degree. Around 1951 he handed over the mail order business to Peter Alport, his son-in-law. Alport worked to expand the company’s product offerings beyond fly-fishing items and into clothing and other outdoor merchandise, plus he developed the company’s slogan of “Escape from the ordinary”.
Norm Thompson would go on to own seven pipe shops, the first one in 1959, and later two nightclubs, all in the Portland area. Norm Thompson Pipe Shops sold higher end pipes, from the likes of Dunhill, Charatan, and Savinelli. Norm Thompson died in 1968 from complications related to his exposure to mustard gas during his World War I military service in Europe.
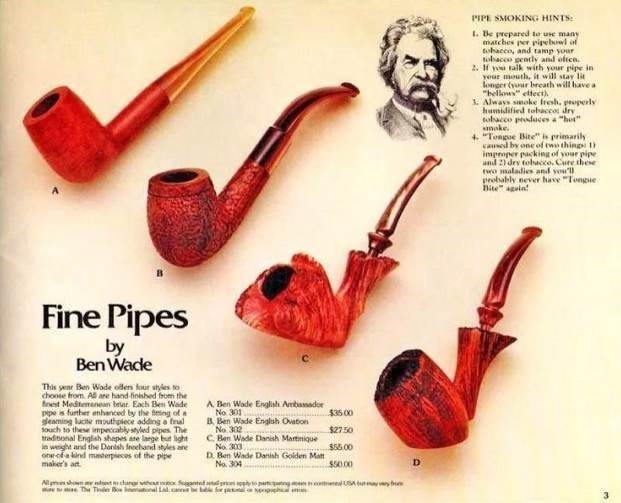
The First Edition Norm Thompson Pipe Catalogue (right column of this article) was likely a publication that was a product of Peter Alport, as the slogan “Escape from the ordinary” (a slogan credited to Alport) is clearly seen in the publication. No date can be seen on the publication, but we conclude it is late 1960s to early 1970s. Of interest, is the evidence of collaboration between Norm Thompson and Charatan, with Charatan credited with making the Norm Thompson “Regent”. This would have been during the Lane Era. It is also likely that Norm Thompson pipes stamped “Made in Italy” were a Norm Thompson – Savinelli collaboration.
I did some more searching and found an interesting thread on the brand on Pipesmagazine.com (https://pipesmagazine.com/forums/threads/thompson-pipes.72989/). There was a comparison between pipes made for the Thompson Cigar Company and those made for Norm Thompson.
I stumbled on to a pipe that has impressed me. Thompson. Initially, I found a Thompson pipe commissioned by an American company known as, Thompson Cigar Company. They have a following and a fine reputation. I assumed the Thompson pipe I had acquired was a Thompson Cigar Company pipe. I was wrong. In fact, I had purchased a “Norm Thompson” (only designated as “Thompson”) : out of England. Norm Thompson (a B&M tobacco shop in England) had pipes commissioned as well. Both Thompsons were old school B&Ms that had pipes manufactured by reputable pipe makers. From what I have ascertained, Thompson Cigar Company had a lot of free-hands made. Norm Thompson (England) had more traditional English pipe-shapes made (makes sense). Thompson-USA display the name “Thompson” in cursive. Thompson-England display Thompson in block letters. Both Thompsons get rave views from those who own them. You can still find them for reasonable prices on EBeast.
The thread went on with more information as well as folks expounding on the qualities of the pipes. They also confirmed that the Thompson Italy pipes were more than likely collaborations with Savinelli. Now it was time to work on the pipe.
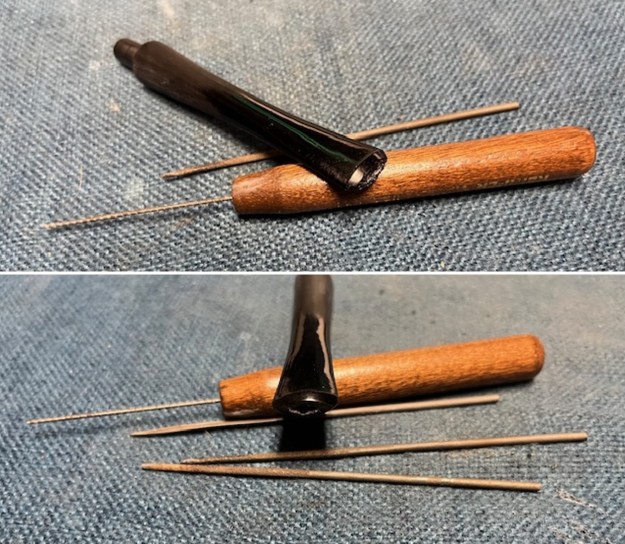
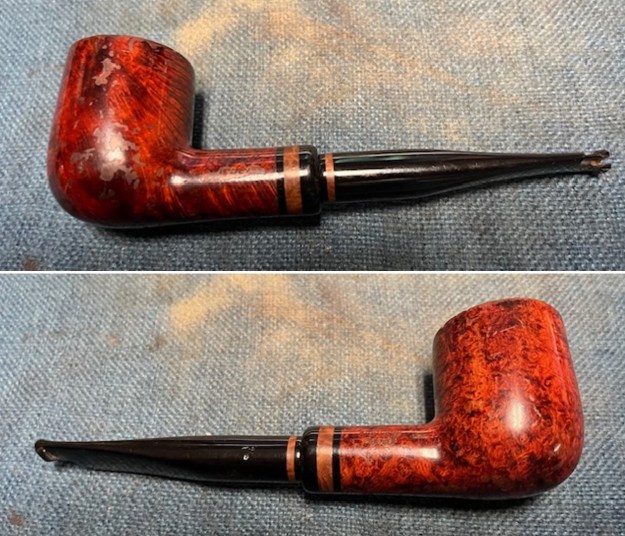
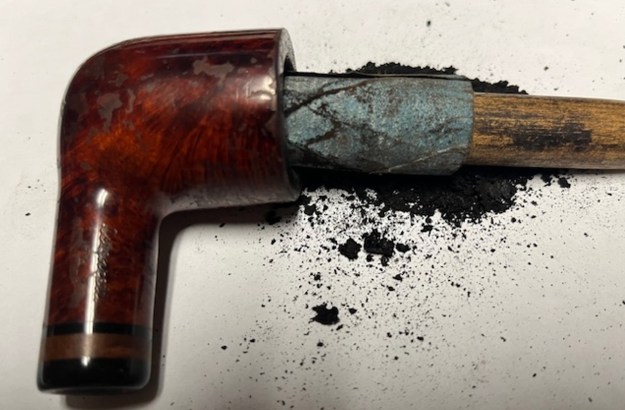
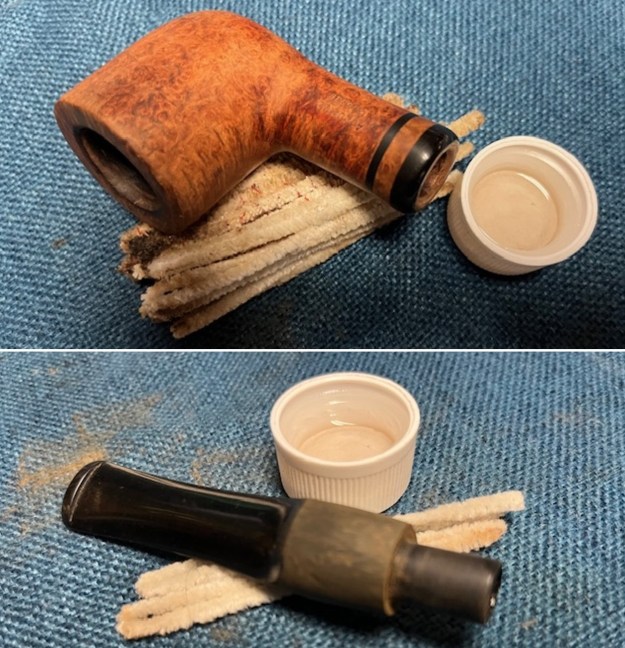
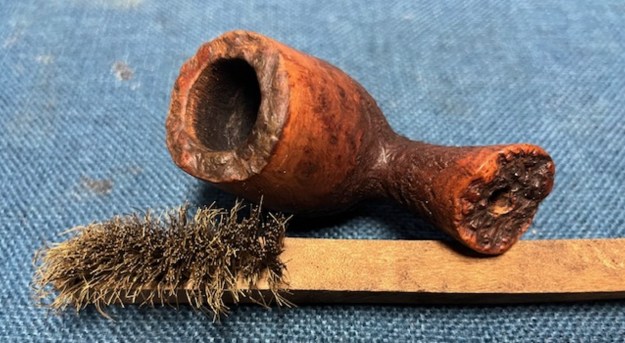
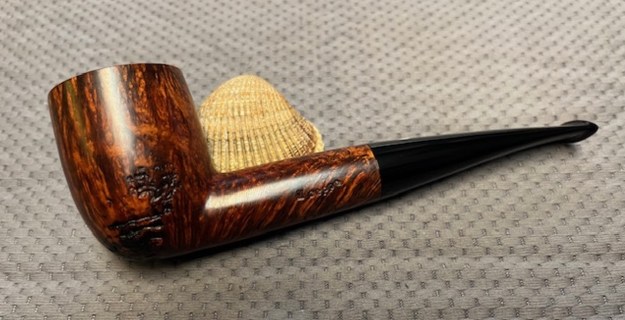
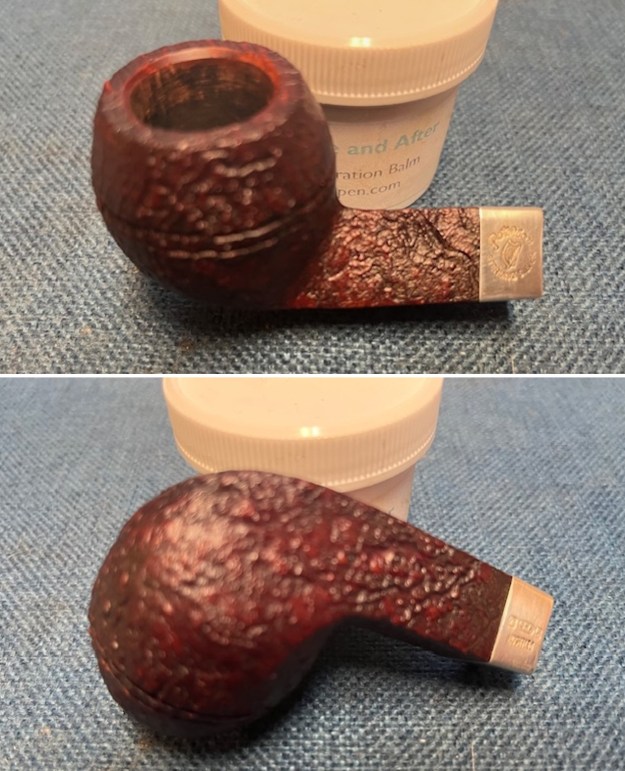
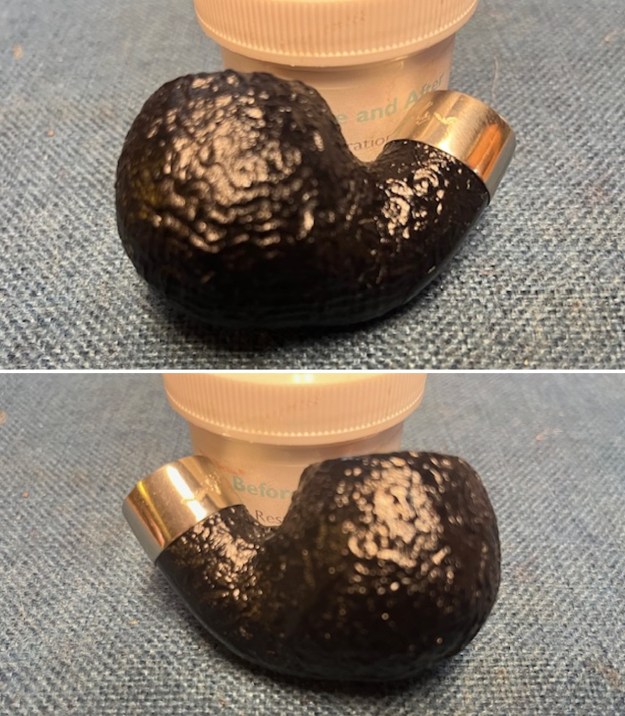
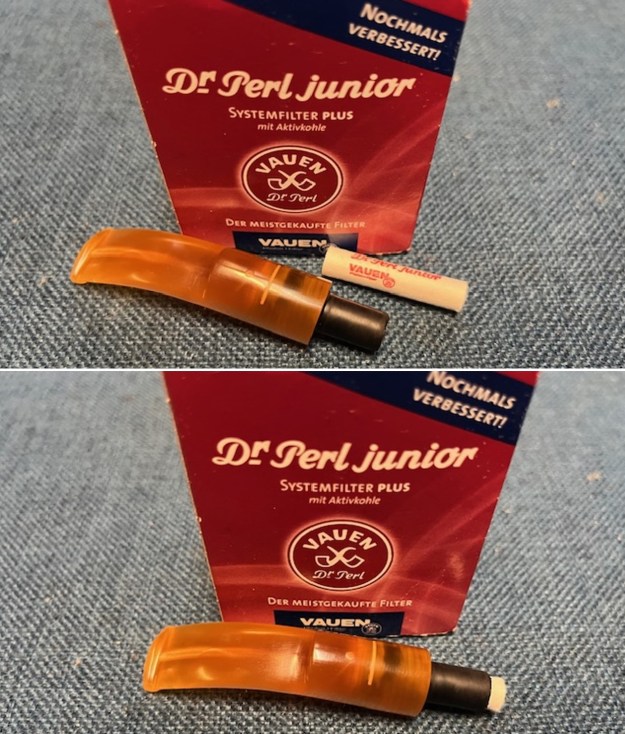
Jeff reamed the pipe with a PipNet Pipe Reamer and cleaned up the remnants with a Savinelli Fitsall Pipe Knife. He scrubbed the bowl with undiluted Murphy’s Oil Soap with a tooth brush. He rinsed it under running warm water to remove the soap and grime. He cleaned out the inside of the shank and the airway in the stem with alcohol, cotton swabs, shank brushes and pipe cleaners. He scrubbed the stem with Soft Scrub cleanser and rinsed it off with warm water. I took photos of the pipe before I started working on it. As you can see it is another beautiful looking pipe. 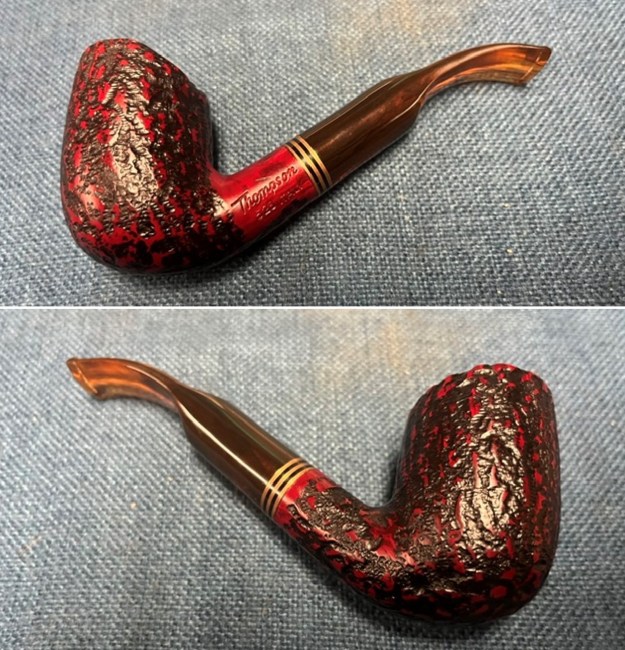
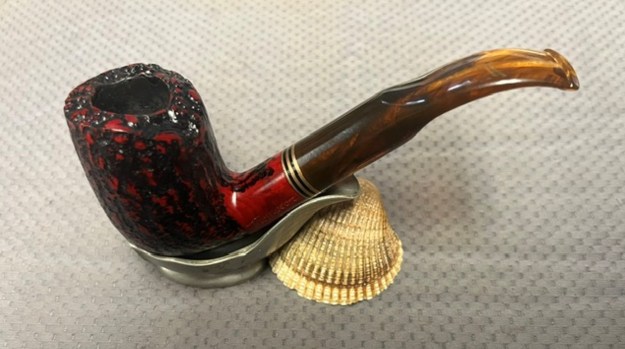
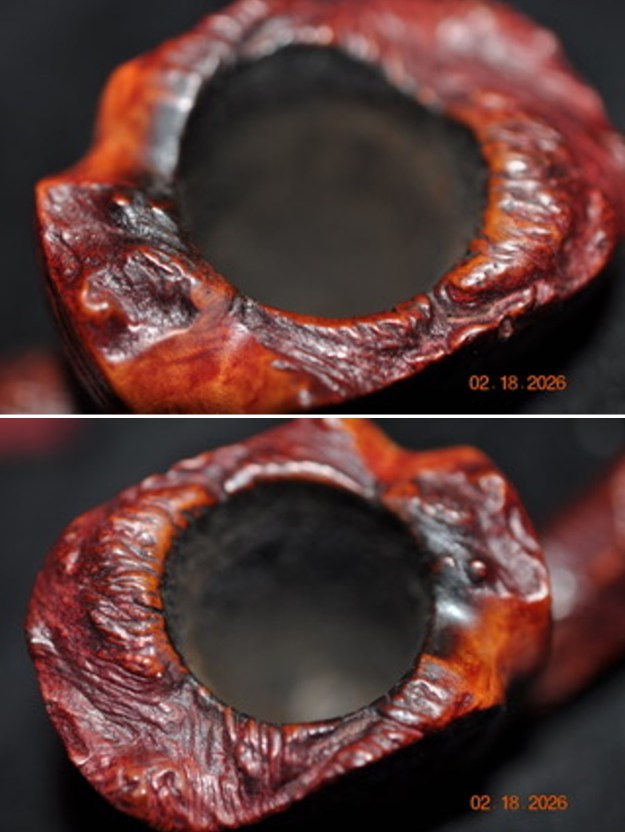
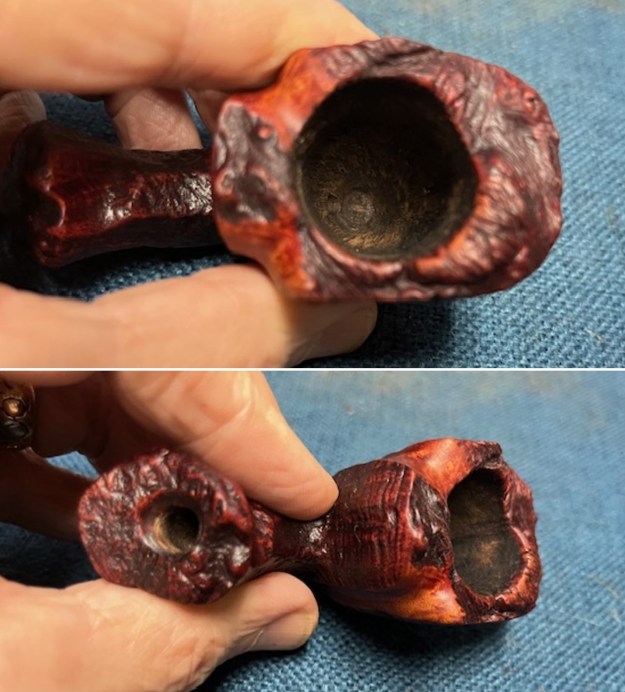
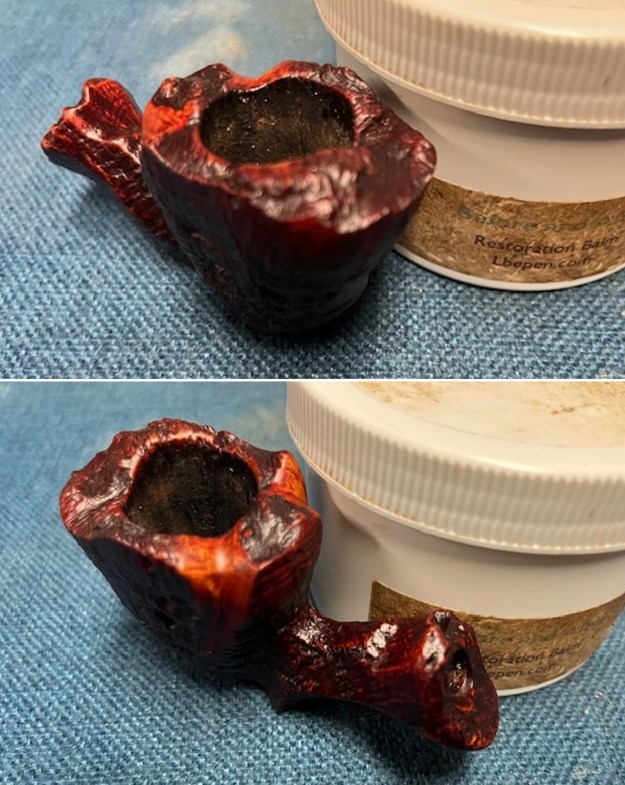
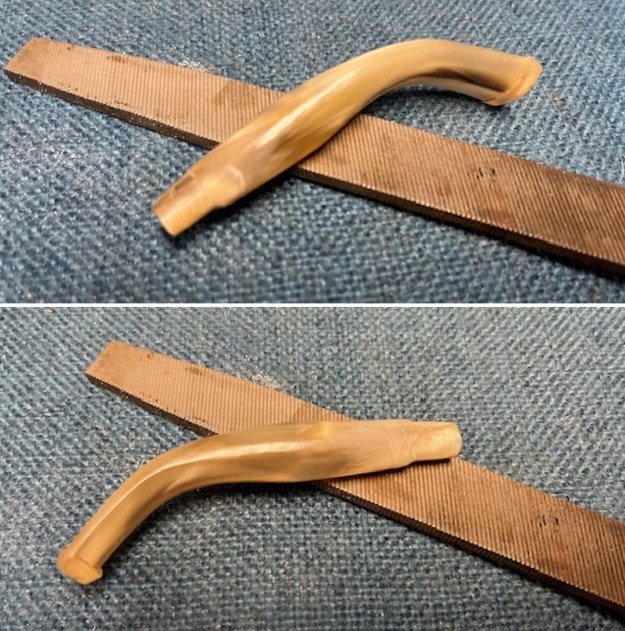
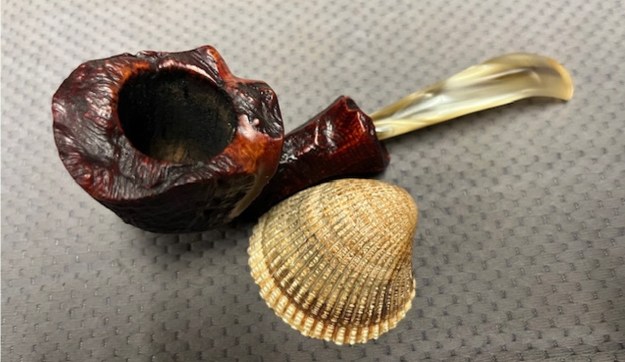
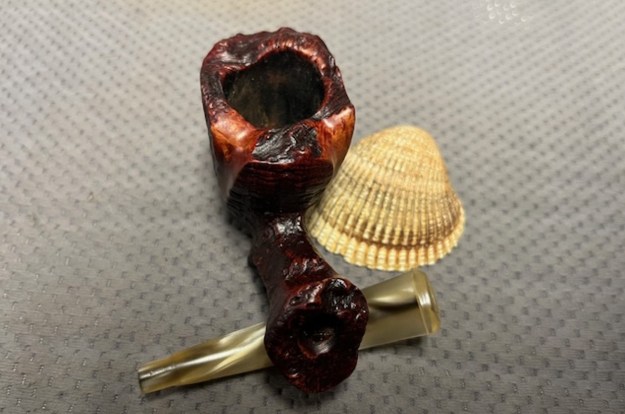
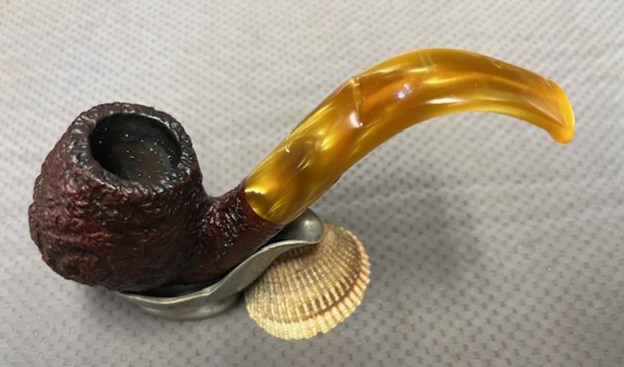
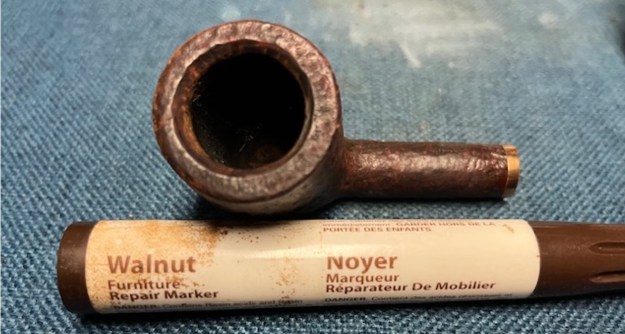
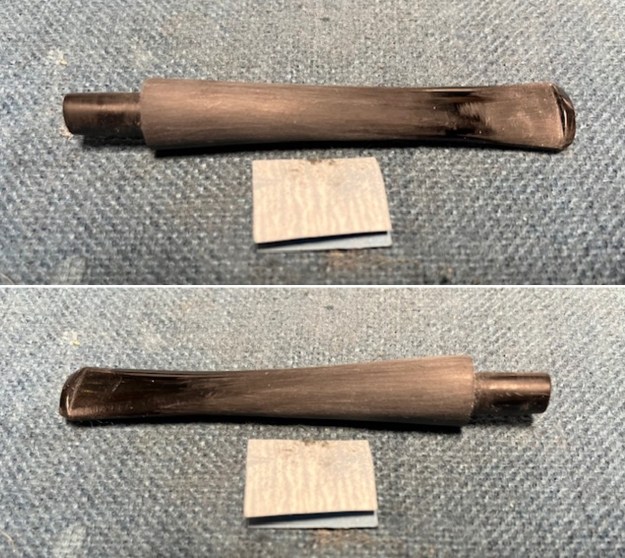
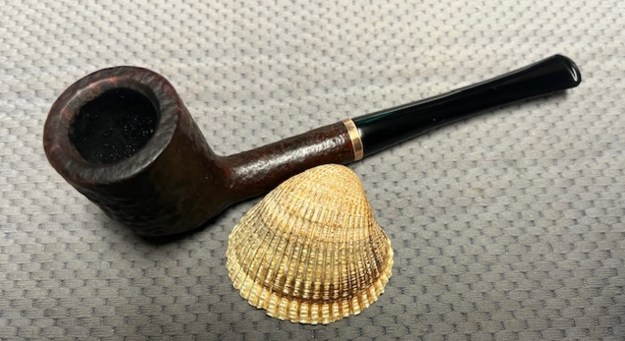
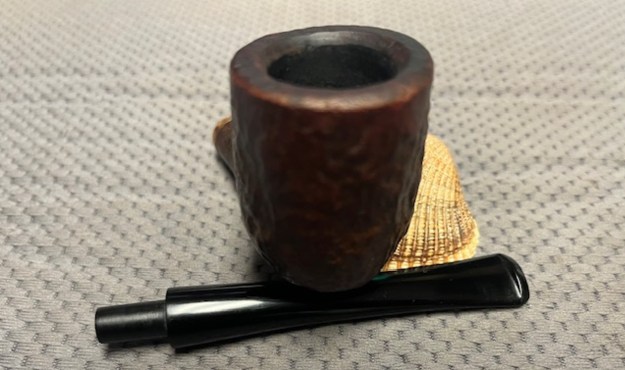
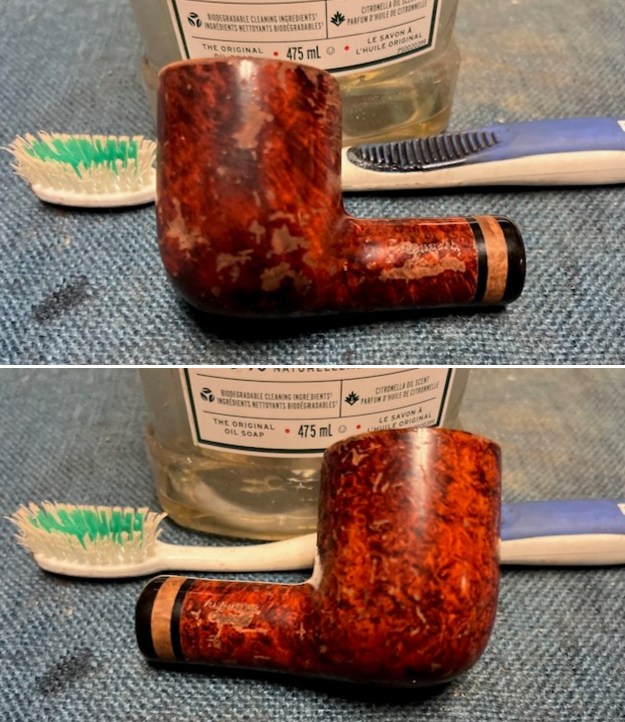
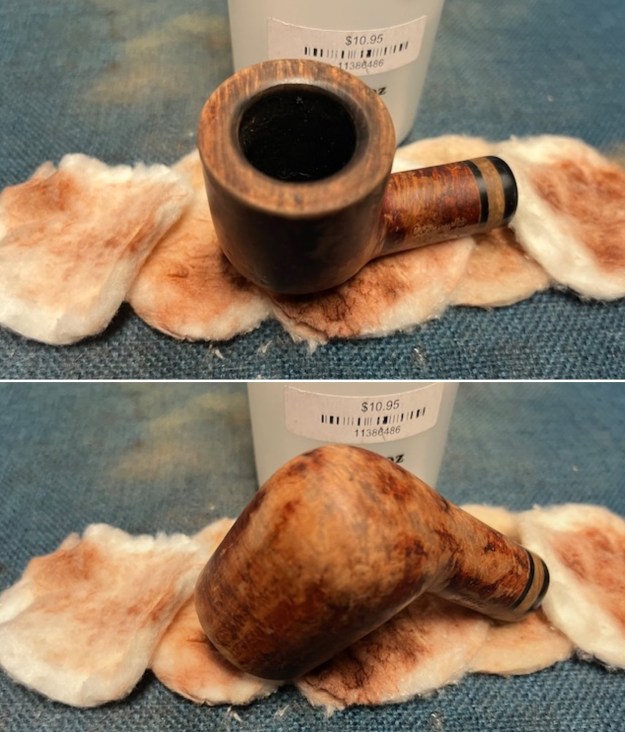
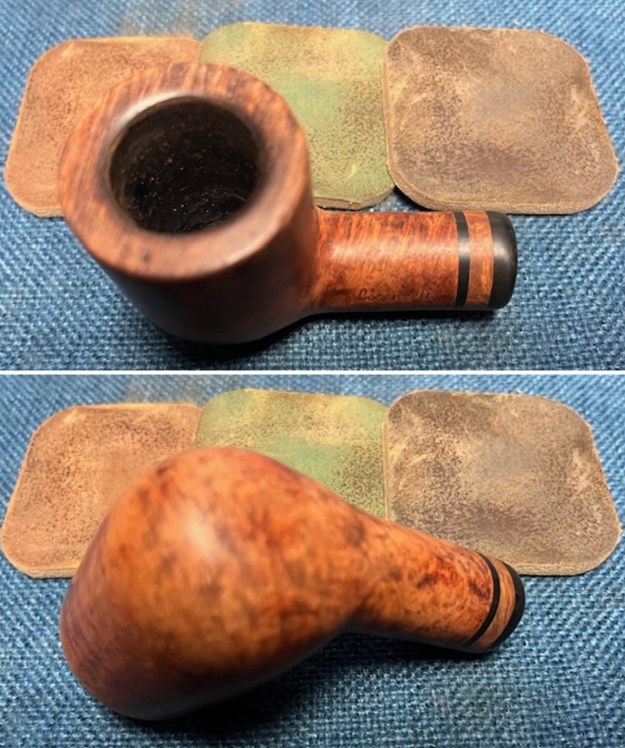
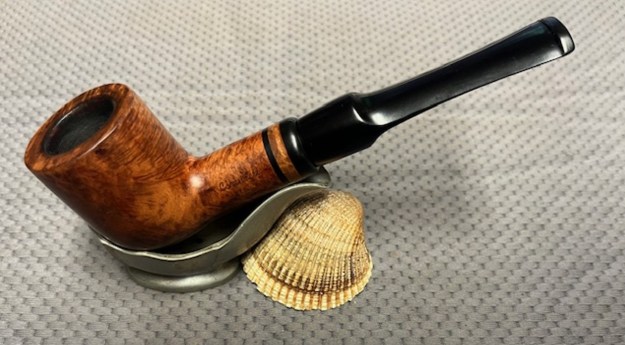
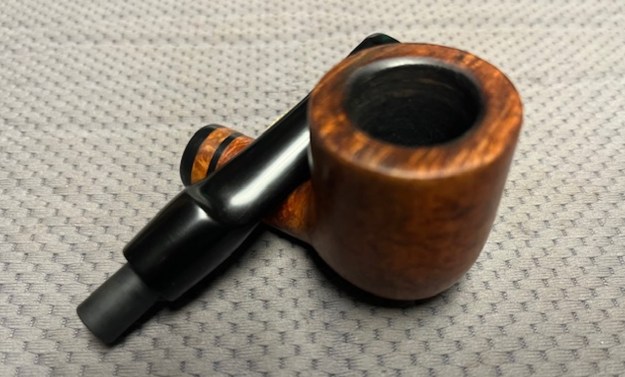
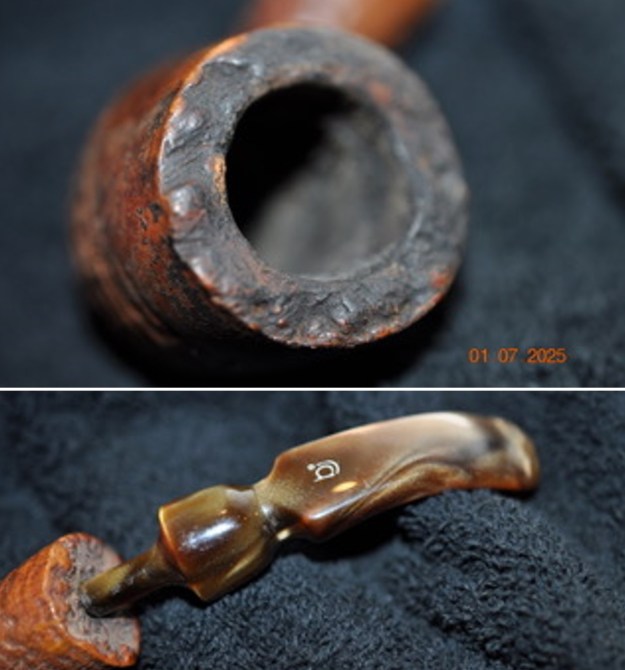
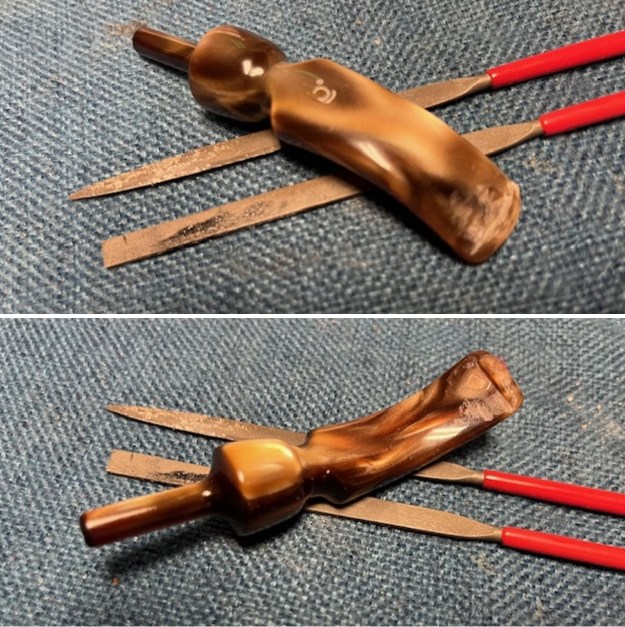
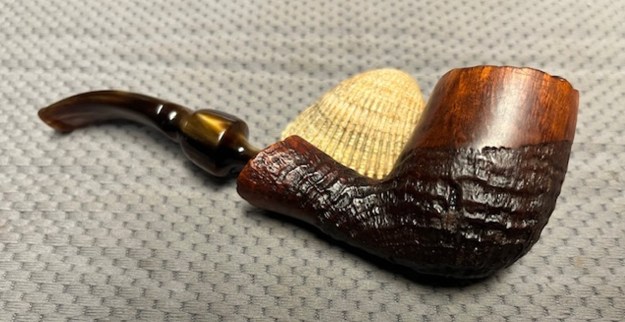
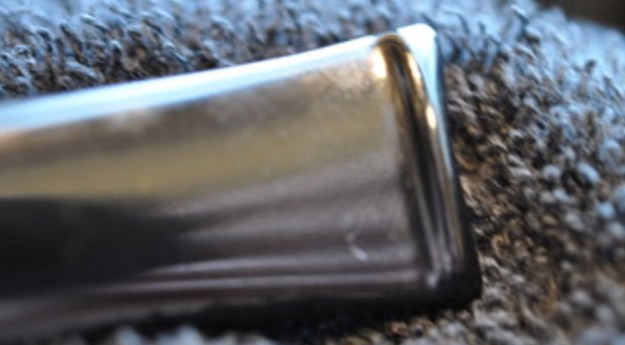
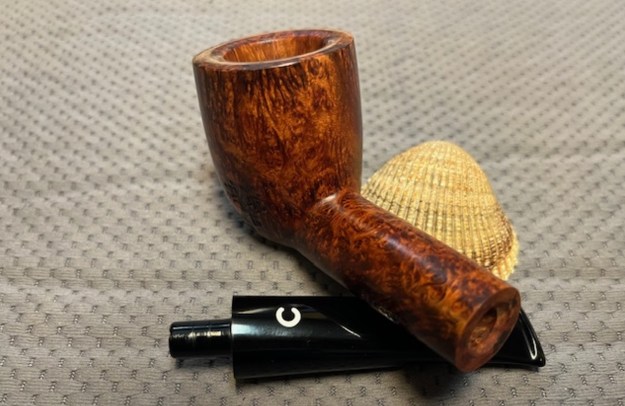
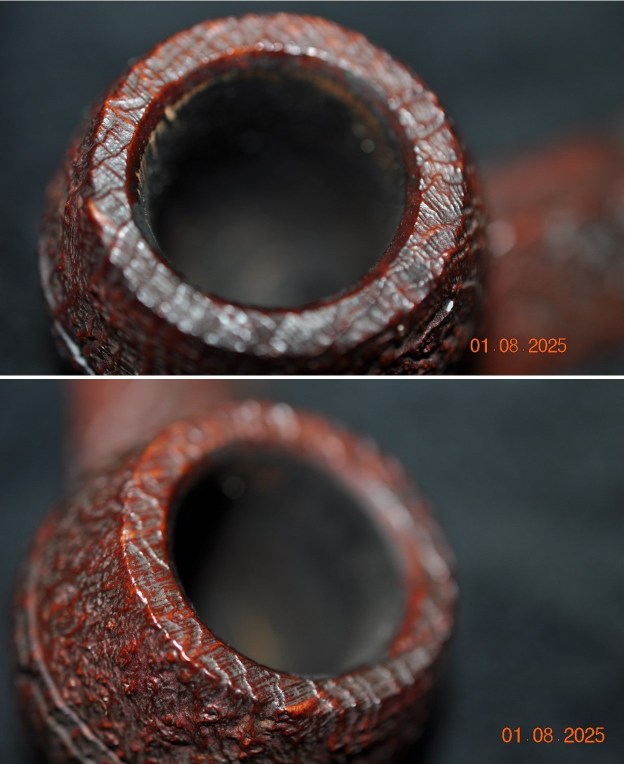
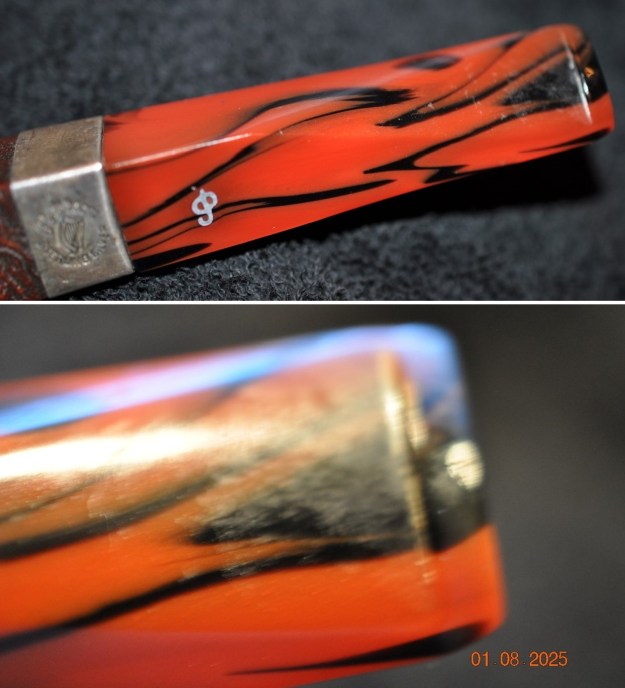
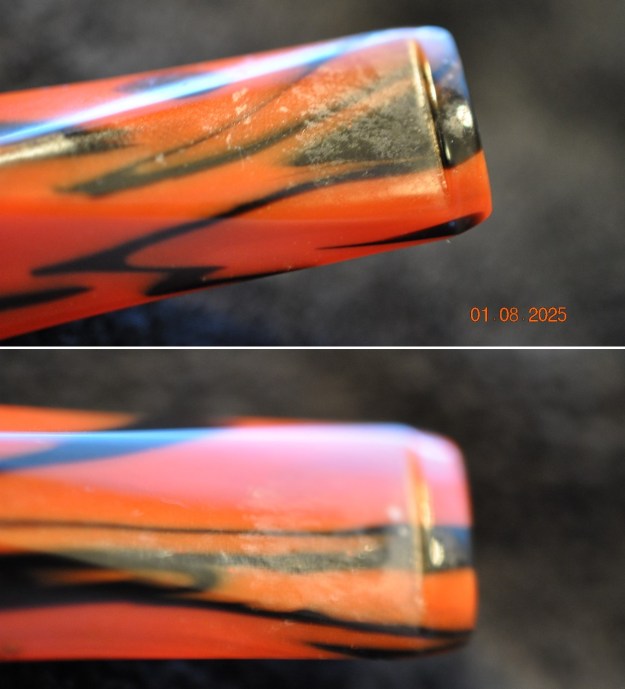
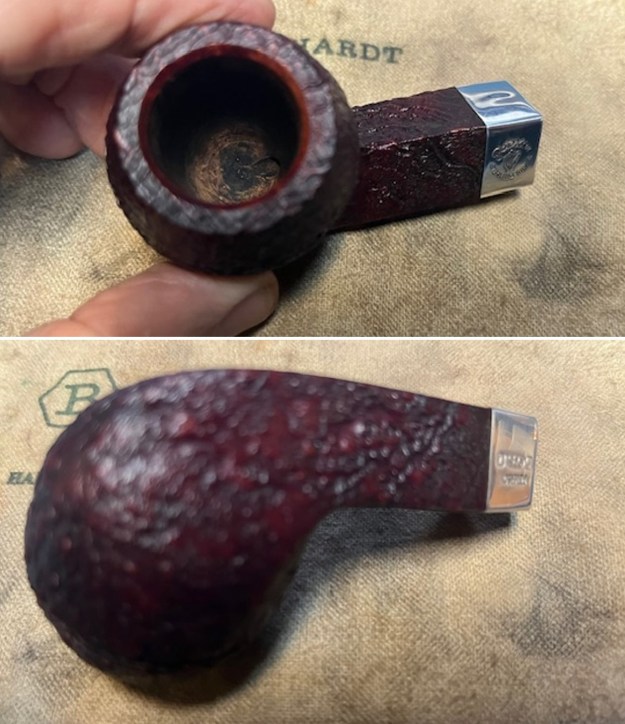
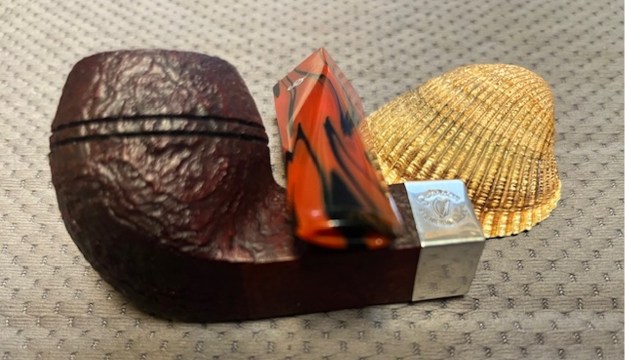
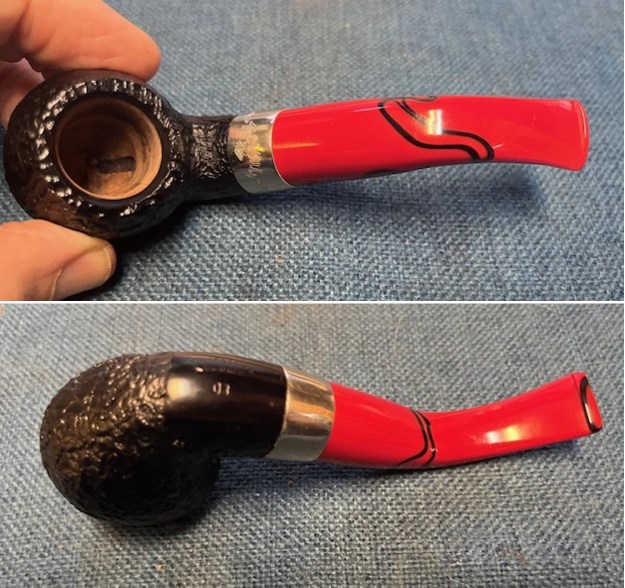
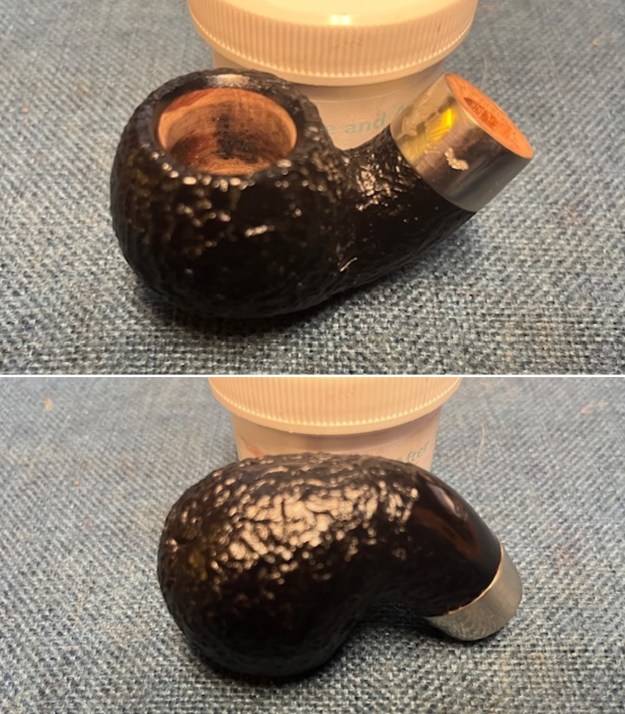
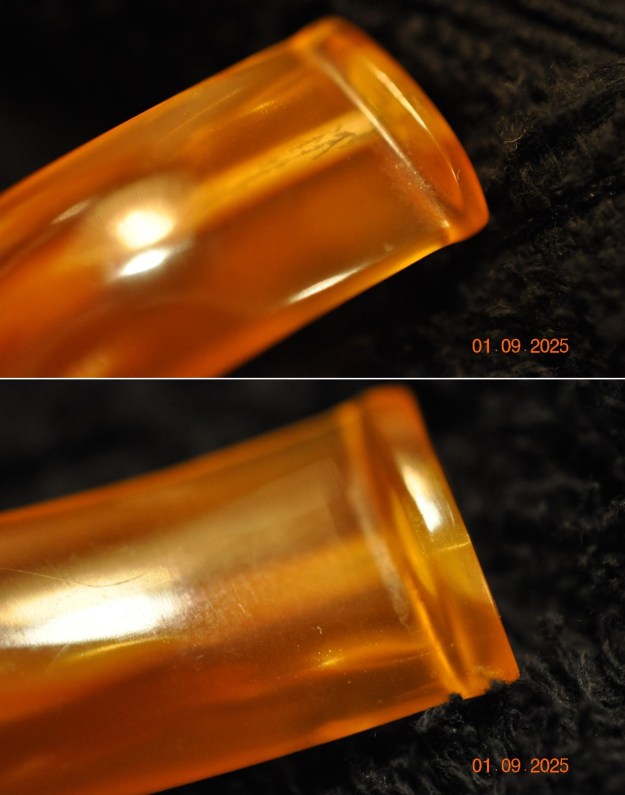
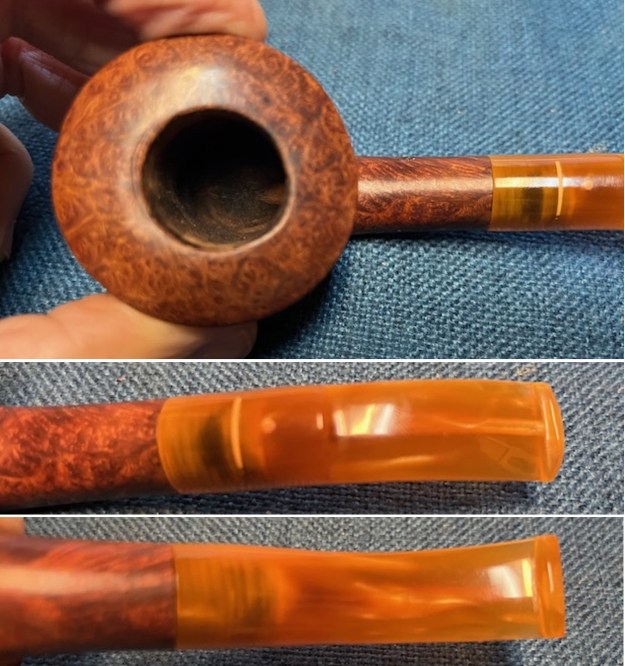
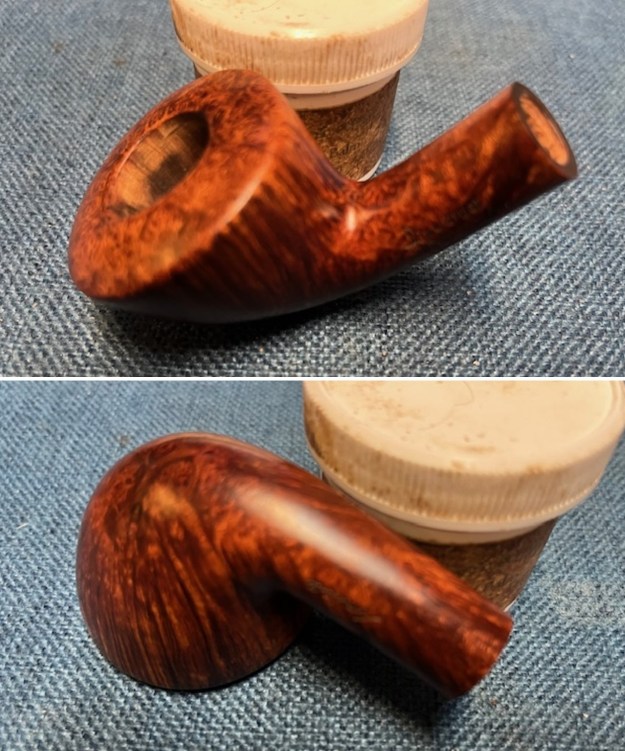
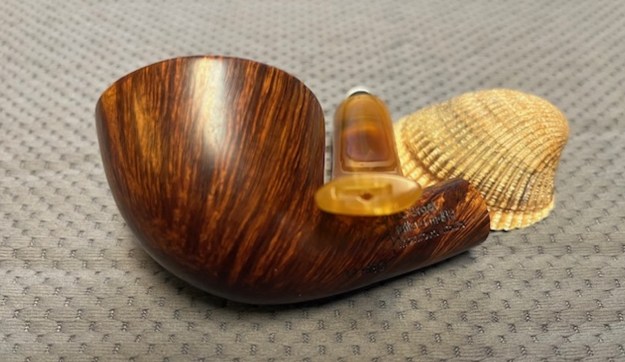
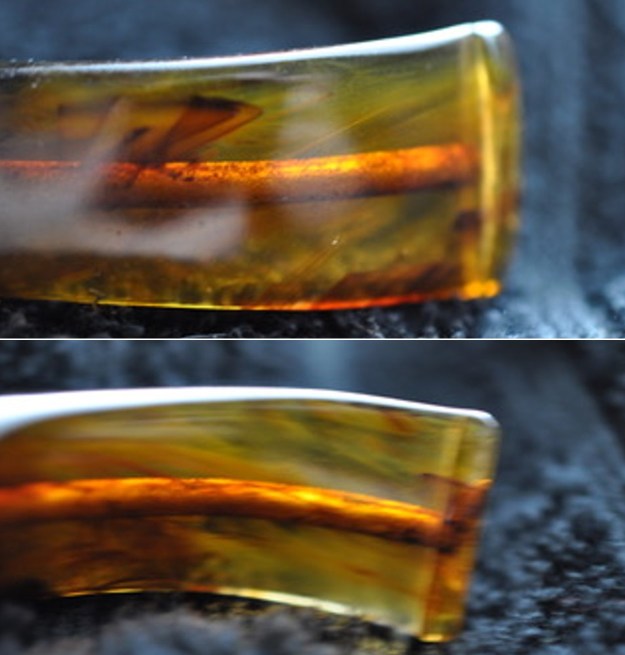
 I took photos of the rim top and bowl as well as the stem to give a sense of the condition of both. The plateau rim top and the inner edge looked very good. The stem was clean but had light tooth marks and chatter on the top and underside ahead of the button.
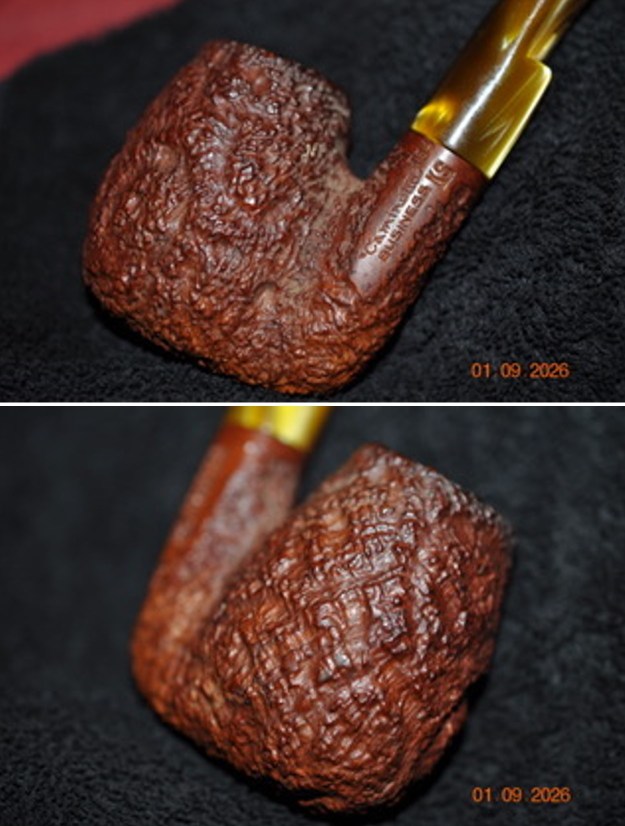
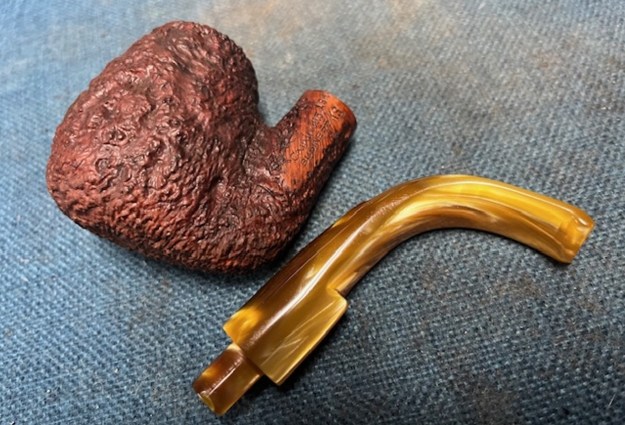
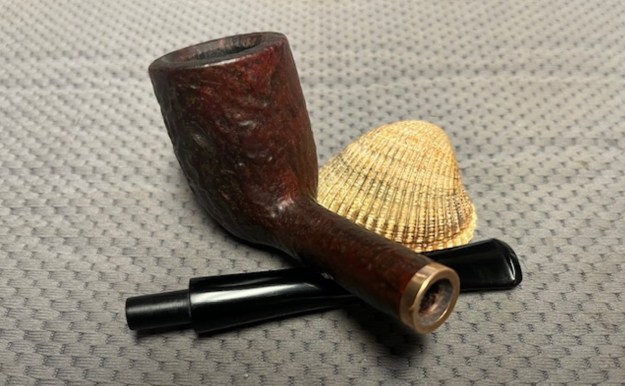
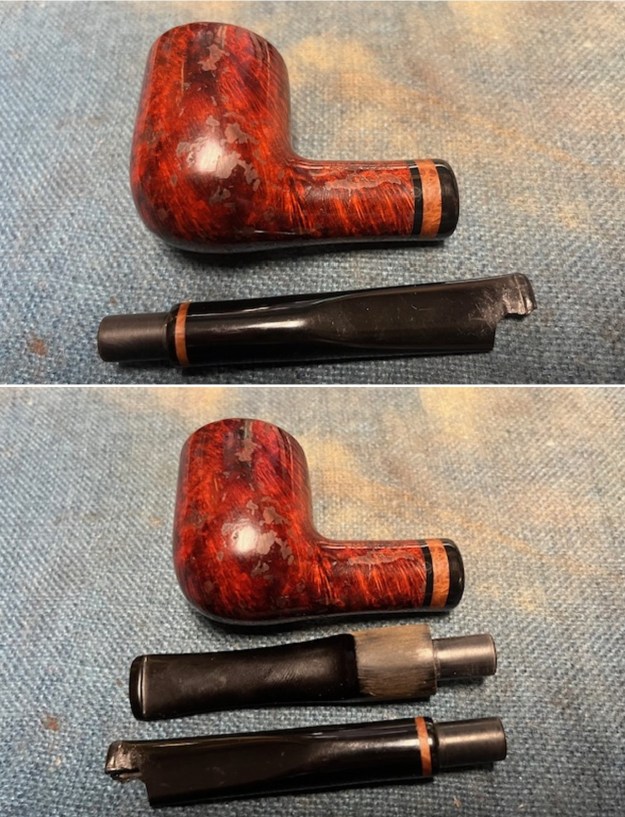
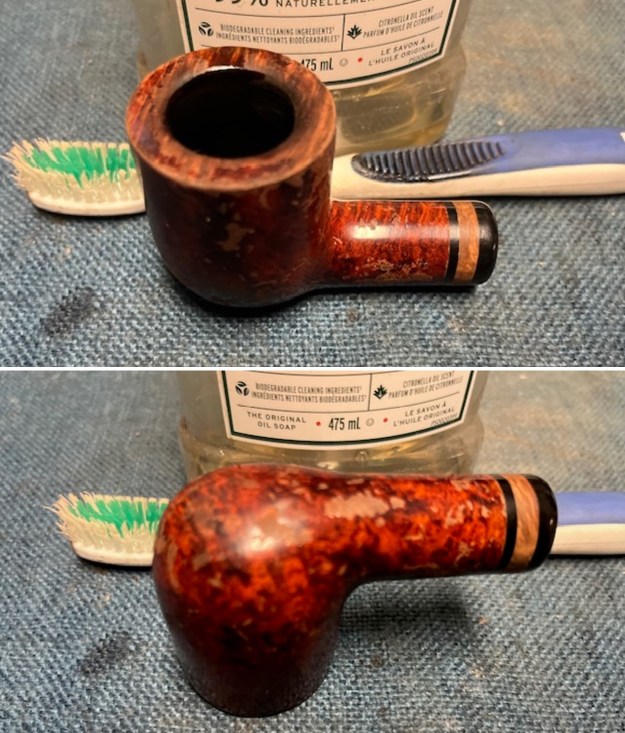
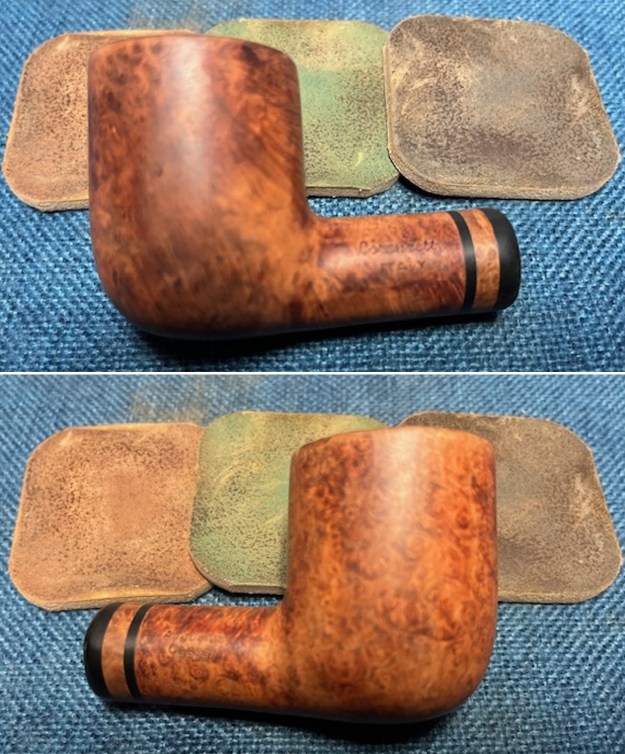
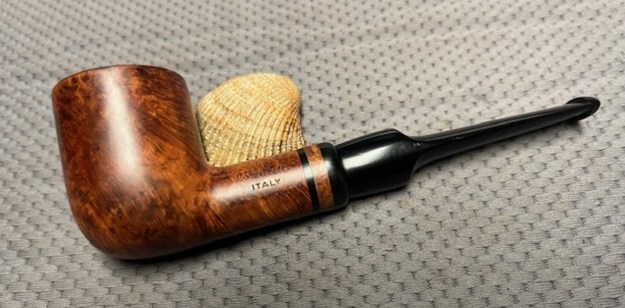
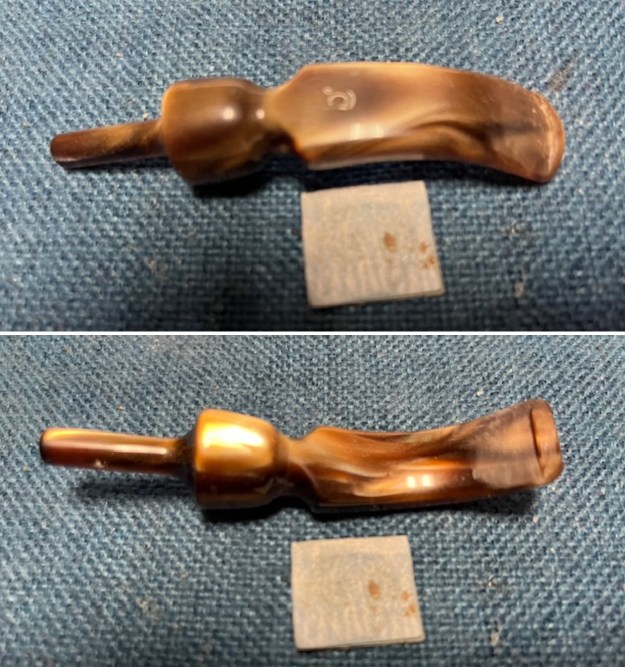
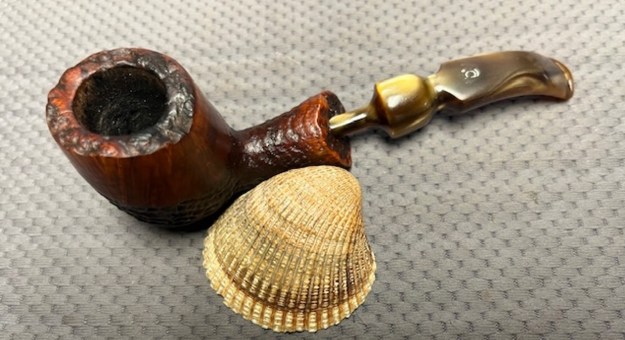
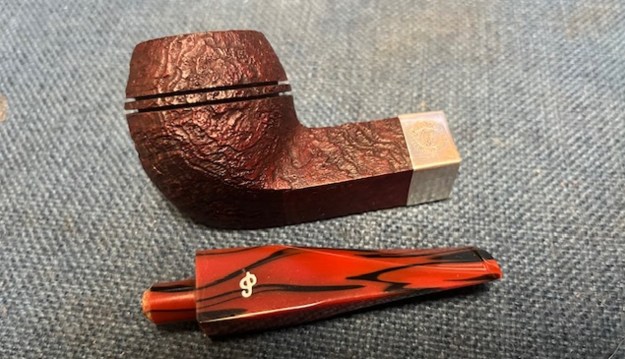
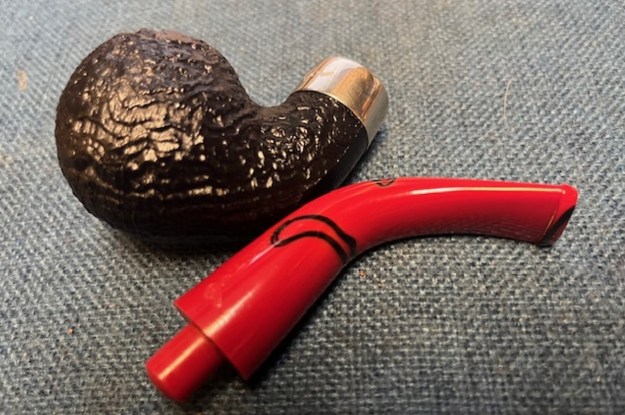
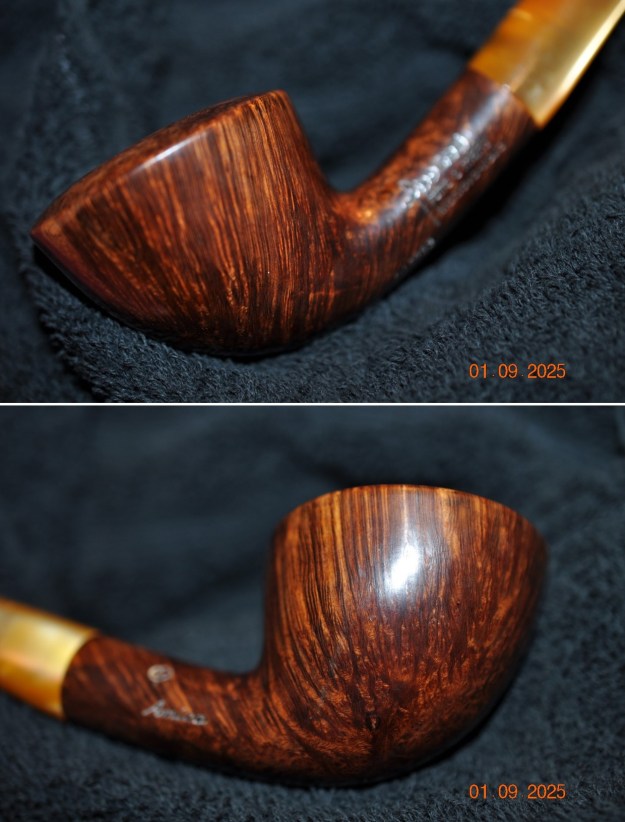
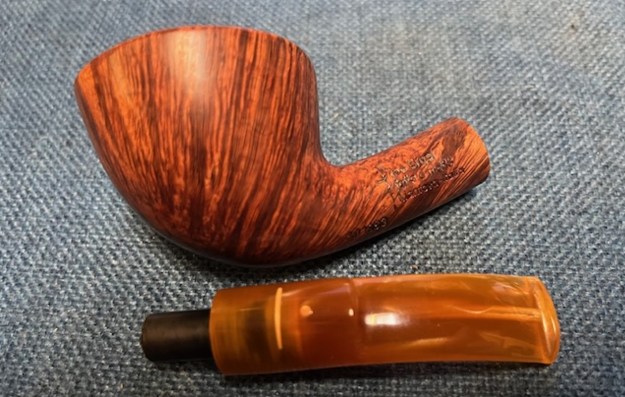
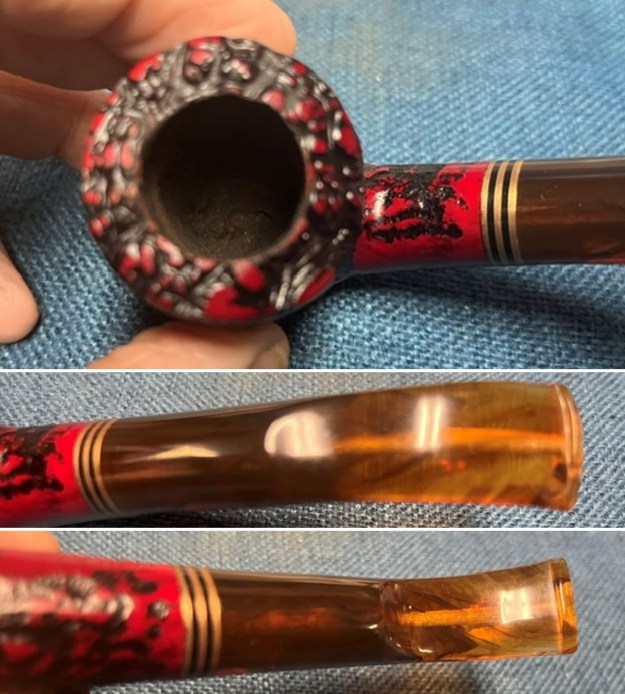 I took photos of the stamping on the sides of the shank. They are clear and readable as noted above. I took the stem out of the shank and took a photo of the overall look of the pipe. It is another beauty.
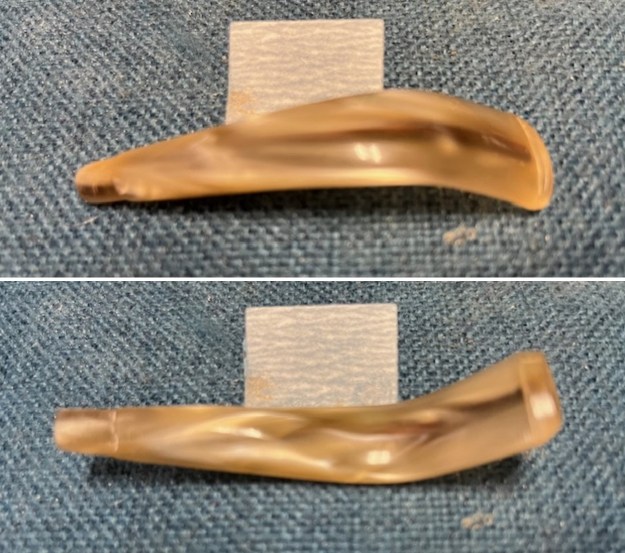
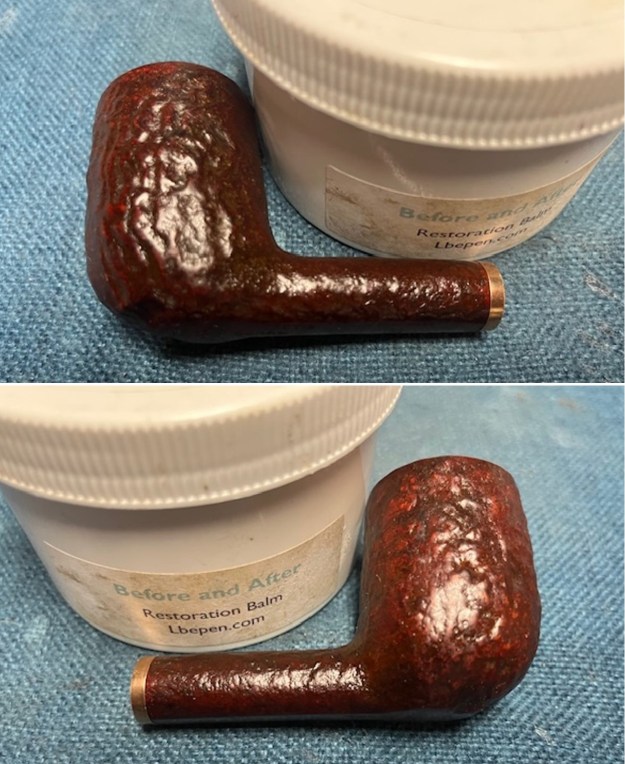
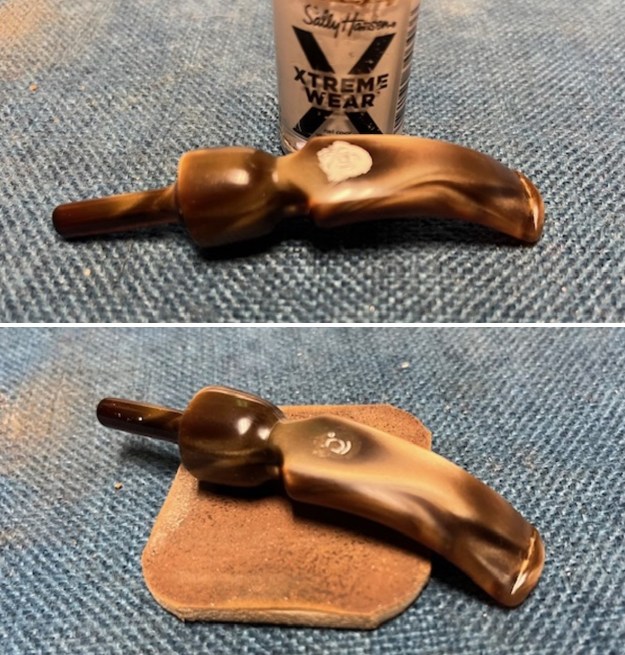
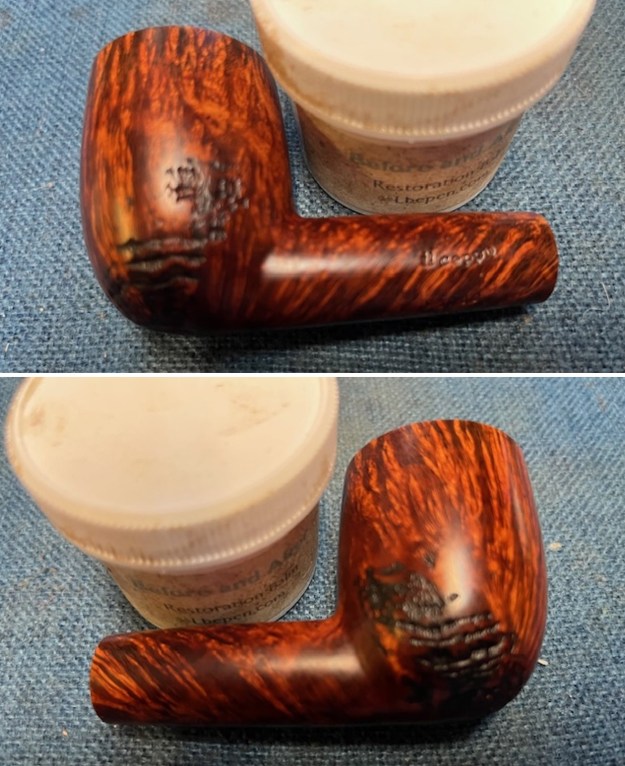
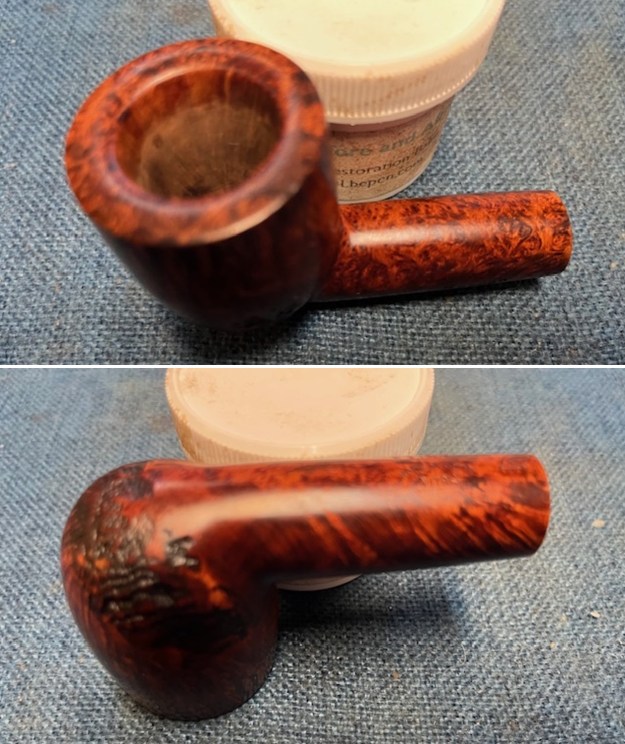
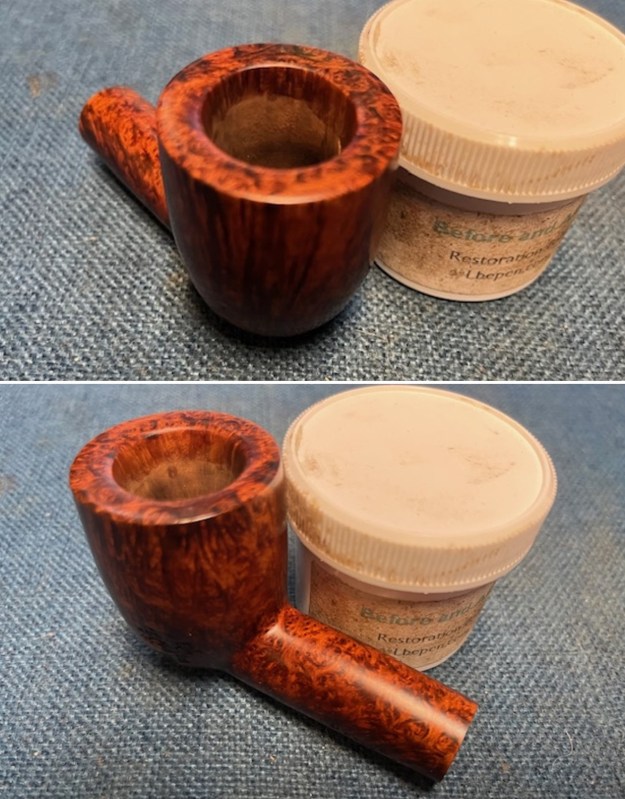
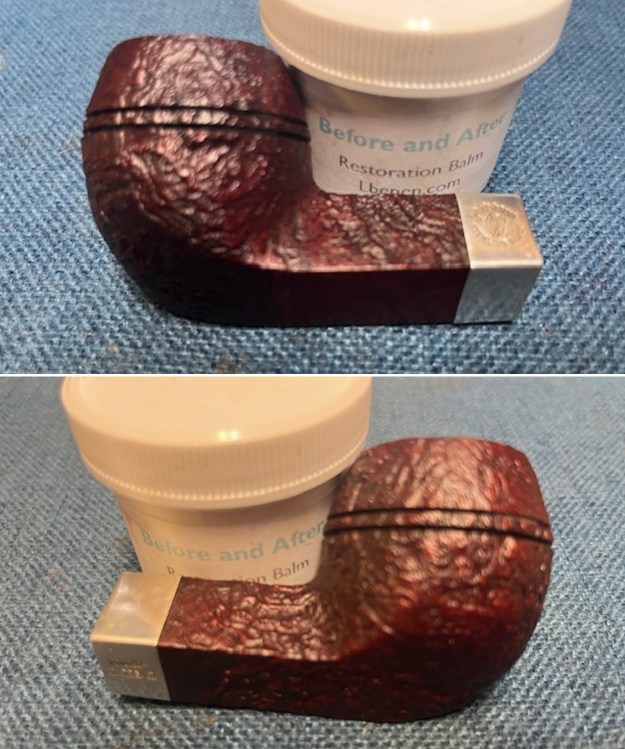
 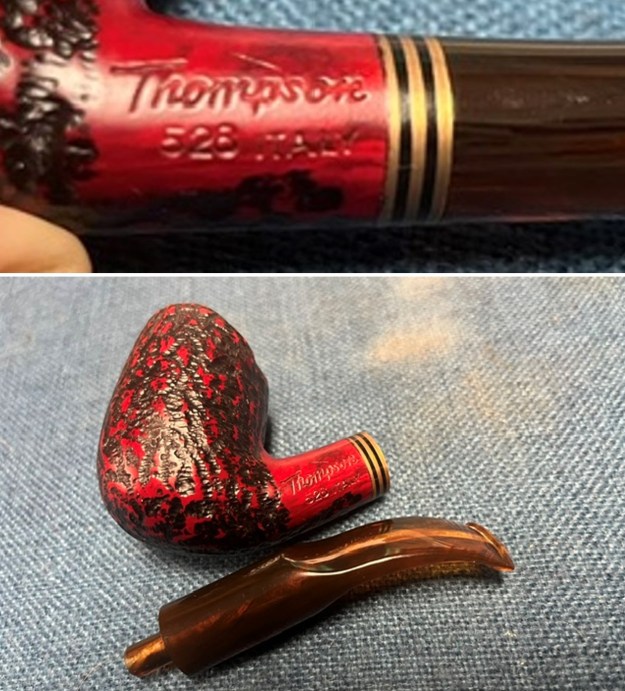 I rubbed the bowl down with Before & After Restoration Balm. I worked it into the surface of the bowl sides and shank with my fingertips. The product works to clean, enliven and protect the briar. I let the balm sit for a little while and then buffed with a cotton cloth to raise the shine.
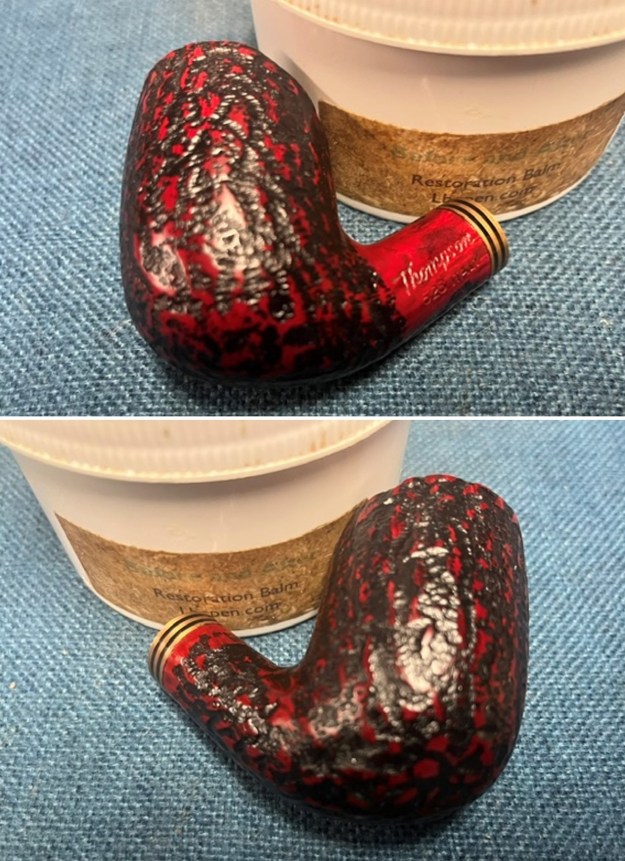
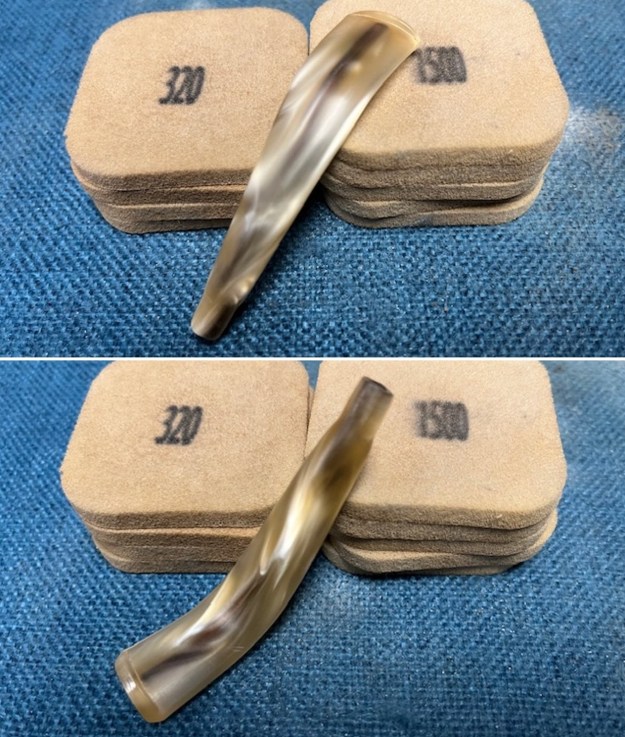
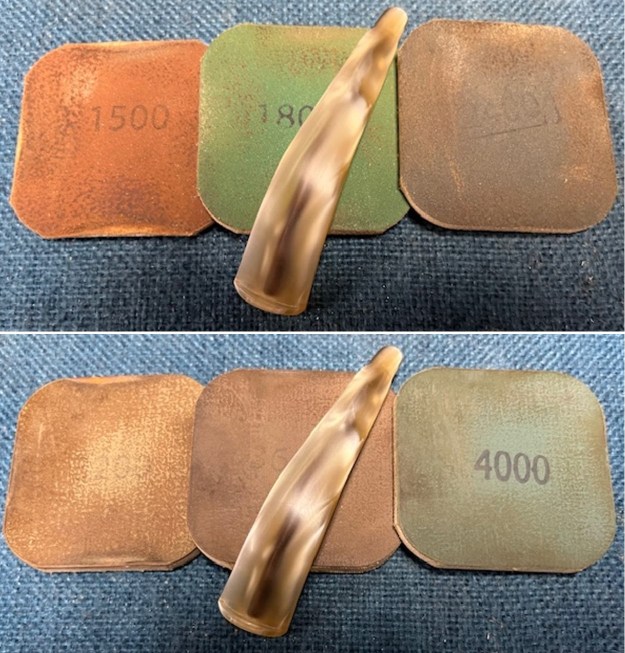
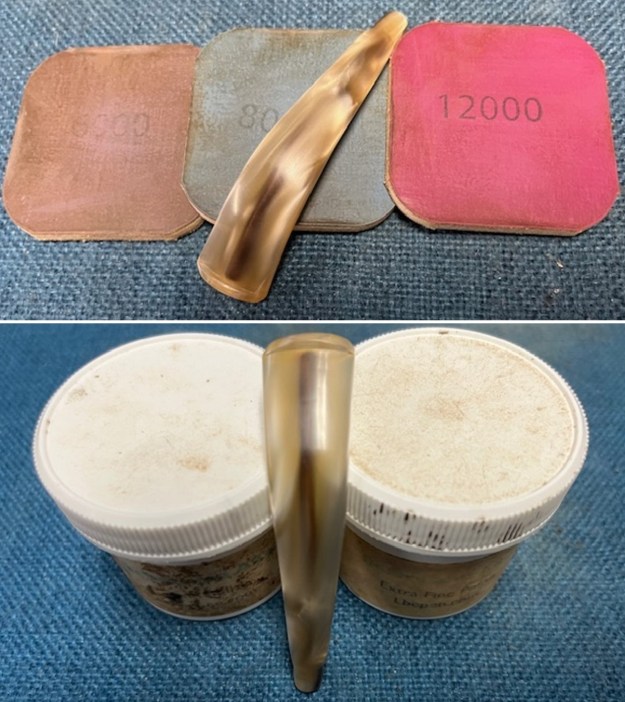
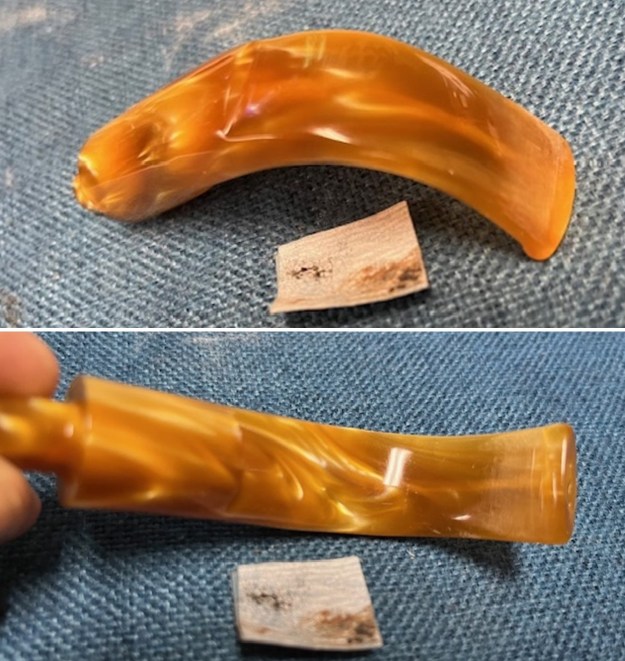
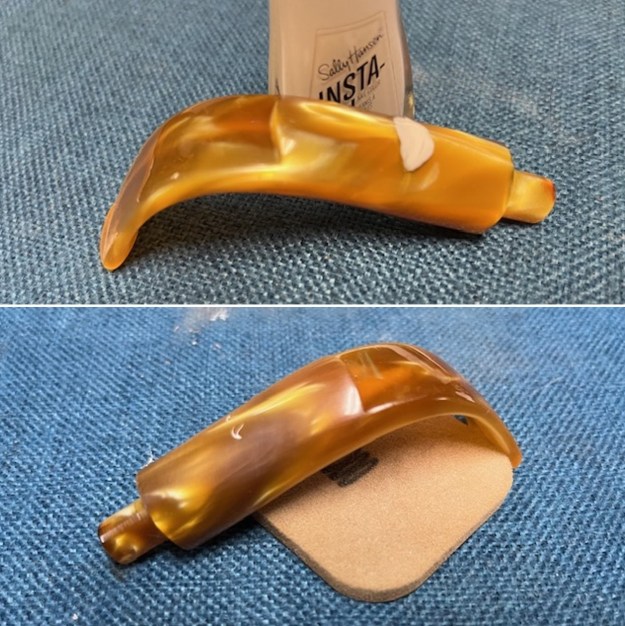
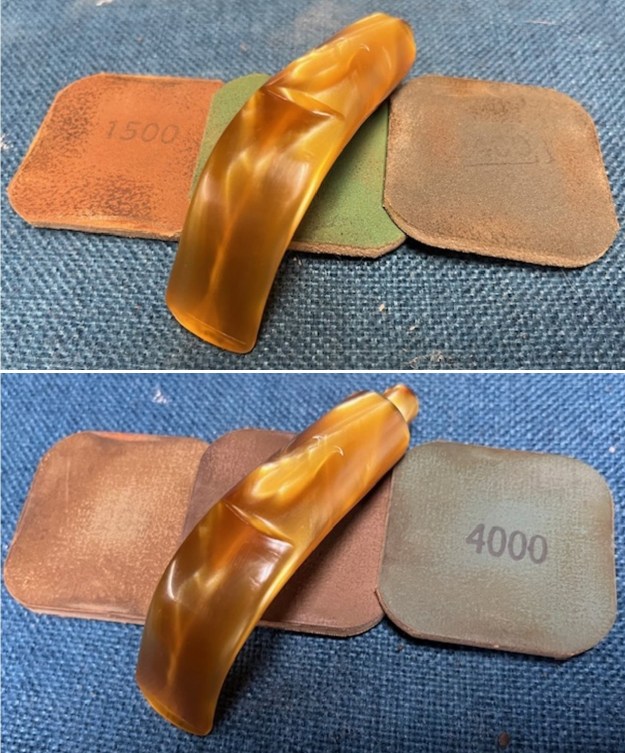
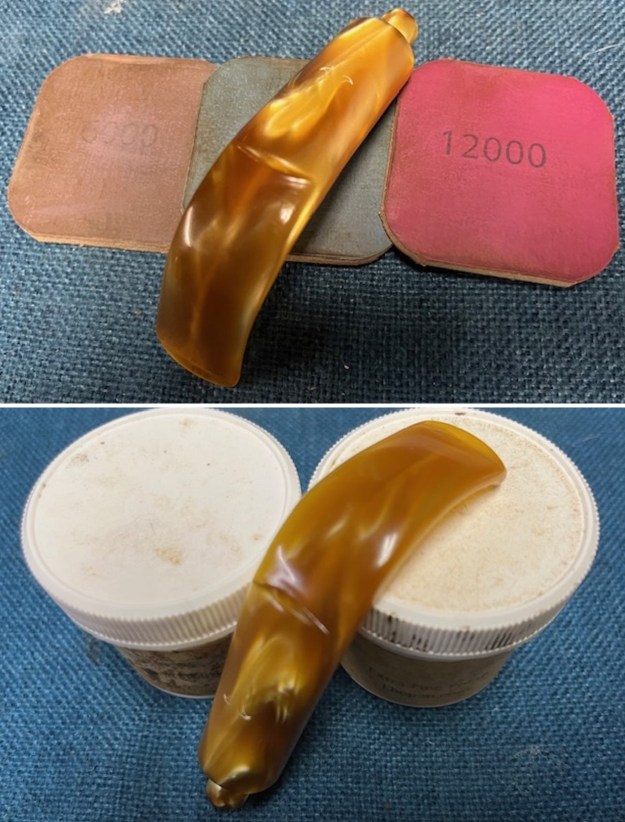
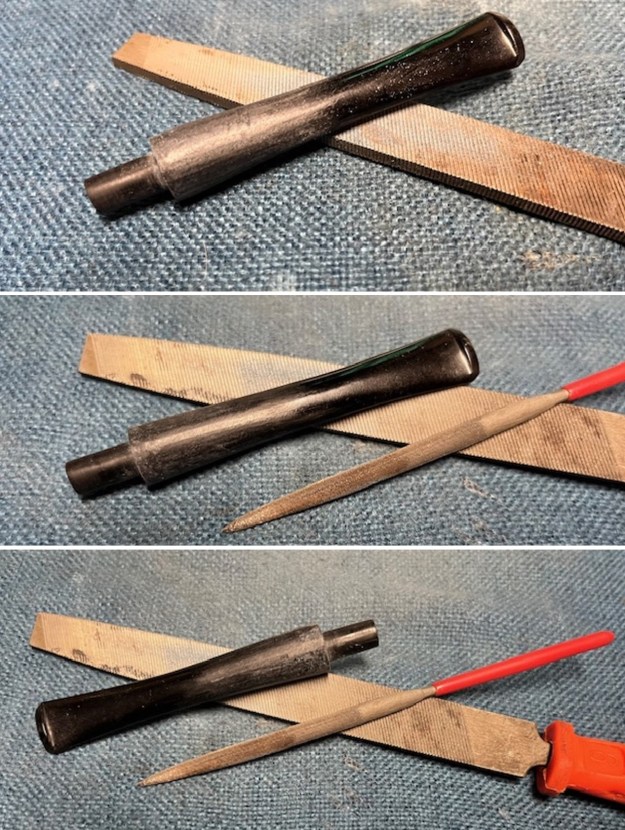
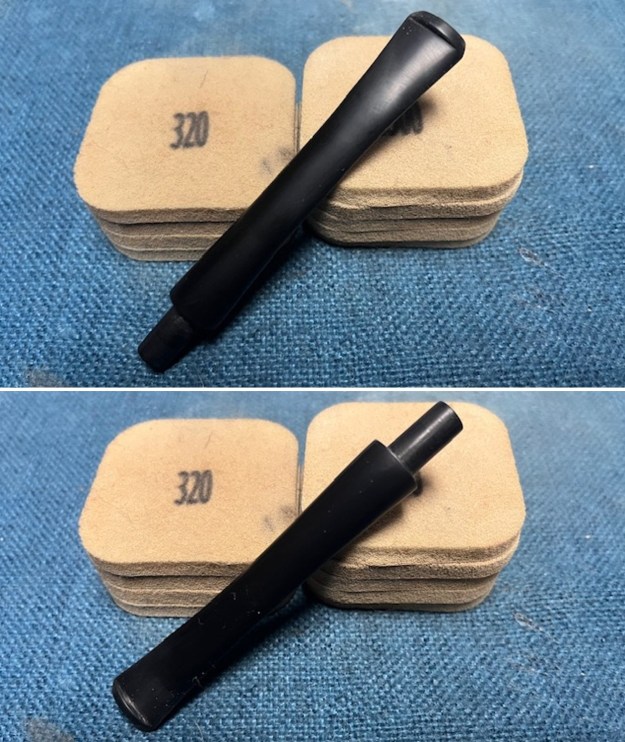
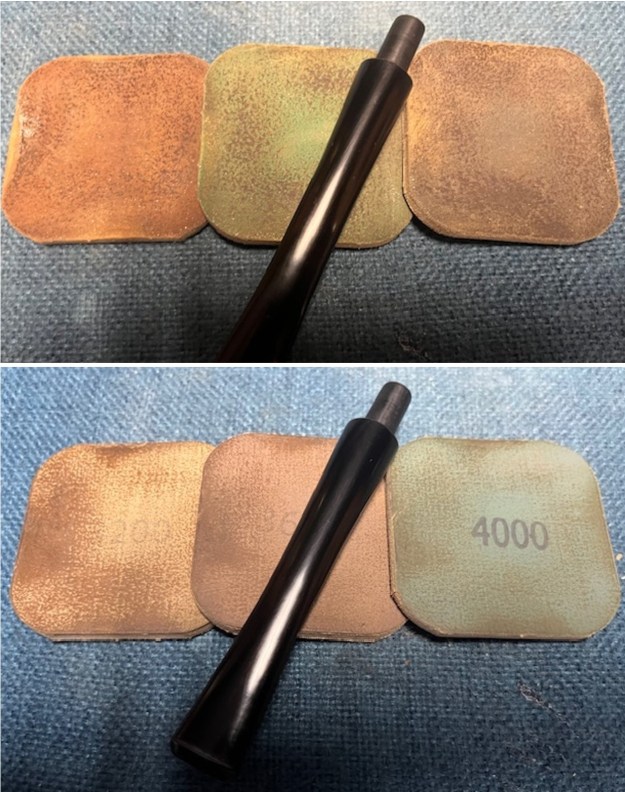
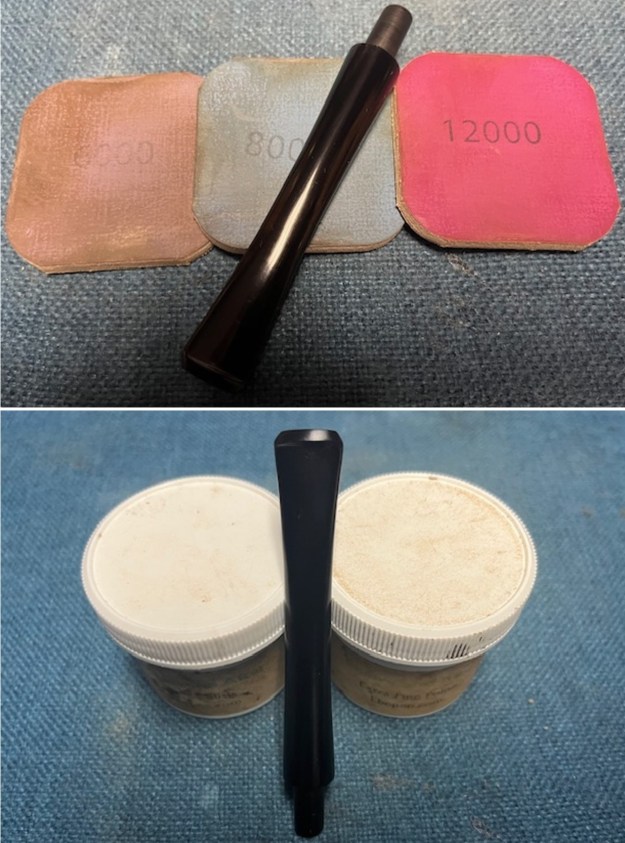
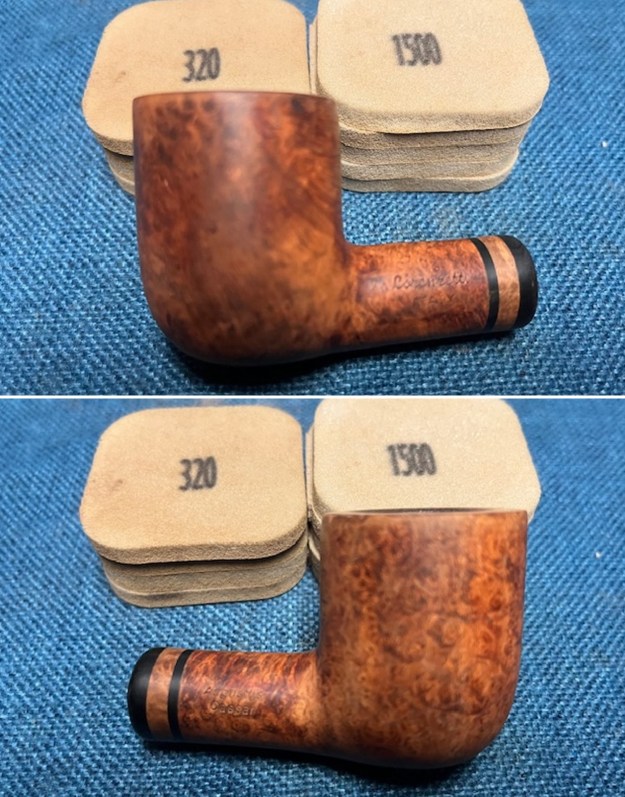
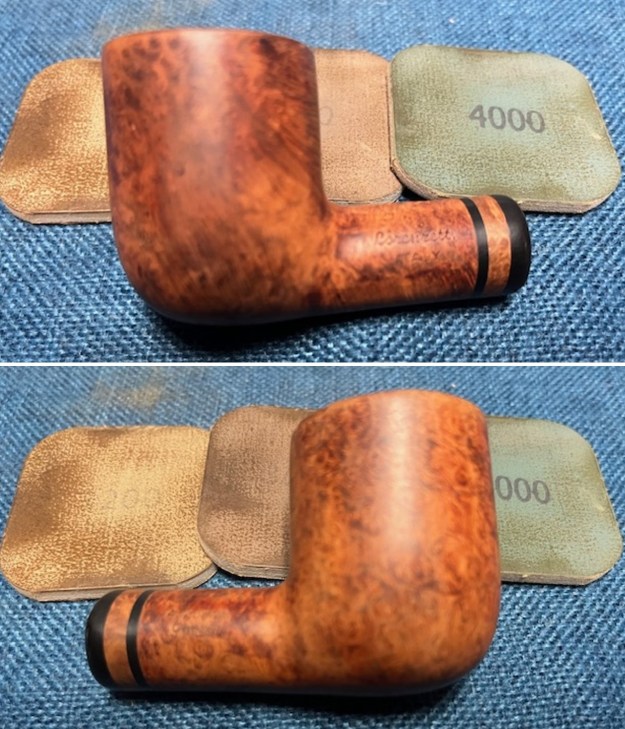
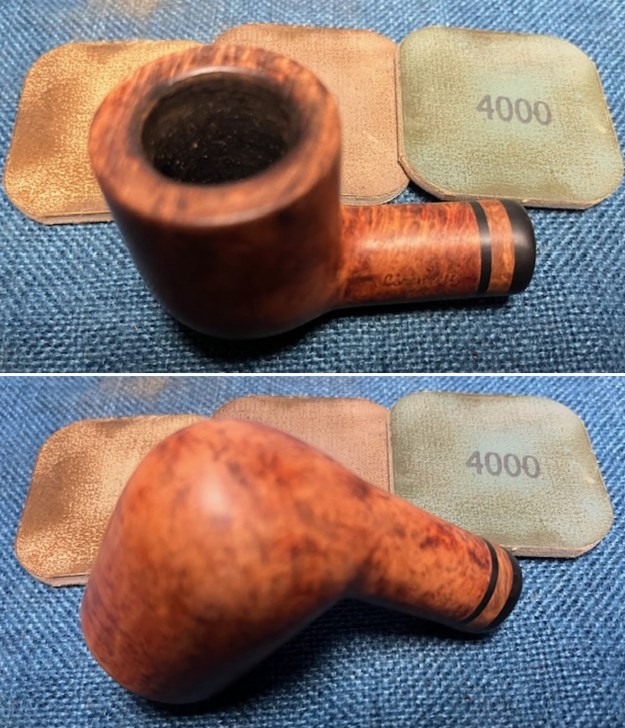
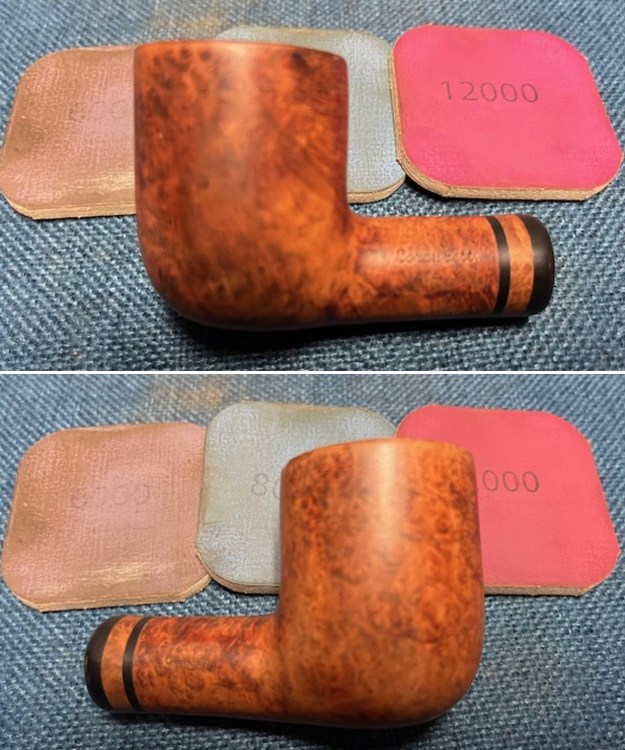
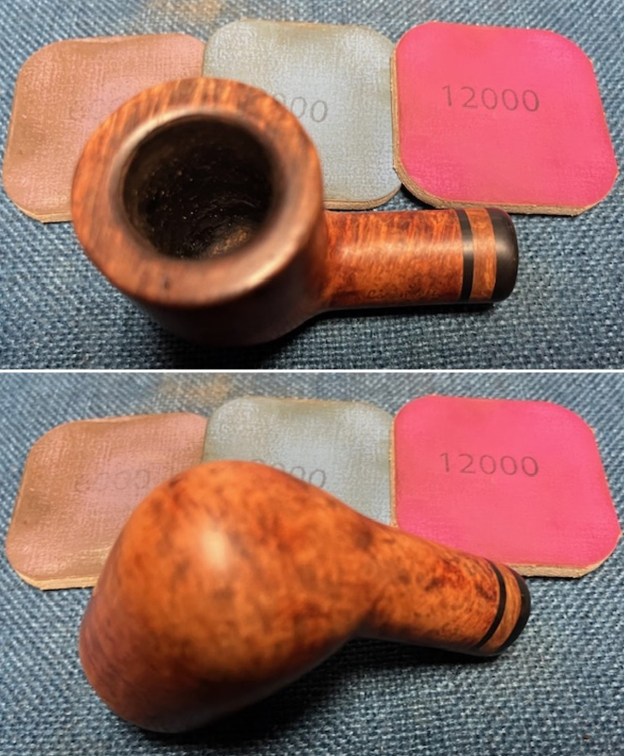
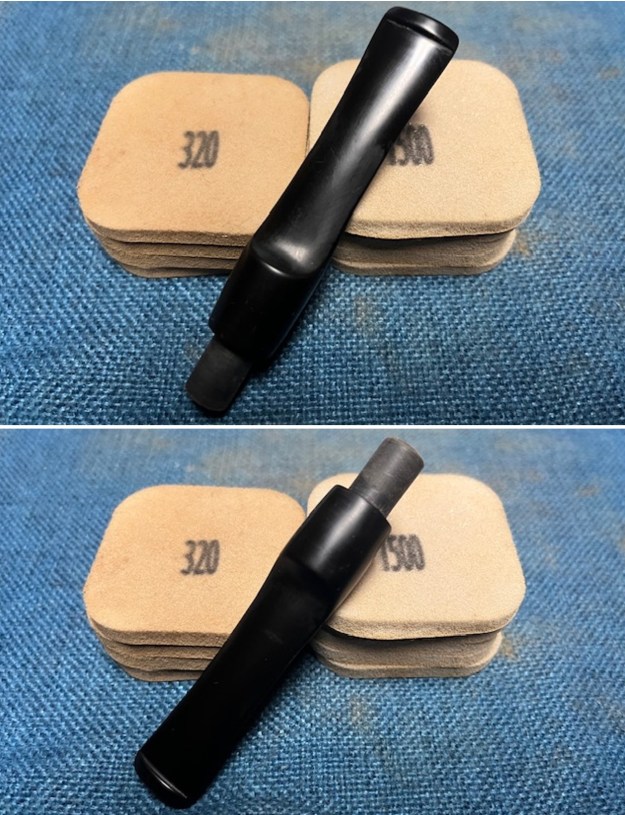
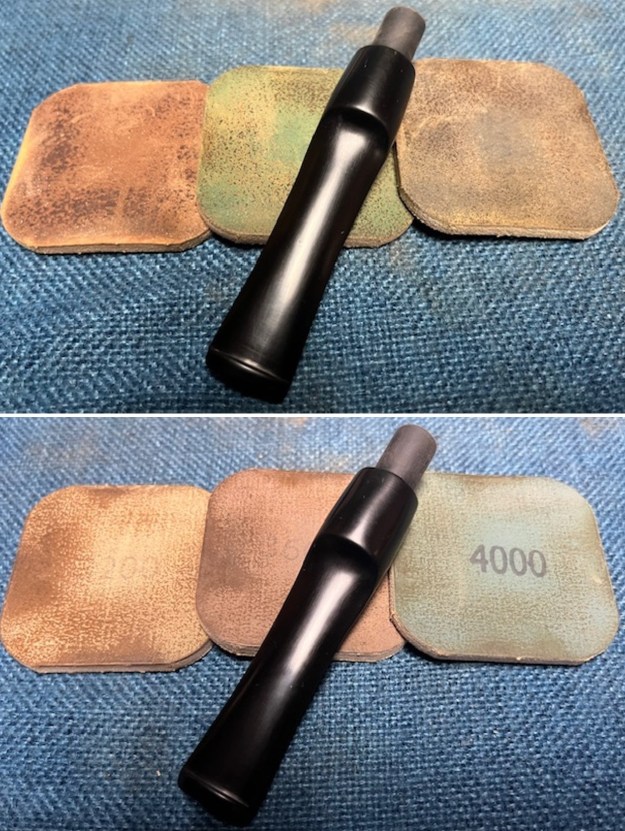
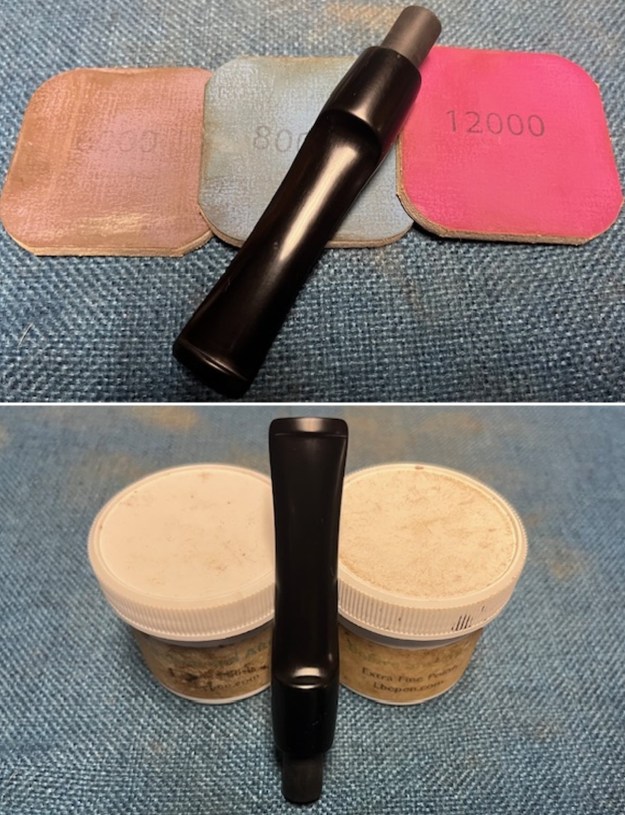
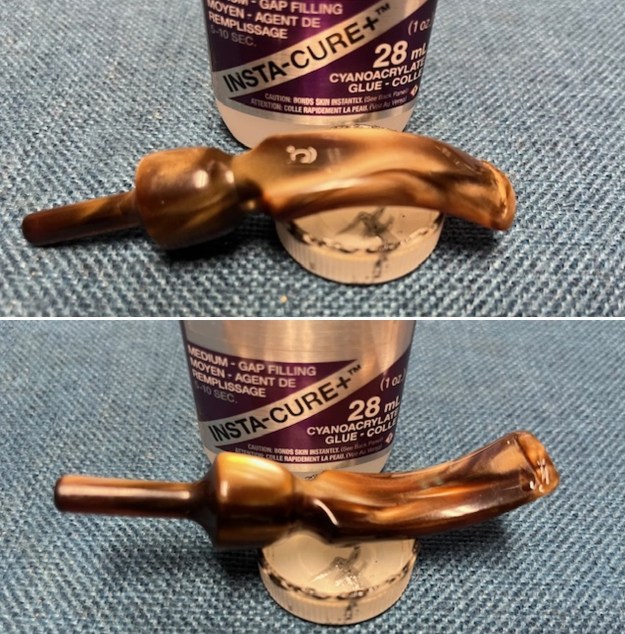
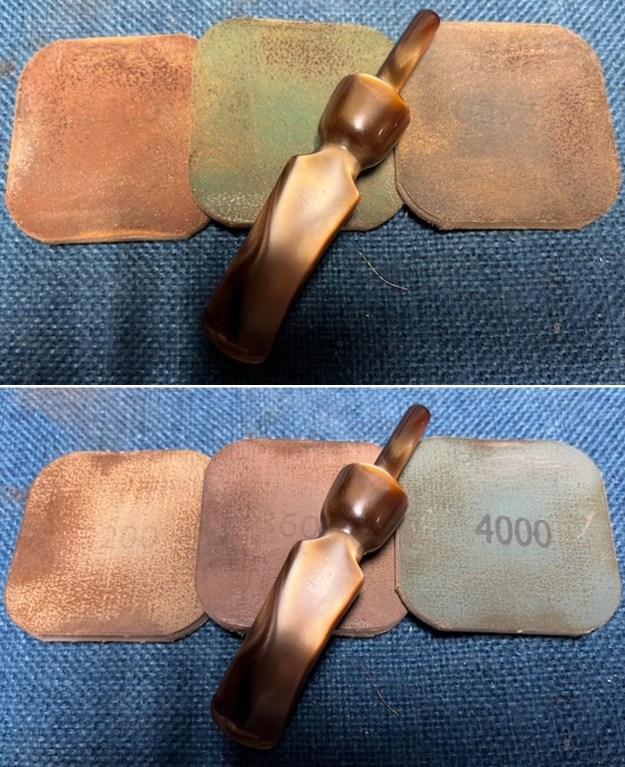
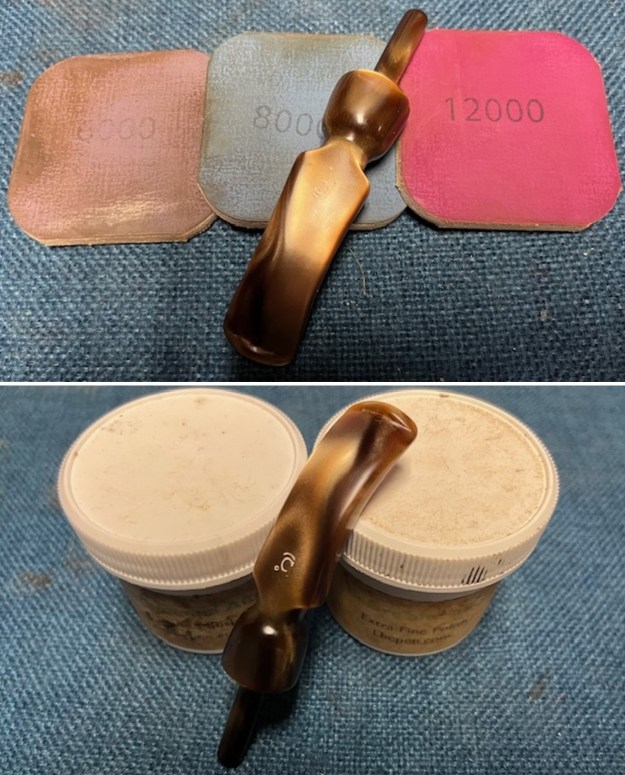
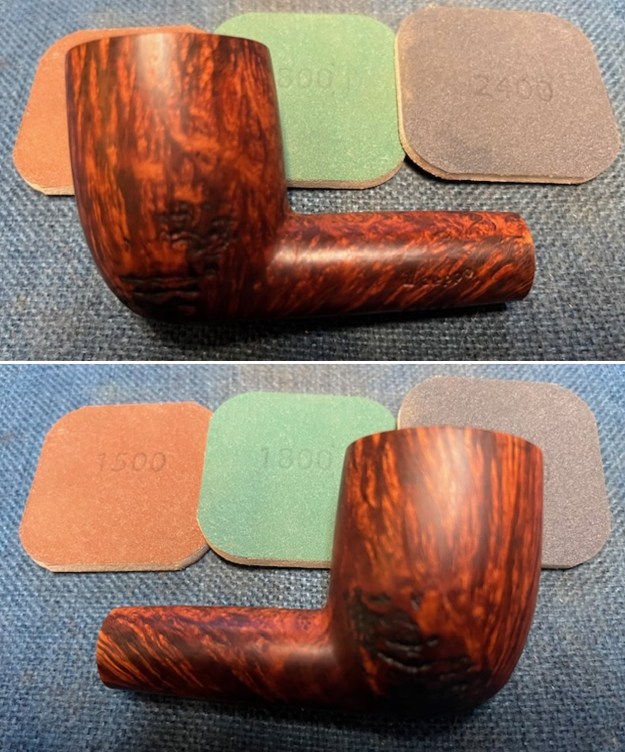
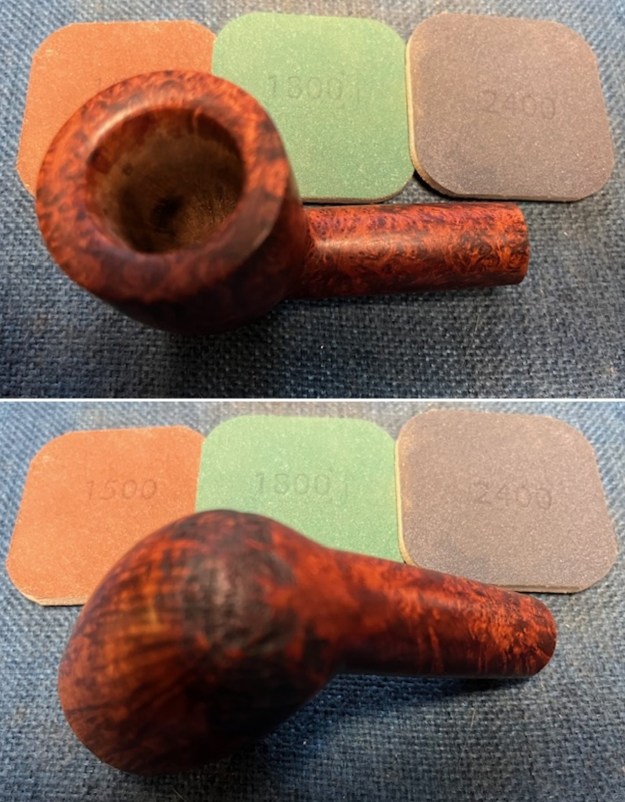
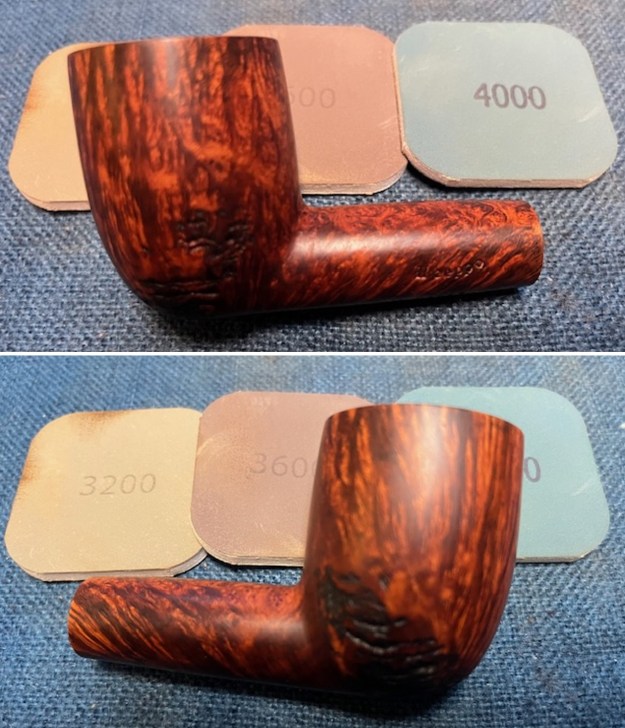
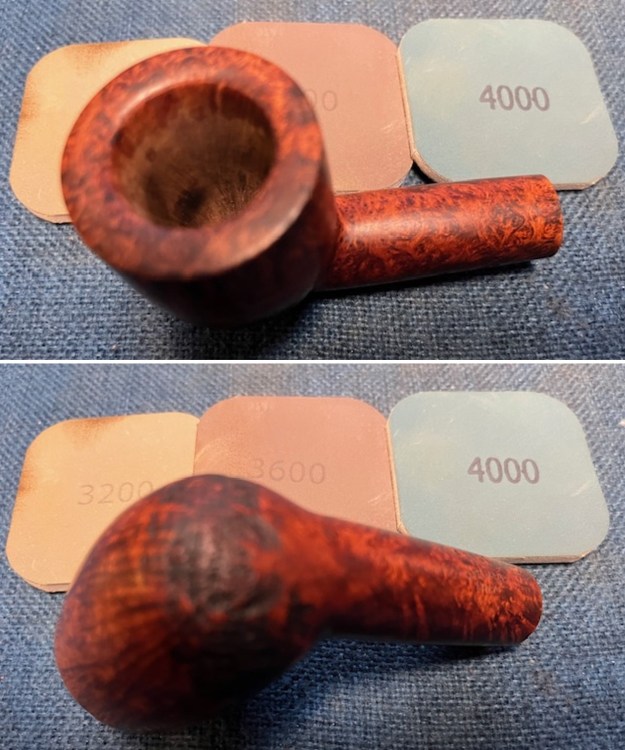
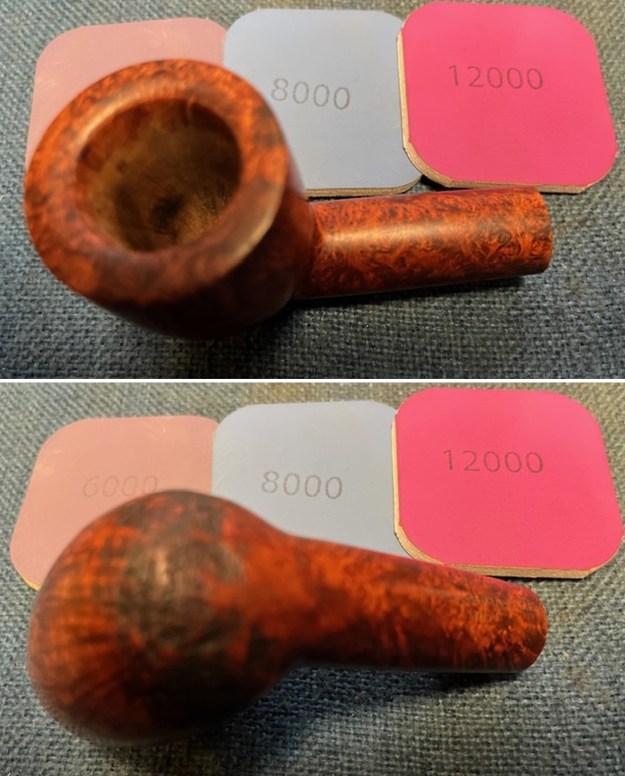
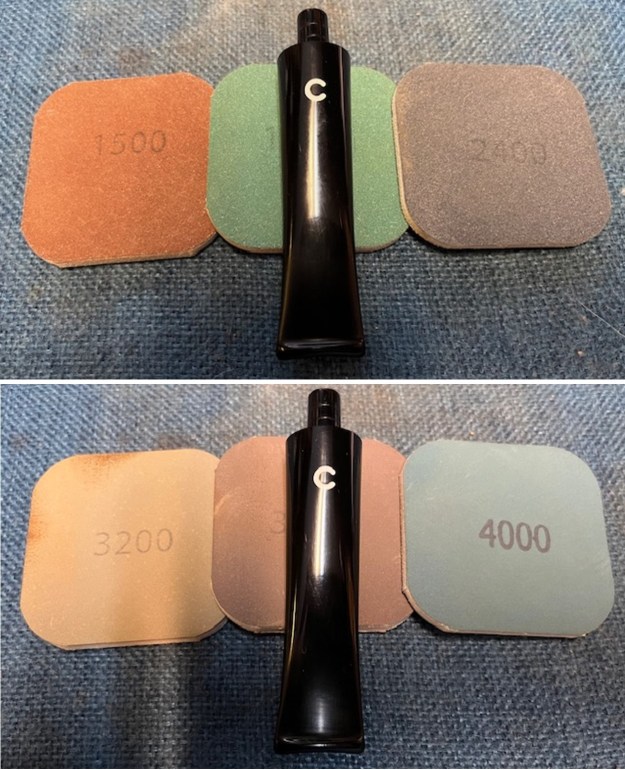
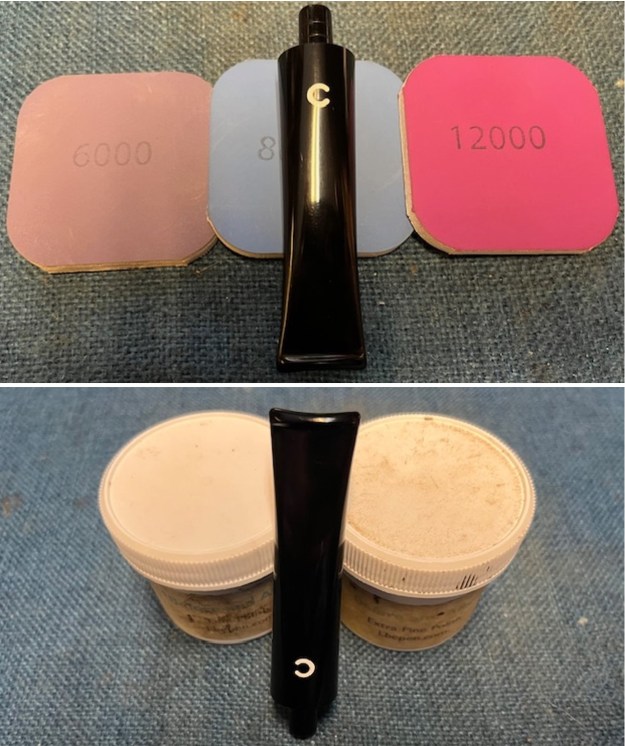
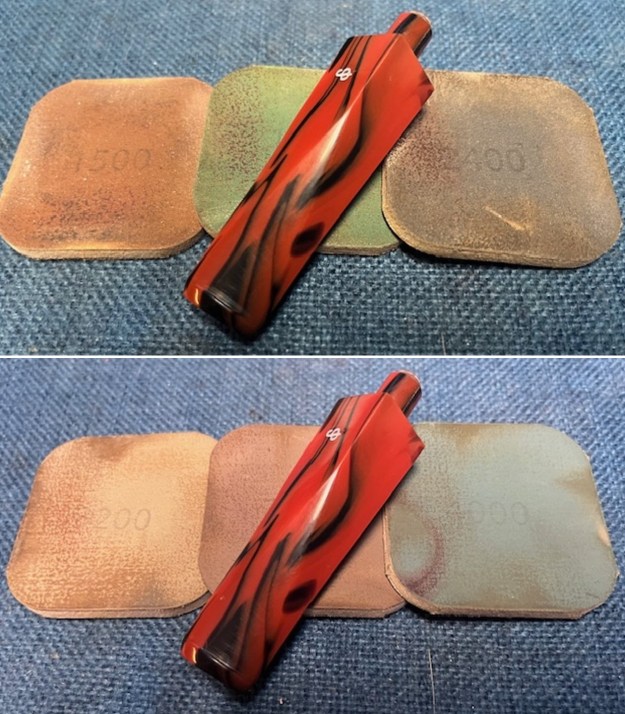
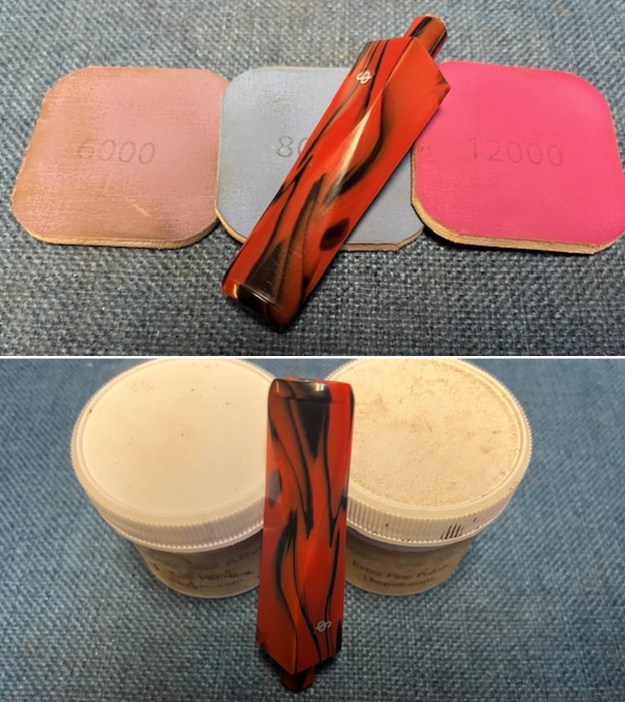
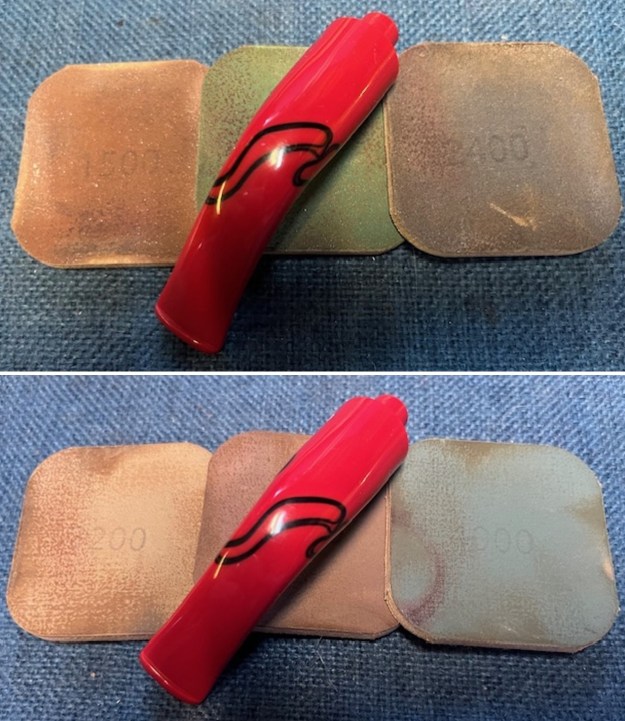
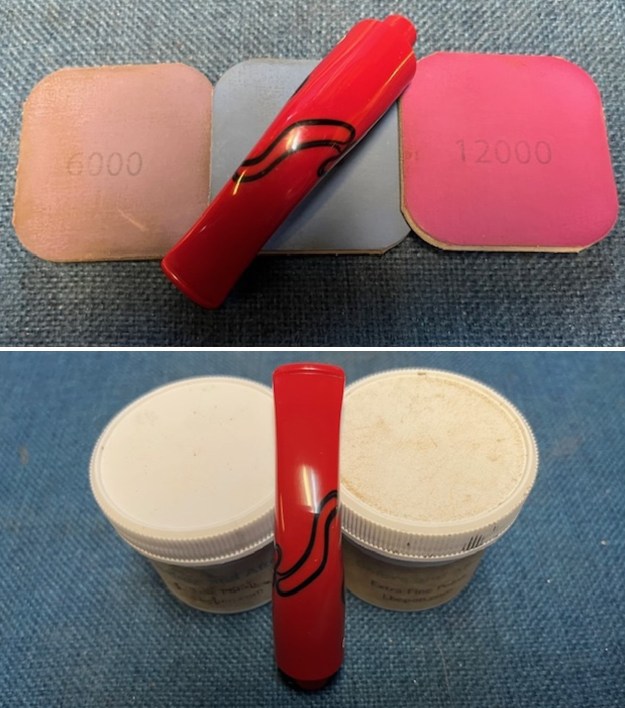
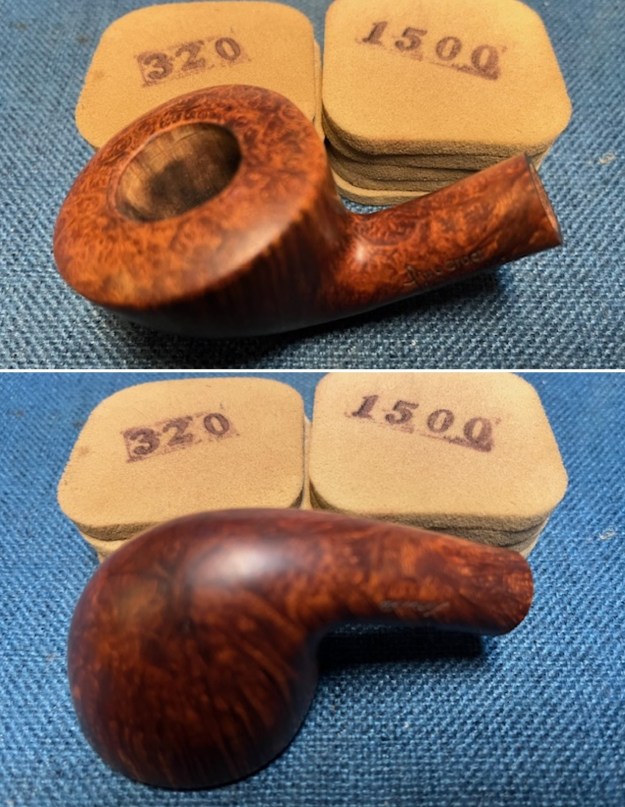
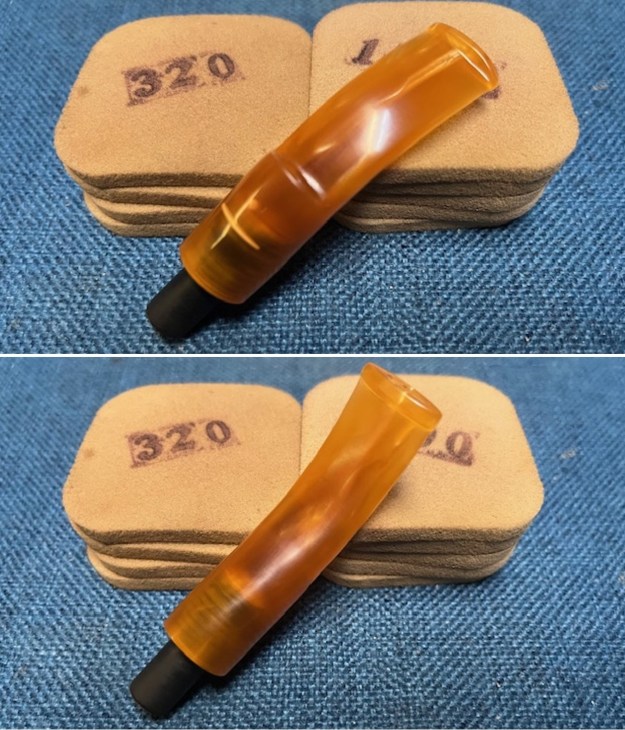
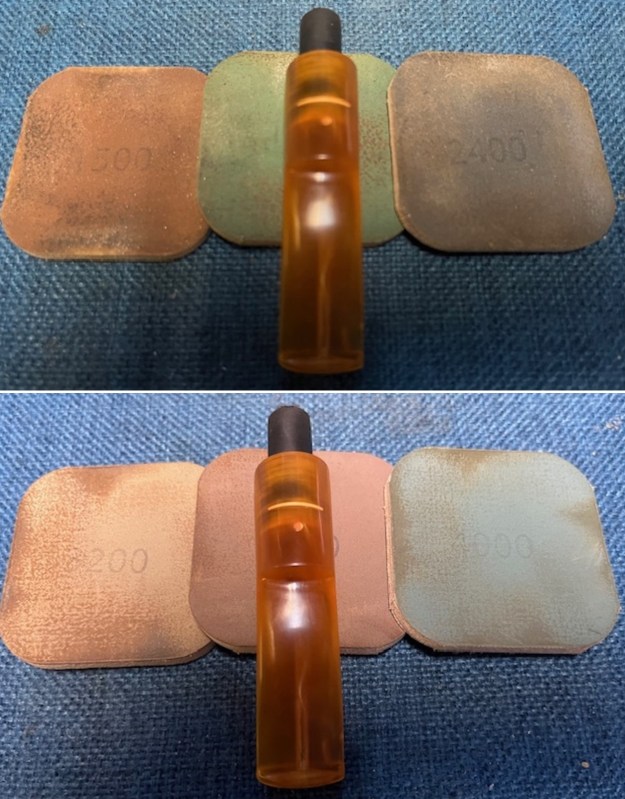
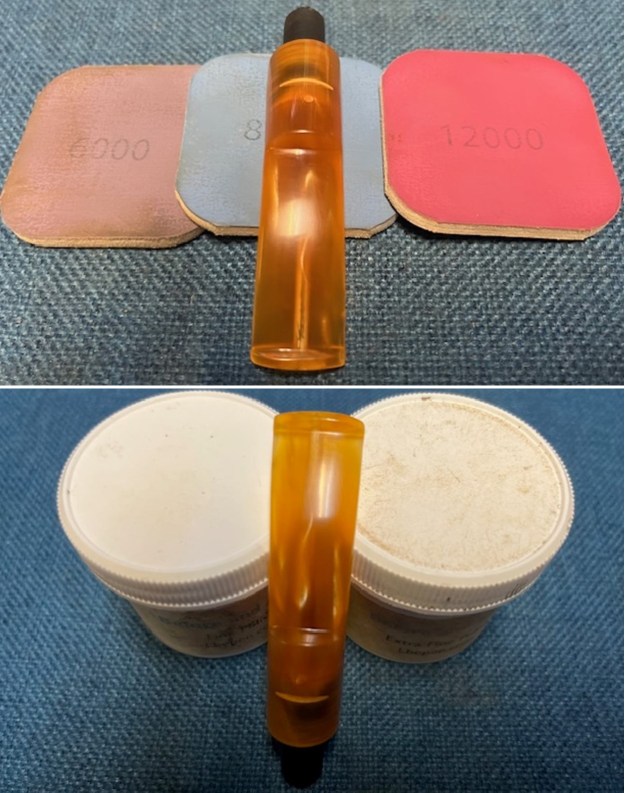
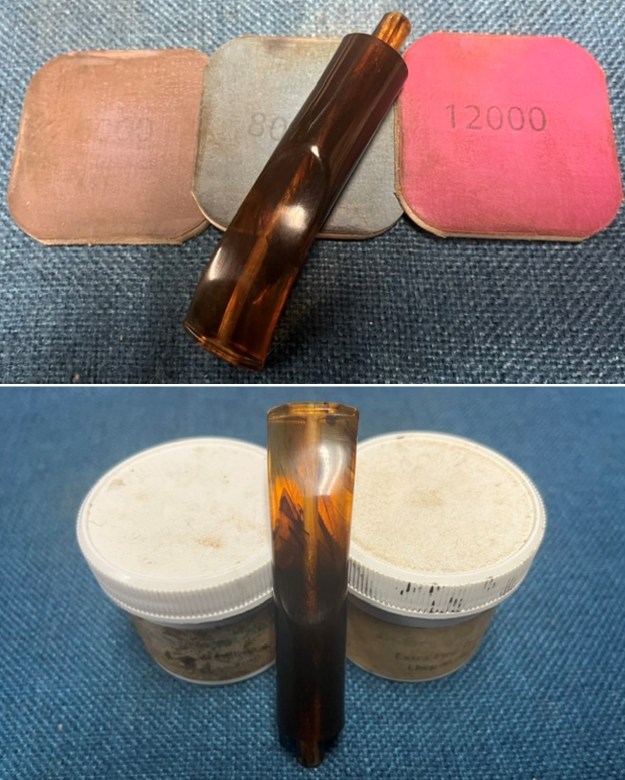
 I set the bowl aside and turned to work on the stem. I polished the stem with micromesh sanding pads – 1500-12000 grit pads. I wiped it down with Obsidian Oil after each sanding pad. I used Before & After Pipe Polish – both Fine and Extra Fine to further polish the stem. I gave it a final coat of Obsidian Oil and set it aside to dry.
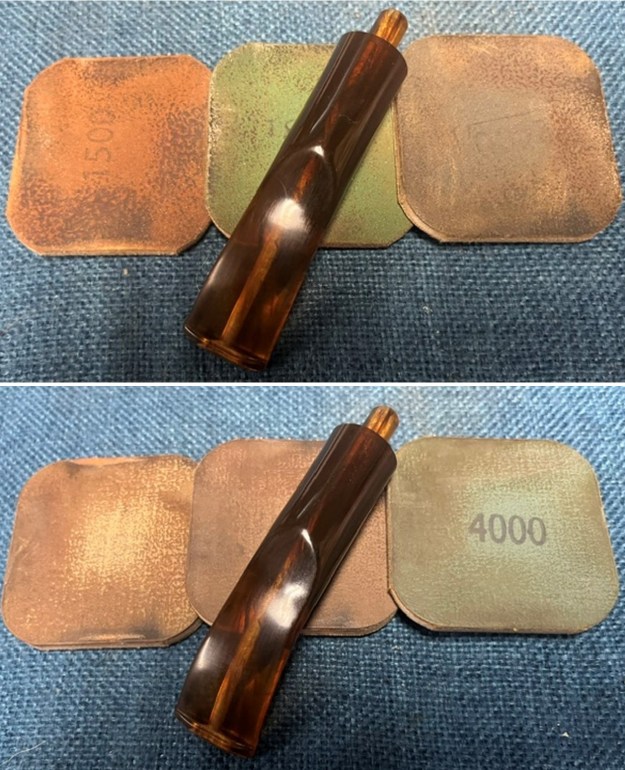
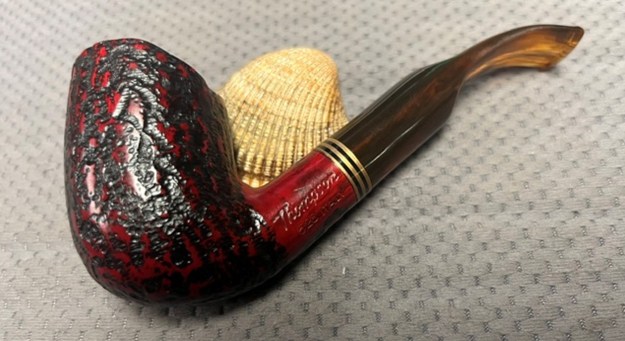
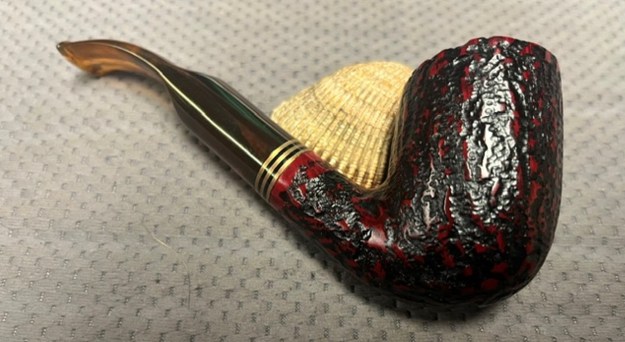
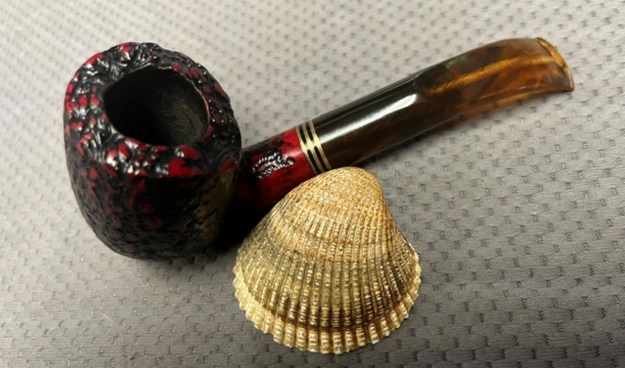
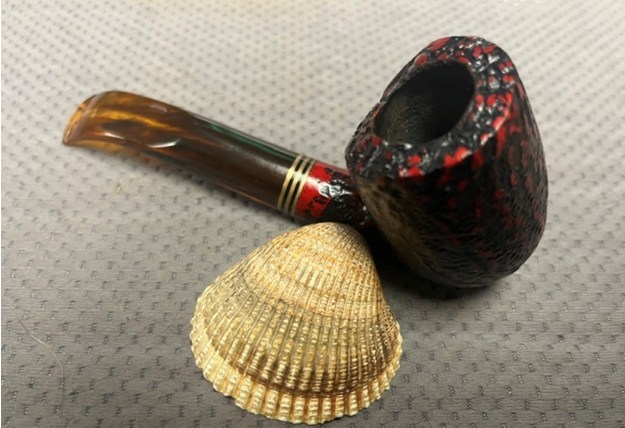
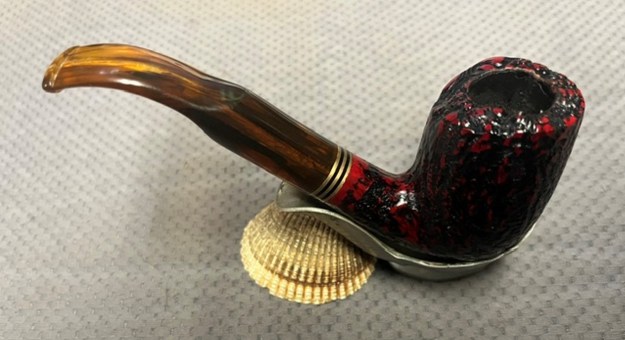
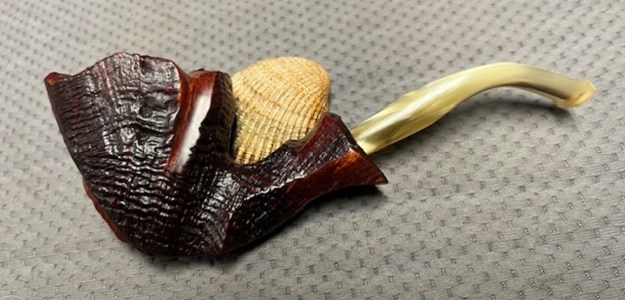
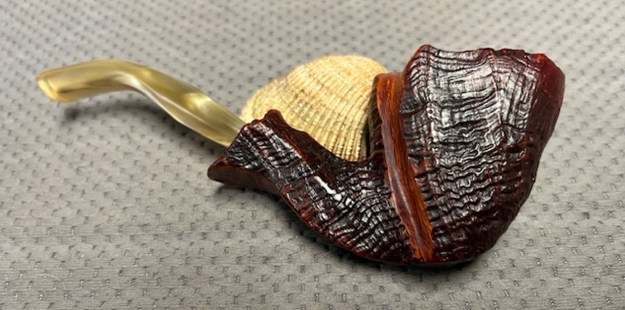
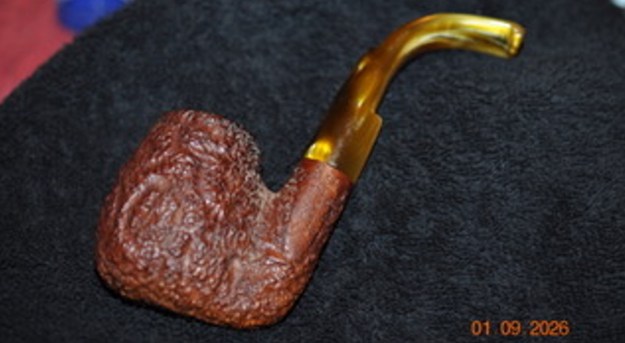
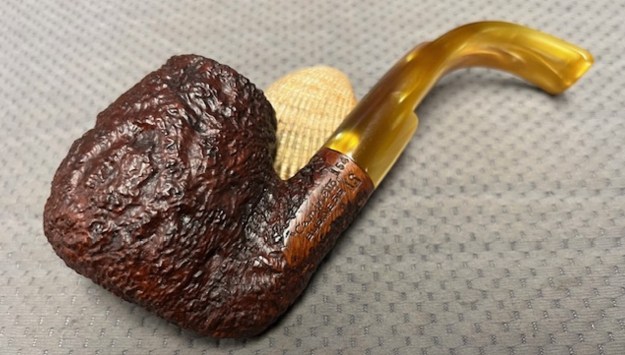
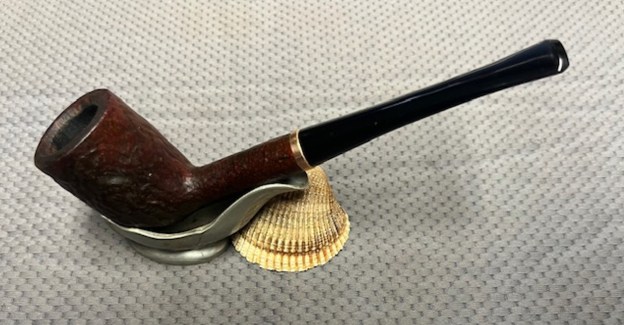
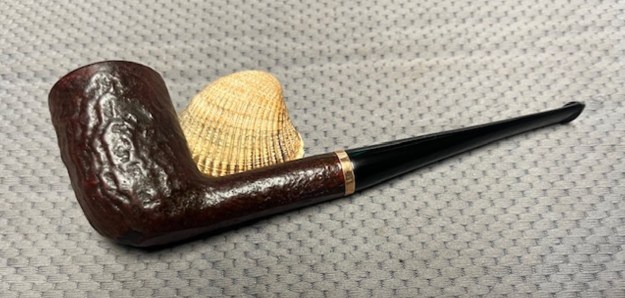
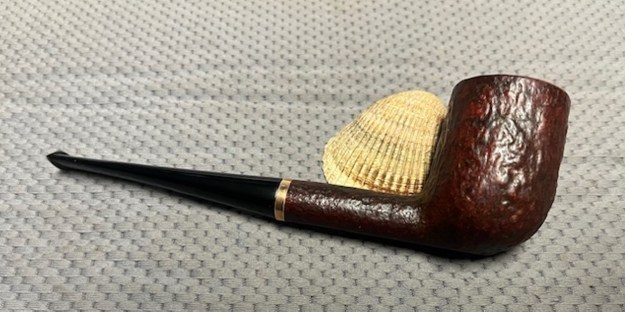
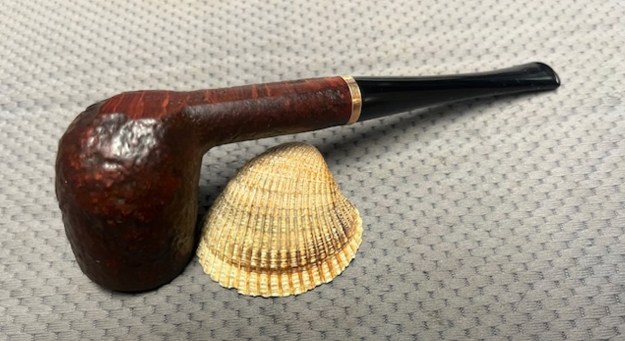
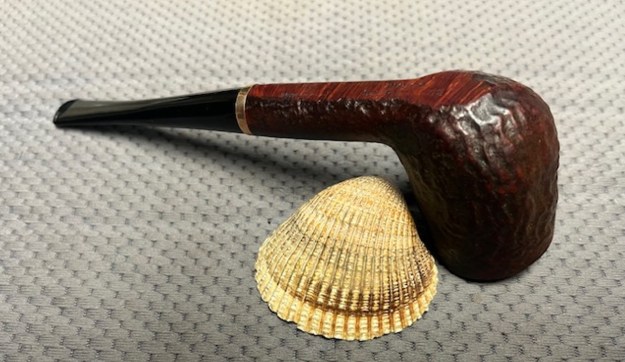
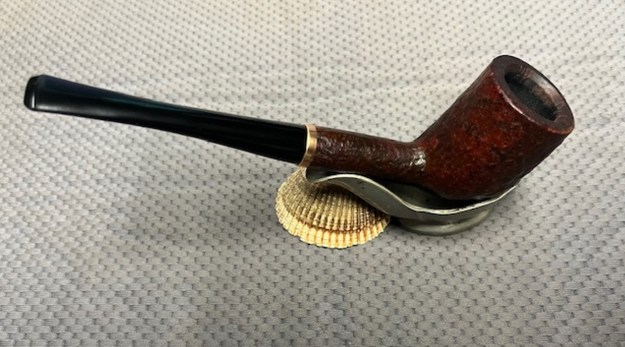
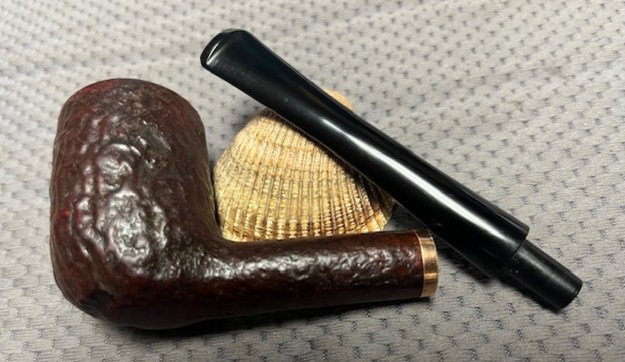
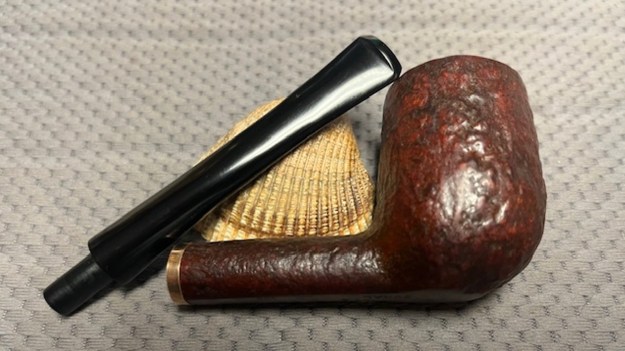
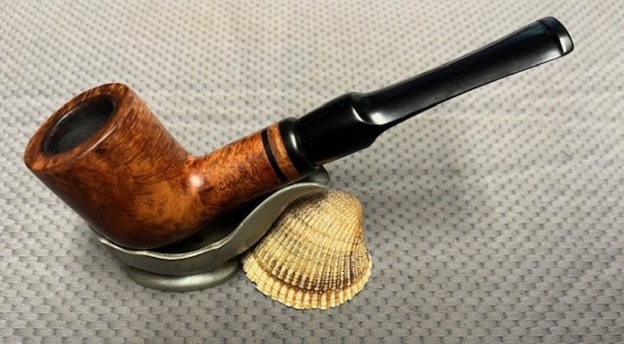
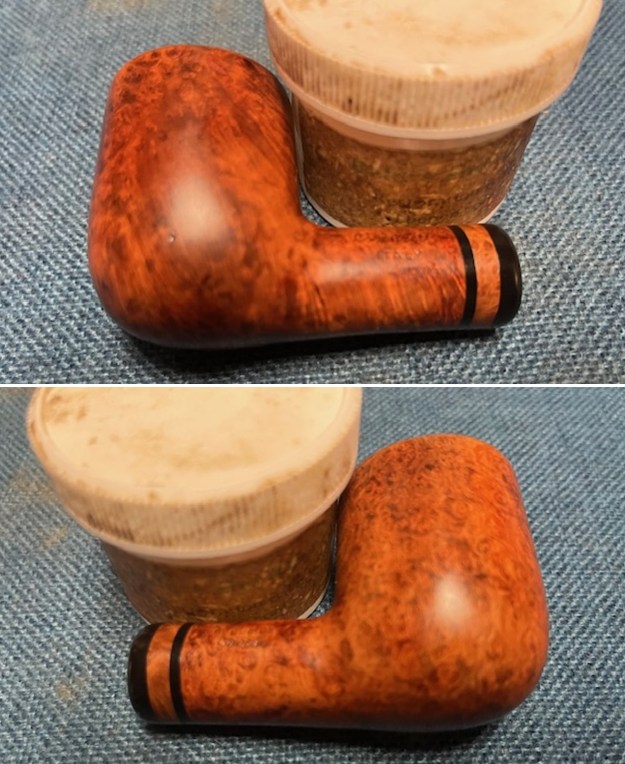
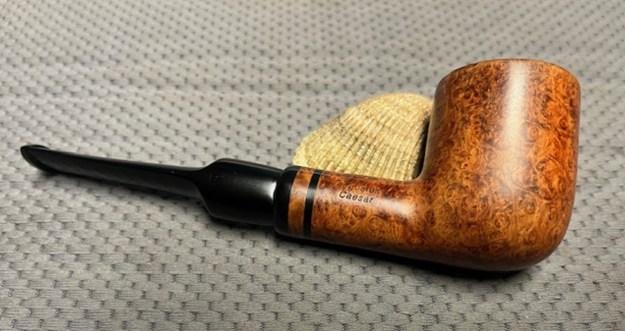
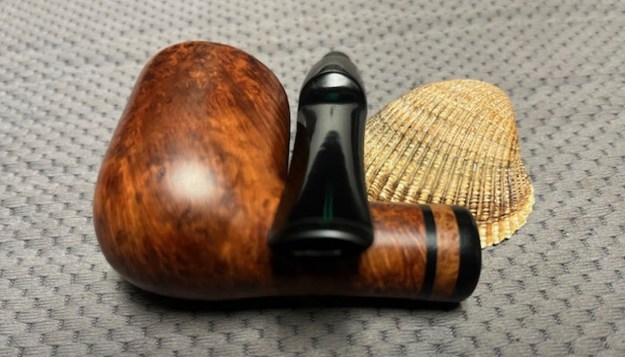
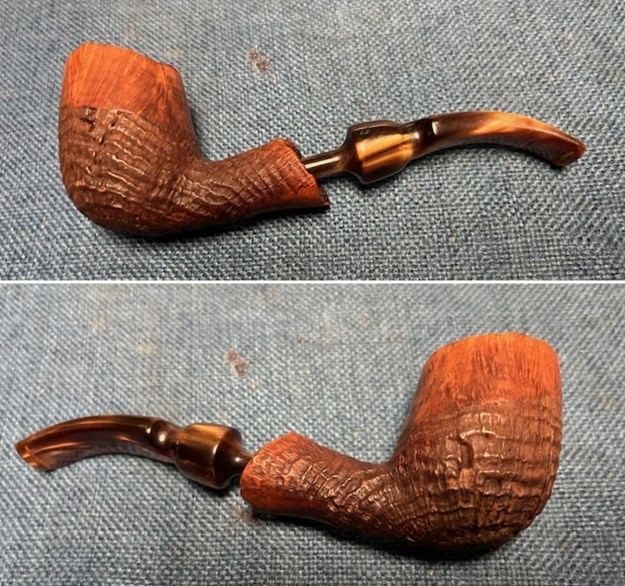
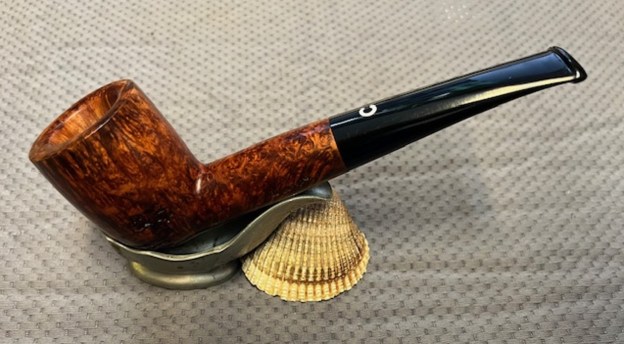
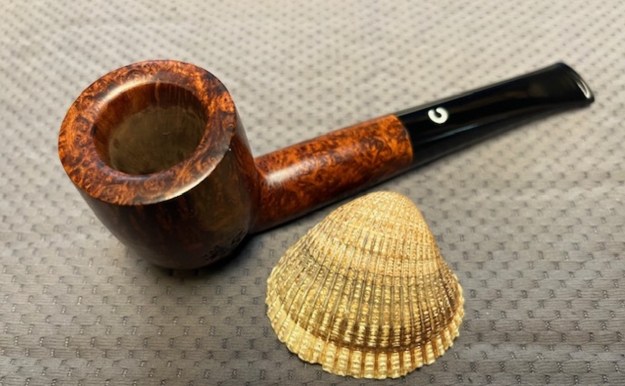
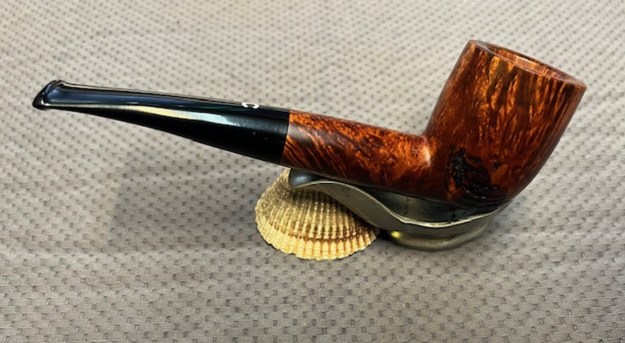
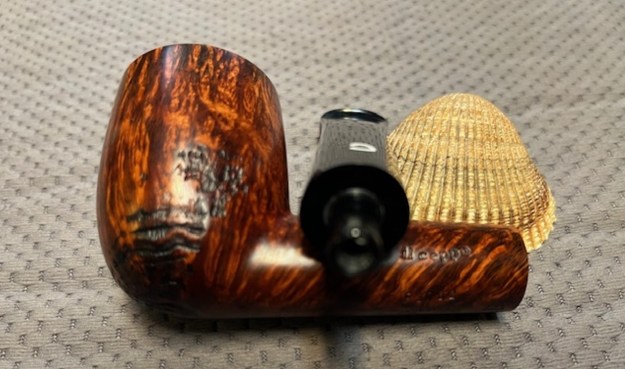
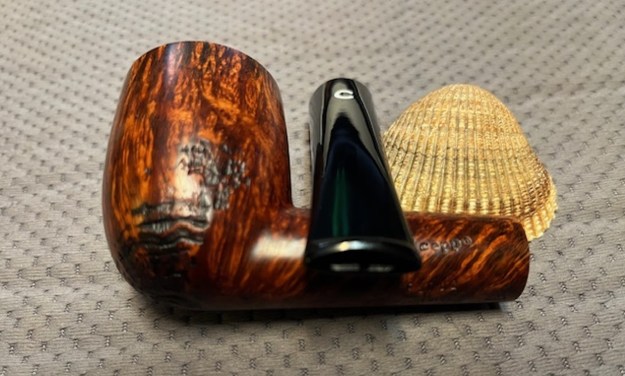
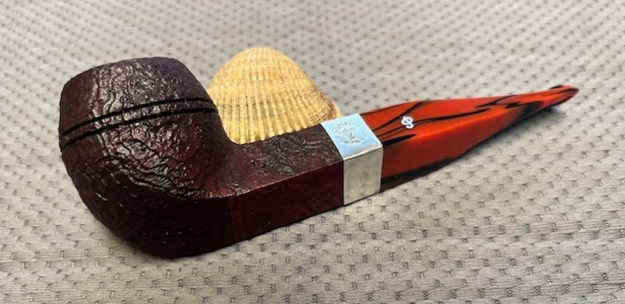
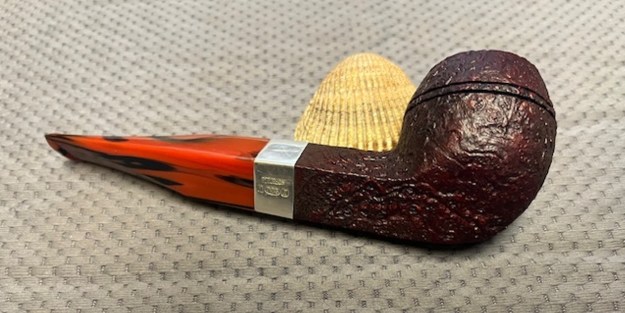
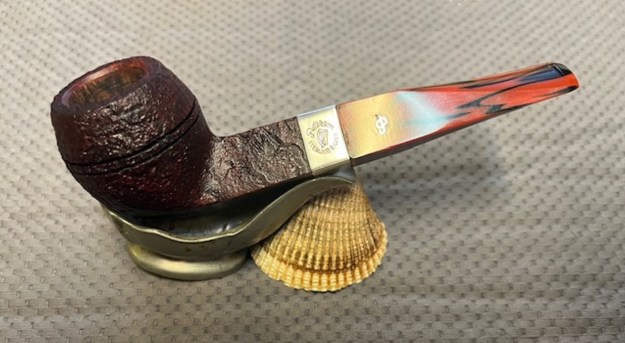
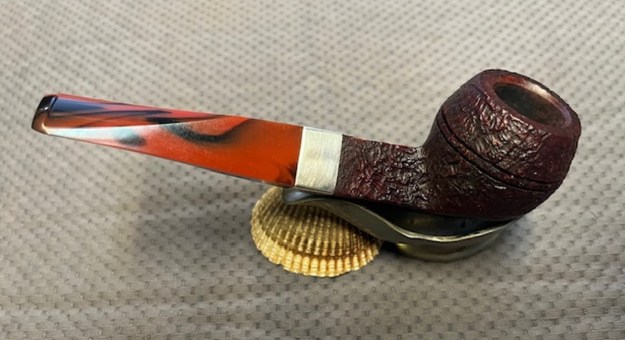
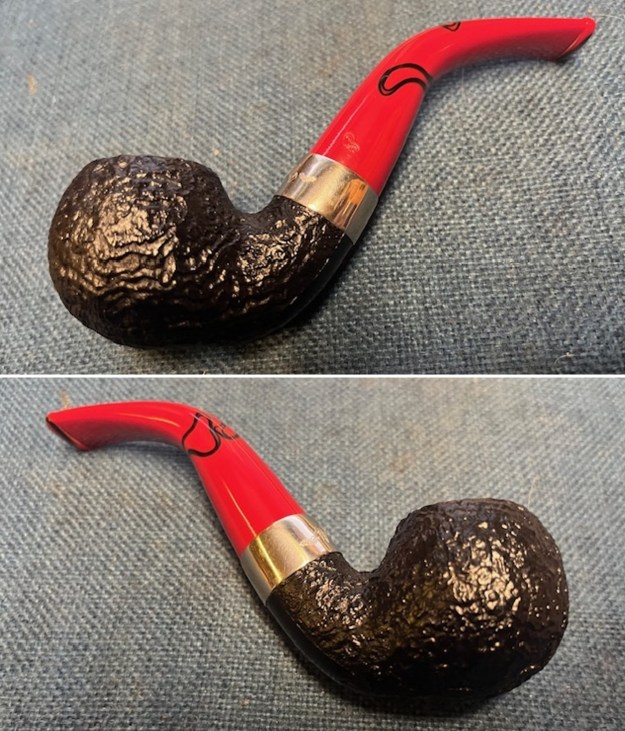
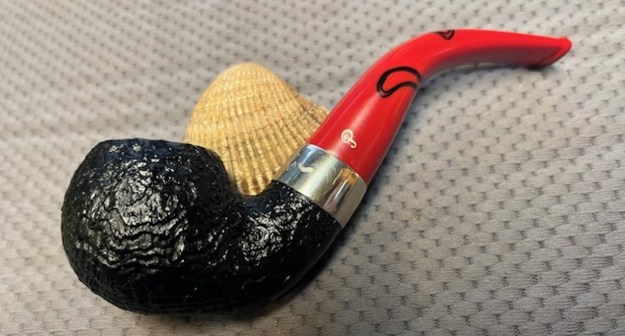
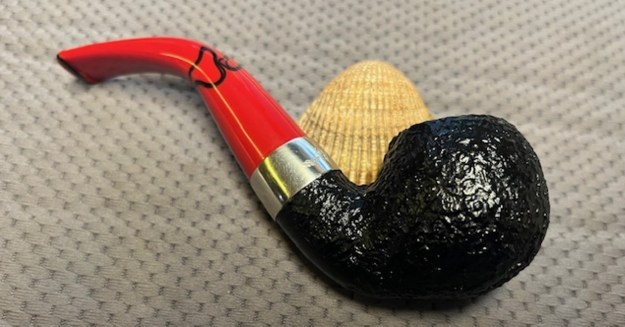
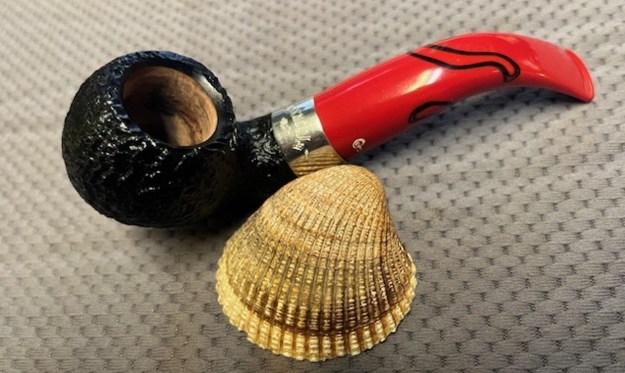
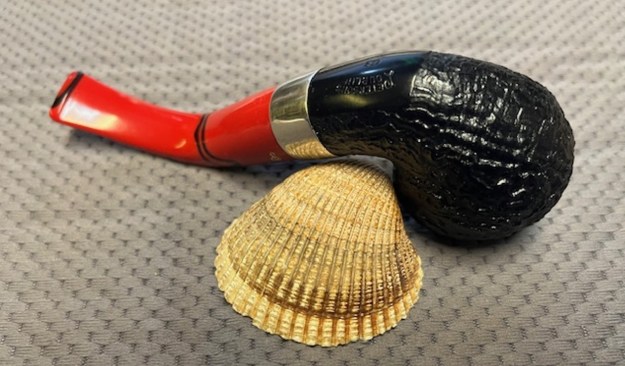
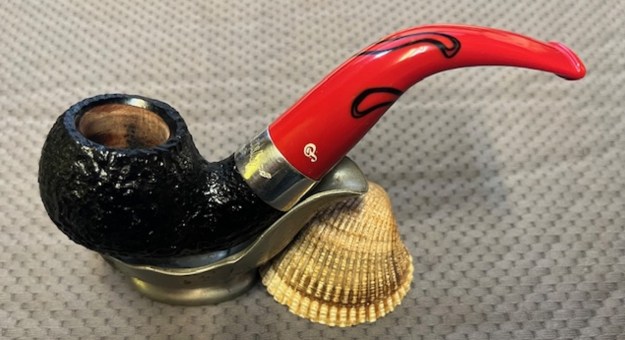
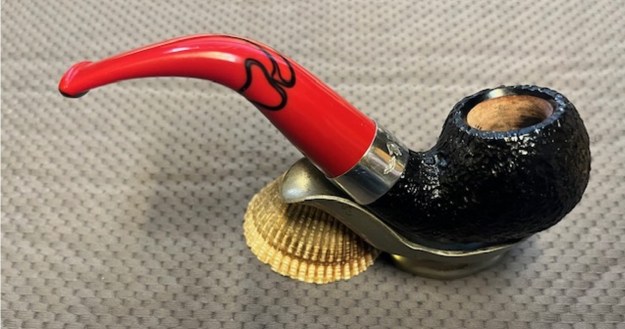
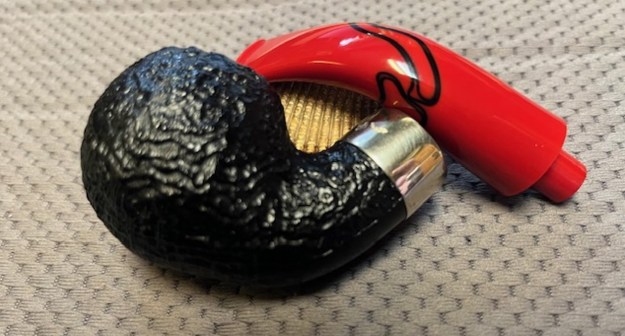
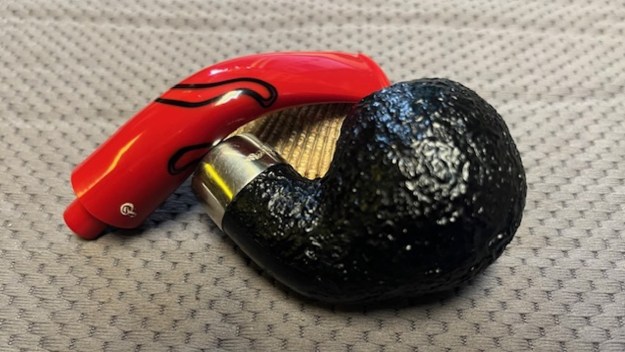
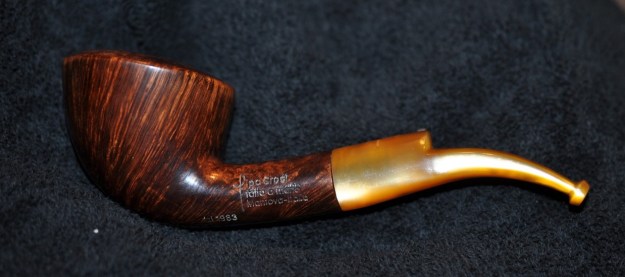
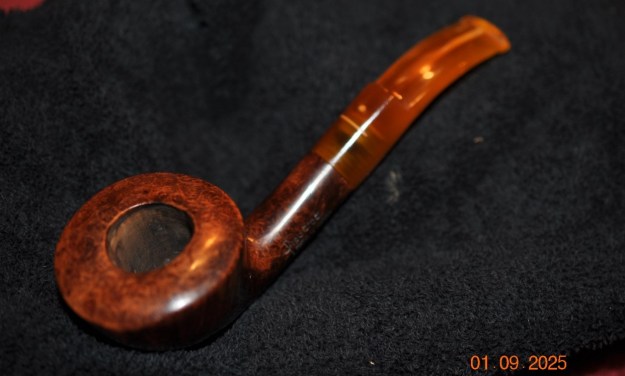
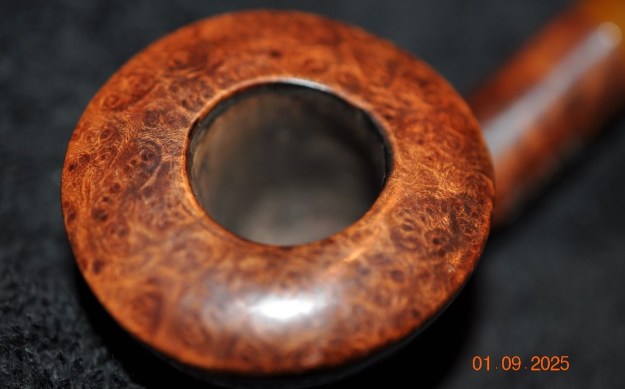
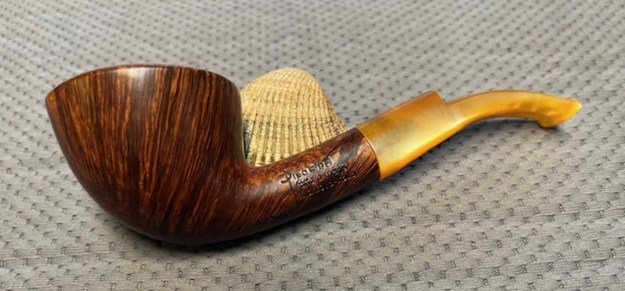
 This Thompson 528 Italian Made Bent Freehand is a nice looking pipe. The Red and Black stain highlights the rustication around the bowl sides and the heel. The plateau on the rim top looked very good. The finish on the pipe is in excellent condition and the contrasting stains work well to highlight the shape of the pipe. The polished amber acrylic saddle stem adds to the mix. With the grime and debris gone from the finish and the bowl it is eye-catching. I put the stem back on the bowl and buffed the pipe with Blue Diamond on the buffing wheel. I gave the bowl and the stem multiple coats of carnauba wax on the buffing wheel and followed that by buffing it with a clean buffing pad. I hand buffed the pipe with a microfiber cloth to deepen the shine. The finished Thompson 528 Bent Freehand is quite nice and feels great in the hand. Give the finished pipe a look in the photos below. The dimensions of the pipe are Length: 5 ½ inches, Height: 2 ¼ inches, Outside diameter of the bowl: 1 ½ inches, Chamber diameter: ¾ of an inch. The weight of the pipe is 2.12 ounces/60 grams. Thanks for walking through the restoration with me as I worked over another beautiful pipe. This pipe will be added to the Italian Pipe Makers Section of the rebornpipes store soon. If you want to add it to your collection send me an email or a message! Thanks for your time.