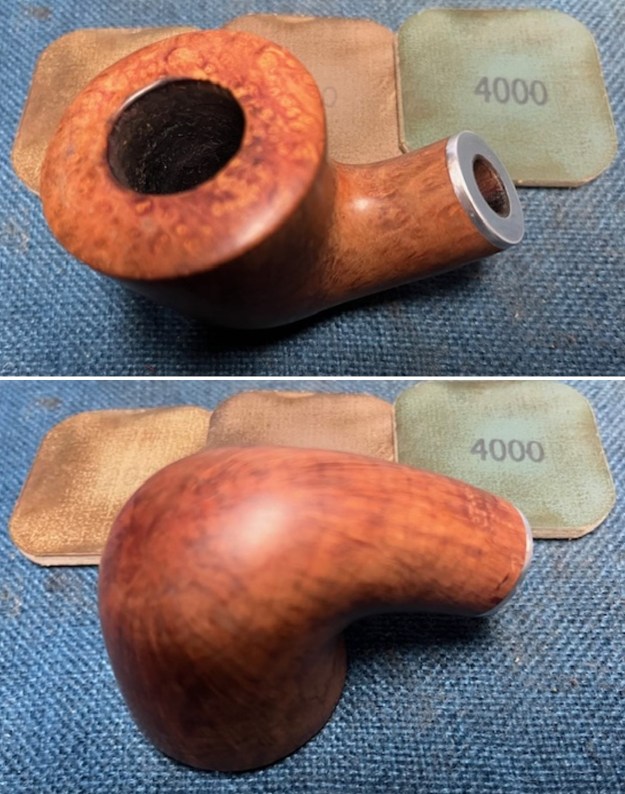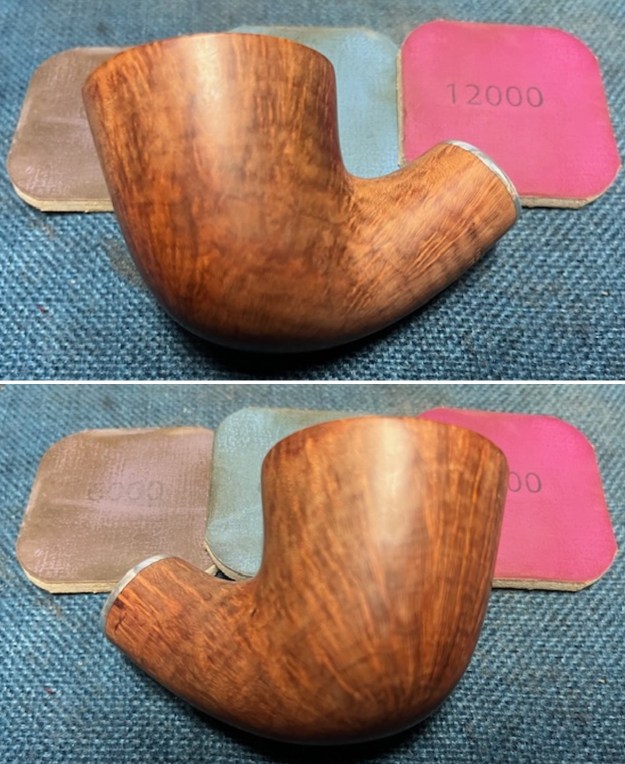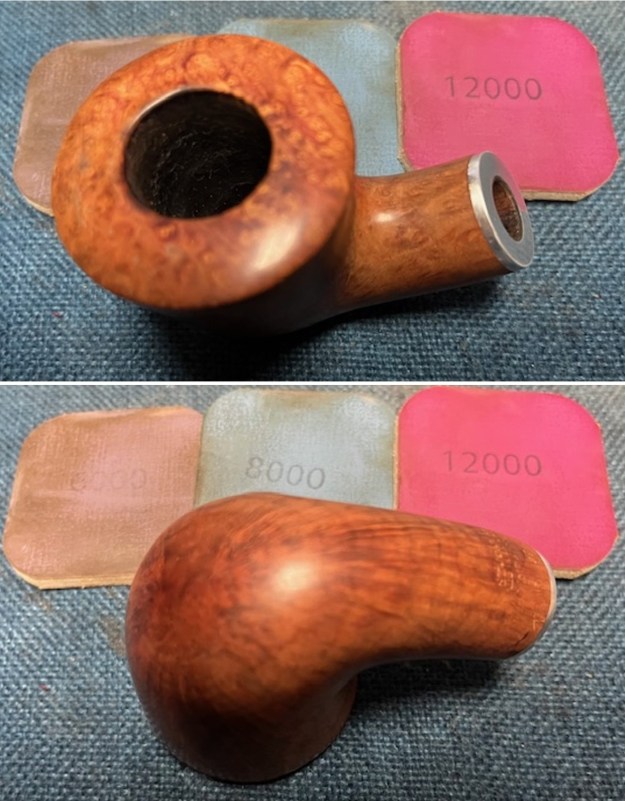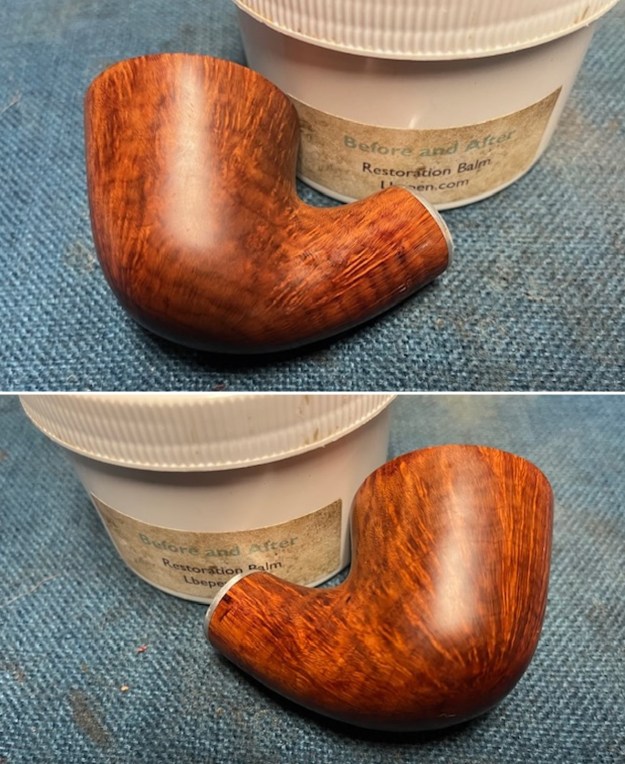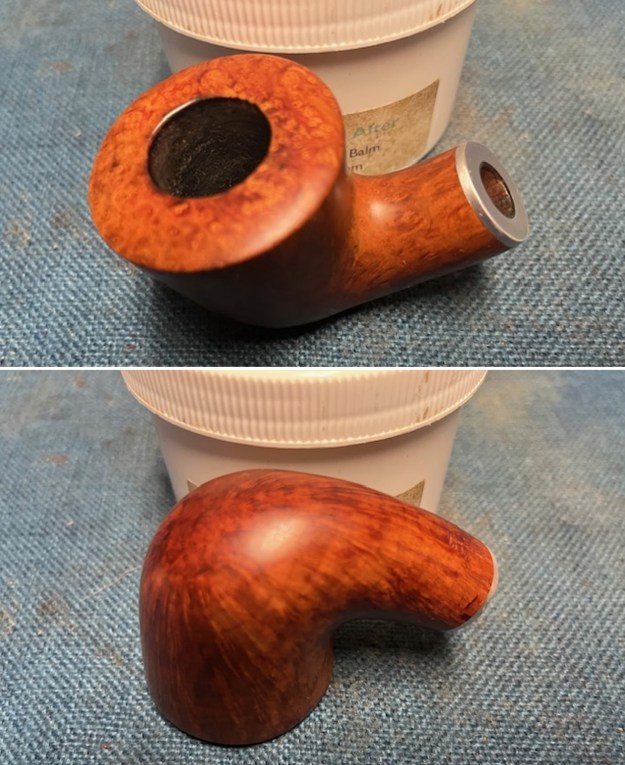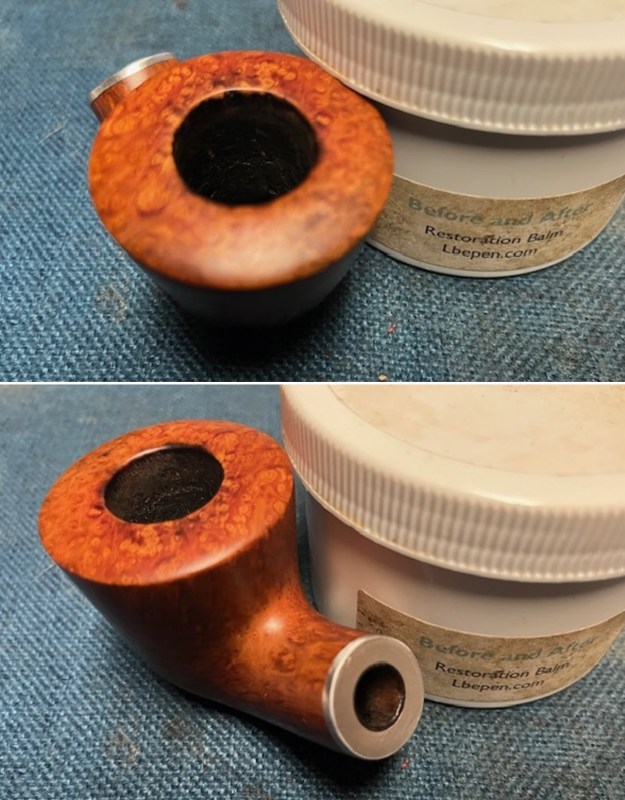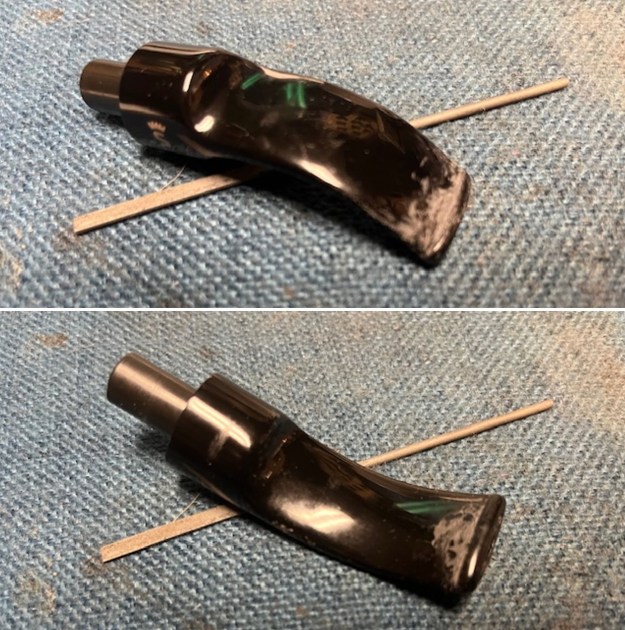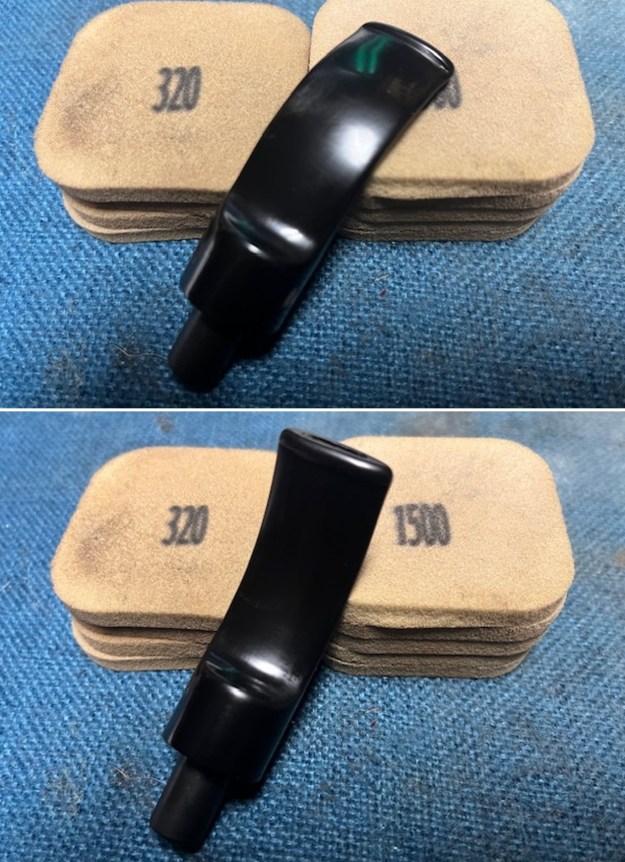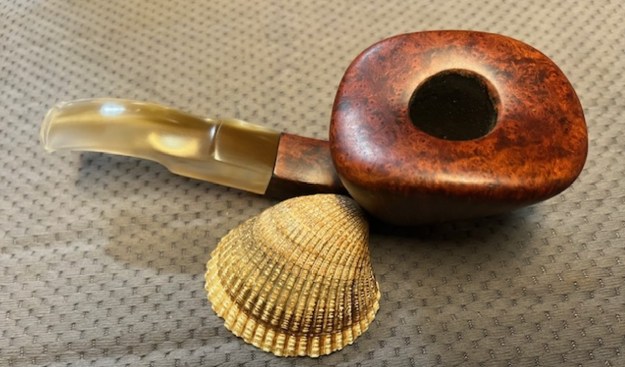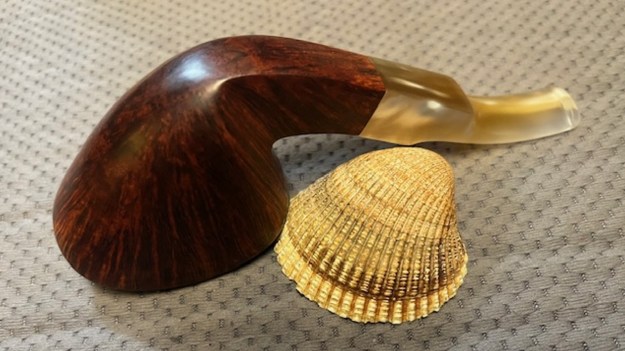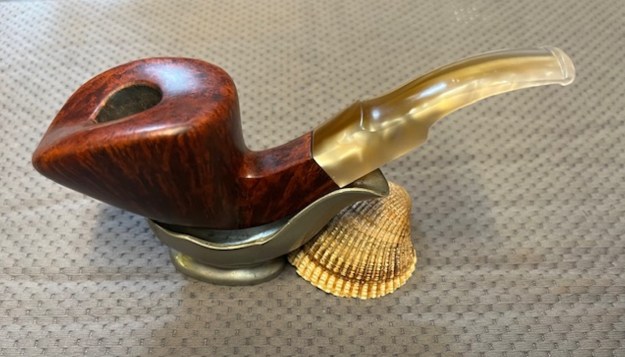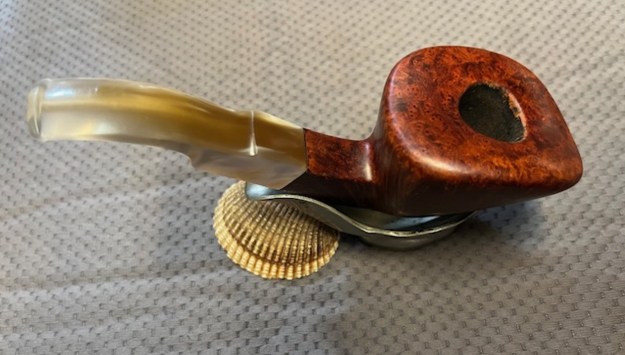
Tag Archives: acrylic stem

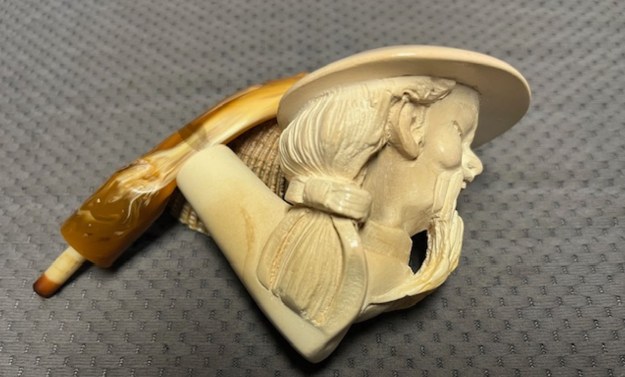
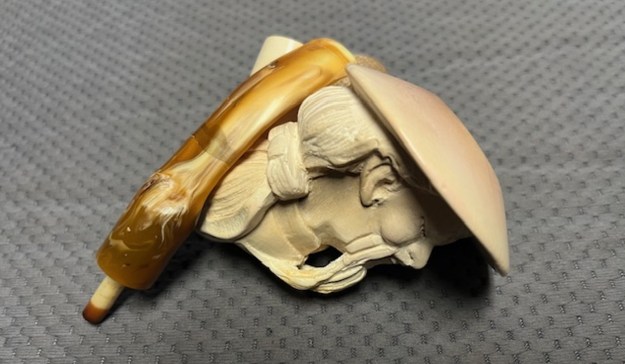
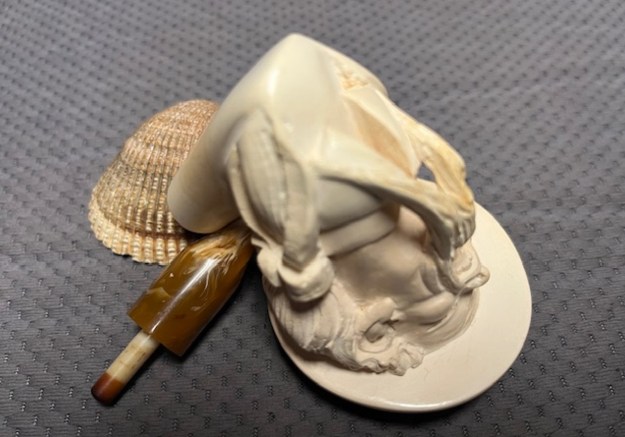
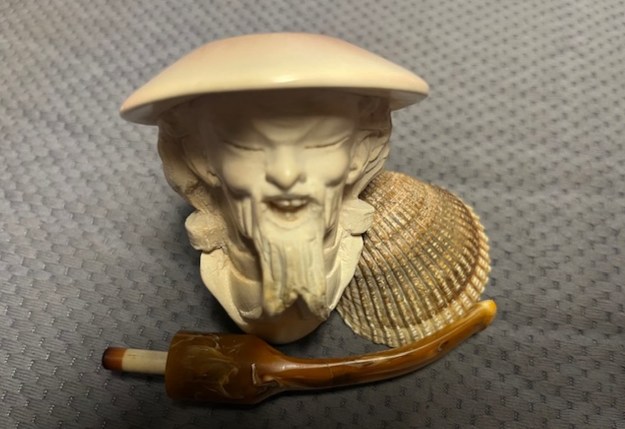
Restoring a Cased Sunalp Block Meerschaum Chinese Singing Worker


by Steve Laug

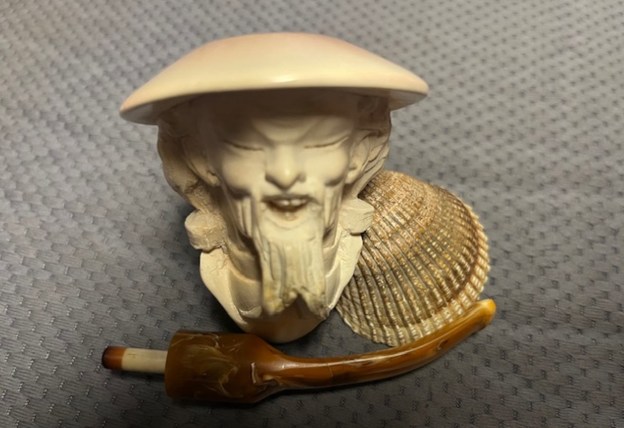
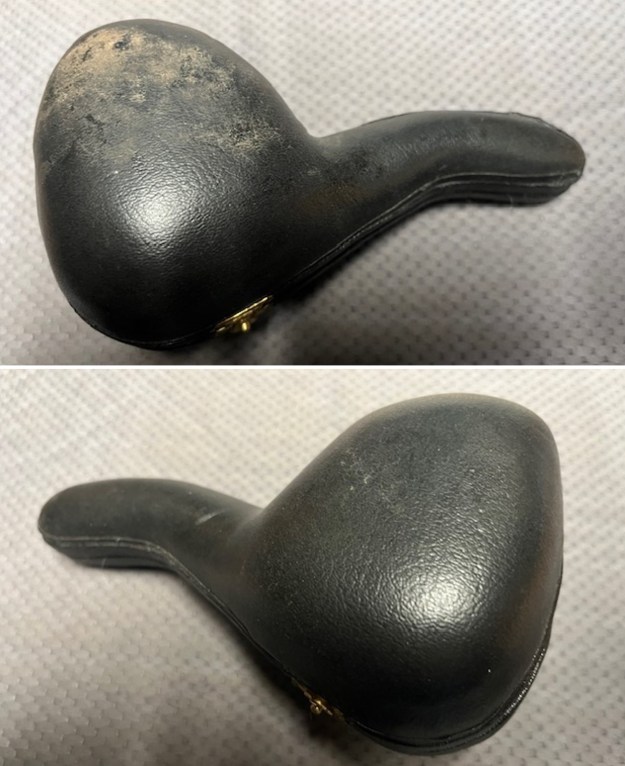
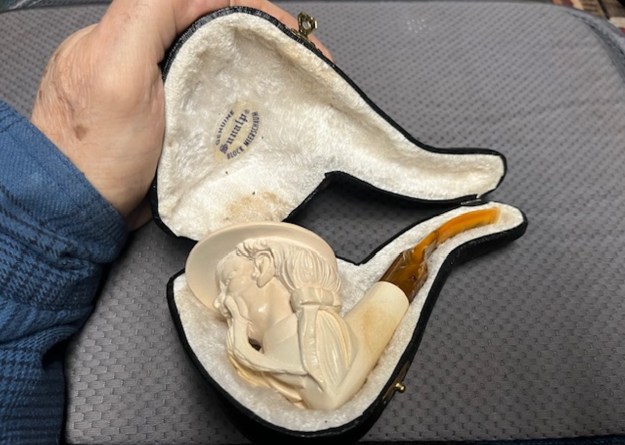
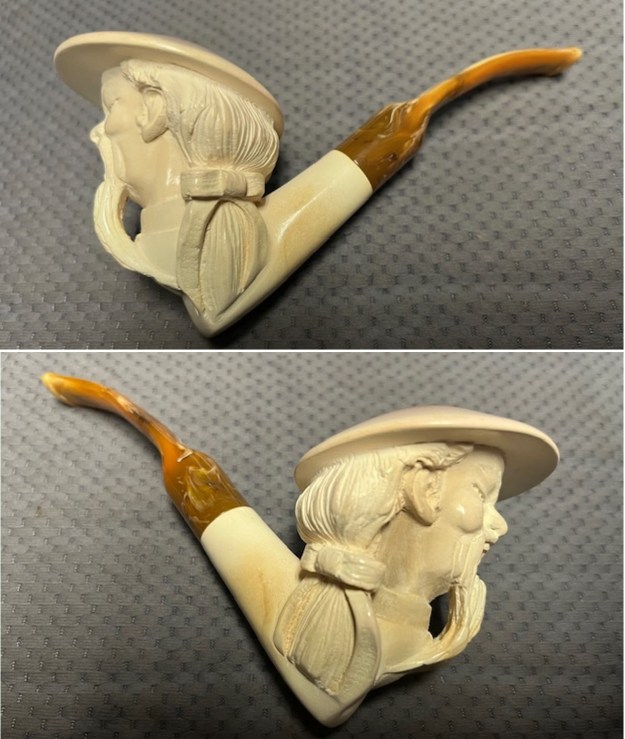
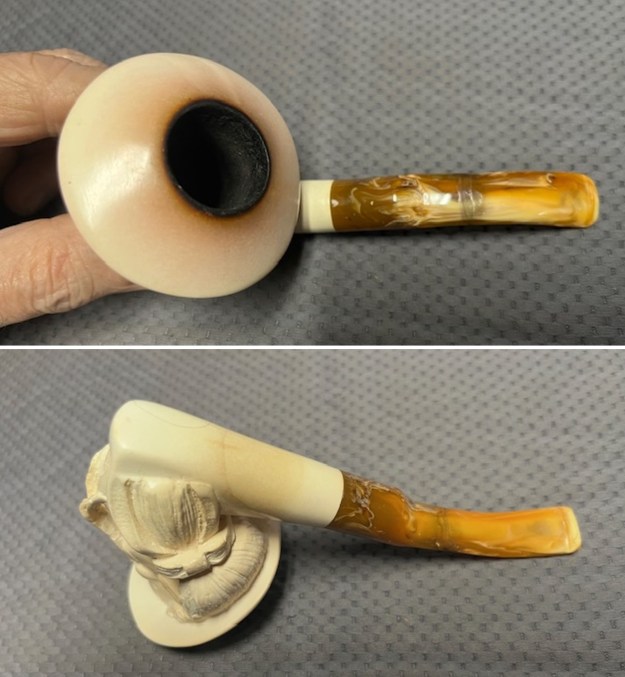
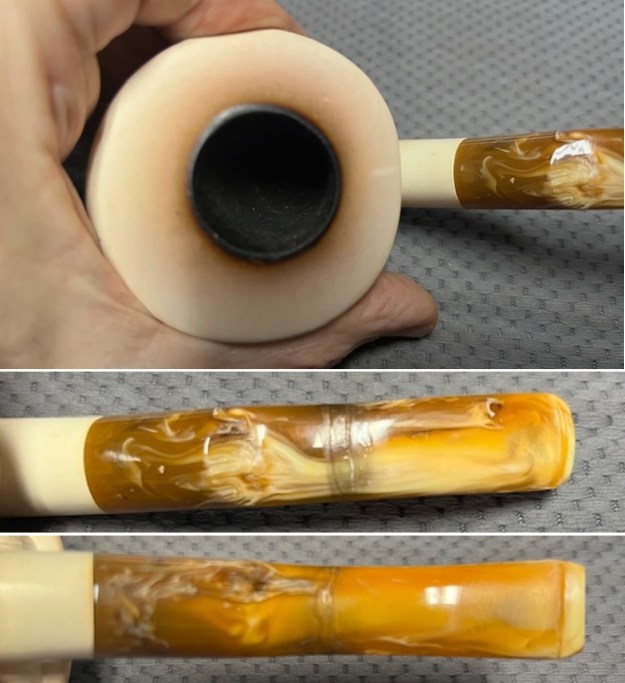
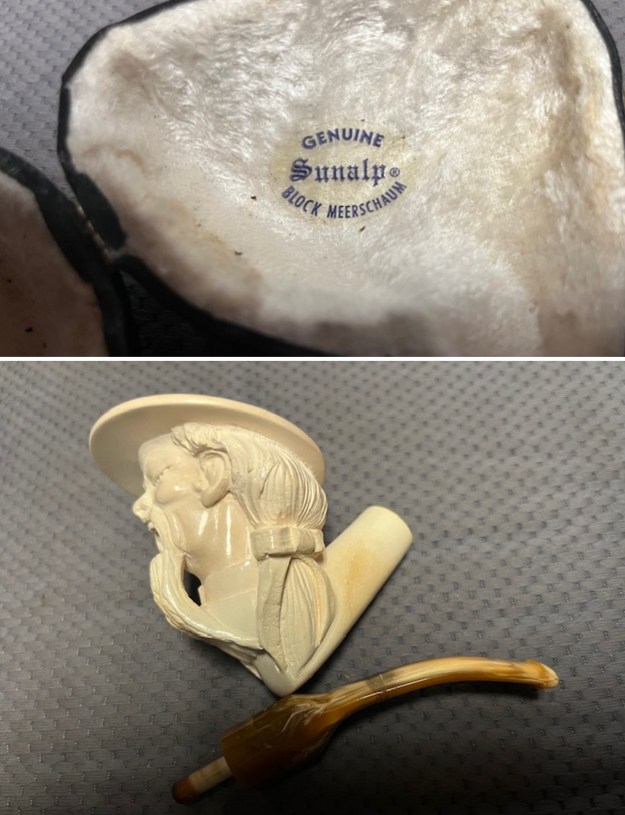
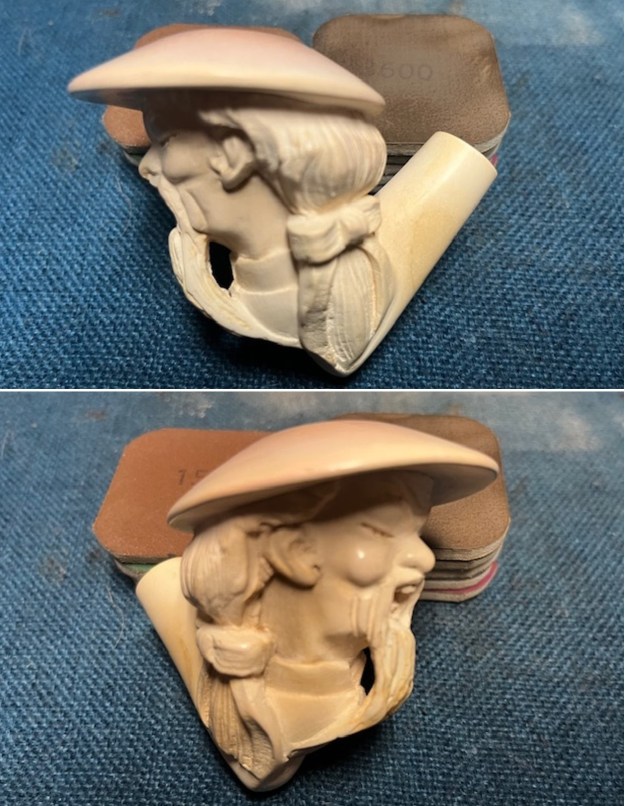
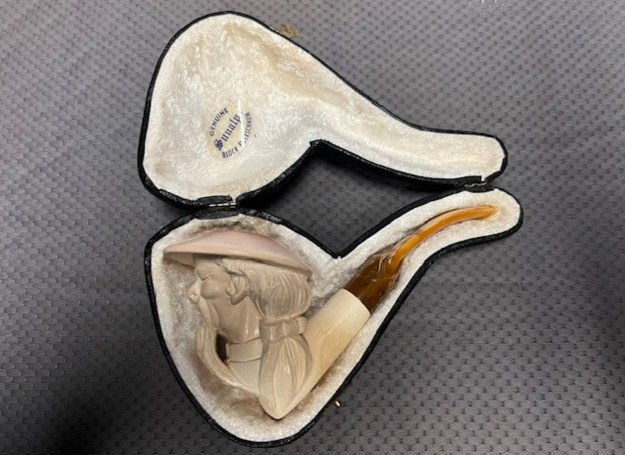
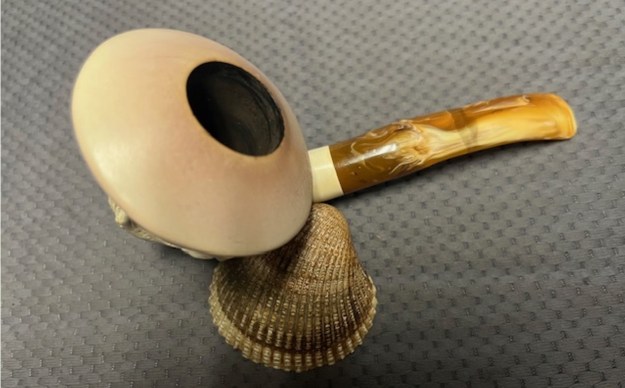
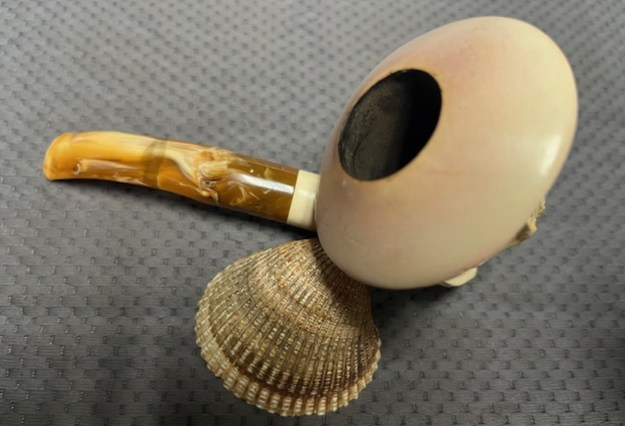
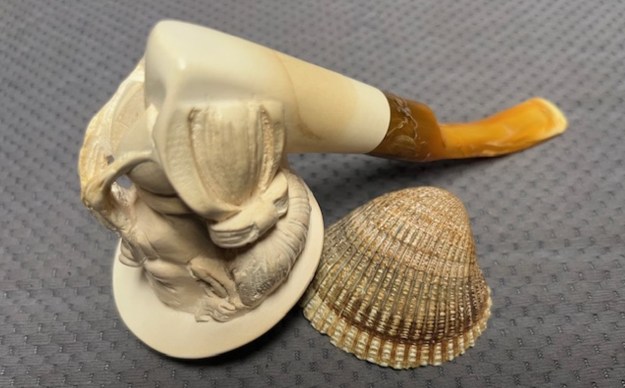
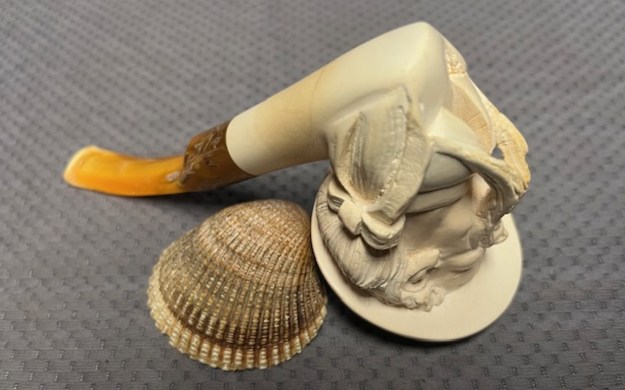
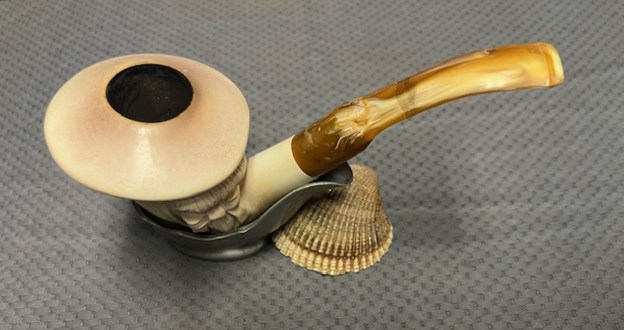
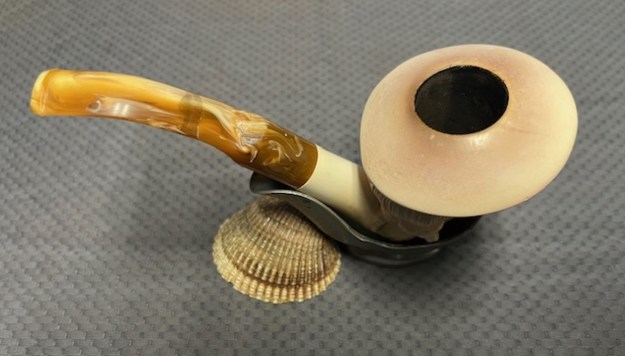
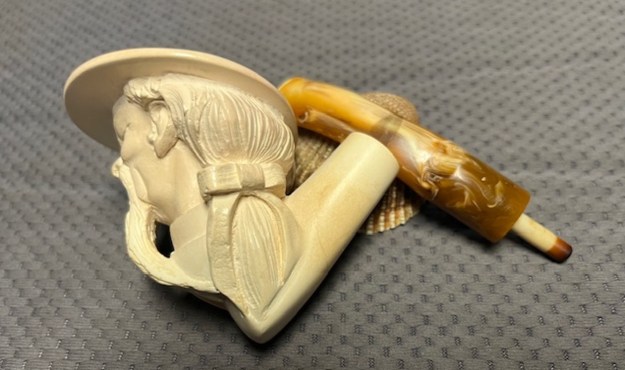
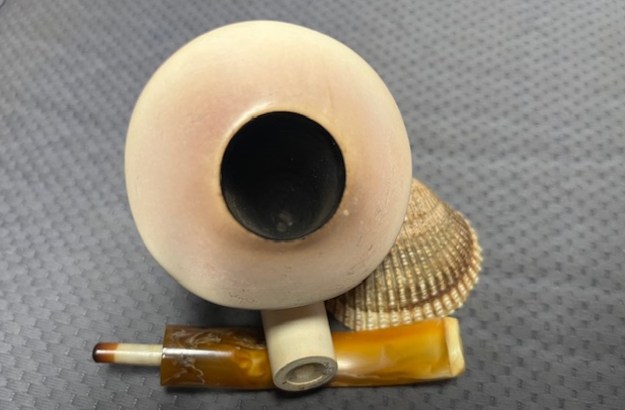
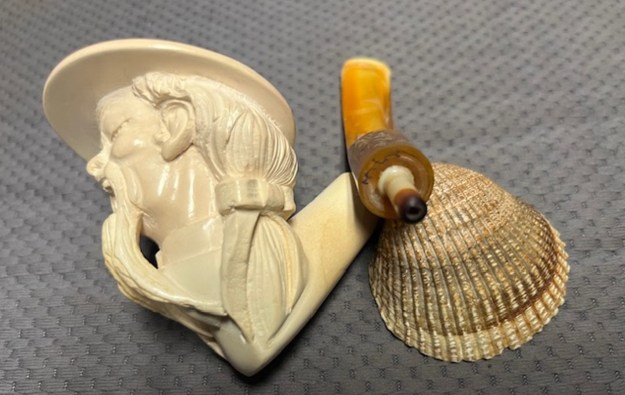
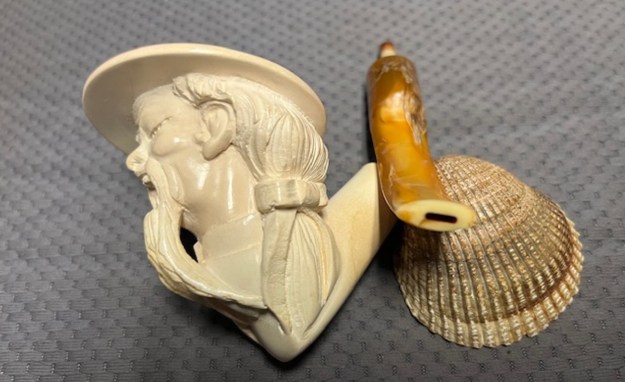
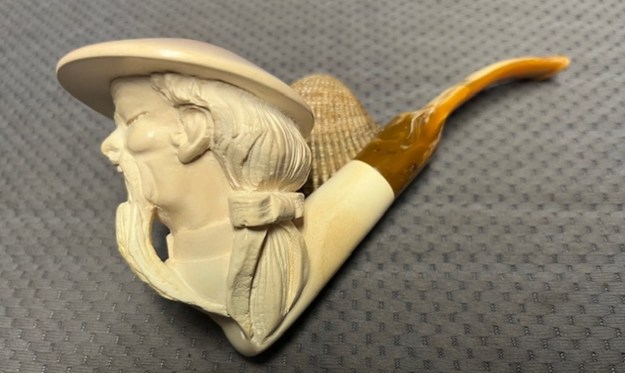
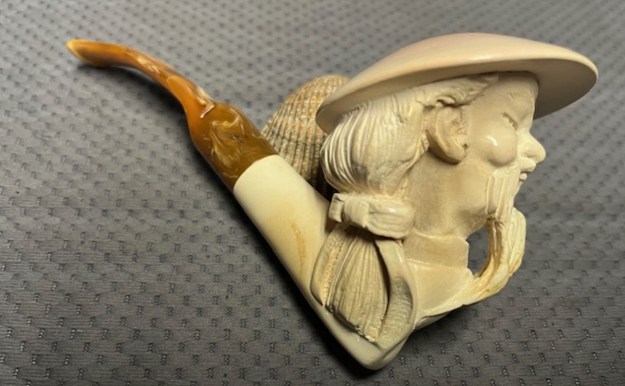
The next pipe on the table is another one that came to us from the seller in Caldwell, Idaho, USA on 07/12/2025. It is a nicely carved Block Meerschaum Figural with a variegated gold/brown acrylic saddle stem. It is in a black leatherette covered case with a cream velour liner. It is in slightly dirty but in good condition as can be seen in the photos below. There is no stamping on the stem or shank. The inside of the case has two stickers – one on the inside of the cream coloured velour lined case that reads Genuine [arched over] Sunalp [underneath it arched] Block Meerschaum. The second sticker reads Sunalp [over] Turkey. I took the pipe out of the case. It has some patina developing on the shank, face and the rim top. The well-carved face looks like a Chinese singer with his mouth open and joyful. The finish was dusty and lightly dirty with grime in the nooks and crannies of the carved features. The bowl had a moderate cake and there was tobacco debris in the bowl. The rim top had a lava coat on the inner edge of the rim top. There is a thin “x” shaped hairline crack on the underside of the shank. It is visible but it is not deep and should not causing any problems. The variegated saddle stem had been broken sometime in its travels but had been well repaired. It is inside and out. I took photos of the pipe before I started working on it. I took photos of the bowl and rim top to show the thickness of the cake and the lava coat on the rim top. The stem photos show the condition of the acrylic saddle stem ahead of the button. You clearly see the repairs on the stem mid stem. It is a solid repair and is has dealt with the damage.The stamping on the sticker on the inside cover of the case is clear and readable as noted above. I took a photo of the pipe with the stem removed to give a sense of the proportions of the pipe. There was nothing listed on either Pipephil’s site or on Pipedia regarding the Sunalps brand. I did a quick google search for the brand and the first item that came up was on the online forum, PipesmokersDens (https://pipesmokersdens.com/threads/sunalp-meerschaum-pipes.1332/). It was taken from vkpipes and this might be the best guess

…our investigations guided us to the US trademark “SUNALP” registered by Erdal Sunalp in Los Gatos, CA. And according to this application filled in 1978 the business was related to “smoking pipes, lighters, and cigar humidor cases”. Also you may find both quite expensive meerschaum block pipes bearing the SUNALP tm and a bit more affordable “SUNALP France” artifacts. Unfortunately, the trade mark is not active since 1990. It woud be hard to believe that this is just an coincidence. It seems we’ve found a quite luxury tobacconist who ordred products from diffrenet countries including such amazing Danish works of art.

Google also provided an AI summary of the information on the Sunalp brand. I have copied the following information from that summary below.

“Sunalp” Meerschaum refers to high-quality, carved pipes sold under the Sunalp brand, a US trademark associated with Erdal Sunalp from Los Gatos, CA, known for sourcing exquisite Turkish block meerschaum, often featuring intricate carvings of figures or animals, making them collector’s items valued for their craftsmanship and smoking properties. 

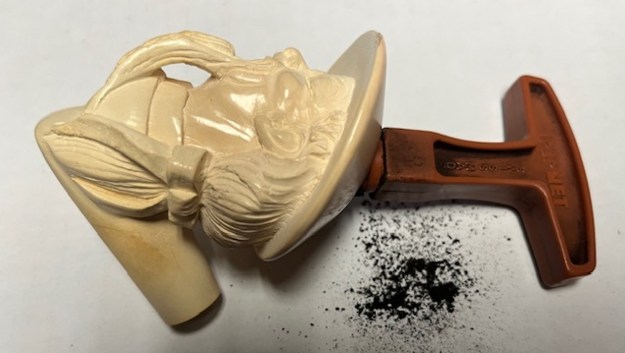
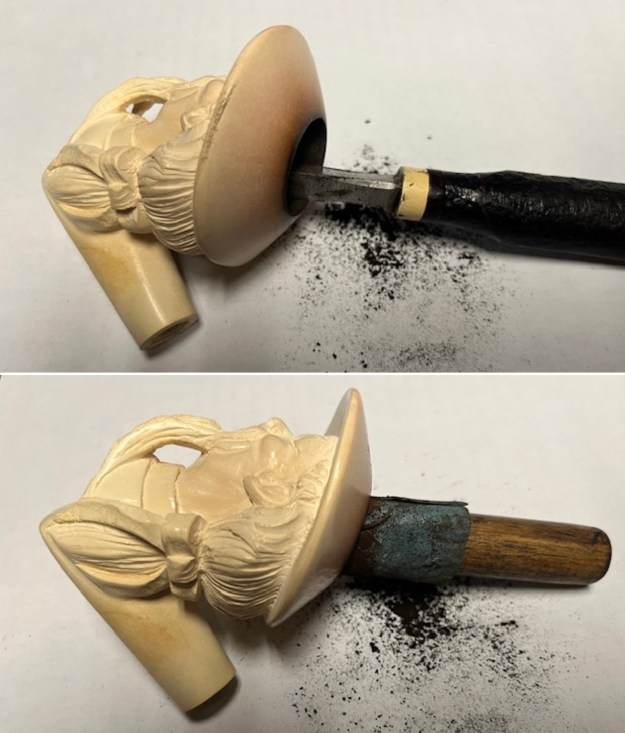
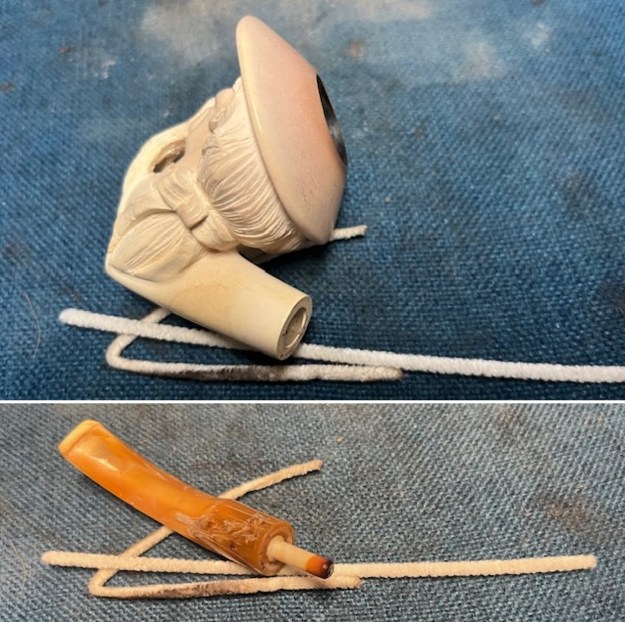
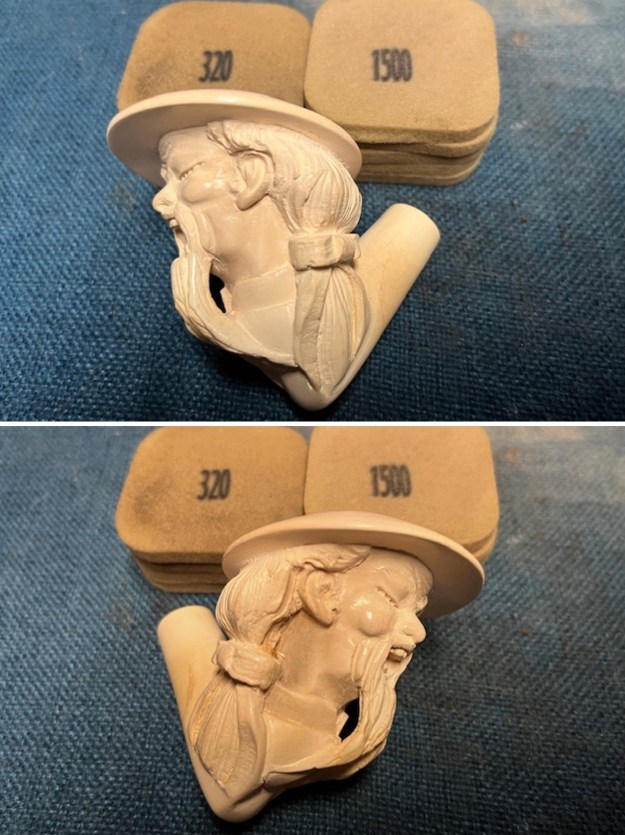
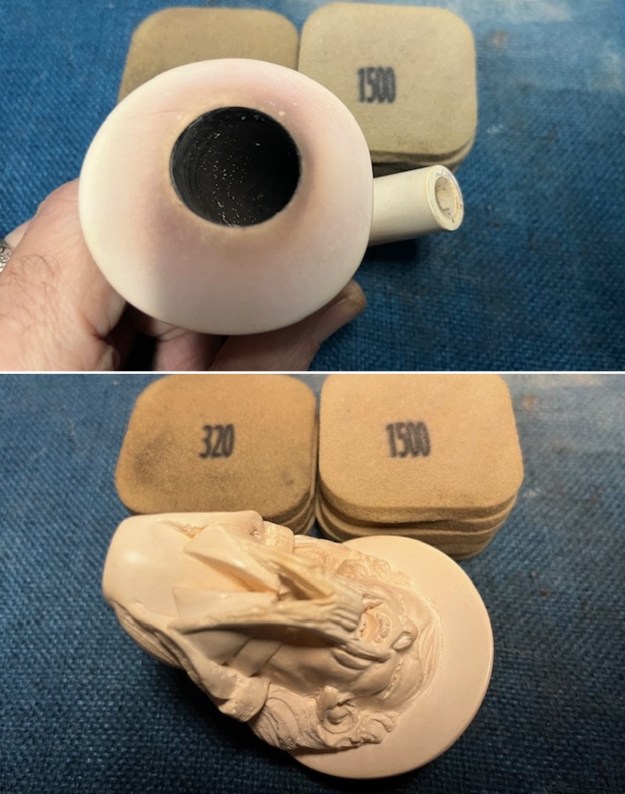
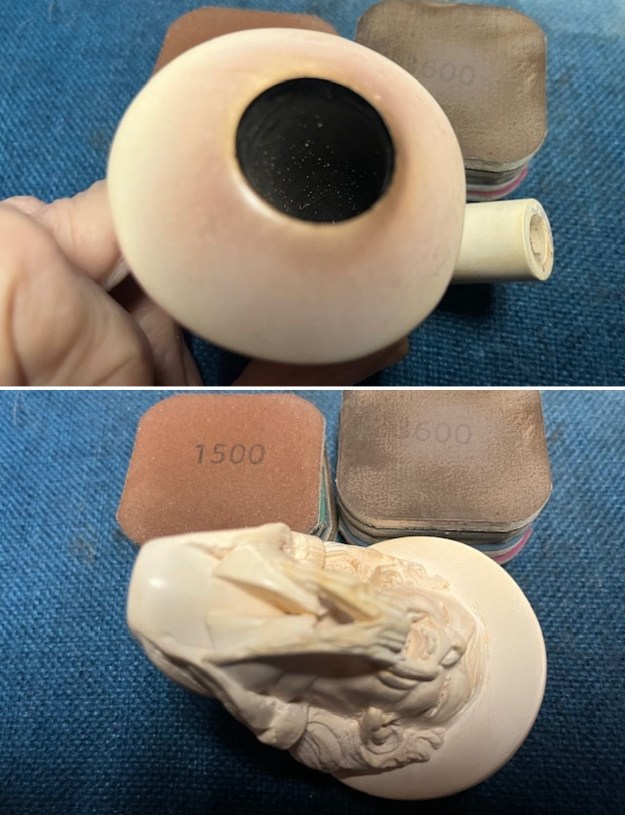
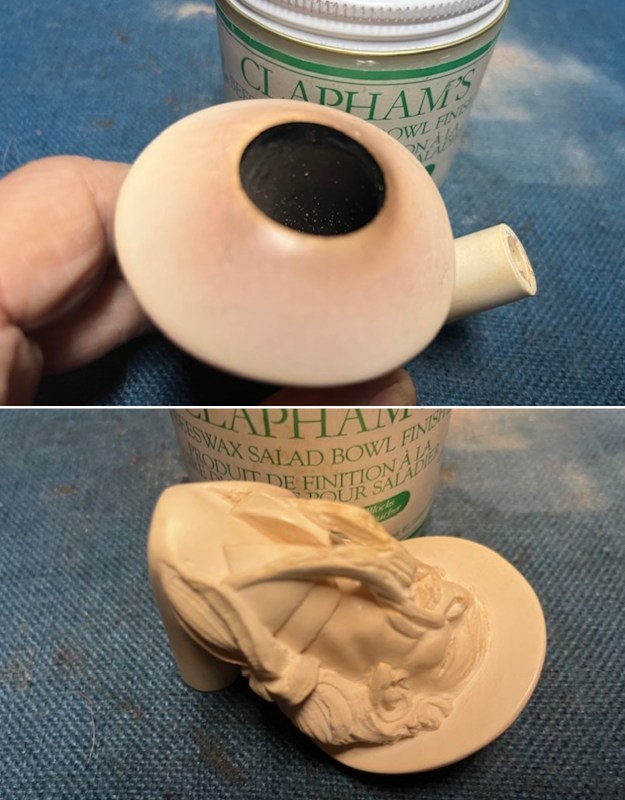
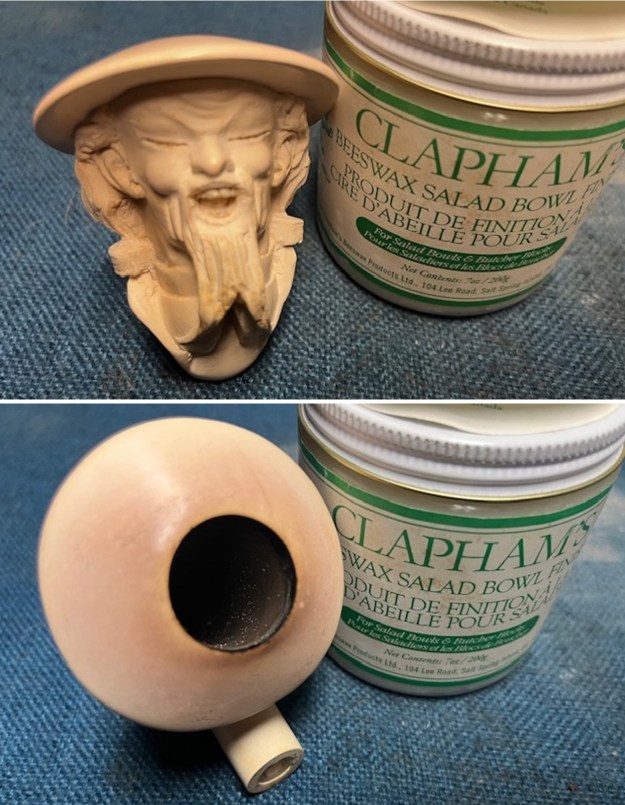
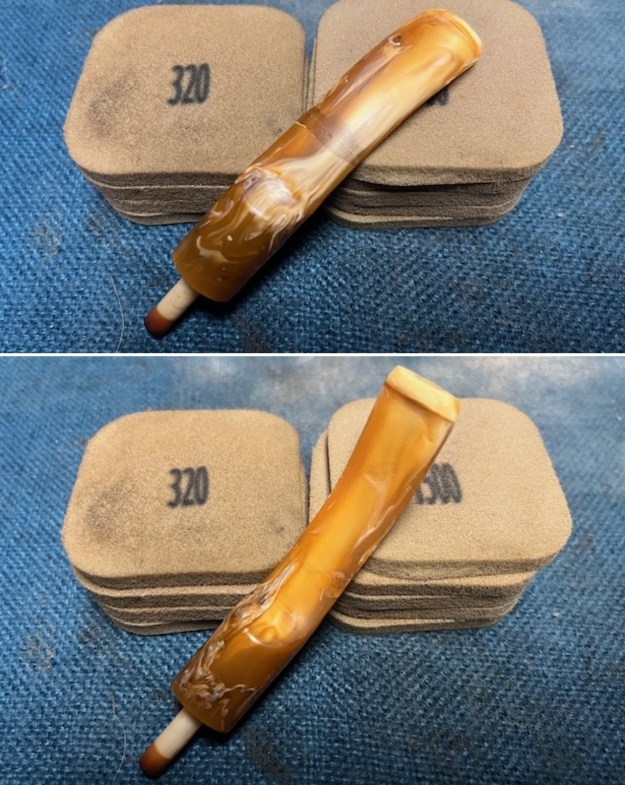
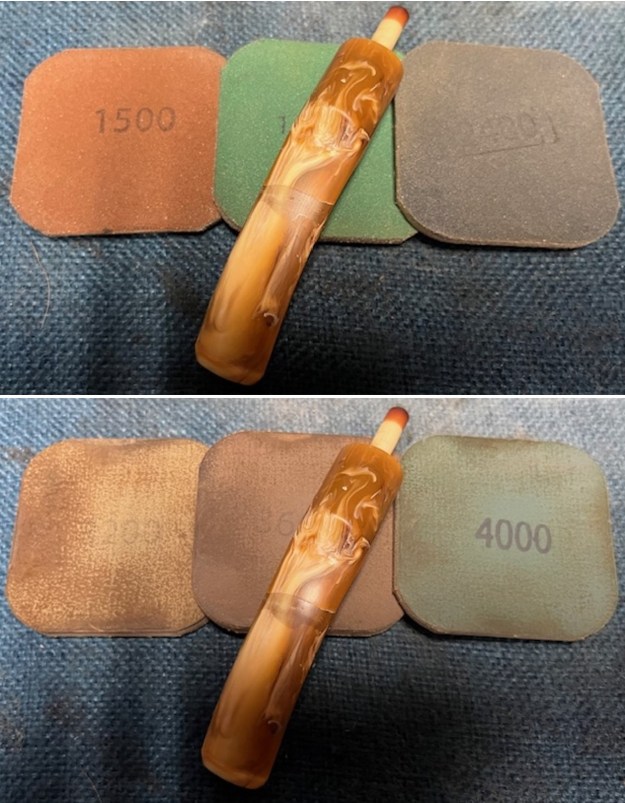
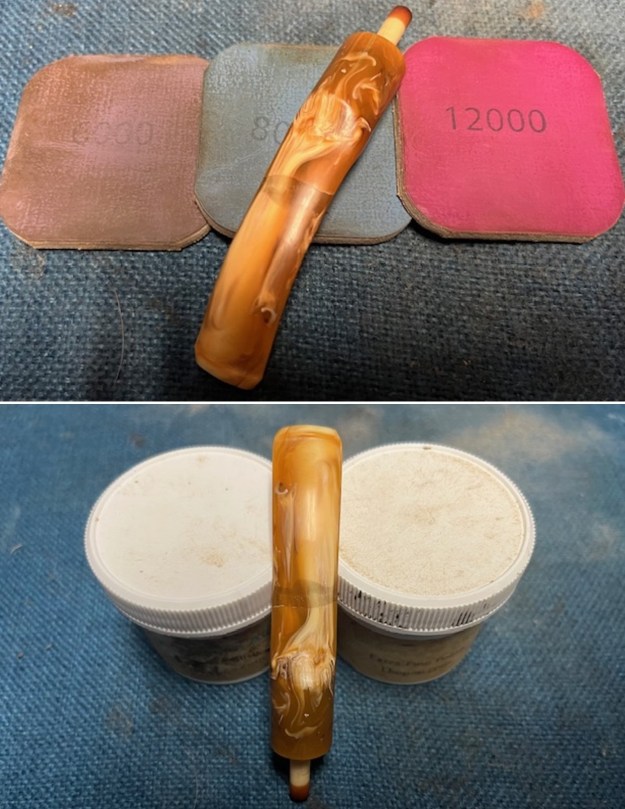
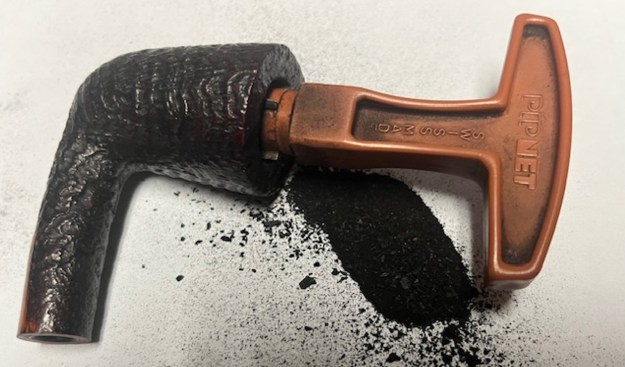
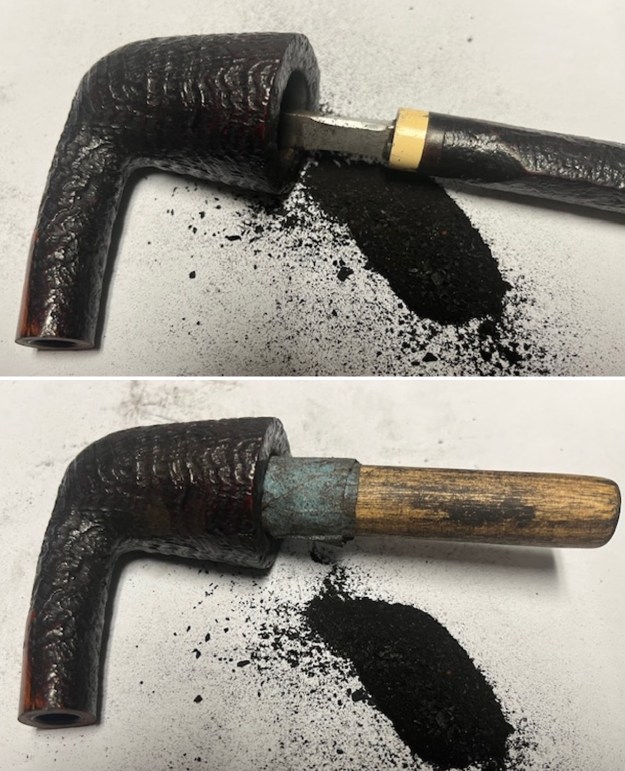
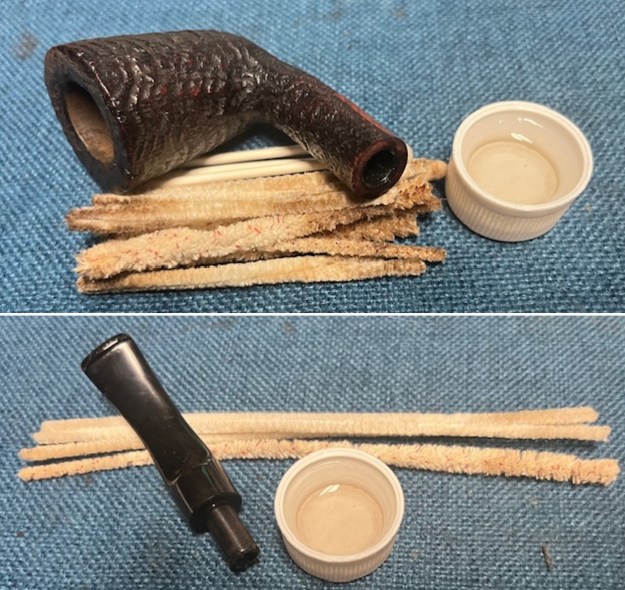
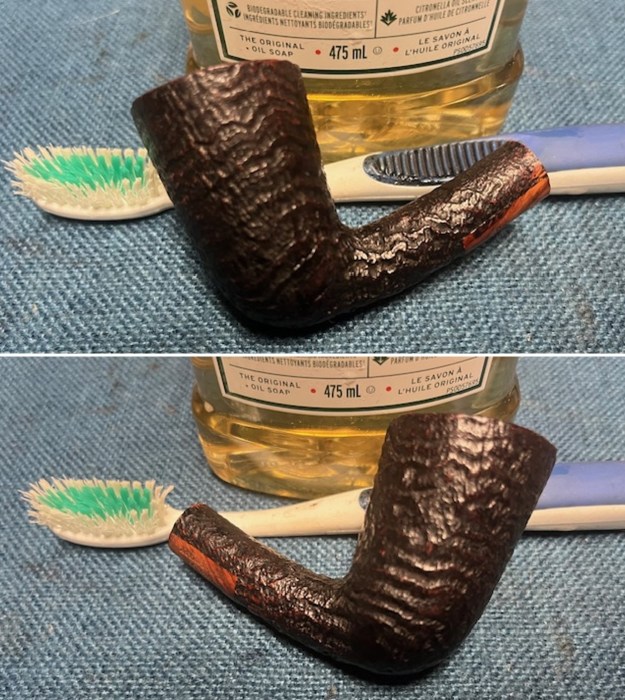
Now it was time to work on the pipe itself. I reamed the bowl with a PipNet pipe reamer using the cutting heads 2 and 3. I finished the reaming with a Savinelli Fitsall Pipe Knife. I sanded the walls of the bowl with 220 grit sandpaper wrapped around a piece of dowel. I cleaned out the inside of the shank and the airway in the stem with alcohol, cotton swabs and regular pipe cleaners.I dry sanded the bowl and the light lava on the rim top and edges with 320-3500 grit 2×2 inch sanding pads to remove the remaining scratches and marks on the rim top. I wiped it down with a damp cloth after each sanding pad to remove the sanding dust and debris. It started looking better. I polished the meerschaum with micromesh because it was in such good condition. I dry sanded it with 1500-12000 grit micromesh sanding pads. I wiped the bowl down after each sanding pad with a damp cloth. I rubbed the briar down with Clapham’s Beeswax/Carnauba Wax. I worked it into the grooves with qtips and into the smooth portions with my fingertips. The product works to clean, enliven and raise a shine in the meerschaum. I let it sit for 10 minutes while I worked on the stem. After the time passed I buffed it with a cotton cloth to deepen the shine. The bowl took on a rich shine. I set the bowl aside and turned my attention to the stem. I dry sanded the surface with 320-3500 grit 2×2 inch pads to further blend in the repairs to the acrylic surface. I wiped the stem down with an Obsidian Oil cloth after each sanding pad. It began to take on a rich shine.I set the bowl aside and turned my attention to the stem. I polished the stem with micromesh sanding pads – dry sanding with 1500-12000 grit pads. I wiped the stem down after each sanding pad with Obsidian Oil. I polished it with Before & After Pipe Stem Polish – both Fine and Extra Fine. I gave it a coat of Obsidian Pipe Stem Oil. It works to protect the stem from oxidizing. I set it aside to dry. I am excited to put the finishing touches on this Sunlap Block Meerschaum Chinese Singing Worker. I put the pipe back together and buffed it with Blue Diamond on the buffing wheel. I gave the bowl and the stem multiple coats of carnauba wax. I buffed the pipe with a clean buffing pad to raise the shine and hand buffed it with microfiber cloth to deepen the shine. It is fun to see what the polished bowl looks like with the polished black, fancy turned vulcanite stem was beautiful. This Sunlap Meerschaum Chinese Singing Worker is nice looking and the pipe feels great in my hand. It is light and well balanced. Have a look at it with the photos below. The dimensions are Length: 5 ½ inches, Height: 3 inches, Outside diameter of the bowl: 2 ½ inches, Chamber diameter: 7/8 of an inch. The weight of the pipe is 1.6 9 ounces/49 grams. It is a beautiful pipe and one that I will be putting in the Meerschaum Section on the rebornpipes store. Thanks for walking through the cleanup with me as I worked over this pipe.

As always, I encourage your questions and comments as you read the blog. Thanks to each of you who are reading this blog. Remember we are not pipe owners; we are pipe men and women who hold our pipes in trust until they pass on into the trust of those who follow us.

Restoring a Boxed Stanwell Made in Denmark Compact RO25 Pocket Dublin


by Steve Laug

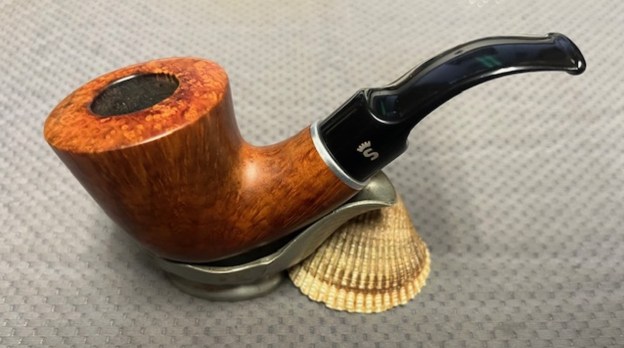
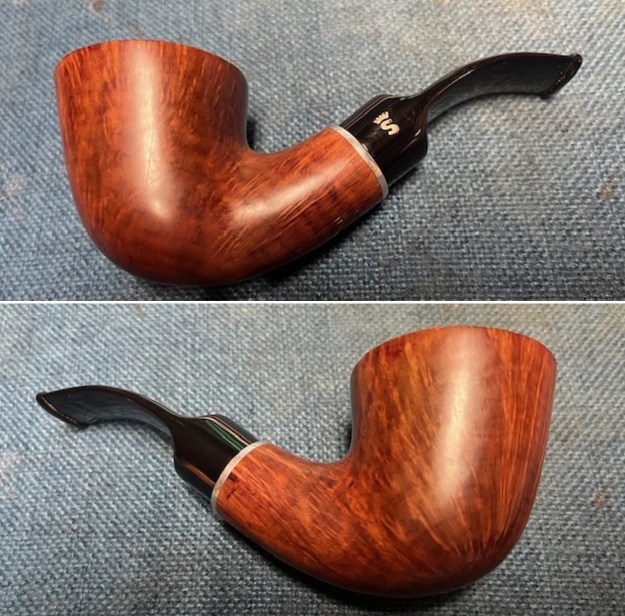
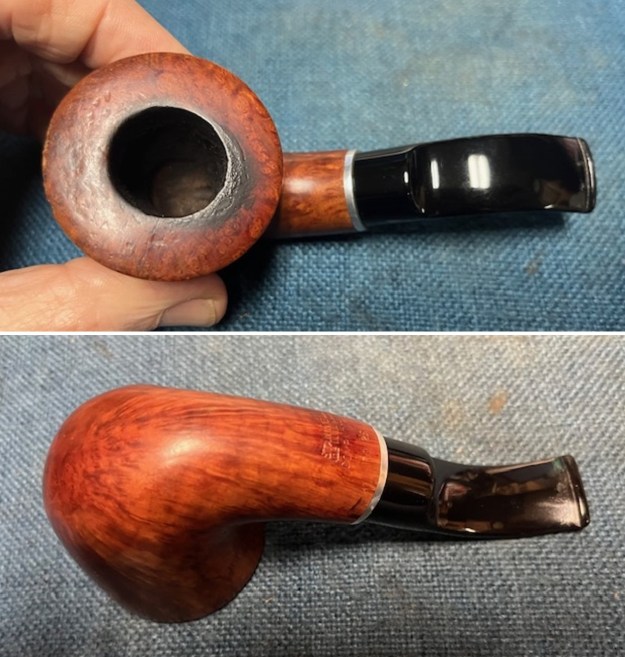
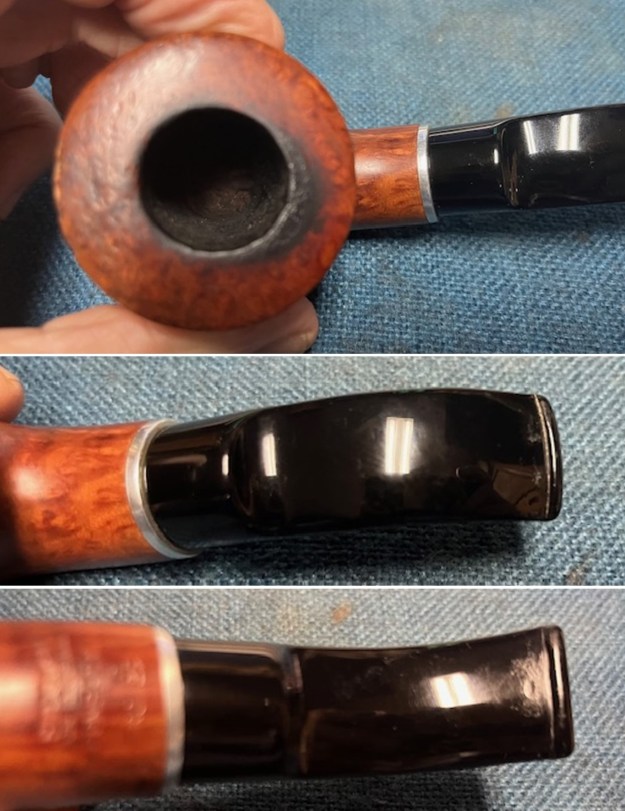
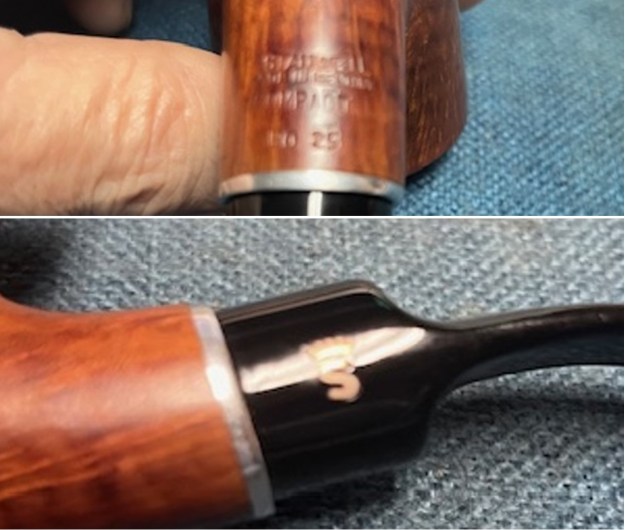
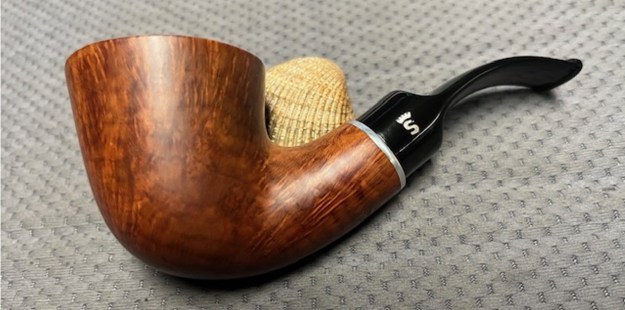
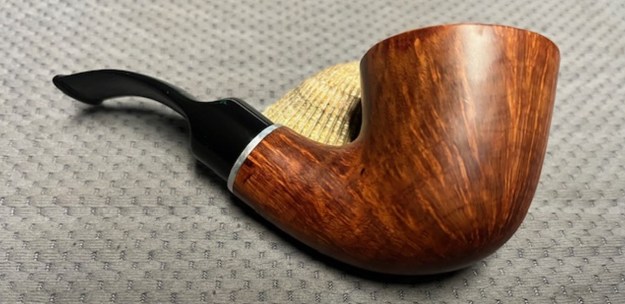
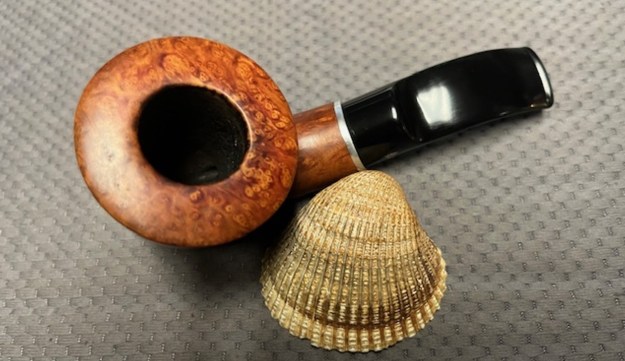
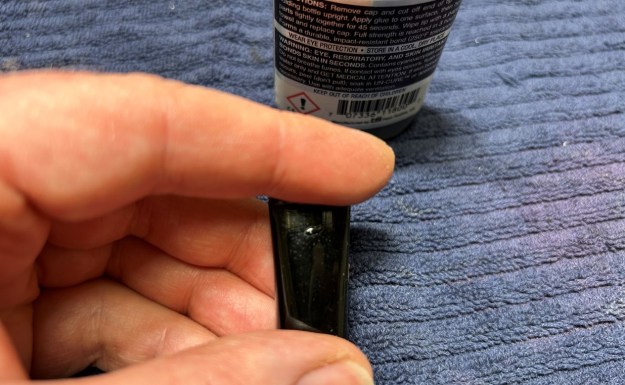
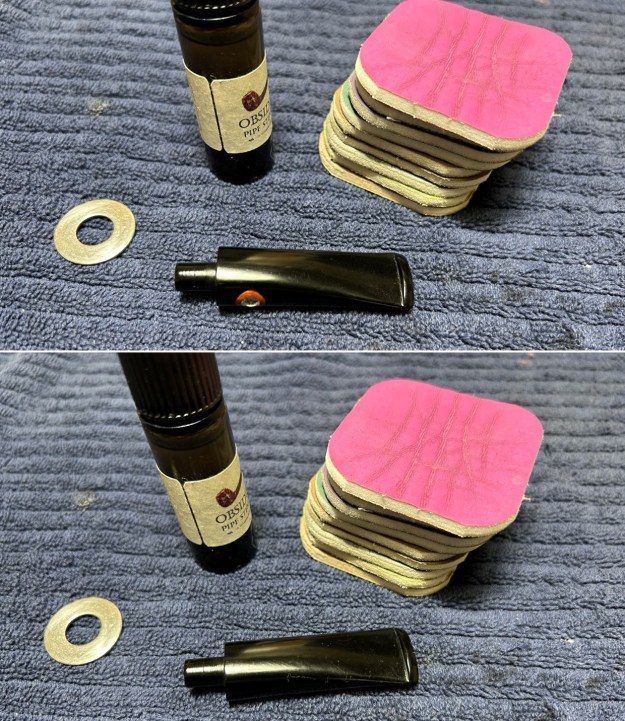
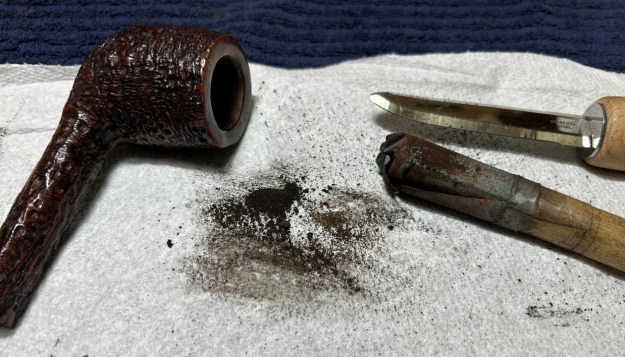
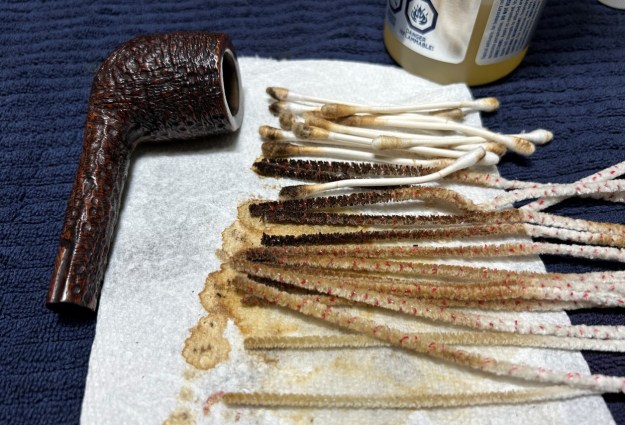
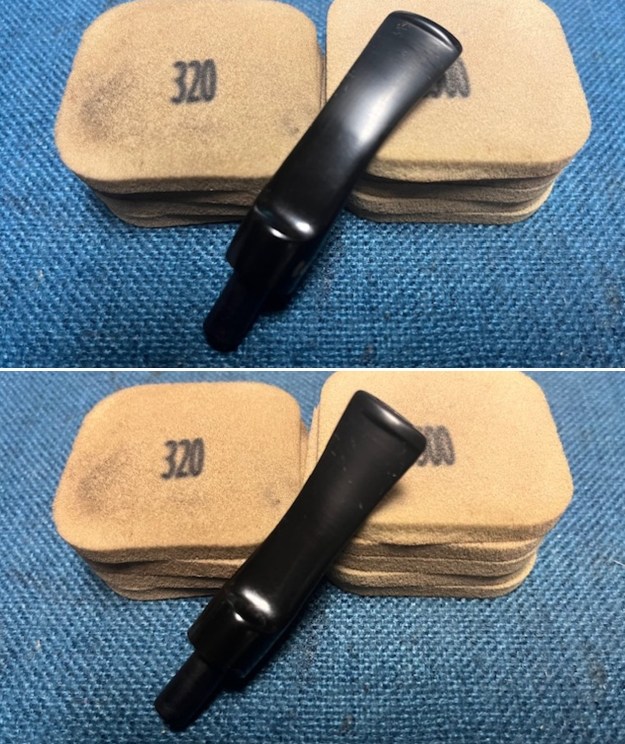
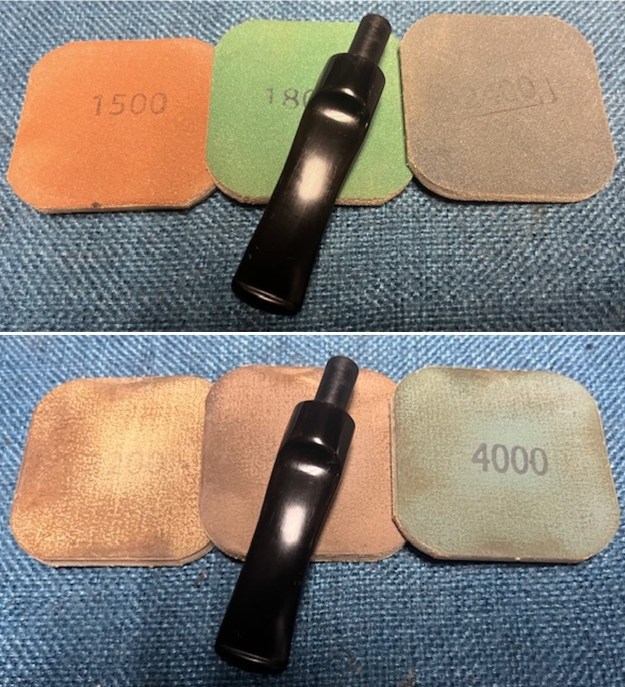
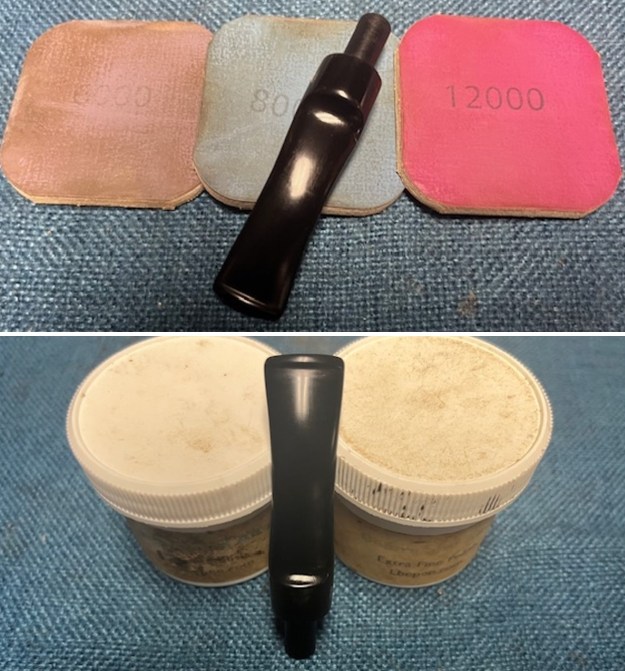
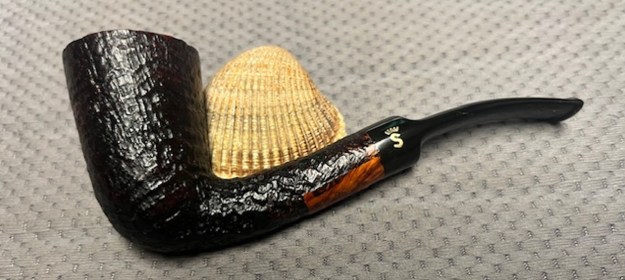
I moved on to work on another pipe. The next one I chose was a Stanwell. We purchased this from our contact in Copenhagen, Denmark on 02/16/2023. The stamping on the pipe was very clear and readable. On the underside of the shank it reads Stanwell [over] Made in Denmark [over] Compact [over] RO 25. The stem had a gold stamped Crowned “S” Stanwell logo on the left side of the saddle stem. The bowl had a thick cake that overflowed onto the rim top and edges in thick lava. There were some nicks in the rim top as well as some nicking on the front outer edge. The finish was in okay condition underneath grime and oils ground into the surface of the bowl. The stem was dirty acrylic and had light tooth marks and chatter on both sides ahead of the button. It showed a lot of promise through the grime. The pipe was well used and was obviously someone’s favourite pipe! I took photos of the pipe before I started my clean up work. I took photos of the bowl and rim top to show the thickness of the cake and the lava coat on the rim top. The stem photos show the condition of the acrylic saddle stem ahead of the button. The stamping on the underside of the shank is clear and readable as noted above. I also took a photo of the gold Crown S on the left side of the stem. I took a photo of the pipe with the stem removed to give a sense of the proportions of the pipe. The mortise is lined with a nylon liner that makes for a snug and smooth fit in the shank. I started my work on the pipe. I reamed the bowl with a PipNet pipe reamer using the cutting heads 2 and 3. I finished the reaming with a Savinelli Fitsall Pipe Knife. I sanded the walls of the bowl with 220 grit sandpaper wrapped around a piece of dowel. I cleaned up the inside edge of the rim and the rim top with a piece of 220 grit sandpaper. I was able to remove the thick lava coat and clean up the outer edge of the bowl and nicks on the rim top.I cleaned out the inside of the shank and the airway in the stem with alcohol, cotton swabs and both bristle and regular pipe cleaners.I scrubbed the bowl and shank with a tooth brush and some undiluted Murphy’s Oil Soap. I also worked it over with a brass bristle wire brush and the soap. I rinsed it off with warm water to remove the dust and soap from the finish. I dried it off with a soft cloth and it looked much better. I sanded the bowl and rim top with 320-3500 grit 2×2 inch sanding pads to remove the remaining scratches and marks on the rim top. I wiped it down with a damp cloth after each sanding pad to remove the sanding dust and debris. I polished the briar with micromesh because it was in such good condition. I polished it with 1500-12000 grit micromesh sanding pads. I wiped the bowl down after each sanding pad with a damp cloth. I rubbed the briar down with Before & After Restoration Balm. I worked it into the briar with my fingertips. The product works to clean, enliven and preserve the briar. I let it sit for 10 minutes while I worked on the stem. After the time passed I buffed it with a cotton cloth to deepen the shine. The briar really comes alive with the balm. I set the bowl aside and turned my attention to the stem. I filled in the tooth marks in the top and underside of the stem near the button with black CA glue. Once it cured I flattened the repairs out with small files. I sanded them with a folded piece of 220 grit sandpaper to further blend them into the stem surface. I sanded the stem surface with 320-3500 grit 2×2 inch pads to further blend in the repairs to the acrylic surface. I wiped the stem down with an Obsidian Oil cloth after each sanding pad.I polished the stem with micromesh sanding pads – dry sanding with 1500-12000 grit pads. I wiped the stem down after each sanding pad with Obsidian Oil. I polished it with Before & After Pipe Stem Polish – both Fine and Extra Fine. I gave it a coat of Obsidian Pipe Stem Oil. It works to protect the stem from oxidizing. I set it aside to dry. I am excited to put the finishing touches on this Stanwell Made in Denmark Stanwell Compact RO 25 Dublin. I put the pipe back together and buffed it with Blue Diamond on the buffing wheel. I gave the bowl and the stem multiple coats of carnauba wax. I buffed the pipe with a clean buffing pad to raise the shine and hand buffed it with microfiber cloth to deepen the shine. It is fun to see what the polished bowl looks like with the polished black, fancy turned vulcanite stem was beautiful. This Stanwell Made in Denmark Compact Dublin is nice looking and the pipe feels great in my hand. It is light and well balanced. Have a look at it with the photos below. The dimensions are Length: 5 inches, Height: 2 inches, Outside diameter of the bowl: 1 ¾ inches, Chamber diameter: ¾ of an inch. The weight of the pipe is 2.19 ounces/63 grams. It is a beautiful pipe and one that I will be putting in the Danish Pipemakers Section on the rebornpipes store. Thanks for walking through the cleanup with me as I worked over this pipe.
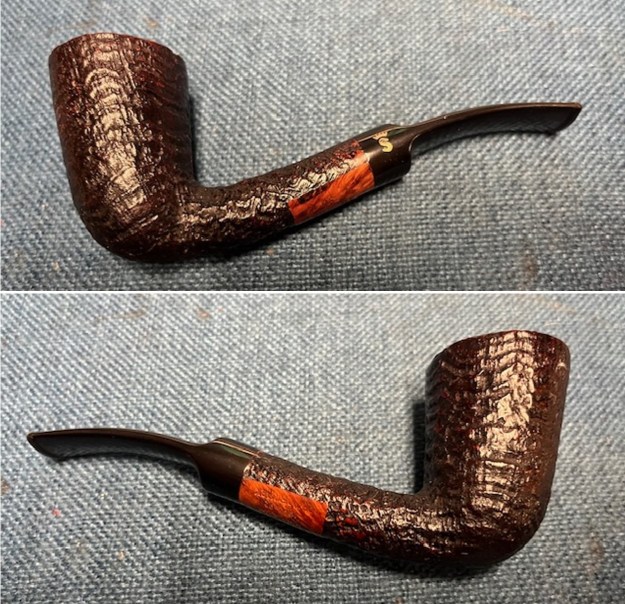
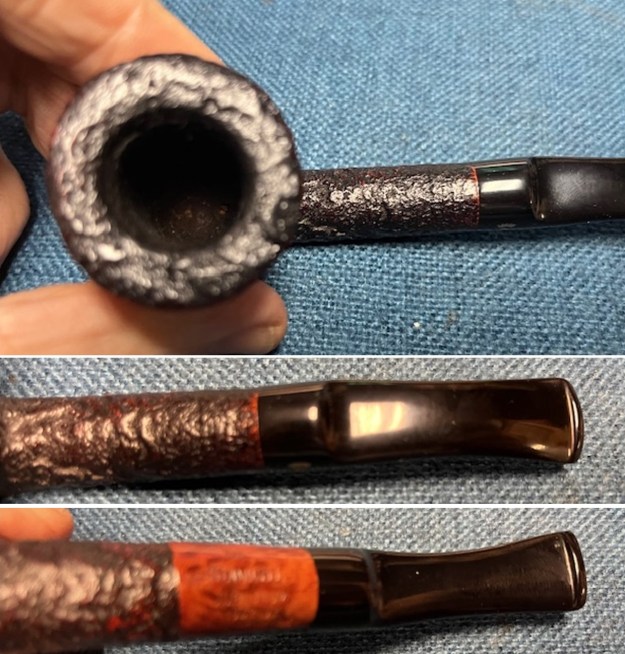
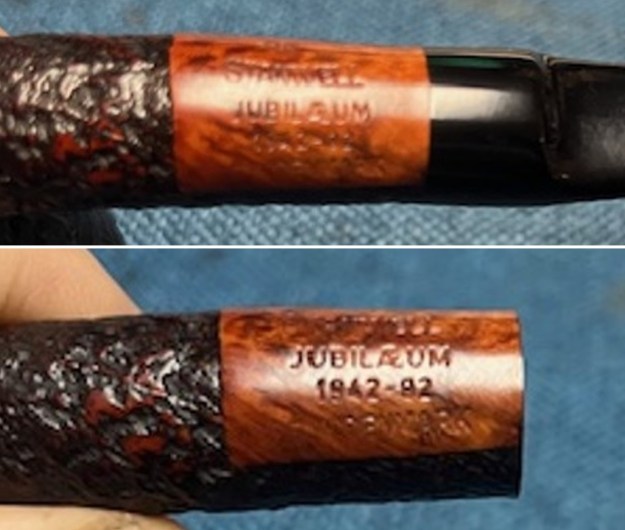
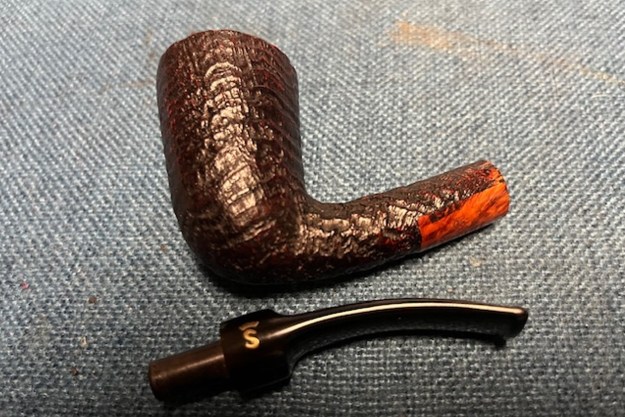
As always, I encourage your questions and comments as you read the blog. Thanks to each of you who are reading this blog. Remember we are not pipe owners; we are pipe men and women who hold our pipes in trust until they pass on into the trust of those who follow us.
Restoring a Handsome, Classic Falcon 7D


by Kenneth Lieblich

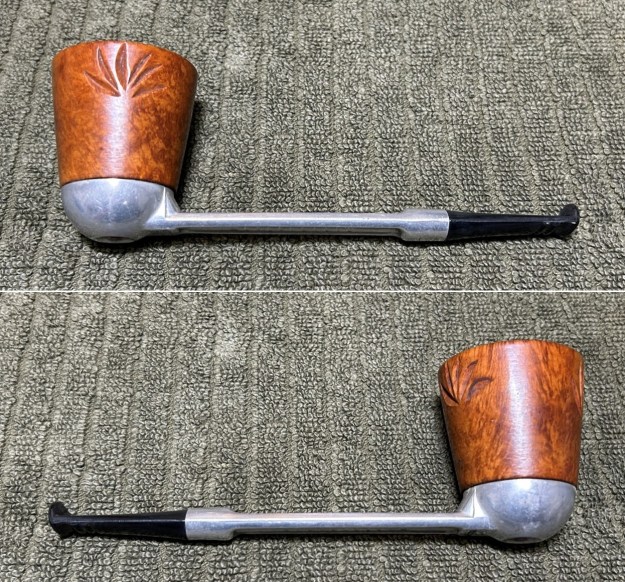
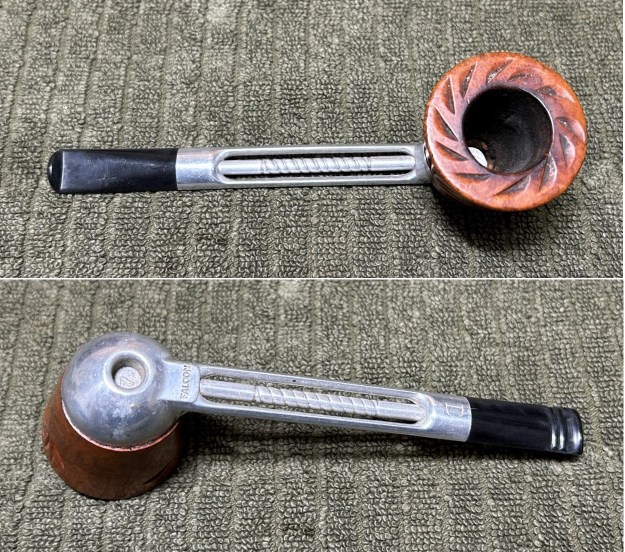
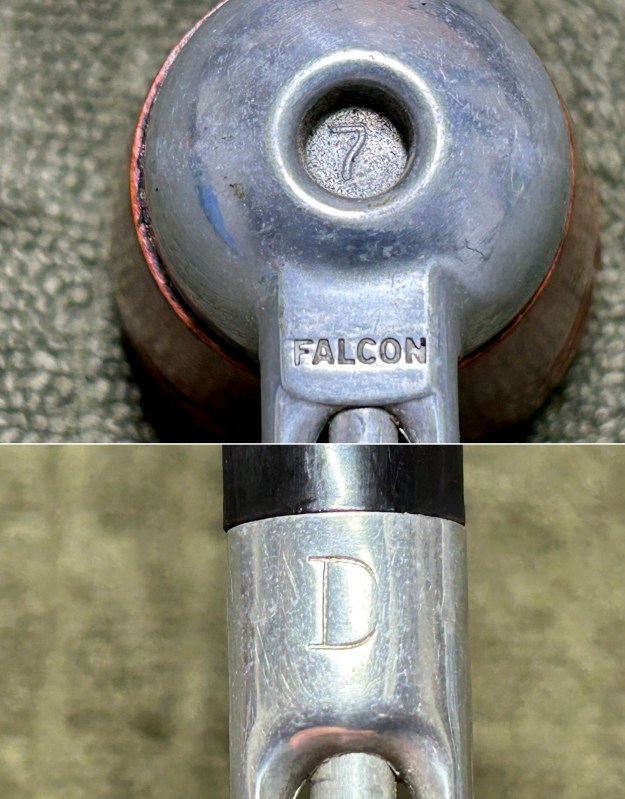
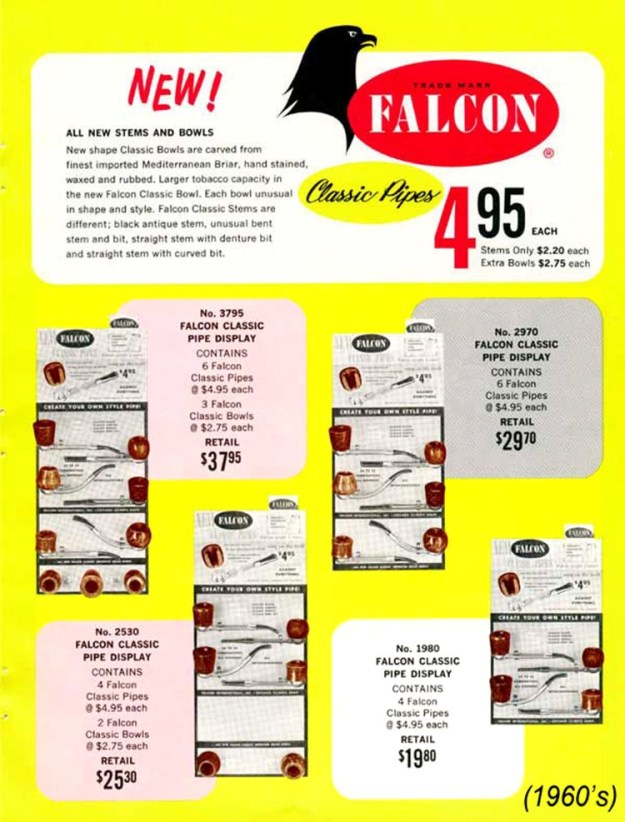
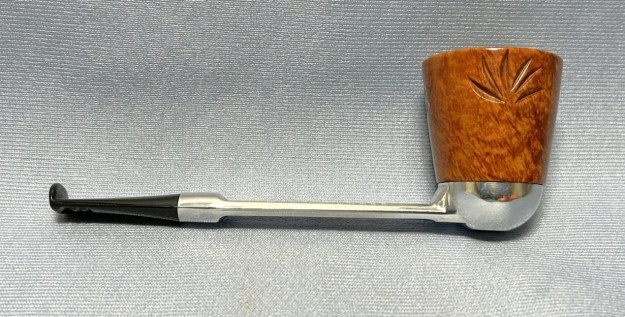
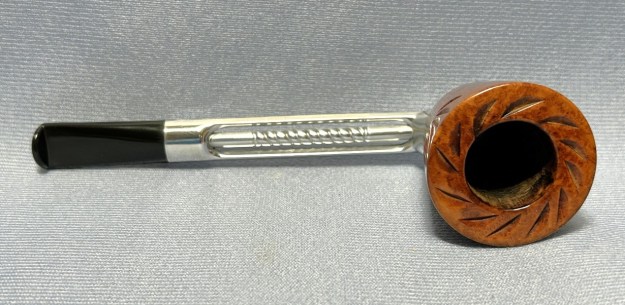
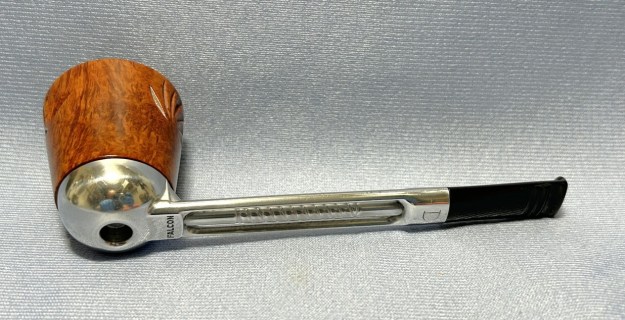
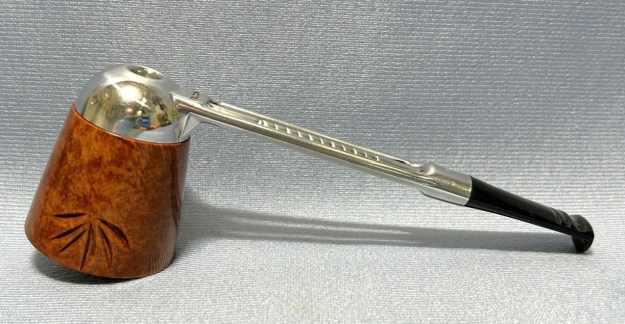
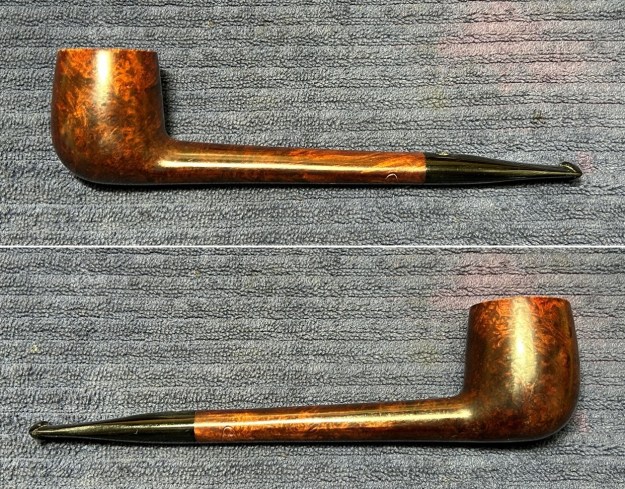
If I remember correctly, this pipe came in a lot from the US of A last year. I don’t really remember the details of its acquisition, but no matter. Falcons are always fun, good-looking pipes. This one was already in good shape, it just looked tired and worn. This particular Falcon has a straight shank and a carved, Dublin-style bowl. The stem has a nice dental bit. Let’s have a look at the marks. On the underside of the bowl, engraved in the metal, is the word Falcon. Also engraved, inside the centre circle, is the shape number 7. At the opposite end of the shank, near the stem, is engraved the letter D. The number 7 is the mould number from the factory and the D indicates that this pipe has a dental bit (as previously mentioned). The lack of a country-of-origin mark indicates that this one was made in the USA.Looking into the background of Falcon Pipes, my first stop was SmokingMetal.co.uk – a very fine resource for all things related to metal pipes. Here are a few snippets:
There are an incredible number of combinations of Falcon pipes. many variants of the stems and of the bowls. All I can hope to do here is to show some of them. Some of course are no longer avaliable but very many are. Contrary to most descriptions you will see, the smoke tube is not a twisted alloy tube, but a tube that has been scrolled to increase the surface area for cooling.

There are at least three distinct eras of Falcon production, those stamped under the stem with just the single word ‘Falcon’ indicating a USA made pipe, those with ‘Falcon Ireland'( indicating, or it ought to, that the casting originated in Ireland but actually only some bowls originated in Ireland) and those with ‘Falcon Made in England’ which does tell us where that model actually originated from. The bowls come in an incredible range of shapes and finishes, but can always be pinned down as Falcon as they have a 4 start thread, enabling a quarter turn to lock them on the stem. Very, very few other makes have this feature. The numbers and letters under the humidome are mould numbers.

Pipedia has some good information too (which you can find here). Here is a brief summary of Falcon history:

The Falcon pipe was created in 1936 by the American engineer Kenly Bugg. However during WWII the production of the Falcon was limited. In 1949 George Hunt took over production and marketing and by 1954 6 million Falcon pipes had been sold in the U.S.A. By 1961 production started in England. In 1964 the Alco was launched. In 1967 the Brentford was launched but in 1979 it was withdrawn from the market. In 1968 production of the Falcon in Chicago, U.S.A. stopped. The Falcon International was introduced in 1977, which featured a removable mouth piece and filter.

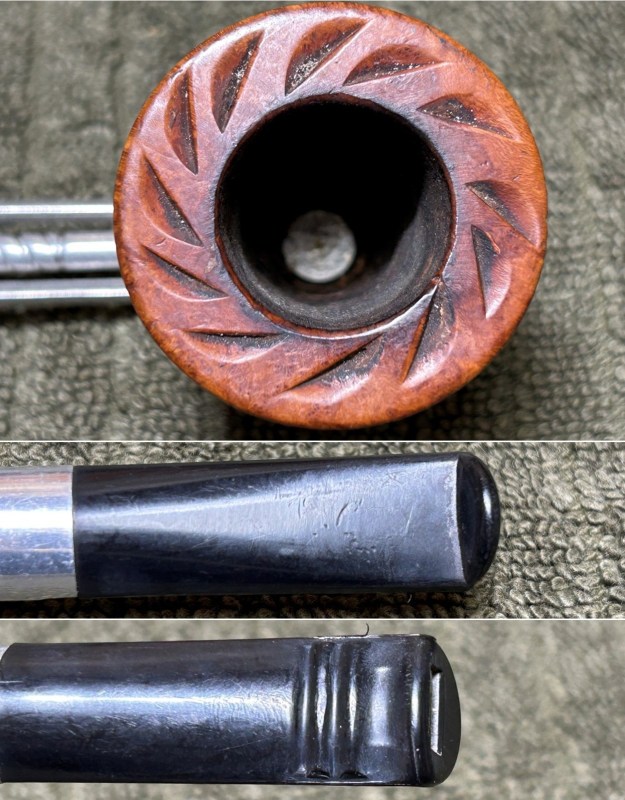
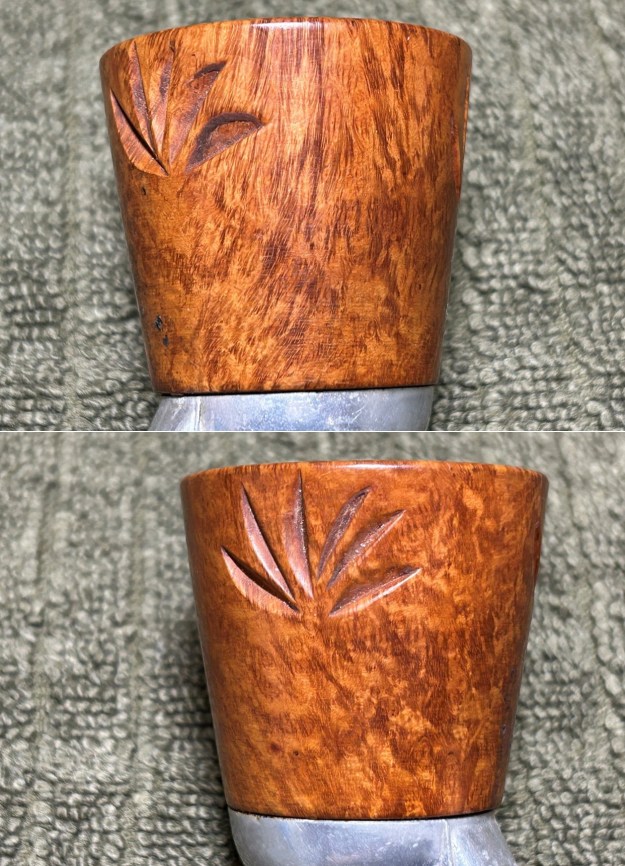
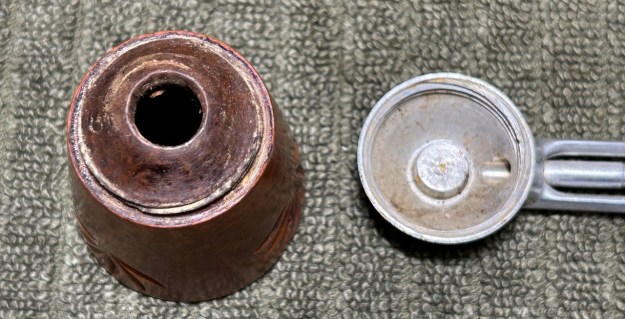
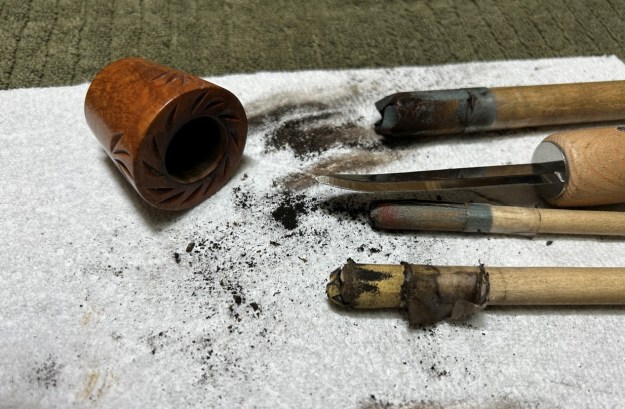
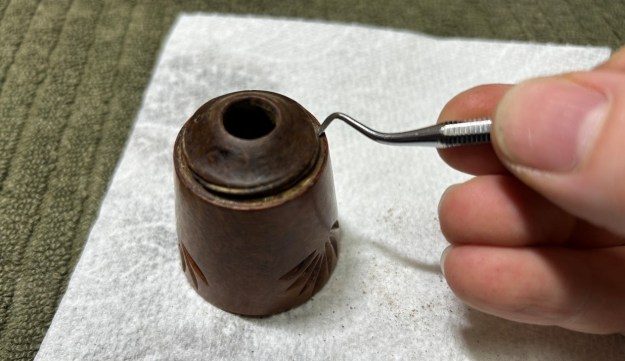
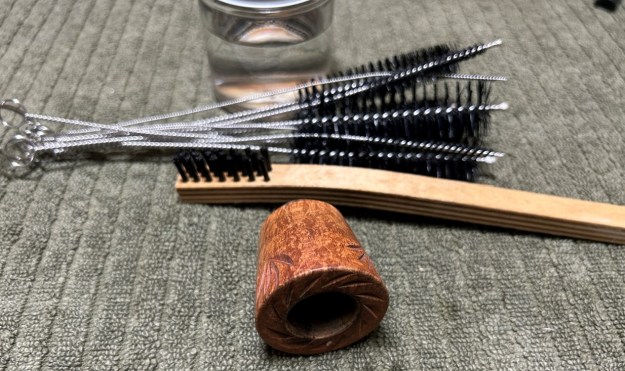
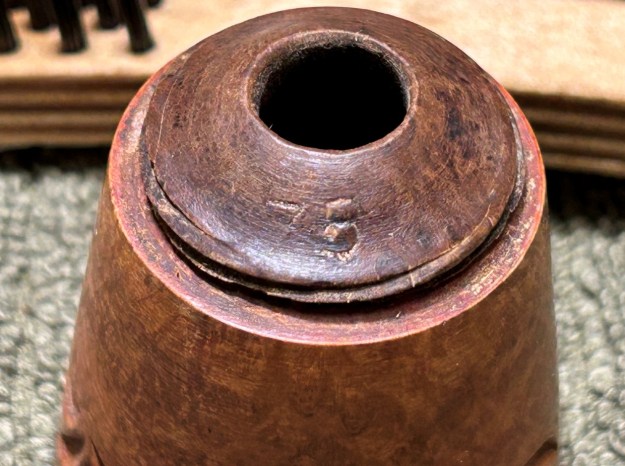
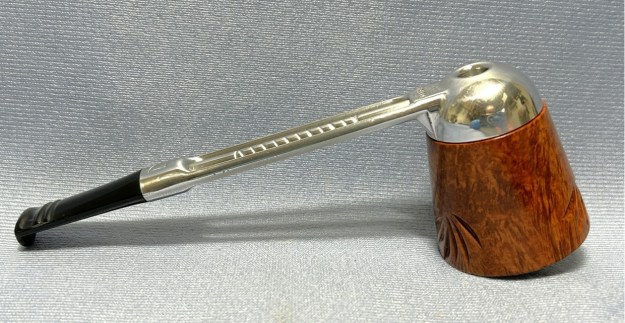
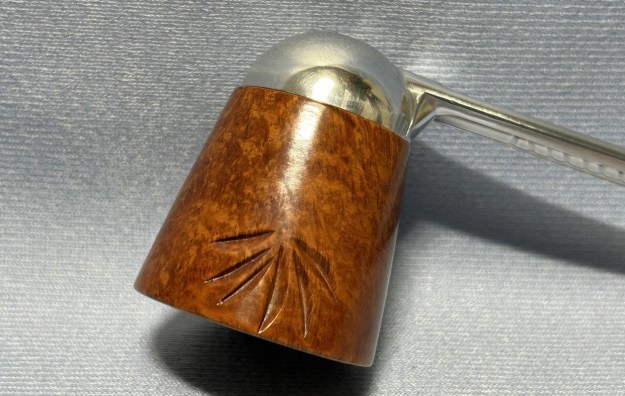
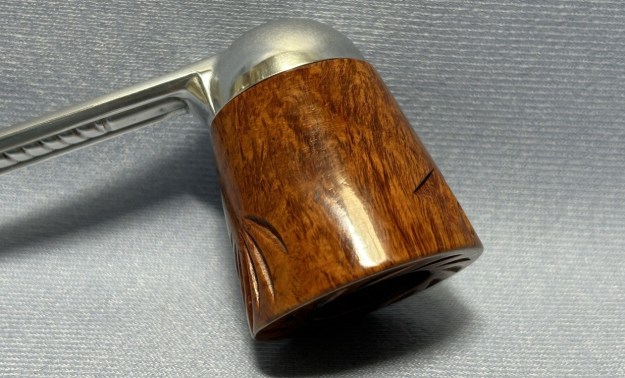
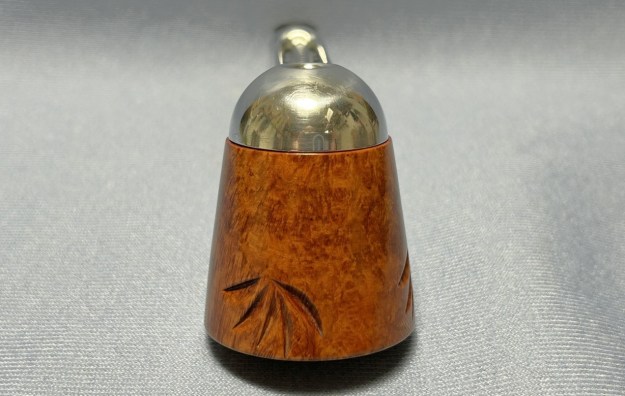
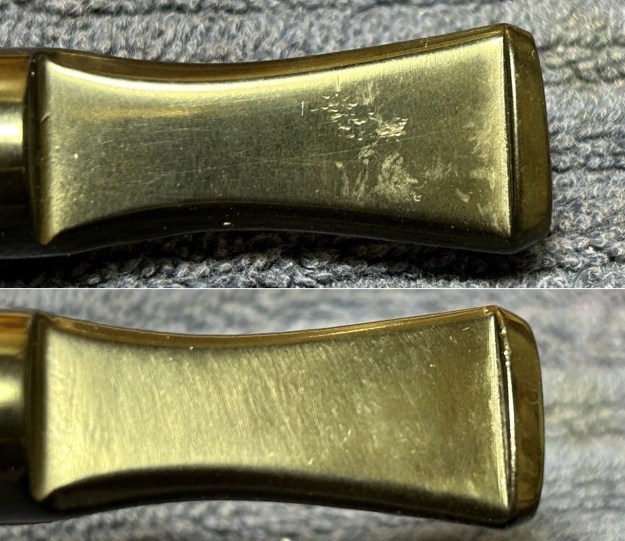
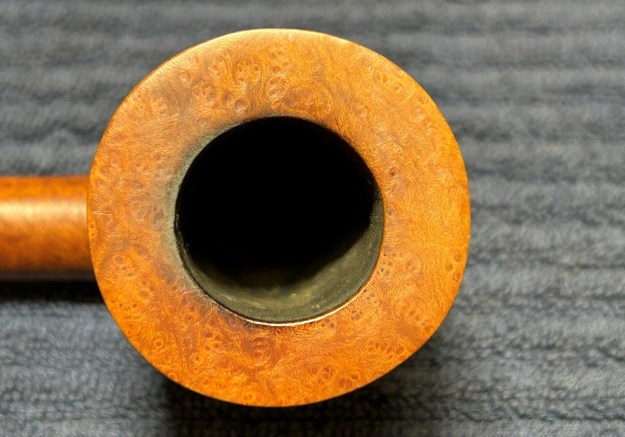
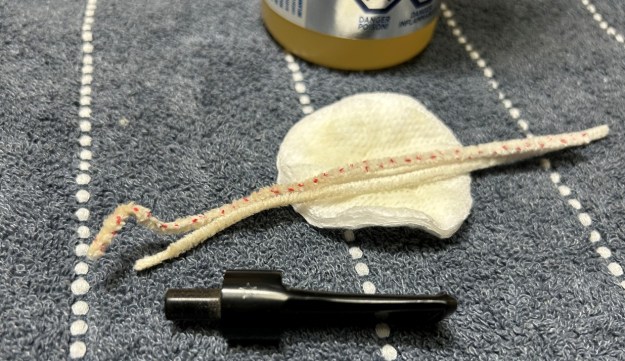
Based on all that I read, I can conclude that this pipe was made sometime after 1948 and prior to 1968, when production was moved to the UK.Let’s take a closer look at the condition of the pipe. As I indicated before, nothing too serious – just some minor wear-and-tear to address. The bowl is lightly smoked and just needs a good cleaning. The metal body has no notable damage and I will simply clean and polish it. Finally, the acrylic dental bit also has only minor wear – should be quite straightforward. I started on the bowl. The first step was to ream it out – that is to say, remove all the cake inside the bowl. This accomplished a couple of things. First (and most obviously), it cleaned the bowl and provided a refurbished chamber for future smoking. Second, when the old cake was removed, I could inspect the interior walls of the bowl and determine if there was damage or not. Fortunately, there was none. As the cake was light, I used a pipe knife, and a piece of sandpaper taped to several sizes of wooden dowel. Collectively, these ensured that all the debris was removed.I then took a dental tool and cleaned any gunk from the grooves in the threads of the bowl. To tidy up the briar, I wiped down the outside, using a solution of a pH-neutral detergent and some distilled water, with cotton rounds. I also used a toothbrush in the crevices. This did a good job of cleaning any latent dirt on the surface of the briar. The last step of the cleaning process was to scour the inside of the stummel with the same mild detergent and tube brushes. While cleaning, I noticed the number 75 on the bottom of the bowl. I assume this is some sort of shape number. If you have more information, please let me know in the comments below! I used all nine micromesh pads (1,500 through 12,000 grit) to sand the outside of the stummel and finish it off. This sanding minimizes flaws in the briar and provides a beautiful smoothness to the wood. I rubbed some LBE Before & After Restoration Balm into the briar and let it sit for 30 minutes or so. The balm moisturizes the wood and gives a beautiful depth to the briar. I then buffed the stummel with a microfibre cloth. I then moved on to the metal body of the pipe (including the acrylic stem, which is attached). It didn’t initially look dirty, but took a surprising amount of elbow grease to clean! I disinfected the inside and outside of the pipe with both pipe cleaners and cotton swabs dipped in lemon-infused 99% isopropyl alcohol. I scrubbed thoroughly. I also used a wire brush to scrub some of the more stubborn areas.In addition, I began my polishing procedure with some 0000-grit steel wool. This worked incredibly well – I was so pleased with the results. I then used some micromesh pads that I have saved solely for metal work and buffed it up to an incredible shine. Looks fantastic! Following that, I used all nine of the micromesh sanding pads (1,500 through 12,000 grit) to sand out flaws in the stem, even out the acrylic, and provide gentle polishing of the finished surface. I also applied pipe-stem oil while using the last five micromesh pads. There was a wonderful, deep black shine to the stem when I was done. For the final step, I took the pipe to my bench polisher and carefully buffed it – first with a blue diamond compound, then with three coats of carnauba wax. This procedure makes the pipe look its best.

This Falcon 7D Dublin looks fantastic again and is ready to be enjoyed by its next owner. I am pleased to announce that this pipe is for sale! If you are interested in acquiring it for your collection, please have a look in the ‘American’ pipe section of the store here on Steve’s website. You can also email me directly at kenneth@knightsofthepipe.com. The approximate dimensions of the pipe are as follows: length 5⅞ in. (150 mm); height 2 in. (51 mm); bowl diameter 1⅝ in. (41 mm); chamber diameter ⅞ in. (22 mm). The weight of the pipe is 1½ oz. (44 g). I hope you enjoyed reading the story of this pipe’s restoration as much as I did restoring it. If you are interested in more of my work, please follow me here on Steve’s website or send me an email. Thank you very much for reading and, as always, I welcome and encourage your comments.

Restoring an Impressive Grecian Plateau Lovat by Mark Tinsky


by Kenneth Lieblich

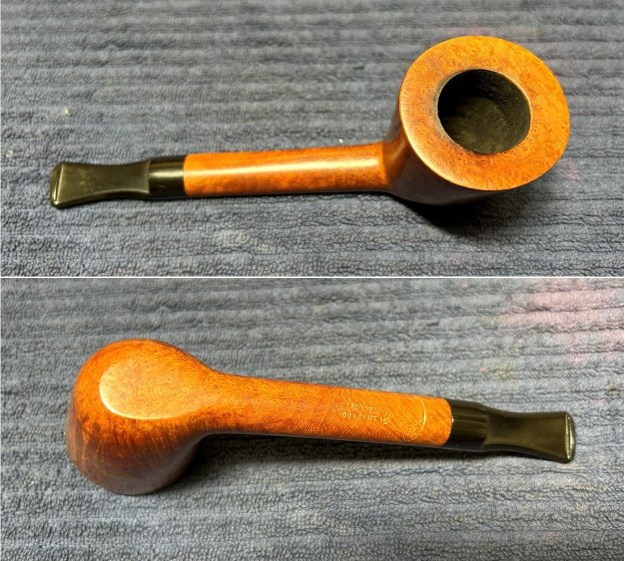
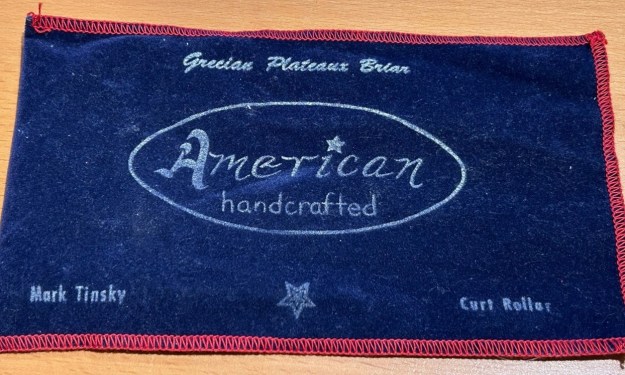
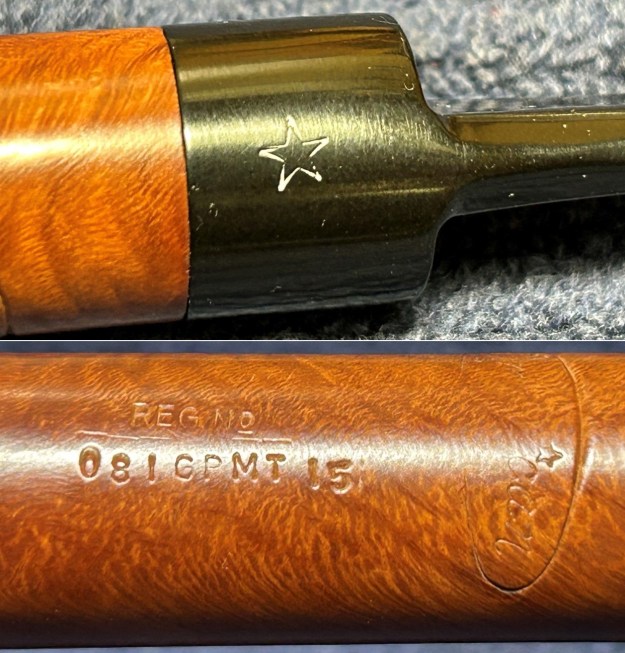
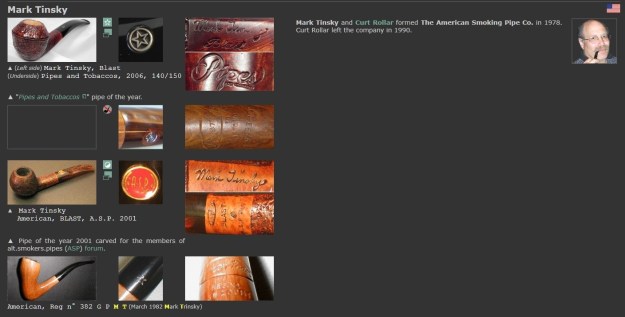
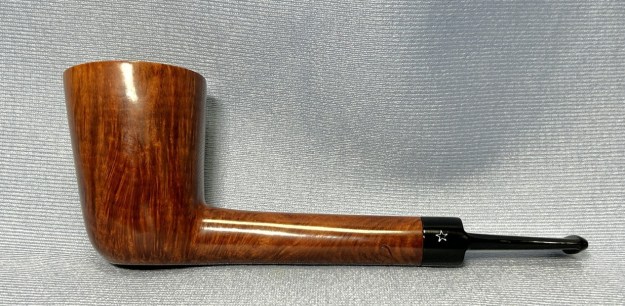
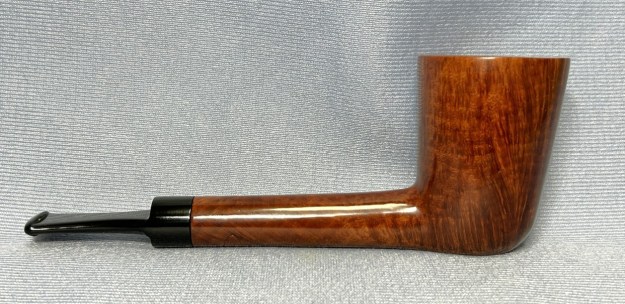
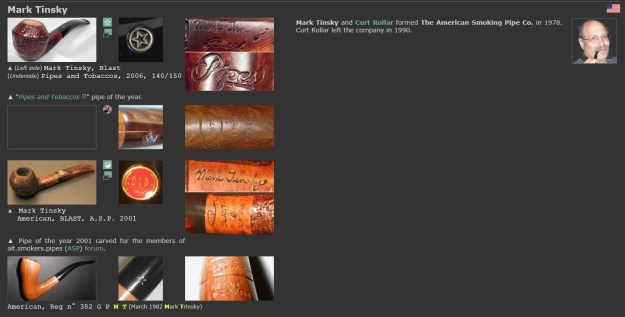
Here’s a real beauty. Recently, I was given the opportunity to purchase a small group of pipes by master pipemaker, Mark Tinsky. How could I say no? The answer, of course, is that I could not and I happily acquired them. This pipe is actually not one from the aforementioned lot, but was a Tinsky I already had. It seemed sensible to add it on to this series of pipe restorations. Whereas the others I restored recently were from the Canadian family of pipe shapes, this one, as you can see is a lovat. Or, perhaps, a lovat with a Dublin-like bowl. Another nice detail about this pipe is that it comes with its original pipe sock! This is a beautiful pipe with fantastic, straight grain. The rim is just wonderful. It has a lovely, rich brown colour to it and a silky-smooth surface. This is an older Tinsky than the ones you’ve seen from me recently. The star logo on the side of the stem is different from previous ones, insofar as it is engraved into the acrylic. Under the shank are the markings and they read: American [over] Reg No [over] 081 GP MT 15. I’m not sure but I assume that the 081 tells us that the pipe was made in 1981; the GP indicates that Grecian plateau briar was used, MT indicates that Mark Tinsky made it himself; and I sadly have no idea what the 15 refers to.As I’m sure you know, Mark Tinsky is one of the great names in American pipe making. He is best summed up in this quotation from Erwin Van Hove:

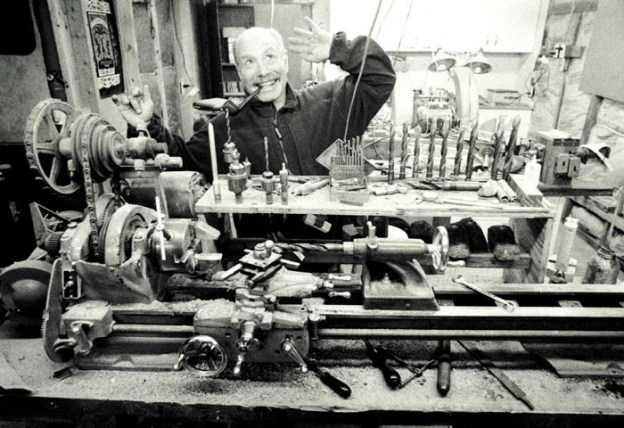
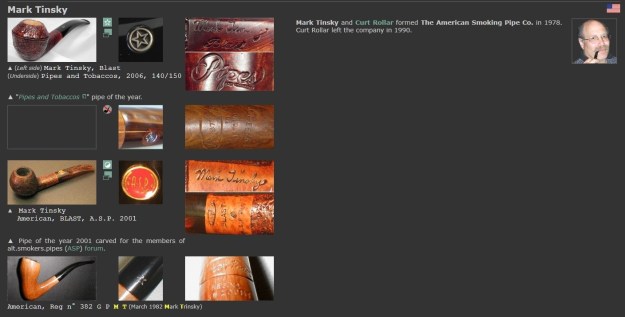
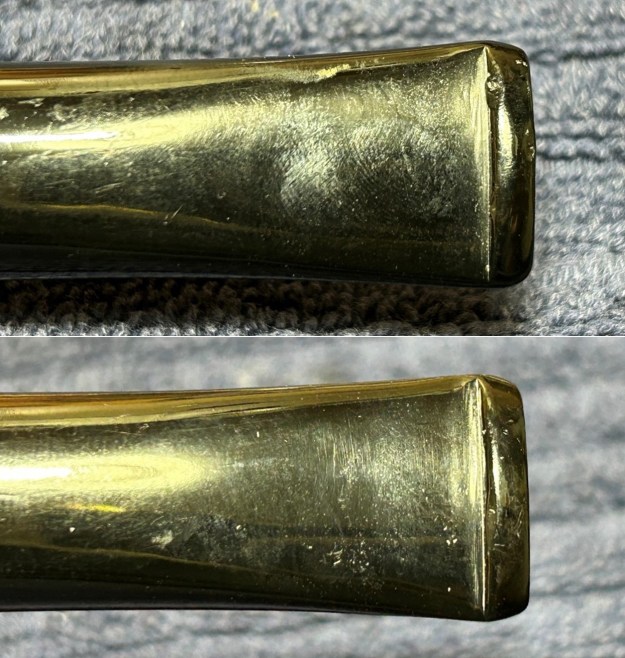
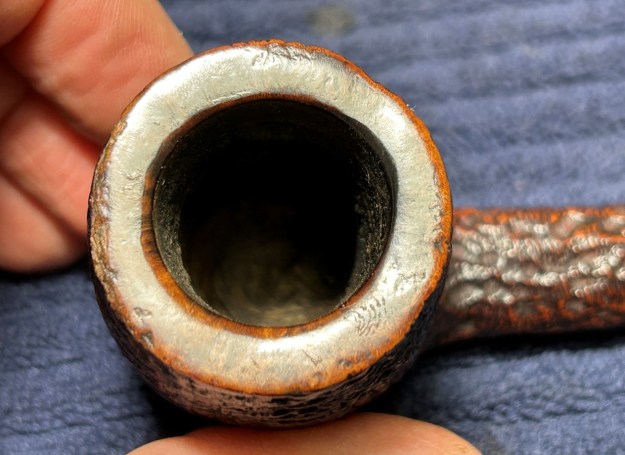
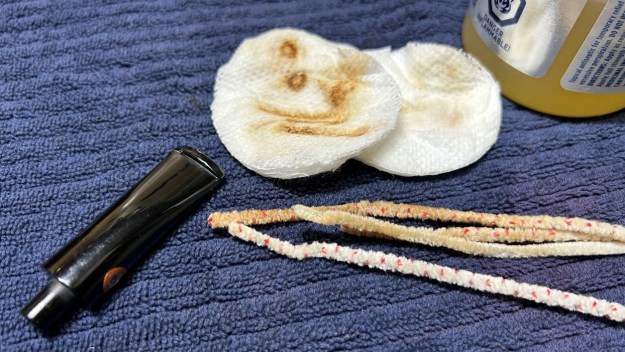
His more than reasonable prices, and his good-natured personality, have made Mark [Tinsky] the favorite of many Americans. It is difficult to find an amateur who does not possess at least one pipe made by the American Smoking Pipe Company, that Tinsky founded in 1978 with his friend Curt Rollar. In 1990, after the departure of his associate, Tinsky continued on by himself building a solid reputation using quality briar from Greece and stem blanks imported from Italy, offering collectors a vast assortment of models and finishes. In short, his pipes are beautiful and well-made pieces that produce a taste beyond reproach. Neither off-the-shelf nor haute couture, they are solid hand mades for an affordable price.There is a wonderful and extensive article on Tinsky, Rollar, and the American Smoking Pipe Company at Pipedia. I highly recommend reading it here. You can also visit his website: http://www.amsmoke.com/. There’s also a small blurb about him at Pipephil:This pipe was in generally very nice shape – there were a few light marks on the rim – but nothing serious at all. The stem was also in good shape – a few bite marks, but the acrylic was sound and is easy to repair. This was clearly a well-maintained pipe. I used oil soap on a few cotton rounds and wiped down the stem to provide an initial cleaning before moving on to the next steps. The primary cleaning came next. I disinfected the inside of the stem with both pipe cleaners and cotton swabs dipped in lemon-infused 99% isopropyl alcohol. I scrubbed thoroughly to make sure the interior was very clean – but not much work was required as it was already pretty clean.I then set about fixing the marks in the acrylic. This was done by filling those divots with black cyanoacrylate adhesive, impregnated with carbon and rubber. I left this to cure. Following that, I used all nine of the micromesh sanding pads (1,500 through 12,000 grit) to sand out flaws, even out the acrylic, and provide gentle polishing of the finished surface. I also applied pipe-stem oil while using the last five micromesh pads. There was a wonderful, deep black shine to the stem when I was done.As the stem was (nearly) complete, I moved on to the stummel. The first step was to ream out the bowl – that is to say, remove all the cake inside the bowl. This accomplished a couple of things. First (and most obviously), it cleaned the bowl and provided a refurbished chamber for future smoking. Second, when the old cake was removed, I could inspect the interior walls of the bowl and determine if there was damage or not. I used a piece of sandpaper taped to a wooden dowel. This ensured that all the debris was removed. Again, like the stem, this didn’t take much work as the pipe was quite clean.I then cleaned the stummel with both pipe cleaners and cotton swabs dipped in lemon-infused 99% isopropyl alcohol.To tidy up the briar, I also wiped down the outside with some oil soap on cotton rounds. This did a good job of cleaning any latent dirt on the surface of the briar. The last step of the cleaning process was to scour the inside of the stummel with some soap and tube brushes.I used all nine micromesh pads (1,500 through 12,000 grit) to sand the whole stummel. This sanding minimizes flaws in the briar and provides a beautiful smoothness to the wood. I rubbed some LBE Before & After Restoration Balm into the briar and let it sit for 30 minutes or so. The balm moisturizes the wood and gives a beautiful depth to the briar. I then buffed the stummel with a microfibre cloth. For the final step, I took the pipe to my bench polisher and carefully buffed it – first with a blue diamond compound, then with three coats of carnauba wax. This procedure makes the pipe look its best – the stummel sings and the stem glows.

All done! This Mark Tinsky Grecian Plateau Lovat looks fantastic again and is ready to be enjoyed by its next owner. I am pleased to announce that this pipe is for sale! If you are interested in acquiring it for your collection, please have a look in the ‘American’ section of the store here on Steve’s website. You can also email me directly at kenneth@knightsofthepipe.com. The approximate dimensions of the pipe are as follows: length 6½ in. (165 mm); height 2⅜ in. (60 mm); bowl diameter 1¾ in. (45 mm); chamber diameter 1 in. (25 mm). The weight of the pipe is 2¼ oz. (67 g). I hope you enjoyed reading the story of this pipe’s restoration as much as I enjoyed restoring it. If you are interested in more of my work, please follow me here on Steve’s website or send me an email. Thank you very much for reading and, as always, I welcome and encourage your comments.

A Wonderfully Long, Long, Long Pipe by Mark Tinsky


by Kenneth Lieblich

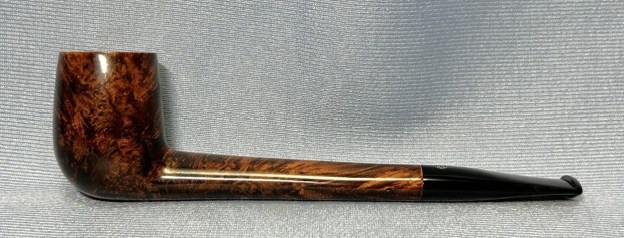
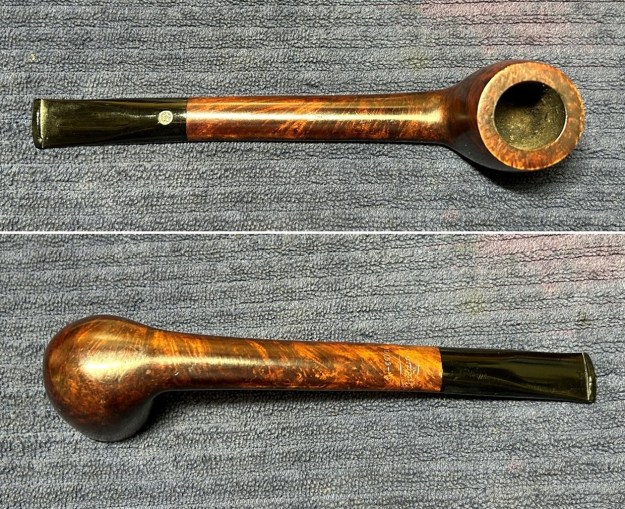
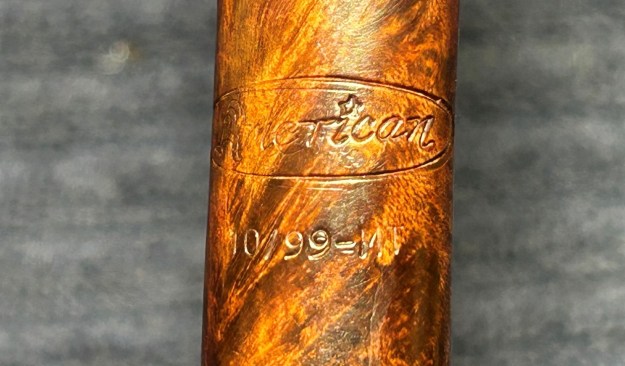
Recently, I was given the opportunity to purchase a small group of pipes by master pipemaker, Mark Tinsky. How could I say no? The answer, of course, is that I could not and I happily acquired them. There are some real beauties here and I am going to restore them all and then turn them over to you. Interestingly, all of the pipes are in the Canadian family of pipe shapes. I’m sure you’ll enjoy seeing them, and here is a link to the first one and the second one and the third one, in case you missed them. Let’s move on to the fourth pipe. This is a beautiful Canadian – well-proportioned bowl with a looooong, oval shank and a handsome taper stem made from acrylic. It’s incredibly long – even longer than the first three Tinsky pipes I worked on. It has a deep, rich brown colour to it and a lovely, smooth surface. There is a charming star logo on the top of the stem. Under the shank are the markings and they read: American [over] 10/99-MT. This tells us that the pipe was made in October 1999 by Mark Tinsky himself.As I’m sure you know, Mark Tinsky is one of the great names in American pipe making. He is best summed up in this quotation from Erwin Van Hove:

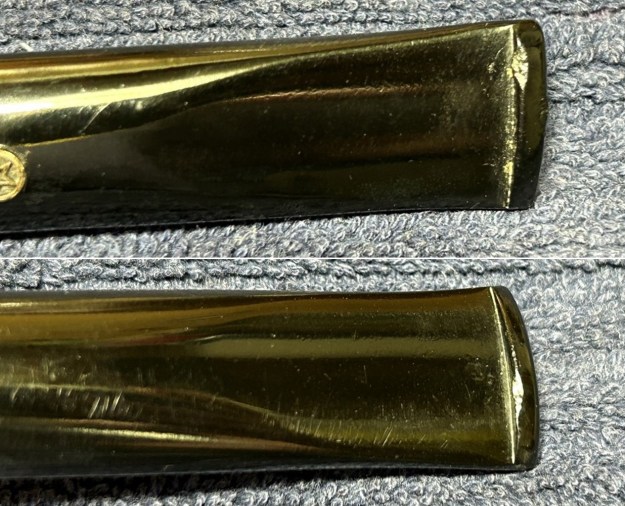
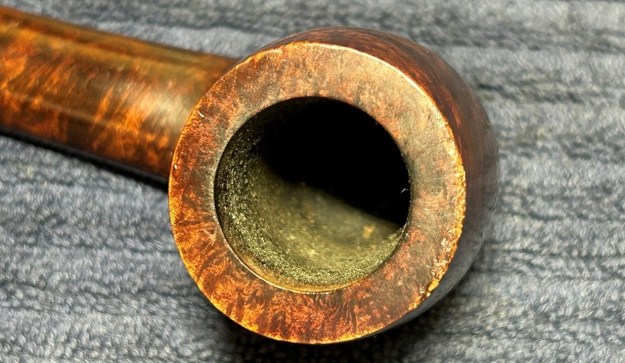
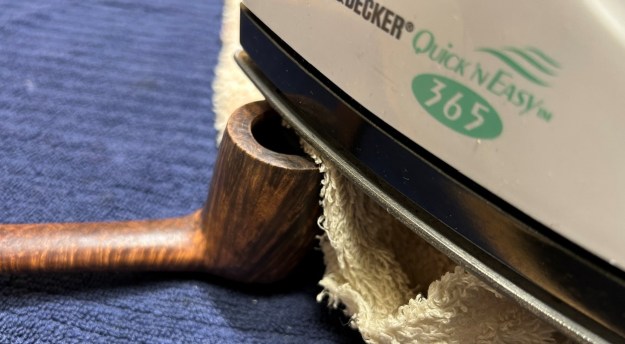
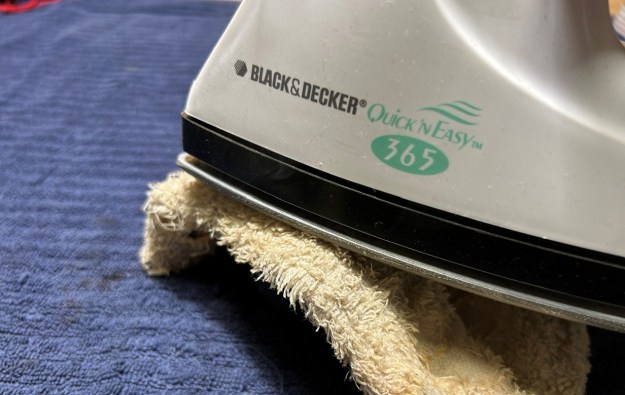
His more than reasonable prices, and his good-natured personality, have made Mark [Tinsky] the favorite of many Americans. It is difficult to find an amateur who does not possess at least one pipe made by the American Smoking Pipe Company, that Tinsky founded in 1978 with his friend Curt Rollar. In 1990, after the departure of his associate, Tinsky continued on by himself building a solid reputation using quality briar from Greece and stem blanks imported from Italy, offering collectors a vast assortment of models and finishes. In short, his pipes are beautiful and well-made pieces that produce a taste beyond reproach. Neither off-the-shelf nor haute couture, they are solid hand mades for an affordable price.There is a wonderful and extensive article on Tinsky, Rollar, and the American Smoking Pipe Company at Pipedia. I highly recommend reading it here. You can also visit his website: http://www.amsmoke.com/. There’s also a small blurb about him at Pipephil:This pipe was in generally very nice shape – there were a few nicks on the rim – and I could deal with that in short order. The stem was also in good shape – a few bit marks, but the acrylic was sound and is easy to repair. I used oil soap on a few cotton rounds and wiped down the stem to provide an initial cleaning before moving on to the next steps. The primary cleaning came next. I disinfected the inside of the stem with both pipe cleaners and cotton swabs dipped in lemon-infused 99% isopropyl alcohol. I scrubbed thoroughly to make sure the interior was very clean.I then set about fixing the marks and dents in the acrylic. This was done by filling those divots with black cyanoacrylate adhesive, impregnated with carbon and rubber. I left this to cure.Following that, I used all nine of the micromesh sanding pads (1,500 through 12,000 grit) to sand out flaws, even out the acrylic, and provide gentle polishing of the finished surface. I also applied pipe-stem oil while using the last five micromesh pads. There was a wonderful, deep black shine to the stem when I was done.As the stem was (nearly) complete, I moved on to the stummel. The first step was to ream out the bowl – that is to say, remove all the cake inside the bowl. This accomplished a couple of things. First (and most obviously), it cleaned the bowl and provided a refurbished chamber for future smoking. Second, when the old cake was removed, I could inspect the interior walls of the bowl and determine if there was damage or not. I used a pipe knife and a piece of sandpaper taped to a wooden dowel. Collectively, these ensured that all the debris was removed.Similar to the stem, I then cleaned the stummel with both pipe cleaners and cotton swabs dipped in lemon-infused 99% isopropyl alcohol. It took quite a bit of cotton to get clean. To tidy up the briar, I also wiped down the outside with some oil soap on cotton rounds. This did a good job of cleaning any latent dirt on the surface of the briar. The last step of the cleaning process was to scour the inside of the stummel with some soap and tube brushes. This was the culmination of a lot of hard work in getting the pipe clean.Having completed that, I was able to address the nicks on the rim. I dug out my iron and a damp cotton flannel cloth. By laying the cloth over the affected areas and applying the iron to it, the hot and moist steam can cause the wood to swell slightly and return to shape. There was some significant improvement! Not everything was removed, but most of it was. I also gave it a light topping on my topping board to finish off the rim. Unfortunately, I neglected to take a photo of this step.

I used all nine micromesh pads (1,500 through 12,000 grit) to sand the whole stummel. This sanding minimizes flaws in the briar and provides a beautiful smoothness to the wood. I rubbed some LBE Before & After Restoration Balm into the briar and let it sit for 30 minutes or so. The balm moisturizes the wood and gives a beautiful depth to the briar. I then buffed the stummel with a microfibre cloth. For the final step, I took the pipe to my bench polisher and carefully buffed it – first with a blue diamond compound, then with three coats of carnauba wax. This procedure makes the pipe look its best – the stummel sings and the stem glows.

All done! This Mark Tinsky 10-99 smooth Canadian looks fantastic again and is ready to be enjoyed by its next owner. I am pleased to announce that this pipe is for sale! If you are interested in acquiring it for your collection, please have a look in the ‘American’ section of the store here on Steve’s website. You can also email me directly at kenneth@knightsofthepipe.com. The approximate dimensions of the pipe are as follows: length 7¼ in. (185 mm); height 1⅞ in. (47 mm); bowl diameter 1½ in. (38 mm); chamber diameter ⅞ in. (21 mm). The weight of the pipe is 1½ oz. (45 g). I hope you enjoyed reading the story of this pipe’s restoration as much as I enjoyed restoring it. If you are interested in more of my work, please follow me here on Steve’s website or send me an email. Thank you very much for reading and, as always, I welcome and encourage your comments.

A Long and Smooth Canadian by Mark Tinsky


by Kenneth Lieblich

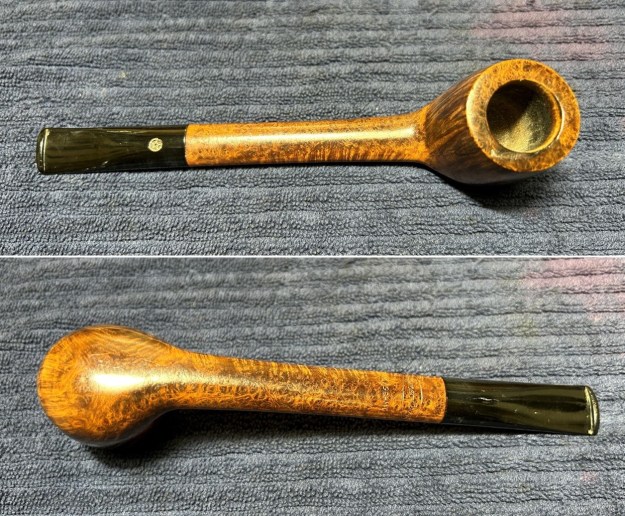
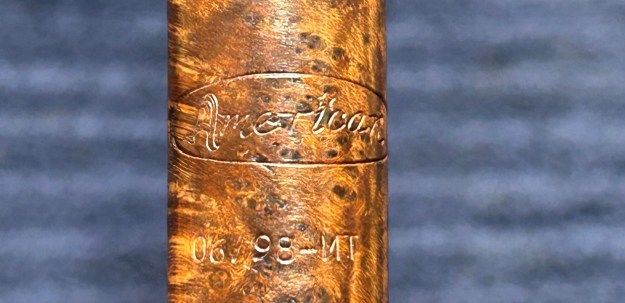
Recently, I was given the opportunity to purchase a small group of pipes by master pipemaker, Mark Tinsky. How could I say no? The answer, of course, is that I could not and I happily acquired them. There are some real beauties here and I am going to restore them all and then turn them over to you. Interestingly, all of the pipes are in the Canadian family of pipe shapes. I’m sure you’ll enjoy seeing them, and here is a link to the first one and the second one, in case you missed them. Let’s move on to the third pipe. This is a beautiful Canadian – well-proportioned bowl with a looooong, oval shank and a handsome taper stem made from acrylic. It’s even longer than the first two Tinsky pipes I worked on. It has a deep, rich brown colour to it and a lovely, smooth surface. There is a charming star logo on the top of the stem. Under the shank are the markings and they read: American [over] 06/98-MT. This tells us that the pipe was made in June 1998 by Mark Tinsky himself.As I’m sure you know, Mark Tinsky is one of the great names in American pipe making. He is best summed up in this quotation from Erwin Van Hove:

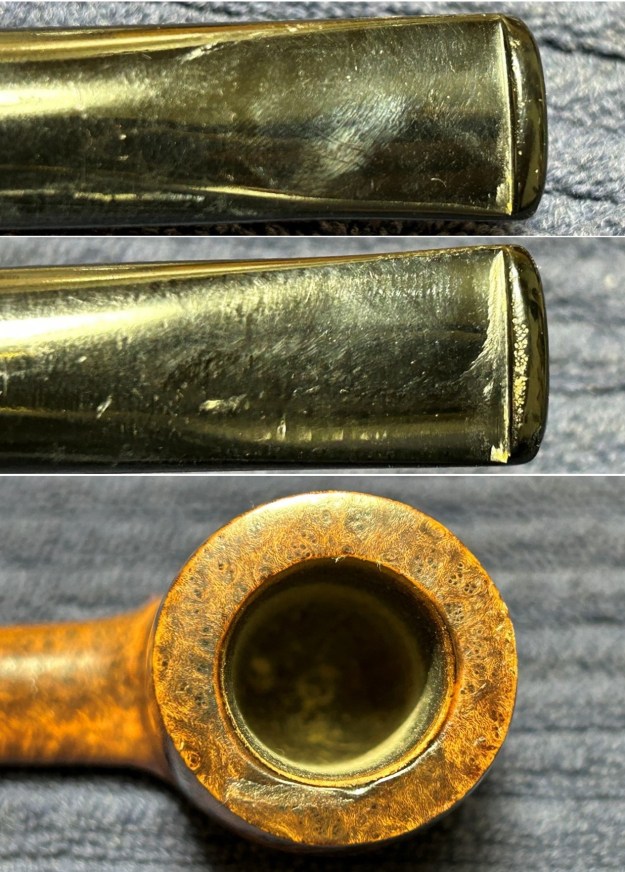
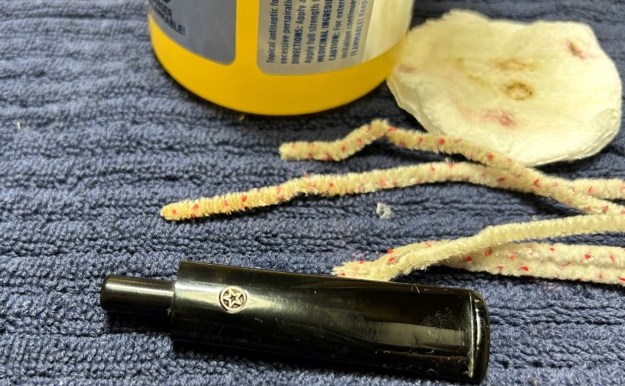
His more than reasonable prices, and his good-natured personality, have made Mark [Tinsky] the favorite of many Americans. It is difficult to find an amateur who does not possess at least one pipe made by the American Smoking Pipe Company, that Tinsky founded in 1978 with his friend Curt Rollar. In 1990, after the departure of his associate, Tinsky continued on by himself building a solid reputation using quality briar from Greece and stem blanks imported from Italy, offering collectors a vast assortment of models and finishes. In short, his pipes are beautiful and well-made pieces that produce a taste beyond reproach. Neither off-the-shelf nor haute couture, they are solid hand mades for an affordable price.There is a wonderful and extensive article on Tinsky, Rollar, and the American Smoking Pipe Company at Pipedia. I highly recommend reading it here. You can also visit his website: http://www.amsmoke.com/. There’s also a small blurb about him at Pipephil:This pipe was in generally very nice shape – there were a few nicks on the rim – but that didn’t require too much work. The stem was also in good shape – only very light wear.I used oil soap on a few cotton rounds and wiped down the stem to provide an initial cleaning before moving on to the next steps. The primary cleaning came next. I disinfected the inside of the stem with both pipe cleaners and cotton swabs dipped in lemon-infused 99% isopropyl alcohol. I scrubbed thoroughly to make sure the interior was very clean.Following that, I used all nine of the micromesh sanding pads (1,500 through 12,000 grit) to sand out flaws, even out the acrylic, and provide gentle polishing of the finished surface. I also applied pipe-stem oil while using the last five micromesh pads. There was a wonderful, deep black shine to the stem when I was done.I moved straight on to the stummel. The first step was to ream out the bowl – that is to say, remove all the cake inside the bowl. This accomplished a couple of things. First (and most obviously), it cleaned the bowl and provided a refurbished chamber for future smoking. Second, when the old cake was removed, I could inspect the interior walls of the bowl and determine if there was damage or not. I used a piece of sandpaper taped to a wooden dowel. This ensured that the debris was removed – and it was very clean inside.I then cleaned the stummel with both pipe cleaners and cotton swabs dipped in lemon-infused 99% isopropyl alcohol. It took quite a bit of cotton to get clean.To tidy up the briar, I also wiped down the outside with some oil soap on cotton rounds and used a toothbrush in the crevices. This did a good job of cleaning any latent dirt on the surface of the briar. The last step of the cleaning process was to scour the inside of the stummel with some soap and tube brushes. This was the culmination of a lot of hard work in getting the pipe clean.Having completed that, I was able to address the nicks on the rim. I dug out my iron and a damp cotton flannel cloth. By laying the cloth over the affected areas and applying the iron to it, the hot and moist steam can cause the wood to swell slightly and return to shape. This worked superbly well.I used all nine micromesh pads (1,500 through 12,000 grit) to sand the whole stummel. This sanding minimizes flaws in the briar and provides a beautiful smoothness to the wood. I rubbed some LBE Before & After Restoration Balm into the briar and let it sit for 30 minutes or so. The balm moisturizes the wood and gives a beautiful depth to the briar. I then buffed the stummel with a microfibre cloth. For the final step, I took the pipe to my bench polisher and carefully buffed it – first with a blue diamond compound, then with three coats of carnauba wax. This procedure makes the pipe look its best – the stummel sings and the stem glows.

All done! This Mark Tinsky 06-98 smooth Canadian looks fantastic again and is ready to be enjoyed by its next owner. I am pleased to announce that this pipe is for sale! If you are interested in acquiring it for your collection, please have a look in the ‘American’ section of the store here on Steve’s website. You can also email me directly at kenneth@knightsofthepipe.com. The approximate dimensions of the pipe are as follows: length 7 in. (178 mm); height 1⅞ in. (49 mm); bowl diameter 1½ in. (38 mm); chamber diameter ¾ in. (20 mm). The weight of the pipe is 1¾ oz. (51 g). I hope you enjoyed reading the story of this pipe’s restoration as much as I enjoyed restoring it. If you are interested in more of my work, please follow me here on Steve’s website or send me an email. Thank you very much for reading and, as always, I welcome and encourage your comments.

A Blast-from-the-Past Pipe by Mark Tinsky


by Kenneth Lieblich

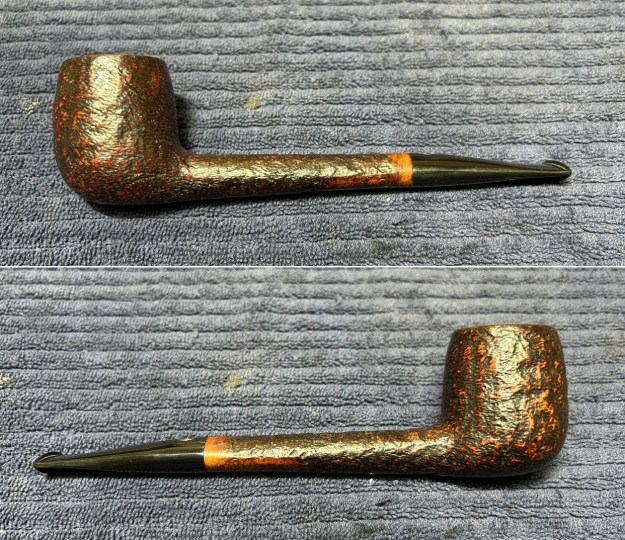
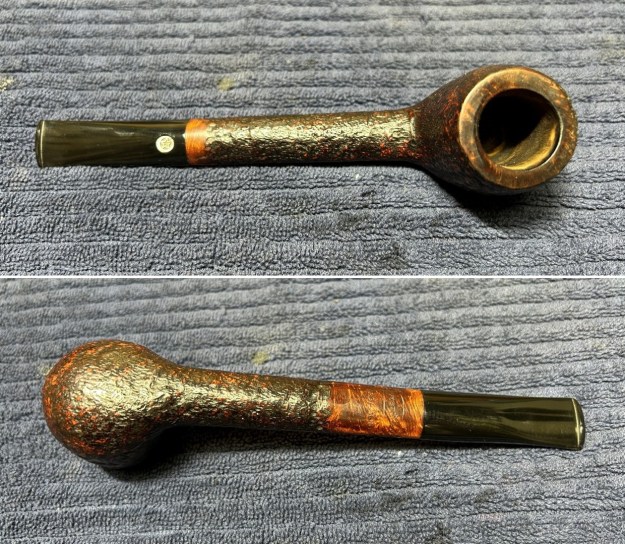
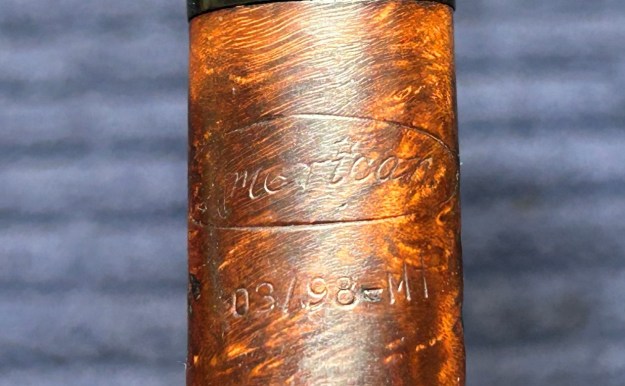
Recently, I was given the opportunity to purchase a small group of pipes by master pipemaker, Mark Tinsky. How could I say no? The answer, of course, is that I could not and I happily acquired them. There are some real beauties here and I am going to restore them all and then turn them over to you. Interestingly, all of the pipes are in the Canadian family of pipe shapes. I’m sure you’ll enjoy seeing them, and here is a link to the first one in case you missed it. Let’s move on to the second pipe. This is a beautiful Canadian – well-proportioned bowl with a long, oval shank and a handsome taper stem made from acrylic. It’s a bit longer than the first one I worked on. It has a nice sandblast that as a wonderful, leathery feel to it. It’s obviously not made of leather, but the texture is really satisfying. There is a lovely star logo on the top of the stem. Under the shank are the markings and they read: American [over] 03/98-MT. This tells us that the pipe was made in March 1998 by Mark Tinsky himself.As I’m sure you know, Mark Tinsky is one of the great names in American pipe making. He is best summed up in this quotation from Erwin Van Hove:

His more than reasonable prices, and his good-natured personality, have made Mark [Tinsky] the favorite of many Americans. It is difficult to find an amateur who does not possess at least one pipe made by the American Smoking Pipe Company, that Tinsky founded in 1978 with his friend Curt Rollar. In 1990, after the departure of his associate, Tinsky continued on by himself building a solid reputation using quality briar from Greece and stem blanks imported from Italy, offering collectors a vast assortment of models and finishes. In short, his pipes are beautiful and well-made pieces that produce a taste beyond reproach. Neither off-the-shelf nor haute couture, they are solid hand mades for an affordable price.There is a wonderful and extensive article on Tinsky, Rollar, and the American Smoking Pipe Company at Pipedia. I highly recommend reading it here. You can also visit his website: http://www.amsmoke.com/. There’s also a small blurb about him at Pipephil:This pipe was in generally very nice shape – there were a few nicks on the rim – but that didn’t require too much work. In fact, the stem didn’t require any work from me at all! When I got this pipe, the stem was nowhere to be seen – there was only a stummel. So, I sent the pipe to Mark Tinsky and had him fashion a new stem for this pipe. The new stem is a perfect match from the man himself.I moved straight on to the stummel. The first step was to ream out the bowl – that is to say, remove all the cake inside the bowl. This accomplished a couple of things. First (and most obviously), it cleaned the bowl and provided a refurbished chamber for future smoking. Second, when the old cake was removed, I could inspect the interior walls of the bowl and determine if there was damage or not. I used a pipe knife and a piece of sandpaper taped to a wooden dowel. Collectively, these ensured that all the debris was removed – but it was very clean inside.I then cleaned the stummel with both pipe cleaners and cotton swabs dipped in lemon-infused 99% isopropyl alcohol. It took quite a while and much cotton to get clean.To tidy up the briar, I also wiped down the outside with some oil soap on cotton rounds and used a toothbrush in the crevices. This did a good job of cleaning any latent dirt on the surface of the briar. The last step of the cleaning process was to scour the inside of the stummel with some soap and tube brushes. This was the culmination of a lot of hard work in getting the pipe clean.Having completed that, I was able to address the nicks on the rim. I dug out my iron and a damp cotton flannel cloth. By laying the cloth over the affected areas and applying the iron to it, the hot and moist steam can cause the wood to swell slightly and return to shape. There was some significant improvement! Not everything was removed, but most of it was. I also gave it a light topping on my topping board to finish off the rim. I used all nine micromesh pads (1,500 through 12,000 grit) to sand the smooth rim and the smooth part of the shank. This sanding minimizes flaws in the briar and provides a beautiful smoothness to the wood. I rubbed some LBE Before & After Restoration Balm into the briar and let it sit for 30 minutes or so. The balm moisturizes the wood and gives a beautiful depth to the briar. I then buffed the stummel with a microfibre cloth. For the final step, I took the pipe to my bench polisher and carefully buffed it with three coats of conservator’s wax. This procedure makes the pipe look its best – the stummel sings and the stem glows.

All done! This Mark Tinsky 03-98 sandblasted Canadian looks fantastic again and is ready to be enjoyed by its next owner. I am pleased to announce that this pipe is for sale! If you are interested in acquiring it for your collection, please have a look in the ‘American’ section of the store here on Steve’s website. You can also email me directly at kenneth@knightsofthepipe.com. The approximate dimensions of the pipe are as follows: length 6¼ in. (170 mm); height 1⅞ in. (48 mm); bowl diameter 1½ in. (38 mm); chamber diameter ¾ in. (20 mm). The weight of the pipe is 1¾ oz. (52 g). I hope you enjoyed reading the story of this pipe’s restoration as much as I enjoyed restoring it. If you are interested in more of my work, please follow me here on Steve’s website or send me an email. Thank you very much for reading and, as always, I welcome and encourage your comments.

A Terrific American-Canadian Pipe from Mark Tinsky


by Kenneth Lieblich

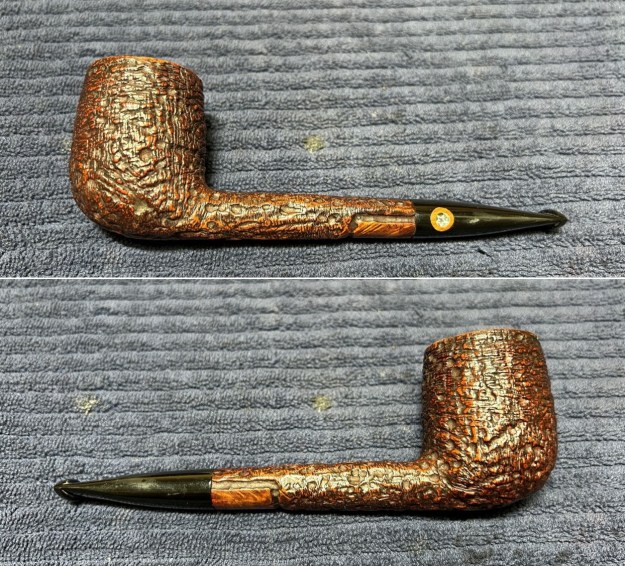
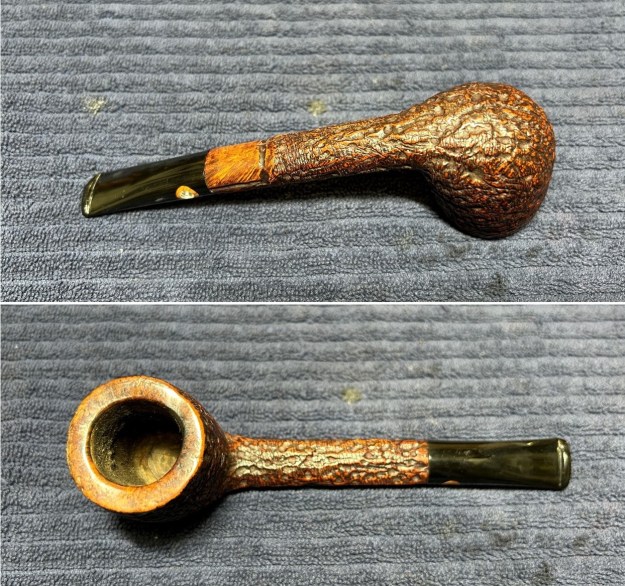
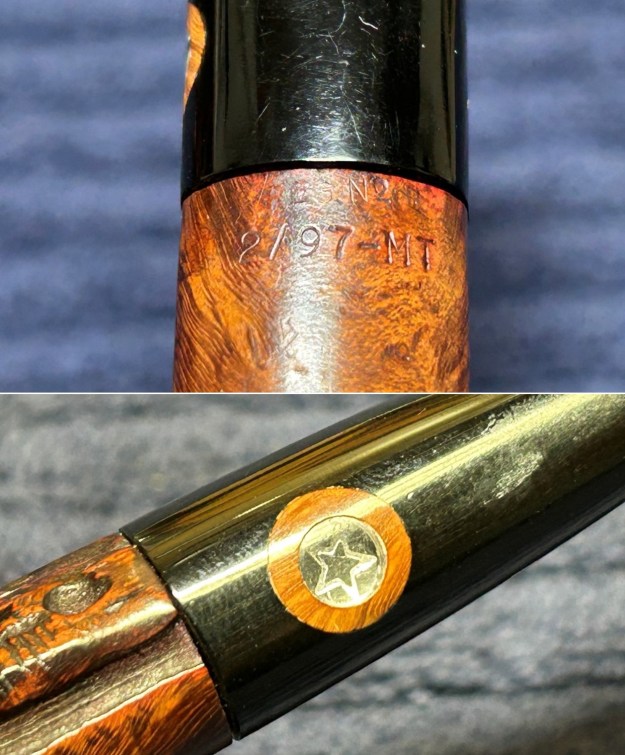
Recently, I was given the opportunity to purchase a small group of pipes by master pipemaker, Mark Tinsky. How could I say no? The answer, of course, is that I could not and I happily acquired them. There are some real beauties here and I am going to restore them all and then turn them over to you. Interestingly, all of the pipes are of the Canadian family of pipe shapes. I’m sure you’ll enjoy seeing them, so – in no particular order – let’s get started with the first one. This is a beautiful Canadian – well-proportioned bowl with a long, oval shank and a handsome taper stem made from acrylic. It has a finish that Steve calls ‘blasticated’ – sort of a hybrid of sandblasted and rusticated. There is a lovely star logo on the side of the stem, encircled with inlaid briar. Under the shank are the markings and they read: Reg. No. [over] 2/97-MT. This tells us that the pipe was made in February 1997 by Mark Tinsky himself.As I’m sure you know, Mark Tinsky is one of the great names in American pipe making. He is best summed up in this quotation from Erwin Van Hove:

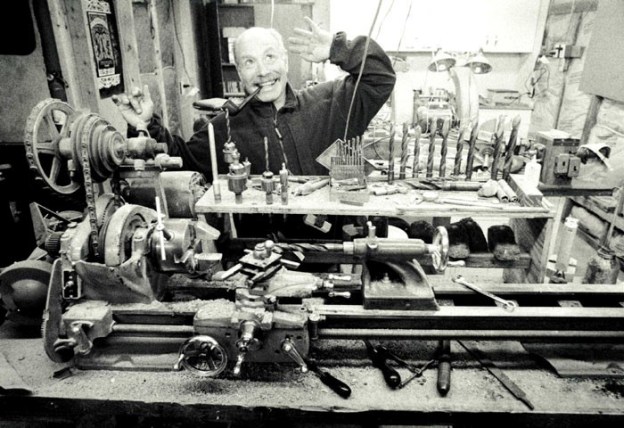
His more than reasonable prices, and his good-natured personality, have made Mark [Tinsky] the favorite of many Americans. It is difficult to find an amateur who does not possess at least one pipe made by the American Smoking Pipe Company, that Tinsky founded in 1978 with his friend Curt Rollar. In 1990, after the departure of his associate, Tinsky continued on by himself building a solid reputation using quality briar from Greece and stem blanks imported from Italy, offering collectors a vast assortment of models and finishes. In short, his pipes are beautiful and well-made pieces that produce a taste beyond reproach. Neither off-the-shelf nor haute couture, they are solid hand mades for an affordable price.There is a wonderful and extensive article on Tinsky, Rollar, and the American Smoking Pipe Company at Pipedia. I highly recommend reading it here. You can also visit his website: http://www.amsmoke.com/. There’s also a small blurb about him at Pipephil:This pipe was in generally very nice shape and didn’t require too much work. I used oil soap on a few cotton rounds and wiped down the stem to provide an initial cleaning before moving on to the next steps. The primary cleaning came next. I disinfected the inside of the stem with both pipe cleaners and cotton swabs dipped in lemon-infused 99% isopropyl alcohol. I scrubbed thoroughly to make sure the interior was very clean.As the stem was now clean and dry, I set about fixing the marks and dents in the acrylic. This was done by filling those divots with black cyanoacrylate adhesive, impregnated with carbon and rubber. I left this to cure and moved on.The penultimate step for the stem is sanding. First, with my set of needle files, I reduced the bulk of the cyanoacrylate repairs. I removed the excess adhesive as near to the surface as possible, without cutting into the acrylic. Following that, I used all nine of the micromesh sanding pads (1,500 through 12,000 grit) to sand out flaws, even out the acrylic, and provide gentle polishing of the finished surface. I also applied pipe-stem oil while using the last five micromesh pads. There was a wonderful, deep black shine to the stem when I was done.As the stem was (nearly) complete, I moved on to the stummel. The first step was to ream out the bowl – that is to say, remove all the cake inside the bowl. This accomplished a couple of things. First (and most obviously), it cleaned the bowl and provided a refurbished chamber for future smoking. Second, when the old cake was removed, I could inspect the interior walls of the bowl and determine if there was damage or not. I used a pipe knife and a piece of sandpaper taped to a wooden dowel. Collectively, these ensured that all the debris was removed.Similar to the stem, I then cleaned the stummel with both pipe cleaners and cotton swabs dipped in lemon-infused 99% isopropyl alcohol. It took quite a while and much cotton to get clean.To tidy up the briar, I also wiped down the outside with some oil soap on cotton rounds and used a toothbrush in the crevices. This did a good job of cleaning any latent dirt on the surface of the briar. The last step of the cleaning process was to scour the inside of the stummel with some soap and tube brushes. This was the culmination of a lot of hard work in getting the pipe clean.I used all nine micromesh pads (1,500 through 12,000 grit) to sand the smooth rim and the smooth part of the shank. This sanding minimizes flaws in the briar and provides a beautiful smoothness to the wood. I rubbed some LBE Before & After Restoration Balm into the briar and let it sit for 30 minutes or so. The balm moisturizes the wood and gives a beautiful depth to the briar. I then buffed the stummel with a microfibre cloth. For the final step, I took the pipe to my bench polisher and carefully buffed it with three coats of conservator’s wax. This procedure makes the pipe look its best – the stummel sings and the stem glows.

All done! This Mark Tinsky 02-97 Canadian looks fantastic again and is ready to be enjoyed by its next owner. I am pleased to announce that this pipe is for sale! If you are interested in acquiring it for your collection, please have a look in the ‘American’ section of the store here on Steve’s website. You can also email me directly at kenneth@knightsofthepipe.com. The approximate dimensions of the pipe are as follows: length 6⅛ in. (156 mm); height 2 in. (52 mm); bowl diameter 1⅝ in. (41 mm); chamber diameter ⅞ in. (23 mm). The weight of the pipe is 1¾ oz. (54 g). I hope you enjoyed reading the story of this pipe’s restoration as much as I enjoyed restoring it. If you are interested in more of my work, please follow me here on Steve’s website or send me an email. Thank you very much for reading and, as always, I welcome and encourage your comments.

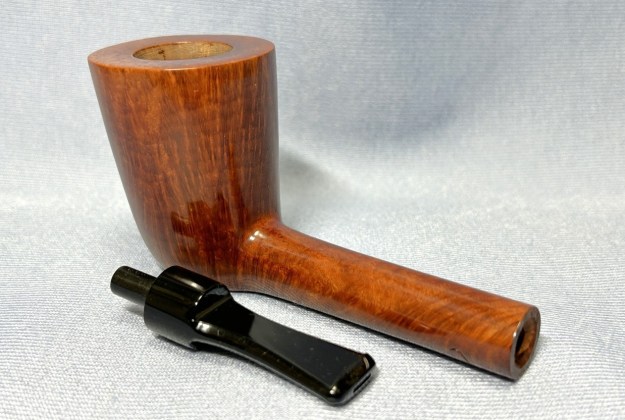
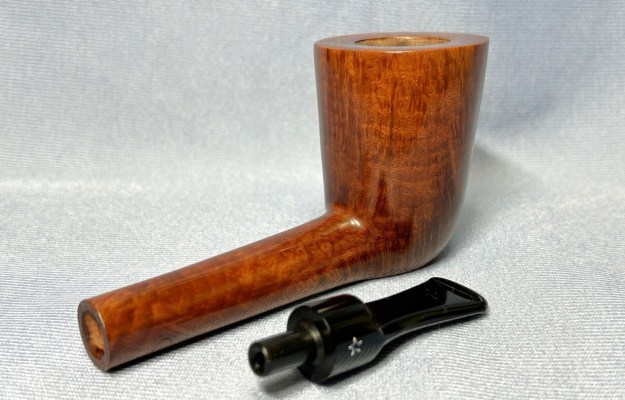
Restoring a Danish Mr. Andersen Hand Crafted 3 Freehand with acrylic saddle stem


by Steve Laug

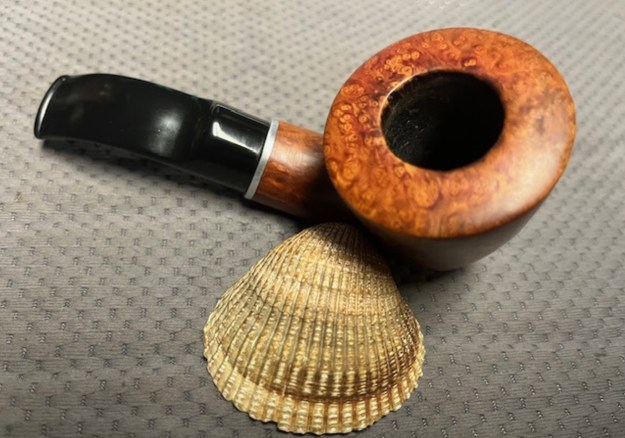
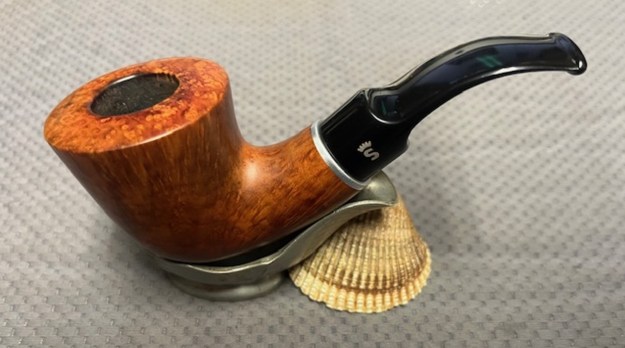
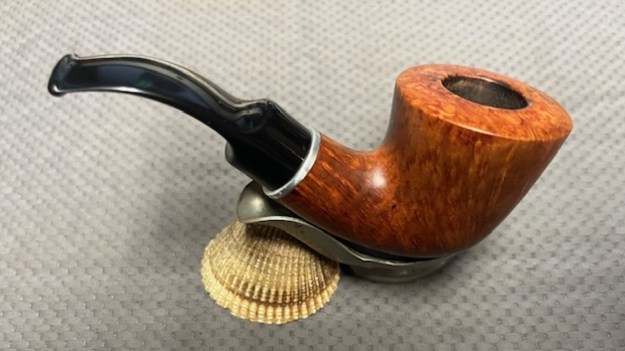
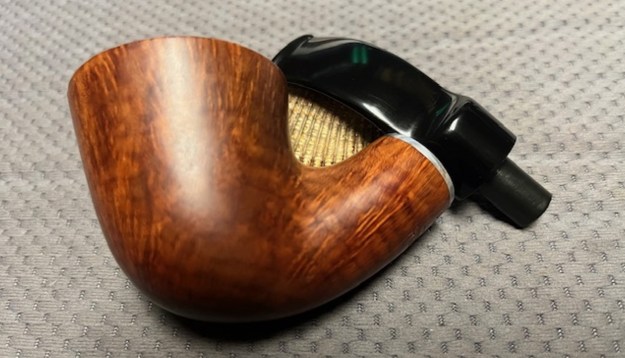
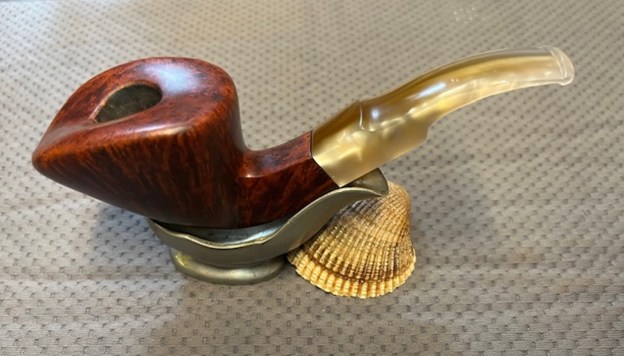
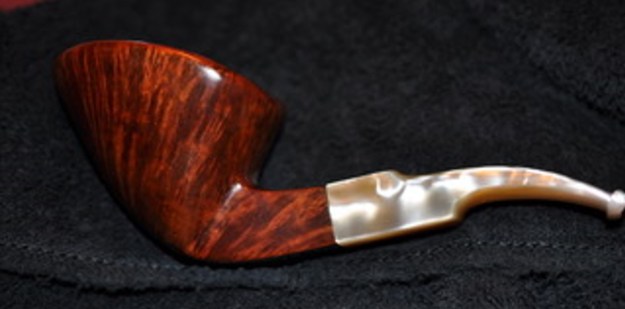
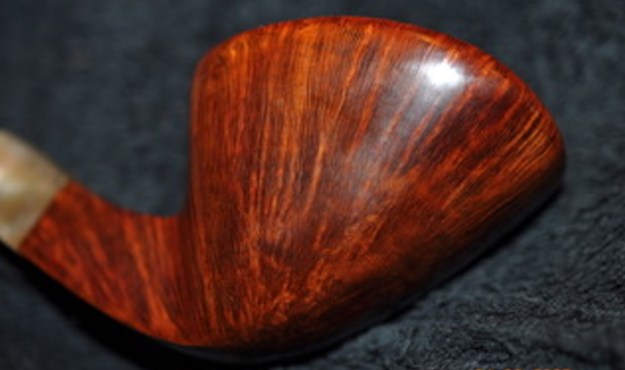
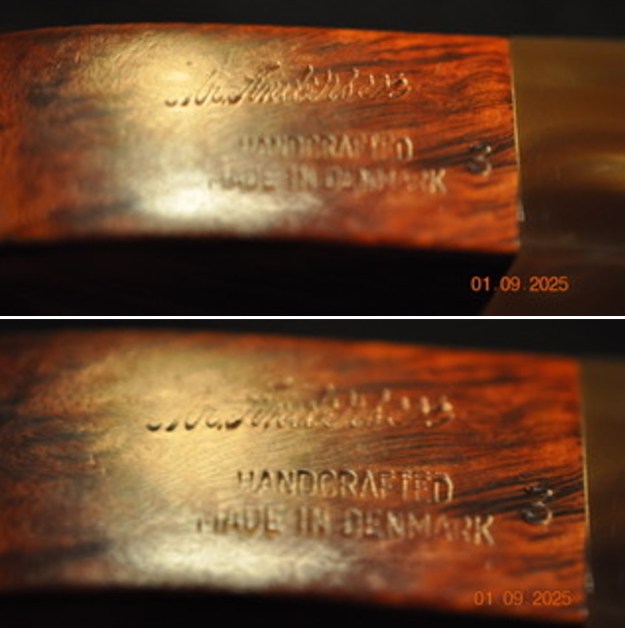
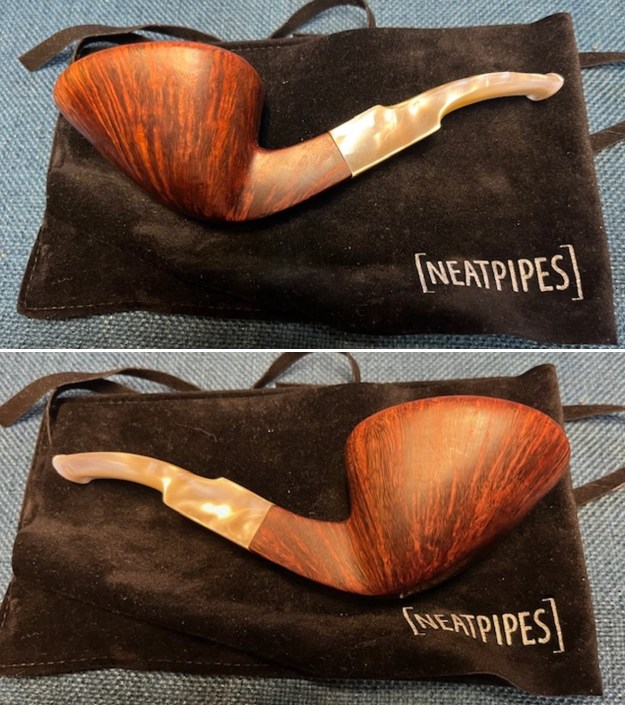
The next pipe on the table is a beautiful freehand in a brand we had not seen before. We picked the pipe up from a seller in Wellsville, Kansas, USA on 12/09/2024. Probably the fact that it is a Danish and Hand Crafted caught our eye on this one. It is stamped on the underside of the shank and reads Mr. Andersen in script [over] Hand Crafted [over] Made in Denmark followed by the number 3. It is a nice looking Freehand “Dublinesque” Freehand that had great grain around the bowl and shank. The rim top was smooth and rectangular with a bit of scoop running from front to back of the bowl. The finish looked good other than the usual dust. The bowl had been recently reamed and the rim top was quite clean other than some oils. The edge of the bowl looked to be in good condition. The acrylic saddle was a bit off at the shank end in terms of a smooth transition between the shank and stem and there was tooth chatter and light tooth marks on both sides near the button. There is no logo stamp on the stem. The surface of the button looks very good on both sides. Jeff took some photos of the pipe to show the general condition of the pipe before he started his clean up. Jeff took photos of the rim top and stem to show the general condition of the pipe. The bowl is clean and the rim top looks good. The inner edge of the bowl is in excellent condition. The stem has some fitting issues at the shank and there is light tooth chatter and marks on the top and underside near the button. Jeff took photos of the bowl sides and heel to show the condition of the smooth finish around this bowl. The grain is quite beautiful and it is a nice looking pipe. He took photos of the stamping on underside of the shank. It is clear and readable as noted above. I removed the stem and took photos of the part to give a sense of the look of the pipe.Before I started working on the pipe I wanted to get a sense of the provenance of the pipe. It was a brand with which I was unfamiliar. I turned first to Pipephil’s site and there was nothing on that brand. I turned then to Pipedia (https://pipedia.org/wiki/Mr._Andersen). The was some interesting information on the brand and help with the carver of the pipe. I quote:

It had previously been reported that Jørgen Larsen made Mr. Andersen pipes. However David Field, the importer for Larsen states, “Jørgen Larsen never made Mr. Andersen pipes to my knowledge.”

As it turns out, there are two Jørgen Larsens making pipes!

Søren Eric Andersen writes, “the brand MR: ANDERSEN was introduced by Remo Sørensen, a well known pipe dealer in Copenhagen. The pipes were made by several pipemakers, although I personally only knew one of them, Jørgen Larsen, formerly with Larsen & Stigart. It is unlucky that there are TWO Jørgen Larsens in this small trade, but the name is rather common in Denmark. I was not happy with [them using] that brand [name] for obvious reasons, but Andersen is quite a common name too. With my best regards, Søren Eric Andersen.”

José Manuel Lopes states in Pipes, Artisans and Trademarks that these pipes were also made by Jarl and Chieftan.

Nikolaj Nielsen, proprietor of The Danish Pipes Shop reports that Finn Andersen was the maker (or perhaps one of the makers) of Mr. Andersen pipes for Remo Sørensen. It is unclear if this Finn Andersen, is Finn Meyan Andersen, who was instrumental in setting up the machinery at the Briar Workshop, but that seems possible, if not likely.

Now I knew the pipe was probably sold by Remo Sorensen a well known pipe dealer in Copenhagen. Jorgen Larsen of Larsen & Stigart was probably the carver. Now it was time to work on the pipe.

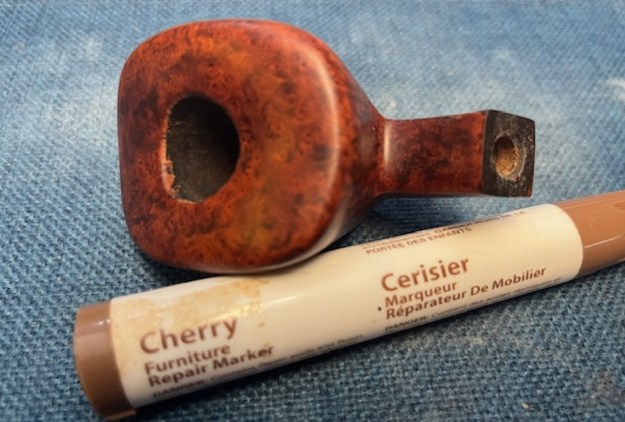
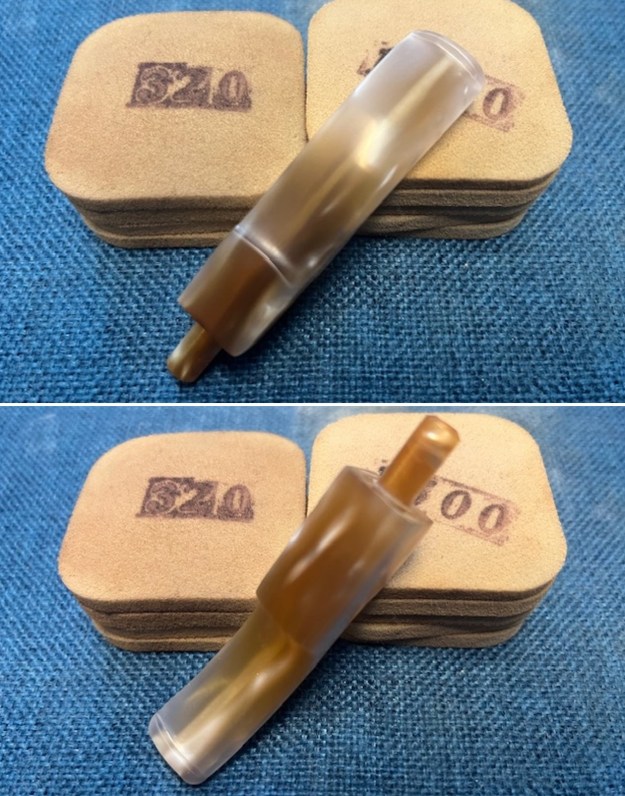
Armed with that information I turned my attention to the pipe itself. Jeff had cleaned the pipe with his usual penchant for thoroughness that I really appreciate. He cleaned up the reaming with a PipNet pipe reamer and a Savinelli Fitsall Pipe Knife. He scrubbed out the internals with alcohol, pipe cleaners, shank brushes and cotton swabs until the pipe was clean. He scrubbed the exterior of the bowl with undiluted Murphy’s Oil Soap and a tooth brush to remove the grime and grit on the briar and the light lava on the rim top. The finish looks very good with good looking grain around the bowl and shank. He cleaned the acrylic stem alcohol and pipe cleaners to remove the oils and tars. He scrubbed the surface with some Soft Scrub to clean up the surface. When the pipe arrived here in Vancouver for the second stop of its restoration tour it looked very good. I took photos before I started my part of the work. I took close up photos of the bowl and rim top as well as the stem. You can see the condition of the rim top and bowl in the first photo. Jeff was able to remove all of the dust and oils on the top and the edges of the bowl. It looked very good. The stem had a sloppy fit to the shank and there was light tooth chatter on both sides ahead of the button.I took a photo of the stamping on the shank sides to show the condition. The stamping was clear and readable as noted above. I removed the stem and took a photo to show the parts of the pipe. It is a beauty.I polished the briar with 1500-12000 grit sanding pads. I wiped down the bowl with a damp cloth to remove the sanding debris and dust. The bowl began to look amazing. I worked some Before & After Restoration Balm into the surface of the briar with my fingertips to clean, enliven and protect it. I let the balm sit for a little while and then buffed with a cotton cloth to raise the shine. The following photos show the bowl at this point in the restoration process. I am very happy with the results. I worked on the fit to the shank with a folded piece of 220 grit sandpaper. I was able to smooth the stem on the sides and underside to match the flow of the shank. The topside took a bit more work to flatten the transition and smooth the flow. I smoothed out the sanded area with 320-3500 grit sanding pads. Once it was smooth I stained the top of the shank with a Cherry Stain pen.I sanded the stem with 320-3500 grit sanding pads. I wiped the stem down with an Obsidian Oil cloth after each sanding pad. The tooth marks and chatter had disappeared.I polished the stem with micromesh sanding pads – wet sanding with 1500-12000 grit sanding pads. I wiped it down after each sanding pad Obsidian Oil. I finished by polishing it with Before & After Pipe Stem Polish both fine and extra Fine and then wiped it down with a final coat of Obsidian Oil. This is a beautiful Mr. Andersen Hand Crafted Freehand Dublin with a square shank and square acrylic saddle stem. It has a great look and feel. The shape of the bowl, the scooped rim top and the cut of the briar work well to highlight the grain around the bowl sides. I polished stem and the bowl with Blue Diamond polish on the buffing wheel. I gave the bowl and the stem multiple coats of carnauba wax. I buffed the pipe with a clean buffing pad to raise the shine. I hand buffed it with a microfiber cloth to deepen the shine. The Mr. Andersen Freehand Dublin polished up pretty nicely. The grain took on life with the buffing. The rich stains work well with the polished vulcanite stem. The finished pipe has a rich look that is quite catching. Have a look at it with the photos below. The shape, finish and flow of the pipe and stem are very well done. The dimensions are Length: 6 inches, Height: 2 inches, Outside diameter of the bowl: 1 ¾ inches wide x 2 ½ inches long, Chamber diameter: ¾ of an inch. The weight of the pipe is 2.33 ounces/66 grams. It is a beautiful pipe. I will be putting it on the rebornpipes store shortly in the Danish Pipemakers Section if you are interested in adding it to your collection. Thanks for walking with me through the restoration.

Repairing a Damaged Rattray’s Ahoy Sandblast pipe


by Steve Laug

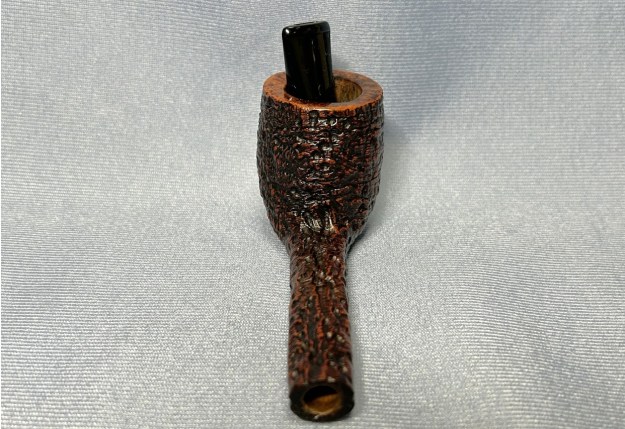
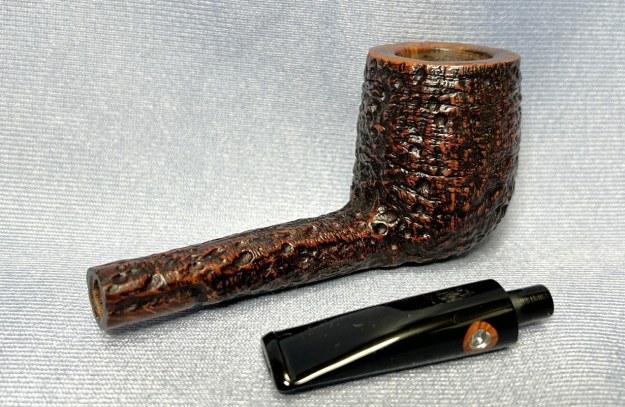
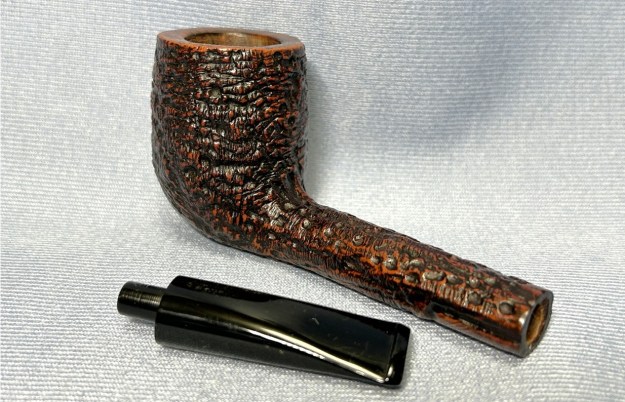
On the weekend I got a call from the local pipe/cigar shop. They had a customer break the stem on his new Rattray’s Ahoy sandblast pipe. I asked the clerk to email me some photos of what had happened as I expected worst. In my mind when someone tells me they broke the stem I visualize many different things but as I had never seen or worked on a Rattray’s Ahoy I had no idea what was going on. He sent me the following photos. The first one spooked me a bit as it looked almost as if the tenon that fit the metal fitment on the bowl side had broken off. I was looking forward to seeing it in person. The second and third photos helped understand a bit better. It looked as if the customer had pulled the stem out of the fitment. The combination of the fitment and stem held a 9mm filter. I was ignorant of the system but I kind of figured that the fitment would slip out of the bowl in order to change the filter easily. When he dropped it off I would be able to figure it out. When Joe dropped the pipe off today I was not sure what to expect. When he handed it to me it was in its original Rattray’s box and inside was a cloth pipe sock that held the parts of the pipe. I opened the box, took out the pipe sock and removed the broken pipe. I breathed a sigh of relief as it was clear what had happened. The fellow had literally twisted the stem out of the metal fitment. I checked the fitment and it was securely stuck in the bottom of the bowl. I took the pipe to my work desk and took photos of the piece before I started my work on it. The pipe had been smoked at least once and there was a spot of bubbling on the rim top where the varnish had bubbled when heated. The bowl had some darkening and ash. The fitment on the bottom of the bowl that held the stem was stuck in place and it appeared to be slightly dirty from ash. The bowl was surprisingly shallow – maybe 2/3 of the height of the bowl. The airway entered the bowl at the bottom and was centered. The stem seemed plastic though maybe acrylic. It was drilled for a 9mm filter. There was hardened glue around the tenon end where it had been glued into the metal fitment/shank. It would need to be scraped clean. The stem itself was also a little dirty from the smoking and would need to be cleaned out. I was grateful that the pipeman who had smoked the pipe had not chomped the bit at all so it was quite clean. The photos show the approximate lay of the parts of the pipe showing the sandblast around the bowl, the smooth rim top and heel of the poker. It is a very lightweight kind of pretty little pipe. I took a close up photo of the rim top and bowl to show the condition of the bowl and top. You can see the airway entering at the bottom of the bowl. It is actually centered very well even though in the photo it appears to be toward the left. The bowl is ashy and I will need to wipe it out. The rim top shows the bubbles I referred to above on the back left of the bowl just above my thumb in the photo. You can also see the Rattray’s logo is incomplete on the stem on the right side of the photo. I also took photos of the top and underside of the stem to show their very clean condition in terms of bite or chatter marks. You can also see the residue of the original glue that held it in the metal fitment.I took a photo of the laser engraved stamping on the heel of the bowl. It is well done and very readable. There is an anchor in the centre of the heel encircled with two rings. Between the rings on the left side (top in the photo below) it reads RATTRAY’S and on the right side (bottom in the photo below) it reads AHOY!.I decided to turn to the Rattry’s Pipes site to see what I could learn about the pipe from the seller themselves (https://www.rattrays-pipes.com/en/Rattray-s-Ahoy-Natural). I quote what they included in their description of the pipe.

Ready for the next adventure? You defy the wind and the cold, conquer the waves. The lighthouse guides you around the cliffs, and the sun rises from the sea.

The next port promises a cozy fire in the harbour tavern, where the liquid luck pours down the throats. Compensation for the long weeks at sea. Soon the journey continues, only one destination in mind. Home.

Rattray’s Ahoy! A small sized Poker shape with a lasered bottom for a short smoke.

I also included the Description or Vitals that were listed for the pipe:

Description: Vitals

Surface


 Sandblast

Series Ahoy
Application  

Metal


Chamber Diameter  

19 mm


Drilling 9mm
Mouthpiece  

Acrylic


Limited Edition No
Shape  Straight – Poker
Style  

Classic series


Bowl Height 50 mm
 Material Briar
Weight  

30-39 gram


Length 140 mm

The site also had photos of the various finishes the pipe that were available. I turned to the sandblast finish Ahoy and took some photos of the pipe as it was (at least in the factory photos). Perhaps the most important photo on the site was found in the photos of the smooth version of the pipe. It confirmed what I had assumed about the metal fitment being connected to the stem portion and pressure fit into the side of the bowl. This gave me the direction I needed for repairing the stem! Thank you internet and Rattray’s for the detailed photos.Now it was time to work on the pipe. I tried to wiggle the metal fitment in the bowl and it was solidly stuck in place. I used an old trick – putting it in the freezer for about 10 minutes. The chill air affects the metal and the briar differently. When I removed the bowl from the freezer the metal fitment easily came out of the bowl. It was clean an undamaged. I used a qtip/cotton swab and some isopropyl alcohol to cleanup the inside of the metal and the stem end to remove all of the residual glue. I used a tooth pick to paint the stem end with black rubberized CA glue and pressed the fitment onto the stem. I wiped off the excess glue that oozed out with a alcohol dampened cloth. Once it was ready I set it aside to let the glue cure.I cleaned out the airway in the stem and the mortise with isopropyl alcohol, cotton swabs and pipe cleaners. I used a cotton pad and alcohol to clean out the inside of the bowl. It removed the tobacco smell and the oils from the bowl and shank.To remove the bubbling finish on the top of the rim top I polished it with 1500-12000 grit micromesh sanding pads. I removed the damage on the rim top with the pads. I wiped it down with a damp cloth to remove the sanding debris on the surface. I worked some Before & After Restoration Balm into the surface of the briar with my fingertips and a shoe brush. It works to clean, enliven and protect the briar. I let it sit for 15 minutes then buffed it off with a soft cloth and raised the shine. The bowl looks great at this point. I polished the stem, carefully avoiding the remaining Rattray’s stamp on the left side of the stem. I appeared to be almost a decal but I am uncertain so I avoided all contact with it. I used 1500-12000 grit micromesh sanding pads. I wiped the stem down with an Obsidian Oil cloth after each sanding pad. It looked very good. I fit the stem with a 9mm filter and reinserted the stem in the bowl. It was ready to go back.This Rattray’s Ahoy! Sandblast Poker with an acrylic military bit is a great looking pipe now that it has been restored. The rich browns and blacks of the contrasting stains came alive with the polishing and waxing. The acrylic stem had a nickel cap on the end of the stem that really shone and went will with the black of the stem. I put the stem back on the bowl and carefully buffed the pipe with Blue Diamond on the buffing wheel using a light touch on the briar. I gave the bowl and the stem multiple coats of carnauba wax on the buffing wheel and followed that by buffing the entire pipe with a clean buffing pad. I hand buffed the pipe with a microfiber cloth to deepen the shine. The finished Rattray’s Ahoy! Poker is a beauty and fits nicely in the hand and looks very good. Give the finished pipe a look in the photos below. The dimensions of the pipe are Length: 5 ½ inches, Height: 2 inches, Outside diameter of the bowl: 1 ¼ inches, Chamber diameter: ¾ of an inch. The weight of the pipe is 1.38 ounces/40 grams. This beauty will be going back to the Pipe & Cigar store shortly. Thanks for reading this blog and my reflections on the pipe while I worked on it. There are many more to come!