by Kenneth Lieblich
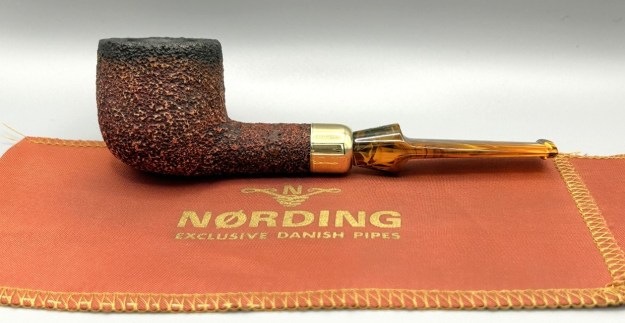
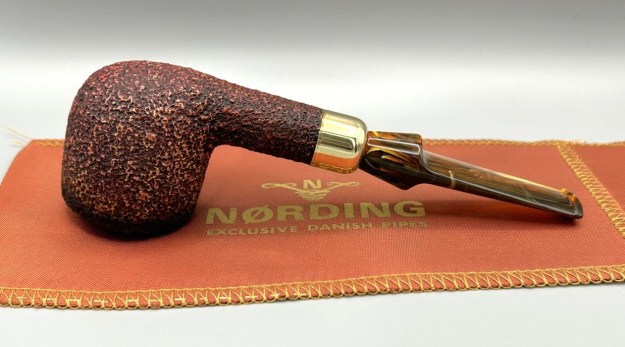
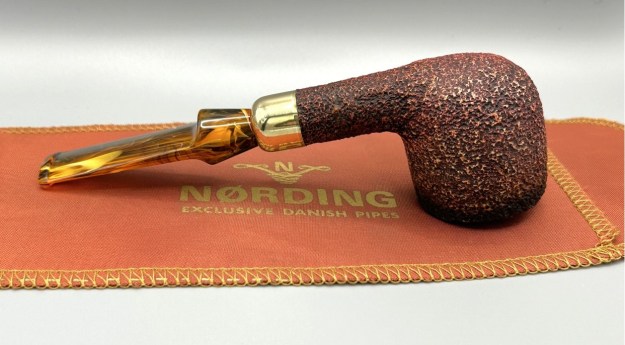
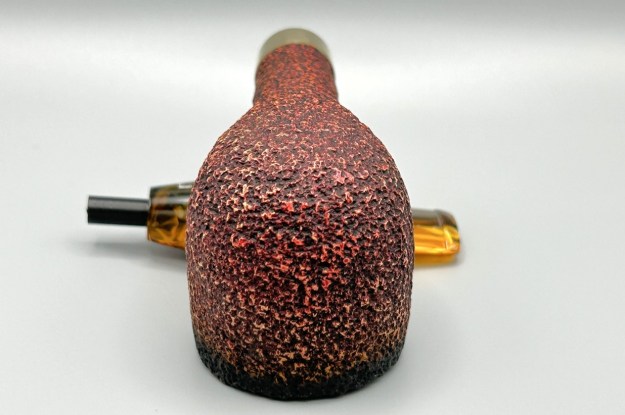
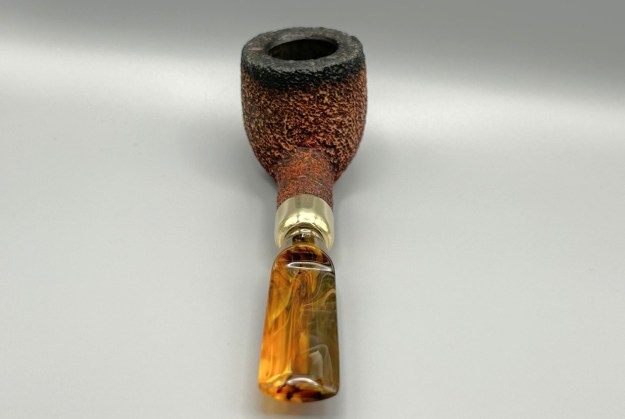
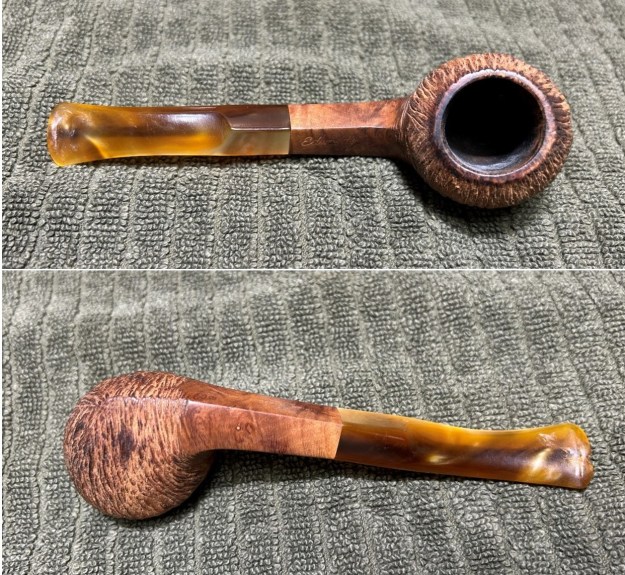
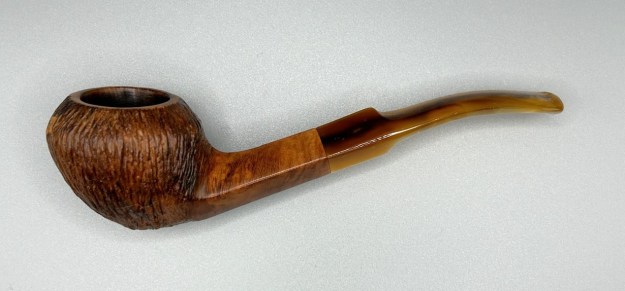
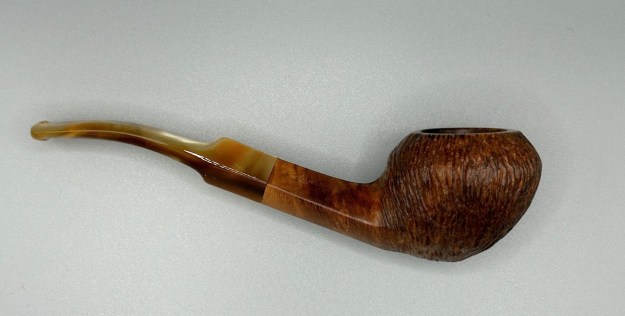
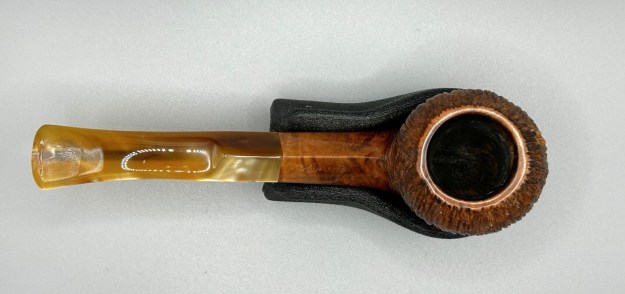
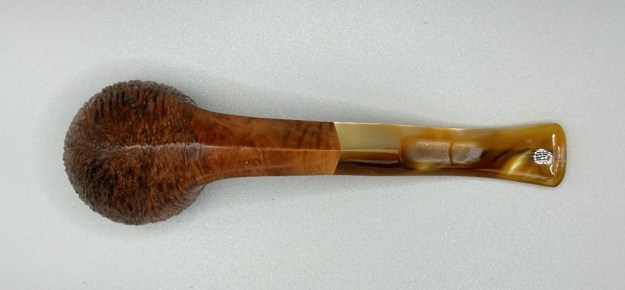
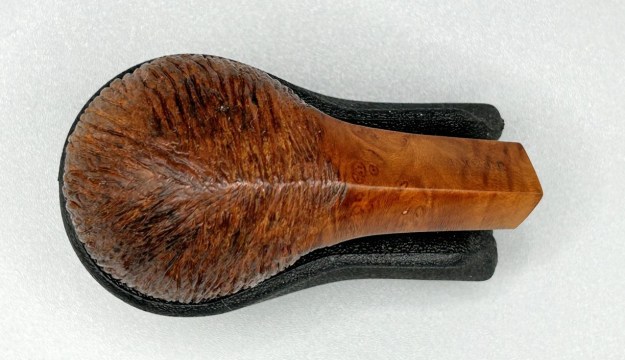
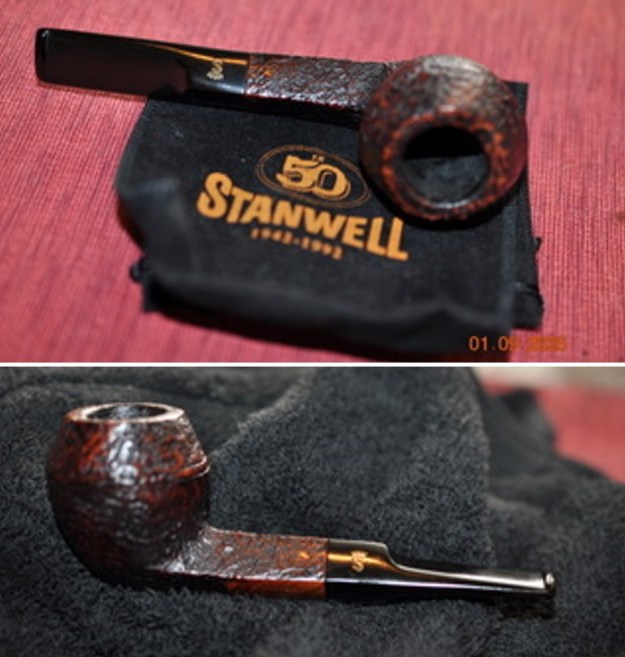
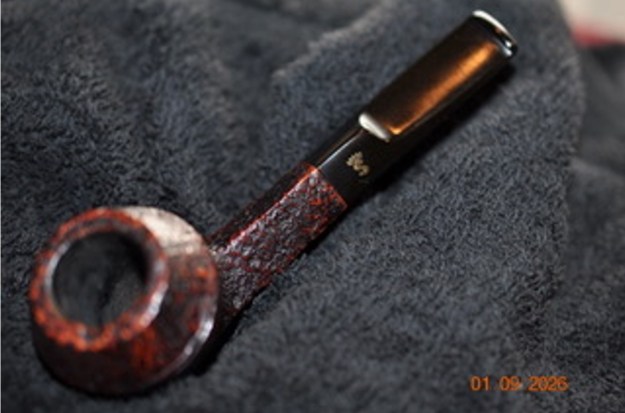
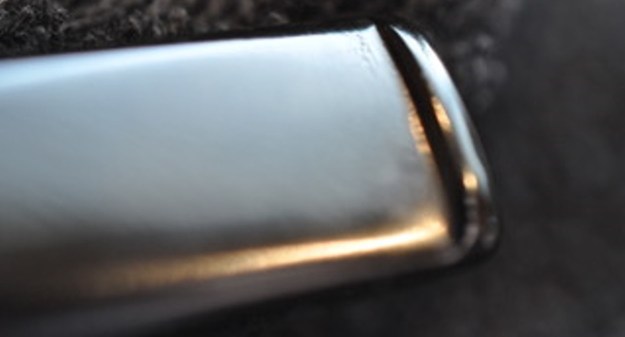
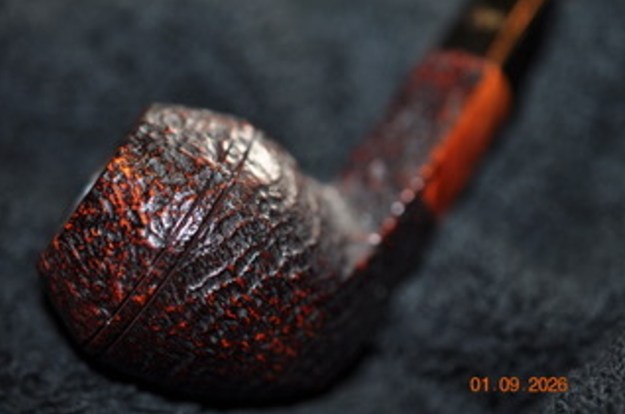
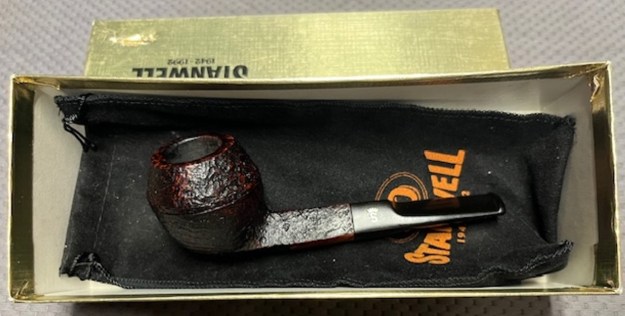
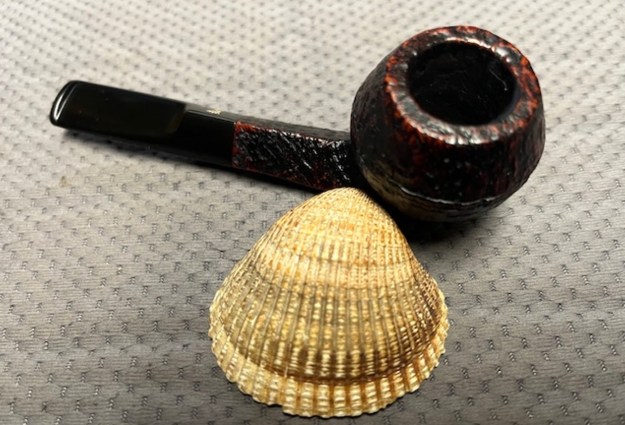
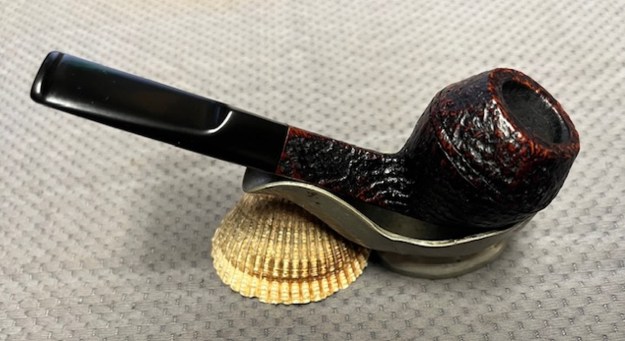
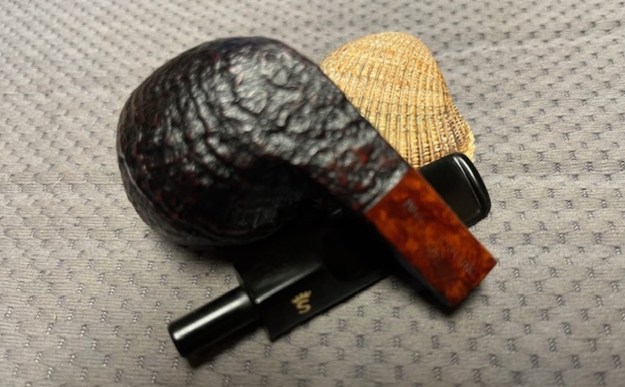
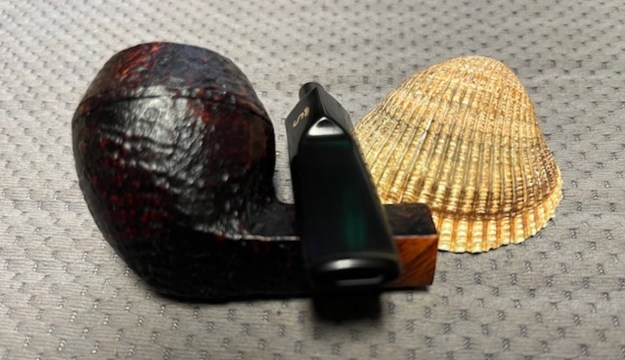
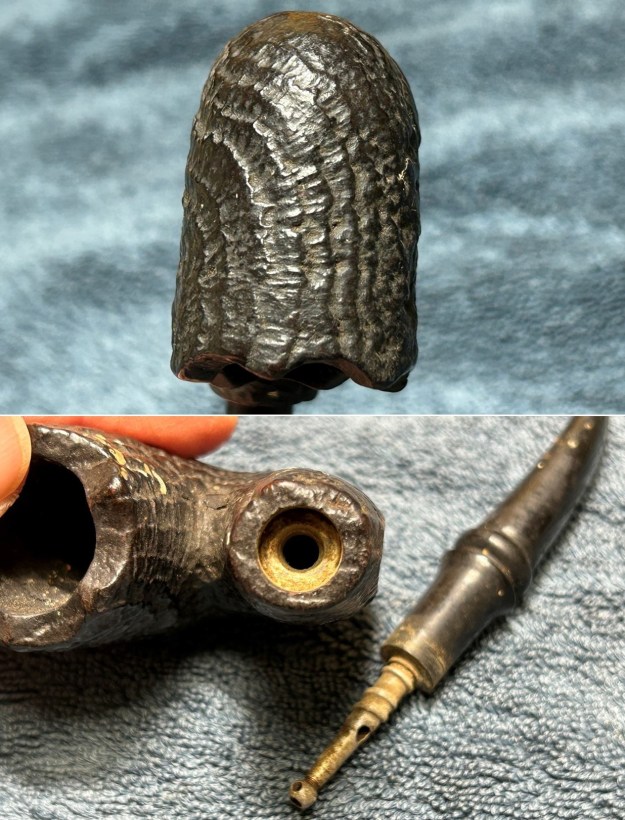
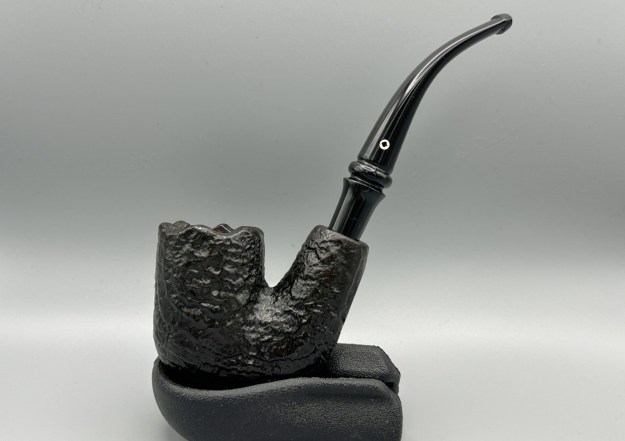
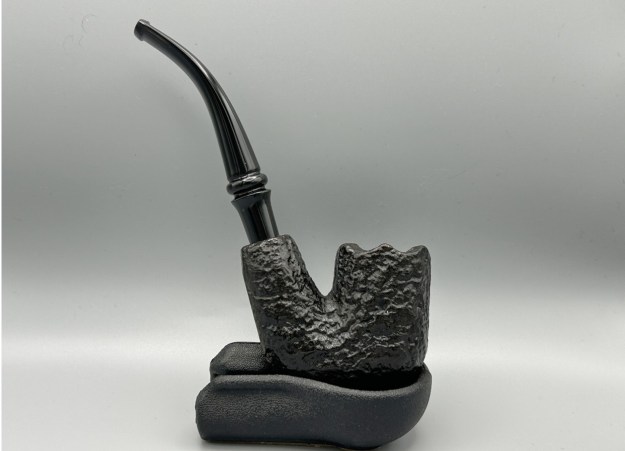
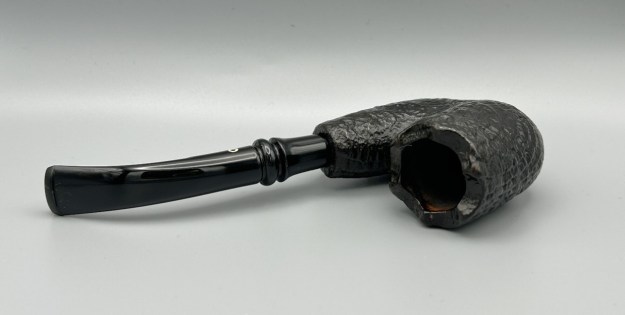
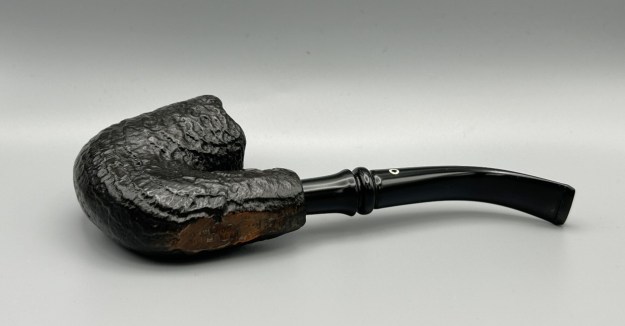
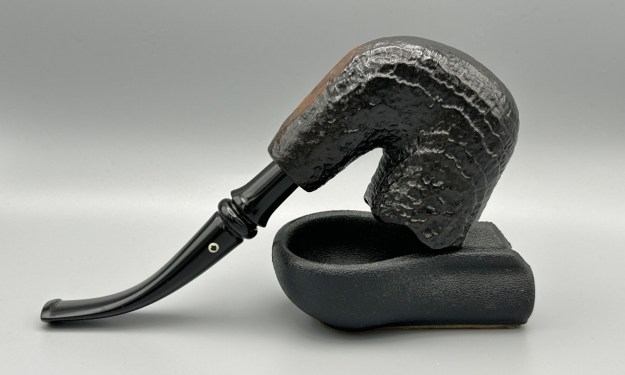
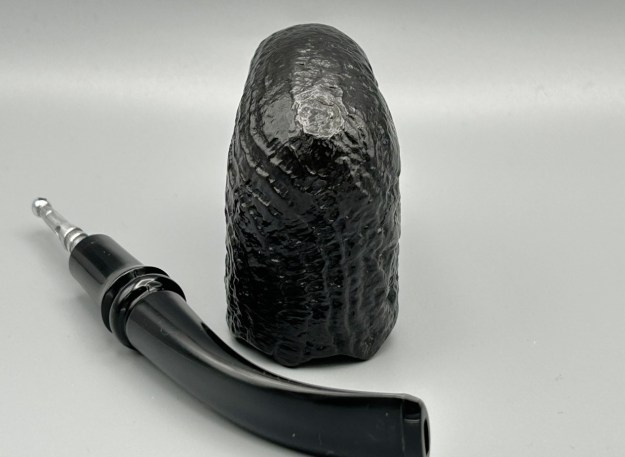
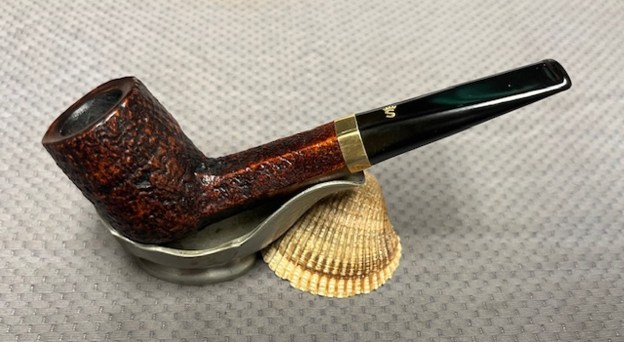
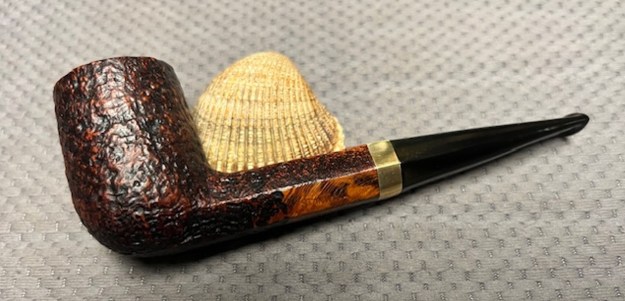
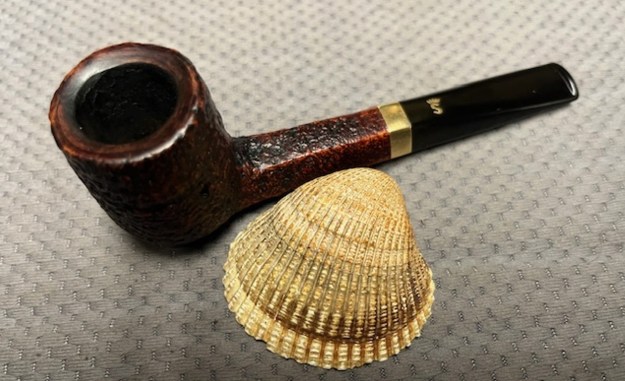
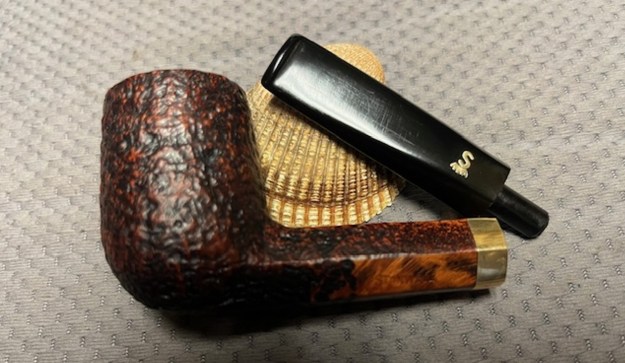
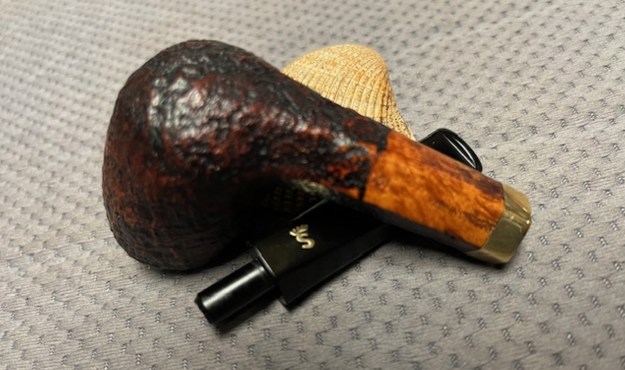
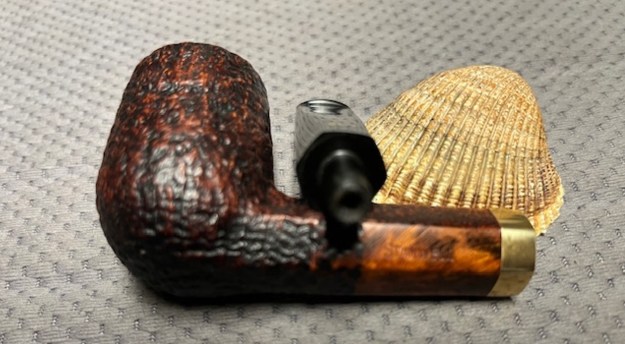
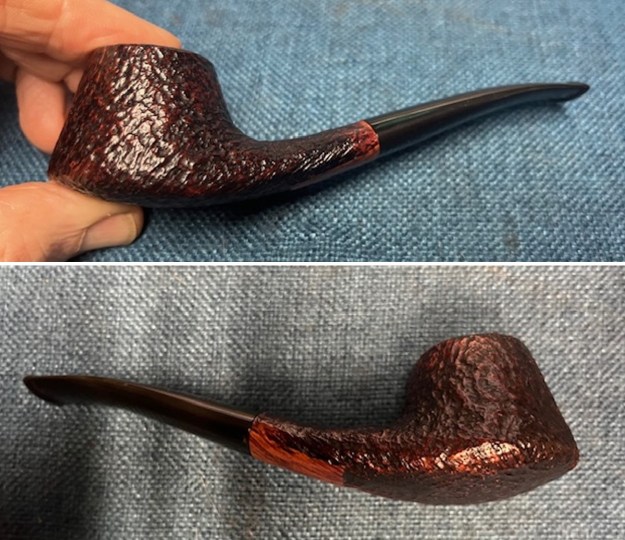
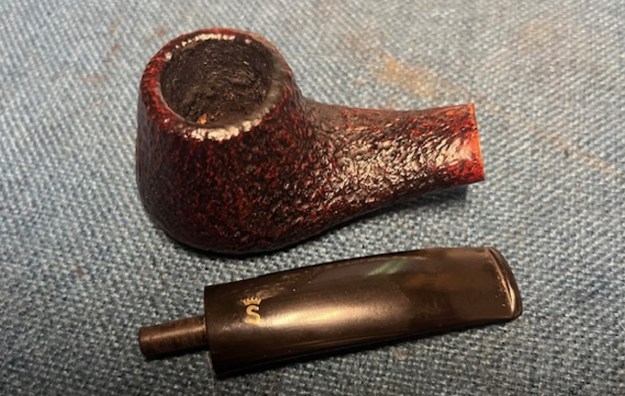
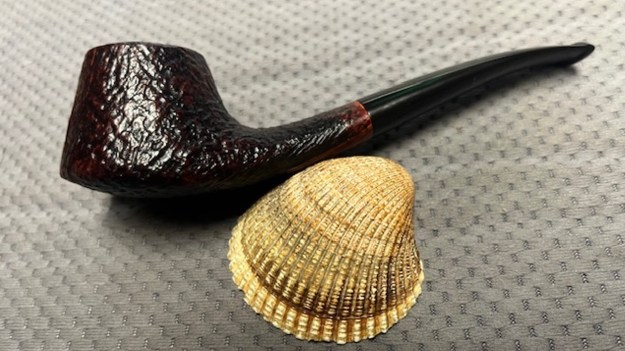
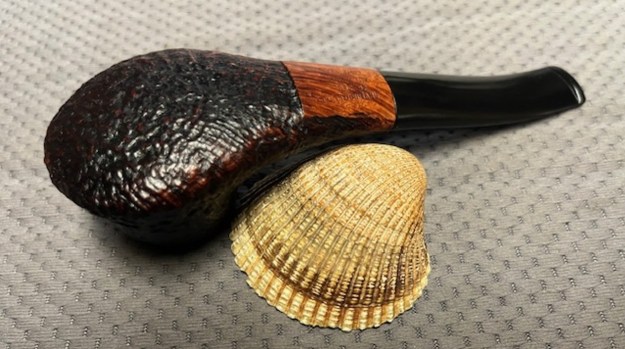
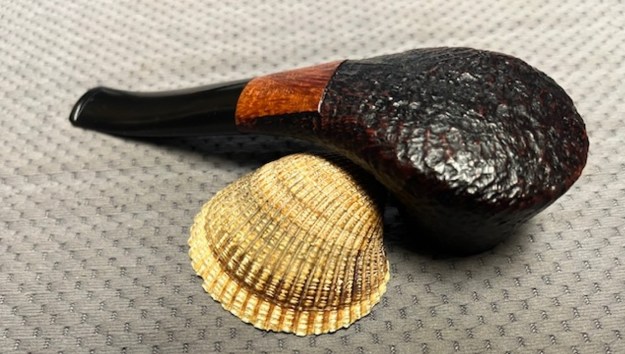
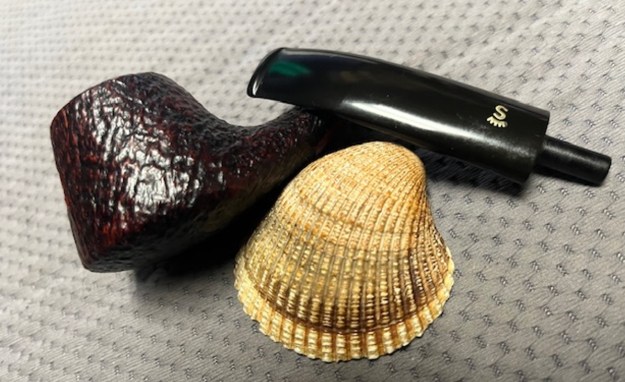
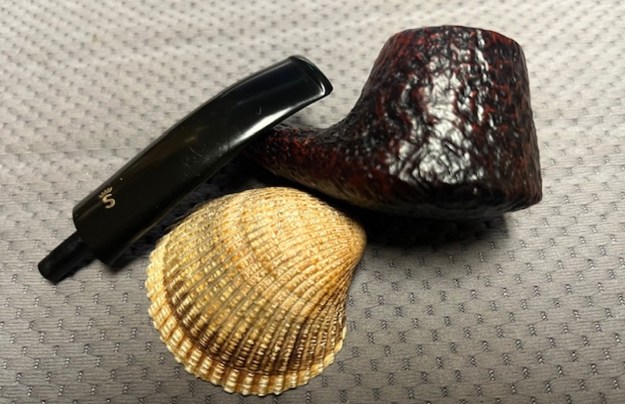
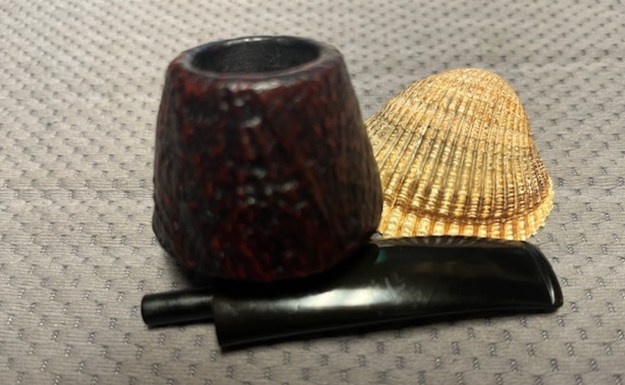
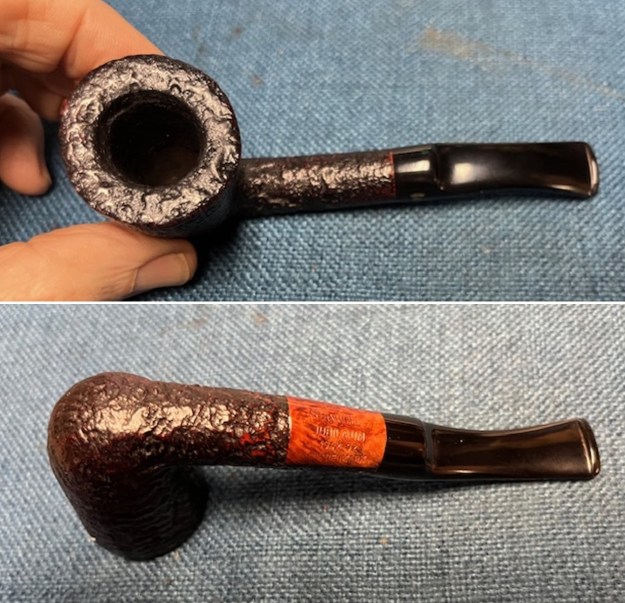
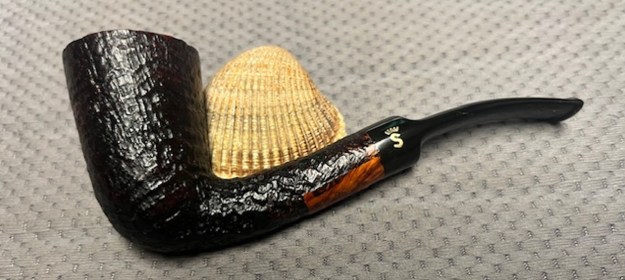
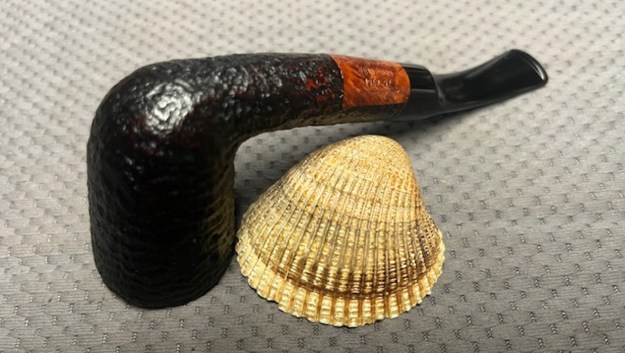
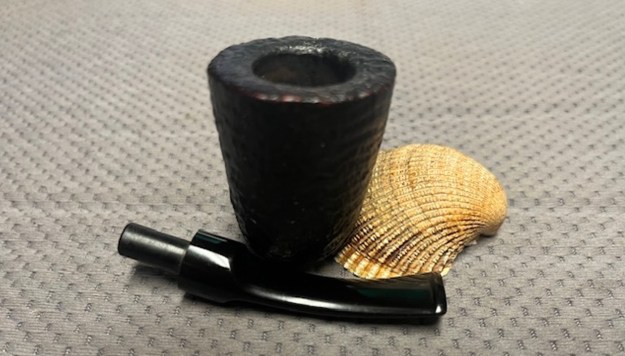
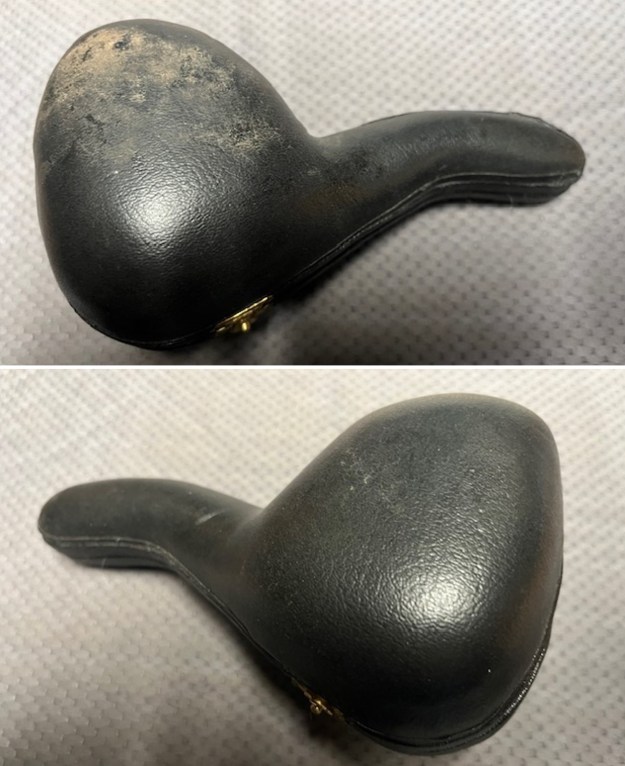
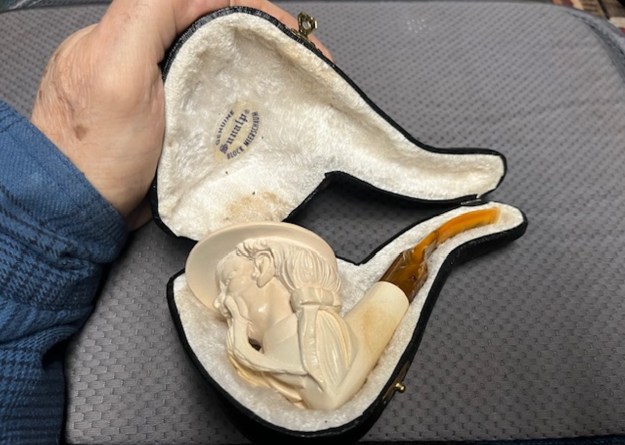
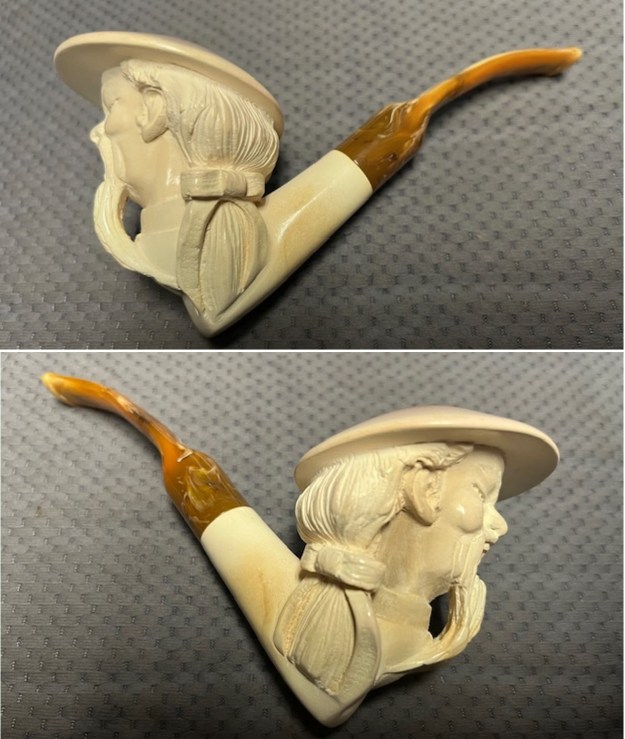
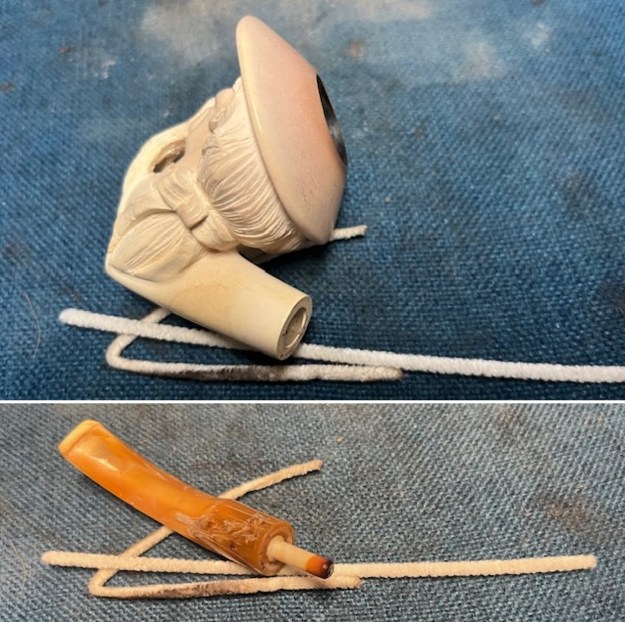
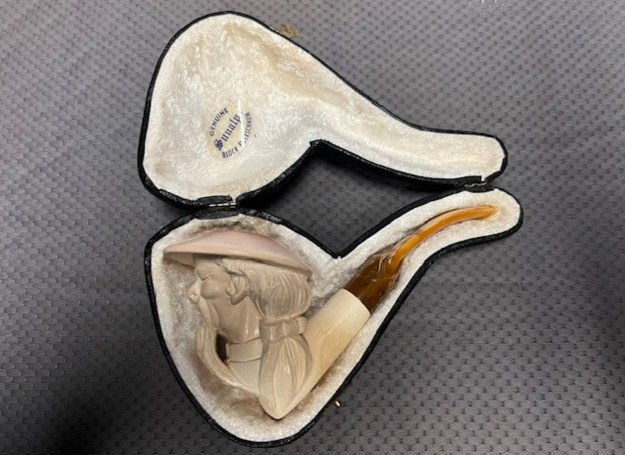
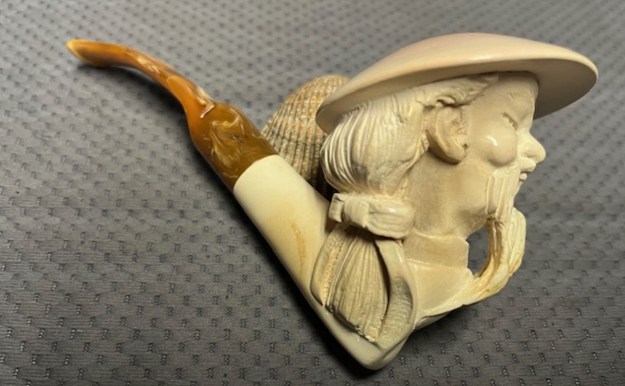
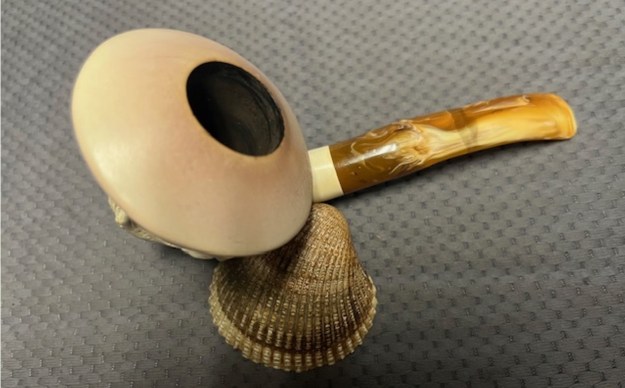
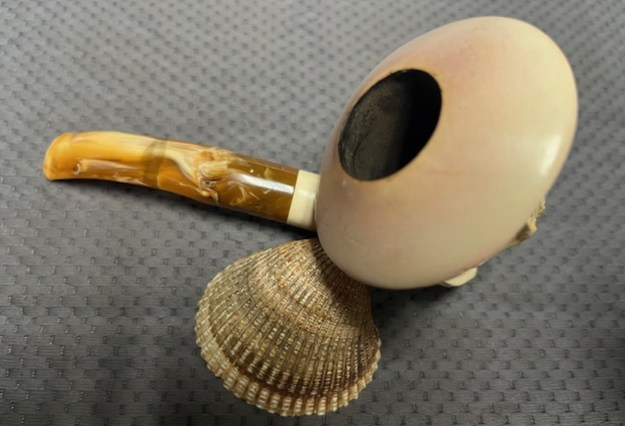
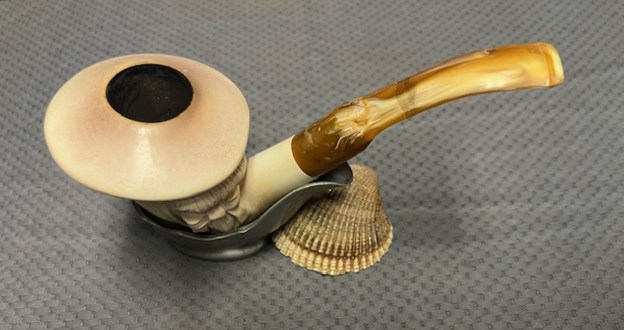
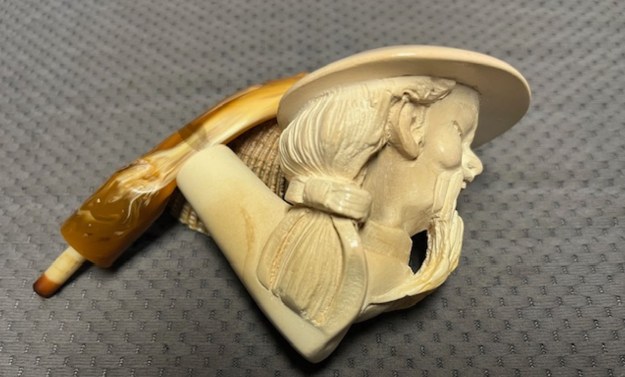
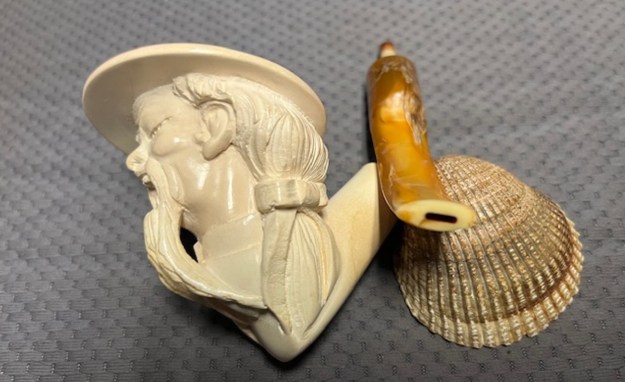
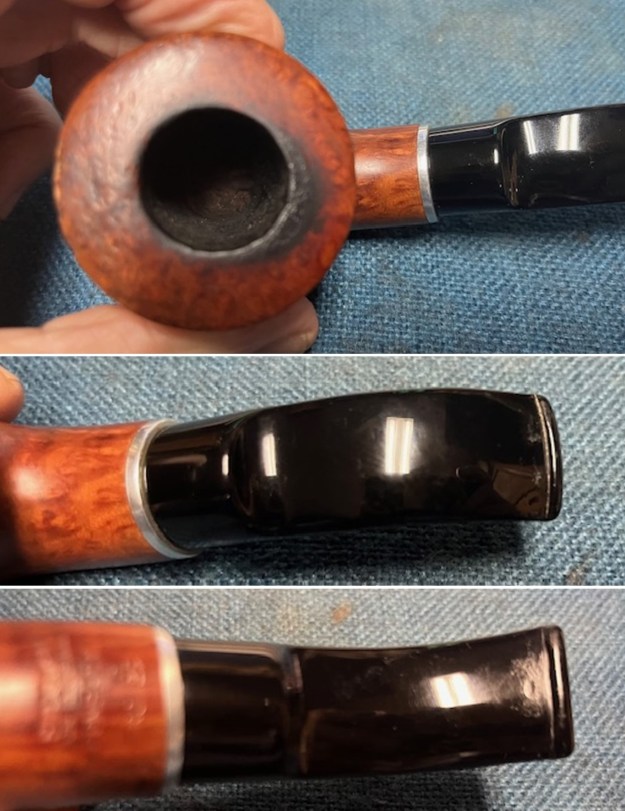
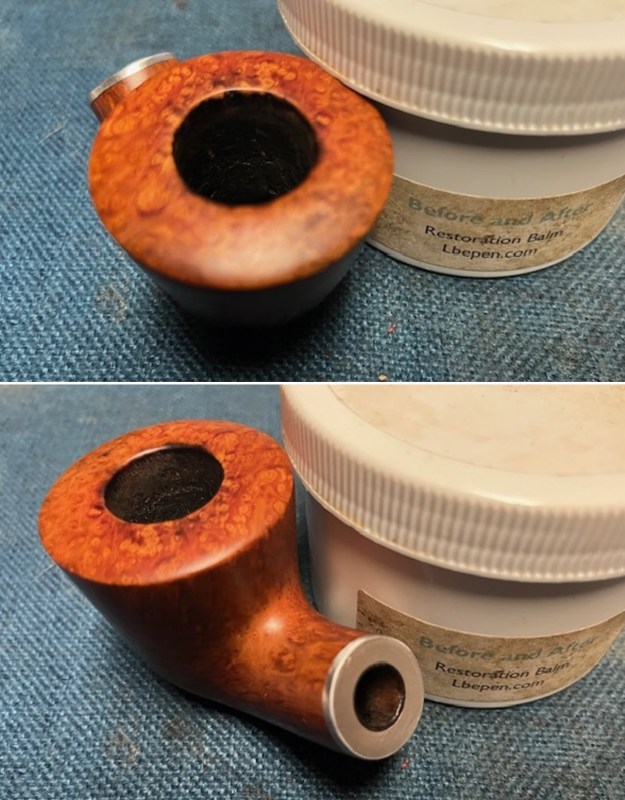
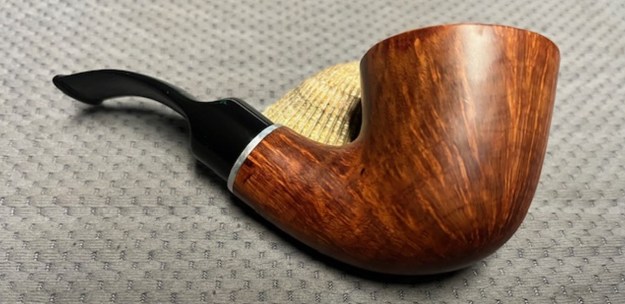
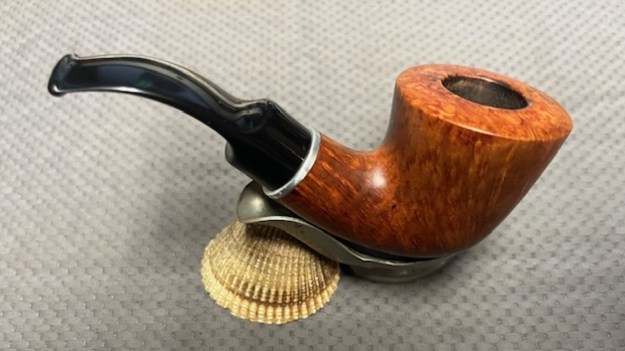
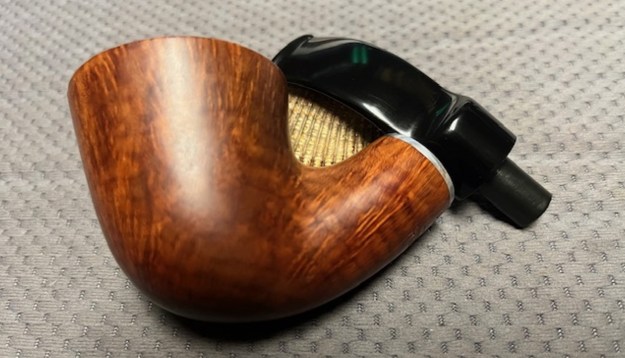
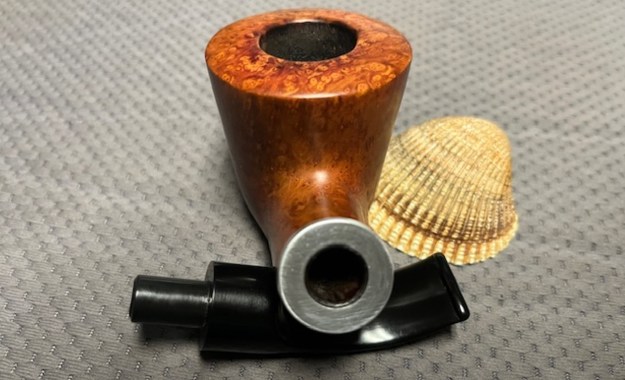
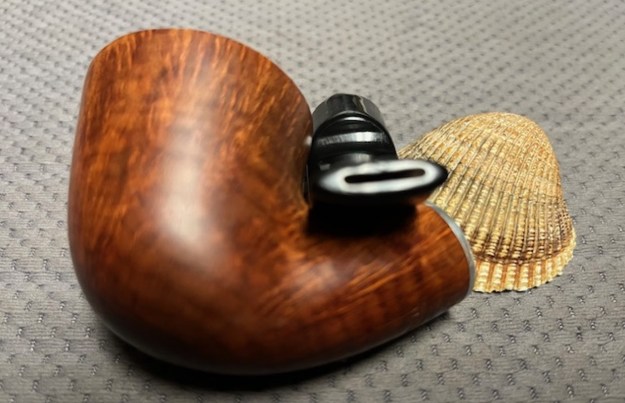
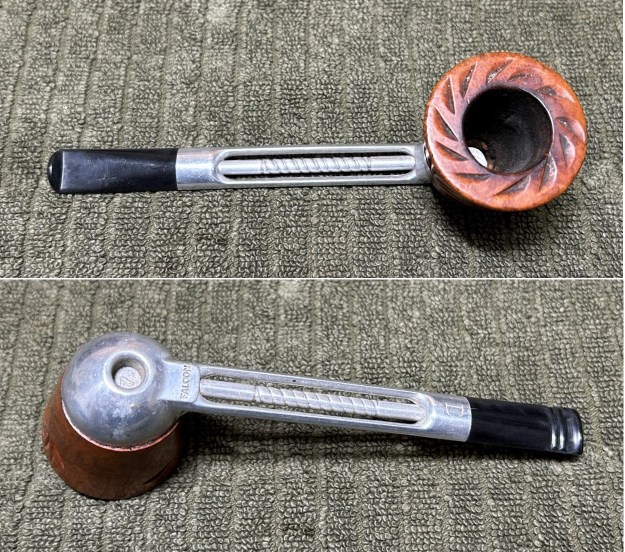
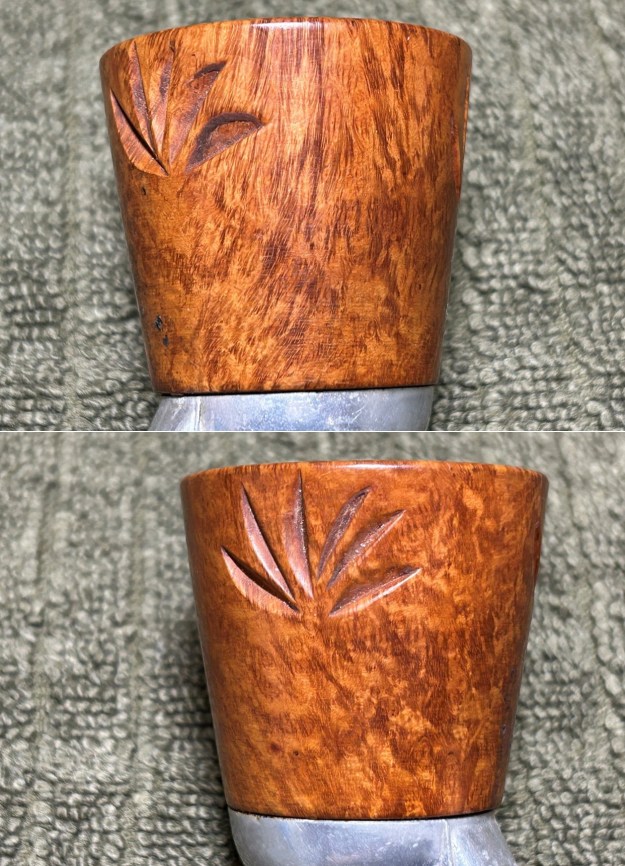
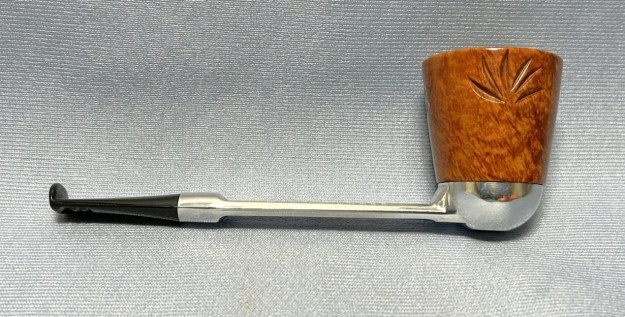
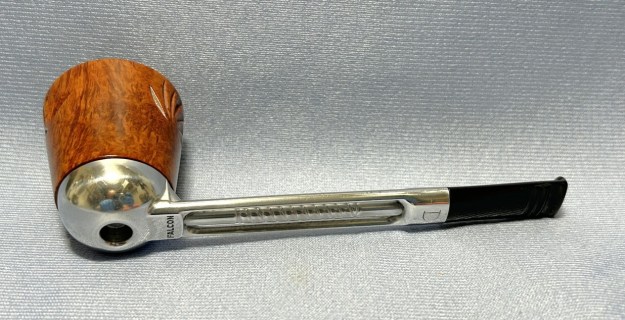
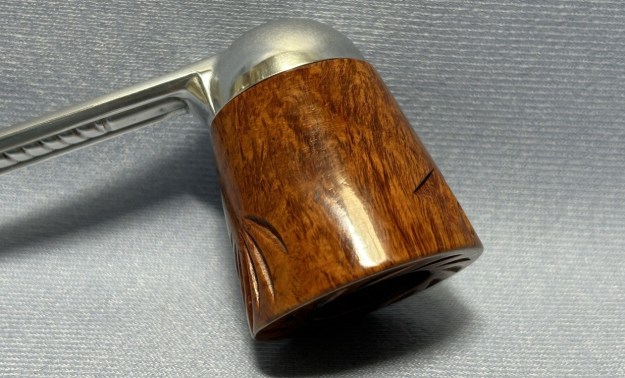
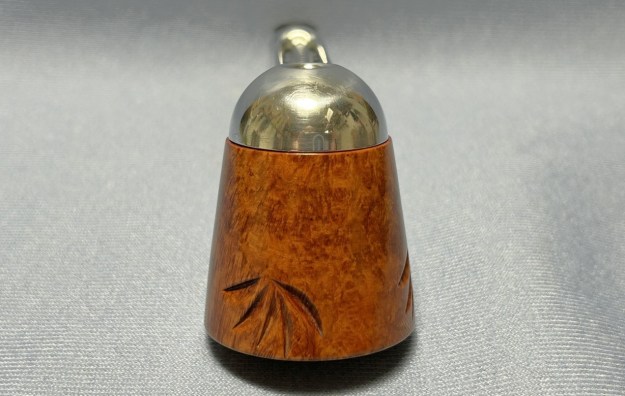
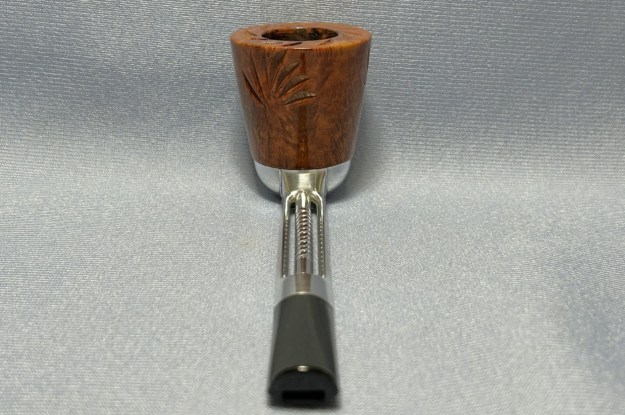
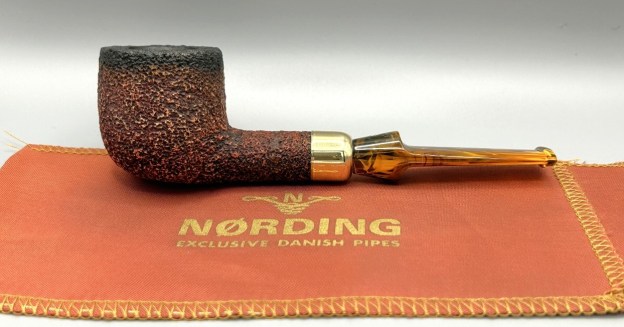
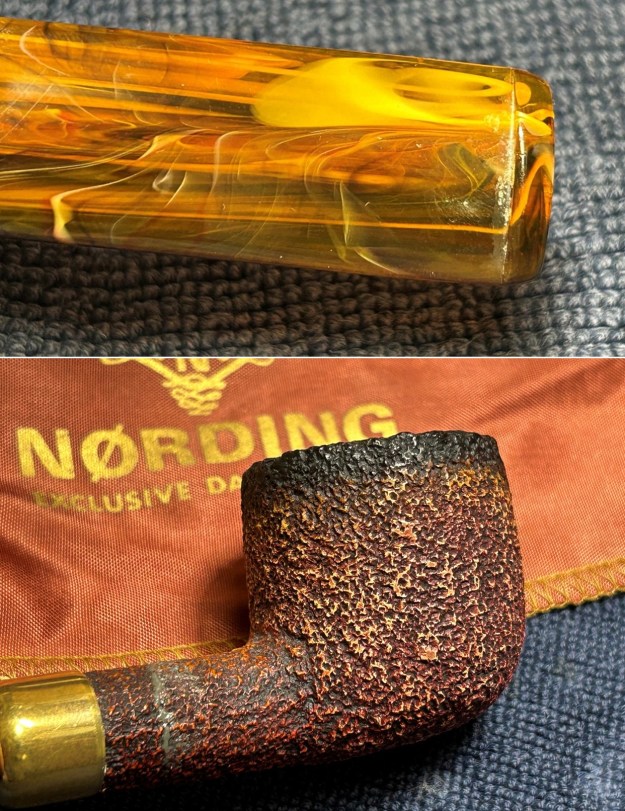
I don’t know about you, but this pipe immediately reminded me of similar Peterson meerschaum pipes. It bears a certain resemblance, and no wonder – it was made in the same place as the Pete meers. This Nørding is very attractive, both in its construction and in its aesthetics. As you can see, this Nørding is a pot shape, with a metal cap over the shank and a lovely, variegated acrylic stem. It also comes with its own original pipe sock – a very fine detail. Before the pipe came into my possession, it had been repaired – very well, I must say – and I will talk more about the repair below. For the time being, it was my job to clean it up, beautify it, and send it back out into the world. Please take the time to see how this one turned out: I think you will be impressed.
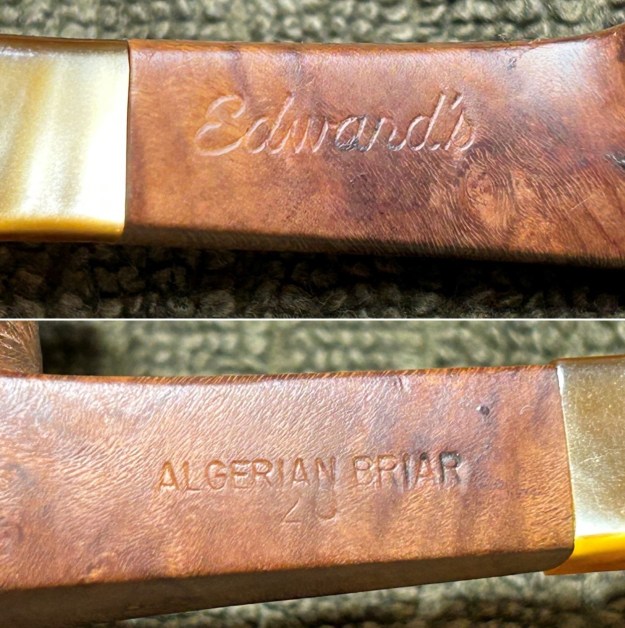
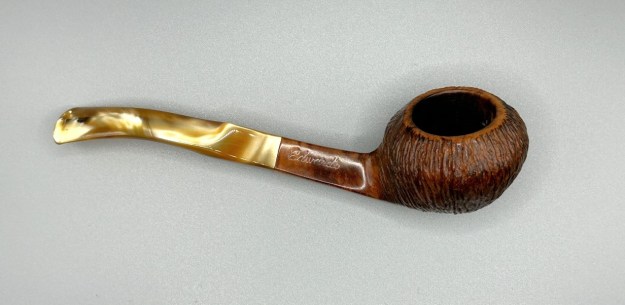
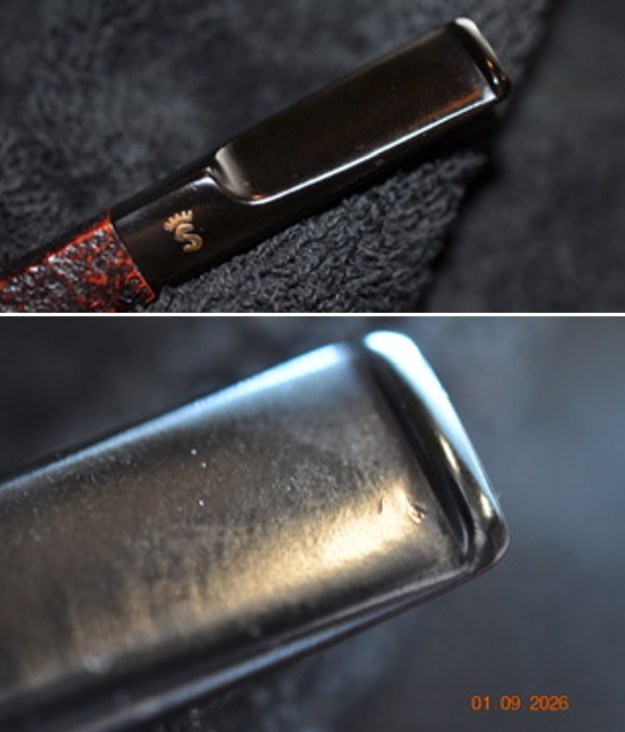
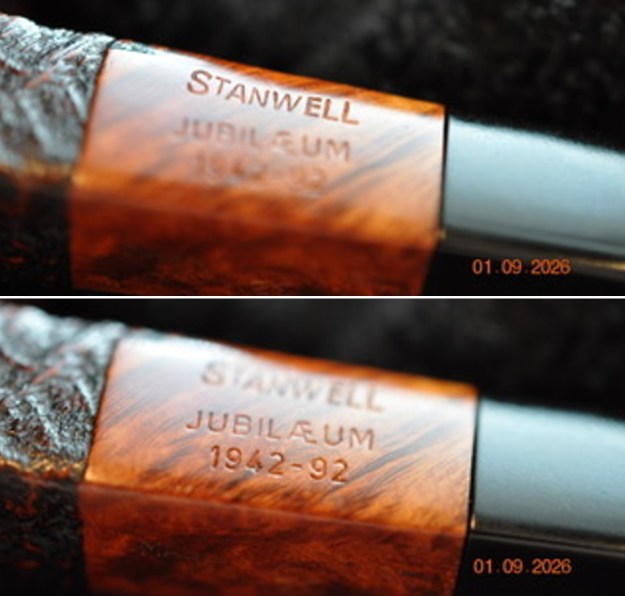
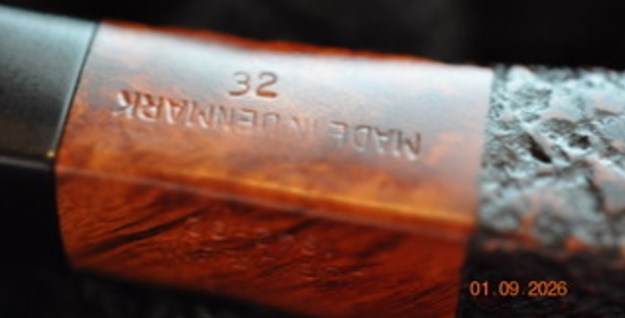
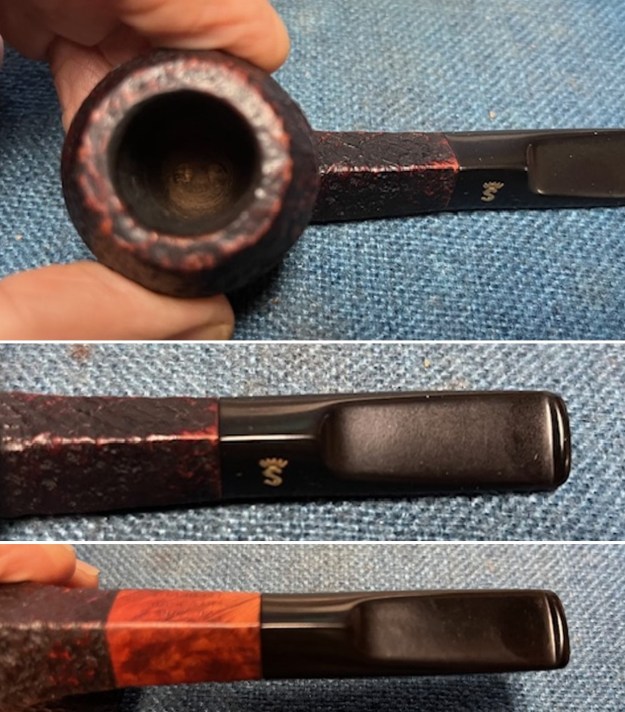
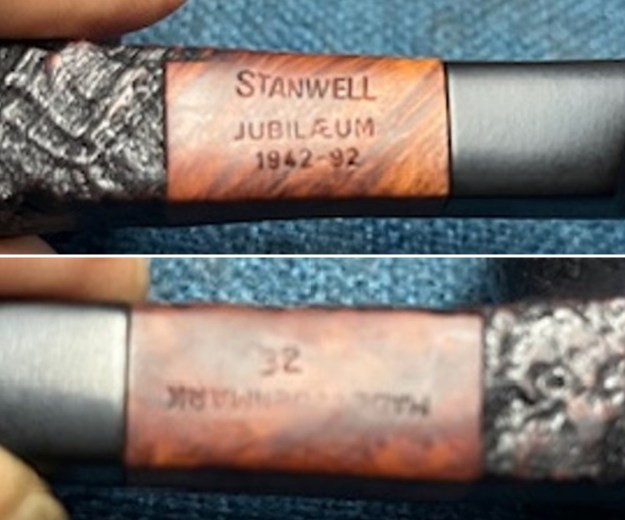
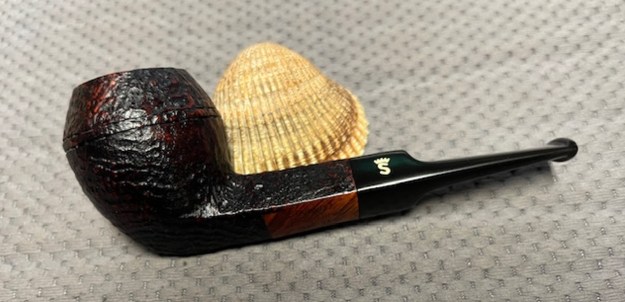
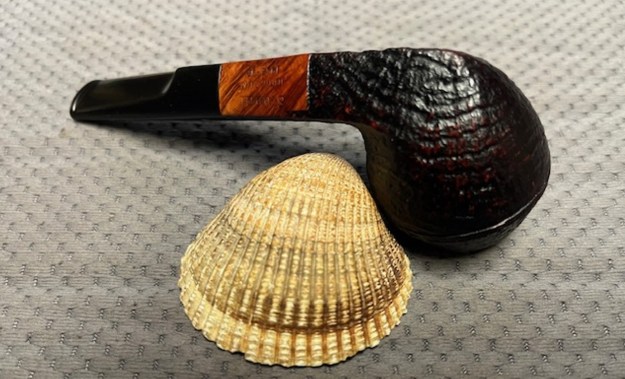
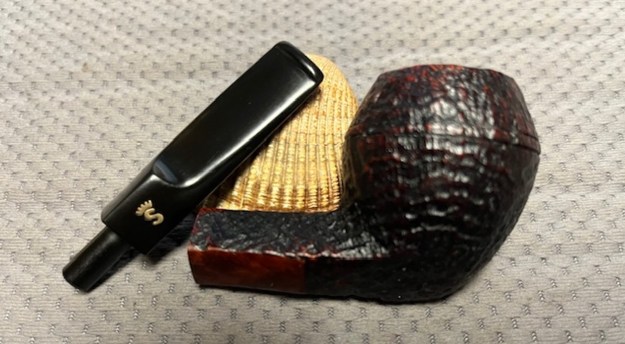
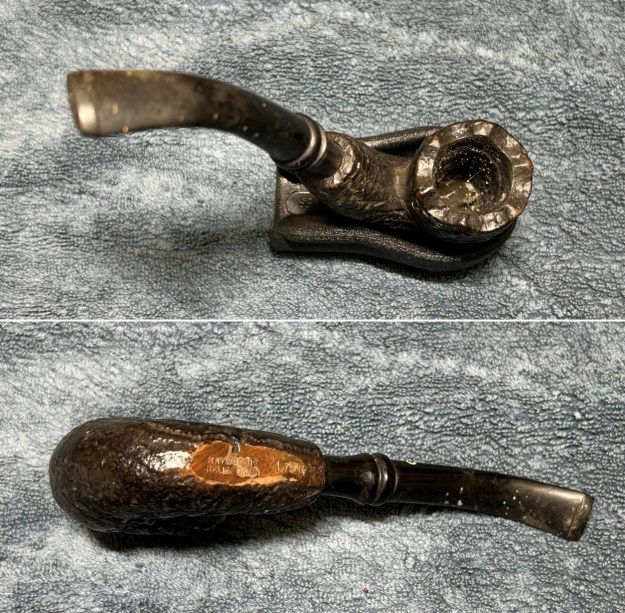
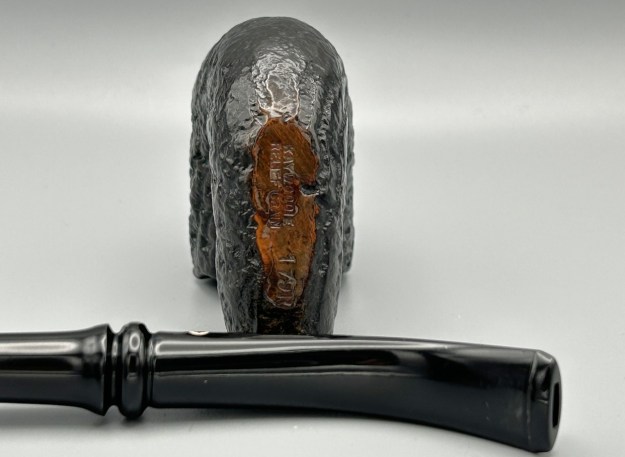
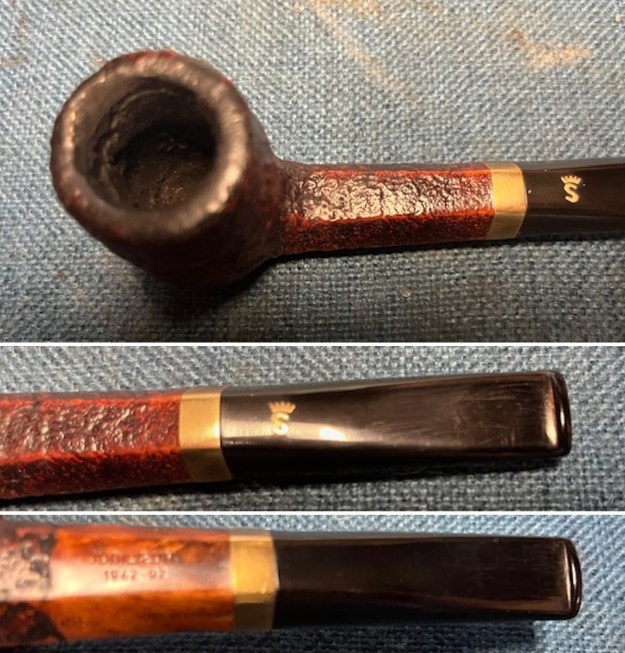
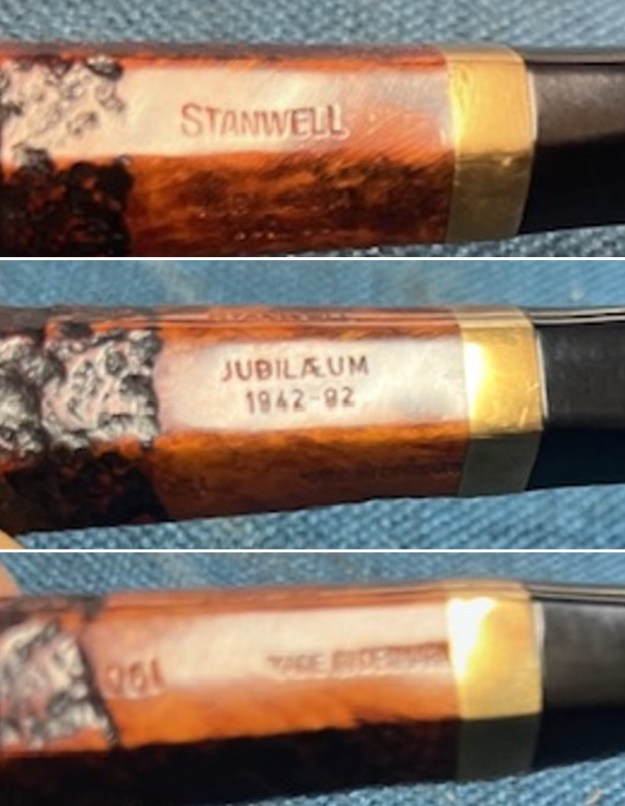
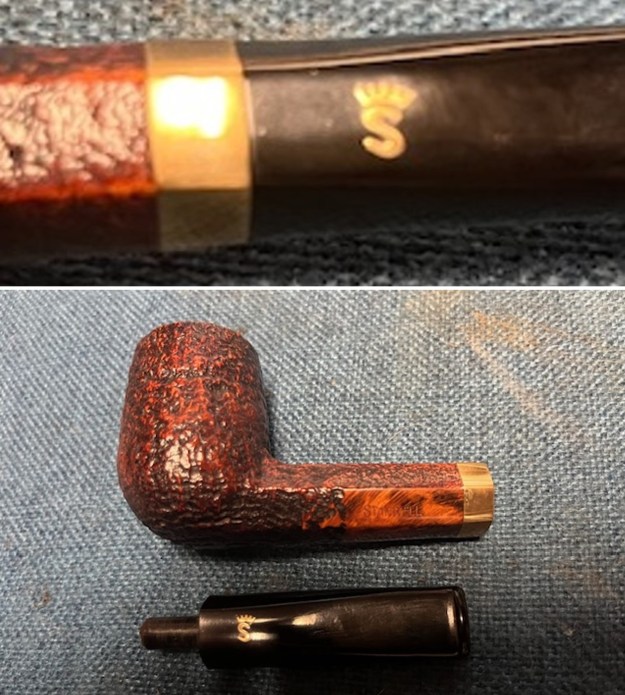
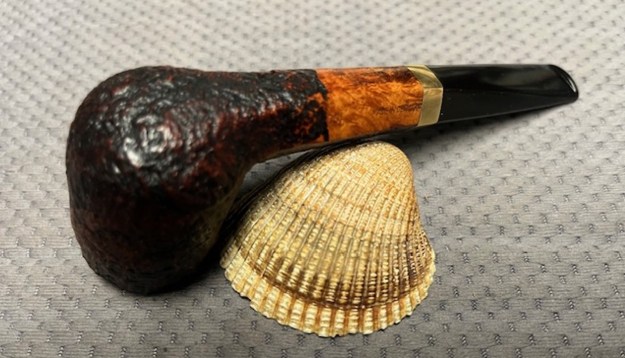
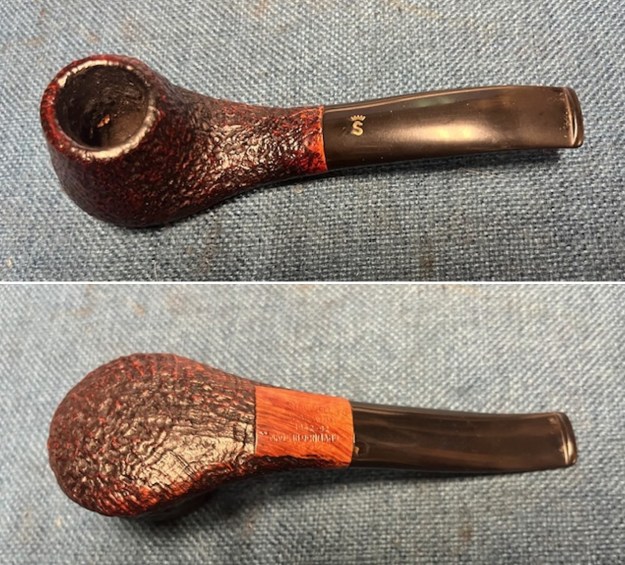
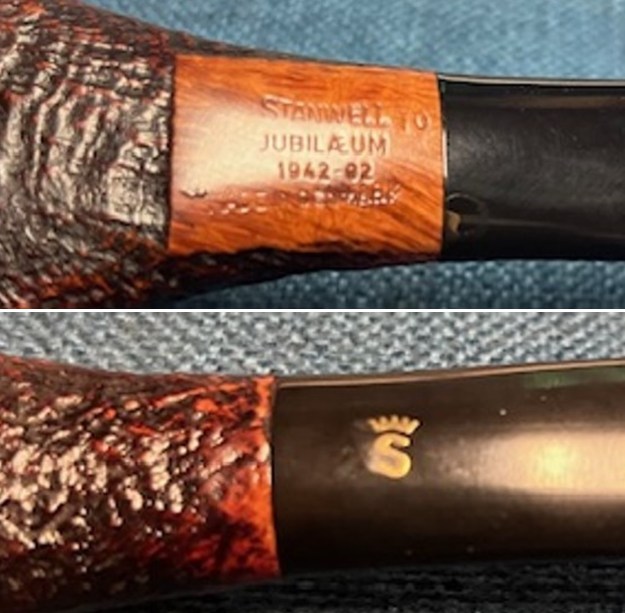
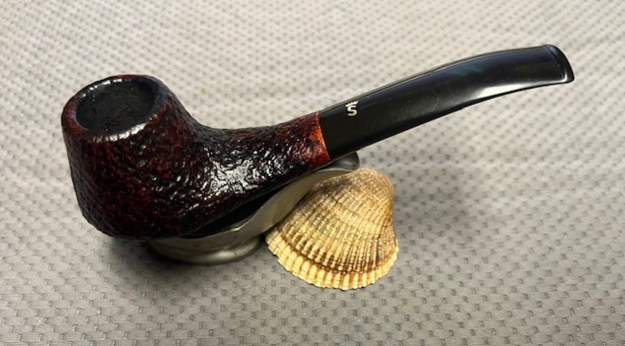
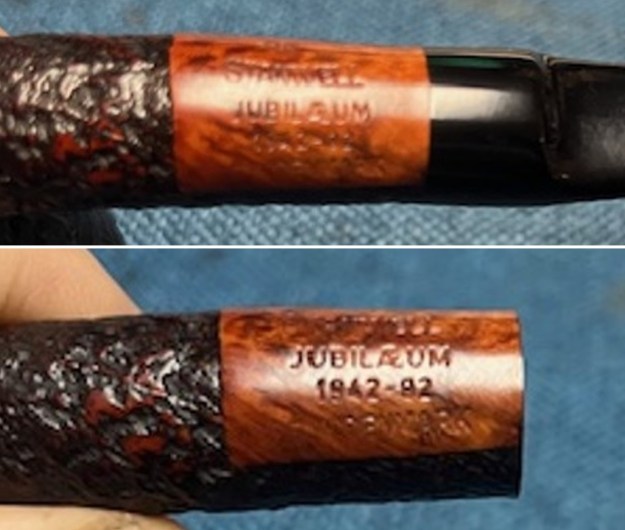
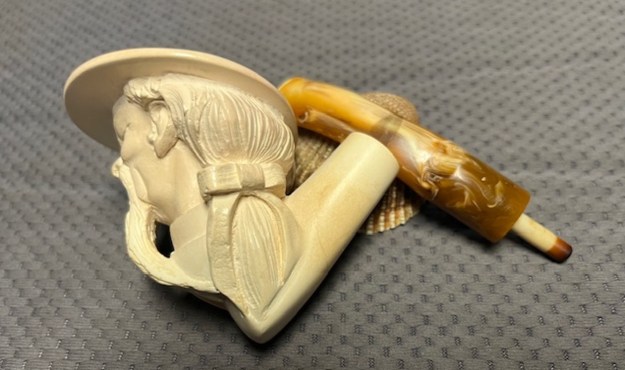
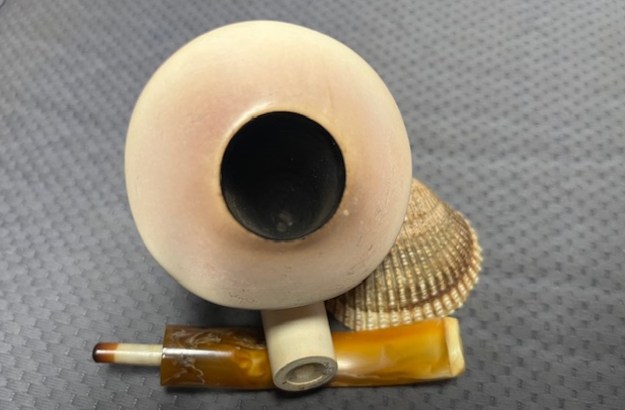
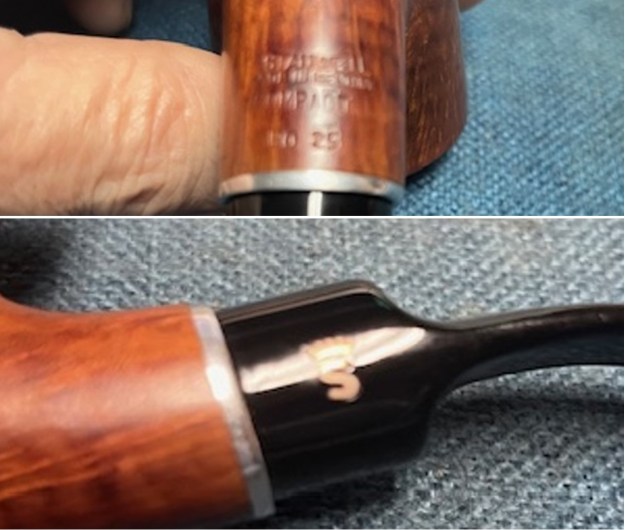
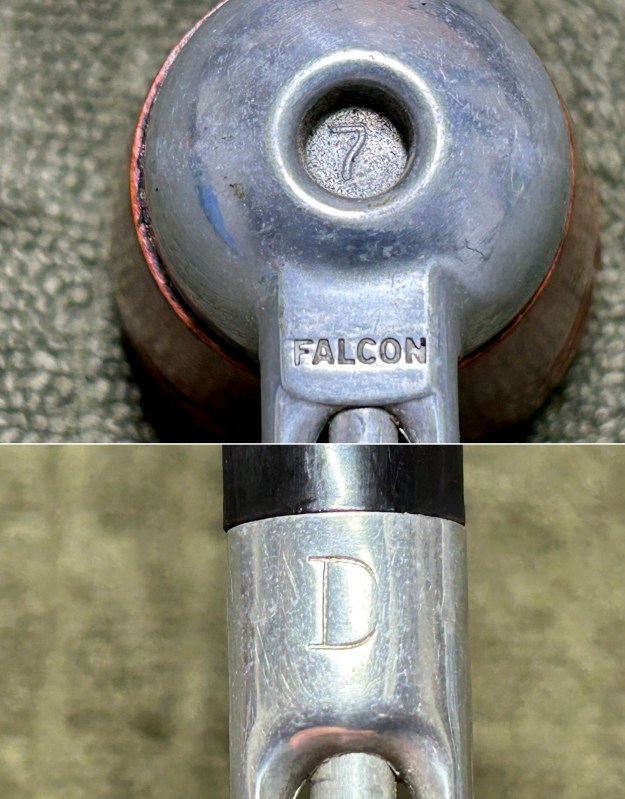
 The pipe itself has few markings, but the pipe sock certainly helps with identification! Anyway, the top of the stem has the letter N of the Nørding pipe works. This mark is slightly faded, but still completely readable. Underneath the stem, we see the words, Isle of Man. This tells us where the pipe was made.
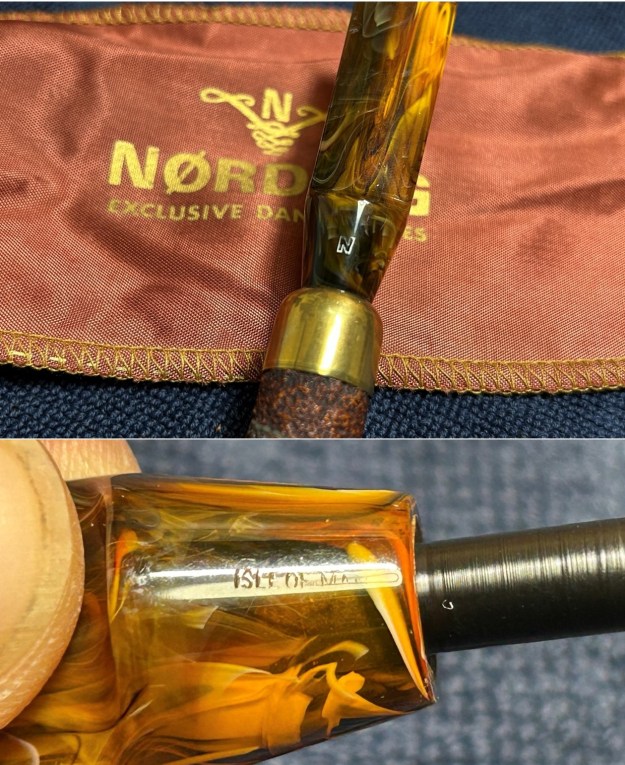 Erik Nørding is well-known in the pipe world and his pipes are highly regarded. You can visit his website here to view some of what he has to offer. The site offers a bit of background information, including the fact that he is 87 years old in 2026! Pipedia has a long entry on him, and I encourage you to read it here. These are the first few lines:
 Erik Nørding was born in Copenhagen, Denmark. Originally educated in engineering. Pipe carving began as a hobby, but as time went by, he became more interested in pipe making as a profession. During the last 40 years Erik Nørding has built his own business, which today produces approximately 50.000 pipes a year, 90% of which are for the export market. From pipe design innovations to knife making to custom machinery and barbecue cookery, Erik Nørding’s inventiveness keeps expanding. A blacksmith and engineer, Nørding knows his way around pipe making machinery. Strangely, it was not his love for woodworking that propelled Erik Nørding into the pipe making field — it was his terrific facility with machines.
The information on Nørding over at Pipephil is scant, but it does confirm what I indicated earlier: his meerschaum pipes were made on the Isle of Man. Here is some information from Pipedia about meerschaum production on the Isle of Man:
Laxey Pipes Ltd. resided in a historical 19th century four-storey Man stone building at The Quay, Old Laxey, Isle of Man, which thankfully has been preserved.
The company specialised in the production of meerschaum pipes using the Meerschaum mined by the Tanganyika Meerschaum Corporation in the Amboseli basin in Tanganyika (since 1964 part of the United Republic of Tanzania).
Please note: you may often find names like “Manx Pipes Ltd.”, “Man Pipe Co.” and others more, but there is no indication of another Isle of Man pipe producer other than Laxey Pipe Ltd. at any time!
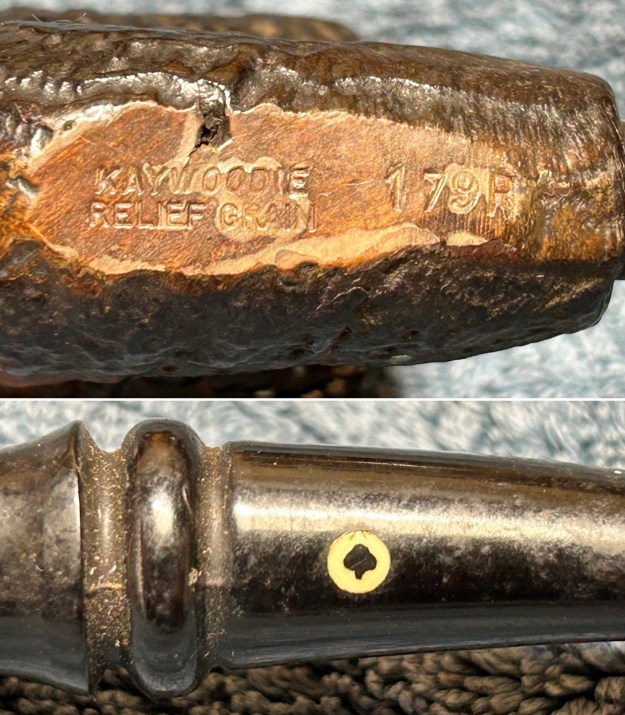
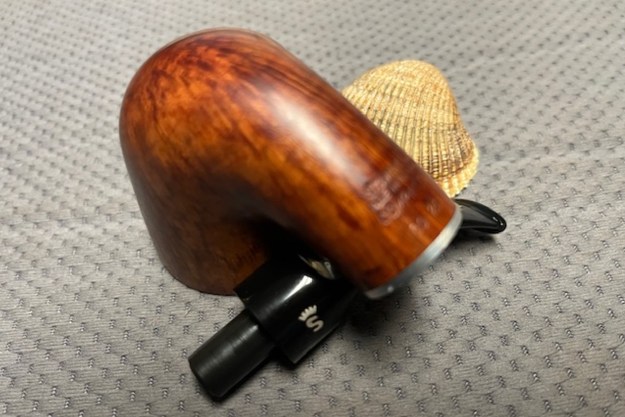
Laxey Pipes Ltd. marketed own brands like “Manxpipe”, “Manxman”, “Manxland” e.c. Names like “John Bull”, “White Knight” (unwaxed), “Domino” (black, or lined) indicated some shapes / colours of Laxey’s own series. The stems either showed the astronomical sign for “male” or “man” (circle + arrow), or the crest of the Isle of Man, the 3-legged X in a circle. Manxpipes and Laxey’s other brands were available through pipe retailers in general, but also were sold (mainly) to tourists through their own shop in Laxey.
Furthermore Laxey Pipes Ltd. manufactured the meer bowls for Peterson, Barling, Nørding and others from the later 1960’s until 2001. Man Pipe e.g. was a brand distributed by Comoy’s. The bowls usually showed no nomenclature indicating the orderer. “Genuine Block Meerschaum” was engraved frequently. Often, just the stems were different, while bowls were the same.
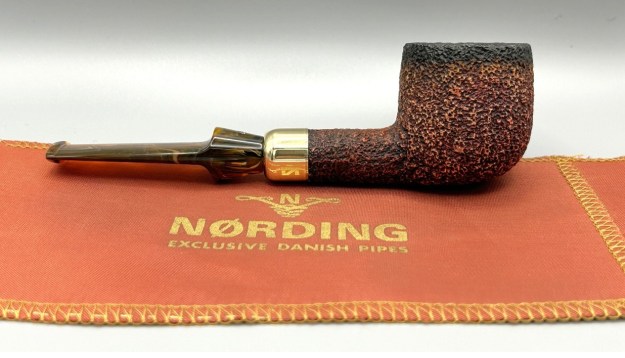
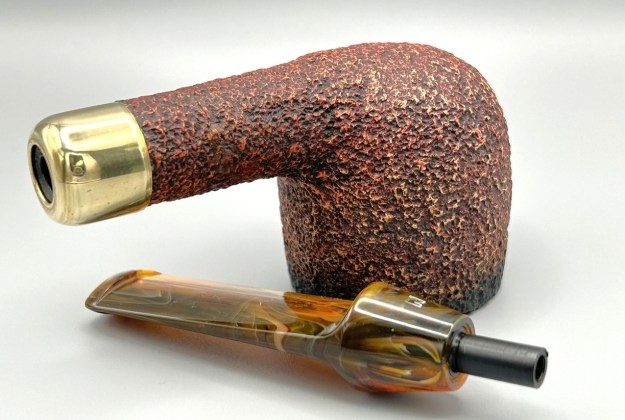
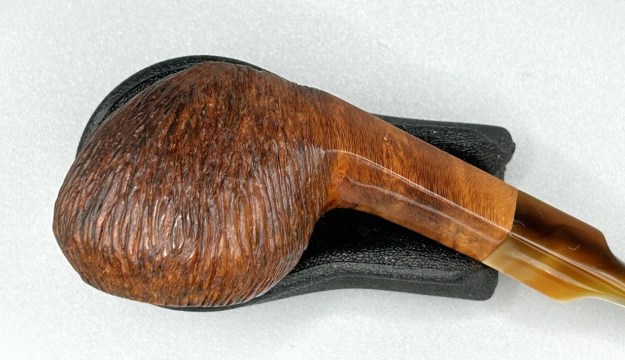
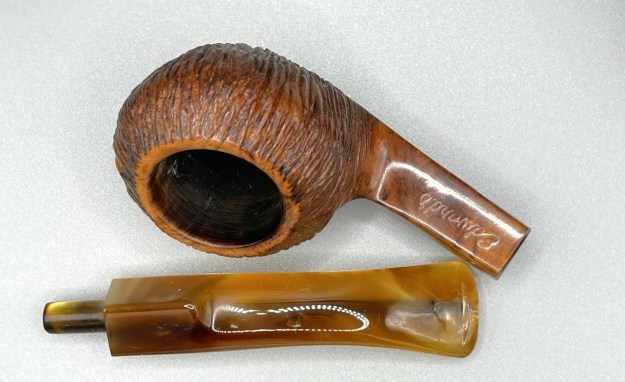
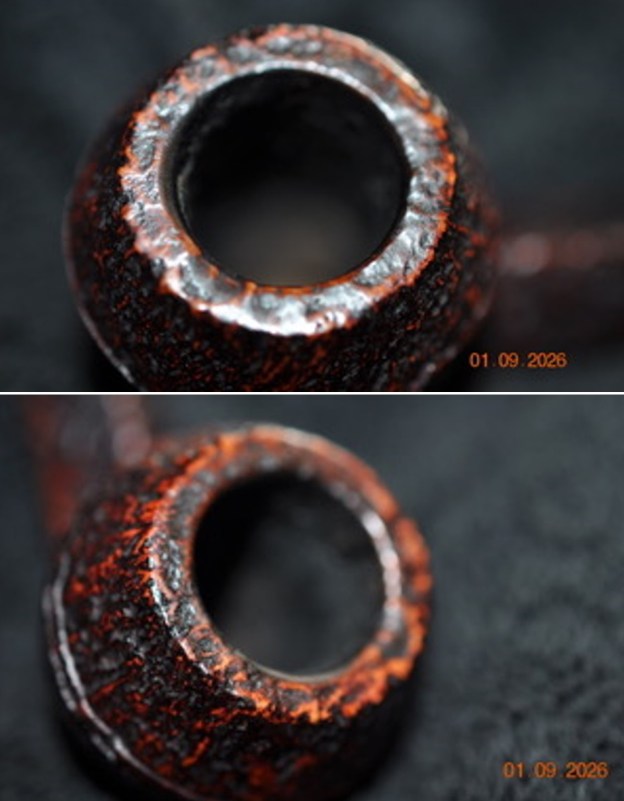
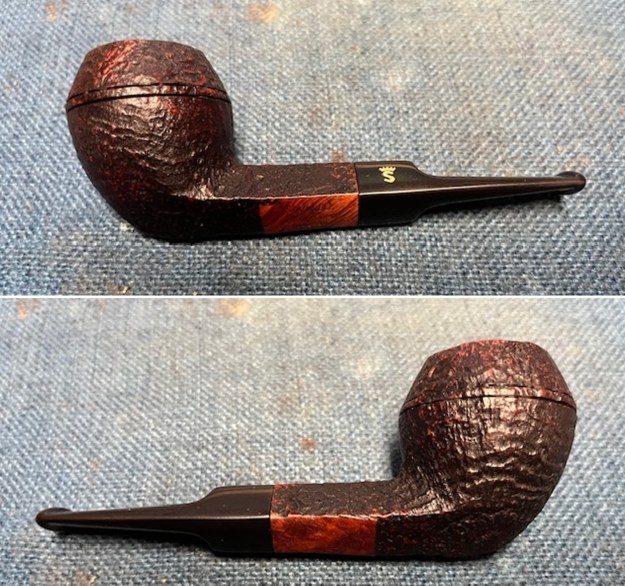
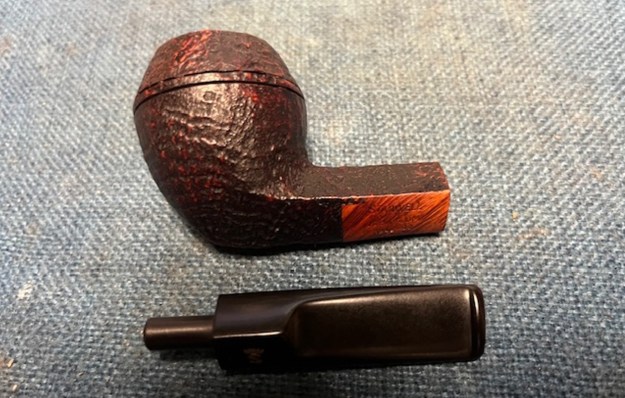
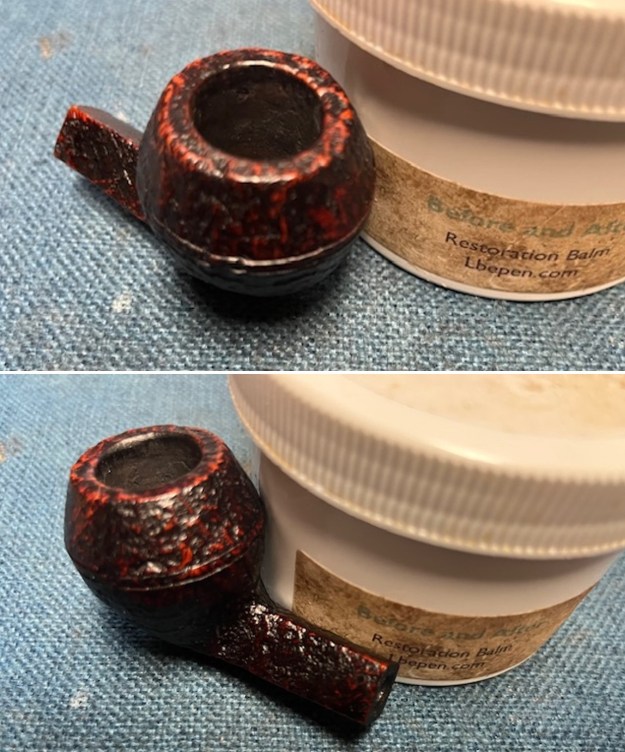
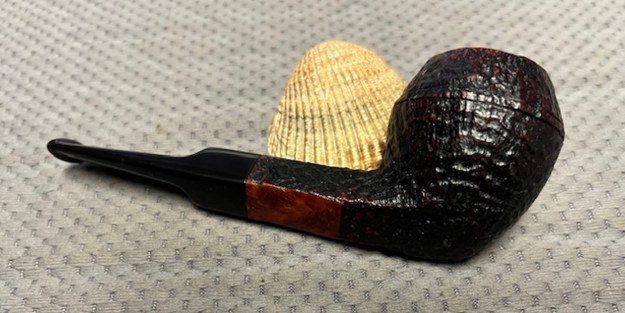
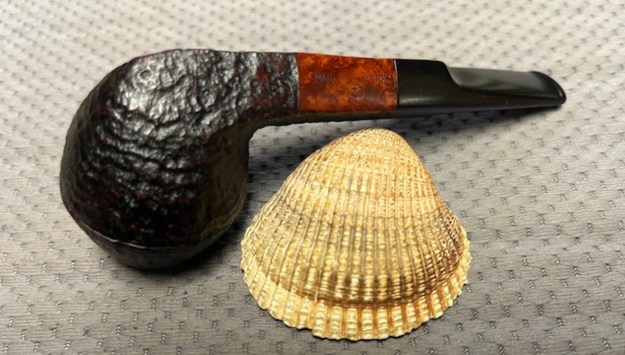
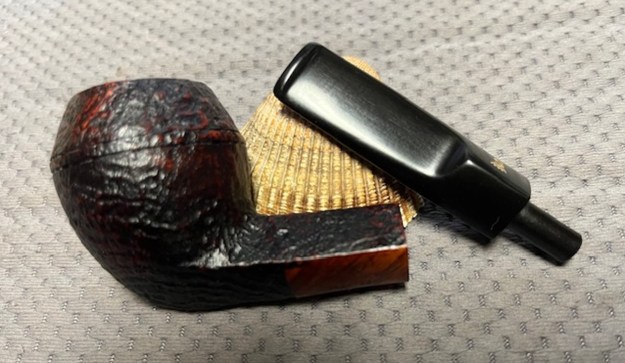
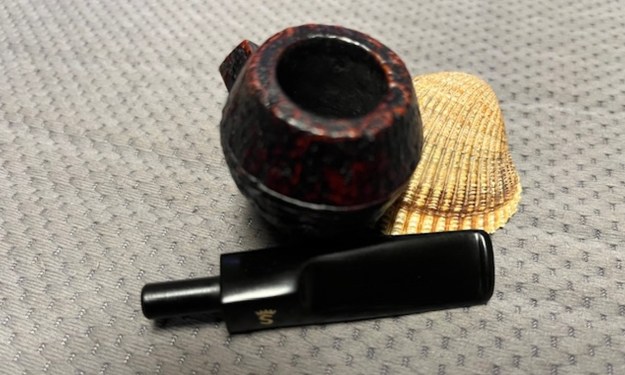
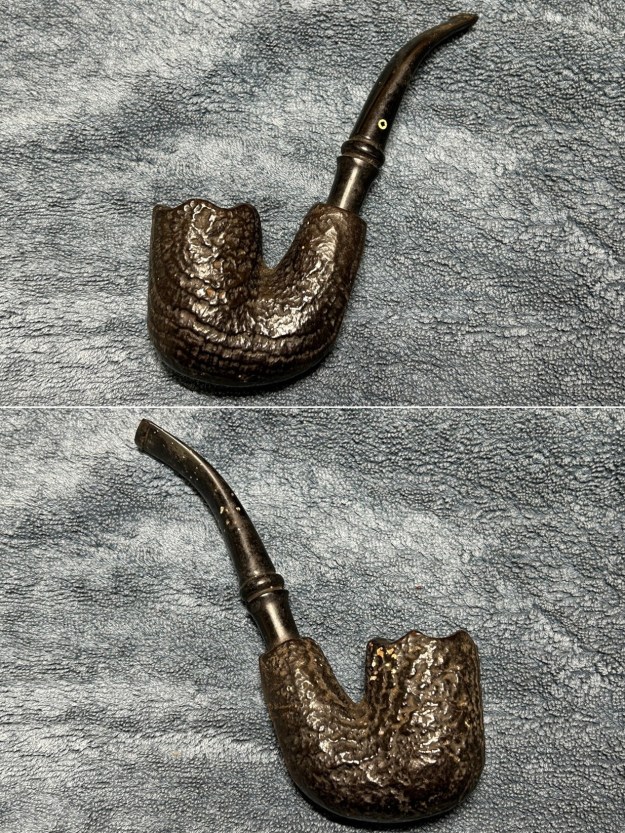
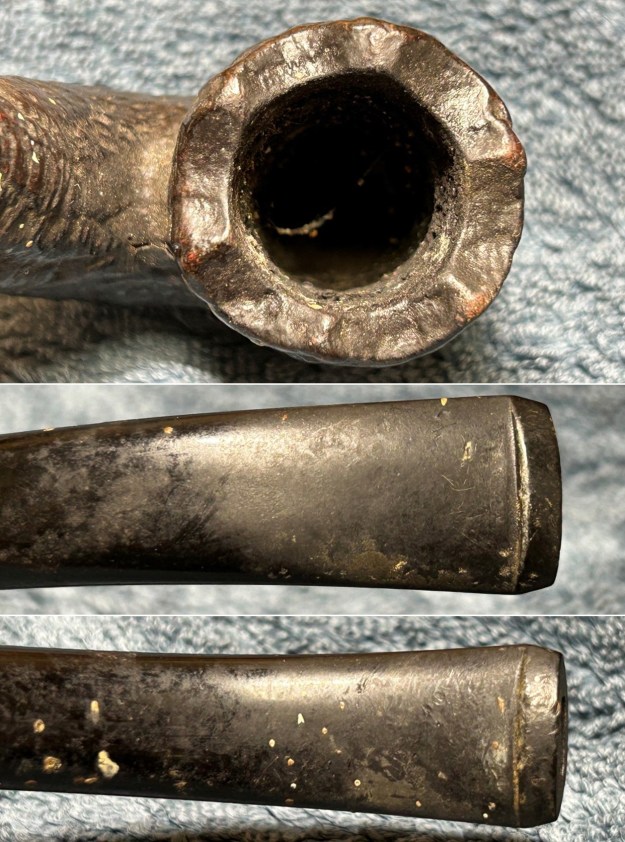
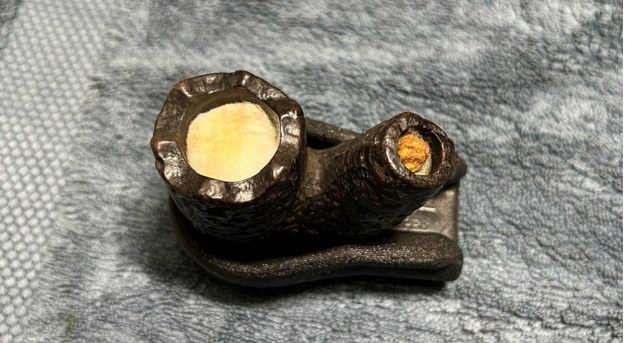
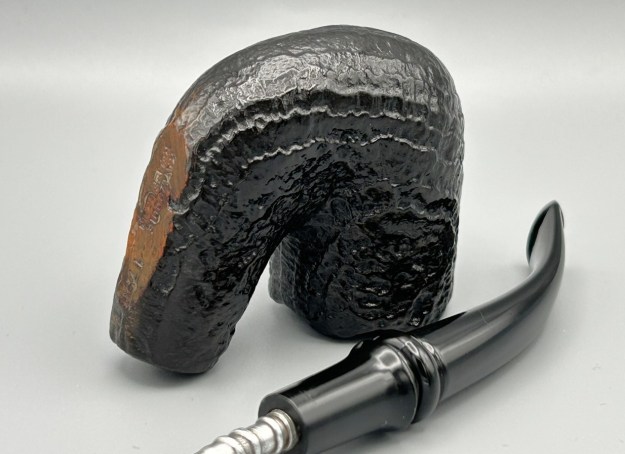
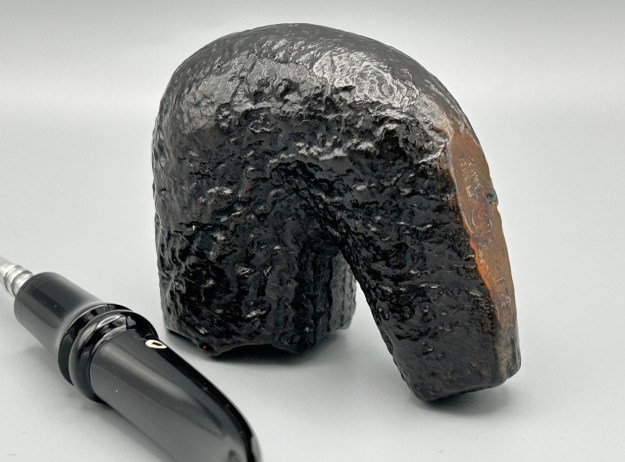
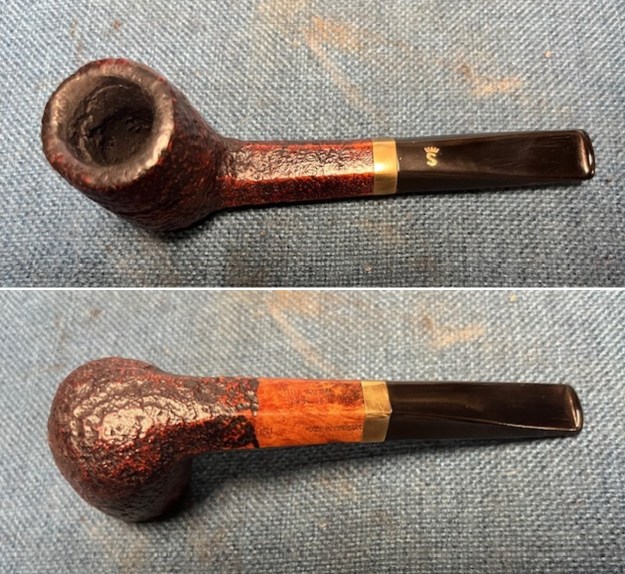
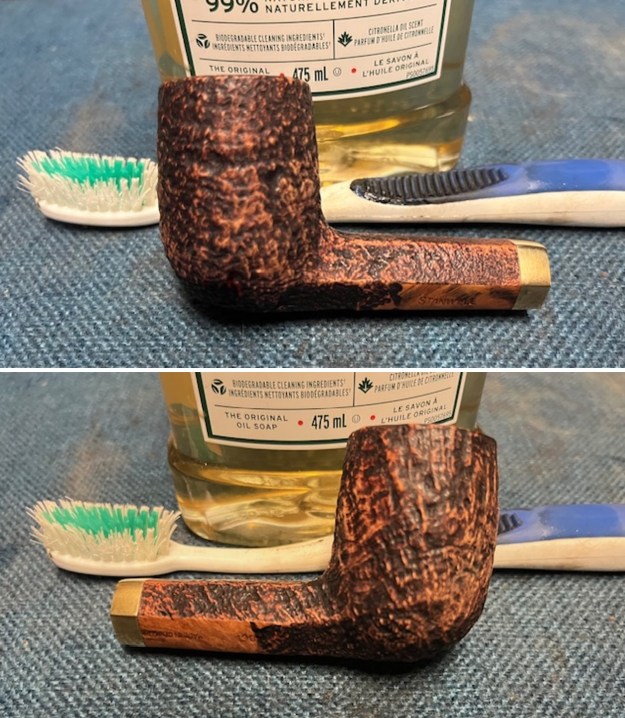
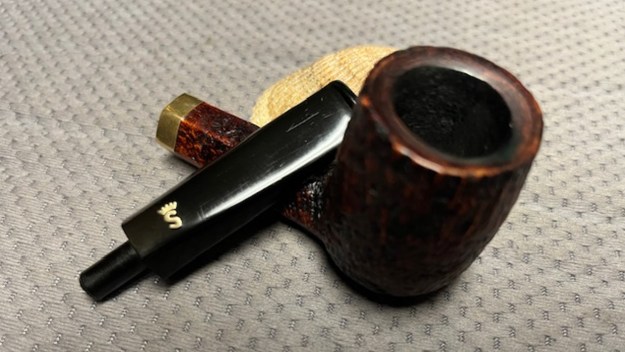
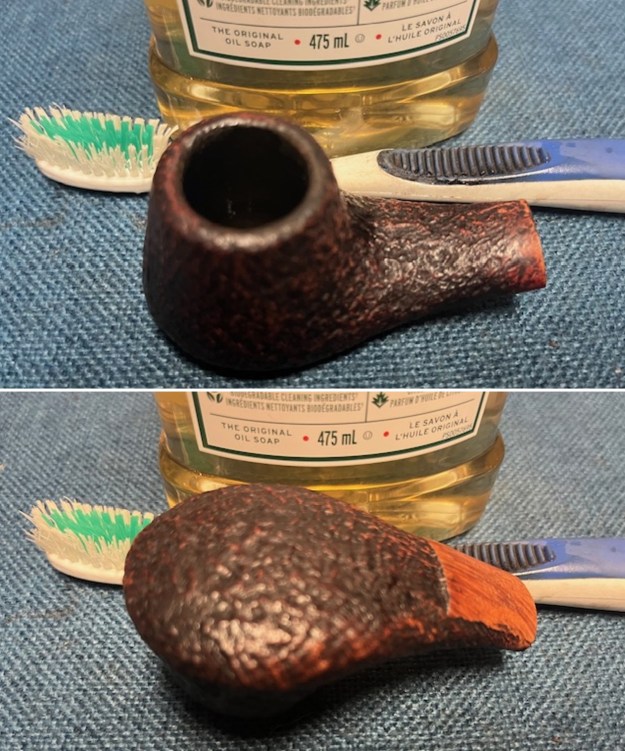
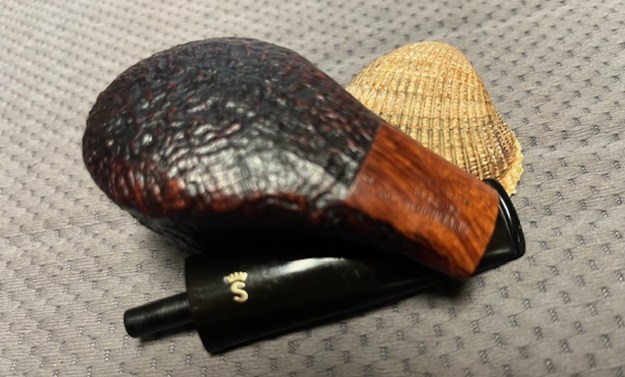
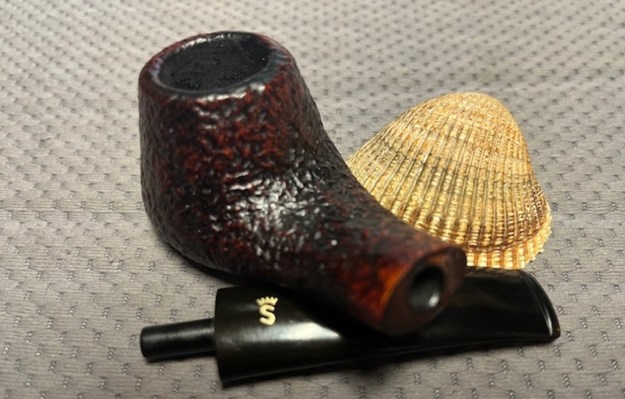
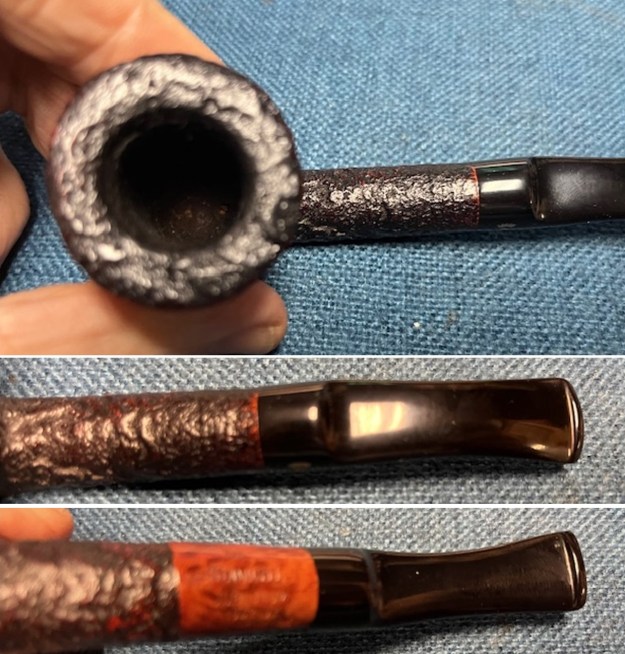
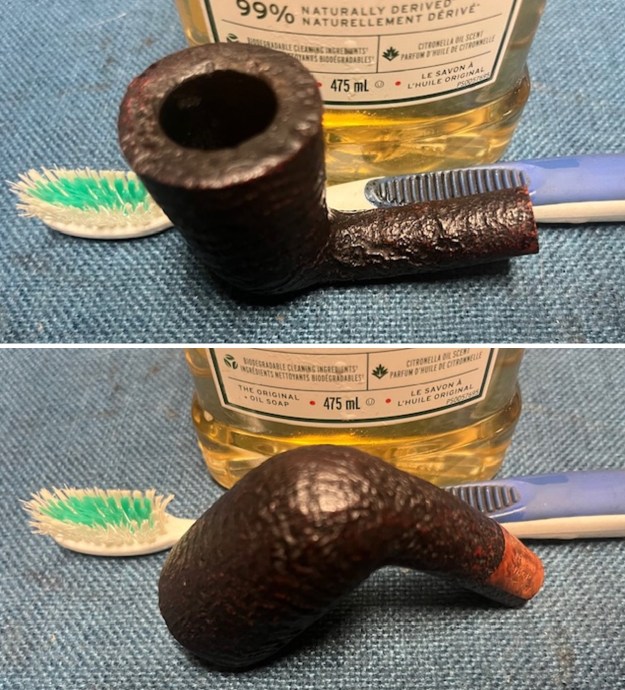
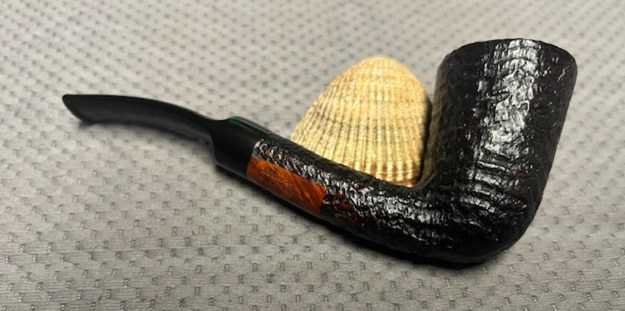
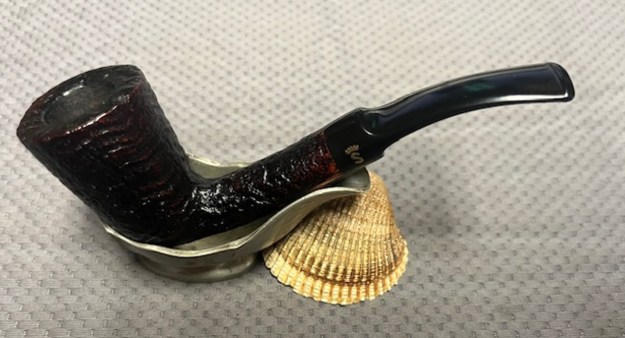
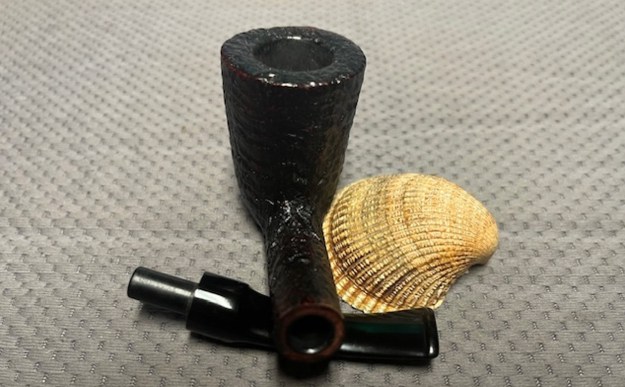
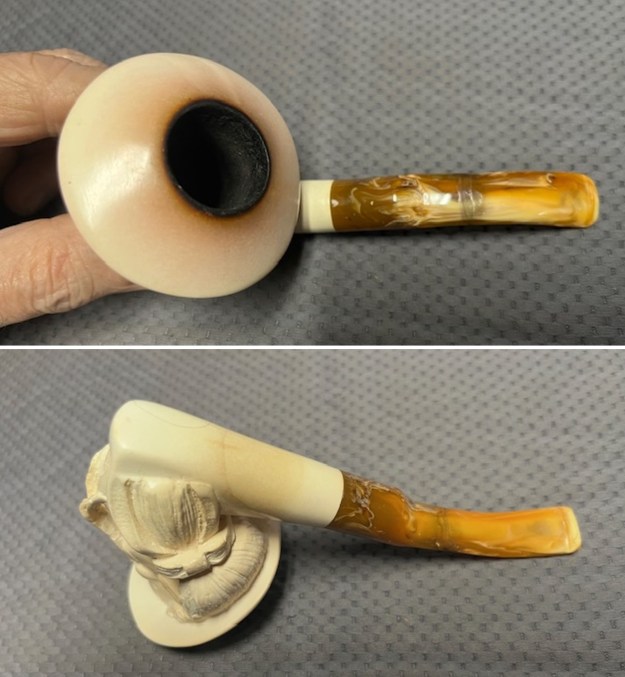
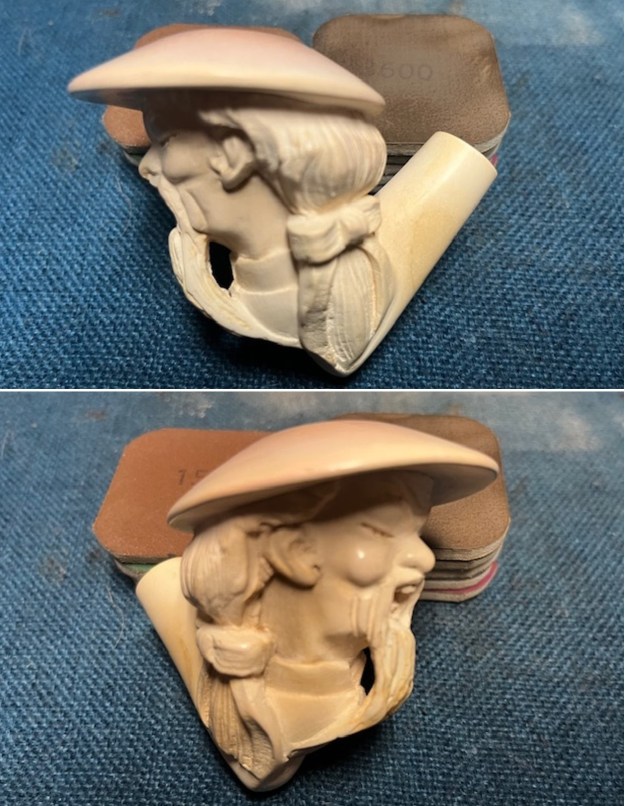
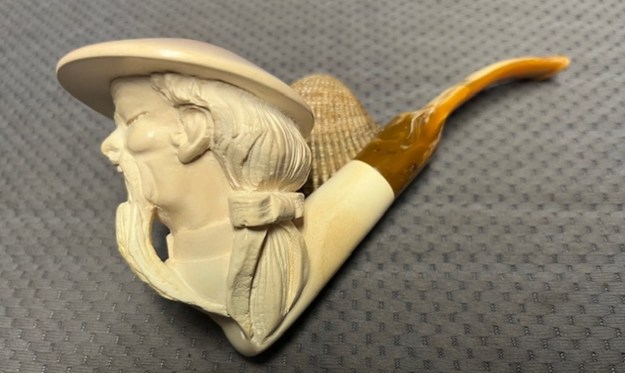
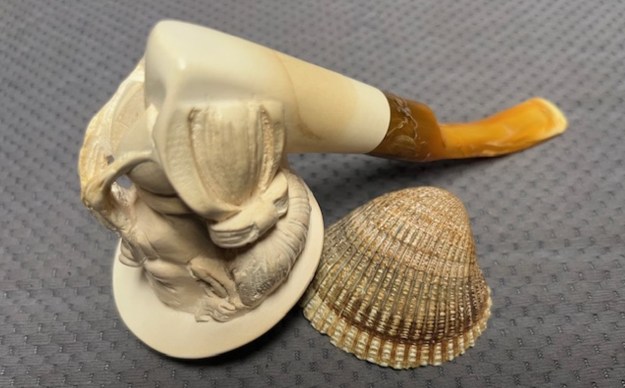
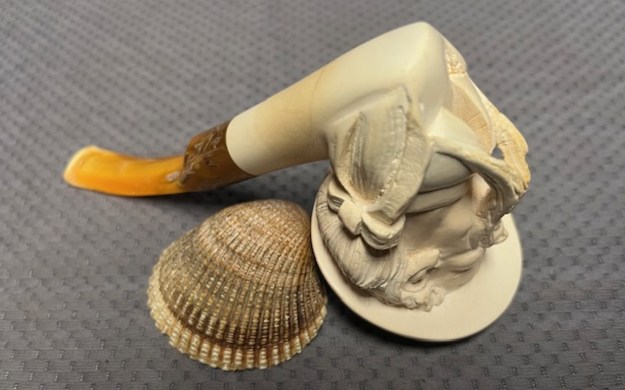
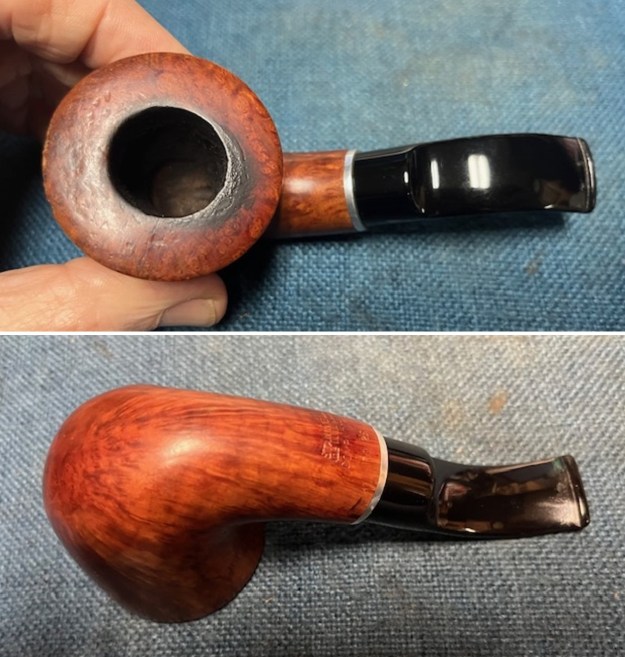
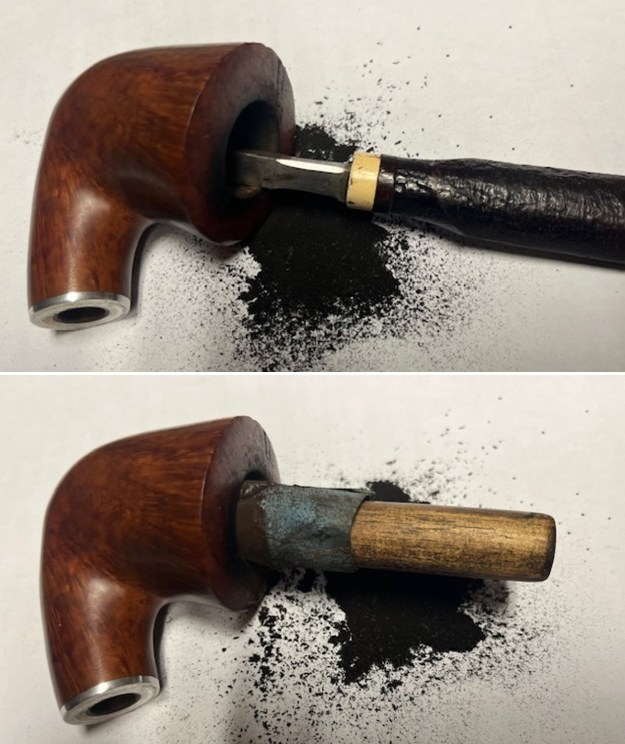
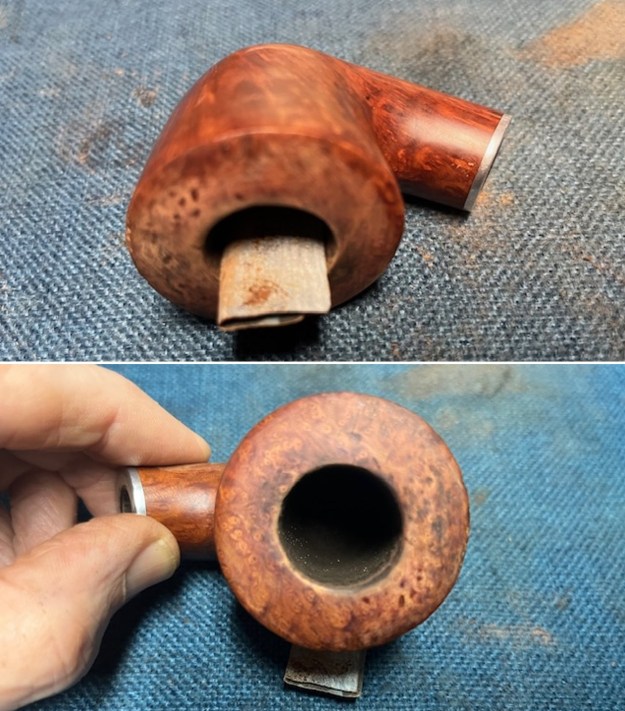
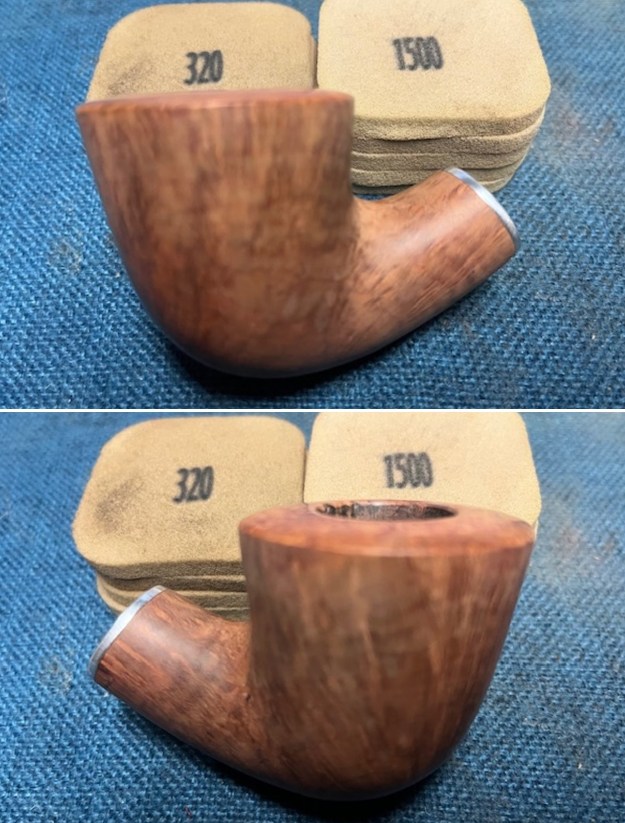
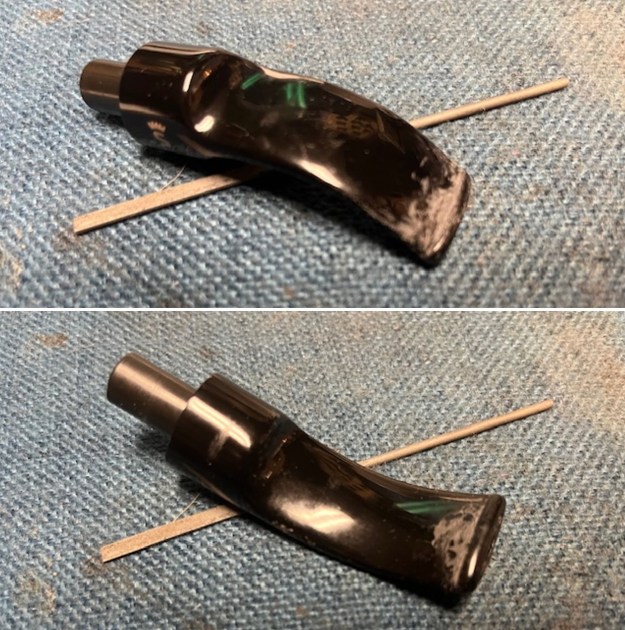
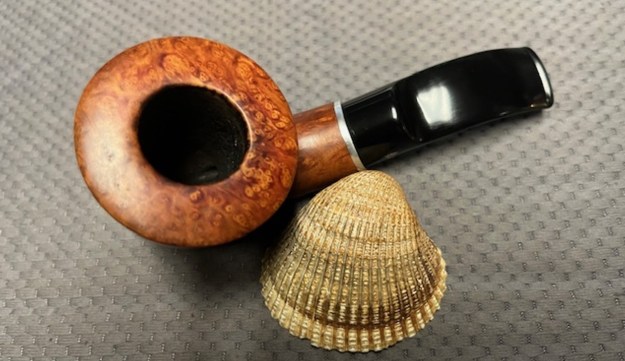
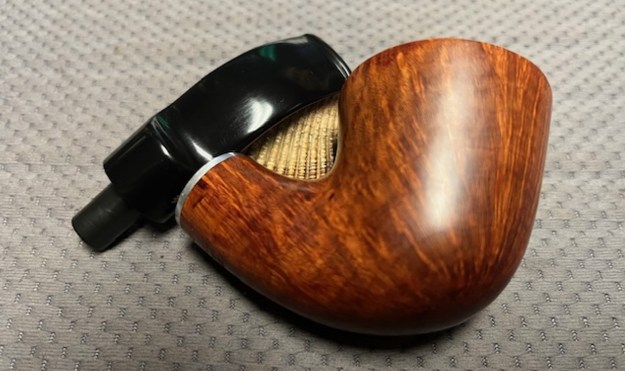
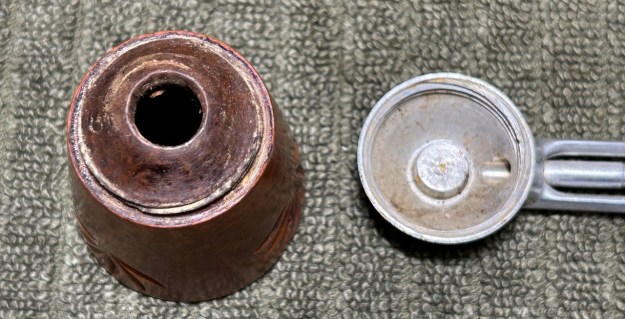
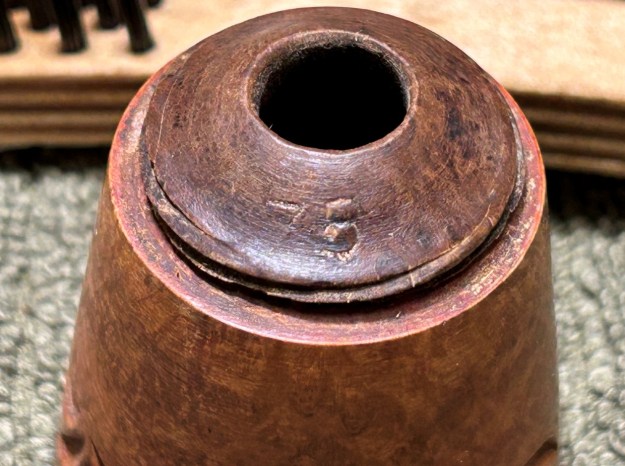
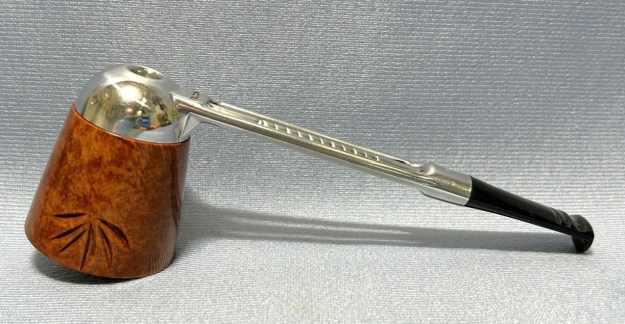
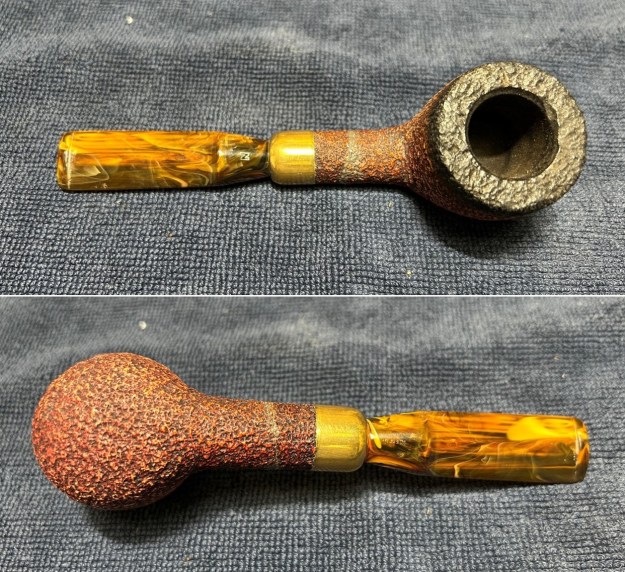
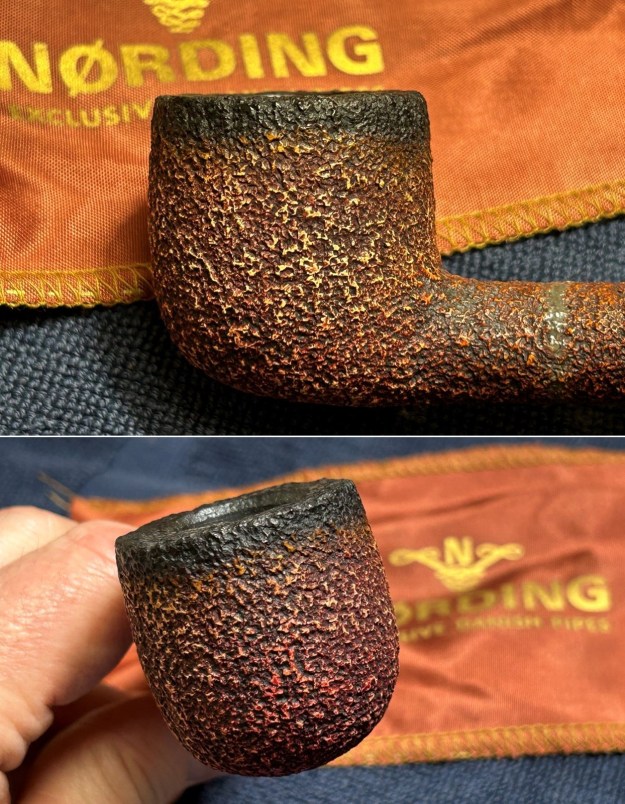
Supply of meerschaum from East Africa run out (Kenya / Tanzania exhausted, Somalia inaccessible), and thus the last Laxey meers were supplied to trade in May, 2001. Laxey Pipes Ltd. tried to survive continuing with briar pipes – mainly in the Danish style -, but to no success. It closed down business in July, 2002.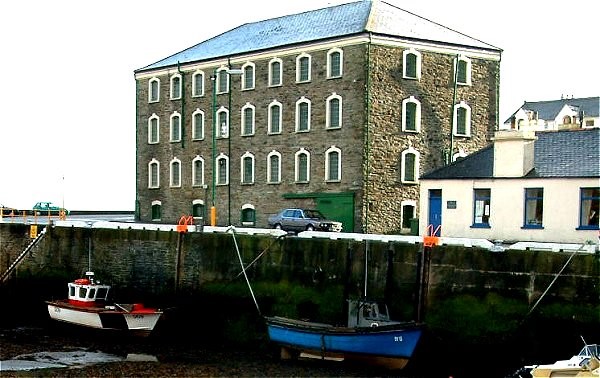 So, let’s take a closer look at this very handsome pipe. The first thing to note is that this pipe’s shank was cracked at some point in the past. I don’t know any details of this incident or of who repaired the pipe. However, I performed a detailed and thorough inspection of the repair, and it is excellent. It was repaired with an epoxy and, although there was more squeeze-out than I would have left, I was quite impressed with the quality of the work. I have no qualms about it at all. Other than that, the bowl has a bit of cake inside, but not much. It is in lovely condition. Same with the stem, which has only minor tooth marks.
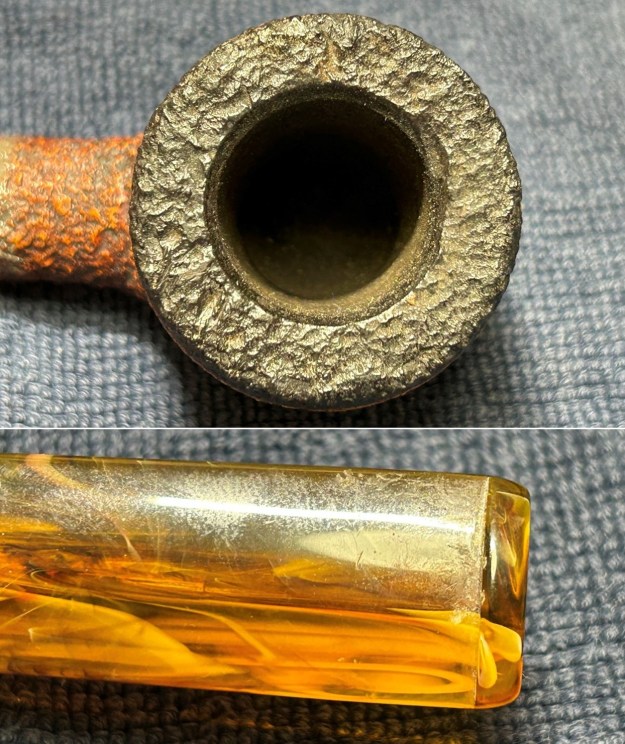
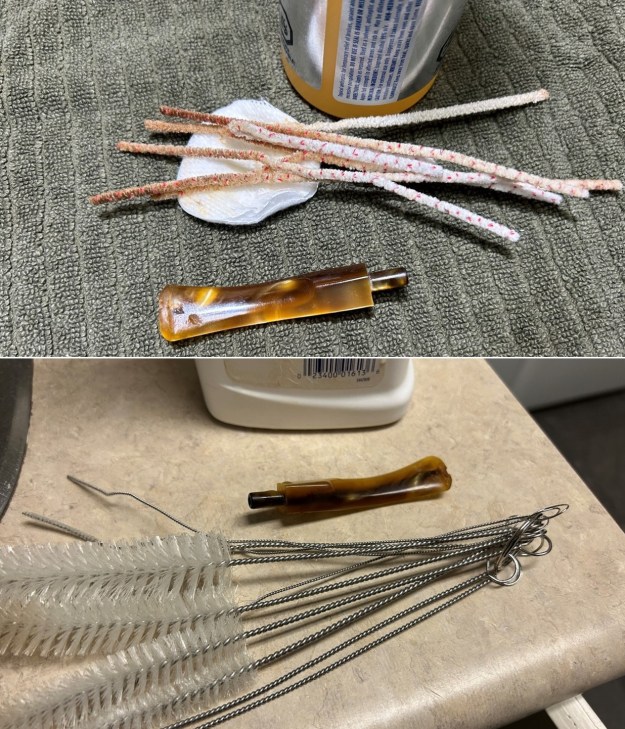
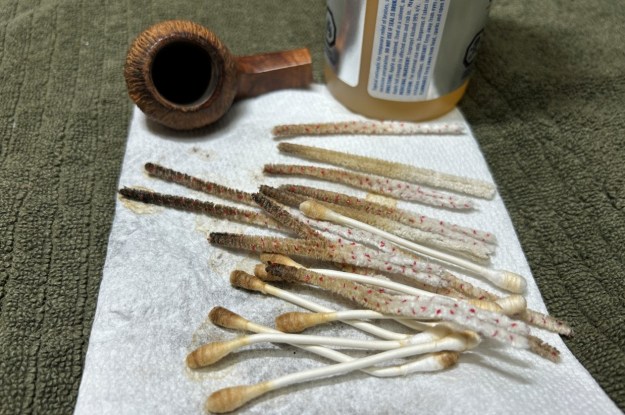
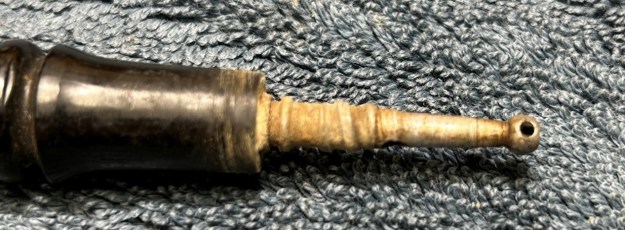
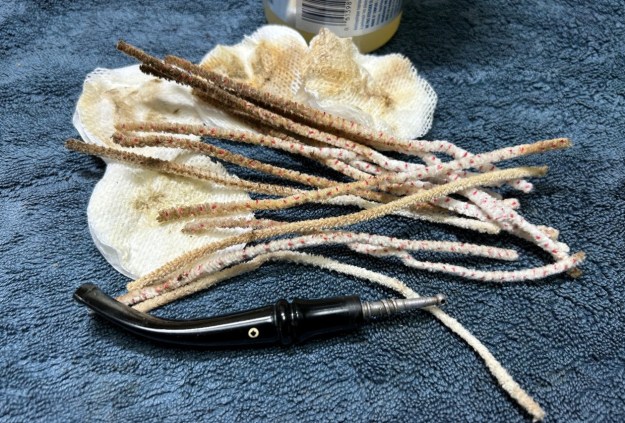
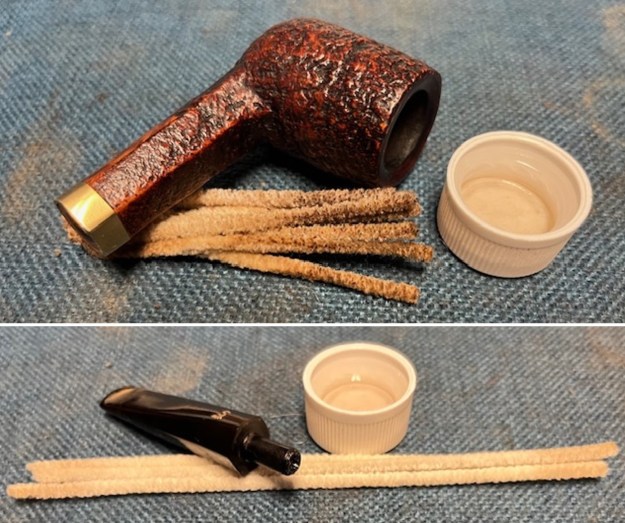
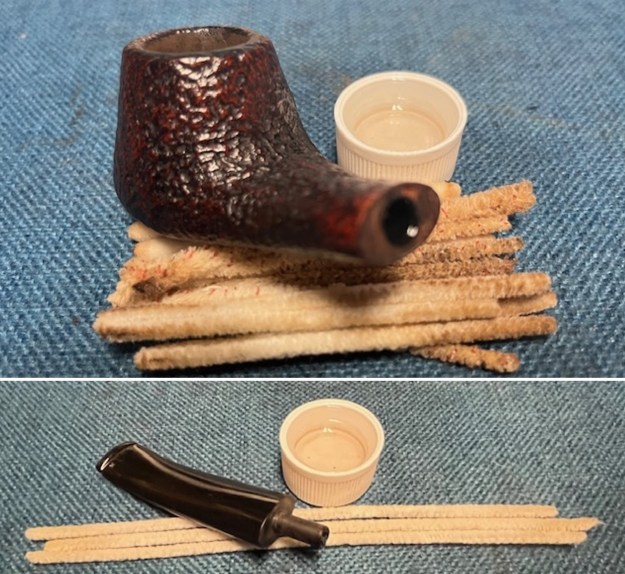
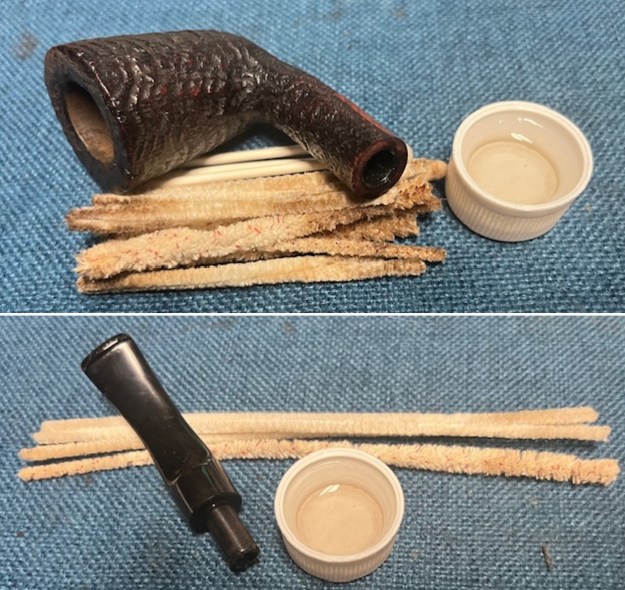
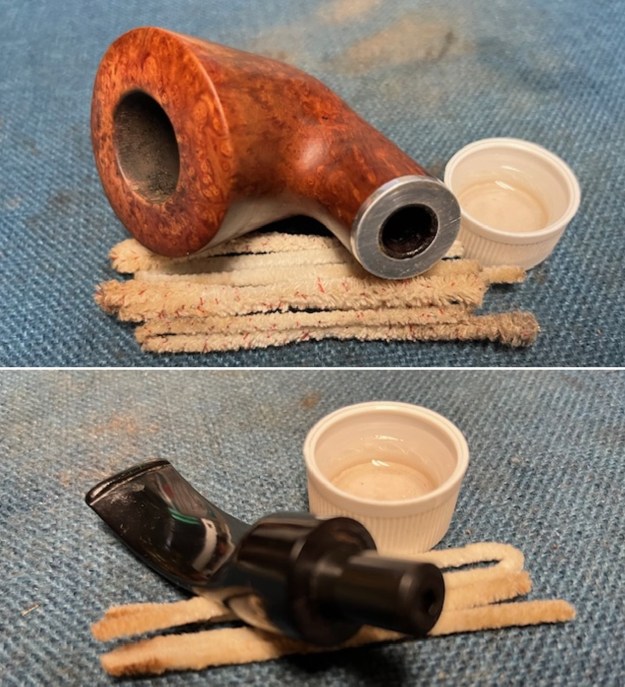
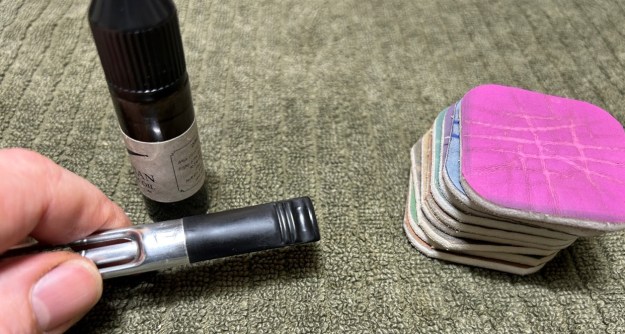
 Let’s get this pipe back to its best. I used isopropyl alcohol on a few cotton rounds and wiped down the stem to provide an initial cleaning before moving on to the next steps. The primary cleaning came next. I disinfected the inside of the stem with both pipe cleaners and cotton swabs dipped in lemon-infused 99% isopropyl alcohol. I scrubbed thoroughly to make sure the interior was very clean. Fortunately, it wasn’t very dirty at all.
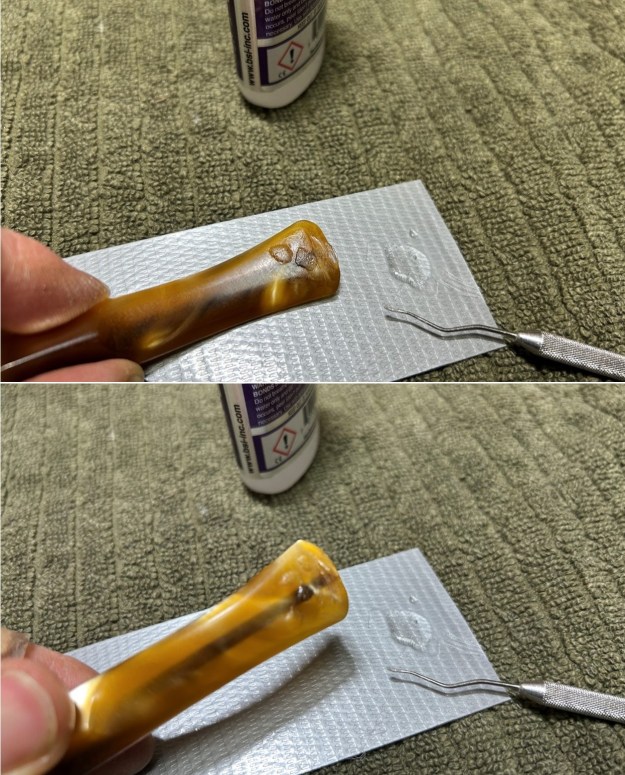
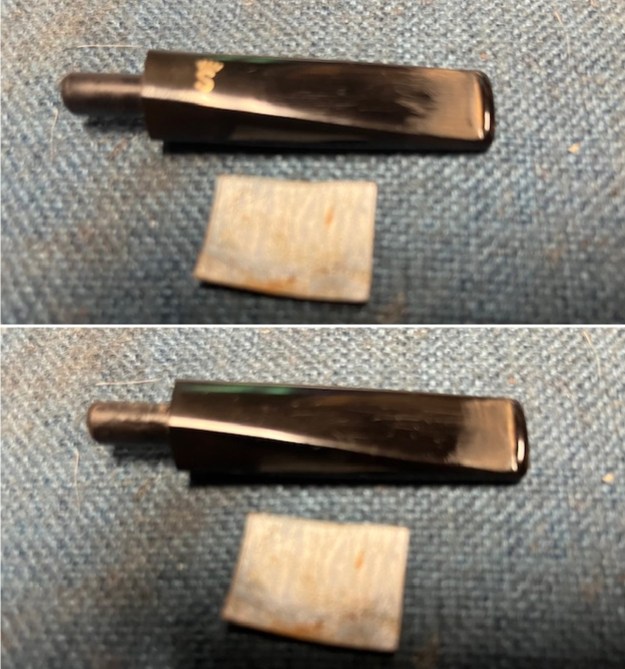
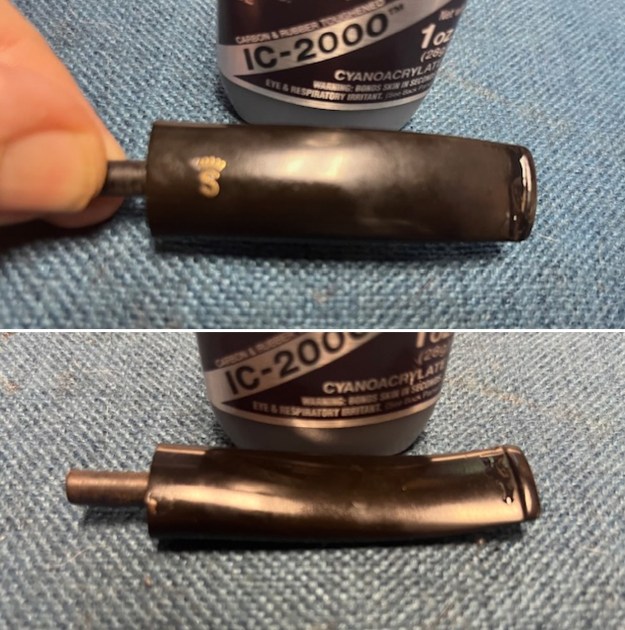
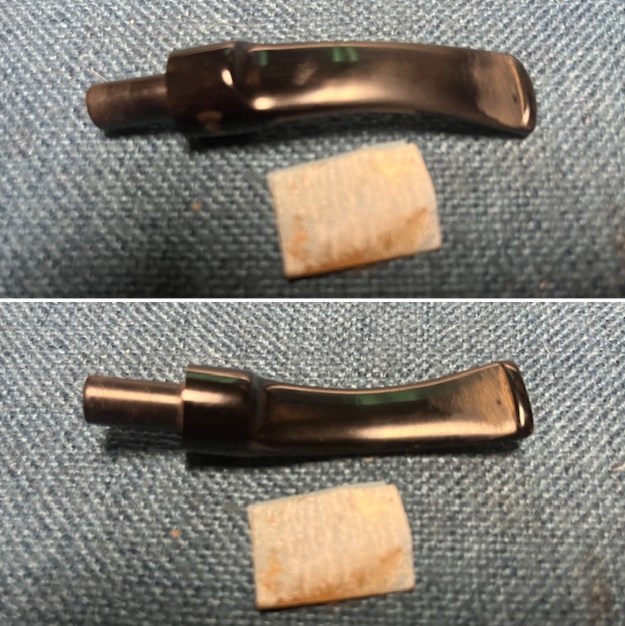
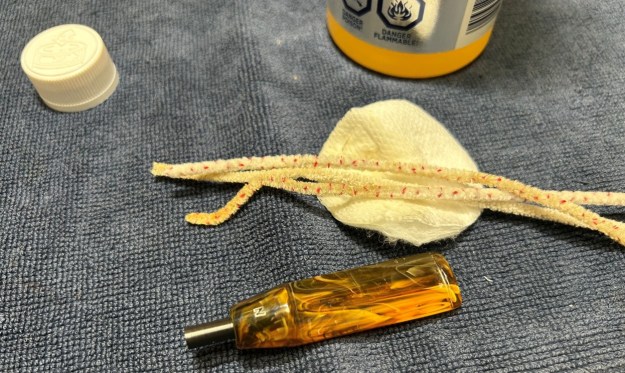 As the stem was made of acrylic, no deoxidation procedure was needed. Instead, I went straight into fixing the marks in the acrylic. This was done by filling those divots with clear cyanoacrylate adhesive. I left this to cure and moved on.
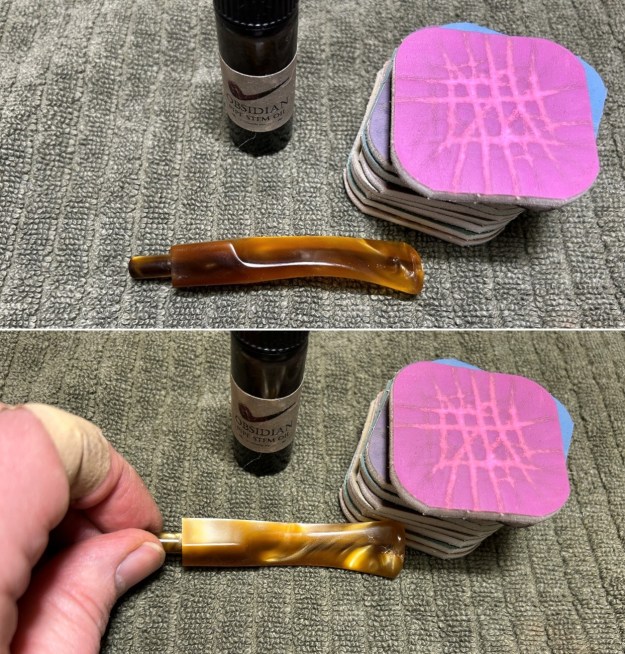
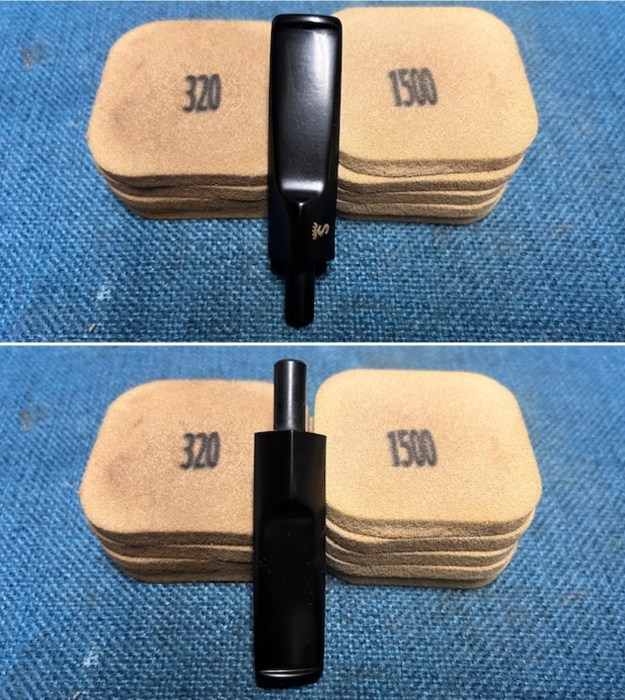
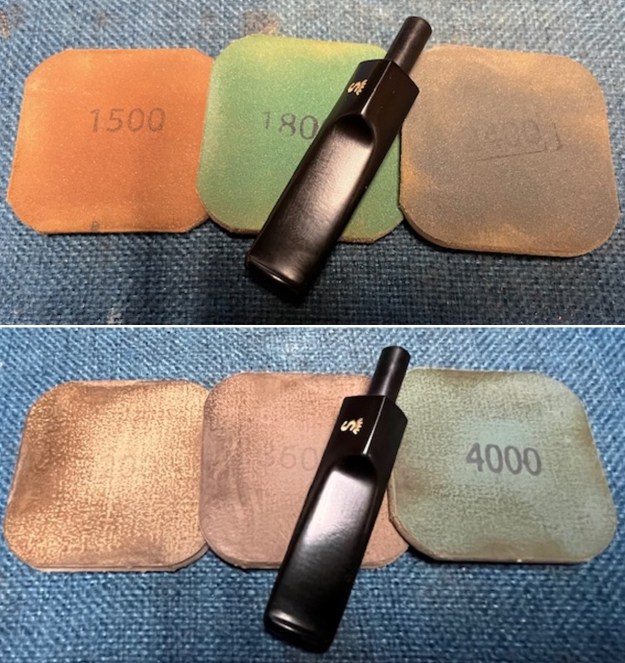
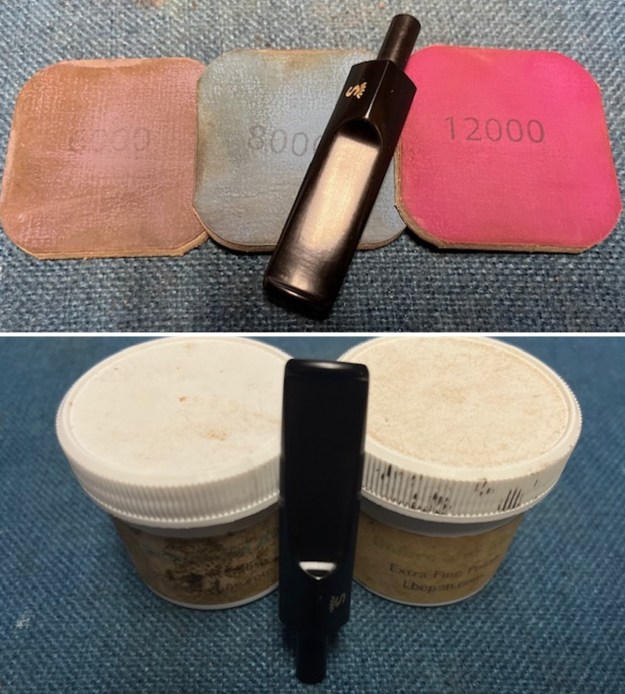
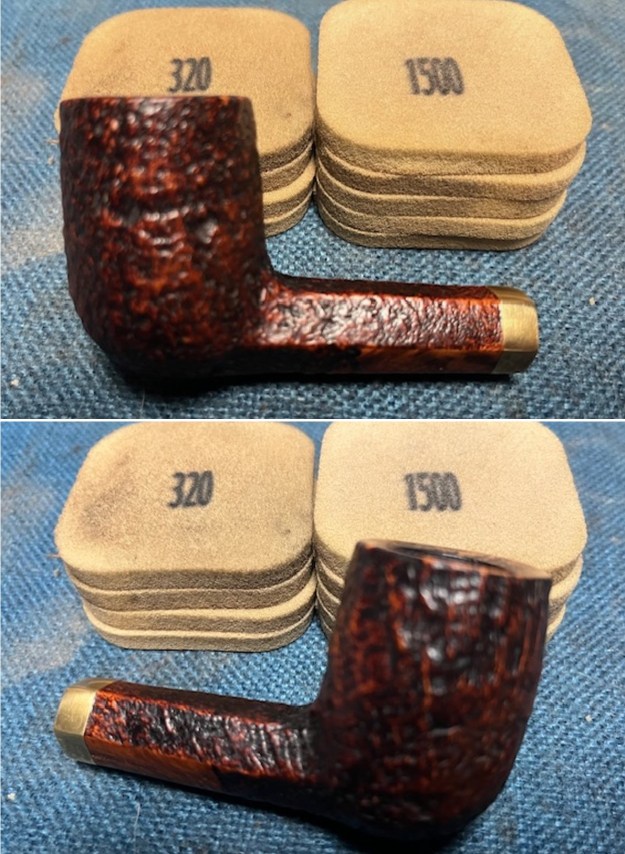
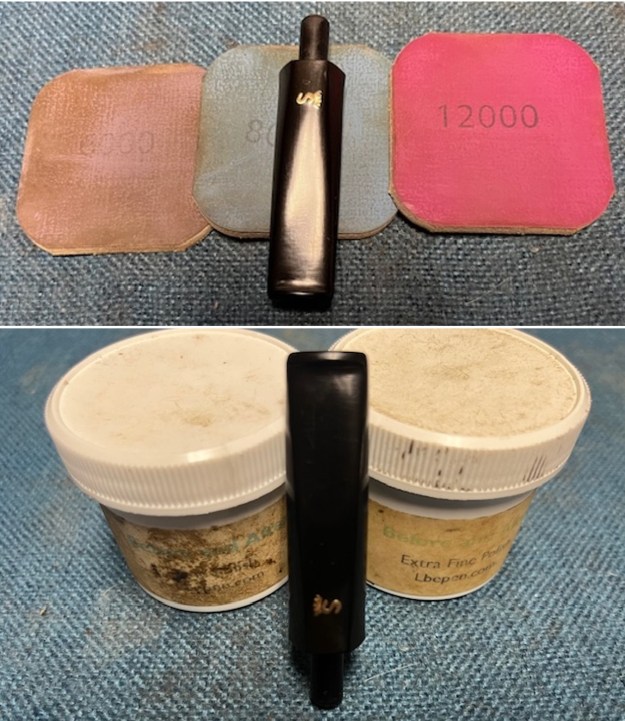
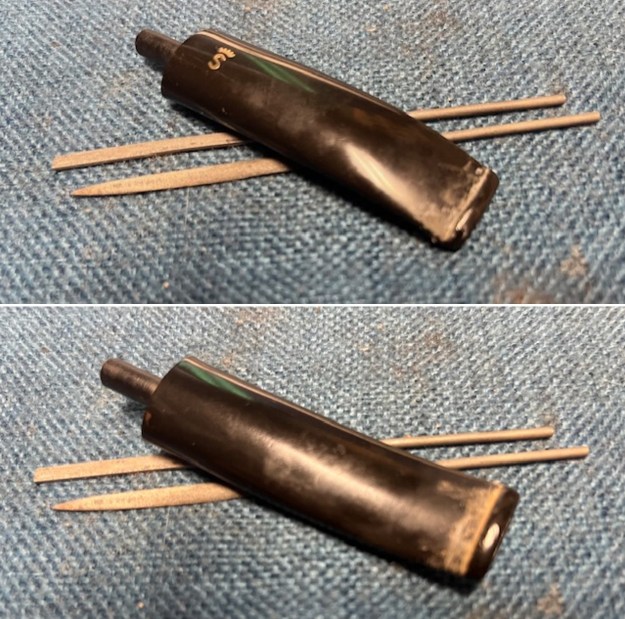
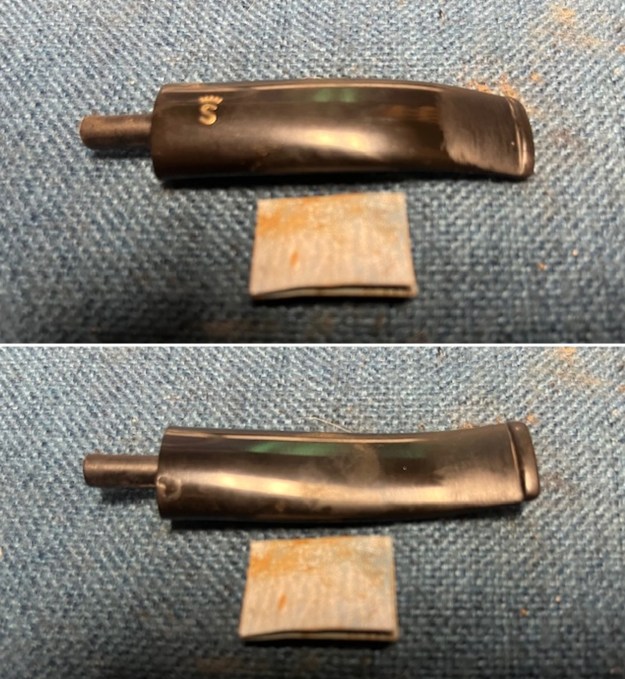
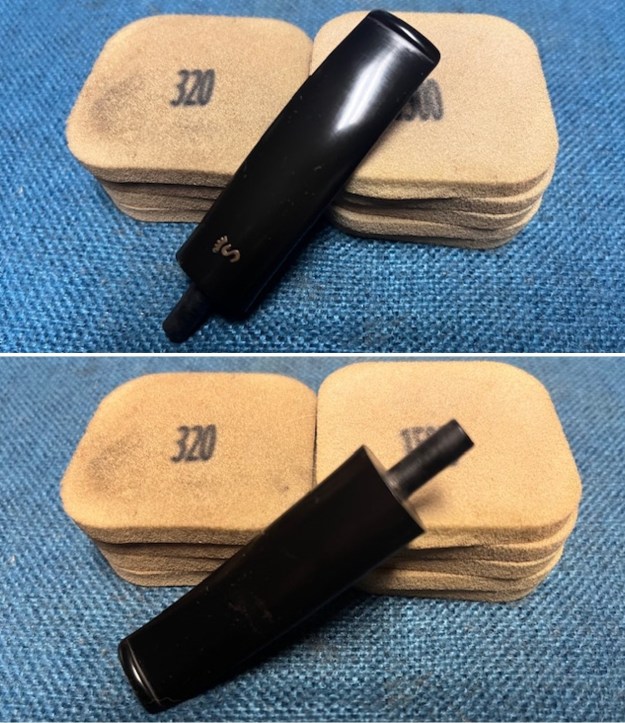
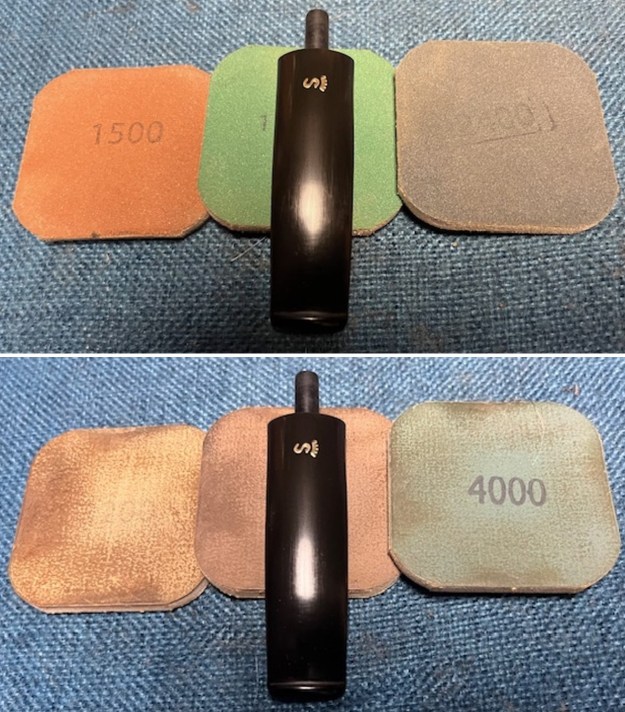
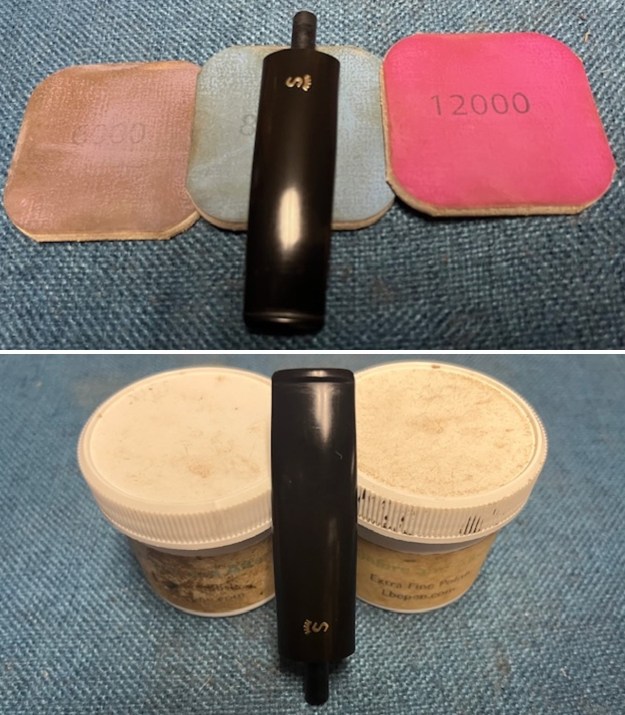
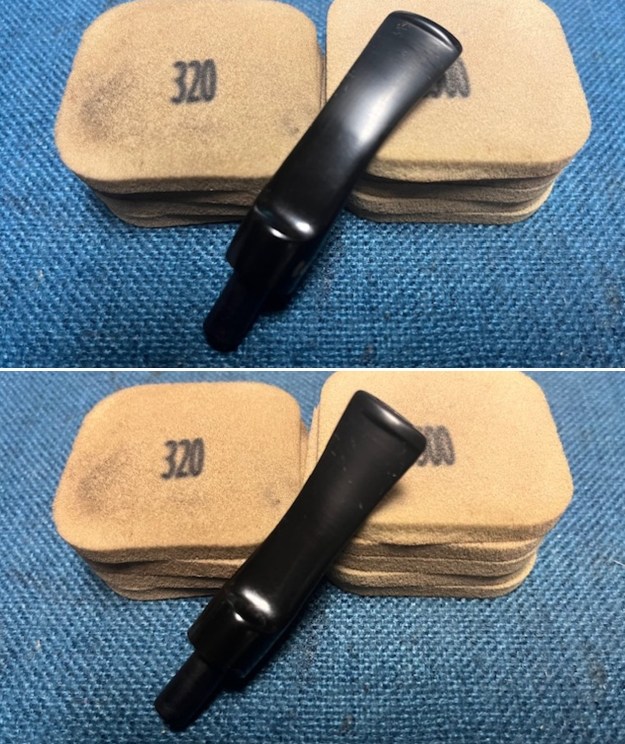
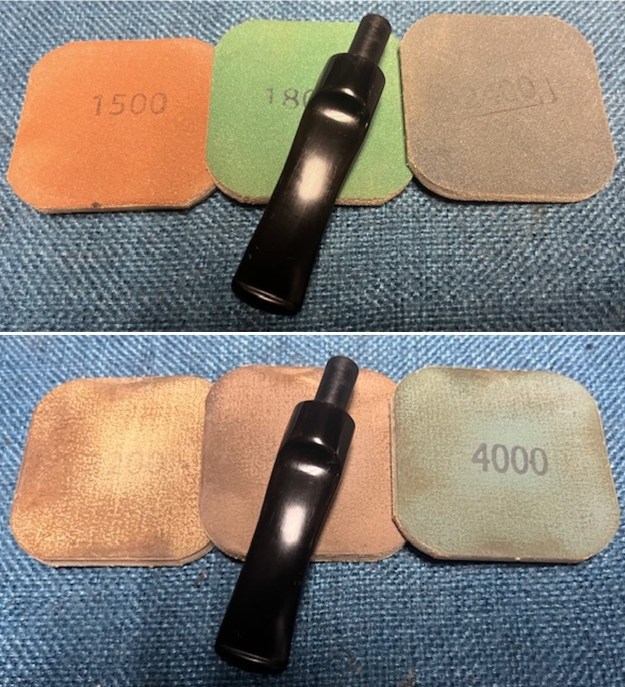
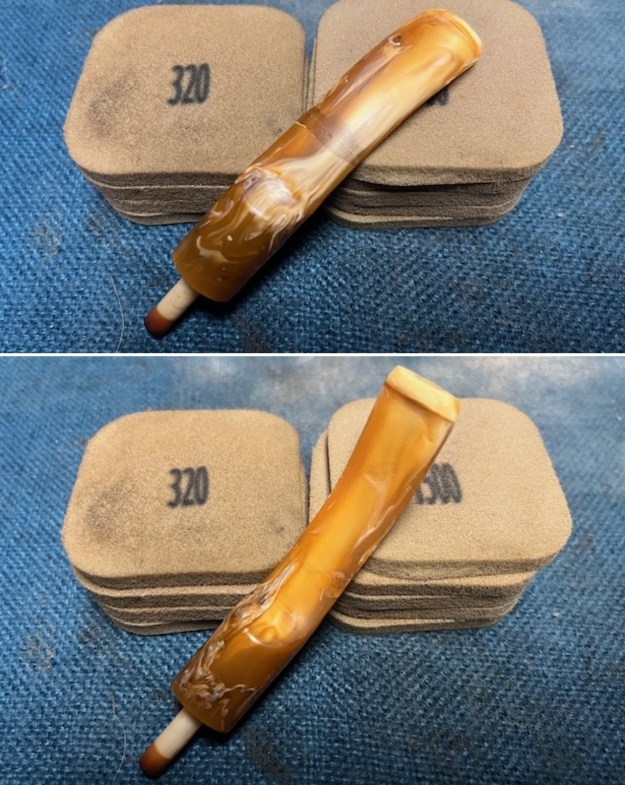
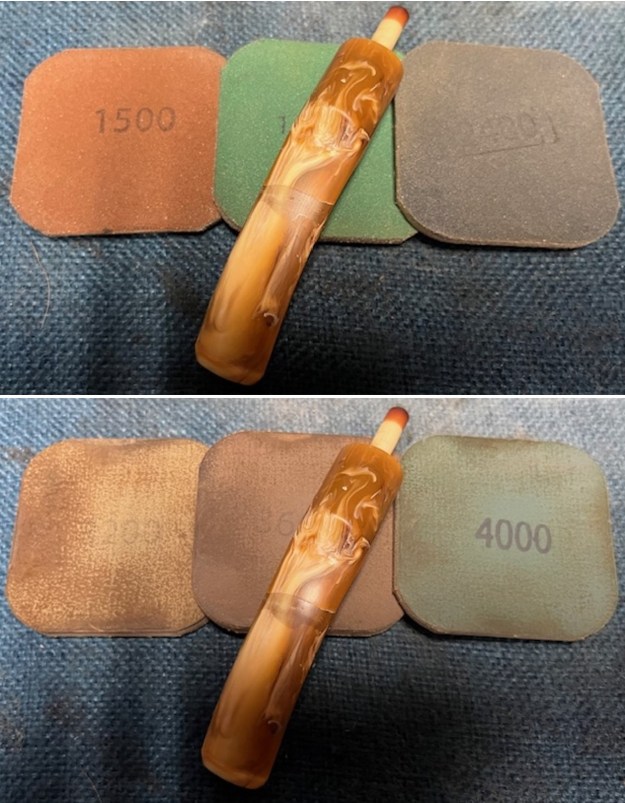
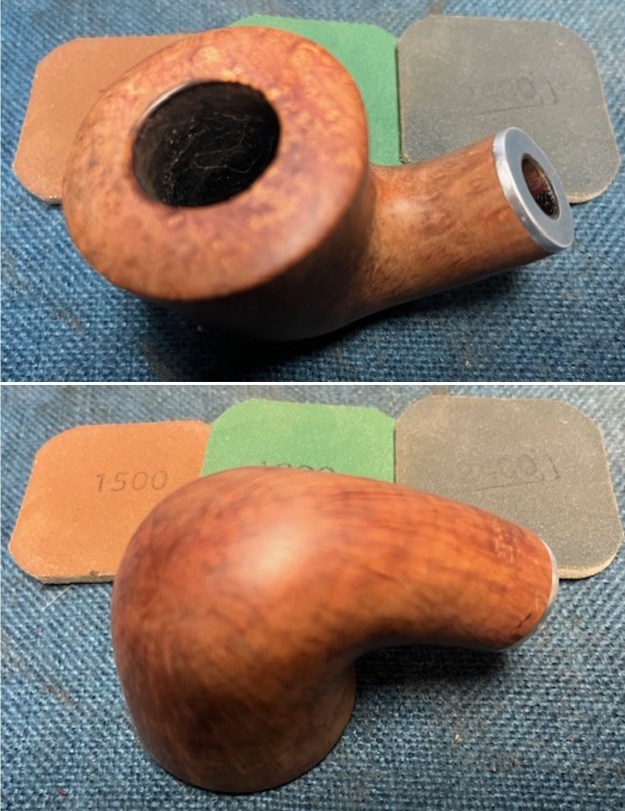
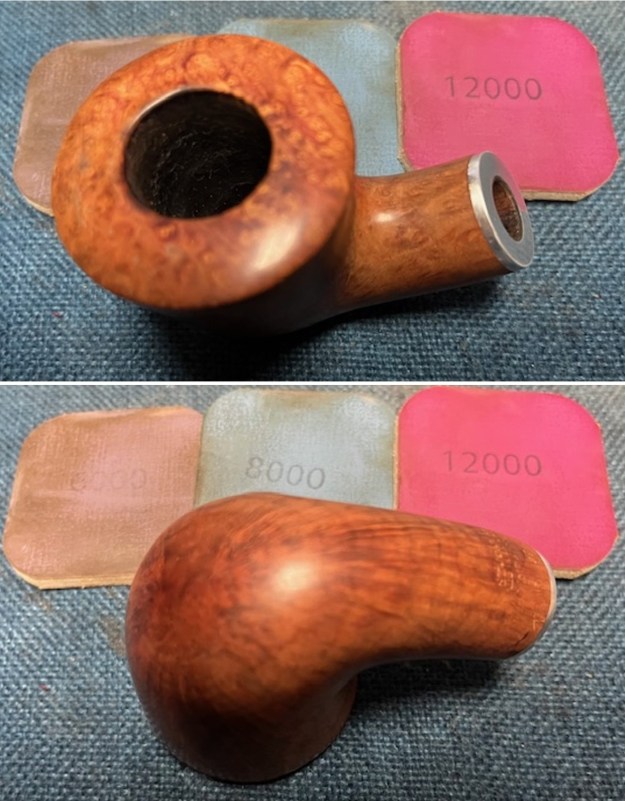
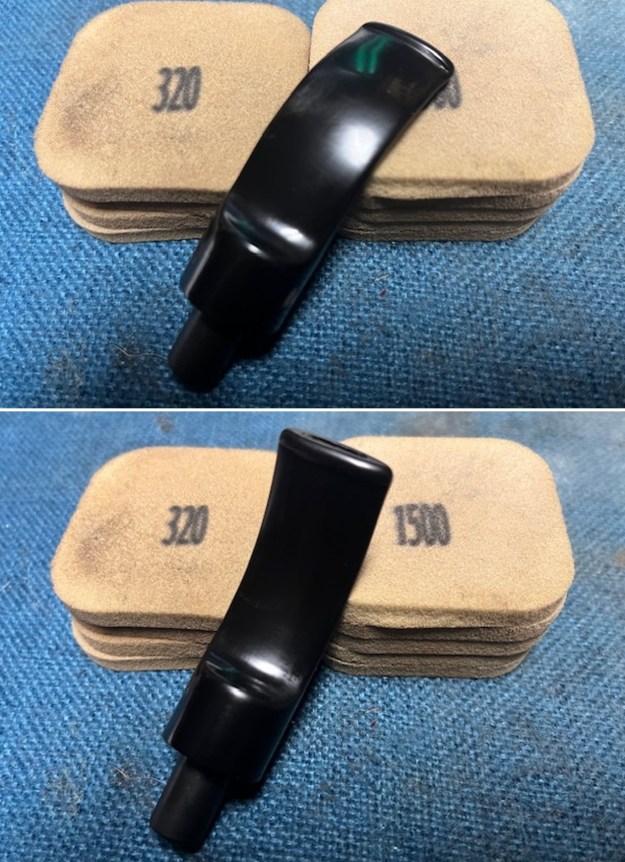
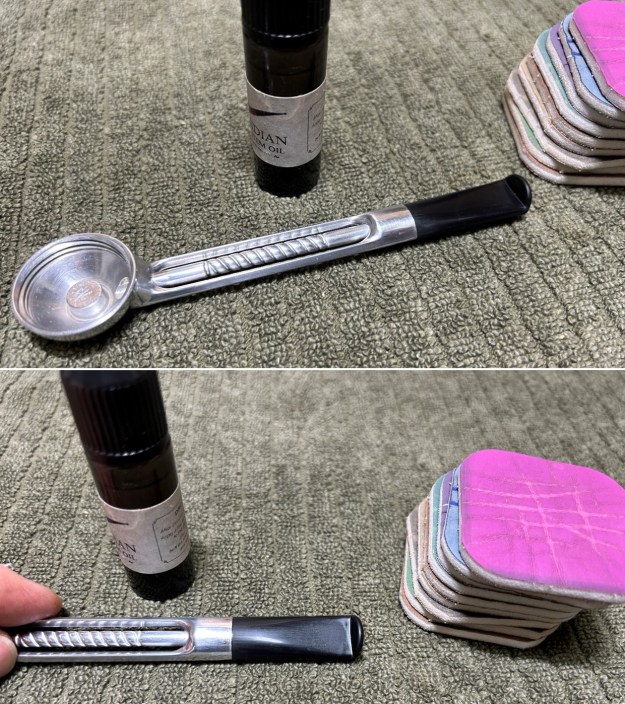
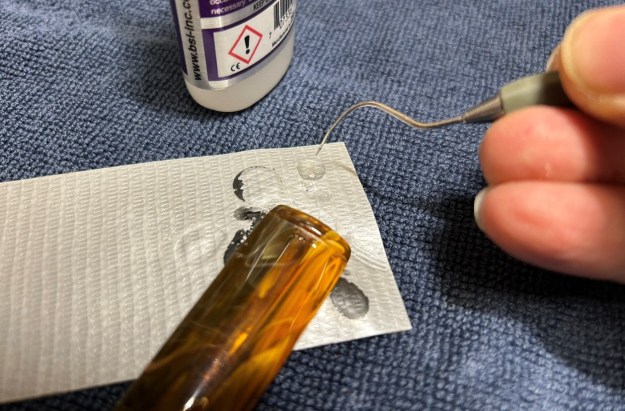 The penultimate step for the stem is sanding. First, with my set of needle files, I reduced the bulk of the cyanoacrylate repairs. I removed the excess adhesive as near to the surface as possible, without cutting into the acrylic. Following that, I used all nine of the micromesh sanding pads (1,500 through 12,000 grit) to sand out flaws, even out the acrylic, and provide gentle polishing of the finished surface. I also applied pipe-stem oil while using the last five micromesh pads. There was a wonderful shine to the stem when I was done.
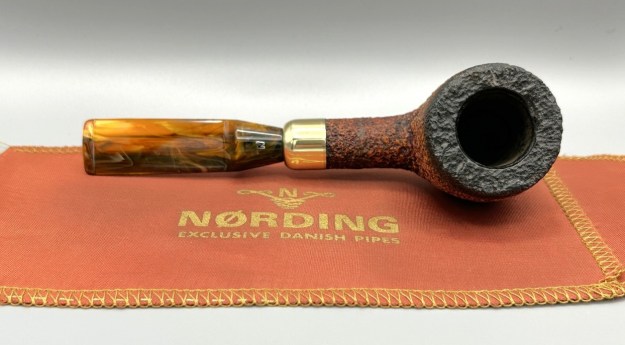
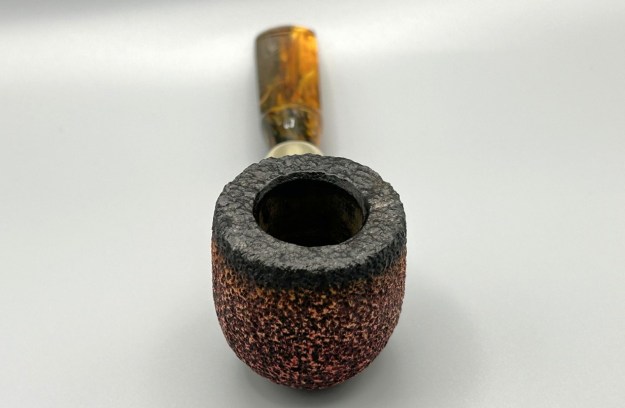
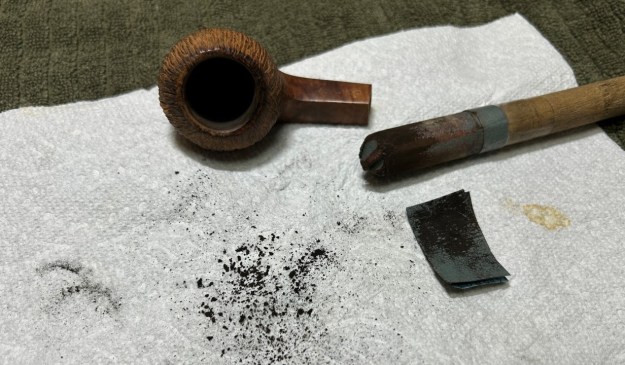
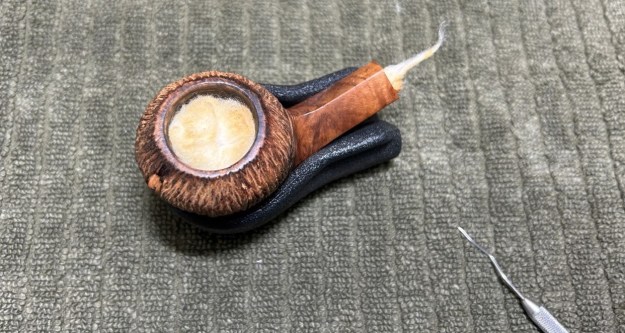
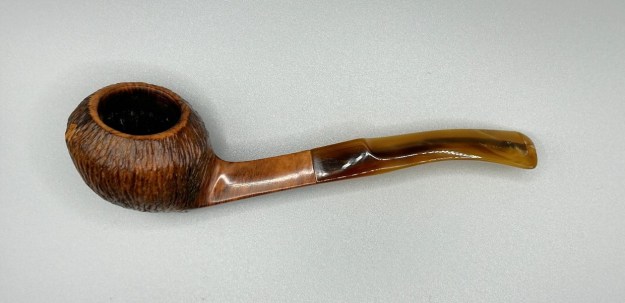
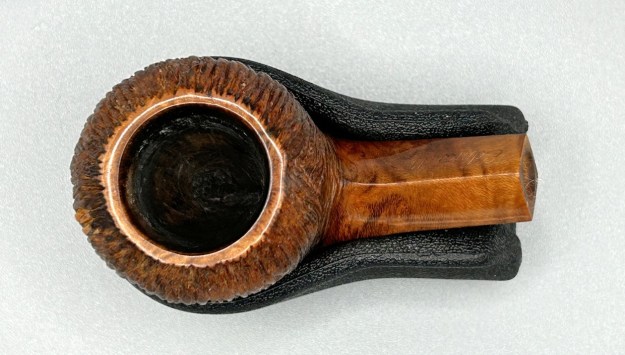
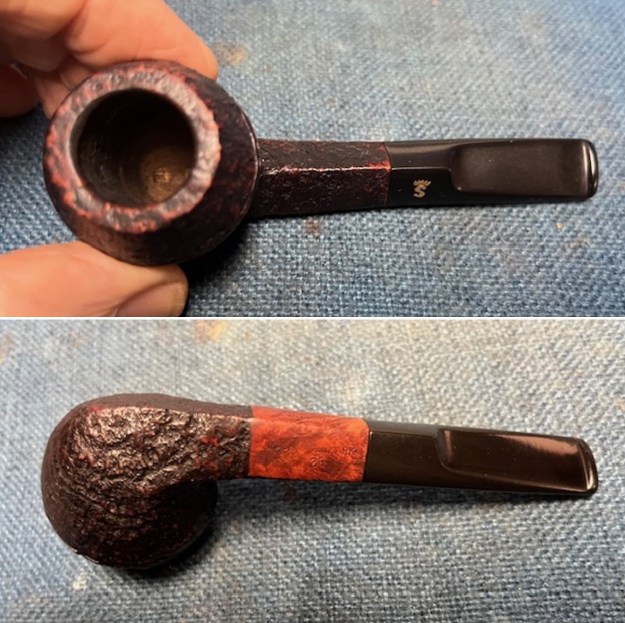
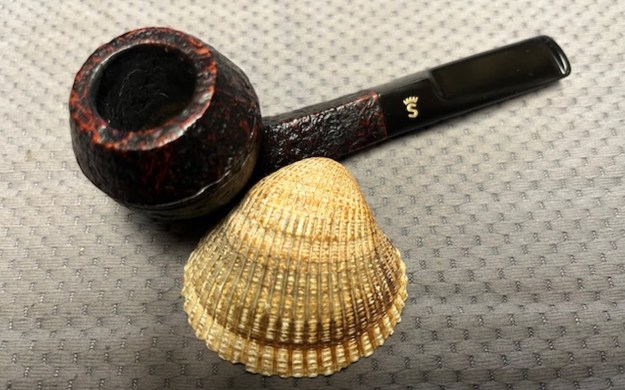
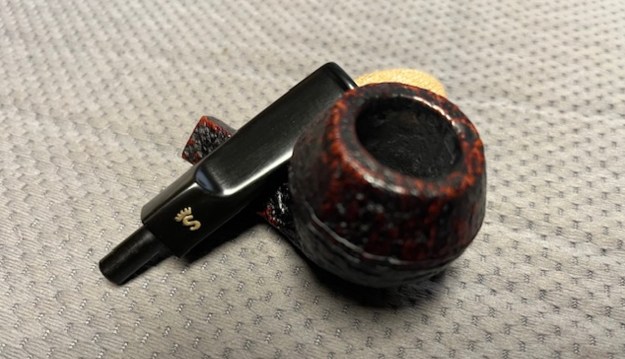
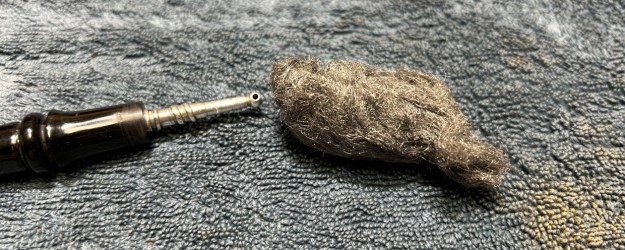
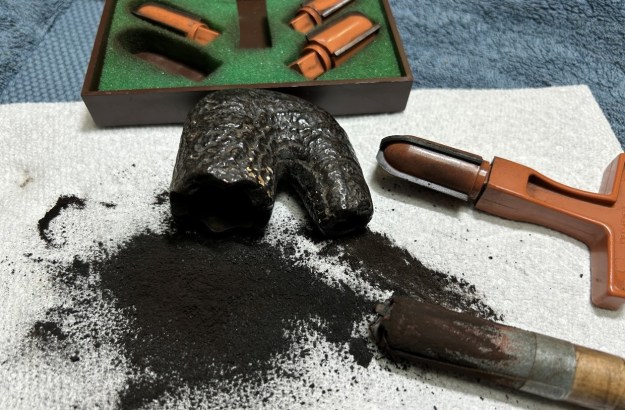
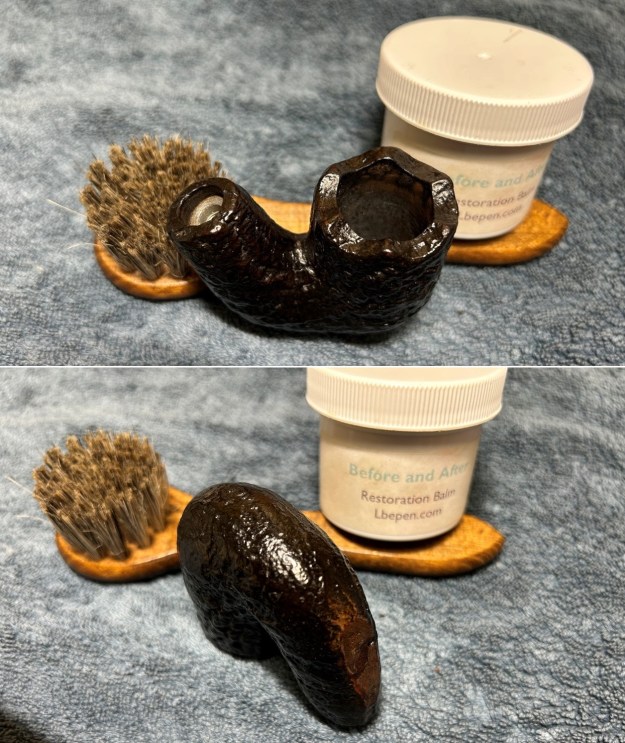
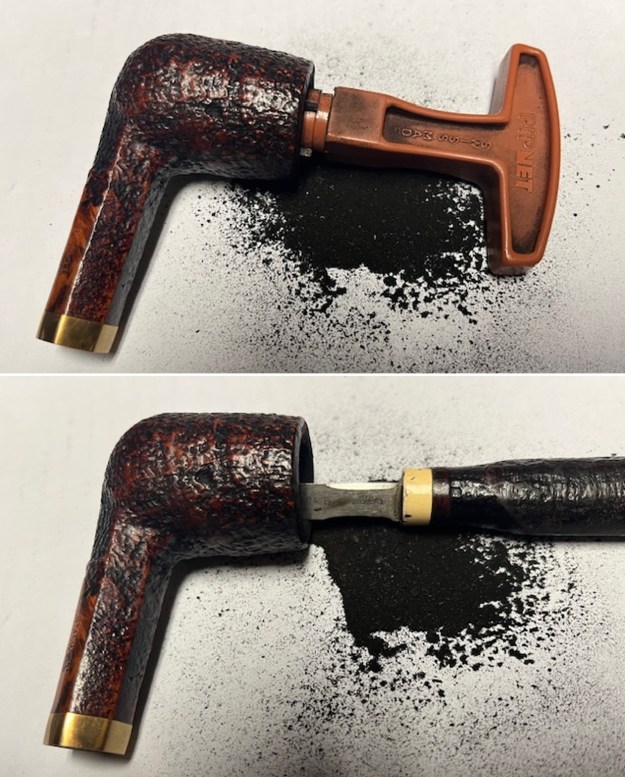
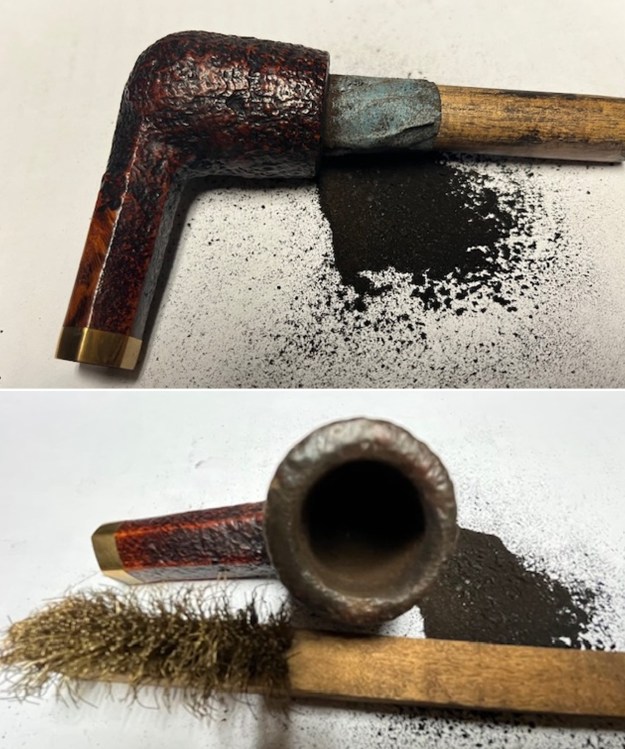
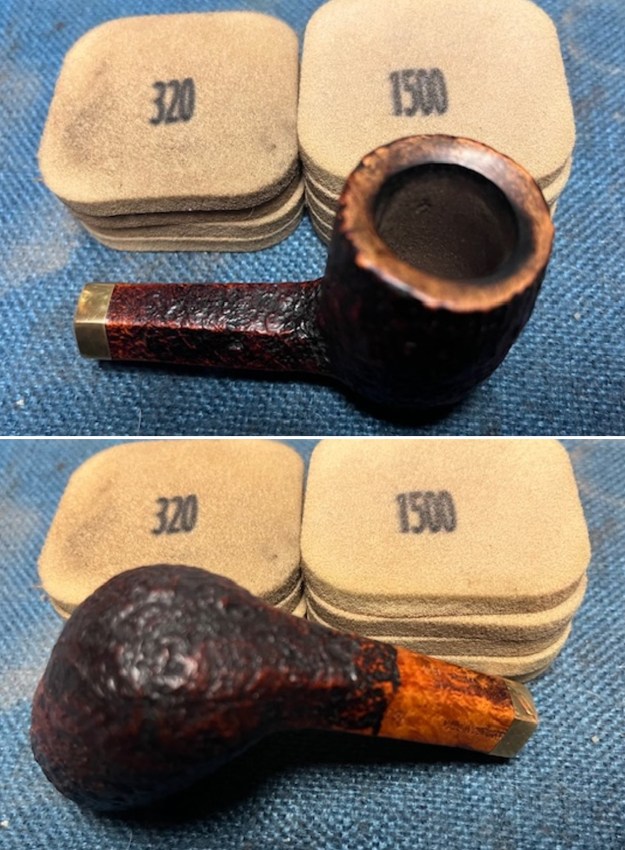
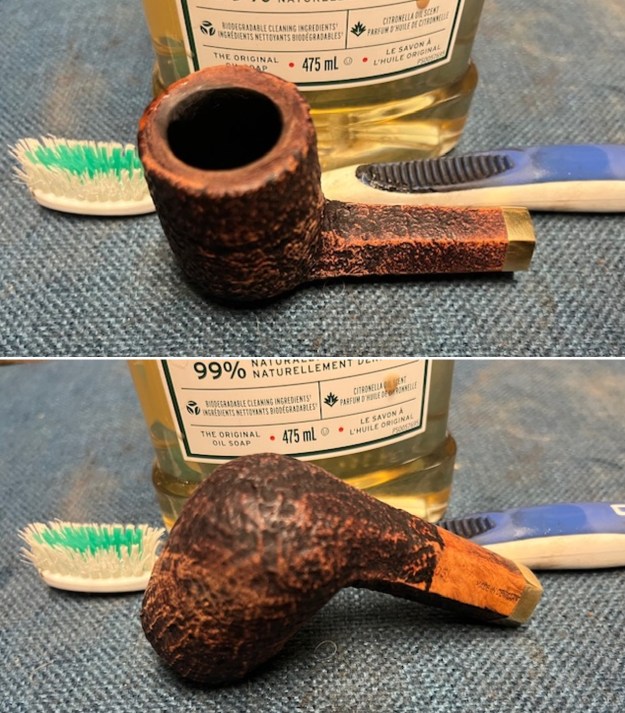
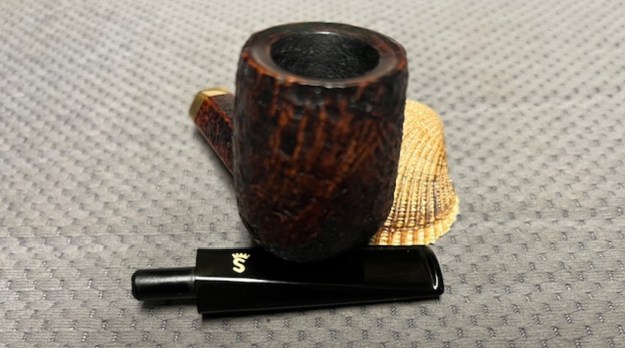
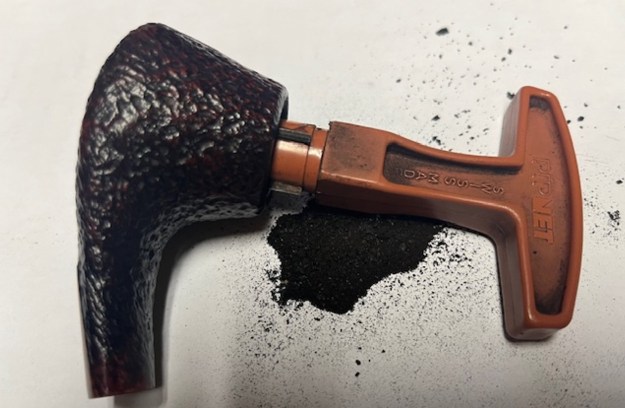
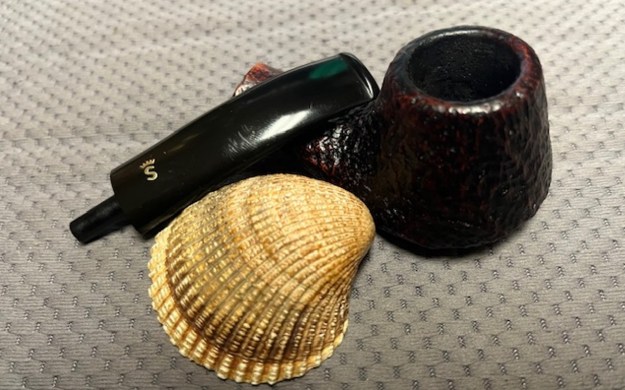
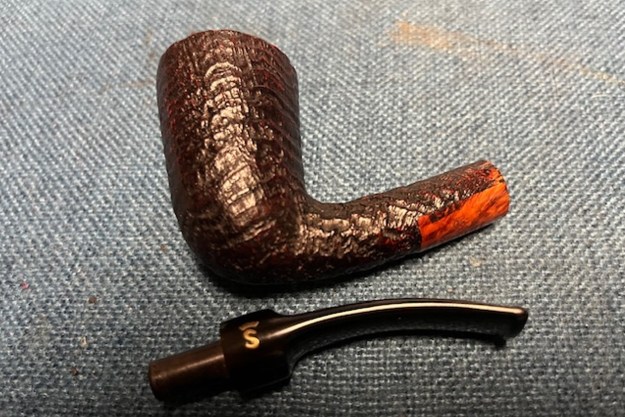
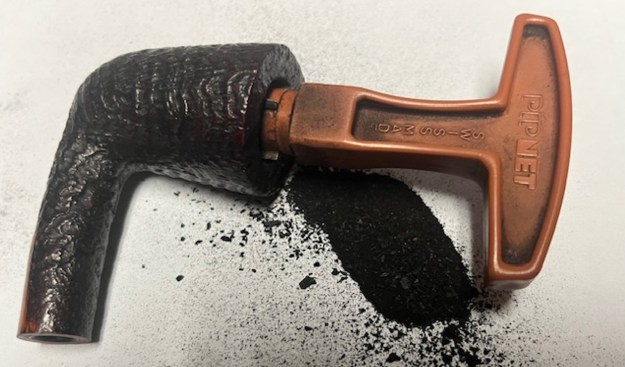
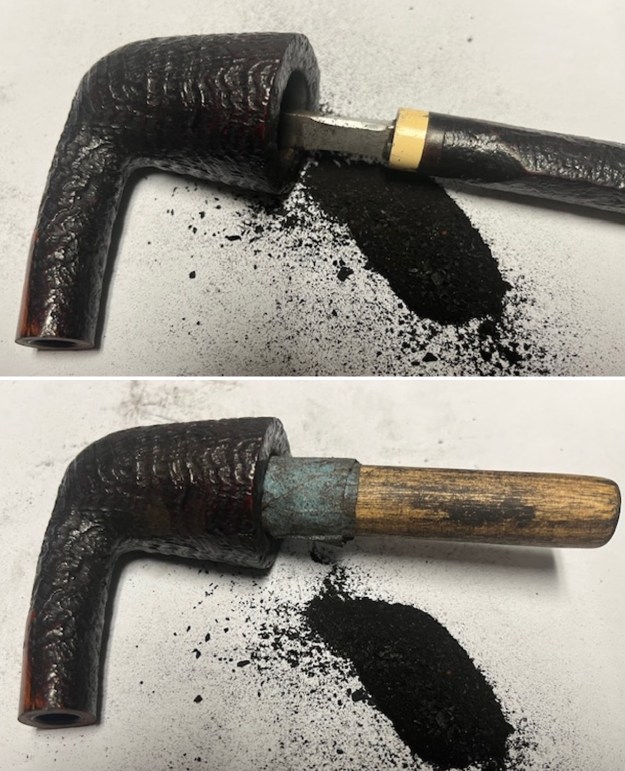
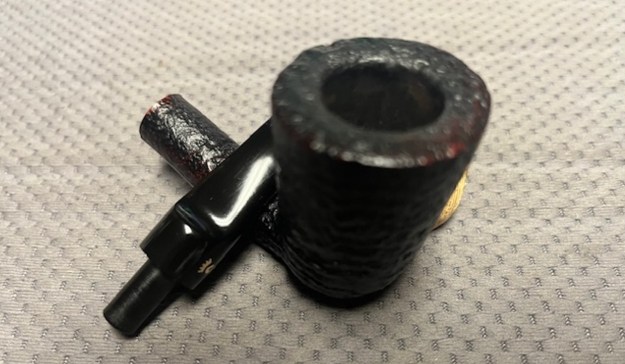
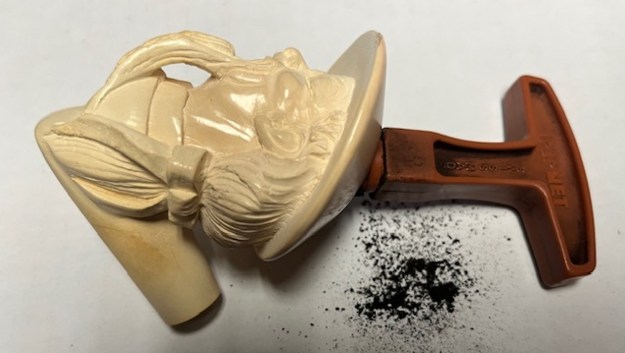
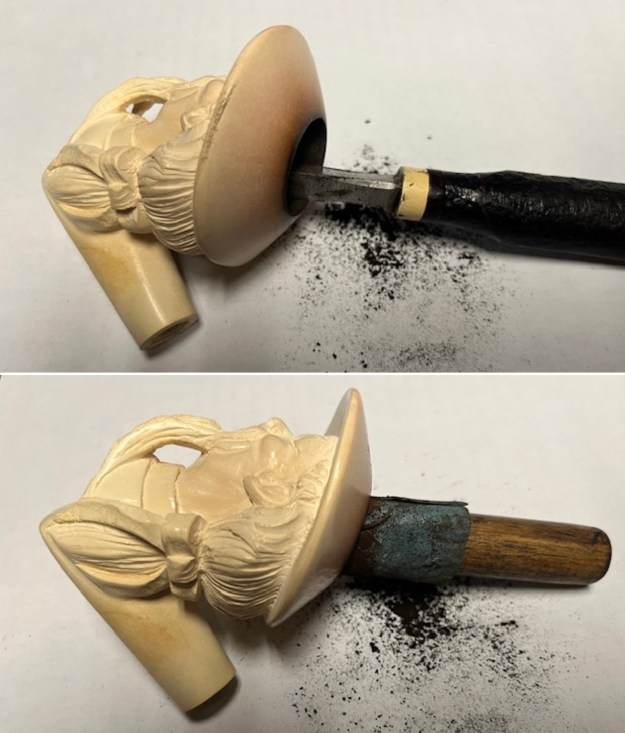
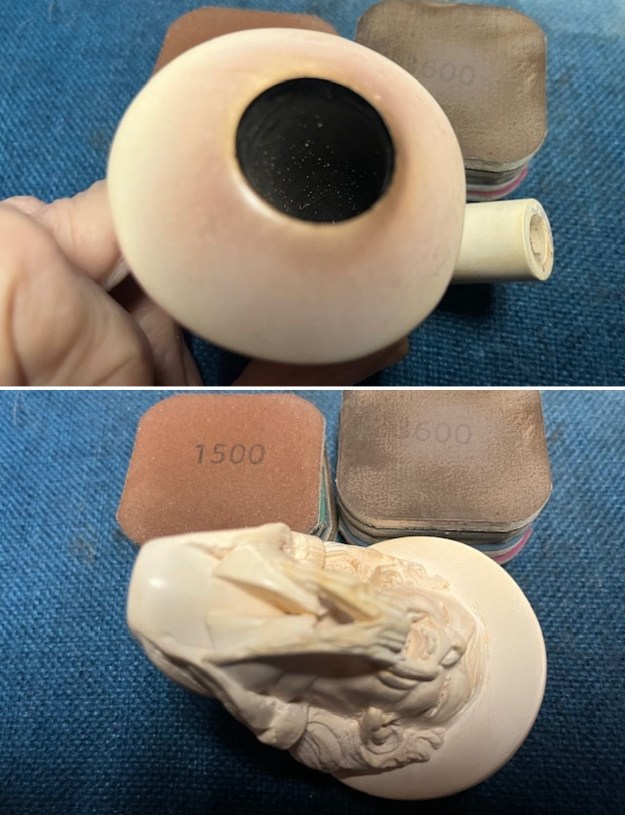
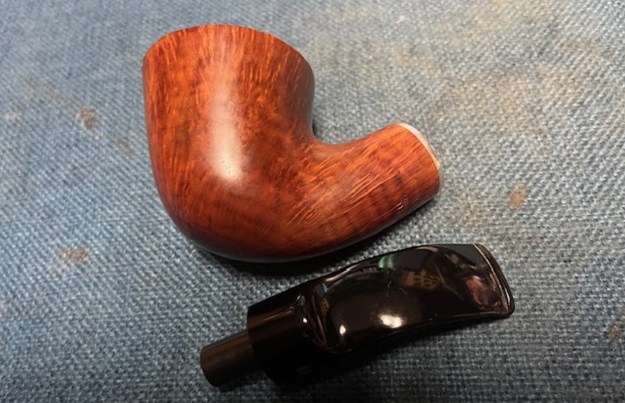
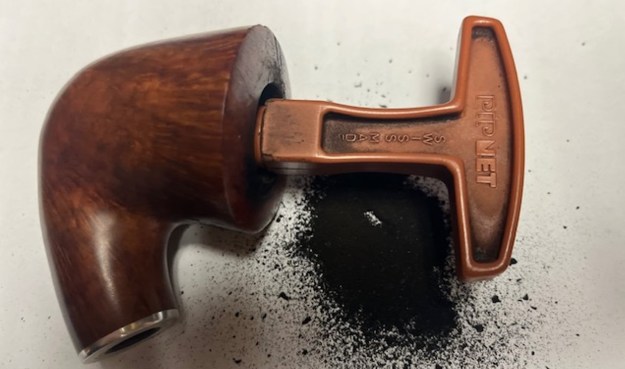
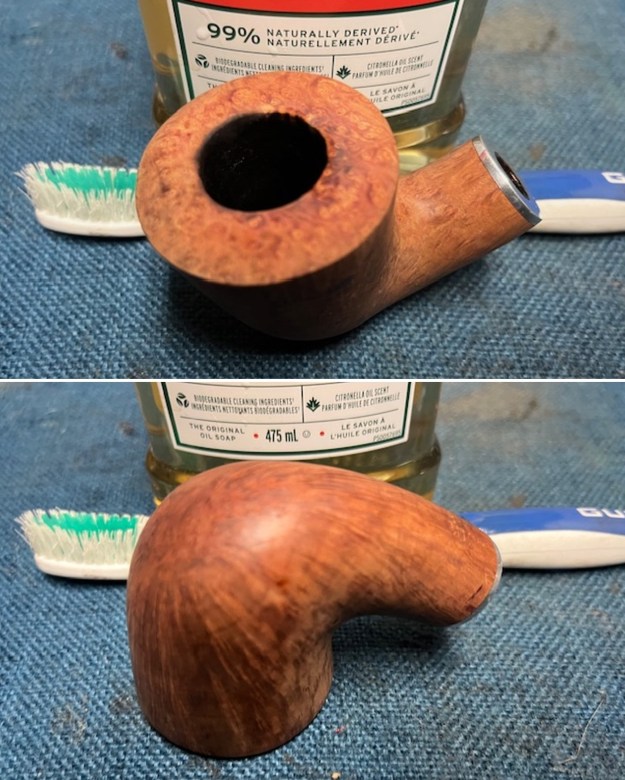
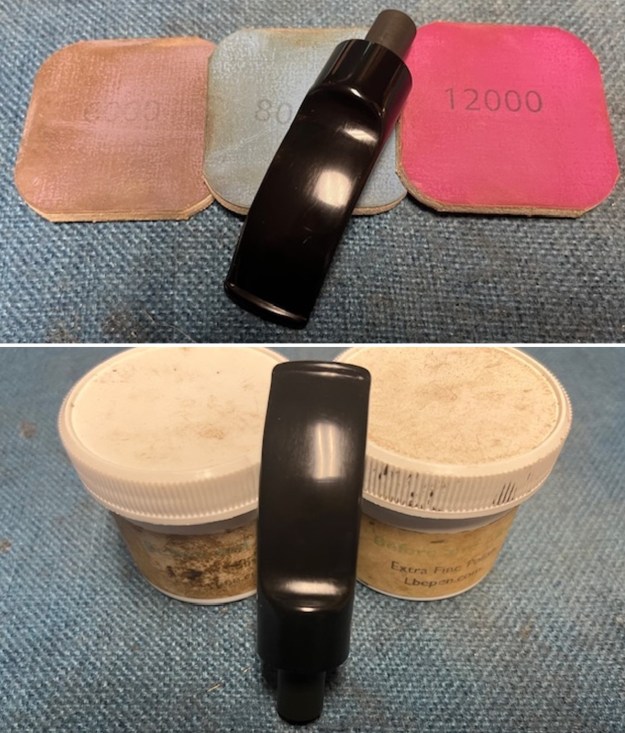
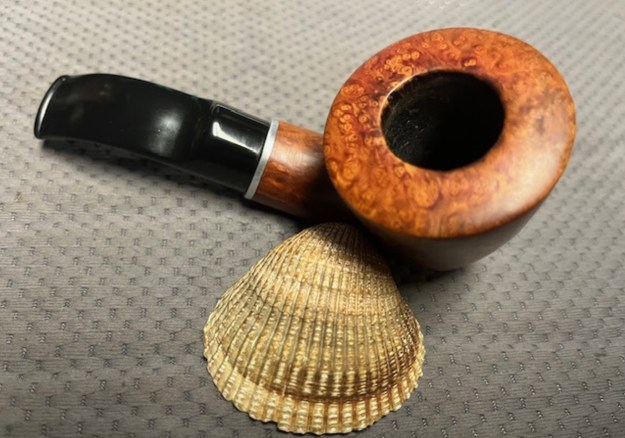
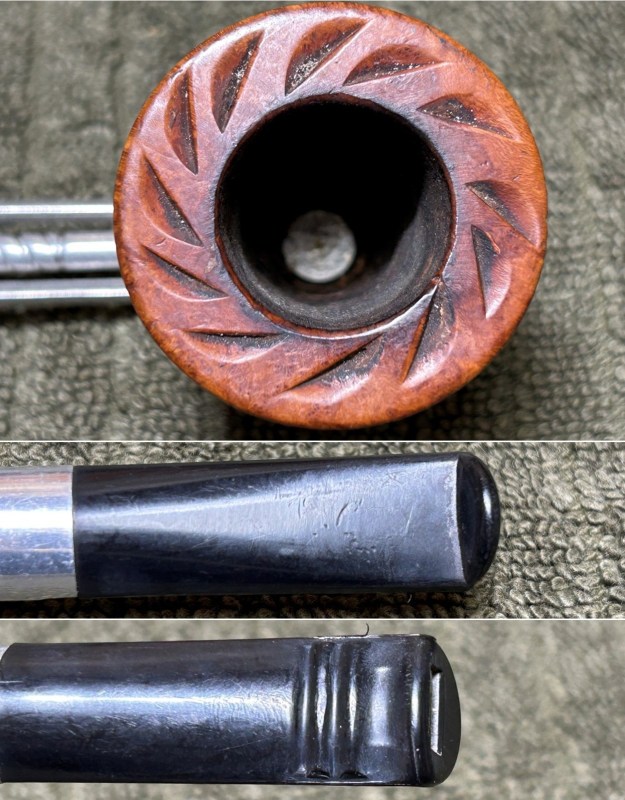
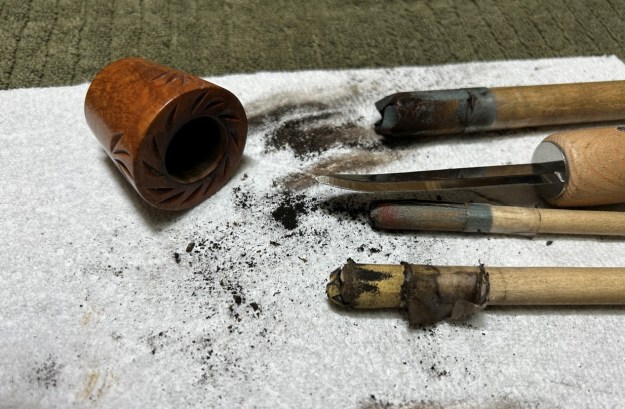
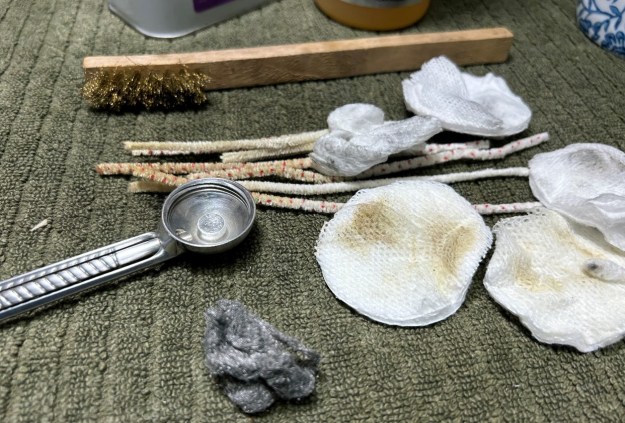
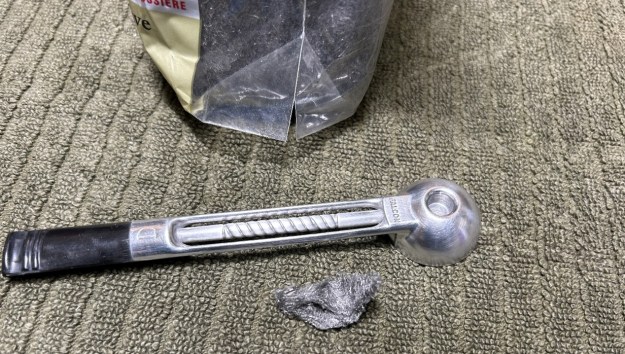
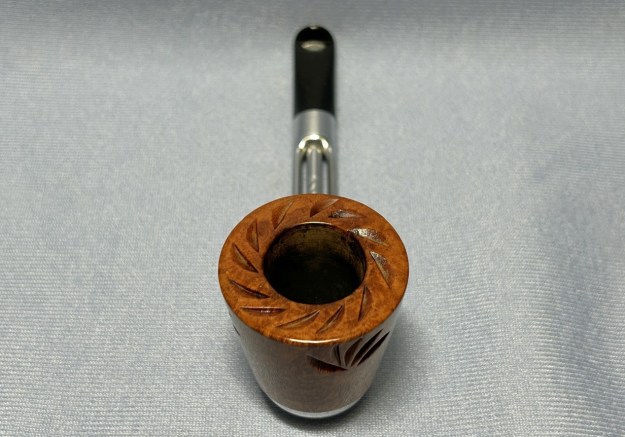
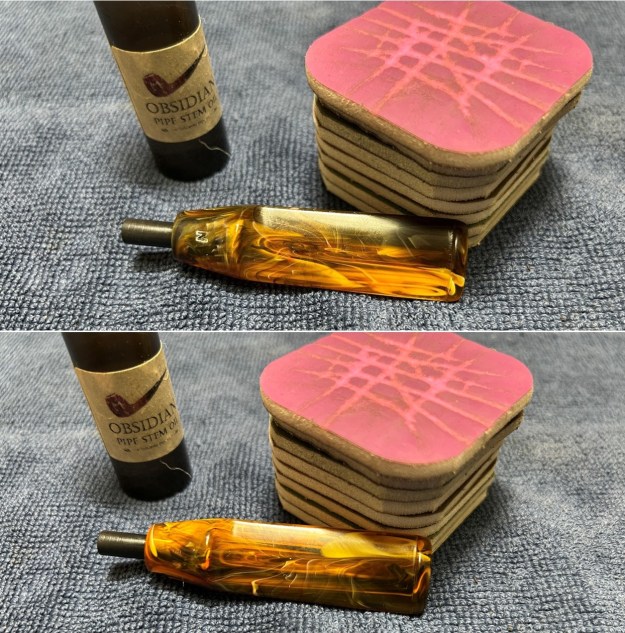 As the stem was (nearly) complete, I moved on to the stummel. The first step was to ream out the bowl – that is to say, remove all the cake inside the bowl. This accomplished a couple of things. First (and most obviously), it cleaned the bowl and provided a refurbished chamber for future smoking. Second, when the old cake was removed, I could inspect the interior walls of the bowl and determine if there was damage or not. Normally, at this point, I would use a reamer to remove the built-up cake inside the bowl, but meerschaum has the potential to crack in those circumstances. Instead, I used a pipe knife, and a piece of sandpaper taped to a wooden dowel. Collectively, these ensured that all the debris was removed. There wasn’t too much.
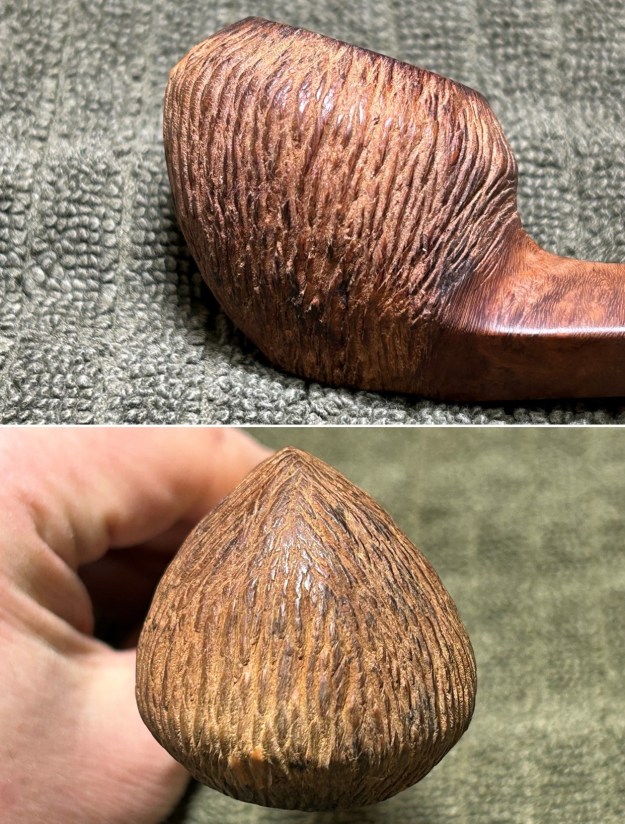
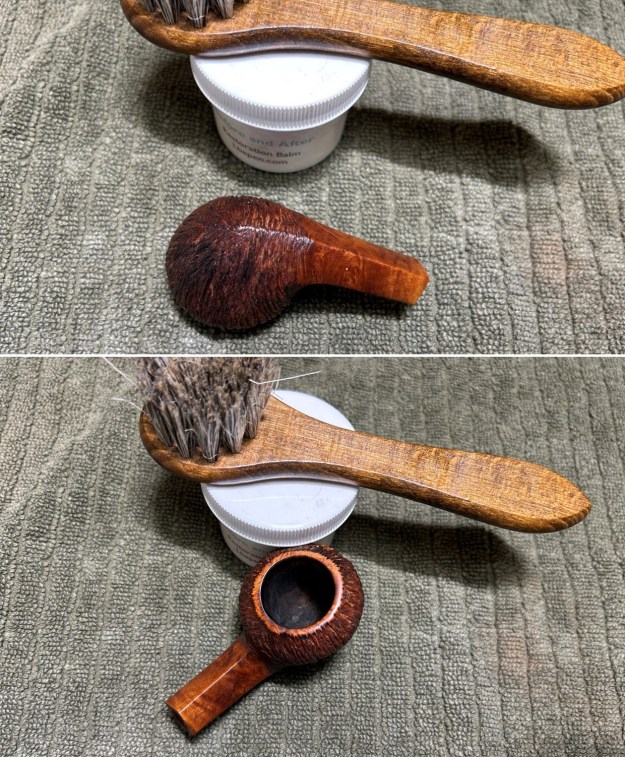
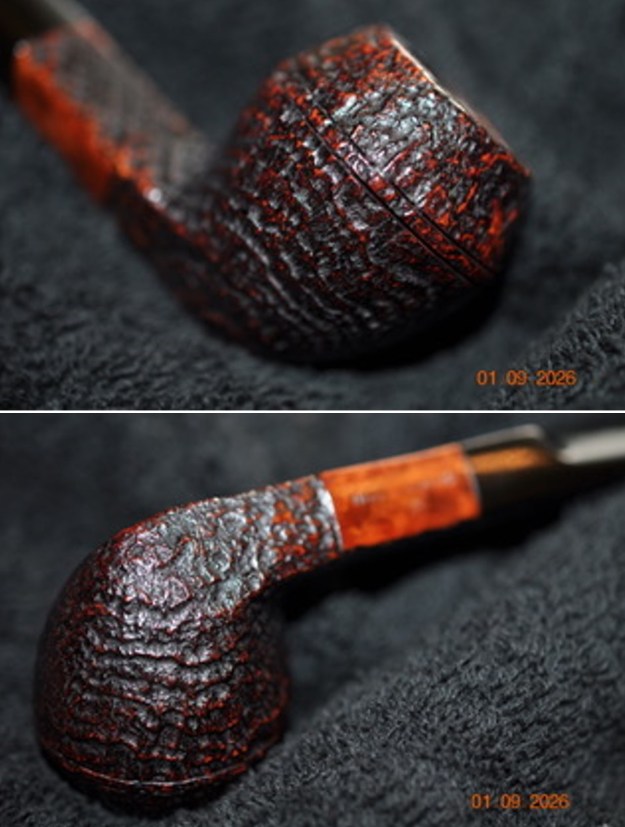
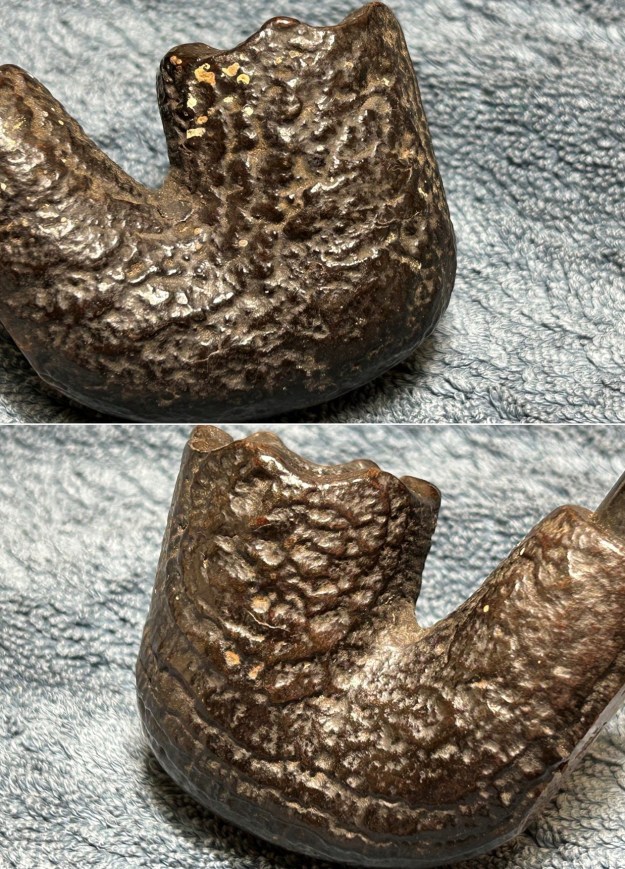
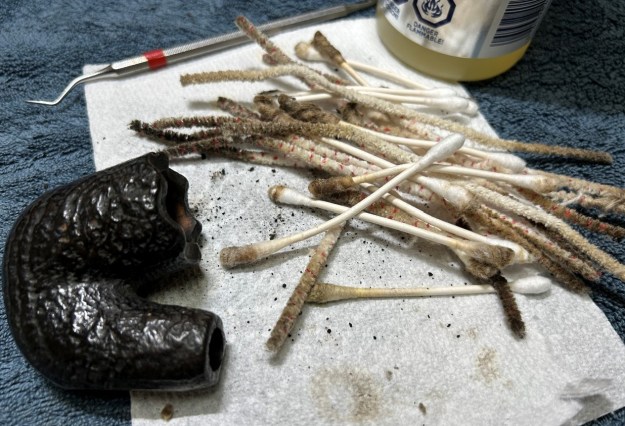
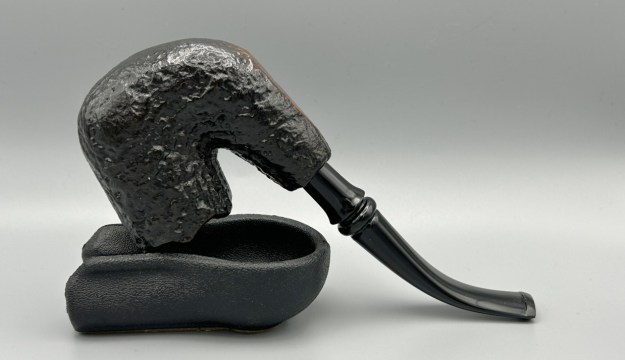
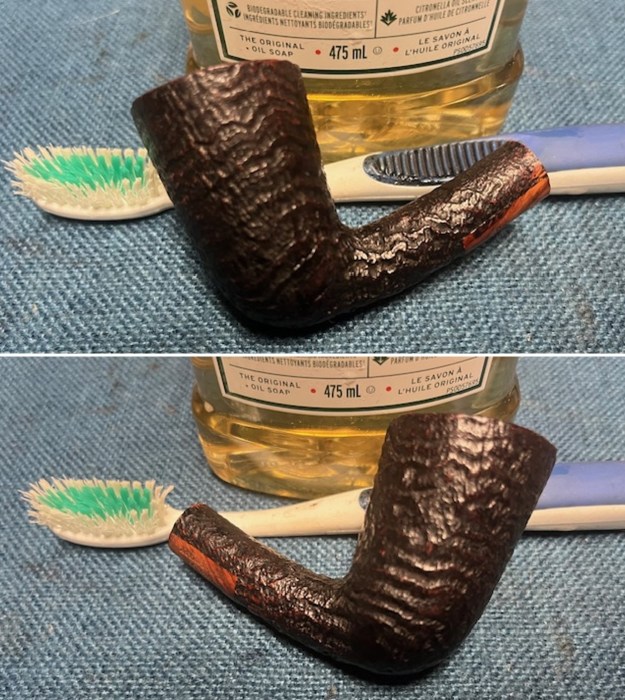
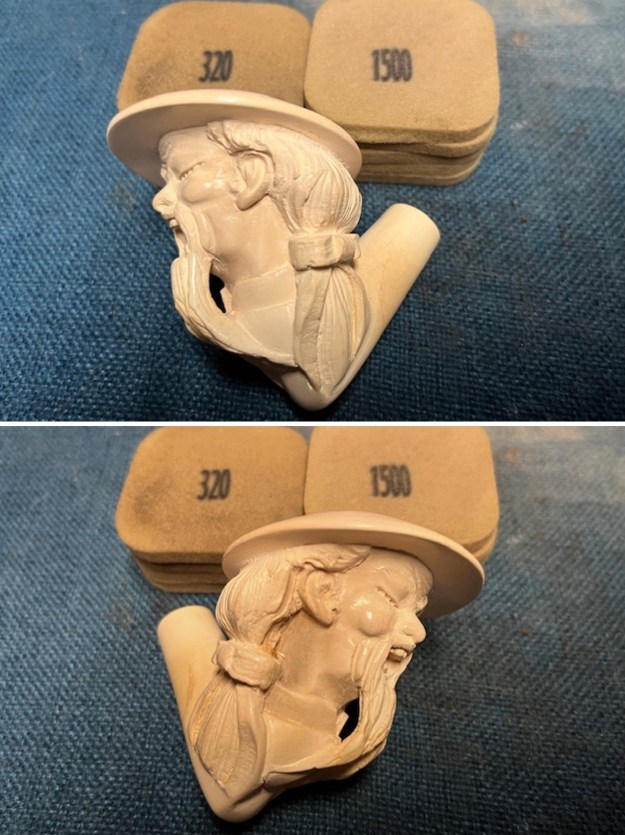
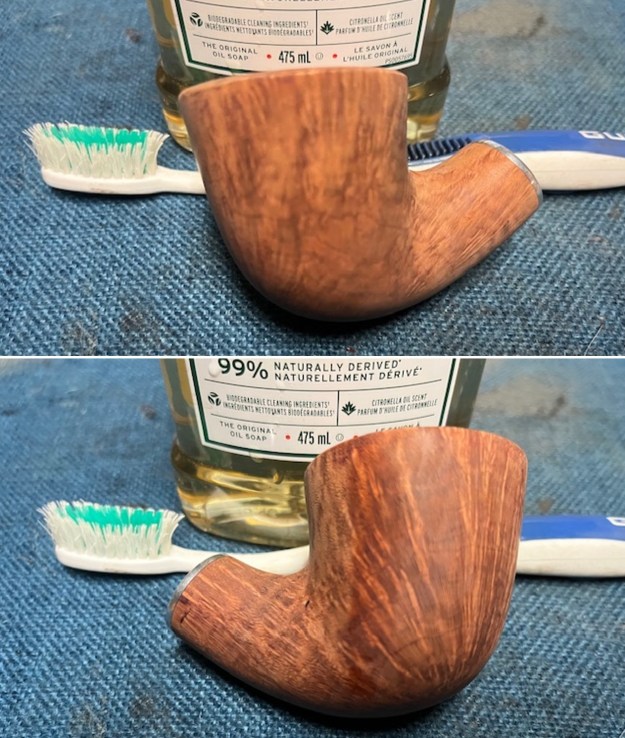
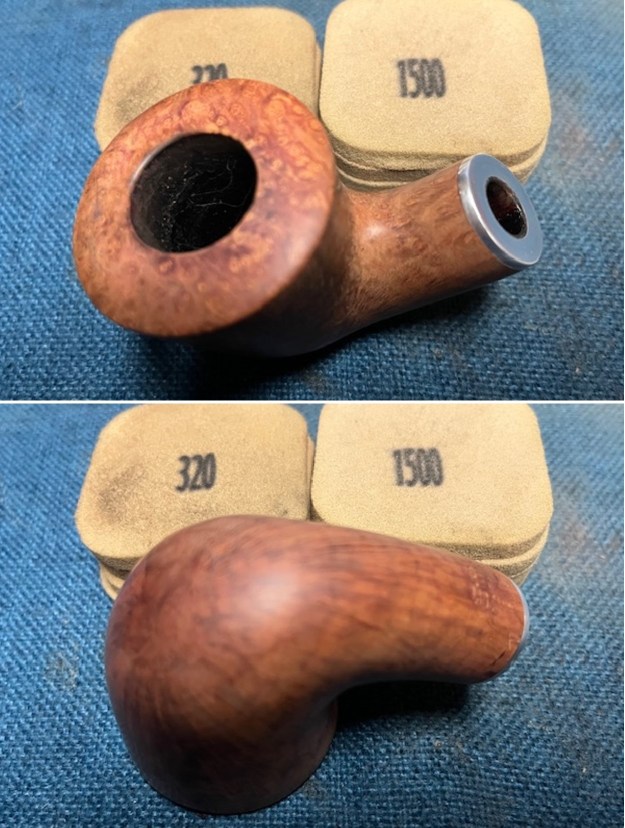
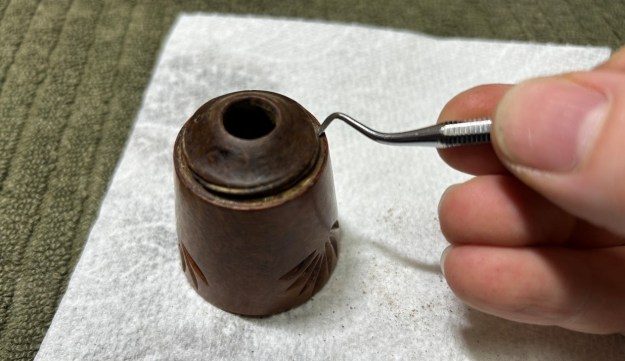
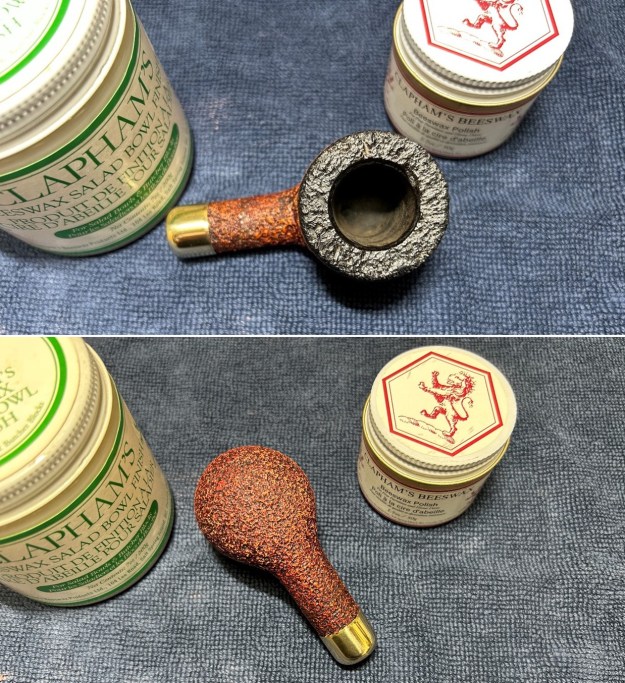
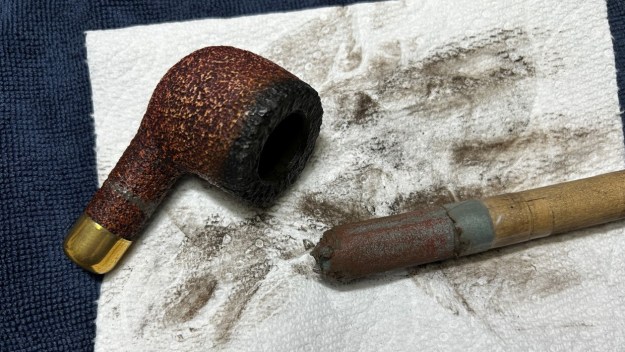 Similar to the stem, I then cleaned the stummel with both pipe cleaners and cotton swabs dipped in lemon-infused 99% isopropyl alcohol. I did it carefully because too much soaking can cause meerschaum to soften. In this case, I moved quickly, nothing softened, and everything turned out well. I also took a brush to the rusticated surface of the bowl. There were a few bits and pieces of debris and my brushing removed them. It looked much better.
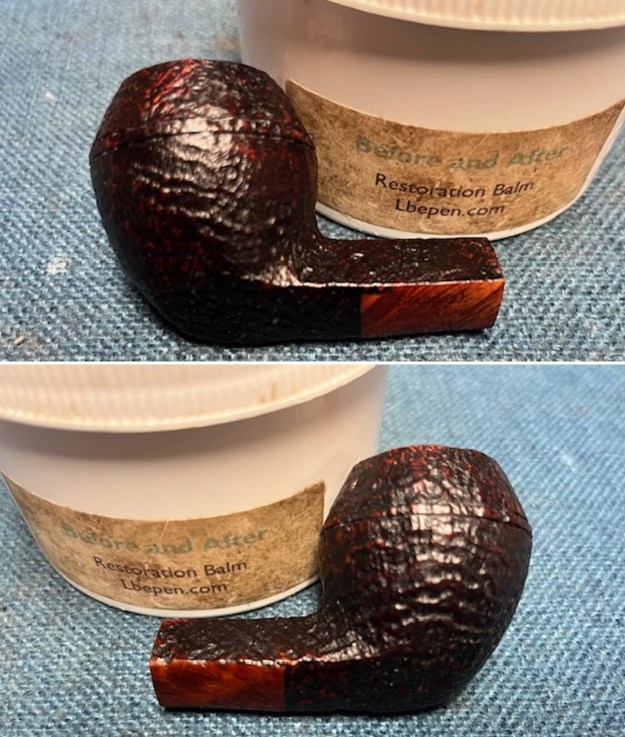
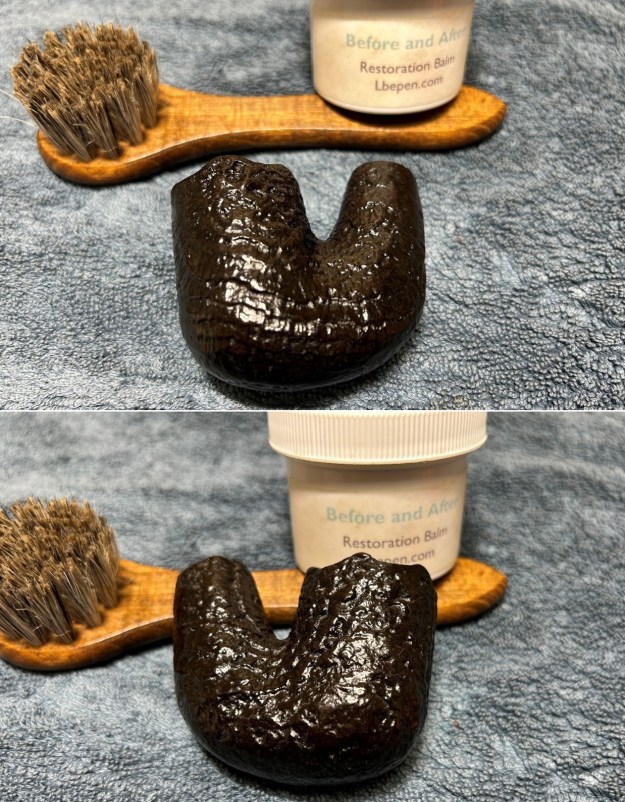
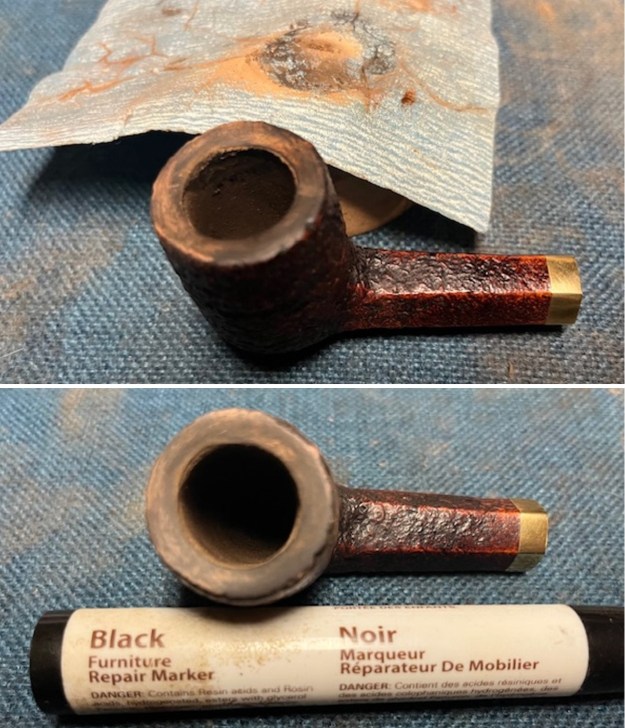
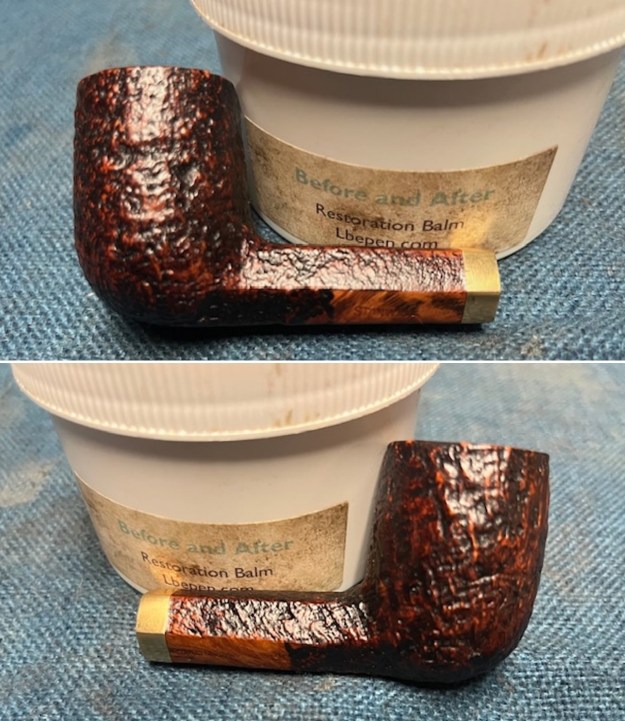
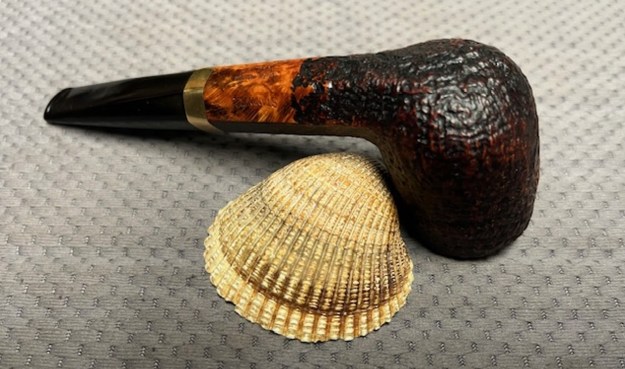
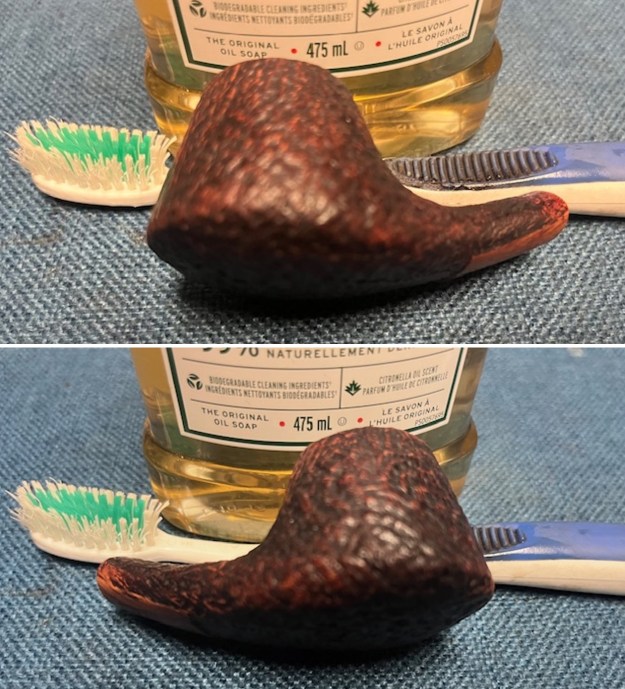
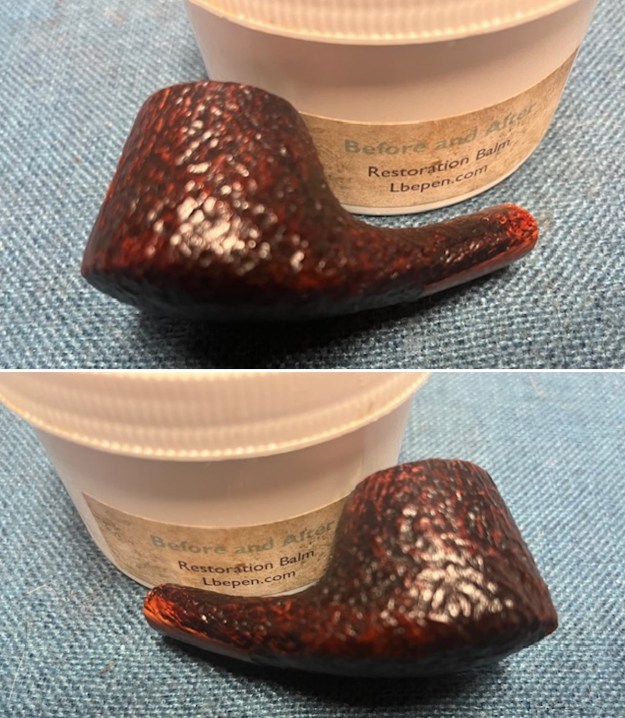
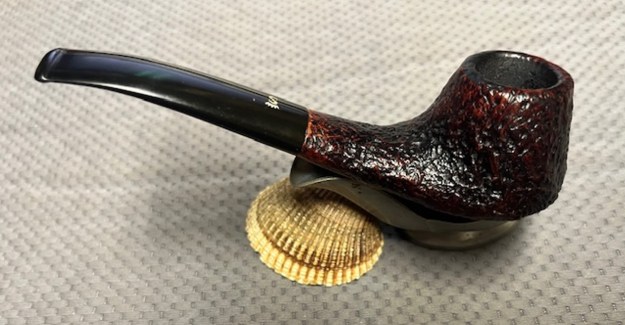
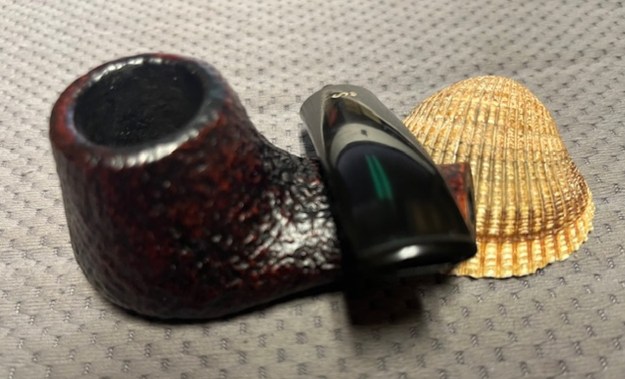
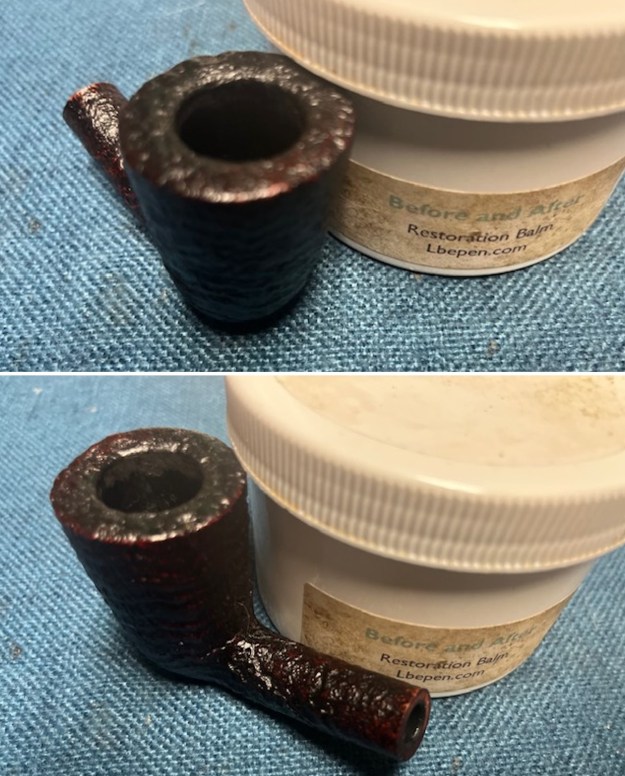
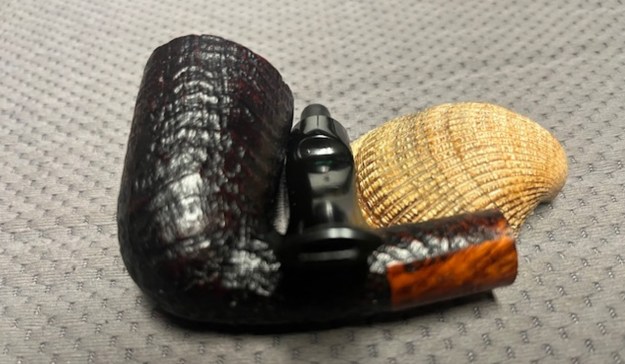
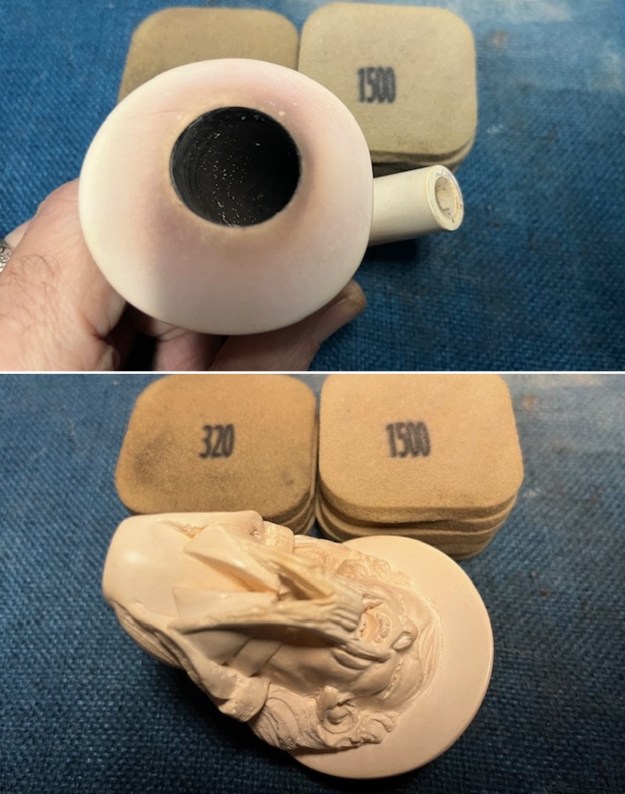
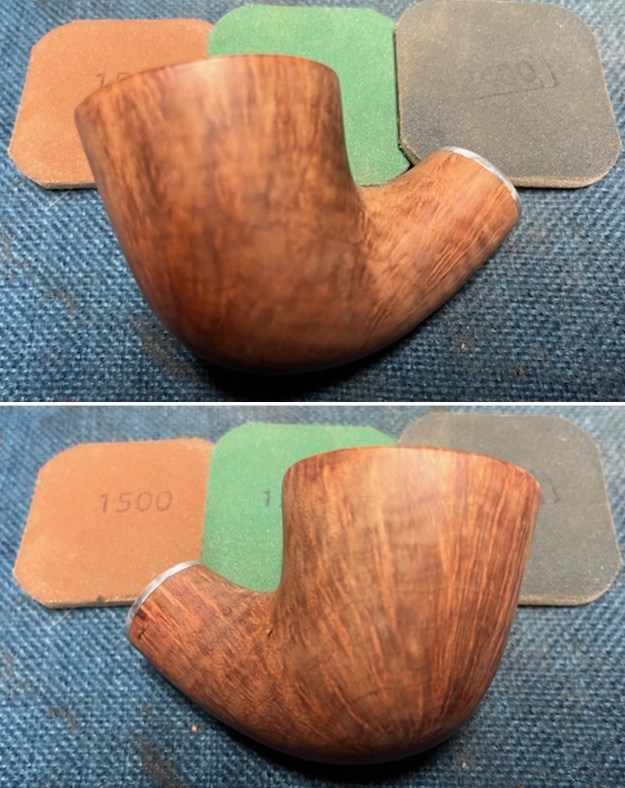
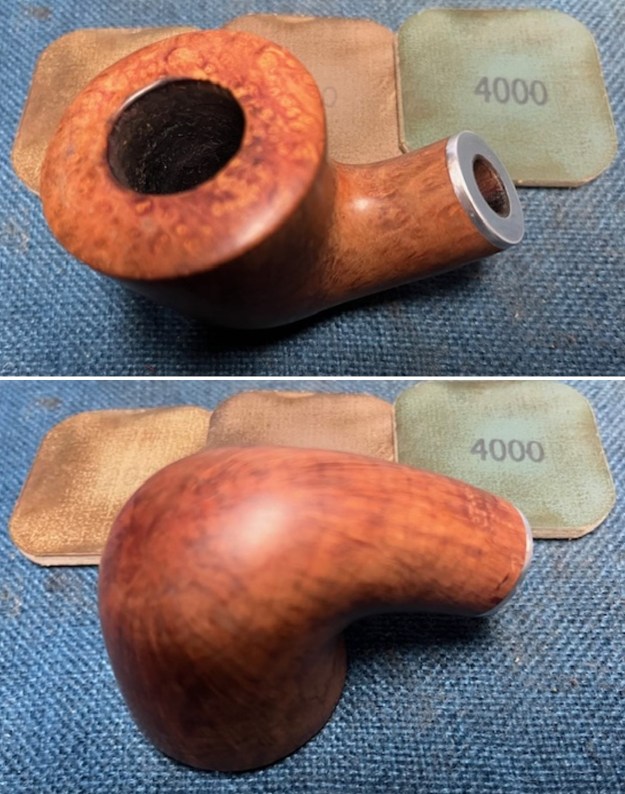
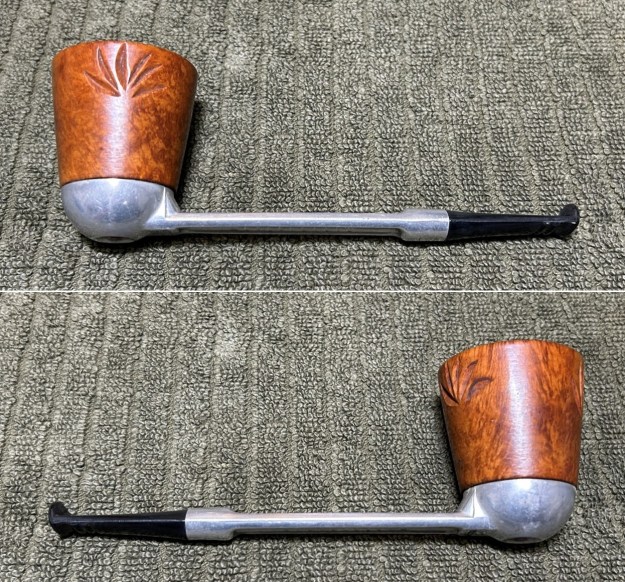
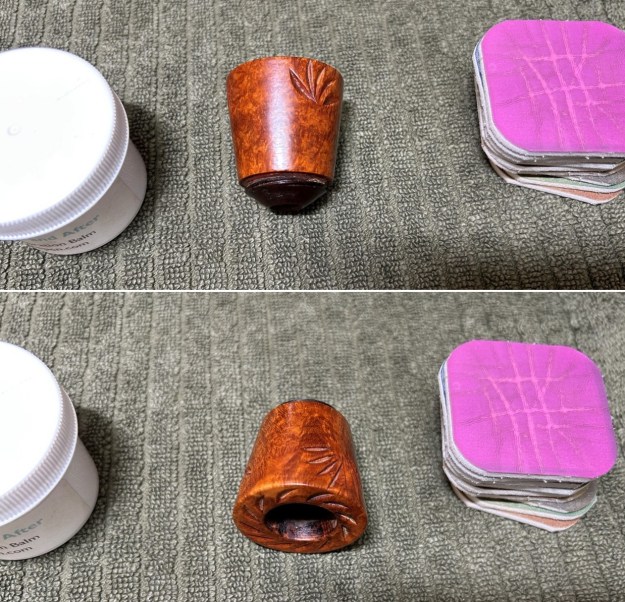
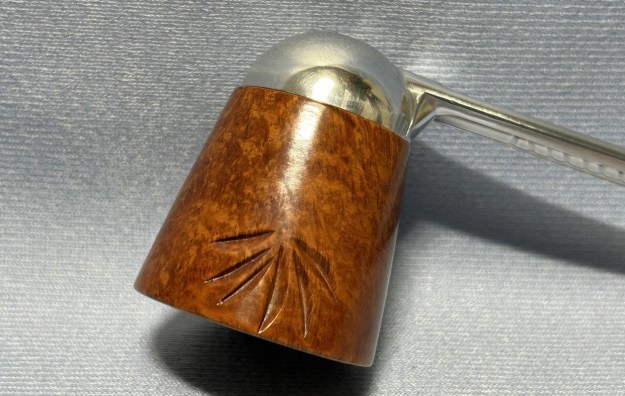
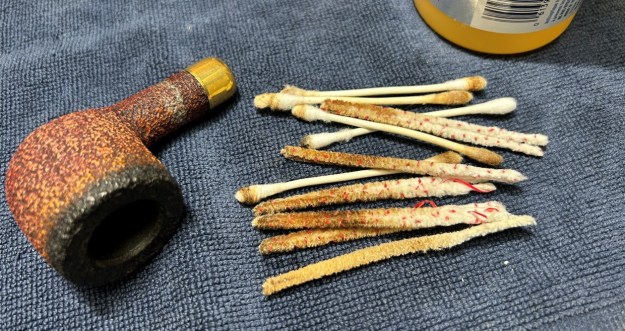 It was at this point that I used all my nous (as the Brits would say) to improve the look of the repair. I stared a lot; I pondered a lot; I harrumphed a lot. Eventually, I used a combination of some of my furniture pens (which is simply dye in pen form) to match the colours. I was very pleased with the results – from some angles, the repair is essentially invisible.
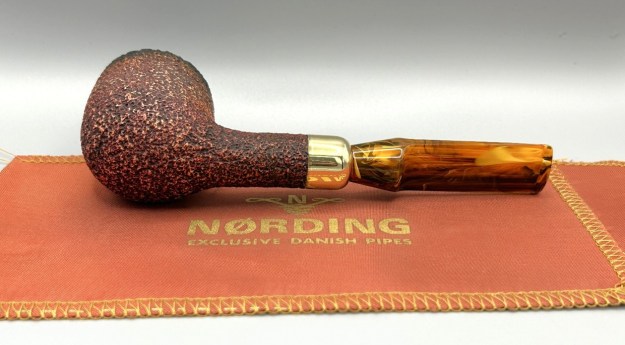
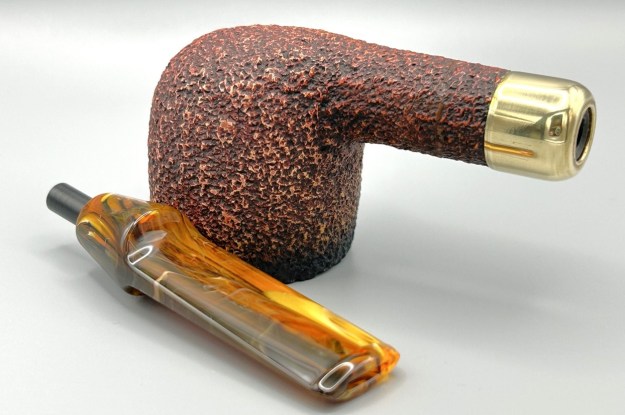
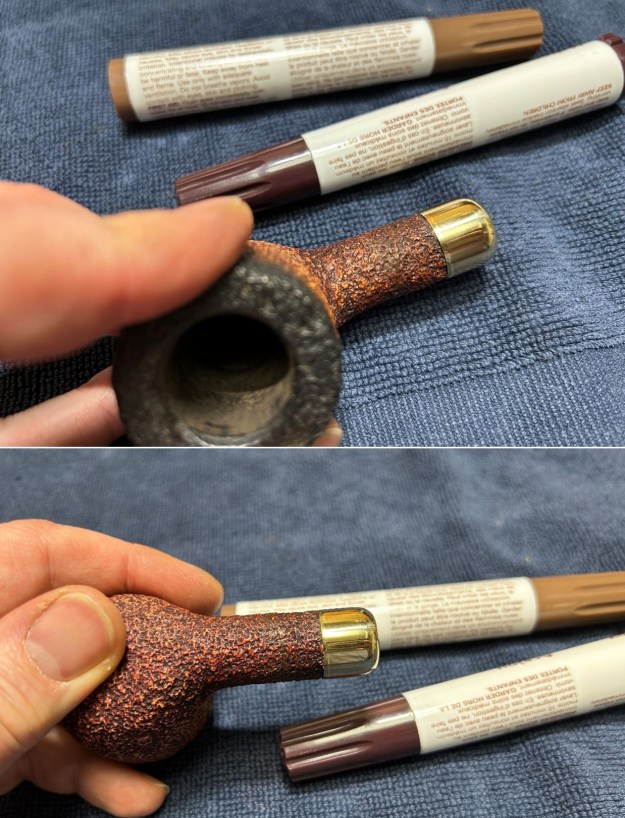 I took some very fine micromesh pads and buffed up the metal cap on the shank. I also polished it with my jeweller’s cloth and made it shine.
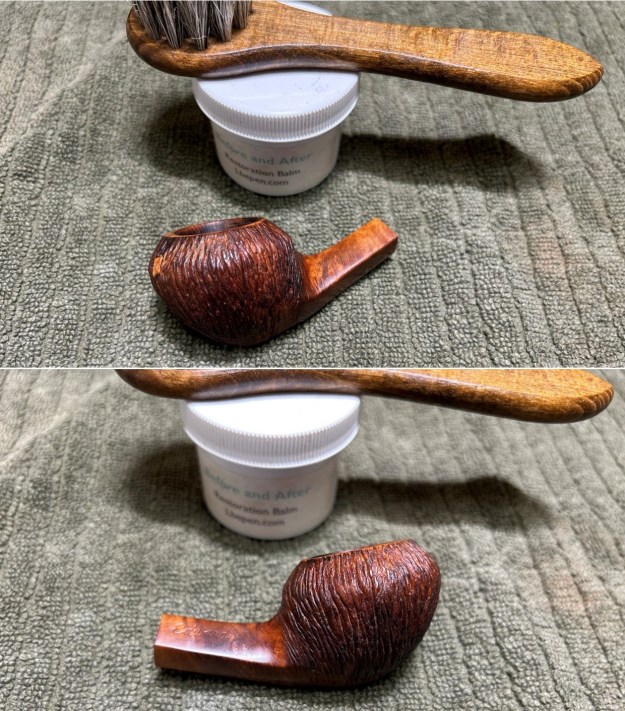
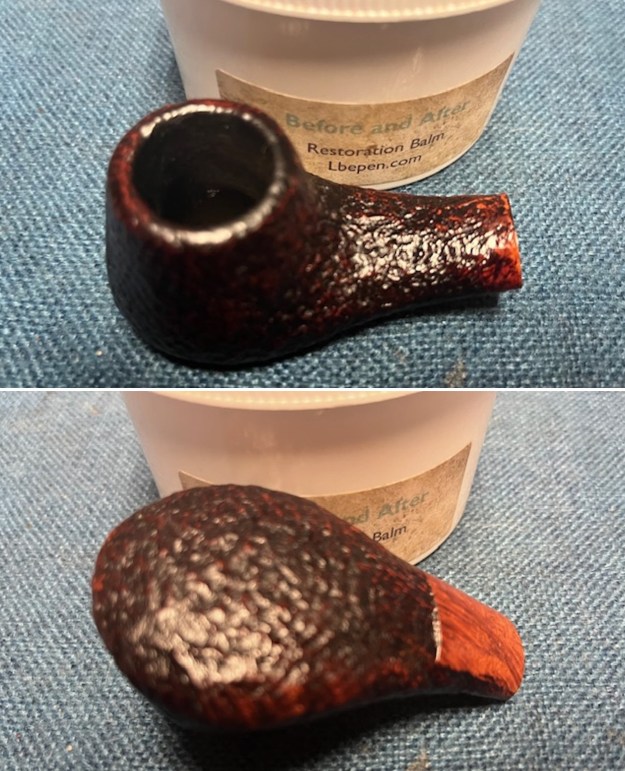
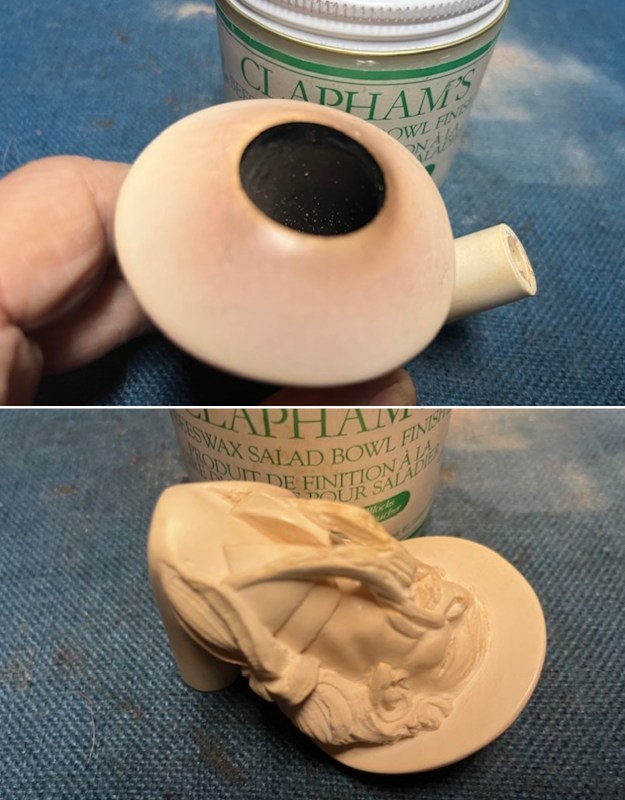
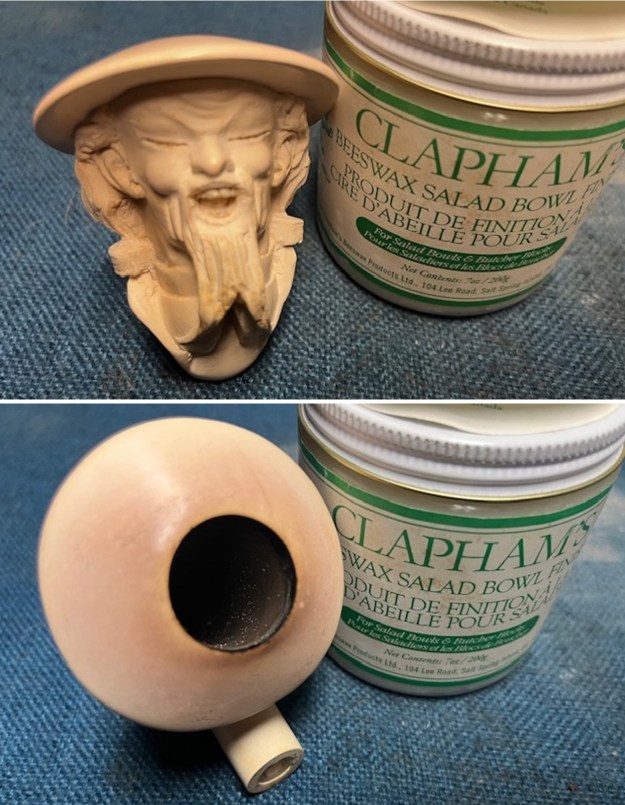
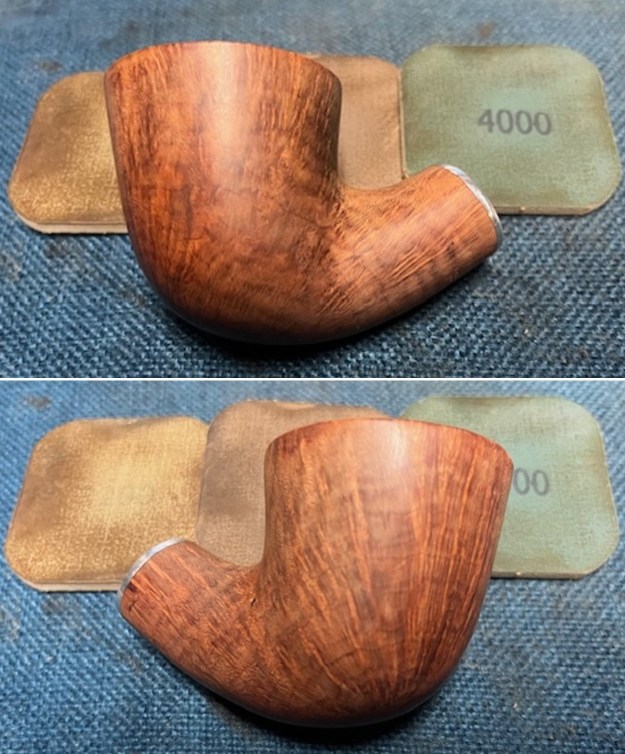
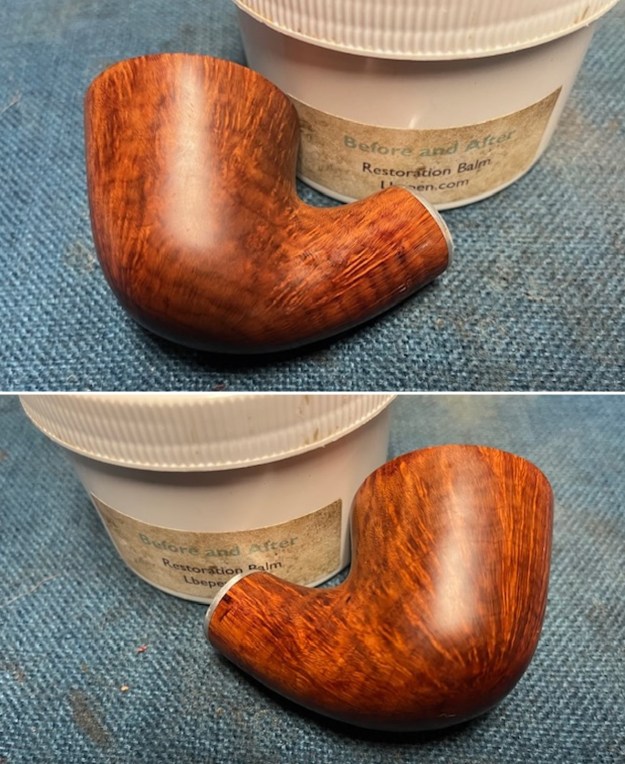
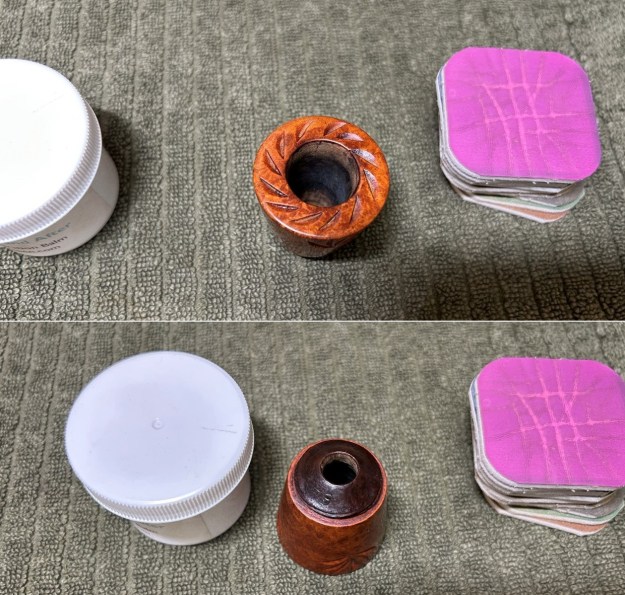
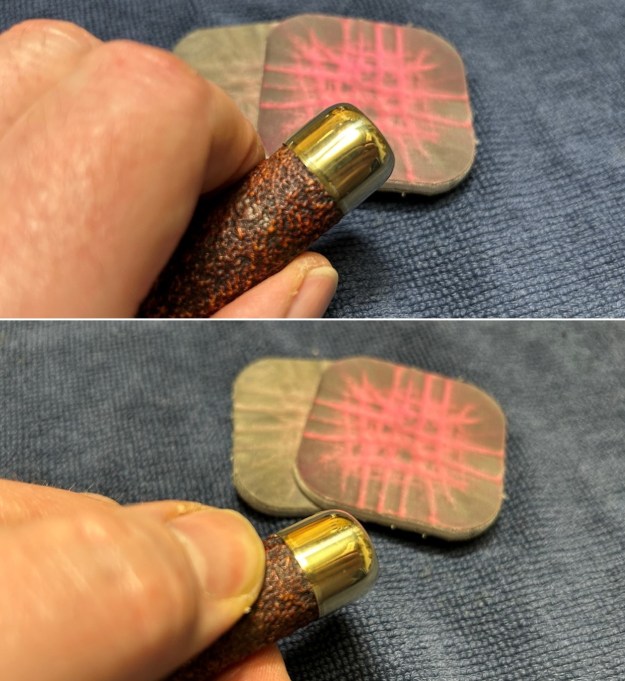 I then applied some Clapham’s Beeswax Finishes to the meerschaum and let it sit for about 30 minutes. As meerschaum pipes don’t do well on a bench-polisher, I then buffed it with a microfibre cloth. I repeated this process and left it – it sure was pretty!
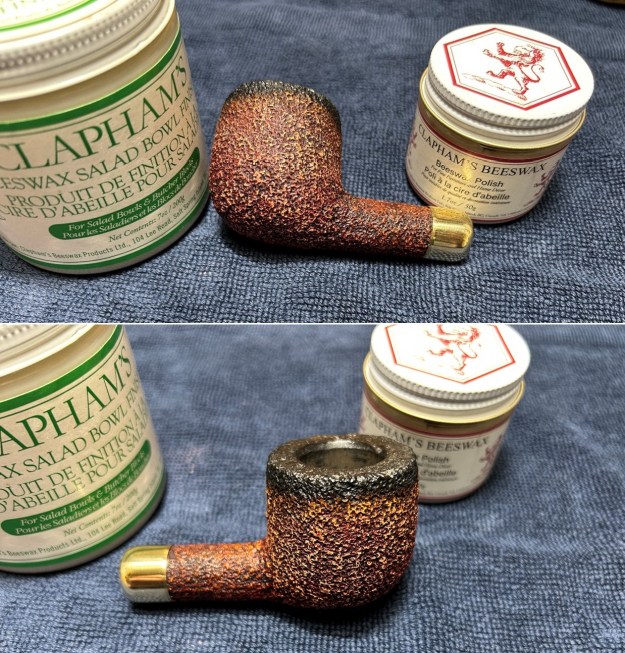
 For the final step, I took the stem to my bench polisher and carefully buffed it with a blue diamond compound.
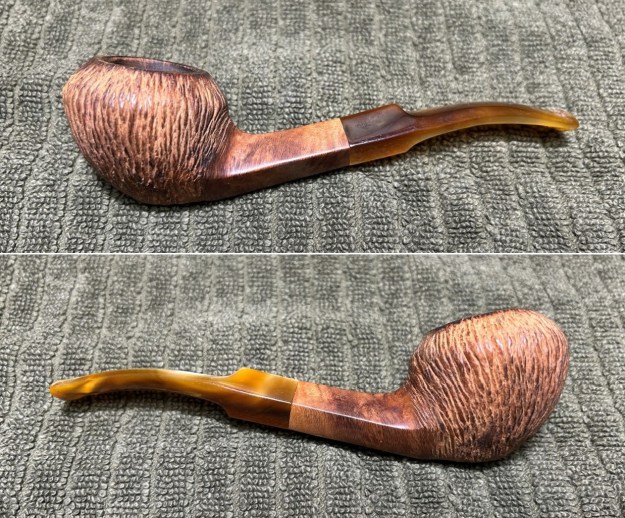
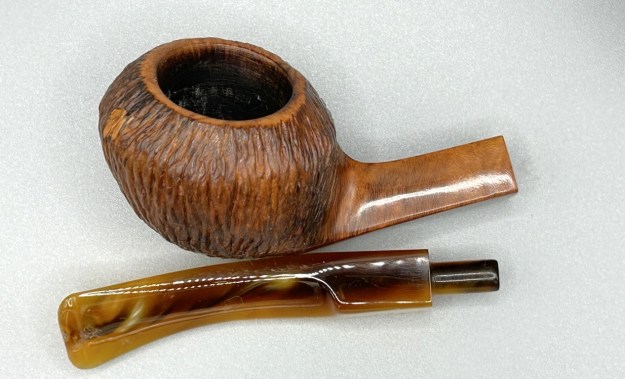
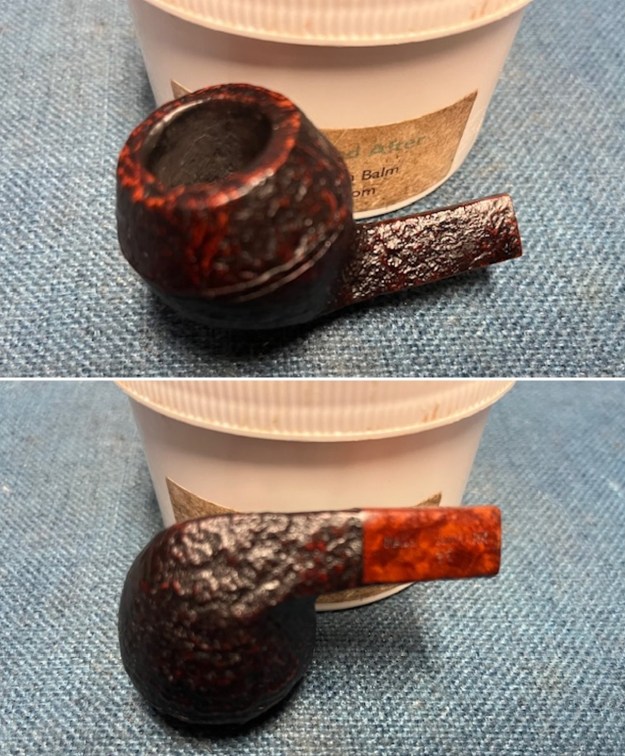
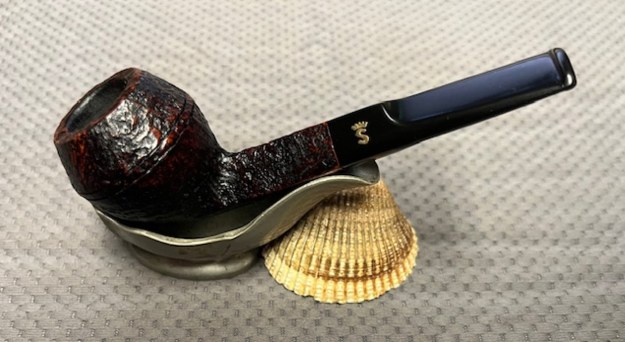
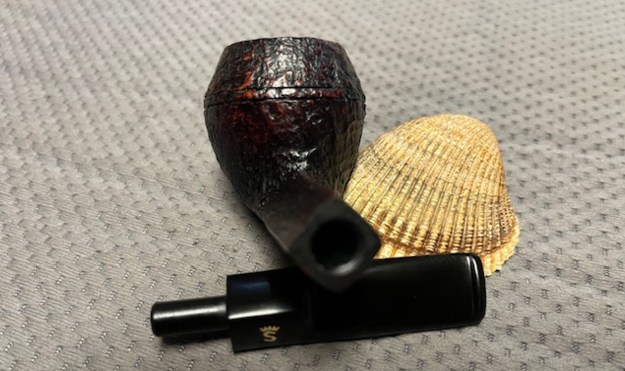
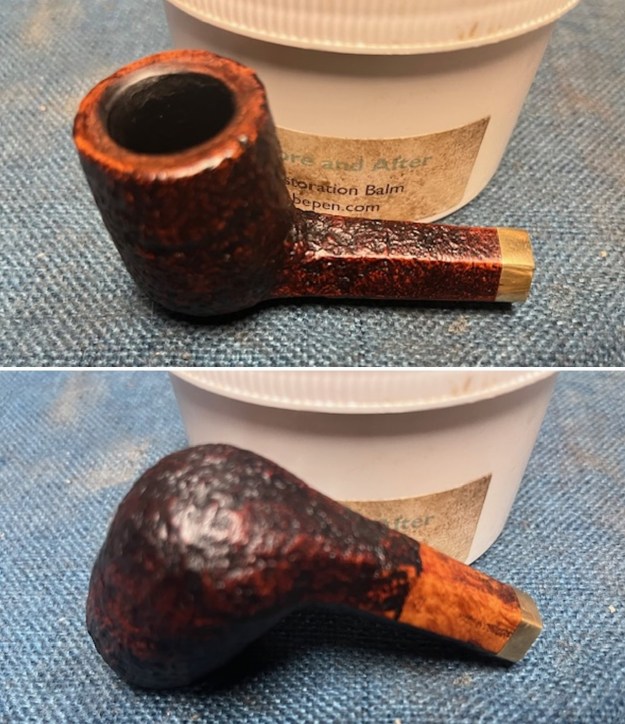
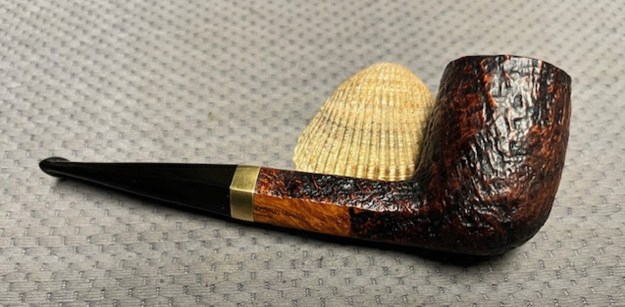
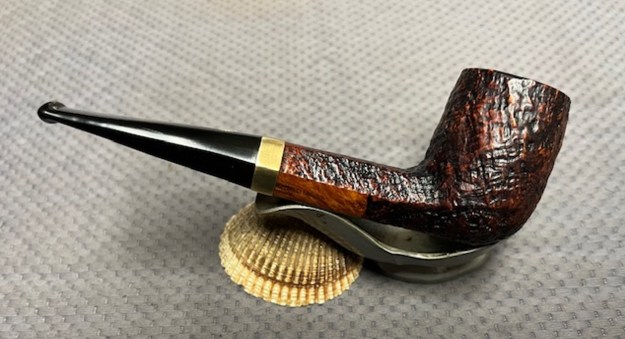
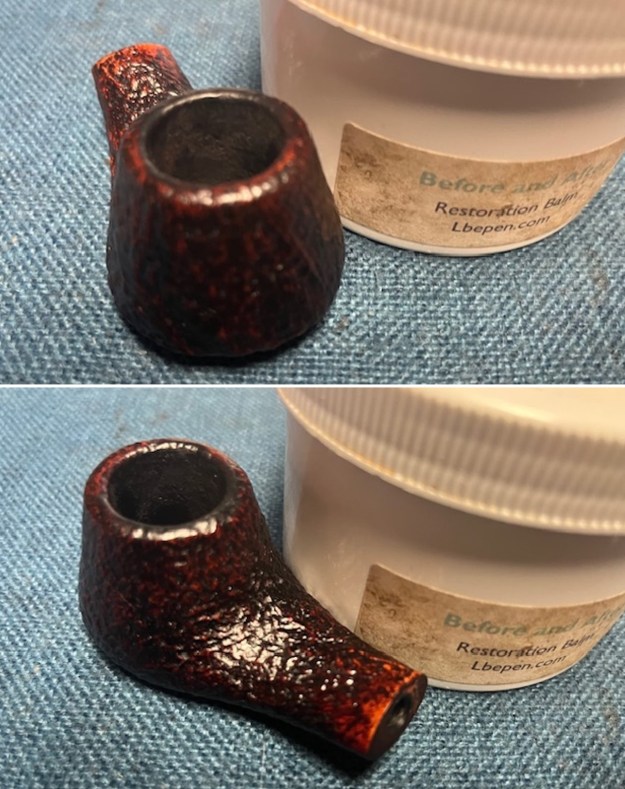
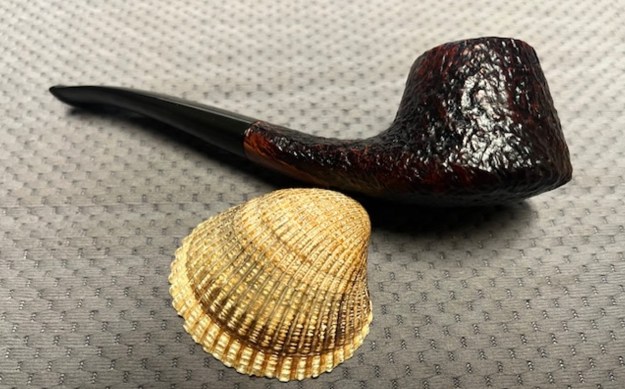
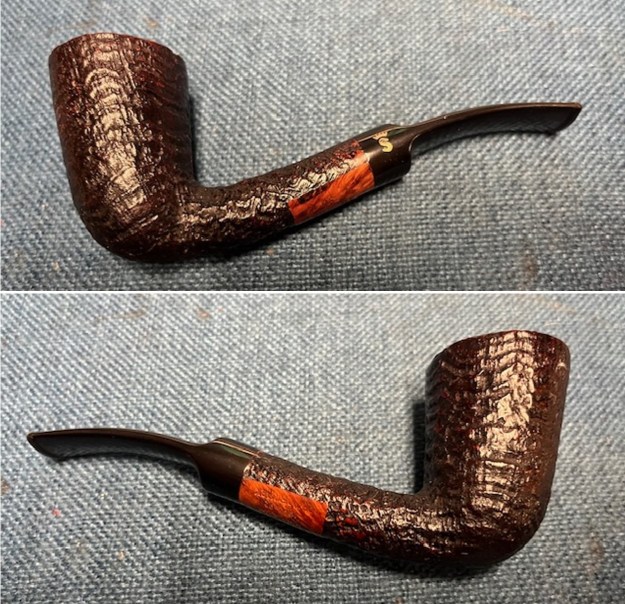
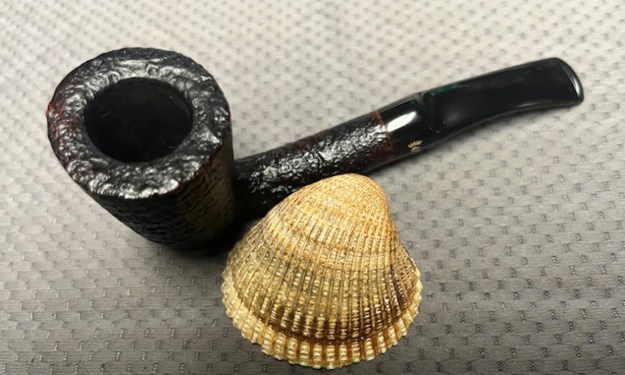
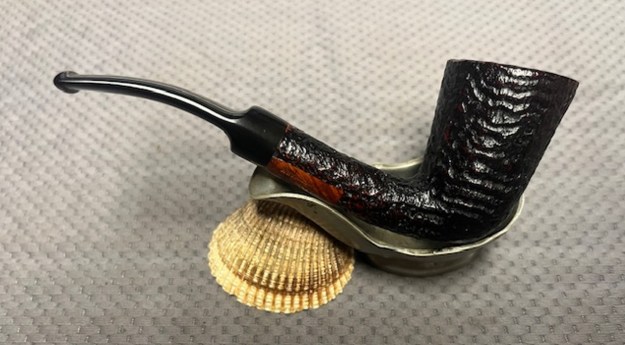
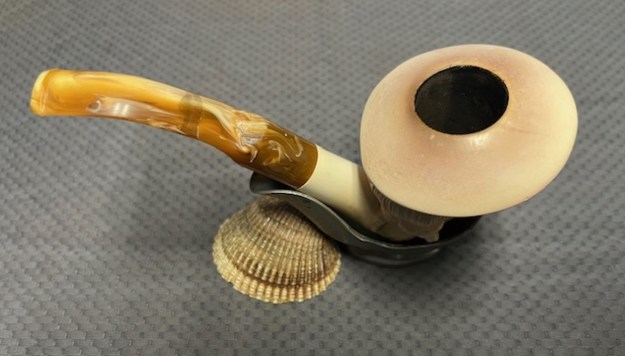
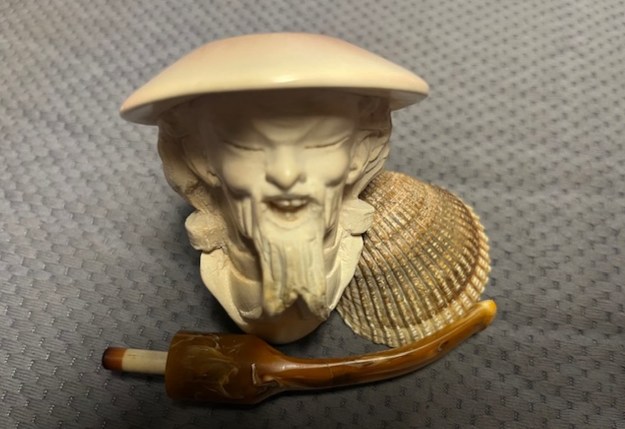
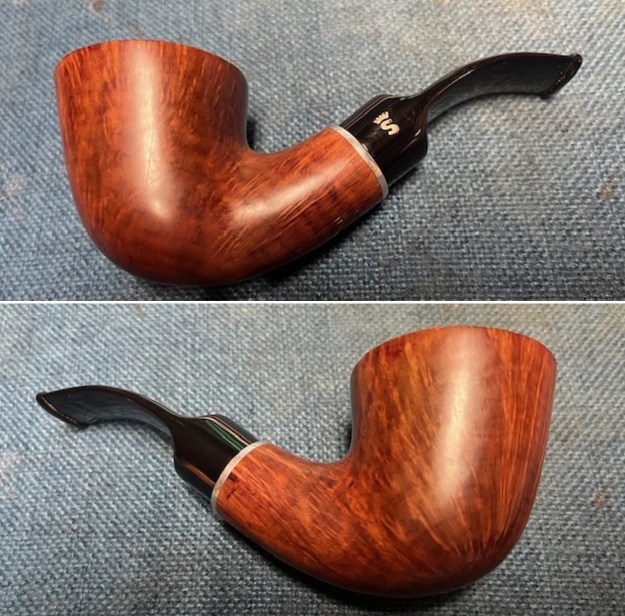
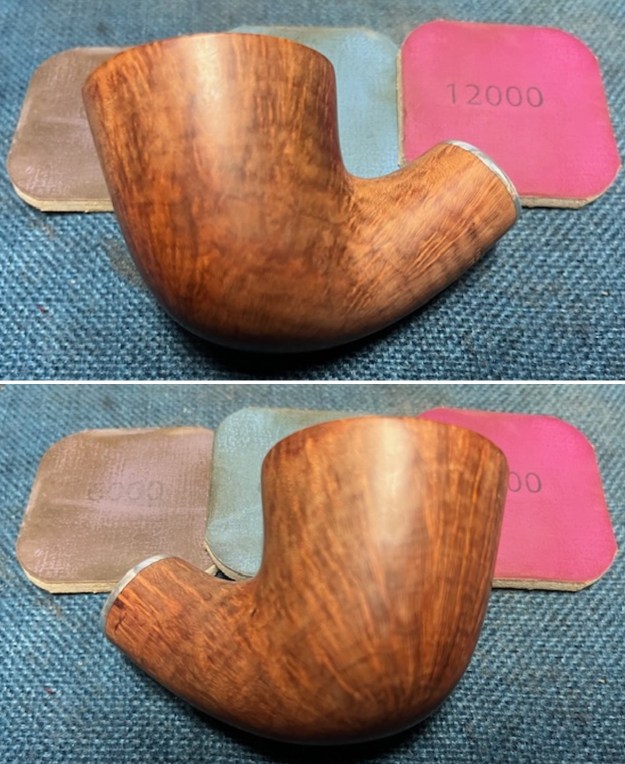
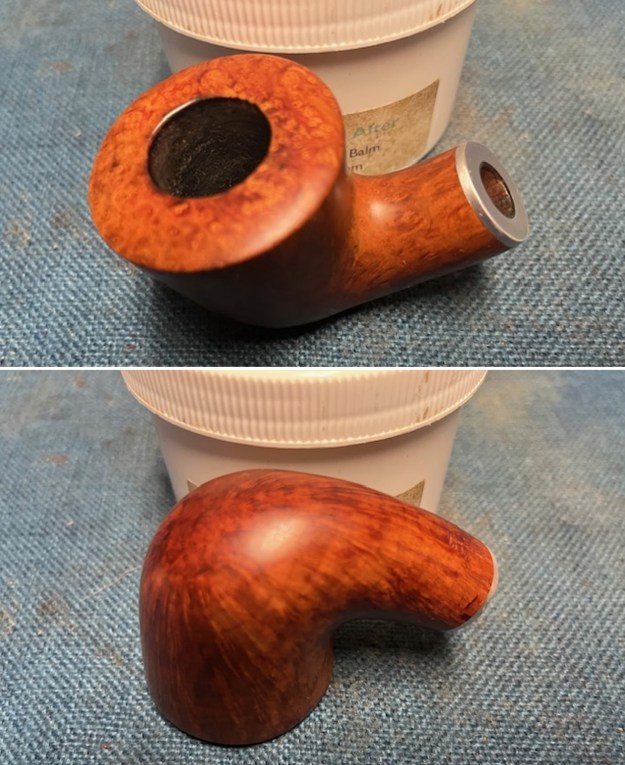
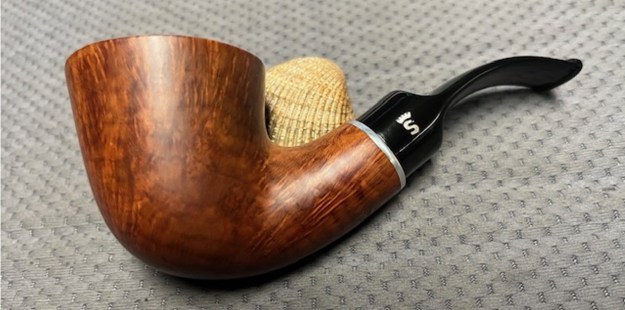
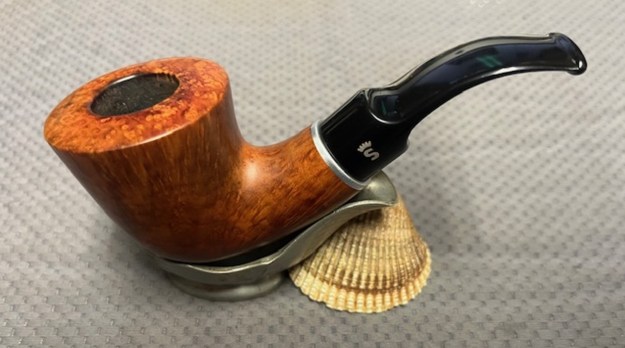
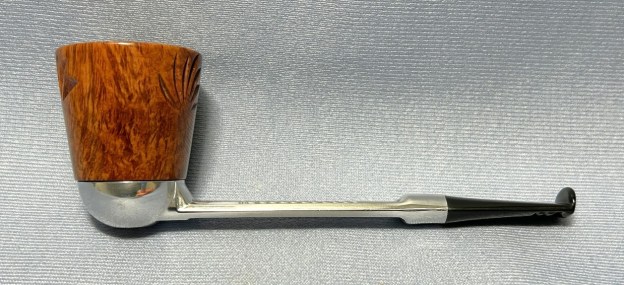
All done! This Nørding Meerschaum pot looks fantastic again and is ready to be enjoyed by its next owner. I am pleased to announce that this pipe is for sale! If you are interested in acquiring it for your collection, please have a look in the ‘Danish’ section of the store here on Steve’s website. You can also email me directly at kenneth@knightsofthepipe.com. The approximate dimensions of the pipe are as follows: length 5⅞ in. (149 mm); height 1¾ in. (45 mm); bowl diameter 1⅝ in. (41 mm); chamber diameter ⅞ in. (85 mm). The weight of the pipe is 1¾ oz. (53 g). I hope you enjoyed reading the story of this pipe’s restoration as much as I enjoyed restoring it. If you are interested in more of my work, please follow me here on Steve’s website or send me an email. Thank you very much for reading and, as always, I welcome and encourage your comments.