Blog by Kenneth Lieblich
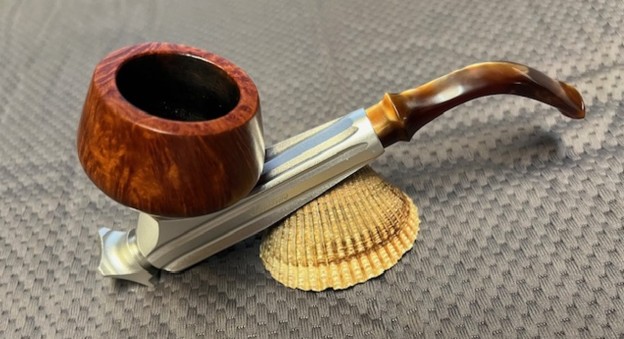
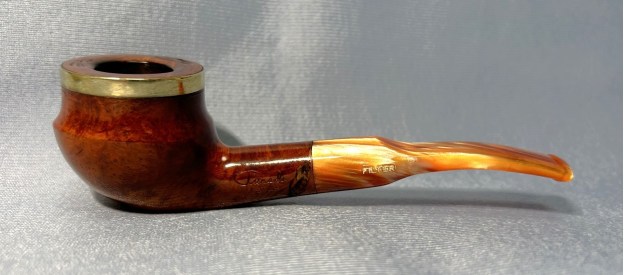
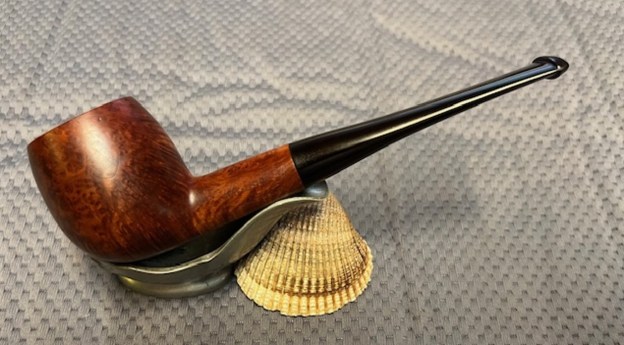
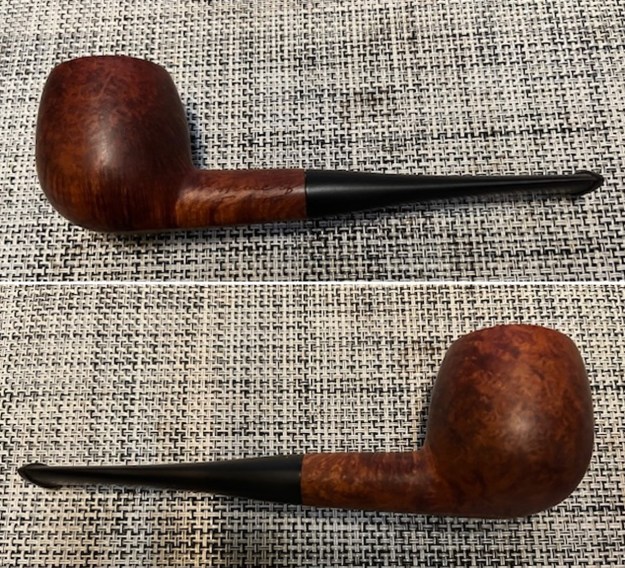
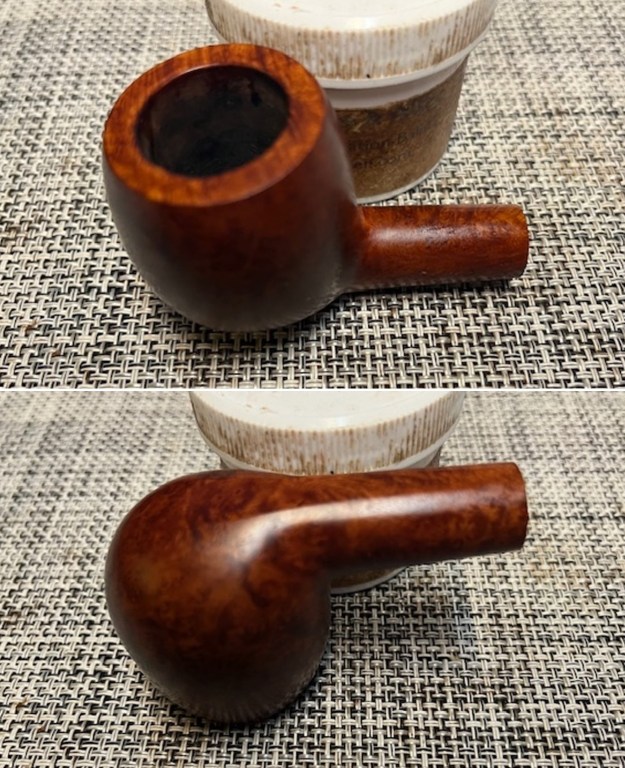
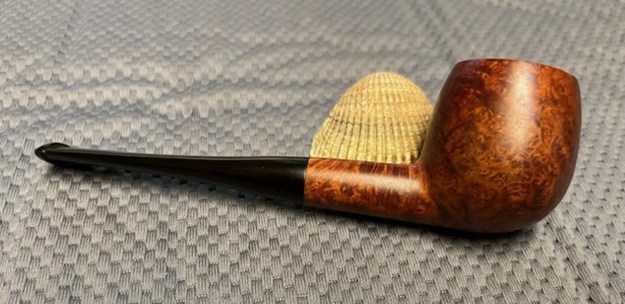
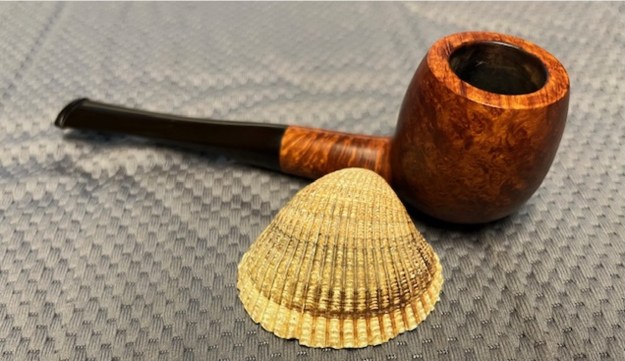
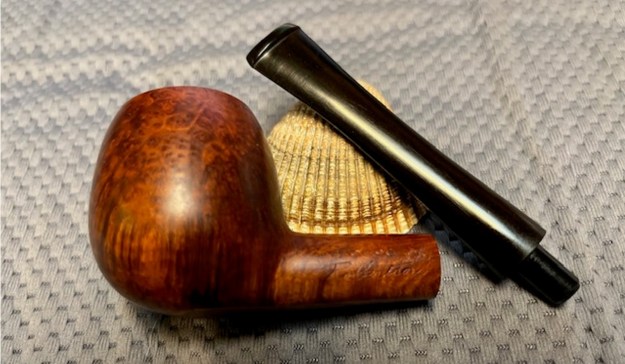
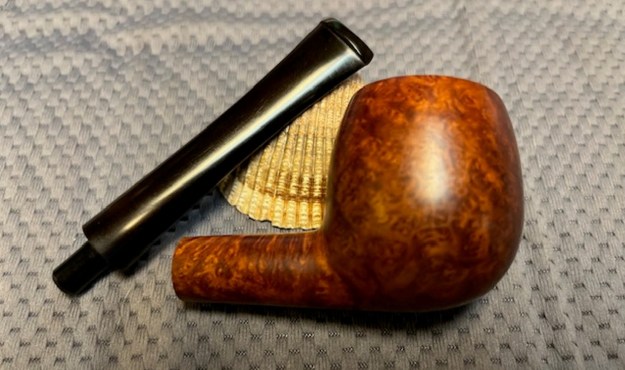
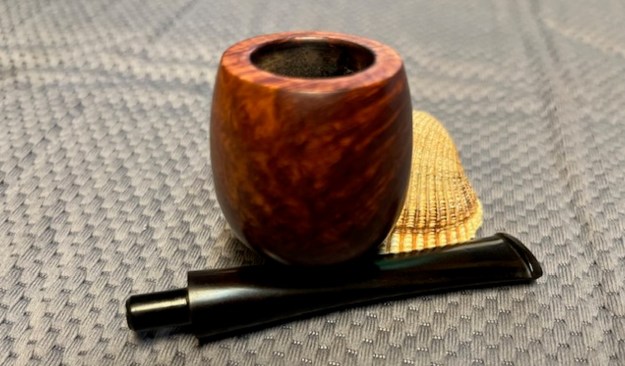
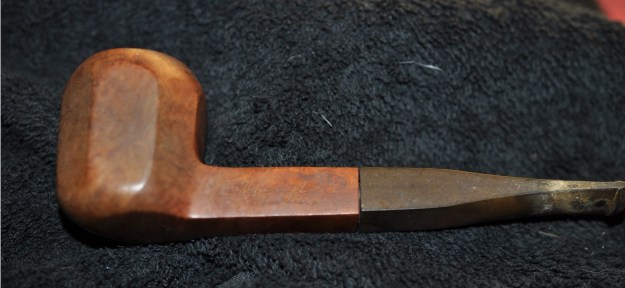
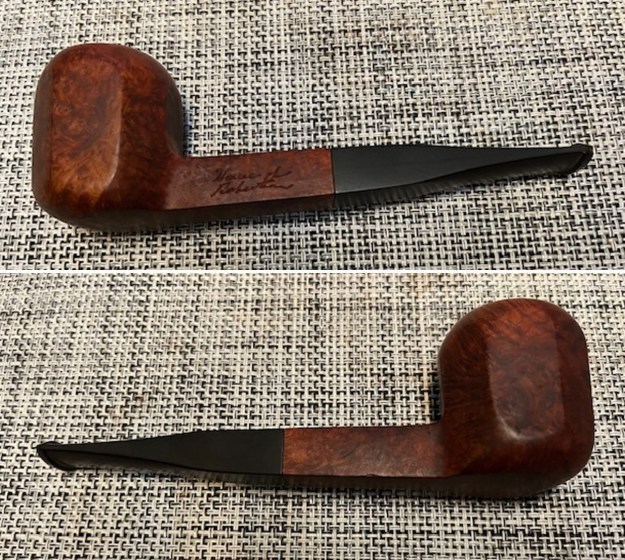
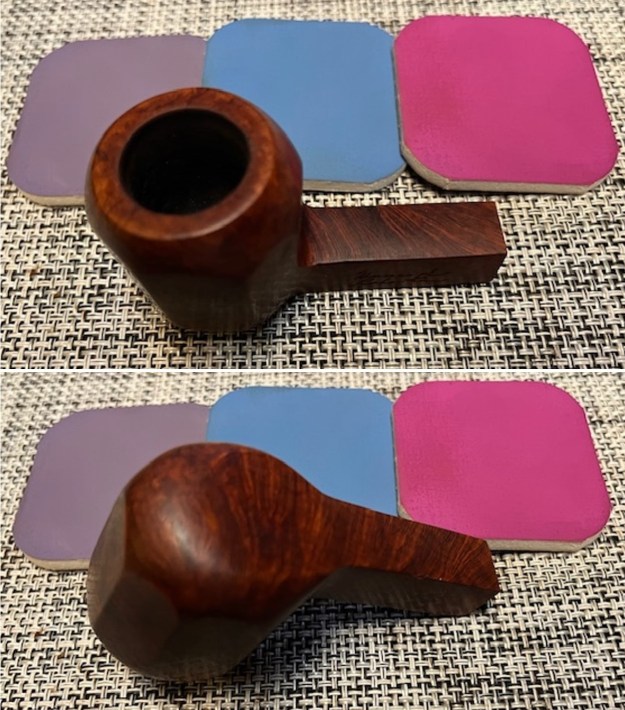
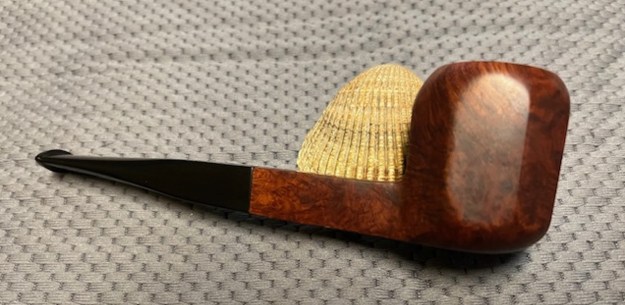
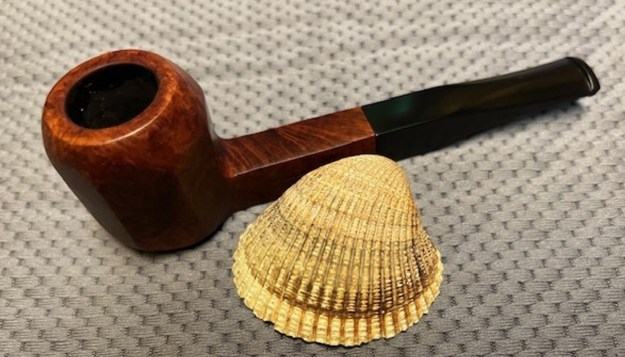
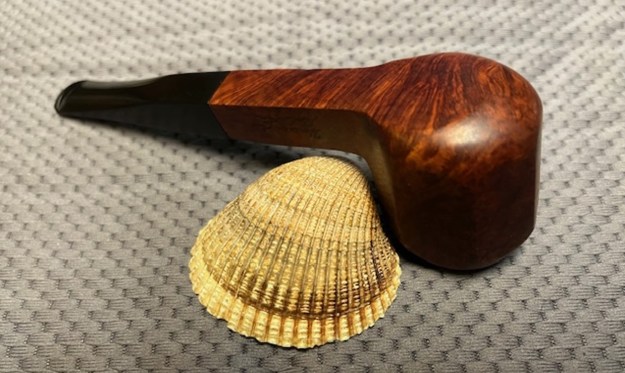
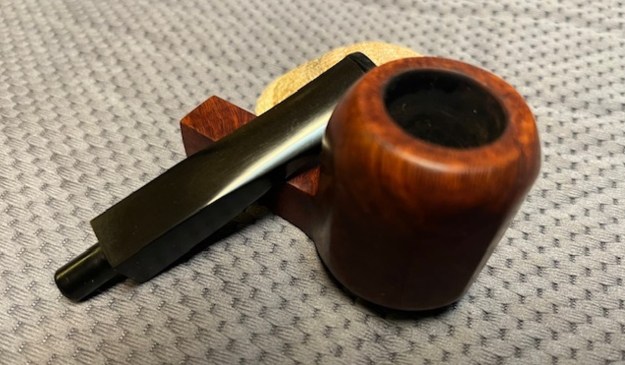
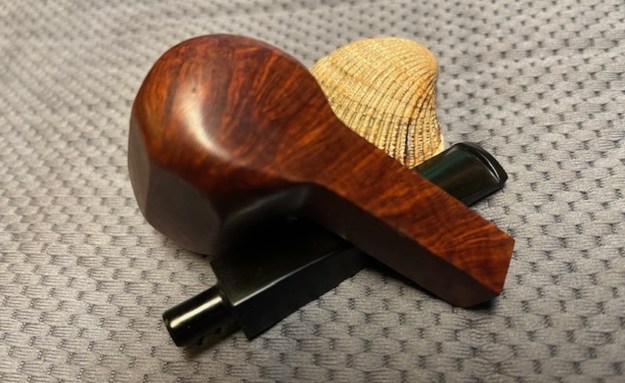
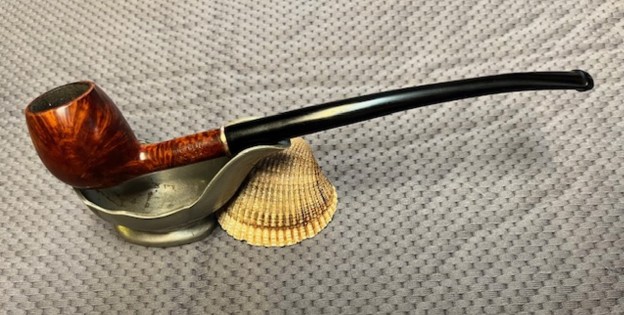
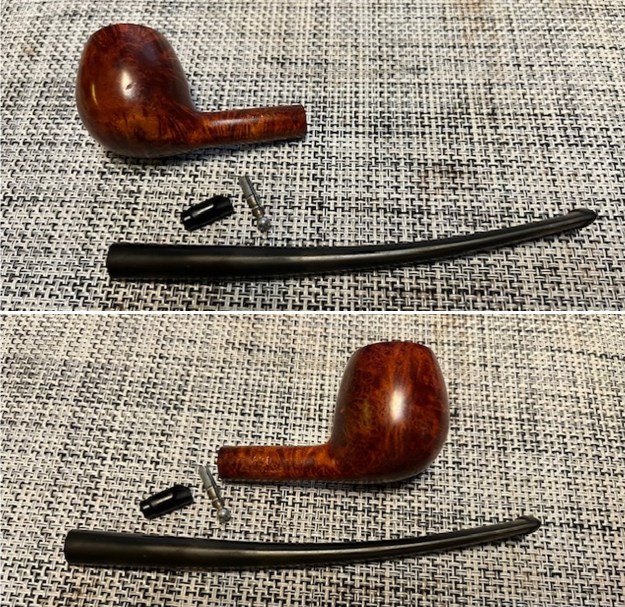
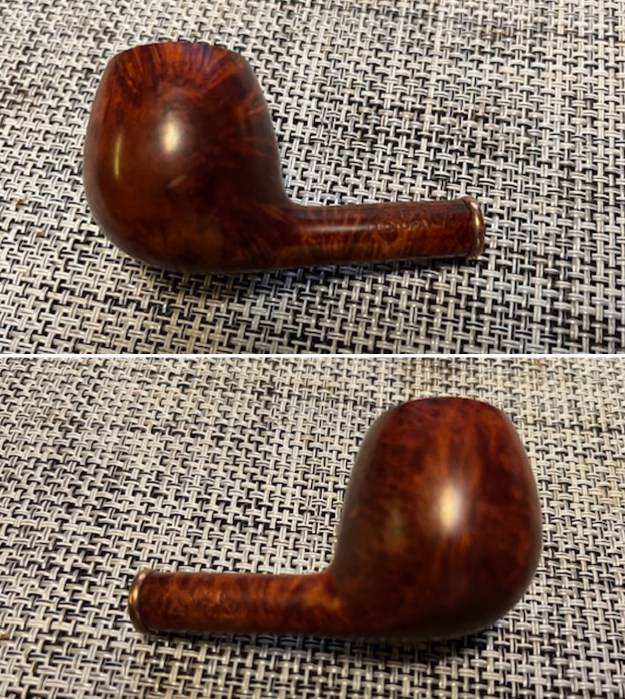
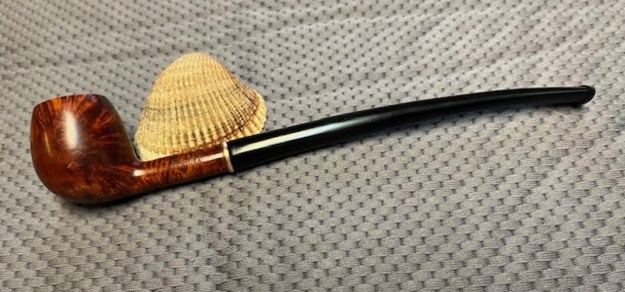
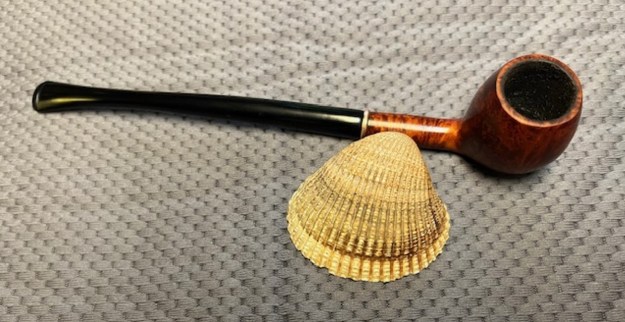
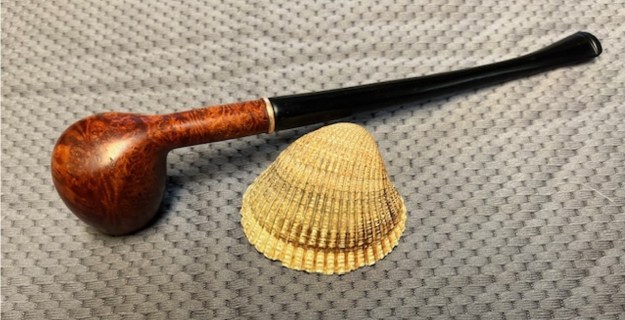
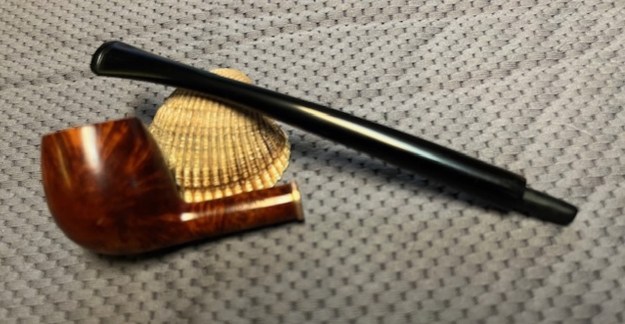
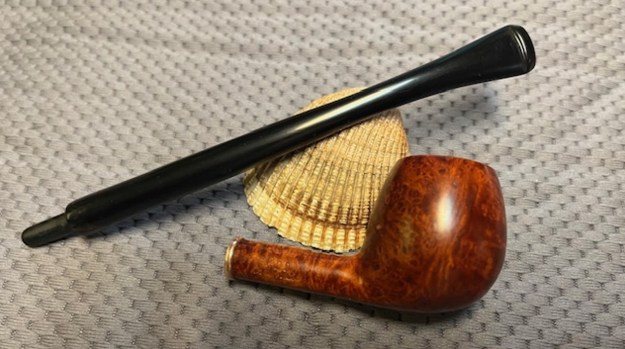
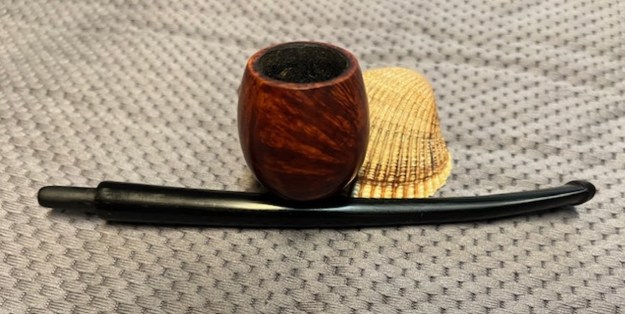
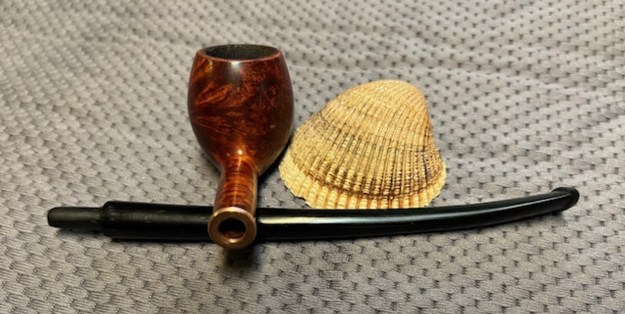
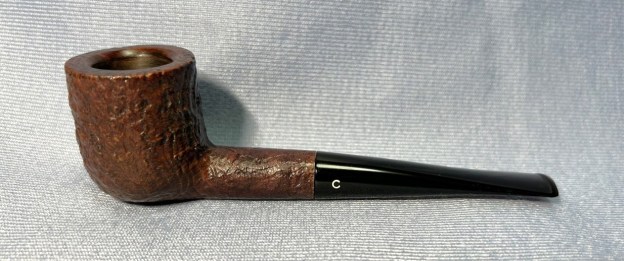
Sometimes one comes across a pipe that oozes comfort and class – this is that pipe. It’s a Comoy’s 122 Sandblast pot and it could hardly be more handsome. This pipe is so attractive that it practically demands to be caressed and smoked. I got it sometime ago from a lot of fine pipes that belonged to an old fellow who had gone to meet his maker.
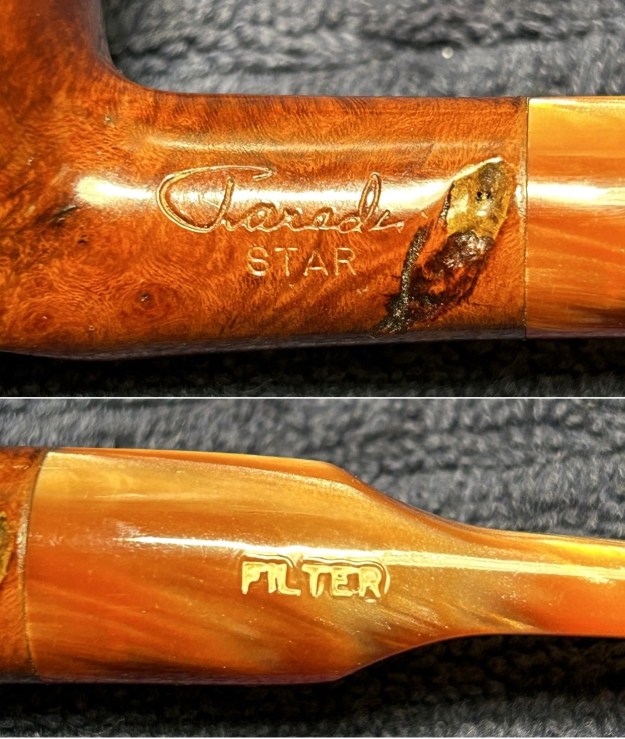
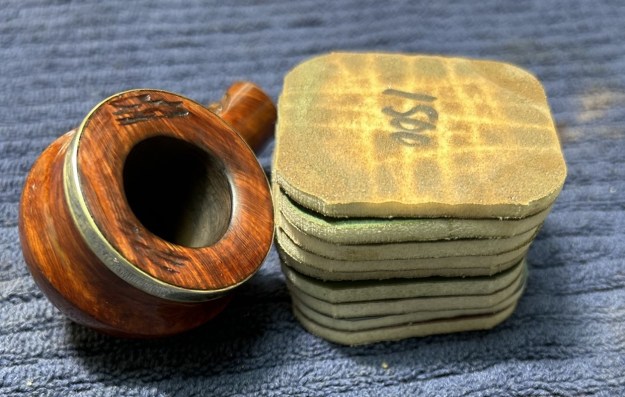
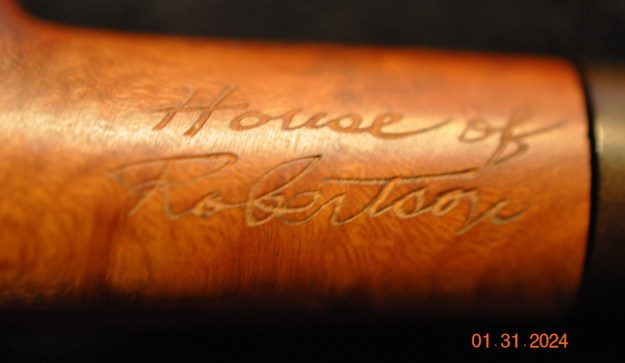
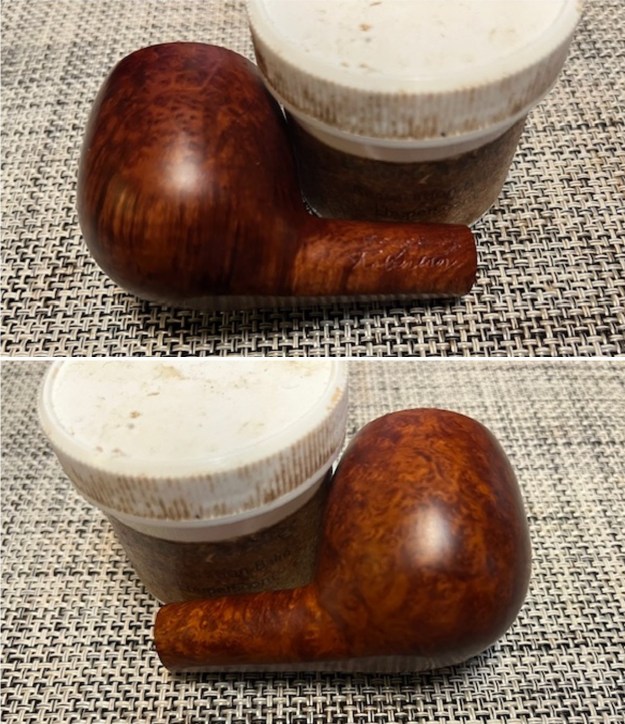
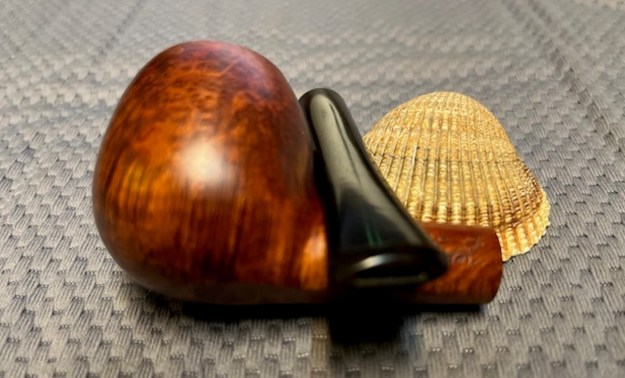
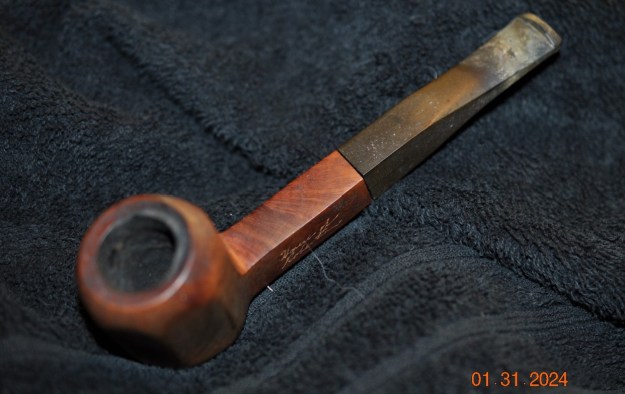
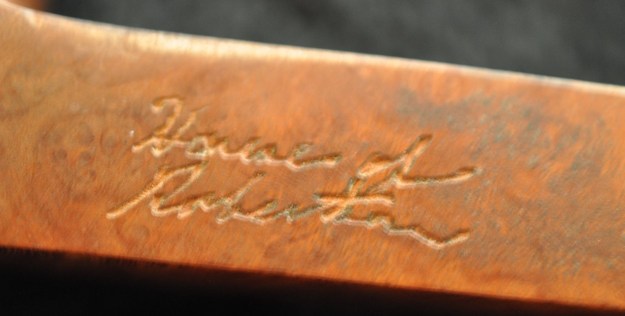
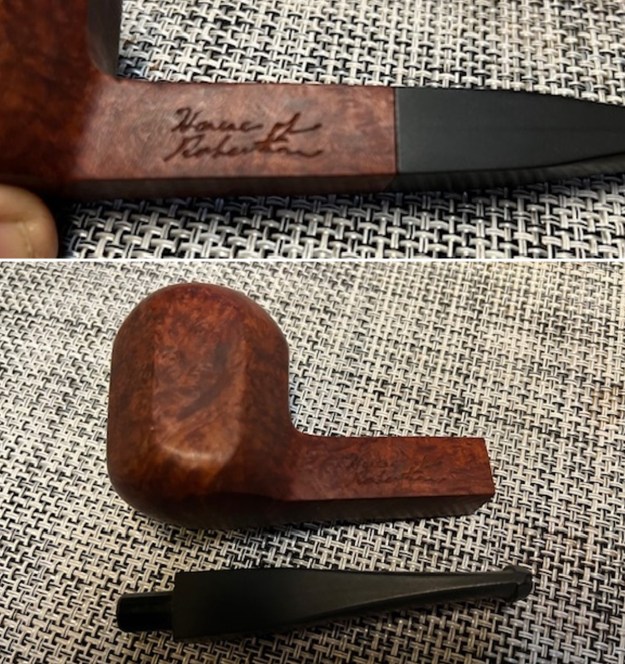
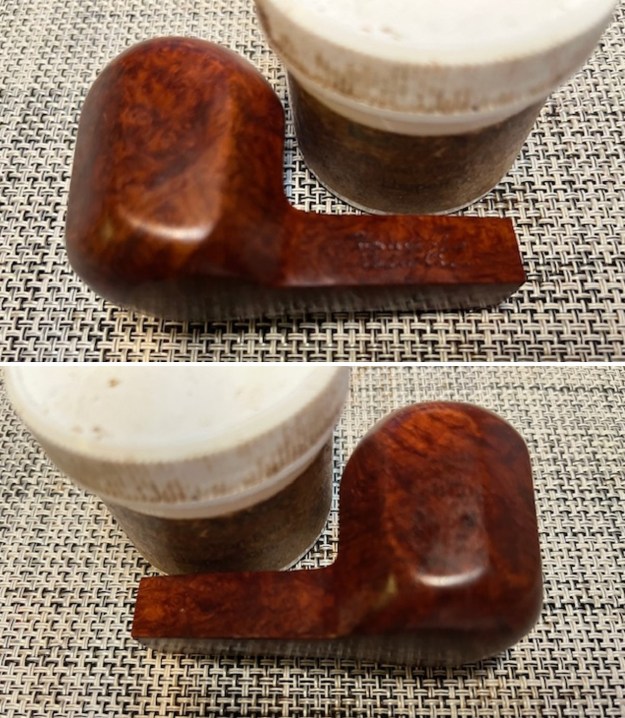
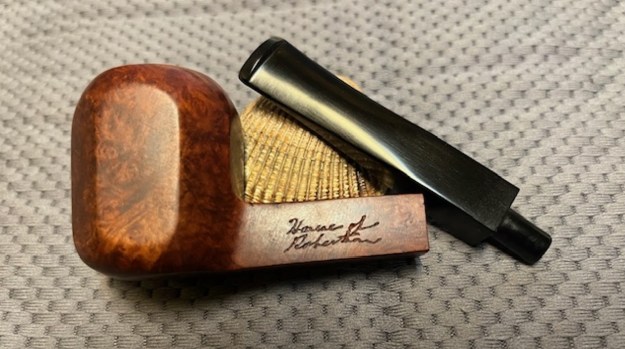
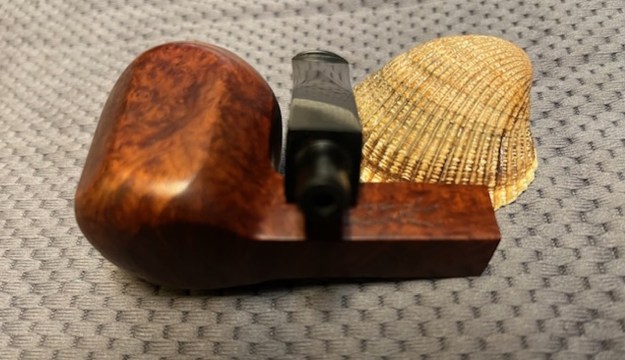
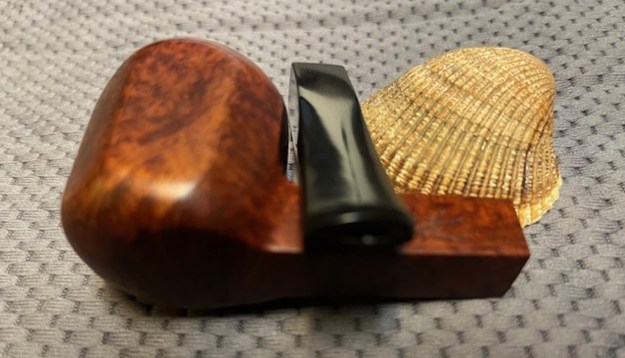
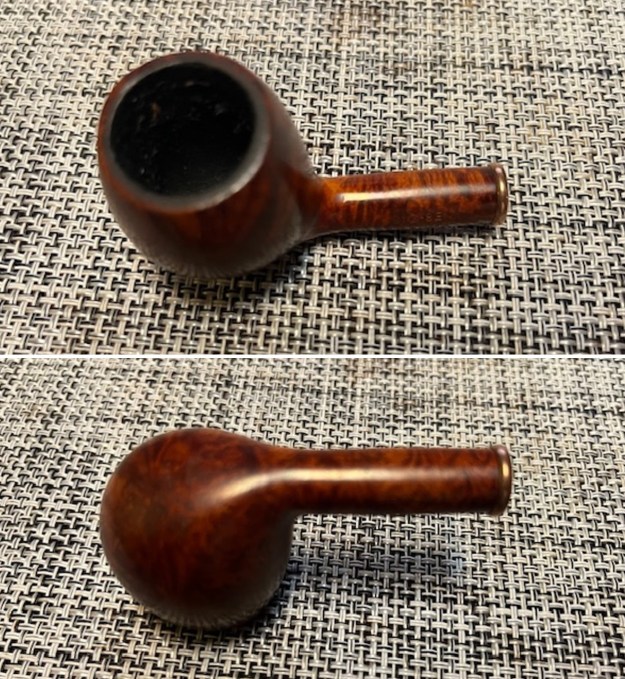
 And speaking of makers, let’s talk about Comoy’s. There is plenty of history to be had on this company and I would encourage you to read Pipedia’s article here and Pipephil’s article here. The markings on the pipe are straightforward. On the underside of the shank, we see Comoy’s [over] Sandblast. Immediately to the right of that is the shape number: 122. Again, immediately to the right of that is Made in London [over] England. In addition, the left side of the stem has the so-called three-piece “C”.
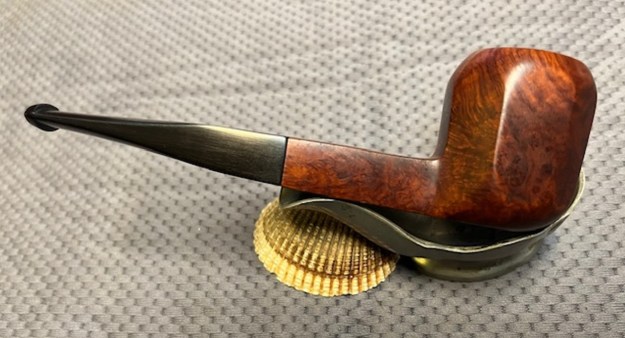
 Comoy’s shape number chart lists the number 122 as being a medium-sized, straight-stemmed pot and that just about sums it up. I consulted with the dating guide on Pipedia to narrow down the date of this pipe. If you want to read along, please have a look at https://pipedia.org/wiki/Comoy%27s_Dating_Guide in order to see what I’m taking about. This pipe dates from the 1950s onwards and corresponds to the first variant of Comoy’s stamp during this period, which is
A simple block-letter style without serifs but with the C larger than the other letters and the apostrophe before the “S”.
You can see that this matches my markings. One thing that is interesting (and has not been noted anywhere in this guide) is that the letters in “Comoy’s” are indeed without serifs EXCEPT for the “S”. If you look closely, you’ll see that the S after the apostrophe does indeed have serifs. I don’t know what this indicates, but if YOU do, please tell us in the comments below. In addition, the “Made in” stamp also corresponds to the same time period as above. The three-piece “C” on the stem also dates from the 1950s onwards and was discontinued in the early 1980s, when Cadogan took over. So we know this pipe is before the Cadogan era. We are left with the rather vague date of somewhere between 1950 and 1980. I am making an assumption that because this pipe corresponds to the first stamping variant listed in the guide, it is of an earlier part of that range. However, I have reason to make that assumption. I looked at Greg Pease’s writeup on Comoy’s and his dating information is basically the same as the Pipedia stuff above. Pease, however, adds this important tidbit:
Sometime in the 60’s, it the serifs were returned to the “COMOY’S” lettering, though, as mentioned above, the typeface is not as fancy as the earlier one. It appears that some grades carried different stamps or at least that the stamping changed in different years for some grades. At this point, this is highly speculative, as my sample size is too small to verify it.
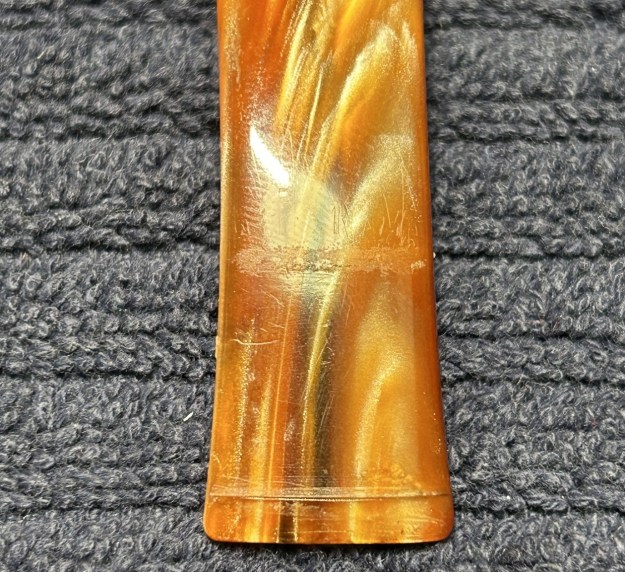
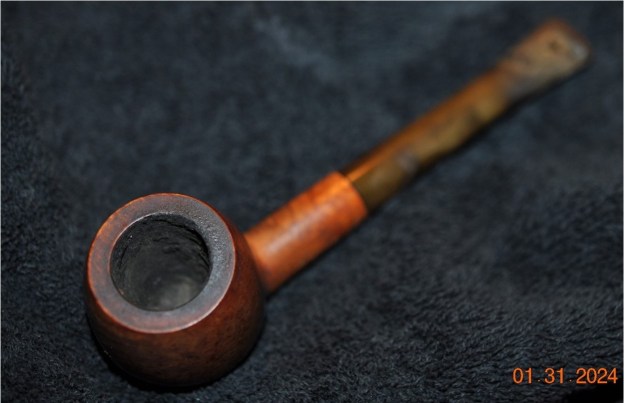
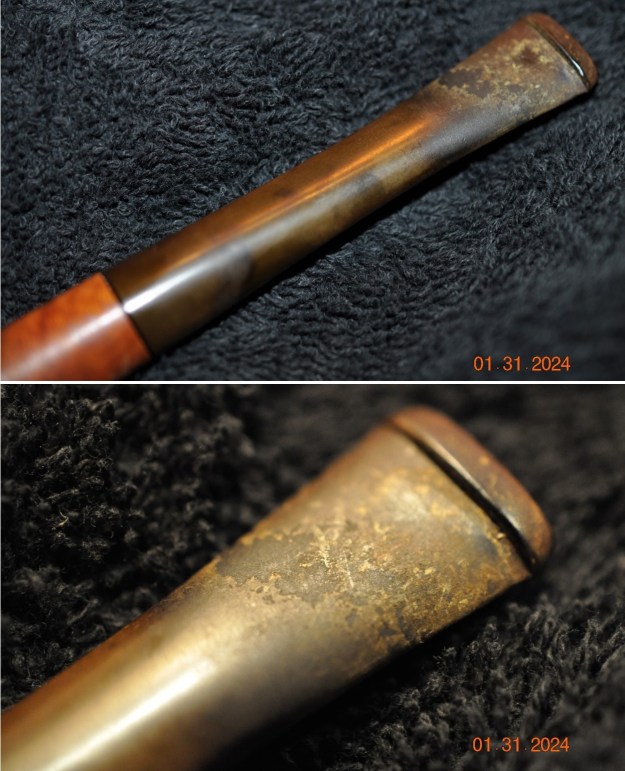
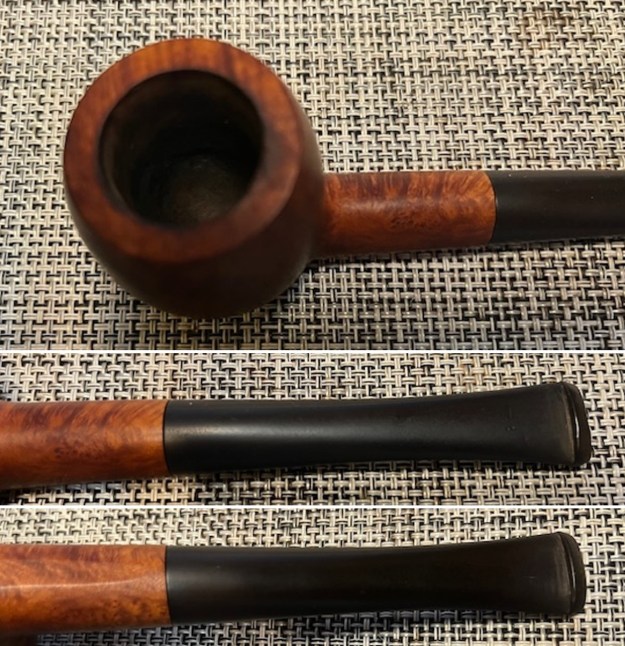
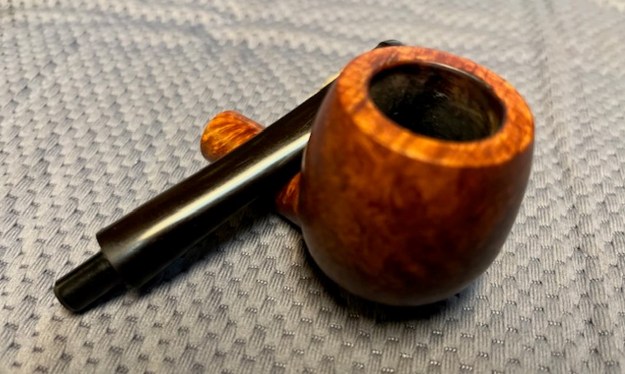
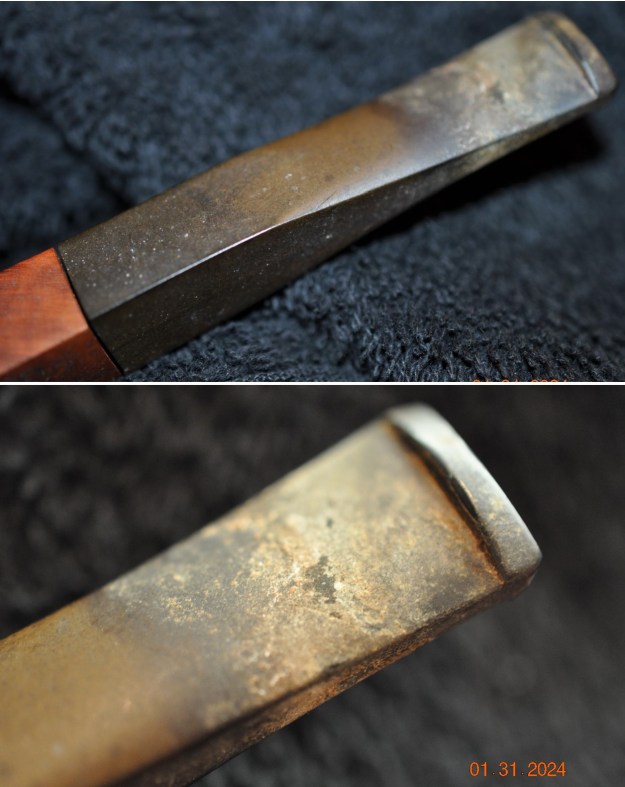
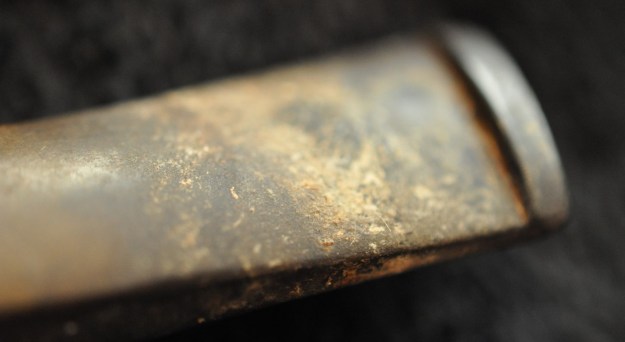
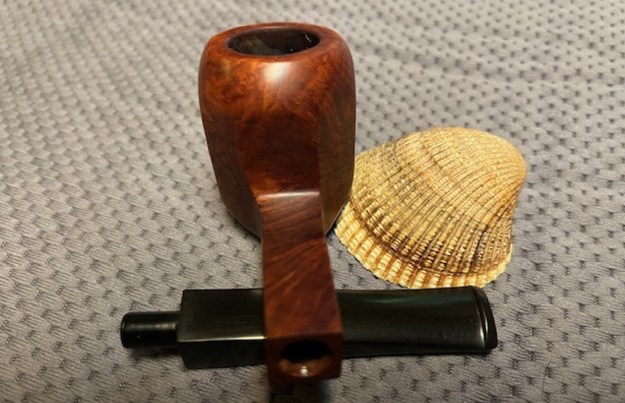
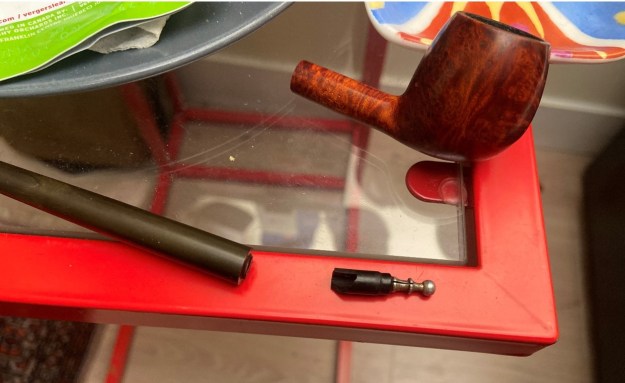
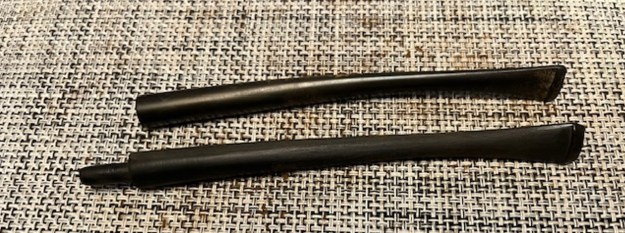
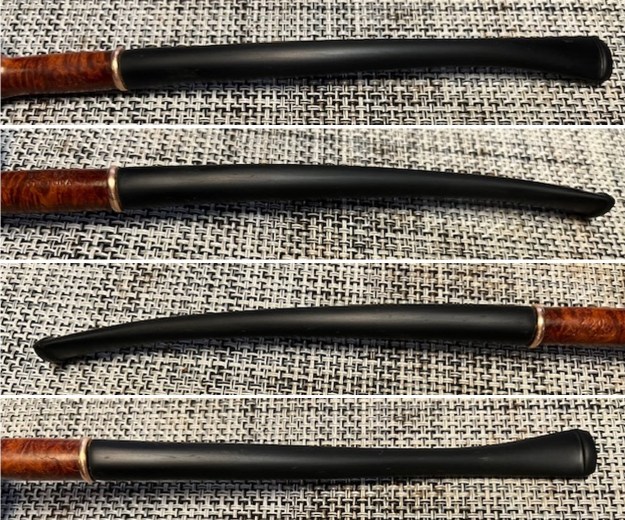
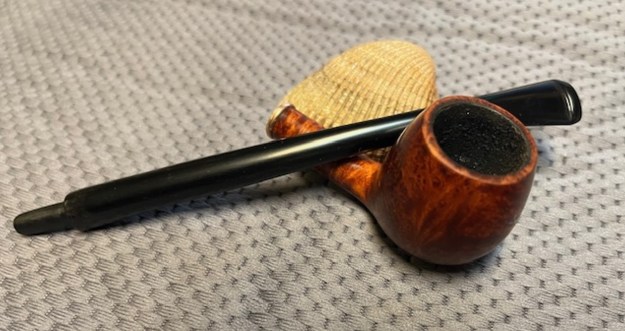
Based on this, I am going to suggest that this pipe probably (but not definitely) dates from the 1950s. Once again, if you can shed some light on this, please do. Moving on to the pipe itself… Let’s have a closer look at the stem. It’s certainly dirty and has obviously been well loved. There are a few scratches from teeth and a few dents. The button will need a bit of work. There’s definitely some calcification on the stem and a little bit of oxidation nothing too bad.
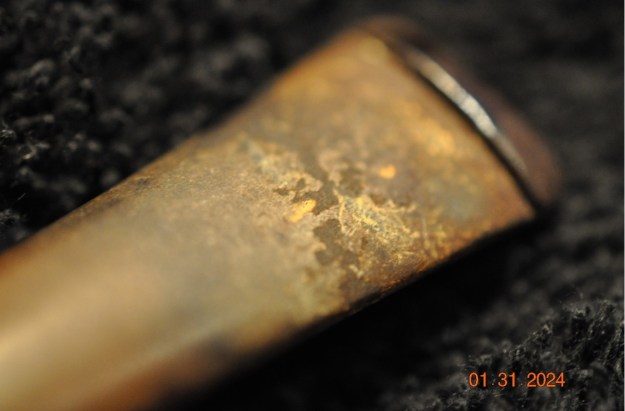
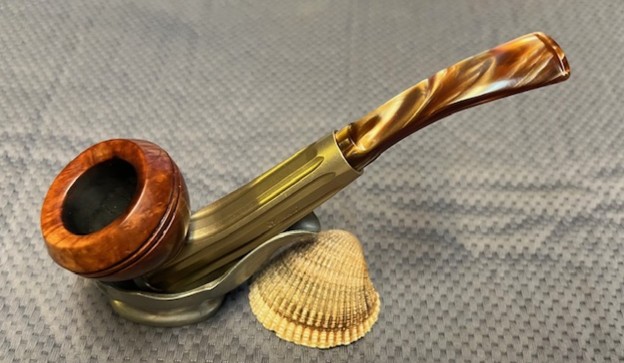
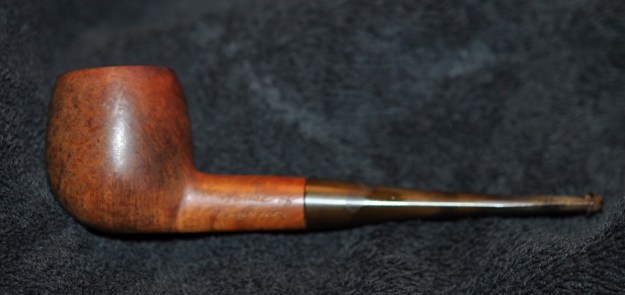
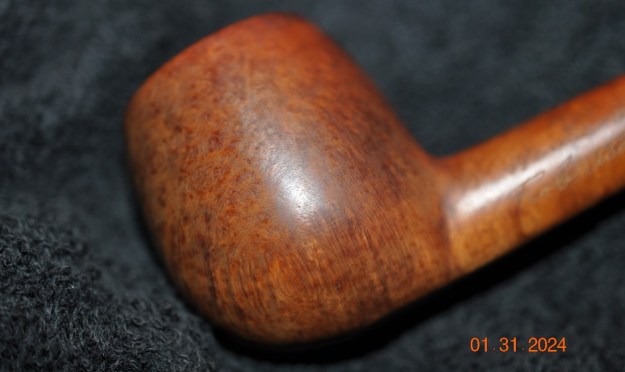
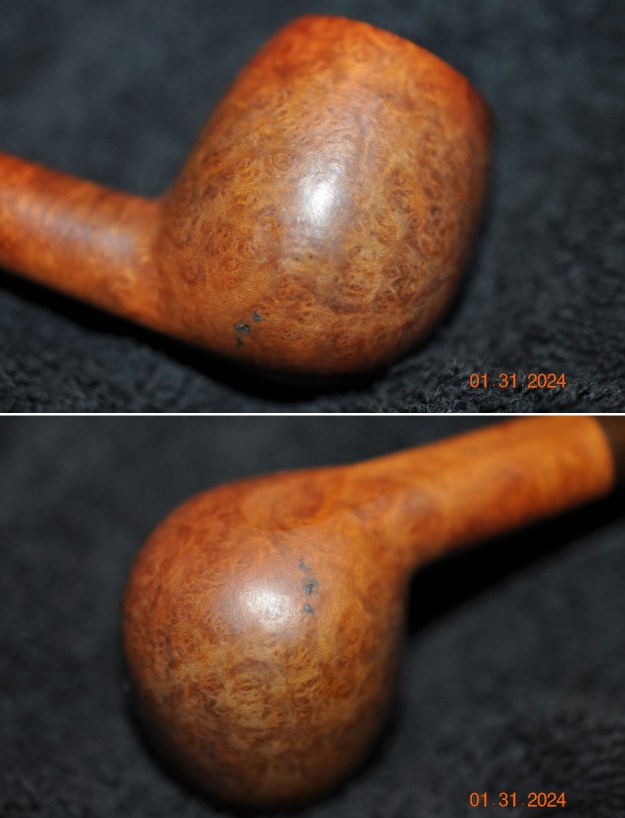
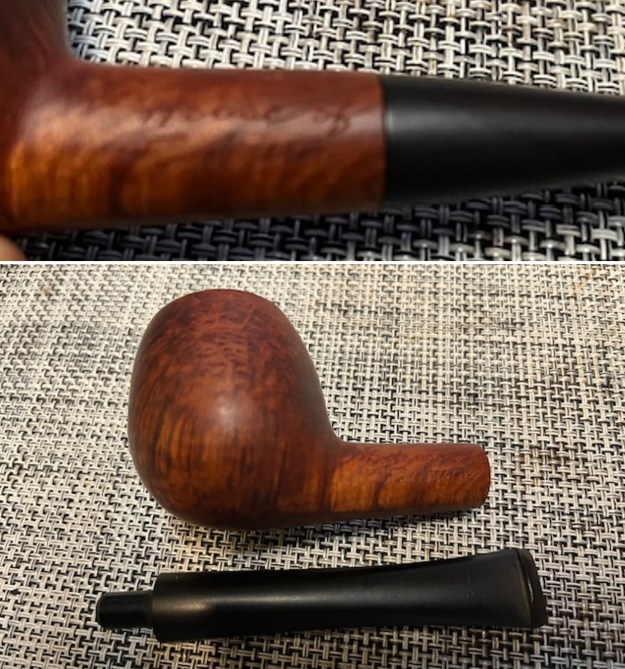
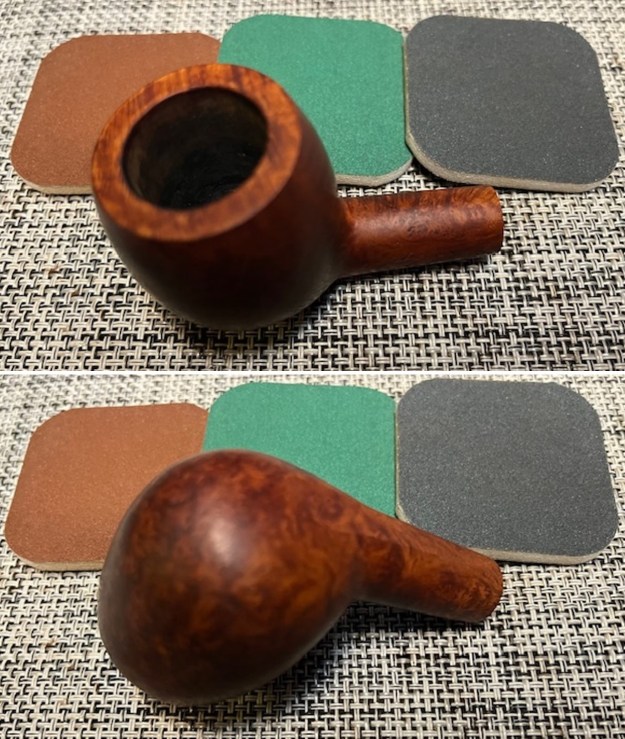
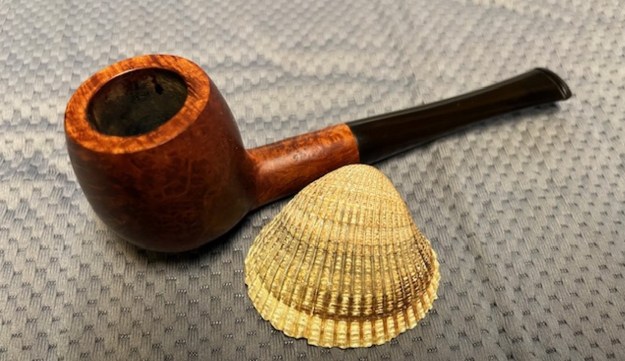
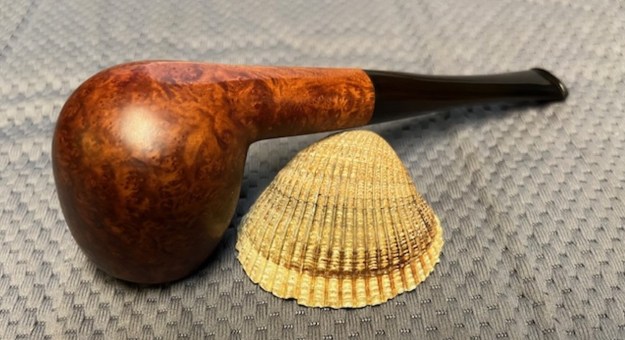
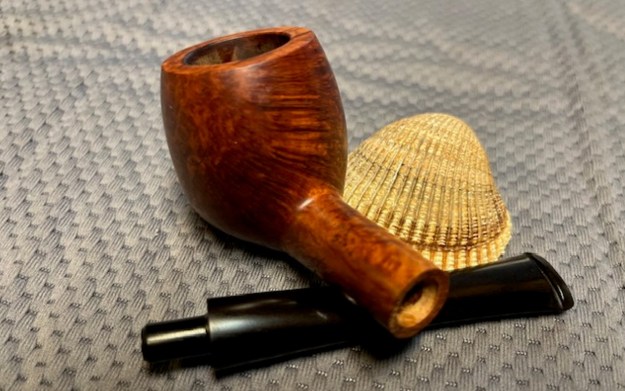
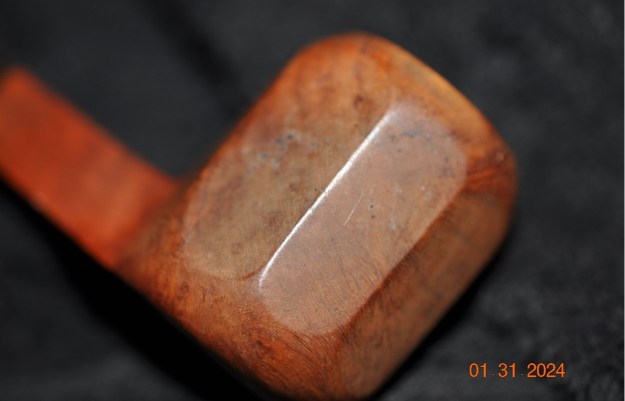
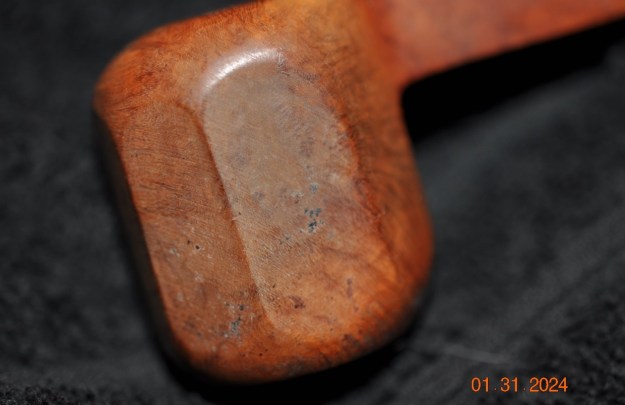
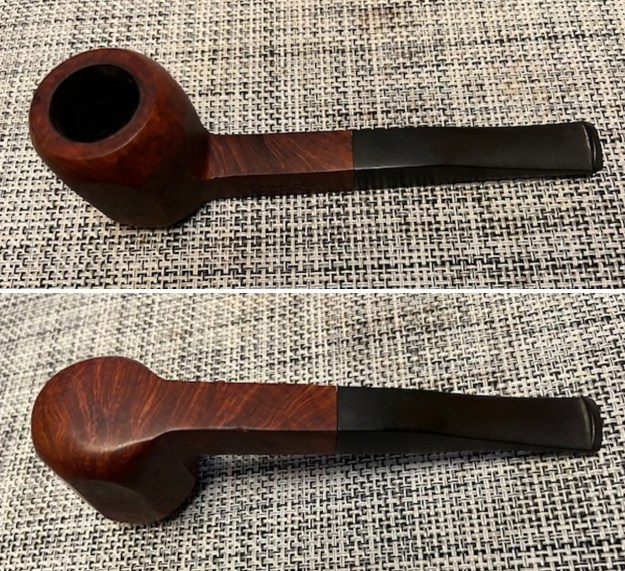
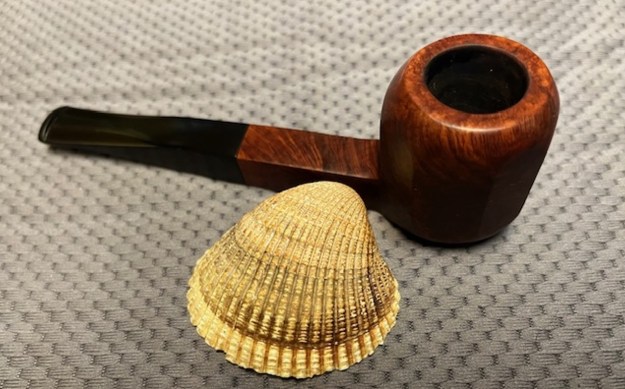
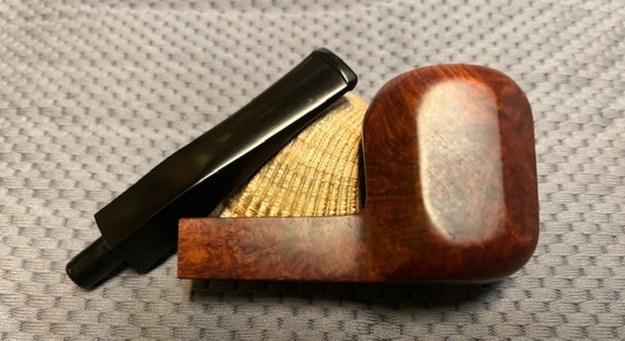
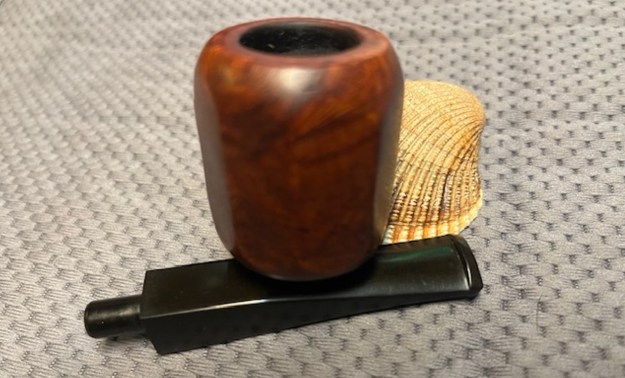
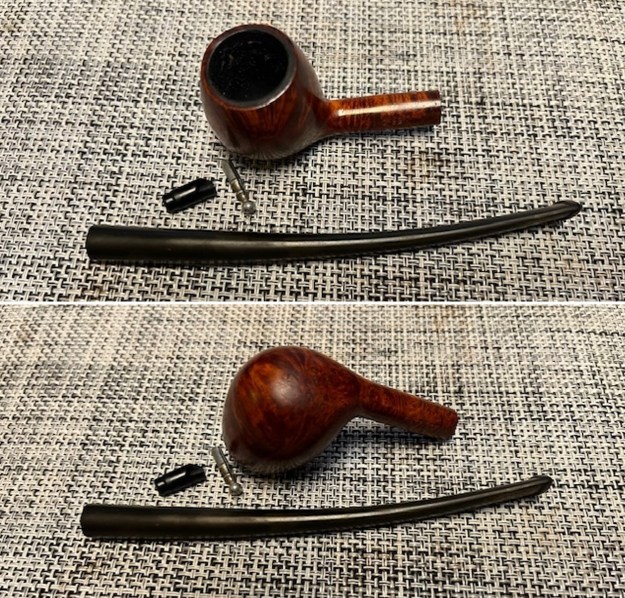
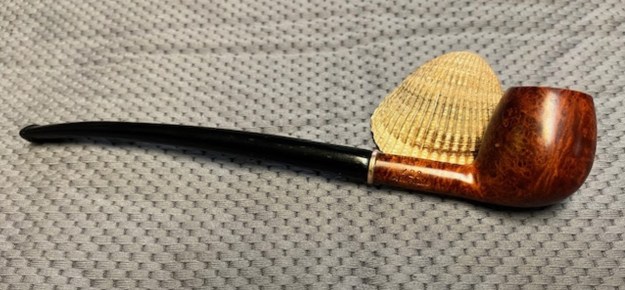
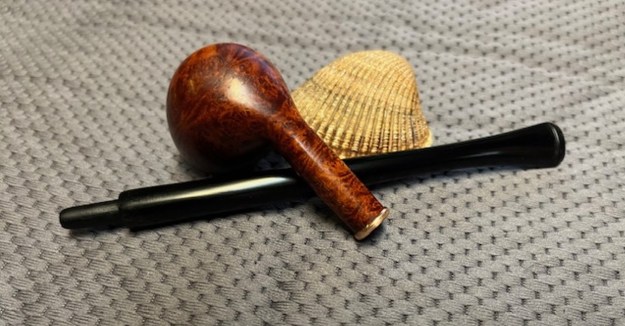
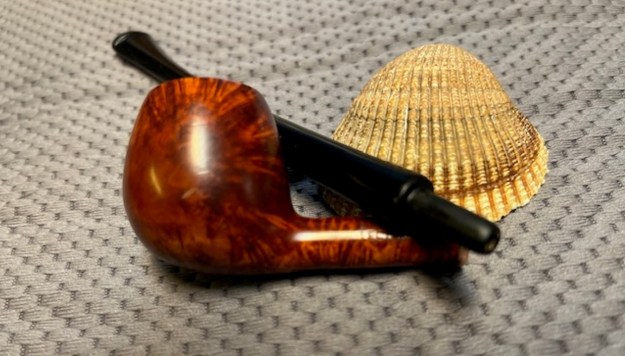
 The stummel was also in nice condition. It had a few small blemishes, but very minor. I was sure I could make it beautiful again.


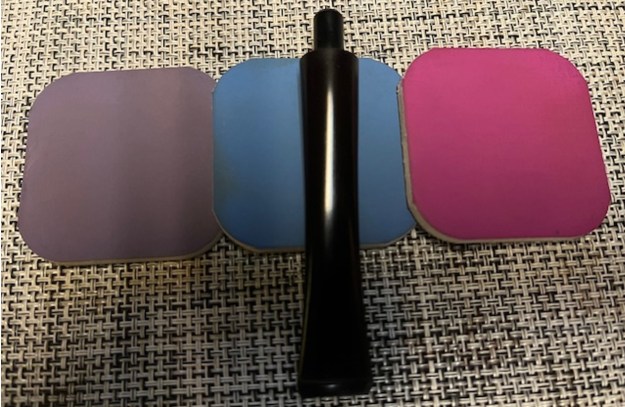
 I started out by cleaning the inside of the stem with lemon-infused 99% isopropyl alcohol and some pipe cleaners. It was dirty, but not too bad. I also cleaned the stem with some Murphy’s on some cotton rounds. As you can see, the stem was pretty dirty, and will need a good soaking.
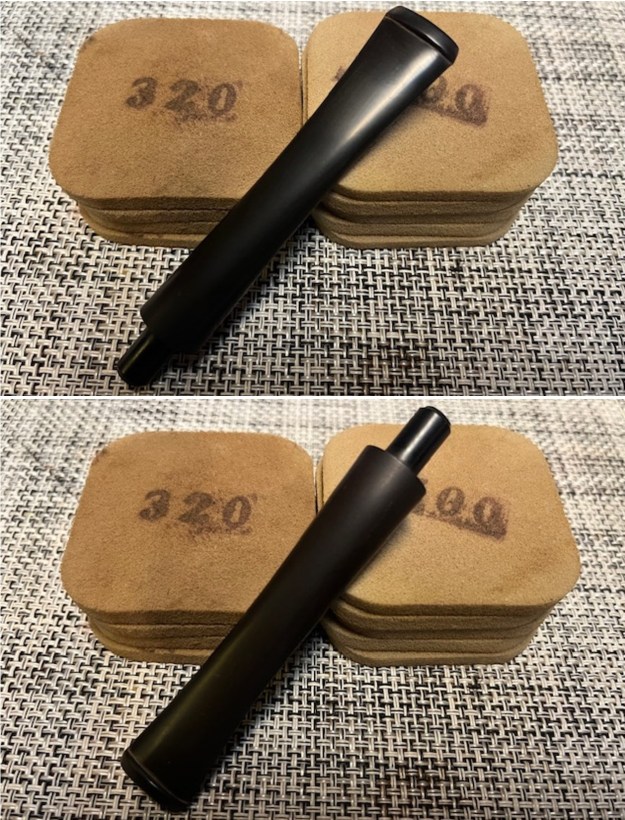
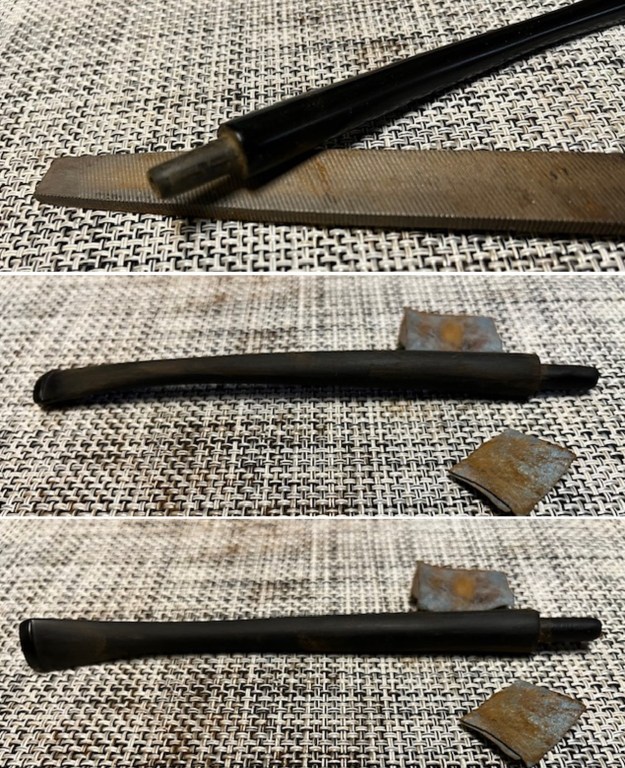
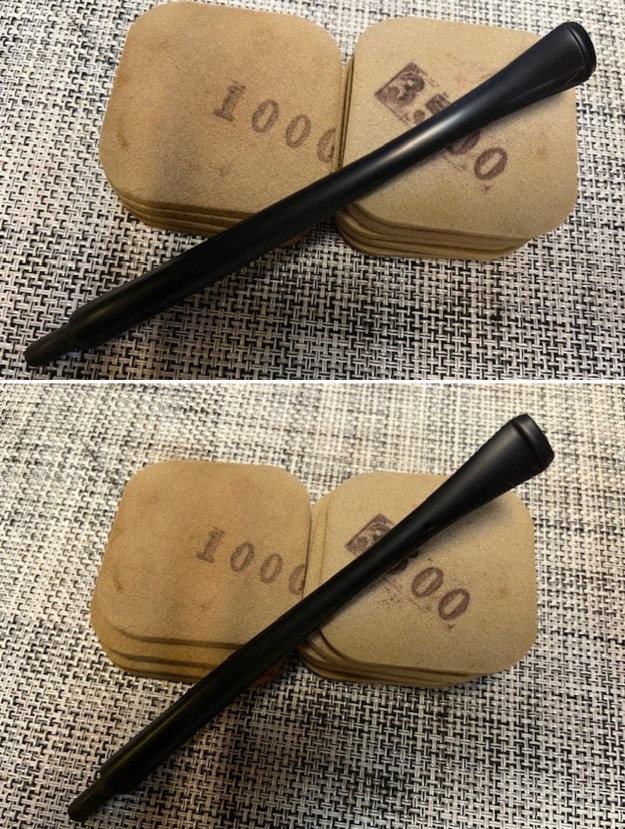
 I took my BIC lighter to the stem, in order to try and raise the tooth dents. I knew full well this wasn’t going to be fully successful, but it was worth a shot. The top side of the stem came out pretty well, but the underside was not so good.
 After all that, the stem went for a dip in the stem oxidation remover. I let it sit overnight, to allow all the oxidation to rise to the surface of the stem. The next day, I cleaned up the stem with some cleanser on some cotton pads. This worked very nicely. I then repaired the tooth dents with some carbon-and-rubber-imbued black cyanoacrylate adhesive. Forgot to take a photo though.
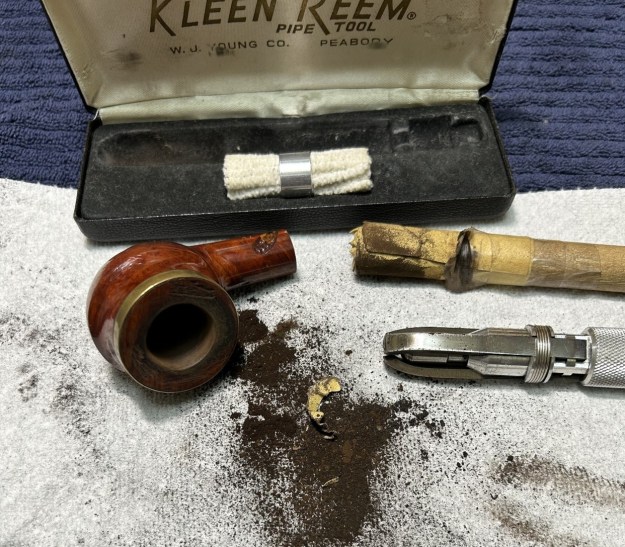
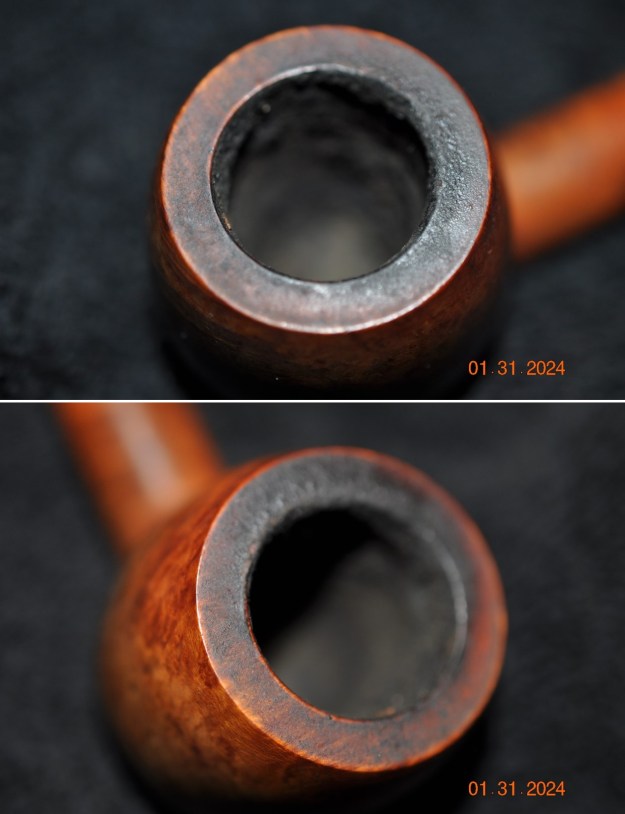
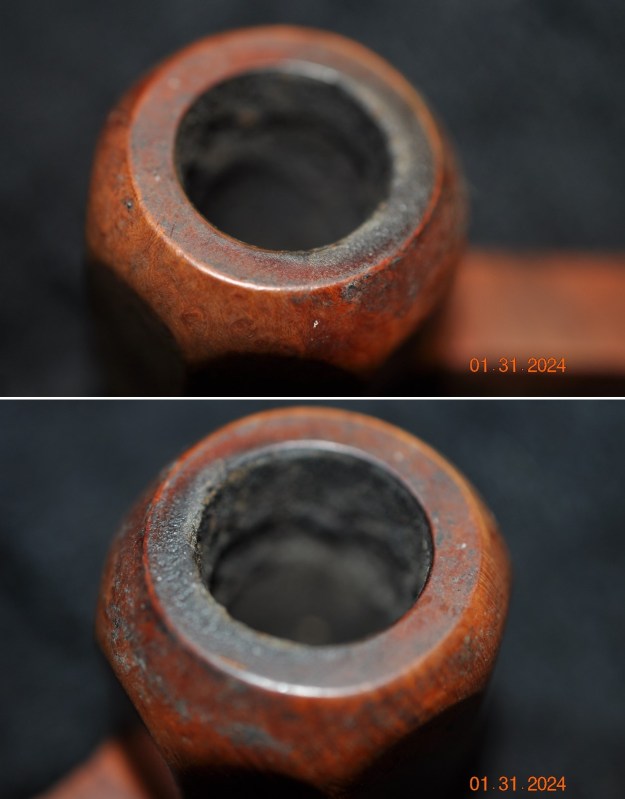
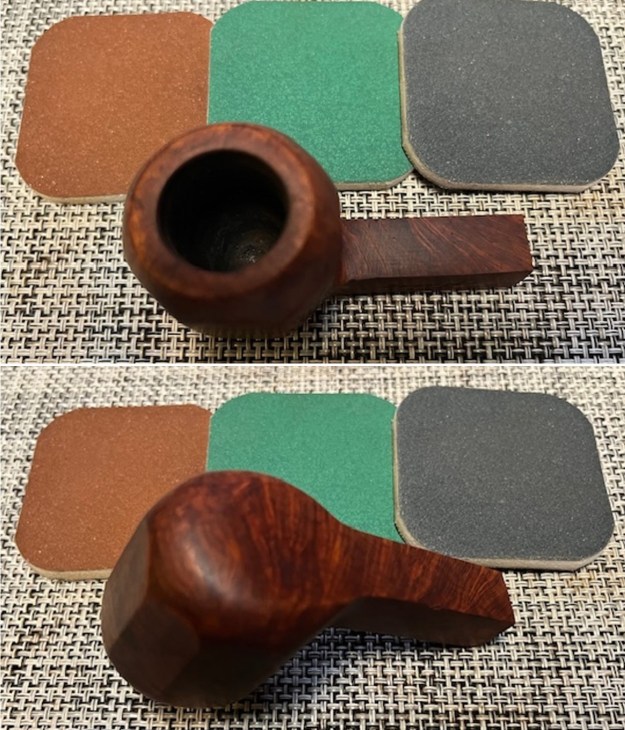
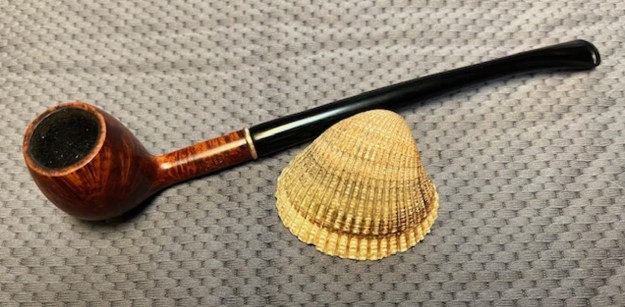
 Onto the stummel. In order to clean out the cake in the bowl, I used the Pipnet reamer and followed that up with a piece of sandpaper taped to a wooden dowel. I sanded down the cake until I hit the briar walls, so that I could inspect them for potential damage. Everything looked good on the inside, which is great.
 I proceeded to clean out the inside of the shank with 99% isopropyl alcohol and pipe cleaners and cotton swabs. It was surprisingly dirty in there! But I got it clean in the end.
 When that was done, I set up to de-ghost the pipe. I put some cotton balls into the bowl and the shank and soaked them with 99% isopropyl alcohol. I let that sit overnight so that any remaining smells and/or filth would leach out into the cotton.
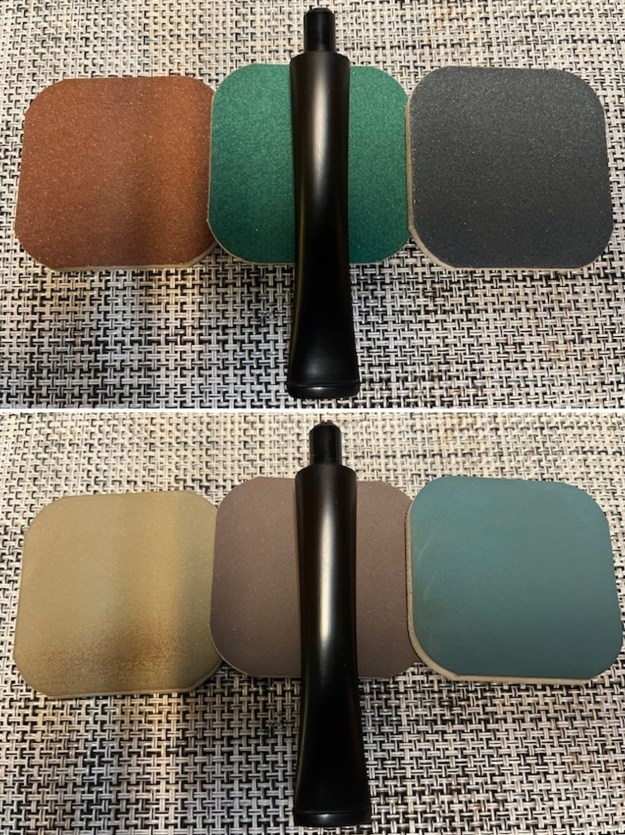
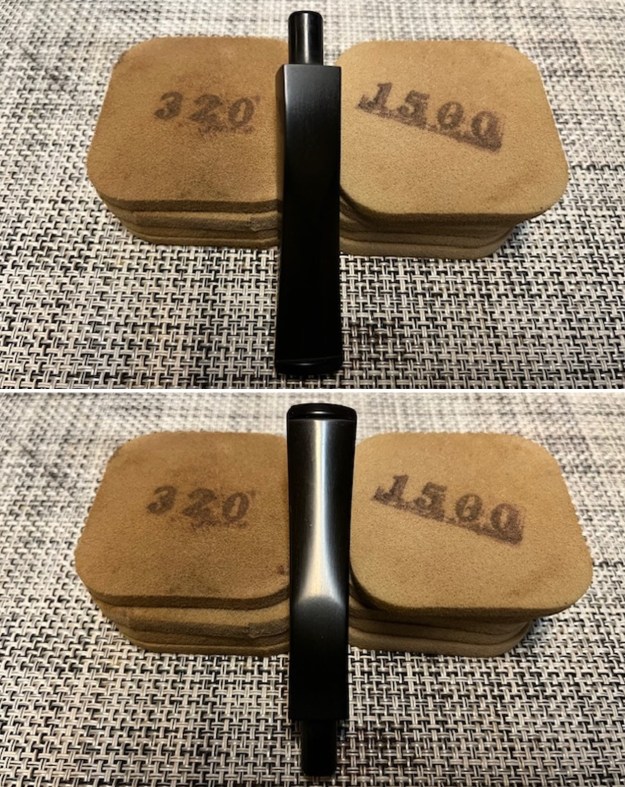
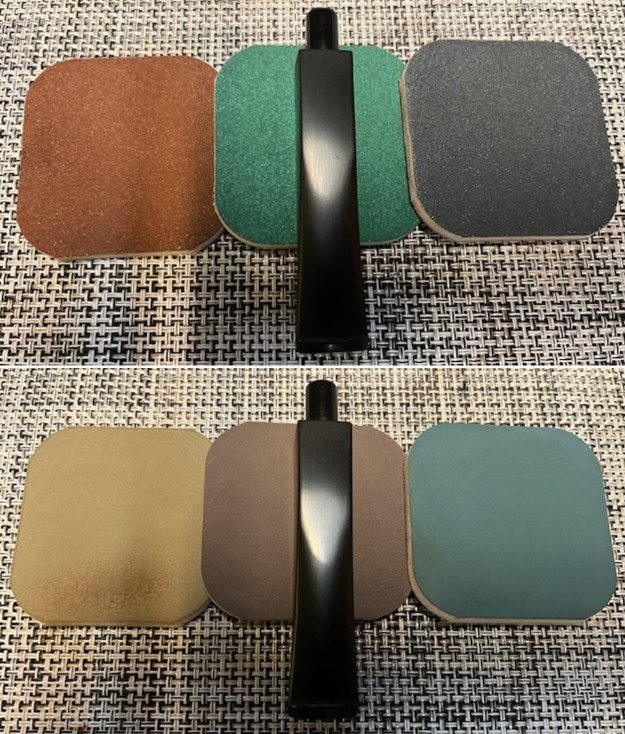
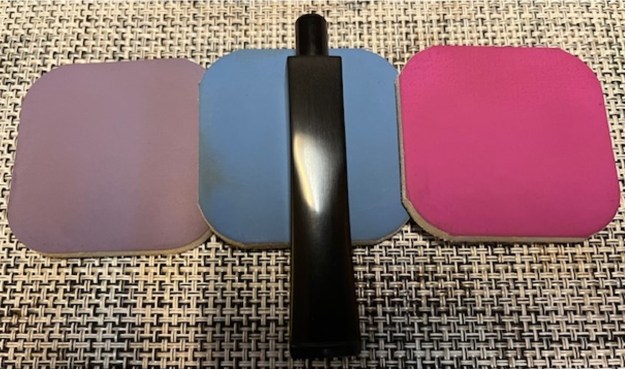
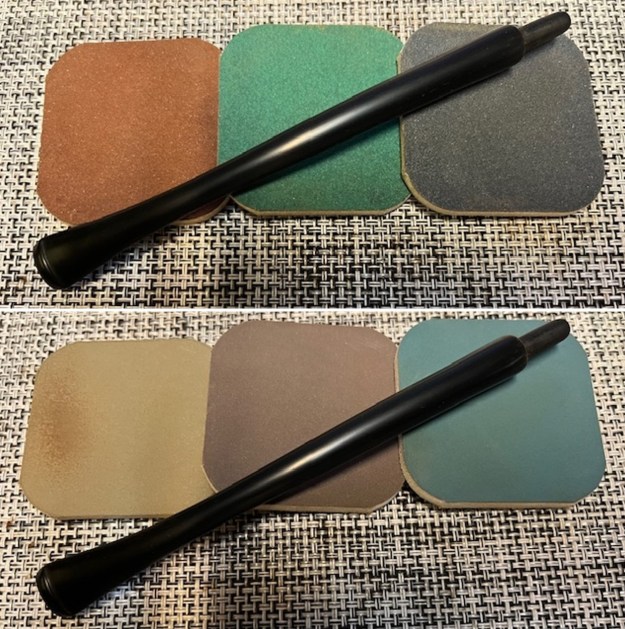
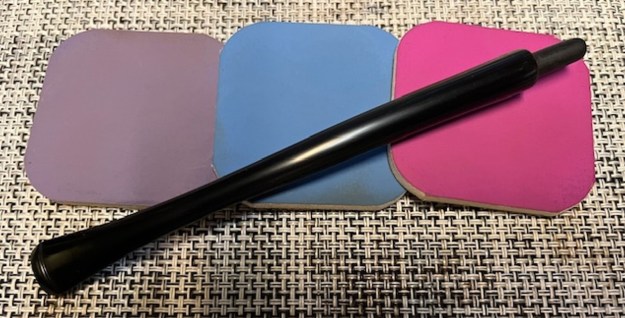
 Meanwhile, back to the stem. The cyanoacrylate glue worked well, and I sanded down those spots to bring them close to level with the surrounding vulcanite. I then took my nine Micromesh pads and sanded the whole stem until it was shining like new. I also used my pipe stem oil in between the pads to bring out some extra lustre.
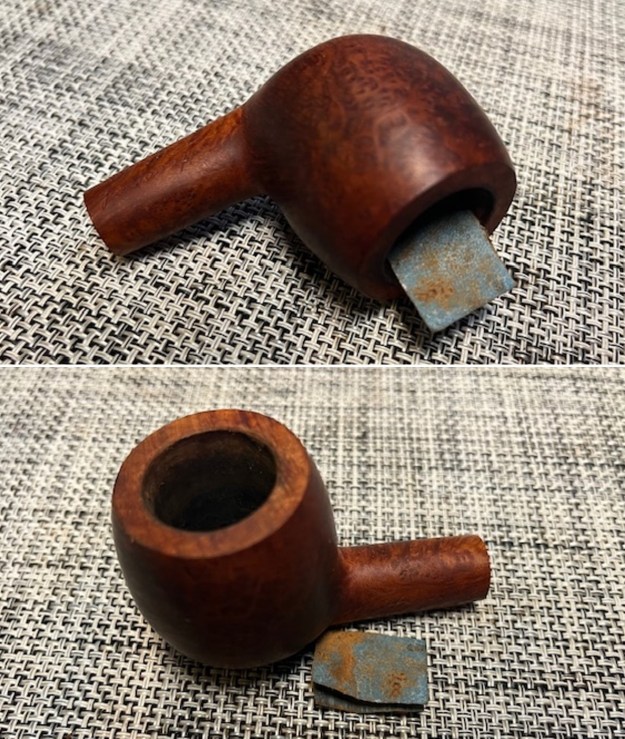
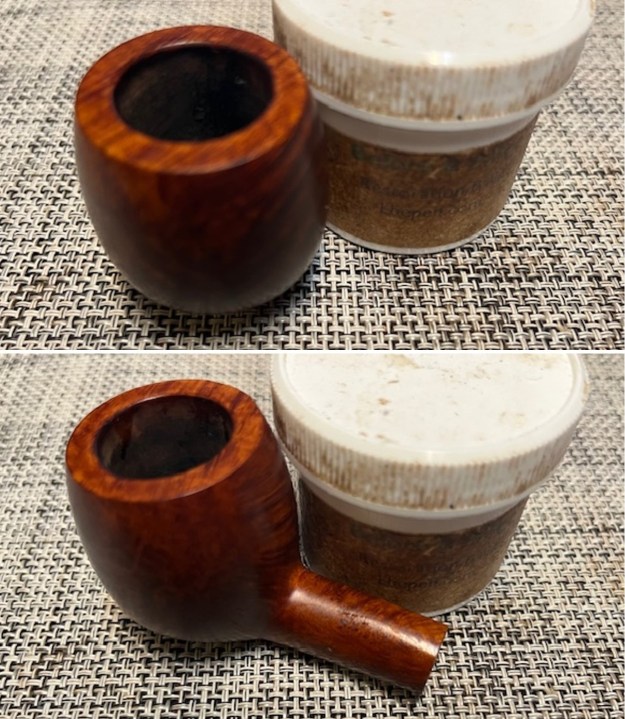
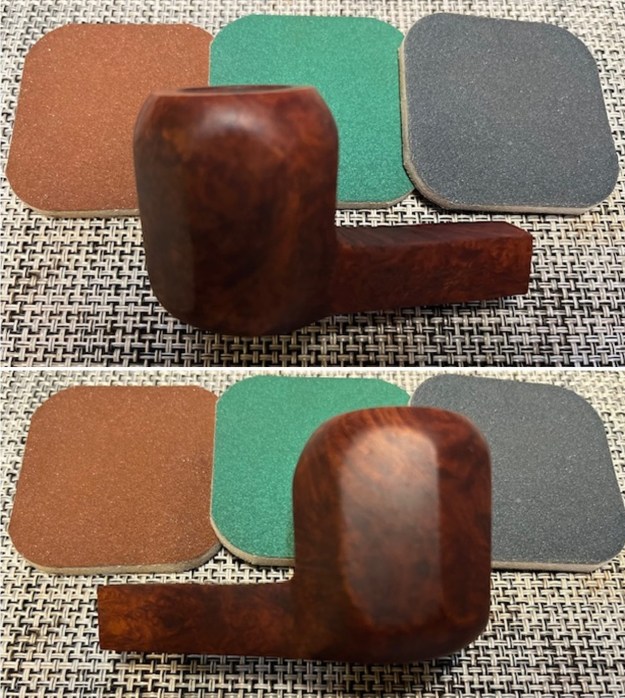
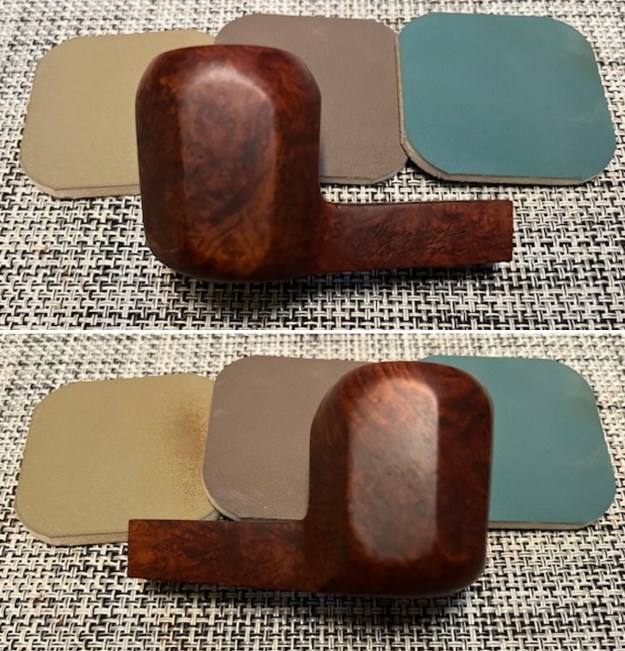
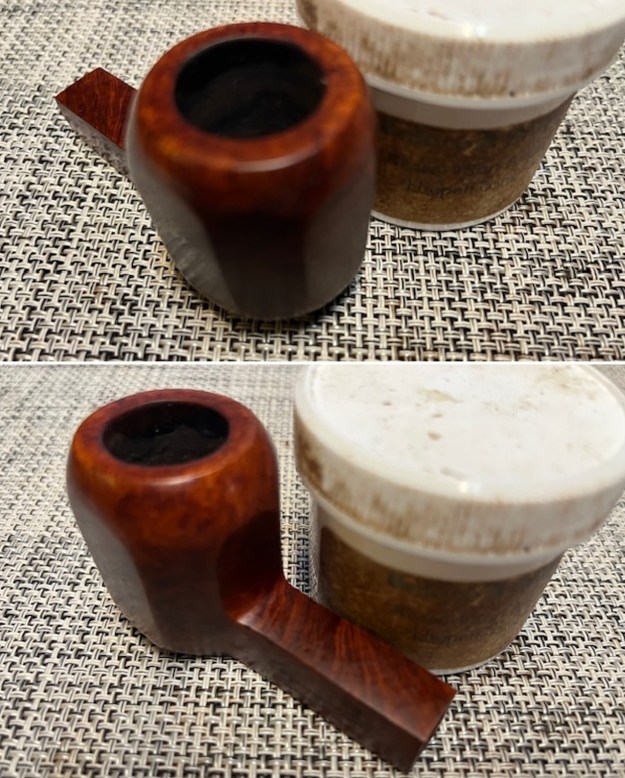
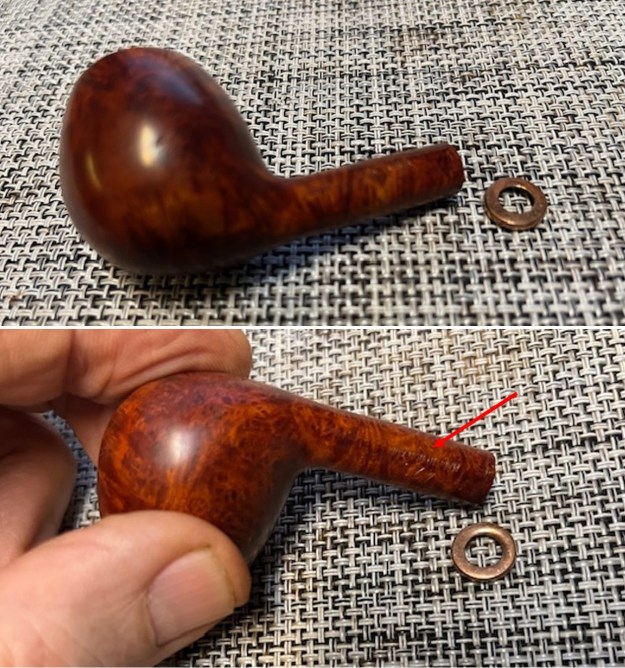
 And back to the stummel! It was in very nice shape, although the rim did have some lava on it. I used a piece of machine metal to gently scrape off as much of this as I could so as to avoid damaging the rim. A good amount of debris came off, which was nice to see.
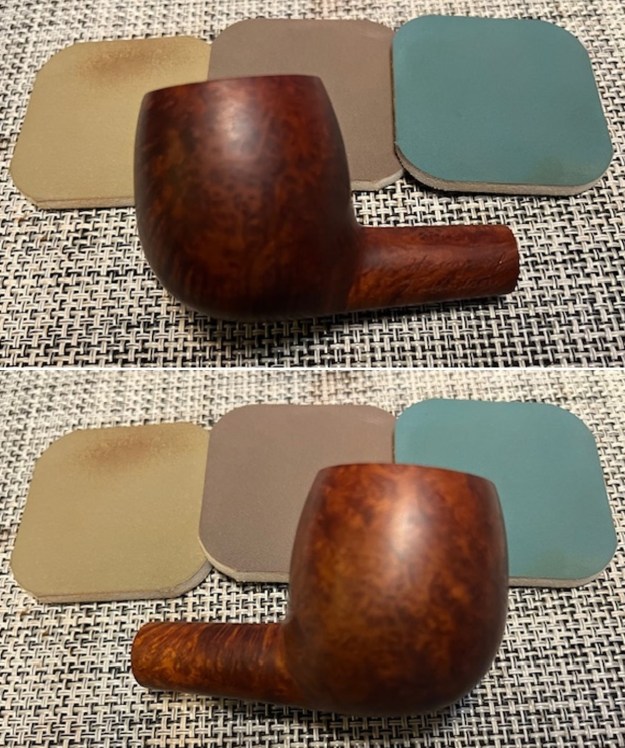
 I then set the rim to soak in some lightly diluted Murphy’s to soften up some of that stuff. After soaking for 10 minutes or so, I brushed the rim with a toothbrush to loosen up that gunk. I also brushed some Murphy’s all over the stummel in order to clean it.
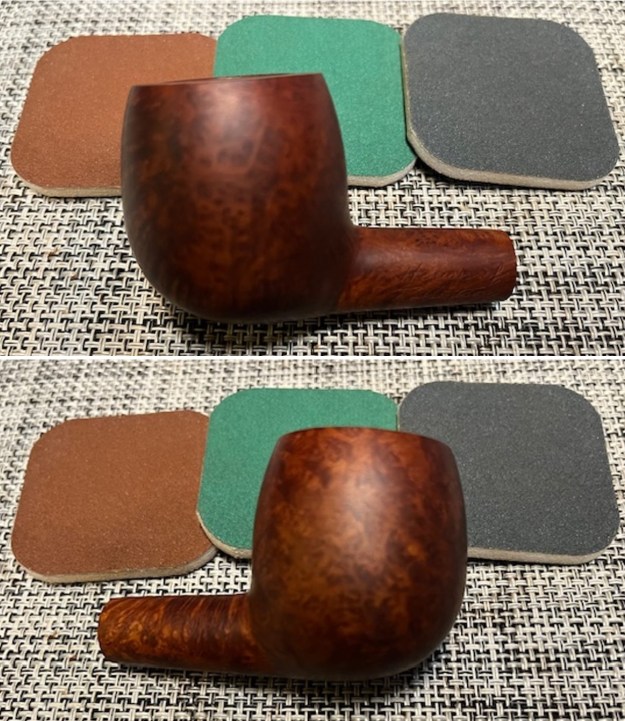
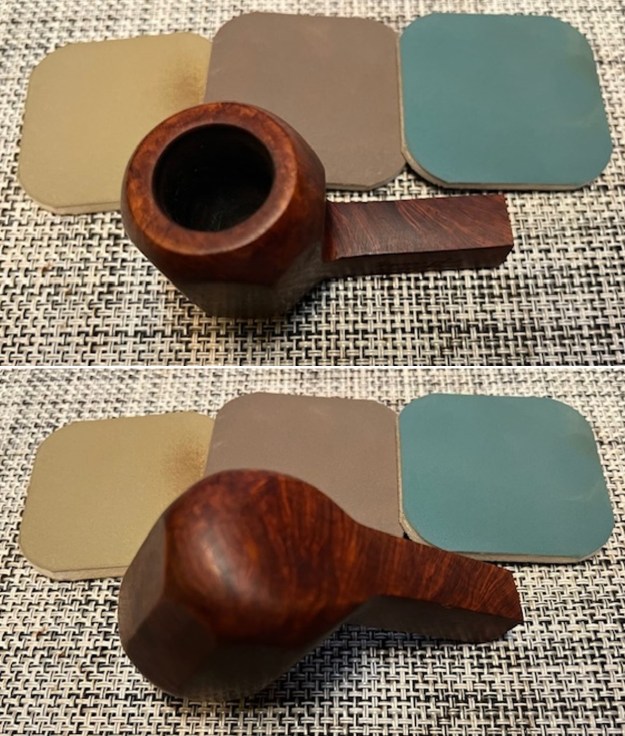
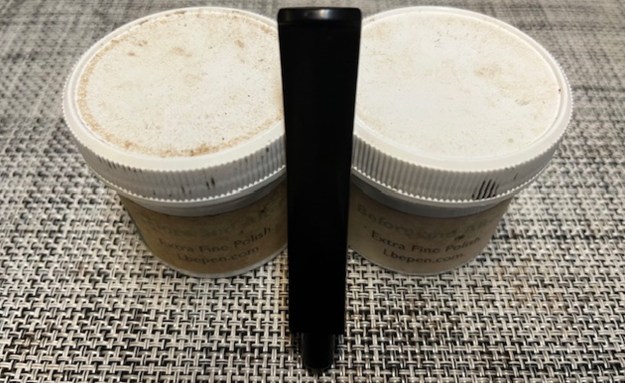
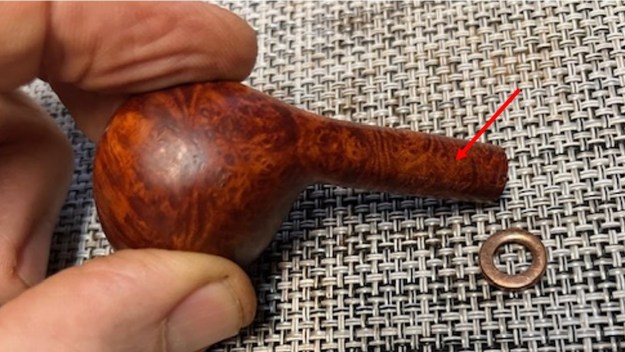
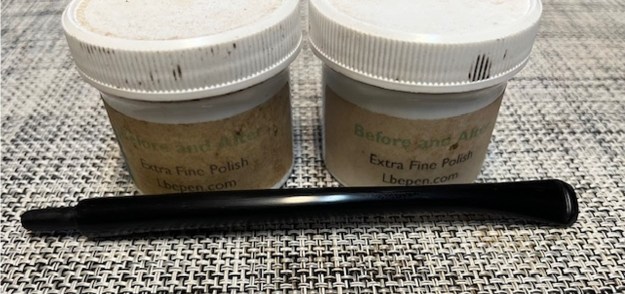
 Some spots had lightened over the course of this pipe’s life, so I used one of my furniture pens to simply dot the areas that were missing colour. It blended in perfectly. I then took my Before and After Balm, rubbed it in the wood and let it sit for about 20 minutes. This balm is fantastic stuff and does wonderful things to nourish the wood. After letting it sit, I used a microfibre cloth and buffed it.


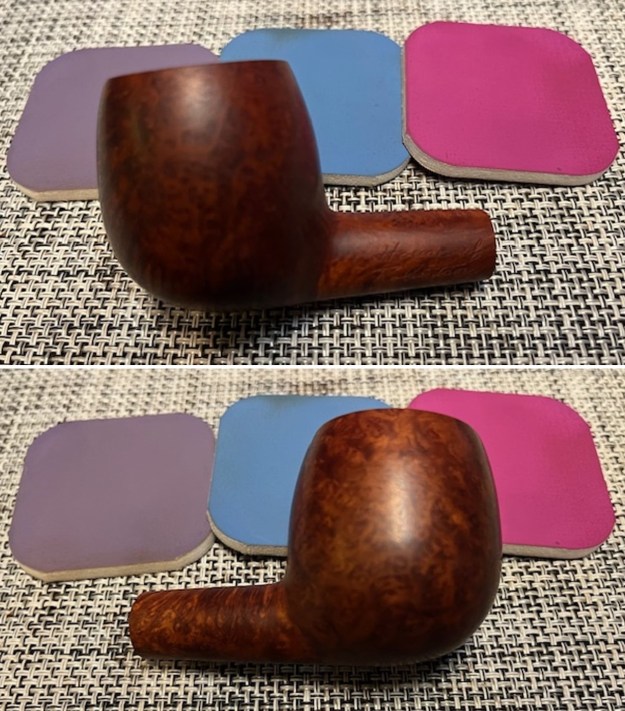
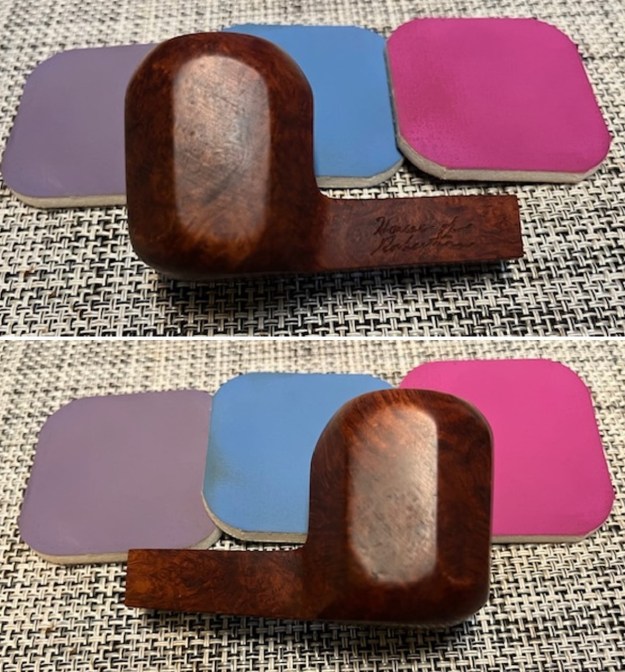
 Off to the bench polisher to put the final touches on this pipe. I first gave it a thorough (but light-handed) going-over with White Diamond compound. One doesn’t want to use too much for fear of gumming up the sandblast. Following that, several coats of conservator’s wax created a beautiful, glossy seal on the pipe.
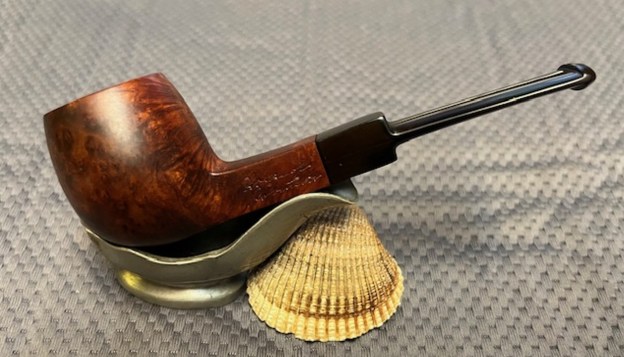
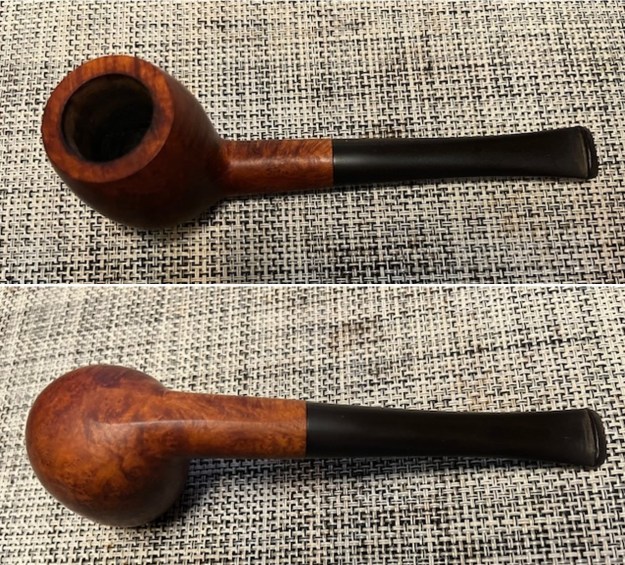
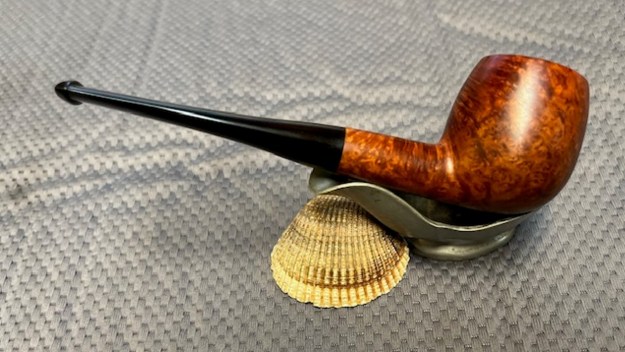
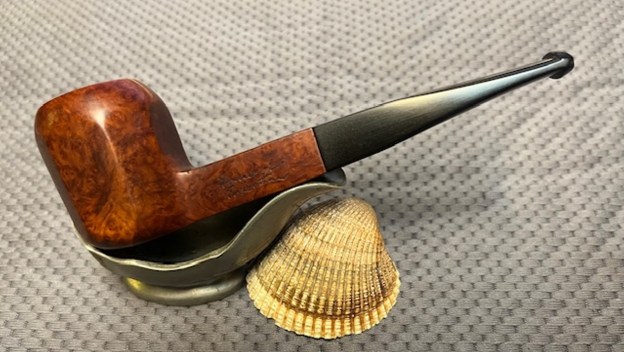
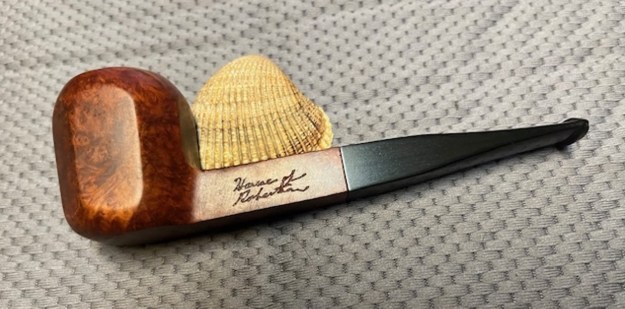
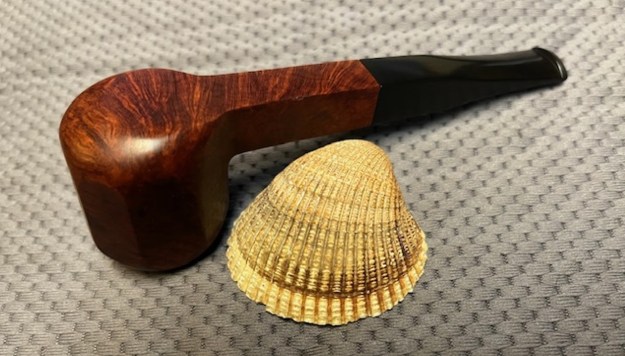
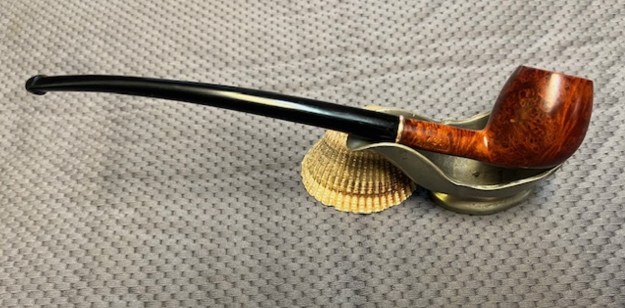
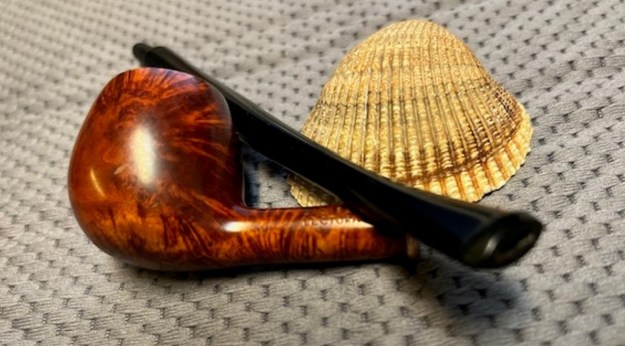
 All done! This Comoy’s 122 Sandblast pot looks fantastic and is ready to be enjoyed again by the next owner. I am pleased to announce that this pipe is for sale! If you are interested in acquiring it for your collection, please have a look in the “British” section of the store here on Steve’s website. You can also email me directly at kenneth@knightsofthepipe.com. The approximate dimensions of the pipe are as follows: length 5⅜ in. (137 mm); height 1⅝ in. (41 mm); bowl diameter 1⅓ in. (34 mm); chamber diameter ¾ in. (20 mm). The weight of the pipe is 1⅛ oz. (33 g). I hope you enjoyed reading the story of this pipe’s restoration as much as I did restoring it. If you are interested in more of my work, please follow me here on Steve’s website or send me an email. Thank you very much for reading and, as always, I welcome and encourage your comments.