Another Instruction Manual for Kleen Reem Pipe Reamers


As I was going through some of my collection of pamphlets and brochures in a drawer this afternoon I came across this Instruction Manual for Kleen Reem Pipe Reamers. It is the second one that I have. Both are very different in design and layout and seem to be from a different era. I enjoy looking at this kind of tobacciana so I thought I would pass it on to others who might also be interested in such things.
IMG_0781

IMG_0785

IMG_0786

IMG_0787

IMG_0788

IMG_0783

New Life to an Aarhus?? Unique


I have no idea what the final letters of the name on this pipe are supposed to be. The shank had been poorly cut off and there were two cracks, one on each side. It is stamped Aarhus over Made in France on the left side of the shank and the number 6 on the right side. The walls of the shank were quite thin. The bowl top was caked and dirt. The bowl was caked and needing cleaning. There was no stem on the bowl. The finish on the pipe was worn and dirty. There were two small sandpits that had been patched with white putty that had fallen out and left two white spots on the bowl. The shape of the pipe is what interested me. It has a pencil shank and the bowl tapers to a ridge on the front and the back. The bowl is also canted toward the front similar to a cutty and from the top is almond shaped. It is a uniquely interesting shape. The grain on this one is quite nice – birdseye front and back and cross grain on the sides. It does not quite align with the cut of the bowl but is very close. The pipe was a part of the lot that I have been working on lately – a purchase from EBay of 12+ pipe bowls that needed to be stemmed. The first series of four photos below show the state of the bowl when I began. The final photo of the four gives a closer look at the mortise and the thinness of the walls of the shank. Note the notches out of the end that give evidence of the shortening of the shank. In the photo I also included the stem that I took out of my can of stems and turned the tenon on.
IMG_0733

IMG_0734

IMG_0735

IMG_0736
The next three photos show the stamping on the shank and the angle of the cut of portion. It actually cut off the last letter or letters of Aarhus (pipe brand) and the E of France. The third photo shows the crack on the left side of the shank. There was a matching crack on the right side as well.
IMG_0737

IMG_0738

IMG_0739
I reamed the pipe and then topped the bowl to remove the damage to the rim and smooth out the surface. I was intending to refinish the pipe anyway so I started with fine grit emery paper to clean off the thick tars on the surface (Photos 1 &2). I then used a medium grit sanding sponge to clean up the surface from the scratches of the emery paper (Photo 3).
IMG_0740

IMG_0741

IMG_0742
I worked on the tenon in order to get a good smooth fit in the mortise. In Photo 1 below you can see how I used the stem to open the crack so I could repair it. I dripped in some superglue and squeezed it back together. You can see in Photos 1 and 2 the fit of the stem against the shank. The gap between stem and shank shows the angular cut that had been done on the shank. There were also small pieces of briar missing on the bottom edge of the shank. The end was rough and with the cracks left no choice but to band it. (In the photos there are some chunks of briar. These were inside of a band that I was cleaning up to reuse on the tenon of this pipe.)
IMG_0743

IMG_0744
I set up my heat gun and placed the band on the end of the shank. It was a tight band and I was able to just insert the edge in the band so that I could heat the band for pressure fitting it on the shank. The next four photos show the heating of the band and the metal plate that I use to press it into place on the shank. I heated it and pressed it on in three different increments as the band cooled before it would go all the way into place.
IMG_0745

IMG_0746

IMG_0747

IMG_0748
The next two photos show the newly banded shank. In the second photo you can also see the white putty fill about half way down the side of the bowl.
IMG_0749

IMG_0750
I finished fitting the stem on the pipe and sanded down the slag from the edges and end of the stem. I also wiped down the bowl with acetone. It had a coating of varnish on it that was crackling and also did not allow me to rework the fills properly. Once I had it wiped down I picked out the white putty in the two fills that were present with a dental pick and wiped down the bowl again with the acetone. The fills were on the right side mid bowl and on the left side at the bottom of the shank bowl junction.
IMG_0751

IMG_0752
I sanded the bowl and shank with 320 grit sandpaper and then a fine grit sanding sponge to remove the finish completely. The next three photos show the sanded bowl and shank. The grain was quite nice on the pipe. The dark stain had hidden it pretty well. I was beginning to think about not restaining the bowl but leaving it with the remaining colour and polishing and buffing it. Time would tell.
IMG_0753

IMG_0754

IMG_0755
I packed briar dust into the clean sandpit areas on the pipe and then dripped superglue on top of the briar dust. The next two close up photos of the bowl show the patches before I sanded away the excess and cleaned them up to match the surface of the briar.
IMG_0757

IMG_0758
I used 320 grit sandpaper to remove the excess that was shown in the above photos and smooth out the surface. I followed that by sanding with a fine grit sanding sponge. The next four photos show the replaced fills. There were also some dark stains on the bowl that I wanted to work on. I continued to sand the bowl as a whole with the sanding sponge to minimize the dark stain marks on the briar. The colour of the briar is really starting to look great.
IMG_0759

IMG_0760

IMG_0761

IMG_0762
I then sanded the bowl and the stem with micromesh sanding pads. I wanted to remove the scratches and begin to develop a shine. I wet sanded with the 1500-2400 grit micromesh sanding pads and then went on to dry sand with the 3200-12,000 grit sanding pads. The next 9 photos show the developing shine on the bowl and the stem. I also sanded the nickel band with the micromesh pads.
IMG_0763

IMG_0764

IMG_0765

IMG_0766

IMG_0767

IMG_0768

IMG_0769

IMG_0770

IMG_0771
By the time I finished sanding with the 12,000 grit micromesh sanding pad the bowl looked really good. I decided against restaining it and instead reinserted the stem and took the pipe to the buffer. I buffed the entirety lightly with White Diamond to remove any remaining light scratches and to brighten up the shine on both bowl and stem. I then wiped down the stem with Obsidian Oil, and buffed the pipe with carnauba and a soft flannel buff. The final five photos show the finished pipe. It is ready to use. The only remaining question is, “What is the brand? What letters follow Aarhus???” Can any of you help me with that information? It is an unfamiliar brand to me and I can find nothing on the Pipephil Logos and Stampings website or in Who Made that Pipe. Thanks ahead of time for your help.
IMG_0772

IMG_0773

IMG_0774

IMG_0775

IMG_0776

A Review – A Fillenwarth Rusticated Apple


I don’t remember the exact date in 2009 when I purchase my Fillenwarth Apple from Tony Fillenwarth but I have been on his mailing list for quite a few years now. I love the signature rustication that Tony does and have been following his work for a long time. I am on his email list and so I get notification of any new pipes he puts up. Tony describes his pipes on the opening page of his website as follows: “A combination of precise engineering and a unique sense of design allow me to make pipes that are visually striking and that give a smoking experience second to none. All pipes are hand crafted from plateau briar of the finest quality that has been properly aged to provide a superb smoke. Stems are handmade from either top quality German vulcanite, cumberland, acrylic, or bakelite and feature a nice open draw that gives the best possible smoking characteristics.”

I am a sucker for apple shaped pipes so when this one came out on his email it met the bill for me – it had his unique rustication and it was an apple shaped pipe. The pipe is 5 1/2 inches long and weighs 52 grams. The tobacco chamber is 1 3/8 inches deep and 7/8 inch across. The shank band is sterling silver and adds a delicate and refined touch to the crater like rustication. It sports a handmade Cumberland stem with Delrin tenon and has a slight bend to it.
Fill1
When the pipe arrived it was far more impressive than even Tony’s pictures led me to believe. I was stunned at the workmanship of the pipe and colour and feel of it in my hand. I remember just sitting at my desk after opening the package and sliding the pipe out of the sleeve that it came in and being speechless with the look and feel of this pipe. It was and is beautiful. No one even comes close to duplicating Tony’s rustication and the way in which his staining of the bowl highlights the rustication and gives it a special dimensionality that is almost uncanny. Holding his pipe in my hand is like holding a piece of lava rock with all of the nooks and crannies and colours emanating out of the crevices and holes and changing in the light that pipe is held in. The rustication is very sharp and rough in the hand but a very cool finish in terms of the feel in the hand when it heats up during smoking. The bowl is rusticated up and over the rim and ends in a craggy inner rim edge that looks great to me. The overall flow of the bowl and shank is brilliant and the colours are beautifully matched from rim to the end of the shank and on into the reds and blacks of the brindle/Cumberland stem. To separate the bowl and stem Tony handmade a sterling silver “wedding ring” band and gave it a high lustre polish. It adds a nice touch of bling to the look of the pipe and dresses it up.
Fill2
Tony did a masterful job on the inner mechanics of the pipe with drilling that is perfectly executed from the shank and into the bowl – coming out exactly centre in the bottom of the bowl. The airway from the bowl into the mortise is centred. It is smooth in its entrance to the mortise and the mortise itself is also smooth with no rough spot left by drill bit. The bowl itself is U shaped and smooth from sides to bottom. The air way enters the bowl and is smooth and clean. There was no bowl treatment or coating just a good smooth briar.
Fill5
The stem itself is hand cut out of a red and black Cumberland. It is well tapered with good even angles top and bottom progressing from the shank to the button. The portion of the stem that is put in the mouth is thin and comfortable. It has a slight bend to it that gives it a stylized look. Tony did a great job shaping the stem and capturing a shape that really works with this pipe. The way the silver band breaks up the flow is brilliant. I personally love the way the striations of black and red run the length of the stem. The choice of material for the stem matches the stain that Tony used on the bowl. The tenon is Delrin that has been inserted into the Cumberland stem for durability and ease of use. The airway is funneled slightly for a smooth transition from the mortise when it is in place. There is a very minimal gap between the end of the tenon and the base of the mortise. The transition where the Delrin meets the Cumberland of the stem is seamless. There is no lip or rough spot at that junction. The draught is unrestricted and open from the bowl to the tip of the stem. Draught is effortless. The fit of the stem to the tenon is very well done. The button is cut to my liking with a good sharp inner edge and tapered to the tip. The slot is opened and funneled to deliver a uniform airway from bowl to button.
Fill3

Fill4
The overall construction of this pipe is very well done. It is light in the hand and in the mouth. It is well balanced and has a great tactile feel when it is cool and as it warms up during the smoking of a bowl. I have smoked for over four years now and after breaking it in with some McClellands 5100 that had some age on it the pipe has become a good Virginia smoking pipe. It delivered a good smoke from the first smoke and continues to do so. It draws well; the lighting has never been a problem. It seemed to take very little time to break it in and continues to be an effortless smoke.

Thanks Tony Fillenwarth for delivering a well-made pipe that remains a very good smoking pipe to this day. Tony continues to make unique and interestingly shaped pipes – both smooth and rusticated that have a distinctive and readily recognizable look to them. They are available on his website at http://fillenwarthpipes.com/ Stop by for a look, order one for yourself, you cannot go wrong with his work.

Restoring a Unique Edition of the Keyser Hygienic System Pipe


I picked up this Keyser Hygienic on EBay because it caught my eye. I have three other Keyser Hygienic pipes and they are all very similar in terms of the system. They are briar bowls and shanks with an aluminum mortise with a tube in the centre running to the airway in the bowl. This is matched with a military mount stem with a tube with a down turn on it that fits into the airway in the mortise. The swirling smoke rolls around the inside of the mortise where the moisture in the smoke condenses on the sides of the aluminum mortise. The cooled air is drawn into the down turned tube in the stem and it delivers a cool, dry smoke. The system is fairly straightforward and simple. The genius of the design is that any stem fits any pipe of the same size. Replacement stems are easily purchased and all that is necessary is the size of the pipe and the replacement will be a ready fit.
Keyser Pipes
But this new Keyser was unique in all ways. The system design seems like a prototype of the original or maybe a step toward the ones that I have. It is composed of a short shanked briar bowl and a metal tube that has a normal vulcanite tenon. This sits in the shortened shank. Inside the tube is a second tube that extends ¾ of the way up the barrel. The inner tube is the extension of the airway in the tenon. The stem is a short pressure fit stem with a shoulder that allows it to ride on the end of the outer tube. On the end of the stem is a down turned short tube that draws air in to the mouth piece from the condensing chamber of the tube. It is a fascinating design. It is that uniqueness that caught my eye – that and the stamping/engraving on the outer tube which reads as follows:

KEYSER HYGIENIC PIPE
Made By
Keyser Manufacturing Co.
Brighton England
Pat Appns Brit 34B20/47
US 6067474/48
Can 581101

The next series of seven pictures shows the pipe as it appeared in the EBay webpage. The seller did a great job describing the current state of the pipe and the areas of concern. The seller notes some of the scratches on the outer tube and the darkening of the rim. He also noted the tooth chatter and scratch marks on both the top and underside of the stem.
Keyser1

Keyser2

Keyser3

Keyser4

Keyser5

Keyser6

Keyser7
When the pipe arrived I unpacked it and examined it. There were indeed tooth chatter/marks on both the top and bottom of the stem. There was a cigarette burn mark on the bottom of the shank where it meets the bowl. It was not a deep burn and there was no charred wood just a dark mark. The rim itself also had some issues. While the surface was not charred there was a burned area on the front inside of the bowl and on the front outside of the bowl. It looked to be damage from a lighter used in the same place repeatedly over time. The remainder of the finish was in pretty good shape but the entire pipe would need to be stripped in order to address the burn marks on the rim and the side of the shank. The inside of the bowl and shank were very clean. The pipe had not been reamed but there was a light cake that smelled like an aromatic. The barrel was tight on the shank but I carefully was able to remove it. The vulcanite tenon on the end of the barrel was undamaged but the airway was closed in with tars. The way the tenon was attached to the barrel was interesting. The end of the barrel was bonded to a circular plug of vulcanite with the tenon an integral piece of the part. The stem was frozen in the barrel and could not be removed. The button on the stem was unmarked and the tooth marks were actually mid stem on the top and bottom sides. The vulcanite stem was oxidized and would need to be cleaned. The next four photos show the items that I have pointed out in this paragraph.
IMG_0507

IMG_0508

IMG_0509

IMG_0510
I was able to remove the barrel and tenon from the shank of the pipe by carefully twisting the barrel free of the shank. I always hold tightly to the shank with one hand right next to the shank and then twist with the other hand. I try to maintain equal pressure on all points so that the shank is not strained or cracked in the process. The next photo shows the tenon on the barrel. It is almost the same length as the shank and the airway is lined up very closely to the airway in the bottom of the bowl. I cleaned out the mortise with cotton swabs and Everclear and found that it was quite clean. I also cleaned out the barrel from both ends but was not able to get a pipe cleaner to go all the way through the pipe from button to tenon.
IMG_0511
The next three photos show the front of the bowl and the extent of the burn marks on the front outside of the bowl and the front inside of the rim. These were two areas that would need to be worked over to minimize the burn marks on the finished pipe.
IMG_0512

IMG_0513

IMG_0514
I used my PipNet reamer to ream out the soft aromatic cake in the bowl and then recleaned the shank and the inside of the bowl with pipe cleaners and Everclear to remove the carbon dust that came from the reaming process (Photo 1 below). I wiped down the outside of the bowl and shank with a cotton pad and acetone to remove the finish on the pipe (Photo 2 below).
IMG_0515

IMG_0516
The next series of fourteen photos show the topping of the bowl to remove the burned area on the inside of the rim and the front outside edge. The burn had rounded the outside edge and made it appear out of round when looking at it from the top. I wanted to top the bowl enough to bring the top view back into round, minimize the wood damage in both spots and clean up the sharp edge of the bowl. I used two different sanding sponges – medium grit (black coloured sponge) and a fine grit sponge (yellow coloured sponge) both pictured below to start the process. I went on to use medium grit emery paper on the hard board to further top the bowl and ended with 320 grit sandpaper on the board. I polished the finish of the topped pipe bowl with the fine grit yellow sanding sponge. I also worked on the burned area that extended down the front of the bowl with the two sanding sponges.
IMG_0517

IMG_0518

IMG_0519

IMG_0524

IMG_0525

IMG_0526

IMG_0528

IMG_0529

IMG_0530

IMG_0531

IMG_0532

IMG_0533

IMG_0534

IMG_0535

IMG_0536
While I was working on the bowl I put the barrel and stem unit in the freezer to try to break loose the stuck stem. I have found that the varying contraction time of the metal and vulcanite will often loosen the stem. Once it was in the freezer for 30 minutes I could easily remove the stem and give the inside of the barrel and the stem a thorough cleaning with pipe cleaners and cotton swabs dipped in Everclear. I cleaned them until both came out clear. The next five photos show the broken down stem and the tube on the end of the stem that I was talking about above. There is one photo of the barrel but it is too dark to see the inner tube.
IMG_0537

IMG_0538

IMG_0539

IMG_0542

IMG_0543
Once the stem and barrel was clean it was time to deal with the tooth marks and chatter on the stem itself. I sanded the top and the bottom with 320 grit sandpaper to remove the marks and the chatter. None of them were too deep. They were more of a ripple like effect on the surface of the vulcanite. I sanded them flat to the surface of the stem and then went on to sand the stem with micromesh sanding pads from 1500-12,000 grits. The next four photos show the progress of the shine.
IMG_0544

IMG_0545

IMG_0546

IMG_0547
After shining the stem with the micromesh I took it to the buffer and buffed the stem with White Diamond and then rubbed it down with Obsidian Oil and finished it with a coat of carnauba wax. I put the stem back in the barrel and lined up the stem with the stamping on the side of the barrel. I gave the entire barrel and stem another coat of carnauba wax and hand buffed them. The next three photos show the assembled barrel and stem unit polished and ready to put on the bowl once it was restained and ready.
IMG_0548

IMG_0549

IMG_0550
I sanded and resanded the bowl with fine grit sanding sponges and then sanded it with micromesh sanding pads from 1500-3200 grit. I wiped it down with acetone between sandings and again when I was finished to prepare it for staining. The next three photos show the prepared pipe ready for staining. The burn mark on the bottom of the shank is gone with very little sanding and no change to the shank surface itself. The one on the front of the is minimized and the one on the rim is also virtually gone. The bowl is ready for a new finish coat.
IMG_0551

IMG_0552

IMG_0553
I restained the bowl with an oxblood aniline stain, flamed it and restained and reflamed it. I rubbed it down with a cotton terry cloth to smooth out the stain and then took it to the buffer. I always buff with my thumb in the bowl to ensure that the buffer does not grab the bowl from my hand and launch it against the wall. I rotate it slowly in my hand and with a light touch buff the shank. I am careful not to apply too much pressure and round the shoulders on the shank. I normally do not buff with the stem off the bowl but in this case I did not want to risk buffing off the black paint on the barrel so I chance the buffing on the bowl alone. The next three photos show the buffed bowl before polishing.
IMG_0554

IMG_0555

IMG_0556
I reassembled the pipe and then hand buffed it with multiple coats of carnauba wax and polished it with a shoe brush. The stem and bowl have a great shine and the bowl has some beautiful grain on it. I look forward to smoking this one and comparing it with my other Keyser Hygienic pipes. The final four photos below show the finished pipe. I have yet to do the research on the patent information on the barrel but I am hoping to find out a bit of history on this piece.
IMG_0723

IMG_0724

IMG_0725

IMG_0726
From the photo of the bottom of the bowl and shank above you can see that the burn mark there is eliminated in its entirety. Also in the photo of the rim above and the one of the front of the bowl below you can see that the burn mark is gone and what remains is blended into the stain.
IMG_0728

A Review – A Bill Boyle Small Bent Rustic Apple


I received my third Bill Boyle Pipe in the post from Bill several weeks ago. I have two other pipes that he made for me during the past several years and I have watched the progress in Bill’s craftsmanship and work in these pipes and through watching the variety of pipes that appear on his website and through the reviews others have made. Bill and I have talked about pipes since the days that he started making modified cob pipes. He has come a long way through the years and this new pipe reflects a huge step up in his work in my opinion. The previous two pipes are amazing smoking machines but his stem work was not perfected and was a bit too thick to my liking (See the comparative pictures below). The taper of the stems on the early ones was more abrupt while this one is very smooth and flowing. His internal mechanics have always been spot on but it was the finish work on the stem that needed to be refined. This new pipe is a step up in every way. It is a beauty to be sure. The length of the pipe is 5 inches and the bowl height is 1 5/8 inches. The chamber diameter is 3/4 inches and depth is 1 3/8 inches. It weighs 40 grams or 1.4 ounces. It is carved from Italian block according to Bill’s website and sports a hand cut Cumberland stem. The pipe is a small apple shape with a ¼ bent stem that fits well in the hand.The stamping reversed B and B and is one of the last of this stamping that will be used as Bill has stepped up his production and has a new stamp for Bill Boyle Pipes.
Bill Boyle 1
The finish on the outside of the pipe is rusticated in a finish that is quite different from the other two rusticated pipes I have purchased from Bill. It is not a heavy deep rustication on this pipe but more of a rustication pattern that has the appearance of strands of a rope. There is a still a very tactile feel to the rustication on the bowl and shank but it does not really have the look of randomness that was in his more heavy rustication. It is a nice variation and I think that it adds to the overall appearance.
Bill Boyle 5On the rim of the pipe Bill rusticated it over the curve and then almost countersunk the bowl. The rim thus forms two levels and a bit of step down from the rusticated edge to the smooth edge that is below and then drops into the bowl. The rustication where the shank and bowl meet is a bit heavier than what is on the rest of the bowl and a bit rougher but does not detract from the other rustication. It is merely a variation that makes me wonder if there is not a flaw or sandpit in this area of the pipe (indeed Bill confirmed this is so in a later email). The staining on the briar appears to be a blend of darker/medium brown/black with an oxblood over stain that is a nice contrast. In the light it appears to have a dark oxblood tinge that comes out well in contrast to the browns in the under stain. It really goes well with the Cumberland stem. Bill has matched the colour of the Cumberland stem with his choice and combination of stains. Great work on the finish Bill.
Bill Boyle 3
The stem itself is the best of the three stems my BB pipes. His stem work has really developed and this is by far the most well executed of the three. It is a nicely cut saddle stem. The saddle is well cut and the finish on the 90 degree angles of the saddle is smooth and polished. There are no machine or file marks. He has done a great job shaping this part of the stem. The blade of the stem is thin and has a good even tapered flow from the saddle to the button. It is matched in terms of angles on the top and the bottom and on the left and right side of the stem. The design along with the slight bend makes it fit very comfortably in the mouth. It also rests well enough that it can be clenched quite easily. The tenon is cut from the stem material and is funneled at the end for good mechanics. The button is exactly the way I like them – thinner on the edges with a gentle rise at the centre top and bottom. The edge of the button is a good sharp angle to the stem and looks sharp. It fits well behind the teeth for a comfortable feel. The draught hole/slot in the end of the button is also funneled to deliver a mouthpiece that has the same diameter from start to finish. Comfortable and well executed. A pipe cleaner passes easily through the pipe with no obstruction. I have posted photos below of my other two of Bill’s pipes so that you can see the progress and development in his stem work.

My first one is the Christmas pipe I had him make for me. The rustication is great and the shape is well done. Note the thickness of the stem from the saddle to the button and also the thick button on the end of the stem. I reworked this stem when I received it. I thinned it down, flattened it out and thinned the button as well. I worked it until it was comfortable for me.
OLYMPUS DIGITAL CAMERA
The second is an apple that caught my eye on one of his email updates. It was made later than the first one. The stem work is definitely improved. Note that the stem is thinner than the one above but there is a definite crown on the stem. It is almost oval in shape from an end view with thin edges and a rise/crown toward the middle of the stem. There is also an abrupt drop from the stem to the button area. The angle is quite sharp. He has also thinned down the button and made it more comfortable. The stem work is getting better and the feel in the mouth is better but it is still not quite there.
Boylesmooth2
The next photo shows the same view of the newest (the third) Boyle pipe that is in my rack. Here the improvement on the stem is marked. Note the thinness of the stem from the saddle back to the button, the flatness of the stem from side to side and the improved shape of the button. To me the development and improvement can be traced in these three photos. All three pipes smoke exceptionally well. Each one is well made. But each one represents a step in Bill’s development as a pipemaker and particular in the way he fashions his stems.
Bill Boyle 4
The mechanics of this new pipe are well done. The bowl chamber came without a bowl coating and the wood was sanded very smooth. There were no pits or checking in the bowl. The countersunk inner edge of the rim gave a distinctive look to the pipe that I was not sure about at first. Since I have been smoking it the briar is darkening (not char or tar) just the natural darkening of heat and oils and it looks great.The draught hole is centered at the bottom of the bowl and seems to have a slight slope from the bottom to the top of the airhole. There is a very easy and open draw to the pipe. The fit of the stem to the shank is very good. Smooth and tight. The tenon sits deep in the mortise – if not exactly the same length then impressively close! The fit of the tenon is also smooth. The drilling of the draught in the shank is slightly high in the end of the mortise. It is not in the middle of the mortise. The tenon on the stem is drilled to match it and there is no misalignment to the two. The air pulls clearly through the pipe with no whistling at all. Using a light to shine through the various airways reveals smoothly executed airways on the inside. Very nice work on the drilling Bill. Your matching the airway in the mortise to the tenon end was well executed.
Bill Boyle 2
I have been smoking it since I received it and am very happy with it. I have smoked Virginia flake and broken flake tobaccos in it and it packs easily and stays lit. And I have to say that like all three of Bill’s pipes that I have the draught on the pipe is superb. Smoking it is a pleasure and is uncomplicated and effortless. I found that without exception Bill’s pipes smoke smooth from the get go with none of the new pipe break in woes. Thanks Bill for a well-made pipe that smokes as good as it looks! If you are interested in Bill’s work check out his website and look at the gallery – he does commissioned pipes as well. Here is the link: http://www.billboylepipes.com/

Irwin’s (GBD Second) 9448 Refurbished


Blog by Greg Wolford

I picked this Irwin’s 9448 up not too long ago expecting it to be an easy clean up, which was partly right and partly wrong, and knowing it was a GBD second it should be a great pipe for the money. From the seller’s photos I figured a little heat to lift the tooth dents, some light sanding and then micro meshing and the stem would be good to go. The stummel I figured would need to be cleaned, soaked in an alcohol bath and retained. Here are the photos from the seller:

Seller's Photo

Seller’s Photo

IMG_5457 (2) IMG_5458 (2) IMG_5459 (2) IMG_5460 (2) IMG_5461 (2) IMG_5462 (2)

I forgot to take my own photos when the pipe arrived and during the process so only the seller’s before and my after photos will be shown. The process went as follows though:

The stummel was in better shape than I anticipated: it was dirty and did have a few dents to raise but was in really good condition overall. The stem was another story: the tooth dents were much deeper than the photos showed or than I had expected. I knew that this stem was going to require filling the dents and thought over a few options, which I have more to say on later here. So, I decided to start with the stummel.

After reaming the bowl and cleaning the shank, I began by wiping the pipe down with acetone on disposable cotton pads, and went through many of them. After get most of the dirt and wax off, I took some cotton swabs dipped in 91% isopropyl alcohol and began to work off the heavy build up on the rim. It was a slow process but as the layers came off I could see the rim was in very nice shape and didn’t need topped. Once all the gunk was off, I took a few more passes over the entire stummel with a couple more cotton pads wet with alcohol to make sure all the finish and dirt was removed. I then turned my attention to the dents: one on the front of the bowl, two on the bottom near where the curve of the bowl met the flat “sitter” area, and a couple on the rim.

I used my heat gun to heat up the end of an old kitchen “butter knife” and a wet scrap rag to produce the steam to raise the dents. All of them came out fairly easily except for one on the “sitter” portion and it took several applications of steam to get it out. But it did finally raise.

At this point I went to the buffer to see what the stummel looked like. I buffed it with some Tripoli and then again my hand with an old t-shirt. I saw then that the pipe had good color under all the dirt, it had just been hidden. And the steam had done its job very nicely, too, giving me a pretty well smoothed out stummel. There was one fill on the left side of the bowl but not a large one and it didn’t really stand out to my eye so I decided to leave it alone. I wiped it down with one more alcohol pad to remove any trace left from the Tripoli and then decided to not sand or re-stain it; the color was really nice and the grain showed in a nice contrast. So I set the stummel aside to work on the stem.

I began by heating the stem, with a pipe cleaner inserted to make holding, moving and not damaging the airway easier. The dents lifted some but, as I expected, were too deep to come anywhere near level. So now it was time to try some patching or filling of the dents.

A while back Al, another contributor here on the blog, had mentioned he had used cigar ash to fill in a few dents but that they were still visible repairs. I have been experimenting with a couple of ideas that so far have not made any great improvements over just using super glue alone. I thought that on this one I would try to make a patch with carbon reamed from the pipe. The carbon is much darker, a real black, than ash so I thought this might make a better repair. I worked in layers, packing in the carbon, applying a drip of super glue, allowing it to dry, sanding it back down with an emery board and repeating; I think I did three rounds on each side of the stem, trying raise the dents slowly and make them stronger in the long run. After the last application on the underside, I began to work with my needle files, then emery boards, 320 grit wet sand and finally onto micro mesh, wet sanding 1500-2400. I then applied the Novus 2 plastic polish, rubbing it on and off with cotton pads. The remaining grits of micro mesh I used dry through 12,000. Finally I used the Novus 2 again, applied the Mother’s Back to Black with my fingers and let it dry before buffing it off with another cotton pad. The final step was to polish it with the Novus 1 plastic polish. Now it was time to reassemble the pipe and take it back to the buffer. At this point I knew the patch wasn’t as good as I’d hoped it would be: it was better, I think, but it was also still noticeable.

I buffed the stummel with Tripoli again before I reassembled the pipe and buffed the entire pipe with white diamond. I then applied several coats of carnauba wax to the pipe and buffed it out with a new soft cloth wheel. This is what the pipe looks like now, cleaned up (except for the fact I smoked it before I took the photos) but without any new staining done to it.

After

After

IMG_5493 IMG_5492 IMG_5491

The bit area does look a lot better and it is smooth, almost; apparently the layering technique wasn’t my best idea as a small piece of the top patch came off at some point, probably on the buffer. Next time I will not work in layers but more like a briar-dust fill and do it all at once, which be faster, too. I do wish it were less noticeable on the whole,though.

IMG_5494 IMG_5495

Before and After

Before and After

I have a few other ideas about trying to get a less visible patch that I may pursue. However, now that I know I can get black super glue, already made, that may be my future course. But the “can I do it myself ” part of me wants to keep experimenting so we shall see. If any of you readers have any ideas on making these repairs less visible I’d be most appreciative if you would share them in the comments section.

Reclaiming an EPW Bulldog – Restoring it Twice


Blog by Steve Laug

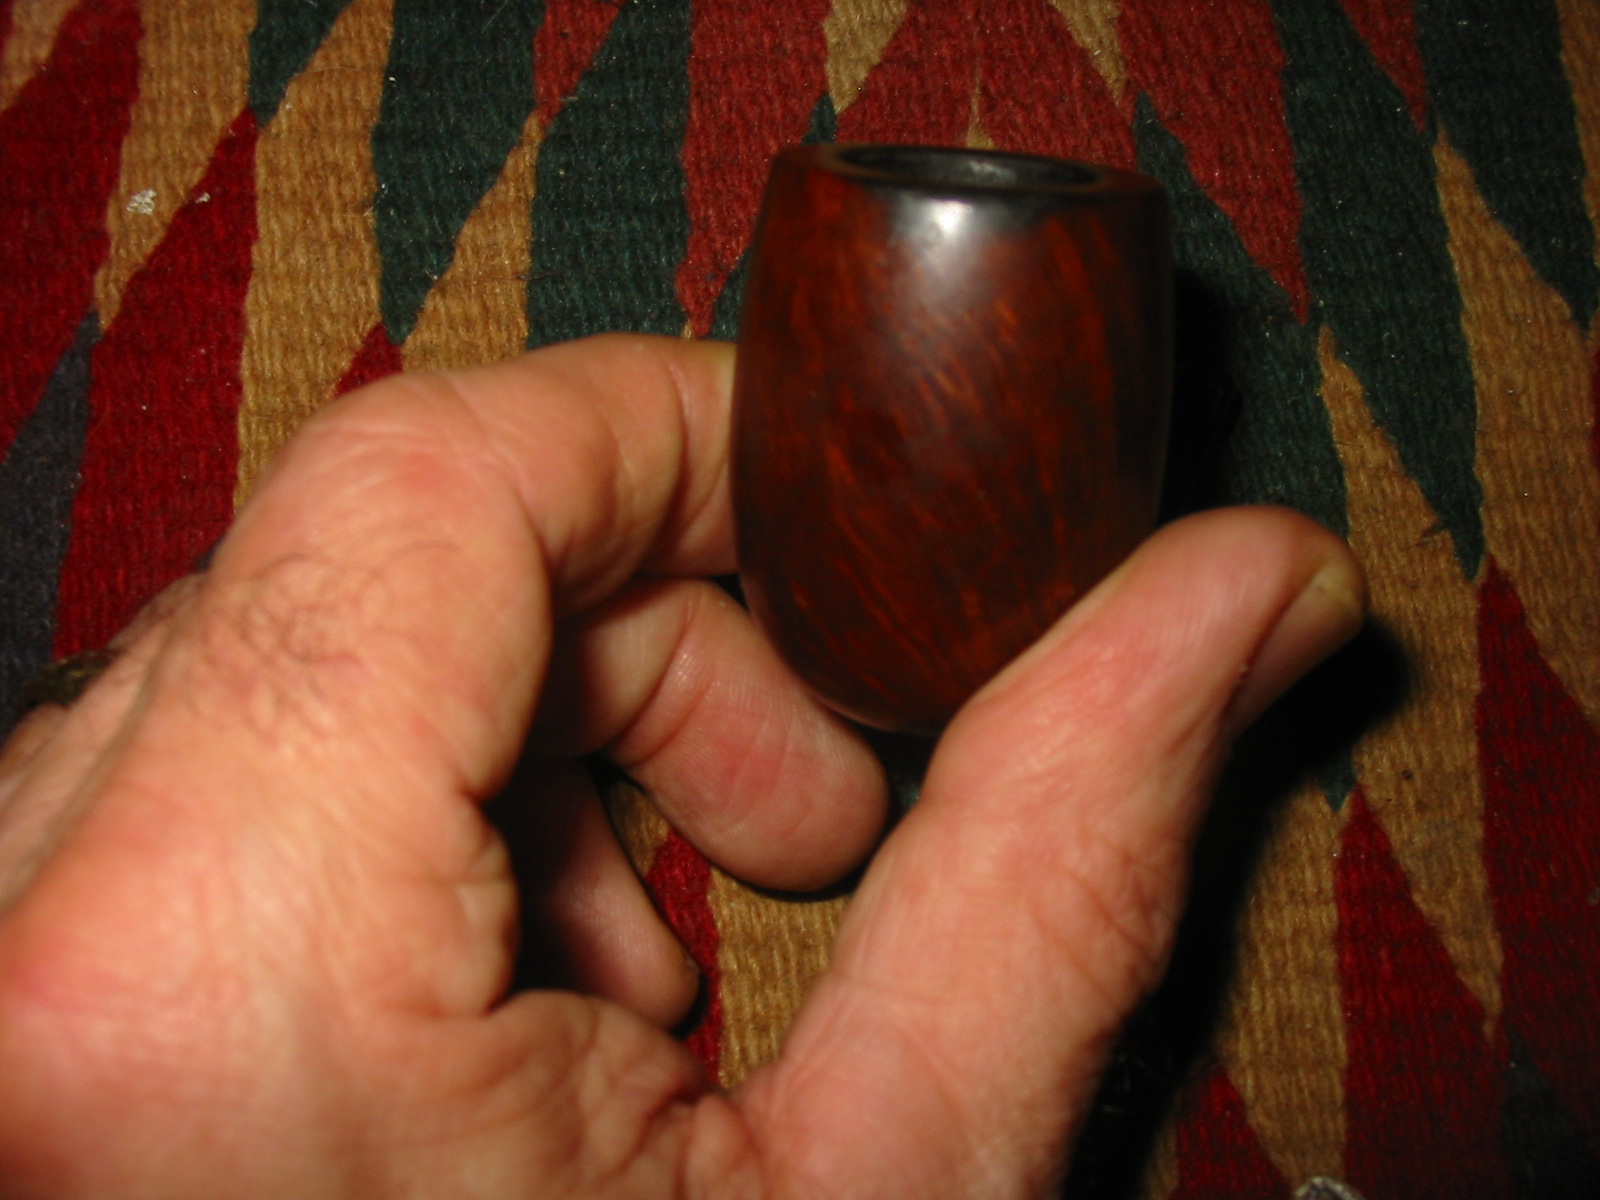
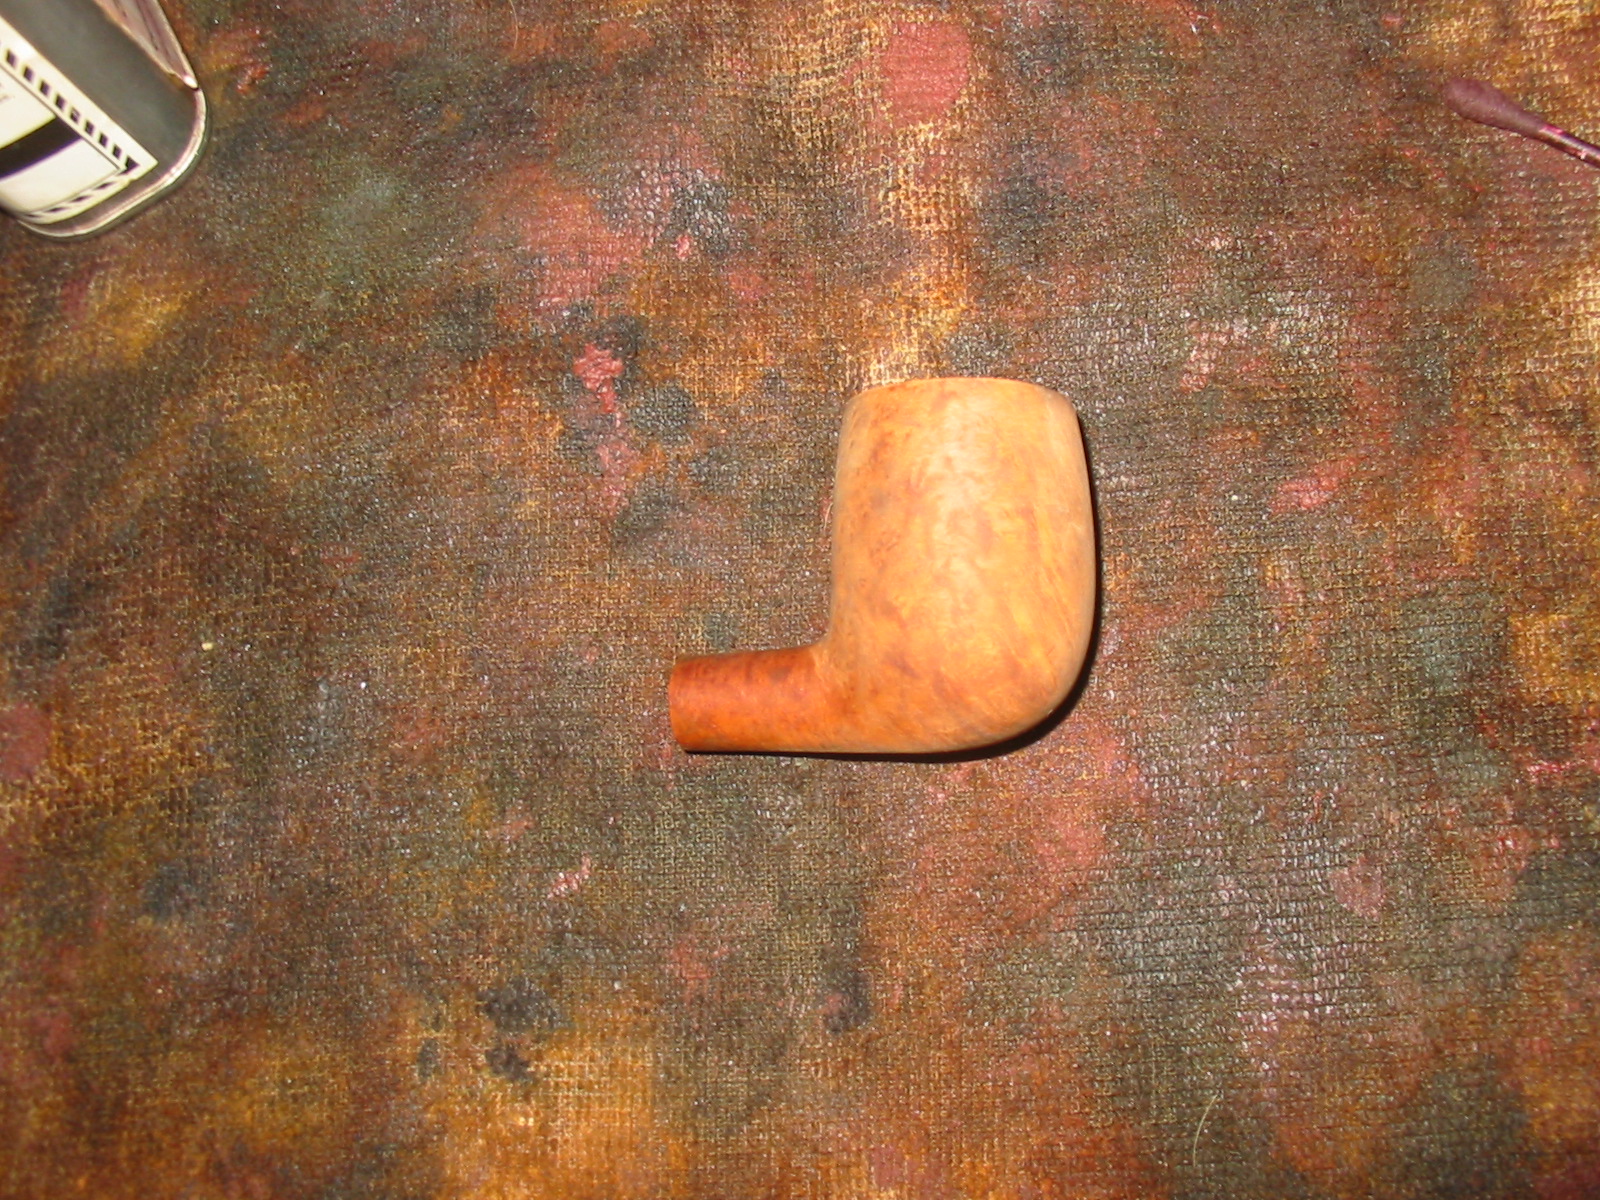
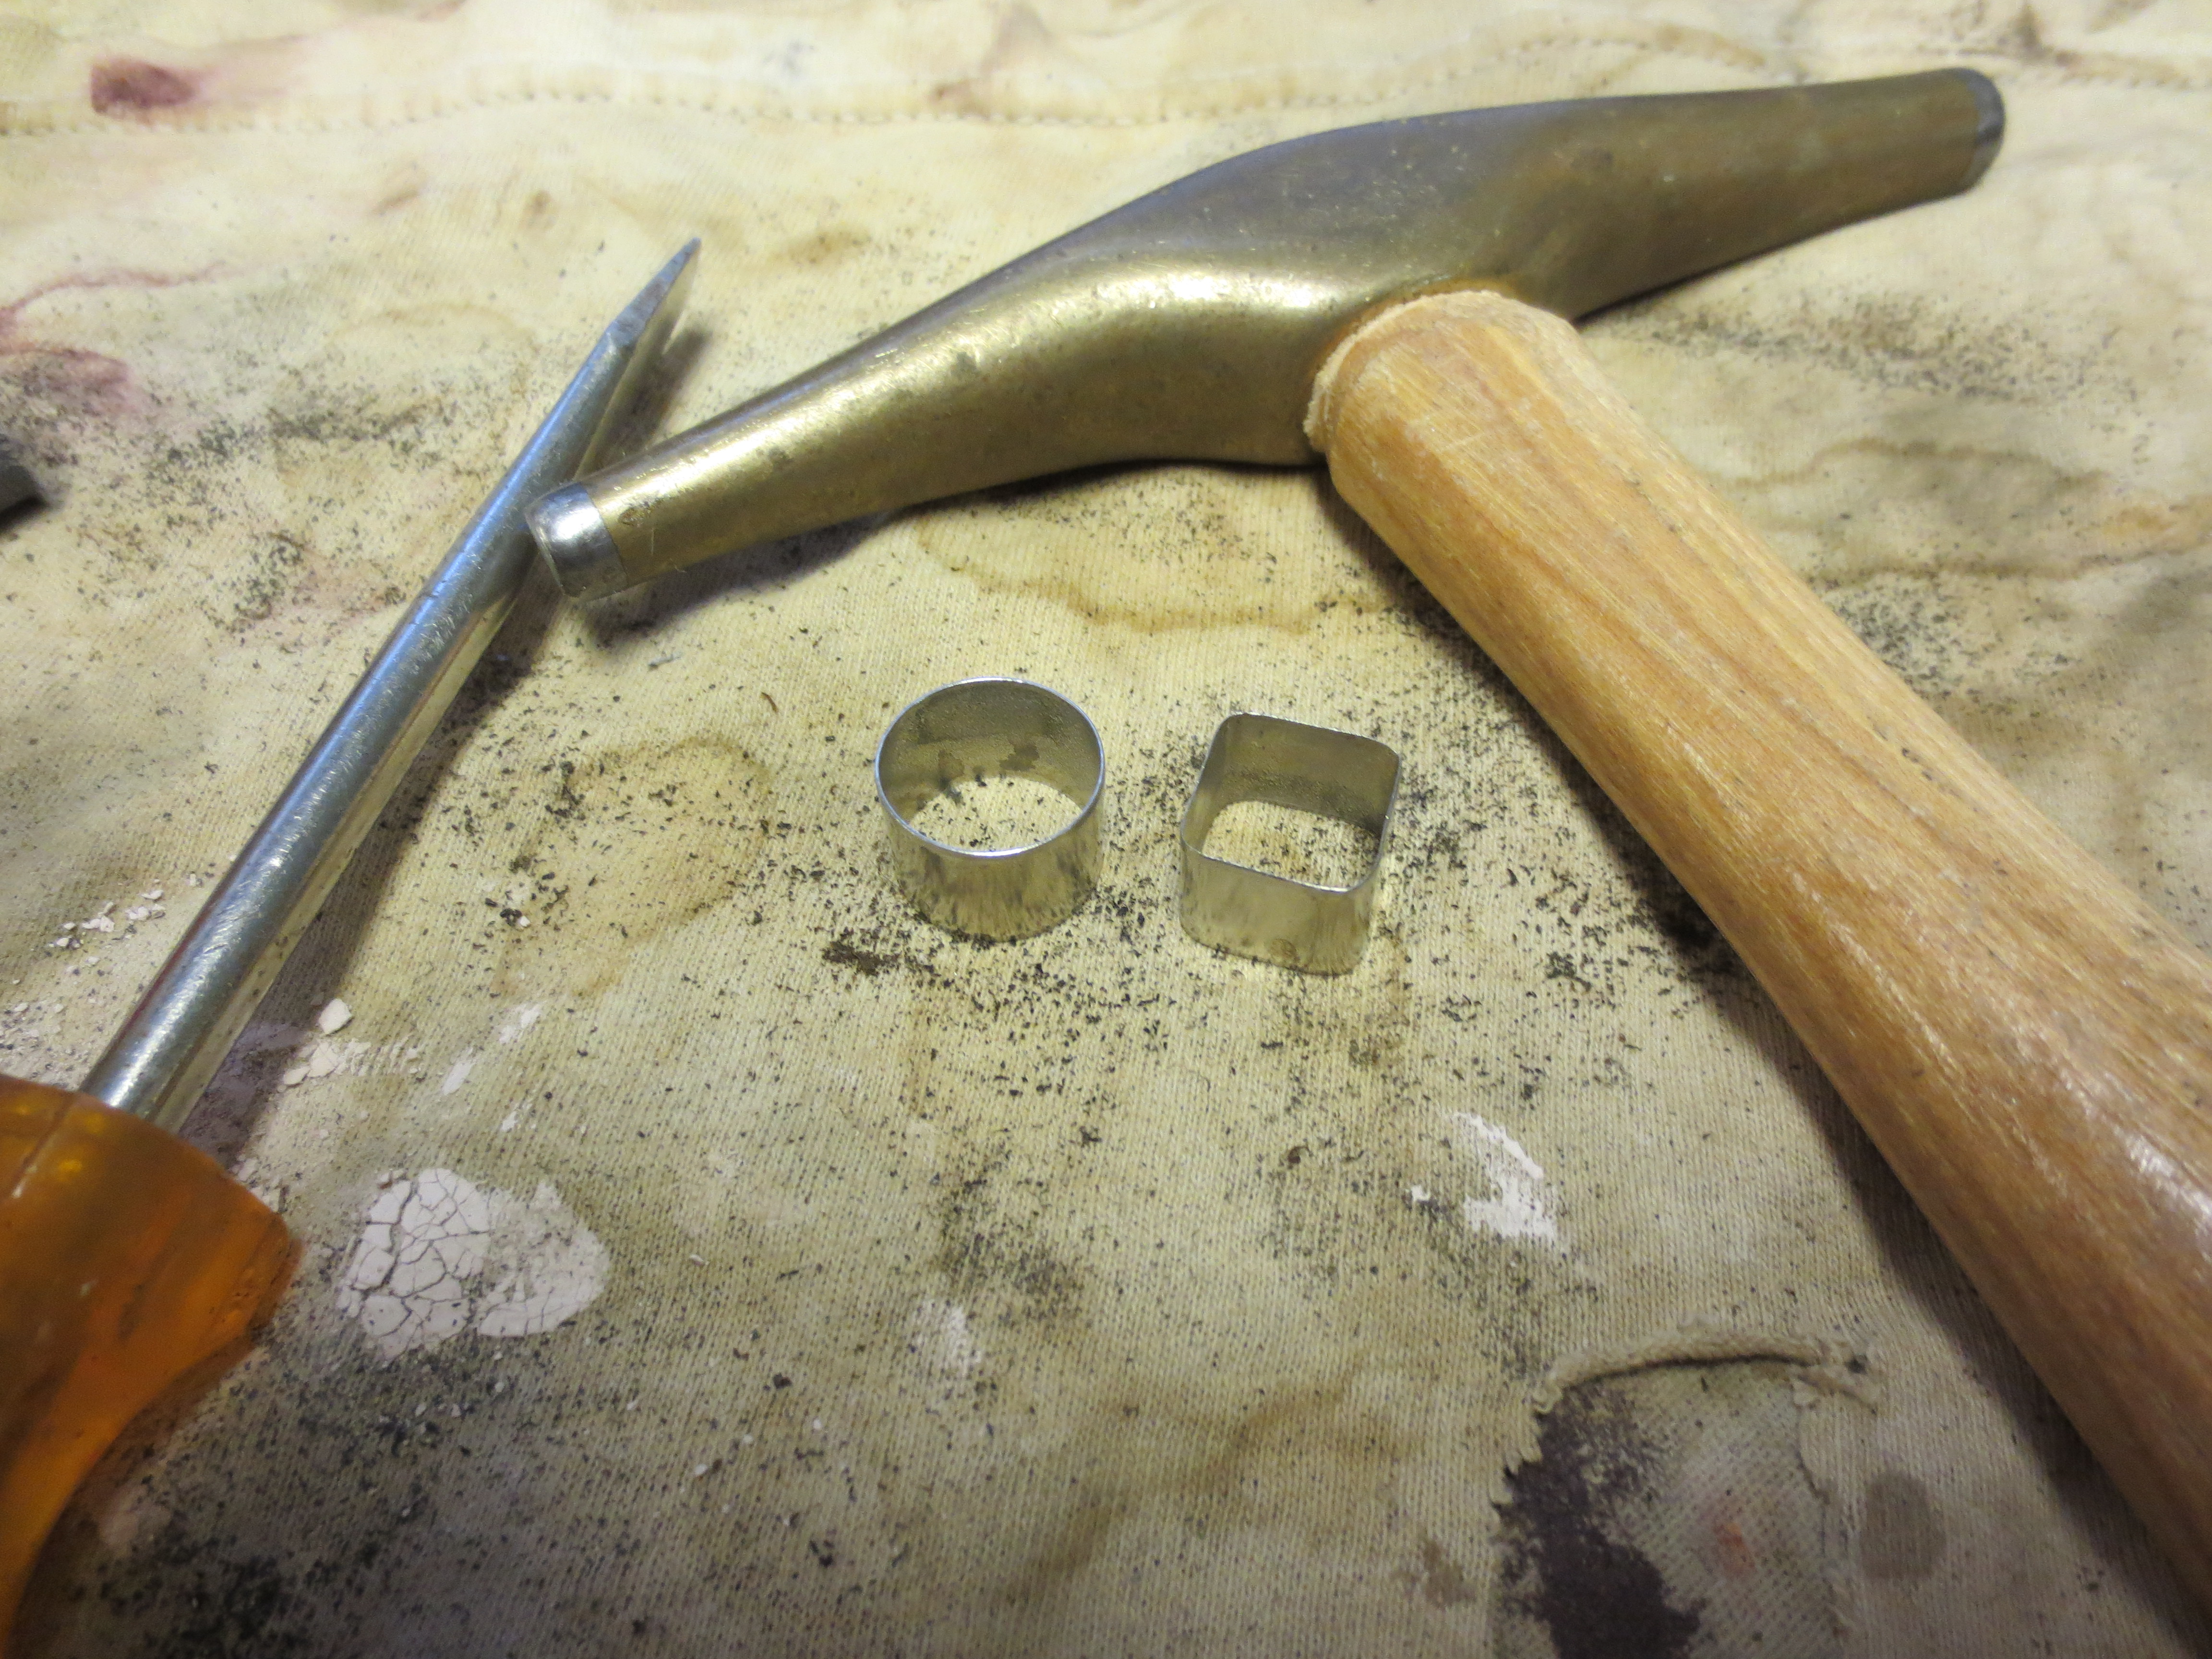
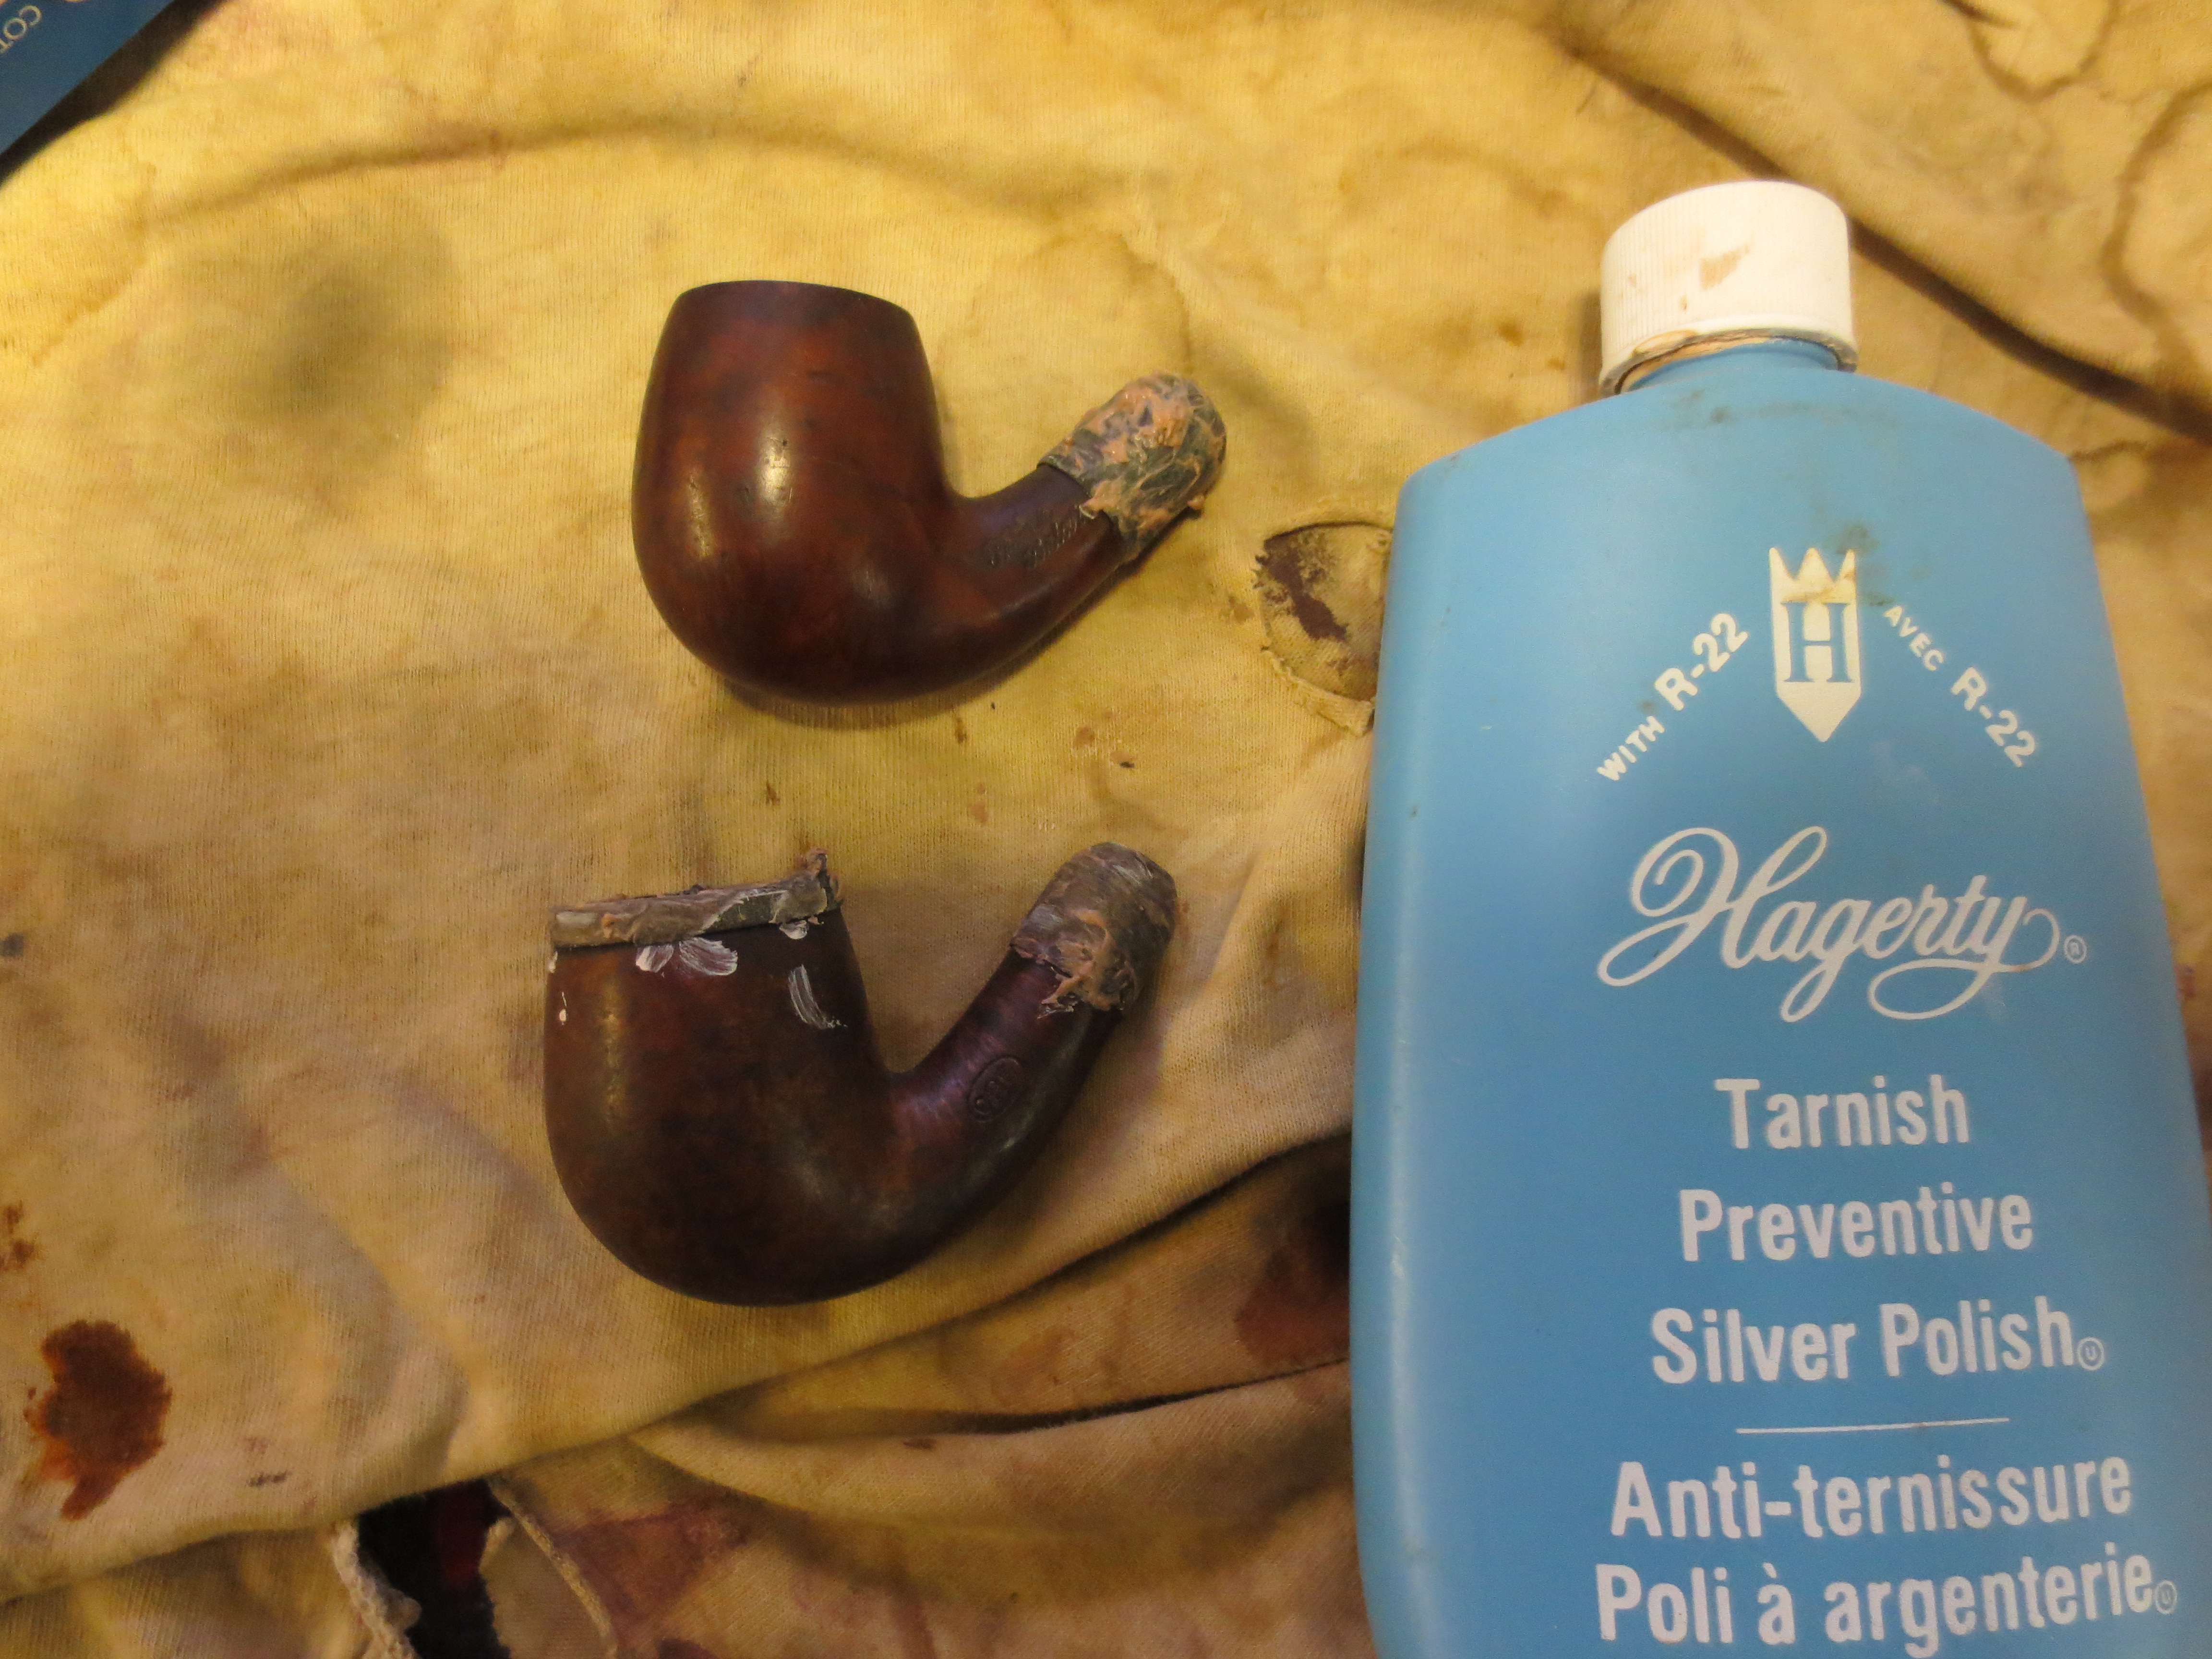
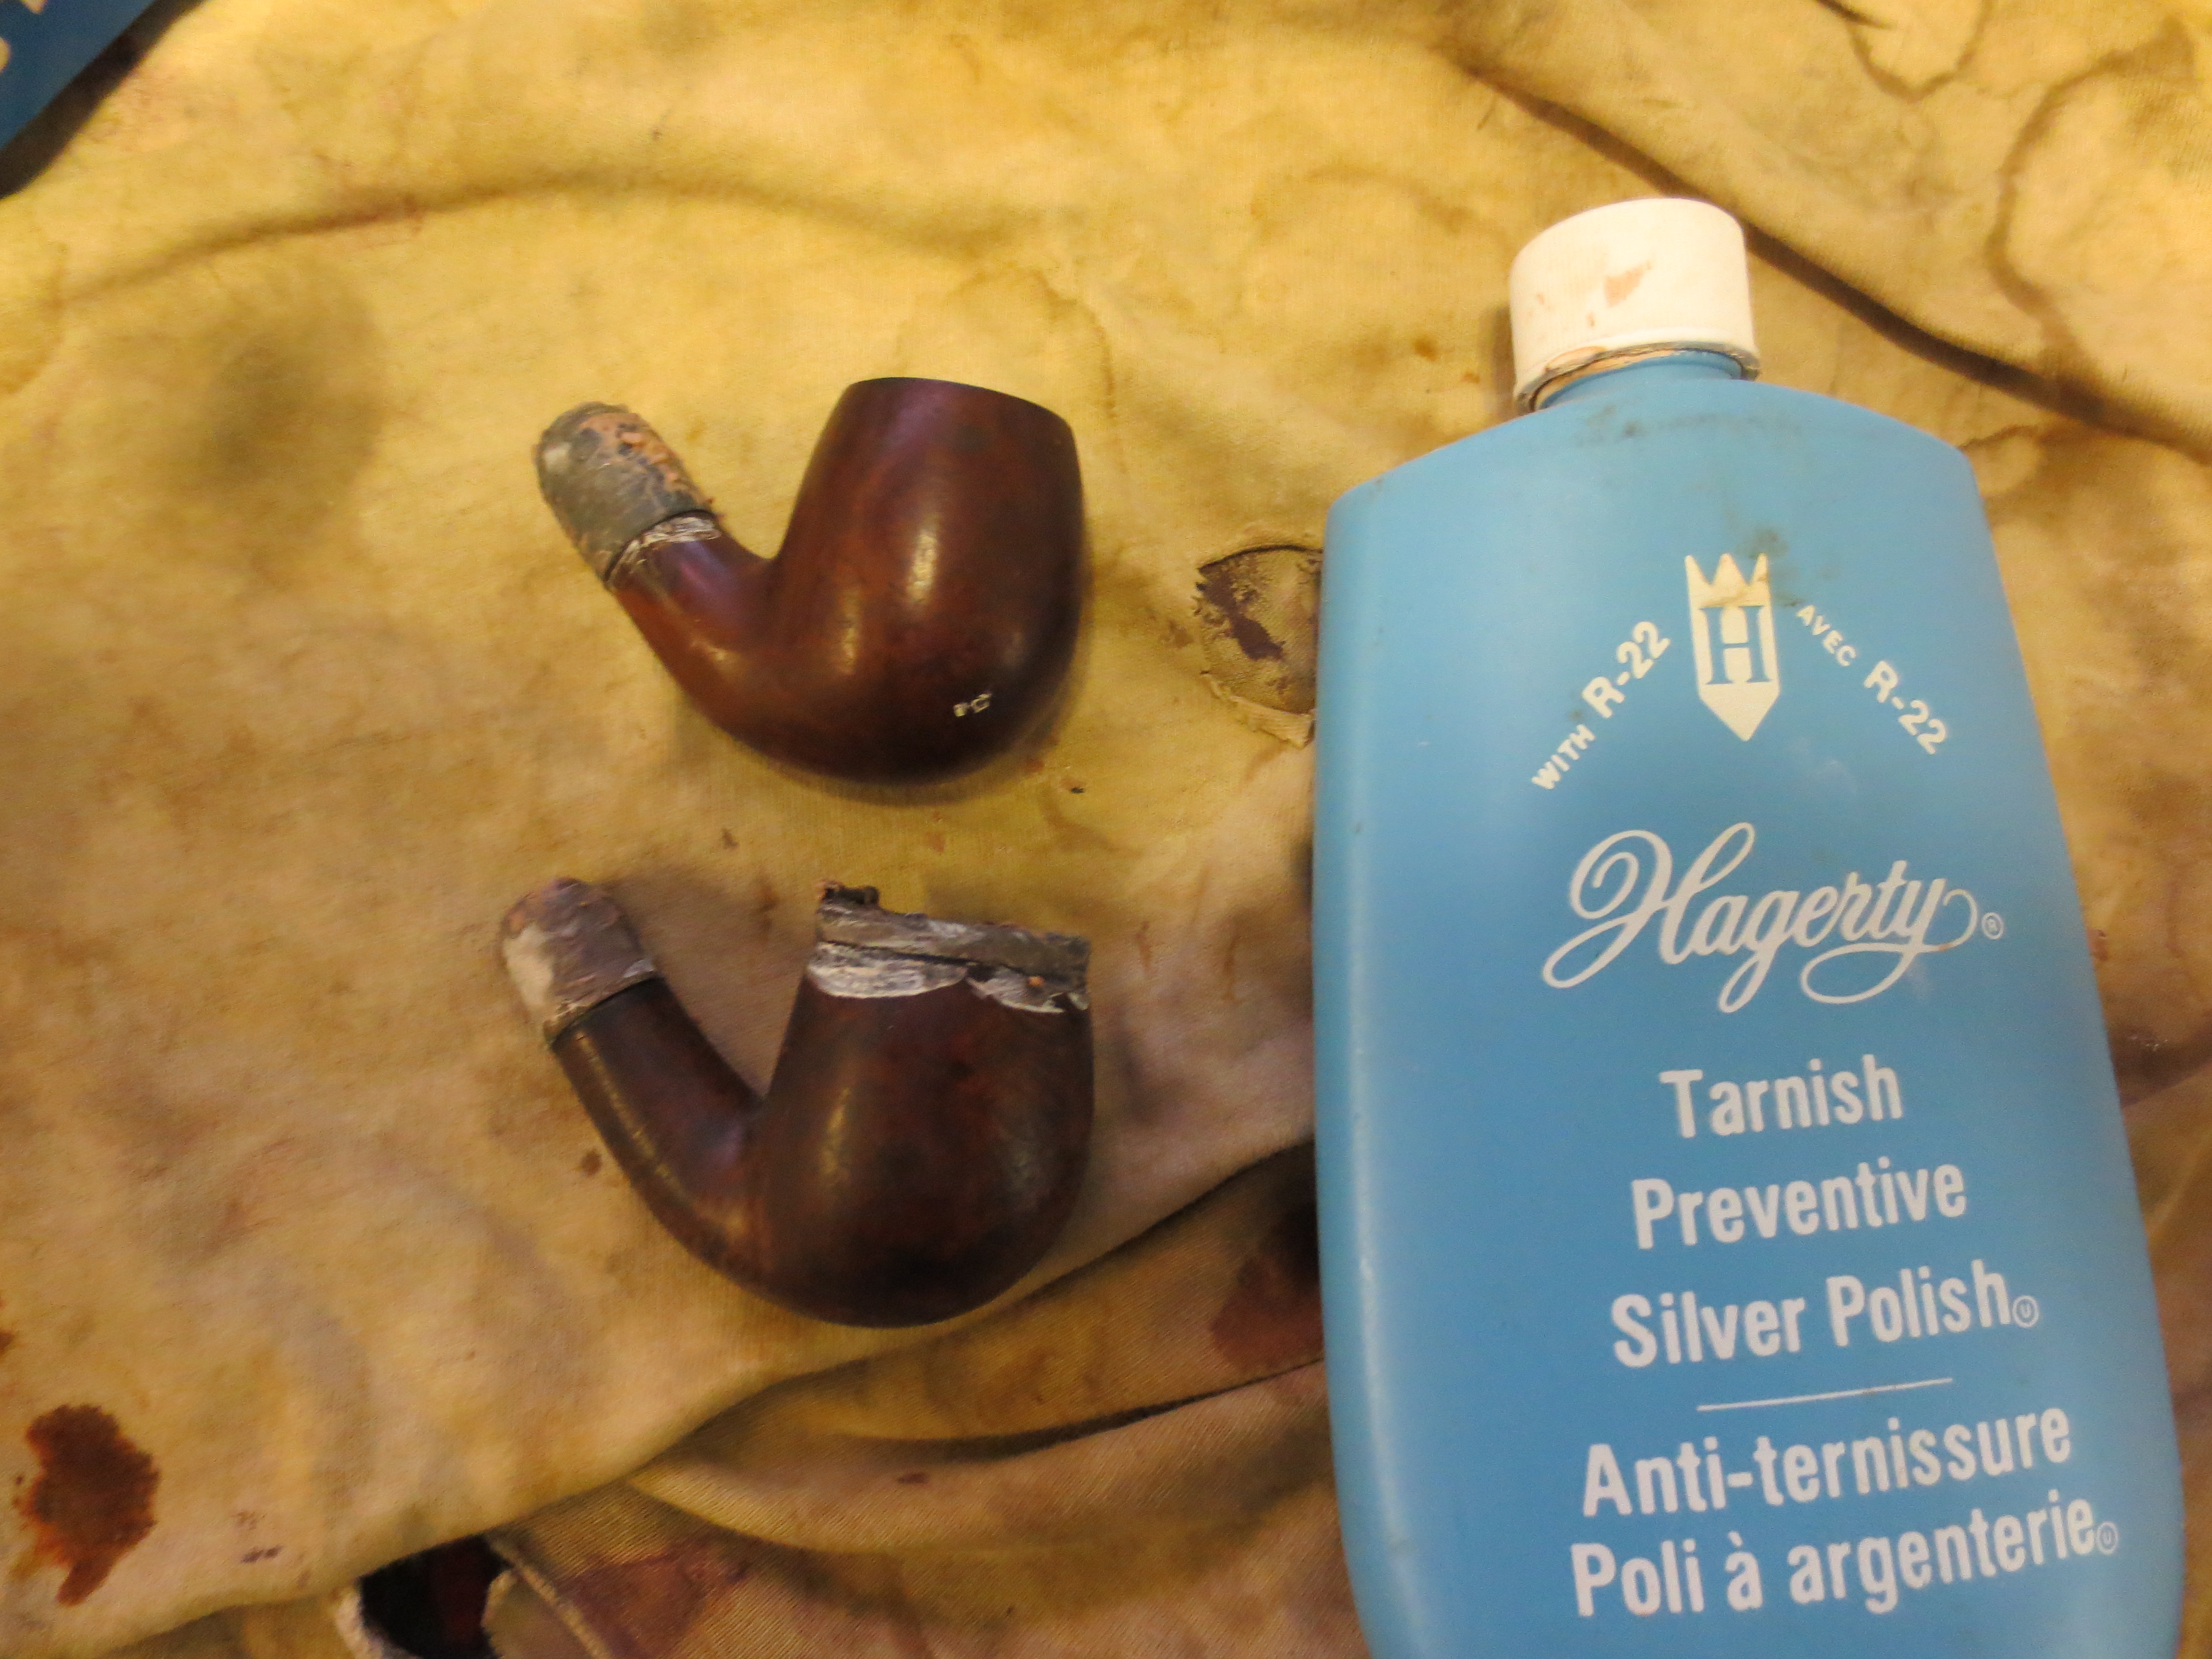
This old time long shanked bulldog was a mess when I got it. At first glance it looks pretty good. But it was not. The shank had previously been banded and that band was lost. It was a deep band and filigreed so it left marks. There were also two large cracks in the shank that extended about an inch into the length. The rim was clean but the top portion of the bulldog shape – above the double rings was also stained and filled with holes from the nails that had held the decorated rim cap in place. There were four holes – back, front and both sides. There were also deep gouges where the decorative border had cut into the briar. The stamping was faint and read EPW in an oval. There was no stem with this one either so it would need to have one made. The overall finish on the bowl was not too bad in that it was not dented or burned or damaged on the sides and undersides of the bowl.  I decided to try banding the shank and see what I could do about the cracks on the top right side of the shank and the lower left side of the shank. They would in all likelihood be an issue. I did not have a deep band so I tried with a narrower band (about ½ inch deep). I shaped a round band with a flat blade screwdriver and a hammer until it was the right shape to fit the shank. I heated the band and pressed it into place.

IMG_0683

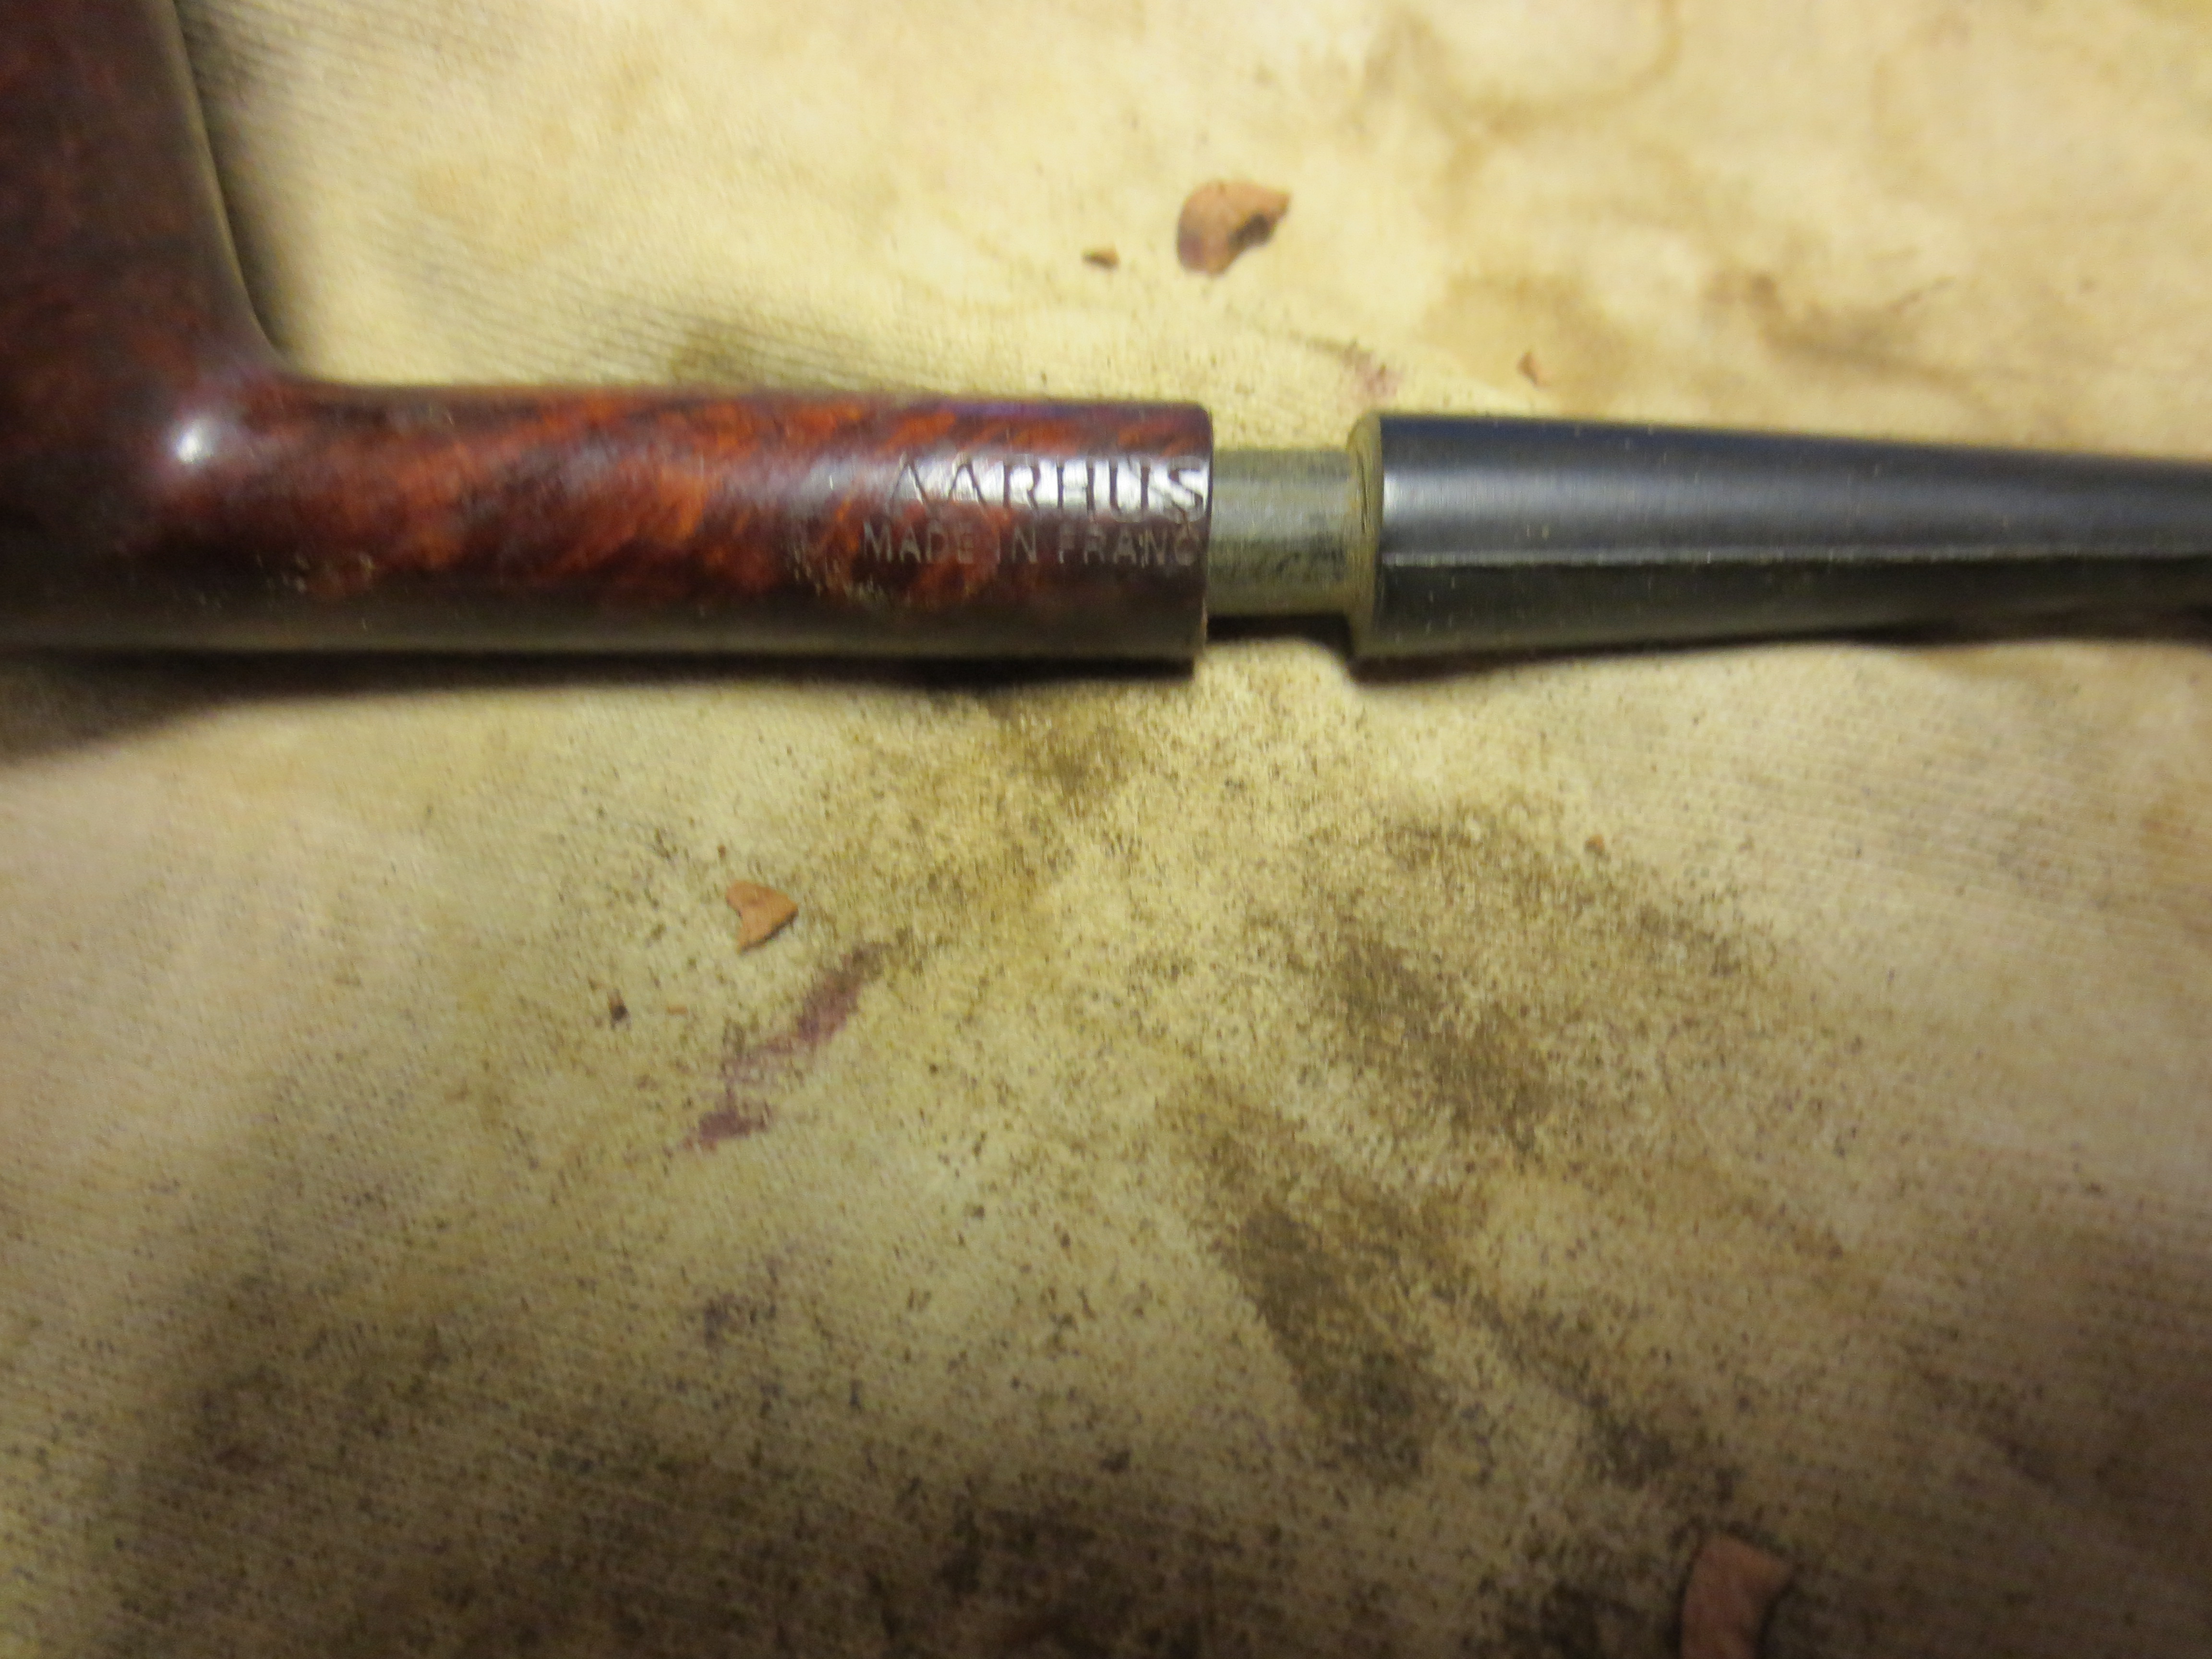
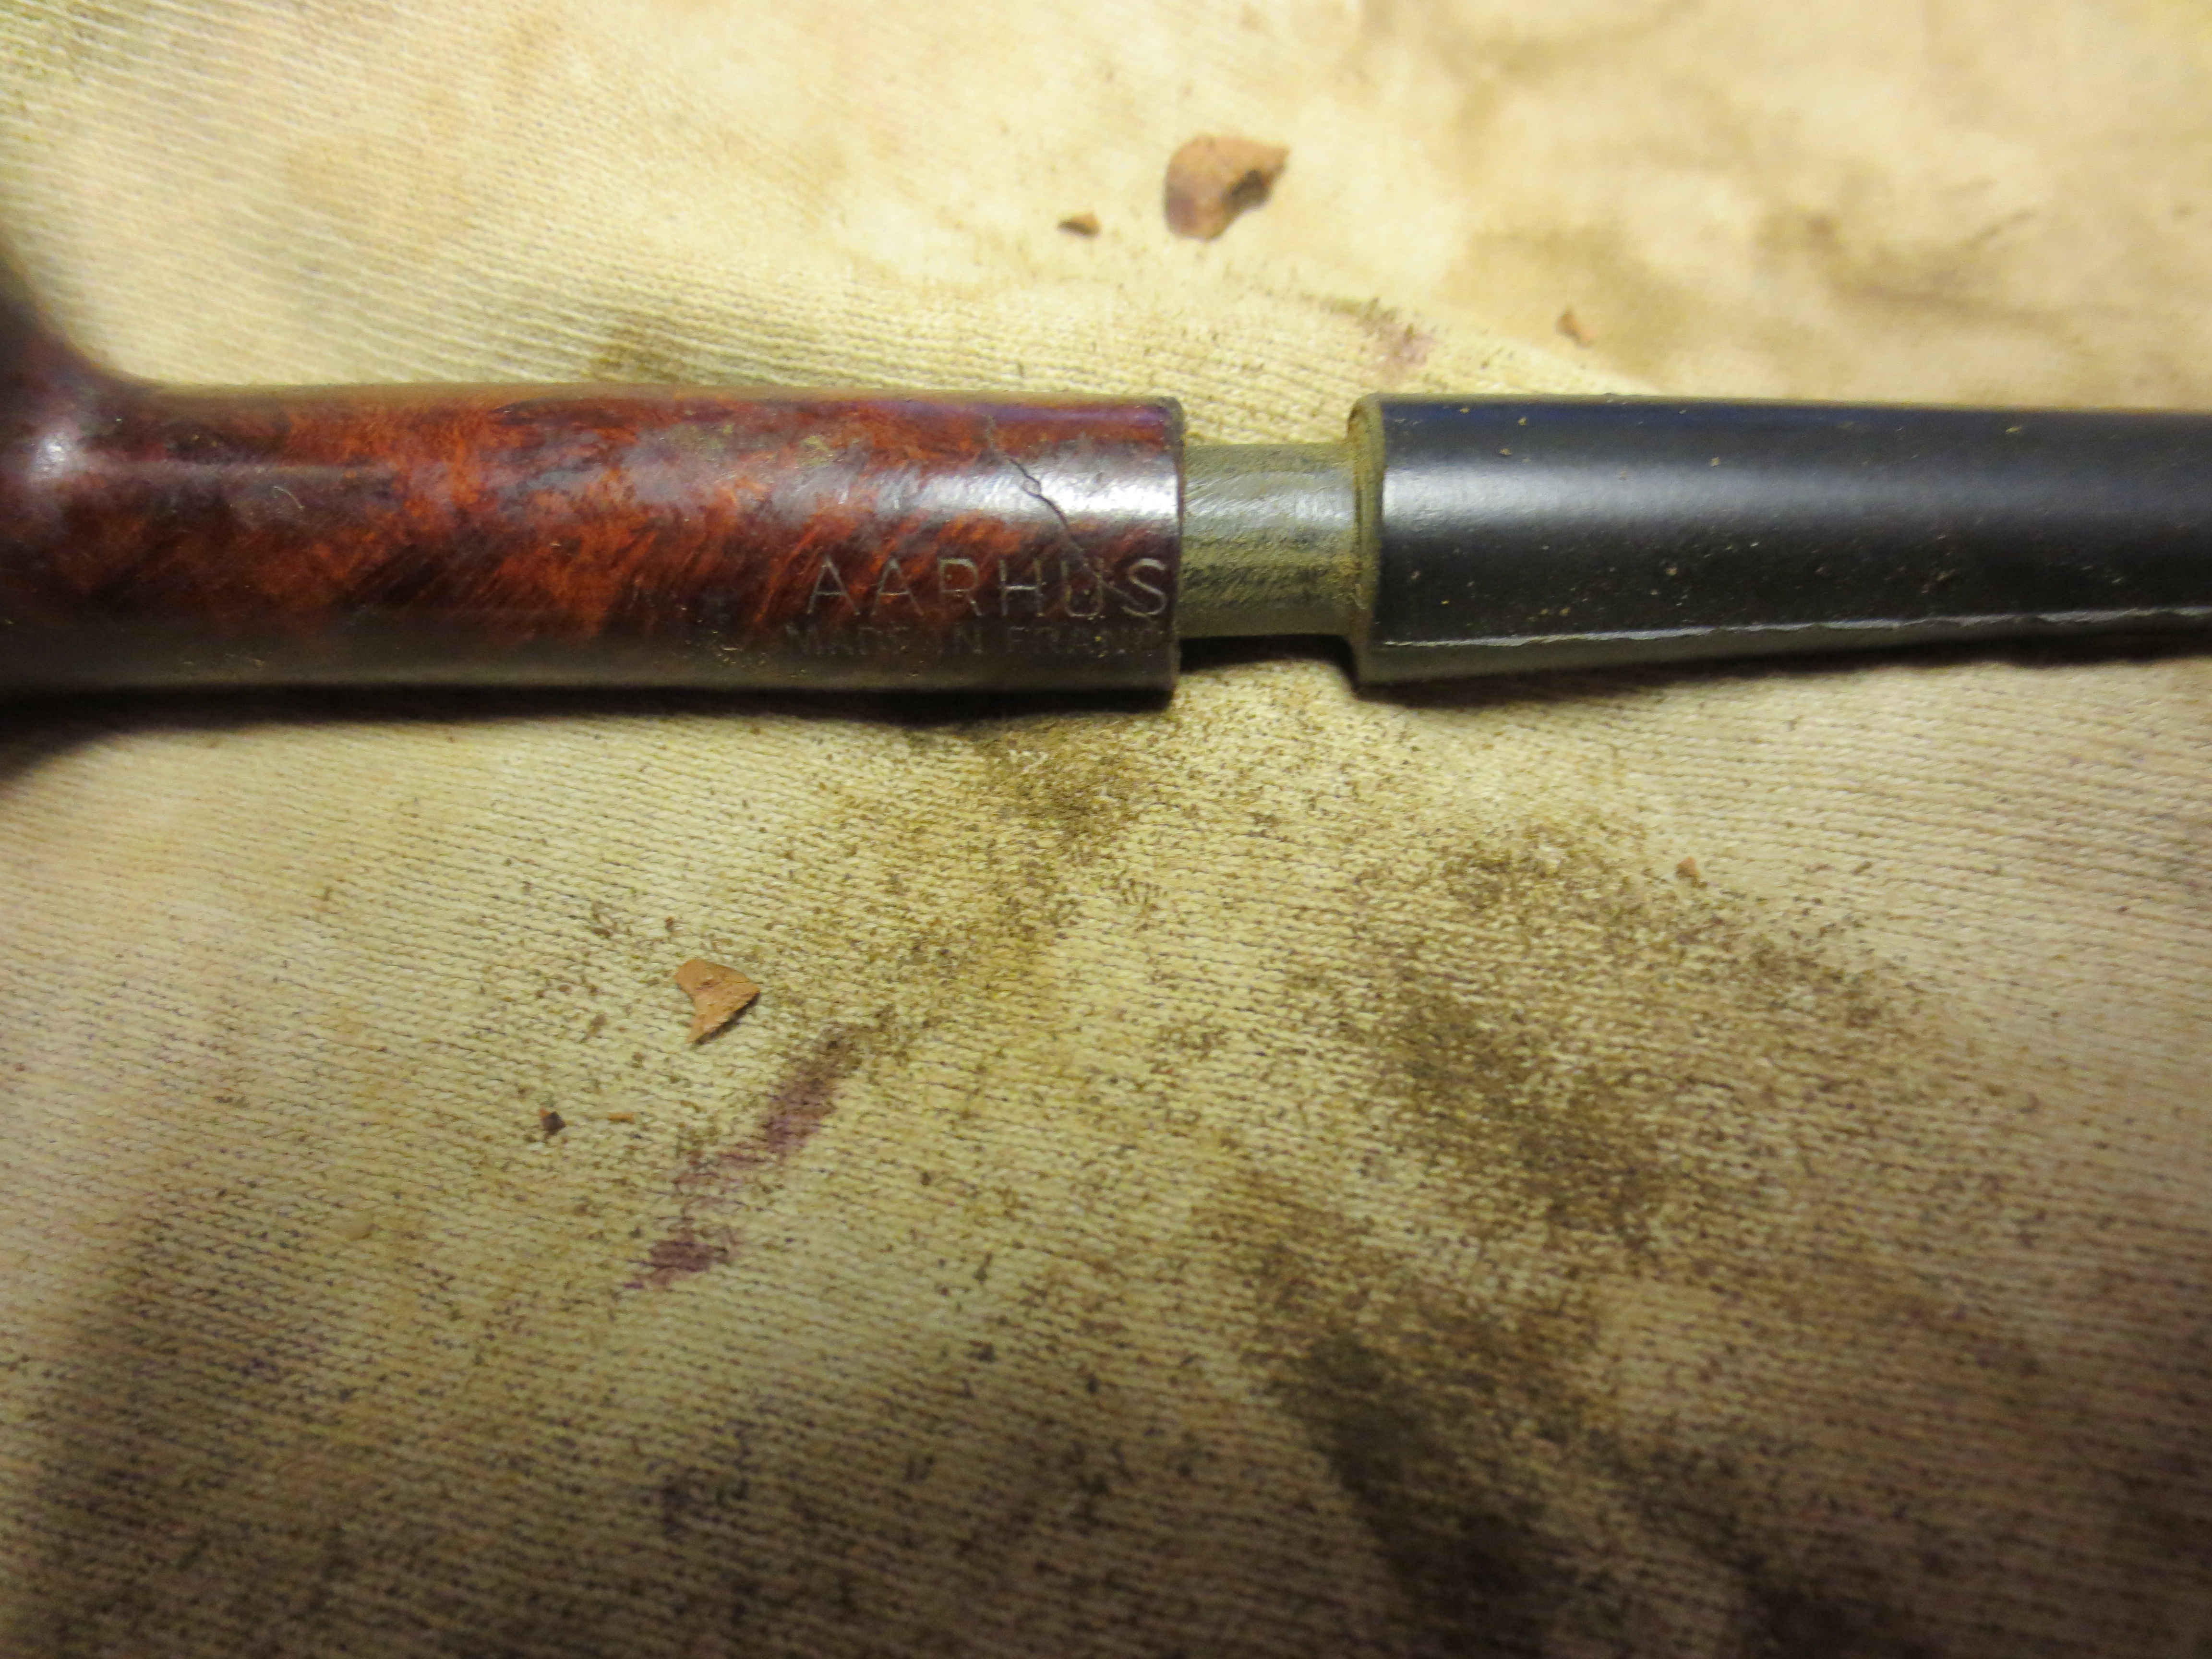
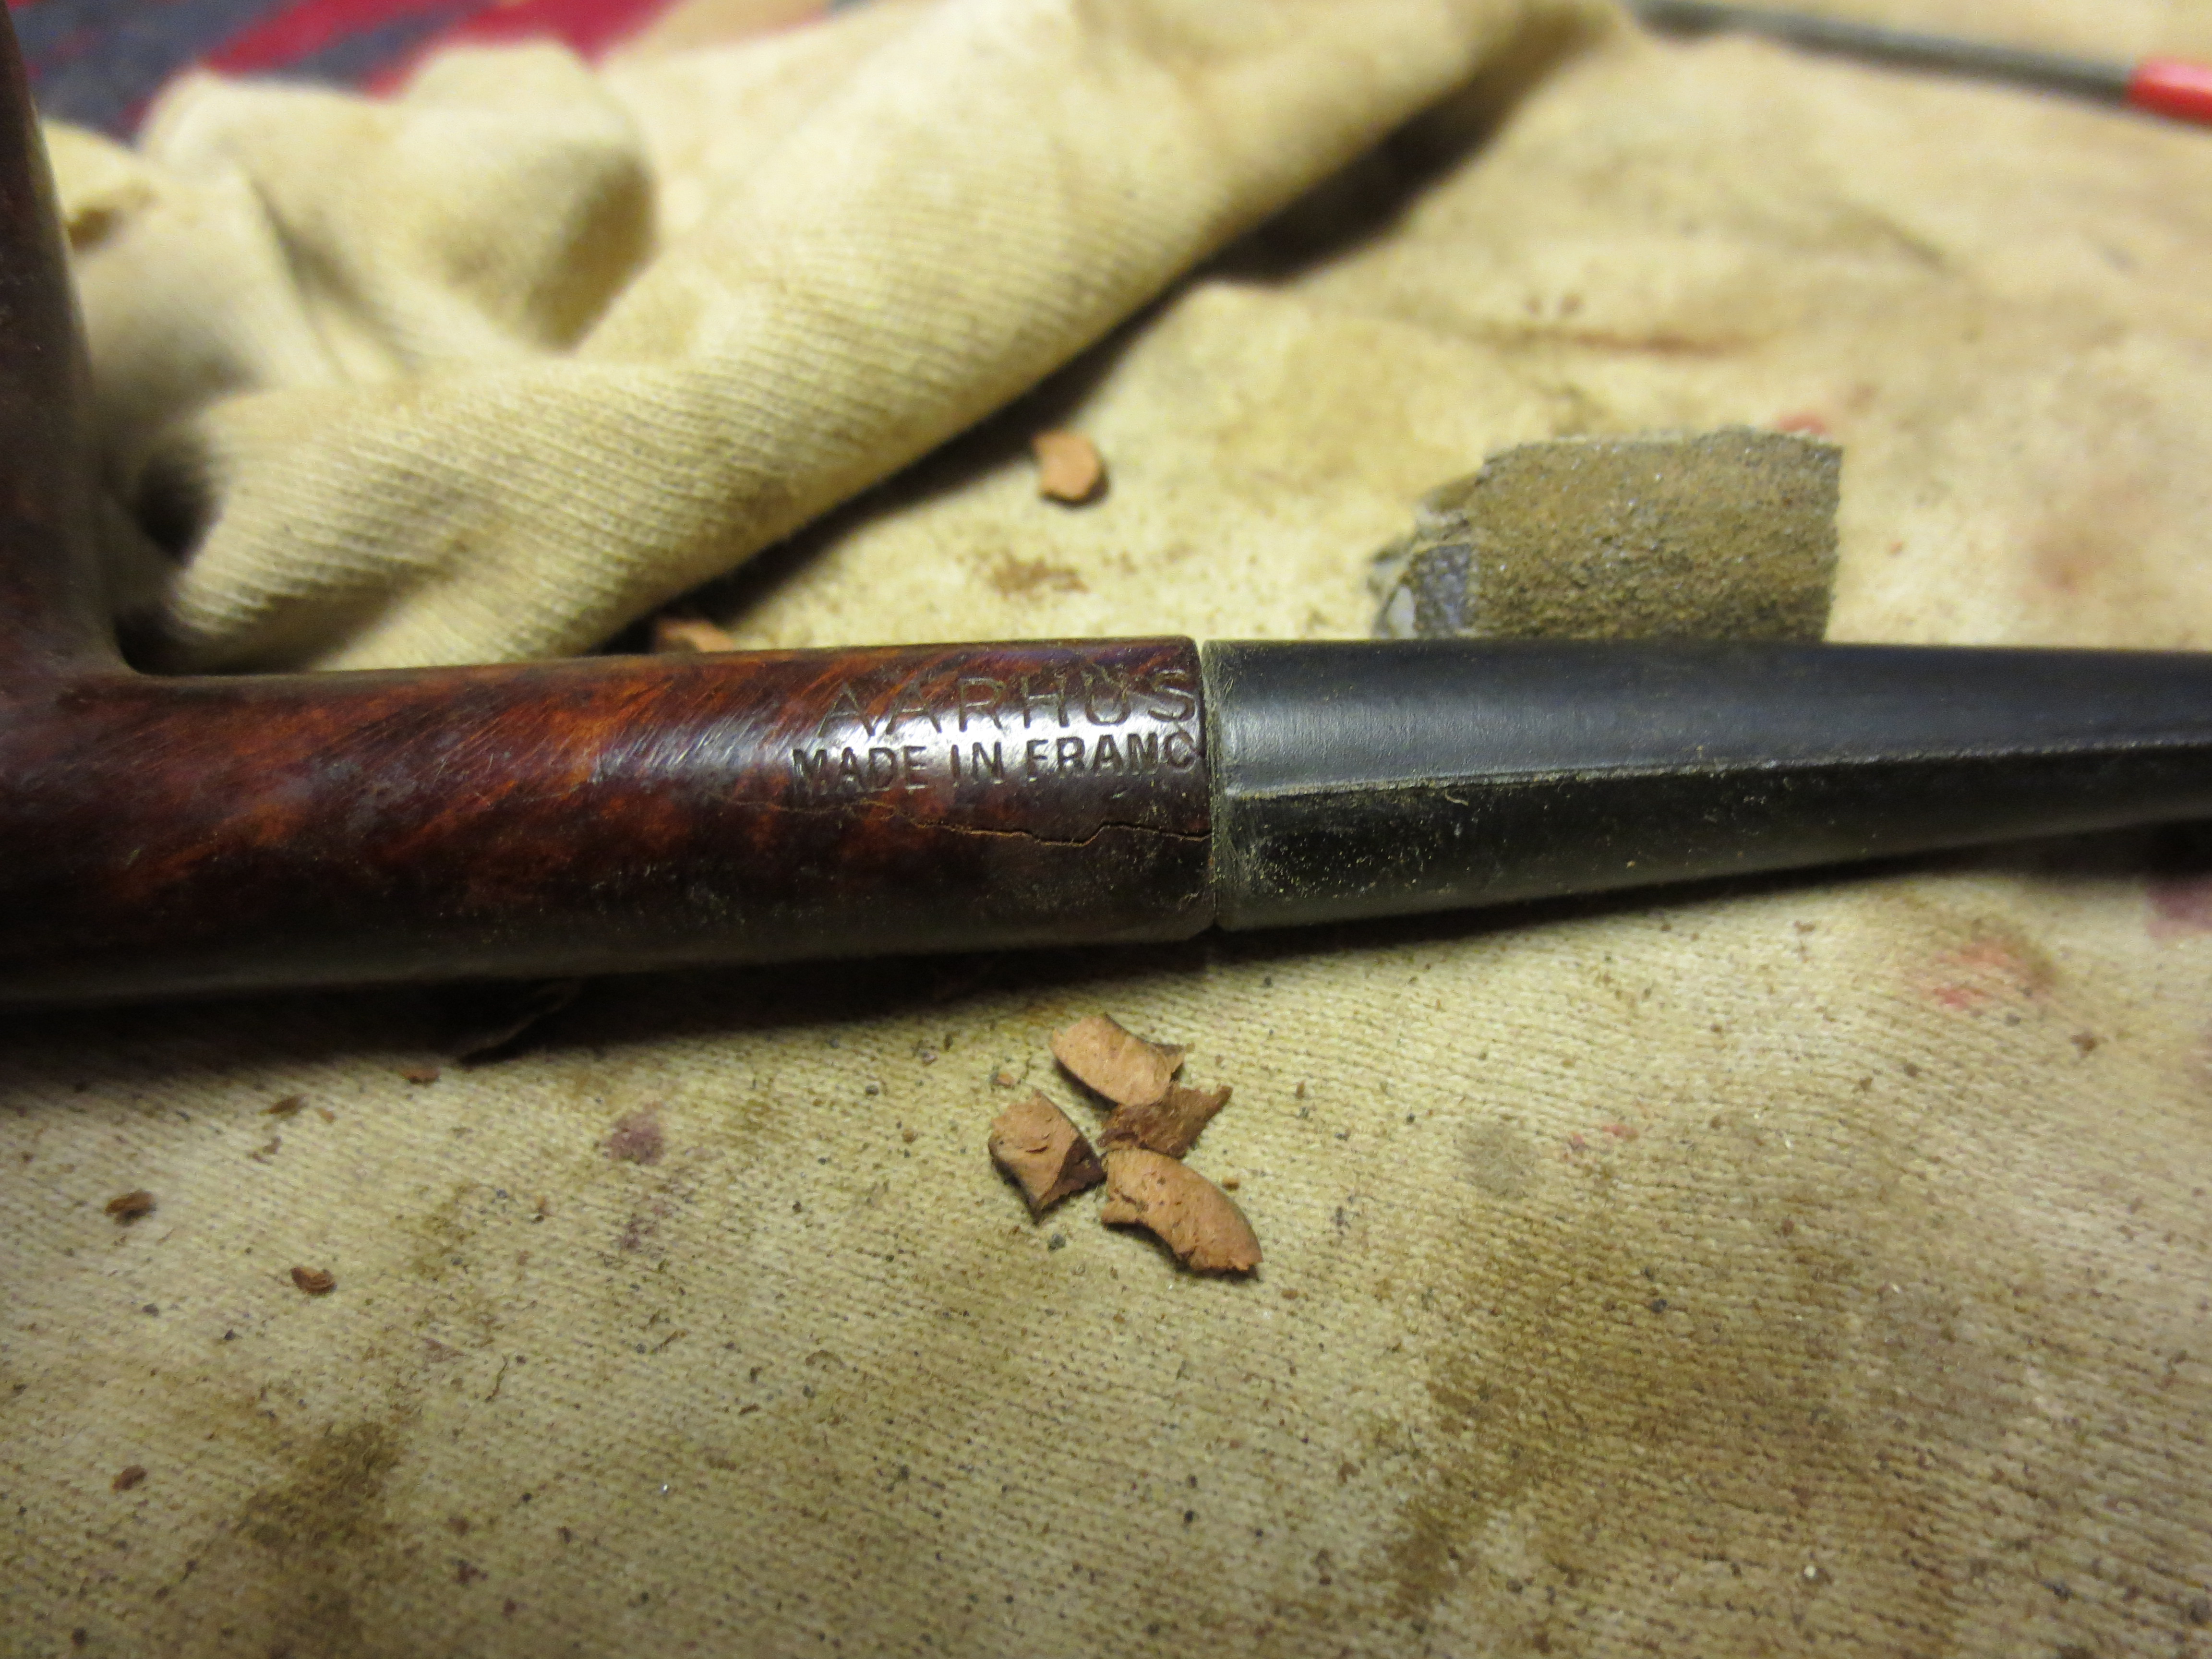
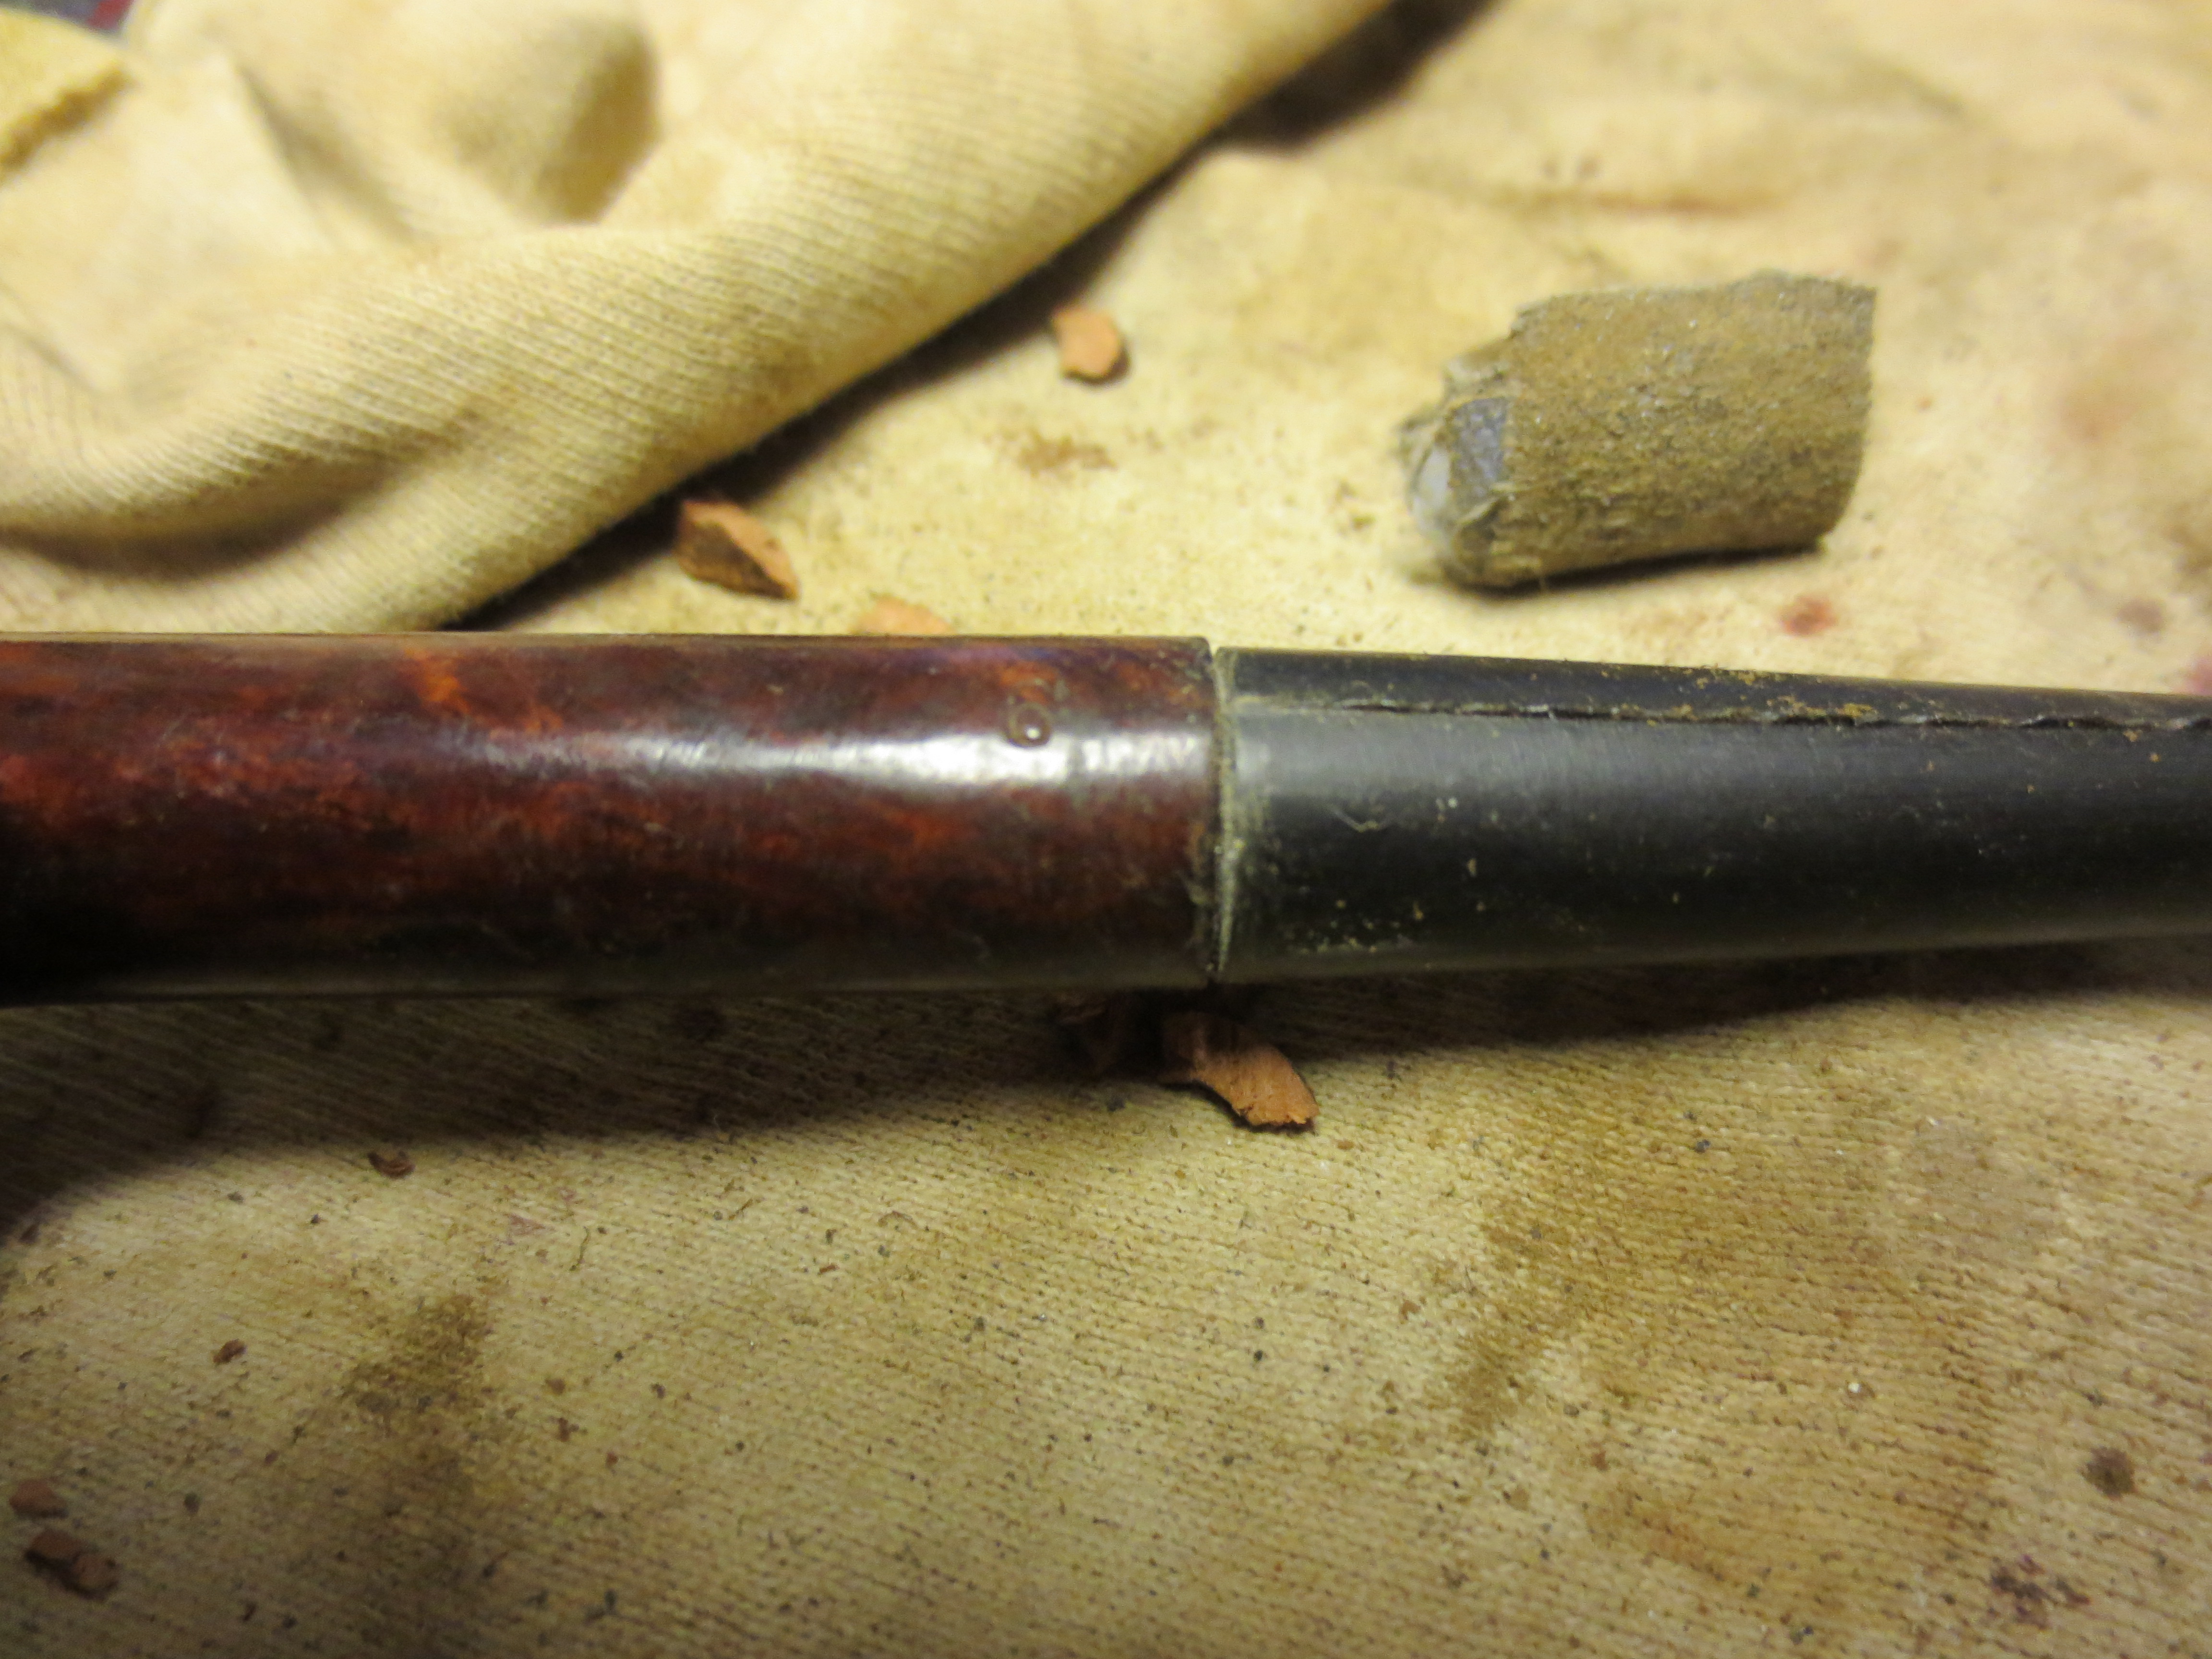
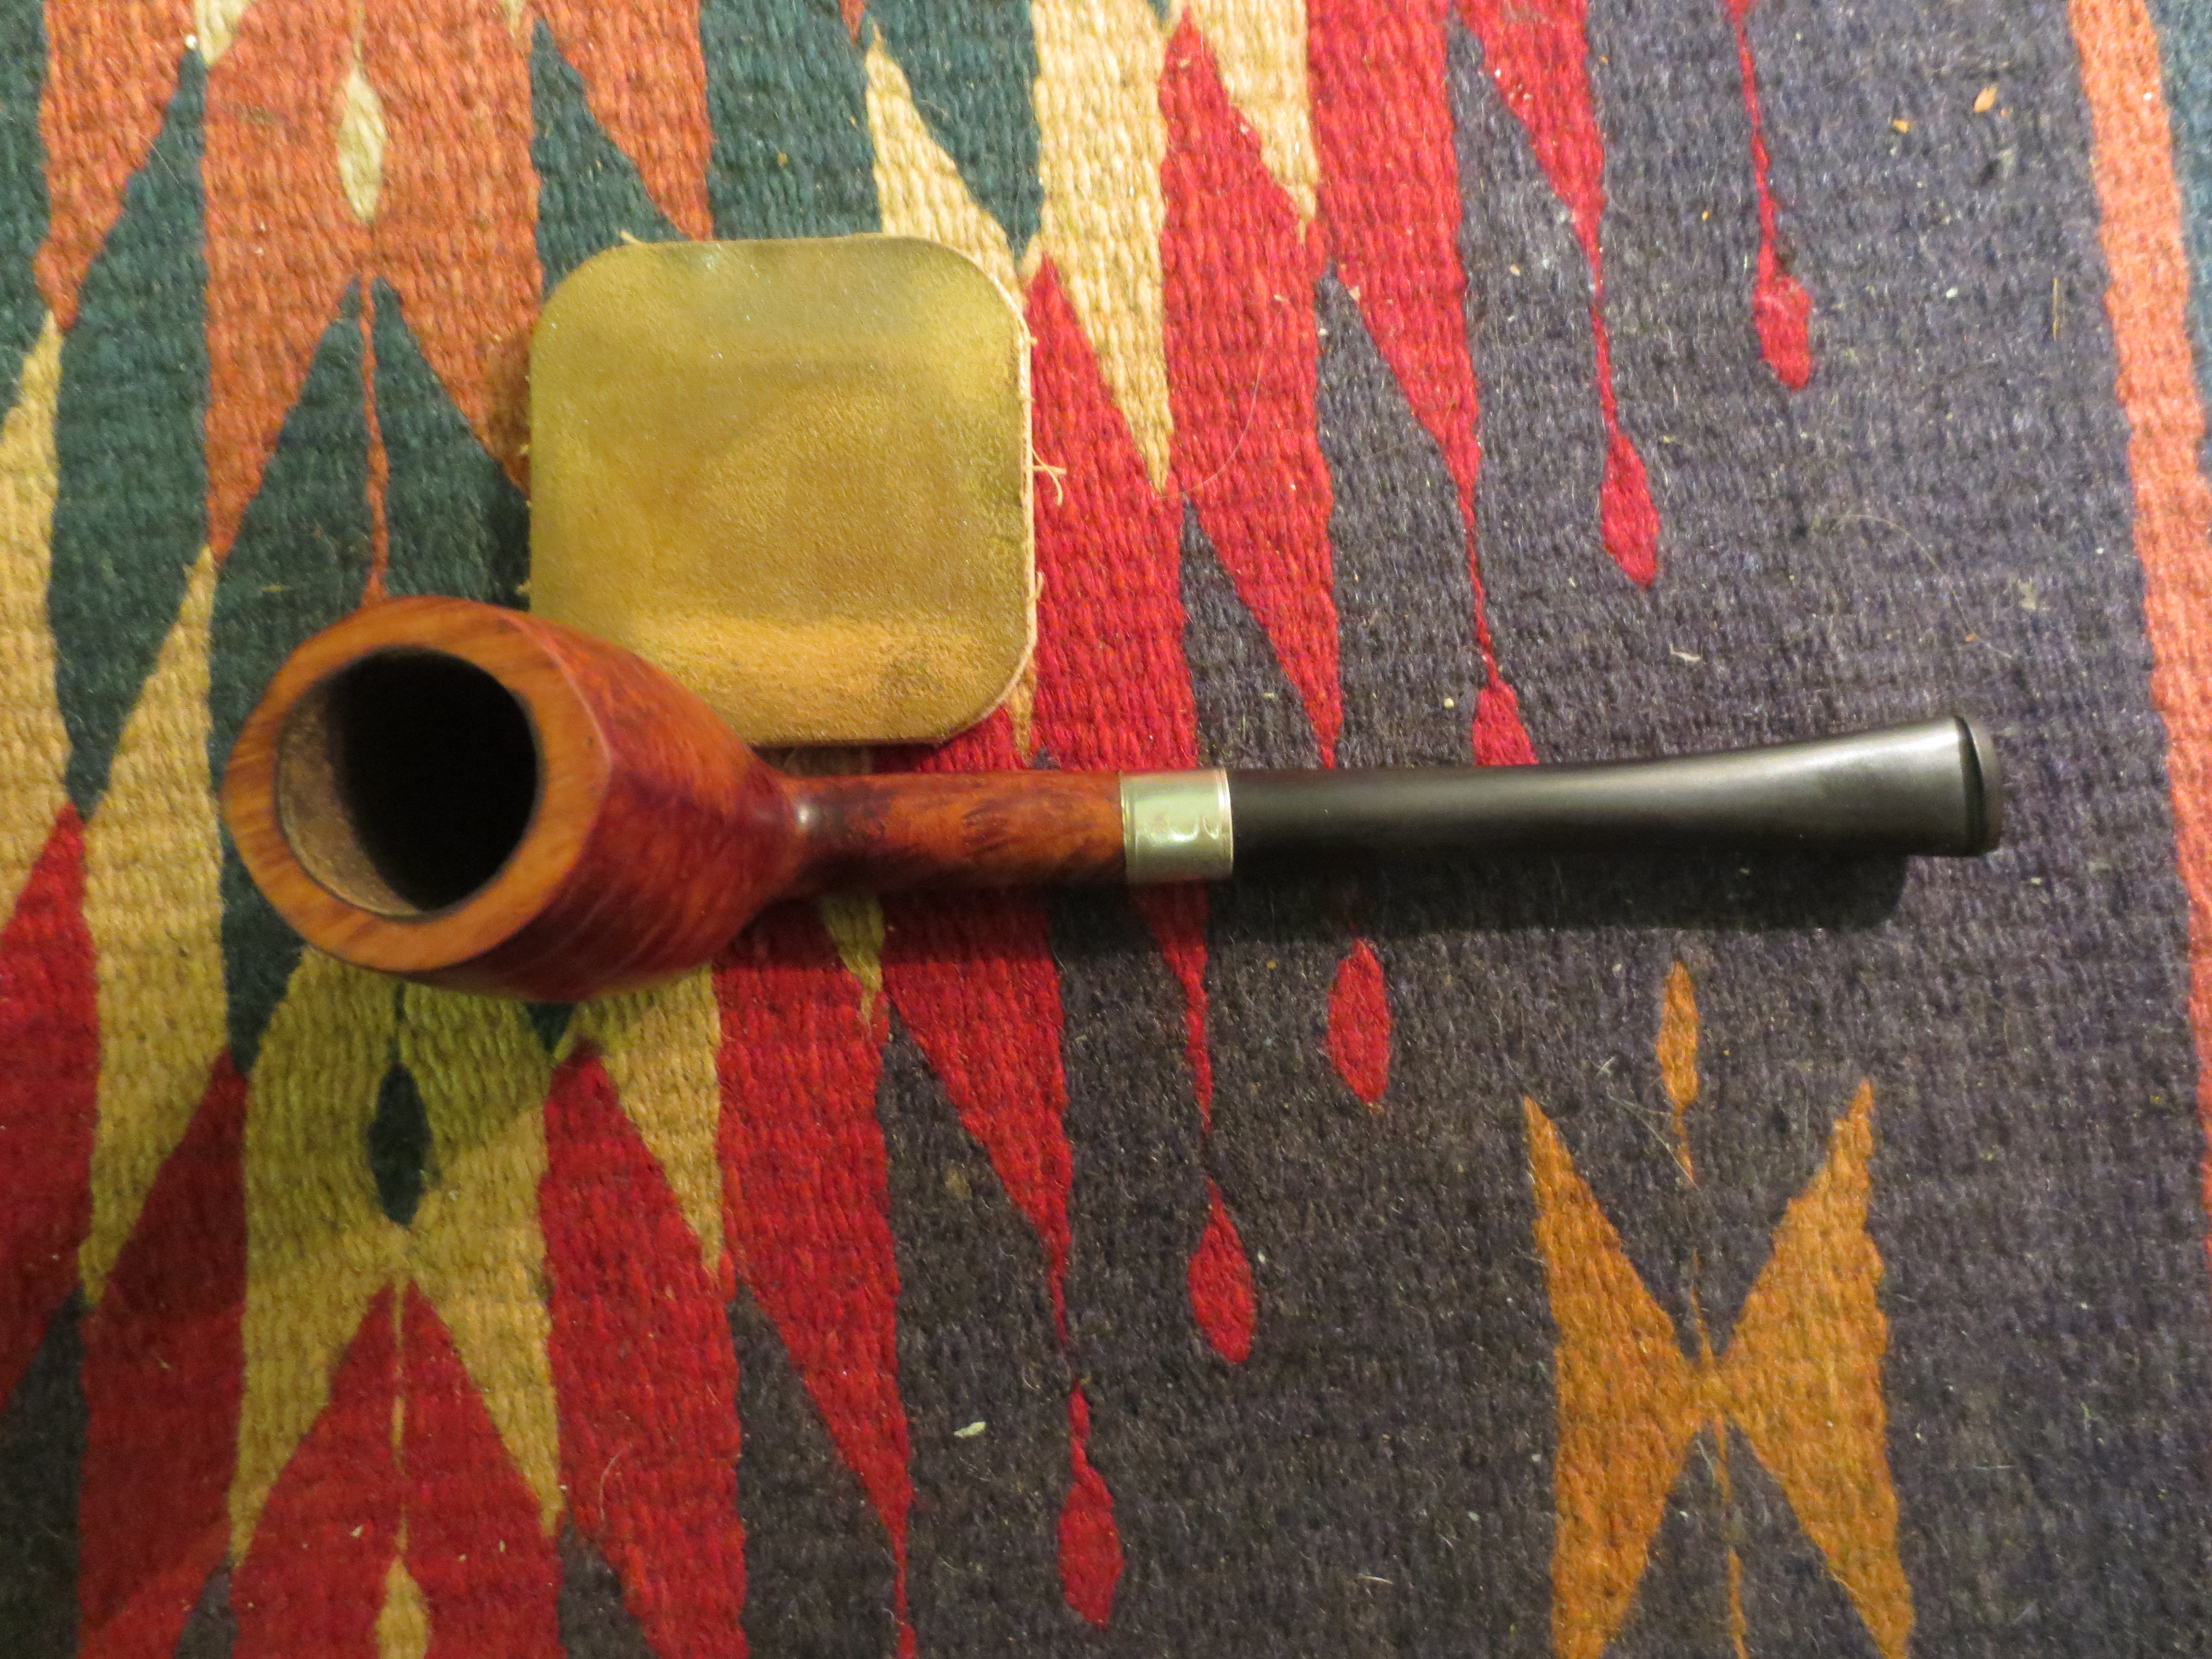
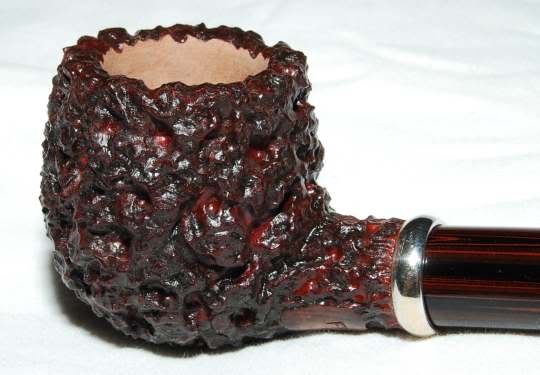
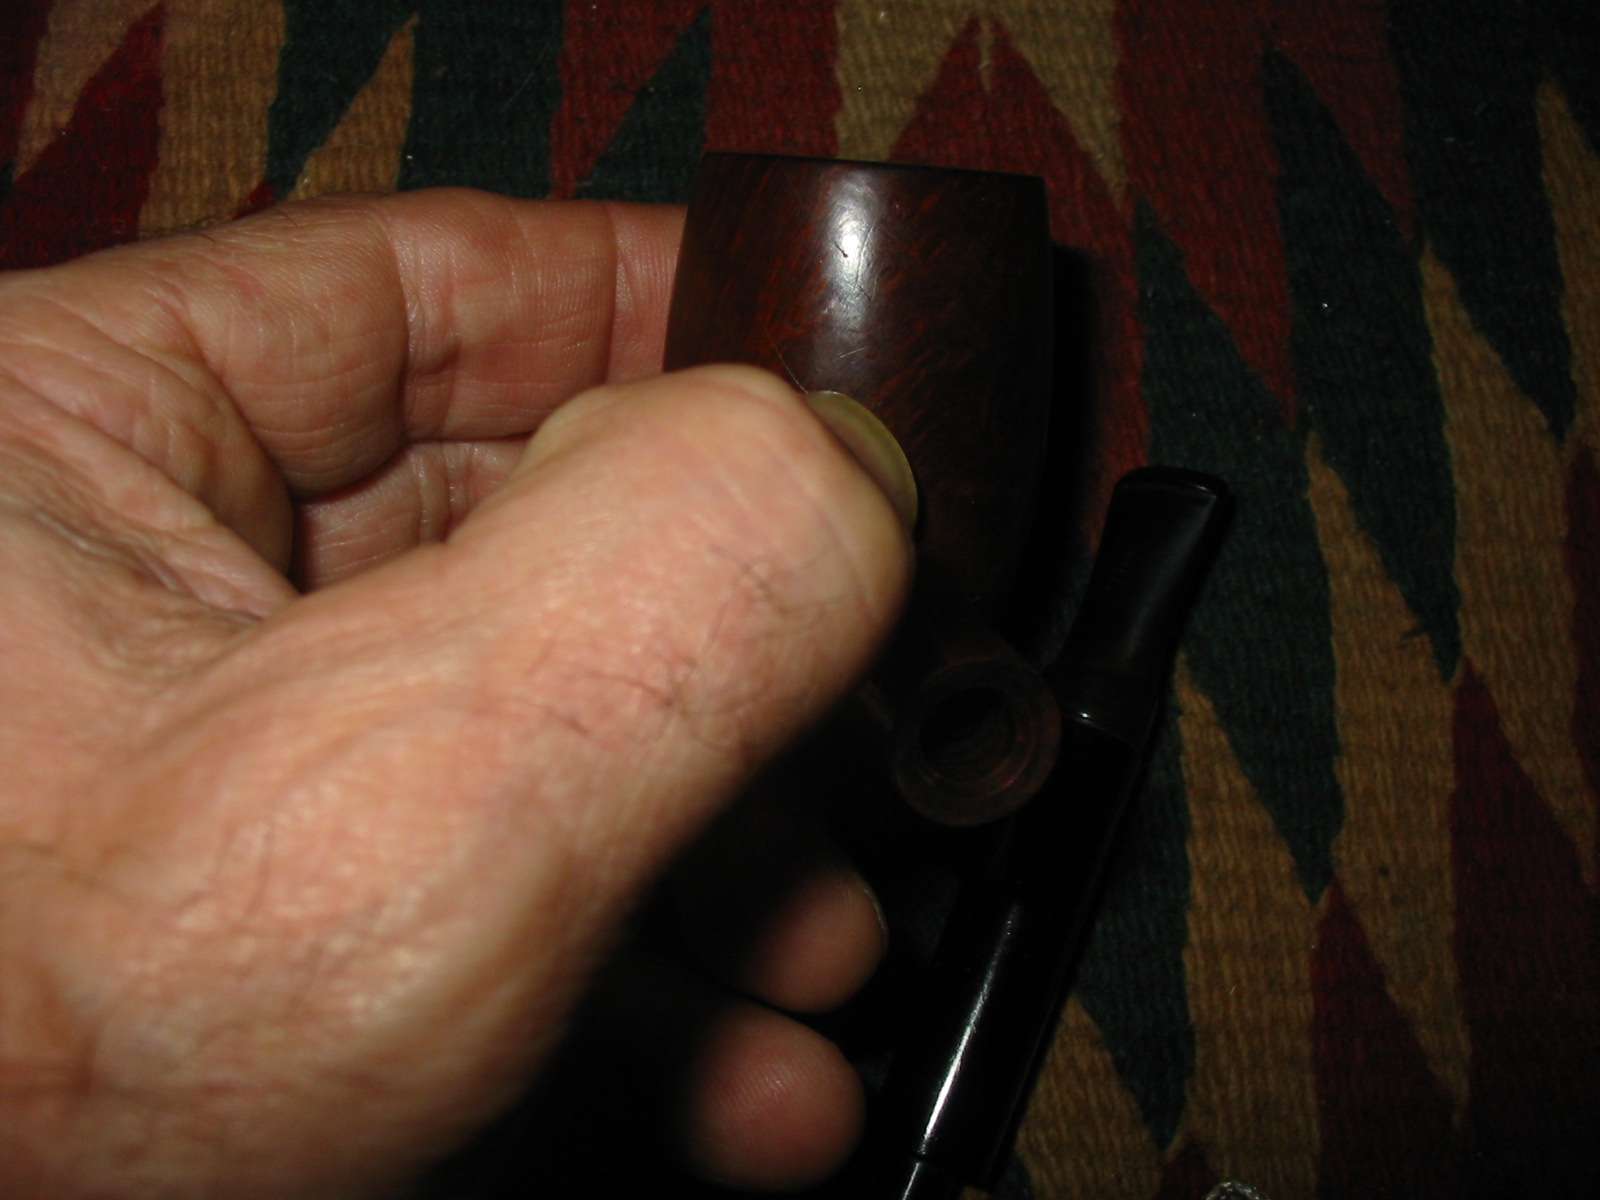
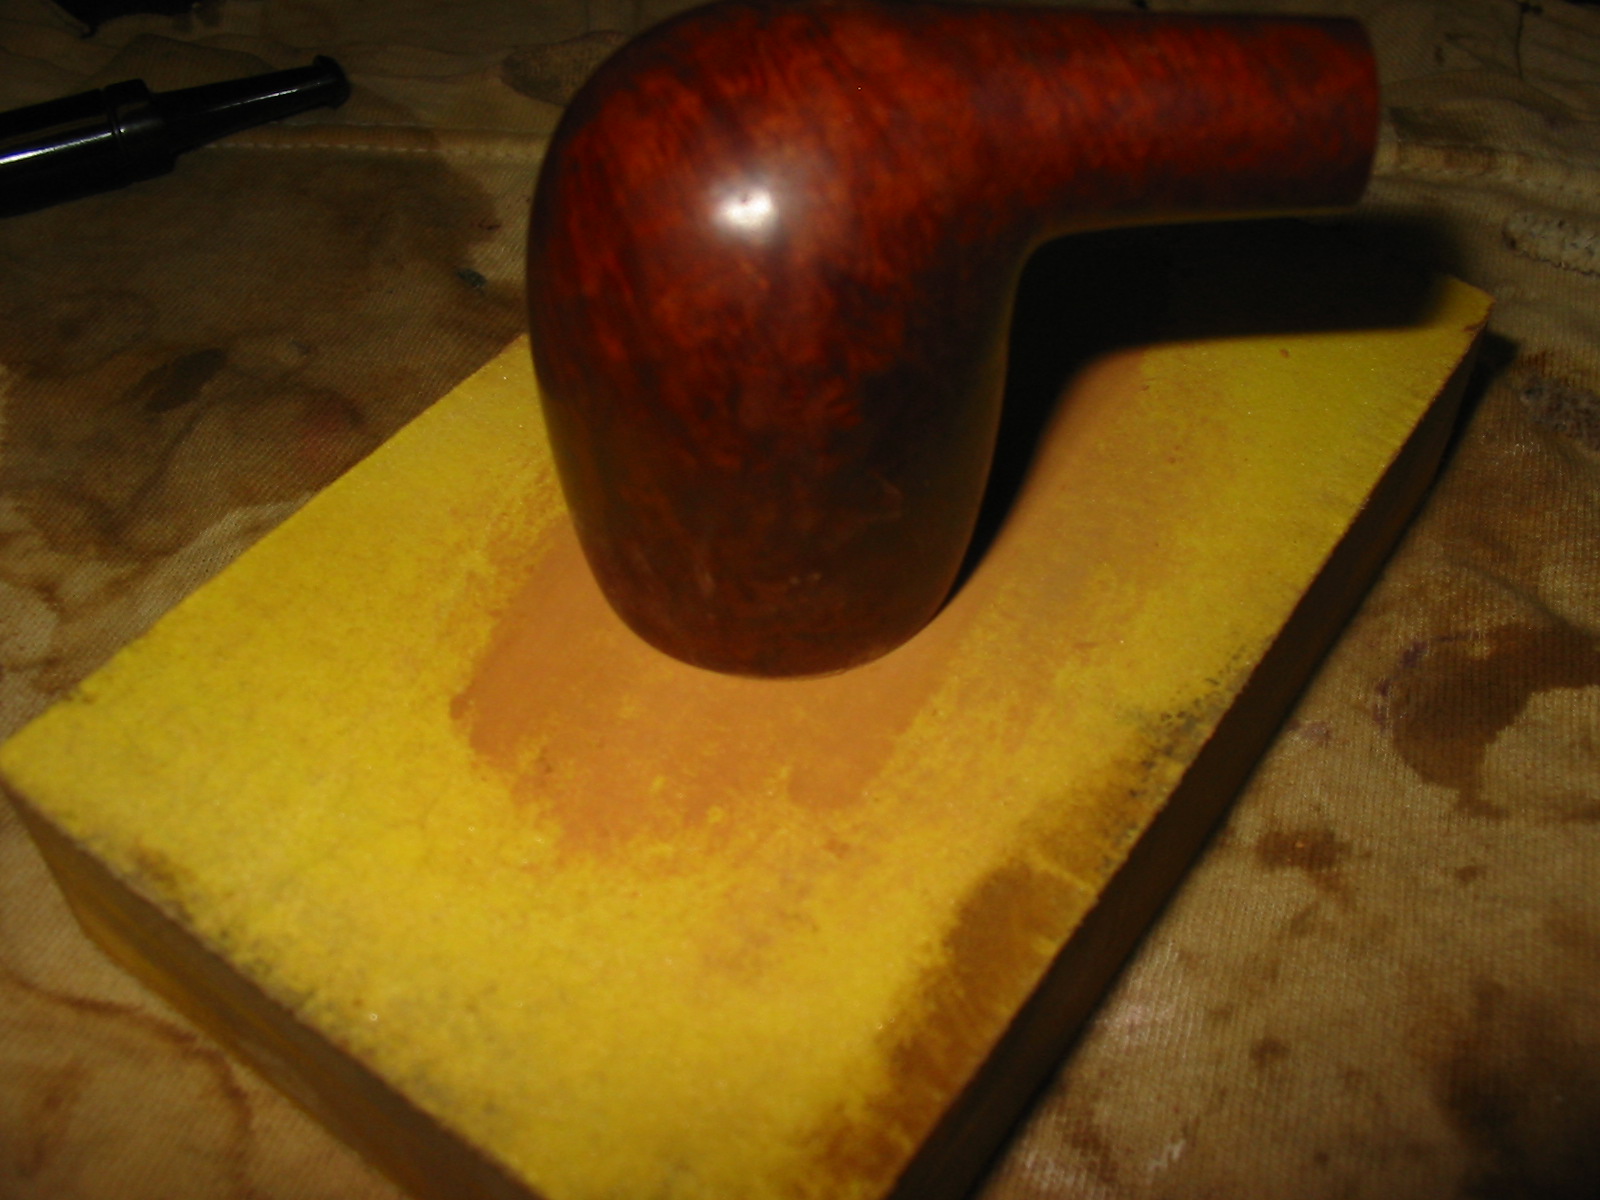
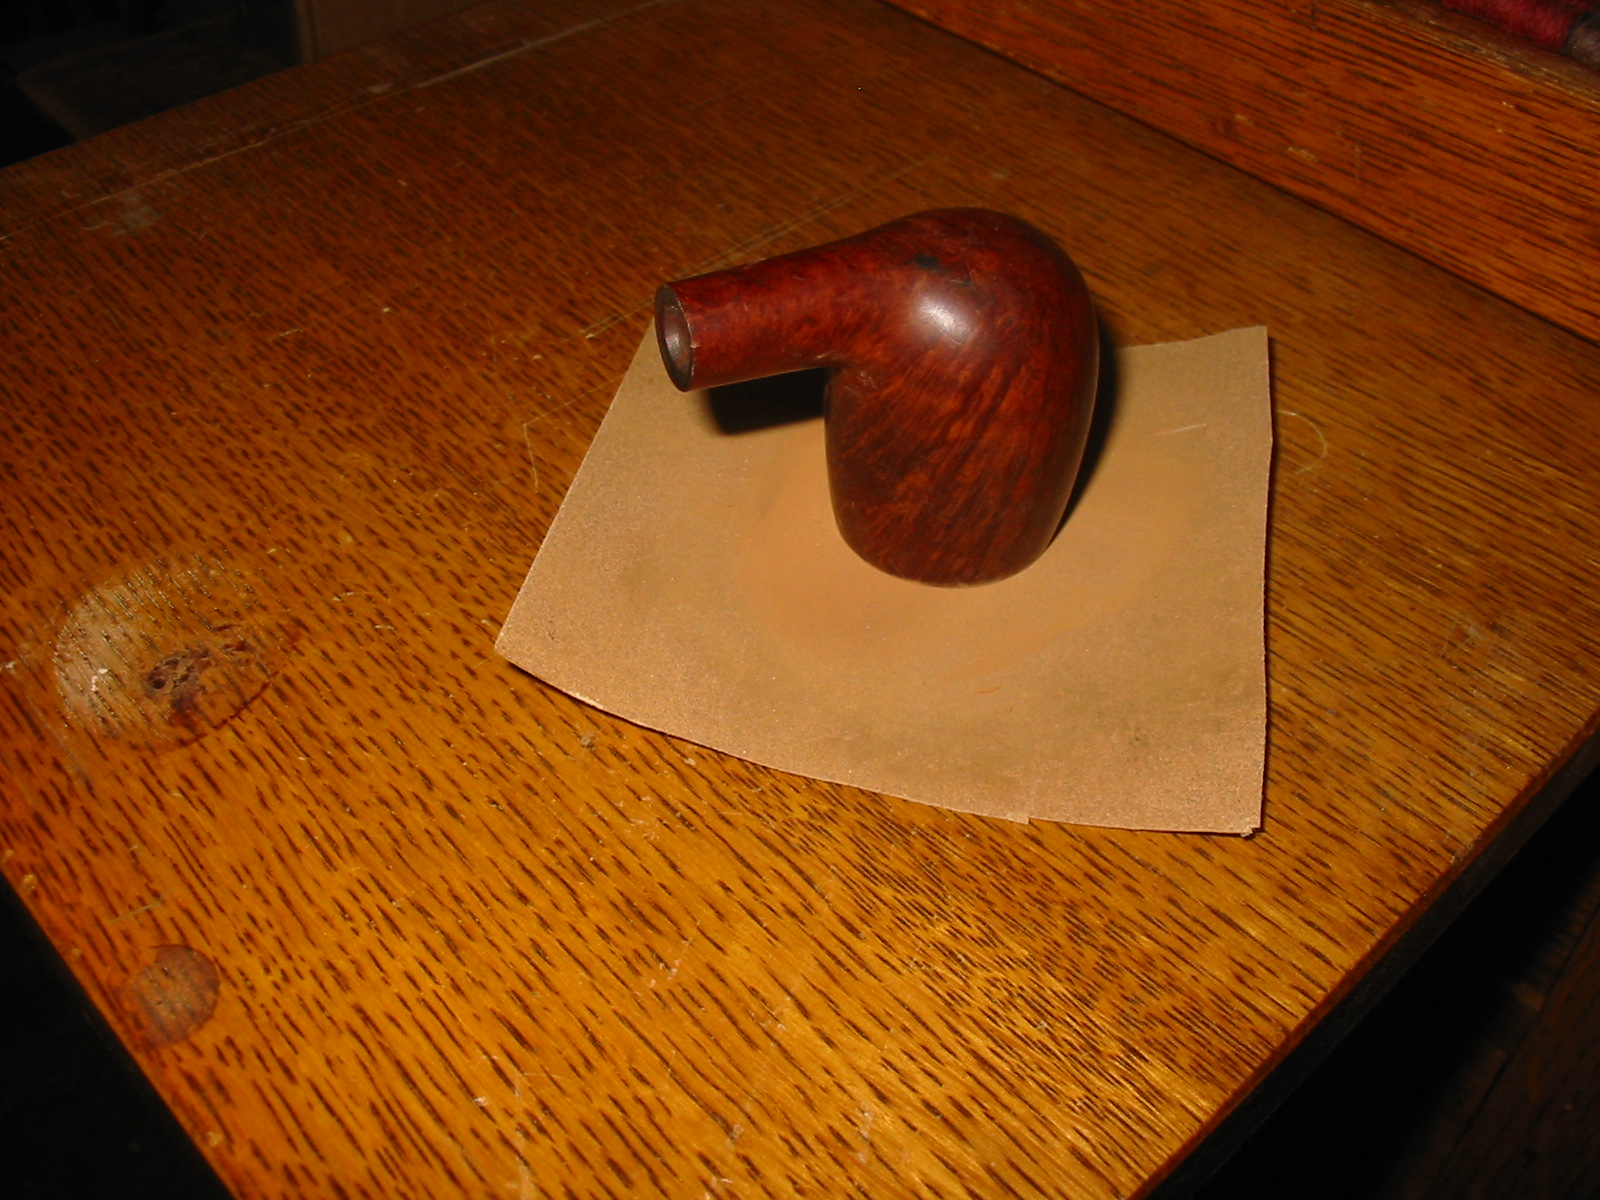
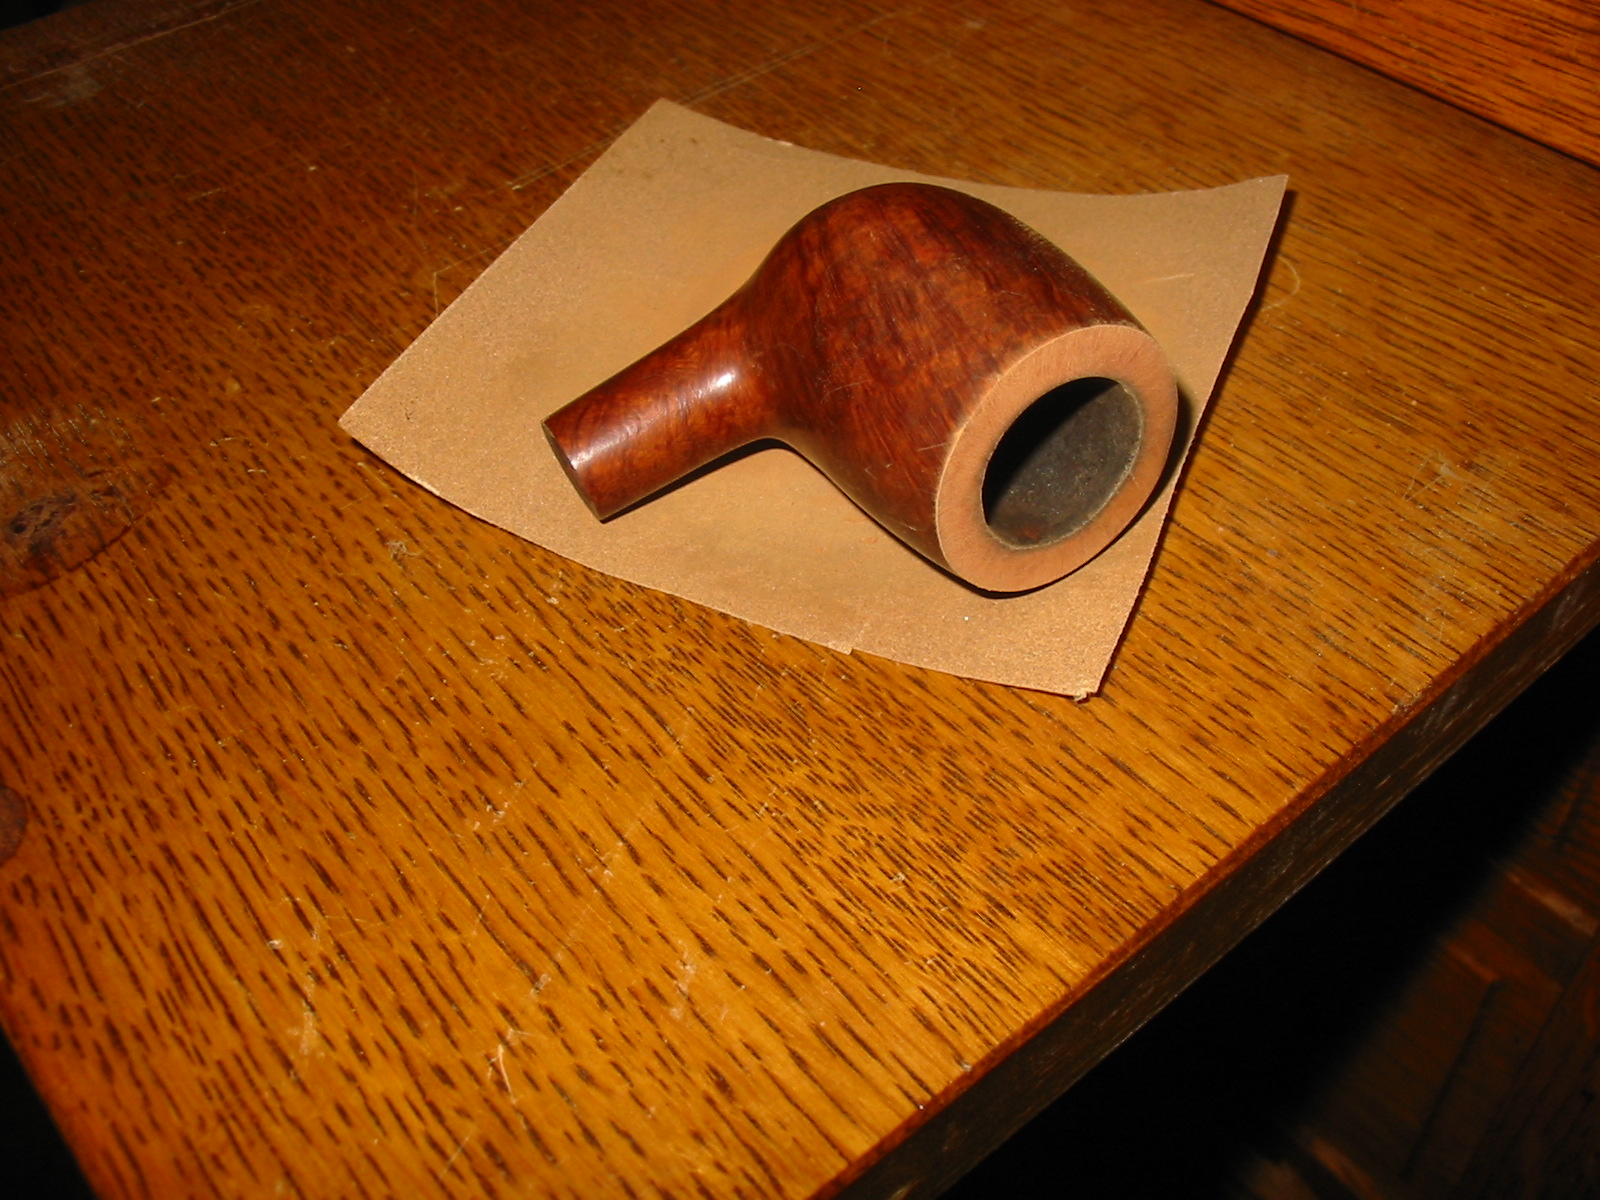
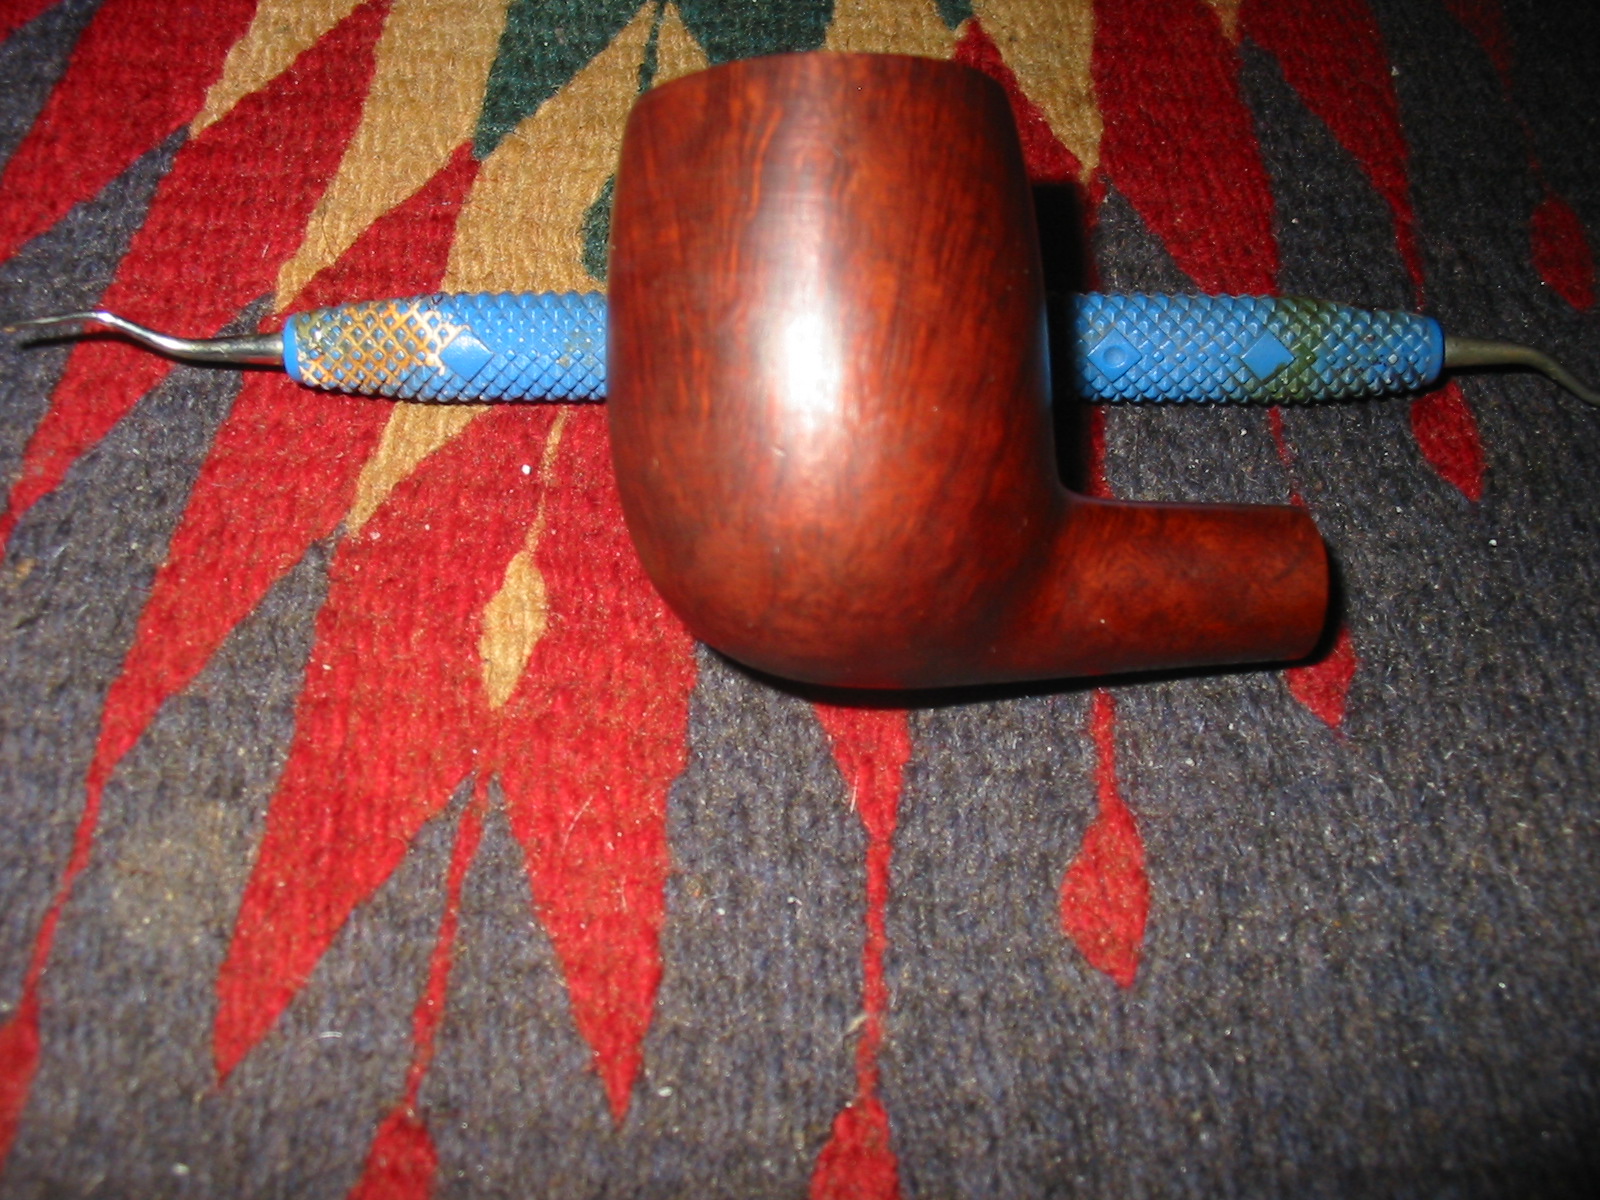
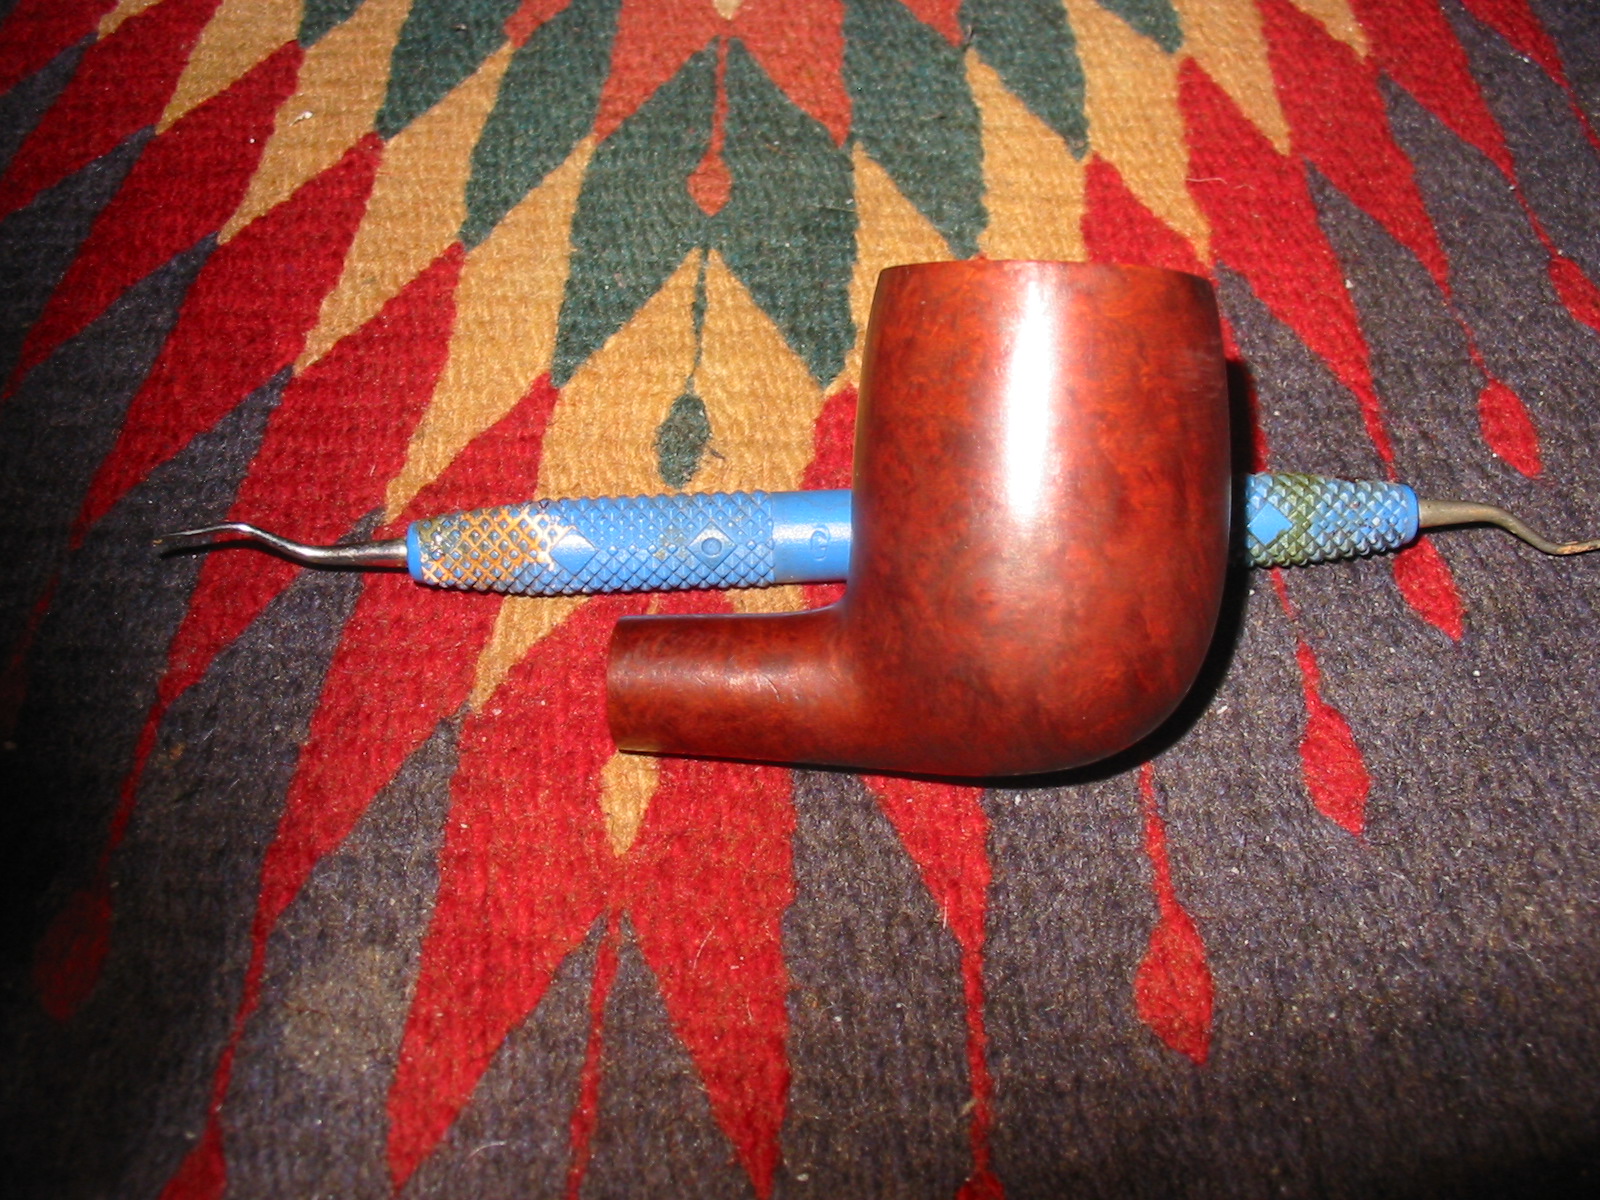
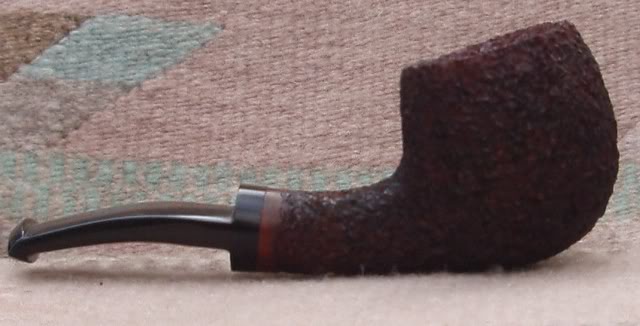
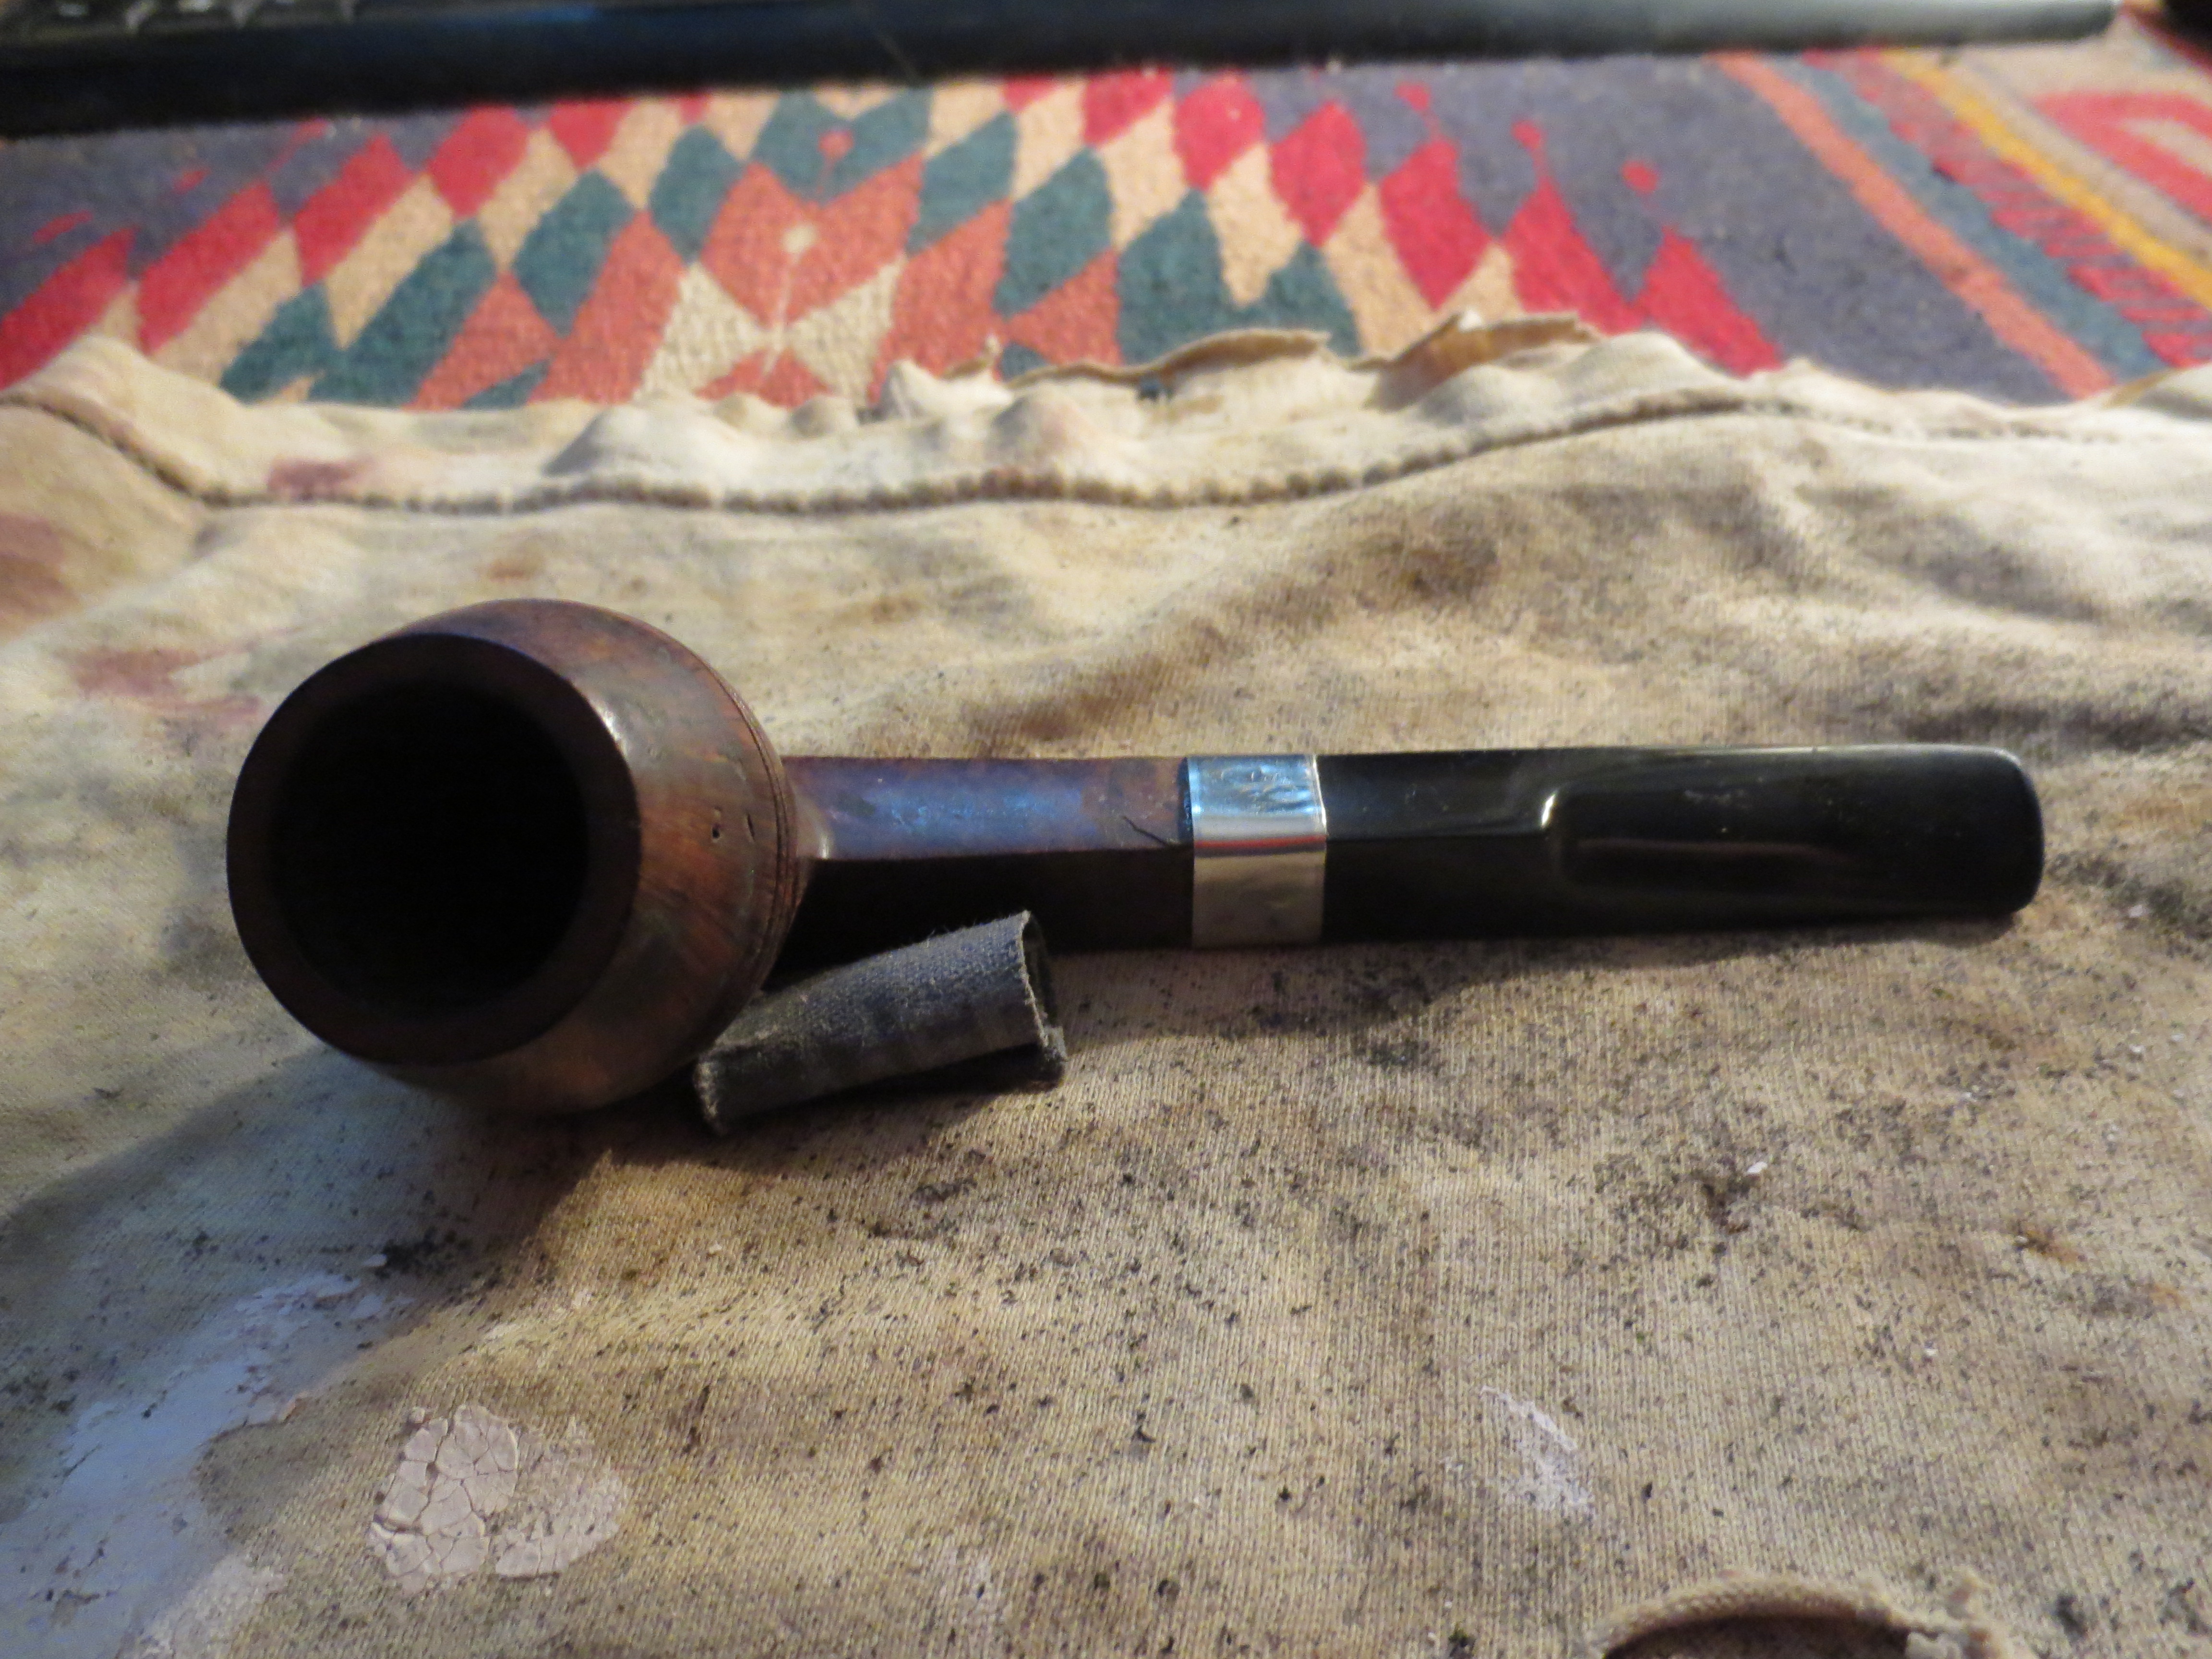
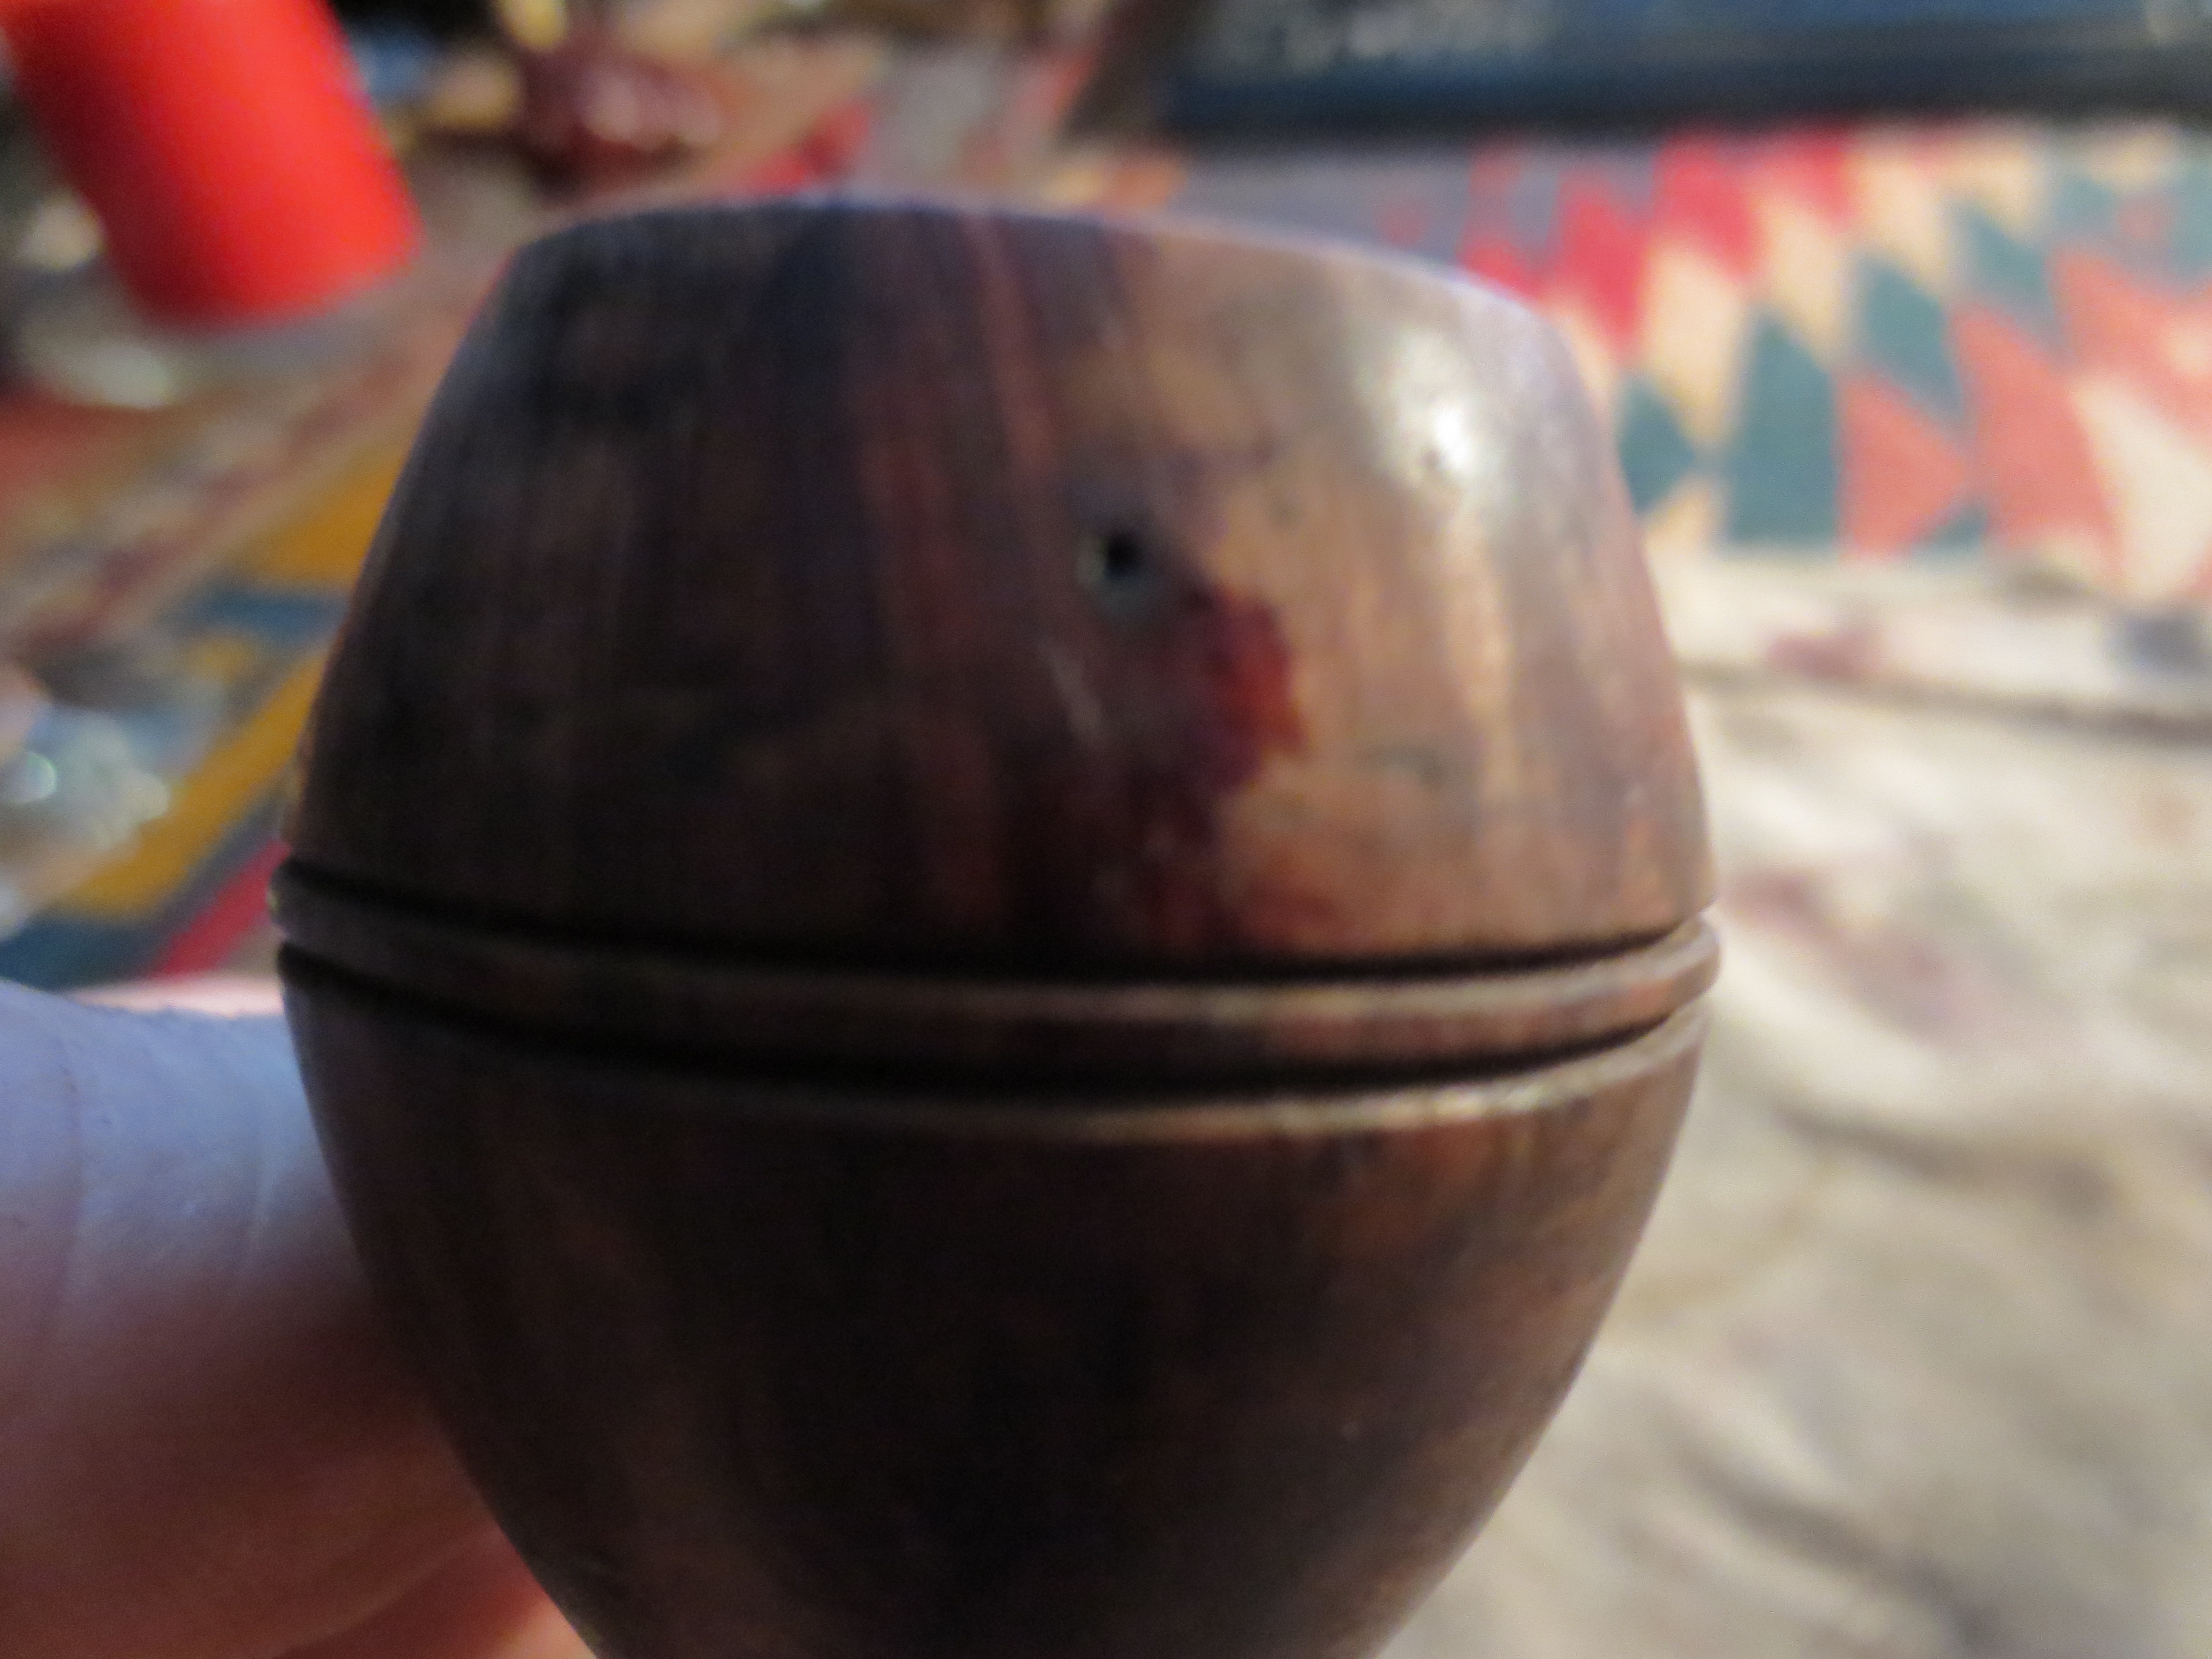
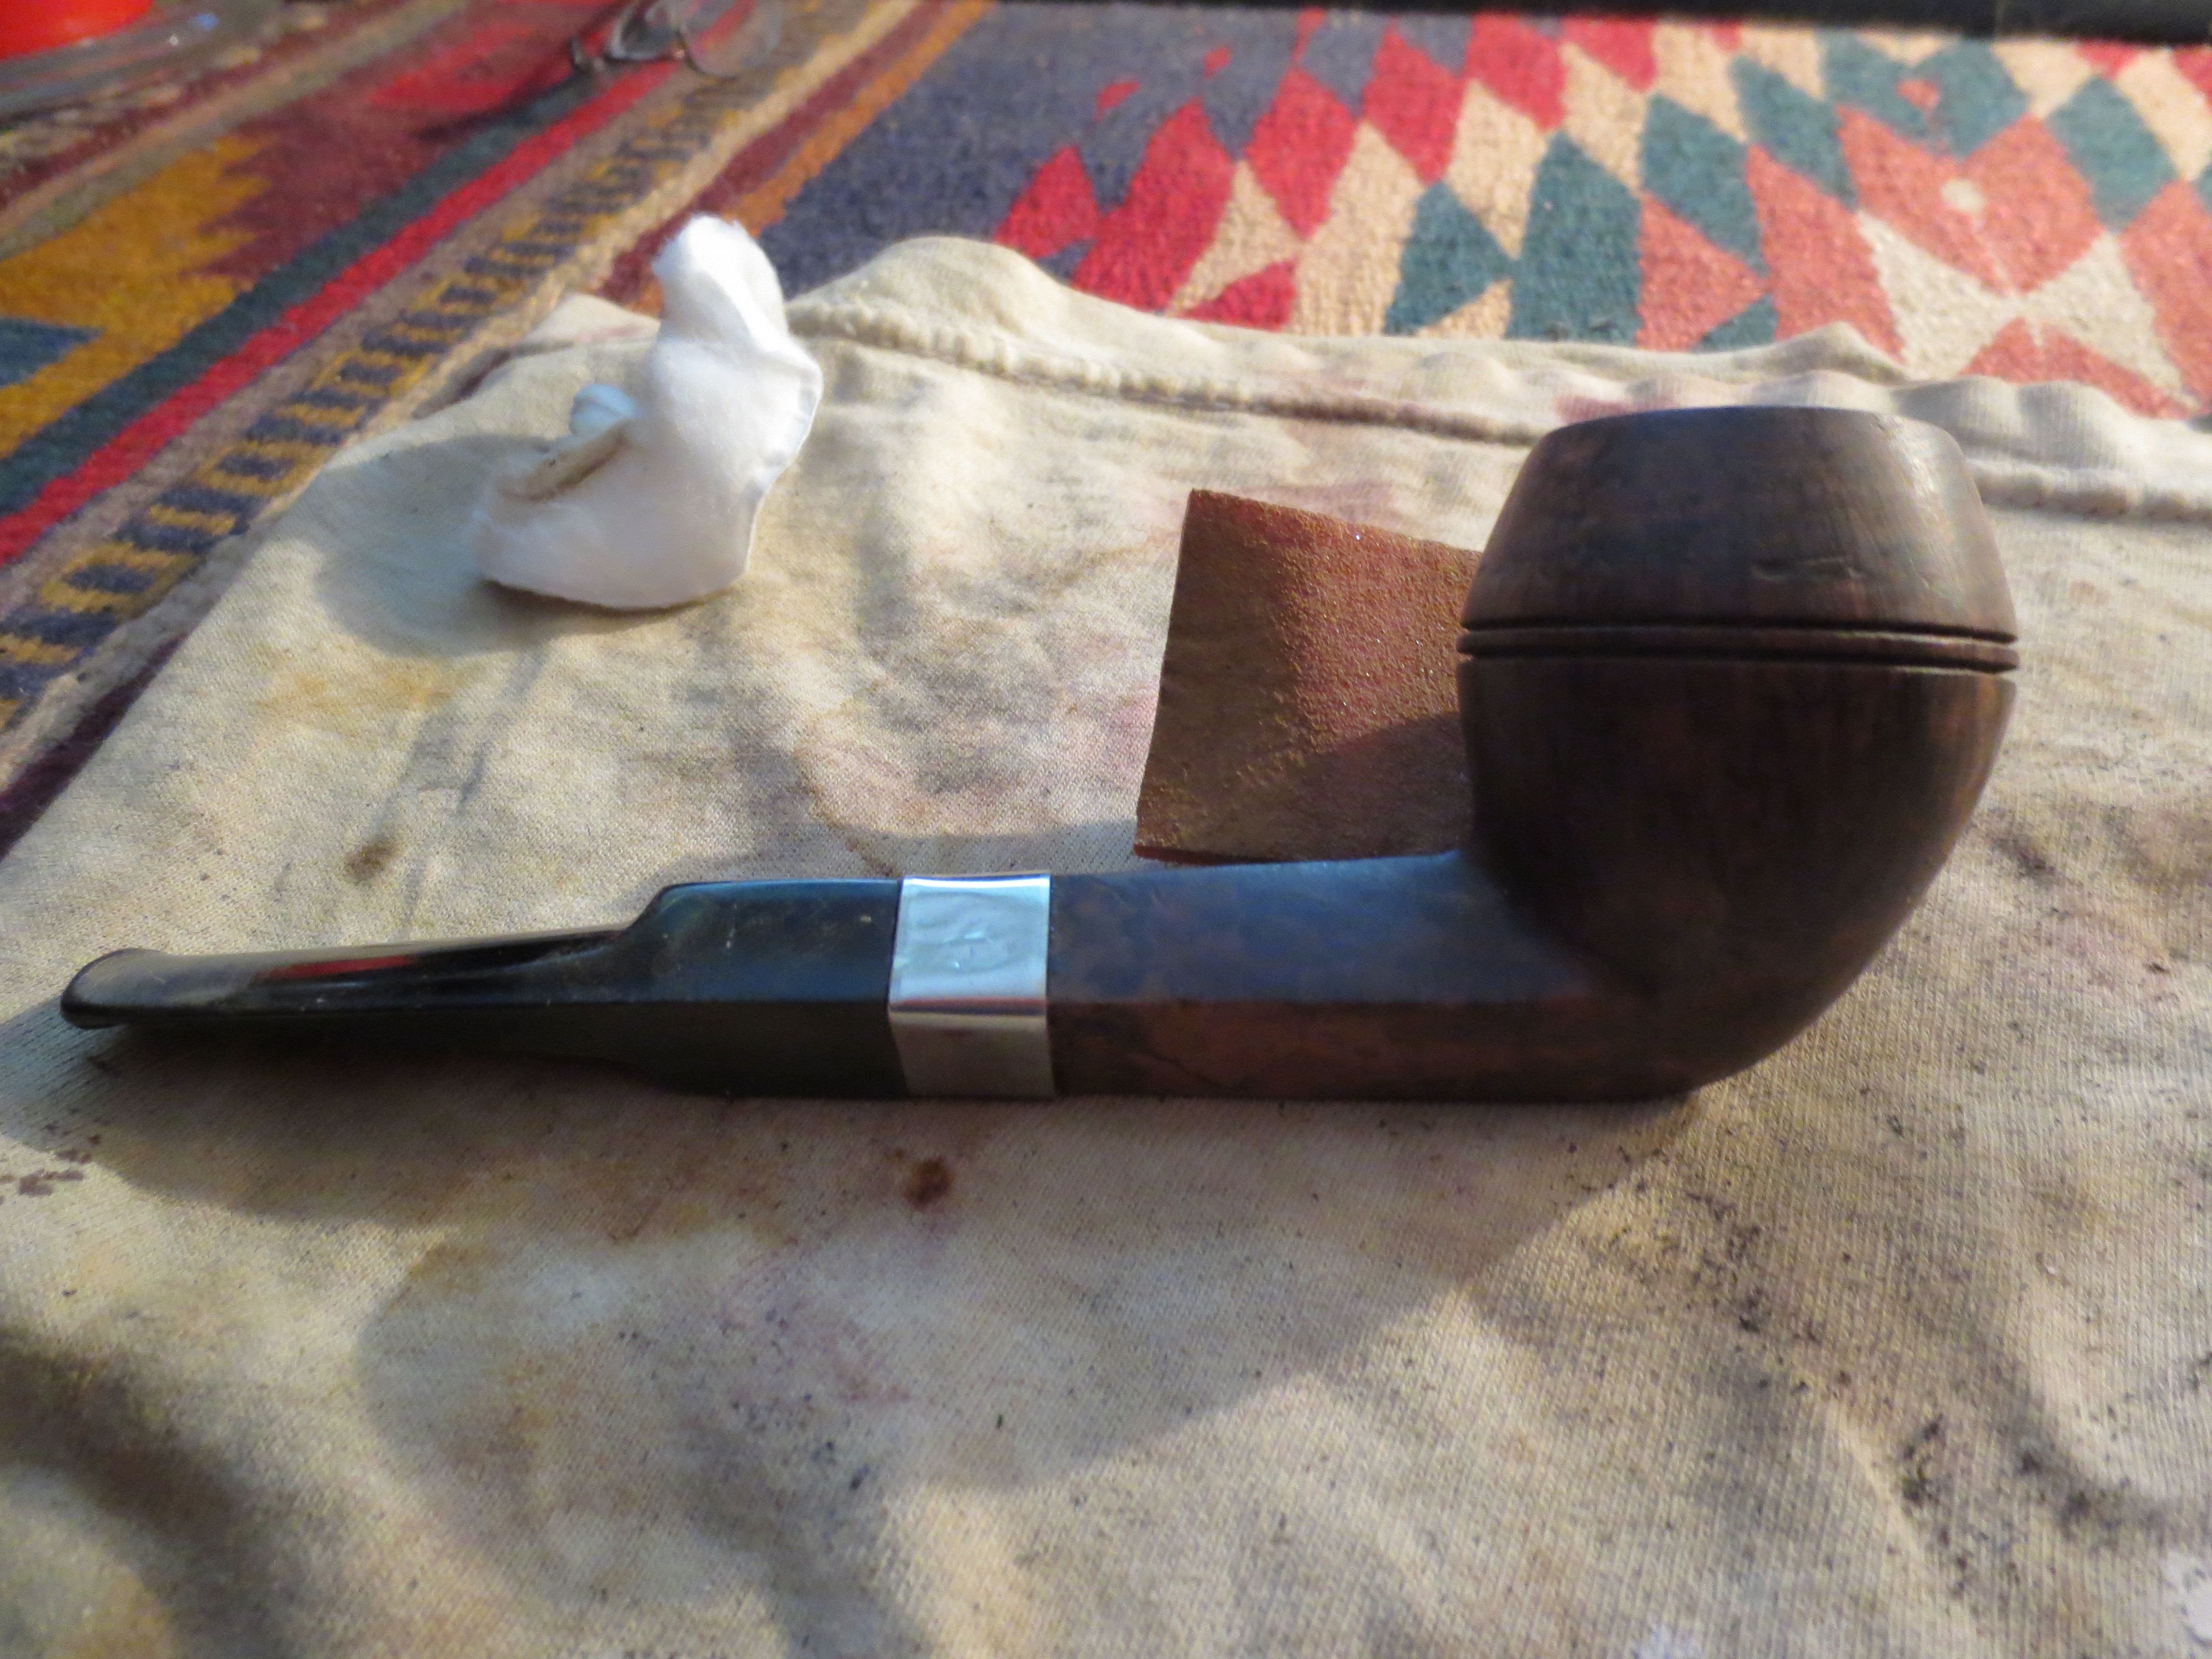
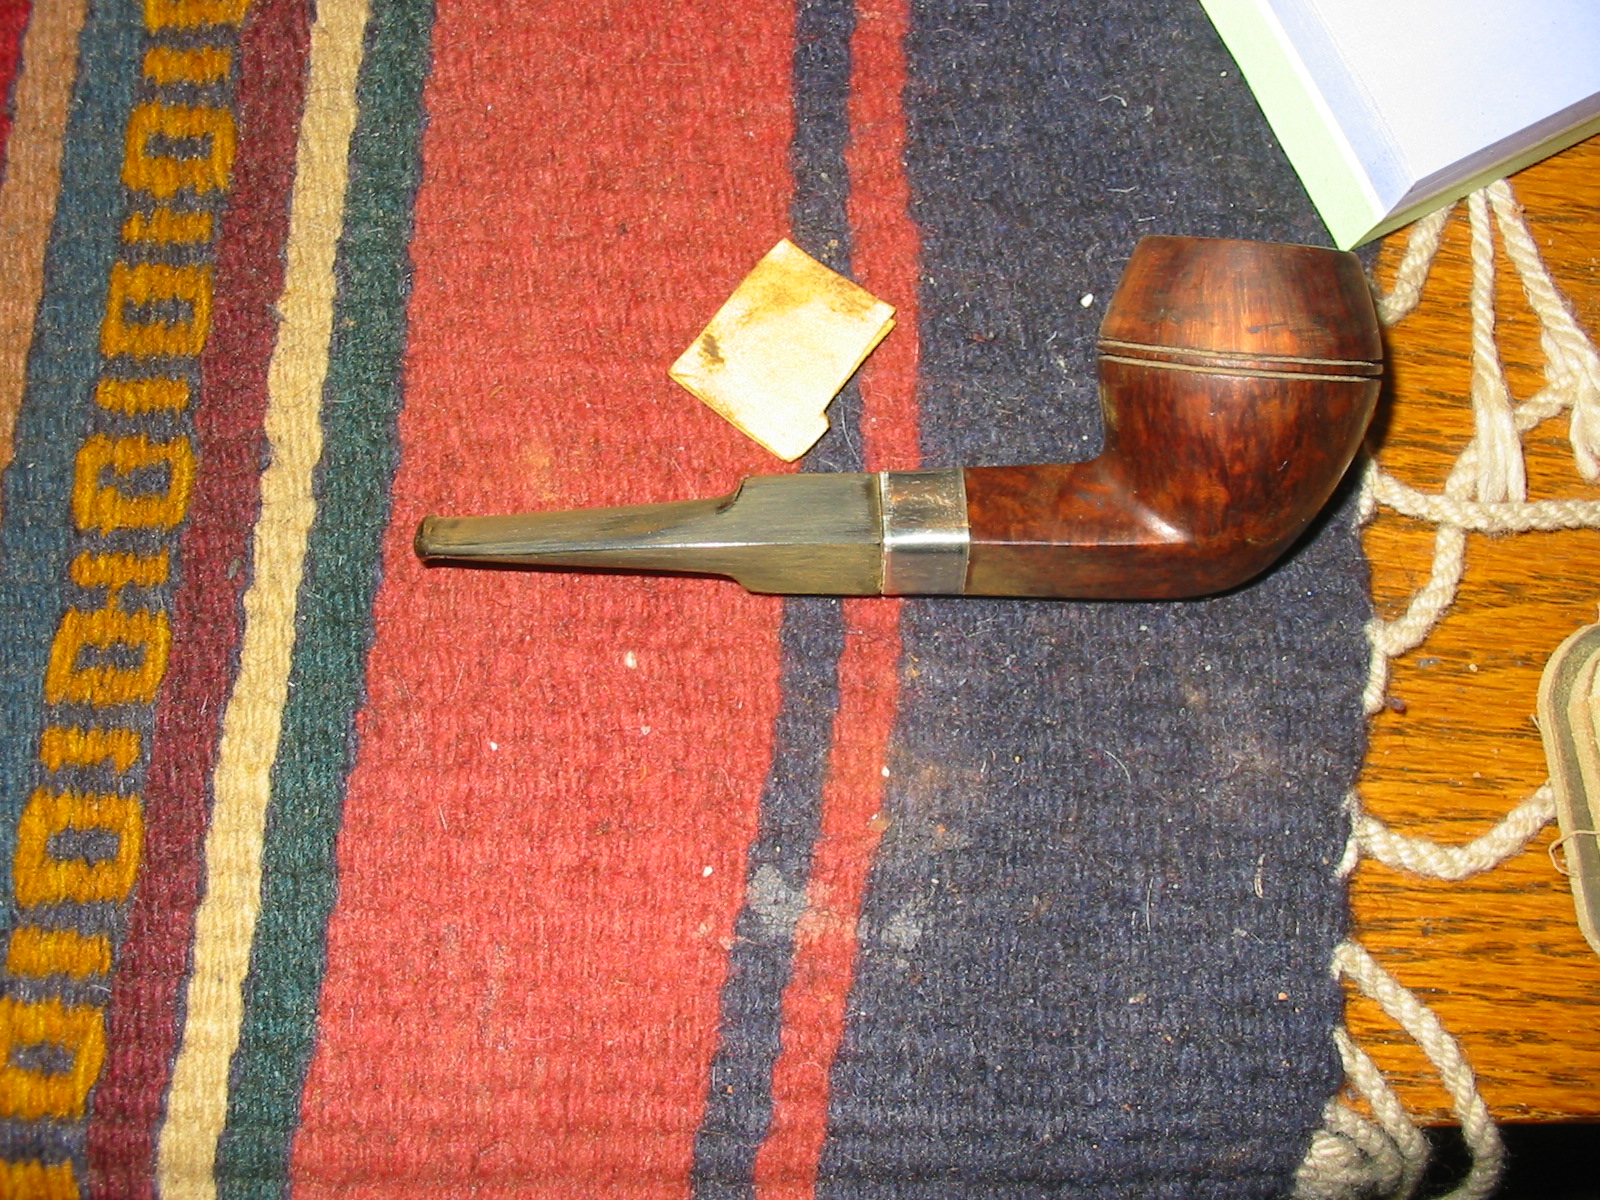
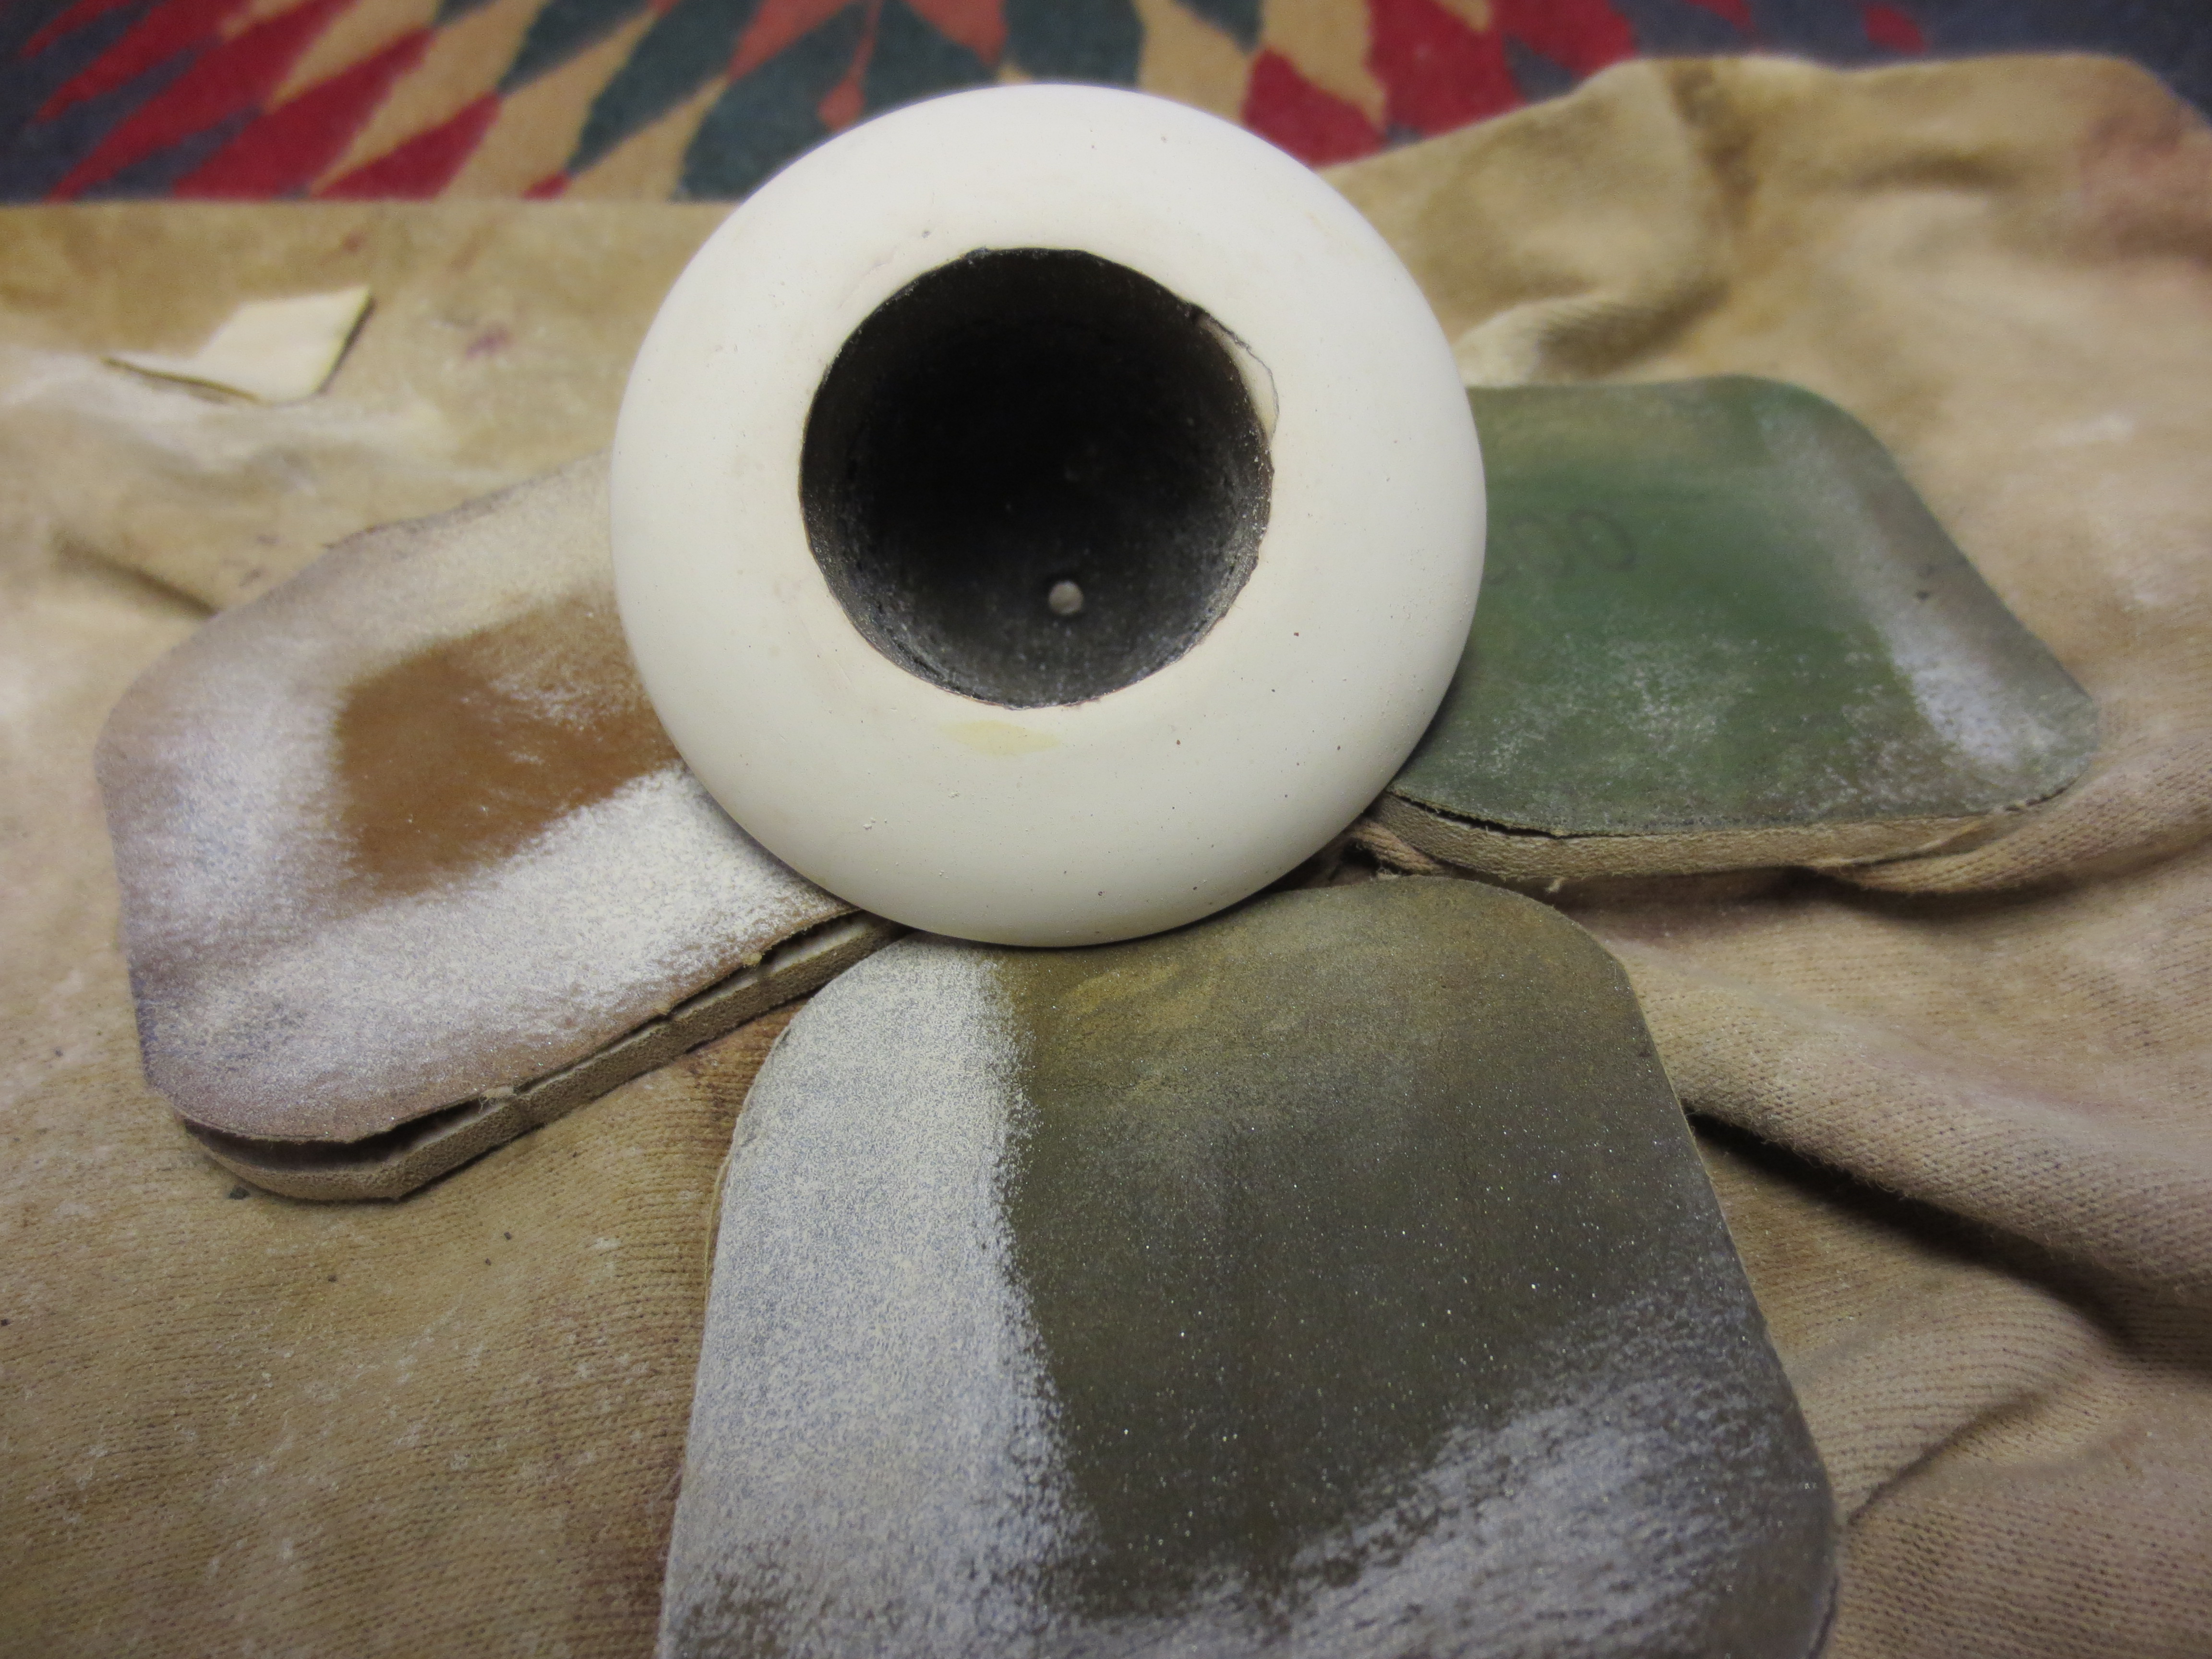
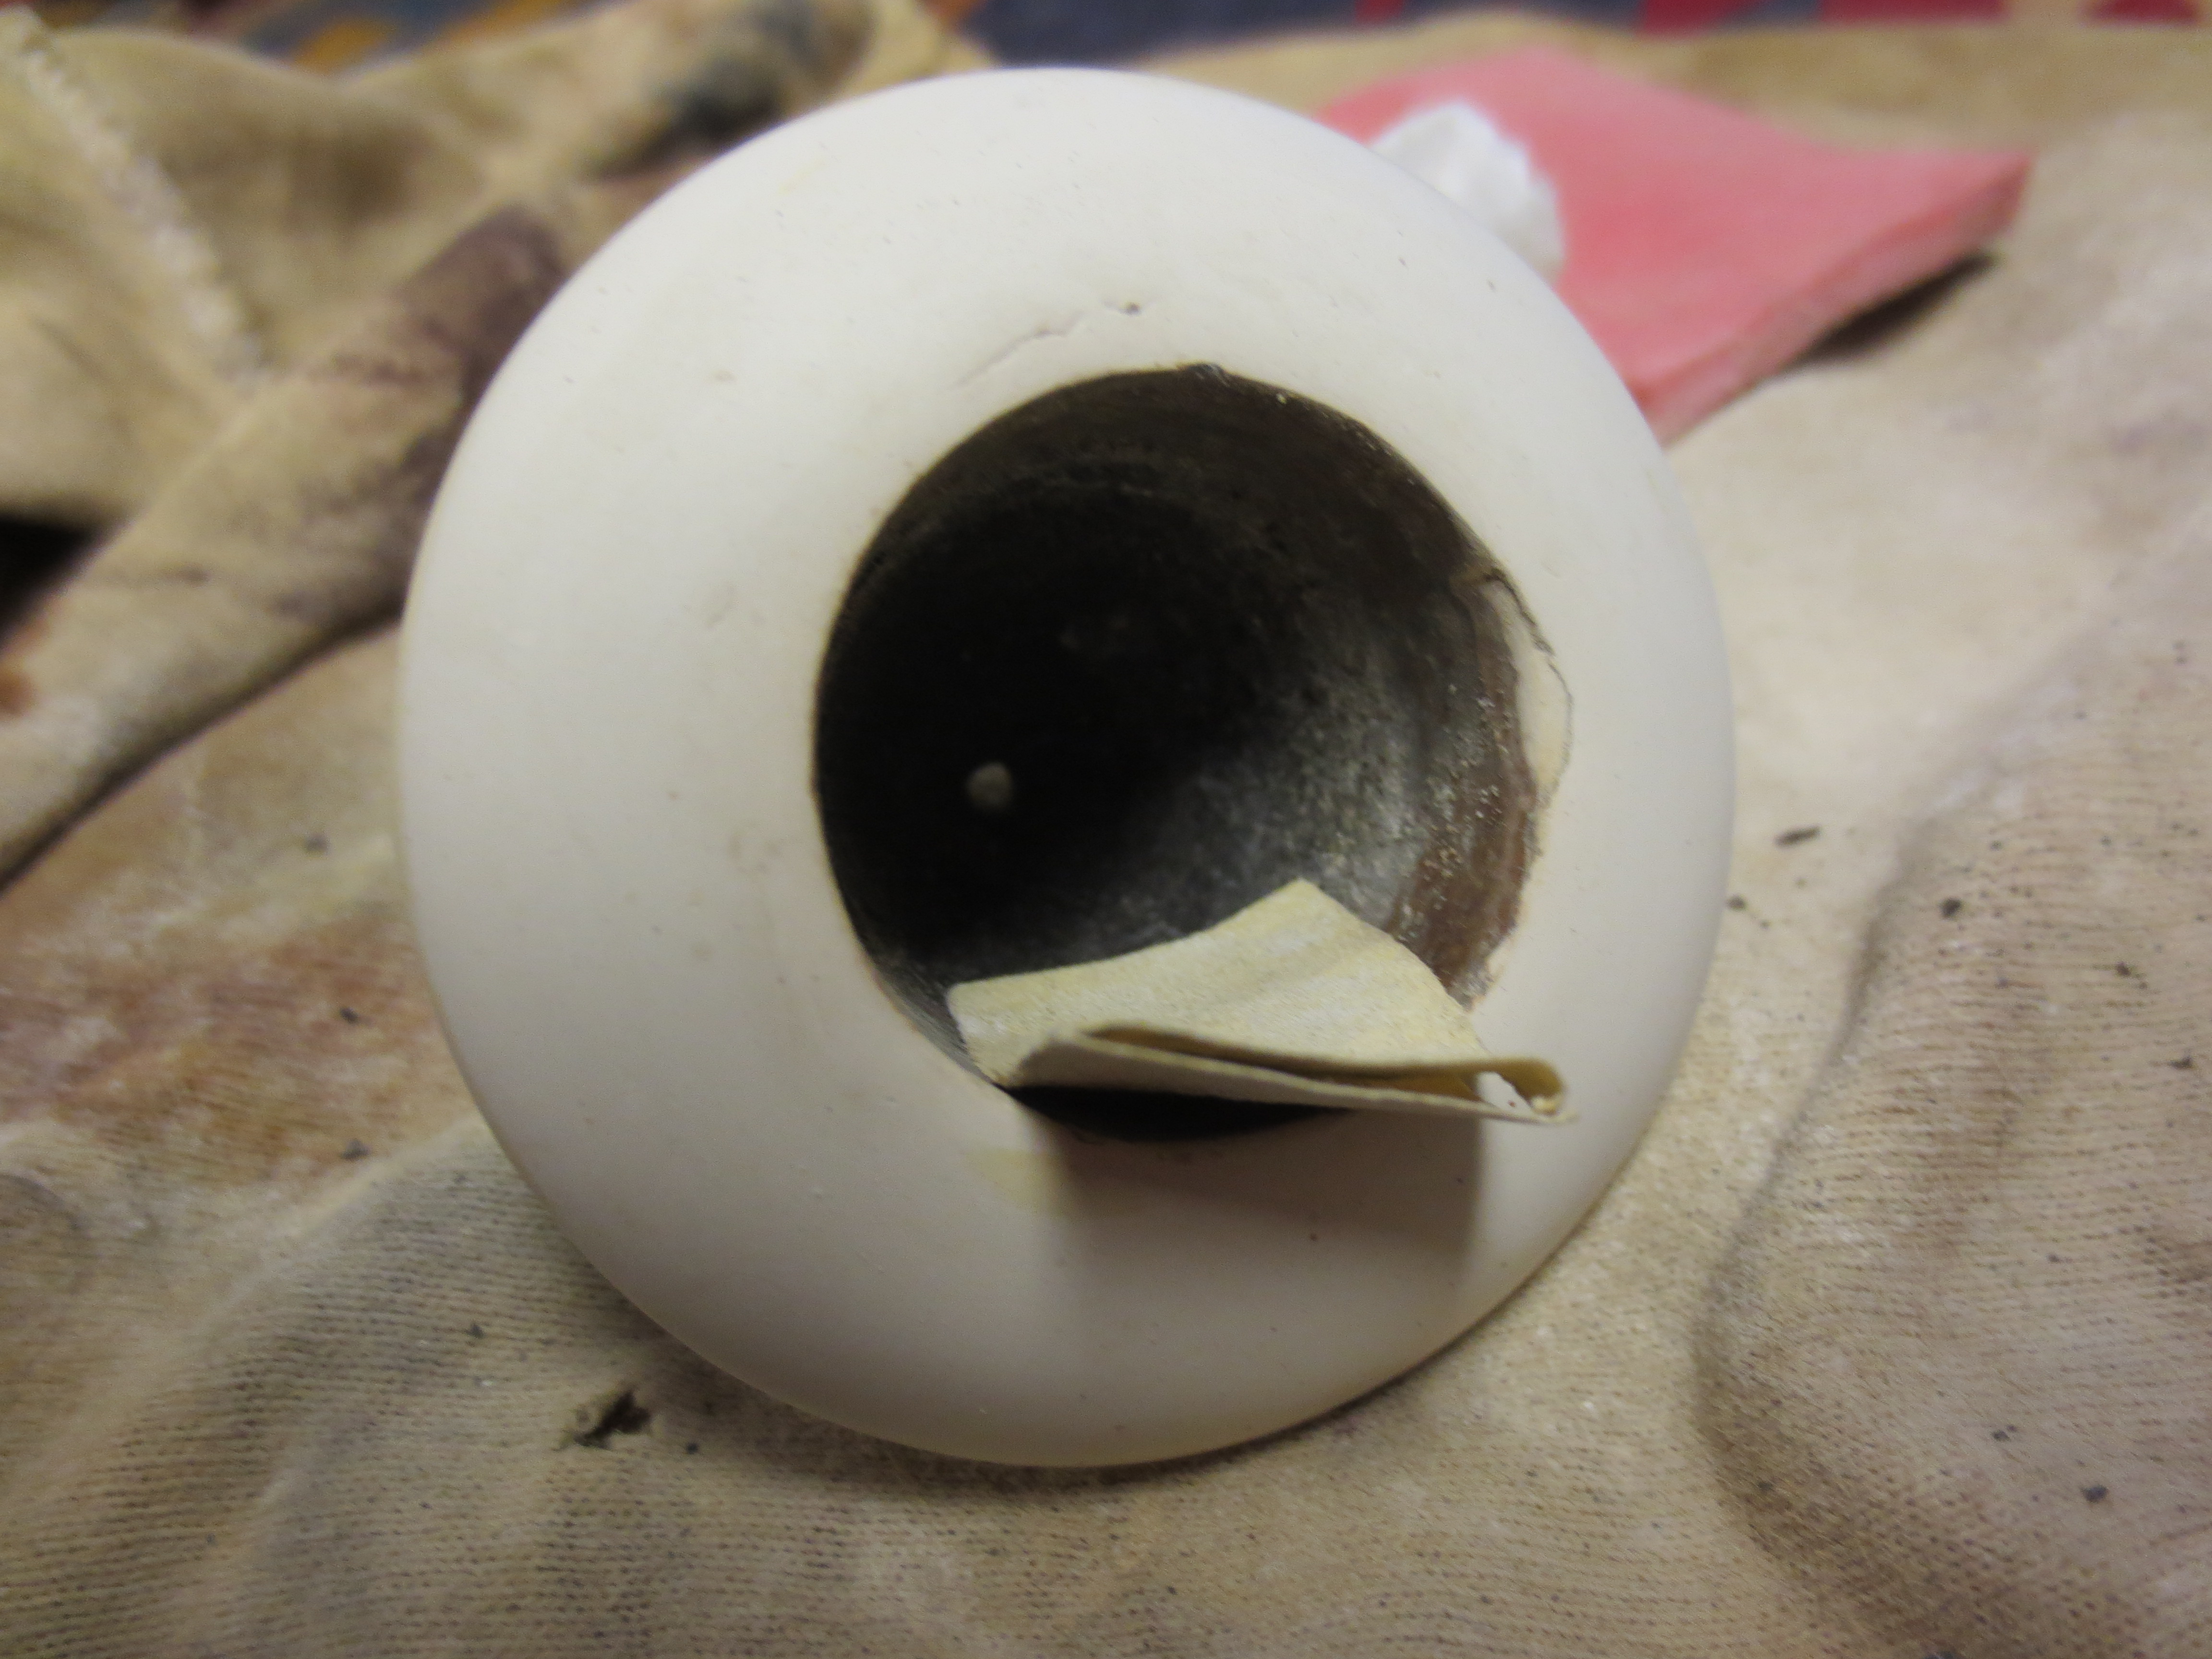
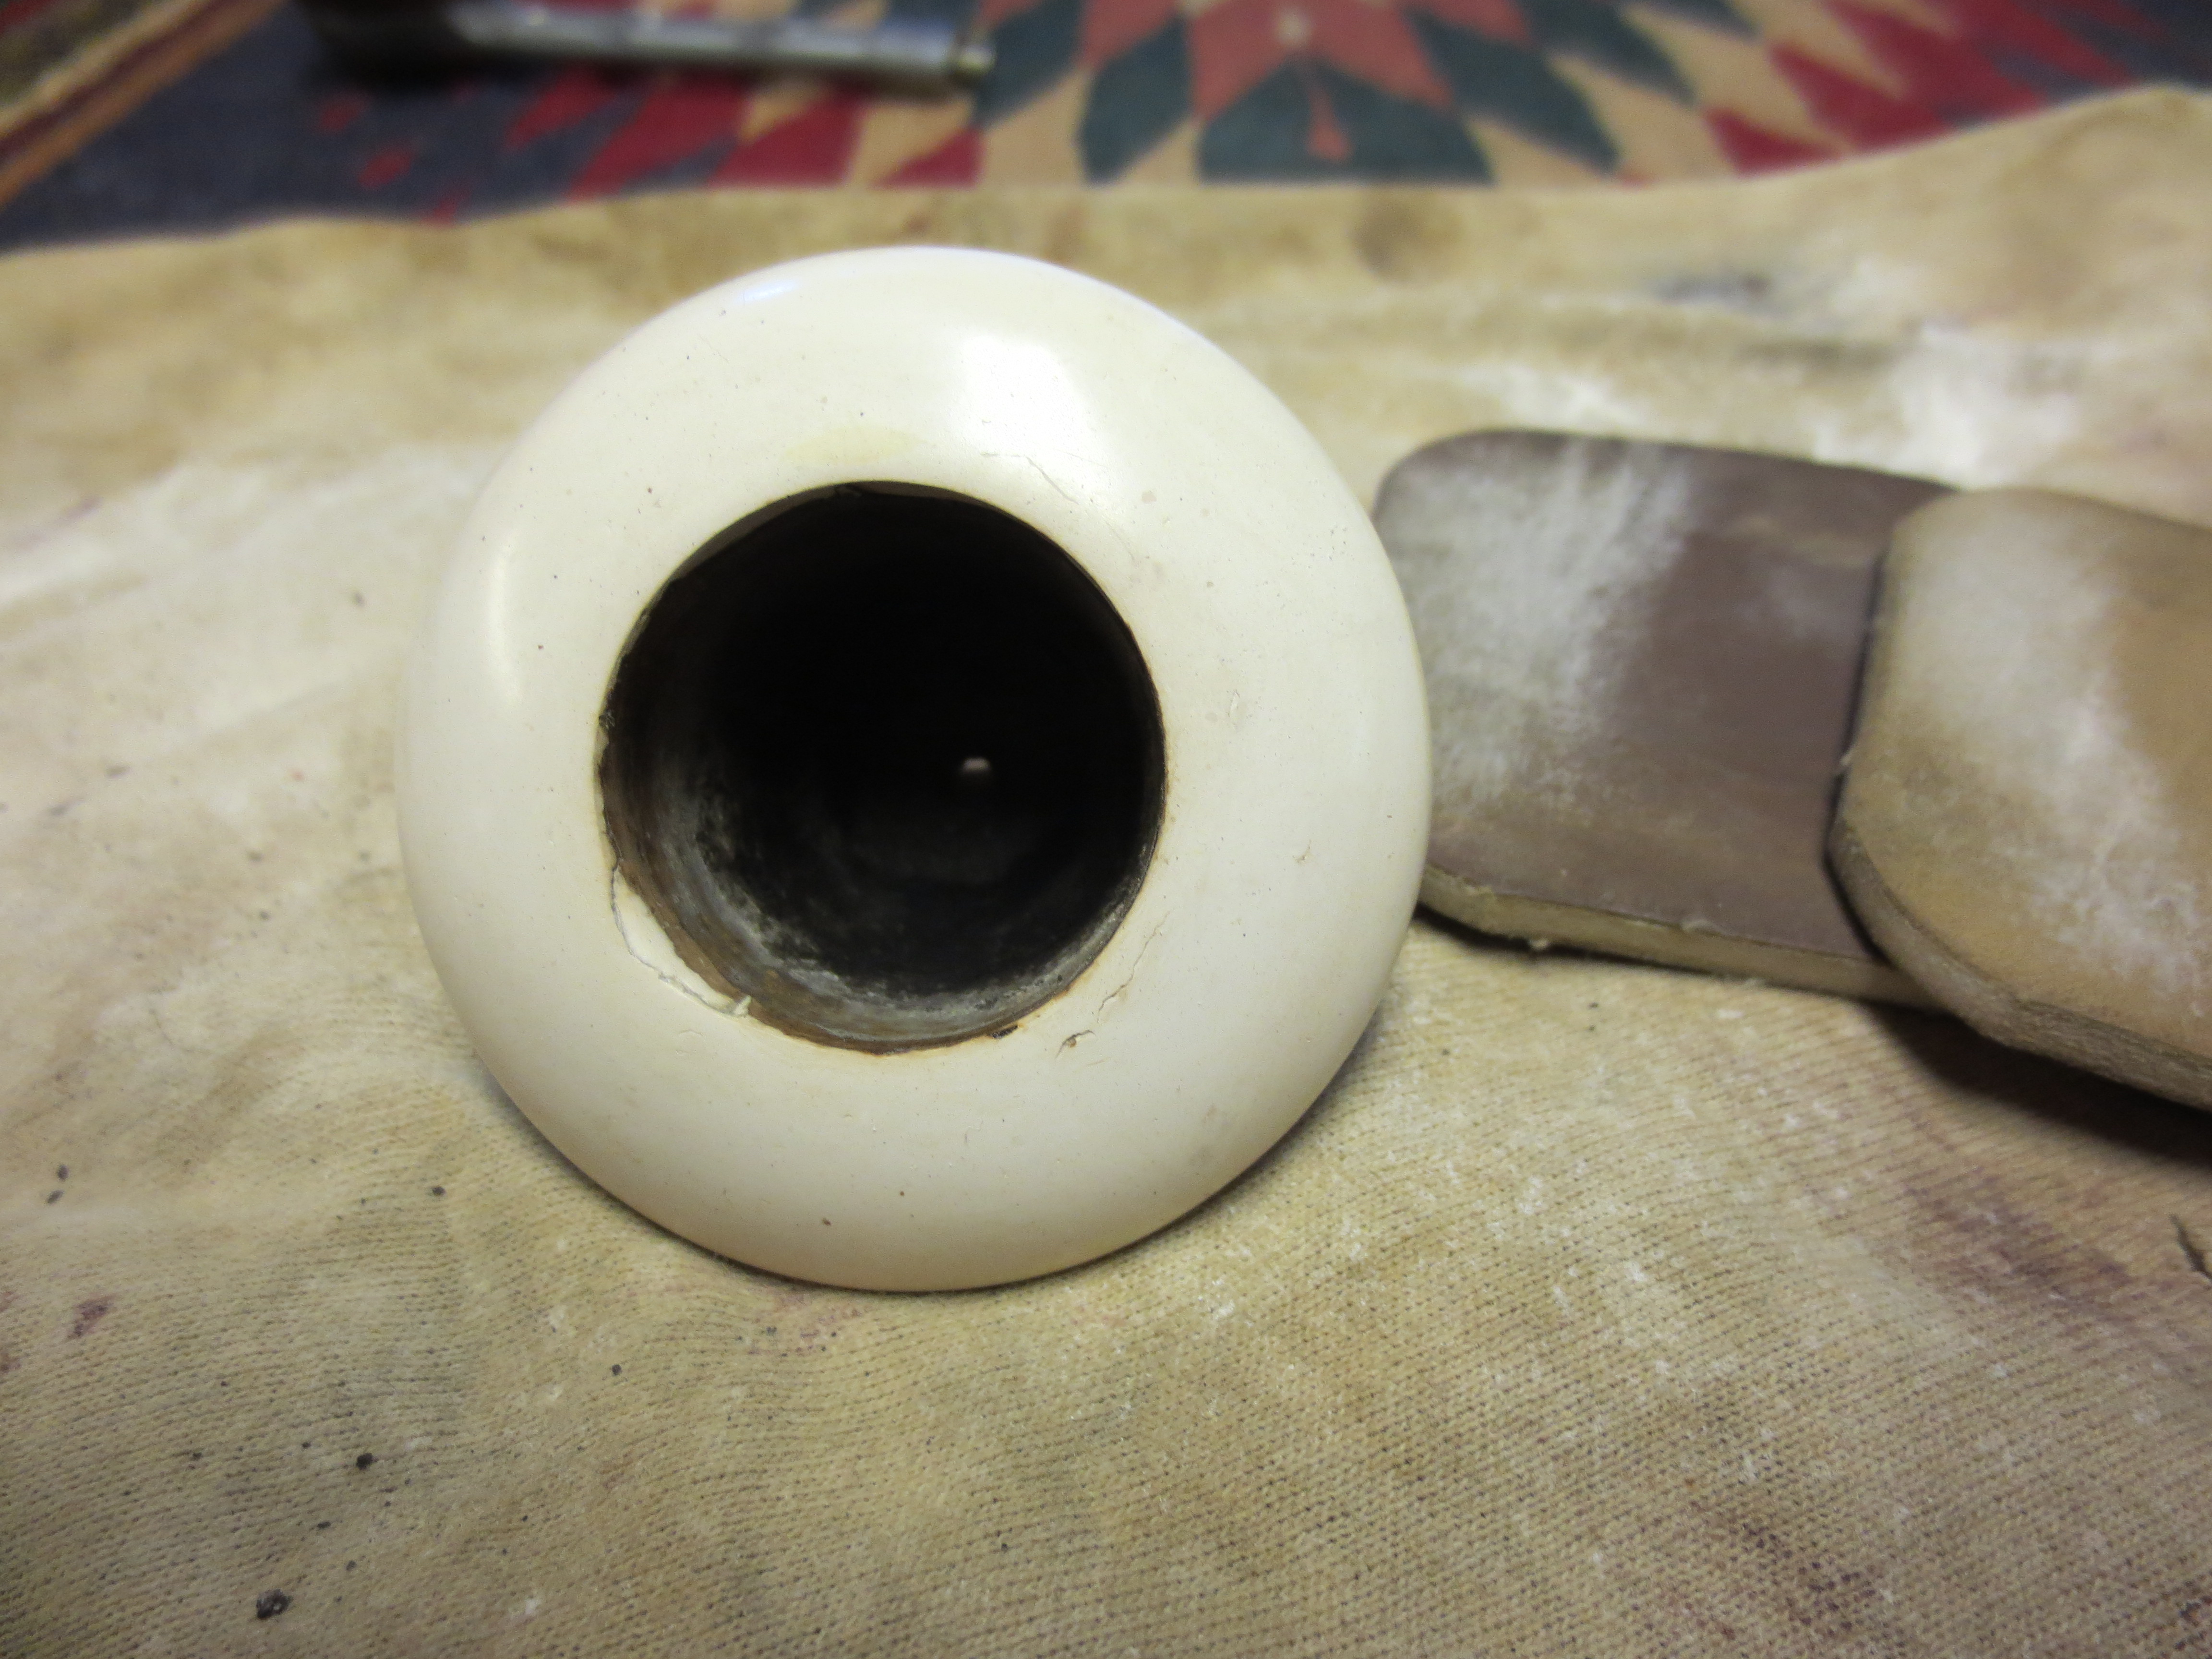
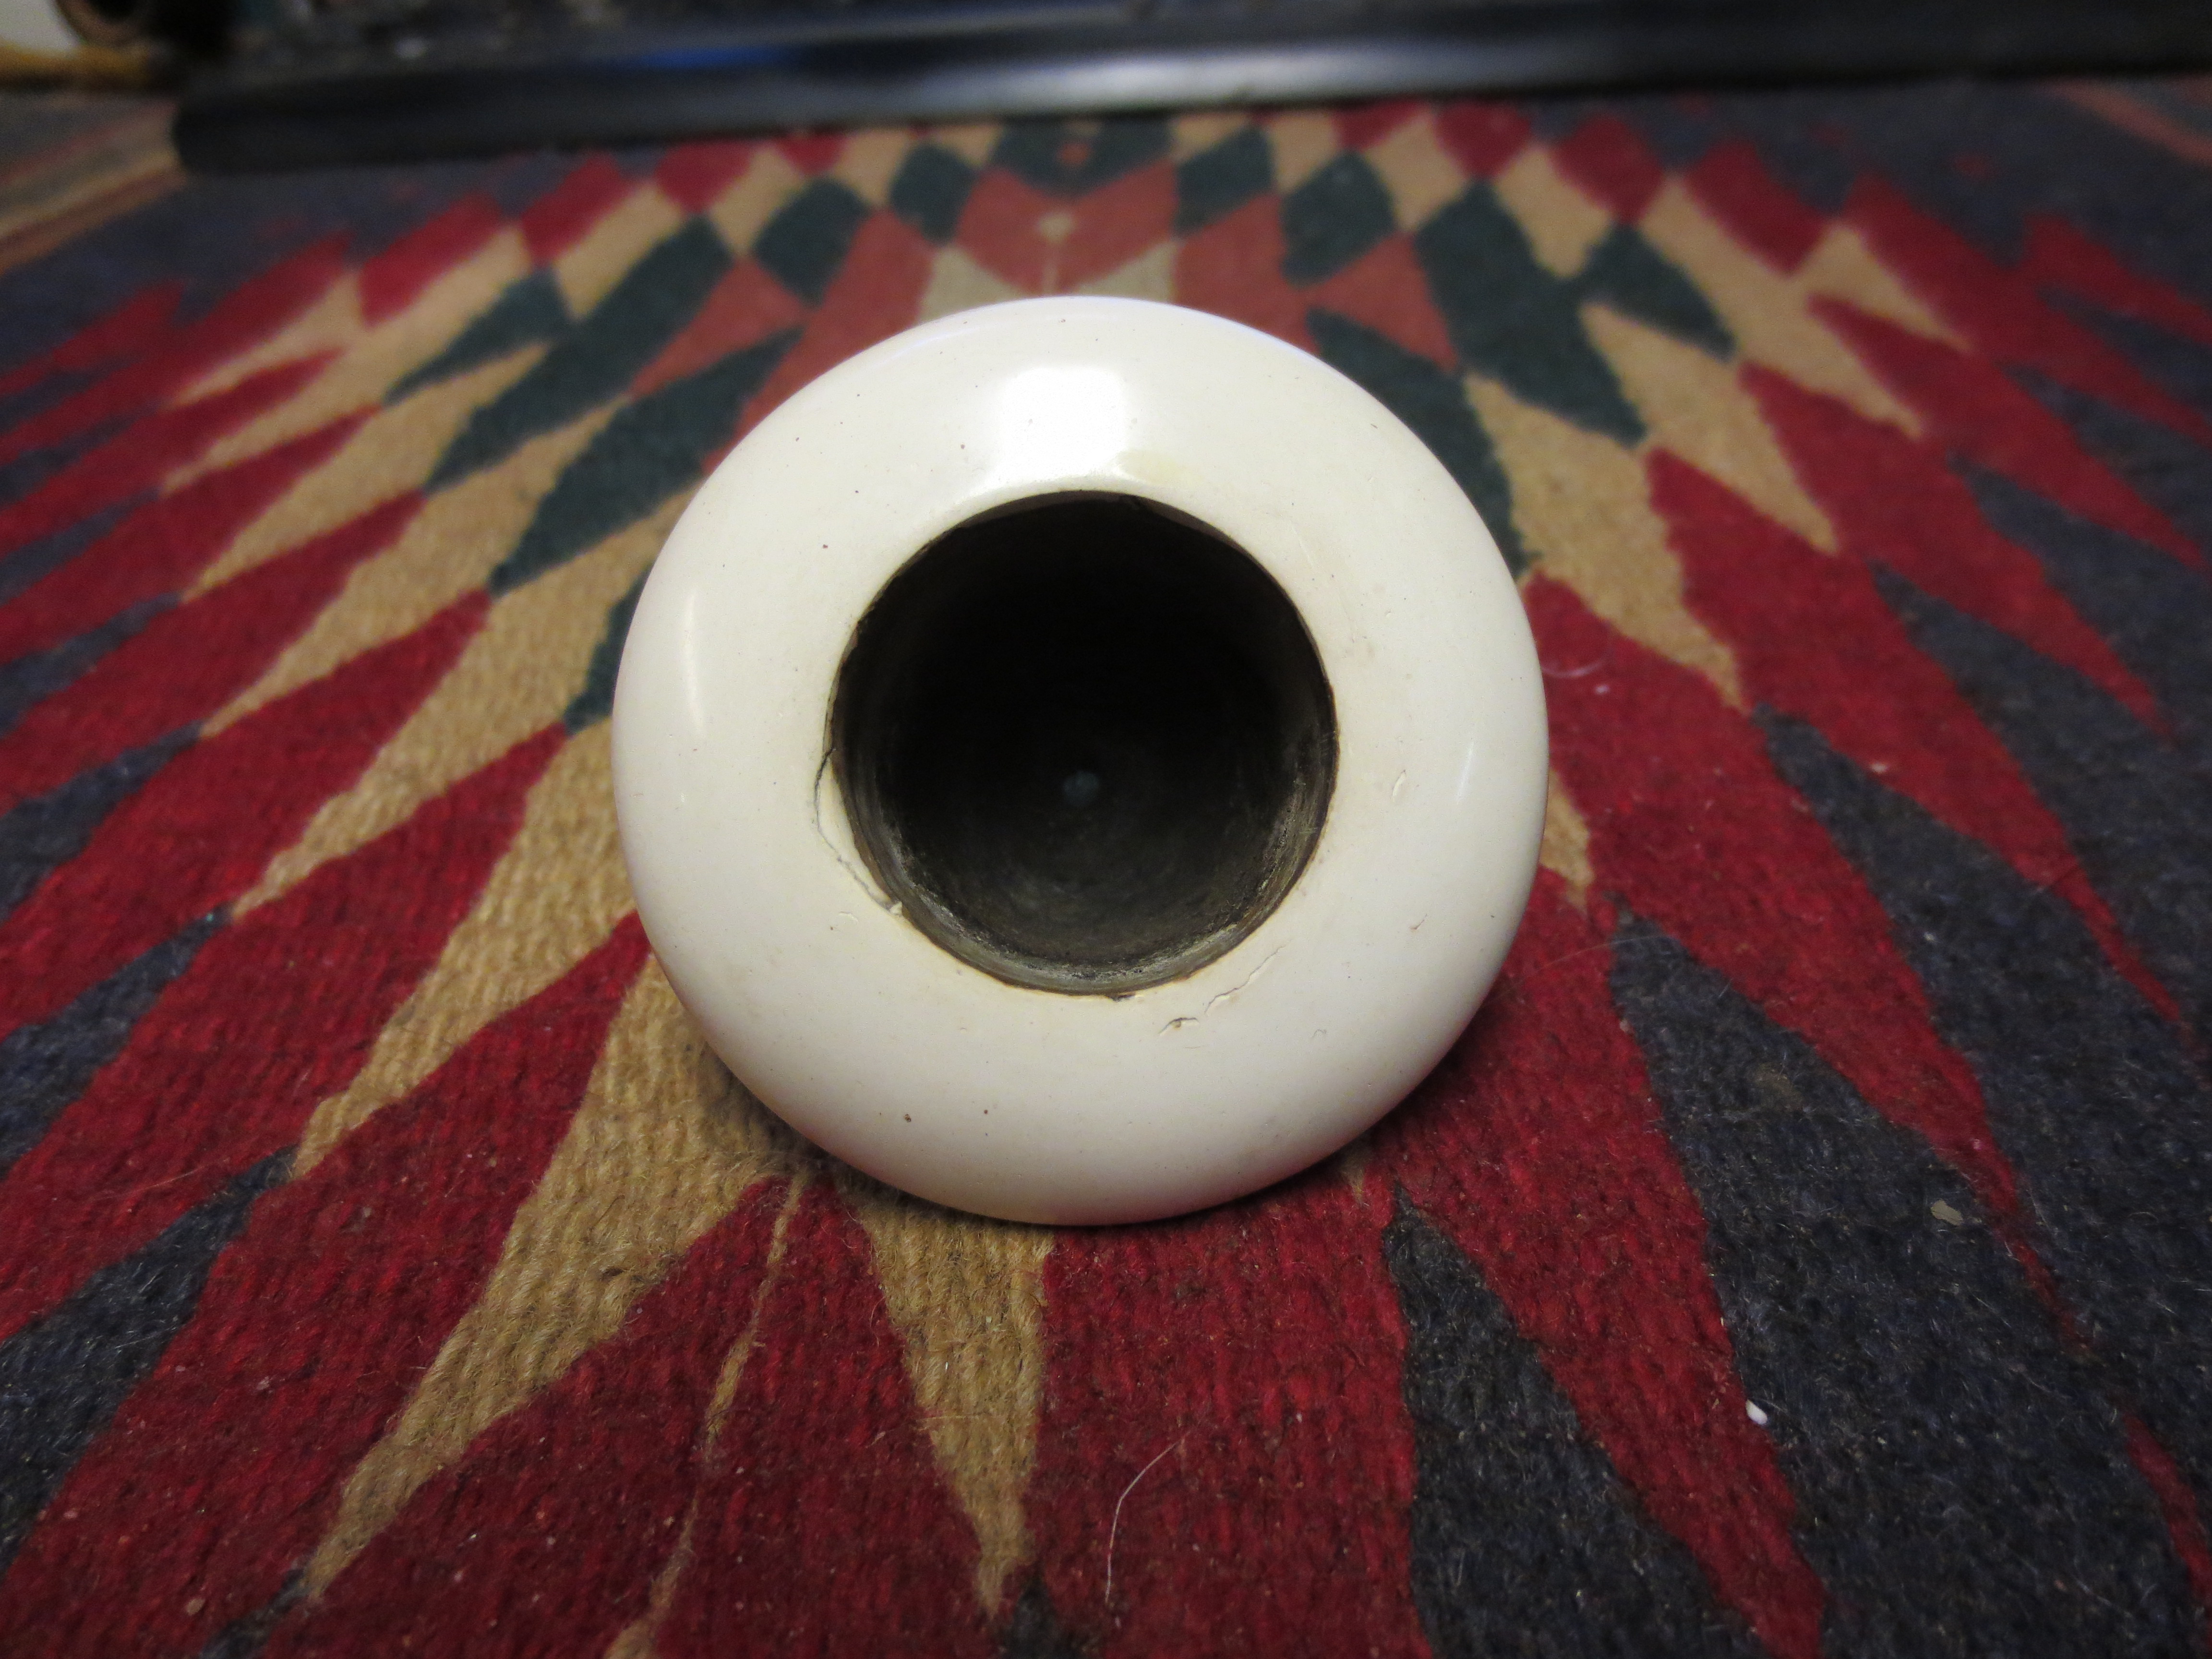
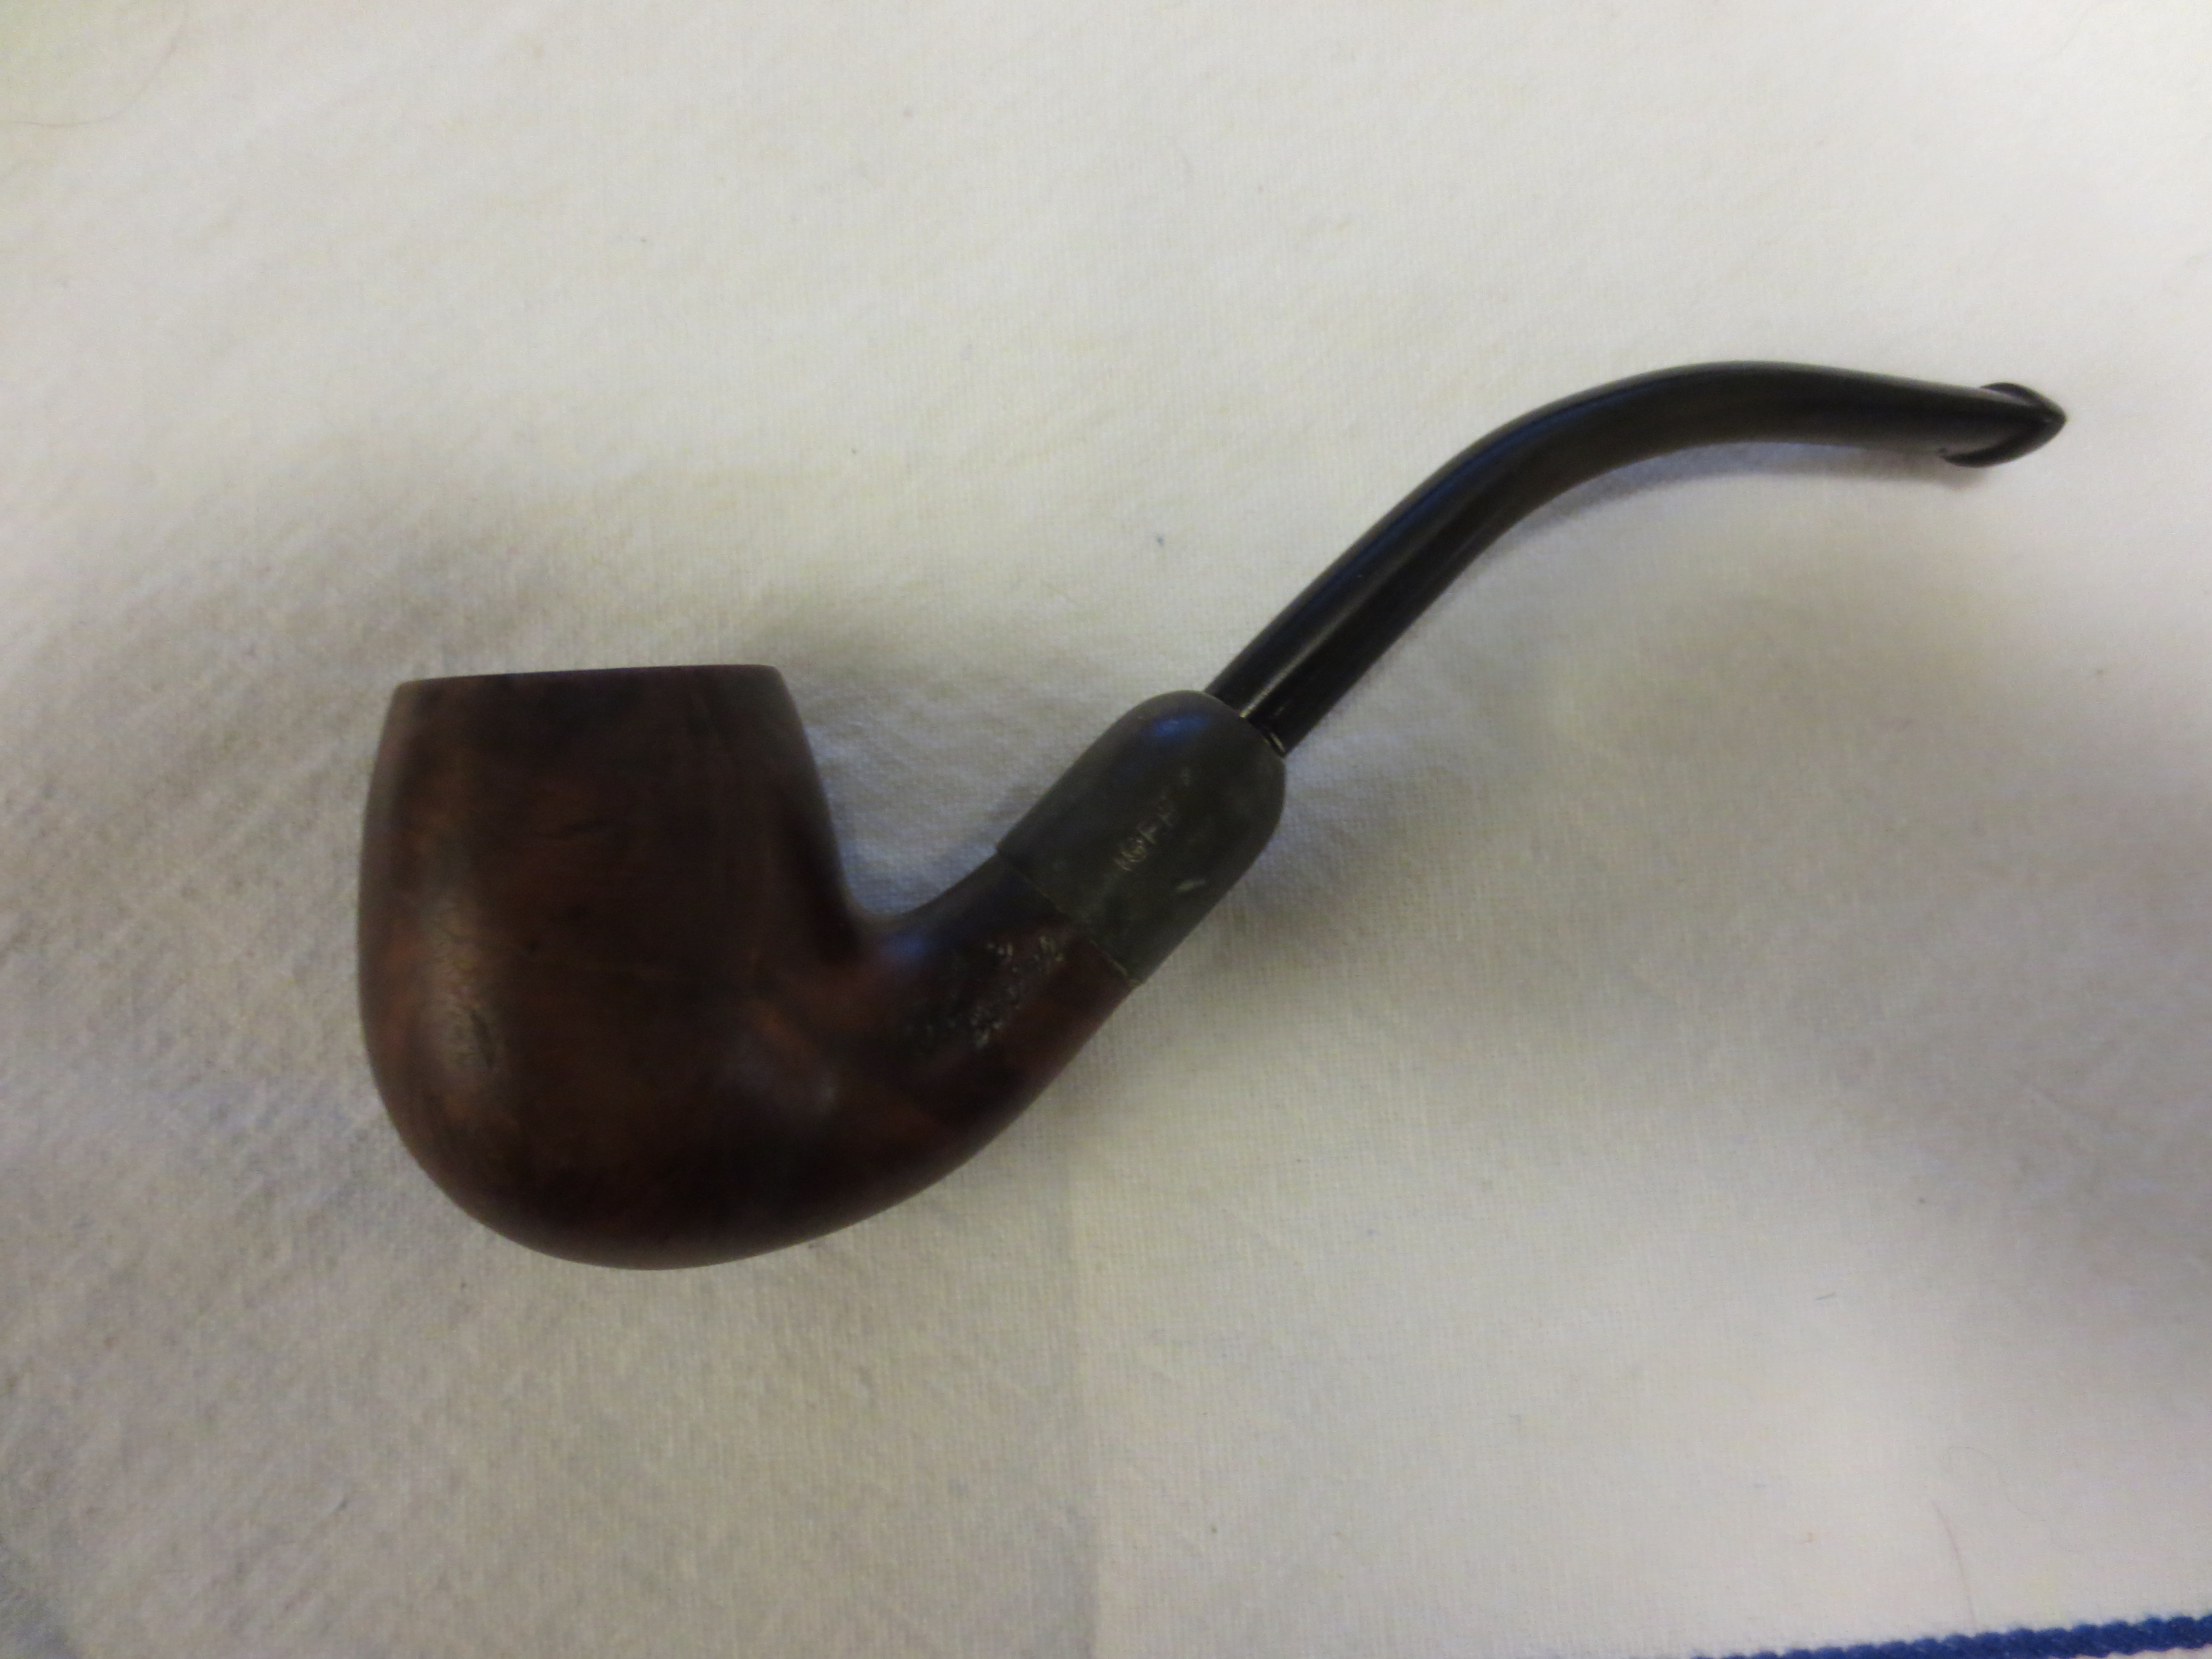
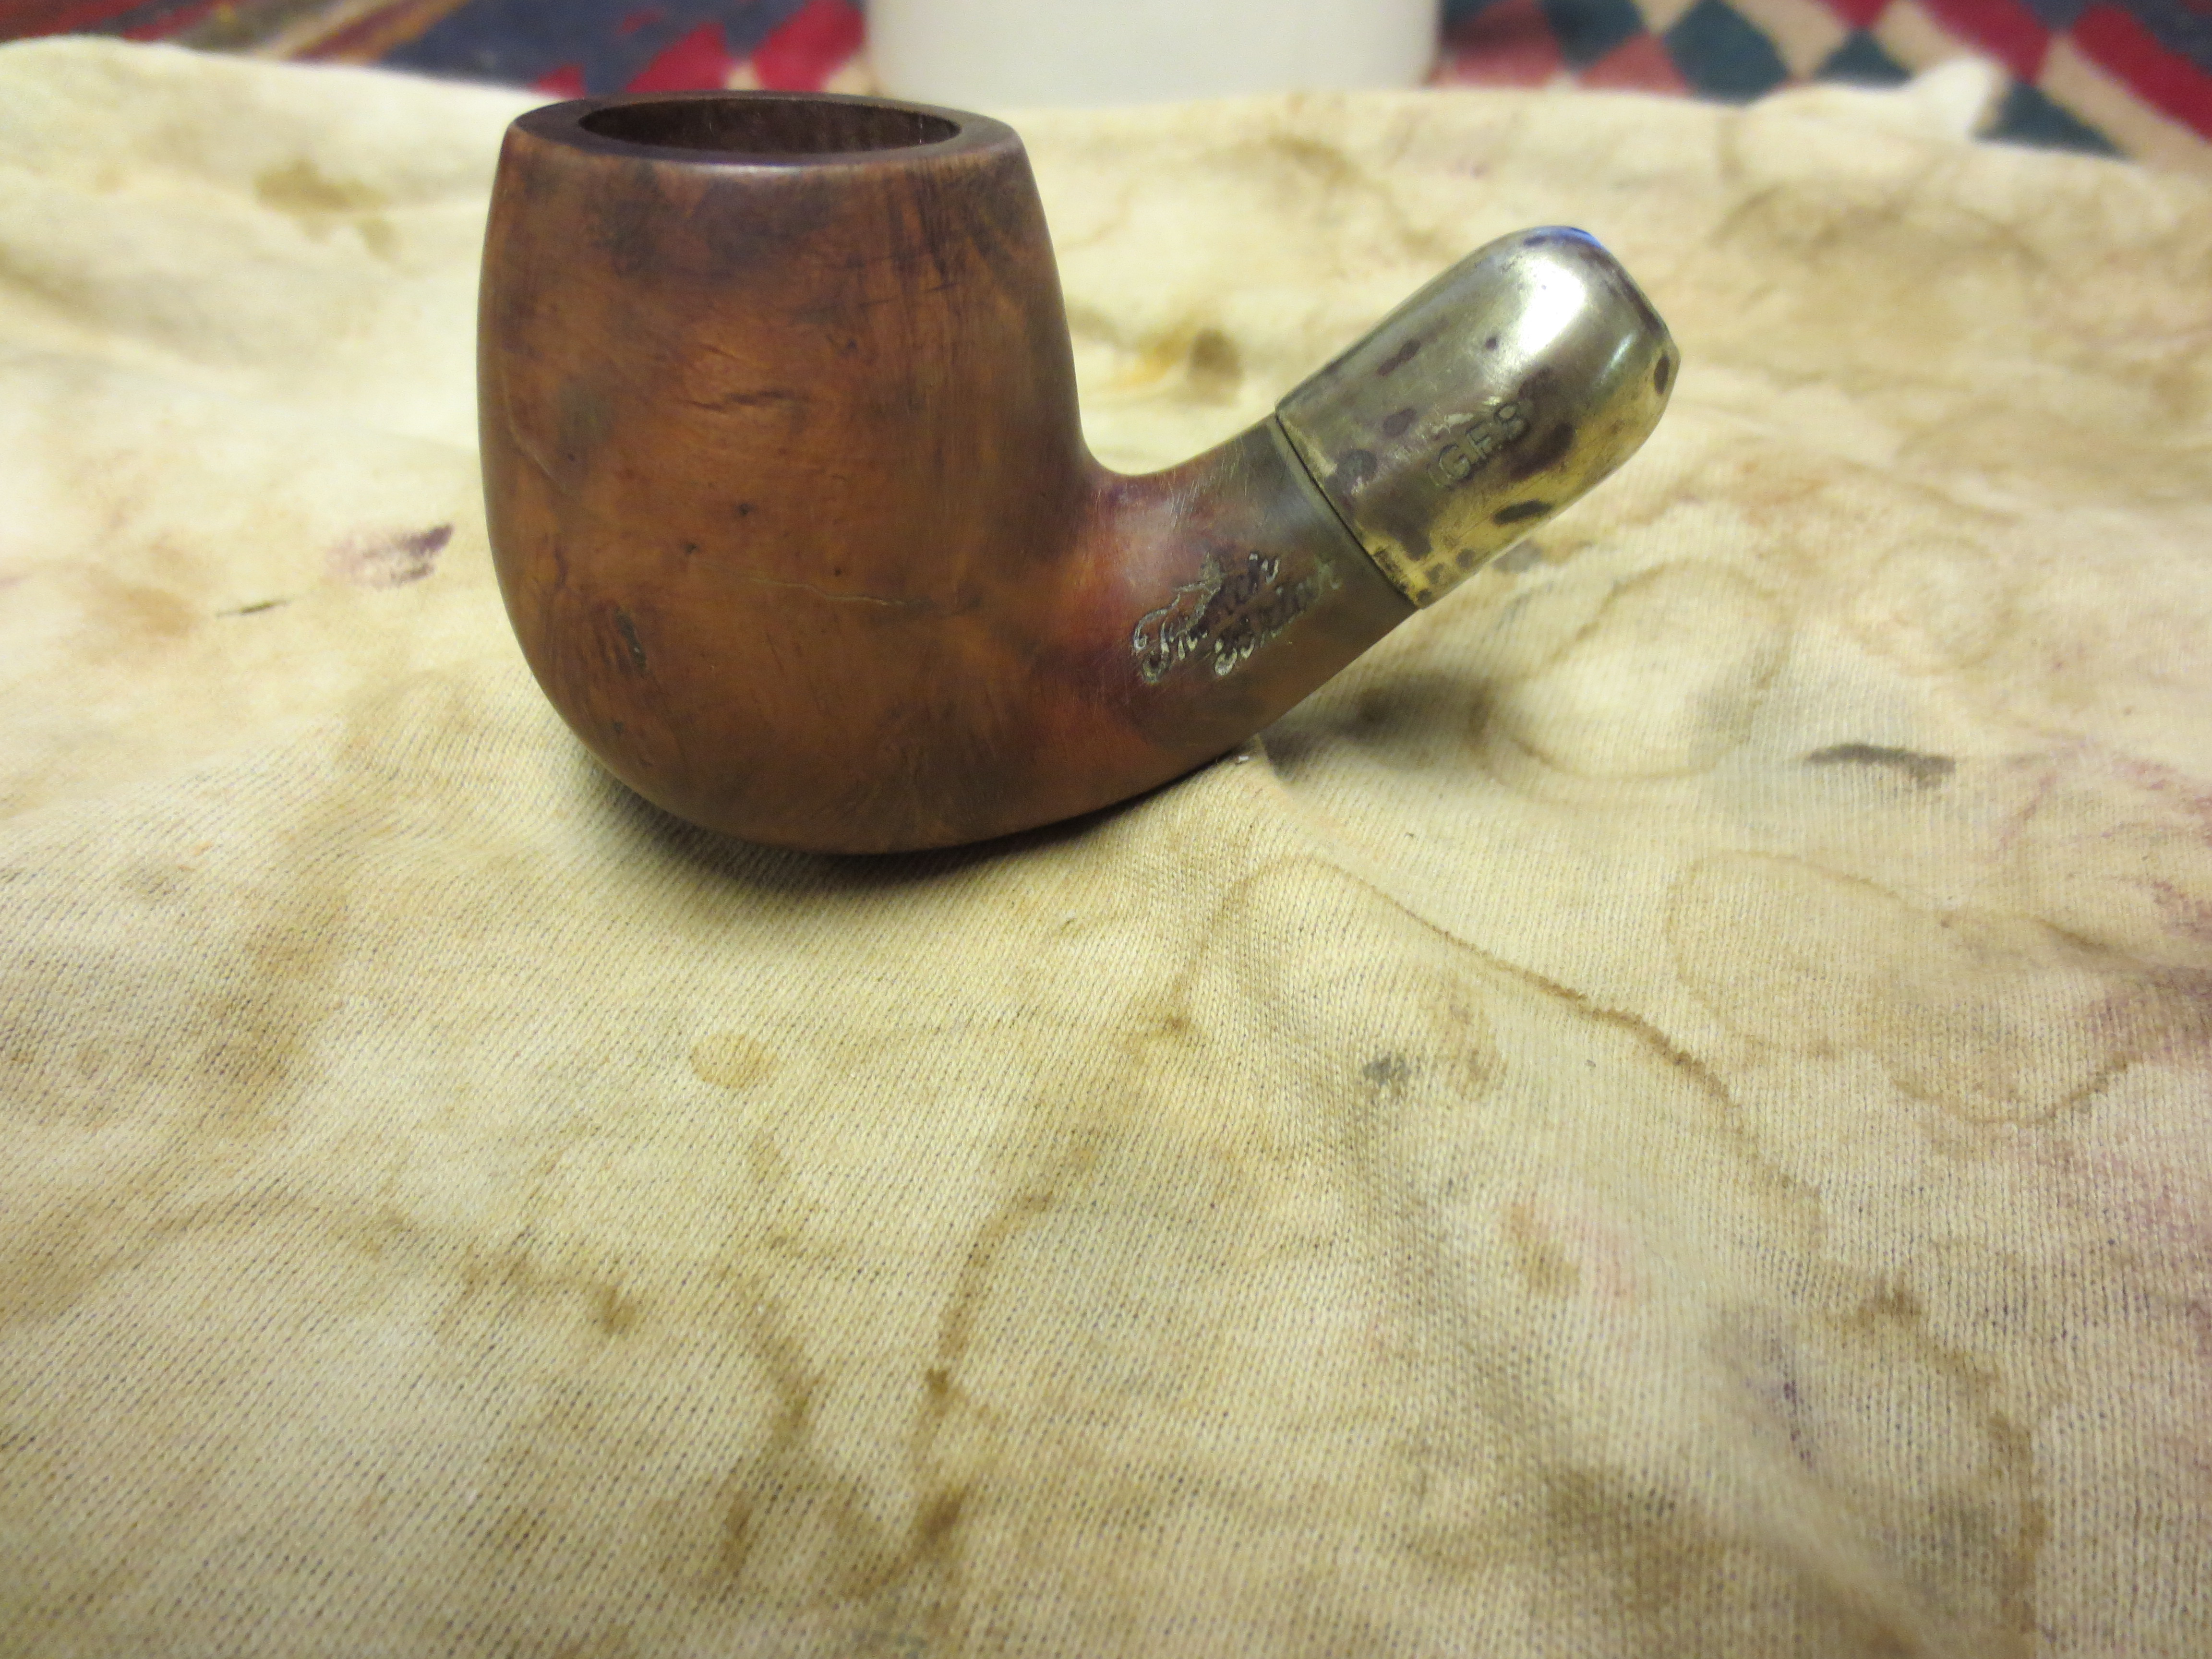
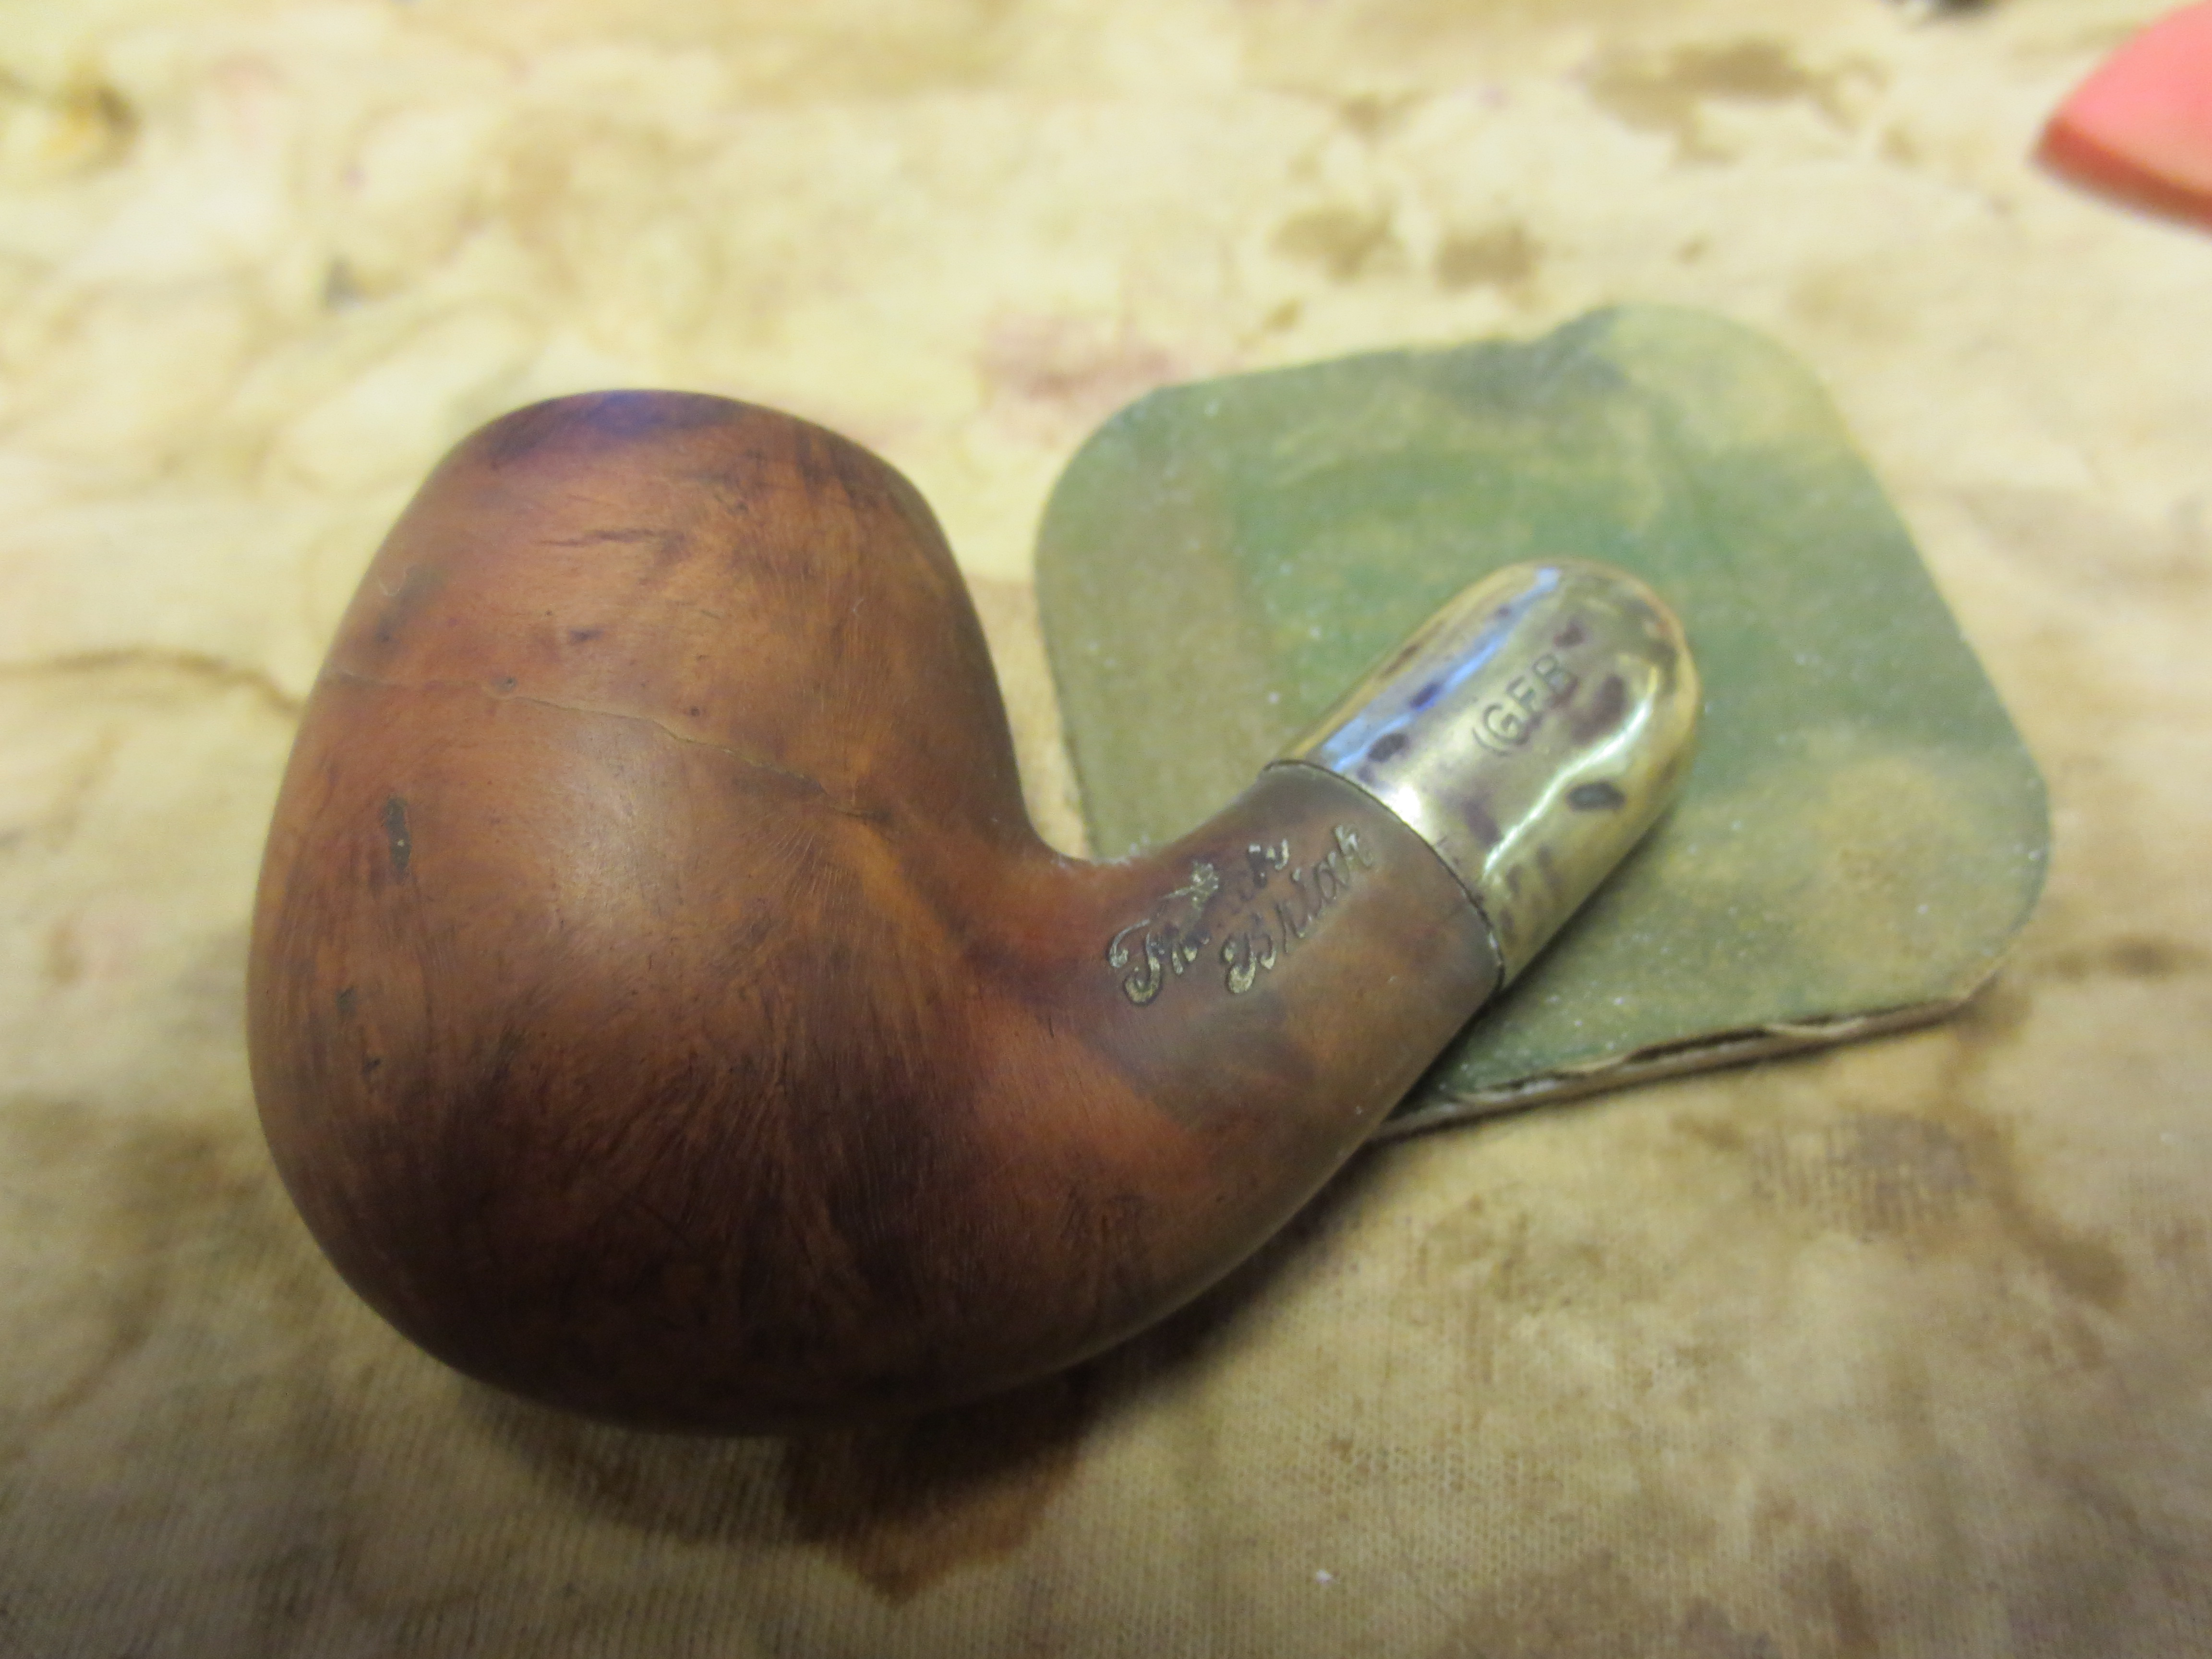
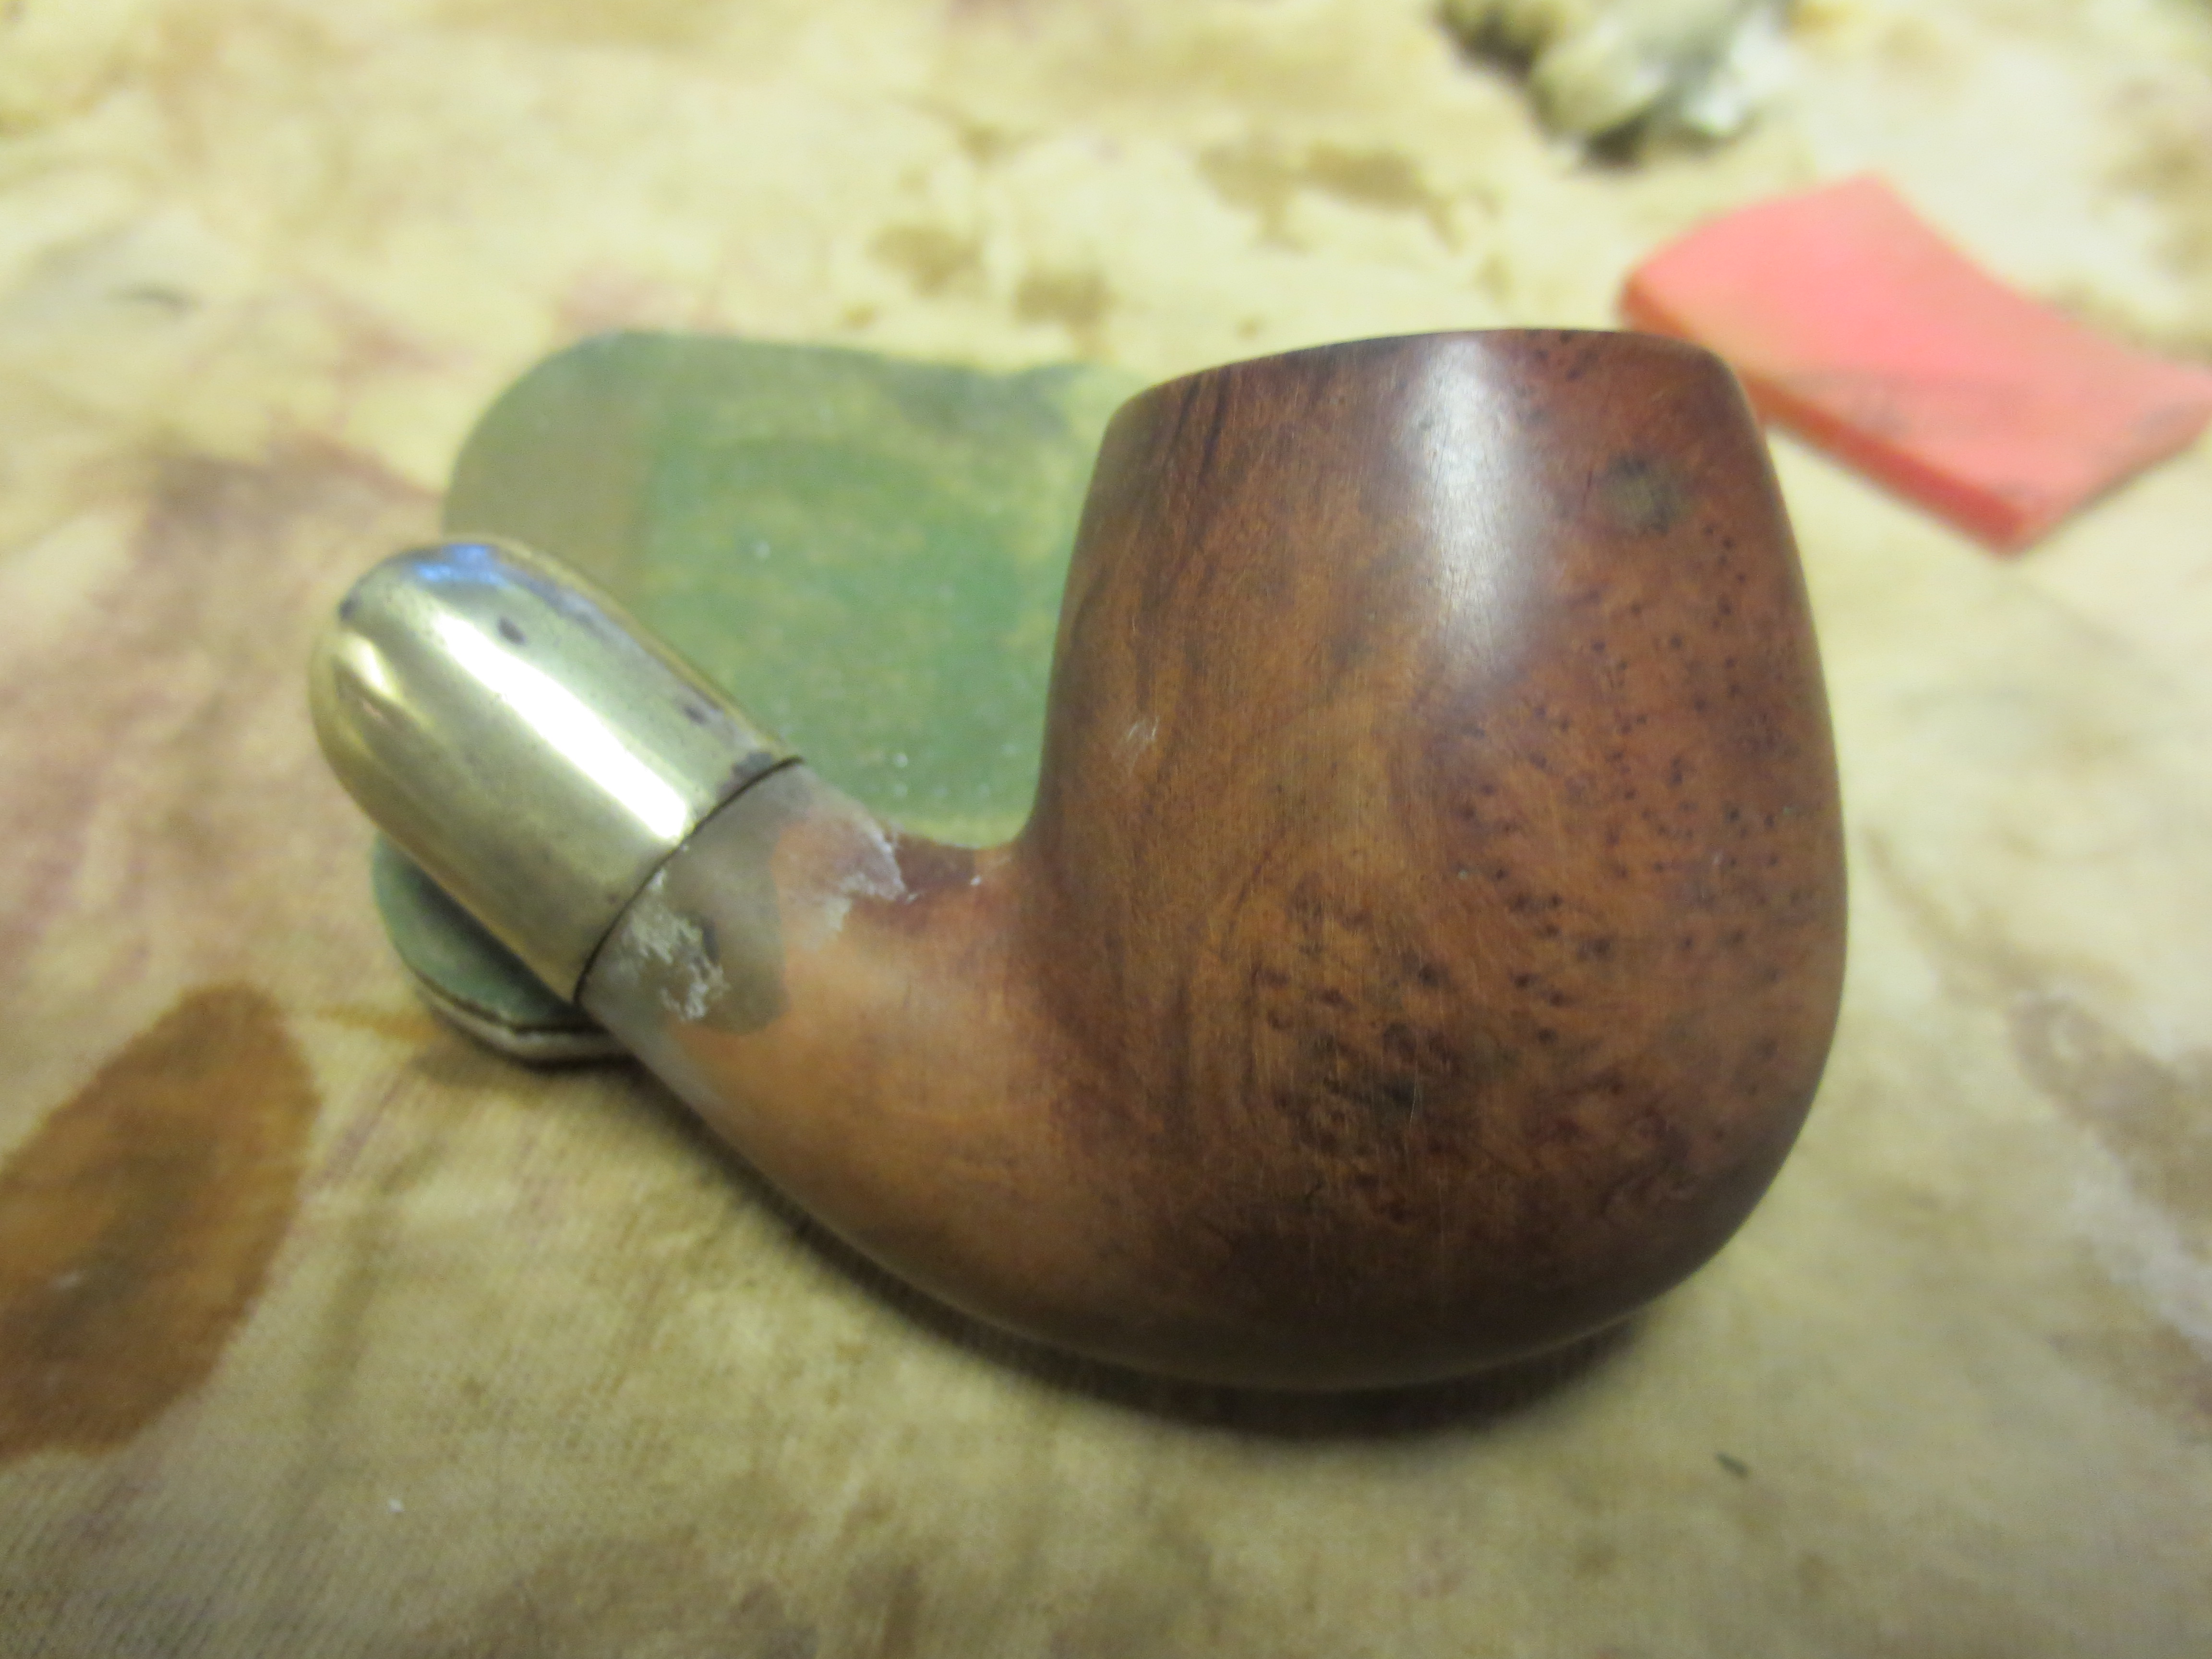
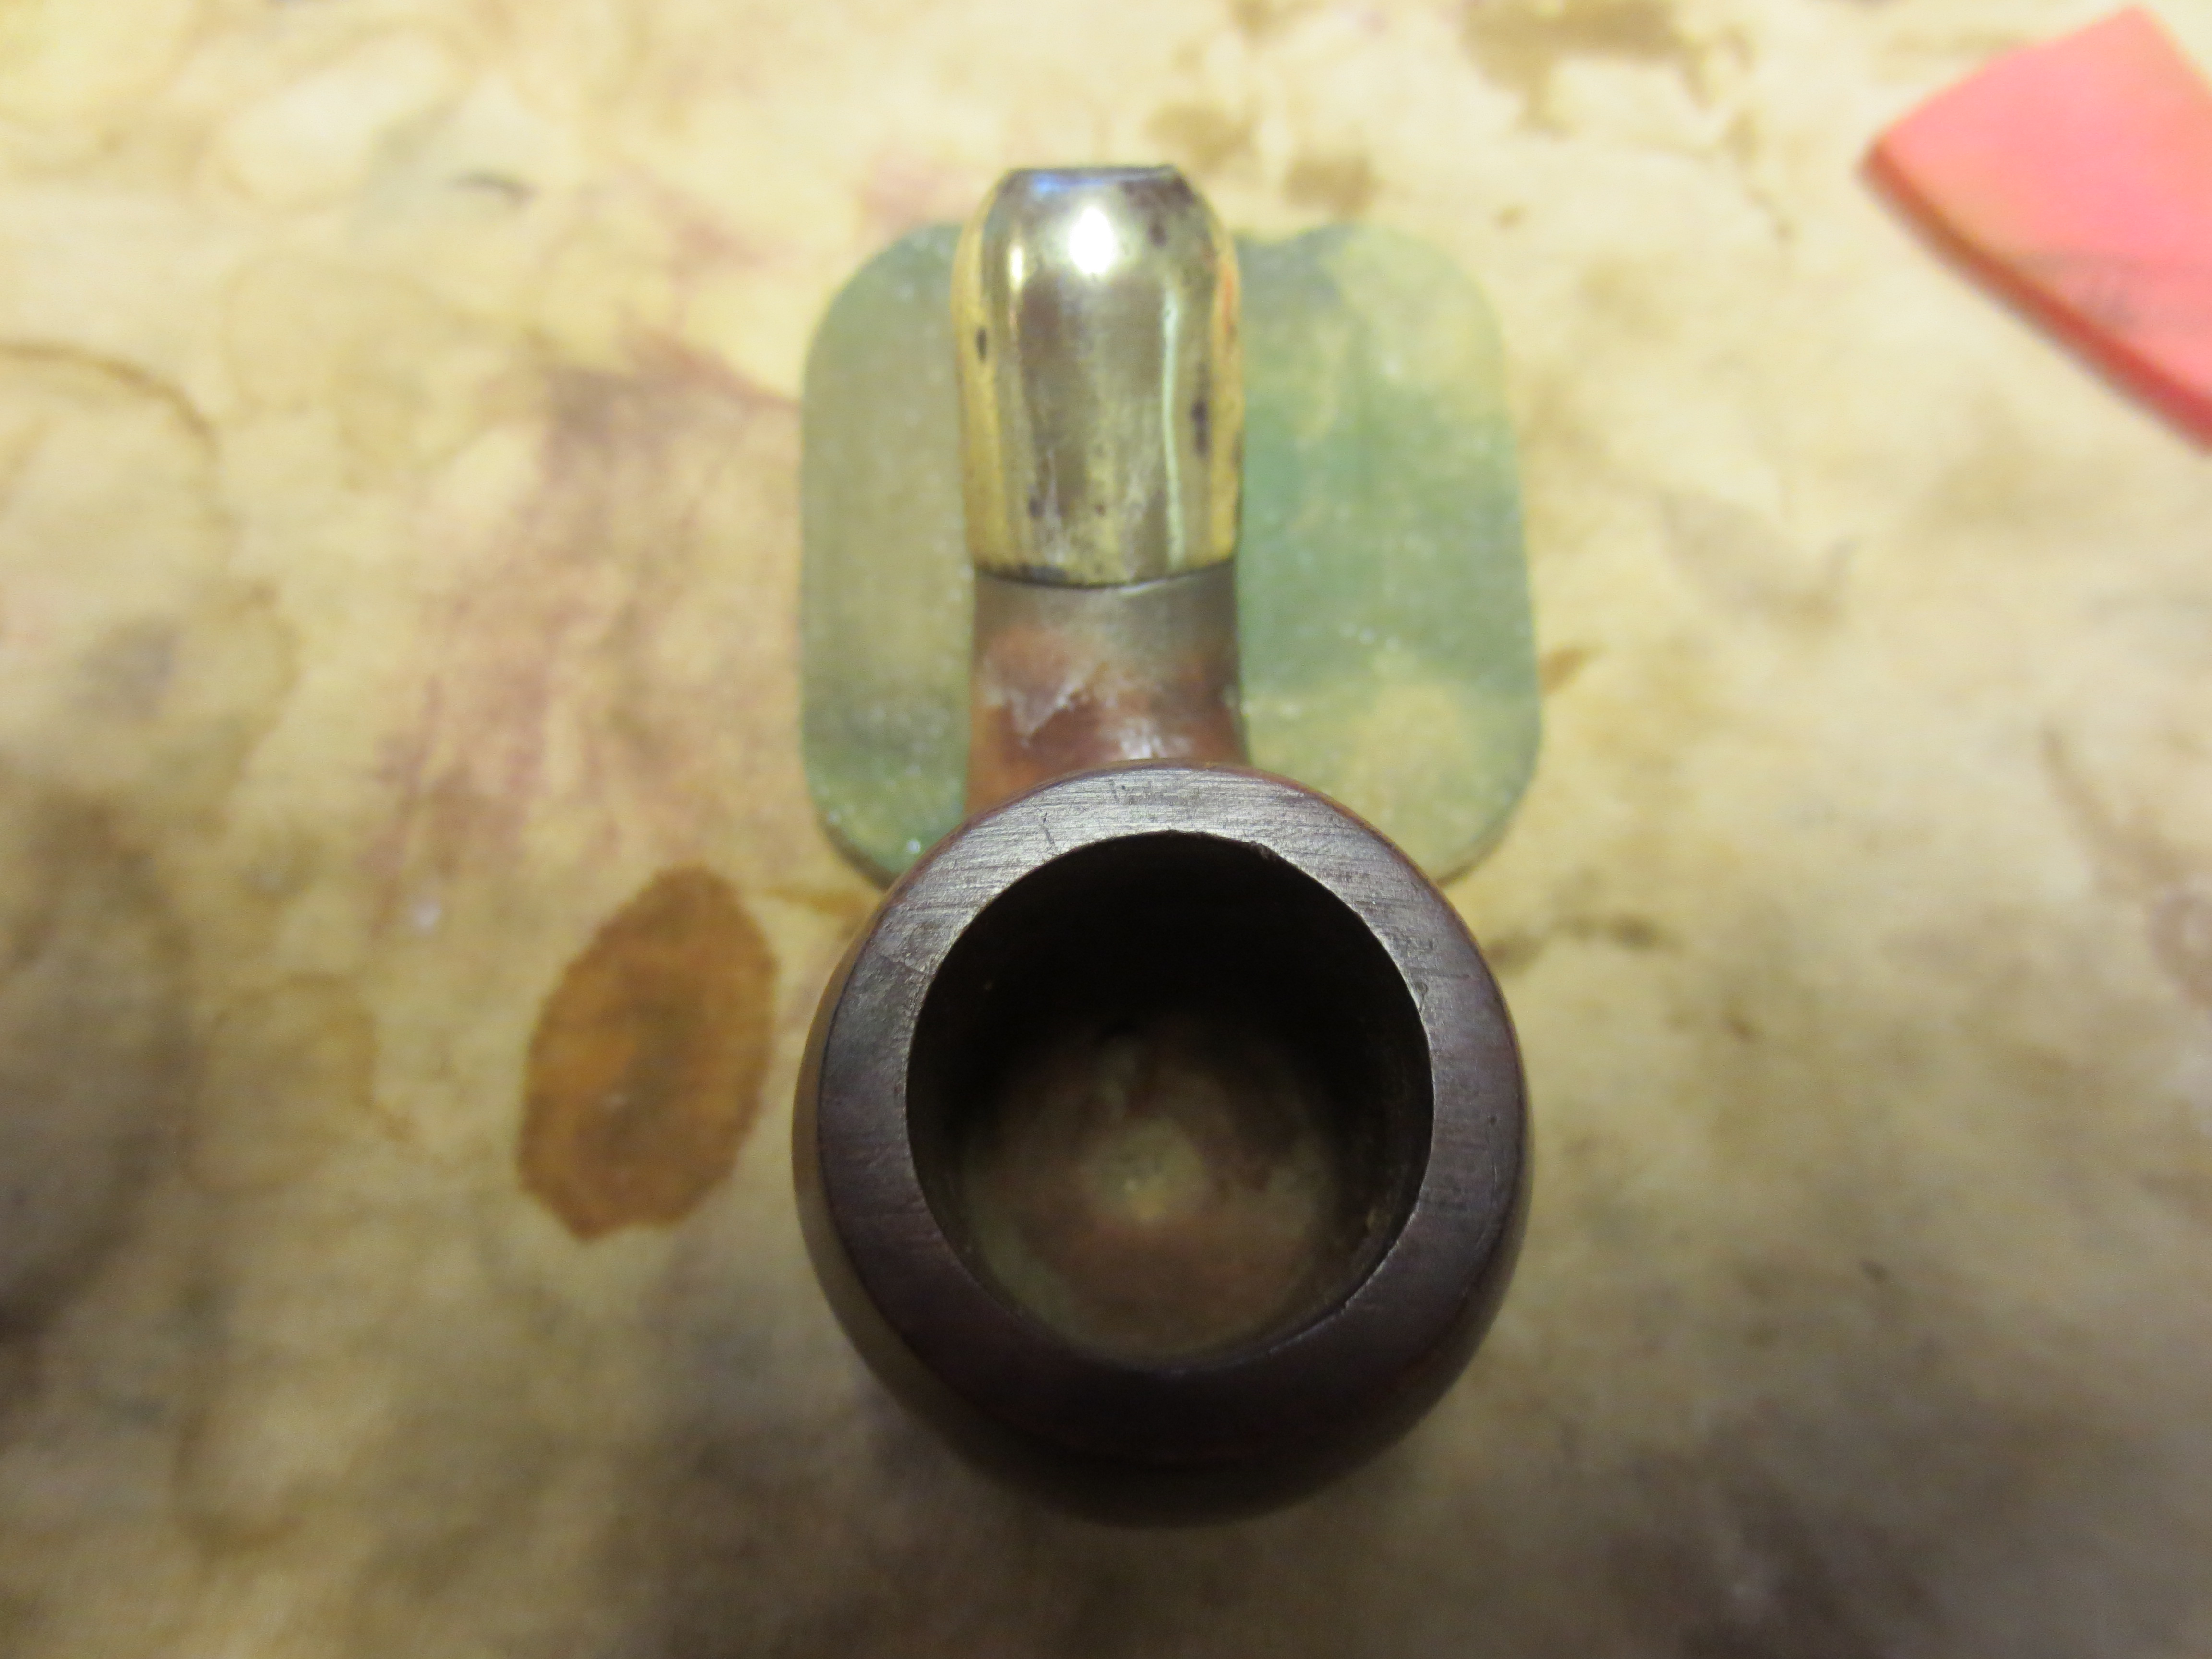
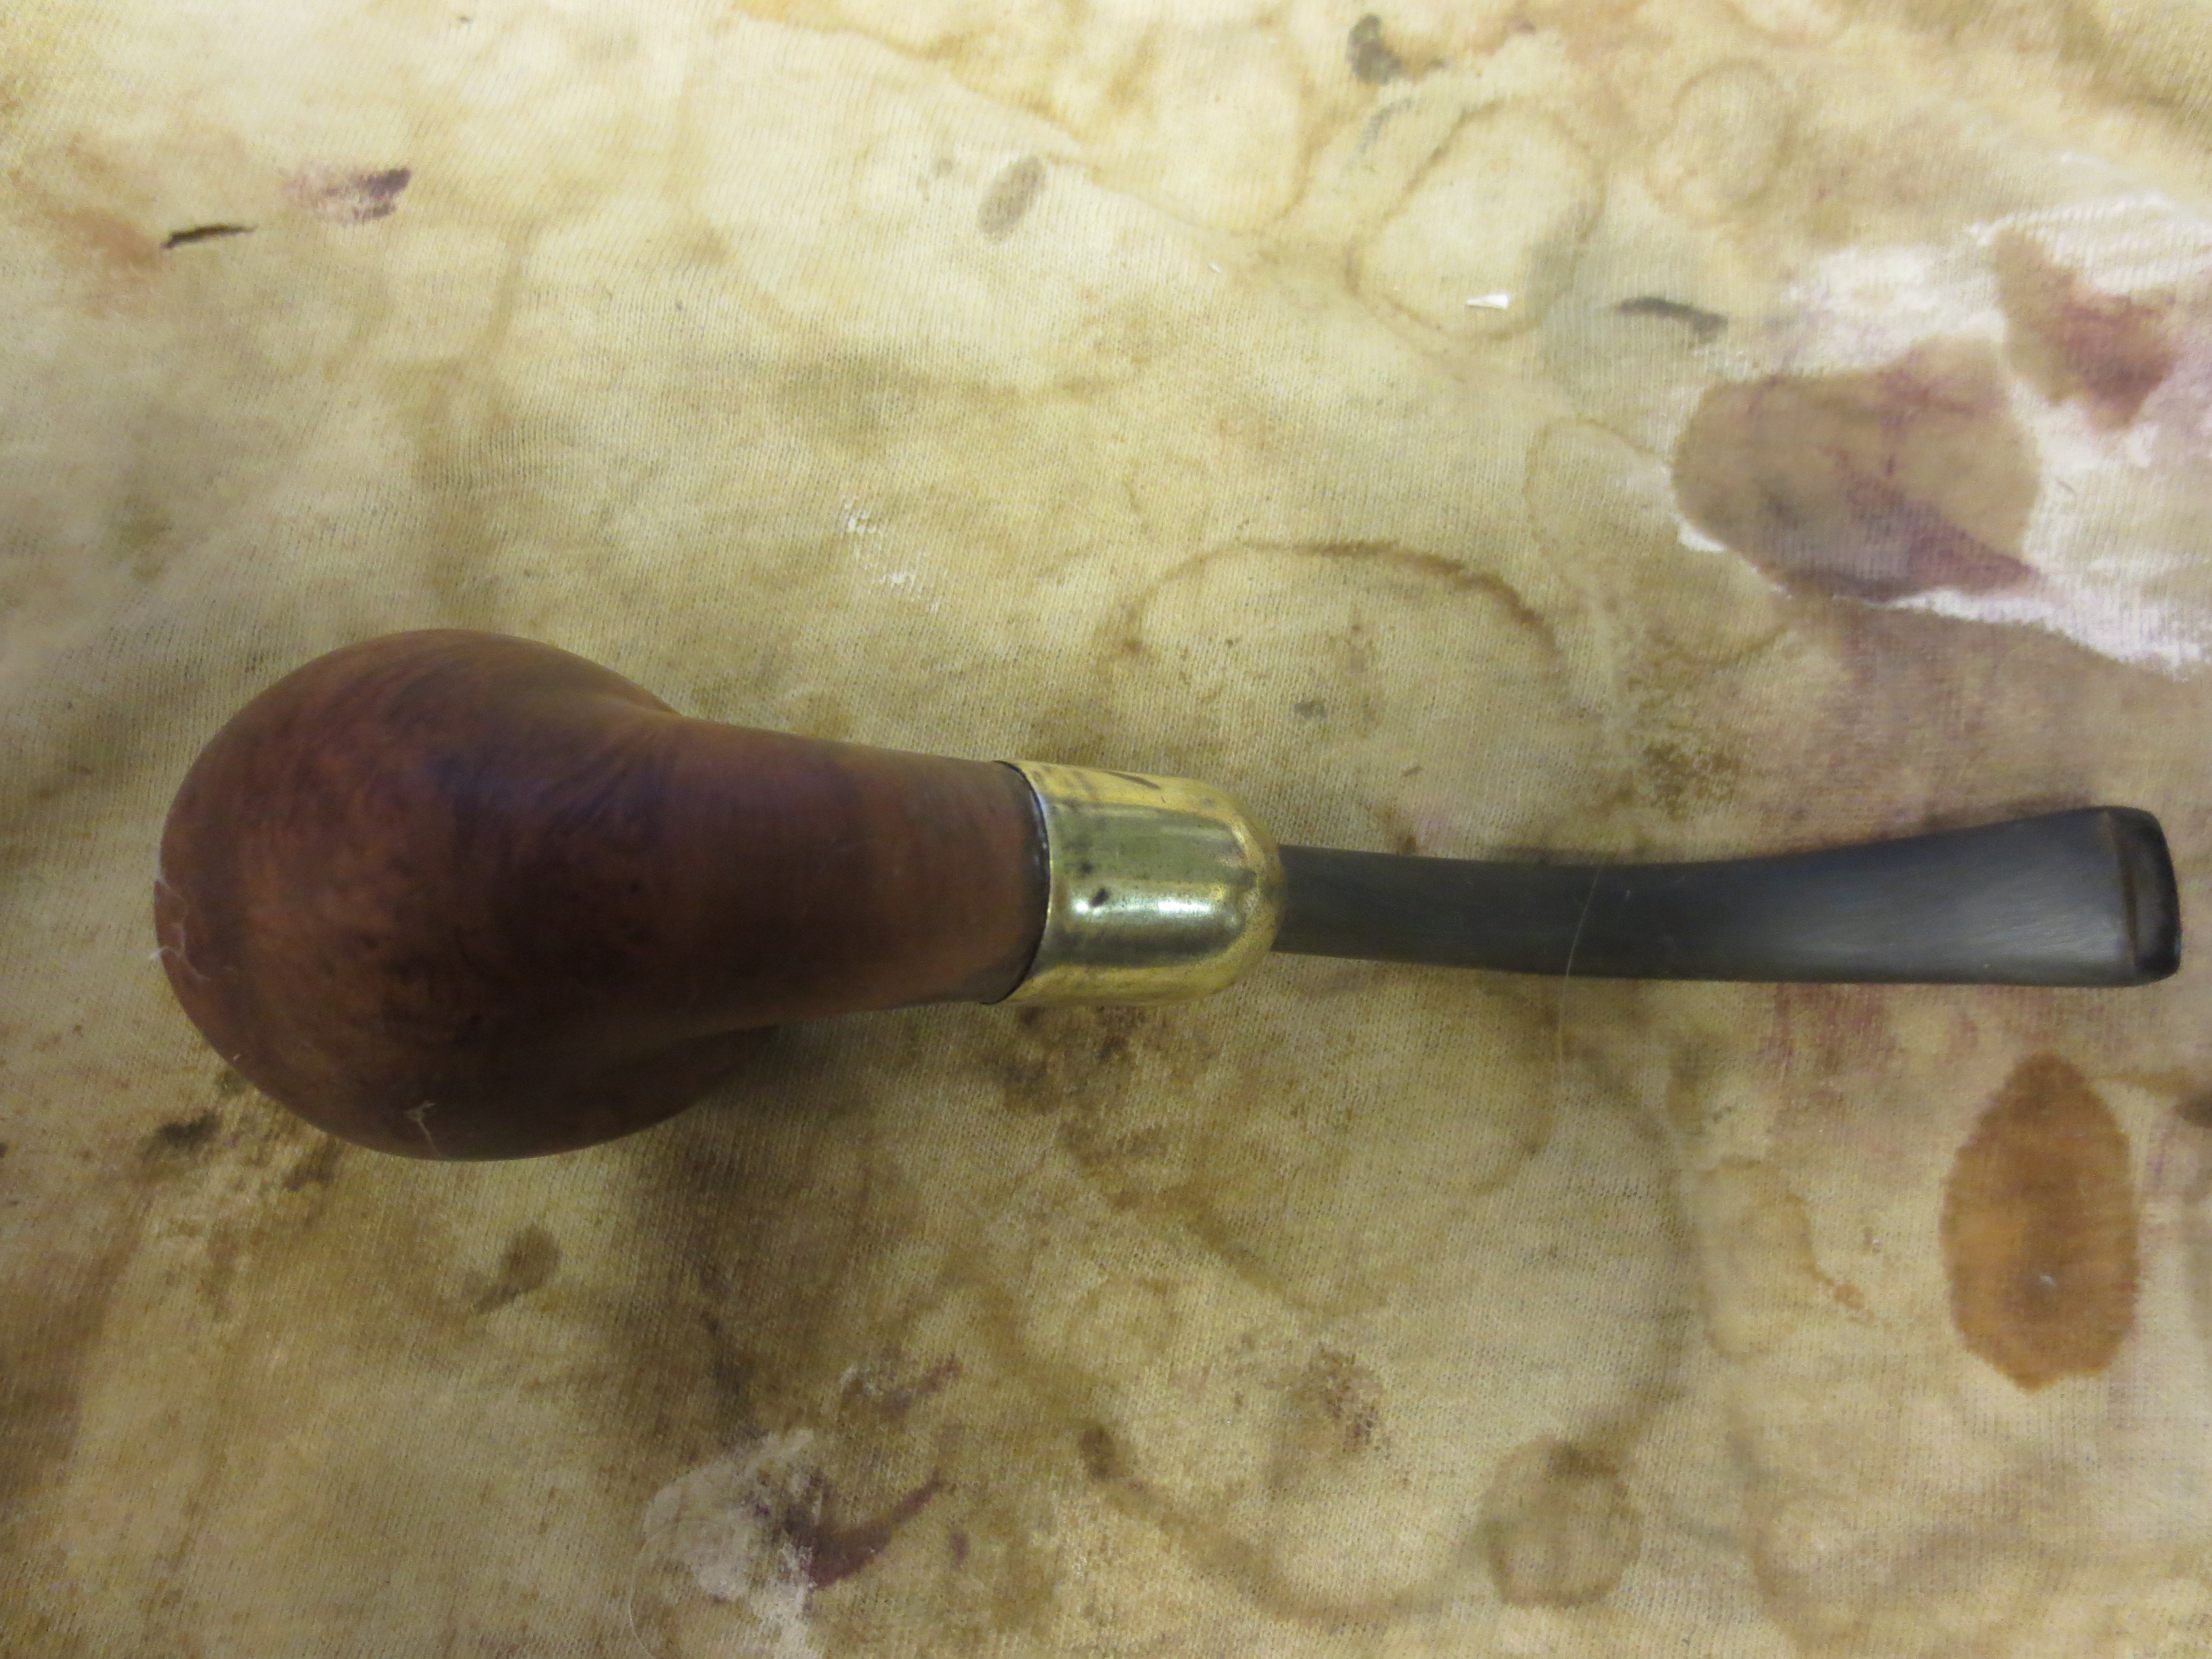
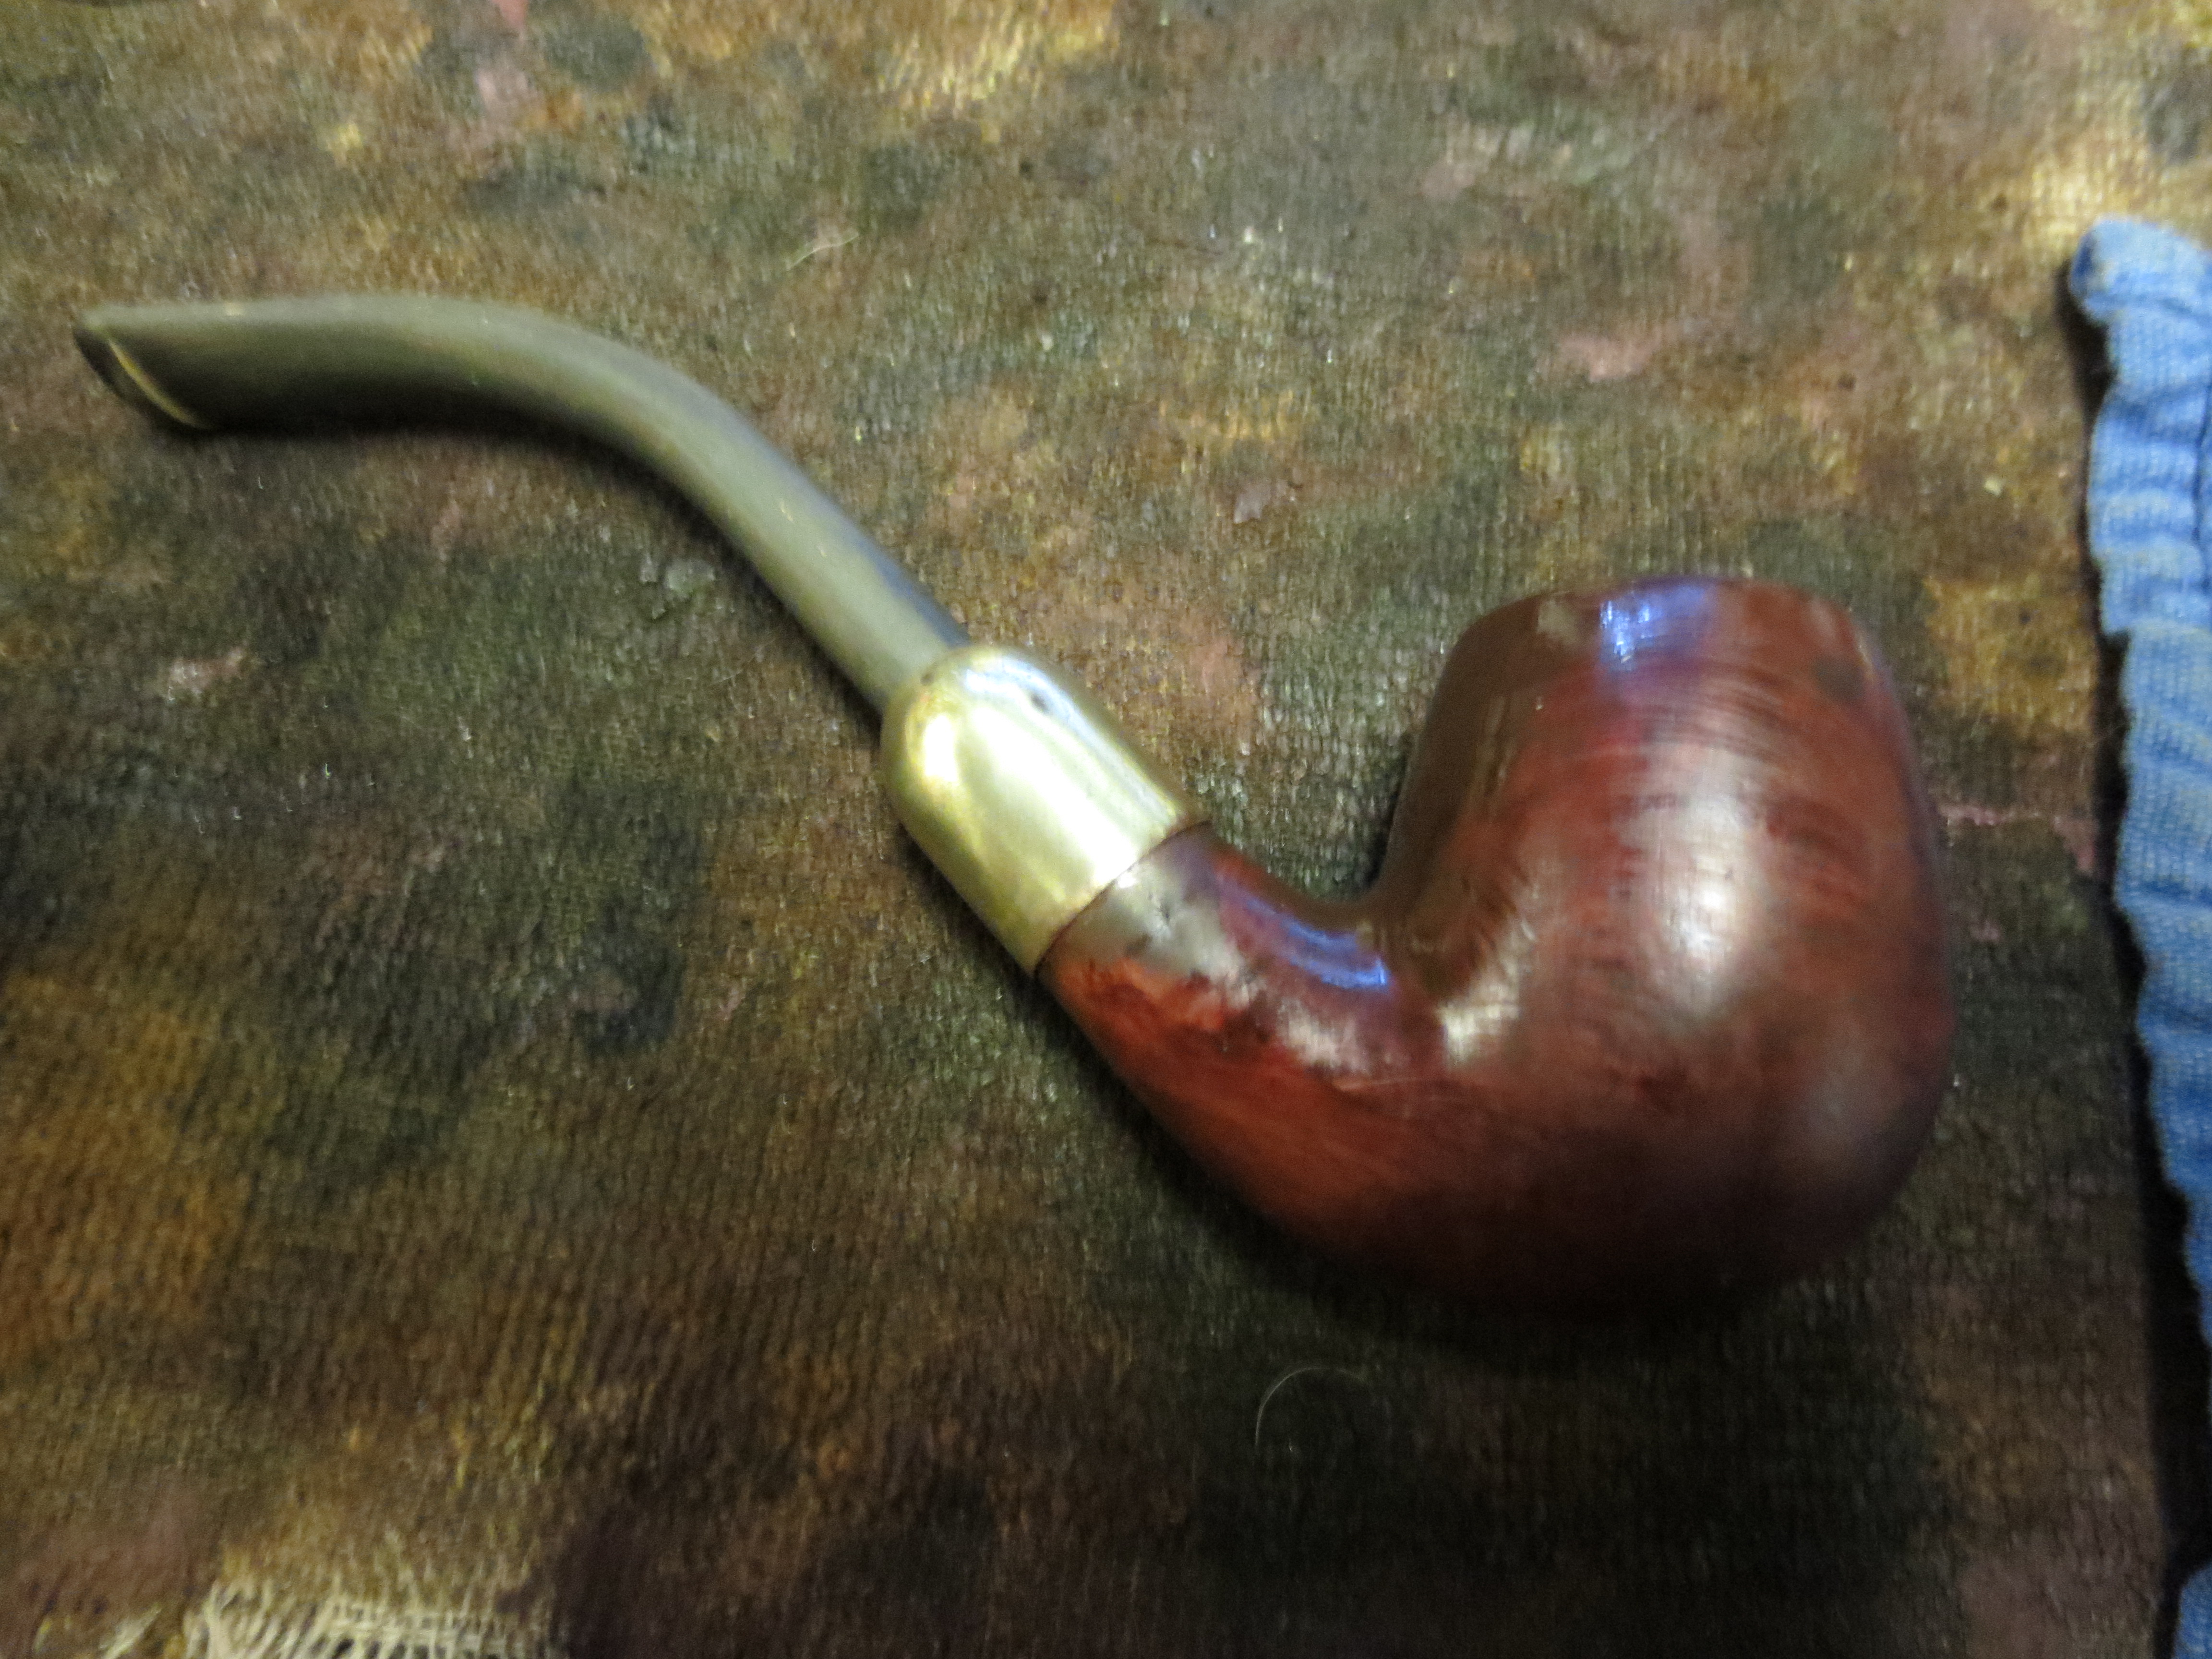
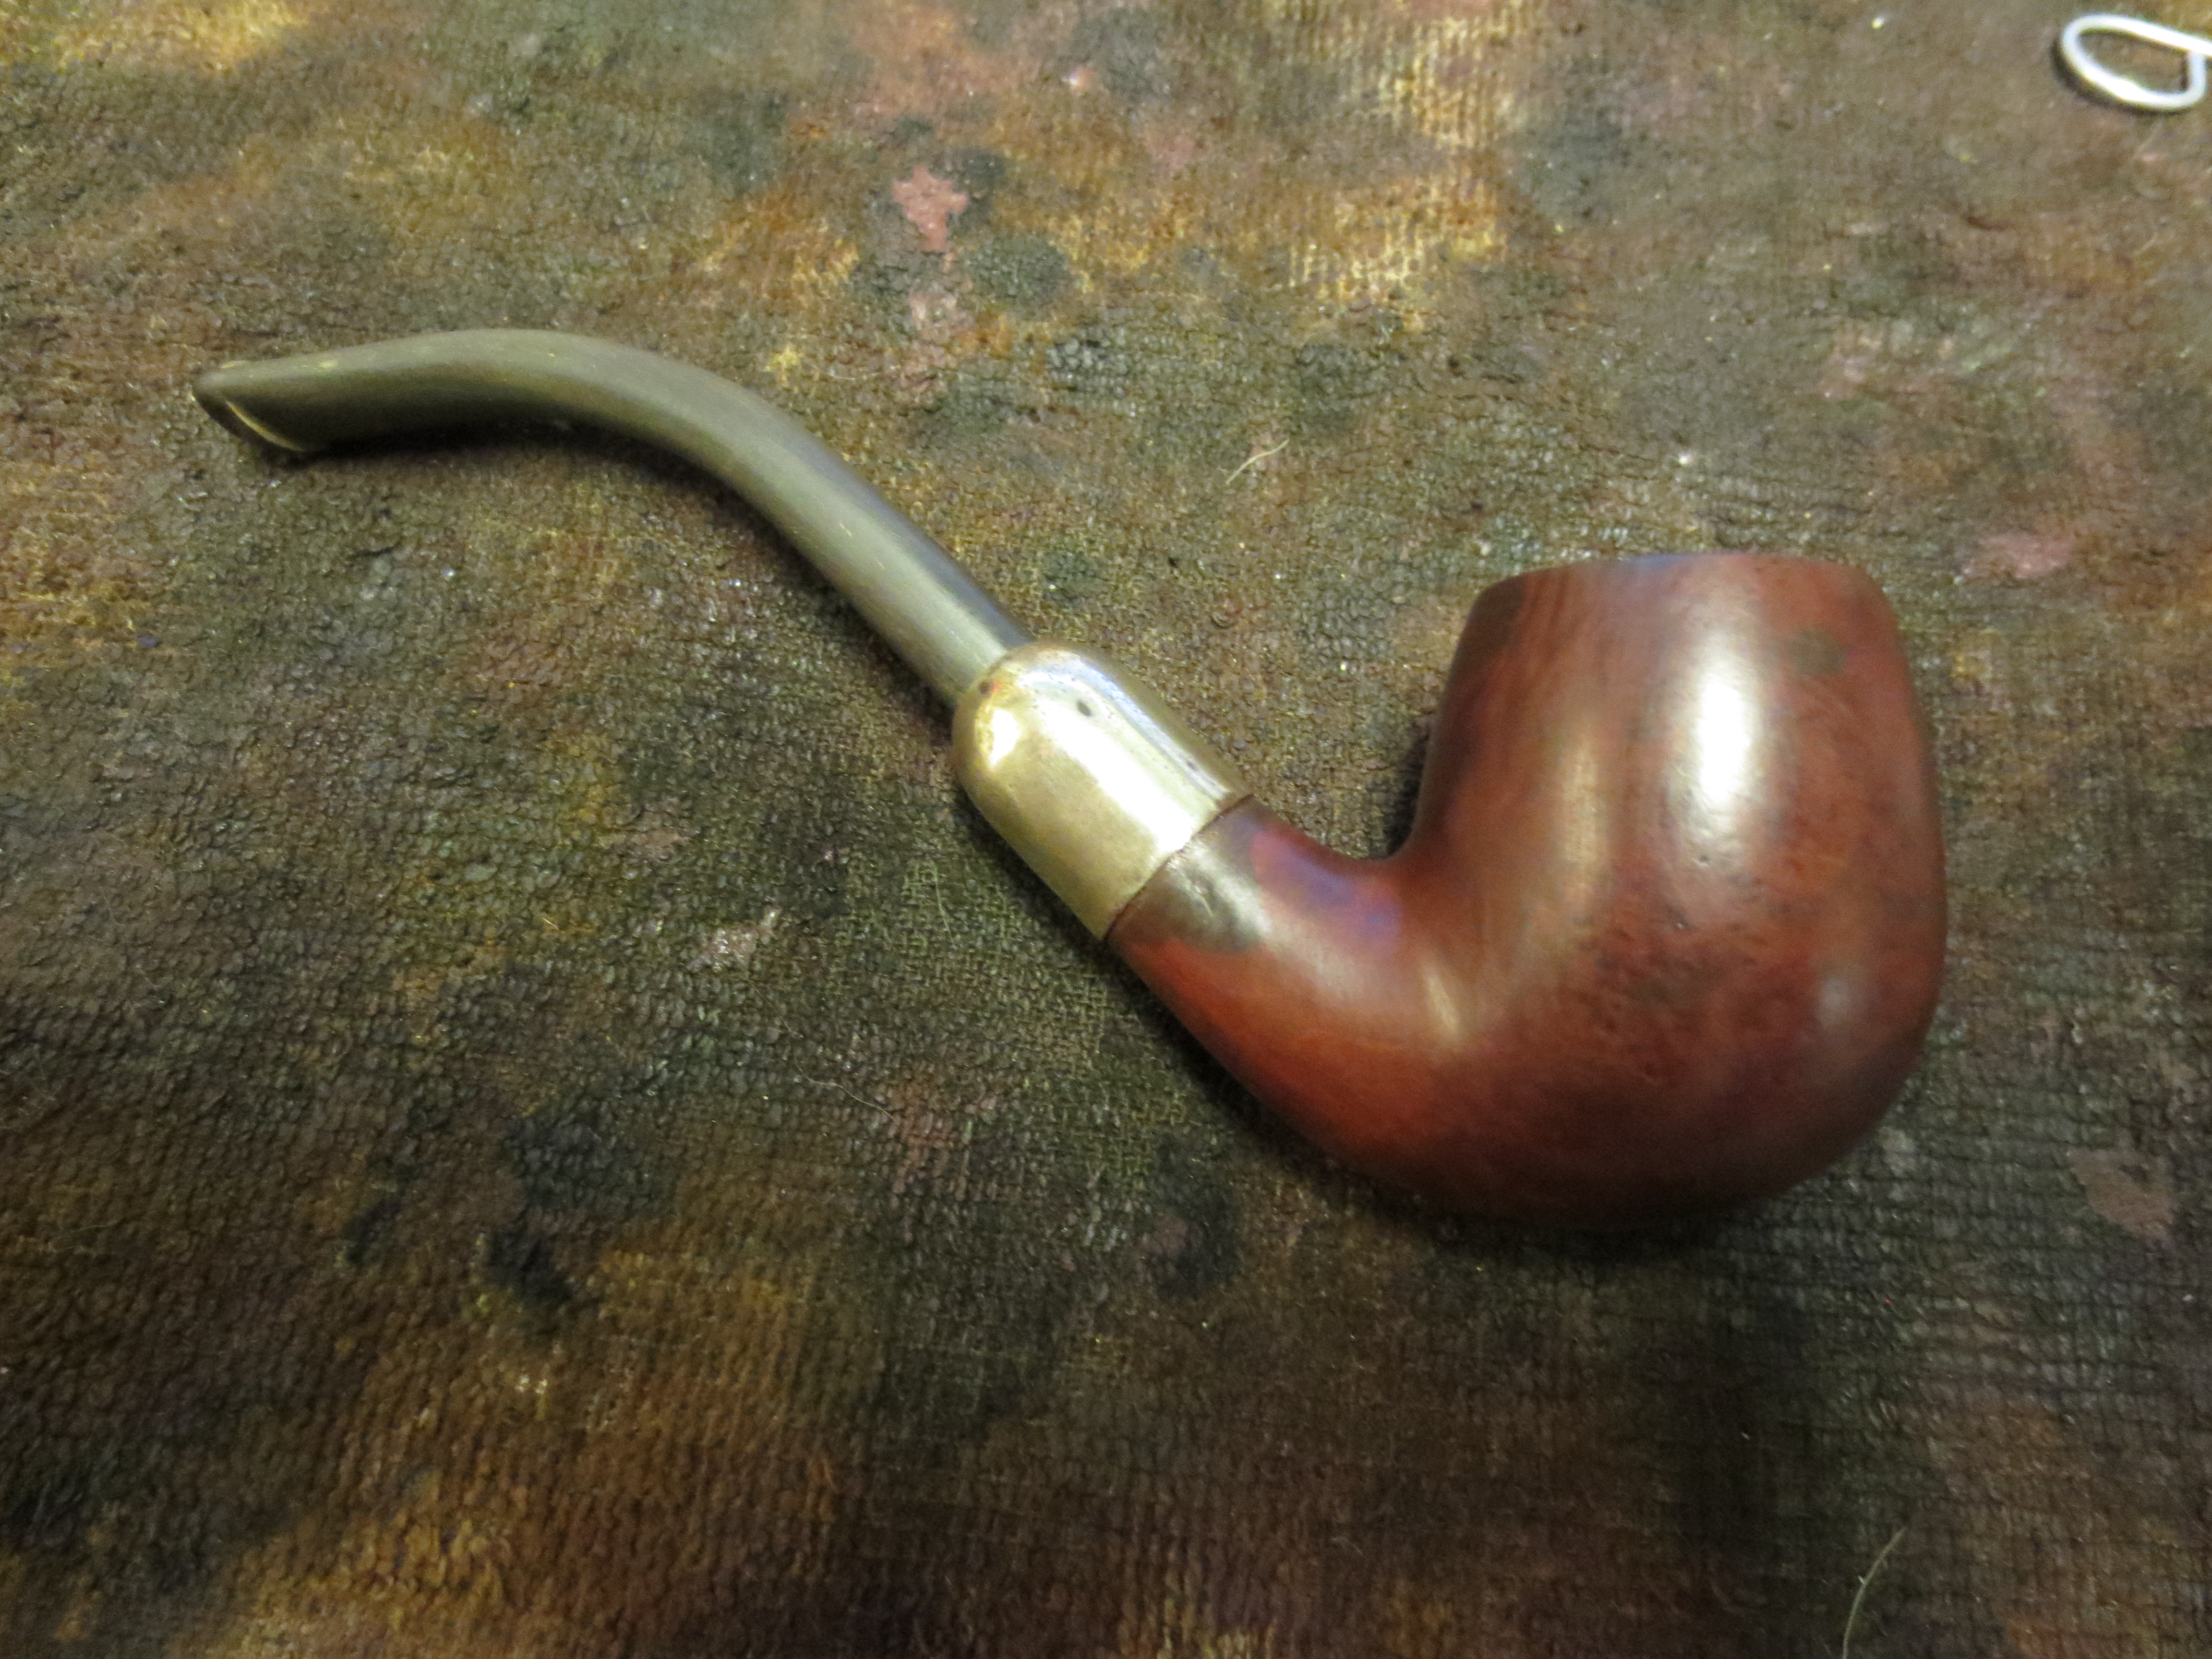
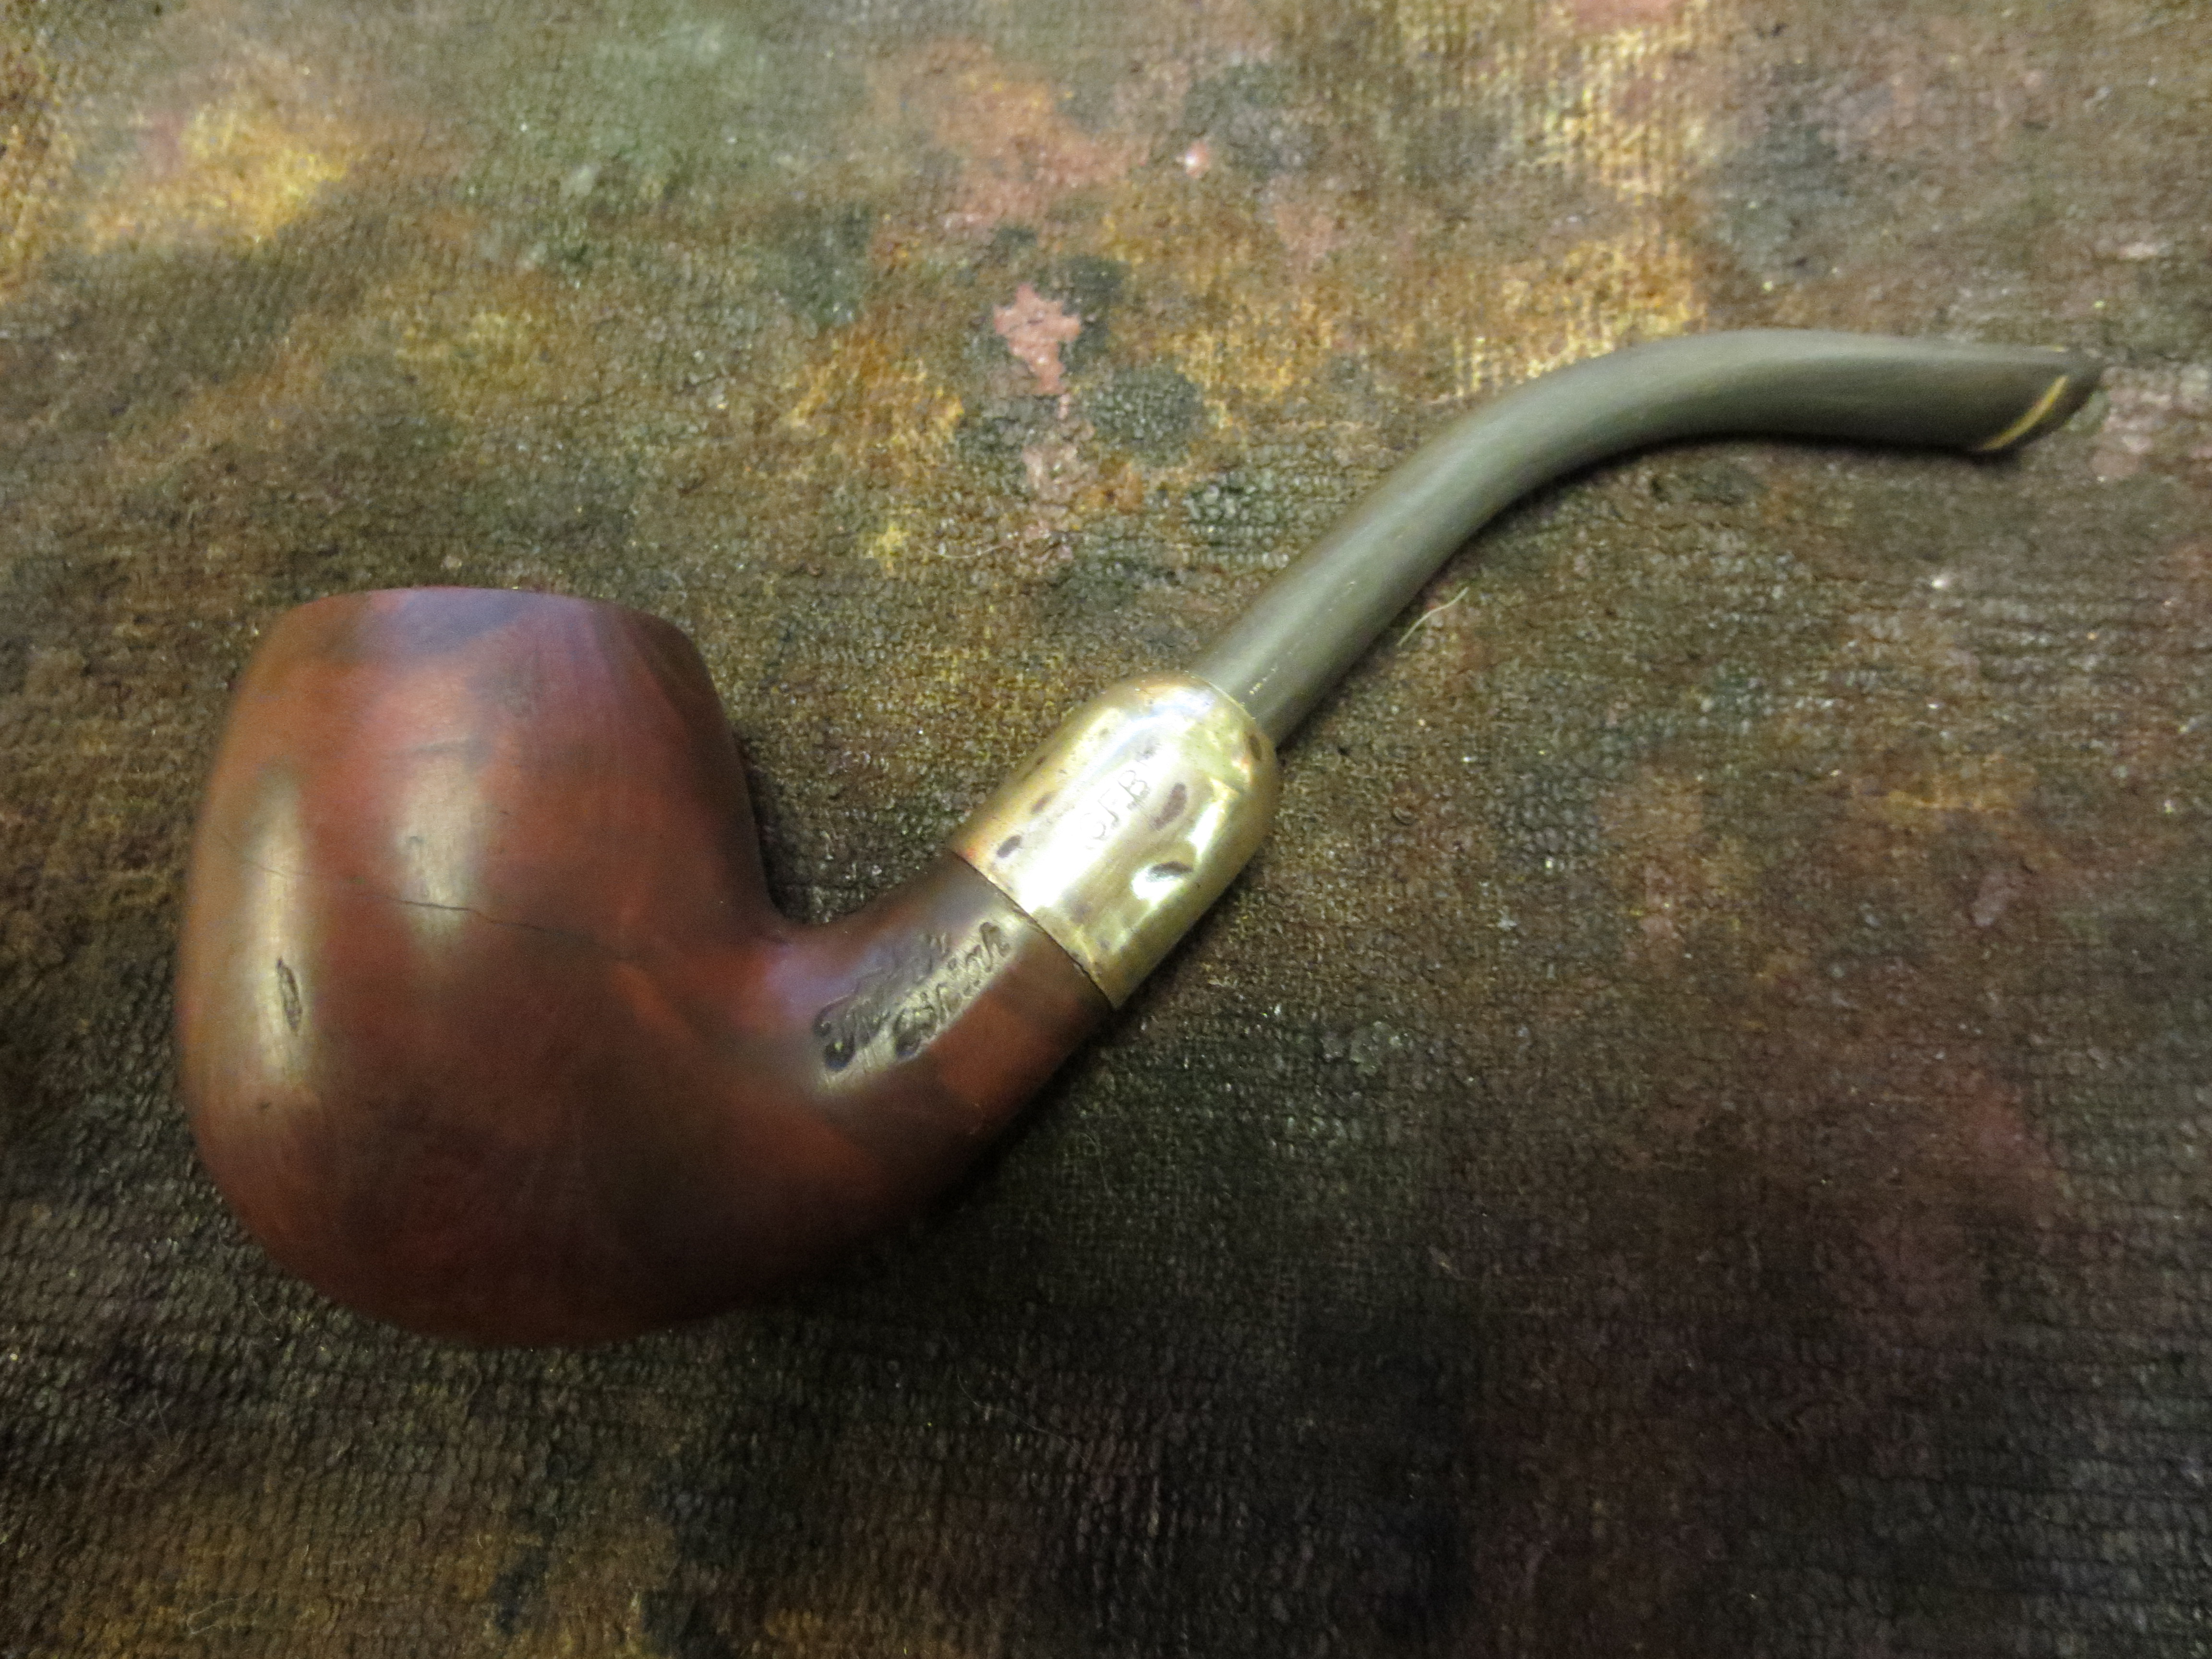
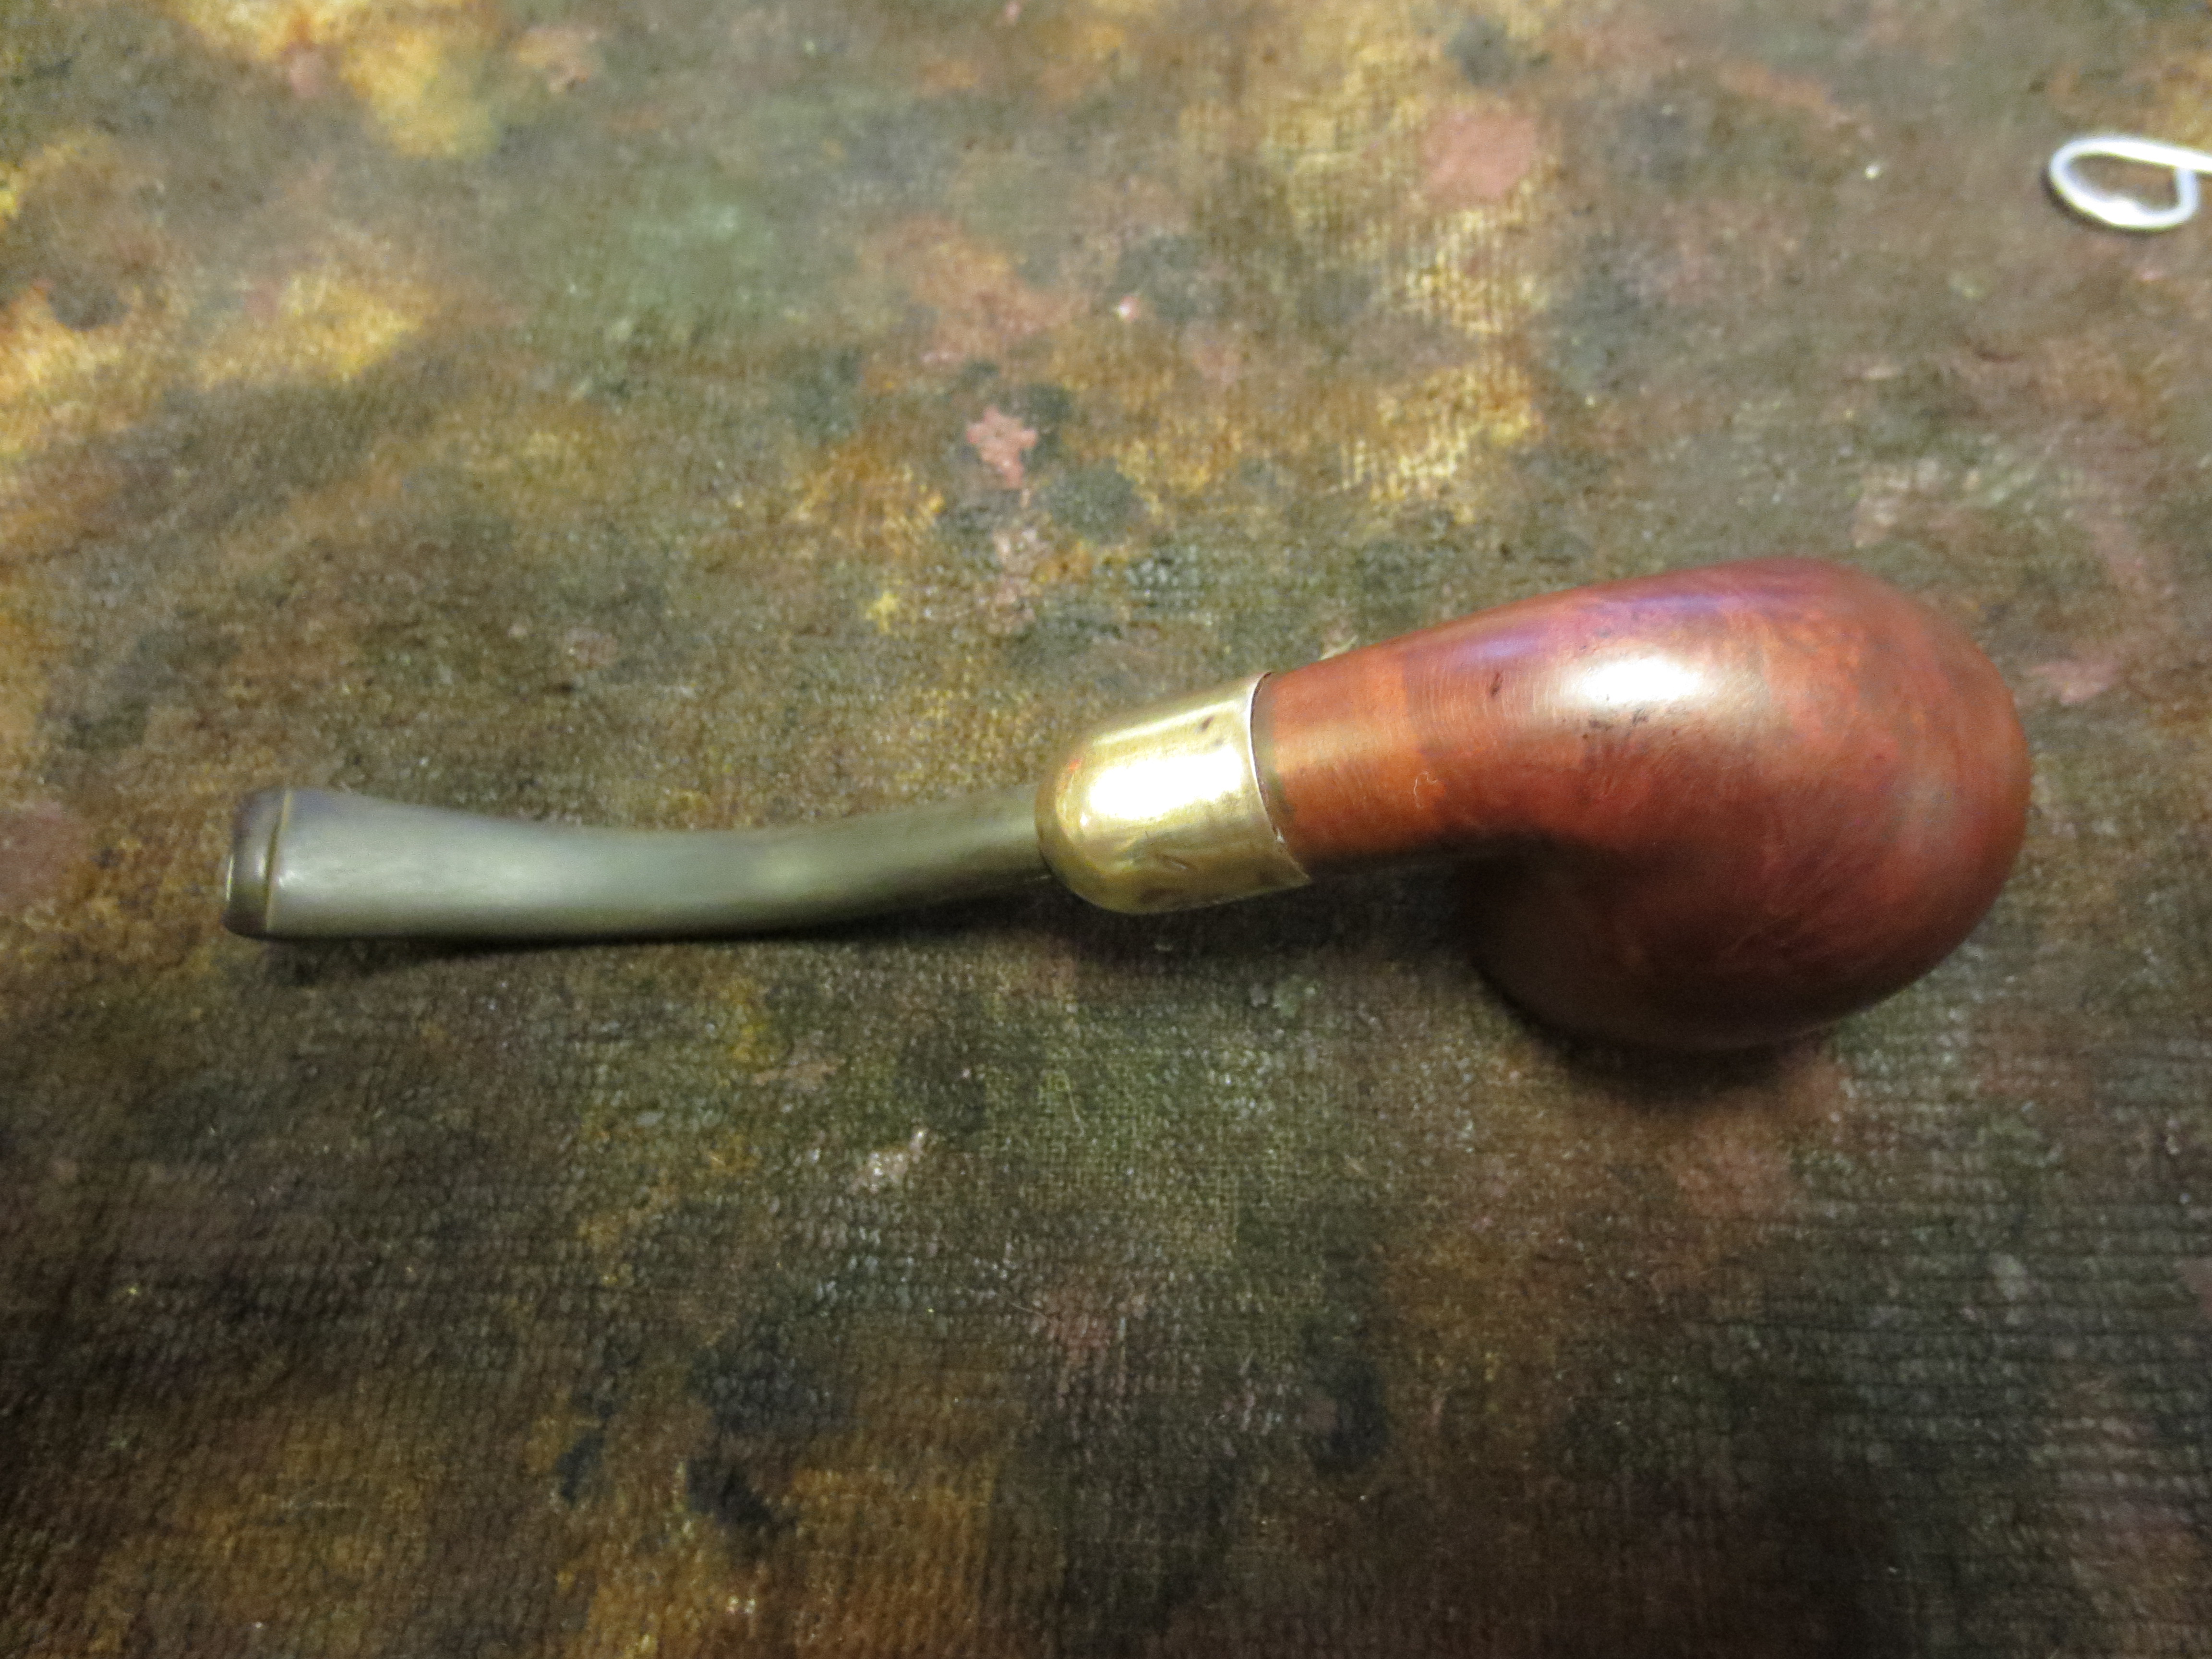
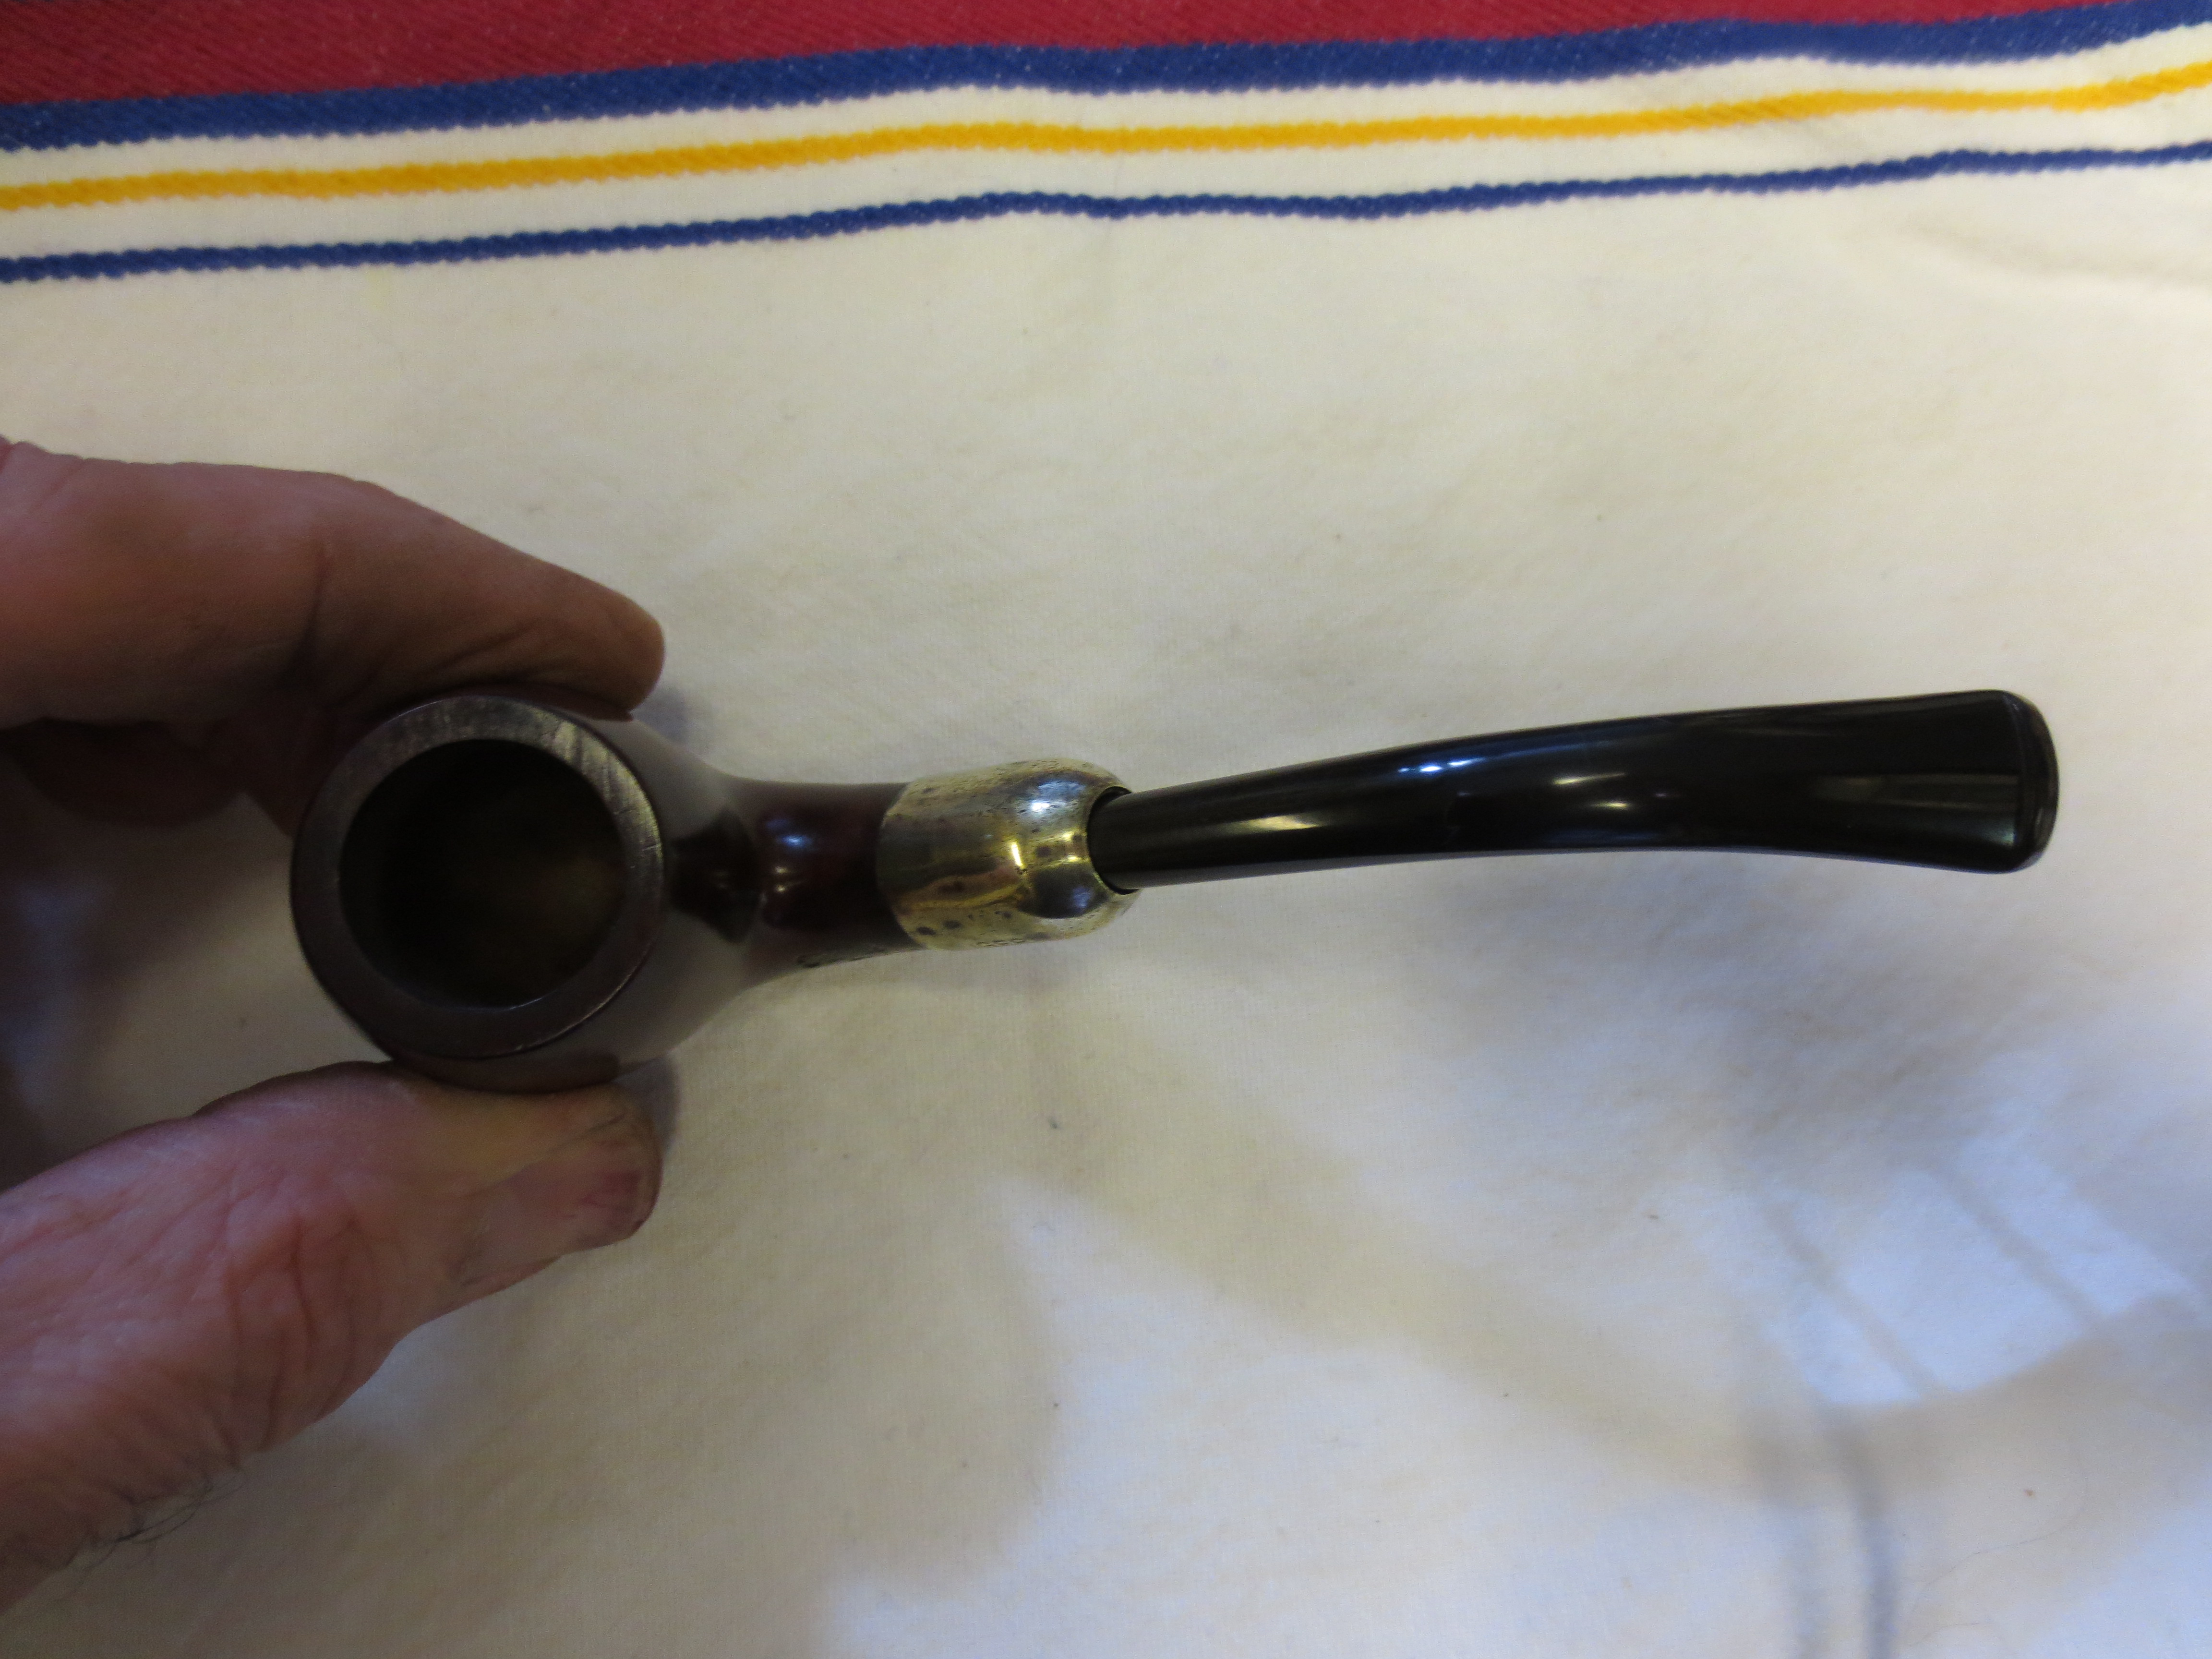
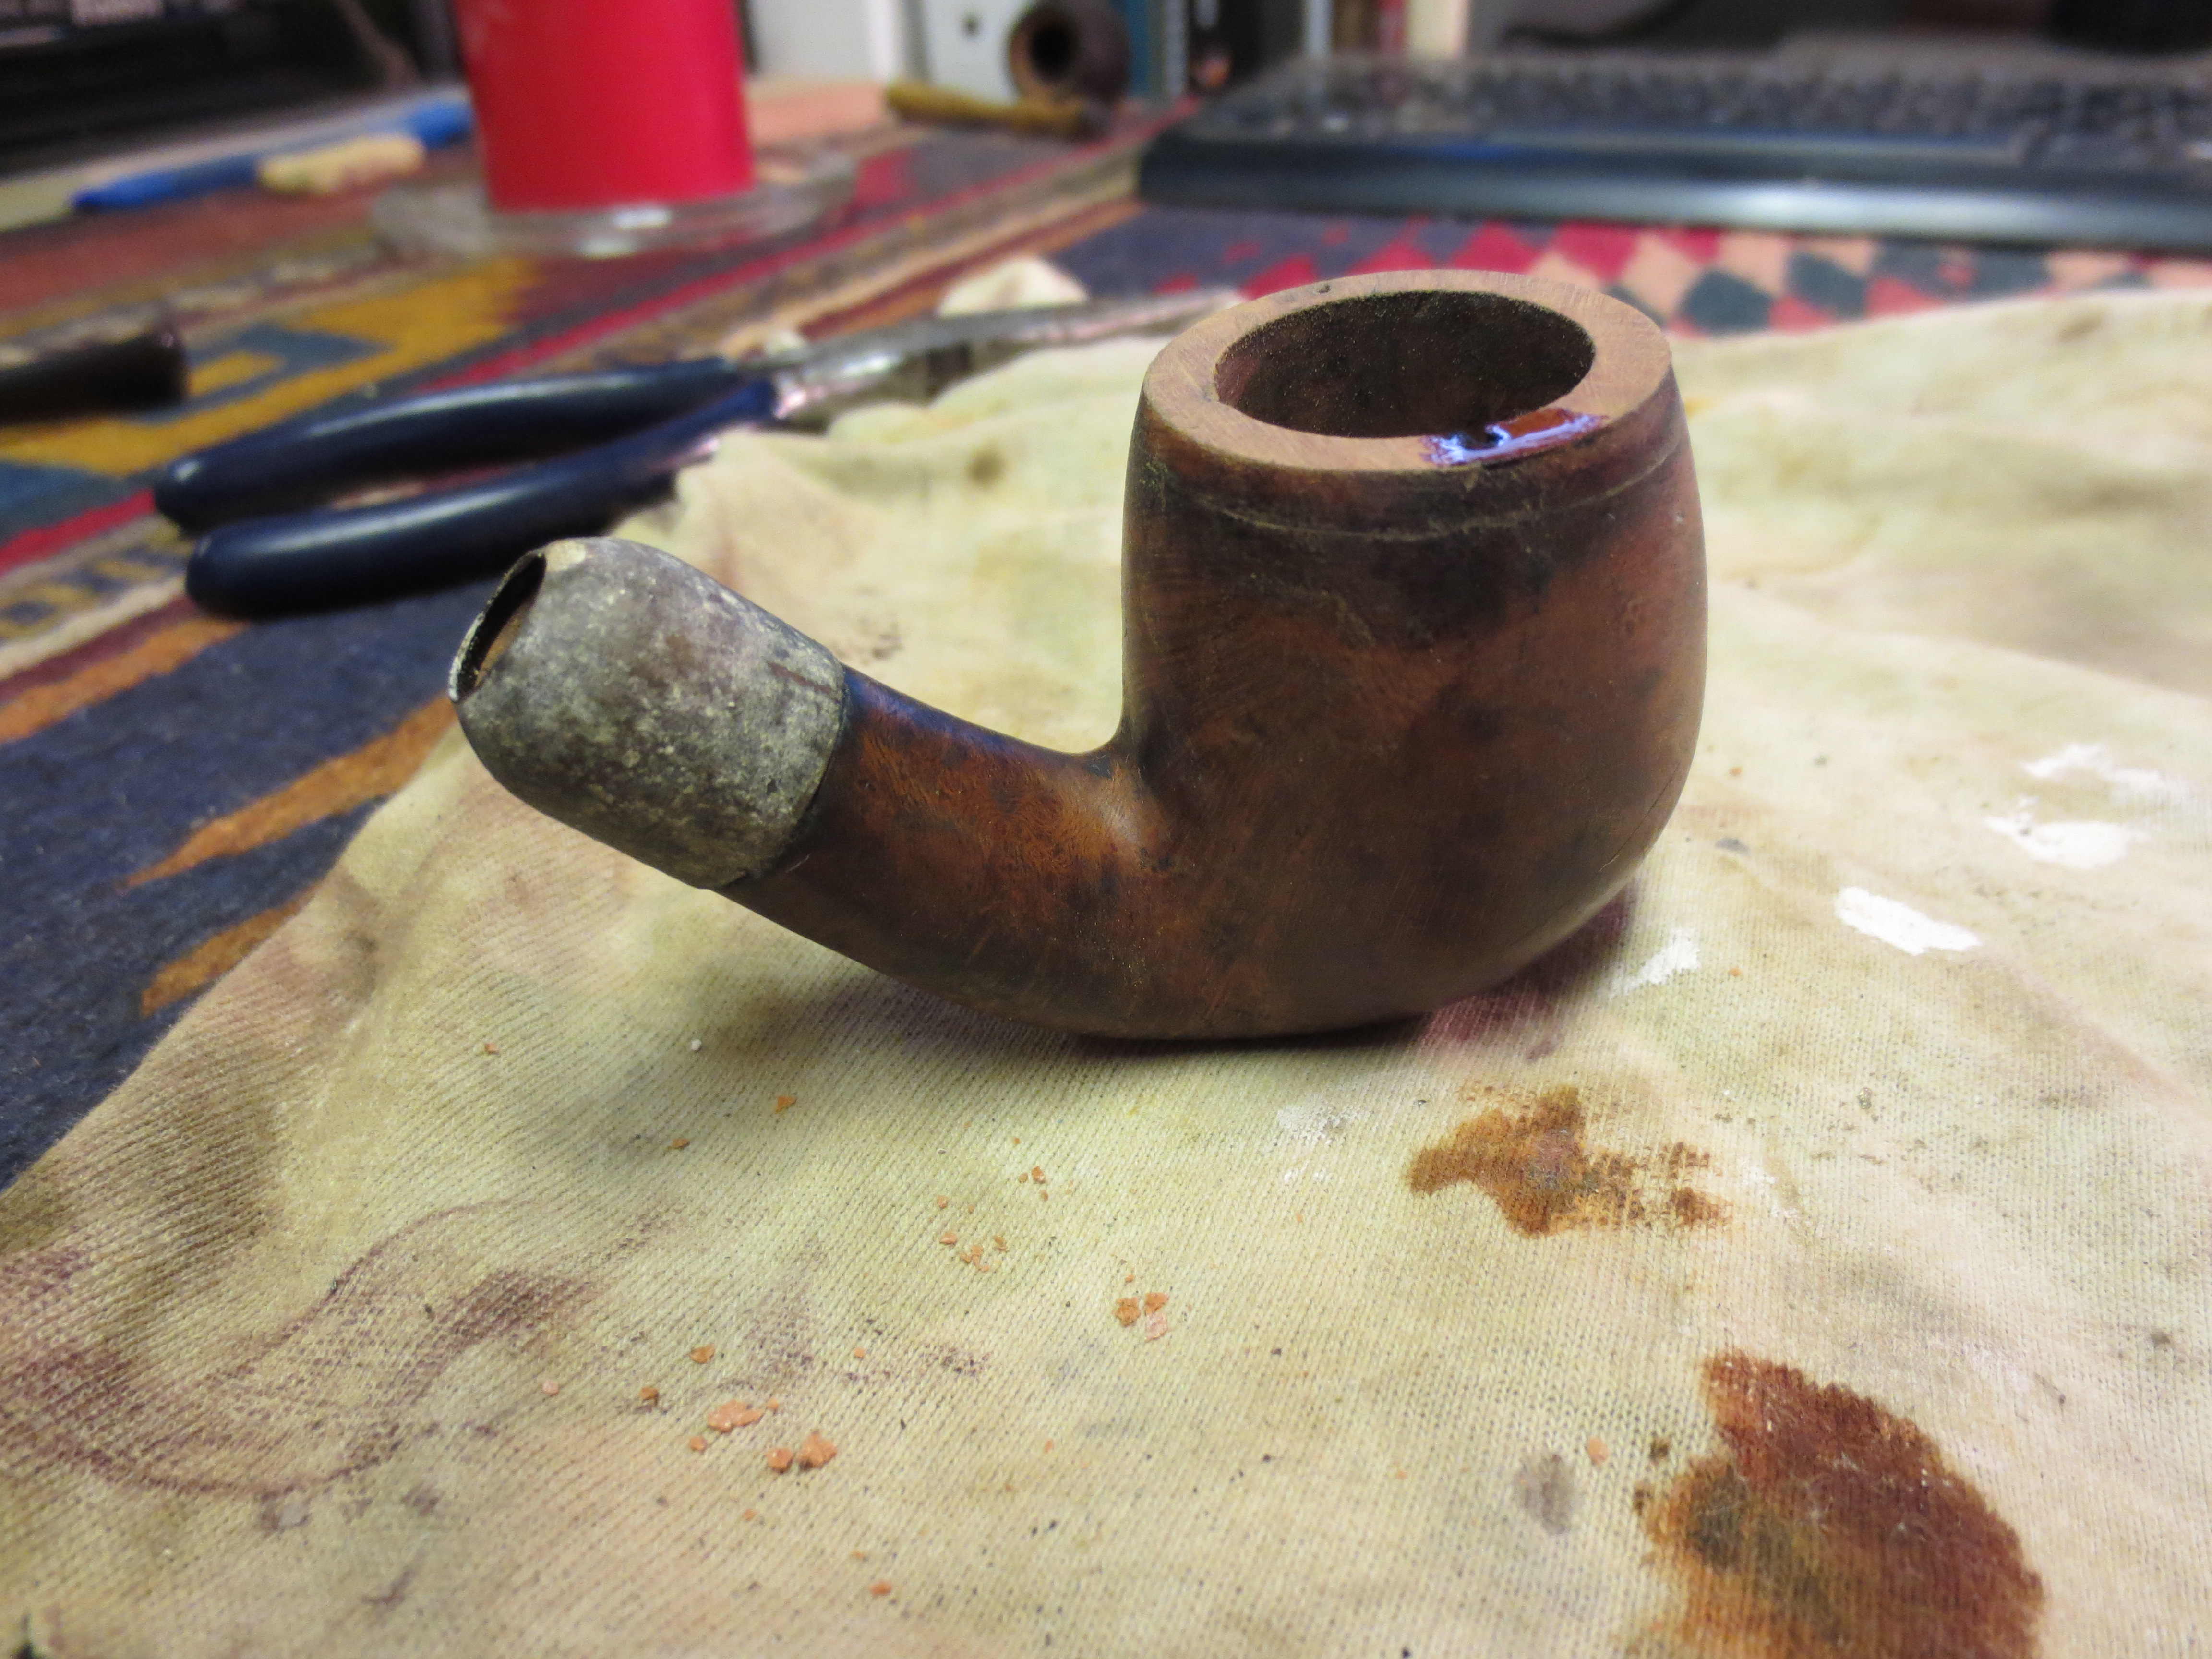
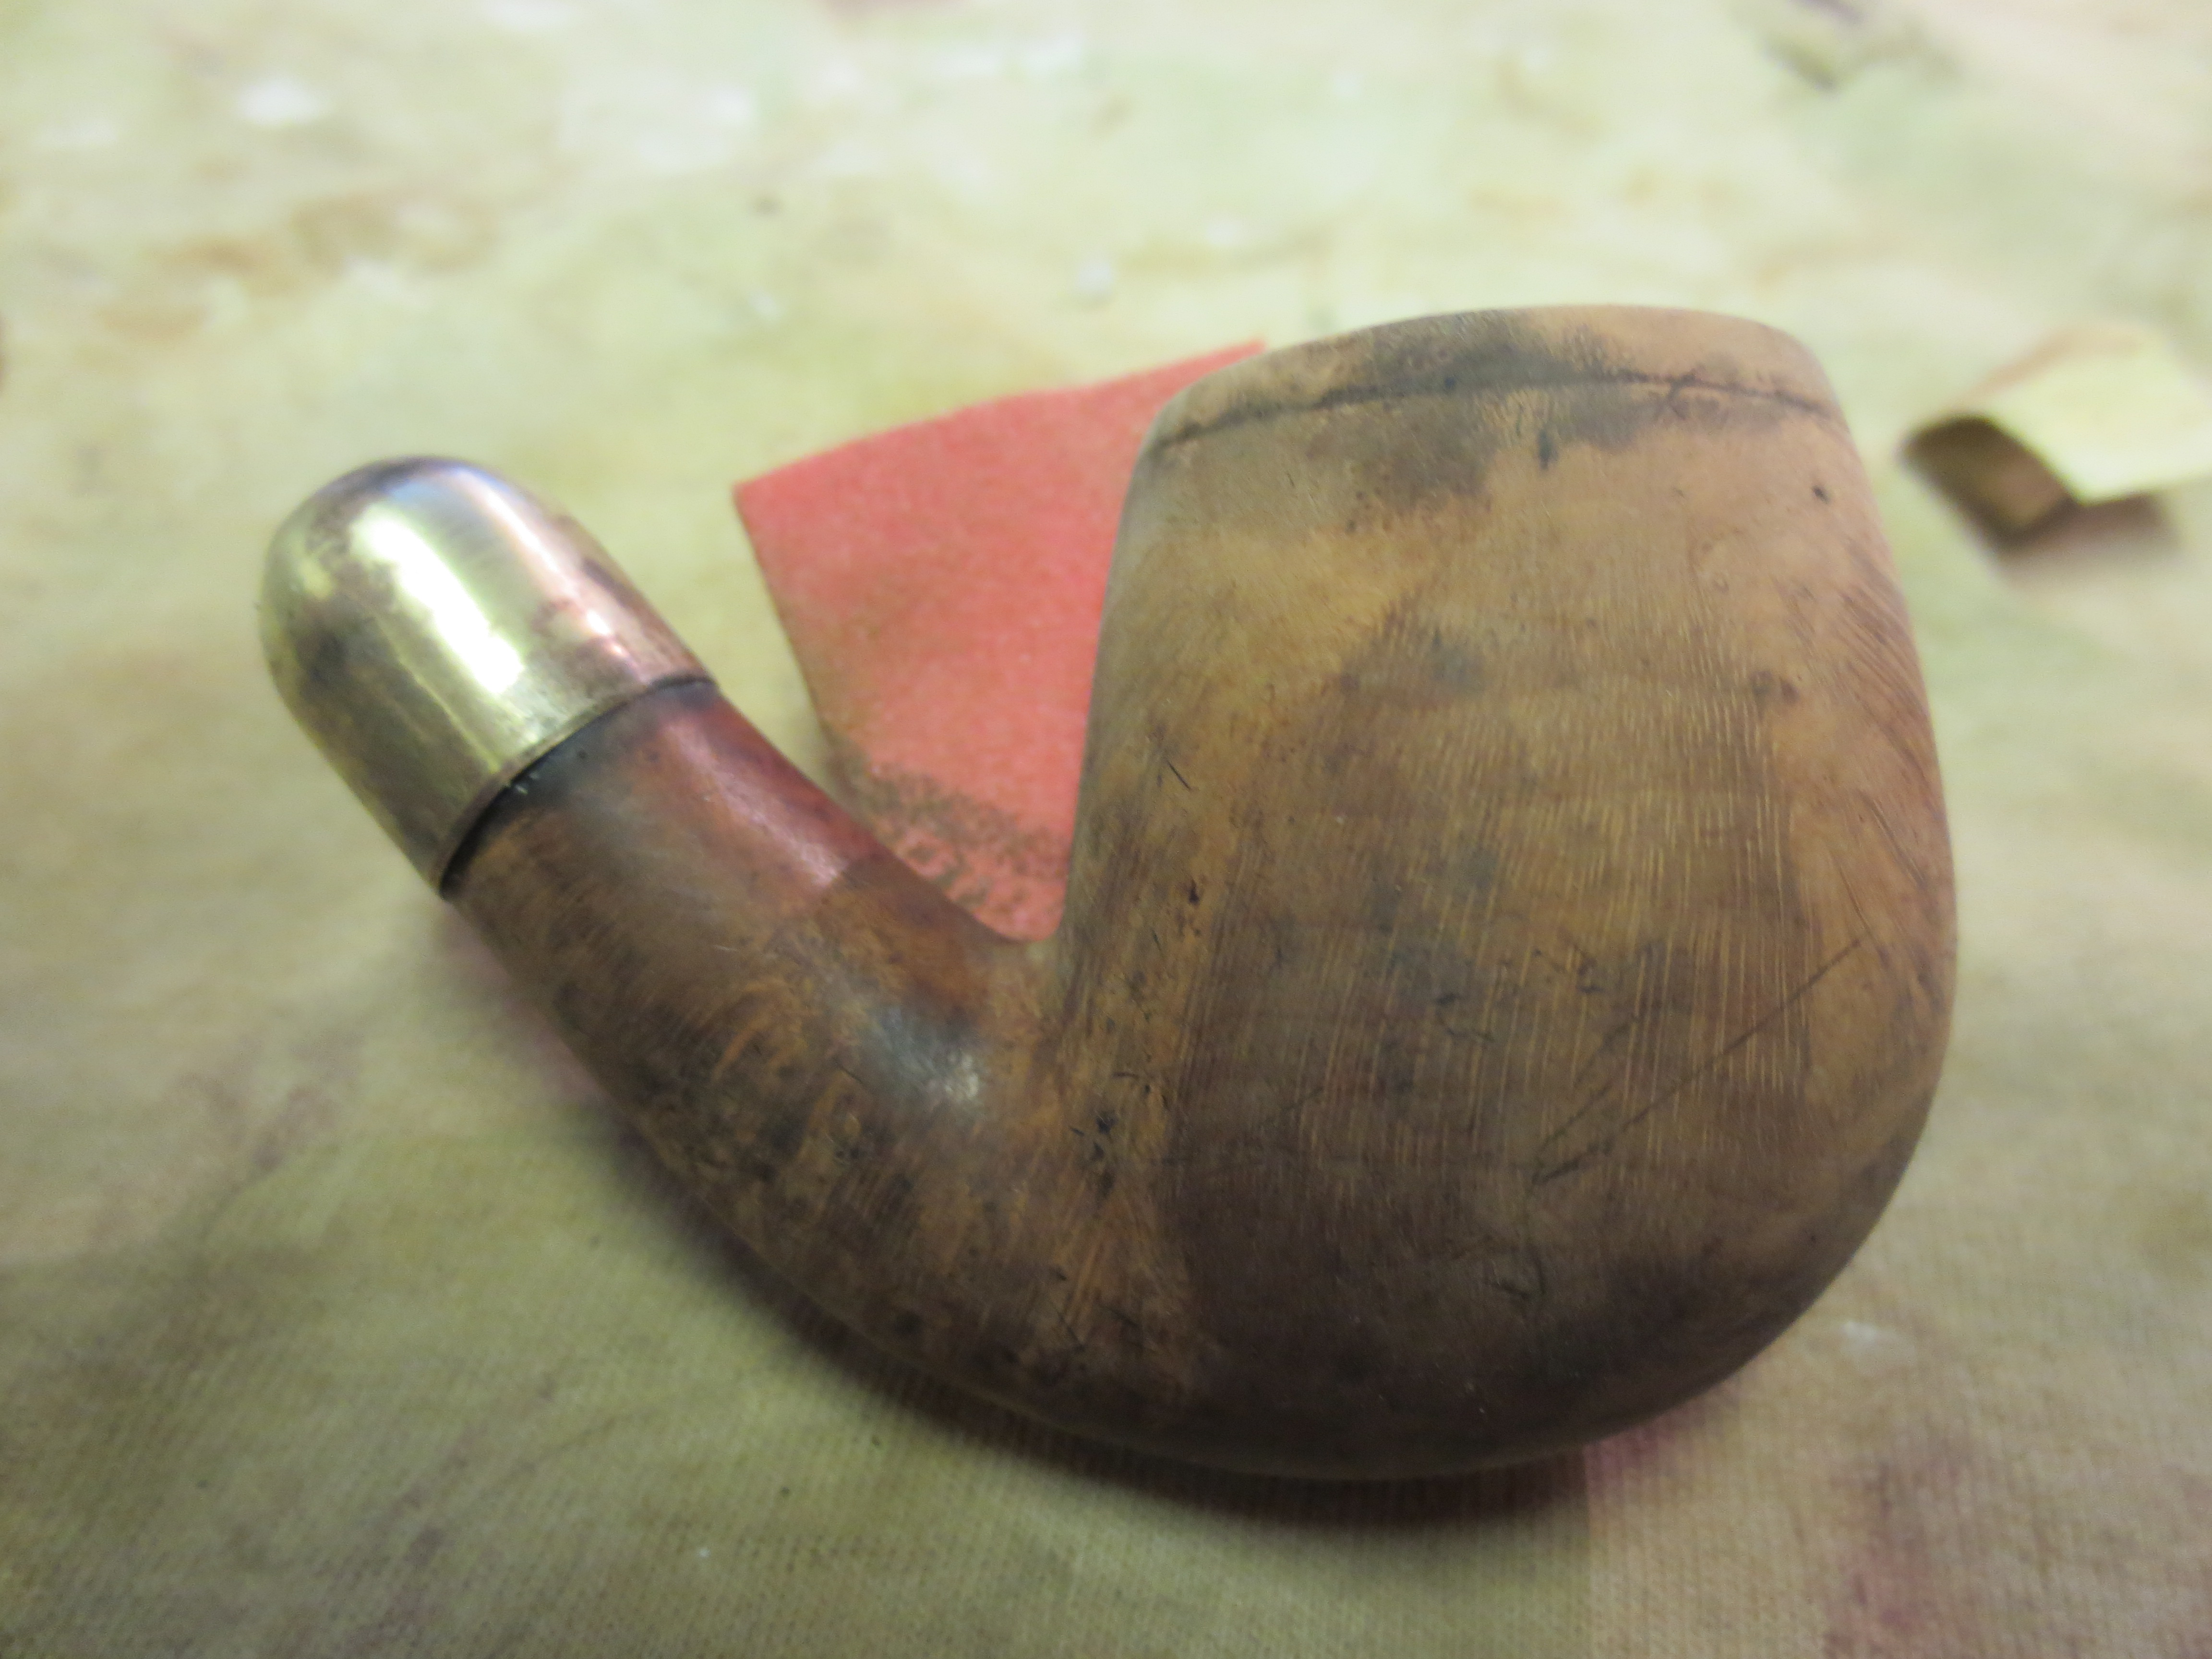
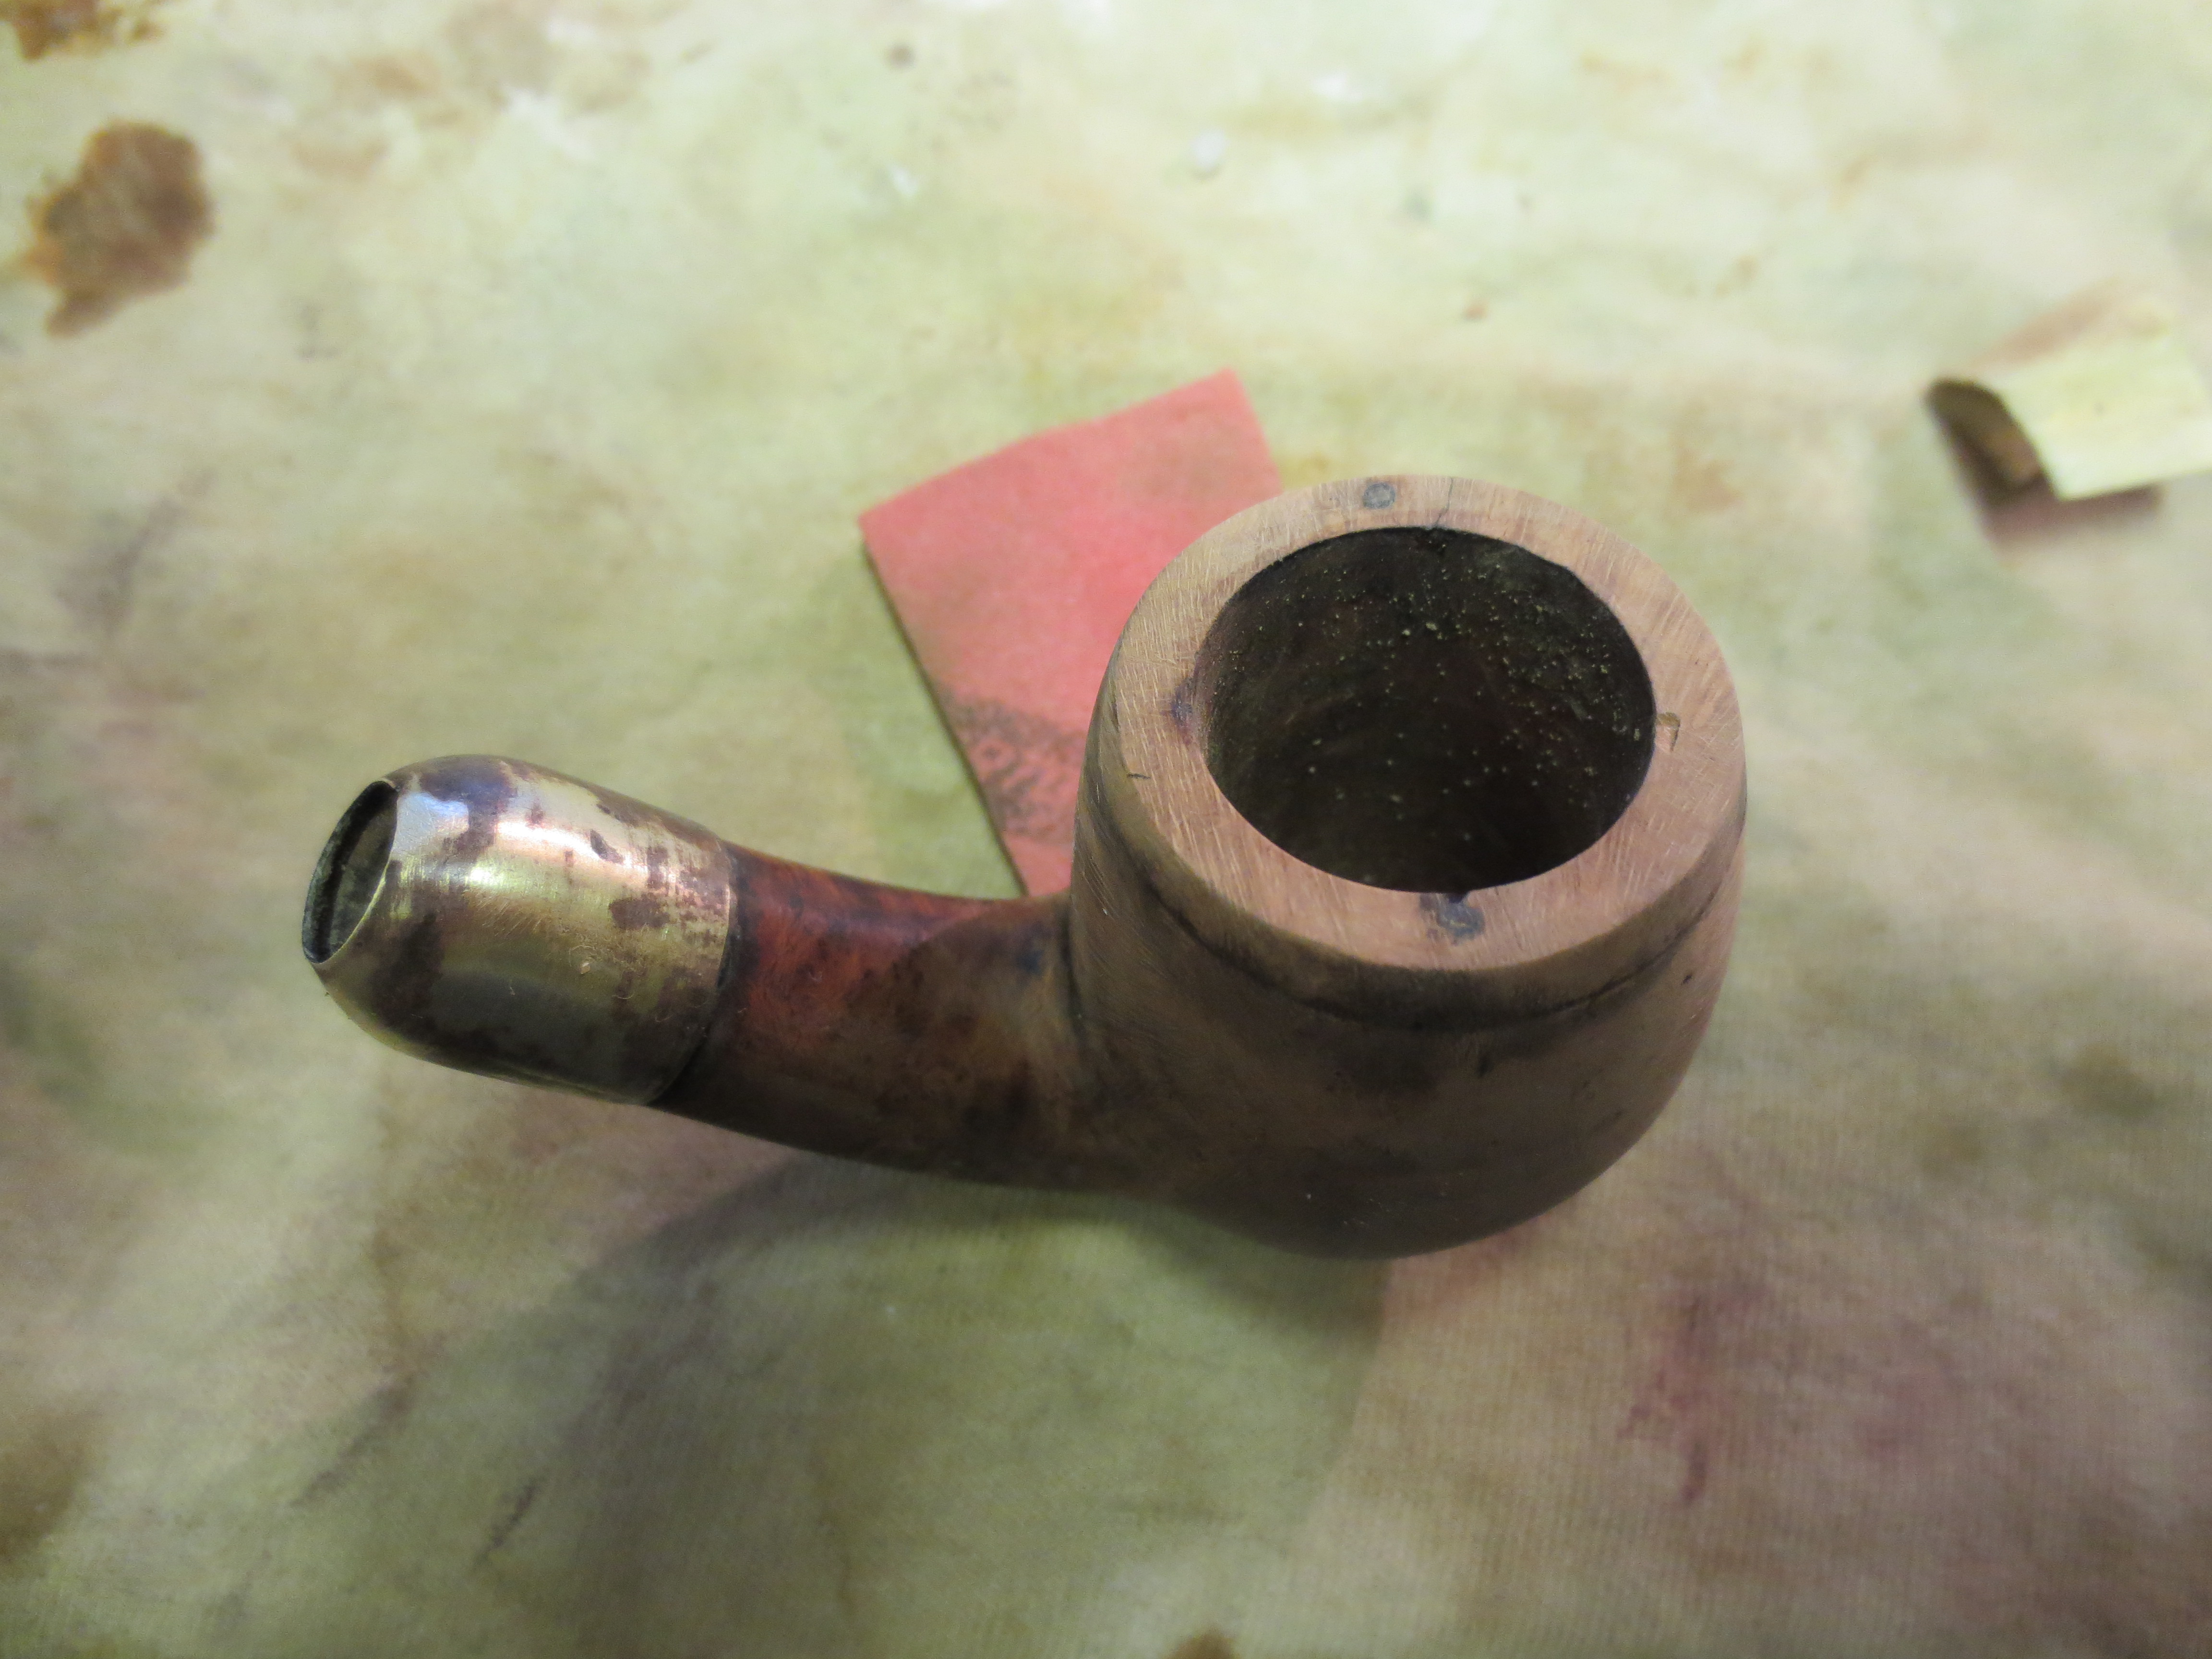
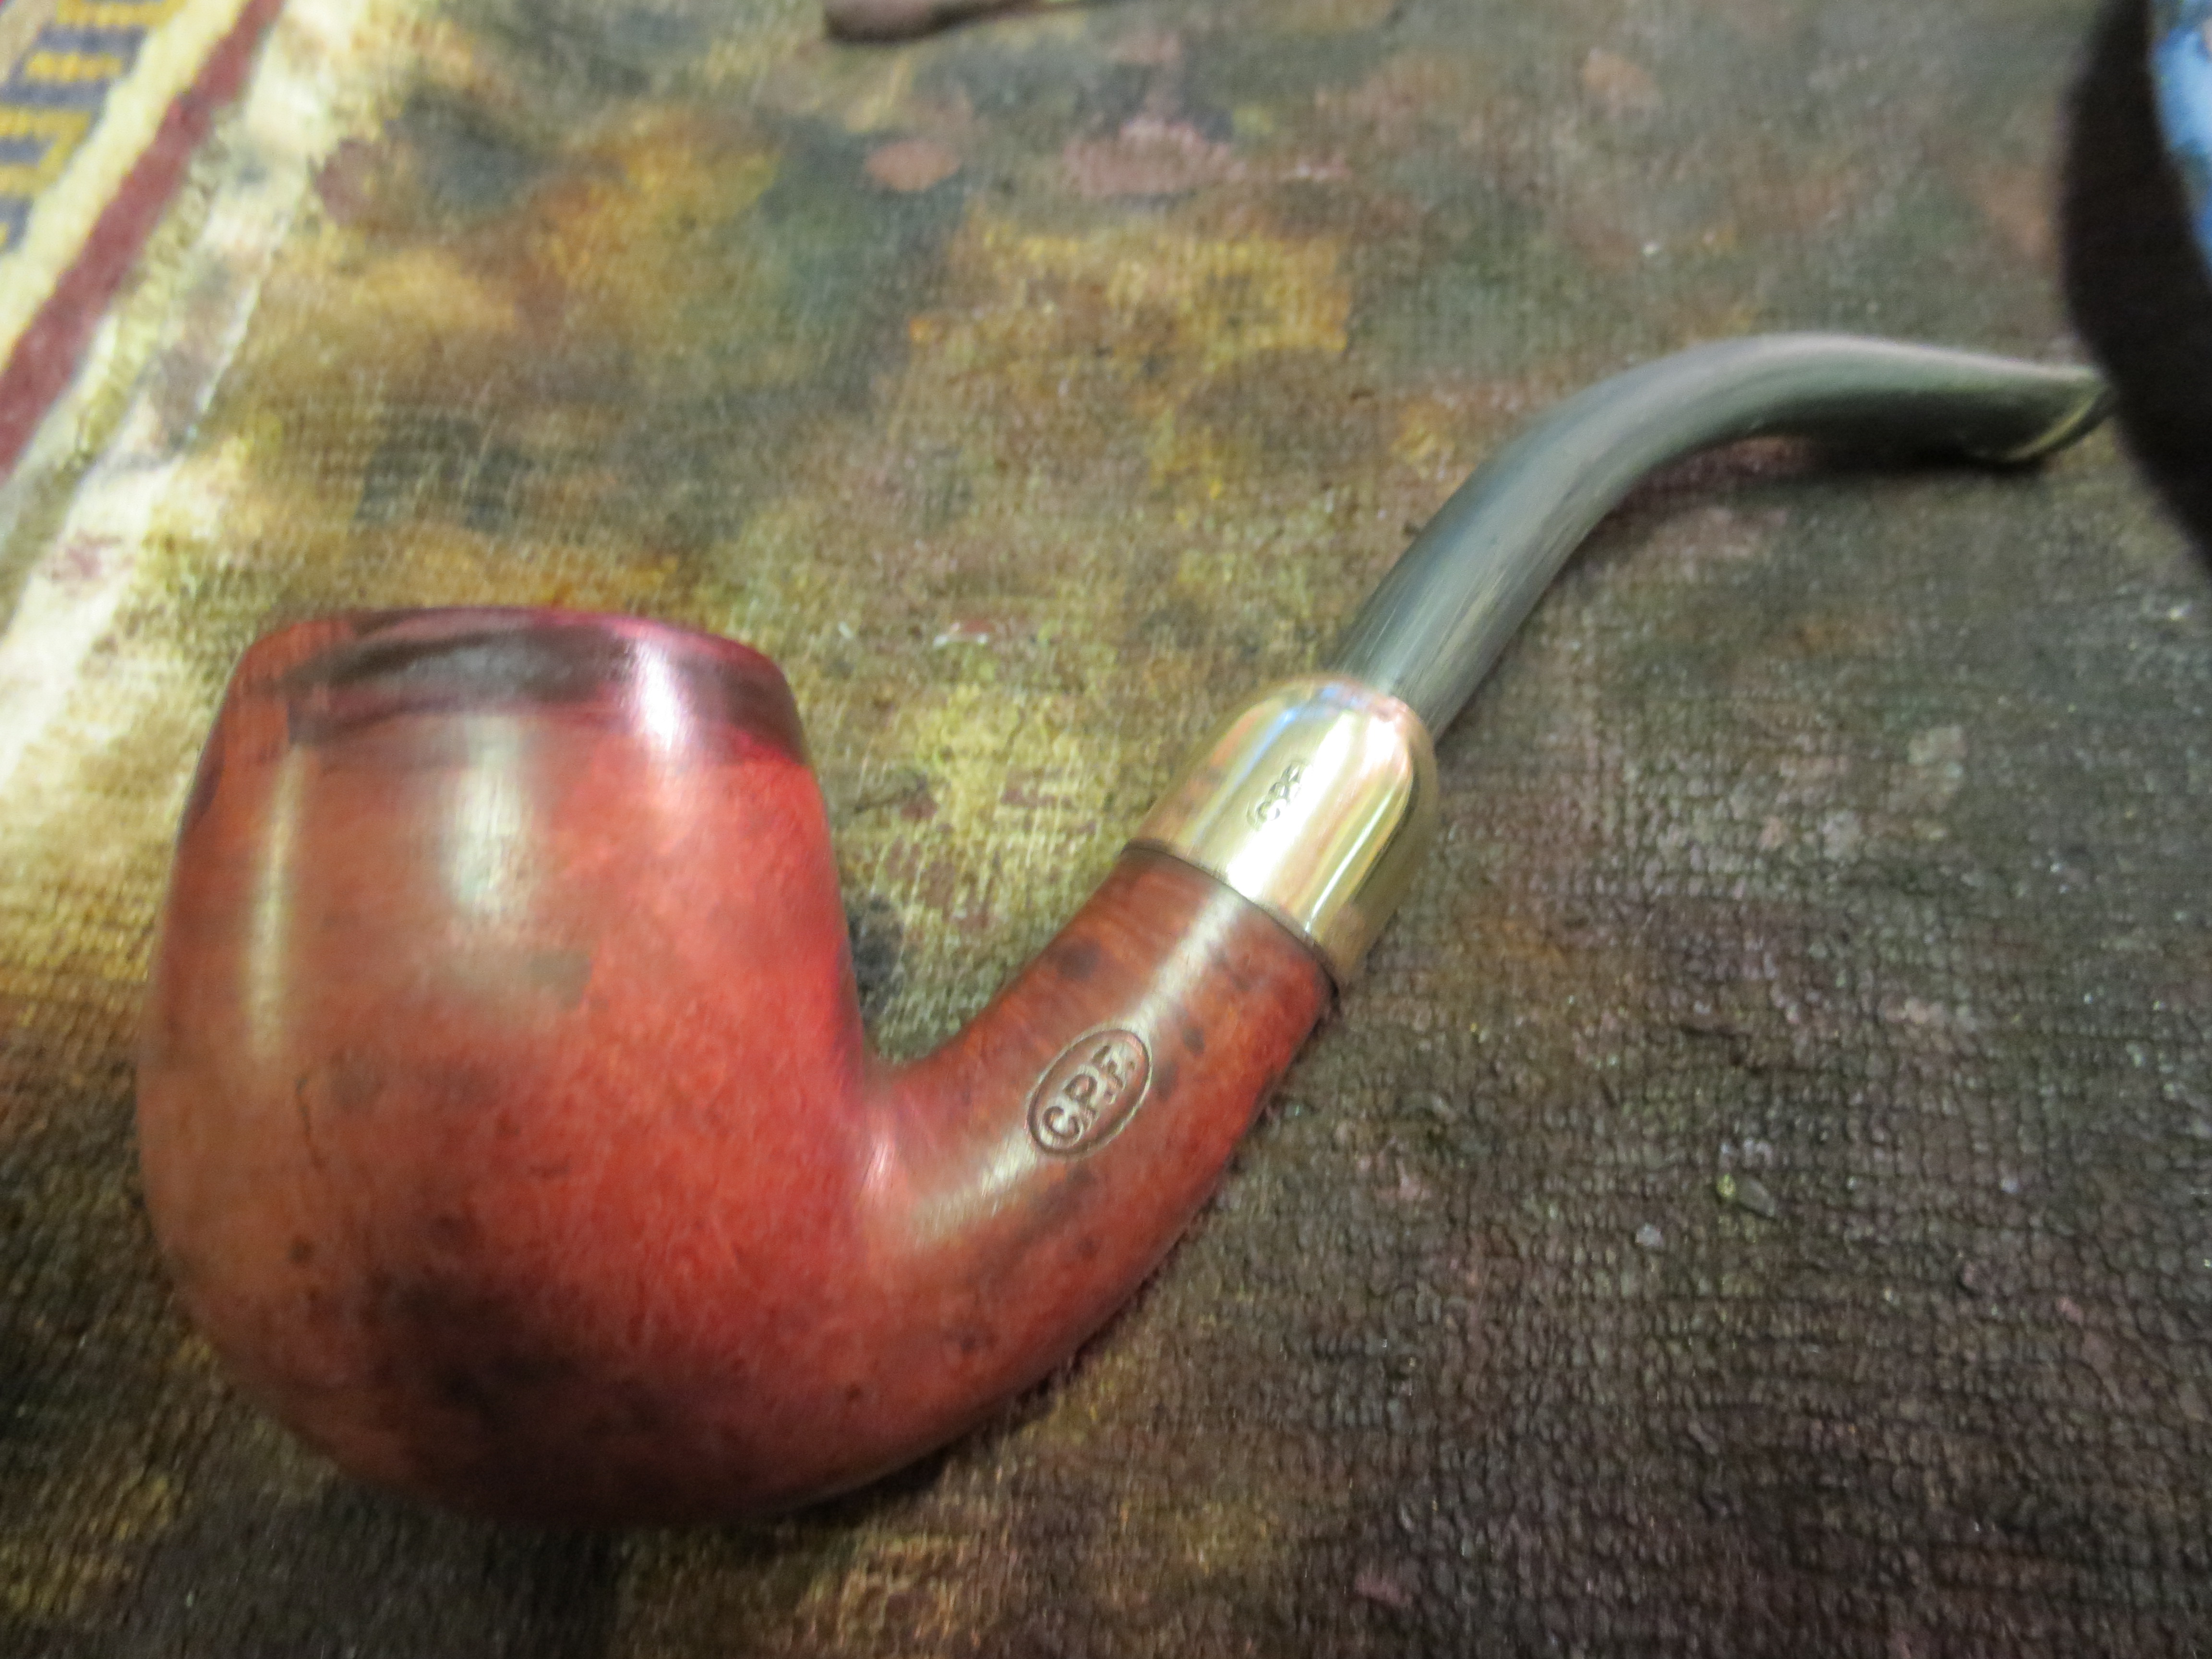
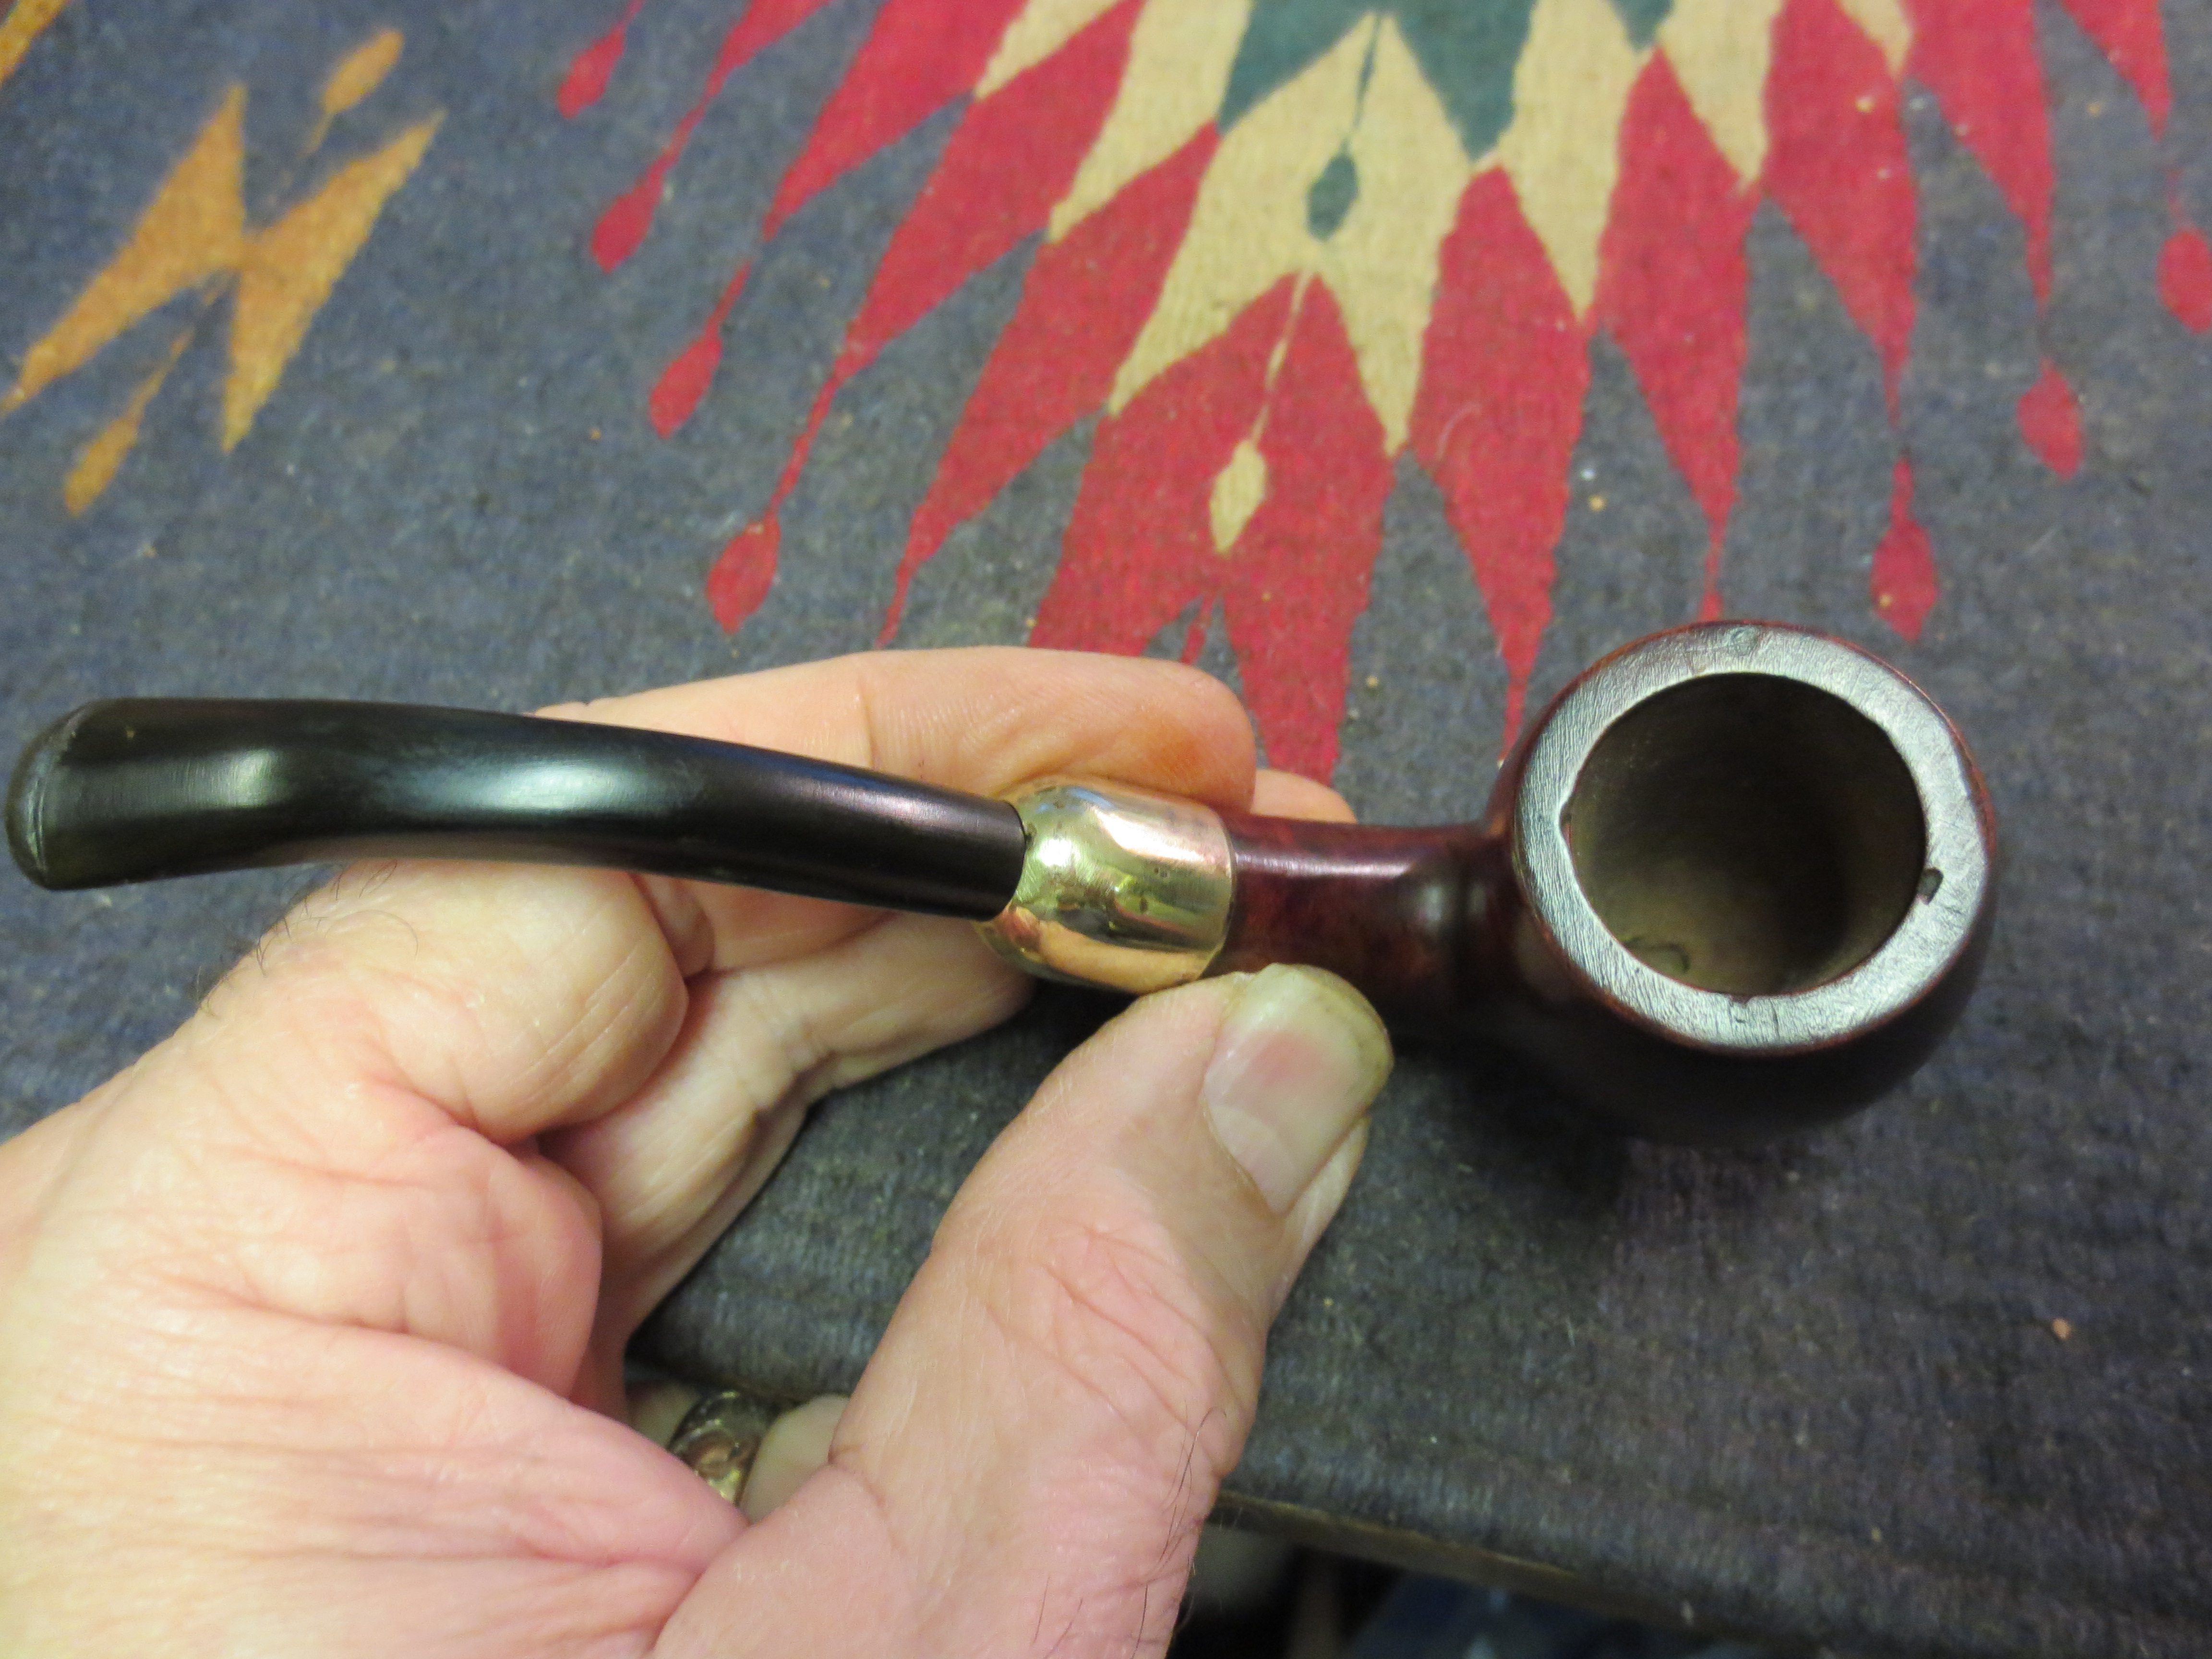
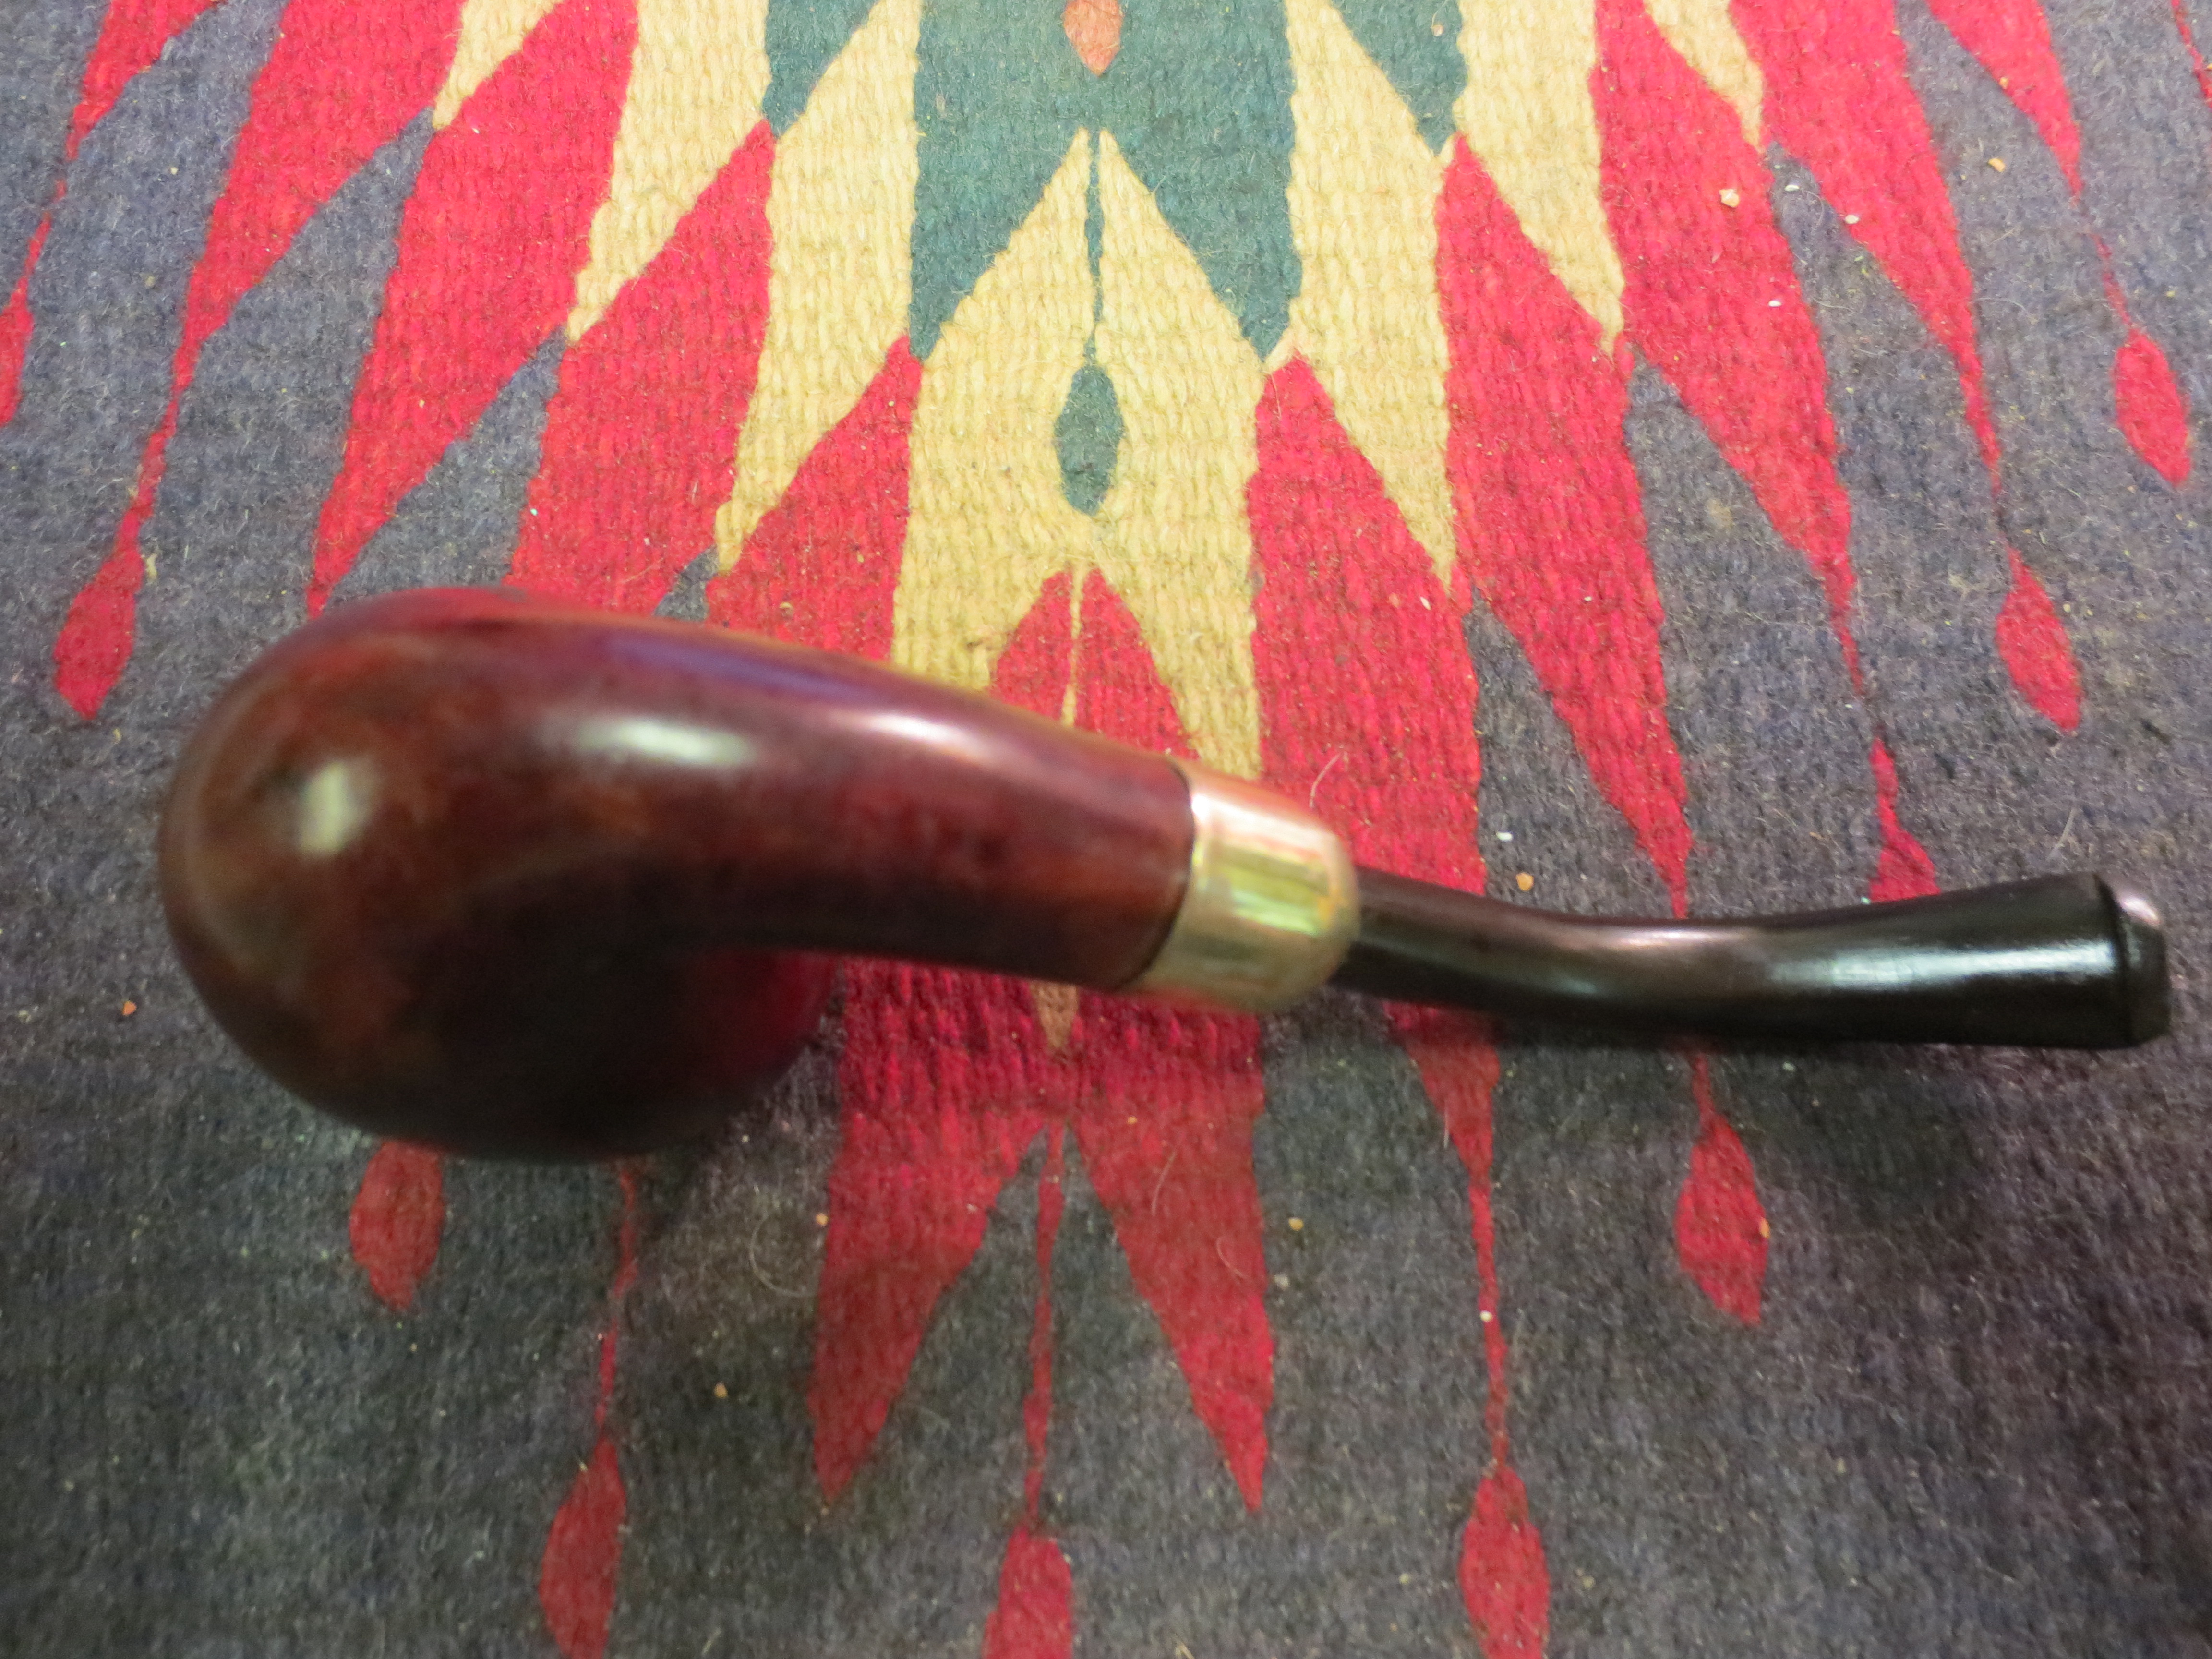
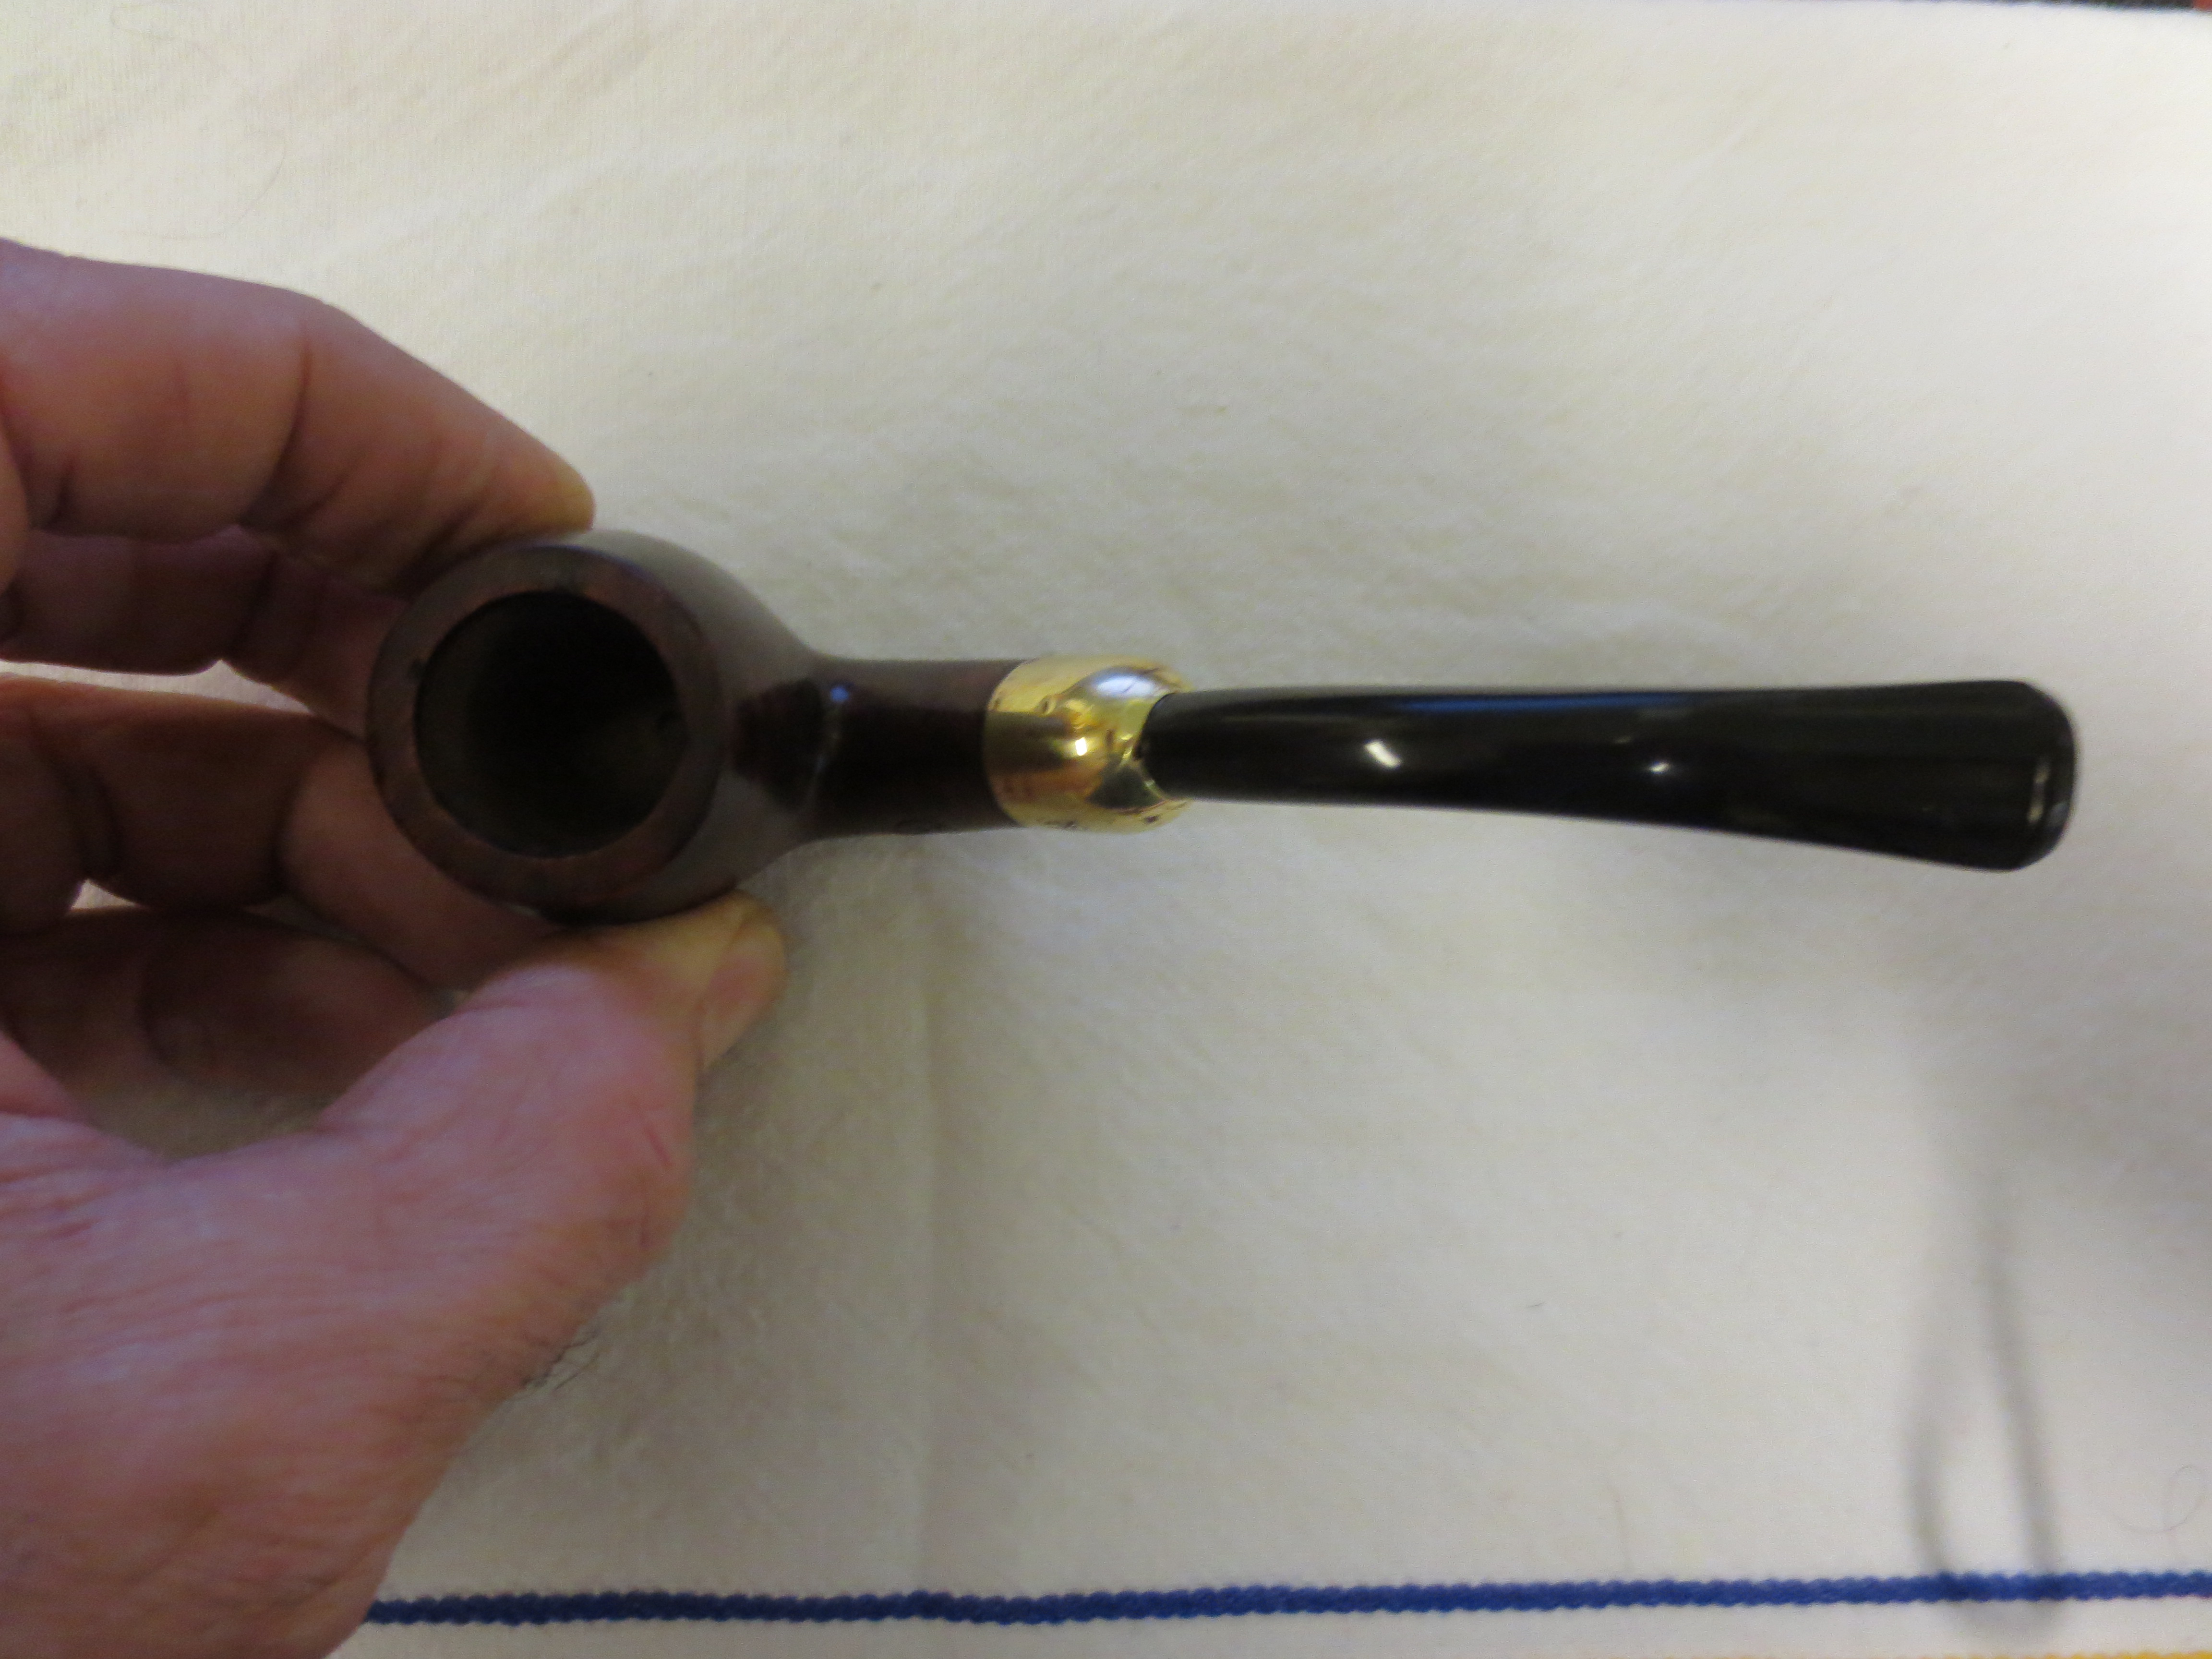
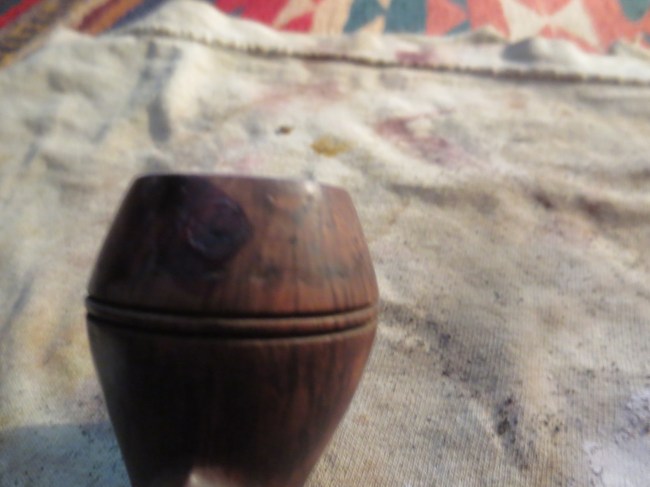
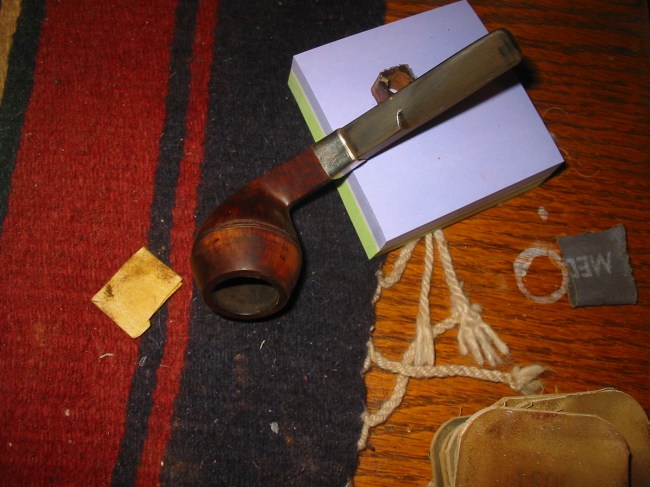
The next three photos show the band in place. If you look close in the photos below you can see the crack on the top of the right side shank. The one on the left underside of the shank did not come out in the photos. You can also see the nail holes in the bowl above the double rings.

IMG_0688 IMG_0687 IMG_0686

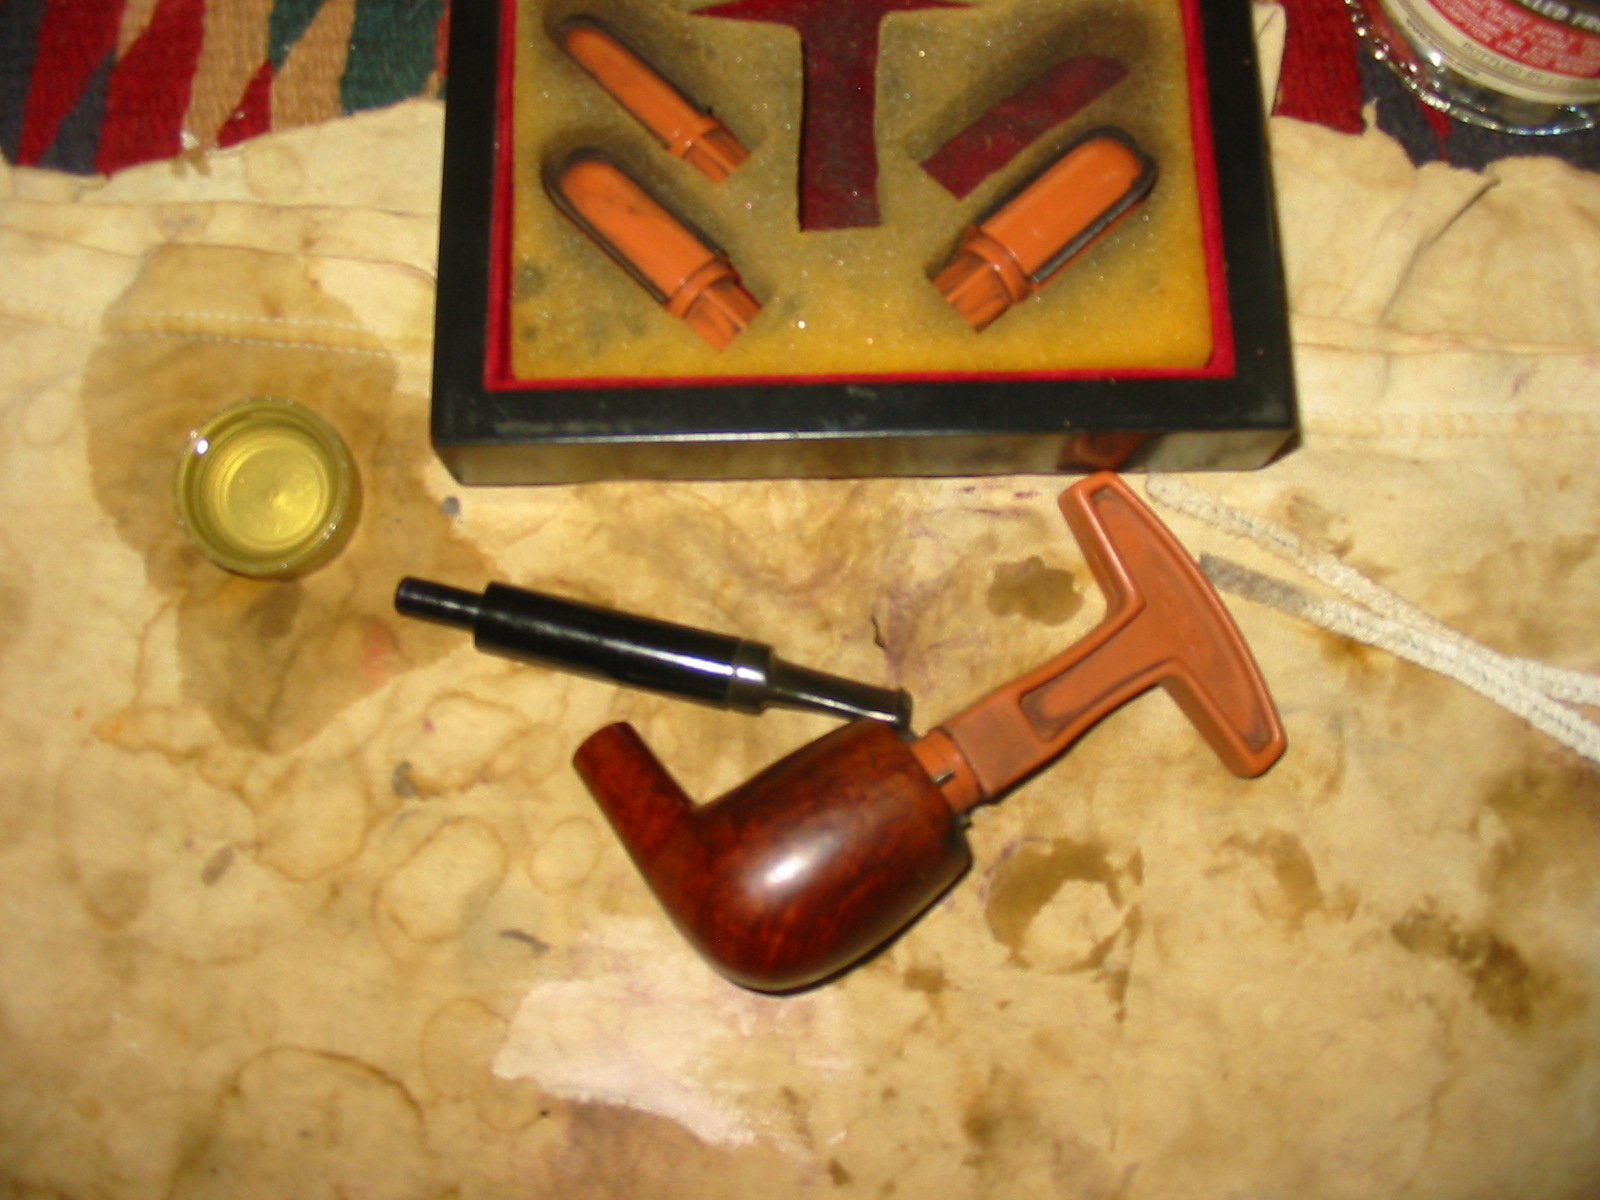
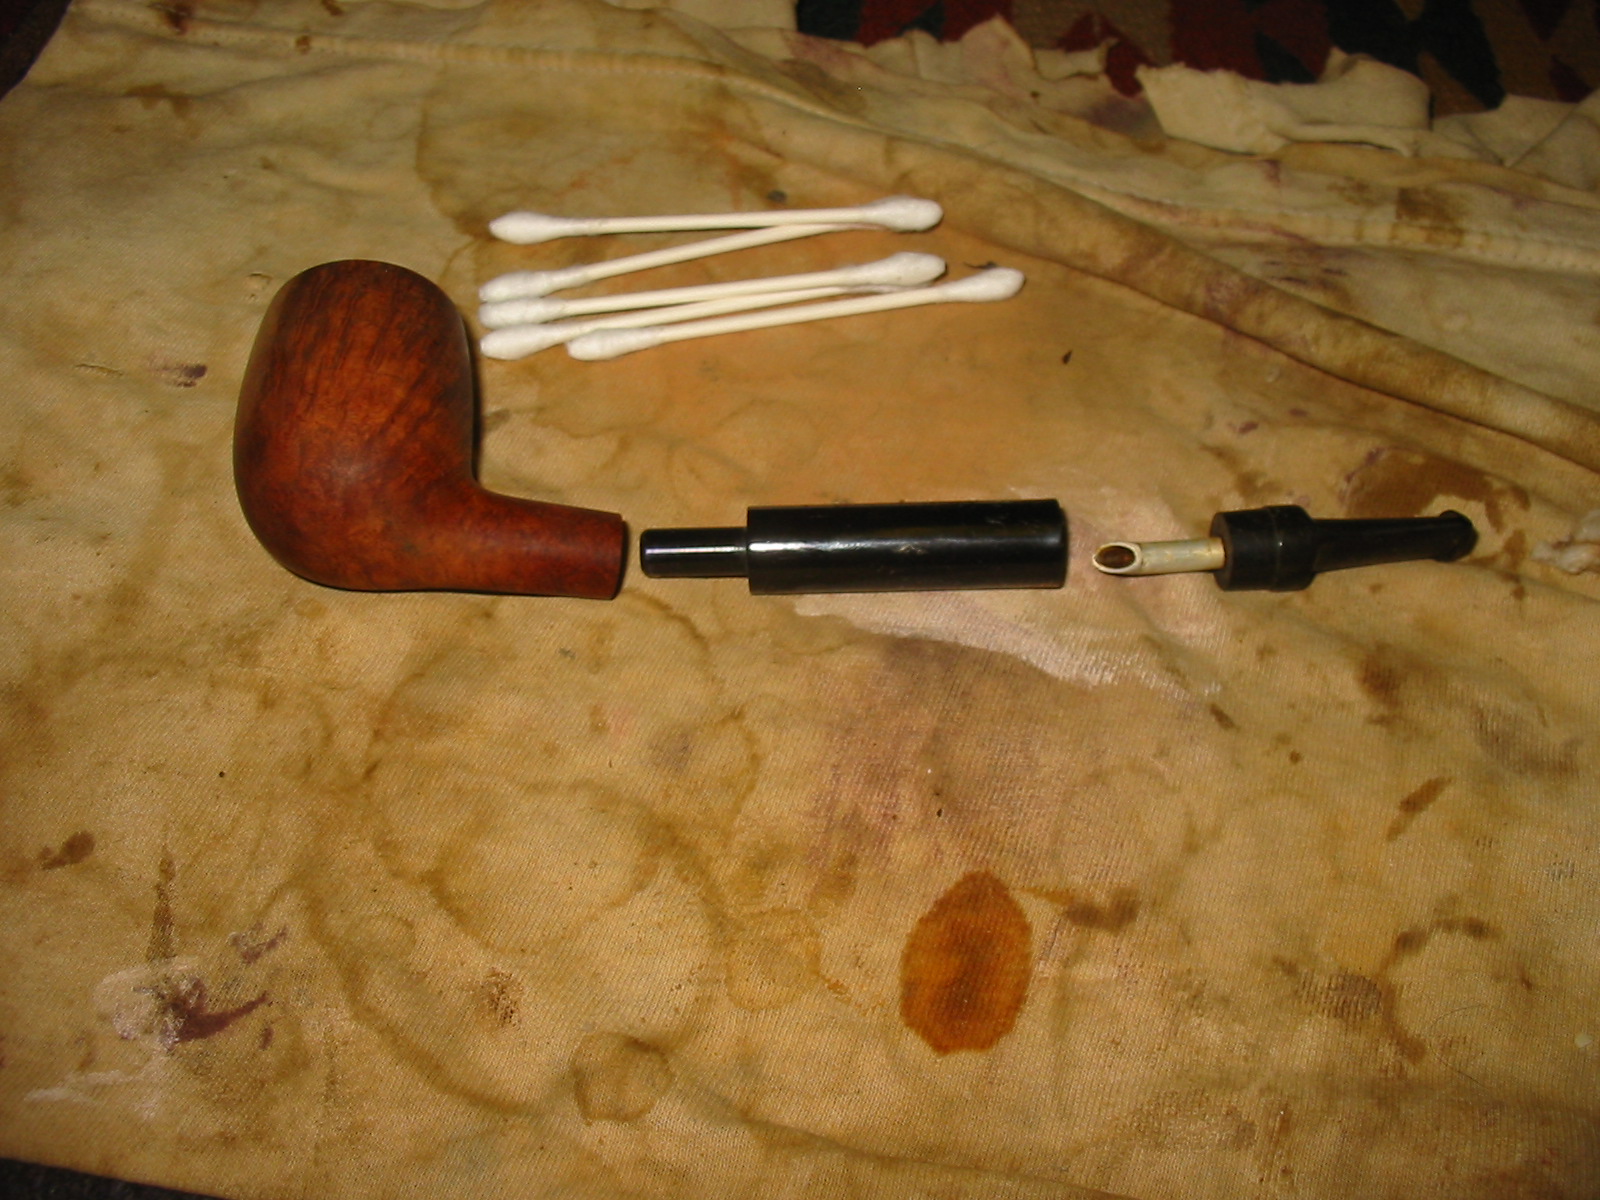
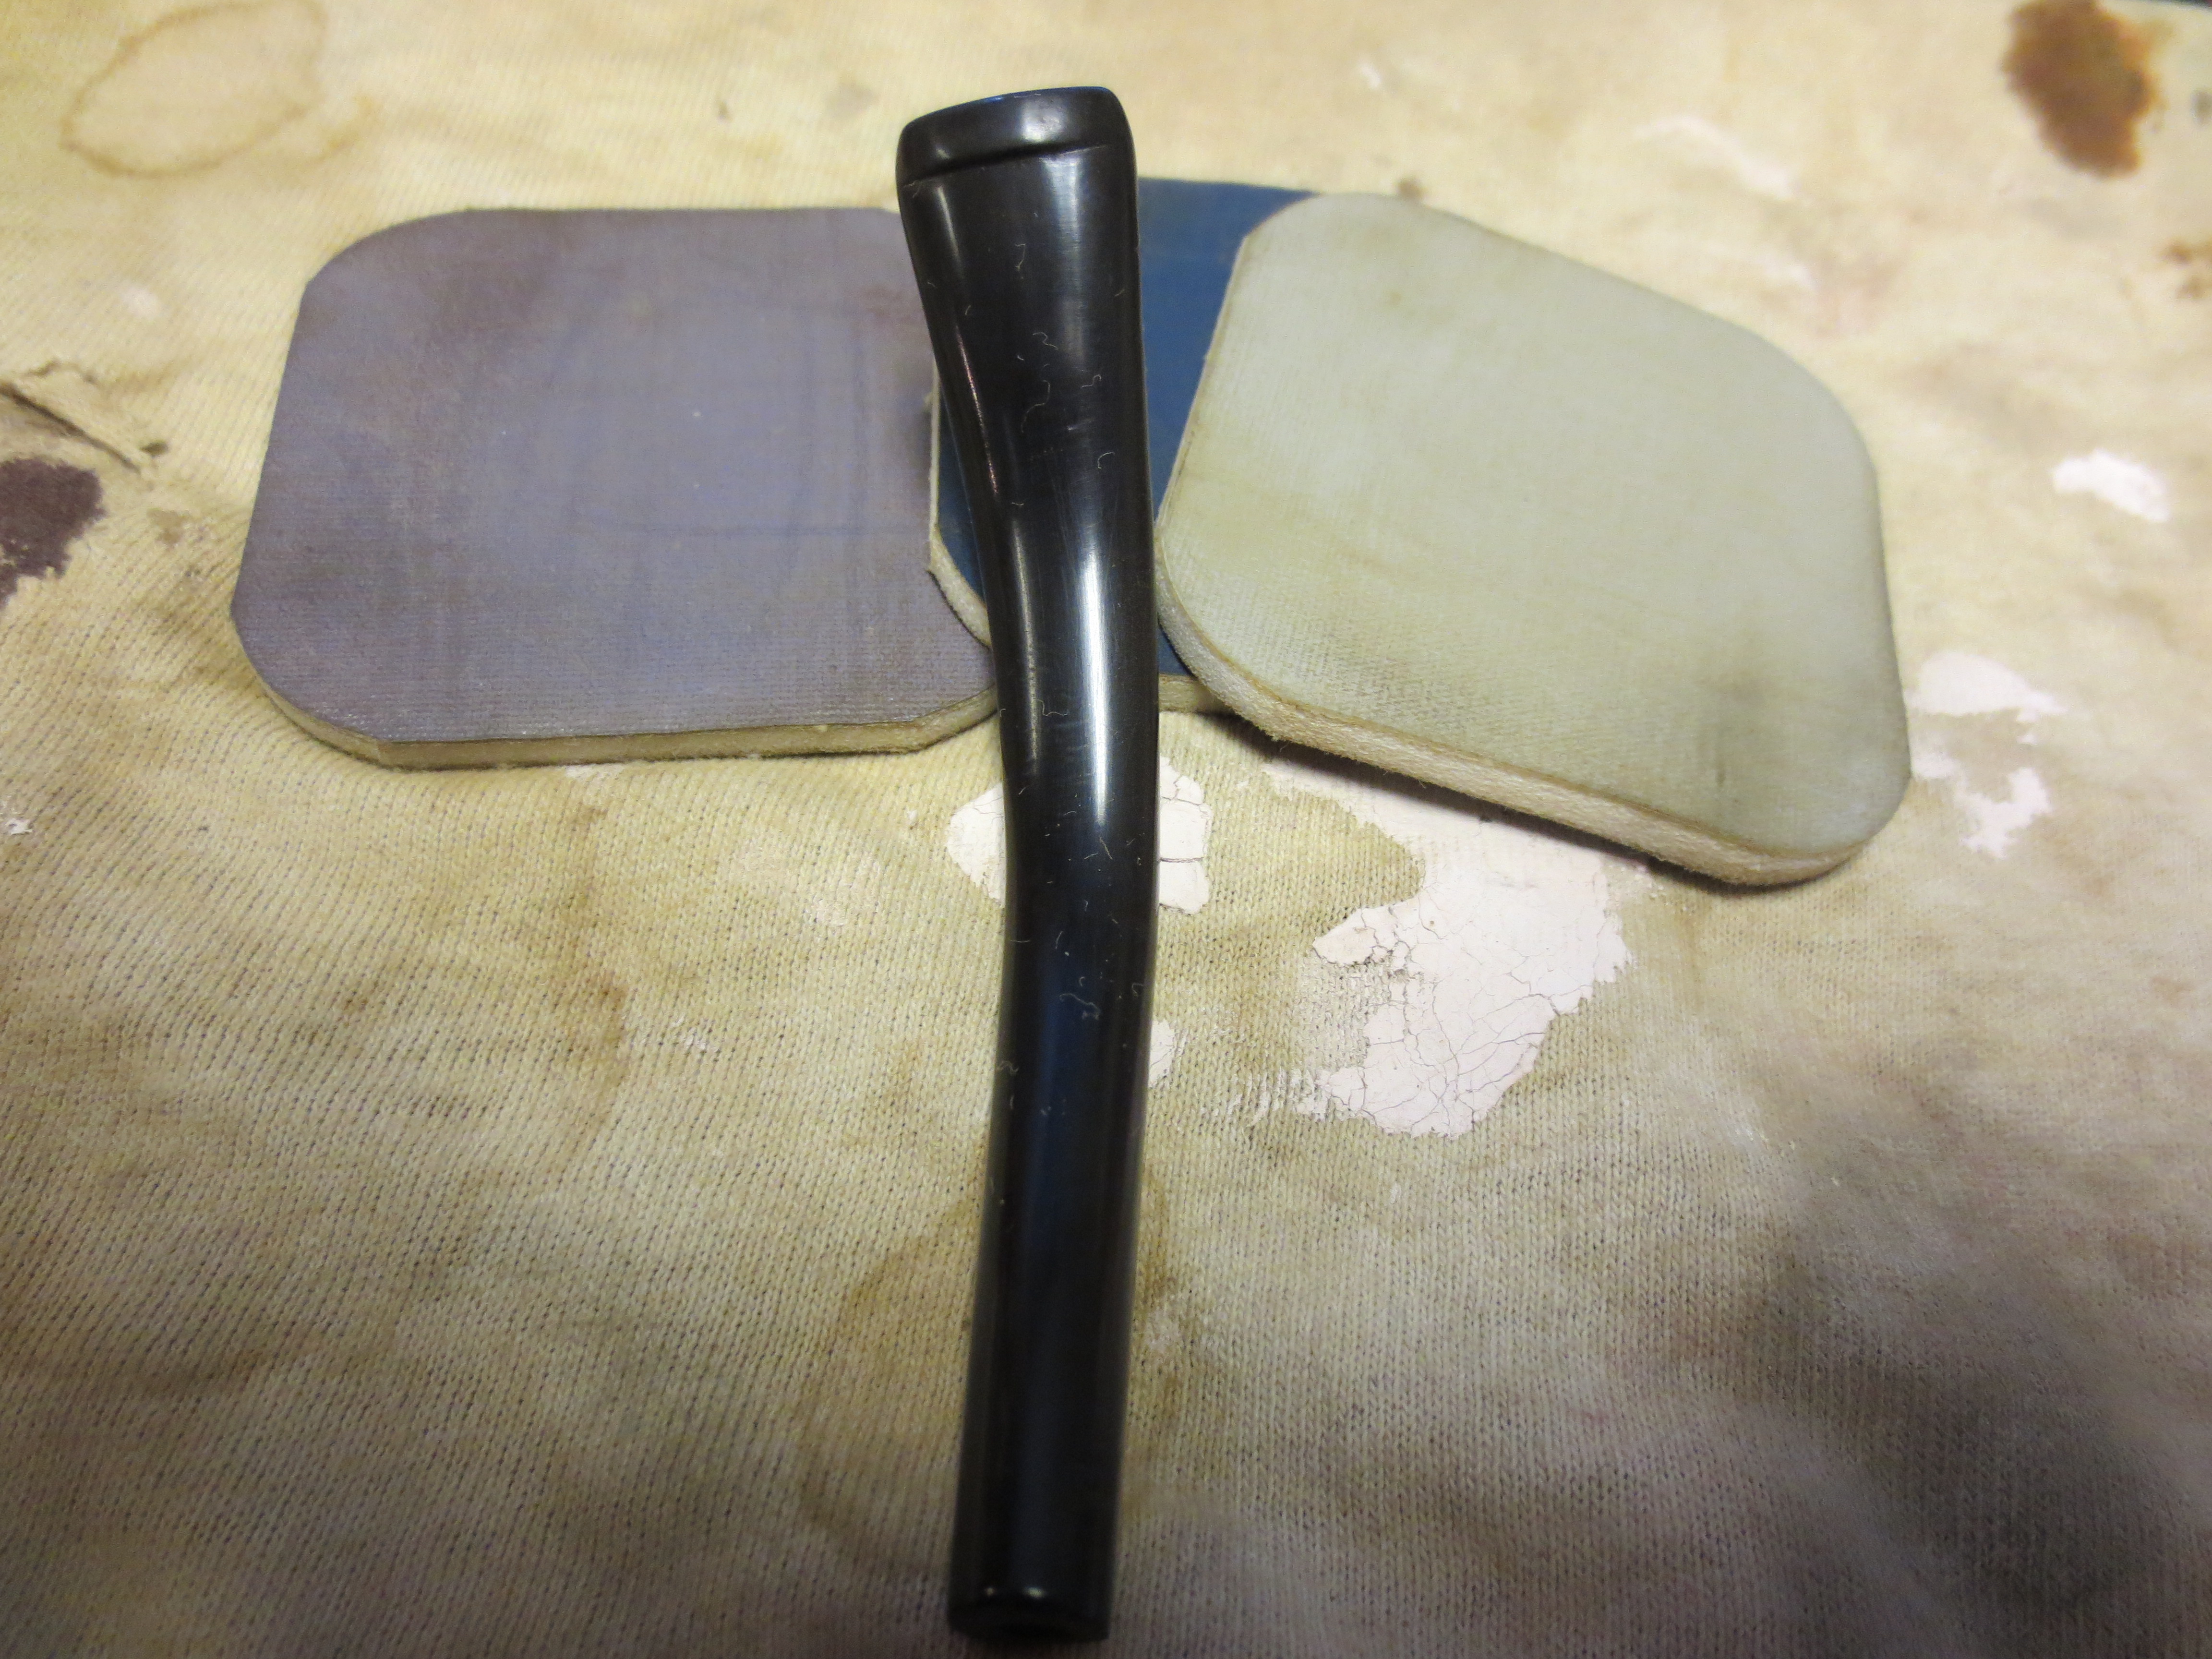
The next series of three photos shows the fitting of a new tenon. I drilled the stem and then used a tap to thread the stem so that I could screw in the new tenon. In the photos below you can see the tap in the stem and the new threaded tenon just above the bowl at the centre of the picture. The third photo shows the hole in the stem threaded and ready for the new tenon.

IMG_0678 IMG_0679IMG_0680

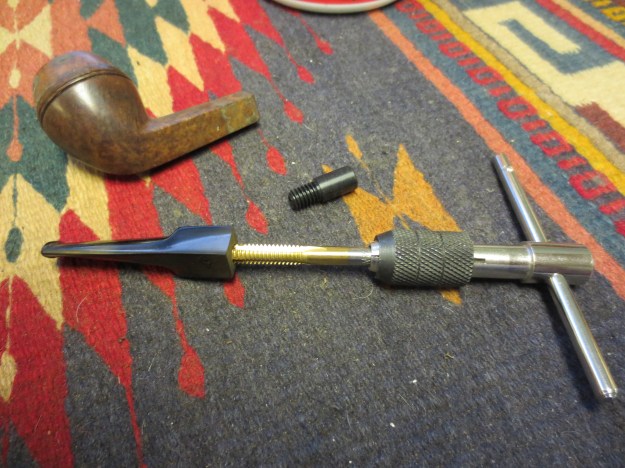
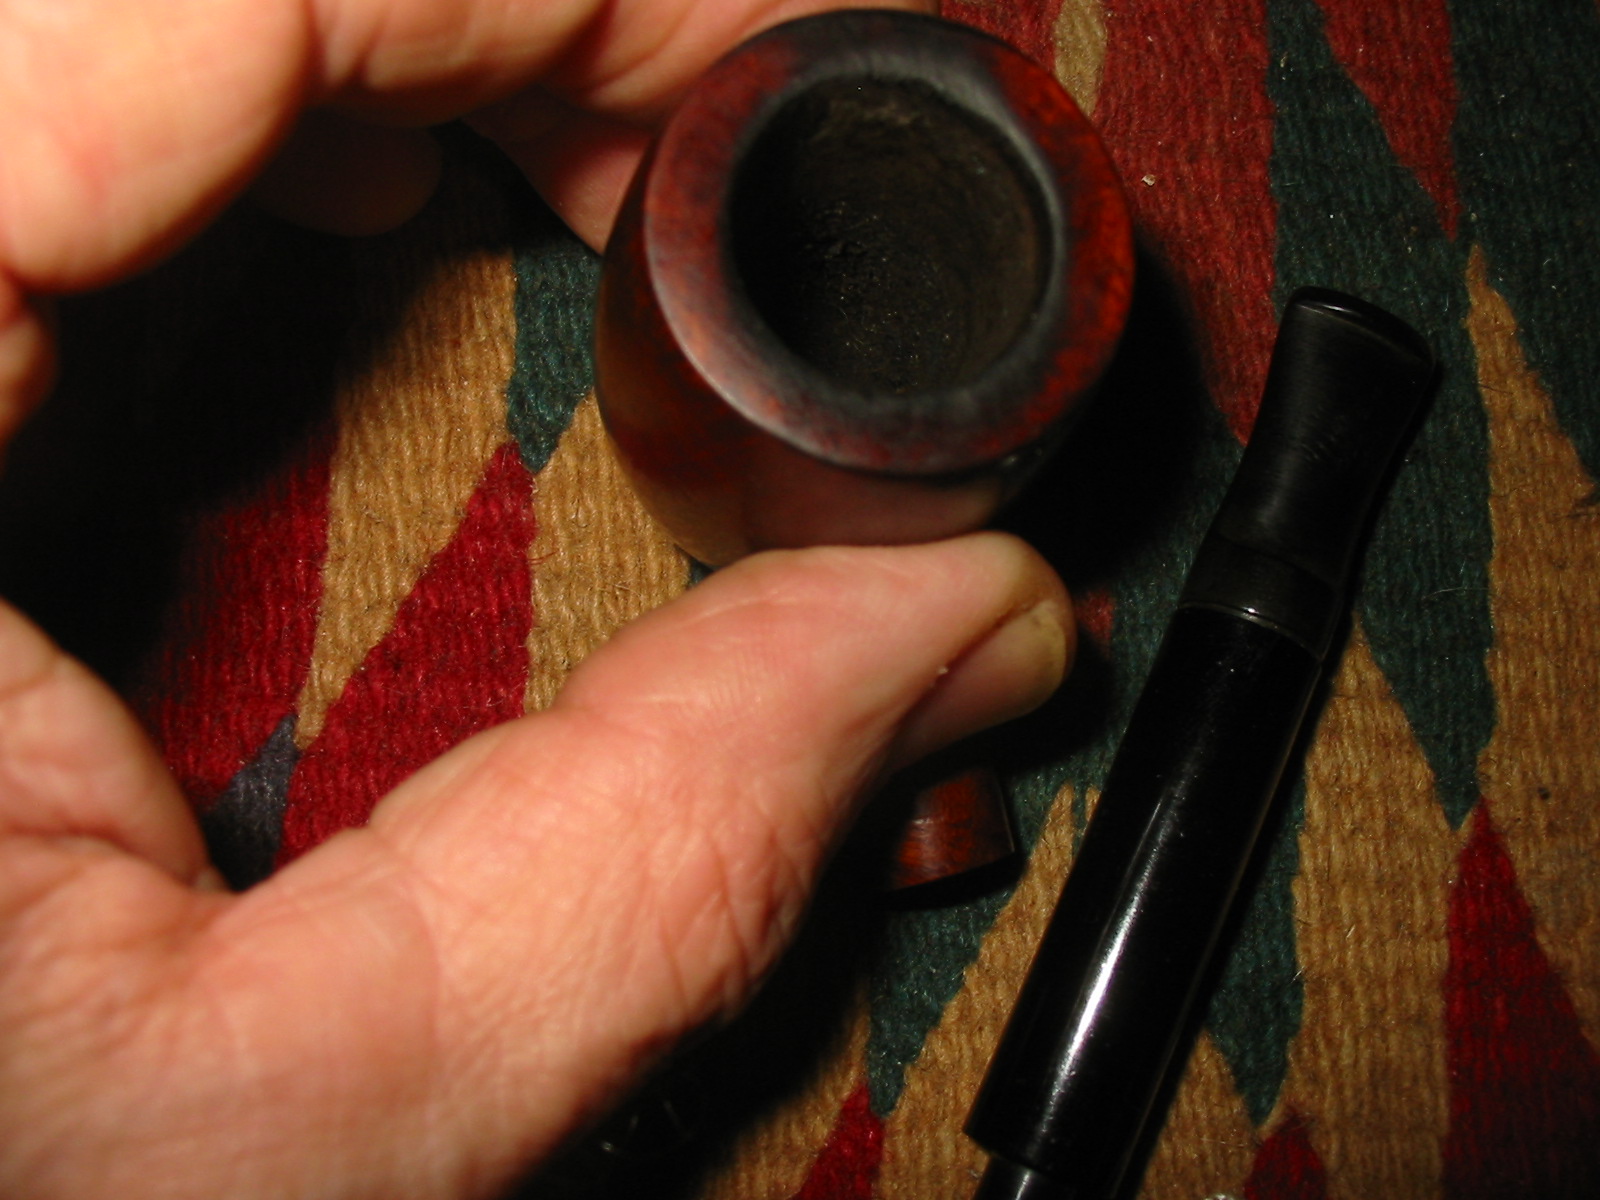
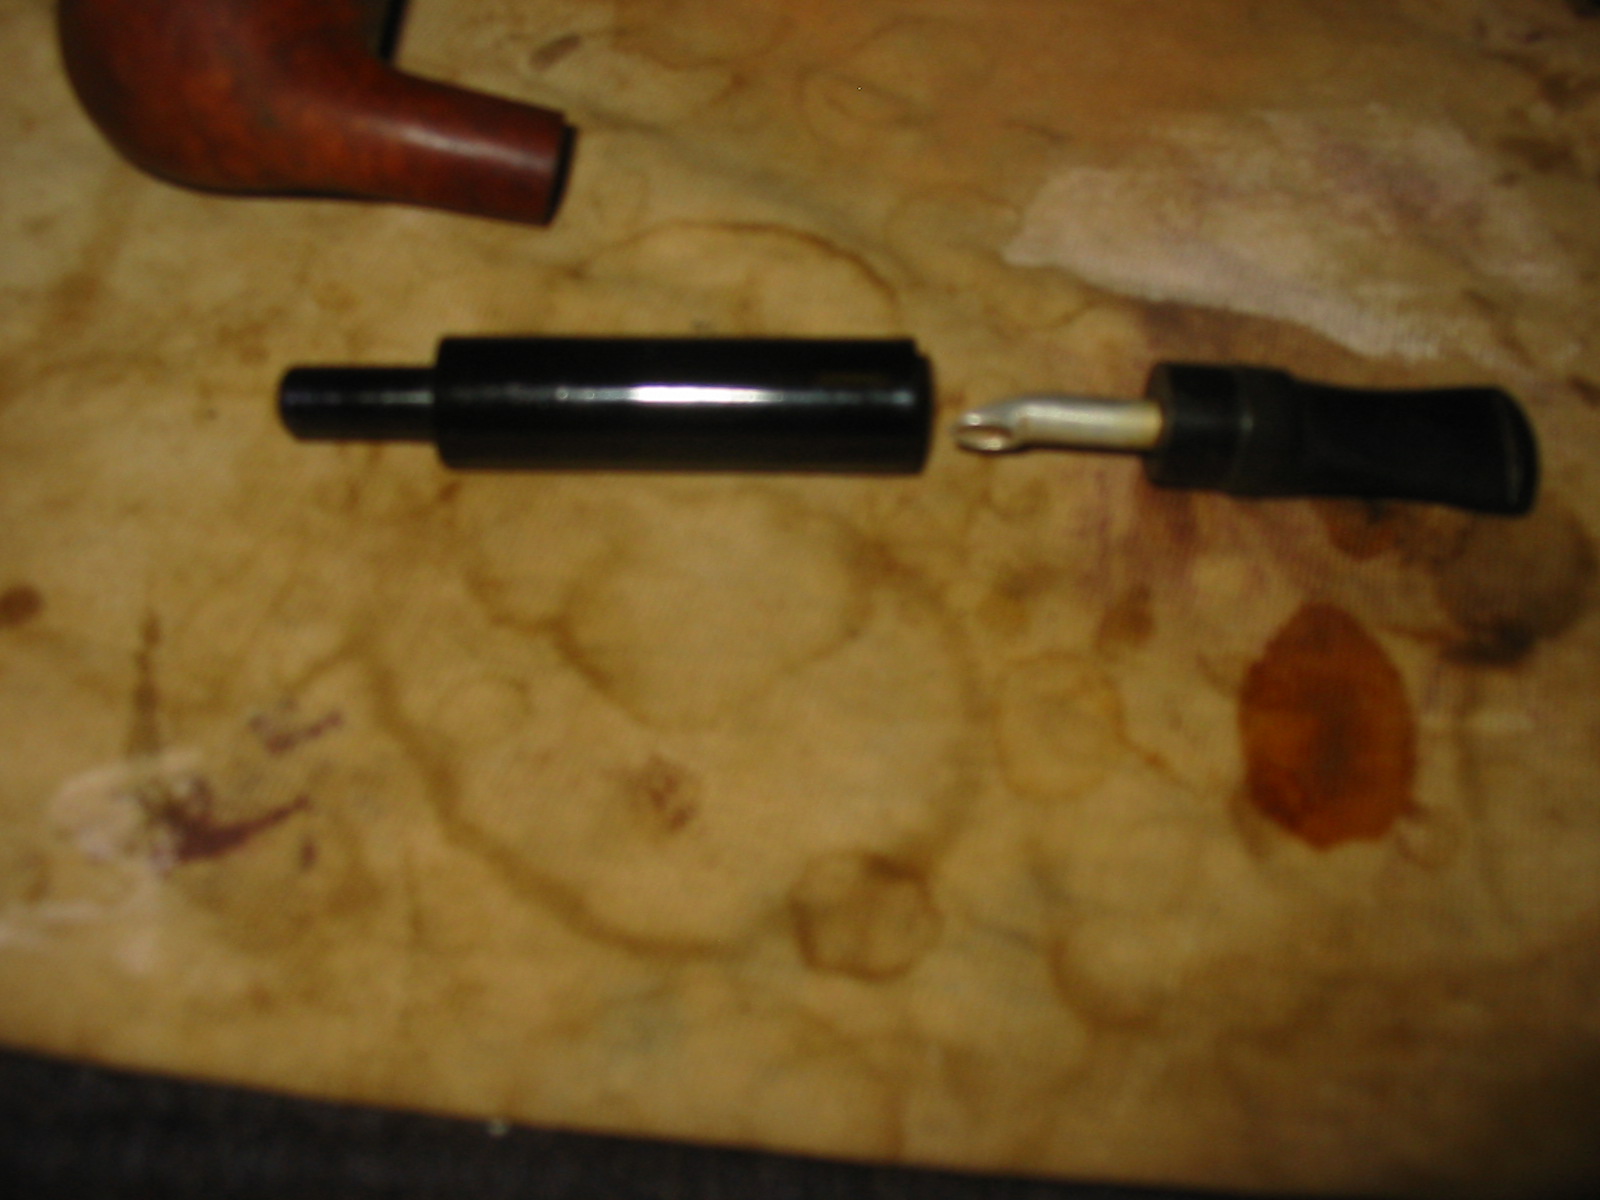
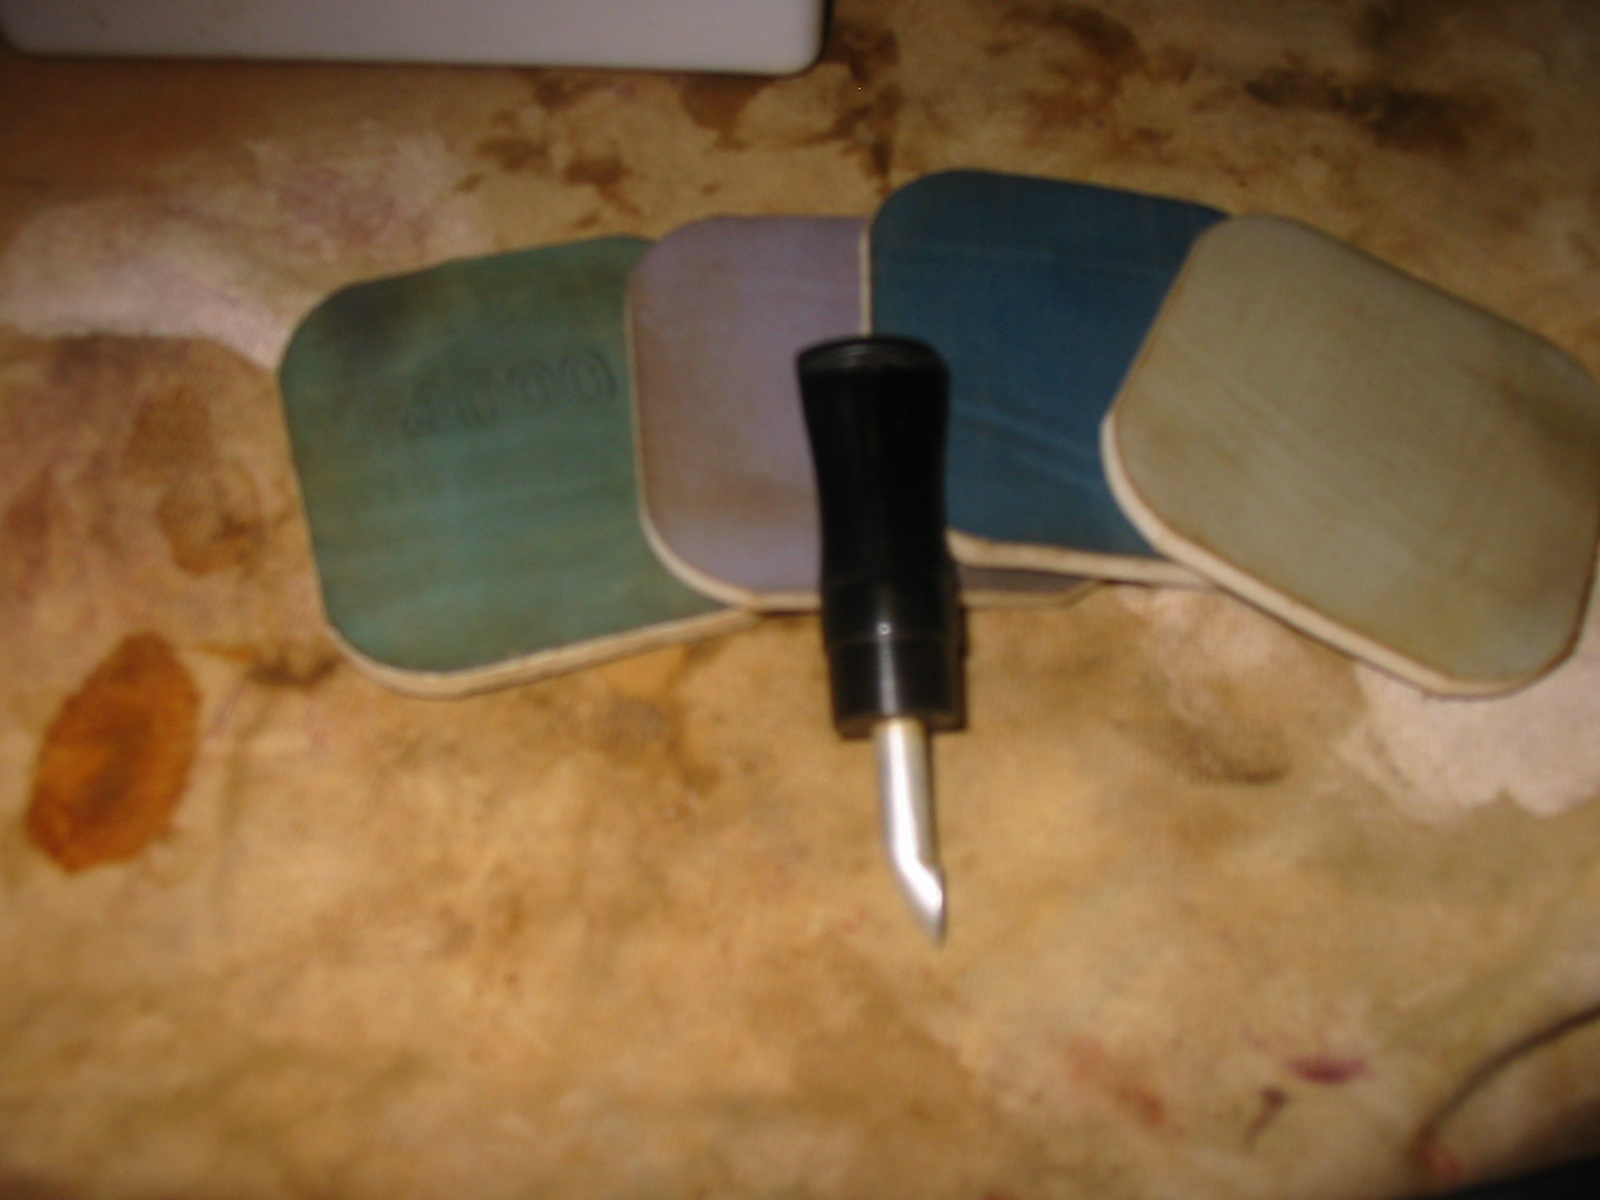
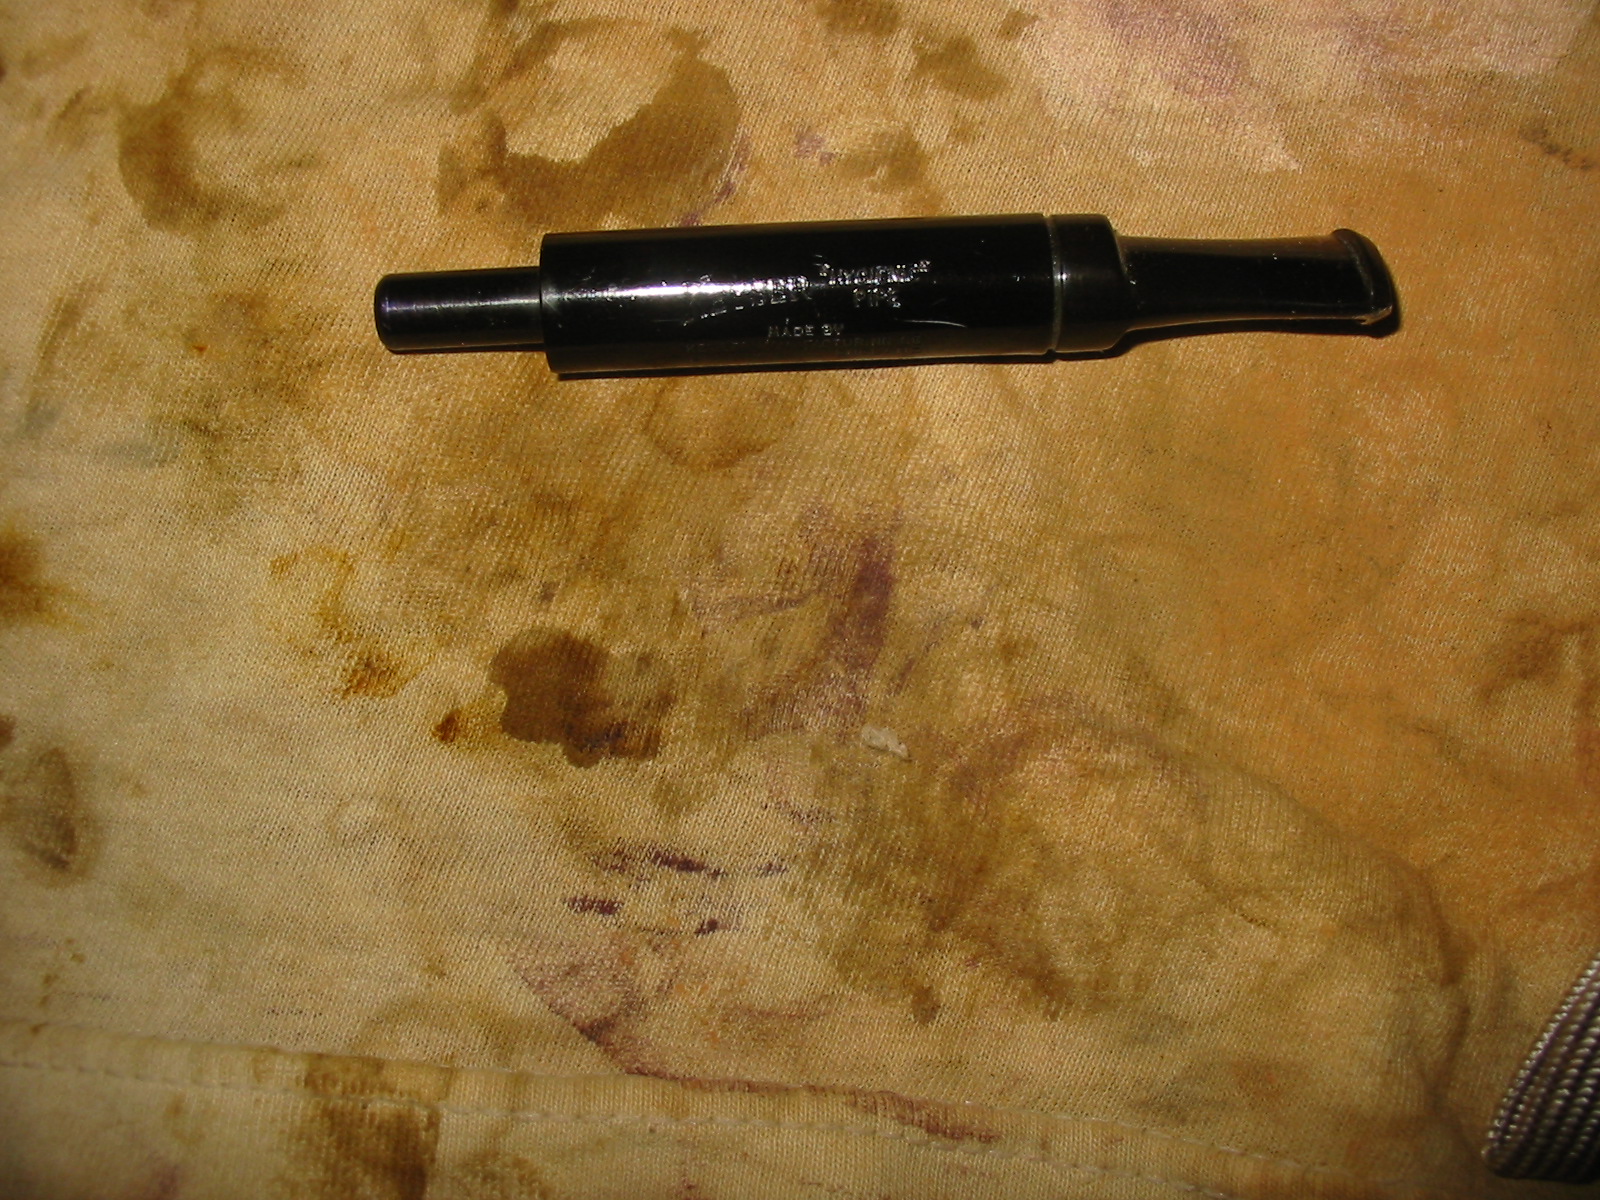
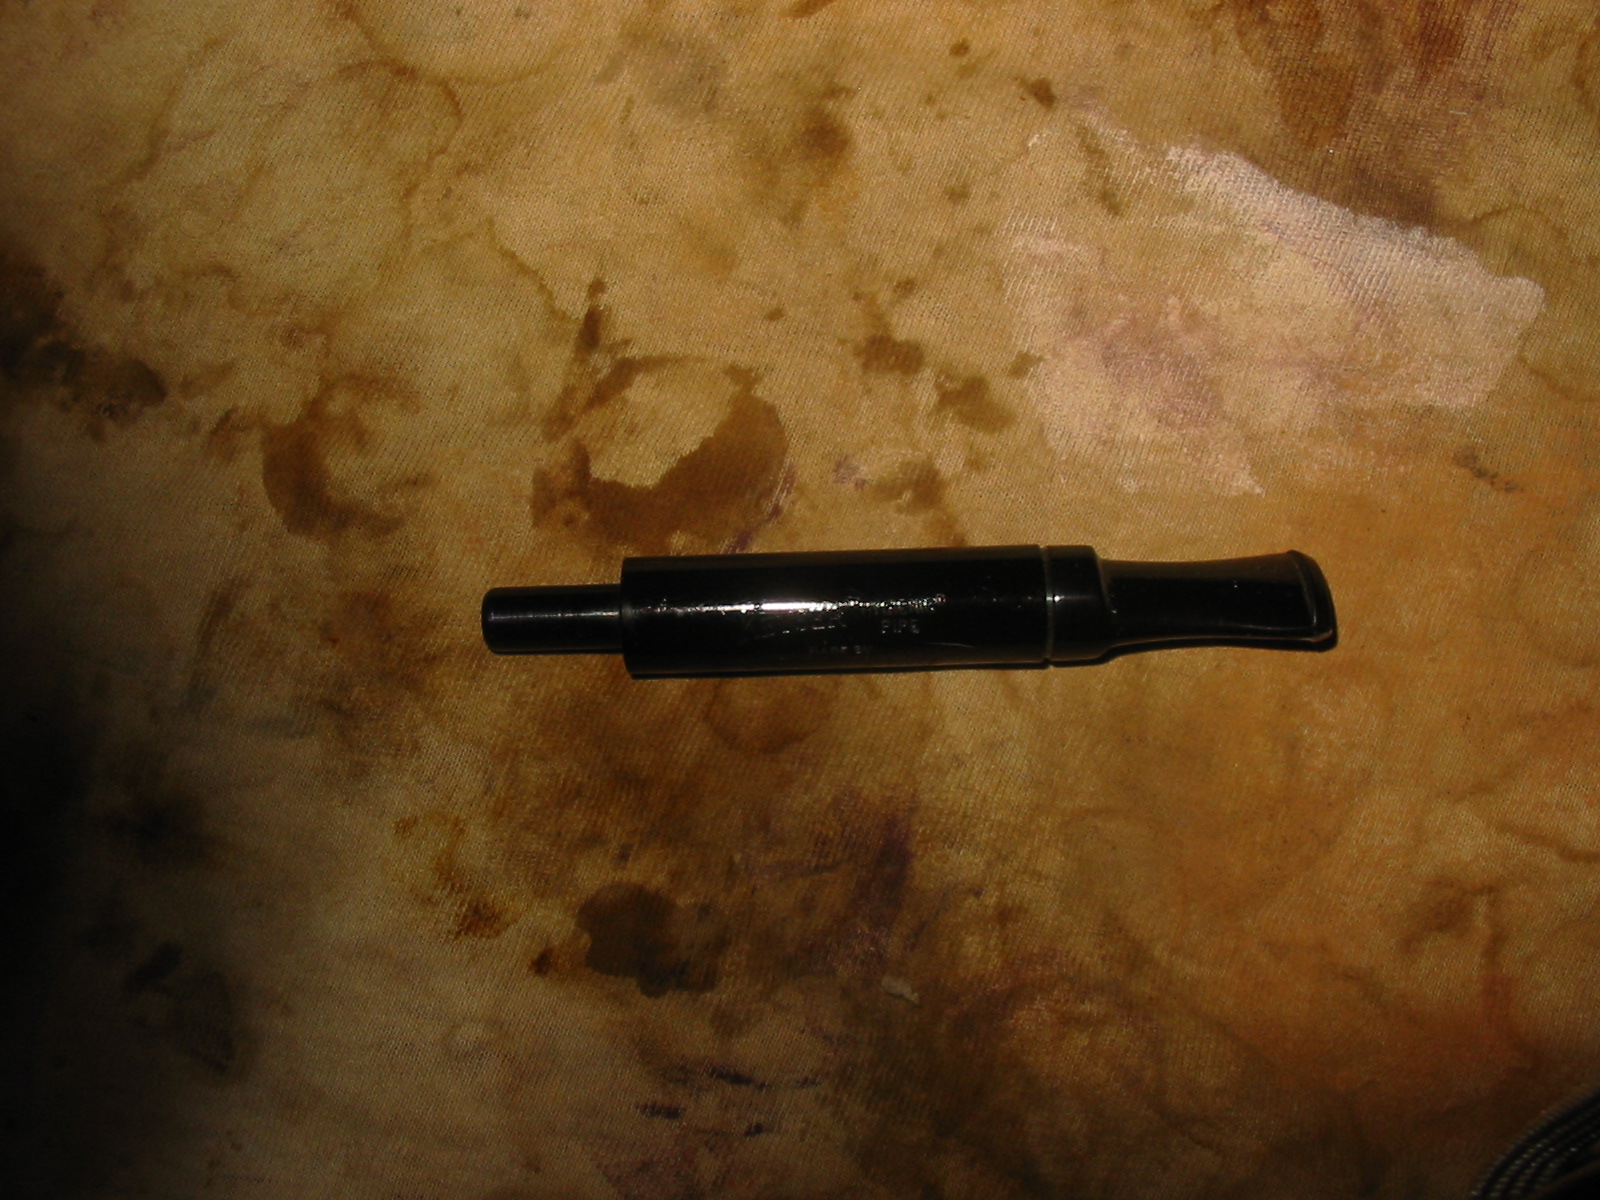
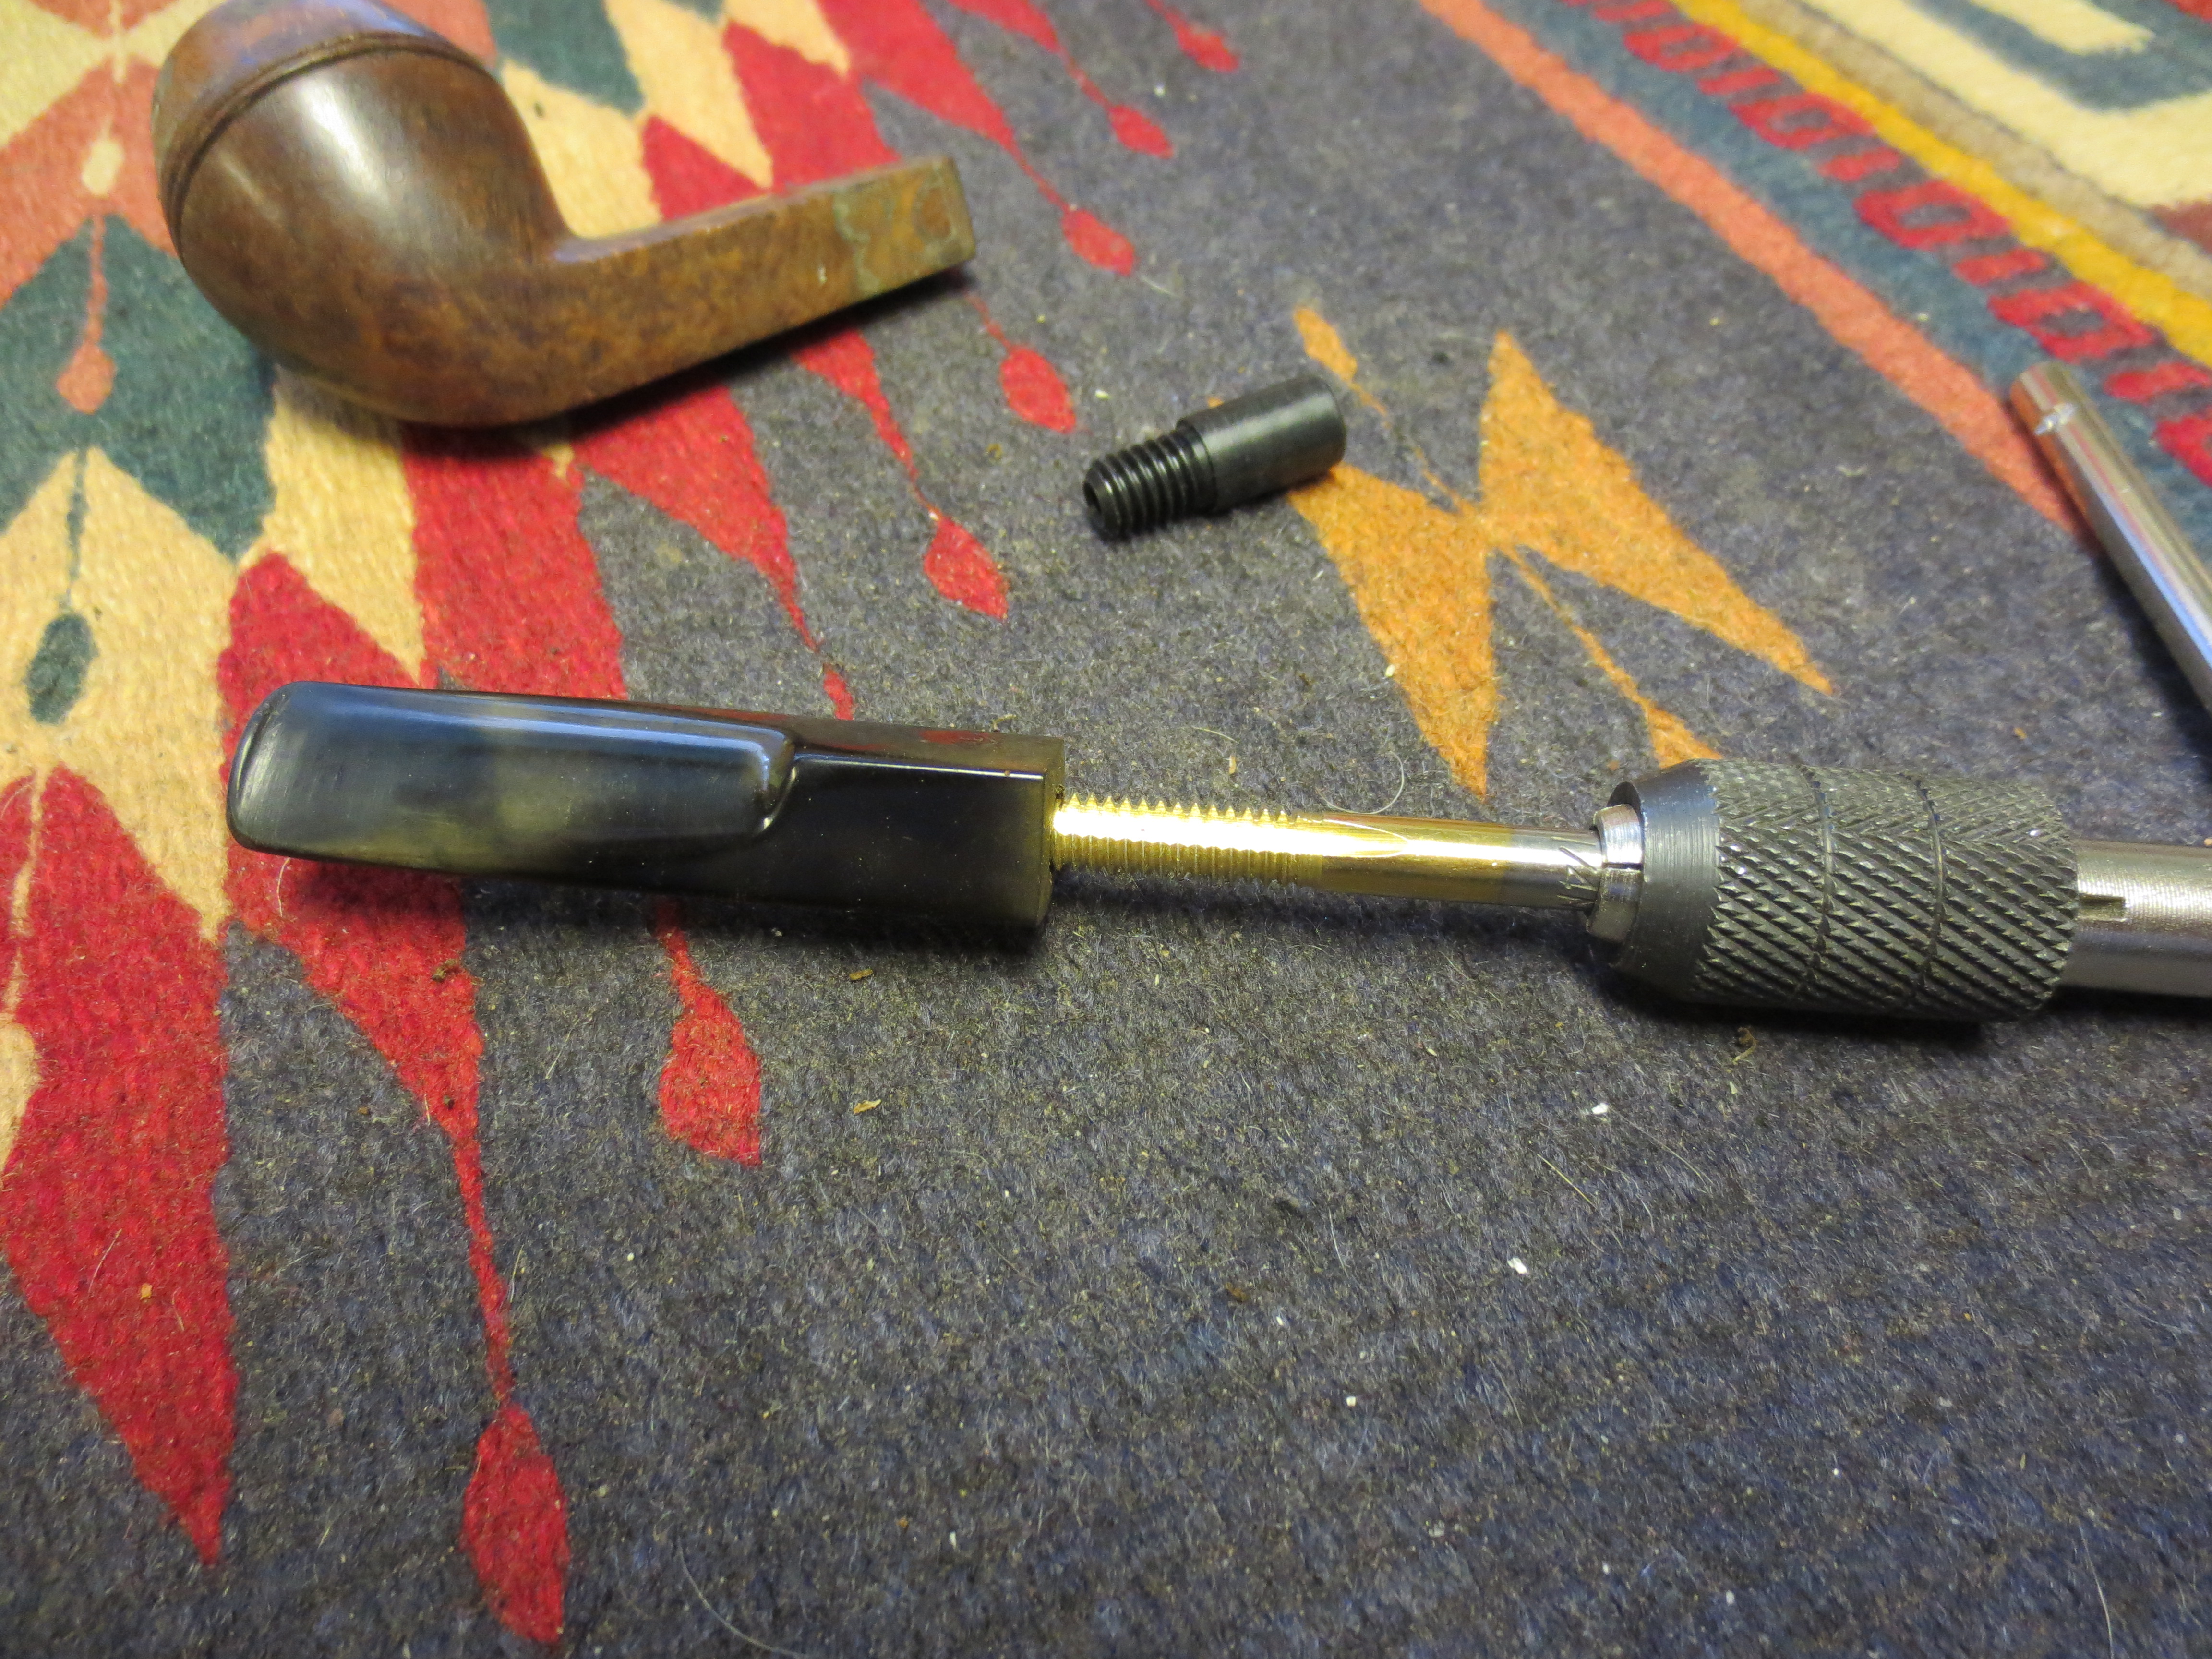
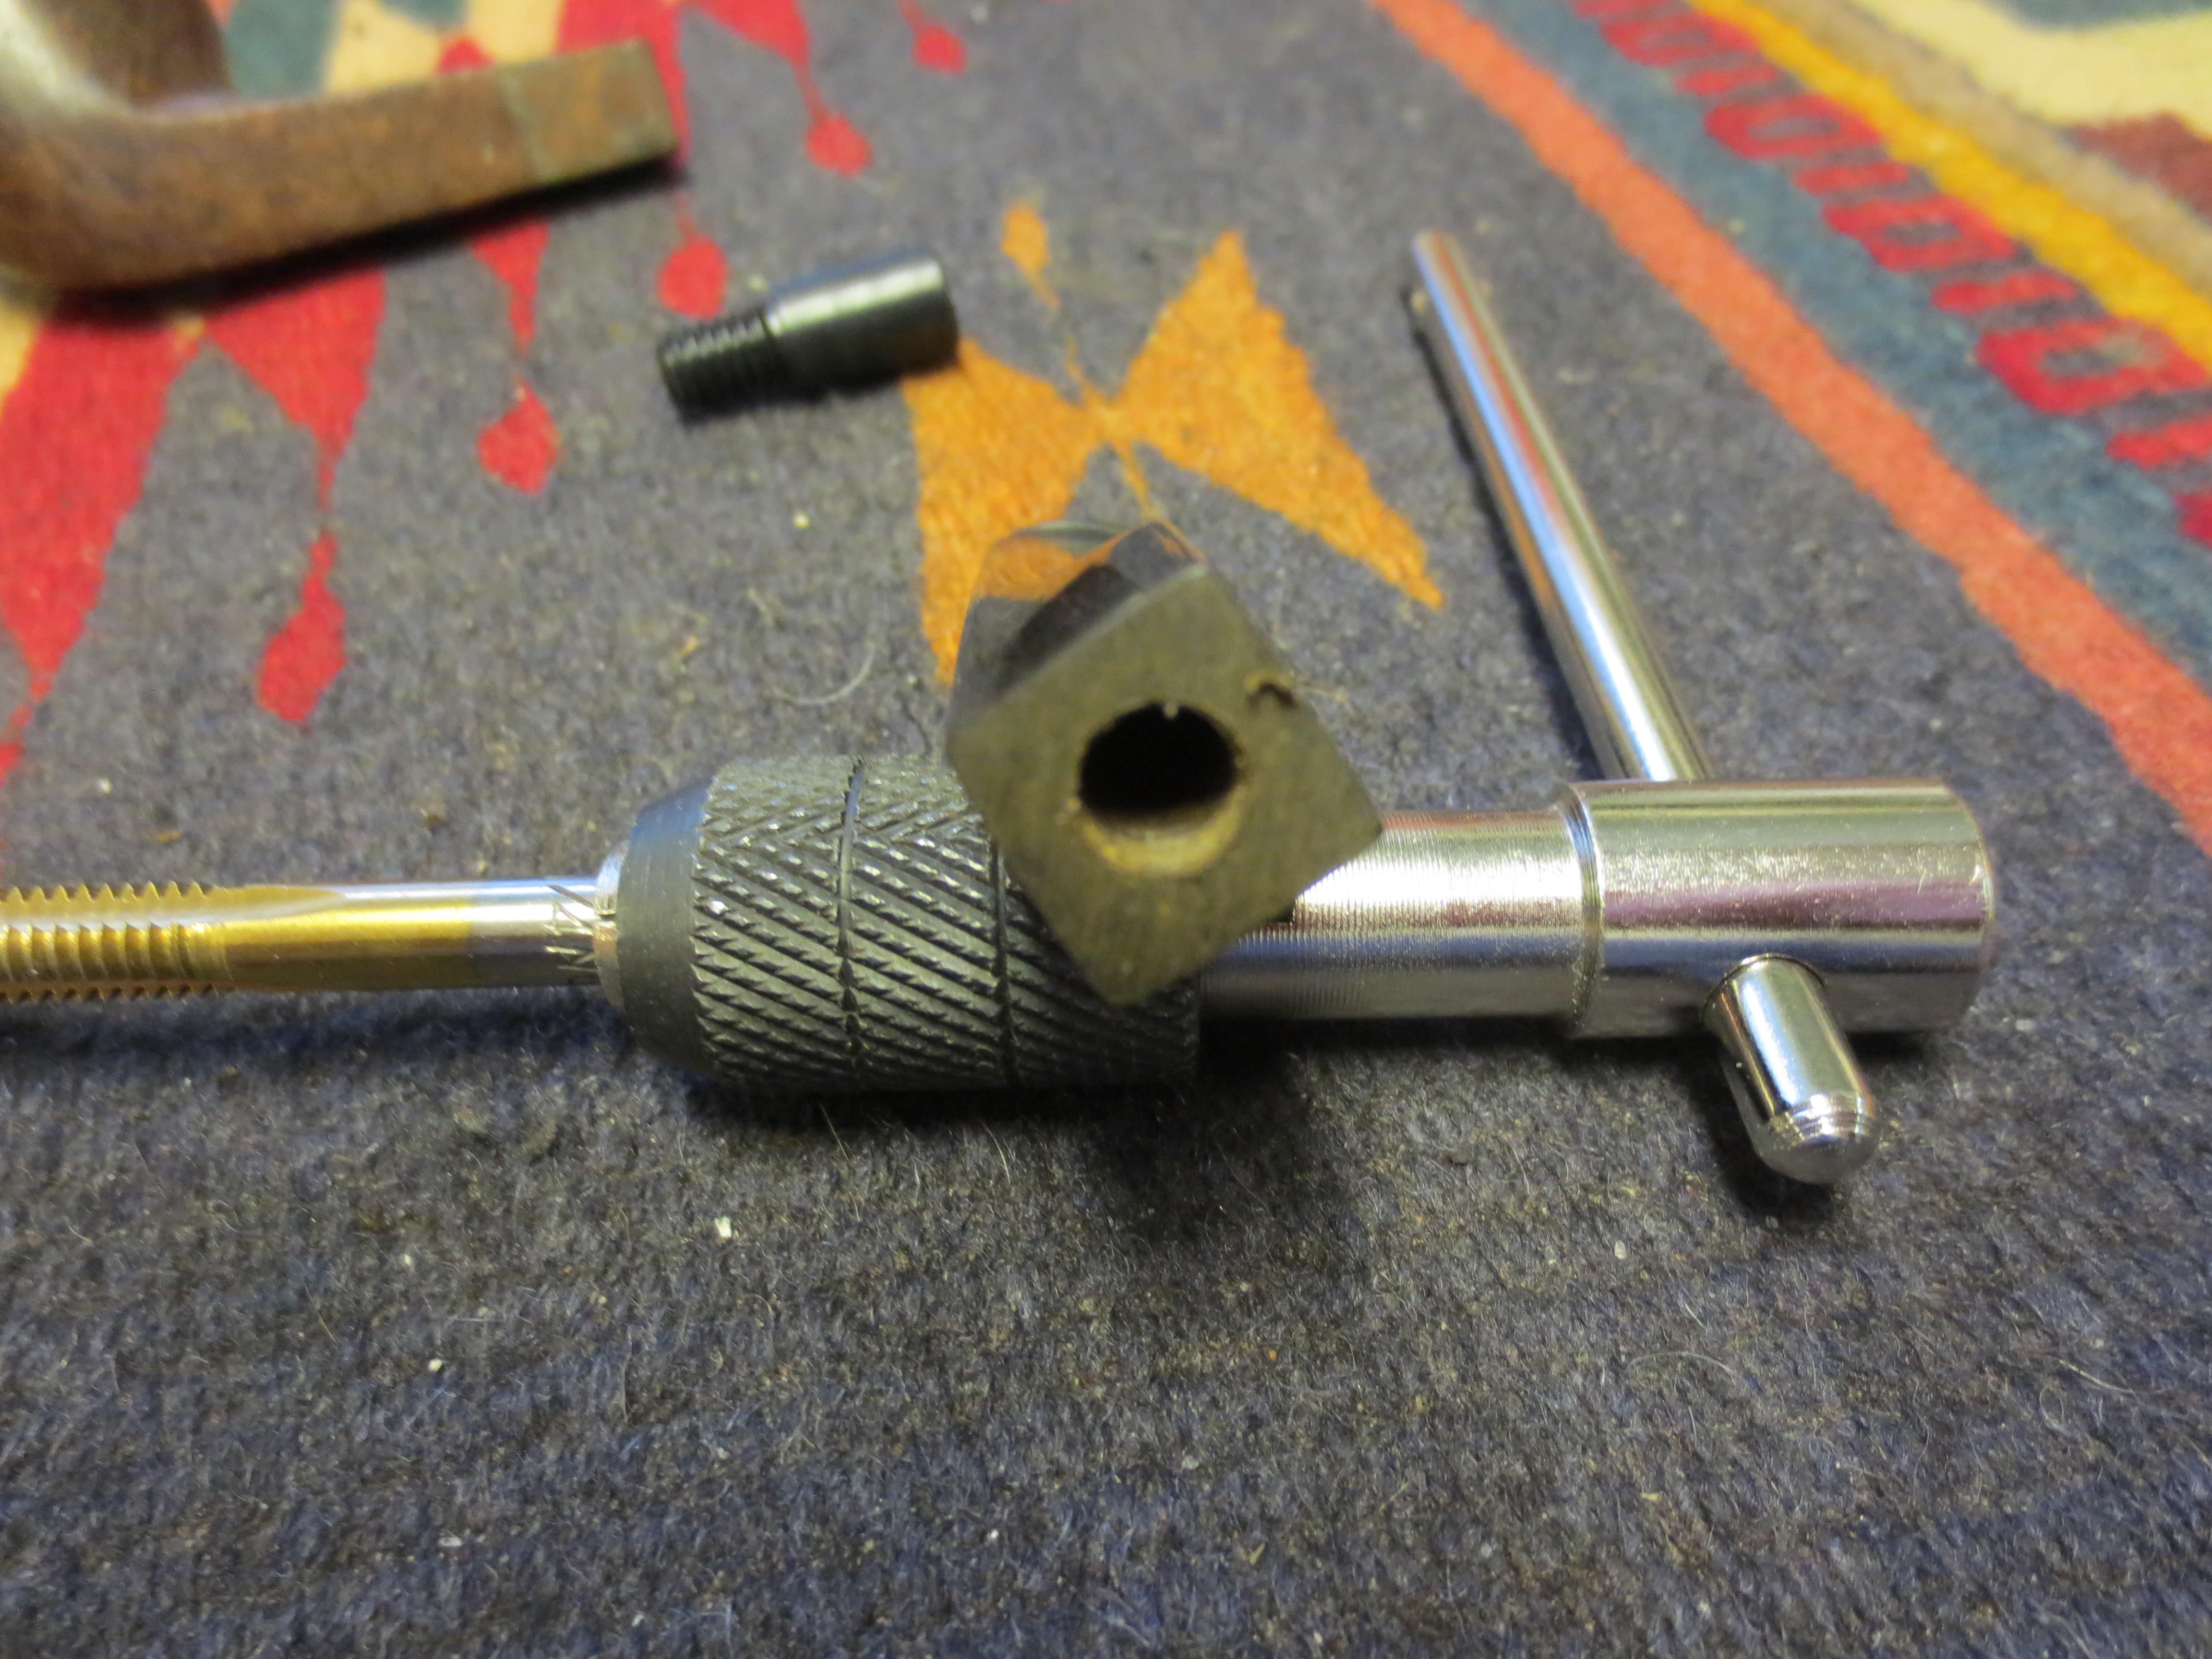
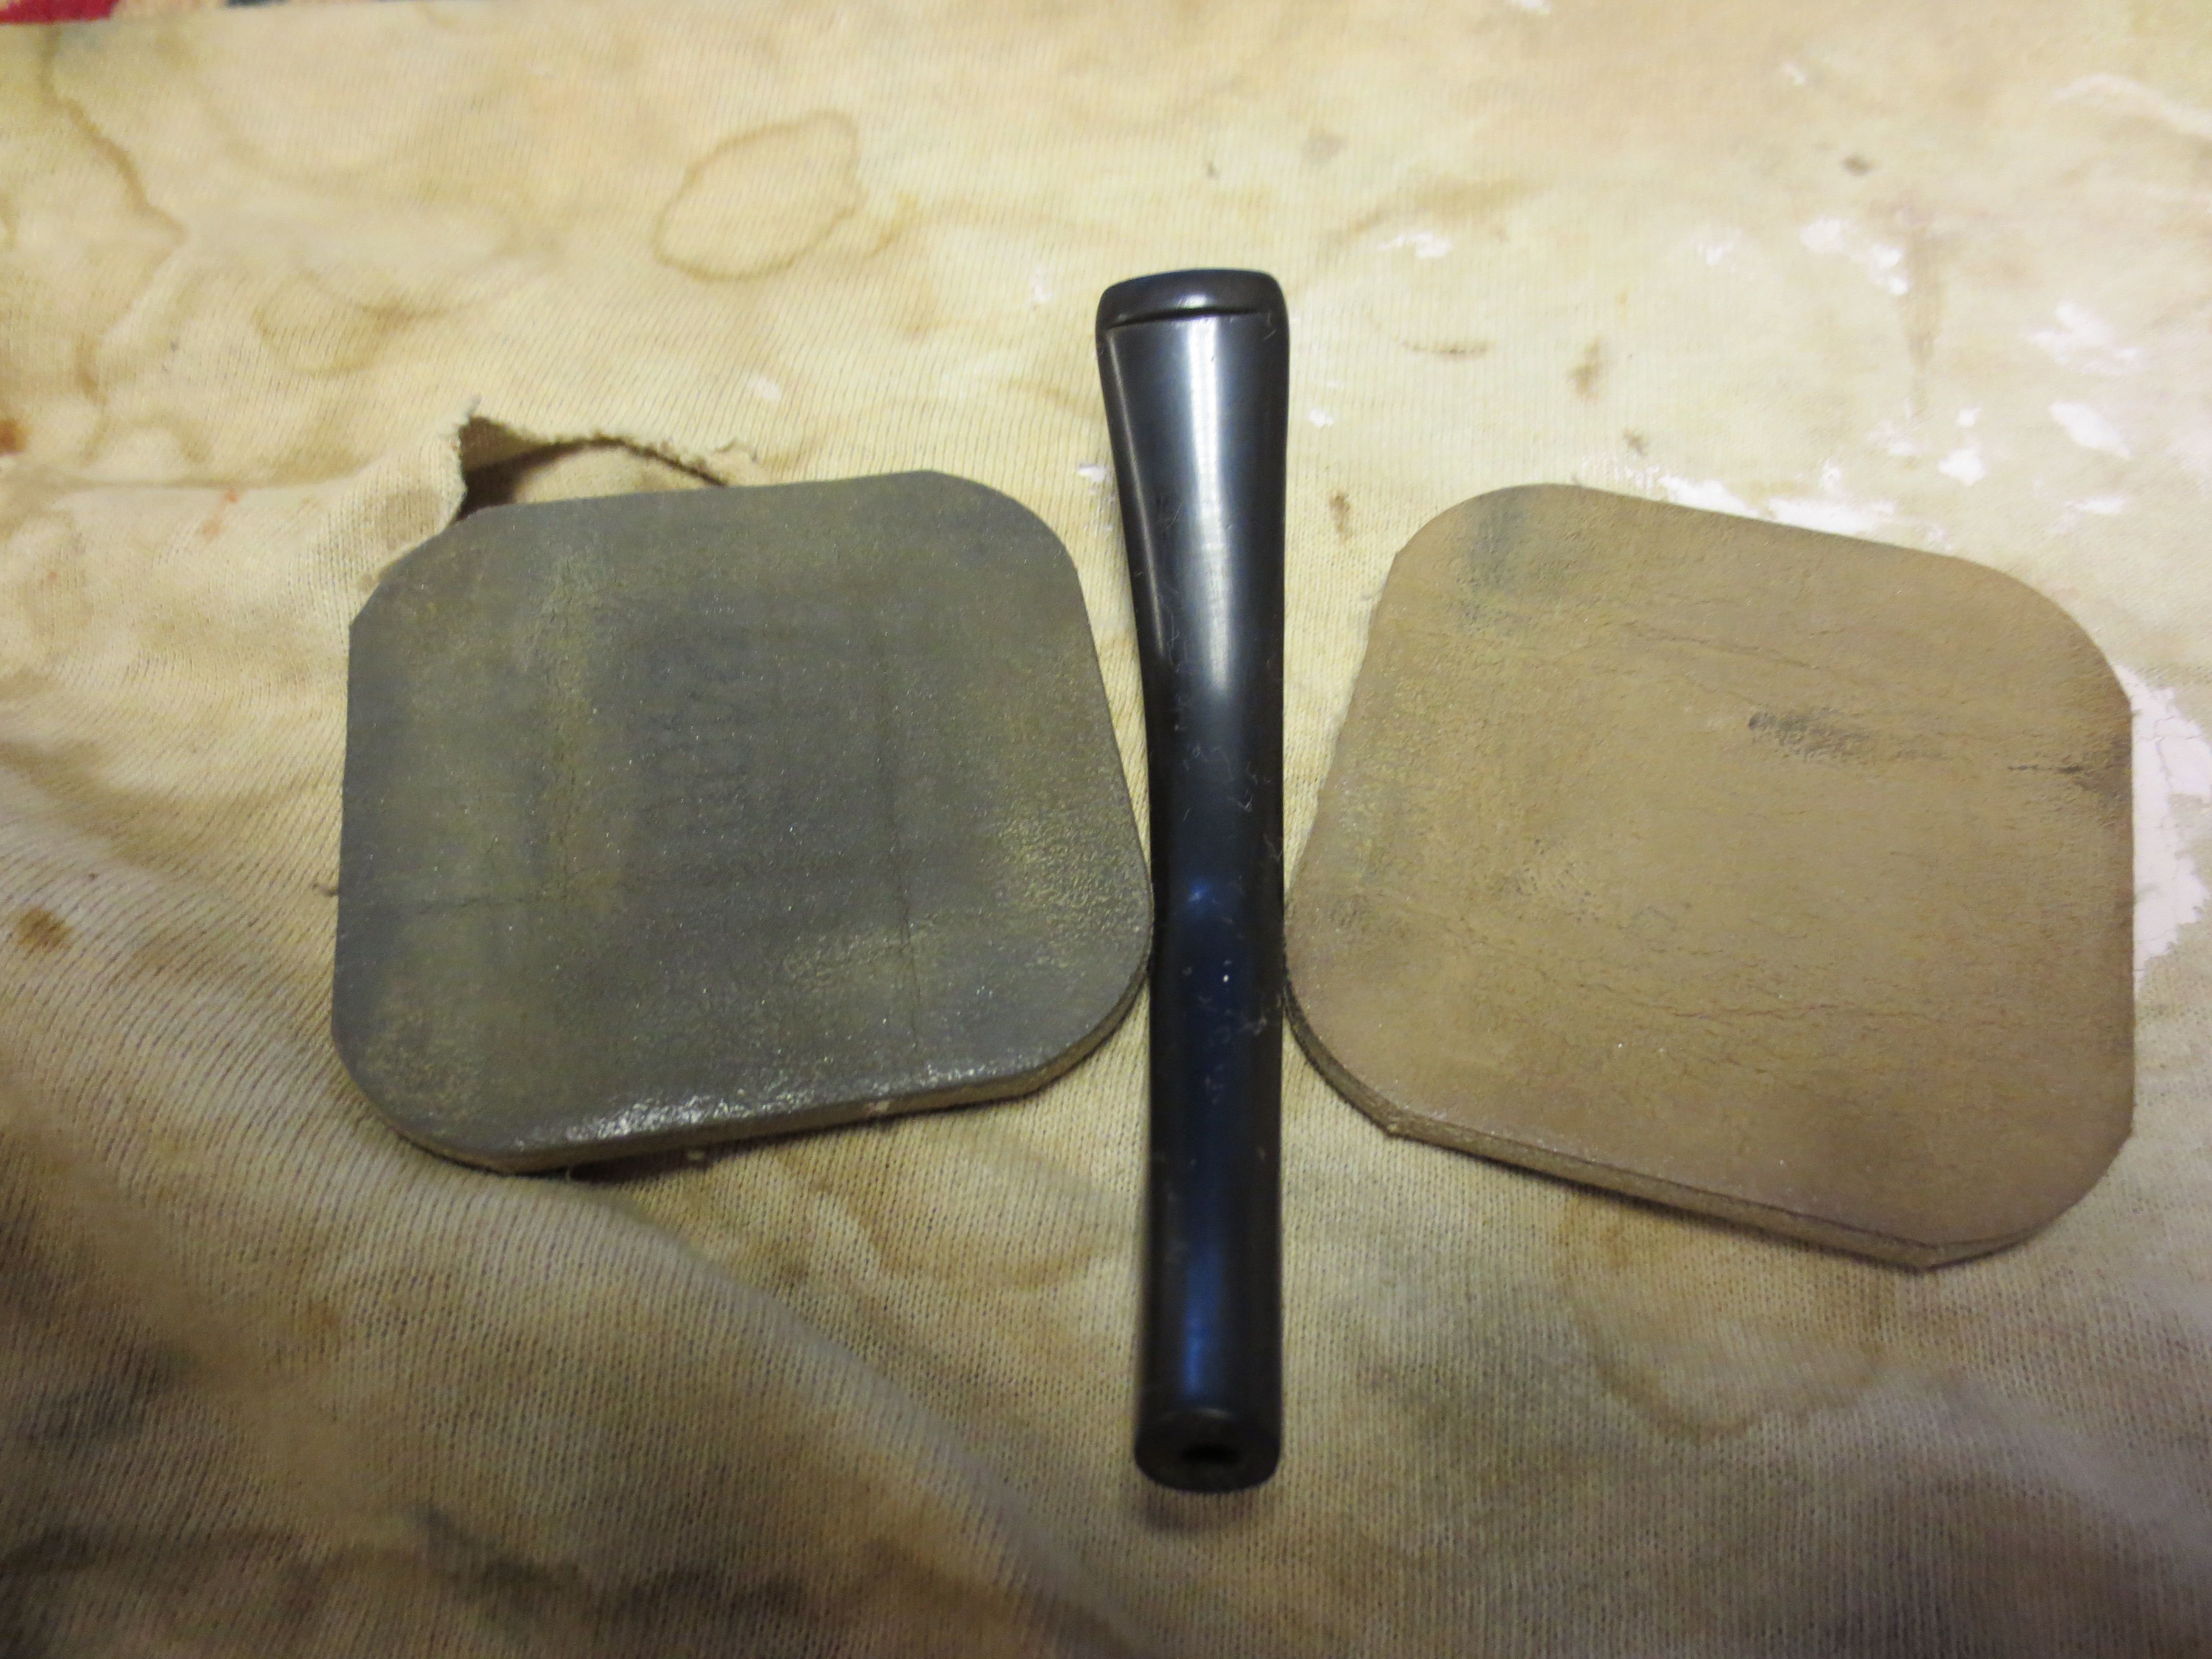
Once the stem was ready I dripped a little superglue on the tenon and screwed it into the stem. The next two photos show the tenon in place. I still needed to turn it with the Pimo tenon turner to reduce the size to fit the shank of the pipe.

ImageImage

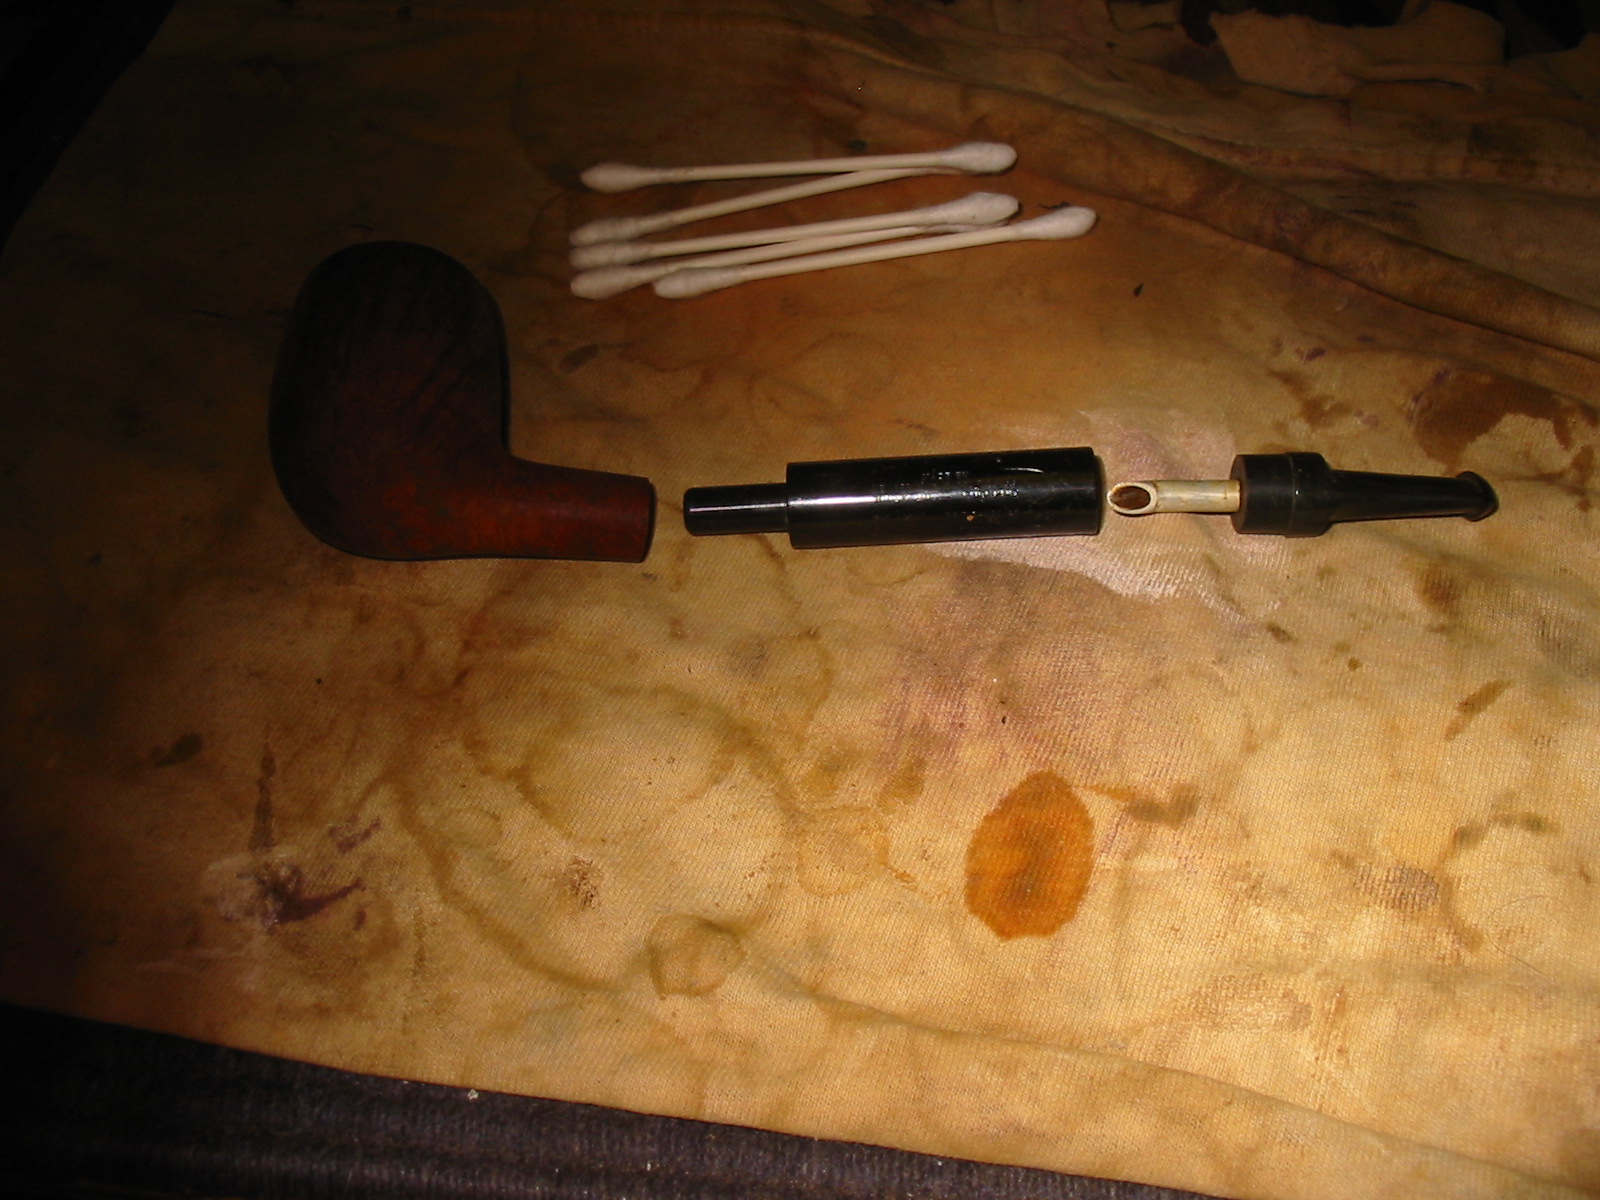
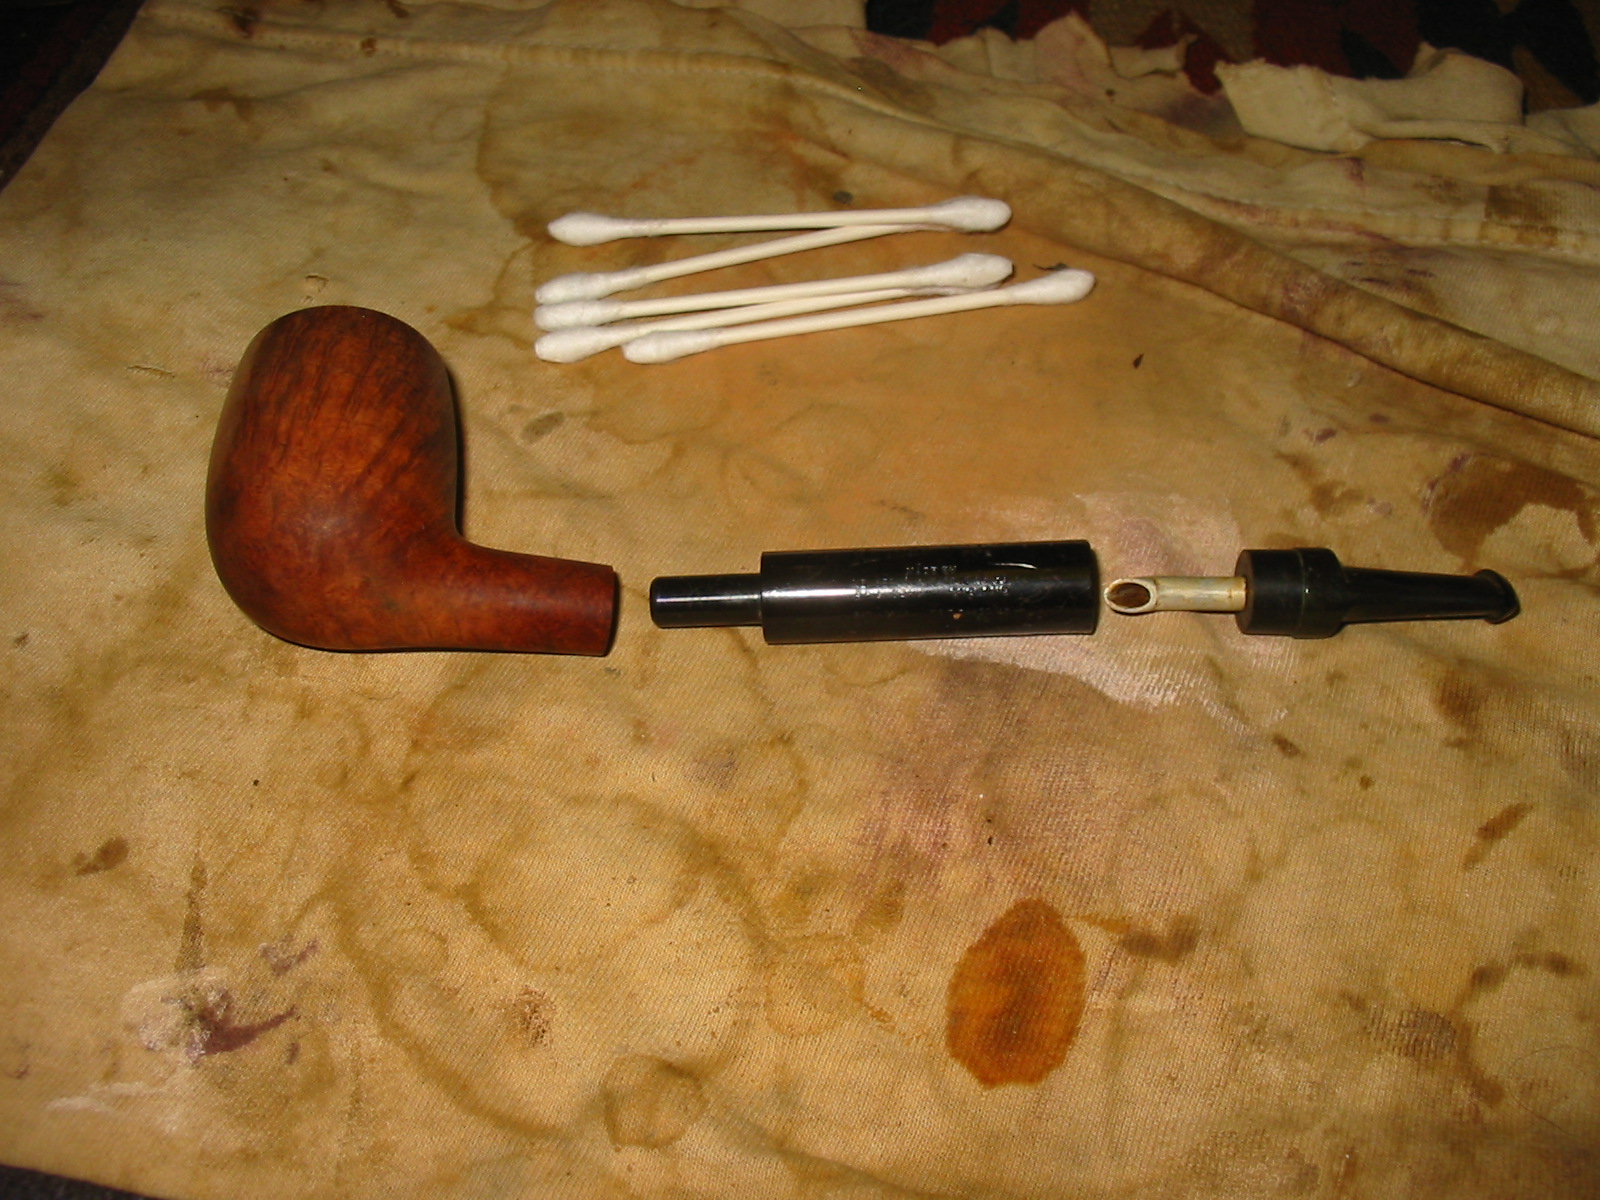
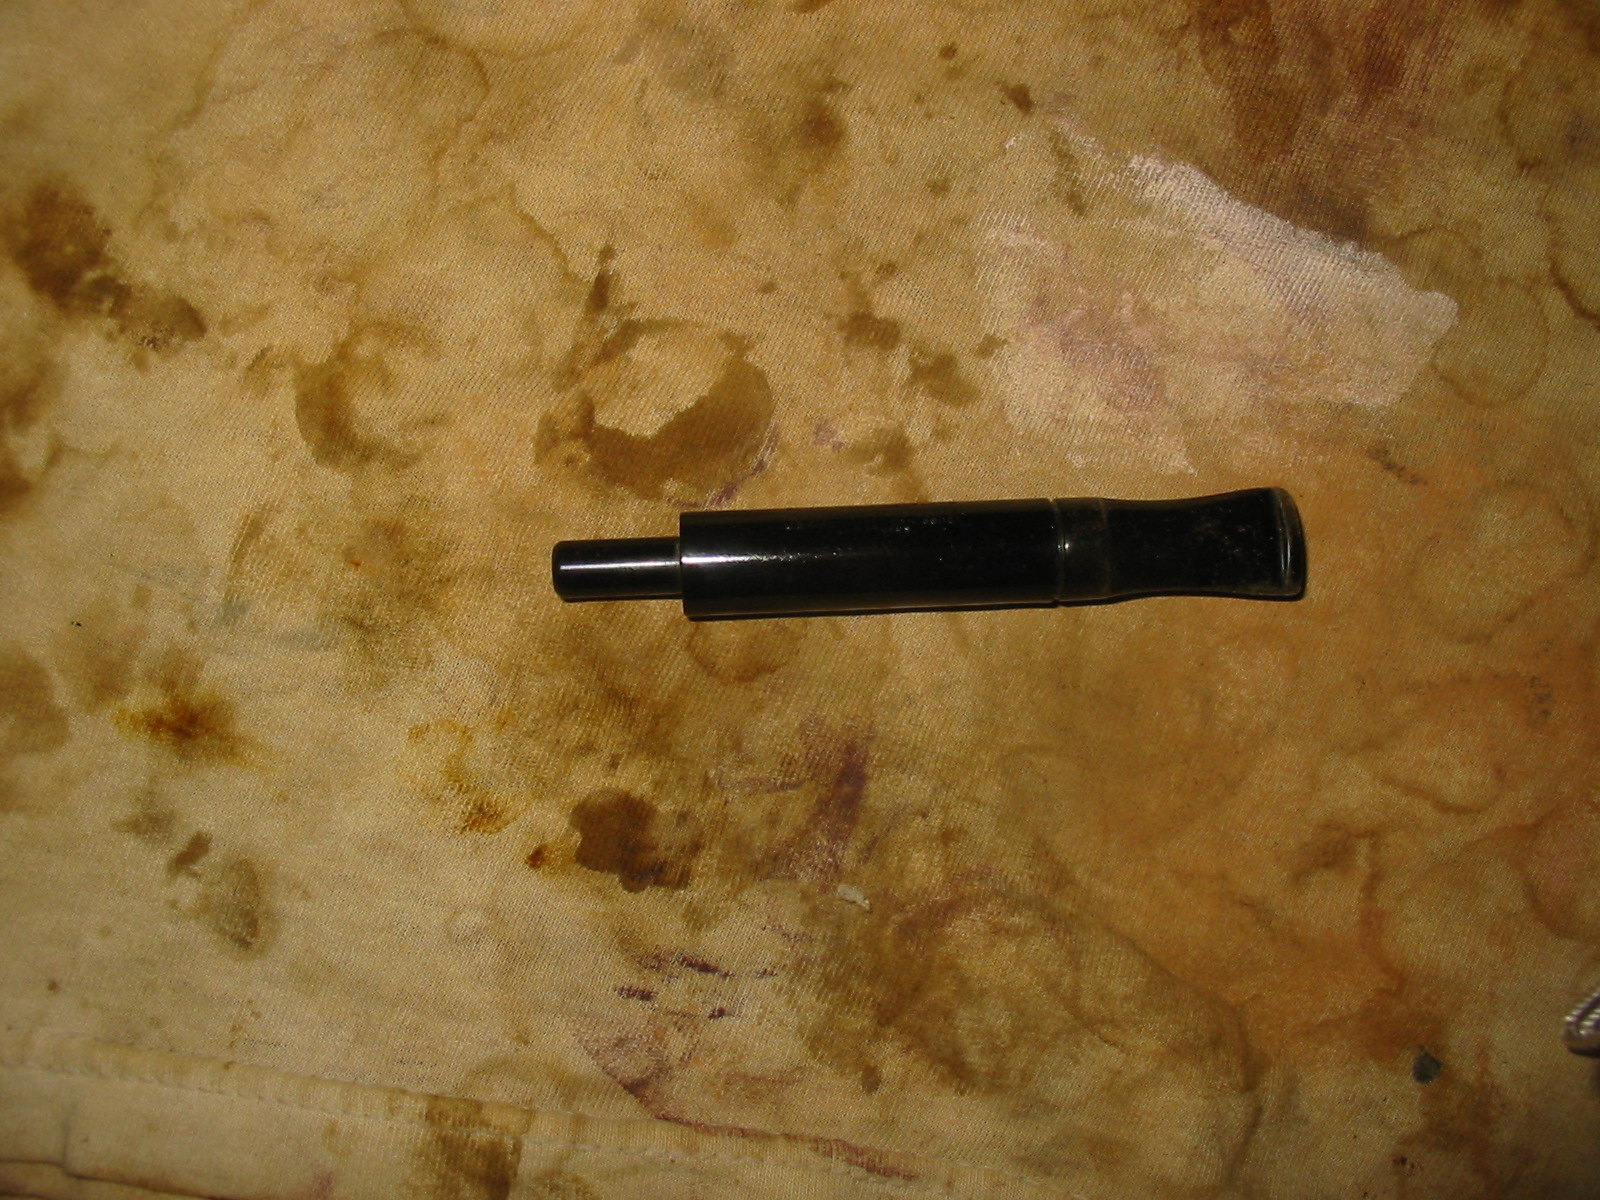
I used the tenon turner and reduce the diameter of the tenon until it was close to fitting and then hand sanded it until it fit correctly. With the cracked shank the fit was critical. I did not want the tenon too big as it would open the cracks. The two photos below show the tenon after turning. It still needed a bit more hand sanding to make a perfect fit.

ImageImage

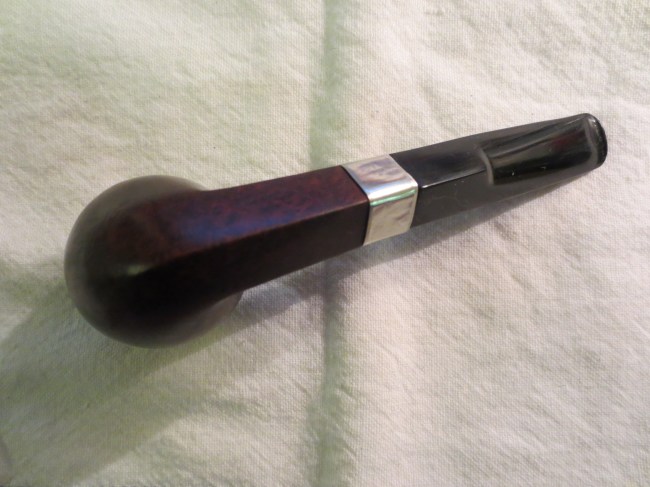
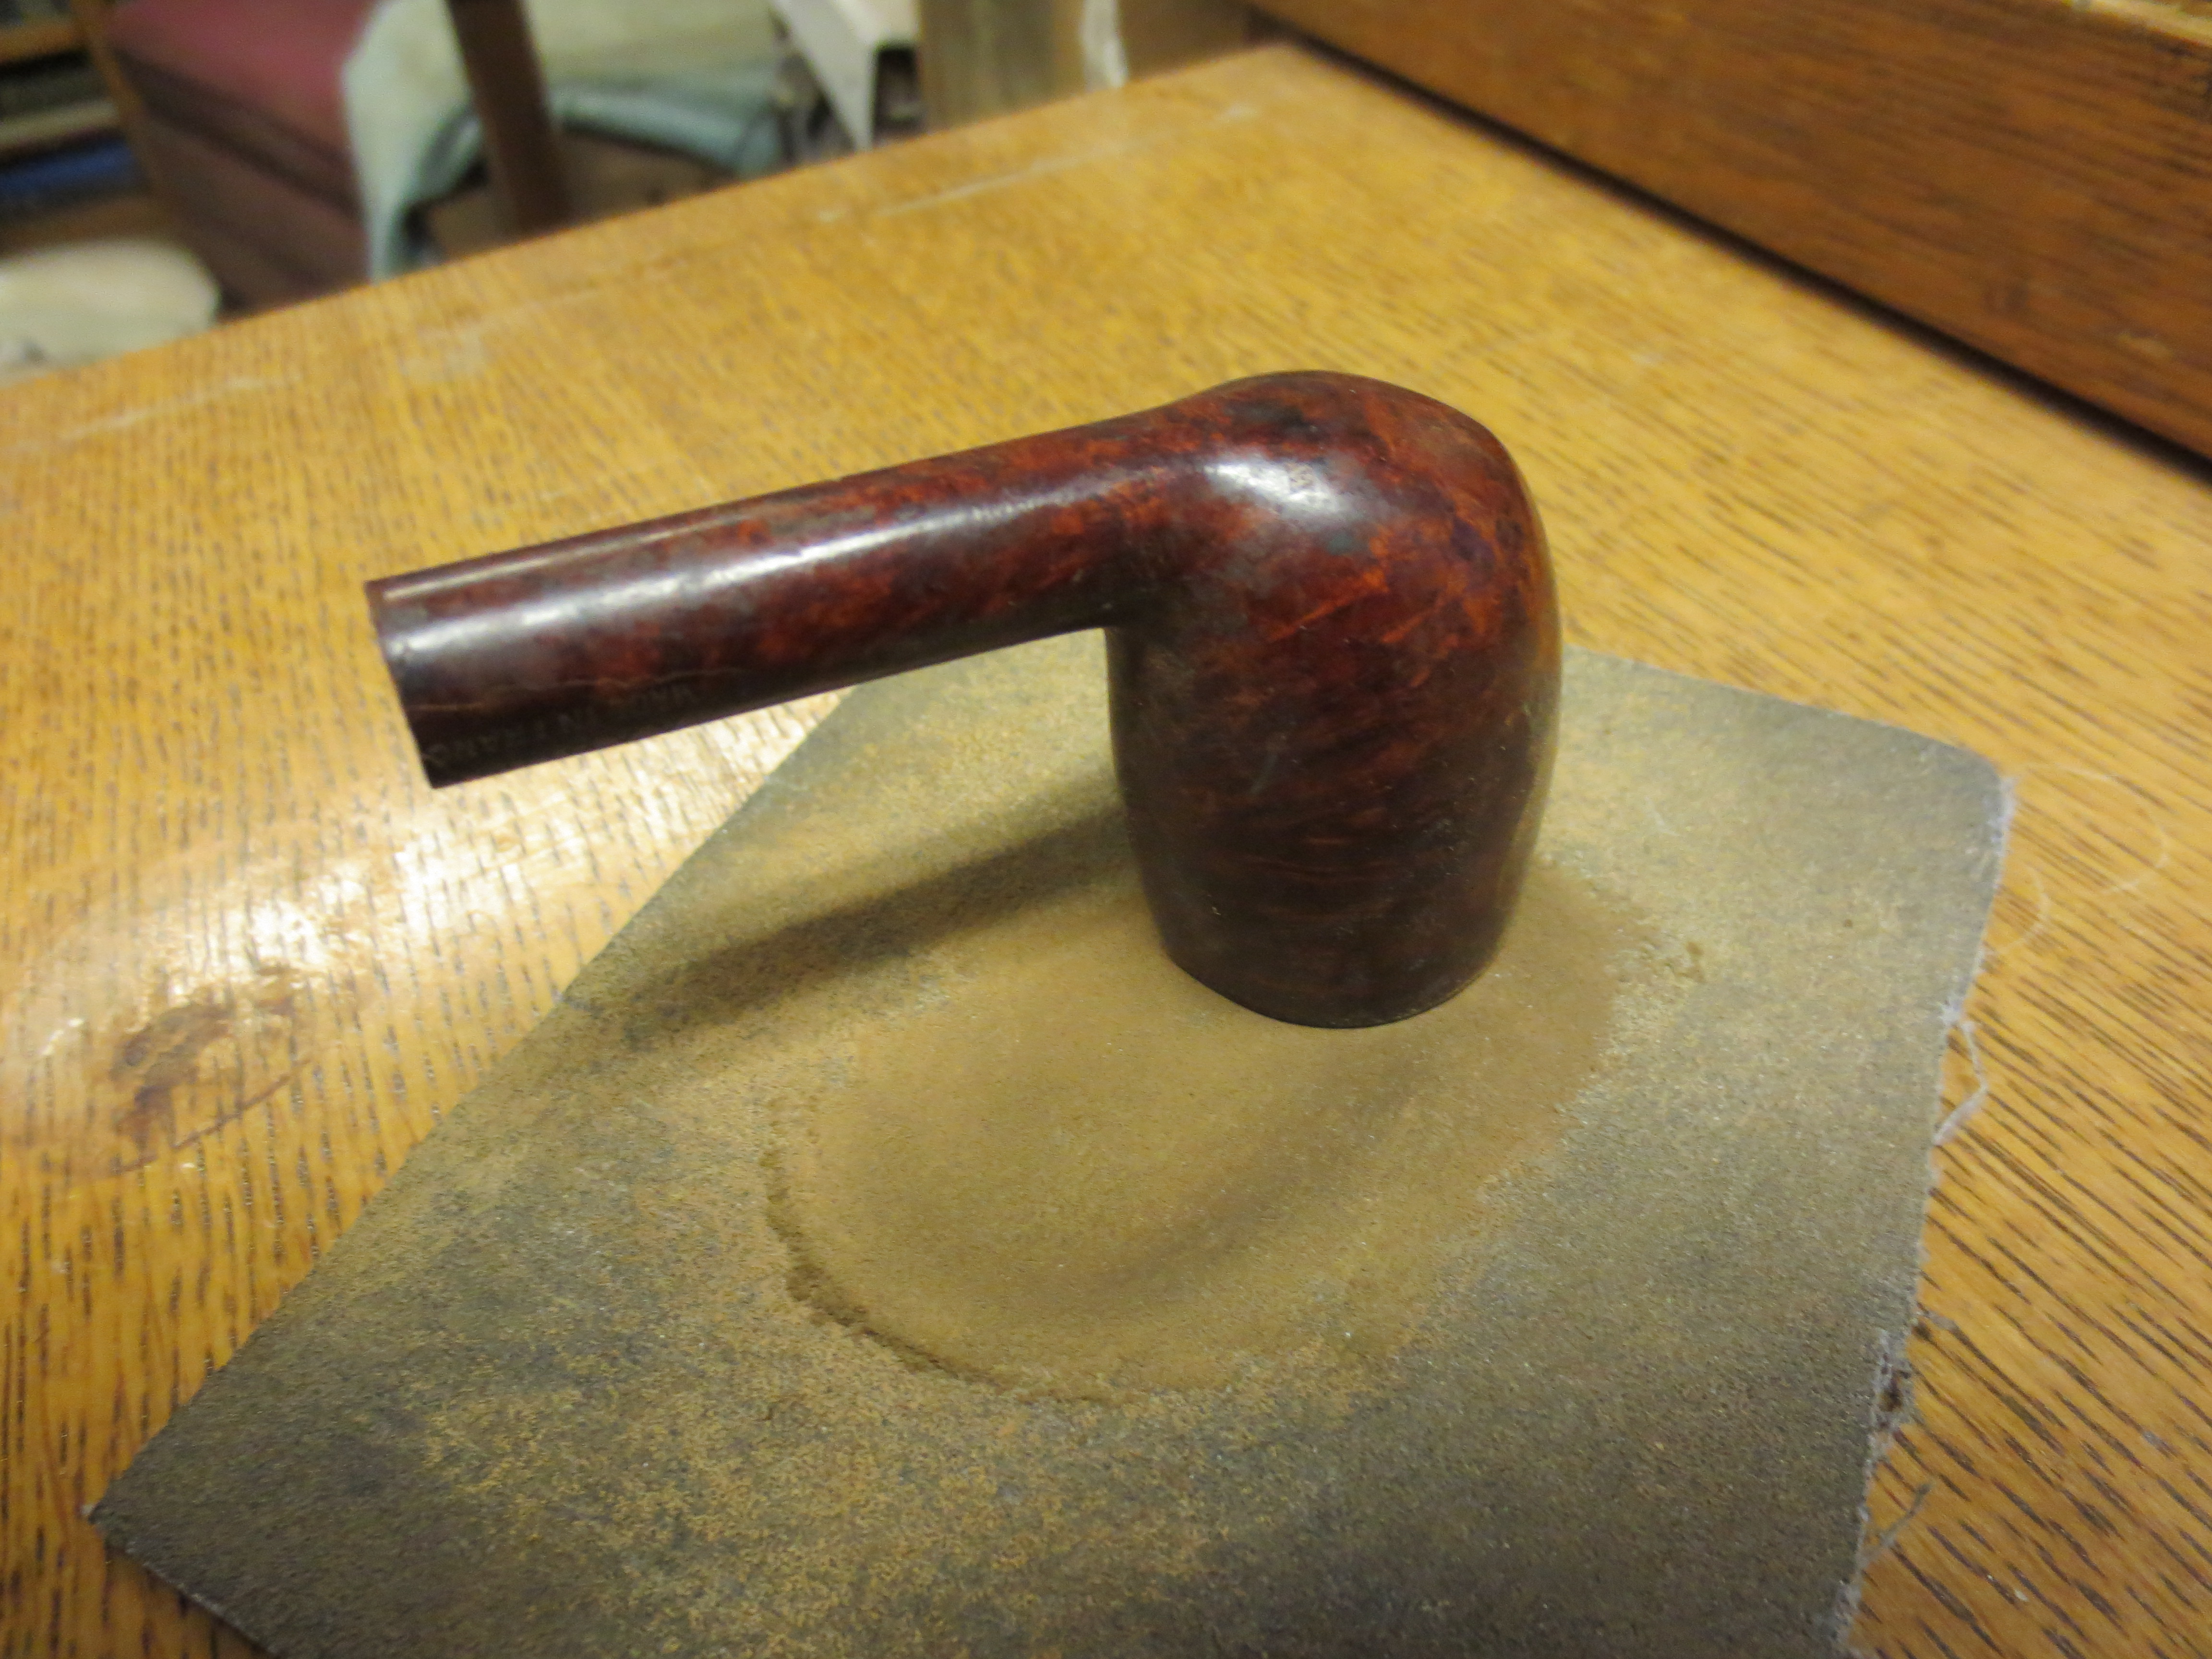
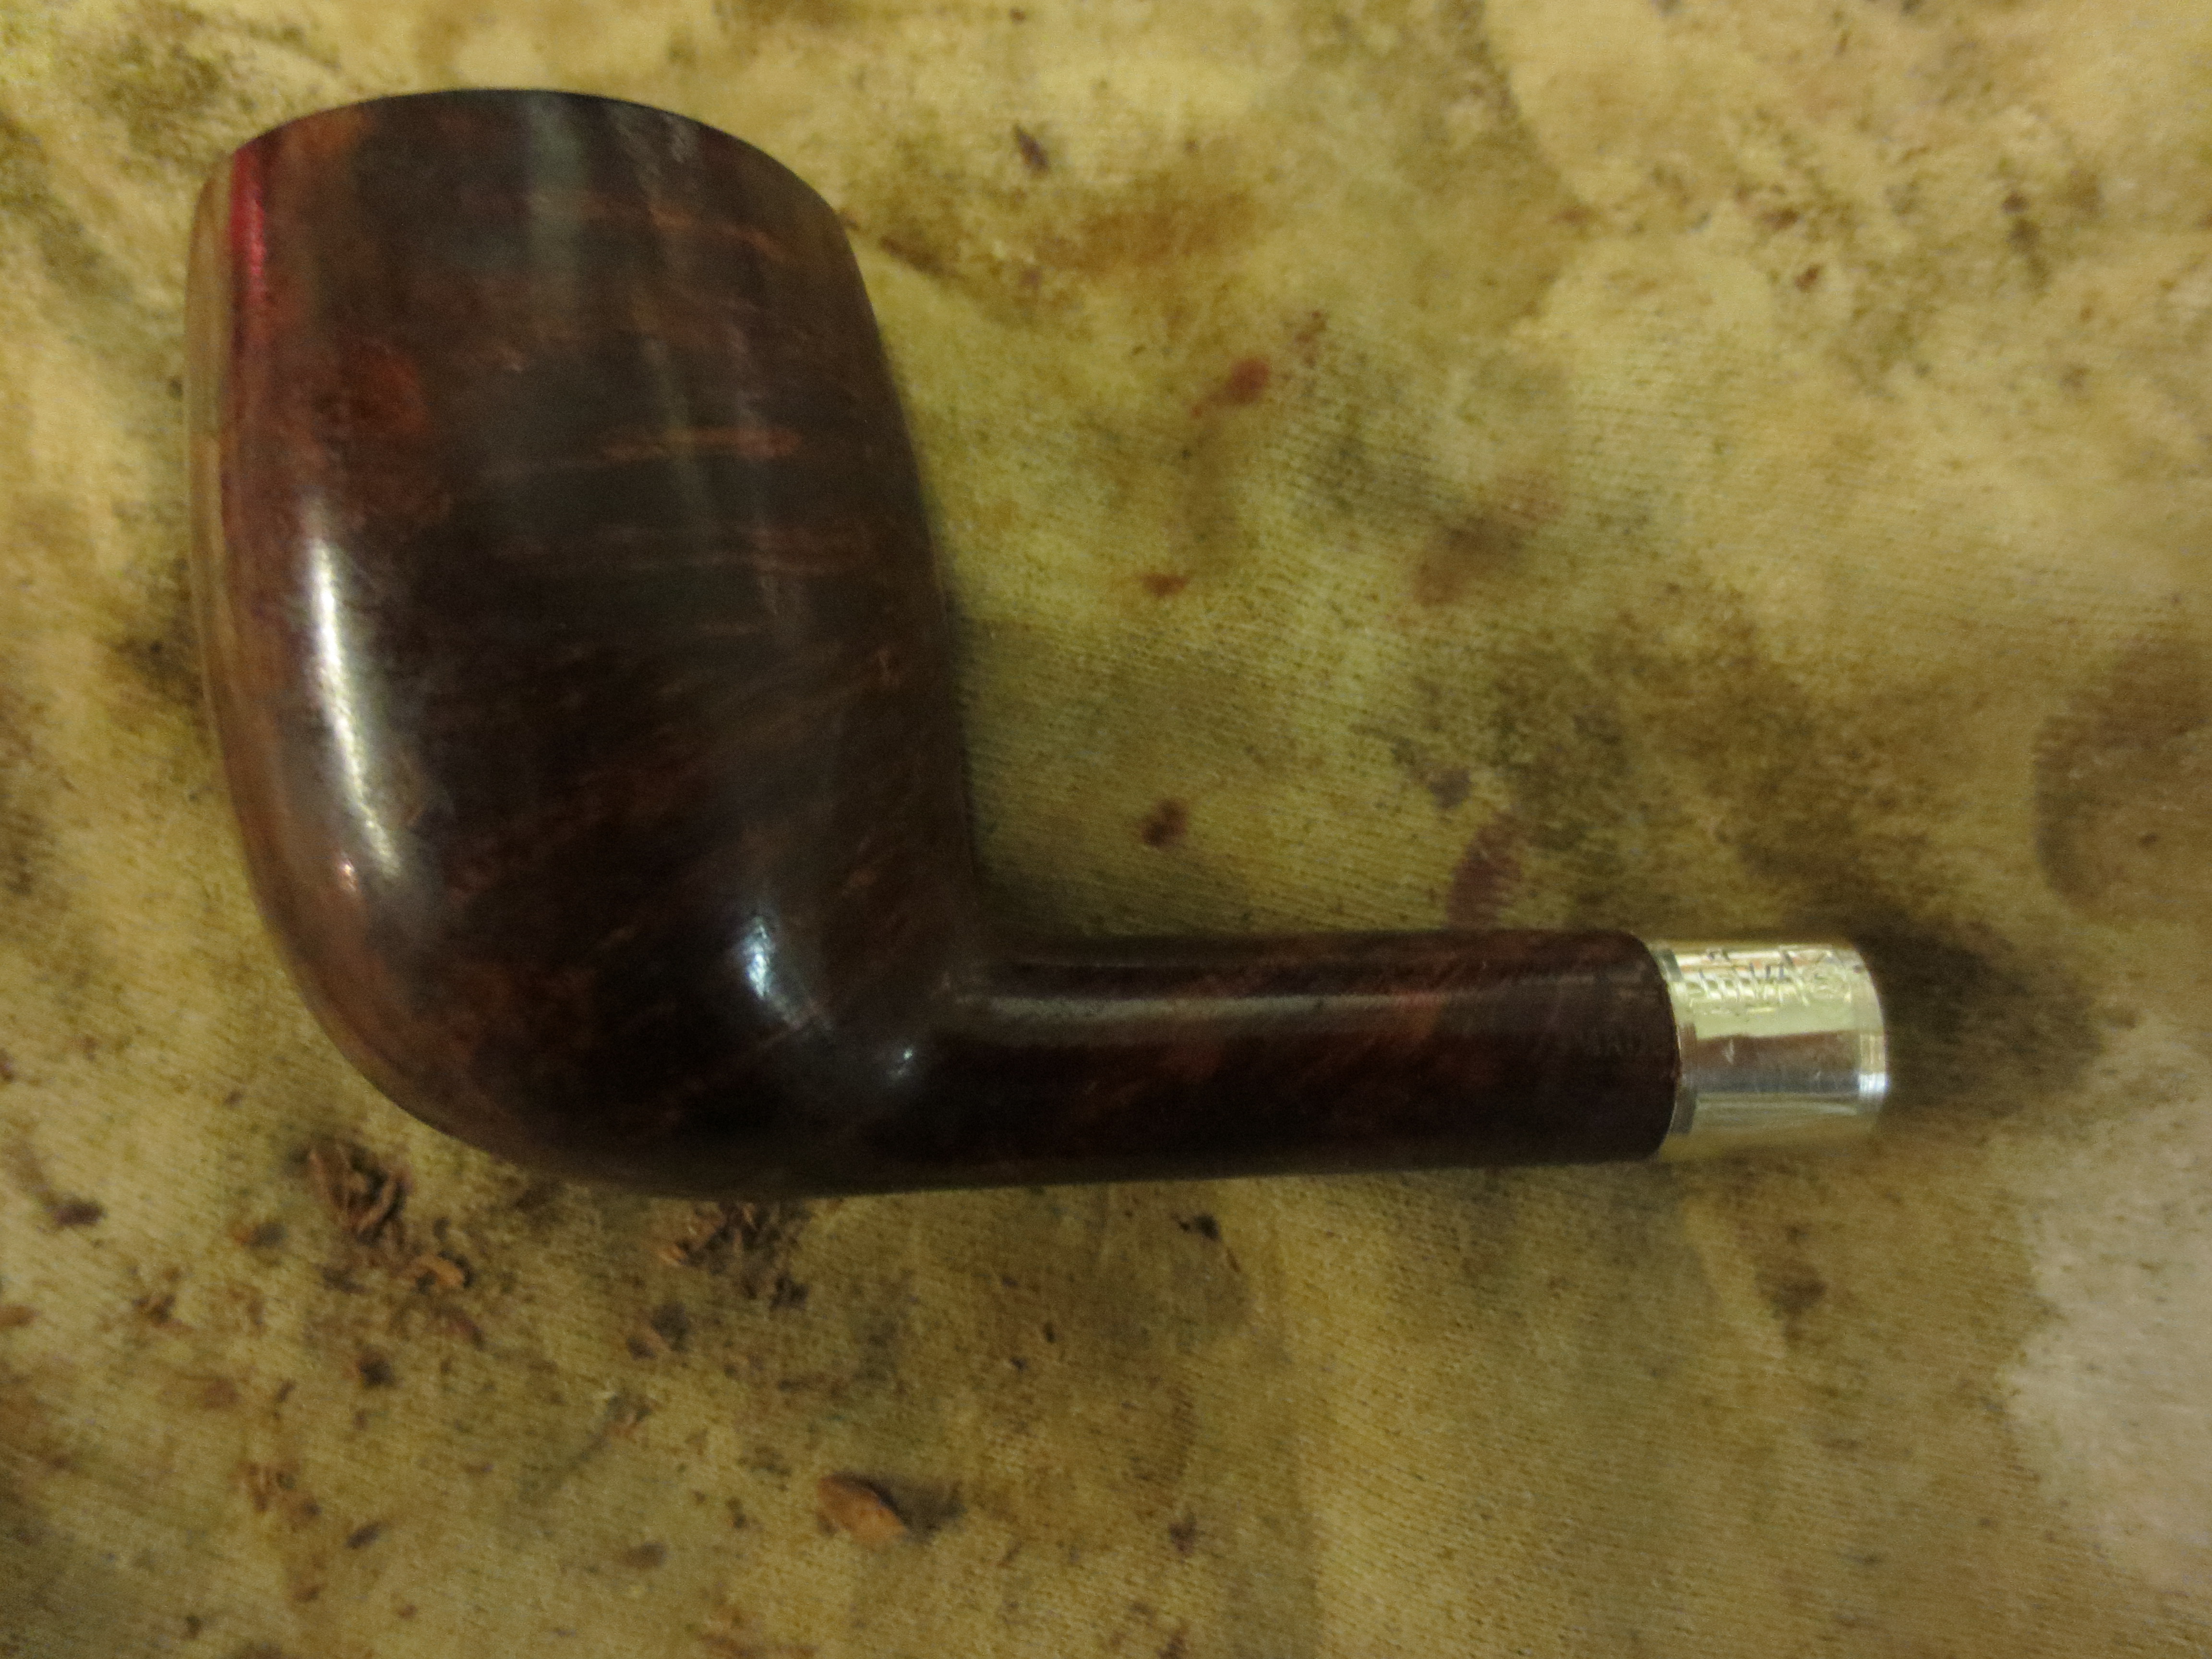
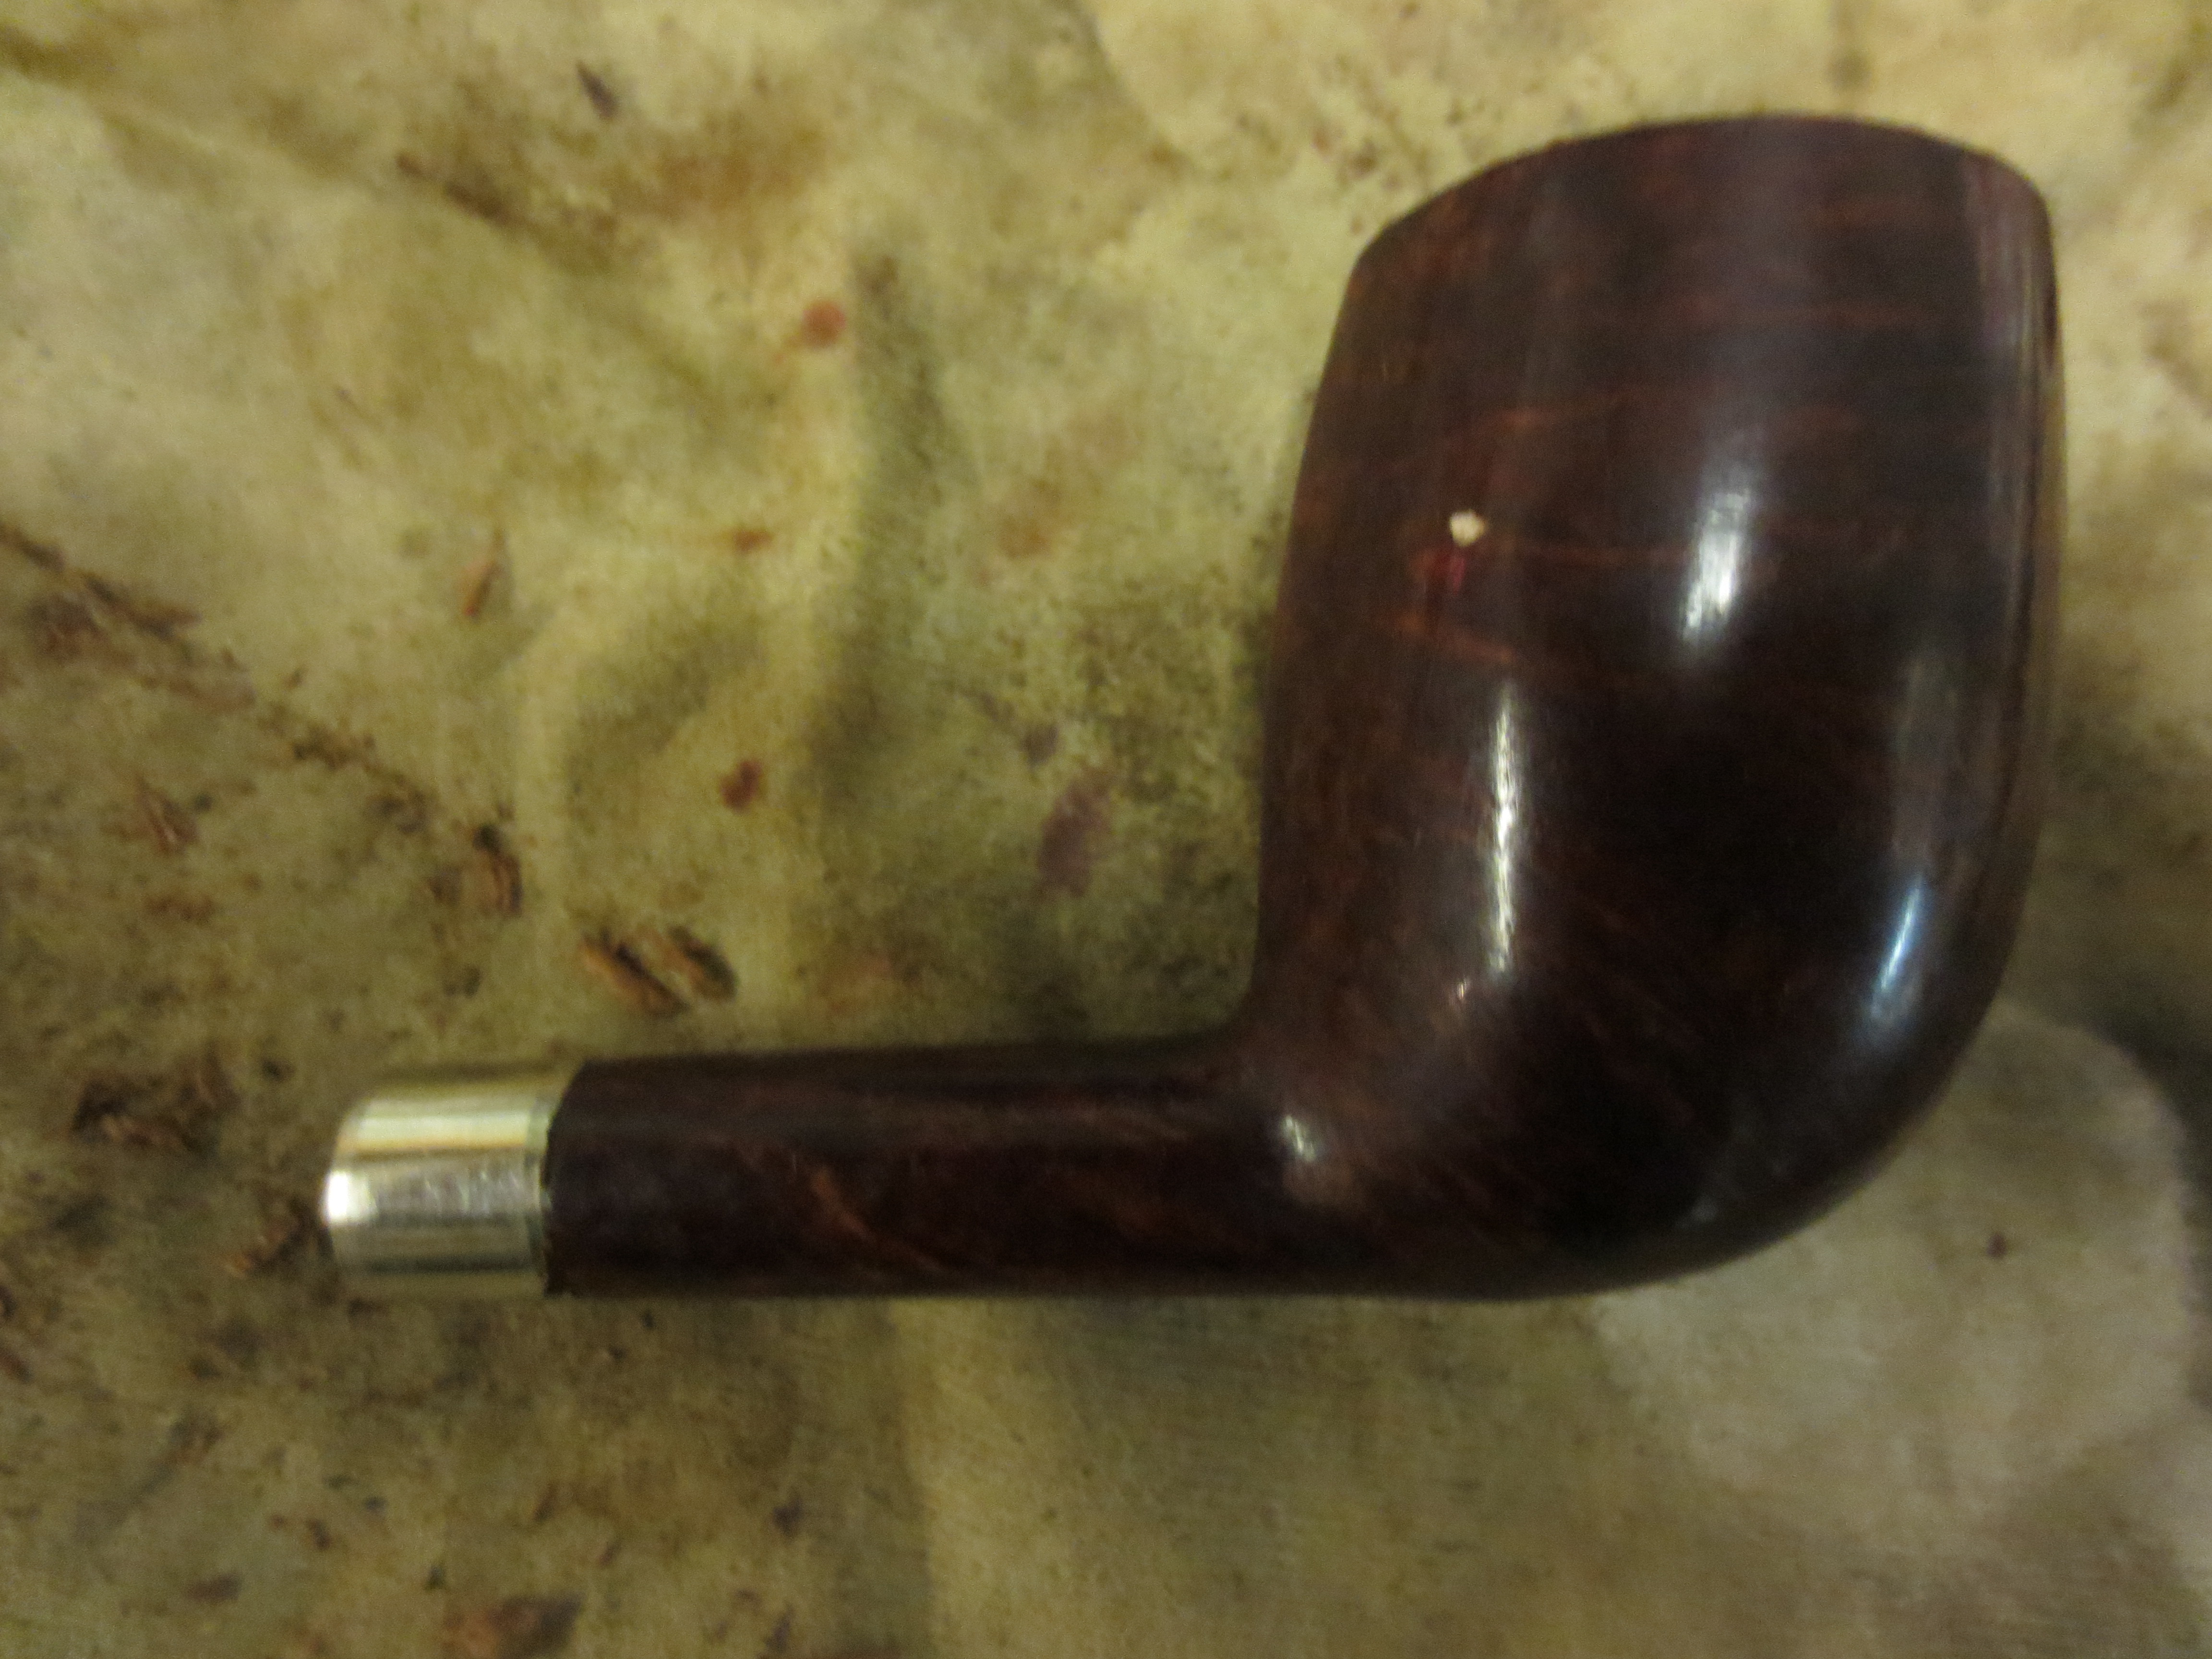
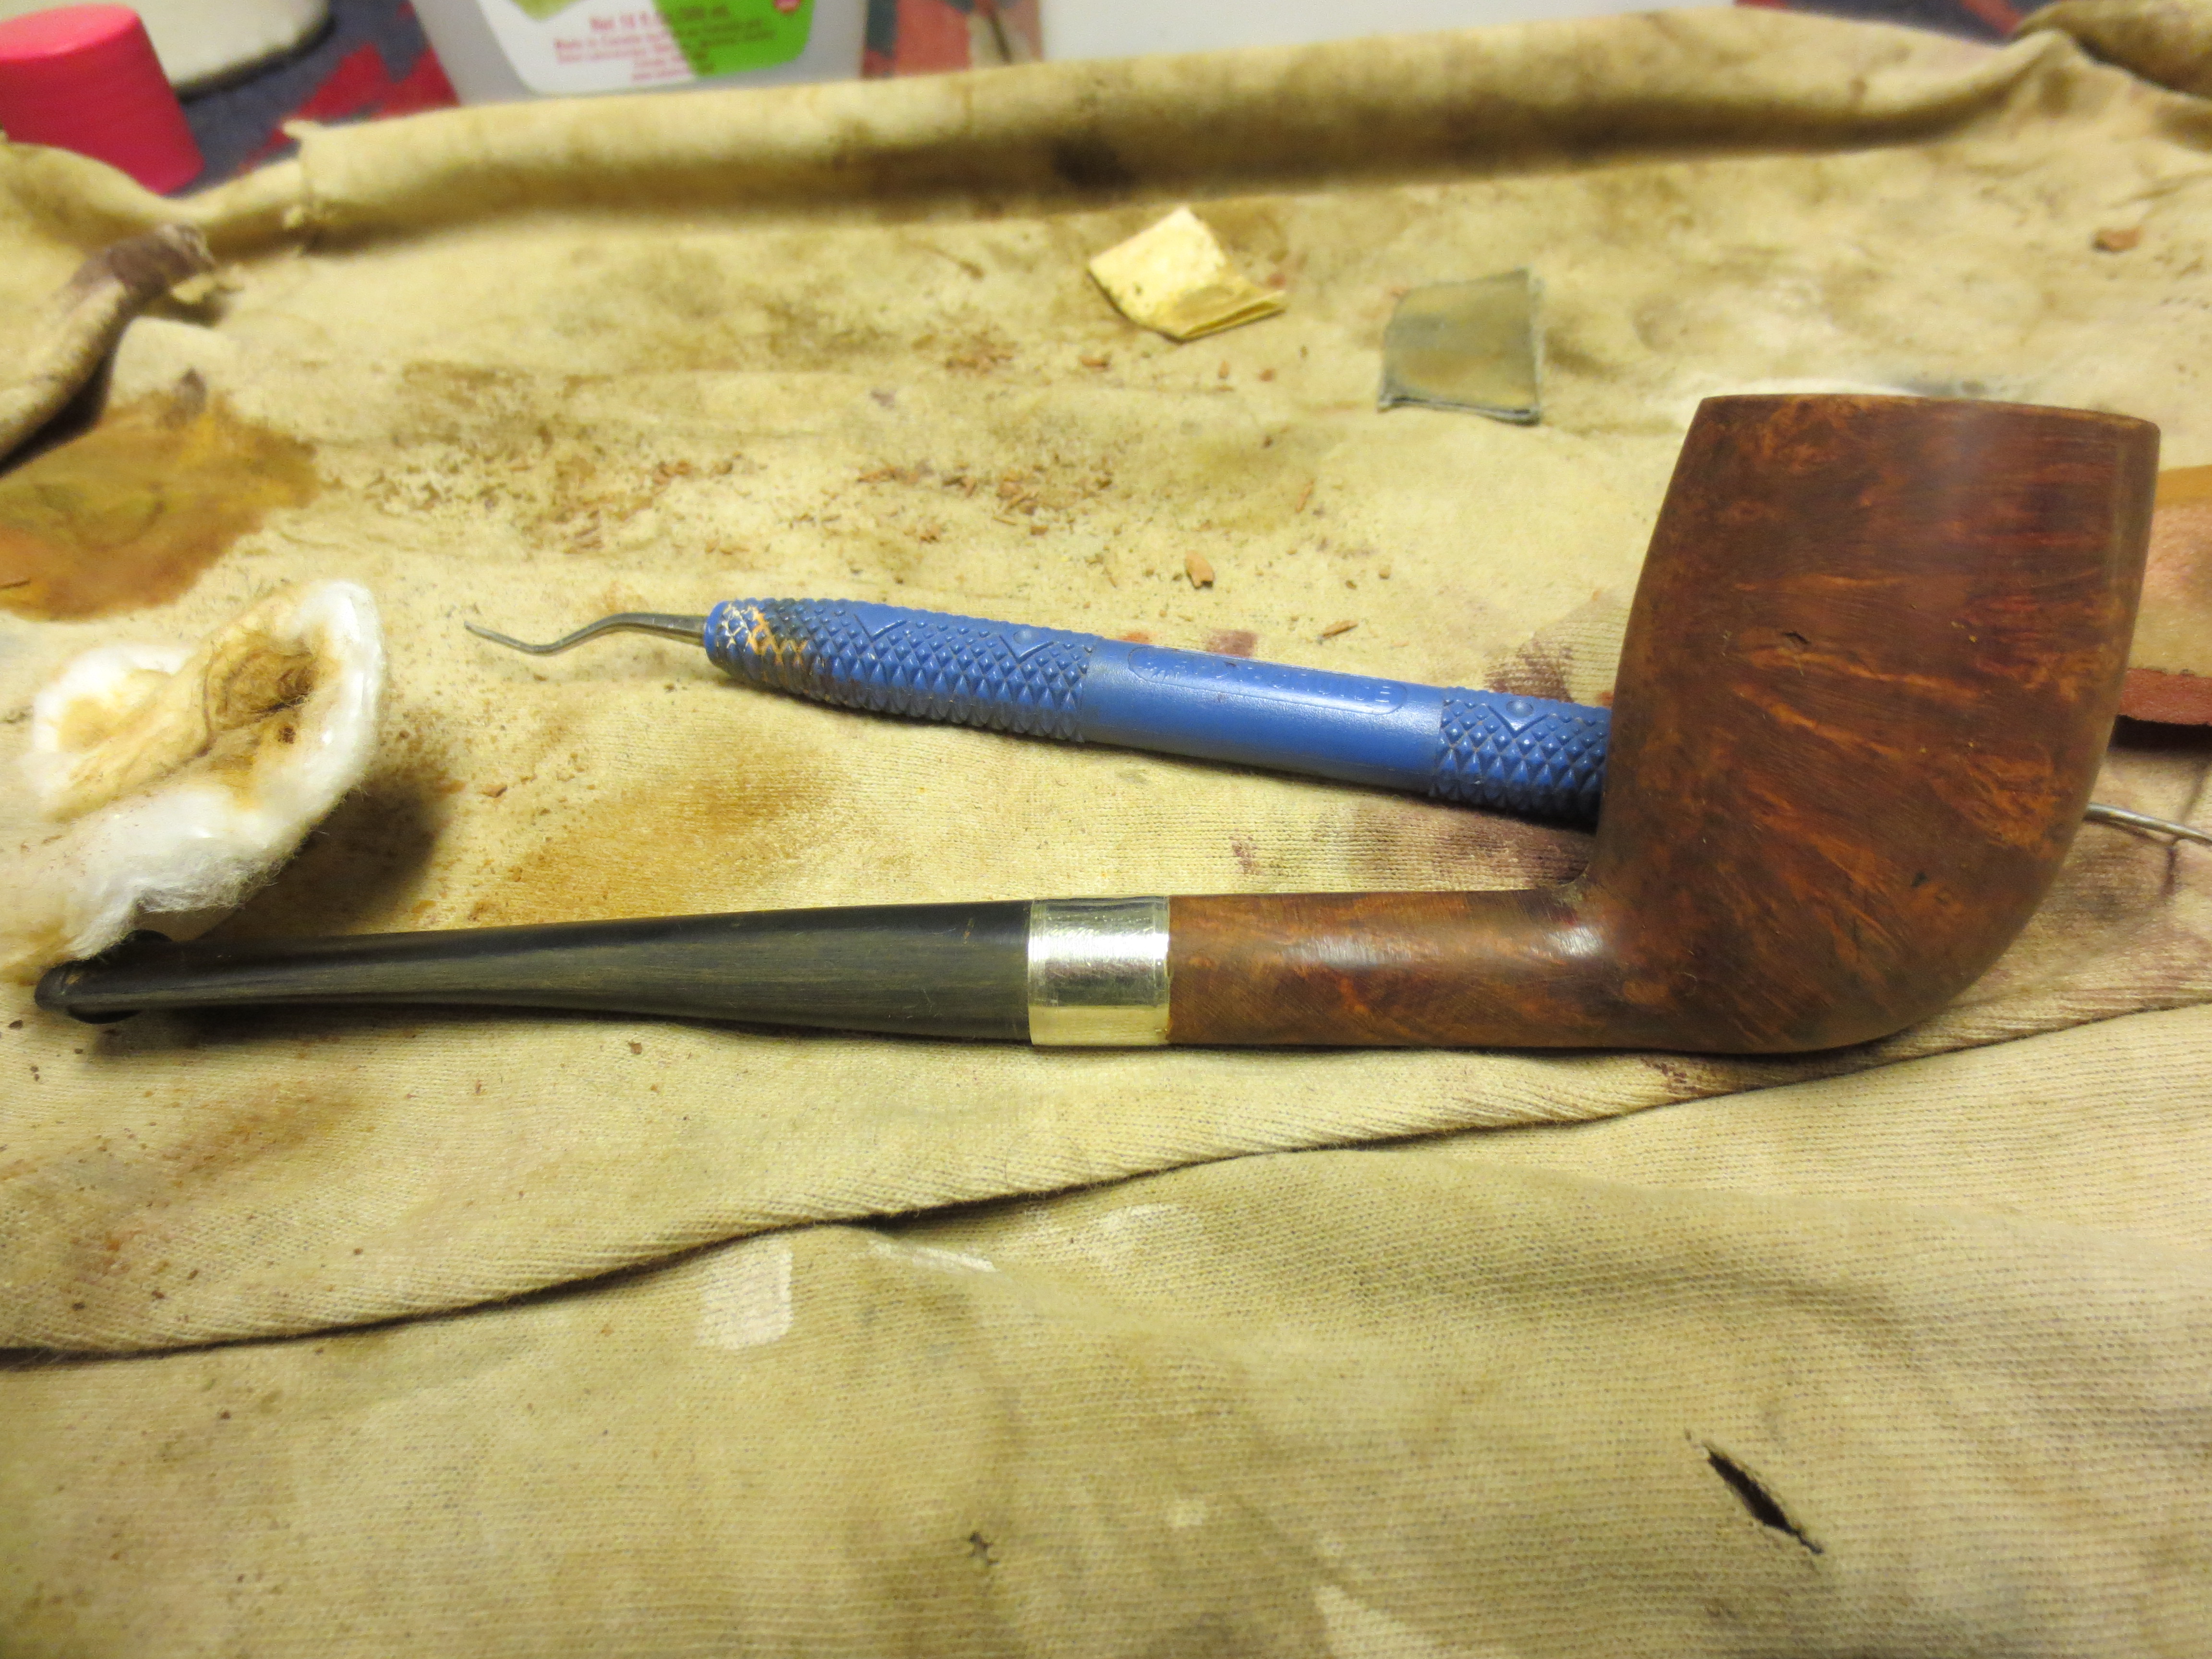
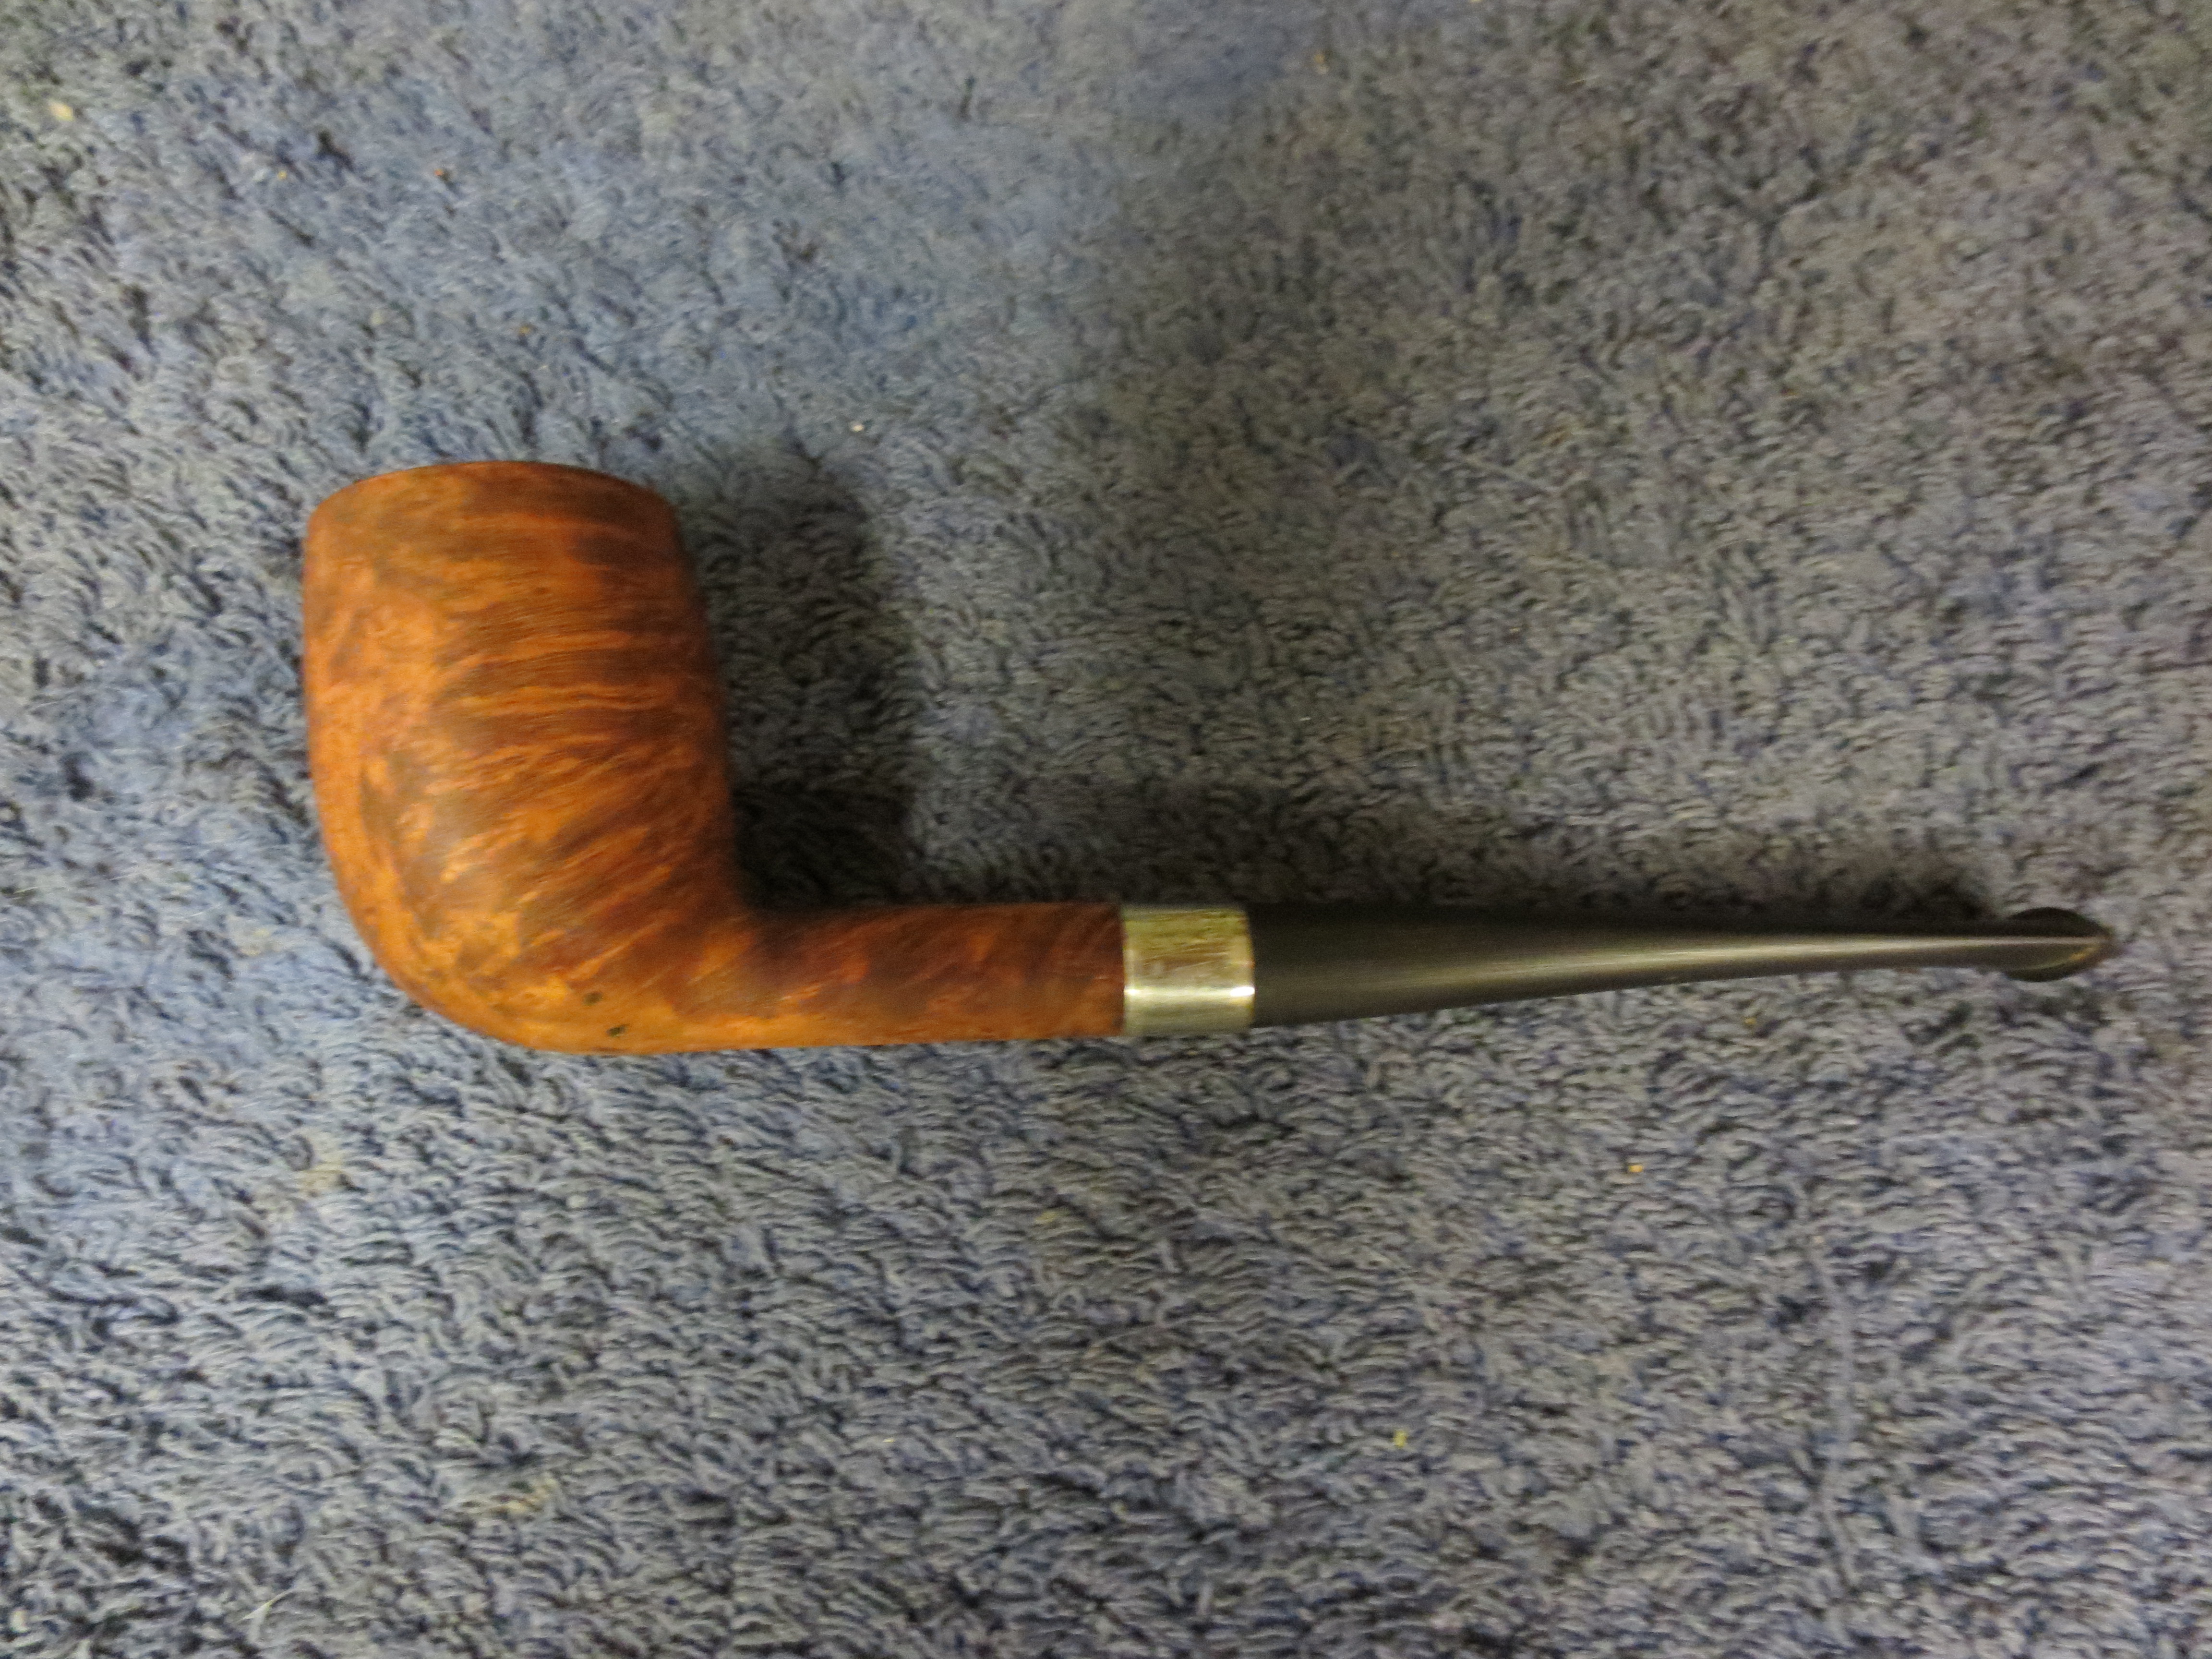
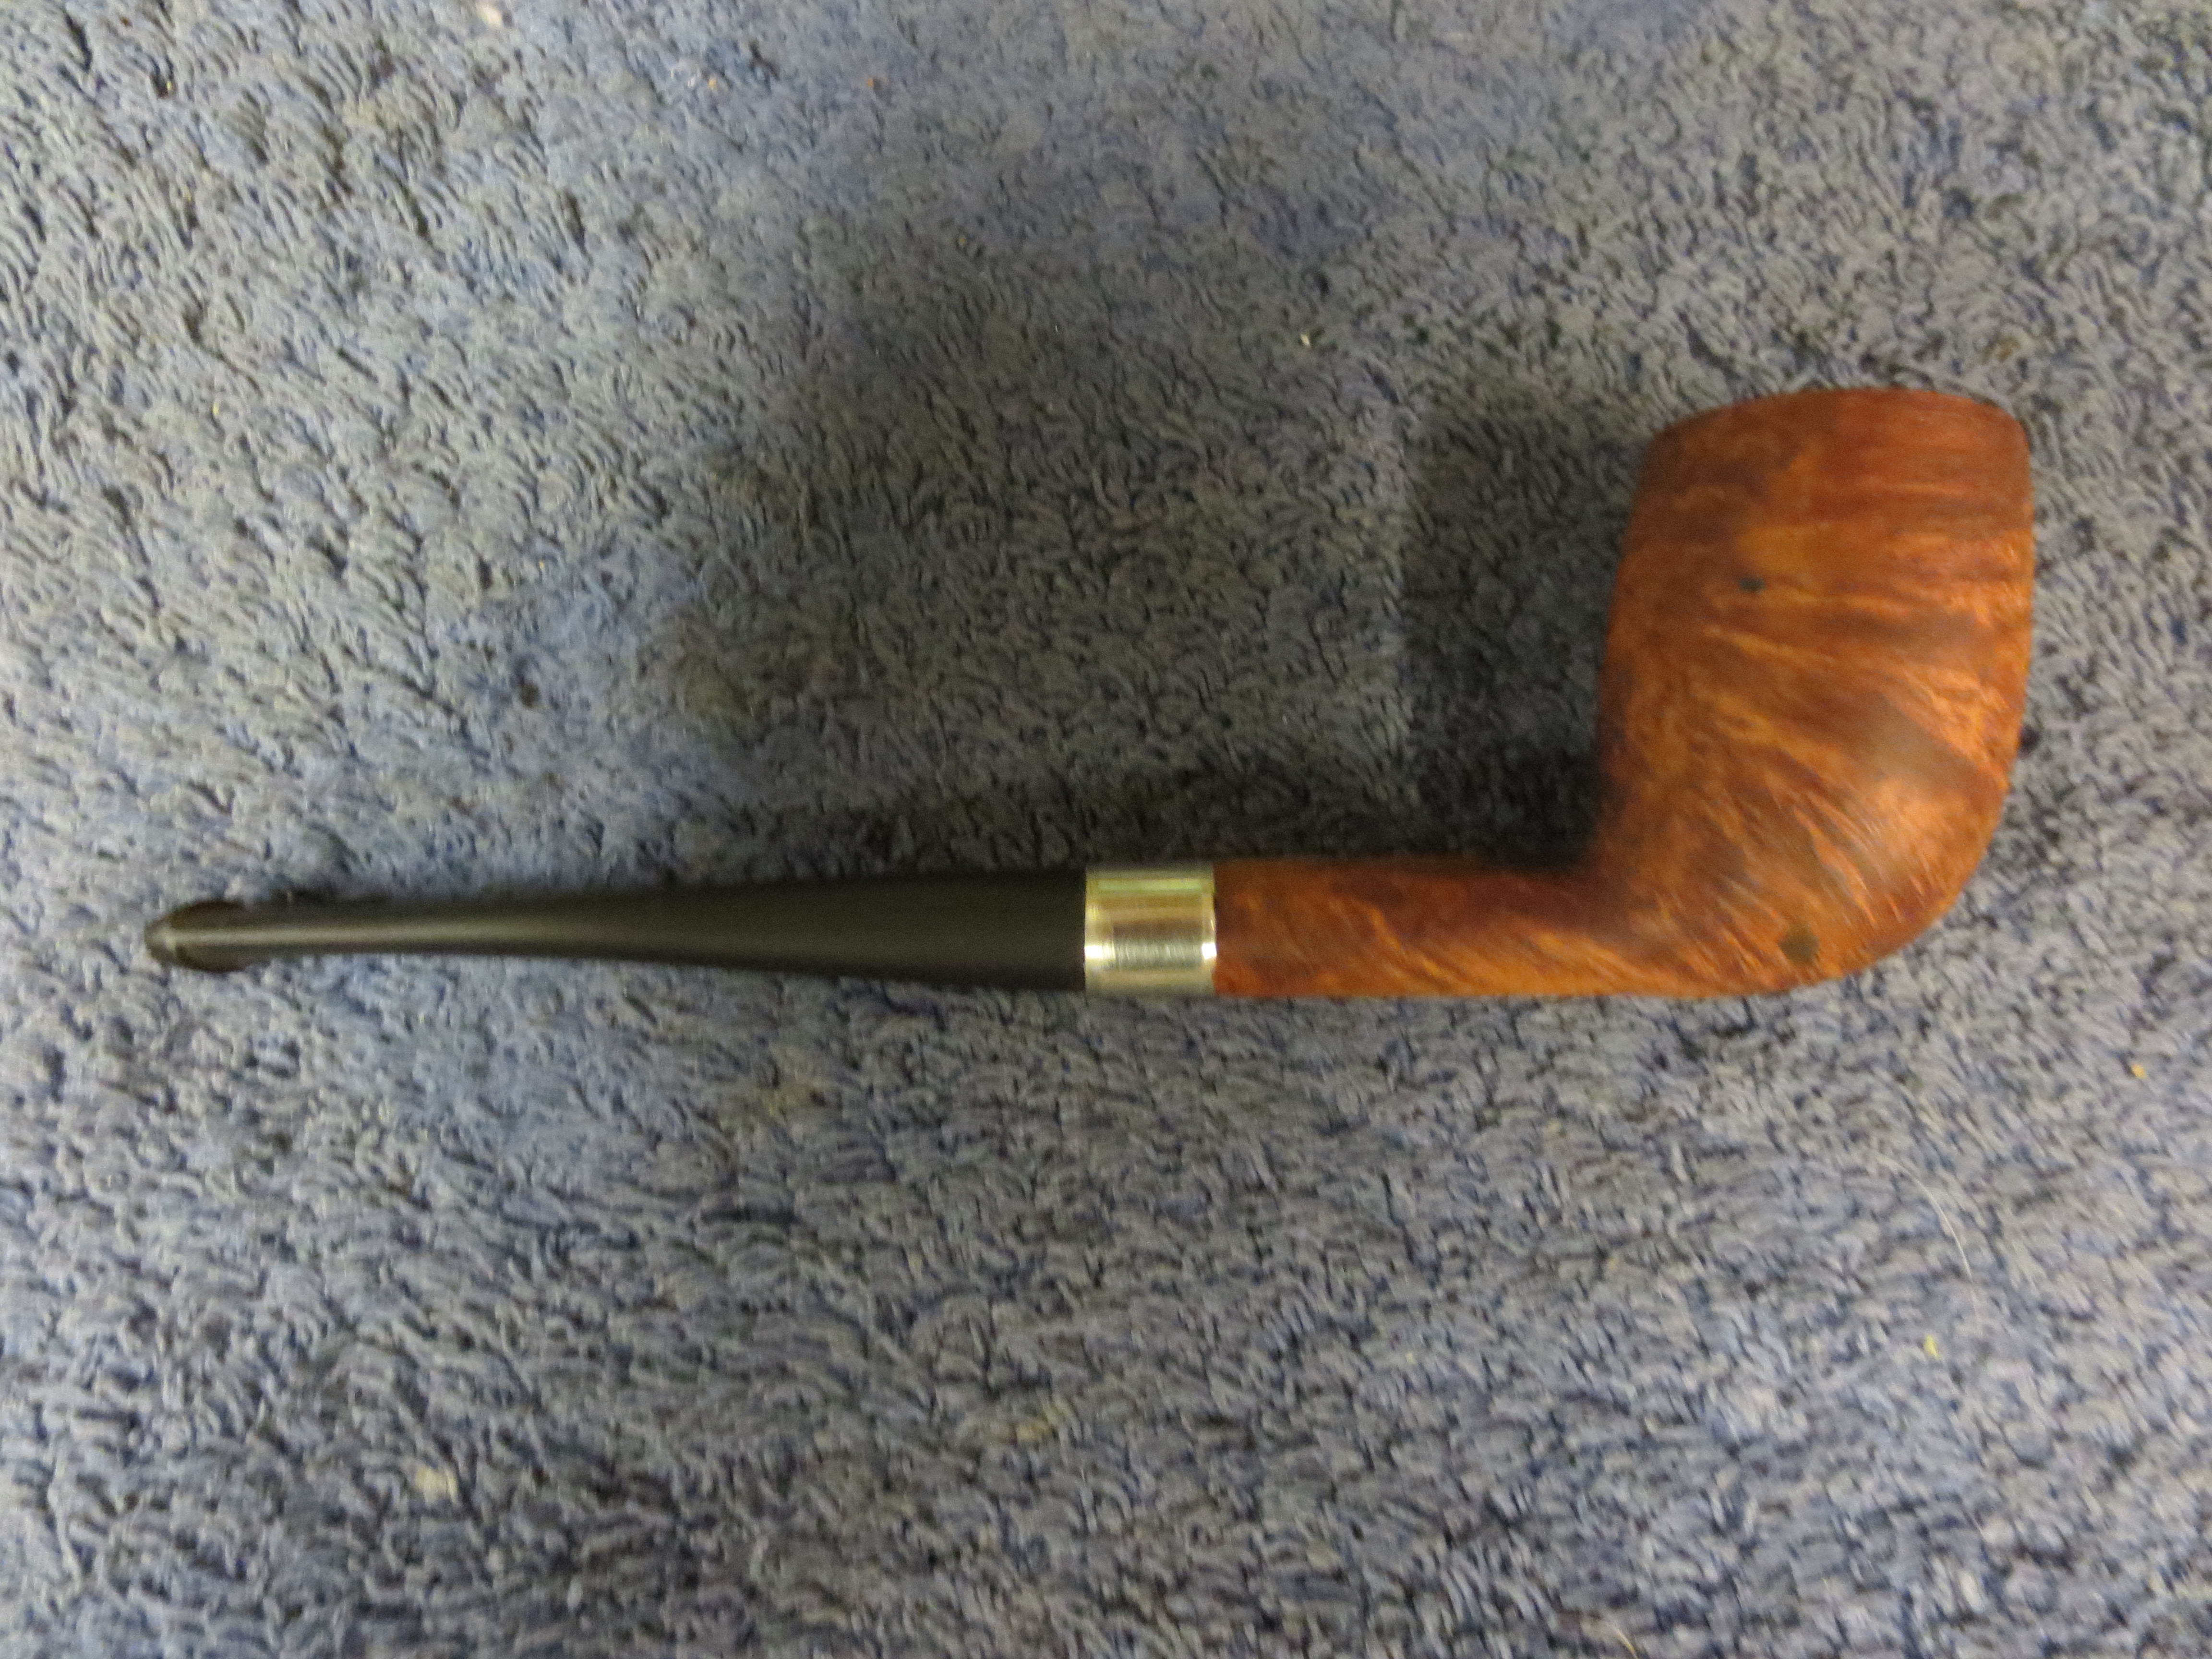
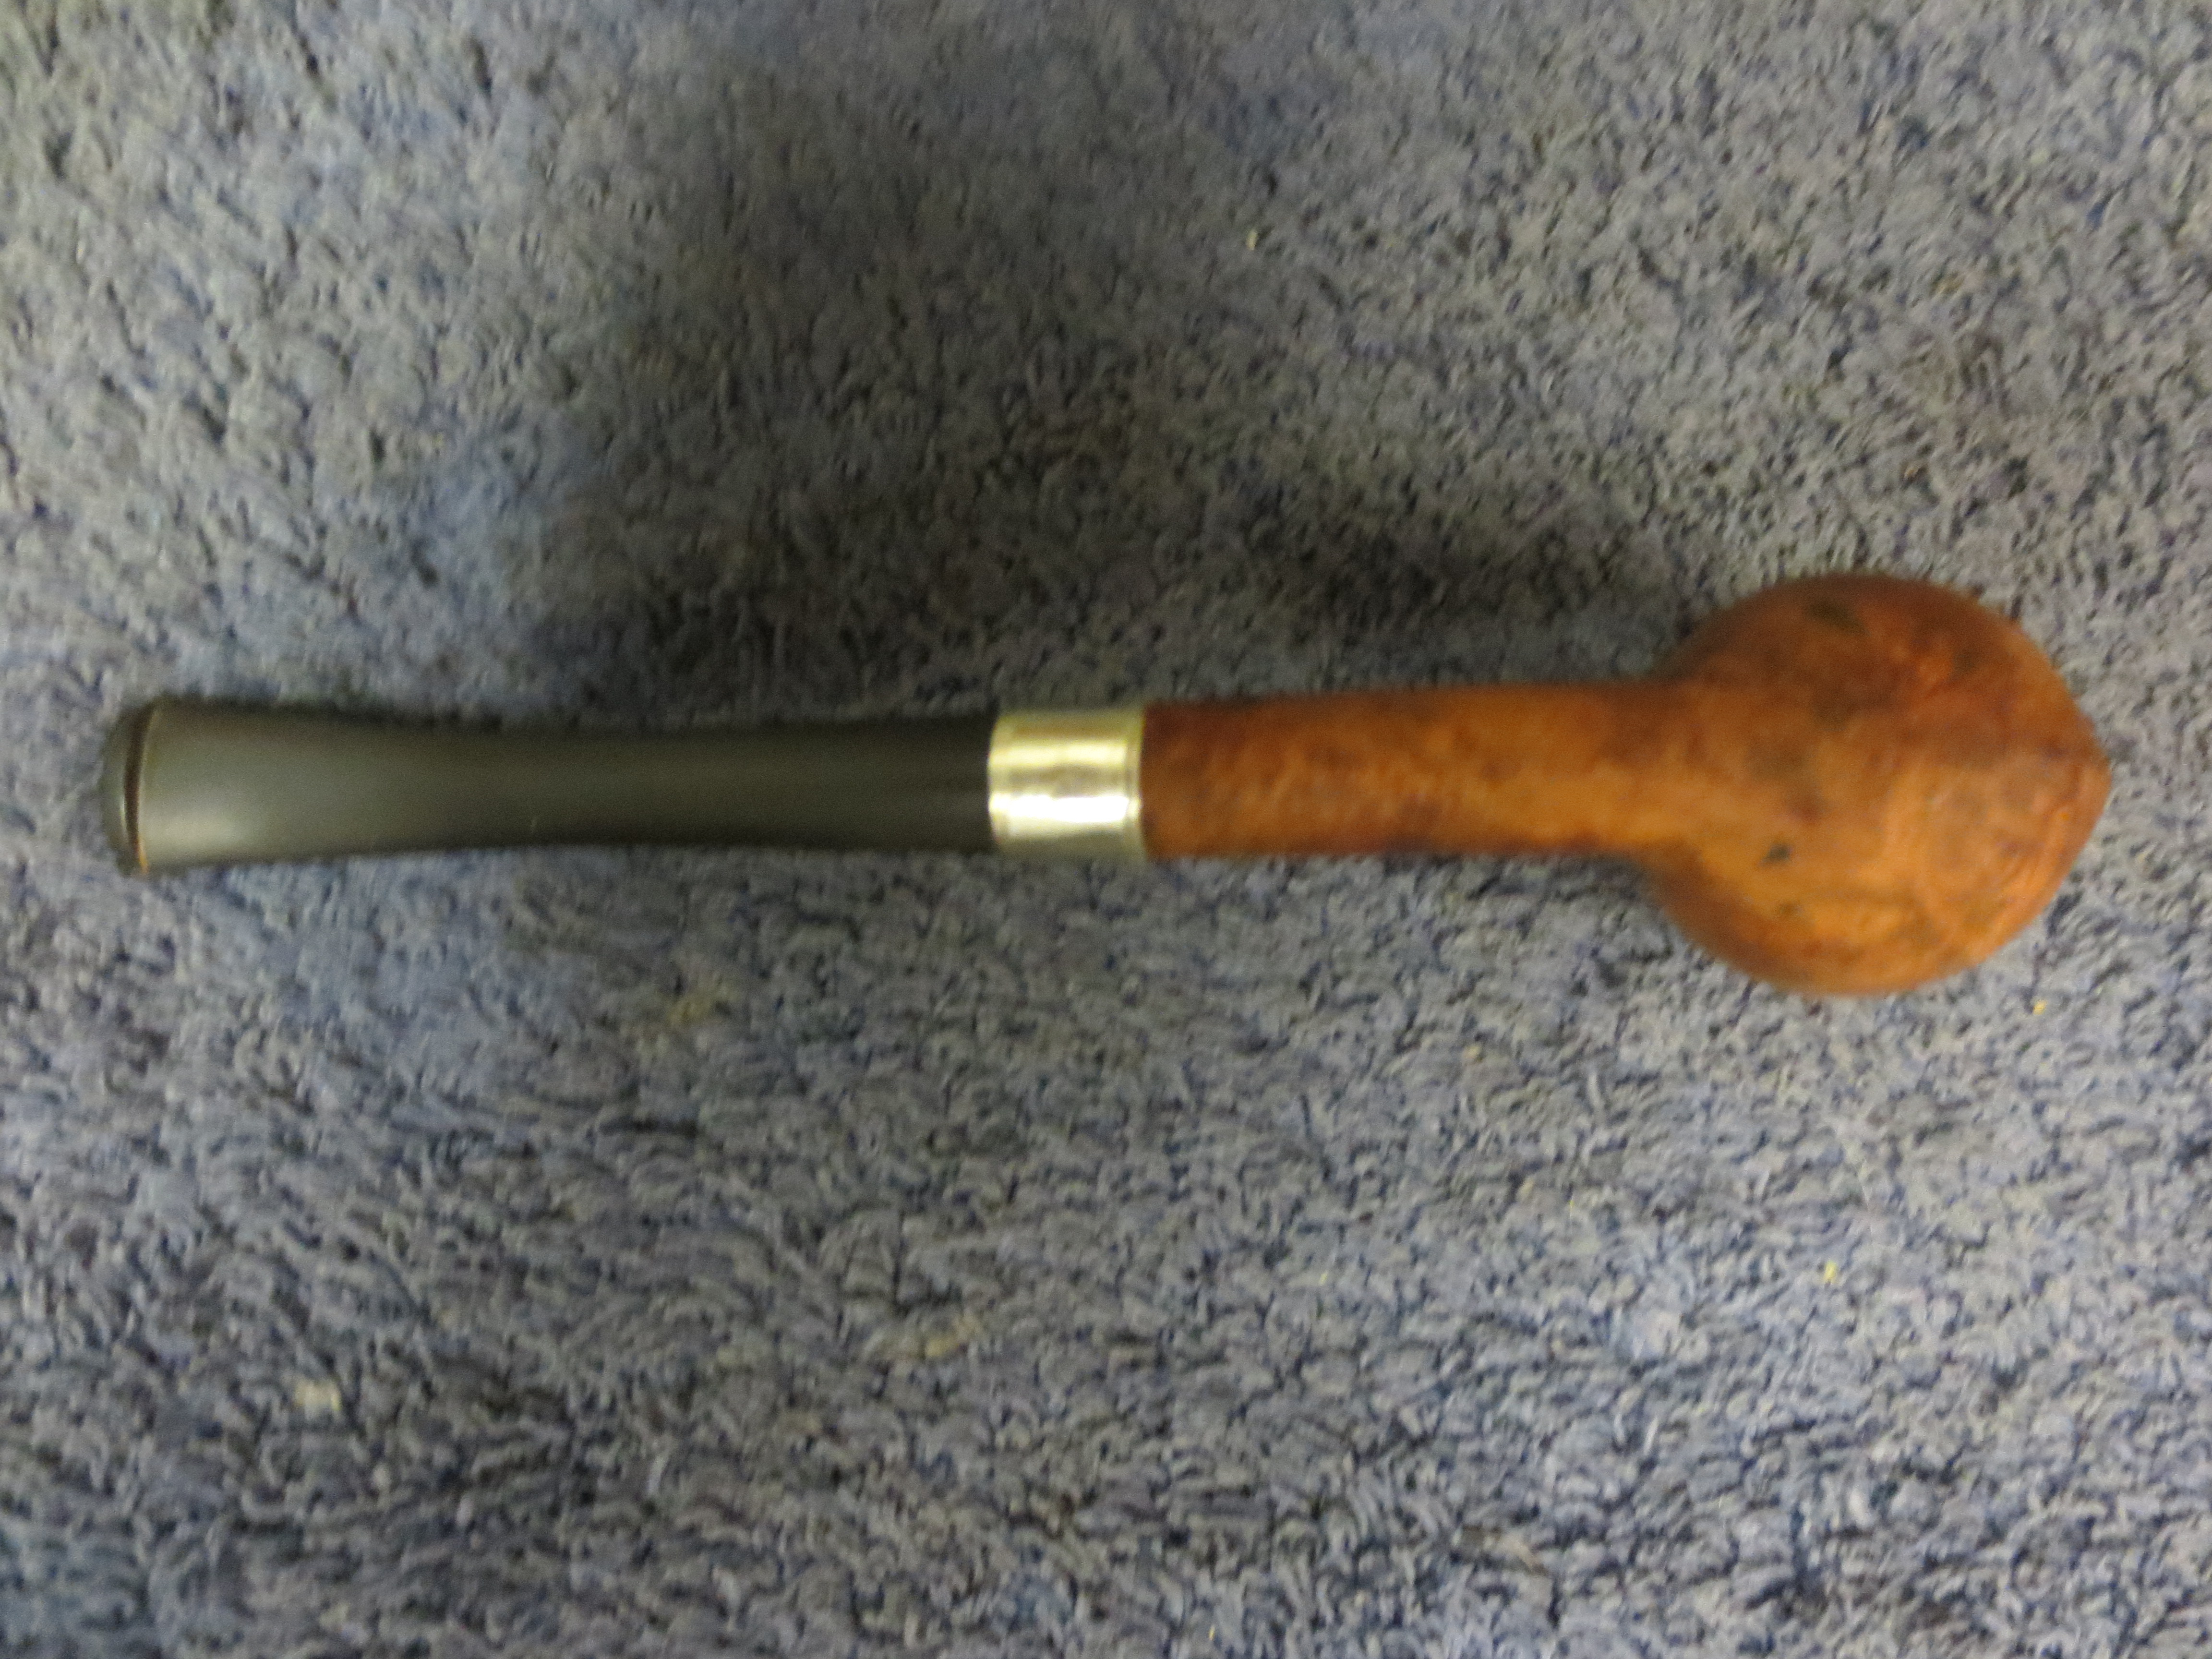
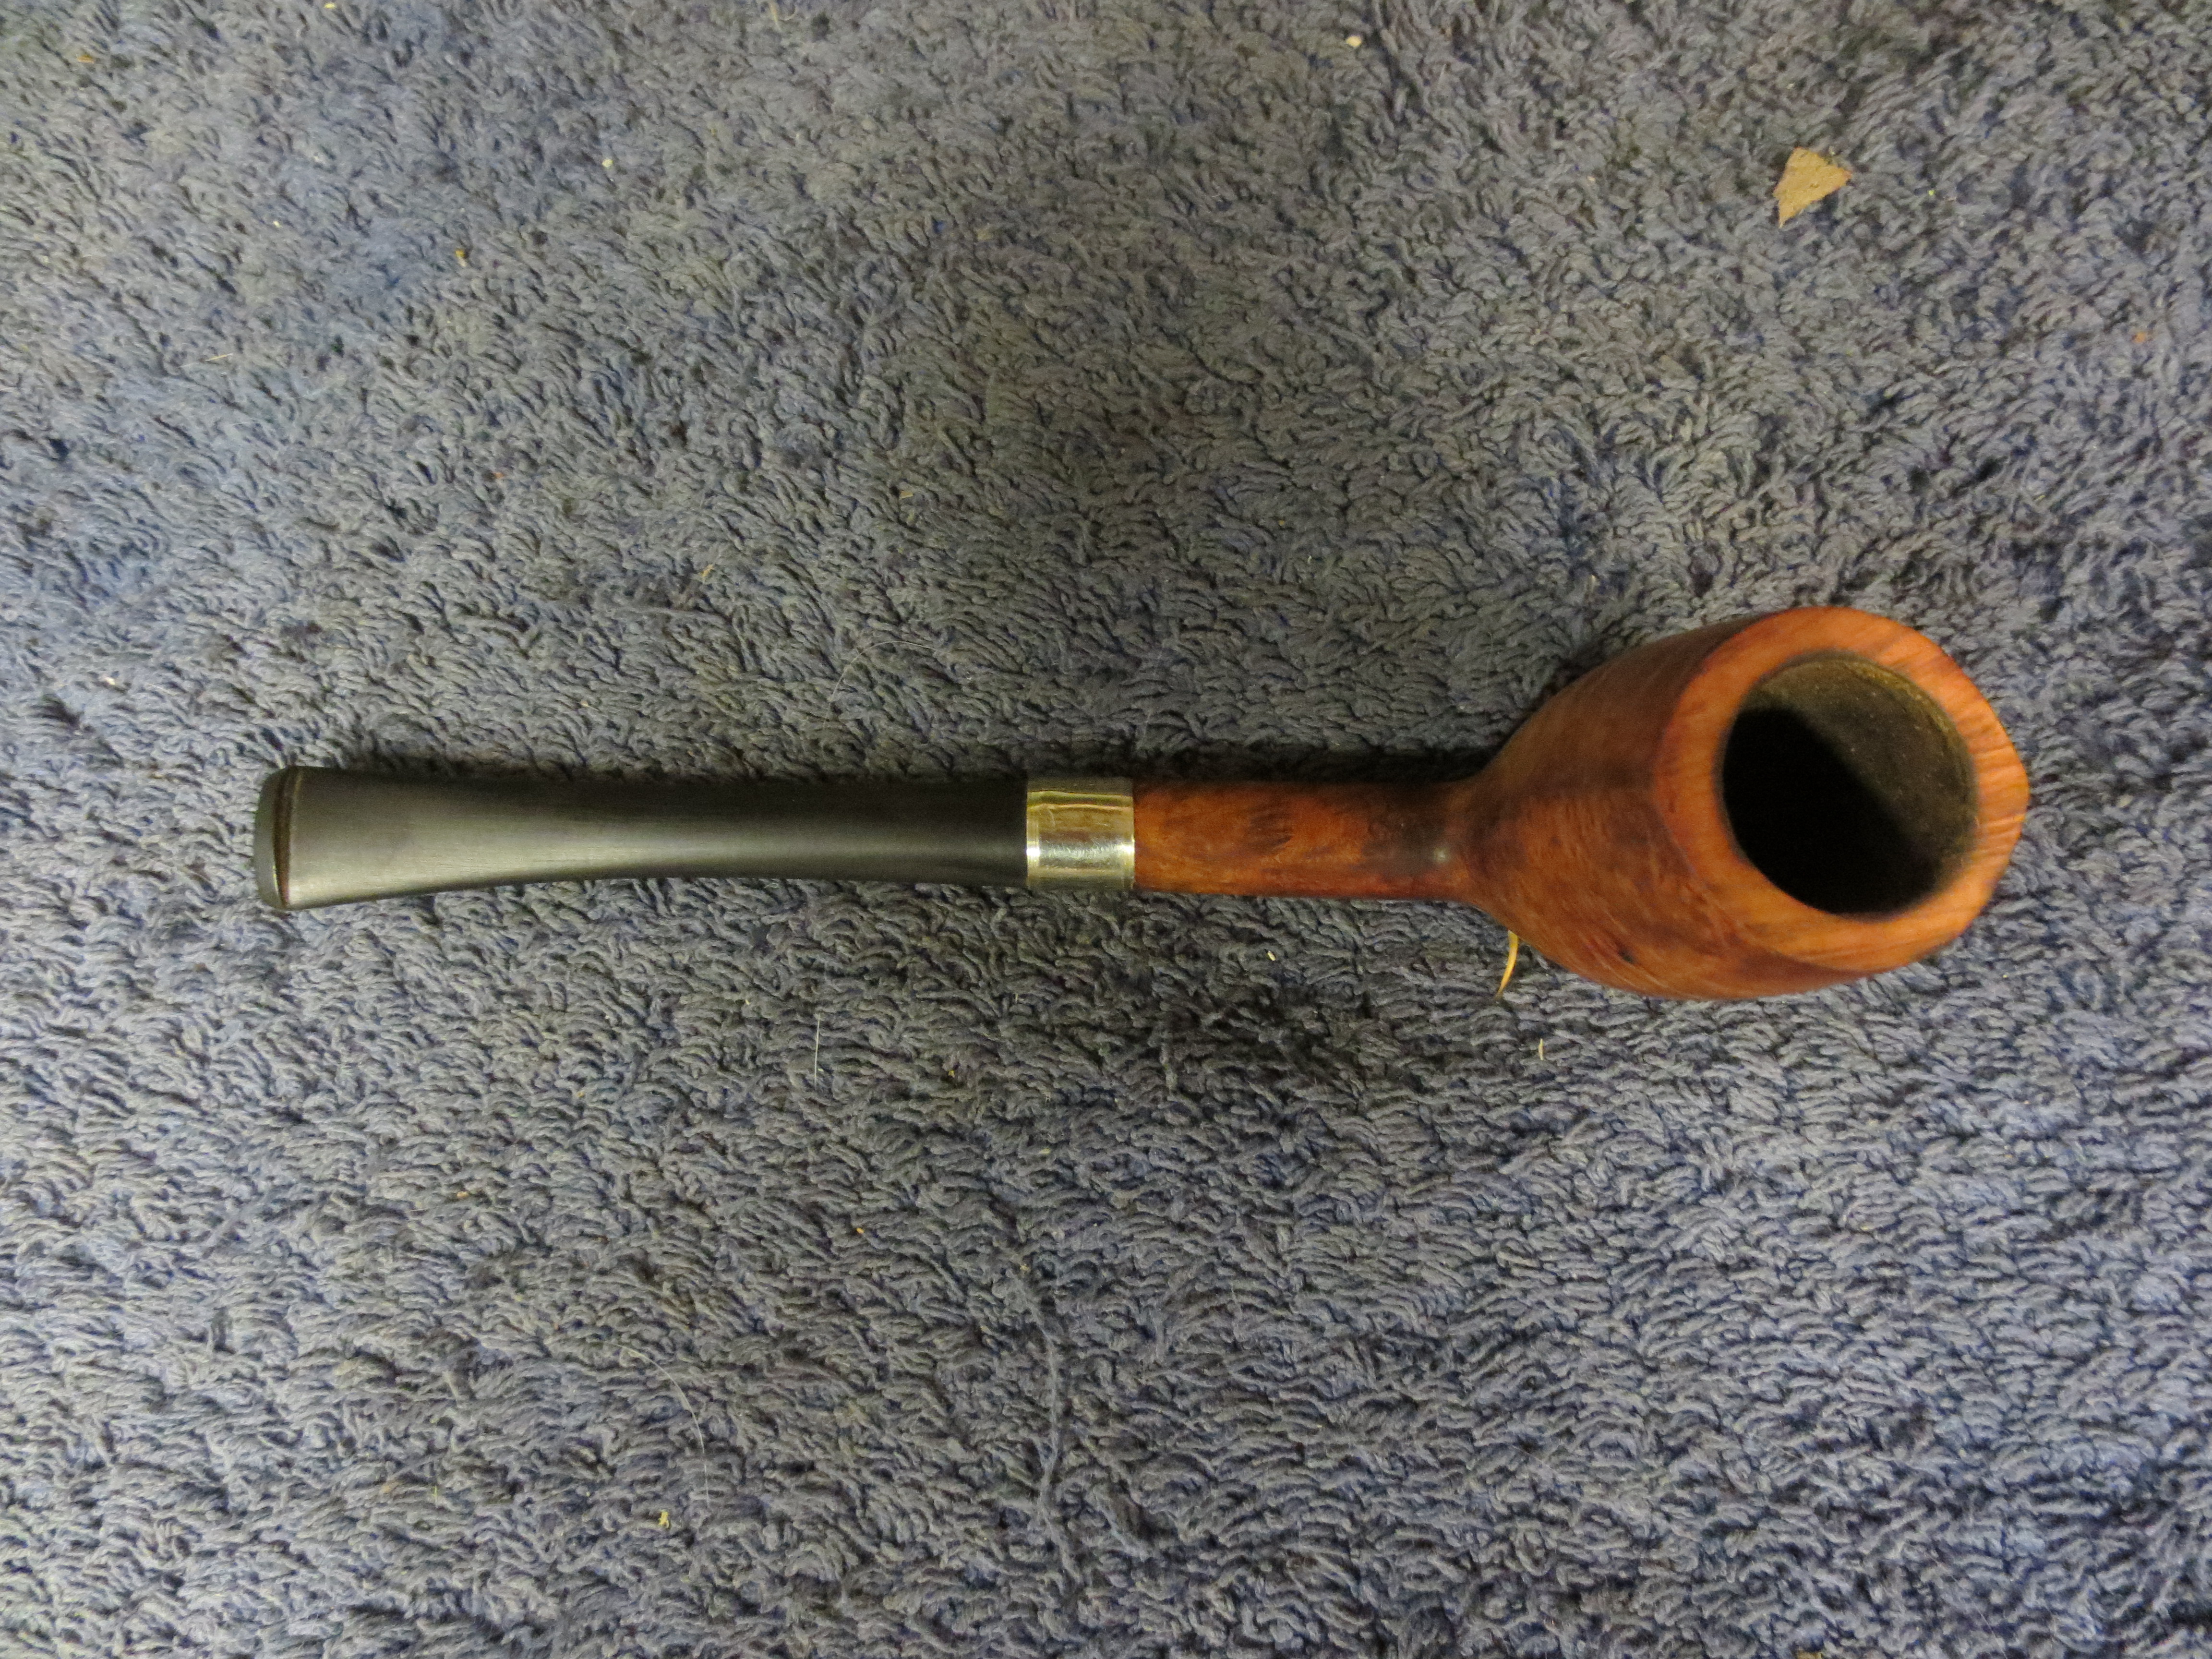
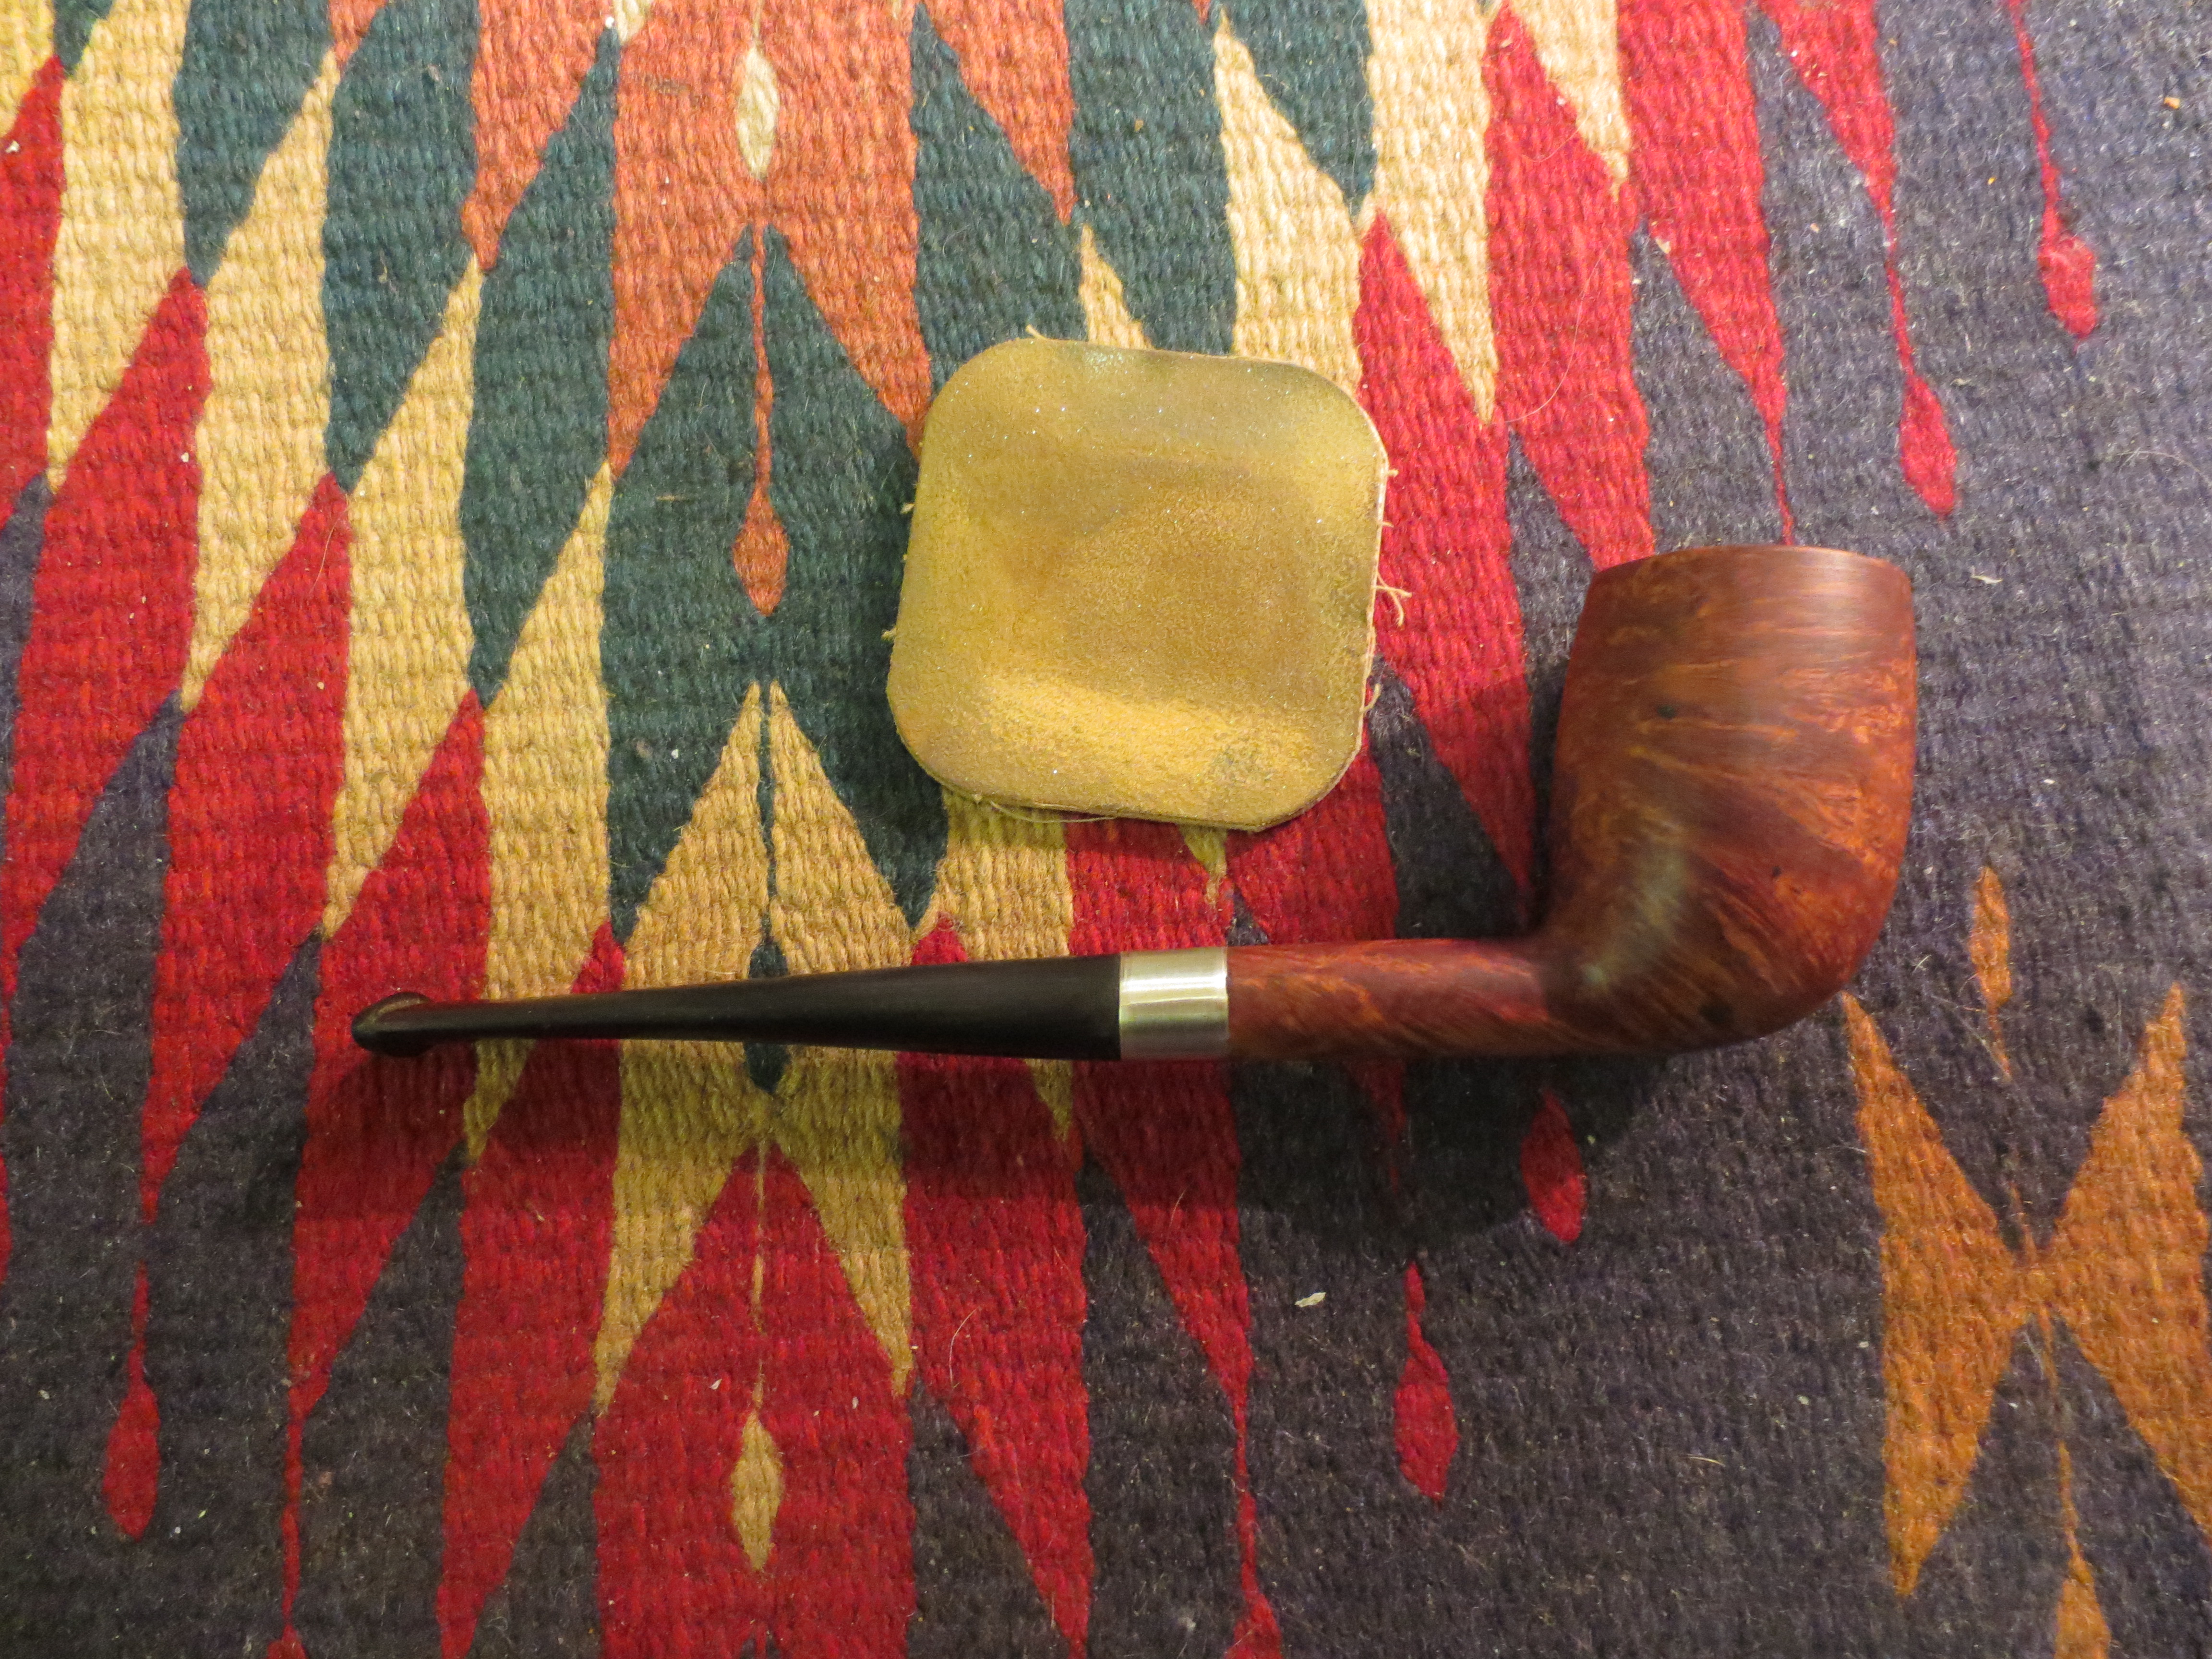
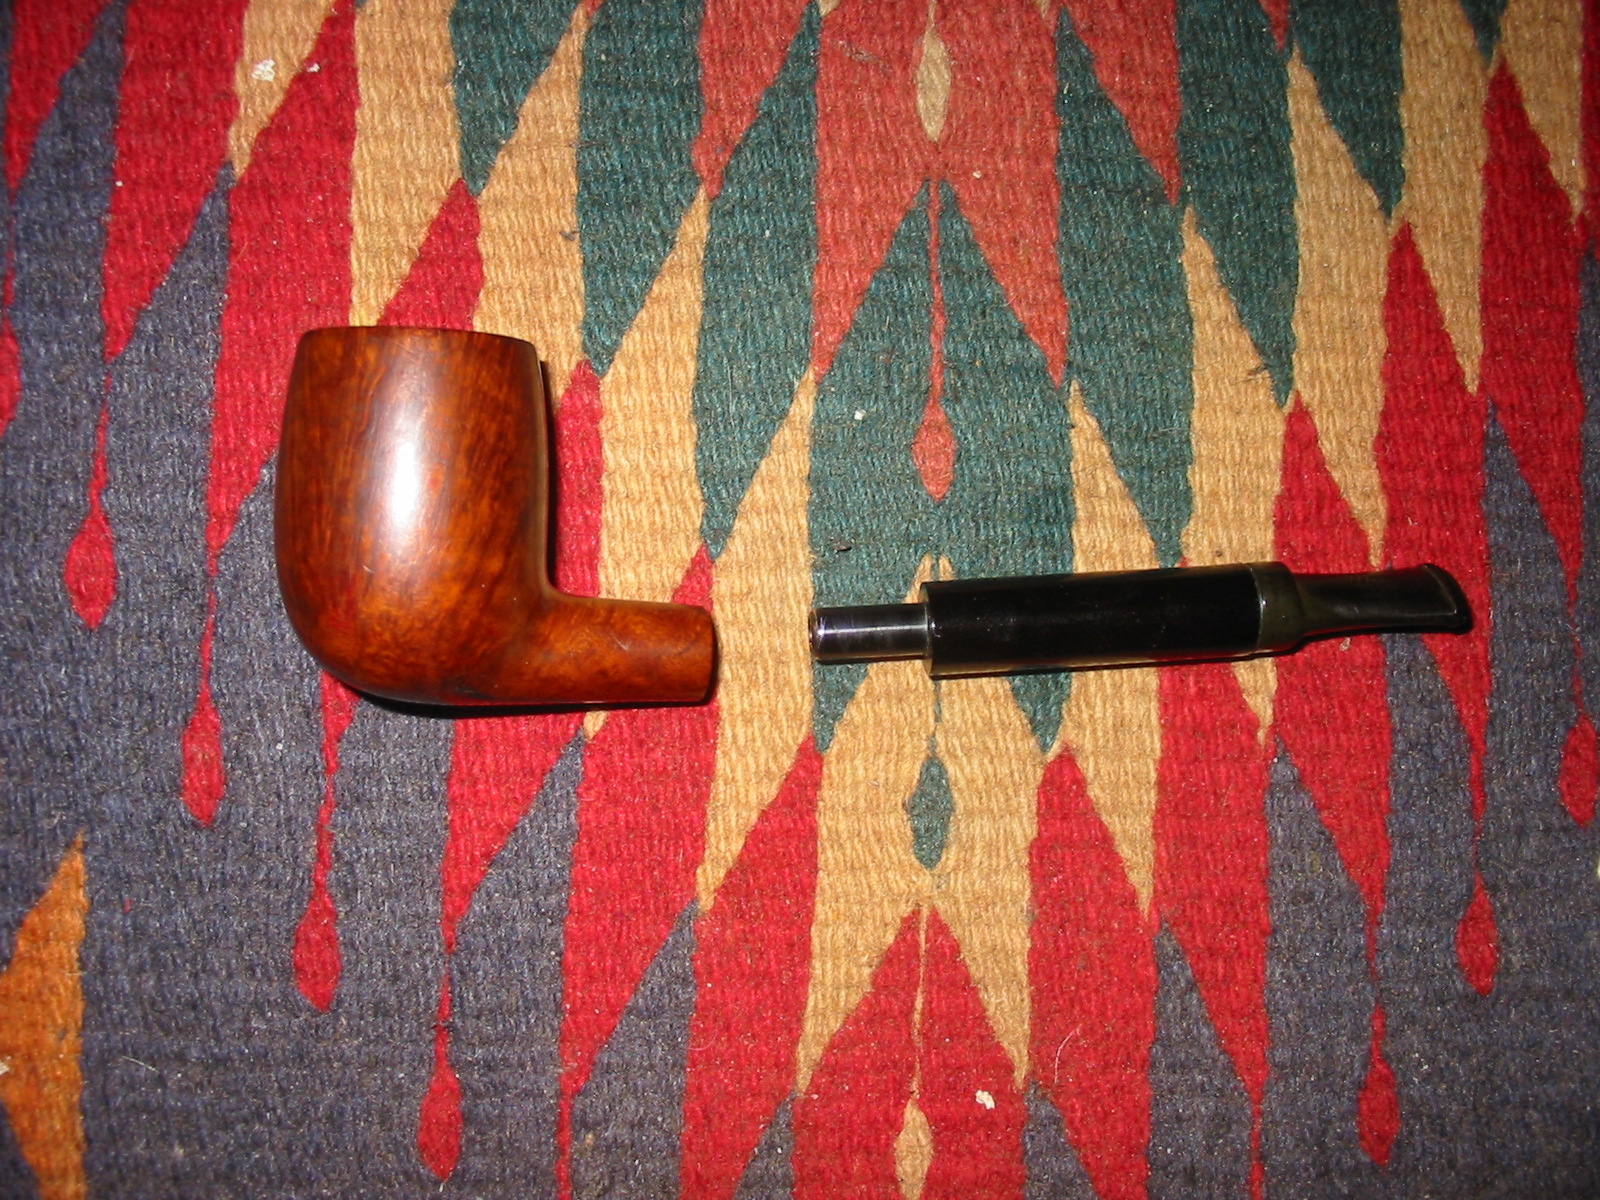
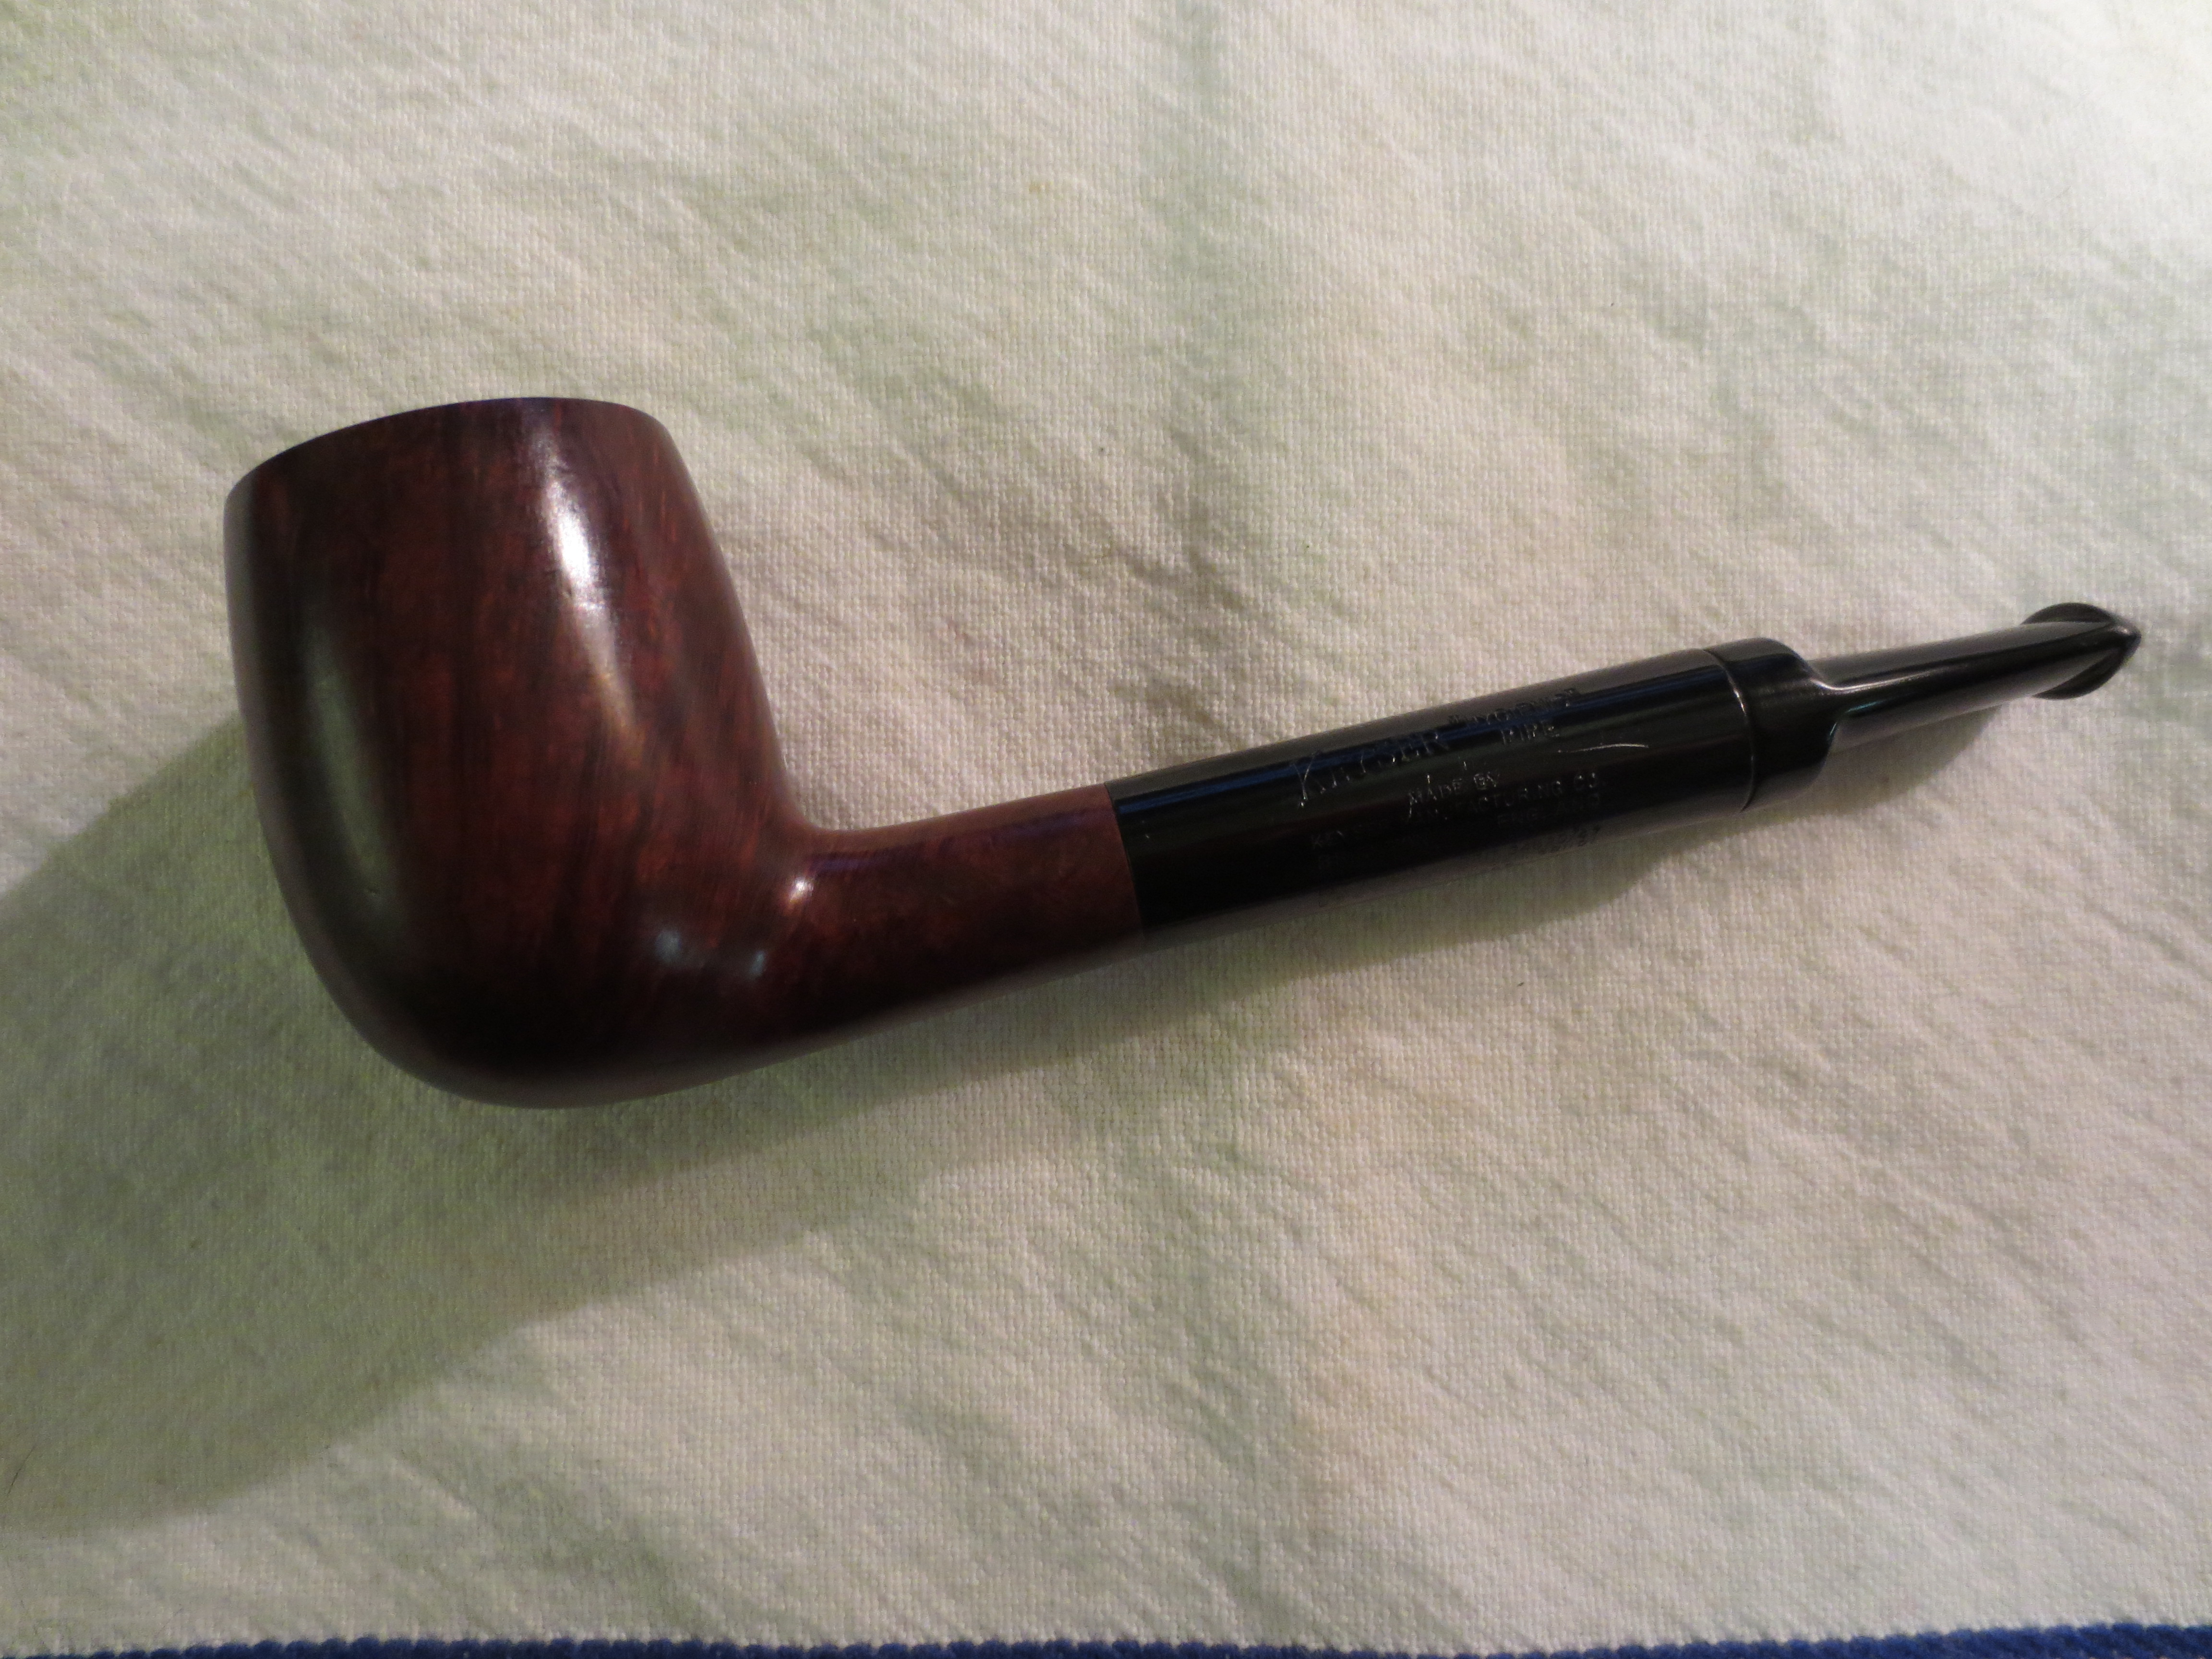
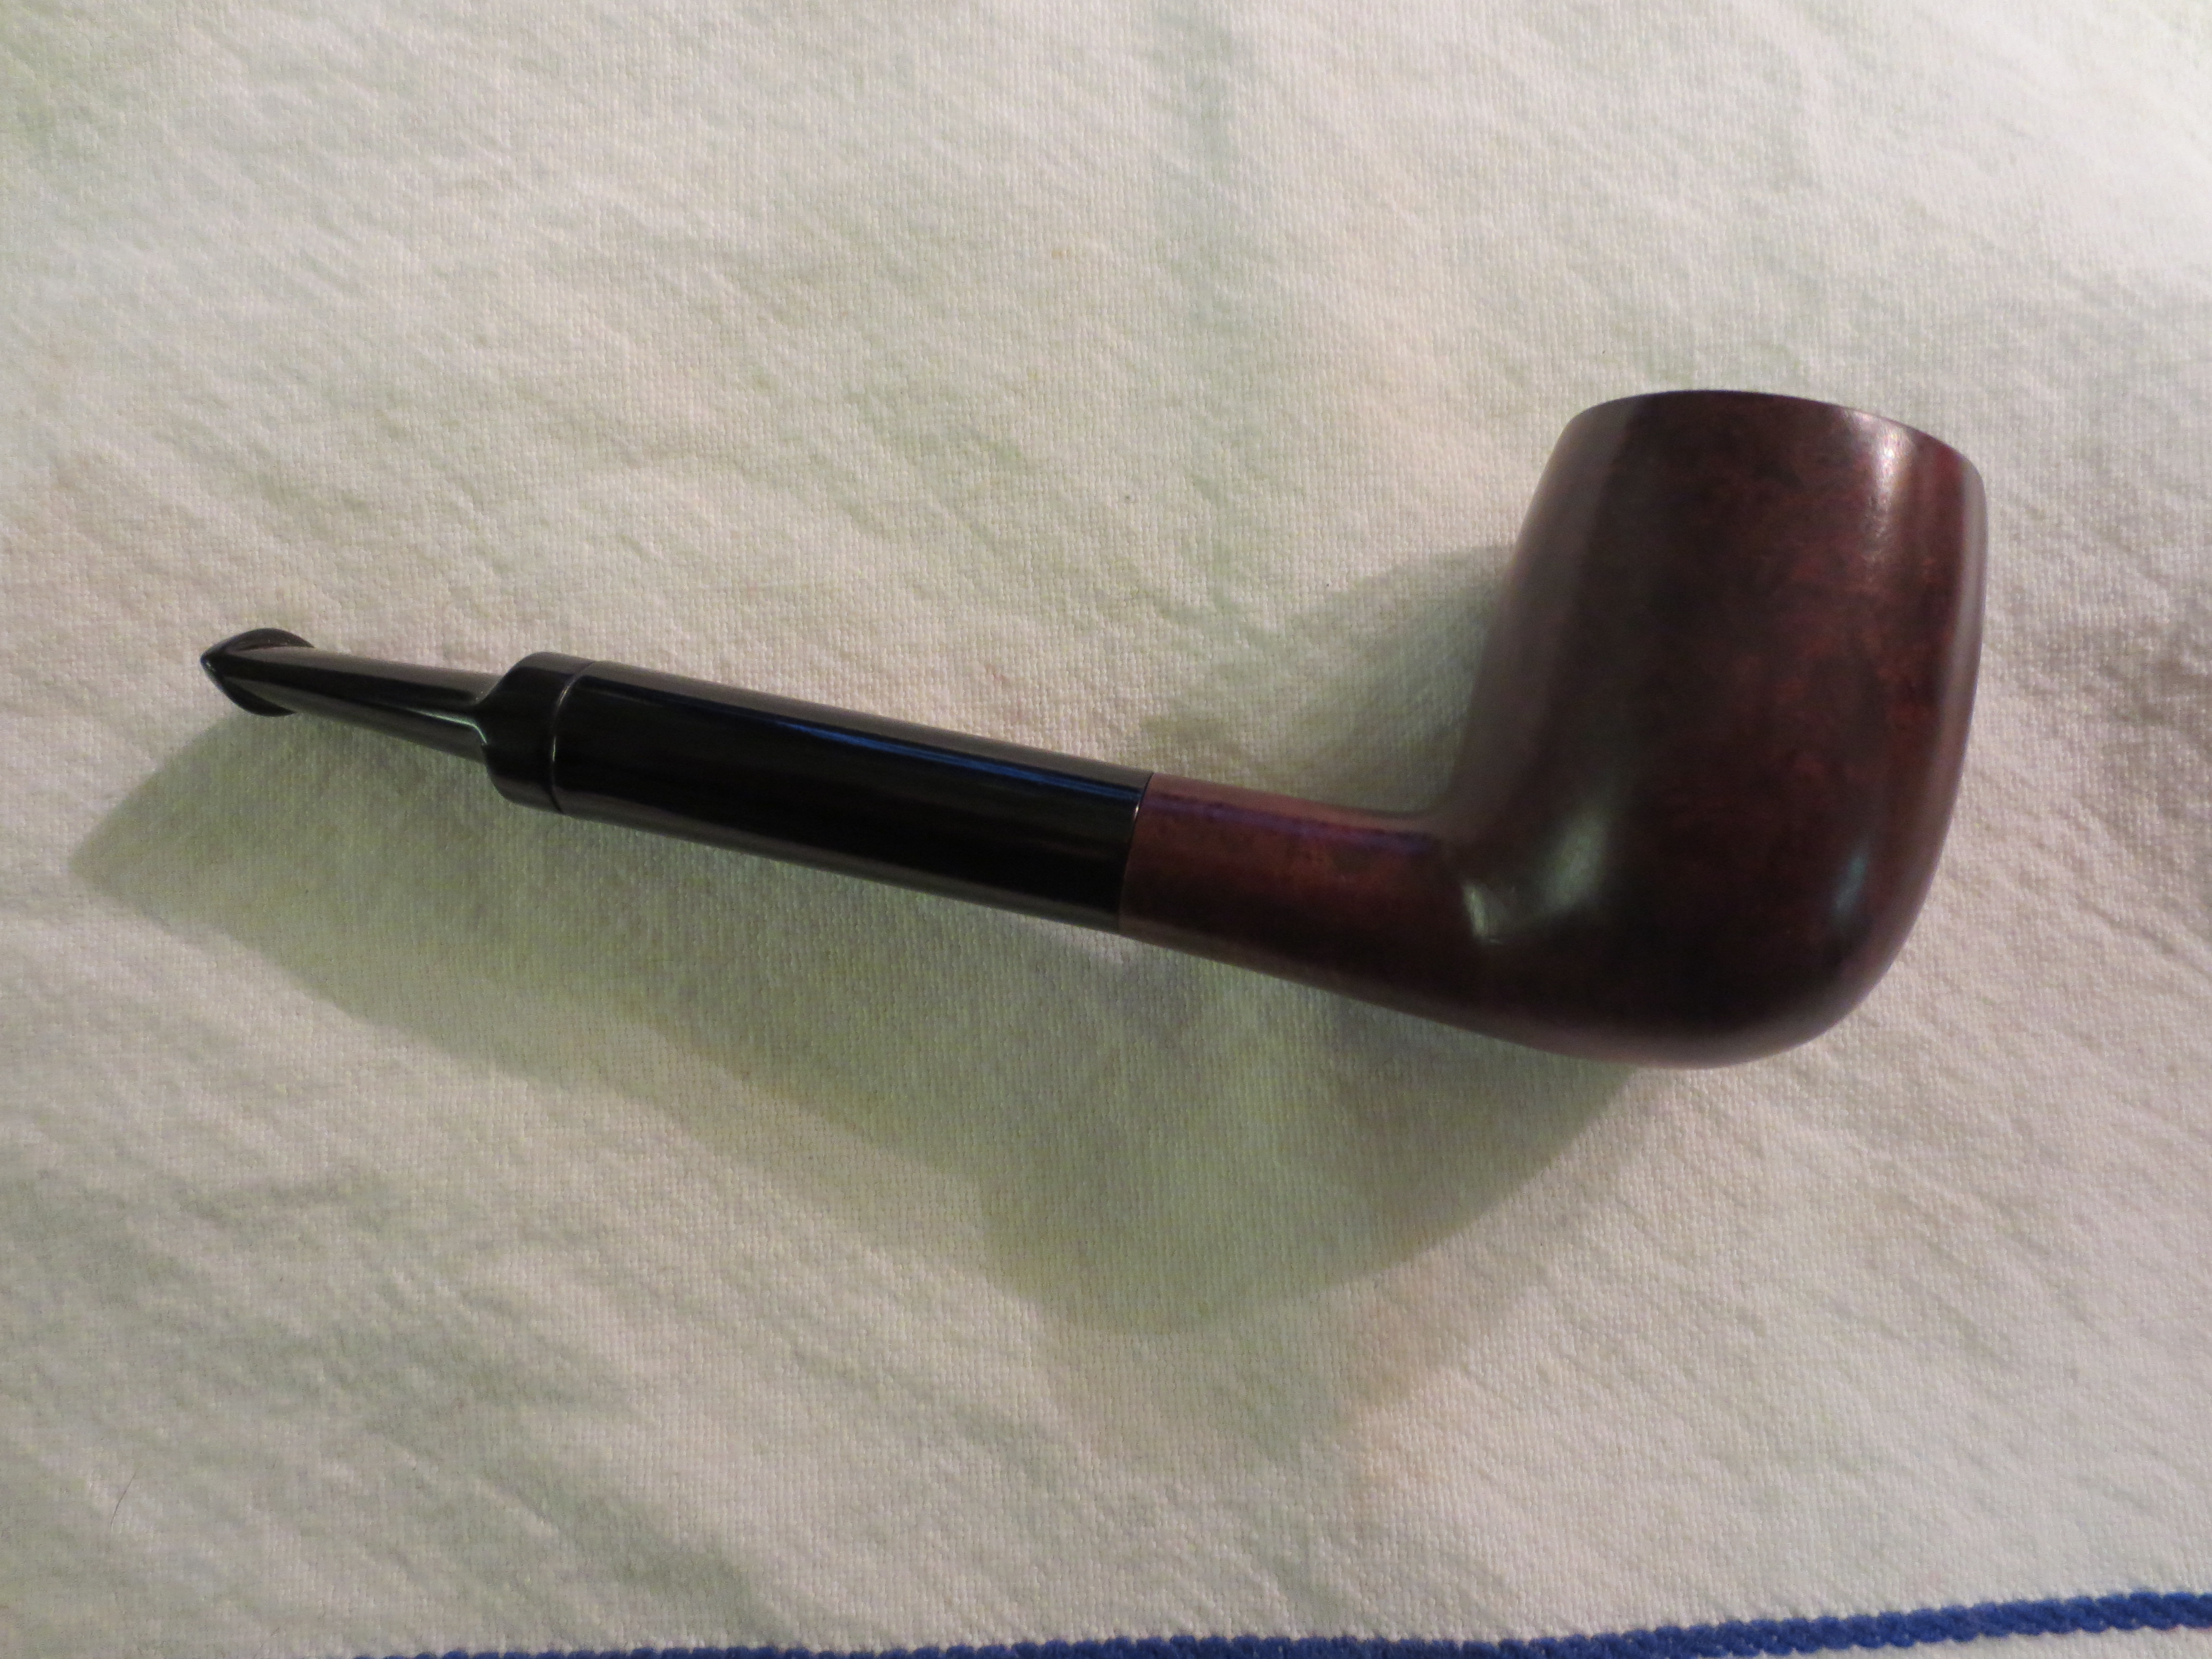
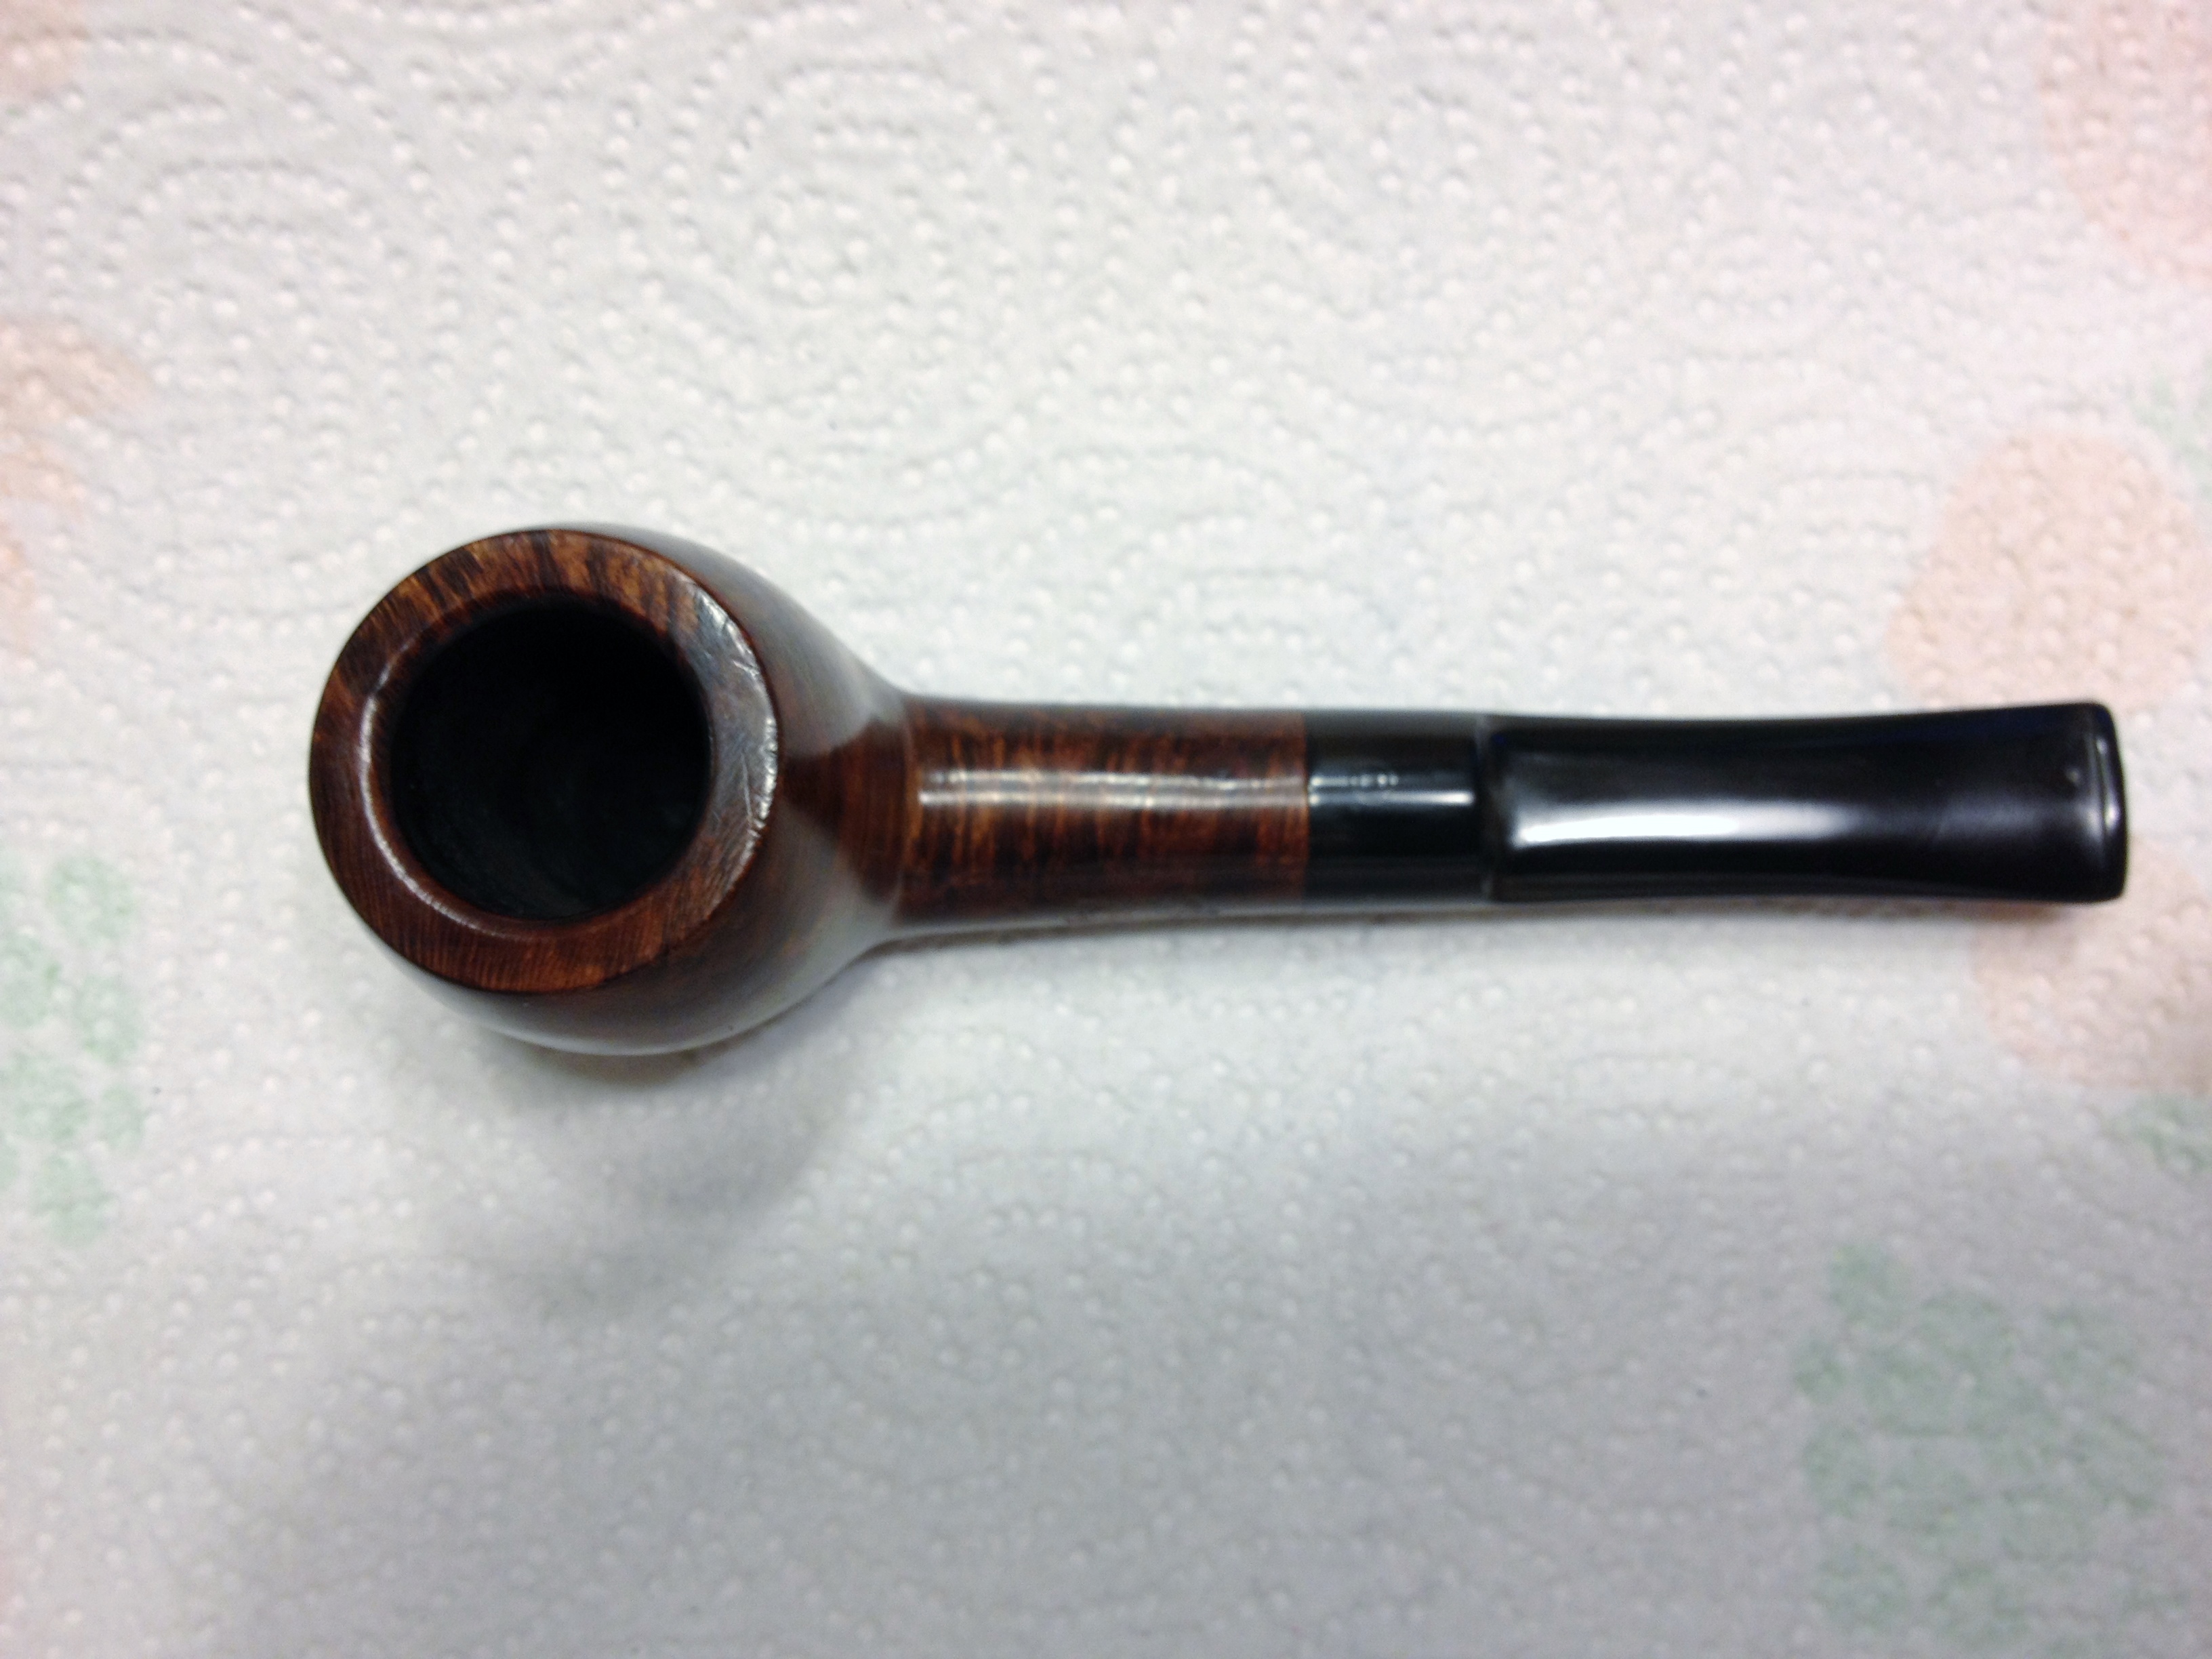
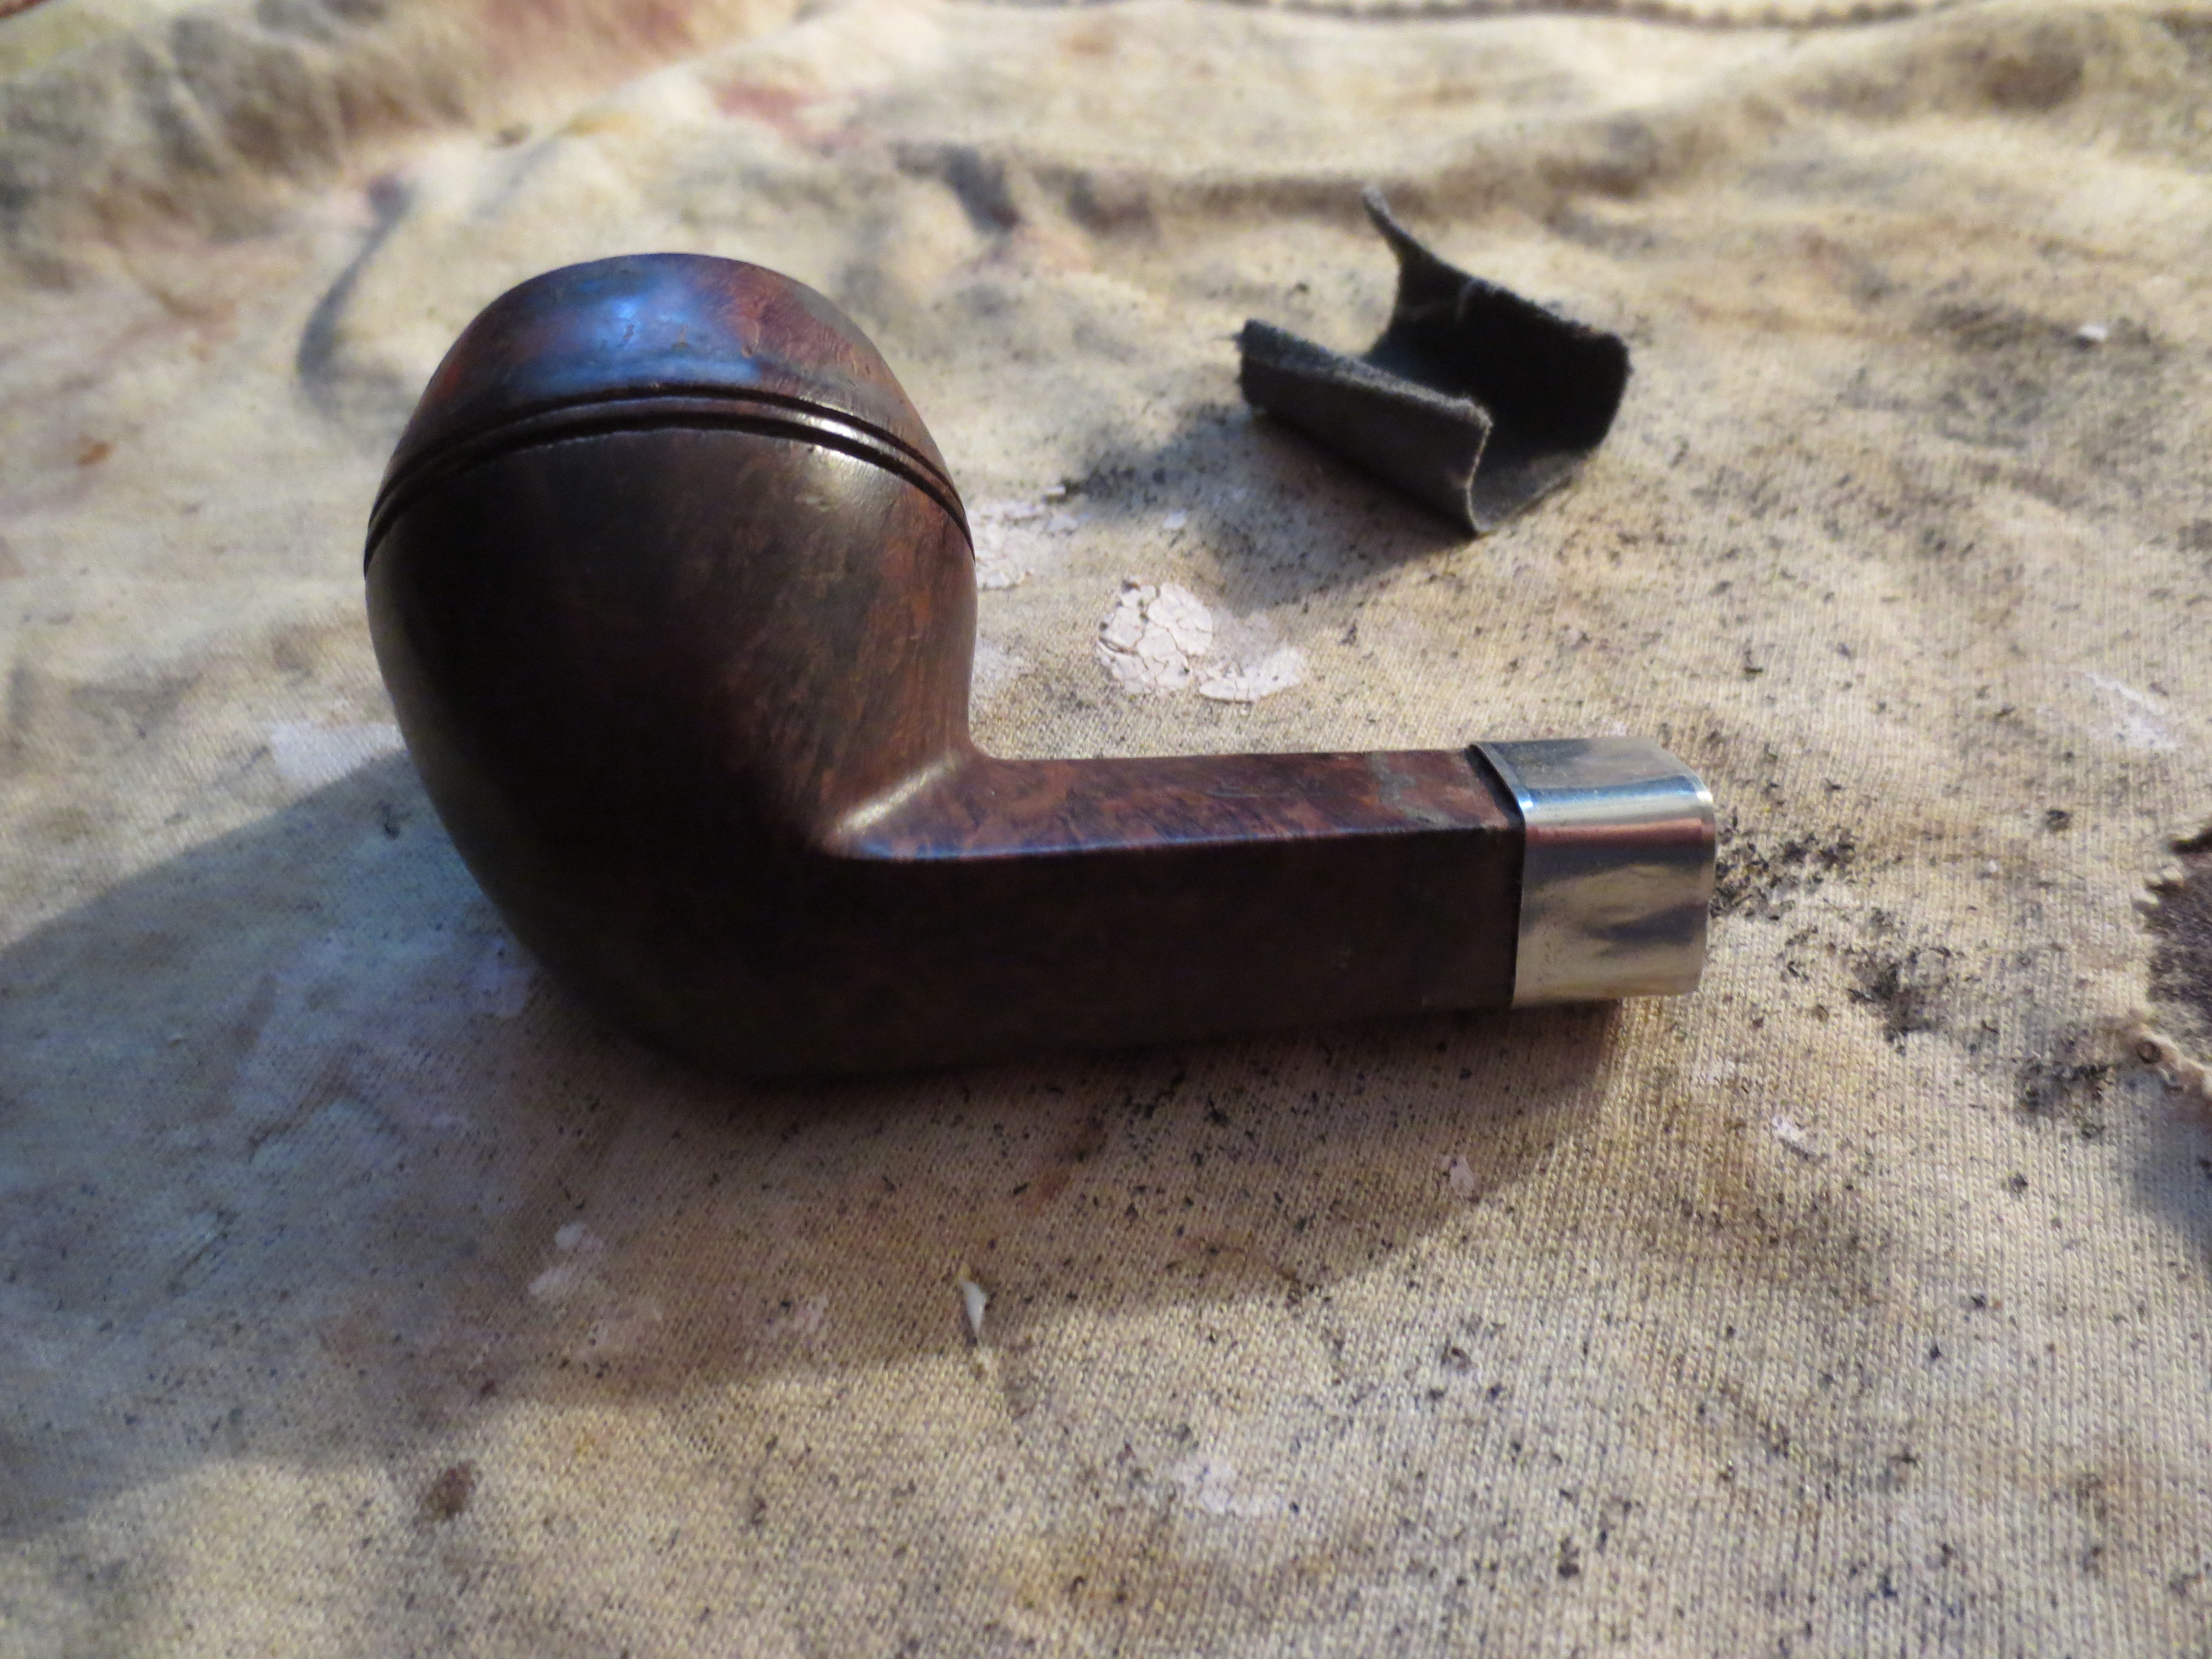
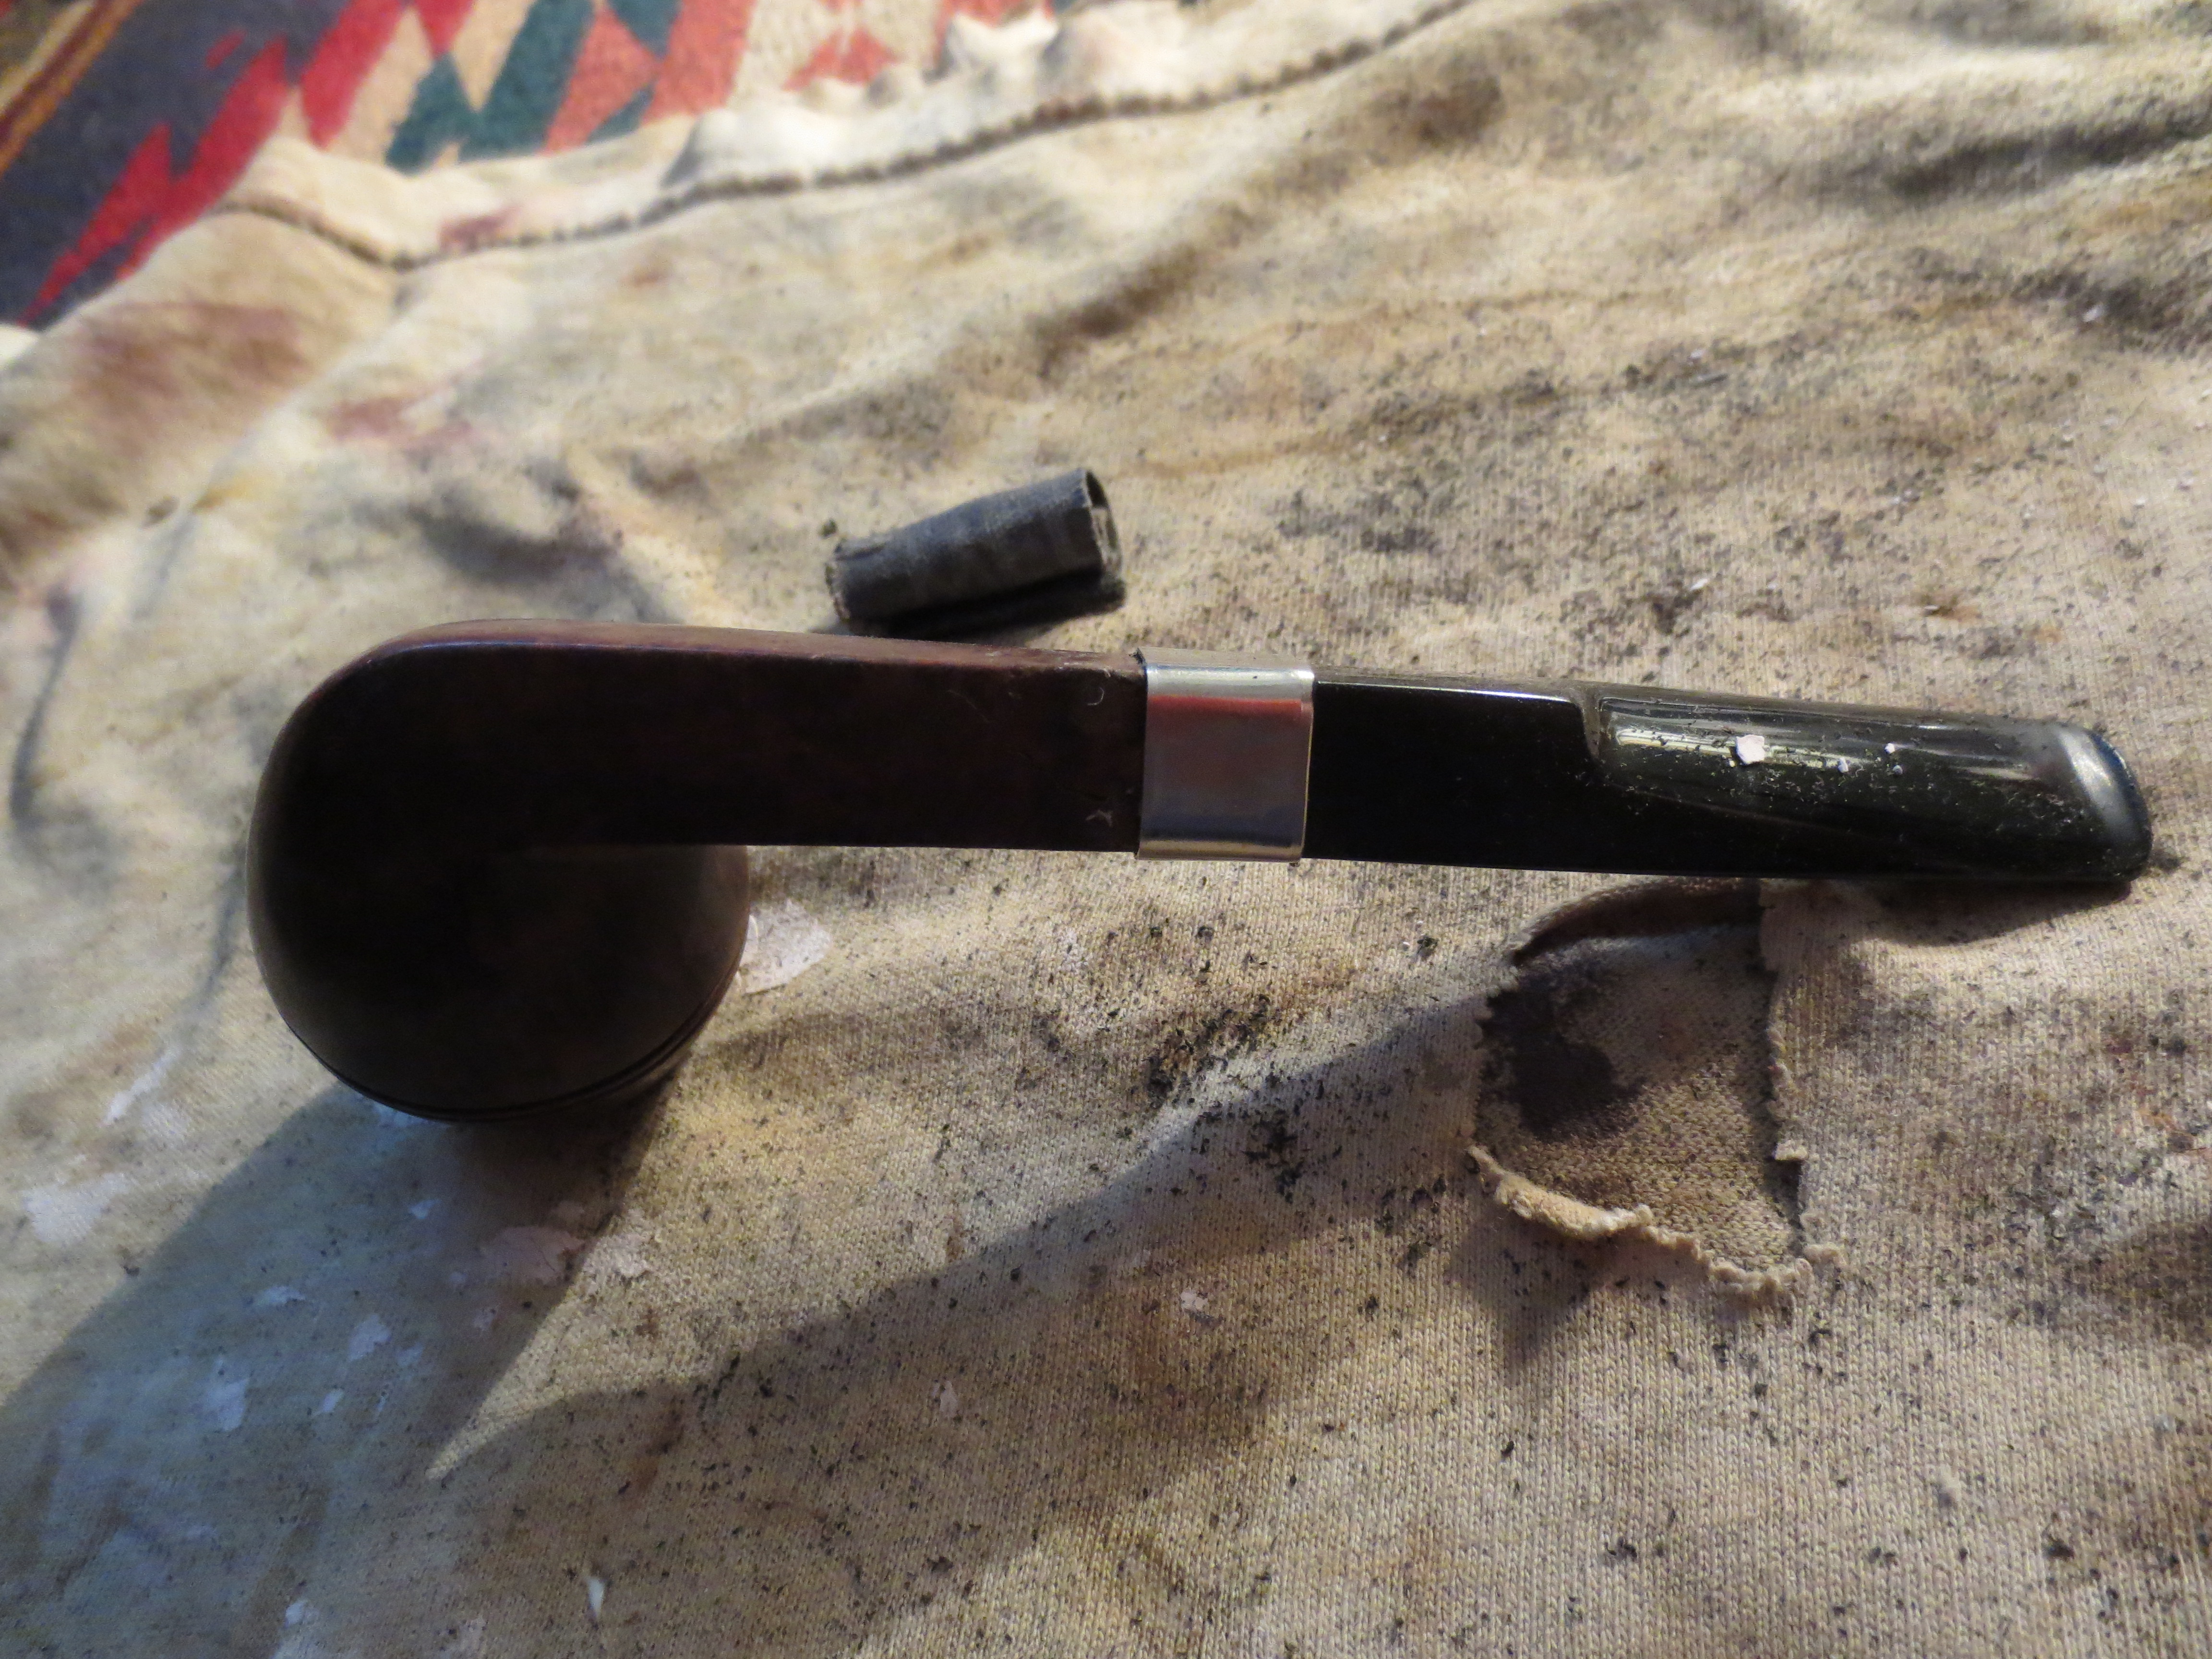
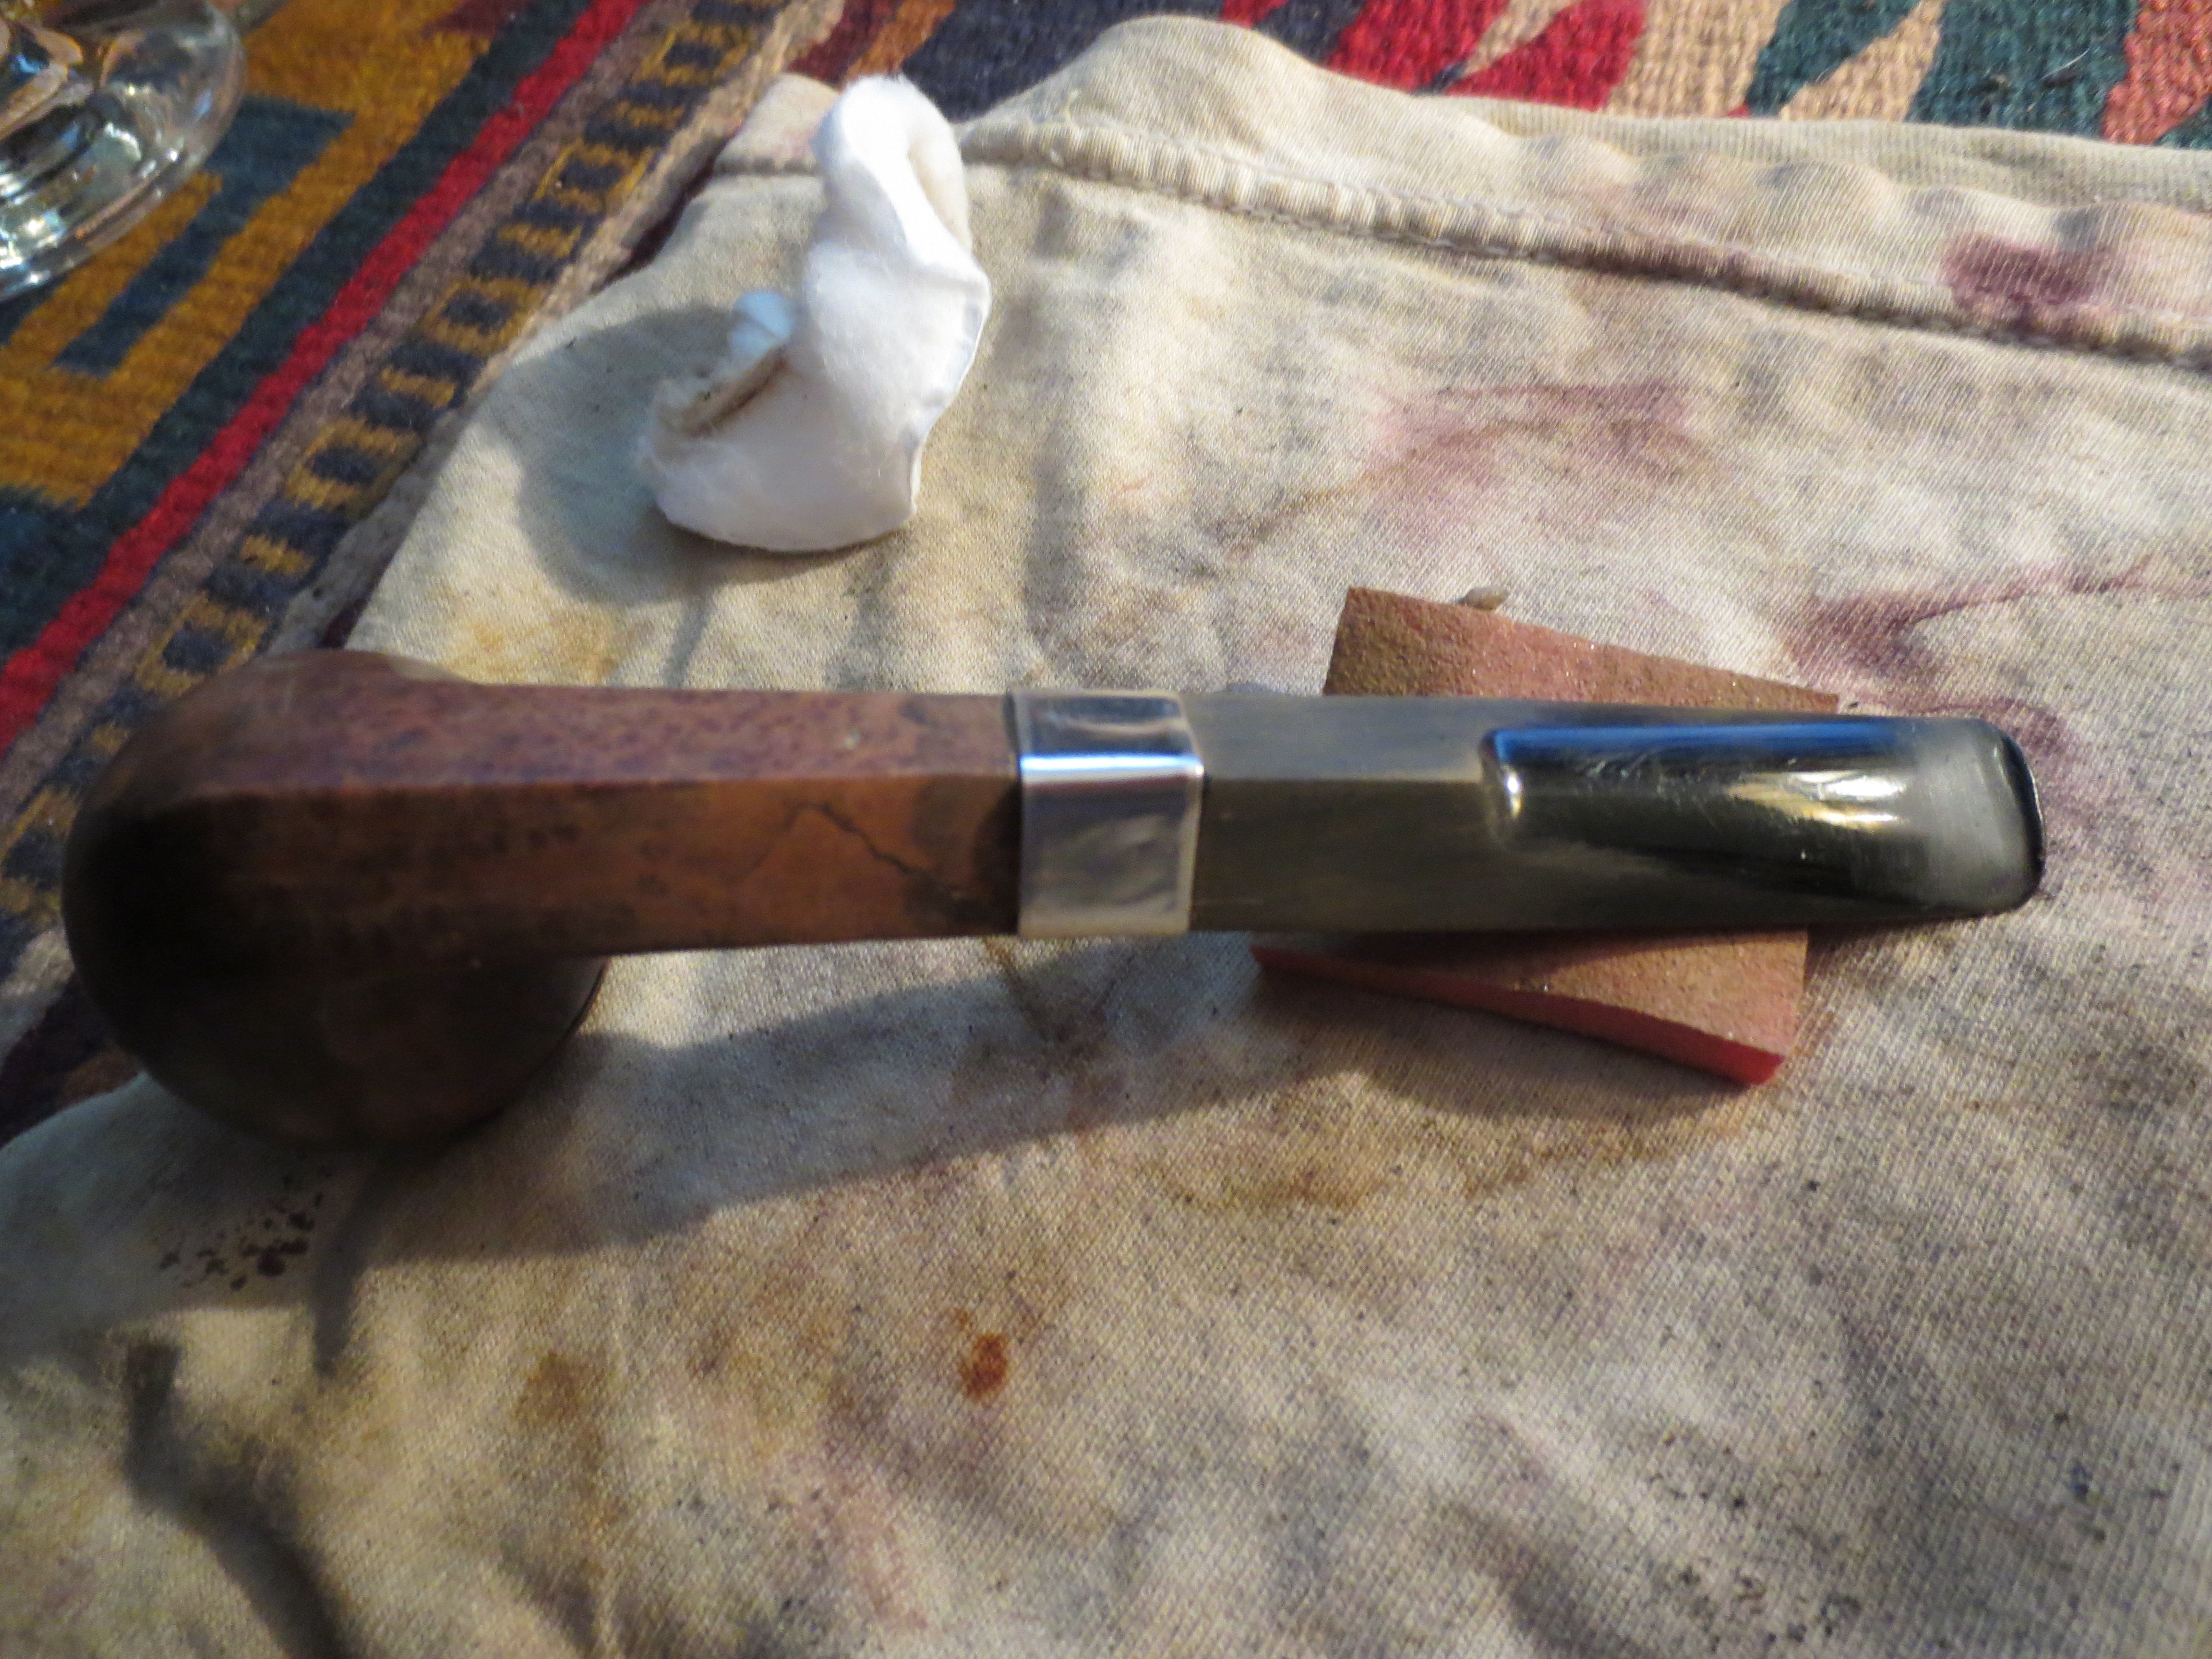
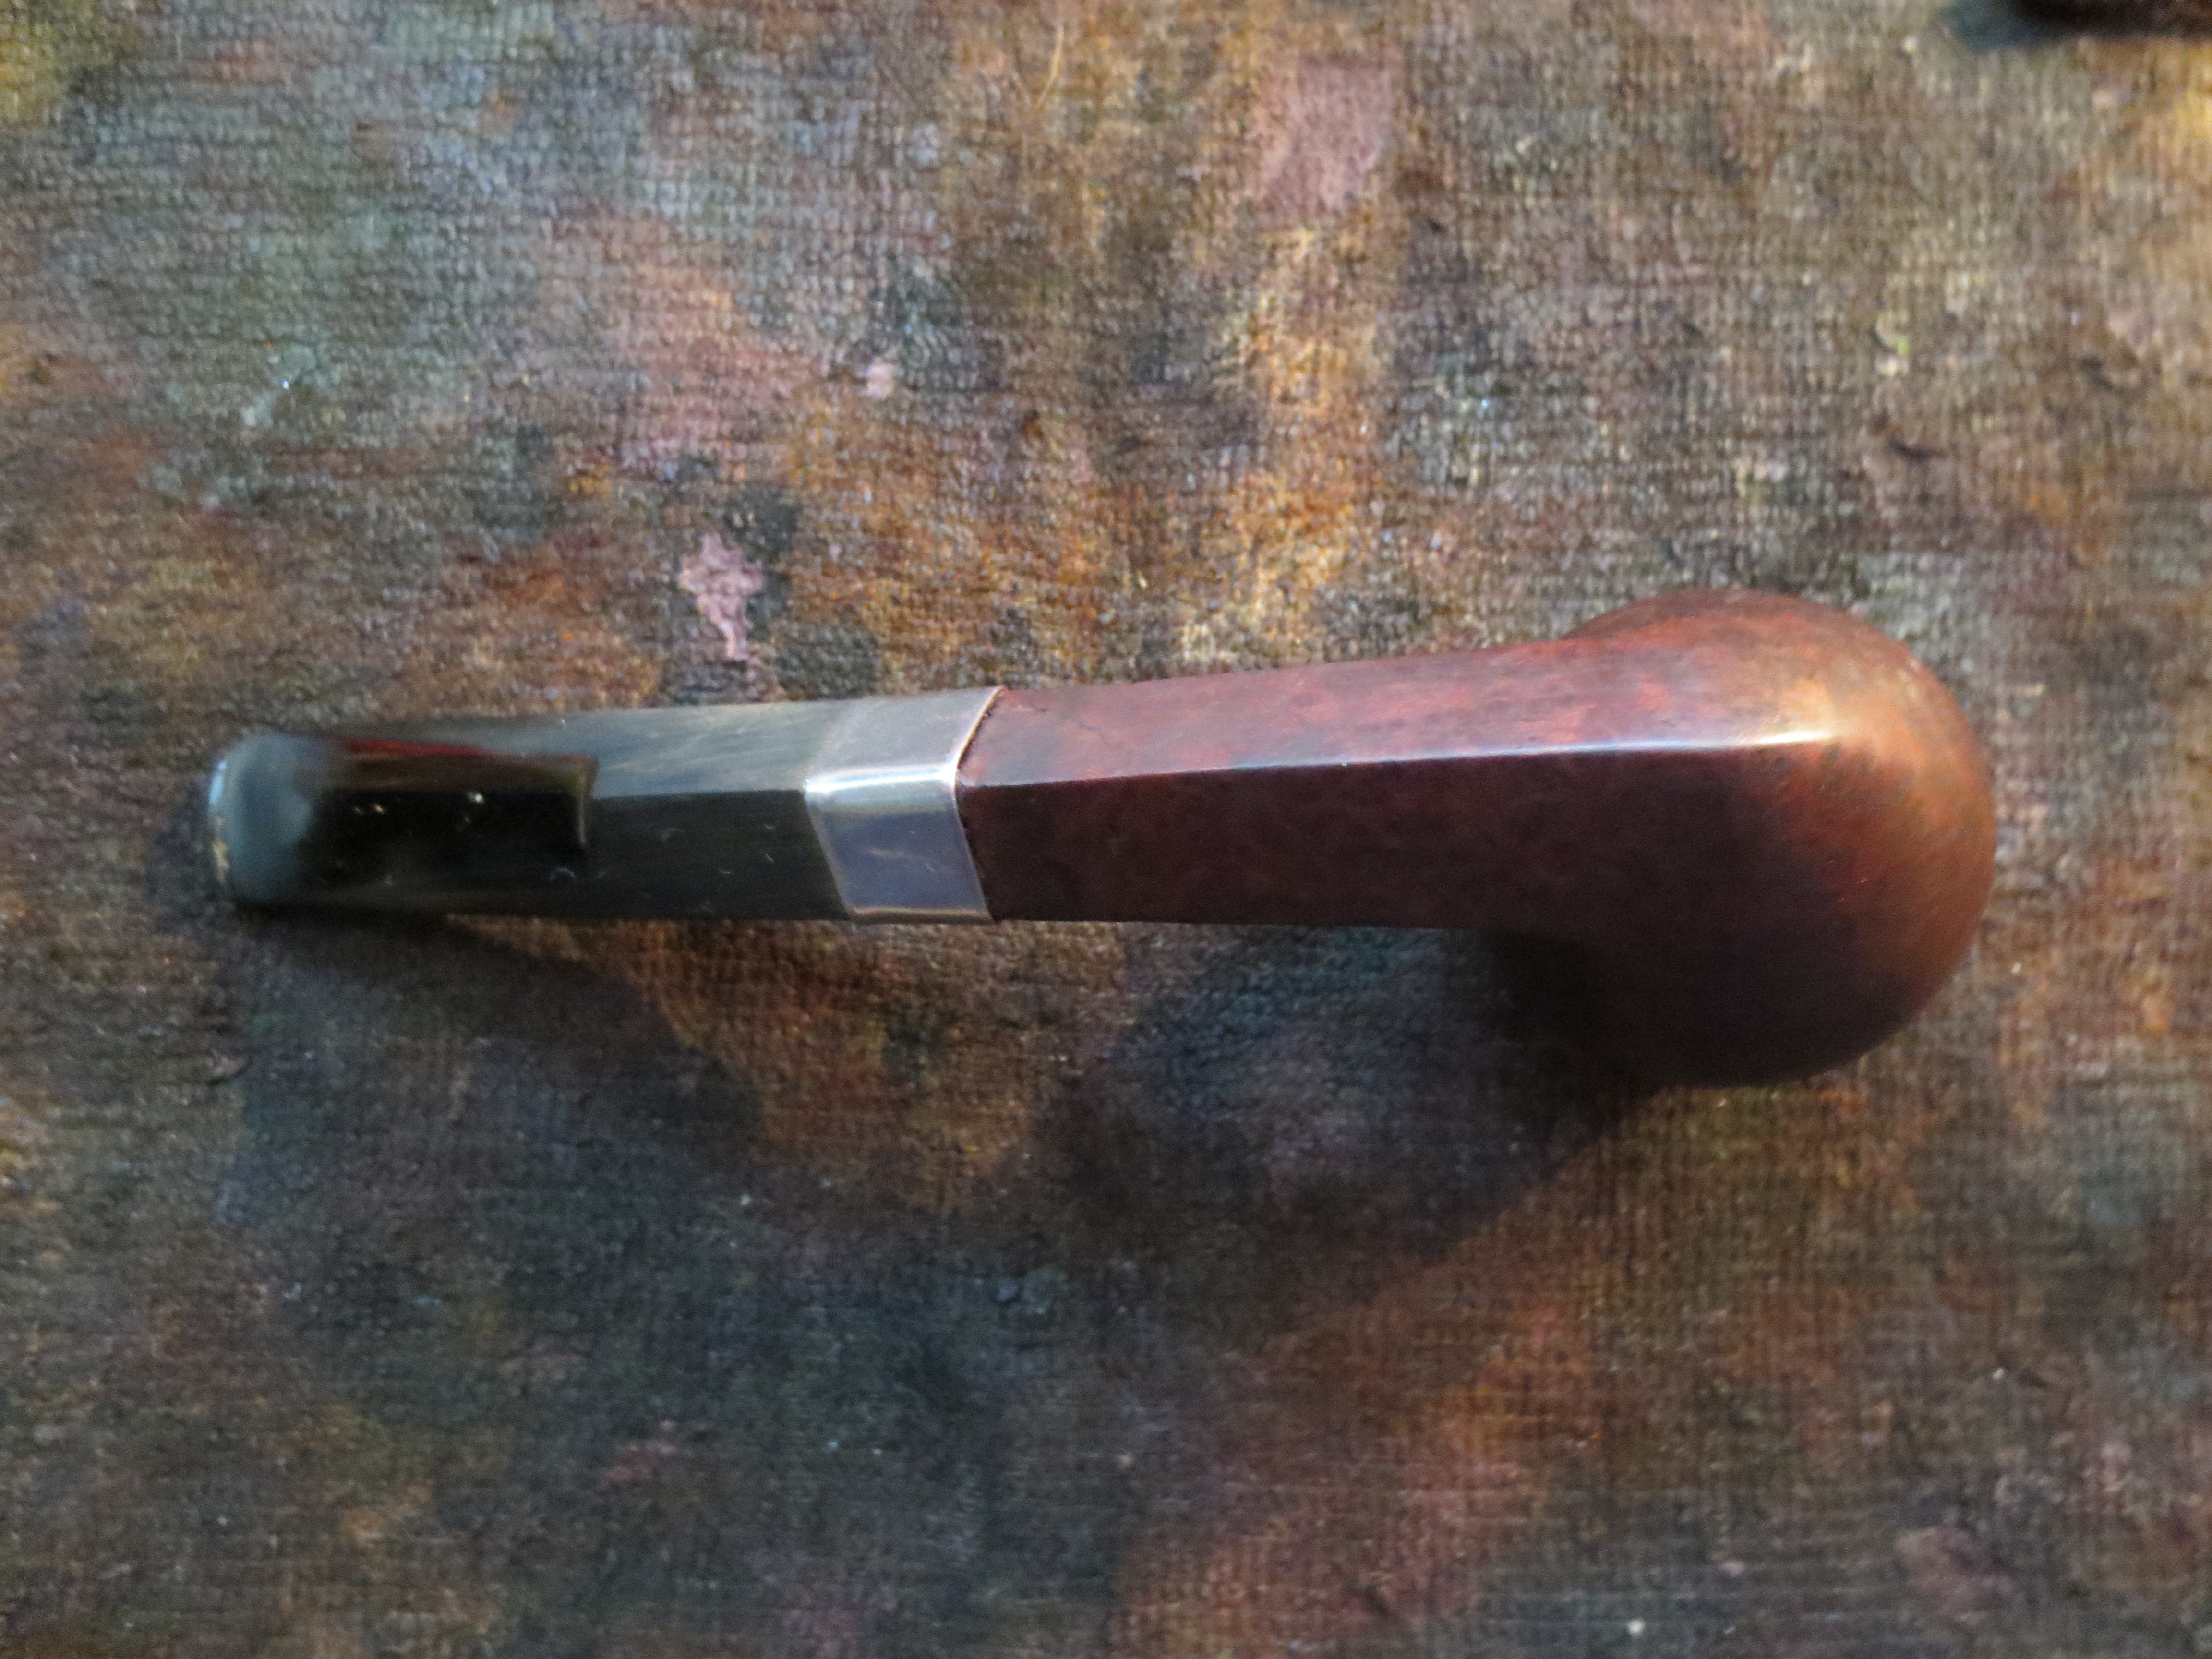
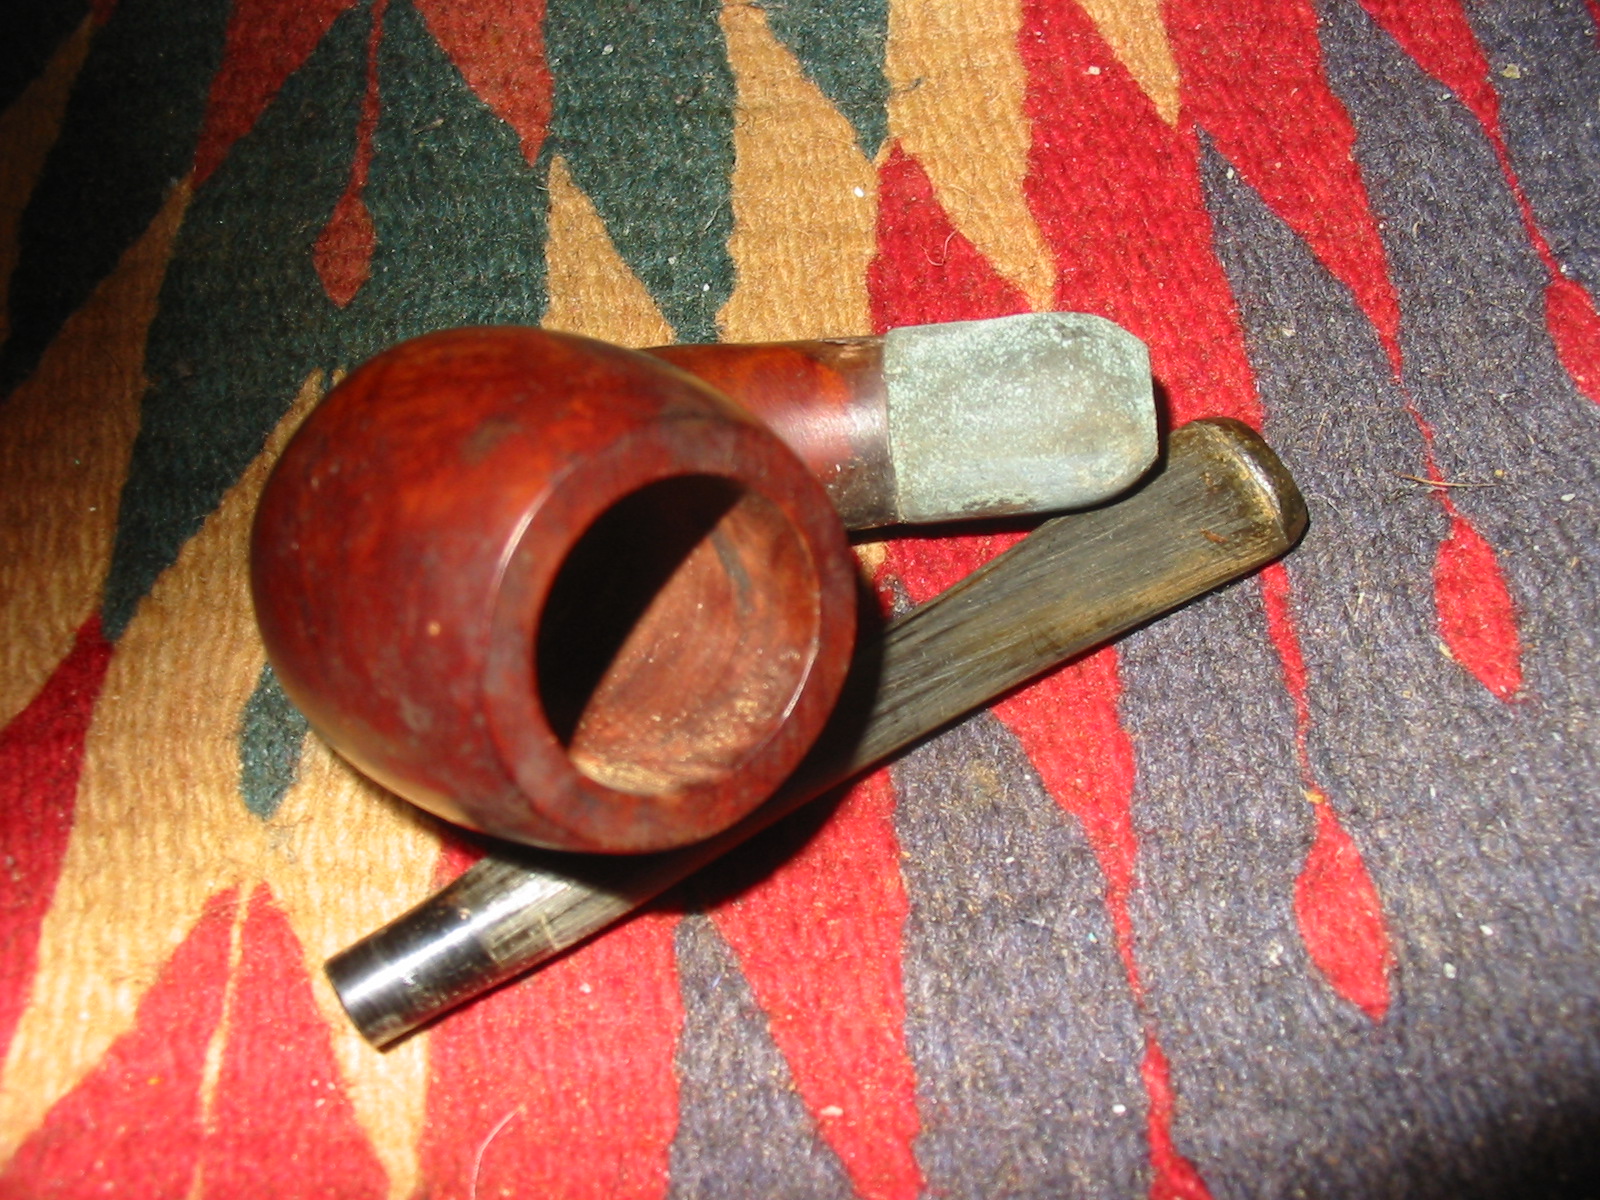
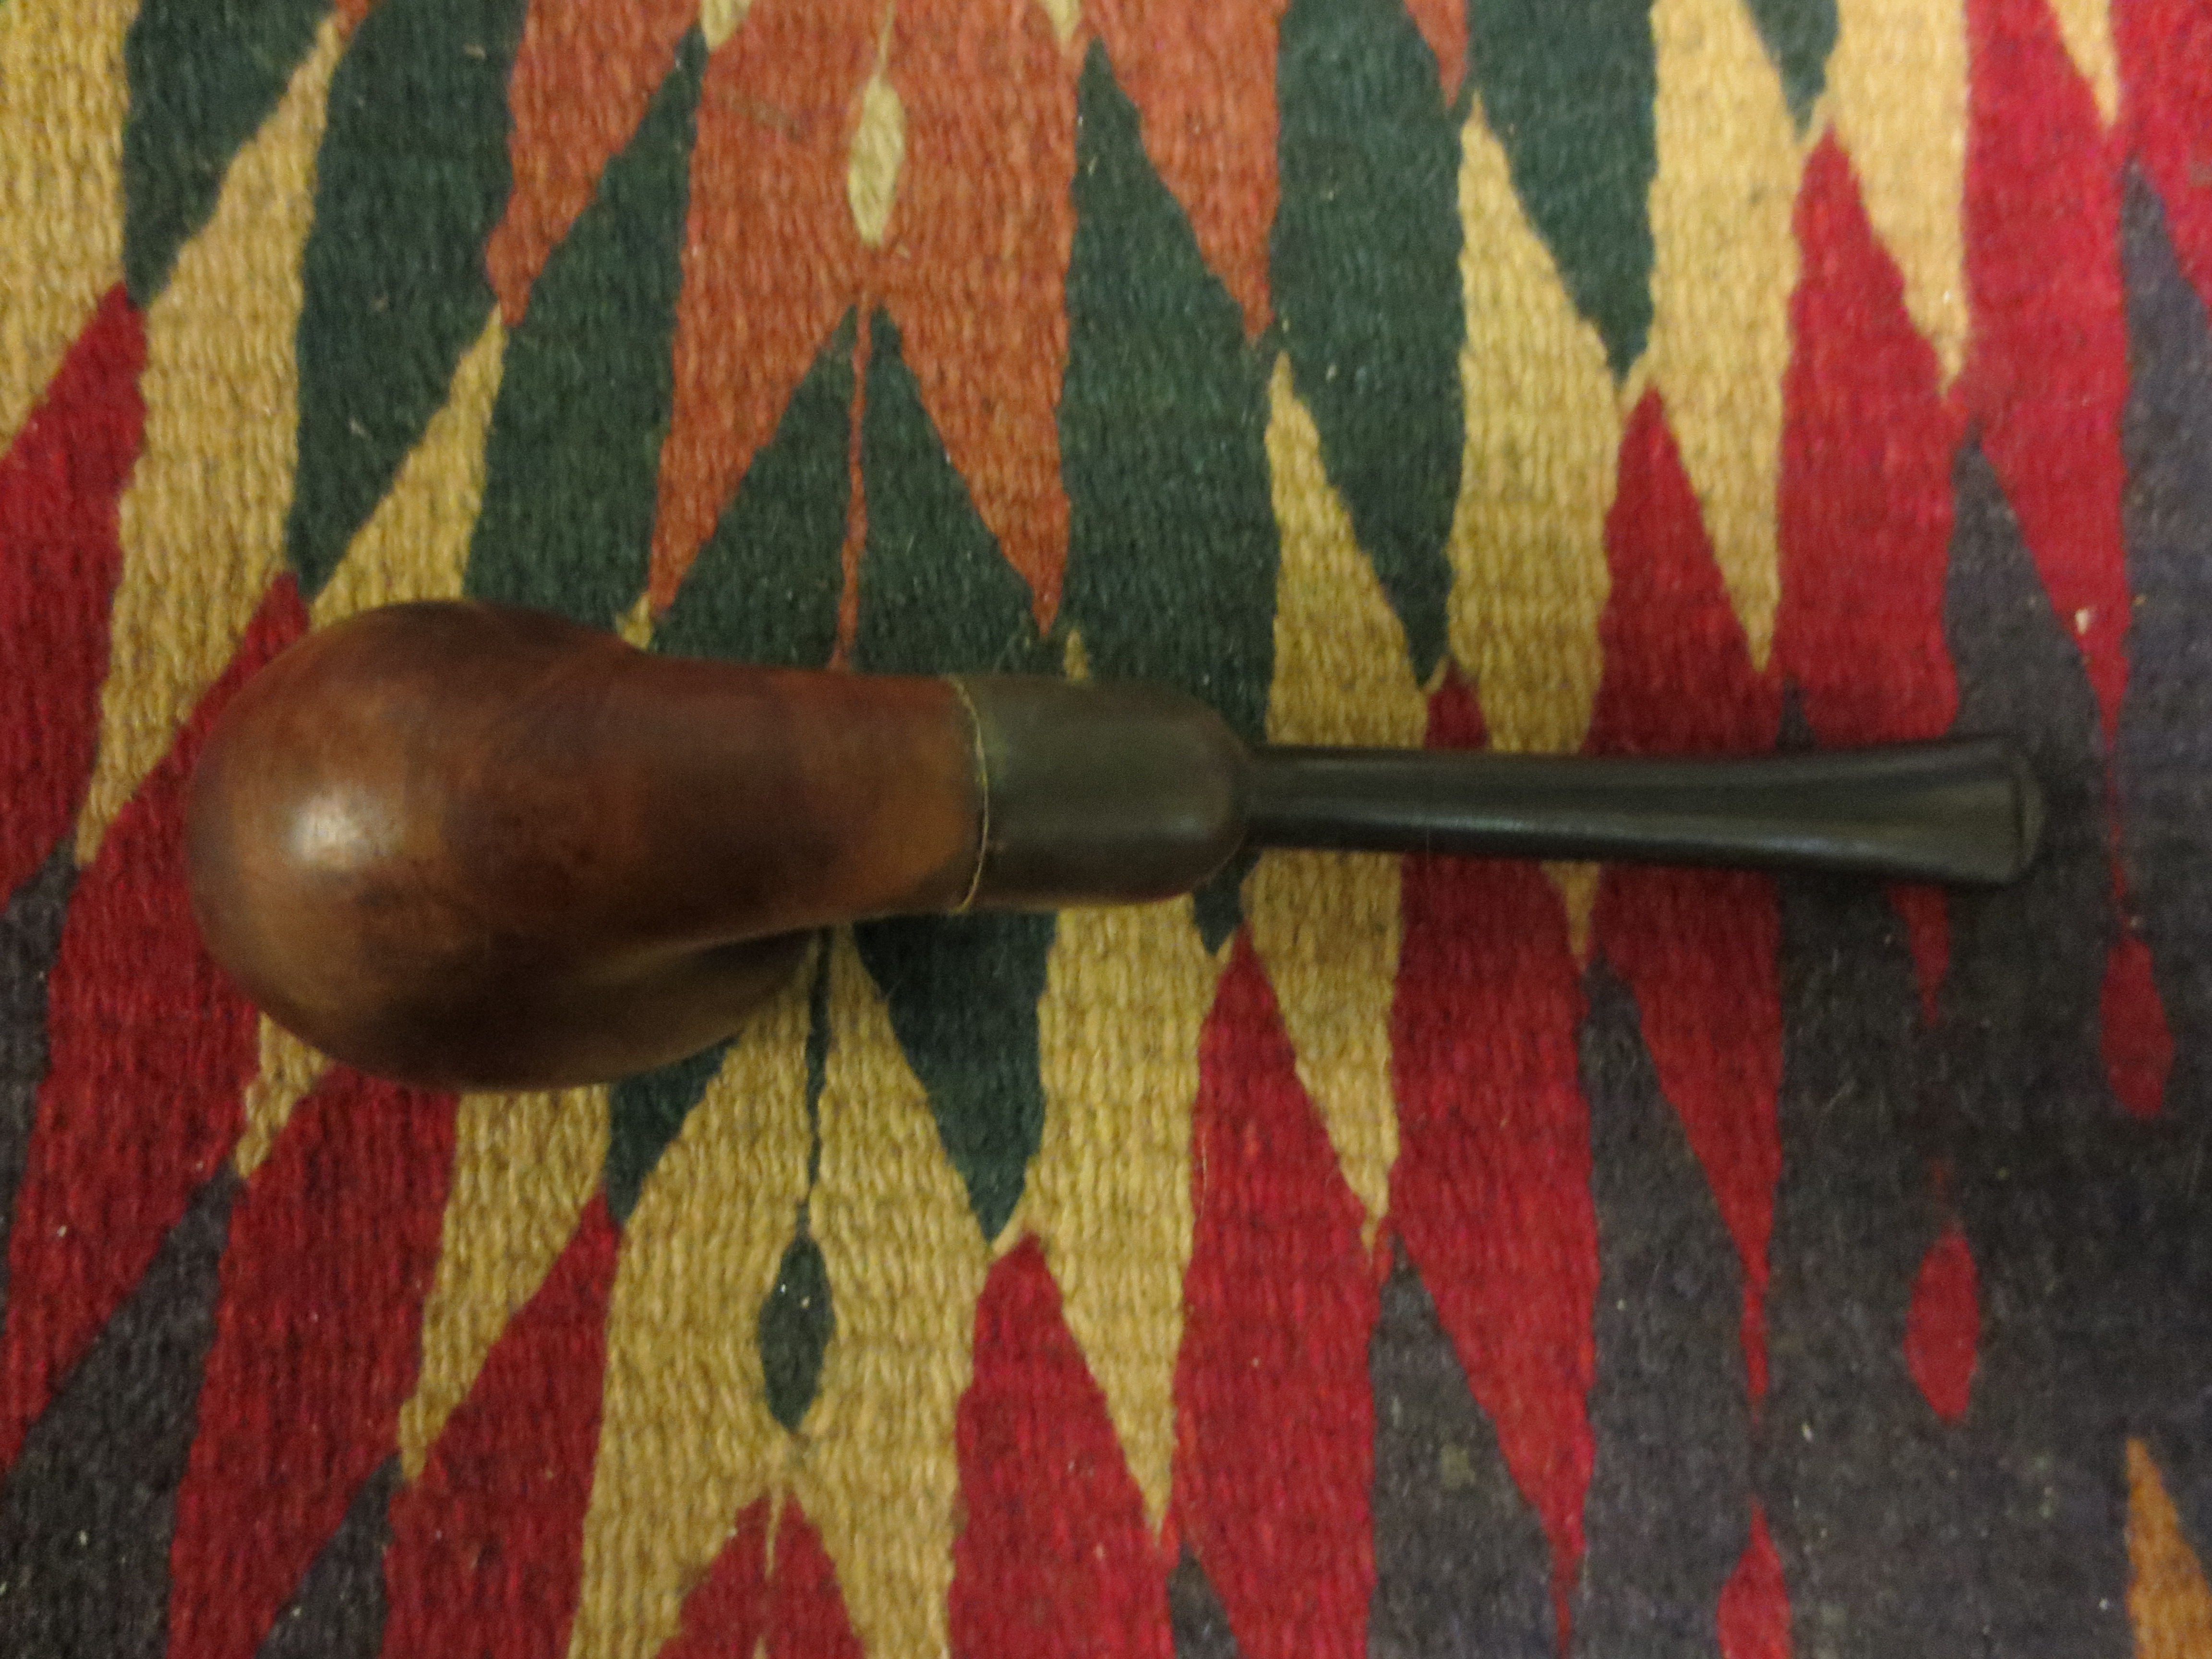
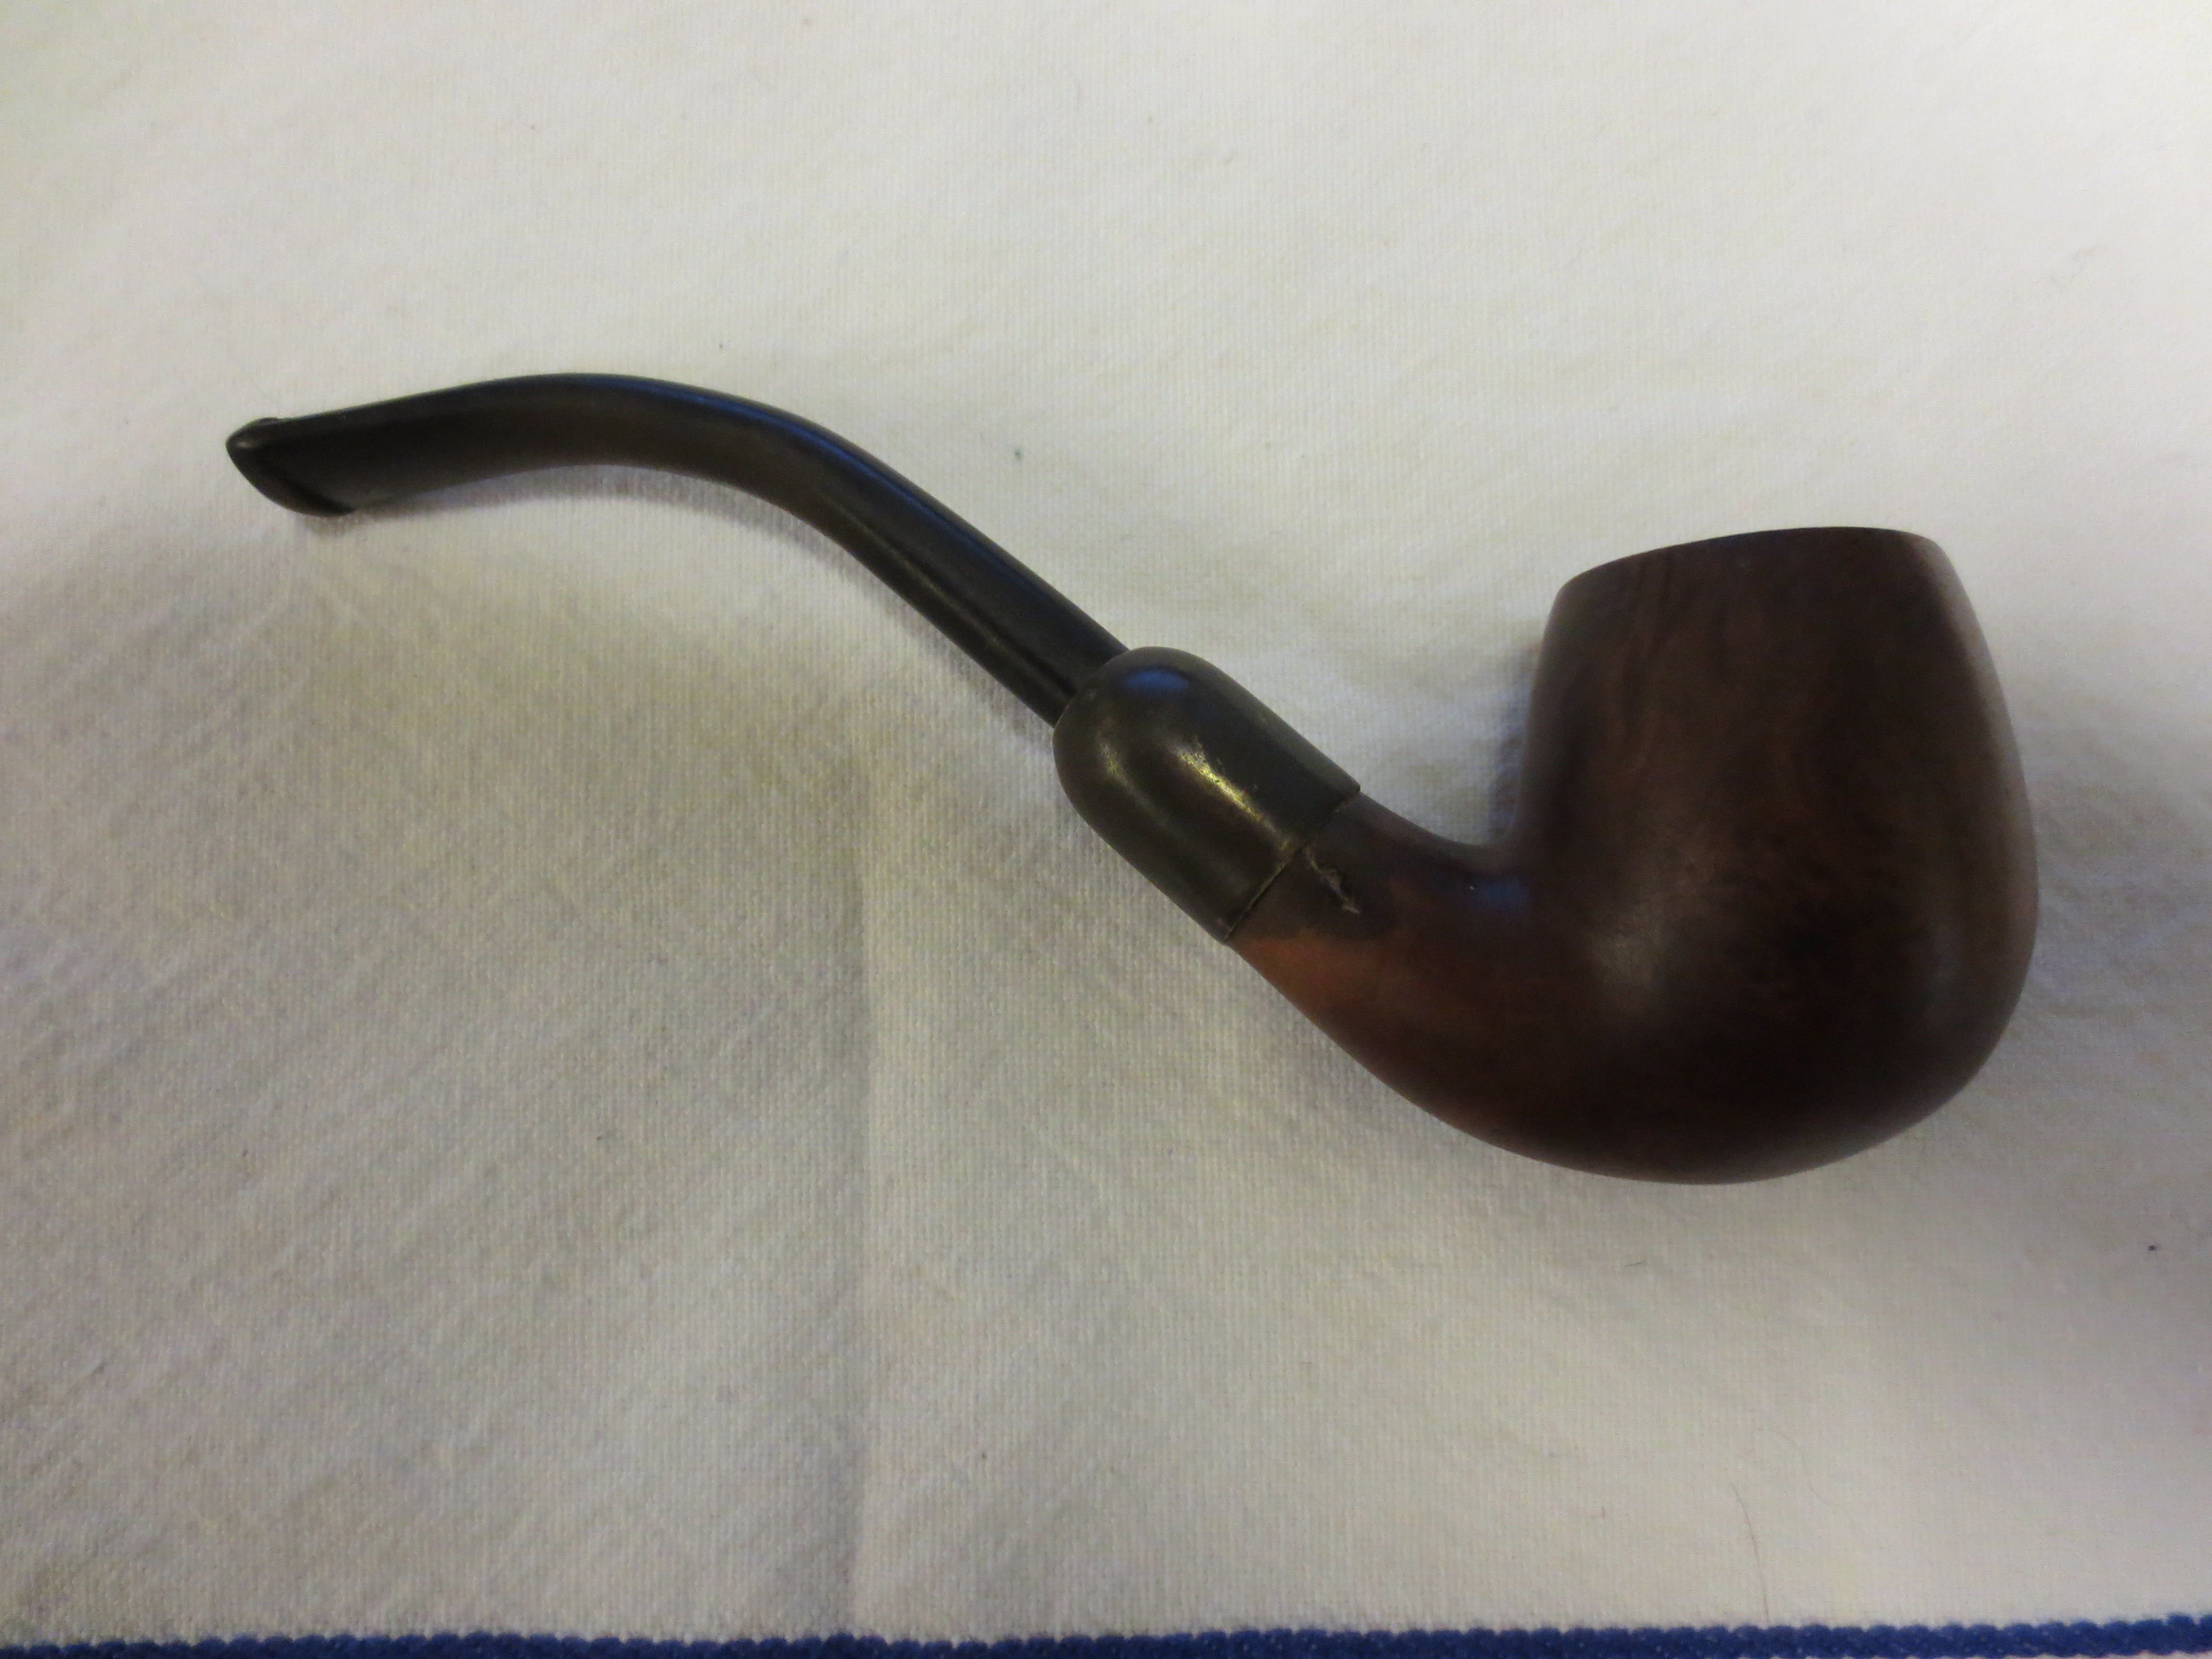
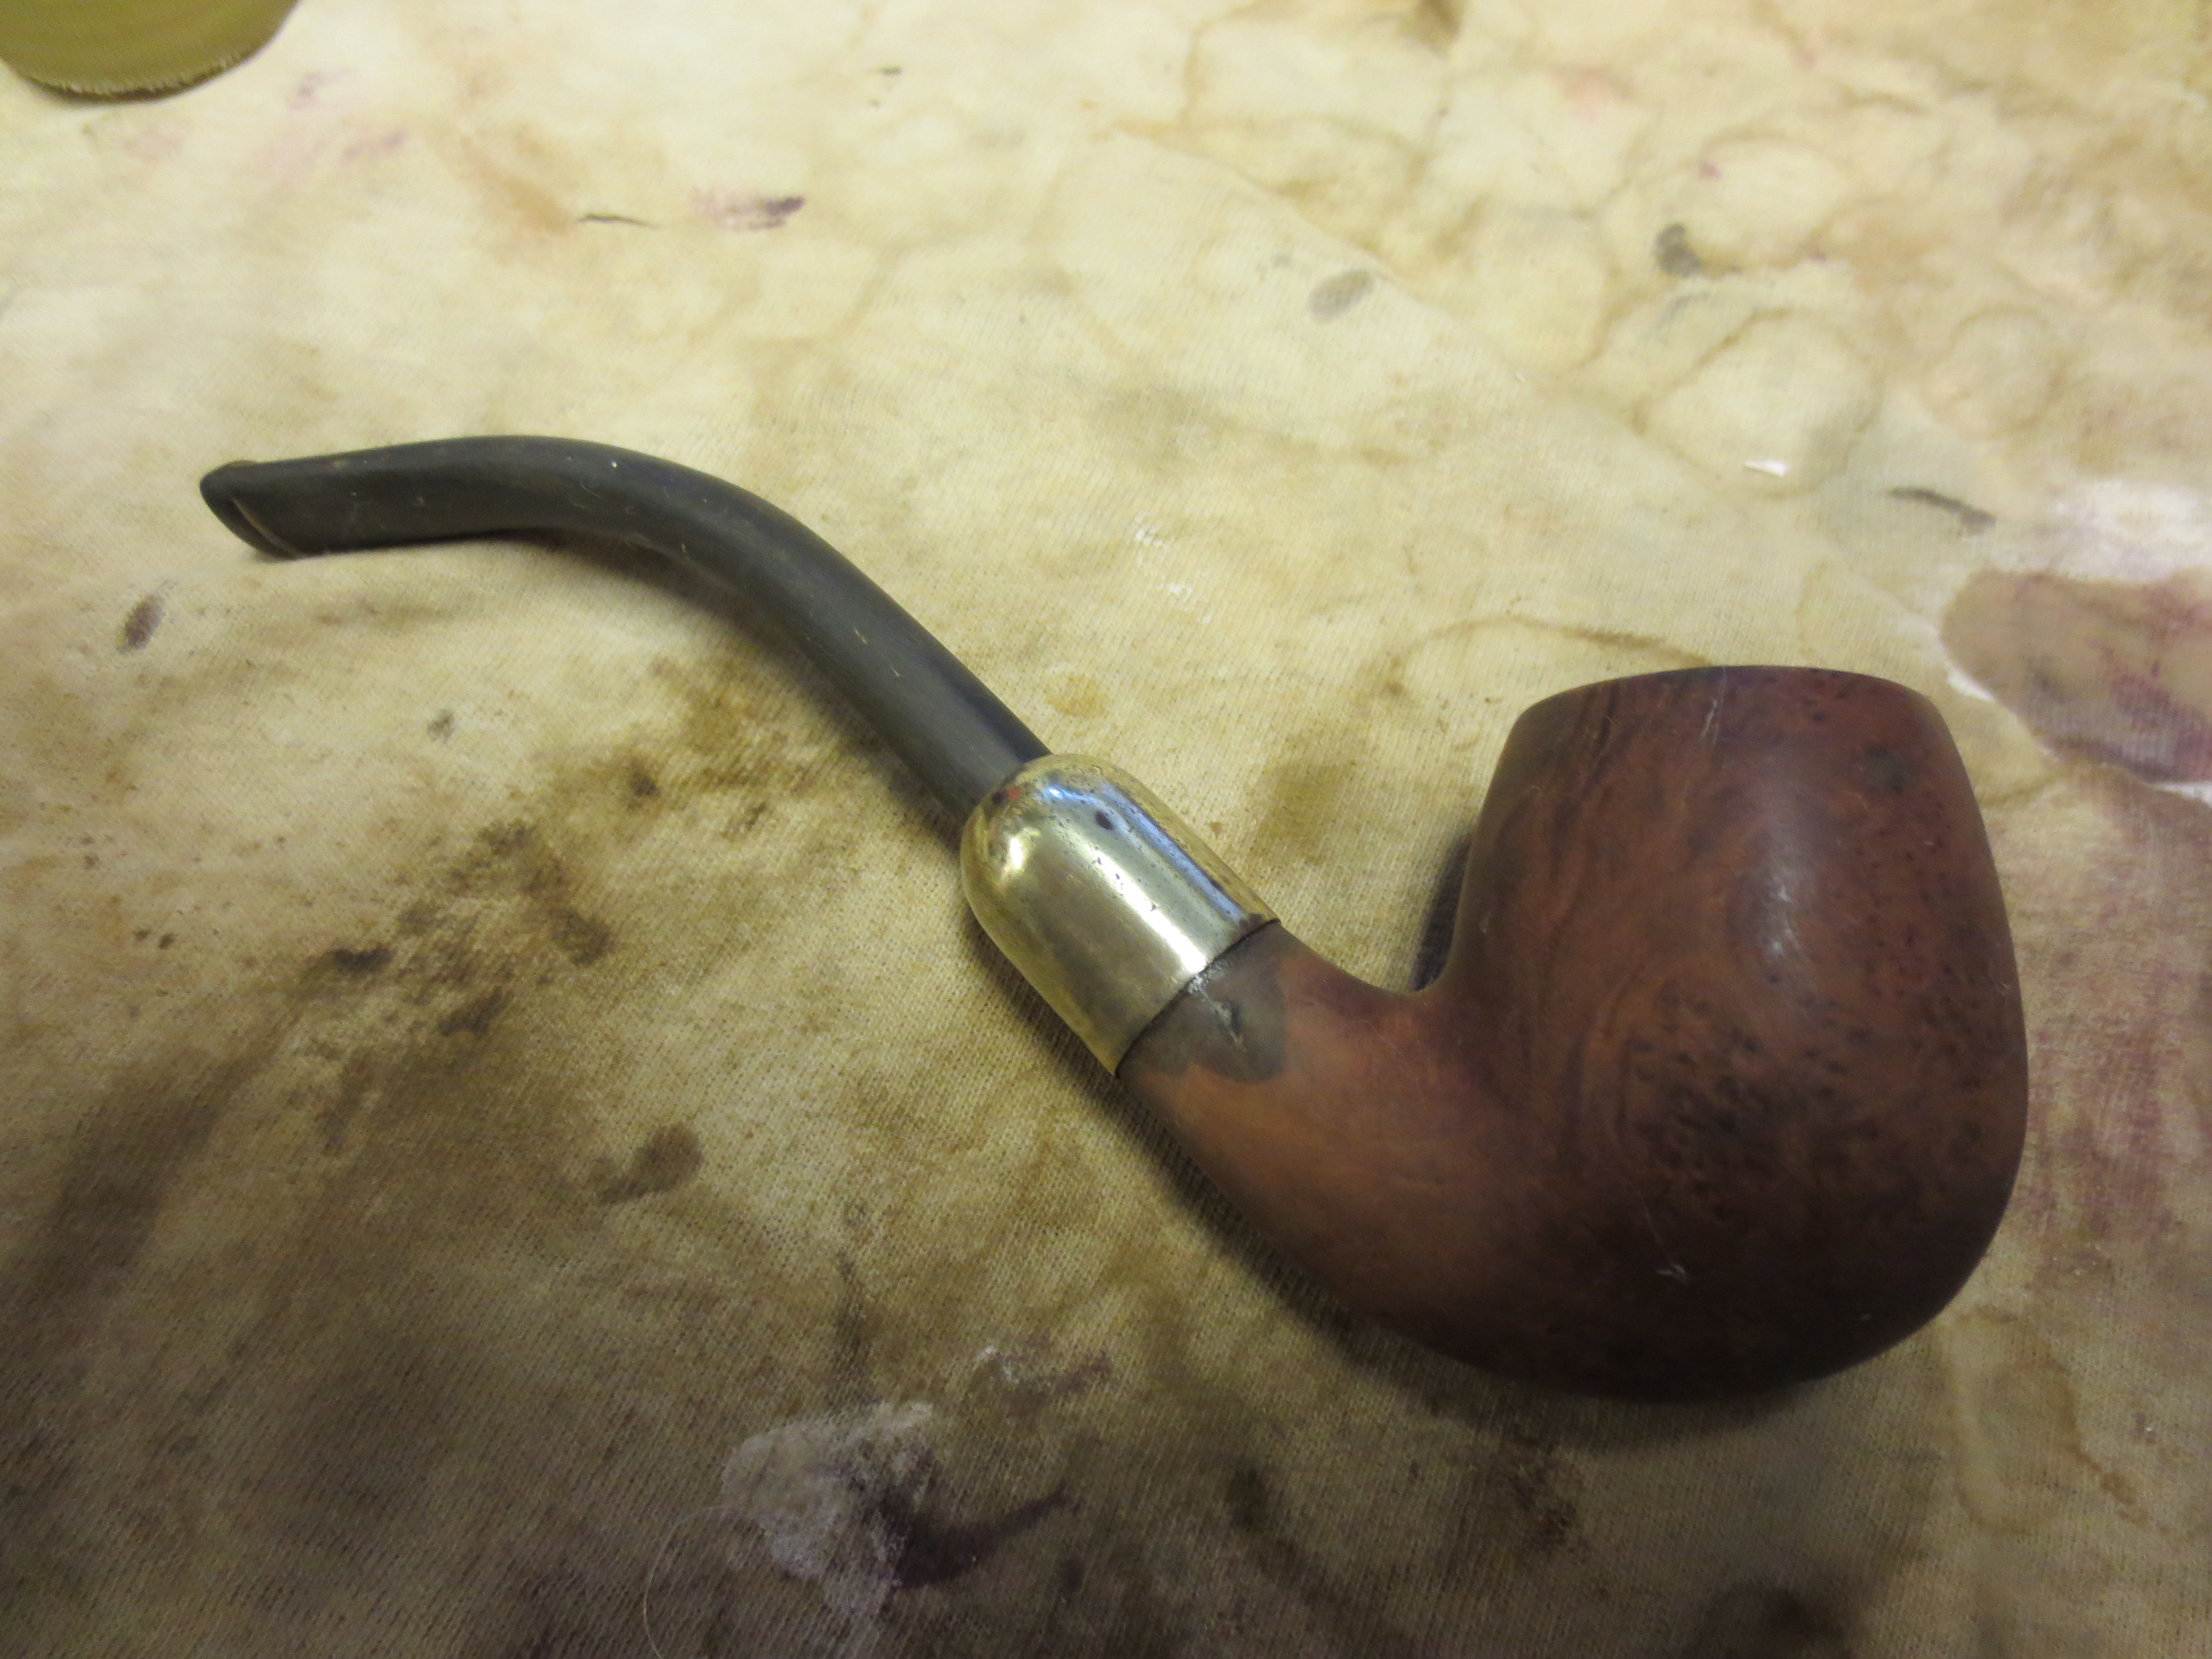
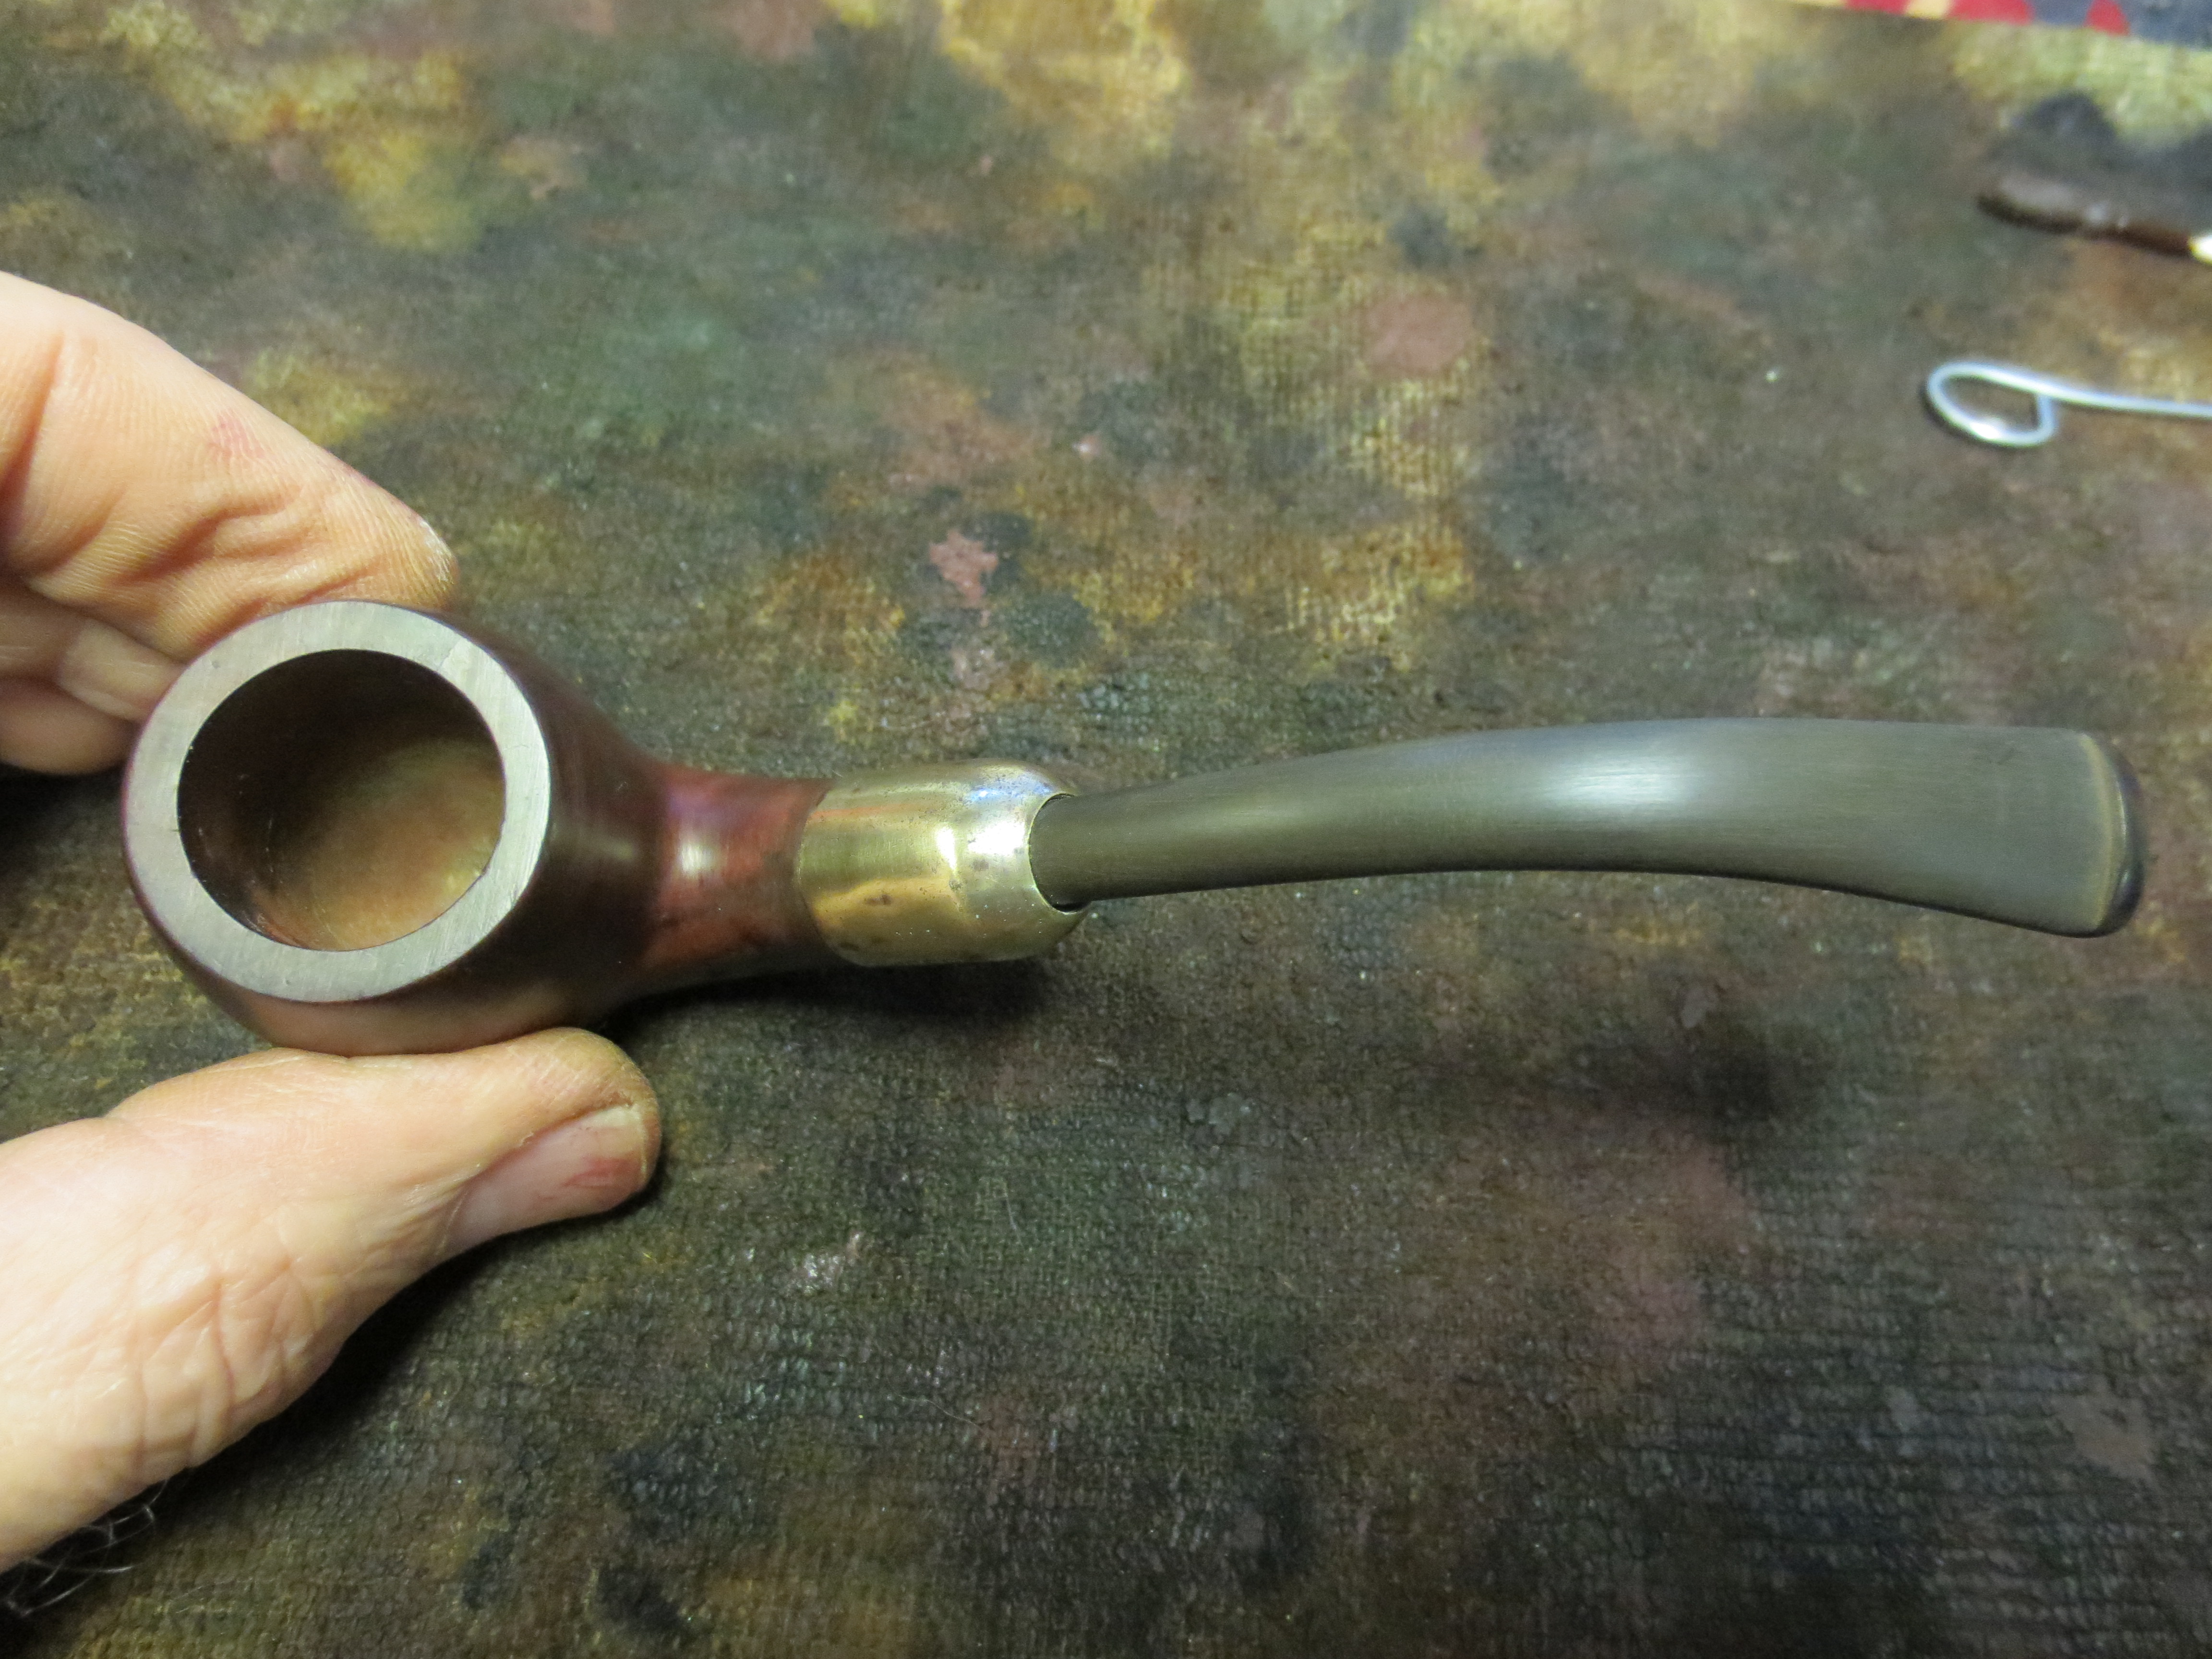
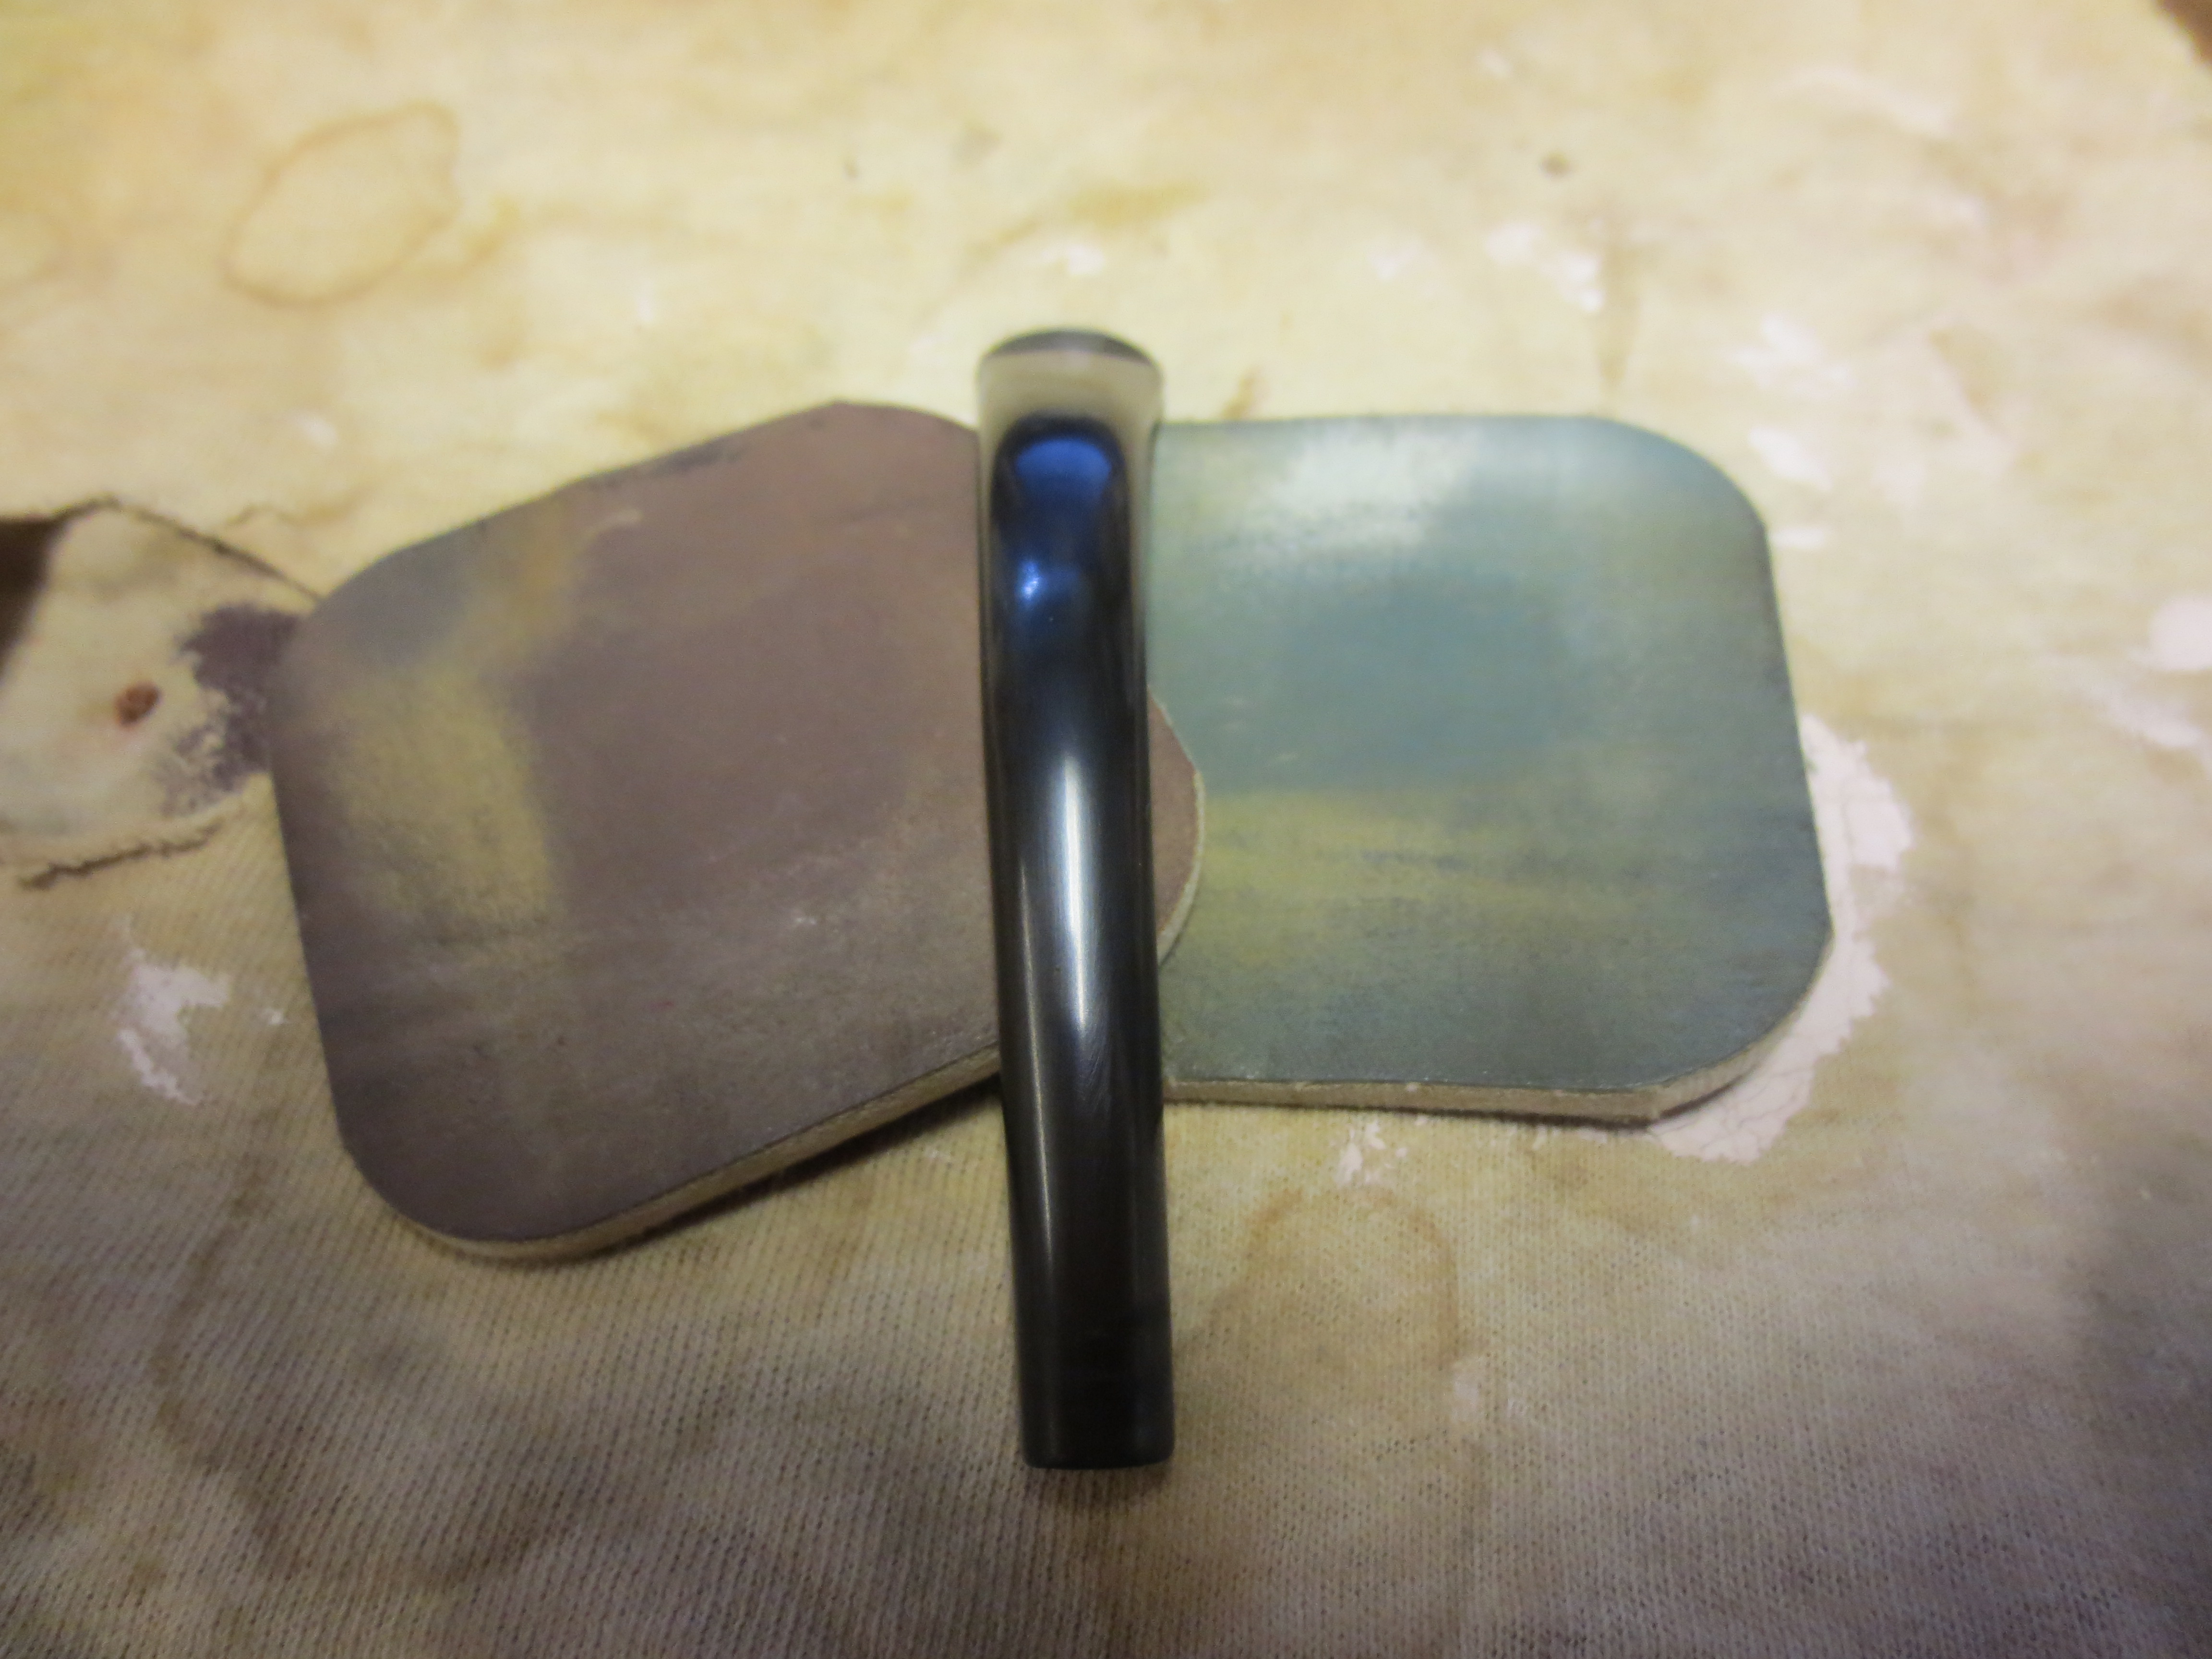
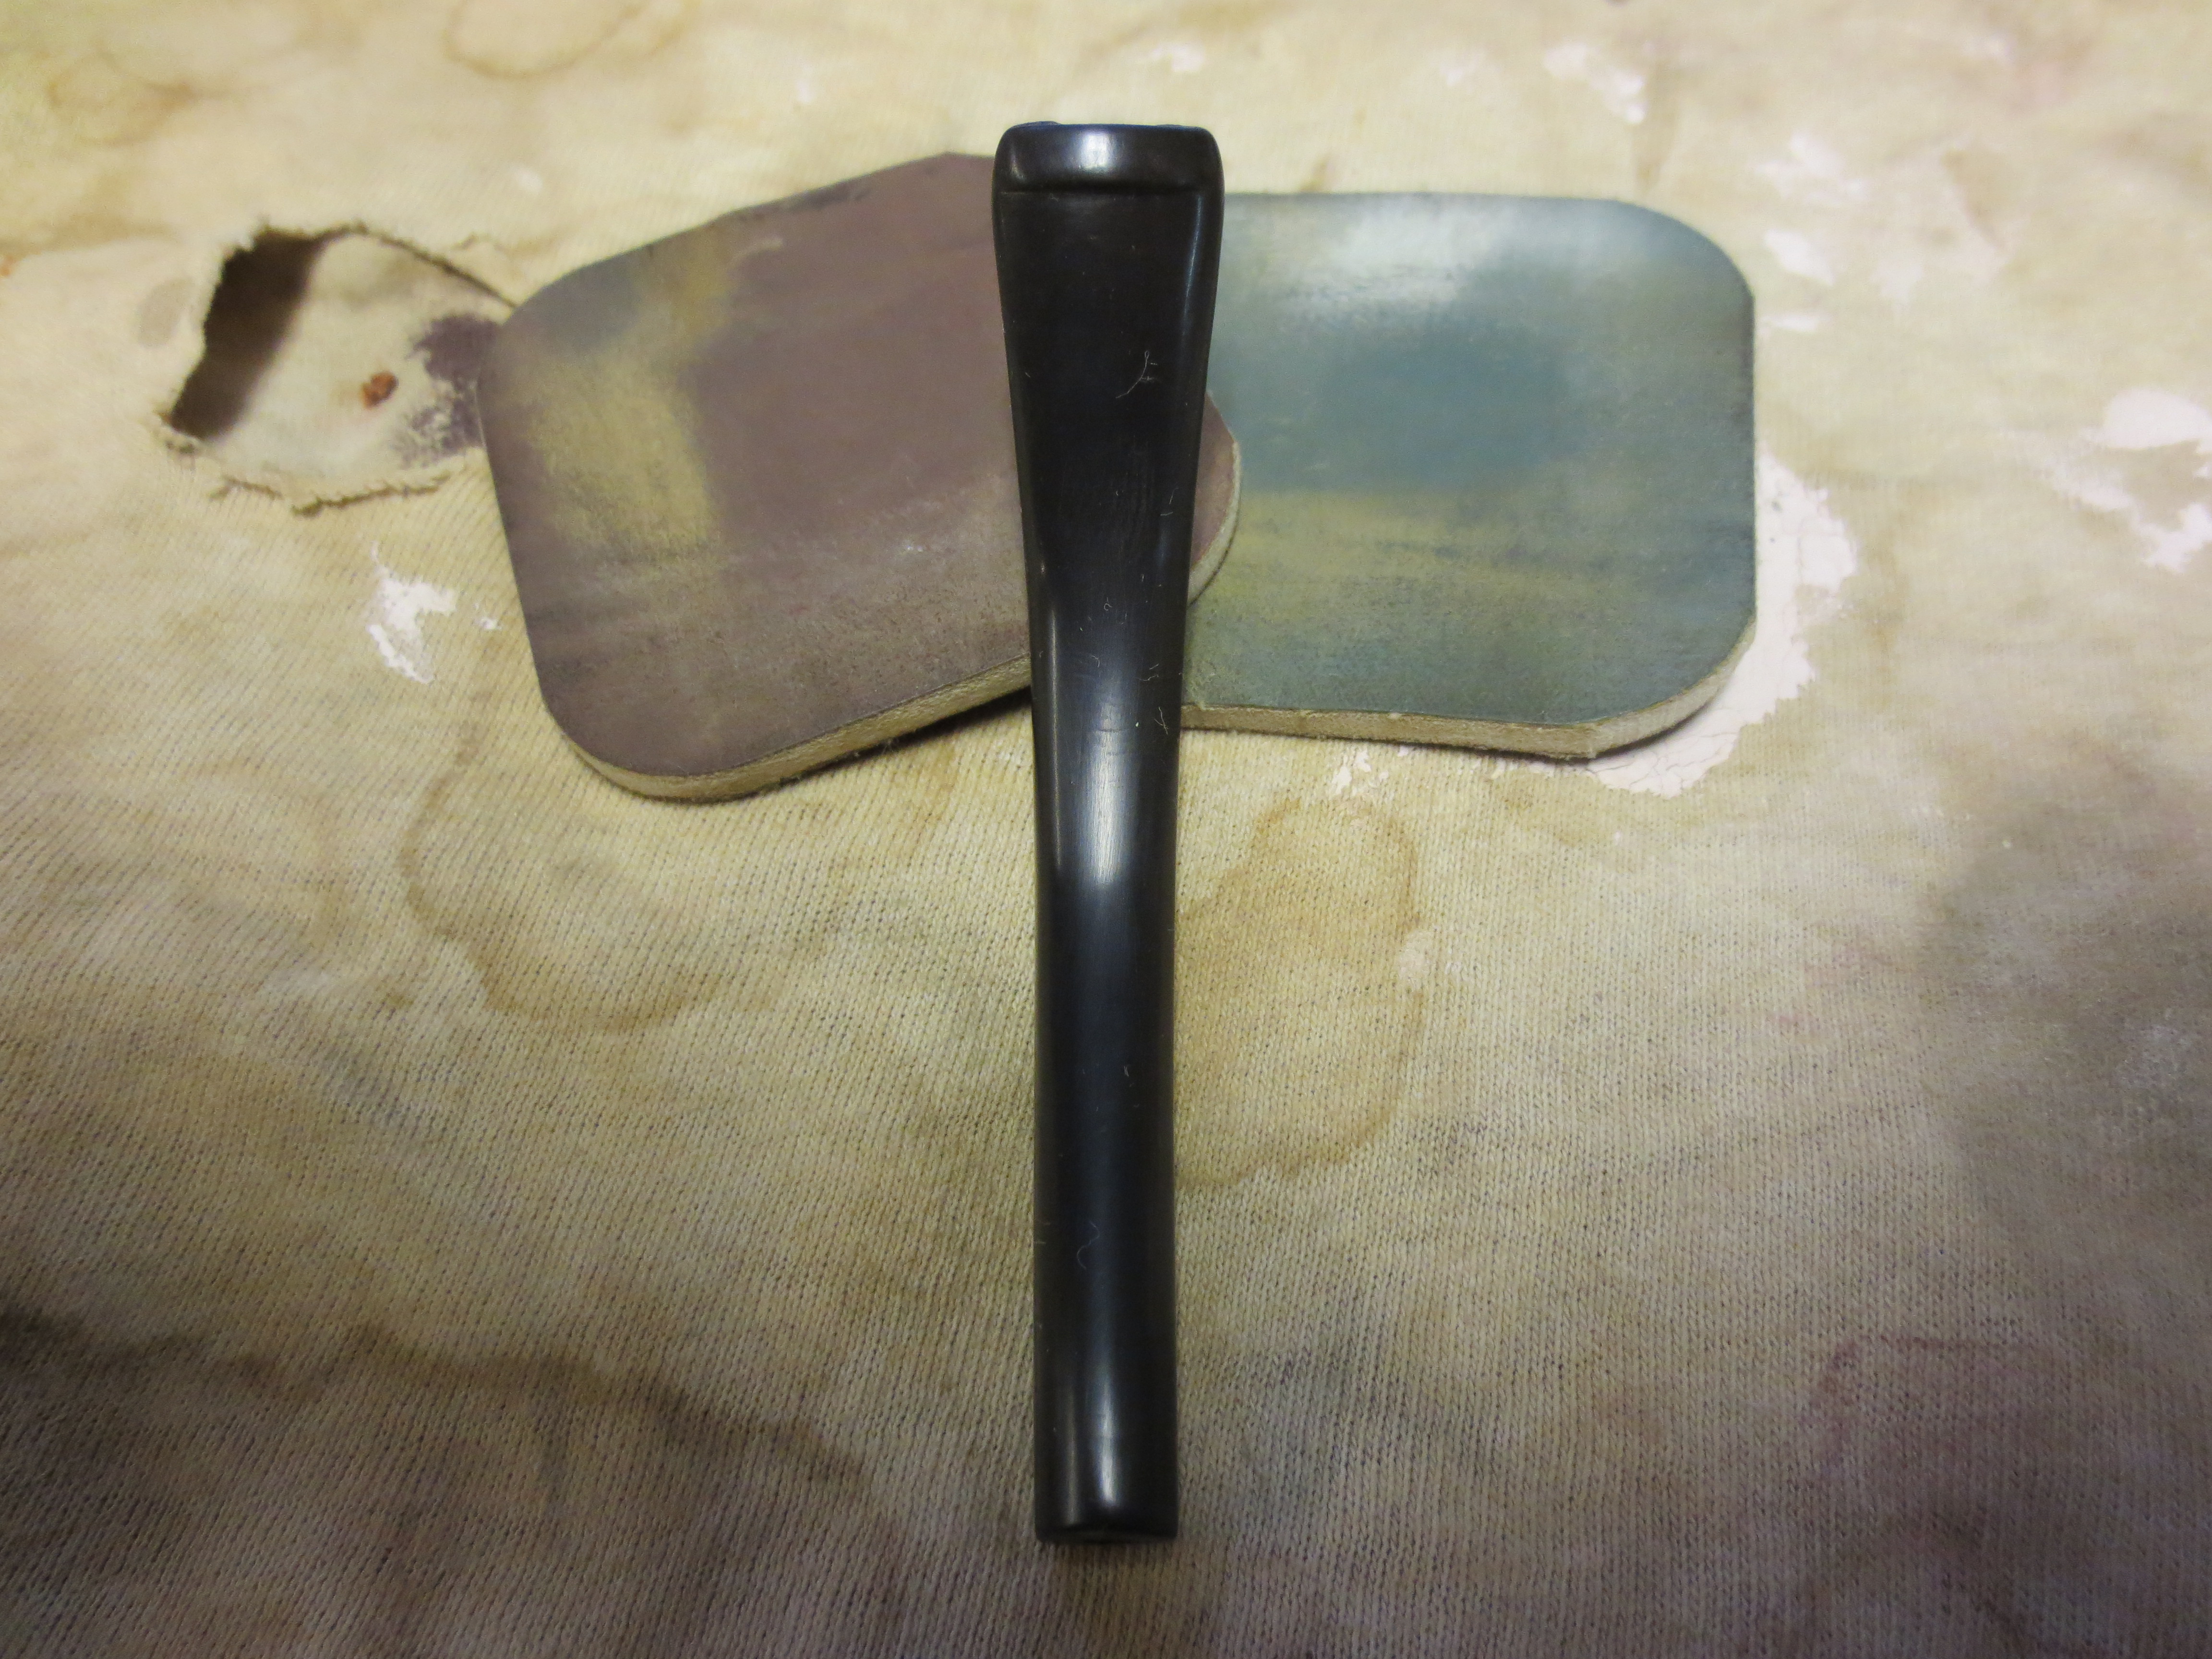
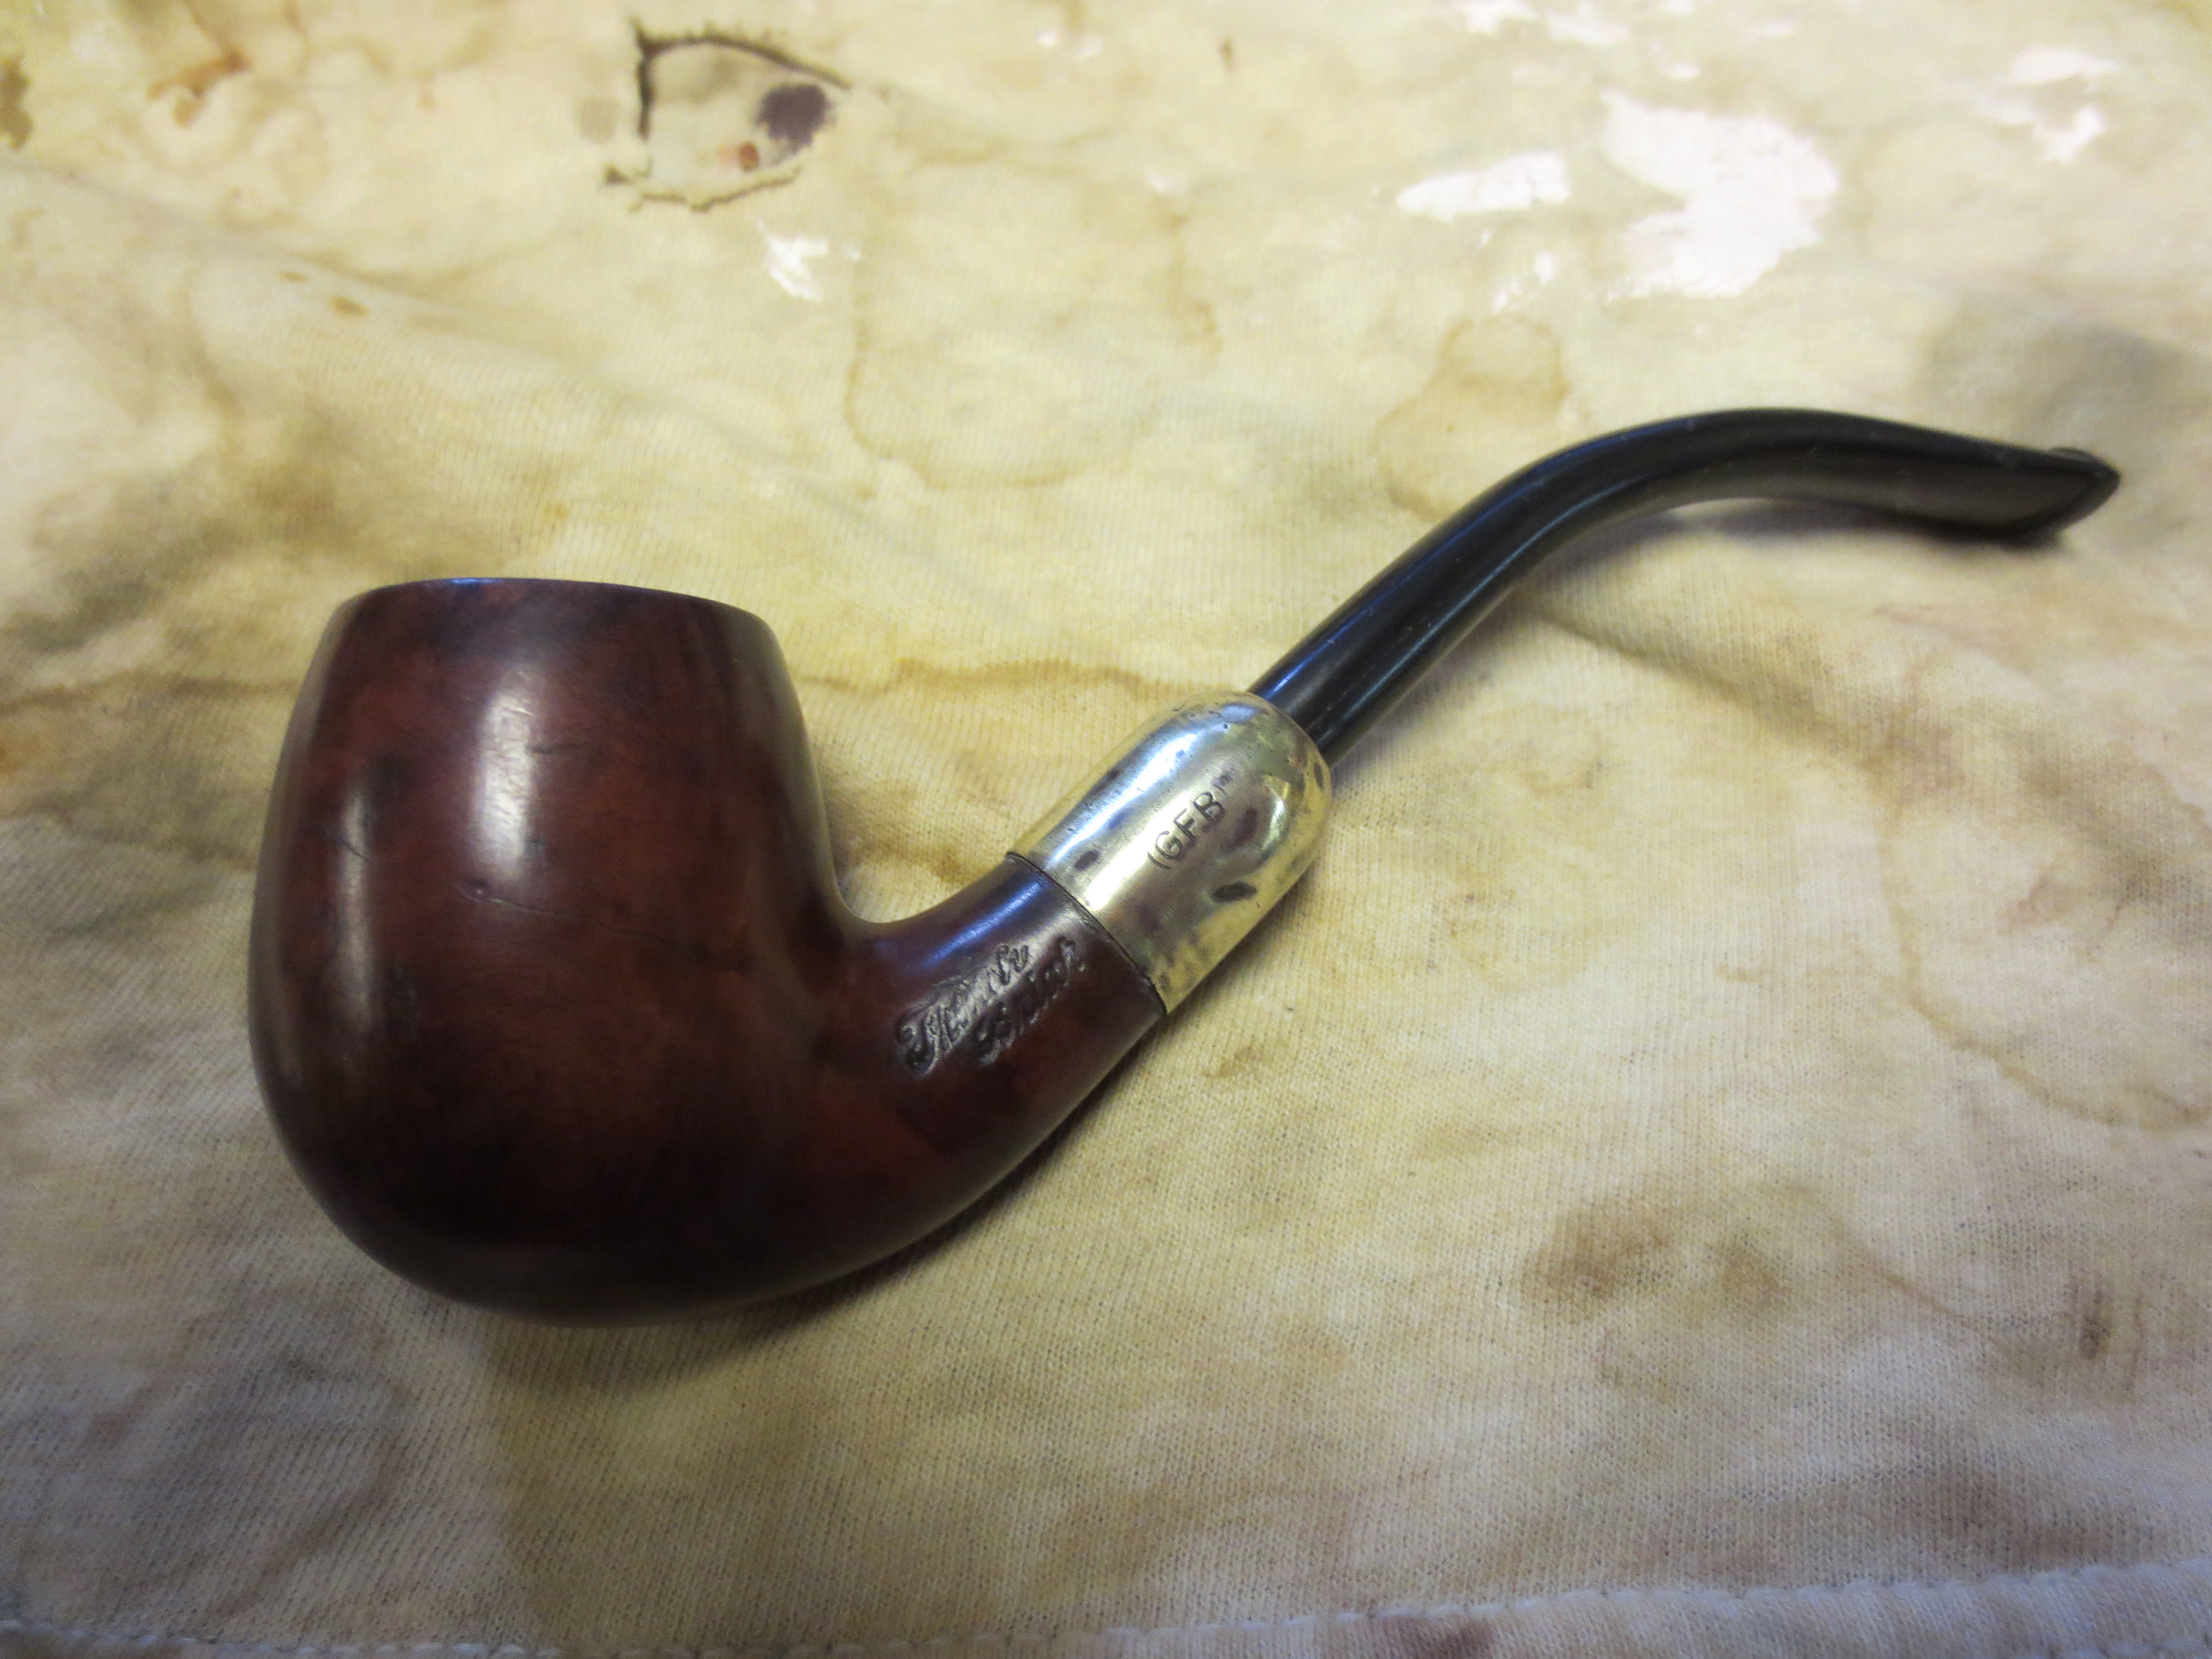
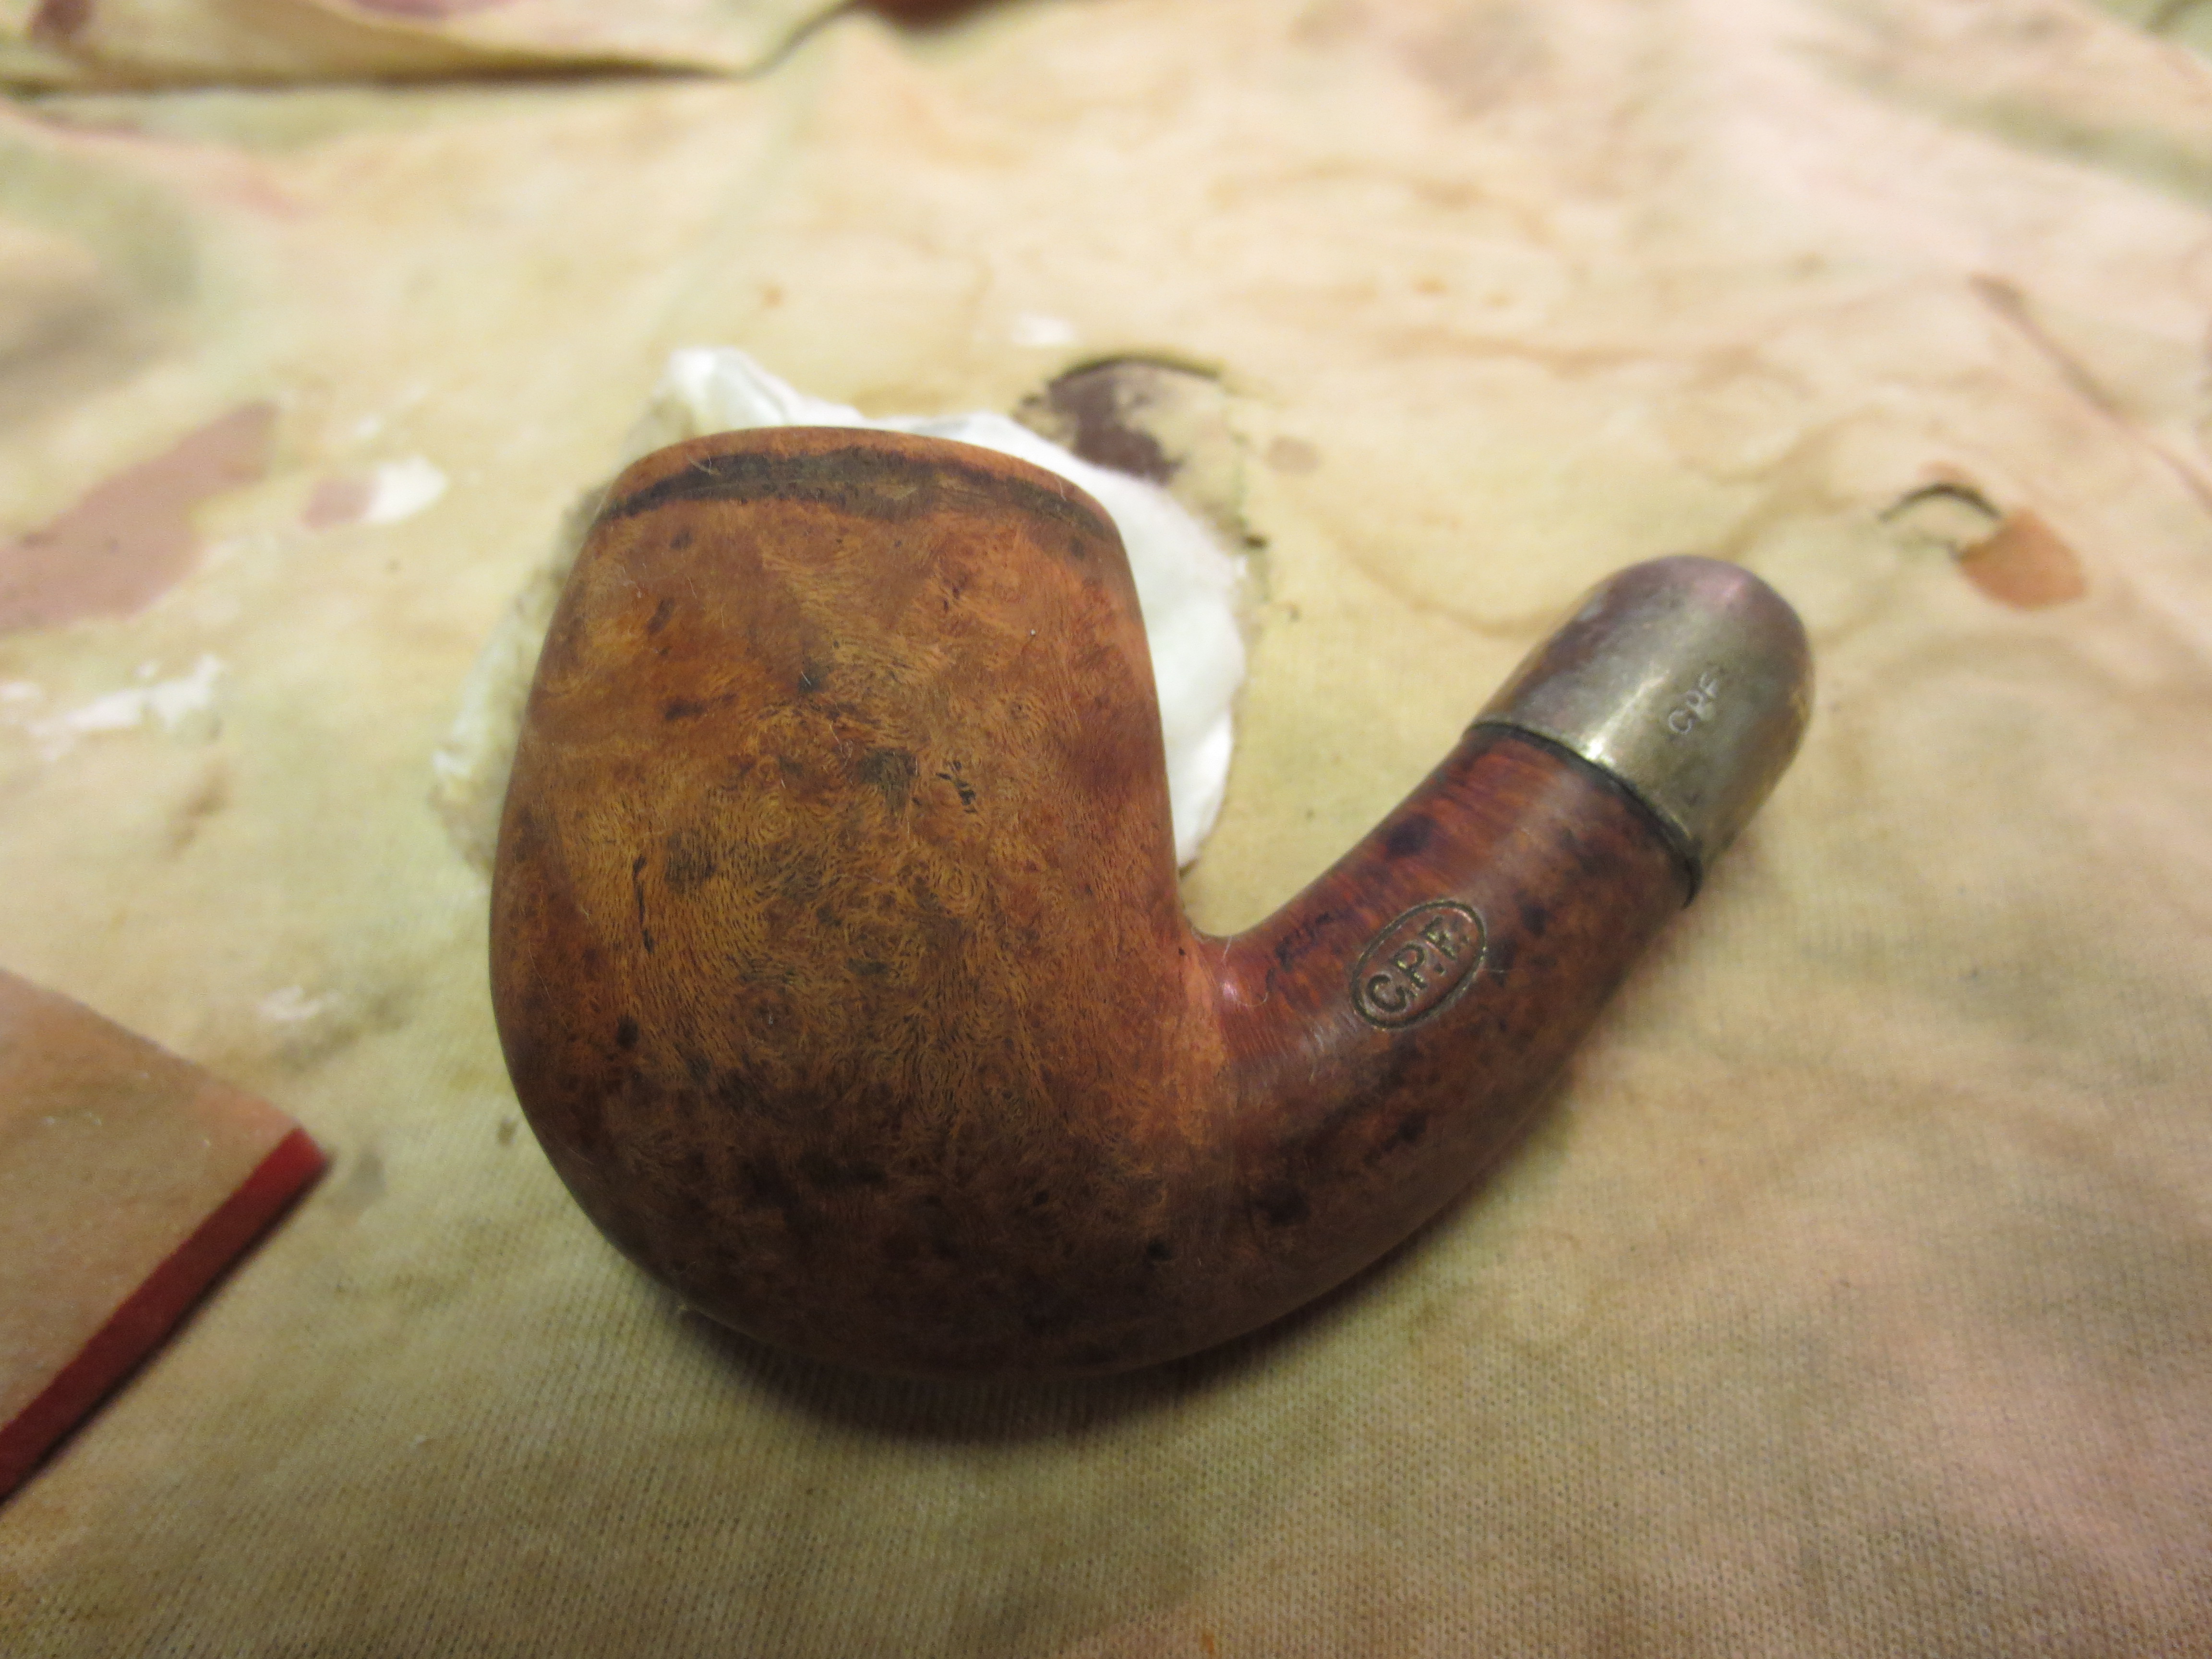
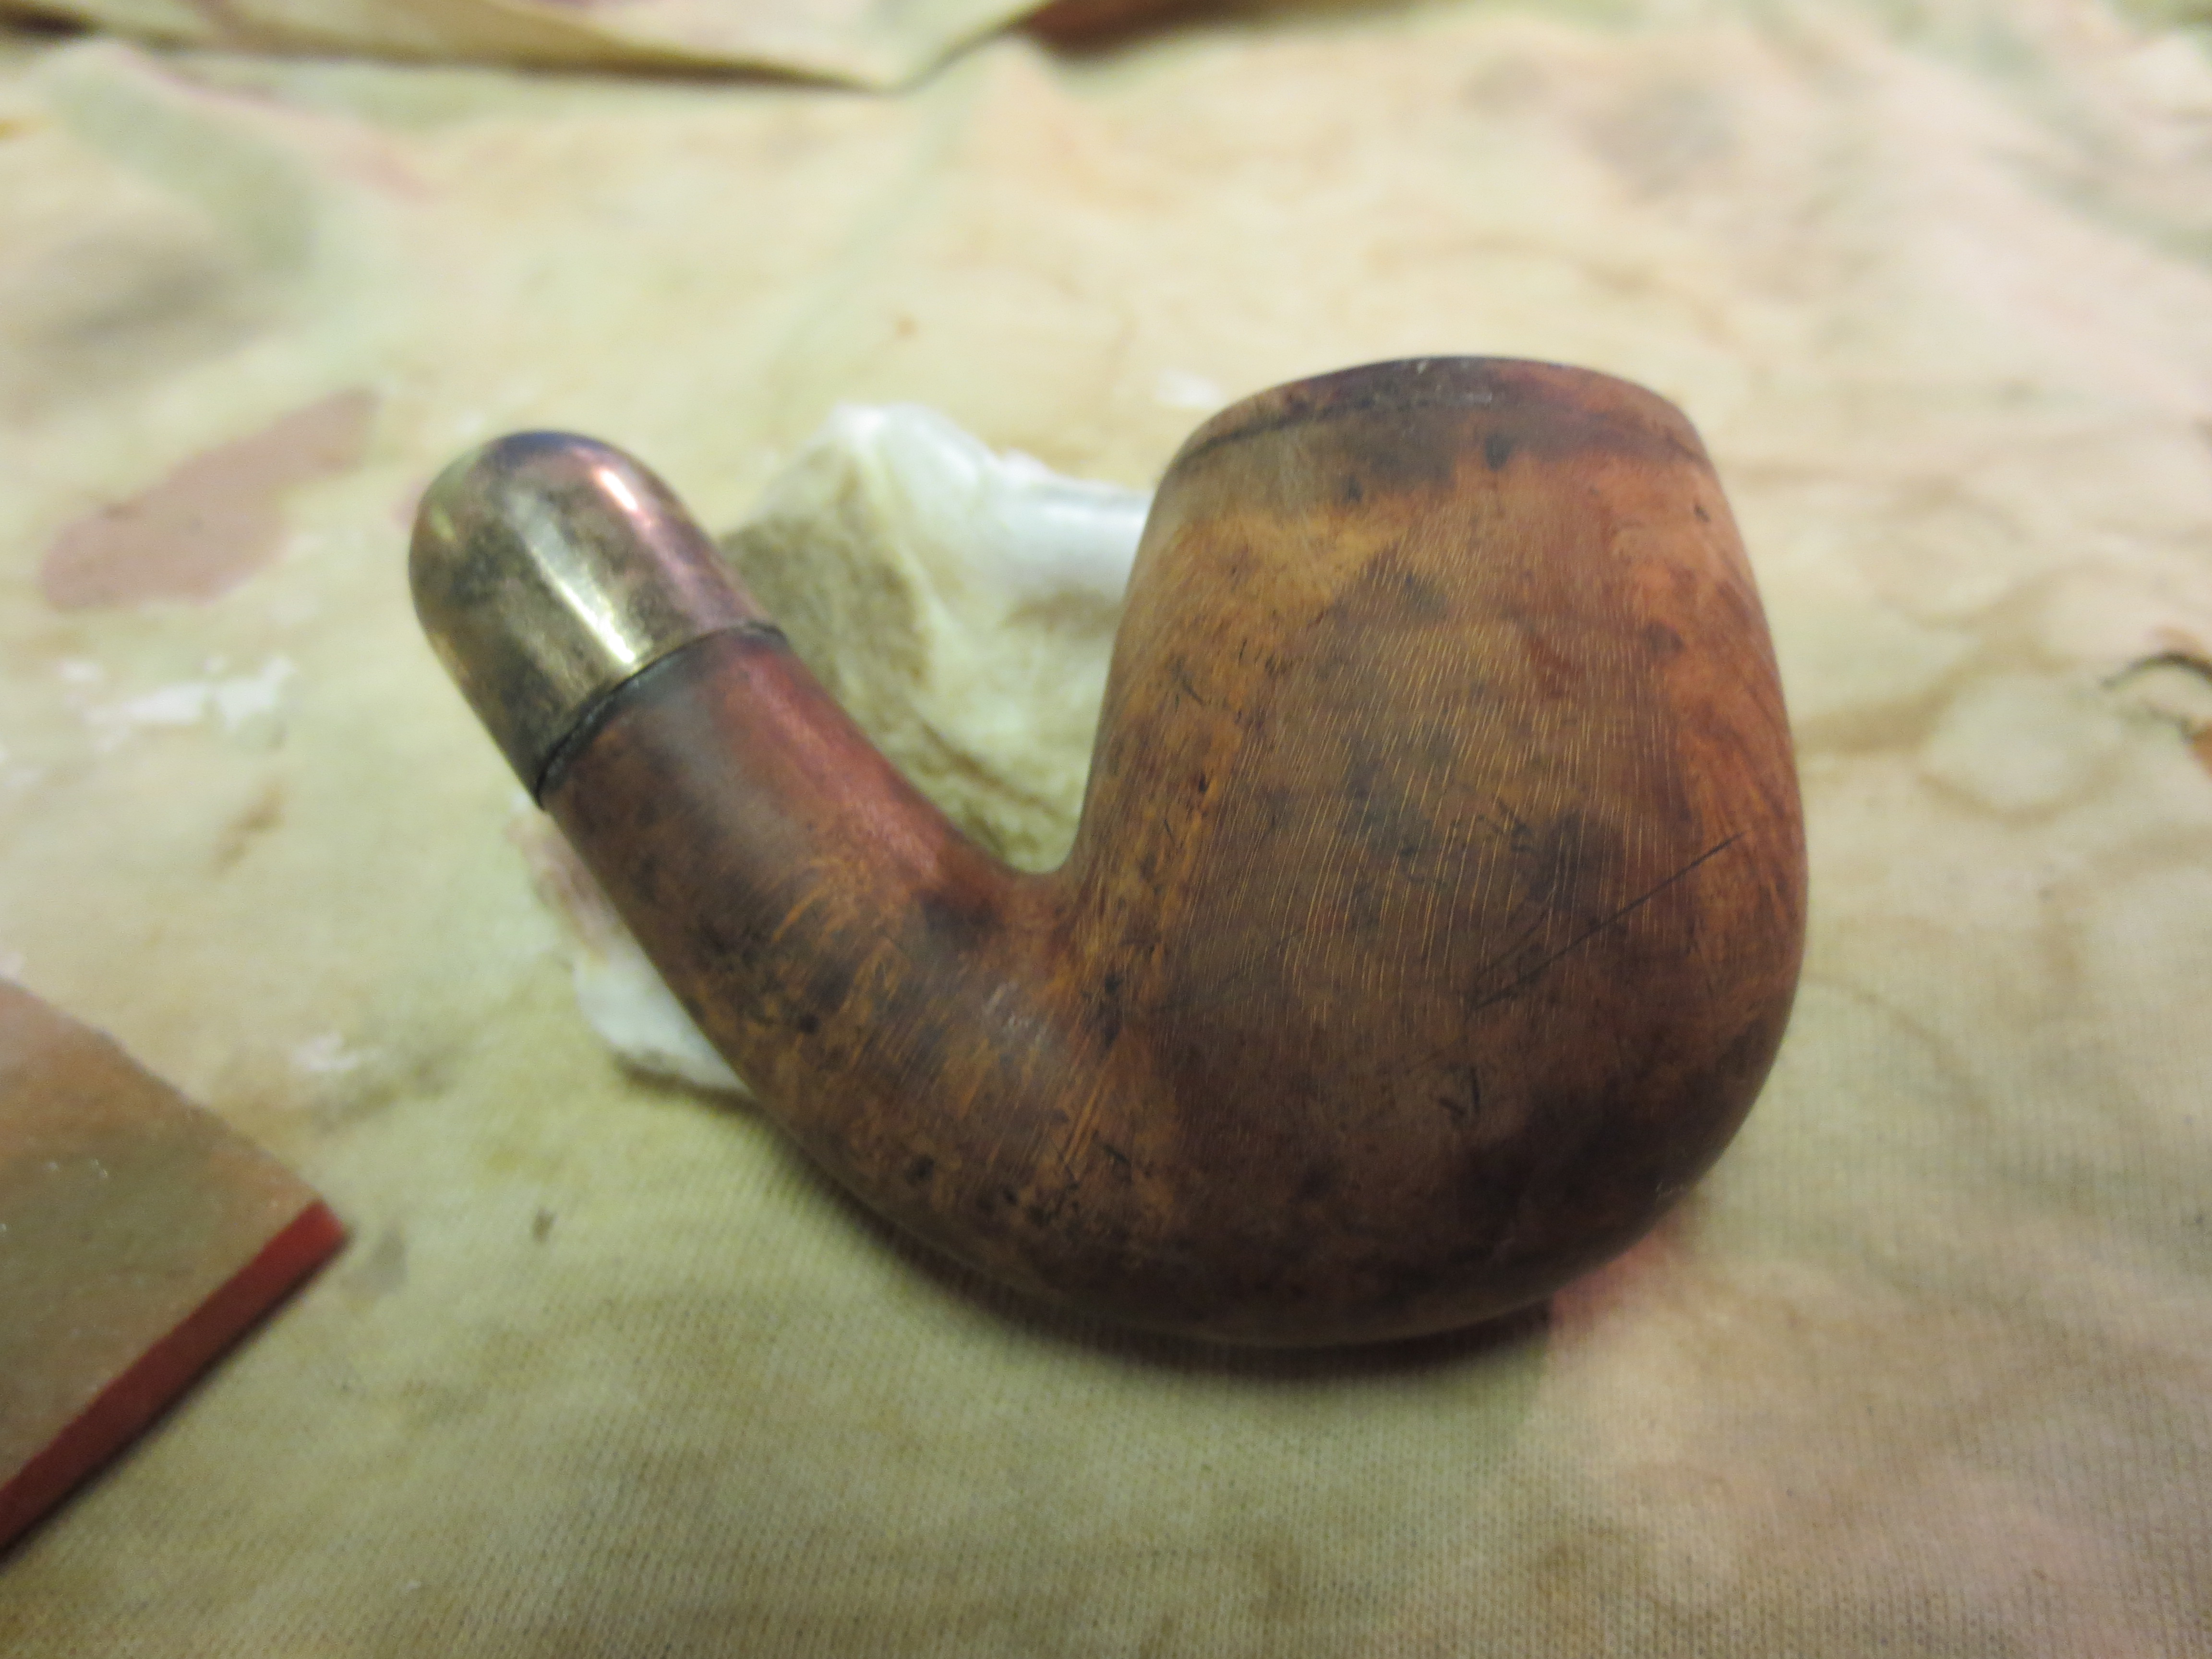
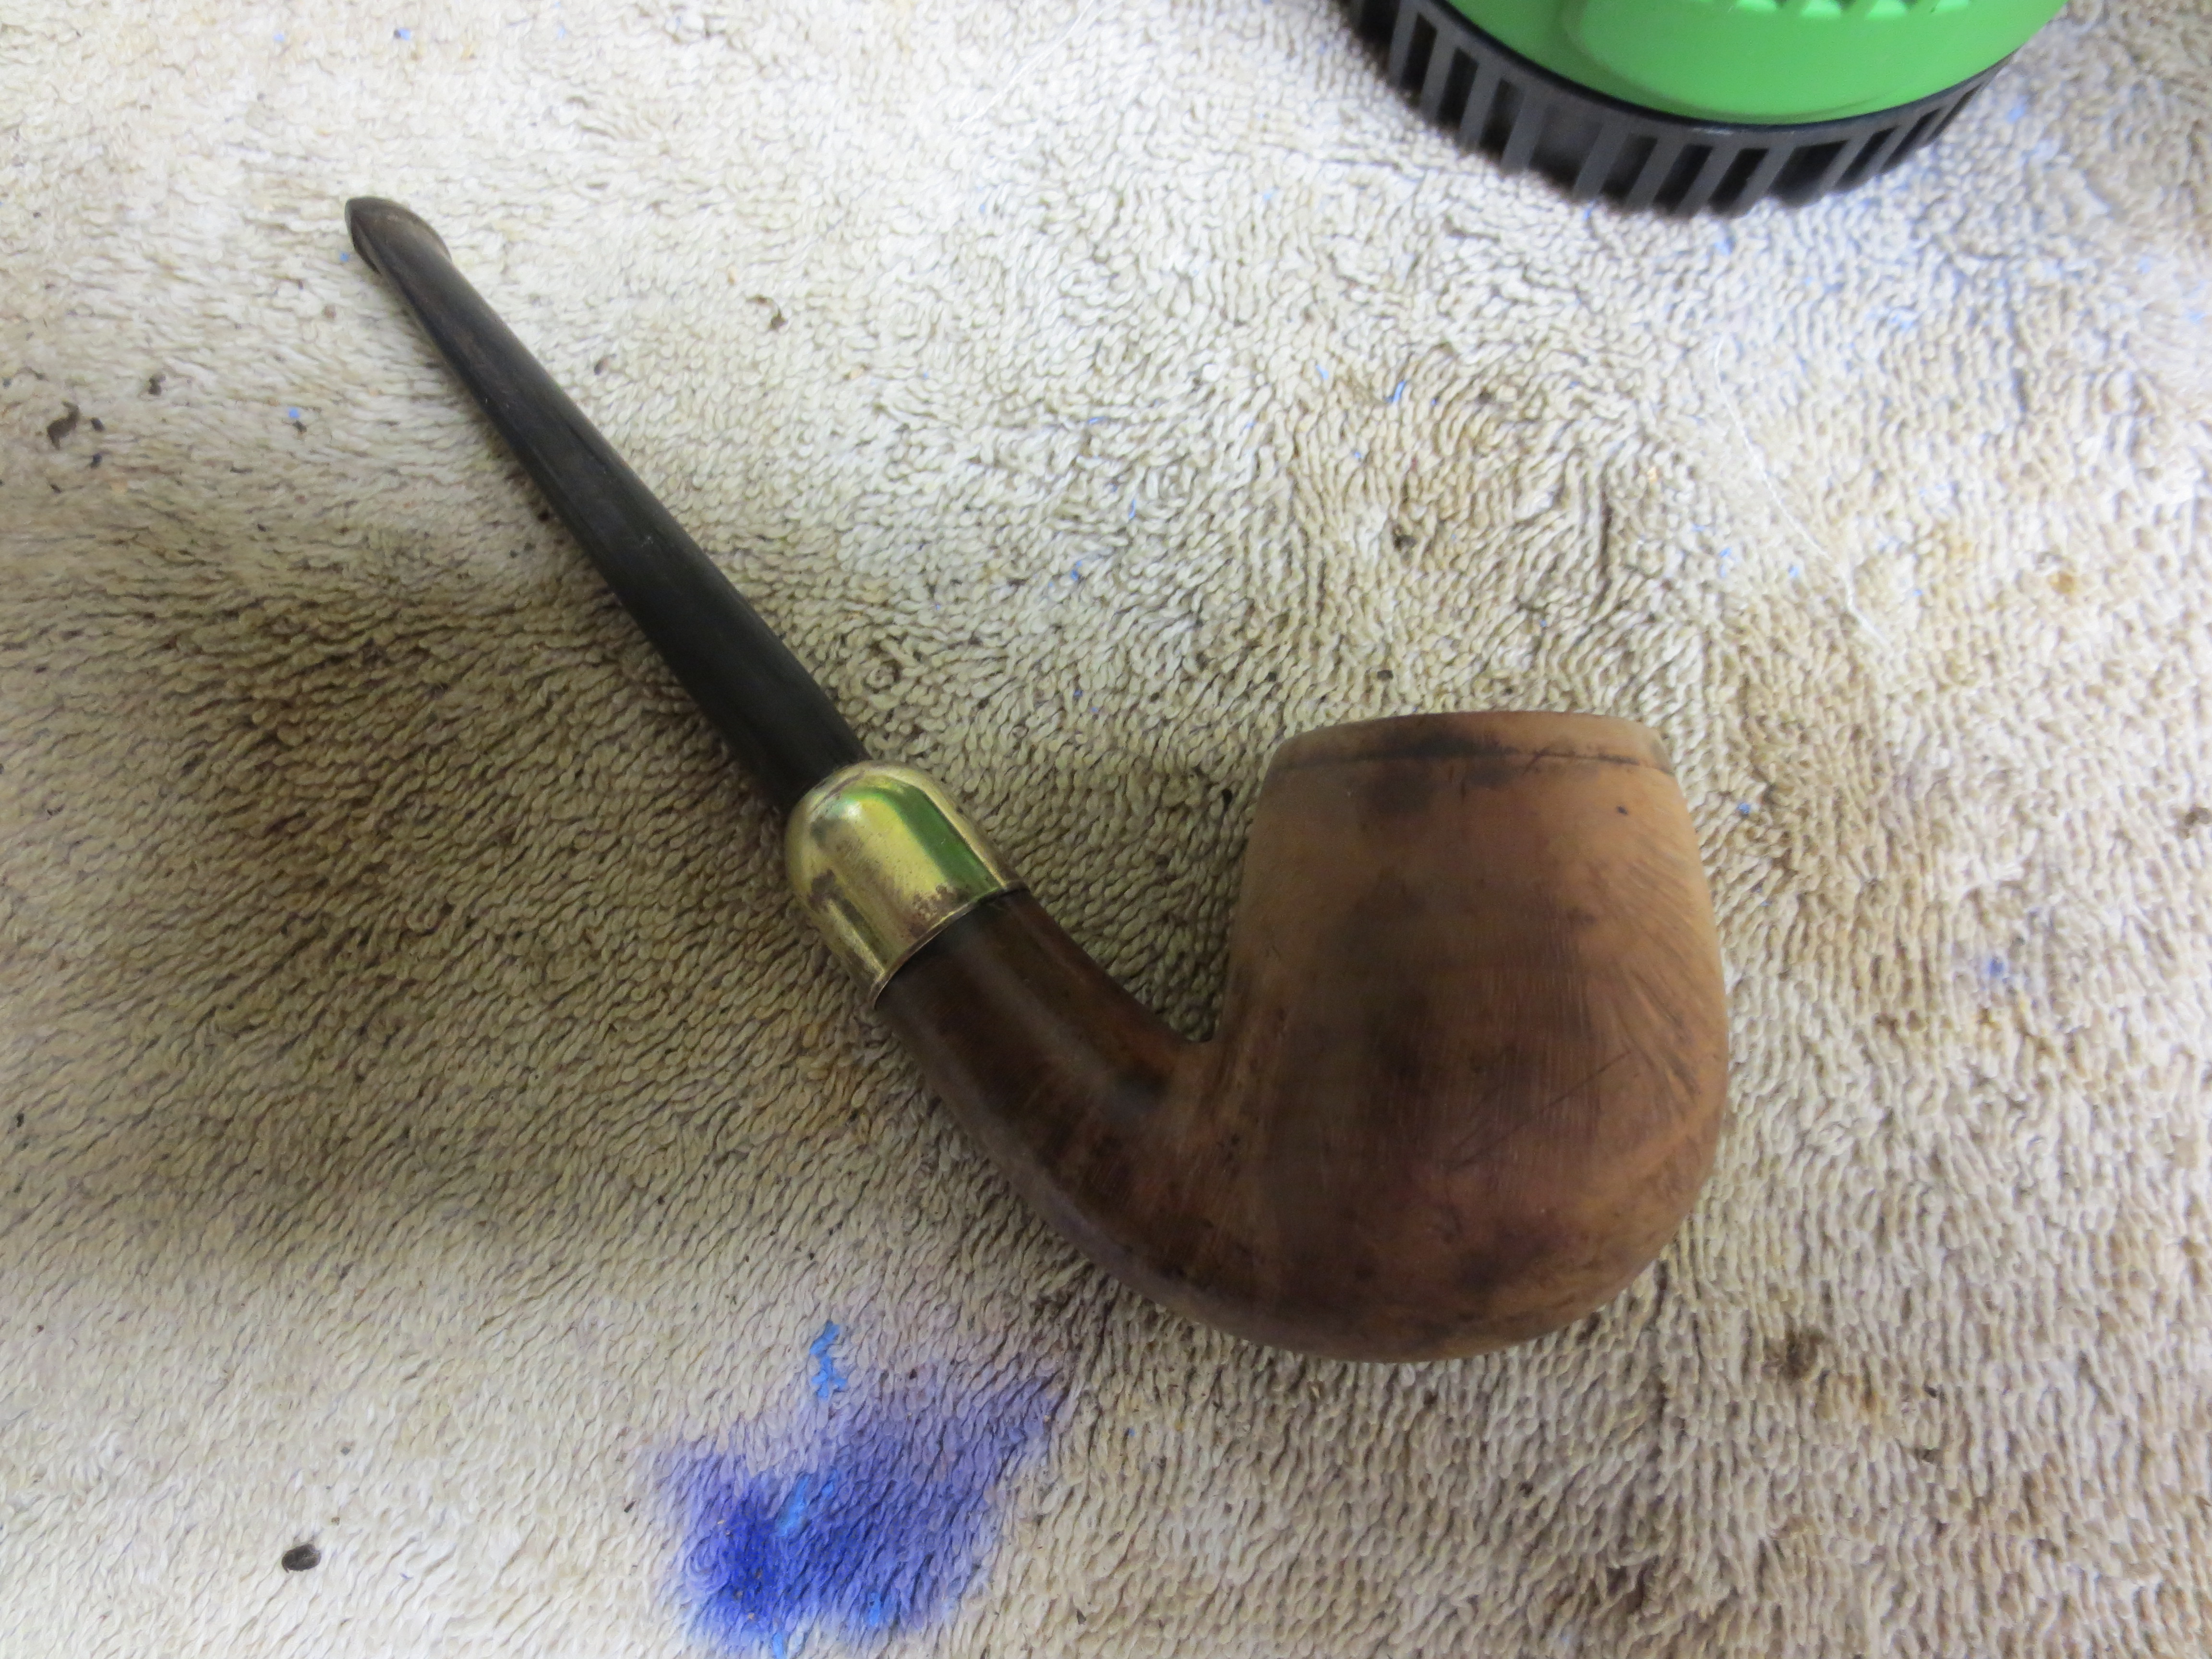
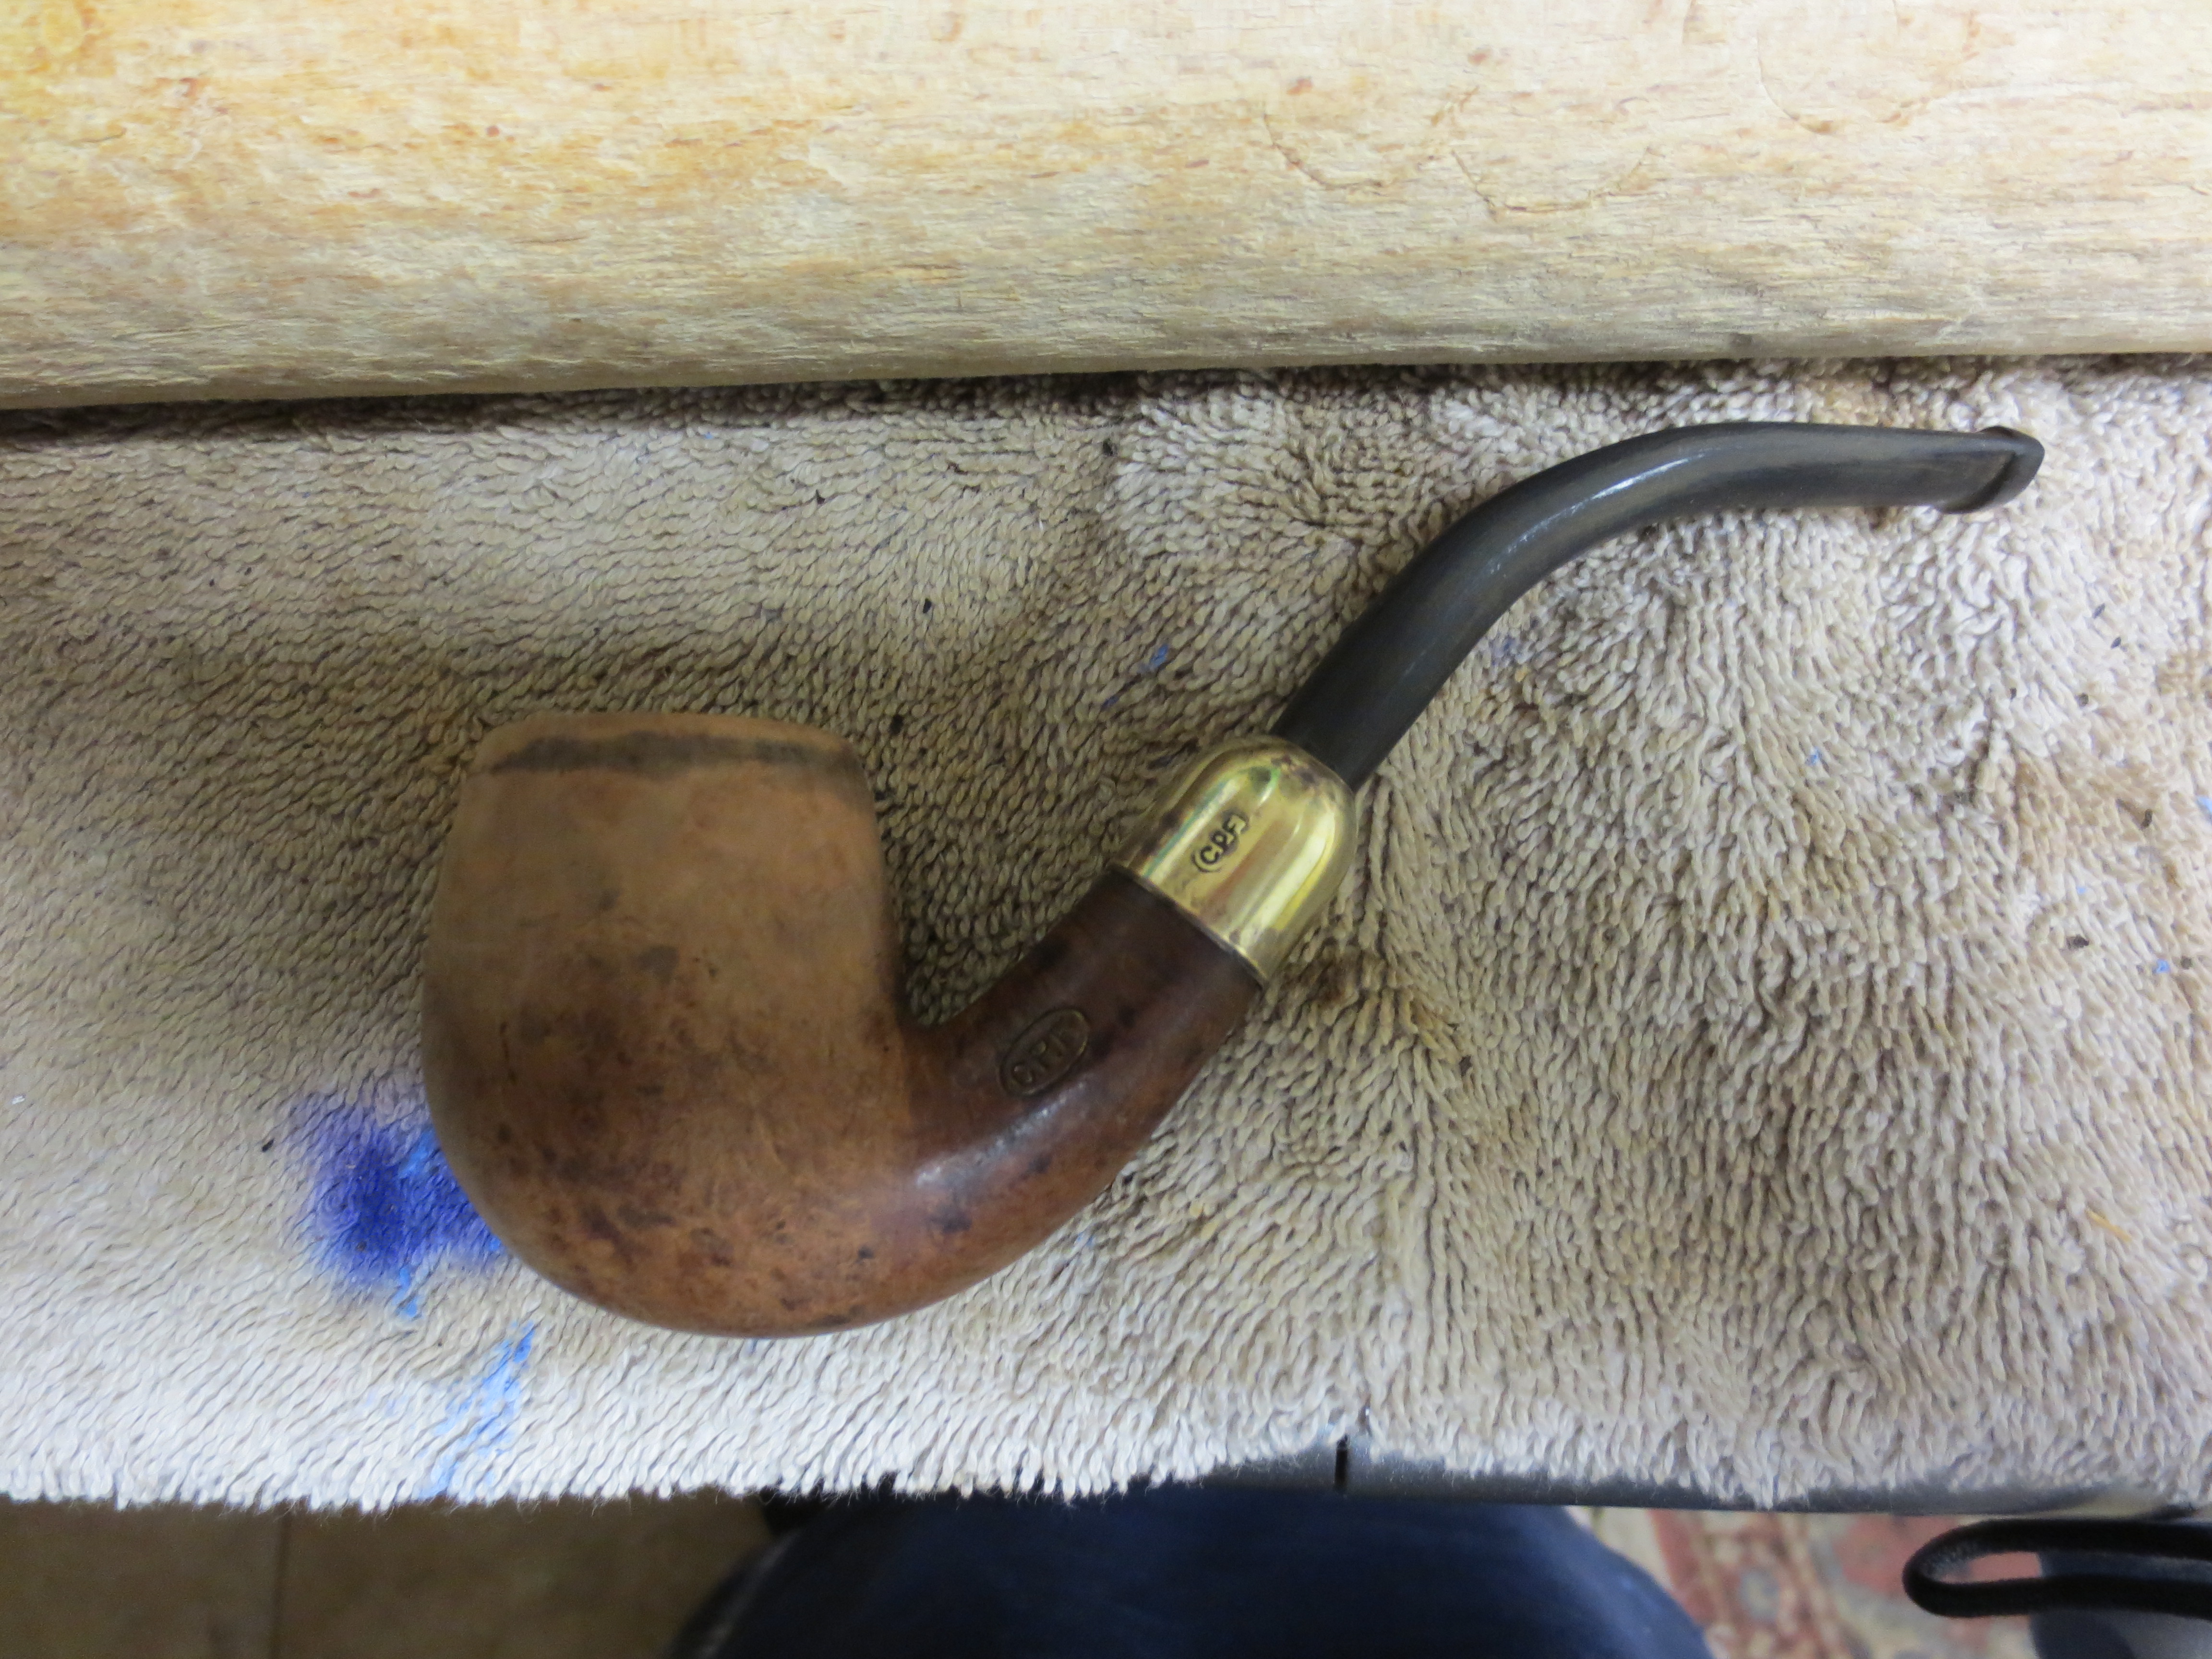
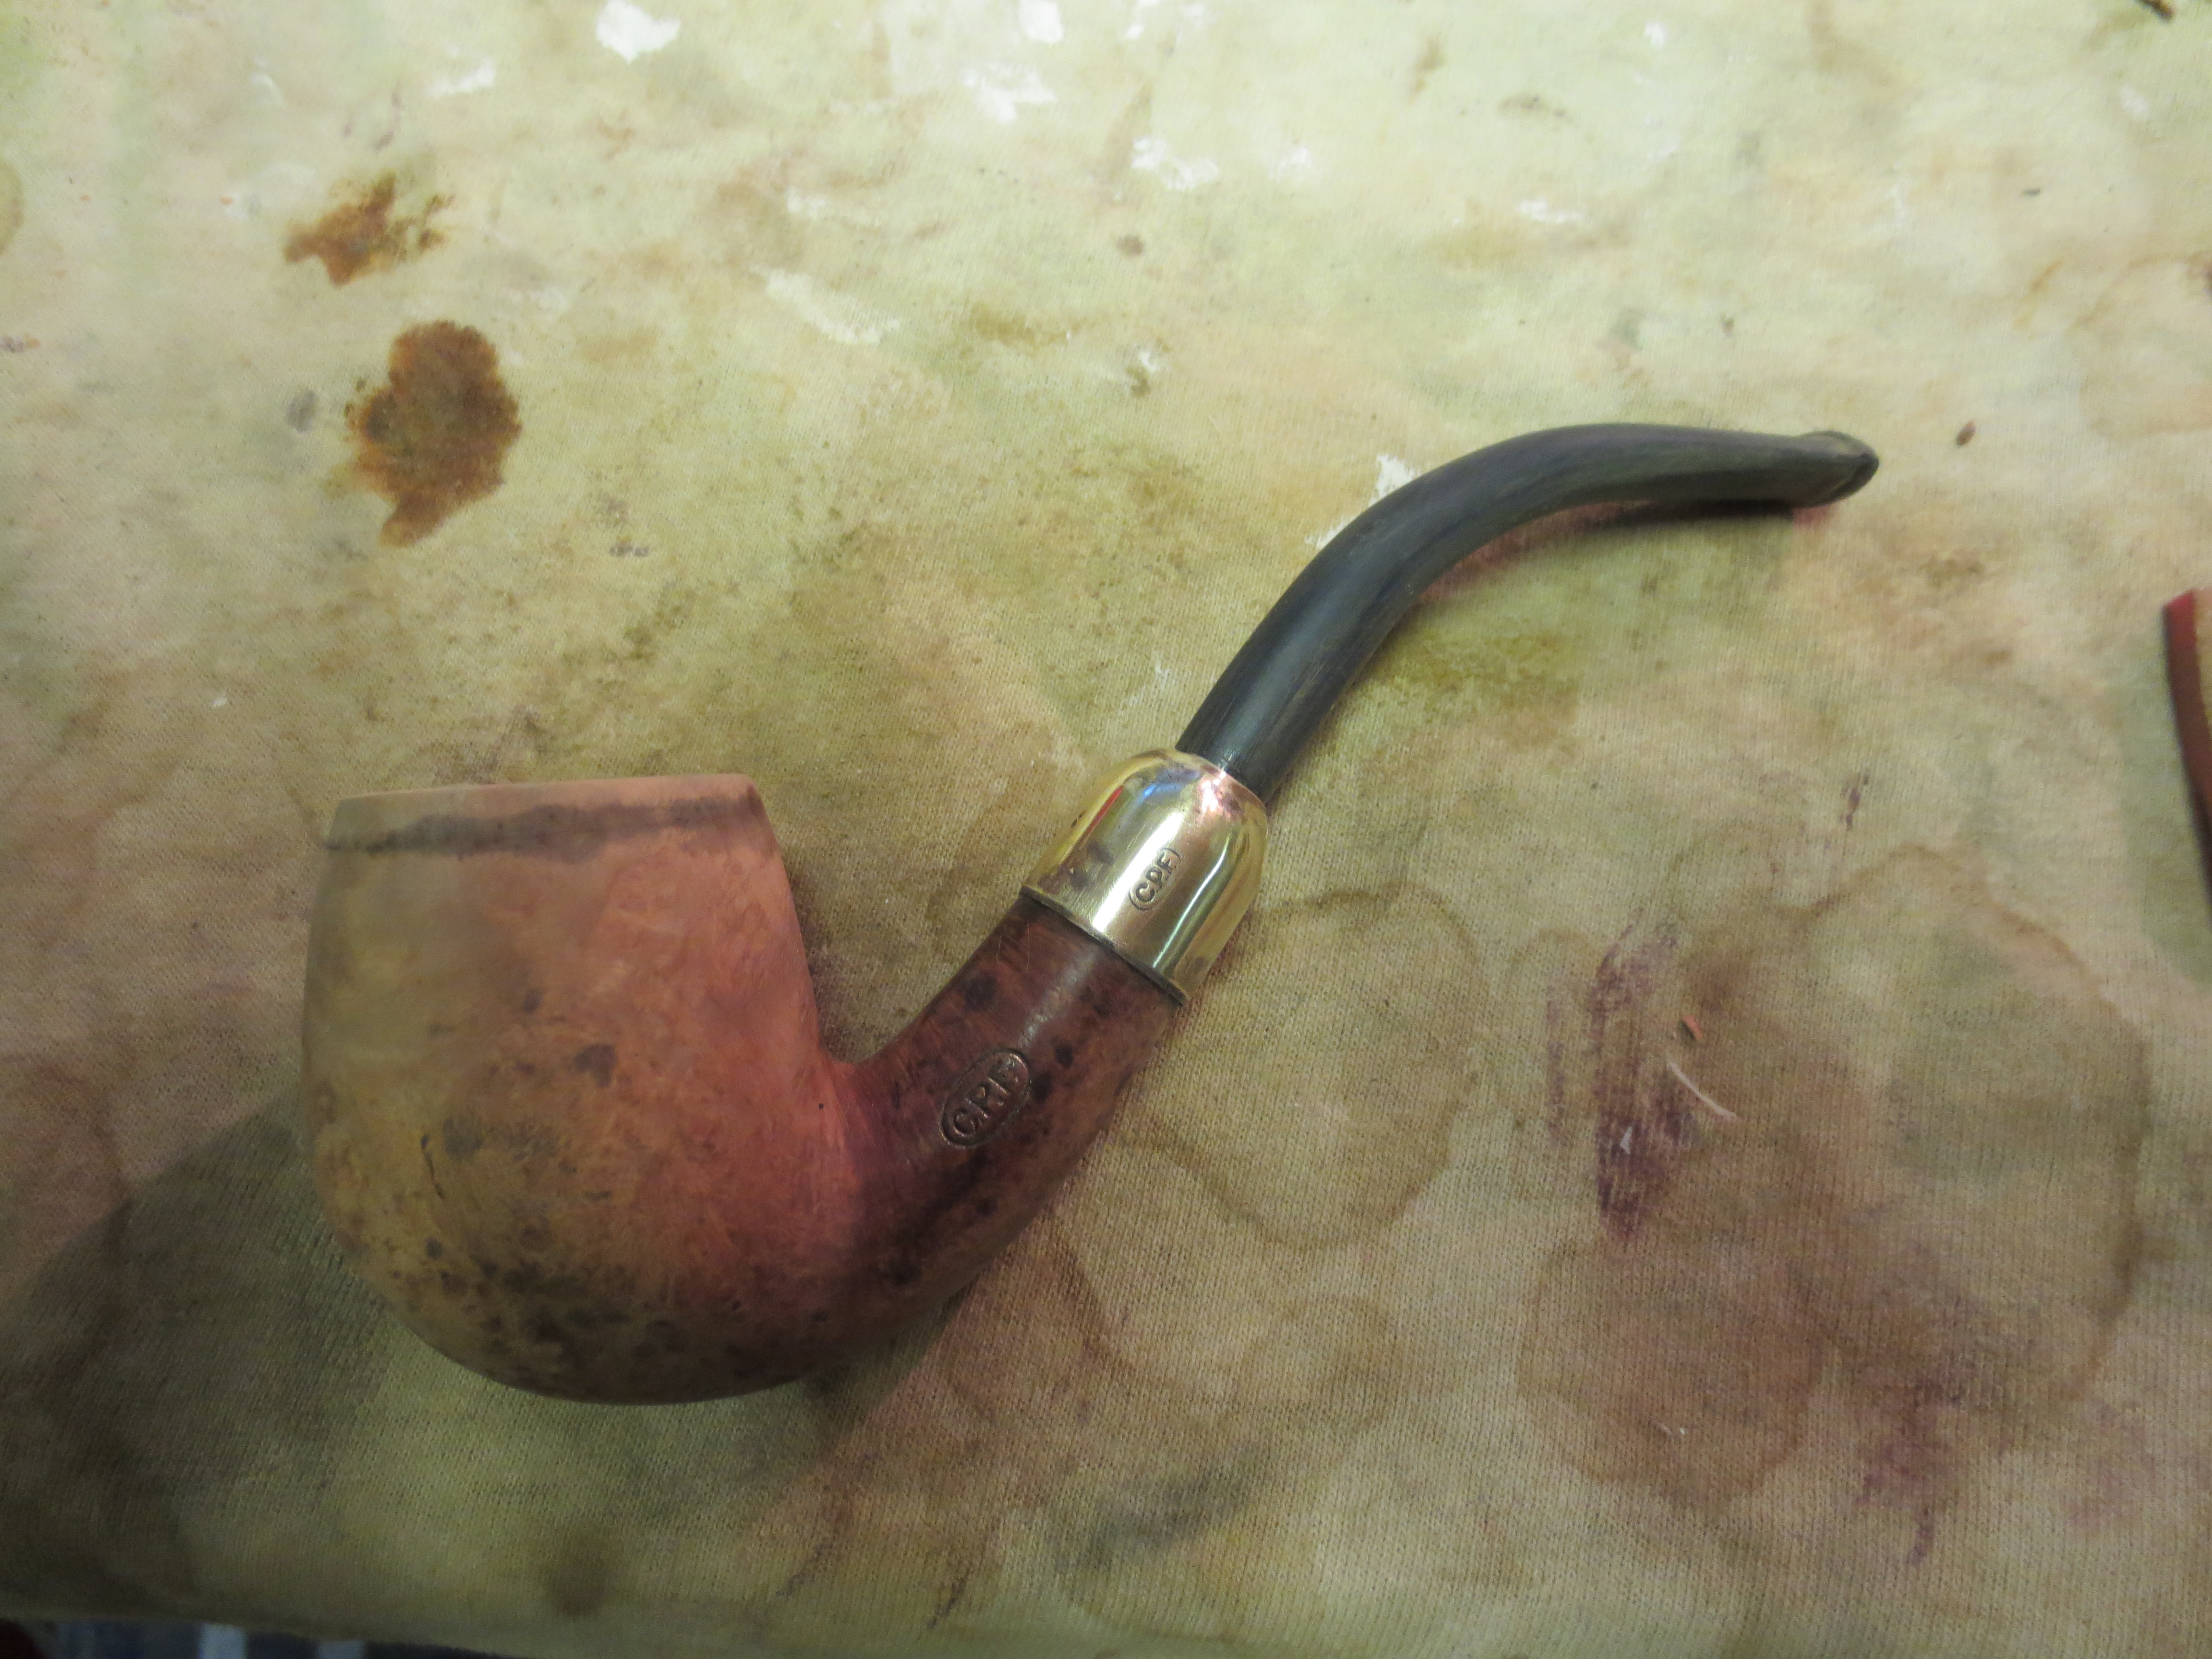
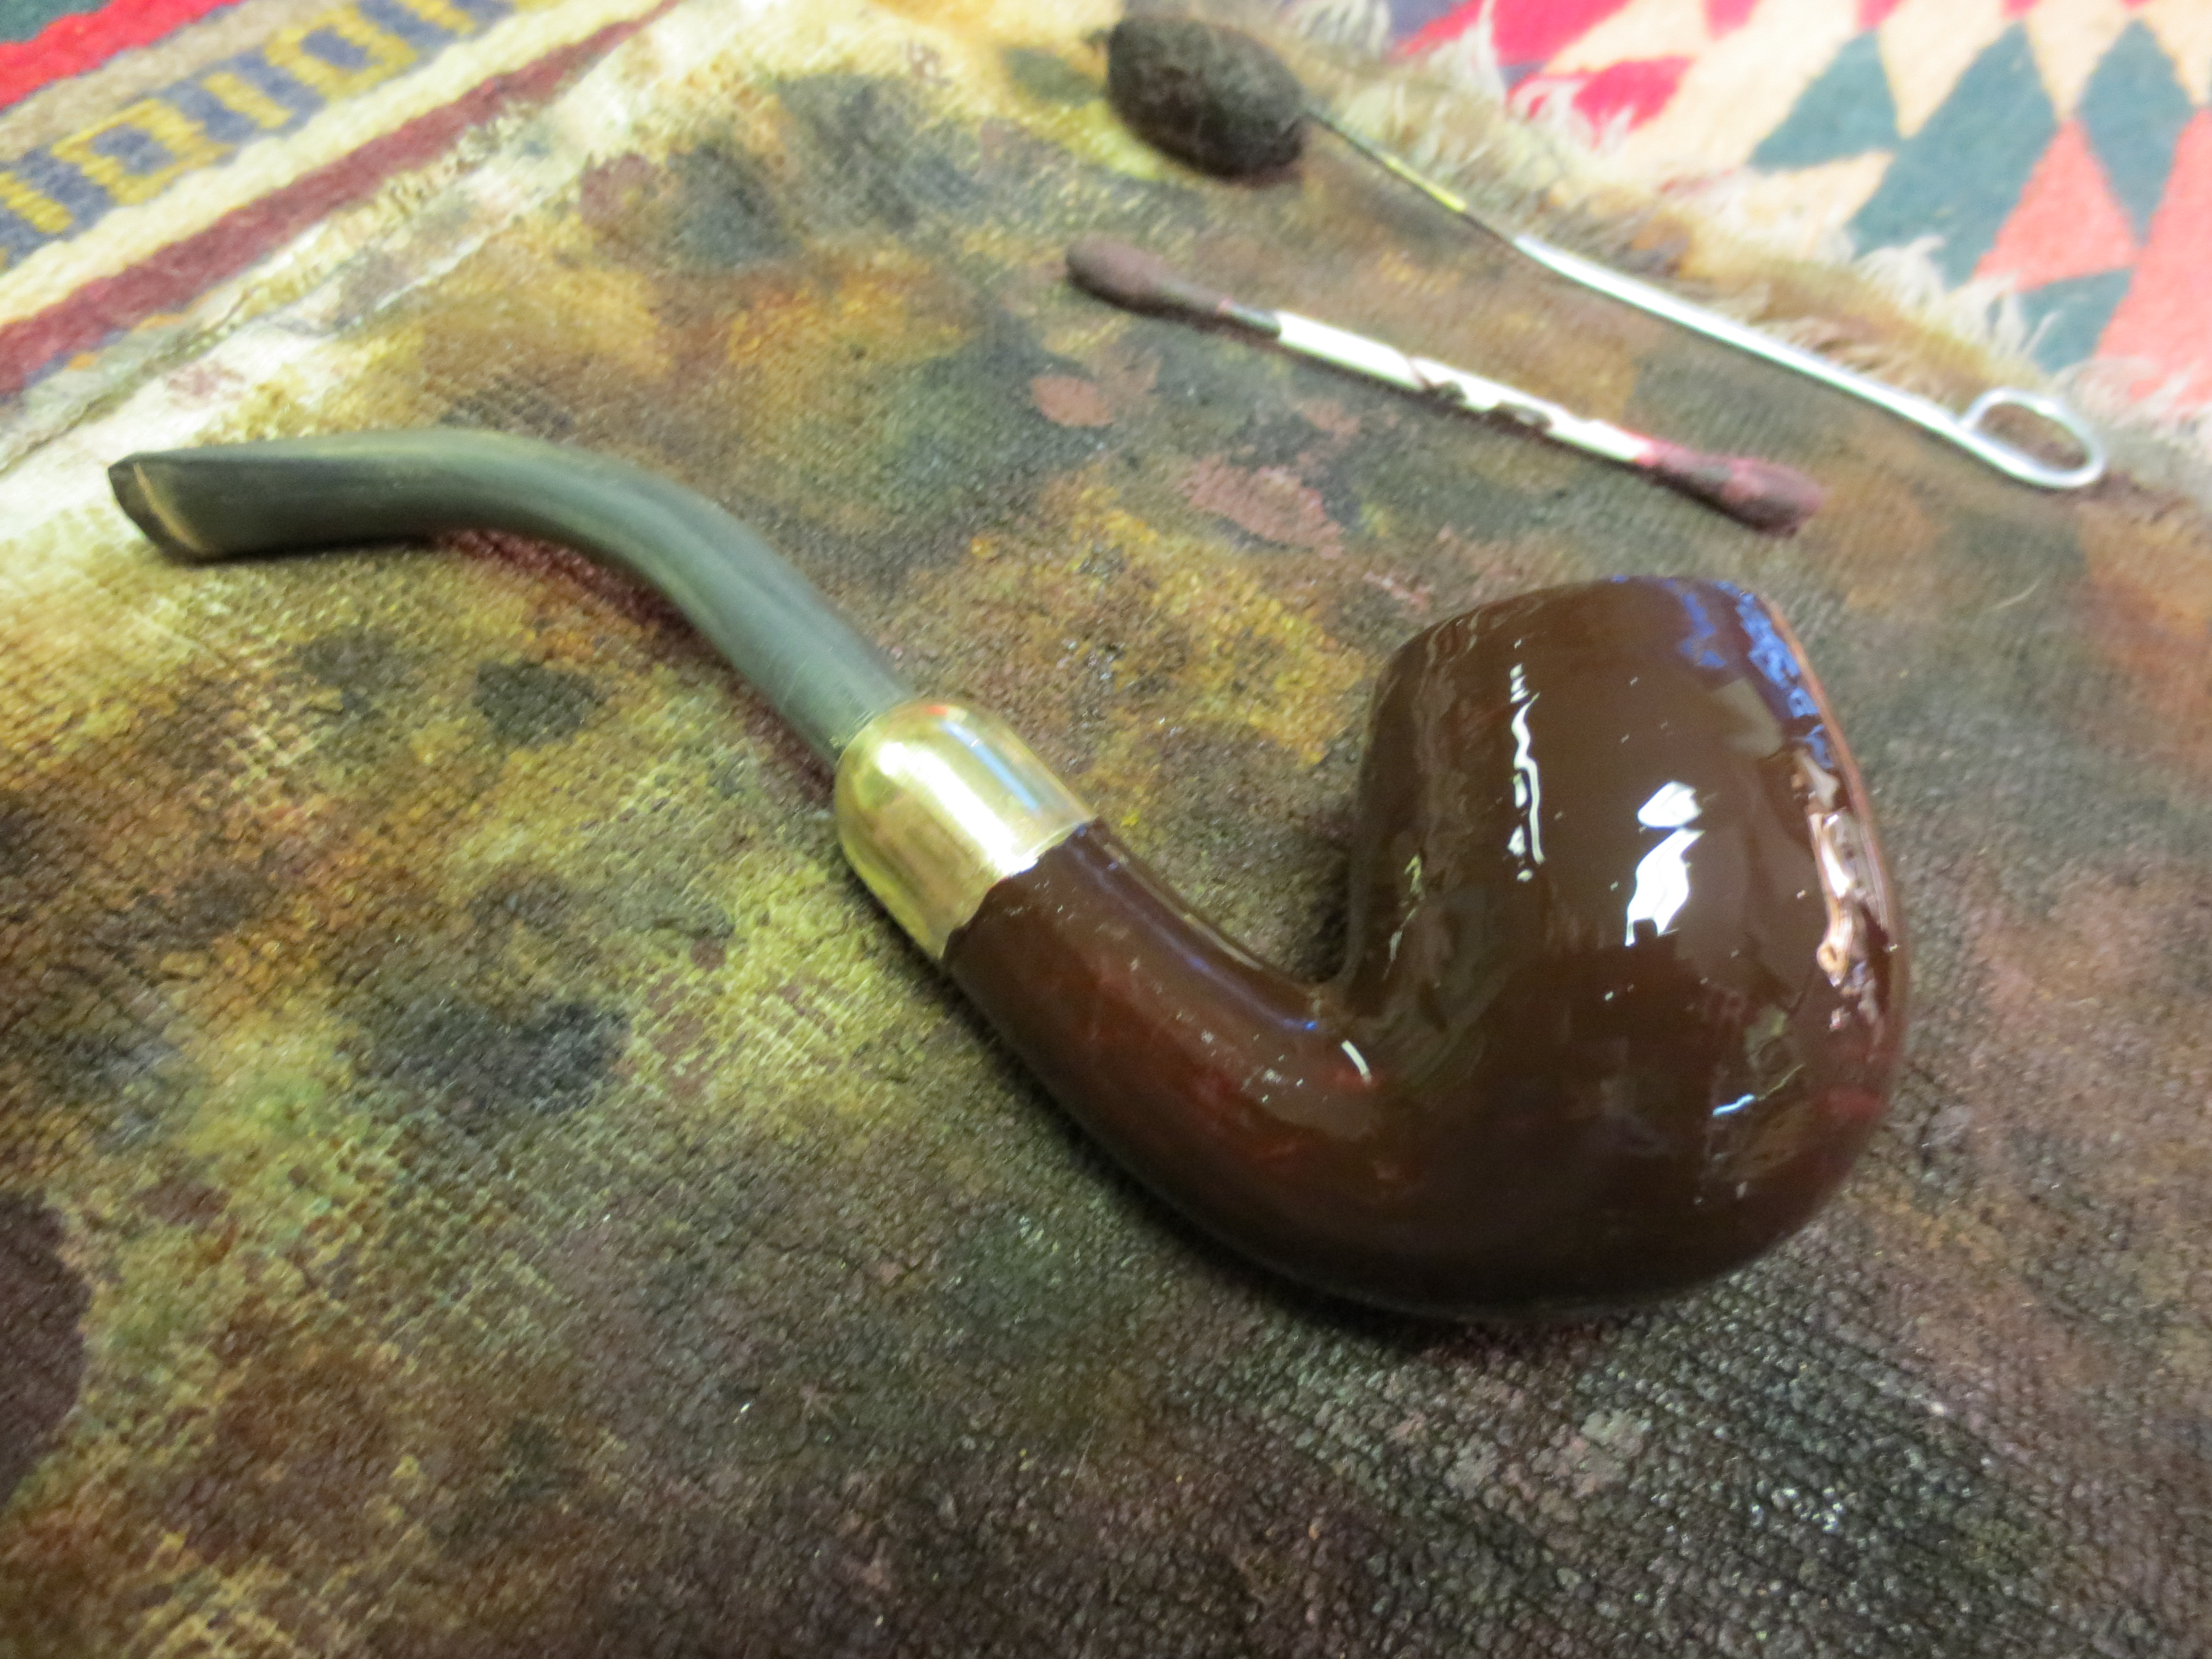
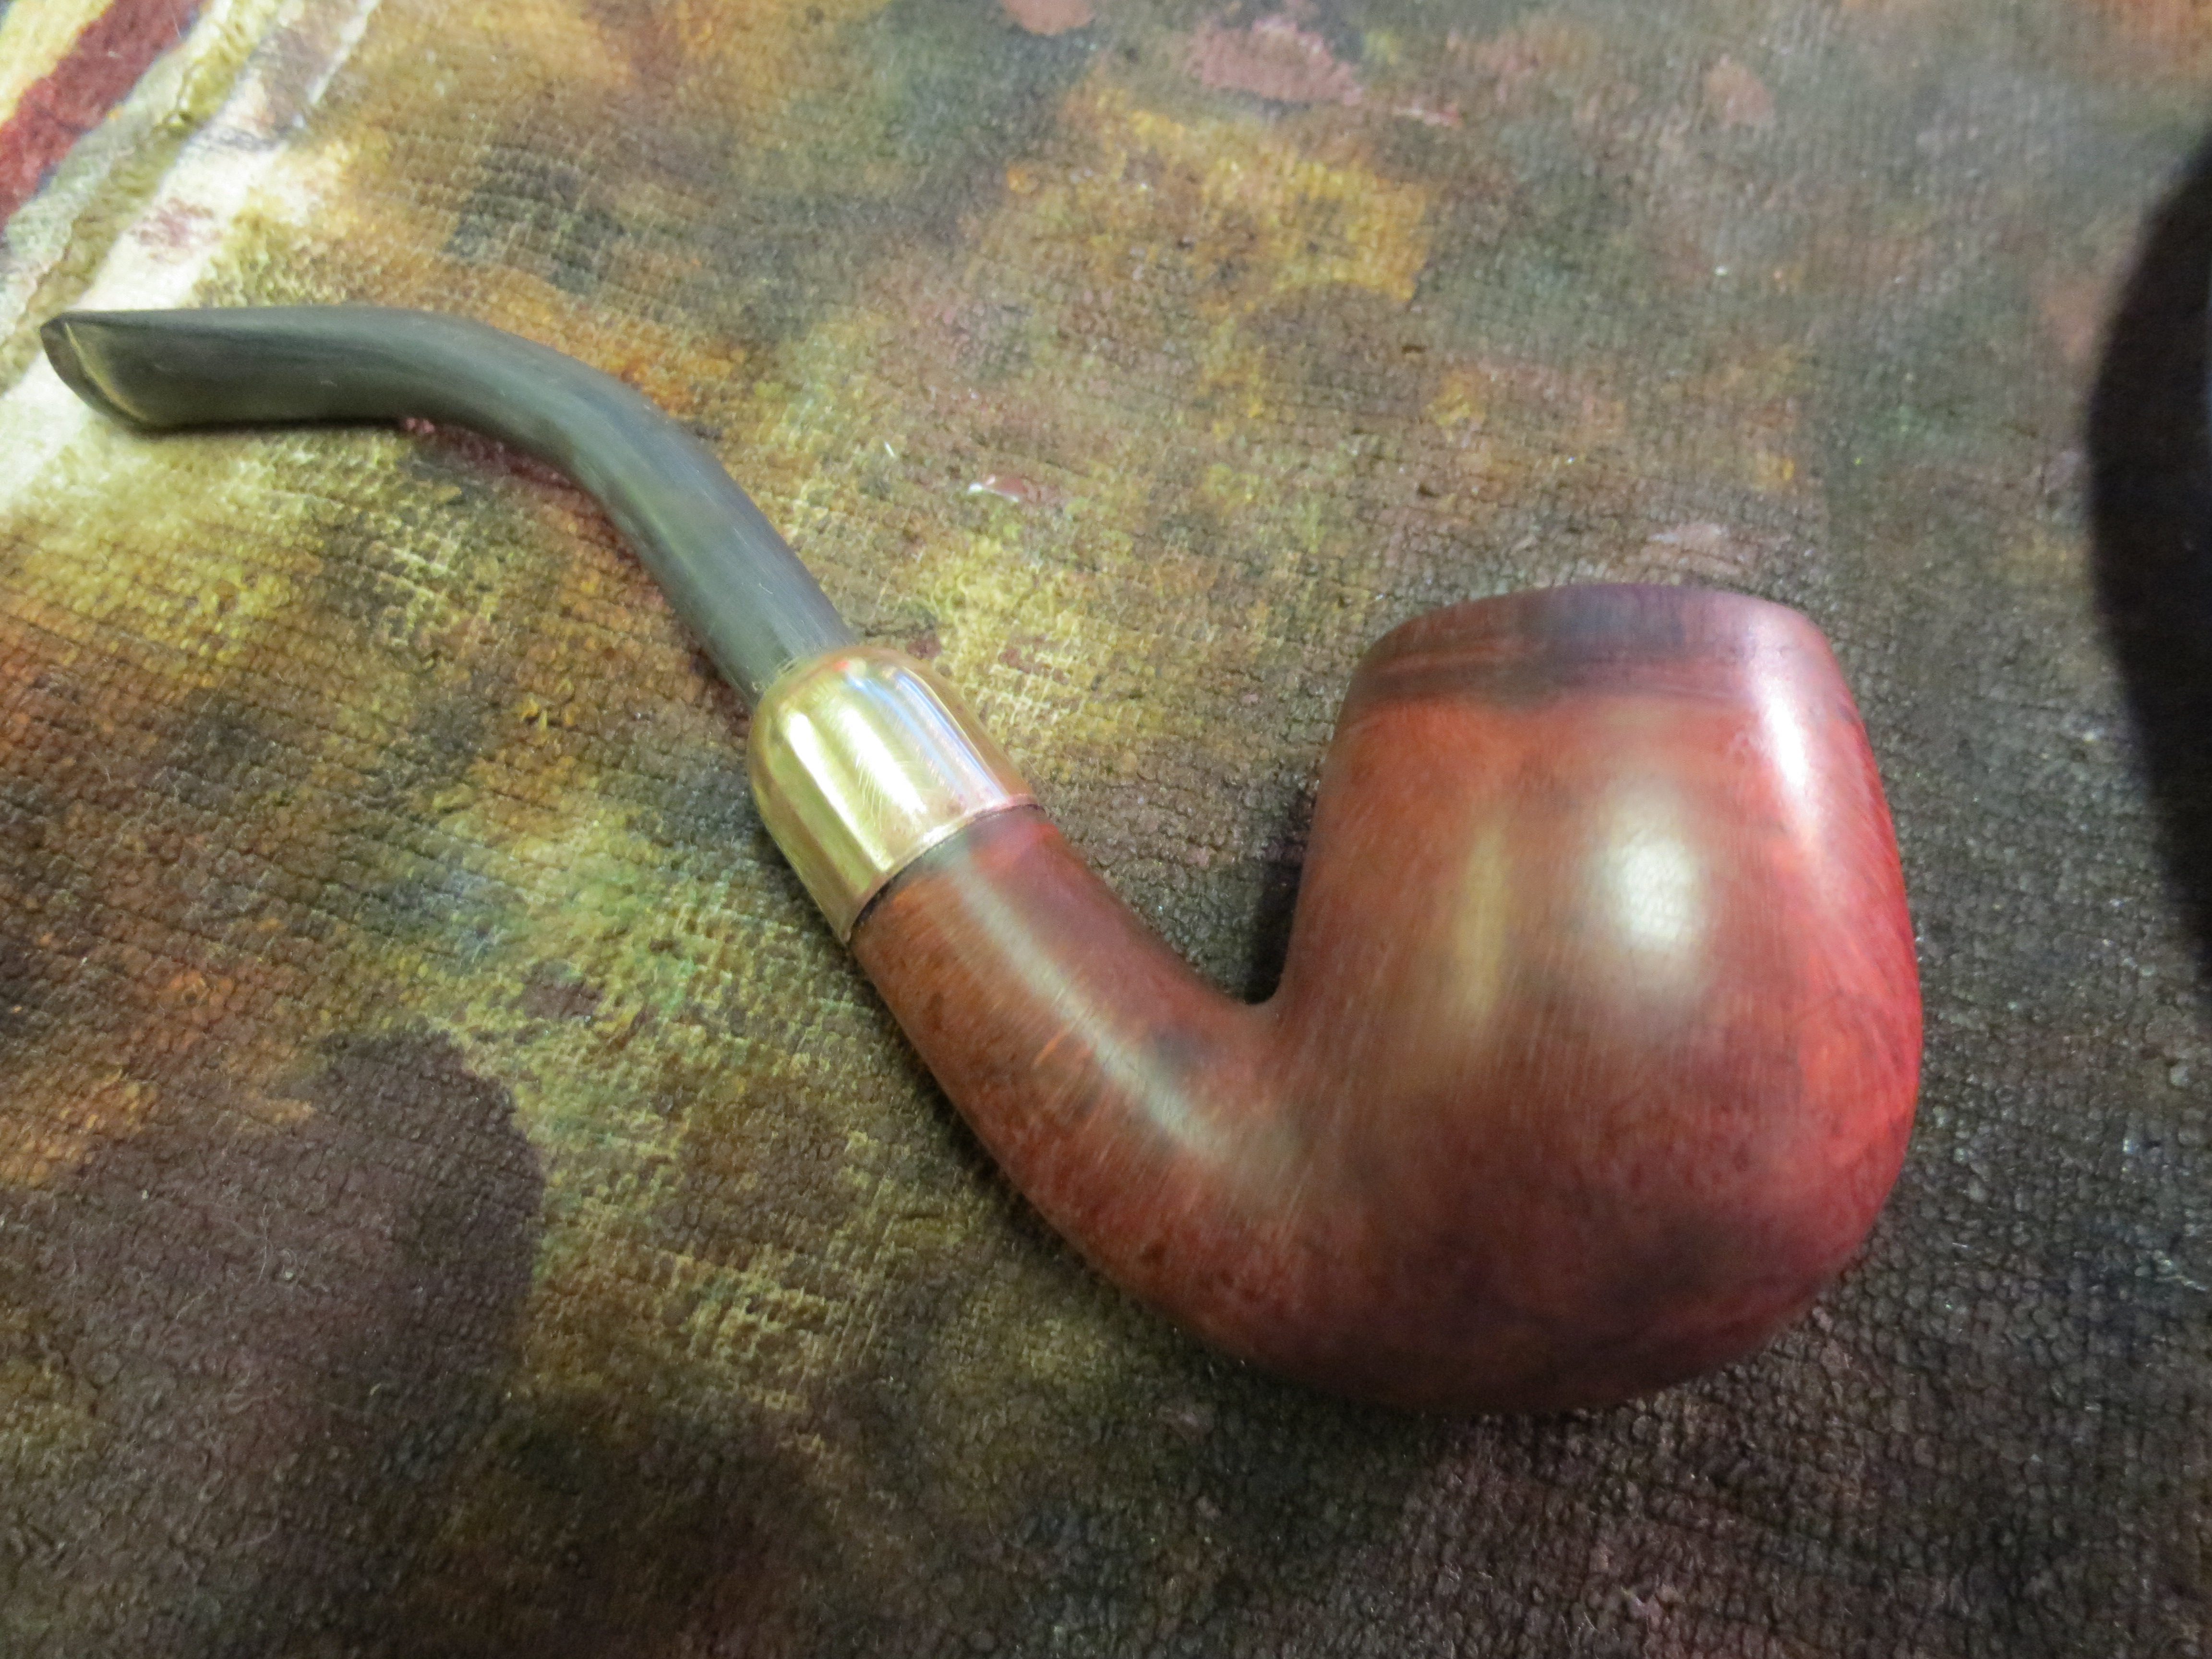
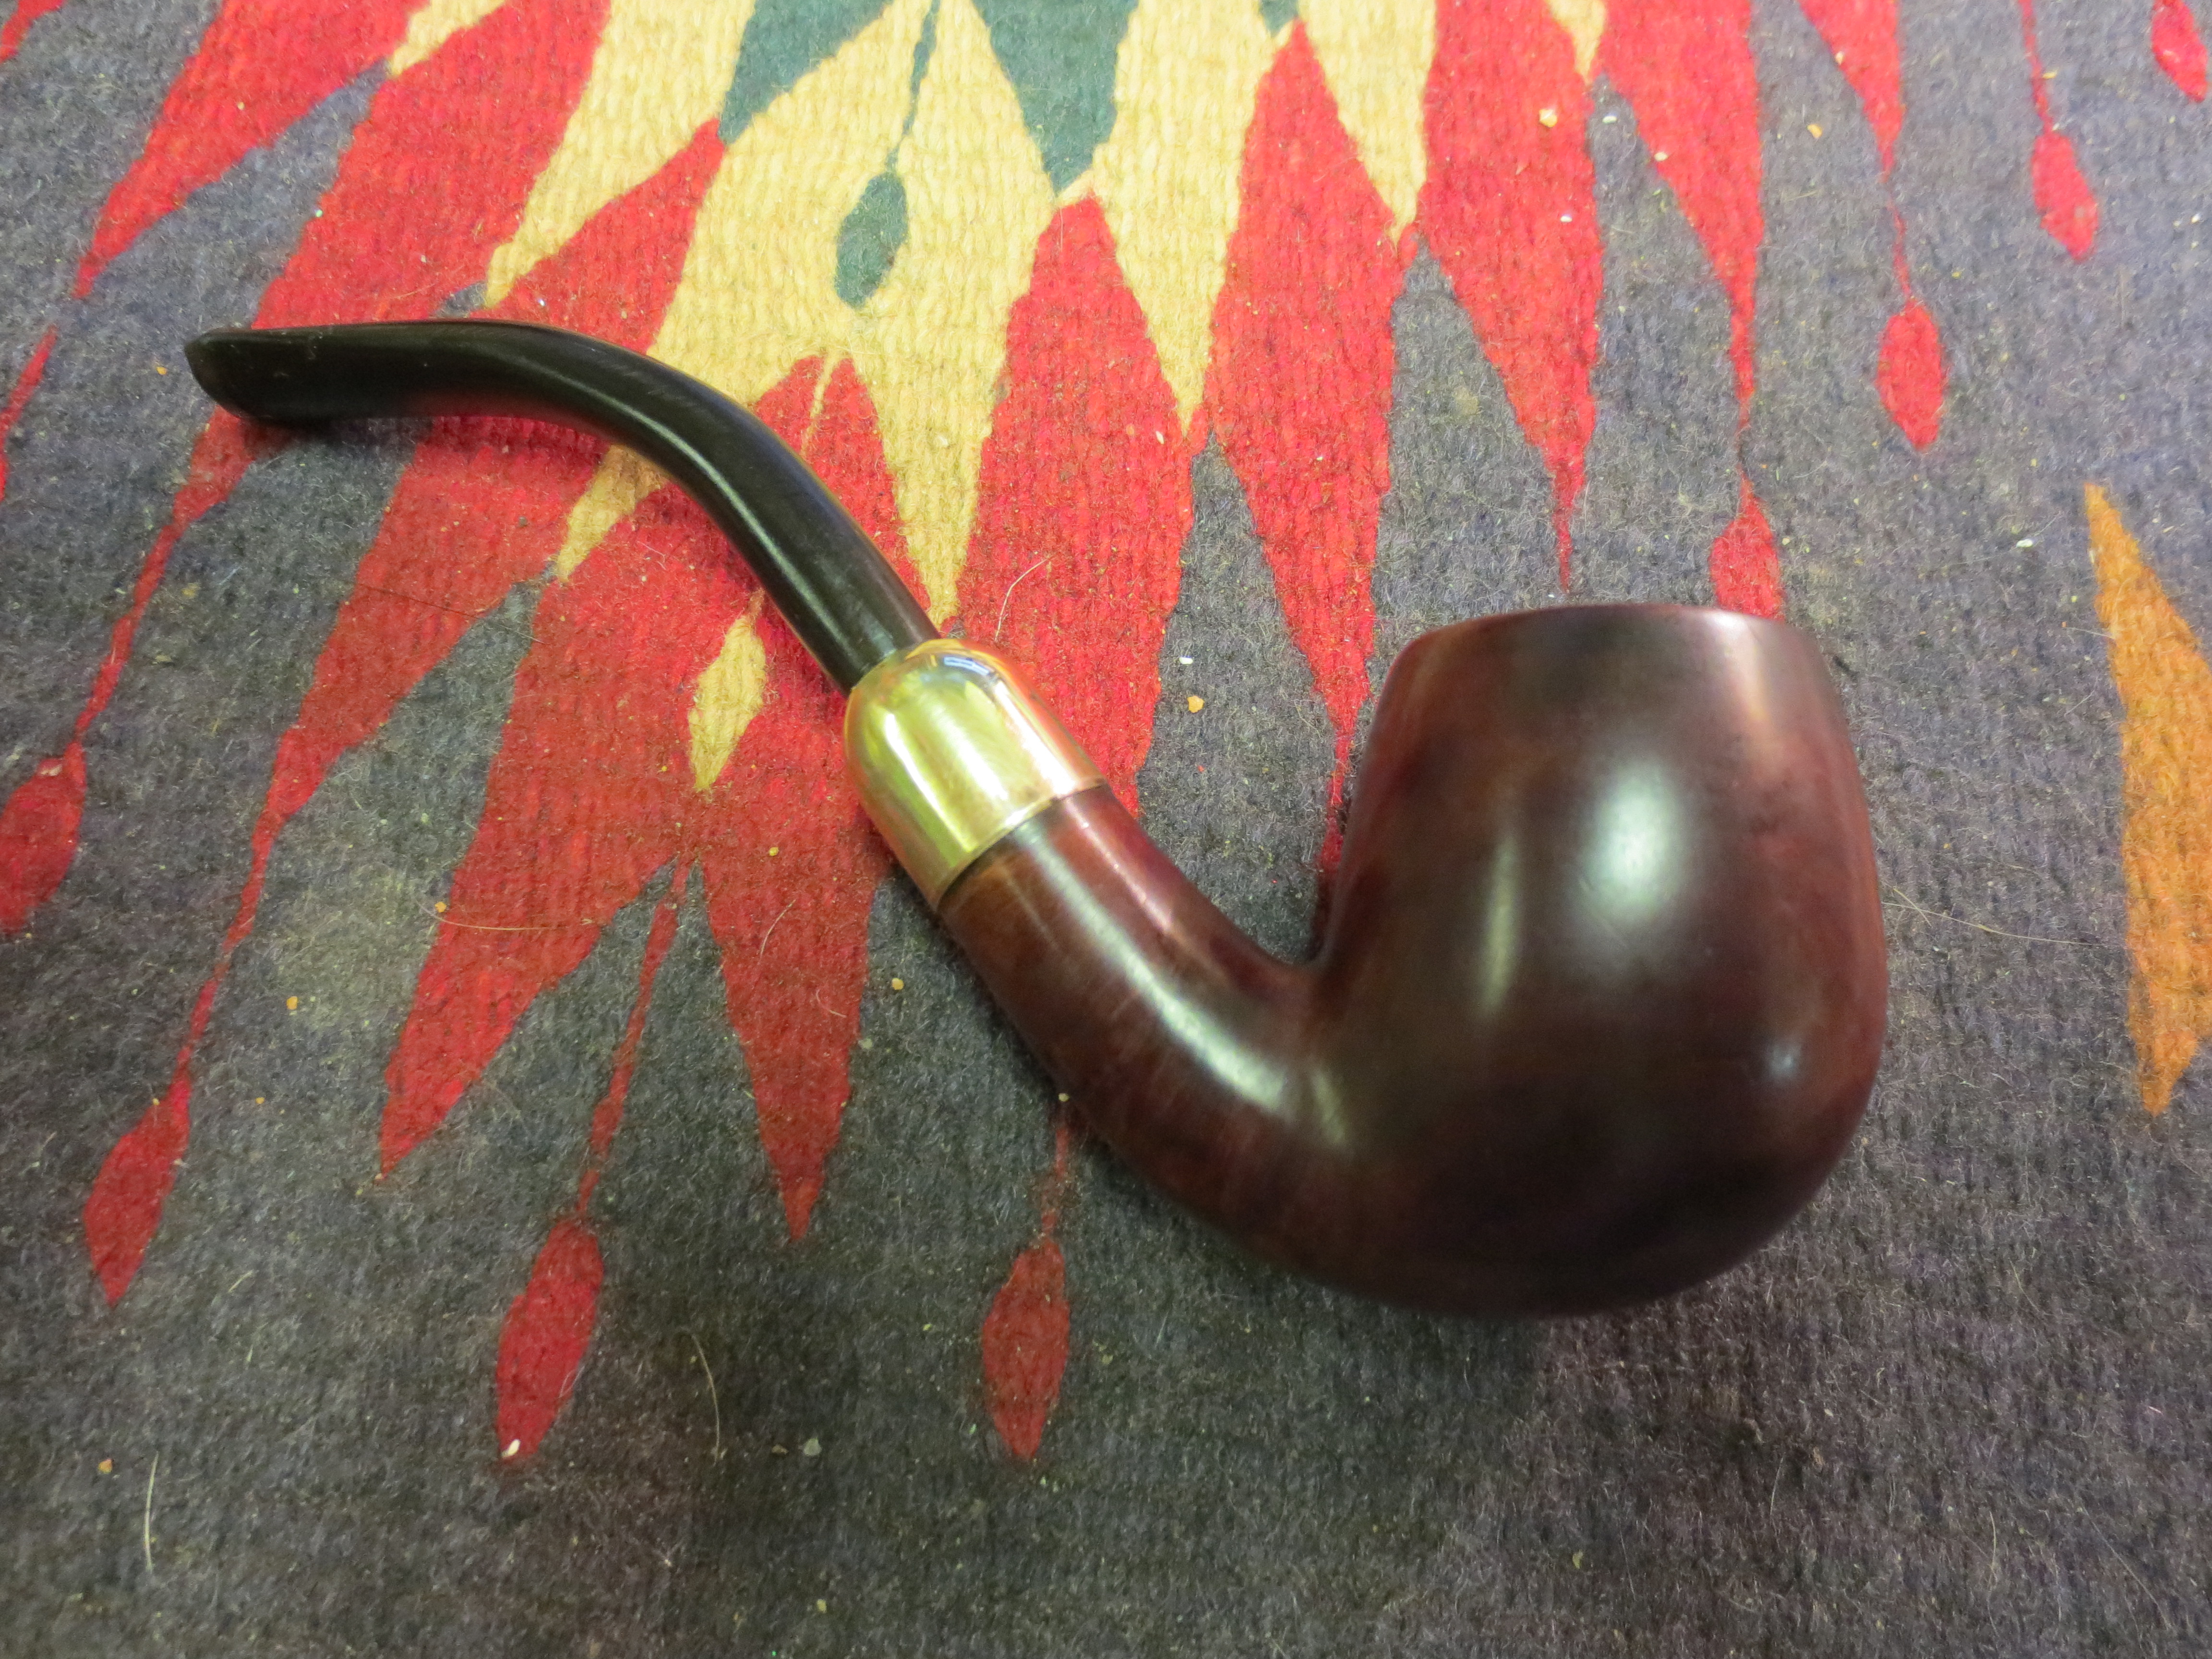
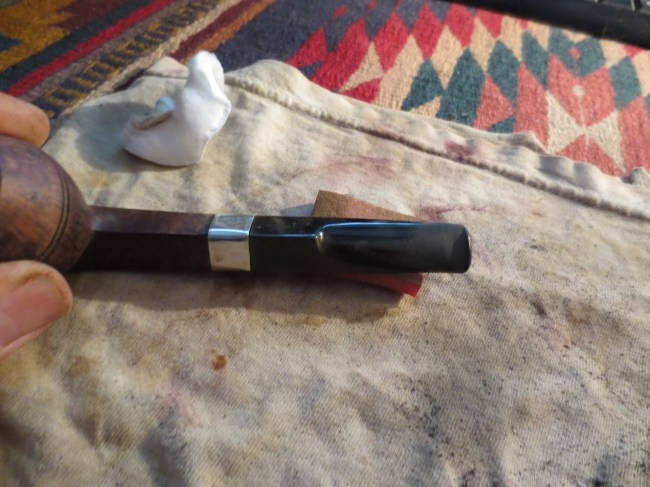
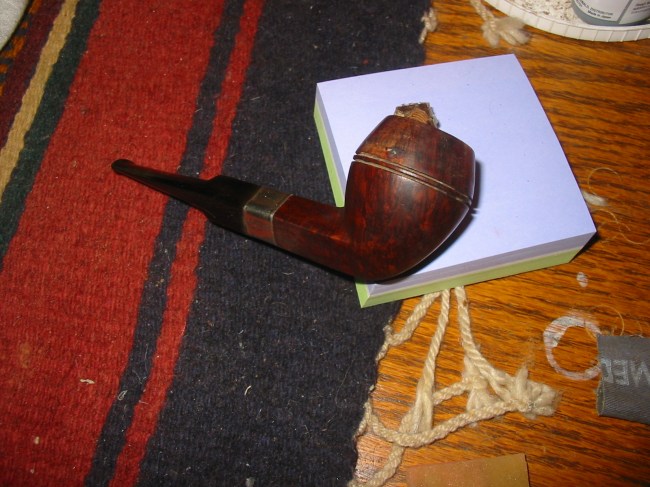
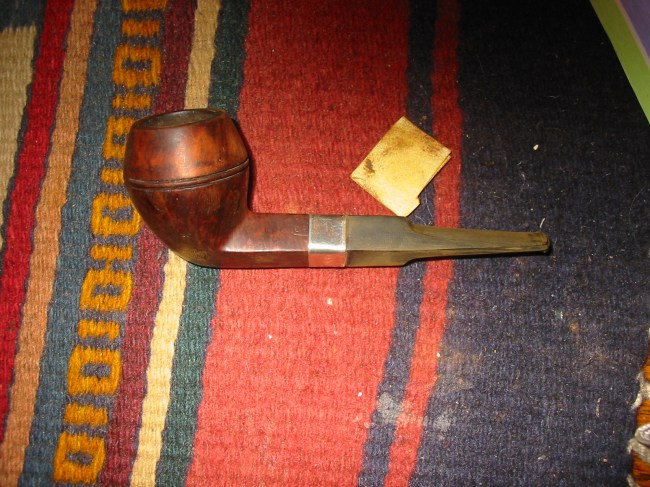
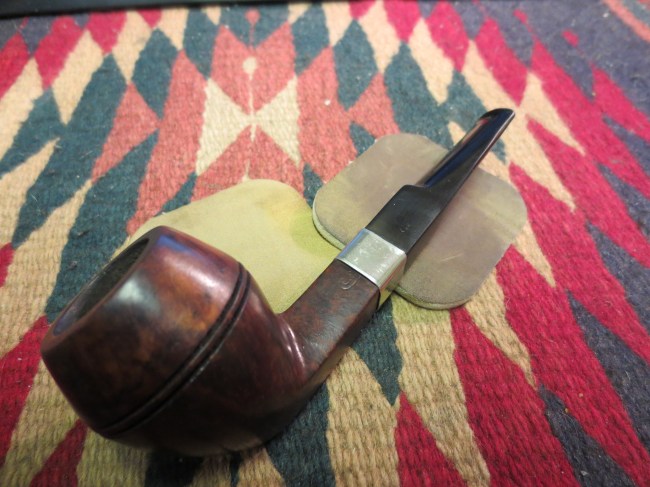
The next four photos below show the restemmed pipe. The stem fit perfectly against the band and the look was exactly what I was aiming for. The issue that remained was the two cracks that extended further than the band.

ImageImageImageImage

The next three photos show the work of patching the nail holes and the cracks with briar dust and superglue. I packed in the briar dust with my dental pick until they were filled and then I dripped the superglue into the spots. Once they were dry I sanded them down to remove the excess and blend them into the surrounding bowl. I wanted them to be less visible and be able to be blended in with the stain when I got around to staining it.

ImageImageImage

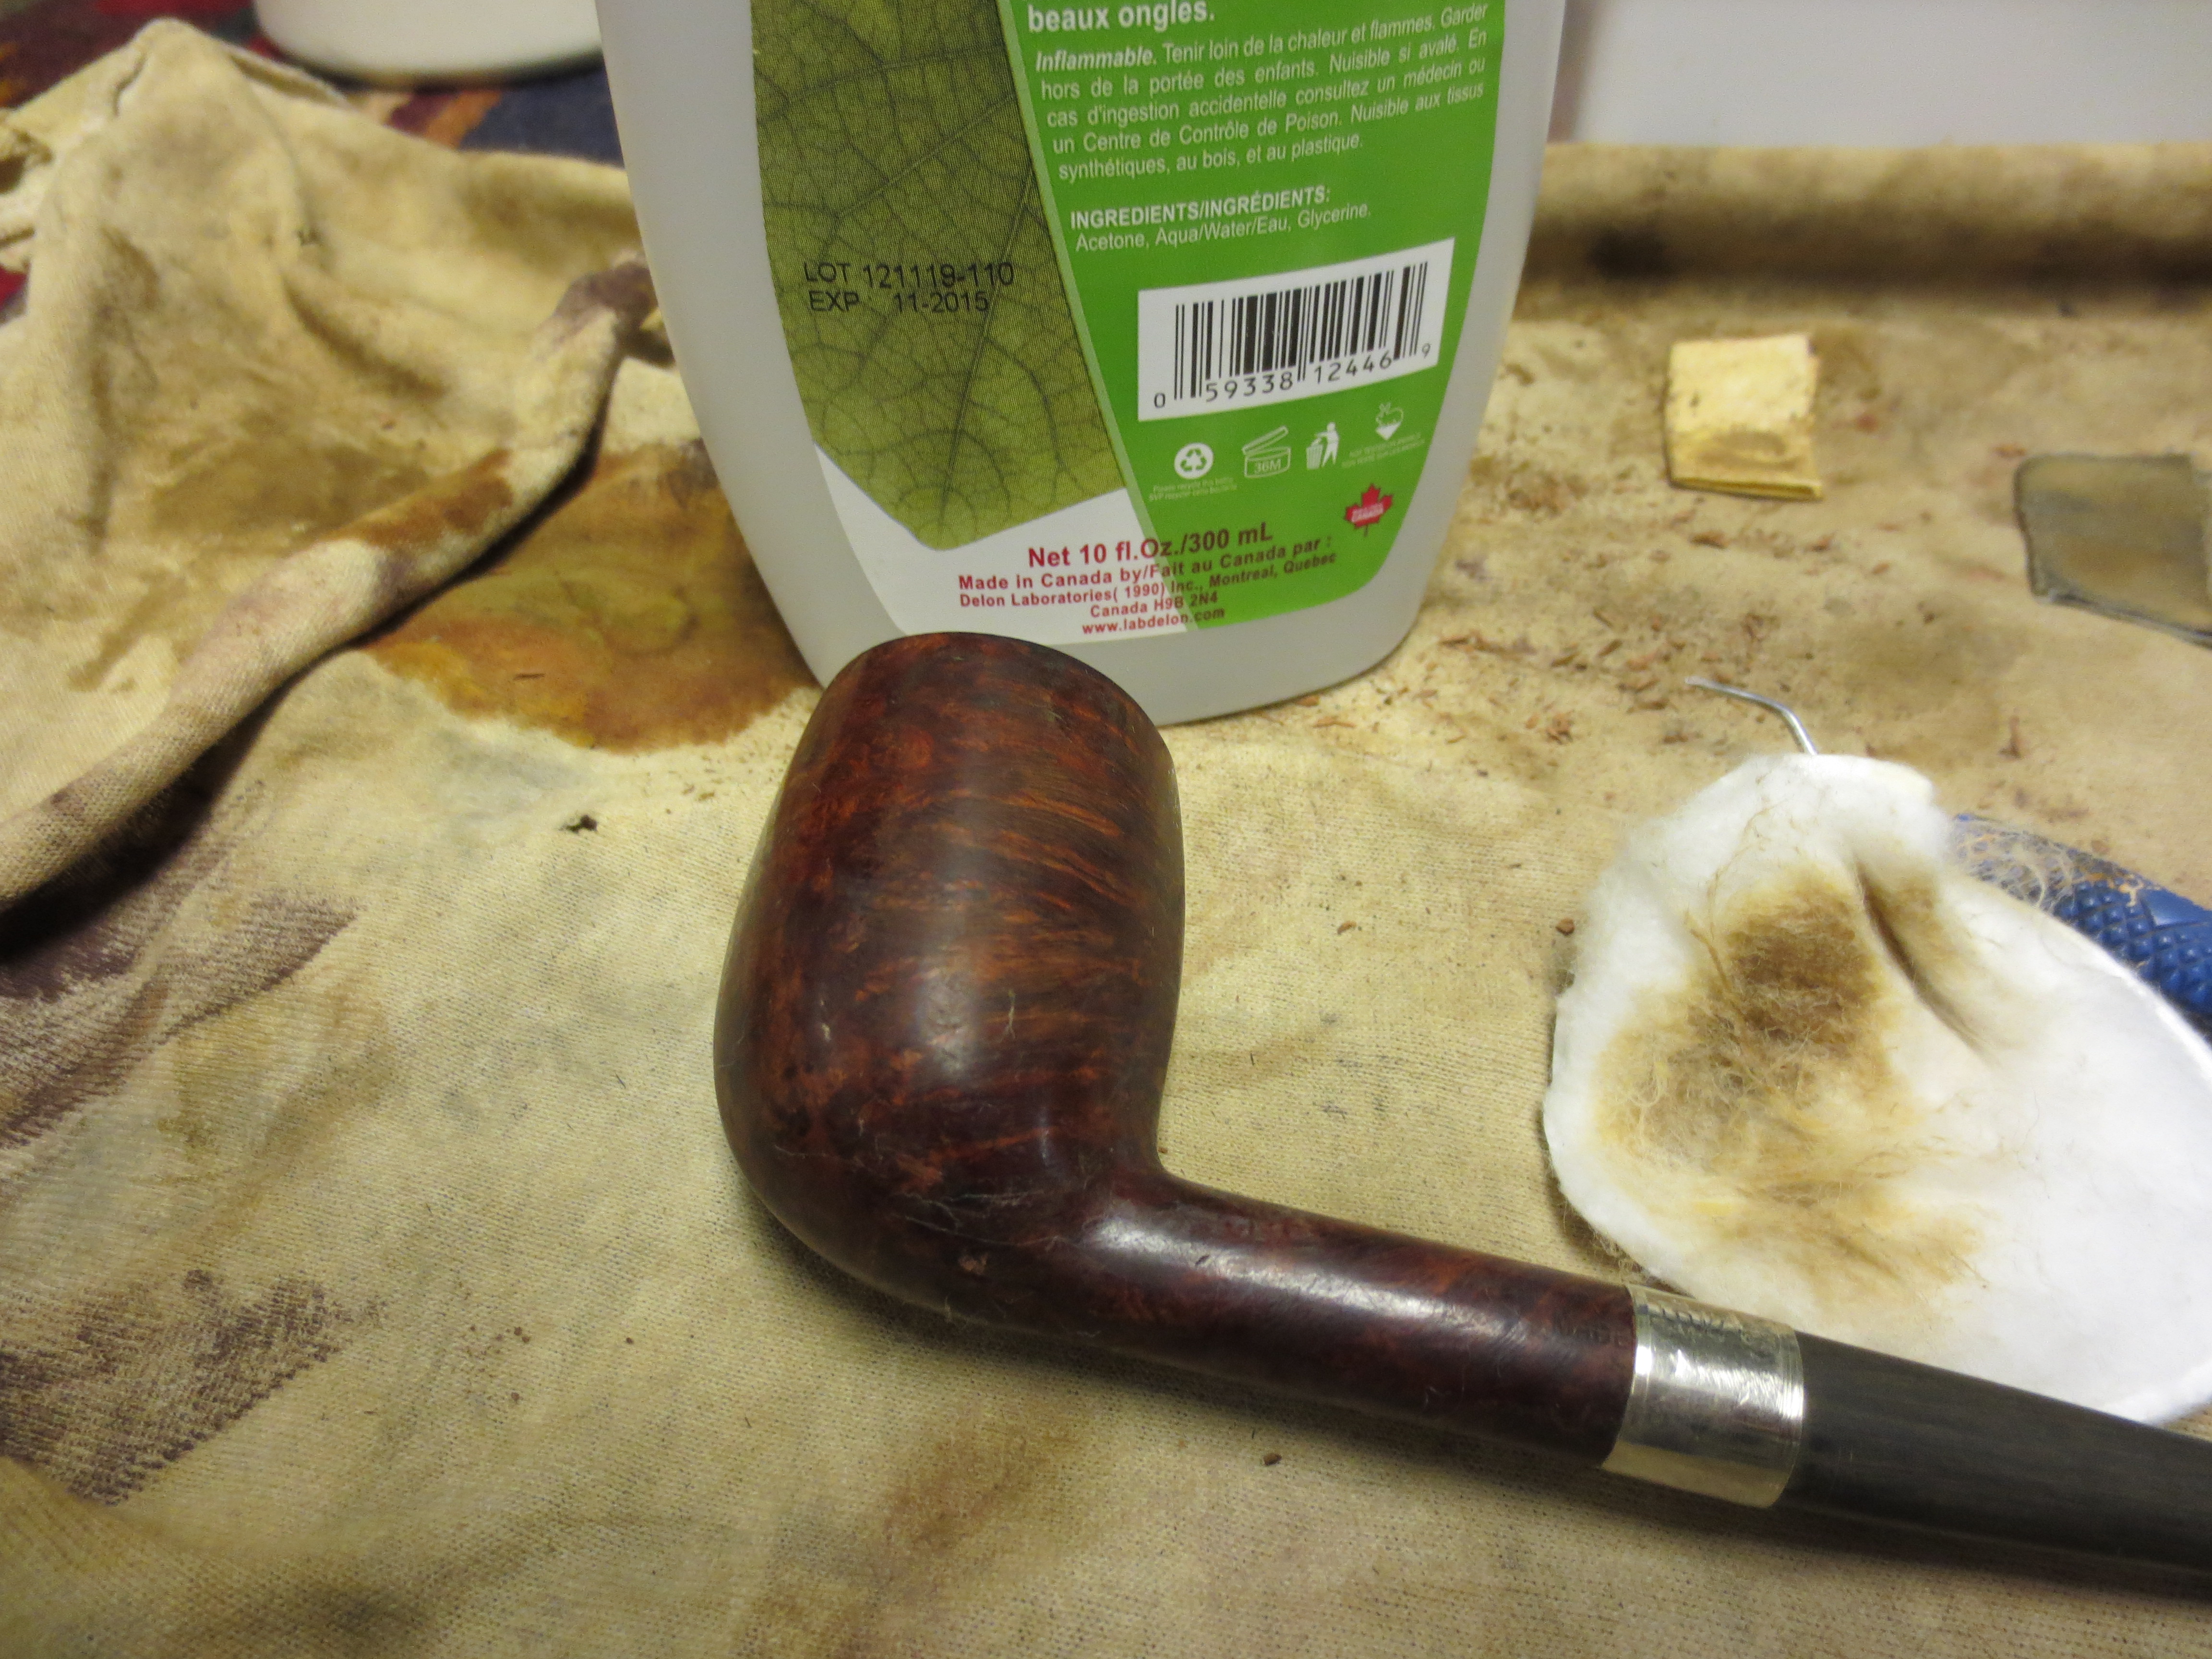
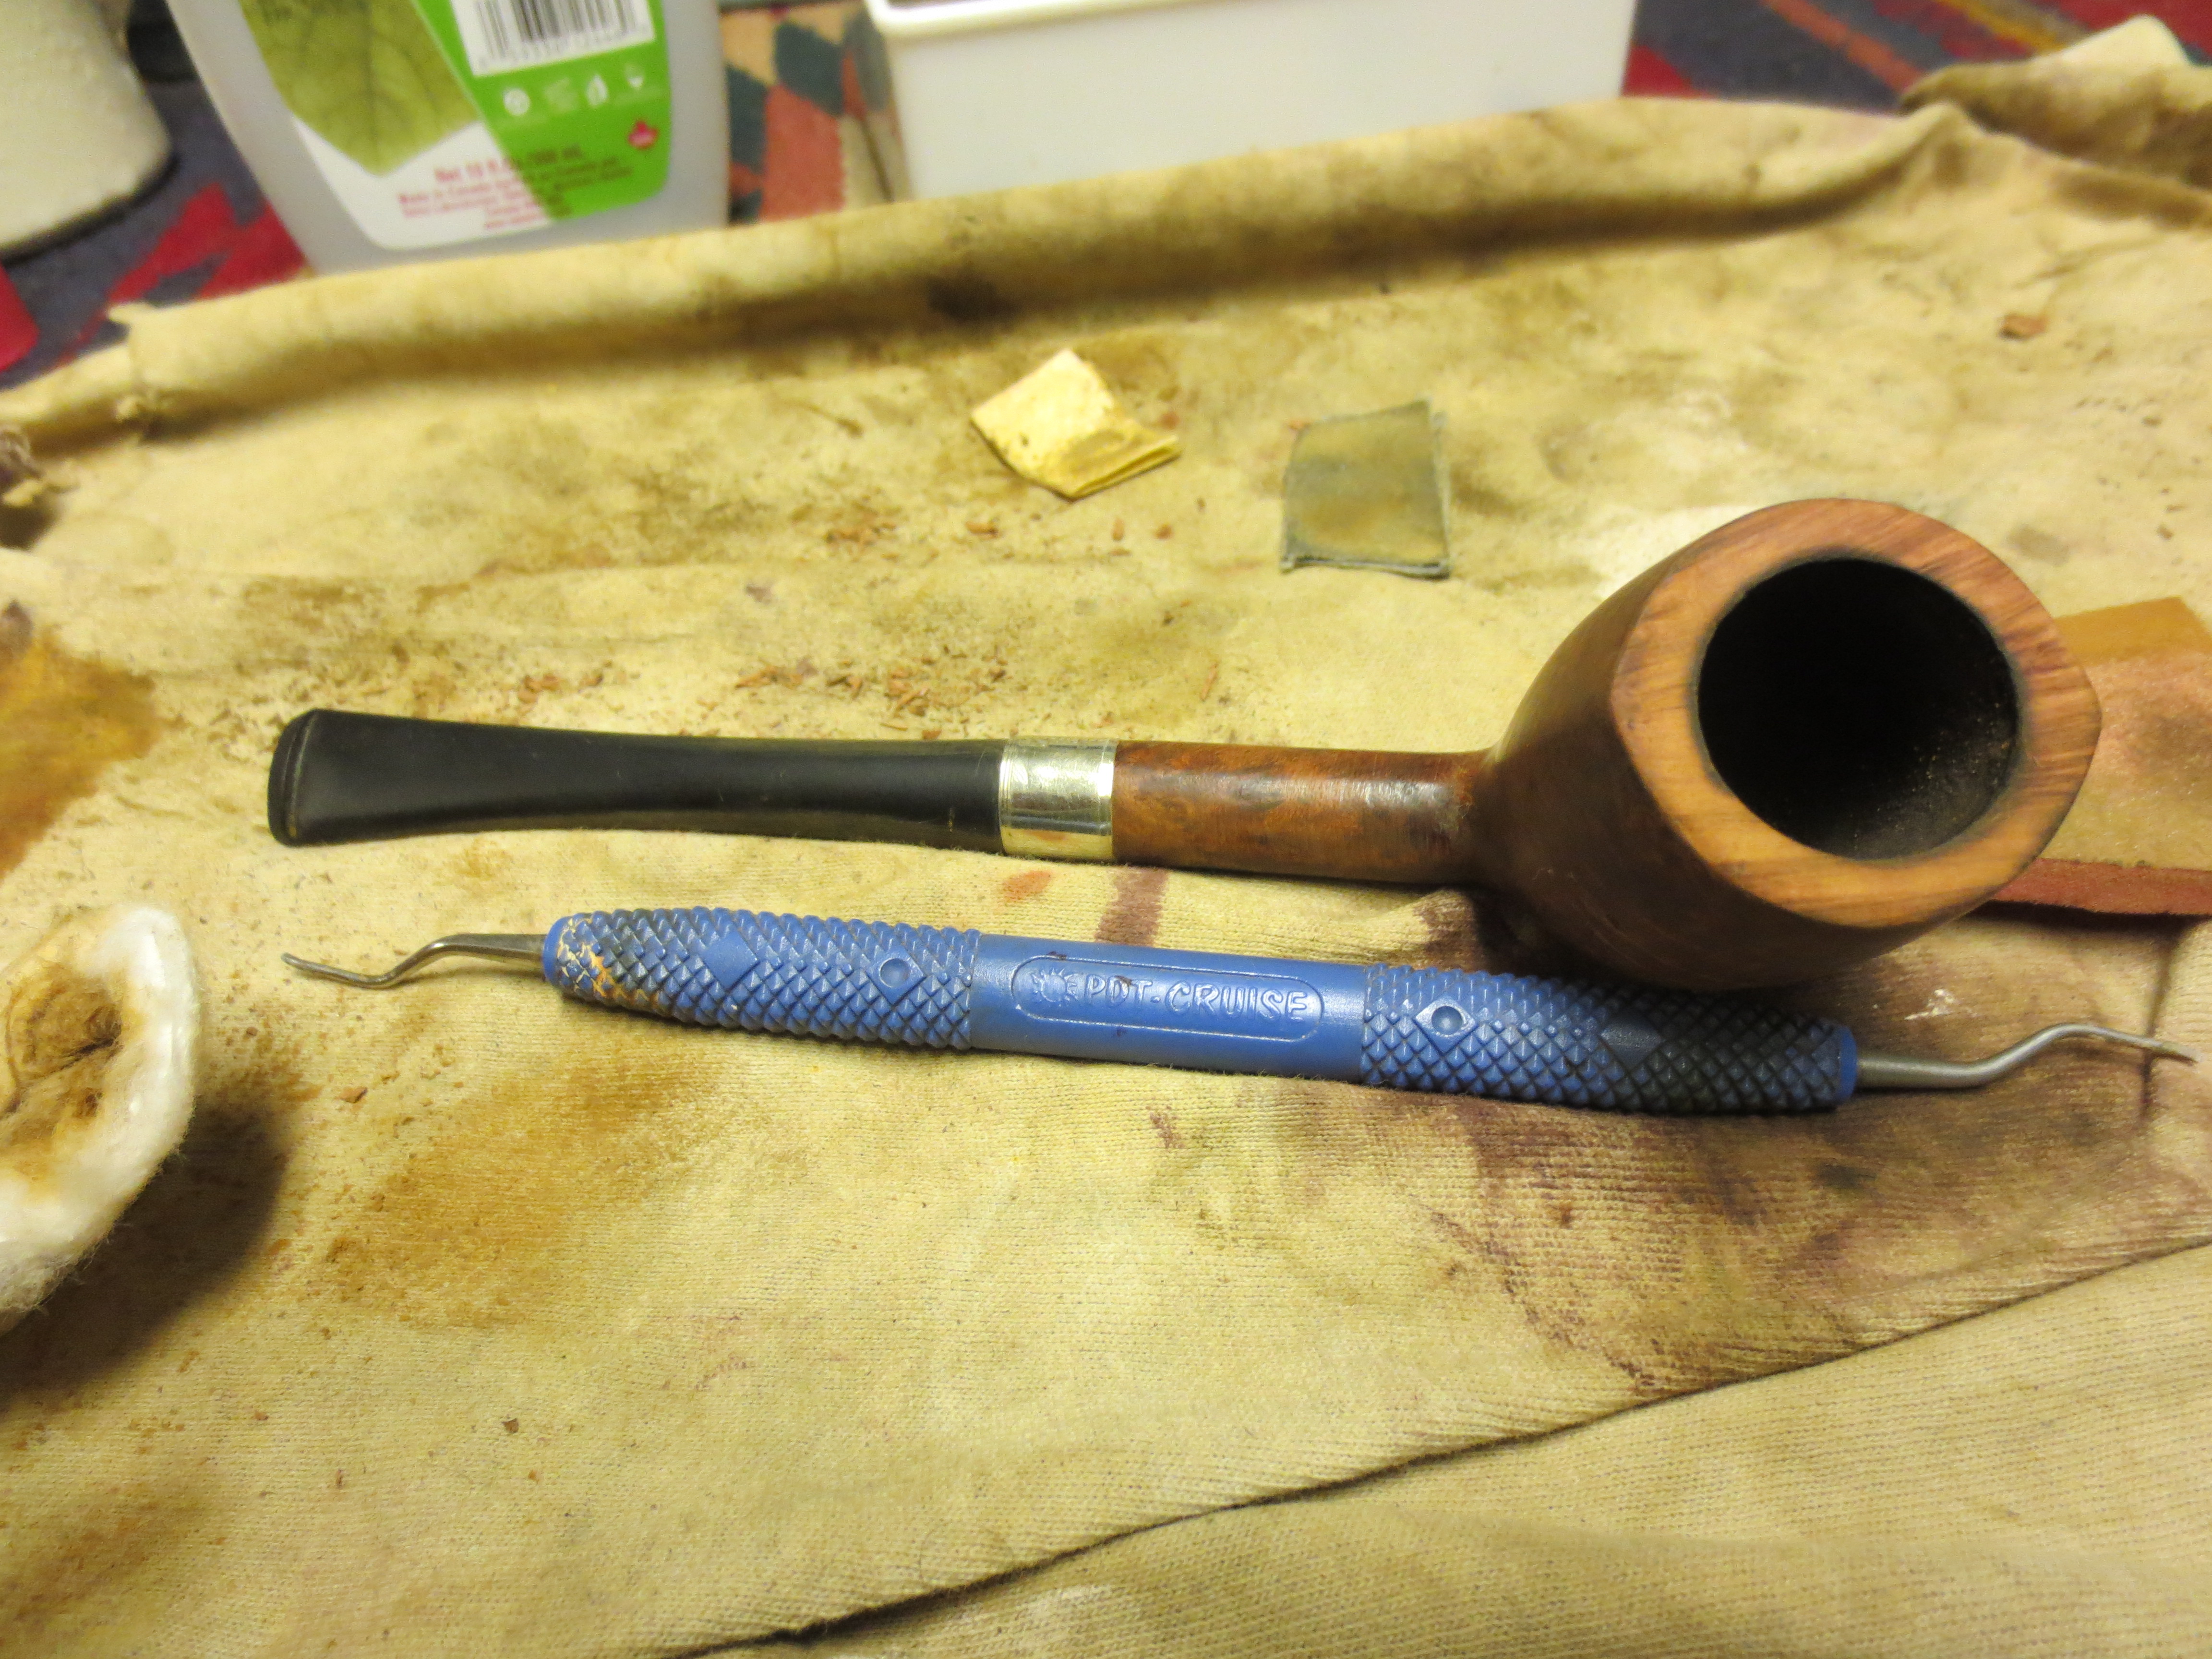
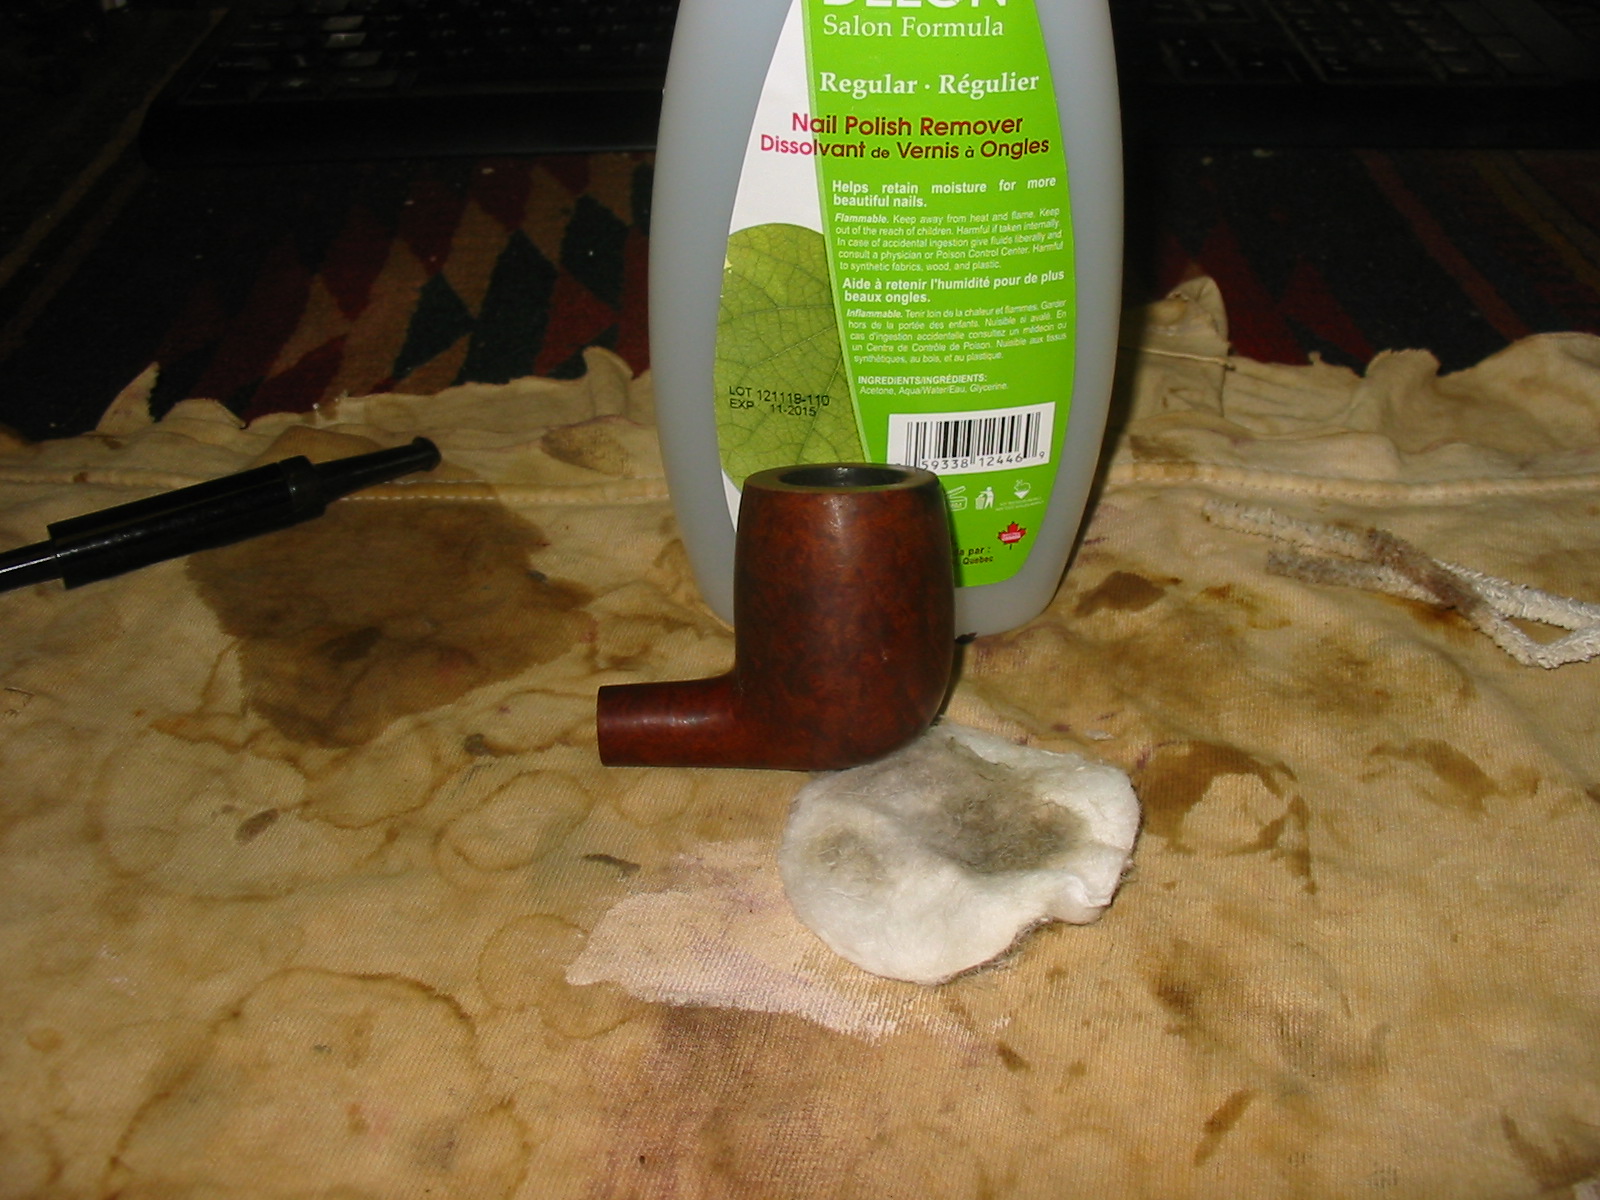
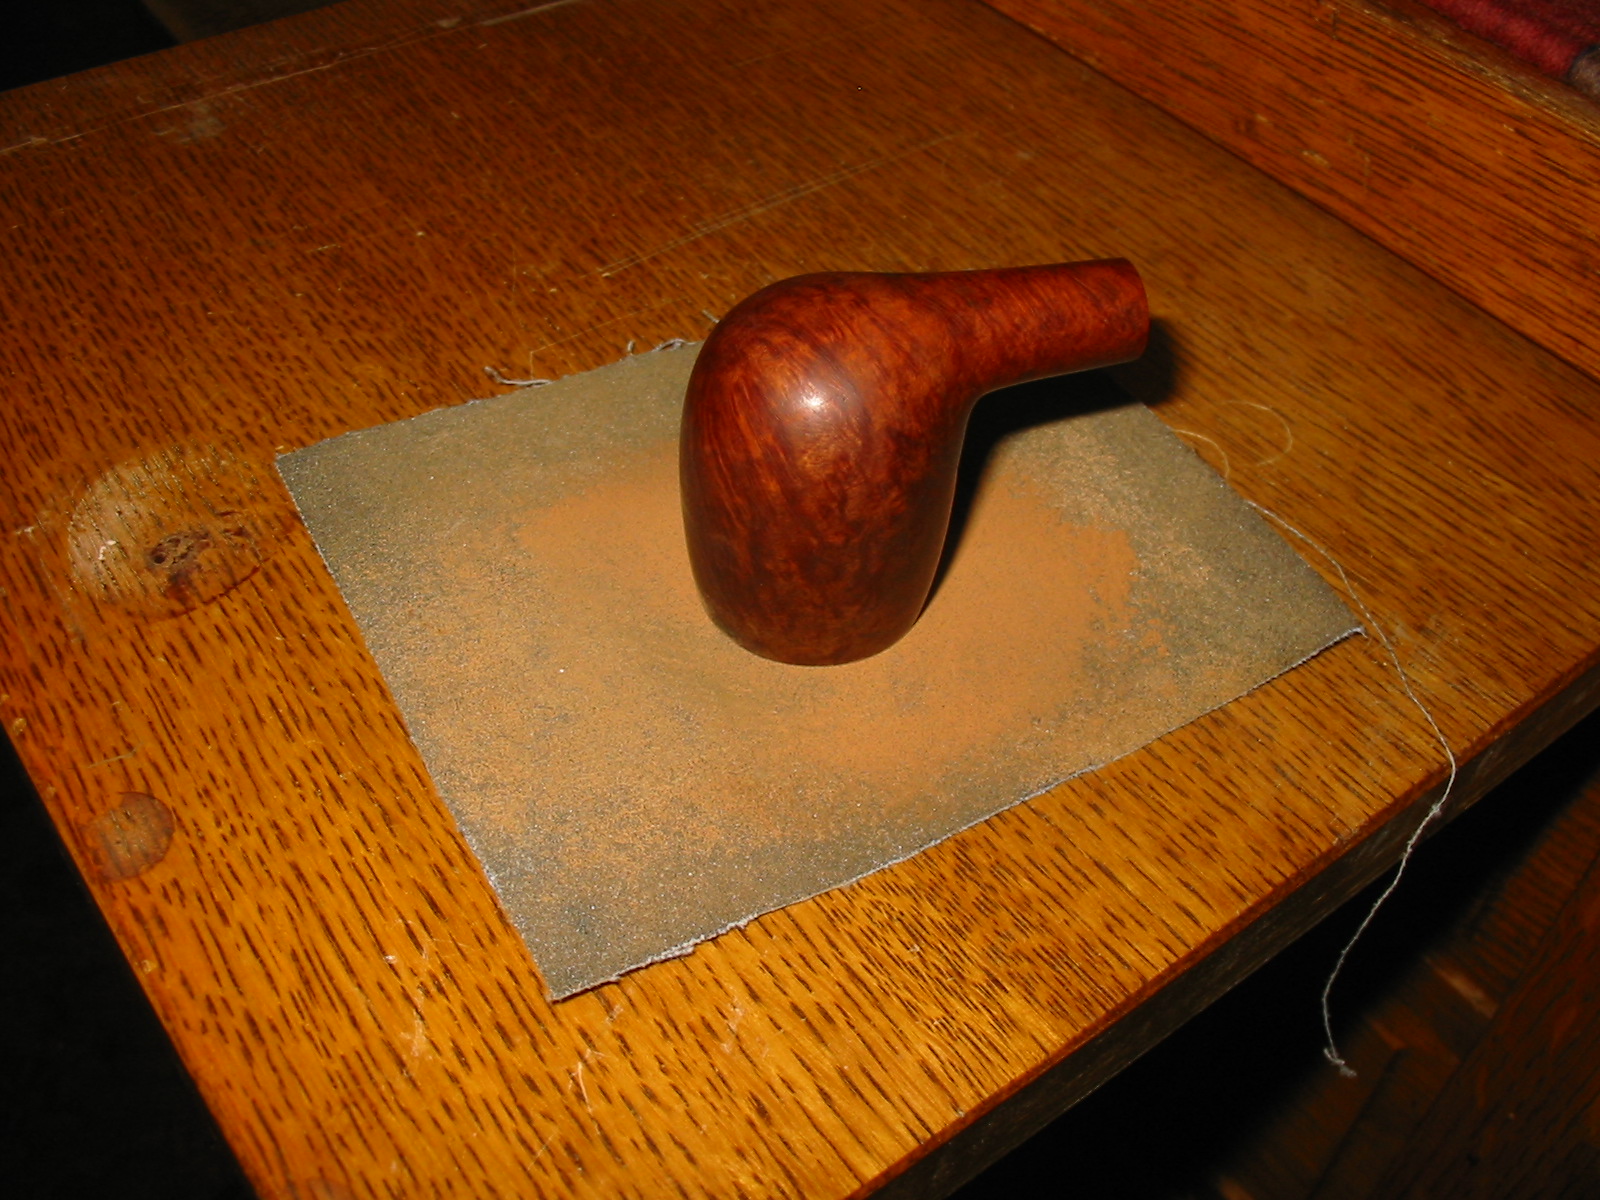
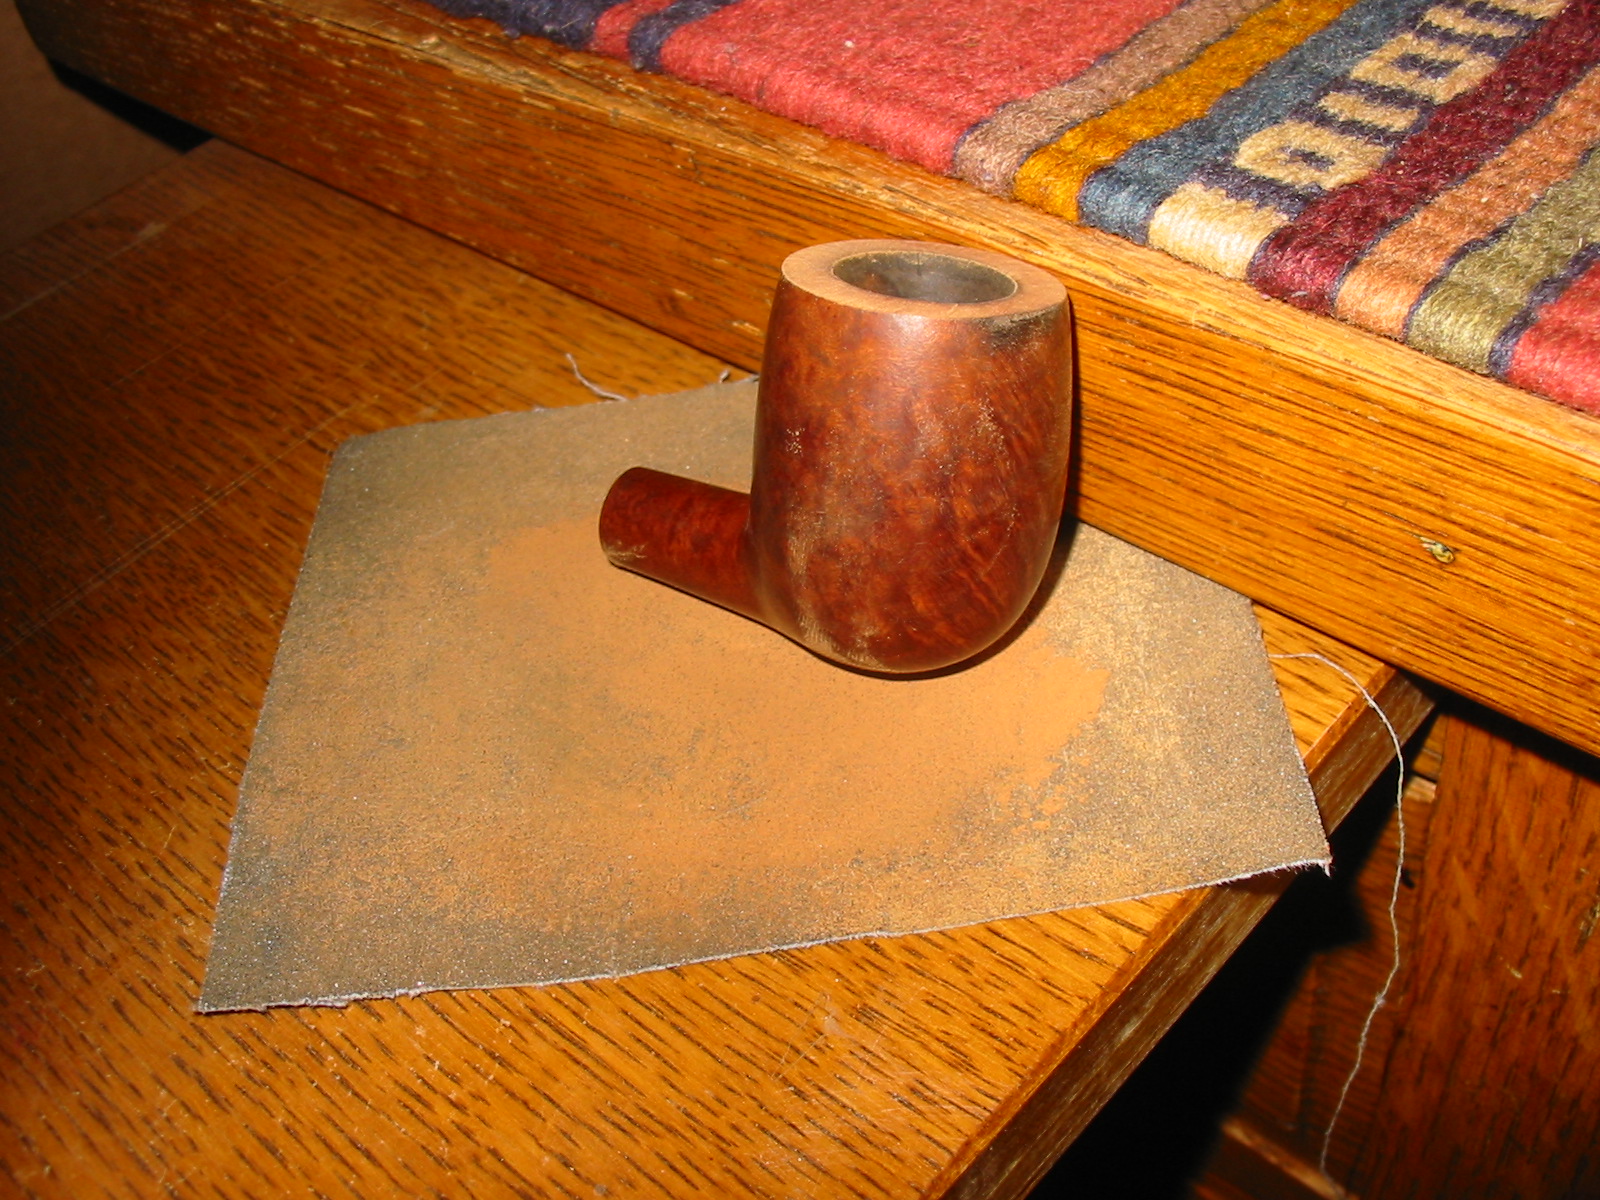
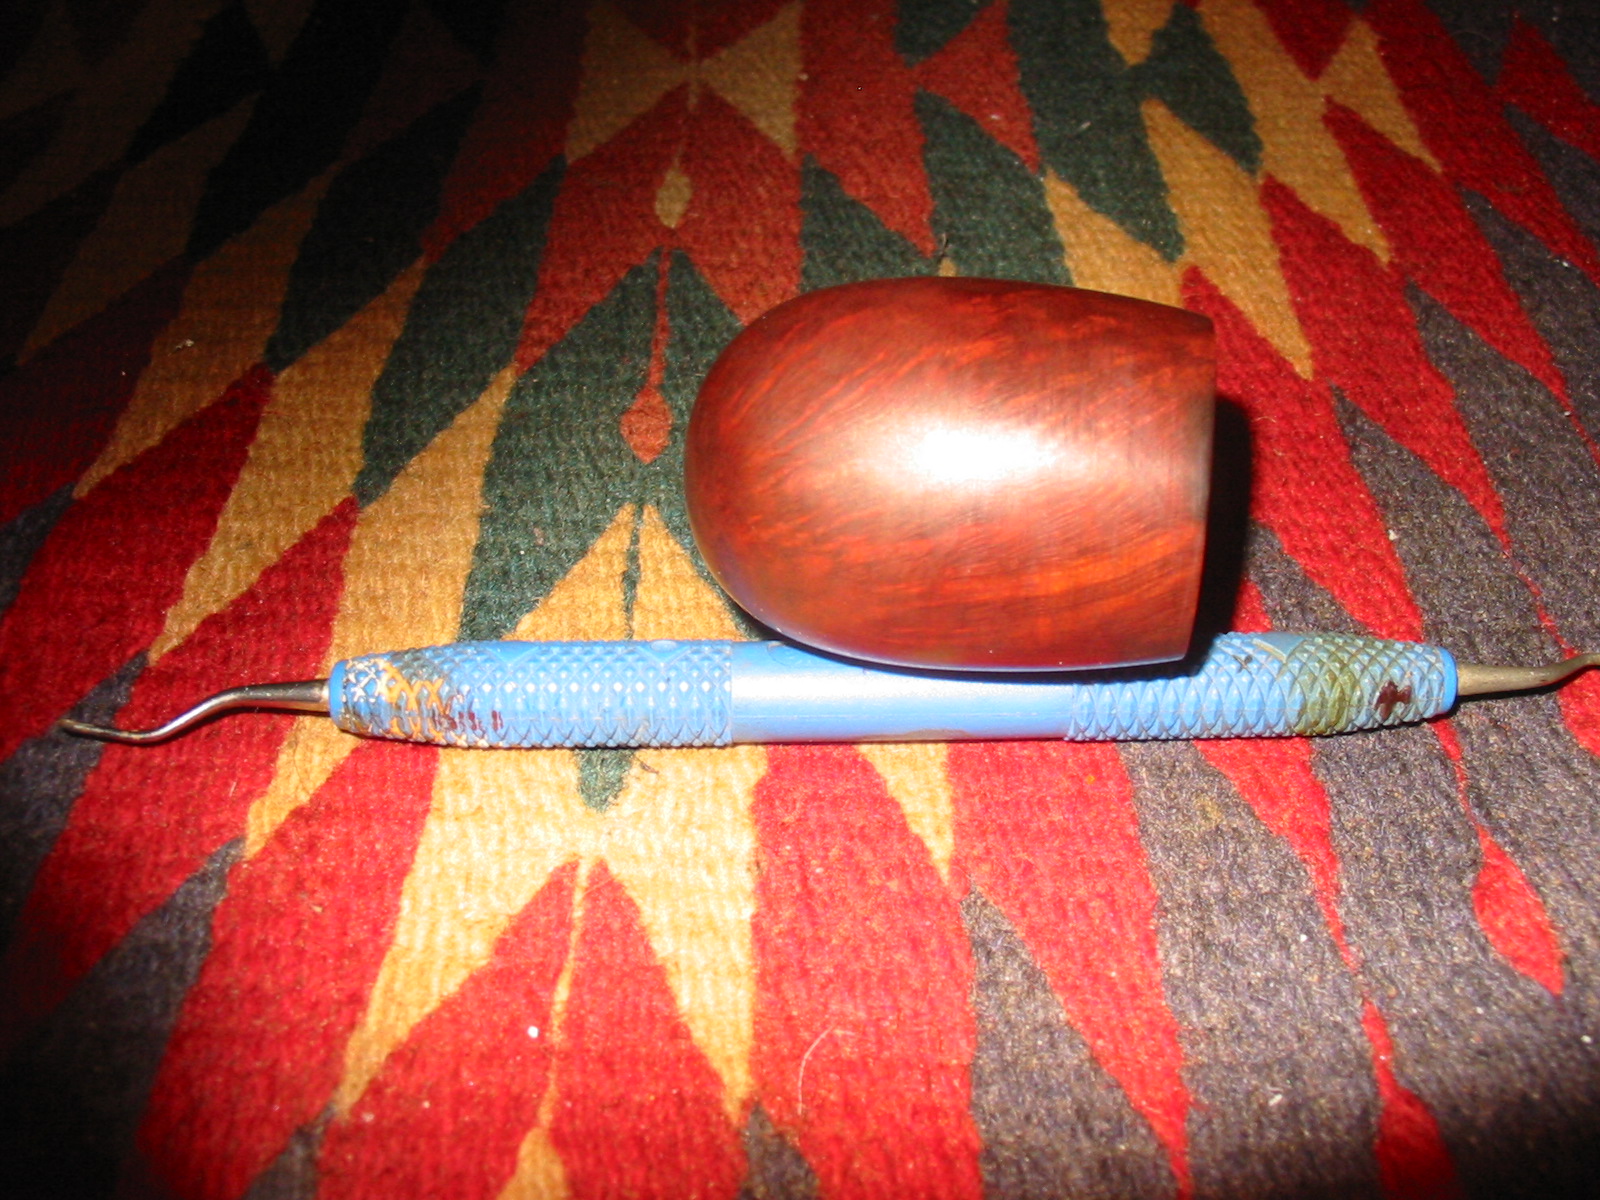
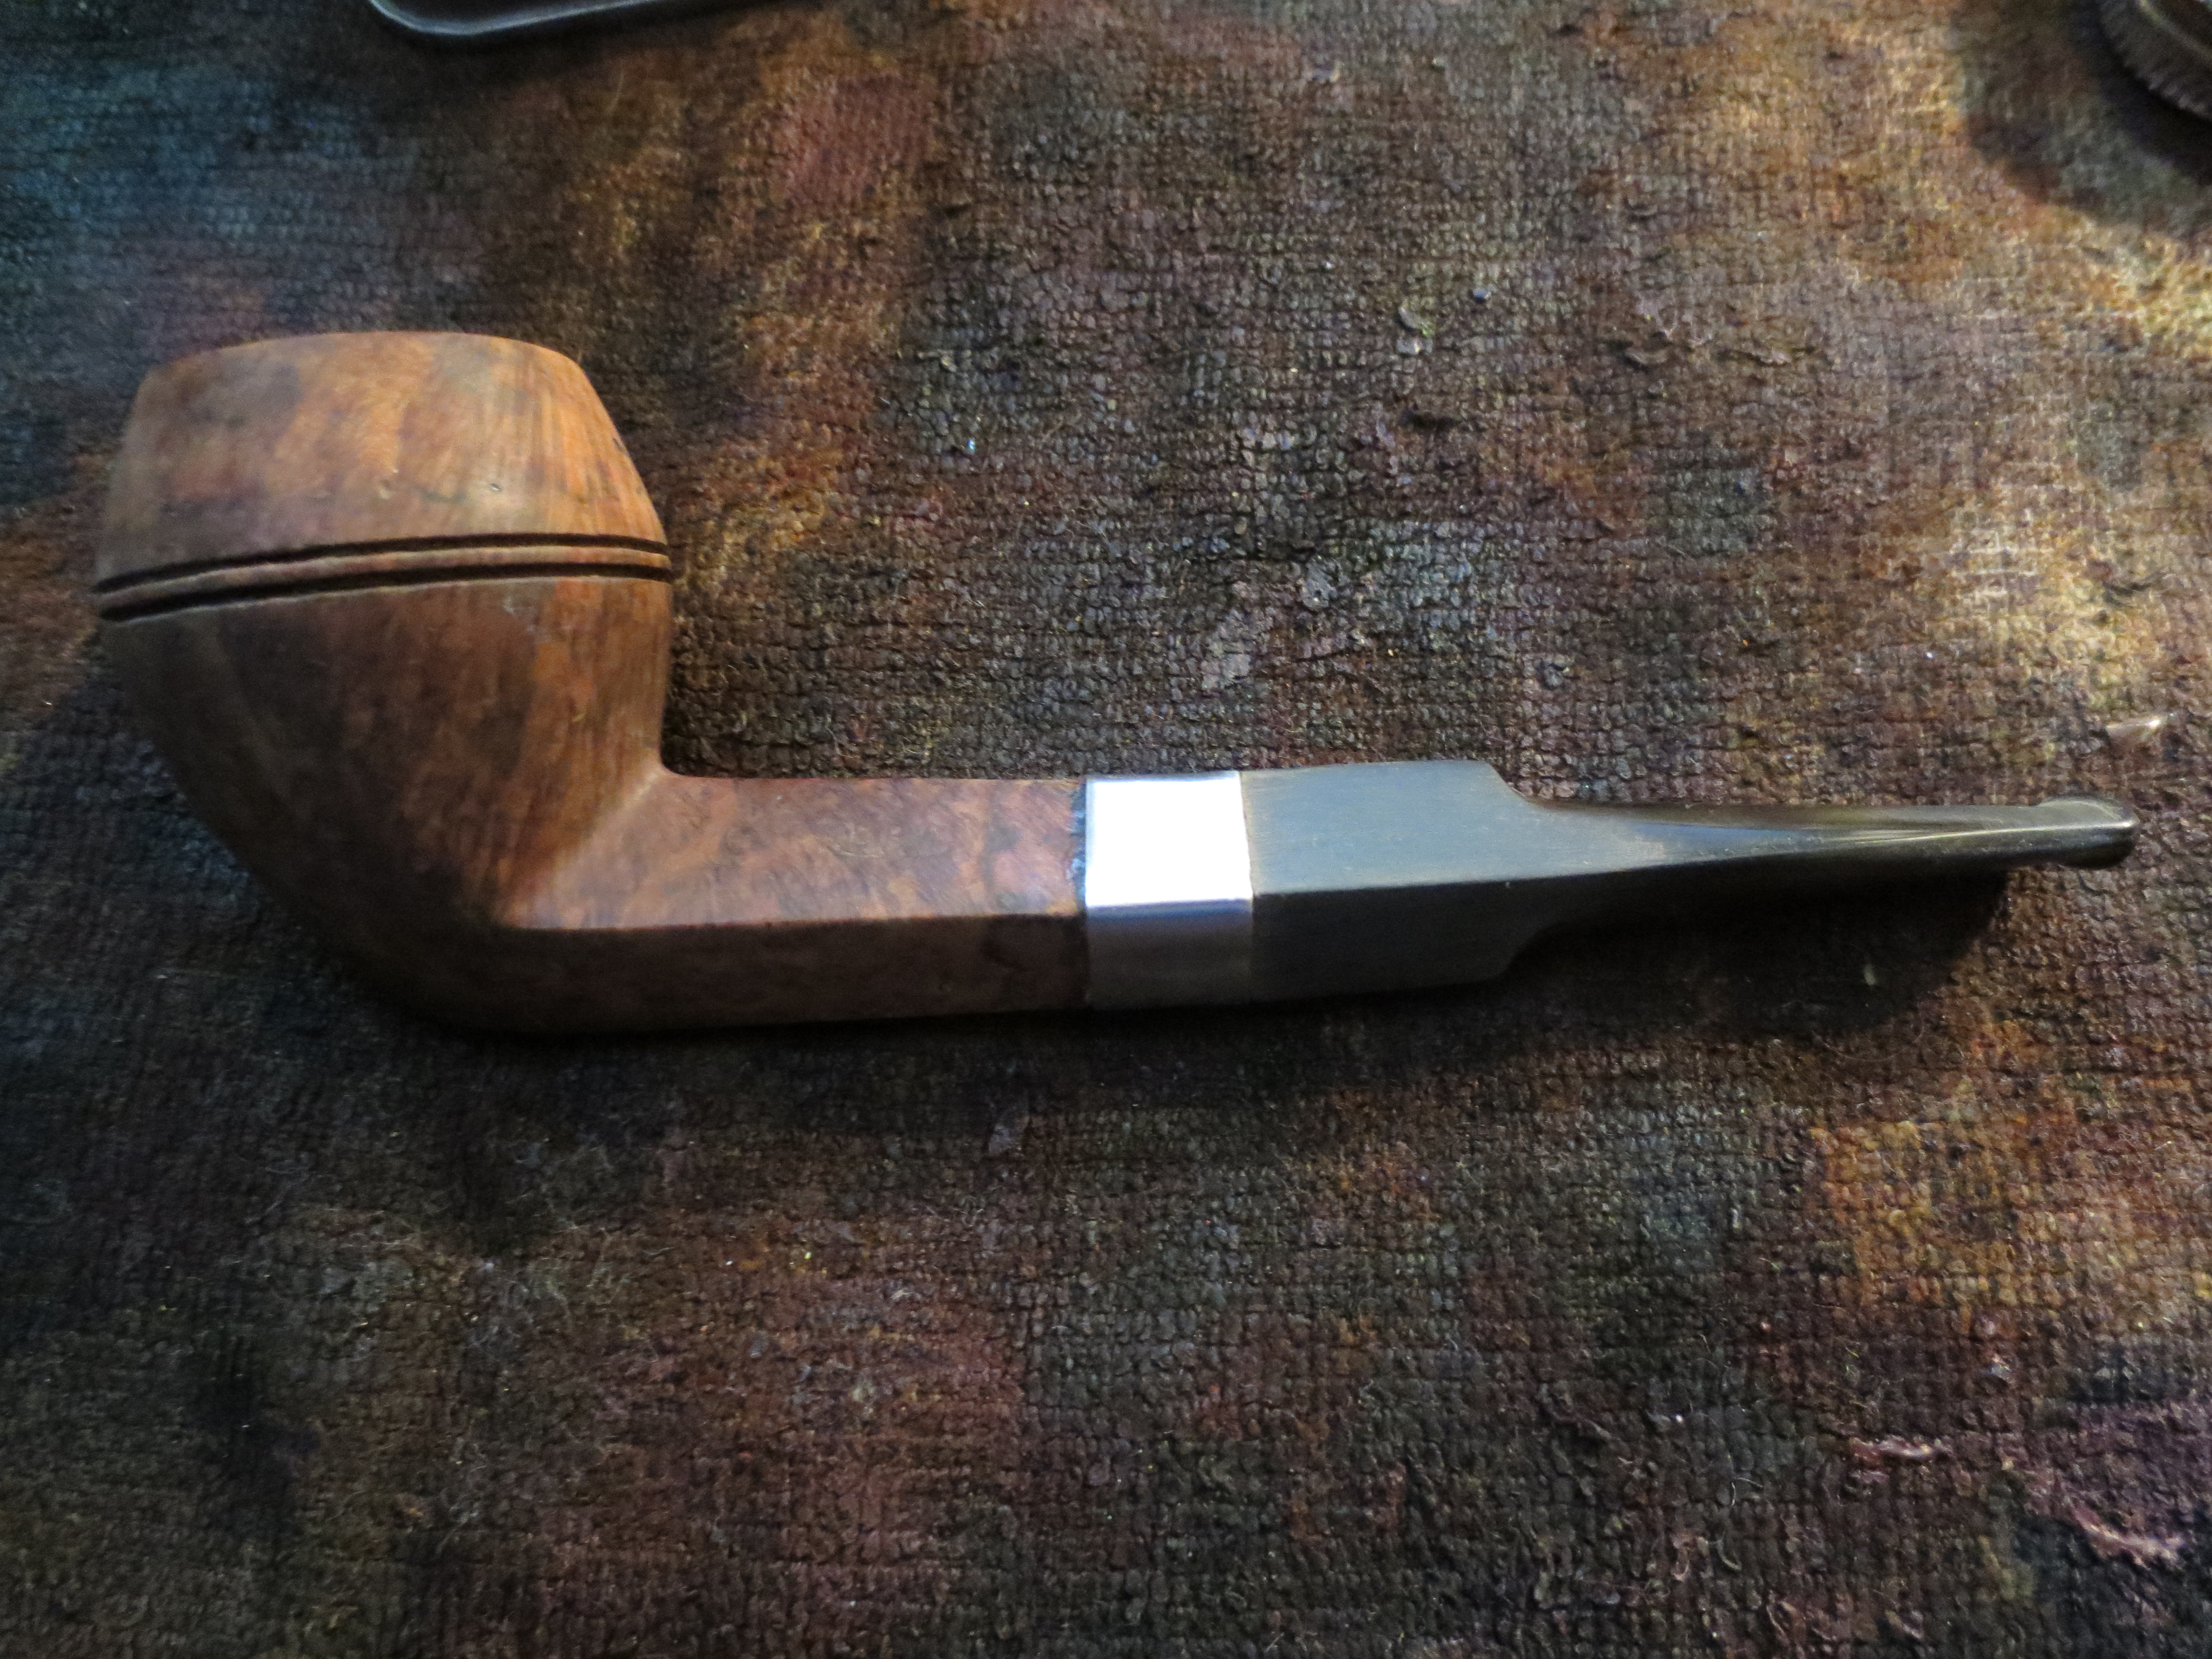
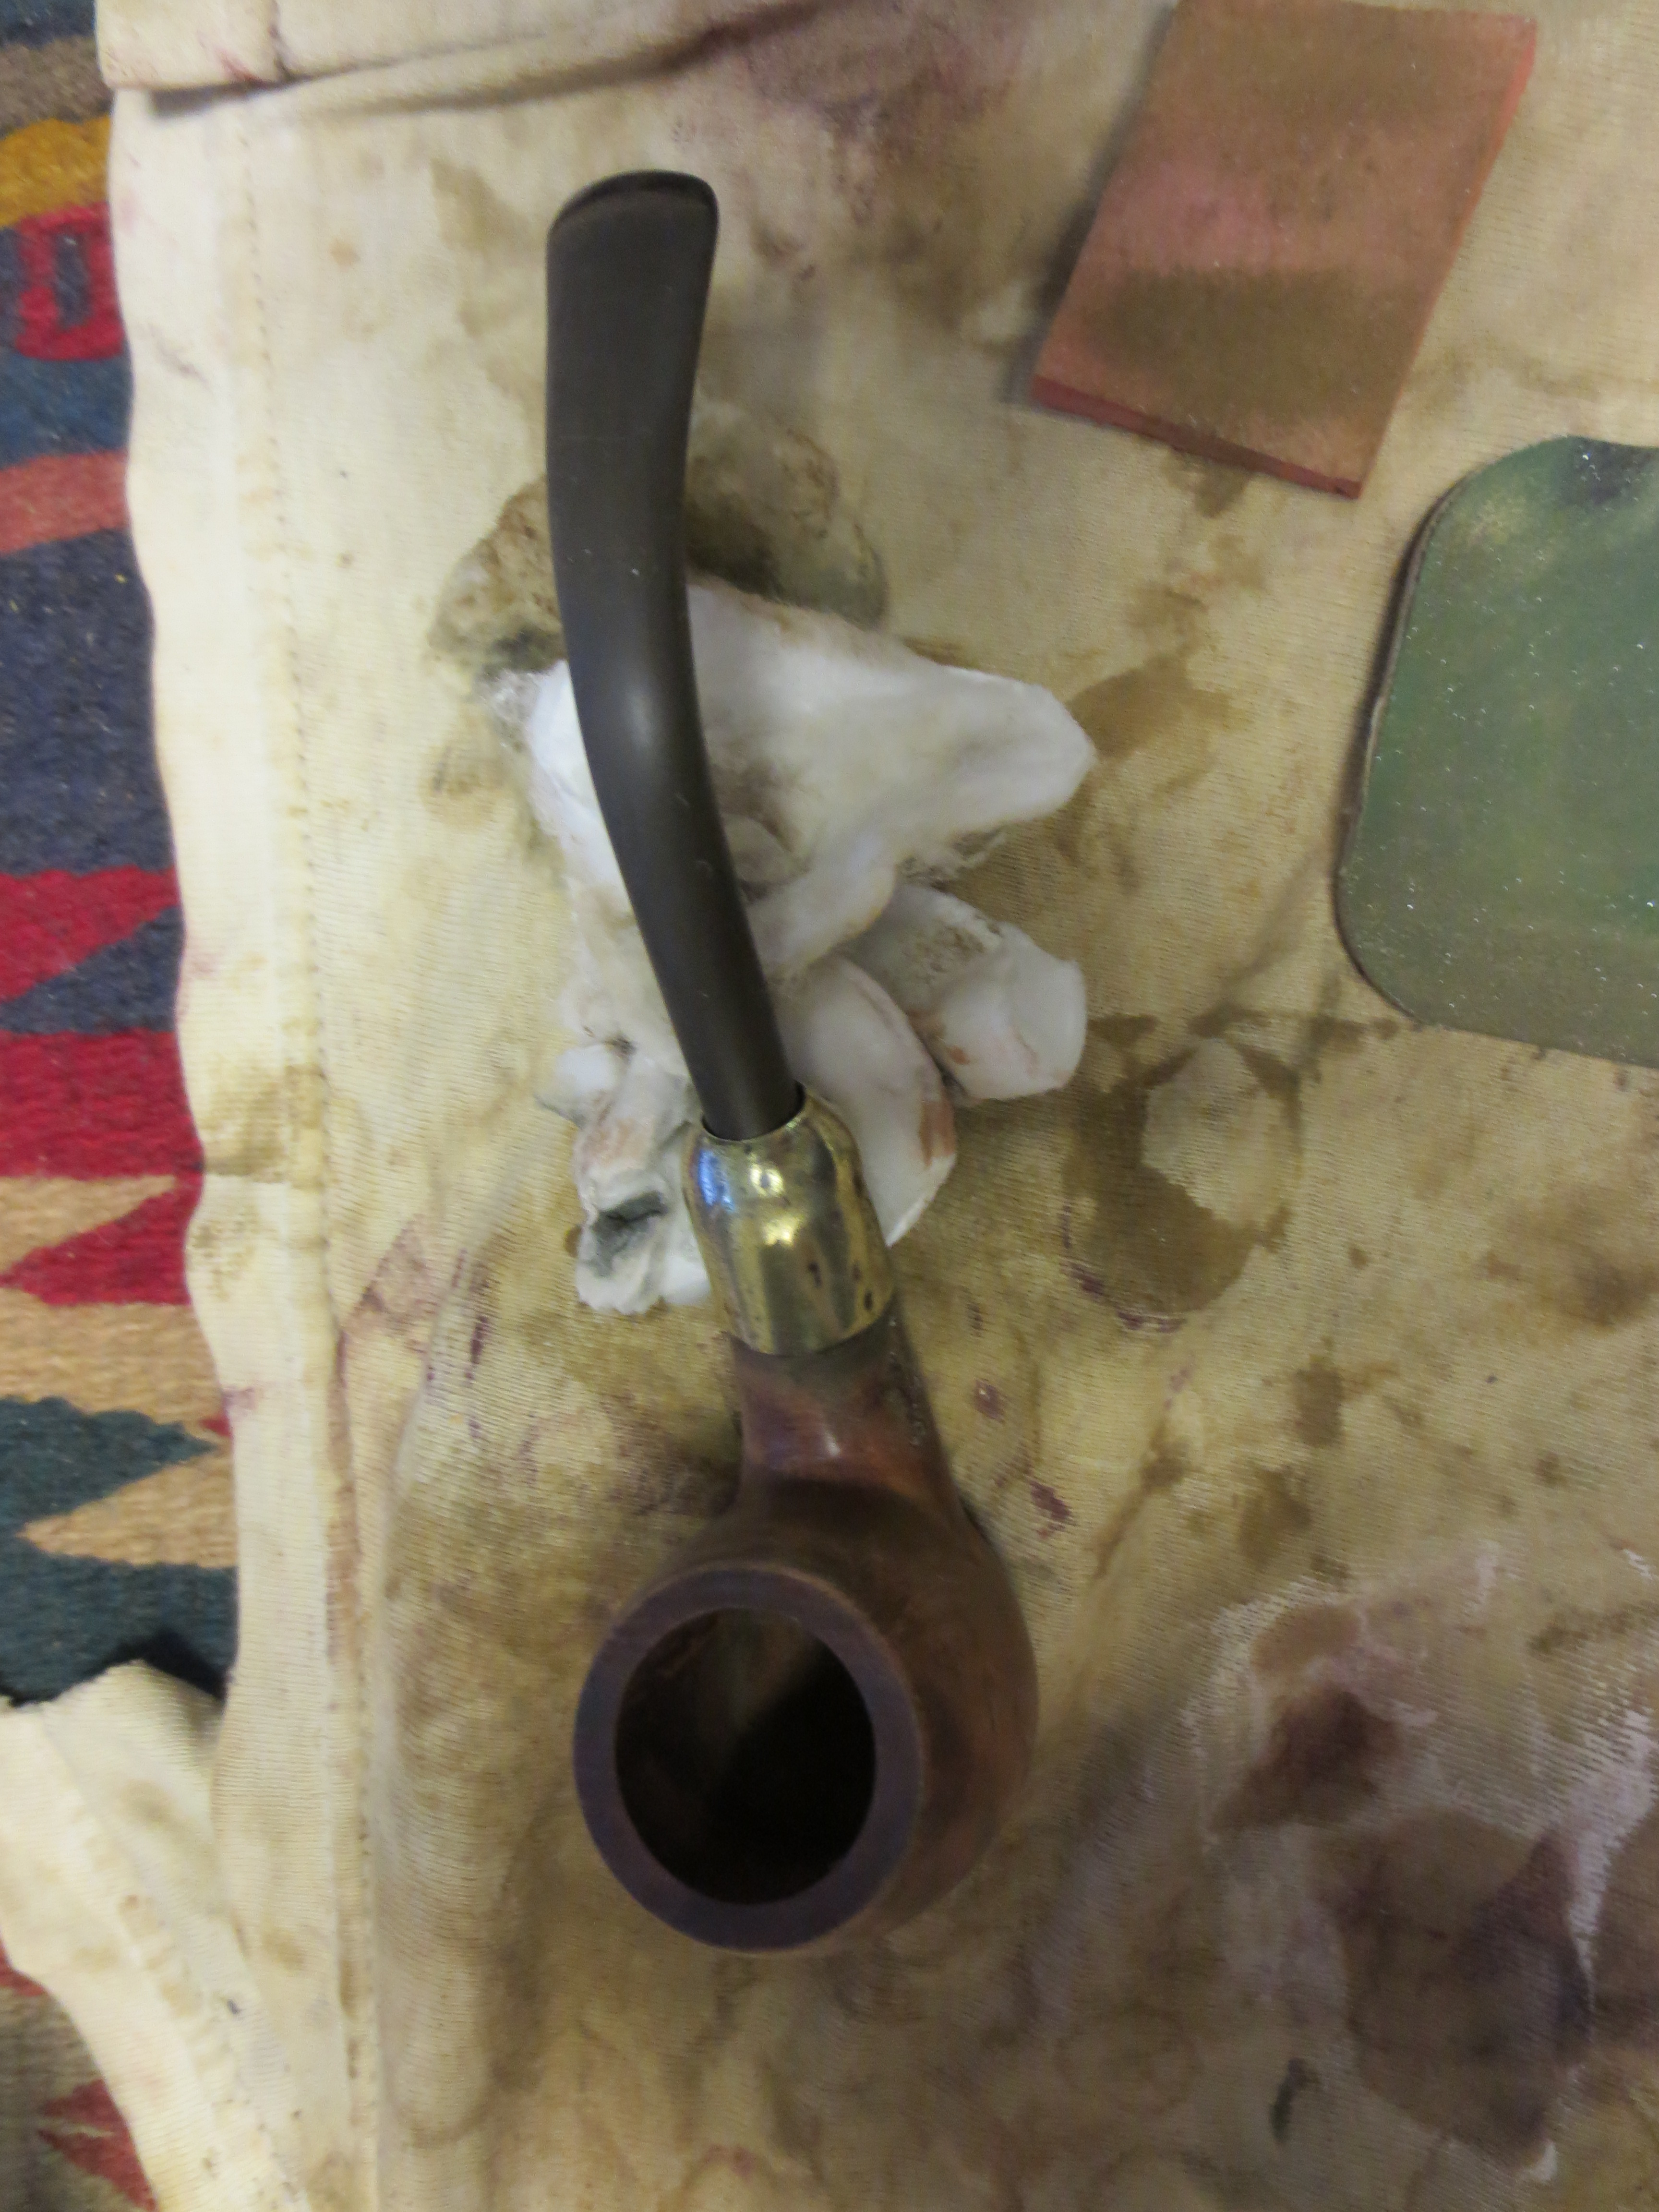
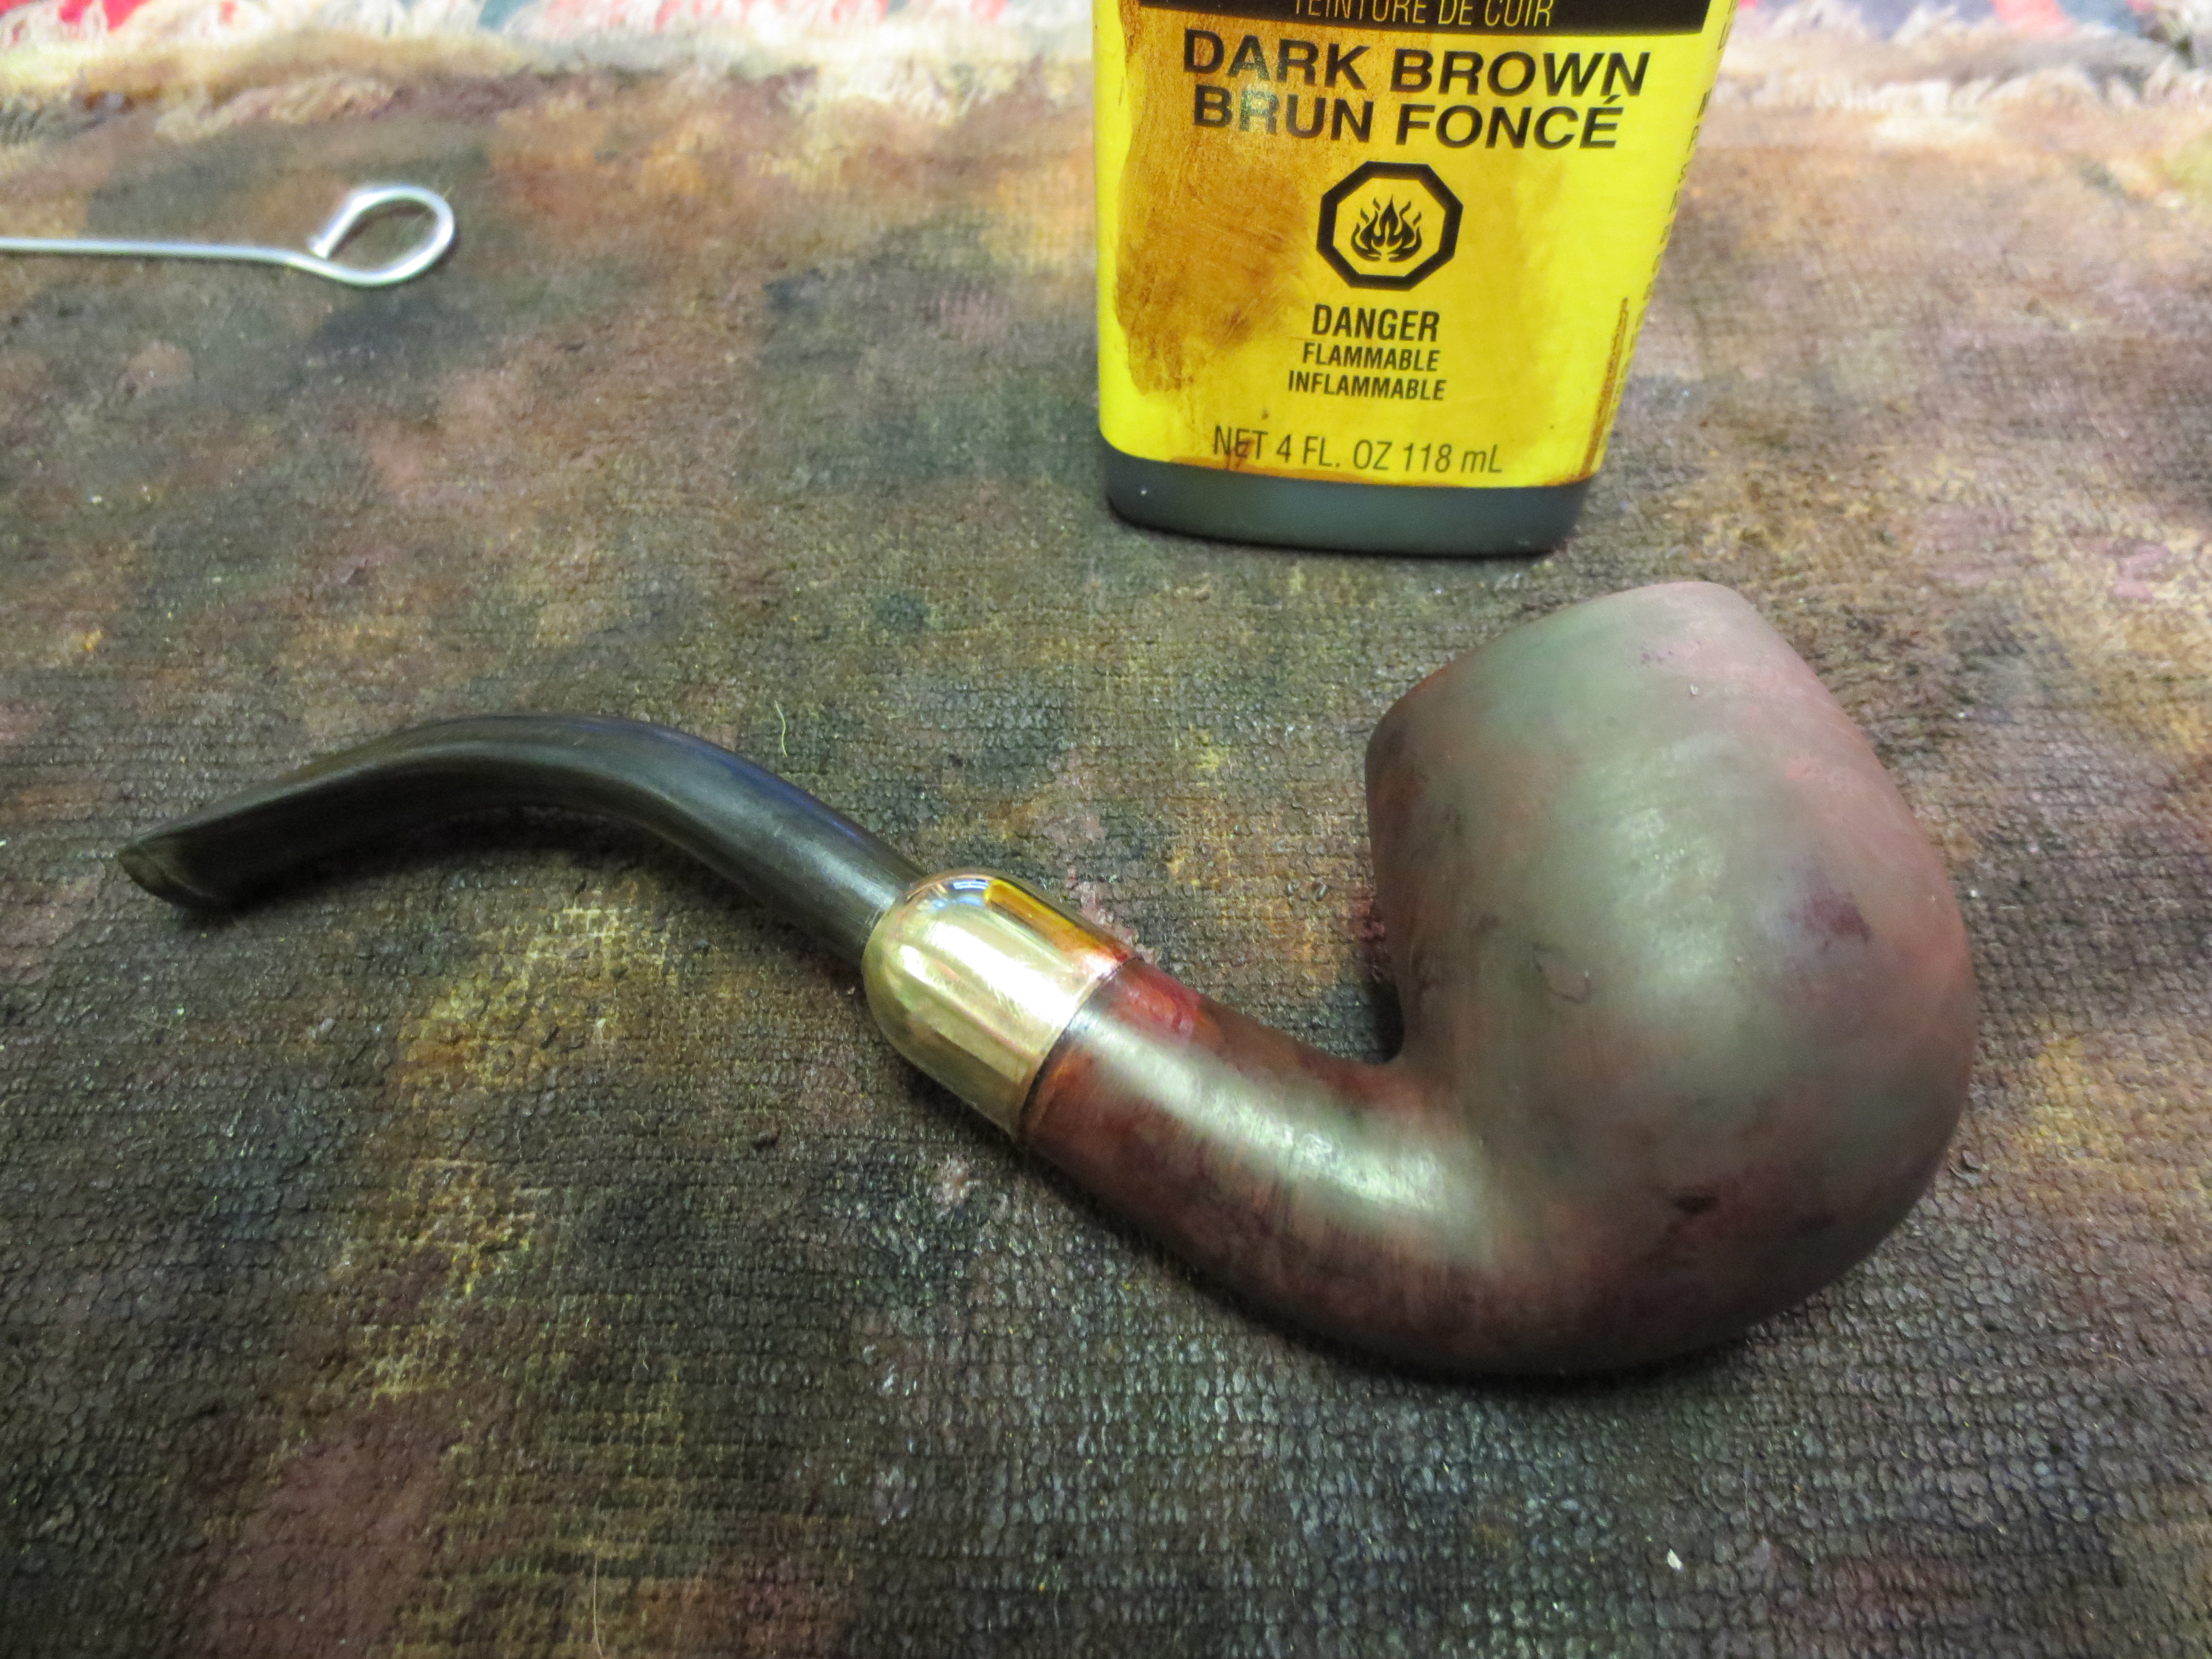
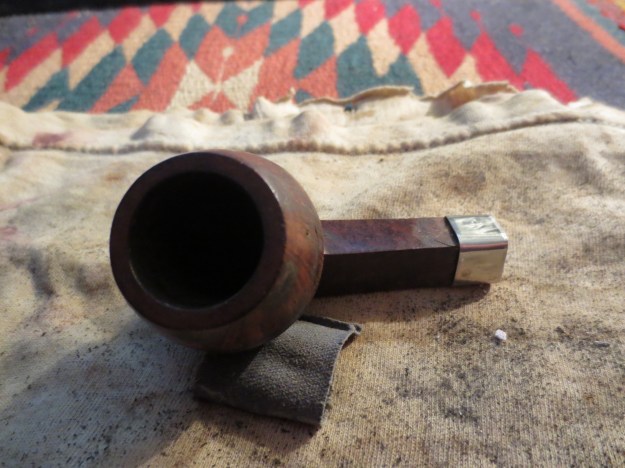
With the nail holes filled on the front and back of the bowl I was finished with the patching for now. I still was bothered by the ones on the sides of the bowl but would deal with them later. I sanded down the patches one more time with a fine grit sanding sponge and then wiped the bowl and shank down with an alcohol dampened cotton pad to remove the dust and remaining finish. The next series of eight photos shows that process as I prepared the bowl to be restained.

ImageImageImageImageImageImageImageImage

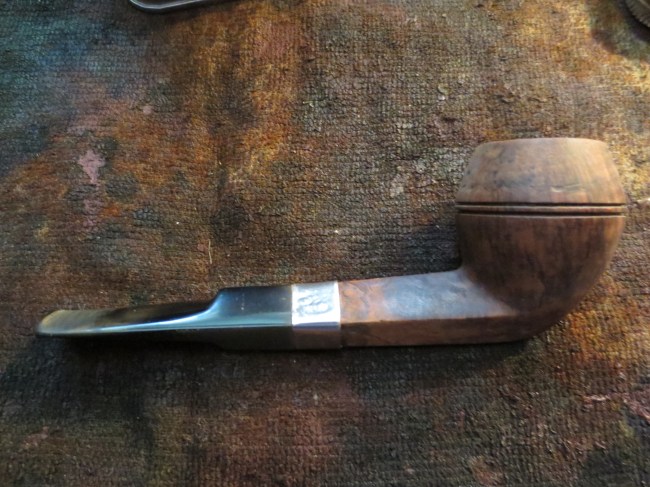
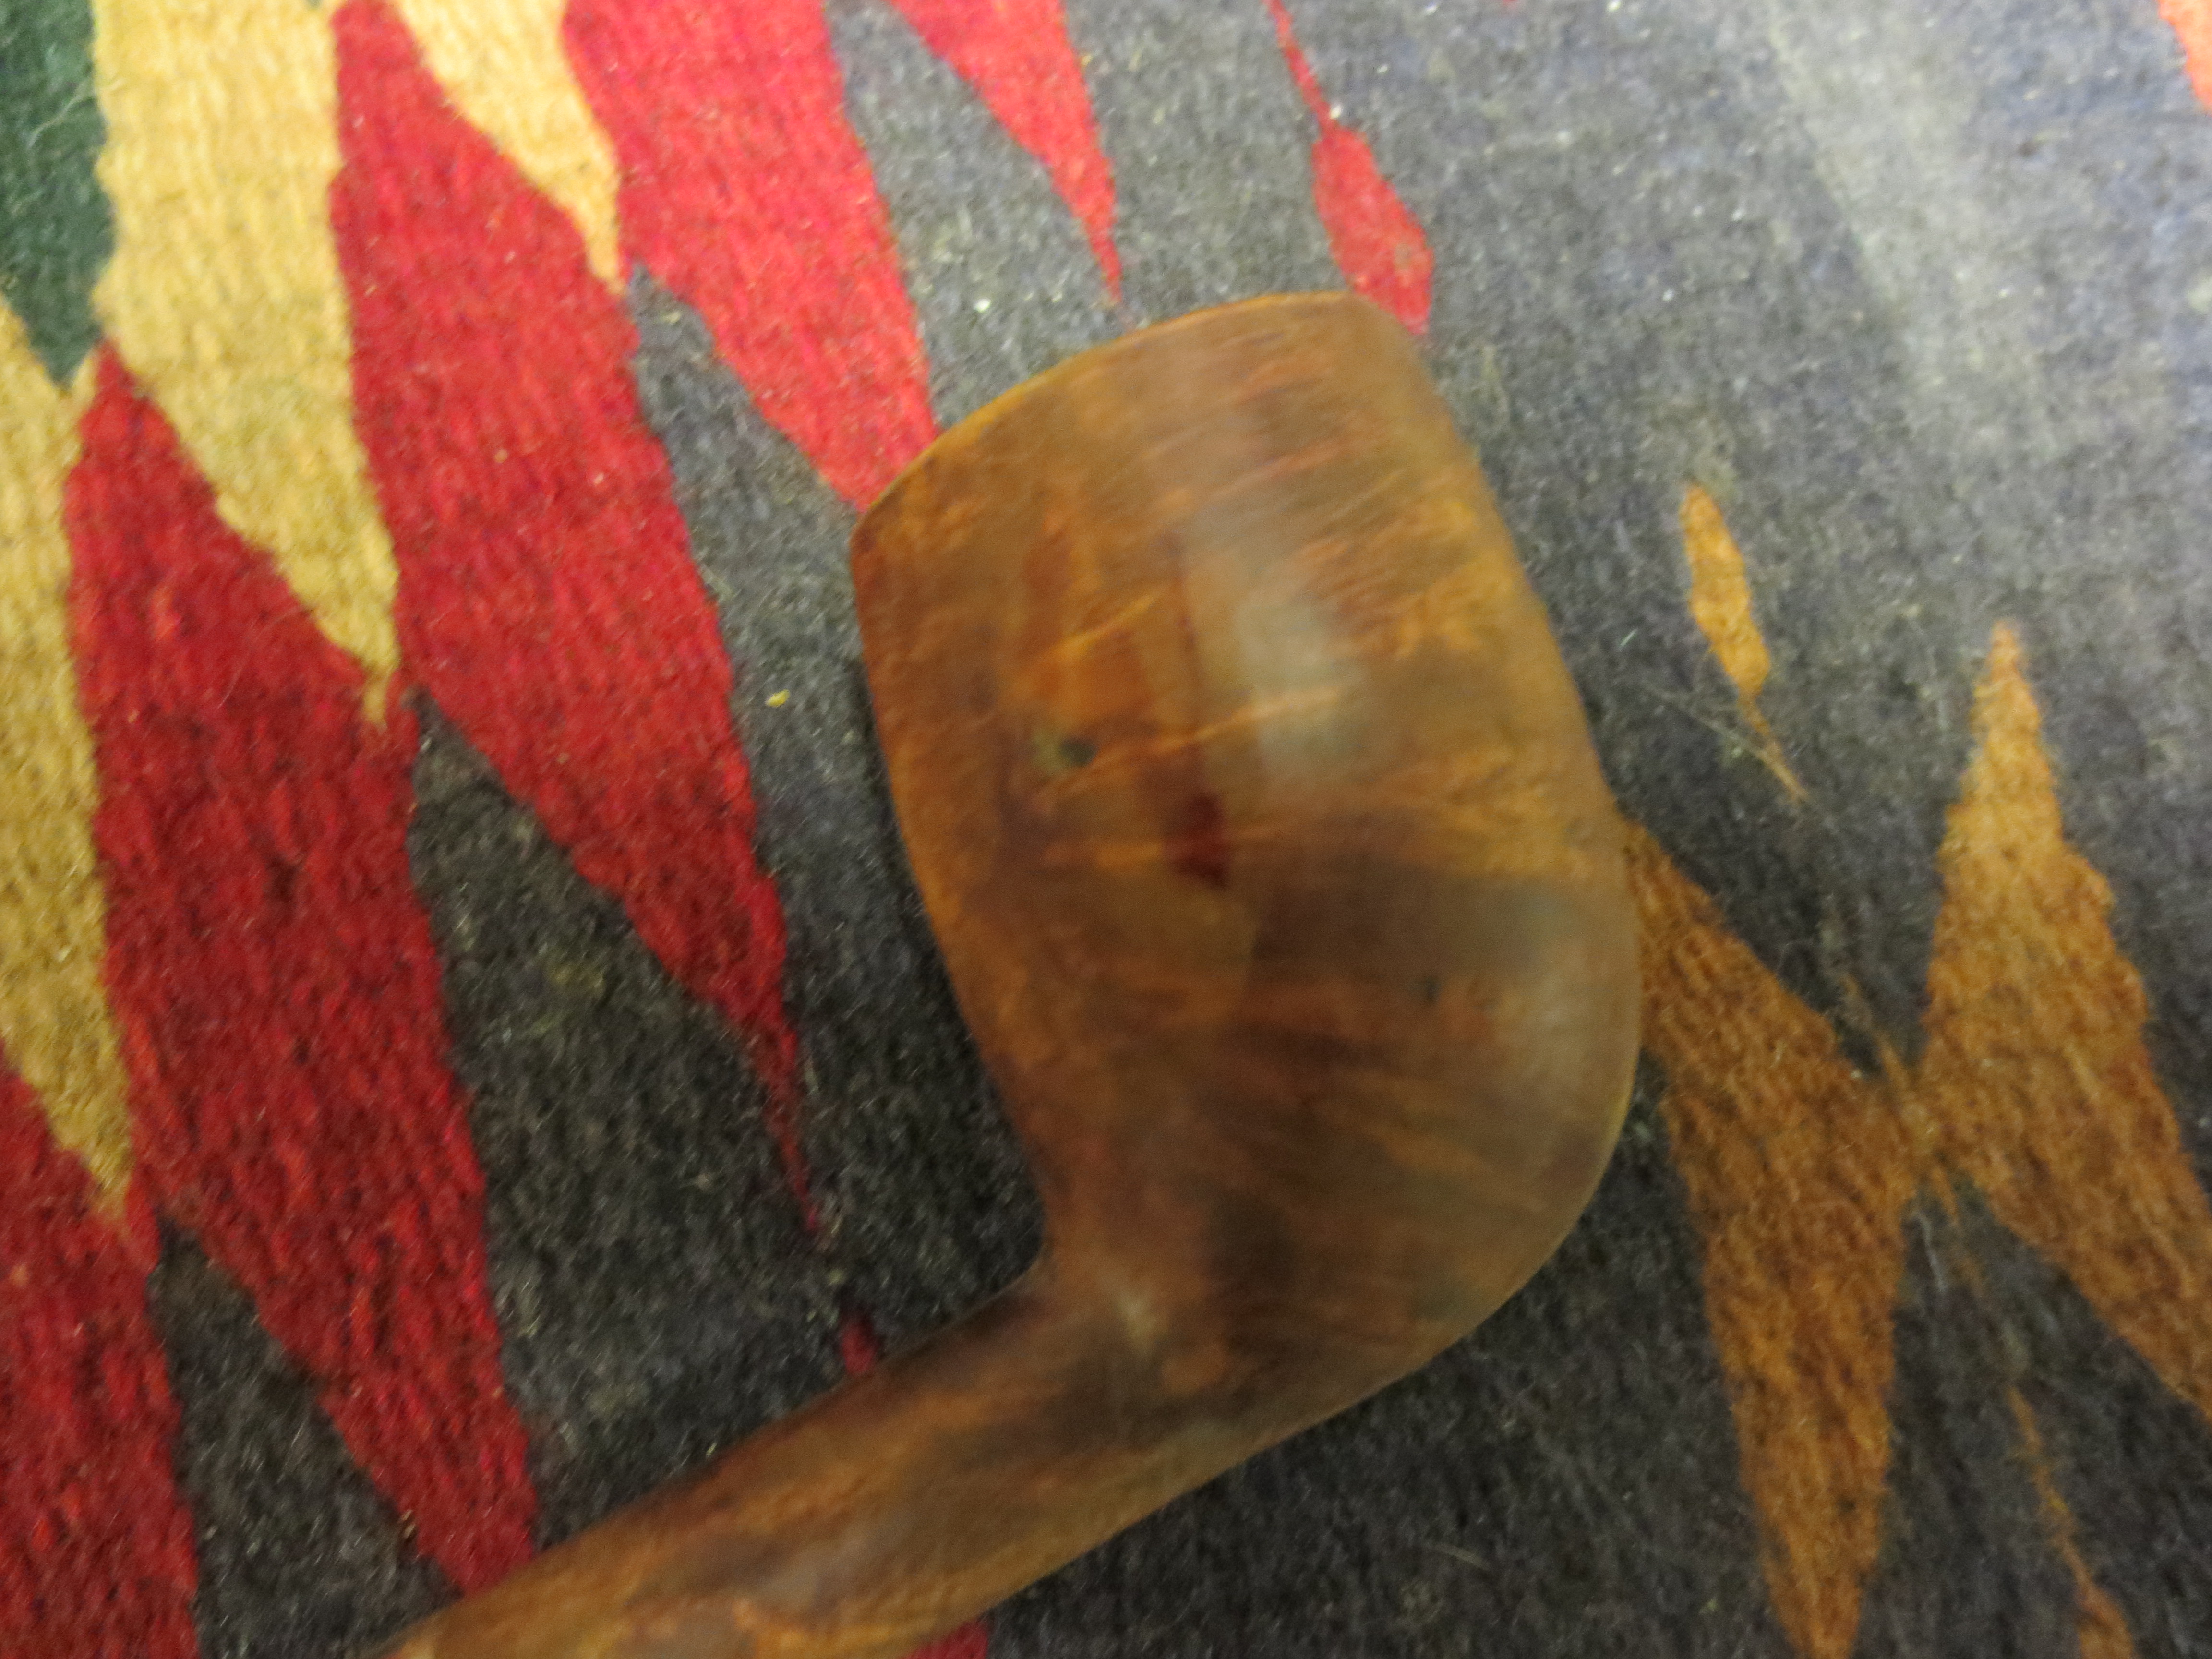
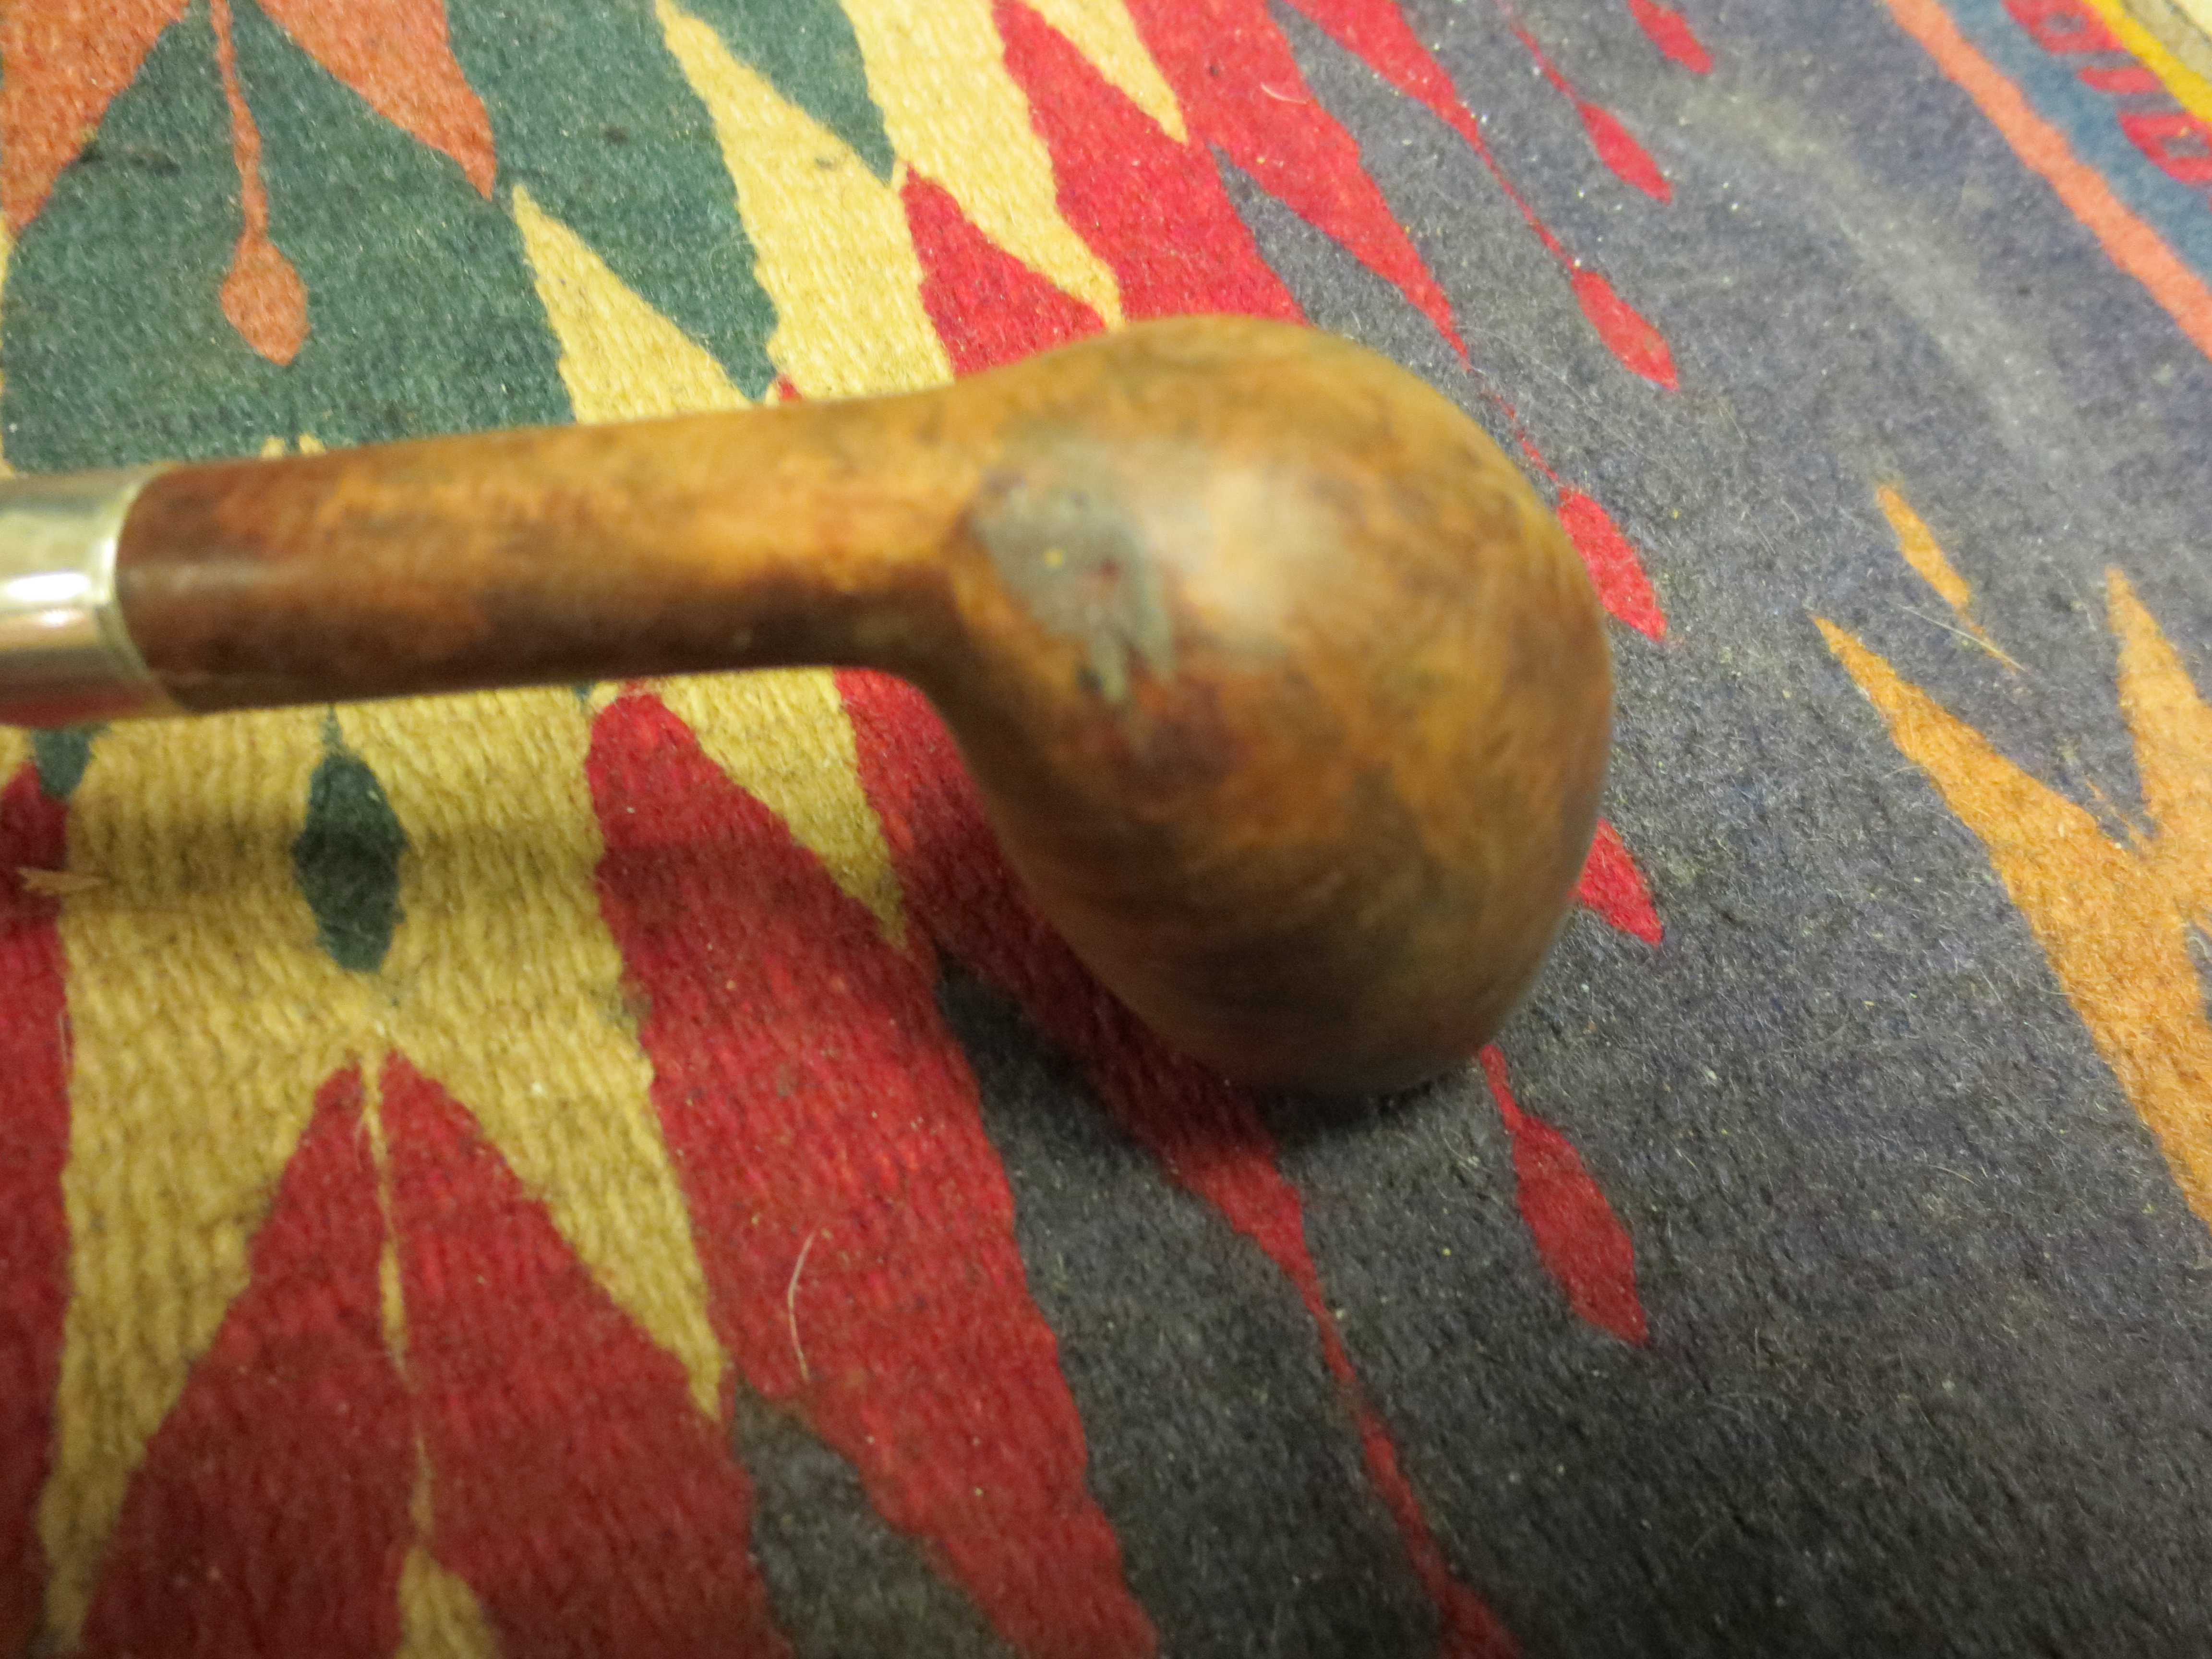
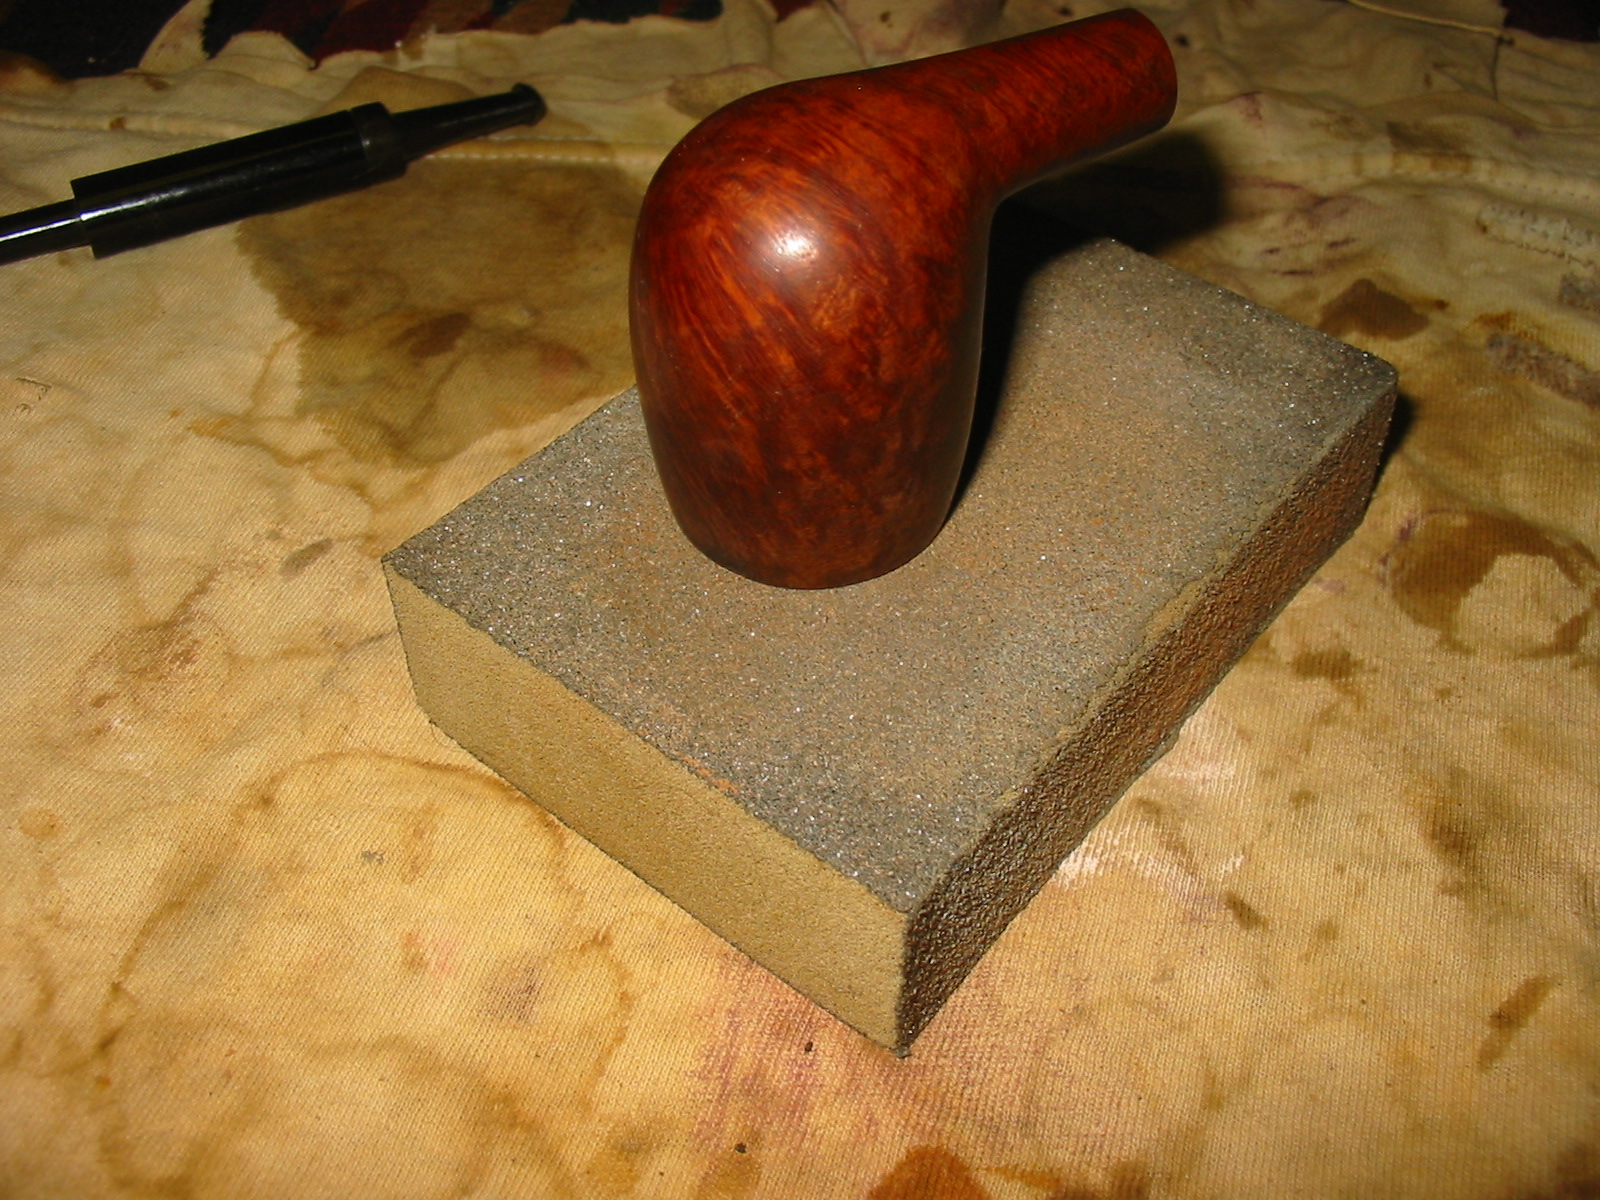
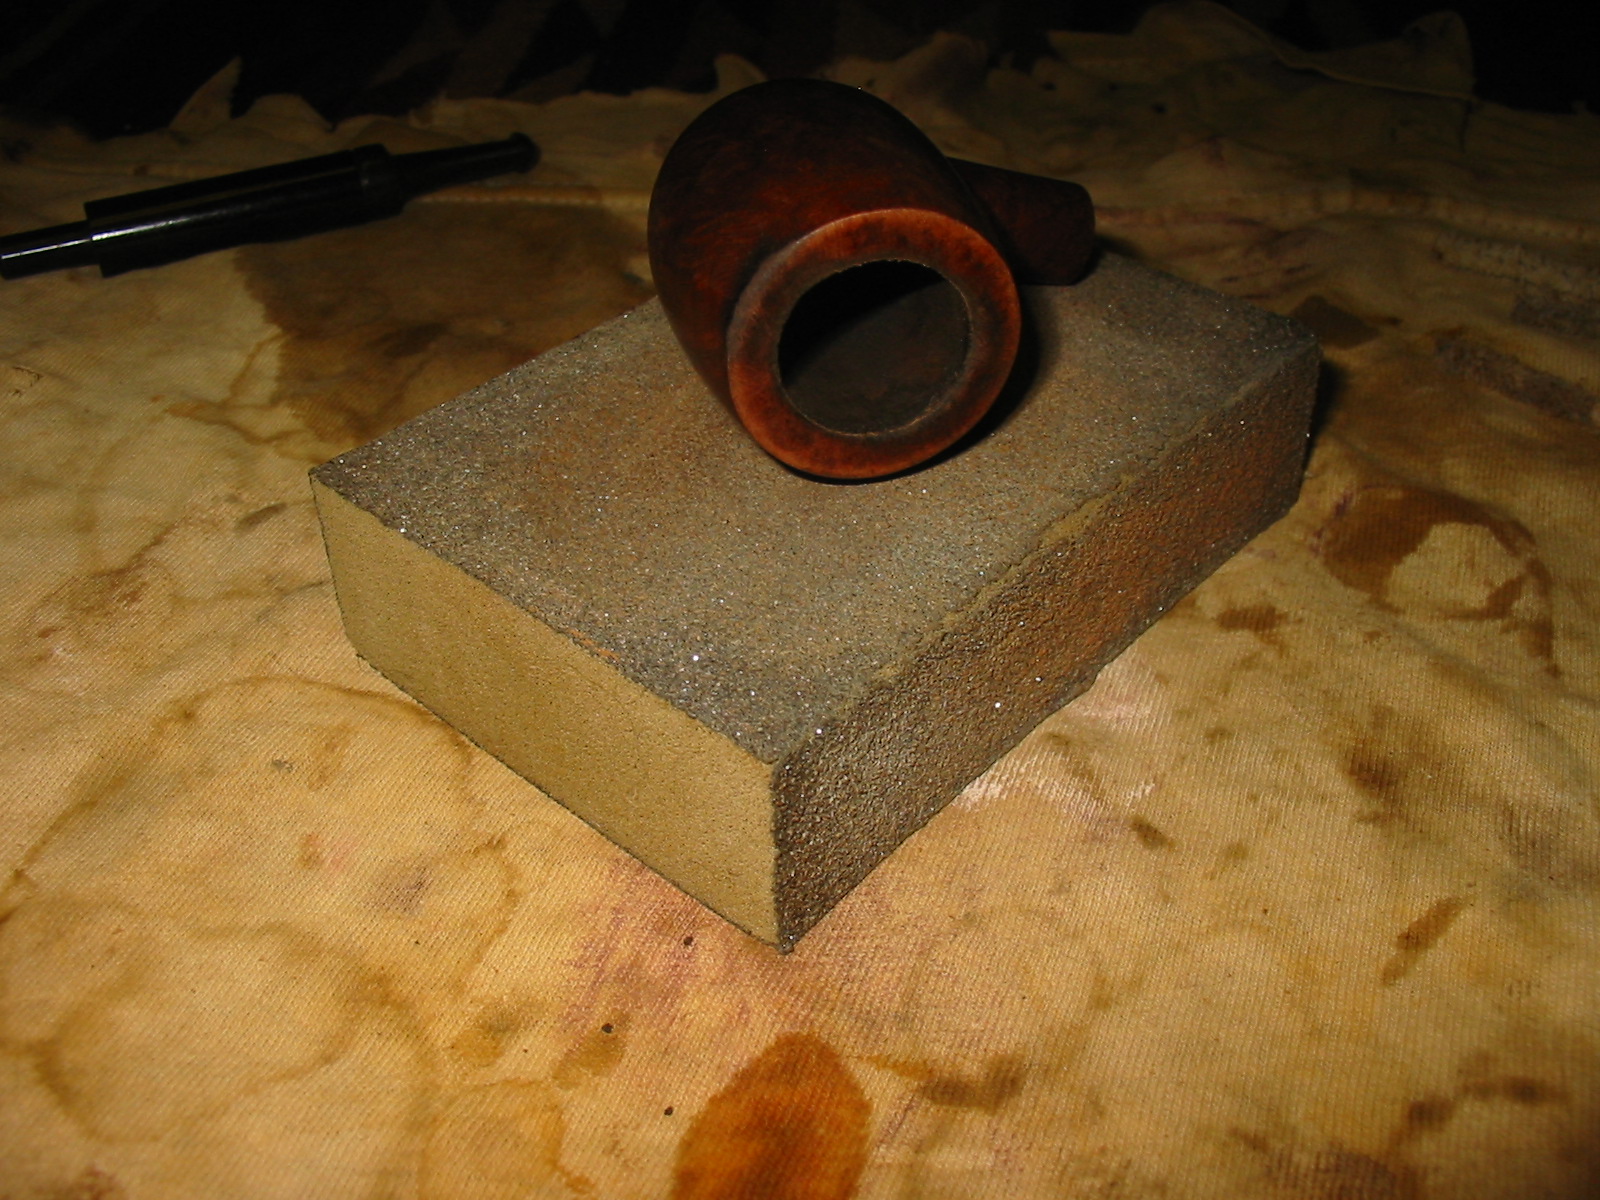
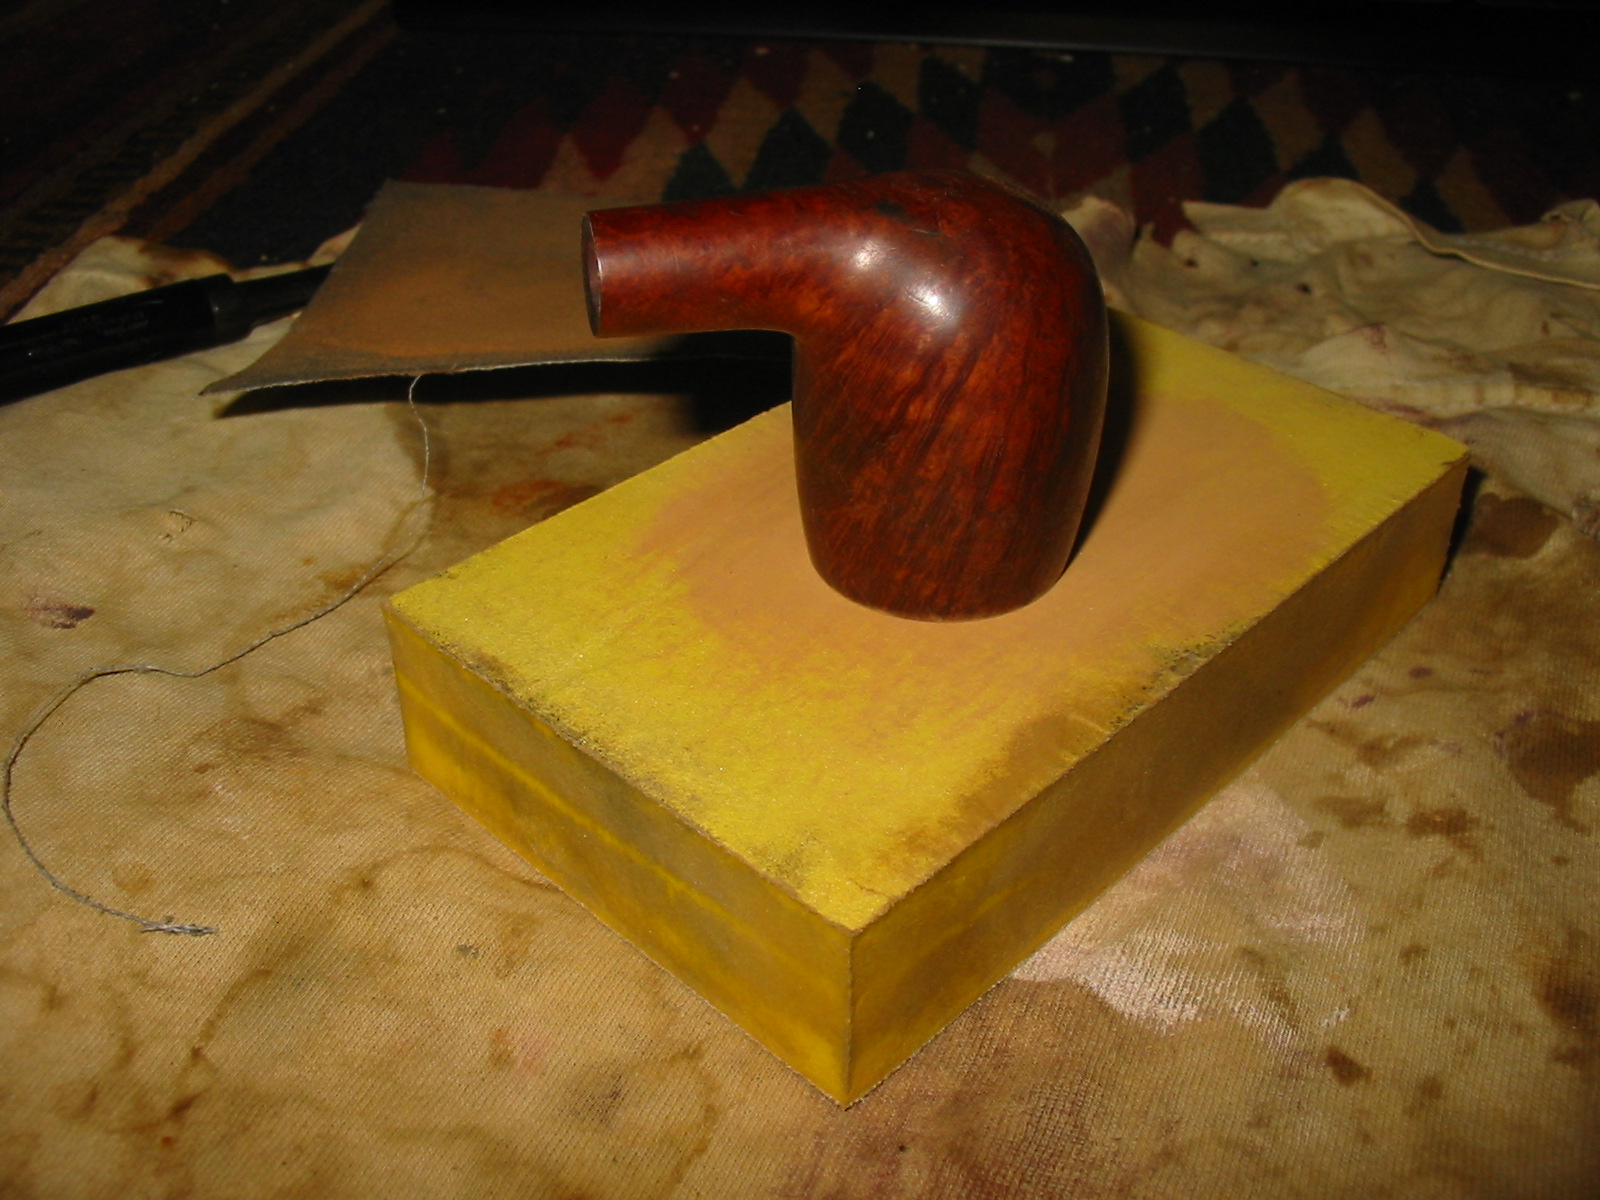
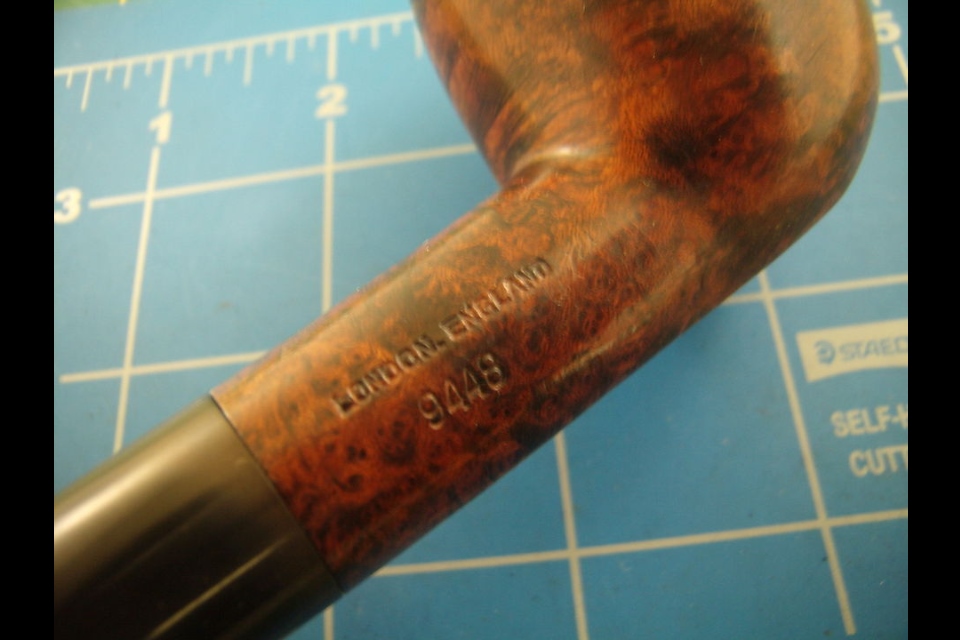
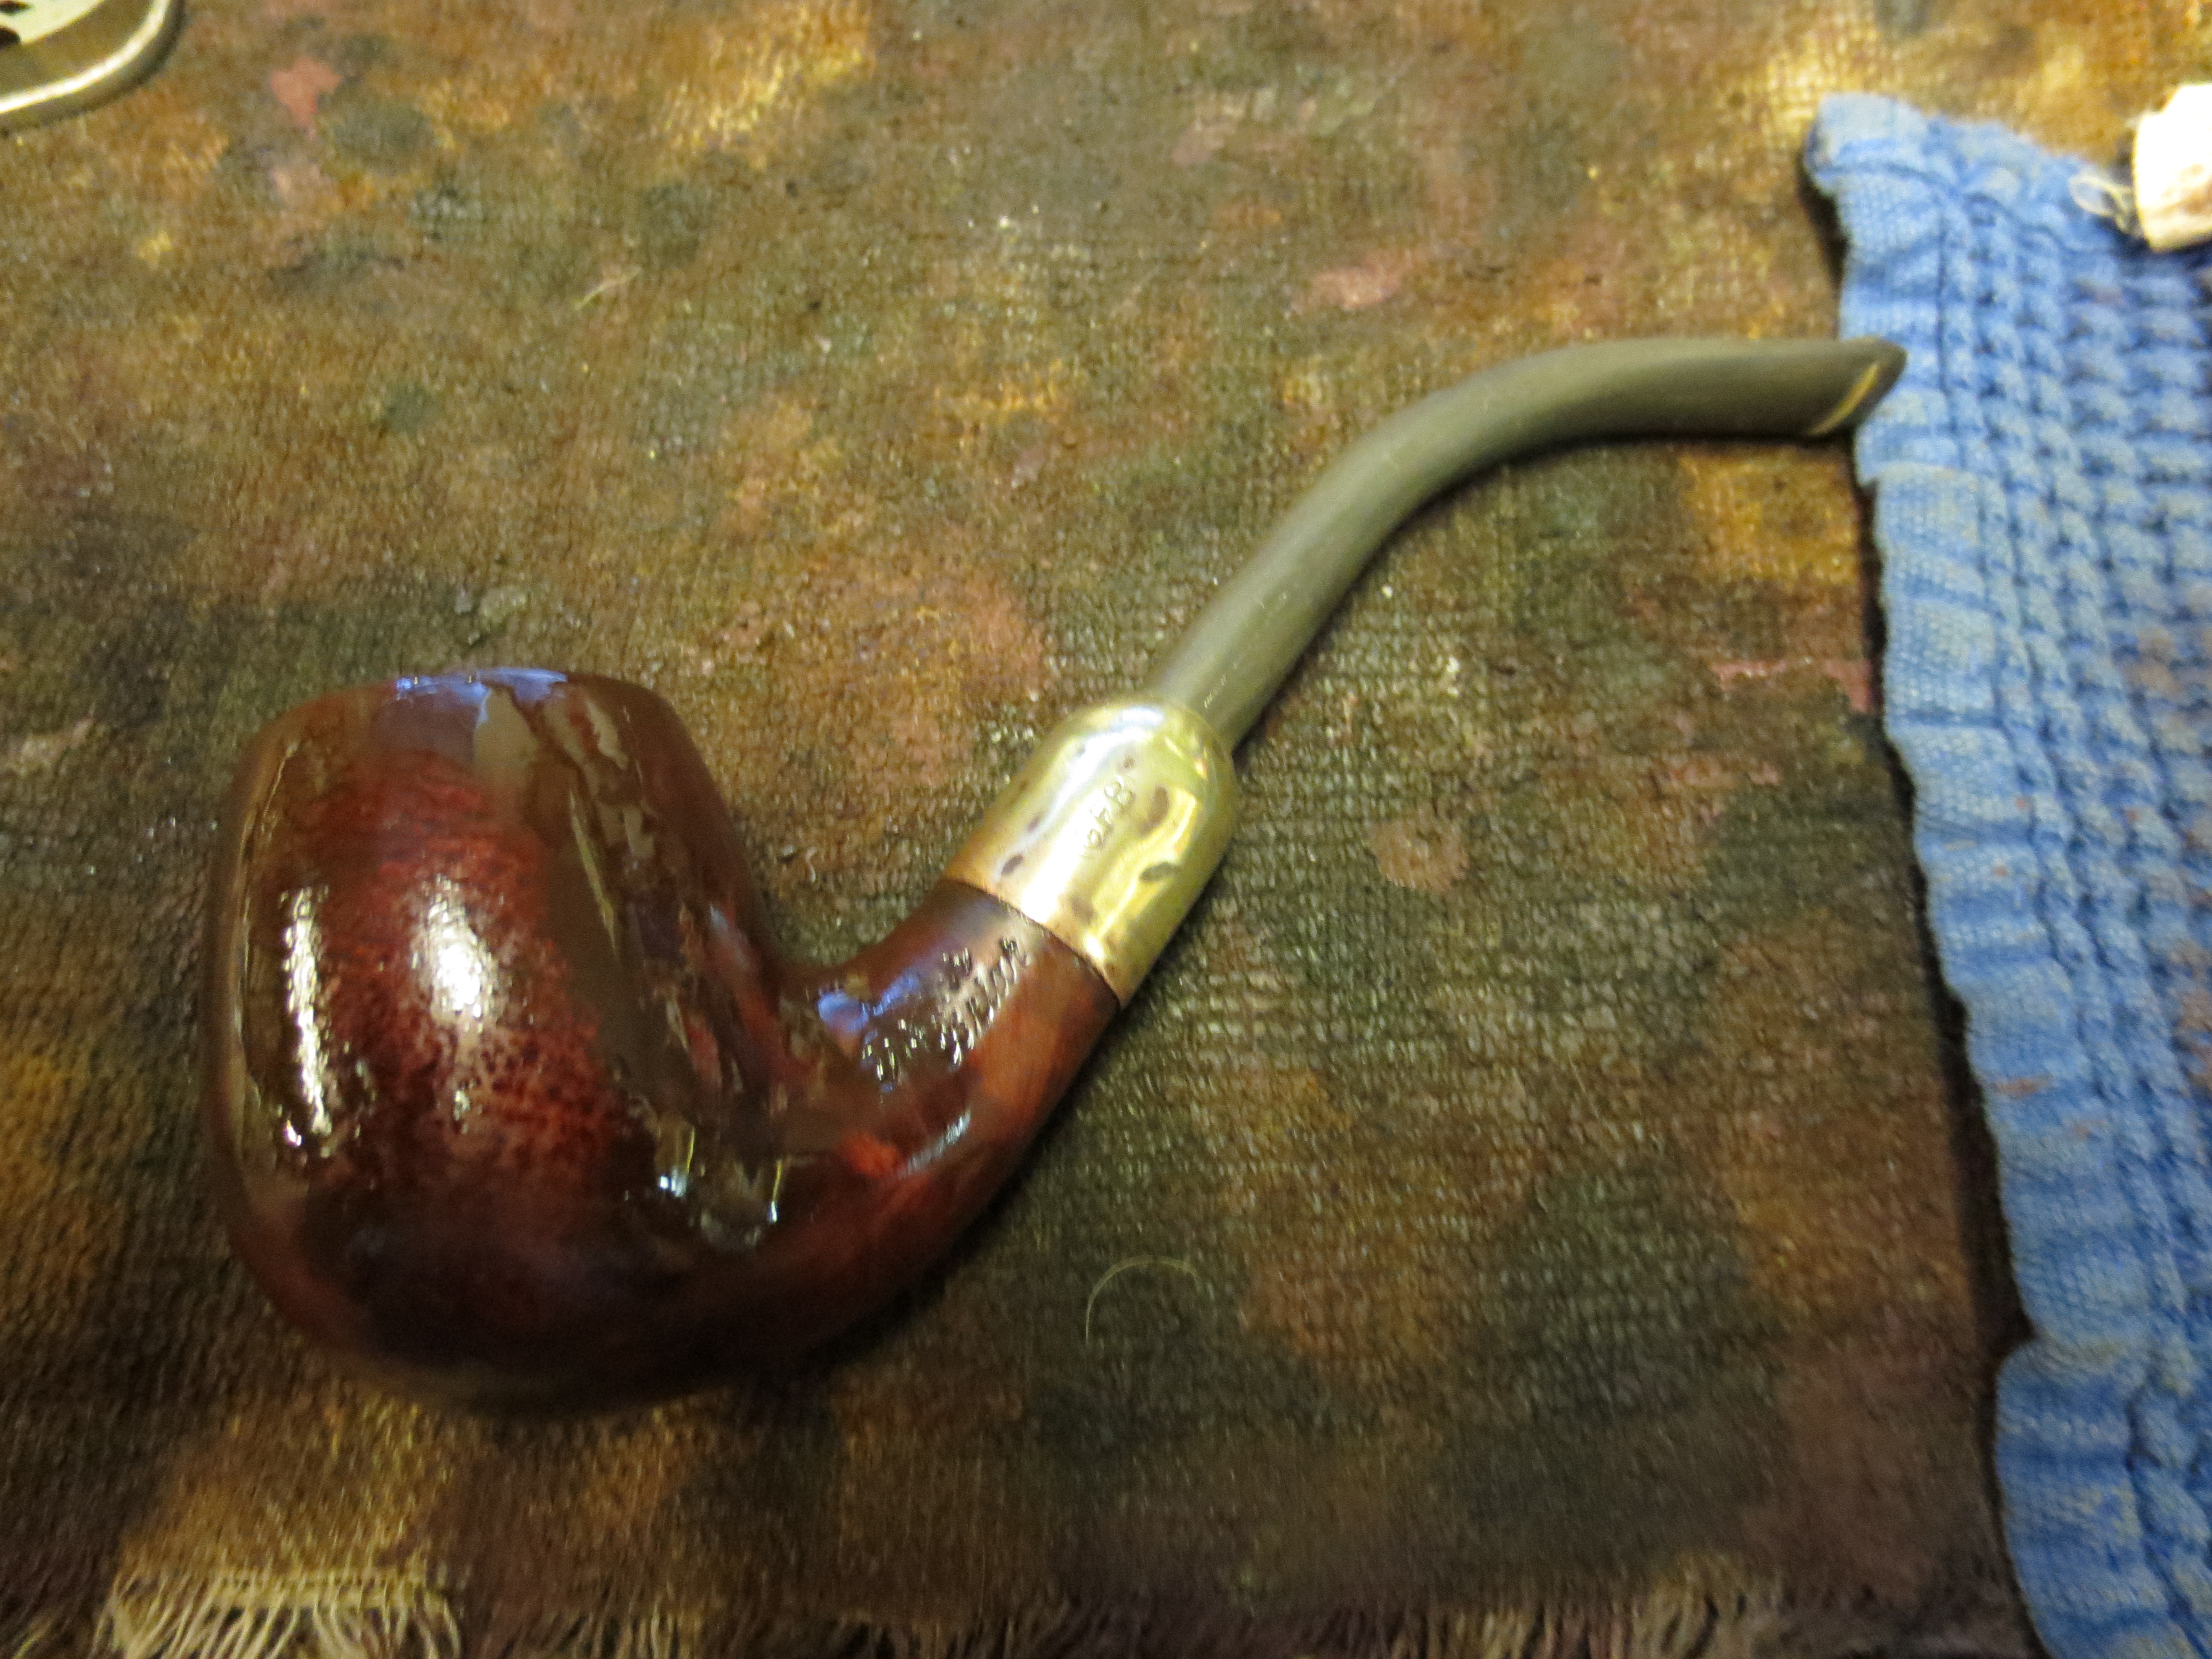
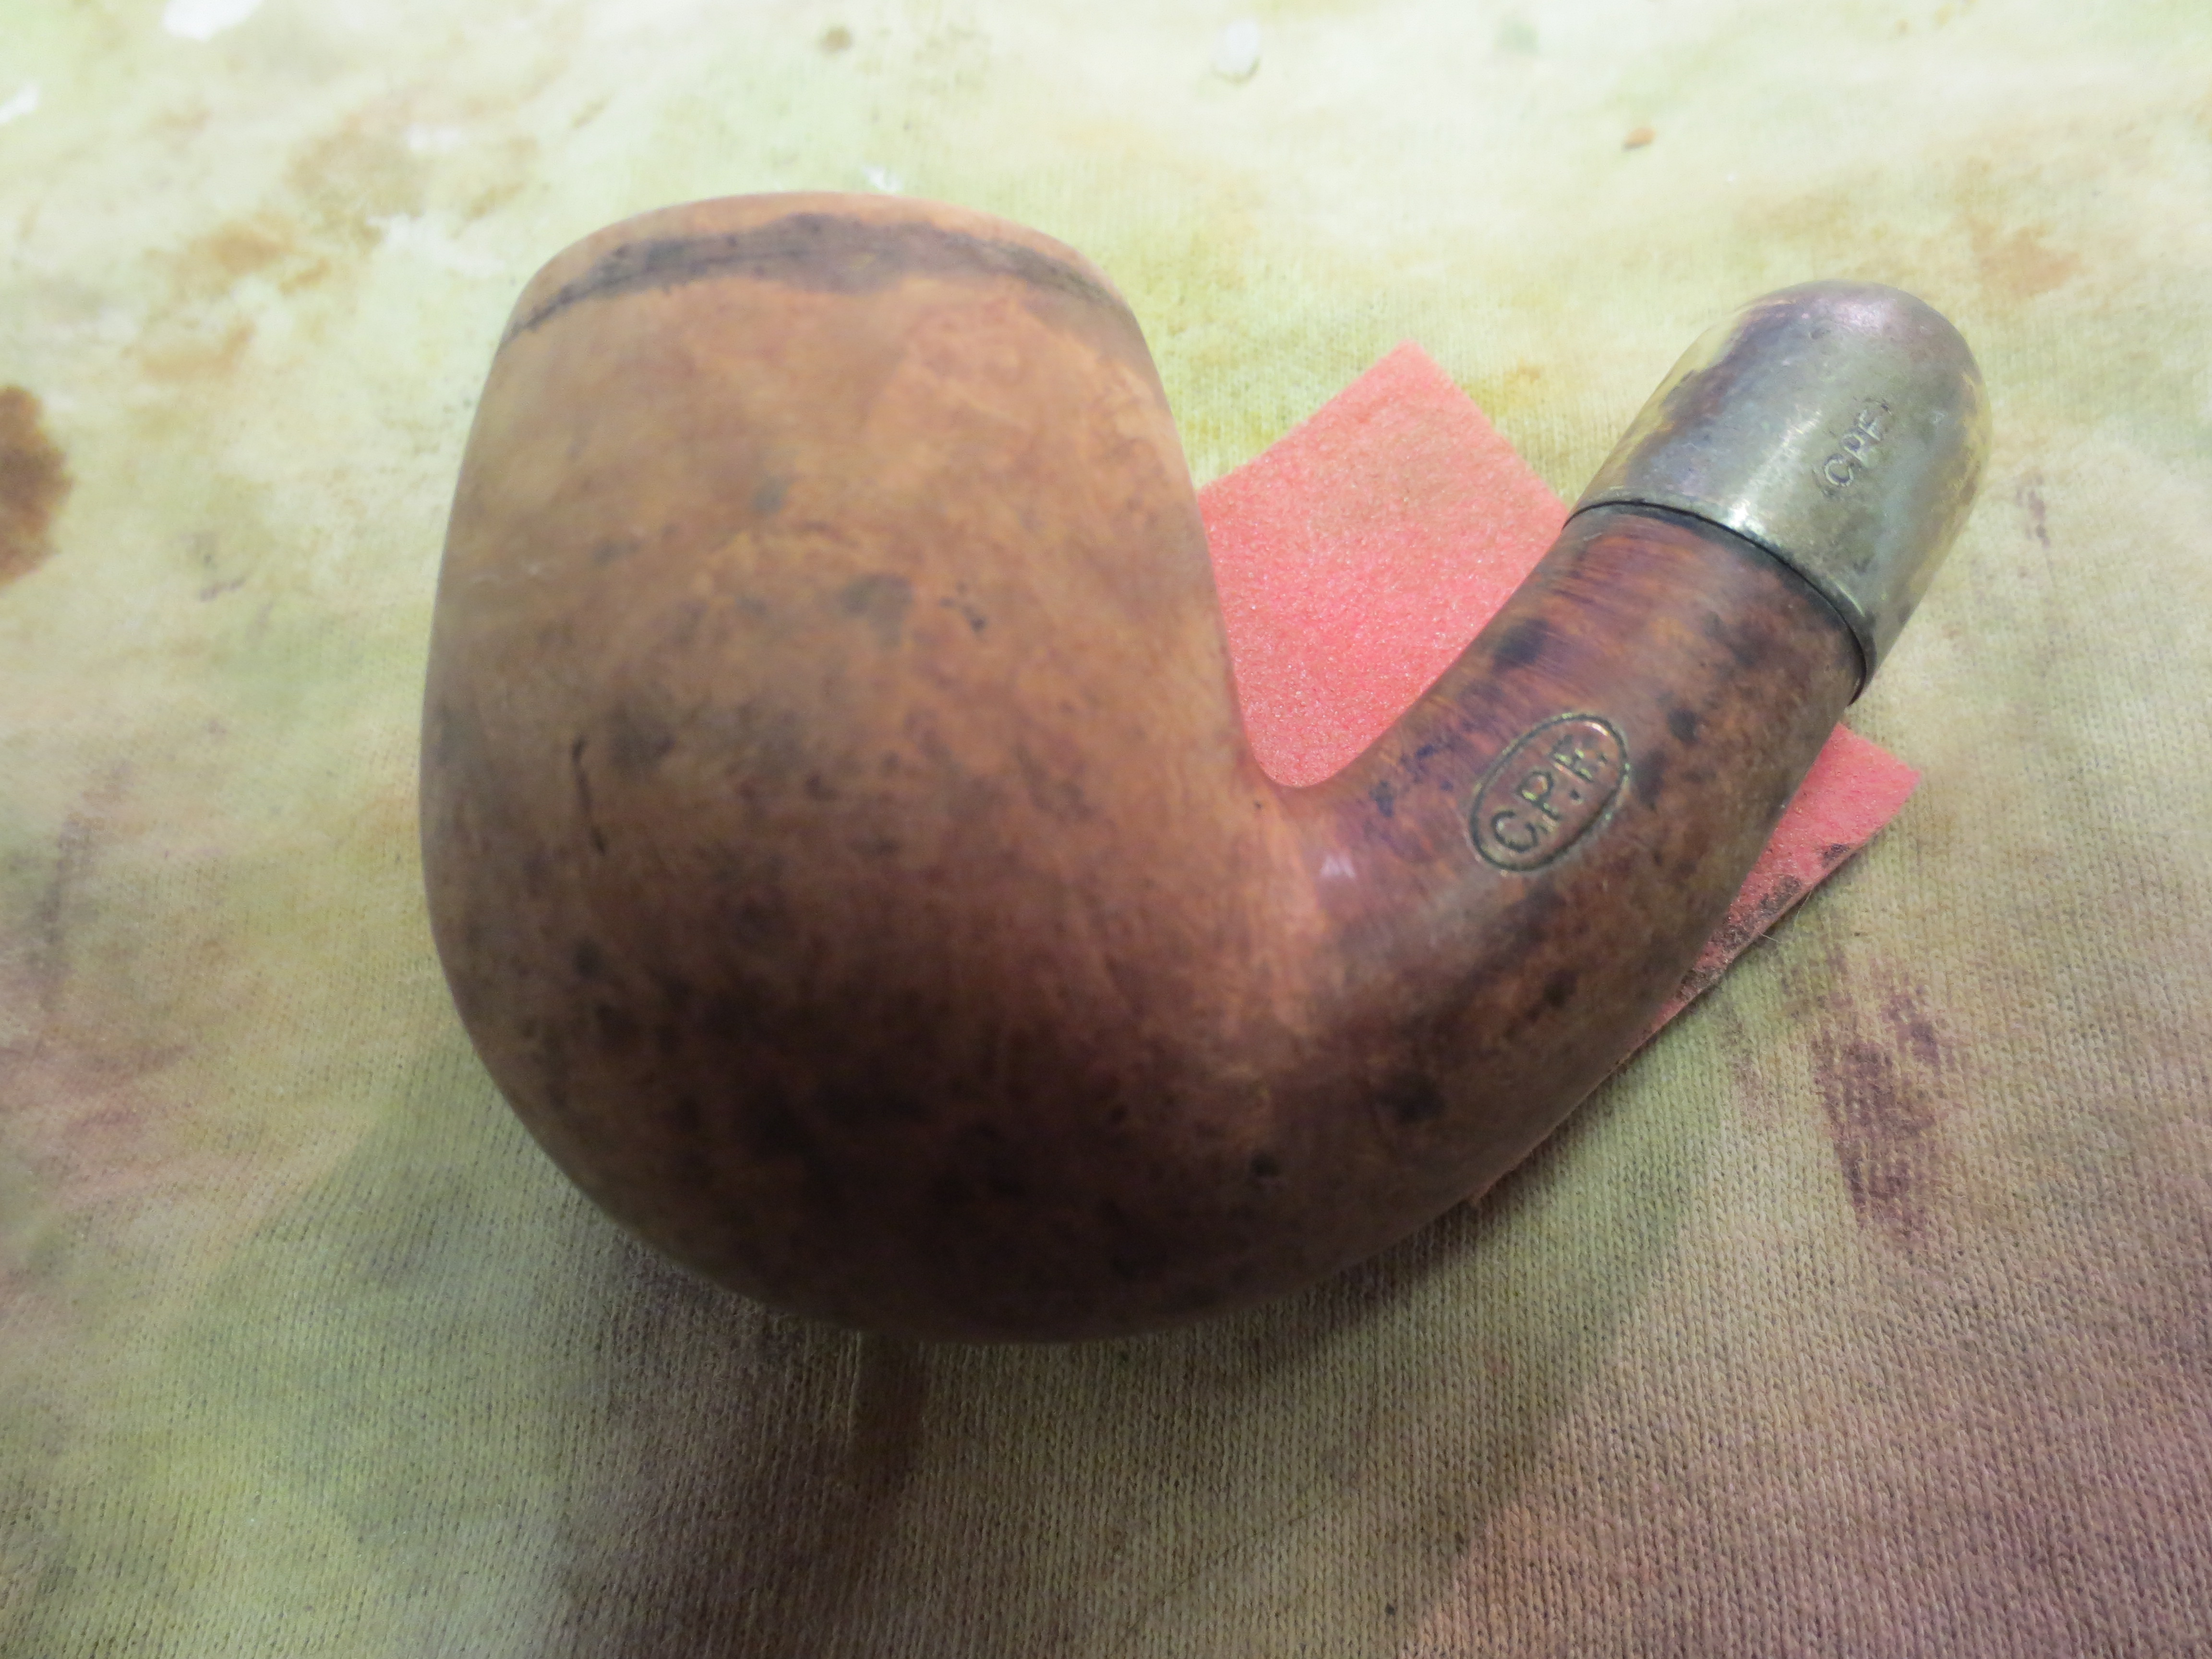
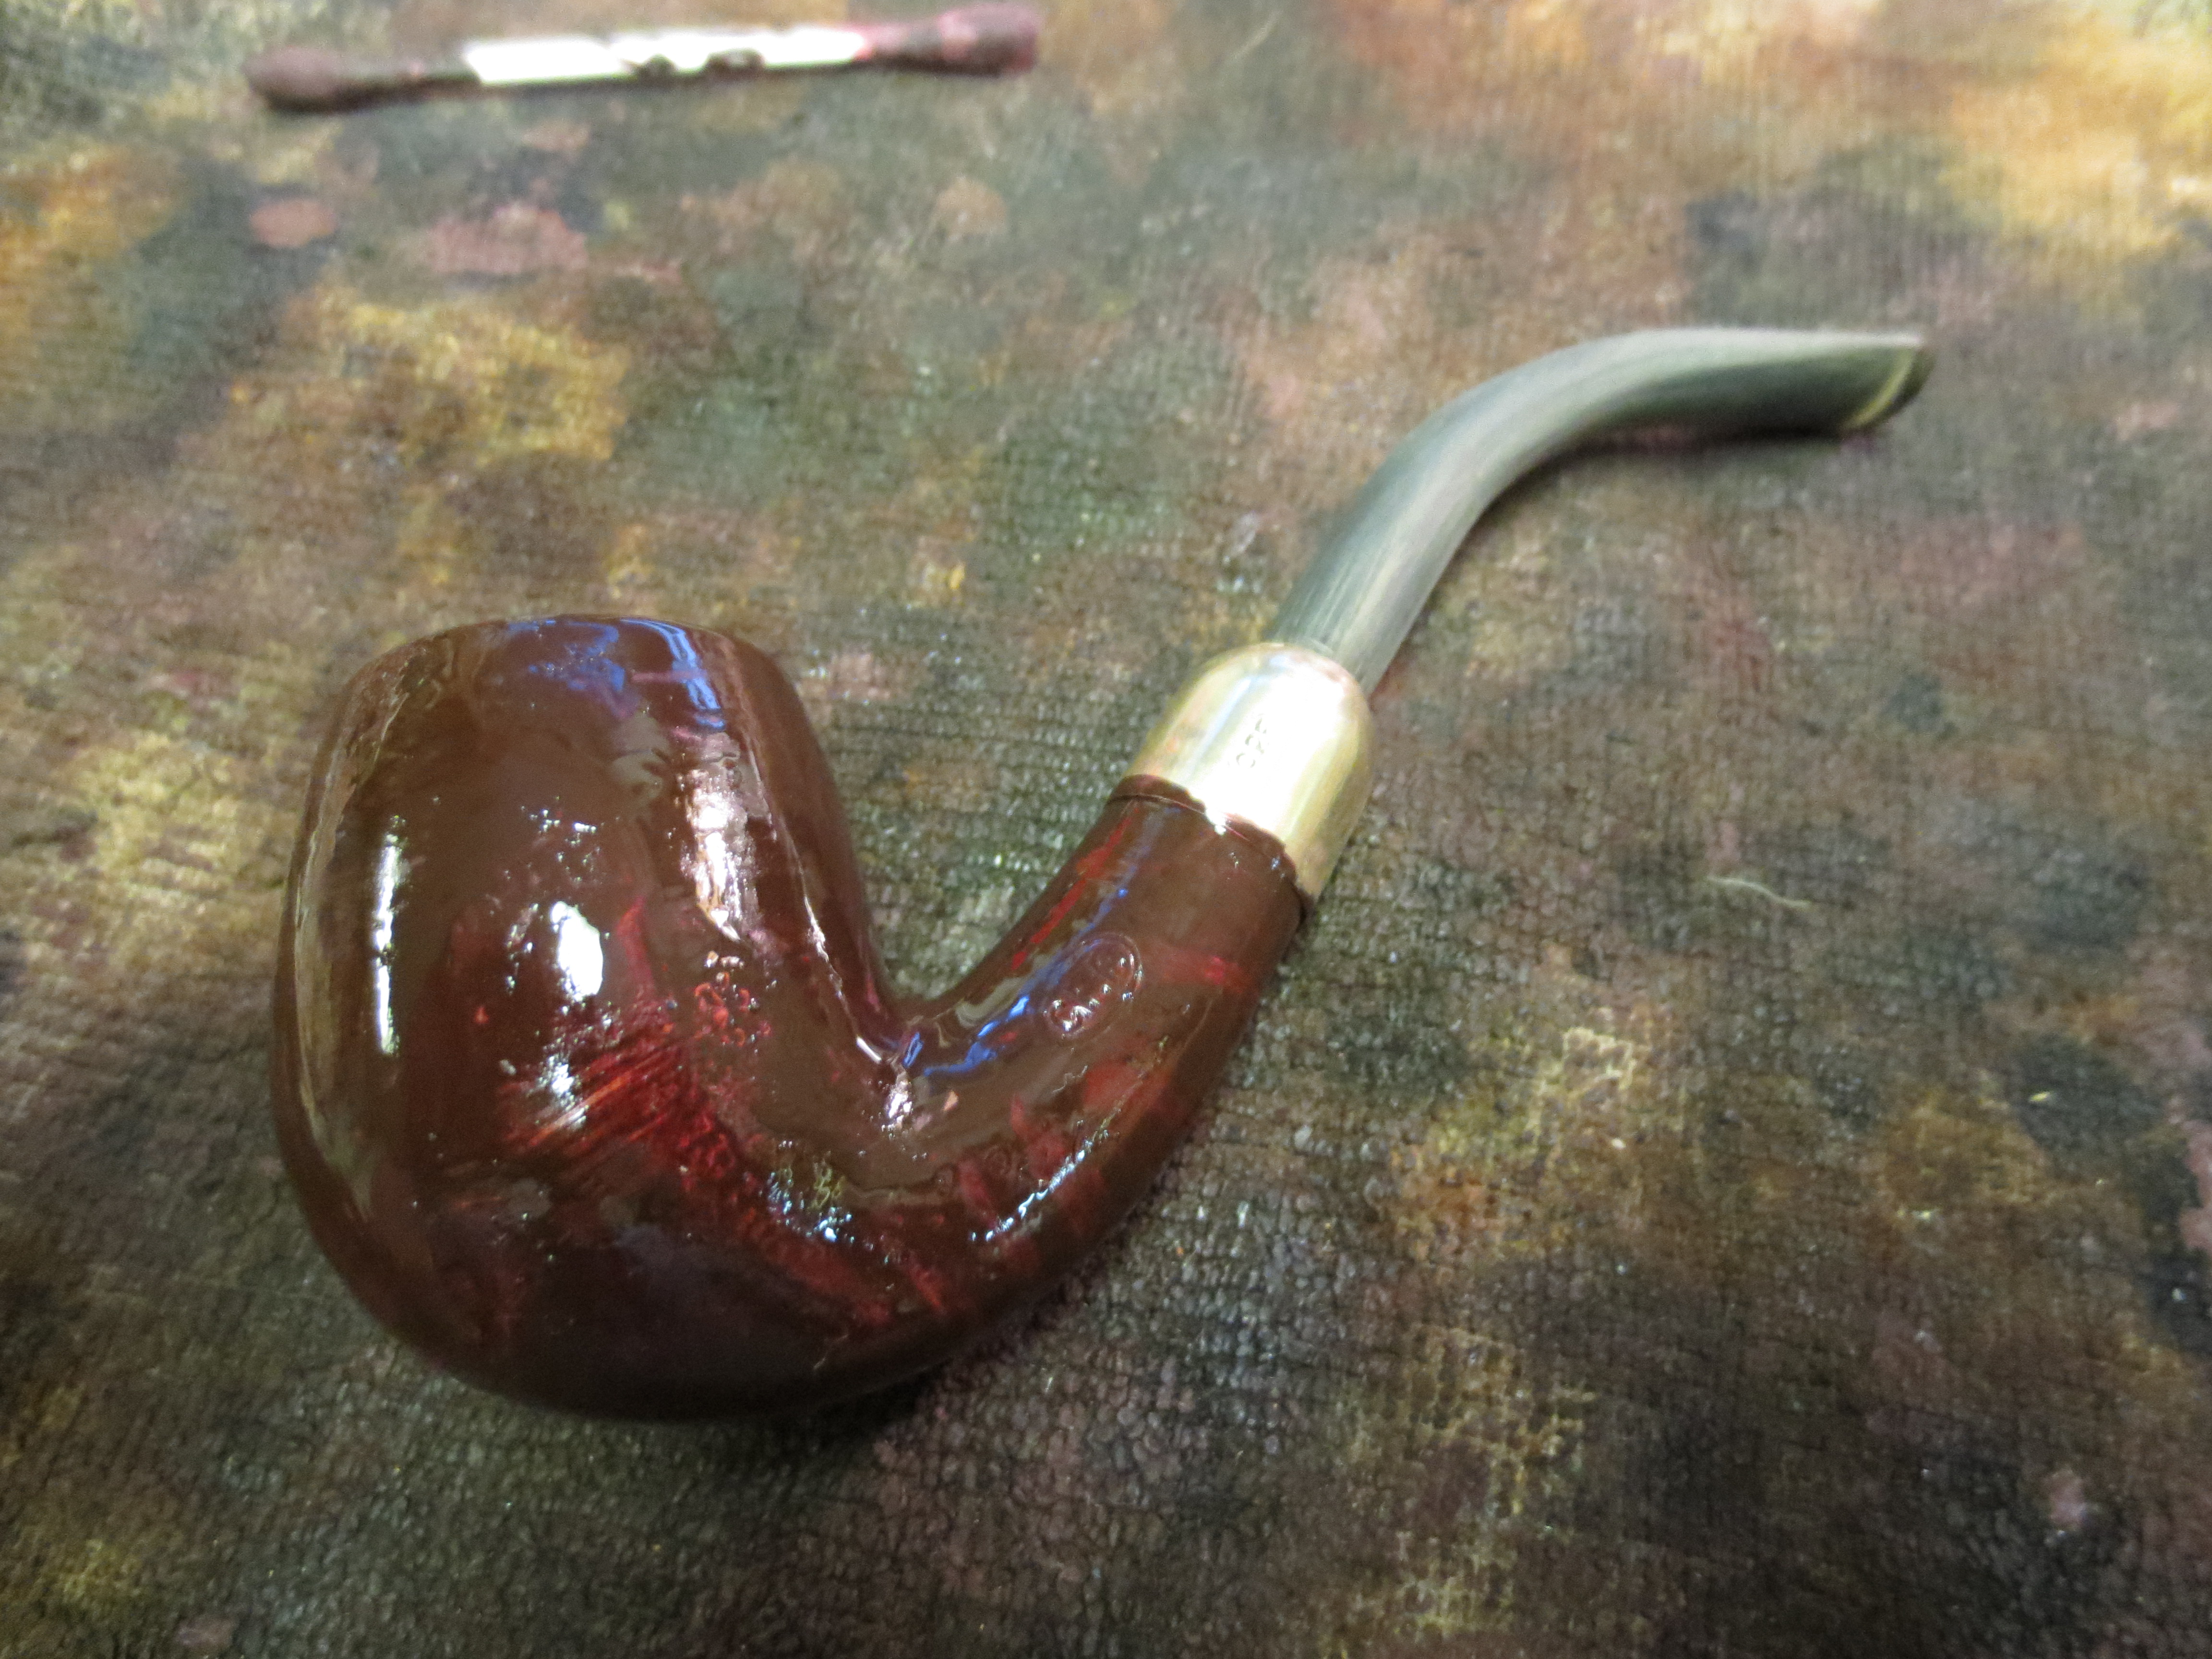
I restained the pipe with an oxblood aniline stain. The next series of four photos shows the pipe after staining. The nail holes and small holes on both sides of the bowl really bothered me. The cracks, while well bonded stood out clearly and made me wonder about how well they would hold up. I laid the pipe aside for a couple days to think about some solutions to the problem. I mulled over whether I should order a deeper band for the shank or whether I should cut down the shank and make it a normal sized bulldog. I did nothing to the pipe for two days and then on the third evening I came home and went to my work table to see what I could do to deal with the damage on the old pipe.

ImageImageImageImage

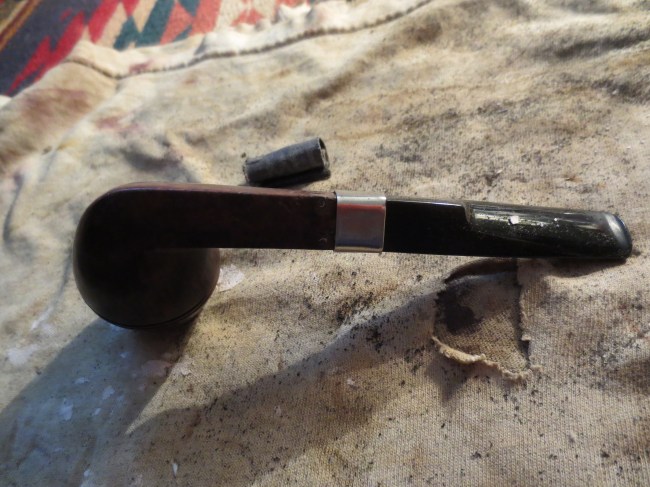
I decided to cut off the shank at the inside edge of the nickel band. I wanted to use the nickel band as the straight edge for the saw. I have seen too many pipes where the cut off shank was poorly cut and at an angle. So I used a hacksaw that has a perfect blade for working with briar. The teeth are fine so they do not chip the wood as they cut it. The cut when completed is clean and smooth with no chips. The next three photos show the set up for cutting and the cutting process itself. (I apologize for the second photo – it is hard to saw and take a photo!) But you can get the idea. The third photo below shows the finished cut.

ImageImageImage

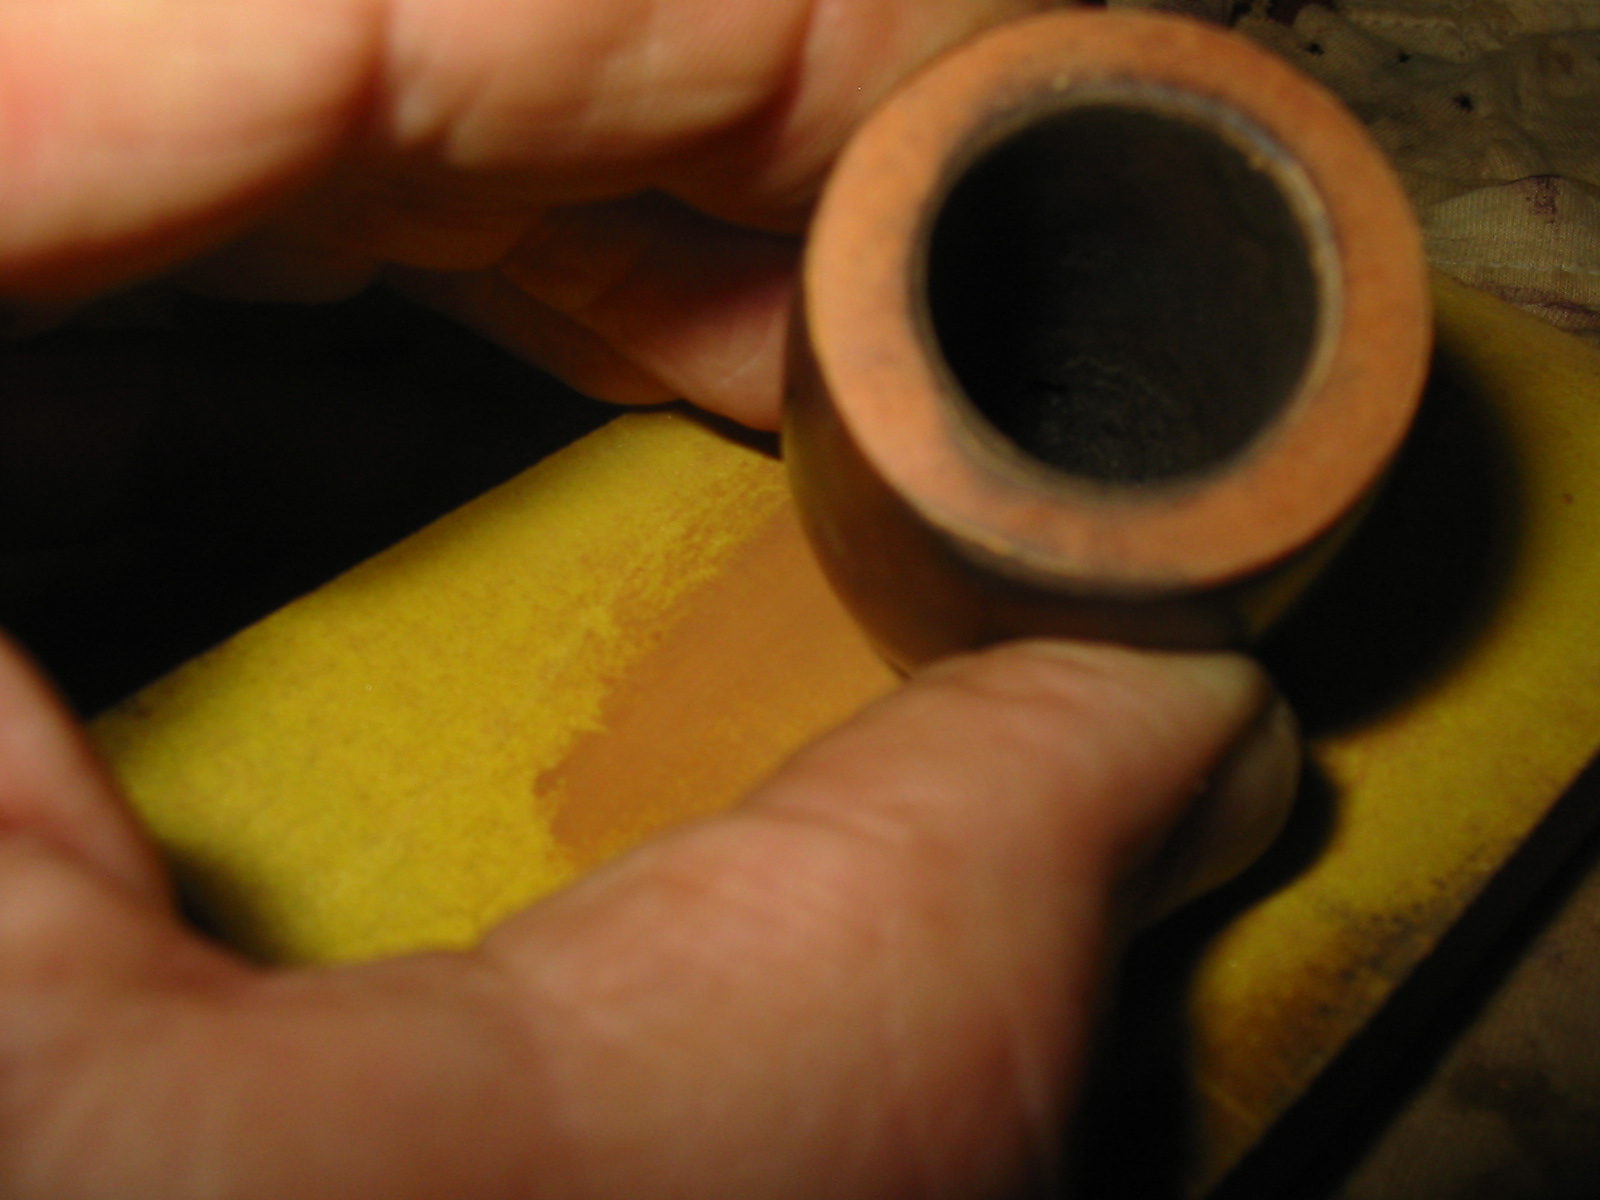
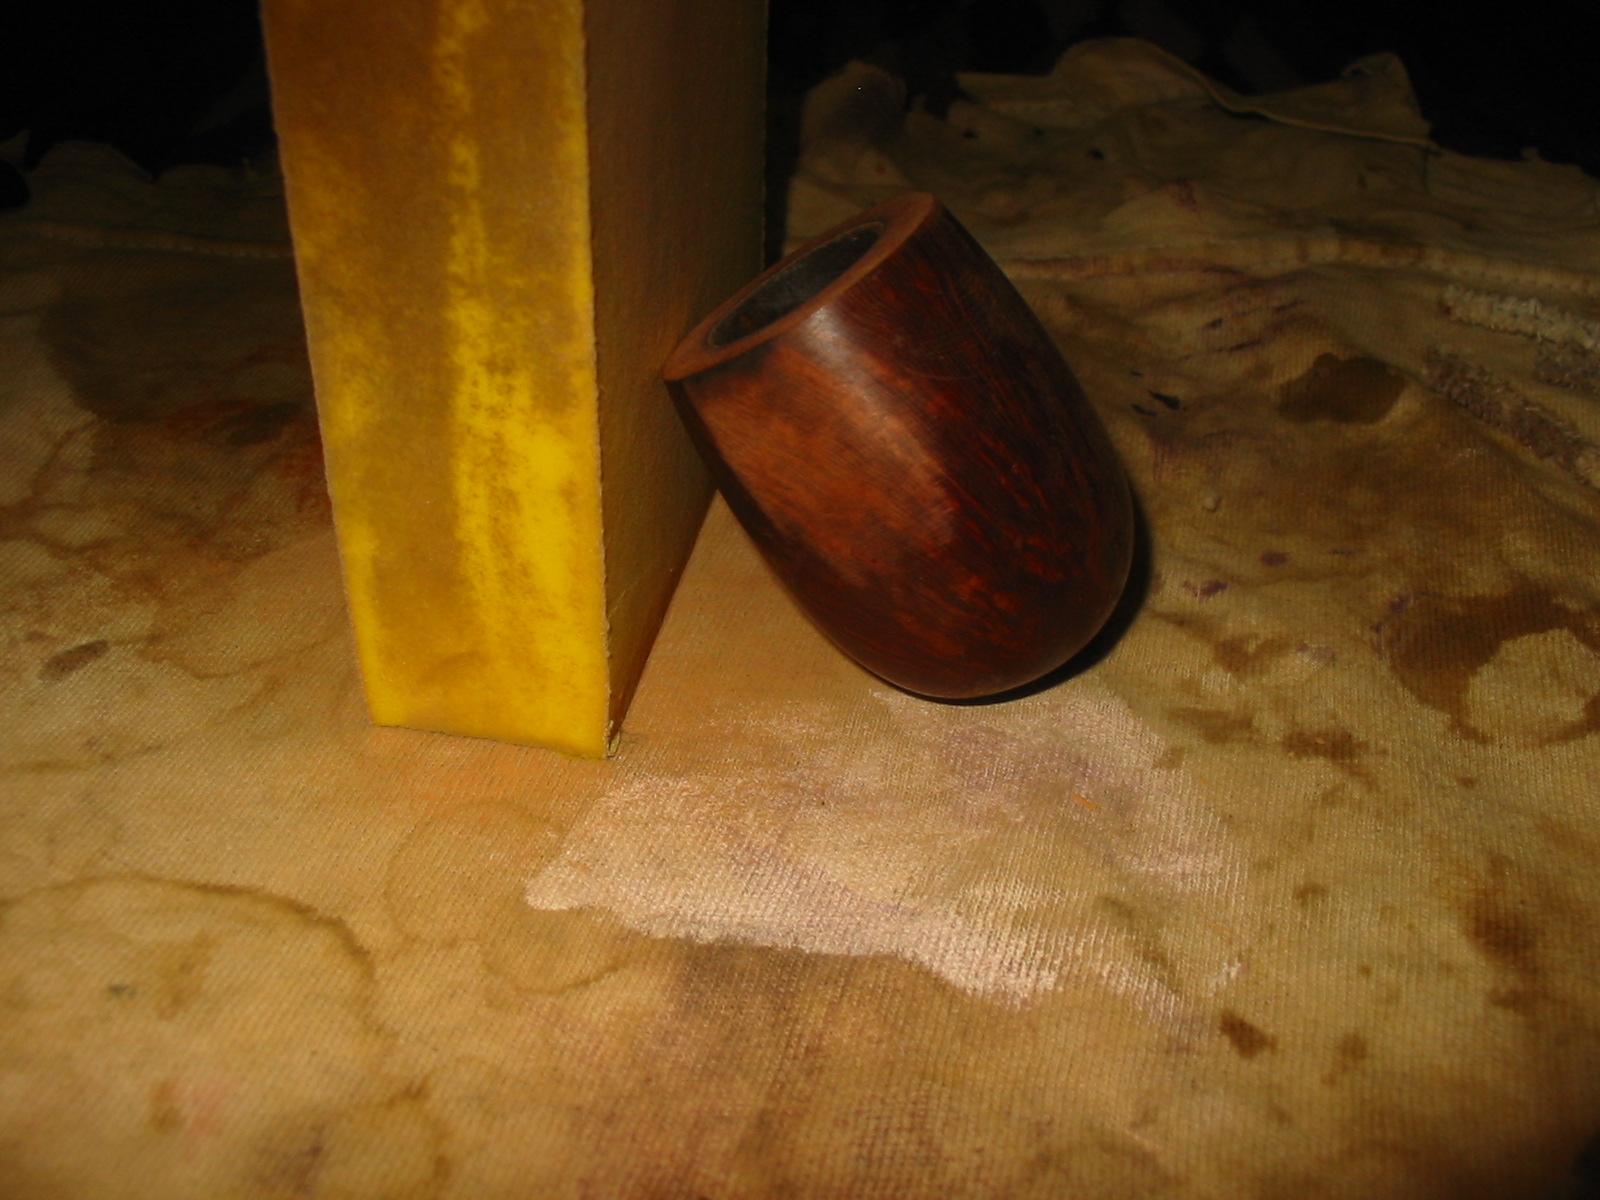
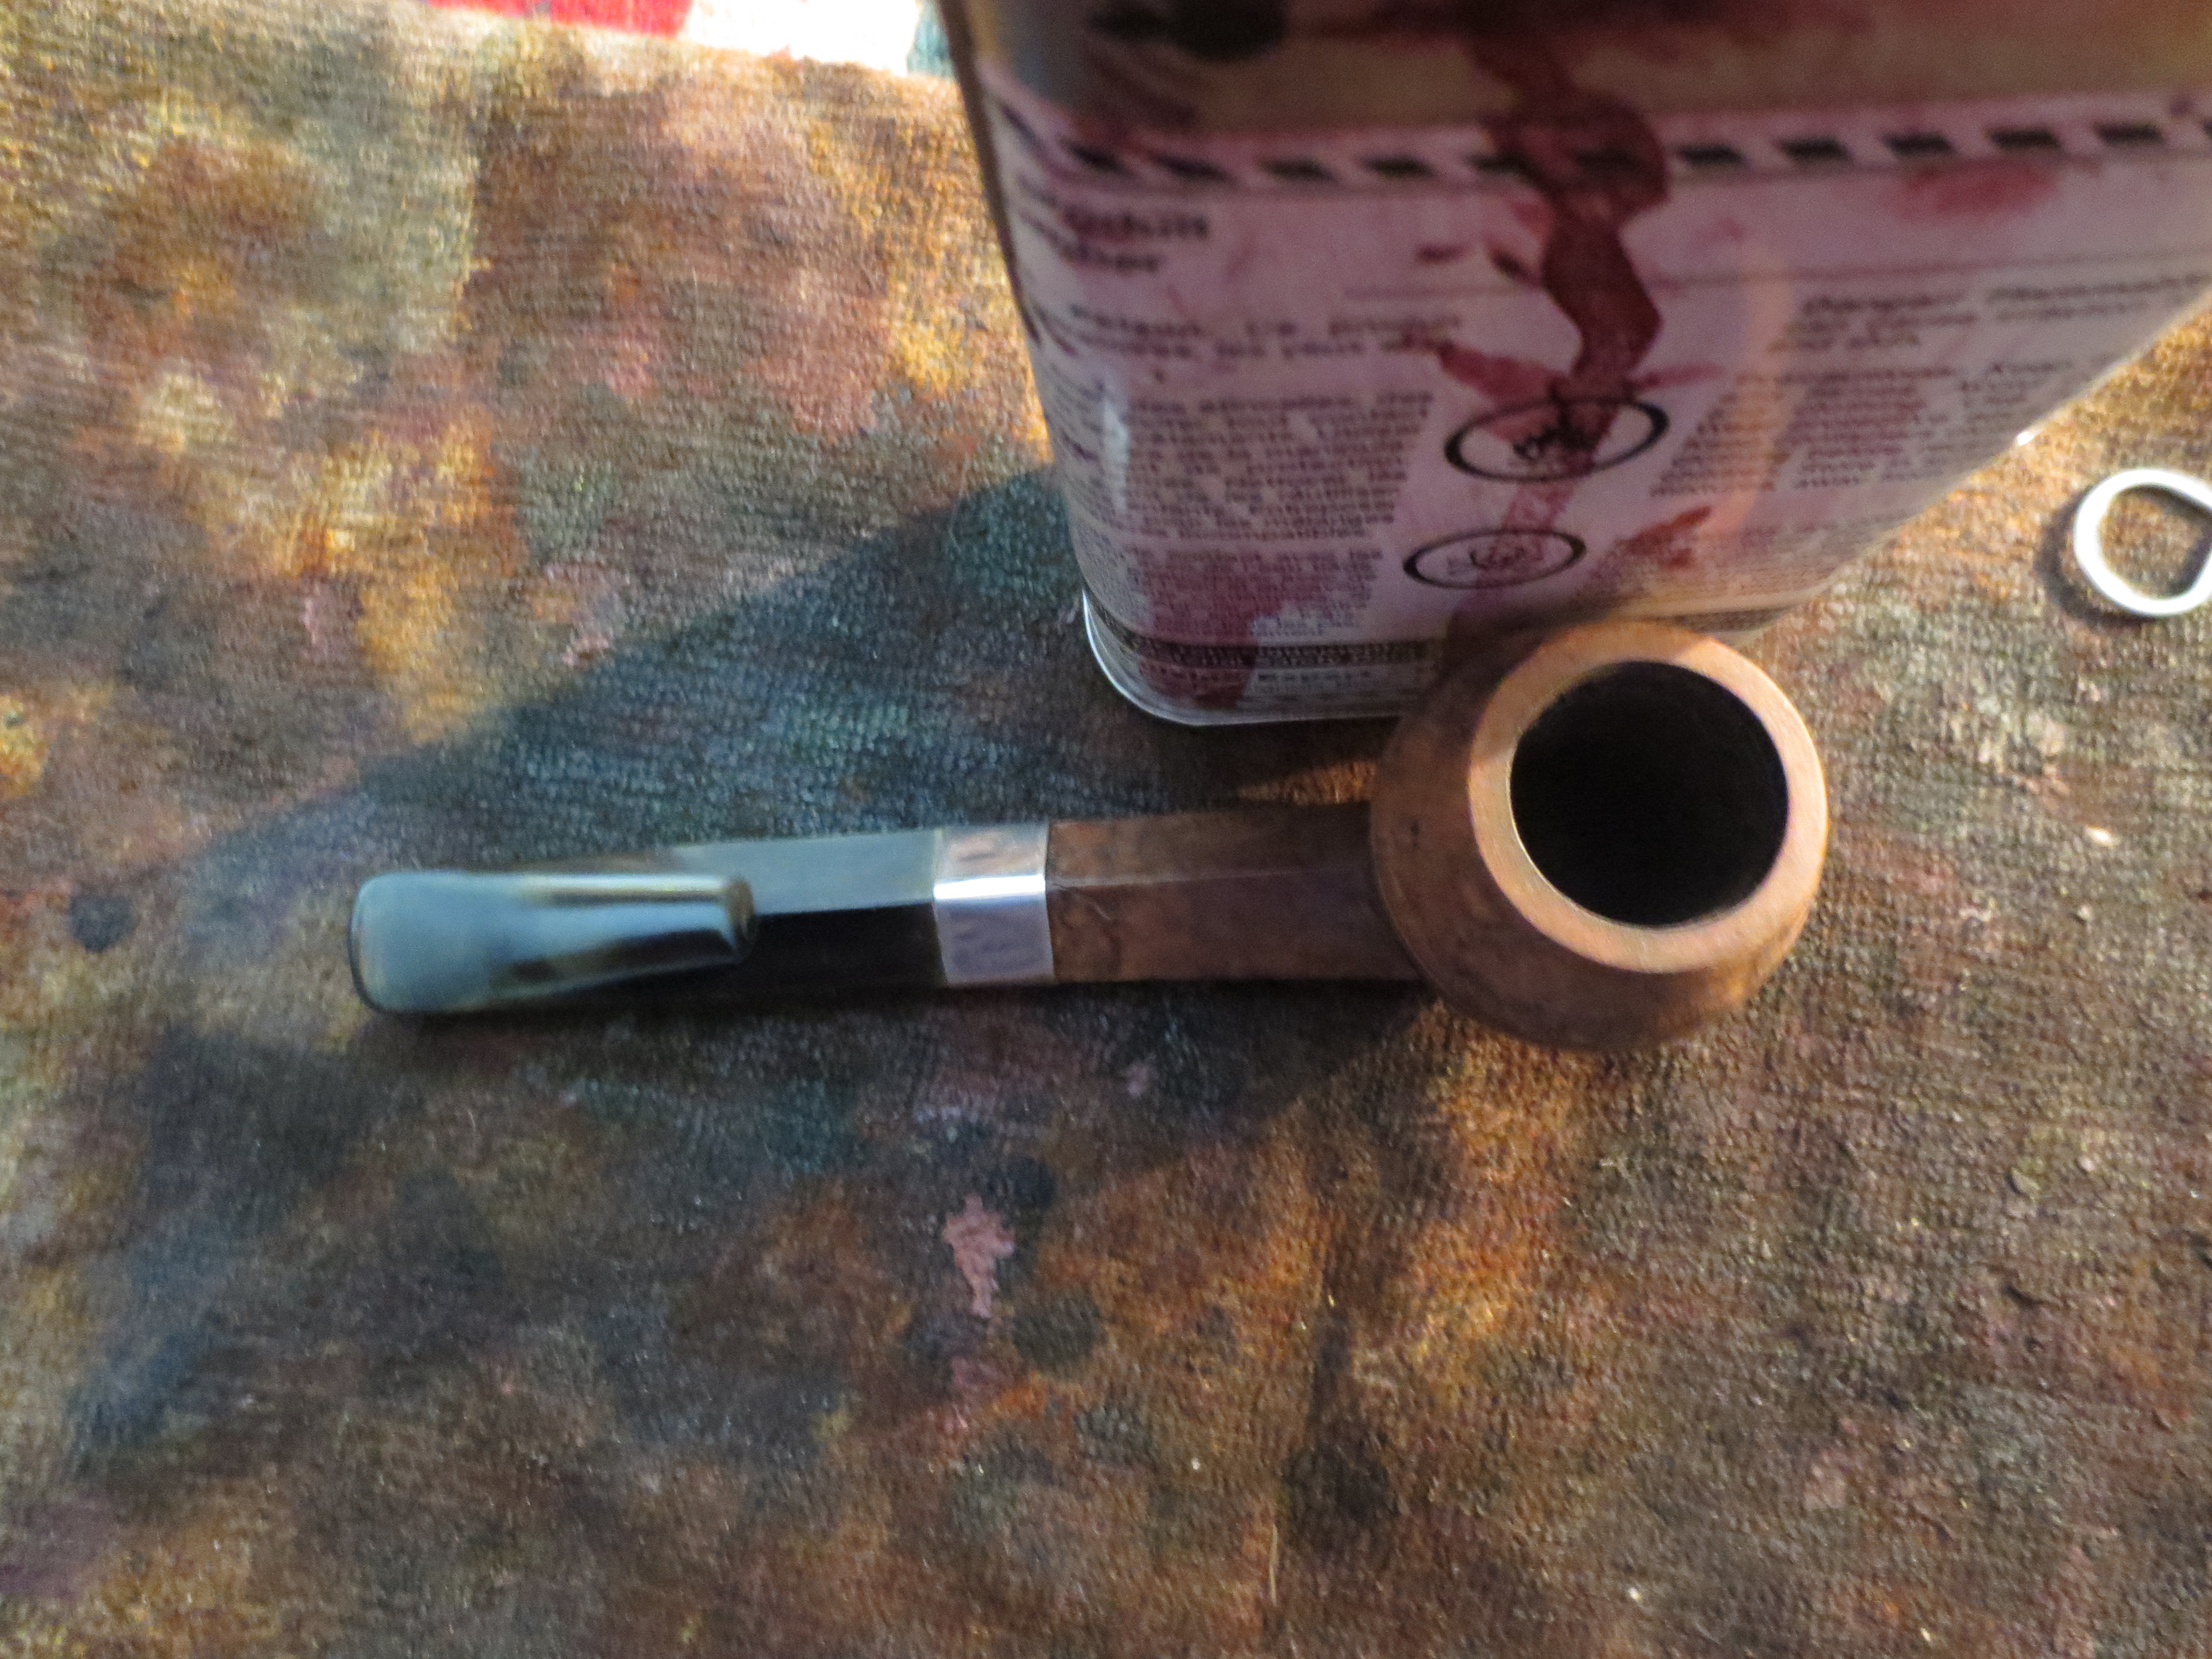
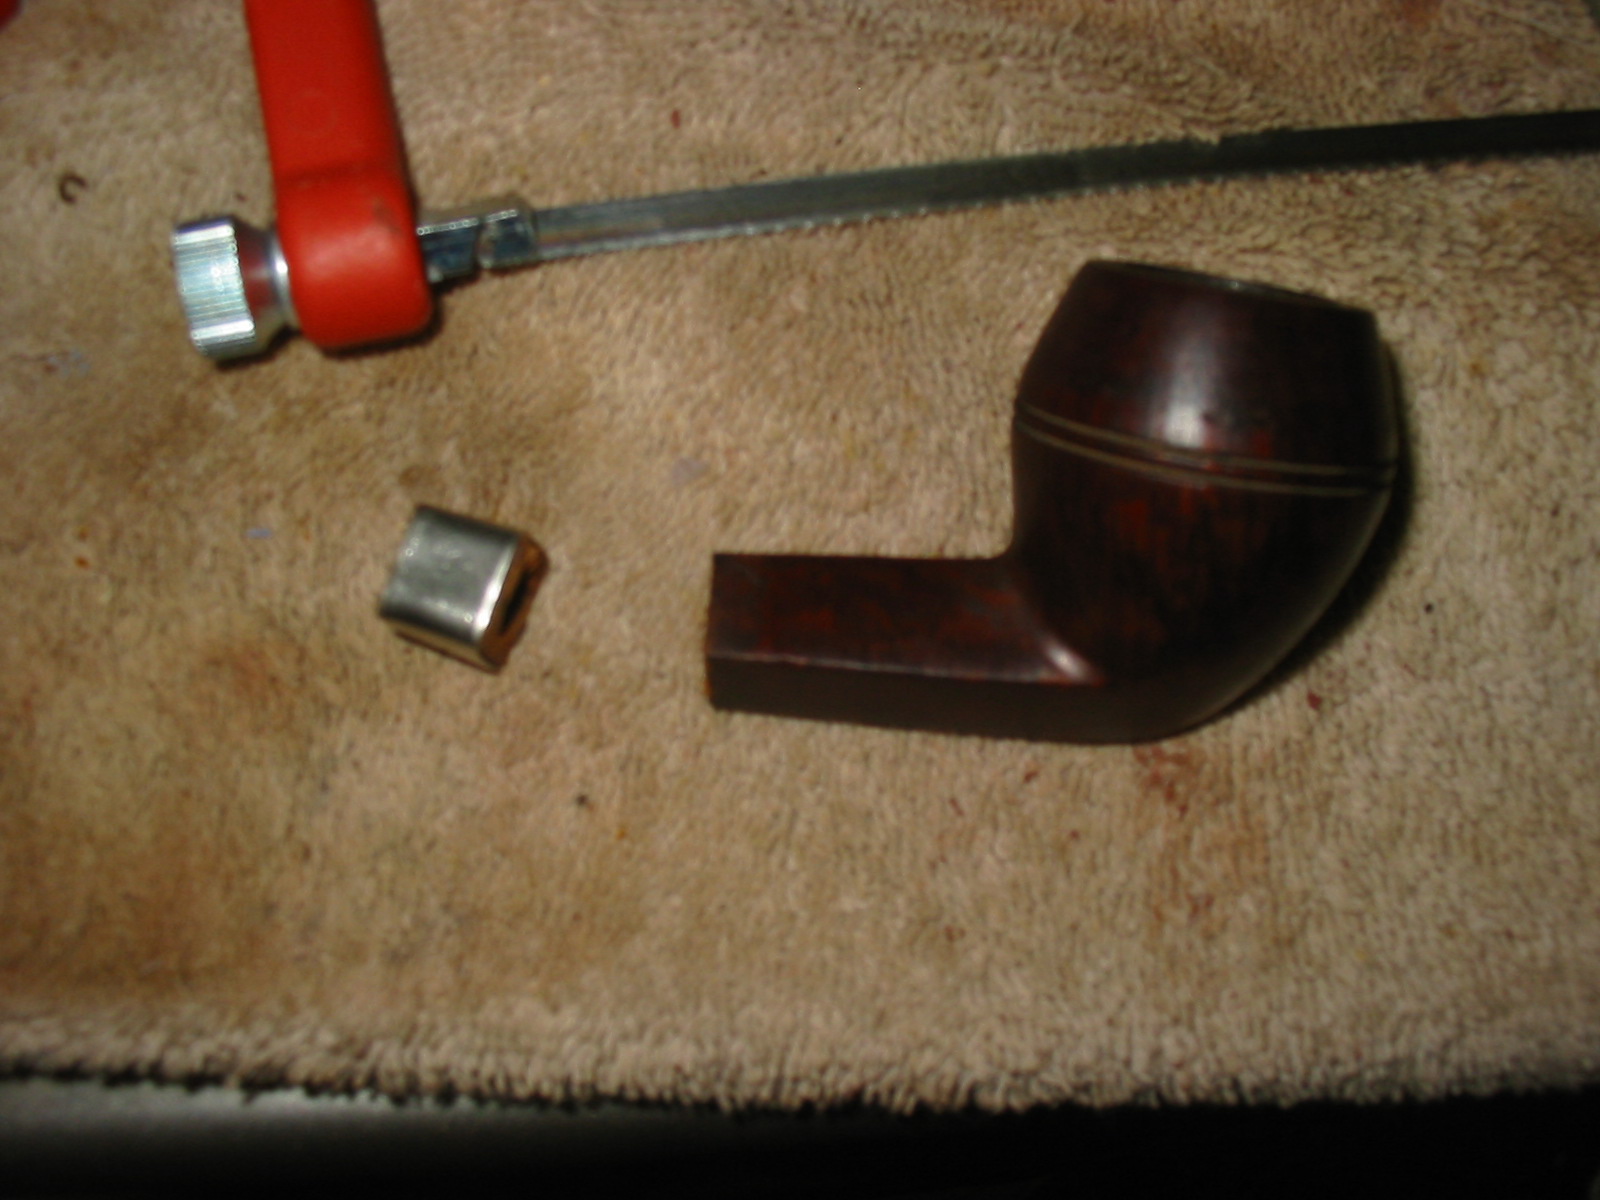
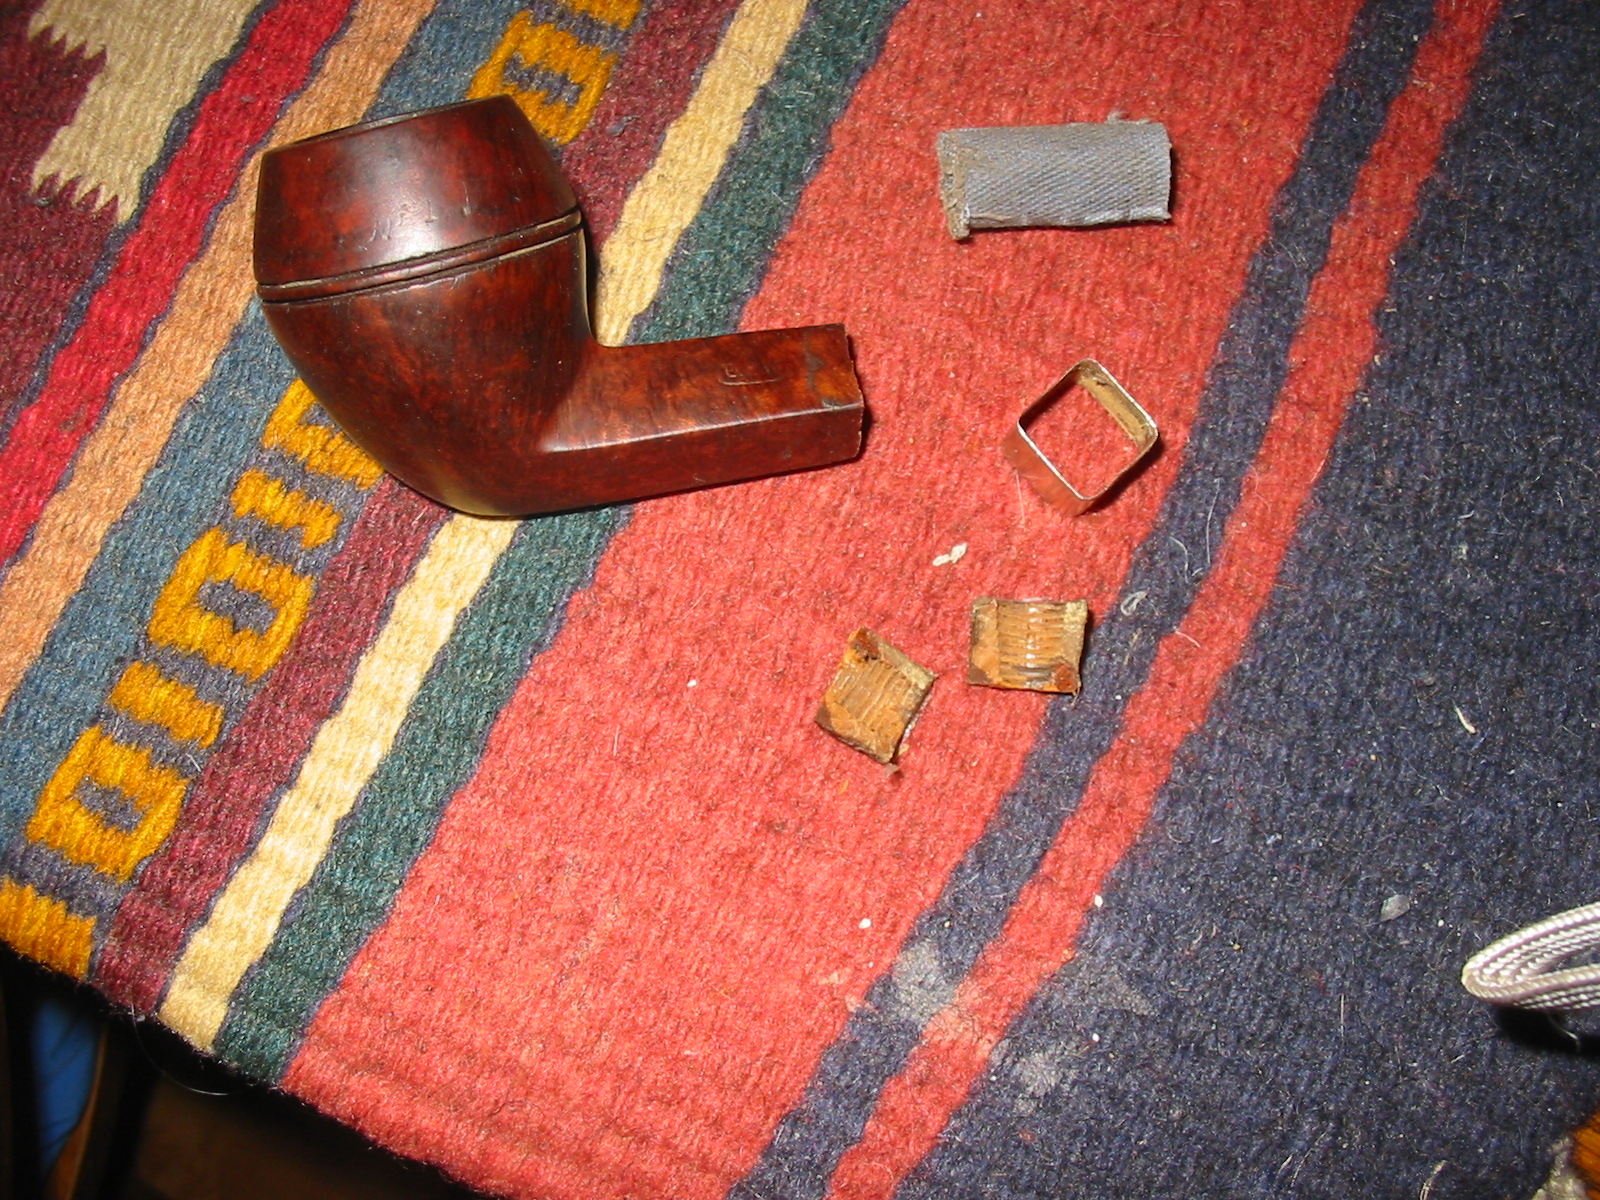
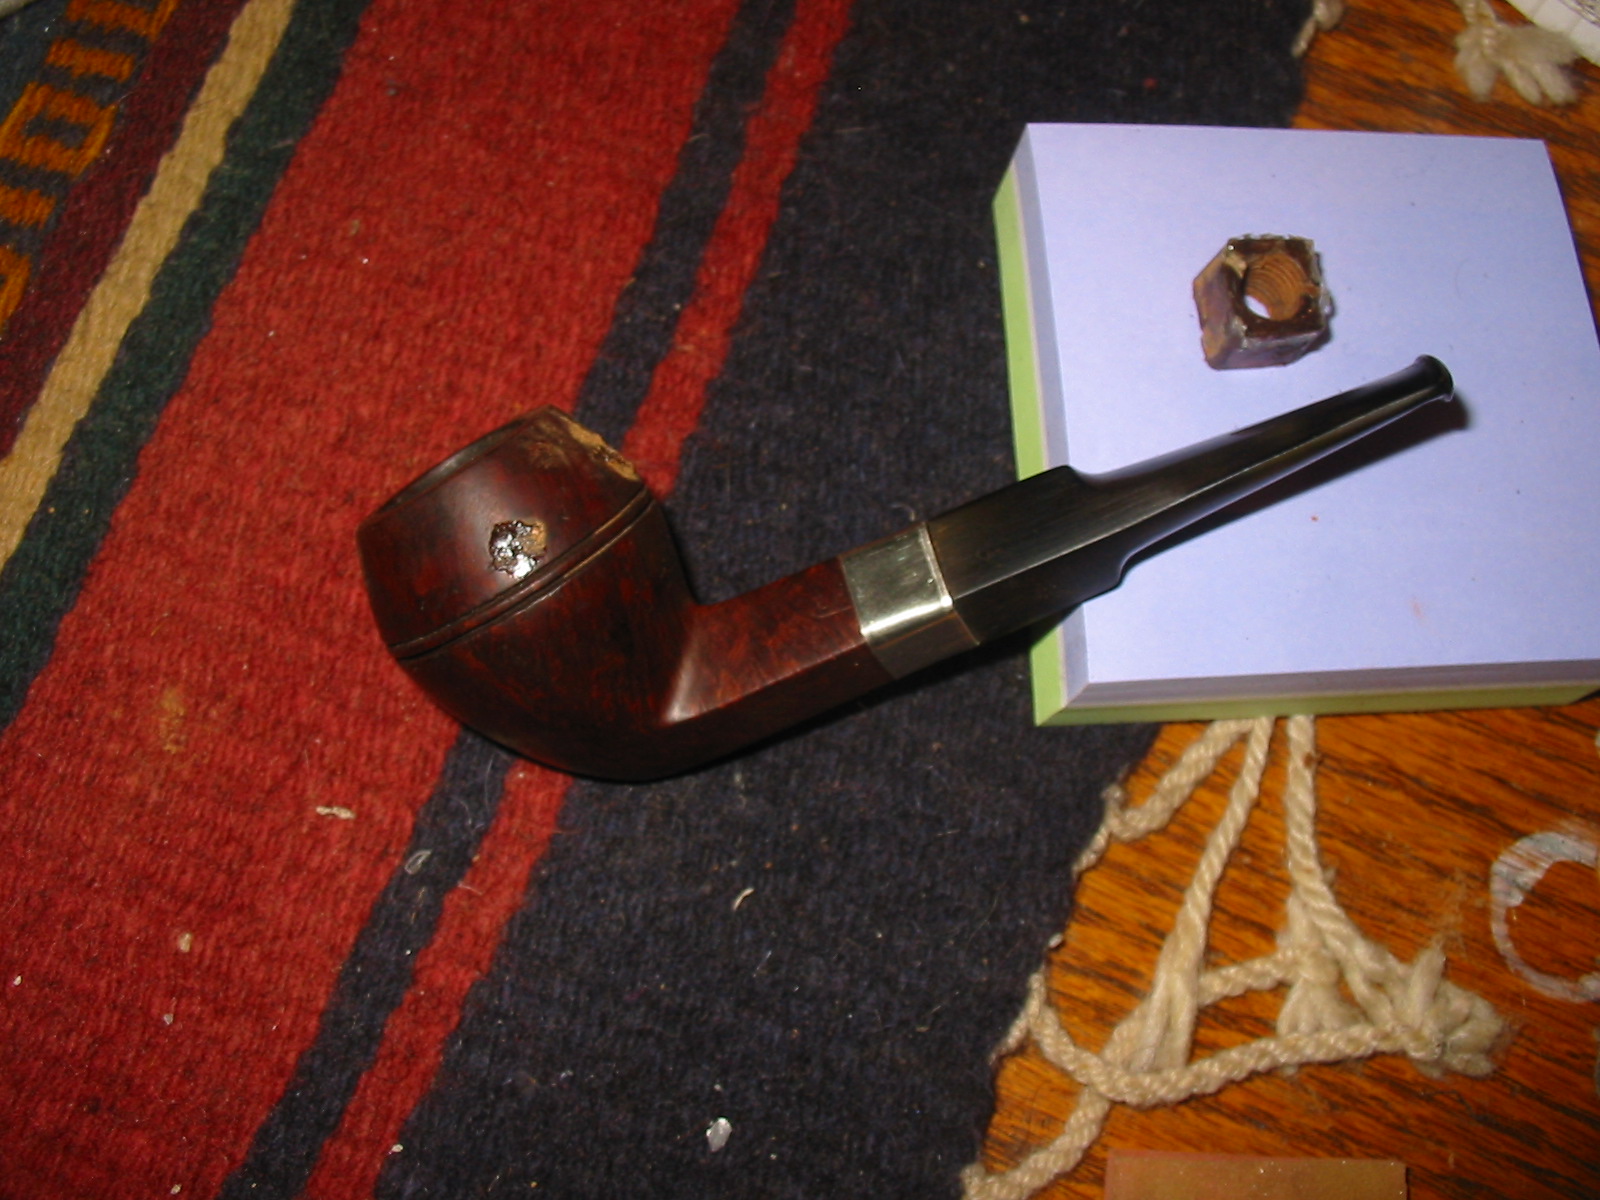
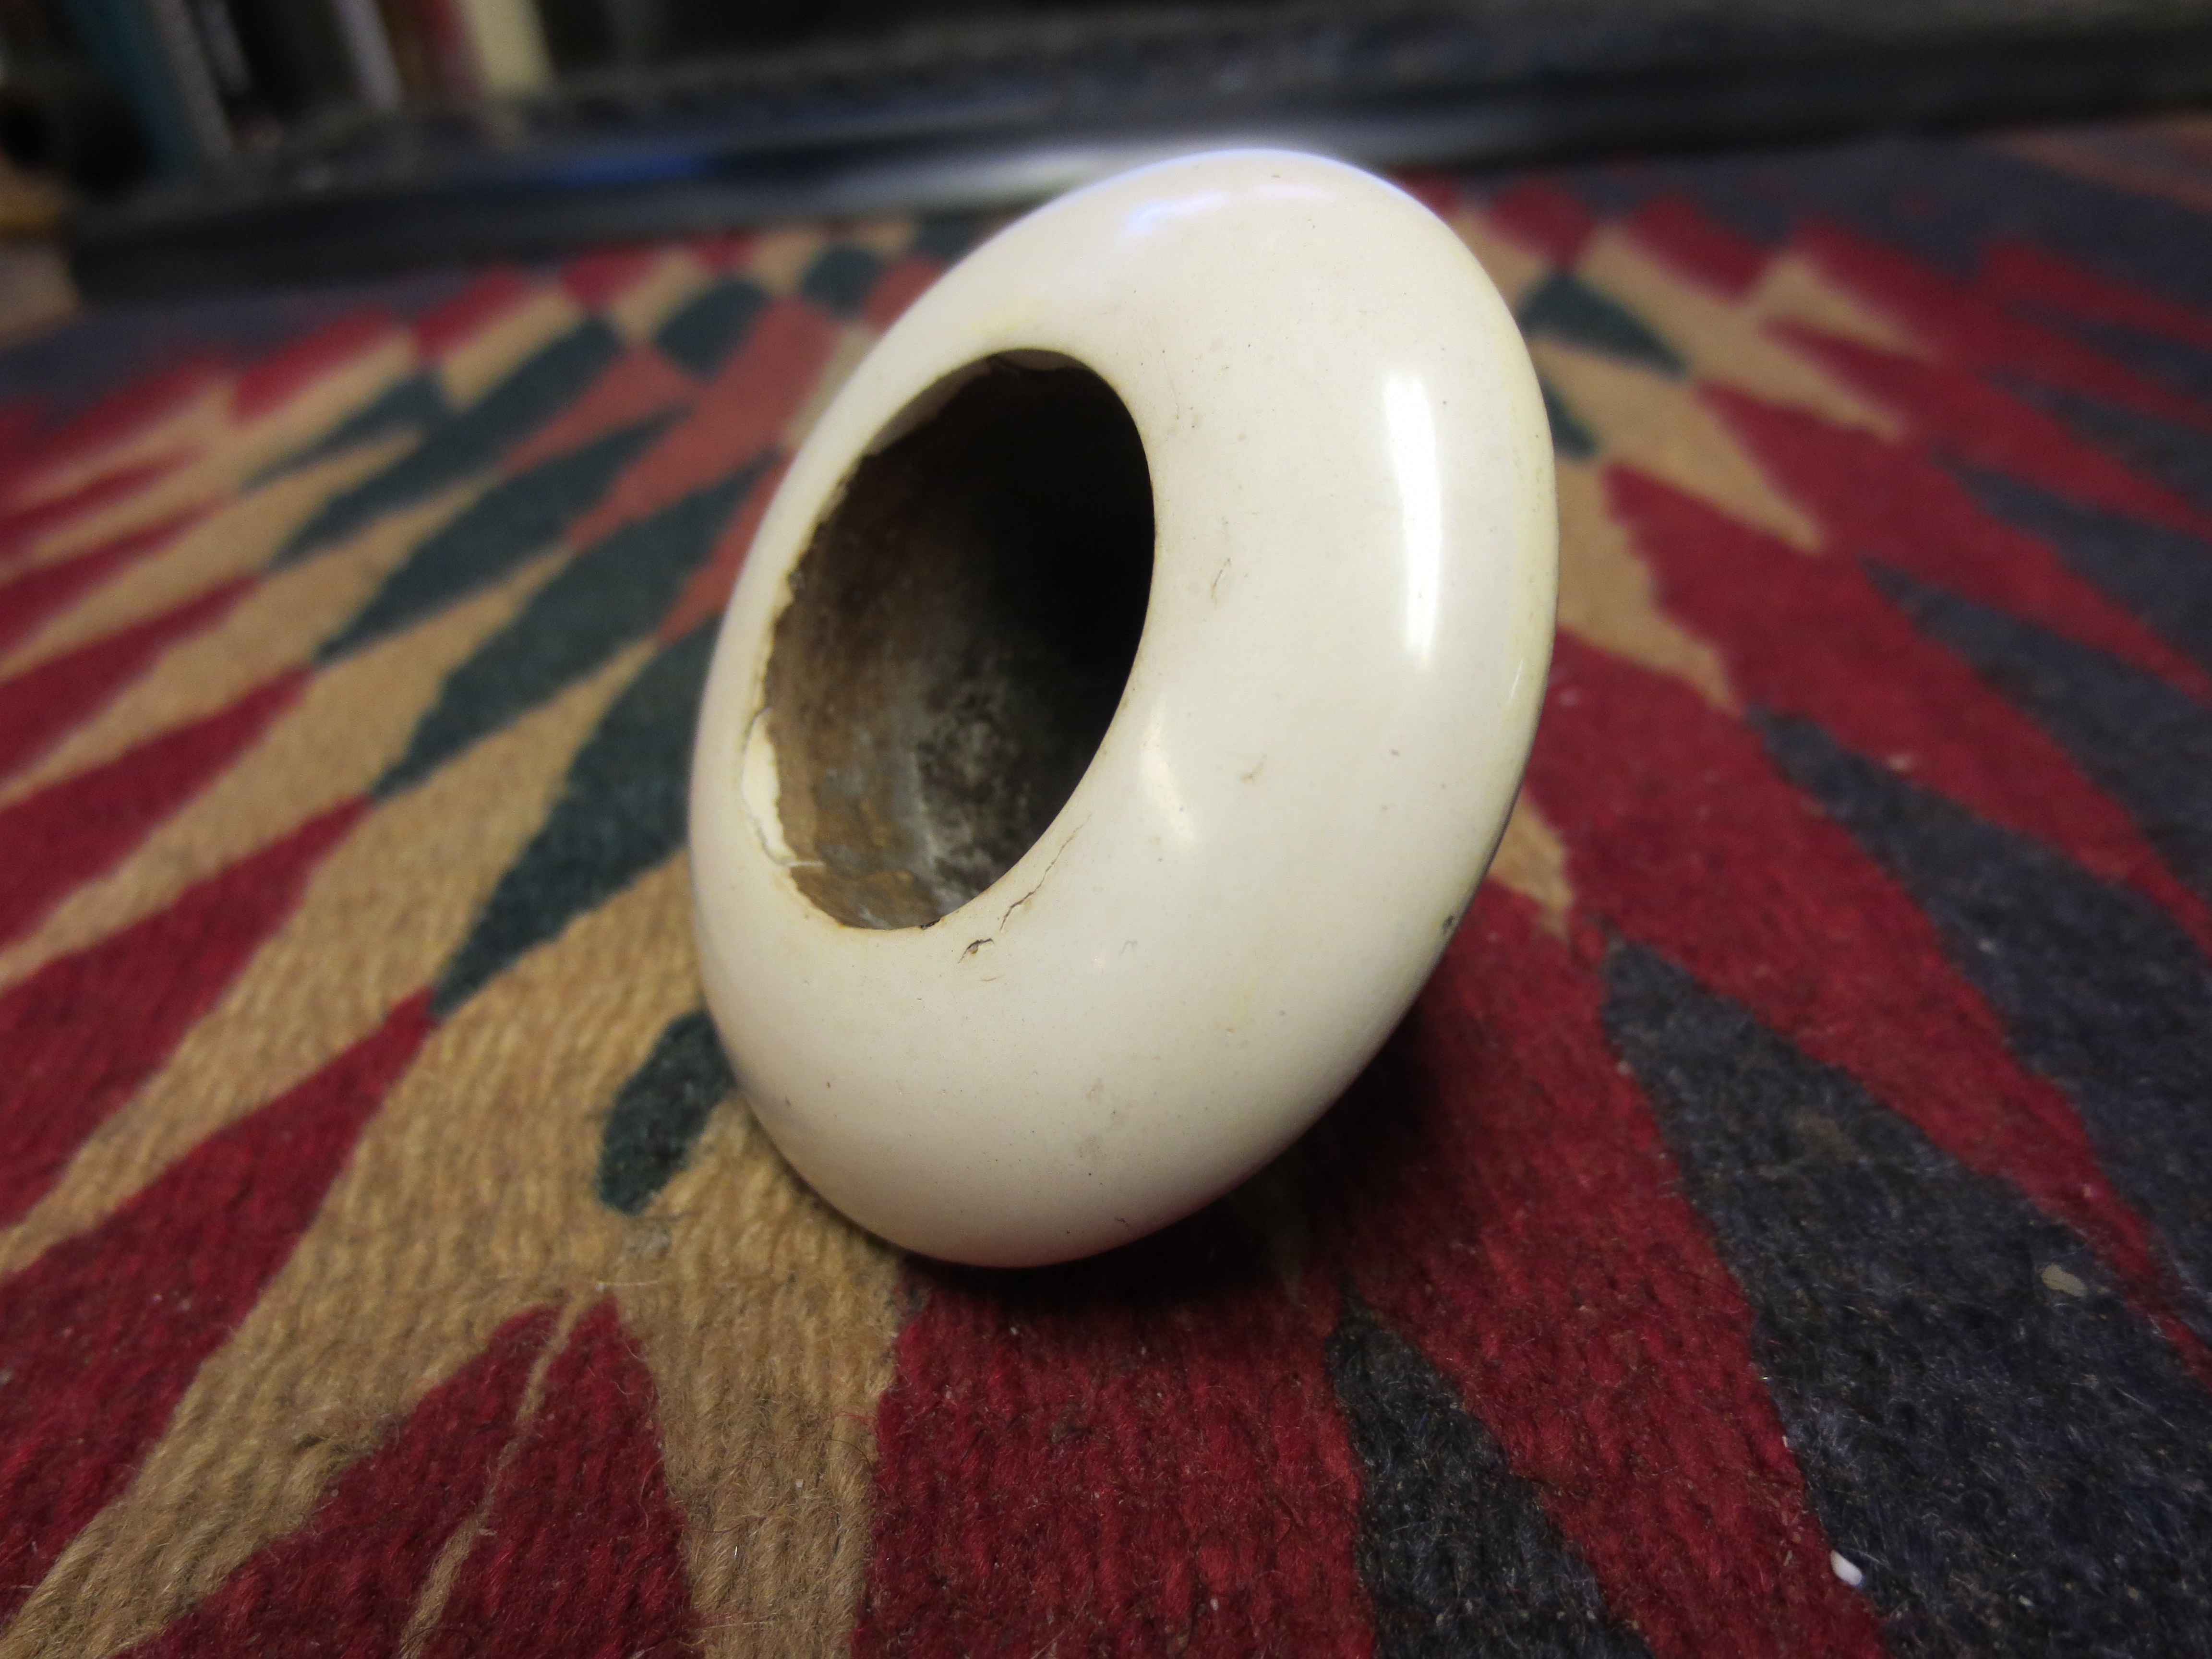
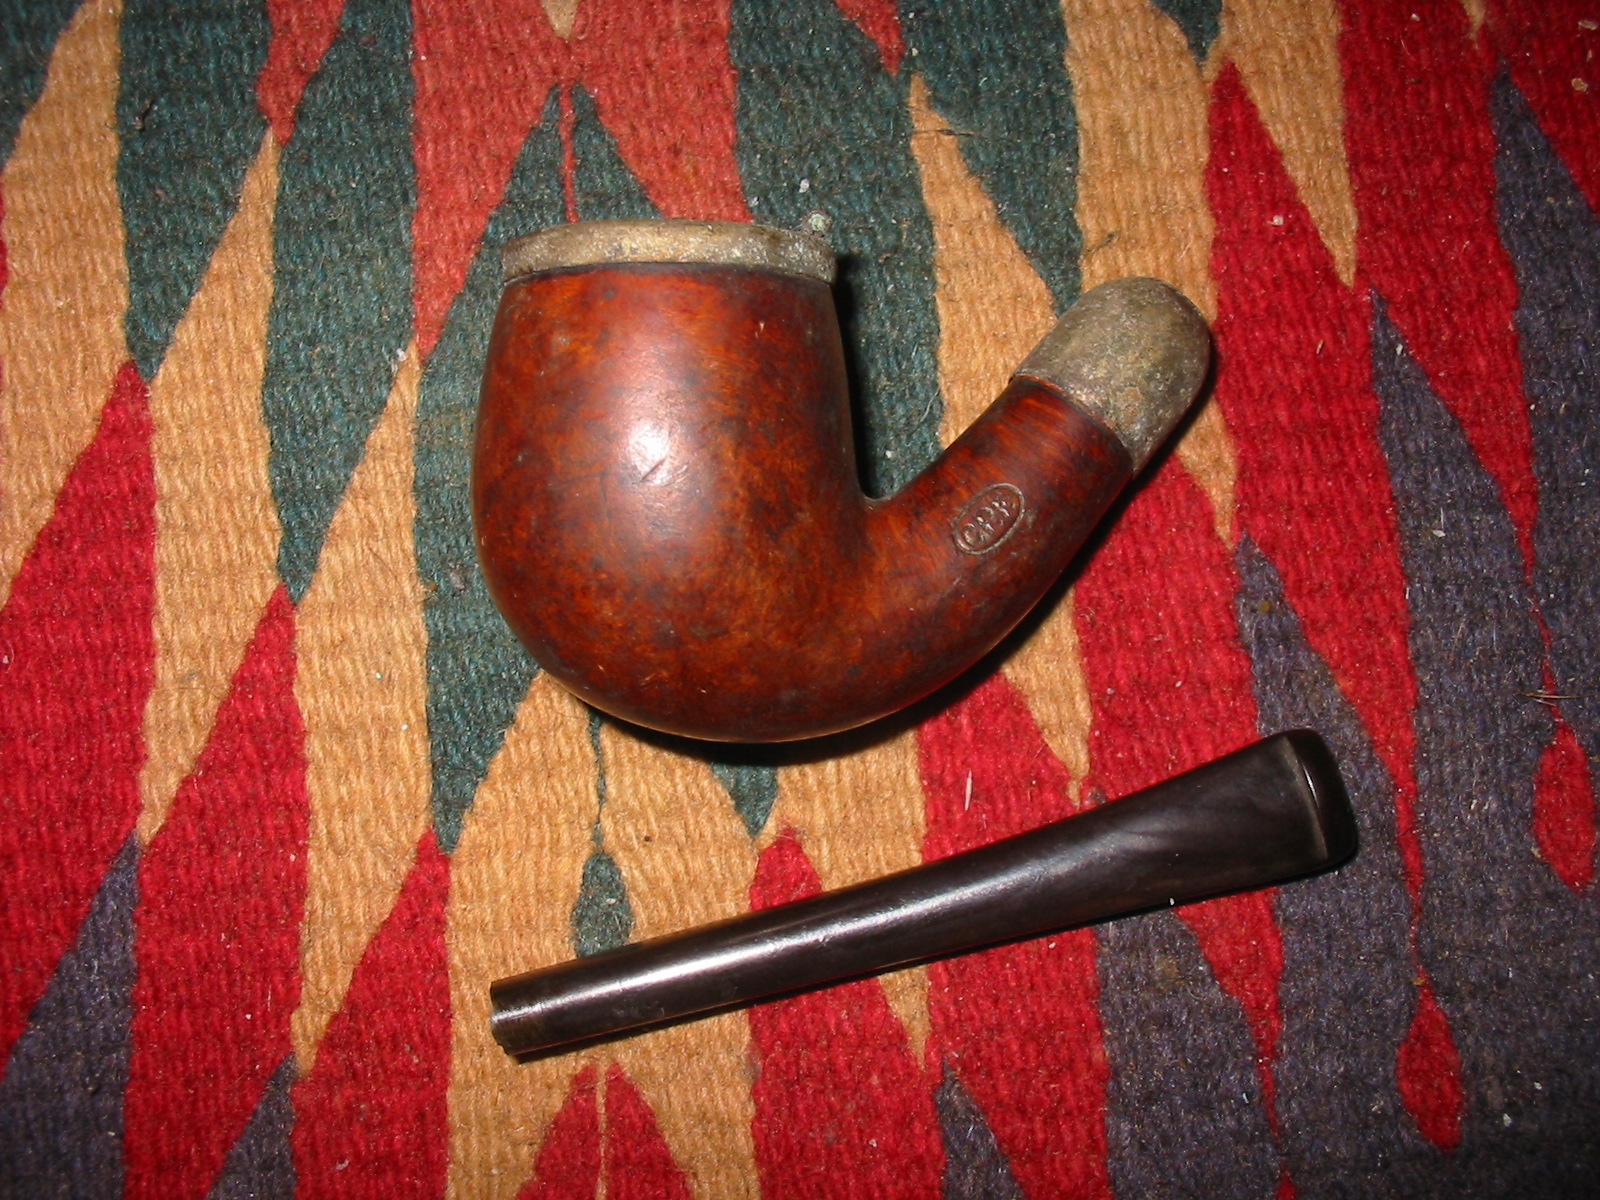
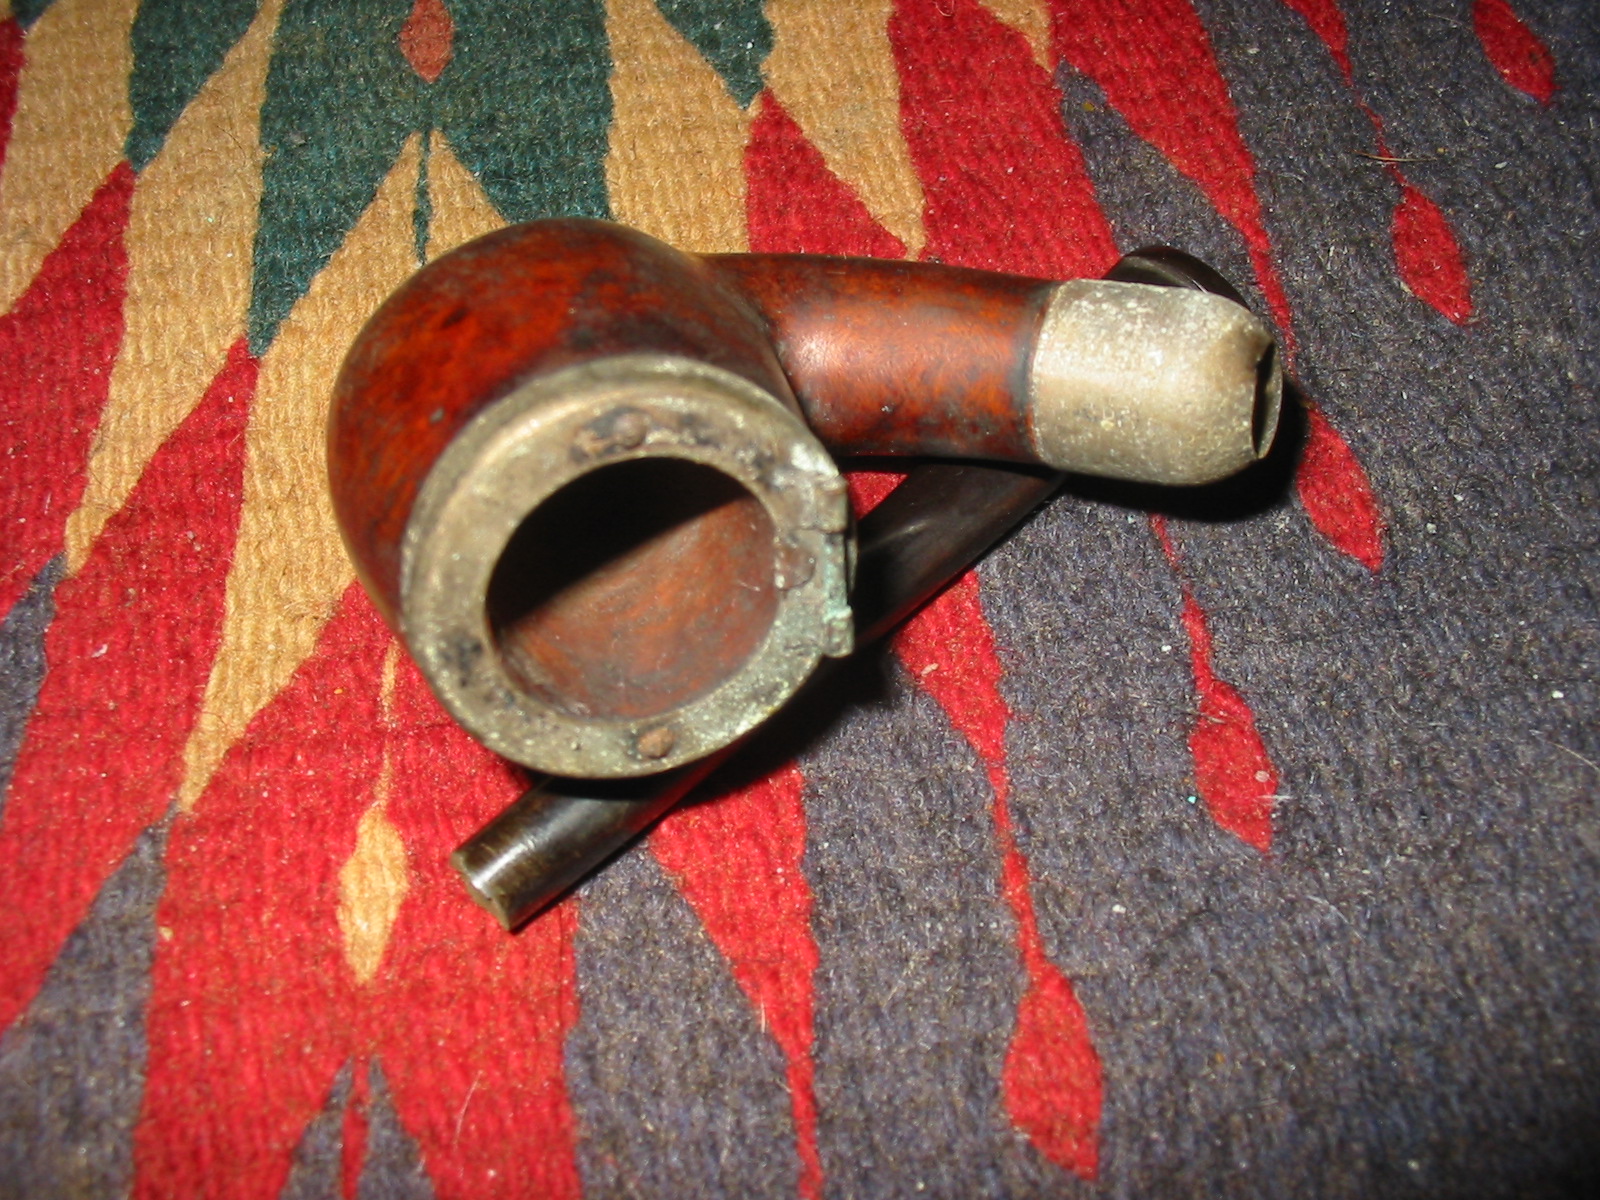
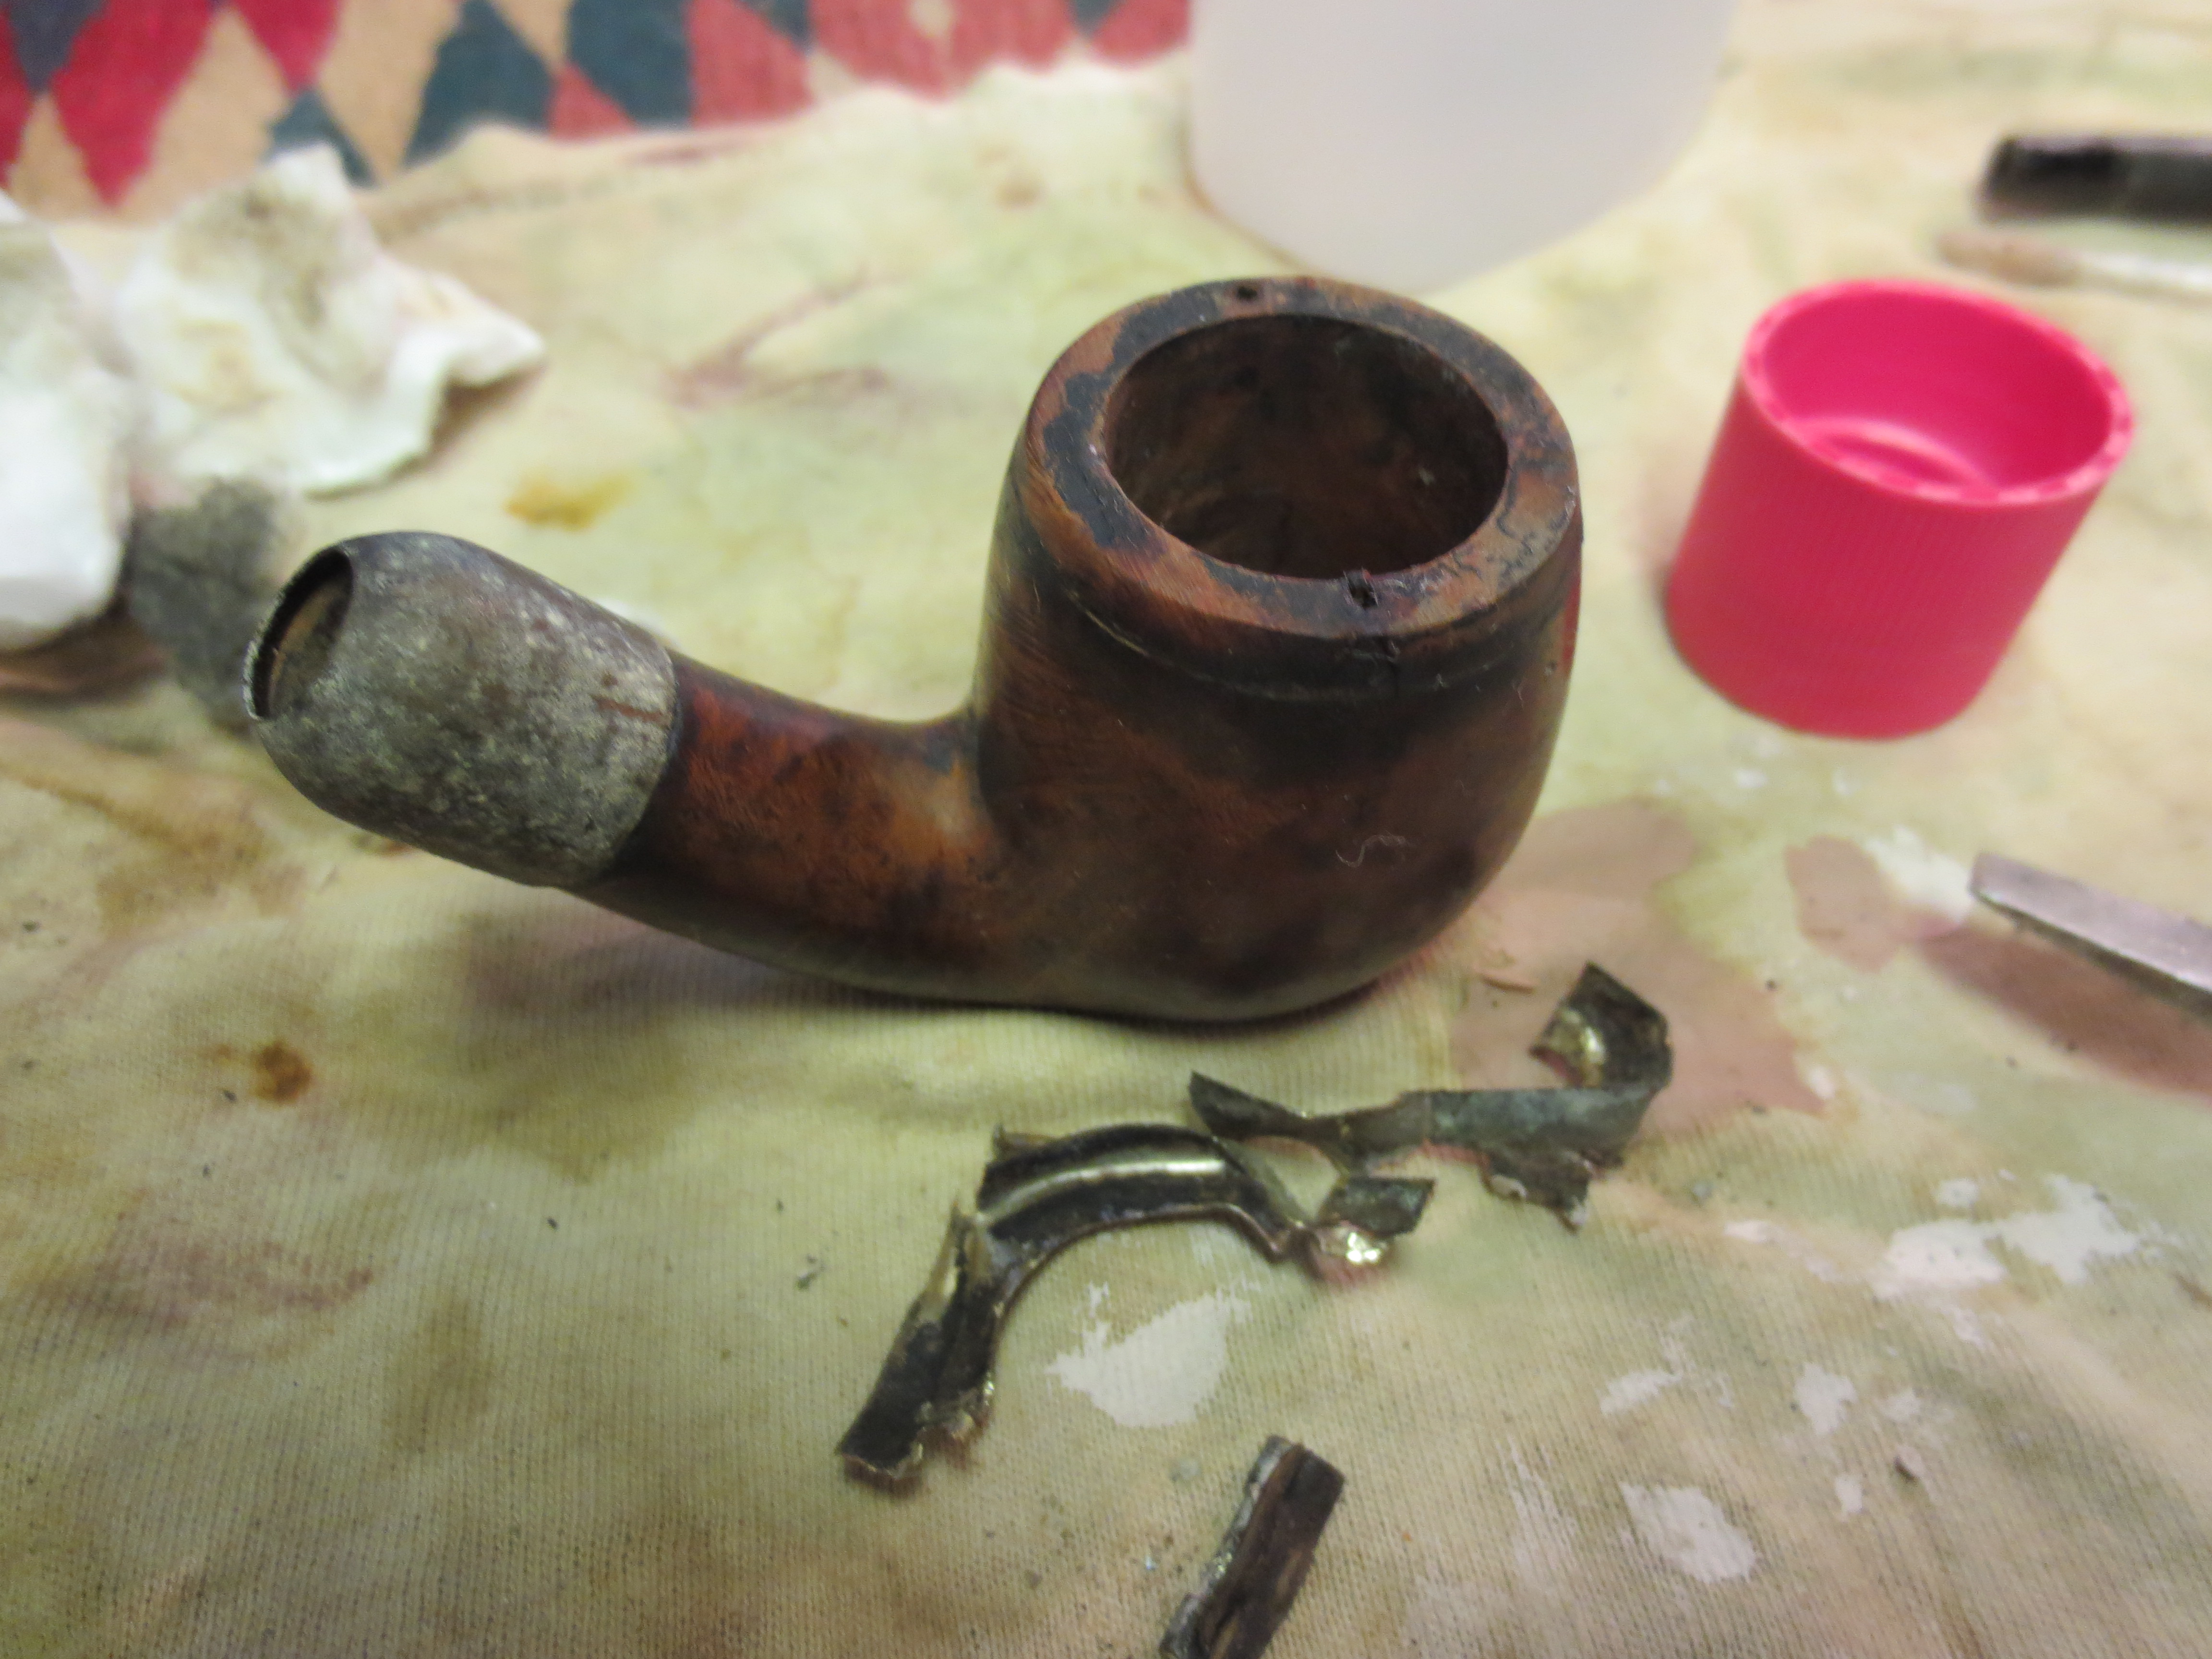
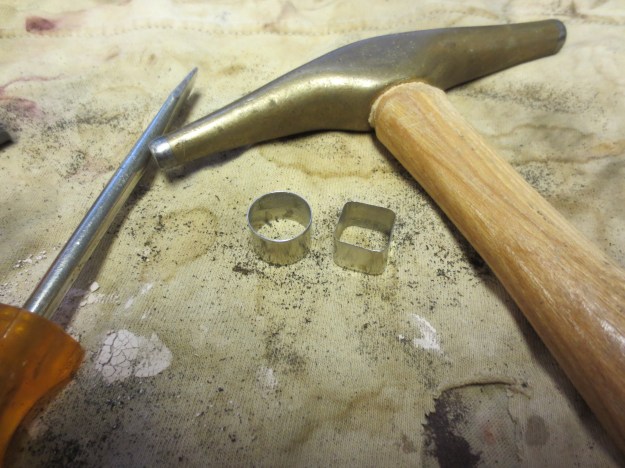
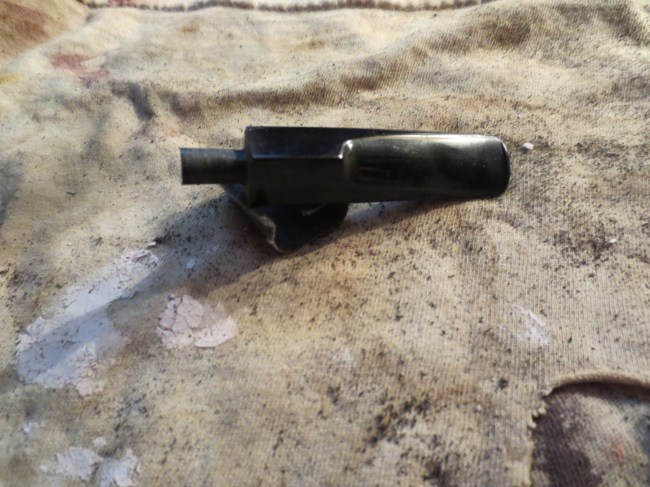
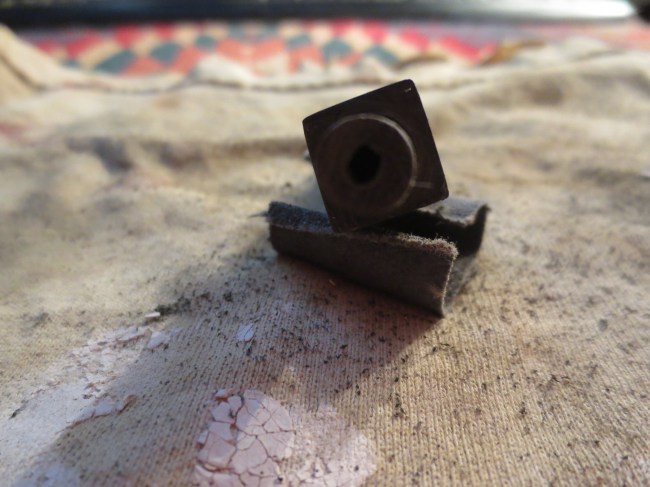
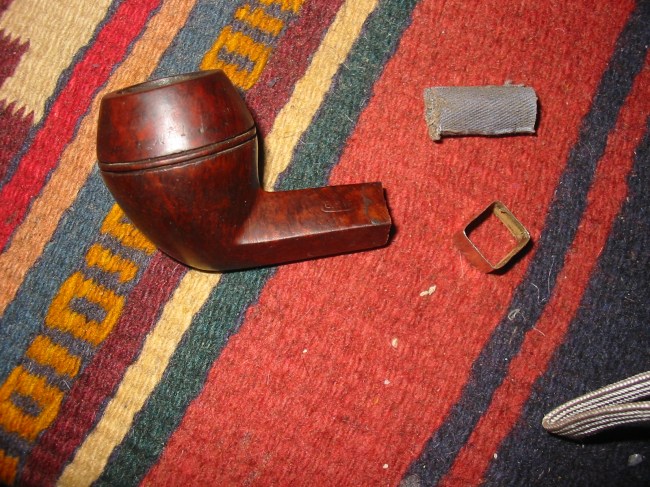
I took the two pieces back to my work table and removed the cut off piece of briar shank from the band. When they fell out they were in two pieces. I cleaned up the band and straightened out the angles to make sure it would fit the shortened shank. It was just a bit too deep and when in place would cover the W of the stamping but it would do a good job on the cracks. With the piece cut off the cracked shank had two very small cracks left that would easily be repaired by the band. I smoothed out the cut end with a piece of emery paper. In the second photo below you can see the cut off shank piece. It is cracked all the way through and in two pieces. Note also that the mortise was threaded for the older original screw tenon.

ImageImage

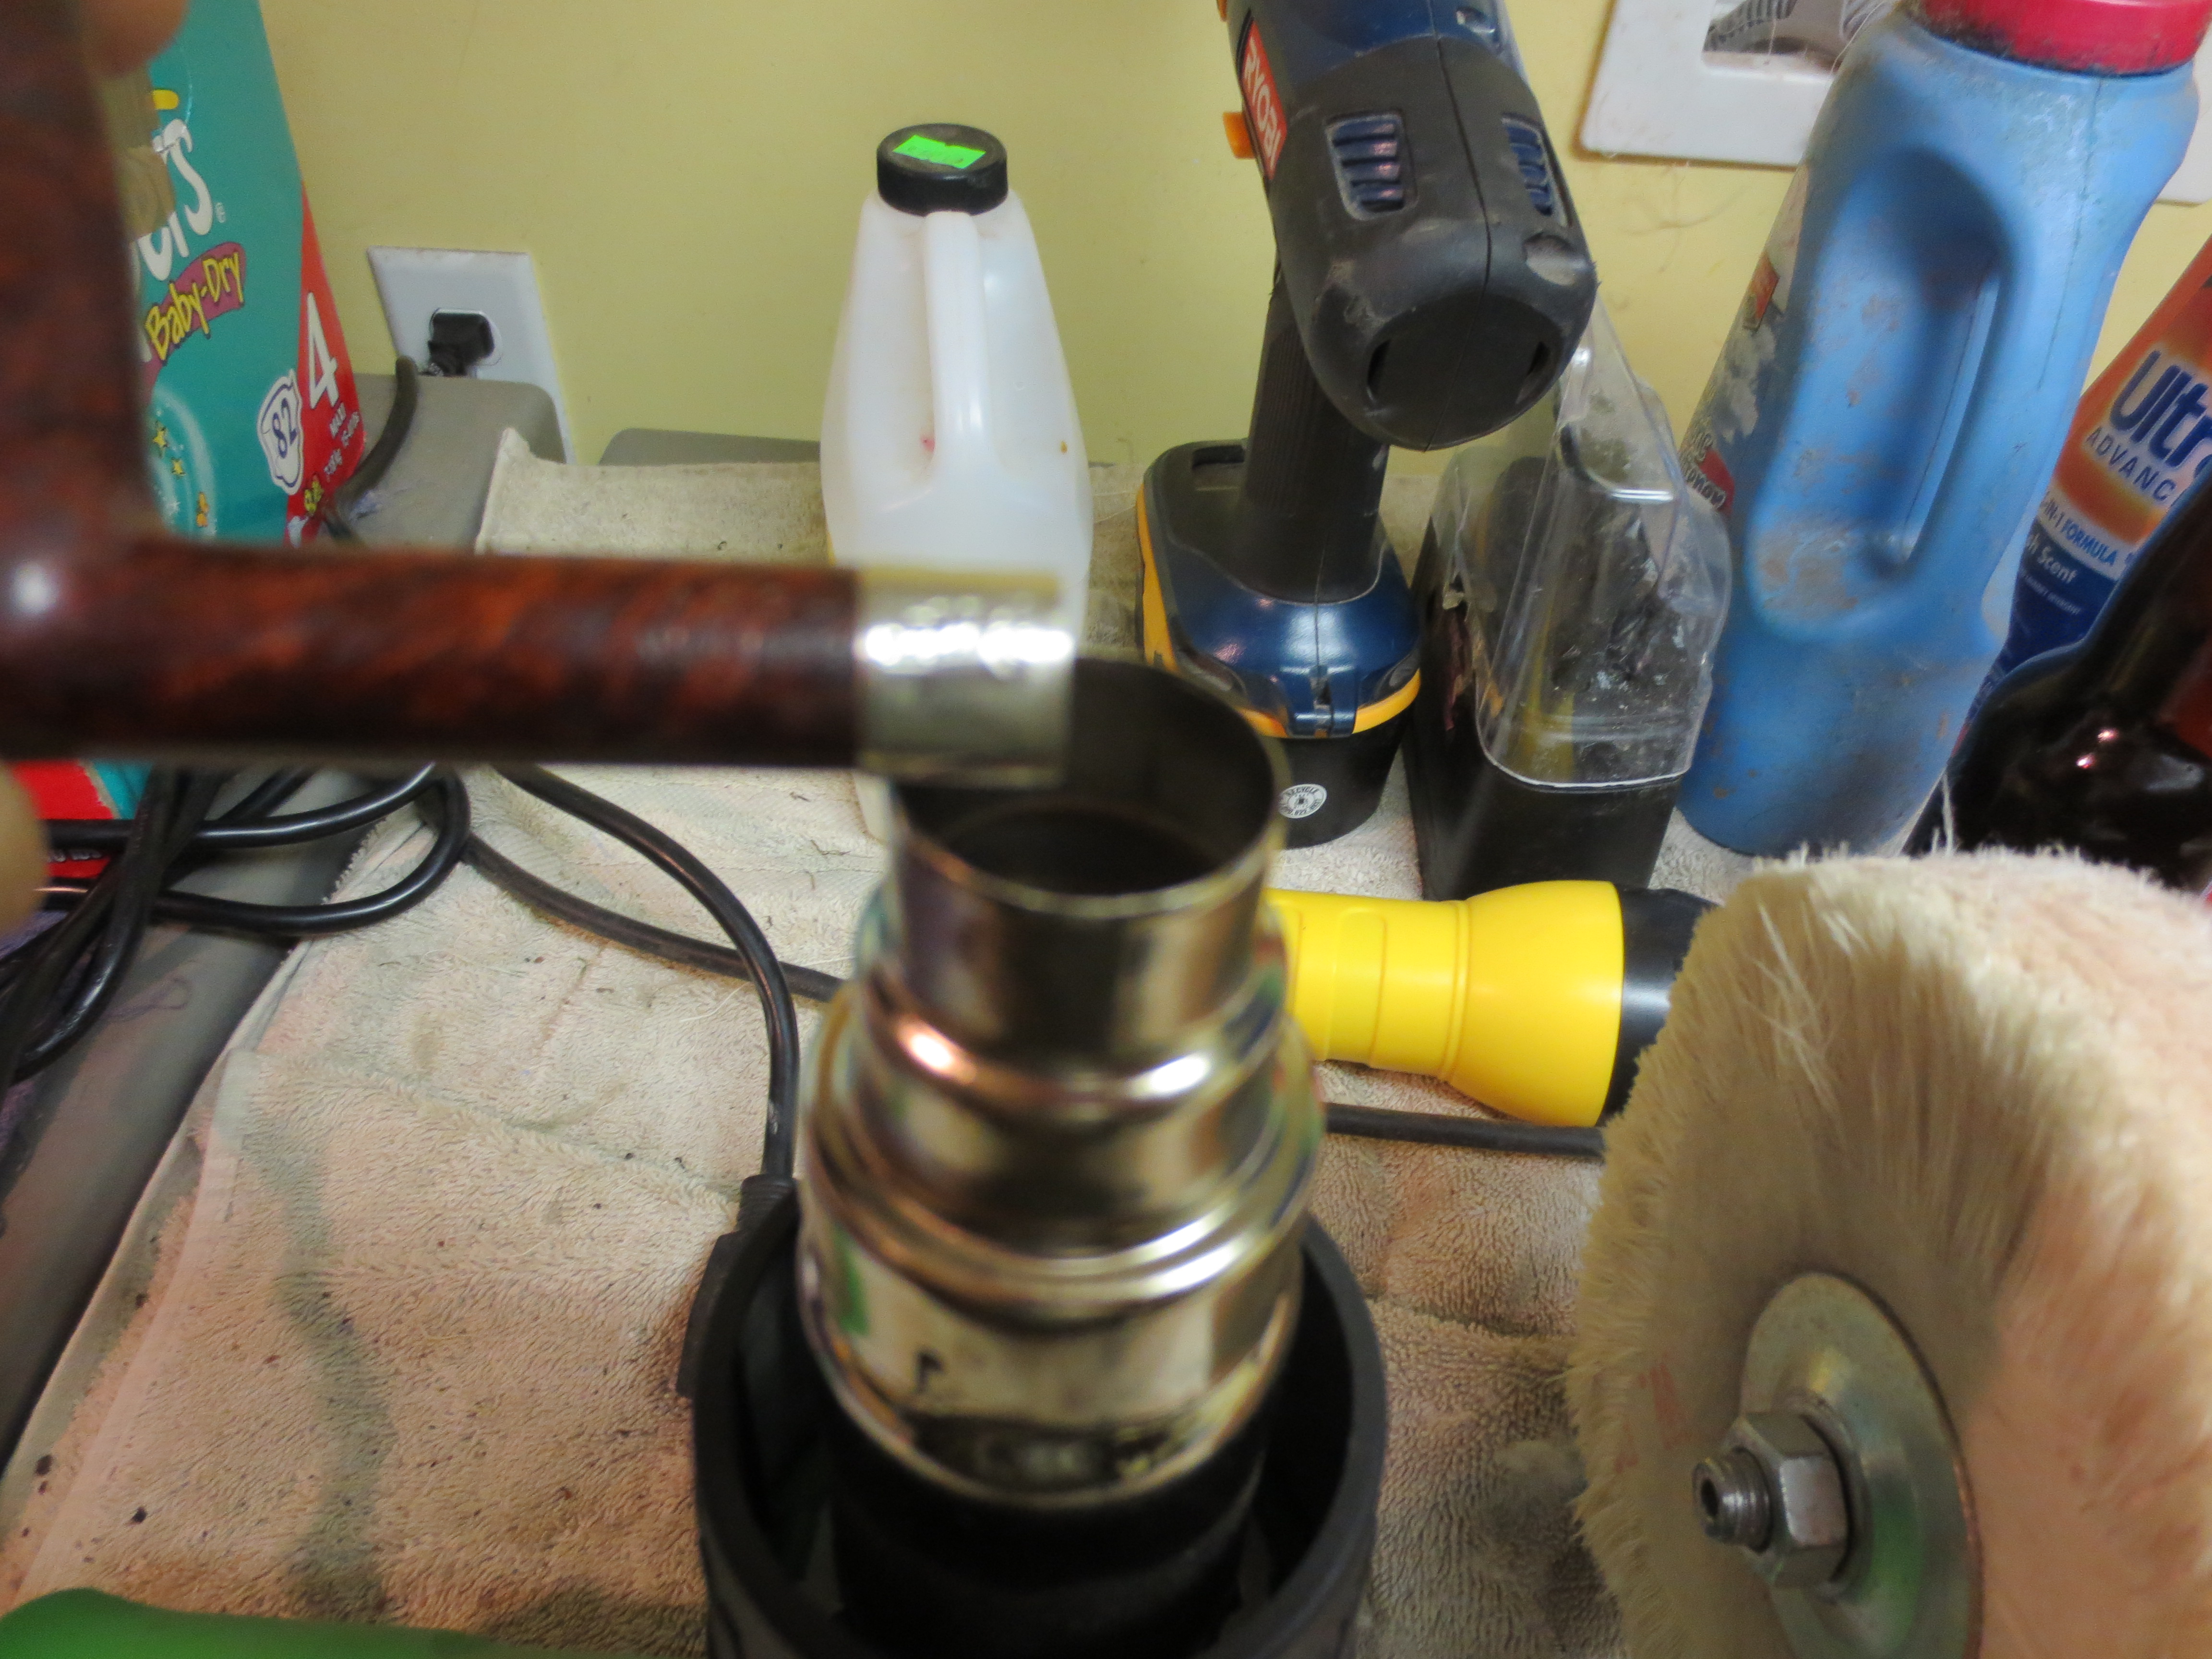
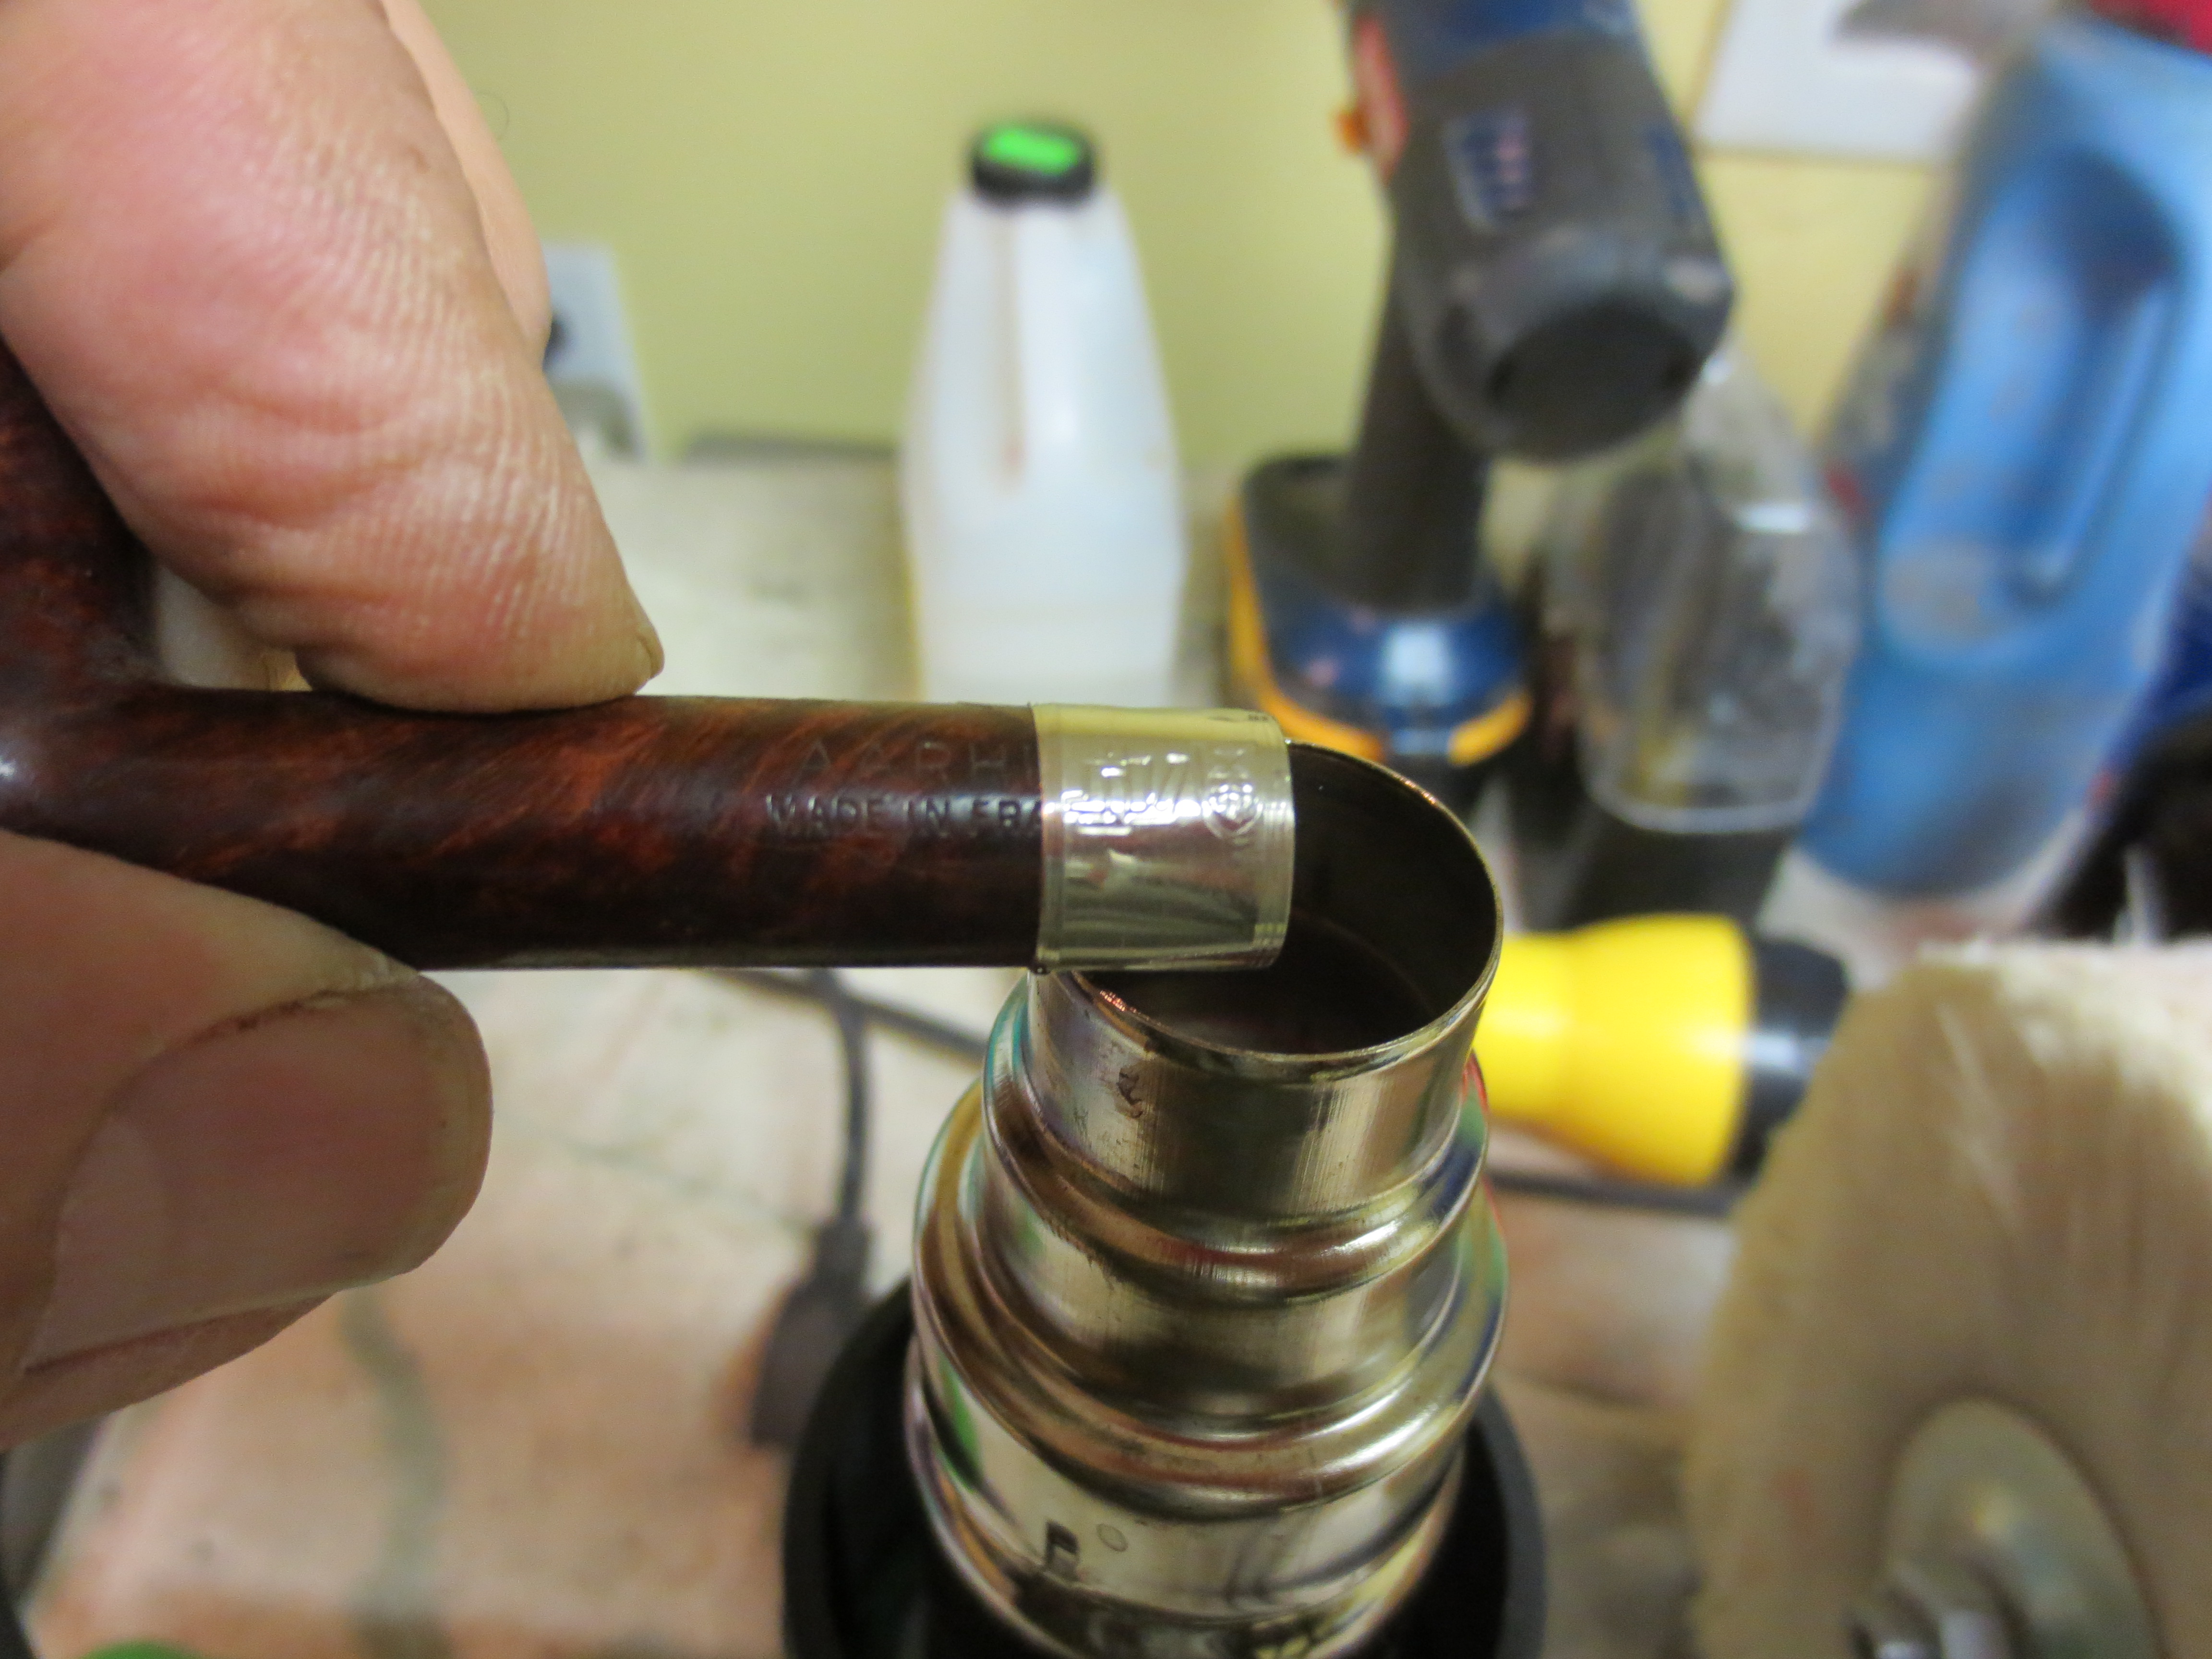
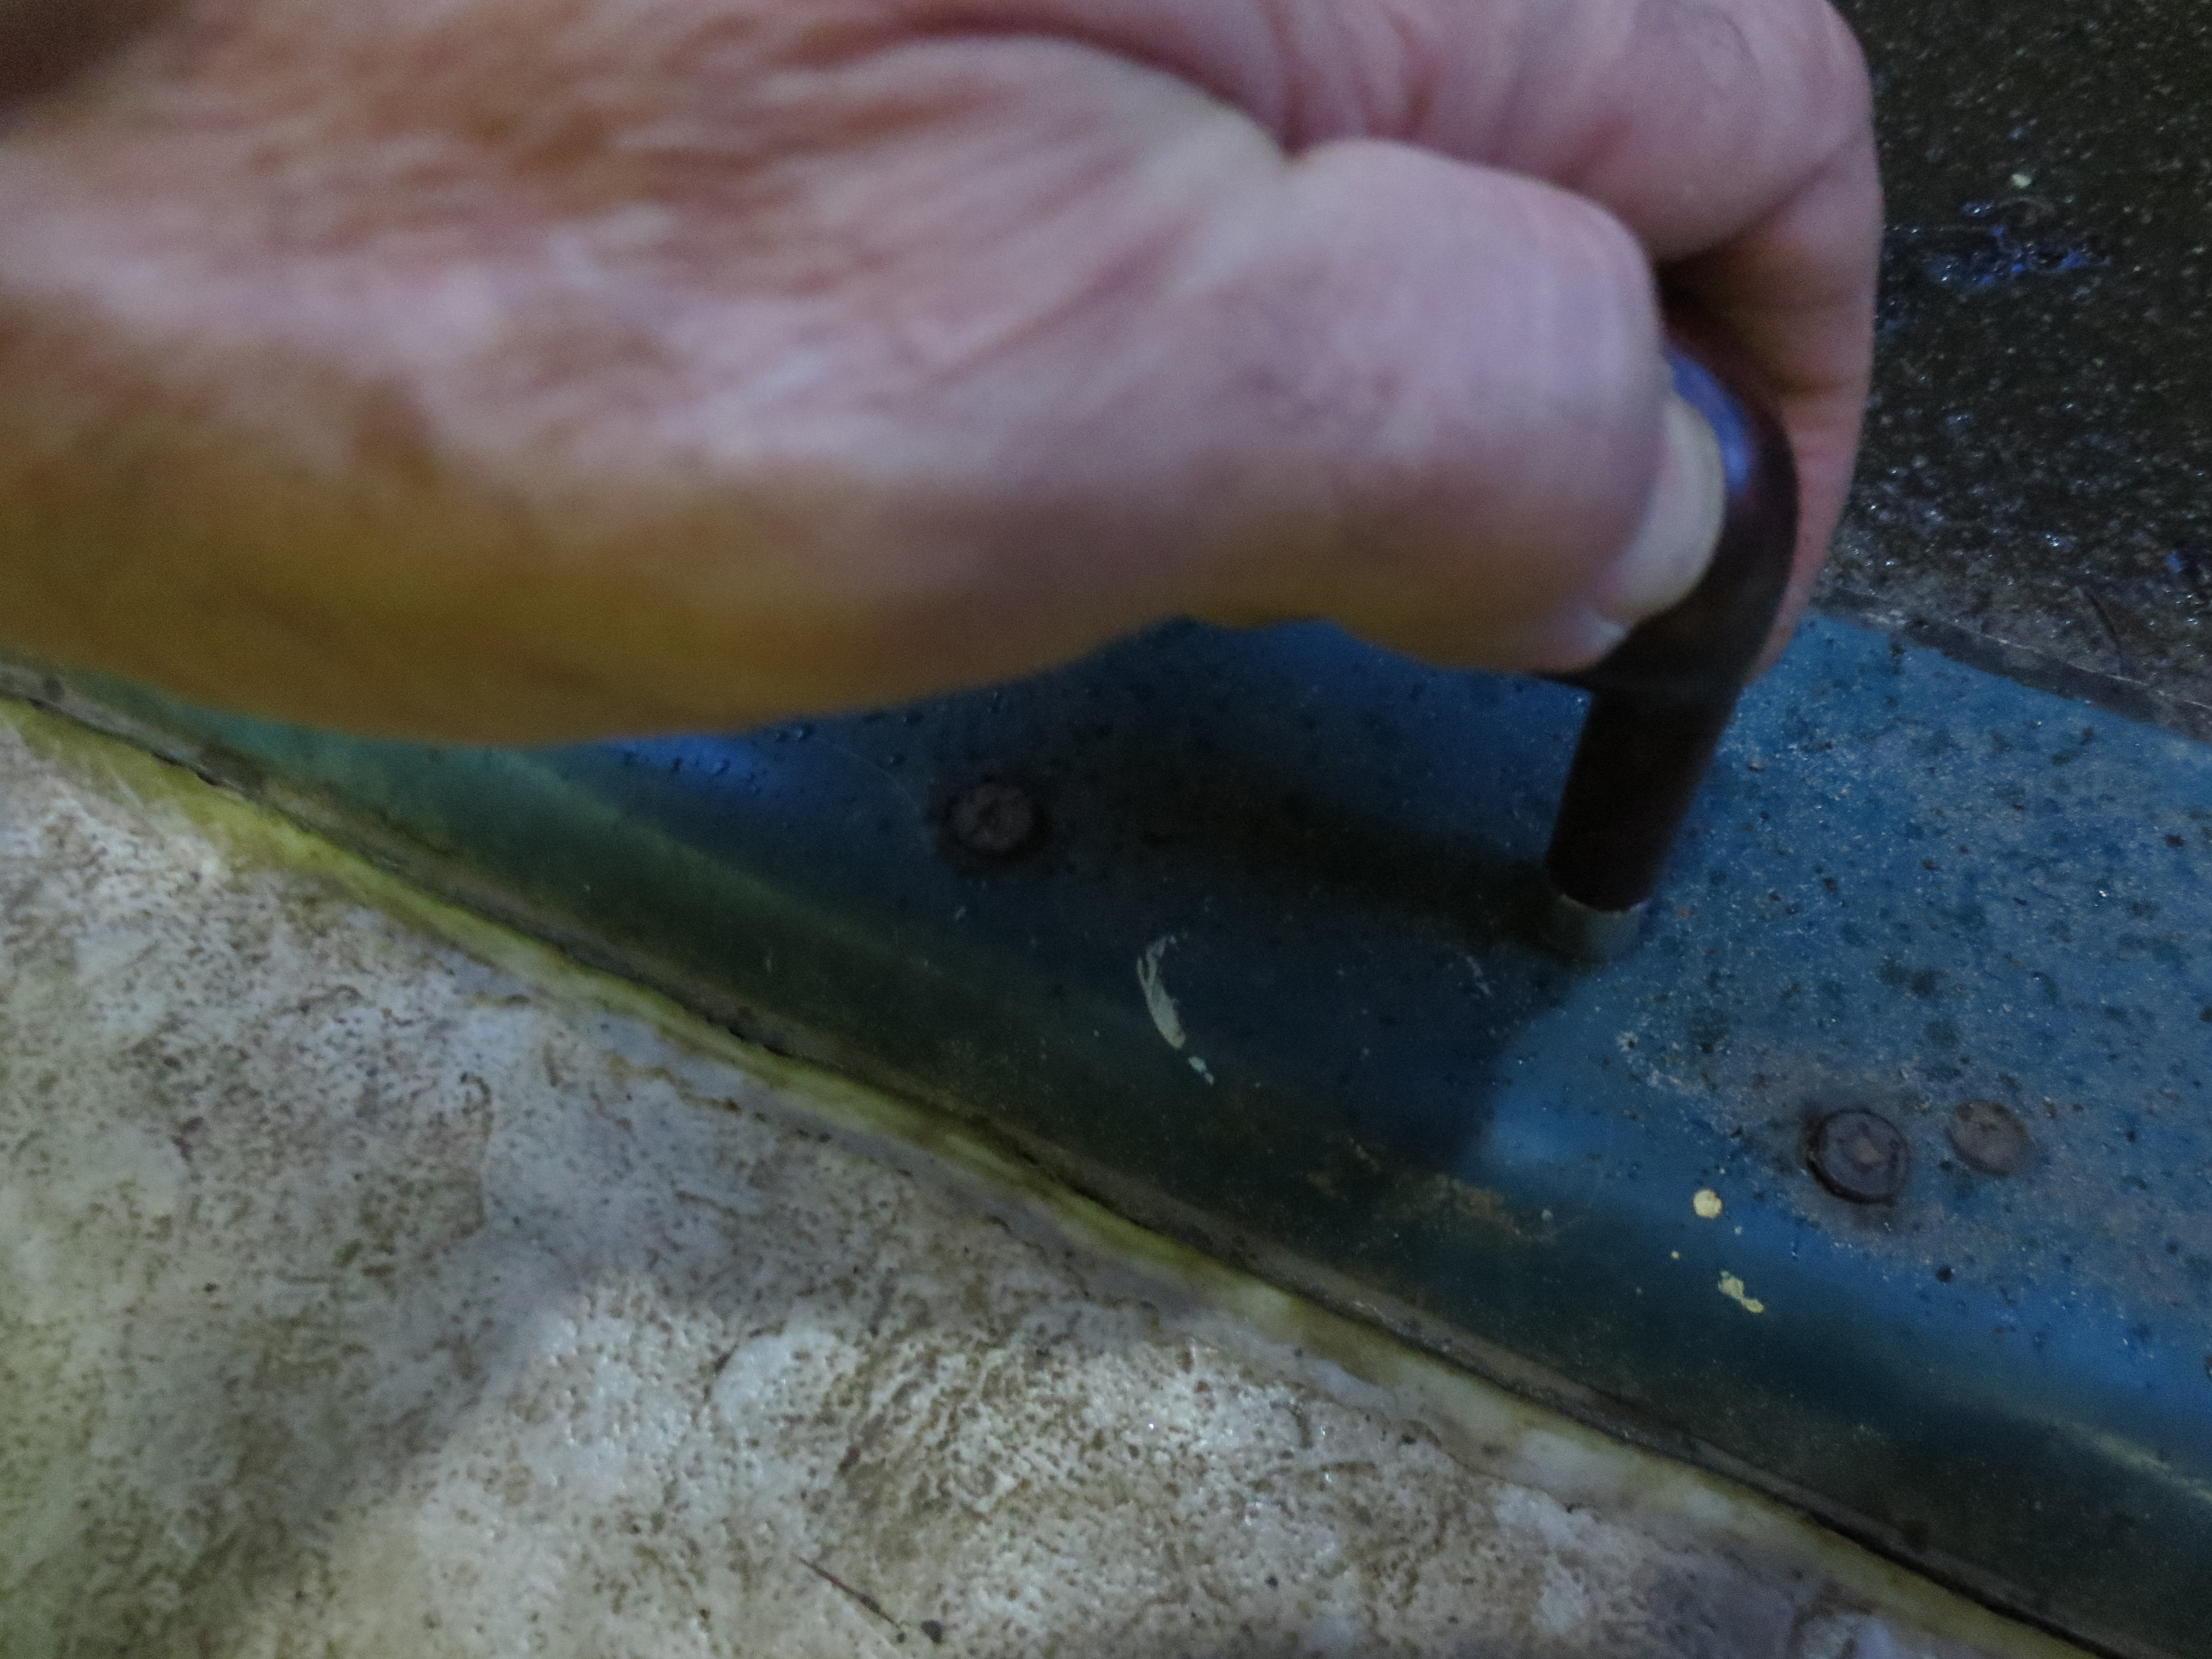
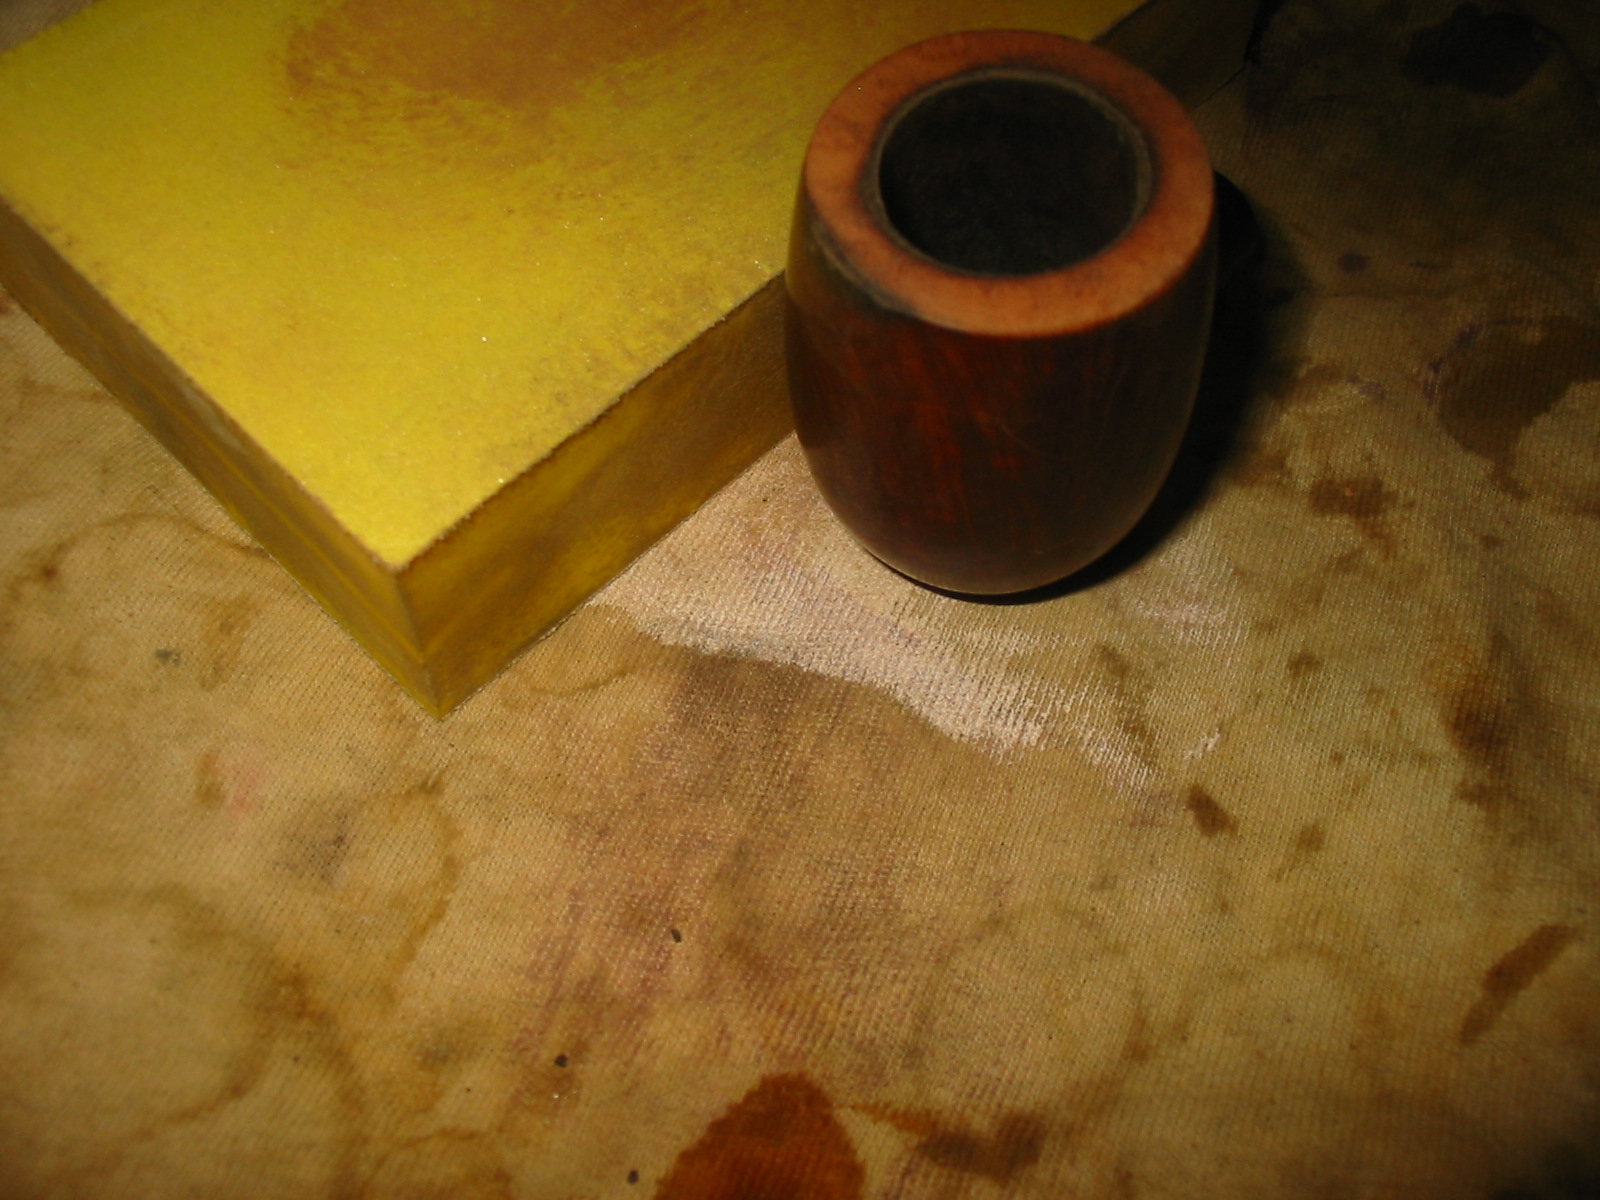
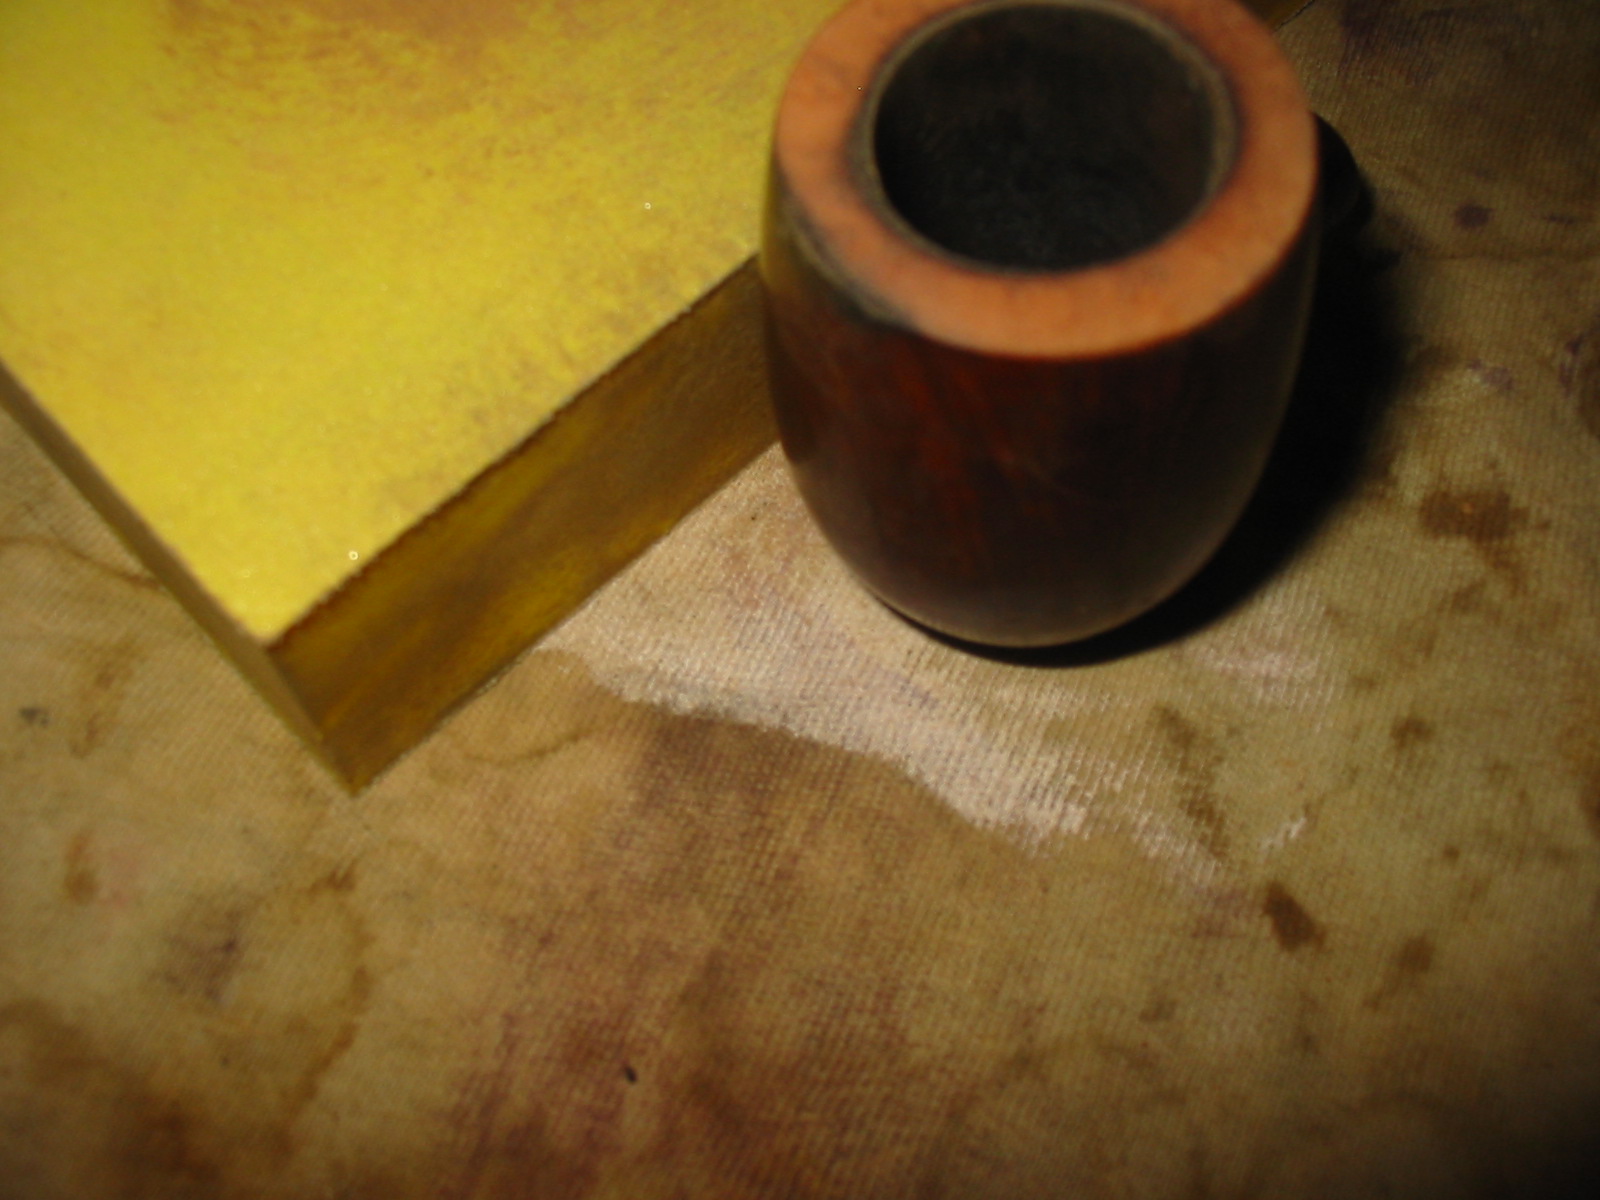
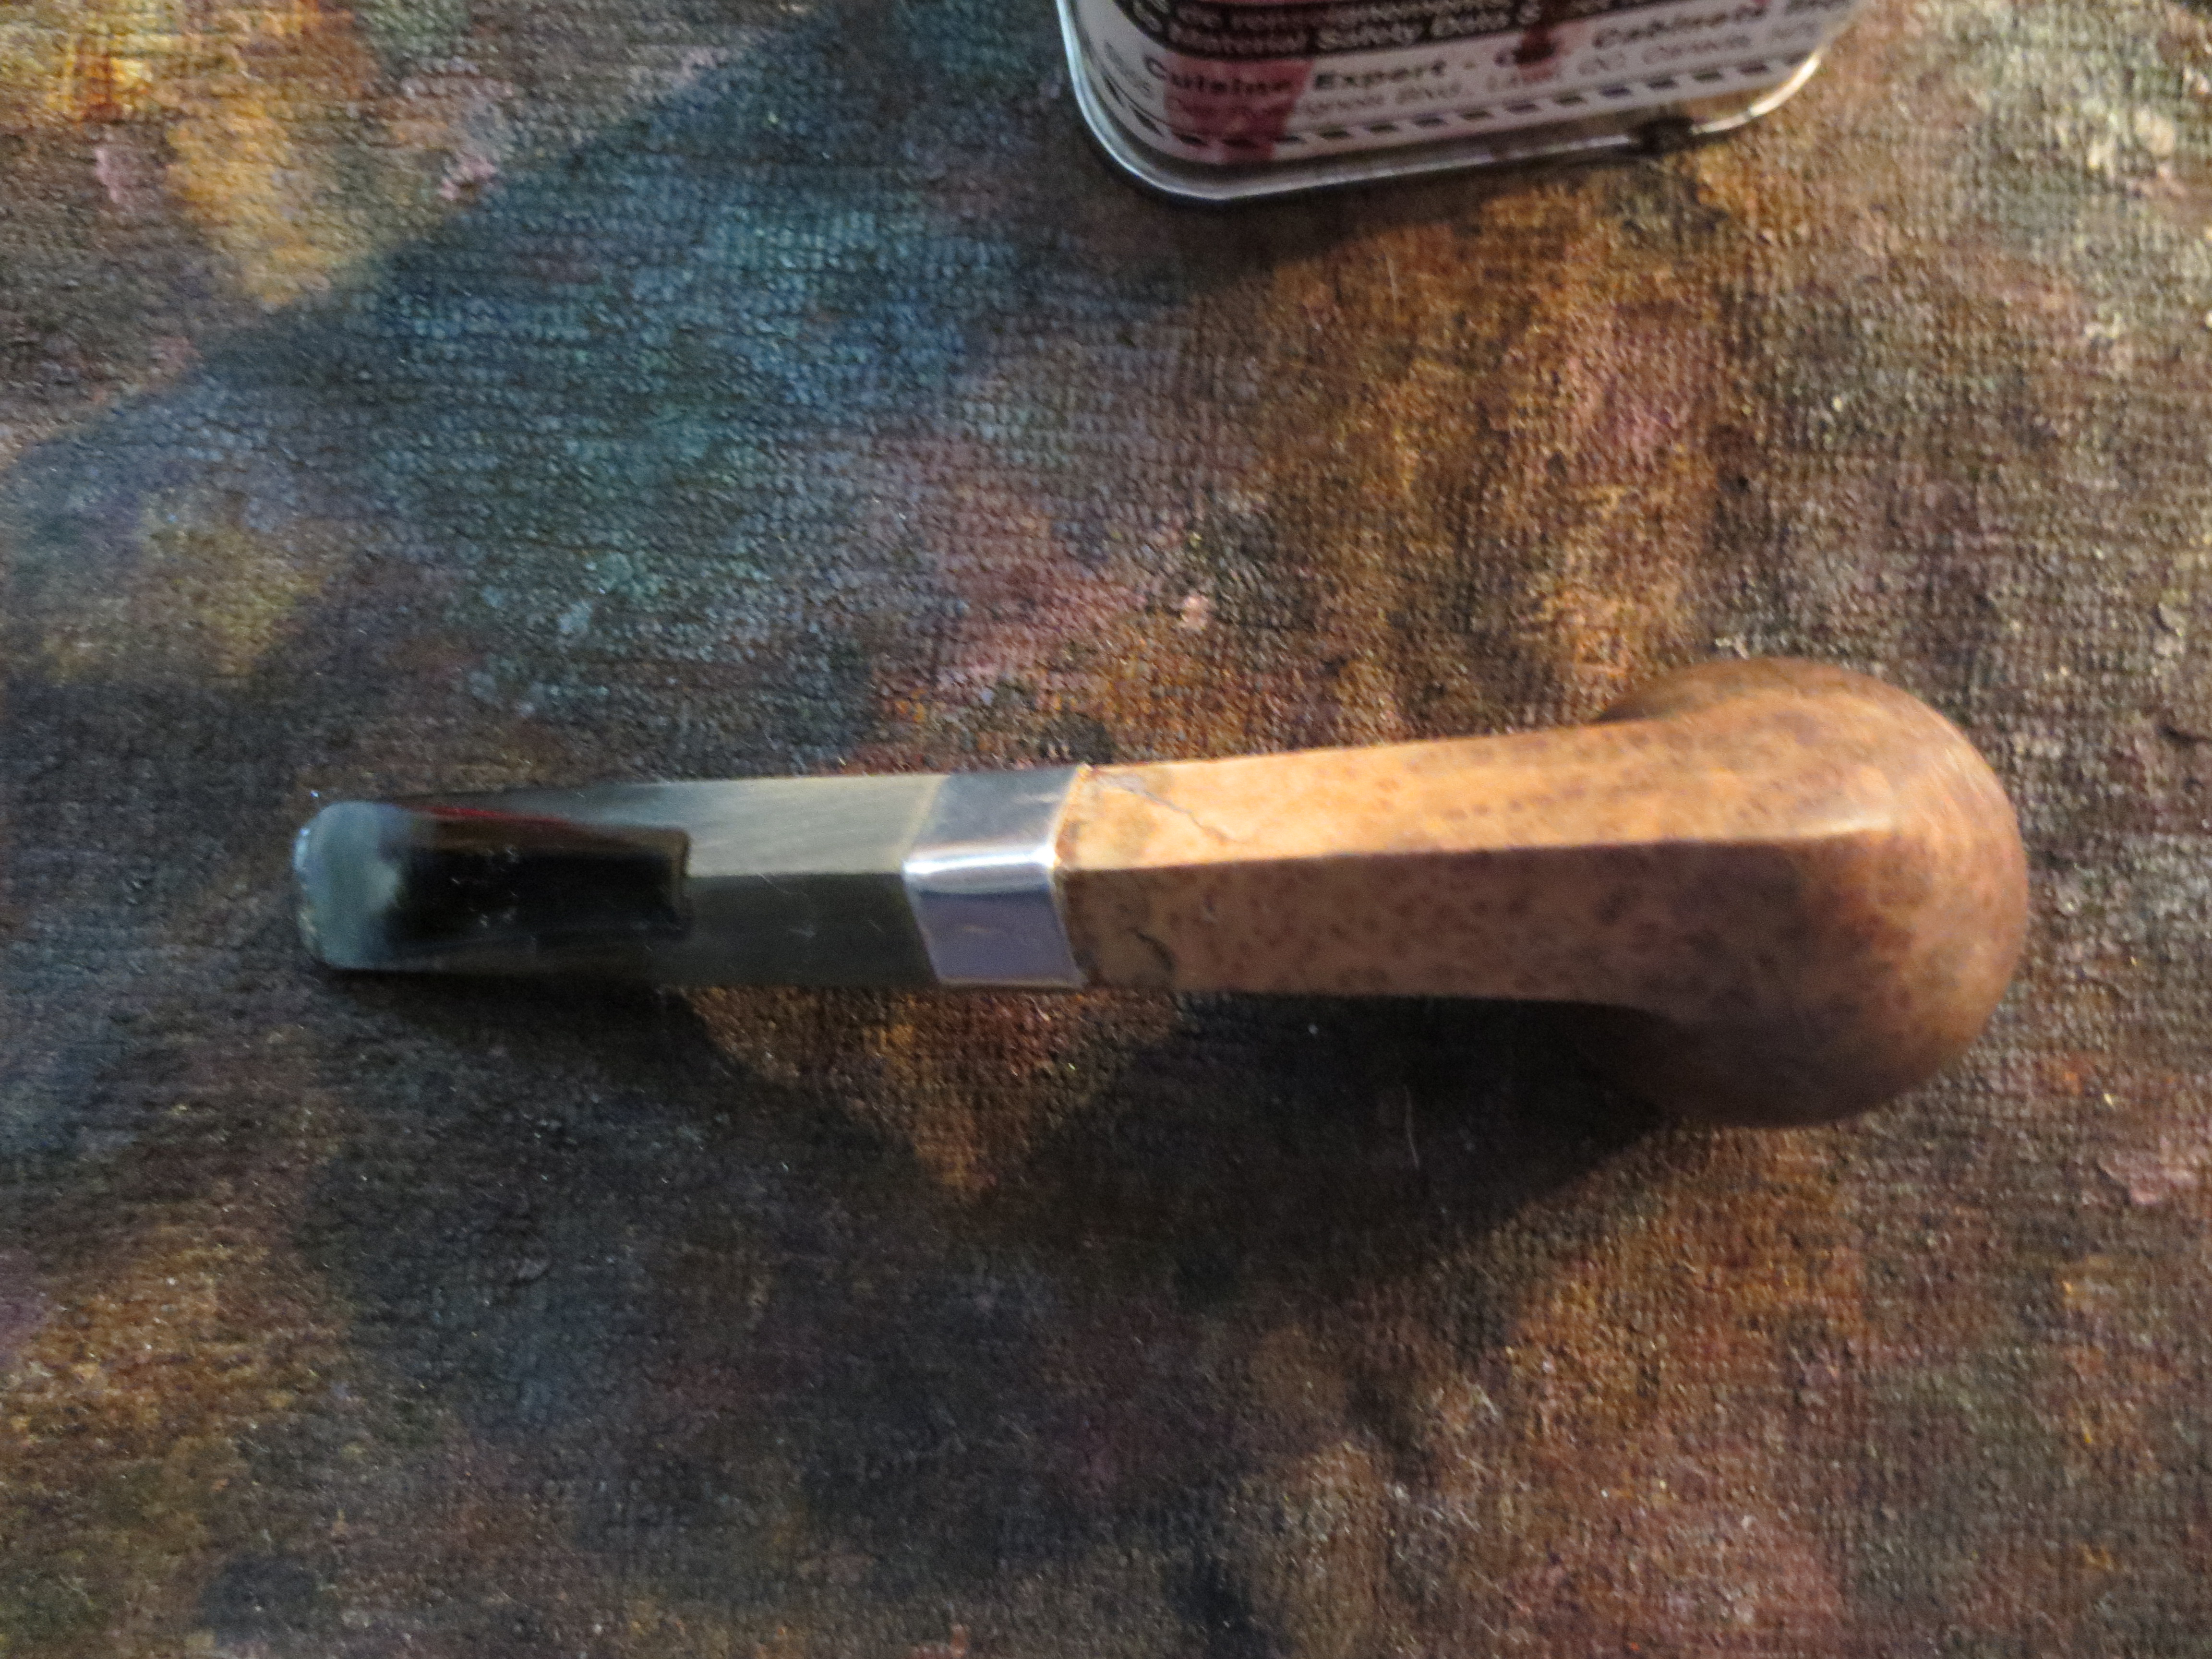
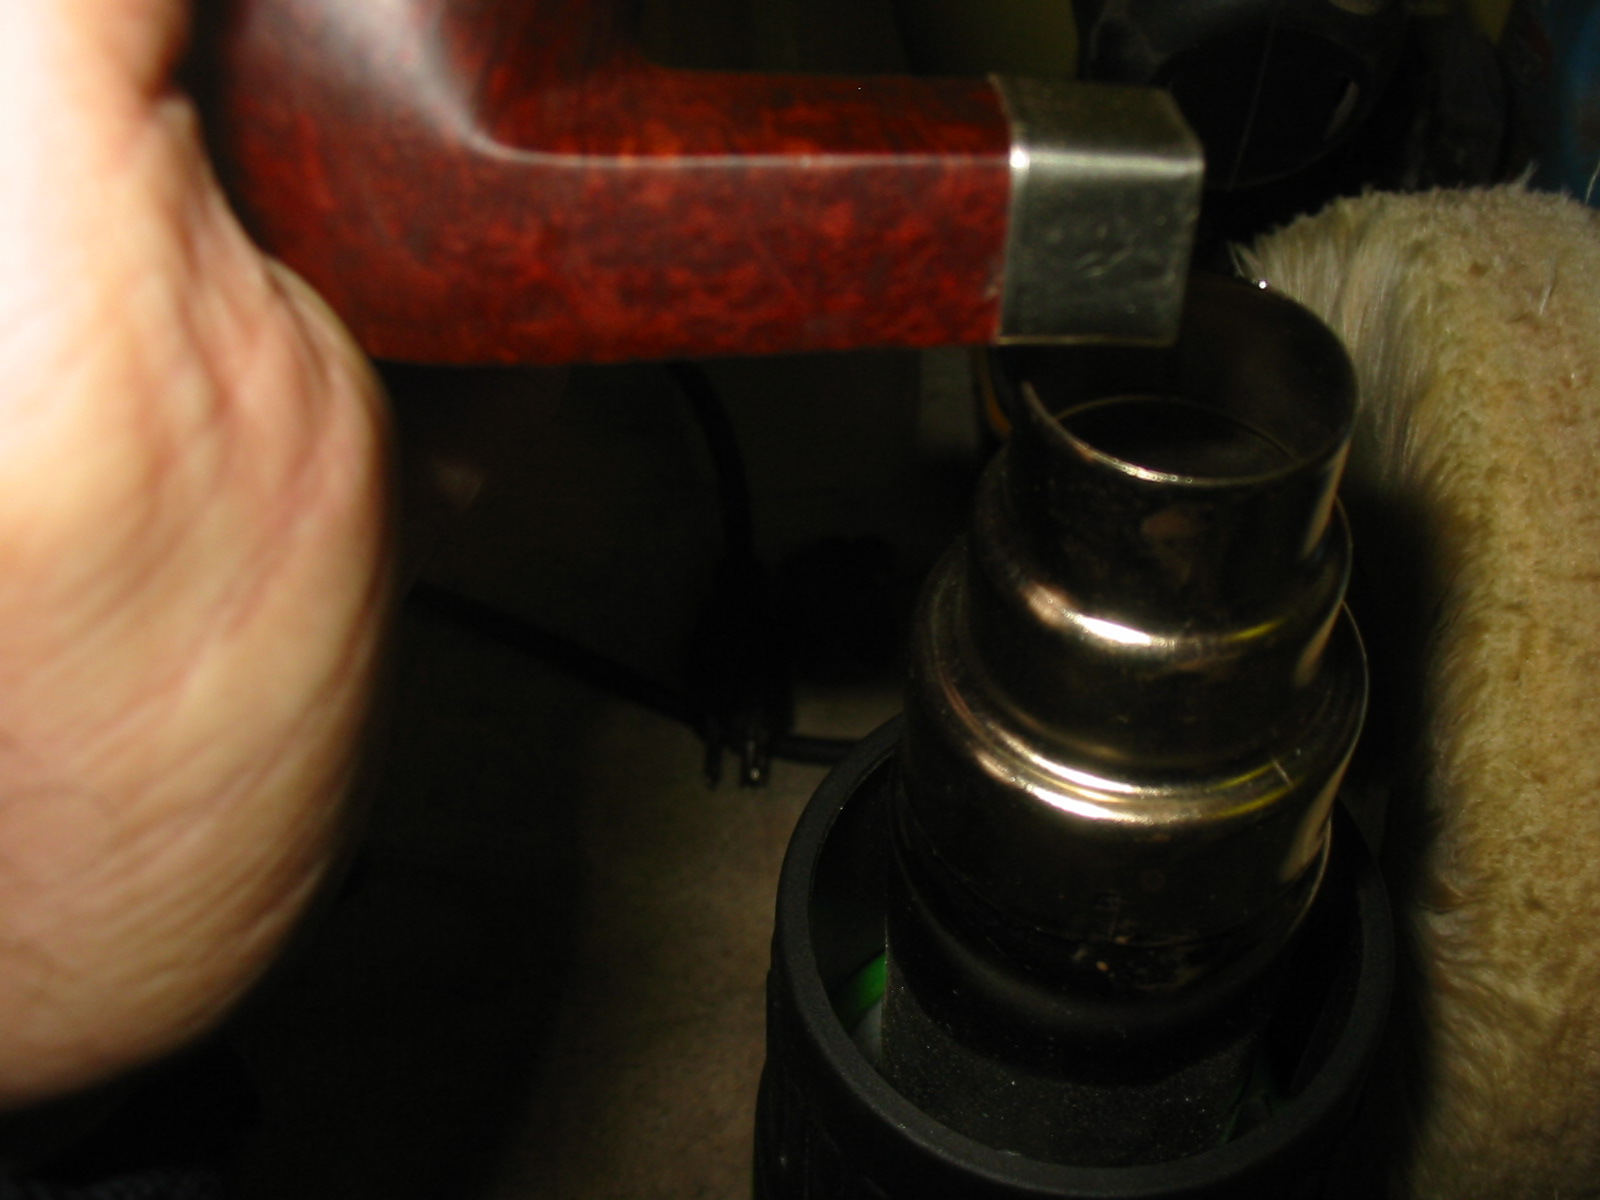
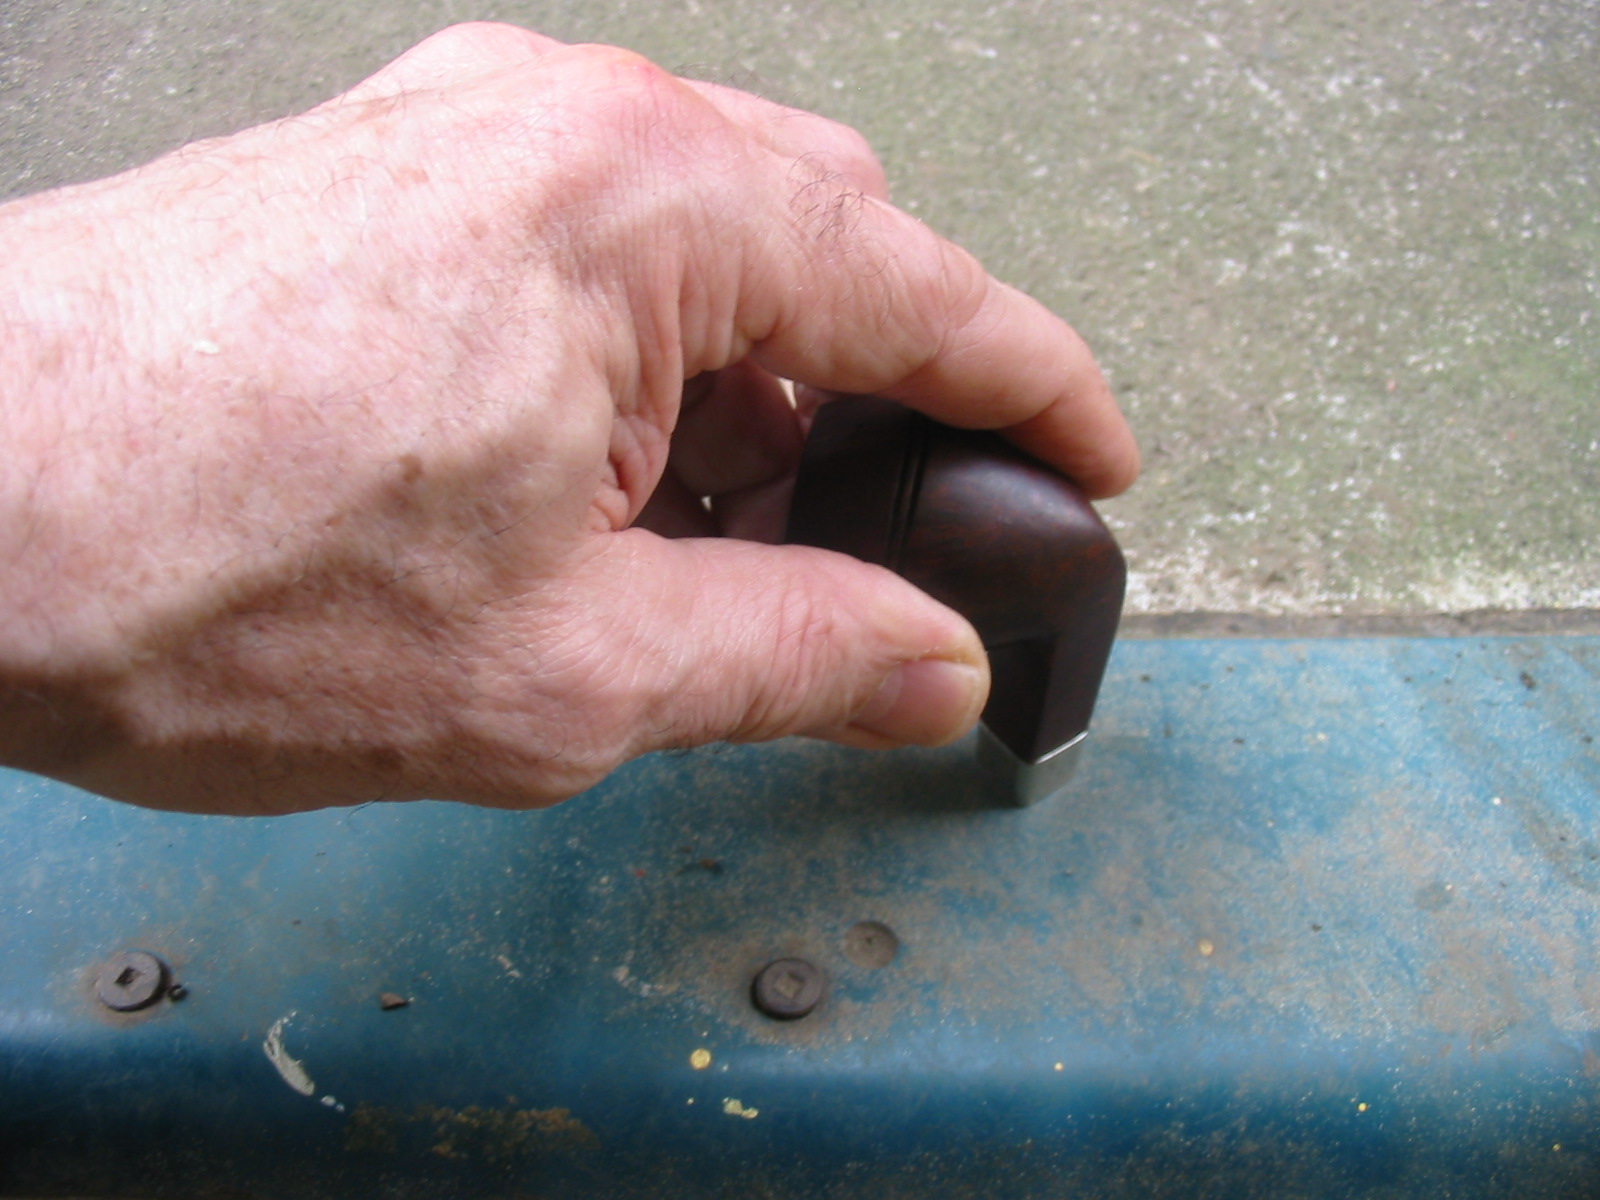
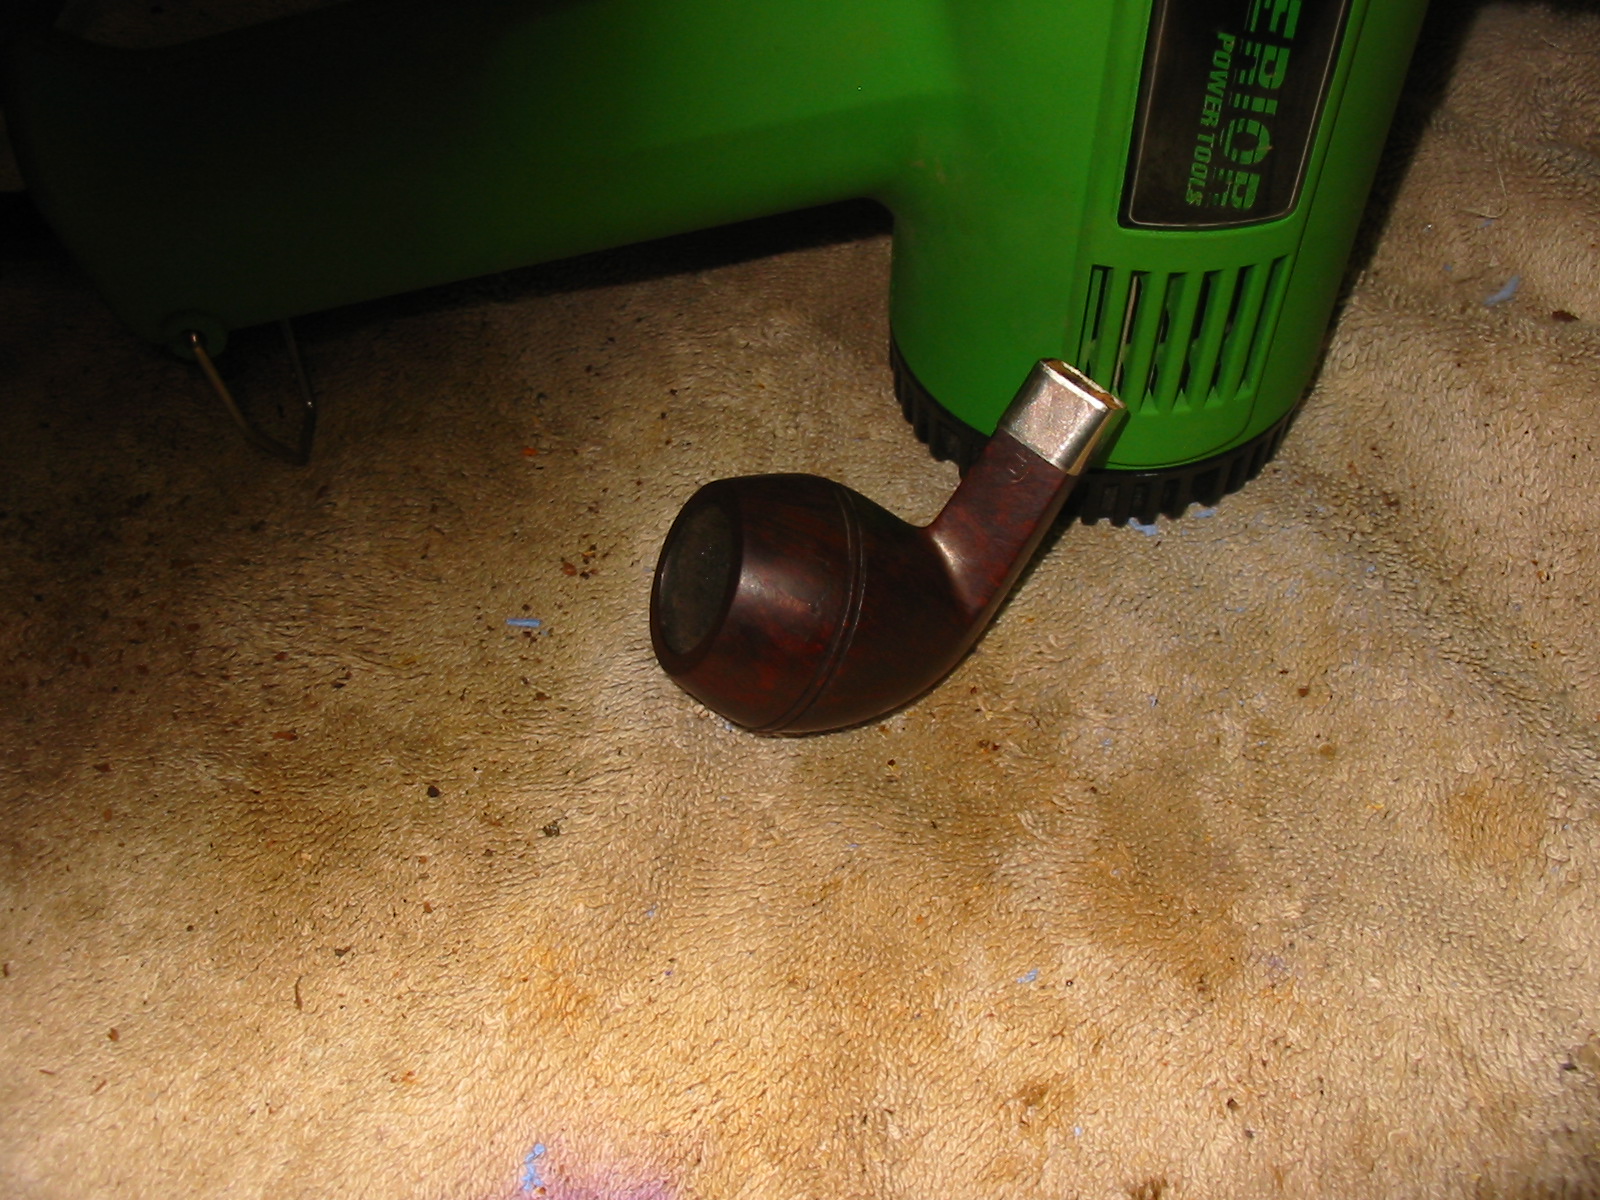
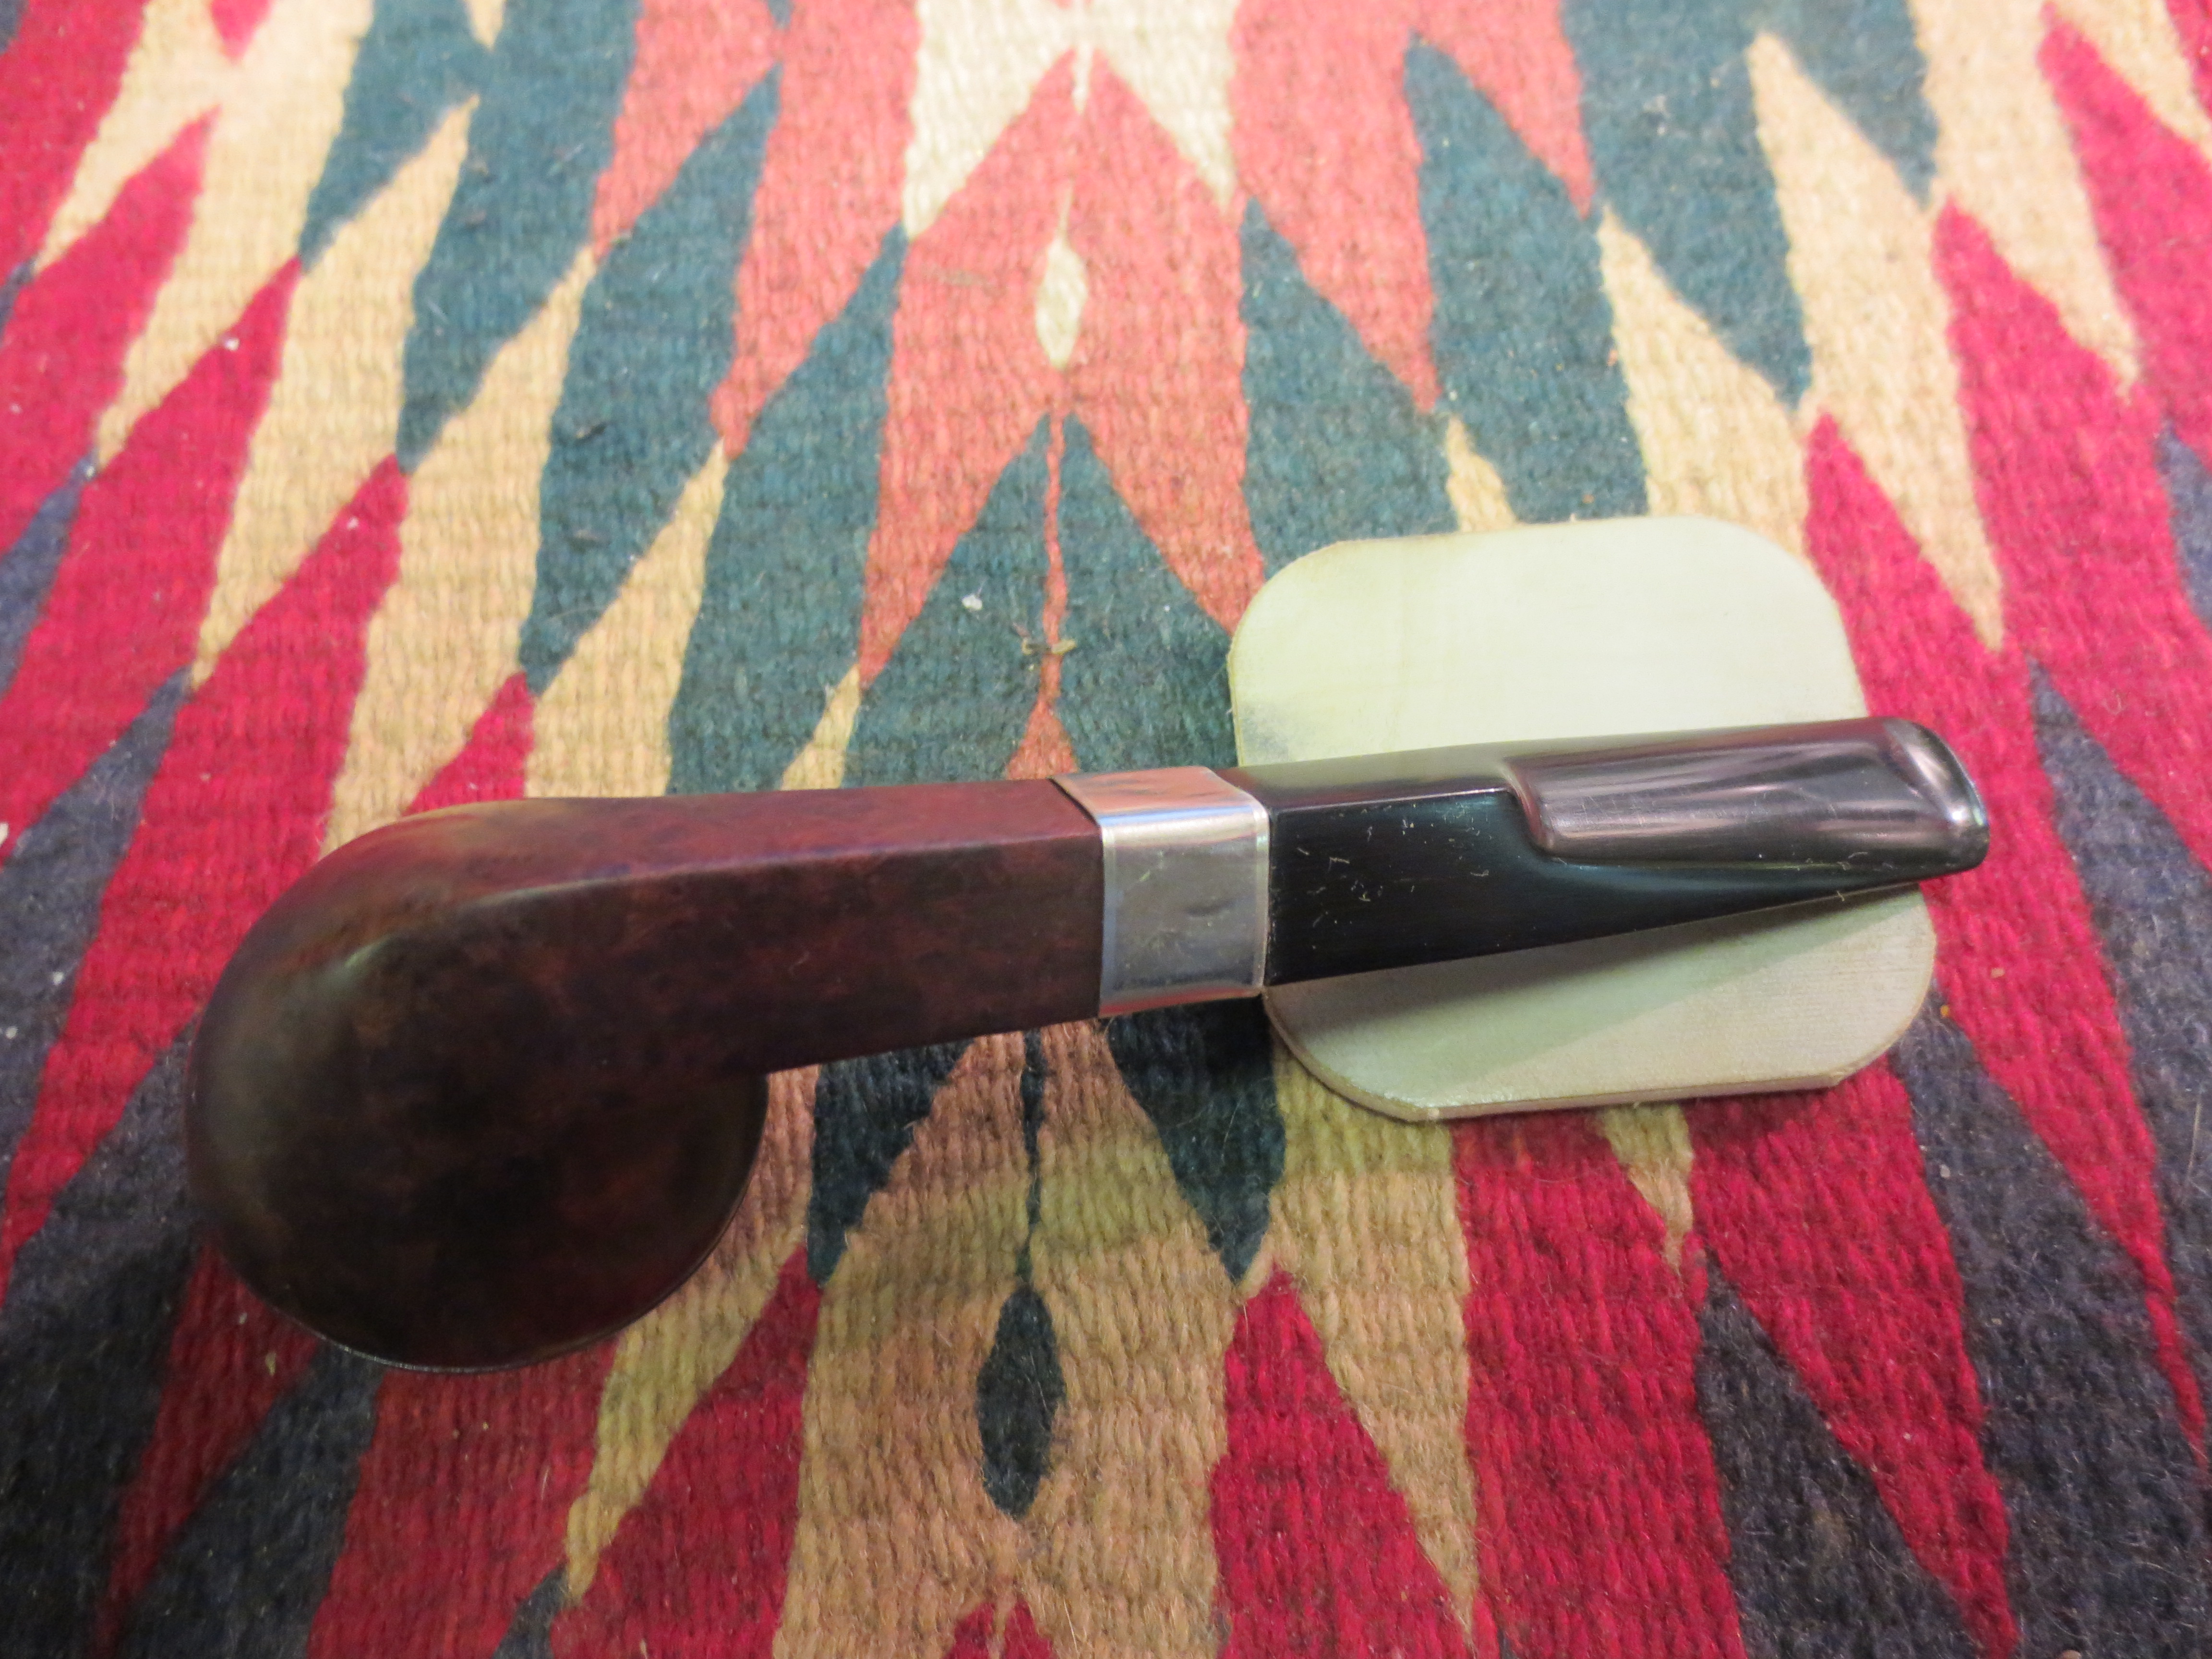
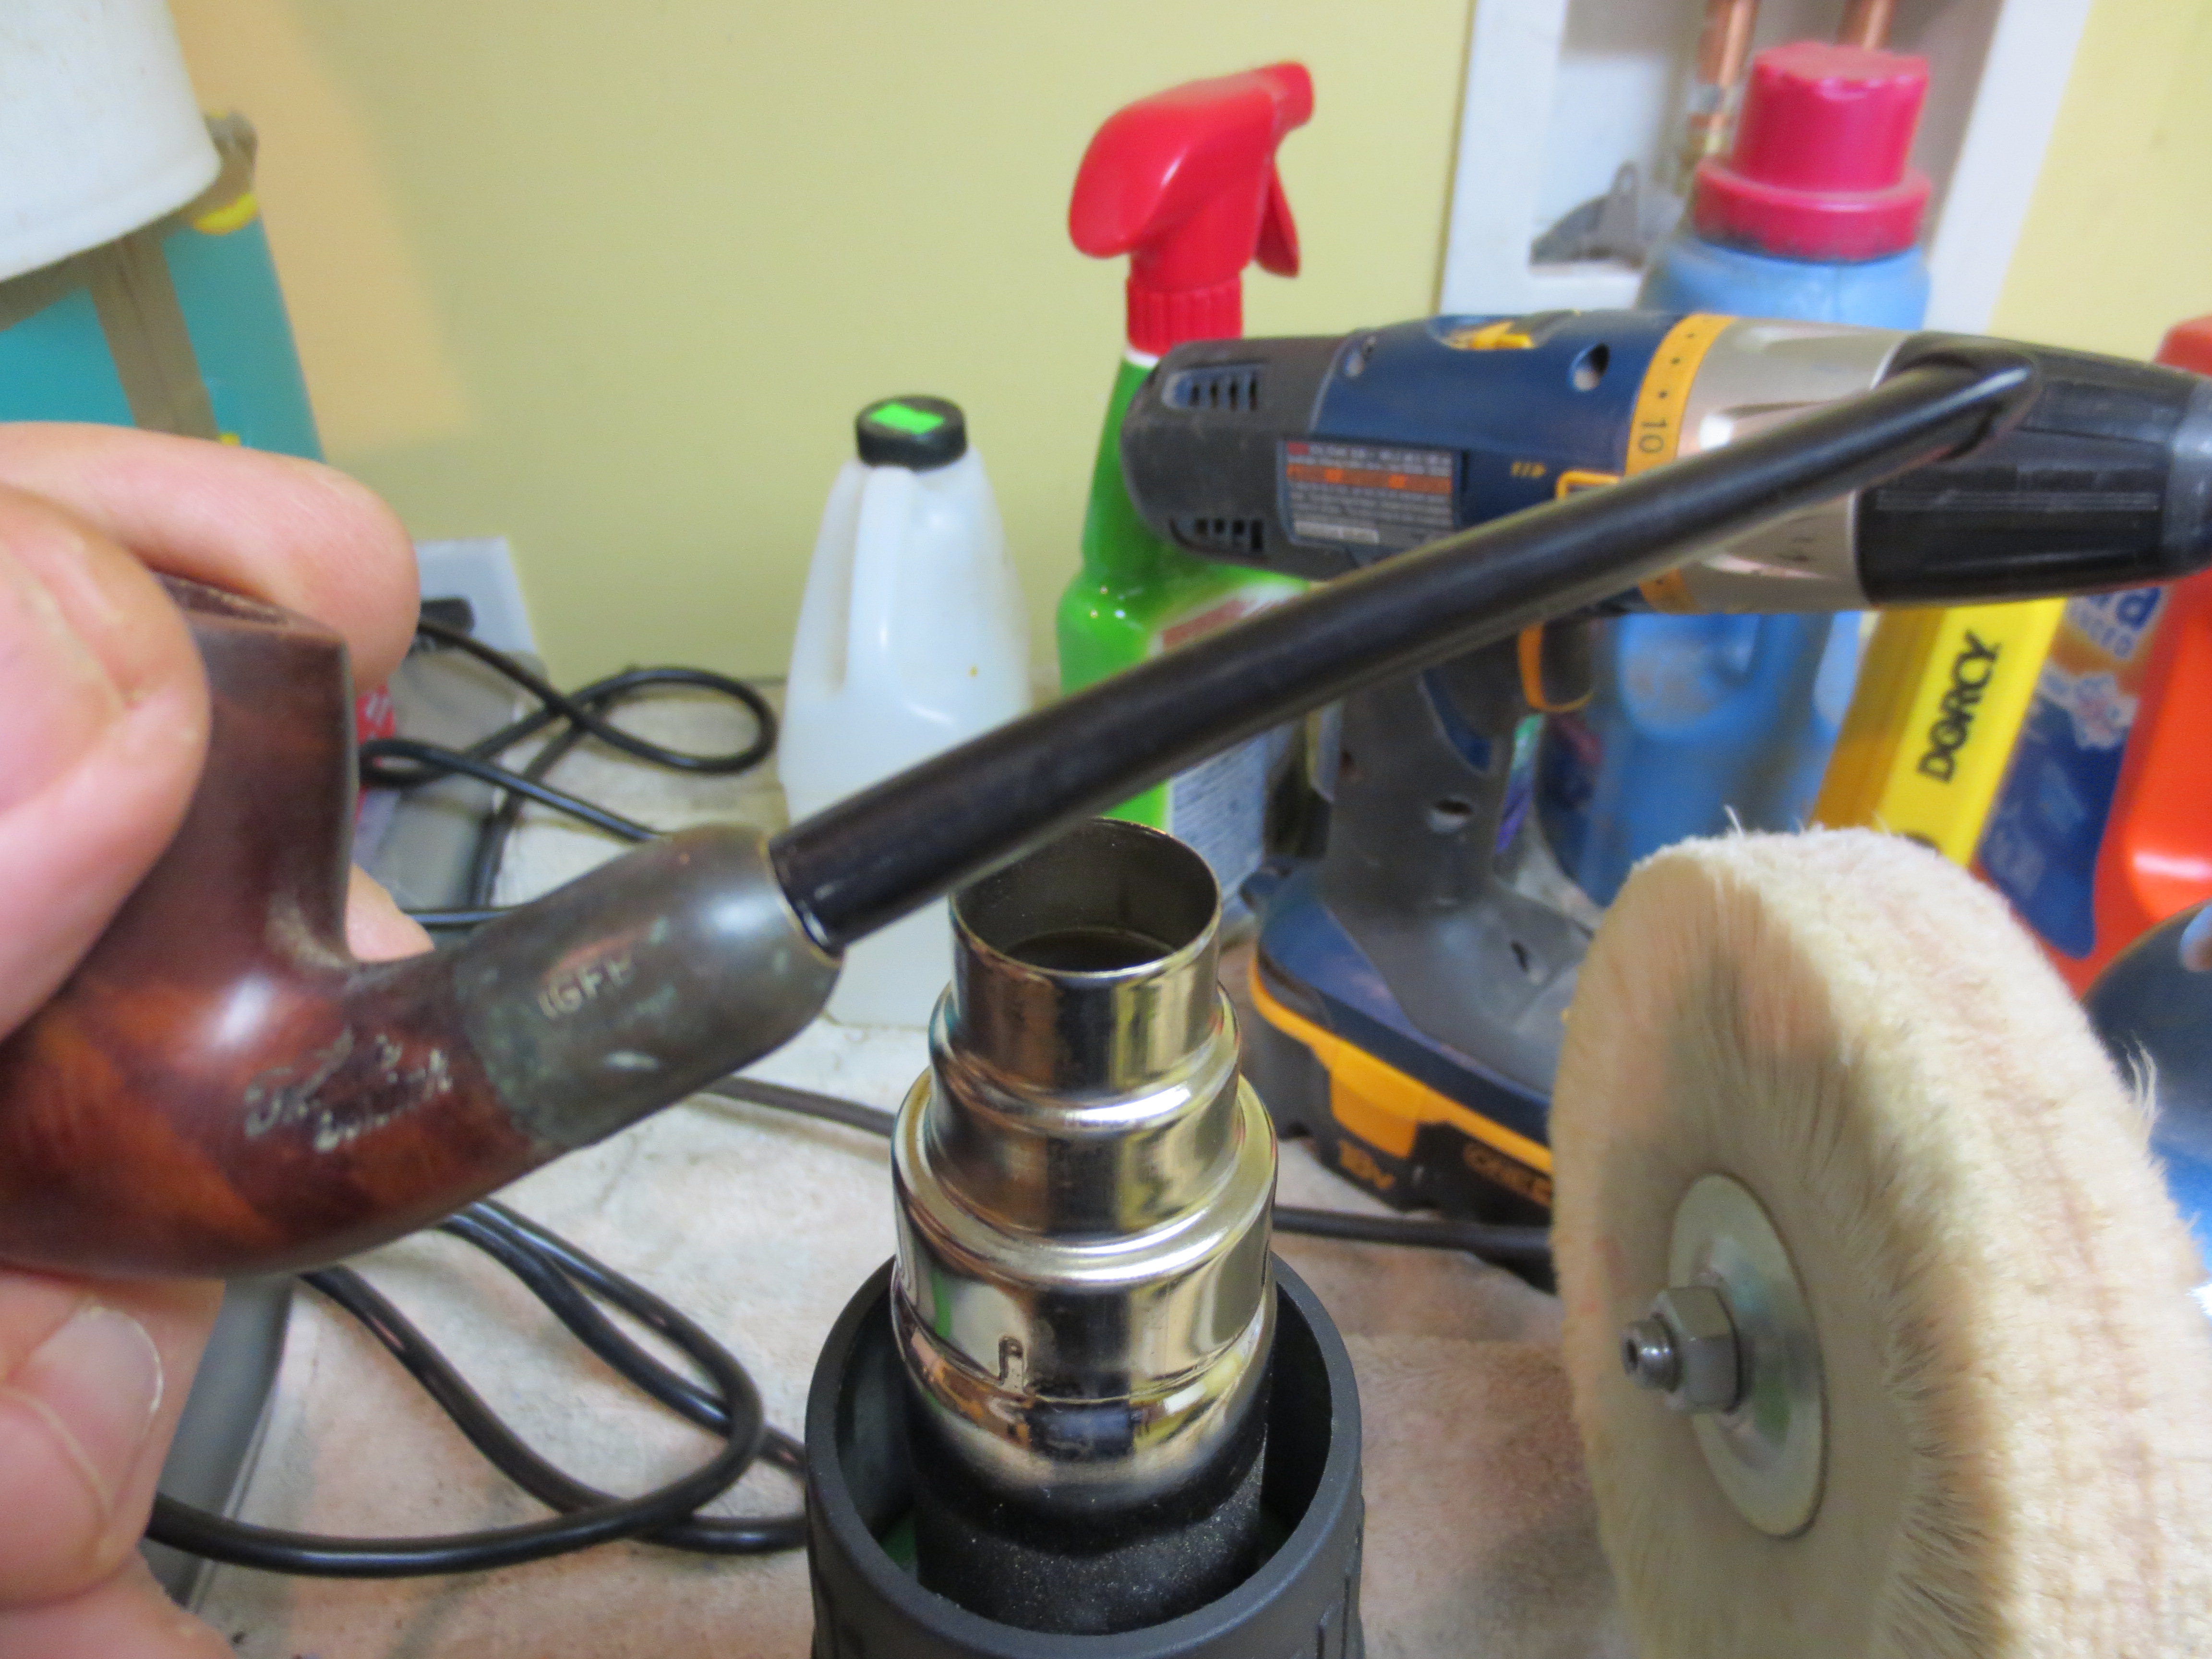
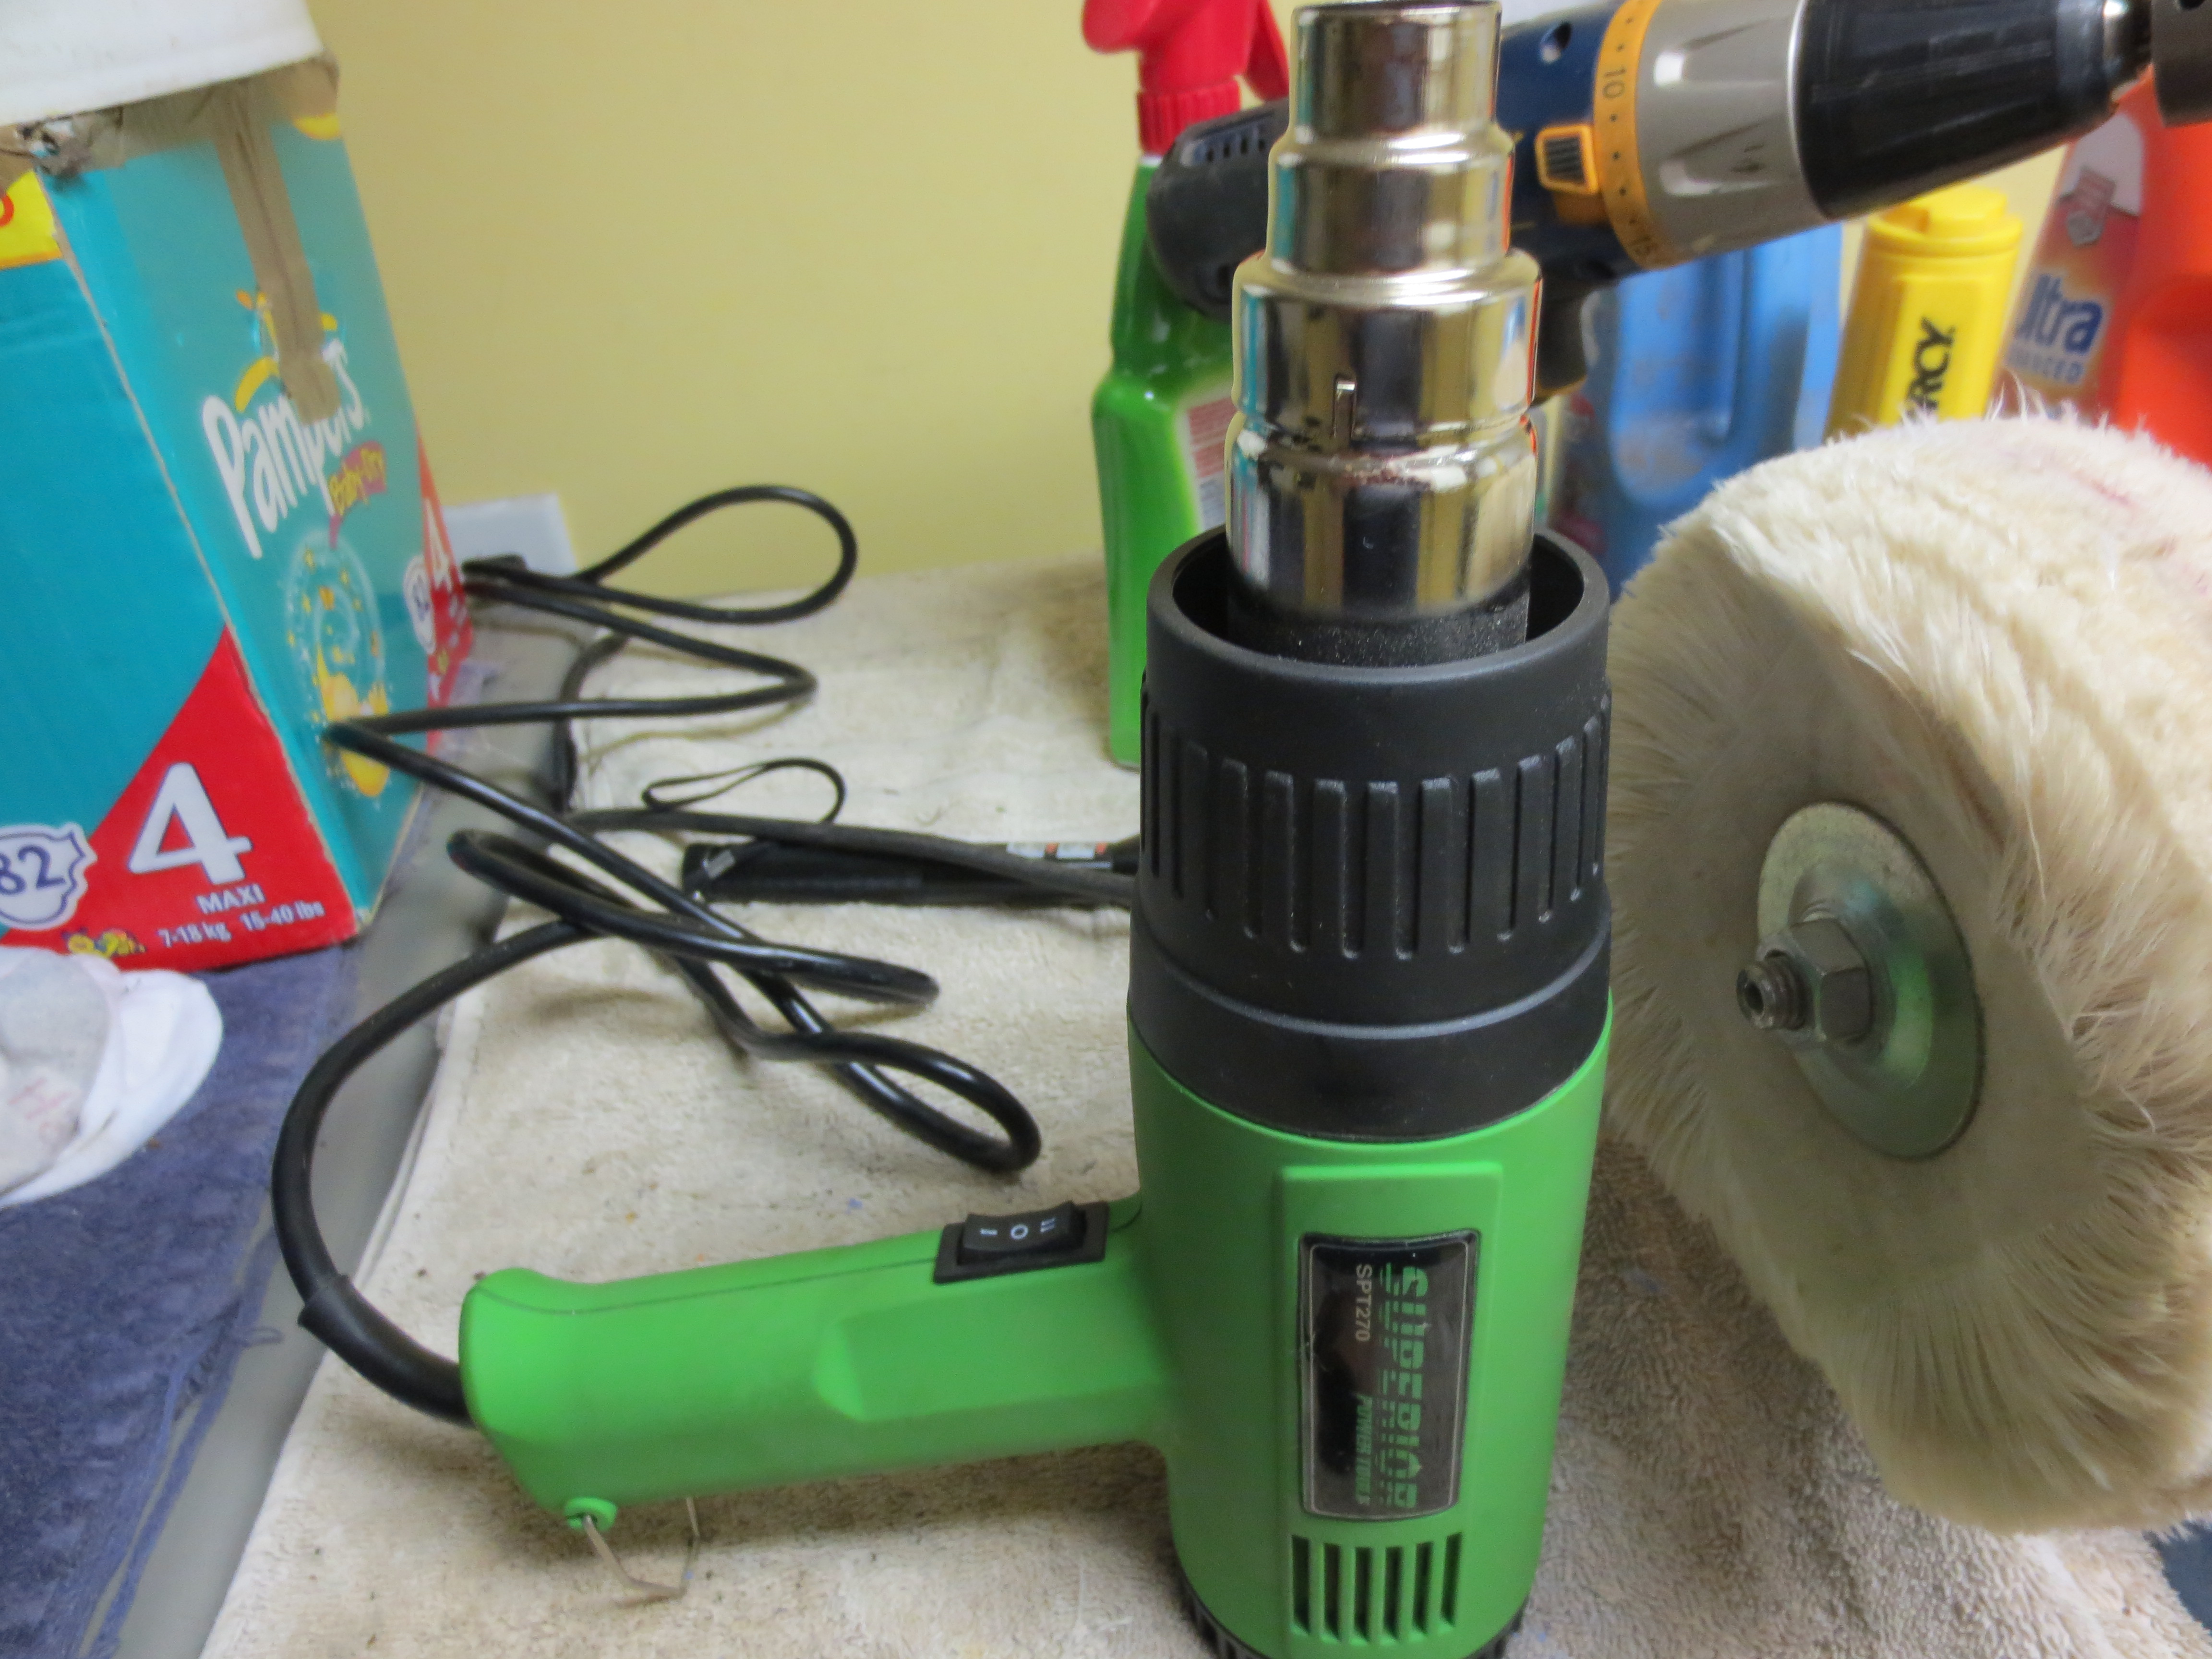
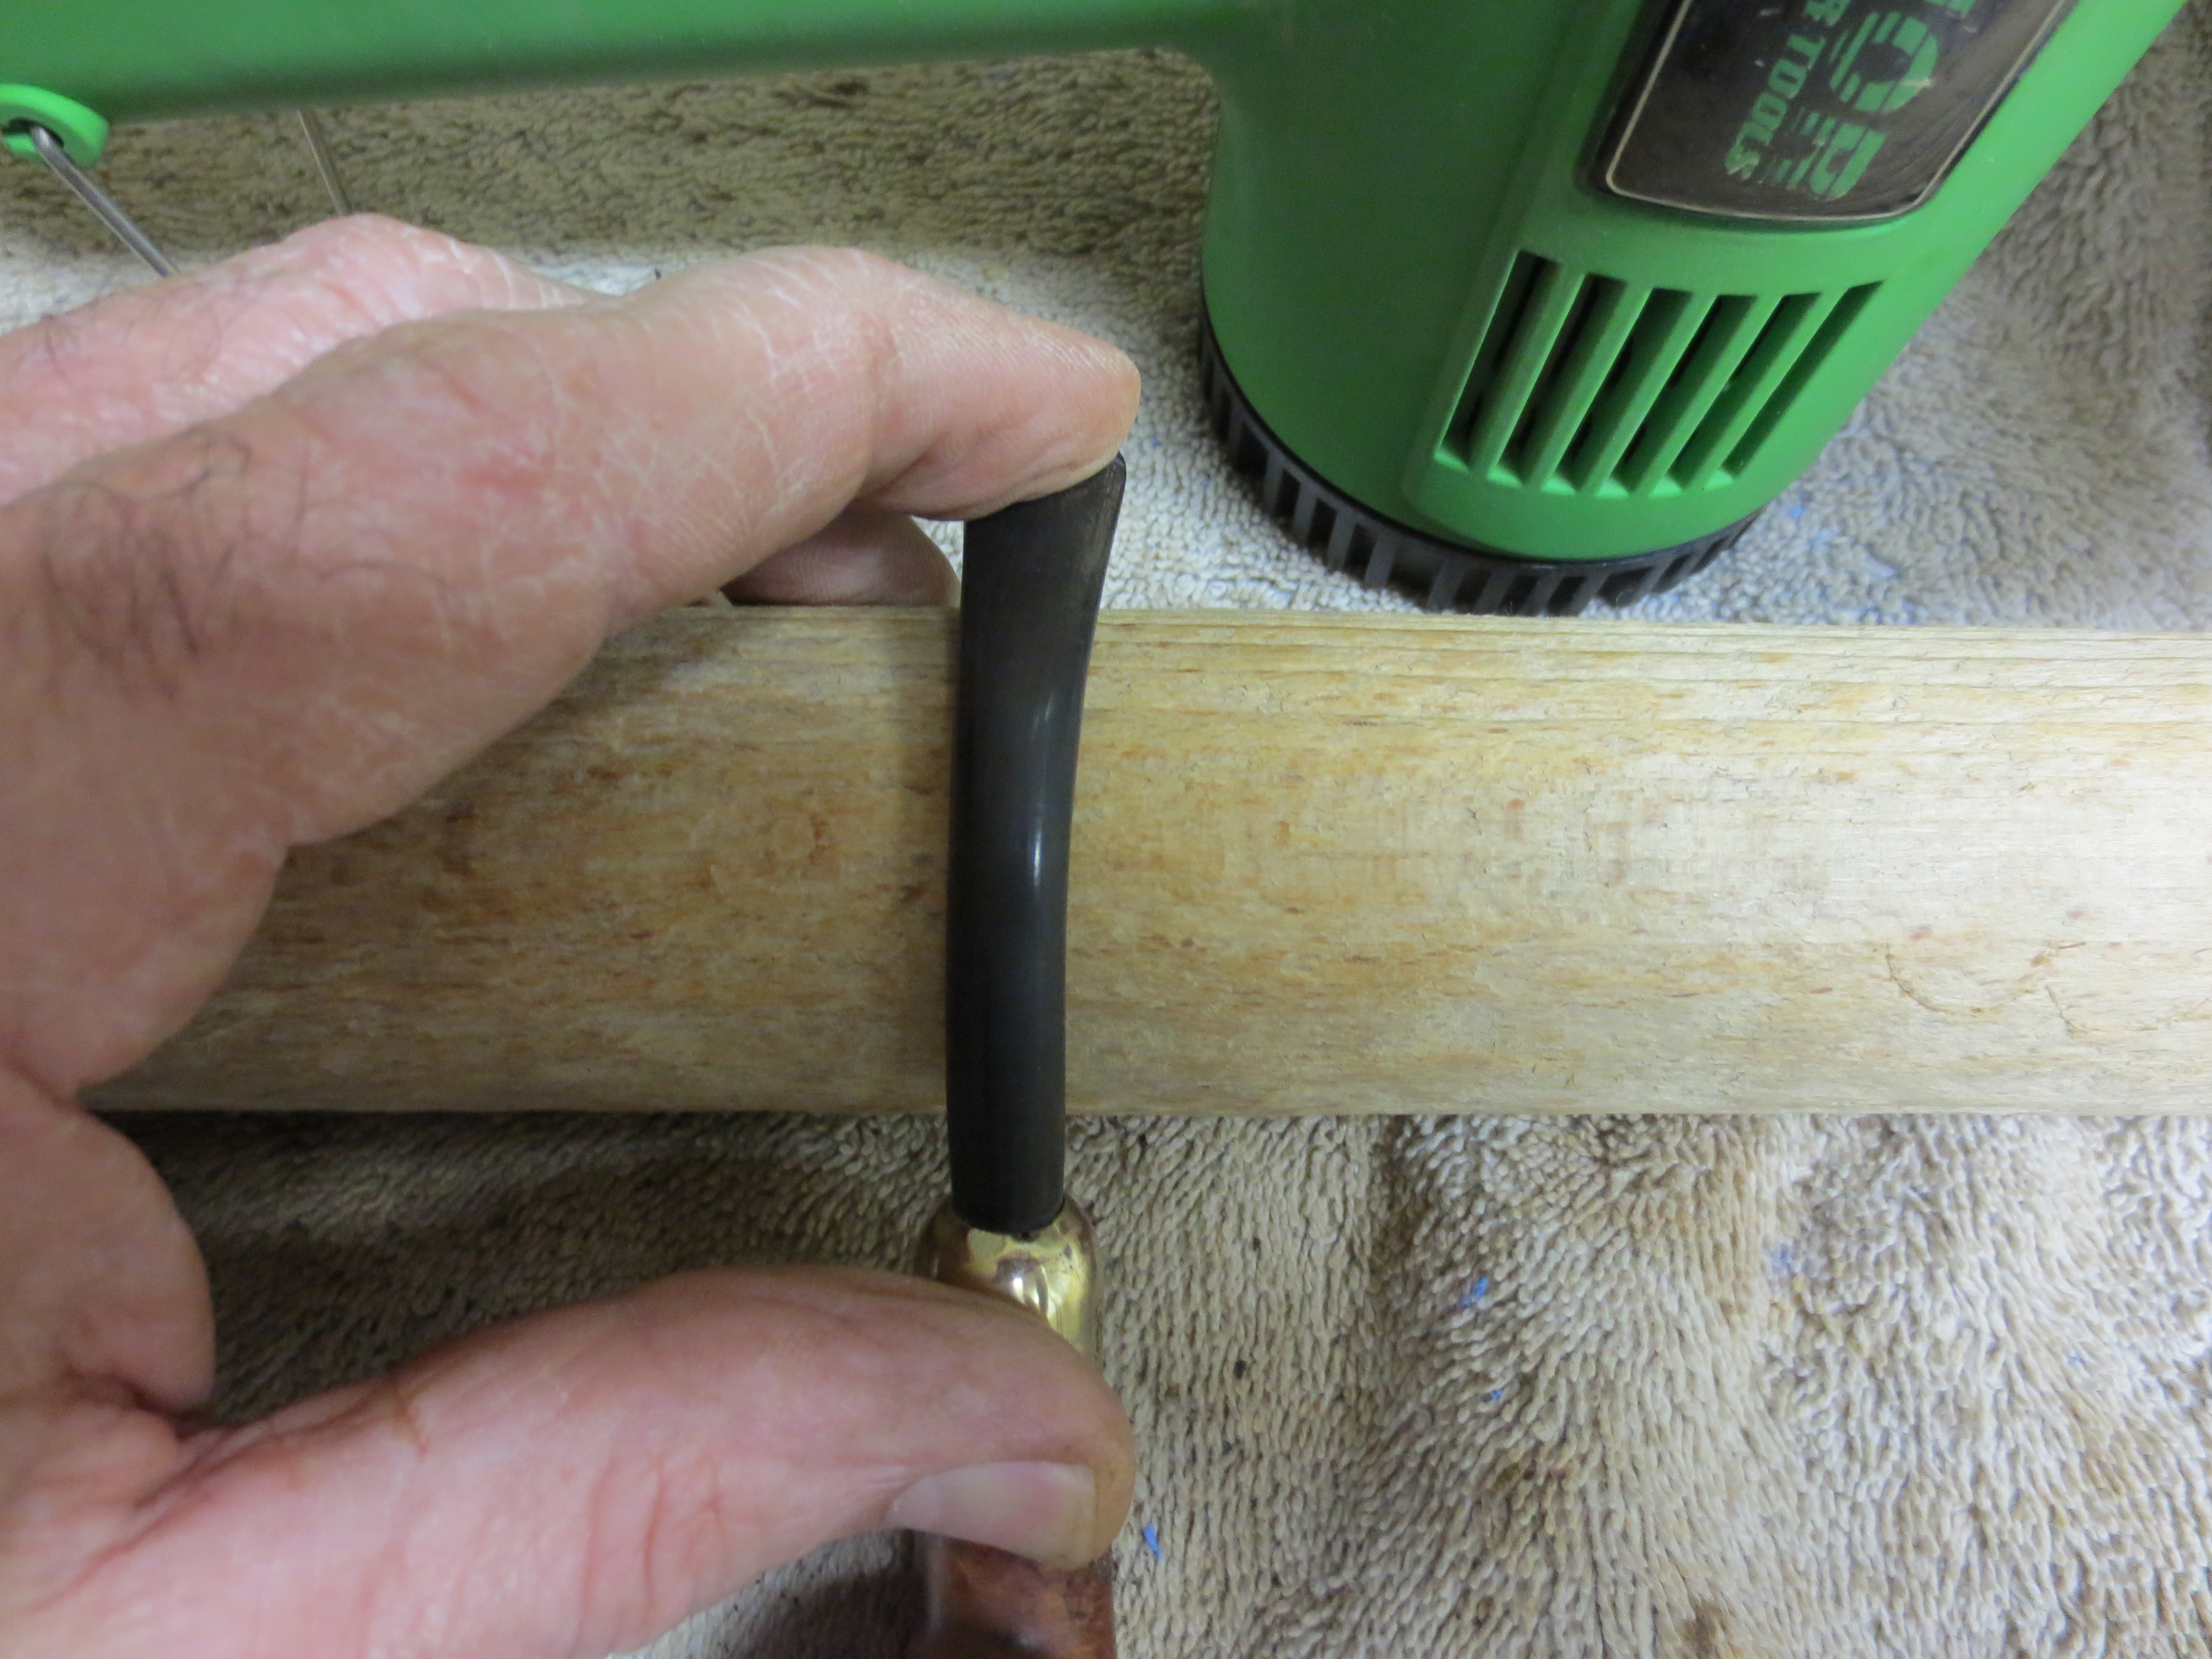
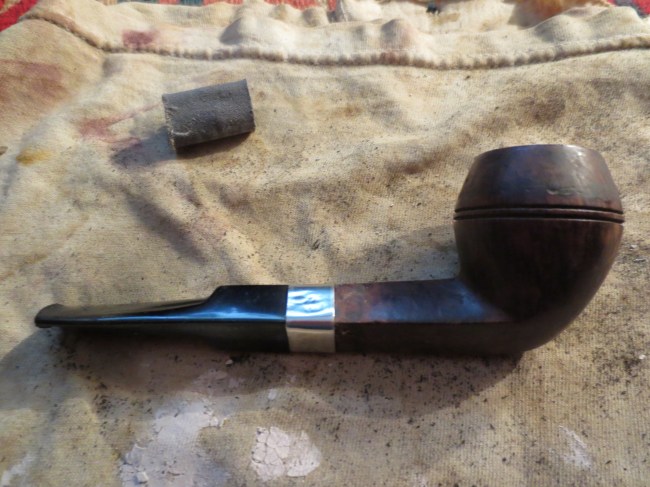
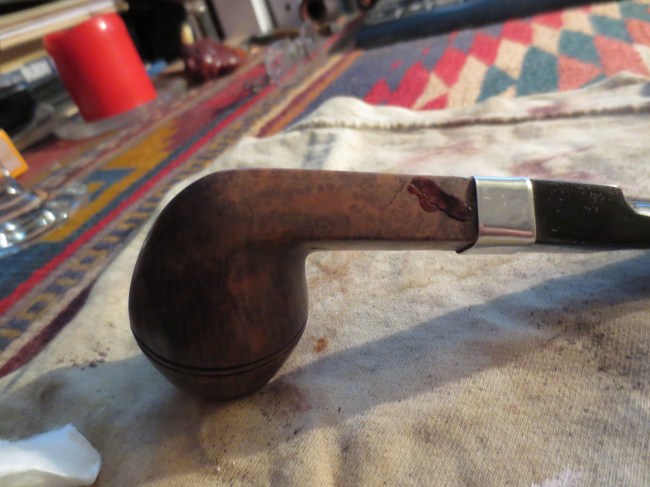
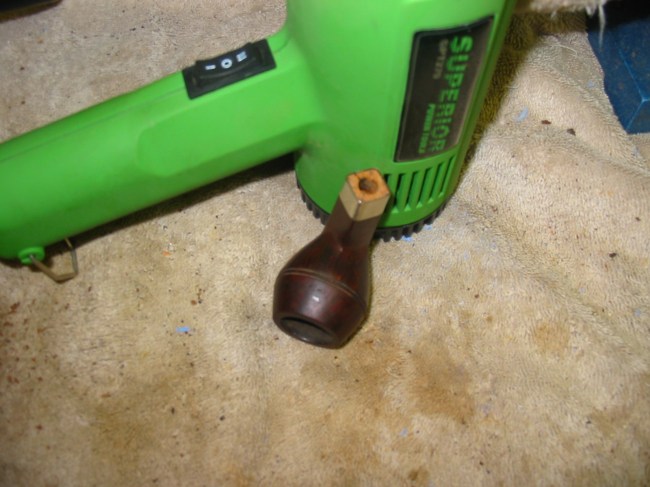
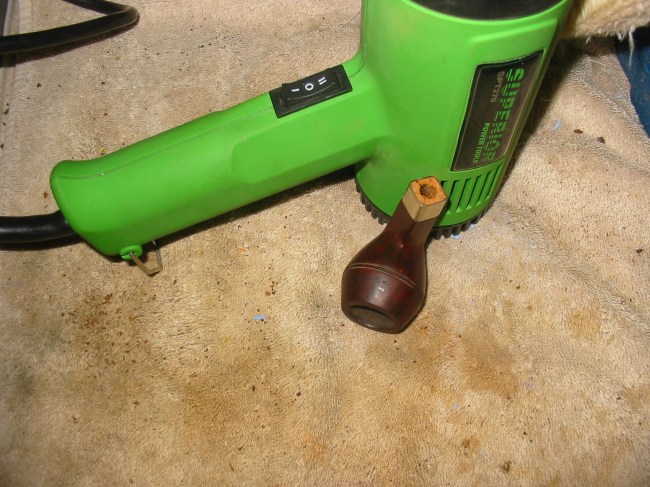
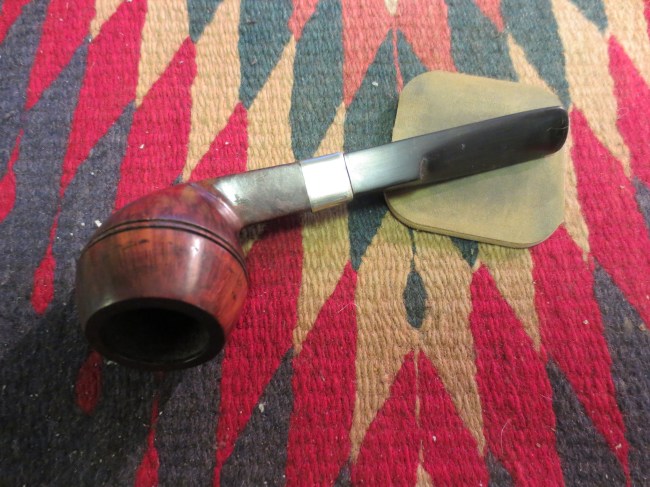
I put the band in place on the end of the shank. It was a good tight fit but would not slide all the way in place. So I set up my heat gun and heated the band (Photo 1 below). I then pressed it into place on the shank by squarely pushing the shank and band on a metal plate (Photo 2 below). The final three photos below show the shank with the newly fitted band in place. The shank is ready to be drilled deeper to fit the tenon.

ImageImageImageImageImage

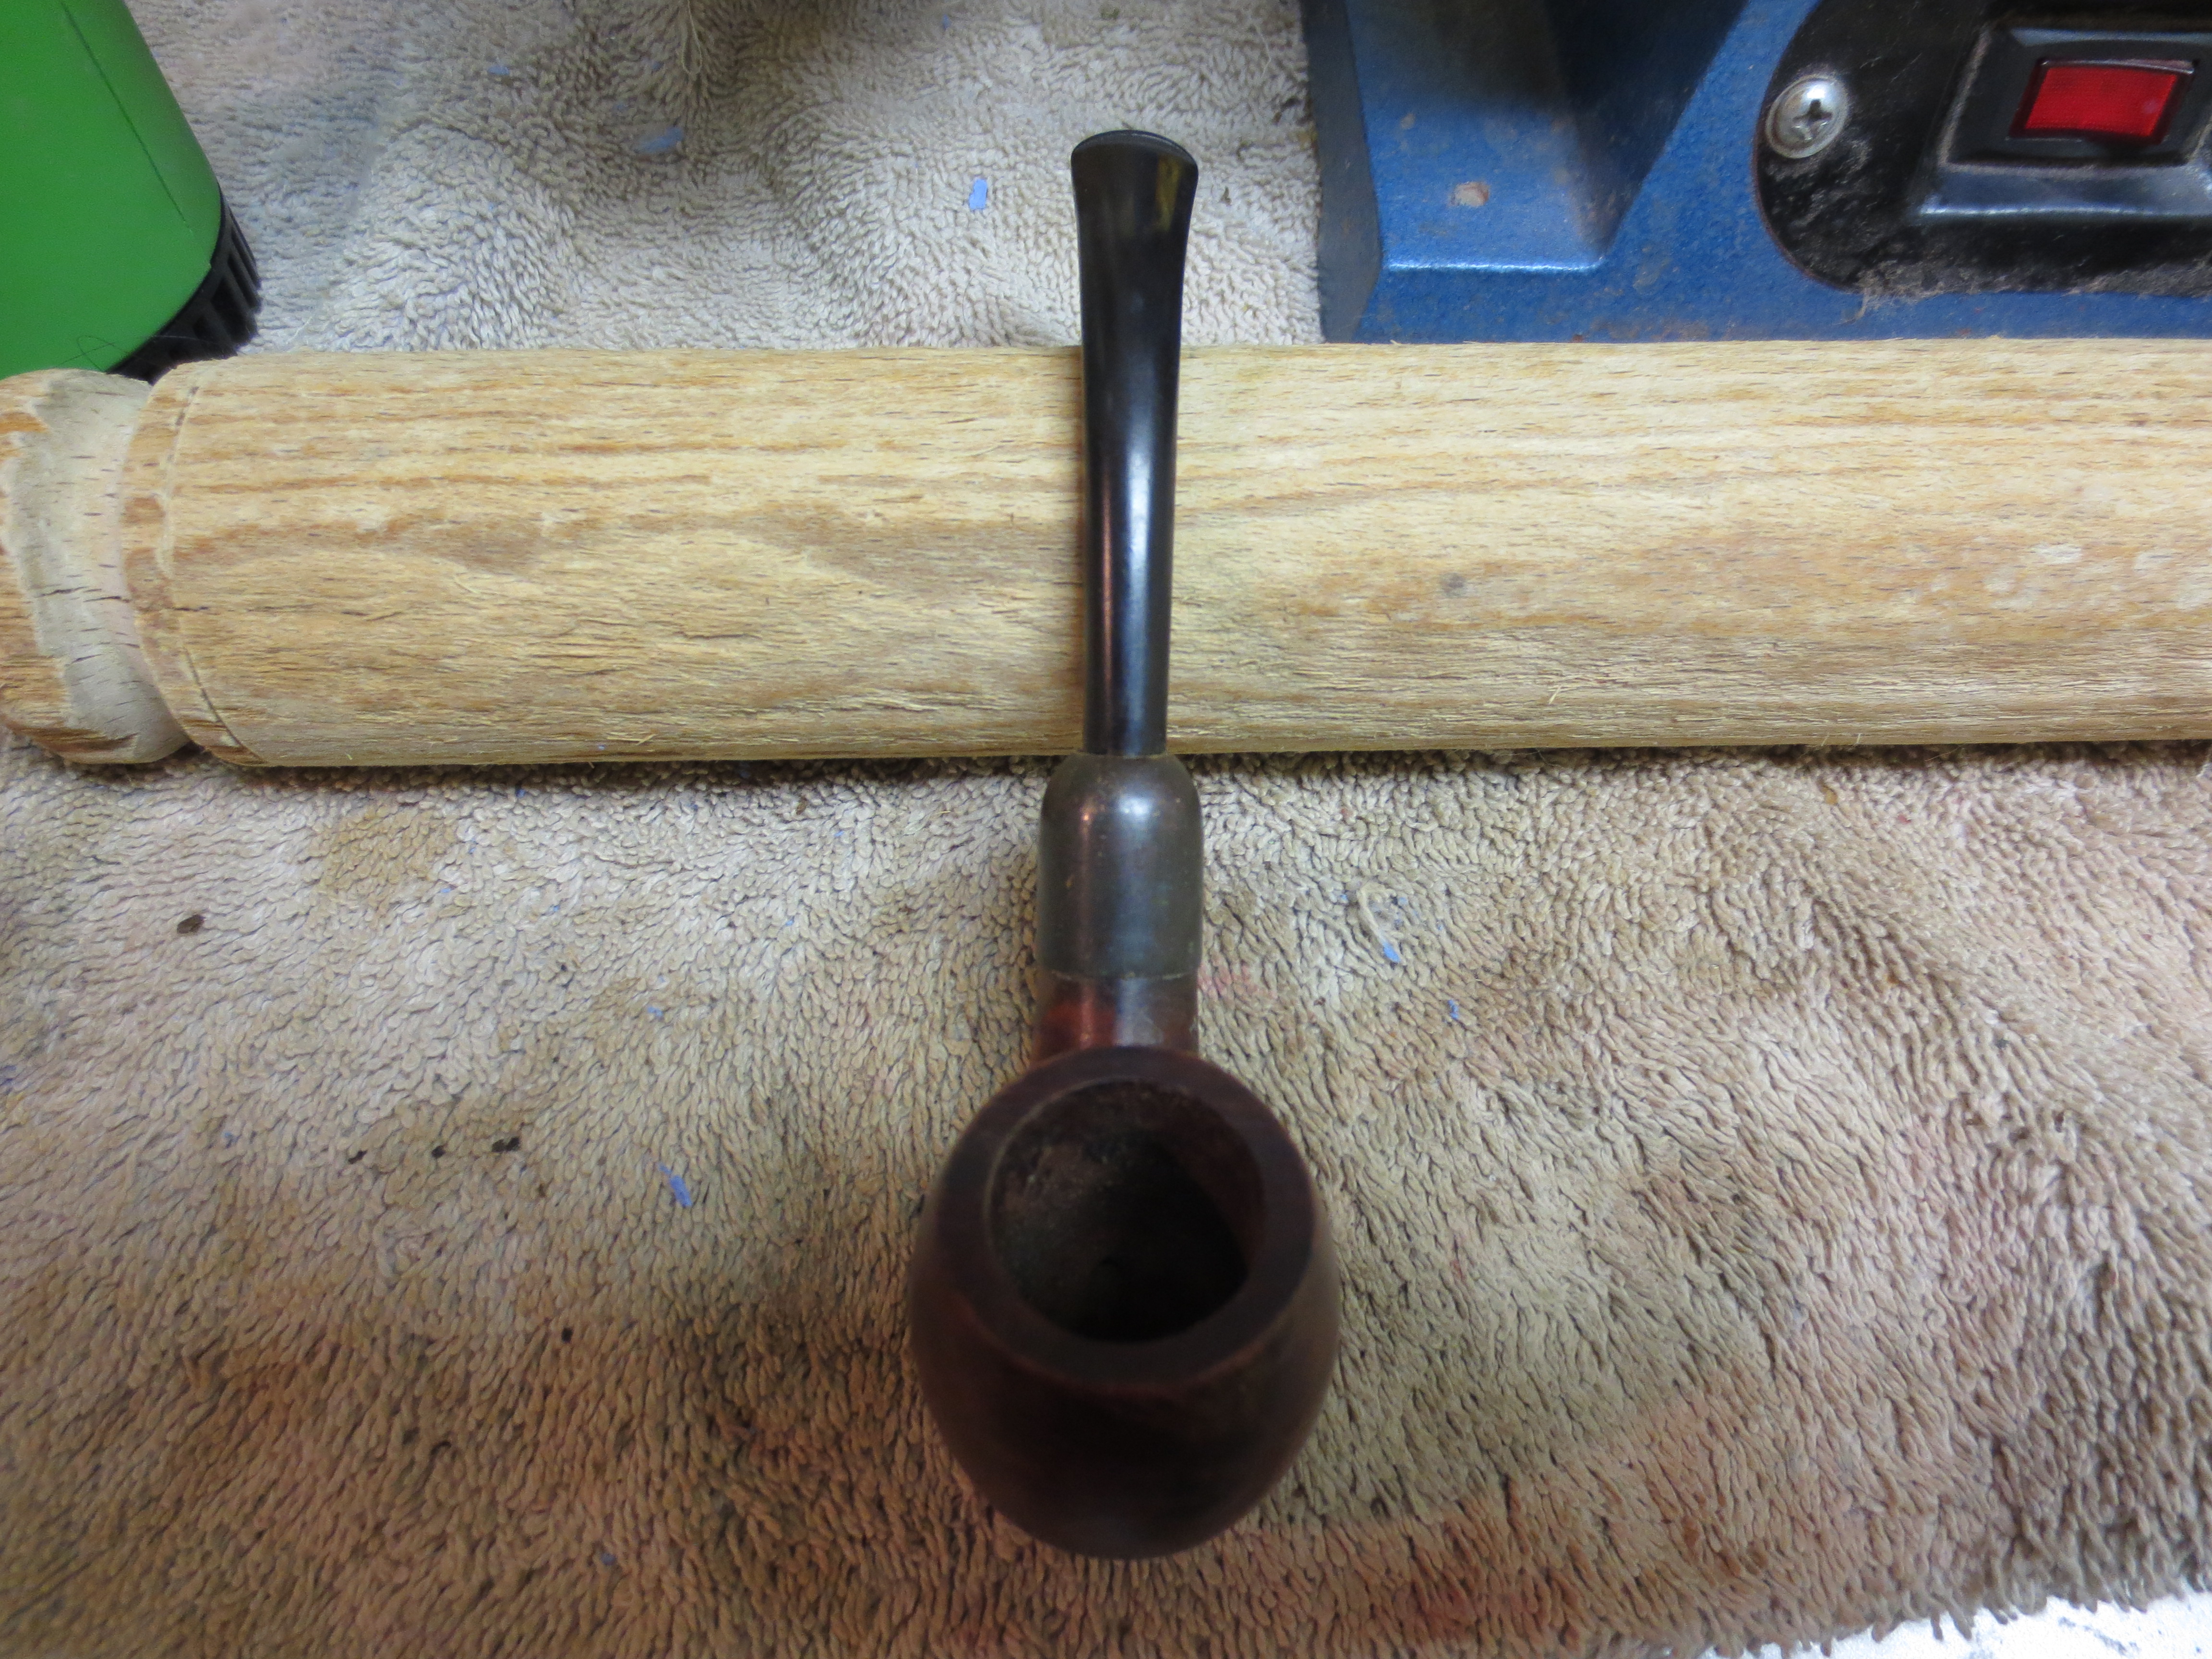
I matched the drill bit to the mortise in the cut off piece of shank. I used a drill bit one size lower and drilled the mortise to the depth of the tenon. I then used the proper sized drill bit and drilled it a bit larger. Once I had the drilling down I sanded down the tenon with some emery cloth to make a clean tight fit and inserted the stem. Once the stem fit well I decided to rework the nail holes and holes in the sides of the top half of the bowl above the double rings. I packed in briar dust and dripped super glue in to them. The next two photos show the repaired/filled holes.

ImageImage

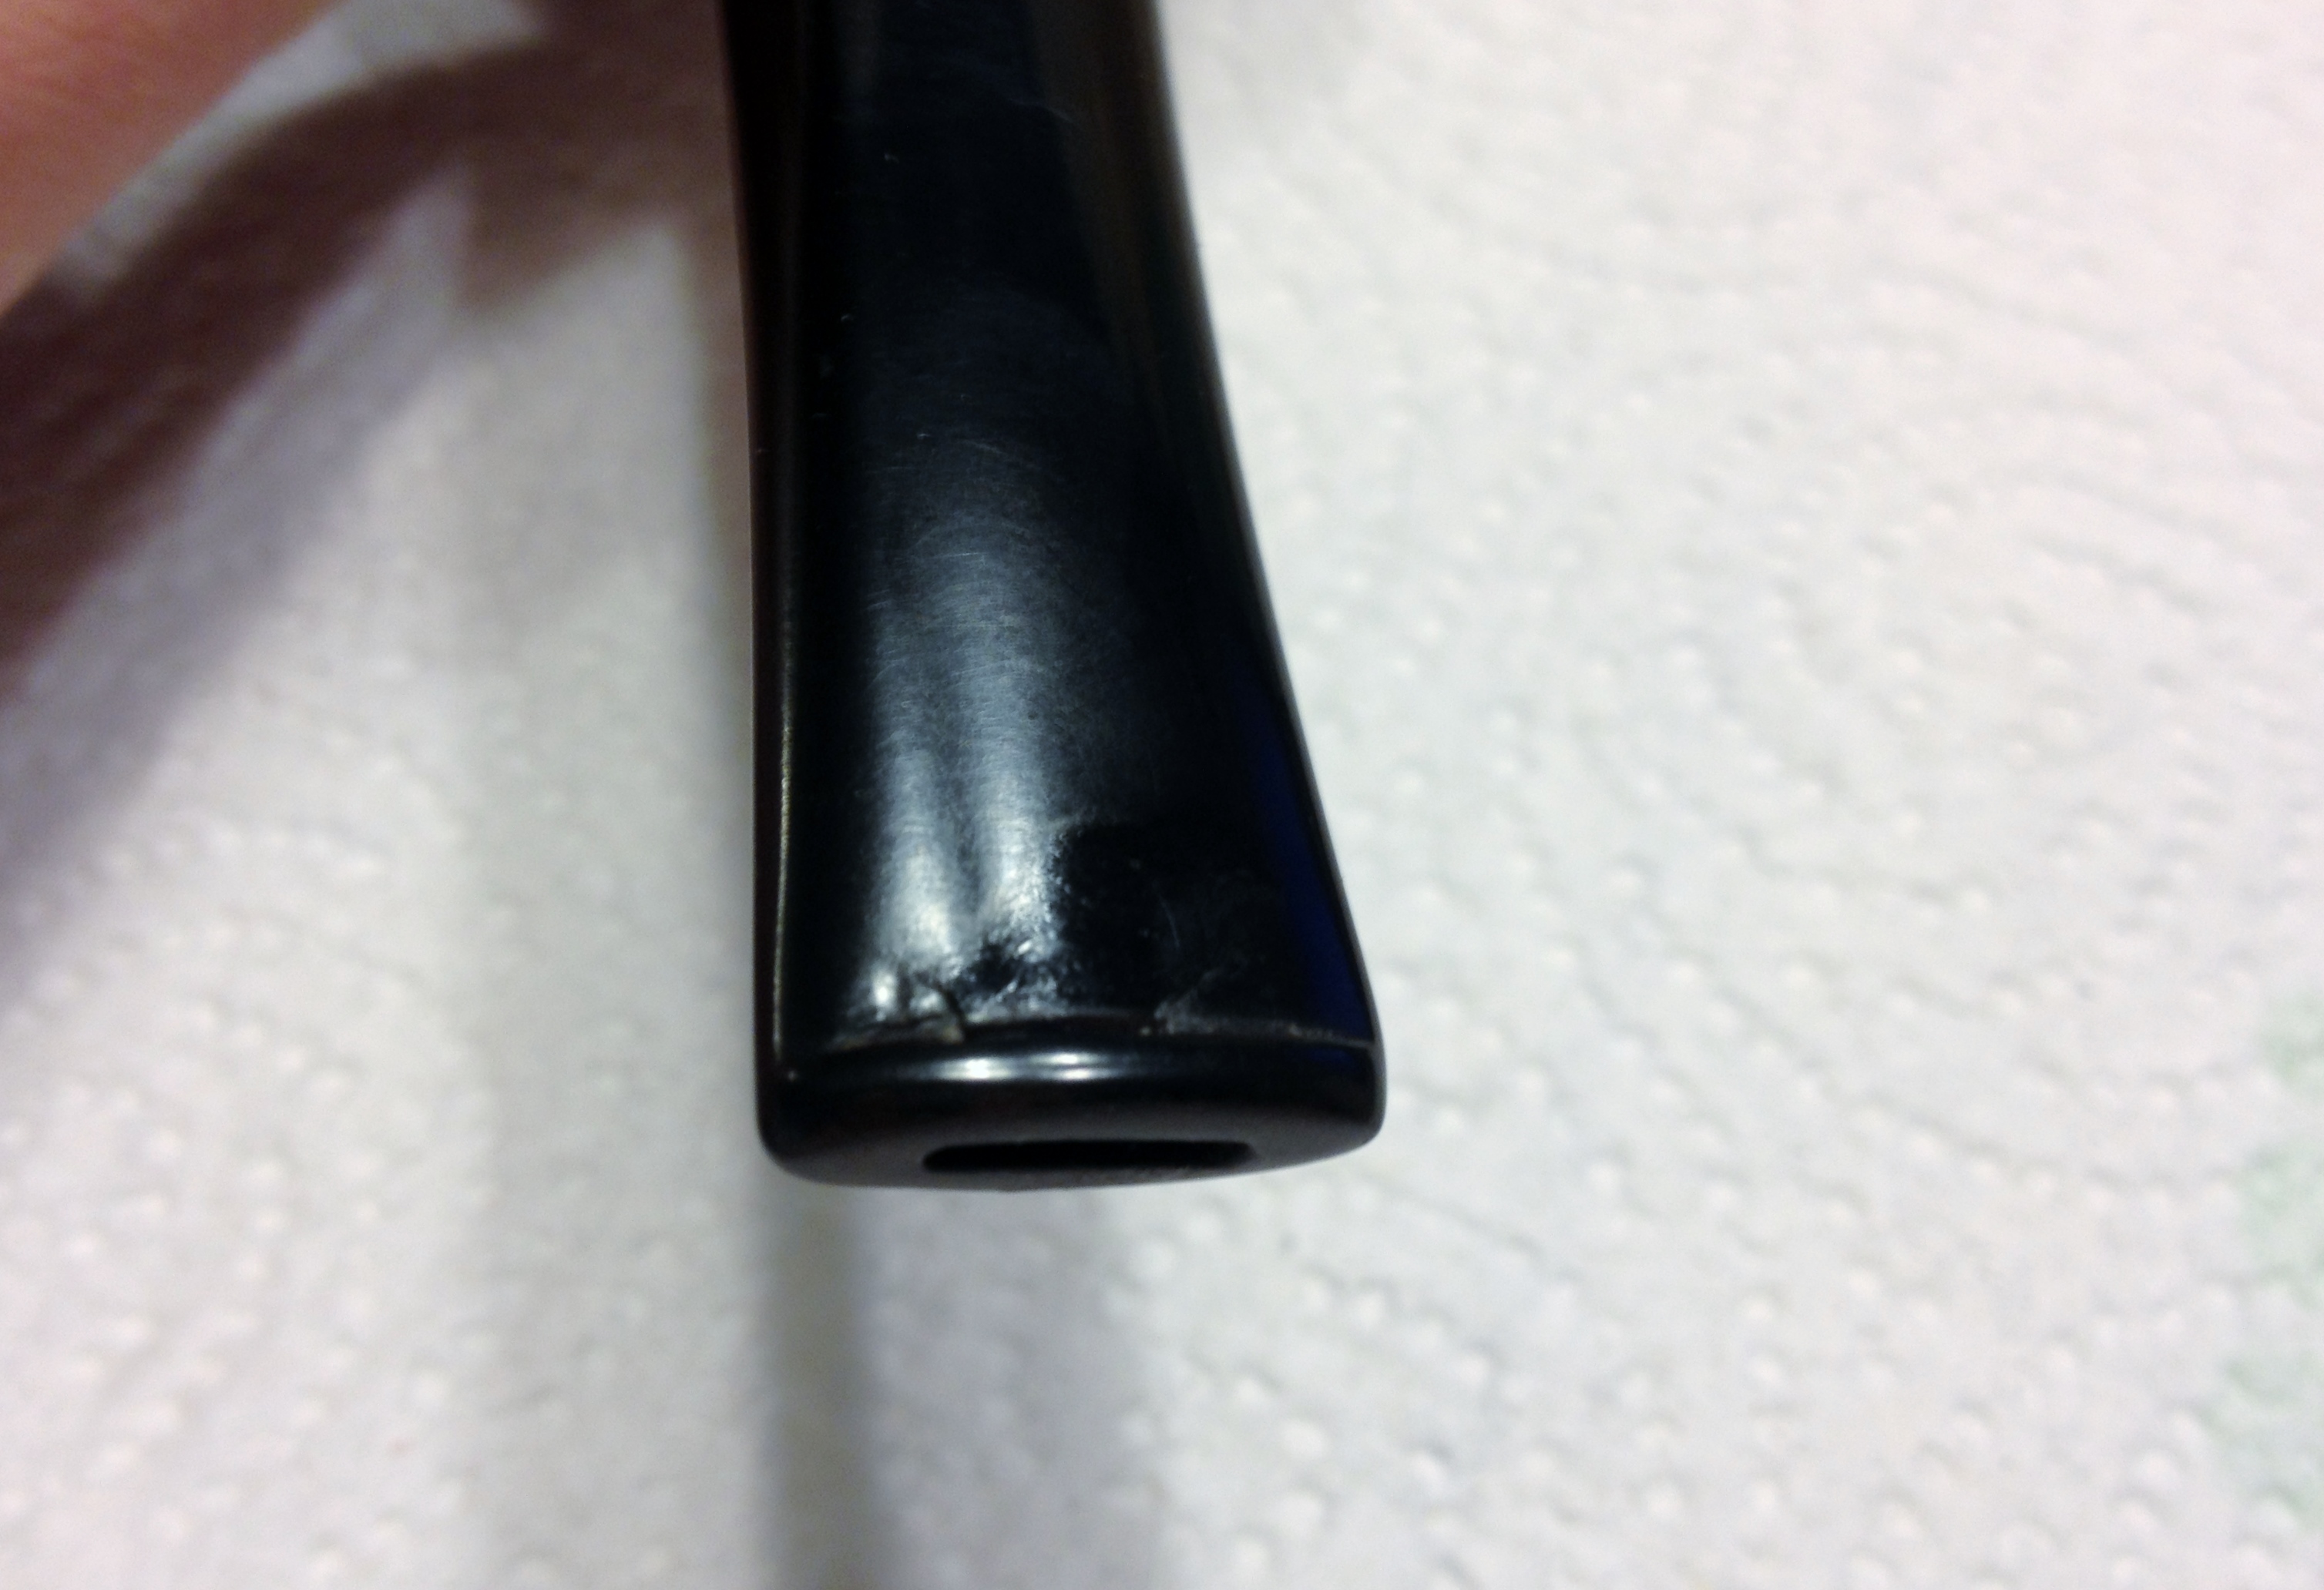
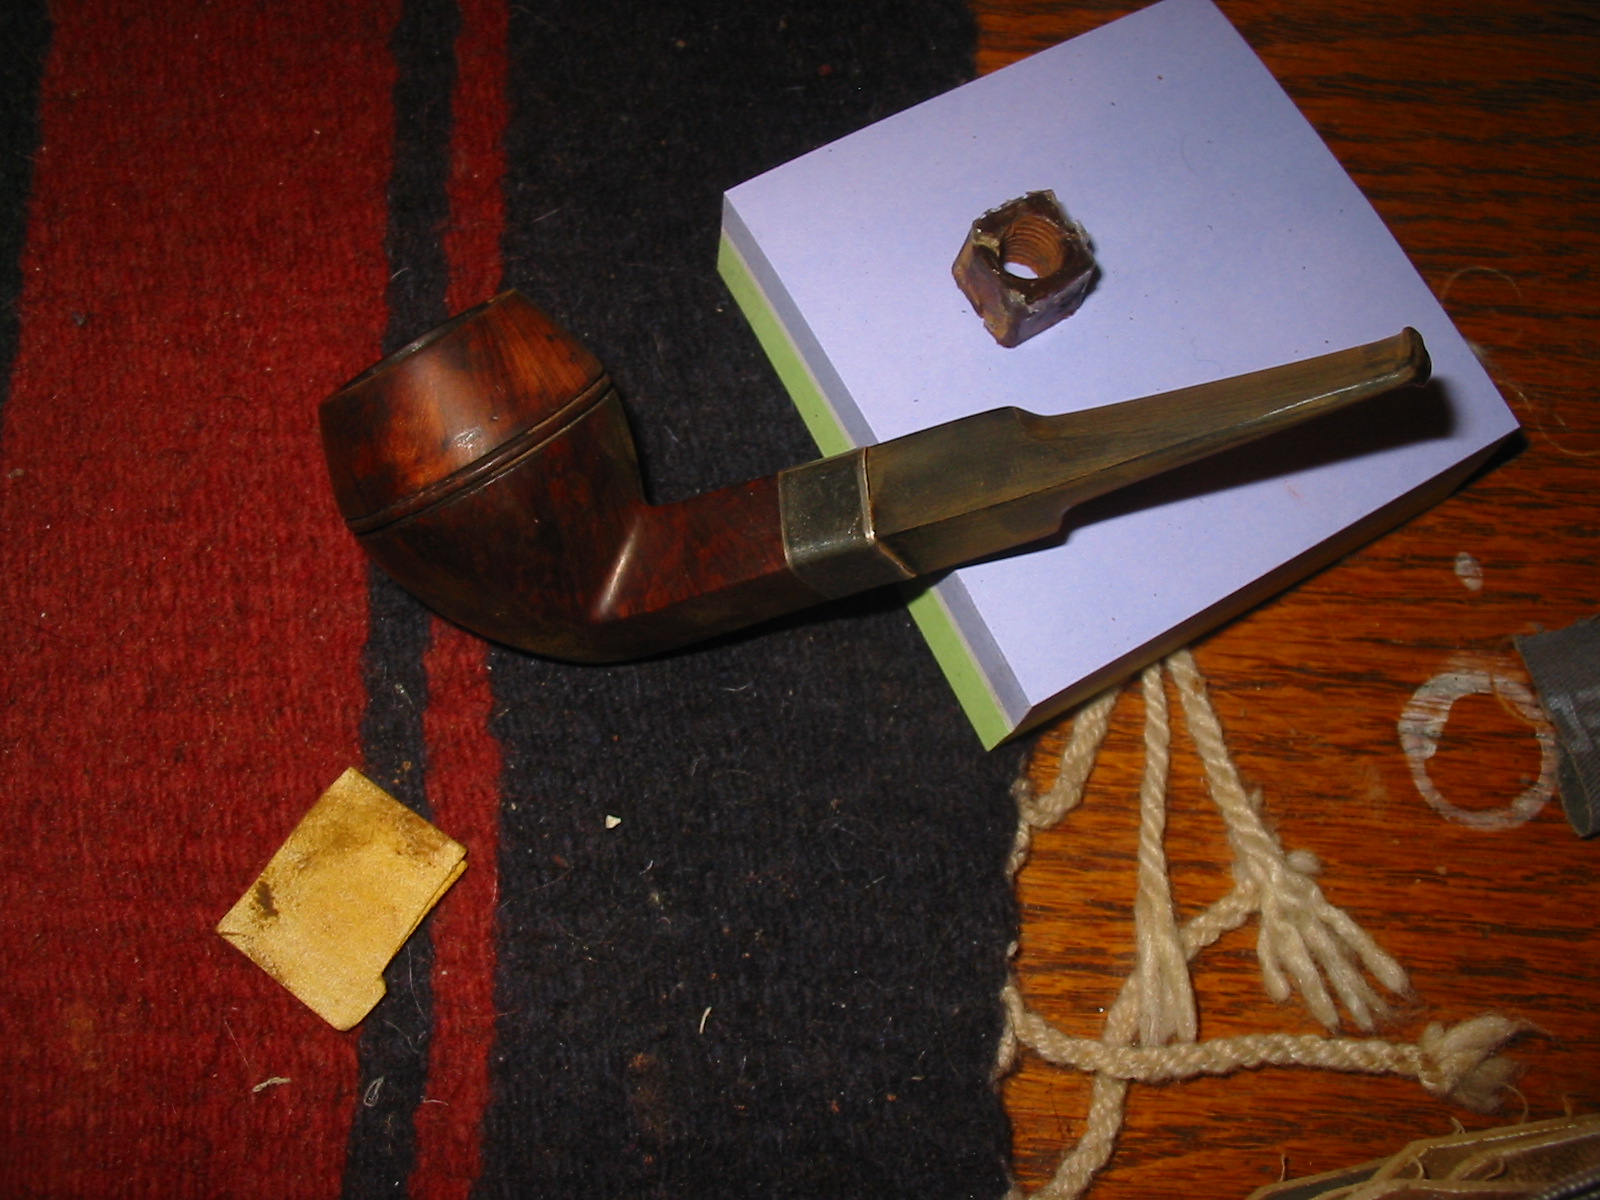
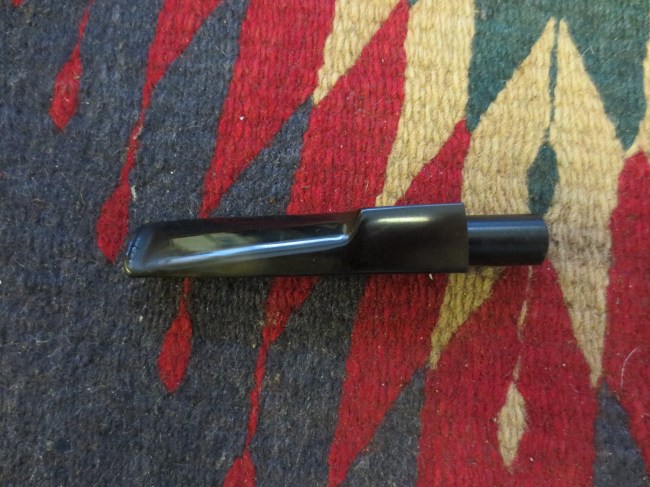
The glue and briar dust dried quickly so I sanded them with 320 grit sandpaper to smooth them out to the surface of the briar. The next four photos show the sanded patches and also the sanded stem. I used the same sandpaper to sand off the oxidation on the stem and clean up the surface of the stem so that I could work on it with the micromesh to bring out a deep black shine. (In the background of the photos I left the piece of cut off shank for a sense of the size of the piece I removed from the length of the pipe.)

ImageImageImageImage

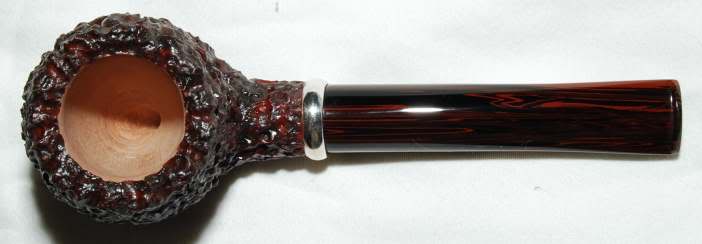
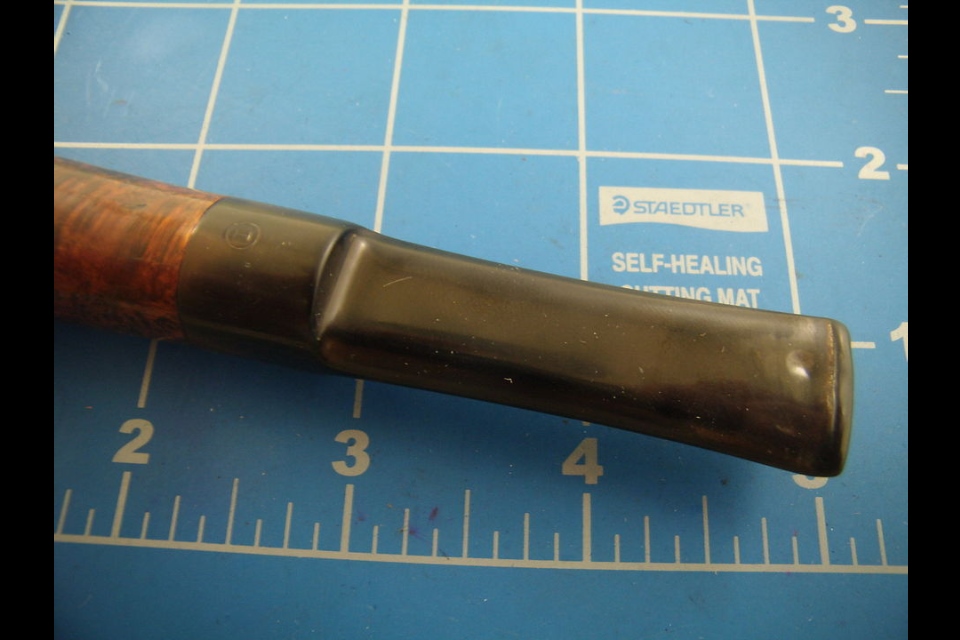
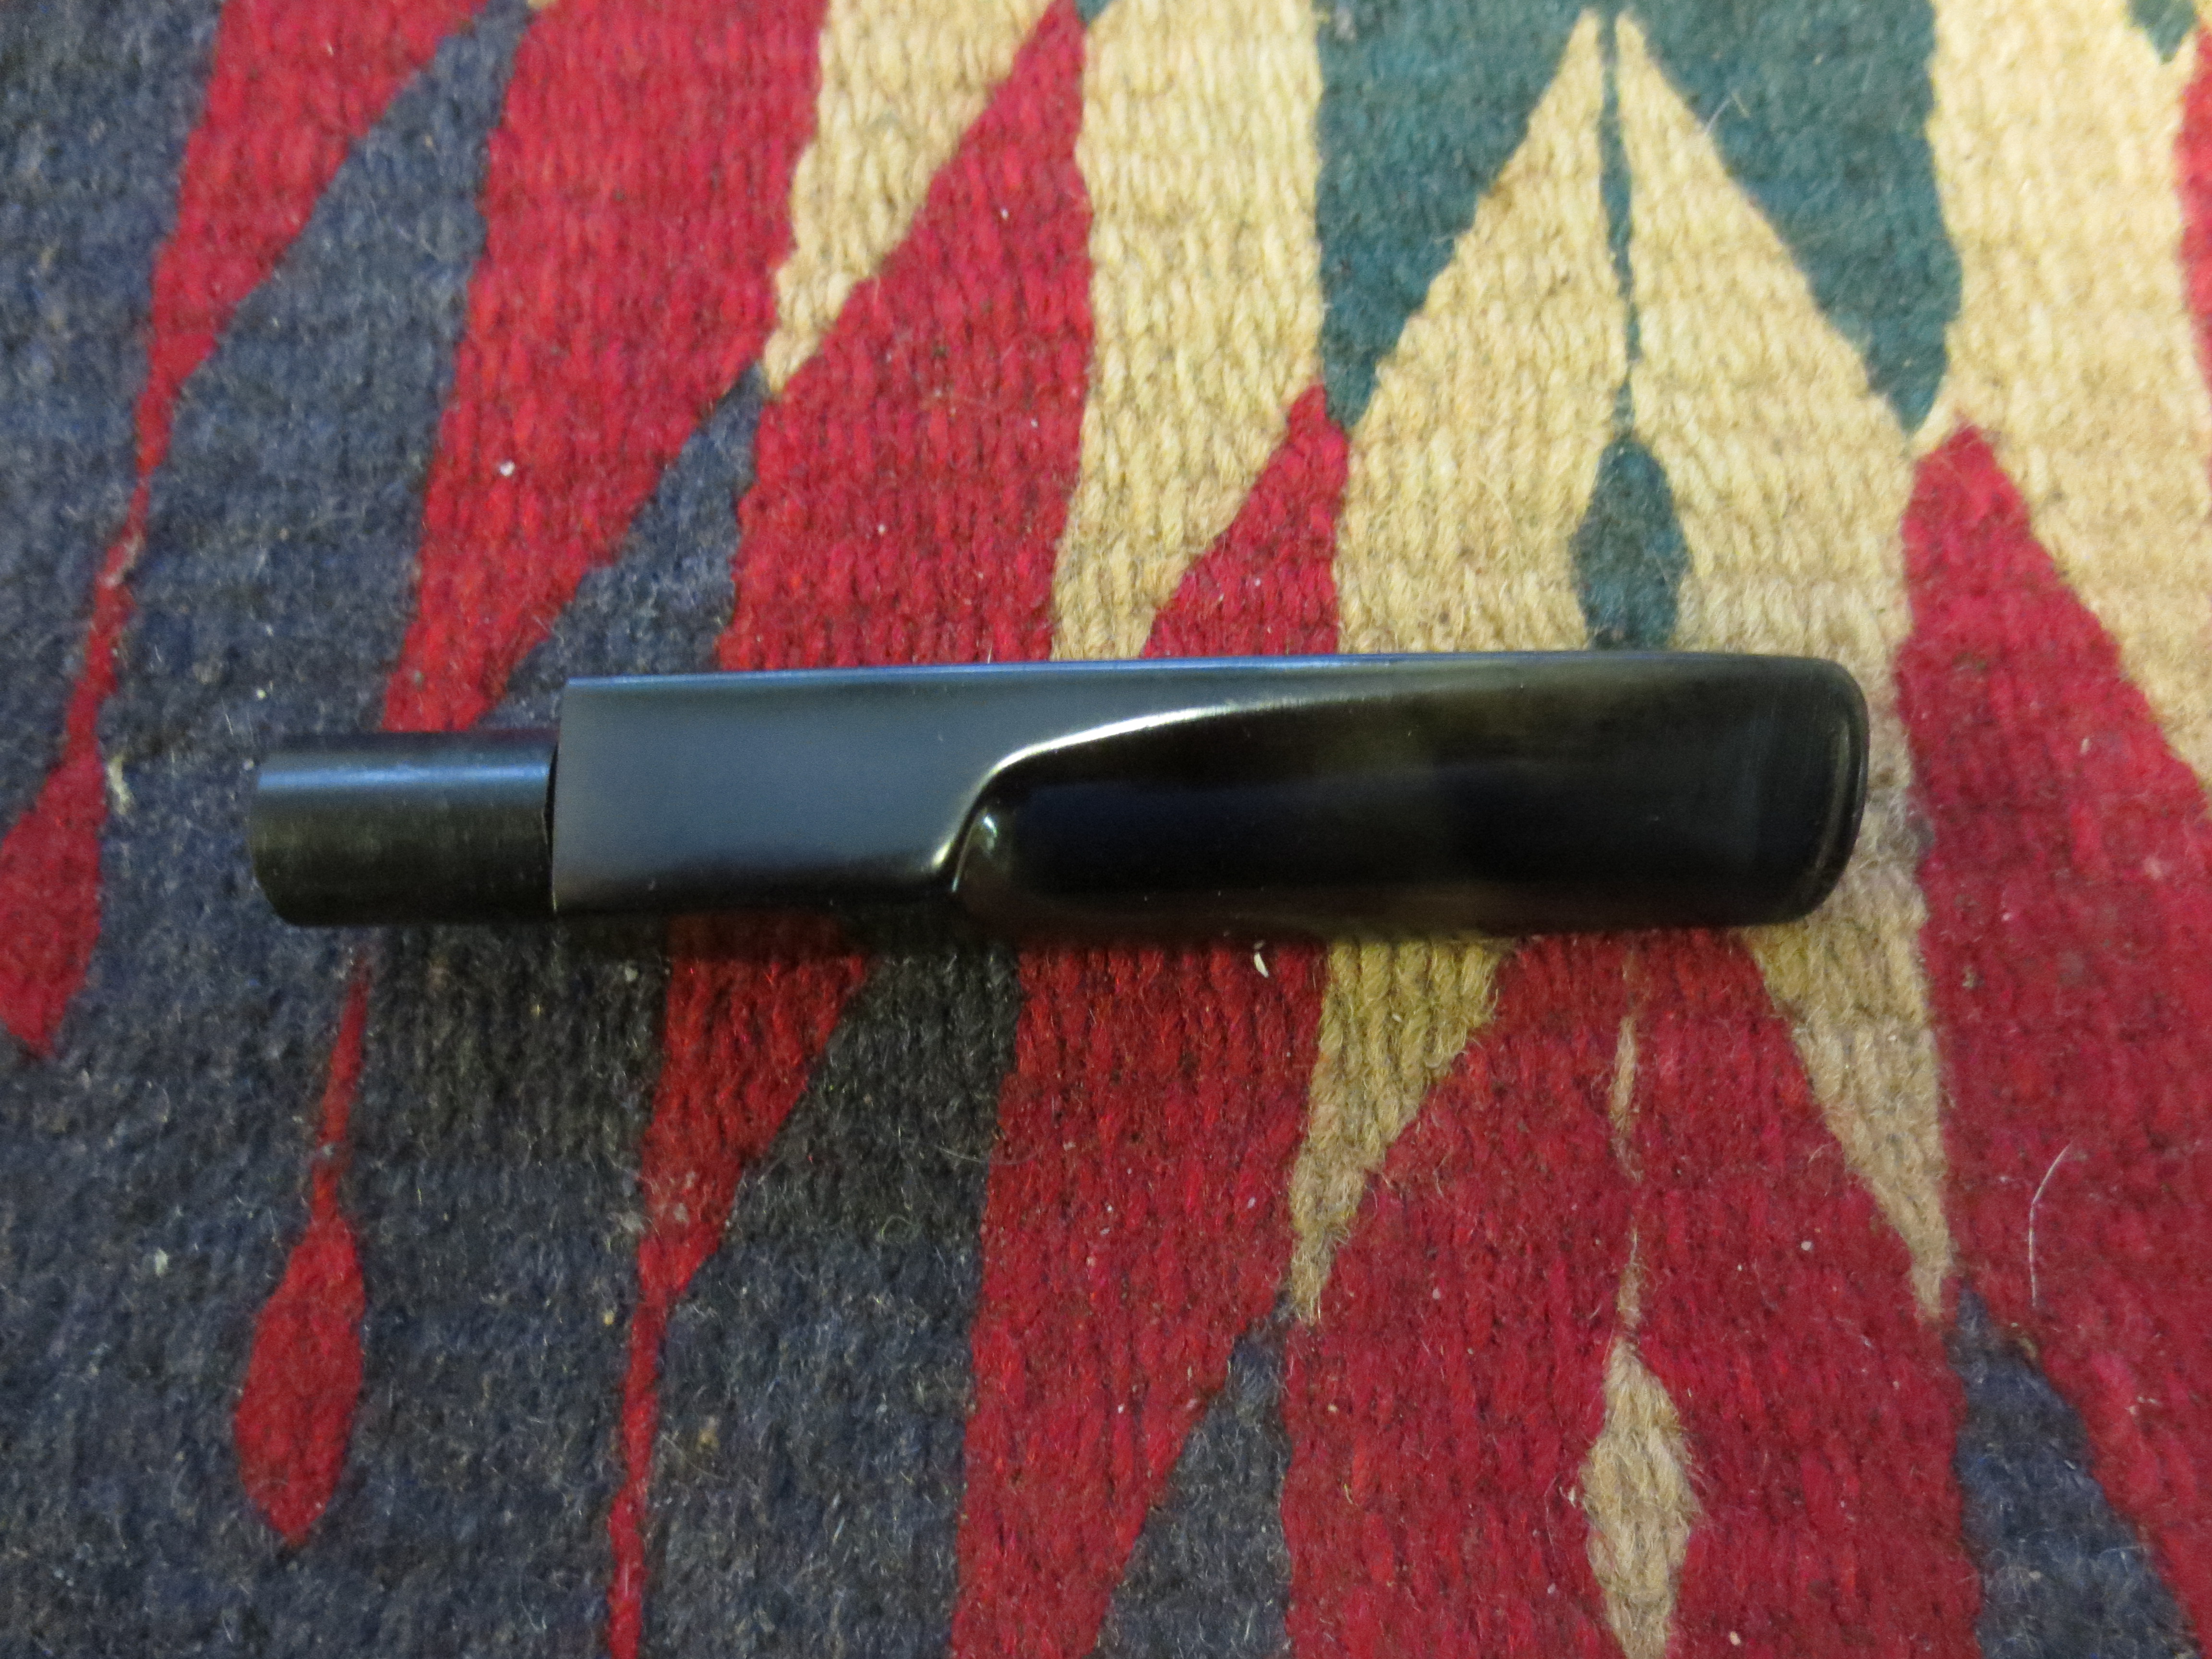
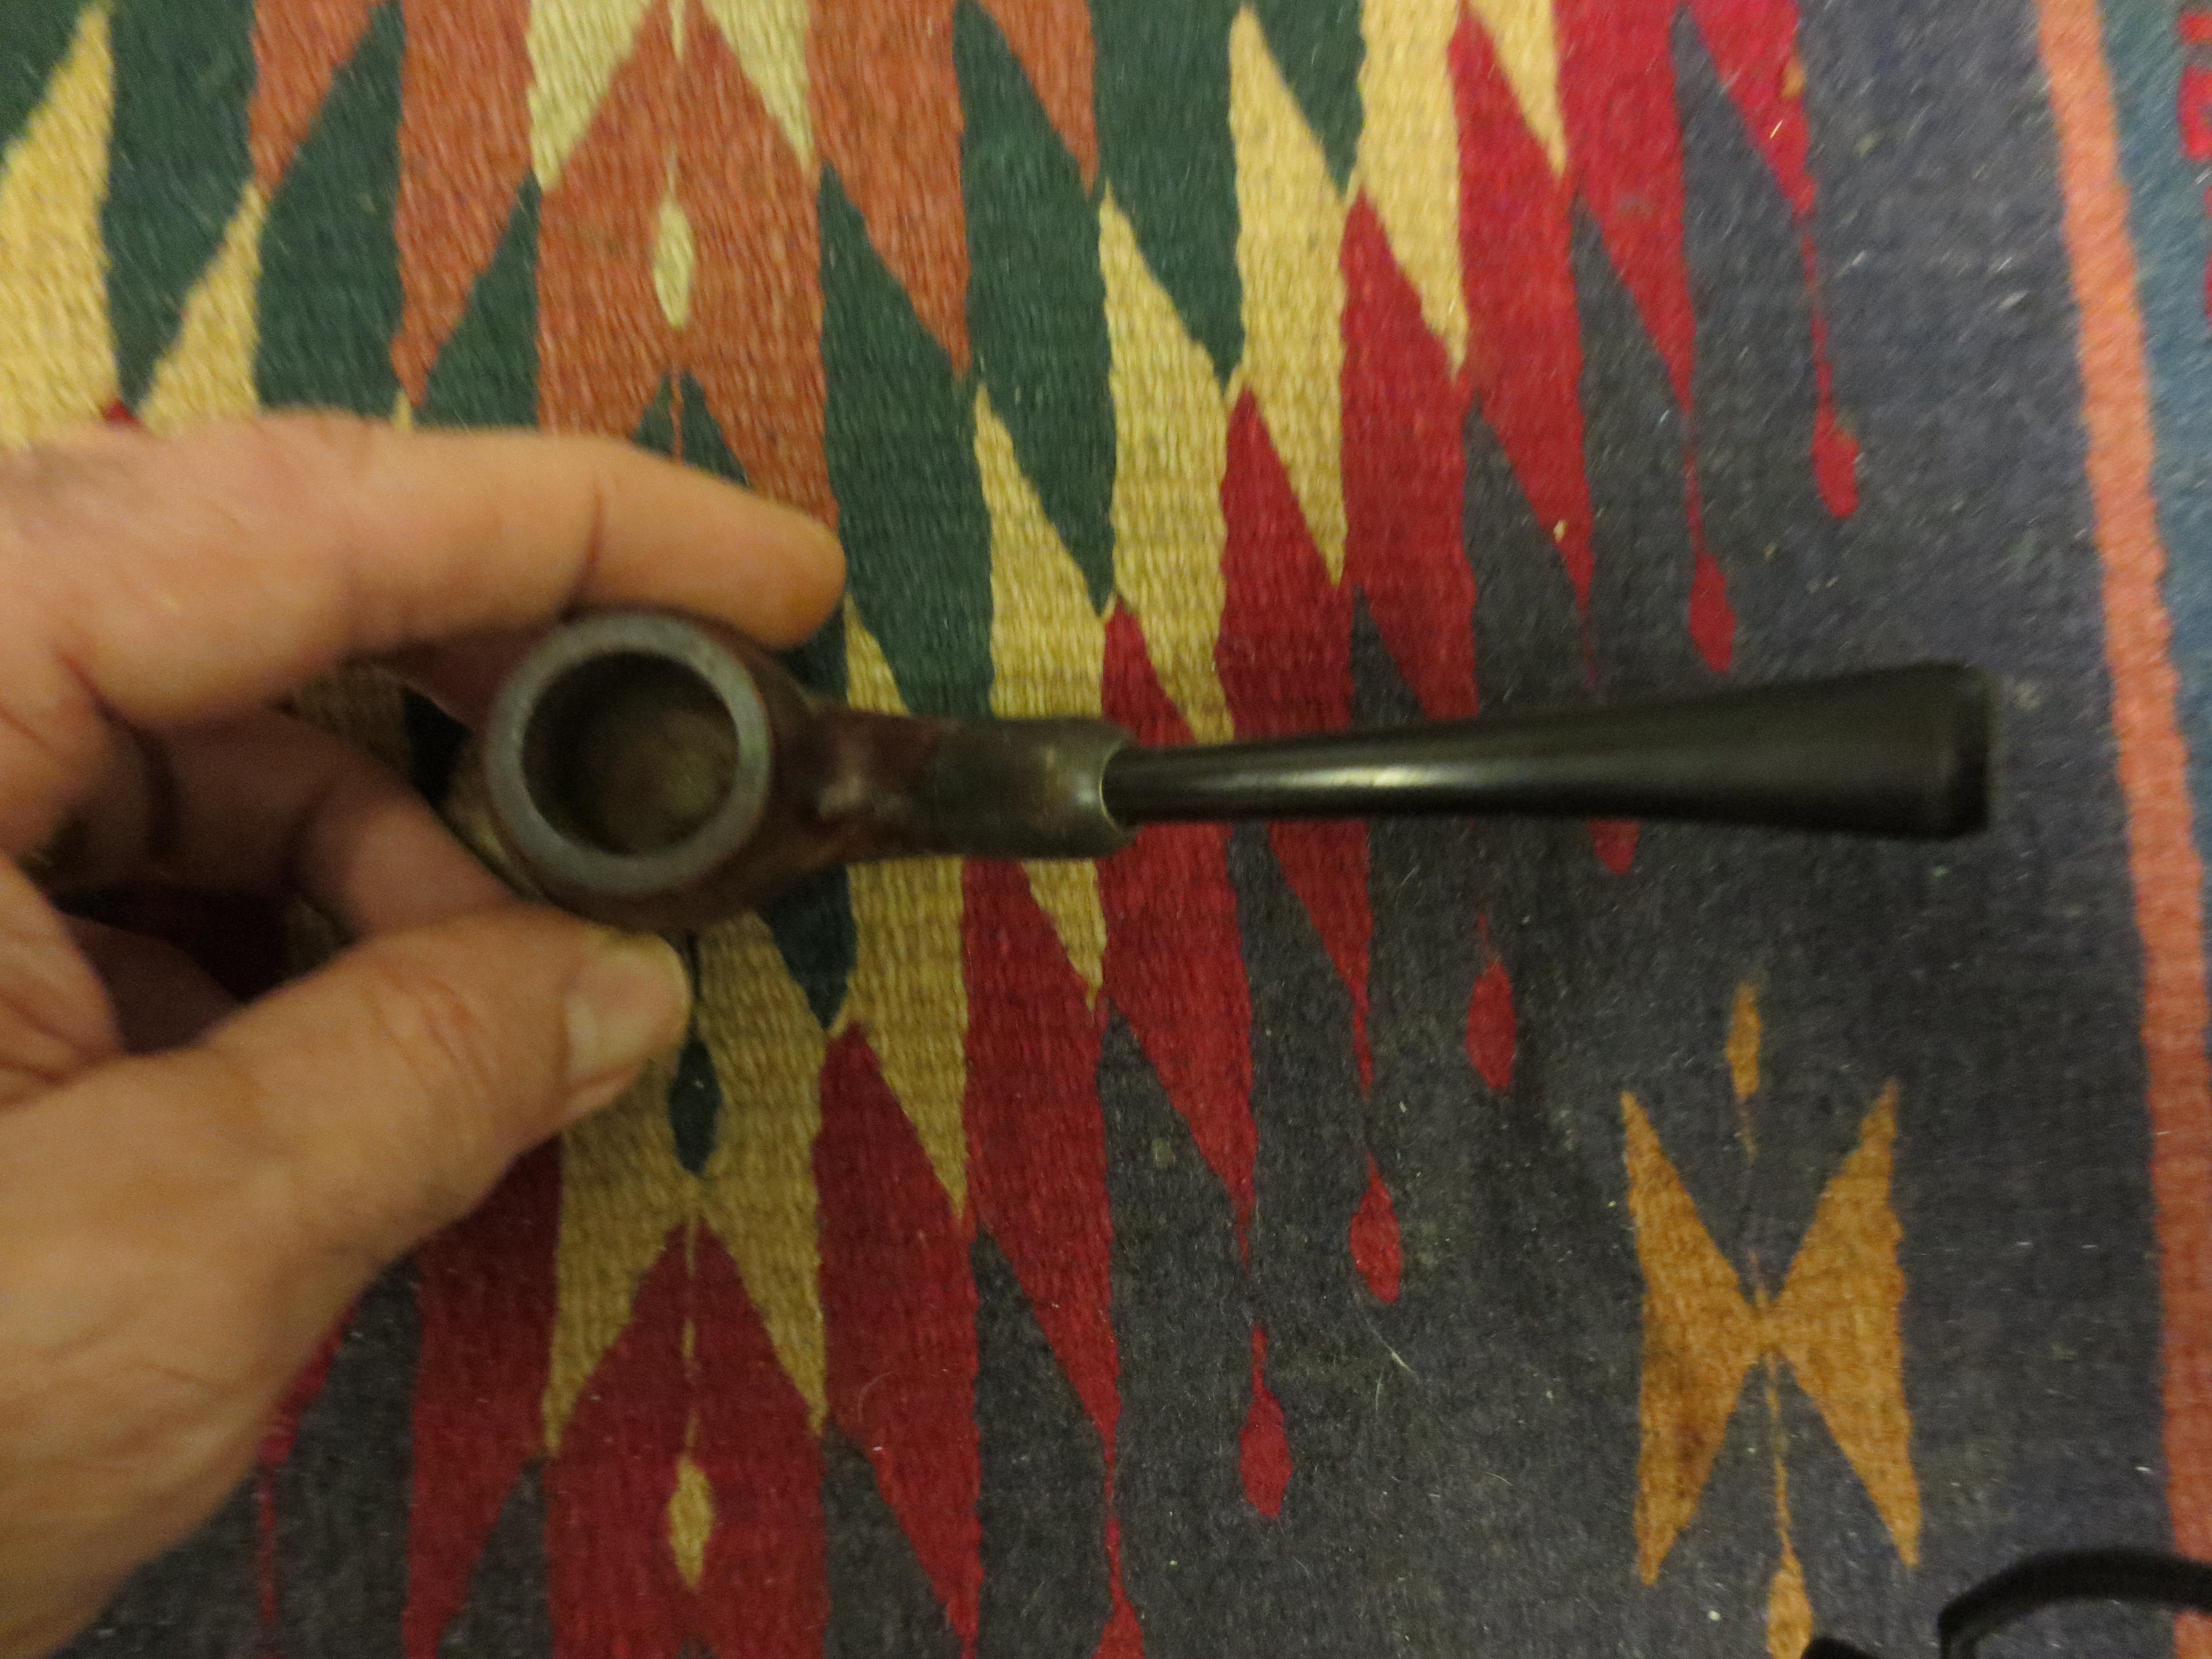
At this point in the process I was ready to work the stem with micromesh sanding pads to remove all of the scratches and bring back the deep black. The shorter stem gave the pipe a great look in my opinion. The finished length is 5 inches as opposed to 5 ½ inches but it looks more balanced to me. The loss is the long shanked look of the original bulldog. The gain is a more solid pipe with less chance for the breakage to continue and render the pipe irreparable.

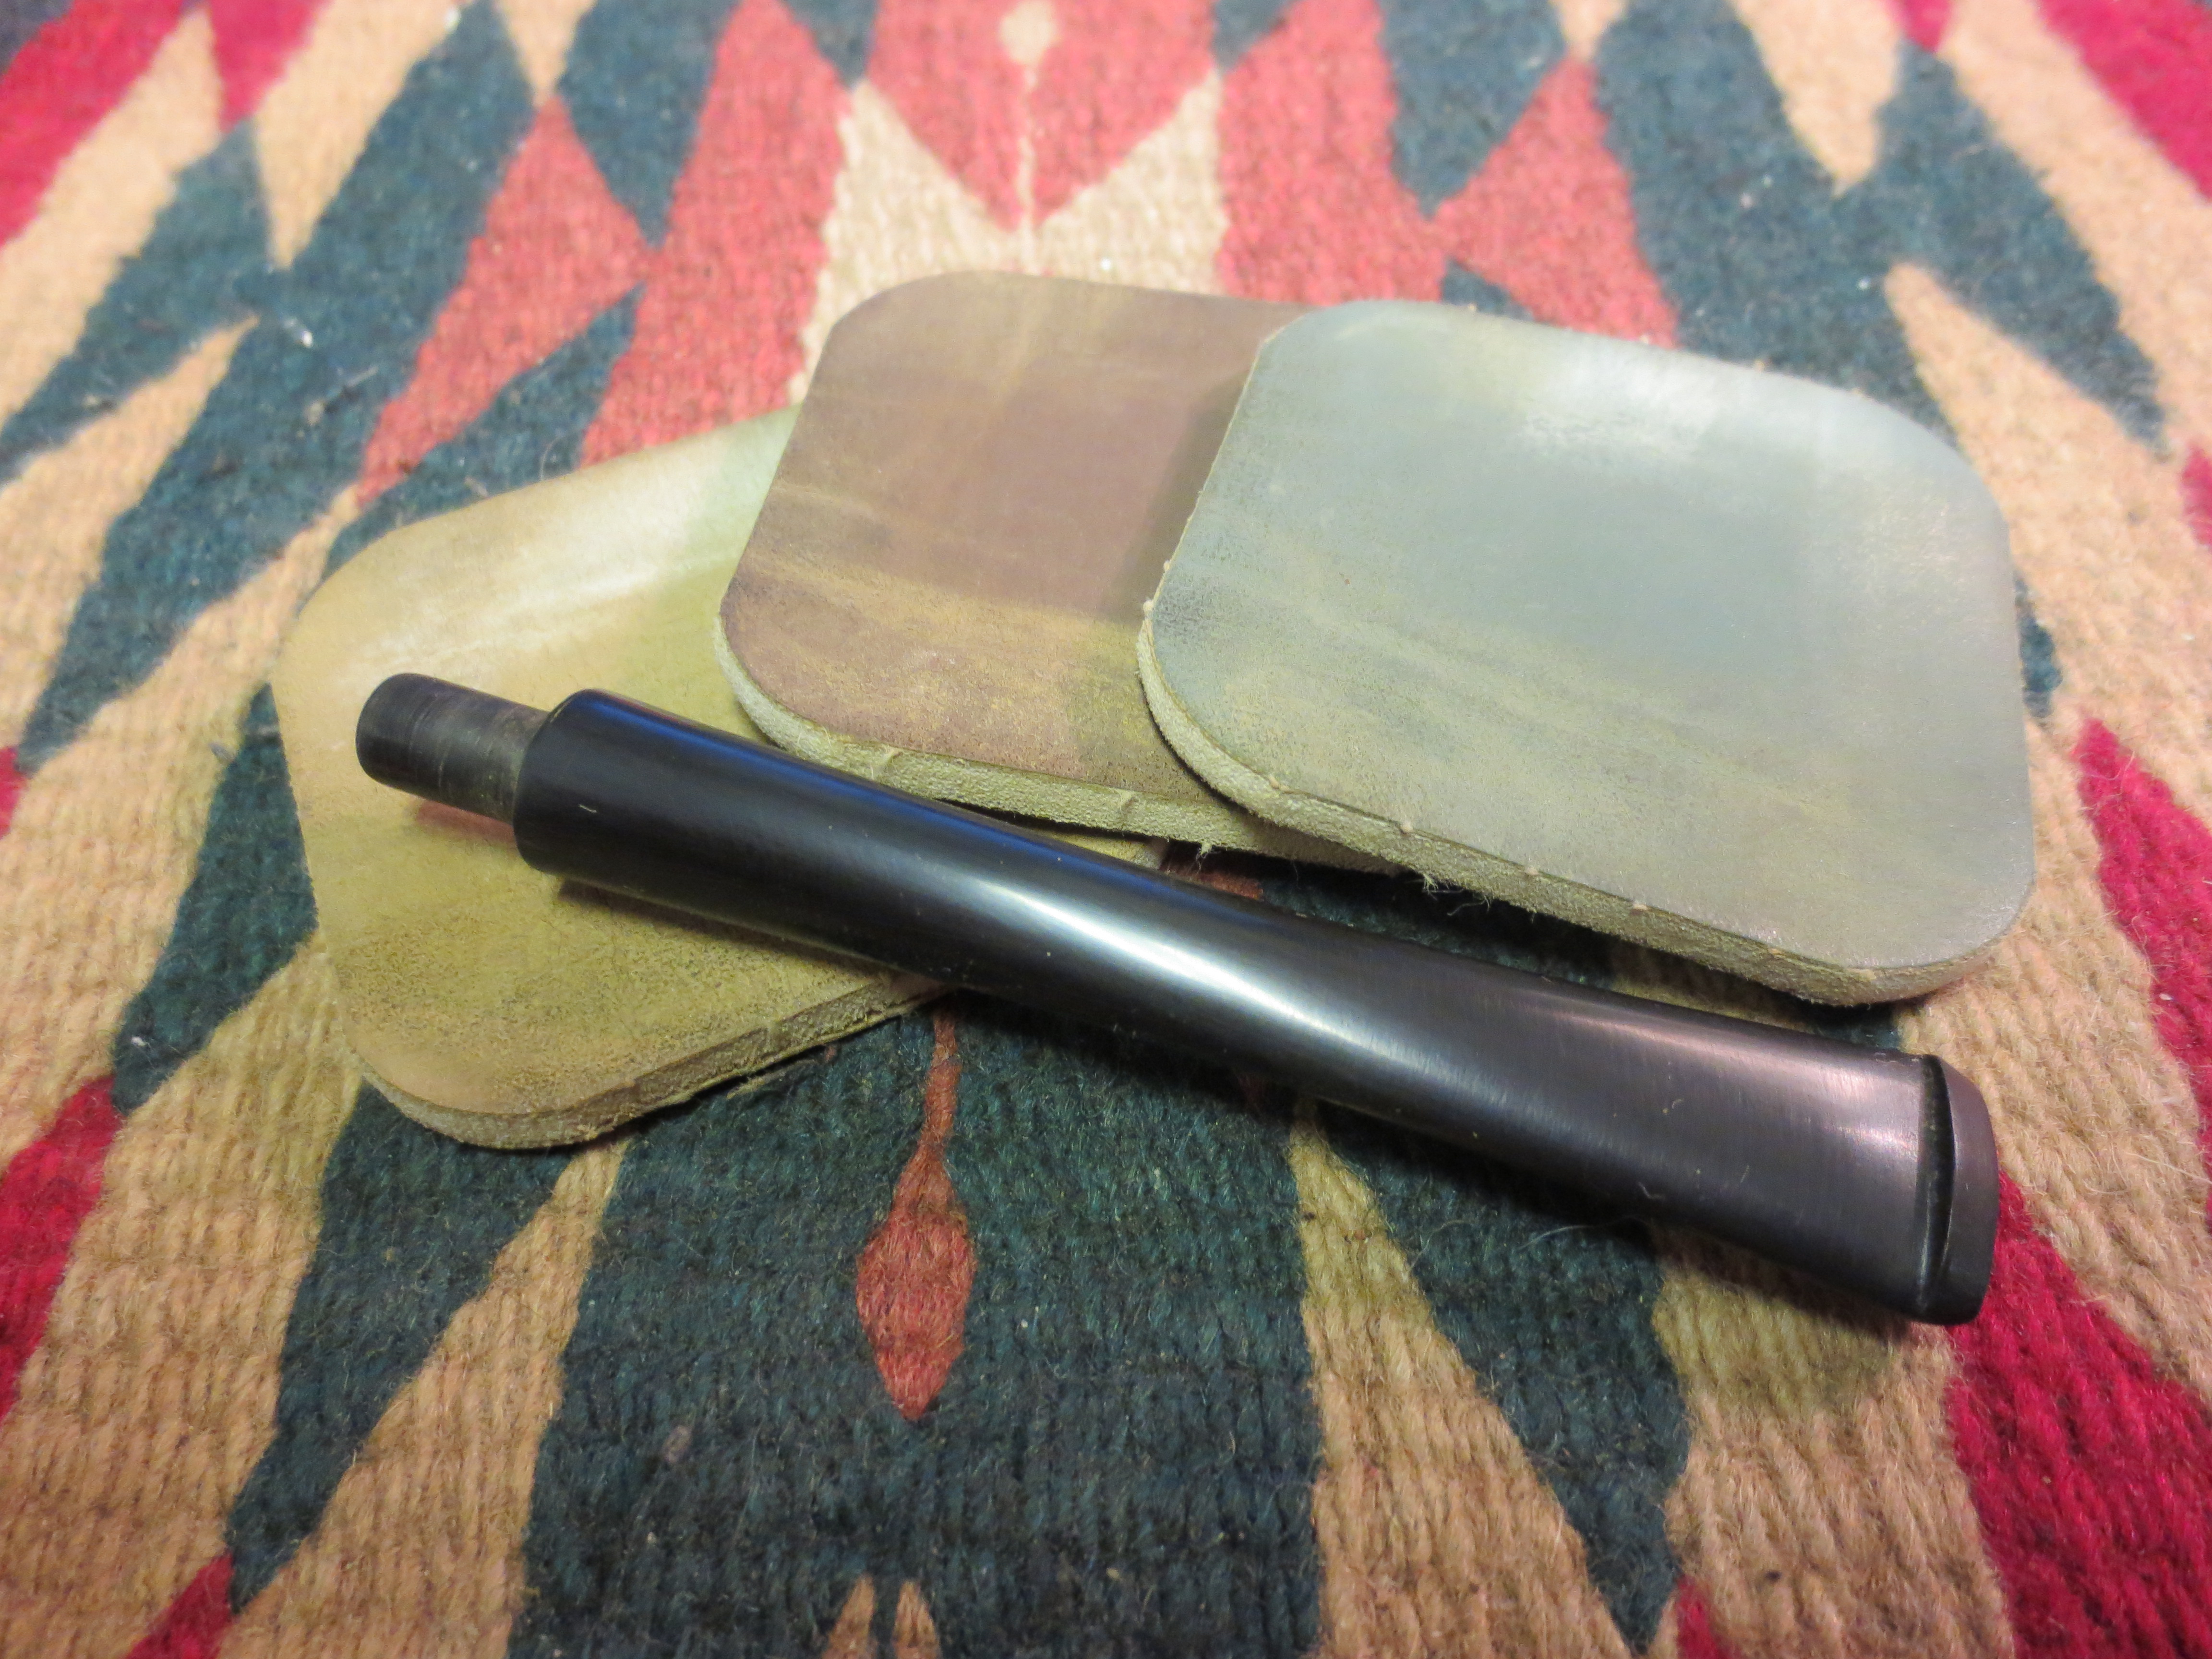
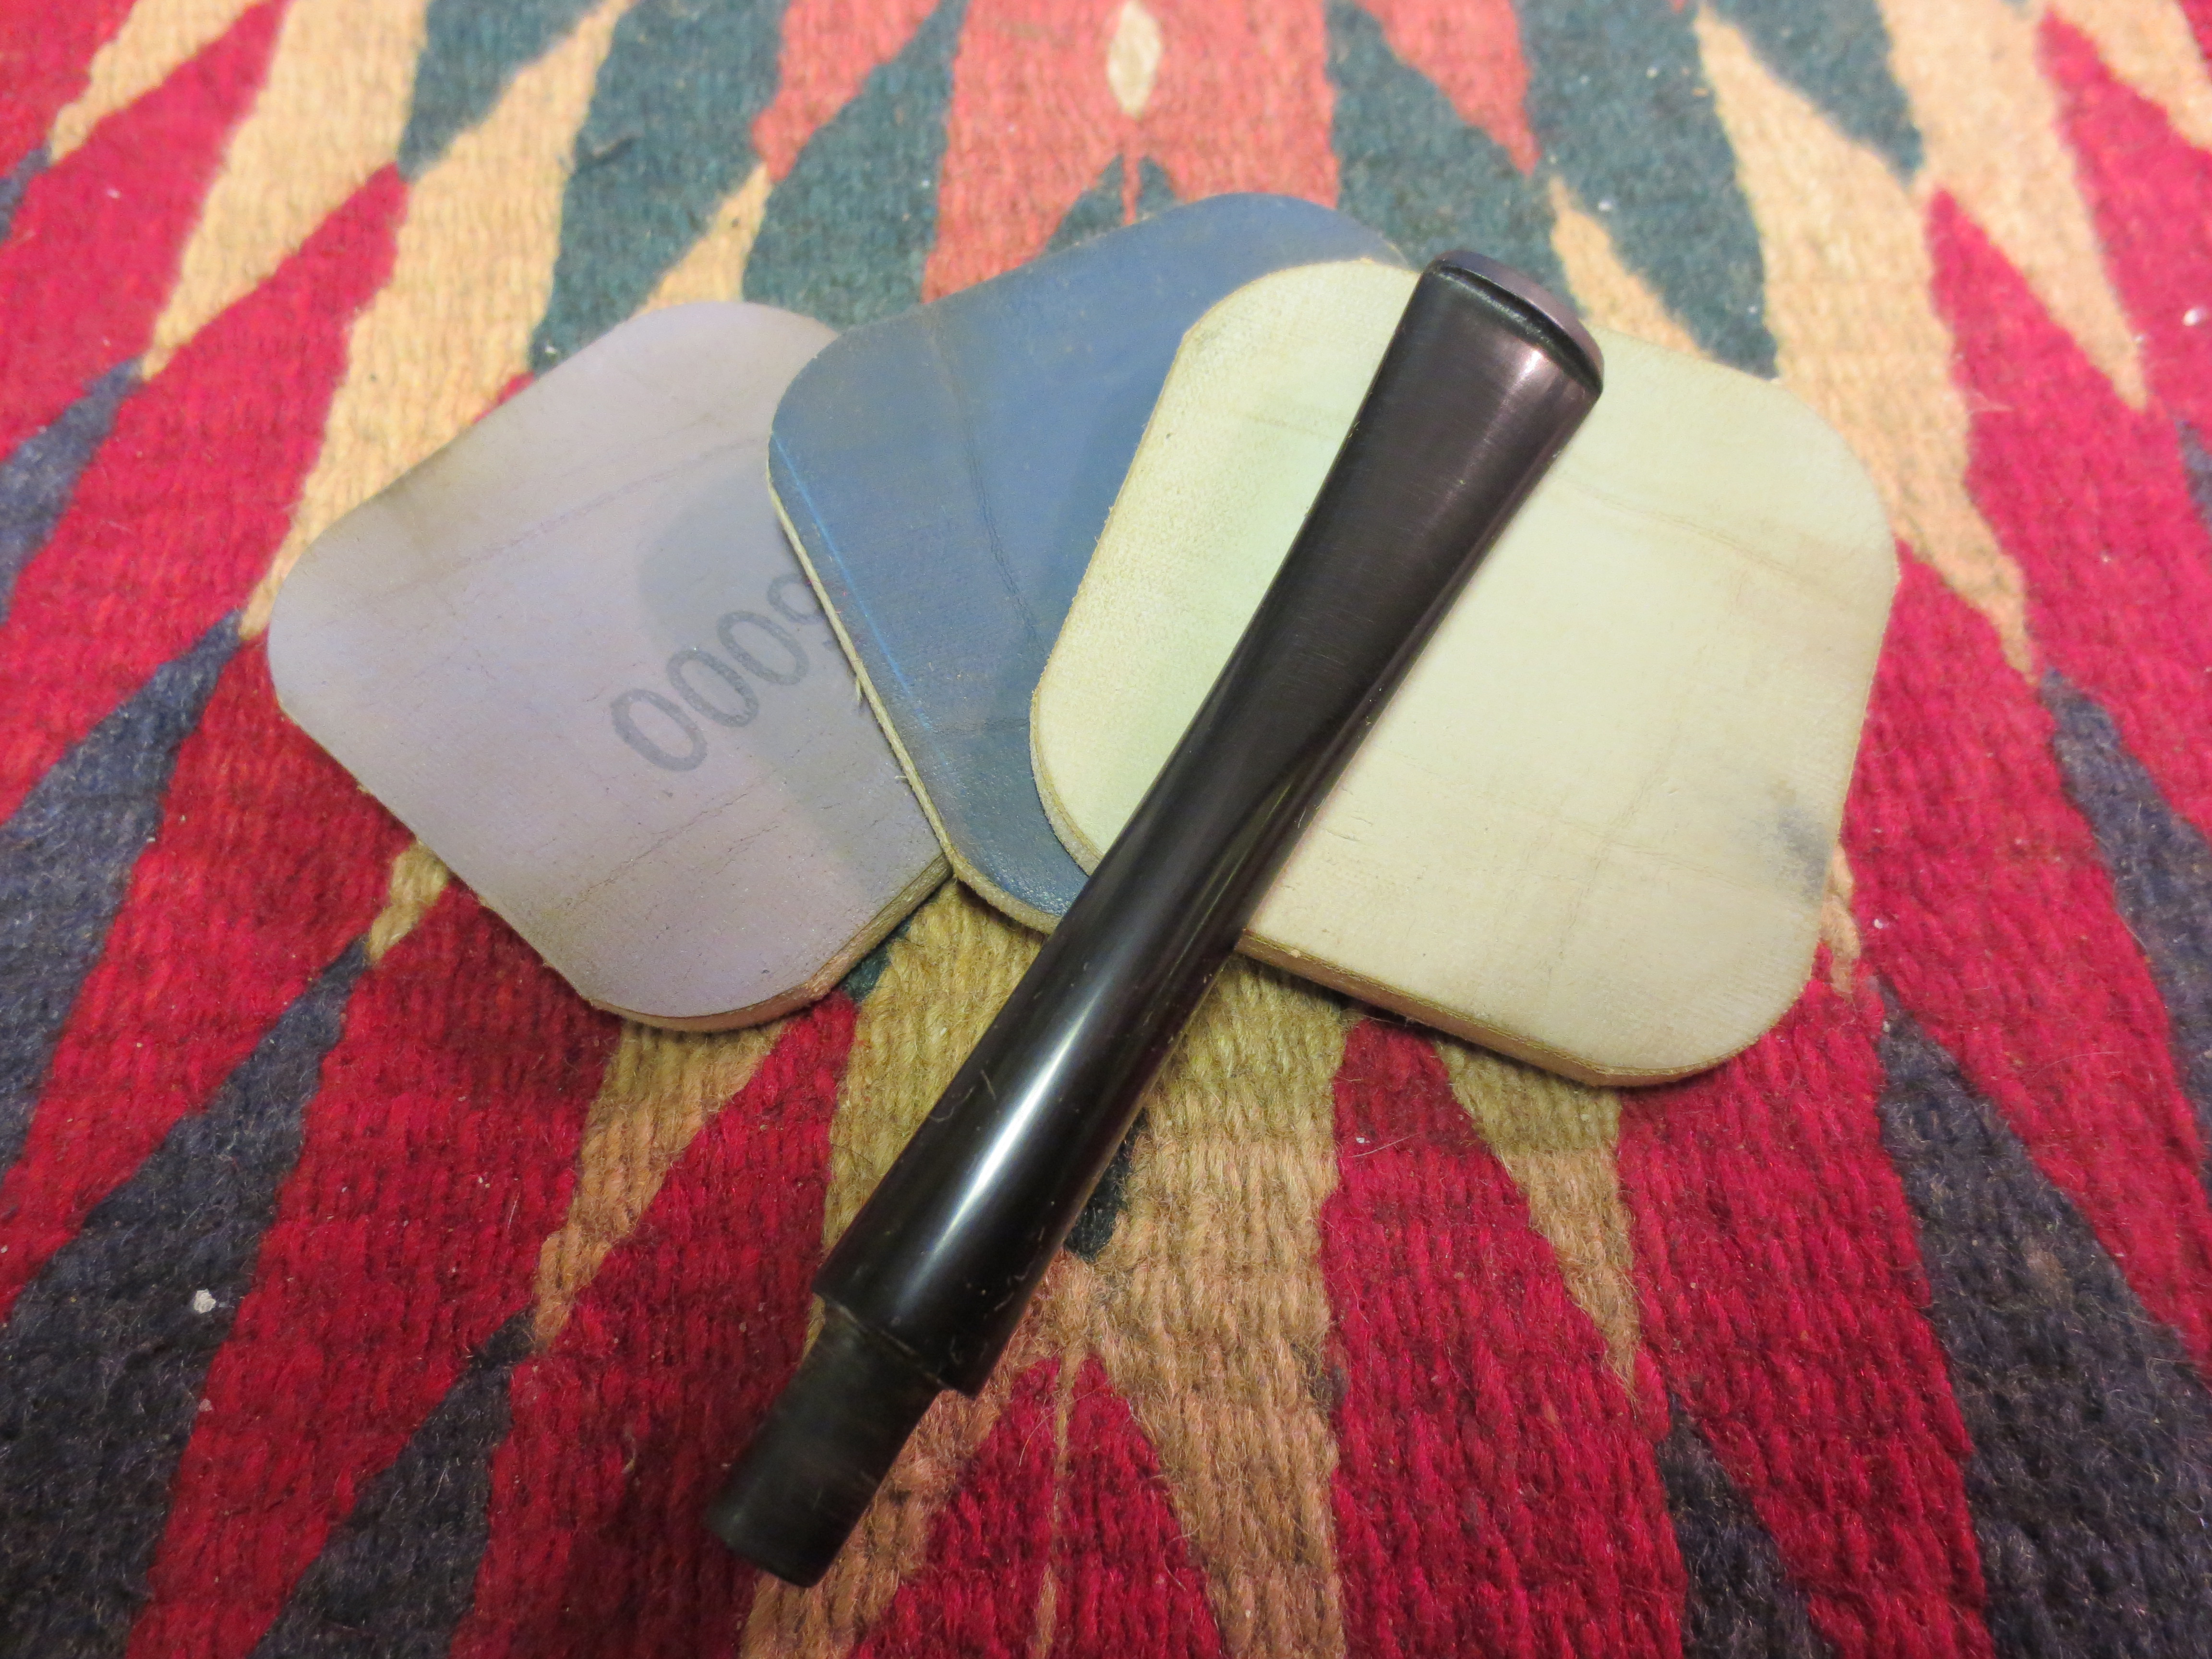
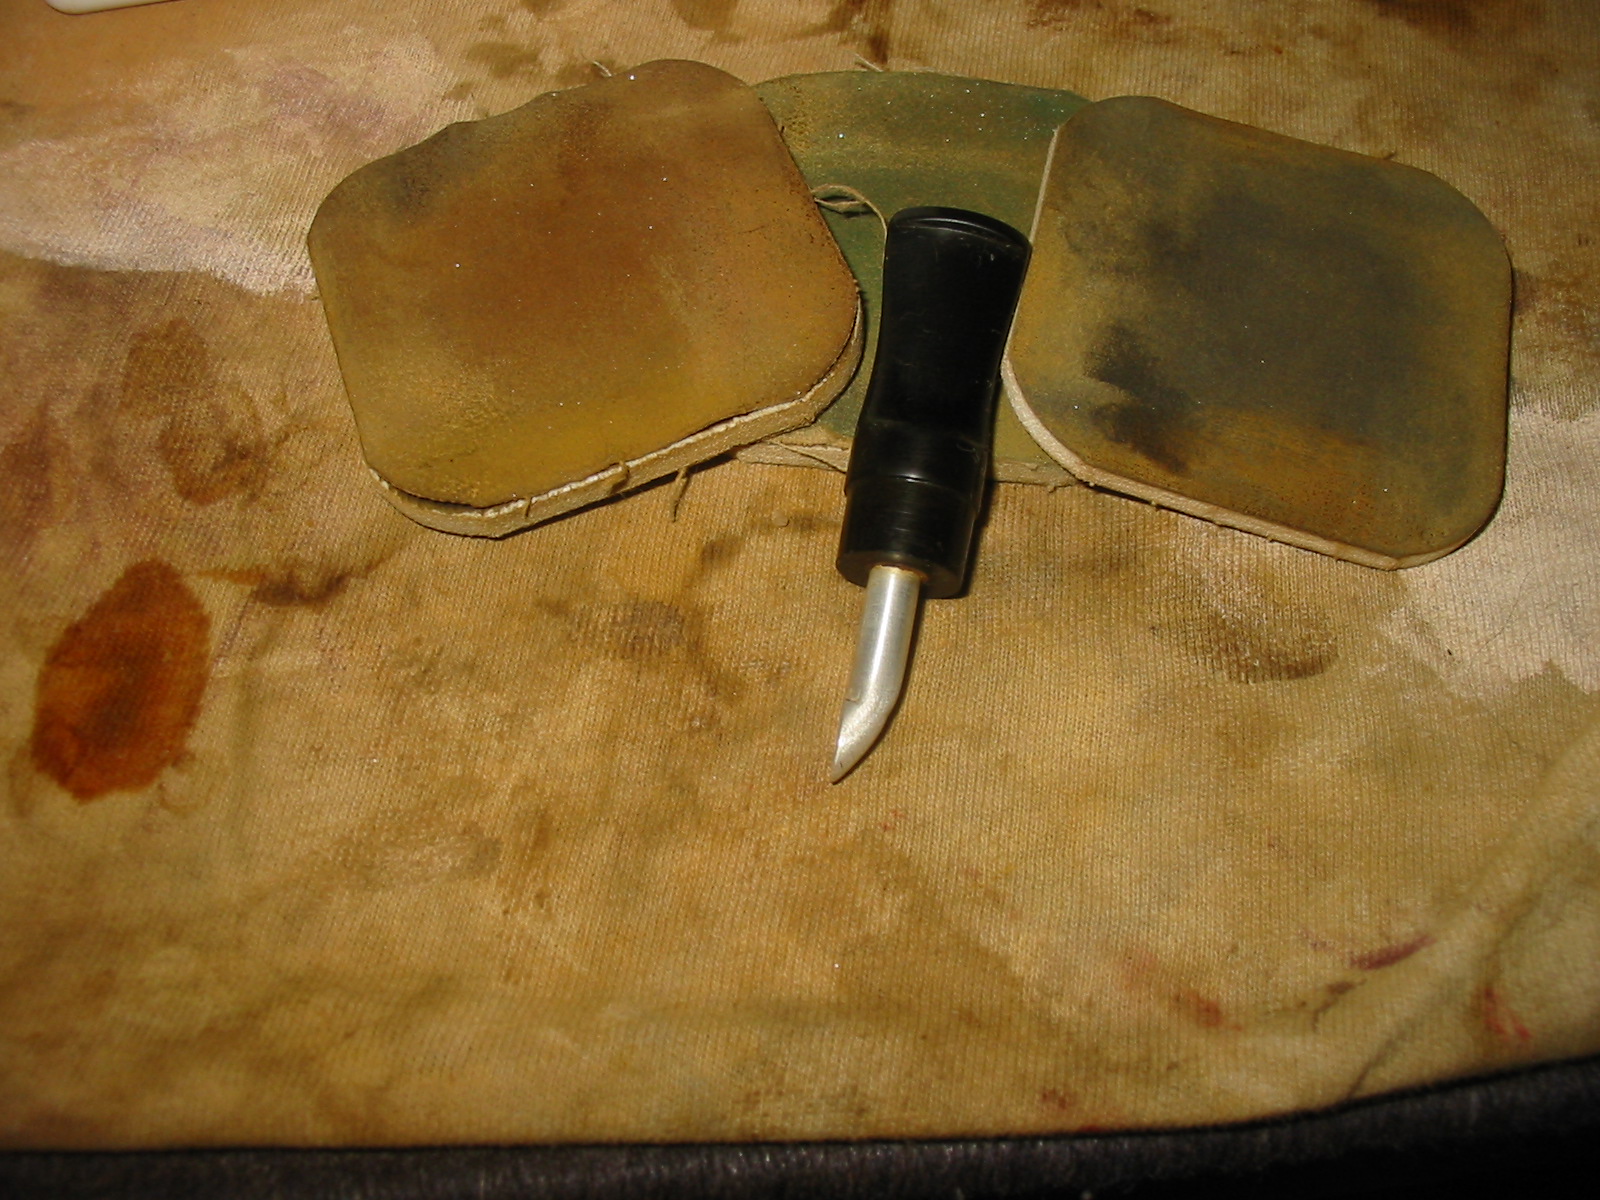
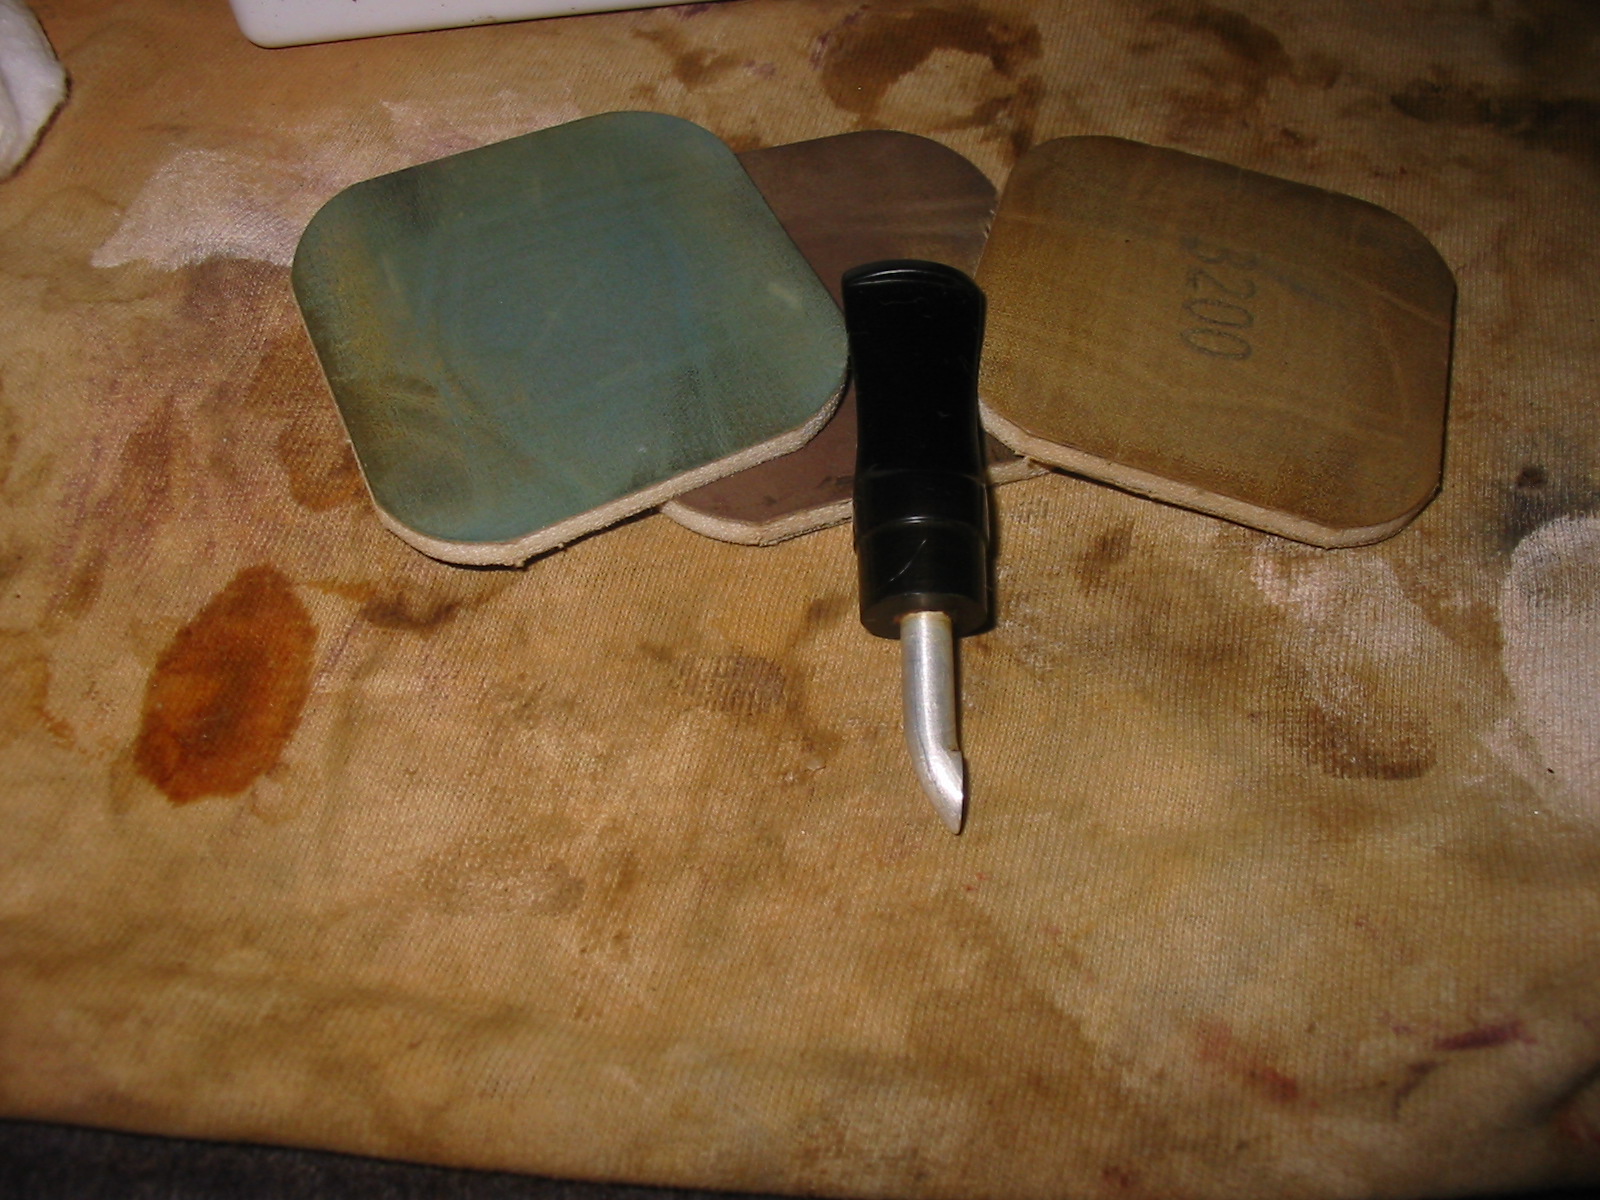
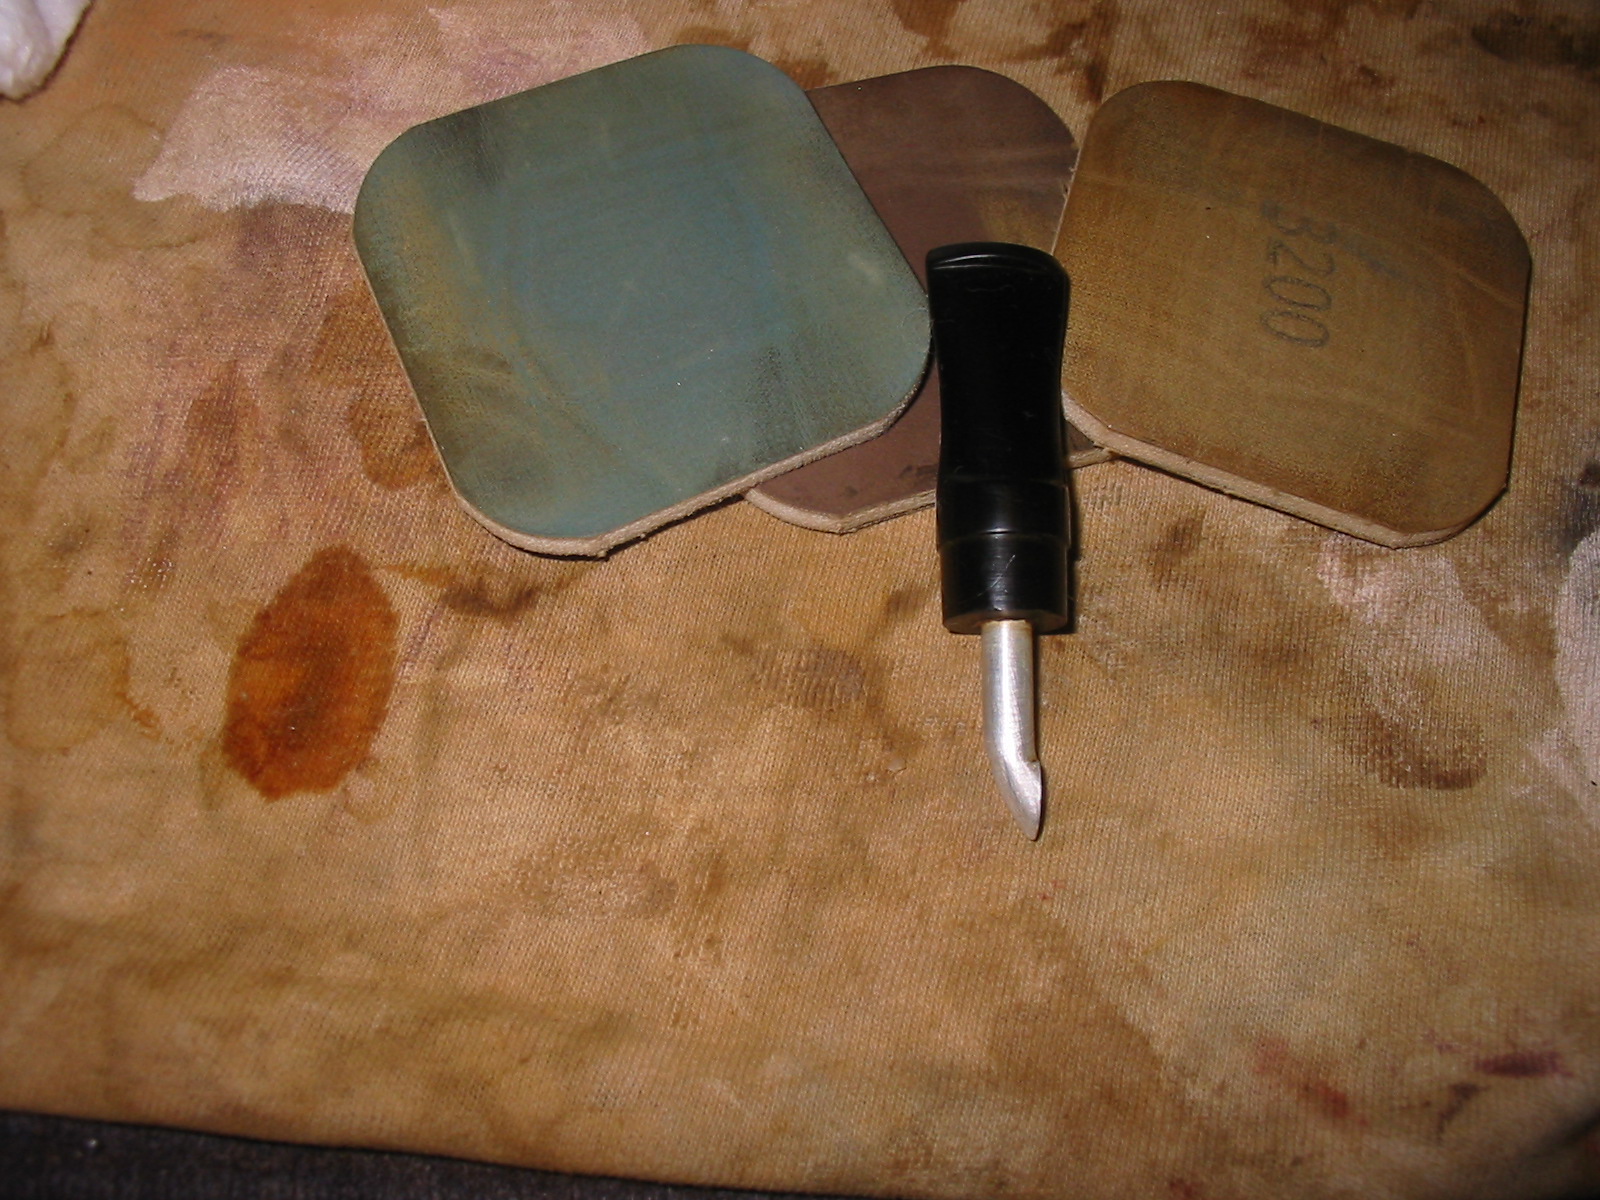
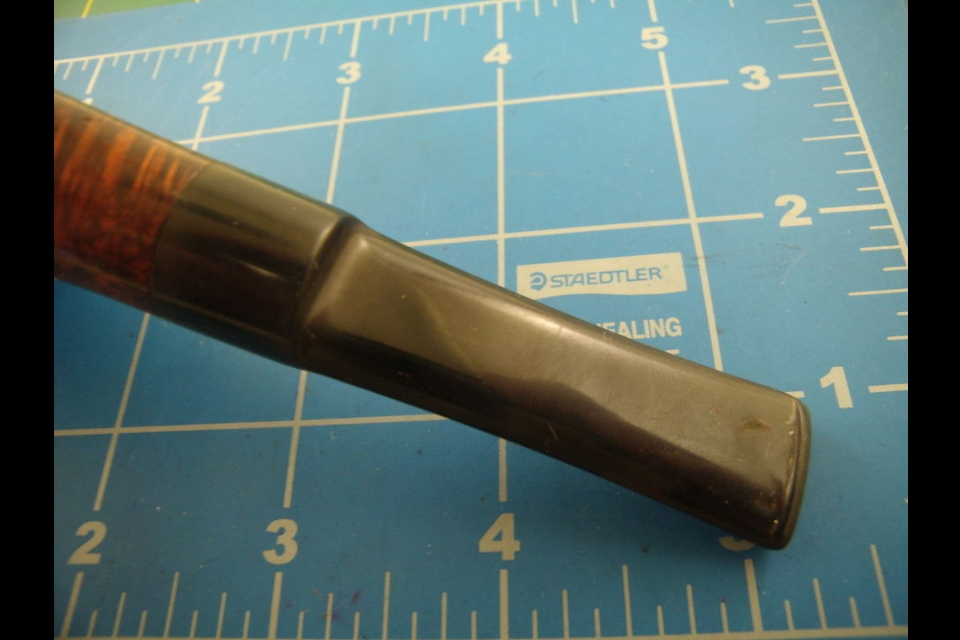
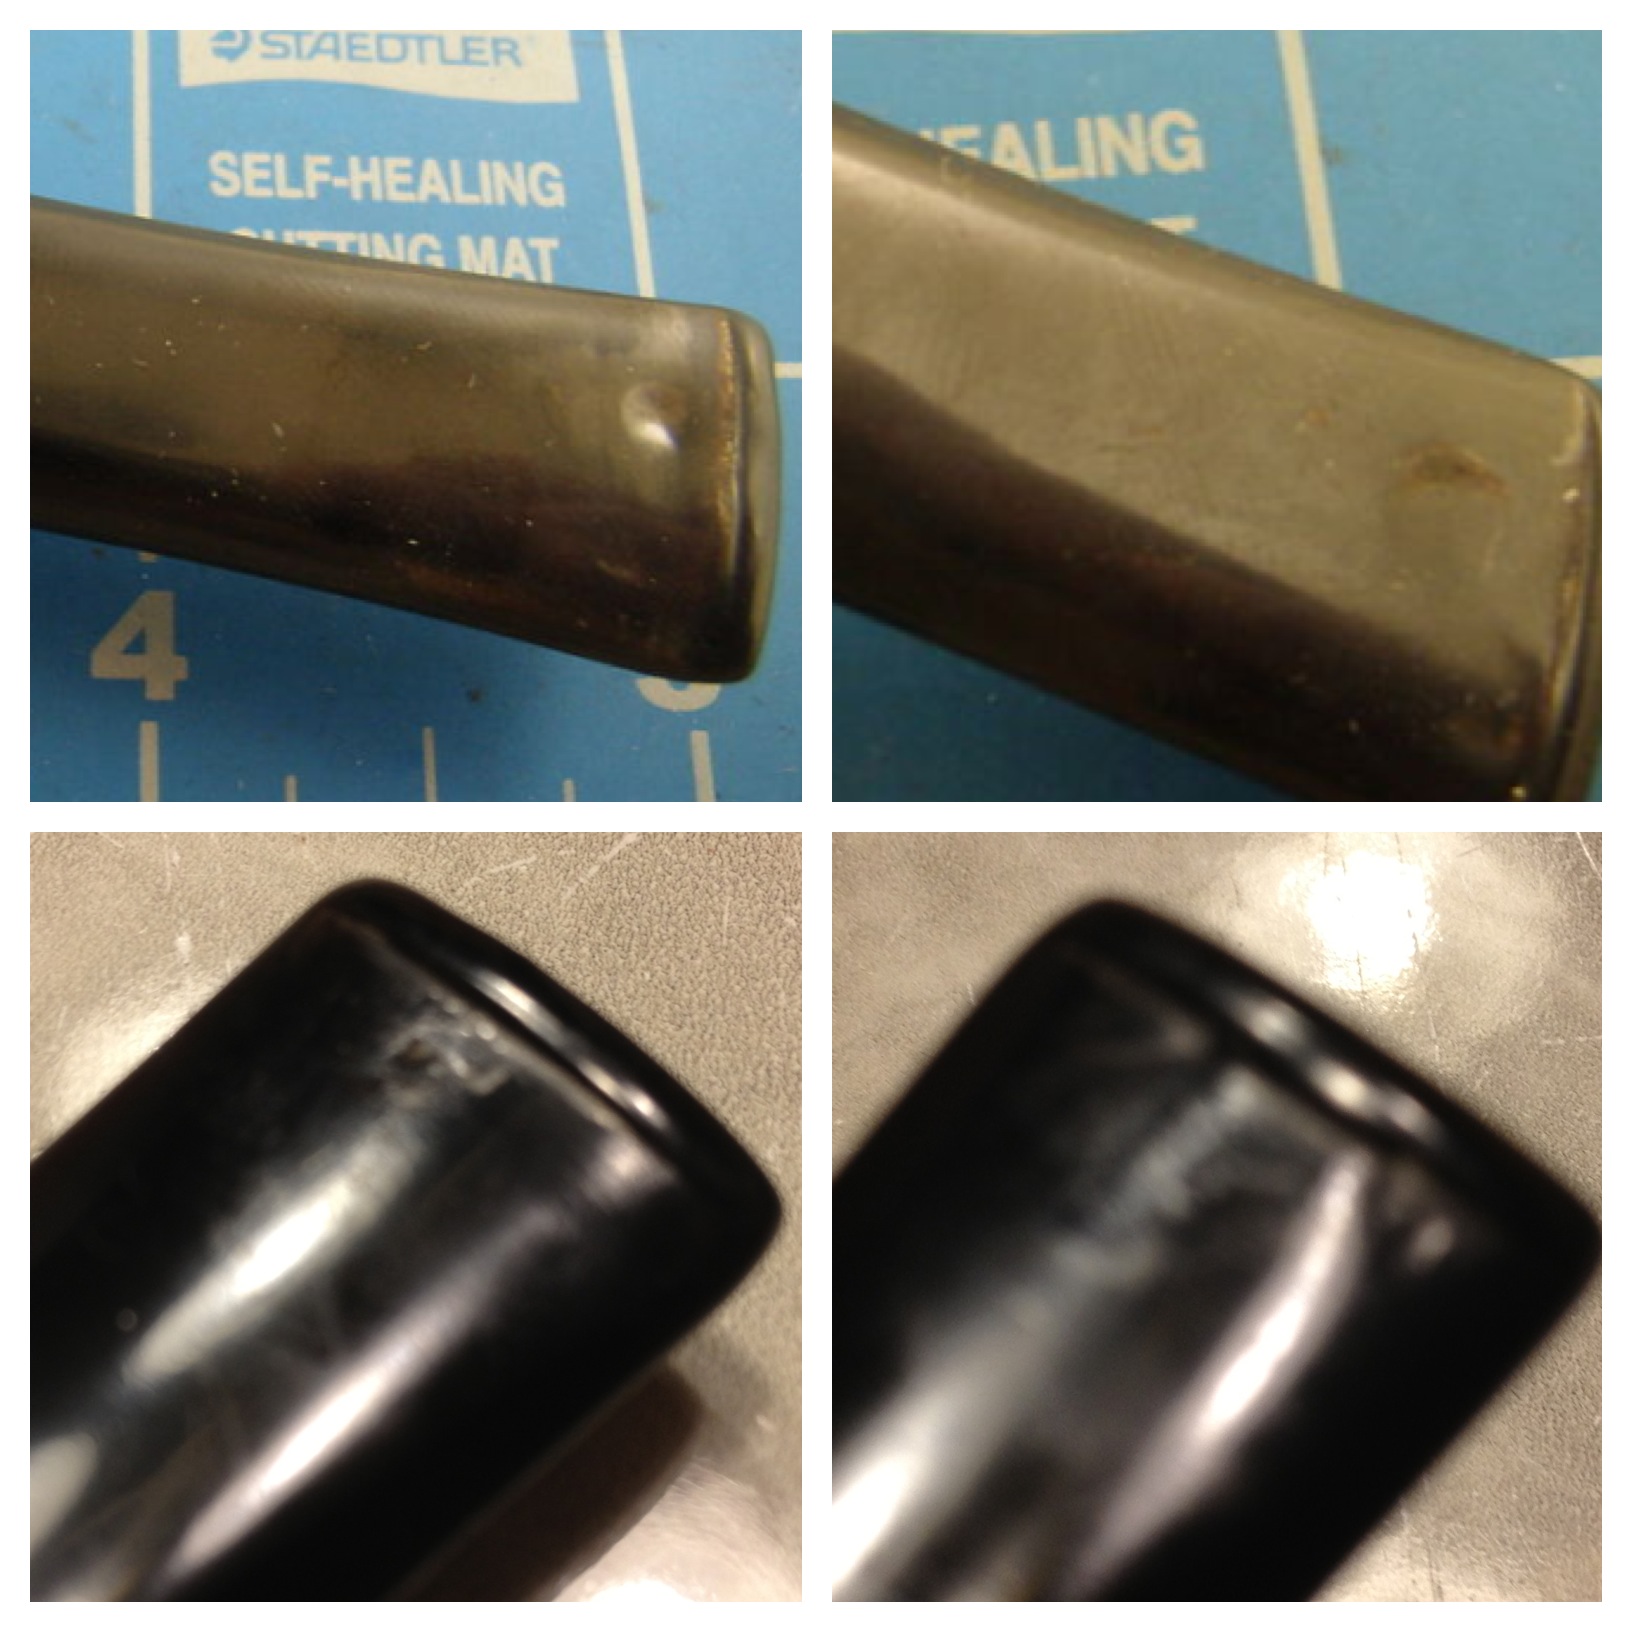
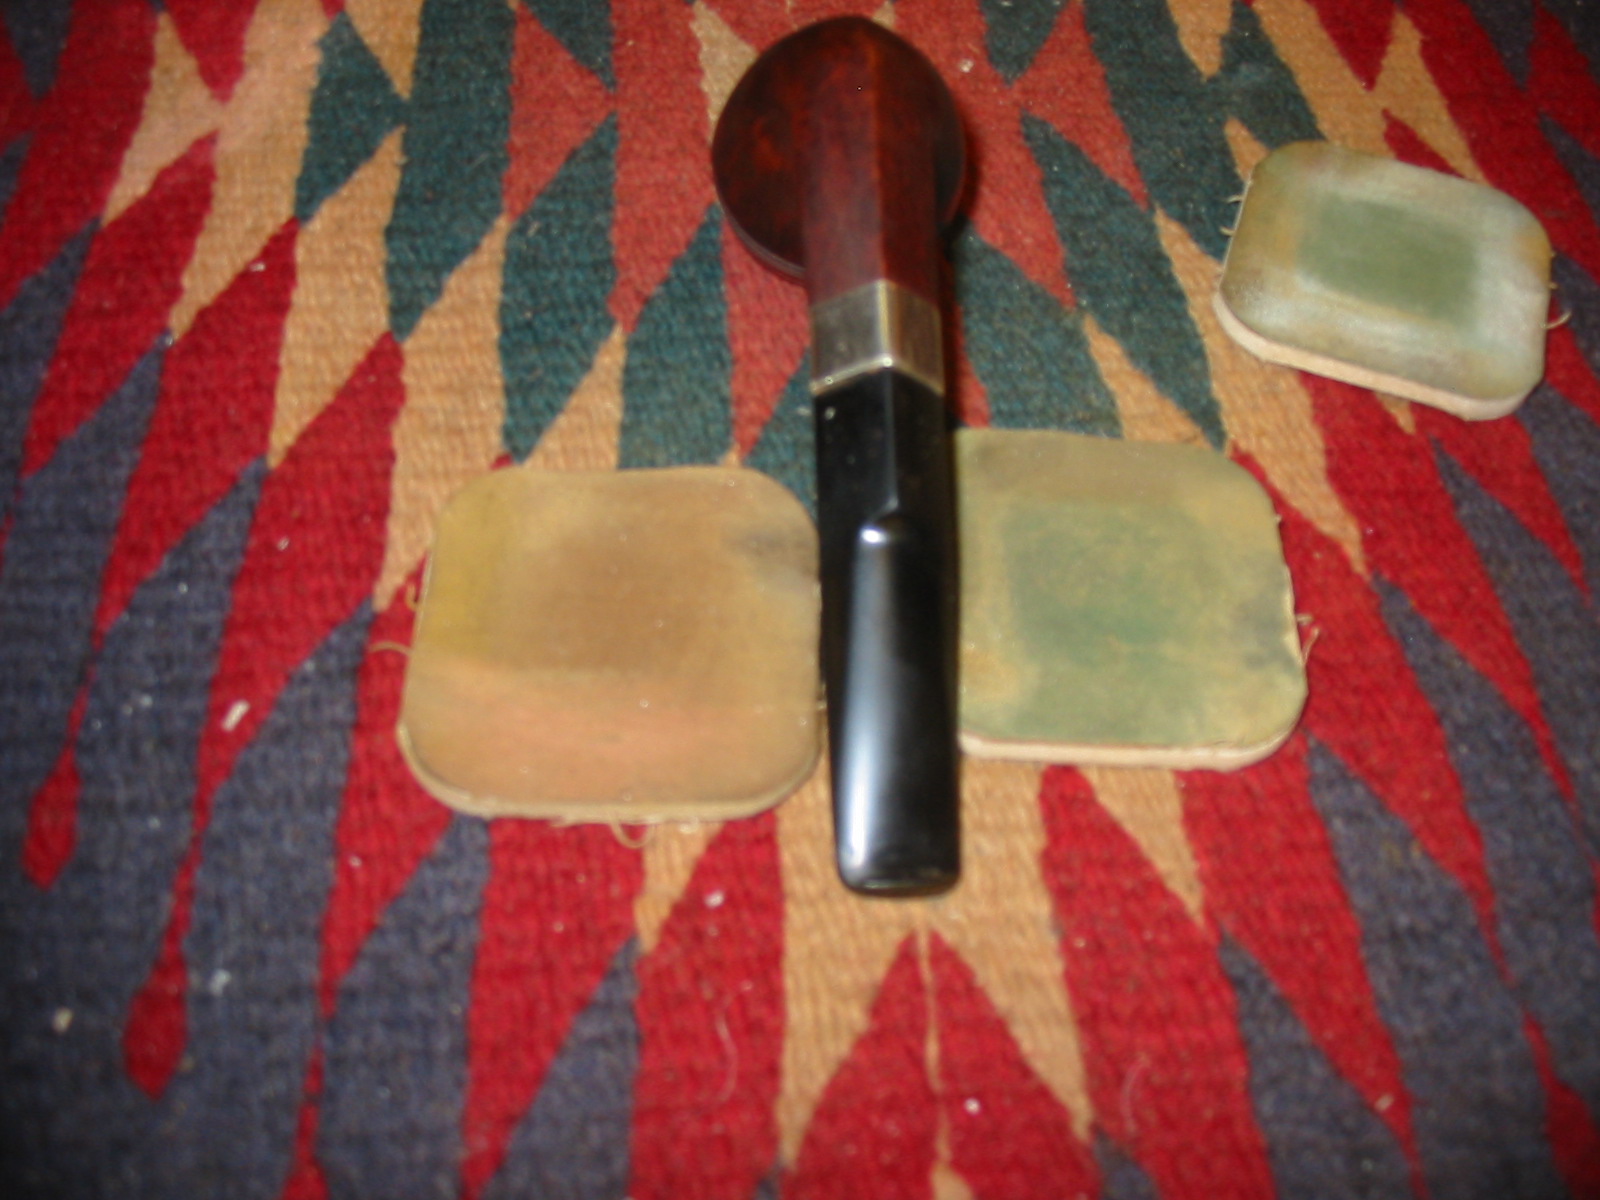
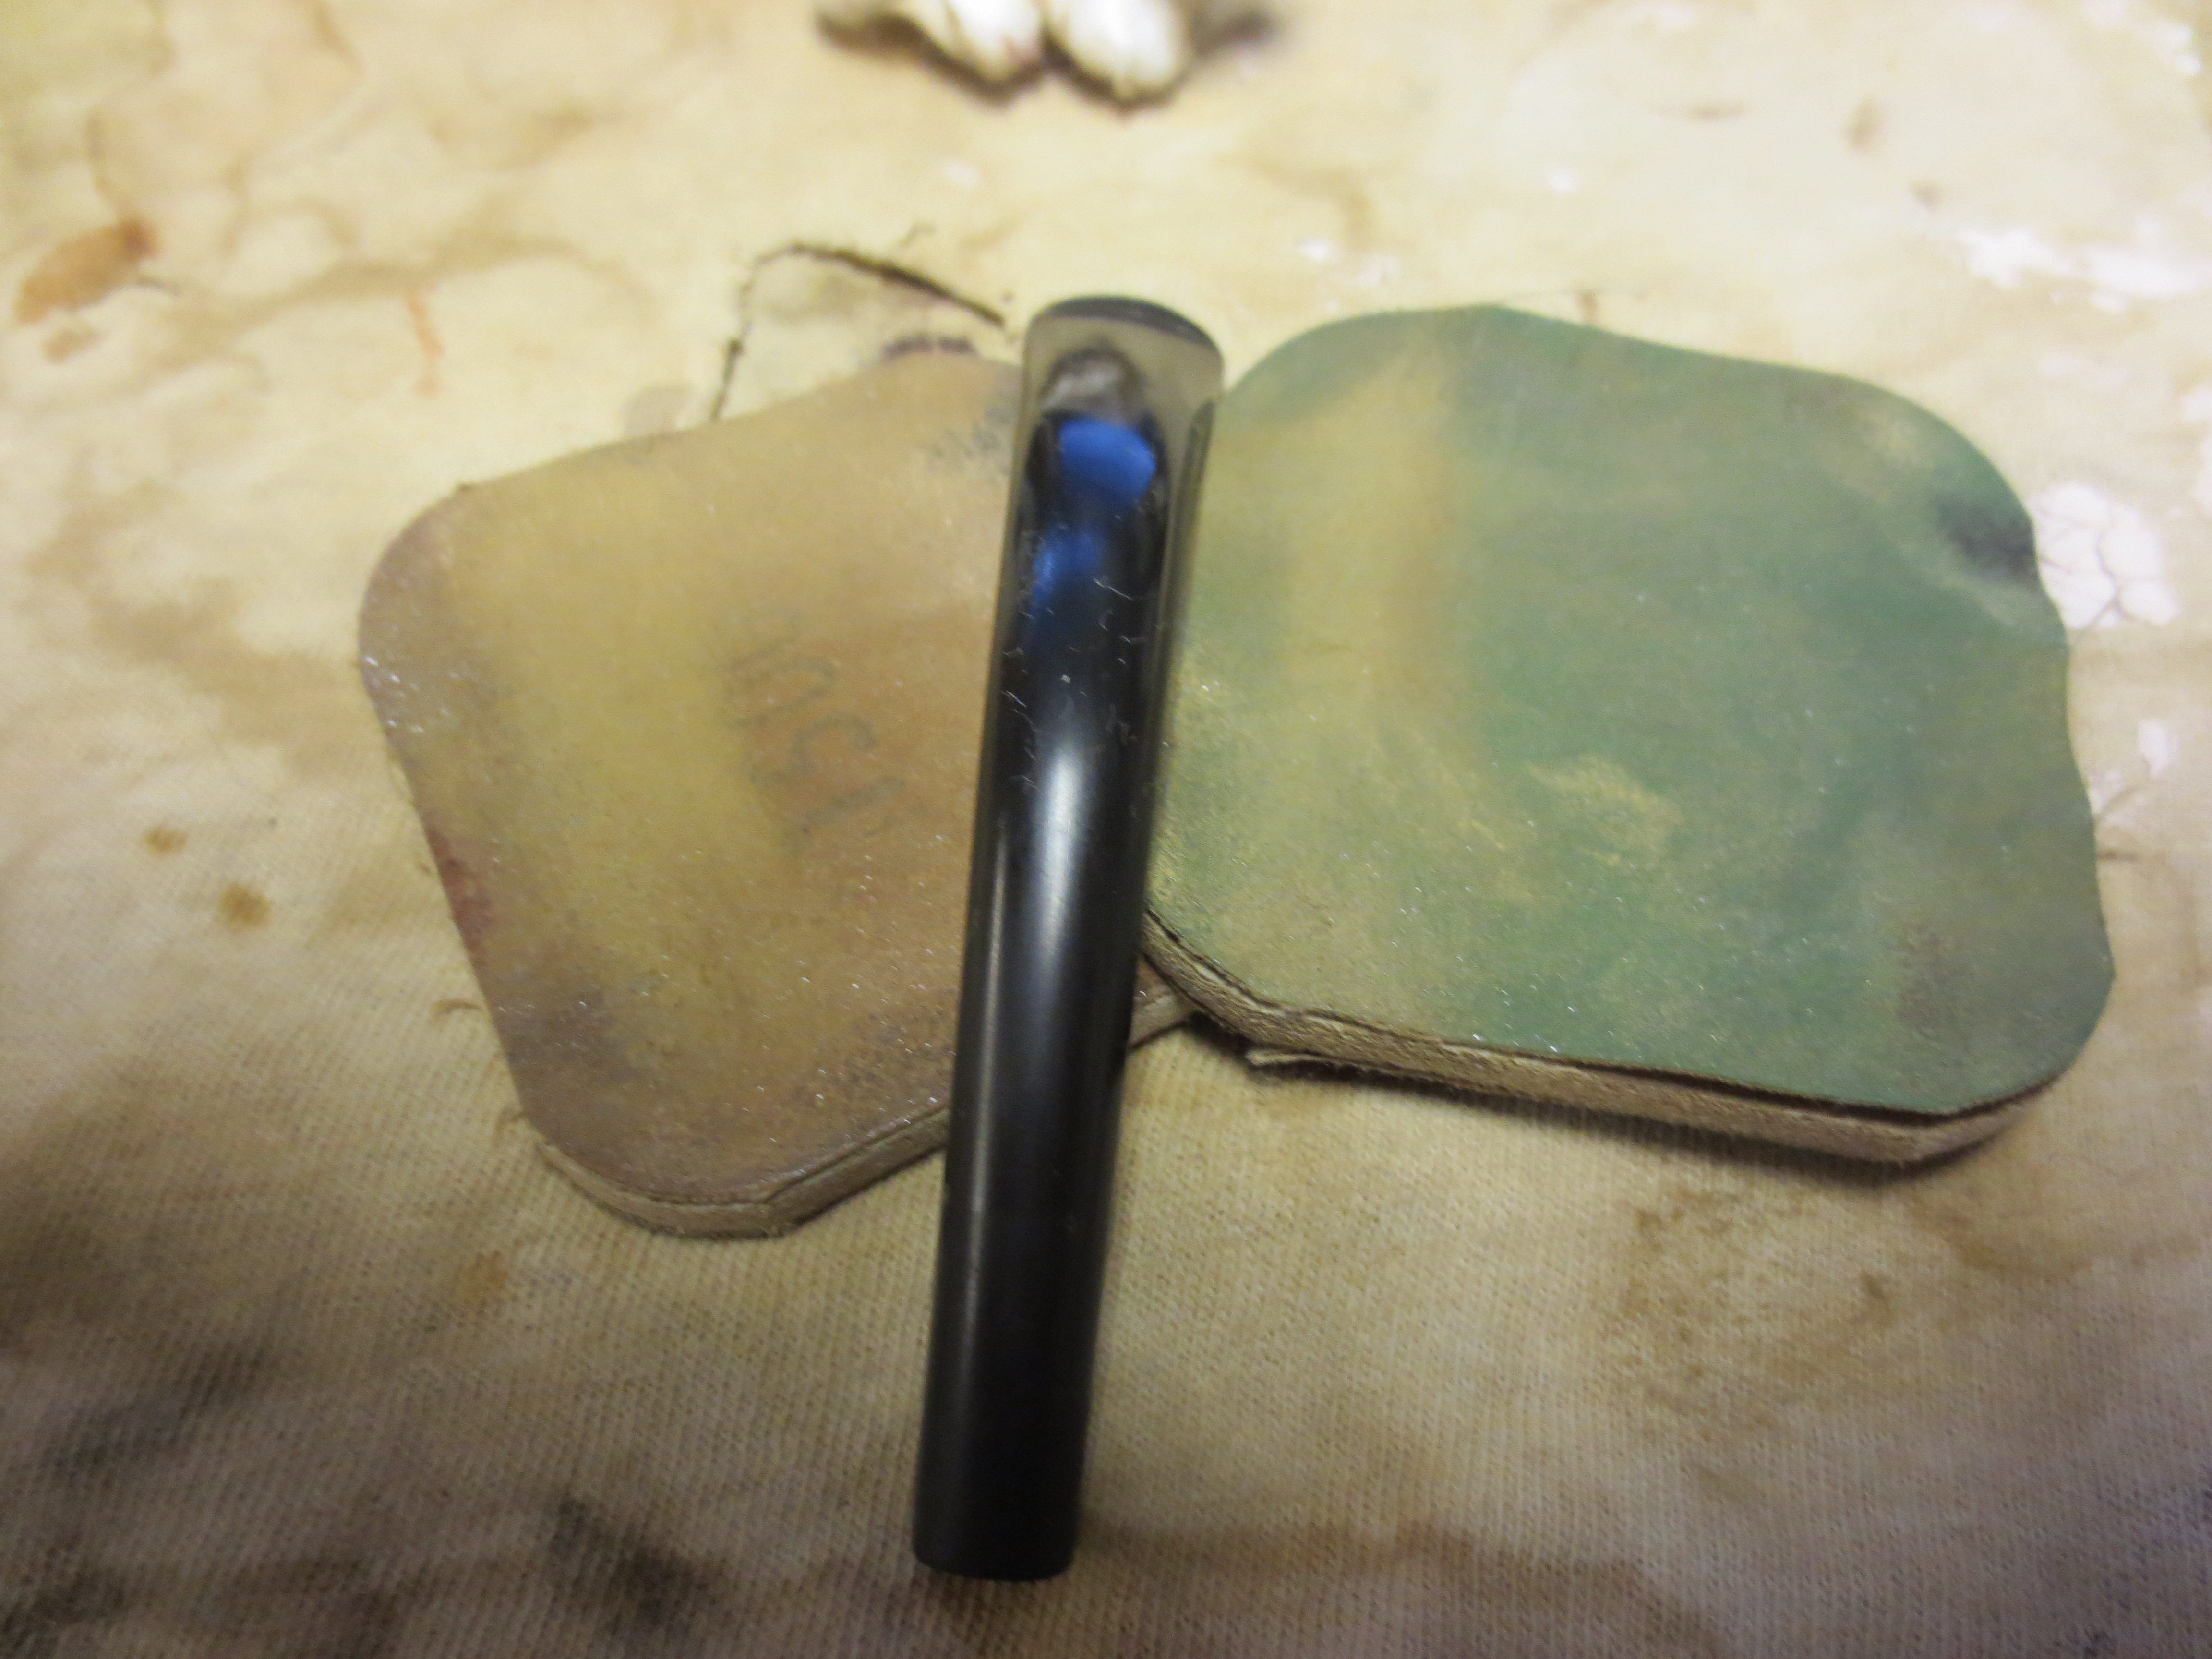
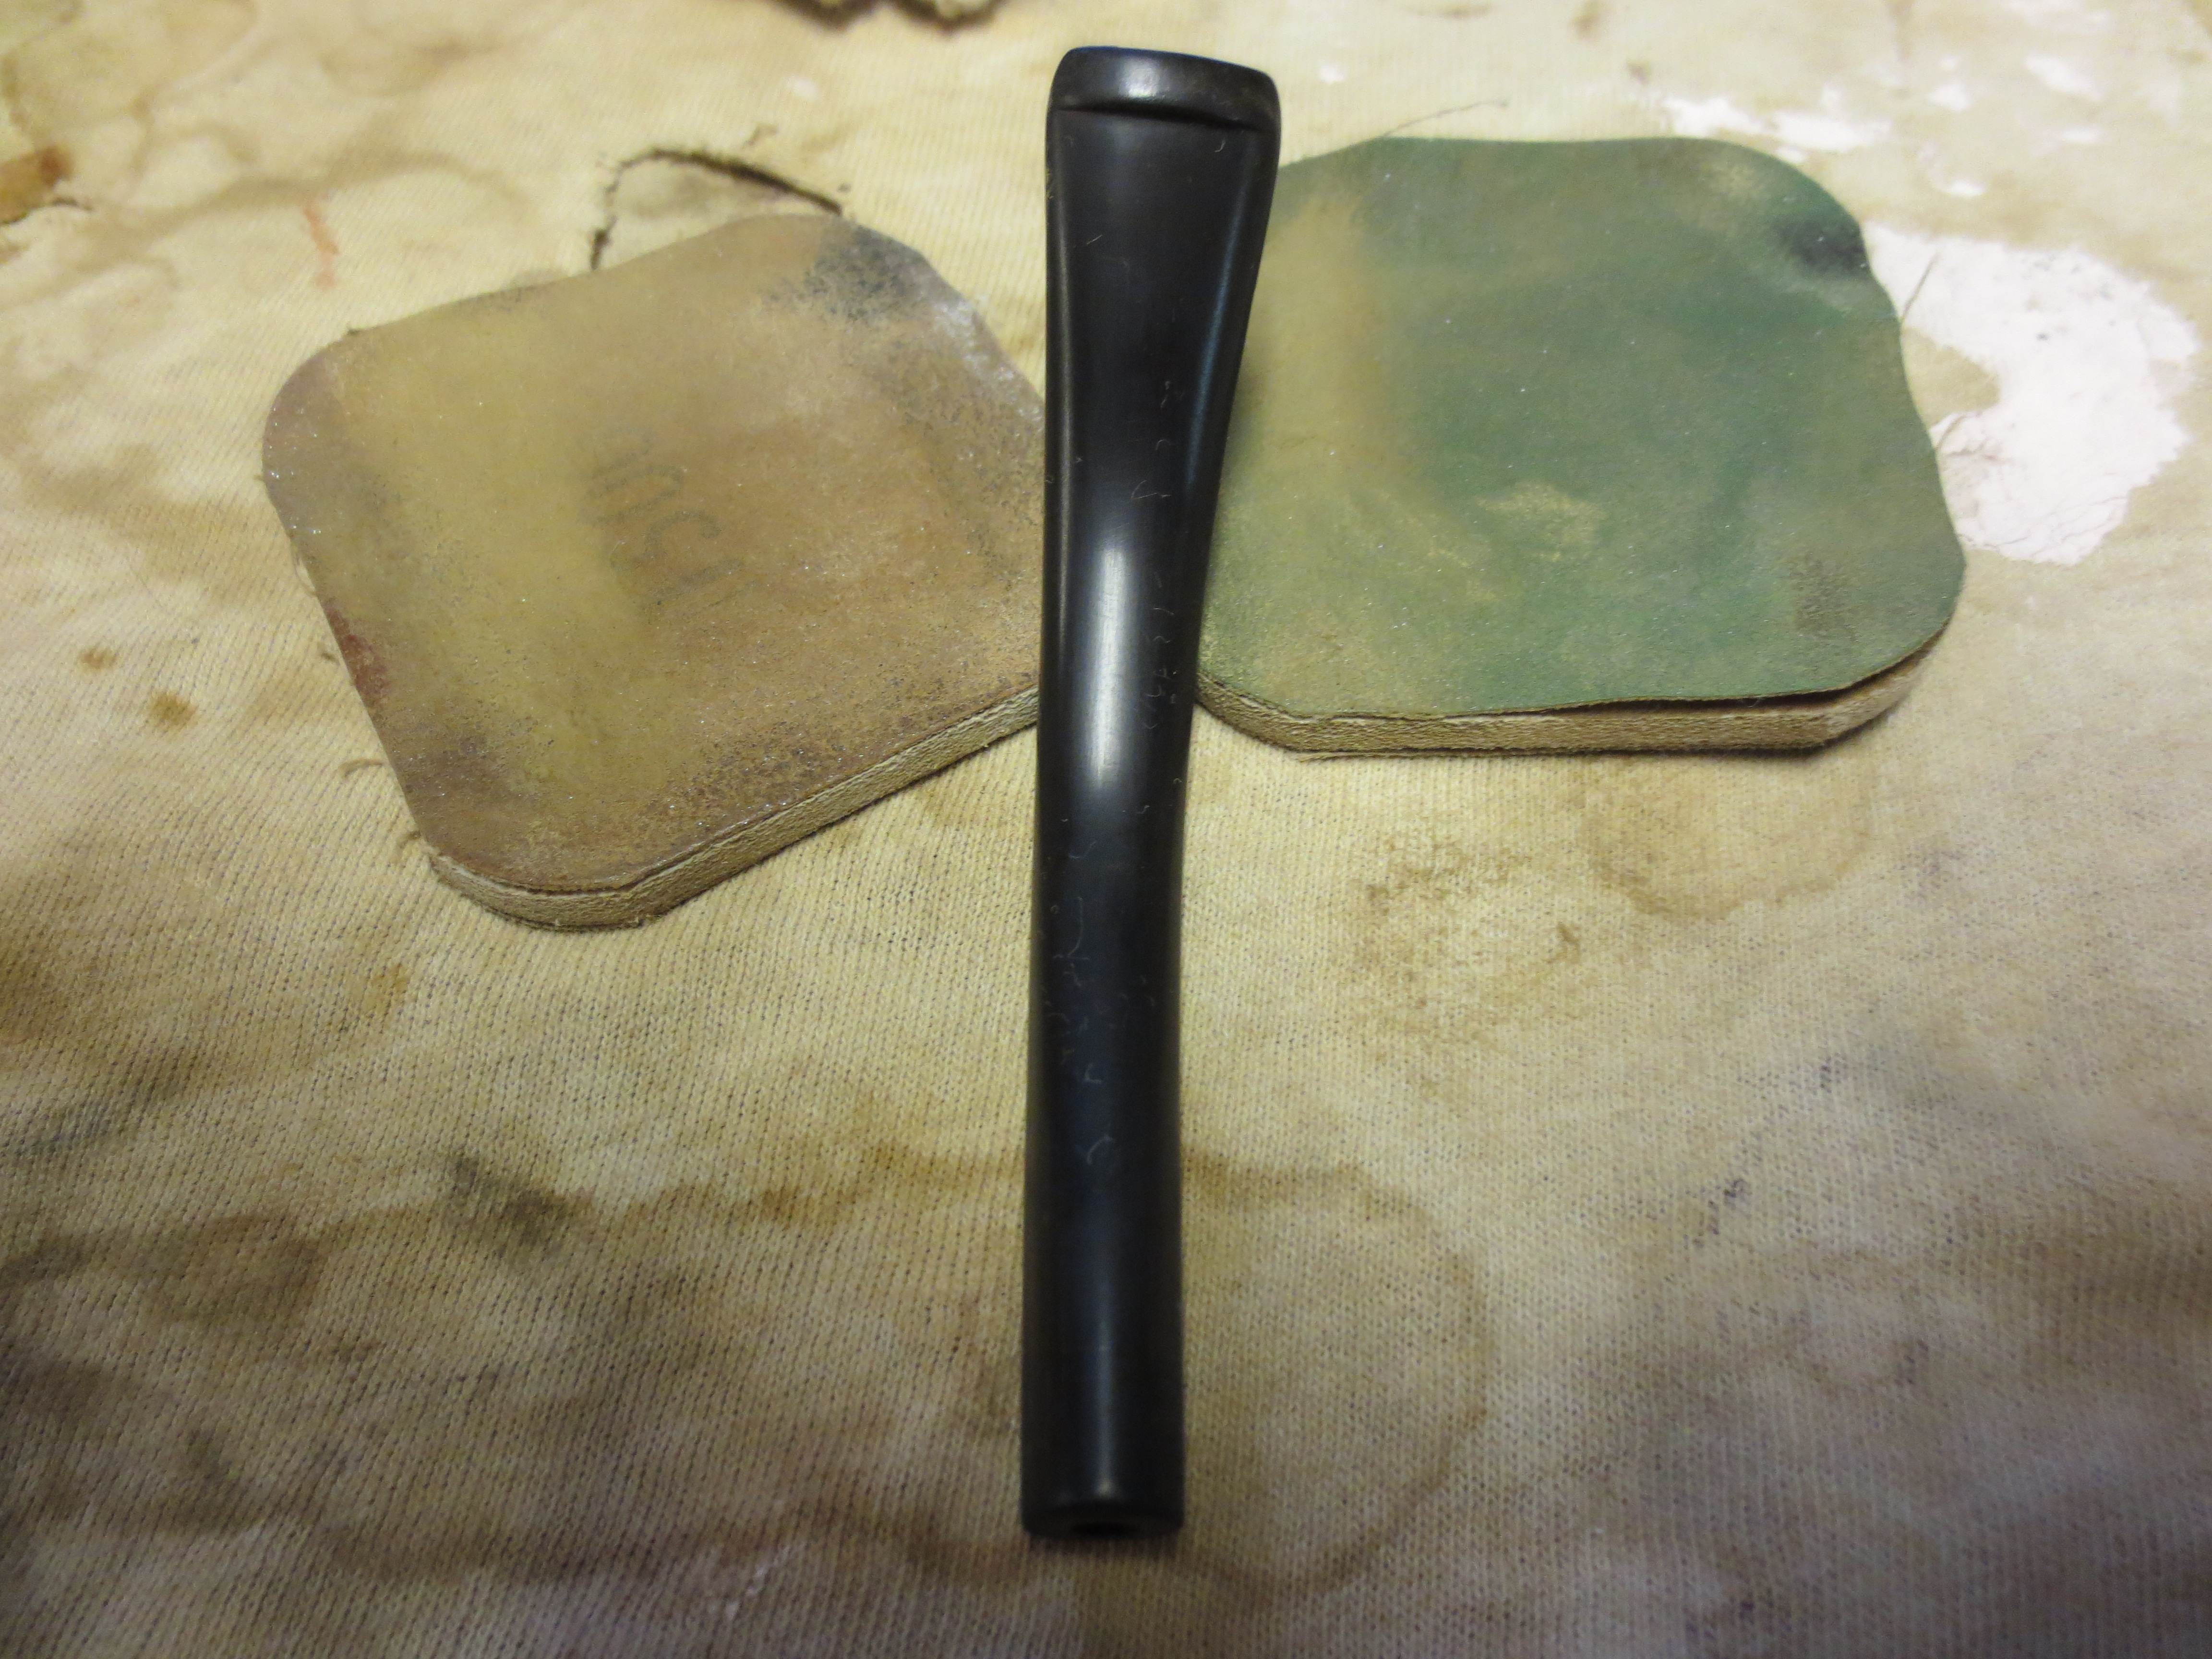
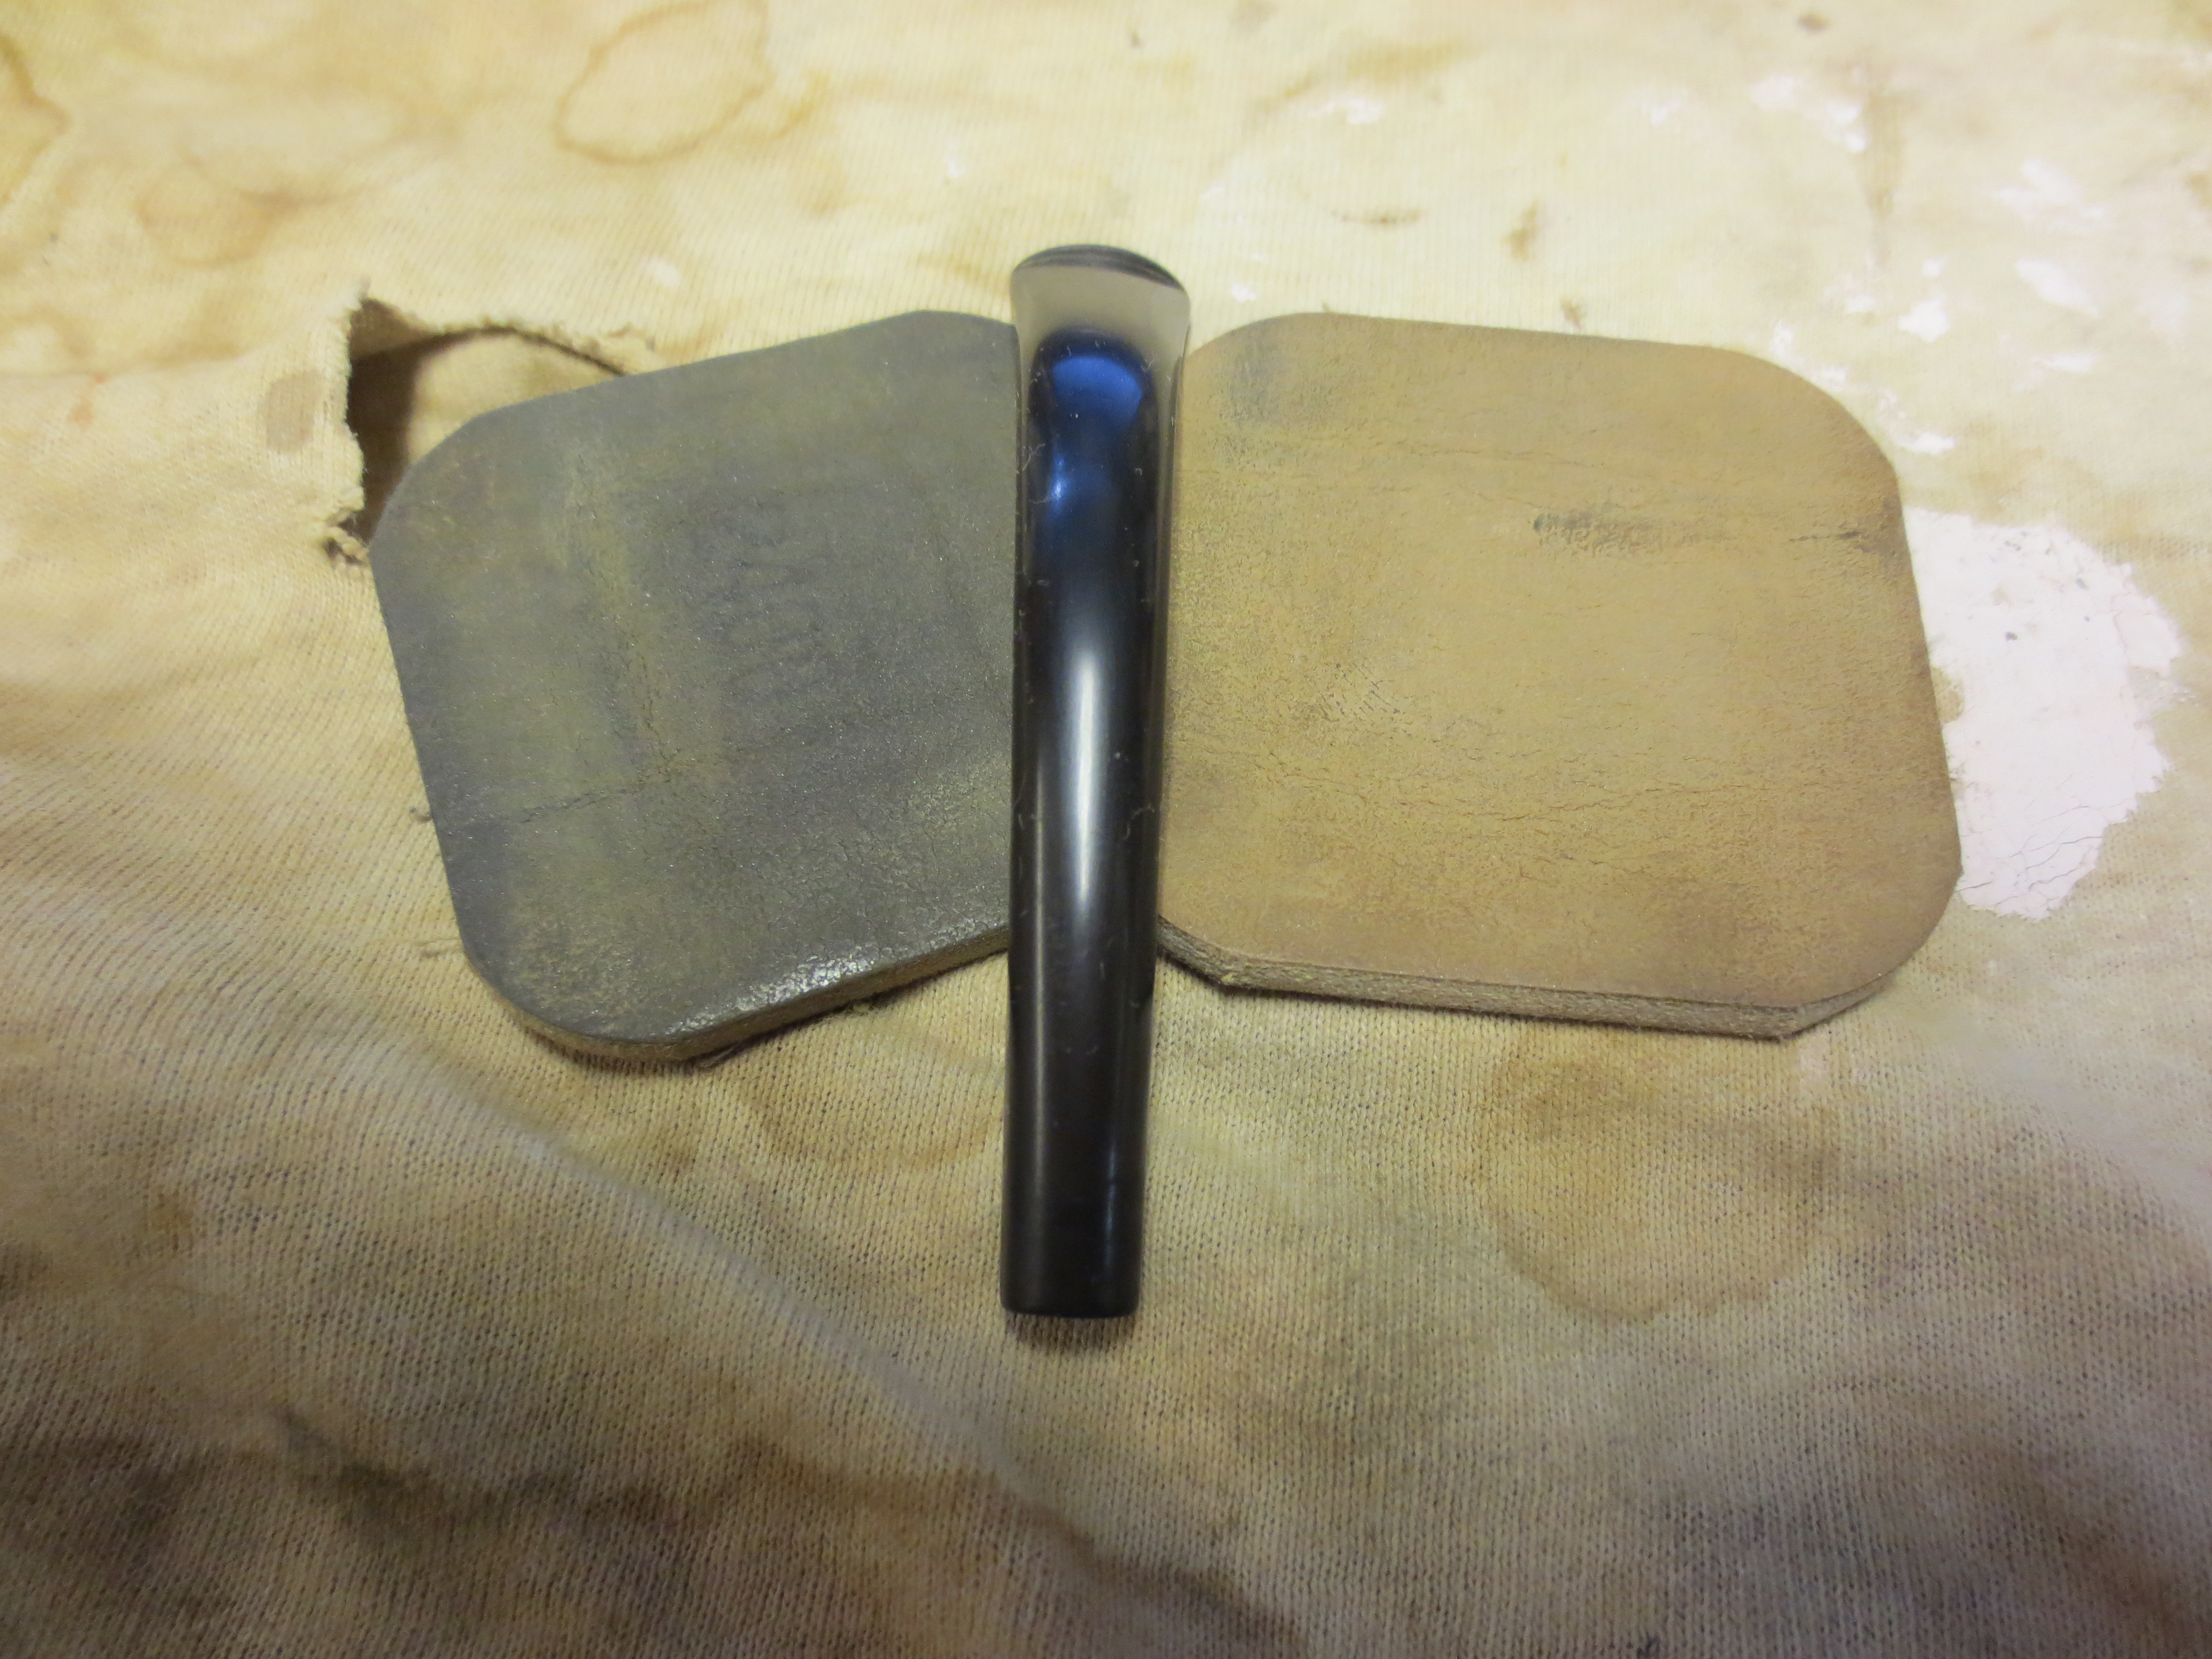
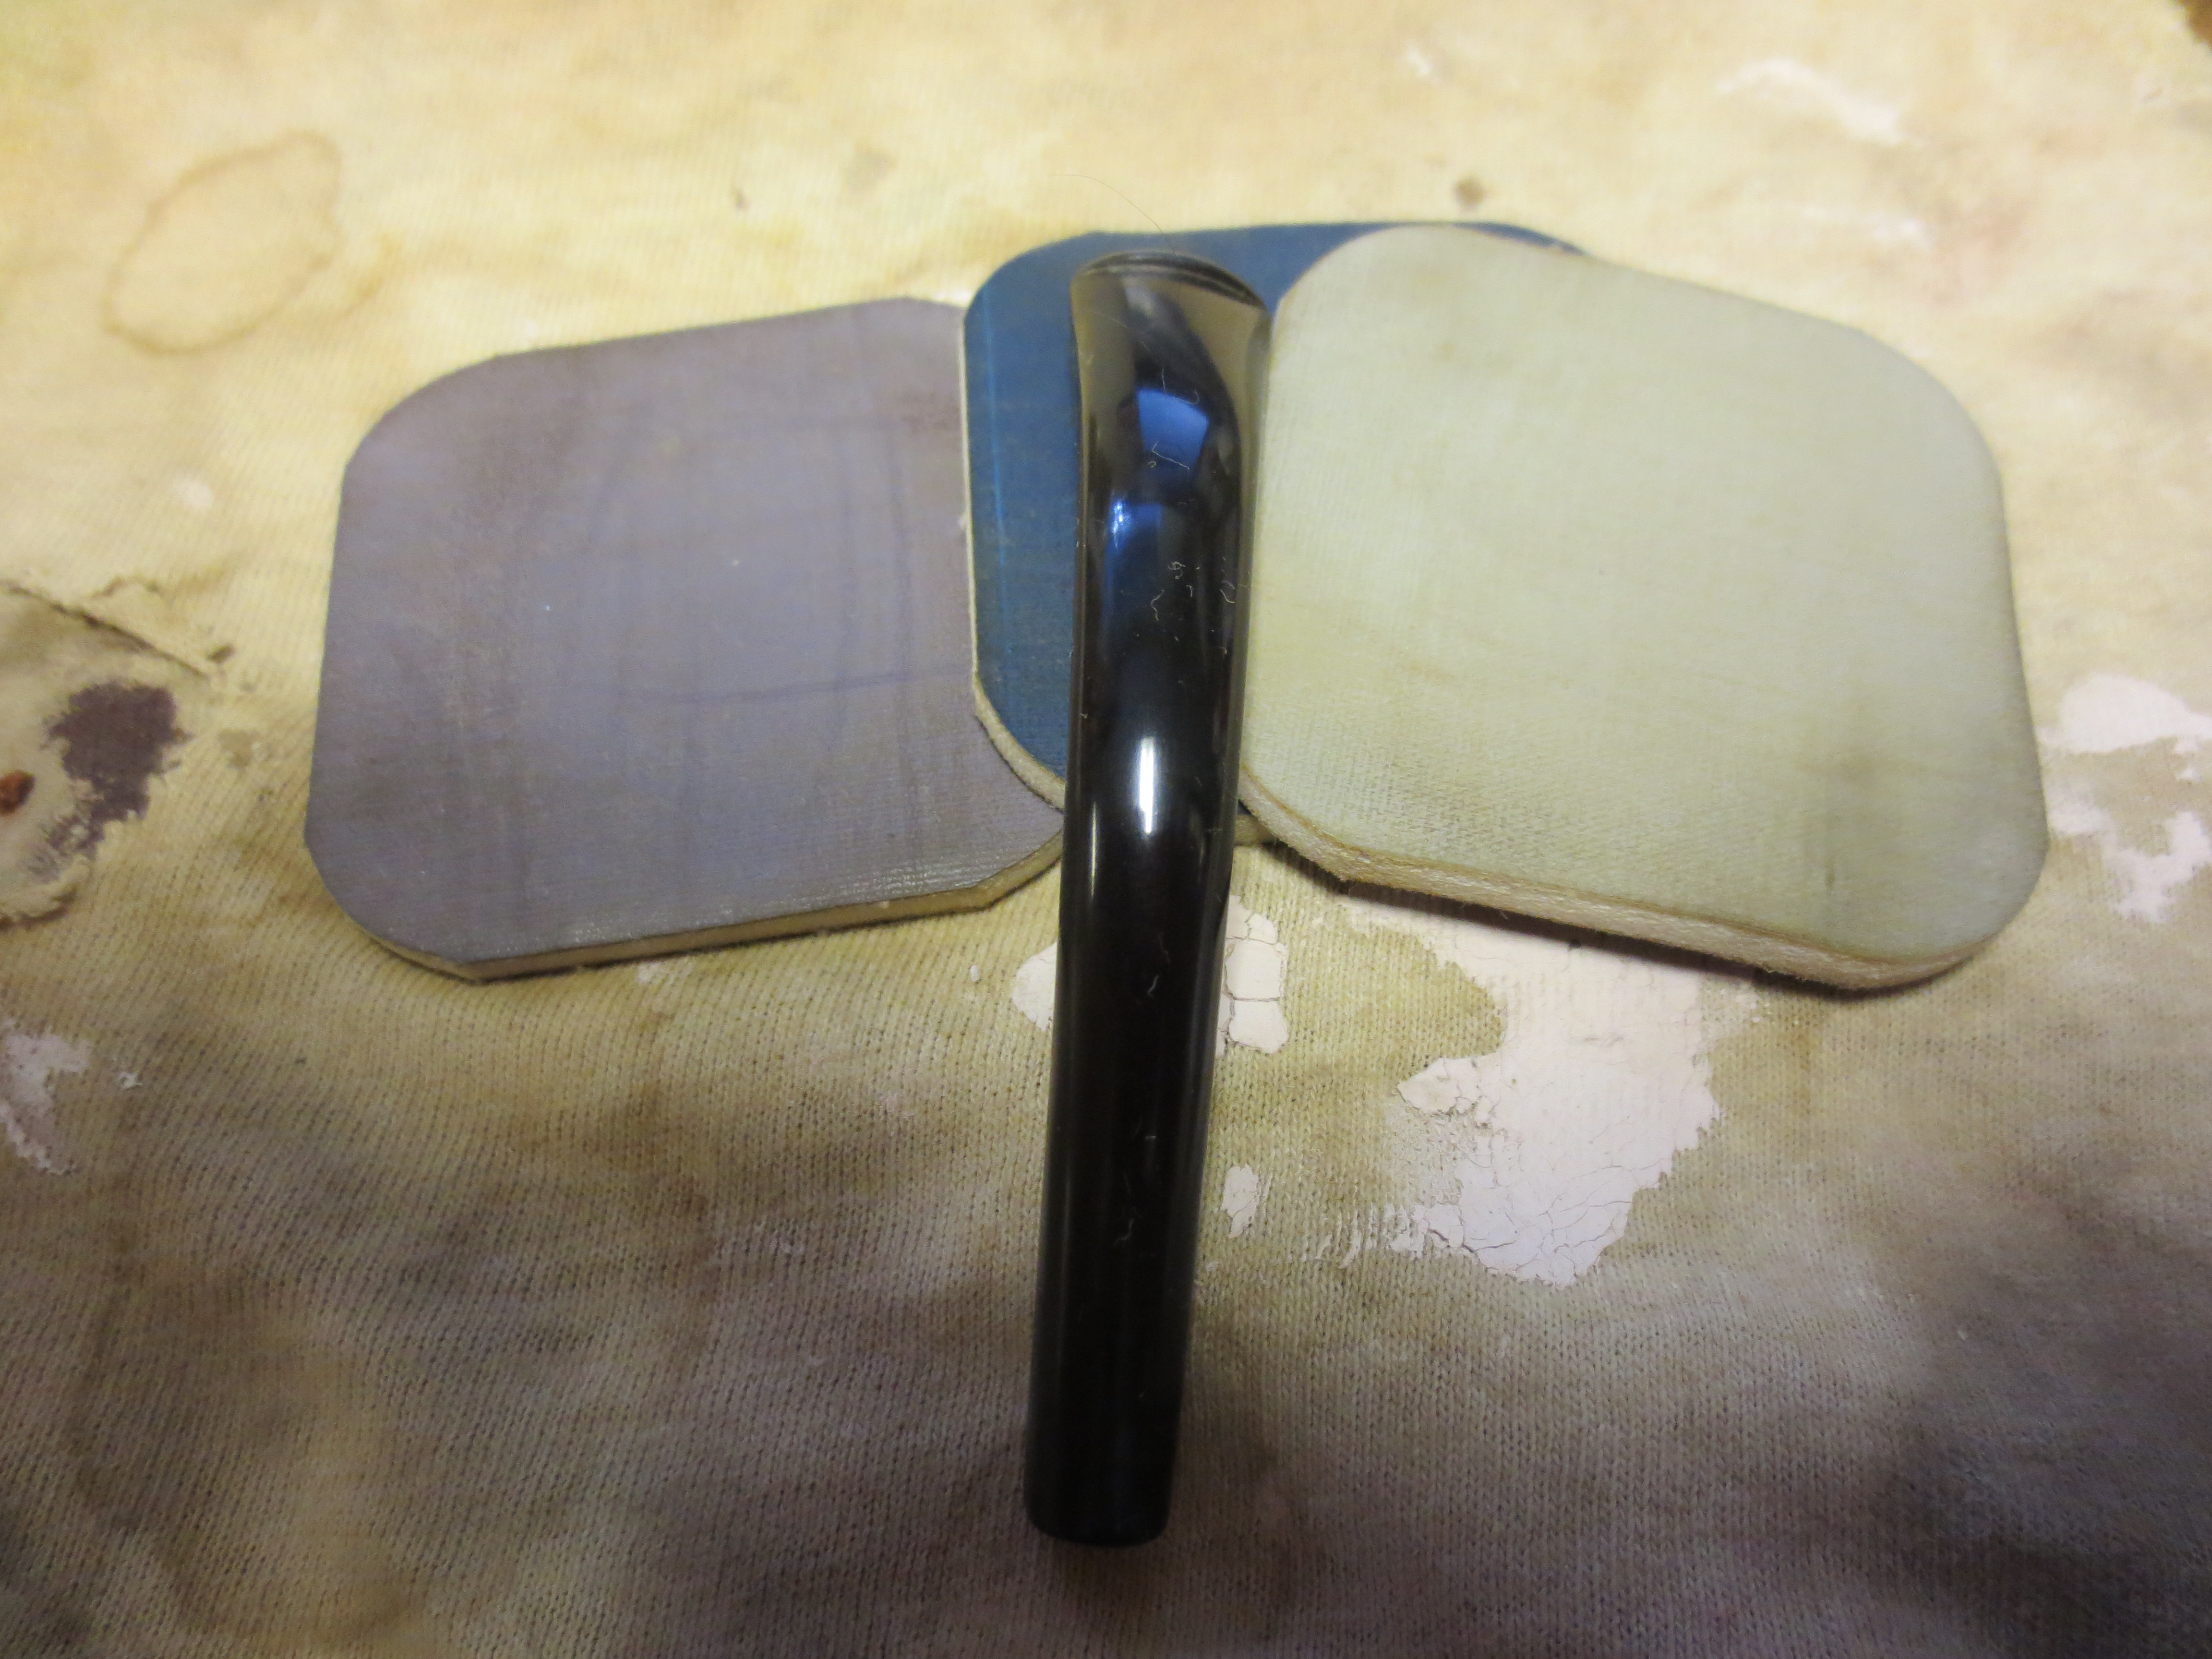
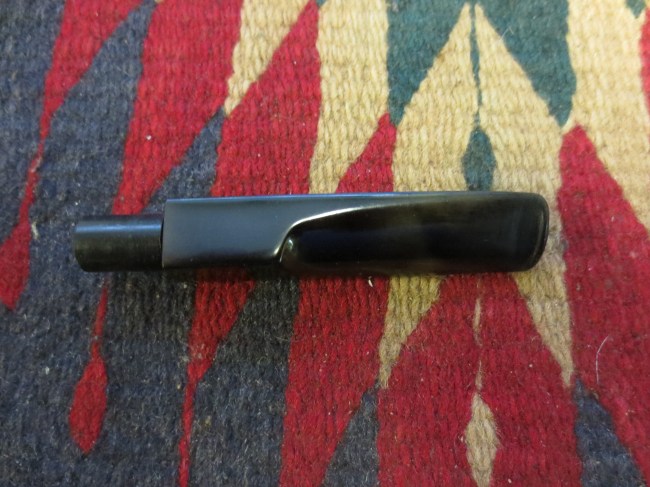
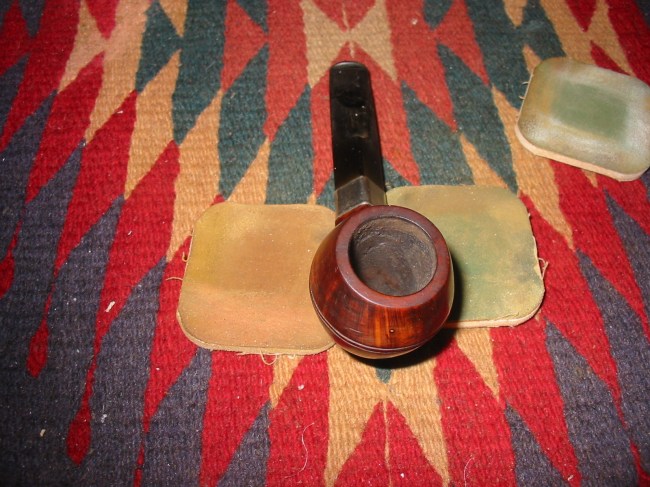
The next series of photos show the progress of sanding with the micromesh pads from 1500 – 12,000 grit. The first four photos show the stem after I wet sanded with the 1500, 1800 and 2400 grit micromesh. After wet sanding I polished the stem with some Maguiar’s Scratch X2.0 and then took it to the buffer and buffed the stem with Tripoli and White Diamond.

ImageImageImageImage

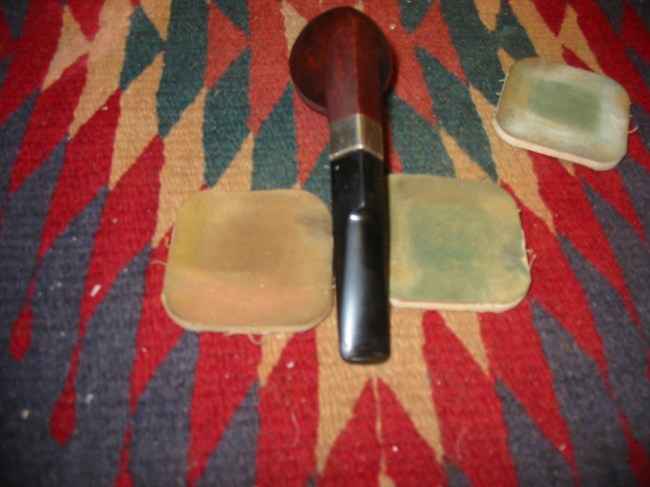
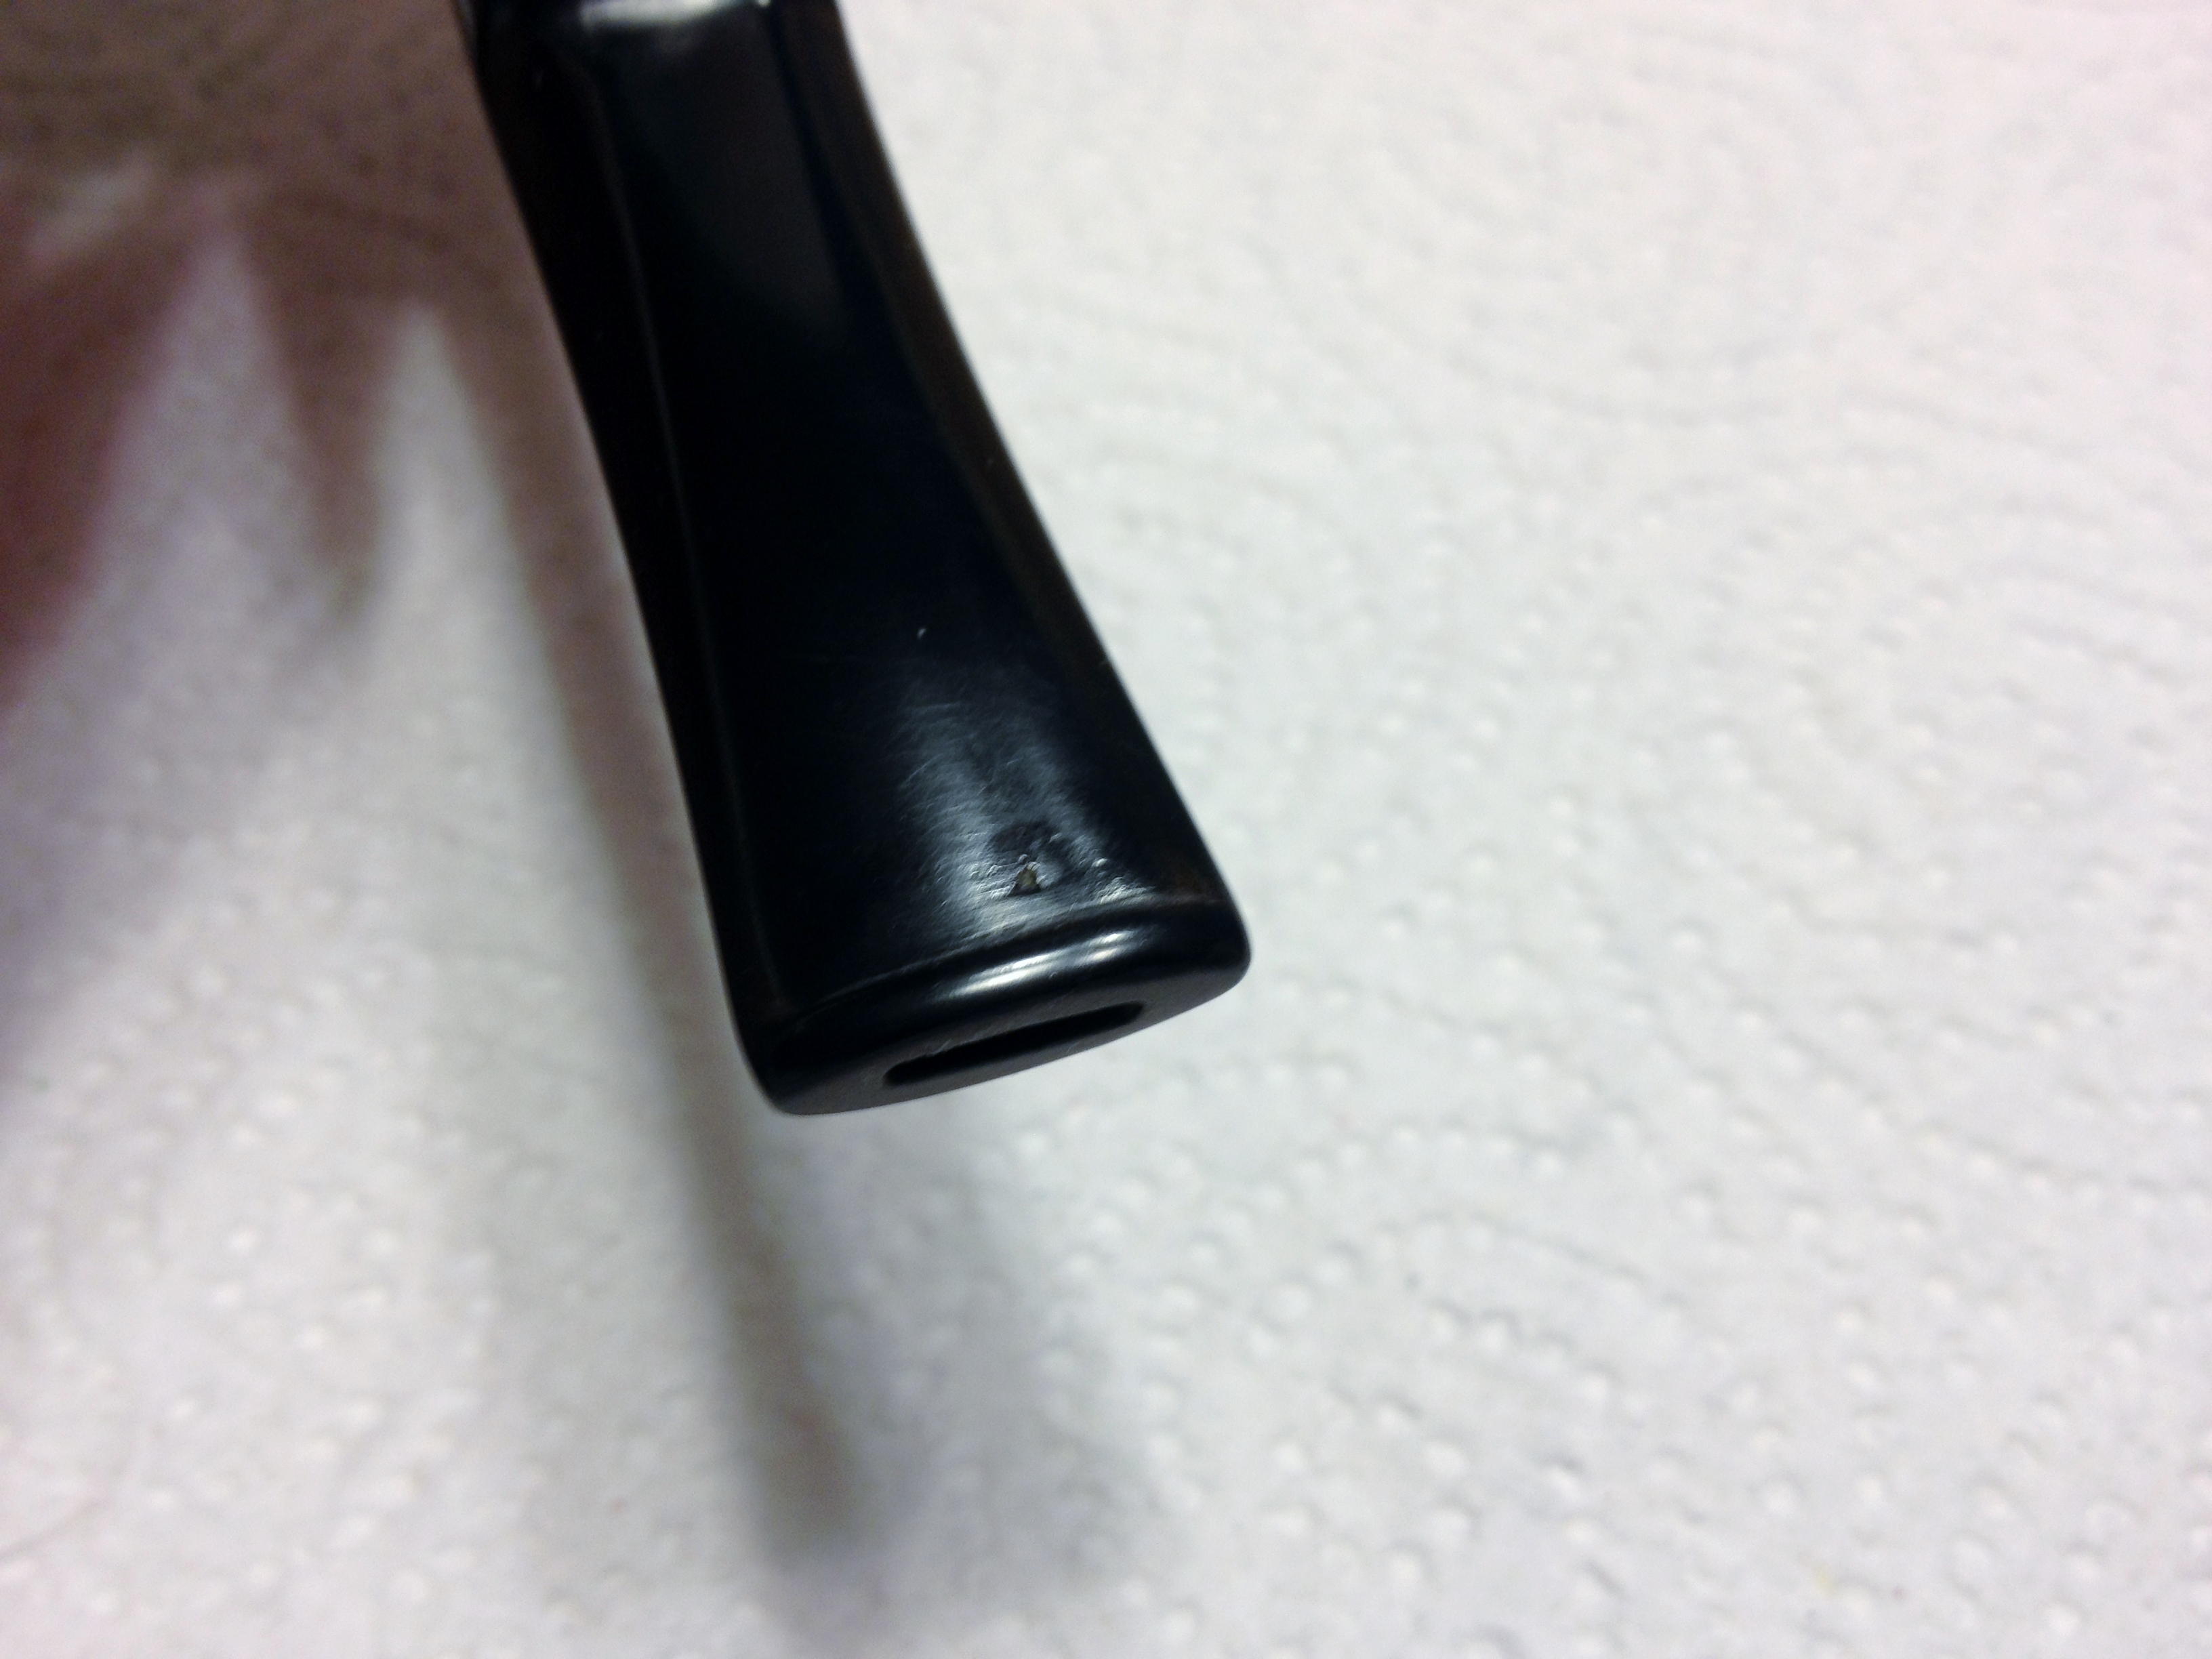
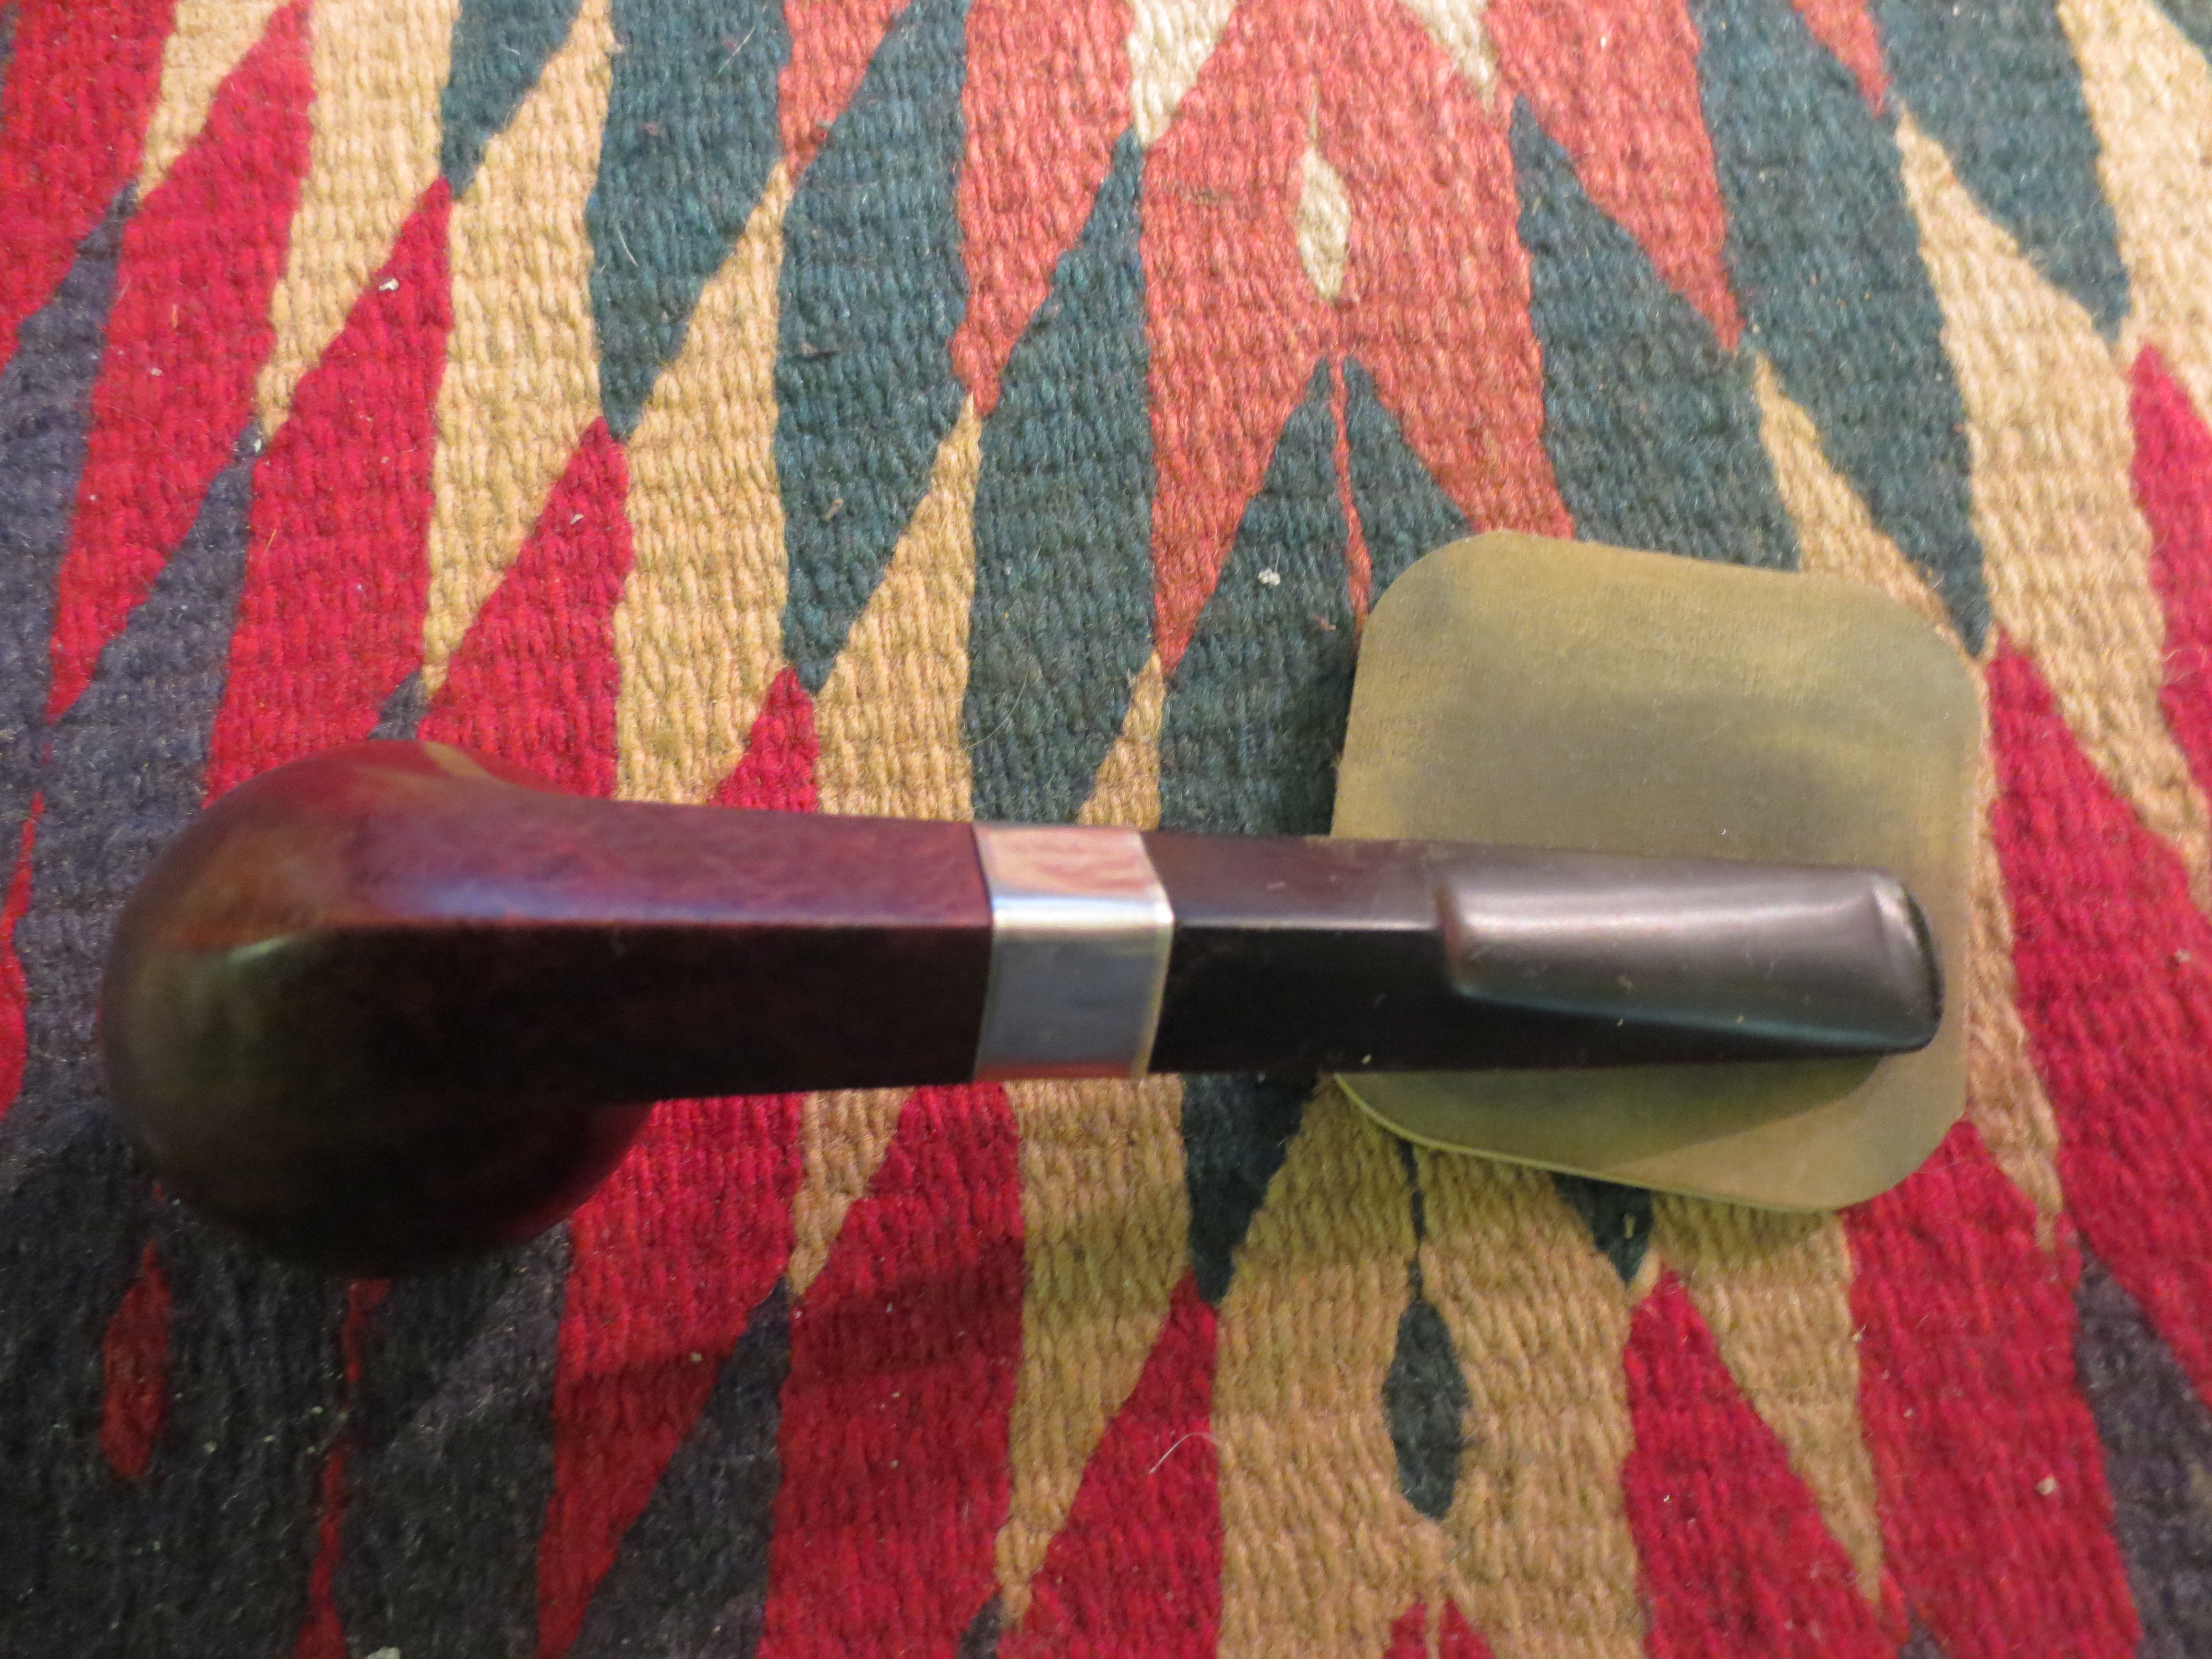
I then dry sanded with 3200 -12,000 grit micromesh sanding pads. The next series of seven photos show the progress of the developing shine on the stem. Once I finished with the 12,000 grit pad I wiped down the stem with Obsidian Oil and when dry buffed it with White Diamond for a final time. The only thing remaining was a final buff with carnauba wax.

ImageImageImageImageImageImageImage

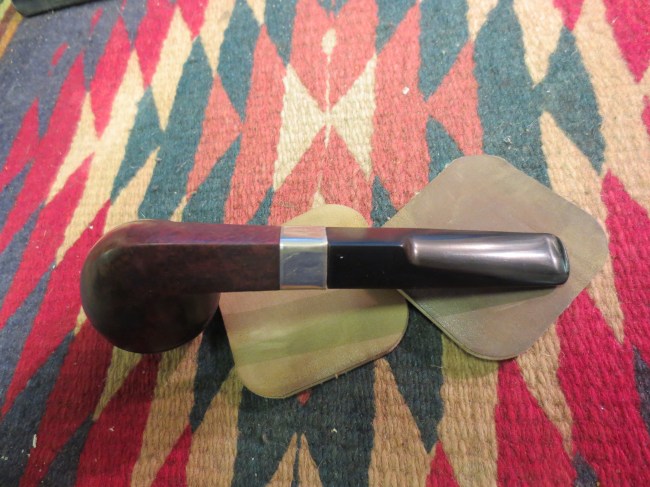
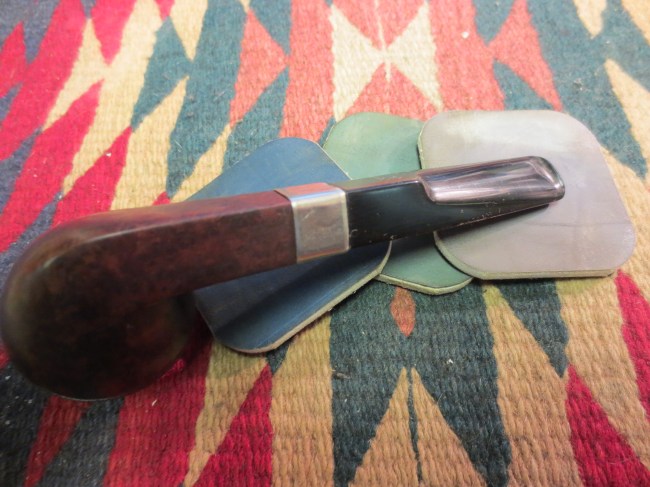
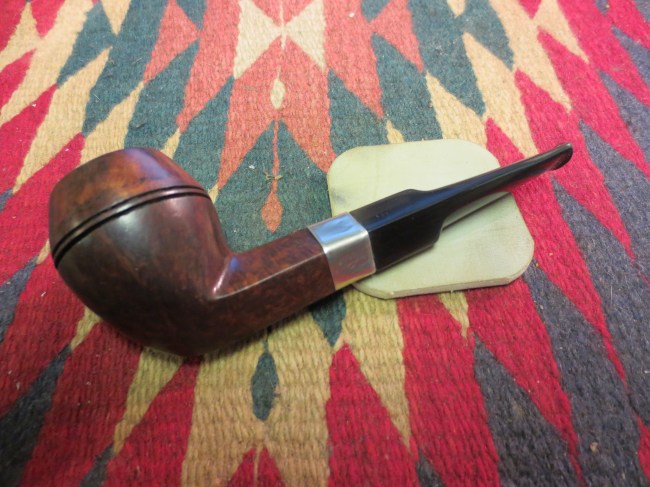
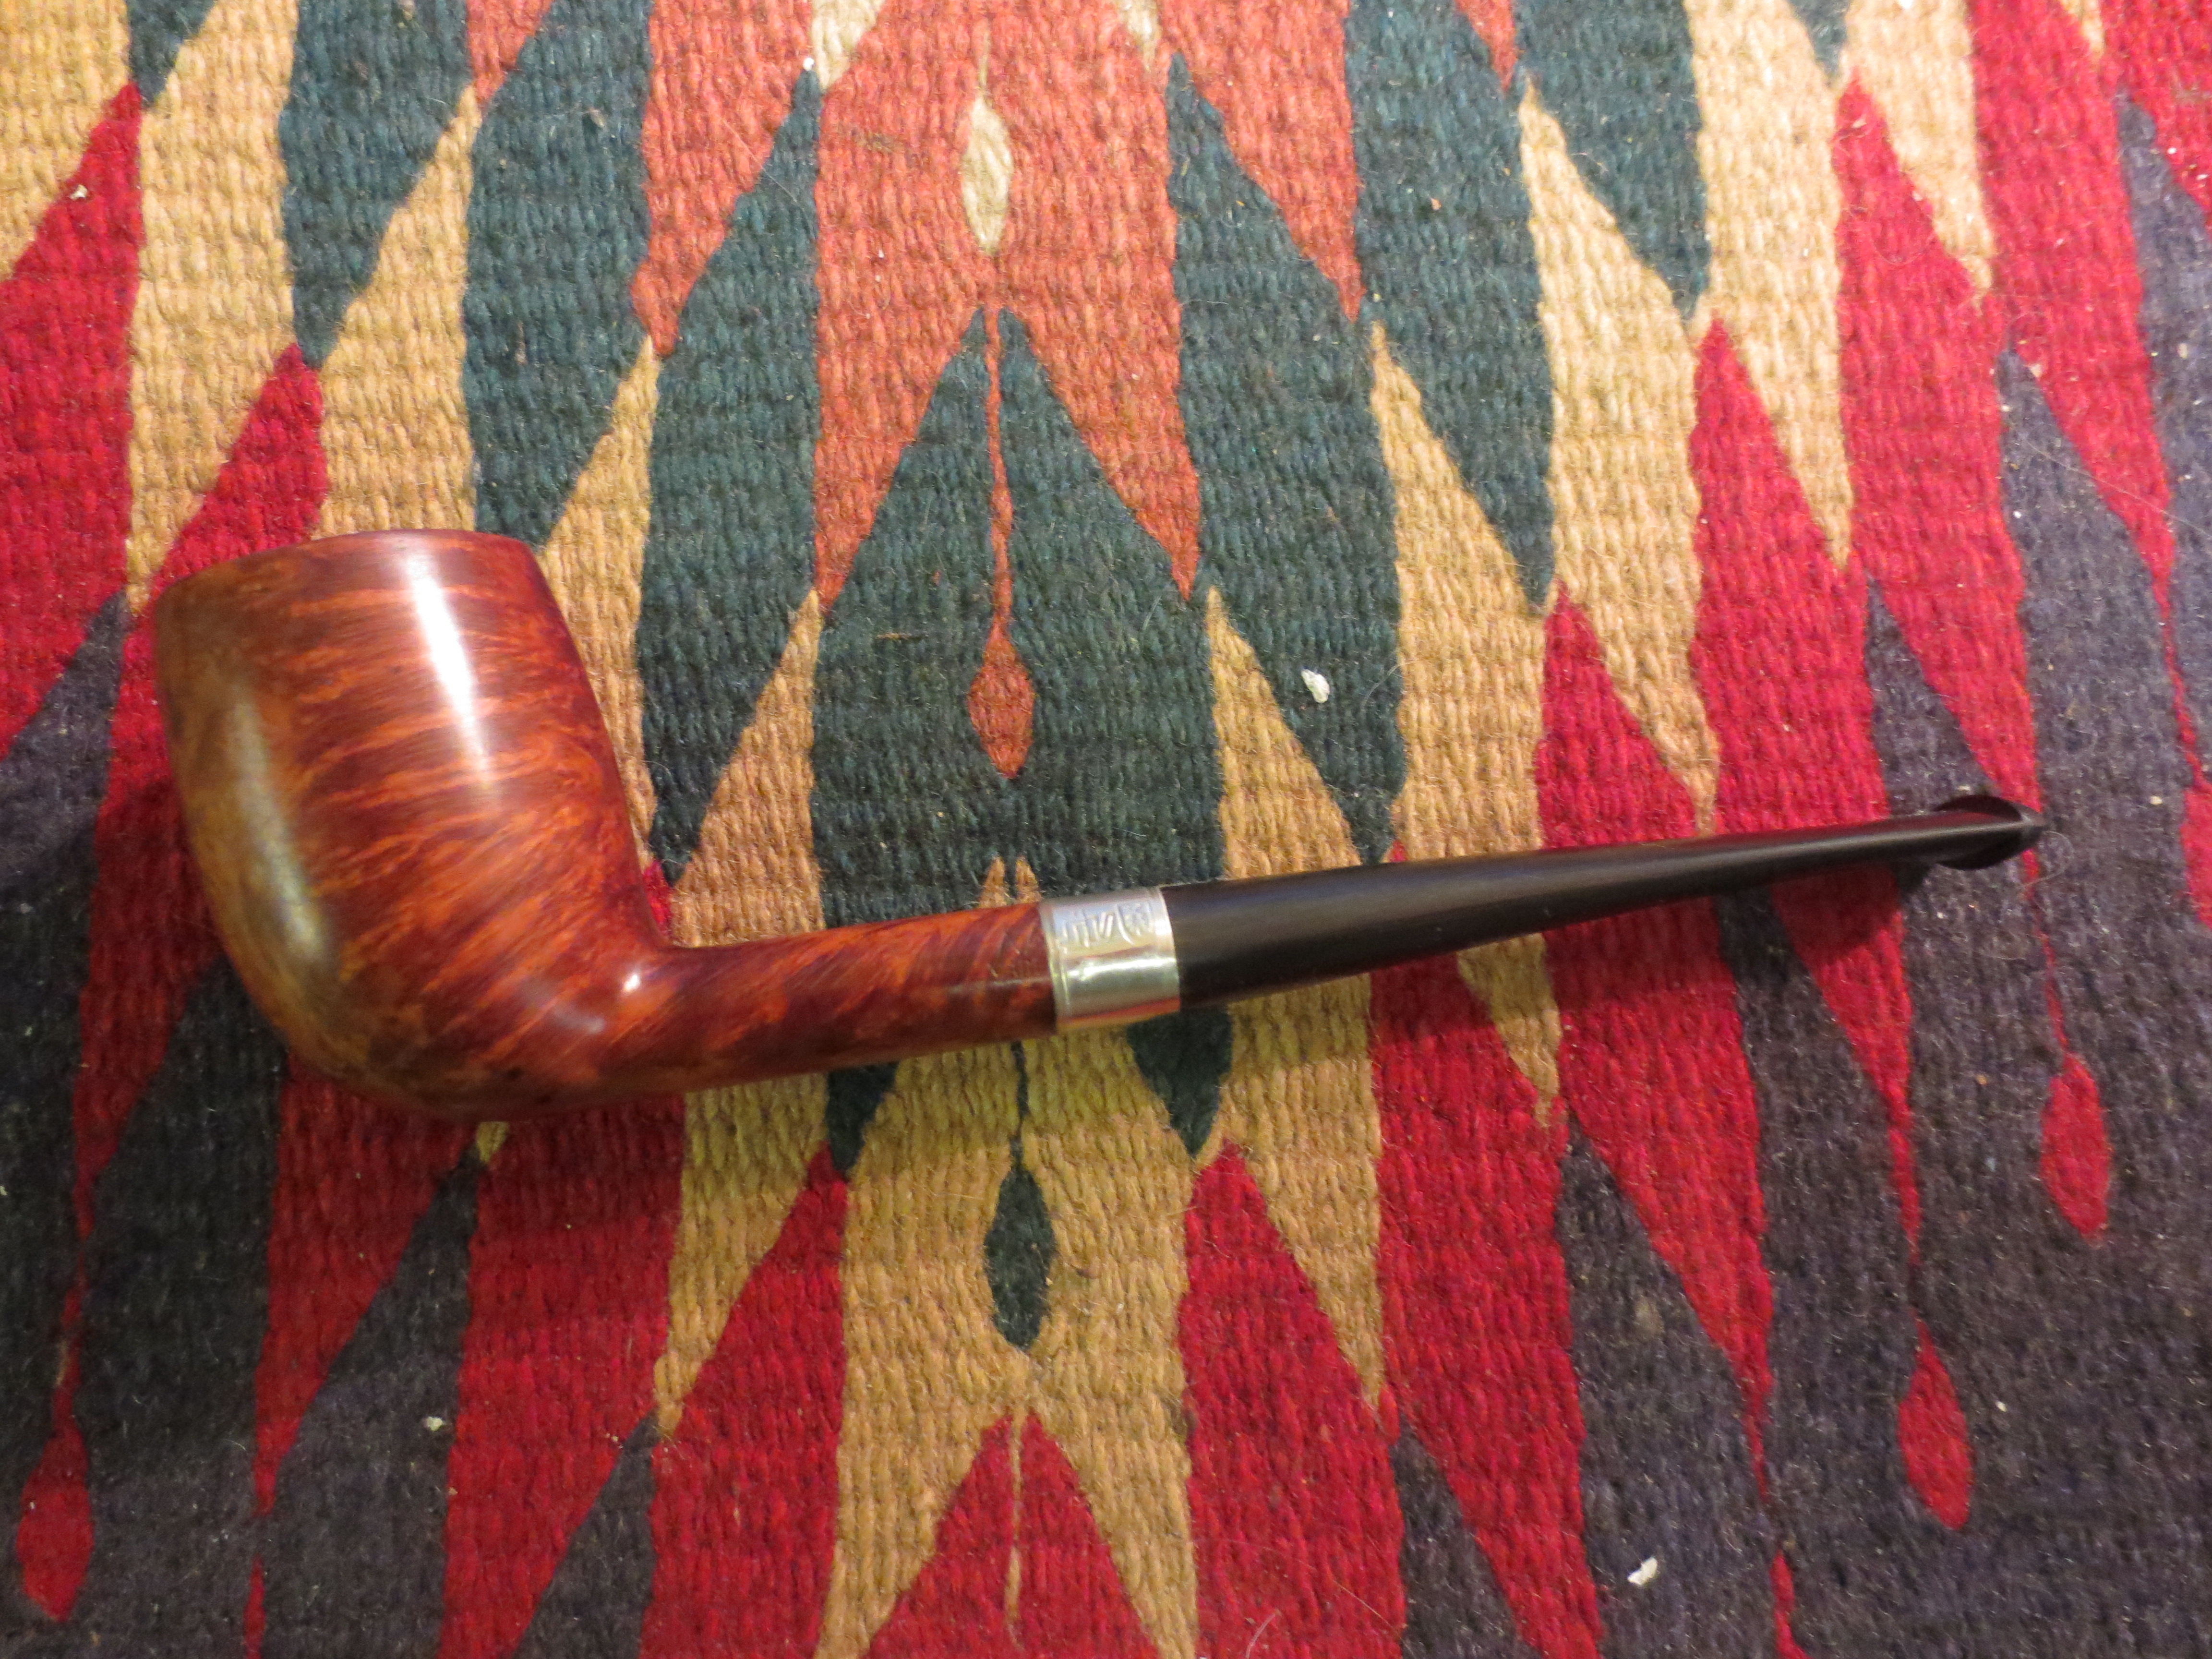
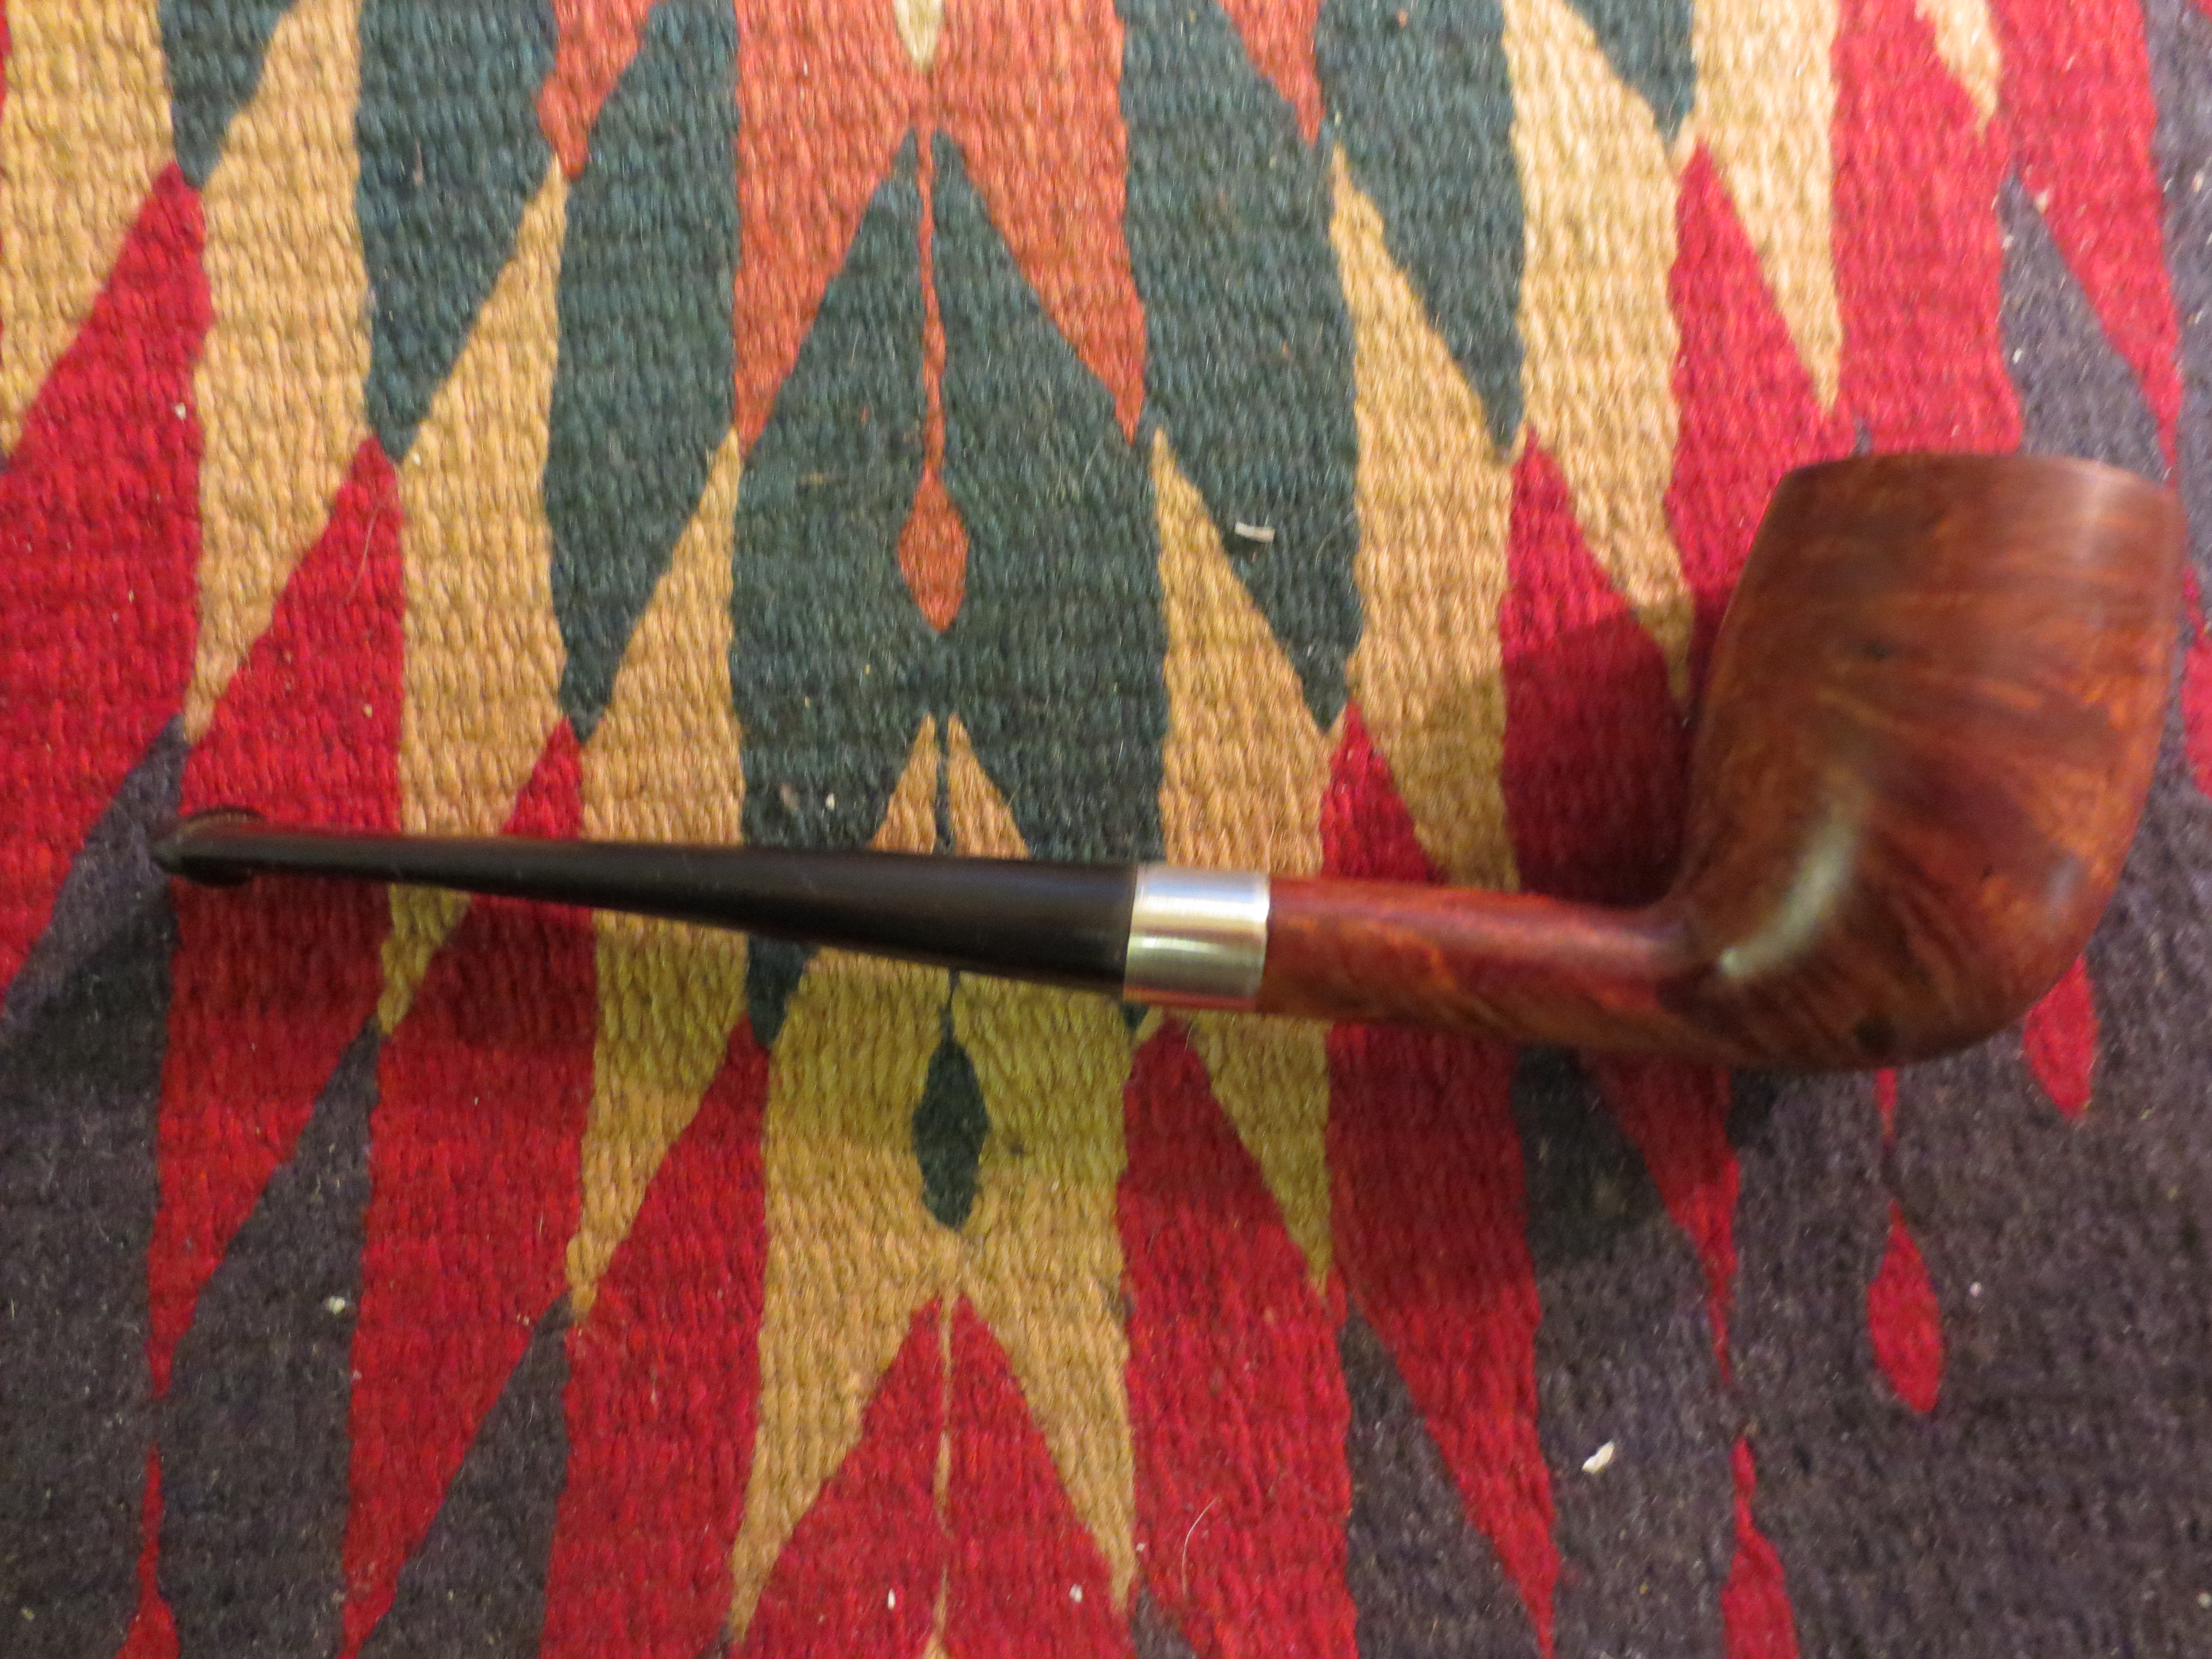
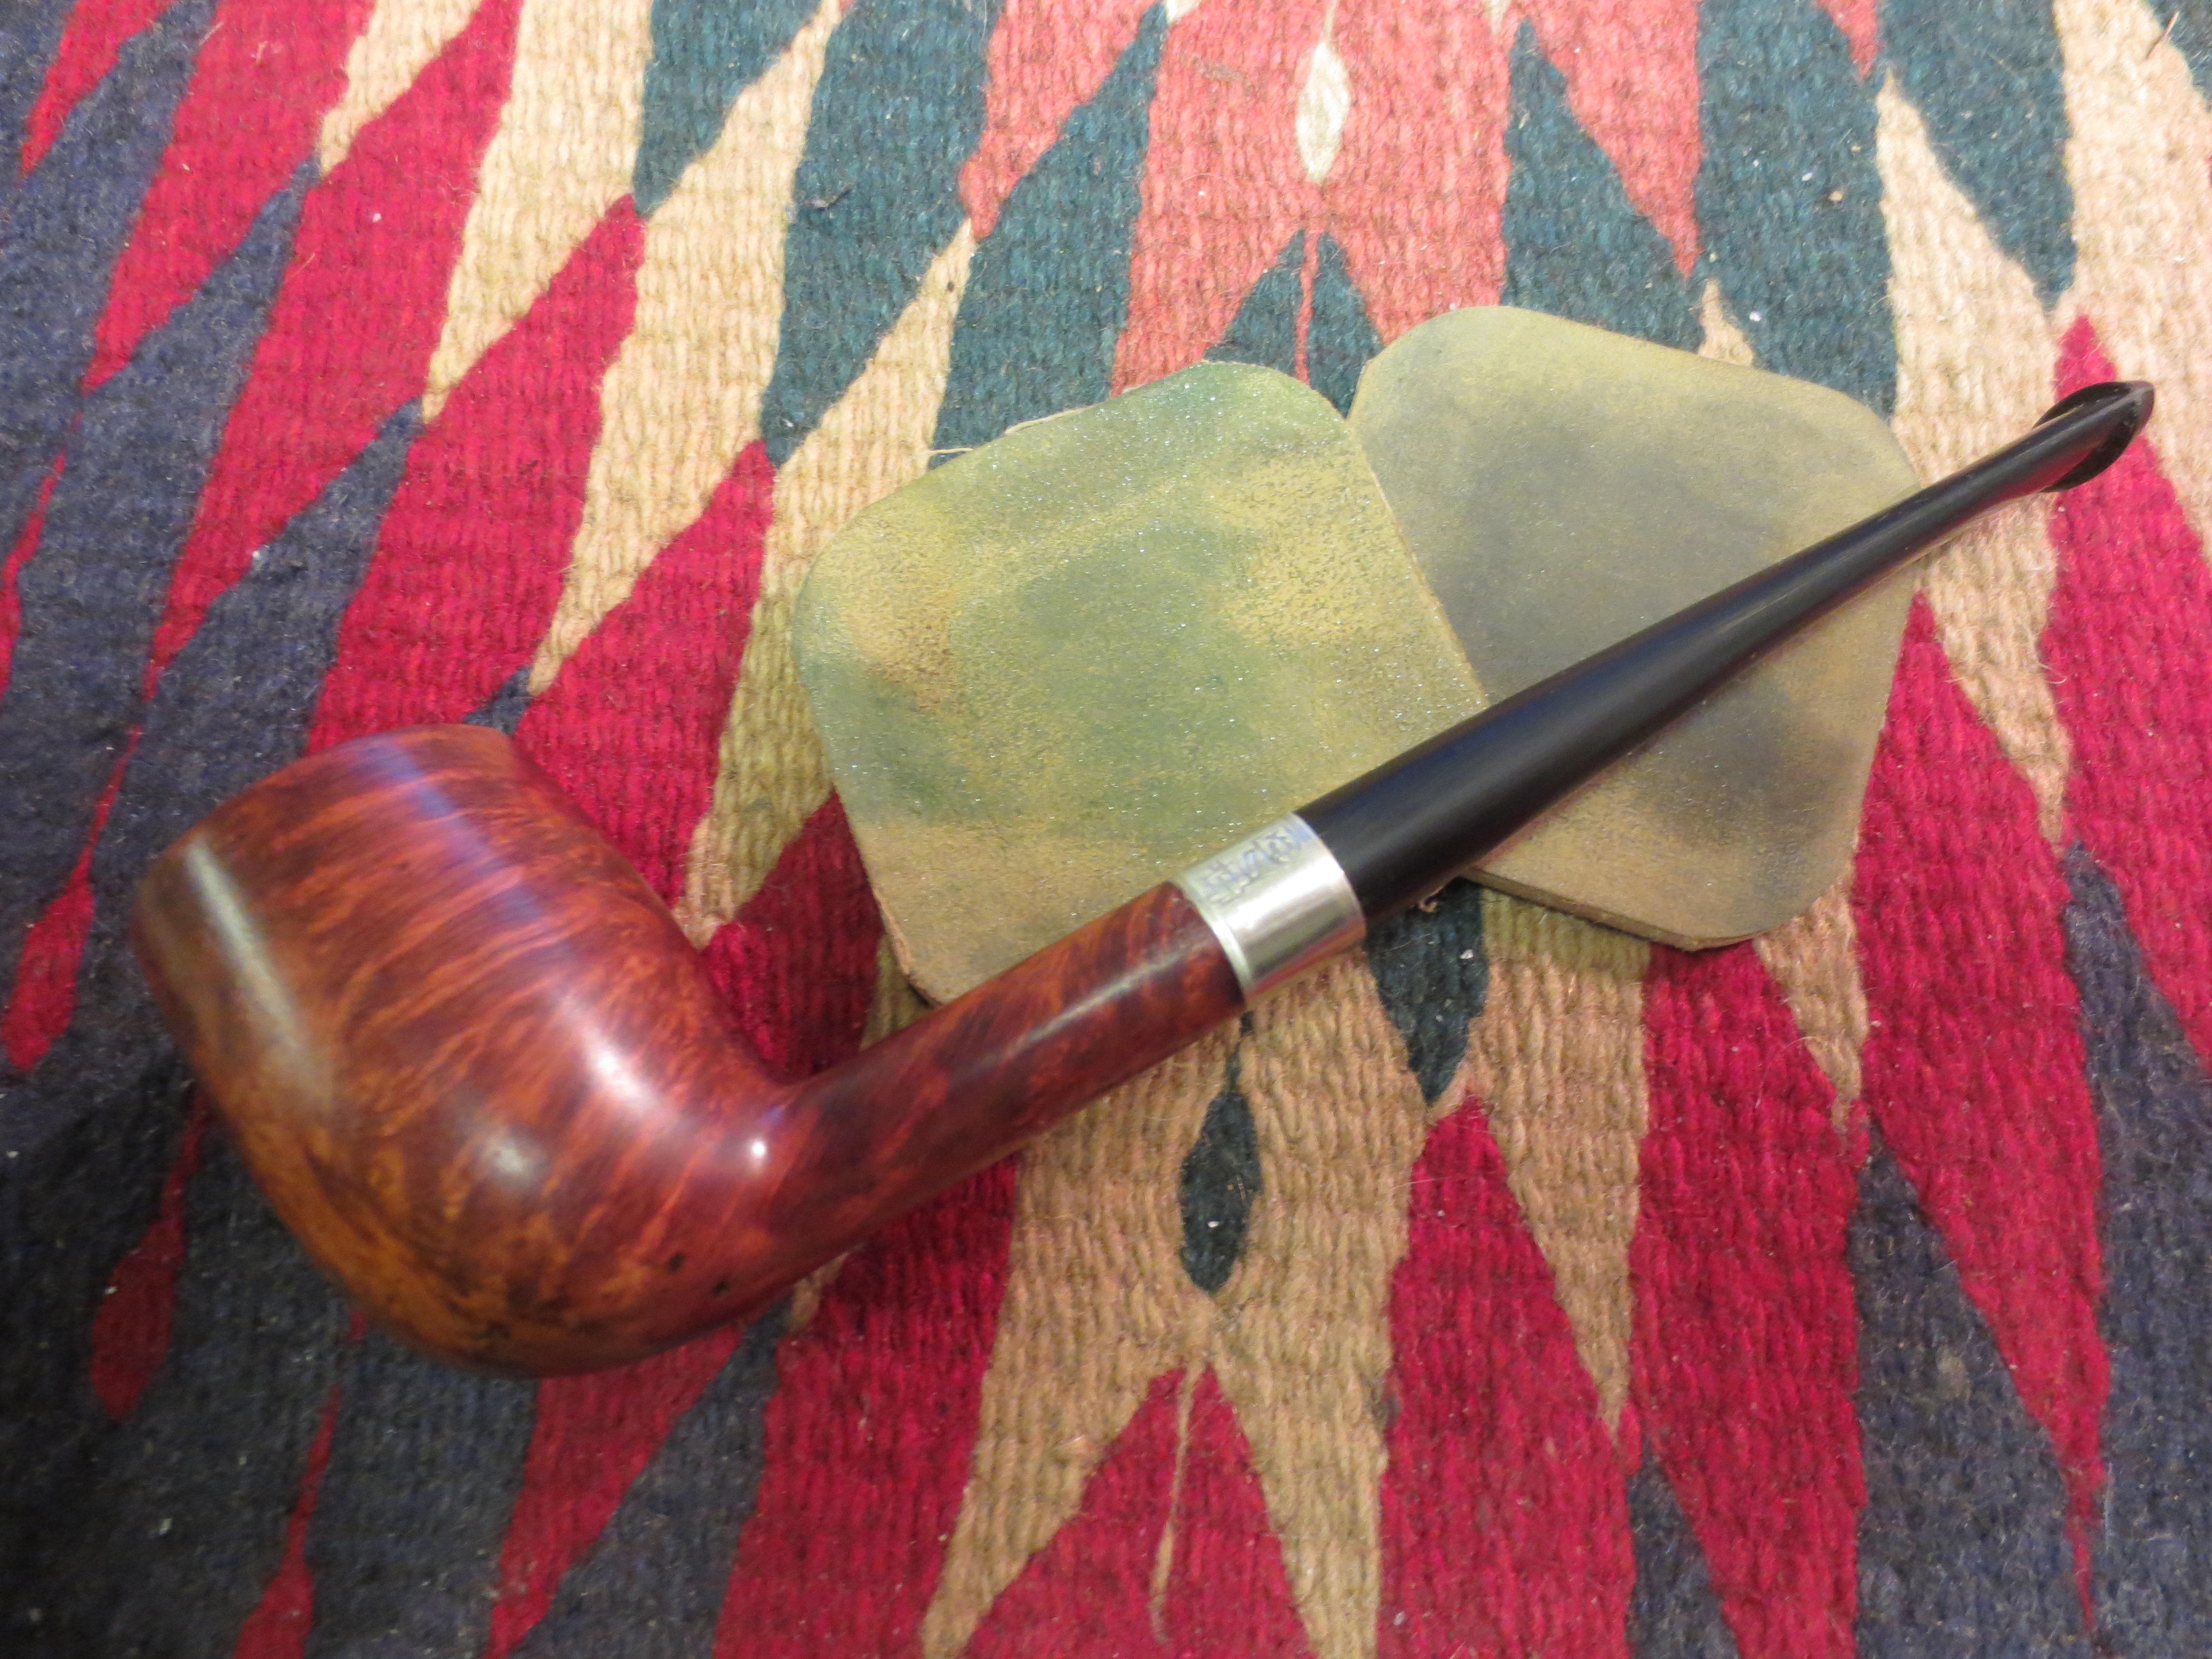
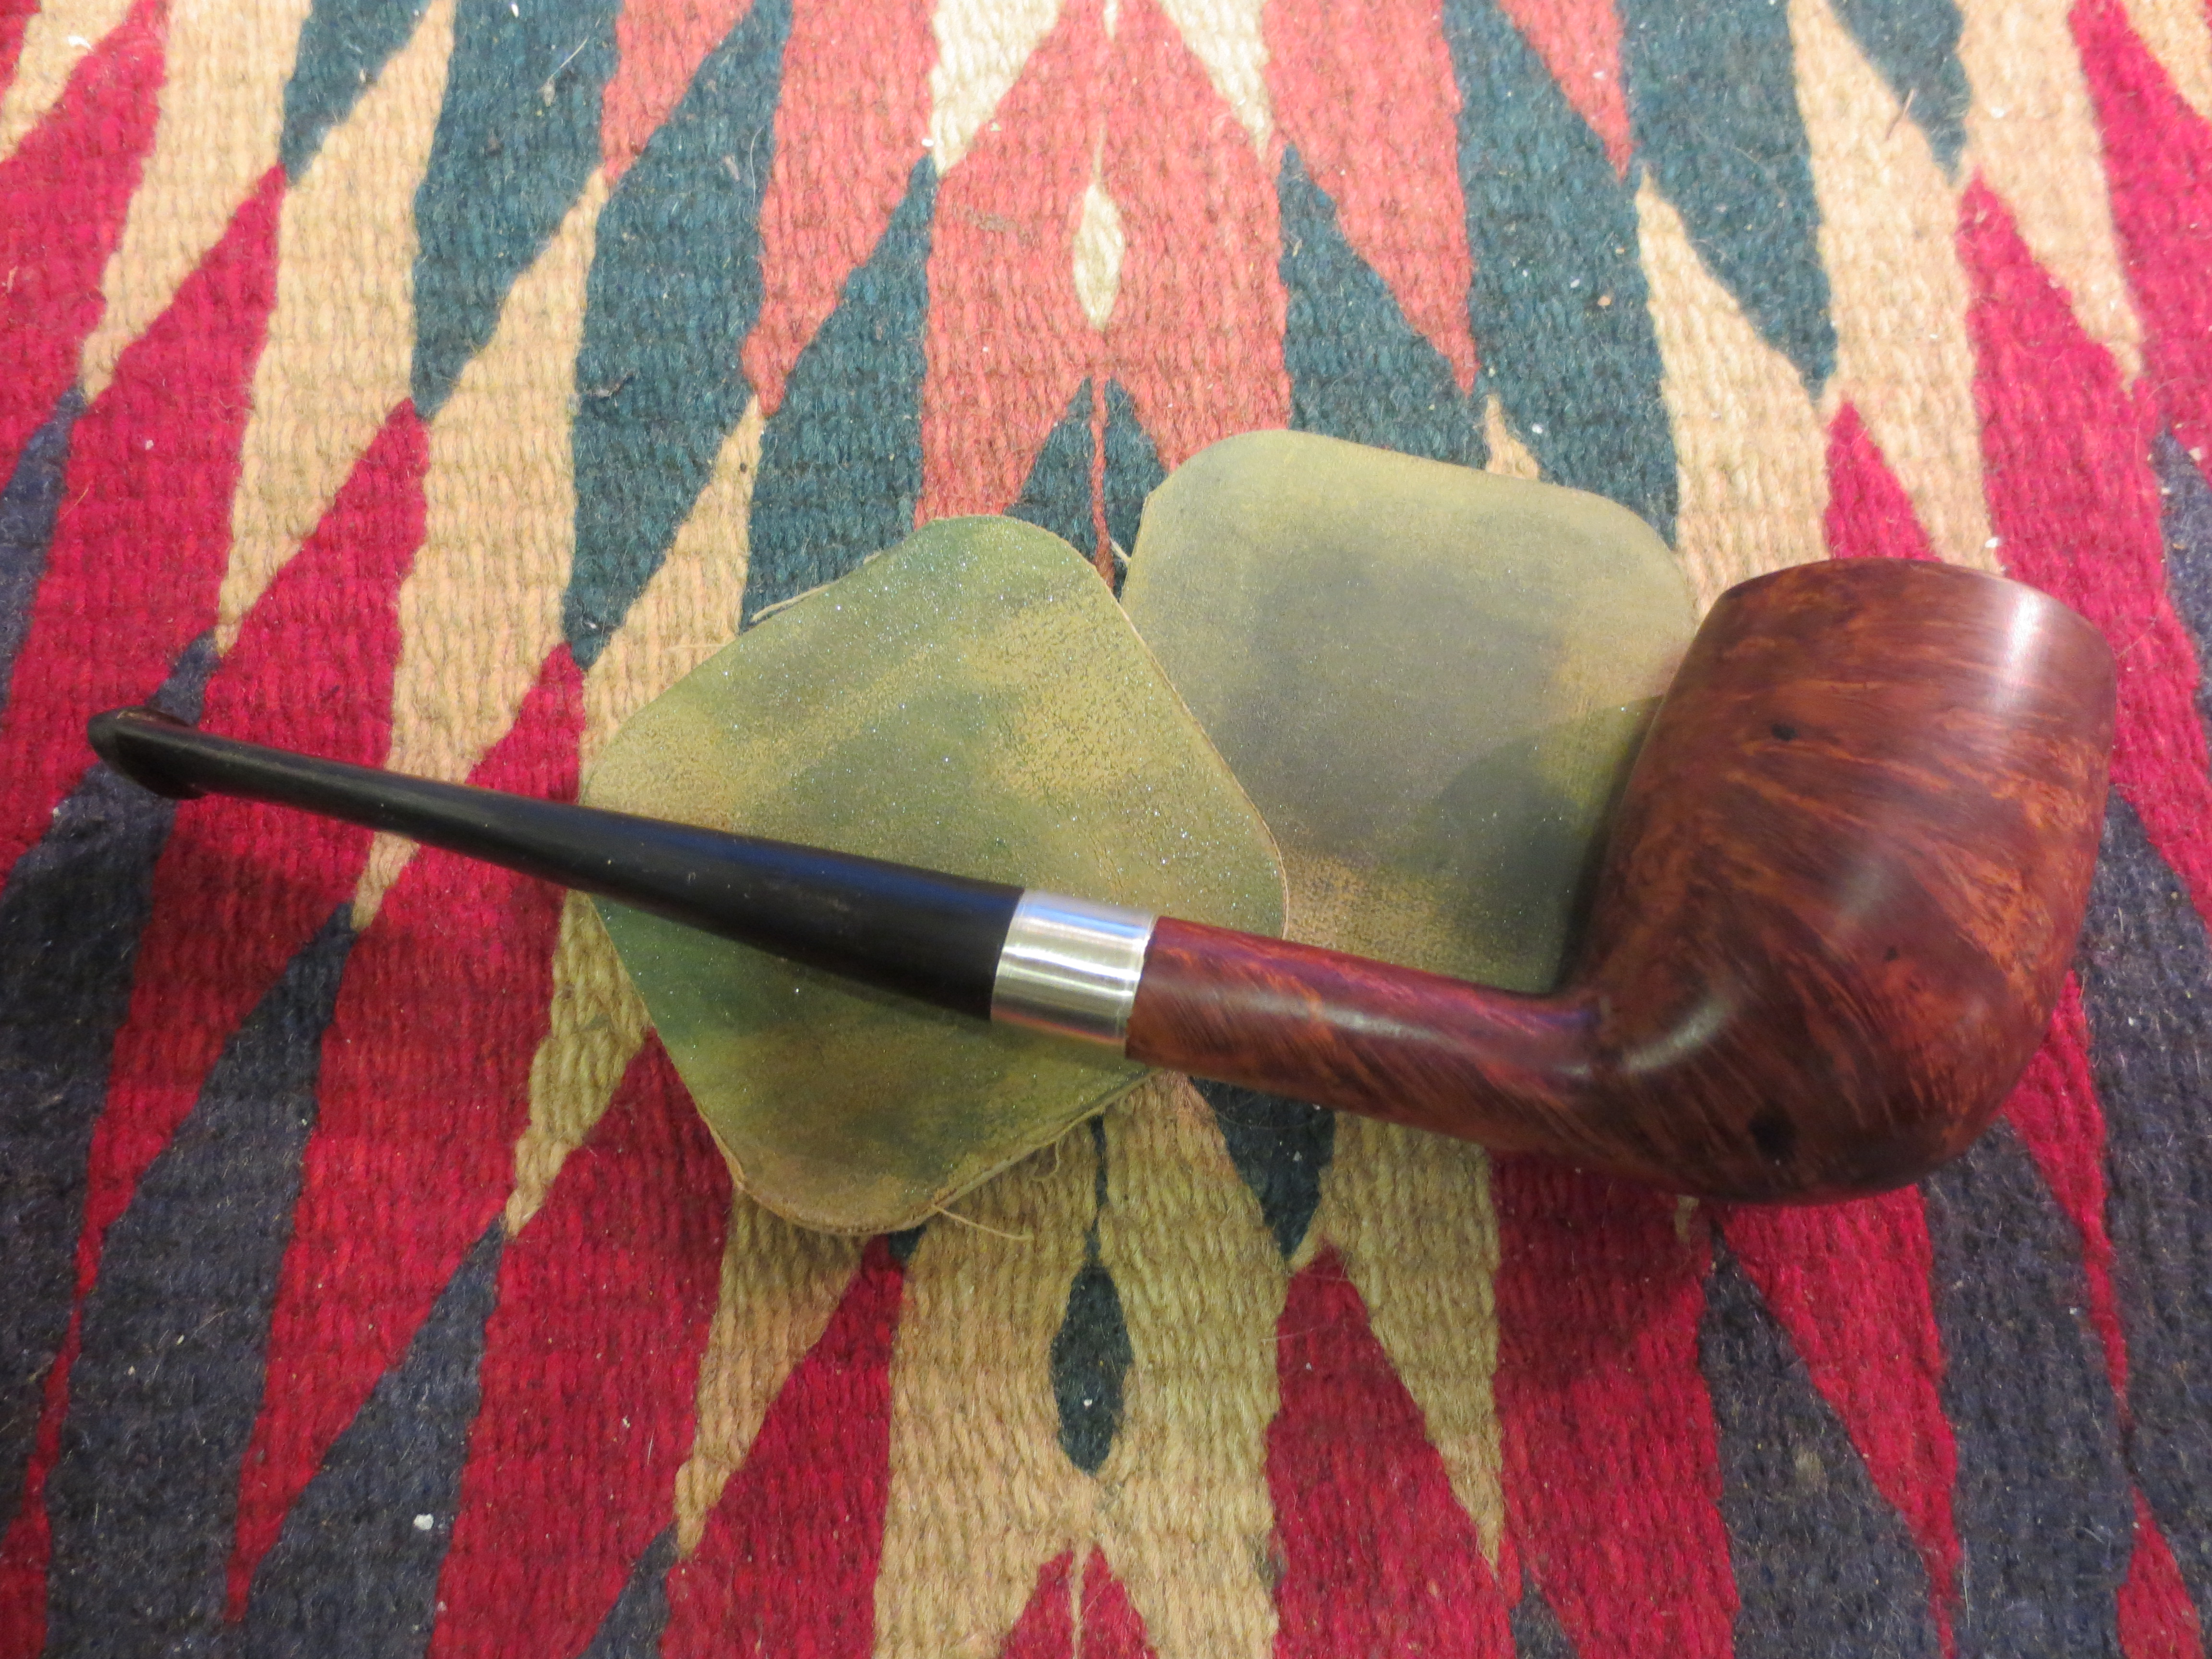
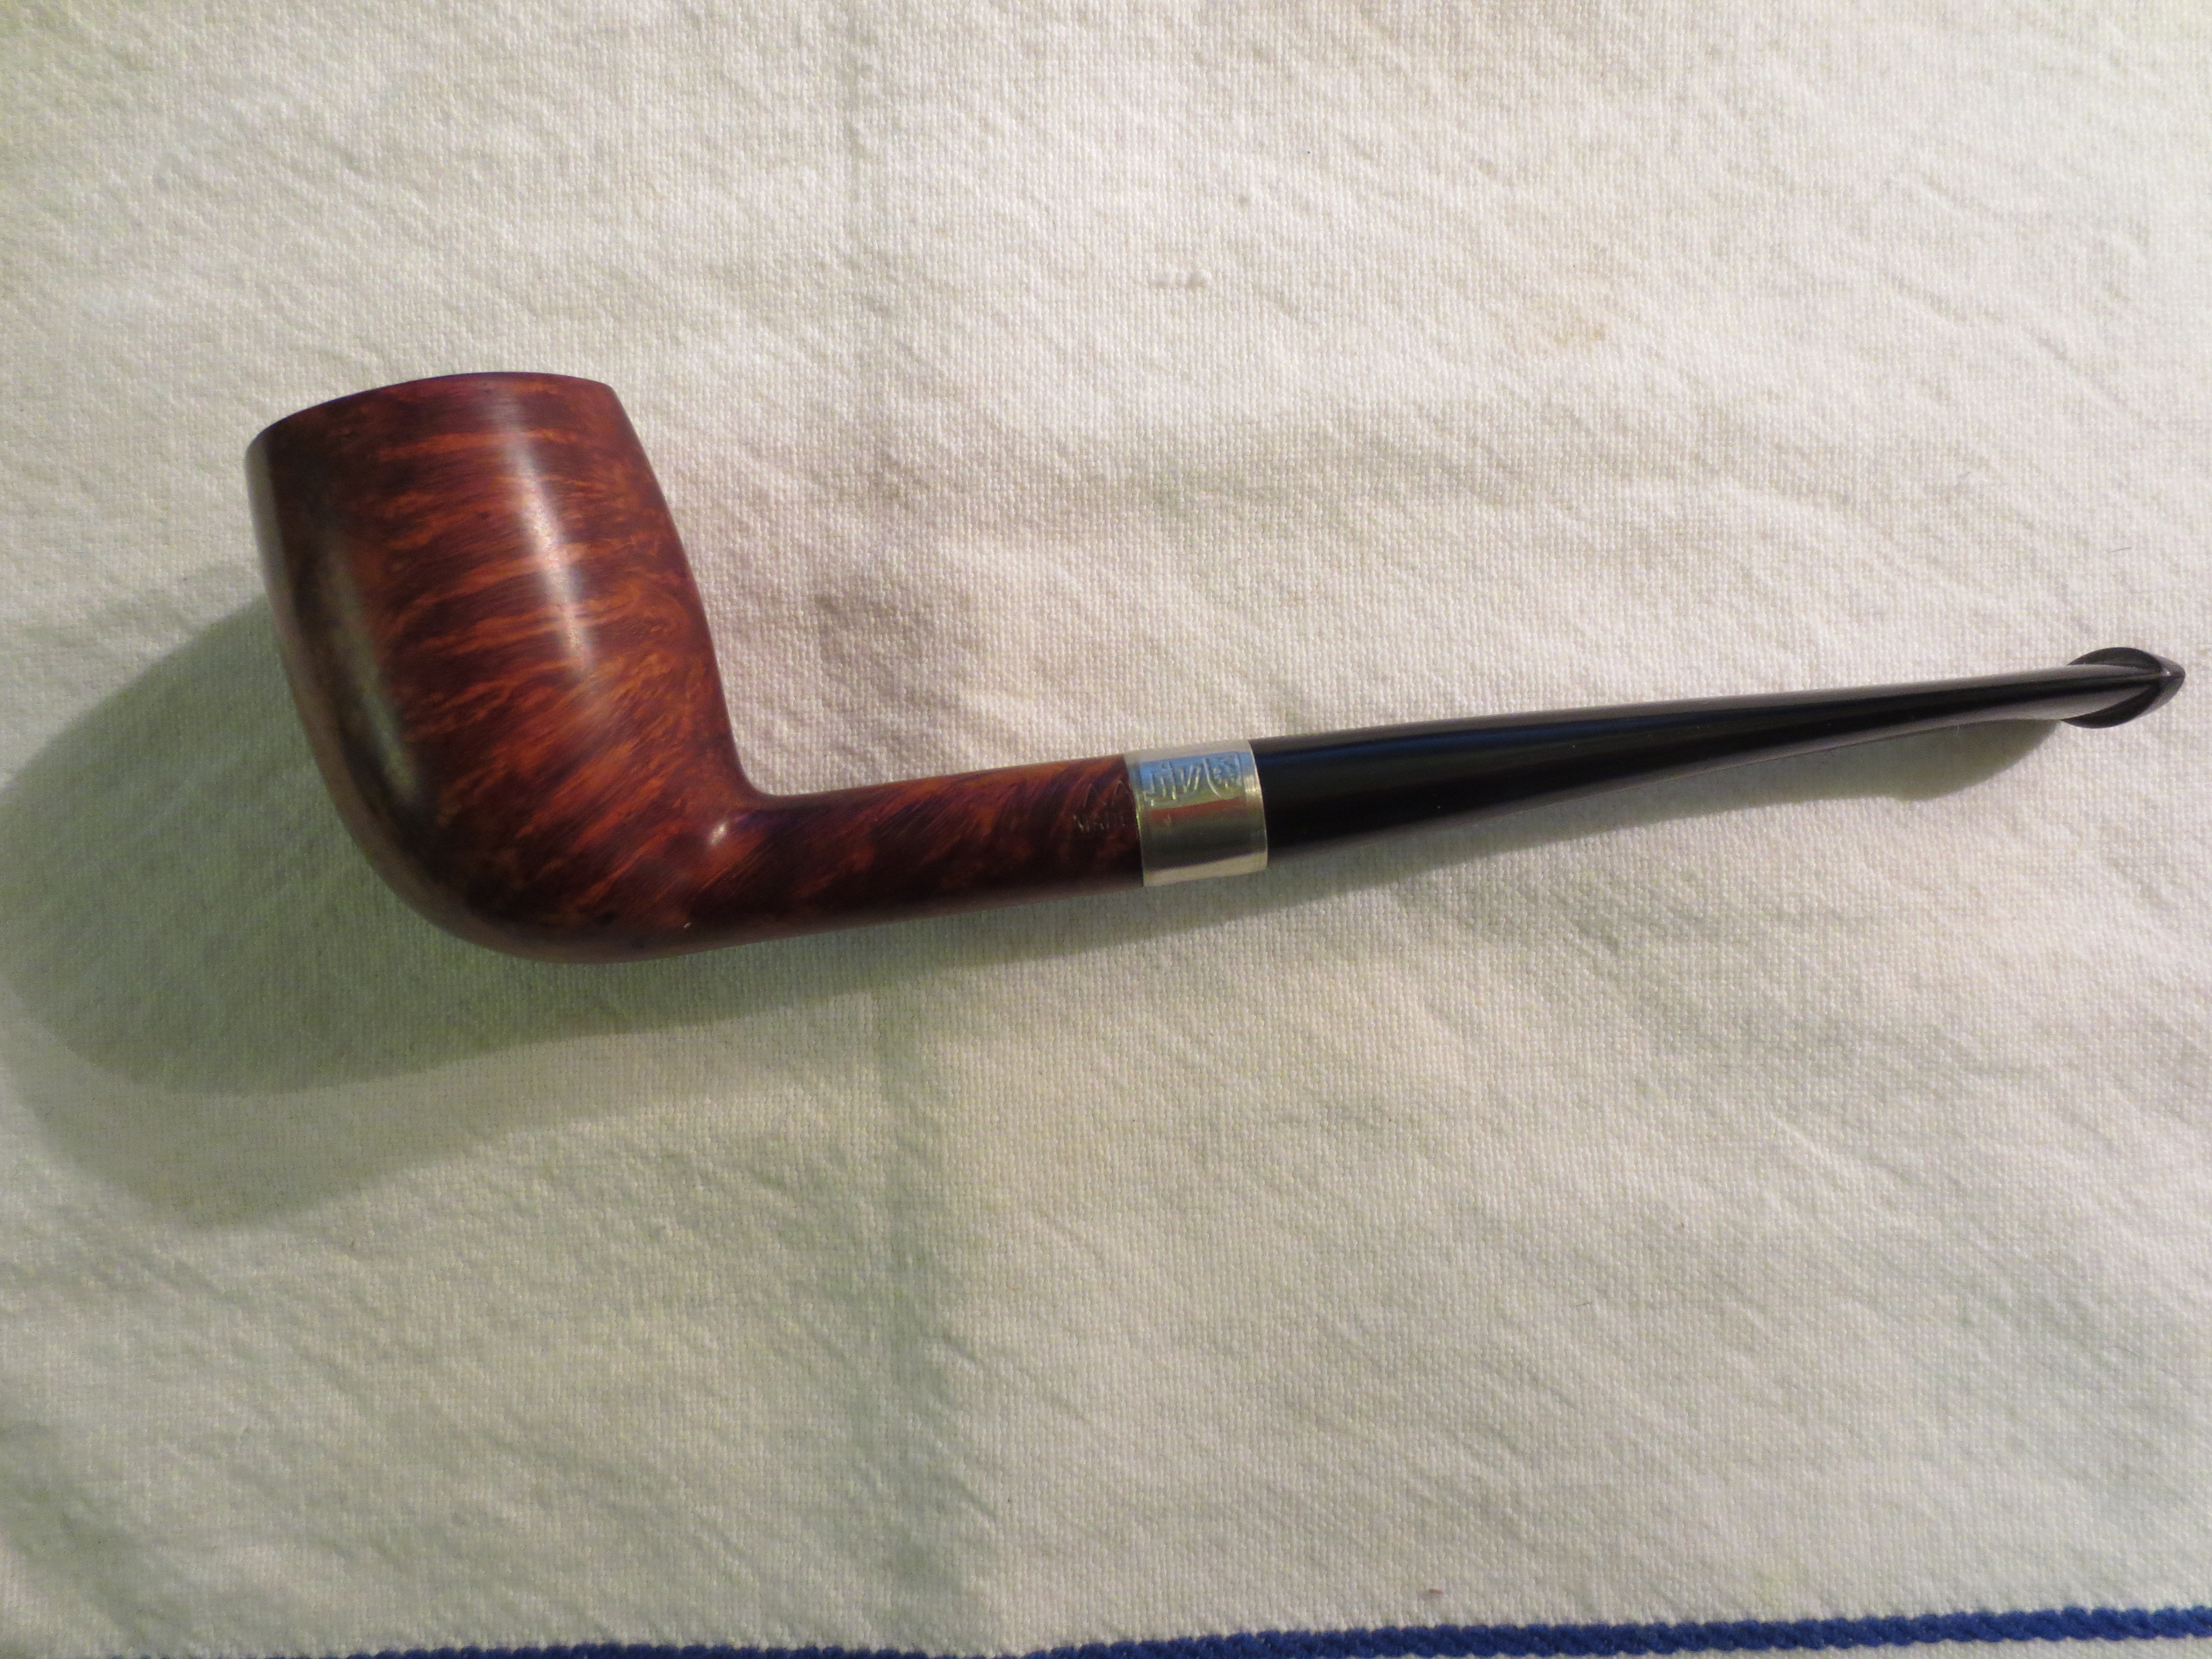
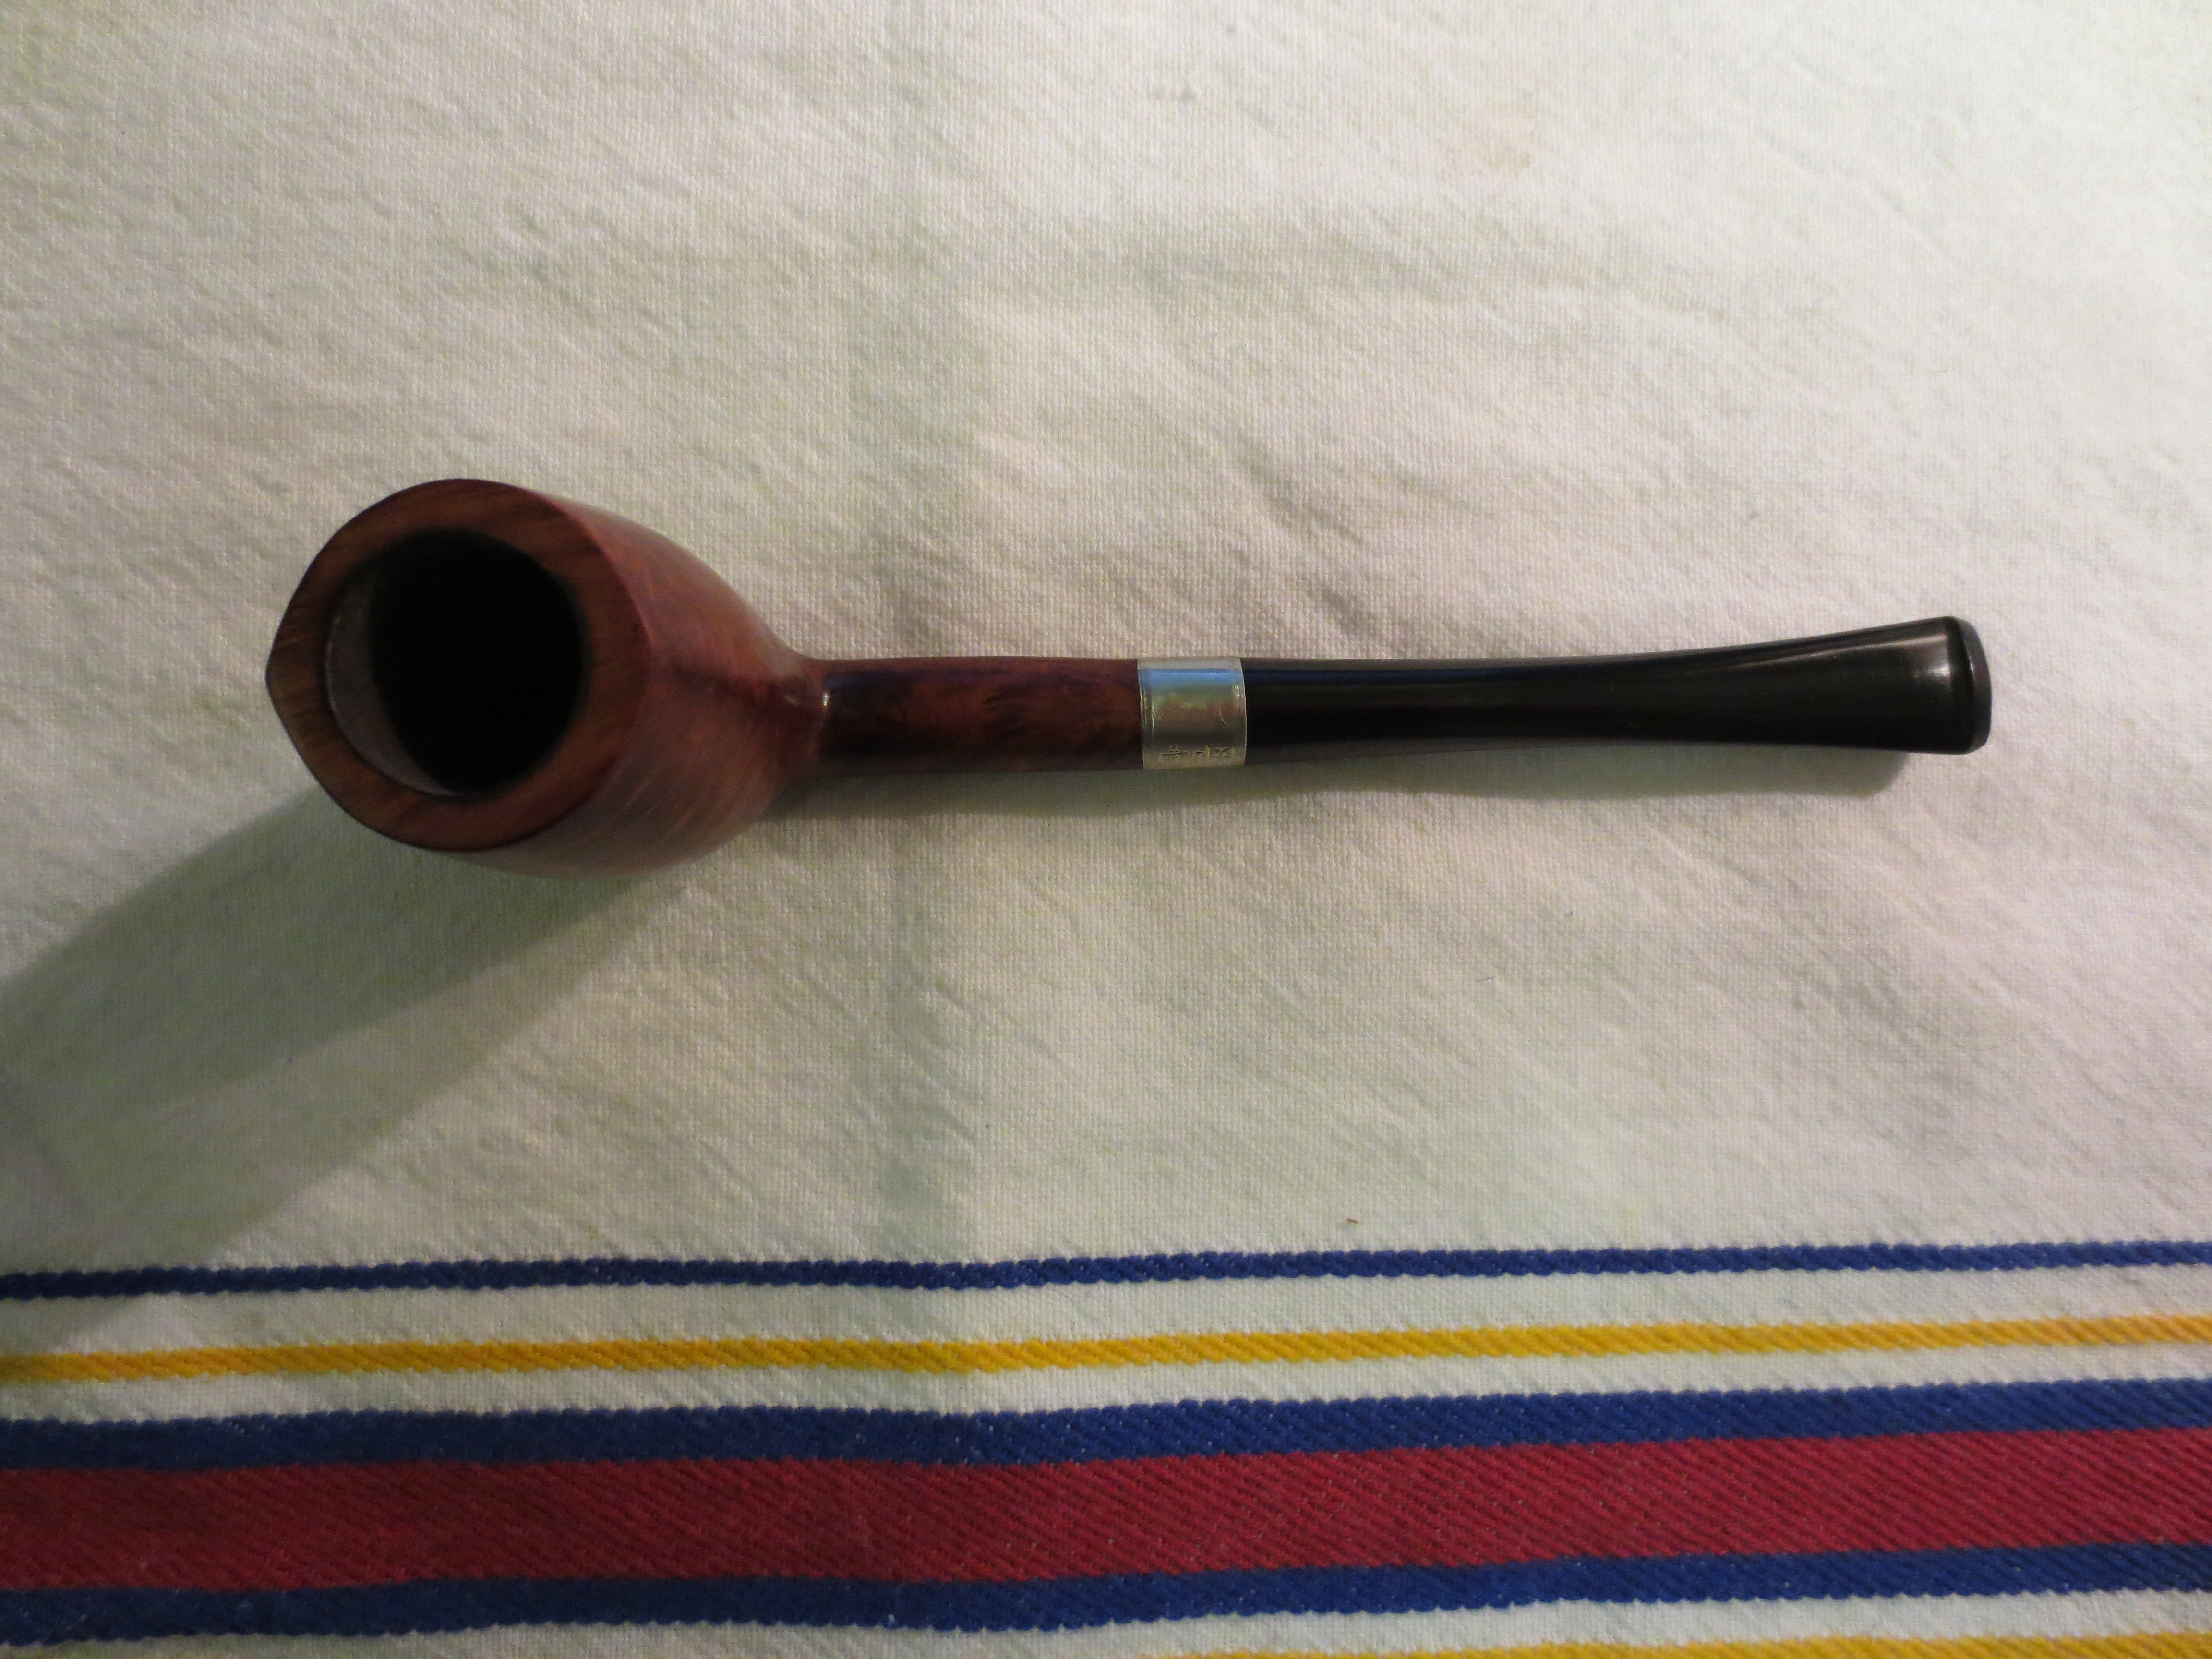
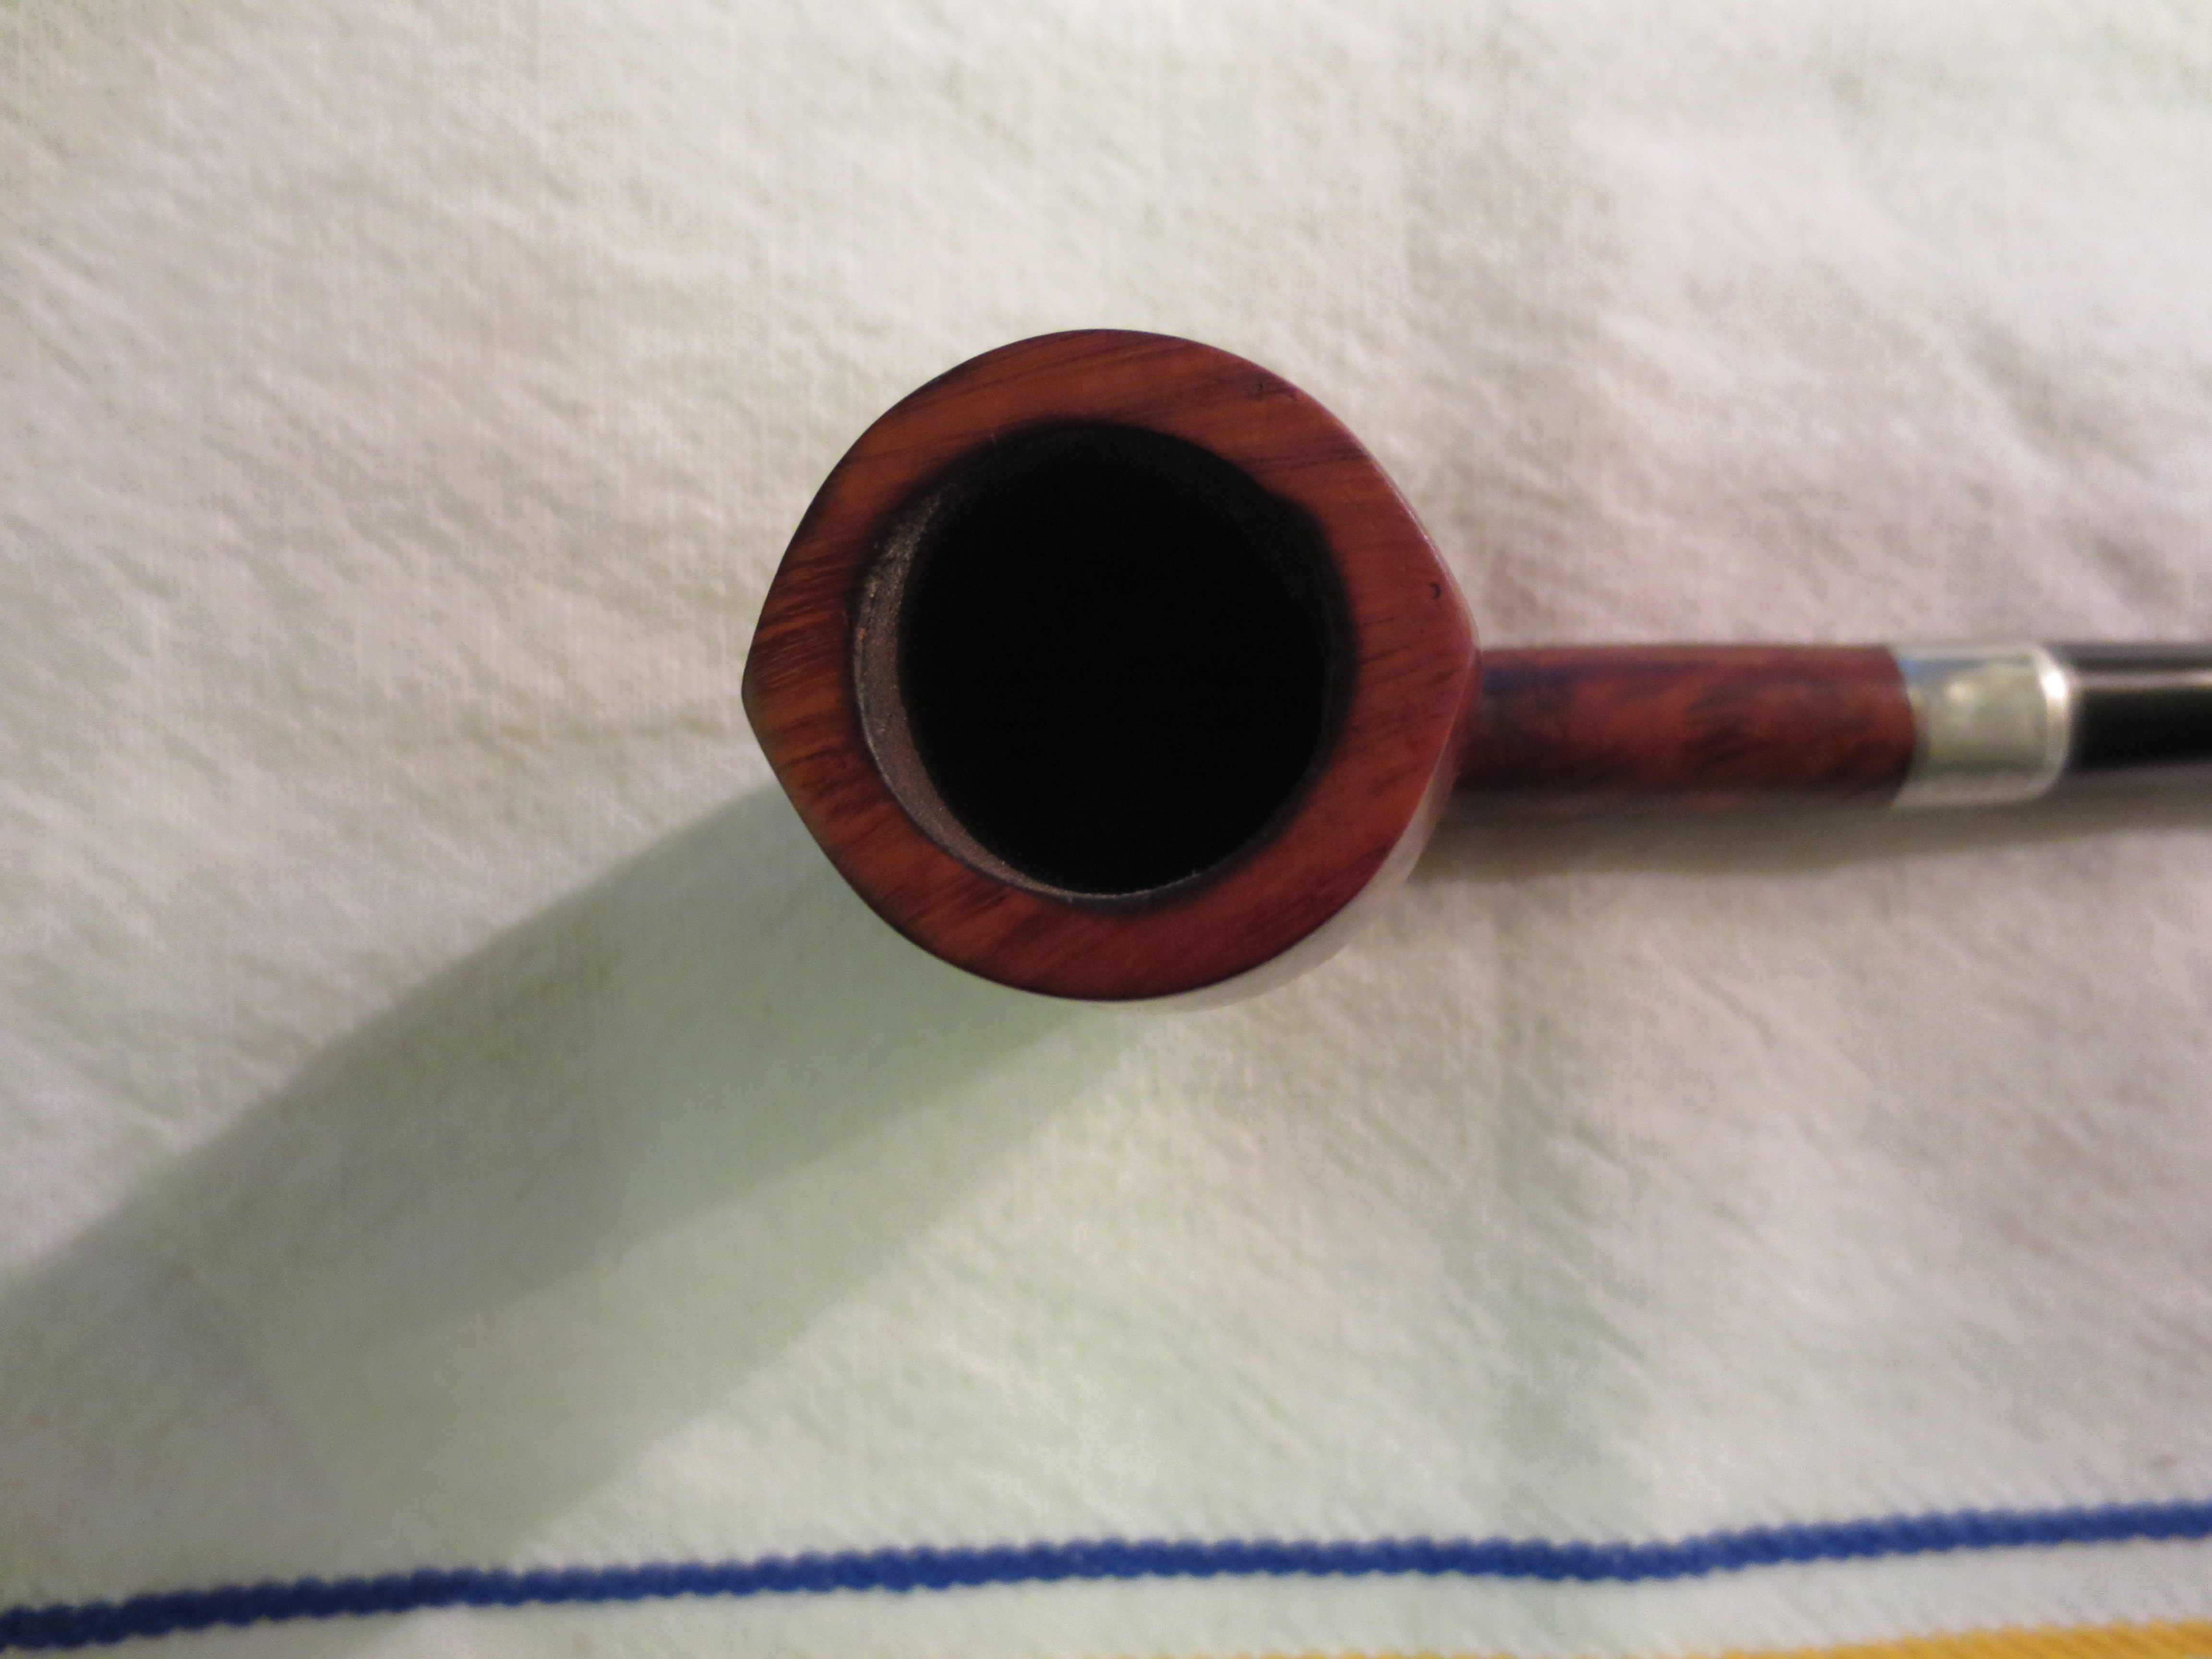
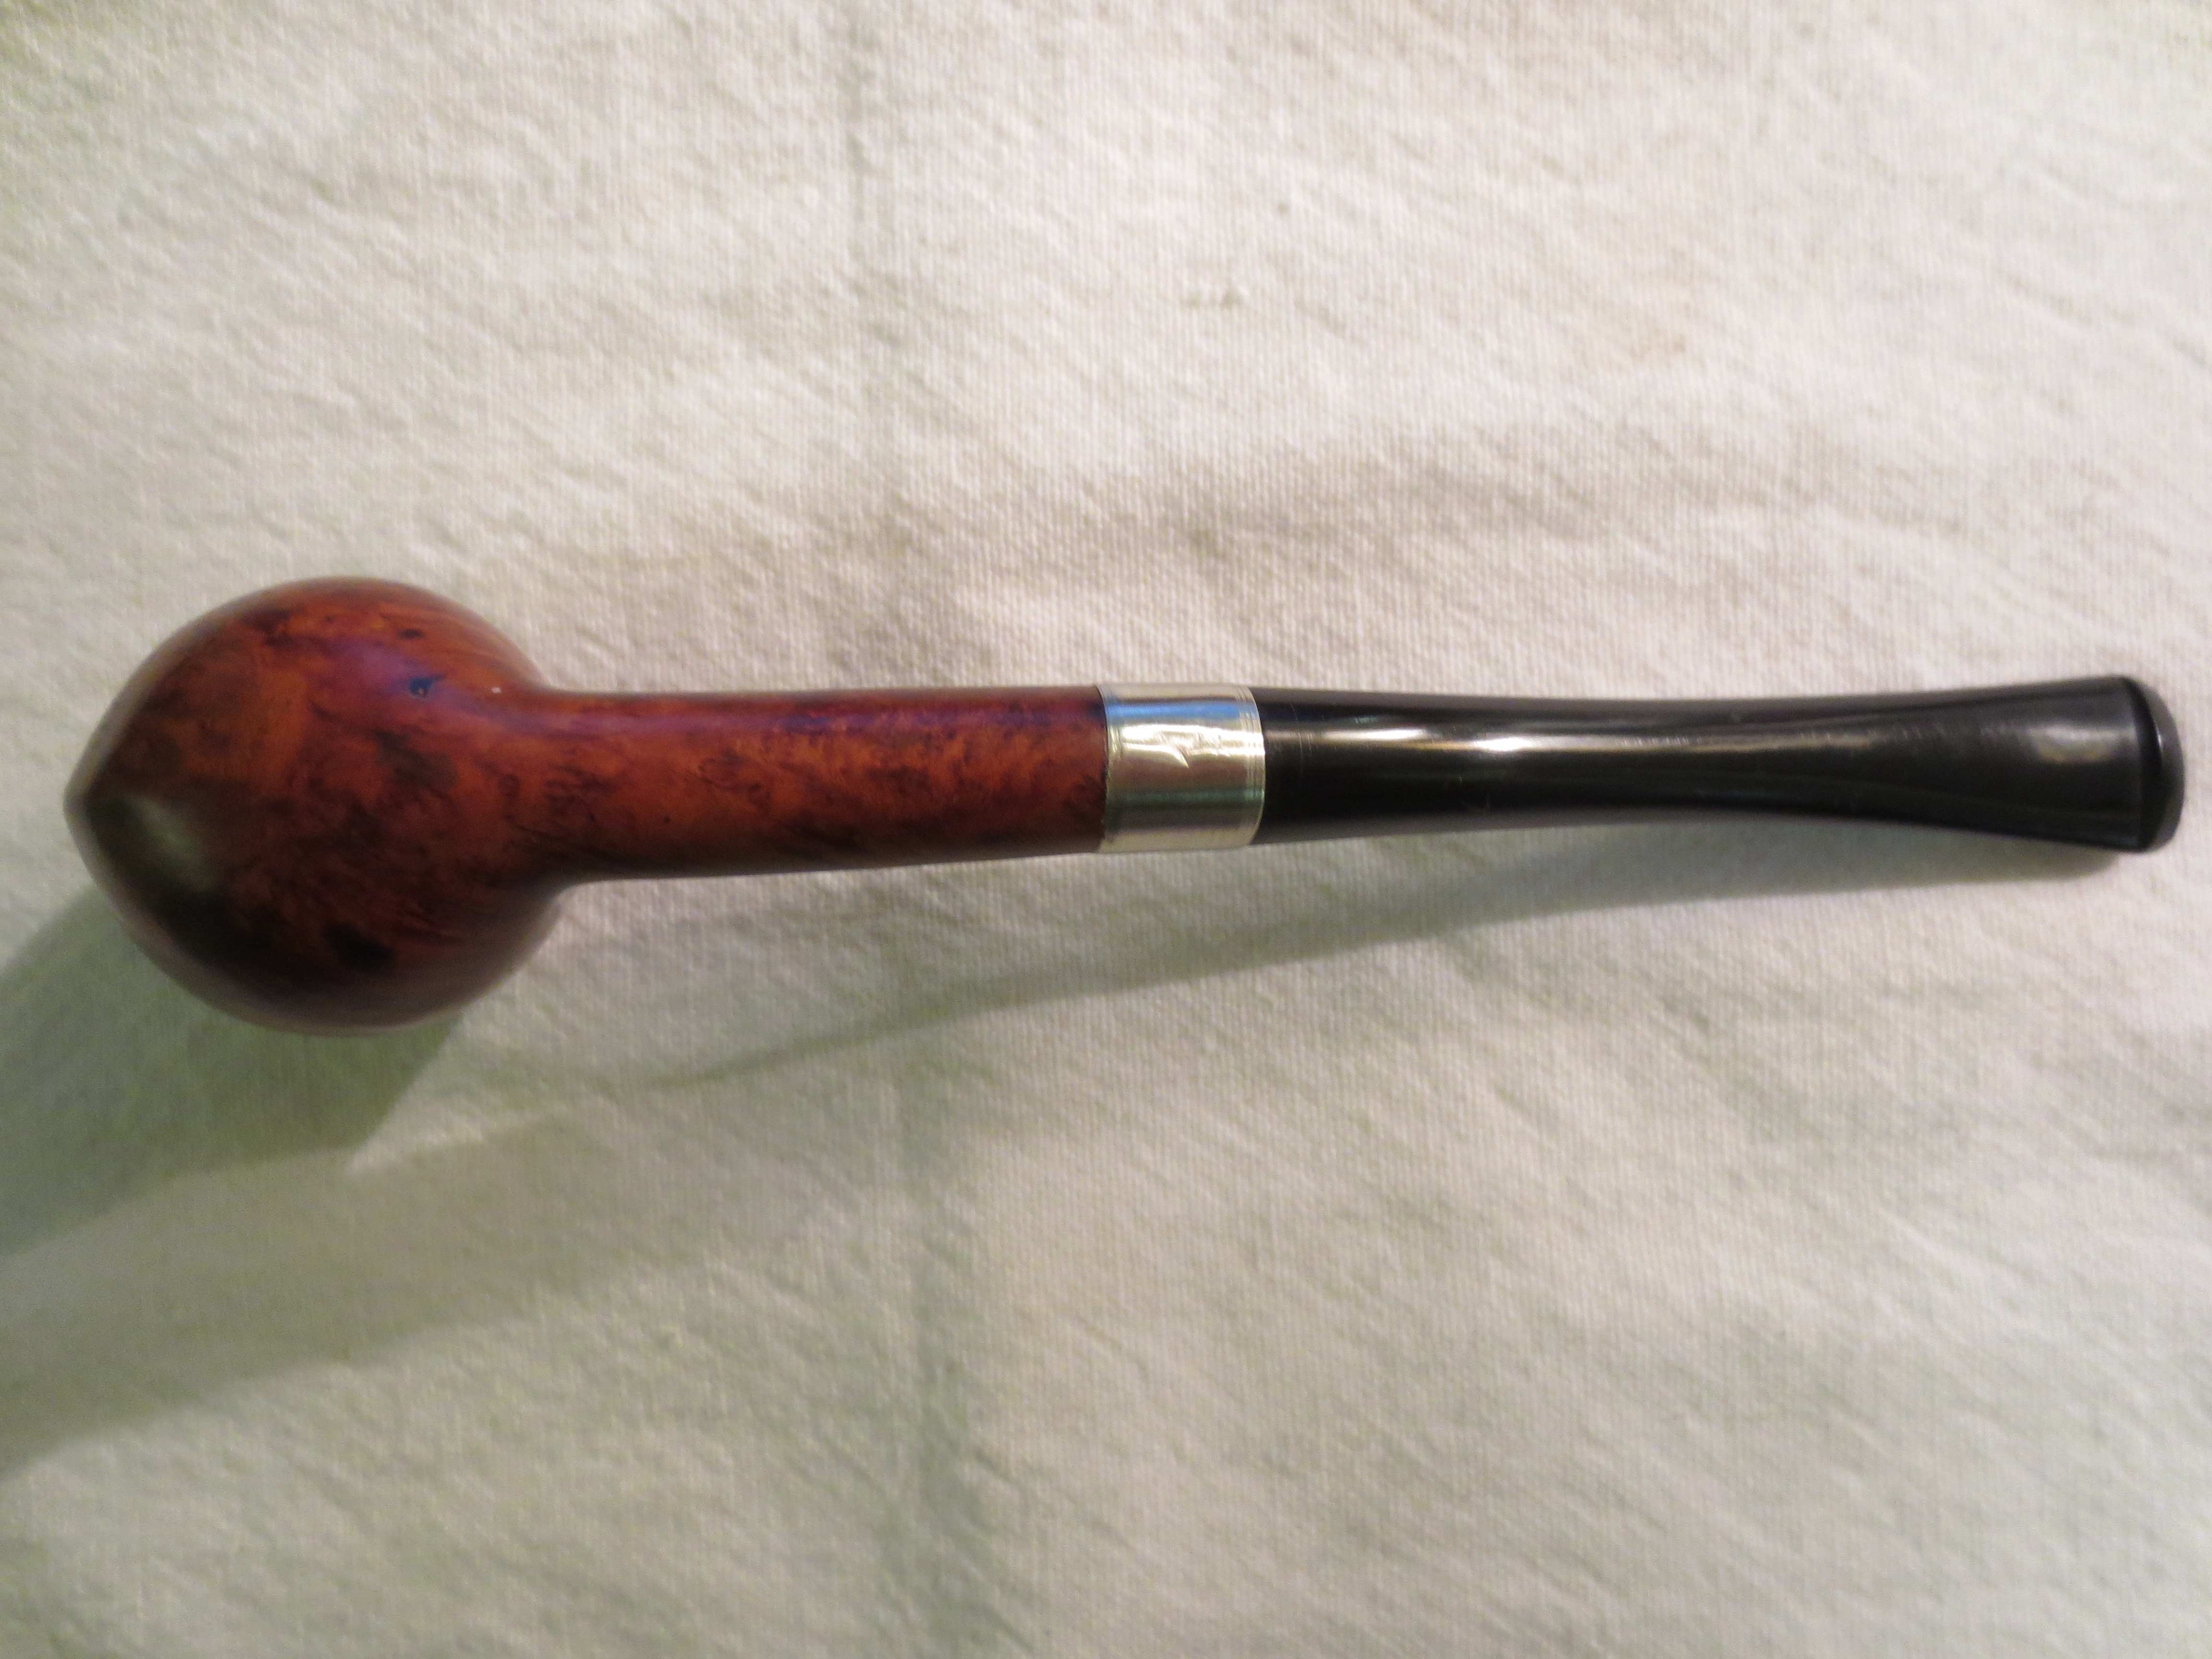
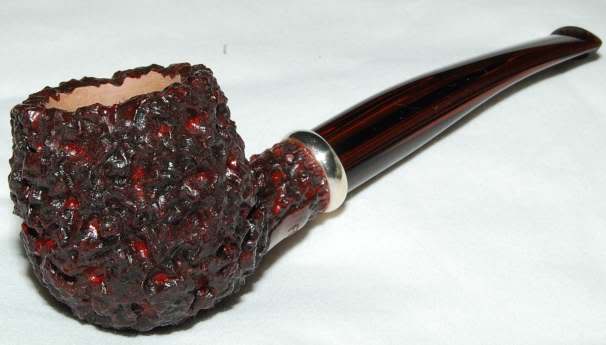
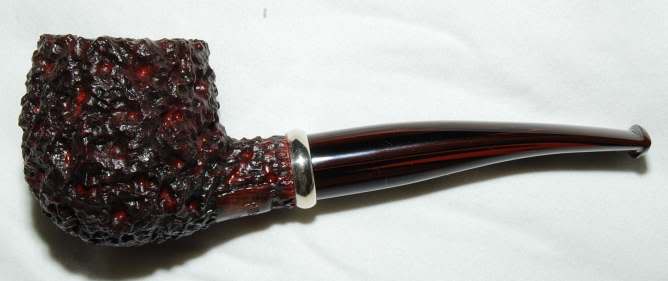
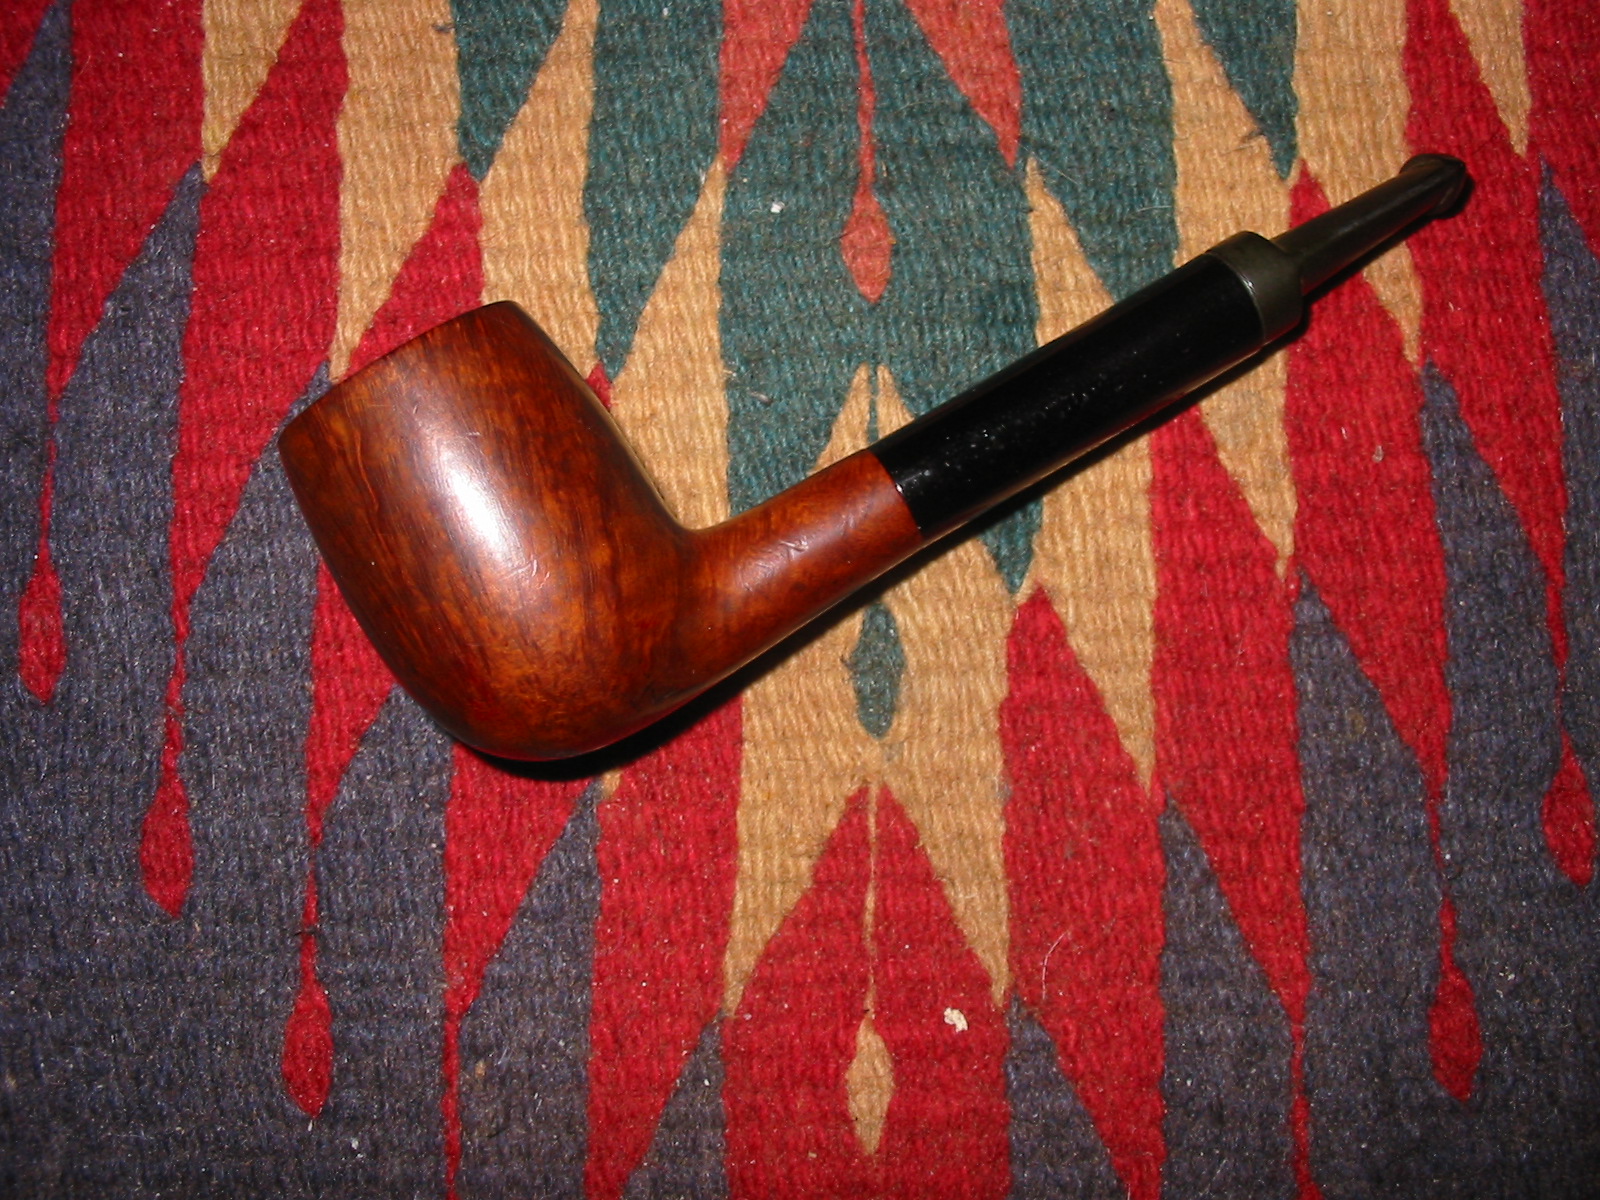
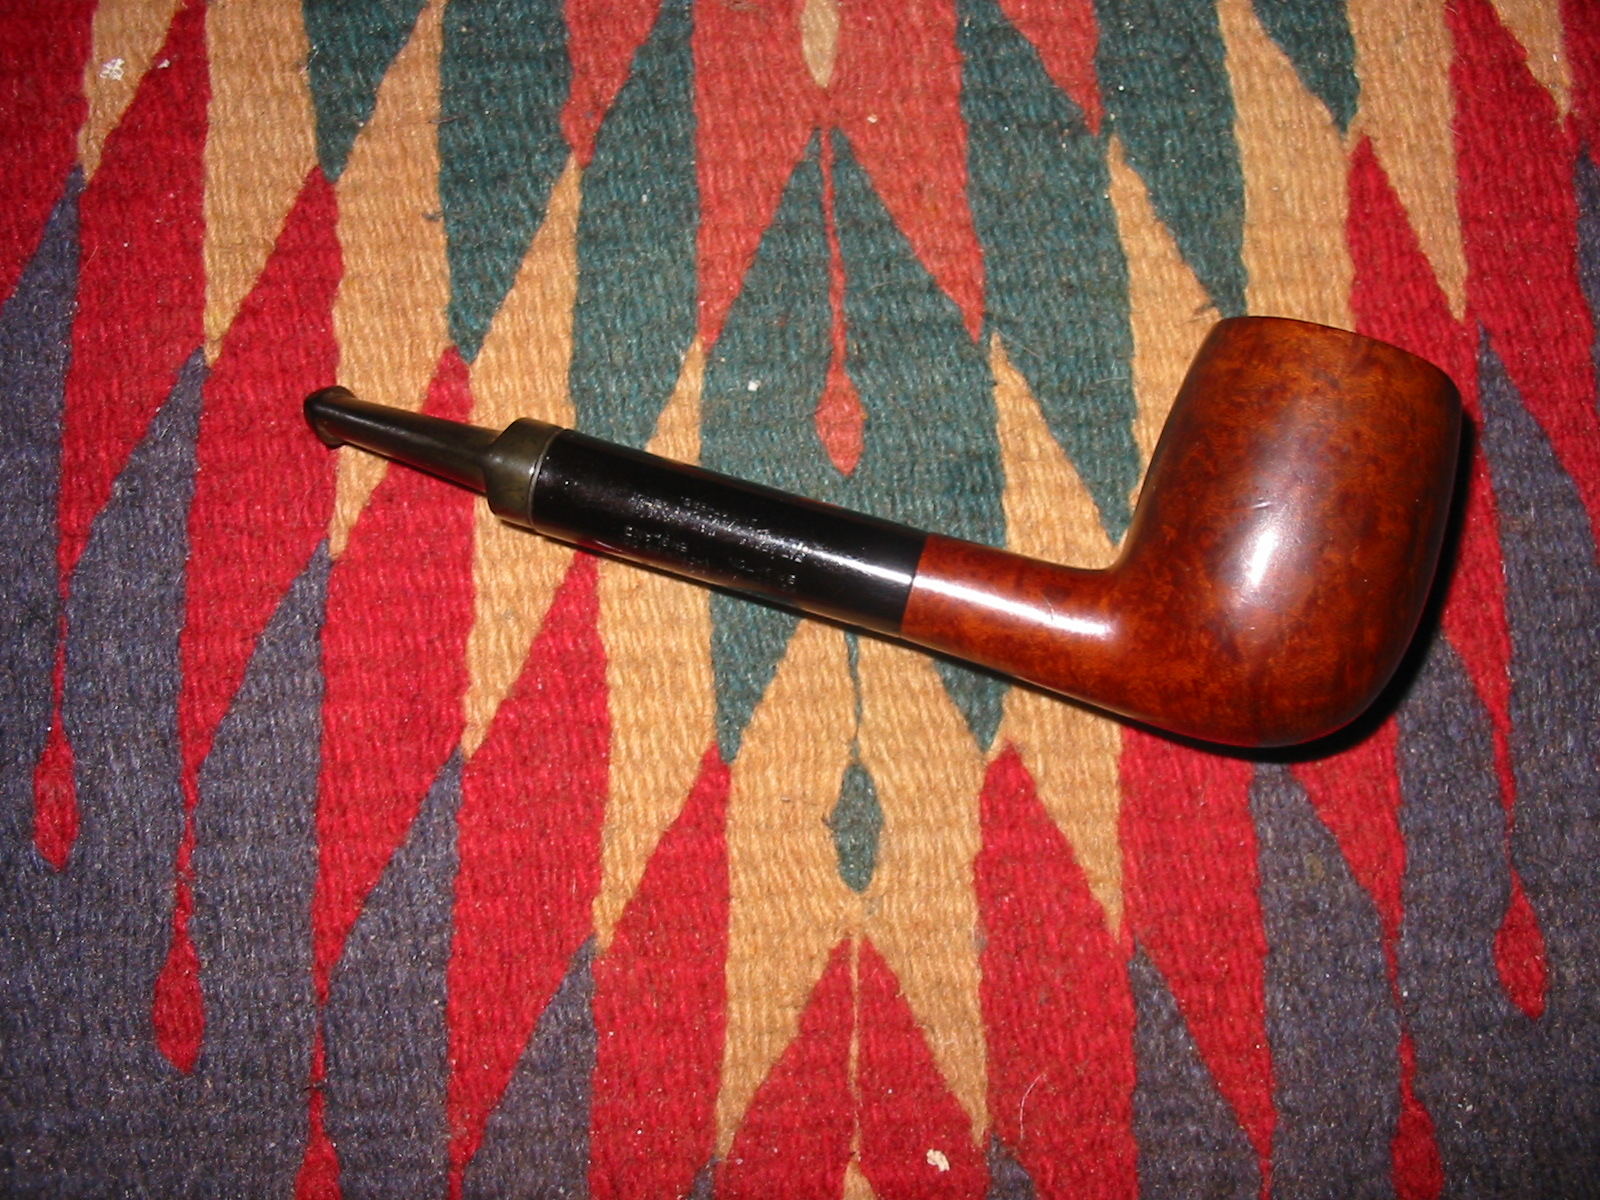
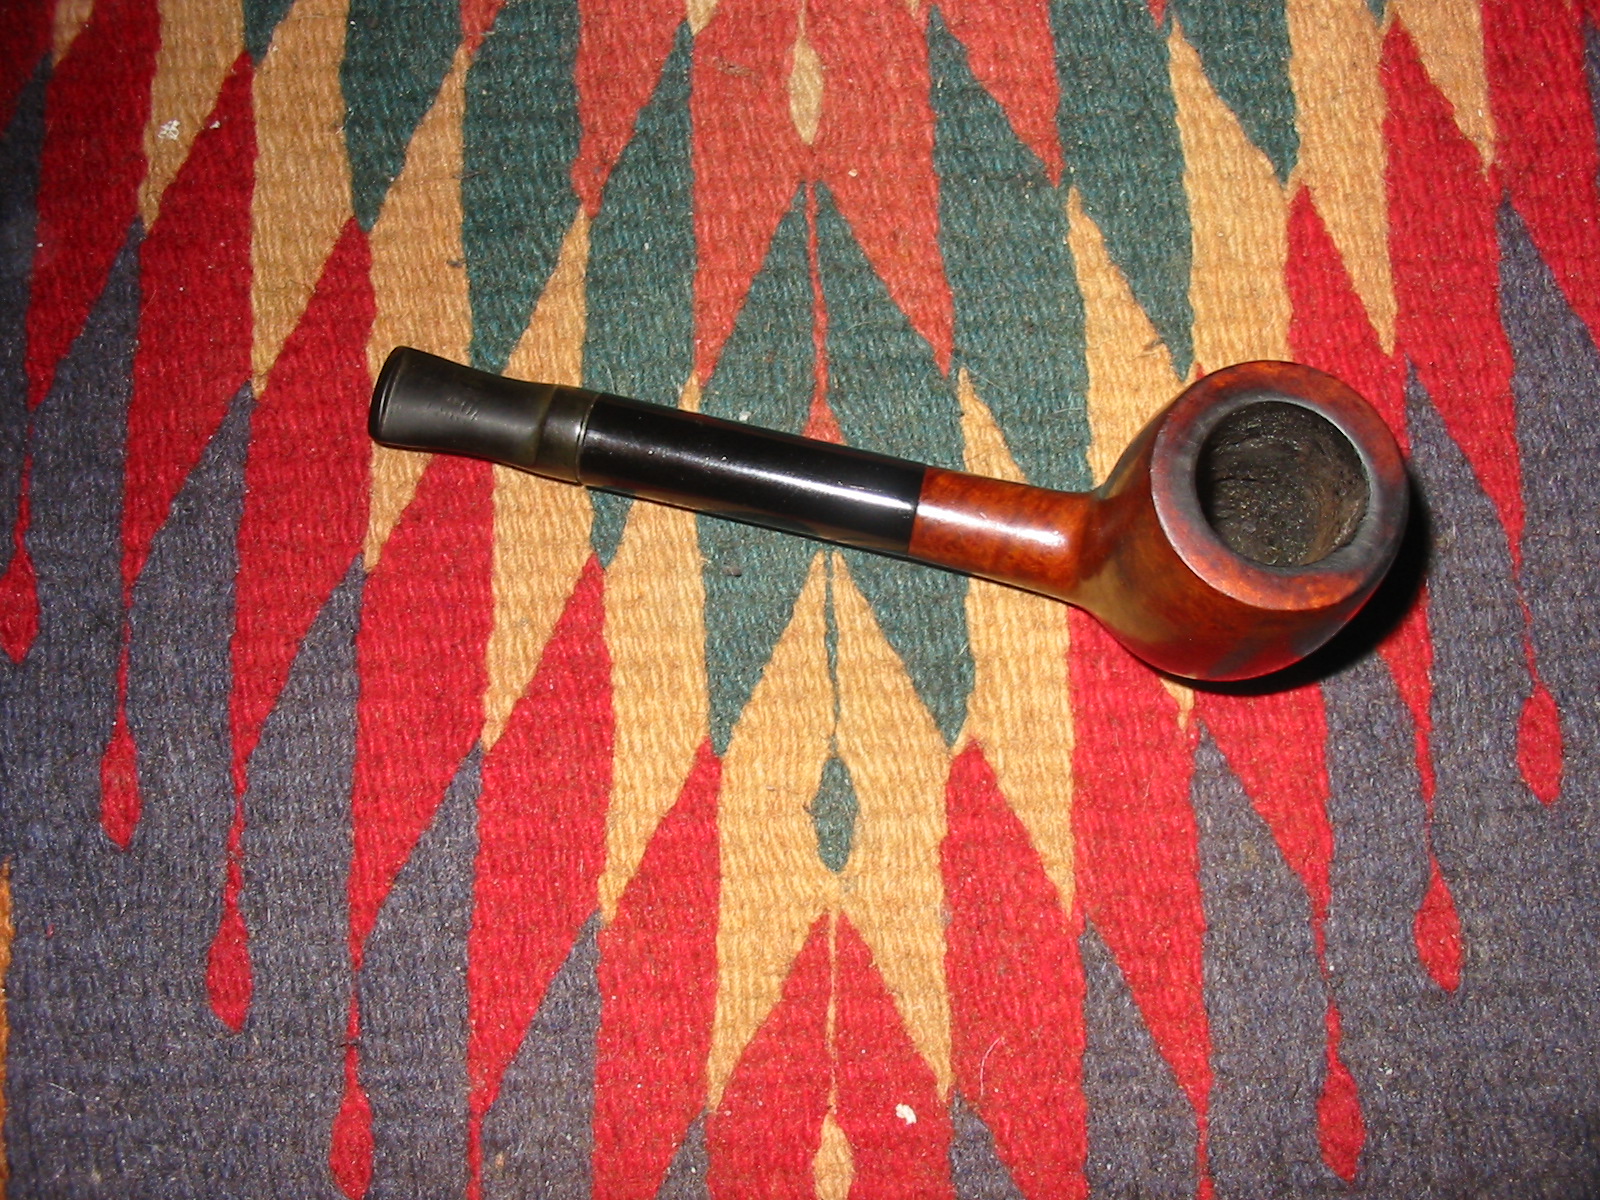
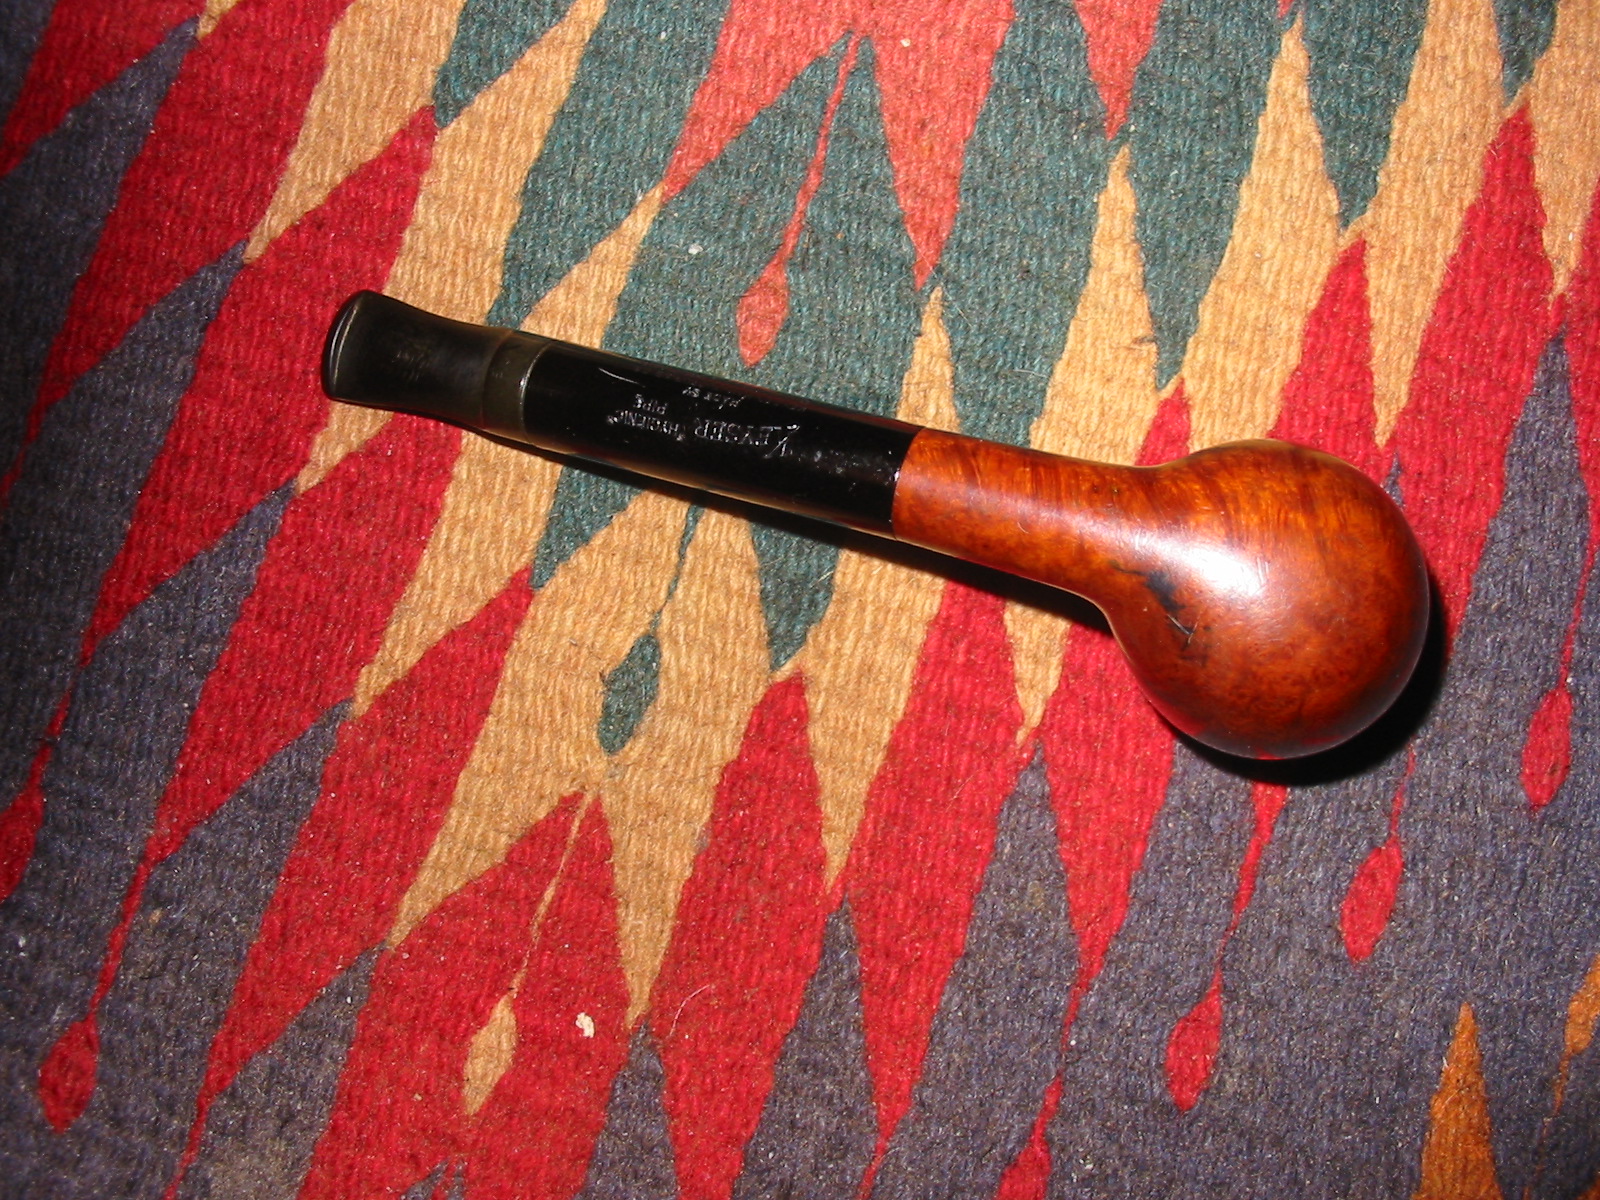
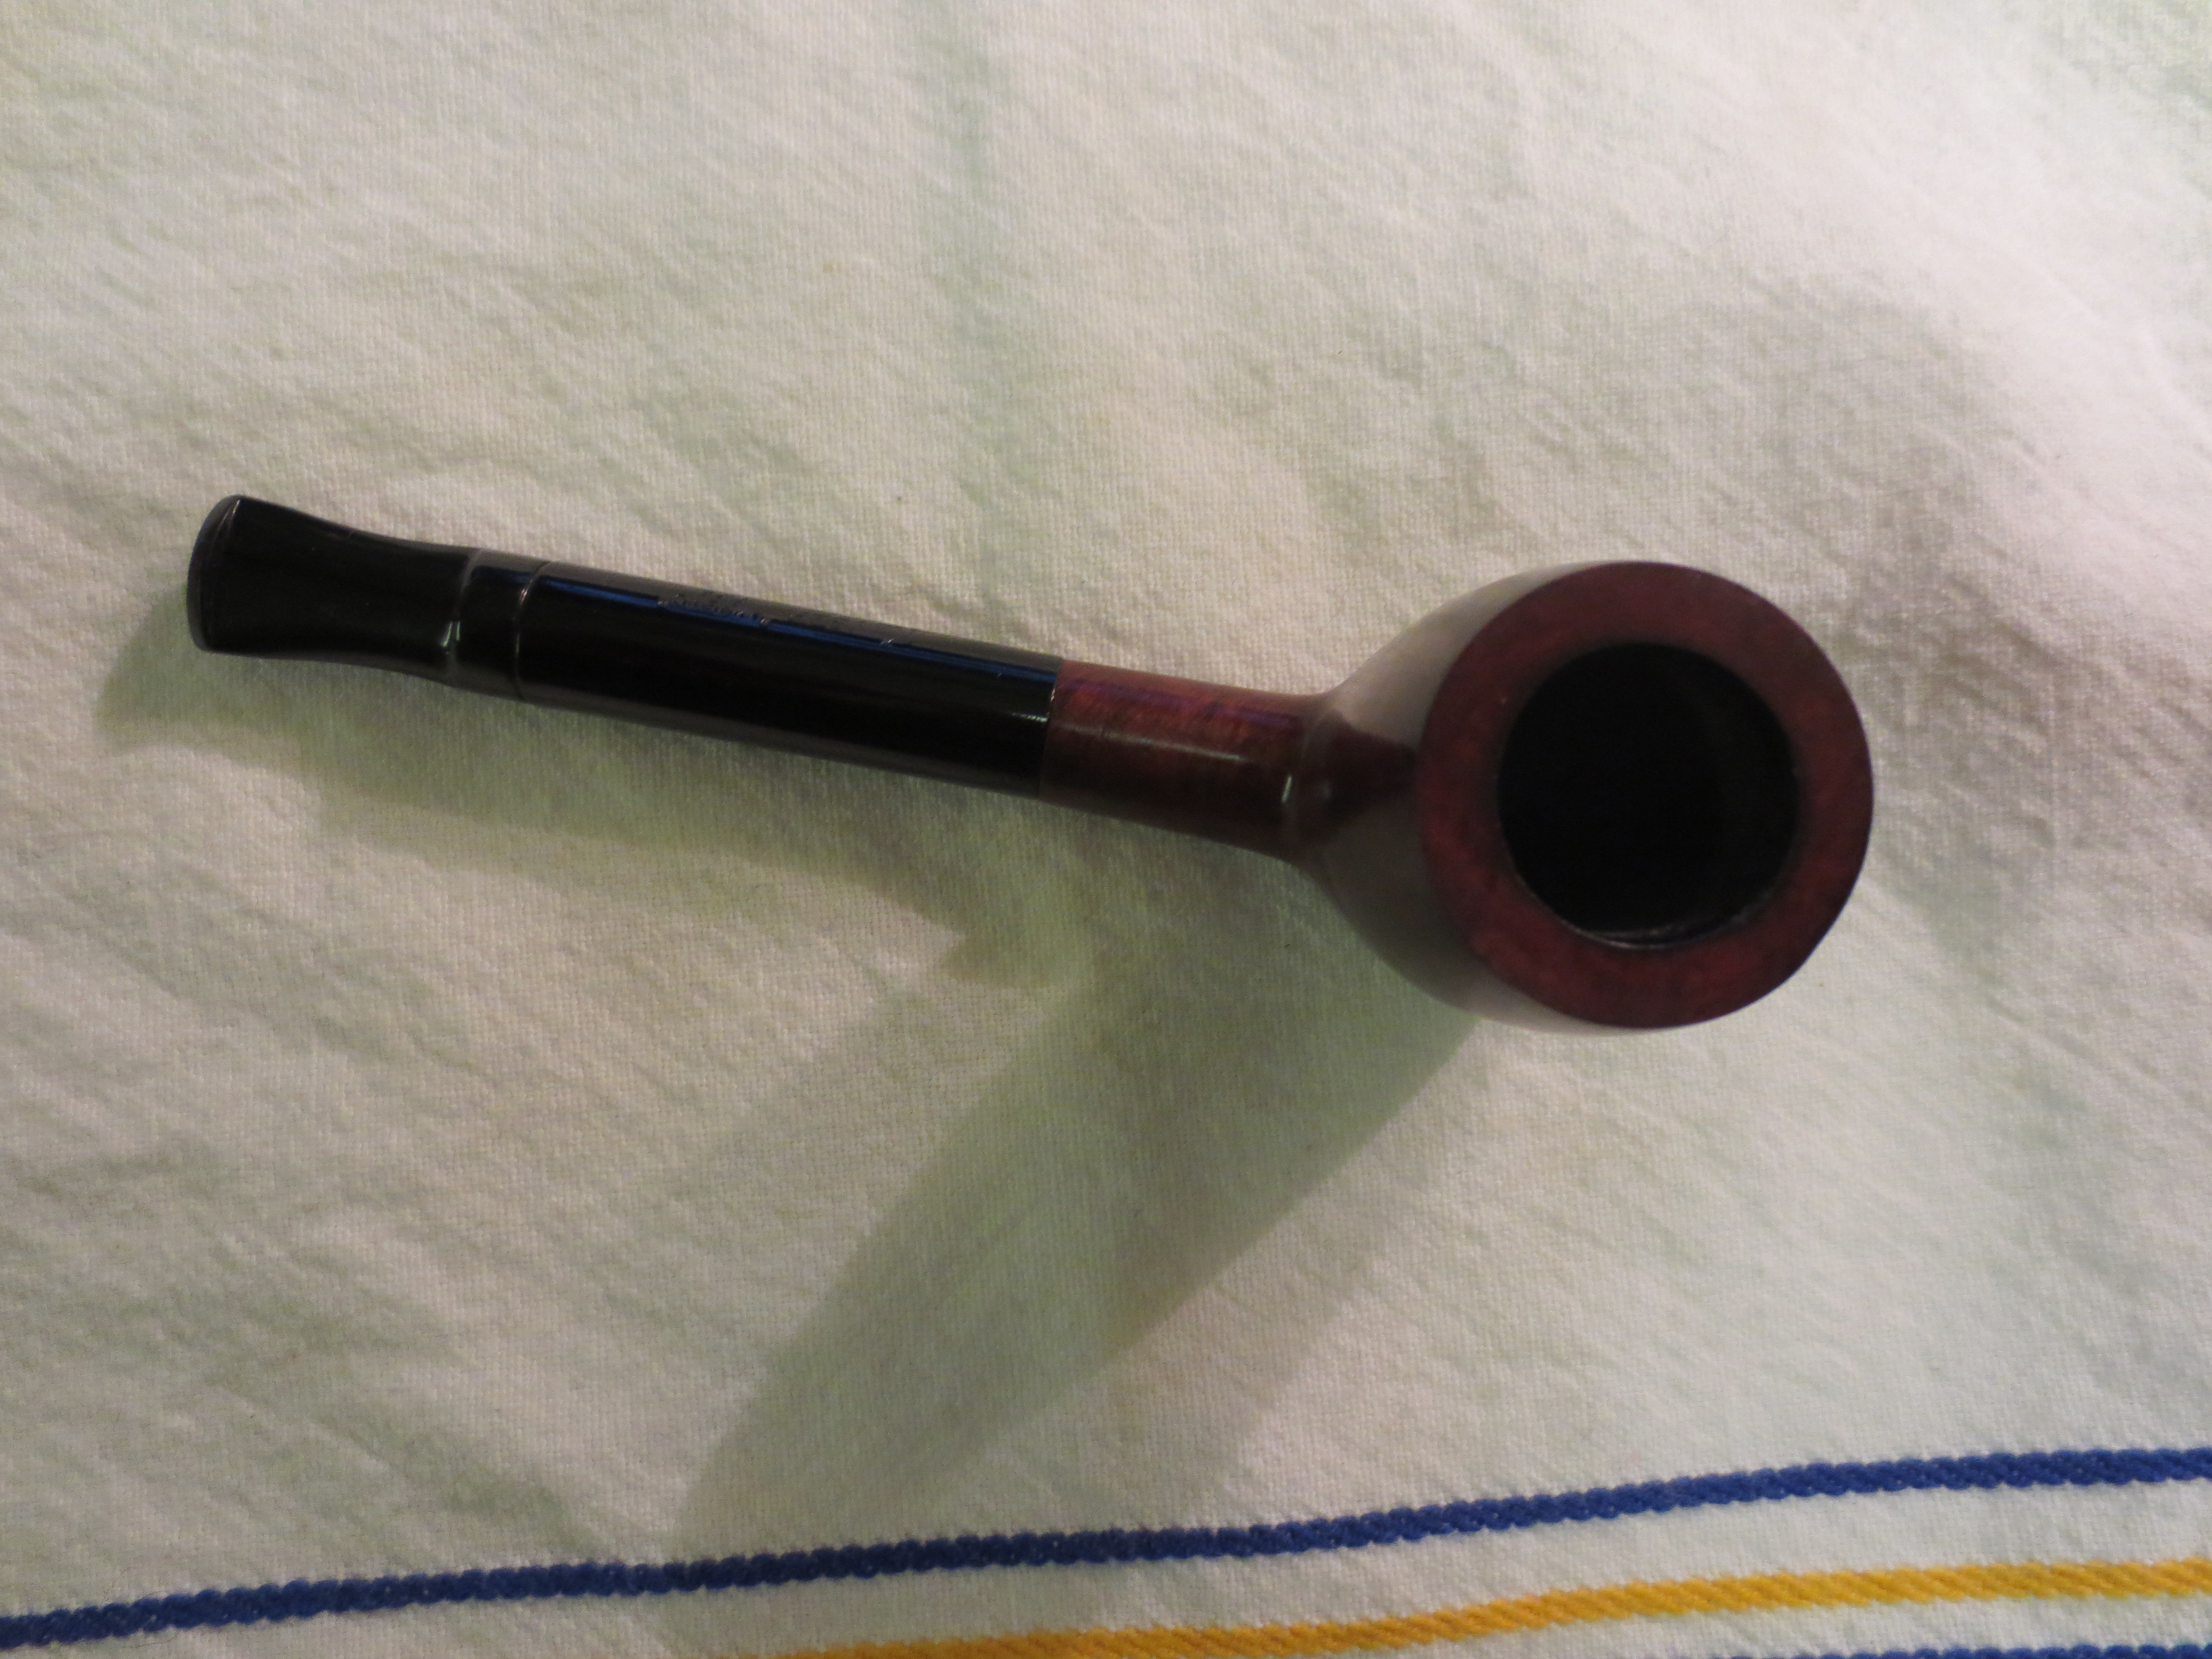
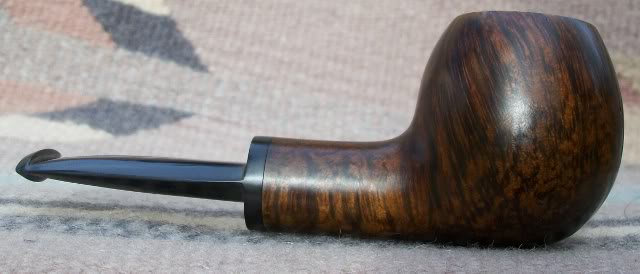
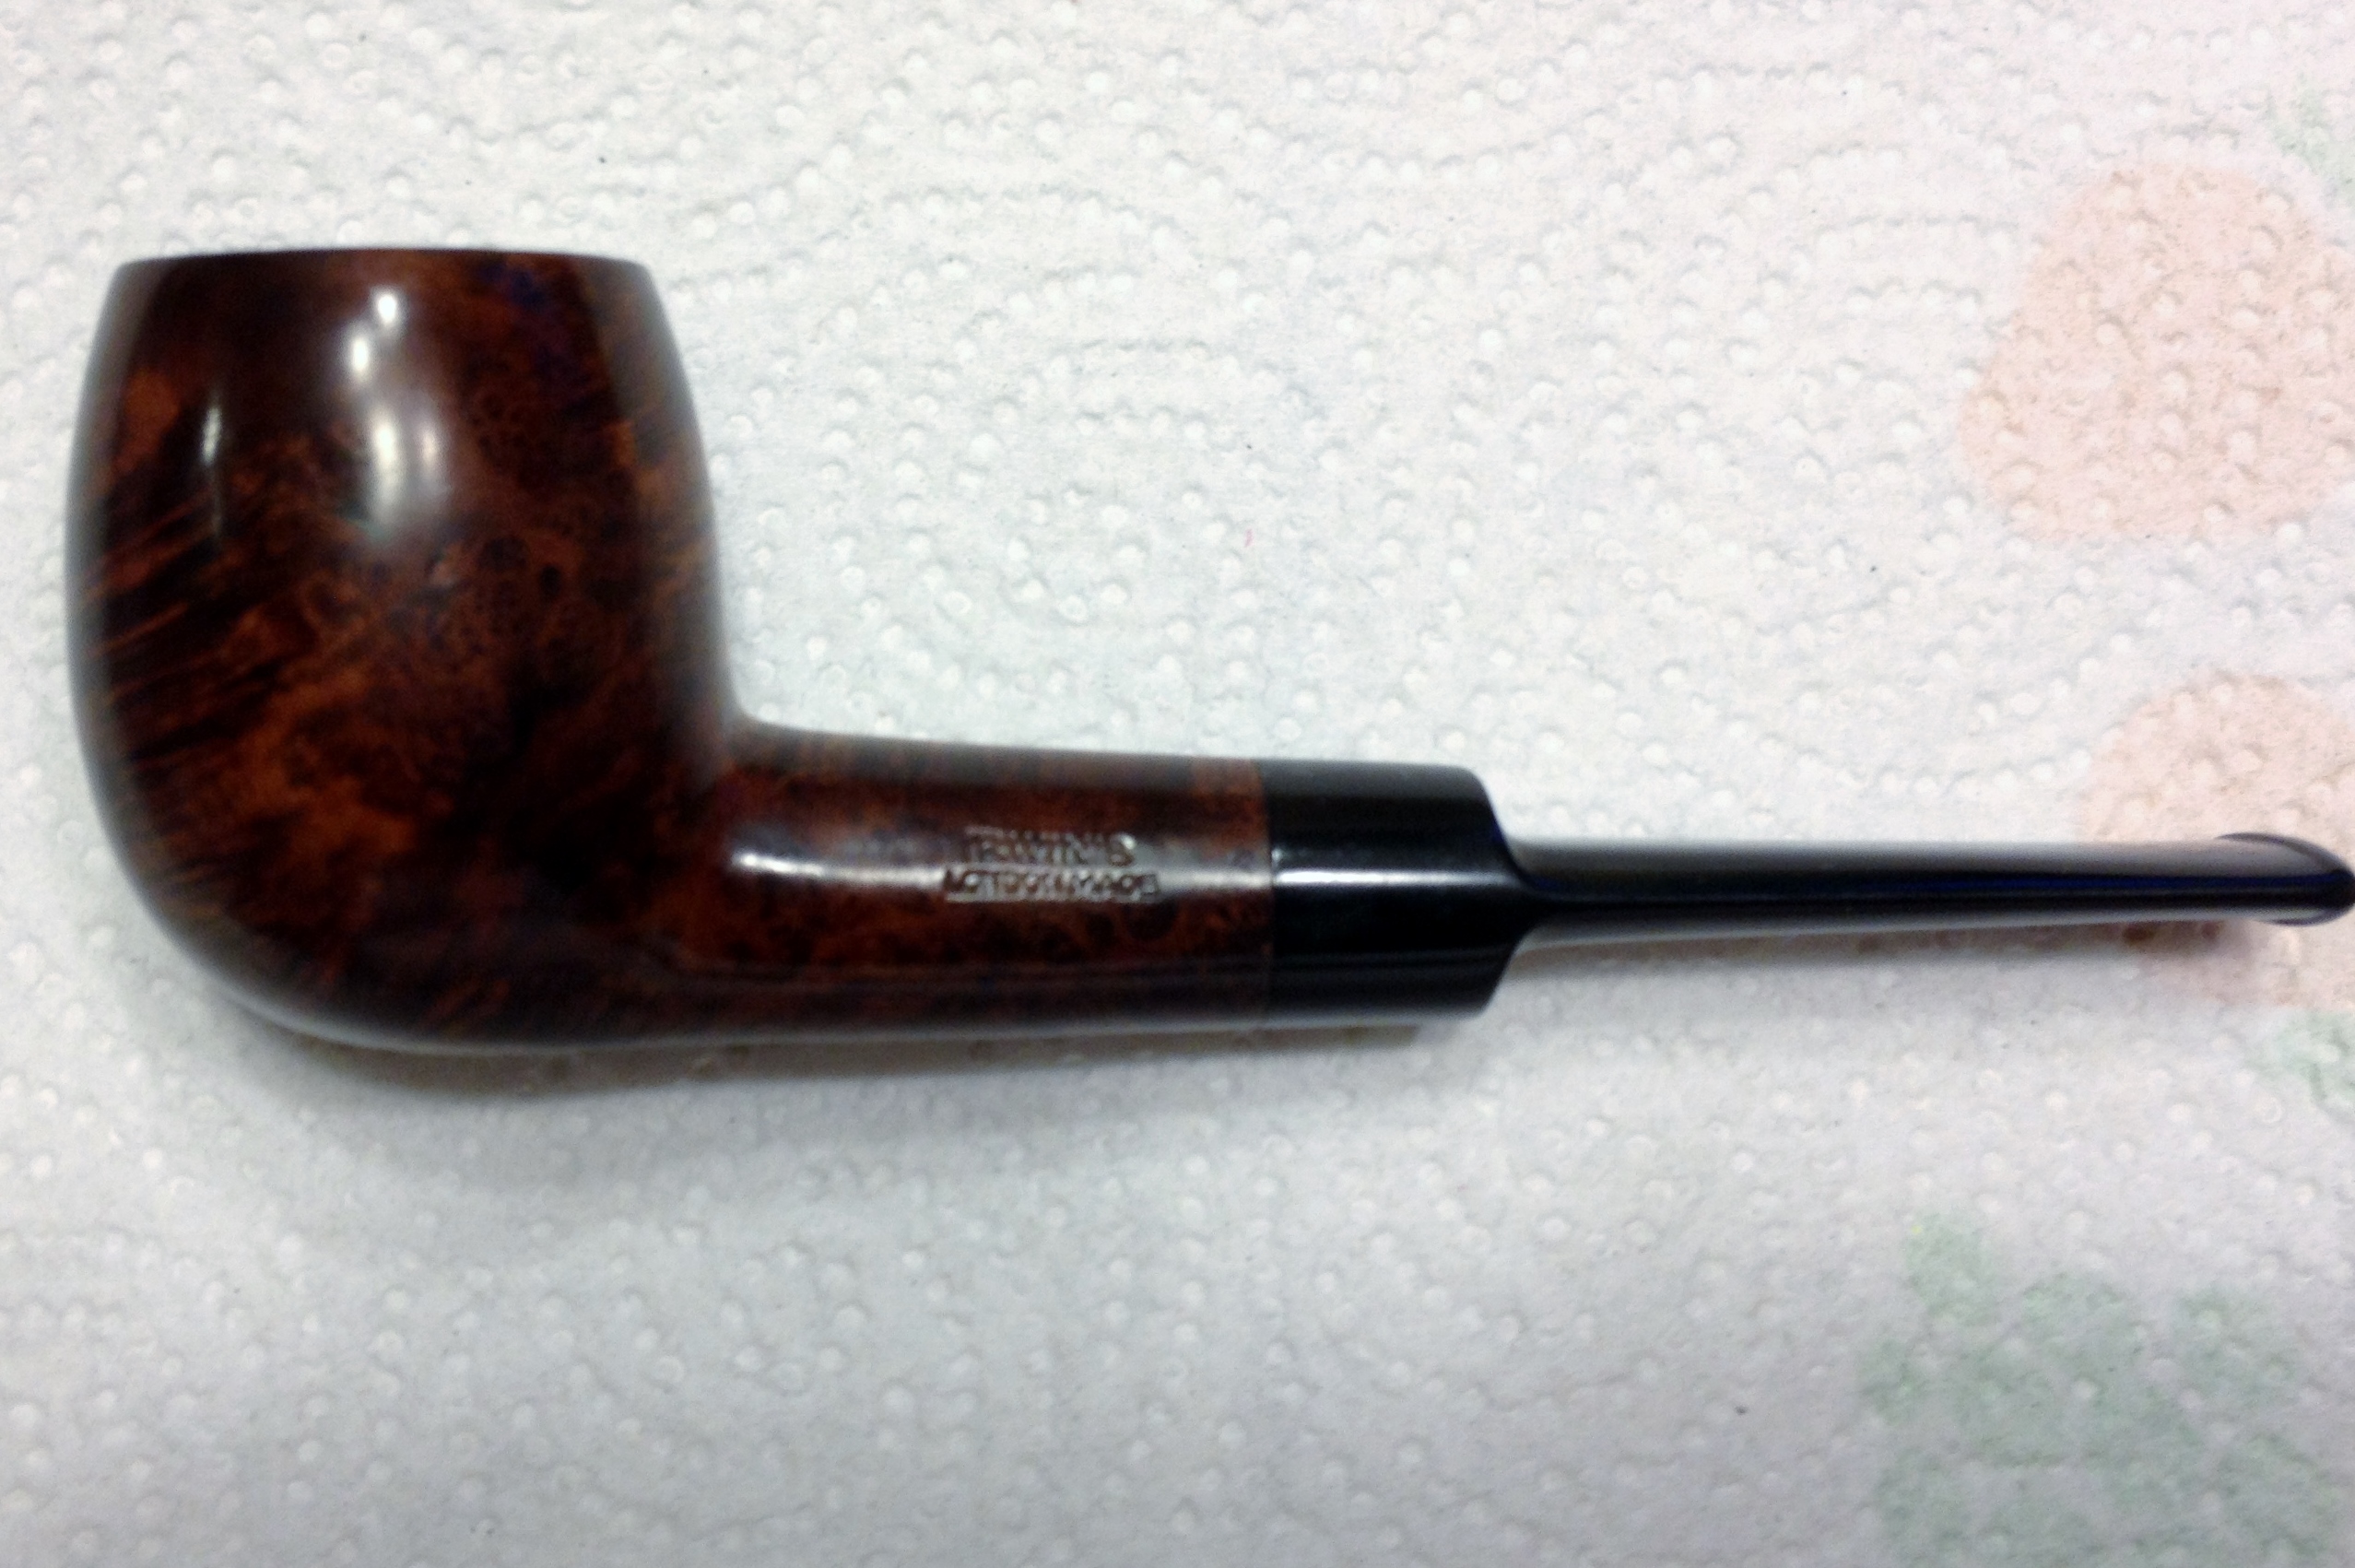
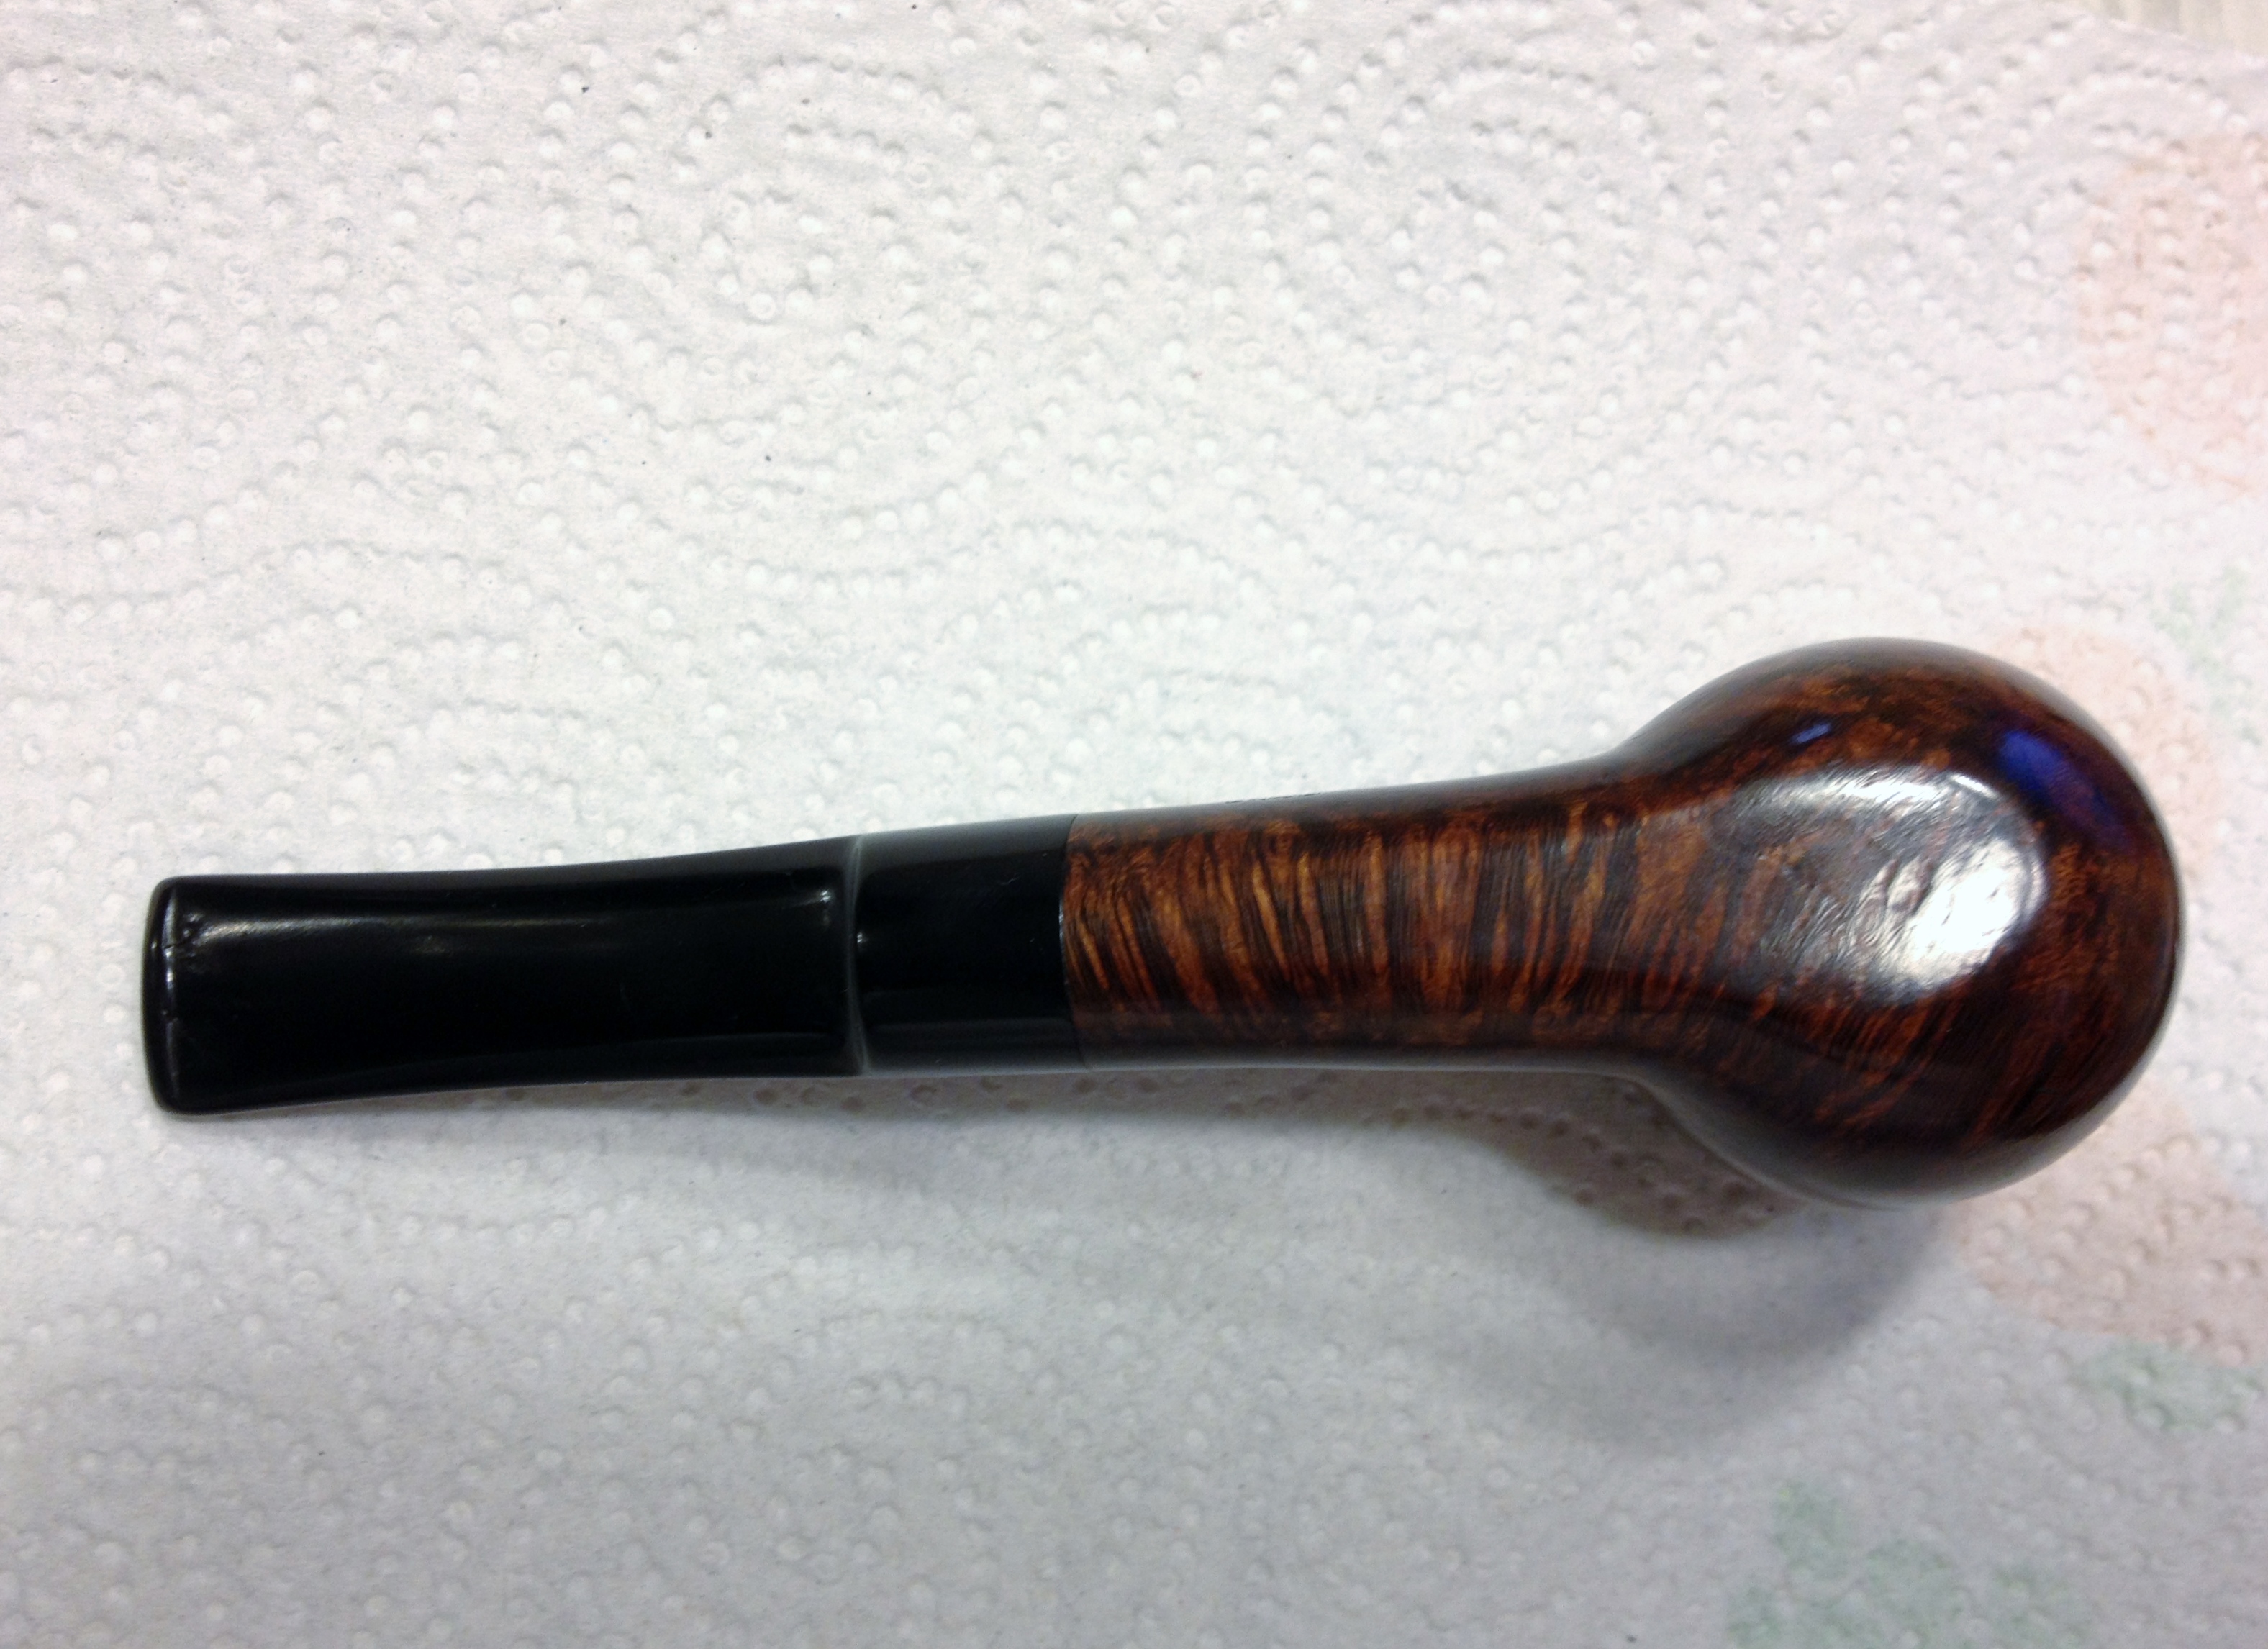
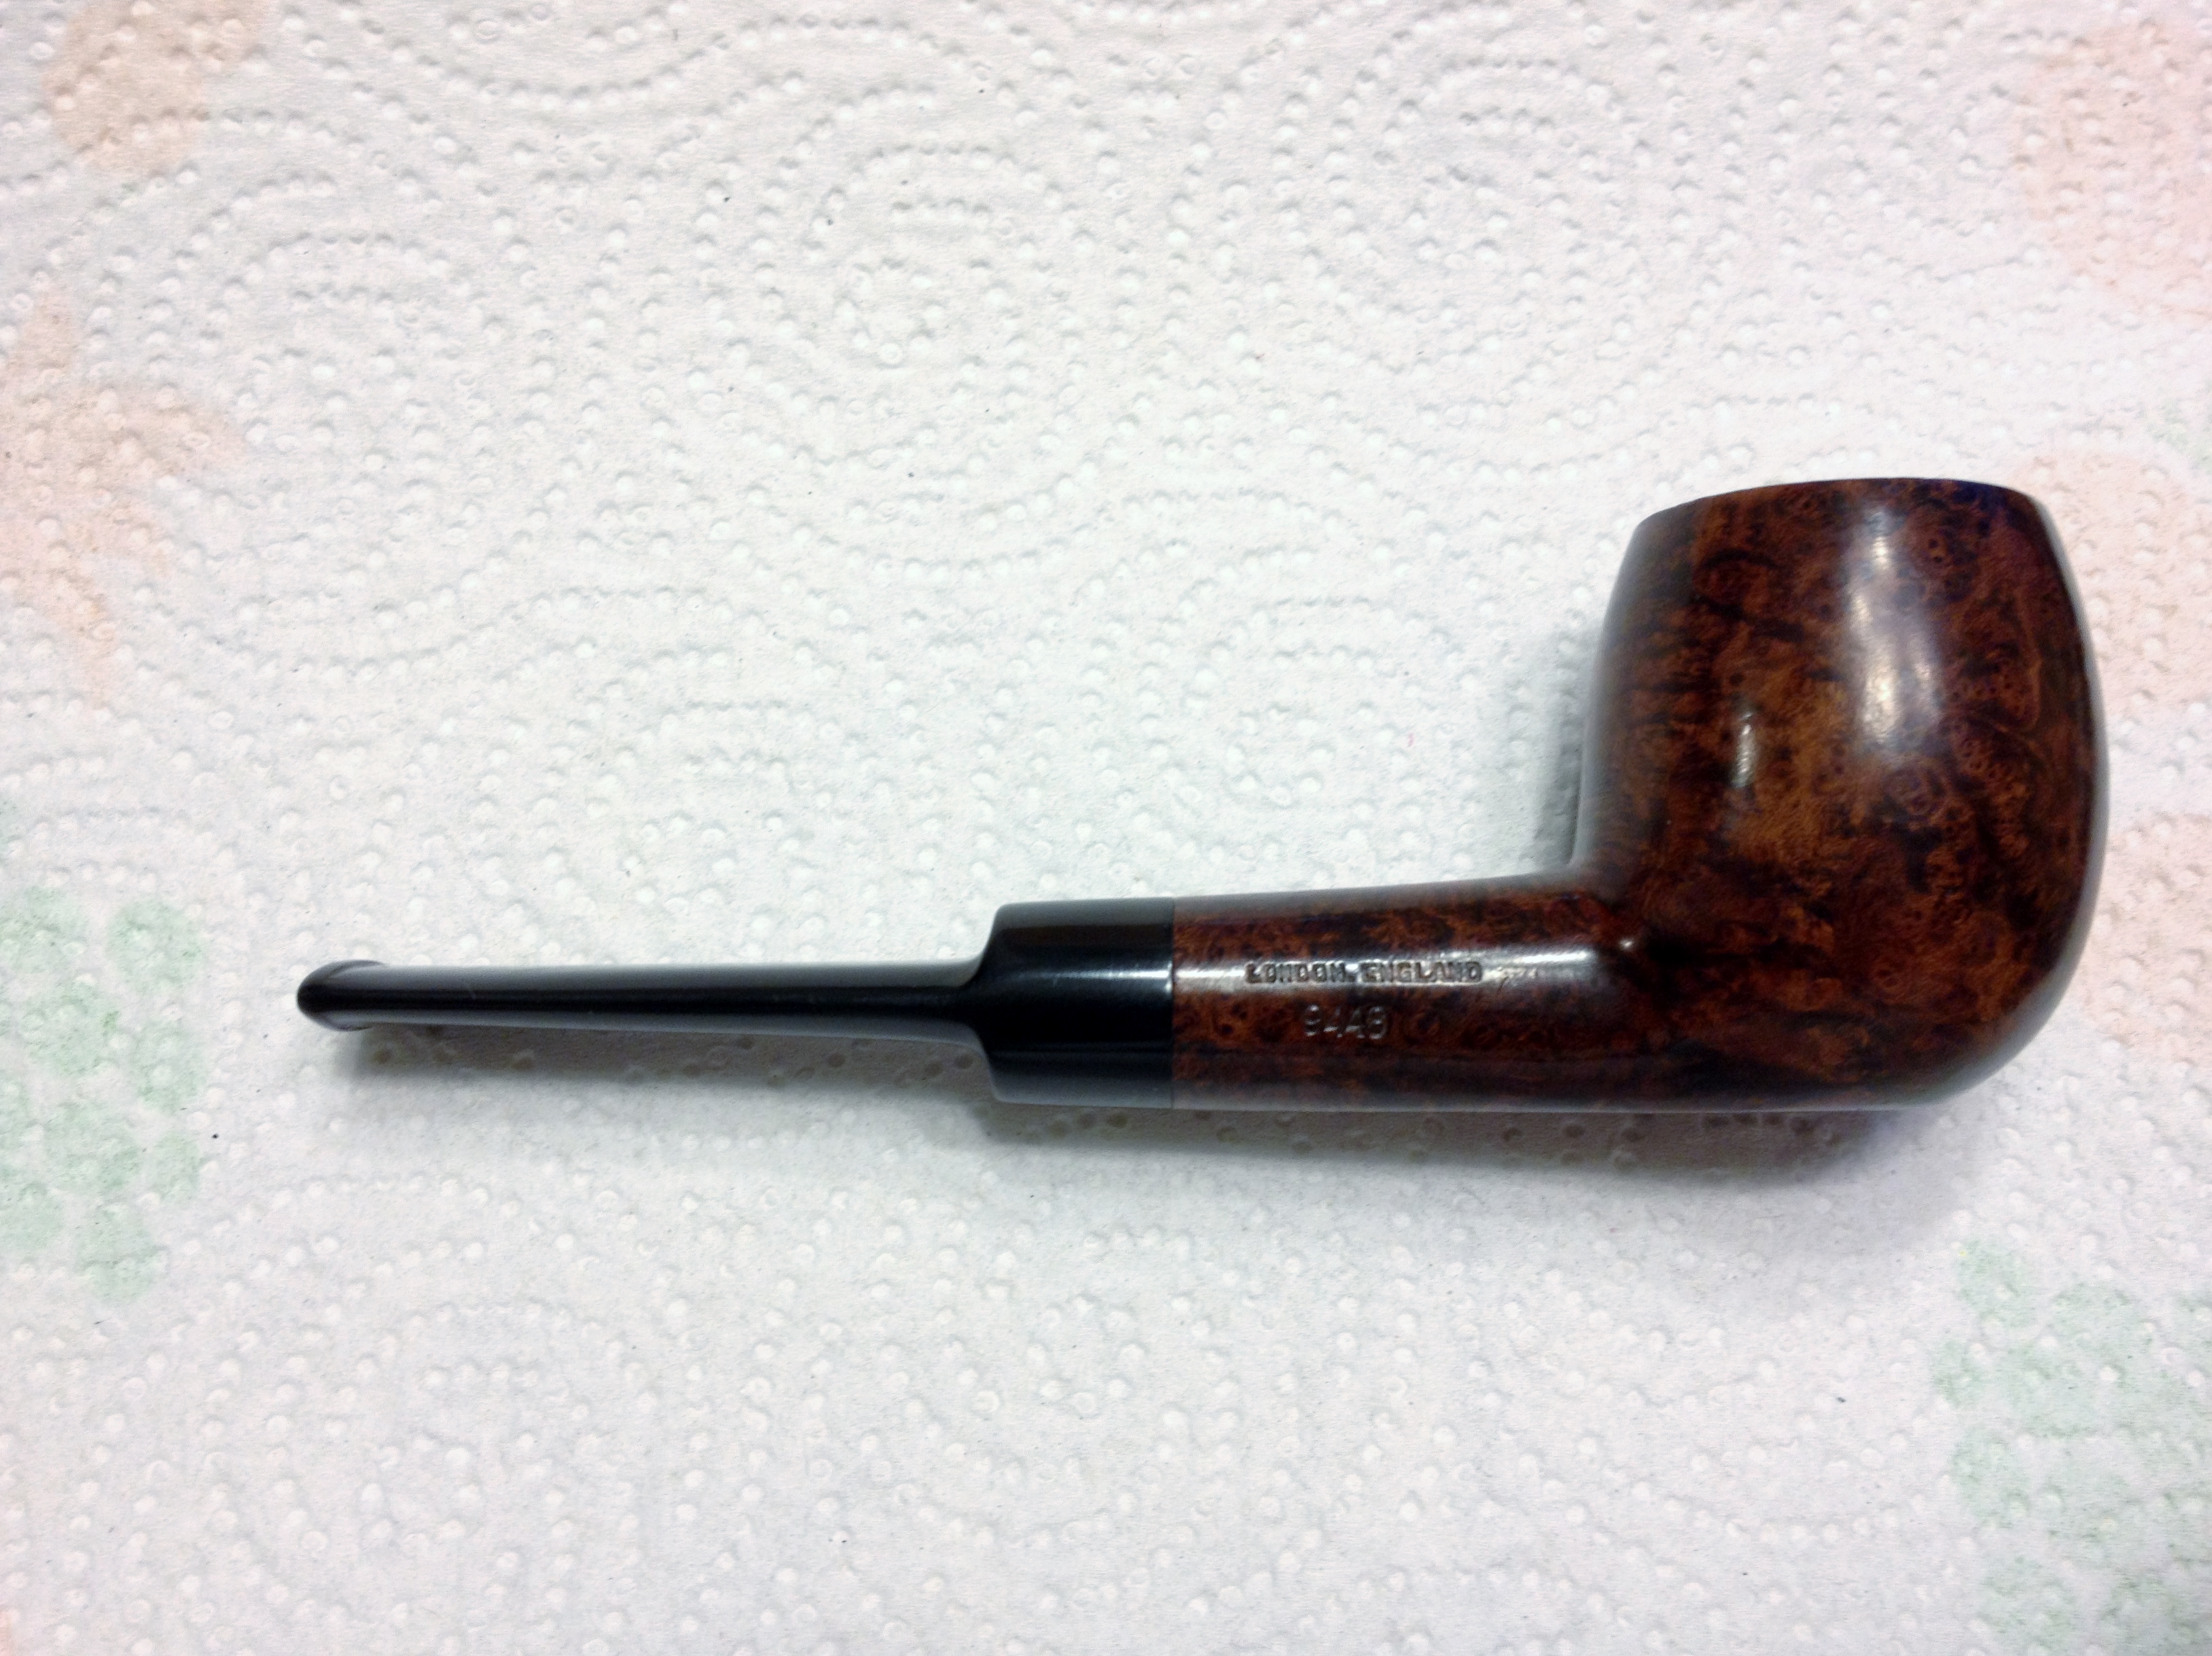
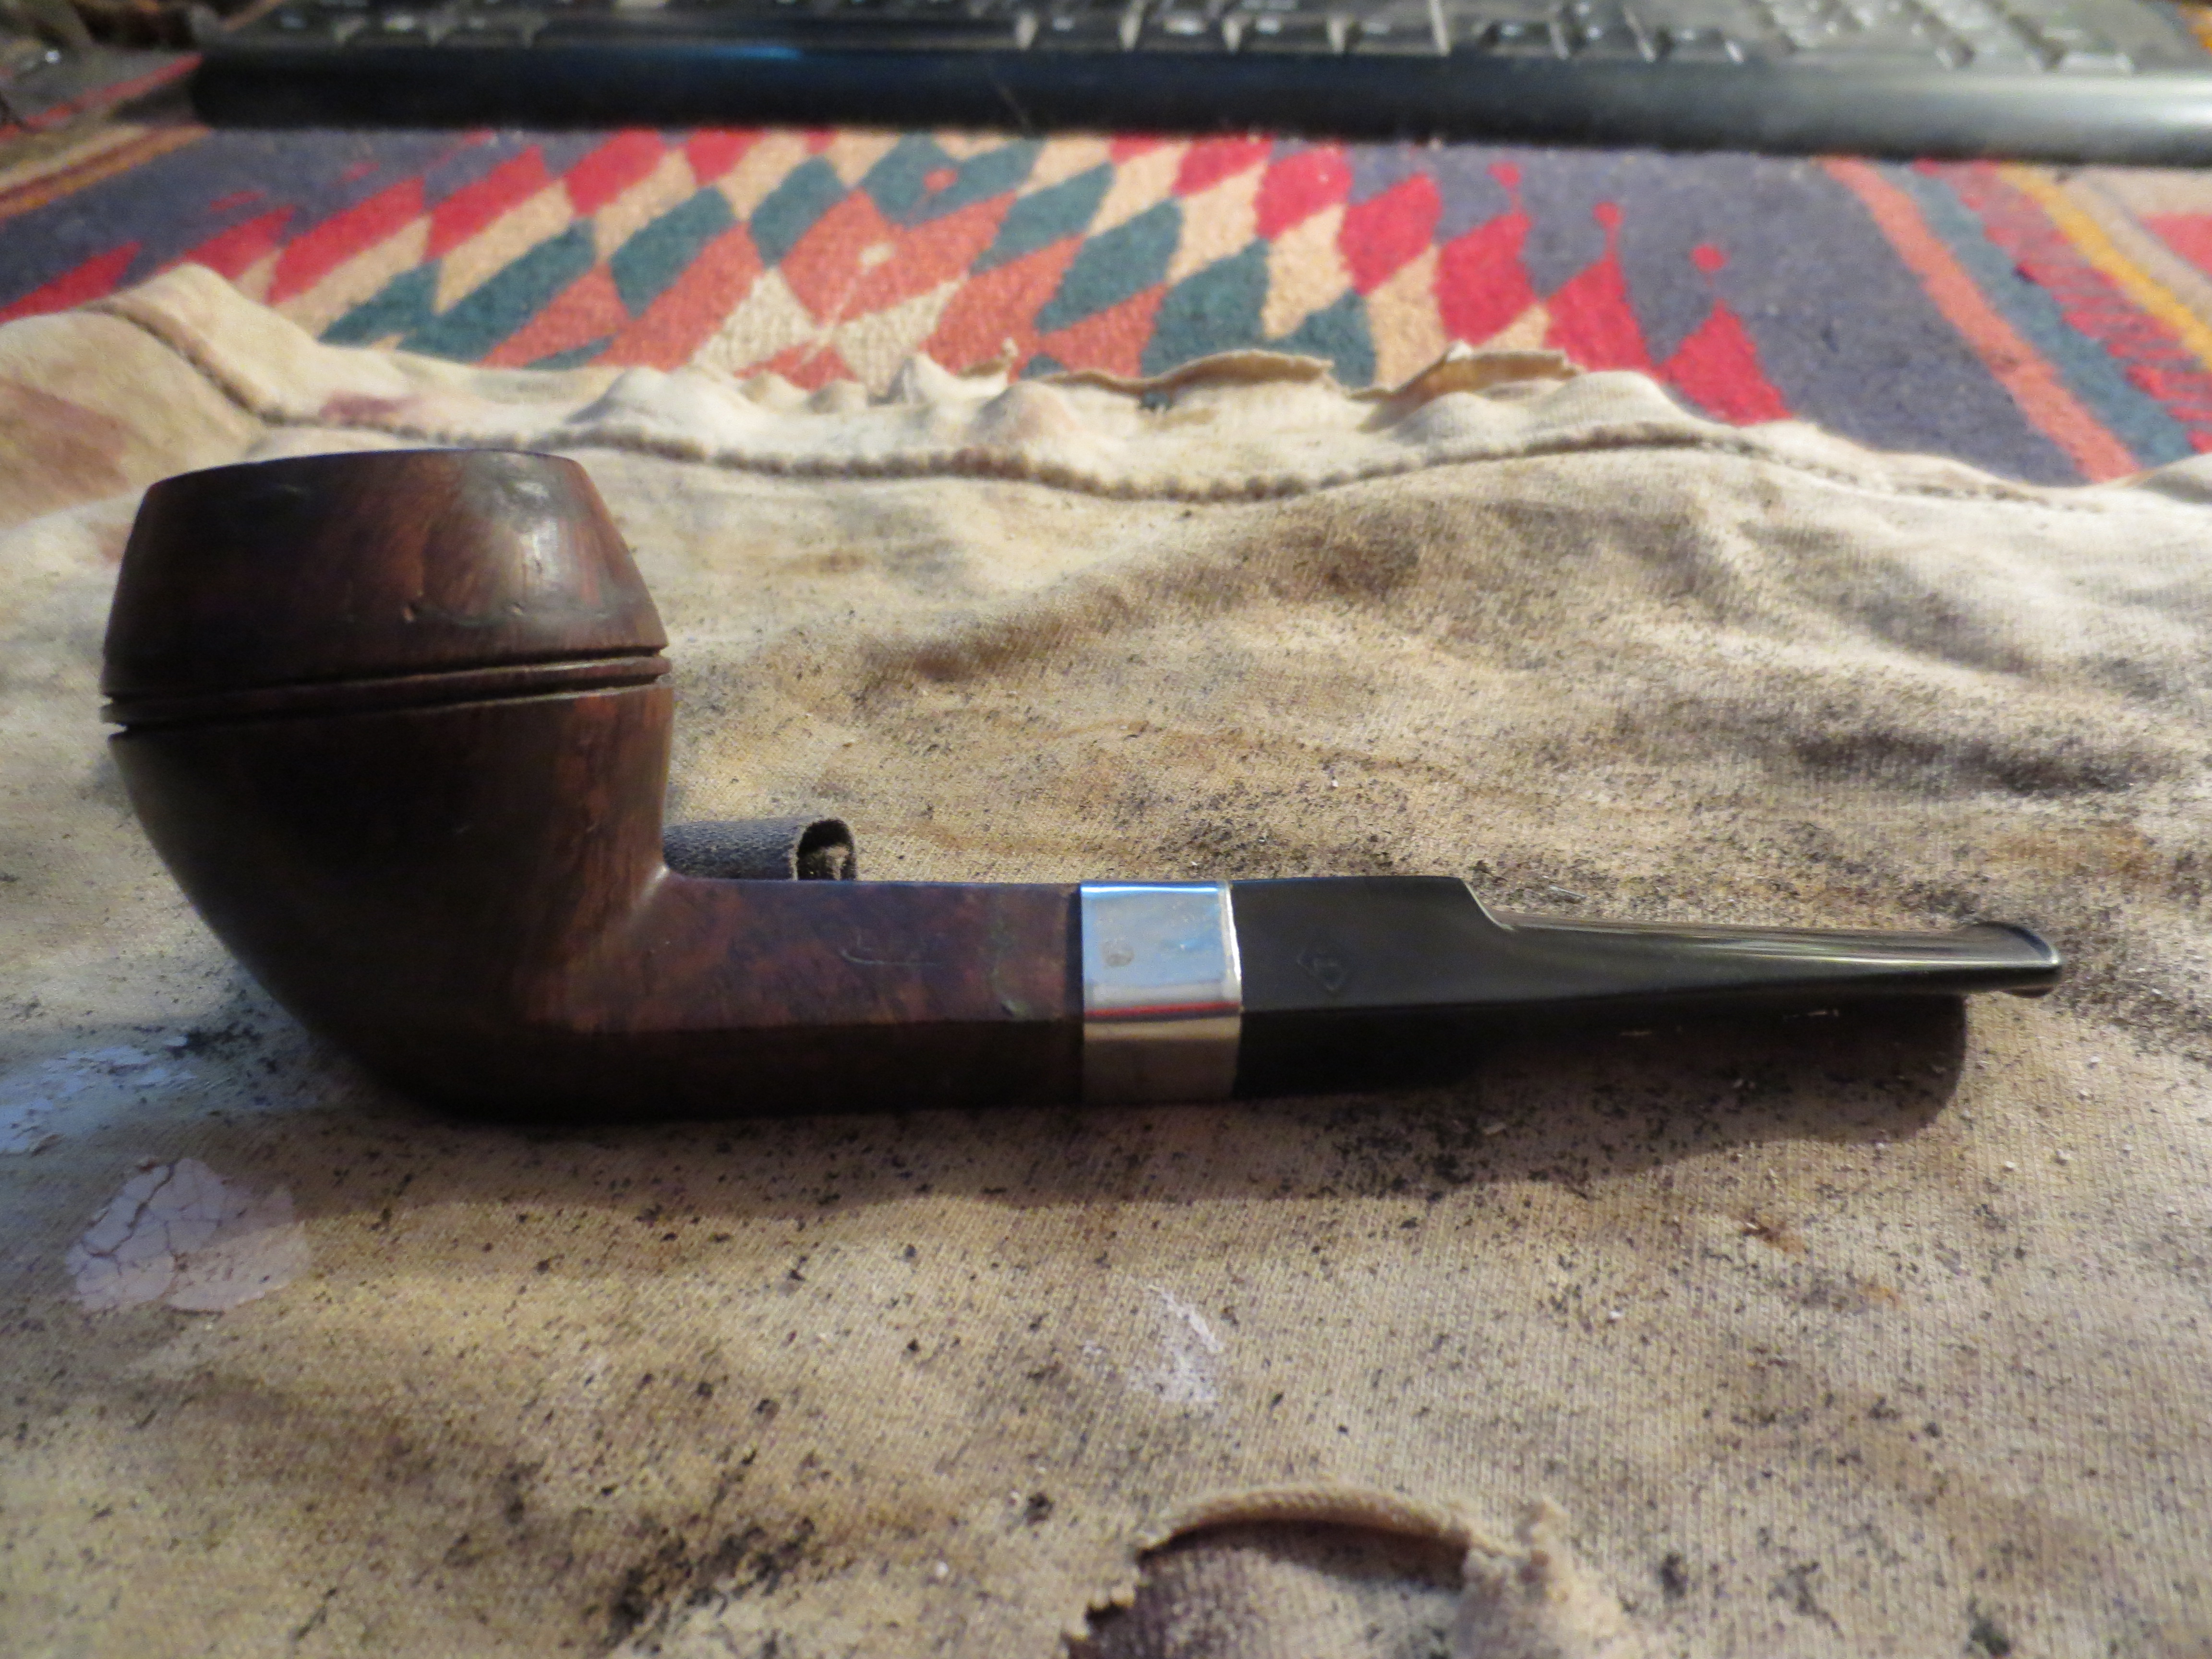
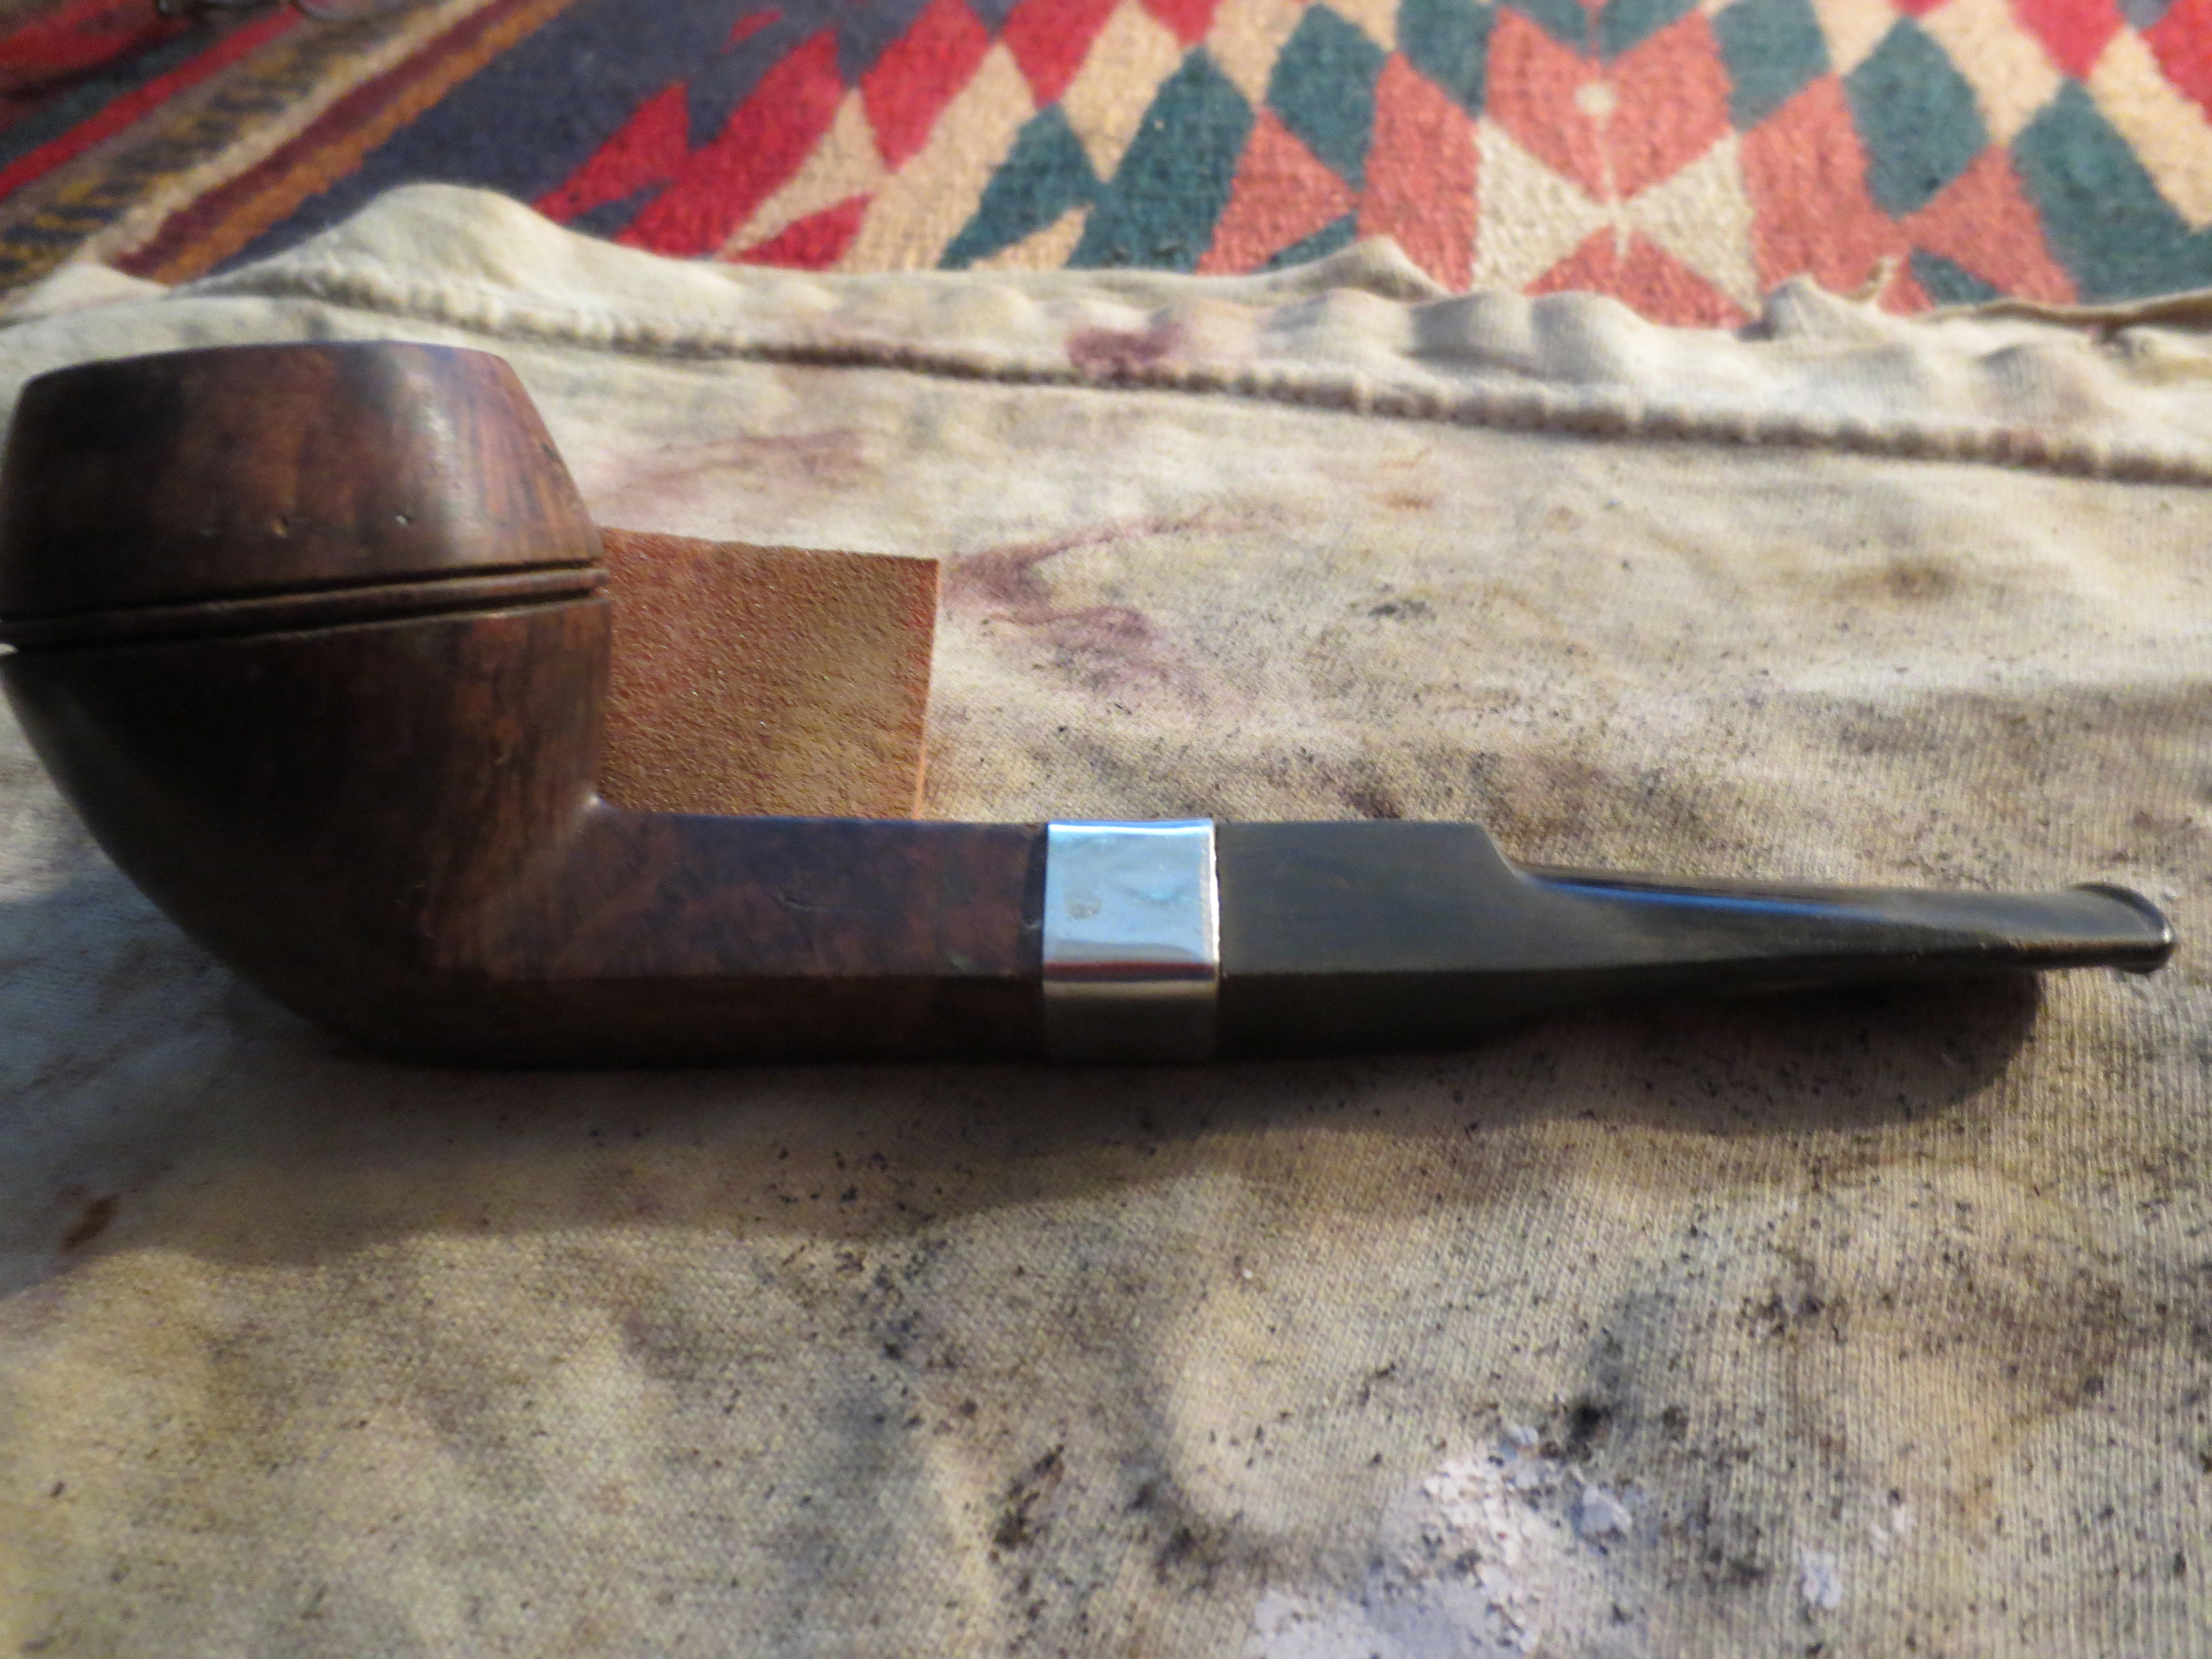
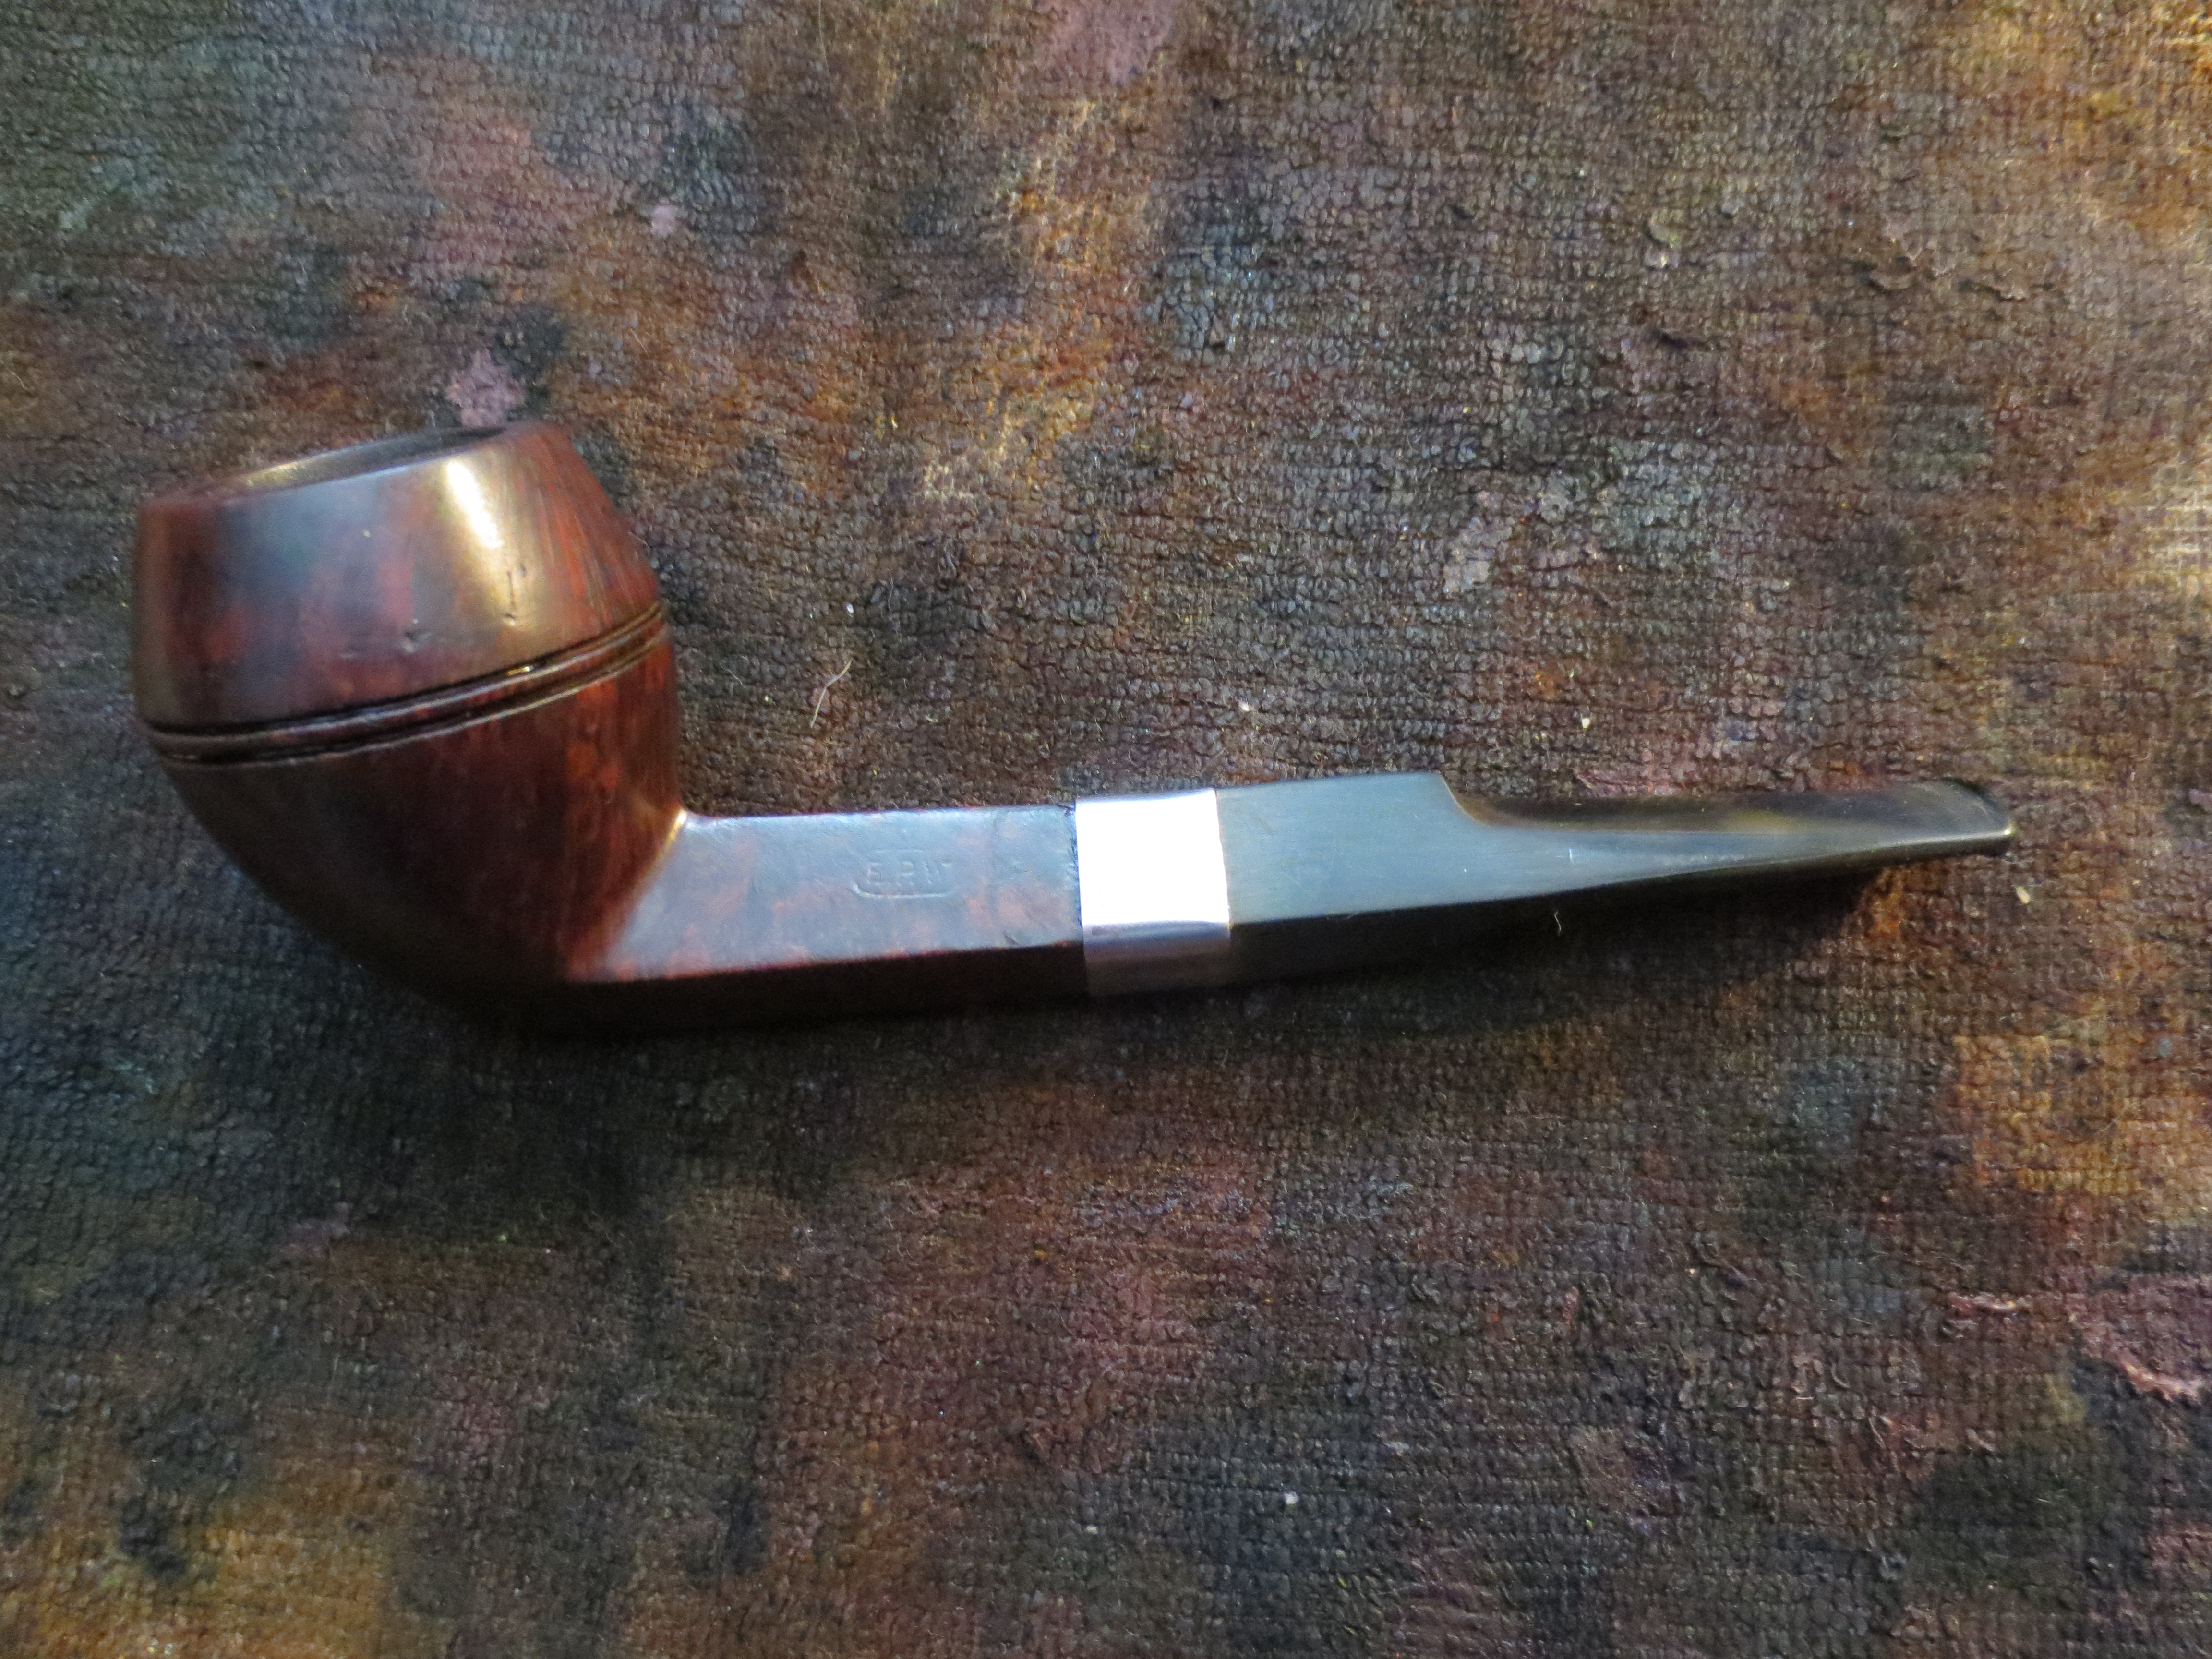
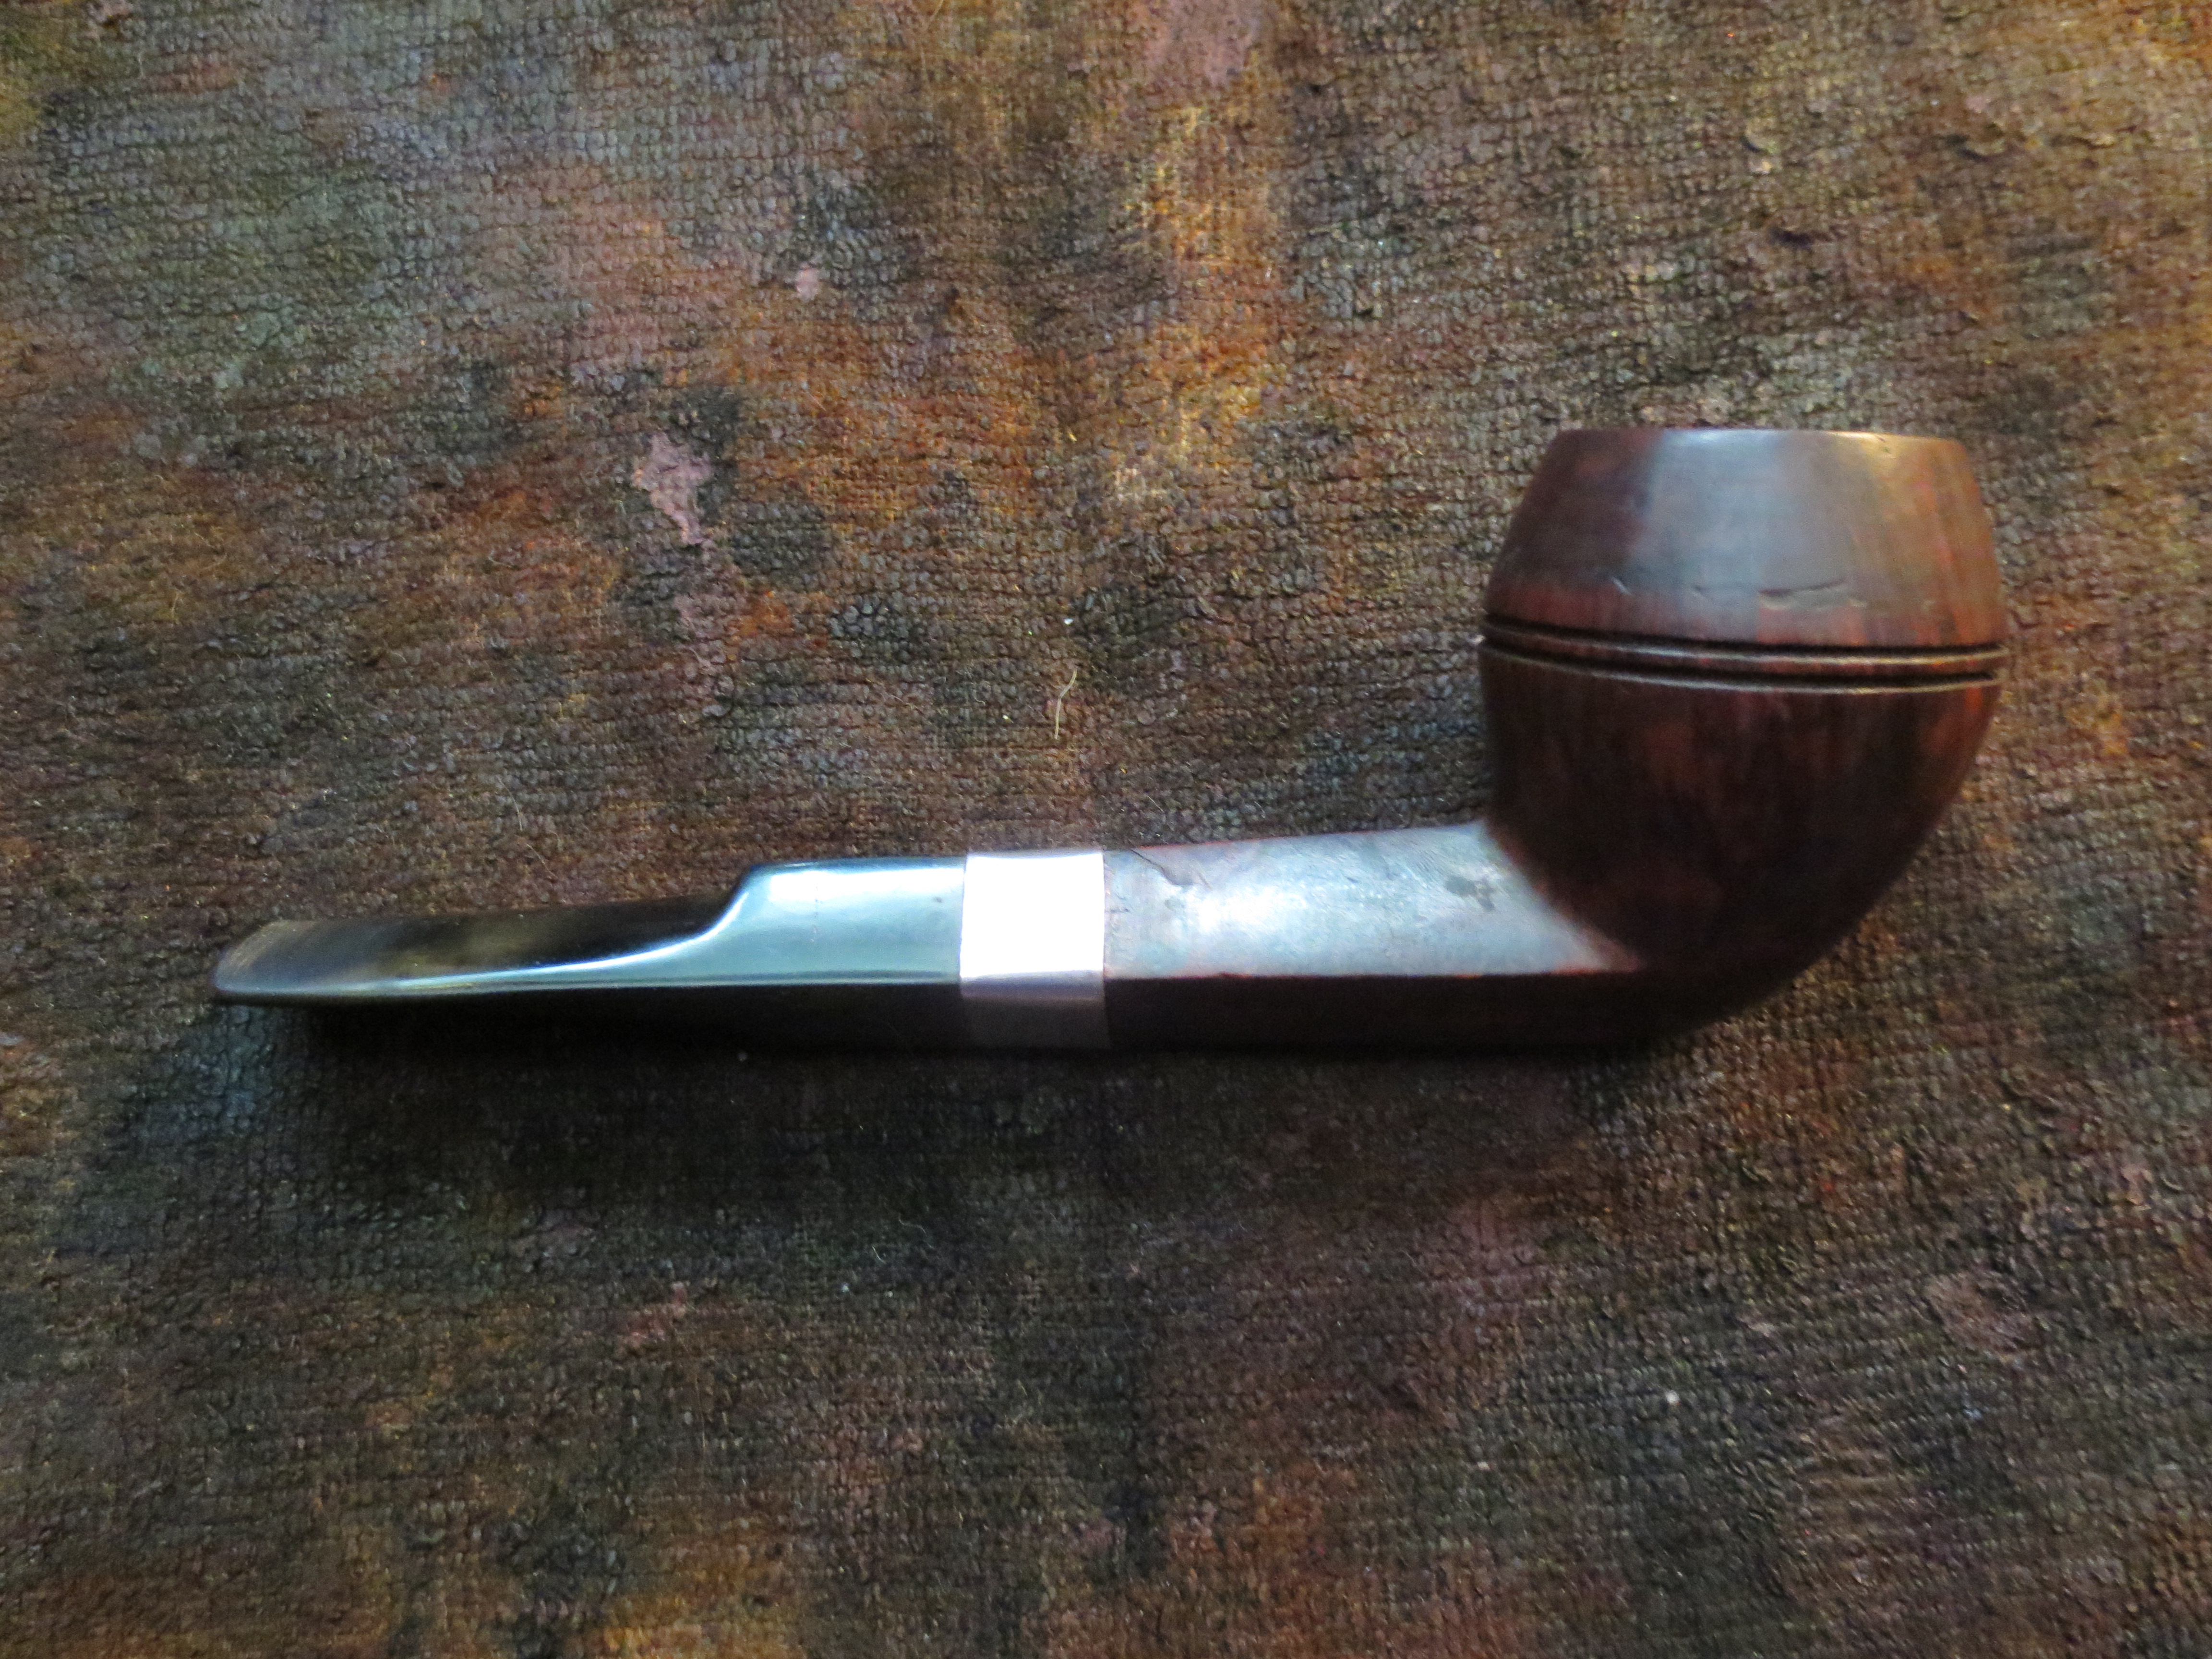
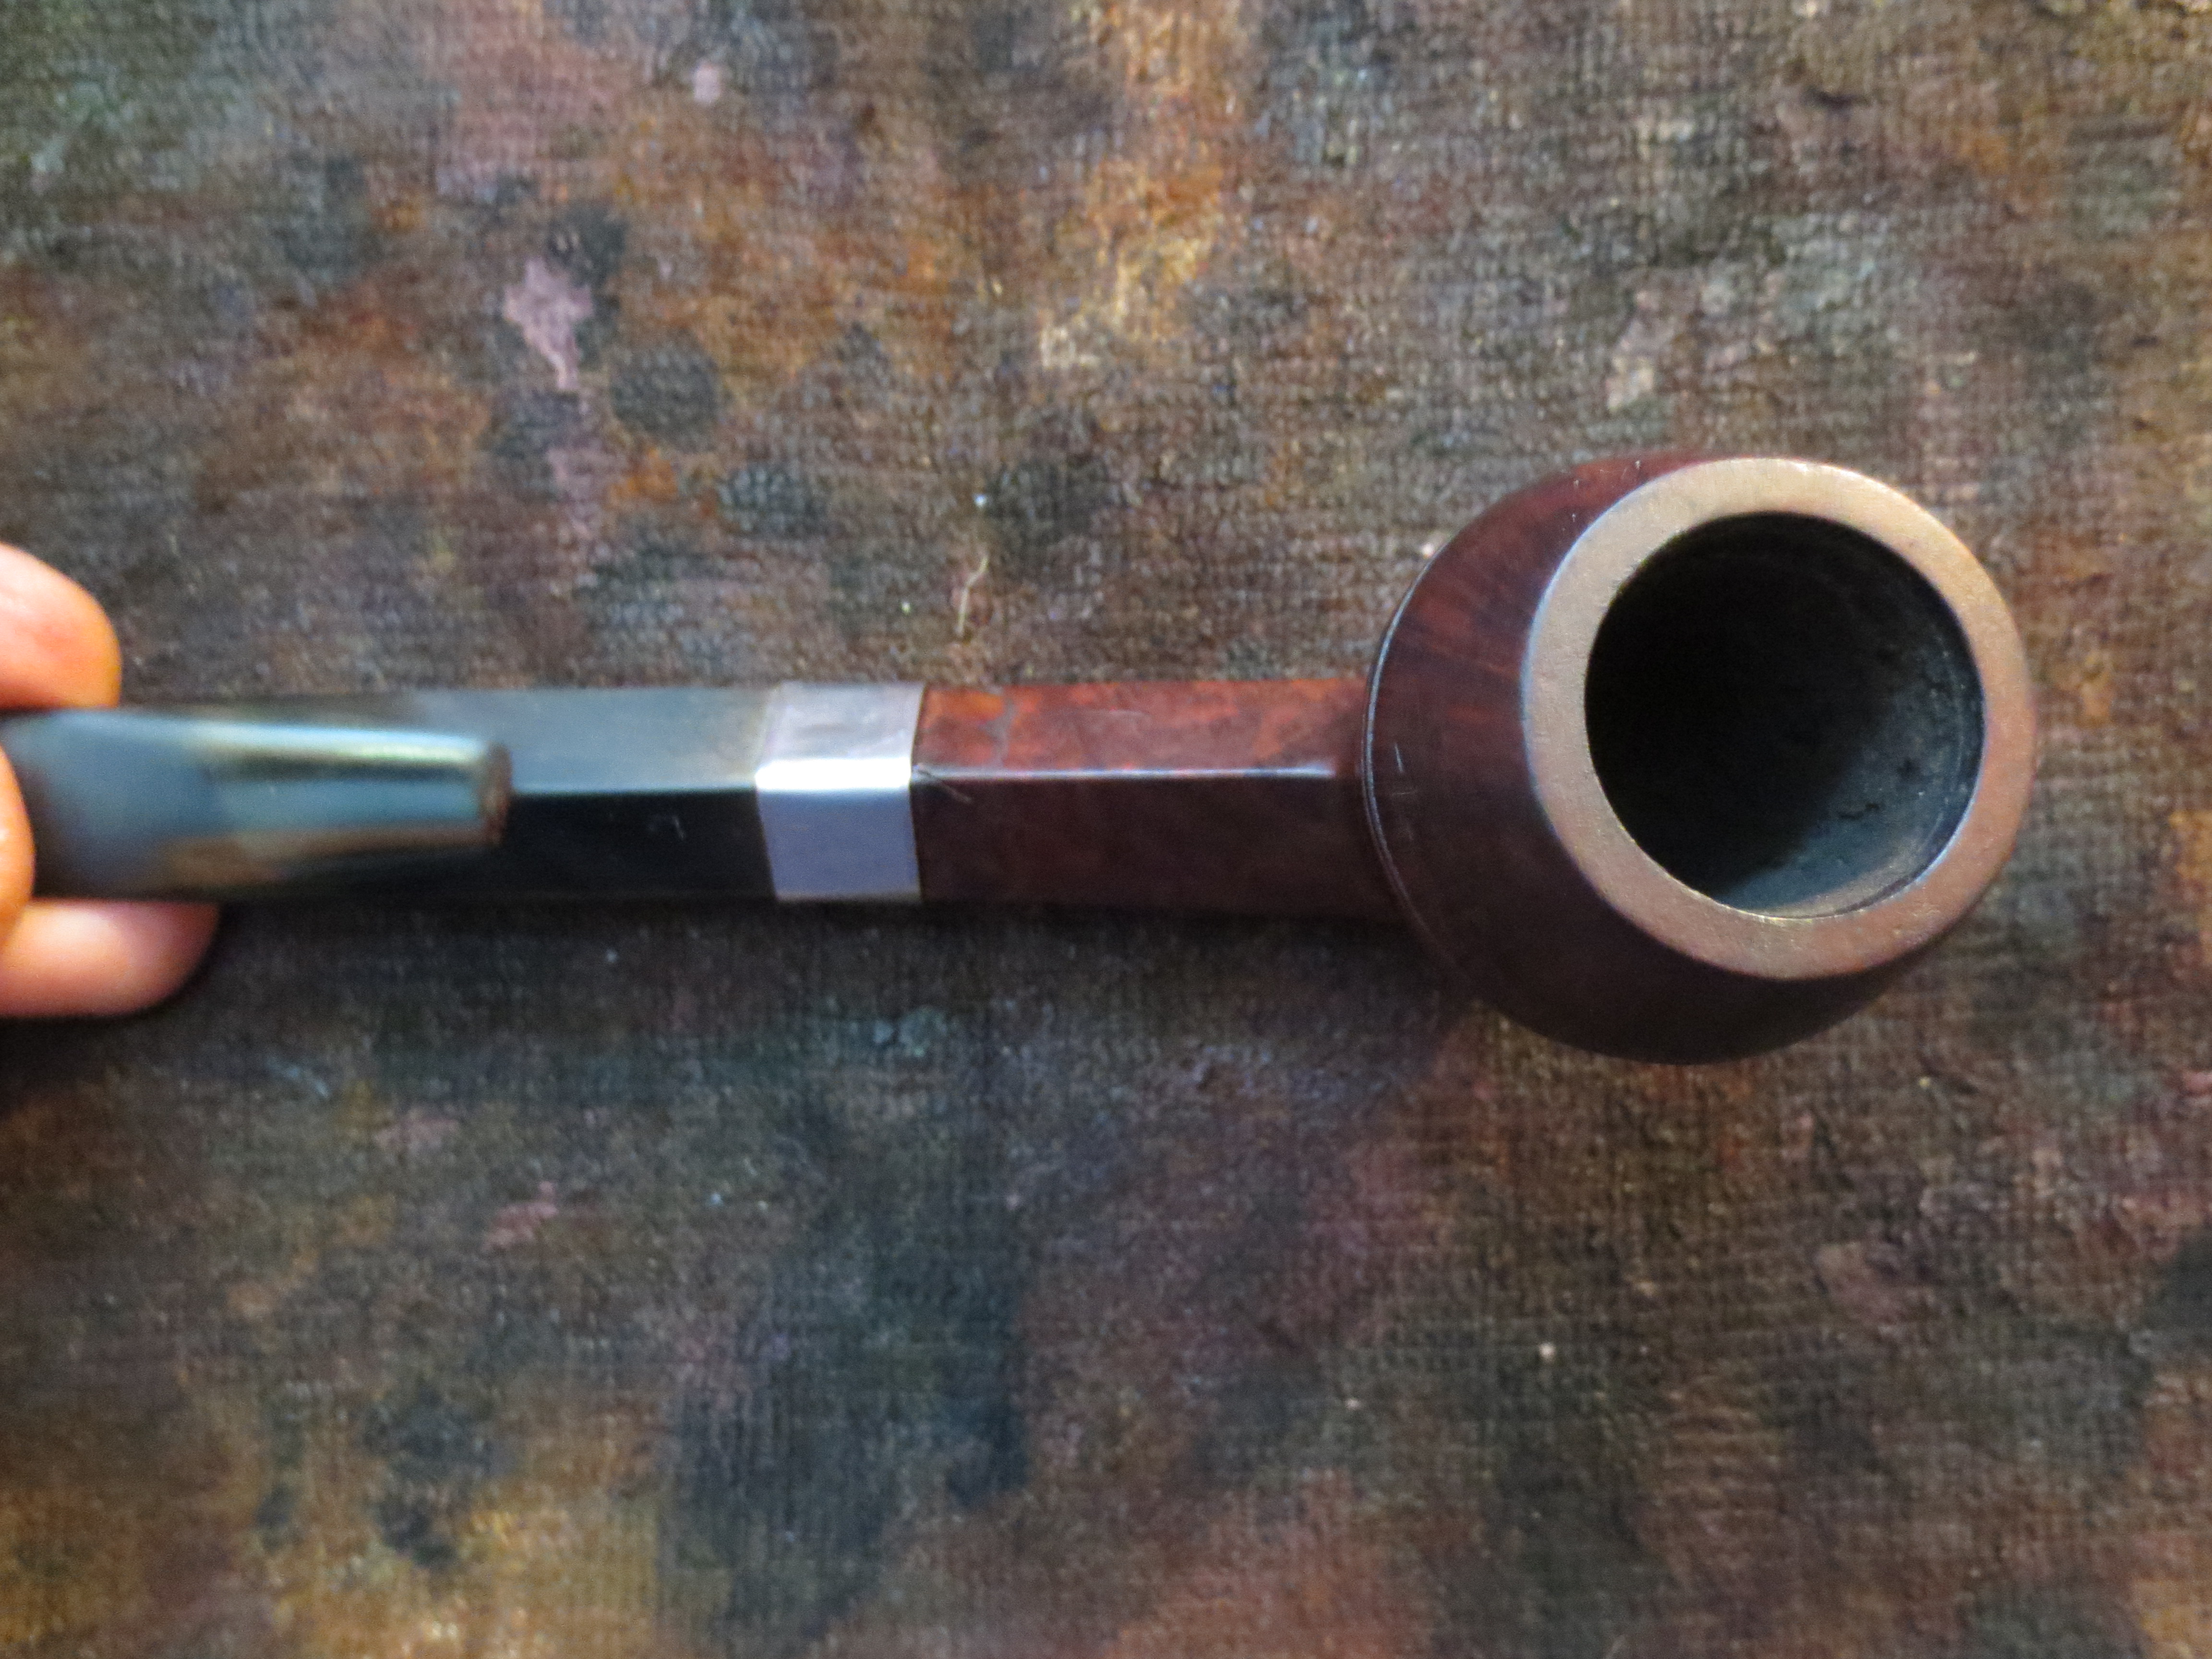
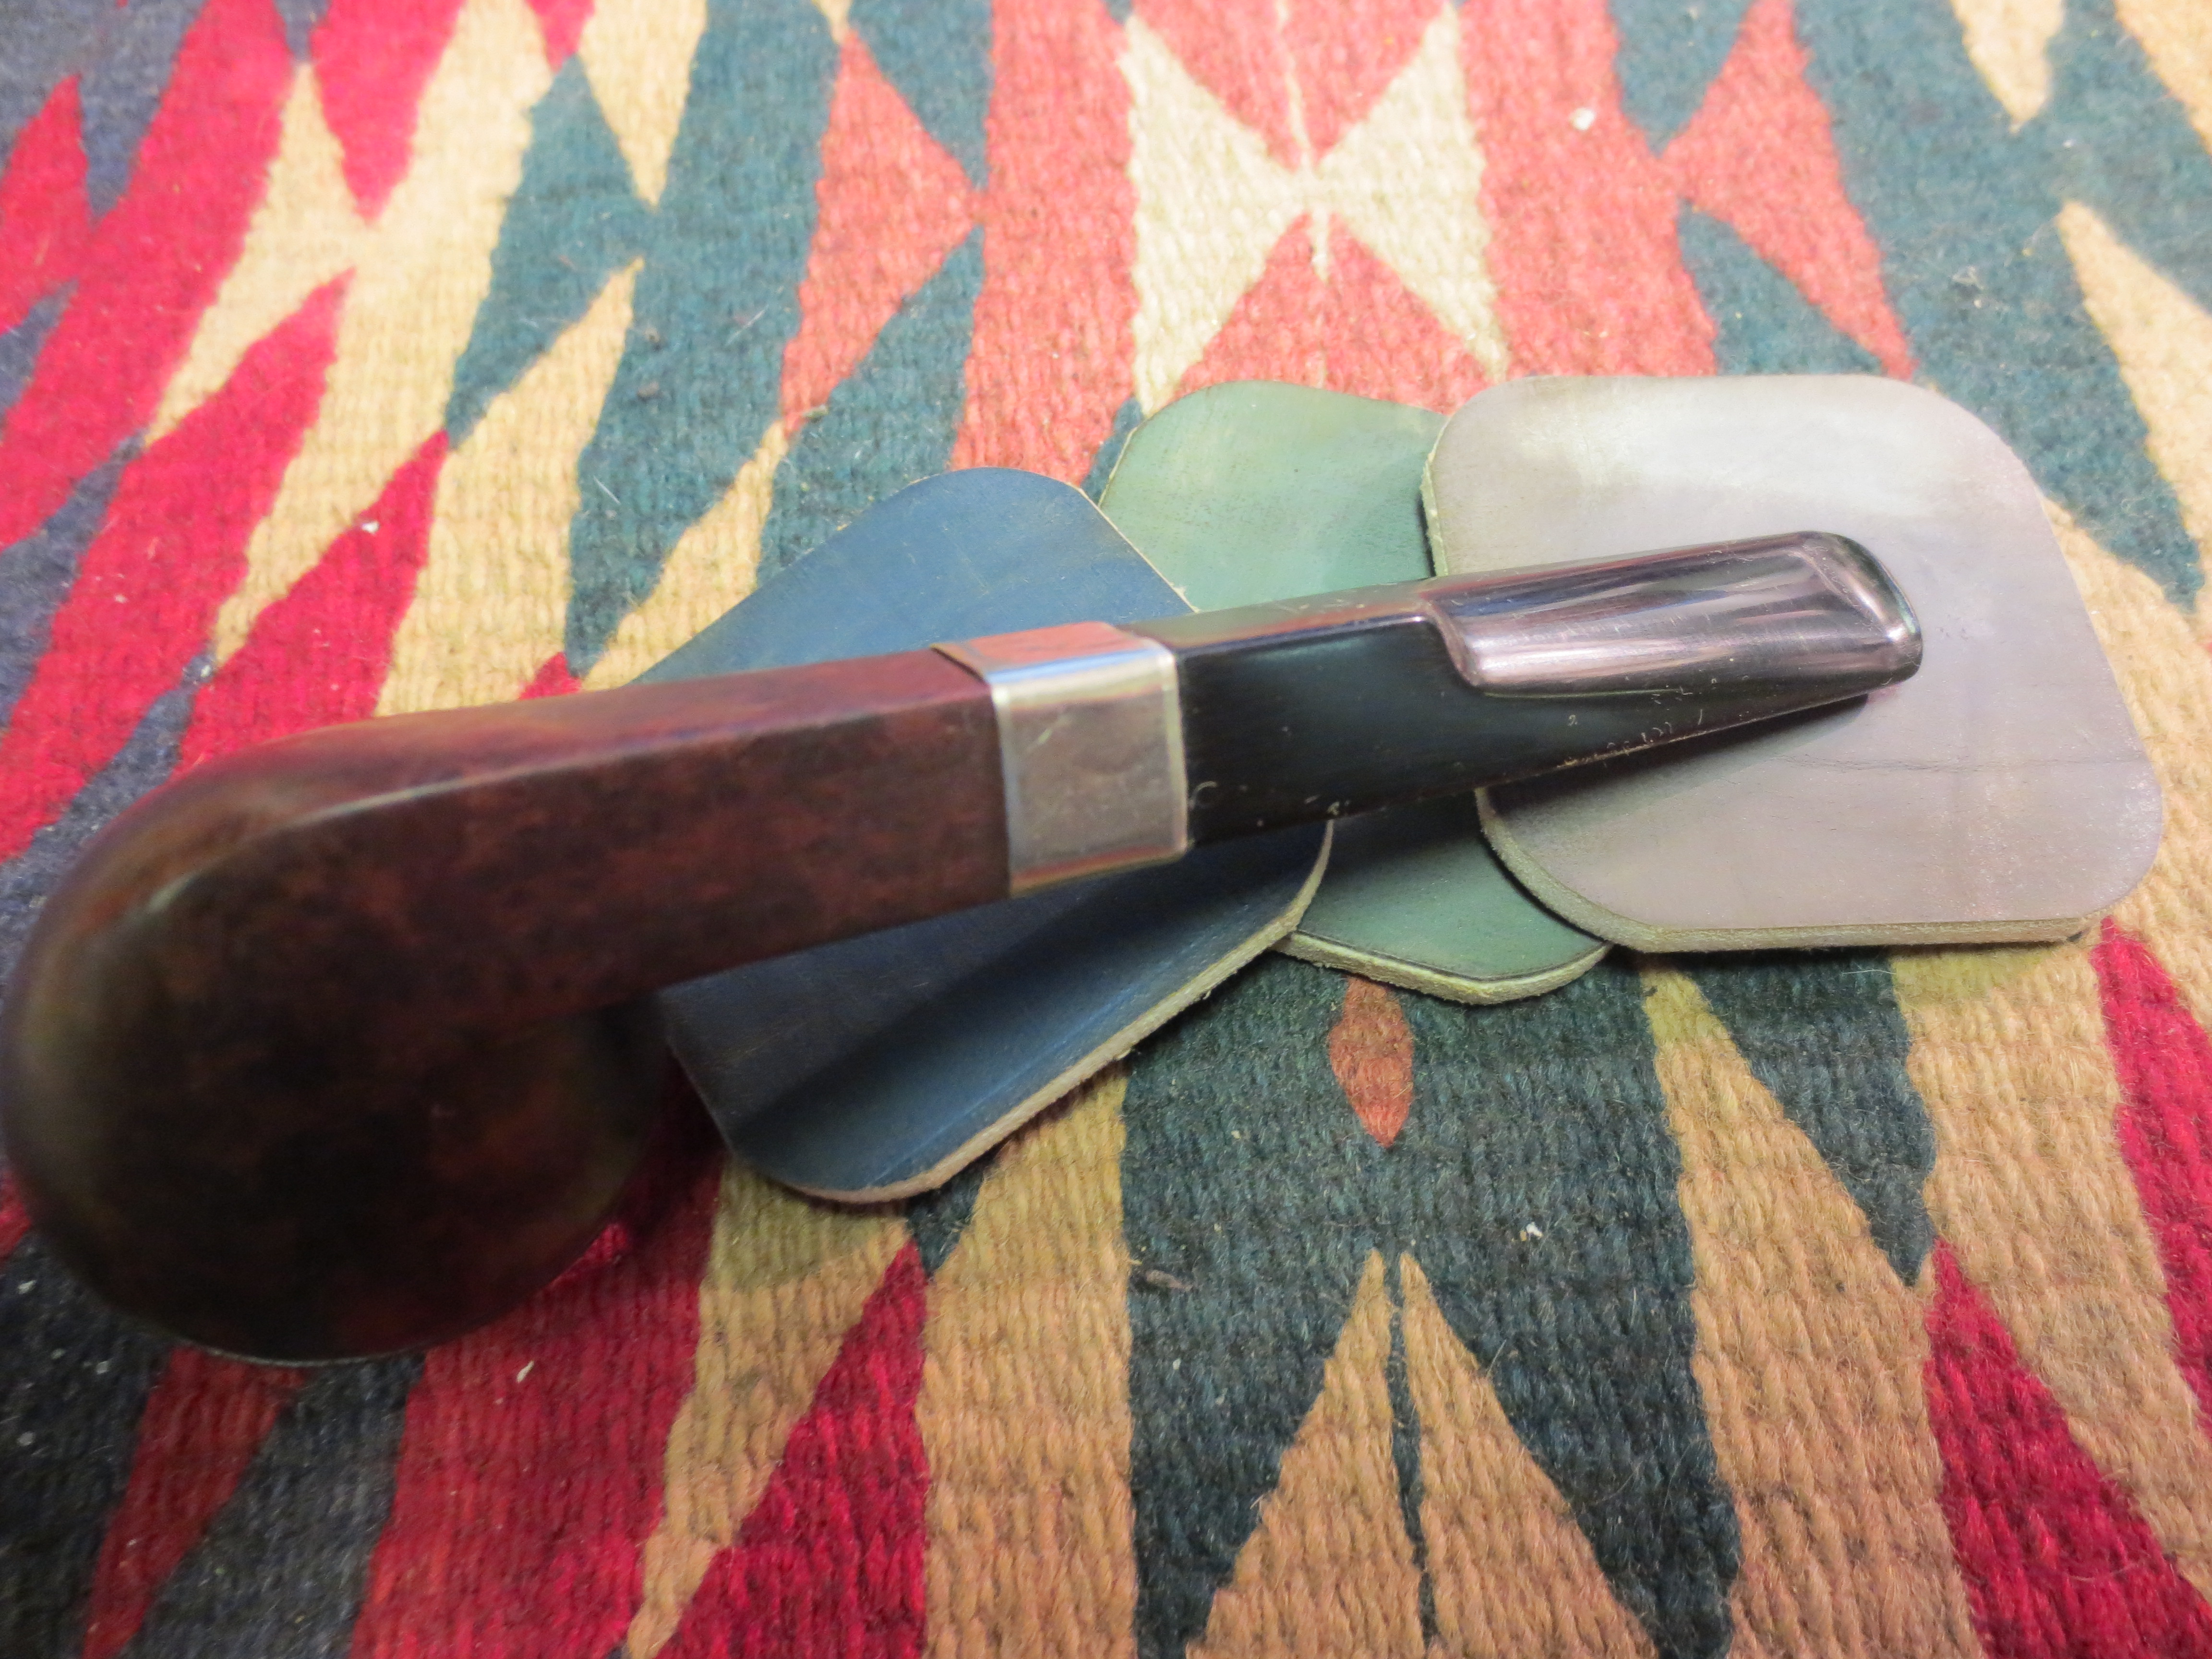
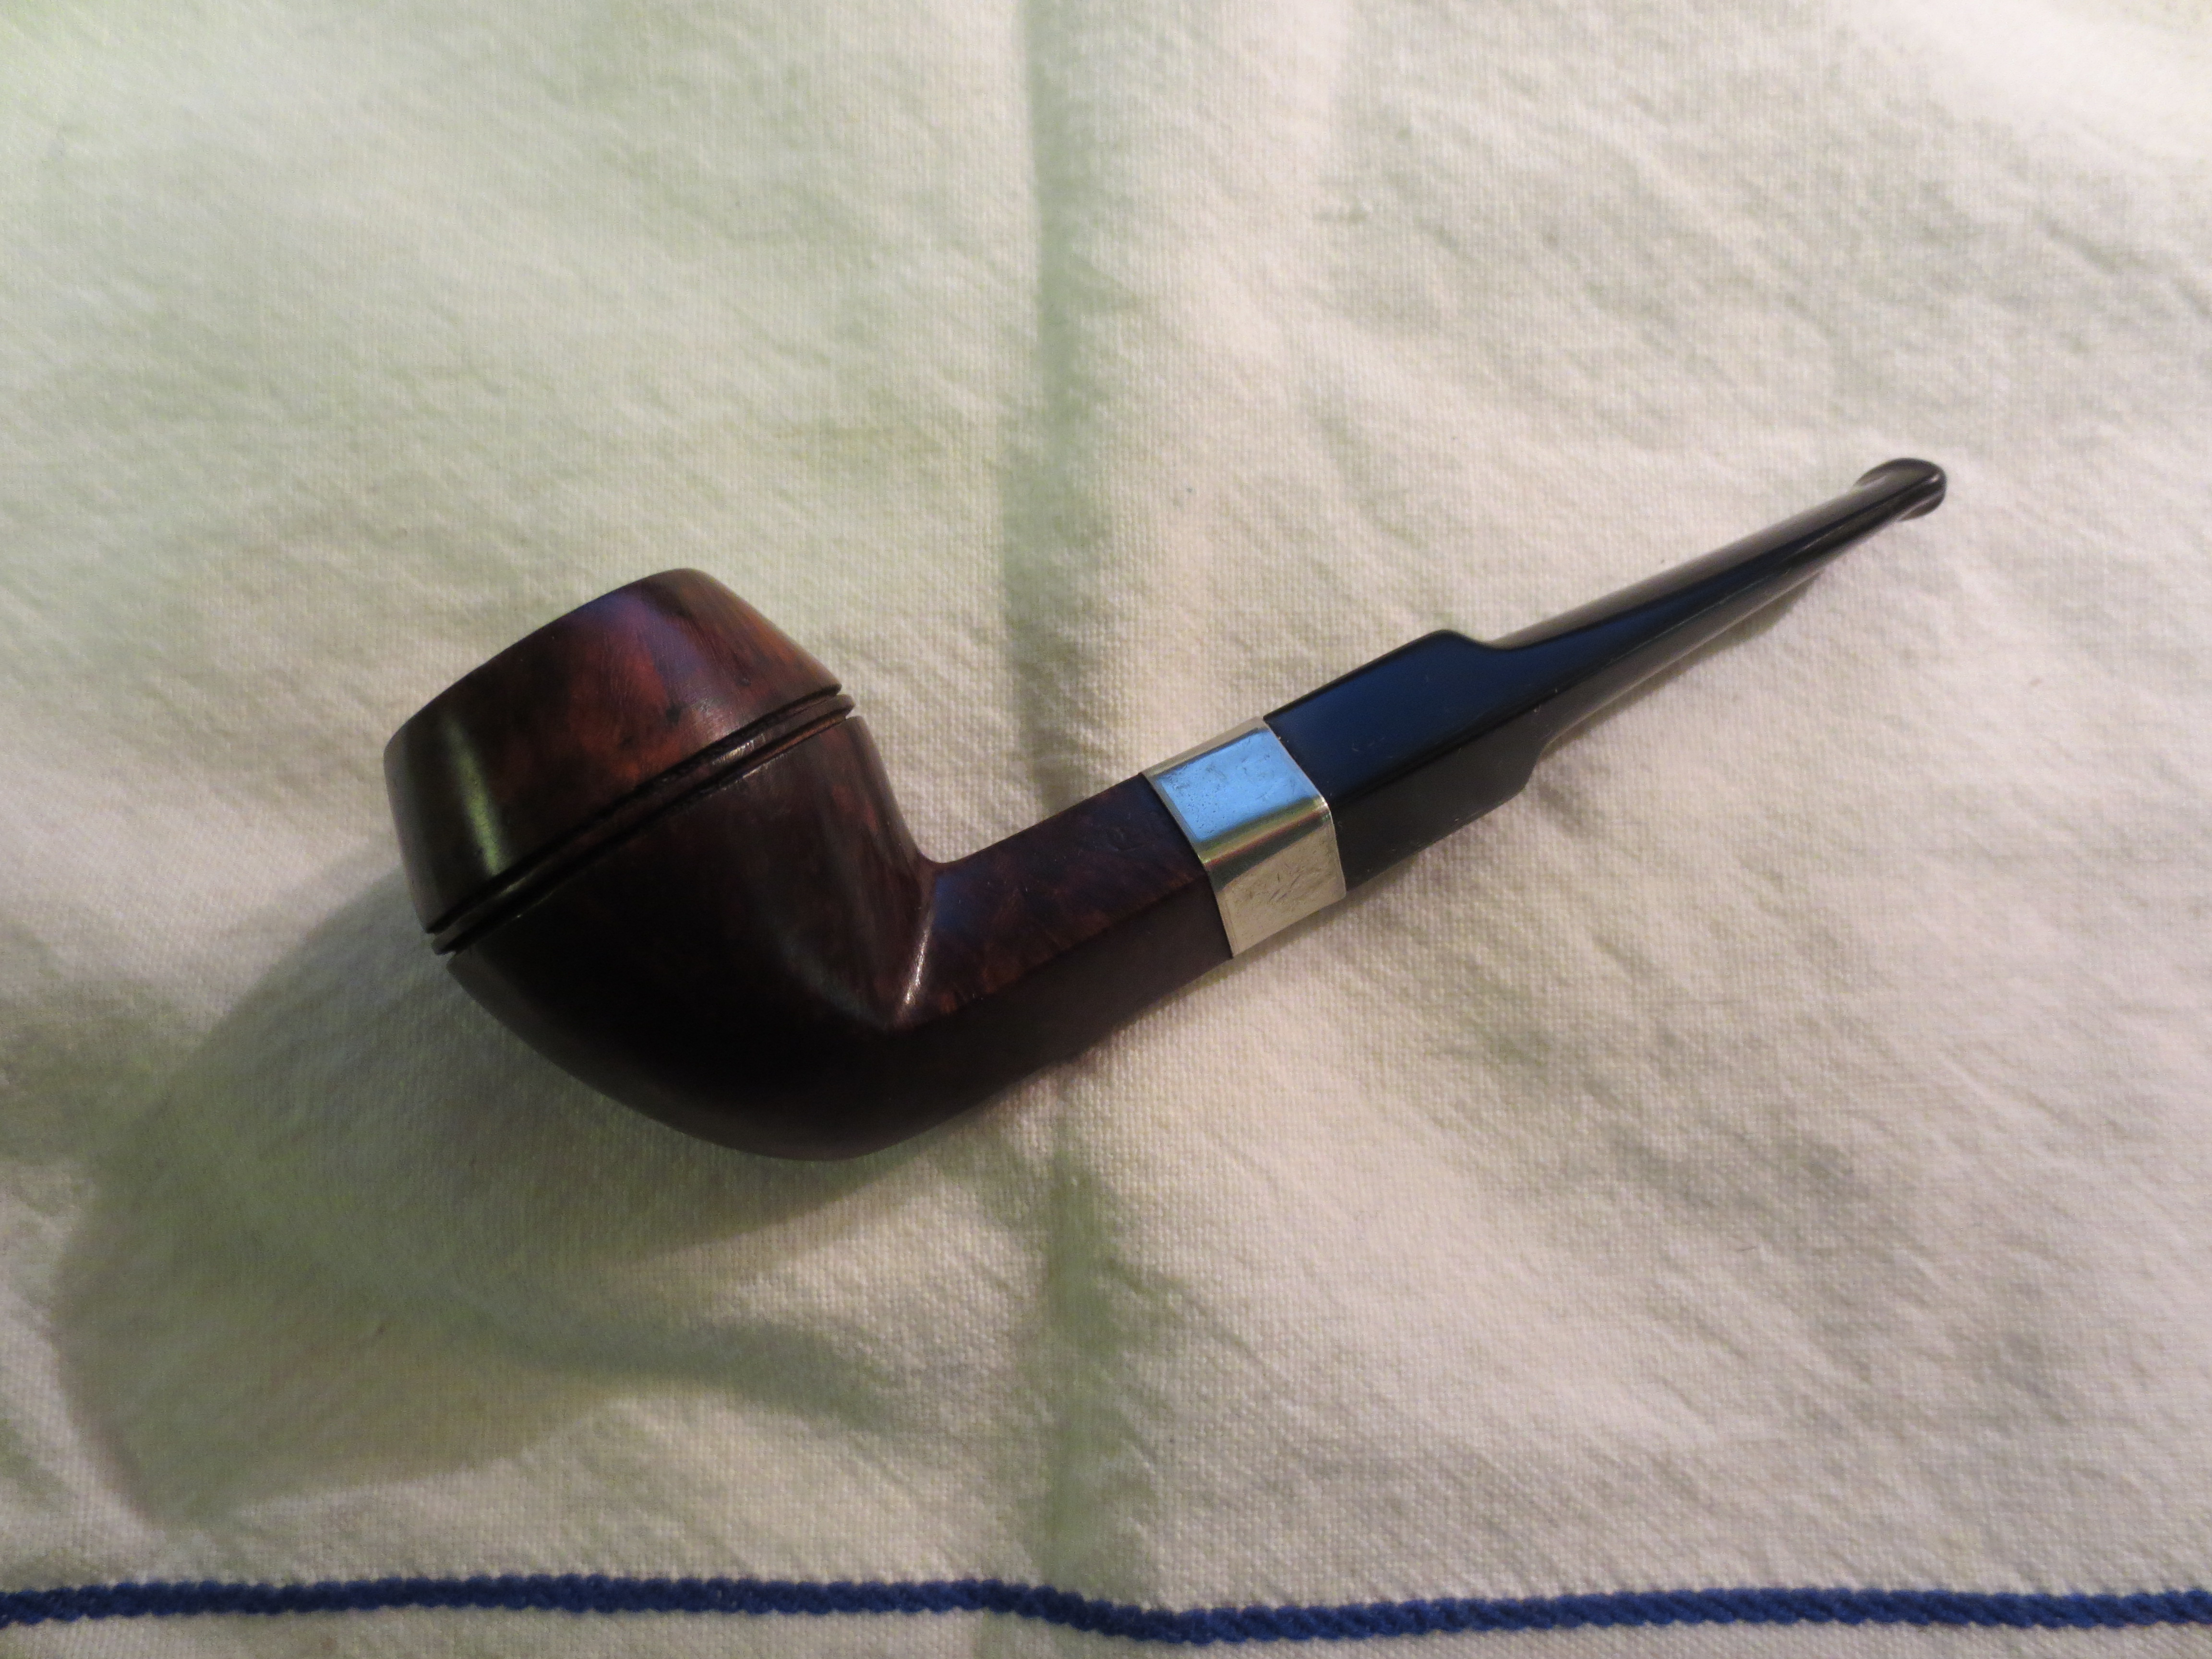
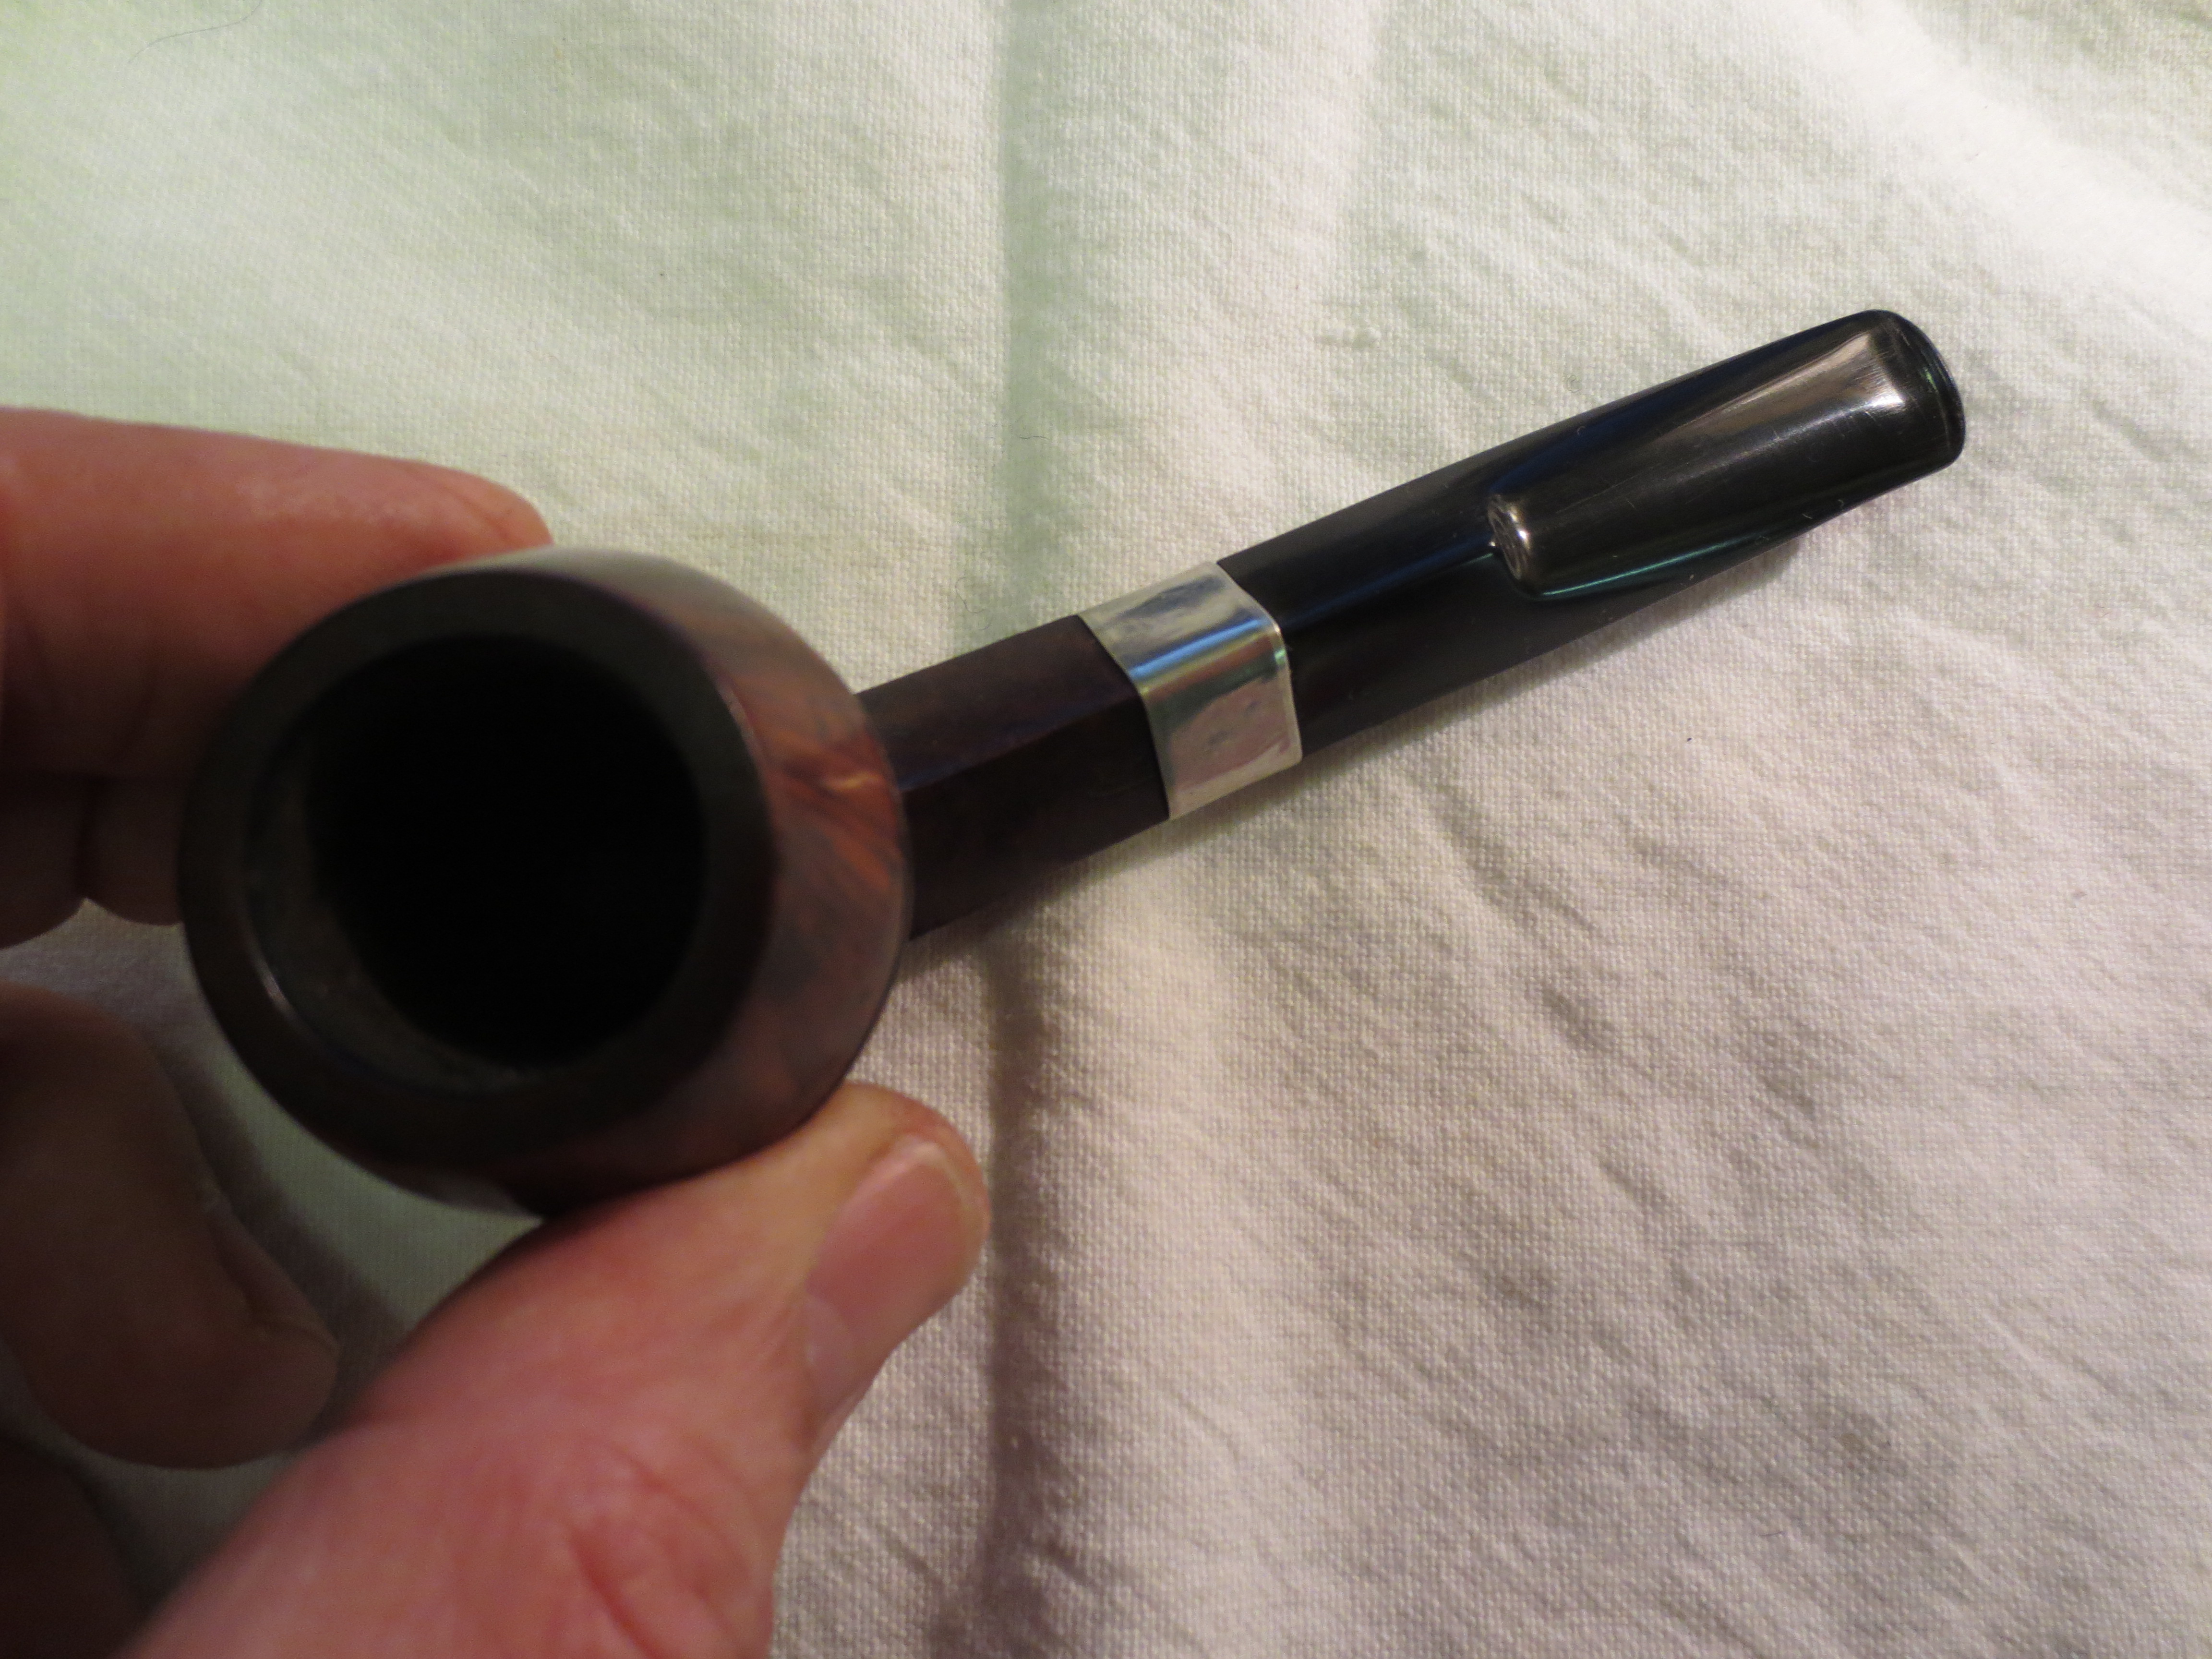
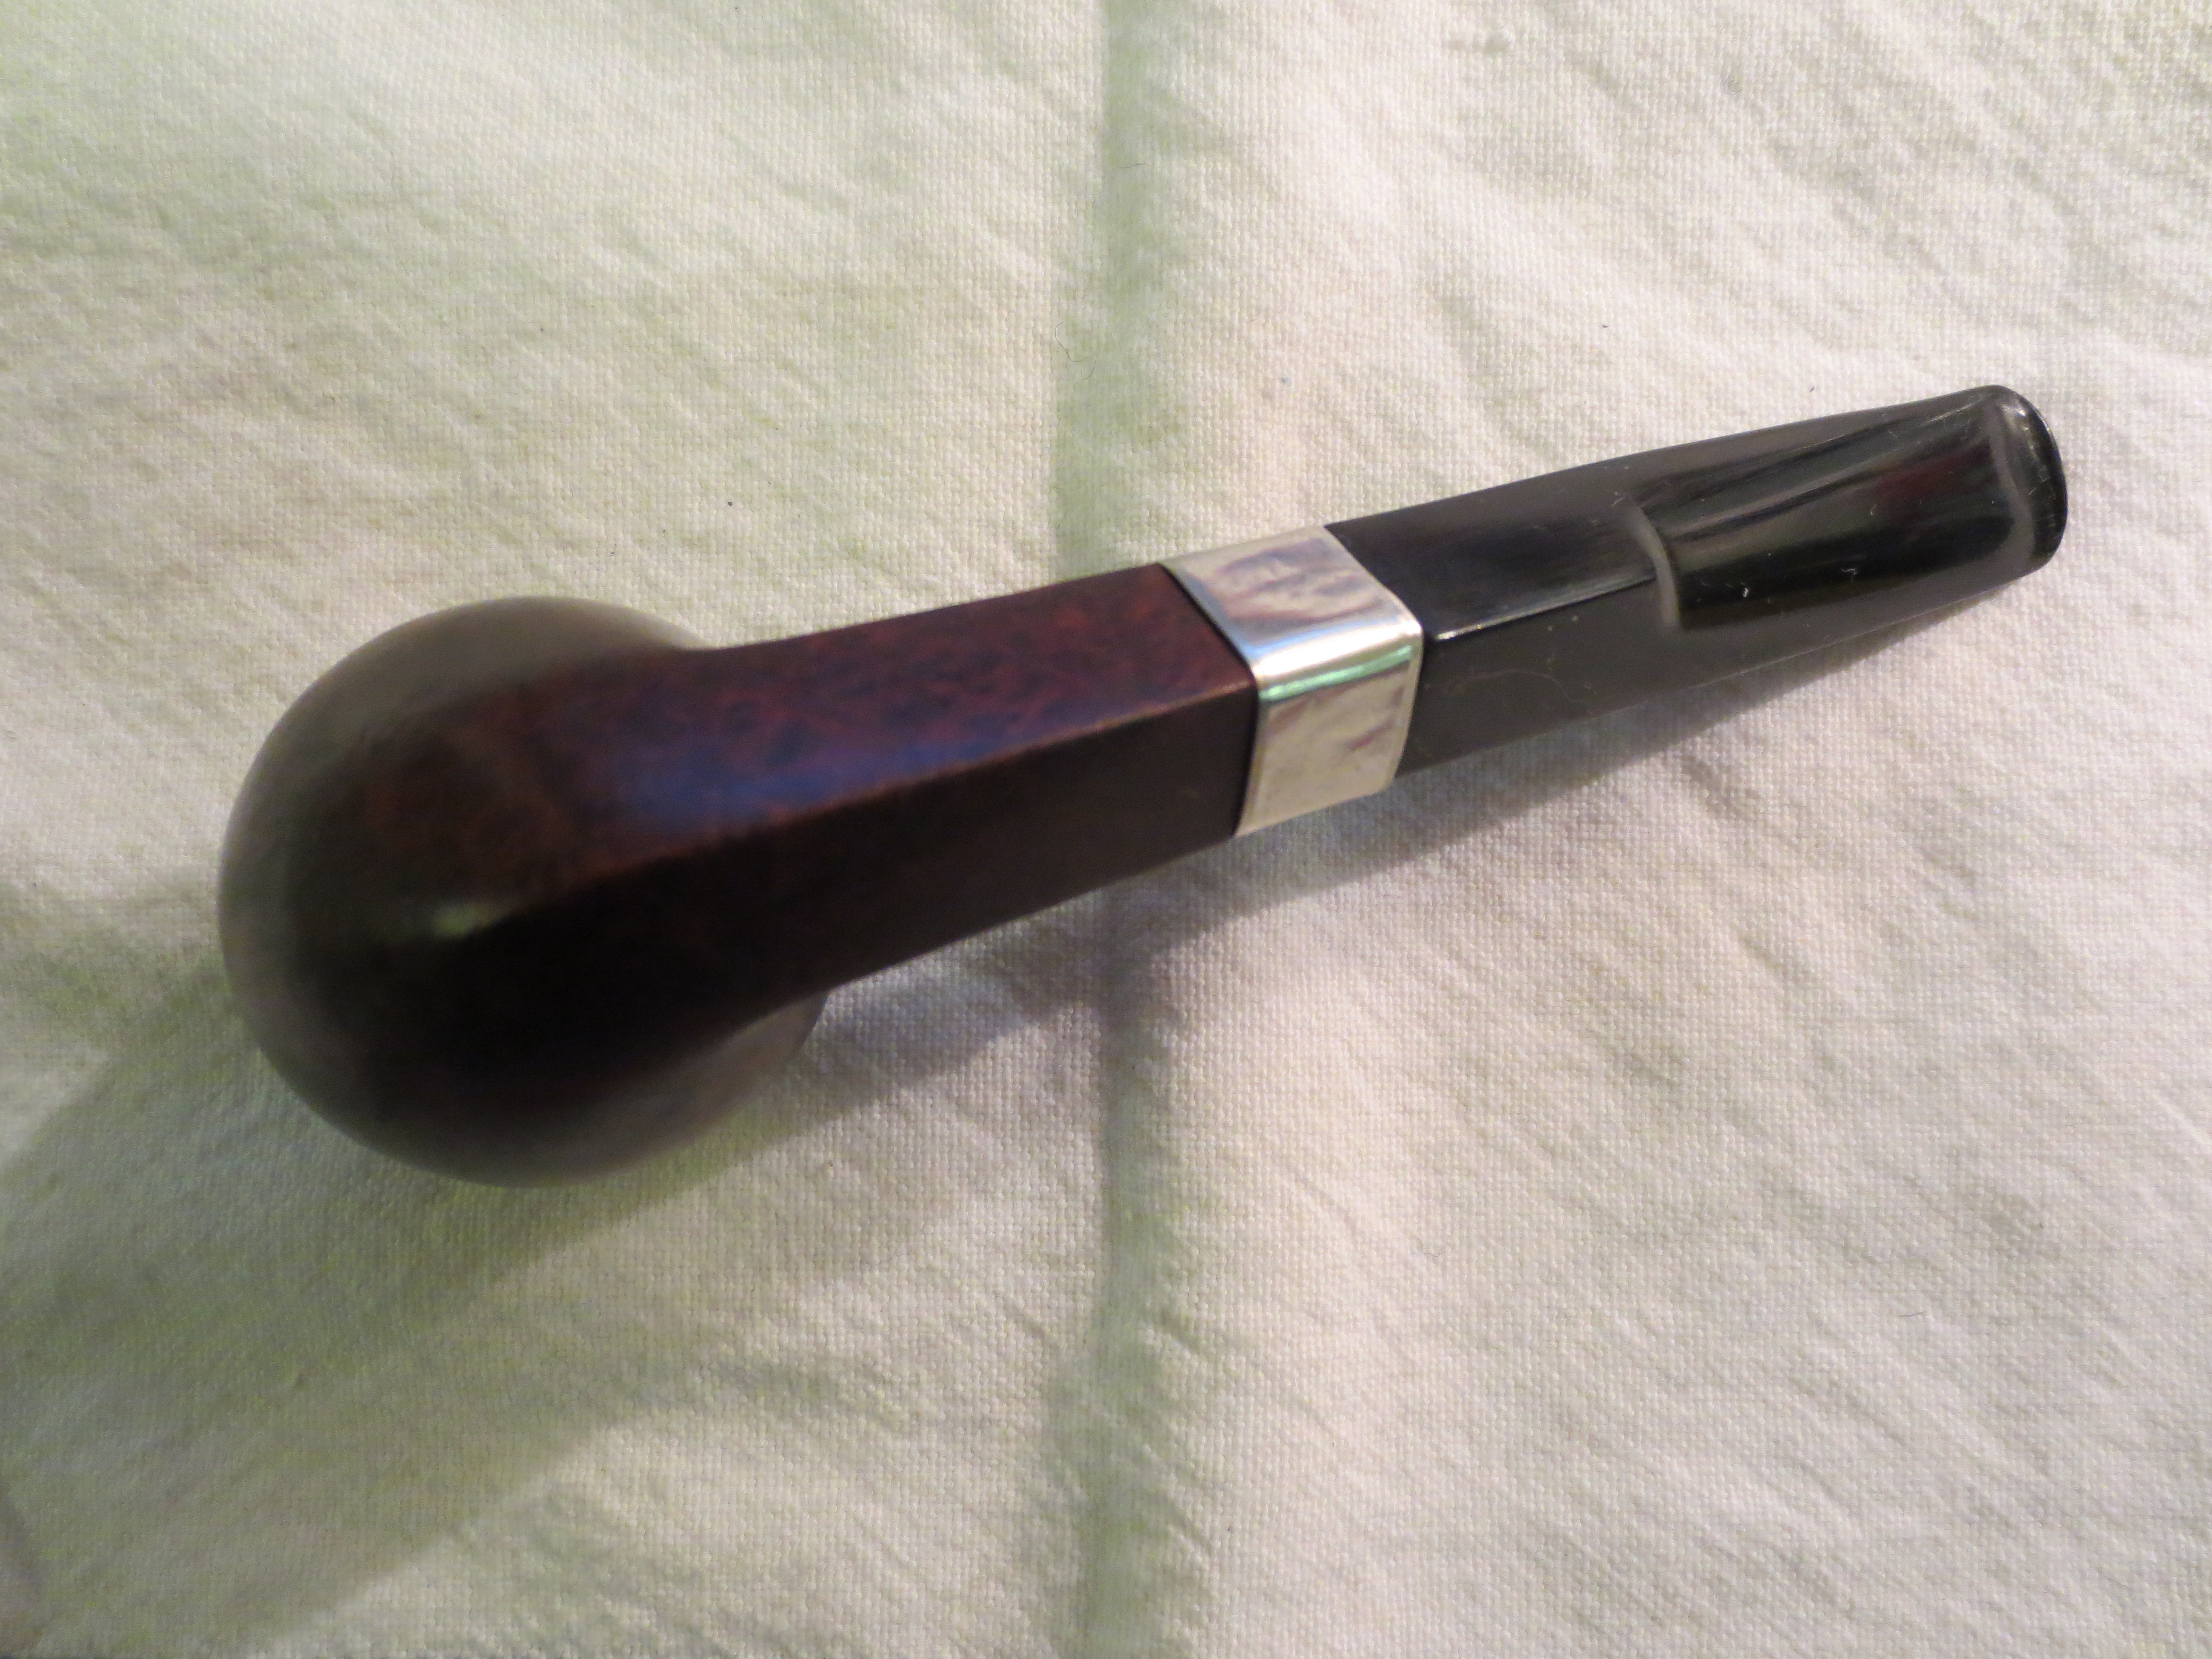
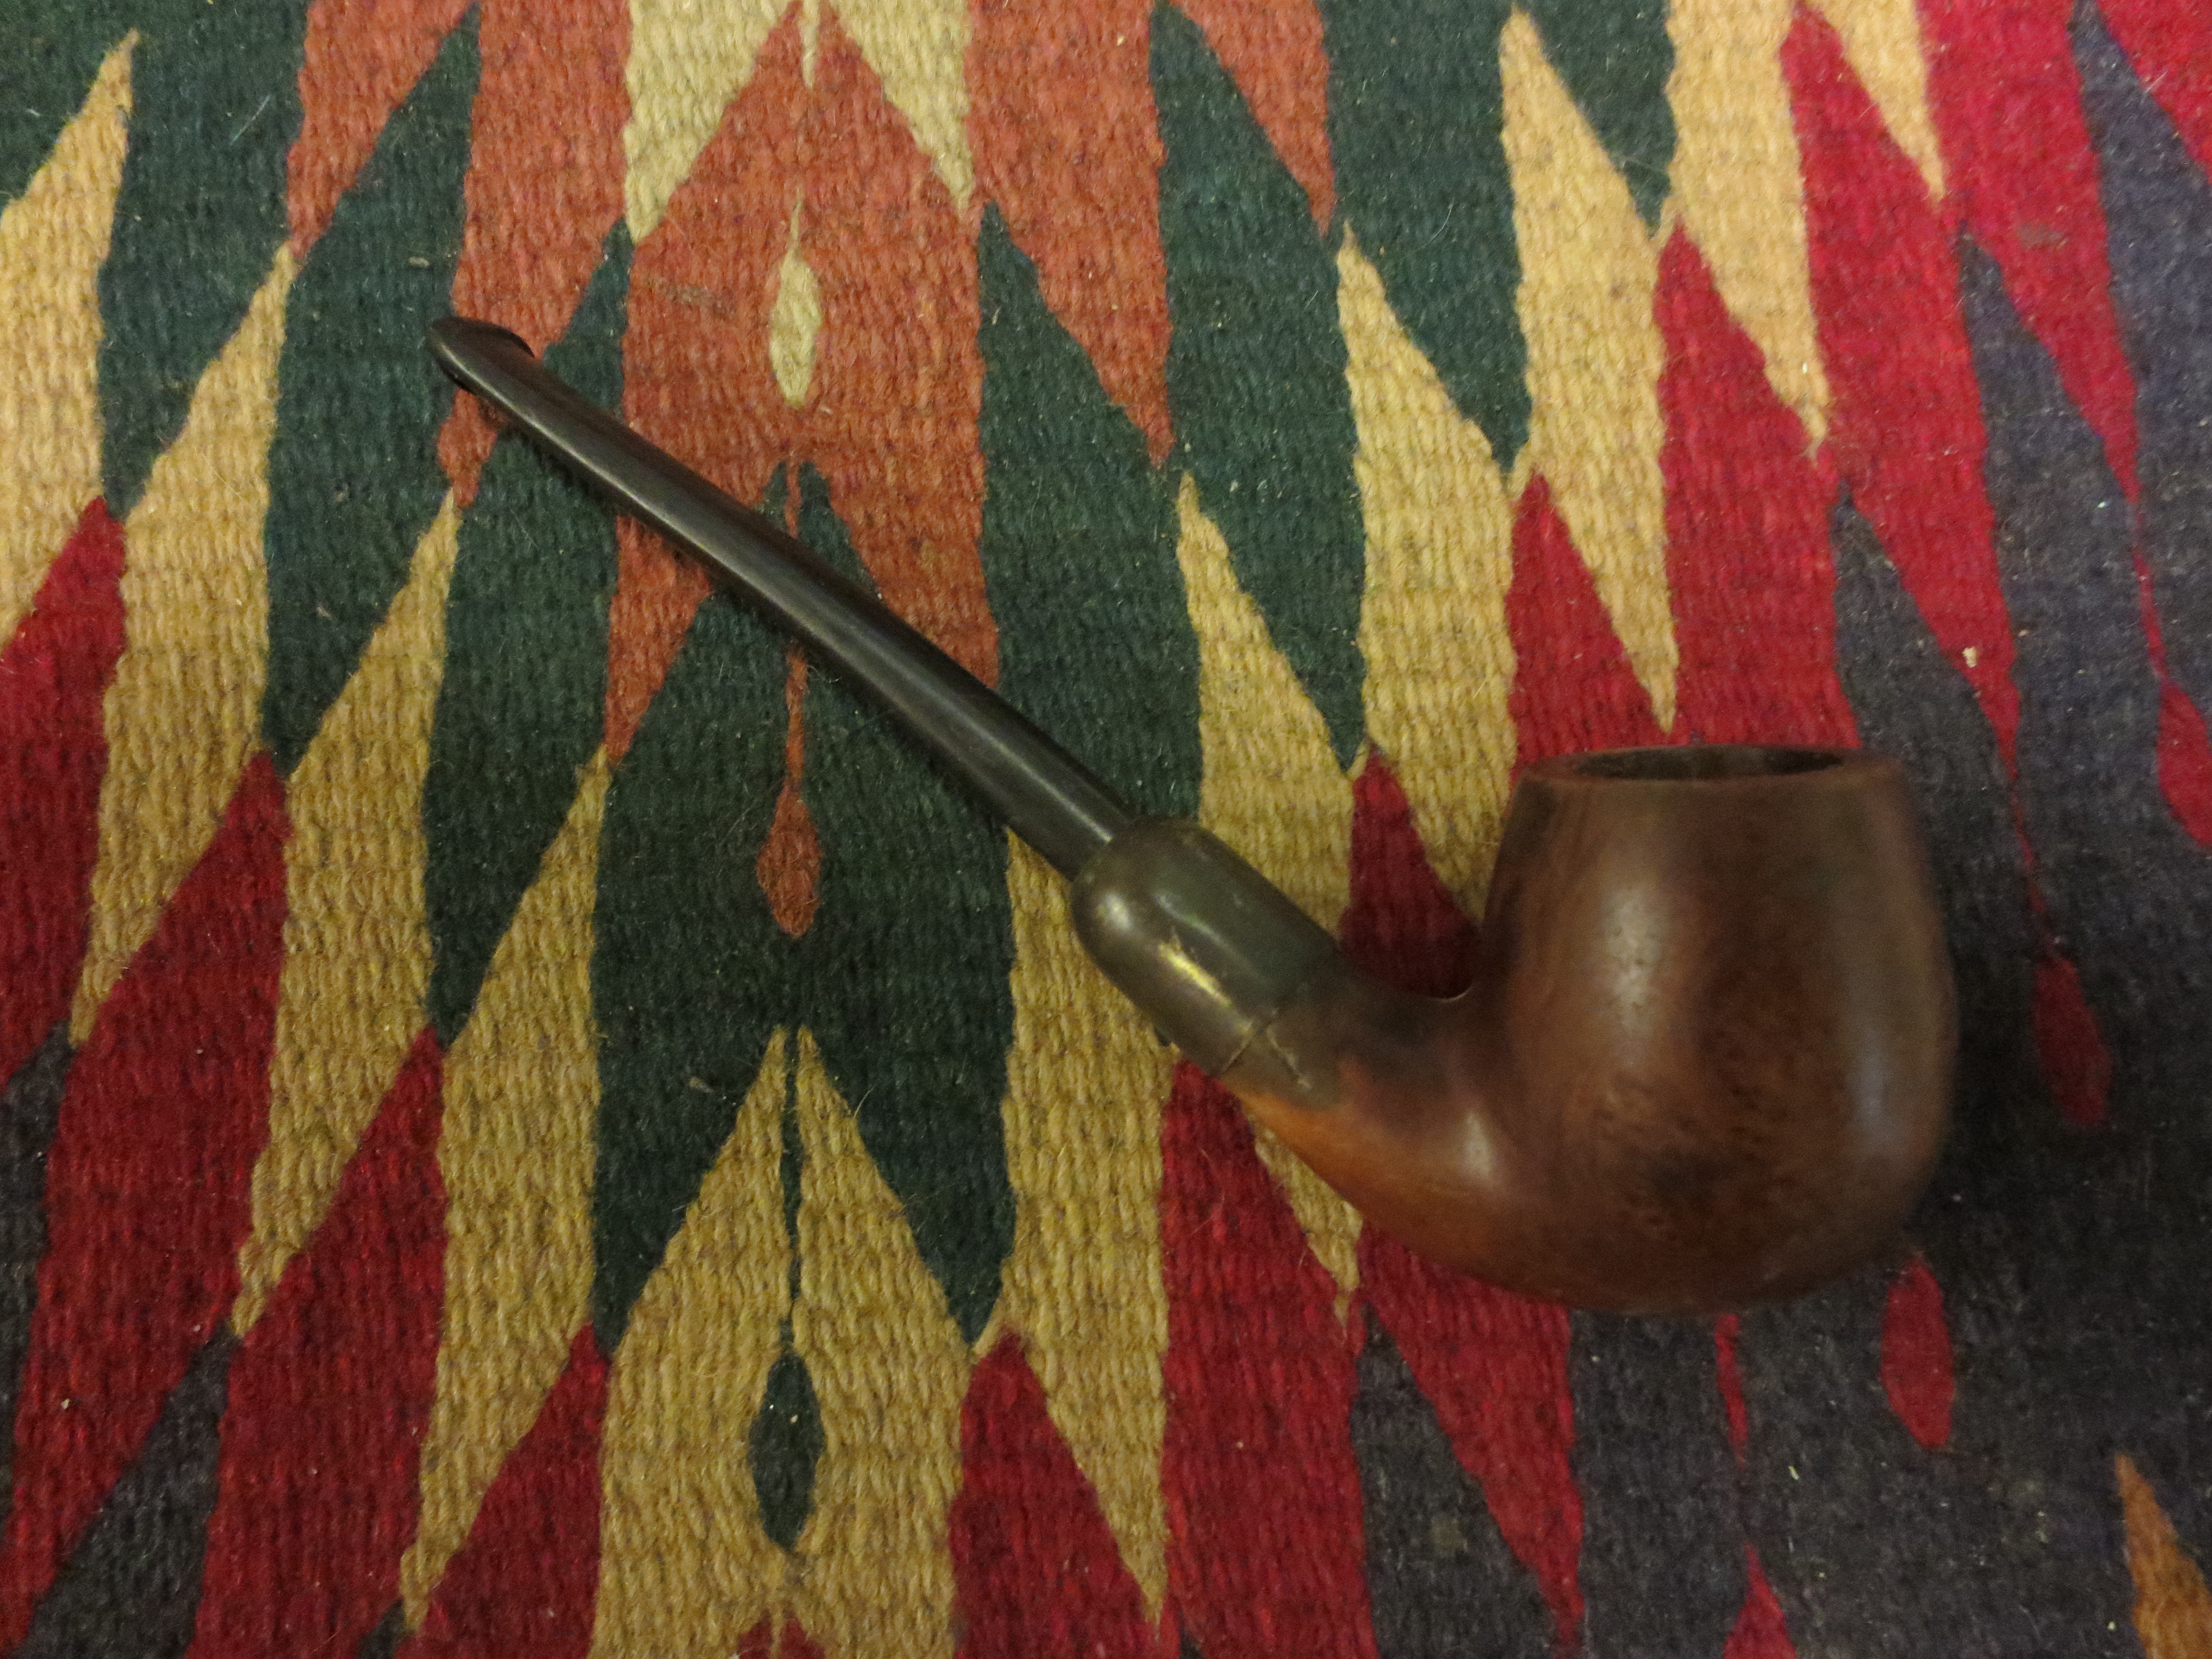
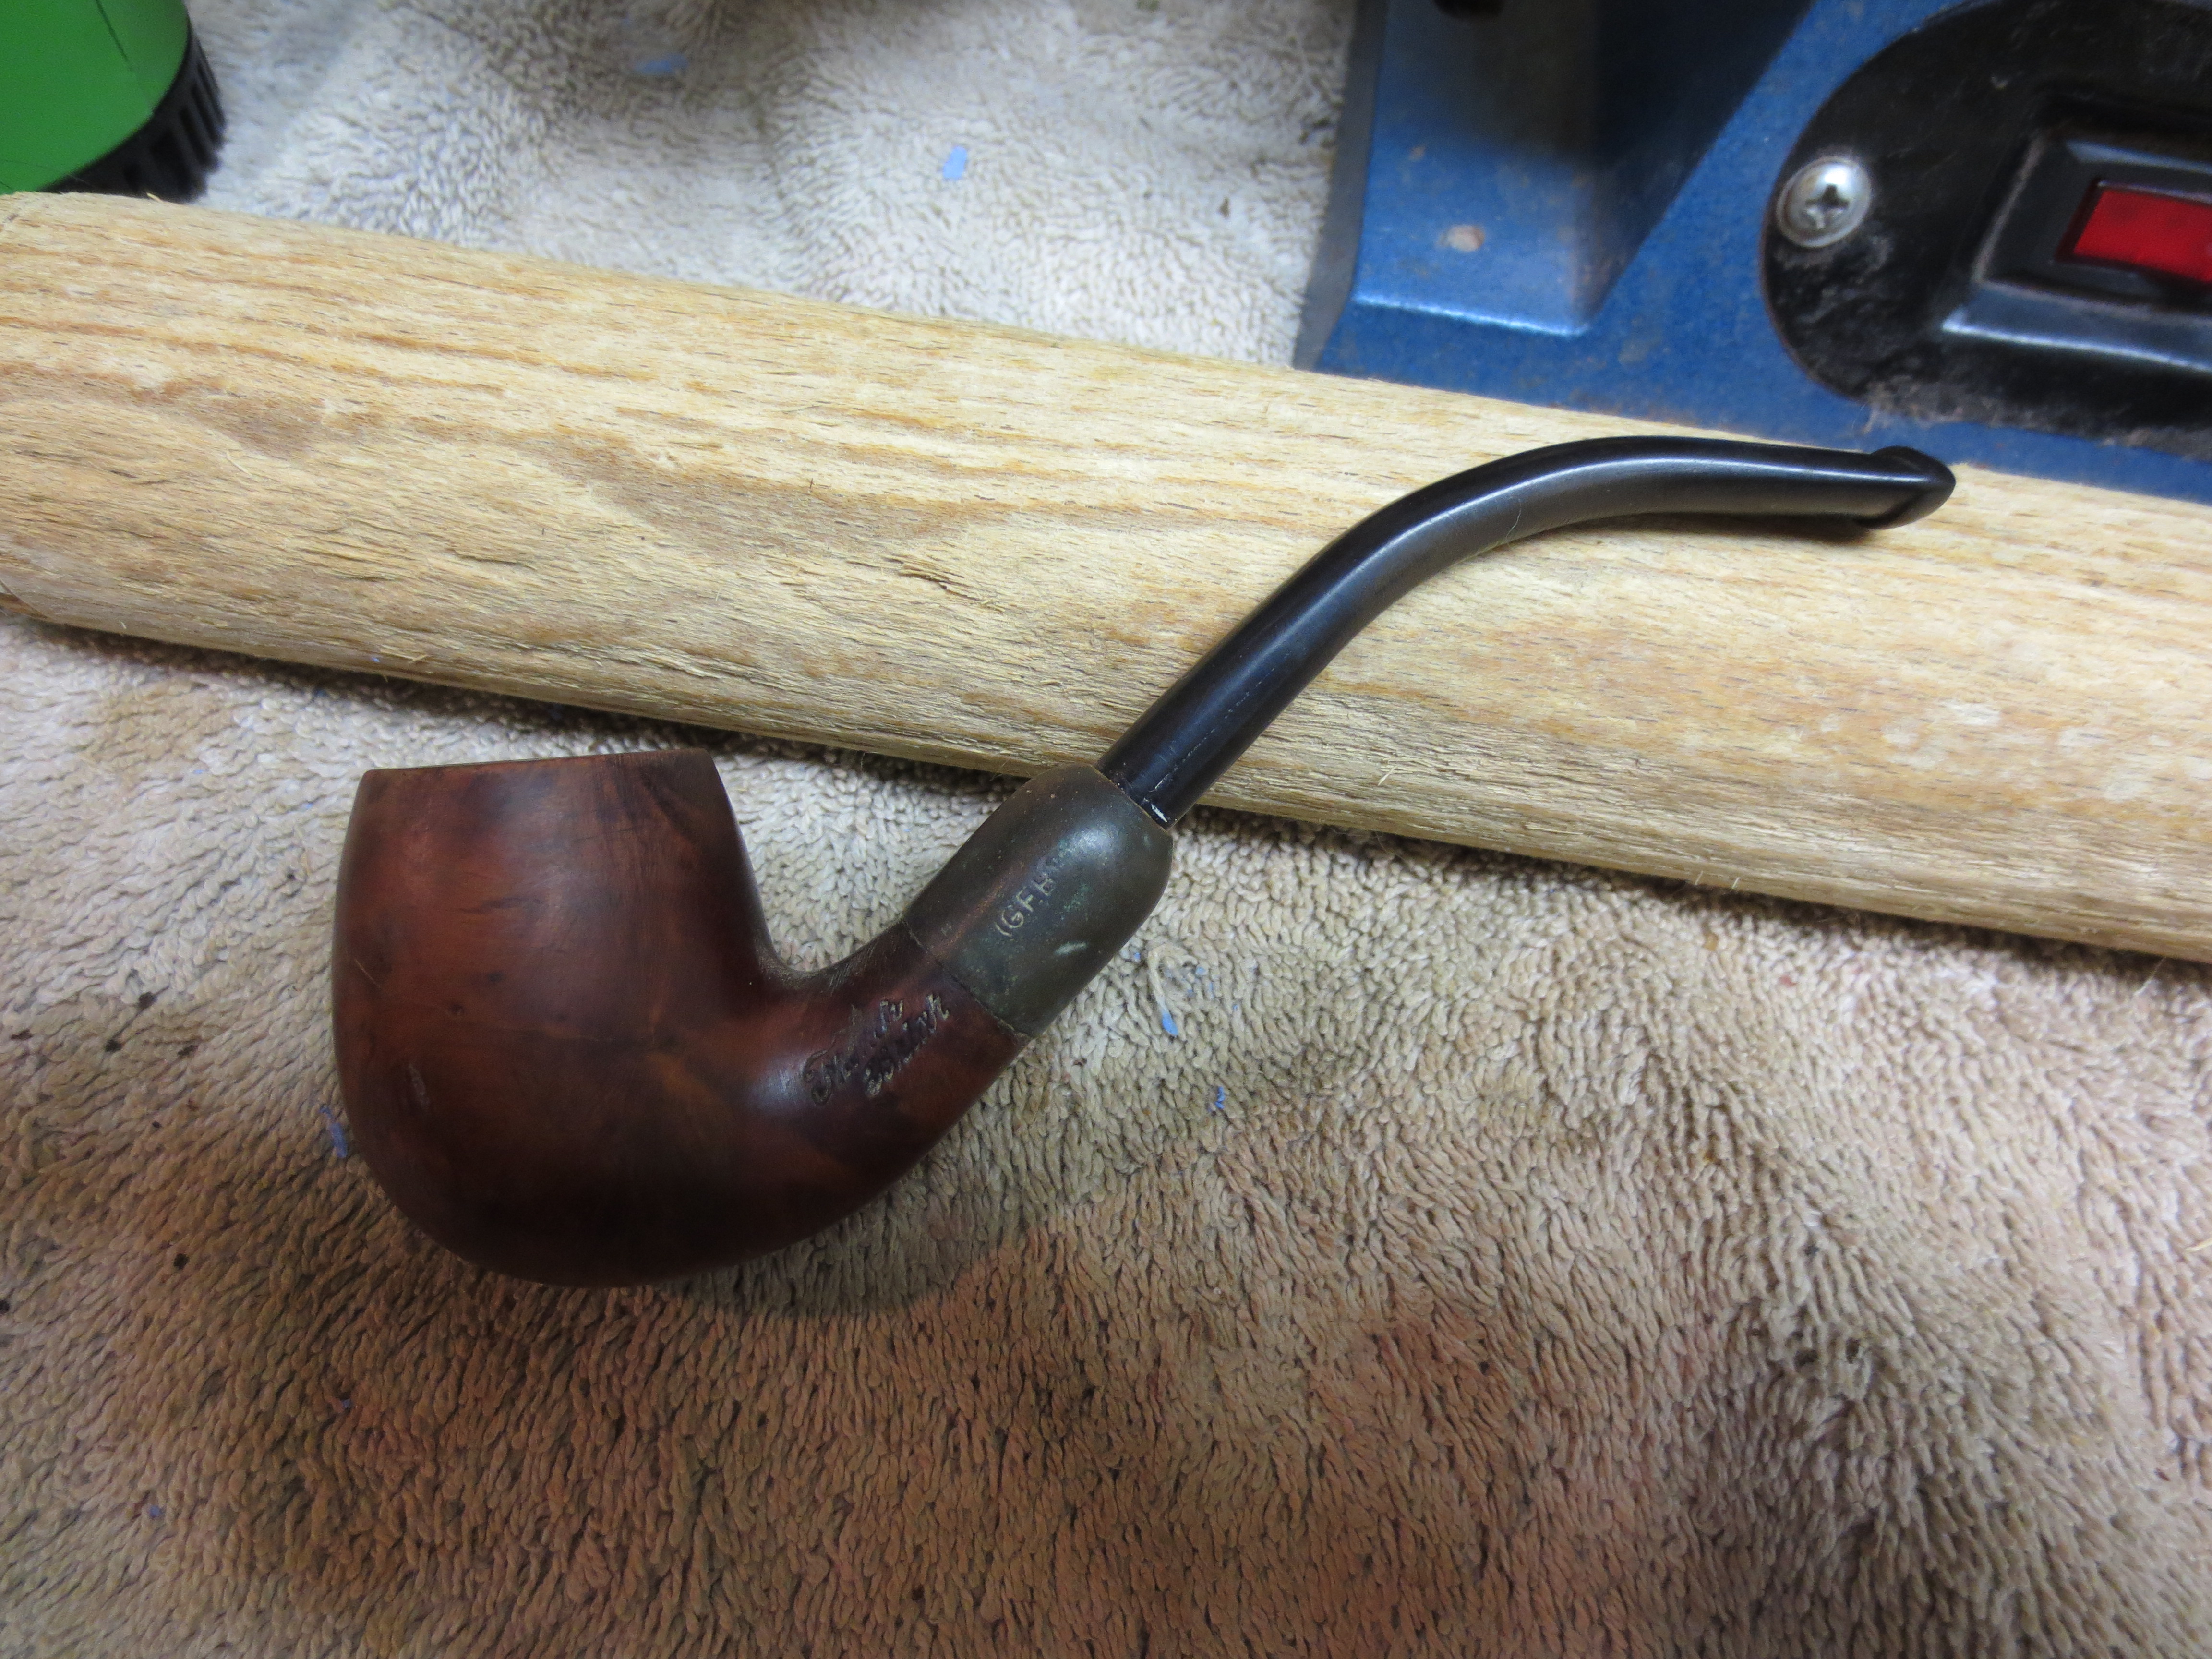
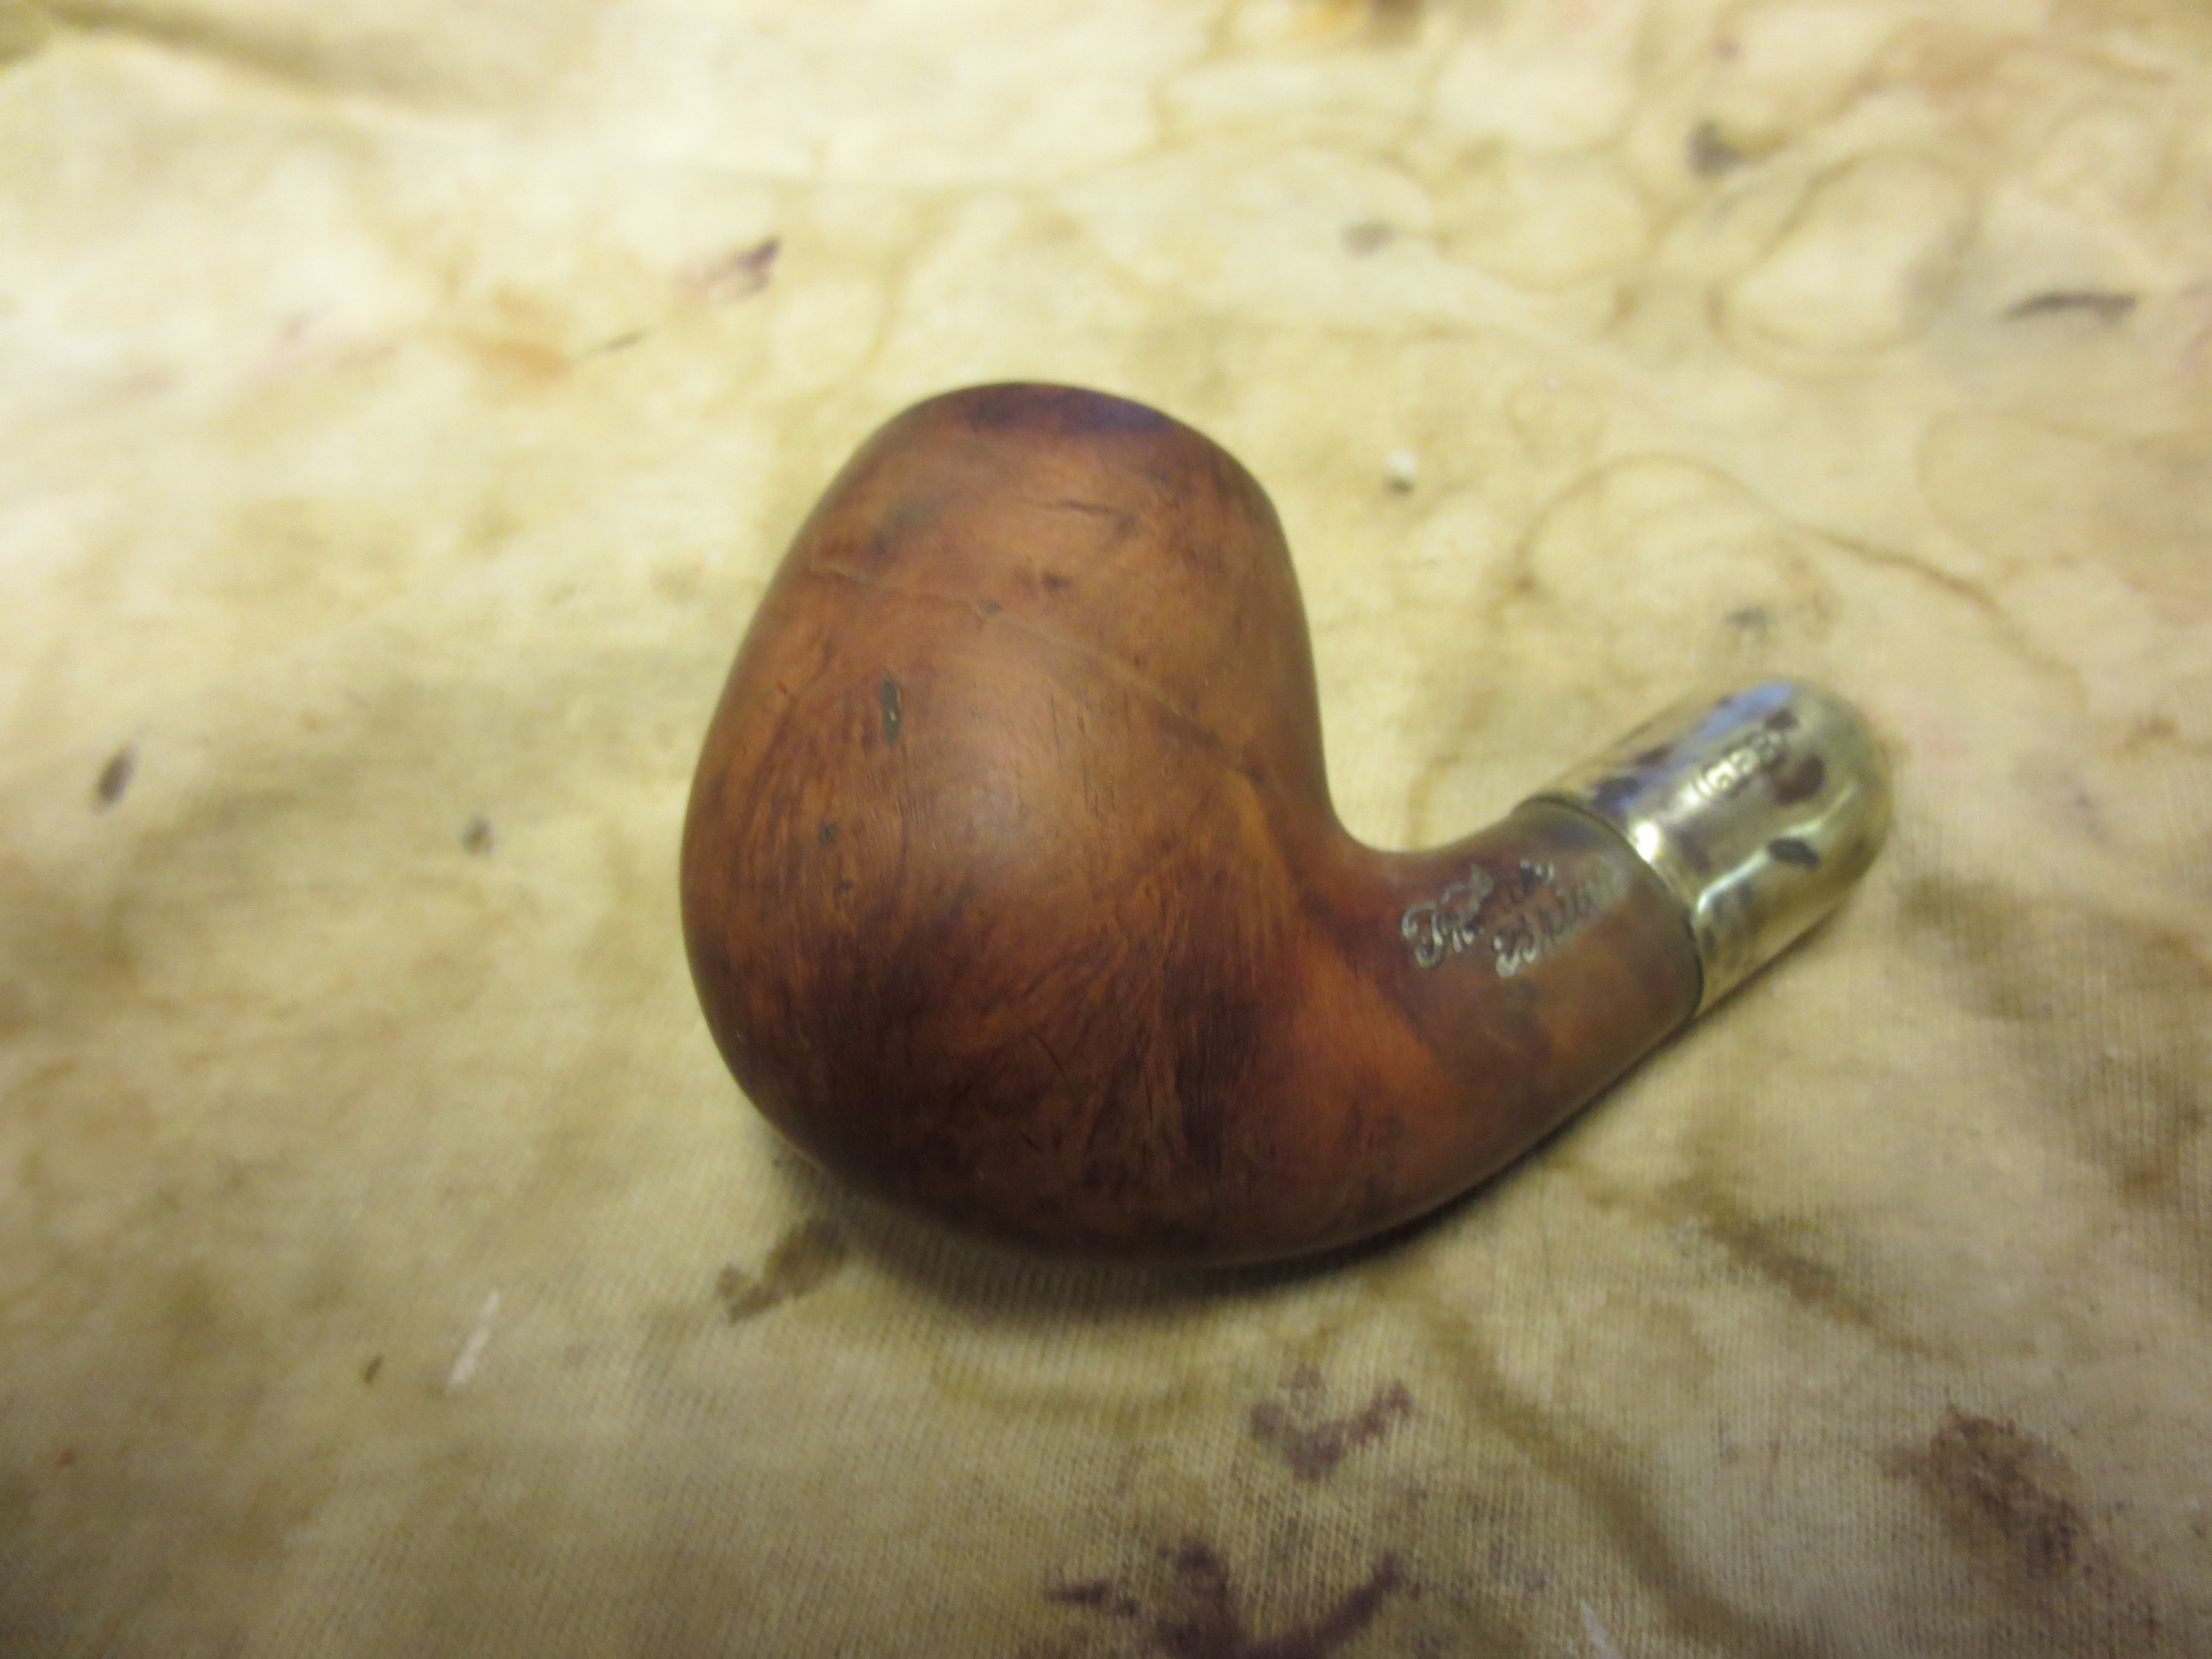
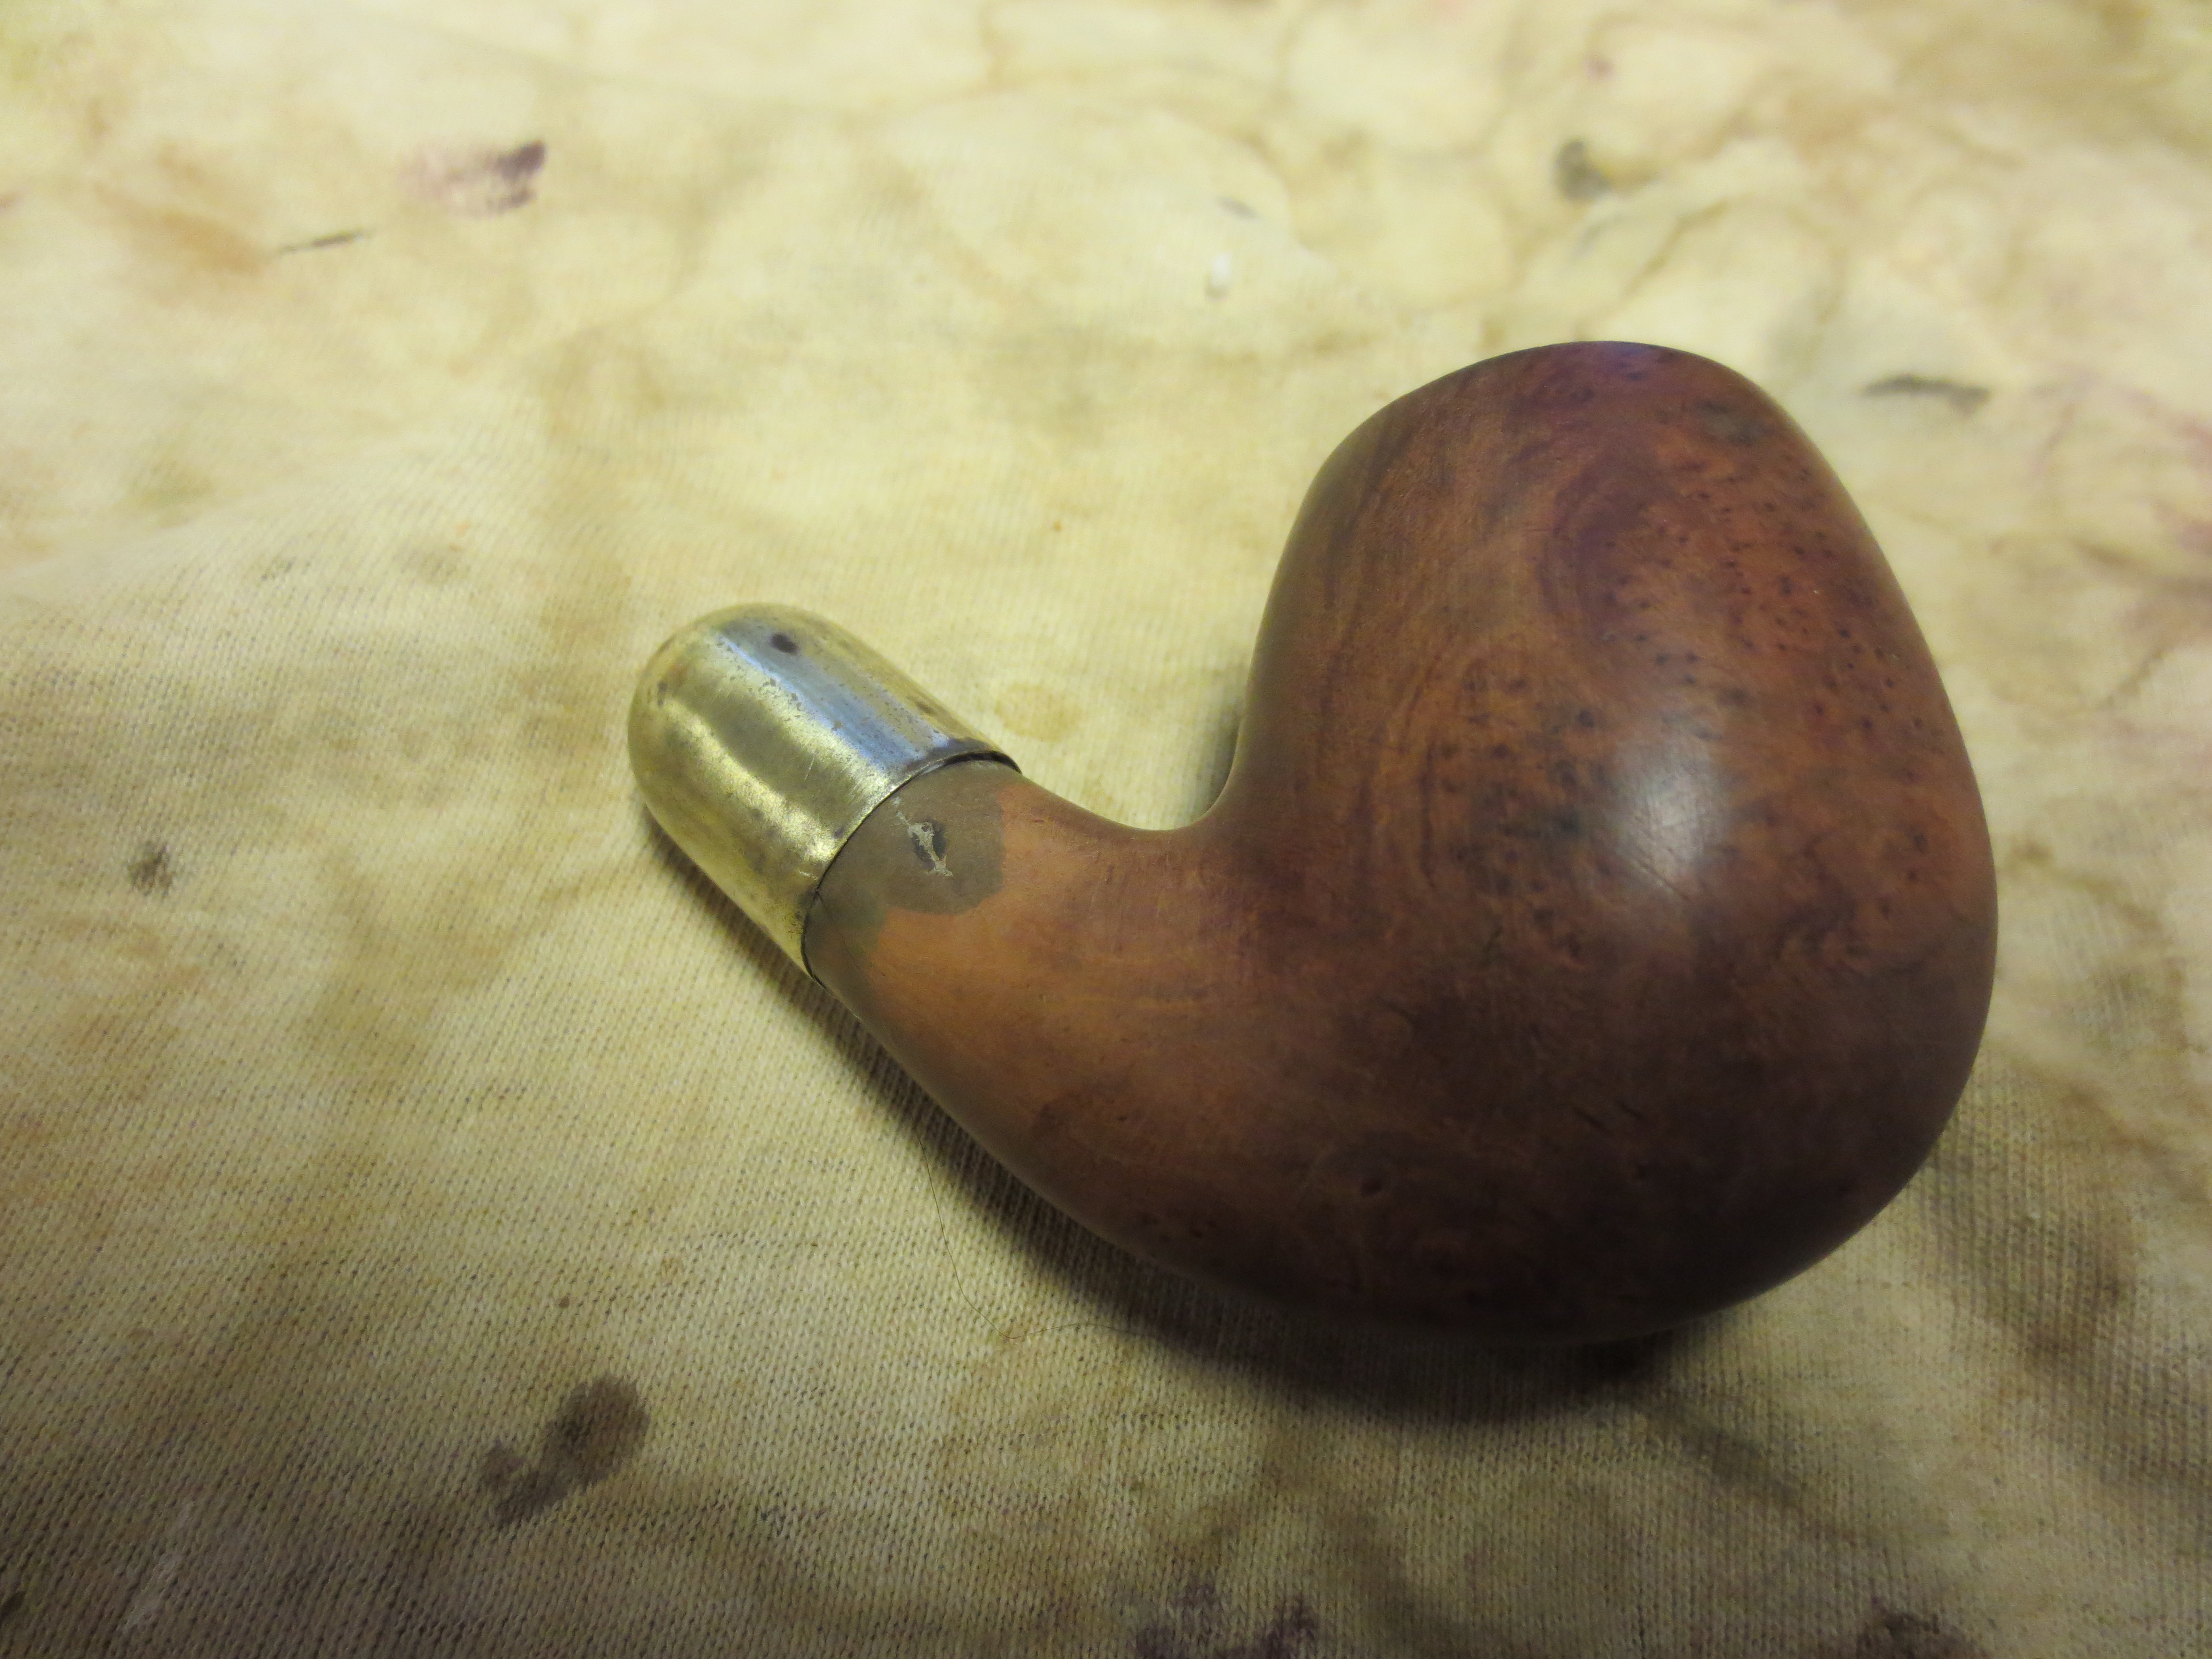
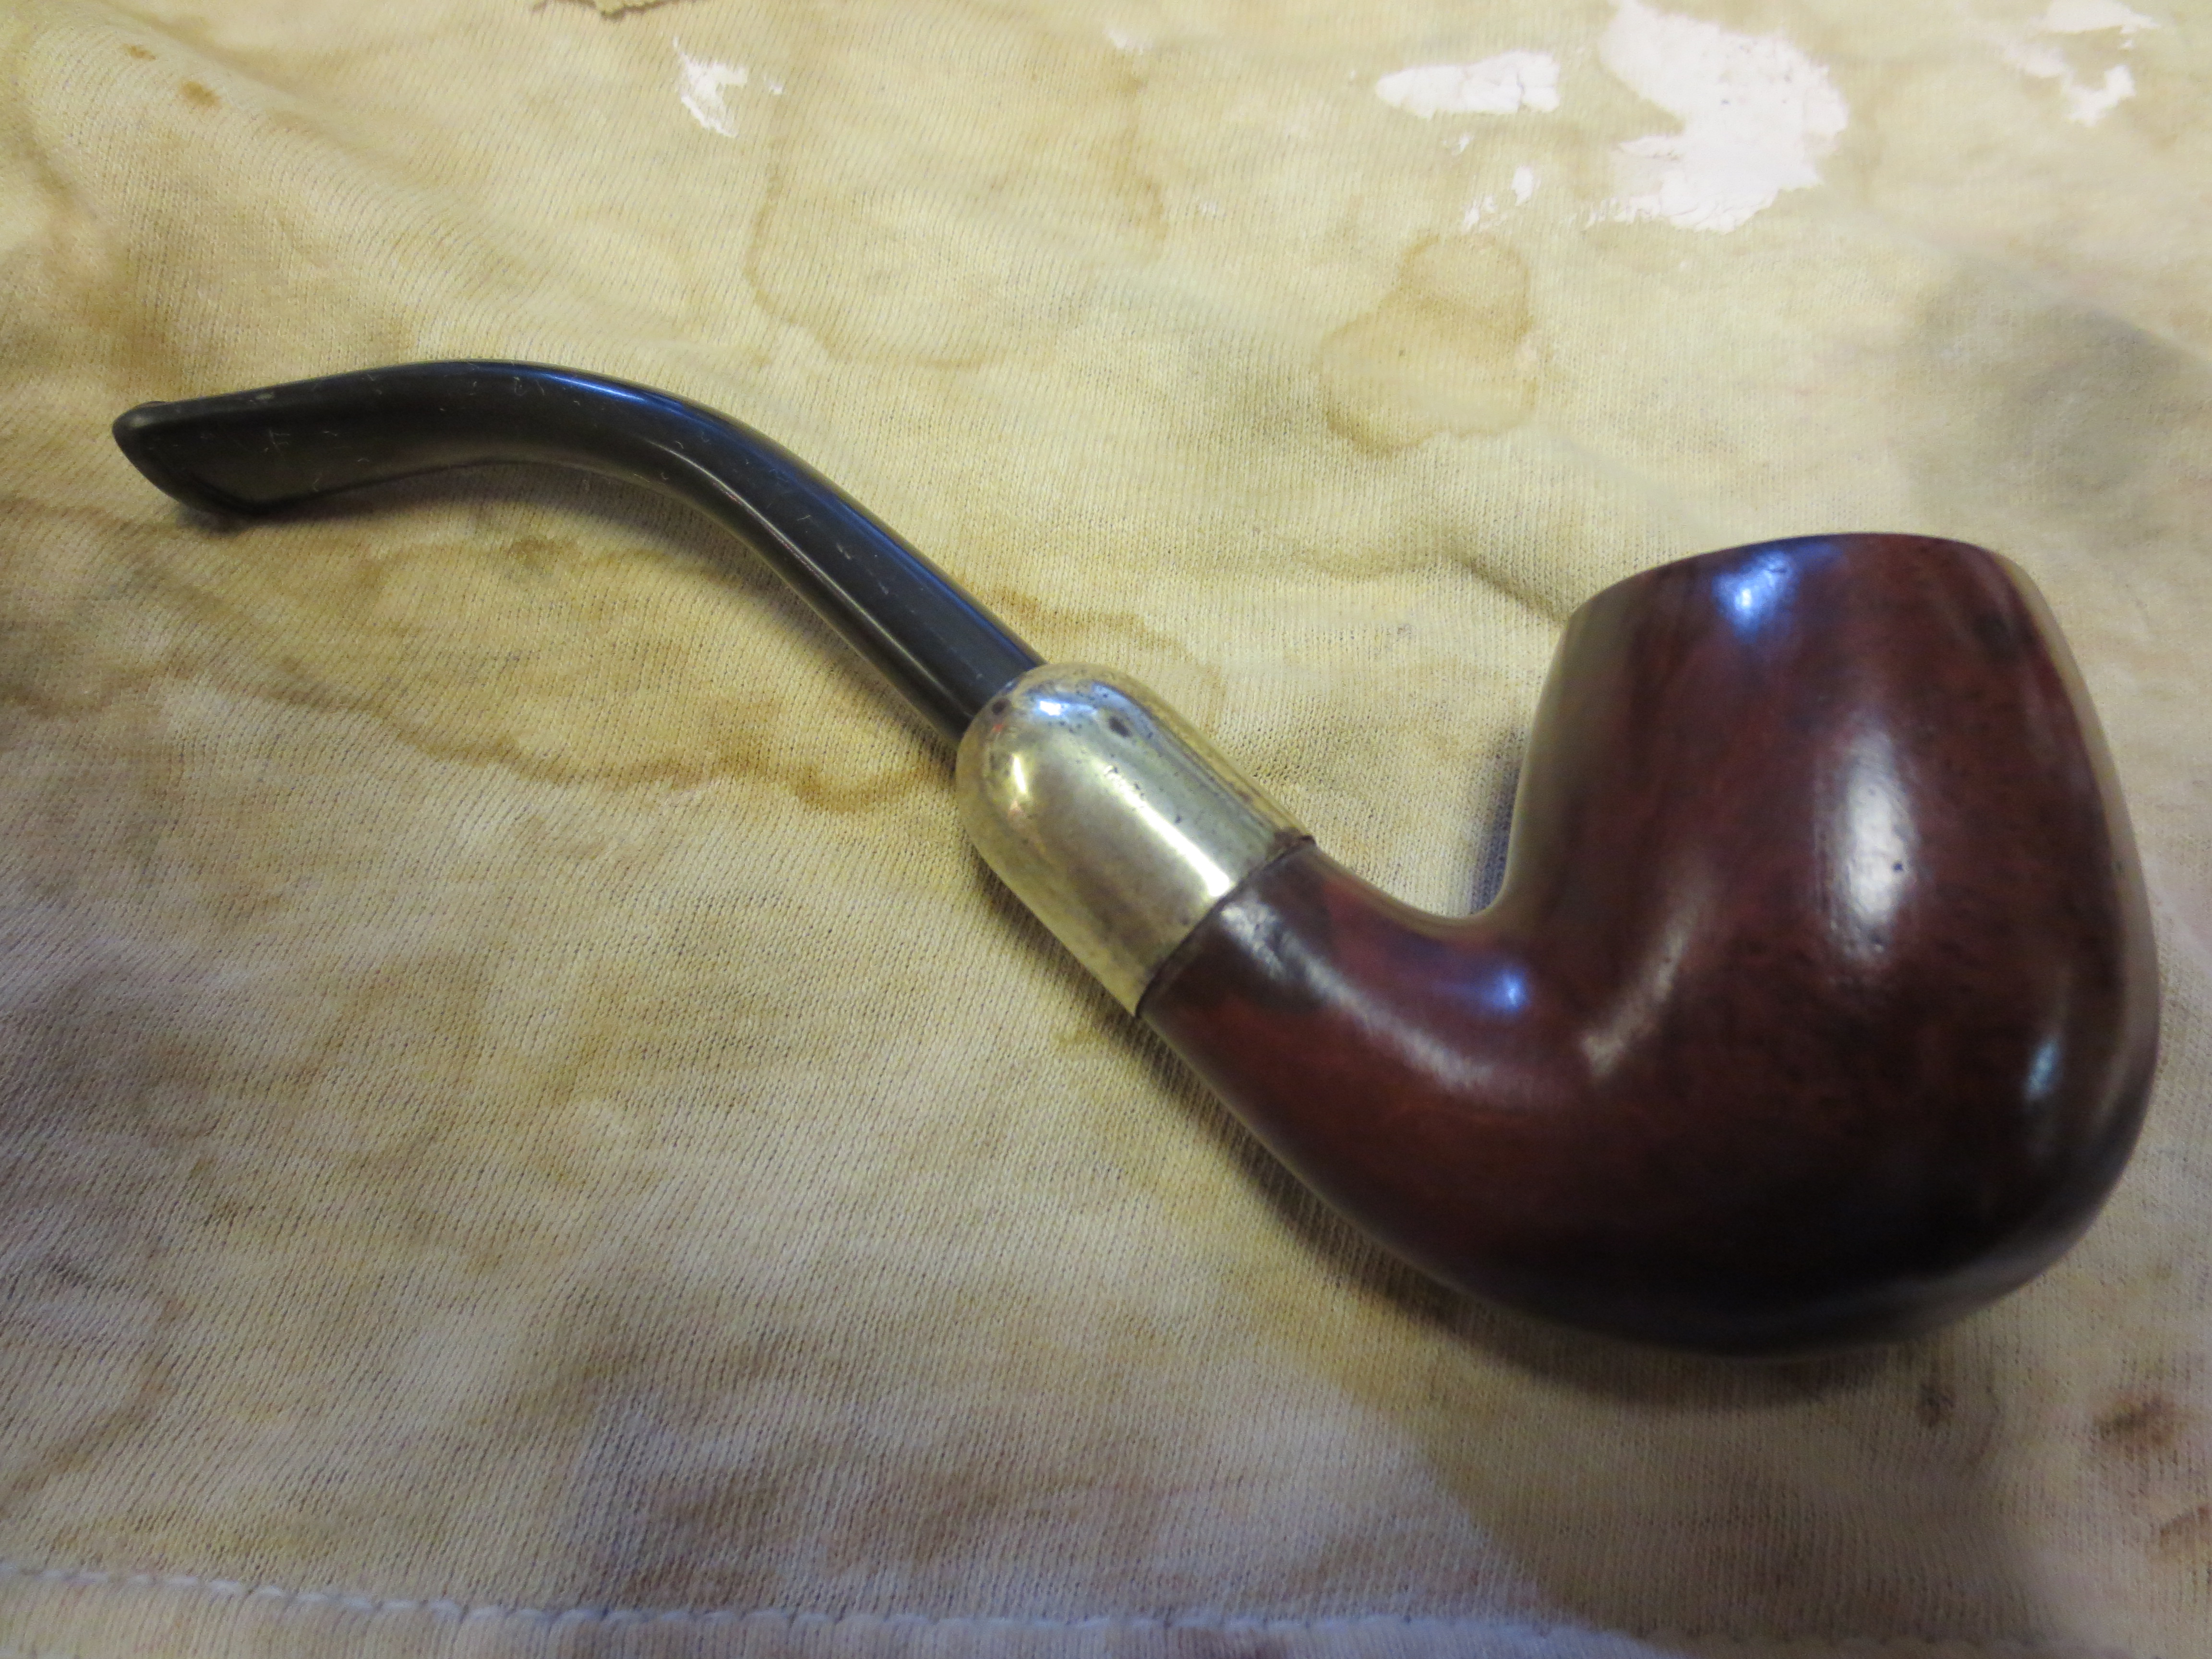
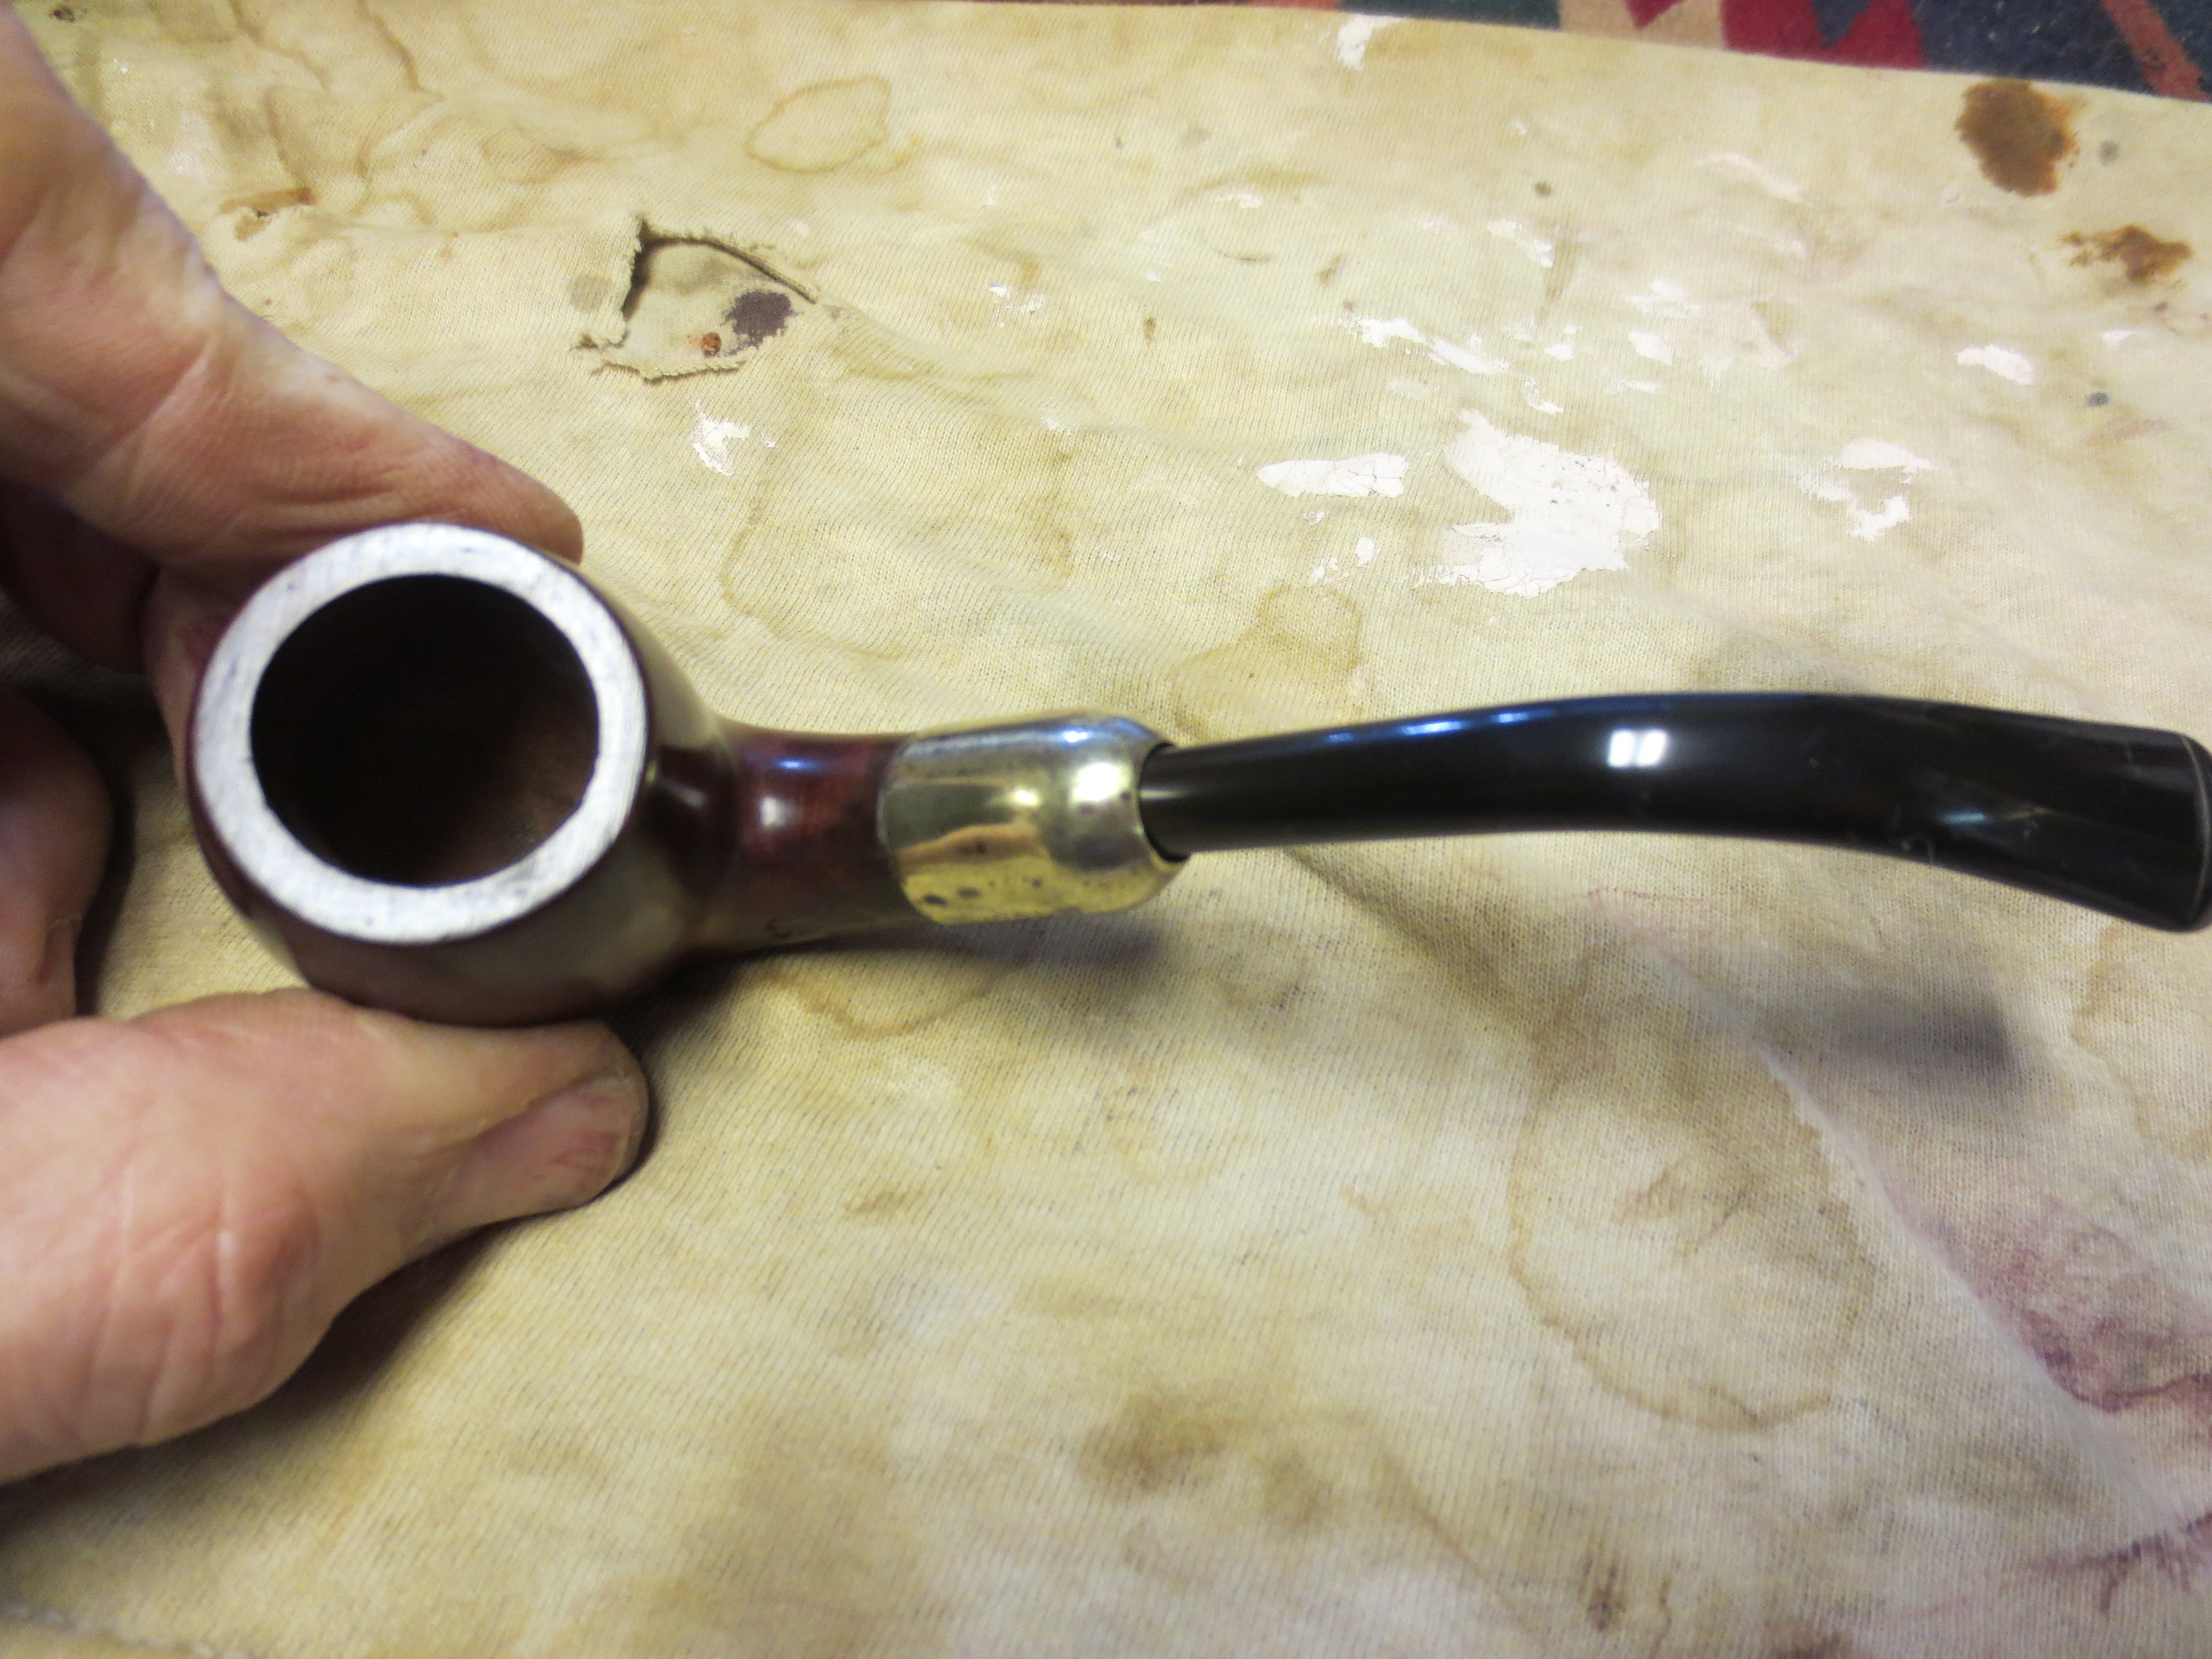
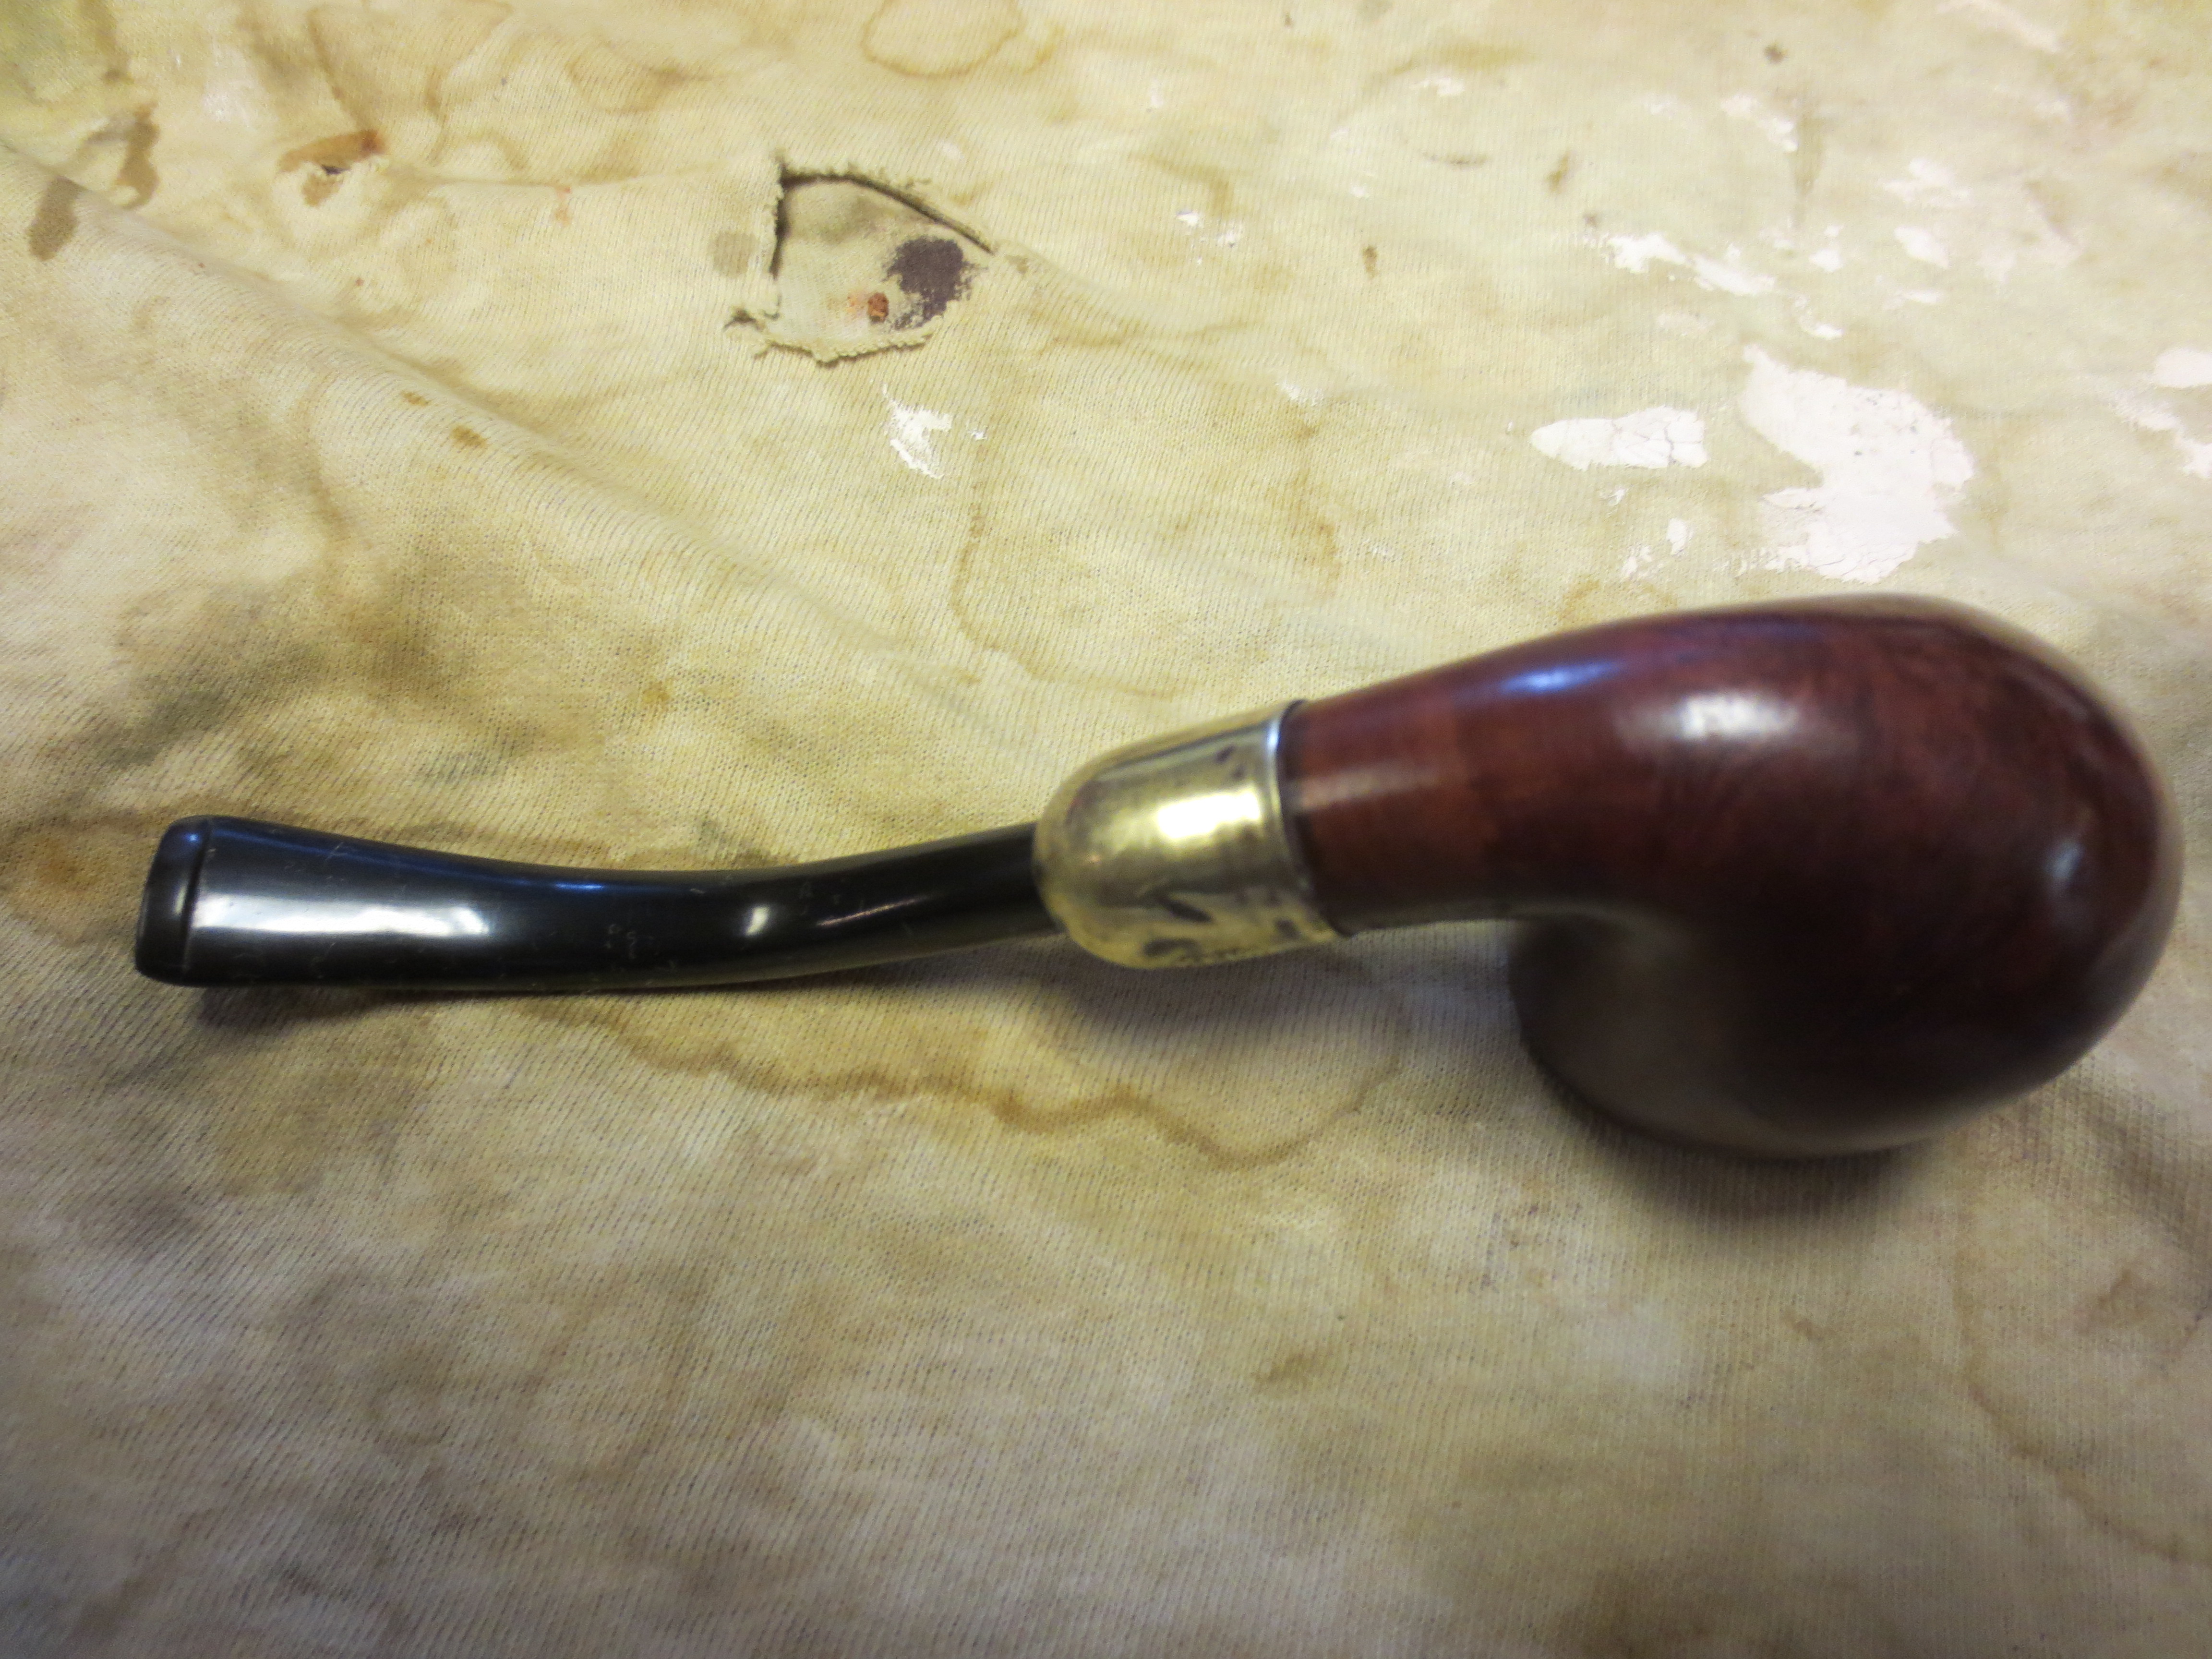
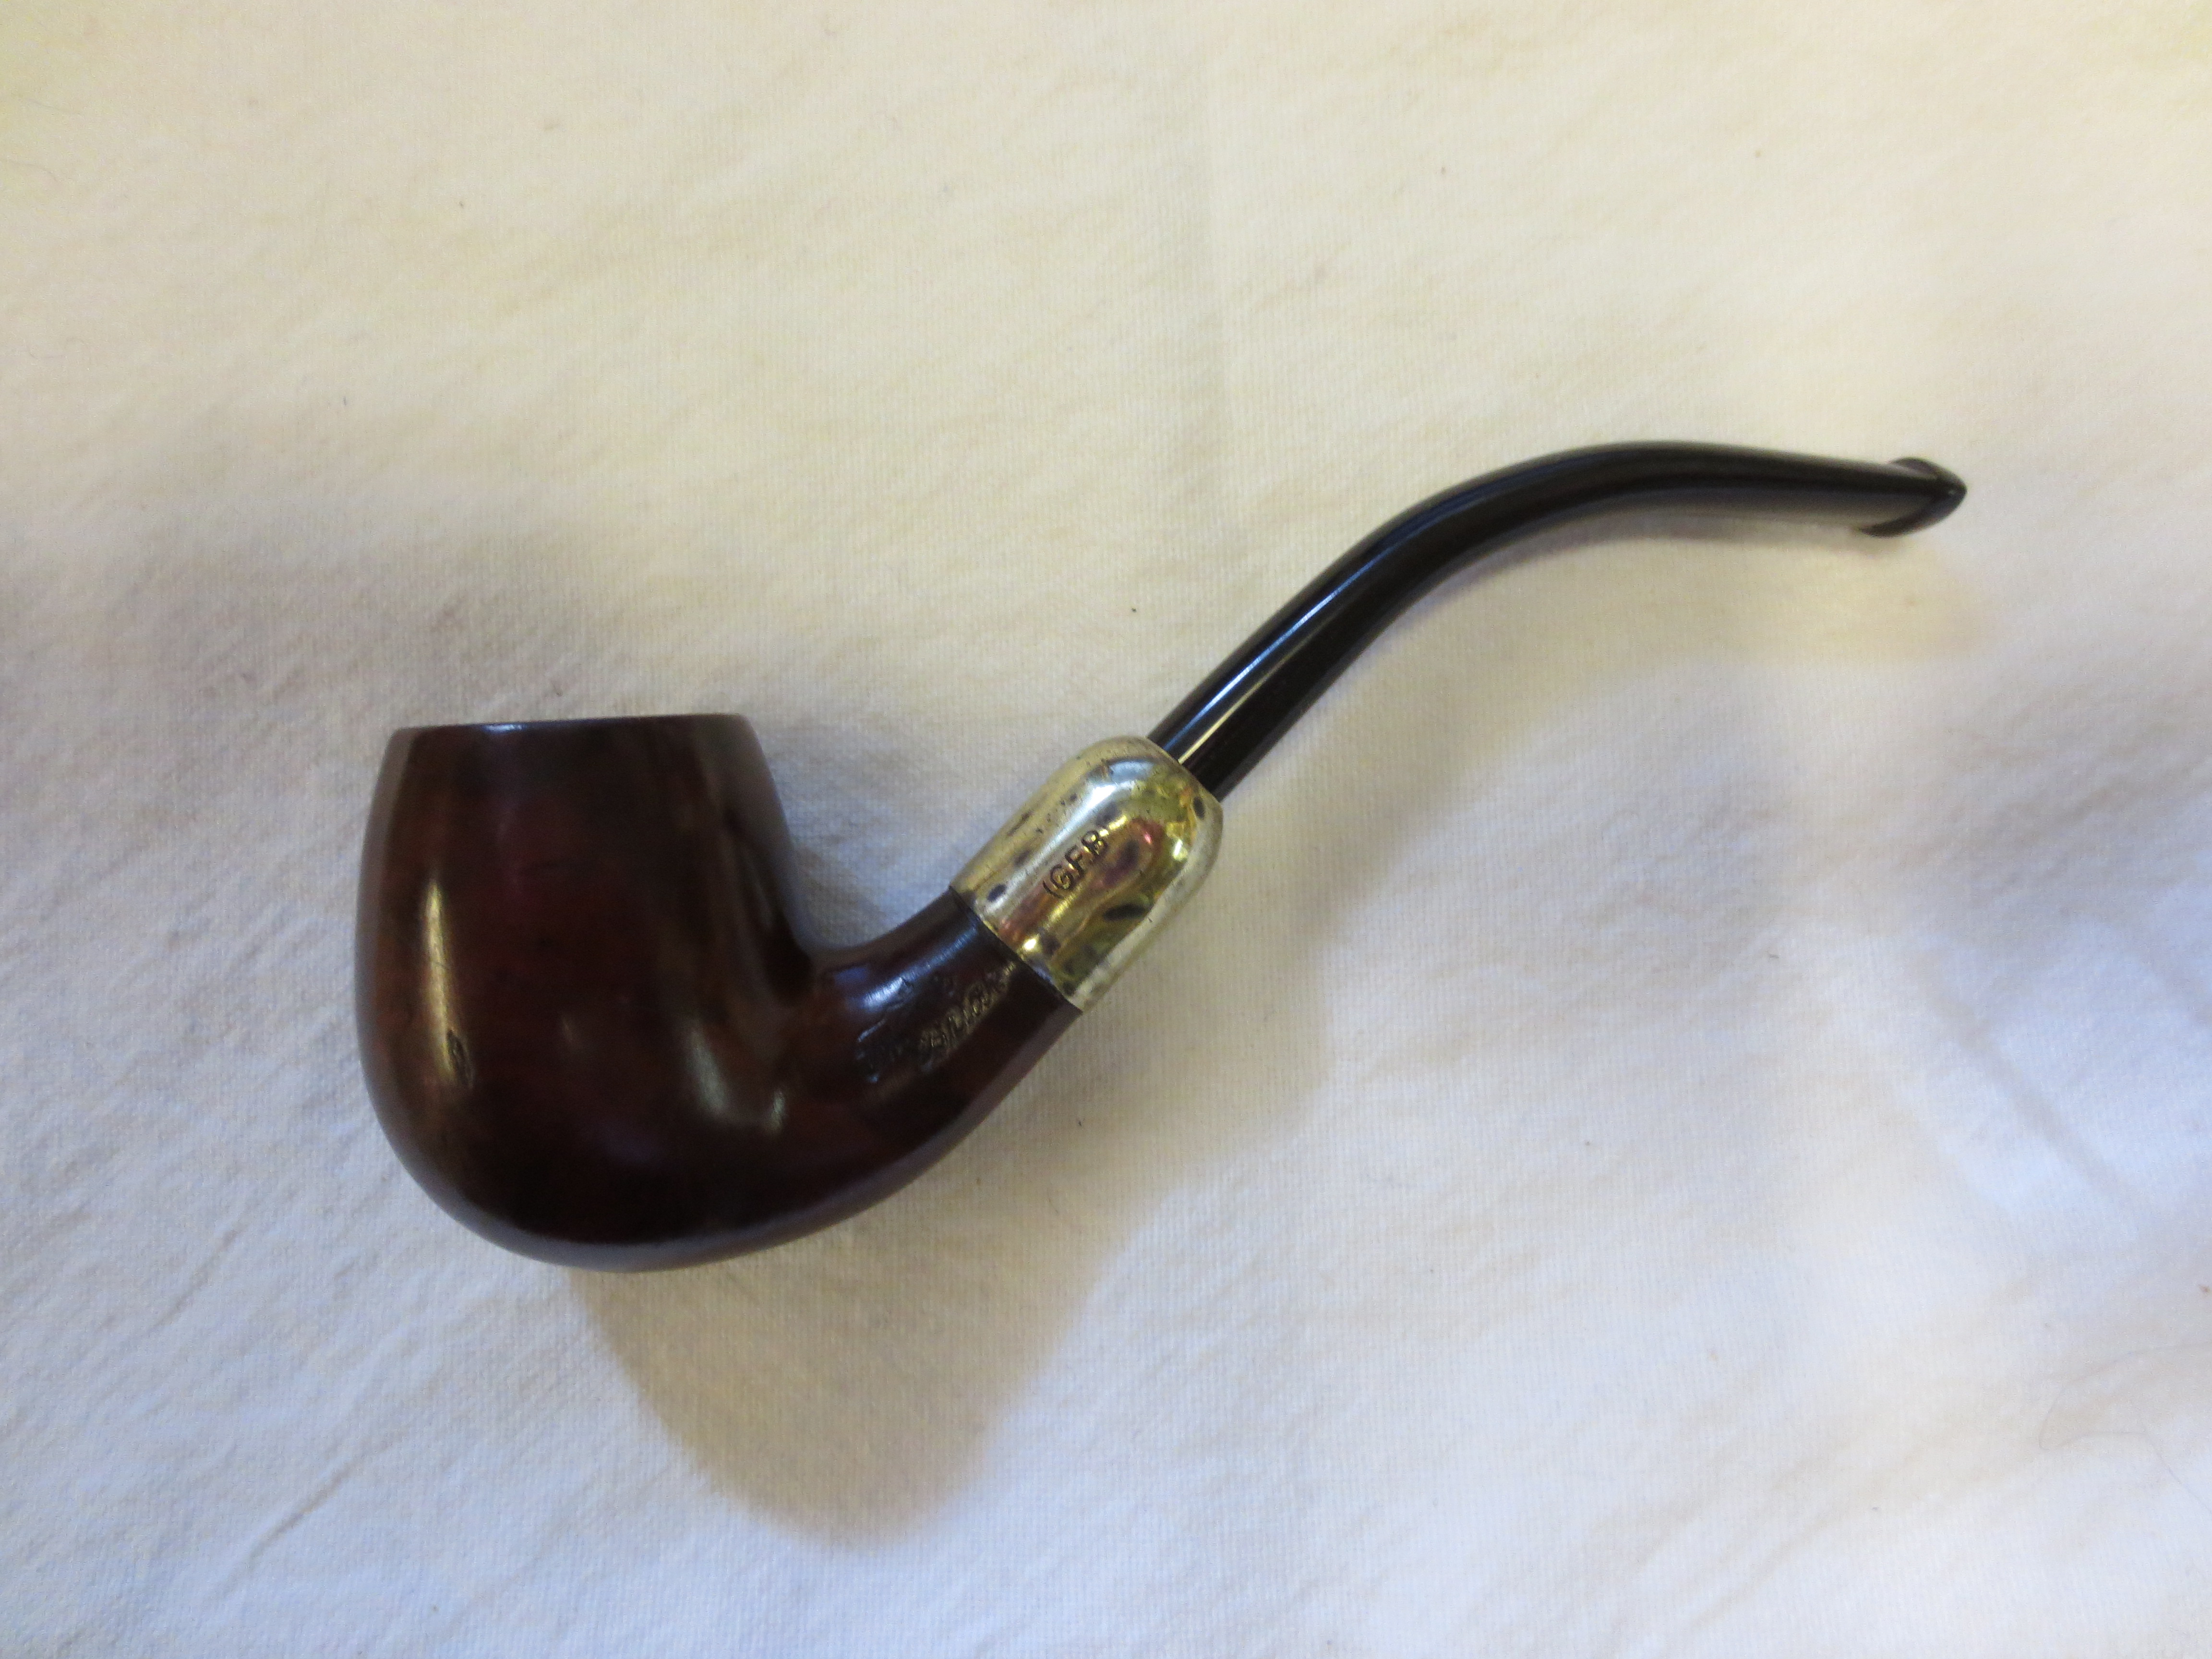
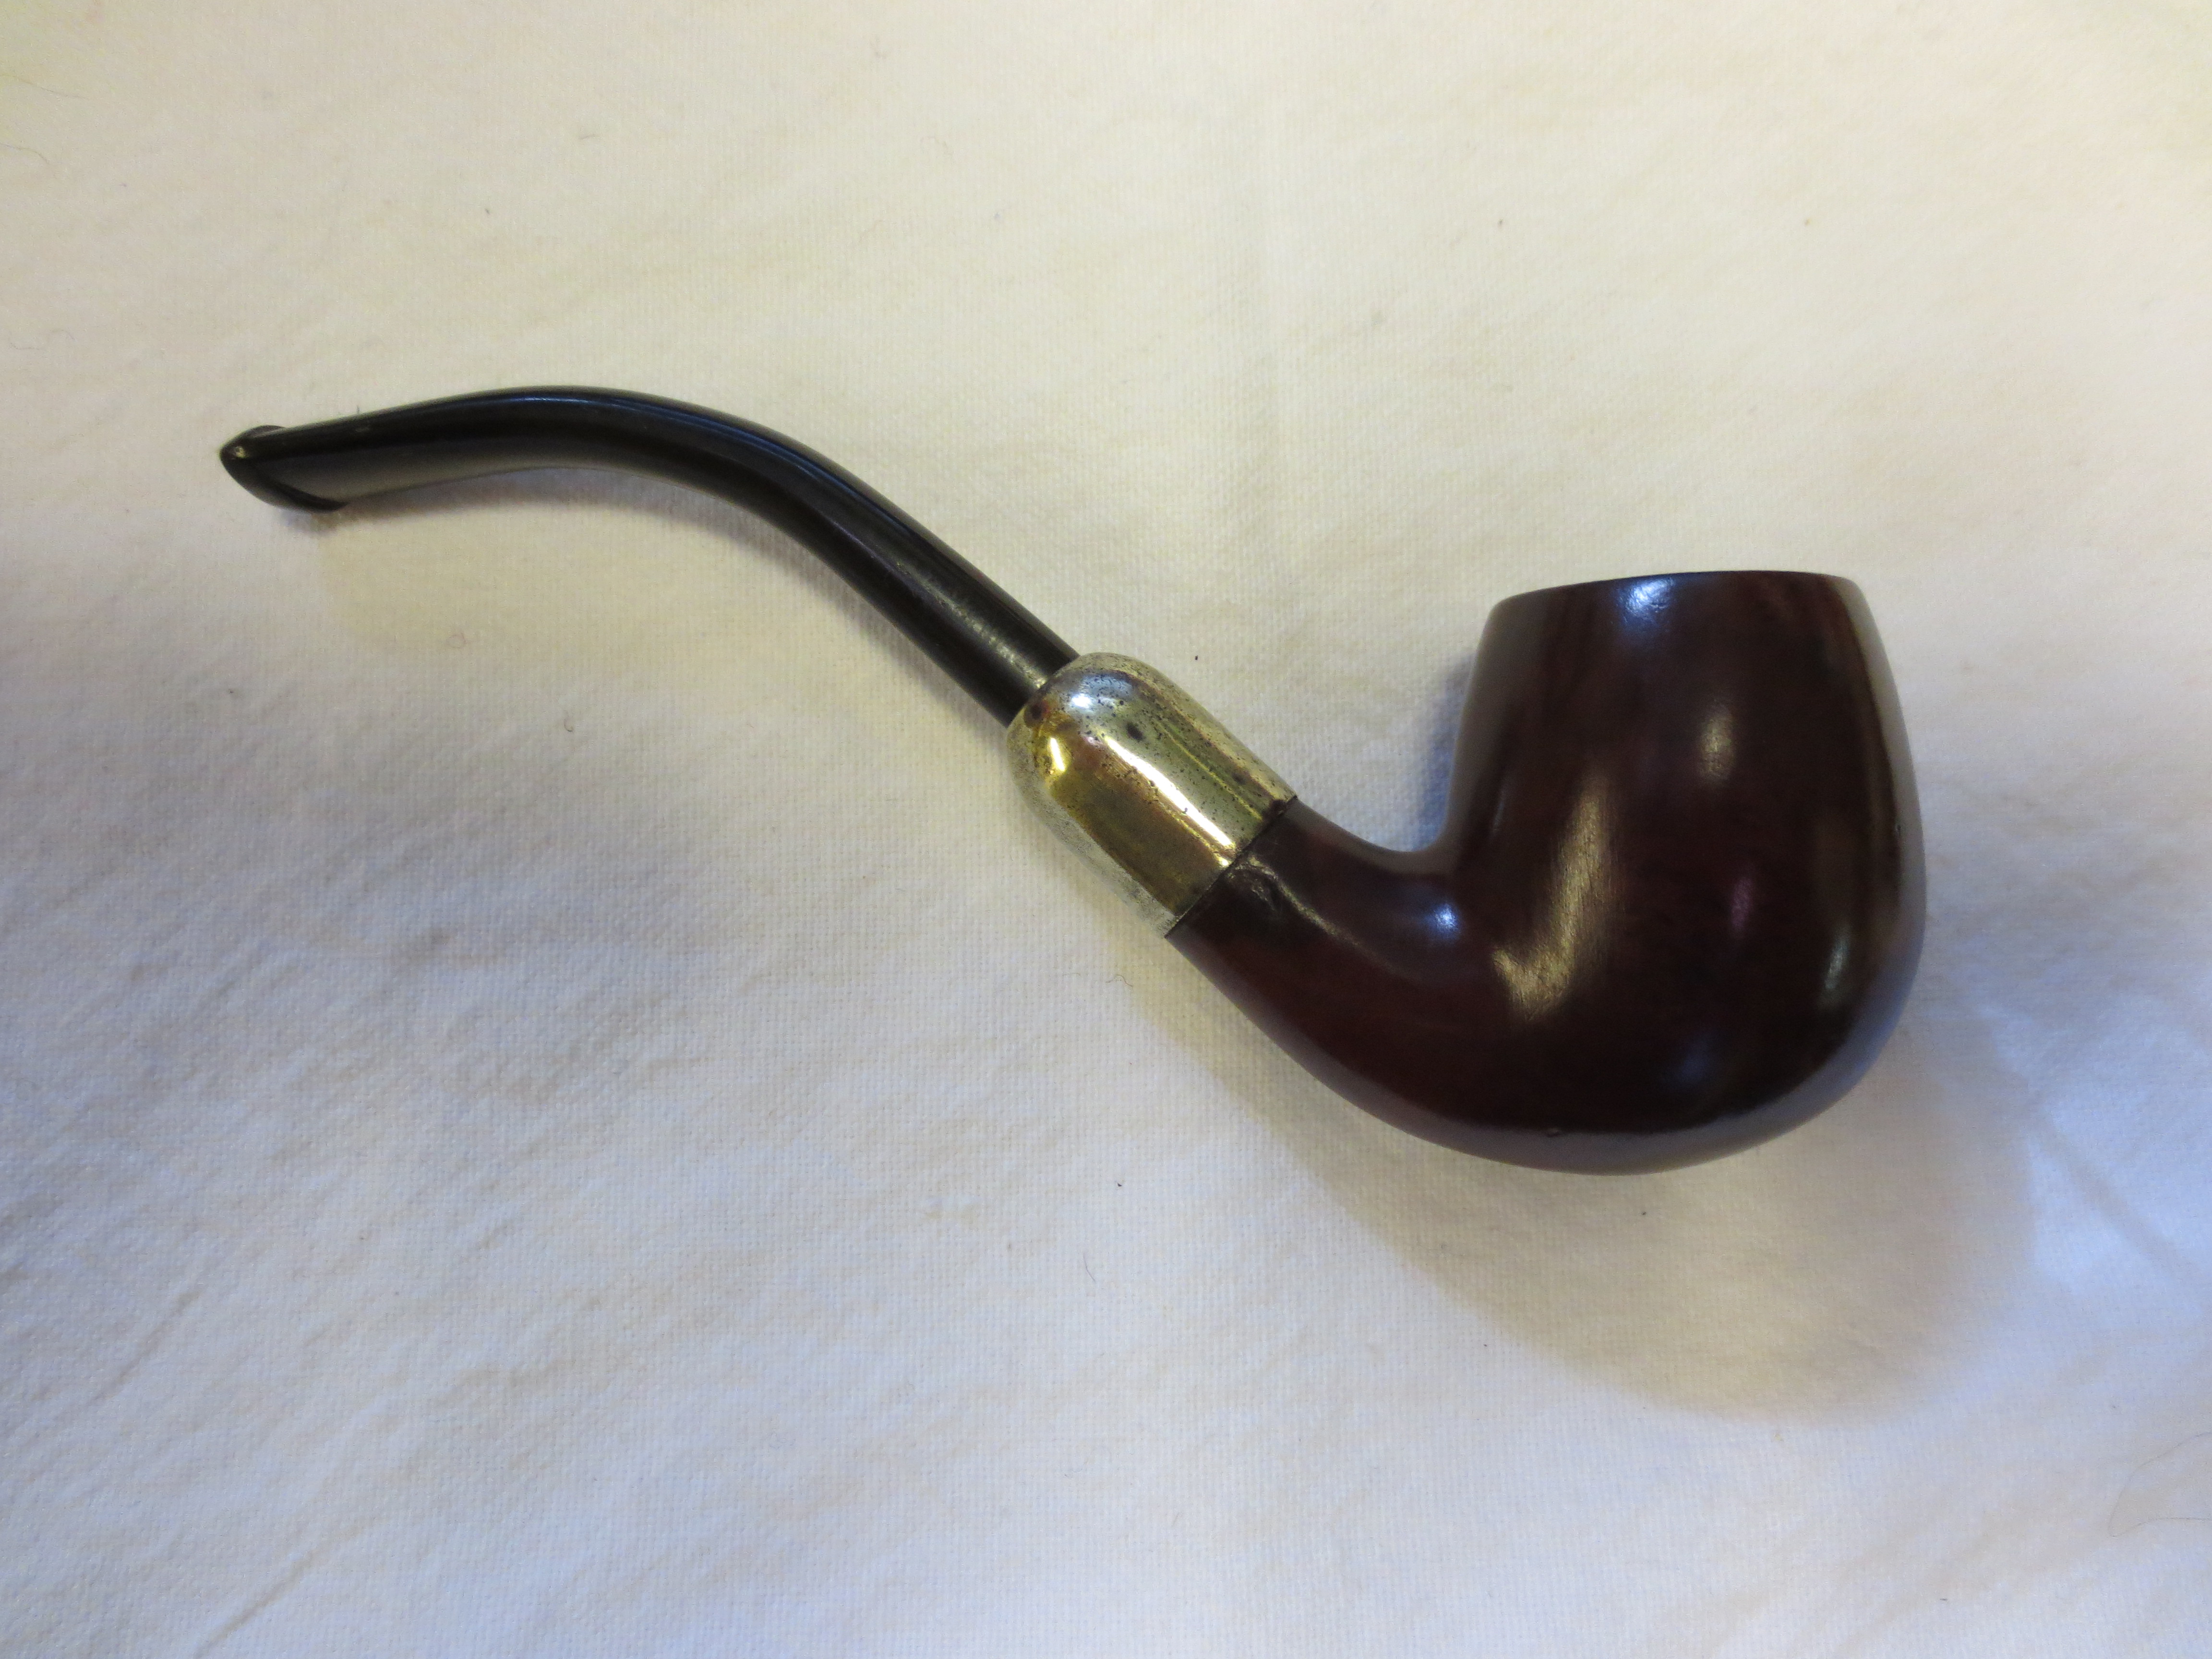
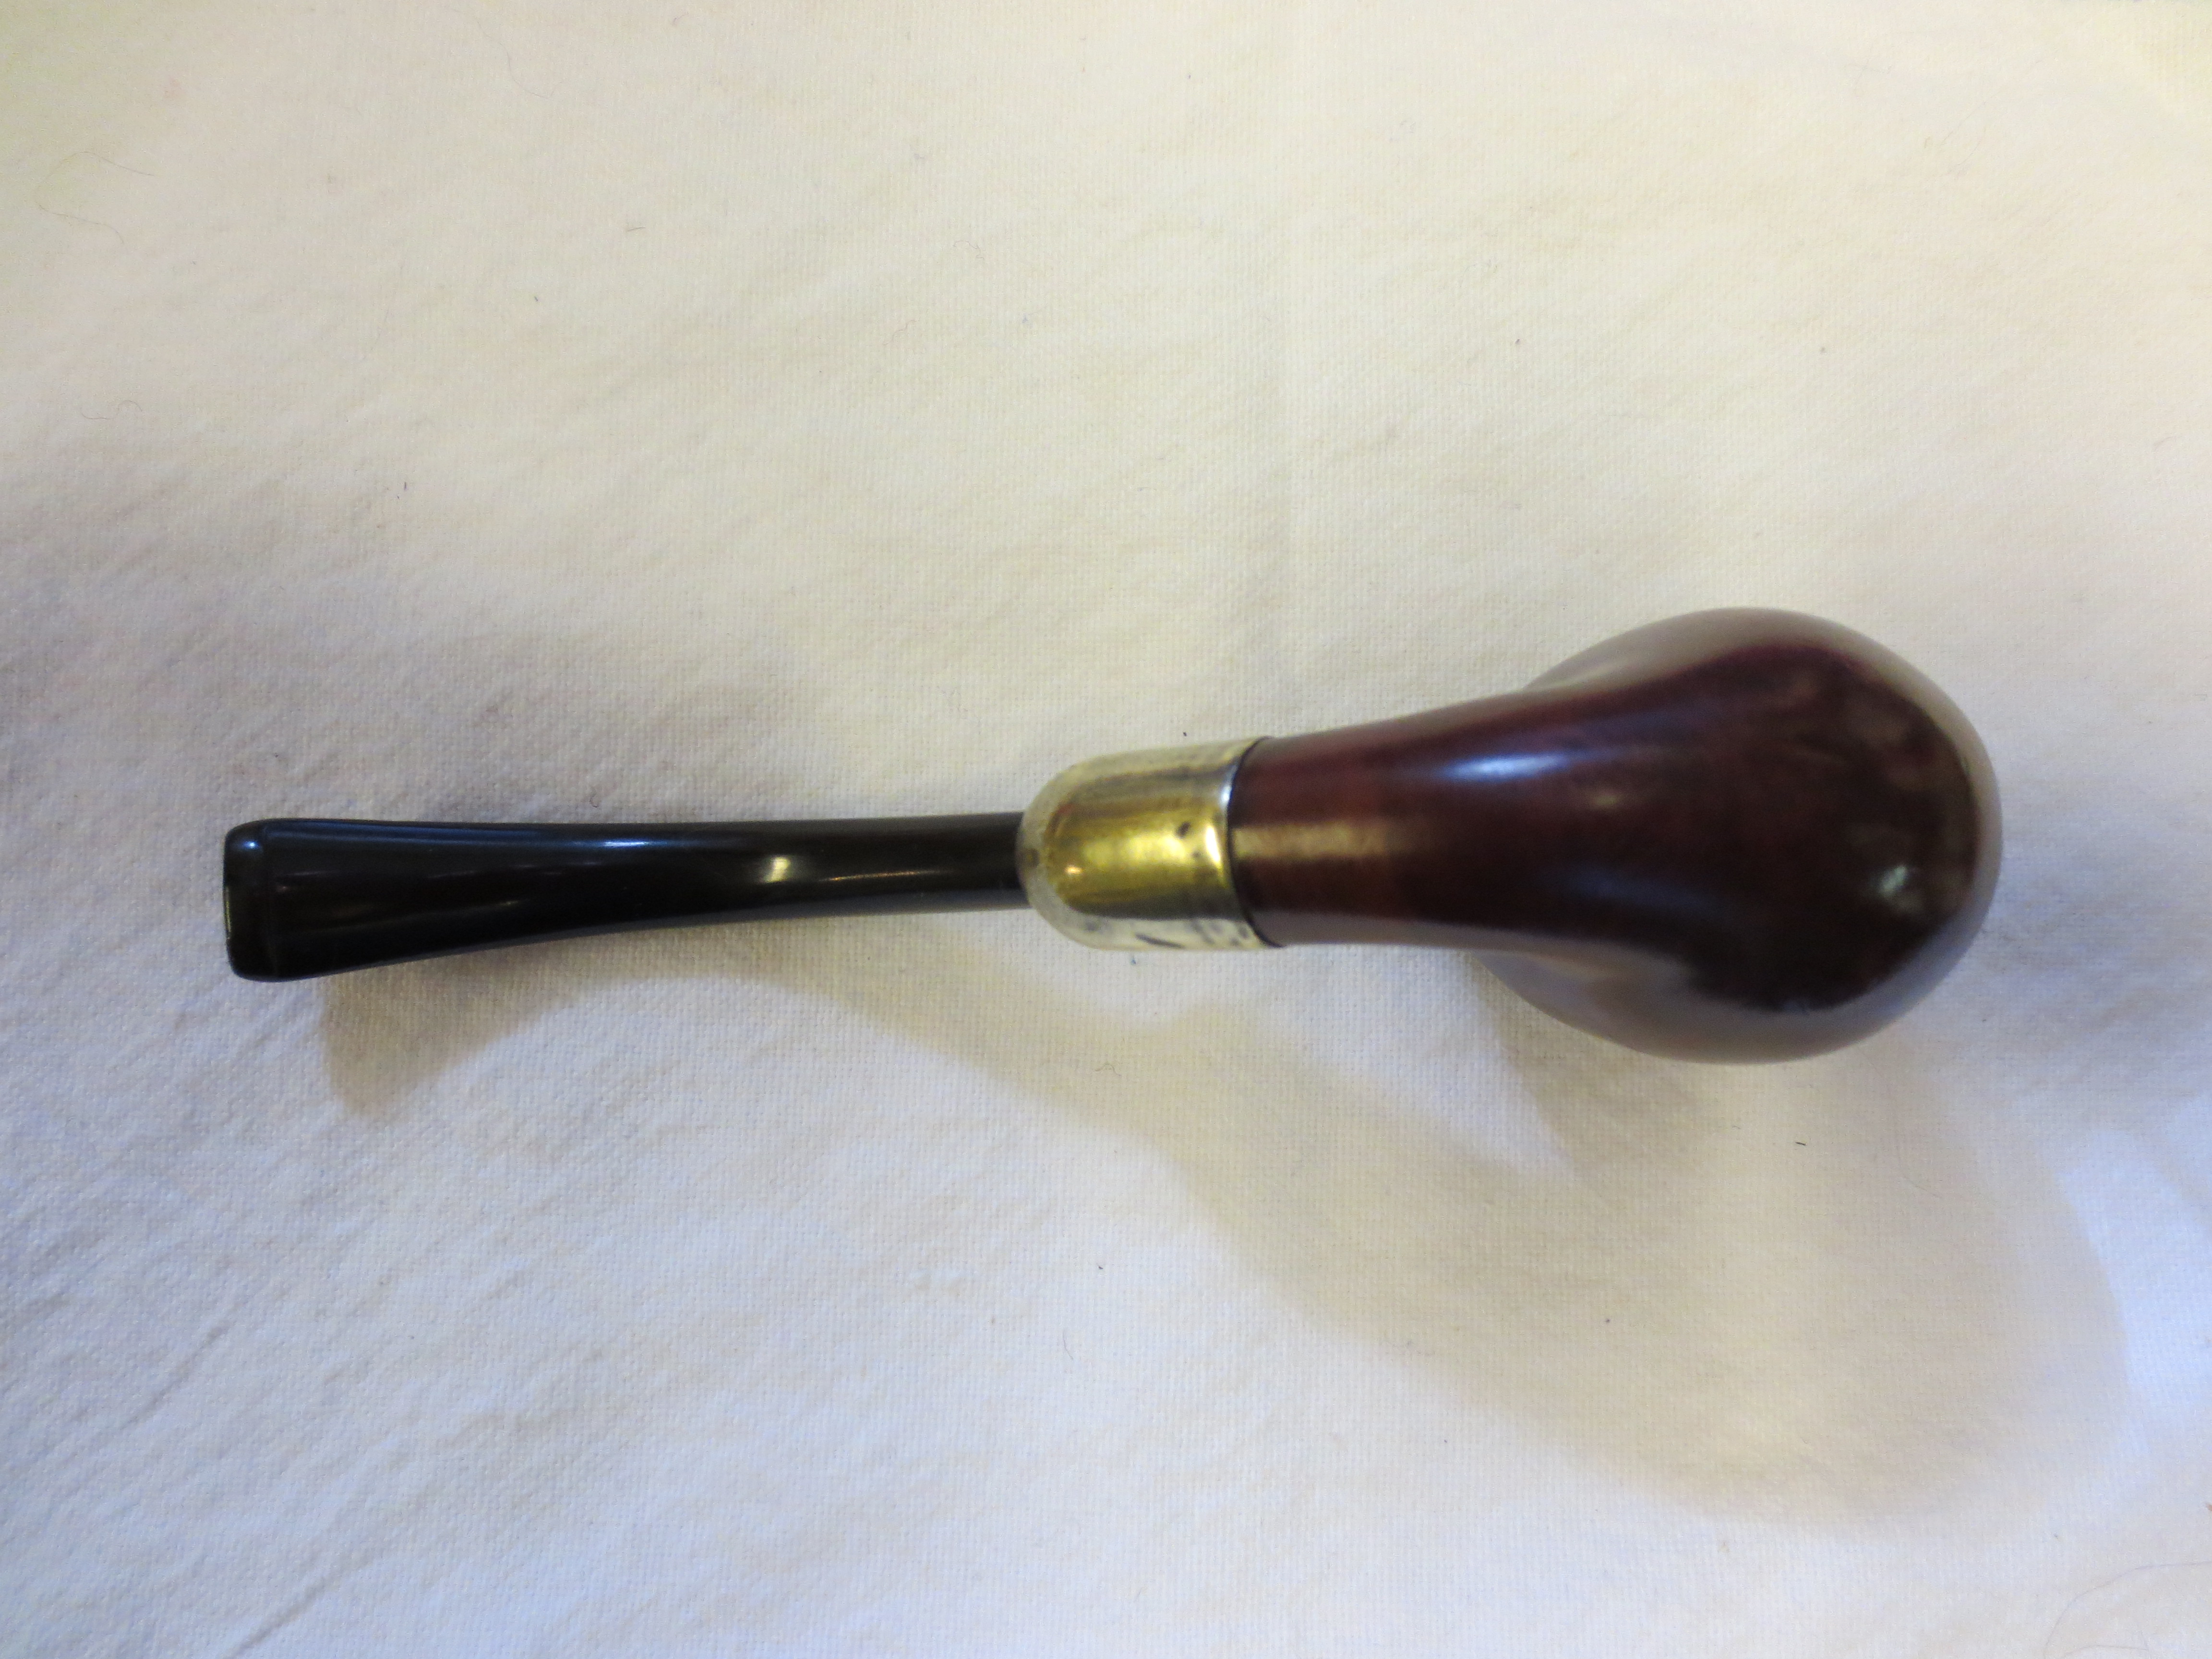
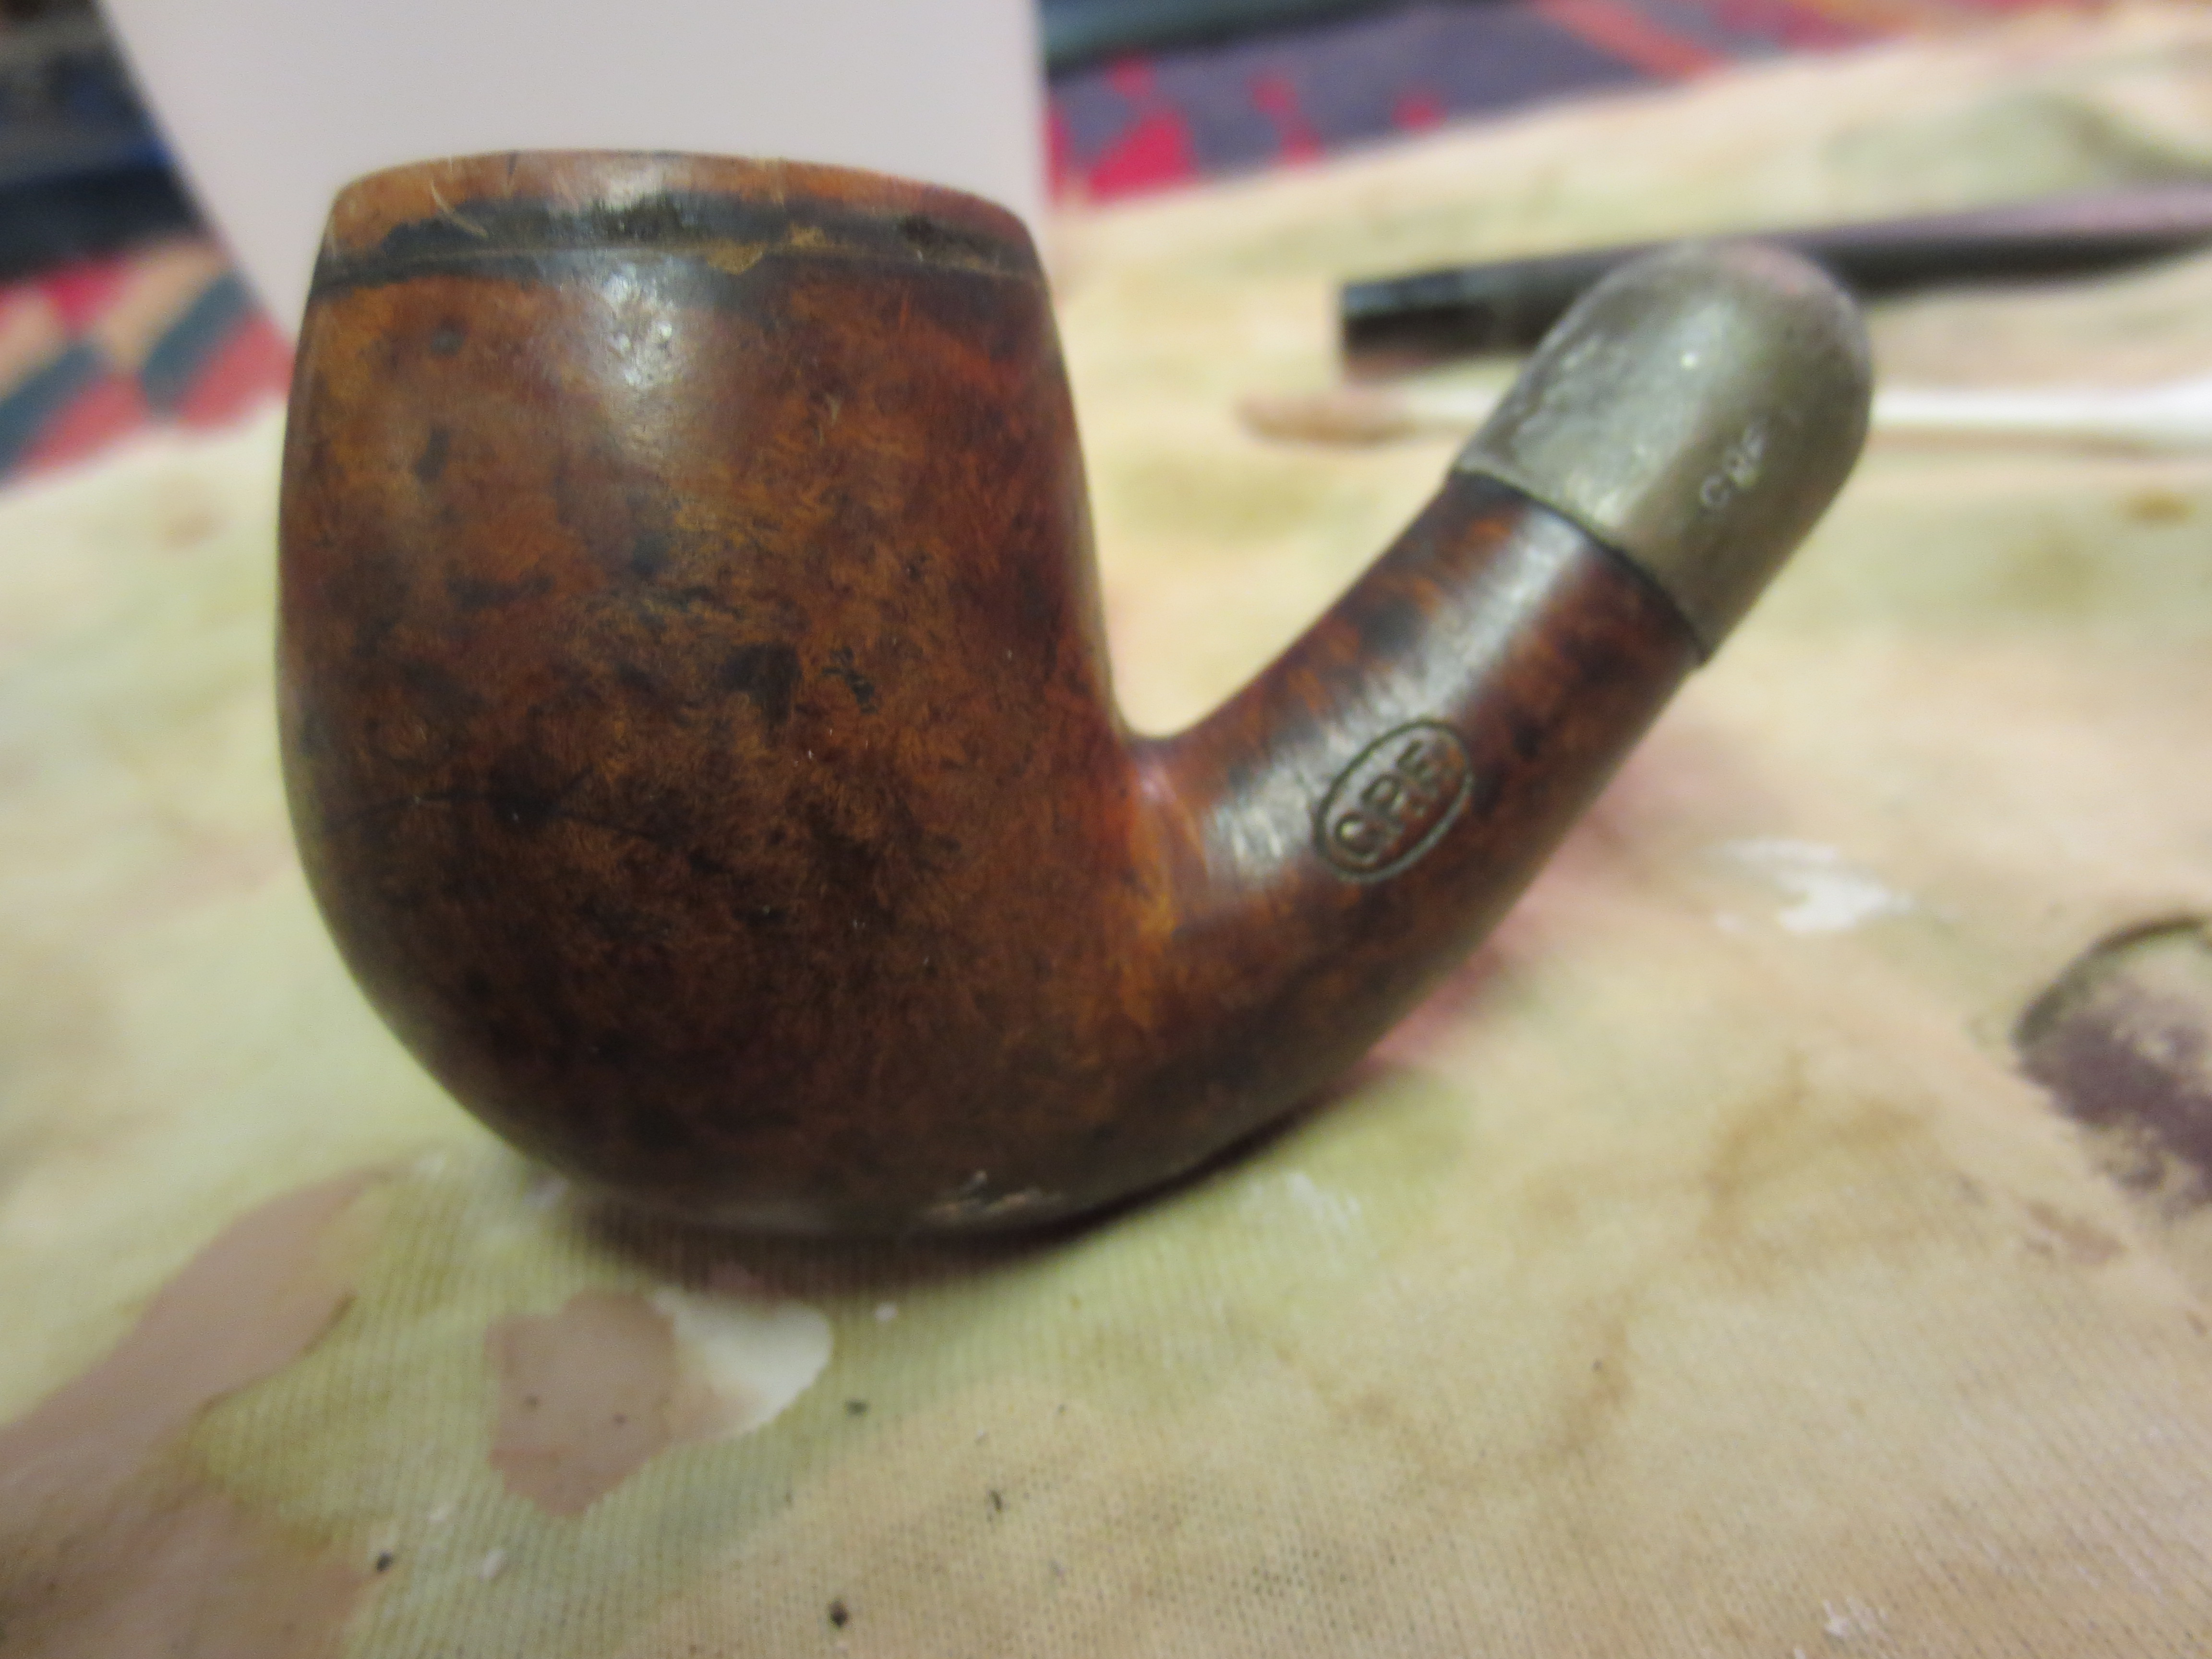
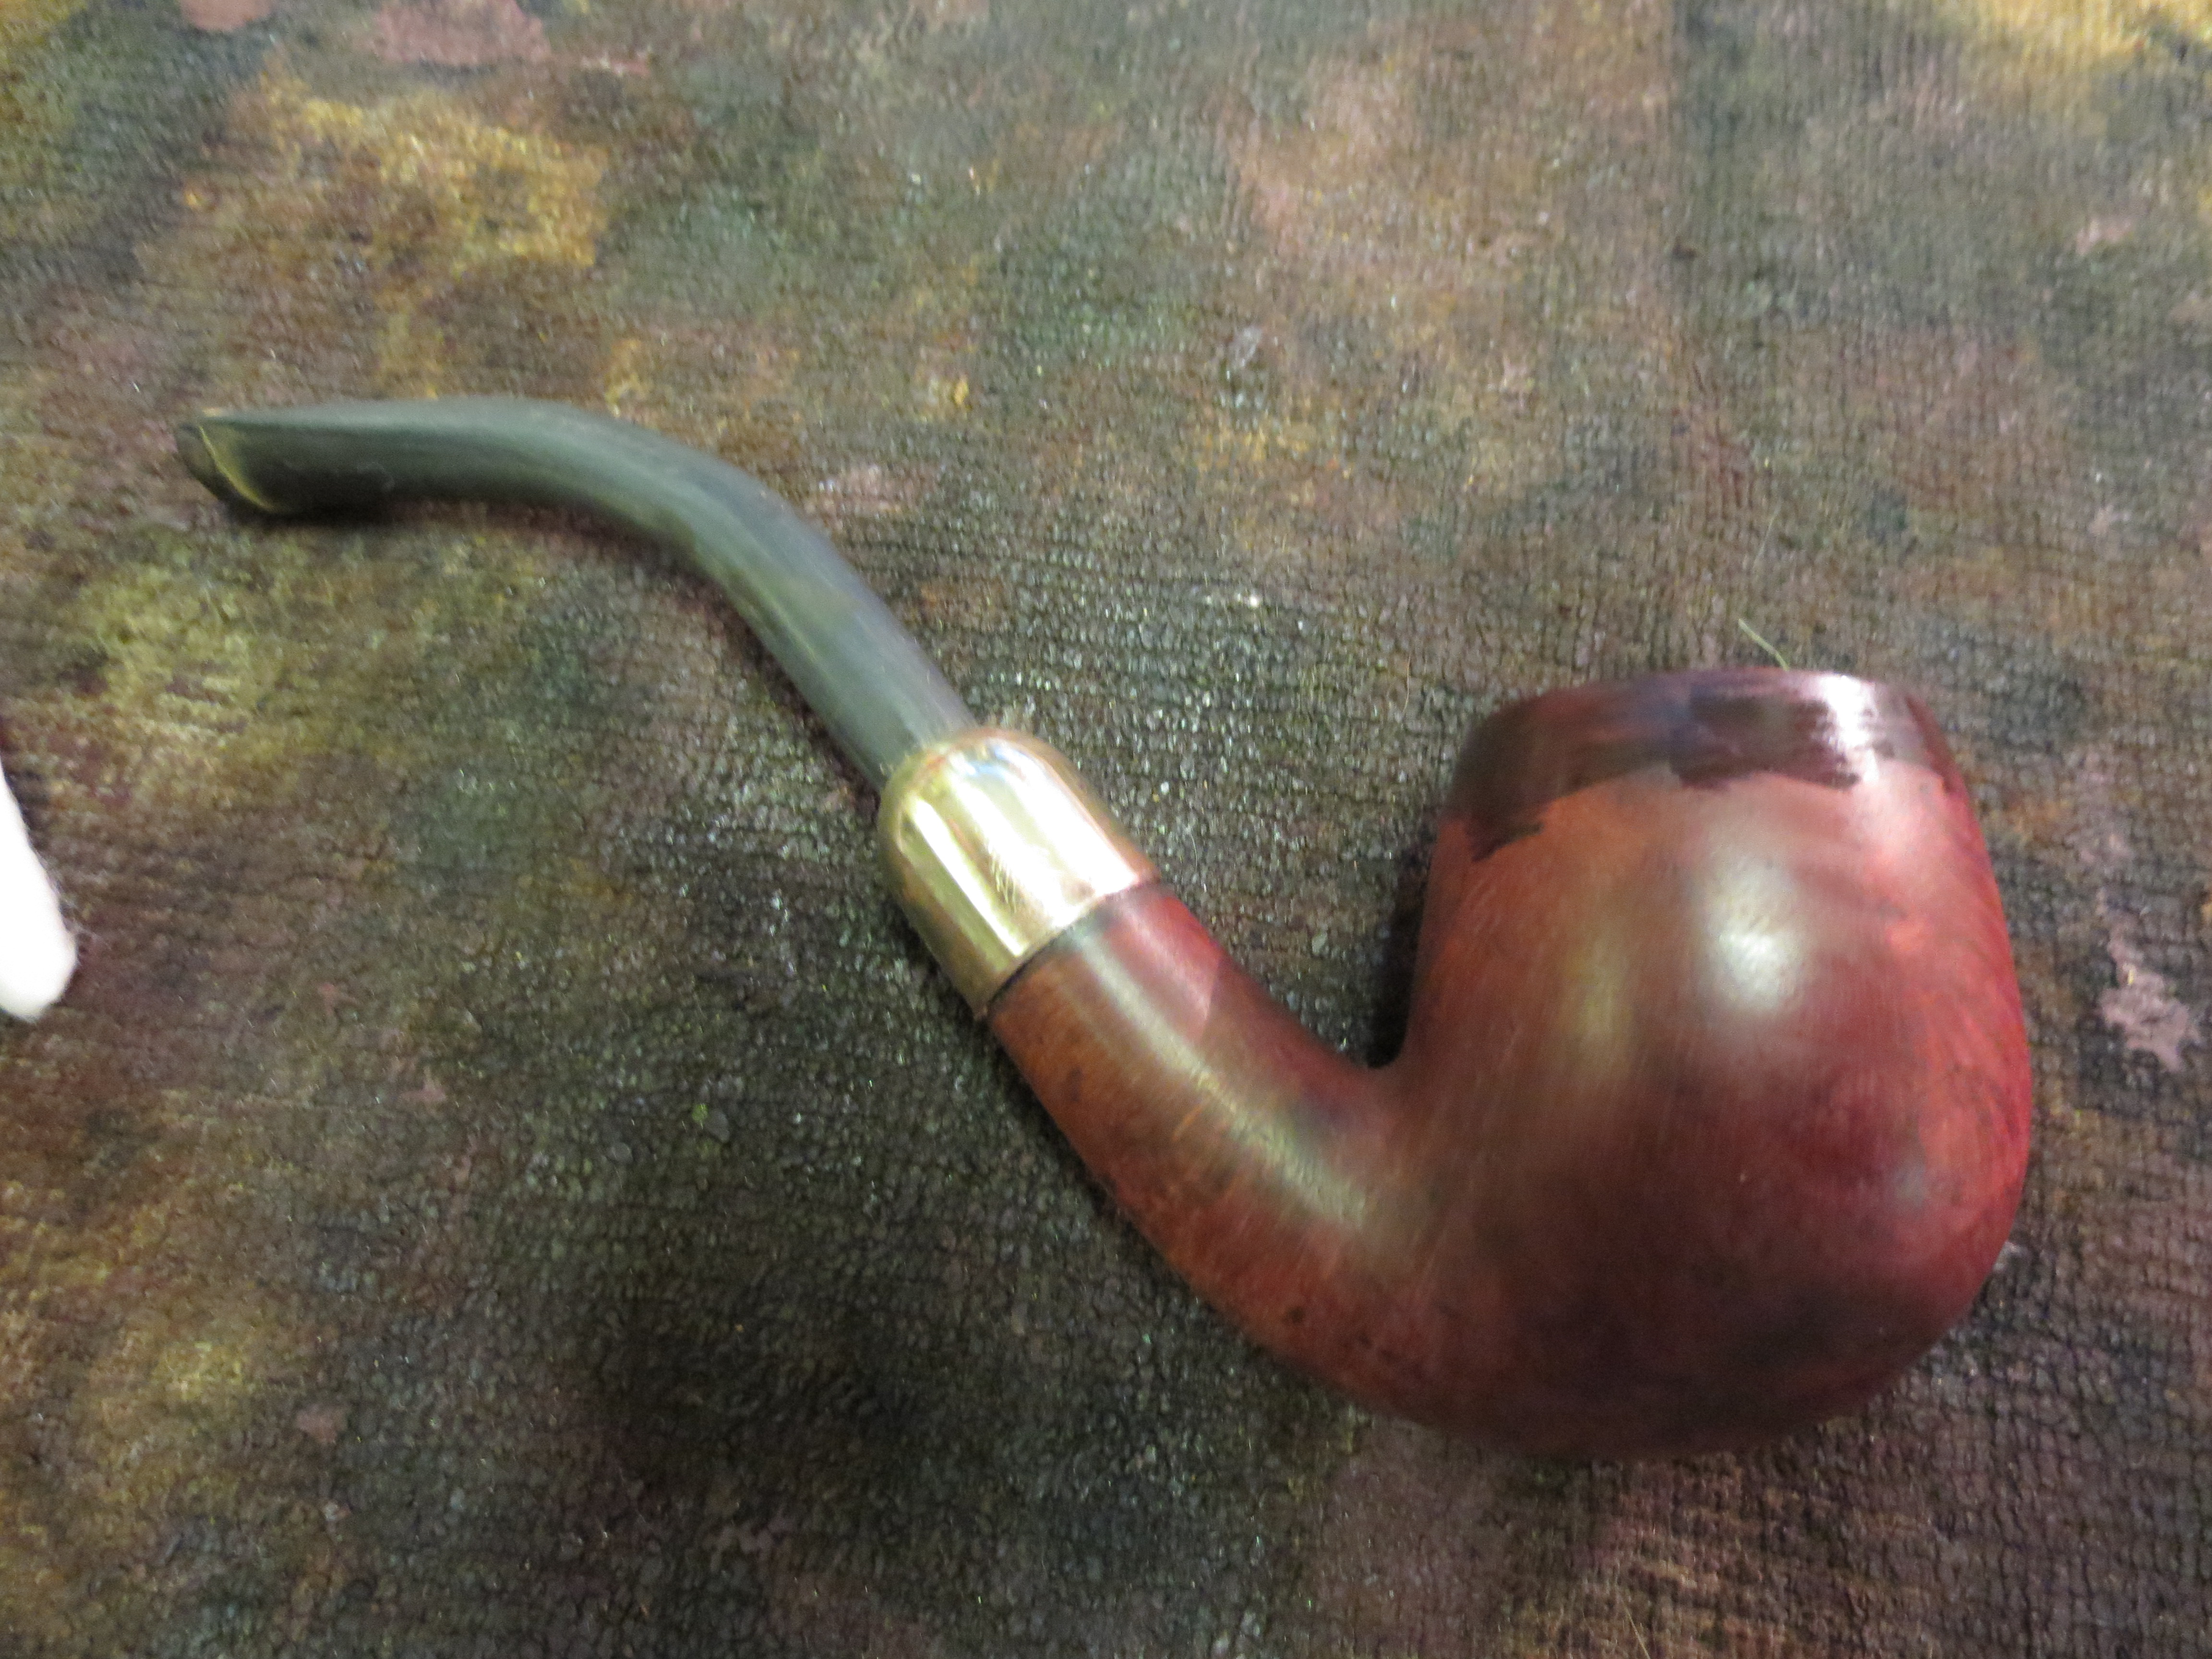
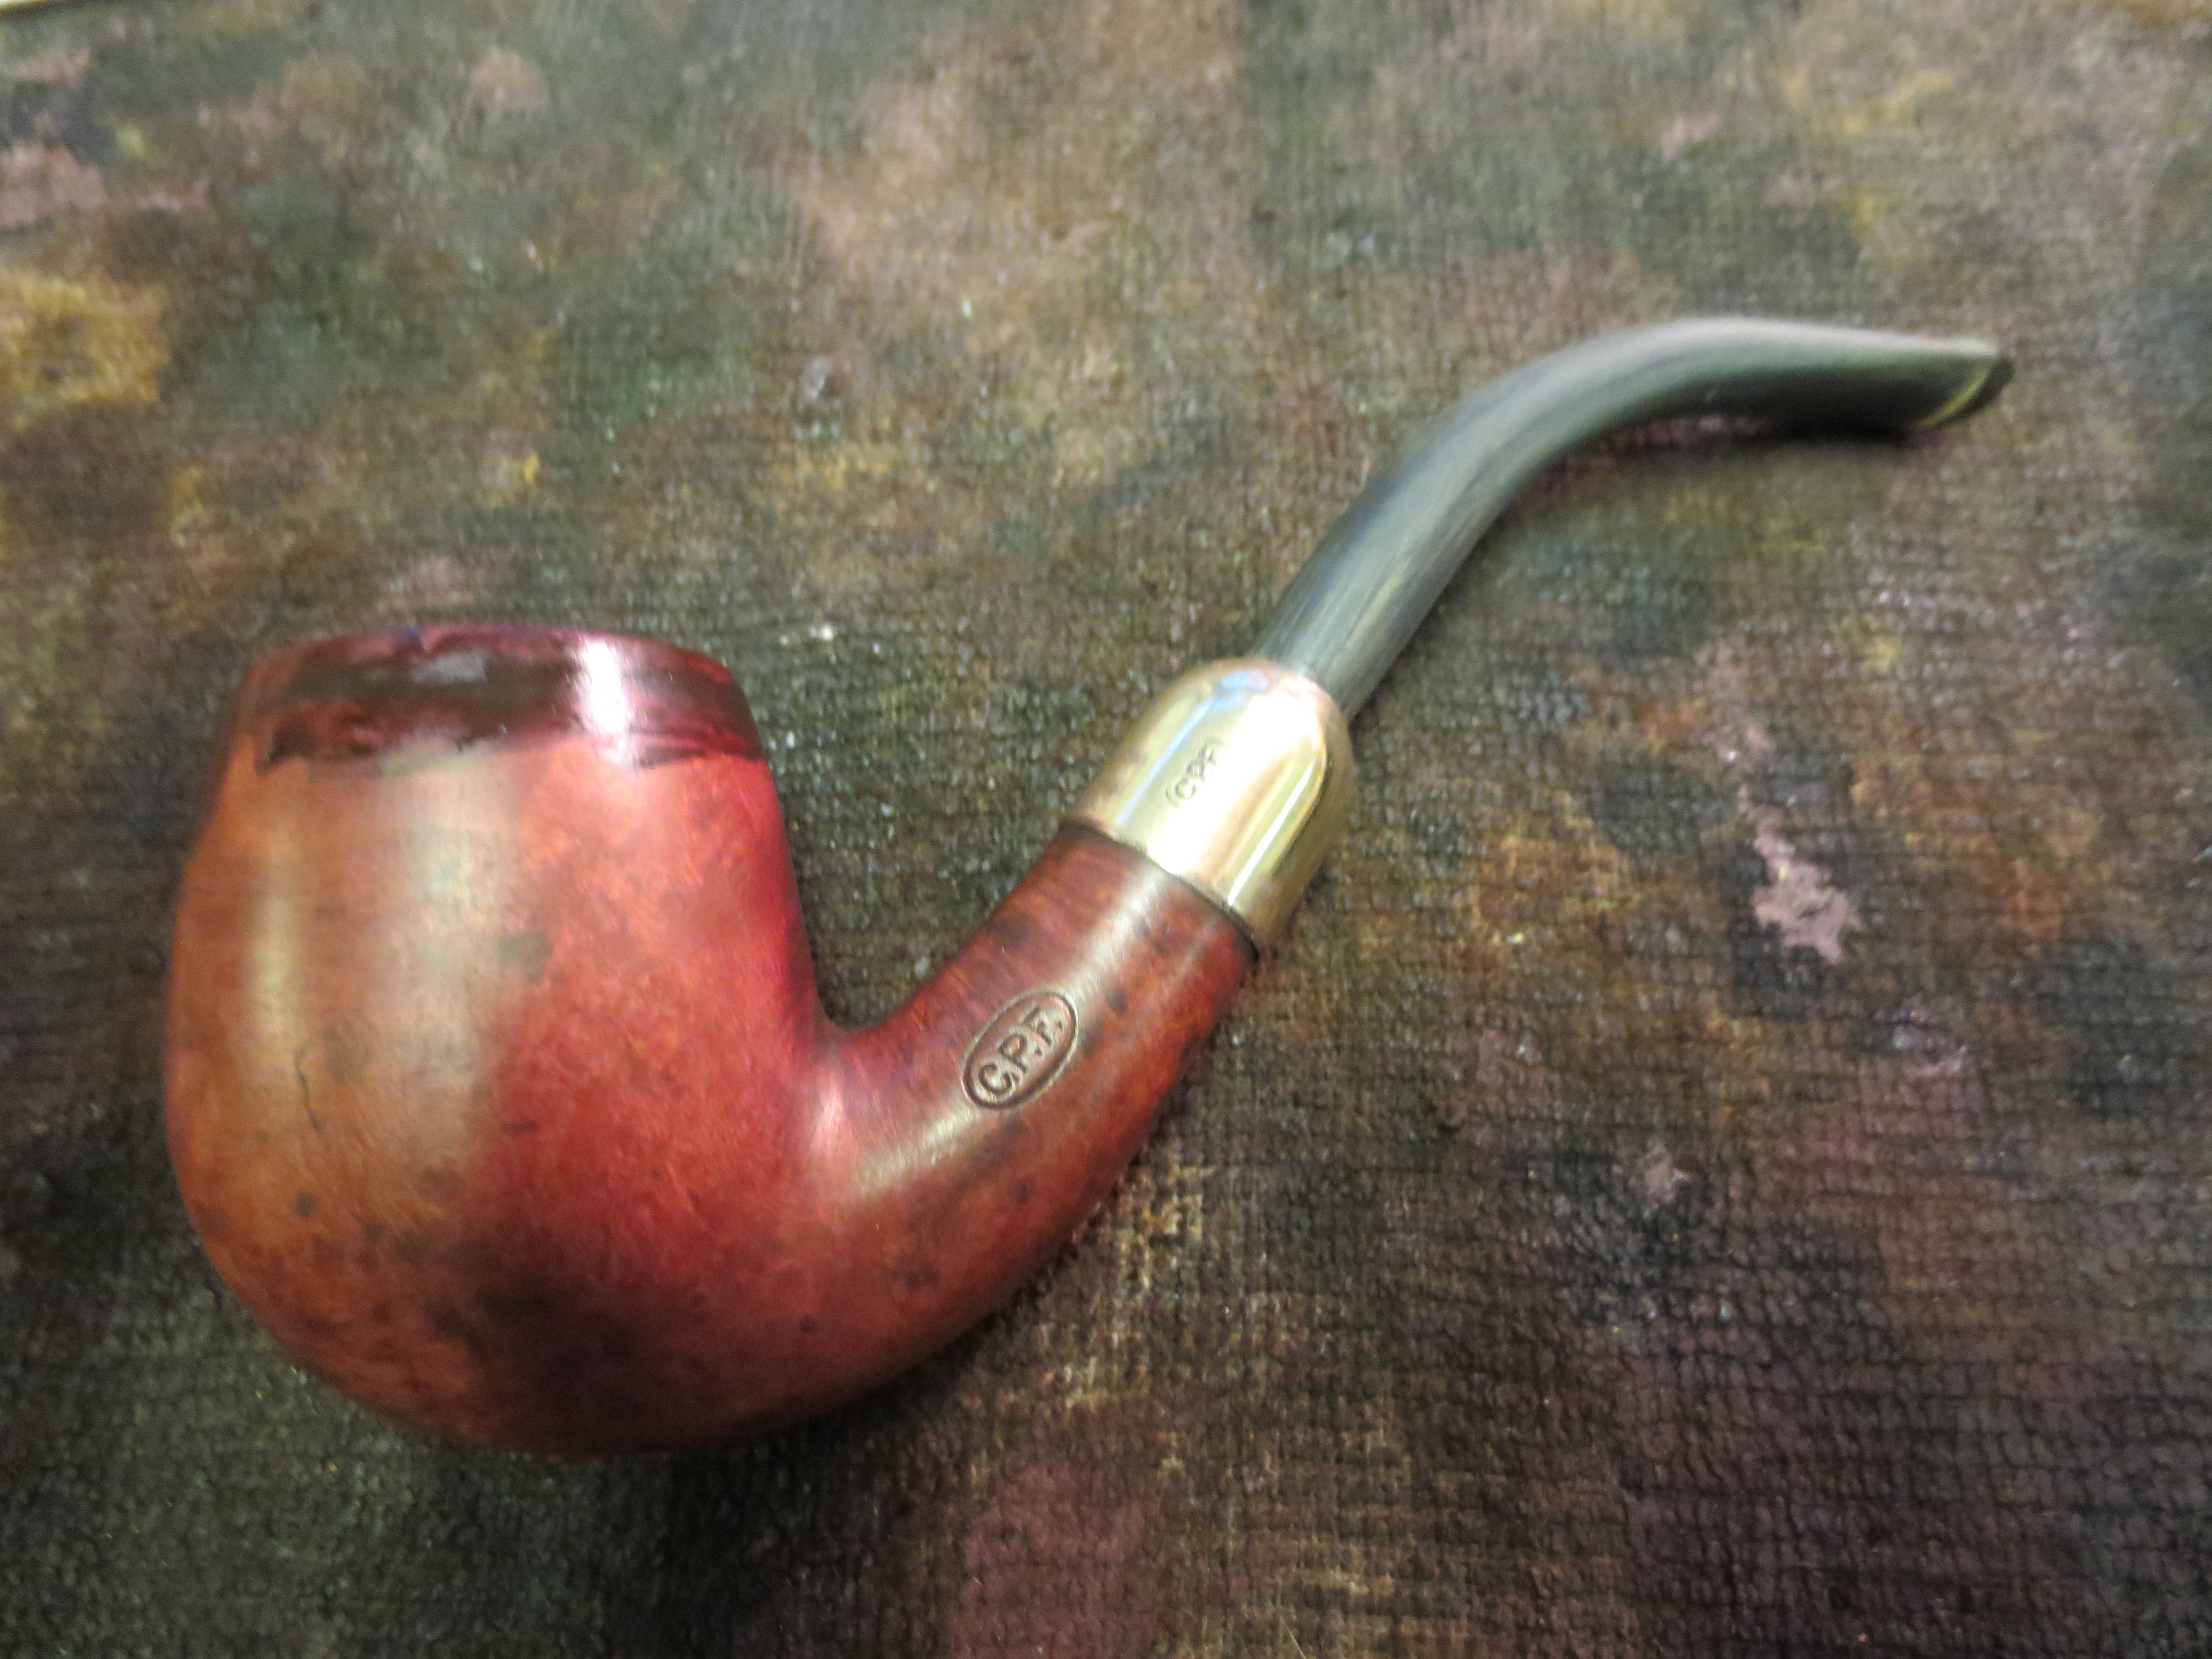
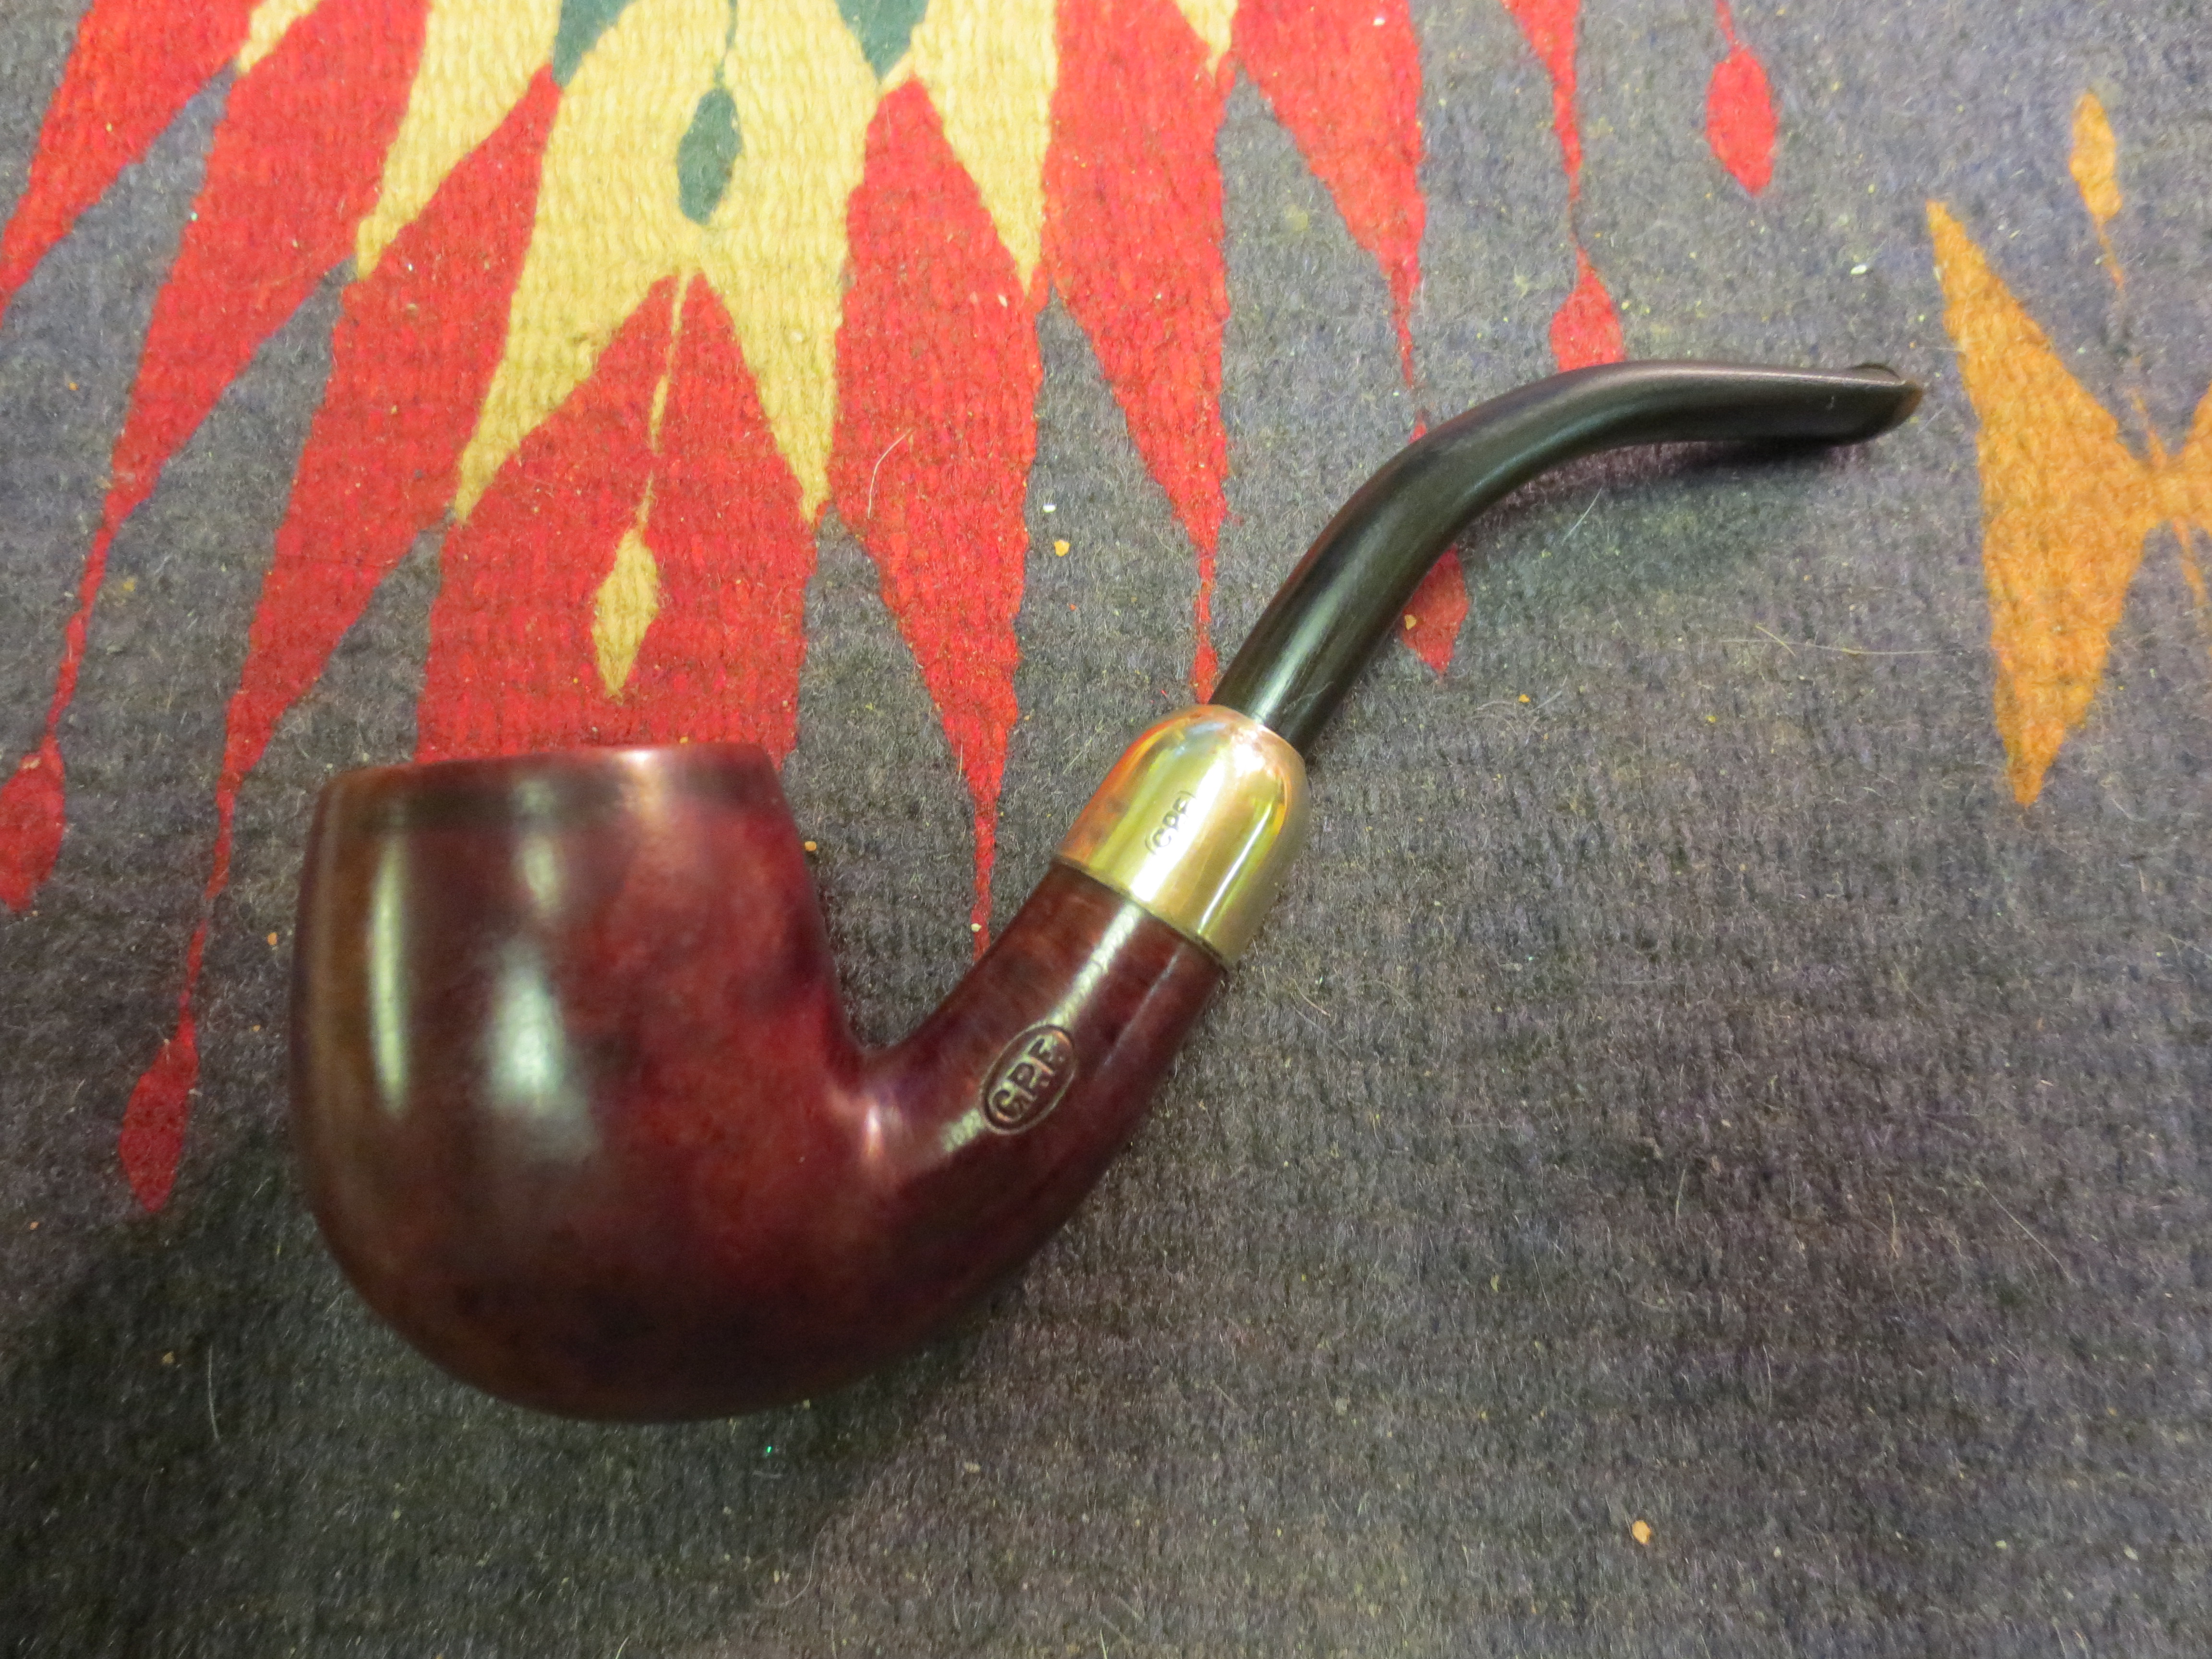
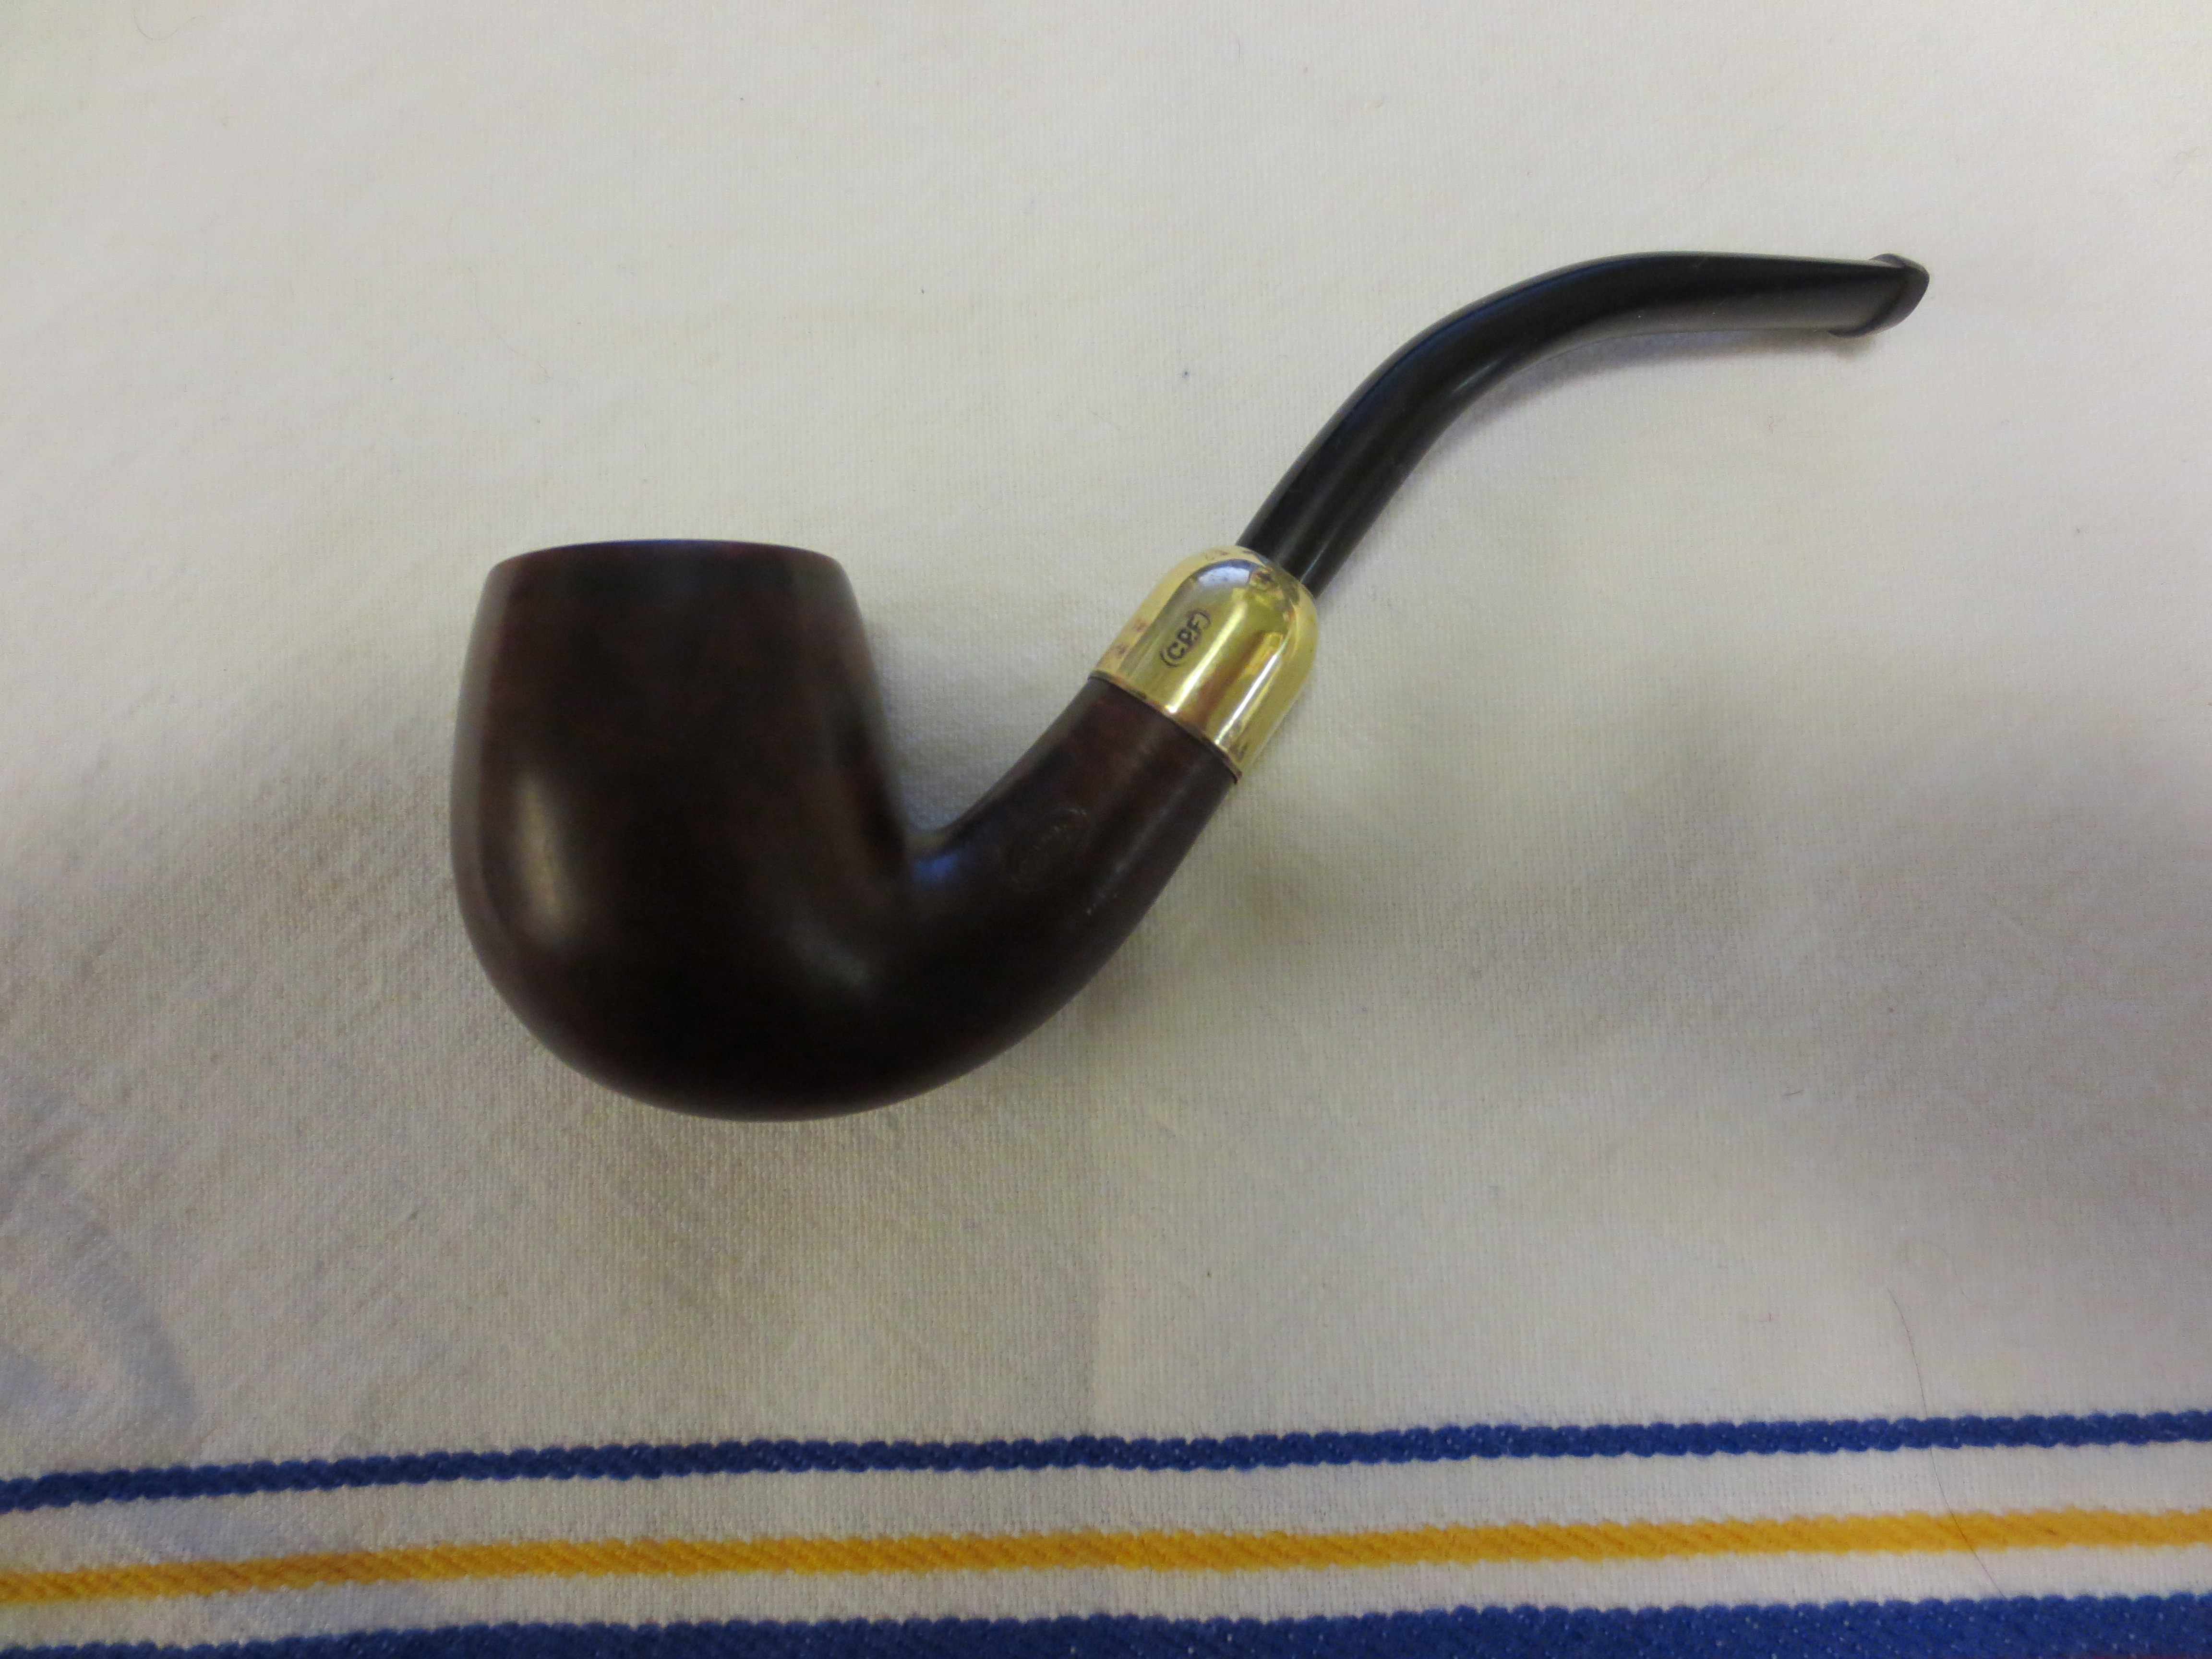
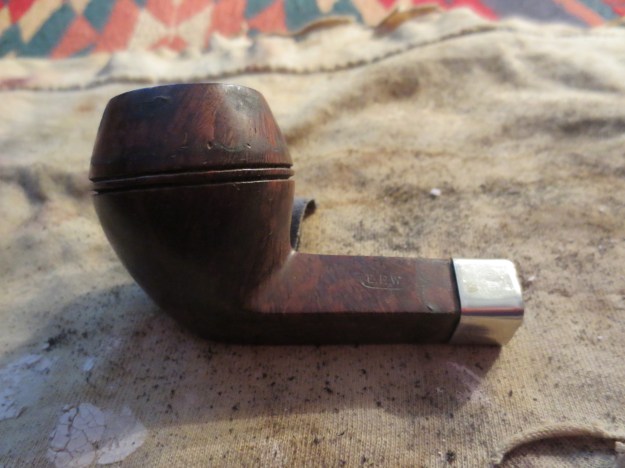
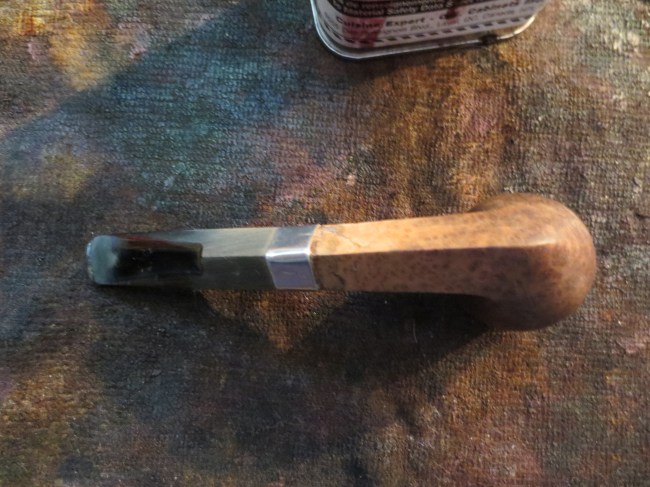
The final four photos below show the finished pipe. I applied several coats of carnauba wax and buffed the pipe and stem with a soft flannel buff to give it the final shine. When I started on this pipe I would have never guessed that I would refurbish it twice, band it twice, stain it twice, work the stem twice, and on goes the list of second times on this one. But the end product speaks for itself. I like the look of the shortened shank and tight band. This one will outlast me in its service to pipemen in the days ahead.

ImageImageImageImage

Meerschaum Bowl Refurbished and Polished


Blog by Steve Laug

I got this meerschaum bowl in the same pipe lot as the older CPF bowls and the meerschaum bowl I adapted to fit a Kirsten barrel. It is an intact meerschaum bowl from a gourd calabash pipe. I am not sure what I am going to do with it yet but I am brainstorming a few ideas. Sid Stavros has done some interesting looking pipes by converting a briar bowl to hold the meerschaum cup. Have a look at his blog and you will see what I mean. Here is the link: http://pipe-smoke.blogspot.ca/2010/02/meerschaum.html Anyway there is no end to the ideas that I am working on with regard to this bowl. Time will tell! In the meantime here is the cleanup process with photos.

Image

When I received the bowl it looked like this. You can see the scratches and damage to the inner rim and the buildup of cake and tars in the bowl and on the rim itself.

Image

The underside of the bowl was darkened but not tarred and caked. The airway was caked and reduced in size and would need to be opened up.

Image

I sanded the rim of the bowl with 320 grit sandpaper to remove the tars and to minimize the scratches in the surface of the bowl.

Image

I followed up by sanding it with a medium grit sanding sponge – pictured behind the bowl.

Image

I then sanded it with a fine grit sanding sponge. The marks and scratches are beginning to disappear.

Image

Then it was time for the micromesh sanding pads. Pictured above are the 1500-2400 grit sanding pads.

Image

I sanded the inside edge of the rim with the 320 grit sandpaper. I wanted to minimize the chipping of the inner edge of the bowl.

Image

I then continued sanding with the micromesh sanding pads – 3200 – 3600 grit. The bowl top is beginning to be very smooth and uniform in texture and look.

Image

I sanded the bowl top with the remaining grits of micromesh sanding pads – 4000-12,000 grit. The chipped edge is still visible but not as rough. The inner edge of the bowl is also smoothed out.

Image

I applied some white beeswax to protect the cleaned surface. The shine is very evident in the bowl. Now I have to determine what briar bowl it will grace.

Restoring a GFB Bent Billiard – Another Reclamation Project


Blog by Steve Laug

This project was another pipe bowl that was in the lot from EBay. It is a billiard stamped French Briar in script on the left side of the shank and it too was in very rough shape at first glance. It is an old timer. The band on this one was also as badly oxidized as the CPF billiard I wrote of before. It was to the point of being crusty with oxidation and a greenish hue. They were also rough to the touch which led me to believe that they were pitted underneath all of the oxidation. It came stemless but I found a stem of the proper age in my can of stems. The finish was rough, a reddish hue in terms of stain, but there were no deep dings or dents. There was one spot on the right side of the shank near the shank cap where there was a sandpit that had darkened from some bleed off the oxidized shank cap. This one did not have any darkening around the bowl or shank other than the one spot near the sandpit. The shank cap on this one was also loose and when I touched it, it came off (I am glad they stayed on the pipe long enough to arrive here. One of the lot is missing the end cap so that will prove a later challenge. Again after the initial examination I came to see that underneath the grime there was a pretty nice piece of briar. The first series of two photos shows the state of the pipe when I took it to my work bench to begin working on it early this morning.

ImageImage

I cleaned the shank cap the same time I worked on the CPF billiard. I applied the Hagerty Tarnish Remover and scrubbed the cap with a cotton pad. I was able to remove some of the heavy oxidation and darkening but not a significant amount. The next two photos show the process of cleaning the shank cap with the Hagertys.

ImageImage

I dropped the bowl in the alcohol bath with the CPF billiard and let it soak while I work on the CPF pipe. Once it had been sitting in the bath for about an hour I removed it and dried it off.

Image

The next series of four pictures show the pipe after it had been sitting overnight and dried from the alcohol bath. Most of the grime is gone from the outside of the bowl of the pipe and the oxidation on the stem was not fairly smooth – just black and needed to be cleaned. The shank cap also had quite a few dents that would make it a challenge to remove the oxidation.

ImageImageImageImage

At this point in the process I decided to bend the stem. It was pretty clean and did not have any oxidation on it. It merely needed to be polished and shined. So I set up my heat gun and the old rolling pin to bend the stem over and went to work on it. The next three photos show the bending process and the finished bend in the stem.

ImageImageImage

At this point in the process I took the pipe back to the work table and took two more pictures before taking the end cap off the shank and working on the pipe bowl and end cap.

ImageImage

I scrubbed down the shank cap with the Hagertys Tarnish Remover while I had it off of the shank. I also sanded it with my fine grit sanding sponge to remove the heavy buildup of oxidation. It took a lot of elbow grease to clean it off and to avoid damage to the stamping that became apparent in the cleaning of the cap. Once I had it relatively clean I sanded the bowl with the sanding sponge, wiped it down with an acetone wet cotton pad and prepared to reglue the shank cap. I used white glue to reglue the cap. I applied the glue to the shank of the pipe quite heavily as I wanted to close the gap between the cap and the shank. I pushed the cap into place and wipe away the excess glue. The next three photos show that process.

ImageImageImage

While the glue was drying I picked out the grit from the sandpit on the right side of the shank and repaired it with briar dust and superglue. The photo below shows the filled and repaired sandpit just next to the shank cap. The second photo below shows the newly place end cap and the work that still remained on the nickel/silver (?) shank cap.

ImageImage

I worked on the shank cap once it was dry with micromesh sanding pads. I used 1500 – 2400 to wet sand the cap. It took much elbow grease to get it to the point is at in the four photos shown below.

ImageImageImageImage

The GFB stamp on the cap shows up clearly in the photo above and the ones below. There were many small dents in the cap that I was not able to remove. However, I continued to polish the cap with some Neverdull Wool – a cotton product that is impregnated with a tarnish remover. It is soft enough to get into the dents on the cap. I then went on to sand the bowl with the fine grit sanding sponge to clean up the finish. The next six photos show the sanding progress. Once it was finished I wiped the bowl down with some Everclear on a cotton pad to remove the sanding dust and prepare the surface of the wood for restaining.

ImageImageImageImageImageImage

I decided to restain the pipe bowl with an oxblood stain to maximize the stain that remained in the briar. I believe the original stain was oxblood coloured so the look would approximate the original finish of the pipe. I applied the stain, flamed it, reapplied it and flamed it a second time. The first two photos below show the pipe after the application of the stain. The next four photos show the pipe after it has been hand buffed with a soft cotton cloth to remove excess stain on the briar. The filled area near the shank cap on the right side is visible and the darkening of the area is also clear.

ImageImageImageImageImageImage

At this point in the process I set the bowl aside and worked on polishing the stem. I quickly gave it a once over with the fine grit sanding sponge and then worked my way through the micromesh sanding pads from 1500 – 12,000 grit. The next series of eight photos shows the shine that comes to the surface of the vulcanite with each successive grit of micromesh.

ImageImageImageImageImageImageImageImage

I wiped the stem down with Obsidian Oil and then hand waxed it with some carnauba paste wax that I have in the shop. It is the wax available from Walker Briar Works and I will often hand apply it to the stems at this point in the process and hand buff a shine. I then reassembled the pipe, polished the bowl with a little of the carnauba as well. I hand buffed the pipe with a soft cotton cloth I use for that purpose. The next four photos show the pipe after this process. I purposely did this on this pipe to see if the wax would cause the area on the right side of the shank that is darker to blend in a bit and be less visible. It seemed to work very well.

ImageImageImageImage

Once I was finished with the hand buff and had checked out the dark spot I took the pipe to my buffer. I lightly buffed the pipe and stem with White Diamond and then gave it multiple coats of carnauba wax and a final buff with a soft, clean flannel buffing pad. The next four photos show the finished pipe. It has been brought back to life and should well serve a new generation of pipe smokers. I do believe it will live longer than I do!

ImageImageImageImage

As I finished this piece on the GFB pipe I thought I would take some photos of the CPF and the GFB old timers posed together. The next two photos show the pair in their newly found glory. I can’t help but think that this is how they looked when they were purchased by the original owner. I believe that both came from the same pipe smoker so now they are returned to the look that must have caught his eye when he purchased them. The pair look enough alike I wanted you to see them in this pose! A noble pair of old pipes, don’t you agree?

ImageImage

Restored CPF Bent Billiard – A Reclamation Project


This is the second CPF pipe bowl that was in the lot from EBay. It is a billiard and it was in very rough shape at first glance. It is an old timer. The rim cover and the band were badly oxidized to the point of being crusty with oxidation and a greenish hue. They were also rough to the touch which led me to believe that they were pitted underneath all of the oxidation. It came stemless but I found a stem of the proper age in my can of stems. The finish was rough but there were no deep dings or dents. There was a deep, almost black darkening around the bowl just under the rim cap. The darkening was such that made me think that the oxidation had oozed into the briar and would be interesting to remove from the finish. The same was true of the area around the shank cap. The rim cap originally had a hinged lid on it but that was gone. The shank cap was also loose and when I touched it, it came off. The briar underneath was thick with a reddish coloured glue but was also free of cracks or fissures. It was intact. After the initial examination I came to see that underneath the grime there was a pretty nice piece of briar. The first series of three photos shows the state of the pipe when I took it to my work bench to begin working late yesterday afternoon.

ImageImageImage

I decided to work on the oxidation on the shank cap and the rim cap. I wanted to see if either one was redeemable. I used a jeweler’s tarnish remover called Hagerty to work on the finish of both. I applied it with a cotton swab and scrubbed it with that until it was dry. Then I wiped it off with a cotton pad. In doing this I saw that the rim cap and the shank cap were both brass. The rim cap had two tears or cracks in it around the hinge that showed up once it was clean. The next two photos show the tarnish remover on the rim and shank caps.

ImageImage

After the initial cleaning of the two I decided to remove the cracked rim cap. This was not as easy as it appears in the photos as it was nailed to the rim and also was pretty tightly bonded with the tars and oils of the tobacco. I used a pair of needle nose pliers and a flat blade screw driver to lift the edge of the cap. I began at the hinge and lifted it from there. It came off with a bit of work and broke at the two nails that held it to the rim mid bowl on each side. The back half of the cap came off in one piece. I was able to lift the front edge carefully using the flat blade of the screw driver to pry the edge and work my way to the front. The nail on the right side came out with the cap while the one on the left side was stuck. I used the flat blade of the screwdriver to lift it from the surface of the rim without scarring the rim and pulled it out with the pliers. Underneath the rim surface was actually smooth and had a slight caking of oils that would come off easily. The two nail holes would need to be filled. The one on the right side of the bowl had been put in at an angle and would take a little more work to repair. The first picture below shows the torn rim cap on the work table next to the pipe bowl. The holes and the state of the rim are also clearly visible. The second picture shows the darkening that seeped down the edges of the bowl from underneath the rim cap.

ImageImage

I used briar dust and superglue to fill the two nail holes. It took several applications to get a smooth and even surface. I packed some briar dust into the nail hole with my dental pick and my finger. I wanted the briar dust to fill the holes so I tamped them down with the dental pick. Then I dripped in the superglue to bind the briar dust to the surrounding area. The first photo below shows the top of the rim after briar dust superglue patch has been done.

Image

After patching the nail holes I worked on the stain line around the bowl. I removed the finish from the bowl with a cotton pad soaked with acetone. I continued to wipe it down until the finish was gone. After that I sanded it with a medium grit sanding sponge. The next six photos show the sanding process with the sponge. I also sanded the end cap with the sponge being careful around the CPF stamping that I had found under the oxidation.

ImageImageImageImageImageImage

The dark lines were better after the sanding but still very present. I was able to remove the indentation in the briar from the metal cap to a large degree but the black was stubborn. I decided to soak the bowl in an alcohol bath to see what would come out. I took the shank cap off to work on it while I left the bowl in the bath for about an hour. I was able to remove much of the oxidation on the shank cap. I scrubbed it with the tarnish remover and then sanded it with the micromesh sanding pads using 1500-2400 grit pads.

Image

Once I remove it from the bath I dried it off and the lines were lighter than before. I sanded the bowl some more with the sanding sponge and glued the shank cap on with white glue. I wait to glue it on until I am done with the alcohol and acetone as I found out the hard way the glue is dissolved and has to be redone. After that I reinserted the stem and set up my heat gun to bend the stem to the correct angles. The next four photos show the bending of the stem from its beginning to the final look after bending.

ImageImageImageImage

I took it back to the work table and did some more sanding on the bowl especially working on the surface around the top sides near the rim. The black line was stubborn. I wiped it down with white vinegar to see if it would lift any of the stain as I remembered reading about that in an old book on furniture repair on how to remove dark rings from the wood. I also wet a cotton pad with bleach and wiped down the area as well. The result of all that work is evident in the two photos below. It was not going to come out so I sanded it with 1800-3600 grit micromesh sanding pads and then wiped it down with an alcohol dampened cotton pad to remove the surface dust and prepared to stain it. The two photos below show the bowl ready to stain. (Incidentally note the shine on the shank cap. It cleaned up amazingly well.)

ImageImage

I applied an oxblood thick aniline stain for the first coat. I flamed it and reapplied it and flamed it a second time (the first two photos below show the staining of the bowl with the oxblood stain). I then buffed it off to see what I had to work with. The black lines still showed so I restained the bowl around the top edge to see if I could darken that area and mask the black (photos three and four show this process).

ImageImageImageImage

I buffed it a second time to see where I was at with the staining. You can see from the next two photos the effect of that restaining around the top of the bowl. It did indeed darken the edge but the line was still visible and I did not like the look of the dark edge. So I buffed it yet again to see if I could smooth out that look a bit more.

ImageImage

I was not happy with the finished look after buffing. The darkening around the edge still showed both in the top edge of the bowl and around the end cap. I decided to restain the bowl with a dark brown aniline stain. So I applied the stain, flamed it and restained and flamed it a second time. The next two photos show the pipe after the stain had been flamed and had dried.

ImageImage

I buffed it to see how the second stain had covered the darkening around the top edge and near the shank cap. I was pleased by the overall look now. It was still there for sure but it certainly was less visible and blended in well with the finish. The next four photos show the pipe after restaining and buffing.

ImageImageImageImage

I set the bowl aside and worked on the stem. I sanded it with micromesh sanding pads 1500 – 12,000 grit to polish the stem. I put the stem back in the bowl and then took the pipe to the buffer and gave the entire pipe a buff with White Diamond and then gave both the stem and bowl multiple coats of carnauba. The finished pipe is picture below. It came out very well and the black line around the top edge seems to be less visible. The pipe is restored to a bit of its former glory!

ImageImageImageImage