Guest Blog by Robert M. Boughton
Member, North American Society of Pipe Collectors
http://www.naspc.org
http://www.roadrunnerpipes.com
http://about.me/boughtonrobert
Photos © the Author
Oh I went down South for to see my Sal
Play polly wolly doodle all the day
My Sally is a spunky gal
Play polly wolly doodle all the day
Oh my Sal she is a maiden fair
Play polly wolly doodle all the day
With laughing eyes and curly hair
Play polly wolly doodle all the day
Fare thee well
Fare thee well
Fare thee well my fairy fey
For I’m going to Louisiana
For to see my Susyanna
Play polly wolly doodle all the day
― Beginning of “Polly Wolly Doodle,” author unknown
INTRODUCTION
The entire ditty, made famous by Shirley Temple’s iconic, vivacious wholesomeness in the super-duper 1935 movie “The Little Rebel,” goes on about a grasshopper that picks its teeth with a carpet tack and develops such a serious case of pertussis (the whooping-cough) that the unfortunate creature “sneezes” its head off in a well-turned euphemism. This is a U.S. contribution to songs taught to small children around the world, for some perverse reason, and ranks right up there with “Frère Jacques,” who is not asleep but dead from influenza, and “La Cucaracha,” the most common version of which touches on a cockroach unable to walk for lack of marijuana to fix it.
Still, the usage of the word doodle, which is not as common these days, illustrates the reason for the name of “The Doodler,” a pipe of some fame invented by Tracy Mincer, founder of Custom-Bilt, apparently sometime in the late 1950s or early ’60s. The line was perpetuated by the National Briar Pipe Co. after Mincer’s death in 1964 and was last made in 1980. The Oxford English Dictionary defines doodler as “one who draws or scrawls aimlessly,” hence the verb doodle for engaging in this activity (or lack thereof). That must have been how the innovator had his brainstorm. It seems Mincer had a sense of humor.
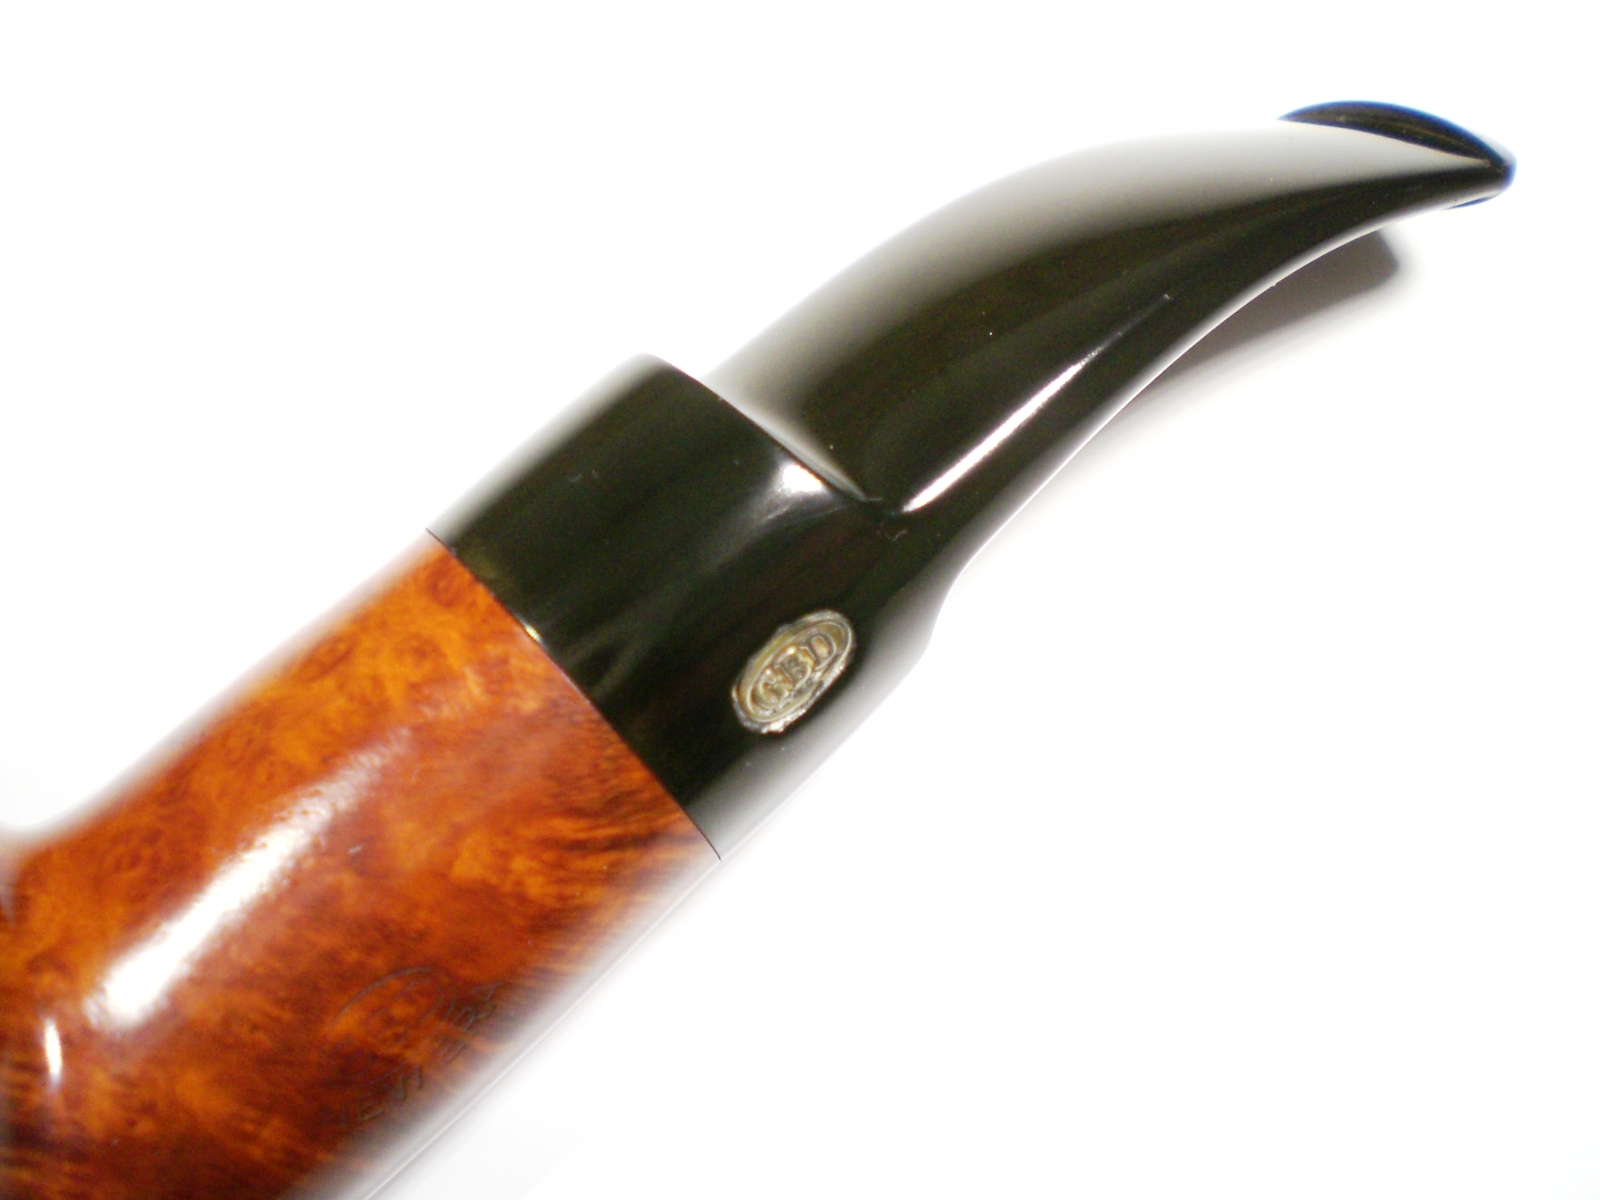
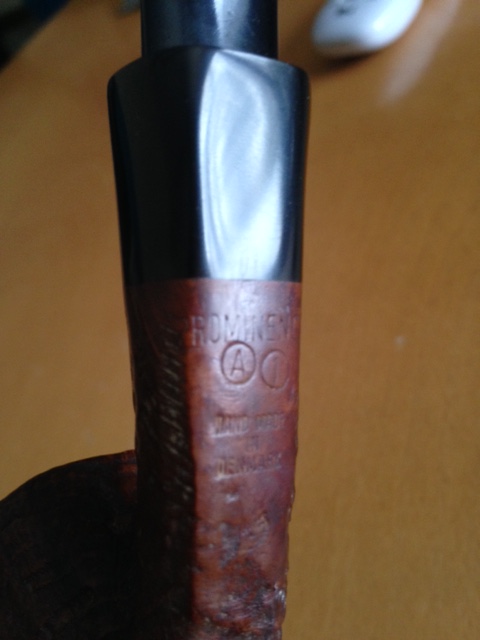
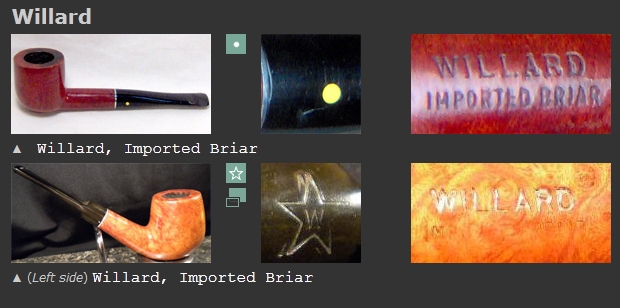
With something approaching their love of very few All-American wonders, including Mickey Mouse and Jerry Lewis, Frenchmen seem to have an affinity for The Doodler. (See http://www.pipephil.com/article-3285357.html, which should be translatable by your browser.) The author of the site calls this a “radiator” style. He also notes what he calls the brand’s unique look that he claims requires no special nomenclature or stem mark to identify one with certainty. But it just isn’t so. Take, for example, the following samples.
 The Doodlers in this blog are of the type familiar to most of those pipe enthusiasts who have even heard of them. While I find beauty in many different forms, including those I restored and describe here, many of my friends, upon seeing The Doodlers for the first time, resort to evasions such as “Weird” and “I’ve never seen anything like this,” or more direct grimaces and even shudders in place of their true probable thoughts along the lines of “Ugly, ugly, ugly!” But as Margaret Wolfe Hungerford first paraphrased the ideas that many before her had suggested, in “Molly Bawn” in 1878: “Beauty is in the eye of the beholder.” And all of The Doodlers do include a stamp, with a star on some stems.
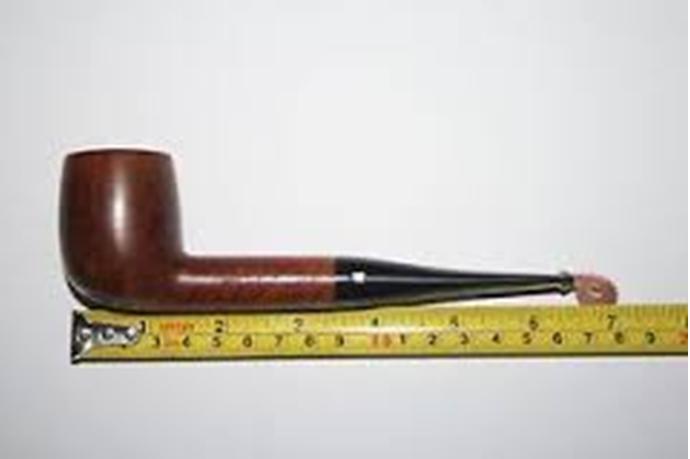
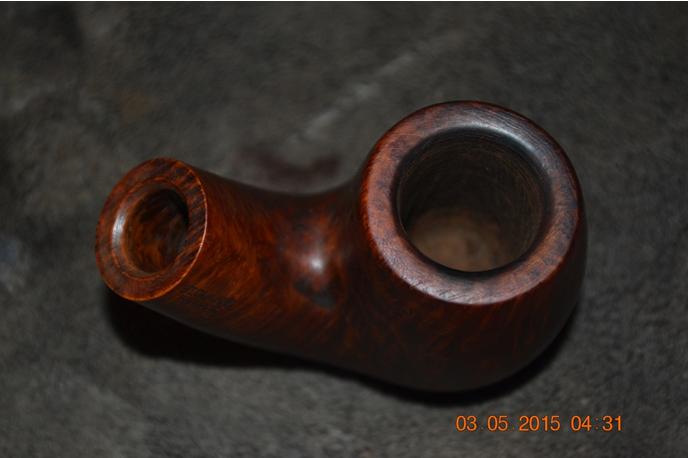
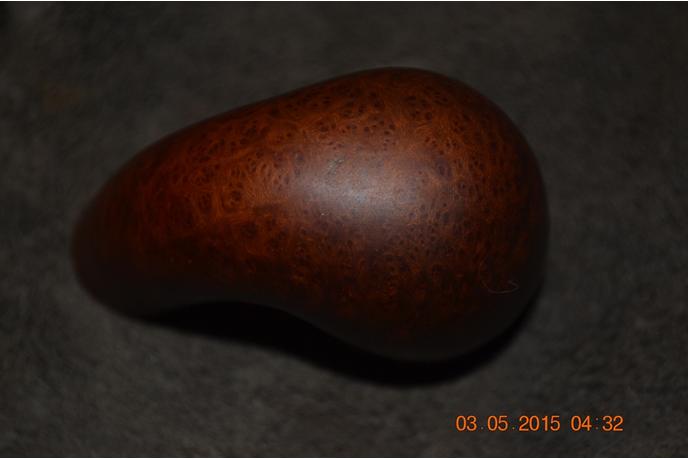
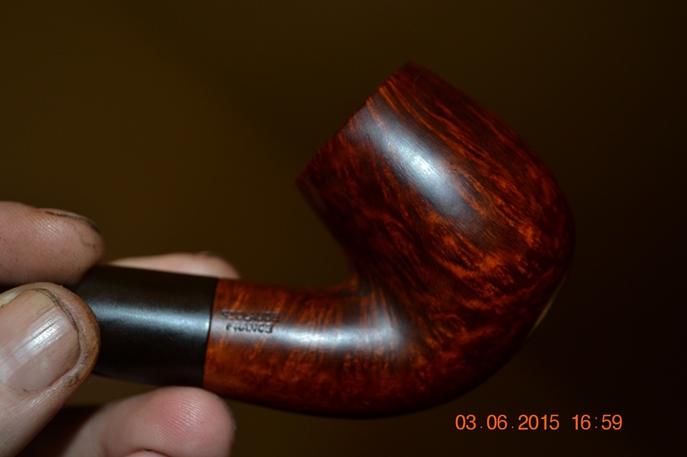
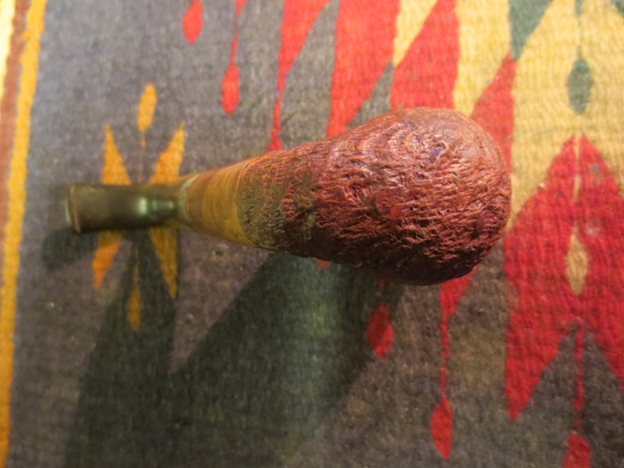
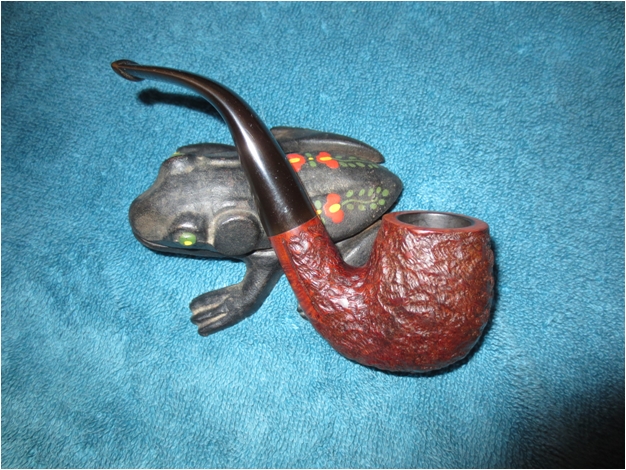
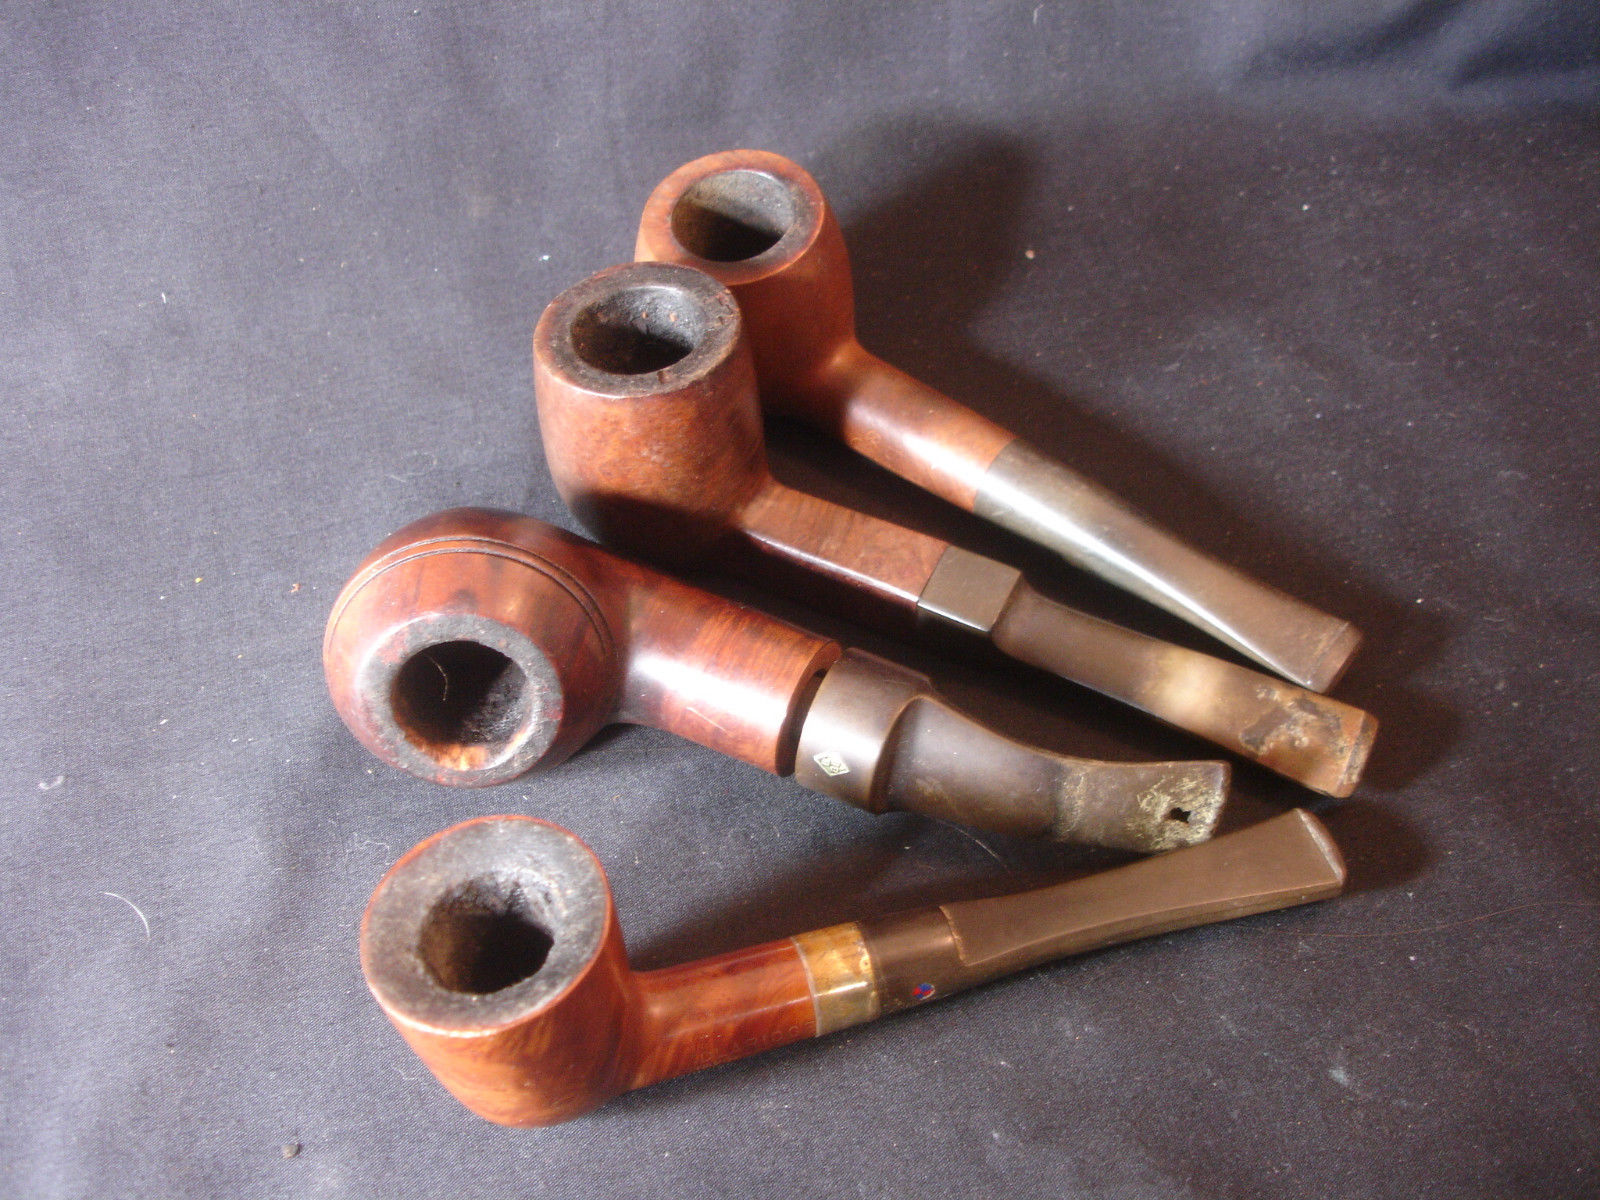
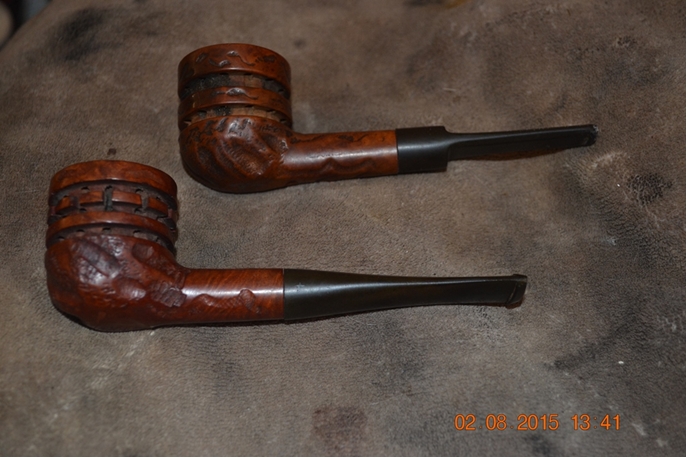
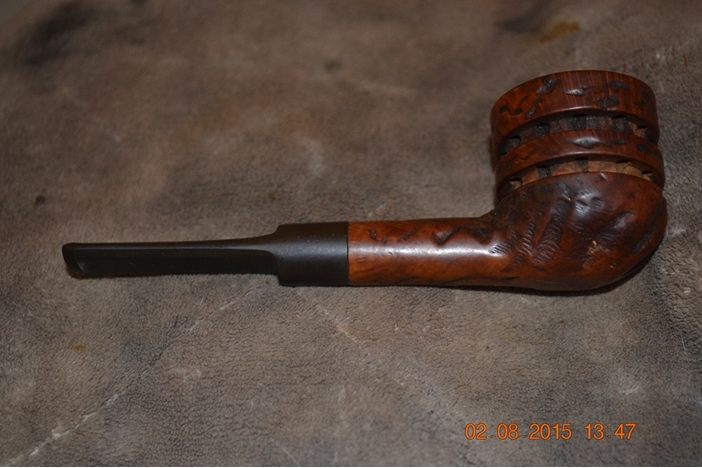
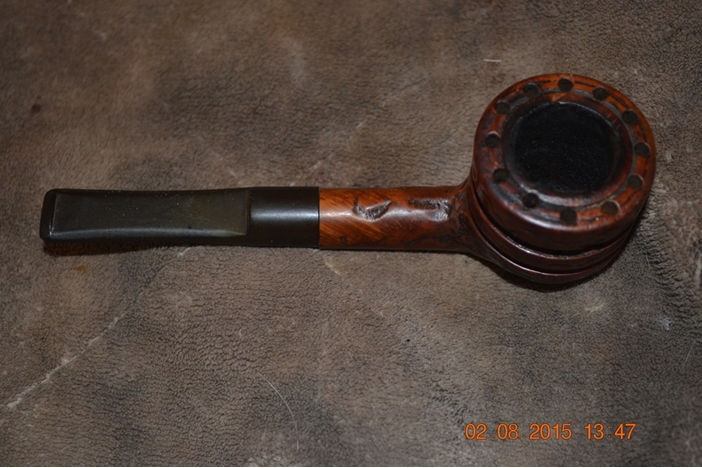
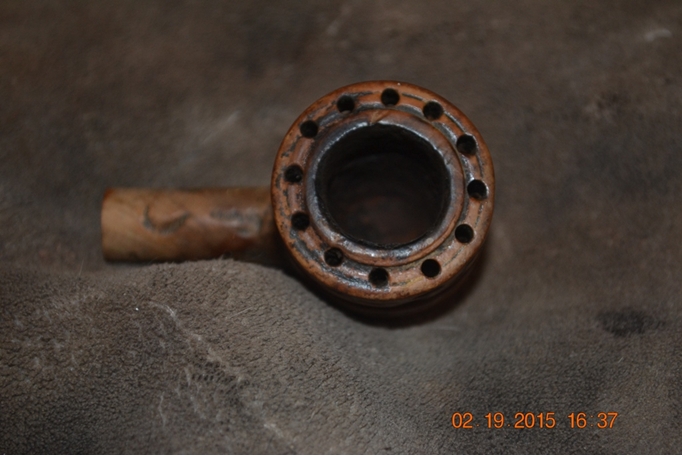
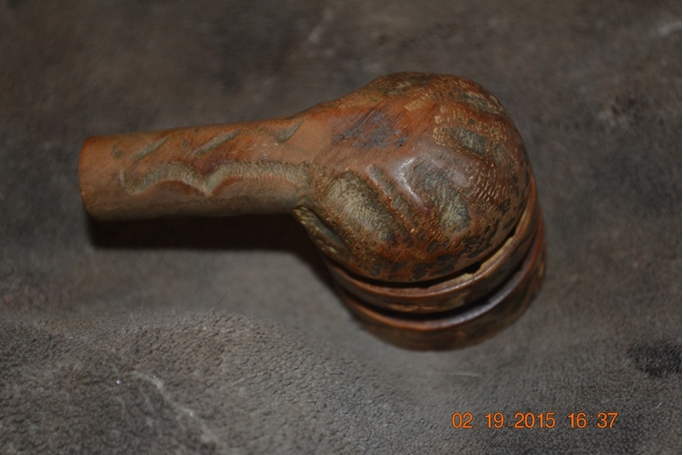
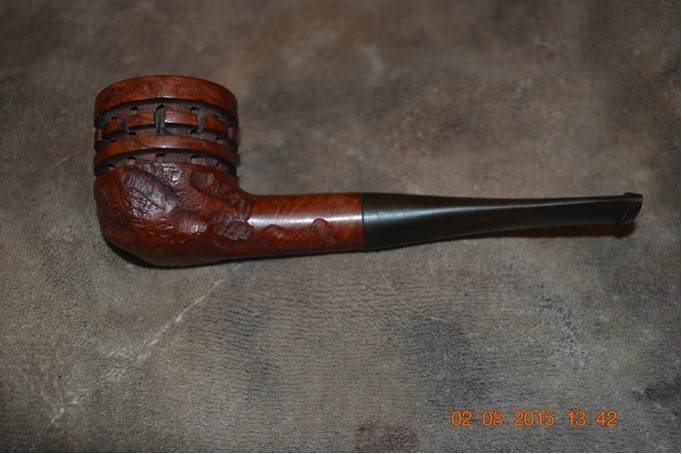
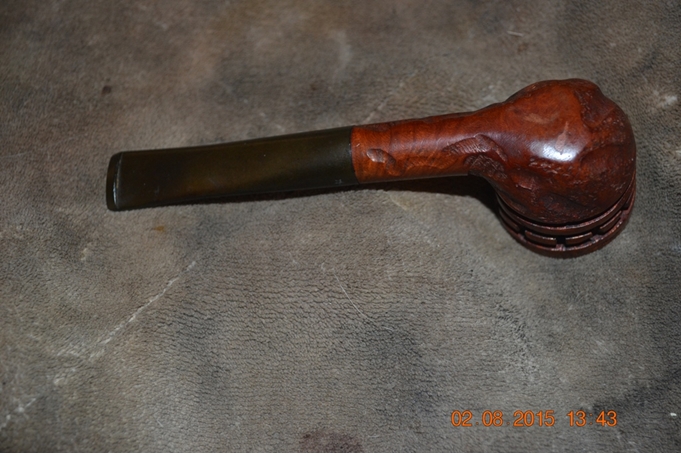
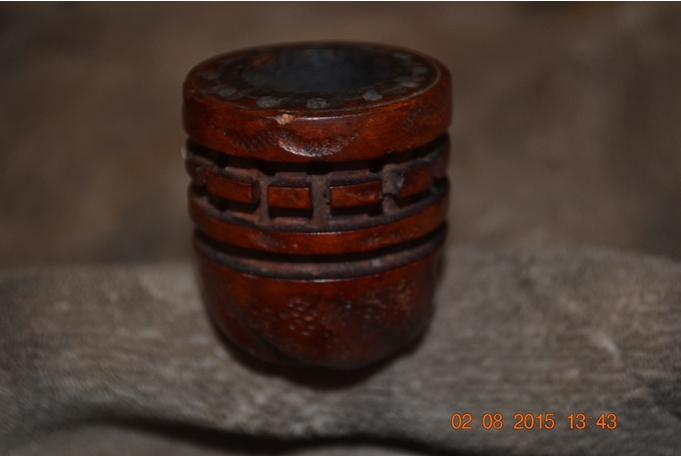
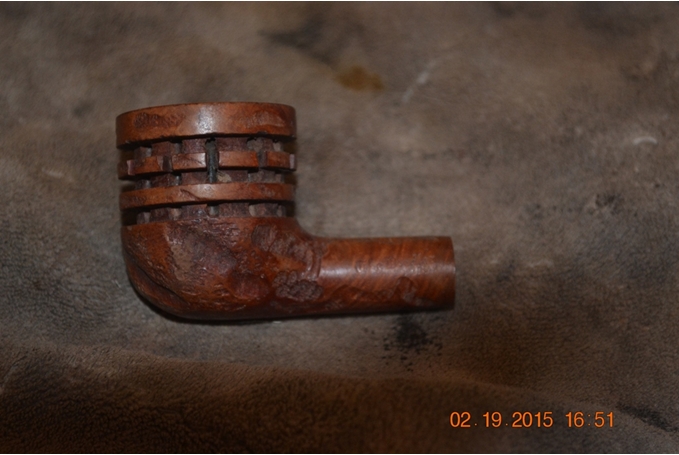
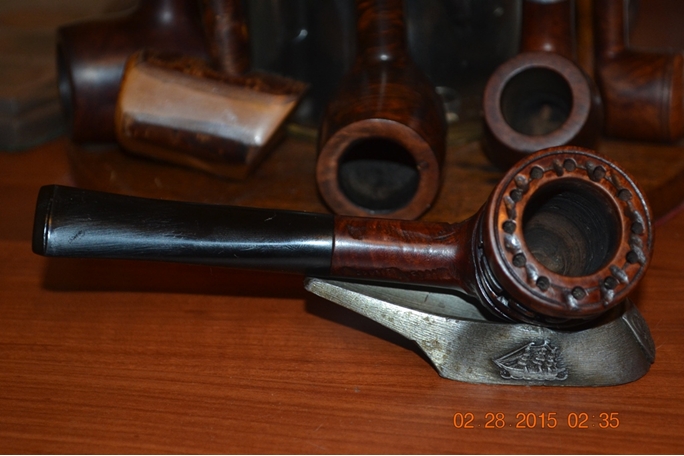
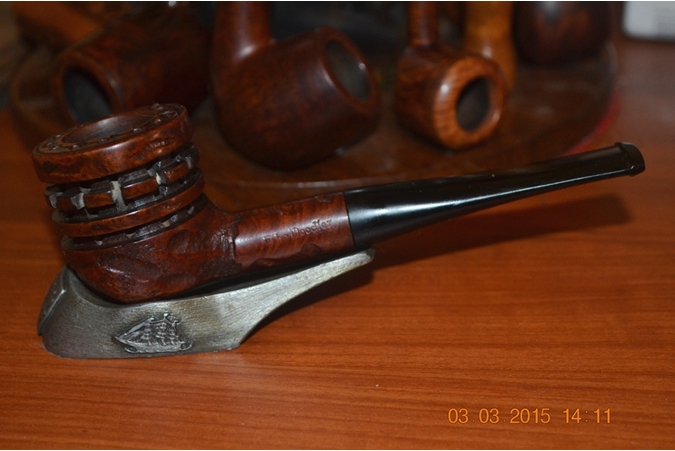
Here are two of “The Doodlers” I could not resist buying online, for a good price, as they arrived in the mail. I had come across the peculiar pipe in scrolling through the listings on pipephil.eu under T for “The Everyman,” which referred me tersely to Everyman. But above it was “The Doodler.” Note the well-known ridges and patterns of holes drilled through the outer ridges of the bowls, which were intended to cool the pipes with air circulation, whether or not they in fact succeed in that purpose. An interesting sideline to this serendipitous discovery and mental note to acquire one was that the very next day, on my eBay homepage, I found a “suggestion” for The Doodler. I’m not sure I buy into one friend’s claim that it was the result of Google keeping track of my search history and offering up products to buy…but then again, the same thing does seem to be happening more often.
THE RESTORATIONS
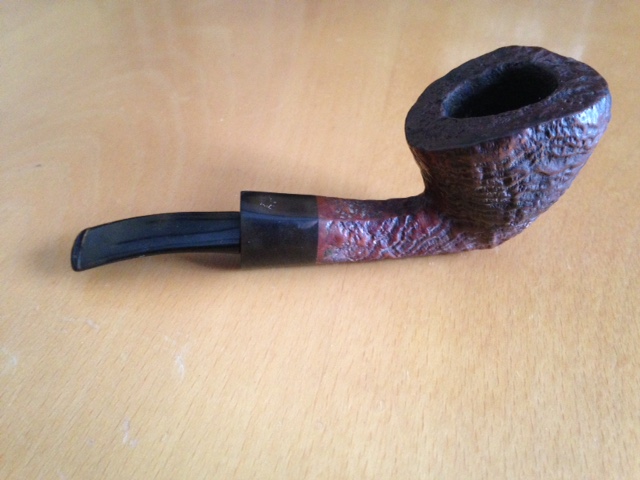
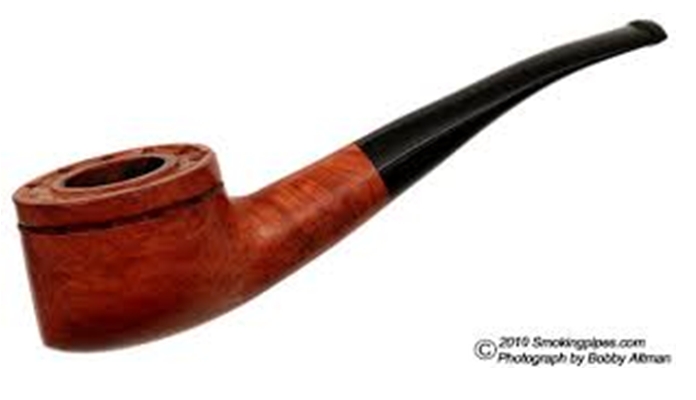
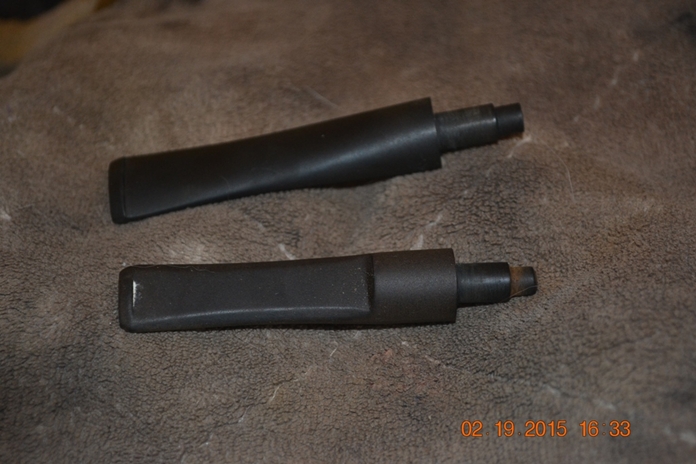
The Saddle Stem Two-Ring Doodler


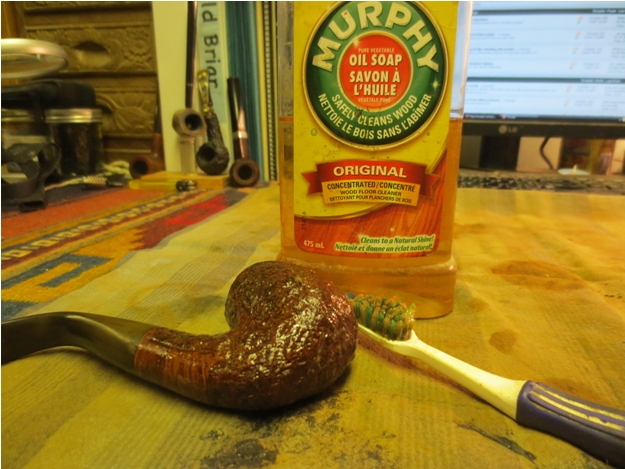
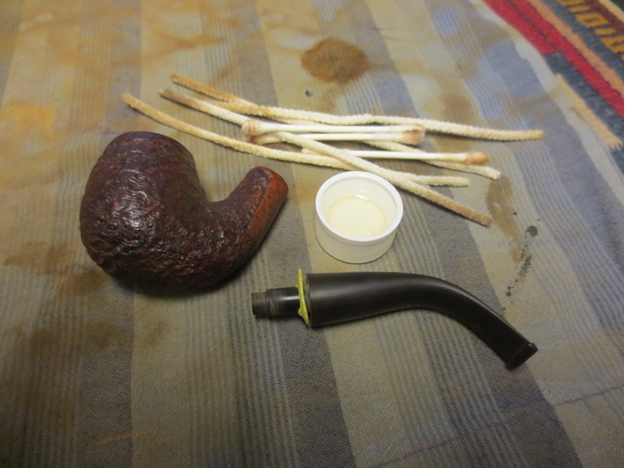
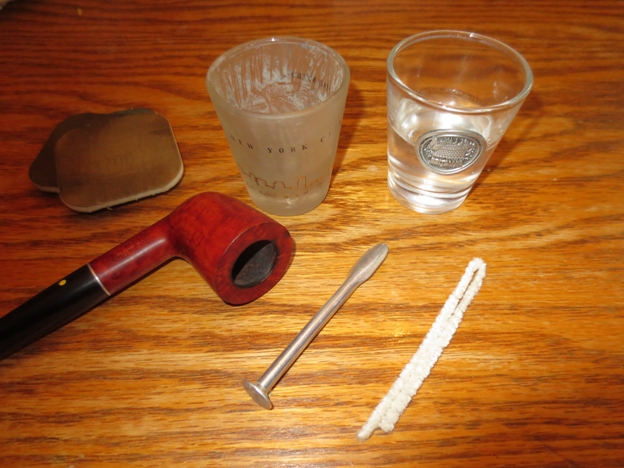
 Neither of these stems was in bad shape other than one with some discoloration, but having determined to begin assuring even more thorough cleaning than I already have practiced the hard way, and knowing I had quite a few real messes awaiting restoration, I bought a tub of powdered OxiClean at the closest Walmart. My mentor, Chuck Richards, and others have recipes they prefer, but I have to start somewhere. I decided to begin this dual restoration with separate steps requiring two small Tupperware containers.
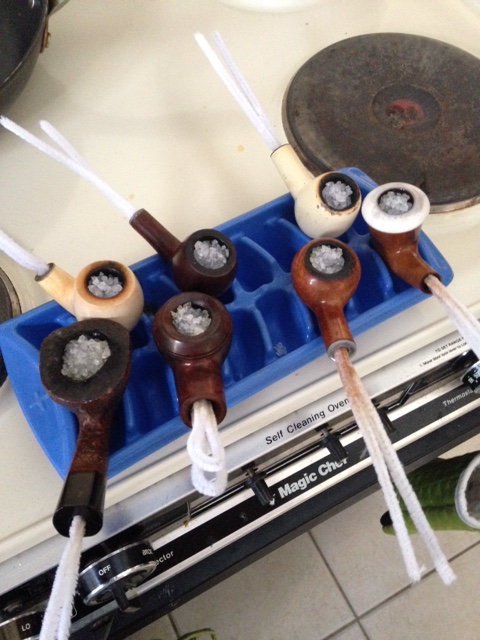
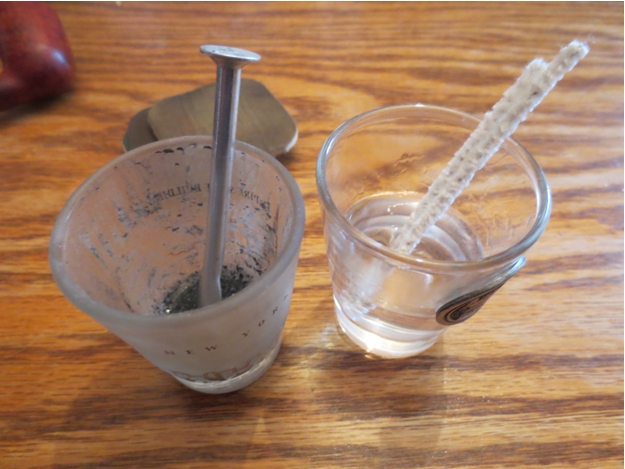
One, of course, was the OxiClean soak, for which I found instructions available on one website I located with clear directions. The other was for an Everclear strip of the old stains. And so – after filling one container with just enough warm water to cover the two stems and stirring in a little more than a tablespoon of OxiClean, and the other with a jar of used Everclear that was almost not enough to clear the tops of both bowls – I sat back and filled a pipe close at hand and relaxed for the next 20 minutes. And then while the briar dried and I finished the stem wash with cleaners and a scrubbing rag, I didn’t let those activities detract from my enjoyment of the fine tobacco. There seemed no good reason not to micromesh the saddle stem while I was at it. By the way, the foulness of the soapy water from the OxiClean soak gave me inner warmth only another restorer could understand.


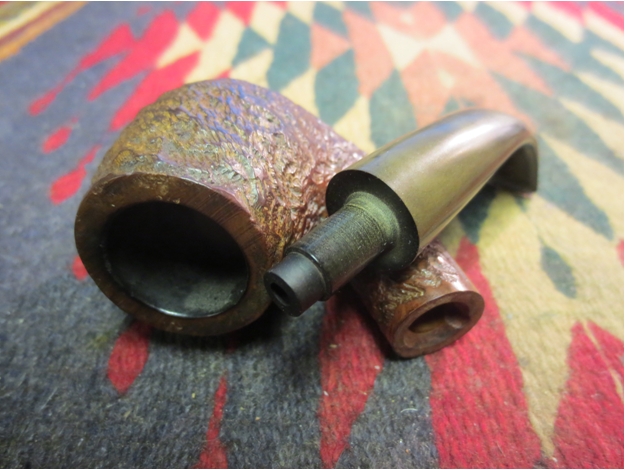
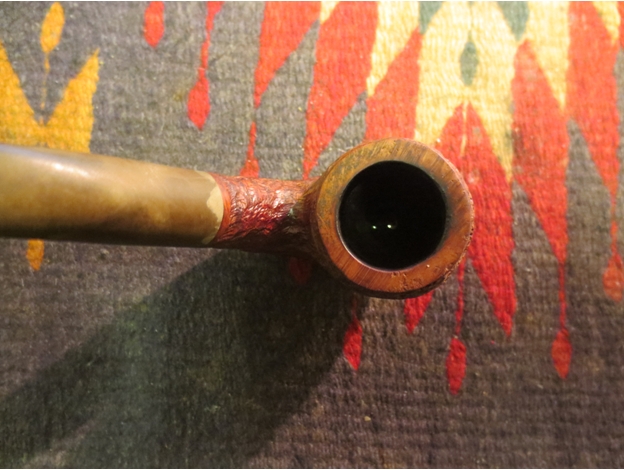
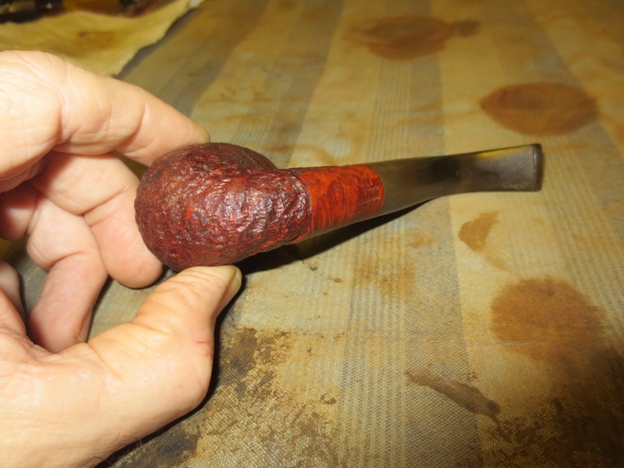
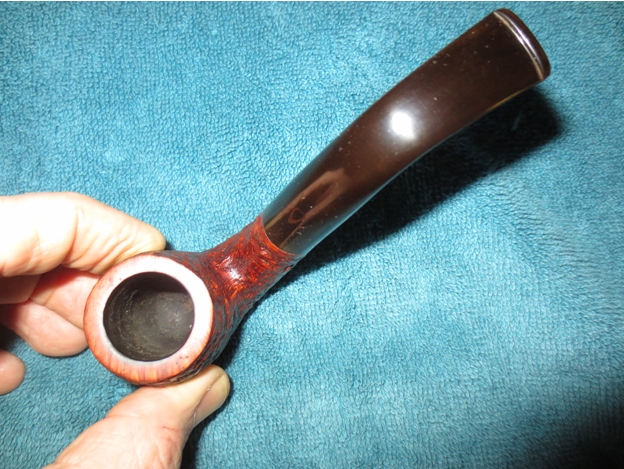
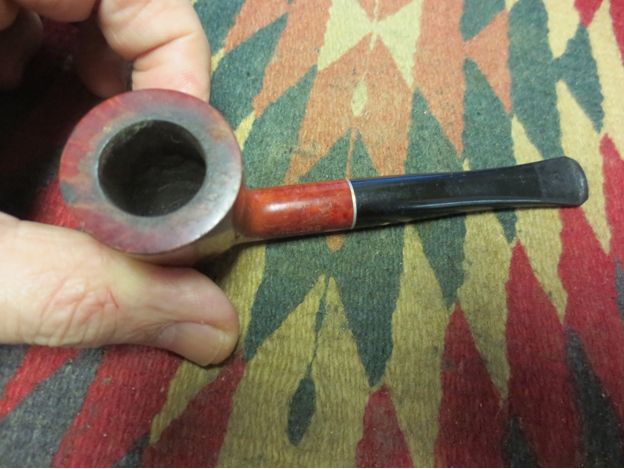
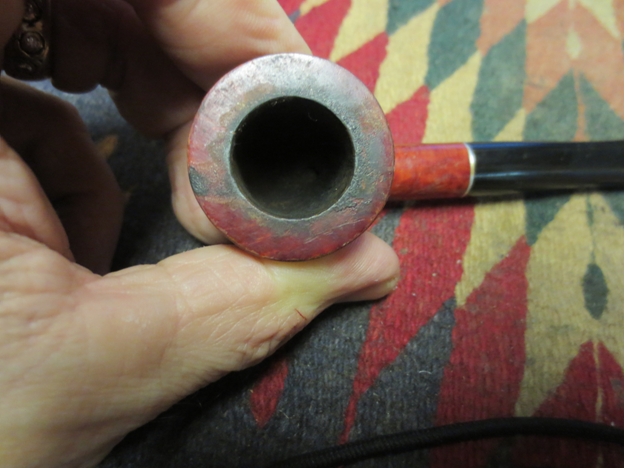
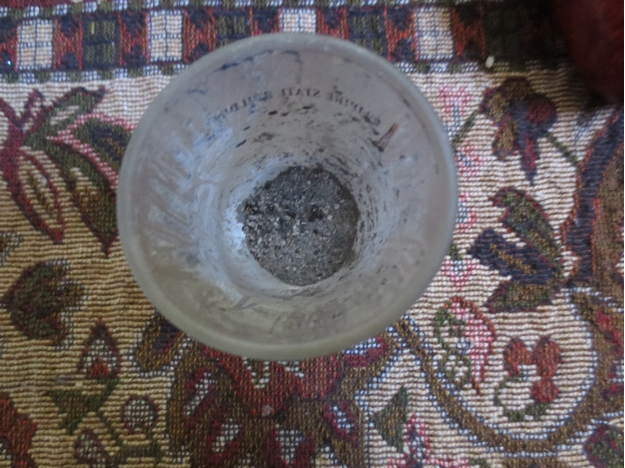
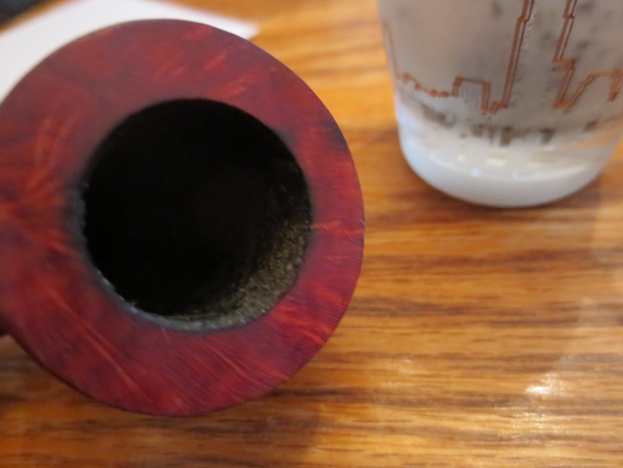
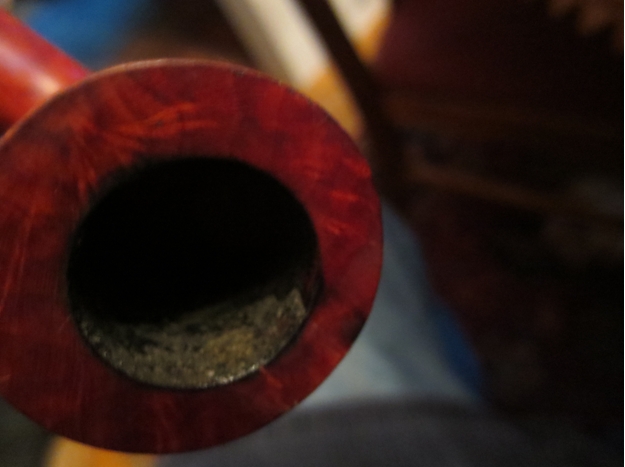
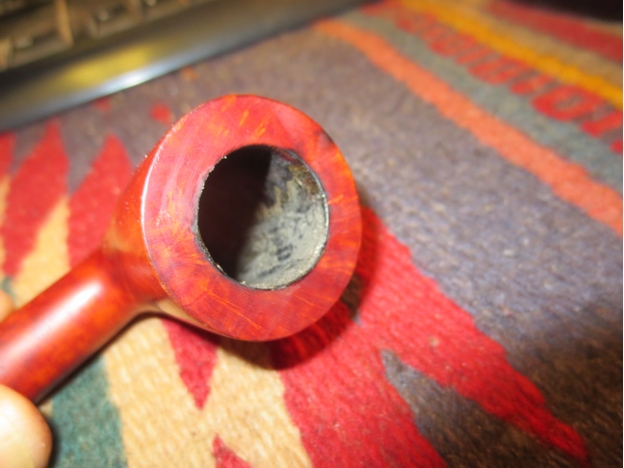
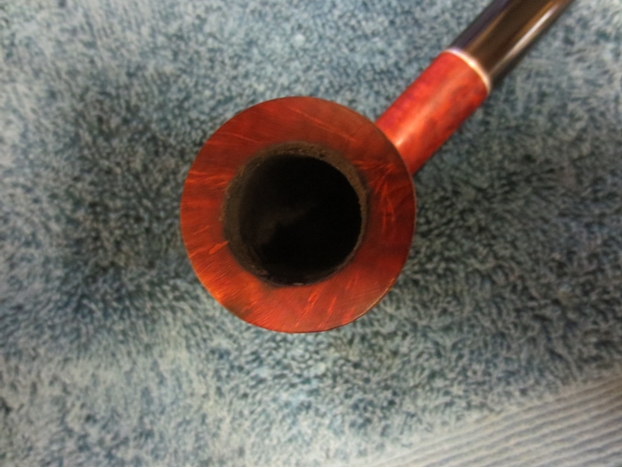
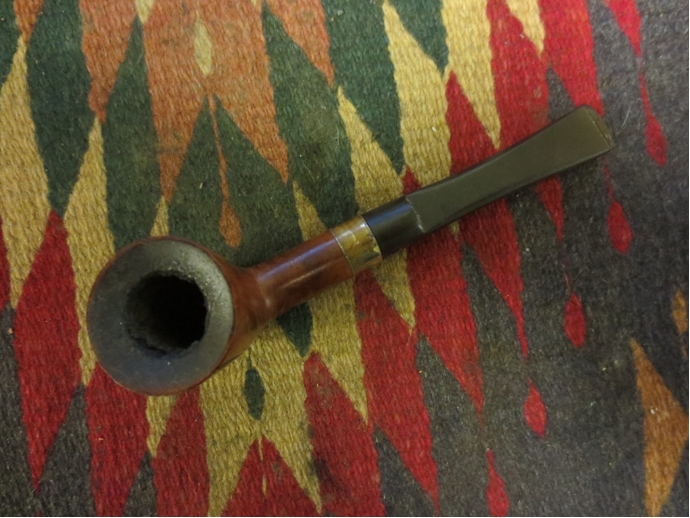
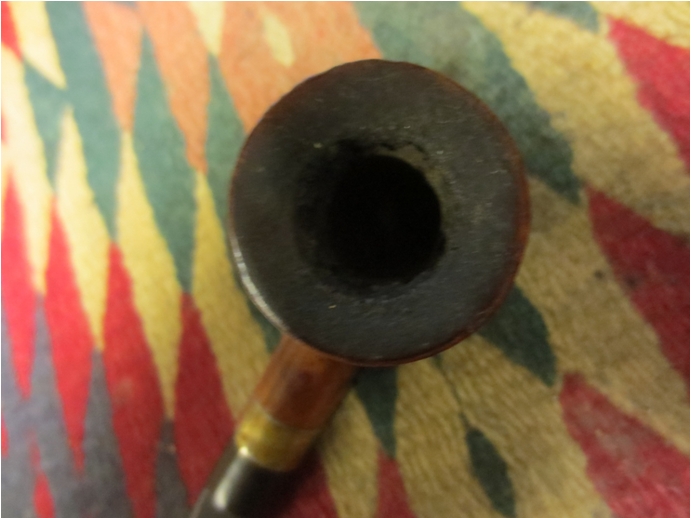
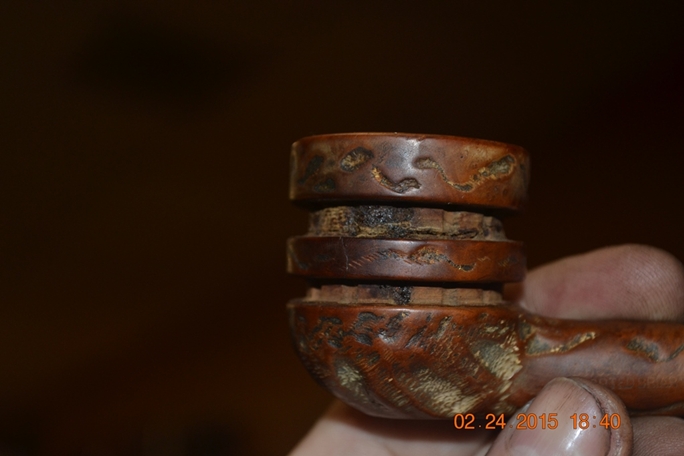
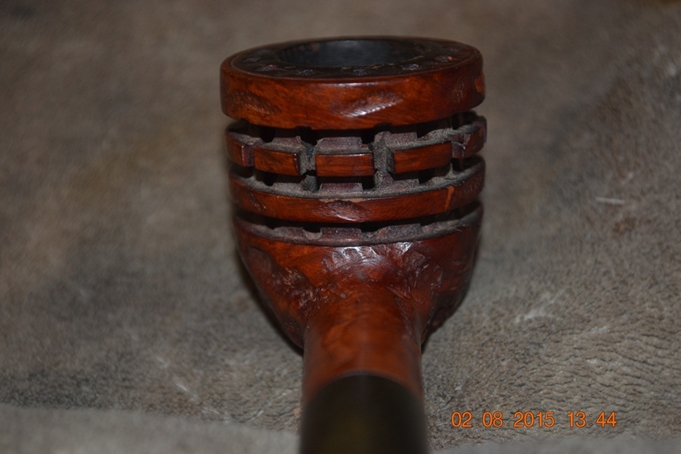
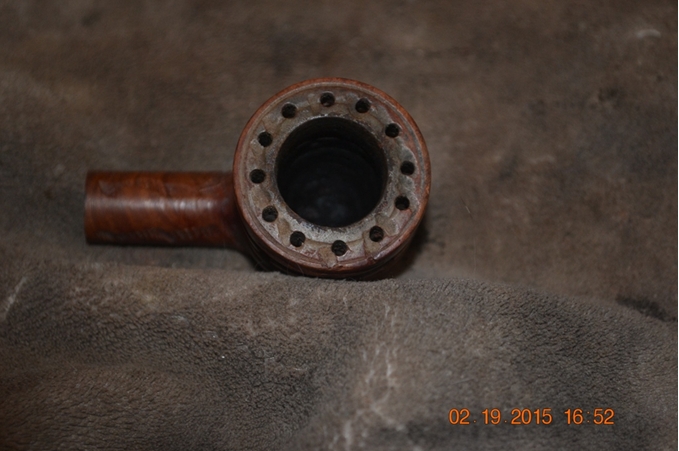
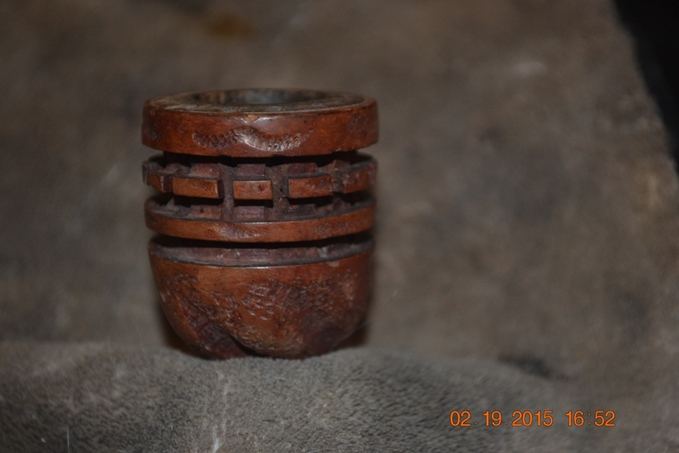
 Running a finger around the chamber before stripping the old stain, I knew the reaming and sanding would not be easy, but I hoped the pure grain alcohol soak would ease the job more than it in fact did. Although the inside of the bowl was somewhat smoother, and bits and even a chunk or two of cake came free with my second finger inspection, I realized the carbon buildup was not the true problem. The previous owner of this pipe had enjoyed it so often and with such complete faith in the professed cooling qualities of its unique radiator design that he overheated the chamber and created an even pattern of rather deep pocks.
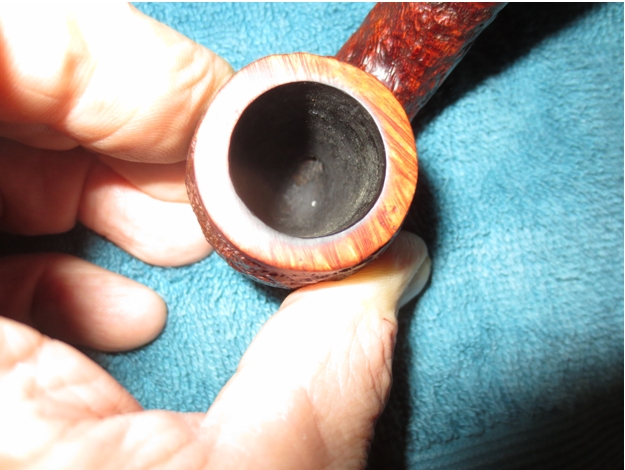
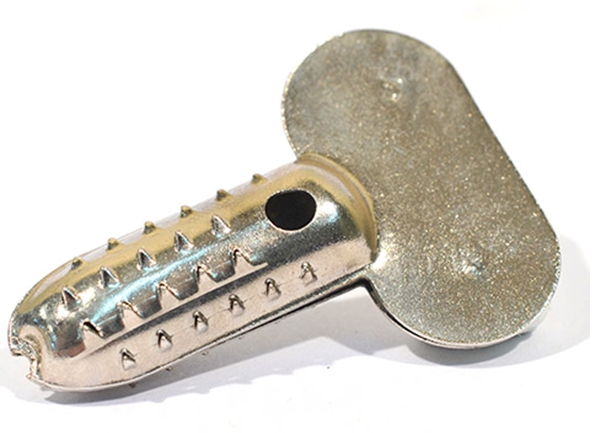
Therefore I took my 21mm fixed reamer (the second largest) from its box and found that it embraced the chamber just short of close enough to serve as a measurement of its horizontal and vertical dimensions. Only the small square at the end to which the handle attached extended above the rim. I reamed the chamber a few times at different angles to cover all of it, emptying out the scant amount of carbon resulting as I progressed, and cleaned the inner briar with a small cotton cloth swab soaked in alcohol. Finding, as I expected, that the pocks were still prominent, I turned to a piece of 220-grit paper that removed more cake but had little impact on the smoothness. Turning to 150-grit, as I tend to do, I began to get somewhere, and after much tenacity and aurally irritating screeching achieved a level of regularity with which I could live, after a quick finish with 300.
I dipped a pipe cleaner in the Everclear and then ran in down through each vent hole to clear out more hidden dirtiness and scrubbed until they were clean.
The oddest part of this restore, to my thinking, was the difficulty of retorting after the thorough Everclear dip. The first round dredged up so much gunk that half of the shank leading to the draught hole was clogged to the point where the soft cleaner bunched up and would not pass. Each successive beaker brought out more dark nastiness, and the cleaners I passed through the shank as well as the small cotton cloths with which I scrubbed the chamber were filthy – until the last. I boiled the alcohol through the shank and into the bowl several times to be sure. When all was done, I had used seven beakers of Everclear, five soft cleaners, three cotton balls and as many cloth squares.
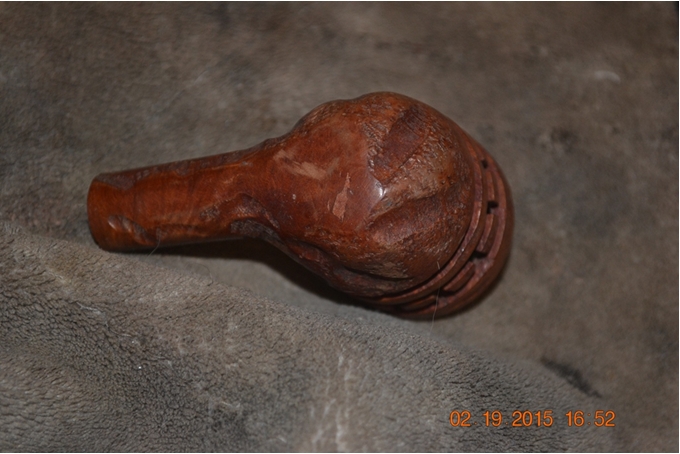
For the next step I wanted to clean up the bowl and shank to see what I had to work with. I used only a light rubbing with super fine steel wool. Happy with the ongoing progress, I took both pipes to Chuck at the shop.
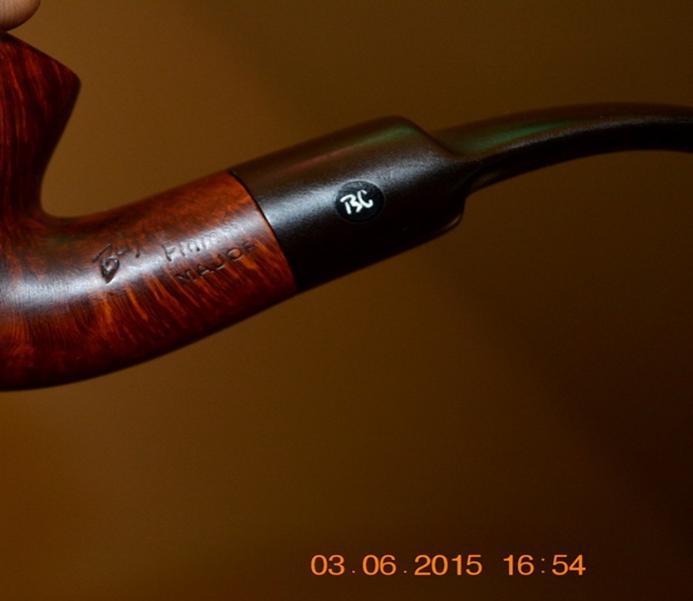
He had no comment about the tapered three-ridge version, which on this rare occasion I understood meant it was looking okay. But I will never cease to be astonished by his ability to glance at a pipe for no more than two seconds and see all that is wrong with it. In this case he spotted a major horizontal crack within the upper ring of the saddle bit bowl, not to mention a minor crack. Without my magnifier glasses in the fluorescent light, I still could not see them until he held it beneath a certain ray of light. Then they were as clear as day, which it was. I suggested a mix of Super Glue and briar shavings, and Chuck concurred.
I was disappointed, not because of Chuck’s keen eyes and helpfulness in pointing out the serious flaw, but due to the fact that I had intended to keep the other and to my taste nicer Doodler for my own collection and offer the saddle bit for sale. Knowing then I could not in good conscience do this, I told him so.
“Sometimes that’s just the kind of trade-off you have to make,” Master Po pronounced with his big grin, chuckling that his Grasshopper was learning.
Returning later to my abode in Albuquerque’s War Zone, I sat on the couch that is my customary main work area and scrutinized the pipe.
 I sanded the bottom of the tapered three-ridge bowl and collected the fine briar dust.
 Filling the cracks required two layers of the mixture, the second of which I applied more liberally. Getting into the groove with 300-grit paper to sand away the excess glue mix was a little tricky, and I thought I was done. However, after I sanded the yellowed areas and micro-meshed the whole thing using a full barrage of 1500, 1800, 2400, 3200, 3600 and 4000, I saw the grooves needed harsher measures.


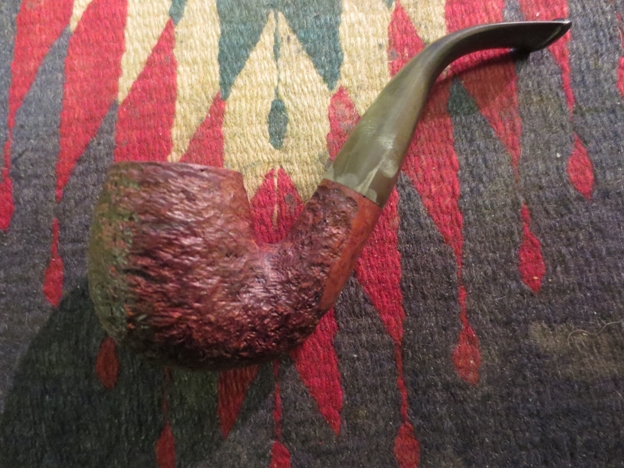
 I broke out the 220-grit and paid as close attention as possible to the white areas of remaining glue, then repeated the previous micromesh procedure to the one groove. Success at last! I stained the wood with marine cordovan (burgundy) leather dressing, flamed it and used a very light touch of micromesh 3200. I then removed myself and the prepped briar to my official workroom, where I buffed the wood with white and red Tripoli, White Diamond and several coats of carnauba.


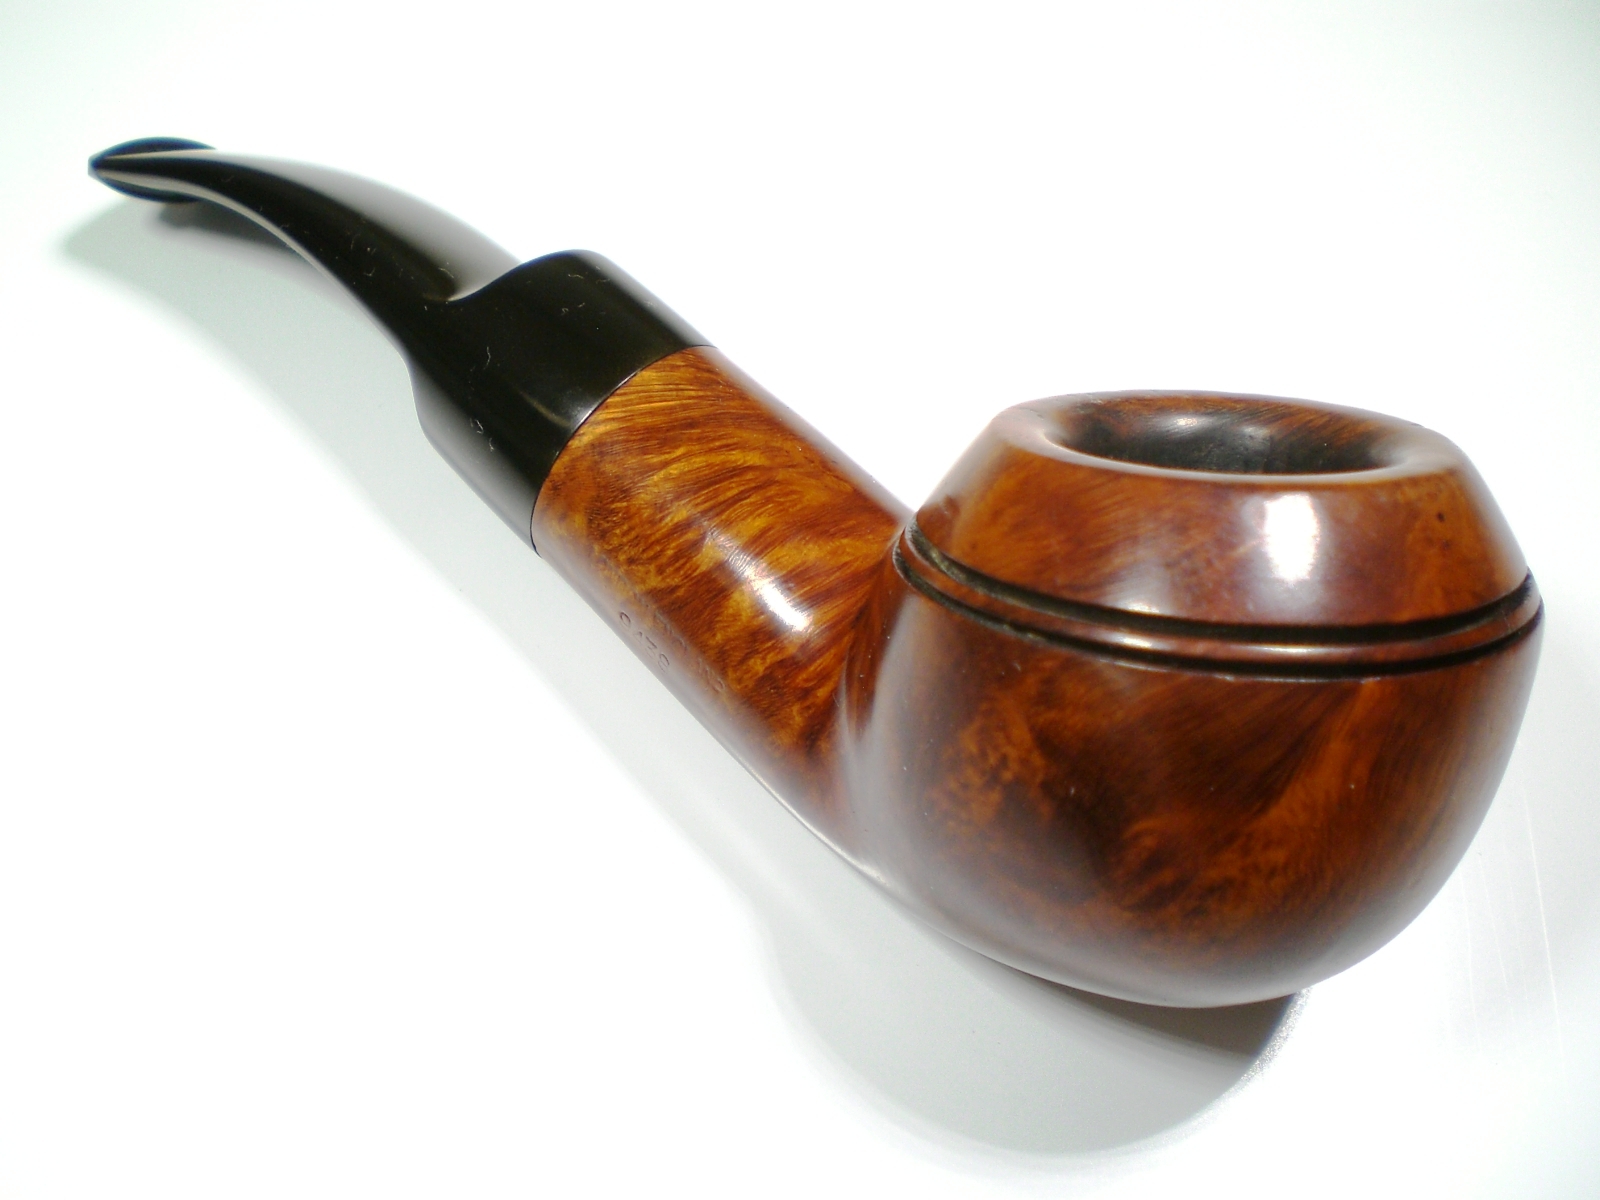
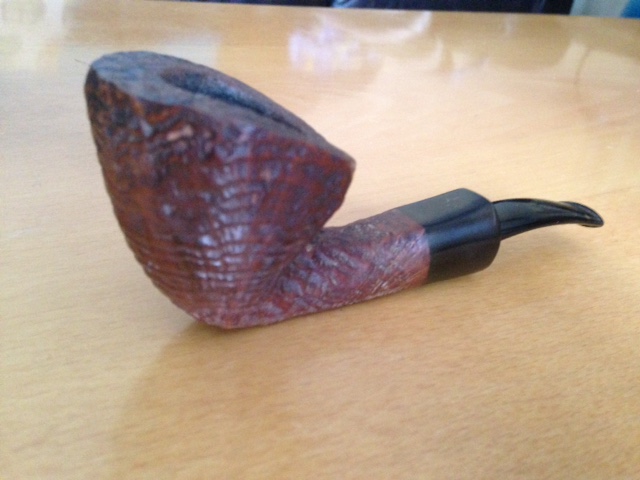
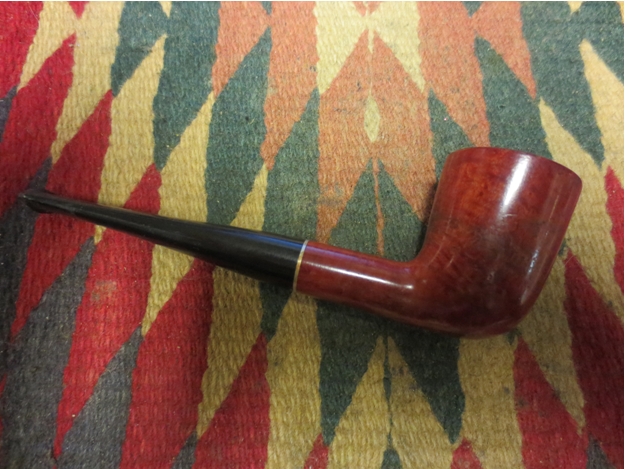
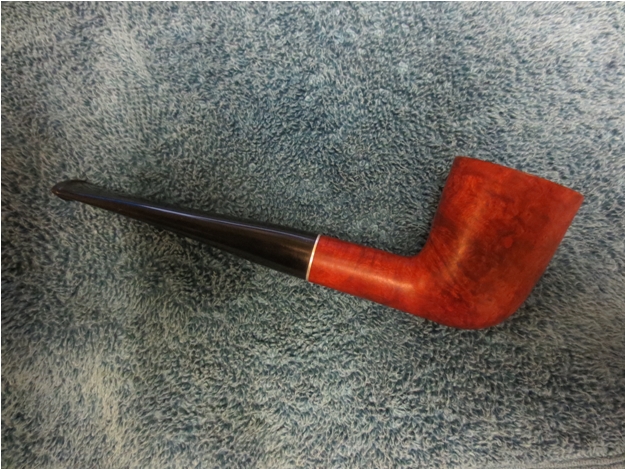
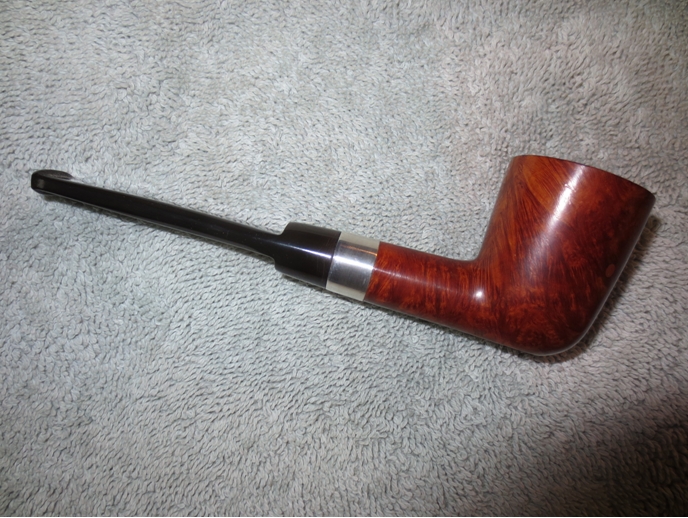
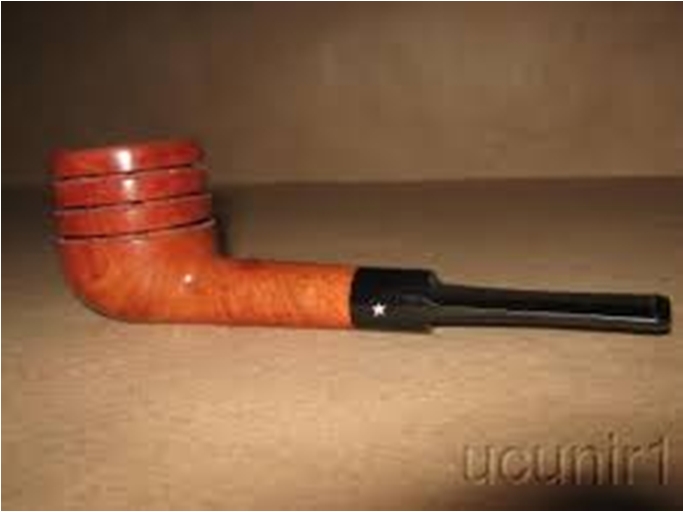
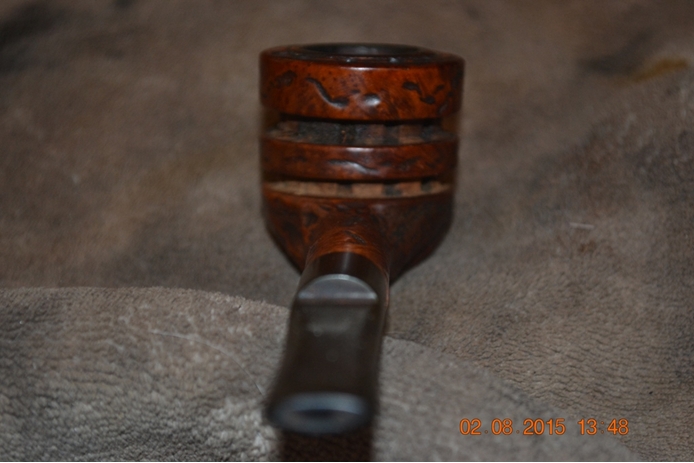
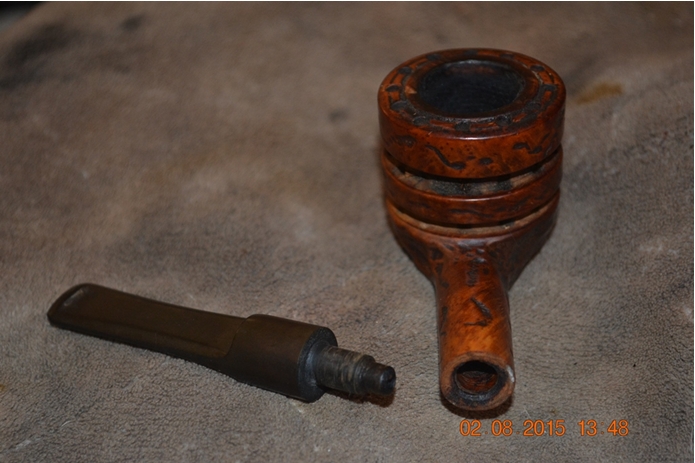
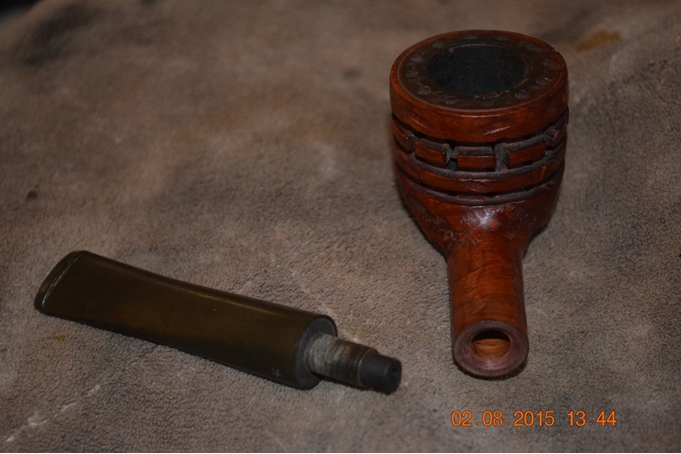
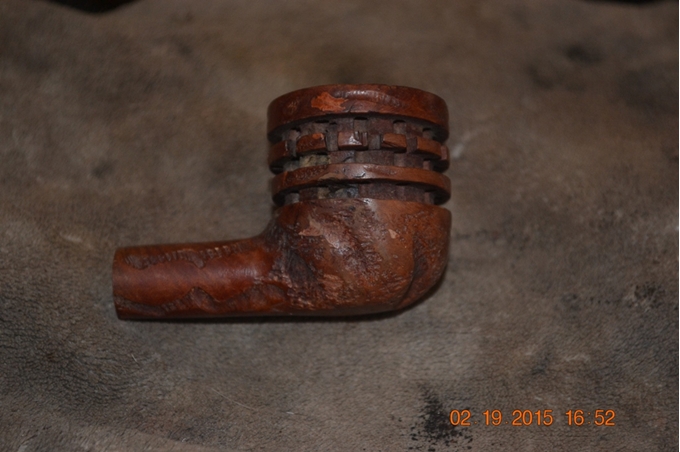
The Tapered Stem Three-Ring Doodler


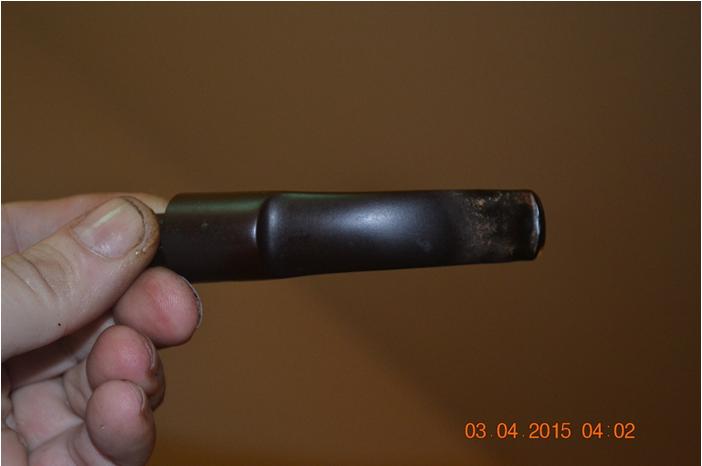
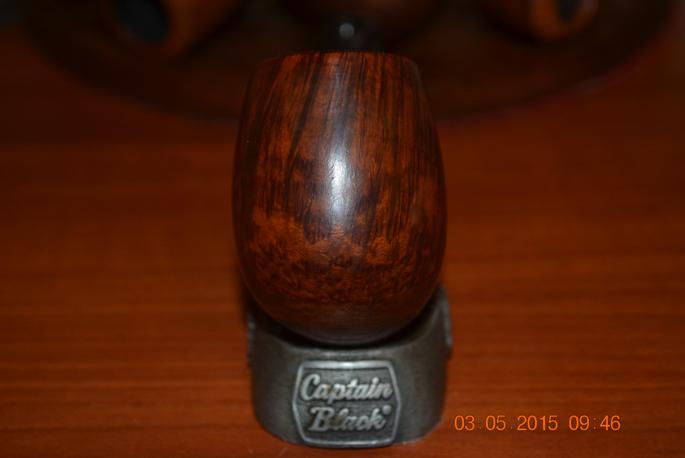
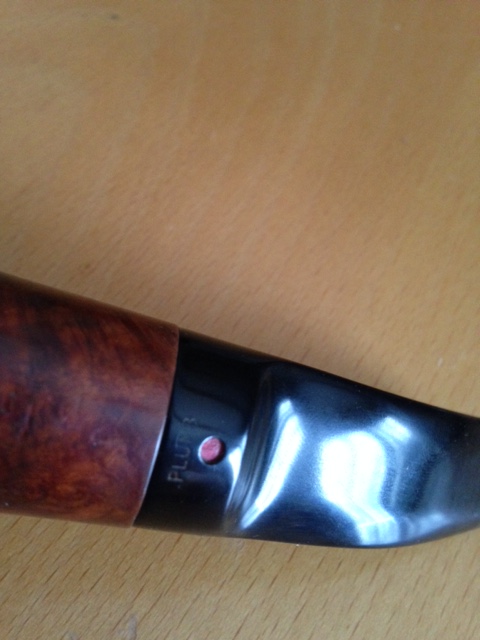
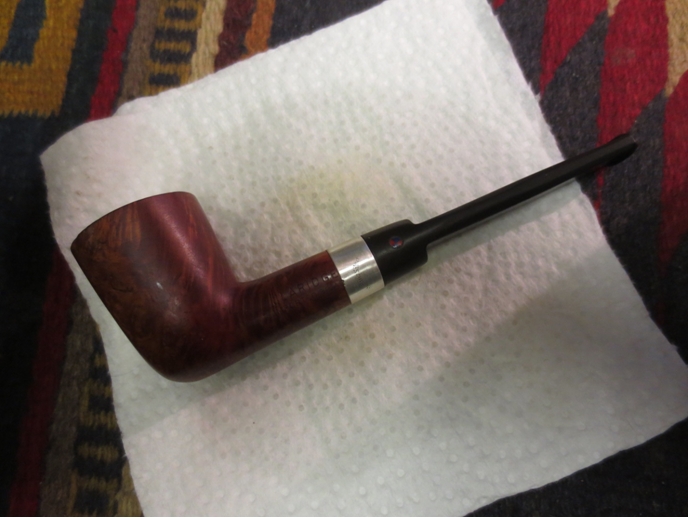
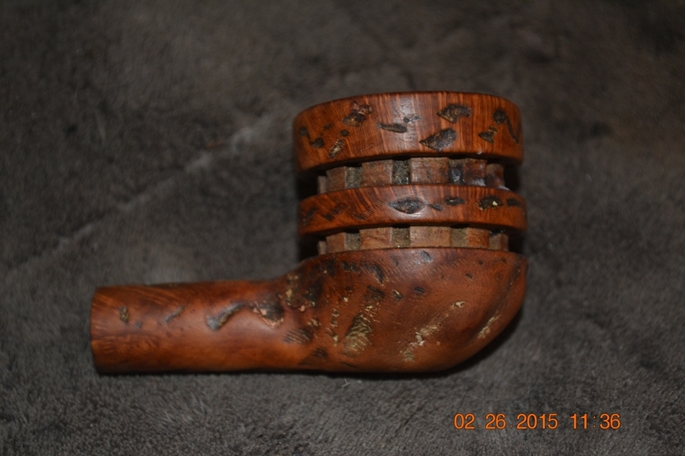
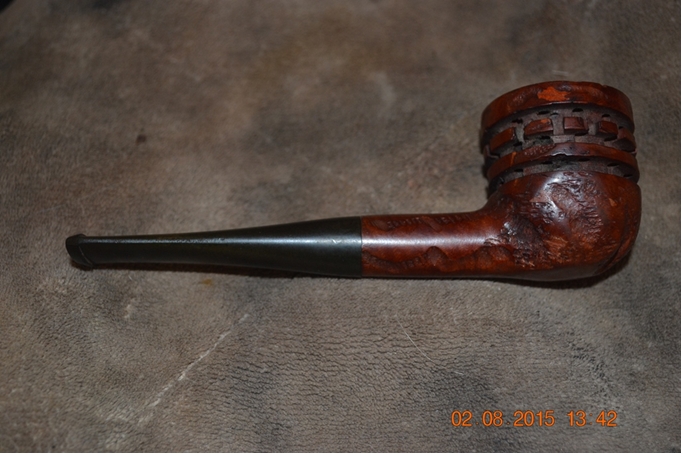
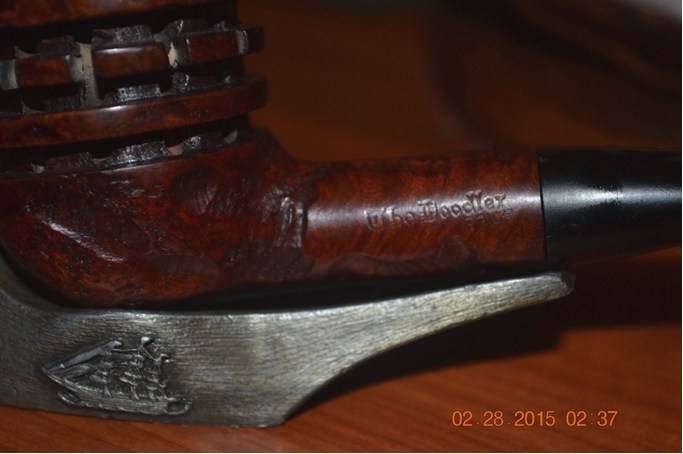
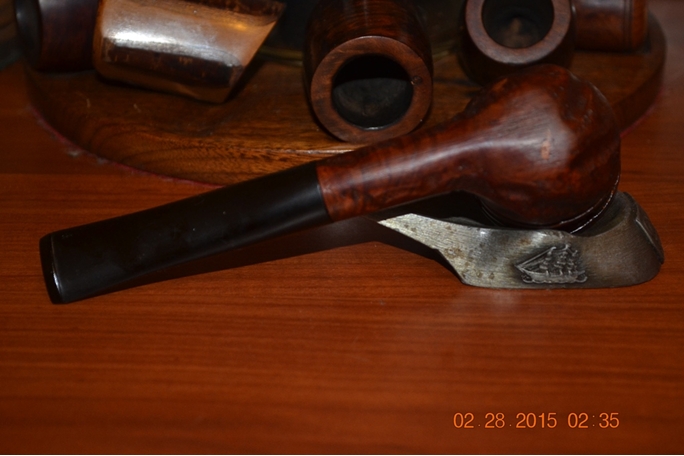
 This tapered, three-ring classic style model appeared, at least to my eyes that are still in training, to be in better shape than the saddle stem version, not counting the stem that was discolored, the rim that was more darkened and the chamber that seemed to have more severe damage. In general, those are all superficial defects easy to remedy. Still, I chose to start with the saddle stem pipe because of my perception that it would be more difficult – and in part due to its nomenclature being faint almost to invisibility, I was going to offer it for sale on my site at the lowest price I offer. But oh, did I learn how appearances can be deceiving, and this three-ring pipe turned into a three-ring circus!
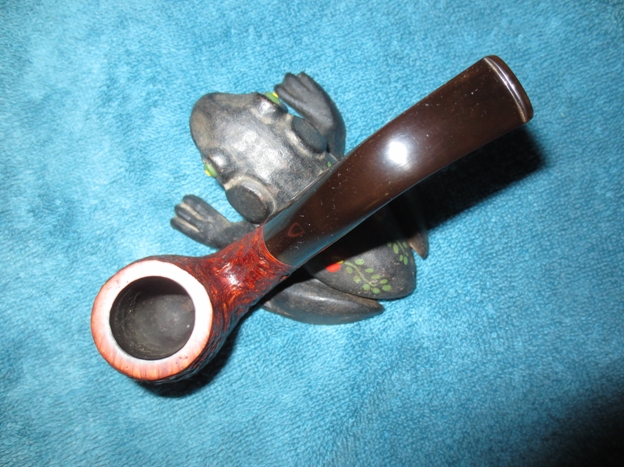
First, I will start with the good news. The OxiClean soak cleared away the discoloration and most of the other crud inside and out of the stem, and the rest came clean and ready to buff with some firm rubbing of a soft cloth, minor spot sanding and regular micro-meshing.
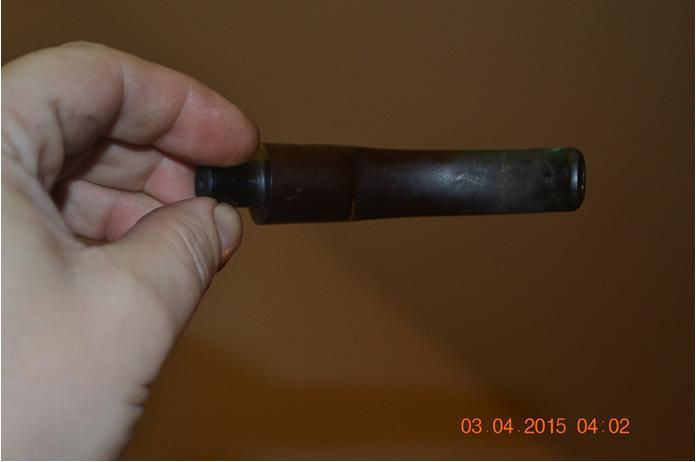
The initial problem I encountered was stripping the old stain. I have seen this happen before, of course, but not with almost identical pipes soaked for the same time with such radical results. Even after soaking the tapered pipe another two hours, it came out not down to the briar with nothing but a few yellow spots like the other pipe but almost unfazed.


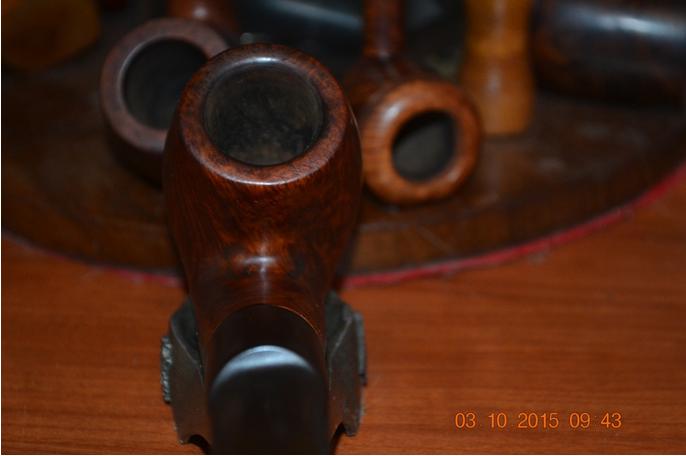
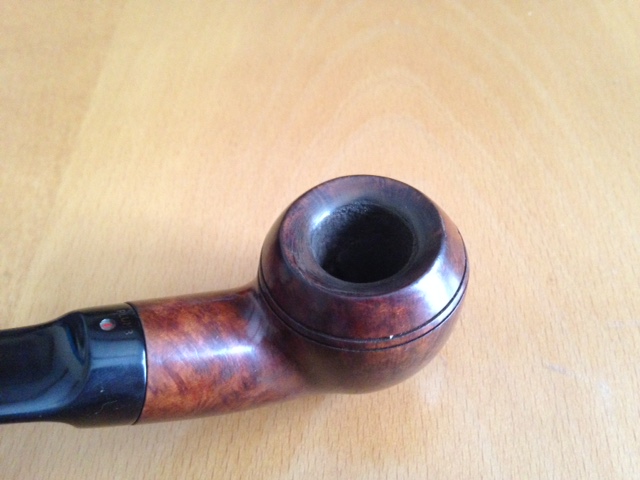
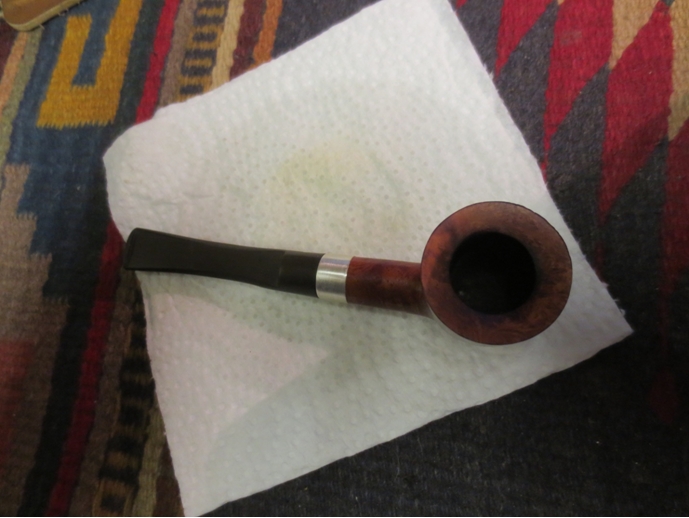
 At least it was cleaner, in particular the rim and rings, and the chamber showed signs of improvement. Also, removing the remaining cake and evening the chamber walls was no problem. As with the saddle stem Doodler, I ran a couple of alcohol soaked cleaners downward through the vent holes and removed some leftover grime. Even the retort this time was more typical, needing only a couple of beakers of Everclear to be boiled through the stem and shank and into the chamber.
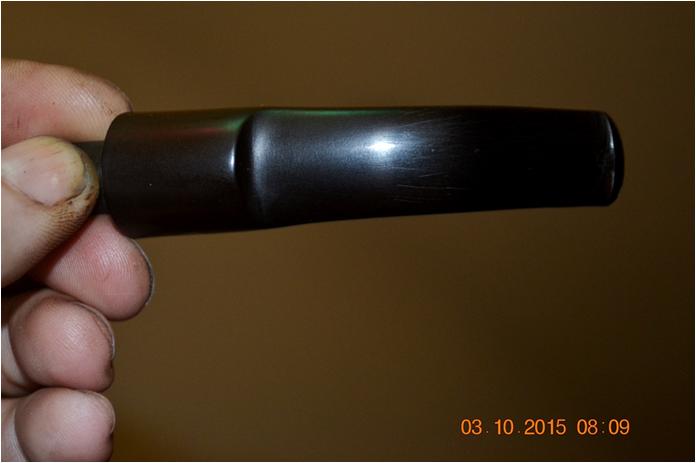
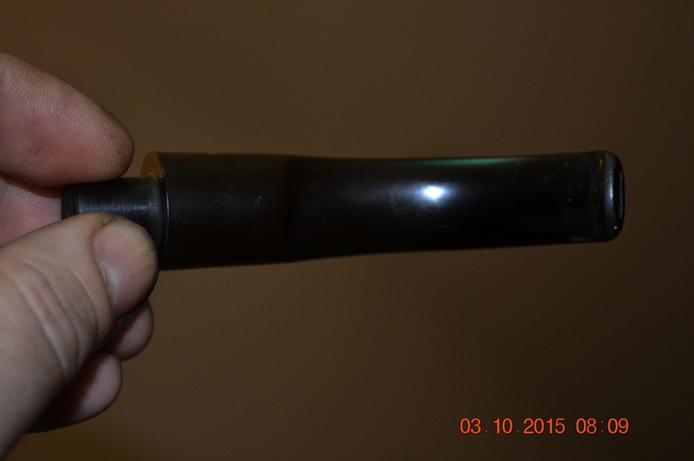
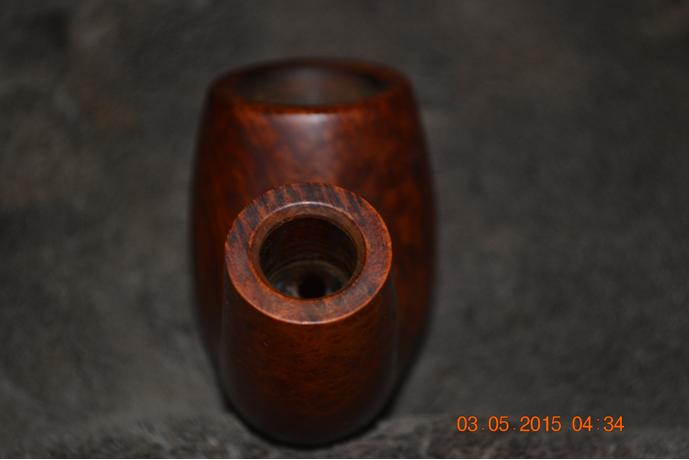
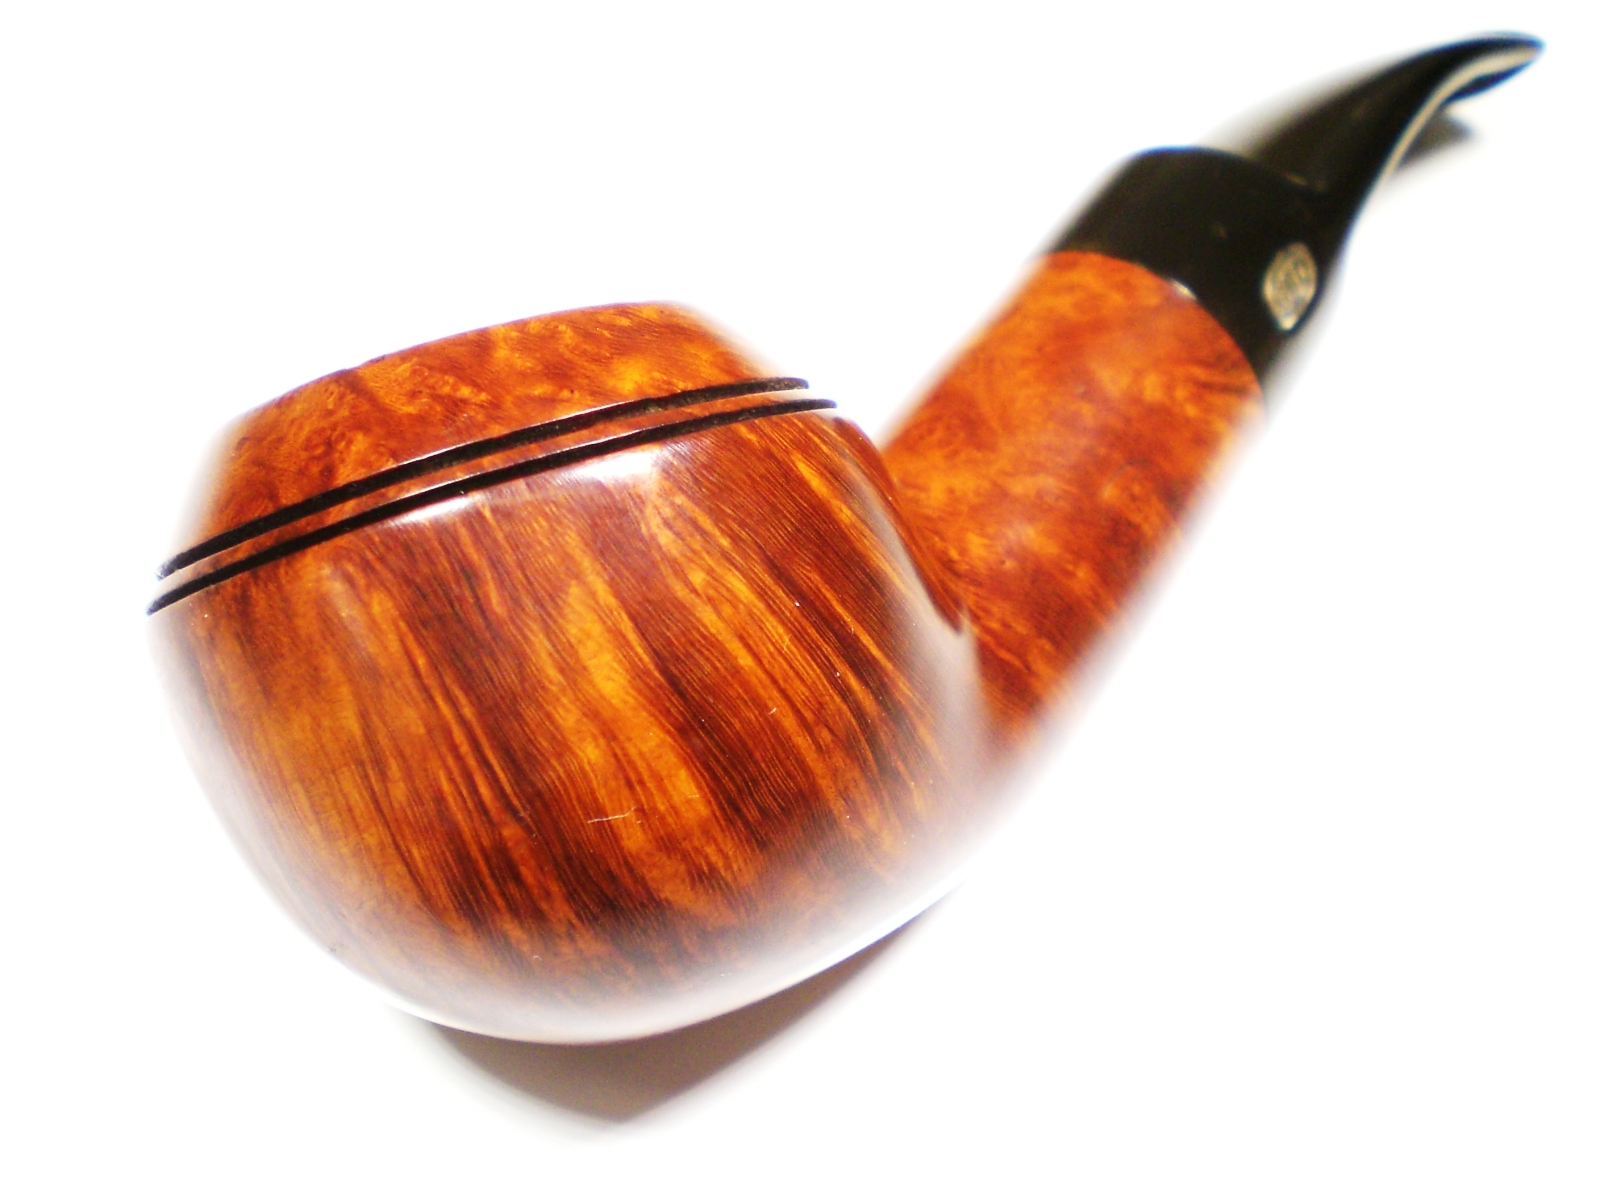
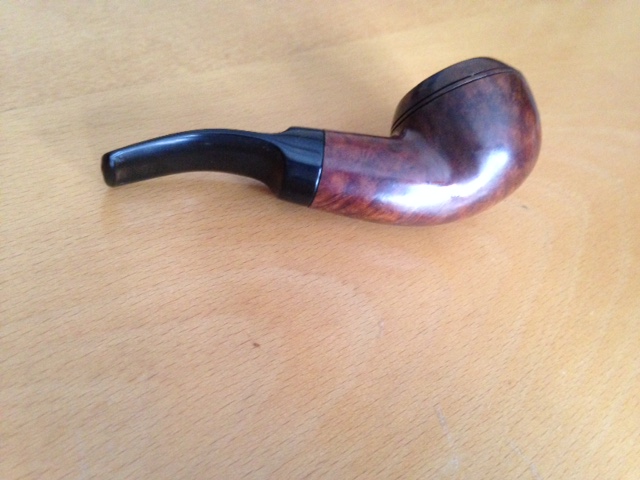
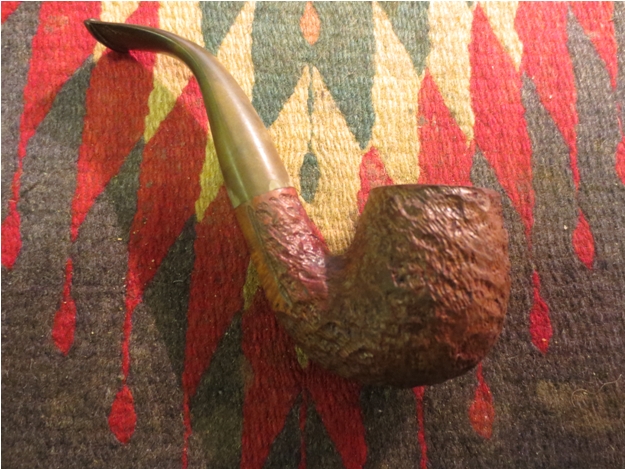
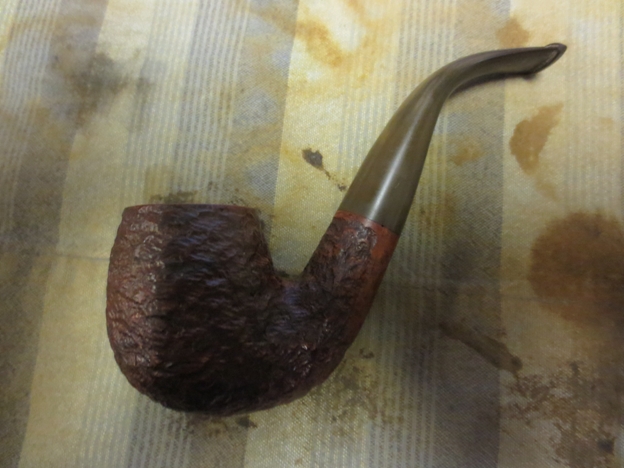
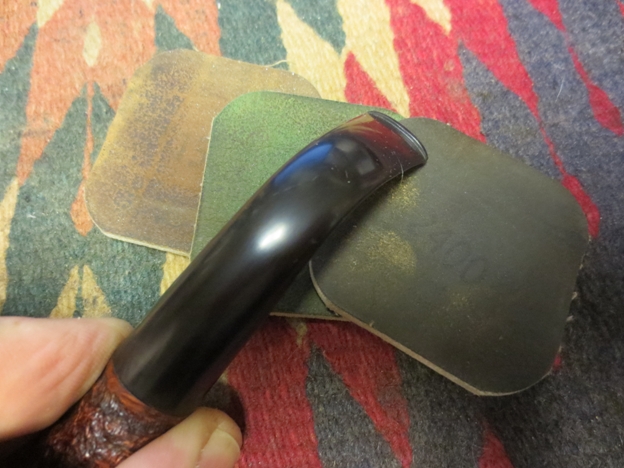
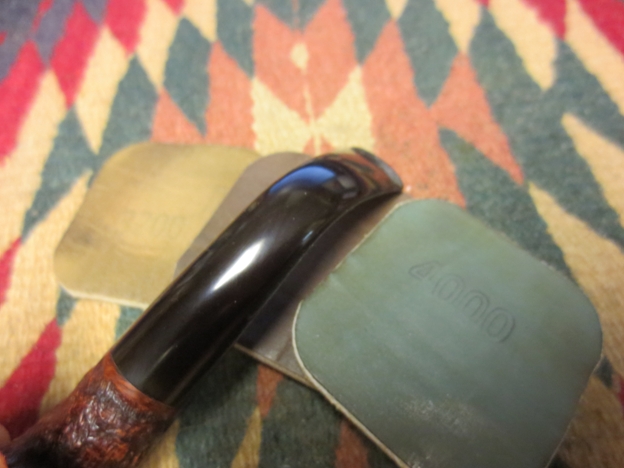
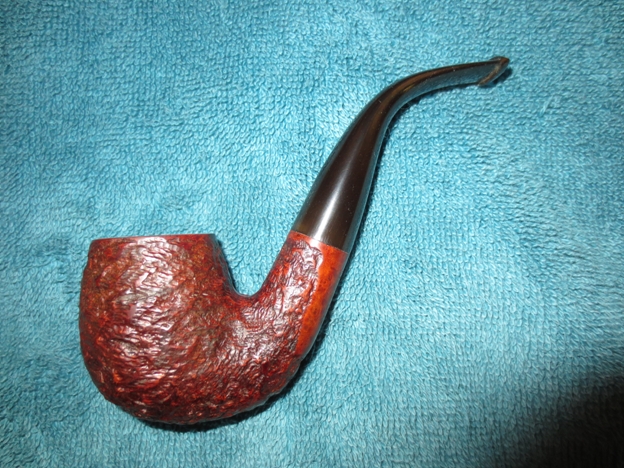
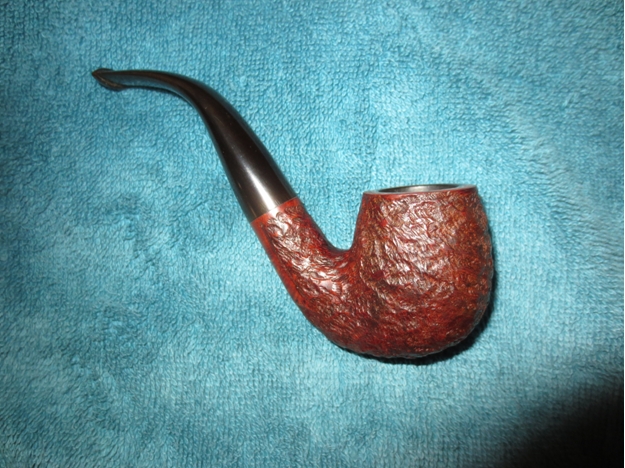
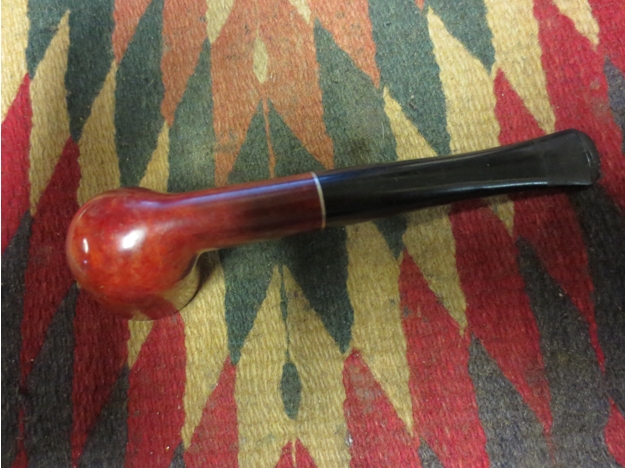
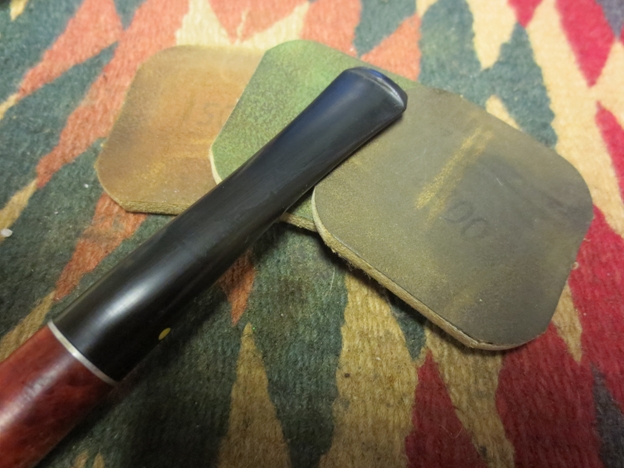
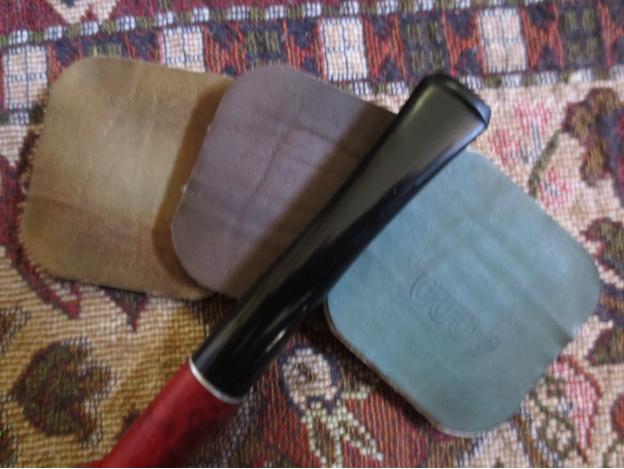
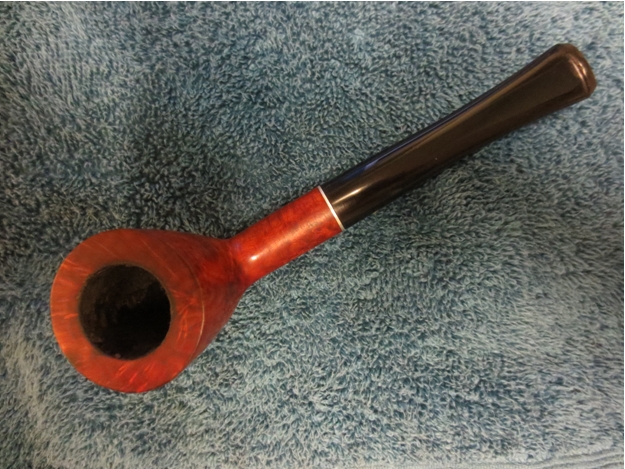
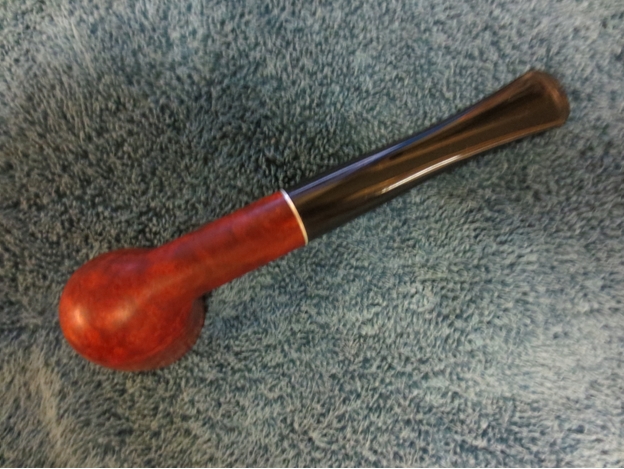
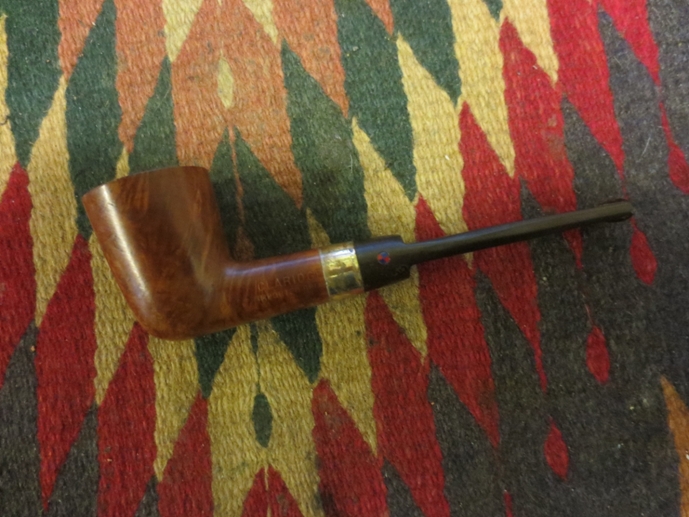
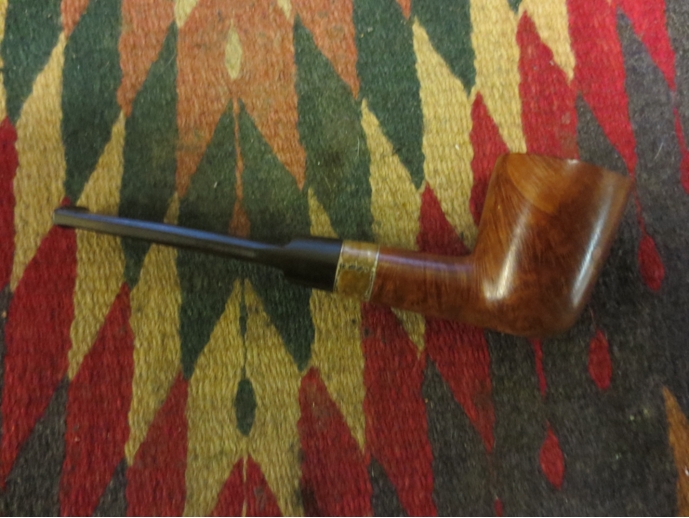
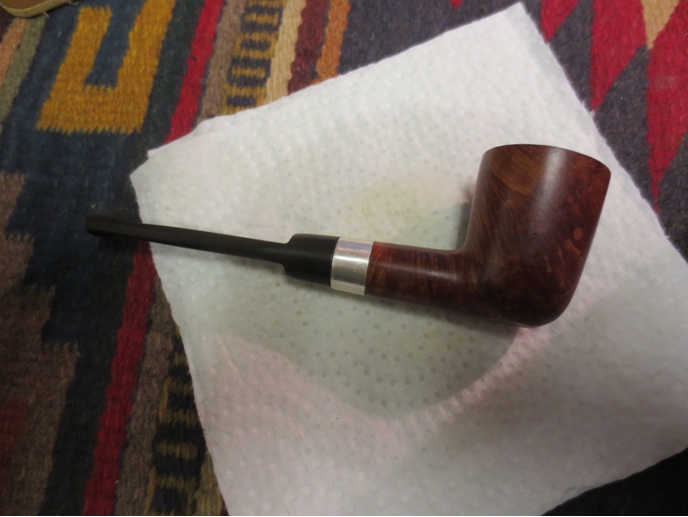
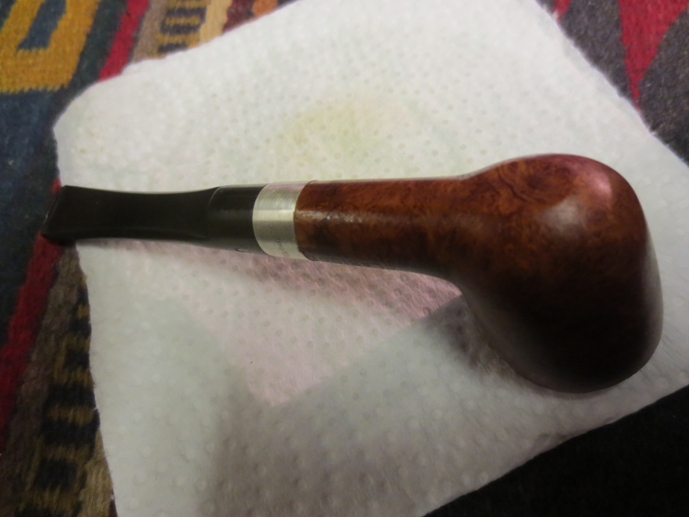
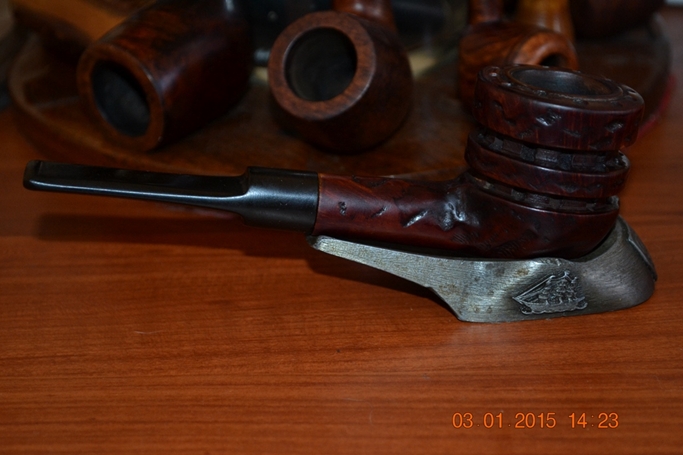
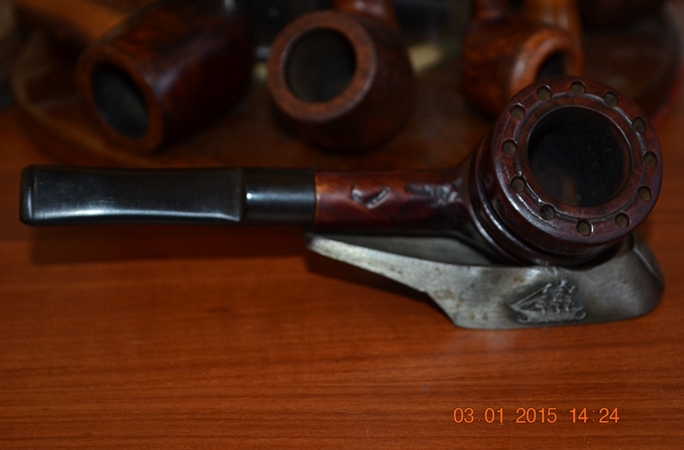
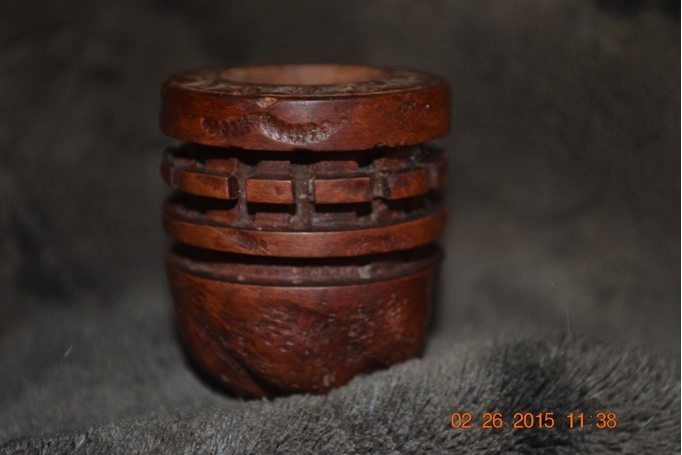
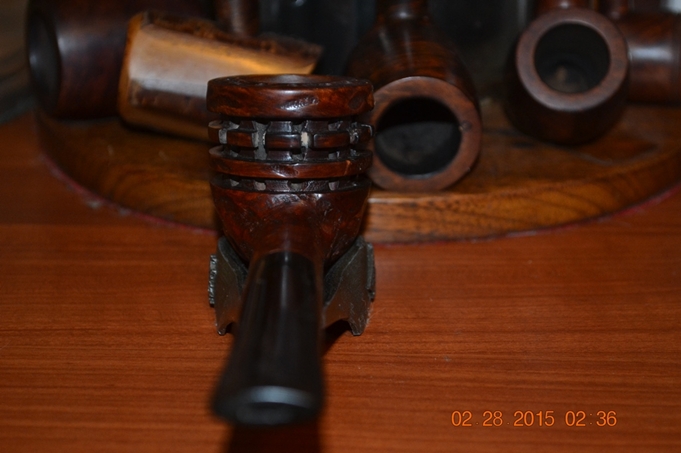
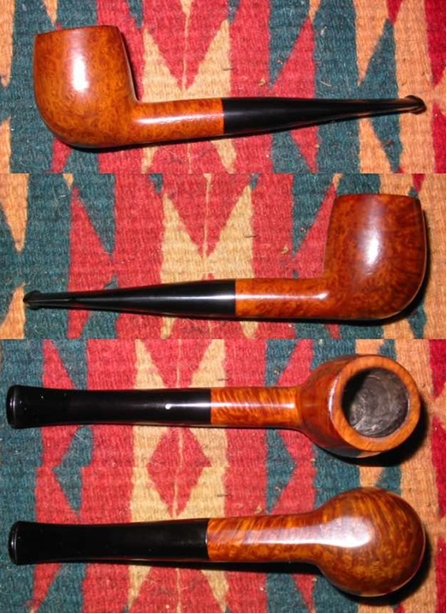
The pipe as shown above was almost ready for the buffing wheels. I hand-buffed it starting with super fine steel wool, particularly on the still somewhat blackened rim and a few areas that needed a little work on the remaining roughness from the Everclear soak. I then progressed with micromesh pads using 1500, 2400, 3200, 3600 and 4000, with the results below shown only front and back. Of course I picked out the little piece of fluff visible in the front bottom ring.
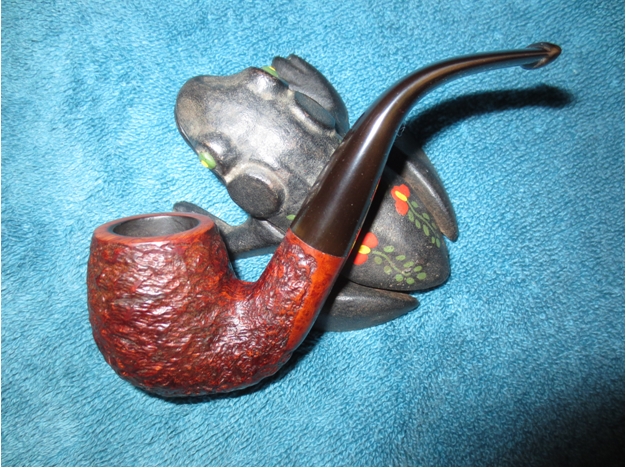
 The second Doodler was, indeed, ready to be stained. For the task I chose my Liebing’s brown leather stain, which is in fact a lighter shade than the Lincoln medium brown I have. Considering the large amount of residual original stain, but wanting to darken the briar a bit, I had a plan, if not yet the knowledge to carry it out to full effect. At any rate, I stained the bowl and shank as well as I could, but no matter how hard I tried, I could not work the applicator into the dratted grooves of the middle tier of smooth briar, although I was able to coat all three rings. Consulting my pictorial folder of the project that showed the original estate pipe, I noticed un-stained rings and grooves, and concluded I was ahead in the game, so to speak.
This was where I was mistaken. Have you ever had that feeling? The one that nags at you, whispering that despite all evidence to the contrary, there are the right way and the wrong, and this is definitely wrong? Yet still you didn’t follow your instincts?
Nevertheless, to make my act of self-destruction almost complete (there’s the modifier again – almost), I flamed the stain and eased off the char with 3200 micromesh before taking the pipe to the wheels. There I applied ever more beautiful coats of white Tripoli and red (to enhance the darkness of the grain) before White Diamond and a final coat of carnauba.
And so what, you might ask, was the major [expletive voluntarily deleted] malfunction with this tapered variant of The Doodler compared to the saddle stem? In short, the pipe that, to my eyes-in-training I mentioned before, appeared to be well used but more or less as its previous owner received it, had in fact been modified in a manner I did not detect. I very much suspect this pipe had only one prior owner, other than the conduit to me, after getting a close look at the crafty way he covered a ding that must have been, in tobacco pipe scale, comparable to a large patch of skin ripped from a person’s body.
And Chuck, when I showed him both pipes in progress before, pointed out the horizontal crack in the saddle stem pipe but appears to have assumed I was aware that the middle tier of smooth briar below the top ring was not made with the evenly spaced slots. I use the term “appears to have assumed” because of my utter inability to wrap my mind around the possibility that Chuck missed the alteration before he set it aside, especially considering his first words to me when I showed him the pipe I then hoped was finished. Again, I choose the word hoped because I was, at least, aware of the unstained grooves, and was hearing that shrewish voice again.
“Did you make this nick here?” Chuck asked, holding the pipe out to me and pointing, and puffing on his own pipe.
“No, it was there already,” I replied, not knowing where he was going. Surely he didn’t expect me to fashion and Super Glue a fragment of briar onto the tiny spot I beheld. Even he wouldn’t touch a blemish that small, I knew.
Chuck began to explain the situation to me, in his own way, which took me longer than usual to grasp. I felt like an idiot, although that was not Chuck’s intent. When at last I understood, a light went on in my mind.
“You mean someone, sometime slipped up and made a single gash in that area of the pipe and then, to fix his mistake, went around the bowl and made it uniform?” I said more than asked with a big smile of my own.
“Exactly!” Chuck said.
“Just like the way I had to rusticate the entire rim of the Italian No-Name Full Bent Billiard because of the one missing chunk,” I added by way of comparison.
“Yes!” Chuck exclaimed again, laughing and re-lighting his pipe. Then he brought up the missing stain and told me a small paint brush would do the trick.
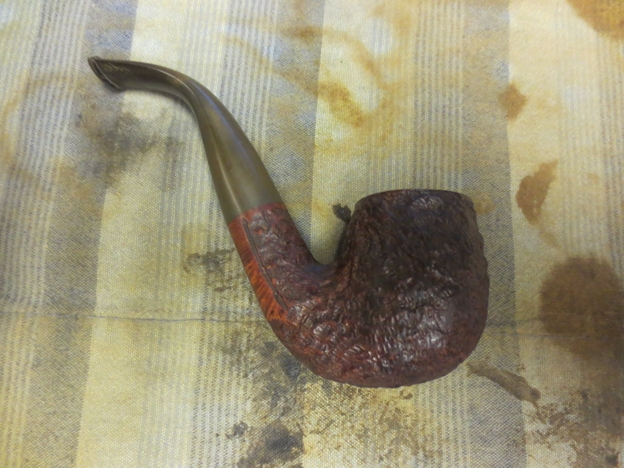
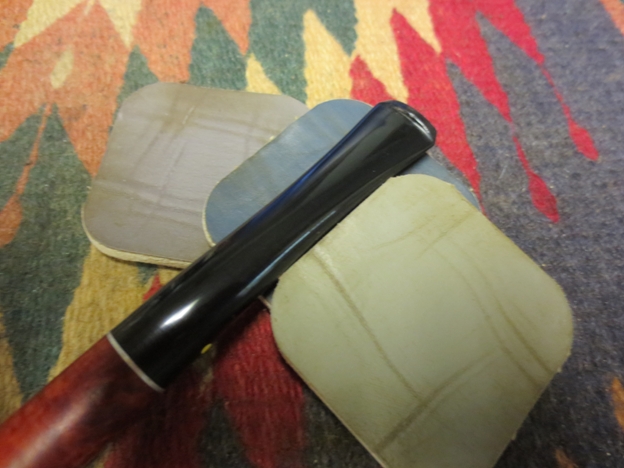
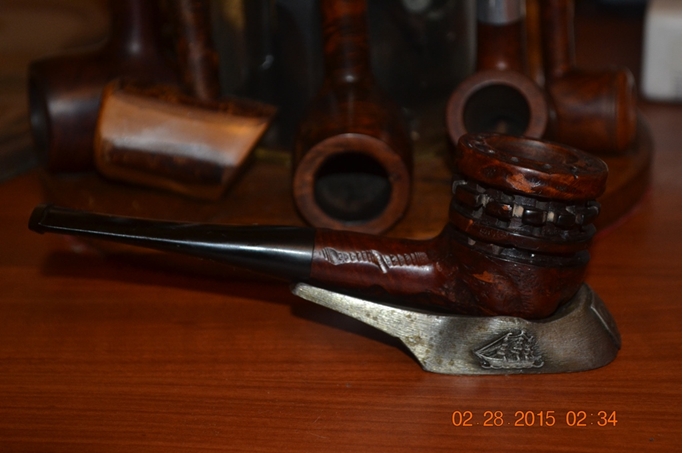
And so to home I returned the first chance I had and, after lighting a bowl of tobacco, began the only other activity that has come to give me any real pleasure: restoring a pipe. Chuck’s advice to use a small brush did the trick, and I only had to stain, flame and fully buff the small circle of the truly prepped pipe. Still, I decided to add a couple more coats of carnauba to bring out an extra shine.


 CONCLUSION
I forgot to mention the extra sanding of the rim and the top tier, making it lighter than the rest of the bowl and shank, and giving me the idea for a gentle two-tone effect. At this point in a rather long blog, I just don’t feel like going back to find and edit that part. These were not the easy restorations I thought they would be, and I’m tired…but very satisfied.
To Chuck, my friend and mentor, and Steve Laug, our host and my friend and frequent guide through the endless learning process, I owe much for these restores. Thank you, gentlemen.


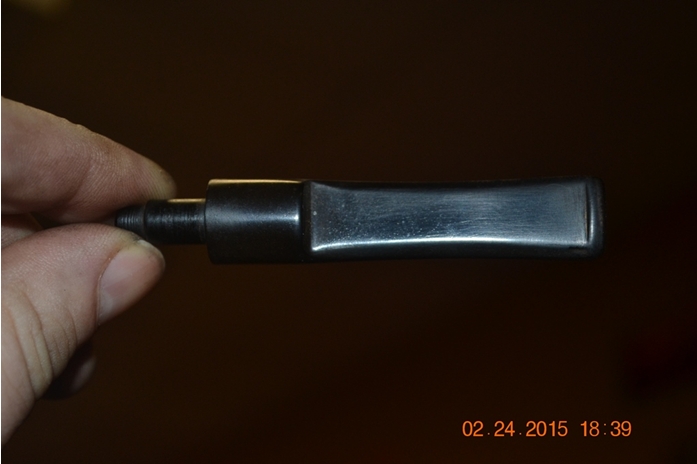
 I’ve been experimenting with super glue and ground charcoal for stem repair and I had an idea how I might use that to re-create the button. Now just a quick disclaimer. I am not a medical professional and I do not pretend to know any potential health hazards to the use of super glue on something you put in your mouth. On the other hand, I am aware that the state of California has found that pipe smoking is not healthy for pregnant women or their unborn children. As an adult, I accept these risks as the relaxation benefit outweighs the health risks.
 While the bowl marinated, I dropped the stem into a solution of Oxyclean. After a good long soak, I reamed the bowl.
 After reaming the bowl, I retorted the stem and bowl. I forgot to take pictures of the bowl during this process.
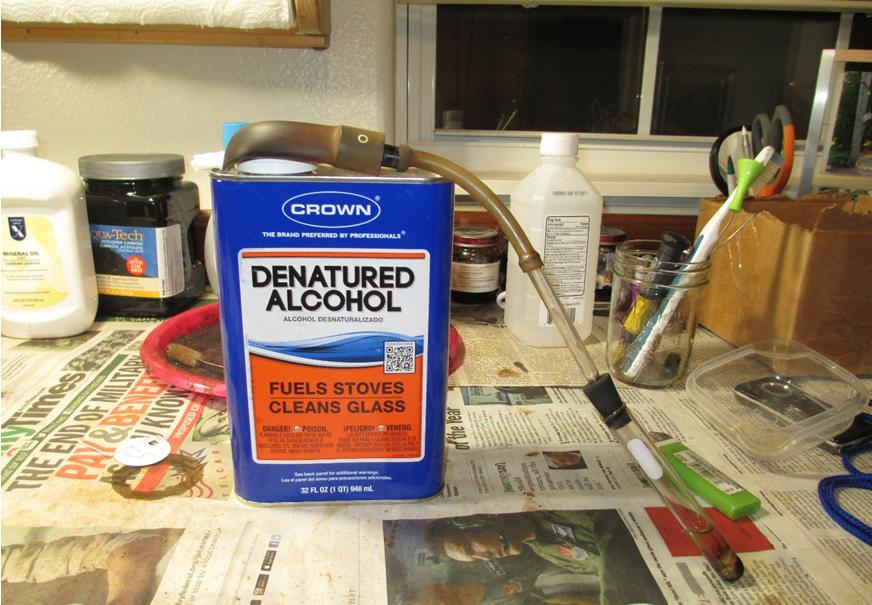 The stem was pretty clean, which I expected based on the minimal amount of chatter and the lack of cake build up in the bowl. A couple of fuzzy sticks dipped in alcohol did the trick.
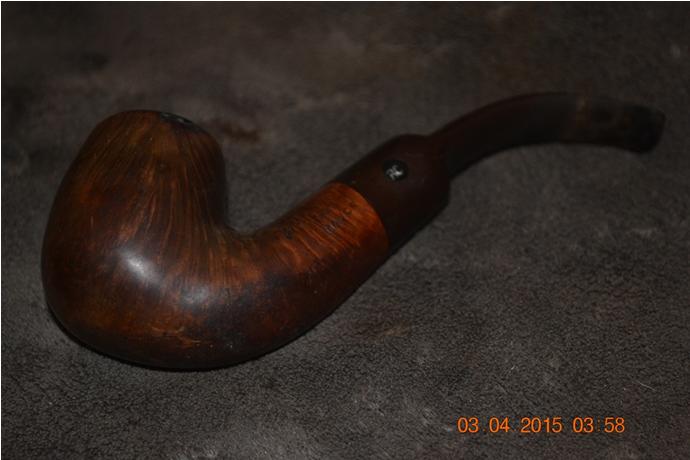
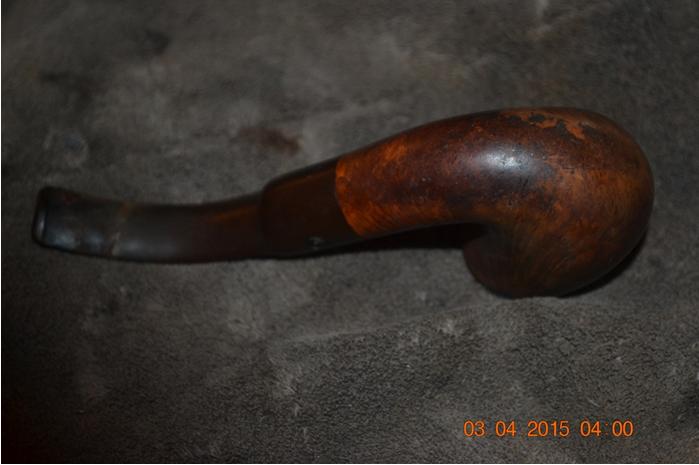
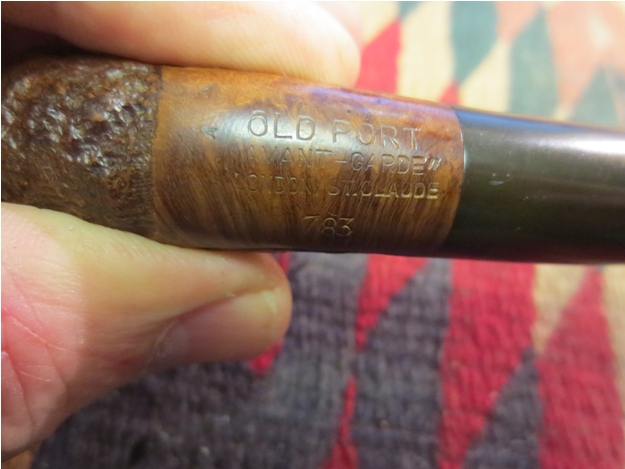
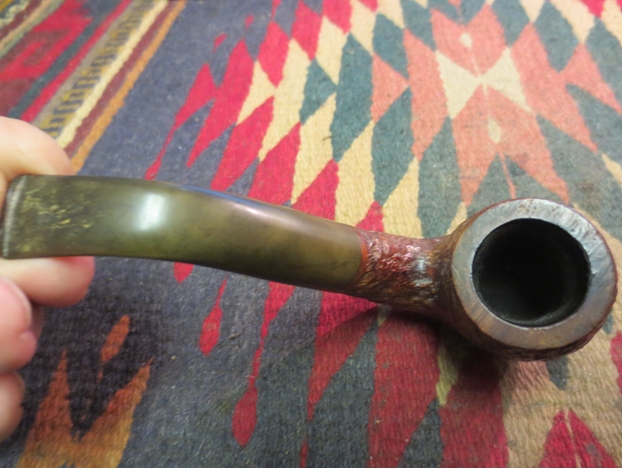
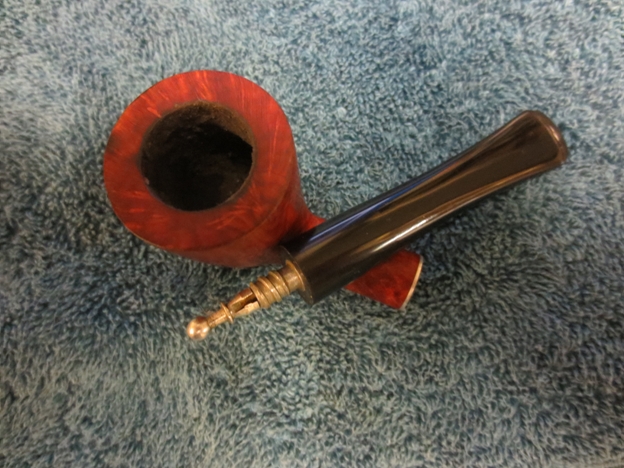
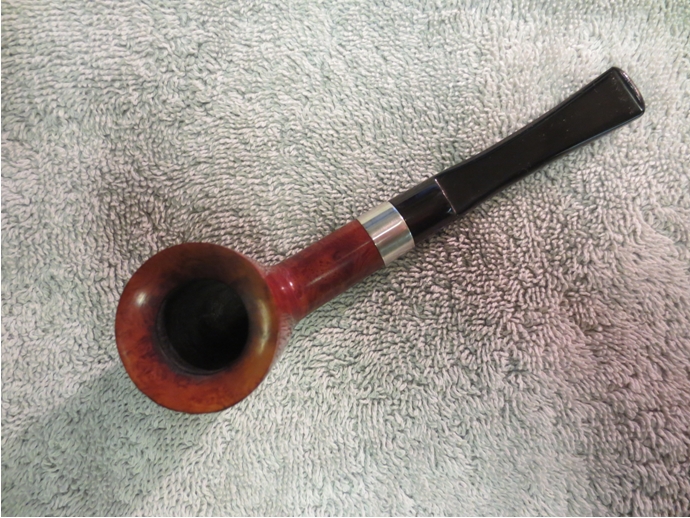
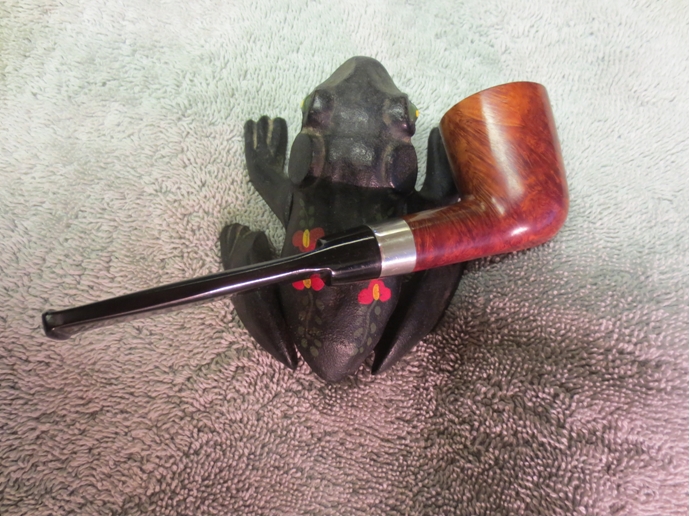
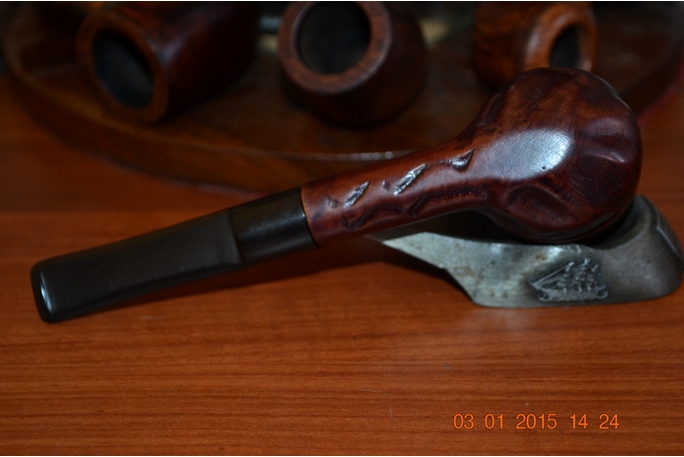
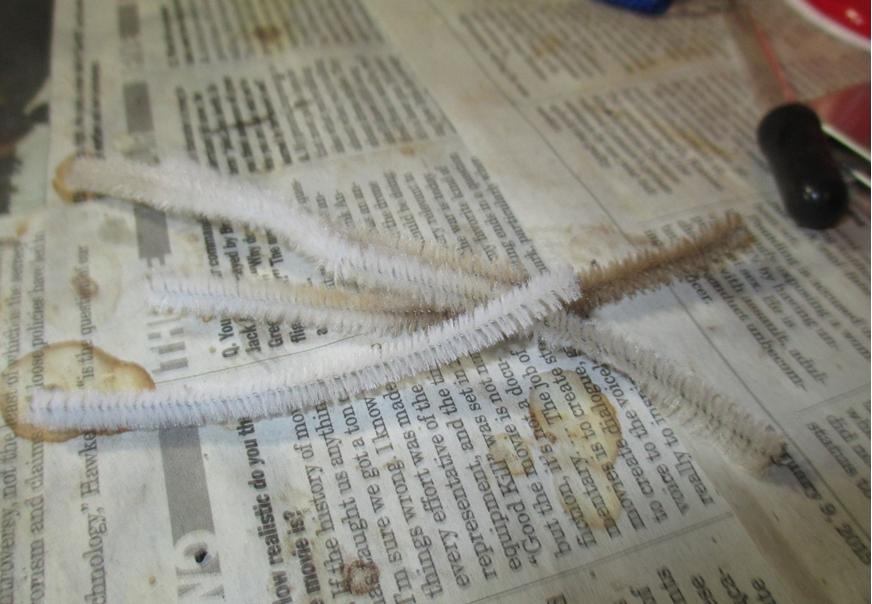 The alcohol bath serves two purposes, it loosens up the internal gunk and it helps remove the old finish. On this particular pipe, I noticed that the bowl was stained a purplish read and had a heavy varnish on it. That’s usually a sign of inferior briar and lots of fills. With great trepidation, I used acetone and 0000 steel wool to see what was under the old finish.
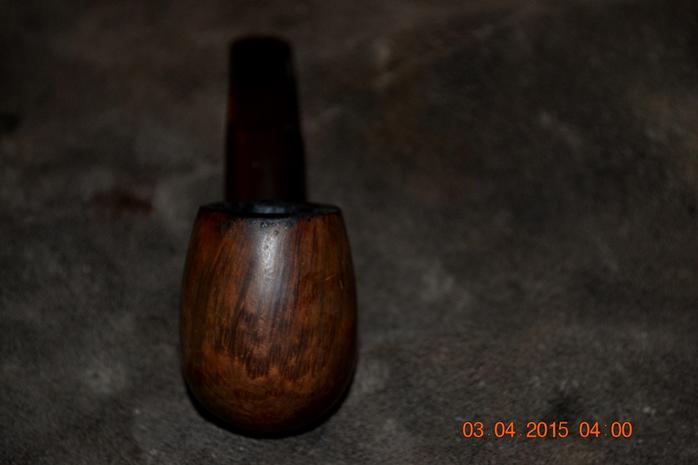
 I was pleasantly surprised to find beautiful grain and not a single fill.
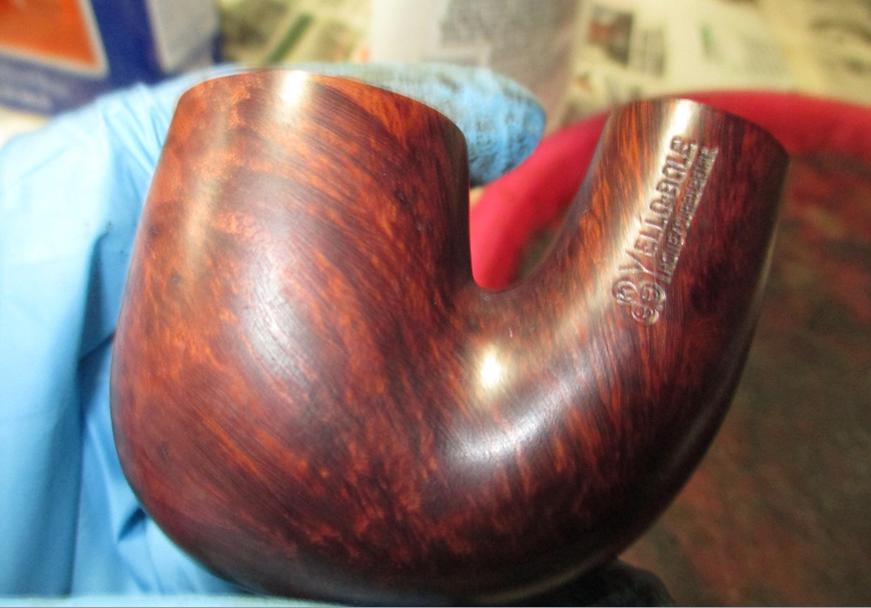

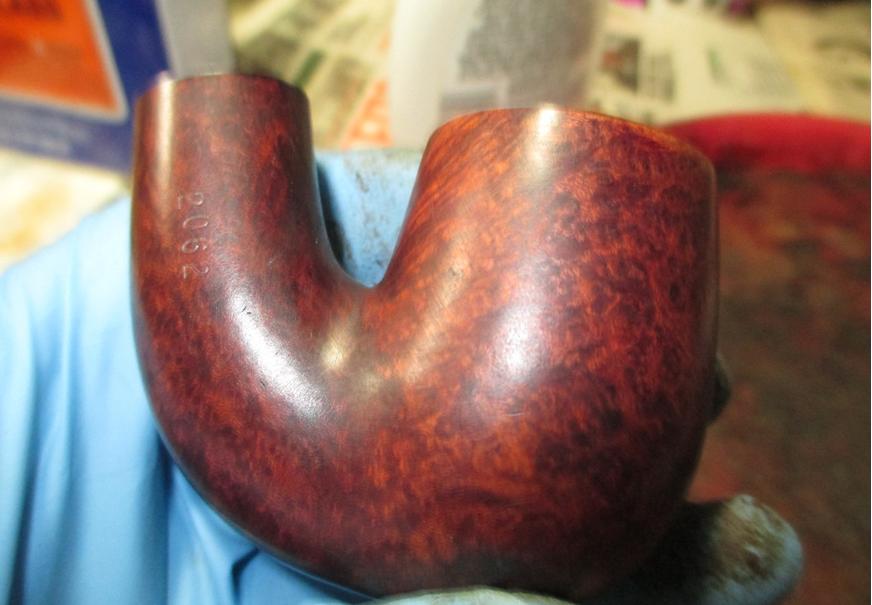
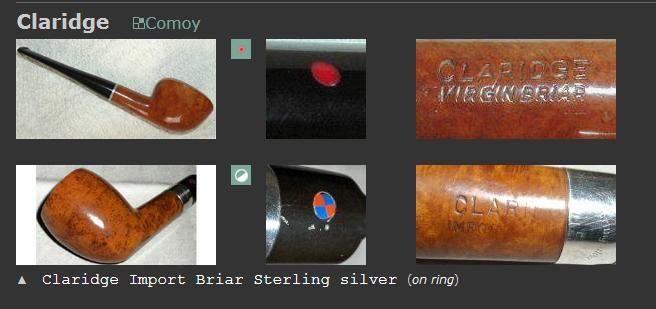
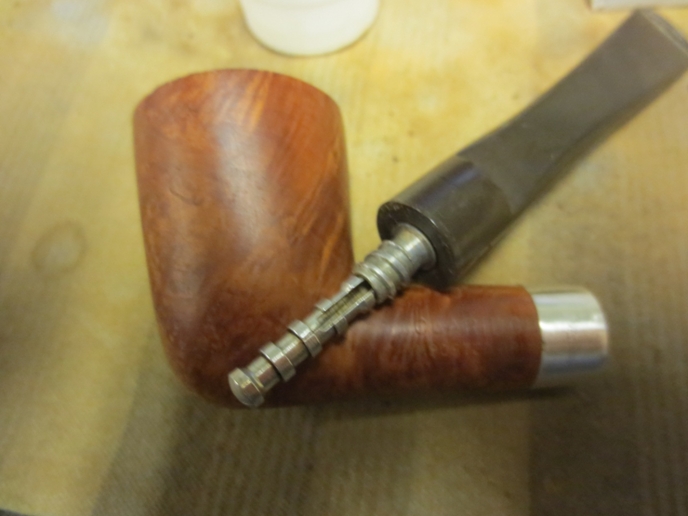
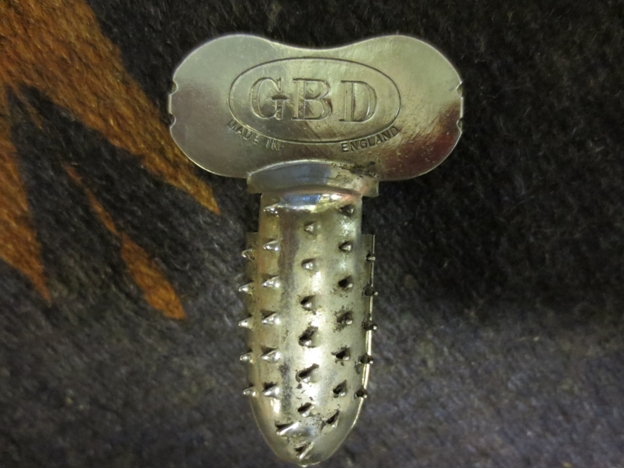
 I was not happy with the purple tint of the wood though, I mean who does that? My guess is, this pipe could have made the cut as a Kaywoodie, maybe they were short on the Yello Bole line so they put a Yello Bole stem on it and that hideous varnish. Interestingly enough, this pipe has the identical shape number as the Kaywoodie medium billiard Oom Paul. Just to give you an idea how many pipes Kaywoodie used to make, they had three models of the Oom Paul shape.
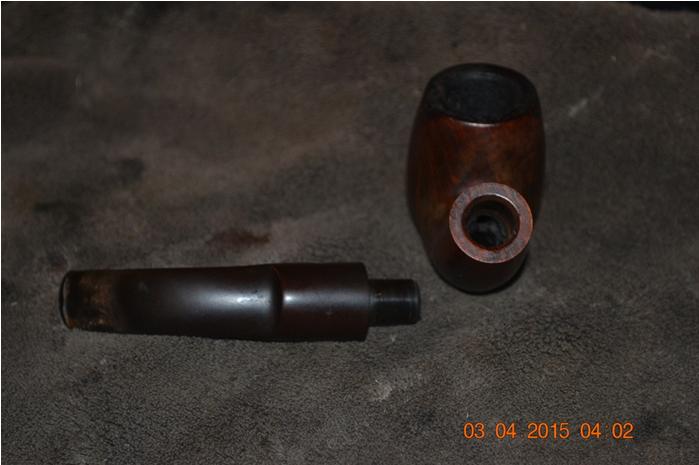
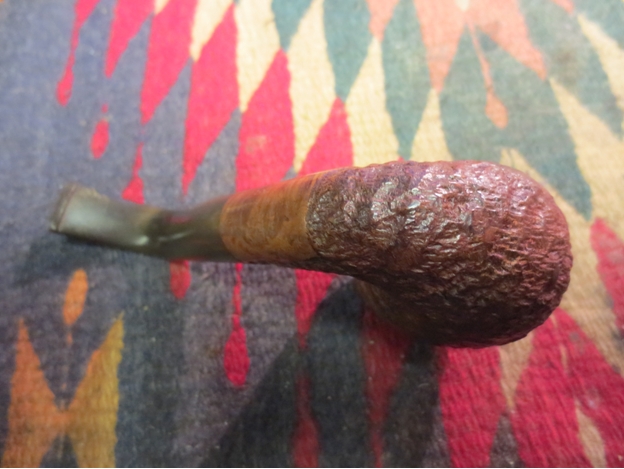
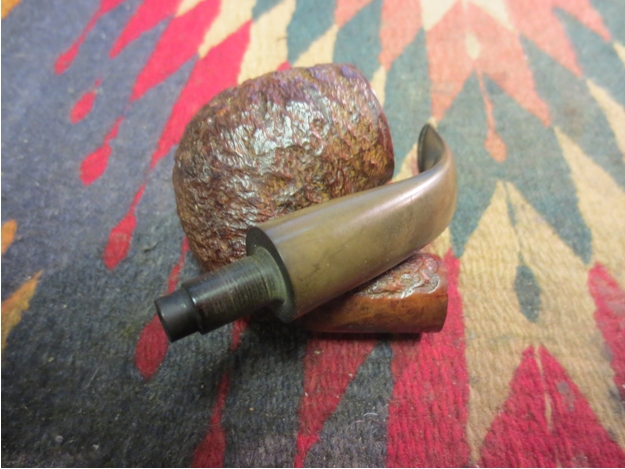
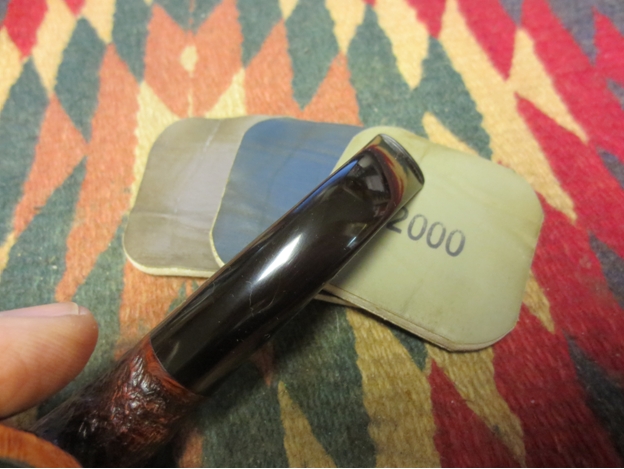
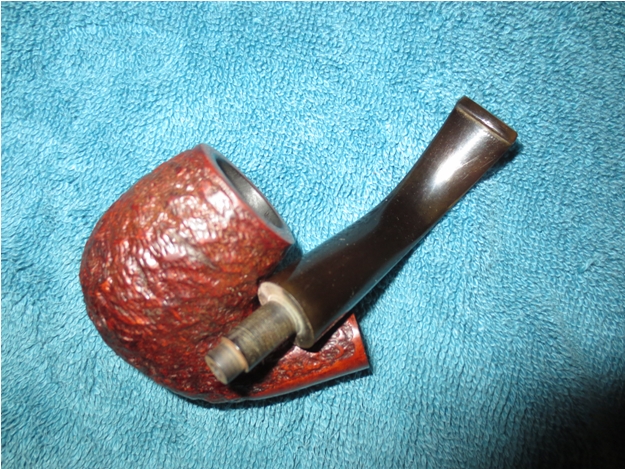
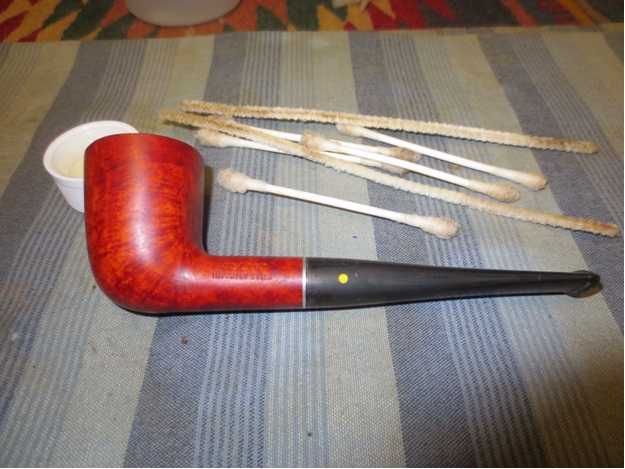
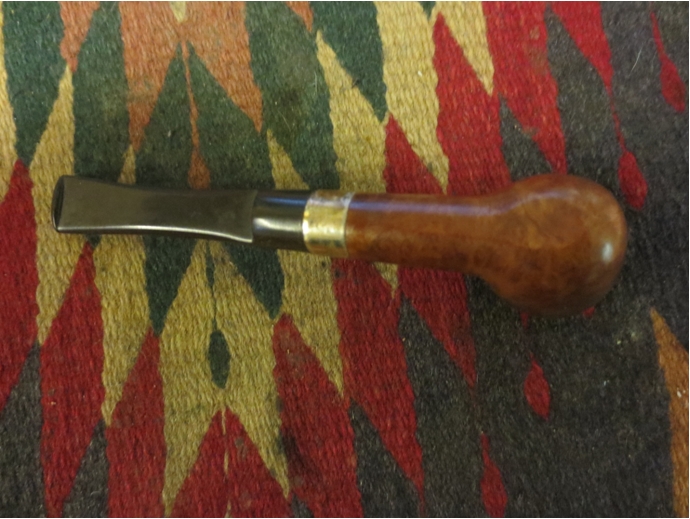
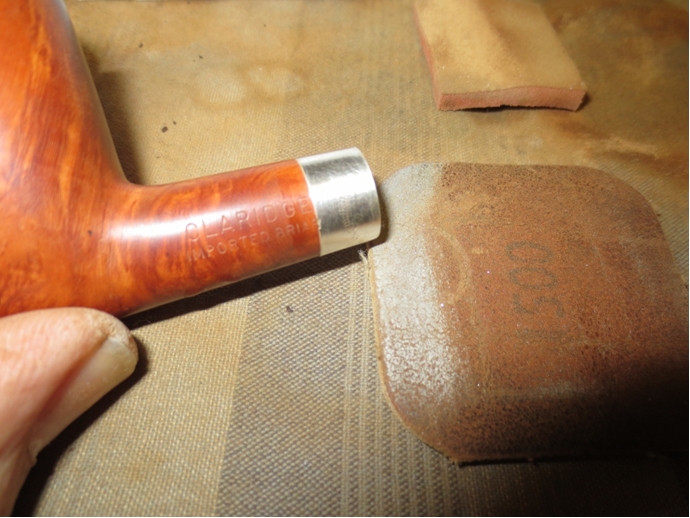
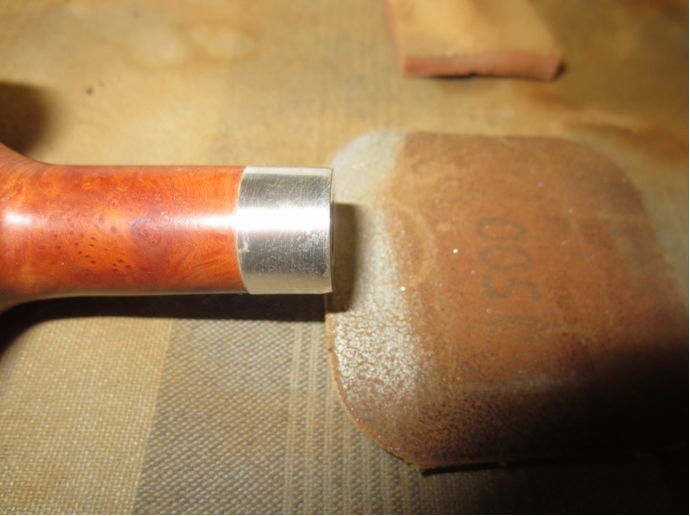
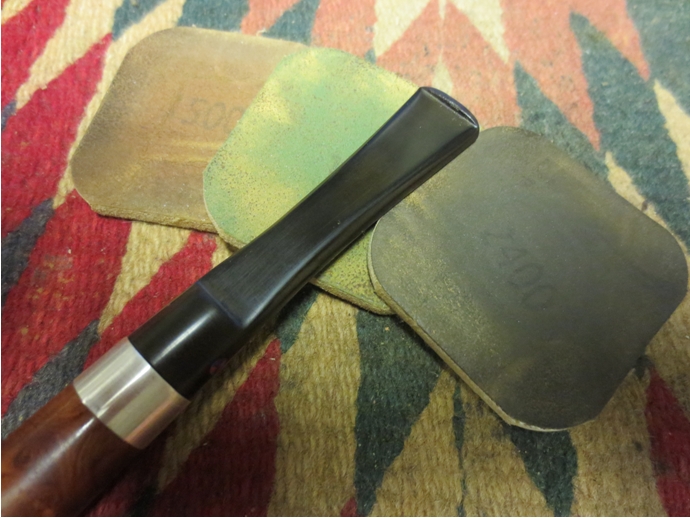
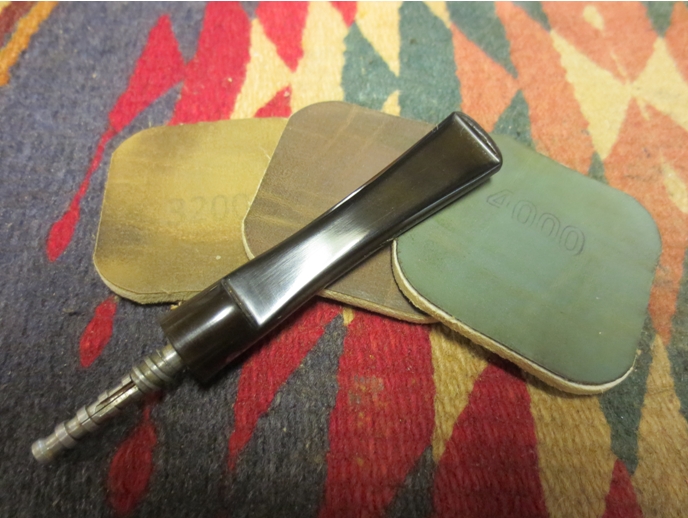
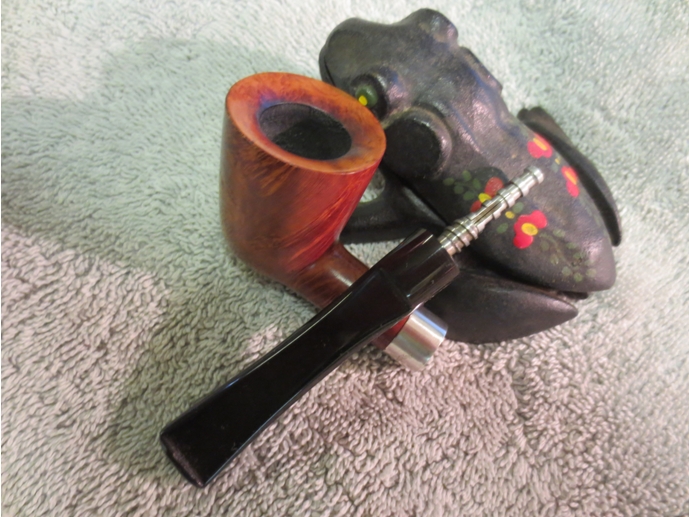
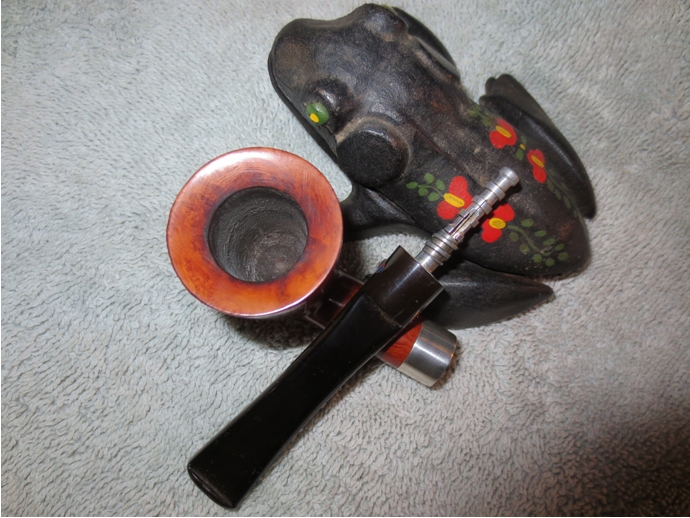
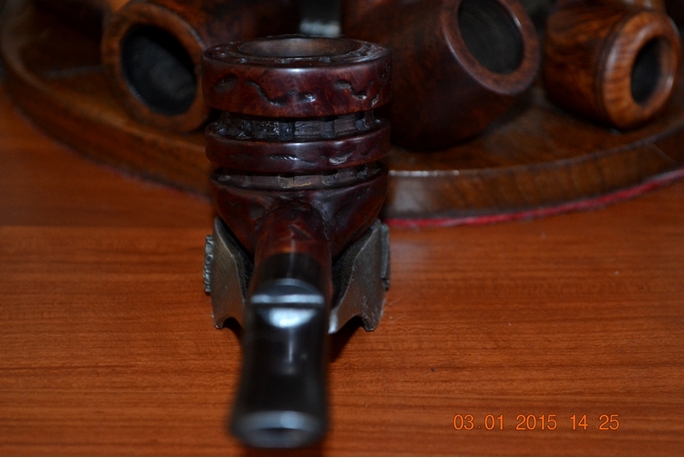
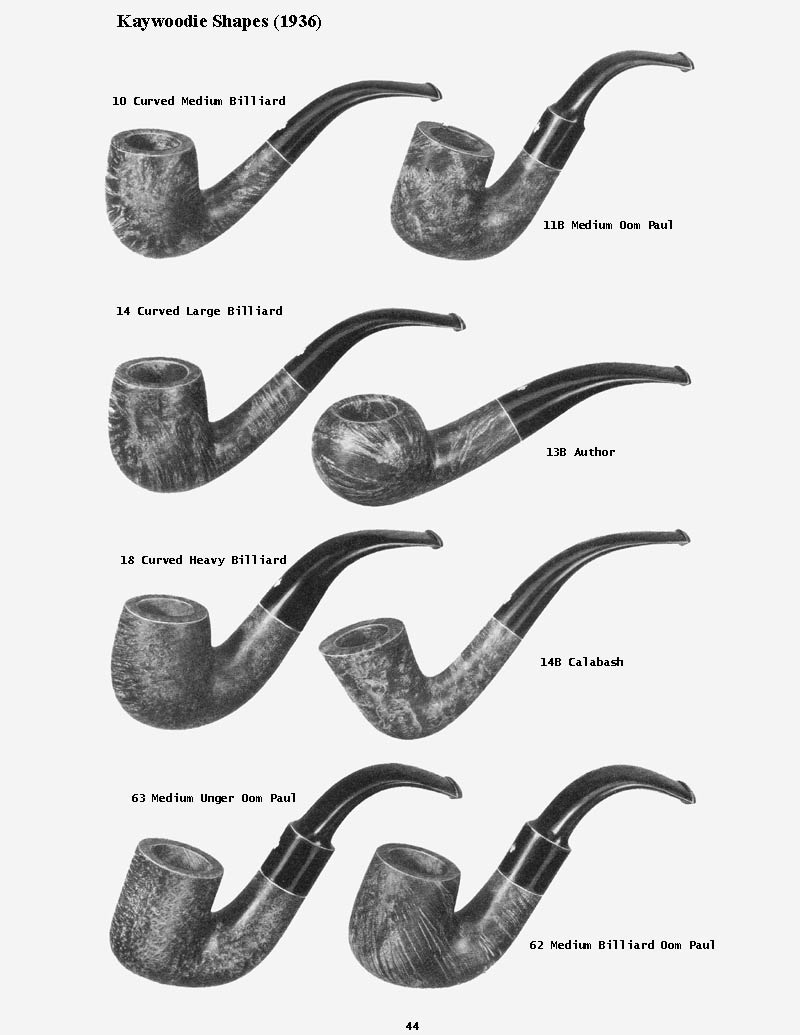 I decided the best way to take care of the purple stain was with some judicious sanding. Since the bowl didn’t have any scratches or dents, I didn’t have to go too heavy. I started out with 1500 grit micro mesh and worked my way up to 12,000 grit. You will notice the washer between the stem and shank. I’ve learned that the best way to get a sharp shoulder on the shank and the stem is by using the washer to prevent the sanding medium from rounding it off.
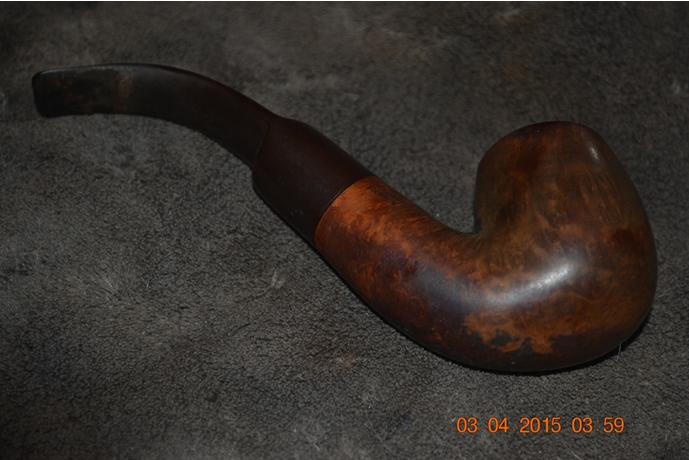
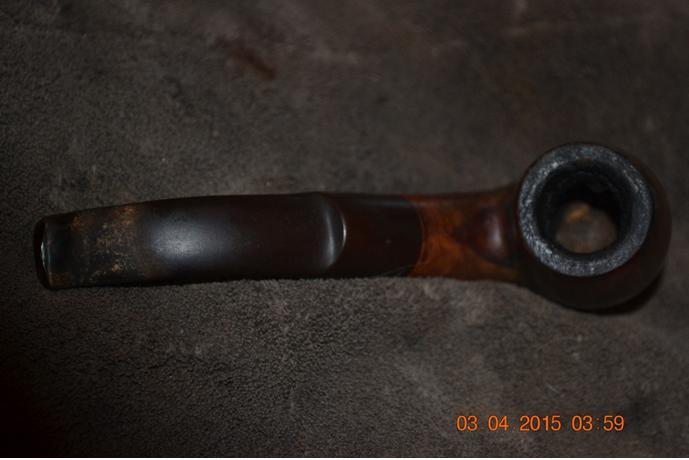
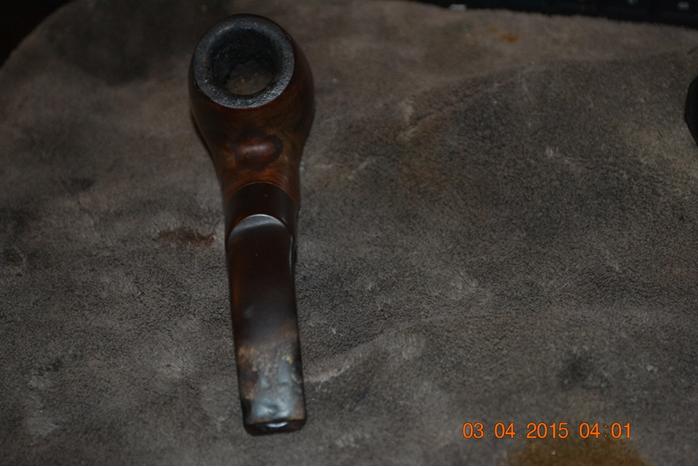
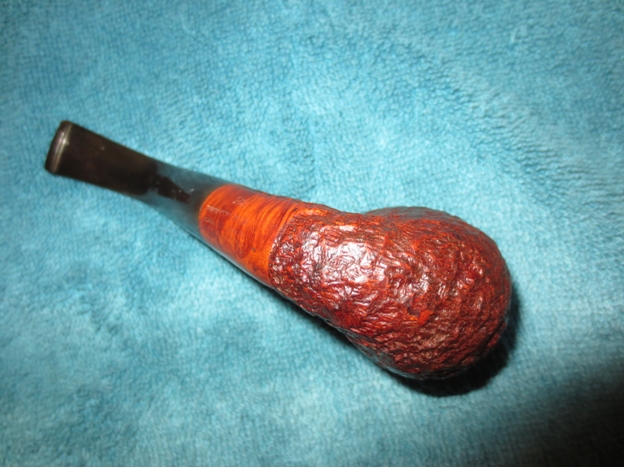
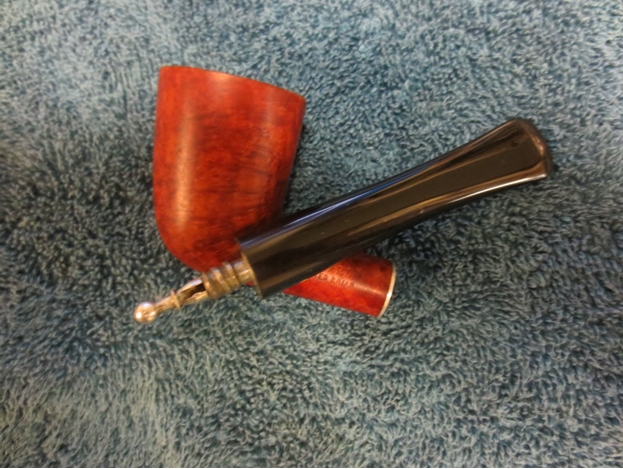
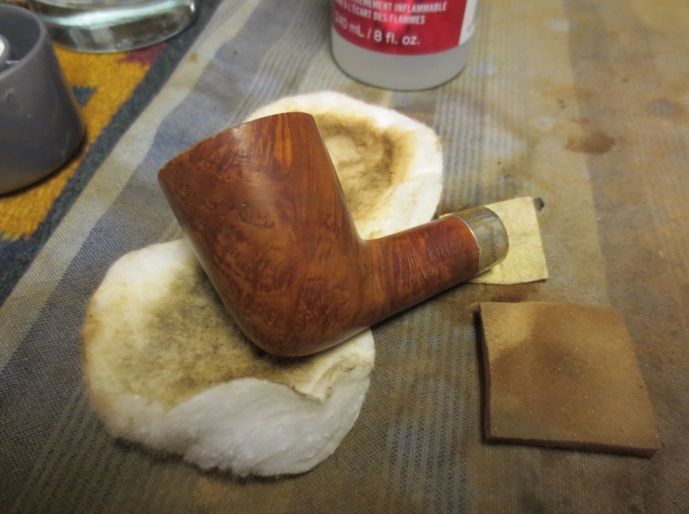
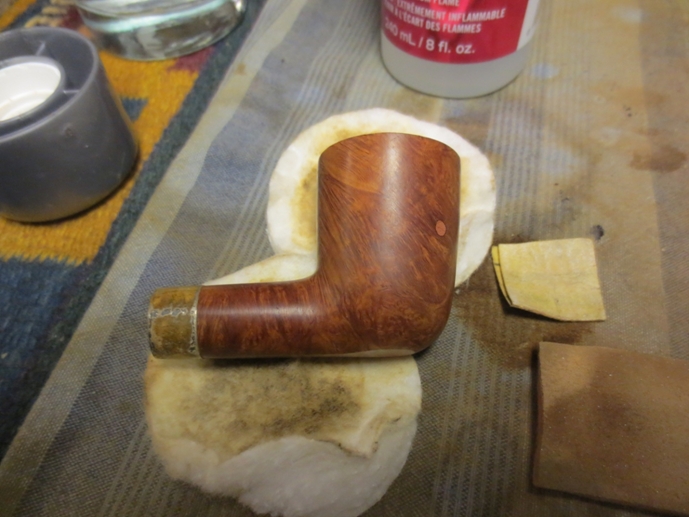
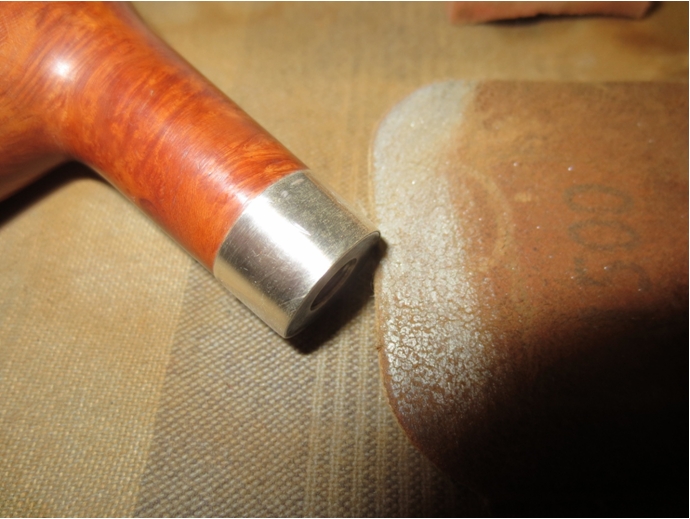
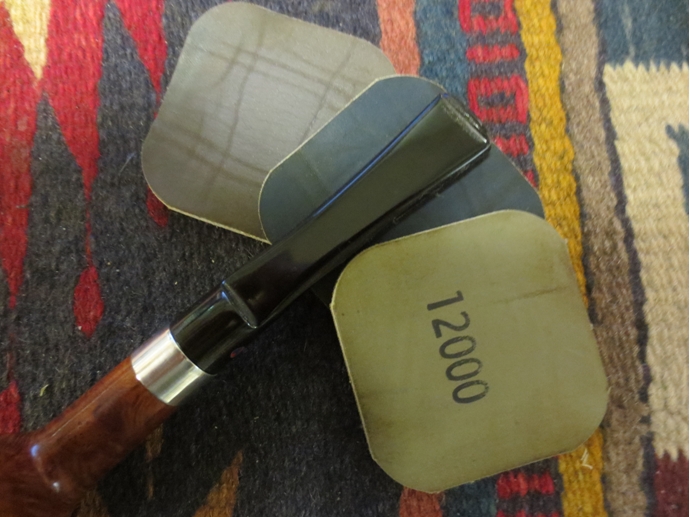
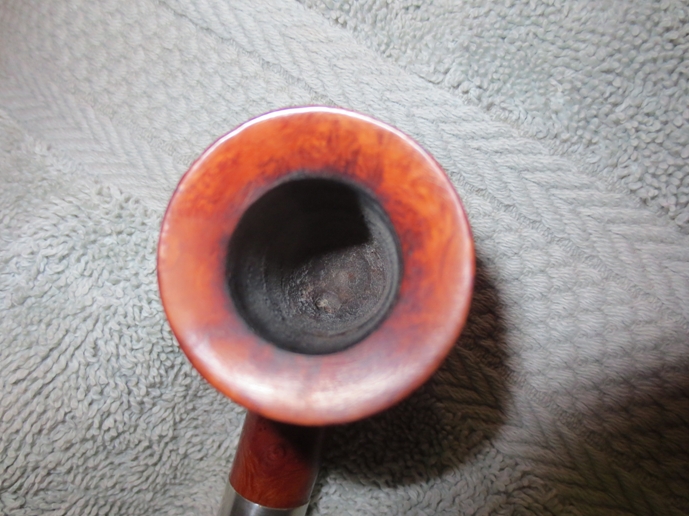
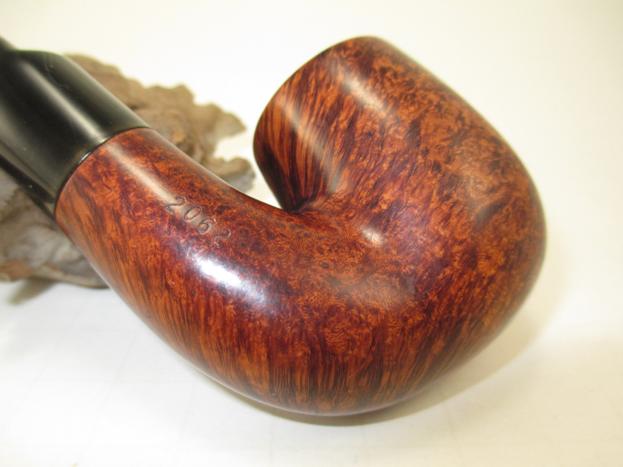
 This is what the bowl looked like after the micro mesh pads.
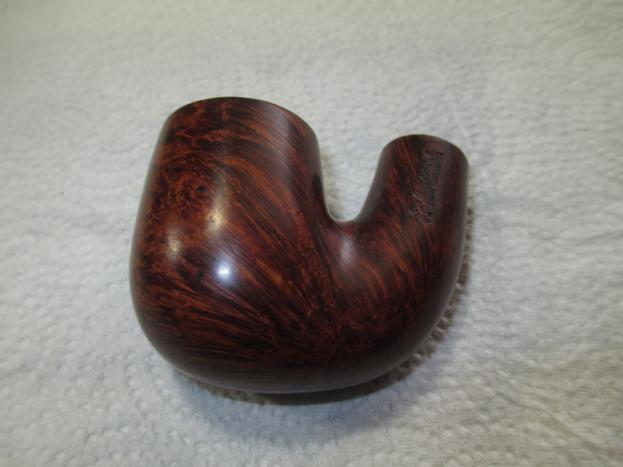
 I decided to keep the stain light, so I diluted some Pimo Pipe Supply mahogany and used a single coat. Unfortunately I didn’t take a picture of that process, I was kind of excited about fixing the stem.
 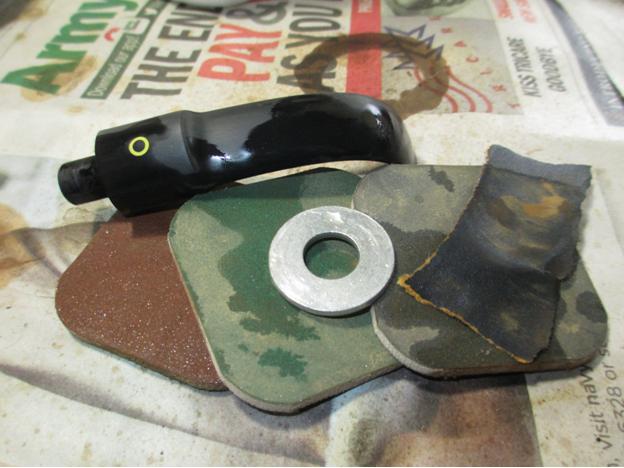 With the oxidation addressed, it was time to start building the new button. I’m not the best when it comes to carving the bottom side of the button so I decided to use clear tape to create definition.
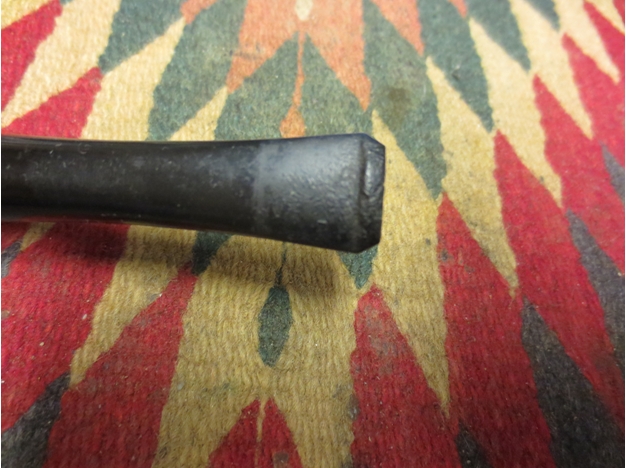
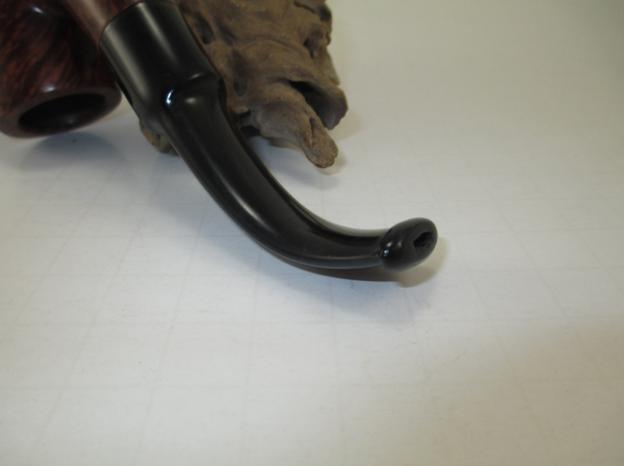
 I built up layers of tape until it was the thickness that I wanted for the underside of the button. Next, I mixed some ground charcoal and super glue and started applying it. After each application I put a drop of accelerator on the end and applied another layer. It was not looking the way I wanted it to look.
 I remember Steve said that when he used activated charcoal it was very fine. So I sanded off the mess and started over. To get a finer charcoal I used our coffee grinder, which did a pretty good job, but still left some larger chunks.
 To solve that problem, I used a tea strainer. The result was very finely ground charcoal.
 I mixed the super glue and charcoal and applied it as before.
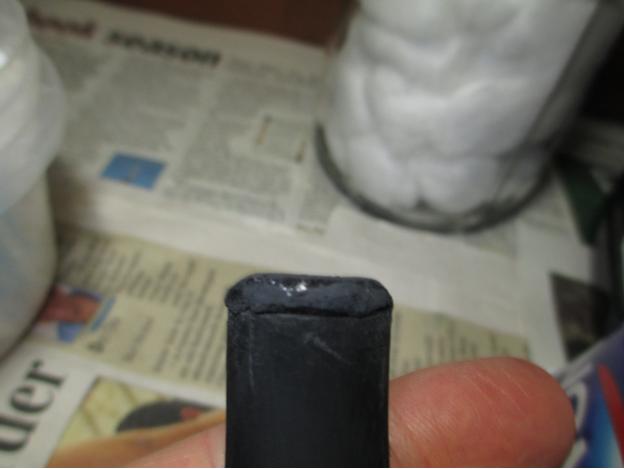 I sanded between applications and filled in any remaining divots.
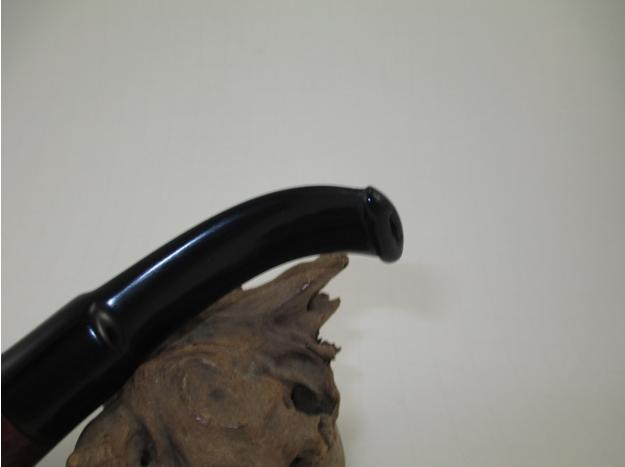
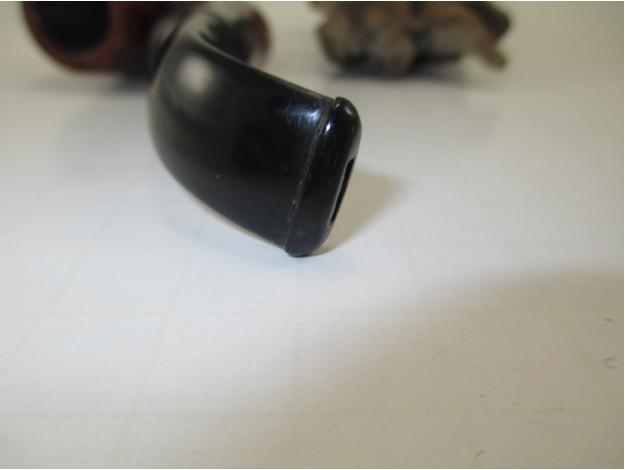
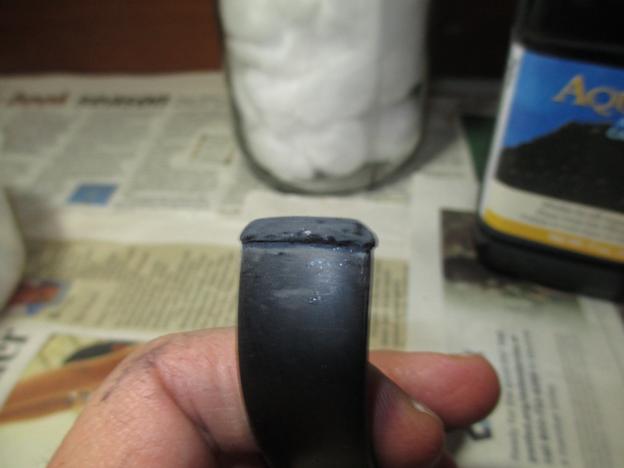 Once I had the button shaped to my liking, I used a progression of micro mesh pads from 3200-12,000. Then I used my rotary tool with white diamond and carnauba wax to bring out the shine.
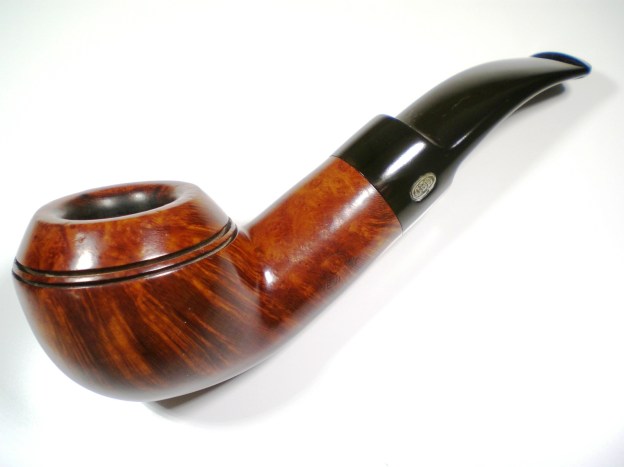
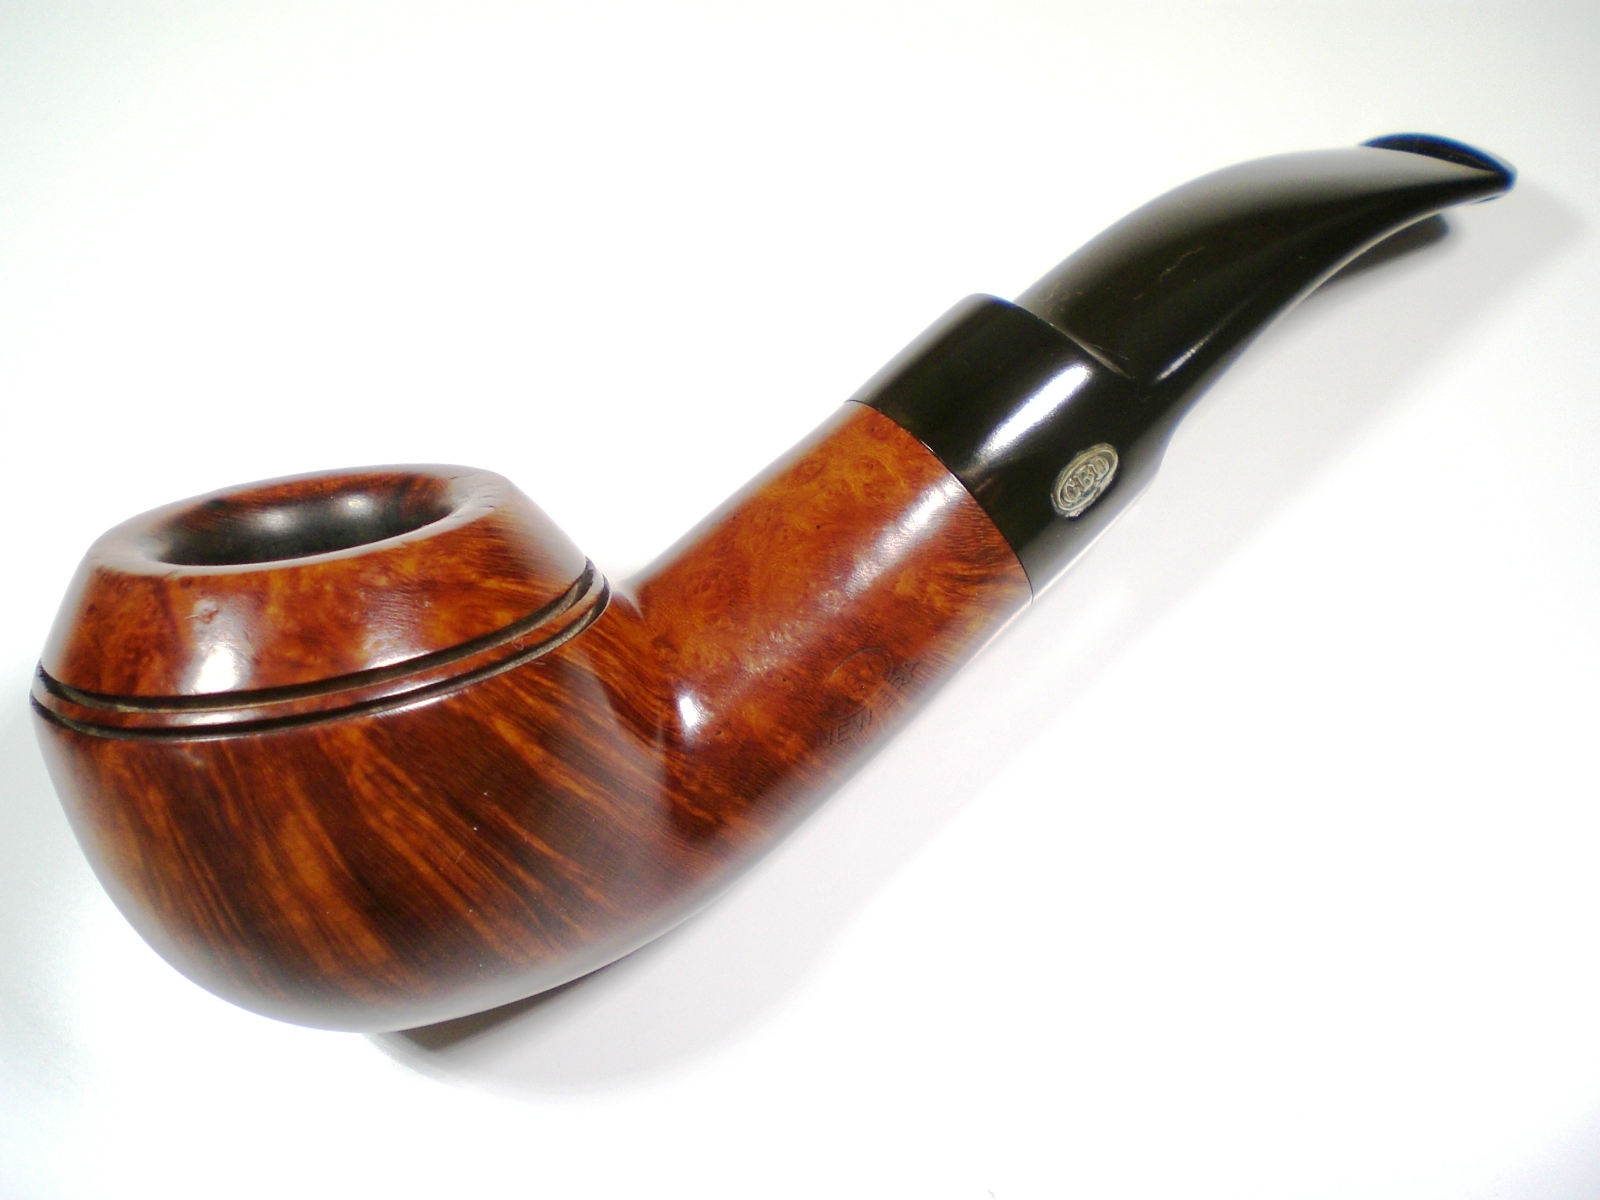
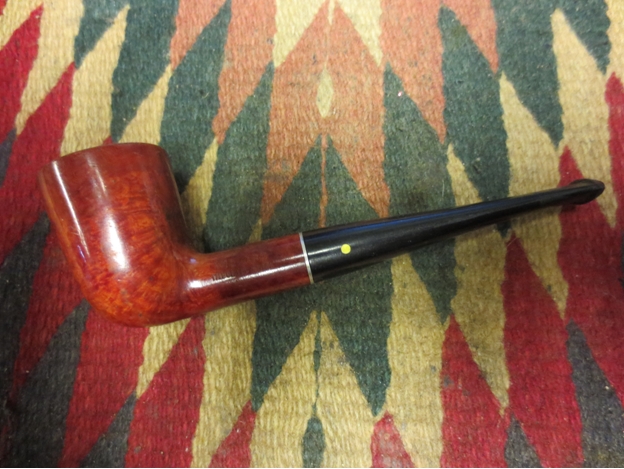
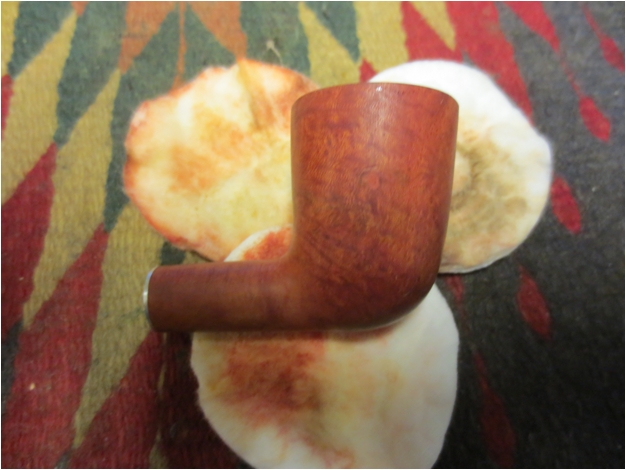
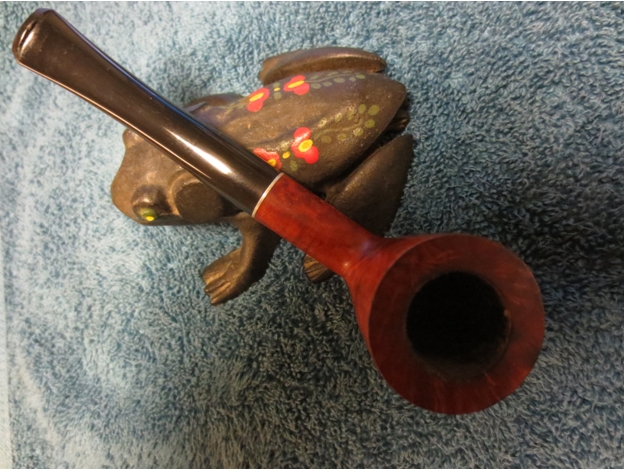
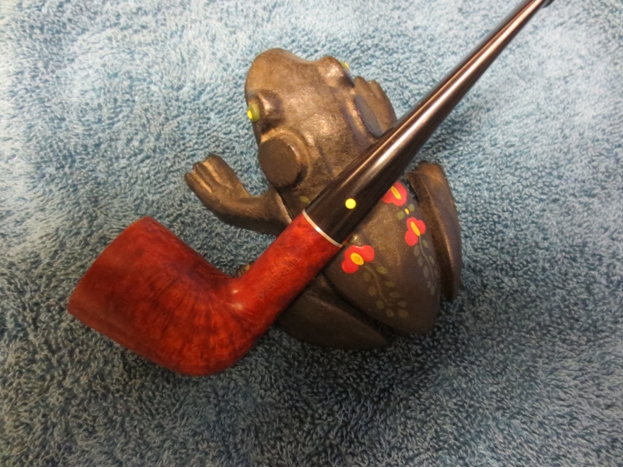
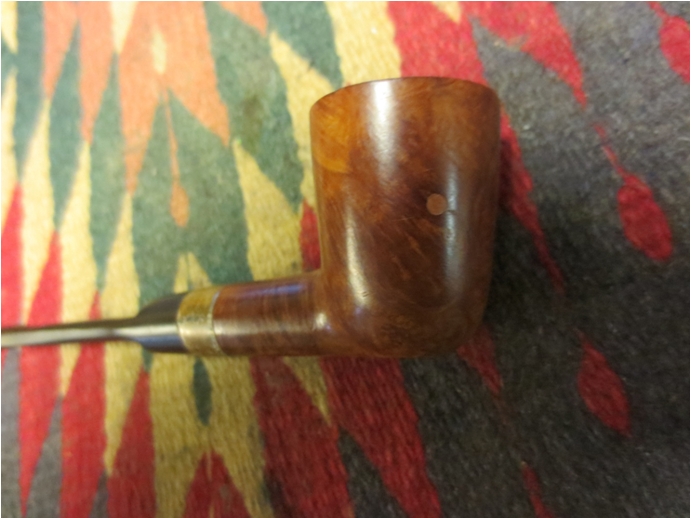
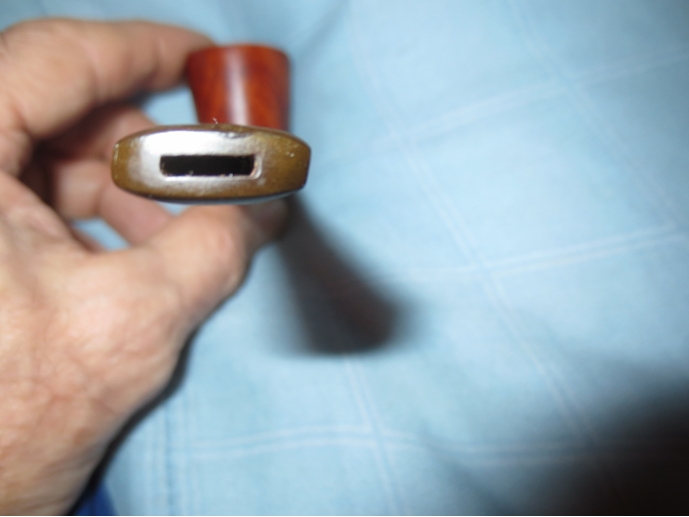
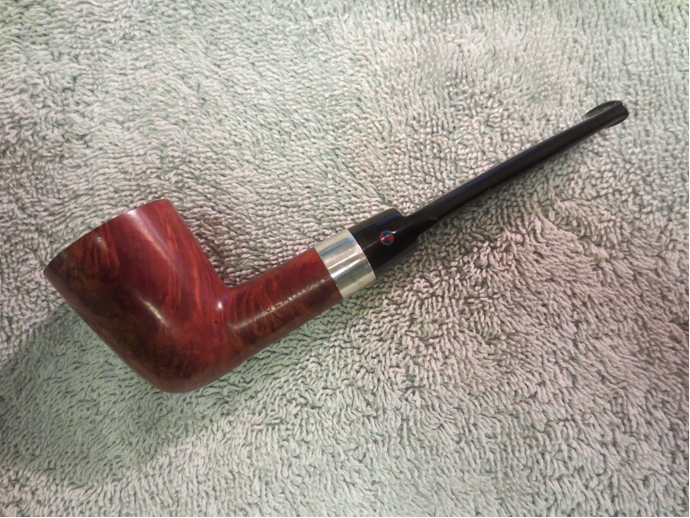
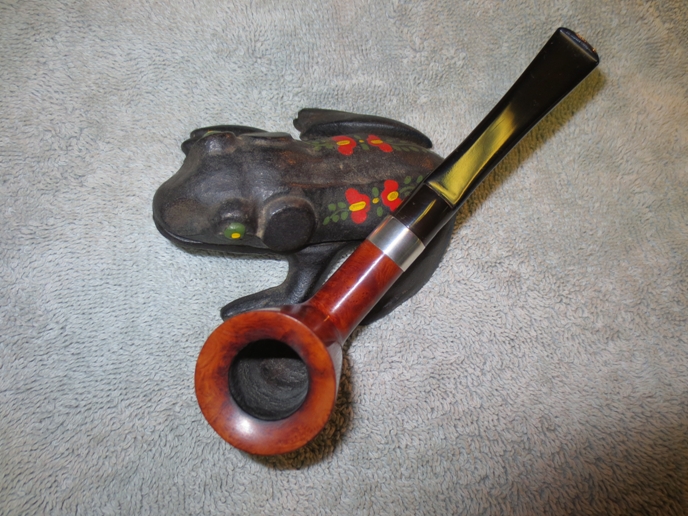
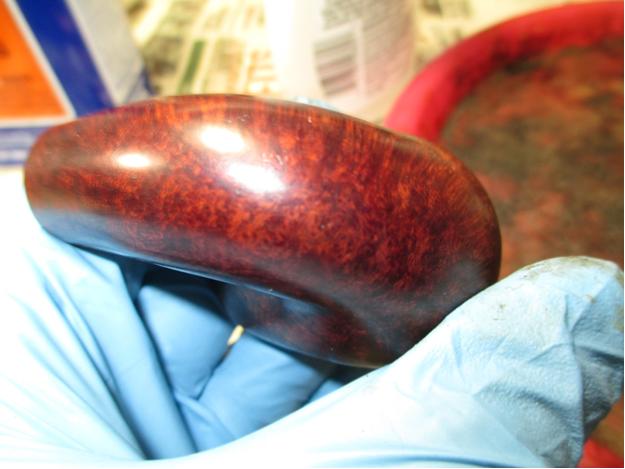
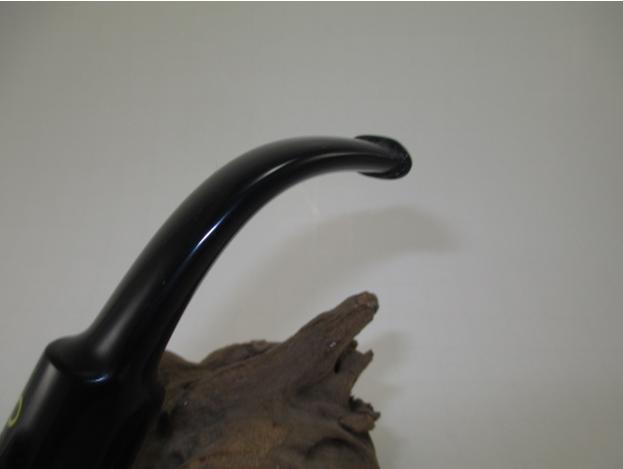
 I gave the bowl a quick spin on the buffing wheel with white diamond and carnauba wax. Here is the result.
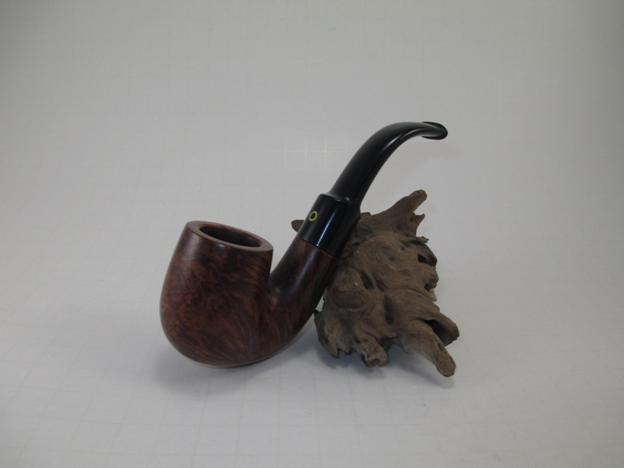


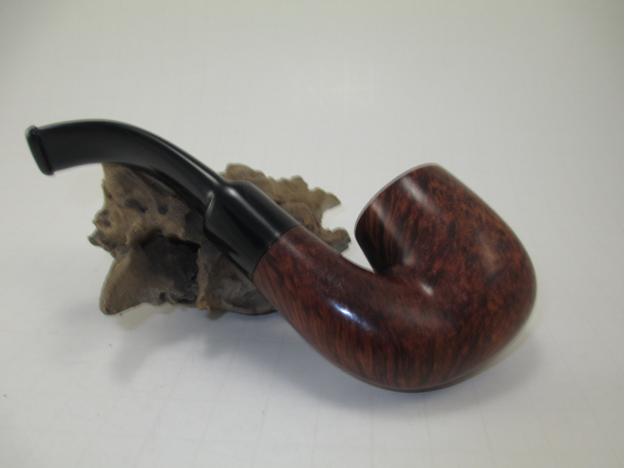

 I am happy to say that this pipe smokes as well as it looks. It is a system pipe. I couldn’t be happier with the button. The thing I like about using the charcoal and super glue is, it polishes and shines just like the vulcanite. This pipe is a keeper. Thanks for looking.