Blog by Steve Laug
In this next installment of the Answers to Questions blogs, I want to address a question that comes to me via email, the contact button on the blog or through Facebook. I receive photos and descriptions of pipes in a variety of conditions asking if I think the pipe is repairable. I have learned over time that the question has a variety of possible answers. I think that questioner thinks it will be a yes or no question. Really, I suppose that is what they want to hear. Yes I think it can be repaired or No, it cannot be repaired. Often when I answer yes, they want me to do the work, and sometimes when I answer, no they want to send it me to “dispose” of properly. But really the question is not a yes or no question. Every pipe gives multiple options for how to proceed.
I think the right question to ask is, “How badly do you want to keep this pipe?” or “How much work are you willing to put into this pipe?” These questions determine what a person will do and what lengths they will go to in order to keep or return the pipe to smokable condition. If the question is merely a simple yes or no then many pipes will end up in the tinderbox destined for the fire. However, if the question is as I have spelled it out above then the answer will lead to the next steps of restoration. Let’s talk about some of the pipes that have come across my desk or my email address that can illustrate this variation on the question.
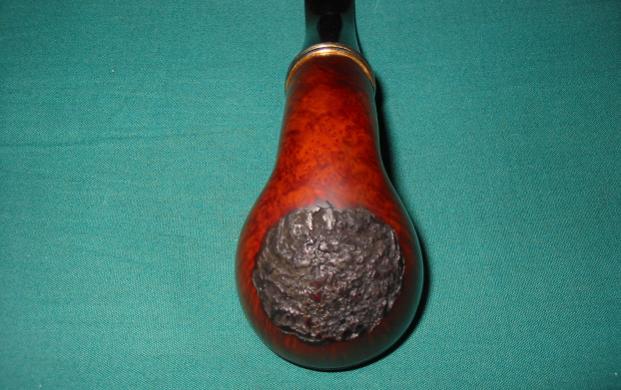
A Beautiful older Peterson 999 with a huge burned out hole in the lower left side of the bowl. Many would have simply said good-bye to this old friend because you could put your index finger through the side of the bowl. It appeared to be a goner. When I looked at it I remembered an old Blatter and Blatter pipe that I had picked up on eBay that had a burn out on the back side of the bowl. I had talked to the shop in Montreal and they had me send it back to them. They drilled out the burned out area until they had solid briar. Then they cut a chunk of new briar and fit it into the drilled out hole. They glued it in place and once it had set, they rusticated the patch to match the rest of the bowl. They gave the inside of the bowl a bowl coating to protect it until a cake had formed and sent it back to me. I have had that pipe for over 20 years now and it is still going strong. You would be hard pressed to find the repaired area.
With that living memory I said yes to the burned out Peterson. In days past, I would have walked away and left it for firewood but I had learned. I drilled out the burned out area with a drill bit until the surrounding briar was solid. I cut a plug from a piece of briar and adjusted it to fit into the hole. I glued it in place and rusticated the area around the plug and lower part of the bowl until it blended in well. I stained the lower half of the bowl with a dark brown stain and the upper half with a medium brown stain. The finished exterior looked very good. I coated the inside of the bowl with bowl coating to protect it. The fellow still smokes the pipe I believe and the repair has held up well. Here is the link to the blog: https://rebornpipes.com/2014/02/06/plugging-a-burnout-on-a-petersons-irish-whiskey-999/

 You can see from that example that a simple yes or no question would have probably sacrificed what turned out to be a repairable bowl. The question was whether I wanted to take the time and invest the work to make it smokable again. In this case the invested work was worth the results in my opinion.
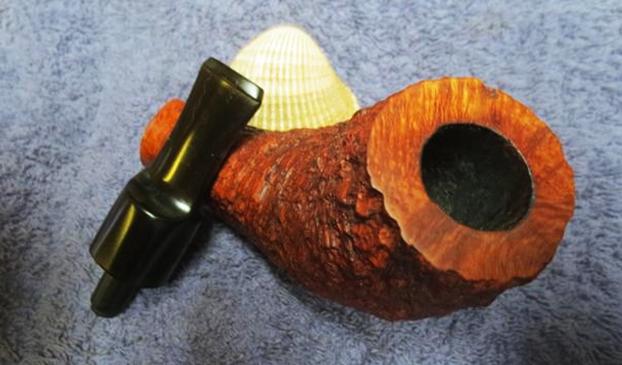
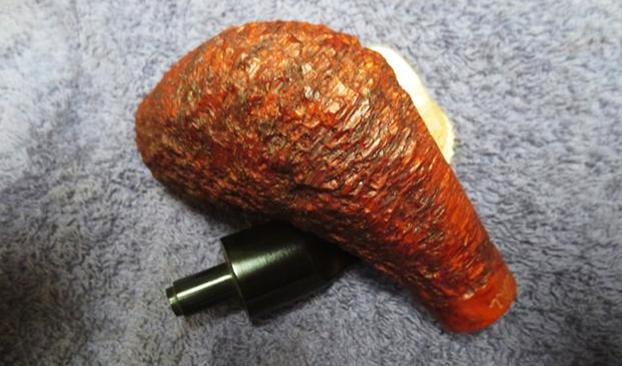
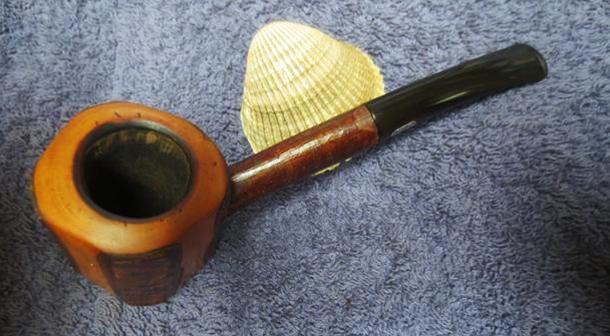
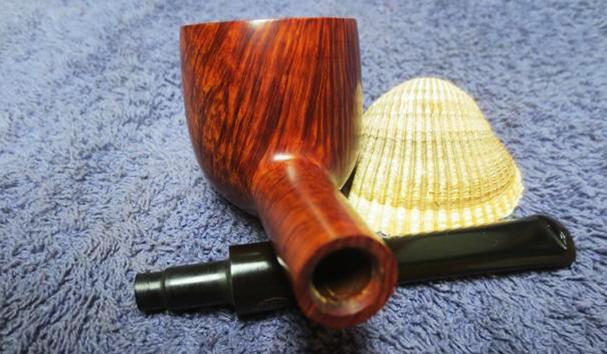
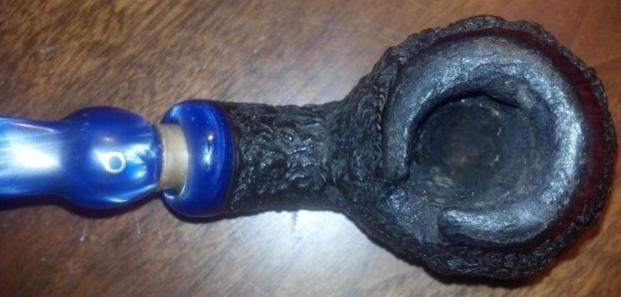
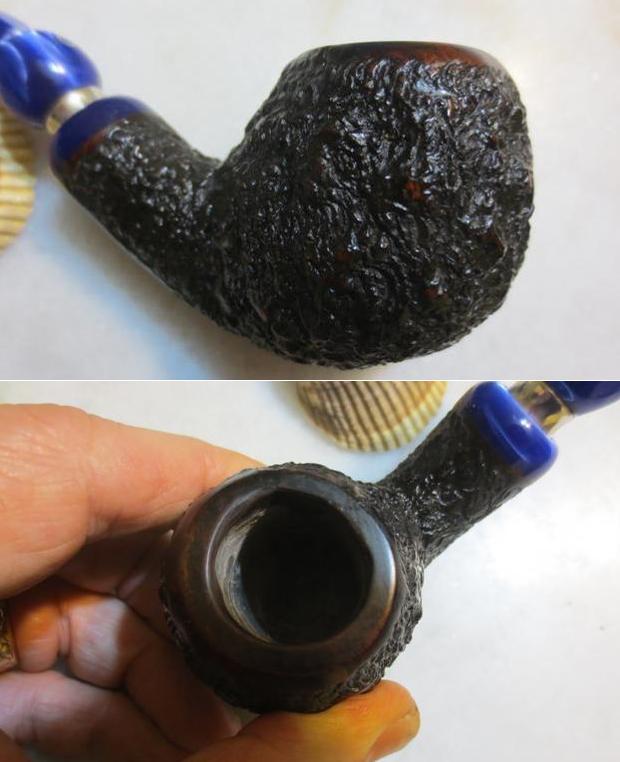
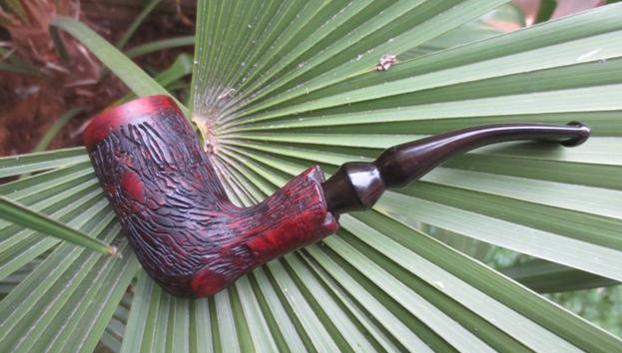
An Ardor Urano Fancy with a ½ inch deep chunk broken out of the right side edge of the rim. This is one that caught my eye on Ebay. Many would have simply passed it up and said it was not worth repairing. The large broken out chunk of briar from the back right side of the bowl near the top and the general wear and tear on the bowl would have easily made it a pass. But to me something about the rugged rustication and the blue of the shank end and stem just caught my eye and made me want to give it a try. So I put in the only bid on the pipe – no surprise there and picked it up for a decent price. This was a pipe that would go in my collection and not be sold and it was a pipe that would provide more schooling for me in the art of pipe repair.
I had it shipped to Idaho and my brother cleaned it up for me. When it finally came to Canada I was excited to see what could be done with it. I cleaned out the damaged area with alcohol and cotton swabs until the surface was clear. I smoothed out the edges of the break to make fitting a new piece of briar a little easier. I cut a piece of briar from the side of one of my sacrificial briar bowls that I keep just for this purpose. I shaped the piece of briar with my Dremel and a sanding drum until I had it close to fitting. I used the Dremel to give the inner edge a bit of a curve that would match the wall of the pipe around it. Once I was close I used a file and 80 grit sandpaper to bring to the size that I could press it into the damaged area. I coated the edges with epoxy and pressed the chunk in place. I filled in around the patch with clear super glue to ensure that the seal was tight. I set it aside to cure.
The next day I used the Dremel with various burrs to rusticate the repaired area to match the surround bowl sides. There was an uneven smooth area around the rim top so I left that smooth on the repair as well. Once the rustication was complete and I was satisfied with the match I washed the area down with a cotton pad and alcohol. I mixed a batch of JB Weld and coated the wall of the repaired area. Once it dried I used the Dremel and sanding drum to carefully smooth out the inside of the bowl. I gave it a thick coat of pipe mud and let it dry. I stained it with a dark brown aniline stain and washed it lightly with alcohol to blend it in. I gave the bowl multiple coats of Conservator’s Wax and buffed it with a clean buffing pad to raise a shine. I have had the pipe now for almost a year and it smokes really well and looks pretty good for a repair. Here is a link to the full blog: (https://rebornpipes.com/2016/02/26/with-just-a-little-work-i-now-have-a-dr-ardor-urano-fantasy-apple/) 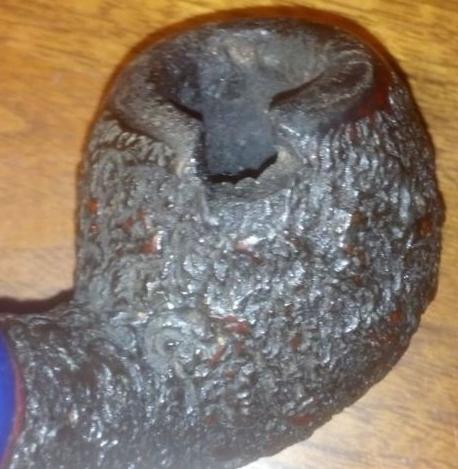
 The next three examples show very different repairs and issues with old pipes that I have dealt with. I decided to use two of them as examples in this blog. https://rebornpipes.com/2016/09/03/what-to-do-with-a-cracked-bowl-options-for-their-repair/. The first was cut off and the job was done very poorly. It had originally been a GBD 9438 in a previous life and someone had cut off the entire top half of the bowl. They had restained the bowl but had not sanded it so there were saw marks and file marks and a very rough look to the pipe. This is another pipe that could easily have been relegated to the dust bin. My brother Jeff picked it up in a bunch of pipe from a fellow on Ebay who called himself a refurbisher. This pipe came as one that had been restored. It had a lot of problems. Not only had he cut the bowl off he had also used a Dremel and took it straight down the bowl leaving a mess in the bottom of the bowl. I figured that maybe there was something redeemable in the pipe. I used a Dremel and sanding drum to reshape the top and round it over giving some form to the damaged bowl. I decided to round it over leaving a rounded top edge to the rim. It took a lot of sanding and shaping but I think in the end I had a smokable pipe with a bit of charm that previously had been severely lacking. You be the judge. Was it worth the effort to do the work on the bowl?
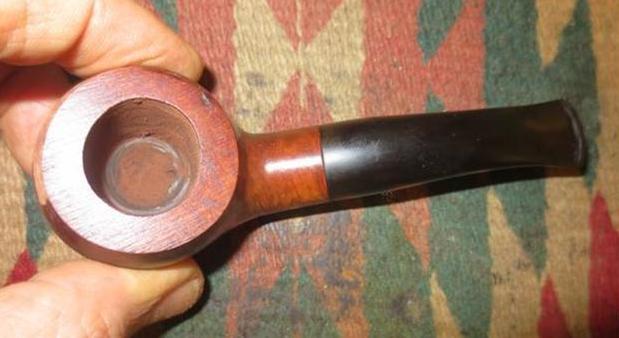
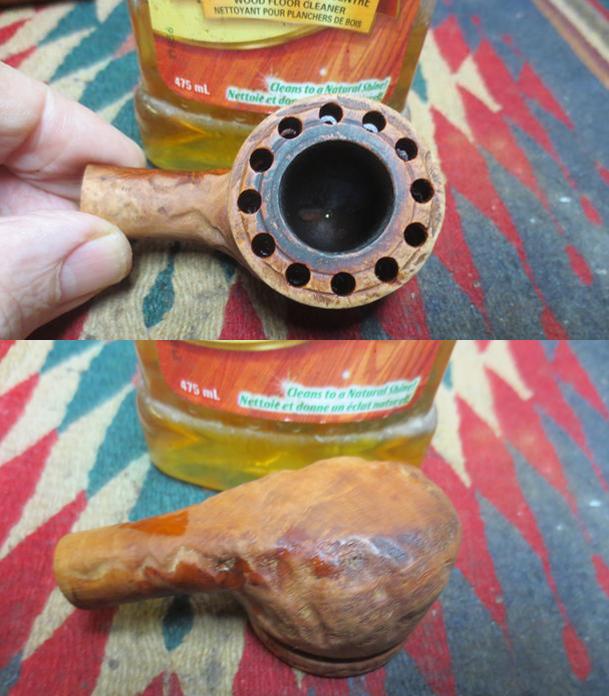
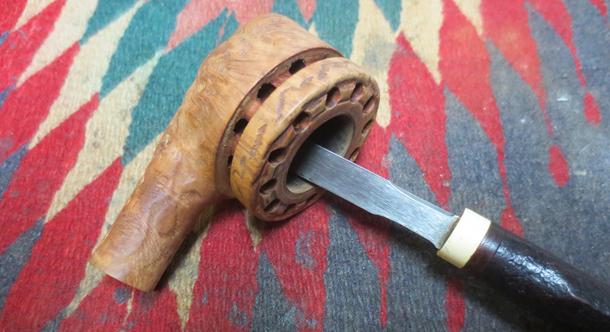
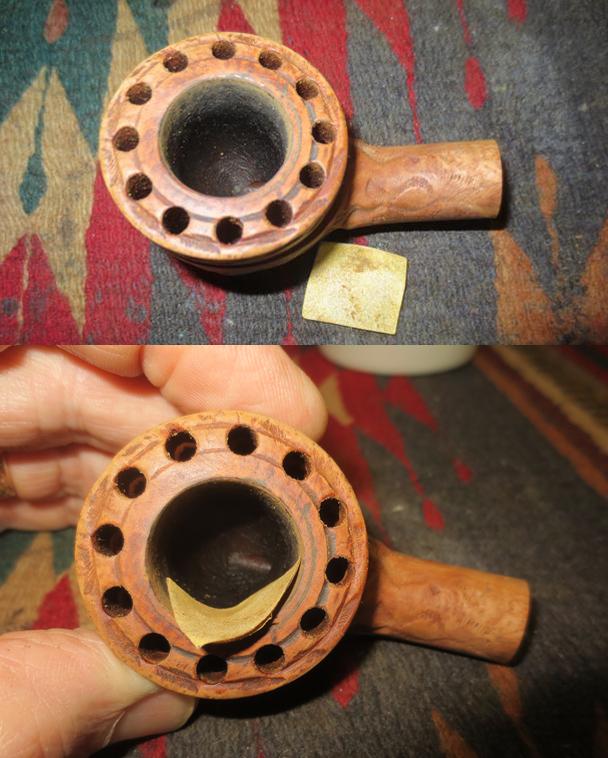
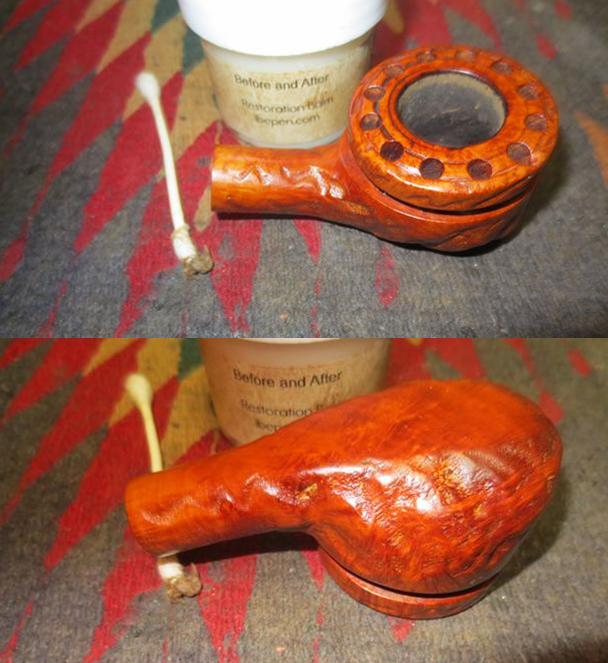
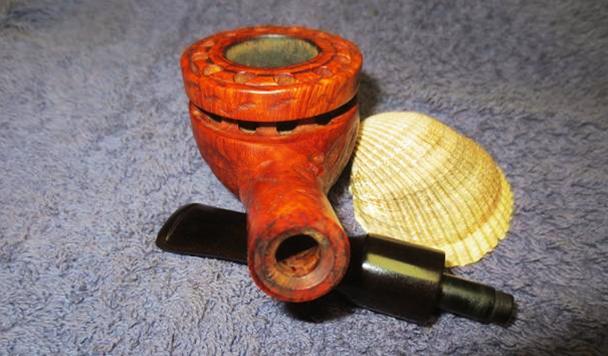
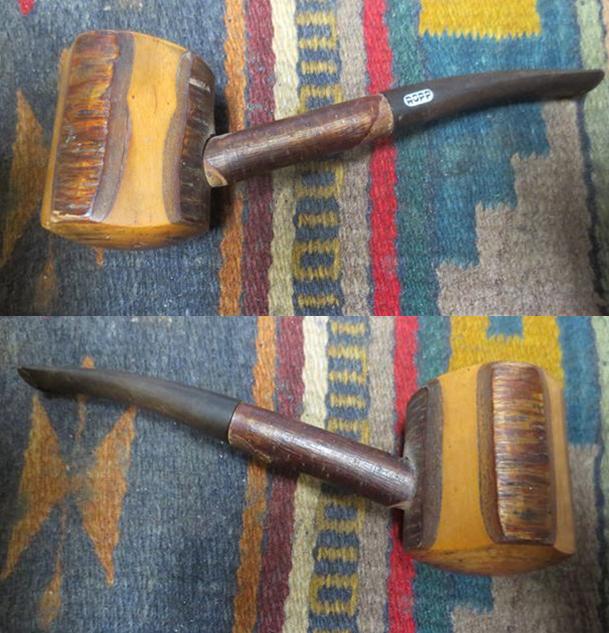
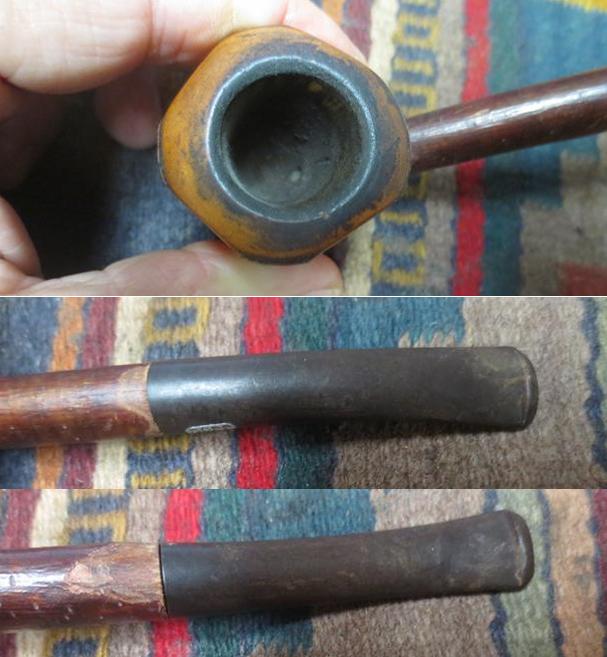
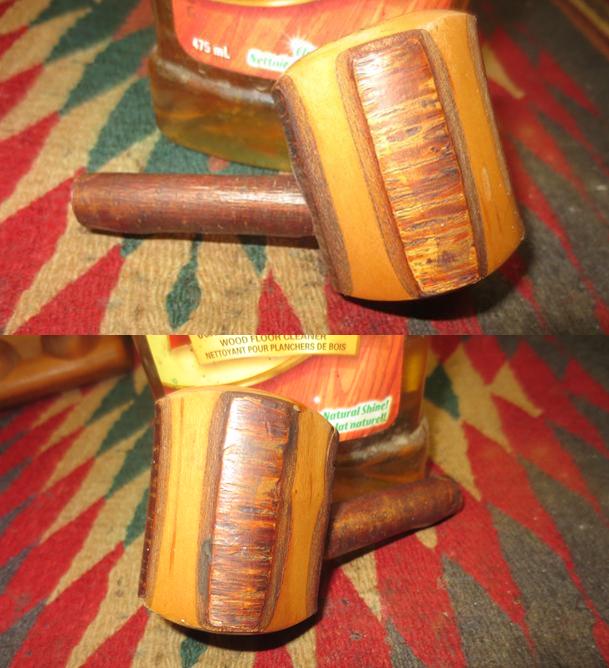
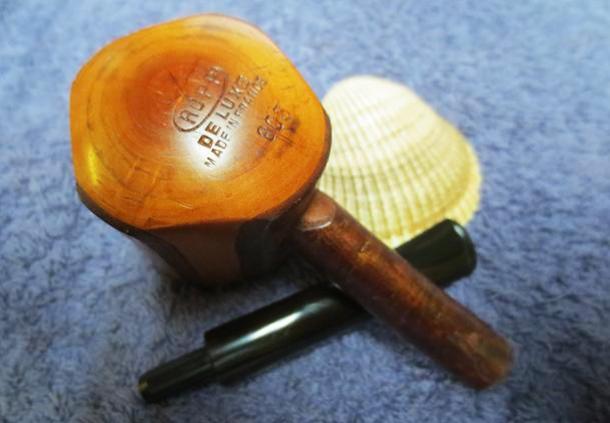
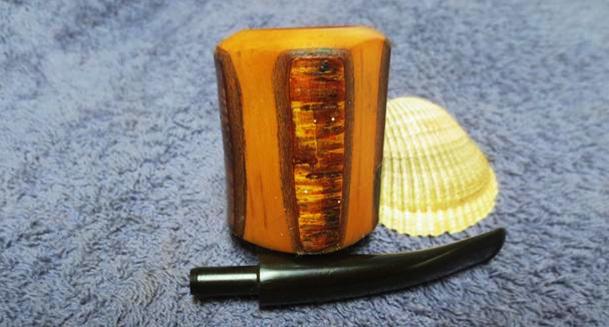
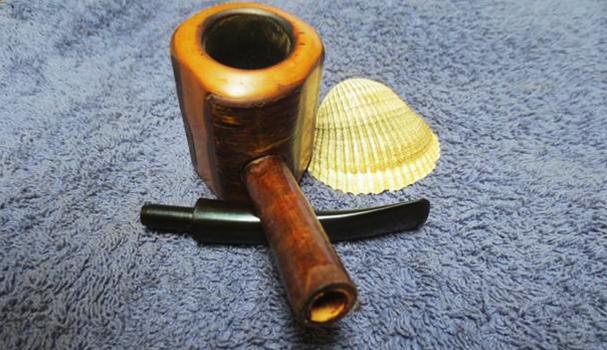
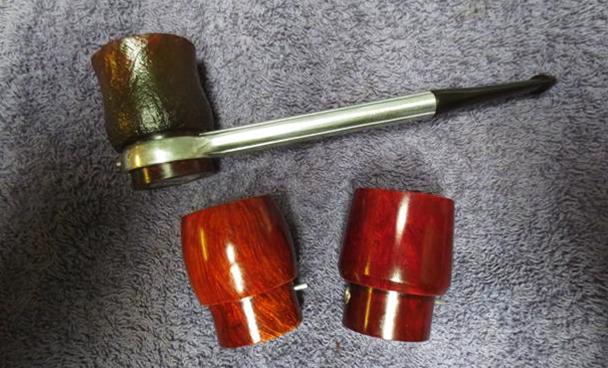
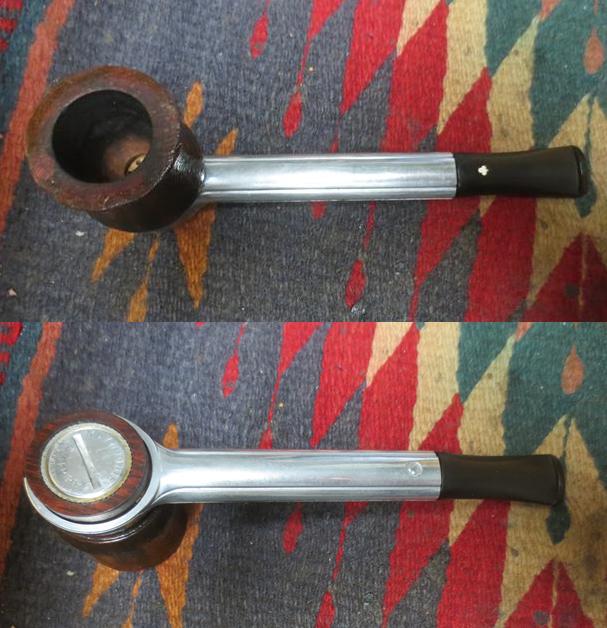
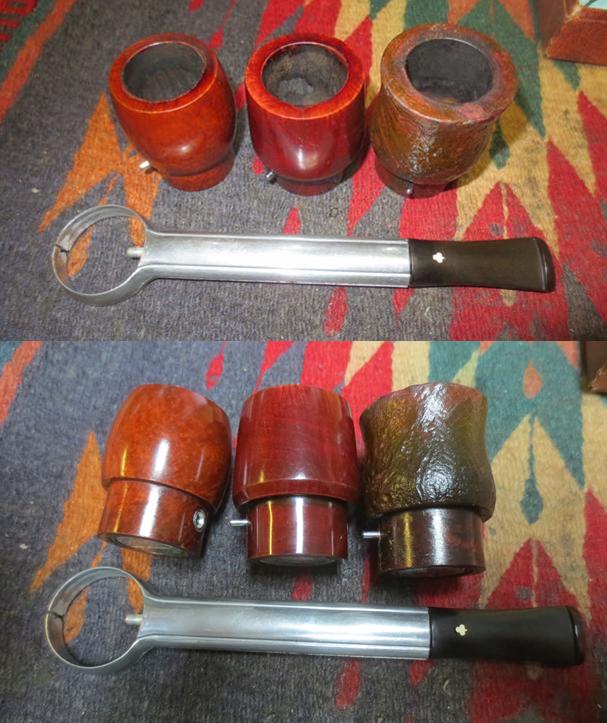
The second pipe in the lot was an Alpha freehand rusticated shape that someone had done the same hack job to the bowl was very short and held a mere thimble full of tobacco. It had thick walls on the portion of the bowl that was left so I decided to experiment. If the experiment did not work there would be no loss. I had a bowl with the shank missing and damage to the bottom side that could easily be salvaged and the two parts connected to make a new pipe. I cut off the damaged (cracked) bottom of the sacrificial bowl in preparation for the new union. I drill small holes in the top of the bowl and the base that matched each other and cut some stainless pins that would join the two parts. I glued the pins in the base and coated the surface of each part with epoxy and pressed them together until the surfaces joined. I filled in the gaps and crevices joining the two bowls with briar dust and super glue. Once everything had set I reshaped the bowl so that the joint was less visible and then rusticated the new top half to match the base. I coated the inside of the bowl sealing the area where they joined with JB Weld and when dry sanded it out with my Dremel leaving the JB Weld only in the joint. I coated the bowl with a bowl coating of sour cream and charcoal powder. I restained the bowl with a dark brown stain. Once the pipe was finished I had an interesting chimney pipe that would give many more years of service. Was this worth it? To me it was worth the education for me.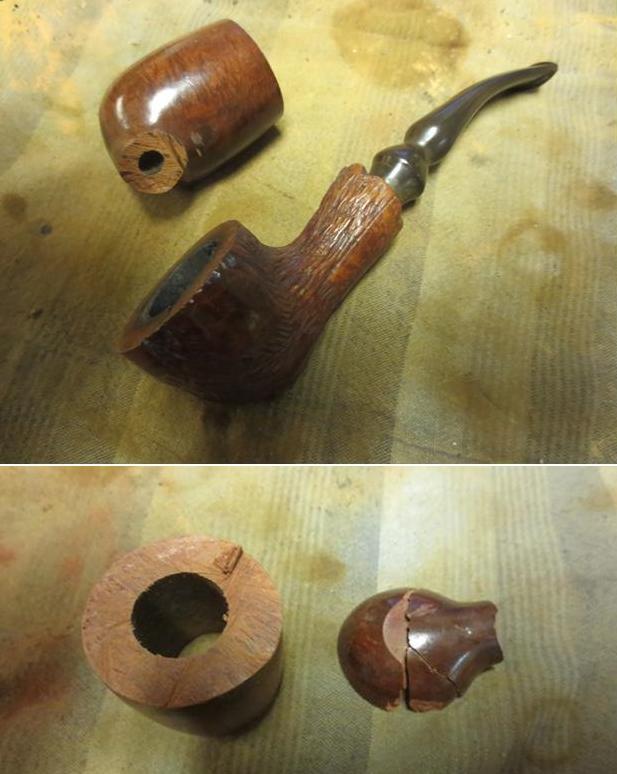
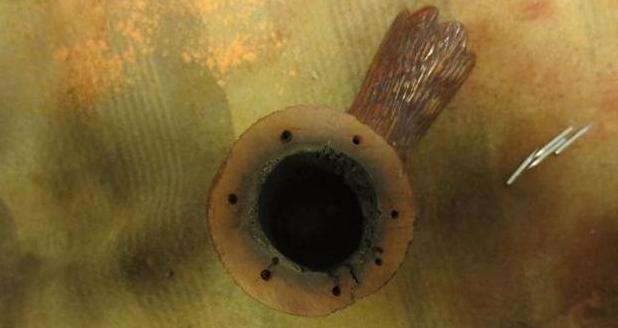
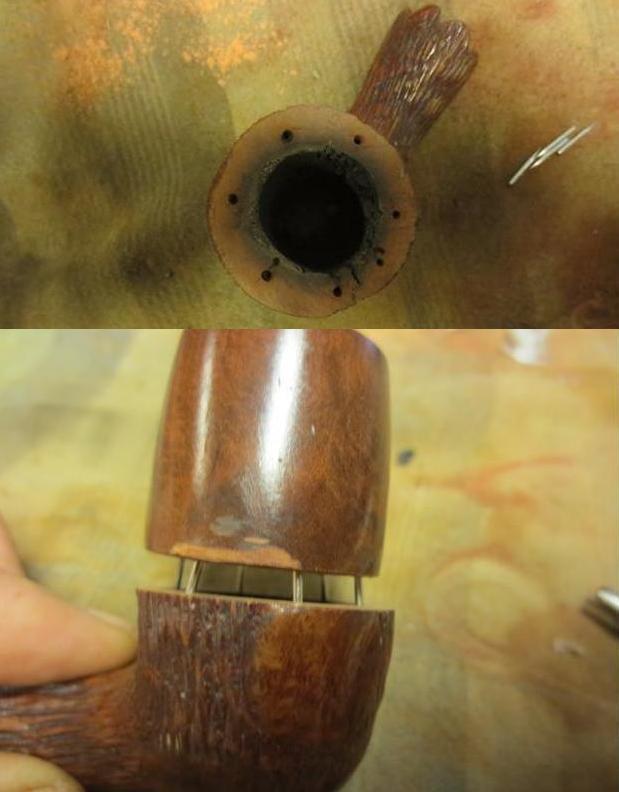
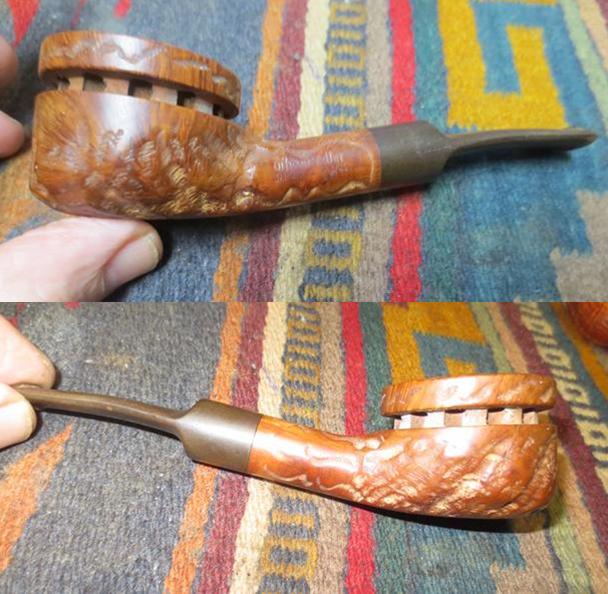
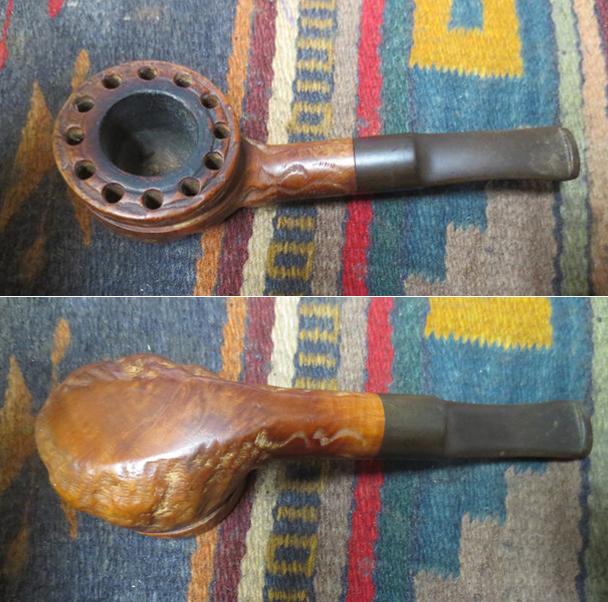
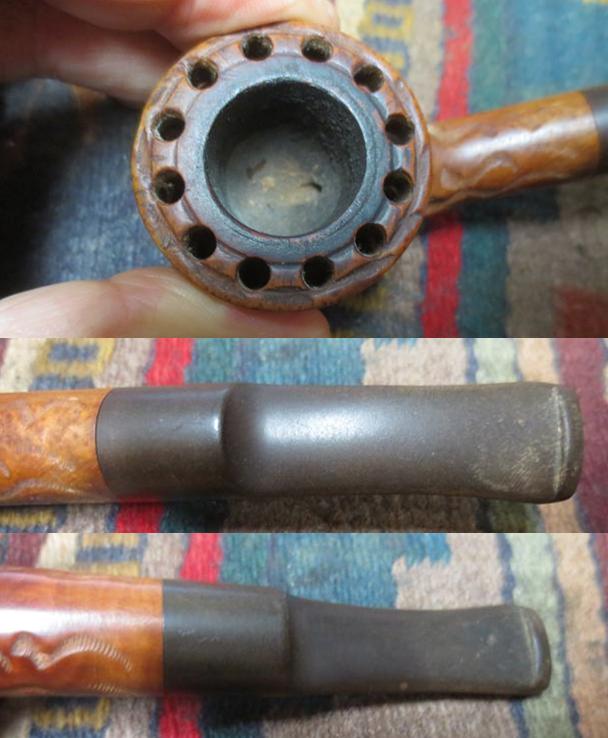
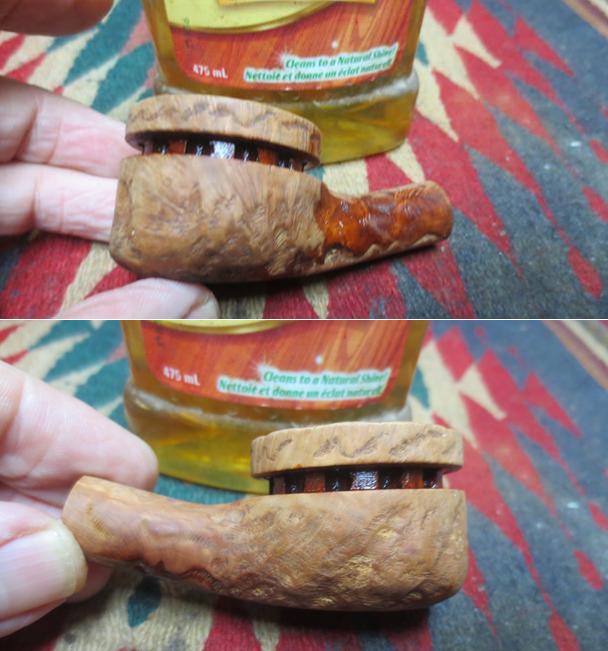
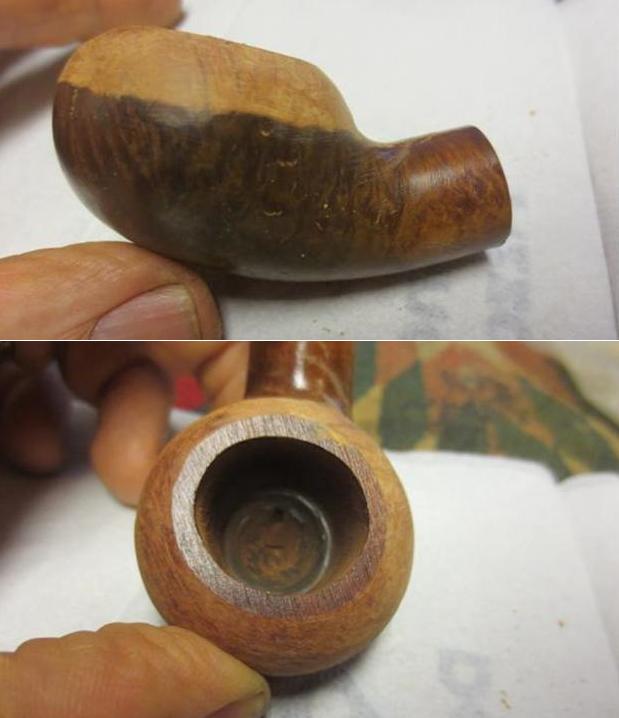
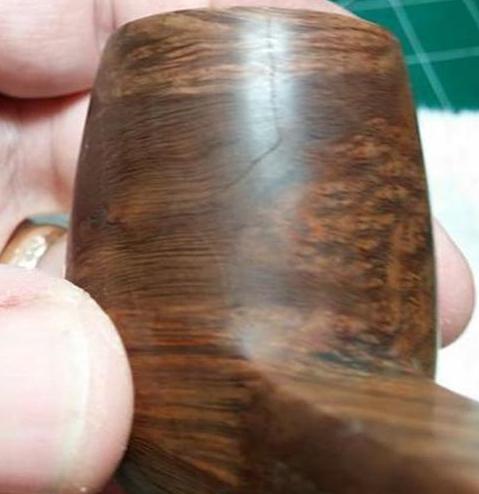
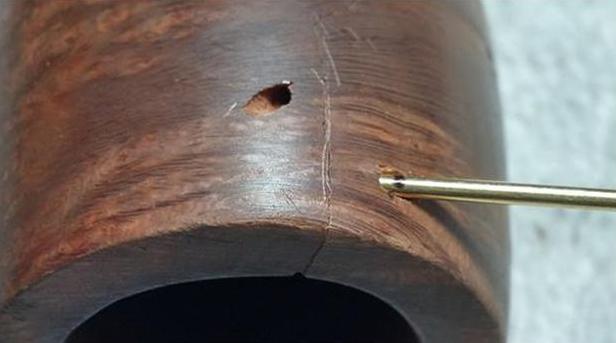
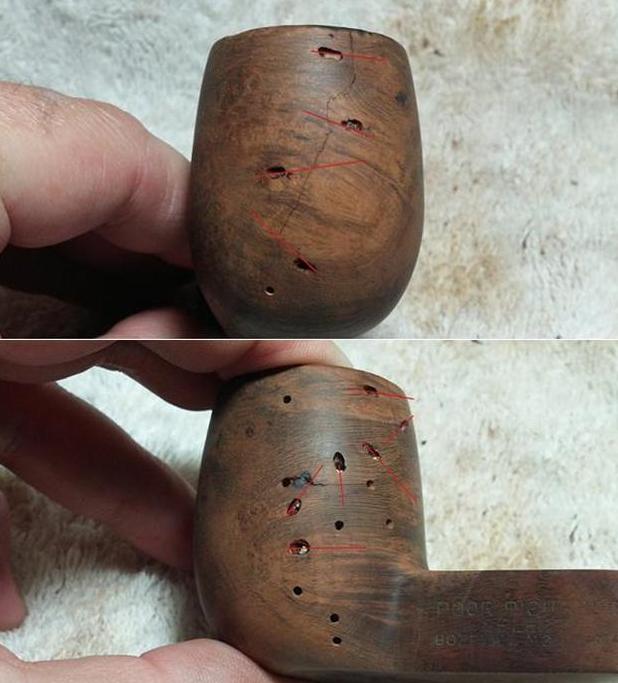
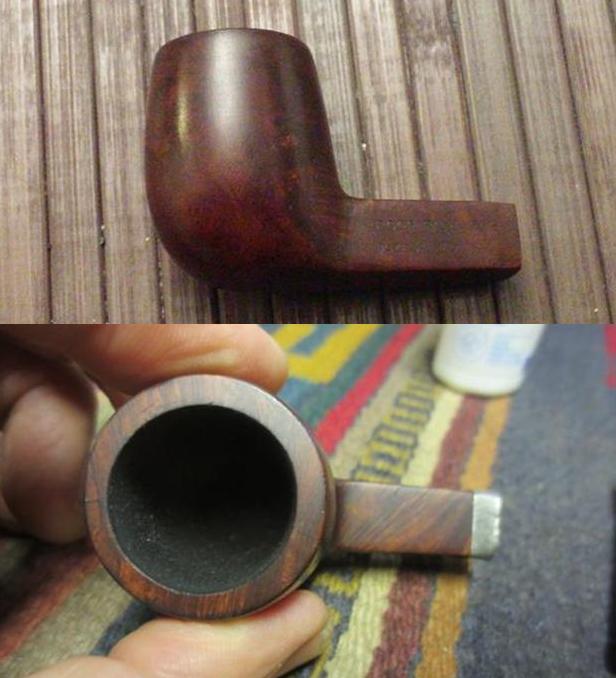
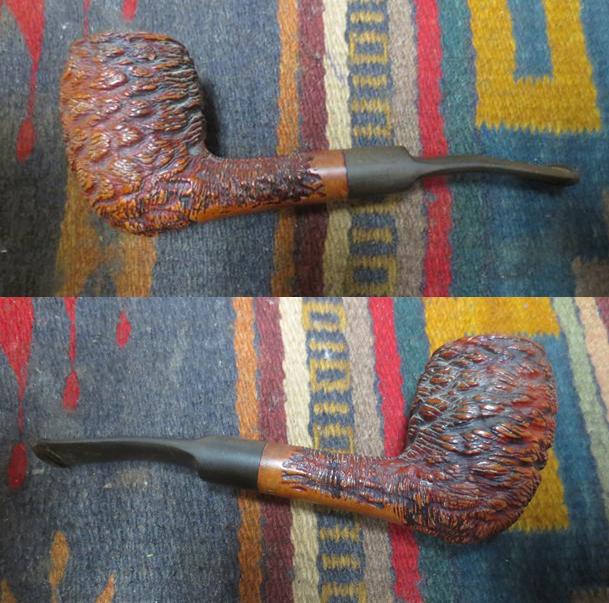
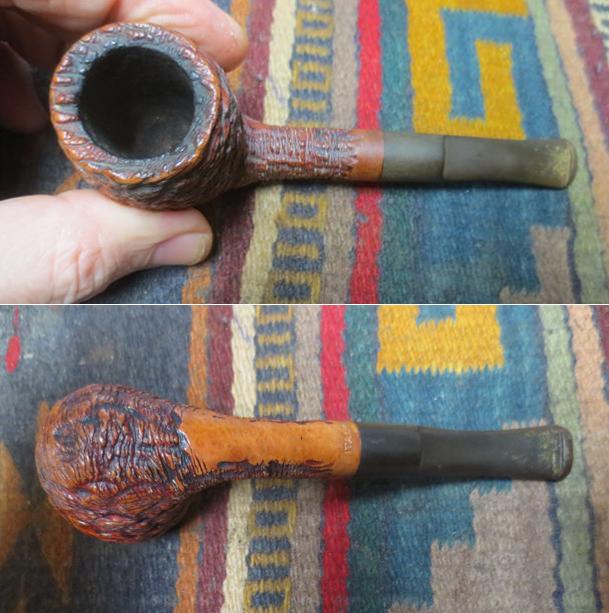
 GBD Made Square Shank Poor Richards Pipe Shop with a lot of cracks around the bowl. This one was a challenge that Charles Lemon of Dad’s Pipes Blog and I took on together. We were experimenting with the question, “When was a pipe no longer redeemable.” https://rebornpipes.com/2016/03/06/a-humpty-dumpty-cross-canada-project-could-this-poor-richards-select-square-shank-billiard-9489-ever-be-whole-again/. The pipe was one my brother had picked up that was stemless. The bowl was a mess with cracks on all sides of the bowl. Charles and I had been chatting on Skype about repairing pipes and I told him about it and we decided to make it a joint effort. Charles was experimenting with using rods to stitch a cracked bowl back together again and this was just the one to do that on. He drilled angled holes on each side of the crack and pushed a rod through. The angles of each set of holes was drilled in opposition to the previous one so that it acted to pull the crack together. The next series of photos show the process of stitching the bowl together, filling in the holes and refinishing the bowl.

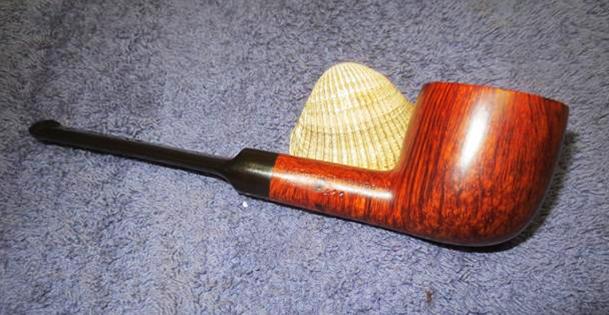
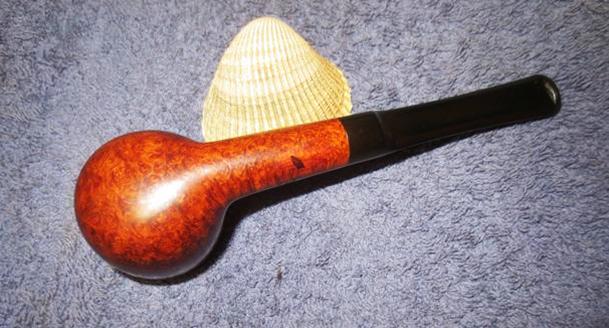
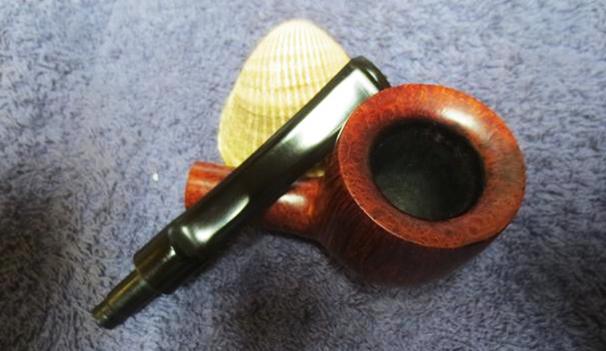
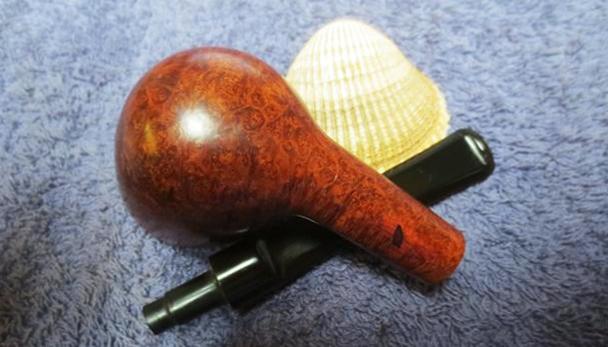
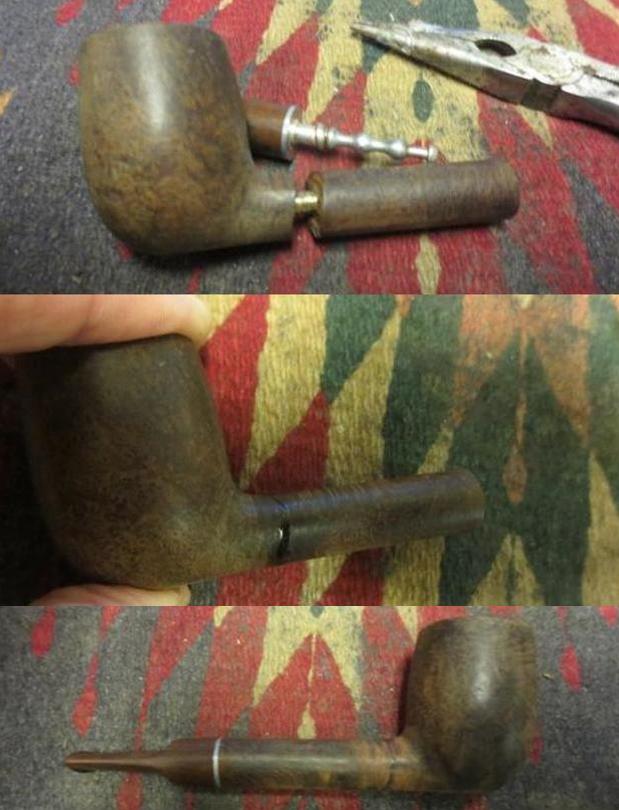
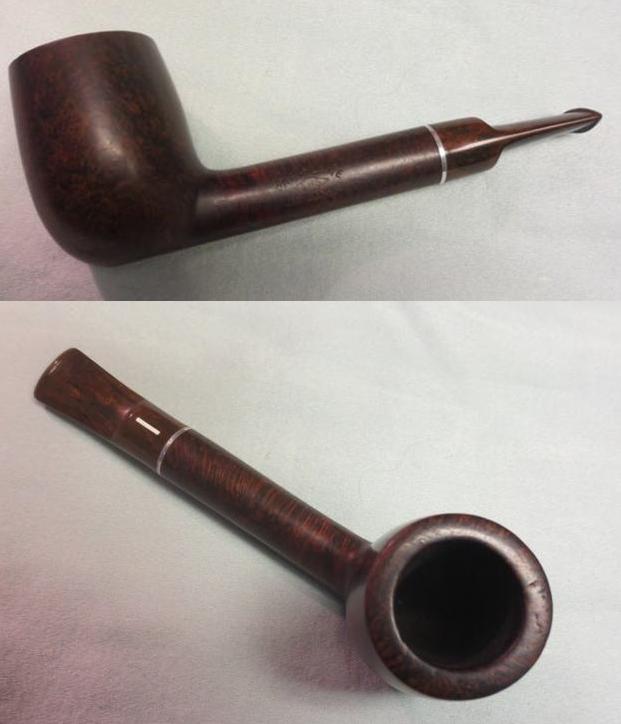
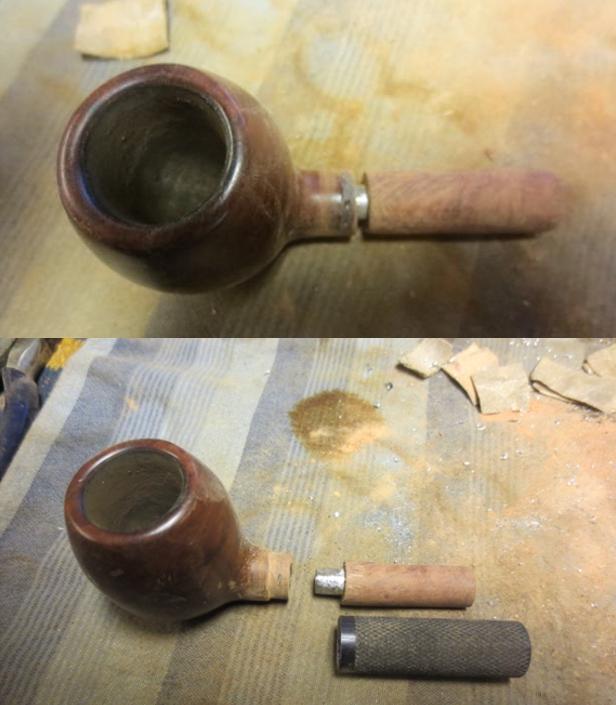
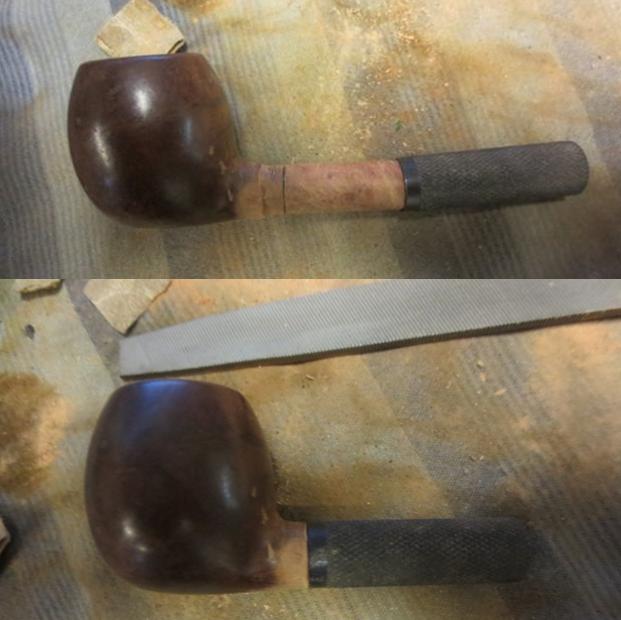
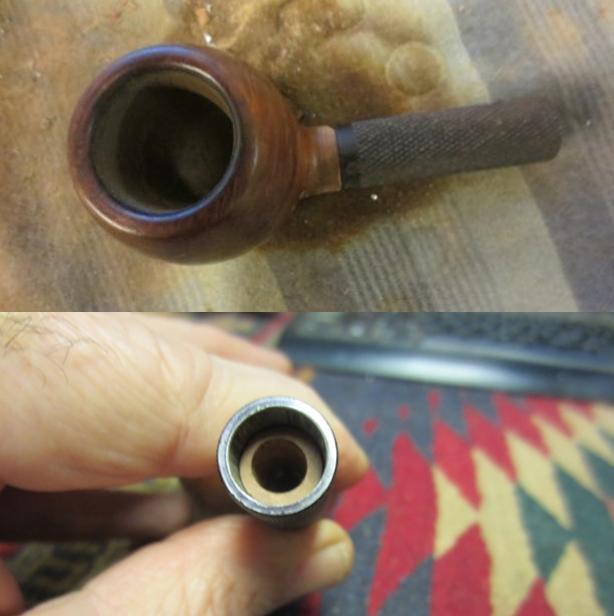
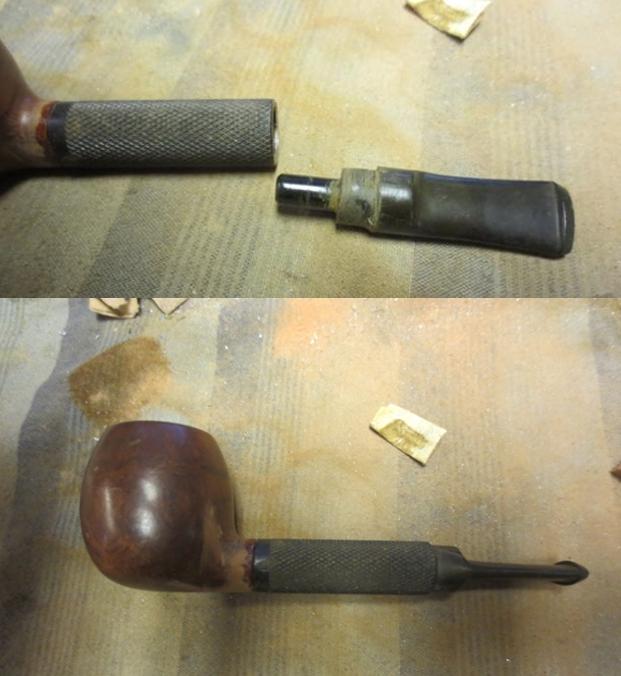
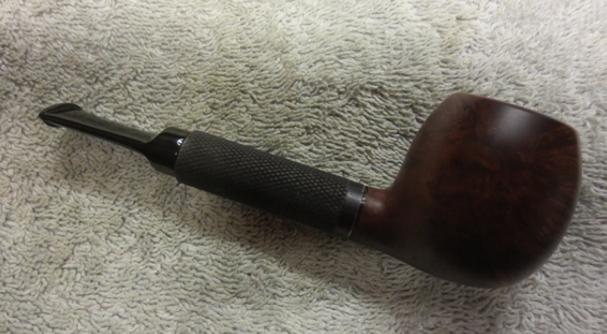
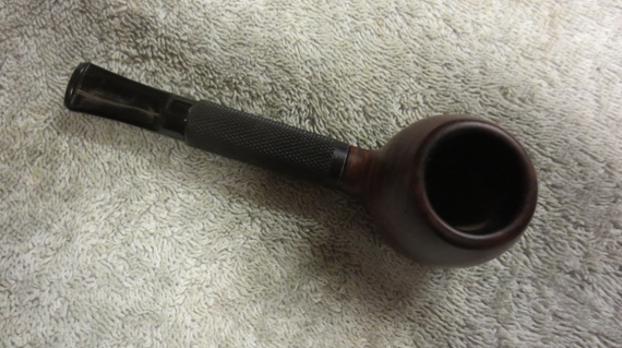
 Putting the shank back on a broken LHS Park Lane DeLuxe — Lovat 12. The next one was a fun pipe to work on. It was one that I would have thrown in the bin for parts in the past. The shank was completely broken off leaving a short section on the bowl. I liked the look of the Cumberland stem and the Lovat is one of my favourite shapes so I figured it was worth a try. You can read the details on the blog here: https://rebornpipes.com/2015/09/29/repairing-a-broken-shank-on-an-lhs-park-lane-de-luxe-lovat-12/ I cleaned up the broken ends of the shank and bowl and used a brass tube to insert, glue and bind the two parts together. I filled in the gaps in the crack with clear super glue and briar dust to make things smooth. The crack virtually disappeared into the grain once I stained the pipe with a dark brown stain. The finished pipe is shown in the last two photos. The repair has held up for several years now without any sign of the joint failing.
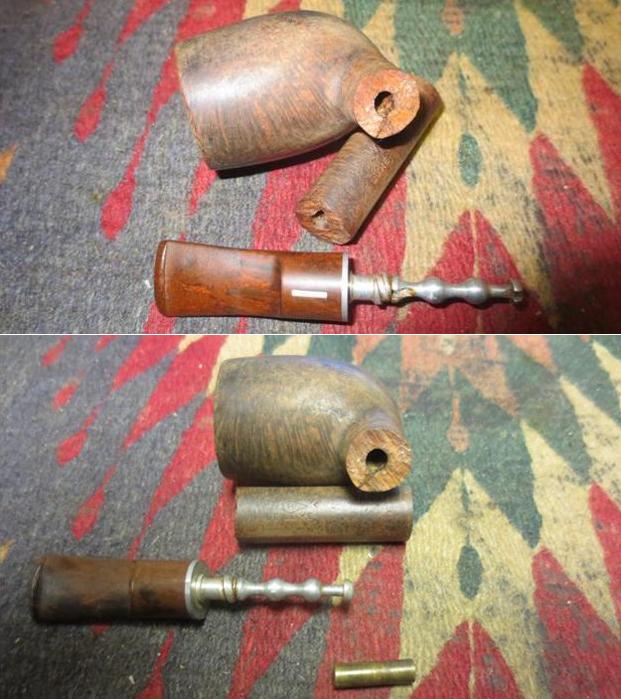
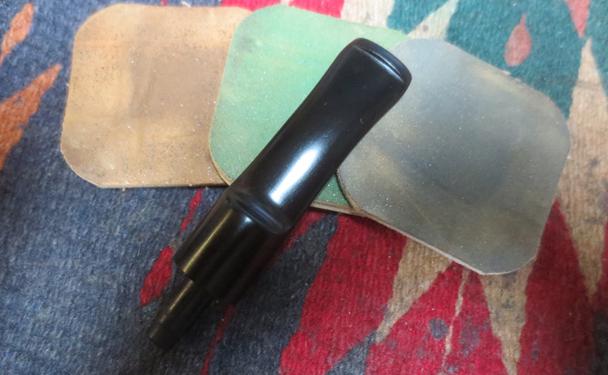
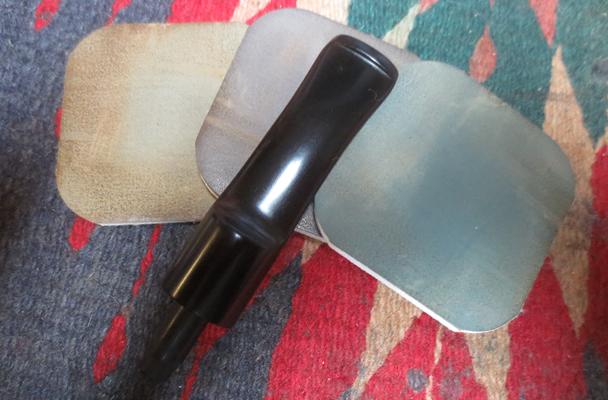
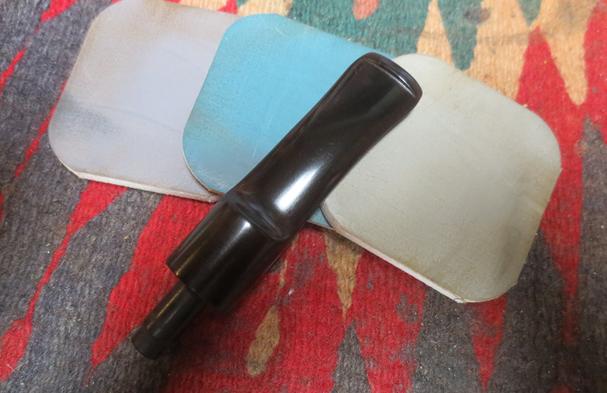
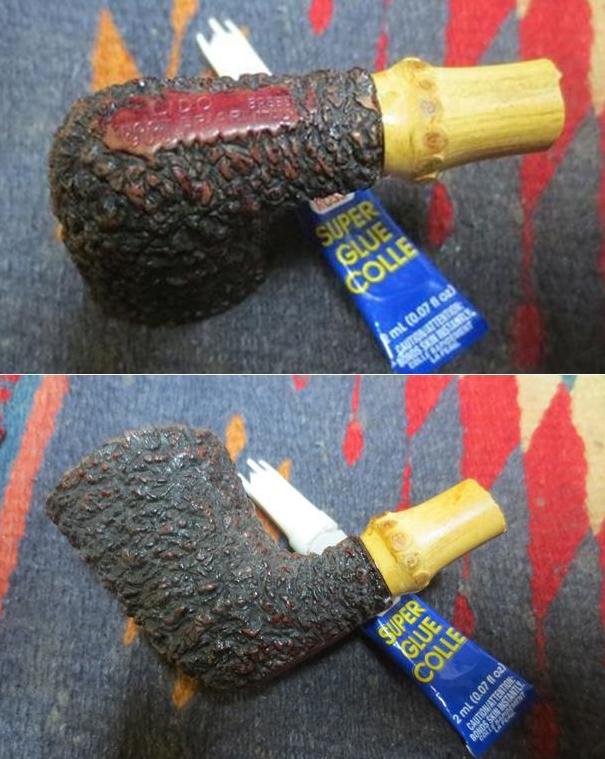
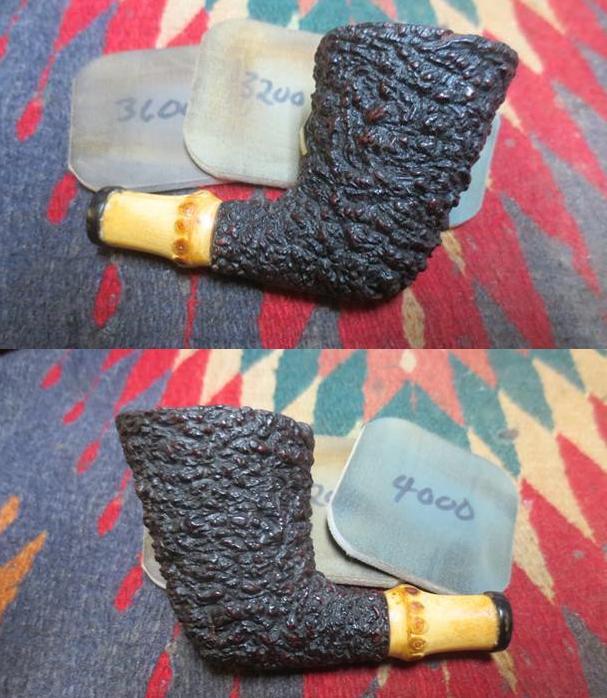
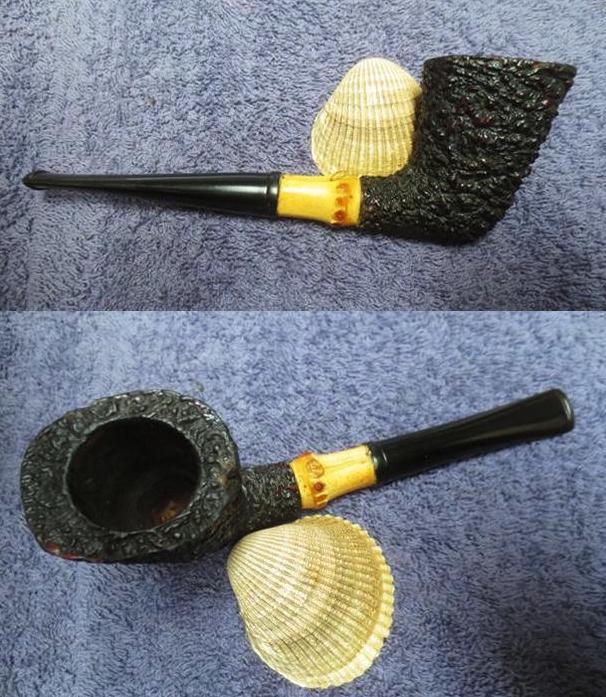
 Crafting a Frankenpipe from a cut off Brebbia Lido Bowl and a piece of bamboo. The next example is a Brebbia Lido that my brother picked up on one of his trips. Someone had glued a stem in the shank and the shank itself had been cut off crooked so the entire pipe curved toward the right. The short shank also did not work well with the stem that had been put on the bowl. We removed the stem during the cleanup process and cleaned off the glue and crud in the shank. It looked like another broken pipe but I thought that the shank had enough length that a piece of shank could be added. I checked out the look with a piece of briar, acrylic and bamboo. The bamboo worked for me the best. I used a topping board to square up the shank end on the Lido and both ends of the piece of bamboo. When I put the two together the junction was smooth and tight. I joined the bamboo to the shank of the pipe using a piece of Delrin tenon that I glued into the shank first and then into the bamboo. I filled in the small gaps around the joint with super glue to seal it tight. Once it had cured, I glued a drilled out acrylic button on the end of the bamboo to keep it from fraying or splitting when the stem was in put in and taken out repeatedly. The longer stem worked well with the rustication and the bamboo the contrast of finishes and colours made the pipe a beautiful addition to my rack. What had been a throwaway was rescued and given a new look. It is now a pipe that I enjoy smoking. If you wish to read more about the process, I have included the link to the blog on the restoration of the pipe. https://rebornpipes.com/2017/10/09/another-frankenpipe-salvaging-a-lido-root-briar-dublin-bowl/
 Crafting another Frankenpipe from a broken shanked apple, a piece of briar and a metal tube. The final example is another broken shanked apple. It was a no name pipe with a nice shape on the bowl and a jagged broken shank. I decided to take a totally different tack on this one. I had an old metal flashlight tube that had a cross hatch pattern on the metal. It was an open tube. I had a sacrificial pipe that had a long shank that I cut off and used to make this more of a Lovat style apple. I wanted a pretty indestructible pipe to use while I was working in the yard or the garden. I cut off the broken shank on the apple and topped it to square it up. I turned the other shank that I was using so that it would fit into the metal tube and allow me to use the mortise for a new shorter stem. I joined the bowl and the shank with a piece of stainless tubing. I scored the tubing and epoxied it in the bowl end first then added the shank end to it. Once it cured I used a file to step down the end of the shank on the bowl end so that the tube would fit closer to the bowl staggering the new joint and giving it more stability. I pressed the metal tube on the shank piece until the end was flush with the briar of the bowl. I filled in the gaps with clear super glue to make the transition seamless. I wanted the transition between the metal and the stem to be seamless so I stepped down the end of the stem just past the tenon to sit inside the metal tube. I restained the bowl and polished the vulcanite and the pipe was ready to smoke and it was pretty indestructible. This is yet another example of the lengths that I will go to salvage a pipe that I like or that I see promise in. Here is the link to the blog if you would like to read about the process in detail. https://rebornpipes.com/2015/02/07/pipe-resurrection-from-a-broken-shank-to-another-frankenpipe/
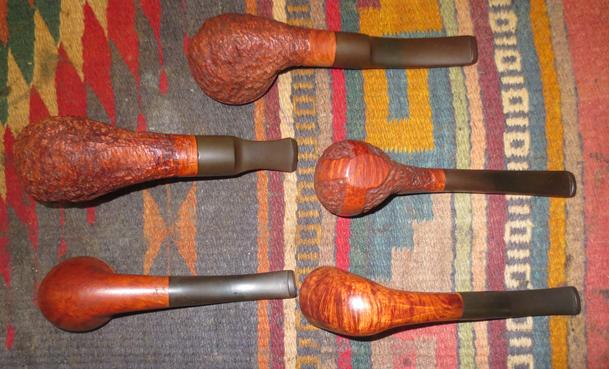
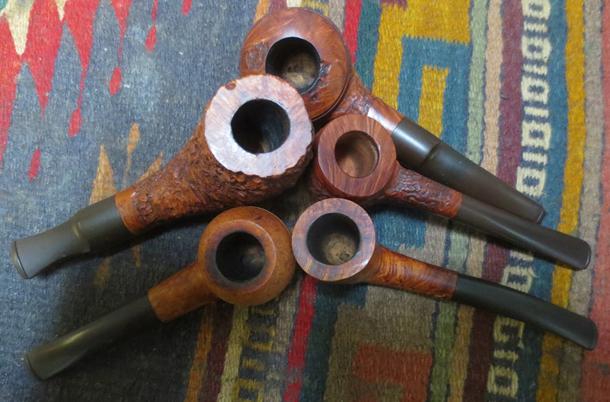
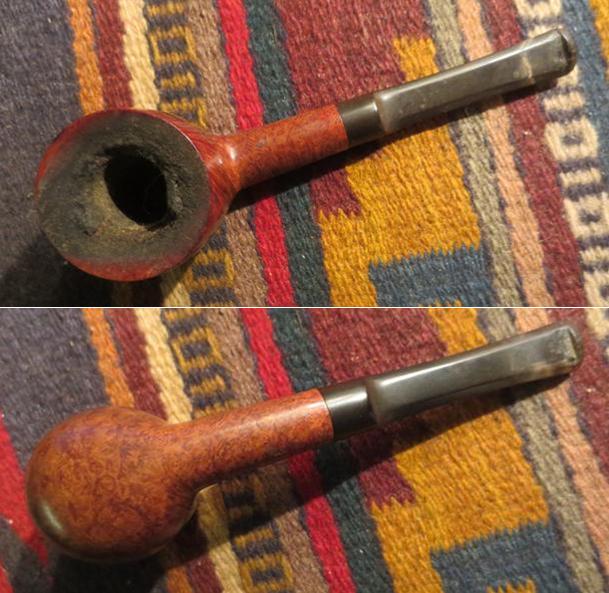
 Looking at the various examples above of pipes that have crossed my worktable you can see how I chose to answer the question, “How badly do you want to keep this pipe?” or “How much work are you willing to put into this pipe?” In each case, my decision was that the pipe was worth saving and investing time in whether it was for the sake of repairing a beautiful old pipe or for learning new skills that I could use on other pipes that came to my desk. The decision was not quick or foolish it was made with full awareness of the extent to which I would have to go to bring the pipe back to useable condition. With that I bring this Answers to Questions blog to a close. I hope that this installment has been helpful to you. Have fun crafting what you can out of the broken pieces of the pipes that come your way. Think hard before you throw the pipe in the fire and look beyond the pieces and see if you can imagine a way to make it work. Thanks for reading.

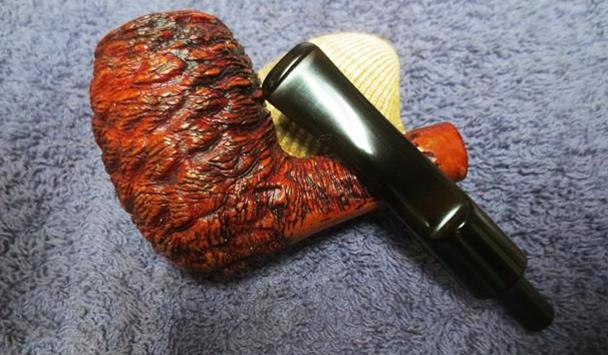
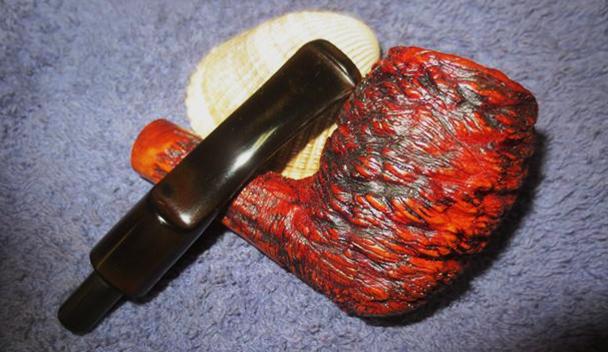
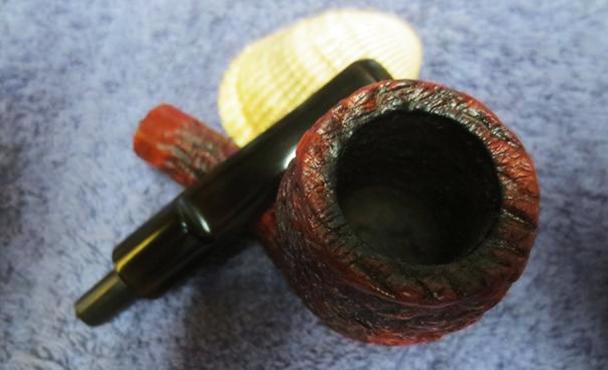
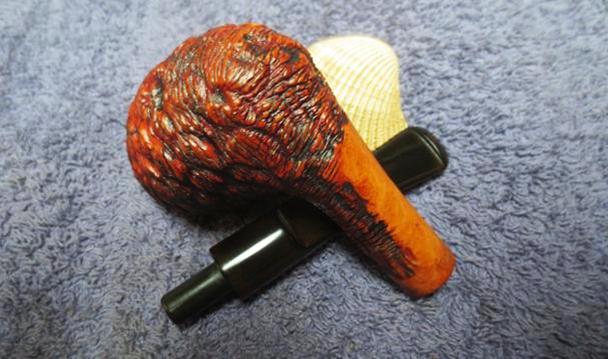
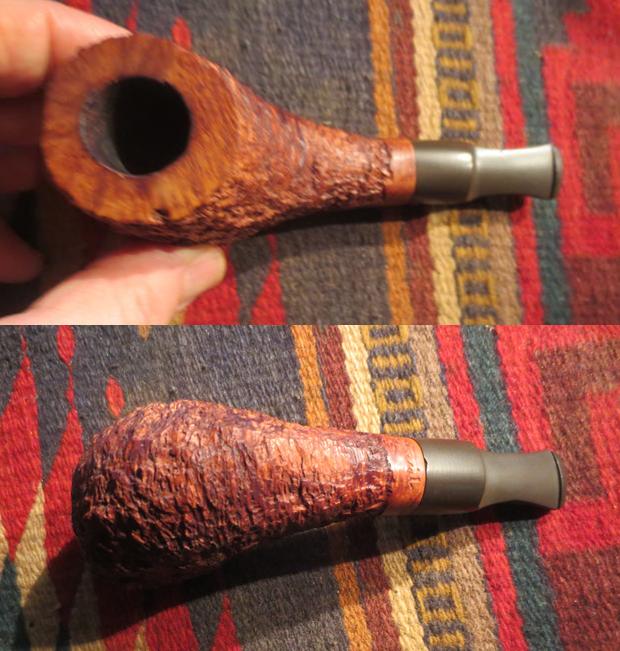
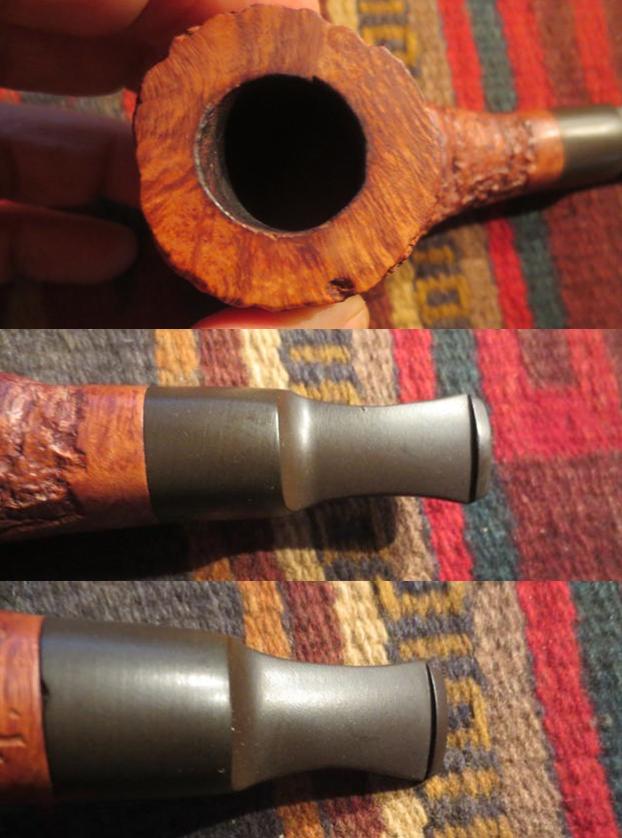
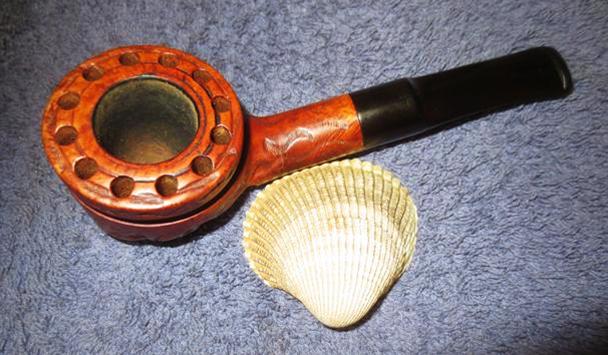
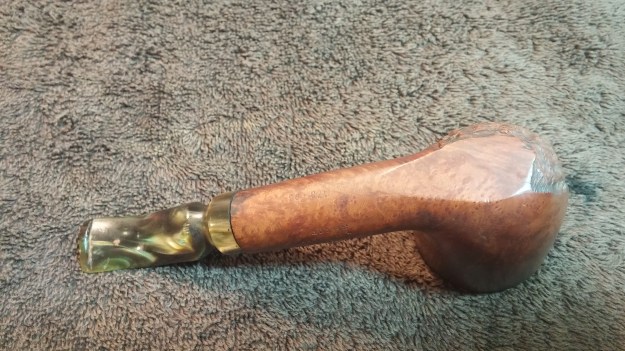
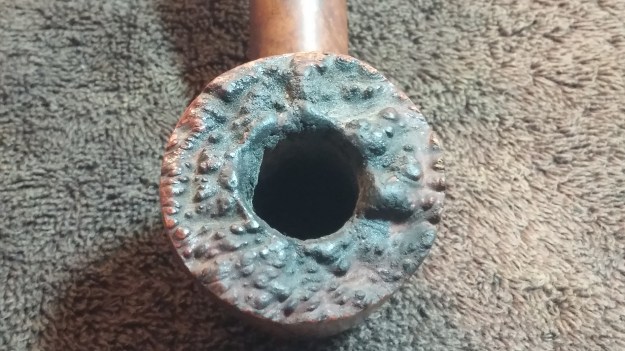
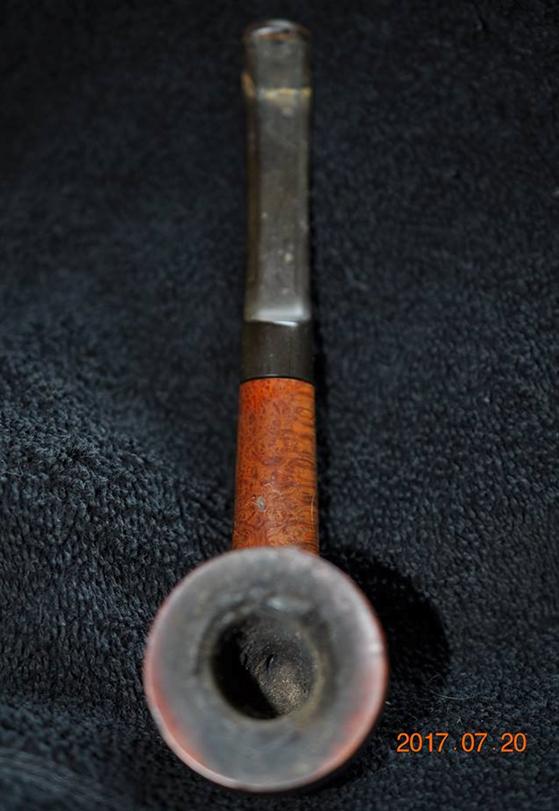
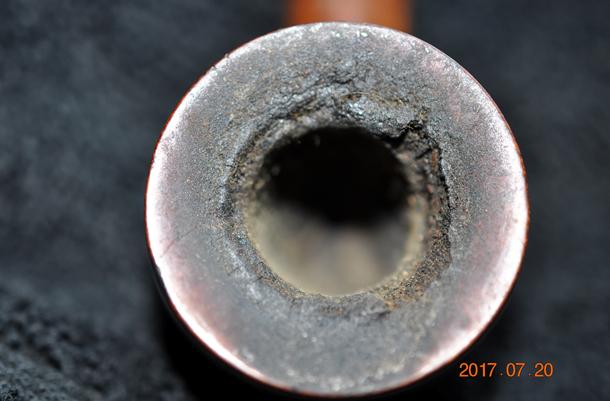
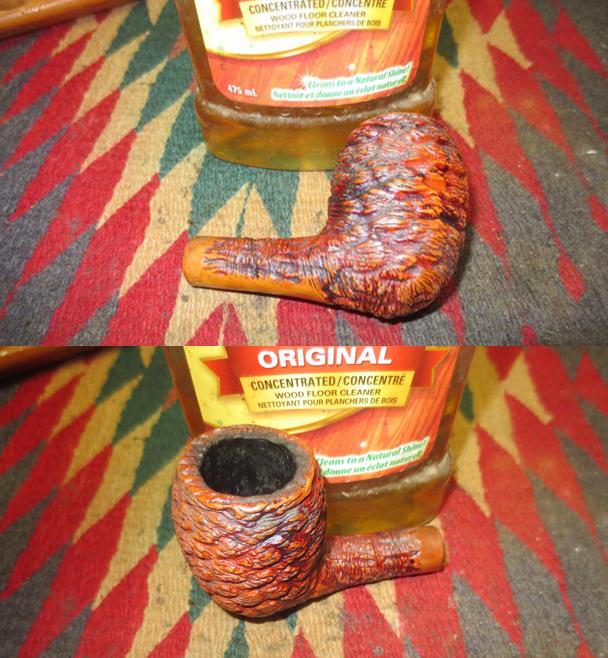
 I took a close up photo of the rim top to show the lava build up and the light cake in the bowl. Mark kept the pipe relatively clean in terms of the cake. It appeared that the bowl had been reamed not too long ago. There were some remnants of the cake in the bowl. The rusticated rim top had some lava deep in the grooves of the finish. The edges of the rim looked to be in good condition. I took some close up photos of the stem to show the condition of both sides. The stem was oxidized and showed tooth chatter and light tooth marks on both sides near the button.
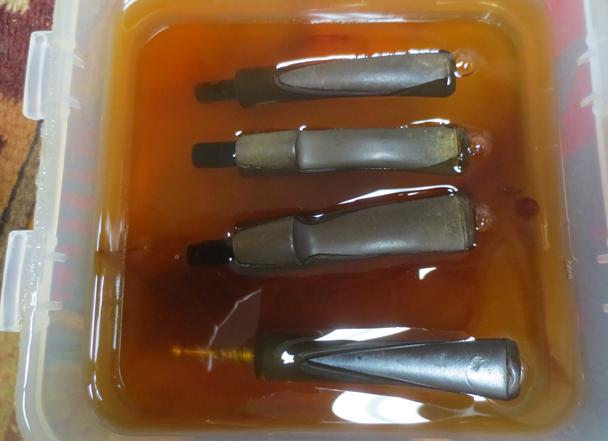
 I added this stem to the other three stems that I put in the Before & After Pipe Stem Deoxidizer. I pushed them under the solution and left them to soak overnight.
 While the stems were all soaking I turned my attention to the bowl. I scrubbed the grooves and rustication on the rim top with a brass bristle brush to break up the tars and lava. I followed that by cleaning the surface of the briar with Murphy’s Oil Soap to clean off the dust and grime that sat on the surface. I scrubbed the surface with a tooth brush and rinsed it off with running water. I dried the bowl and shank off with a soft cotton towel. I took photos of the cleaned Italian pipe with the sea rock finish. It actually looked really good. The rim top still needed work but it looked better.
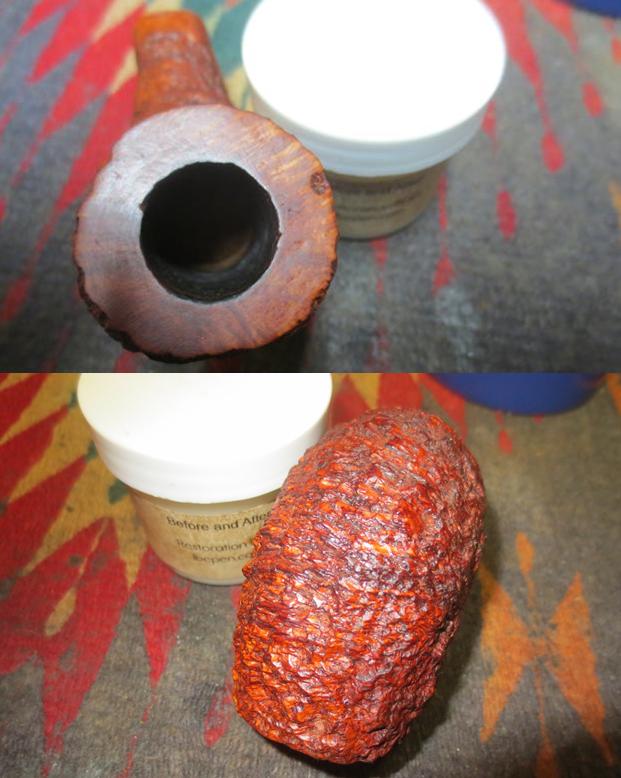
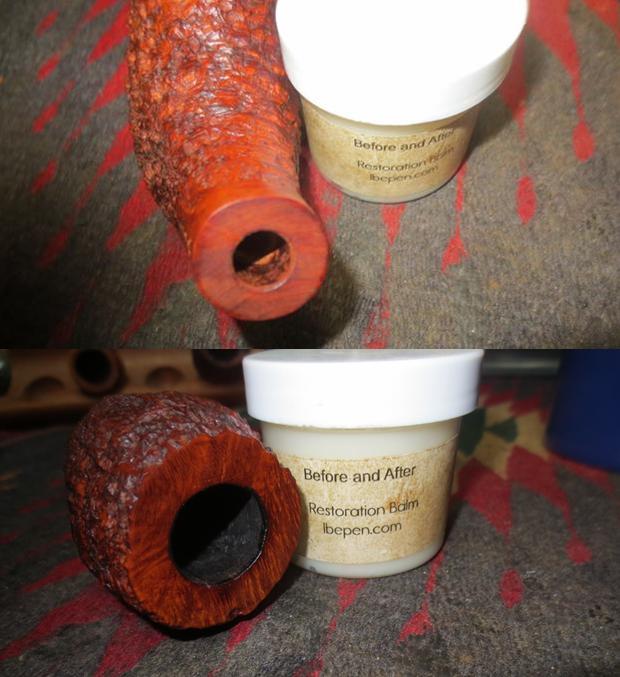
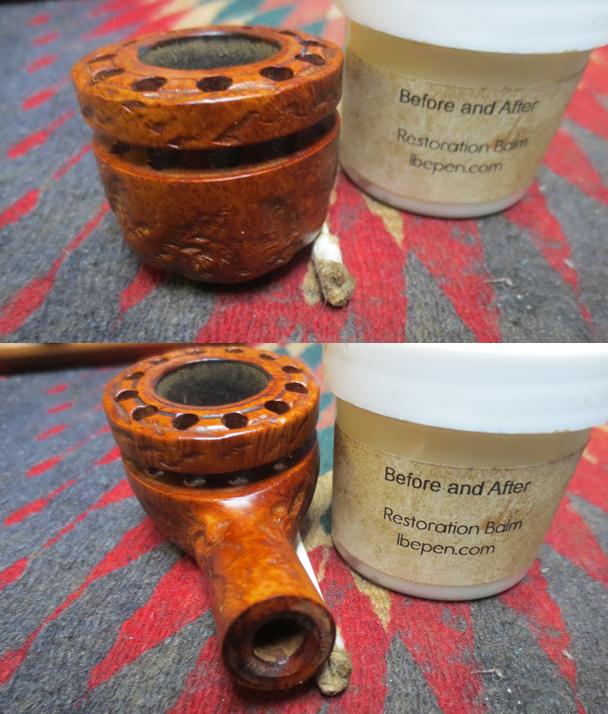
 I cleaned up the inside of the bowl to remove the remaining bits of cake on the walls and the bottom of the bowl with a Savinelli Fitsall Pipe Knife.
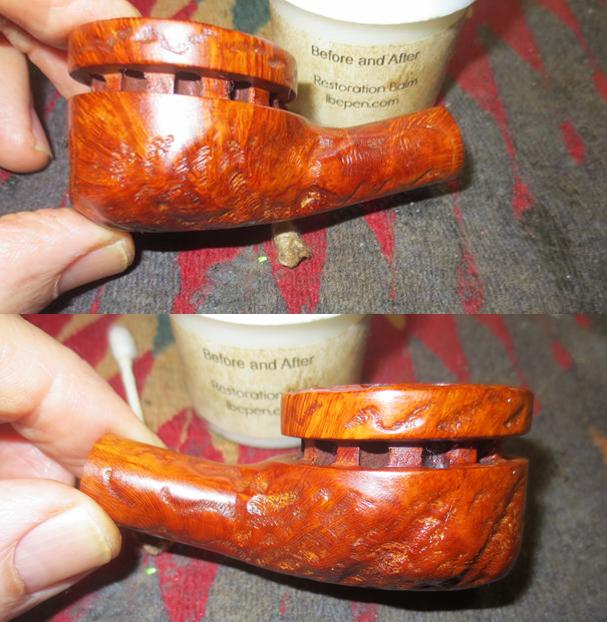
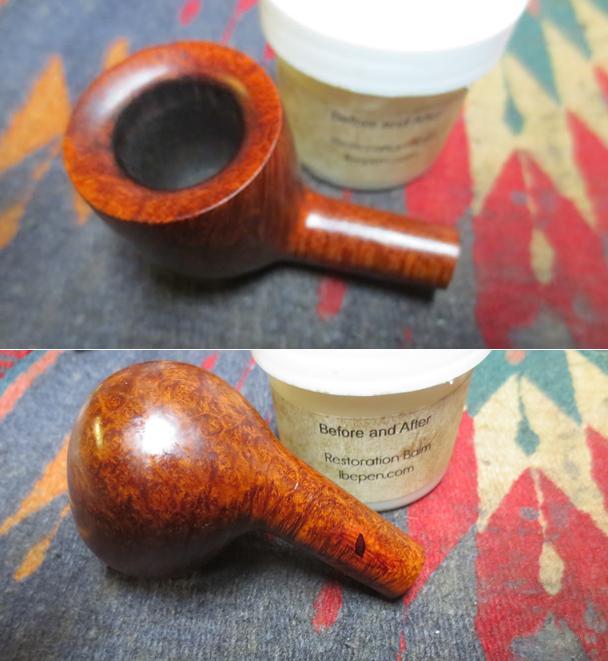
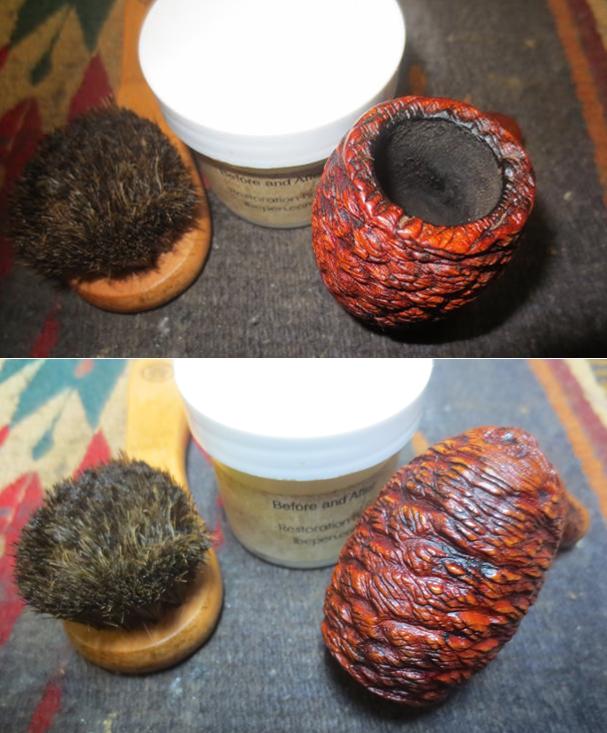
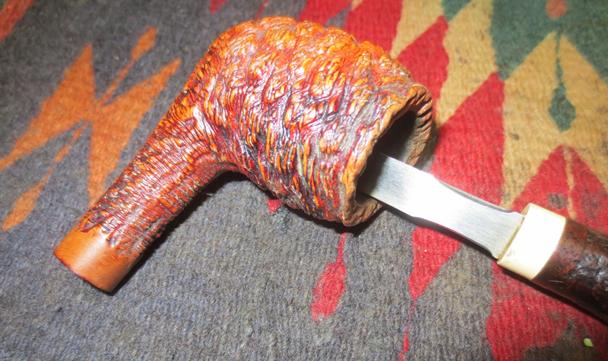 I worked some Before & After Restoration Balm into the surface of the briar with my finger tips to deep clean the finish, enliven and protect the wood. I used a cotton swab to work the balm into the grooves in the rustication. I let it sit for a few minutes and then buffed it with a cotton cloth. The wood came alive and the grain had begun to show through at this point and there was a rich shine to the briar. I took some photos of the bowl at this point to mark the progress in the restoration.
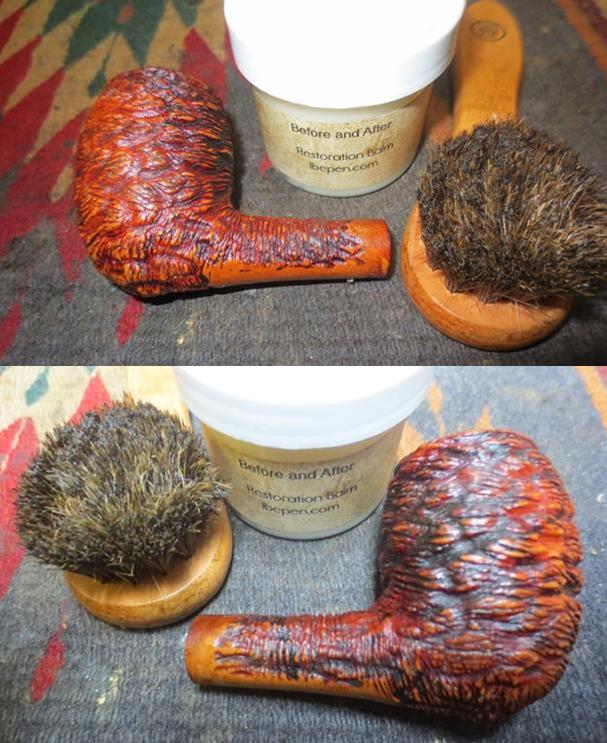
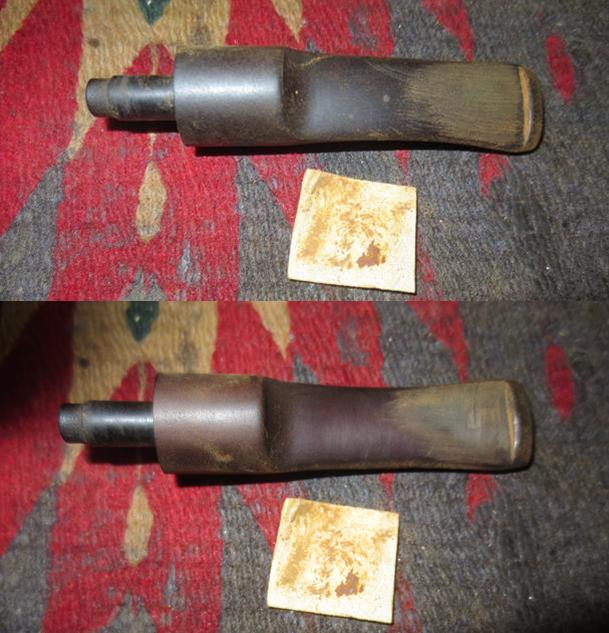
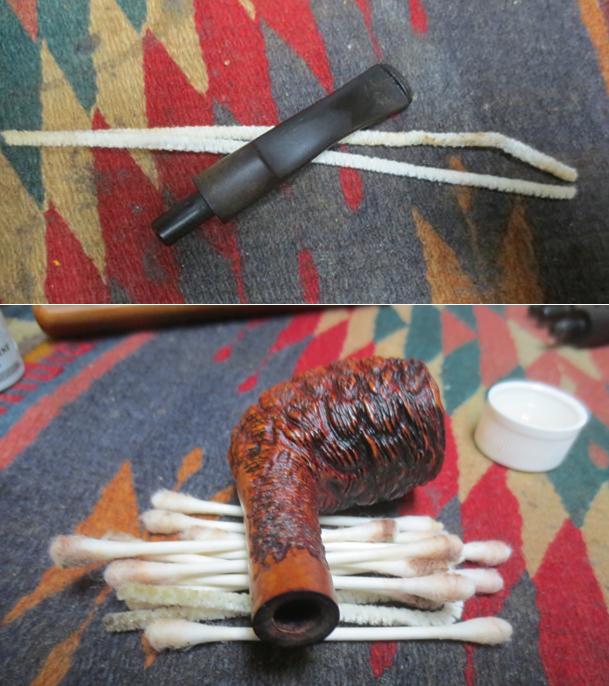
 I set the bowl aside and called it a night. The bowl was ready other than touching up the cleaning of the shank. In the morning I removed the stem from the Before & After Stem Deoxidizer and wiped it off with a paper towel to remove the remaining oxidation and bath. I cleaned out the airway with pipe cleaners and alcohol until it was clean. I cleaned out the shank with alcohol, pipe cleaners and cotton swabs at the same time to remove any debris that remained inside. The stem was clean and there was still some oxidation on the surface with some scratching, tooth chatter and marks. It was ready to be sanded and polished.
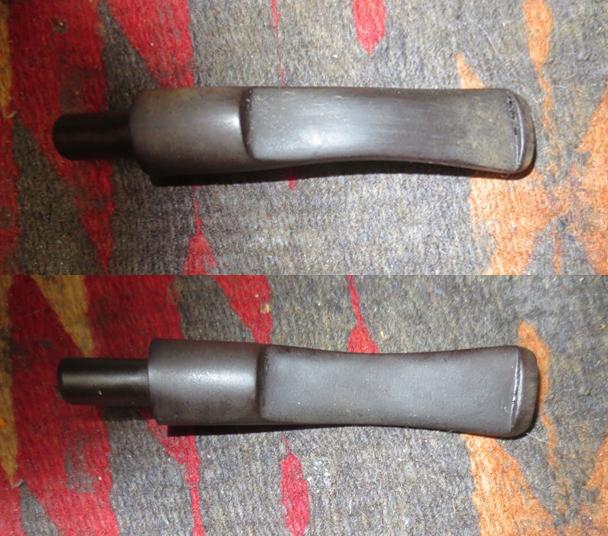
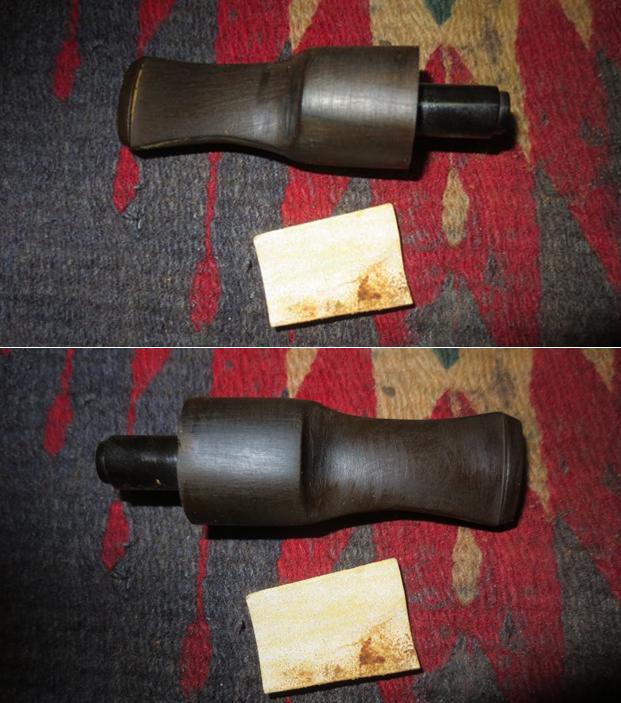
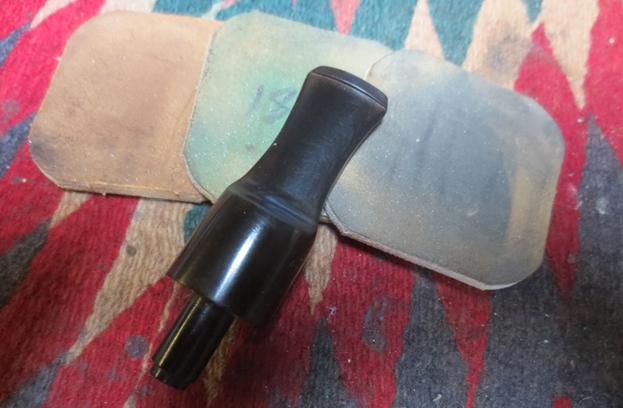
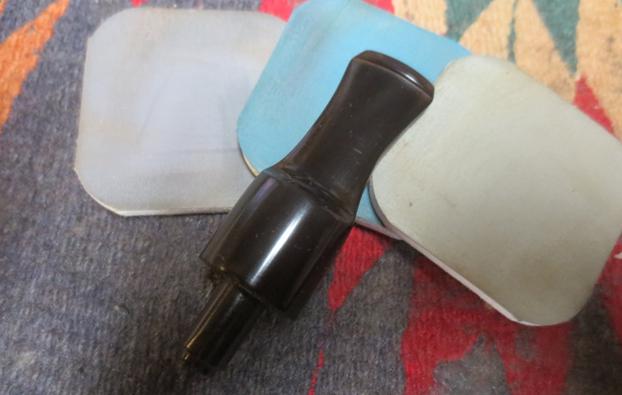
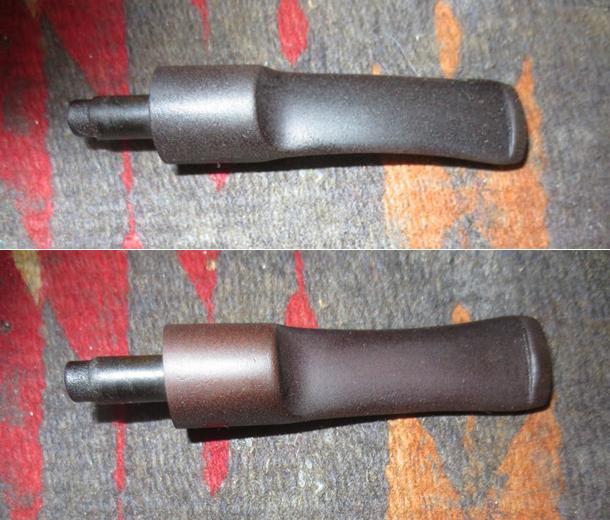
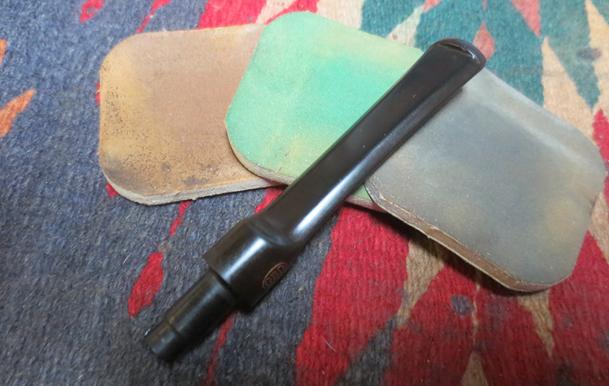
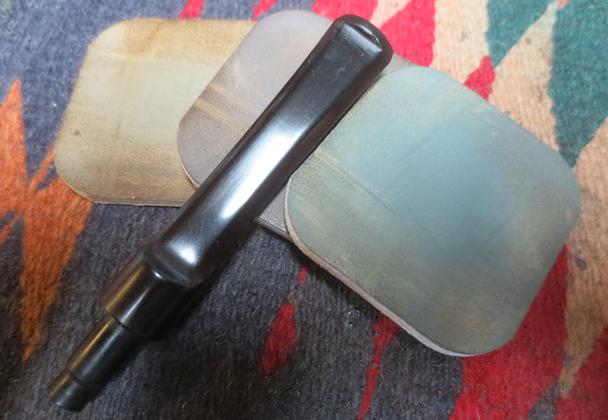
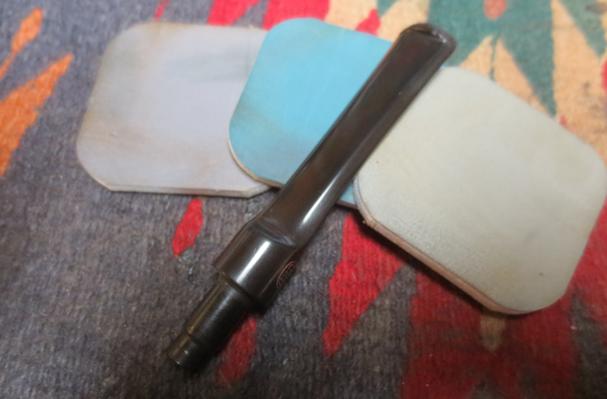
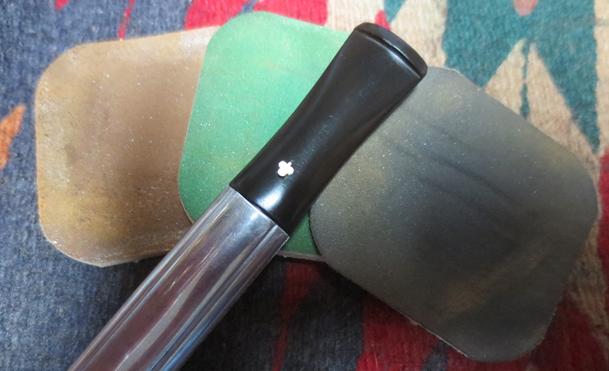
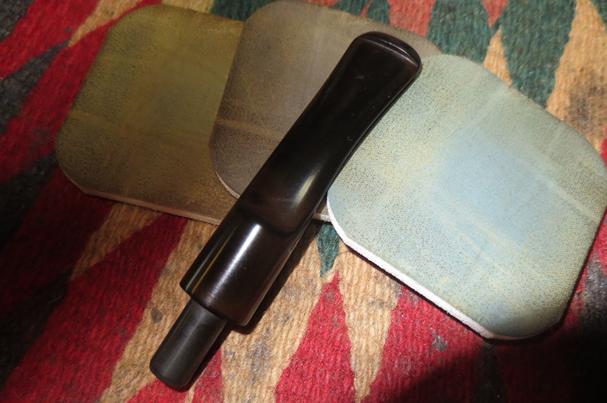
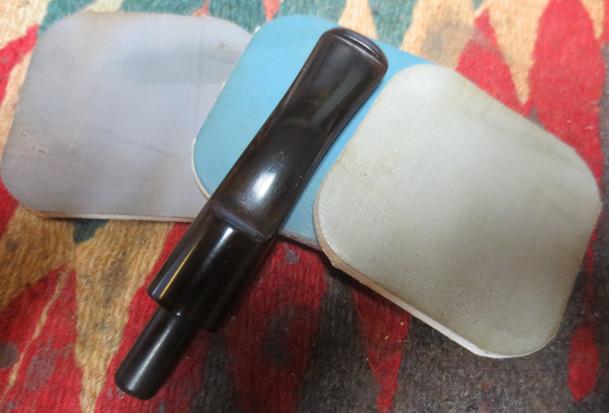
 I sanded the stem to remove the scratching and tooth chatter. I heated the stem with a Bic lighter to lift the light tooth marks. The heat smoothed out the surface enough that I was able to sand out the rest of the remnants of the marks.
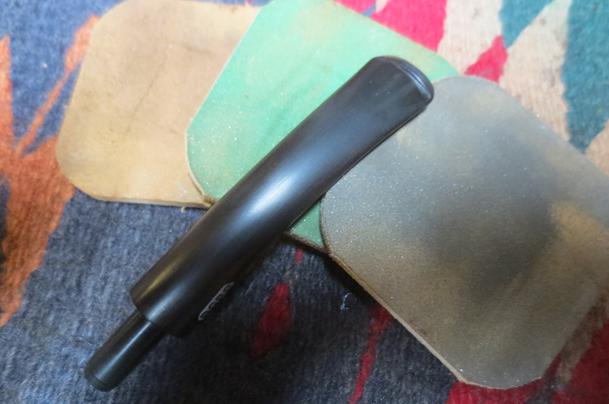
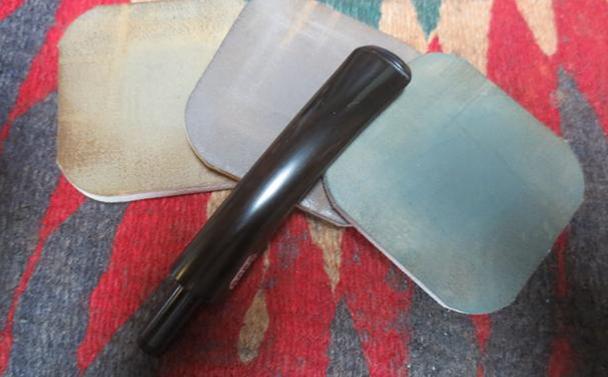
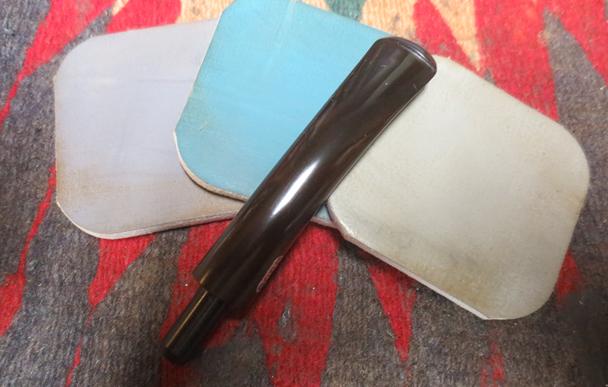
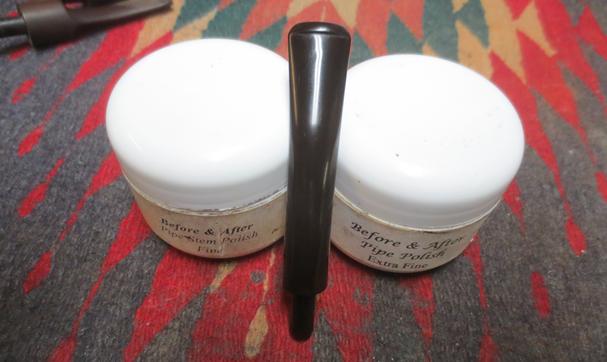
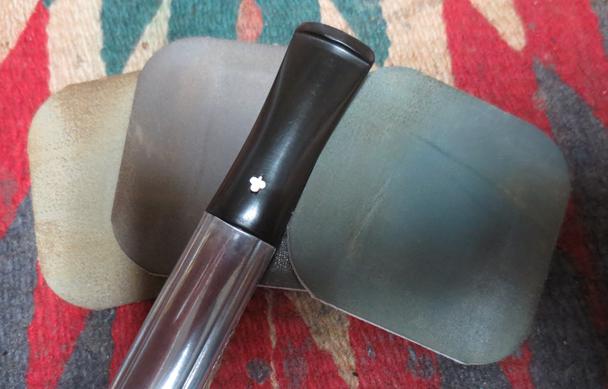
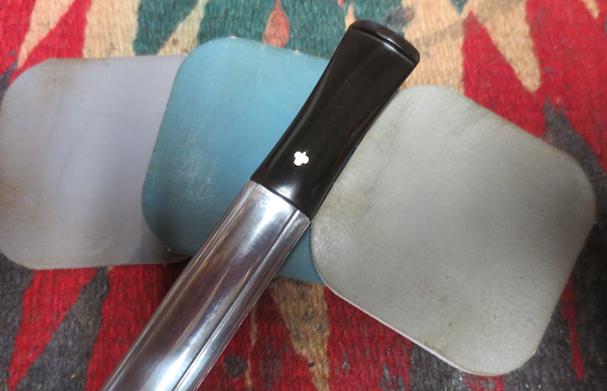
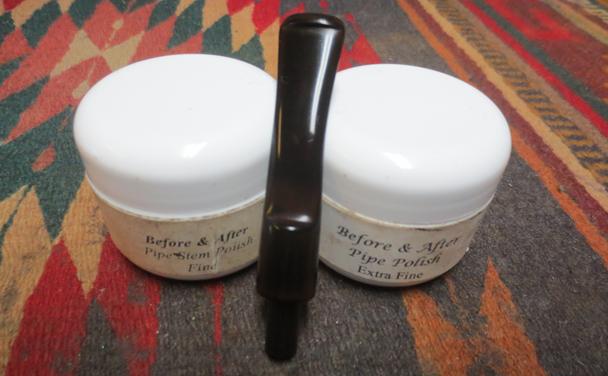
 I worked over the stem with micromesh sanding pads. I polished out the sanding scratches and marks in the vulcanite – wet sanding it with 1500-2400 grit pads and dry sanding it with 3200-12000 grit pads and wiped it down with Obsidian Oil after each one. When I finished with the 12000 grit pad I gave it a final coat of oil and let it dry. Once it had dried, I polished it with Before & After Pipe Stem Polish Fine and Extra Fine. I rubbed it down with final coat Obsidian Oil and took the following pictures.
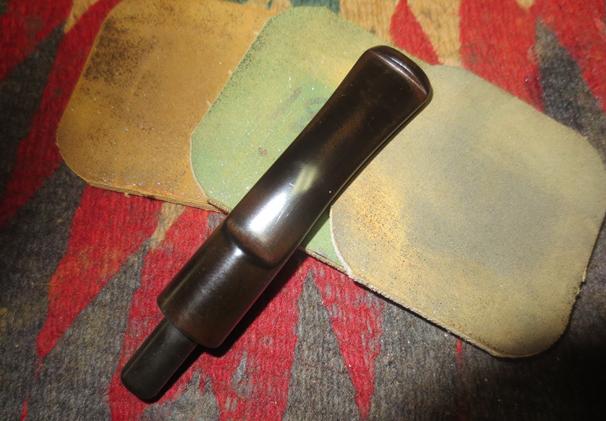
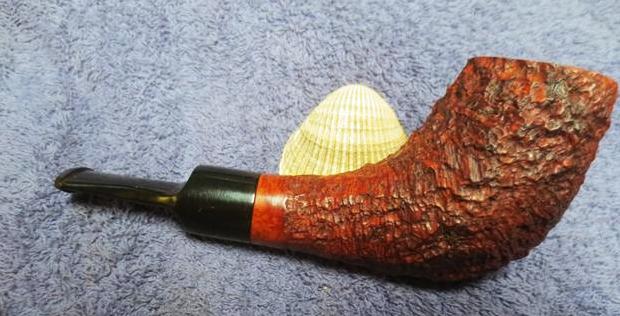
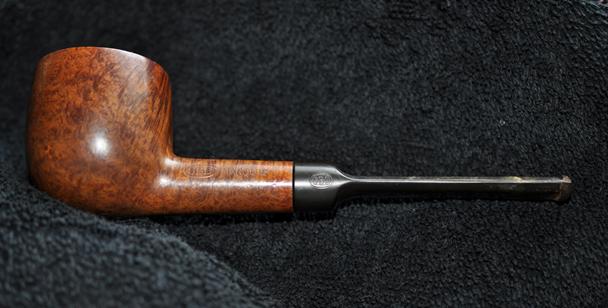
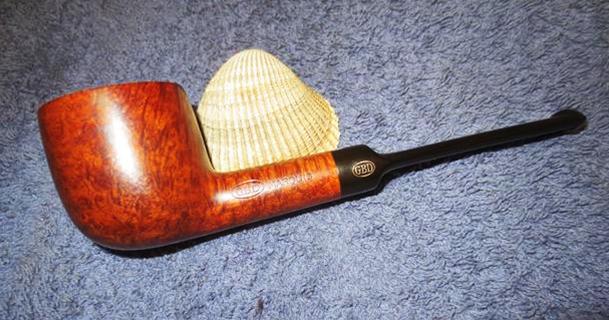
 I put the stem back on the bowl and took the pipe to the buffing wheel to work it over. I buffed the bowl and stem with Blue Diamond to polish them. I gave the bowl and stem multiple coats of carnauba wax. I buffed the entire pipe with a clean buffing pad to raise the shine. I hand buffed it with a microfiber cloth to deepen the shine. The finished pipe is shown in the photos below. The briar has a shine and a rich glow to it and the vulcanite stem came out quite nice with a deep shine. The pipe came out really well. Now I have four more of the uncle’s pipes to finish up and then these will be heading back to the US. Thanks for looking.