Blog by Steve Laug
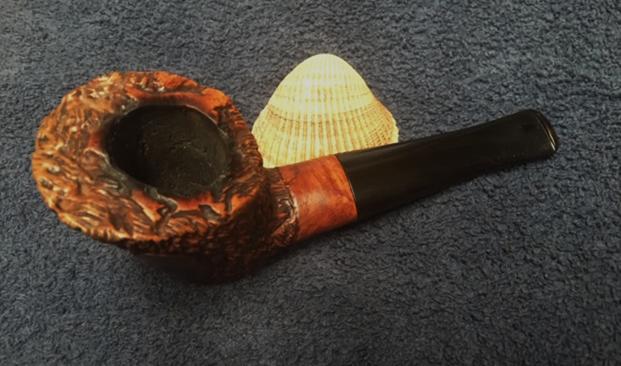
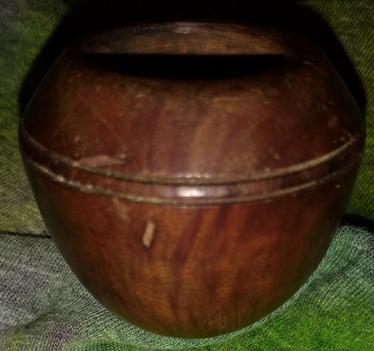
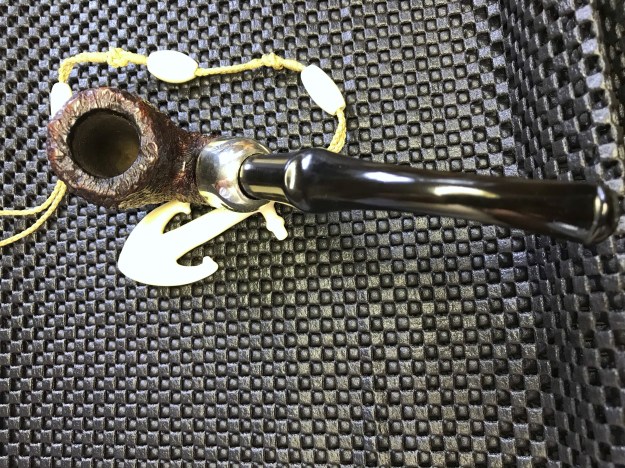
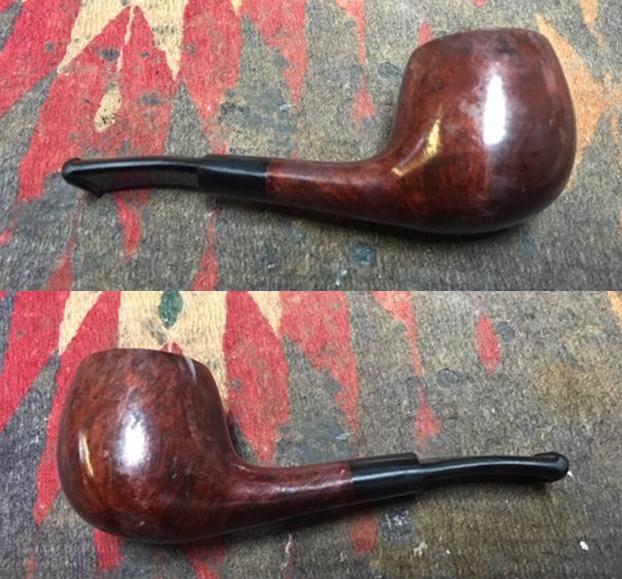
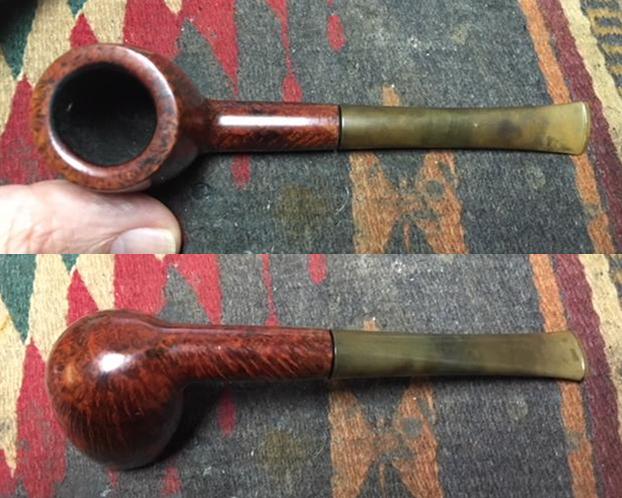
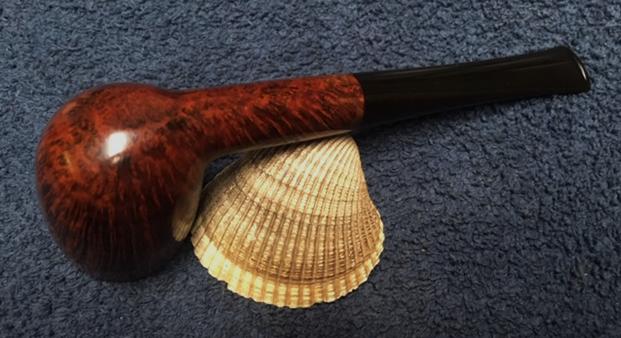
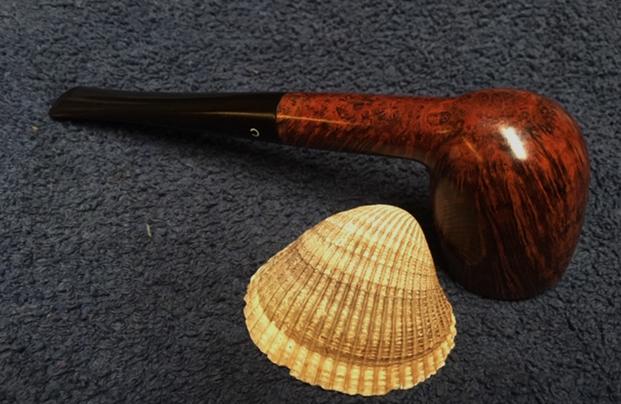
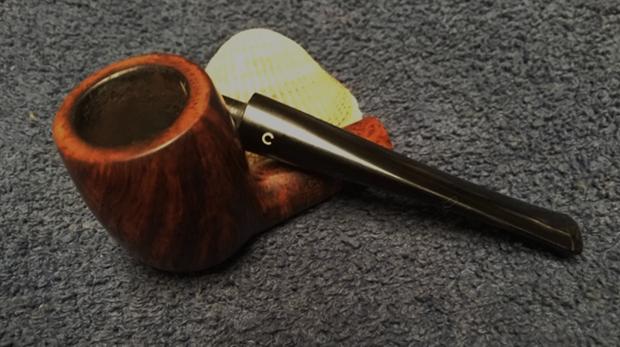
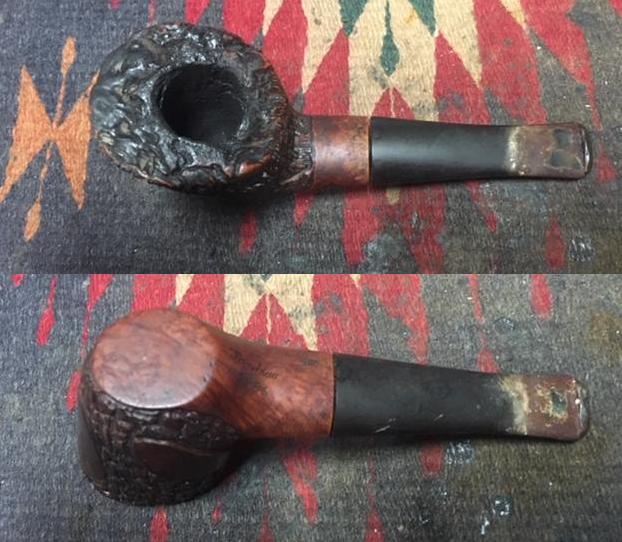
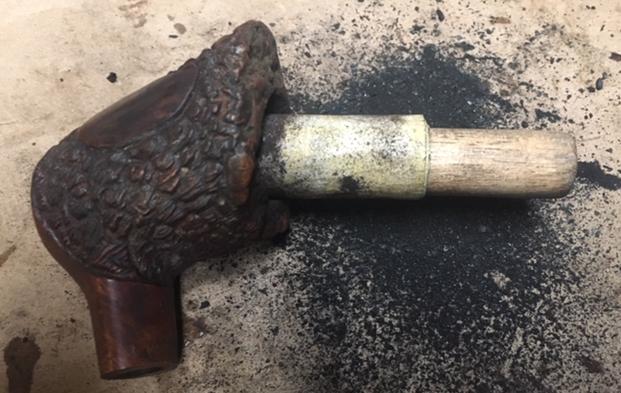
I don’t remember where this old pipe came from. It was a mess with lava overflowing the large caked bowl and filling in most of the carved plateau rim top. The rusticated finish was very dirty and hard to differentiate the smooth portions from the rustication. It appears that the bowl had been rusticated then a wire wheel had been used to striate the rustication. There were three smooth panels on the sides and front of the bowl and a smooth shank and heel of the bowl. The stem was a mess with oxidation, tooth chatter, deep tooth marks and calcification built up for over an inch of the length of the stem. The stem did not seat well in the shank due to the buildup of tars and oils. It also appeared that the tenon was slightly bent making the stem crooked (bent to the right). The pipe was stamped on the underside of the shank and under a bright light with magnification I could read Jandrew over 2-86. My assumption was that the pipe I was dealing with was a Jandrew (I have worked on other pipes made by this maker) and that it was made in February of 1086. The pipe was at least 32 years old and had seen a lot of use. It was obviously some pipeman’s favourite smoker. There was something about the pipe that captured my attention and made me want to work on it. I took some photos of the pipe before I started my cleanup work.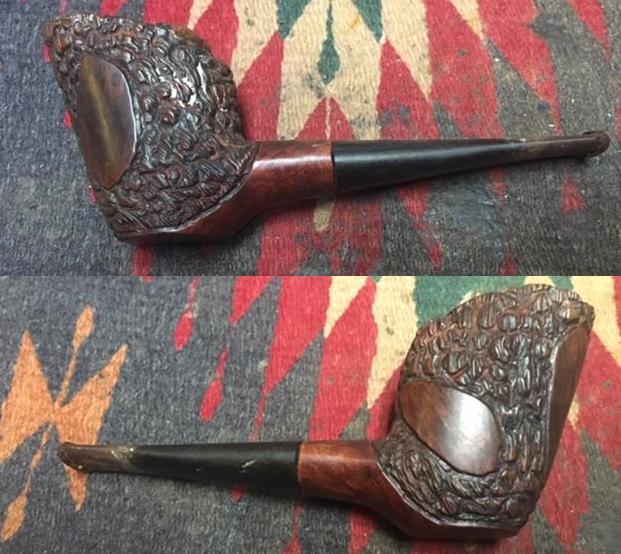
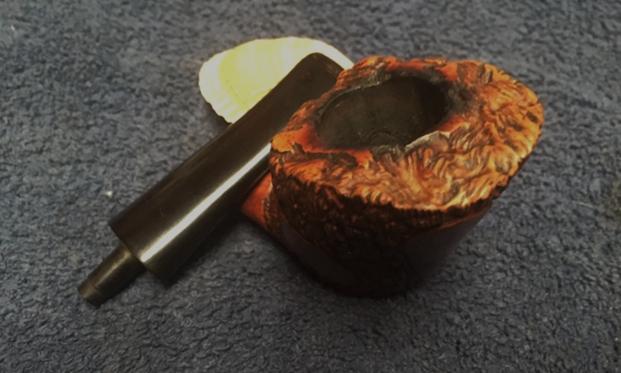
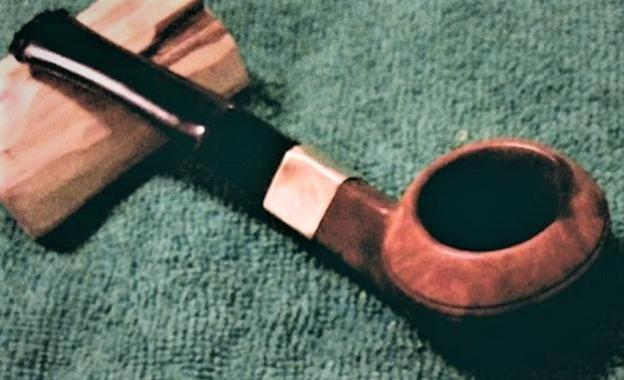
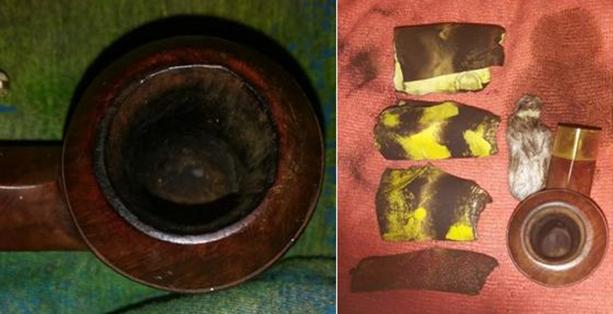
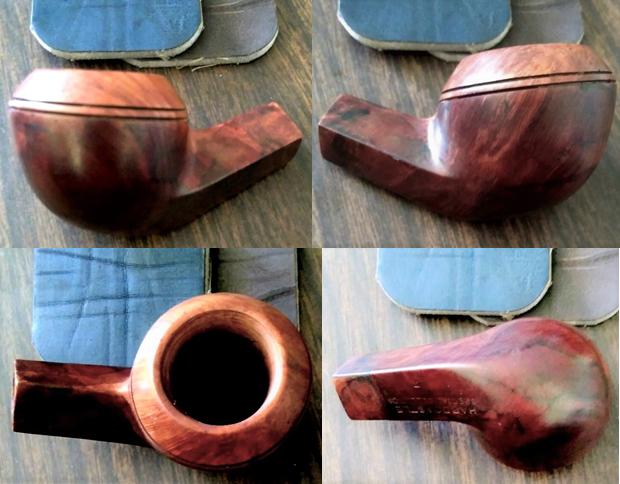
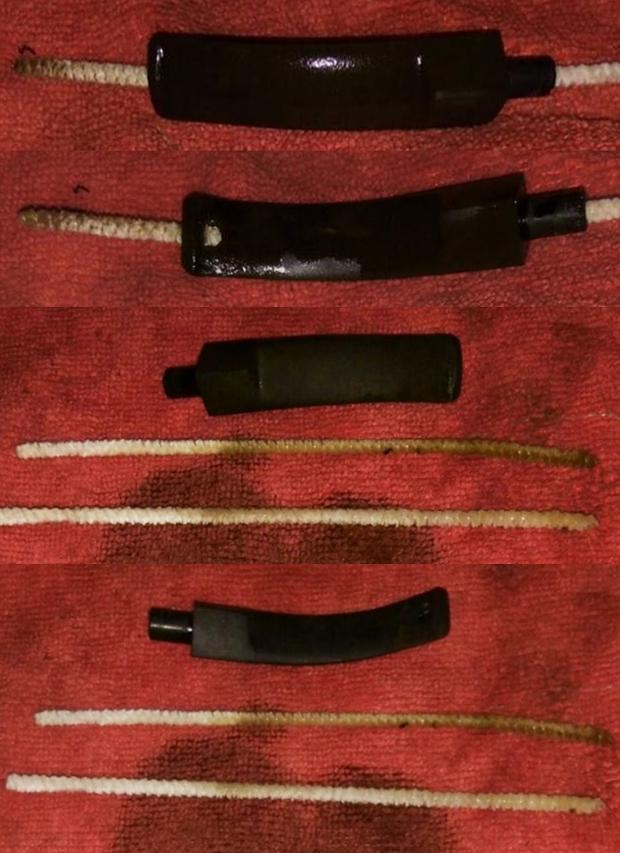
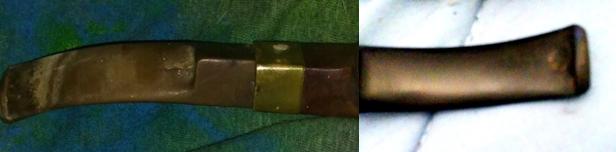
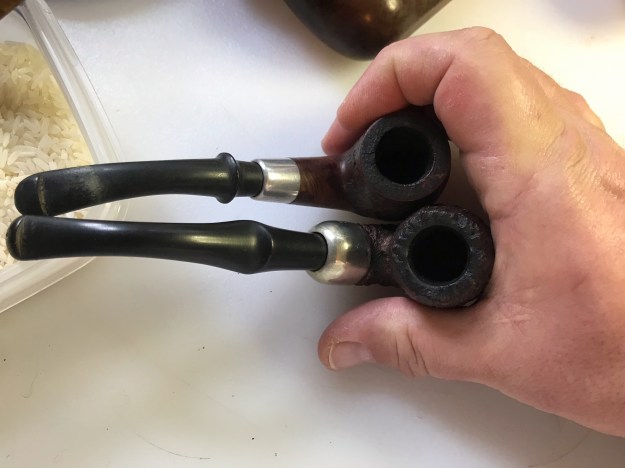
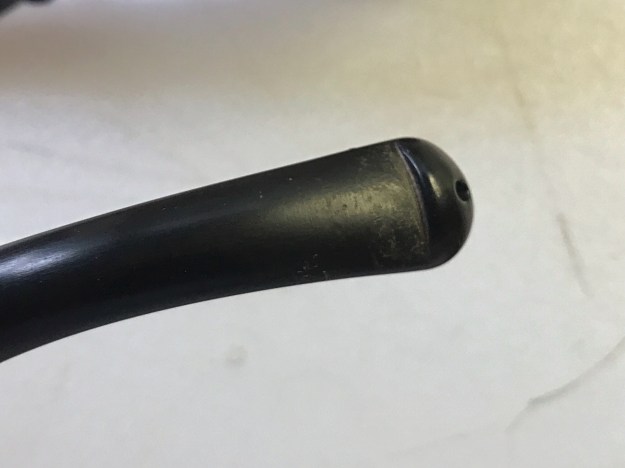
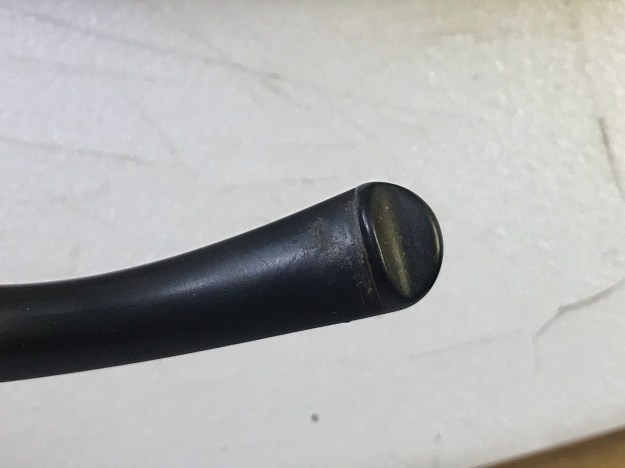
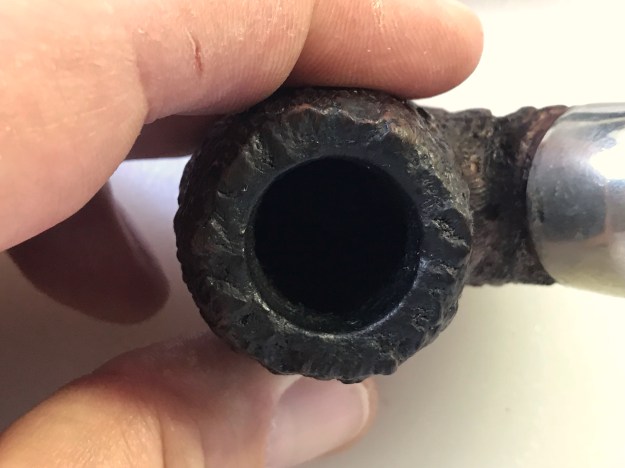
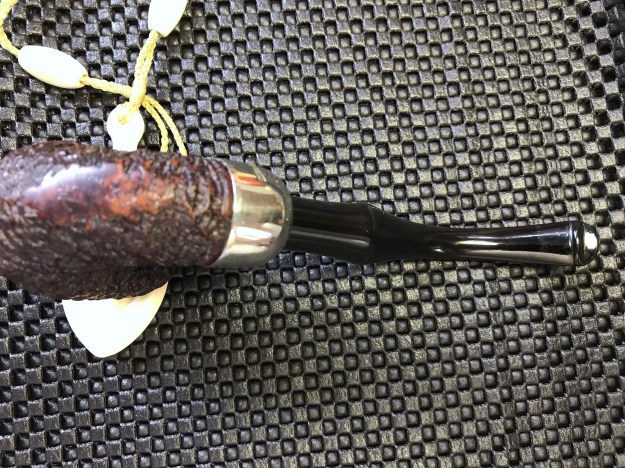
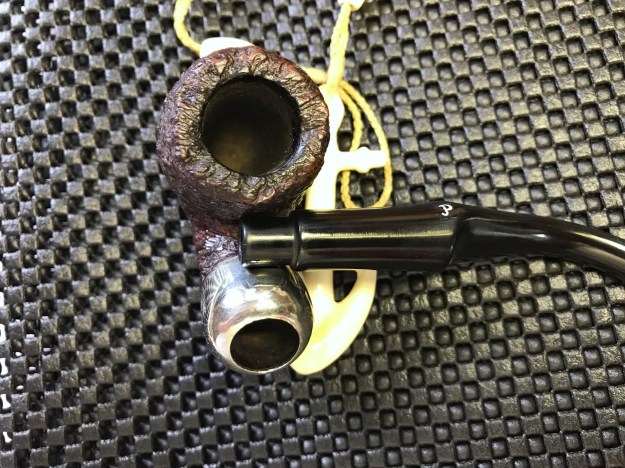
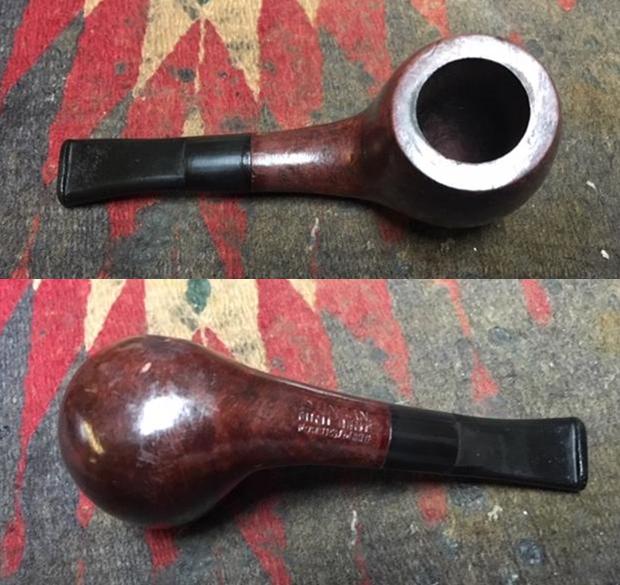
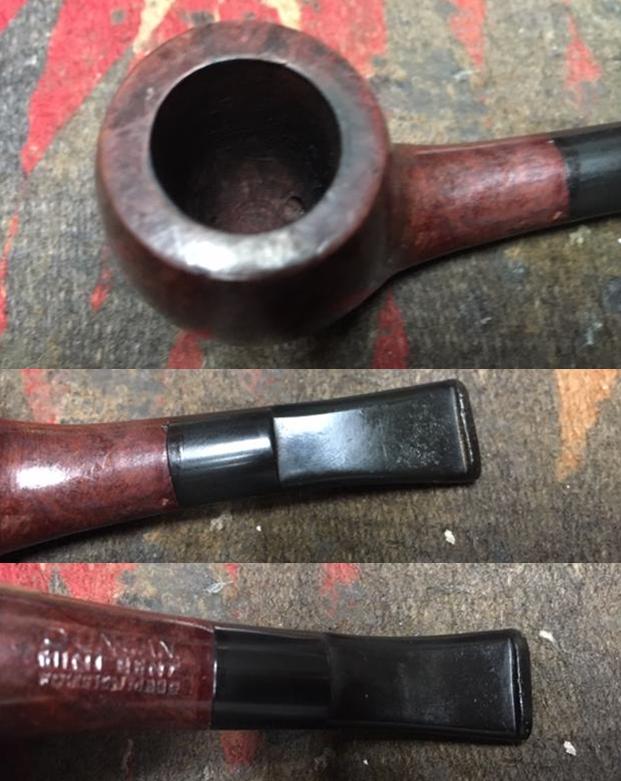
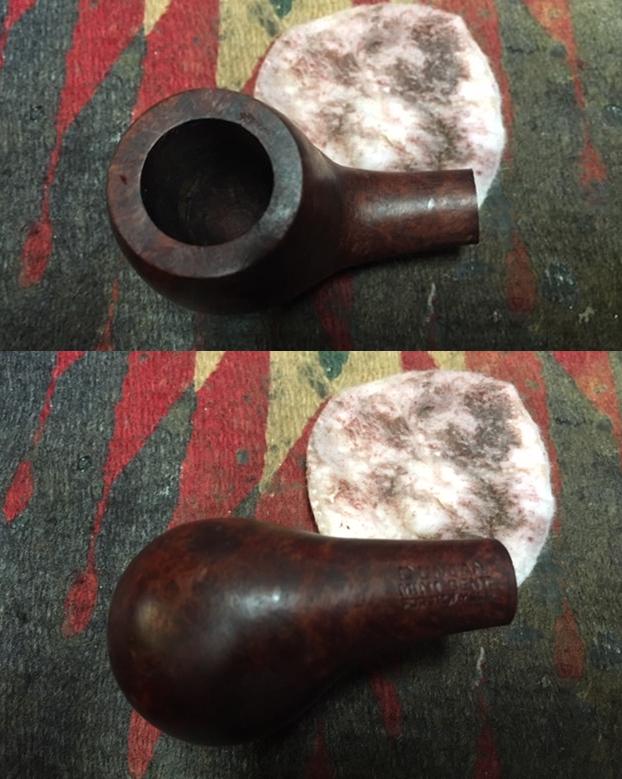
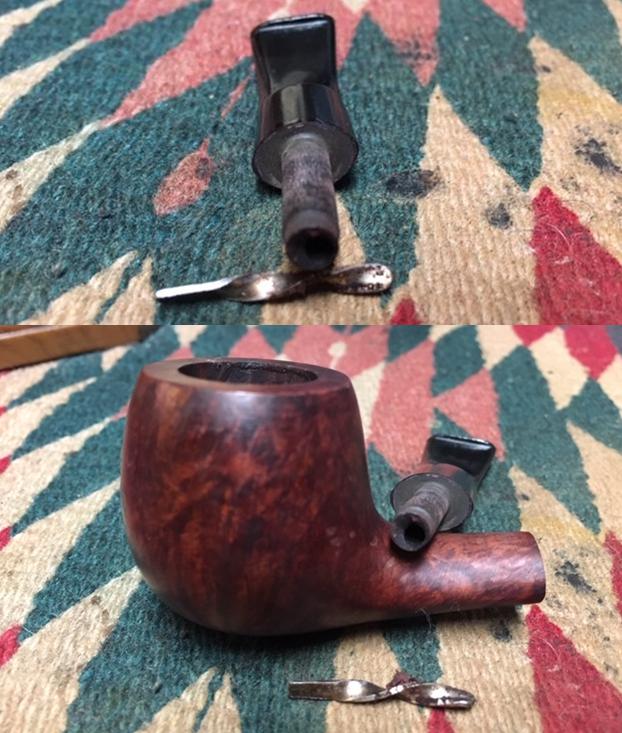
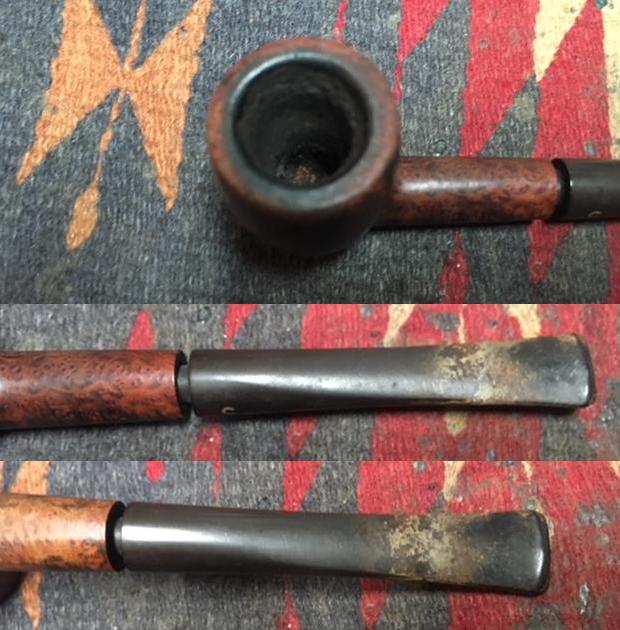
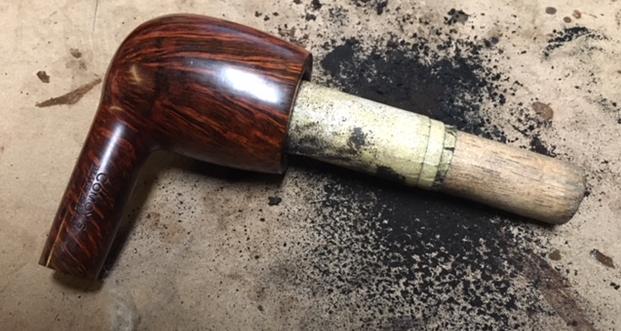
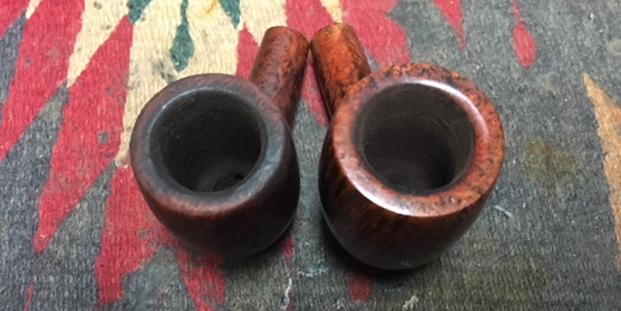
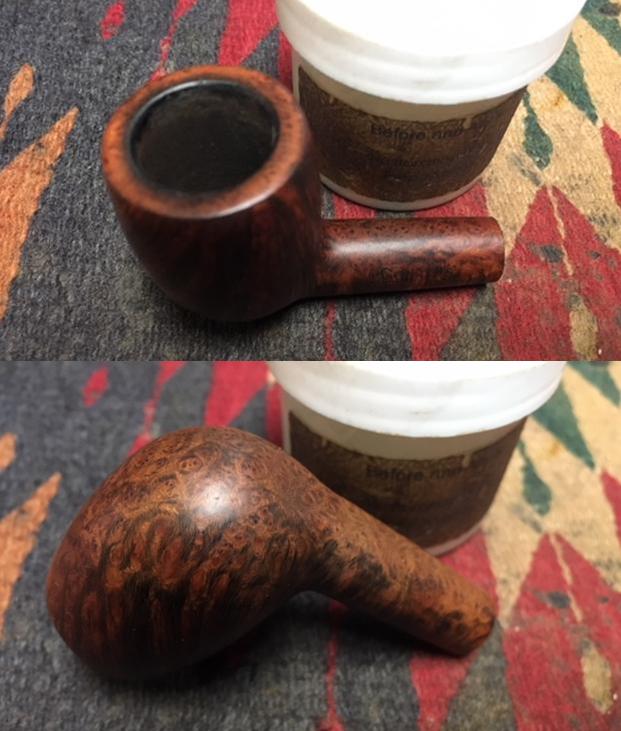
 I took some close up photos of the rim top and stem to show the condition they were in before I started. The rim top is heavily caked with lava flowing out of the thick cake in the bowl. It fills in much of the carved rim top leaving me unsure what lies underneath. I have no idea what the inner edge of the rim looks like at this point but it seems likely that it is darkened or maybe burned on the back edge. The stem has tooth marks on the top and underside near the button and on the button surface as well. There is some serious oxidation/calcification on the first inch or more of the stem. The stem fit against the shank is off as you can see from the photos and the tenon appears to be bent making the stem curve to the right side.
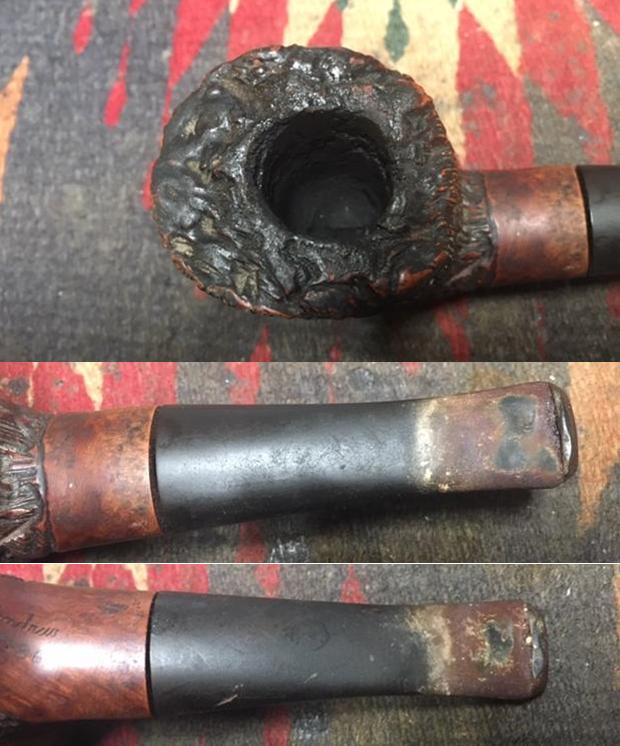 I took a photo of the stamping to capture it and help identify the pipe. It reads Jandrew over 2-86. It is readable but faint in the middle of the stamp where the slight curve in the shank is located.
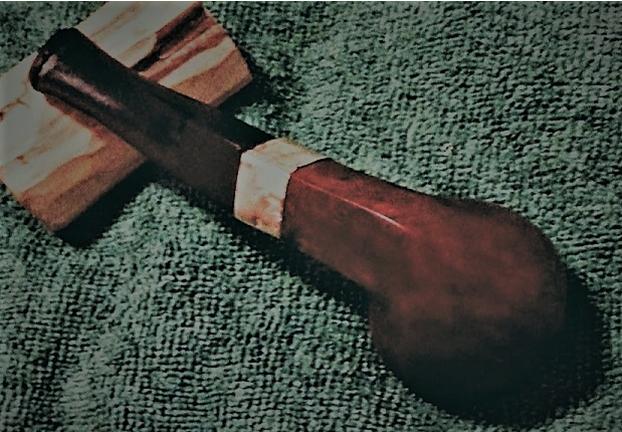
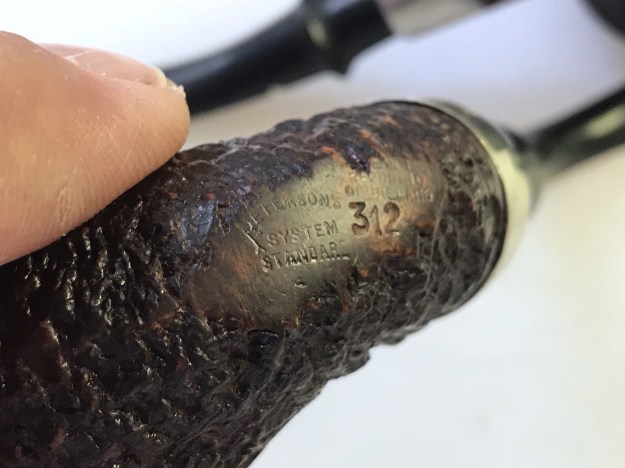
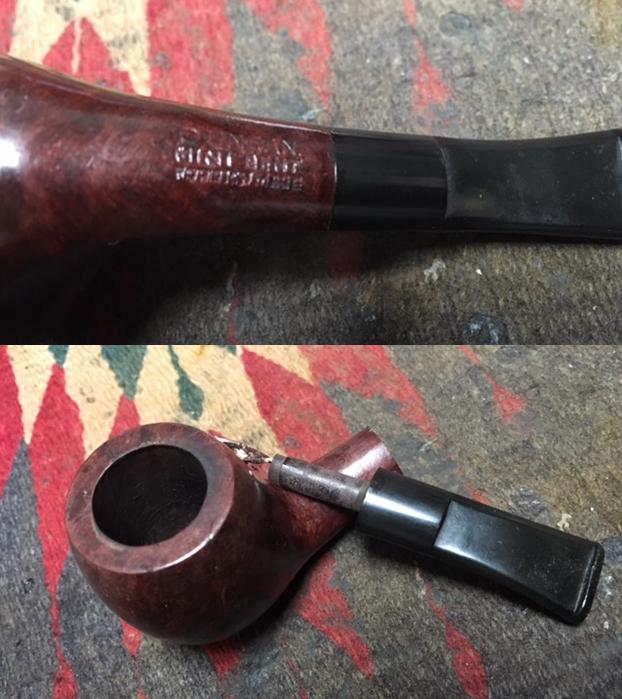
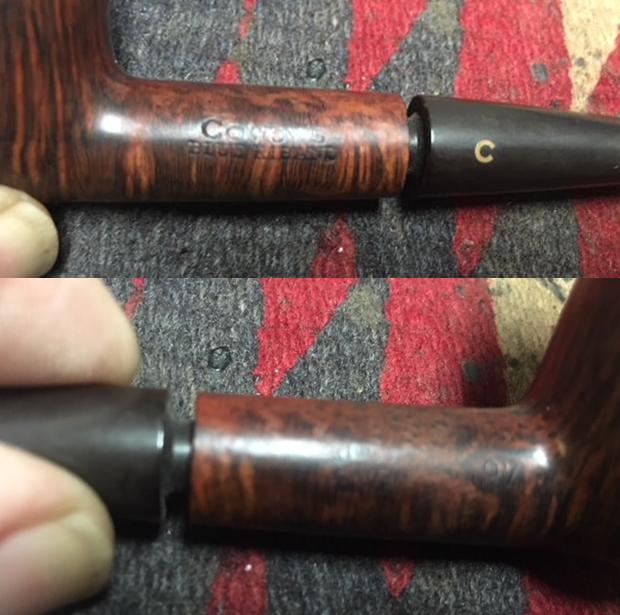
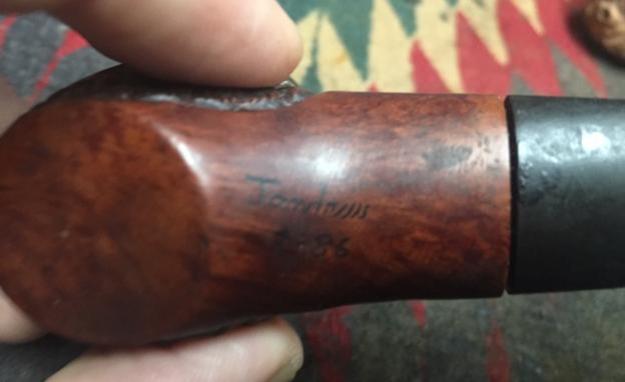 I looked up the brand on Pipedia and found the following: Jandrew pipes are (or were?) made by J. Andrew Kovacs. He lived in Jerome and Cottonwood, Arizona and is said to have moved to Milwaukee, Wisconsin. https://pipedia.org/wiki/Jandrew
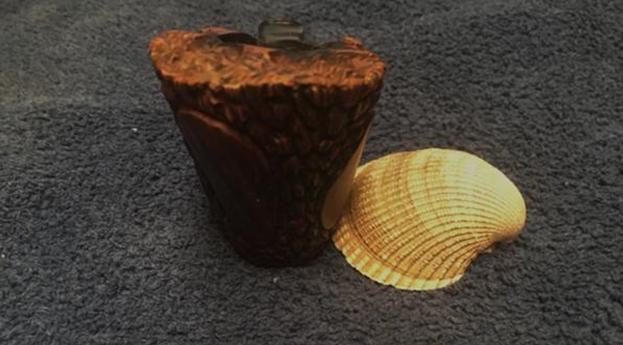
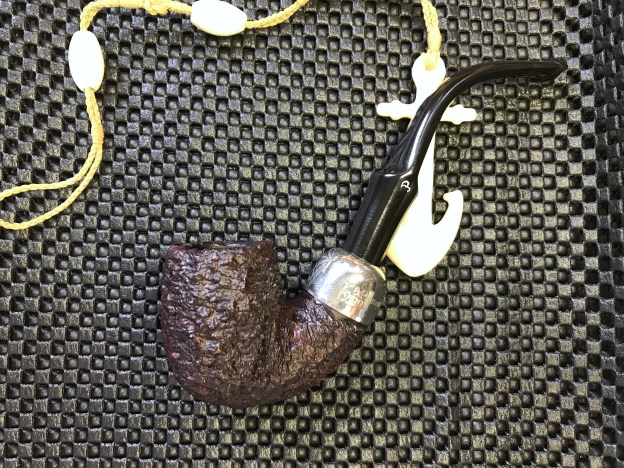
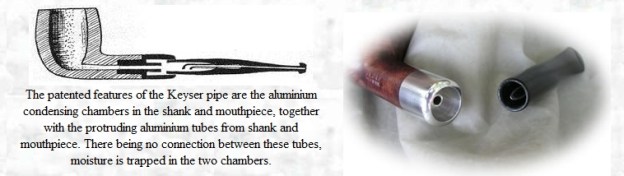
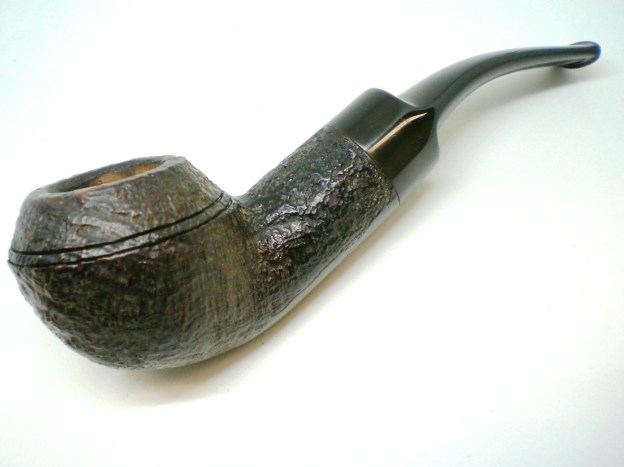
I turned to Pipephil’s site to see if I could gain a bit more information. There was no additional info but there was a photo of a pipe with the same signature and a similar date stamp on the shank. I have included that below for comparison(http://www.pipephil.eu/logos/en/logo-j1.html). I turned to the pipe to begin the cleanup. I dry scrubbed the rim top with a brass bristle brush to break the lava buildup from the crevices. This technique works wonders and the brass is soft enough not to scratch the plateau. I do not use it on smooth rims (not daring enough to give it a try as I am pretty certain it will cause scratching and make more work for myself). The photo below shows the cleaned rim top after the scrubbing.
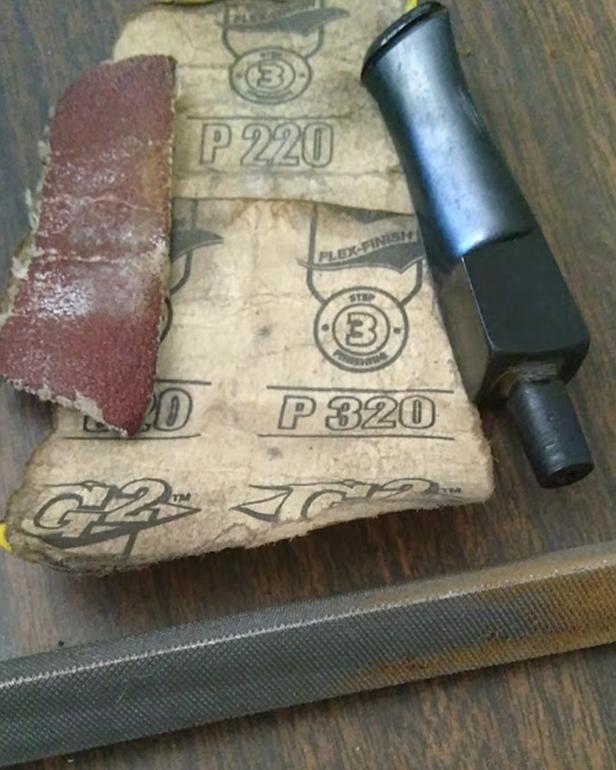
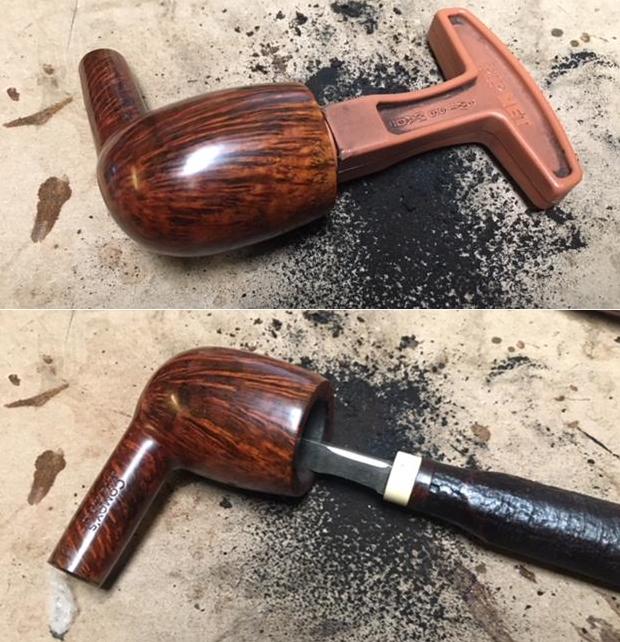
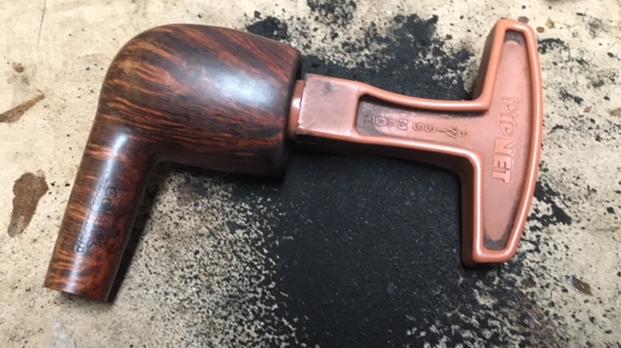
 With the top cleaned it was time to ream the bowl. I reamed it with a PipNet pipe reamer using the largest cutting head. The cake was thick and hard. I carefully worked the bowl clean using the reamer. I followed that by scraping out the remaining cake in the bottom of the bowl and along the edges with a Savinelli Fitsall Pipe Knife and took the cake back to bare briar. I wrapped a piece of dowel with 220 grit sandpaper and sanded the inside walls of the bowl to smooth out the walls.
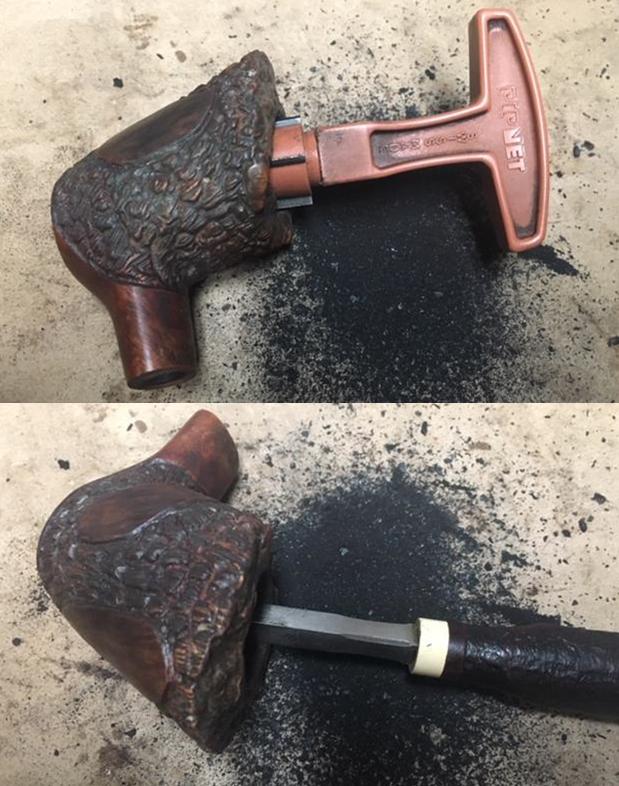
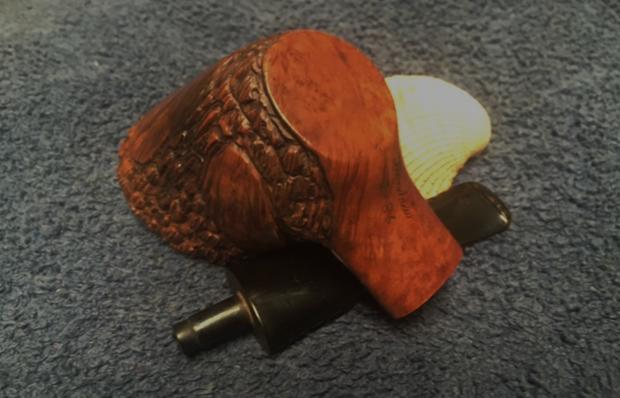
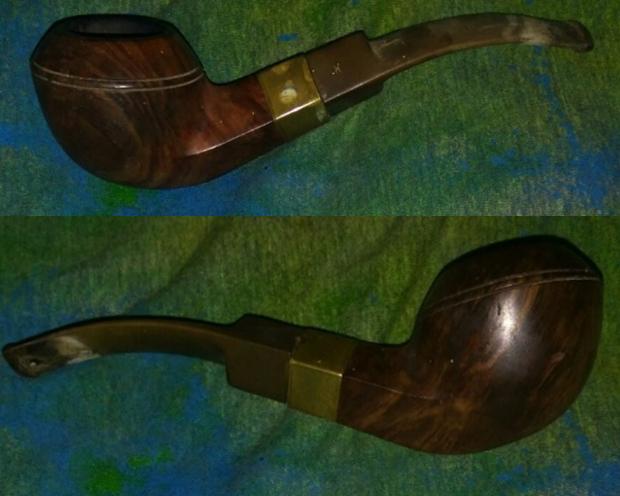
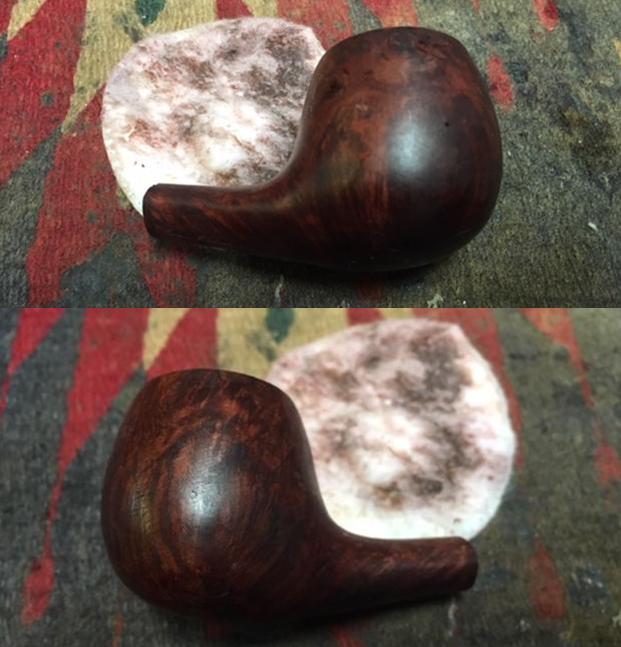
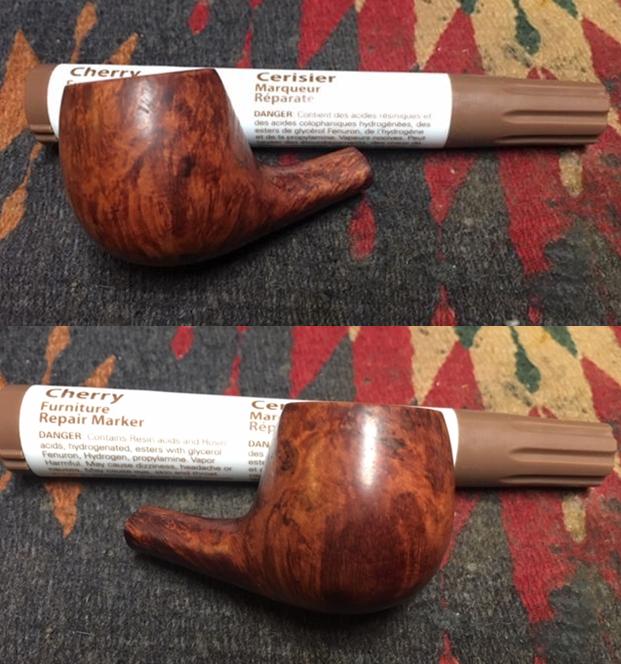
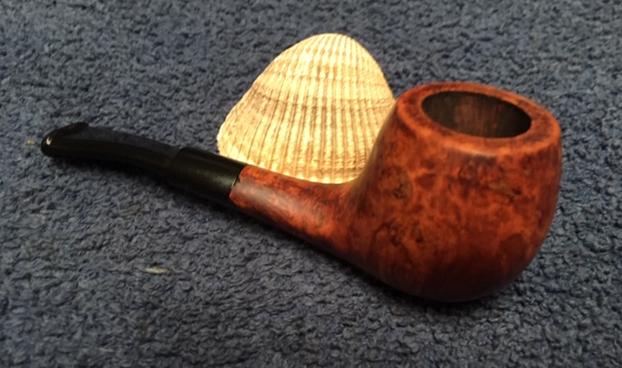
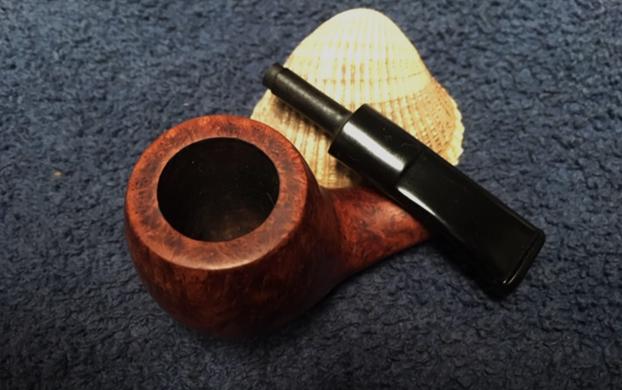
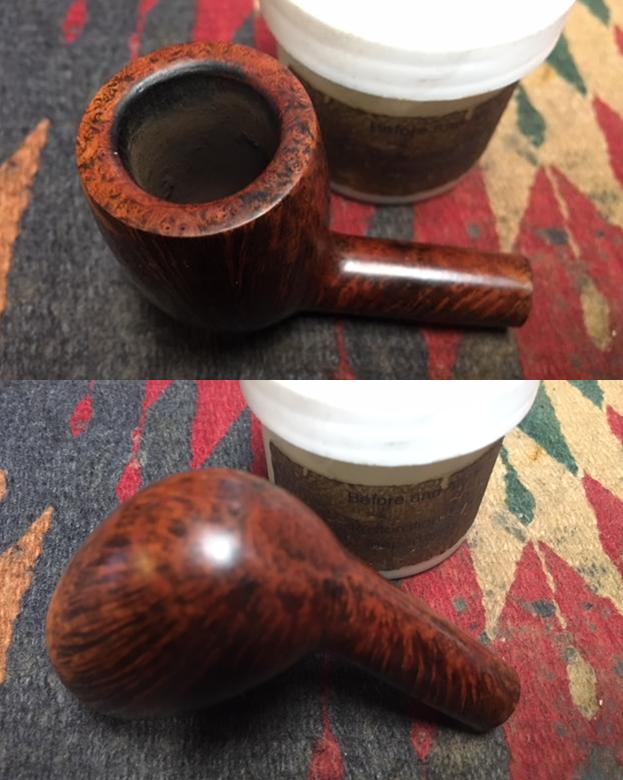
 With the bowl reamed it was time to scrub the exterior of the bowl. I scrubbed it with Murphy’s Oil Soap, working it into the crevices and nooks and crannies of the rustication with a tooth brush. I rinsed it under running water to remove the soap and the grime. I took photos of the pipe at this point to show the condition after cleaning.
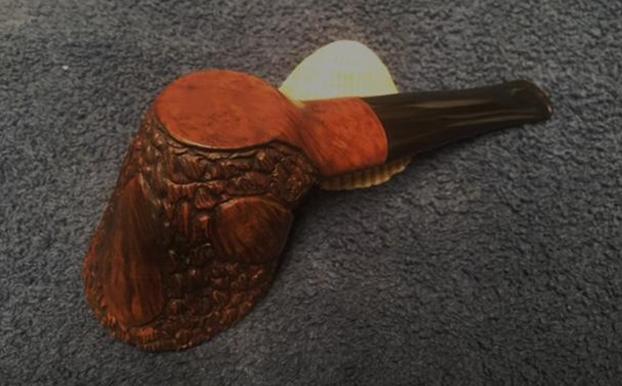
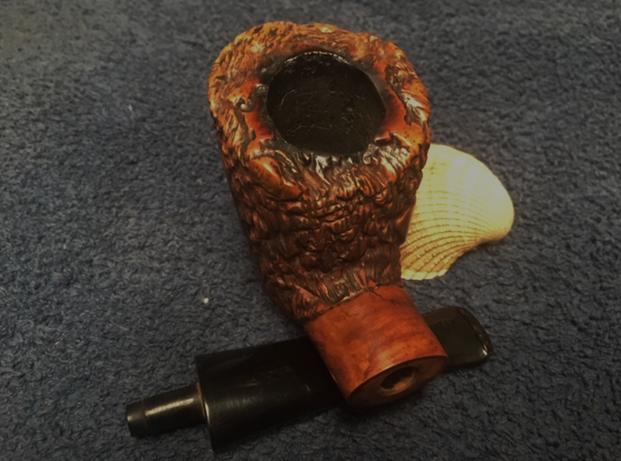
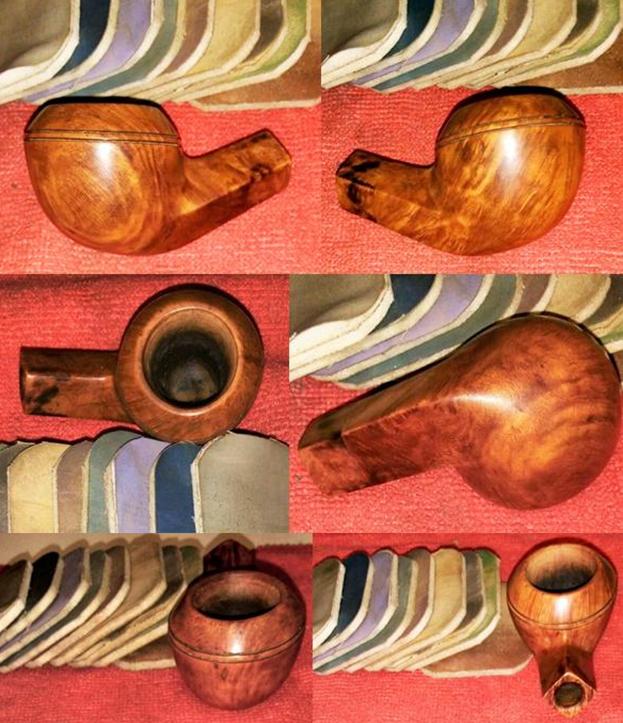
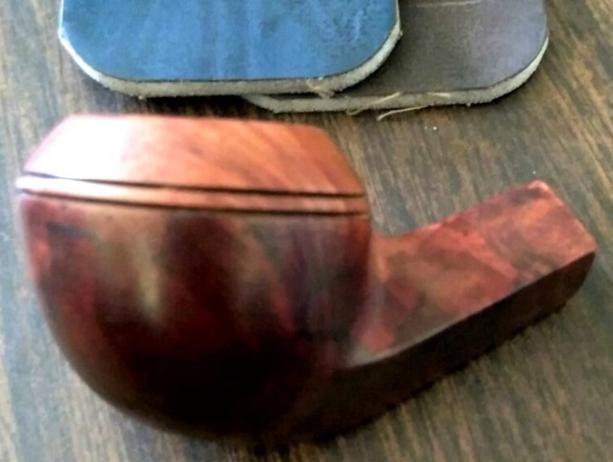
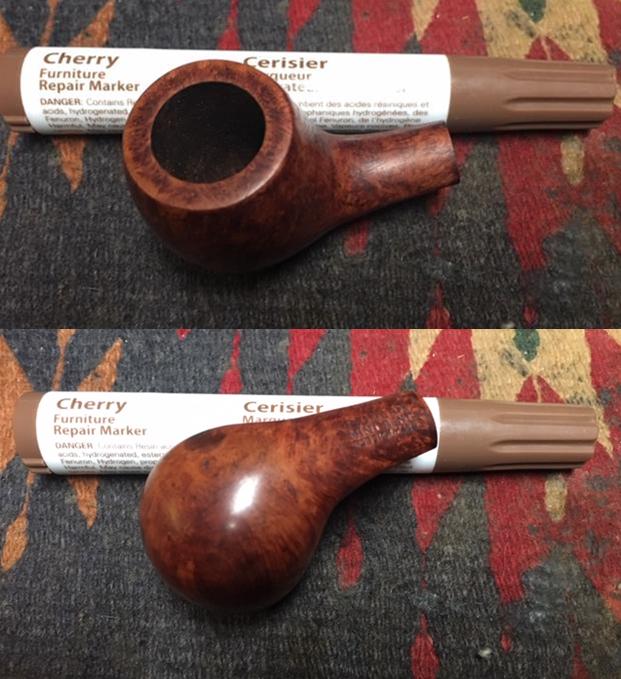
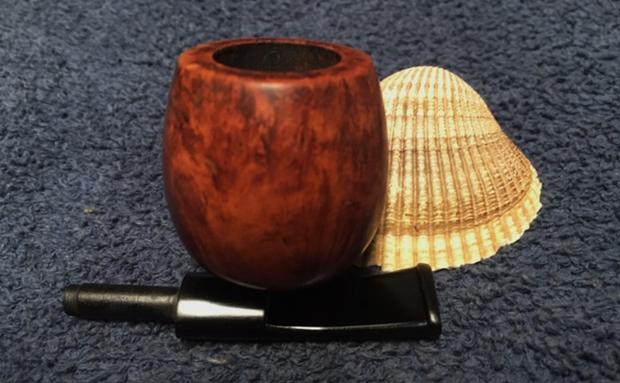
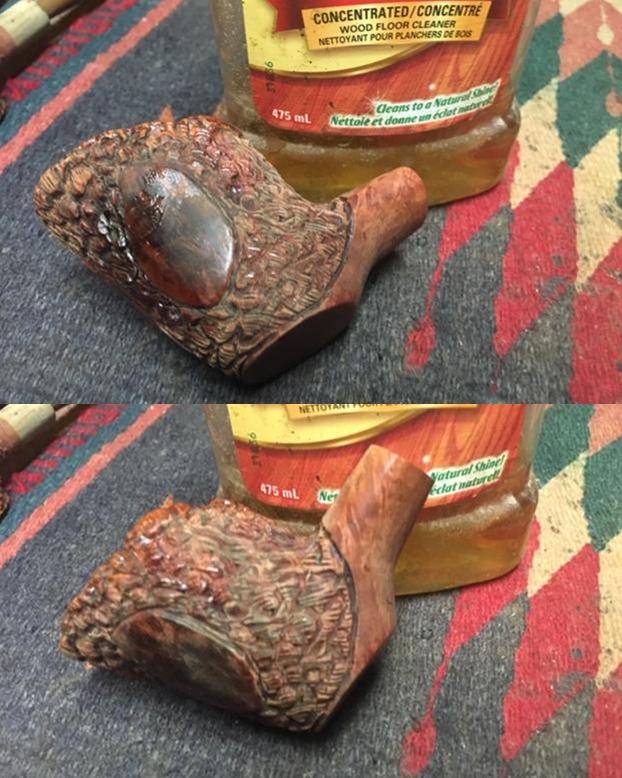 I worked some Before & After Restoration Balm into the smooth and rusticated parts of the briar on the bowl and shank with my fingertips to clean, enliven and protect the wood. I worked the balm into the nooks and crannies of the rustication and the carved rim top with a horsehair shoe brush. I let the bowl sit for about 20 minutes and buffed it off with a soft cotton cloth. I took photos of the bowl at this point in the process. The photos show the condition of the bowl at this point in the process. It was looking quite good at this point with some beautiful grain showing through on both the smooth and rusticated portions of the bowl.
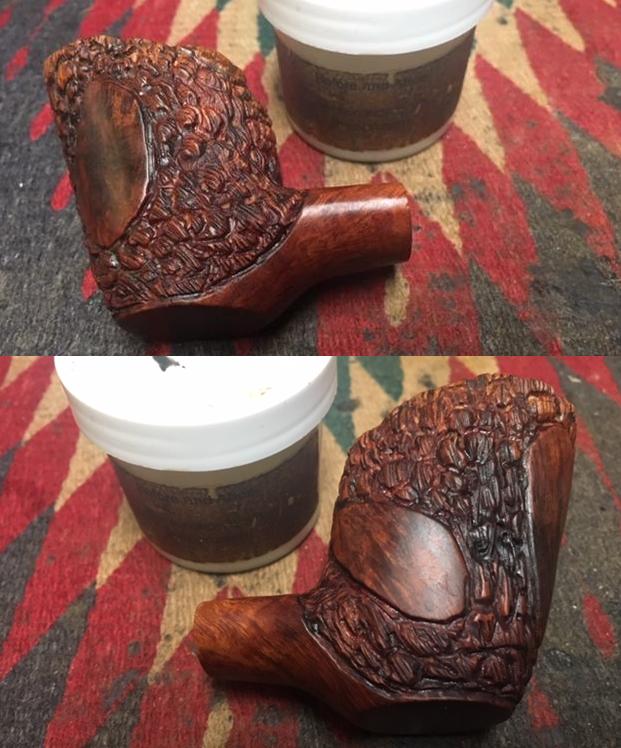
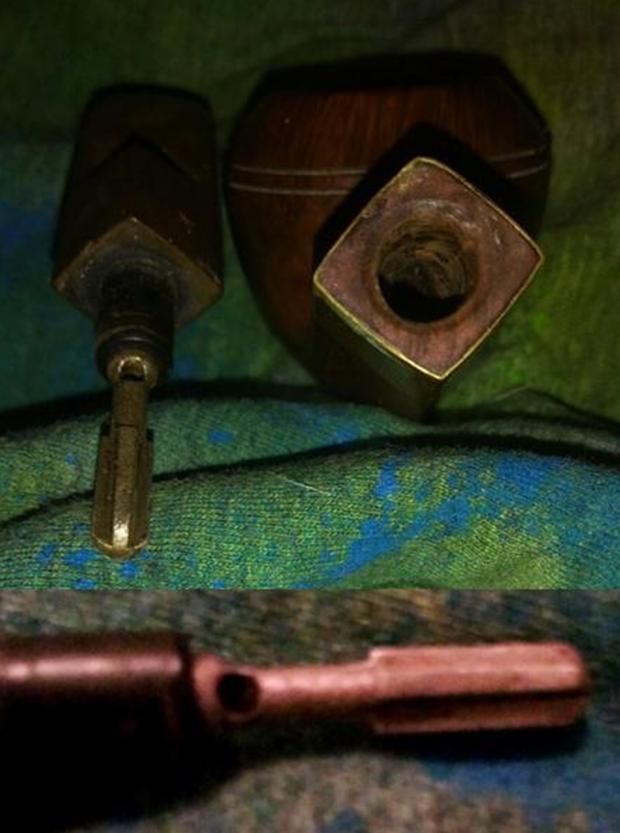
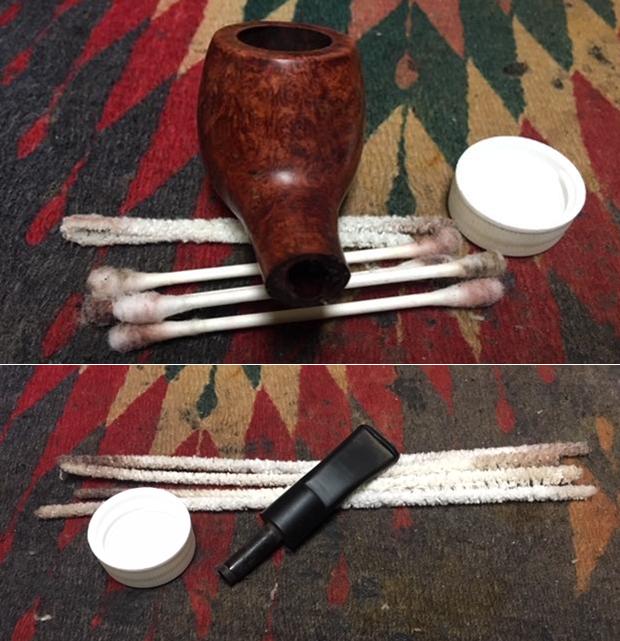
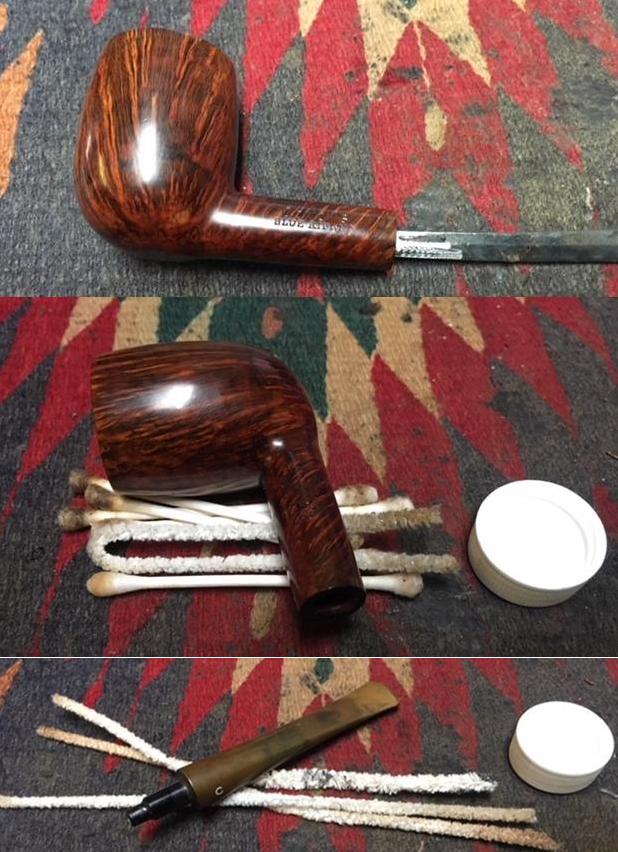
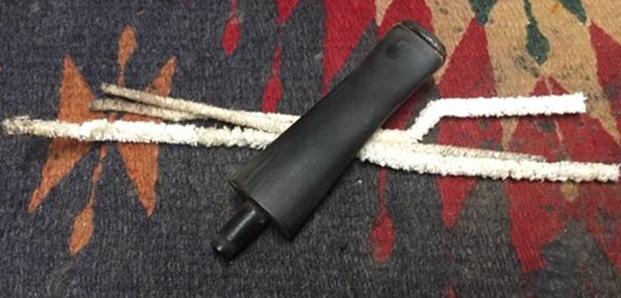
 I scraped the tars and oils from the walls of the mortise with a pen knife. I cleaned the mortise and the airway in the shank with pipe cleaners, cotton swabs and alcohol.
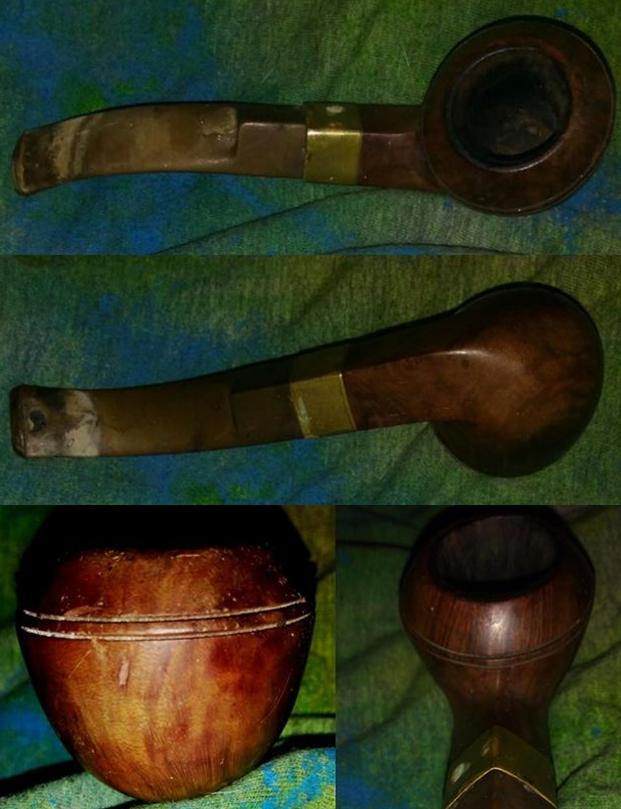
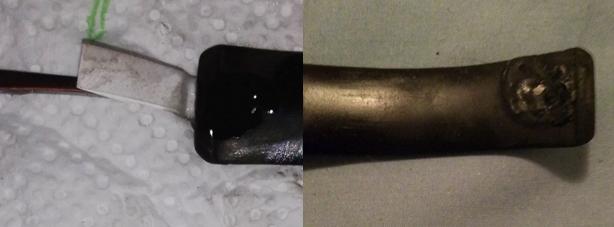
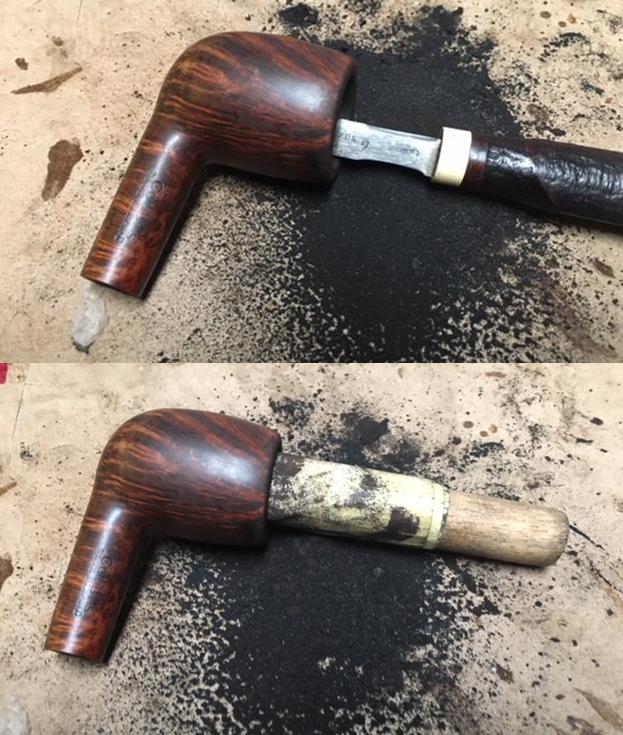
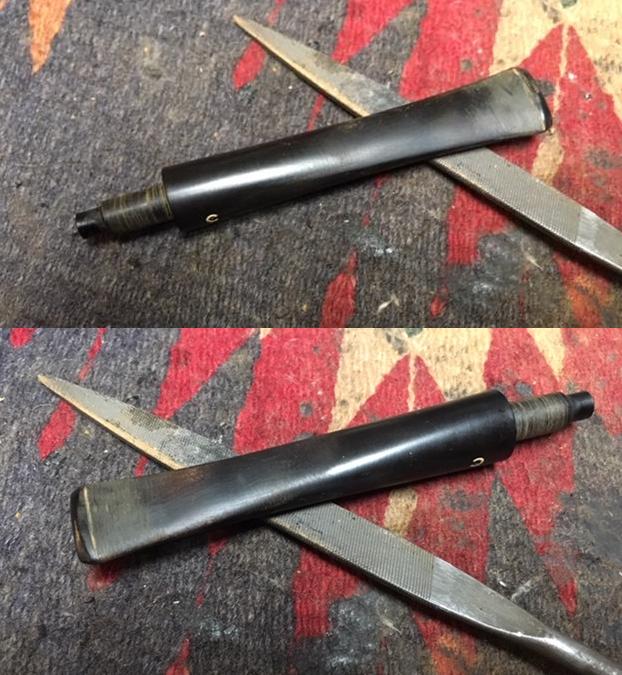
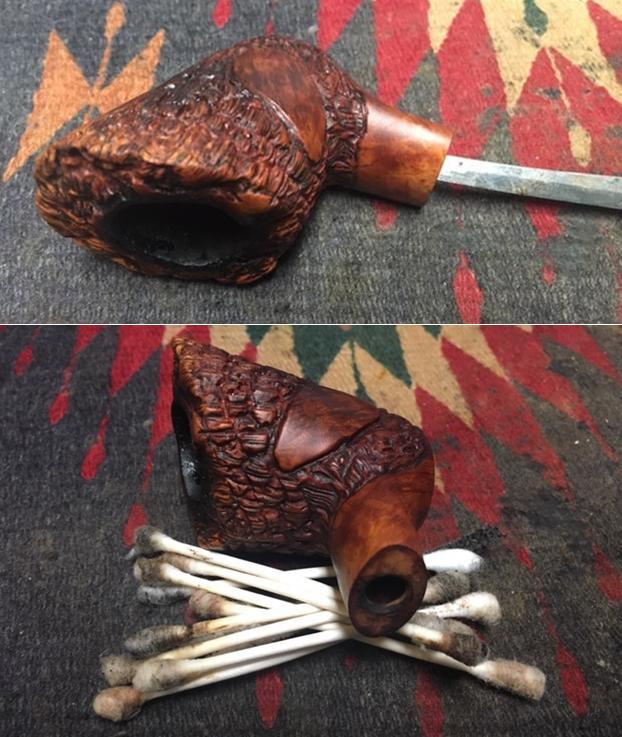 During the cleanup of the bowl I had noticed two small hairline cracks in the shank. There was one next to the stamping on the underside about a ½ inch long (first photo) and one on the top side of the shank from the rustication running toward the shank end for ¼ of an inch (second photo). I used a microdrill bit to drill pin holes at each end of the crack to stop it from spreading further on the shank. I was glad to see that under a bright light that the crack did not extend to the end of the shank. The repair would be straightforward.
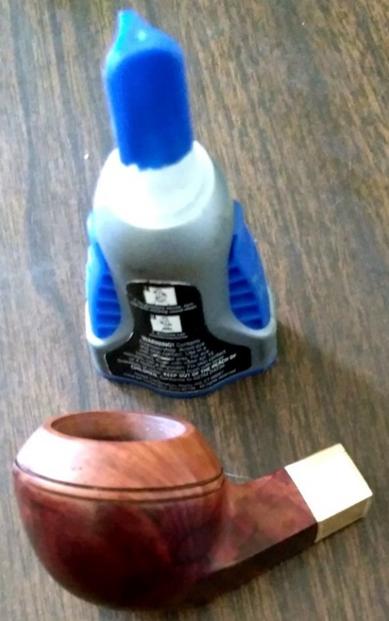
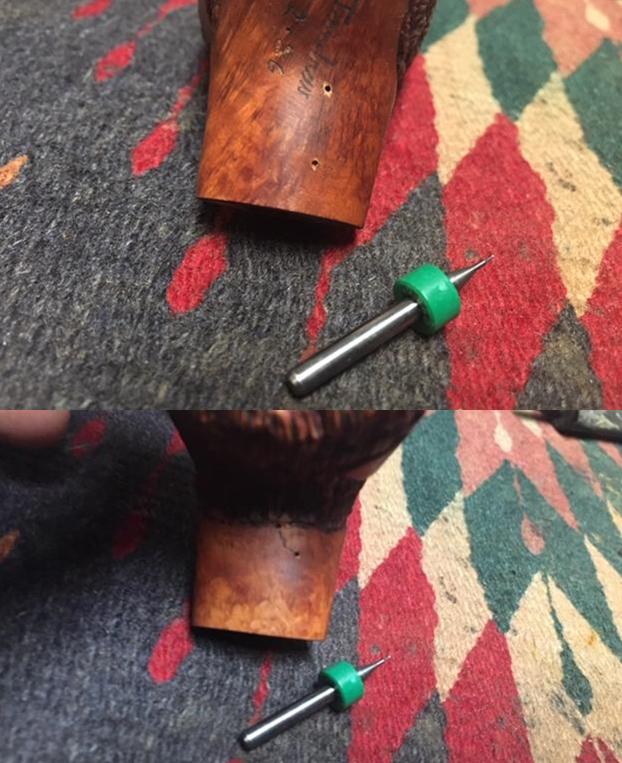 I cleaned out the crack on the top and underside with a dental pick. I filled in the drill holes and the crack on both with clear super glue and set the pipe aside to cure. Once it was cured I sanded it with 220 grit sandpaper and blended it into the finish of the shank.
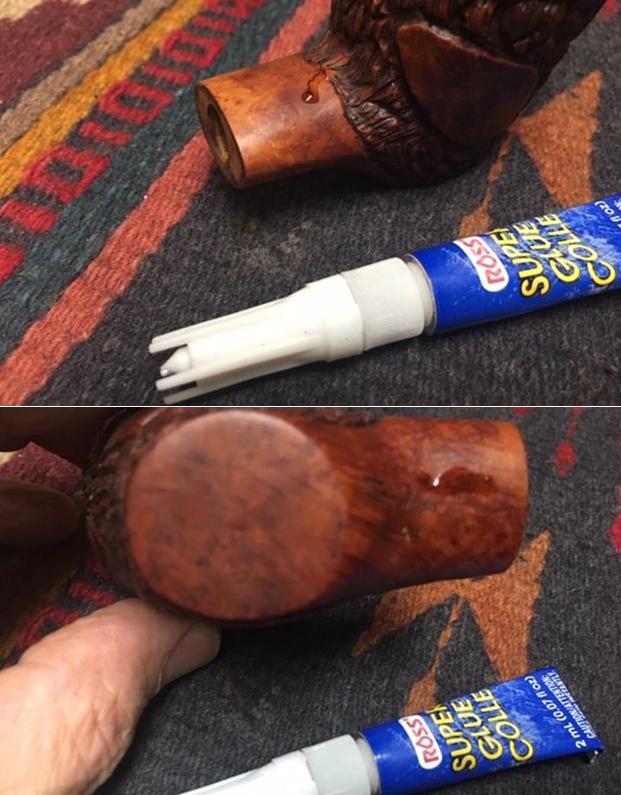
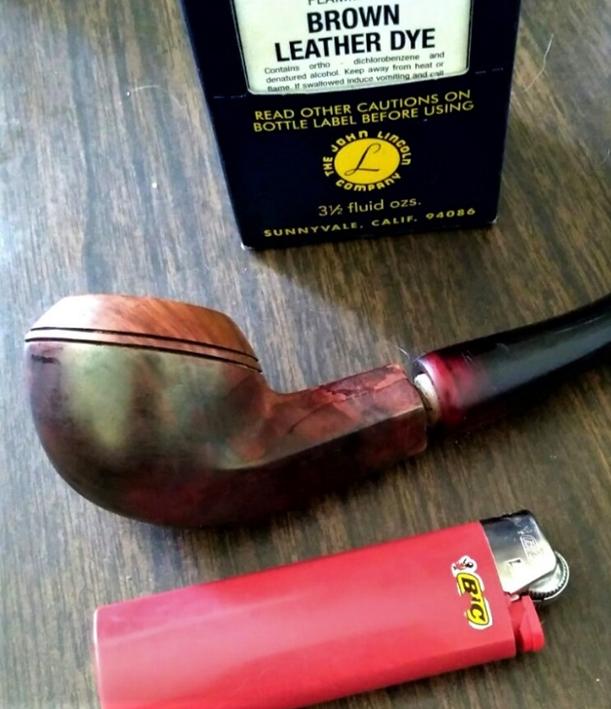
 I touched up the stain on the shank with an Oak stain pen to blend it into the rest of the briar.
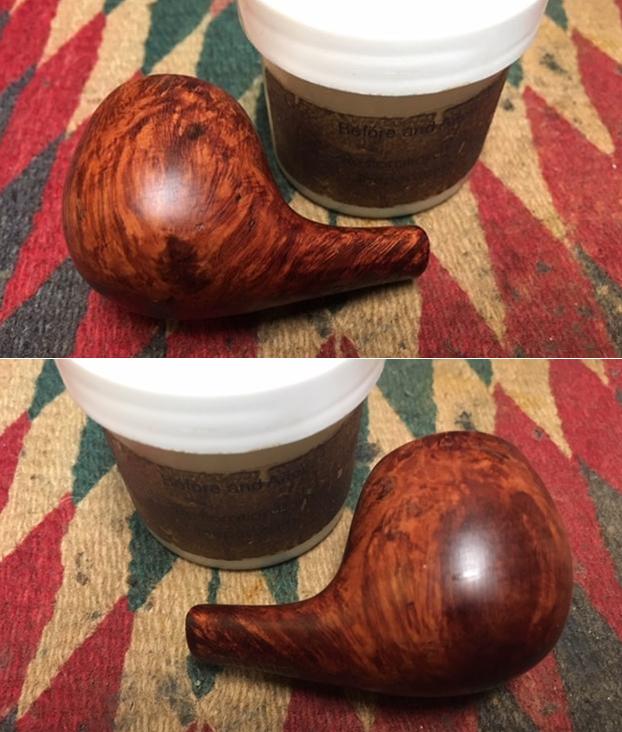
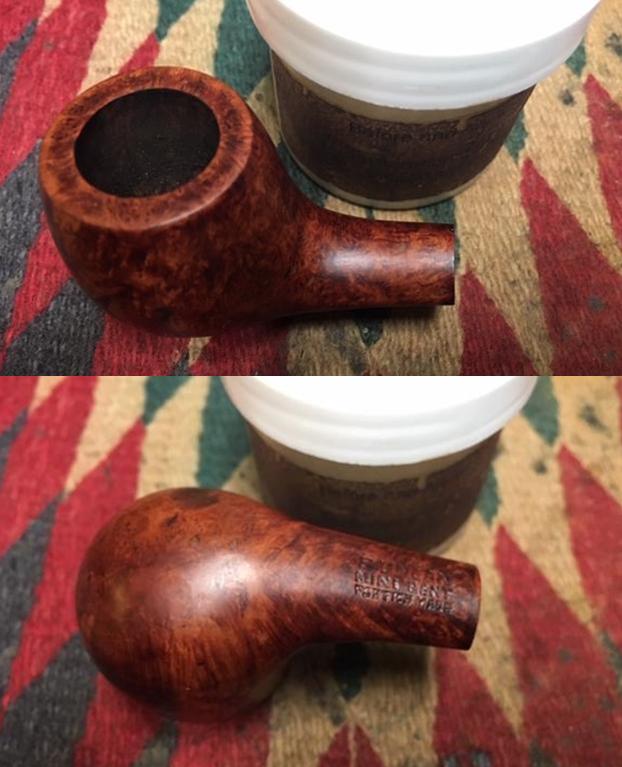
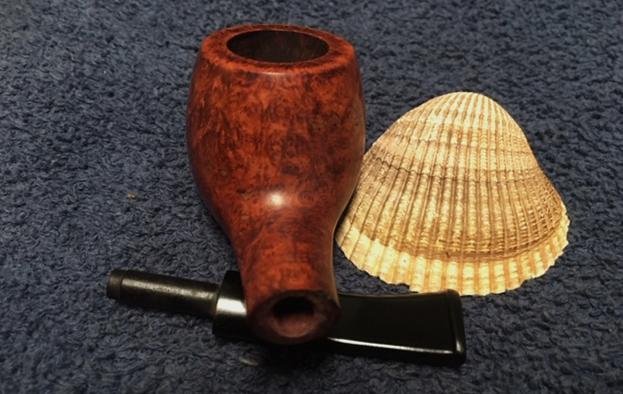
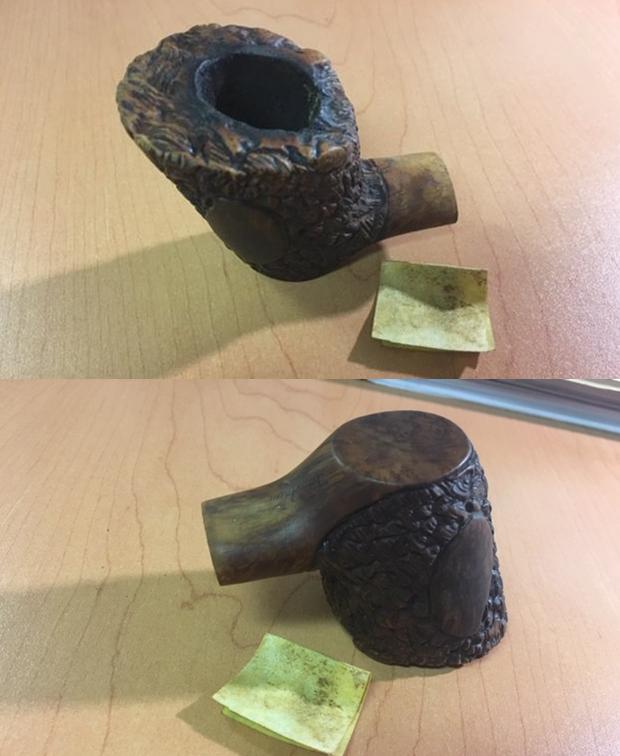
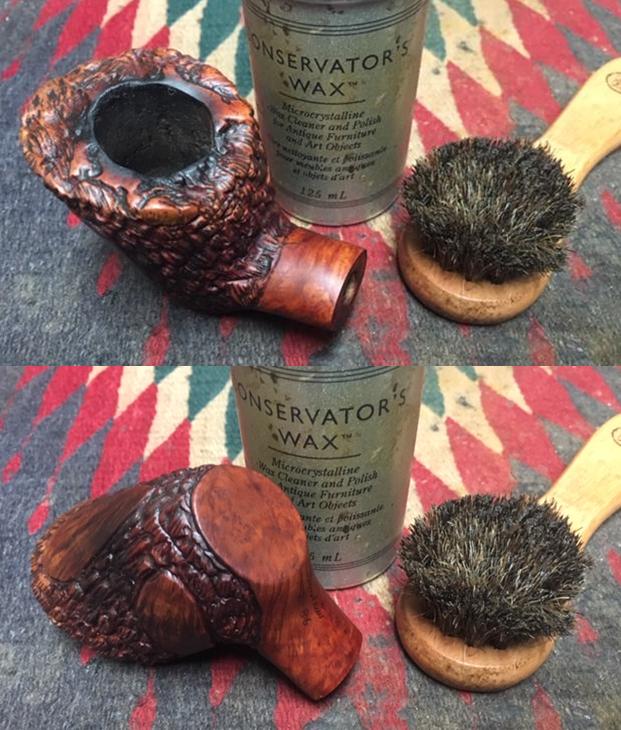
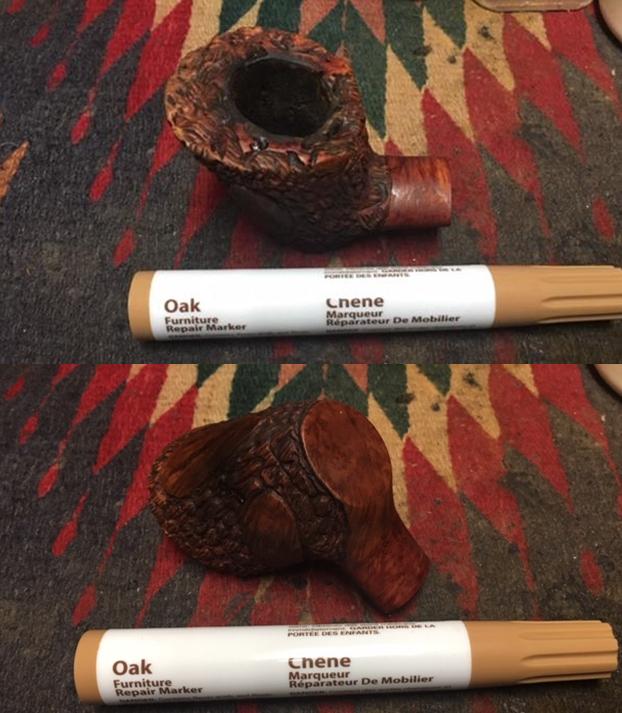 I worked some Conservator’s Wax into the finish of the briar making sure it went deep into the crevices of the carved finish. I let it dry and then buffed it with a shoe brush and with a clean buffing pad. The photos below show the pipe at this point.
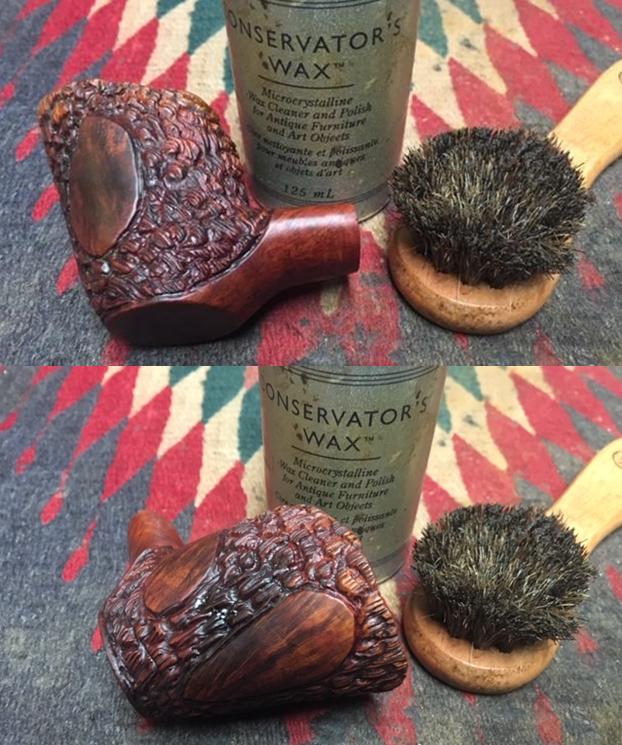
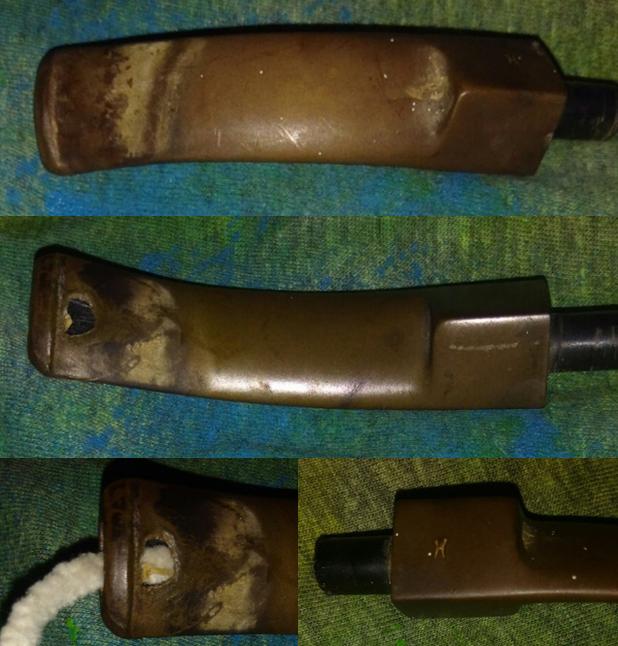
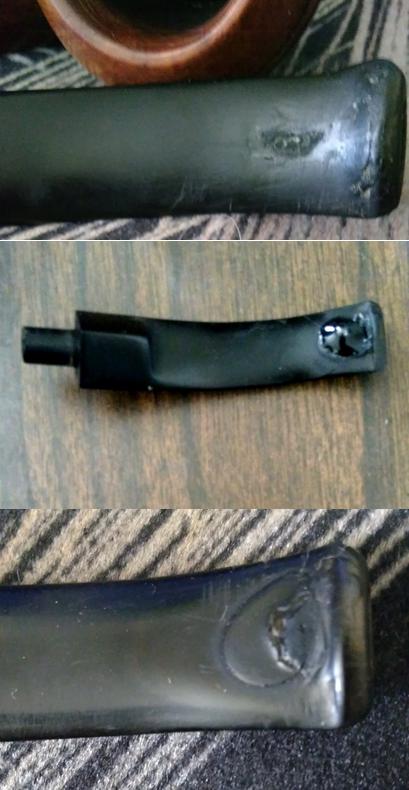
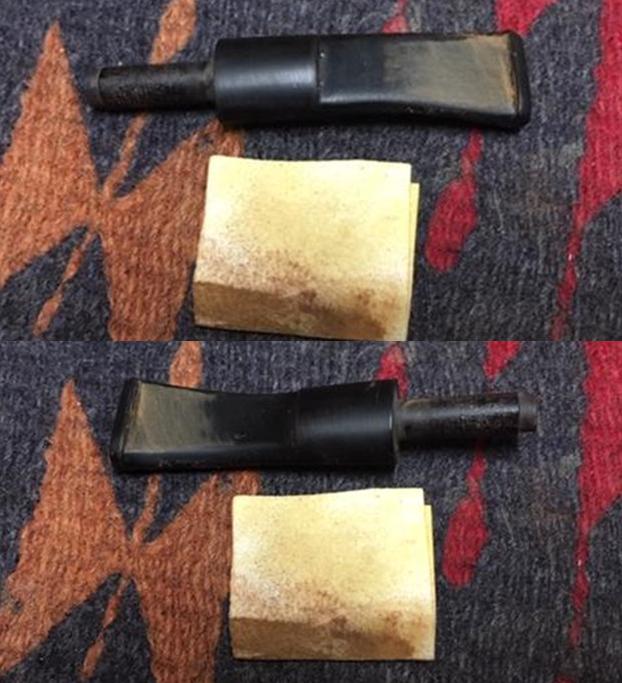
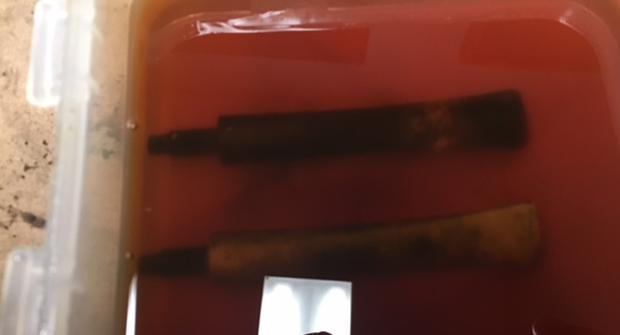
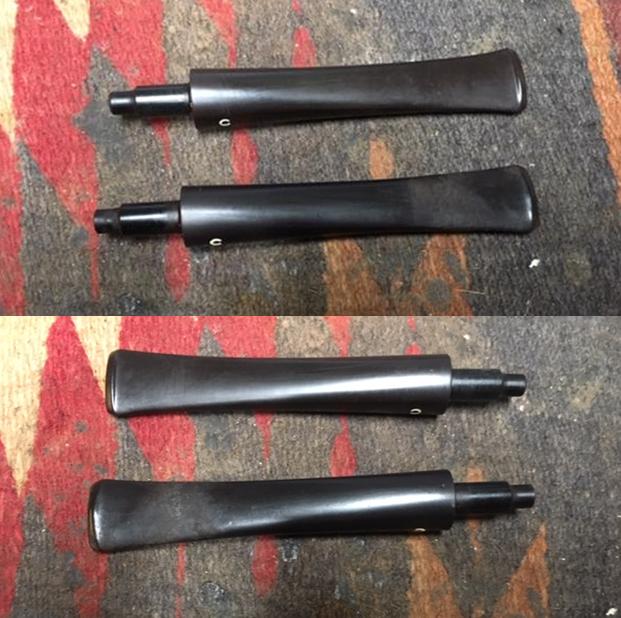
 I set the bowl aside and turned my attention to the stem. I sanded the stem with 220 grit sandpaper to remove the oxidation and the calcification build up. I worked on the tooth chatter and marks to reduce them.
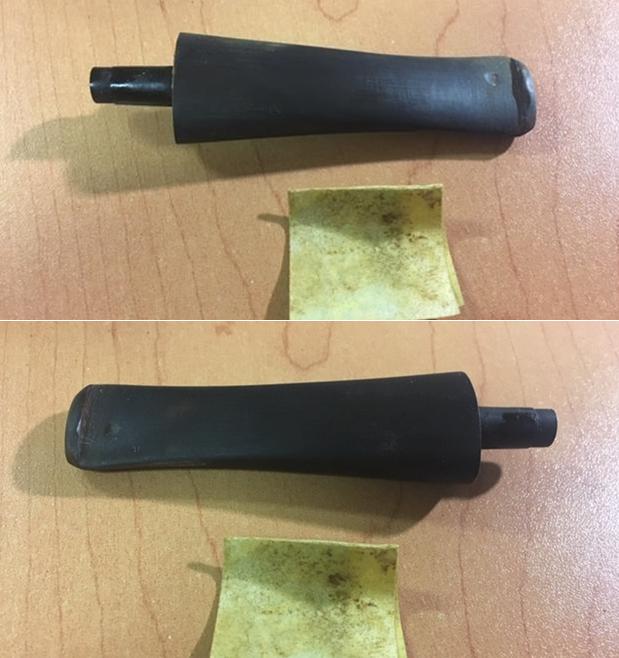 I cleaned the surface of the stem with alcohol and dried it off. I filled in the deep tooth marks with clear super glue and set the stem aside to let the glue cure.
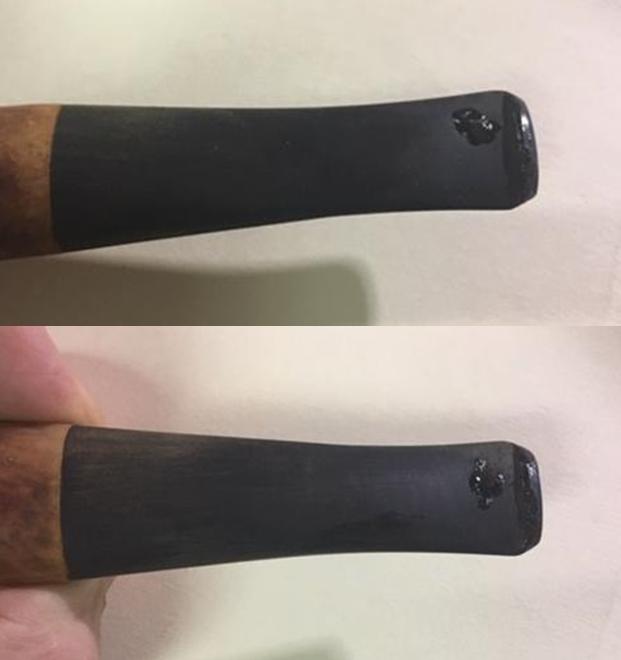 I sanded out the tooth chatter and marks with 220 grit sandpaper. I wiped down the stem with Obsidian Oil and cleaned out the inside of the airway to get rid of the dust and debris from the sanding.
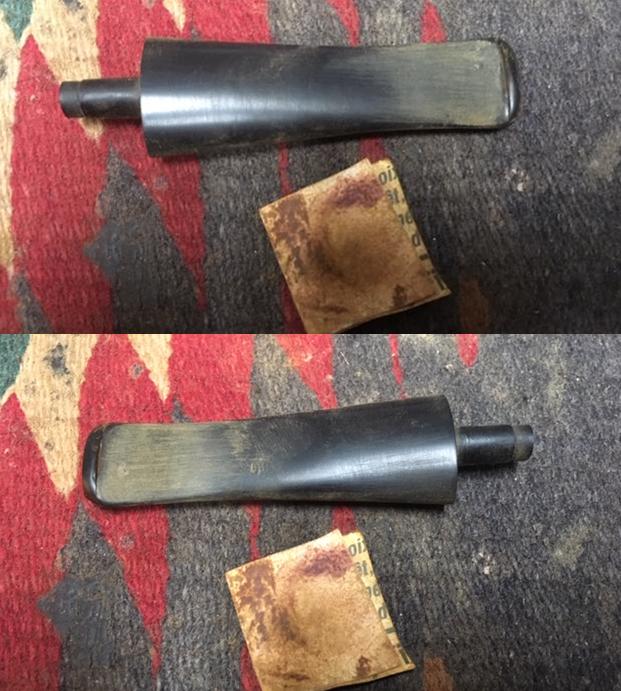
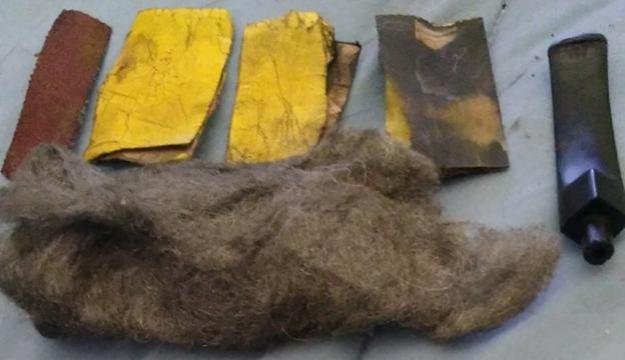
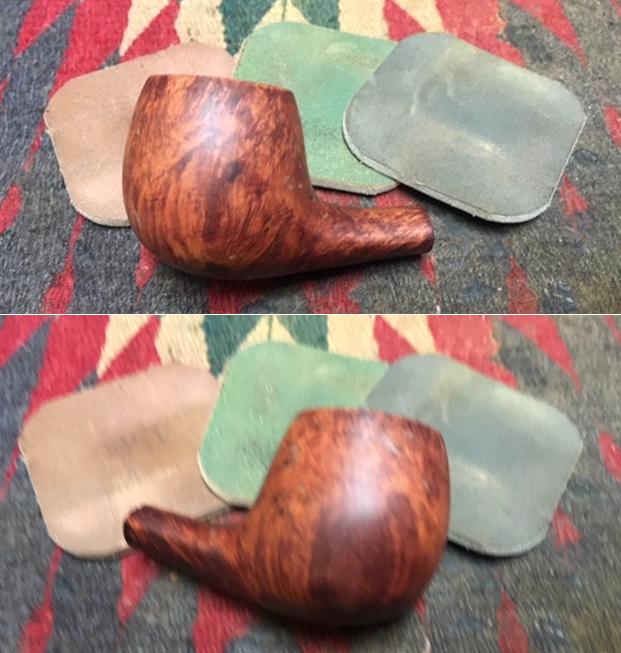
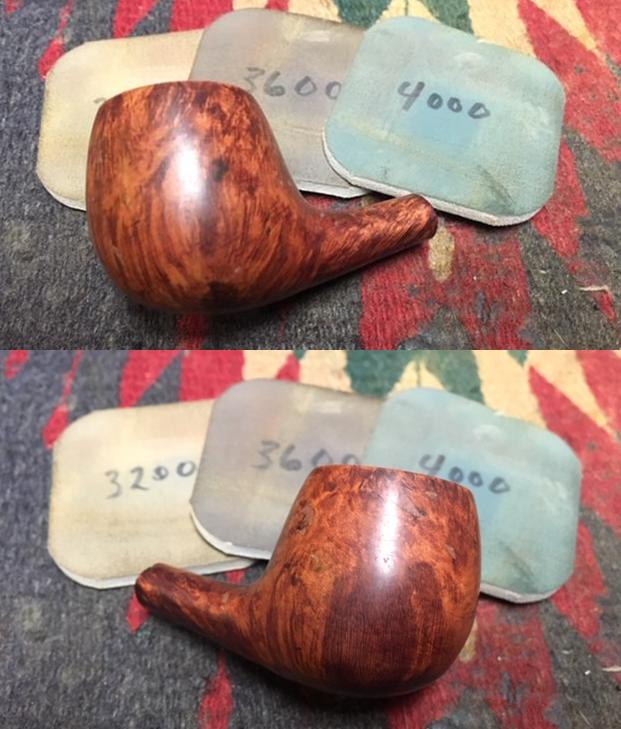
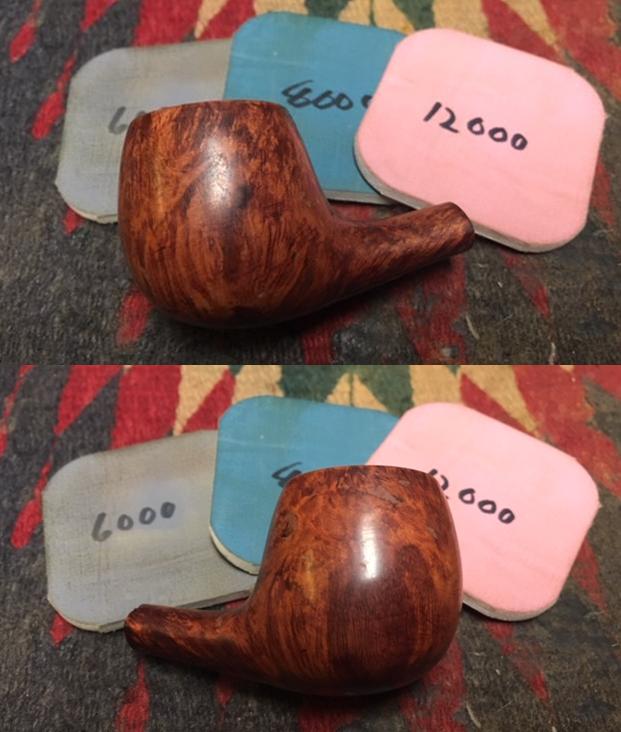
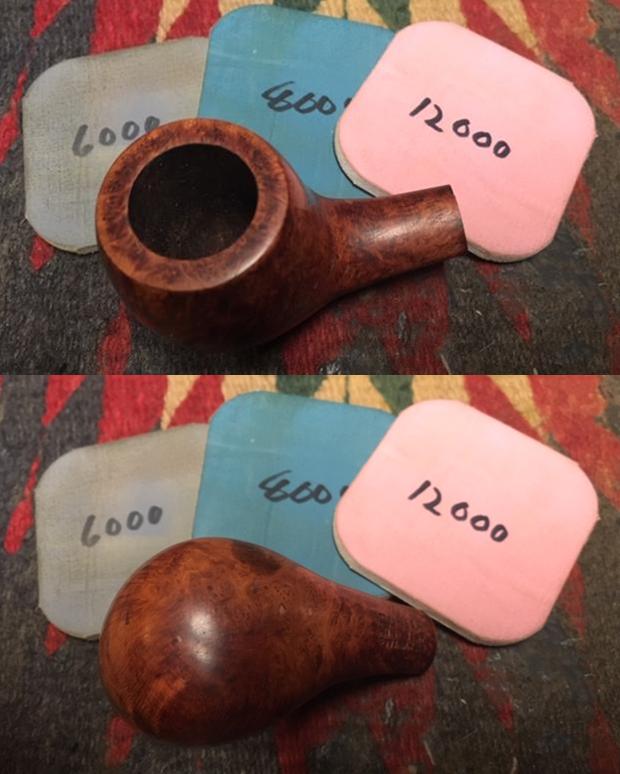
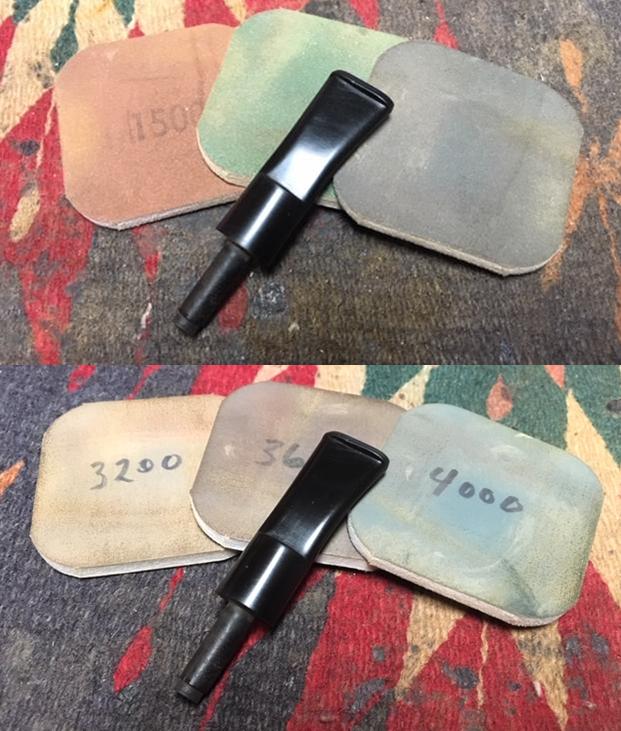
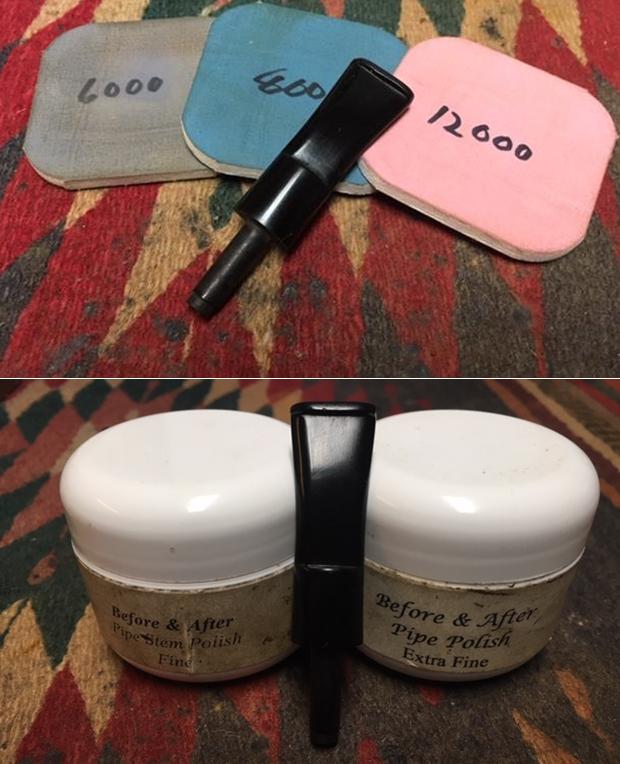
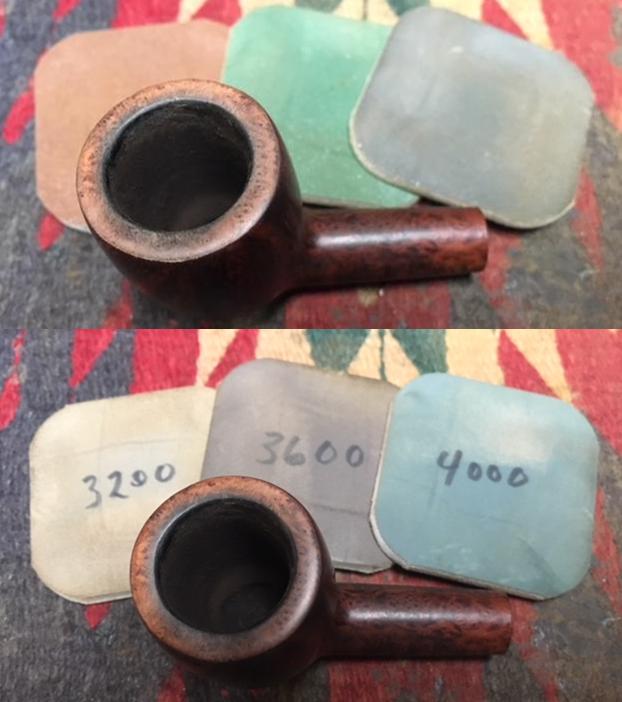
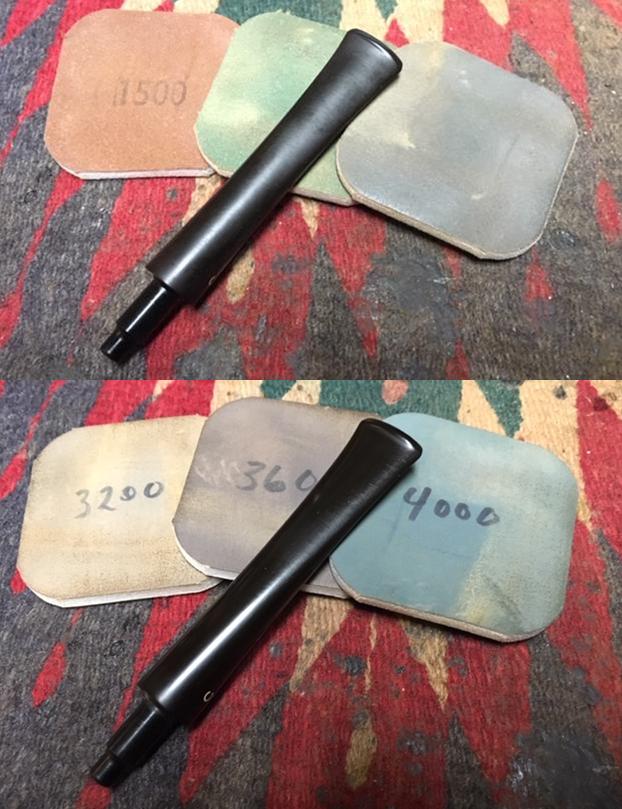
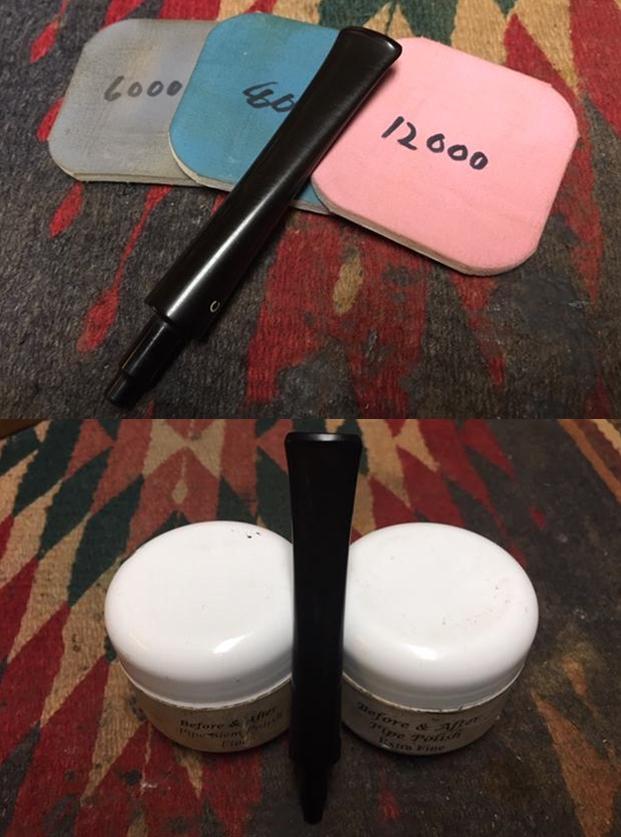
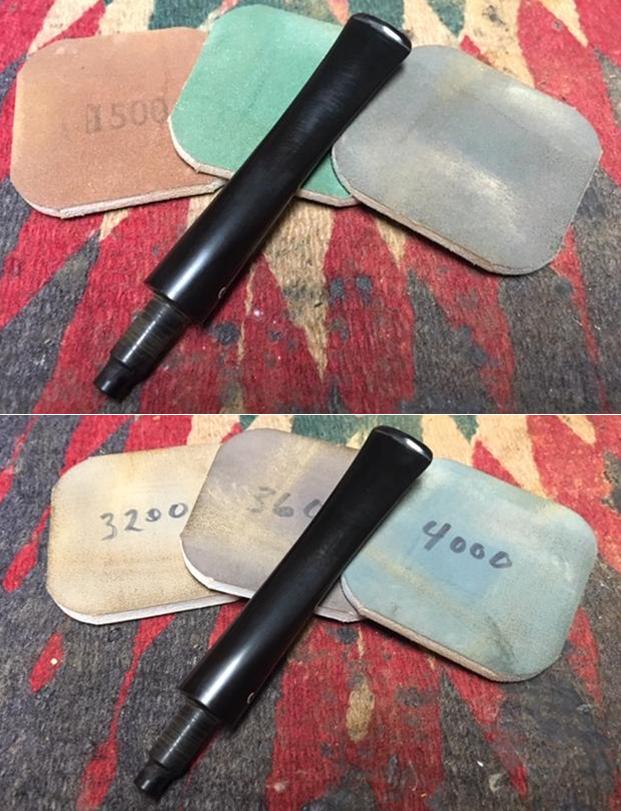
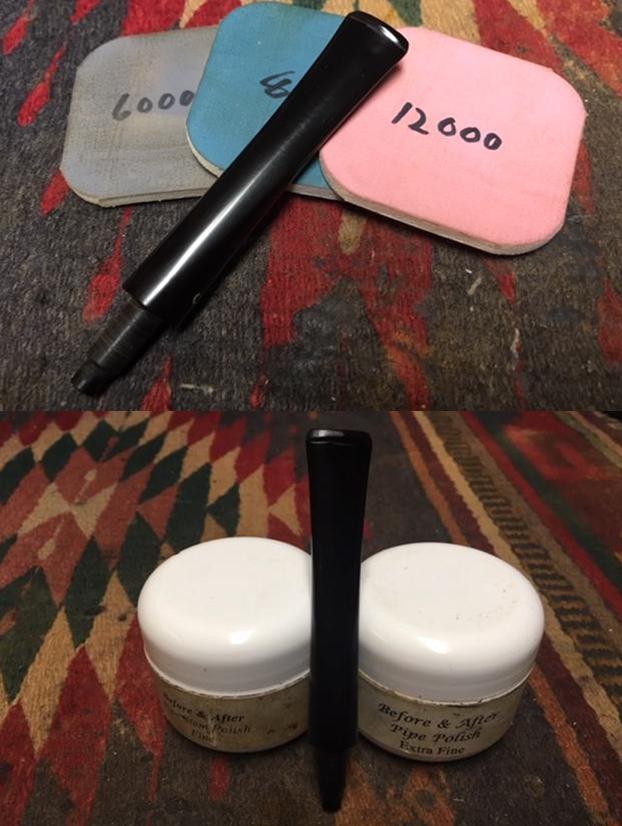
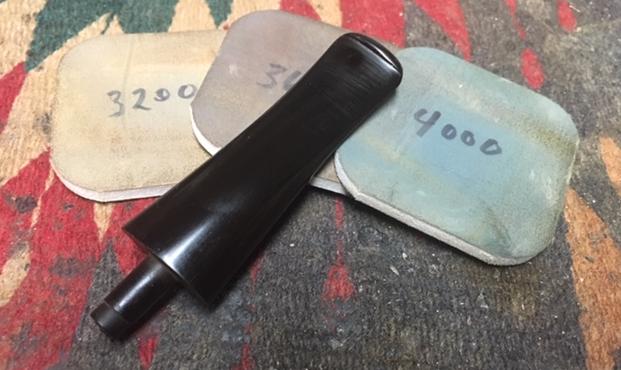
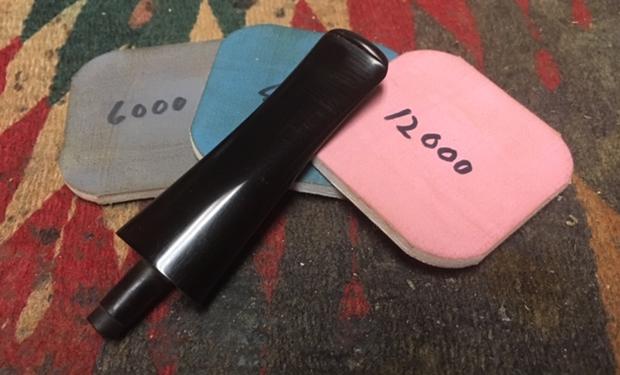
 I polished the stem with micromesh sanding pads – wet sanding it with 1500-2400 grit pads and dry sanding with 3200-12000 grit pads. I wiped the stem down with Obsidian Oil after each pad. I polished the bowl with Before & After Pipe Polish – Fine and Extra Fine. I gave it a final coat of Obsidian Oil and set it aside to dry.
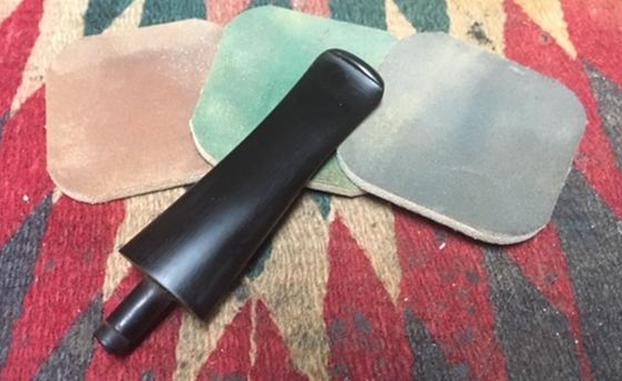
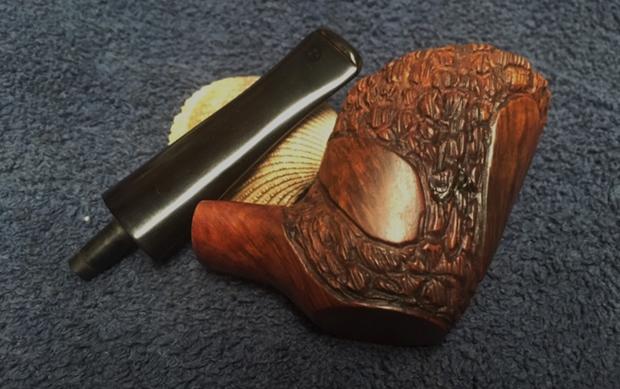
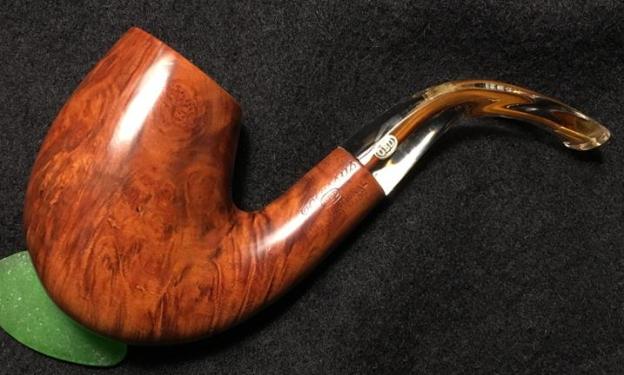
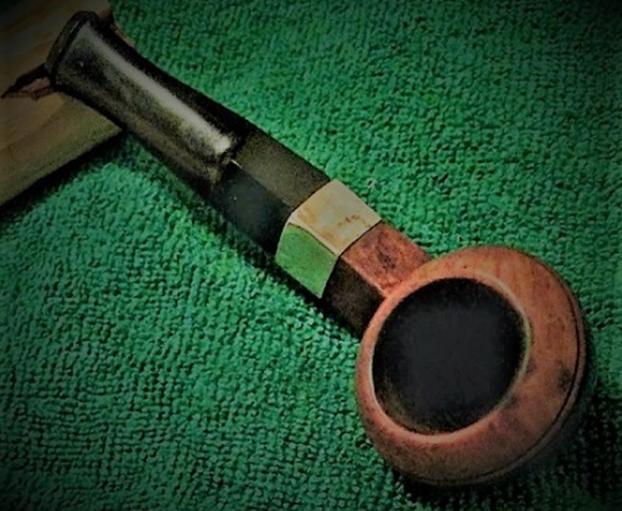
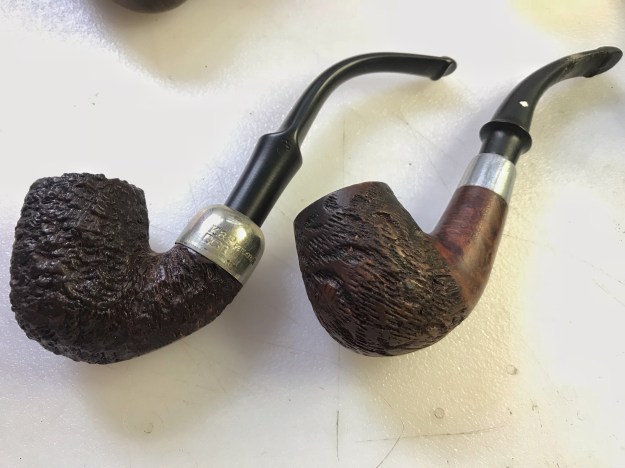
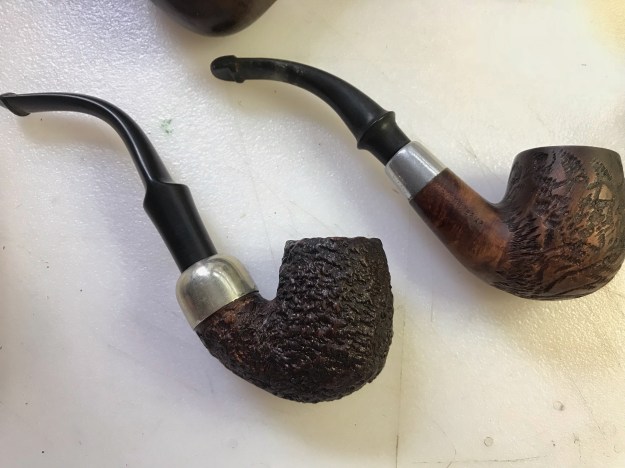
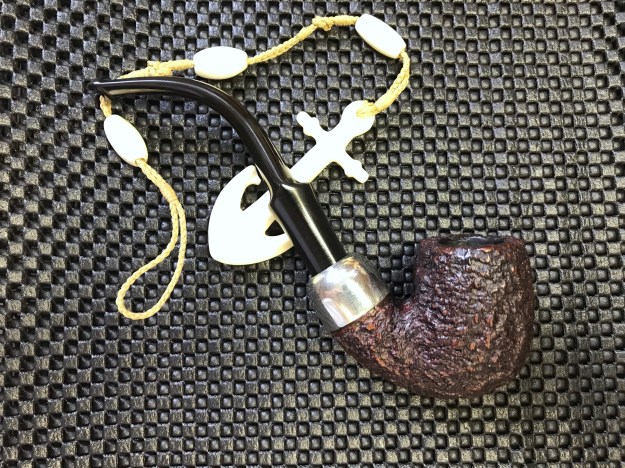
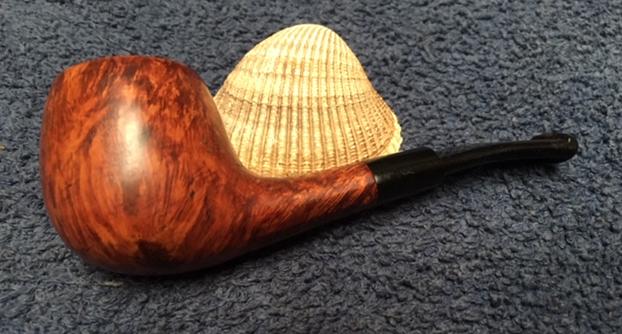
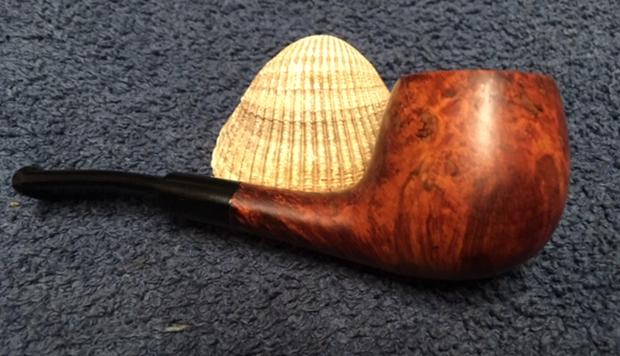
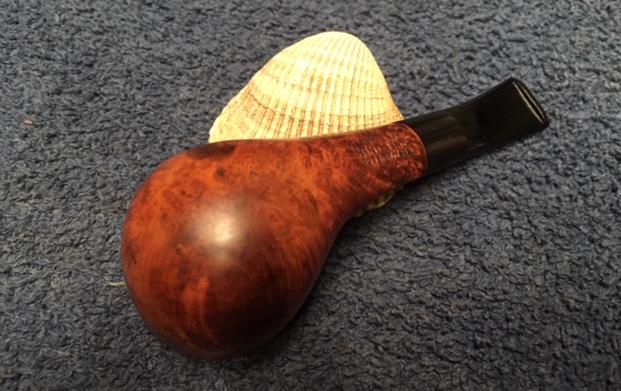
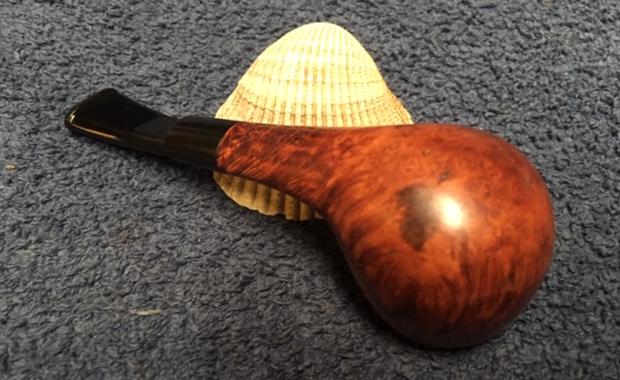
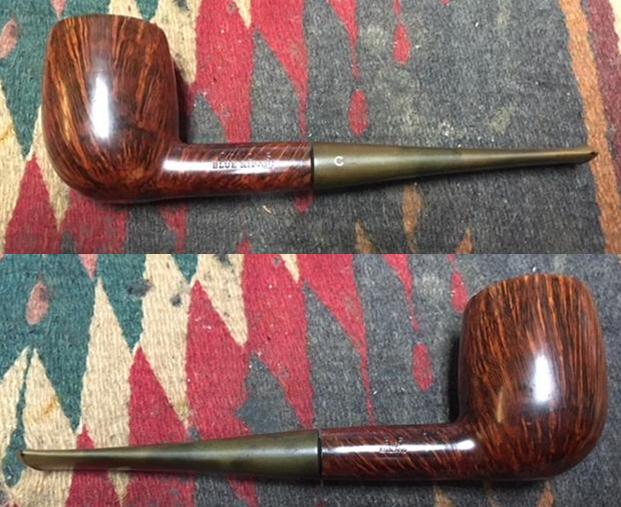
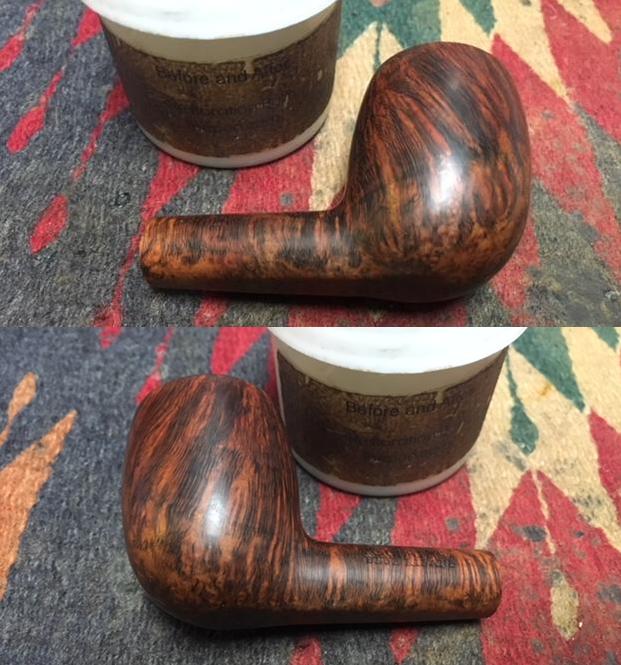
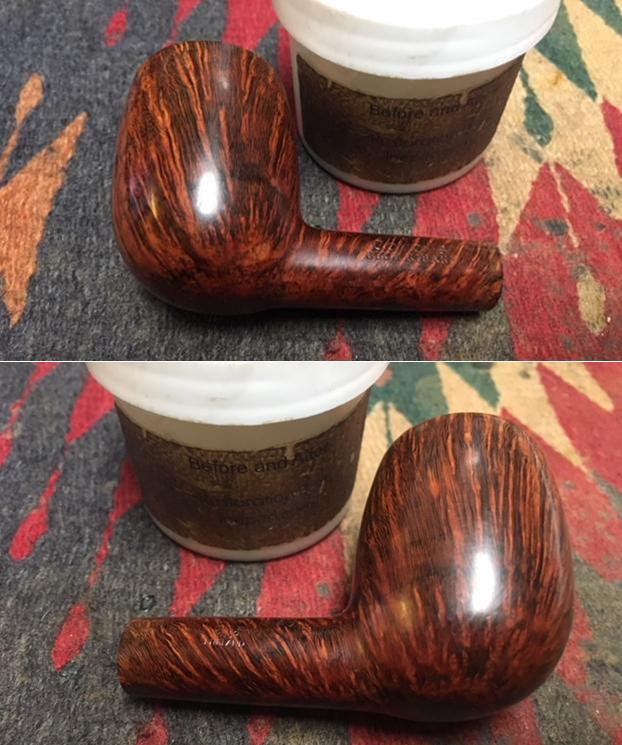
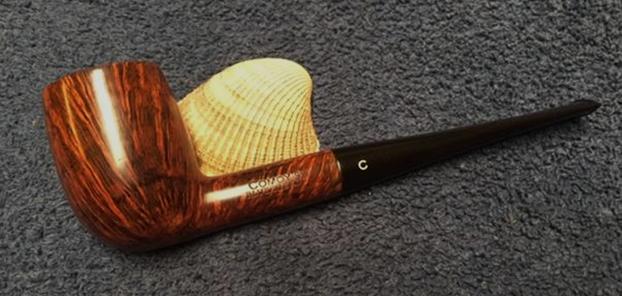
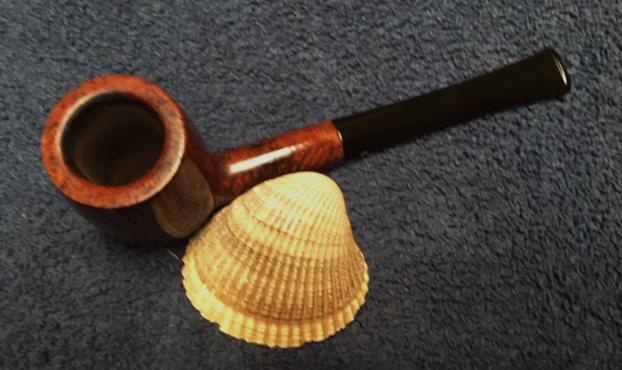
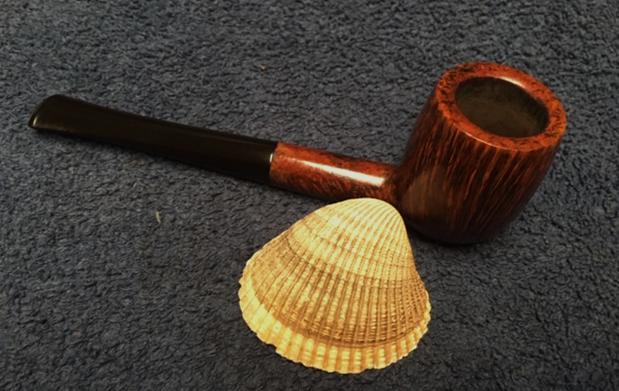
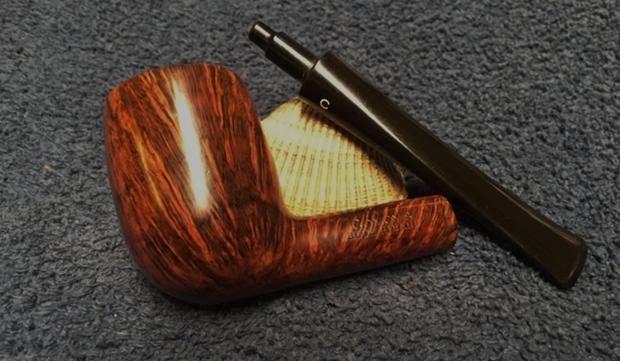
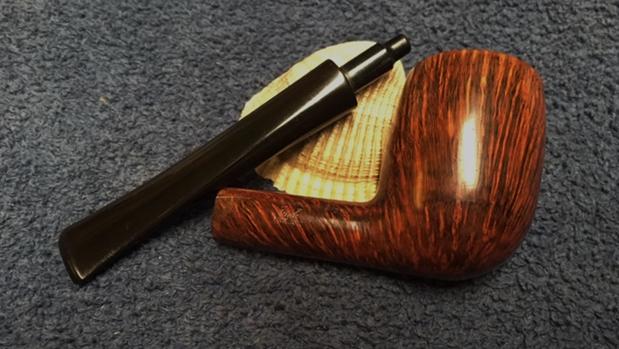
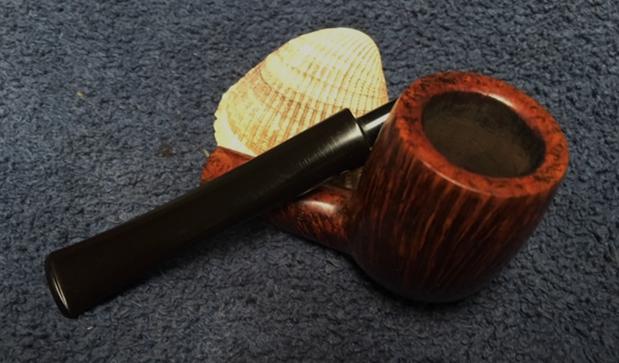
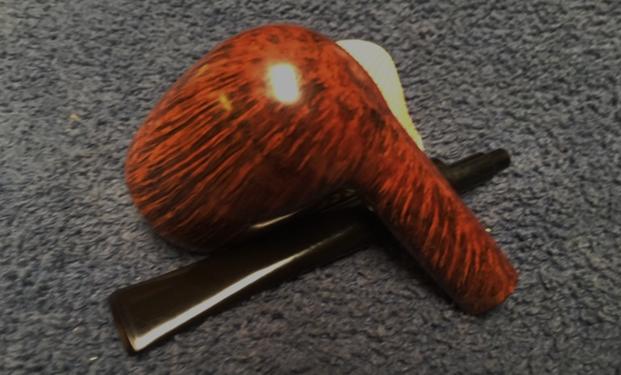
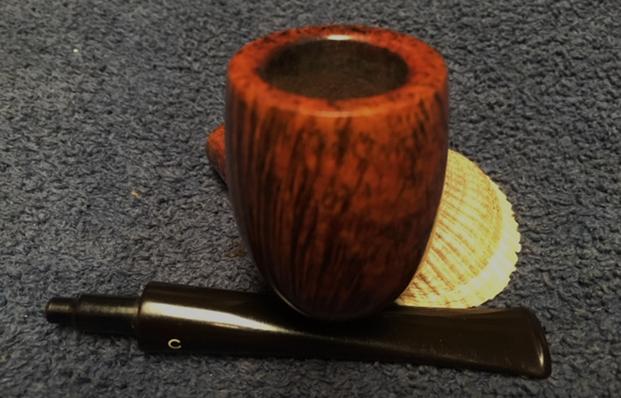
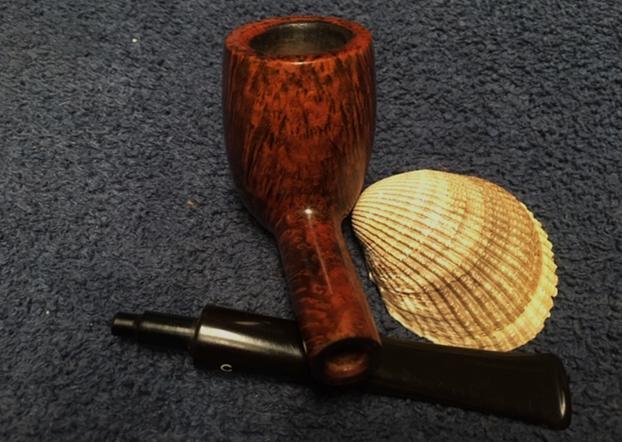
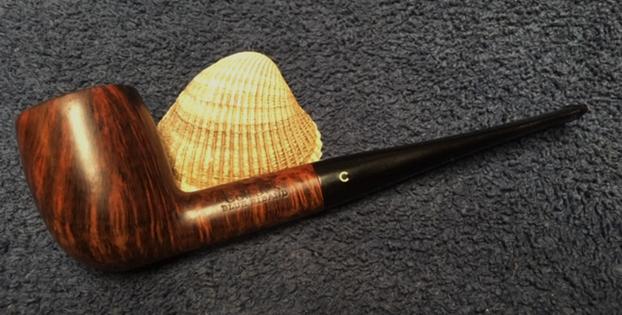
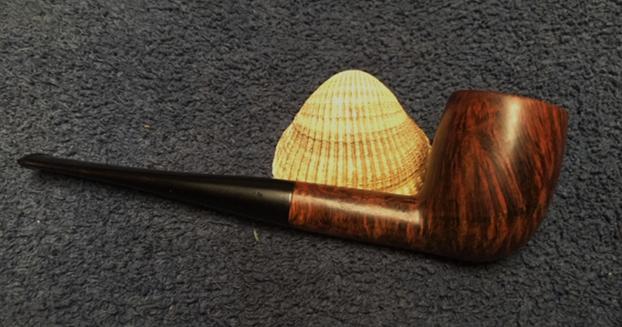
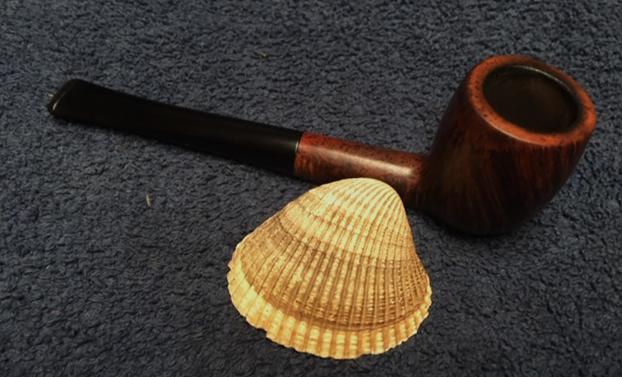
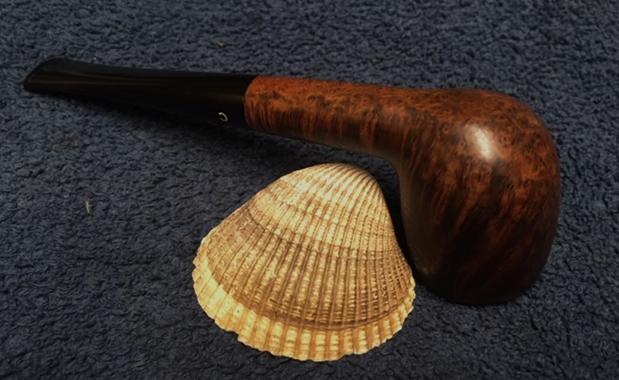
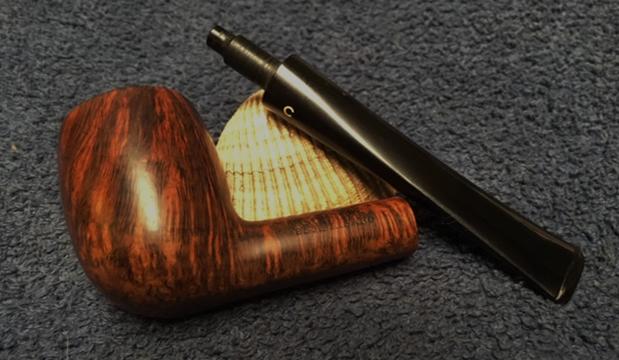
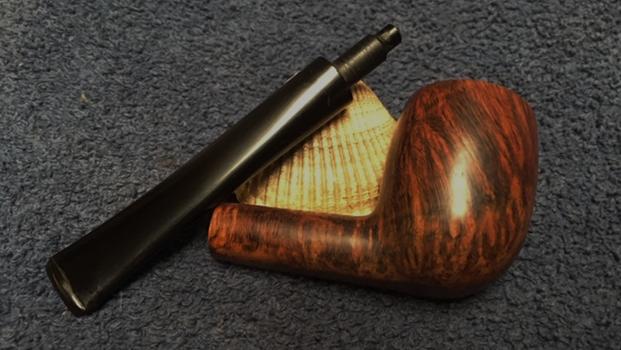
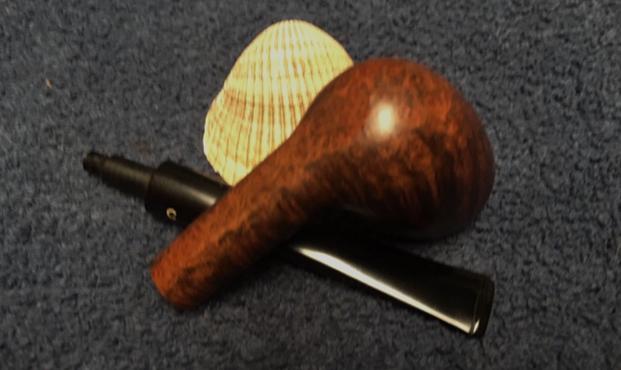
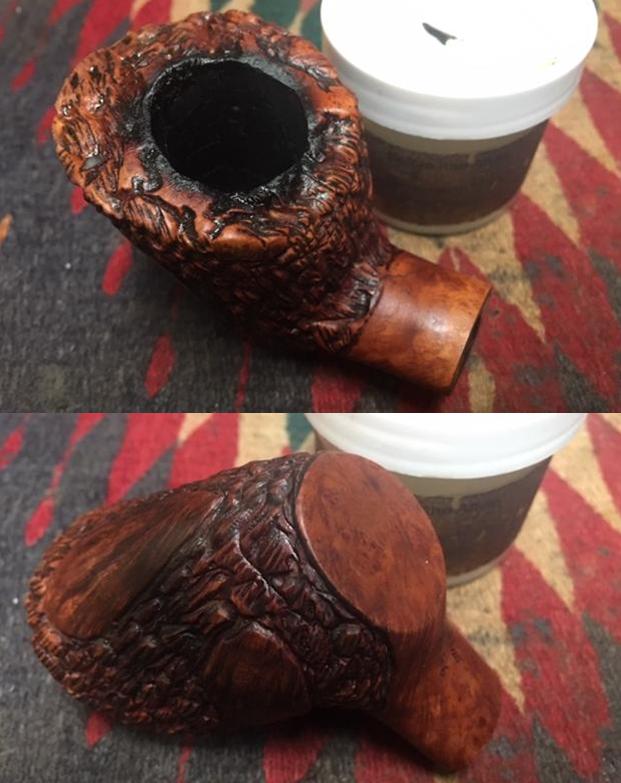
 I polished stem and the bowl with Blue Diamond polish on the buffing wheel. I gave the bowl multiple coats of Conservator’s Wax and the stem multiple coats of carnauba wax. I buffed the pipe with a clean buffing pad to raise the shine. I hand buffed it with a microfiber cloth to deepen the shine. The pipe polished up pretty nicely. The grain really came alive in both the rusticated portions and the smooth panels with the buffing and works well with the polished black vulcanite stem. Together the pipe looks much better than when I began and has a rich look. The finished pipe is shown in the photos below. The shape, finish and flow of the pipe and stem are very well done. The dimensions are Length: 6 inches, Height: 2 1/4 inches, Outside diameter of the bowl: 1 7/8 inches, Chamber diameter: 7/8 of an inch. I will be putting this freehand style pipe on the rebornpipes store shortly if you are interested in adding it to your collection. Thanks for walking through the restoration with me as I worked over this unique Handmade Jandrew pipe.