by Steve Laug
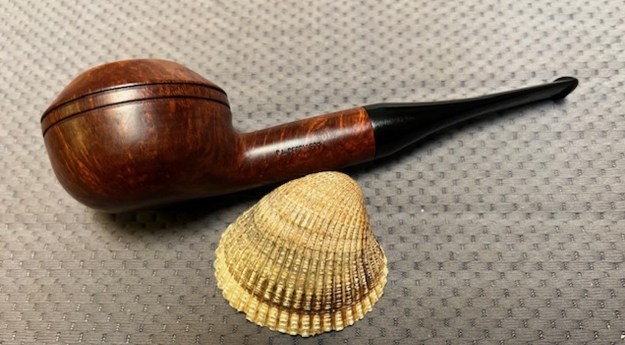
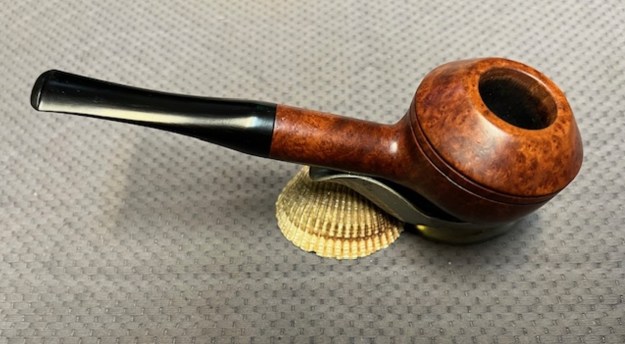
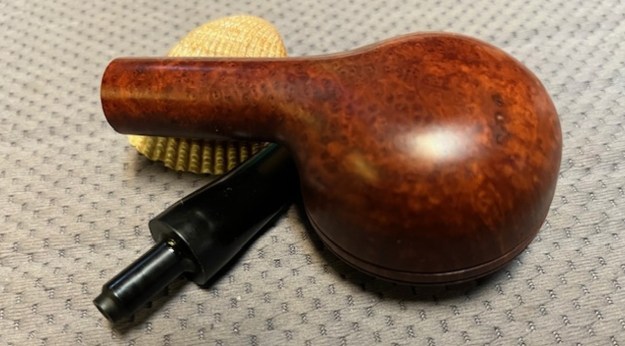
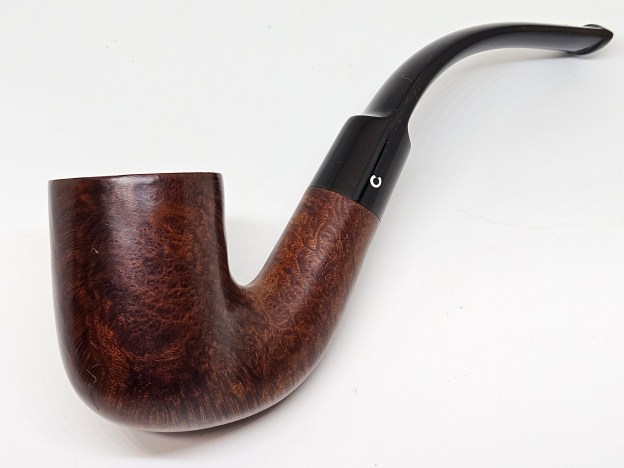
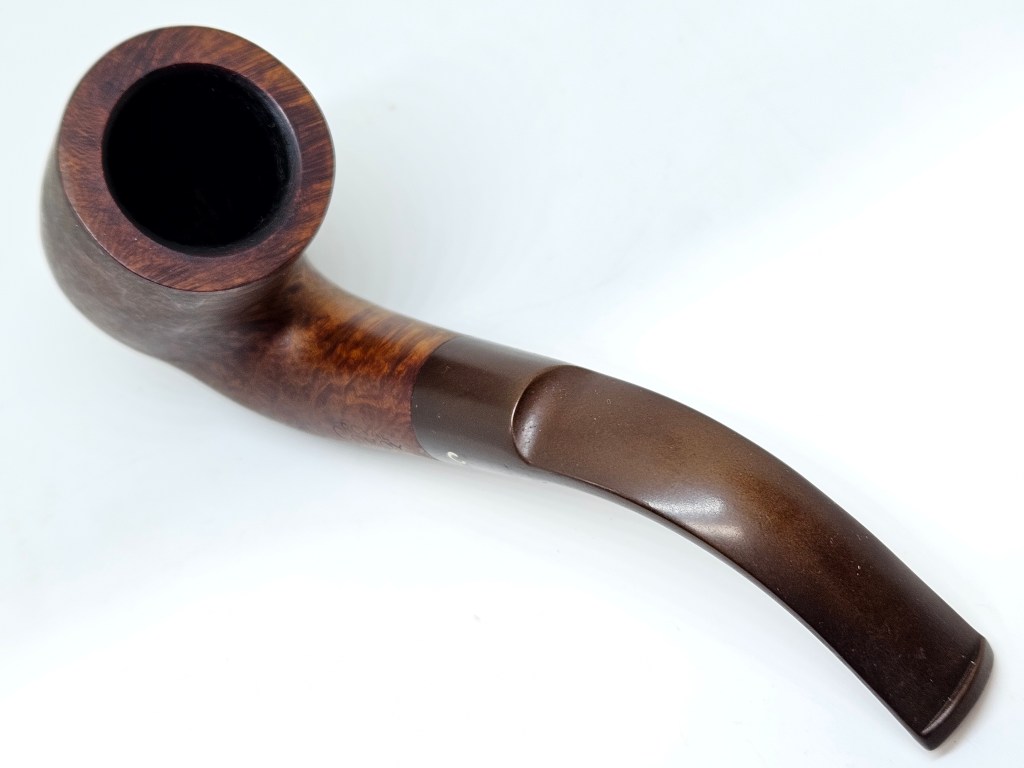
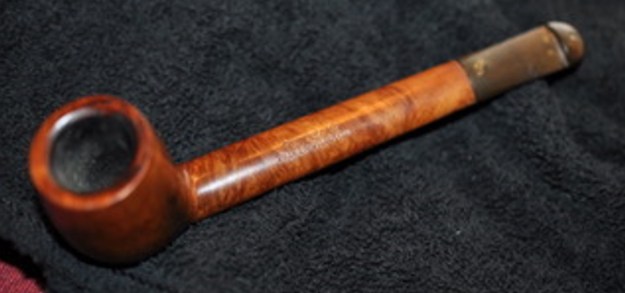
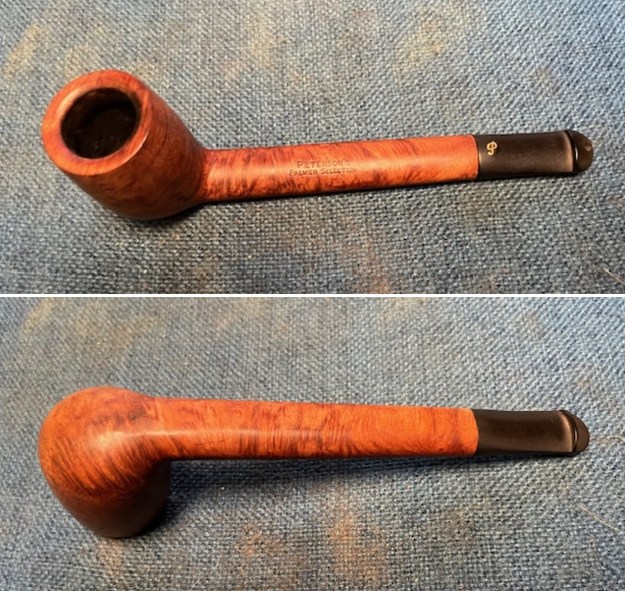
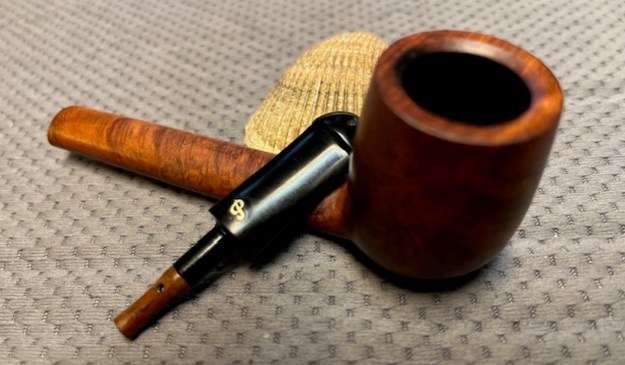
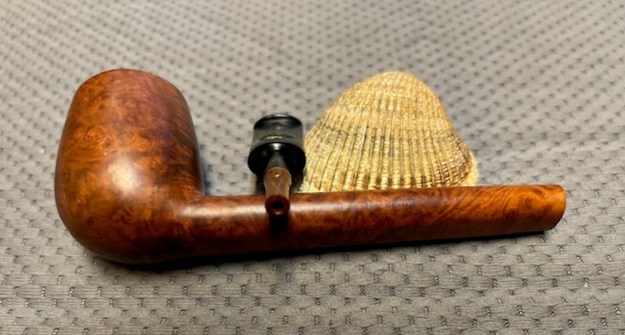
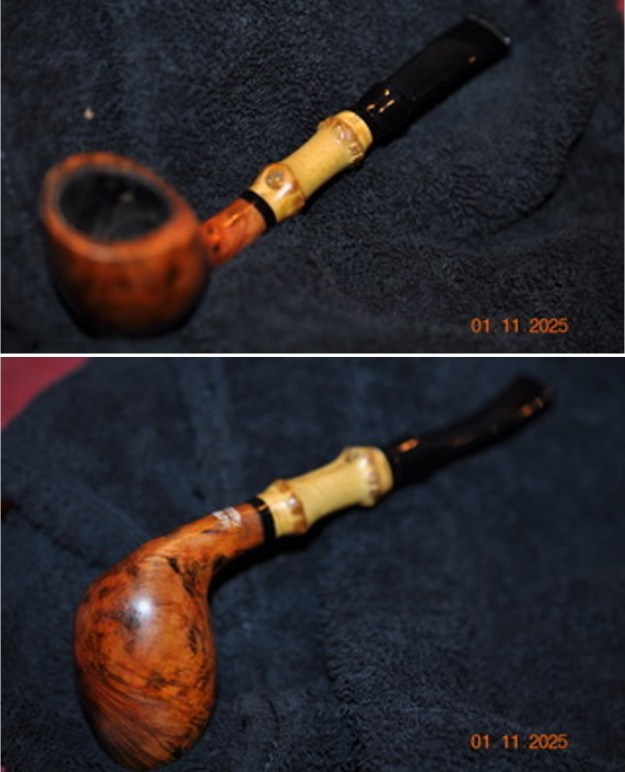
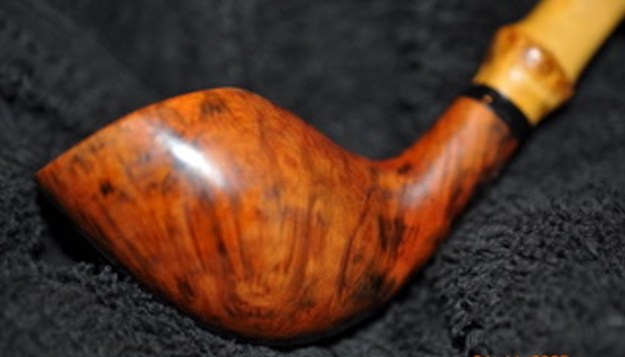
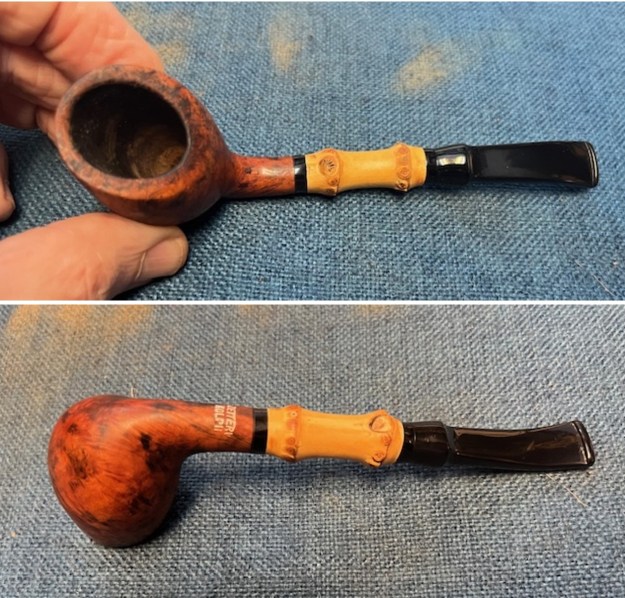
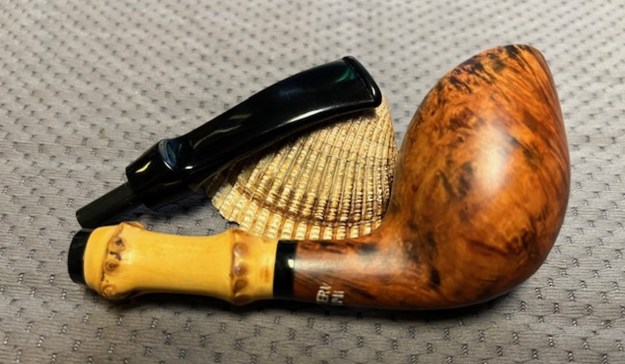
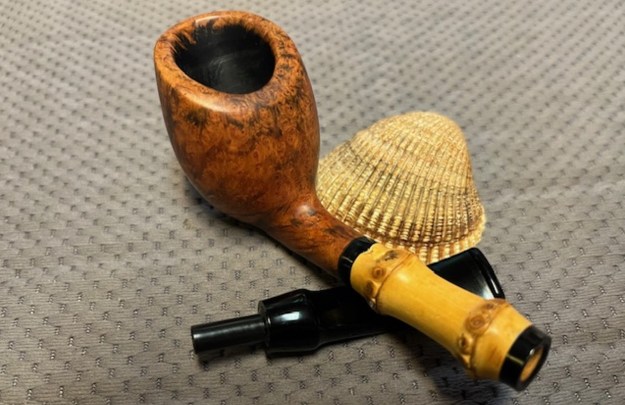
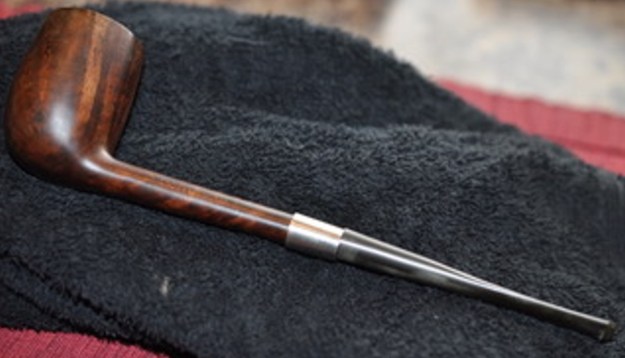
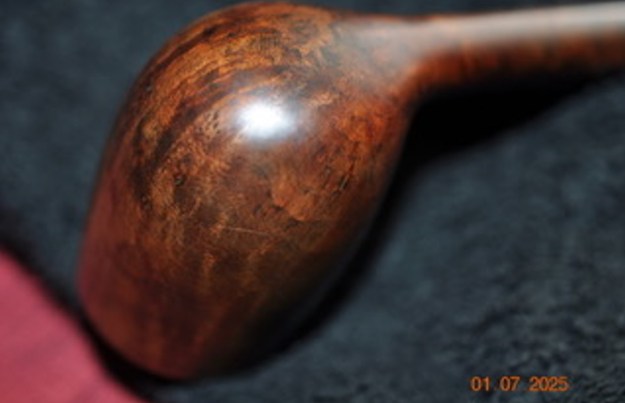
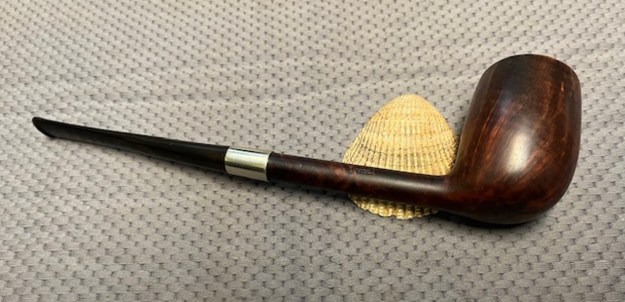
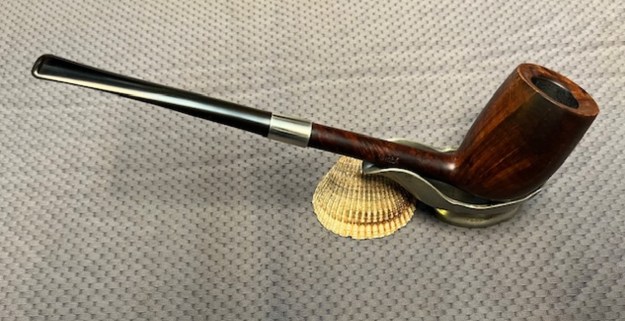
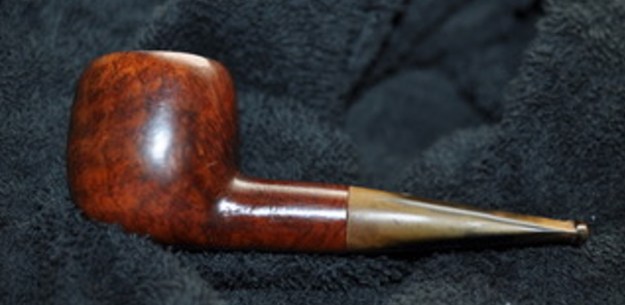
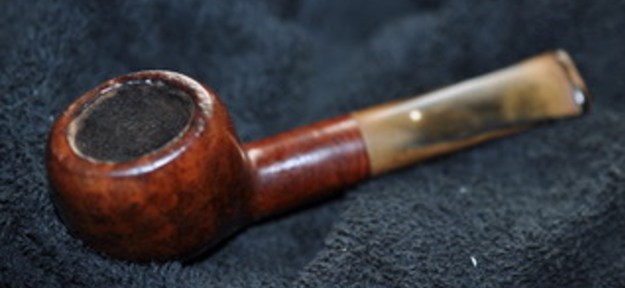
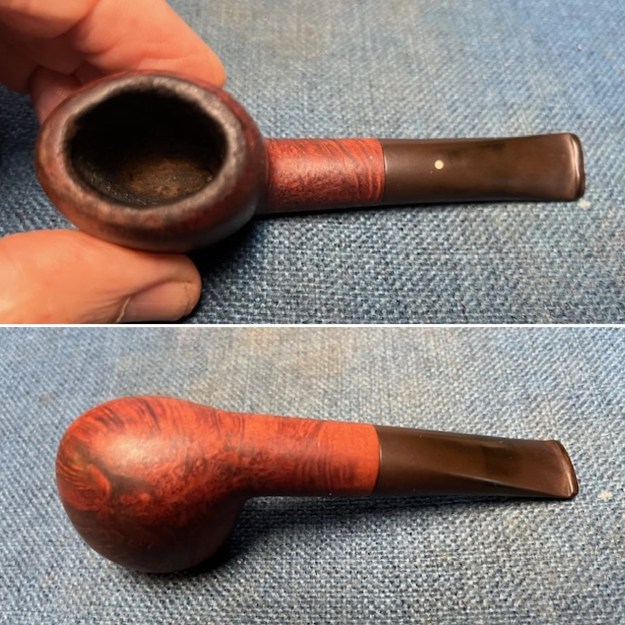
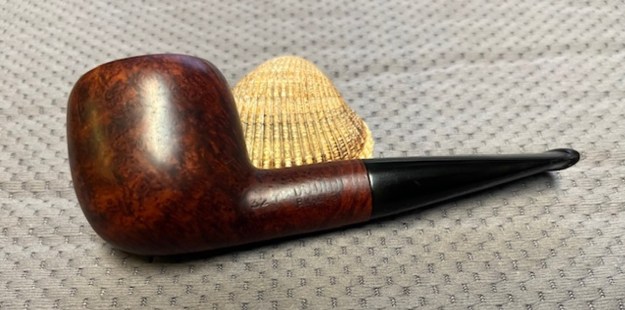
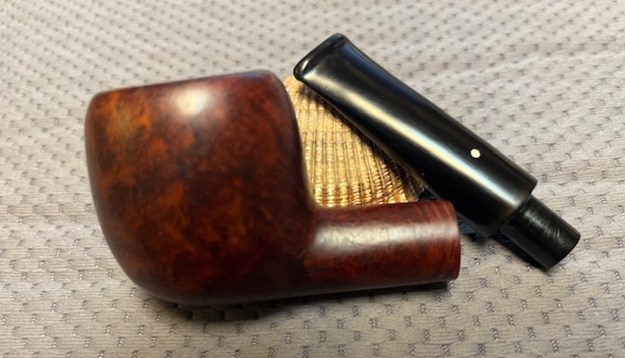
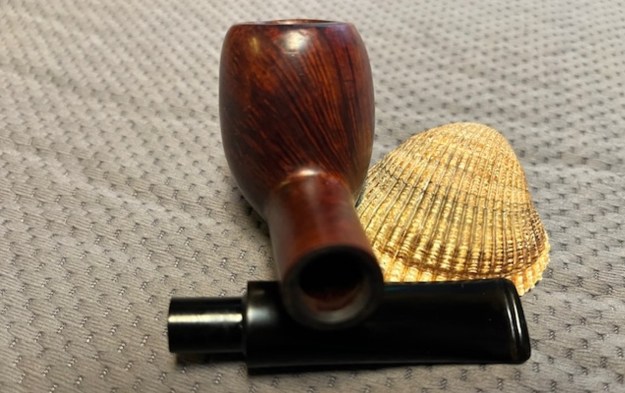
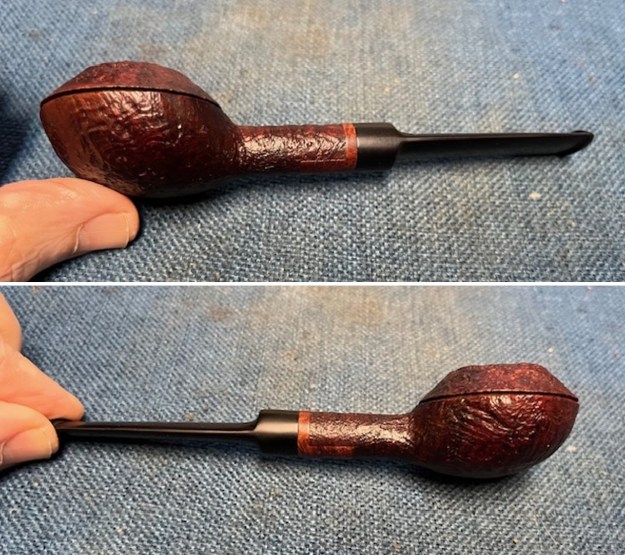
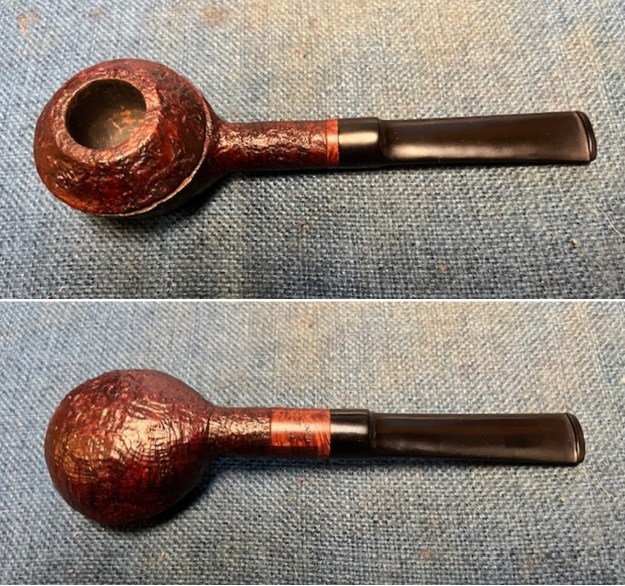
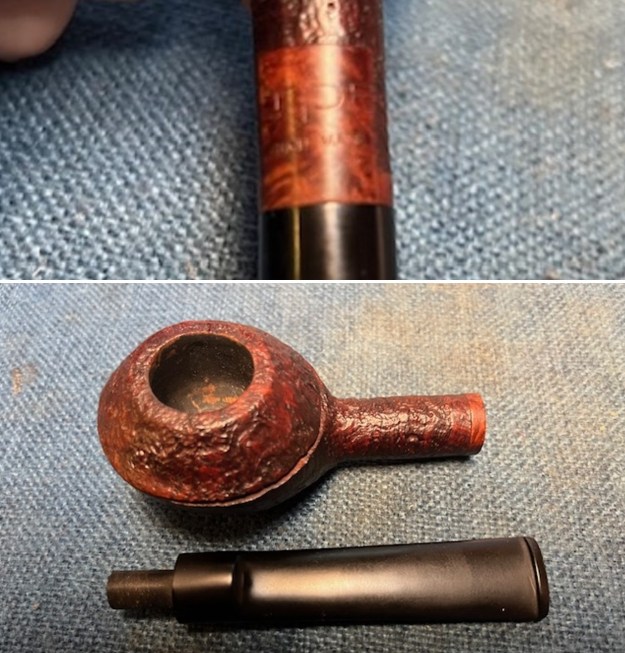
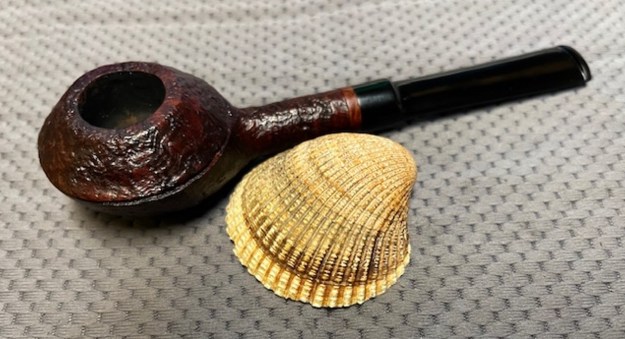
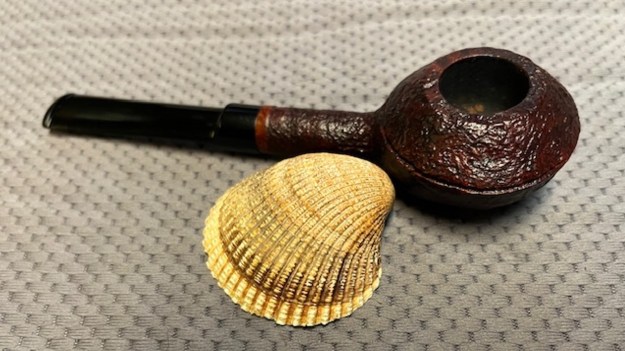
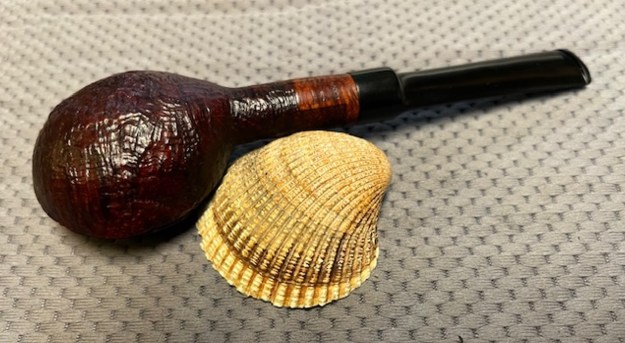
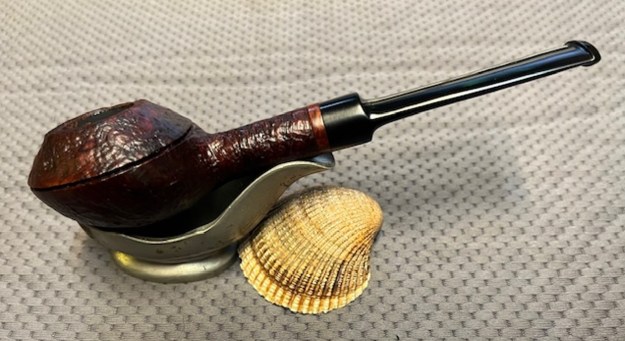
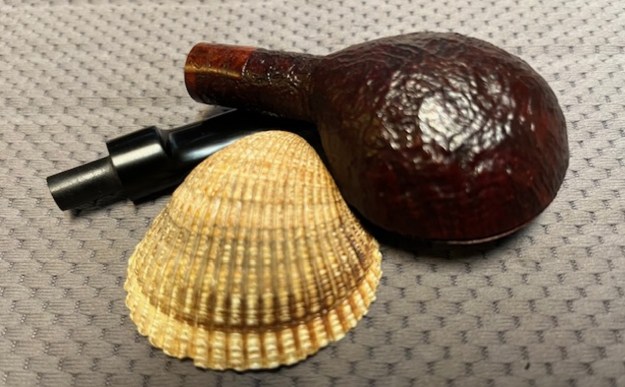
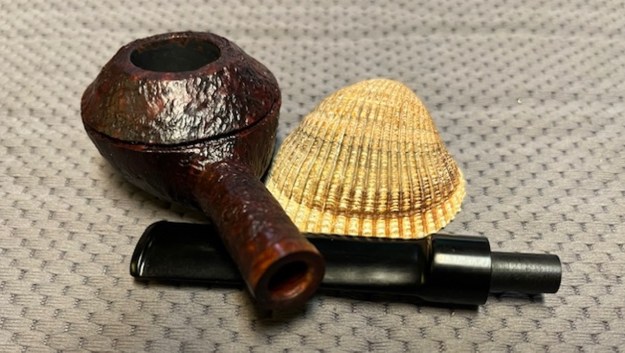
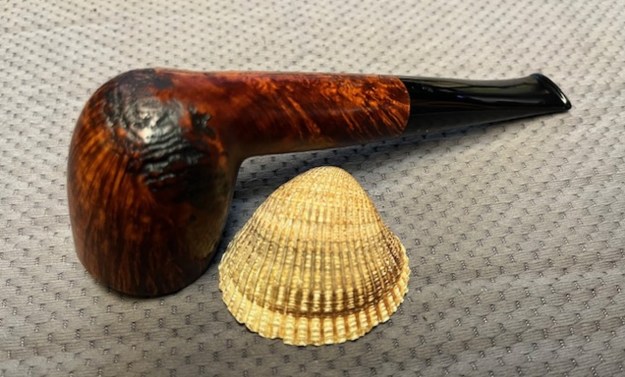
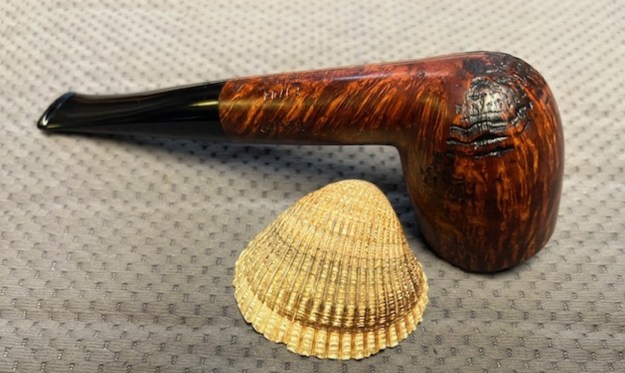
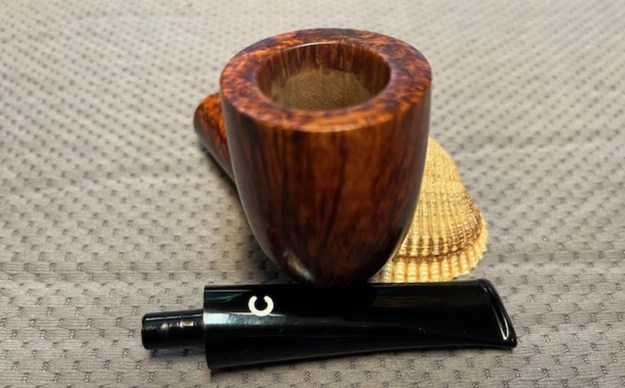
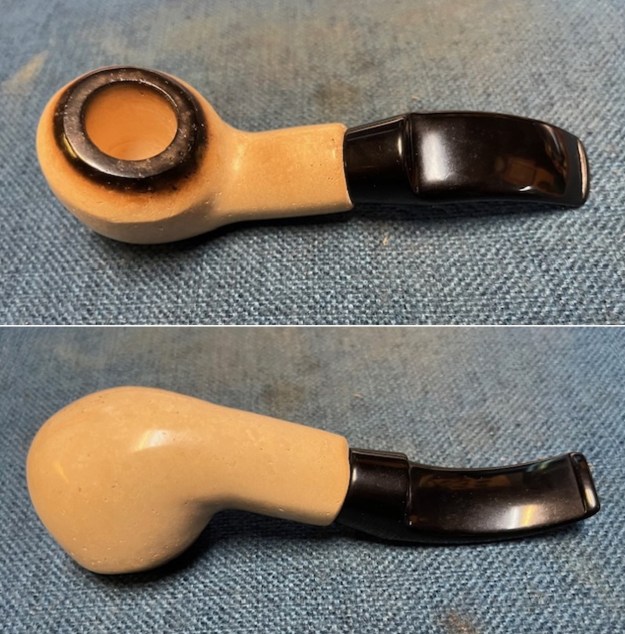
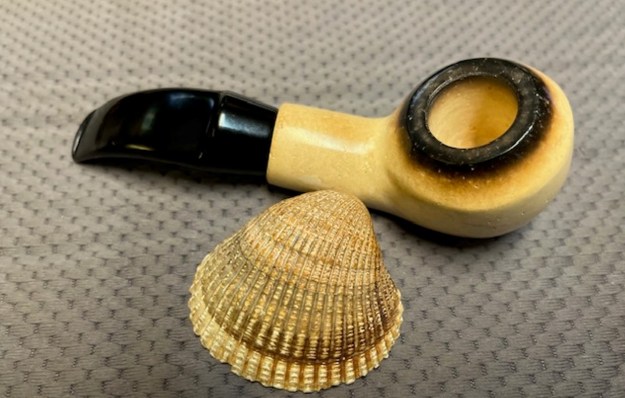
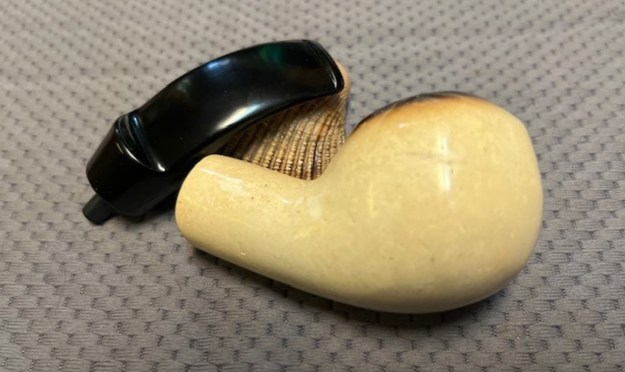
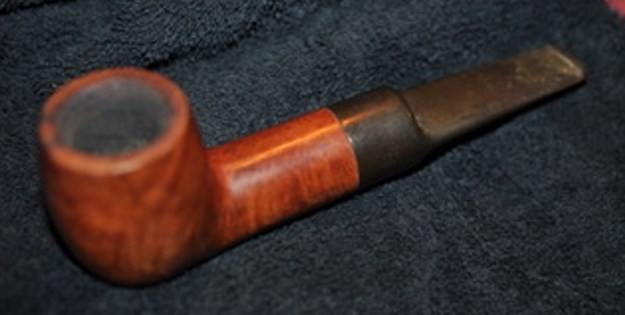
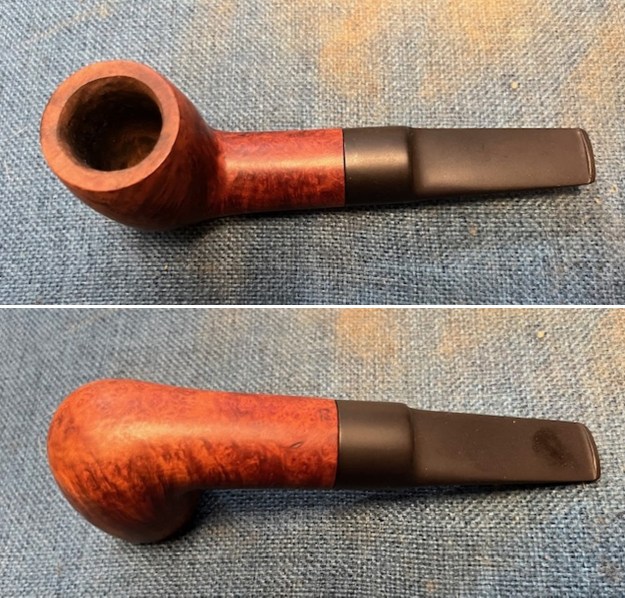
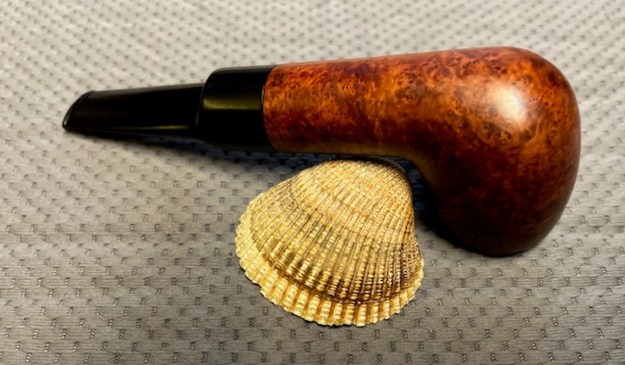
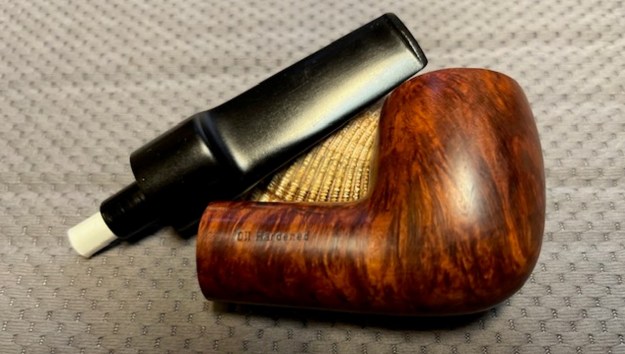
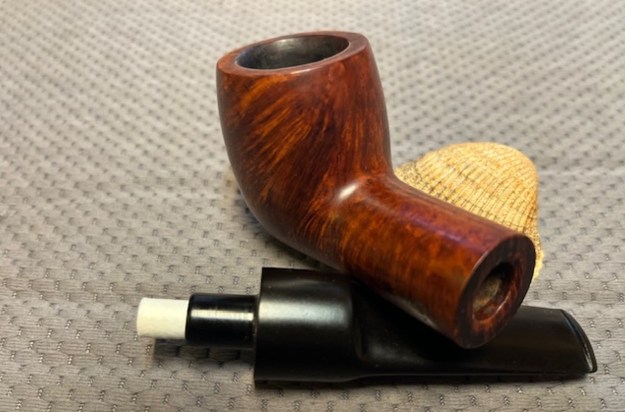
The next pipe I have chosen is a beautifully grained and smooth finished Rhodesian sitter with a briar cap and twin rings around the cap like a well made Rhodesian. It has a well shaped taper vulcanite stem. It came to us on August 22, 2024 from a friend in Barrington, Rhode Island, USA. The contrast of the brown stains makes the grain stand out. It was stamped left side of the shank and read P.L. Perri & Son. There was no other stamping on the shank sides of bottom. The pipe was quite clean. It had obviously been reamed recently. The bowl was clean and the smooth rim top was dirty a few spots of lava on the surface. The black vulcanite taper stem was in good condition other than being a bit dirty. The stem surface had some chatter and tooth marks on both sides of the stem ahead of the button. There was no logo on the stem that identifies it as a Perri pipe. Other than that, the stem was in good shape. Jeff took photos of the pipe before his cleanup work. They tell the story and give a glimpse of the pipe.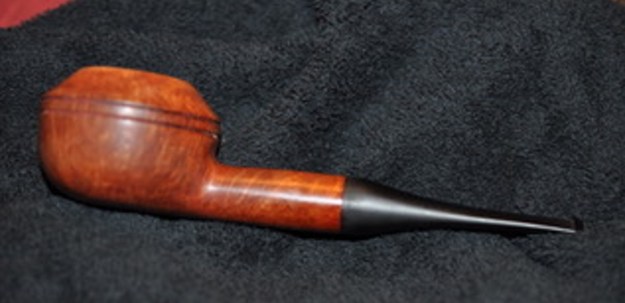
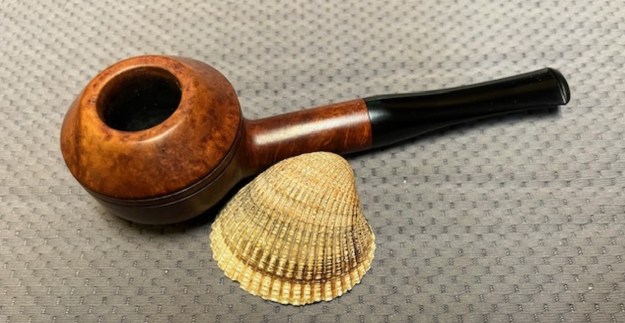
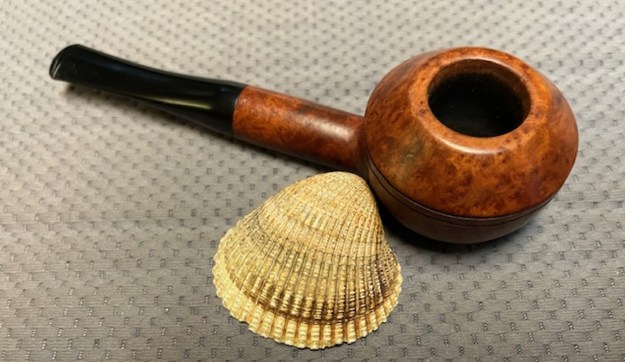
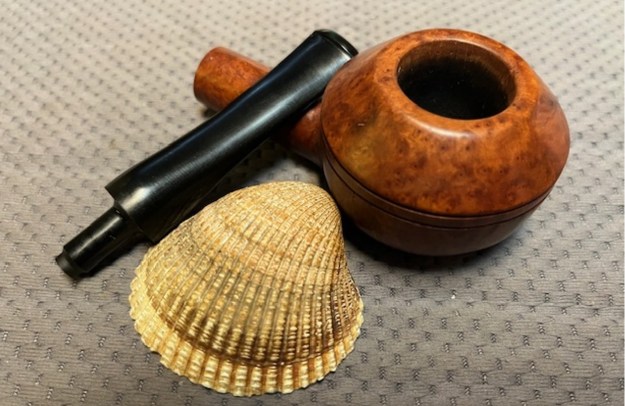
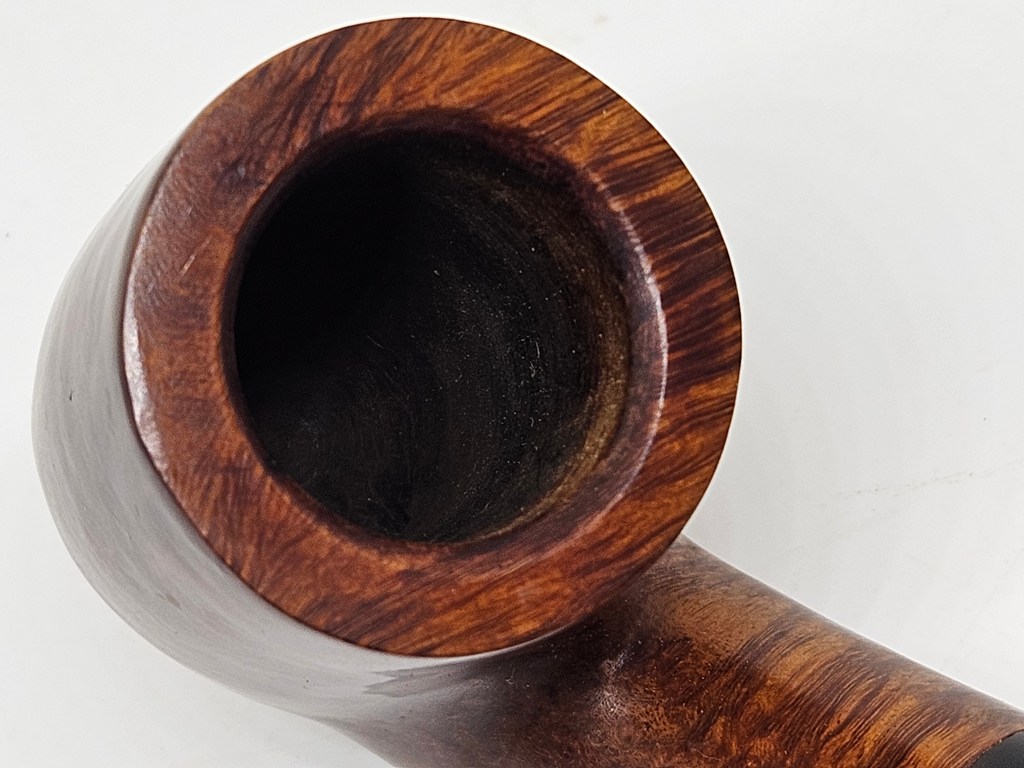
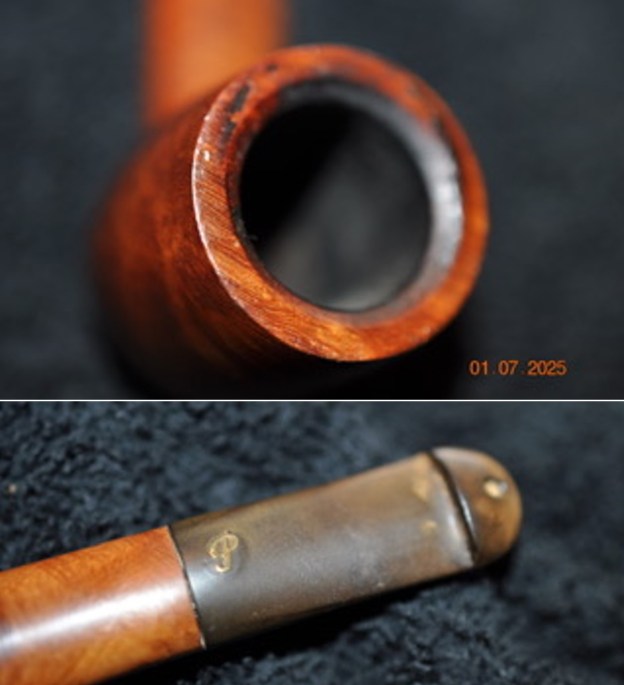
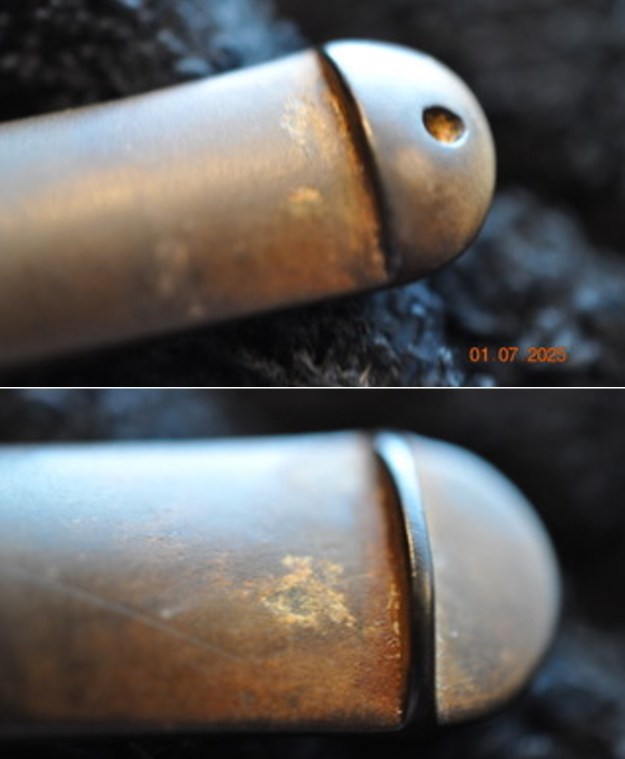
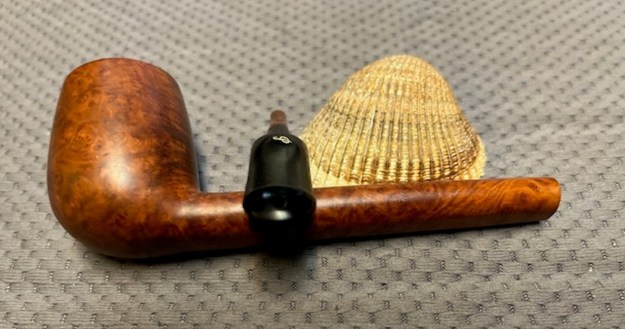
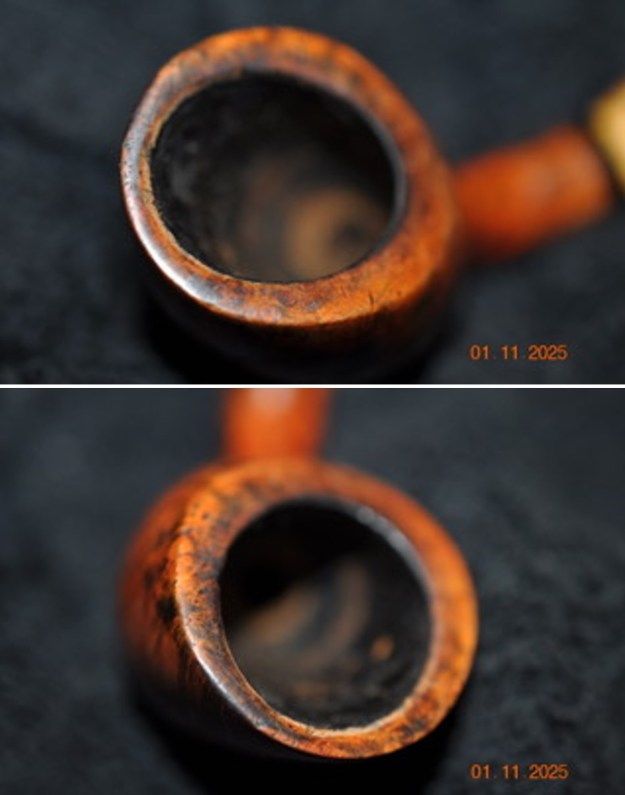
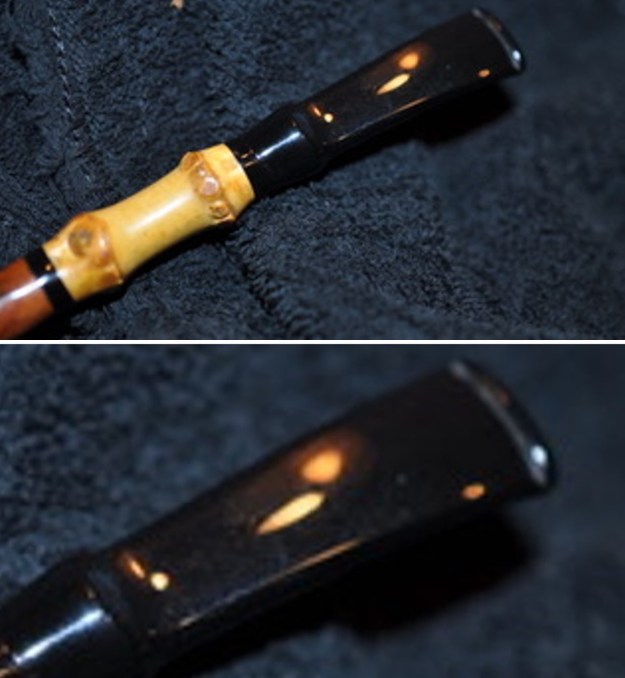
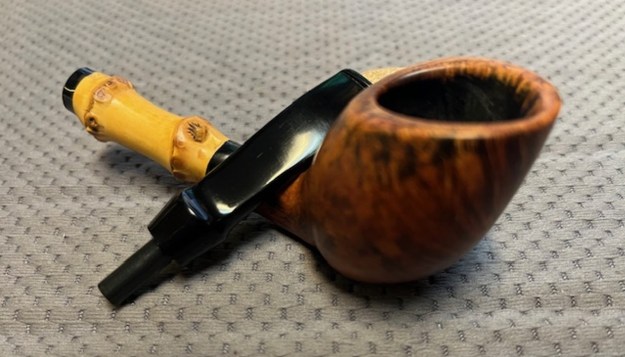
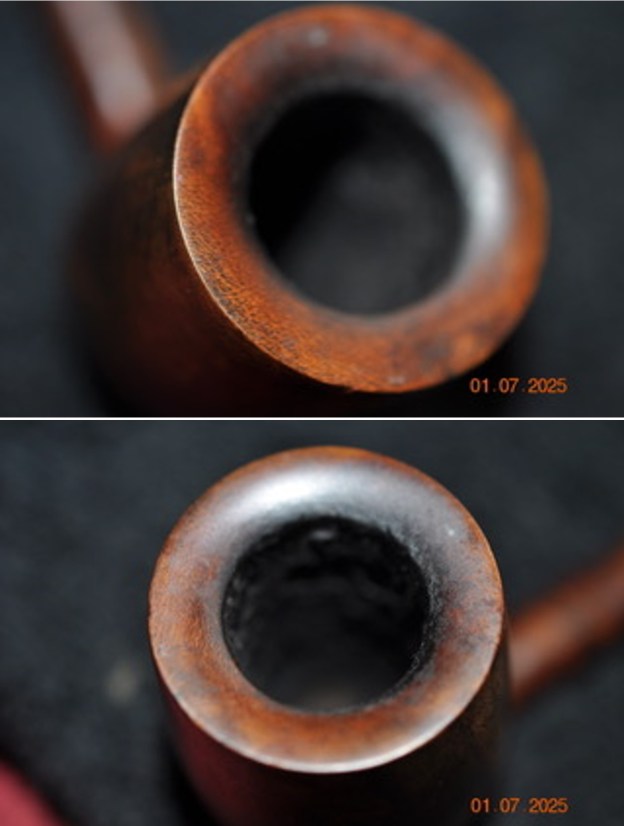
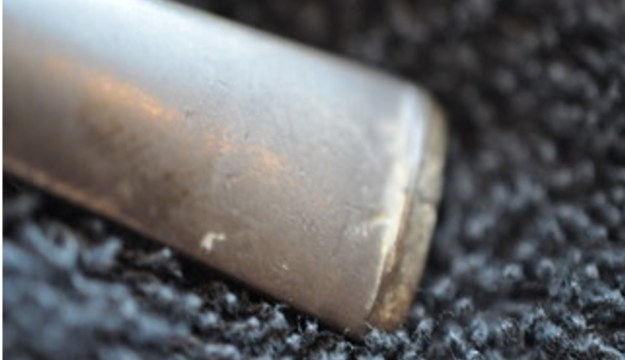
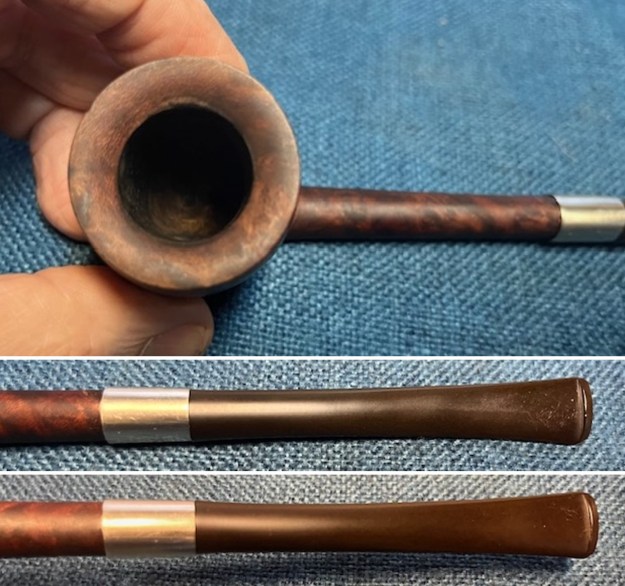
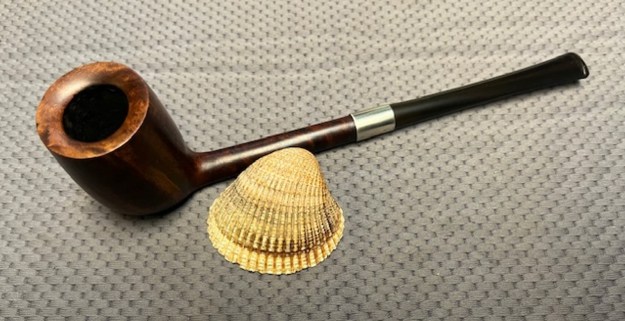
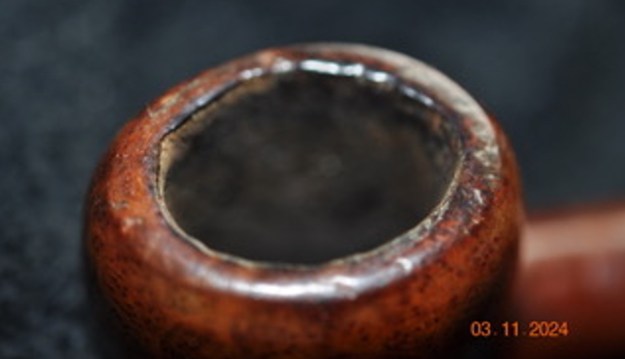
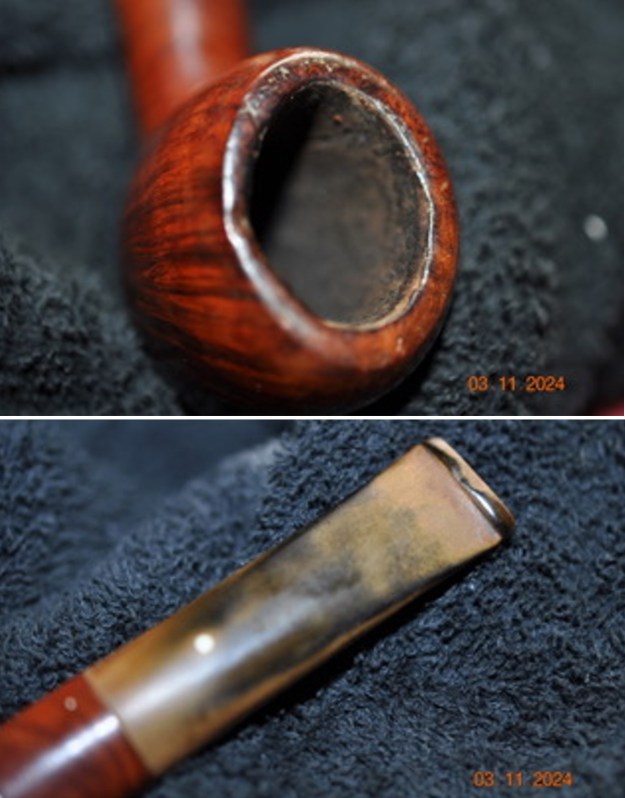
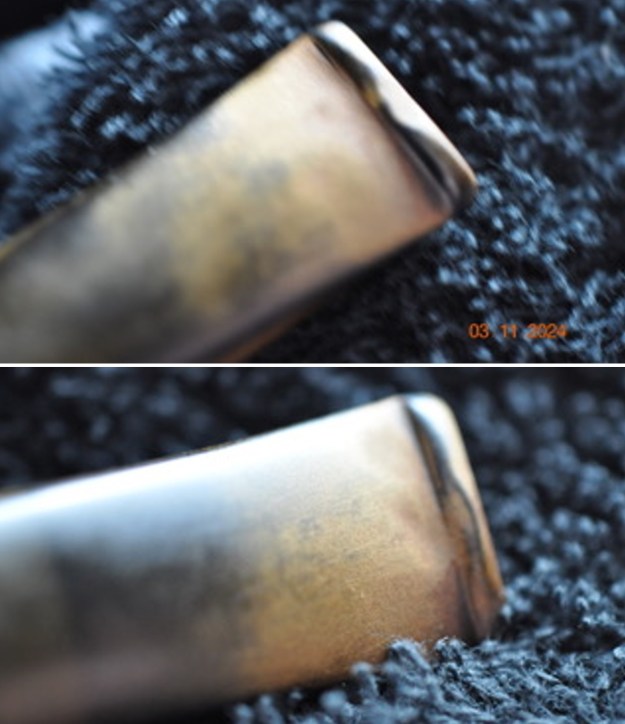
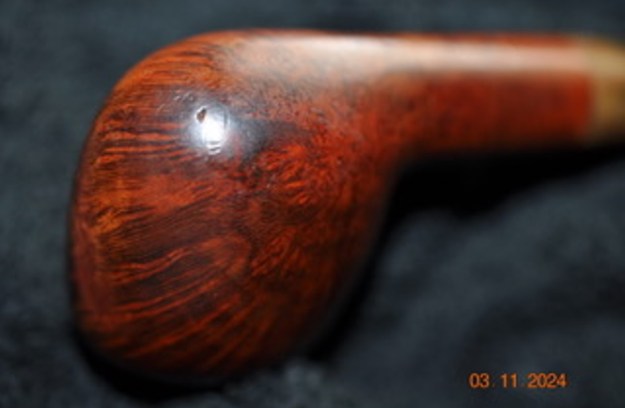
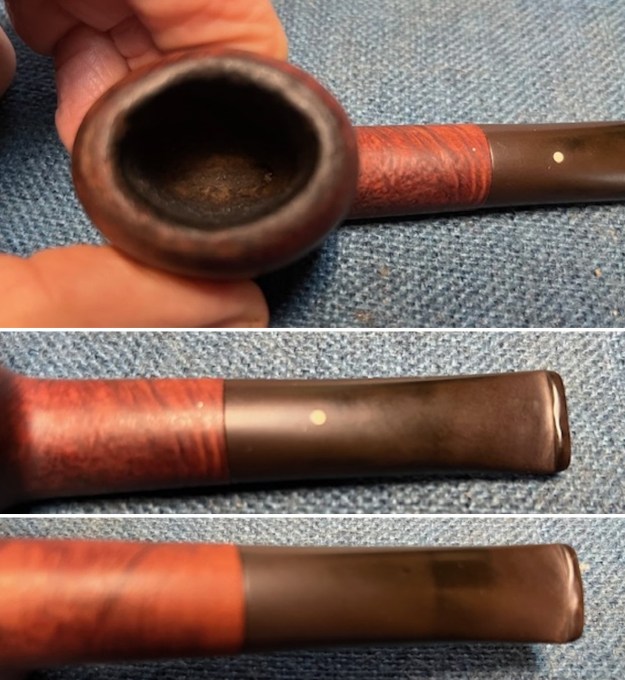
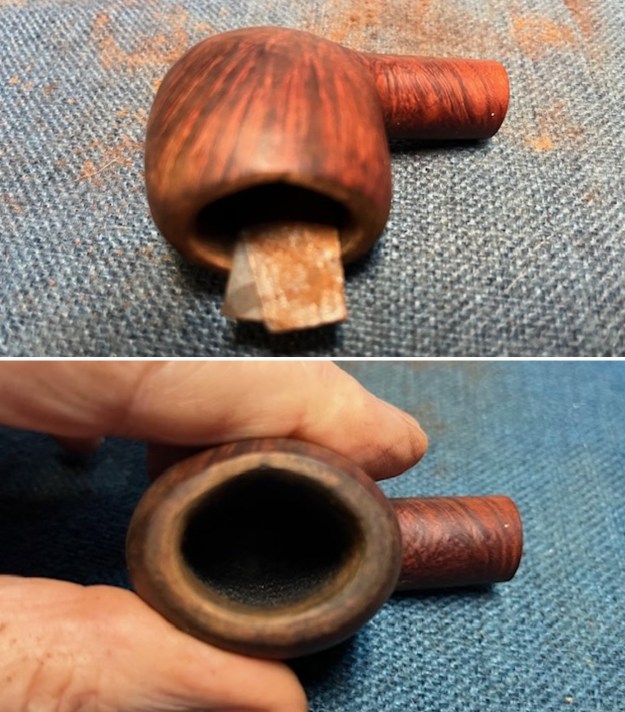
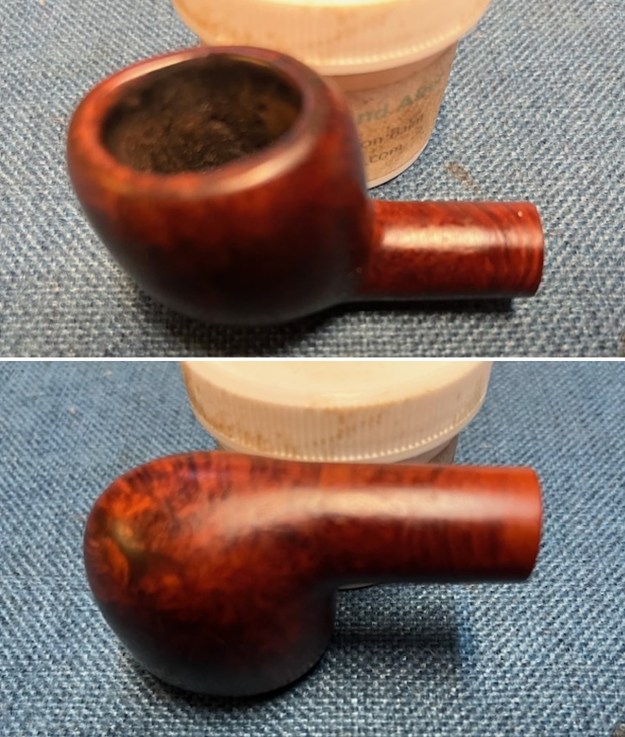
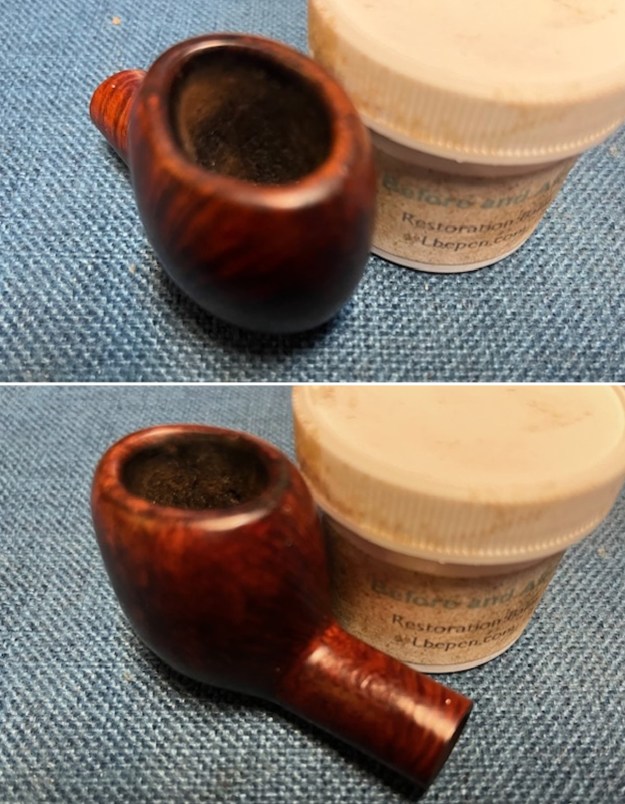
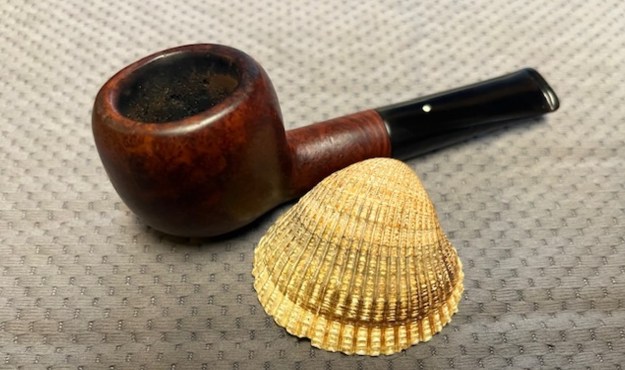
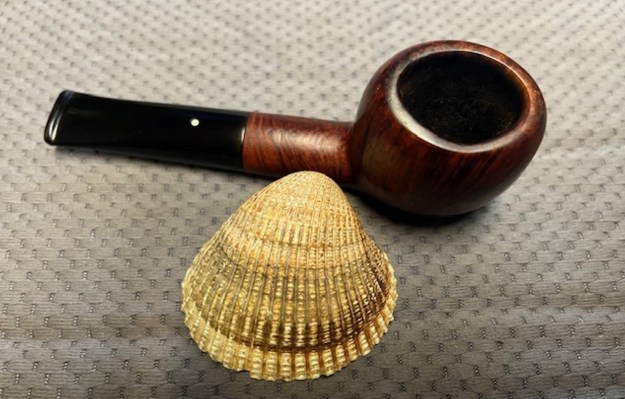
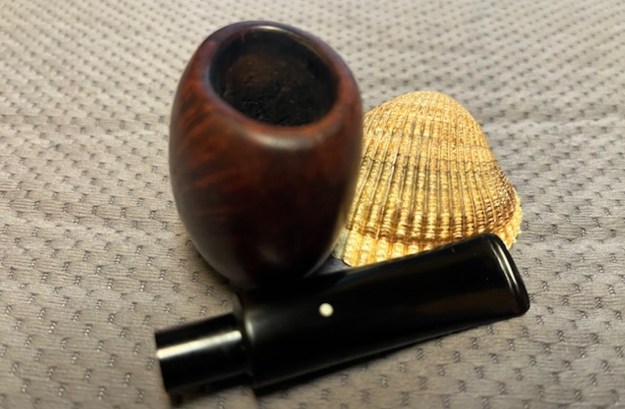
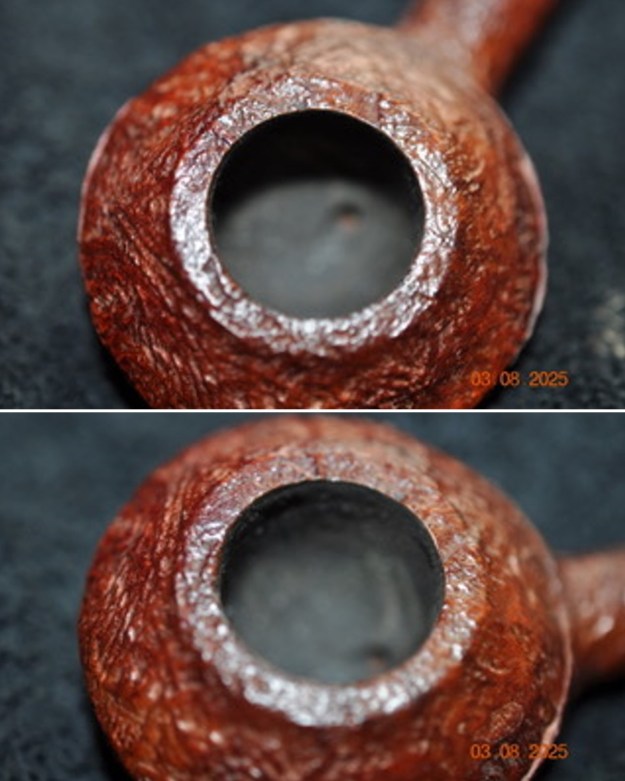
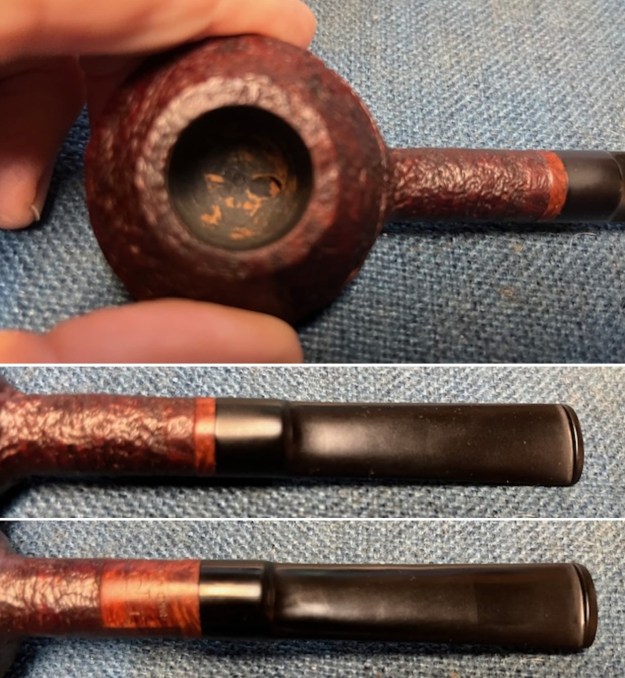
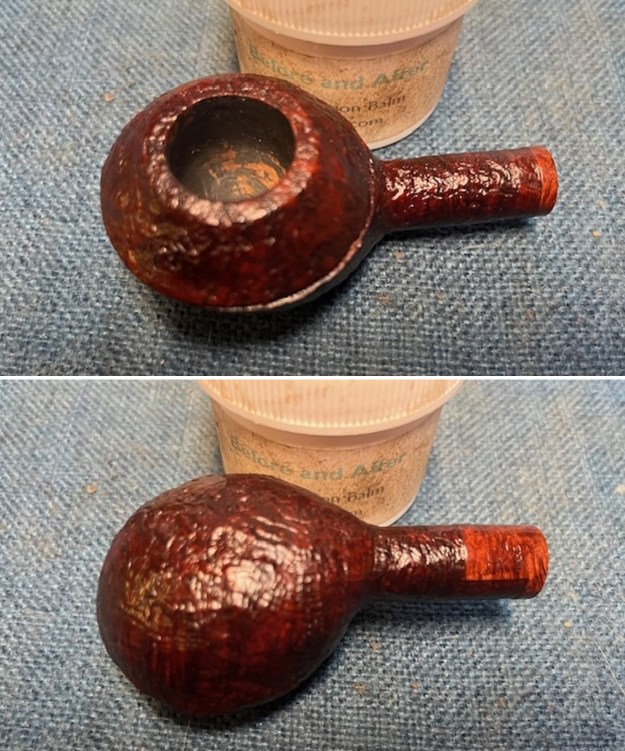
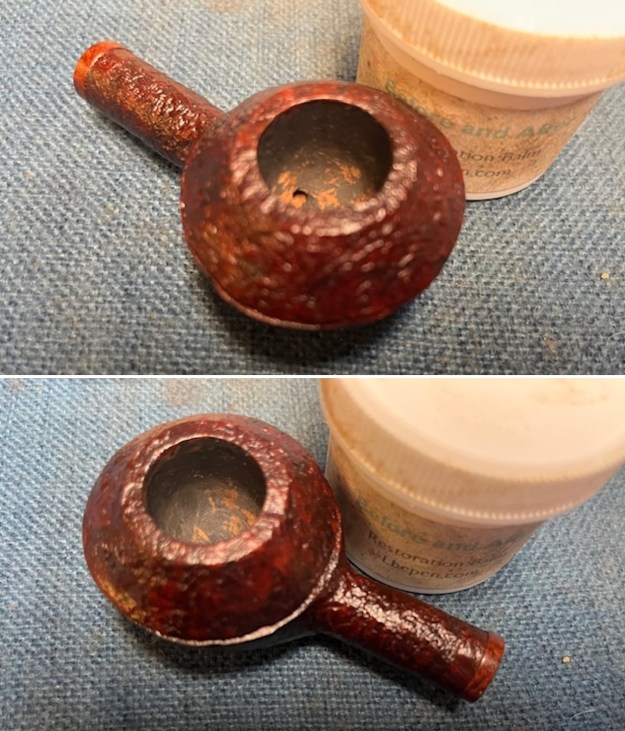
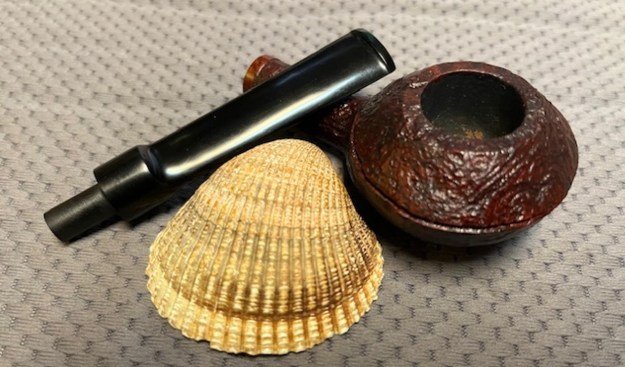
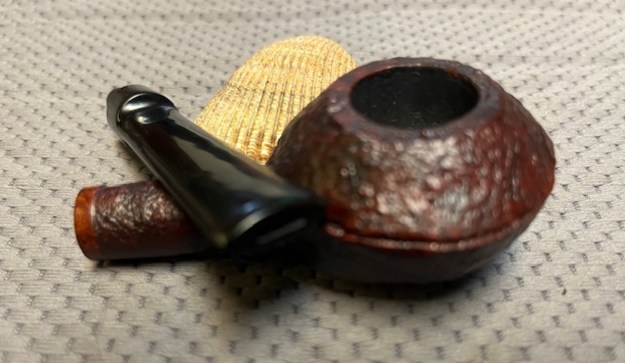
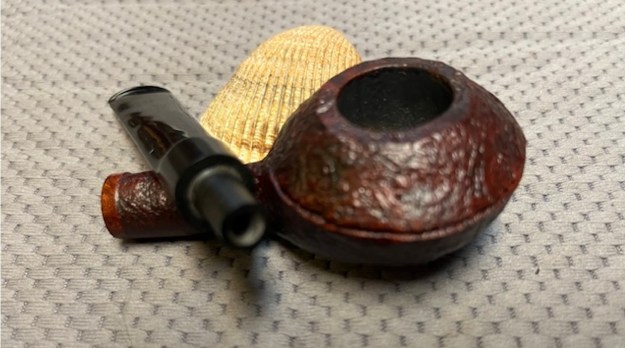
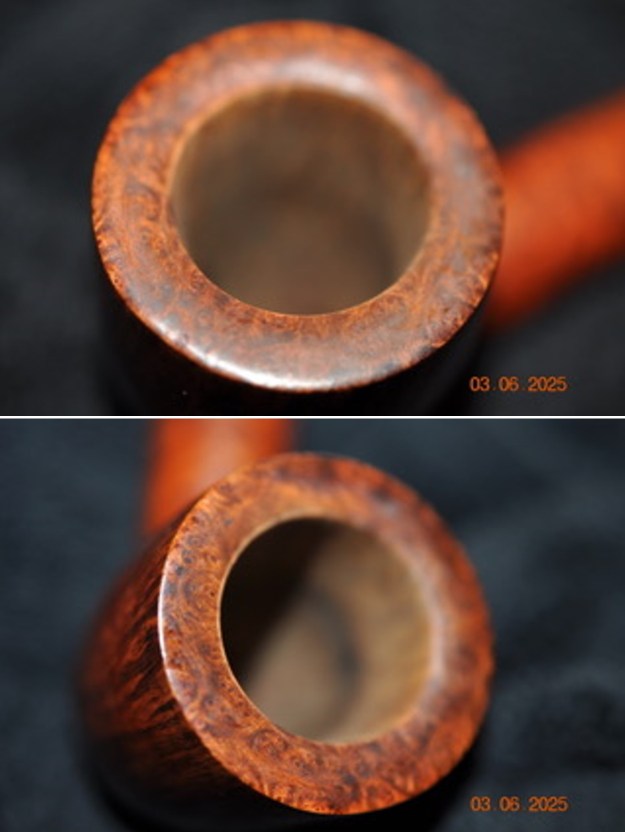
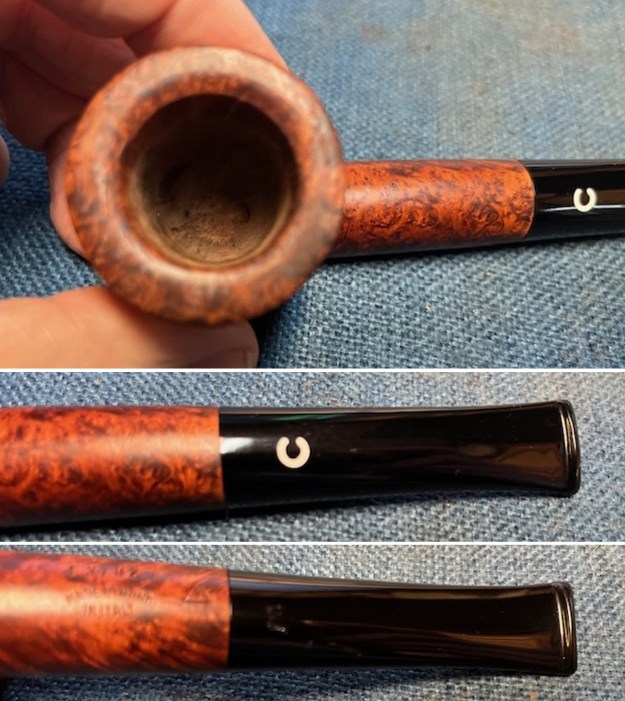
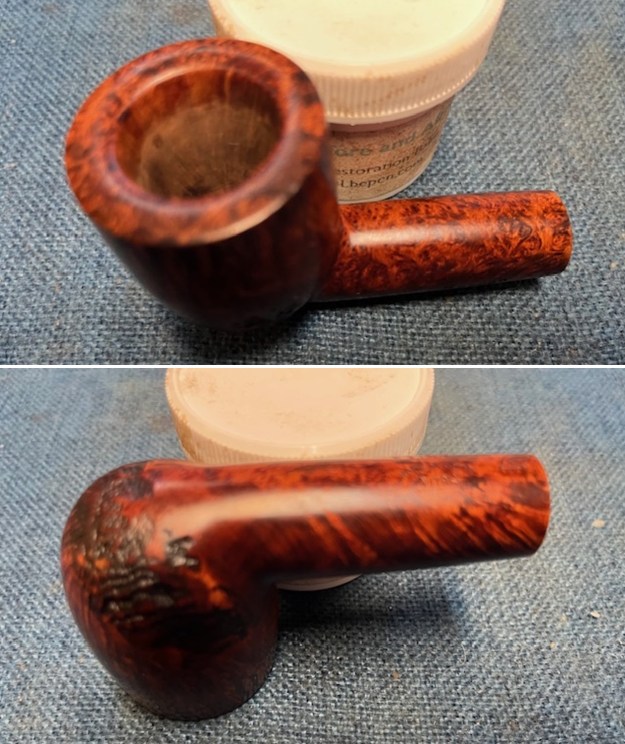
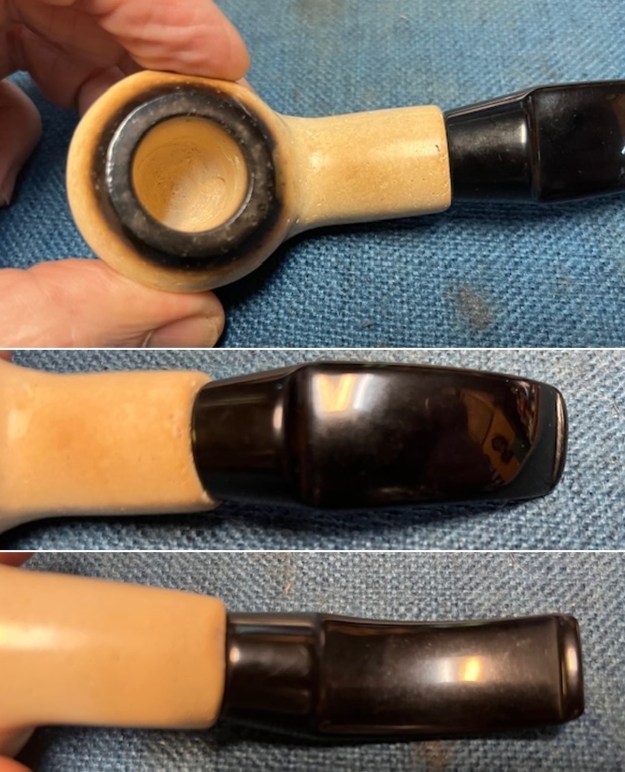
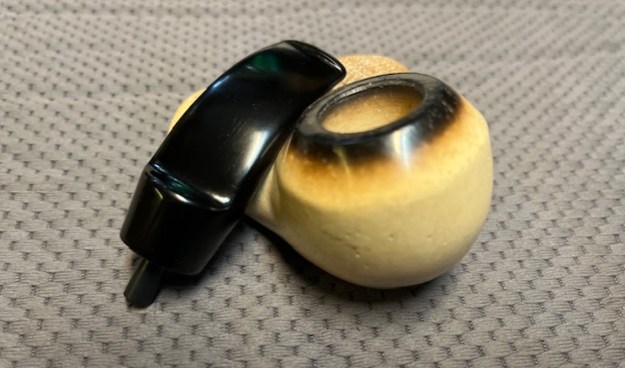
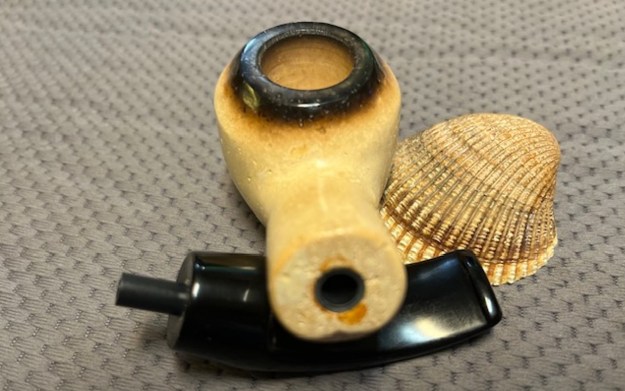
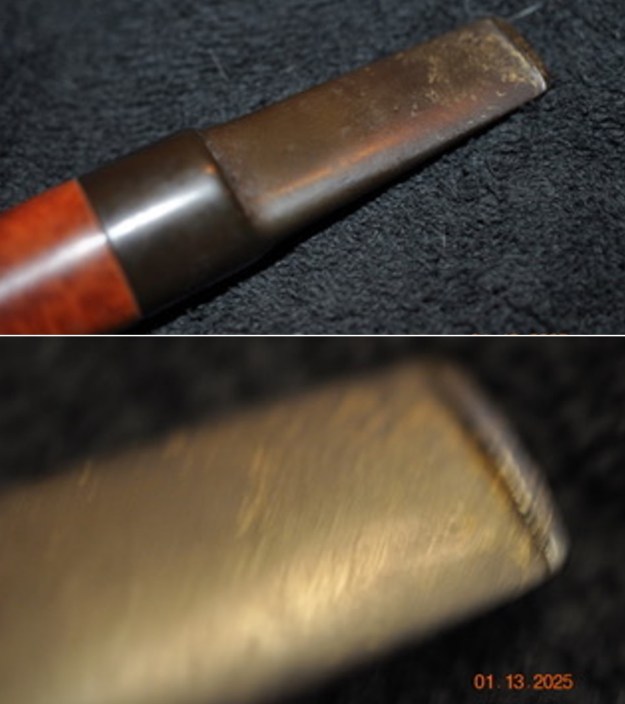
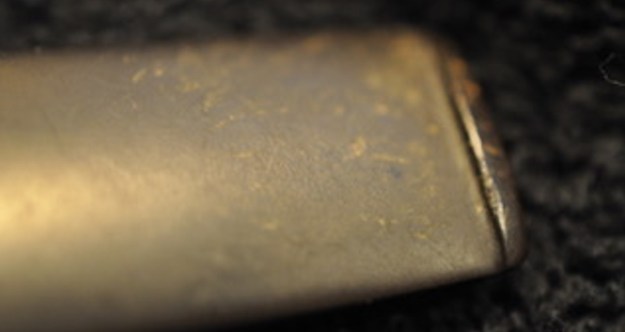
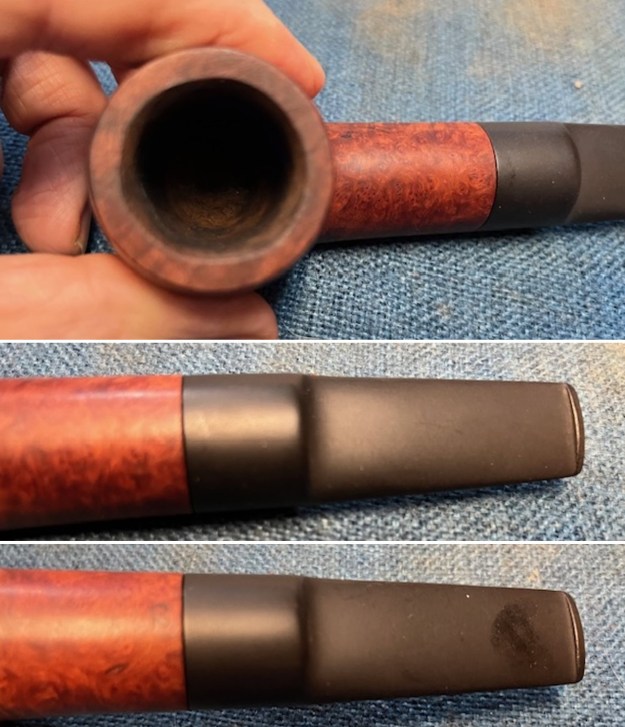
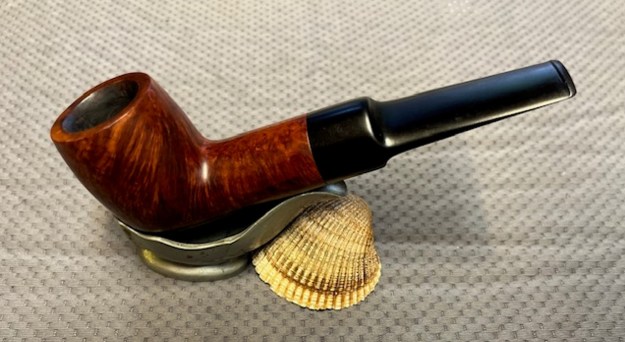
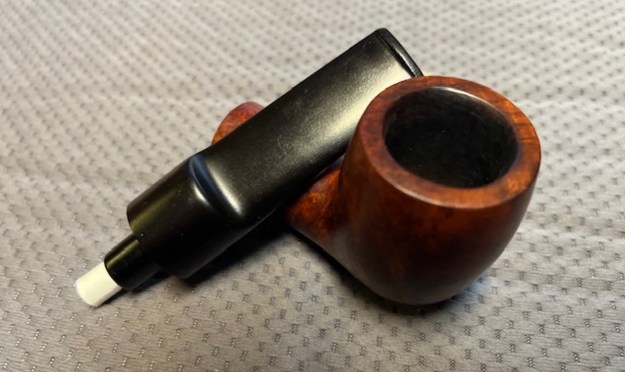
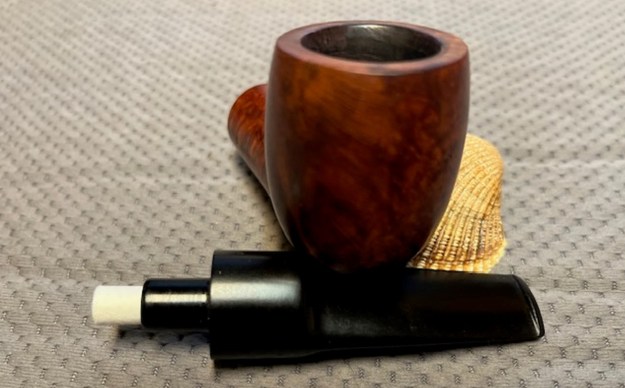
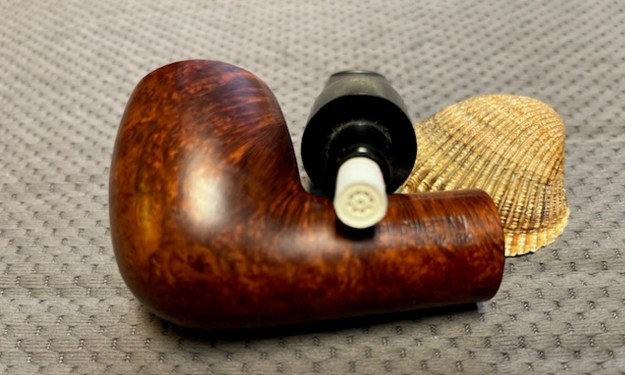
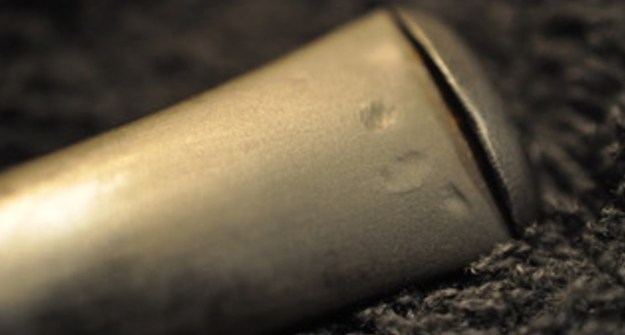
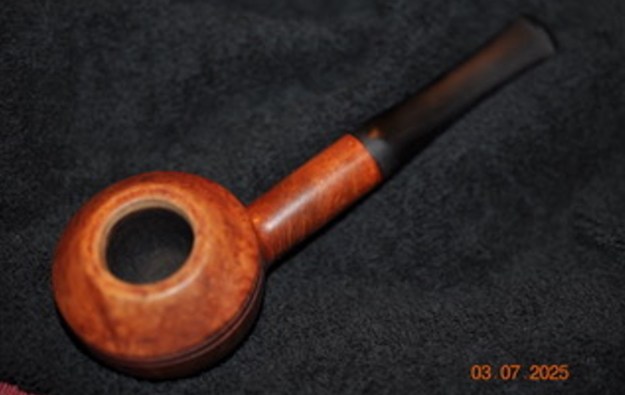 Jeff took photos of the rim top and stem to show the general condition of the pipe. The bowl is clean though it appeared that there were some spots of lava on the top and inner edge of the bowl. The stem is oxidized, calcified and grimy with light tooth chatter and marks on both sides ahead of the button.
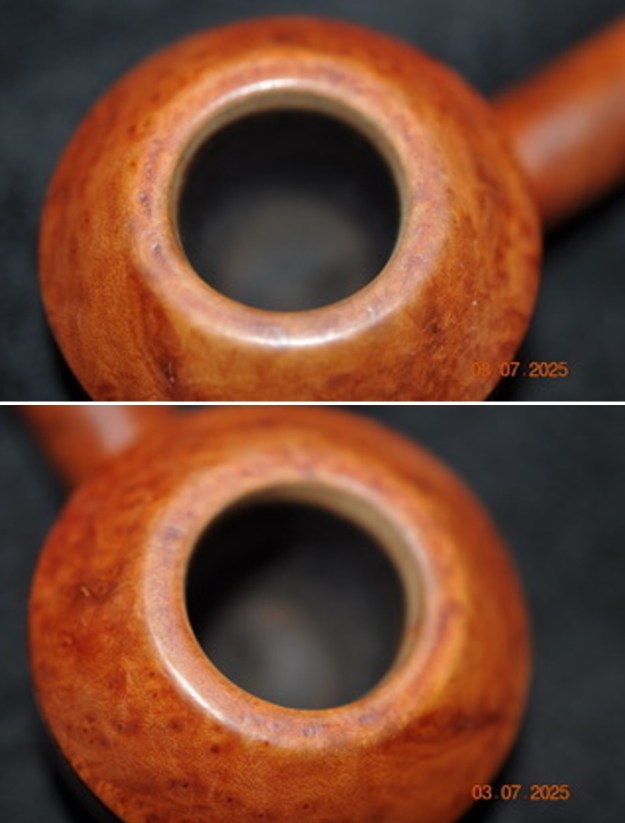
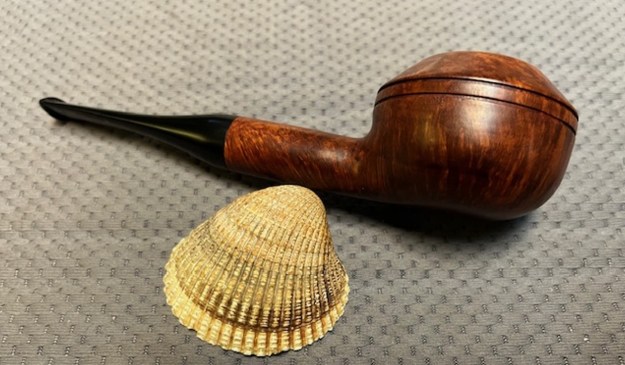
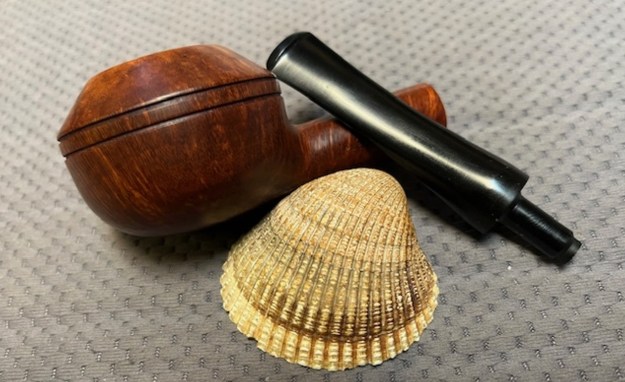
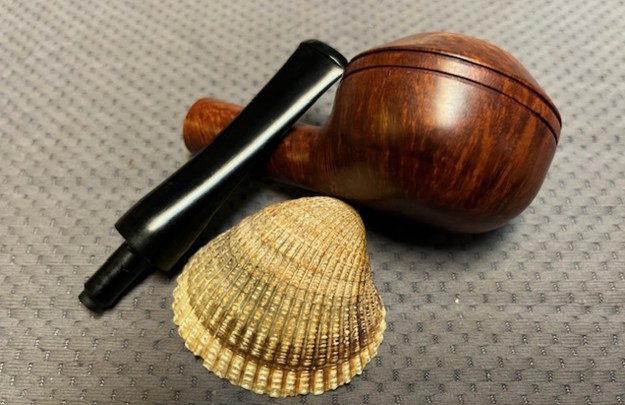
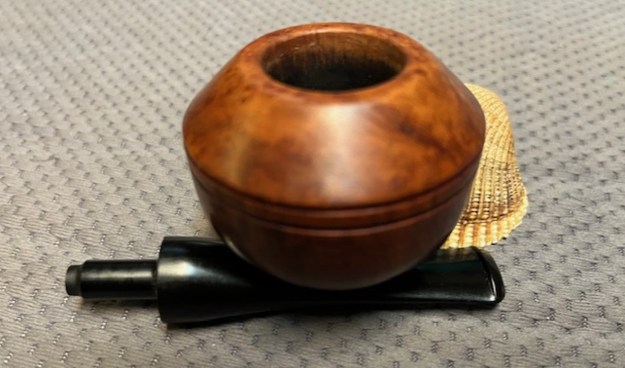
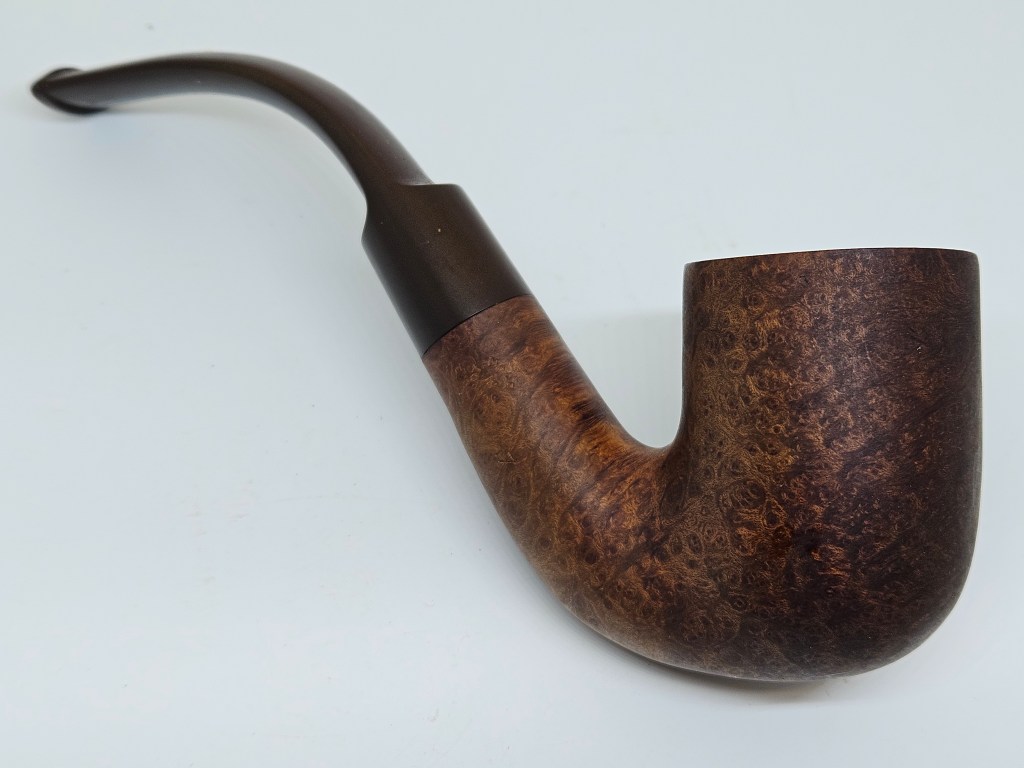
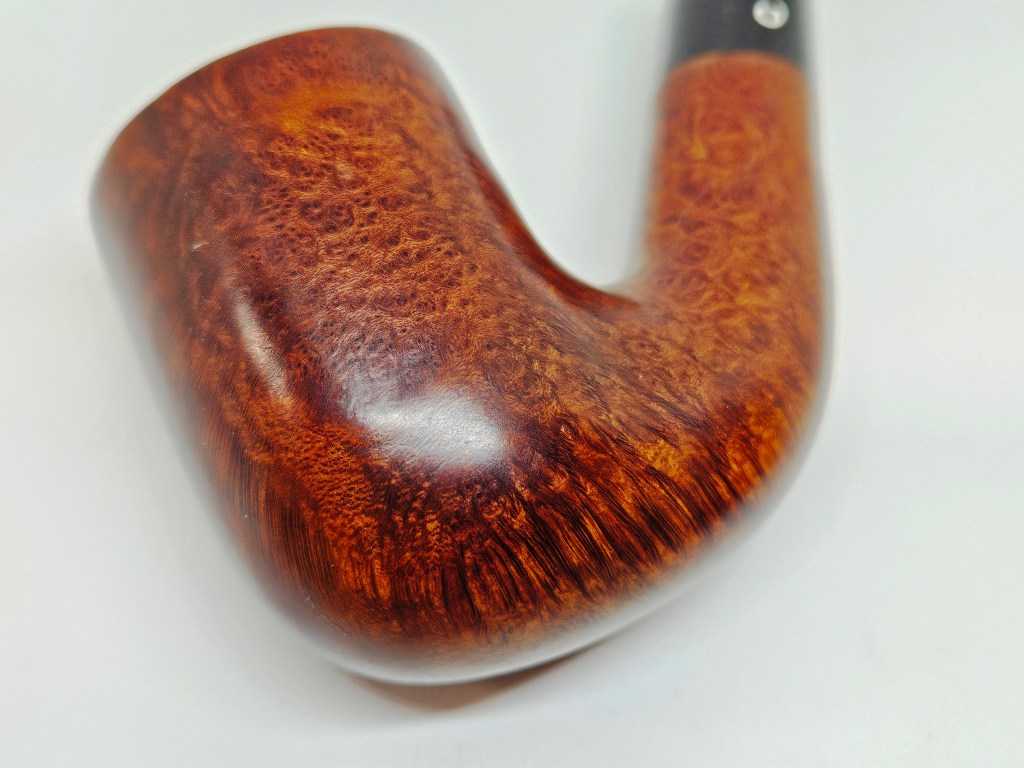
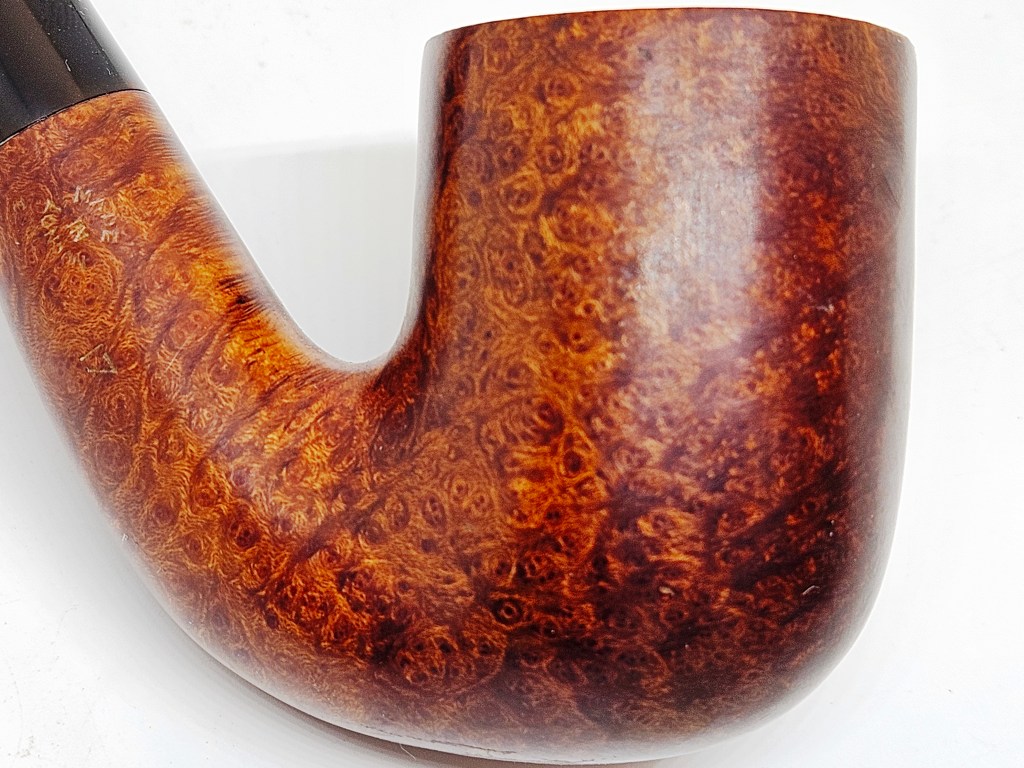
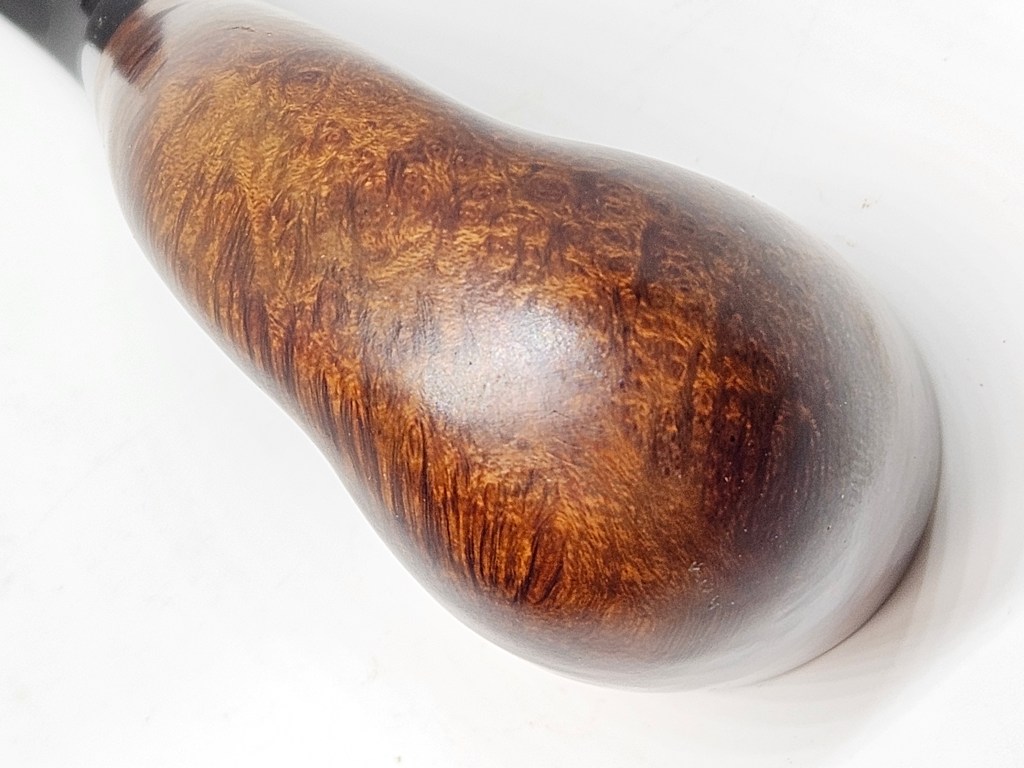
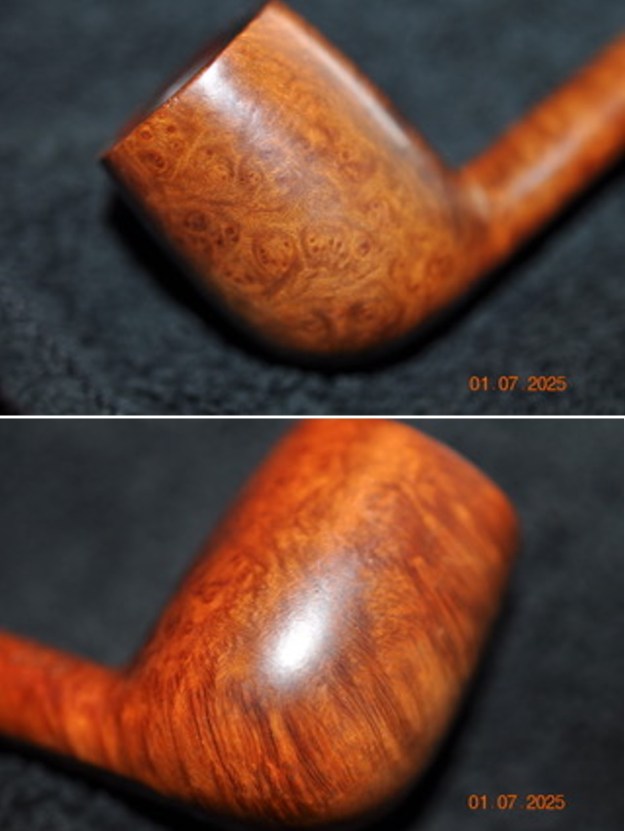
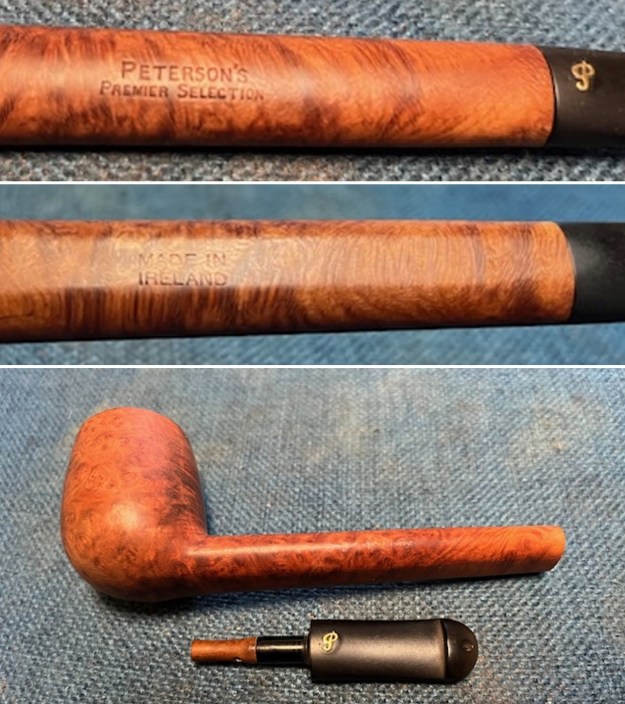
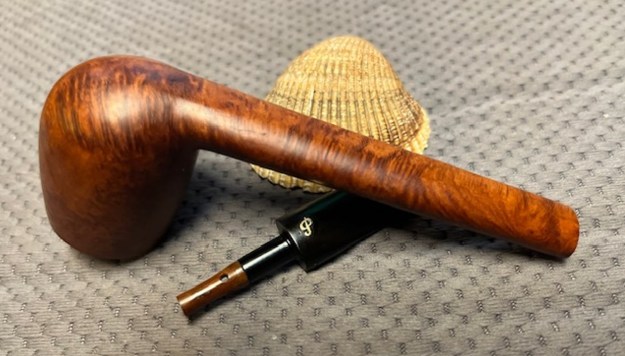
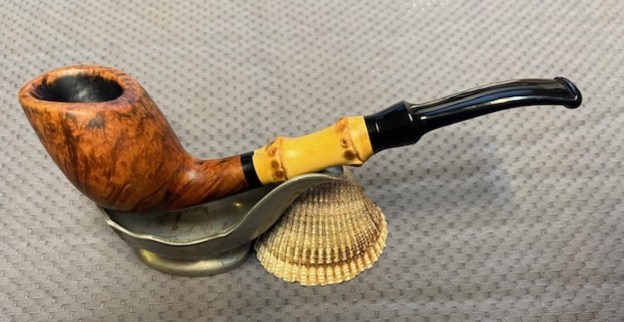
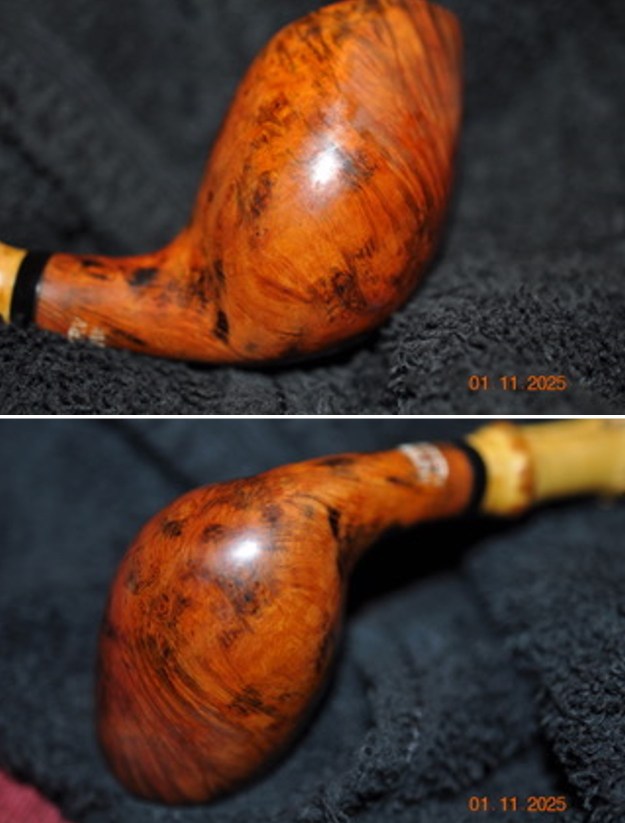
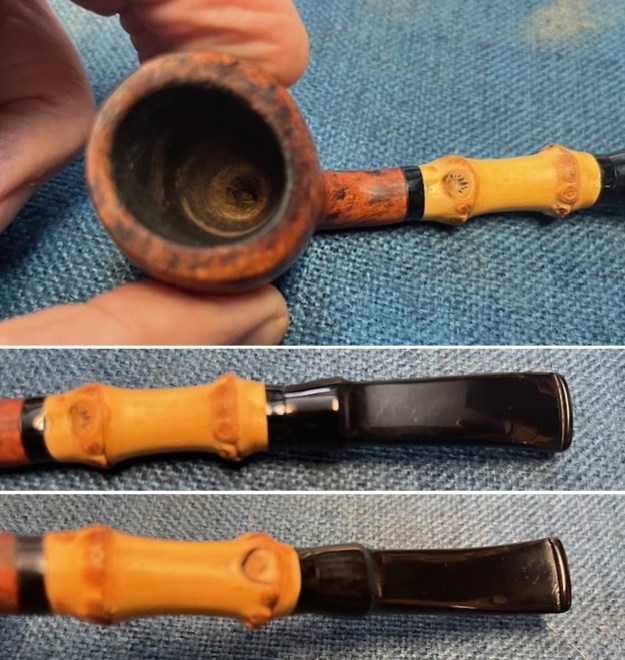
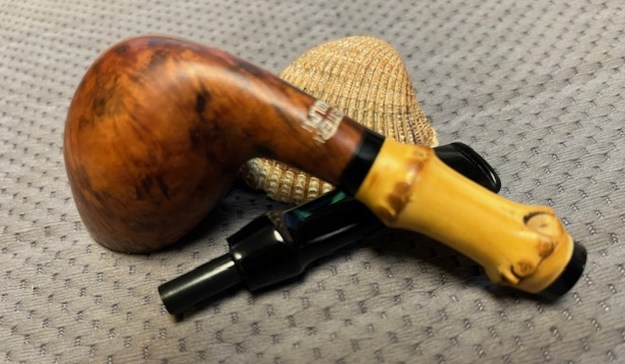
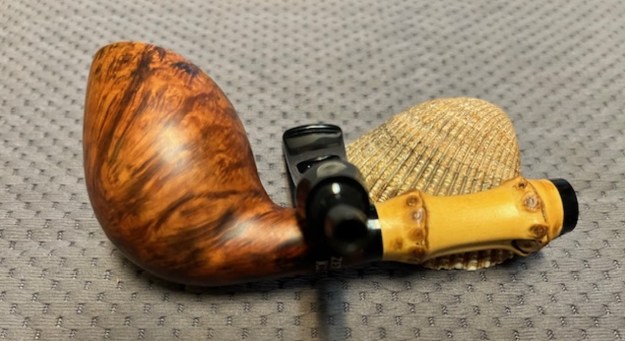
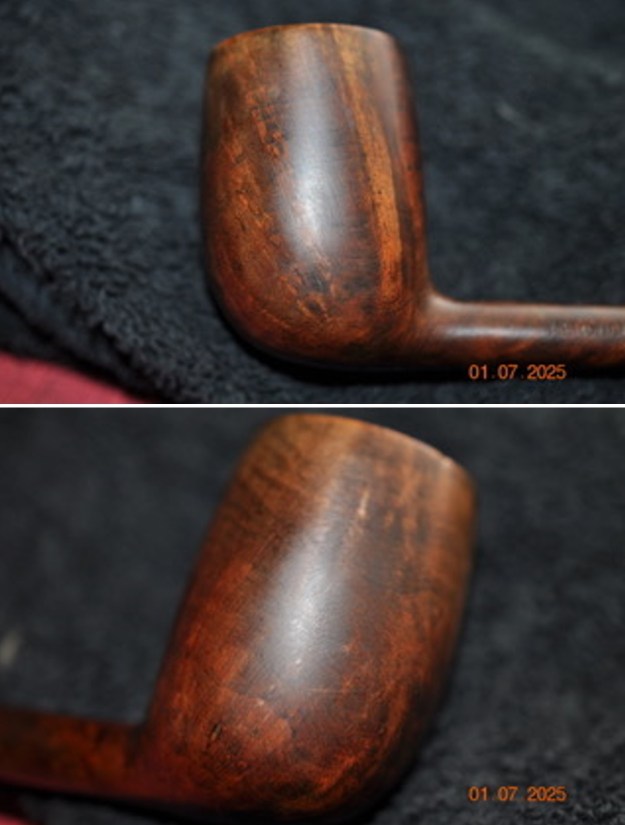
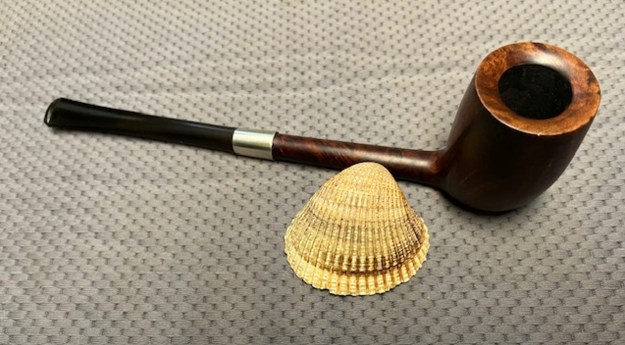
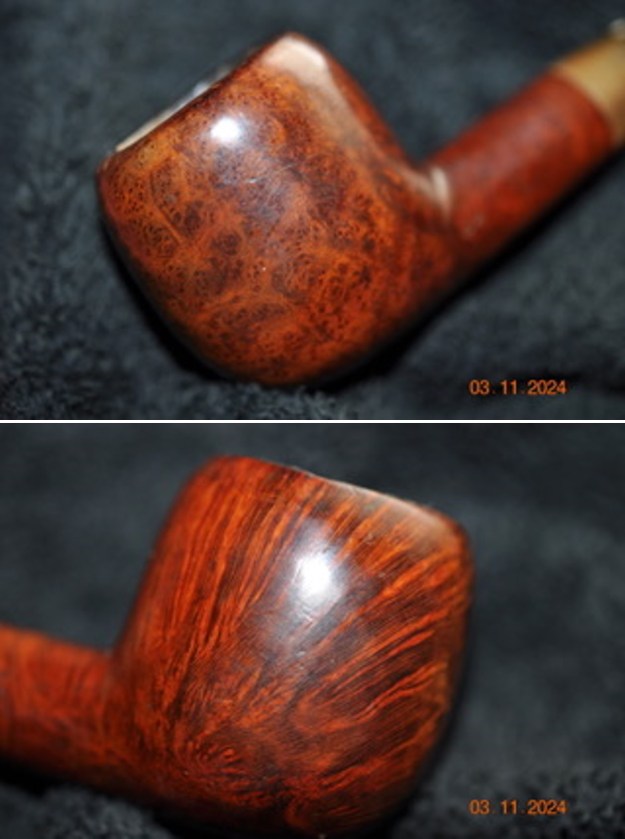
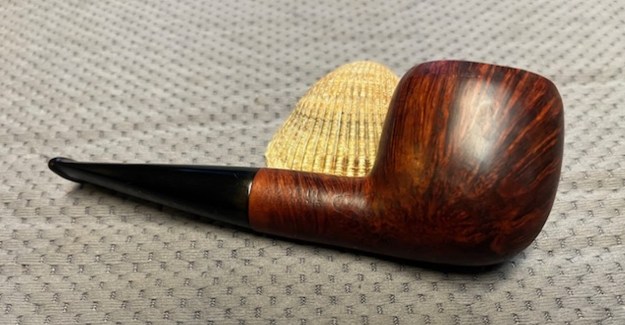
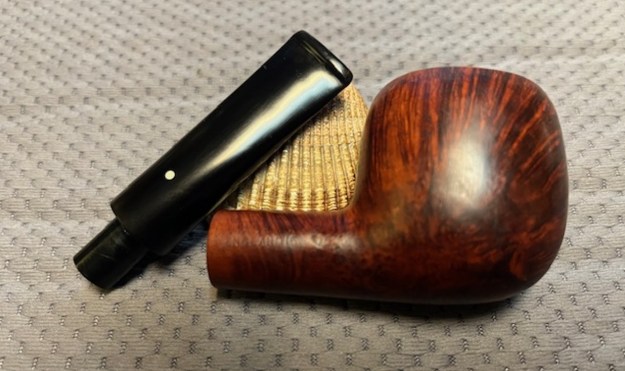
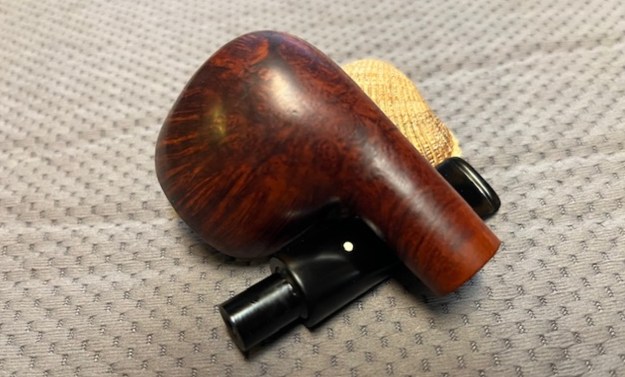
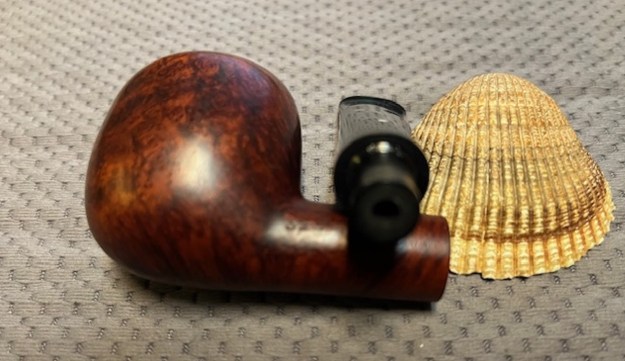
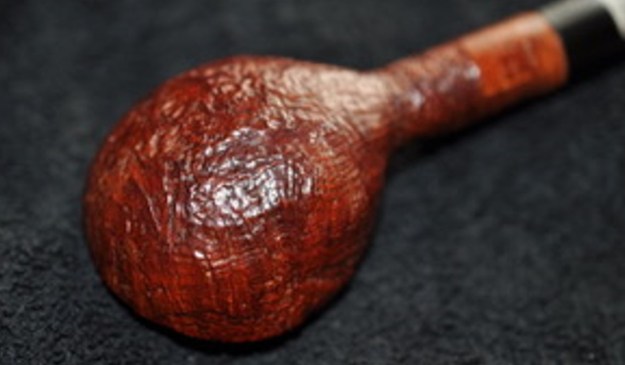
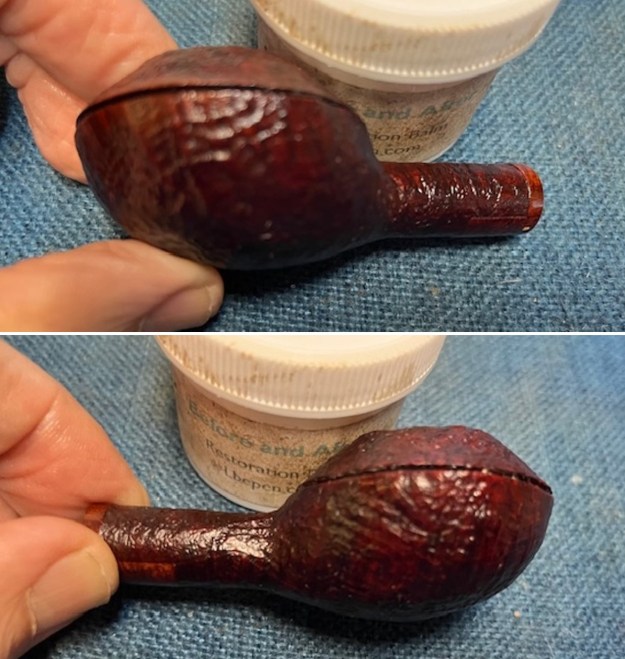
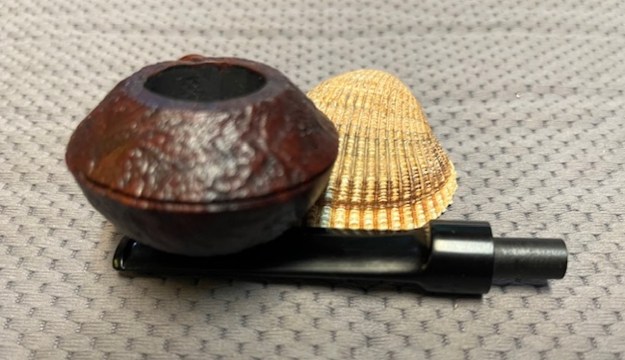
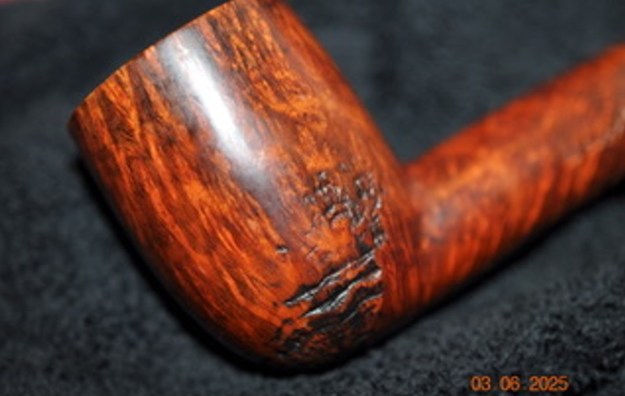
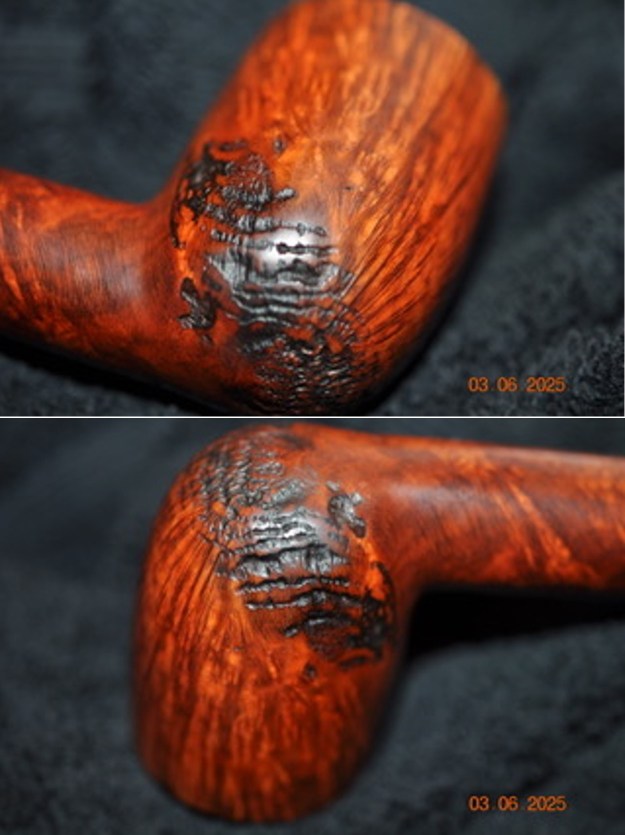
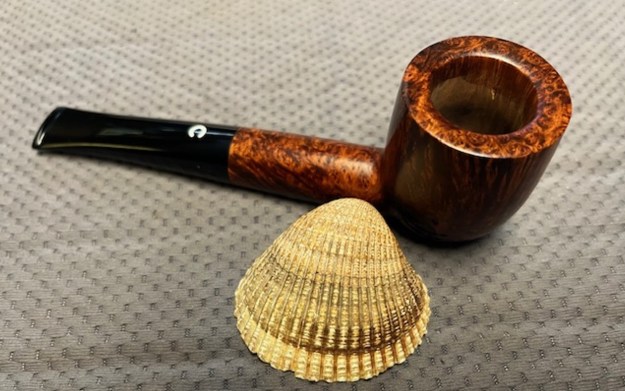
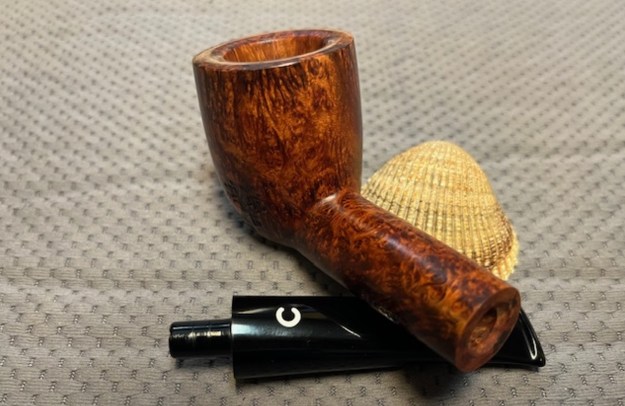
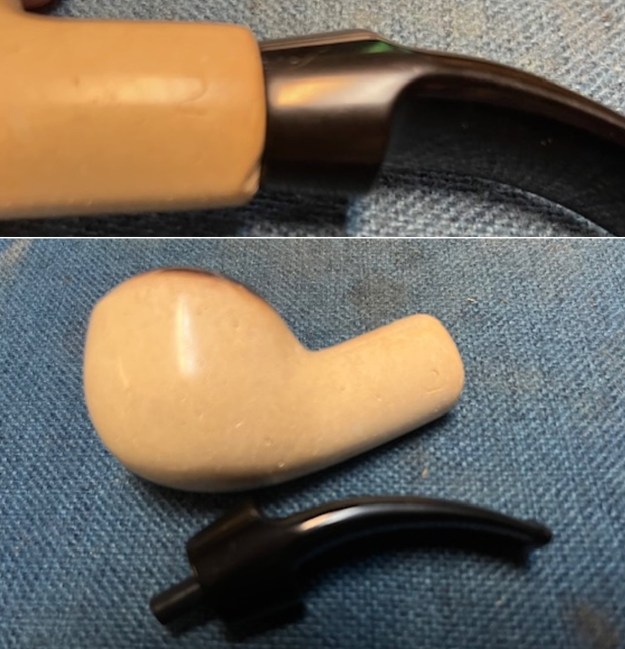
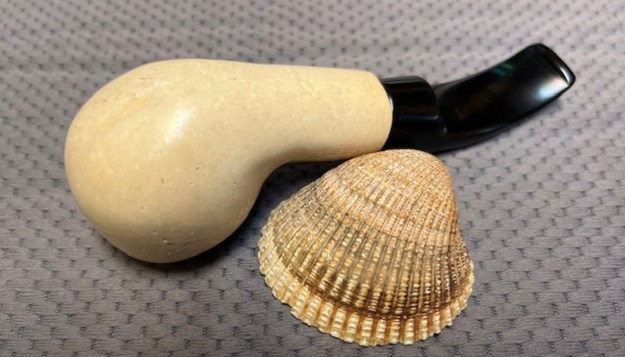
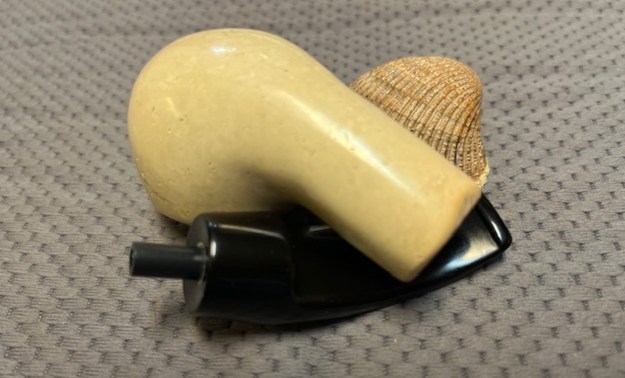
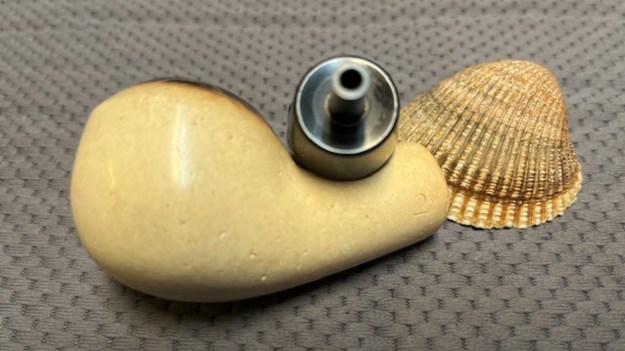
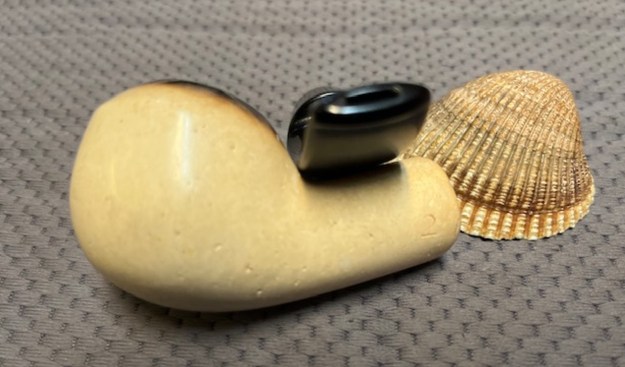
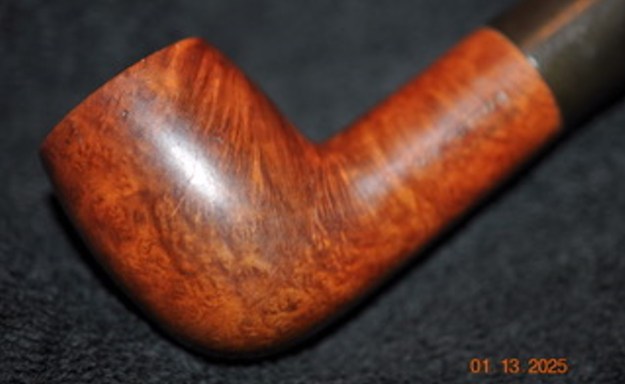
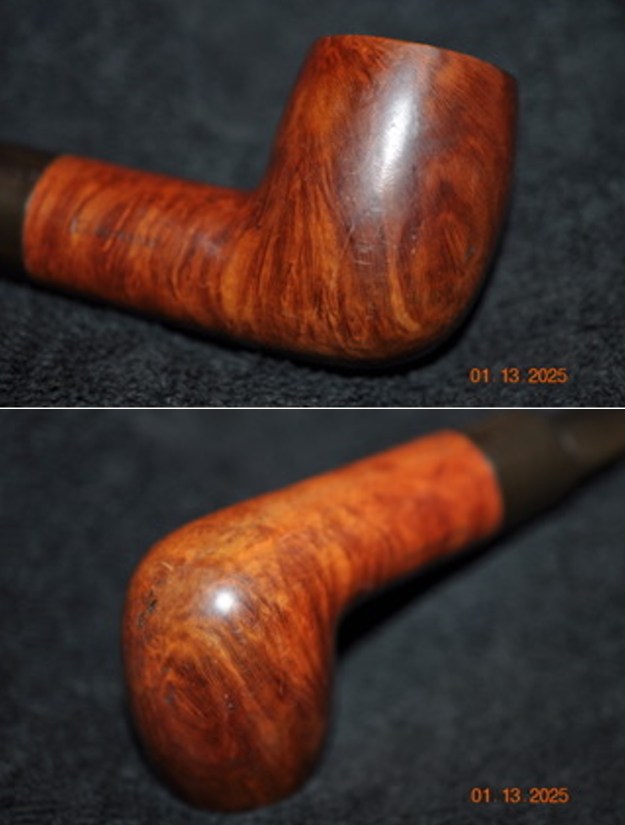
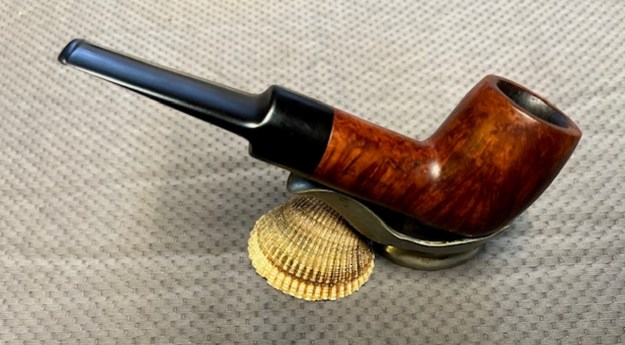
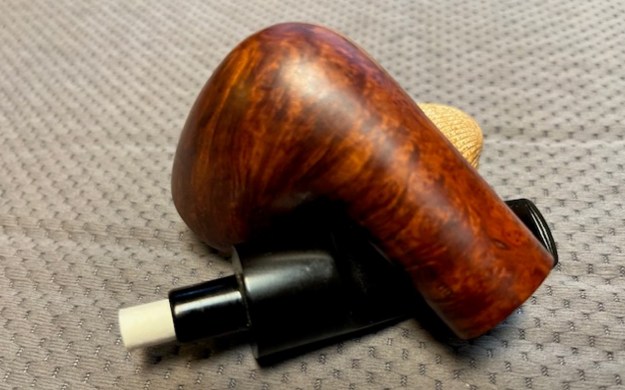
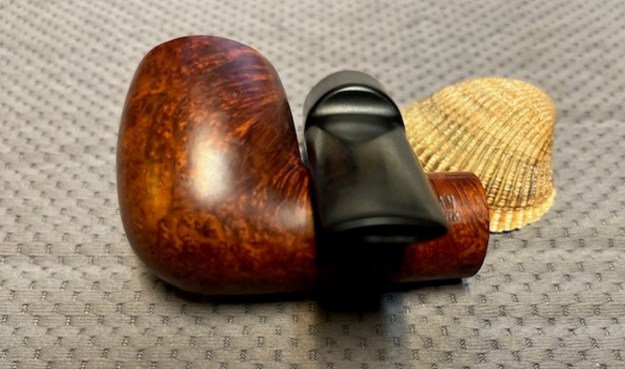
 Jeff took photos of the bowl sides and heel to show the grain that was around this bowl. The grain is quite beautiful around the sides of the bowl and shank. It is a nice looking pipe.
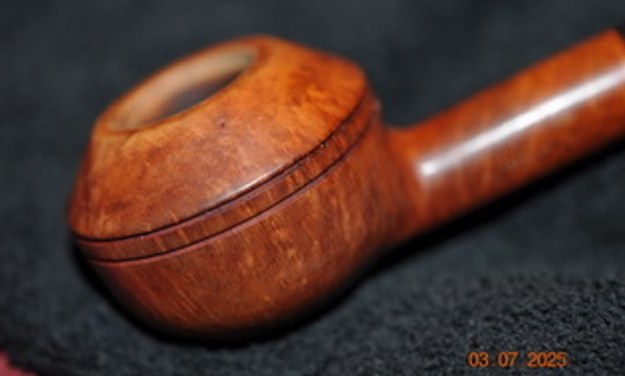
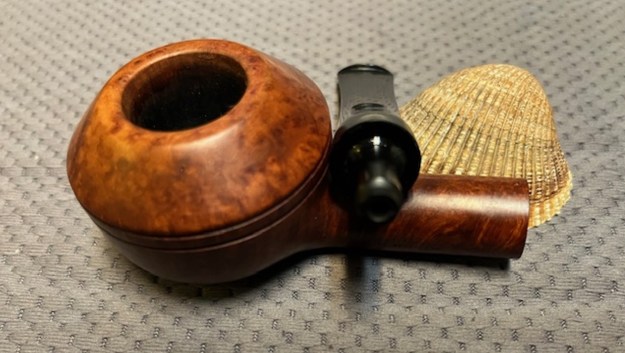
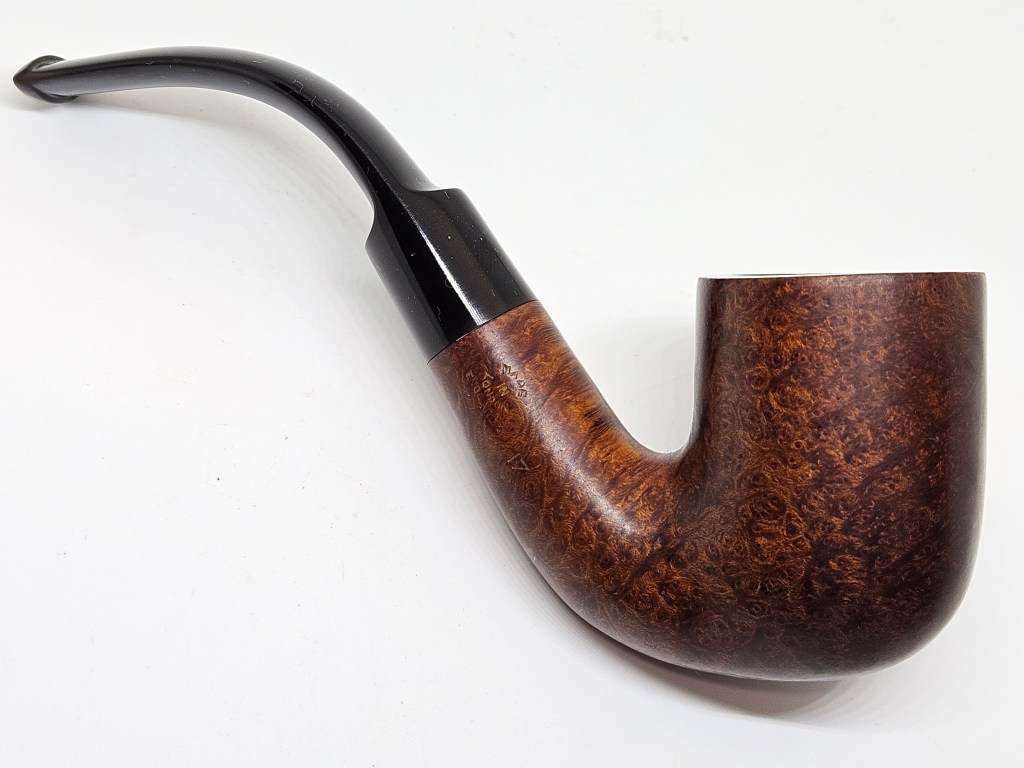
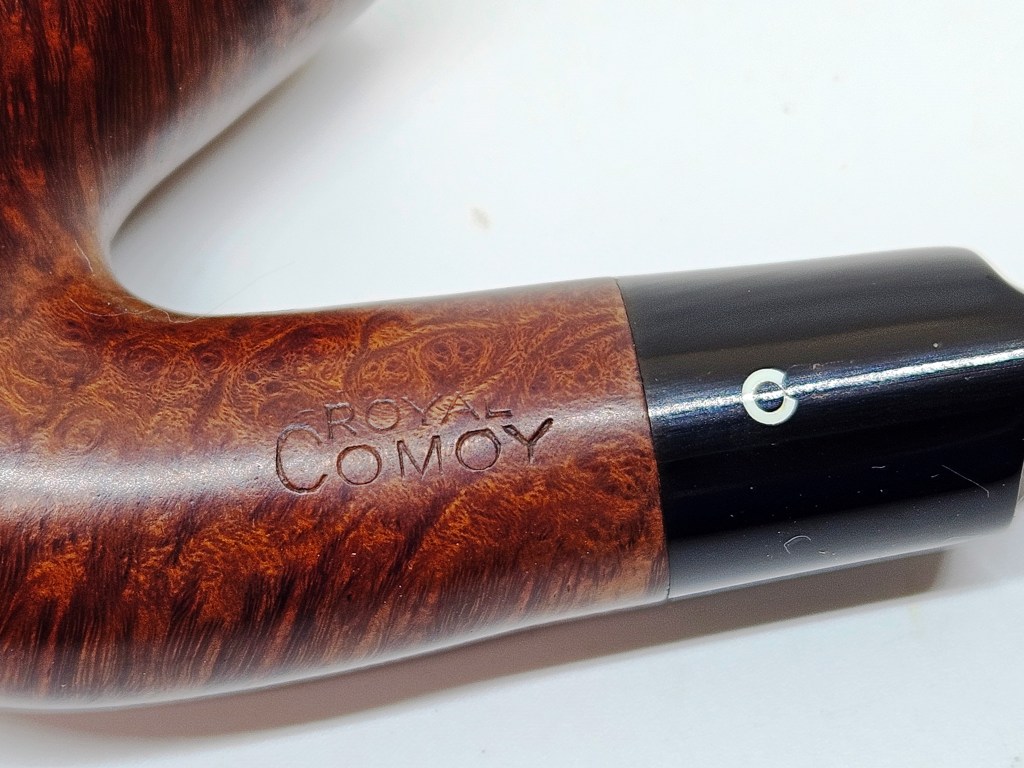
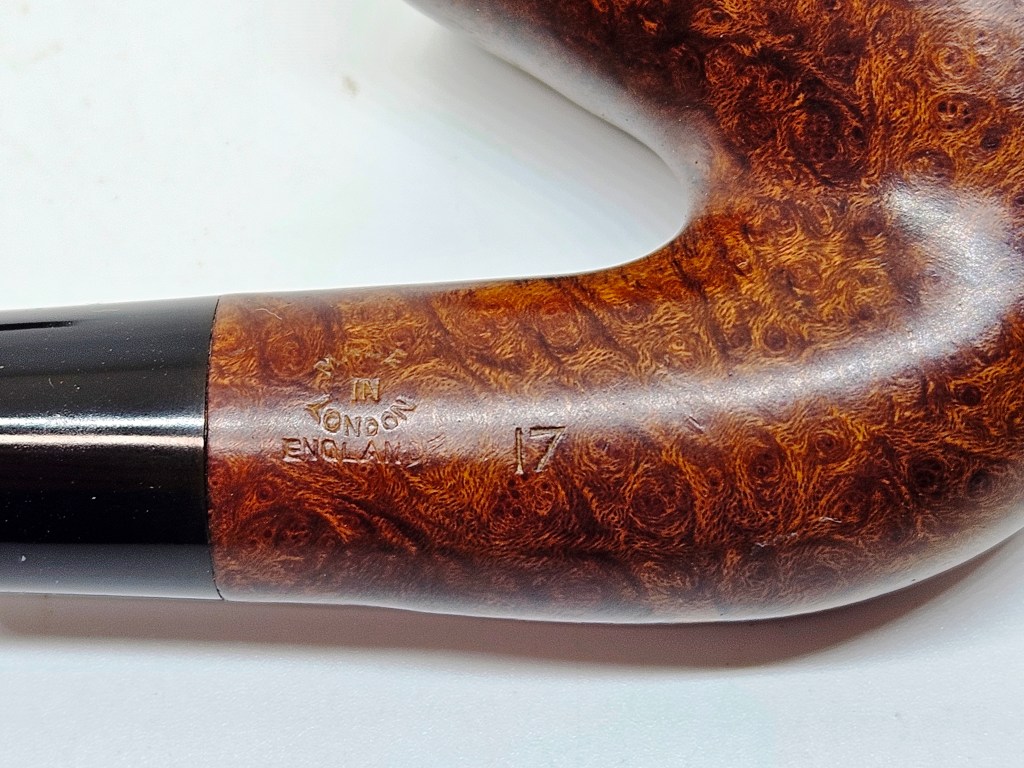
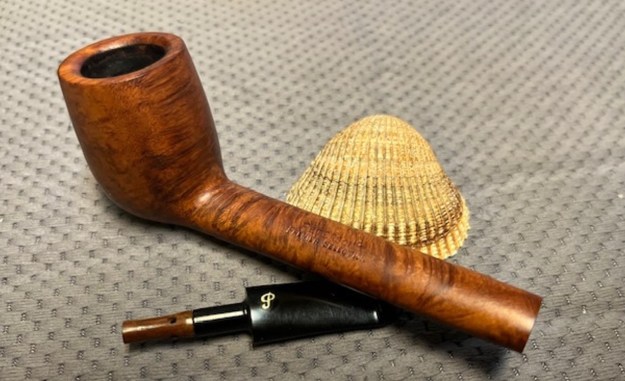
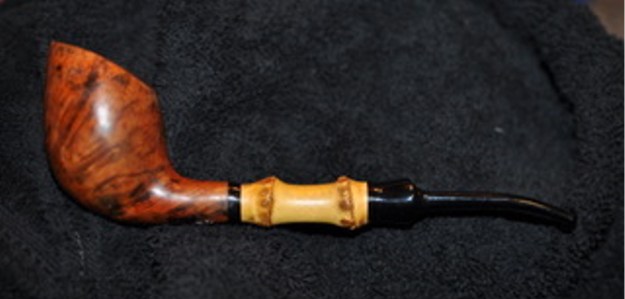
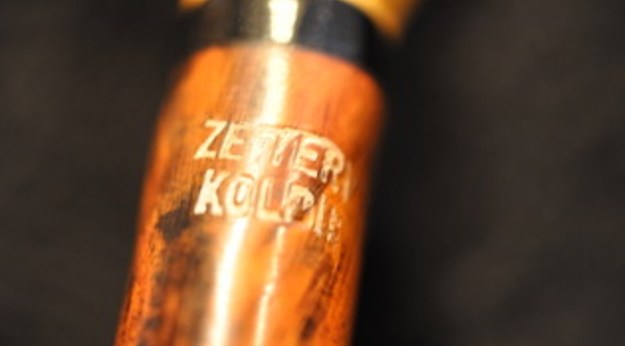
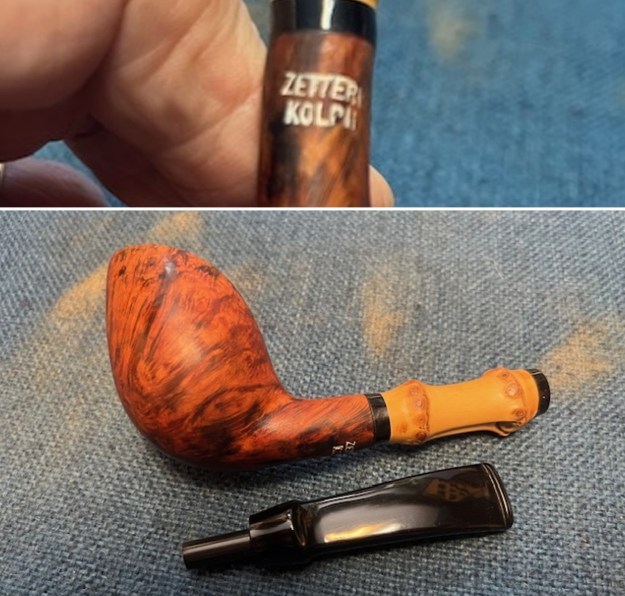
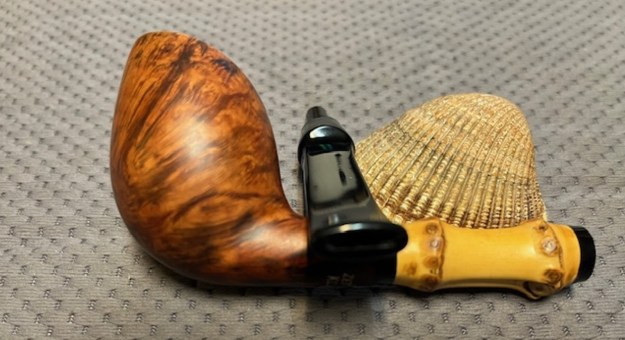
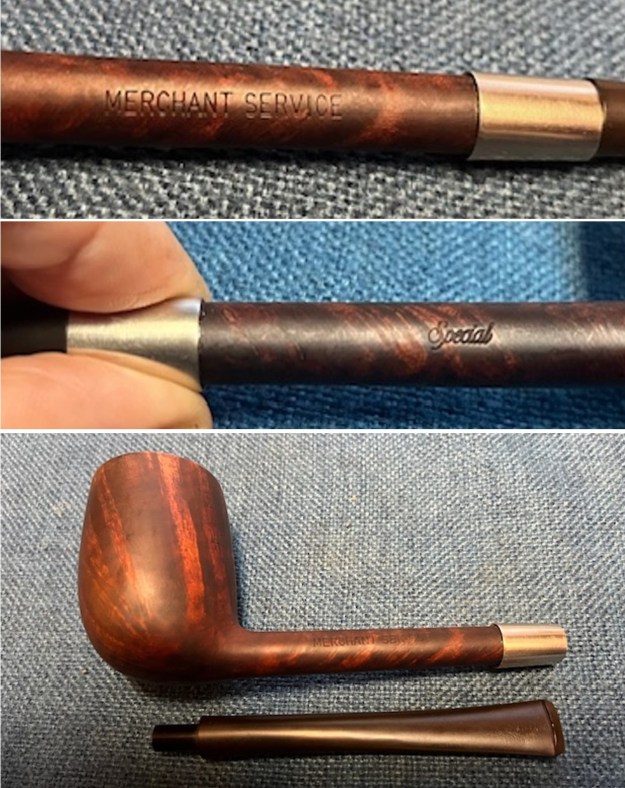
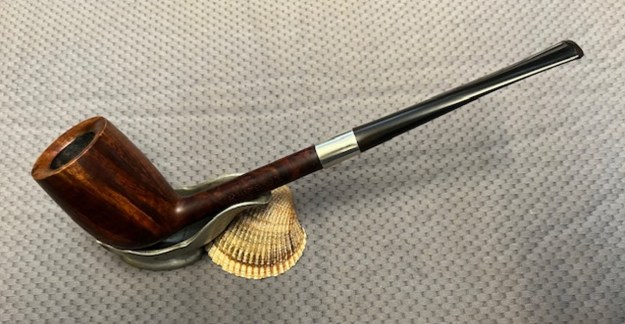
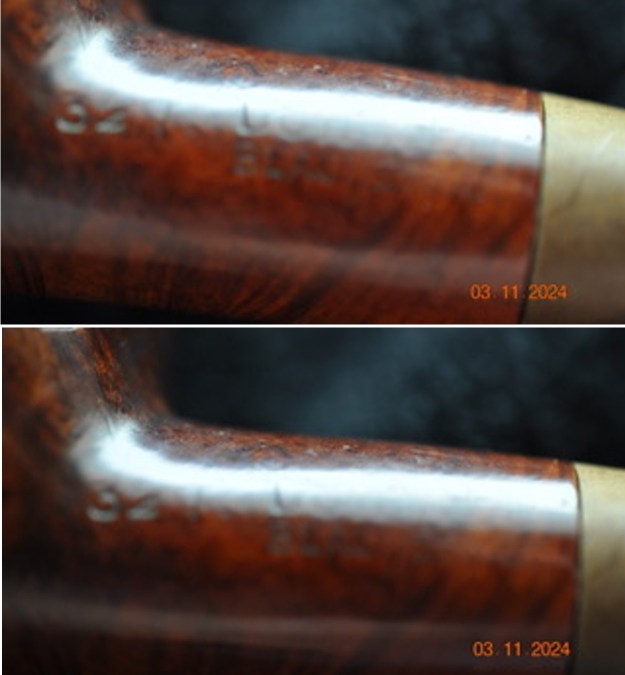
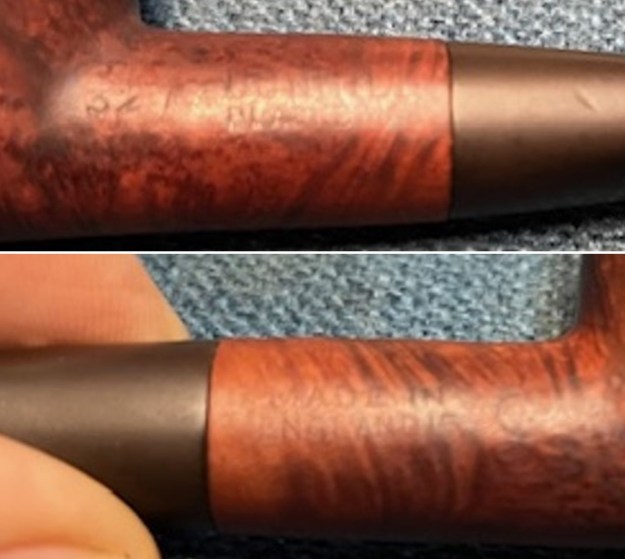
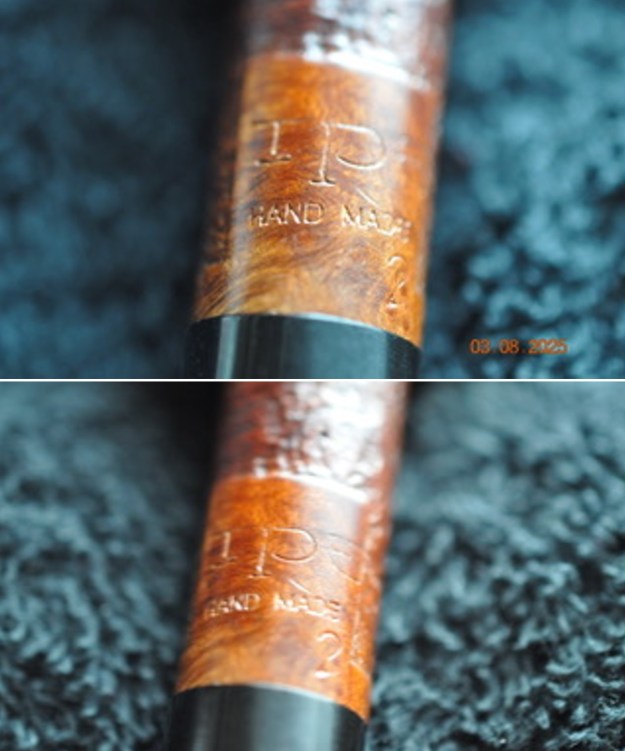
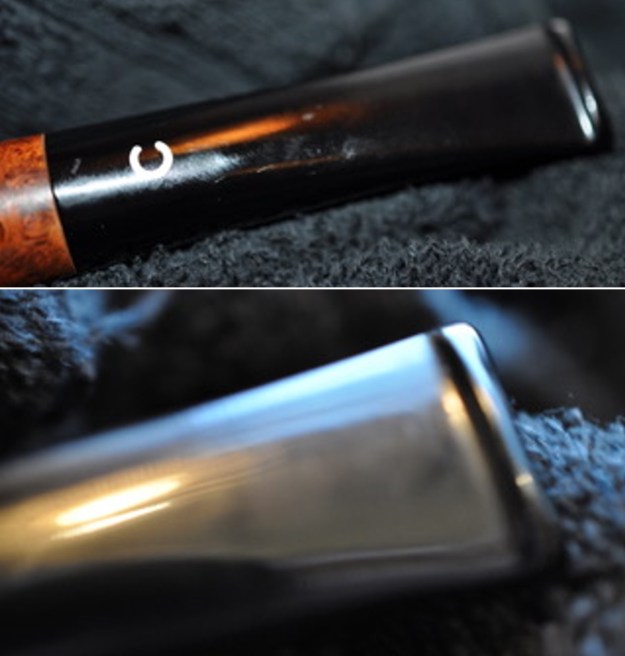
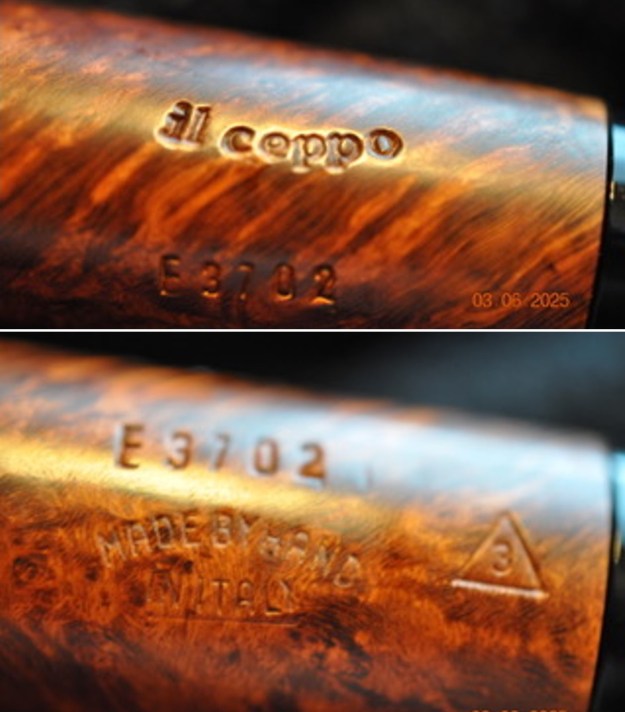
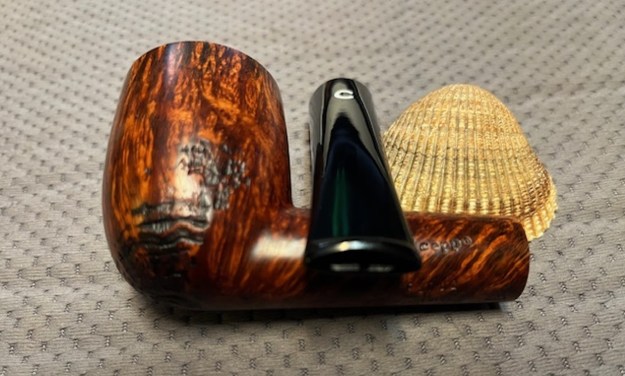
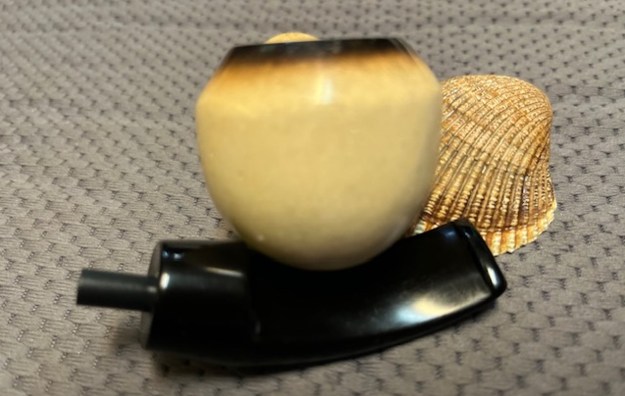
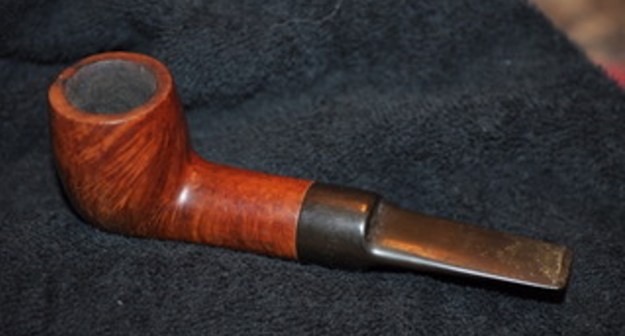
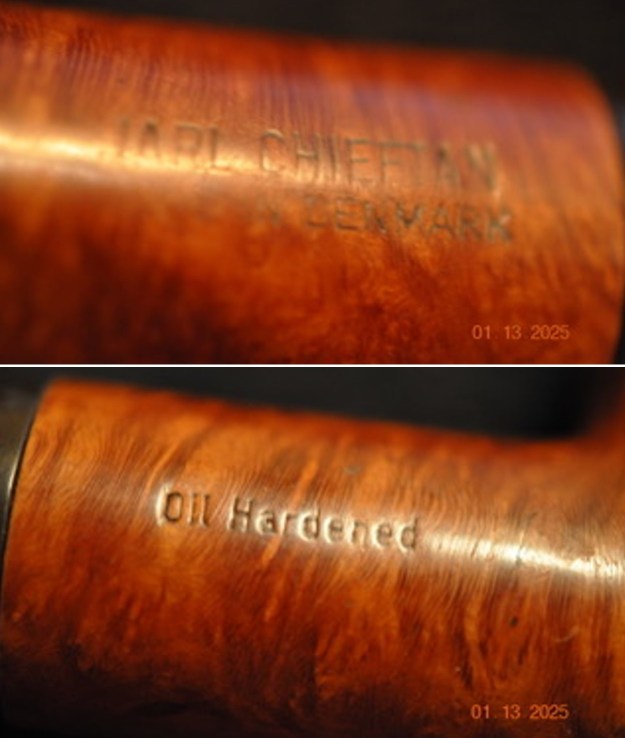
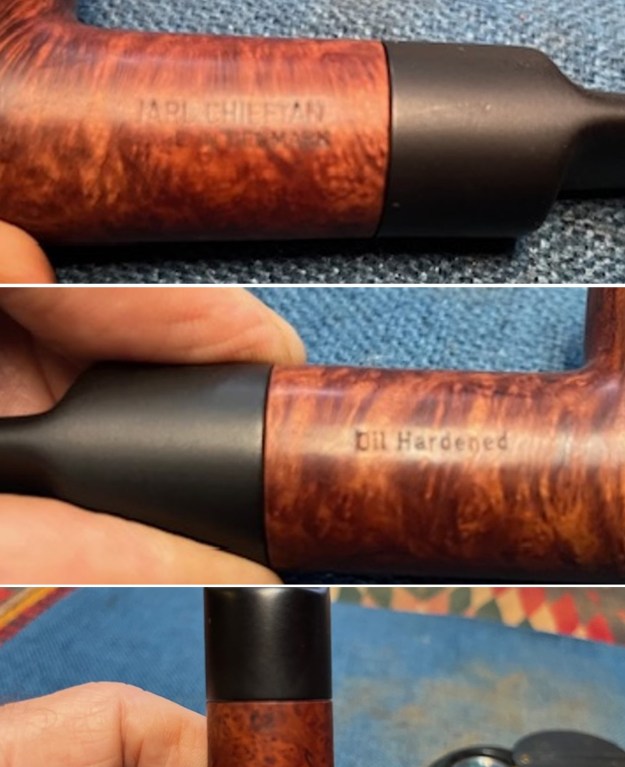
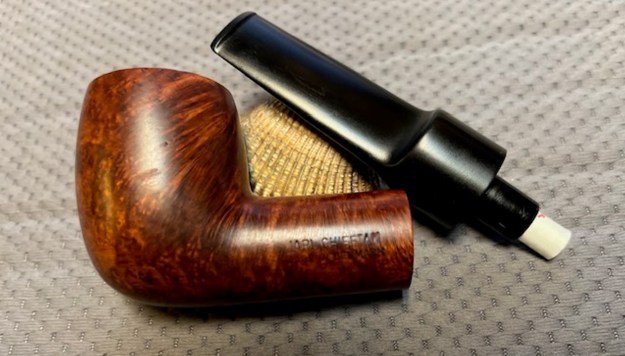
 He took a photo of the left side of the shank to show the stamping. The stamping is readable in the photo below and is as noted above.
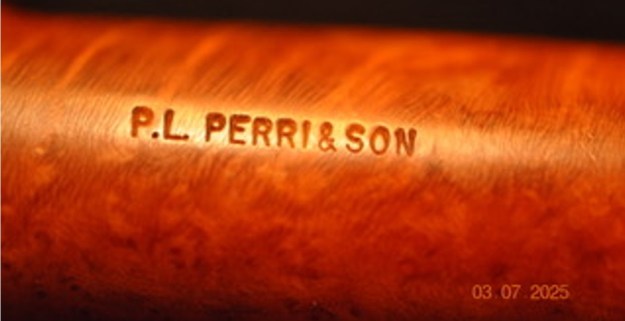 Before I started my work on the pipe I wanted to gain background information. I remember meeting Paul many years ago now at Chicago and had good memories of that meeting but I wanted to learn more about his pipes. I turned first to Pipephil’s site to see what he had in summary about the brand (http://www.pipephil.eu/logos/en/logo-p1.html#paulperri), I did a screen capture of the information and quoted the side bar as well. The stamping shown in the first photo below is the same as the one I am working on.
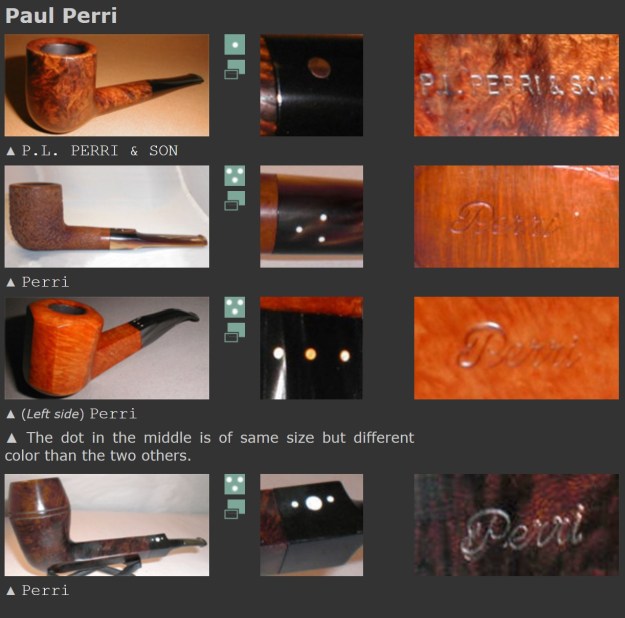 Artisan: Paul Perri (retired 1997 in Hawai). He was the first mentor of Trever Talbert.
From there I turned to Pipedia for some more details (https://pipedia.org/wiki/Perri). I quote below.
Denoted as Paul L. Perri & Son, pipemakers, Manhattan Beach, CA. Paul was still making when he reached 100 years of age, and may have been the oldest living pipe maker. He passed away just short of his 101st birthday in December of 2021.
Paul was well known in California, but less so in other parts of the country and the world. He was a formative influence on a number of American pipe makers, including Trever Talbert. The sandblasted lovat shown bellow typifies Paul’s work, which consists of larger classic shapes with slight twists here and there.
Chance Whittamore, a well respected pipe restorer who was fortunate enough to spend time with him believes “…nobody, living or dead, had the combination of pipe knowledge, depth and breadth, that Paul did.”
There was also a reference to a beautiful piece that Marty Pulvers wrote celebrating Paul’s life and work. I am including that link as well (https://www.pulverspriorbriar.com/my-life-in-pipes/dytn7osvvwmecilhpf11fx7nu420gp?rq=Paul%20Perri).
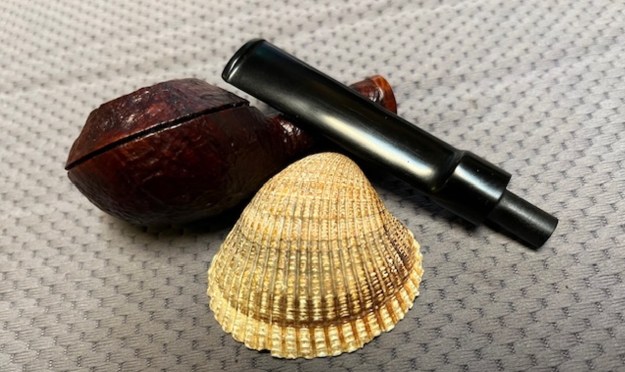
Now it was time to work on the pipe. Jeff had done a great job cleaning up the pipe as usual. He reamed the pipe with a PipNet reamer and cut back the cake back to the bare briar. He cleaned up the walls with a Savinelli Fitsall Pipe Knife. Surprisingly the walls looked unscathed from the cake. He scrubbed the interior of the bowl and shank with pipe cleaners, shank brushes, cotton swabs and alcohol to remove the tars and oils. He scrubbed the exterior of the pipe with undiluted Murphy’s Oil Soap and a tooth brush to remove the grime from the finish. He worked on the rim top lava and darkening with the soap and tooth brush. He cleaned the inside and outside of the stem and soaked it in Briarville’s Pipe Stem Deoxidizer. He rinsed of the residue and buffed it up with a towel. I took photos of the pipe when it arrived.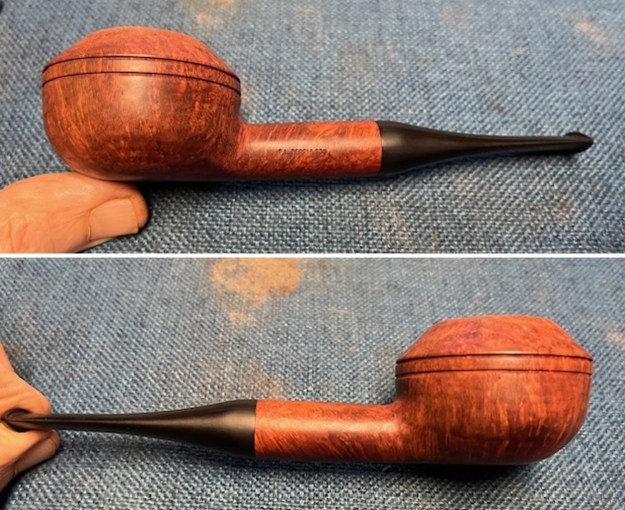
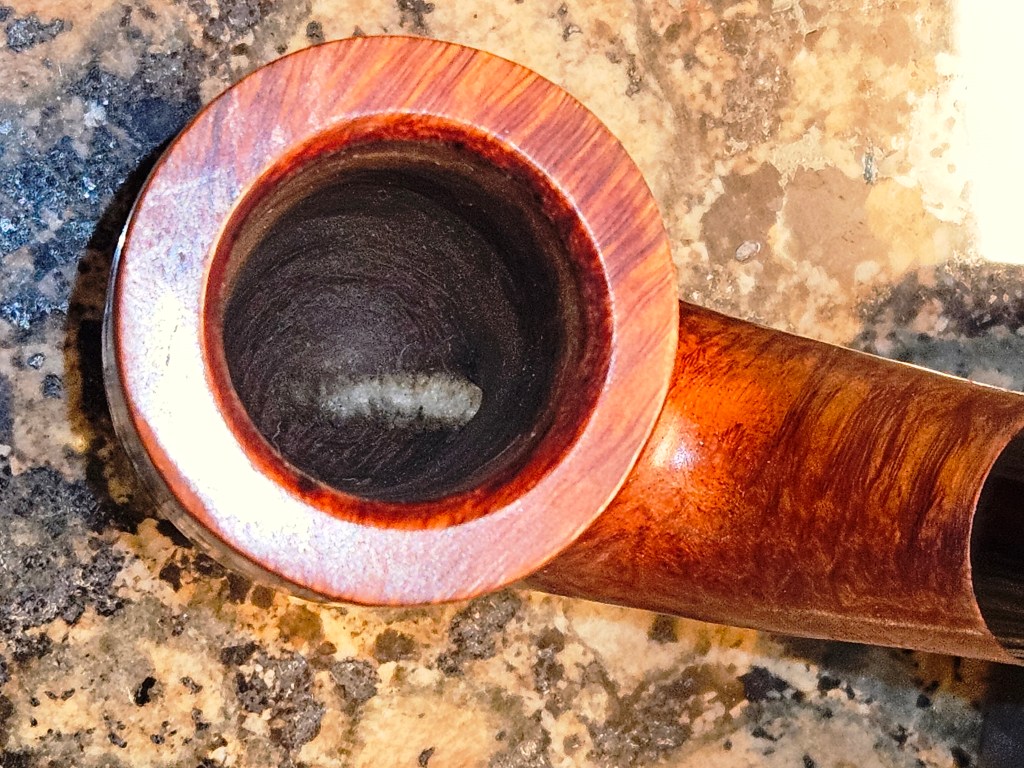
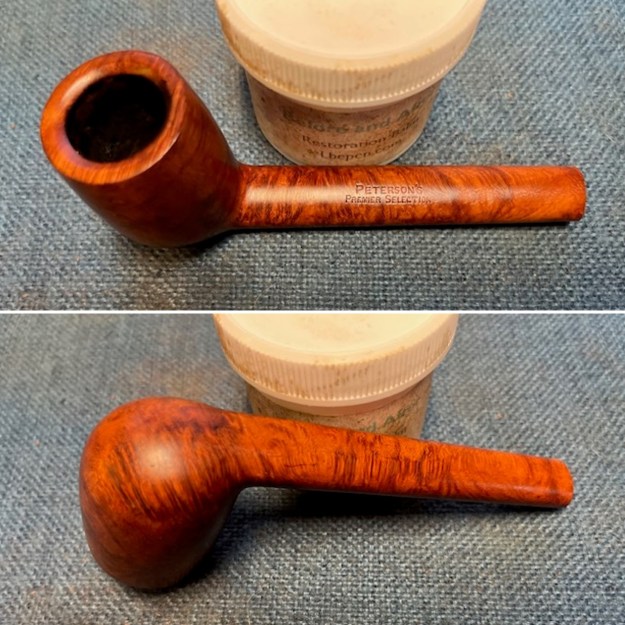
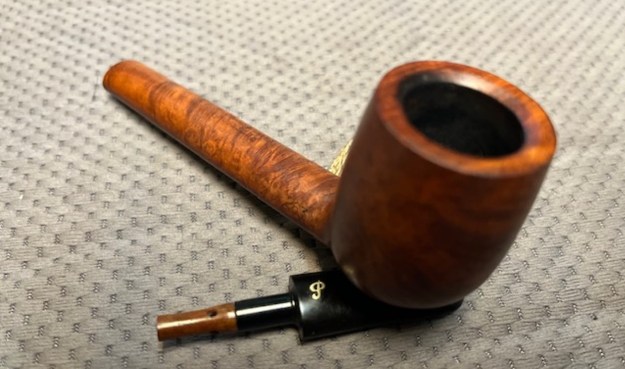
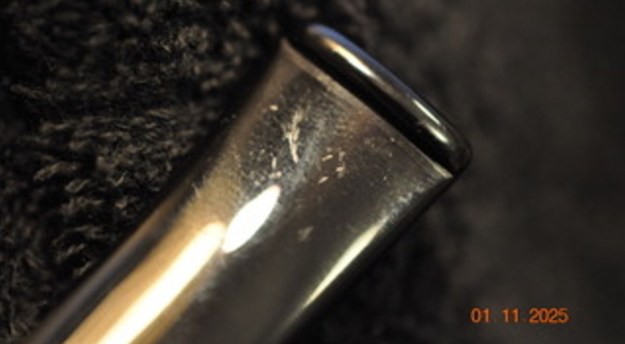
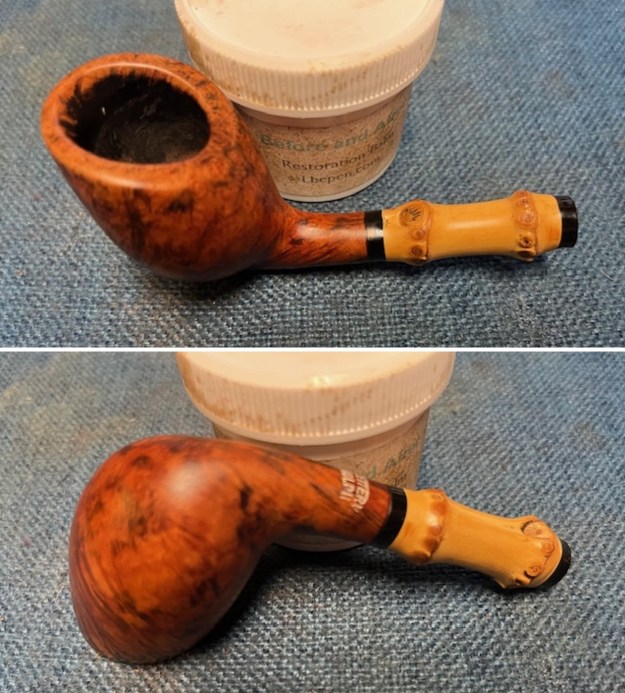
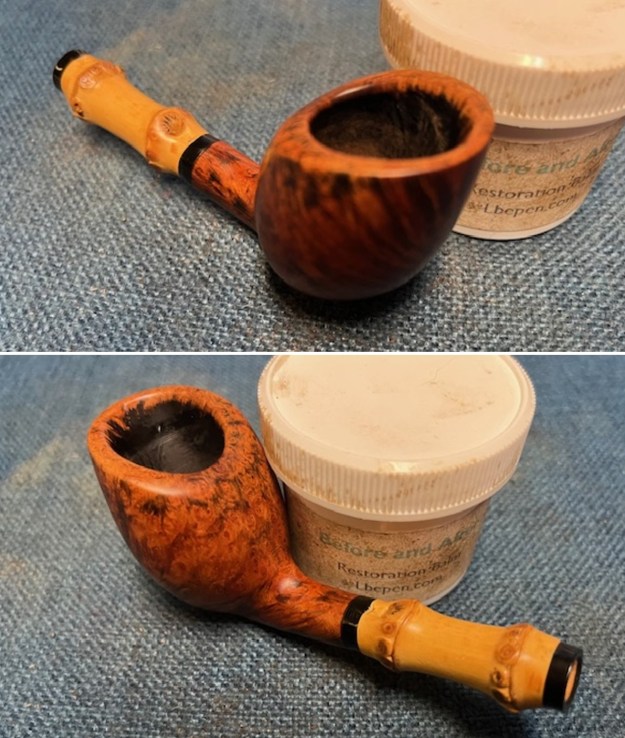
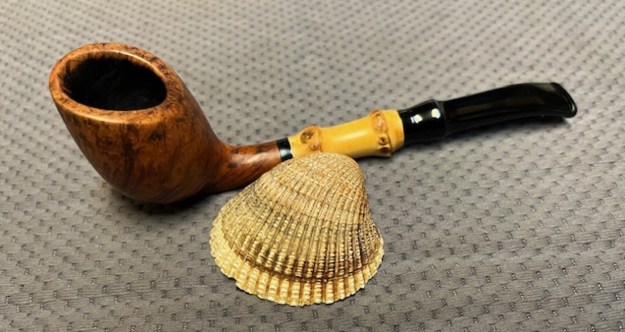
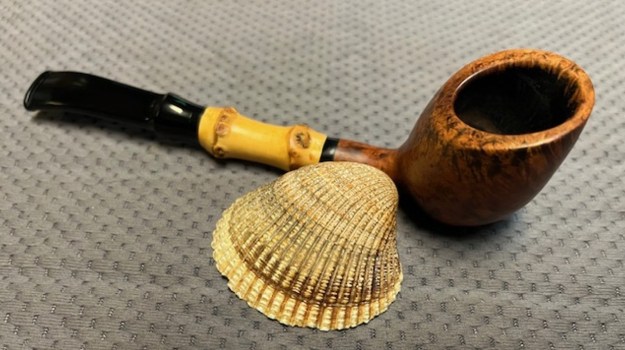
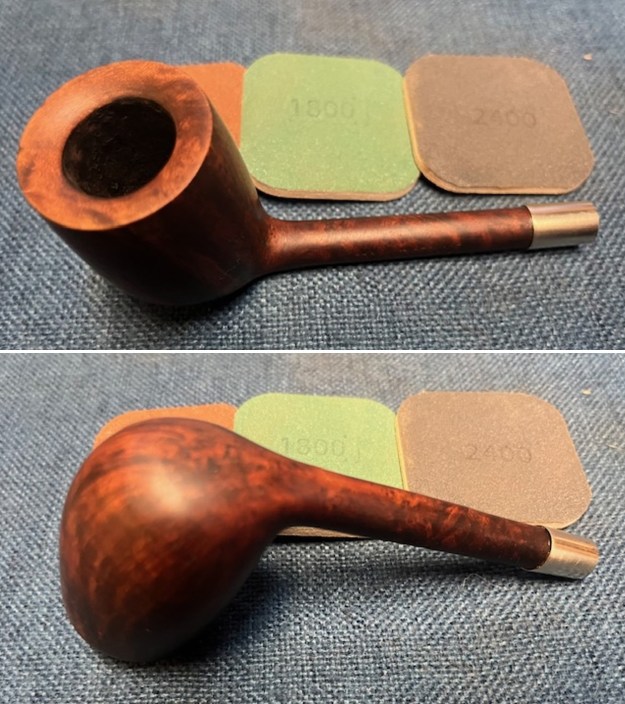
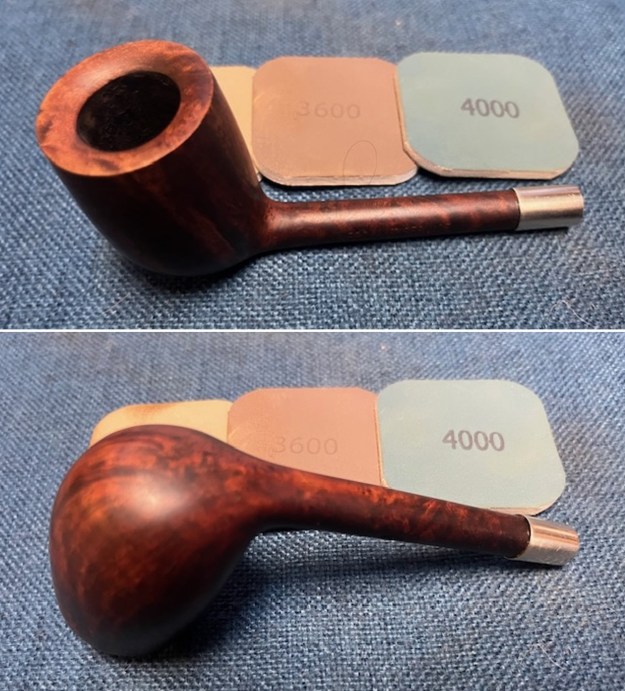
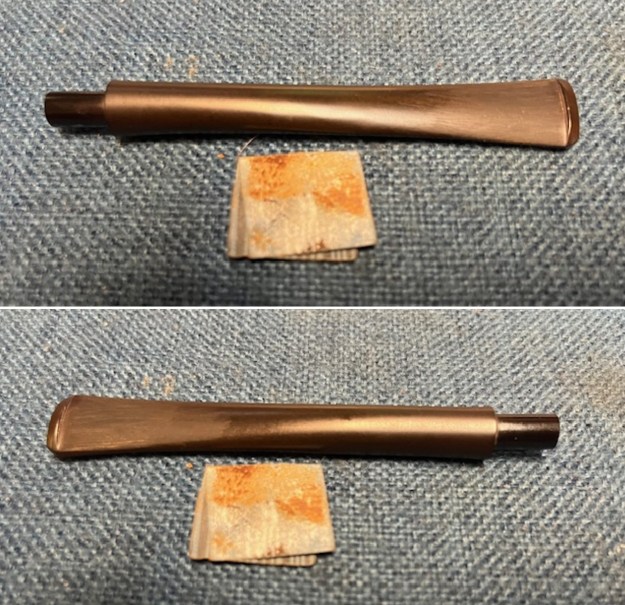
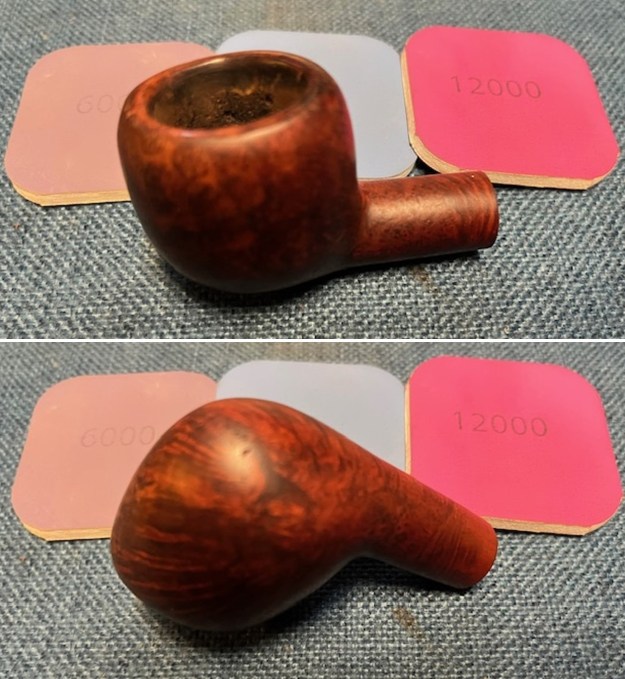
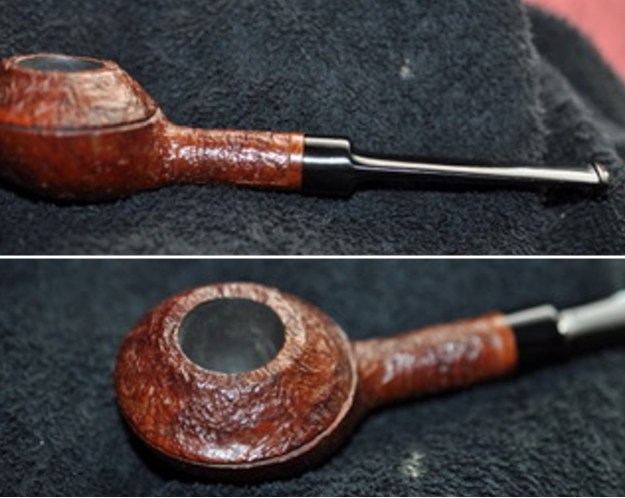
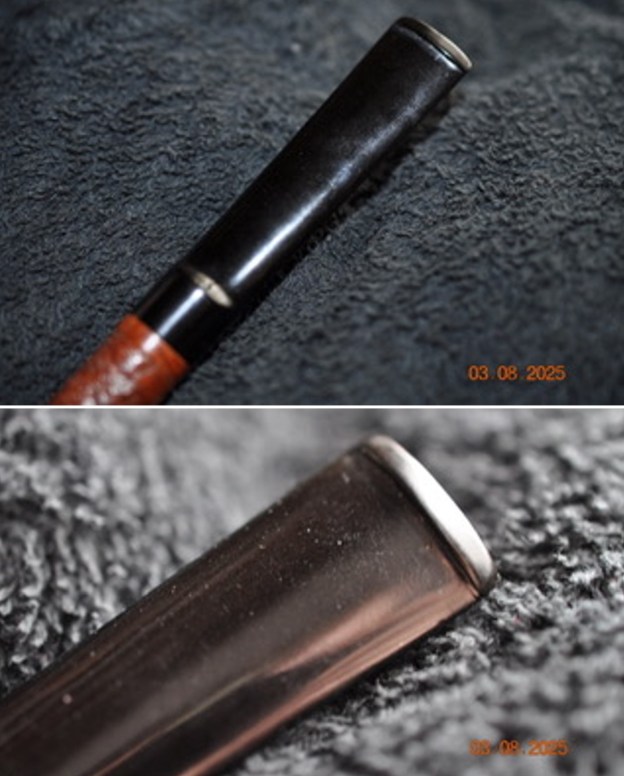
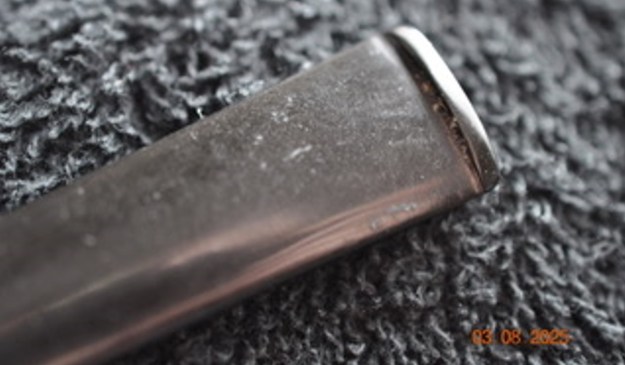
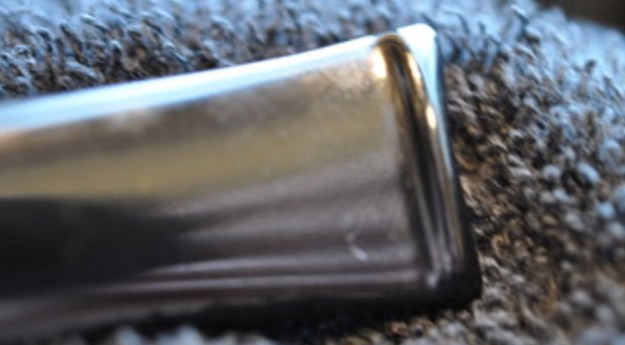
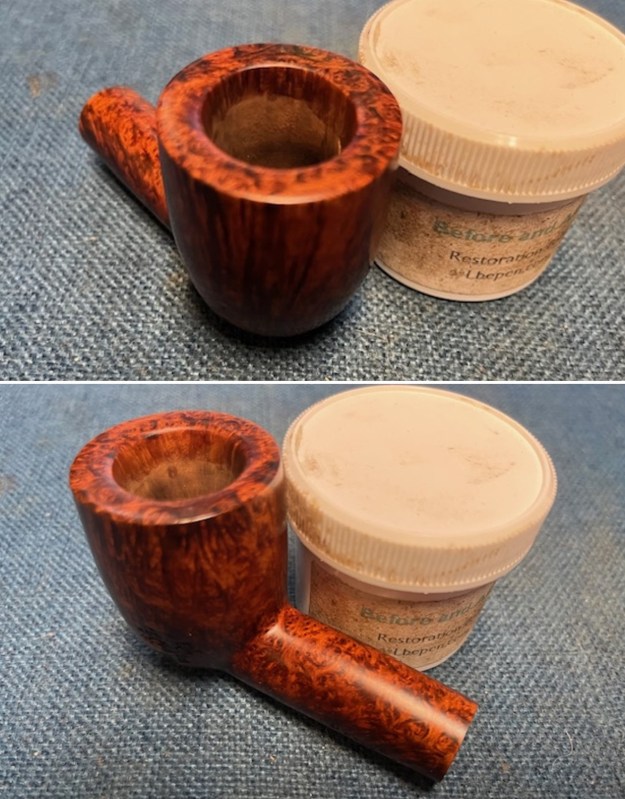
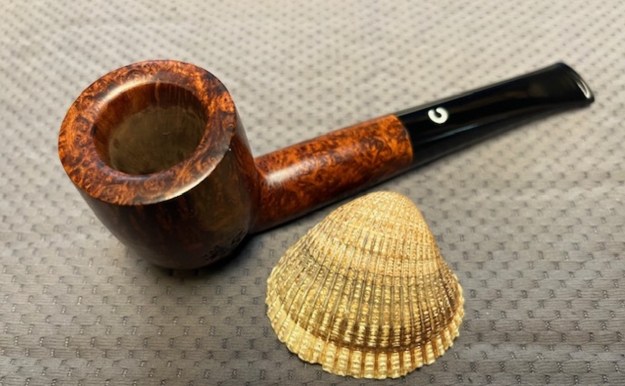
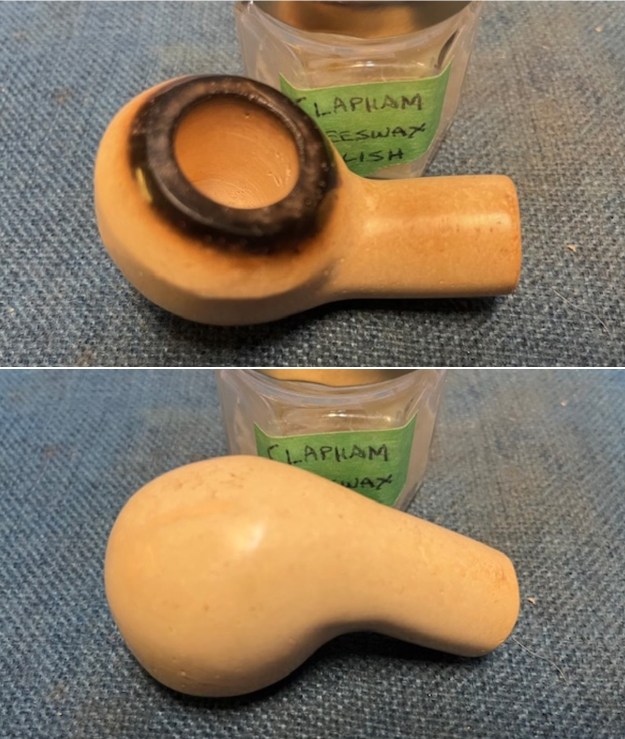
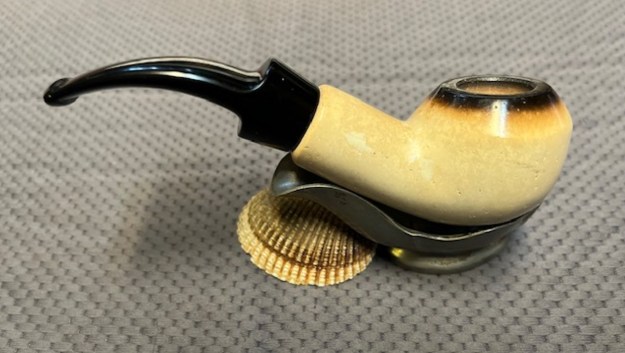
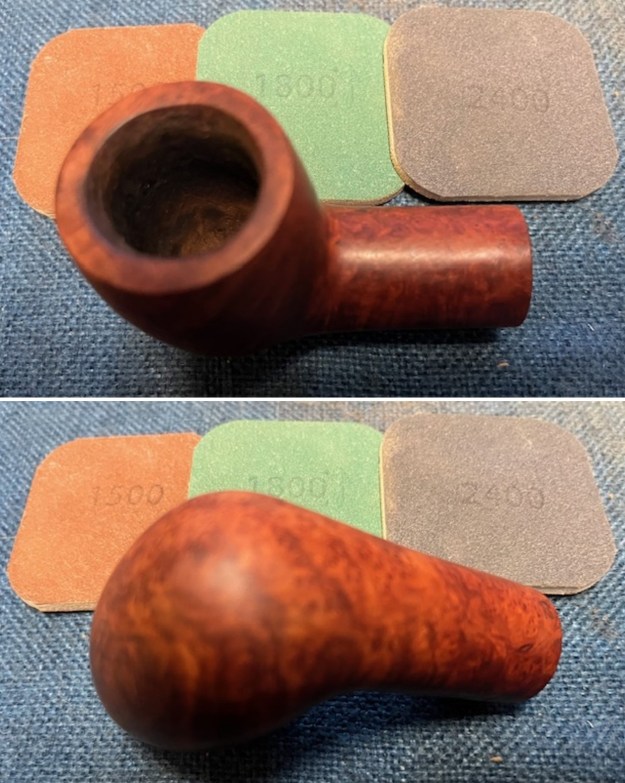
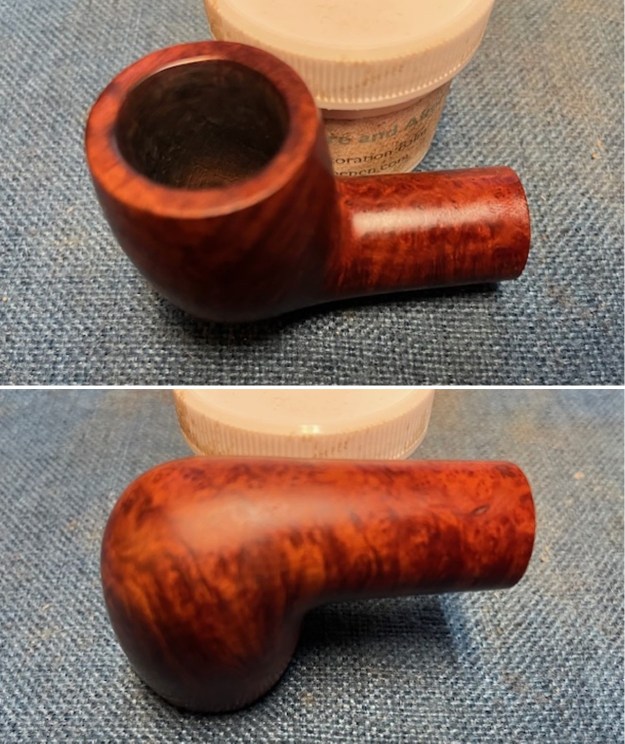
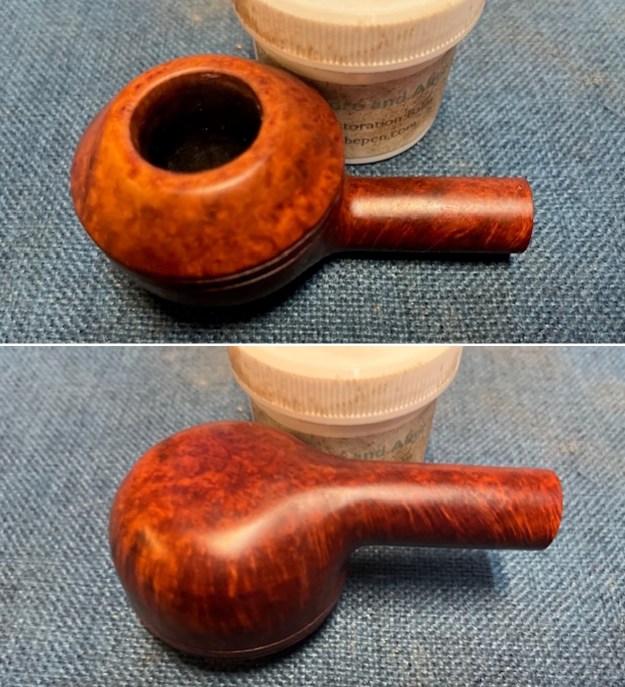
 I took a close-up photo of the rim top to show the condition of the bowl and inner edge of the bowl and the stem. The bowl is clean and the lava on the rim top and edges cleaned up very well. The stem photos show that it also cleaned up very well. The tooth marks and chatter are visible and I will need to deal with them.
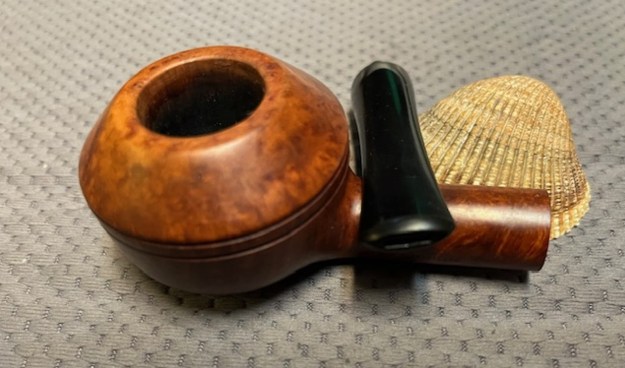
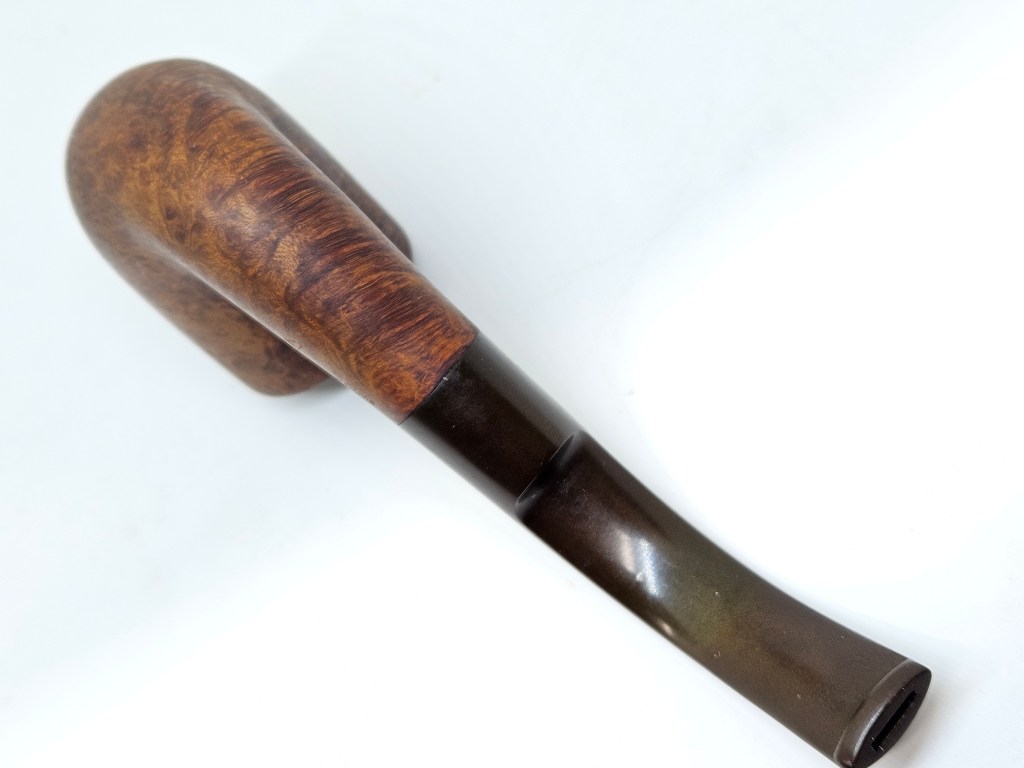
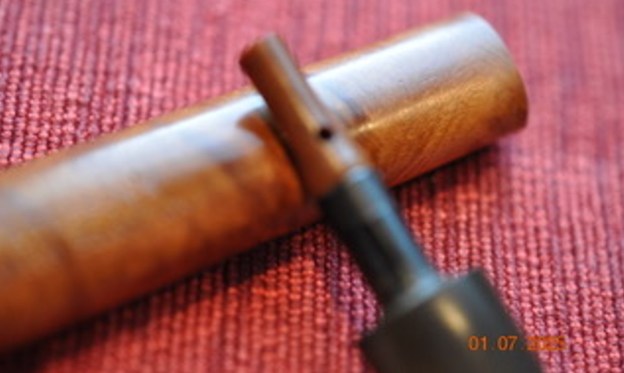
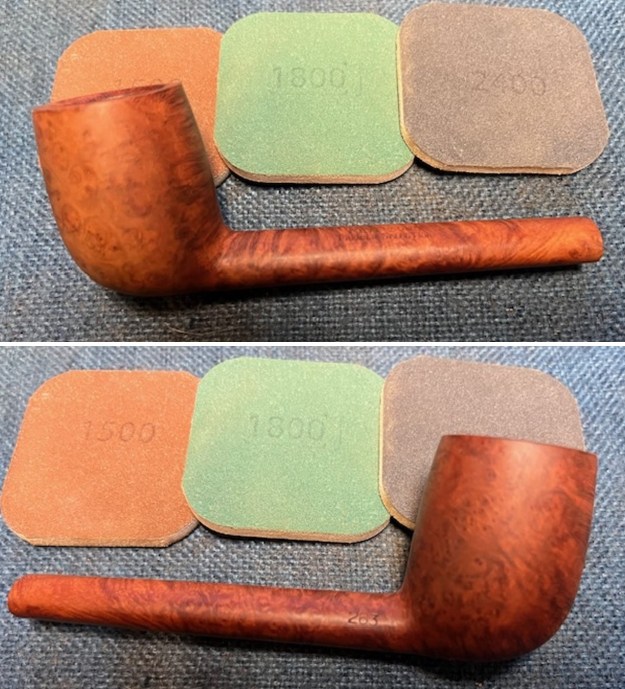
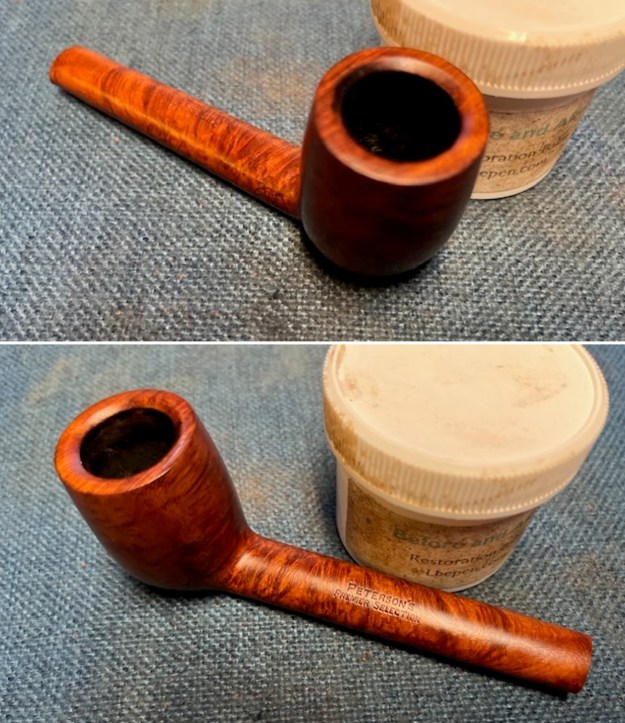
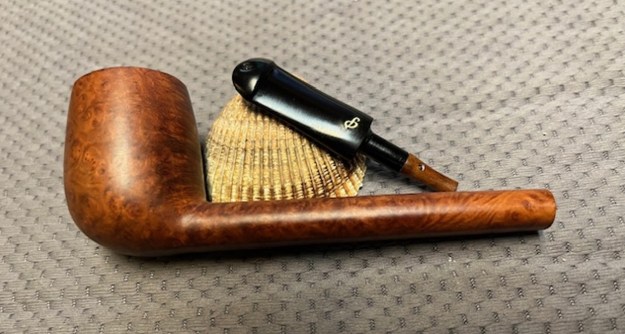
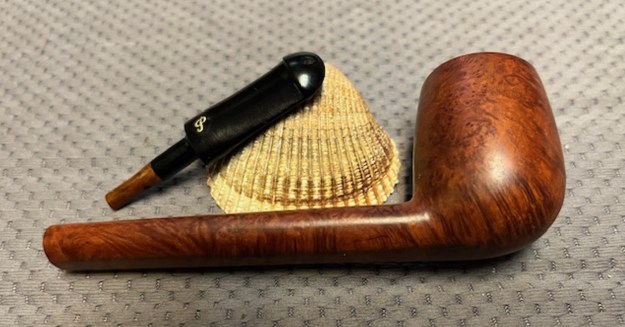
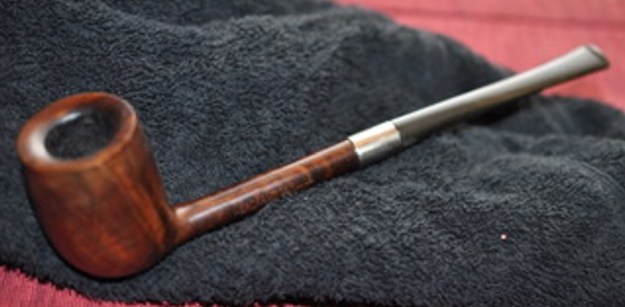
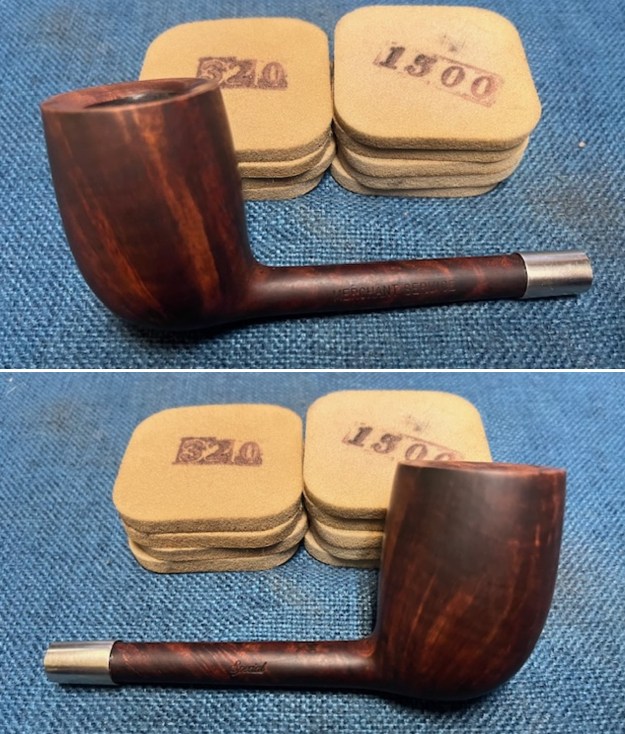
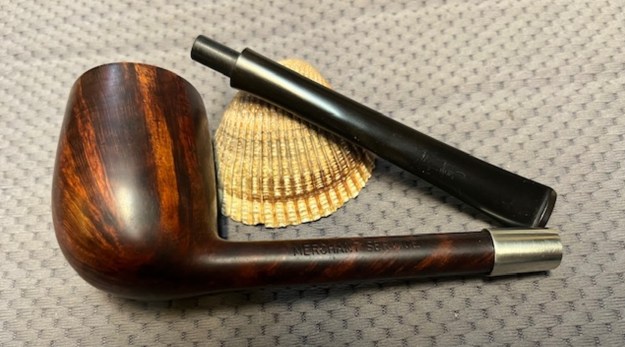
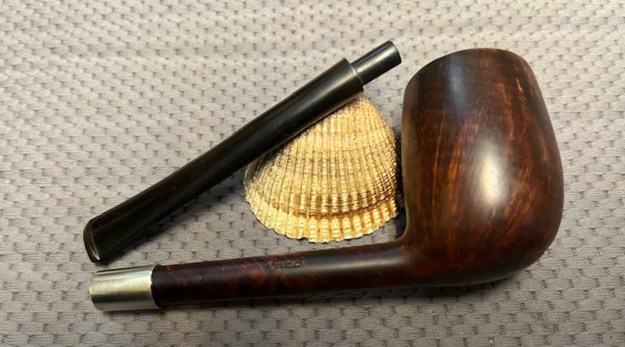
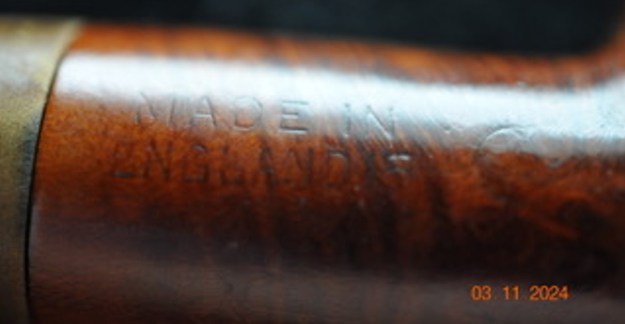
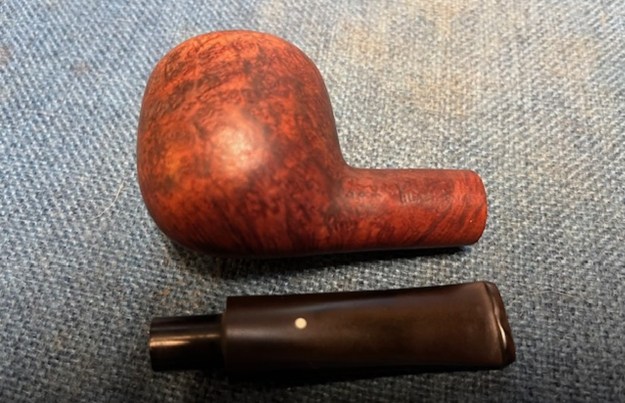
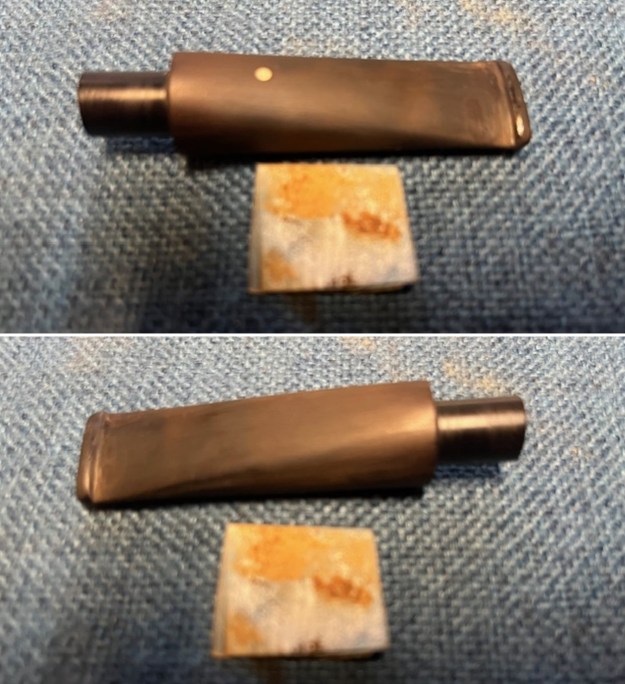
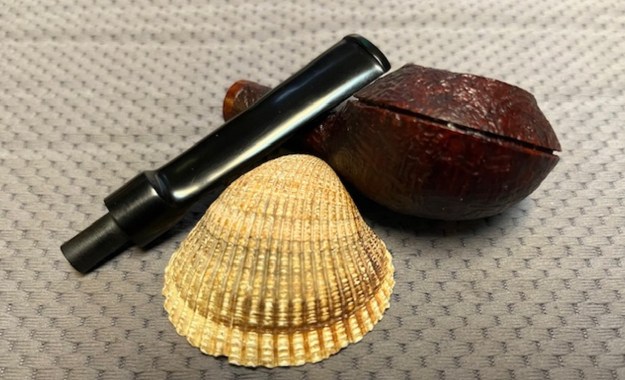
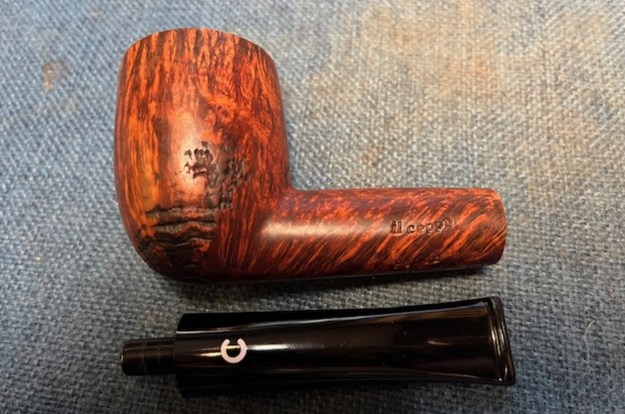
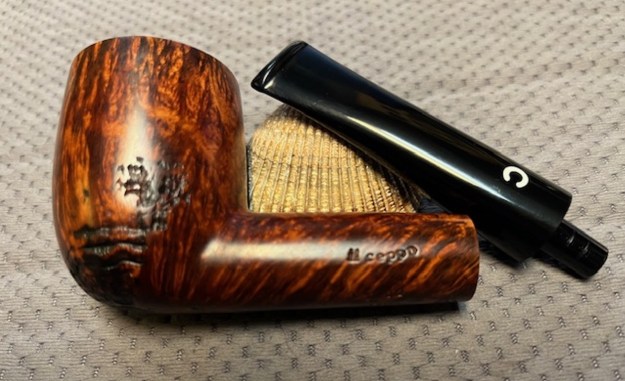
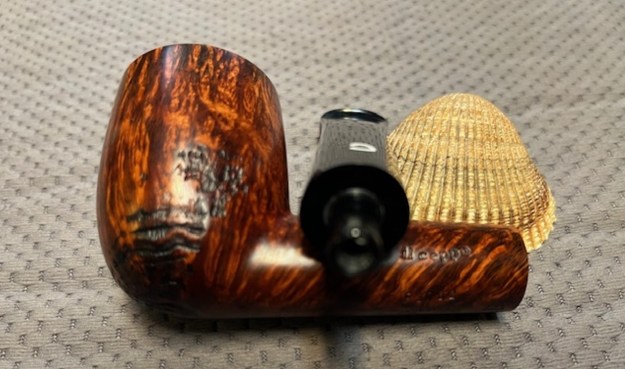
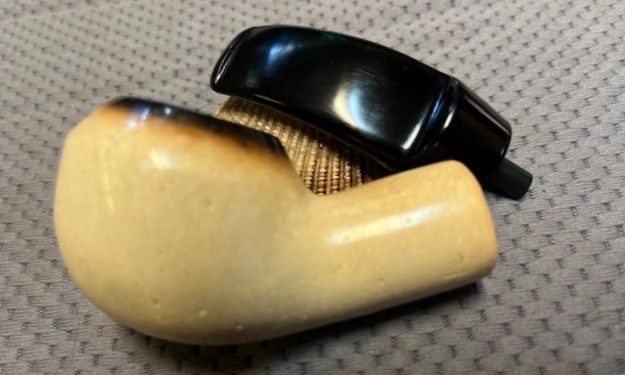
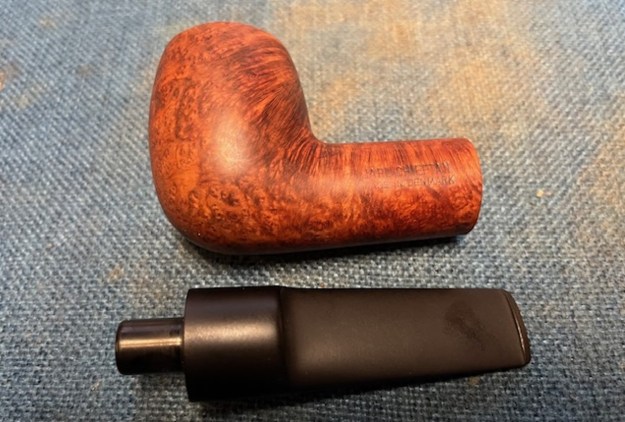
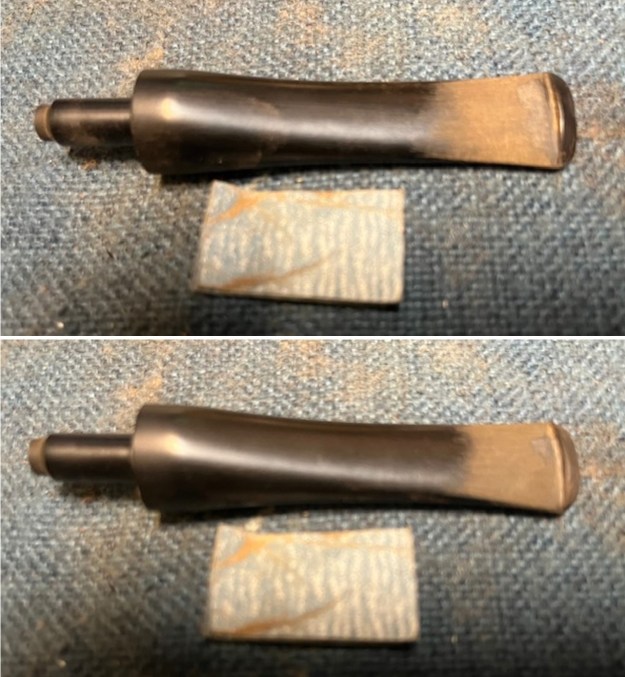
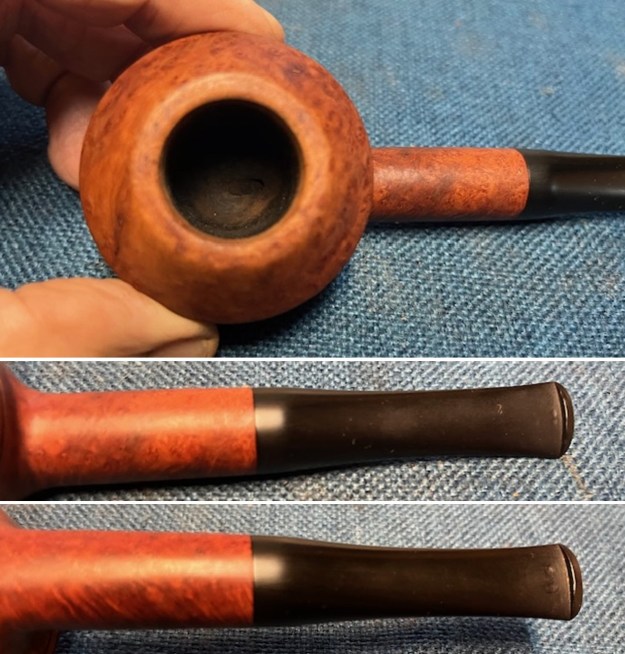 I took a photo of the stamping on the side of the shank. It is clear and readable as noted above. I removed the stem and took a photo of the parts of the pipe. It is a large and quite unique pipe.
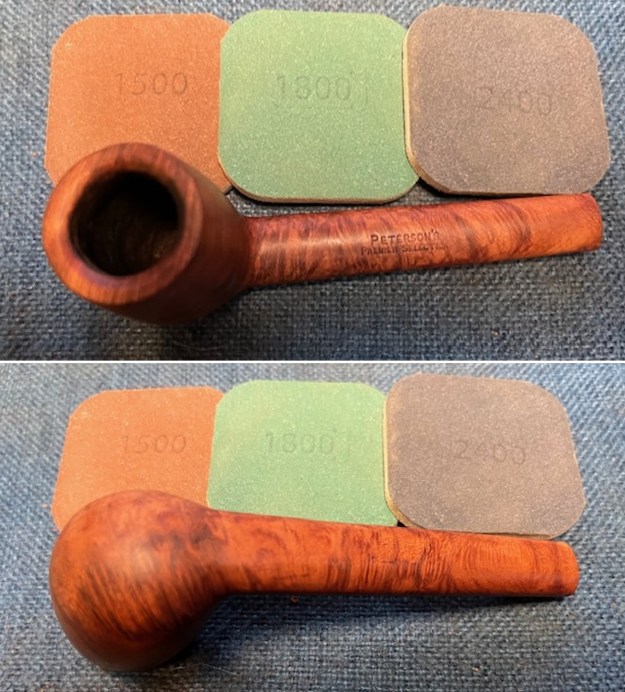
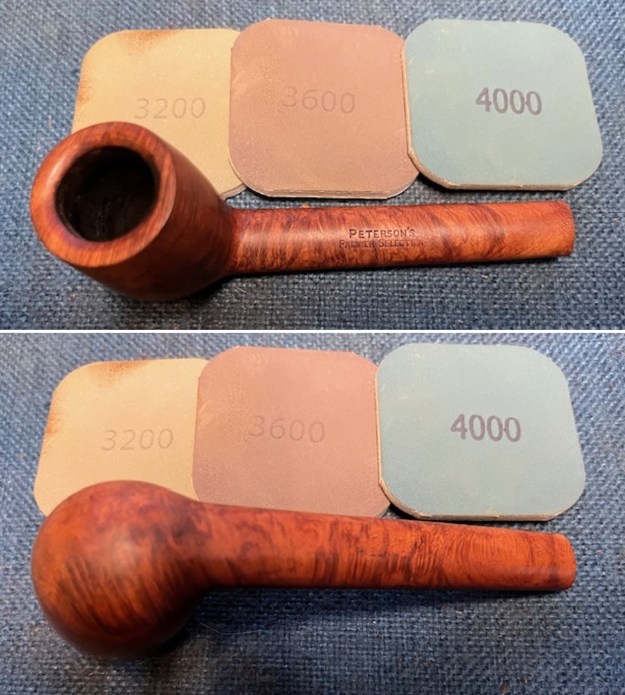
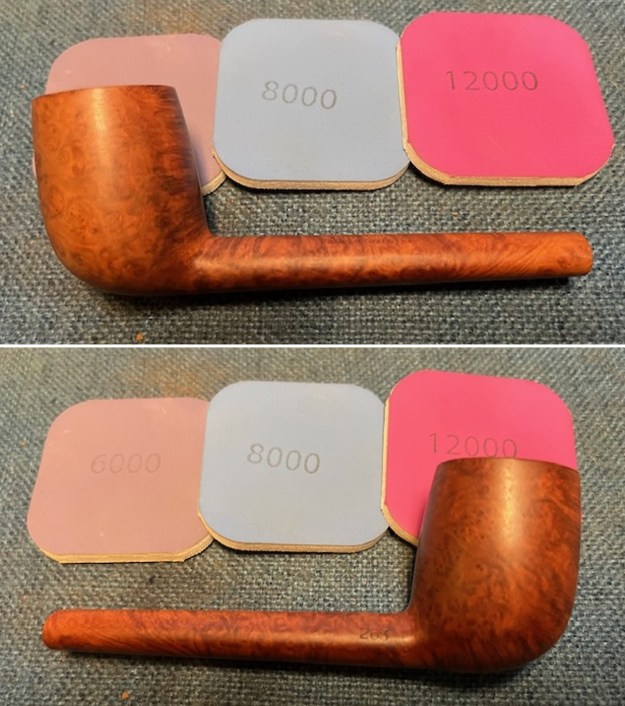
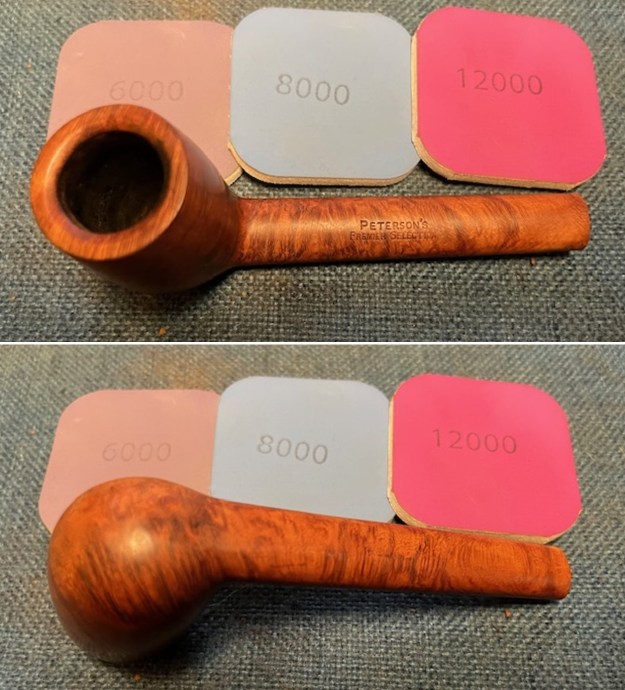
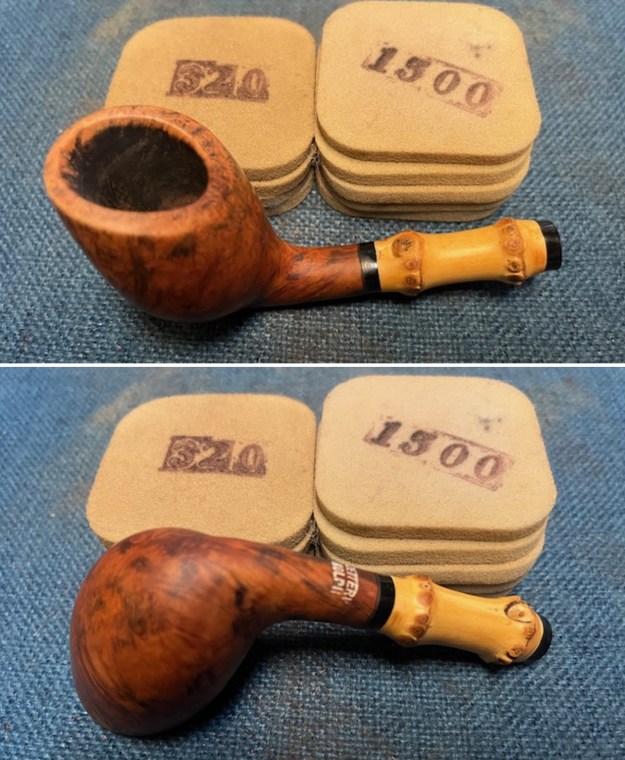
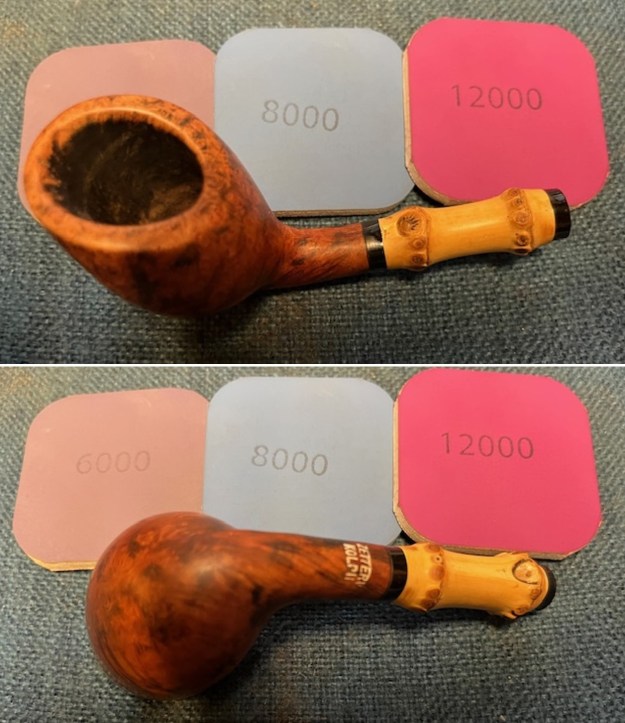
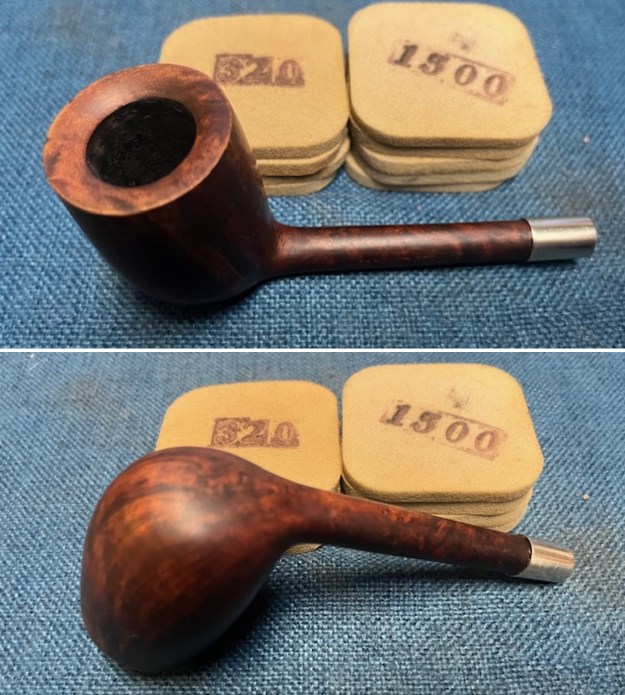
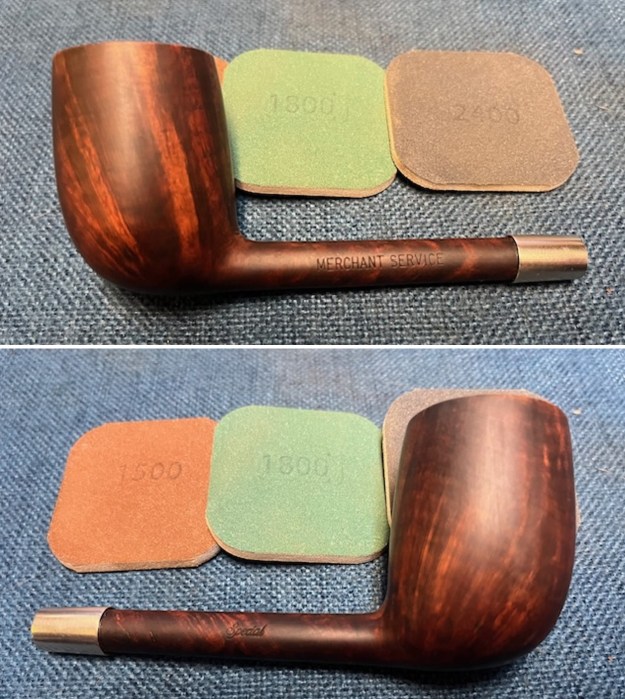
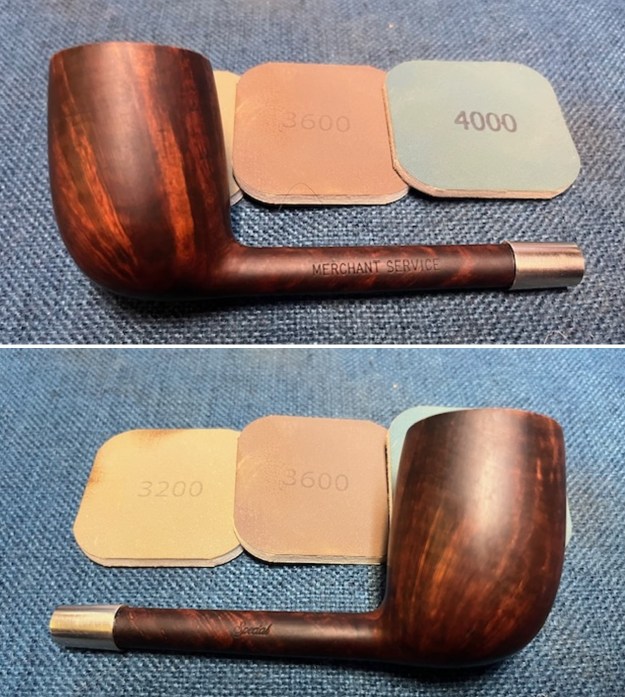
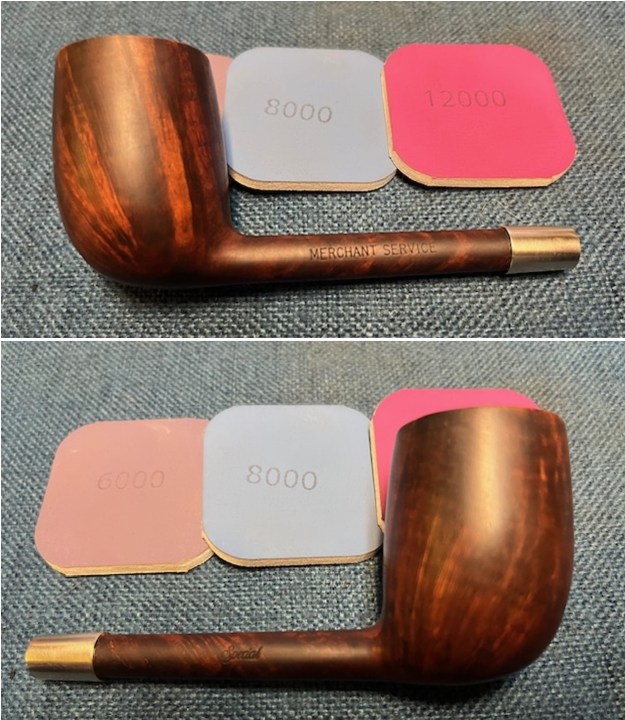
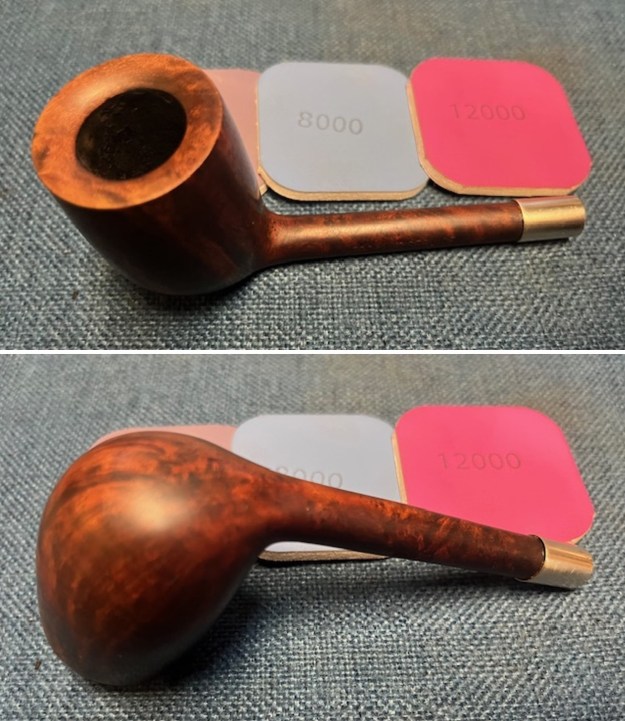
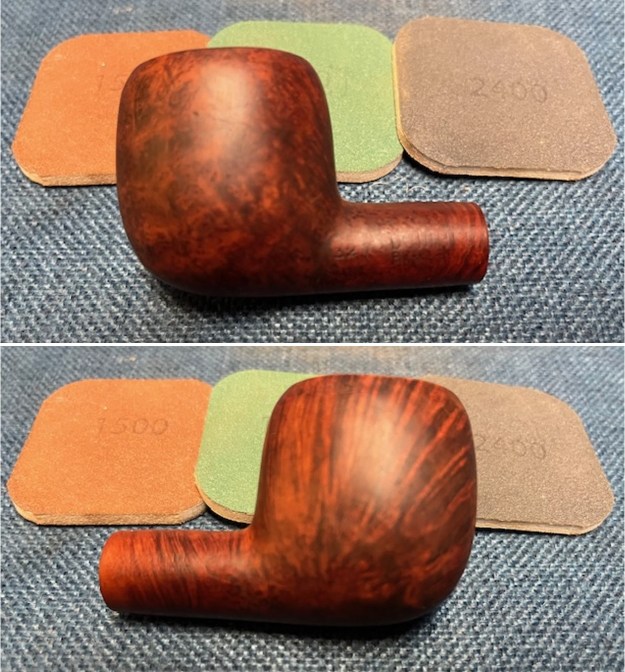
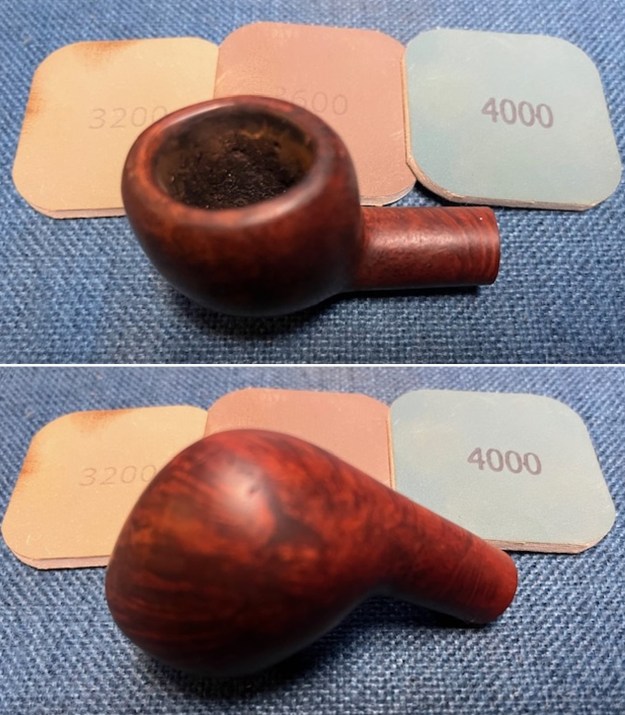
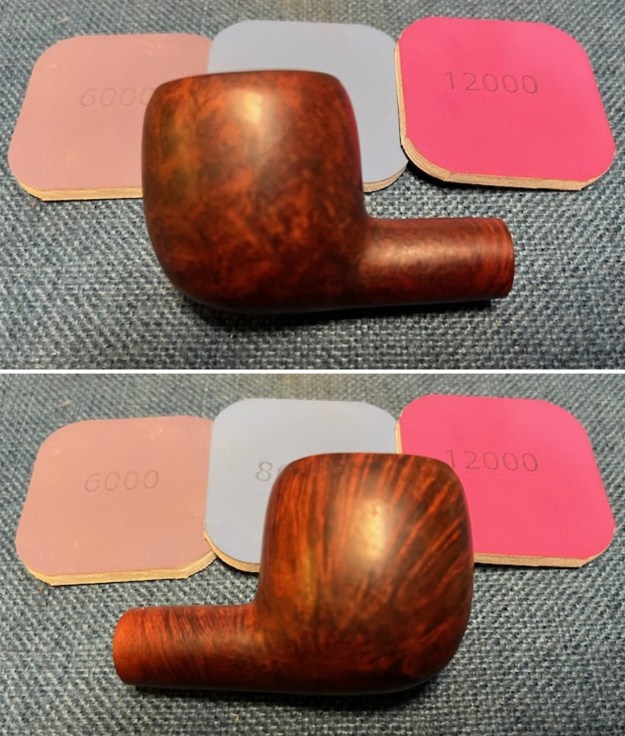
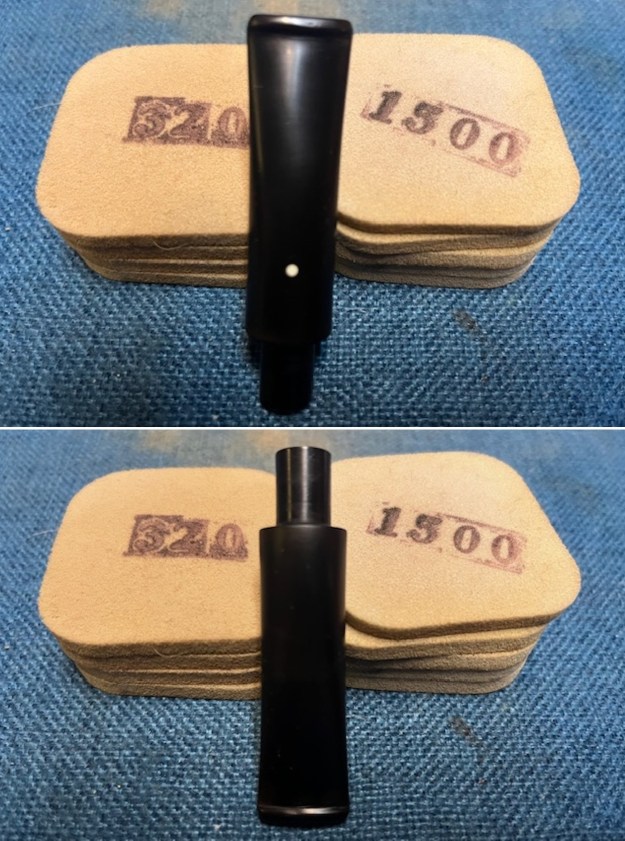
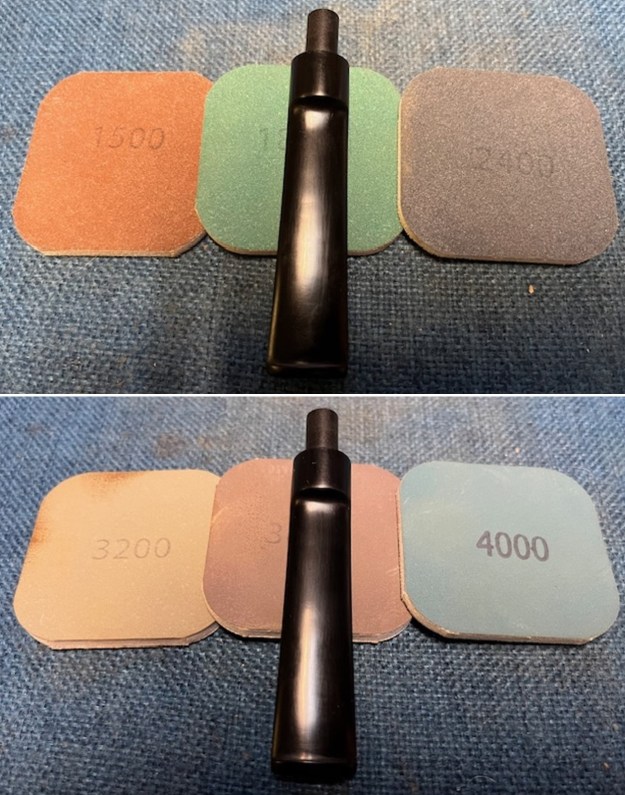
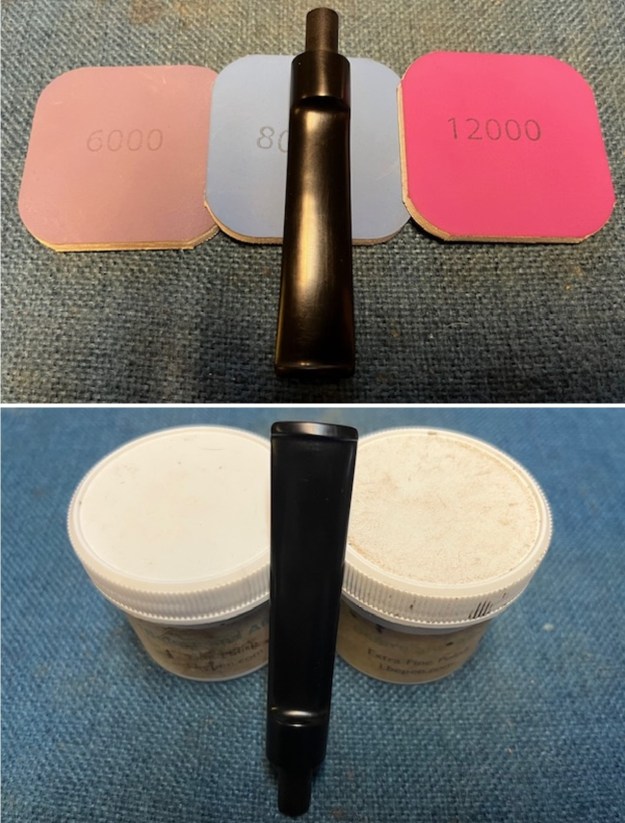
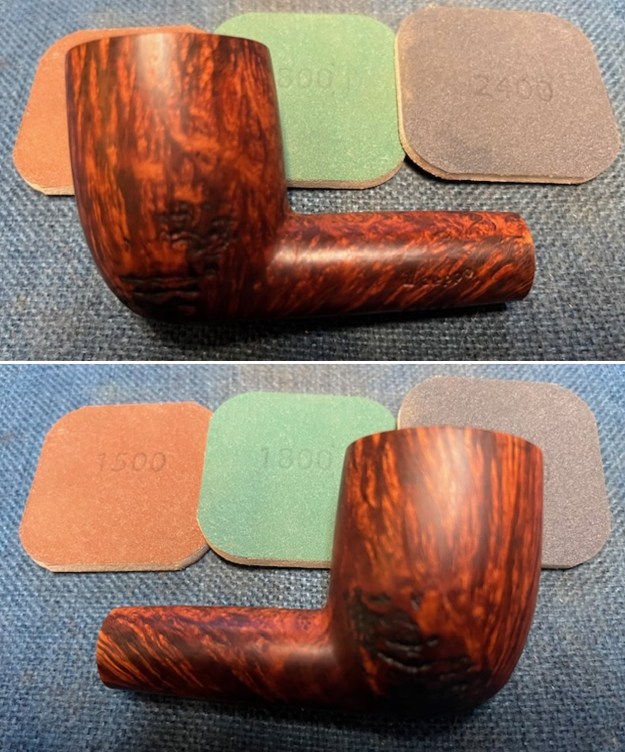
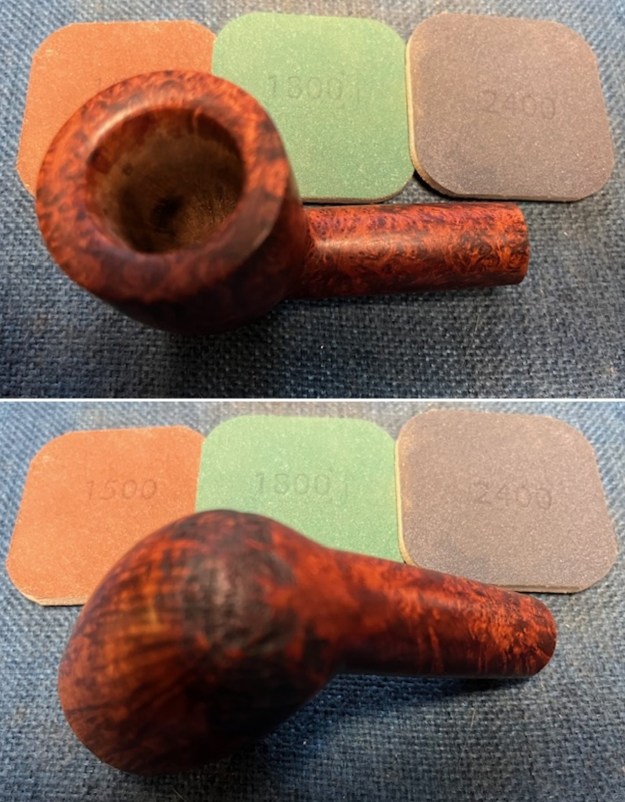
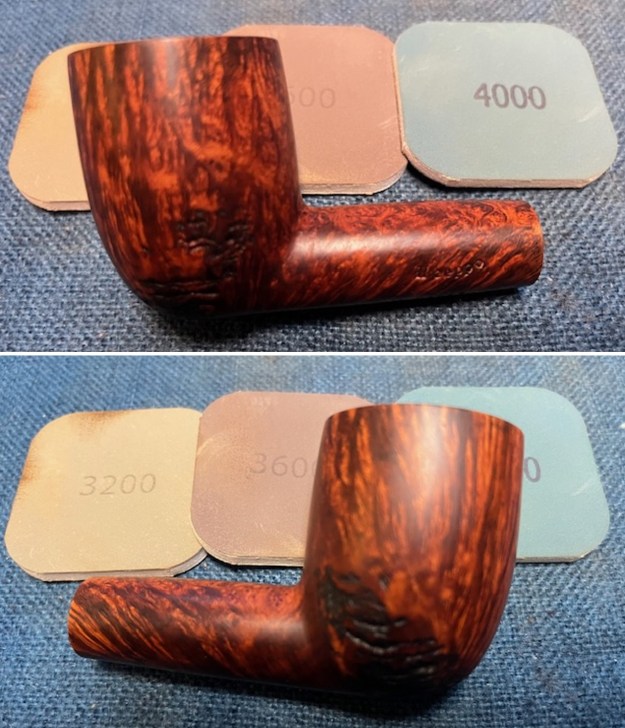
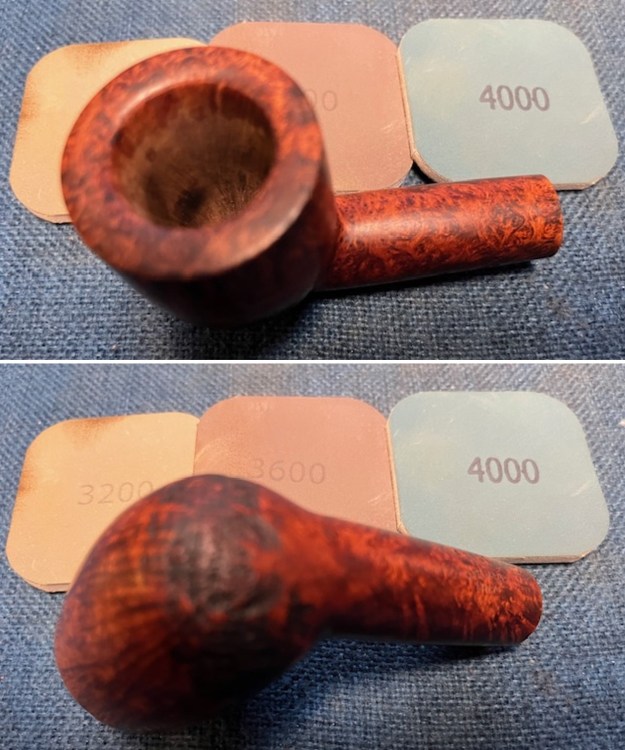
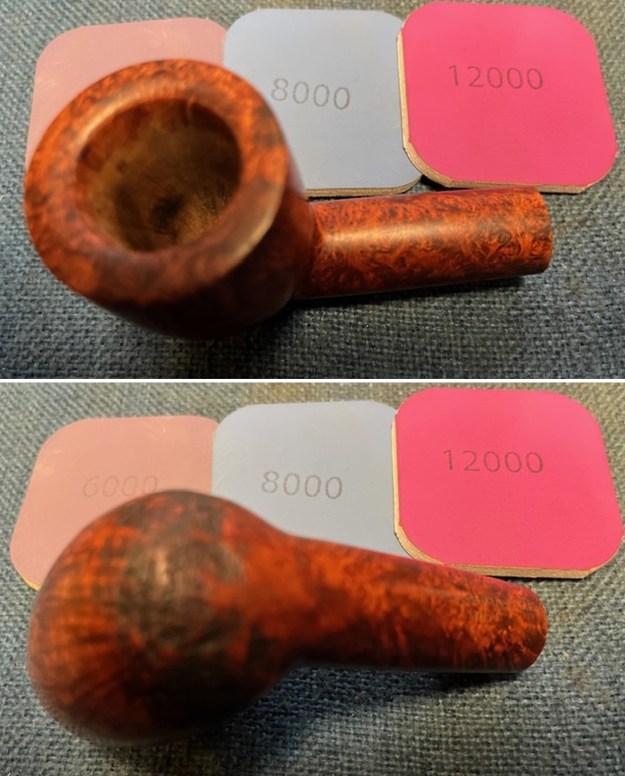
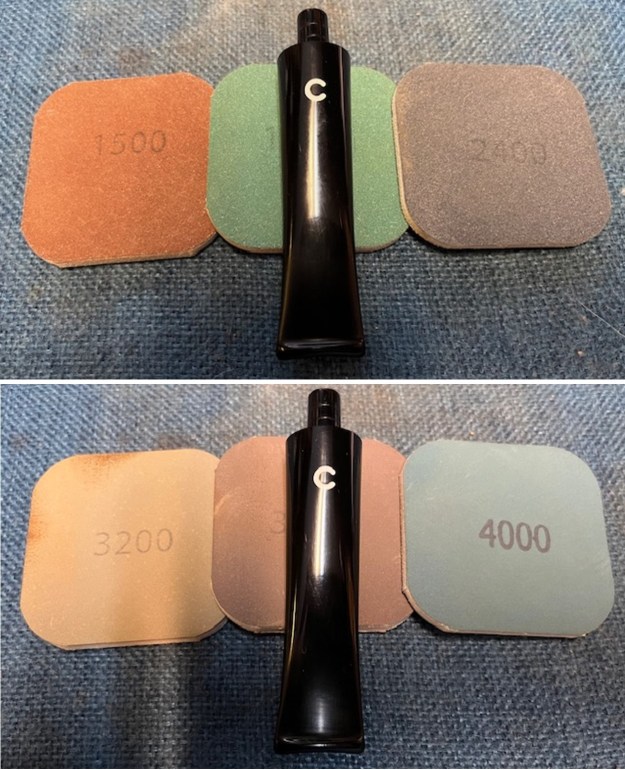
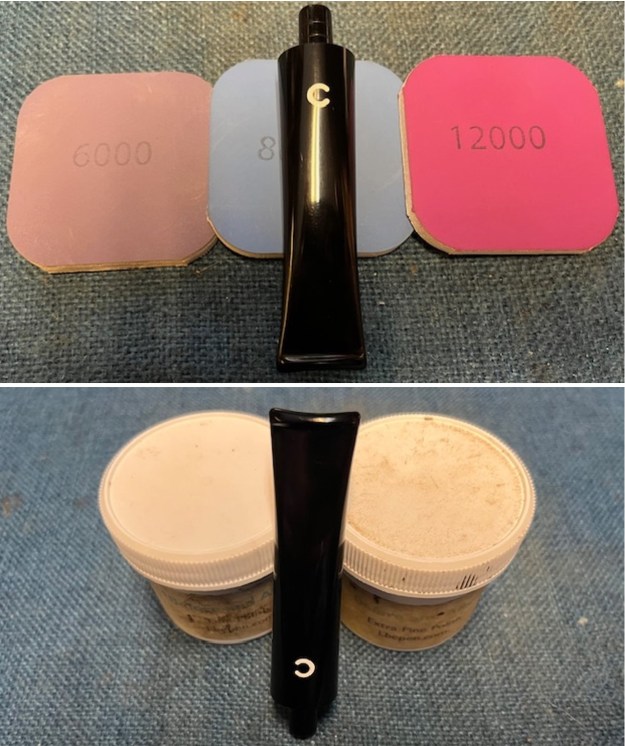
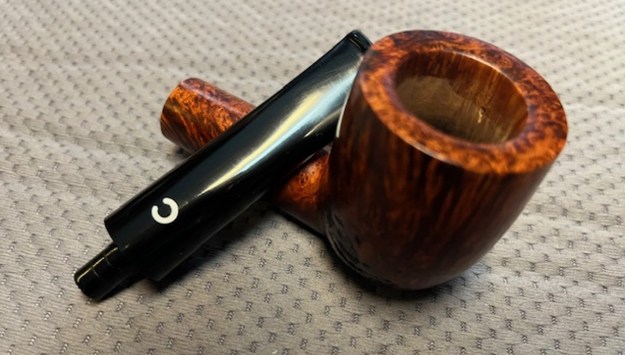
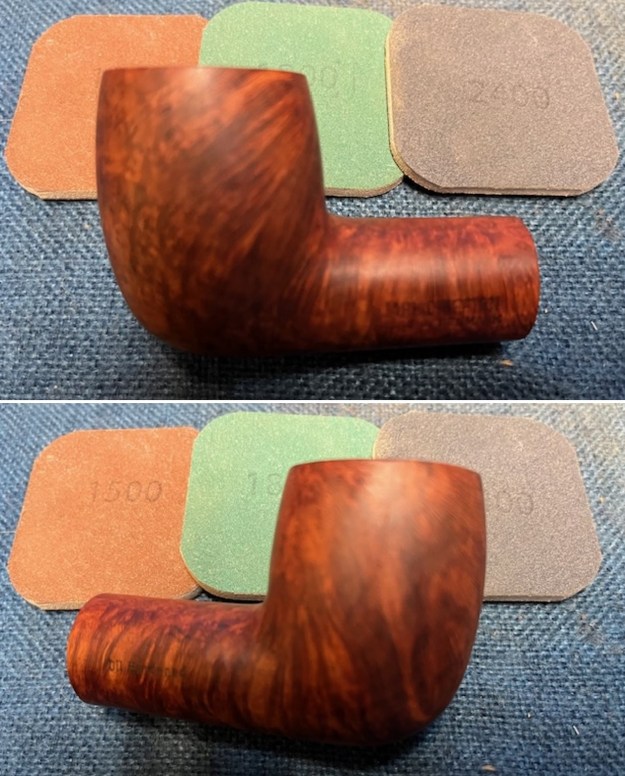
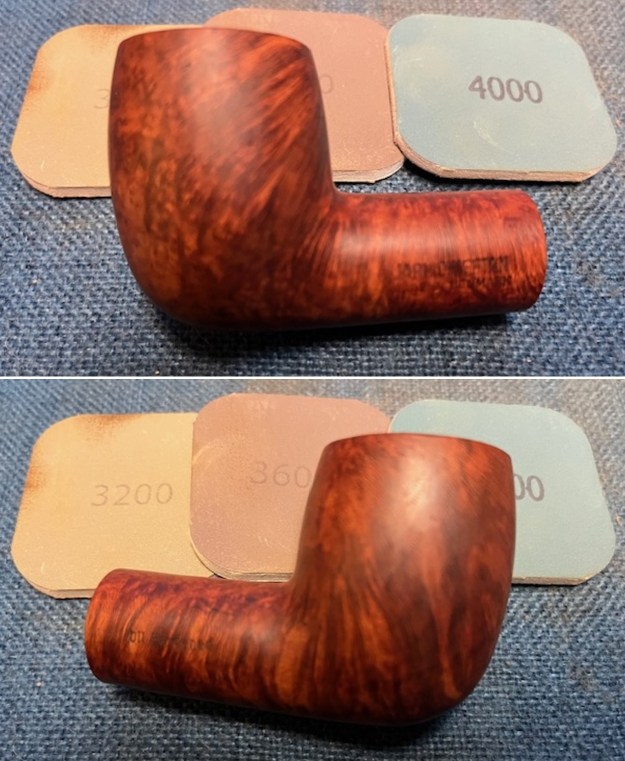
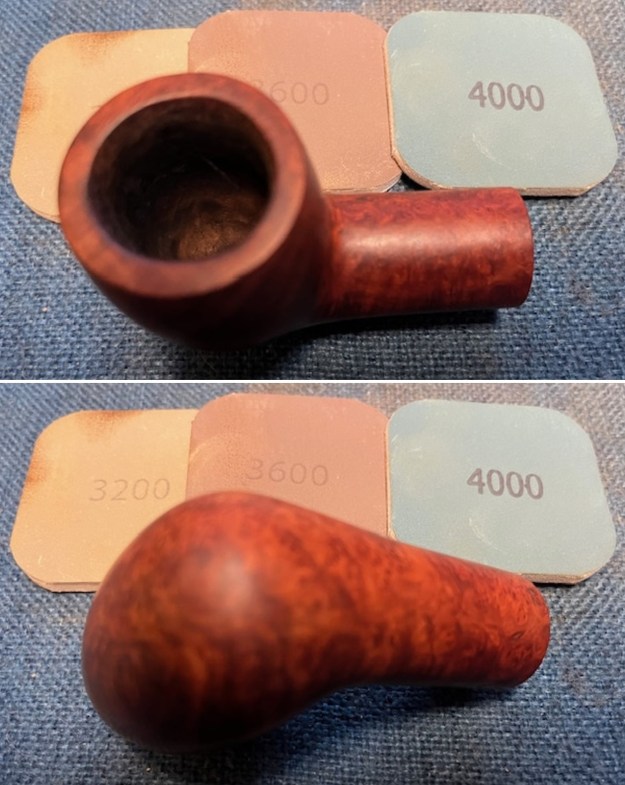
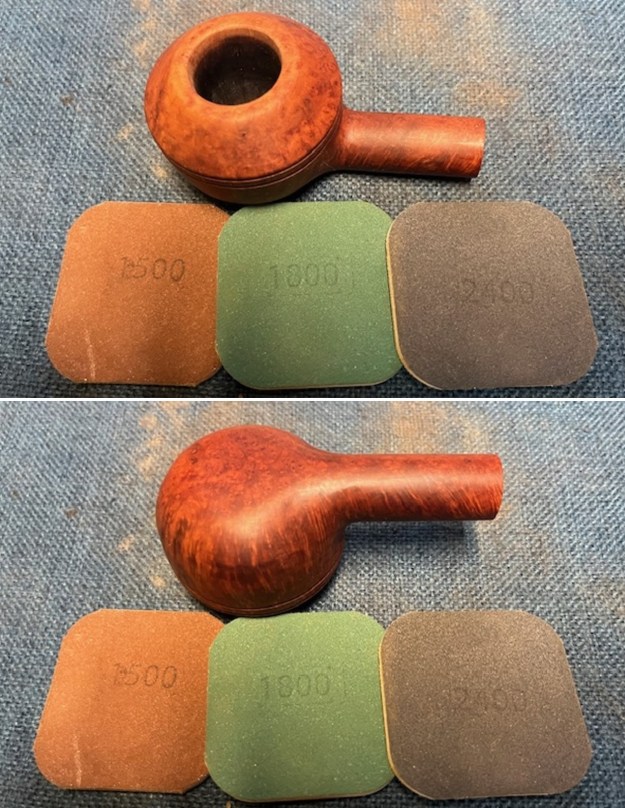
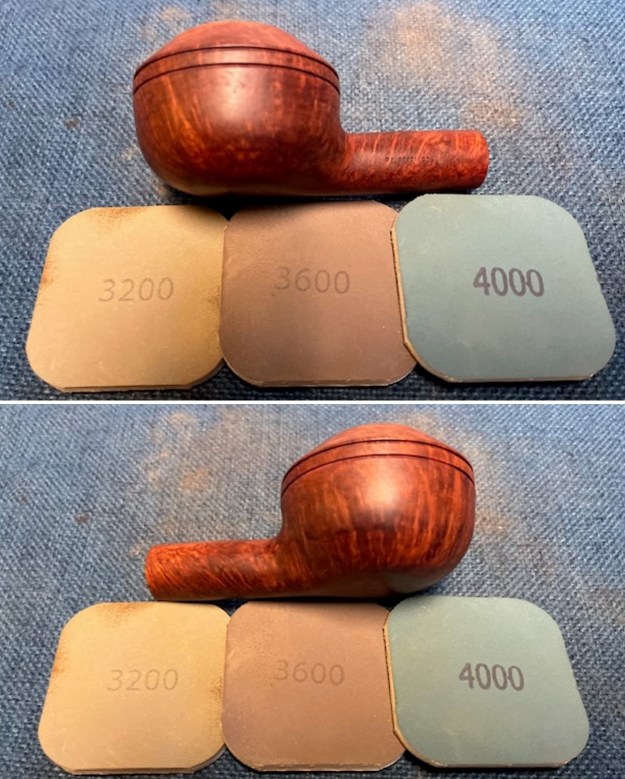
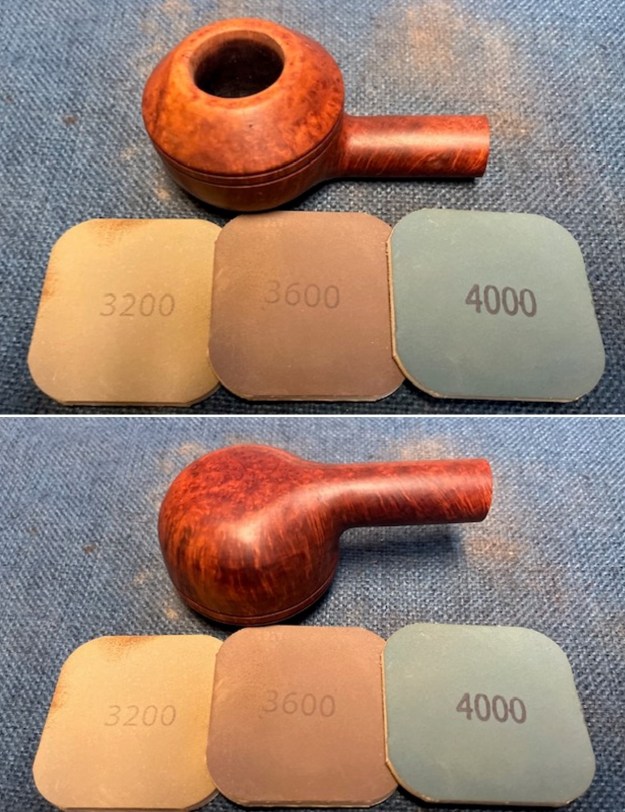
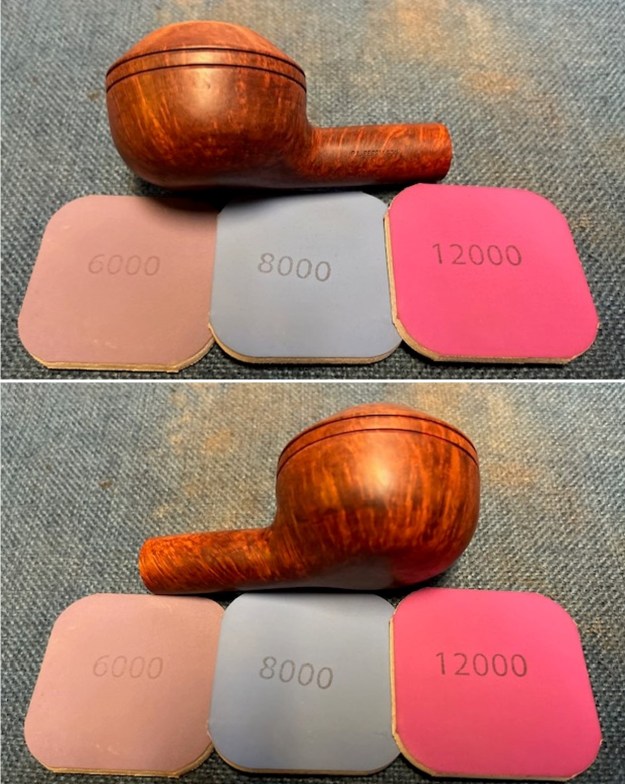
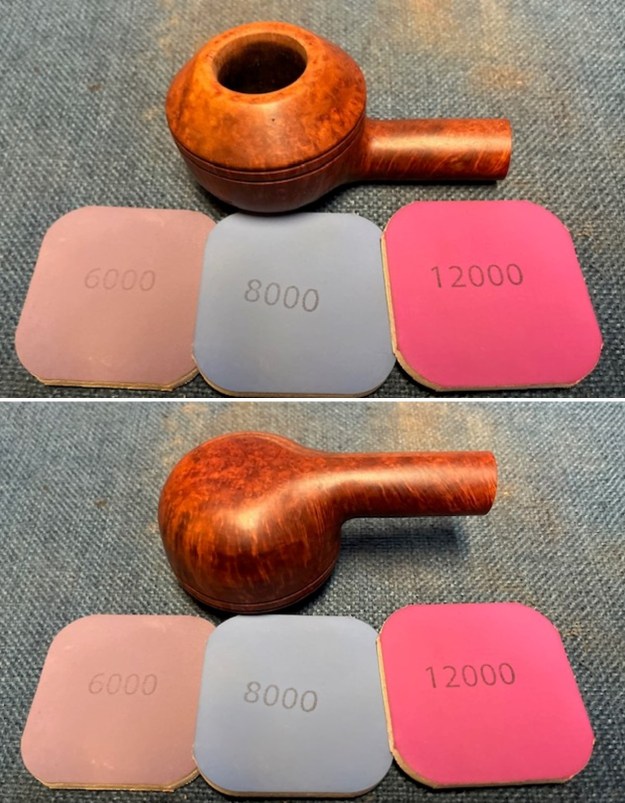
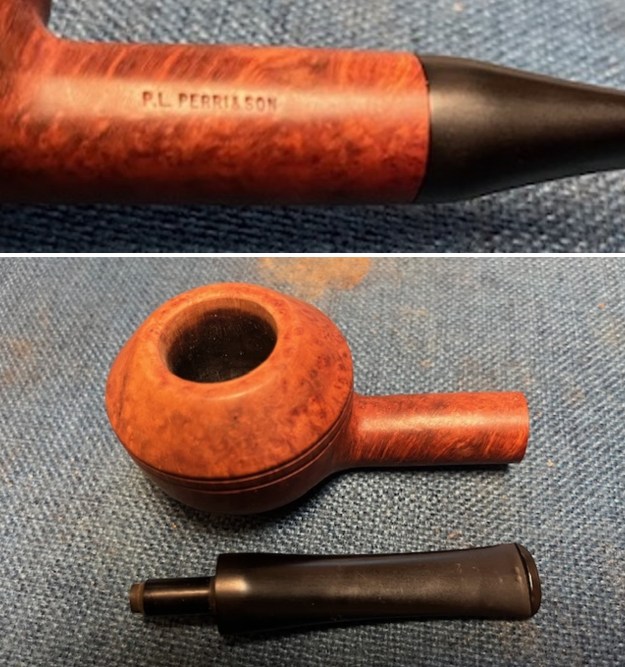 I polished the bowl with micromesh sanding pads – dry sanding with 1500-12000 grit sanding pads. I wiped it down between pads with a damp cloth. It really began to take on a deep shine.
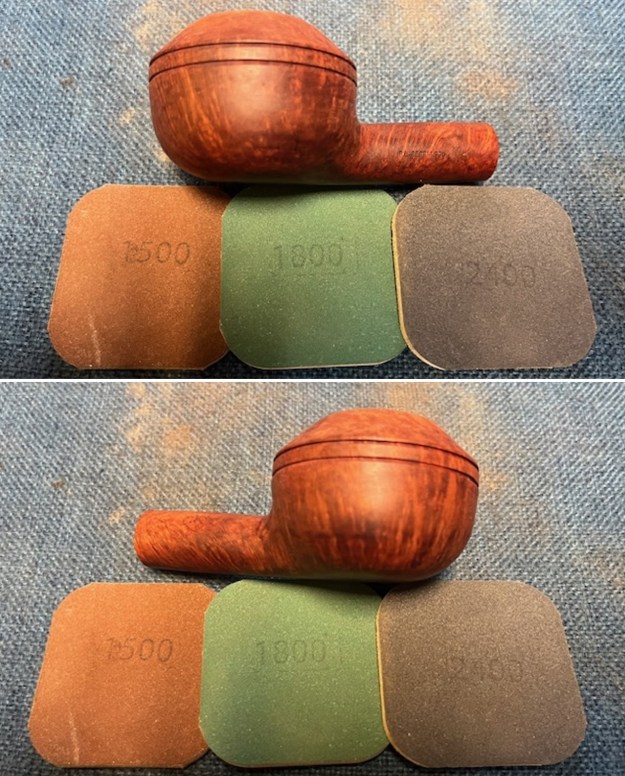
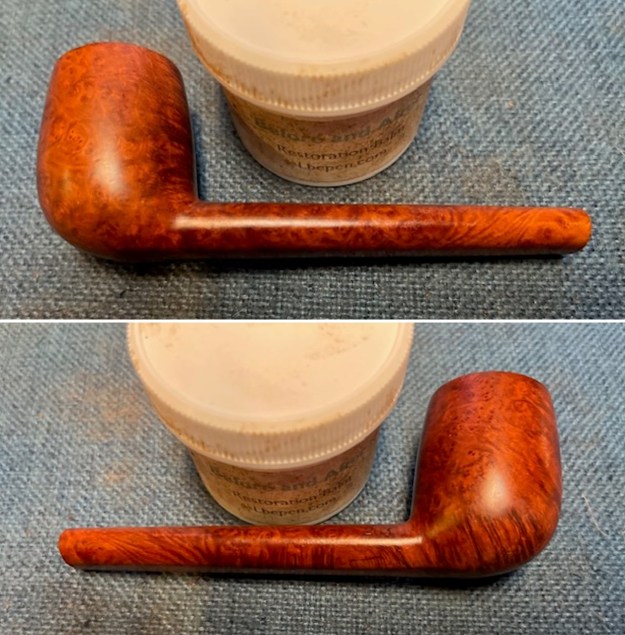
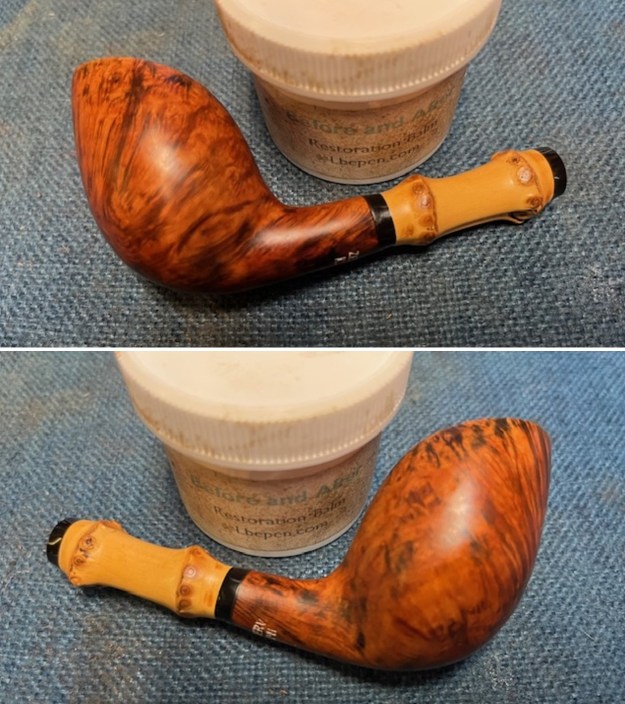
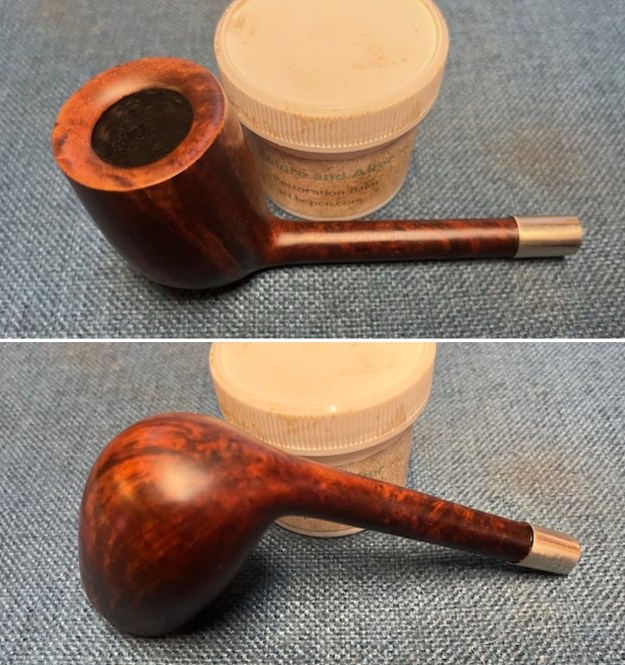
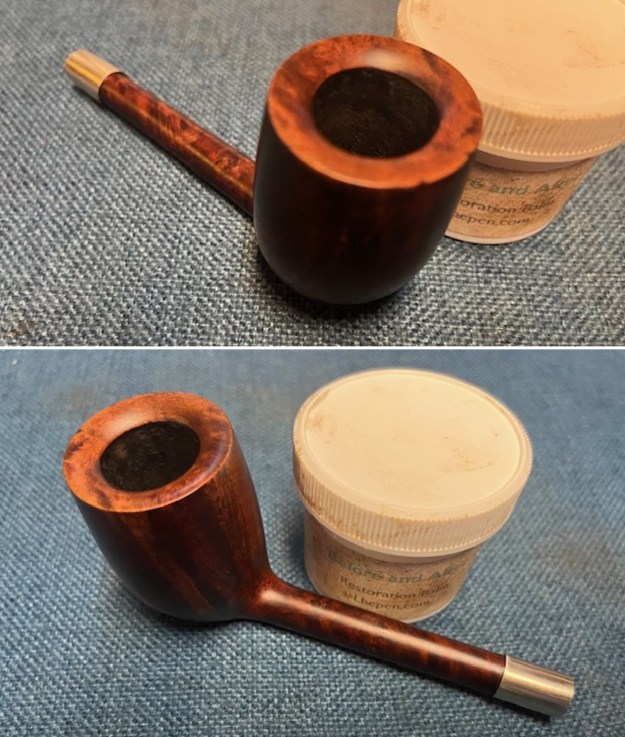
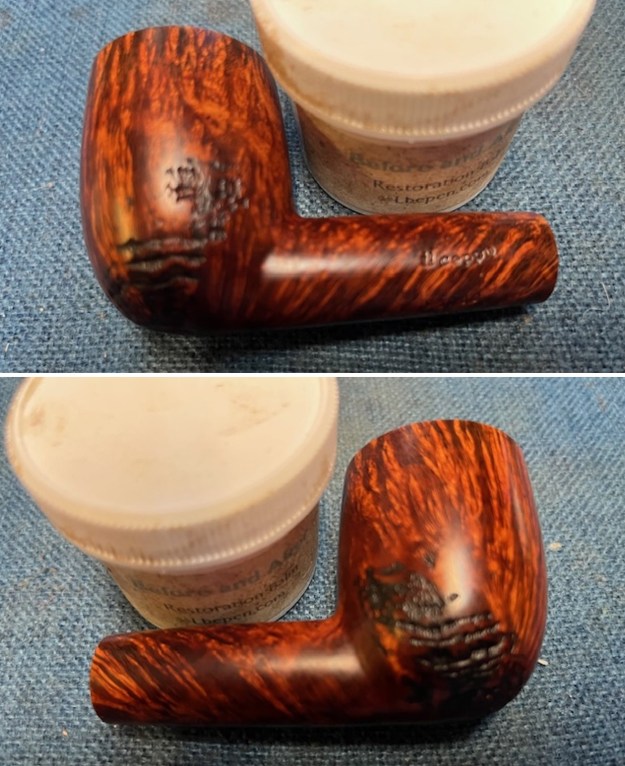
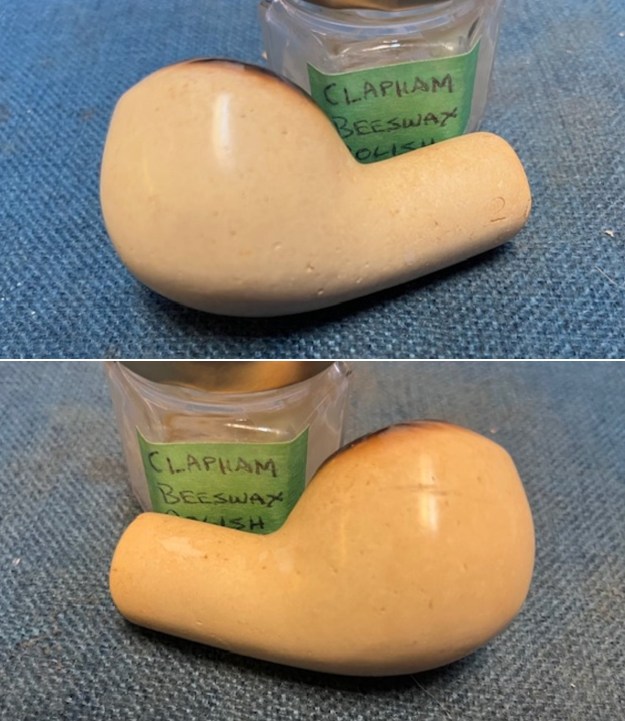
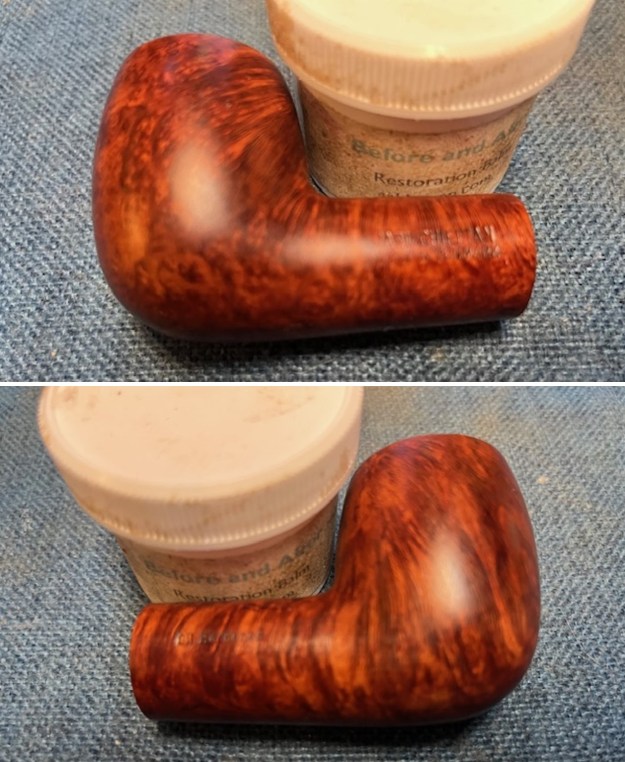
 The exterior of the bowl looks better after polishing. I worked some Before & After Restoration Balm into the briar with my finger tips. I let it sit on the bowl for 10 minutes and then buffed it off with a paper towel and soft cloth. The product is a great addition to the restoration work. It enlivens, enriches and protects the briar while giving it a deep glow. It is a product I use on every pipe I restore.
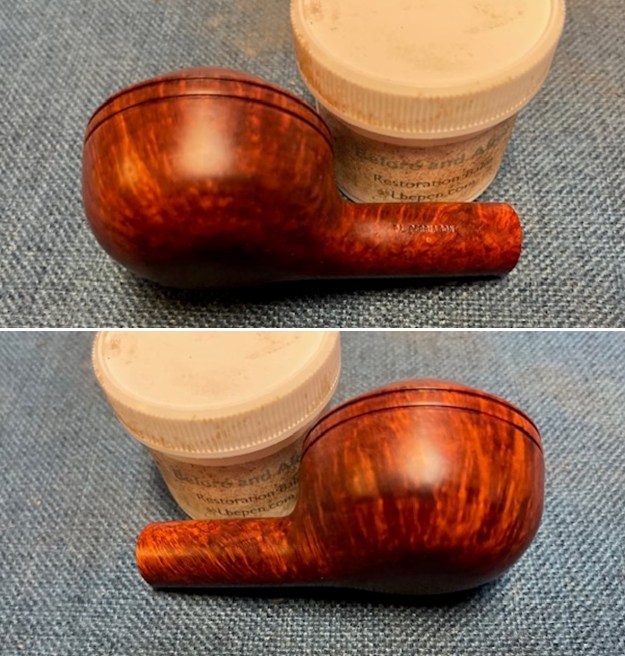
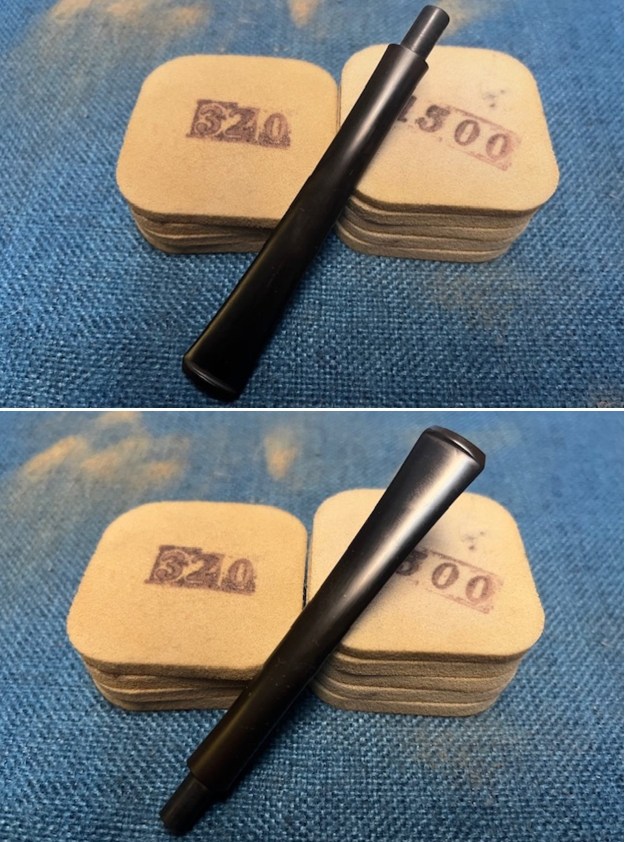
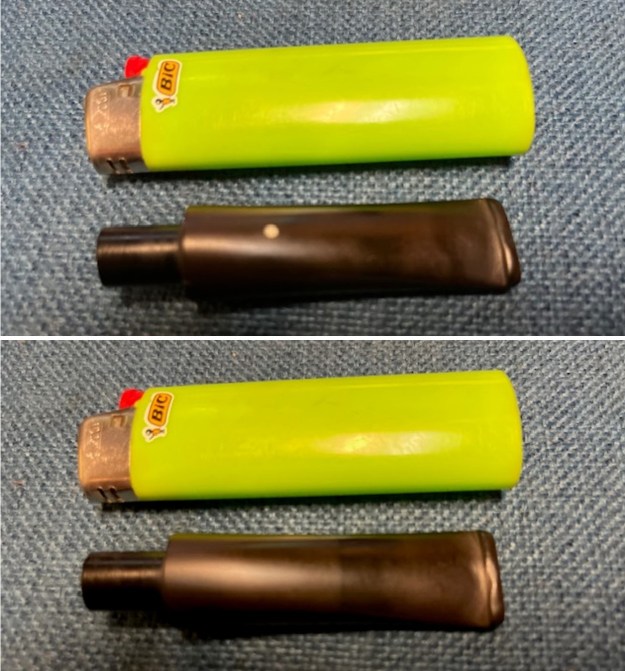
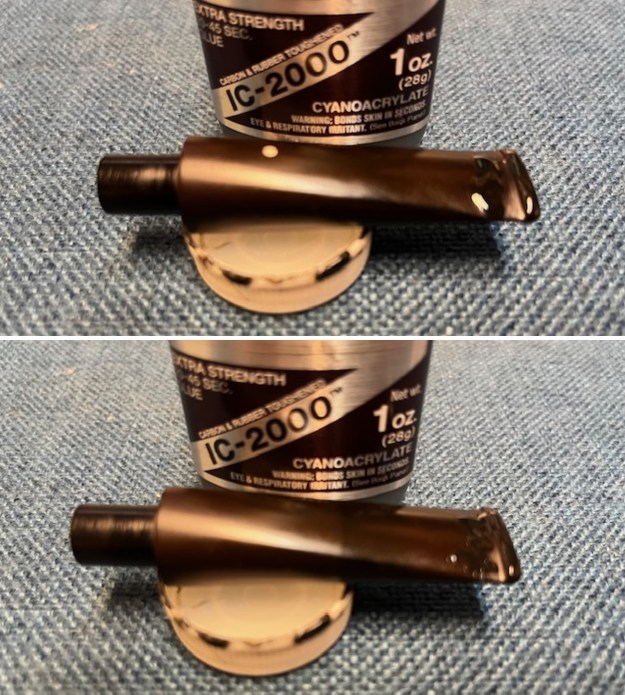
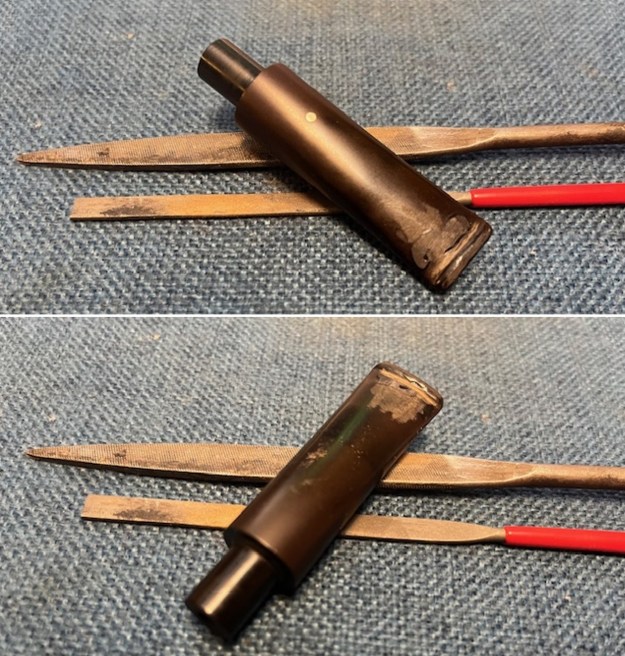
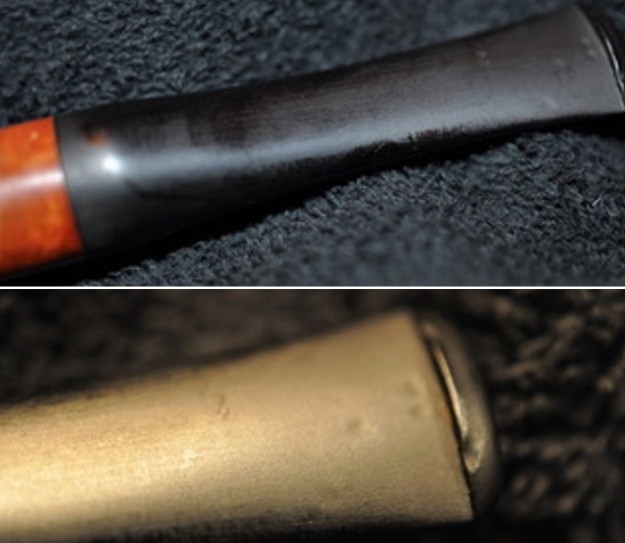
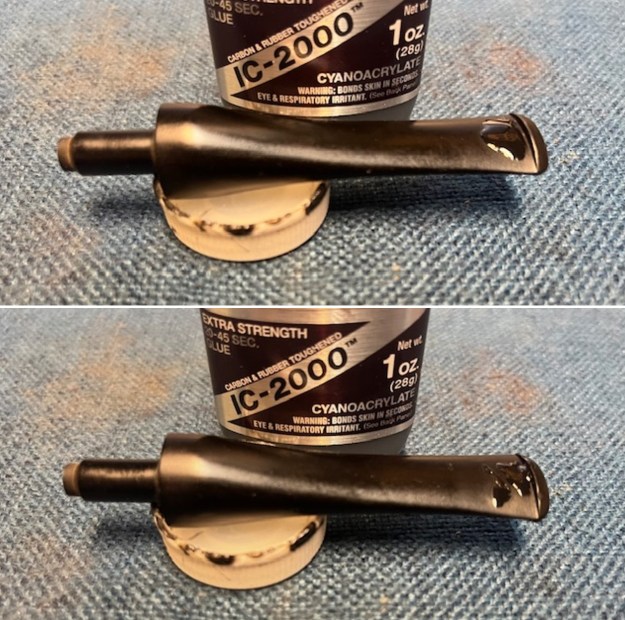
 I set the bowl aside and turned my attention to the stem. I “painted” it with the flame of a lighter to try and lift the tooth marks. I was able to lift the majority of them. The deeper ones that remained came up some but I filled them in with some rubberized Black CA glue. Once the repairs cured I flattened them and recut the button edge with a small file. I sanded the stem surface smooth with 220 grit sandpaper.
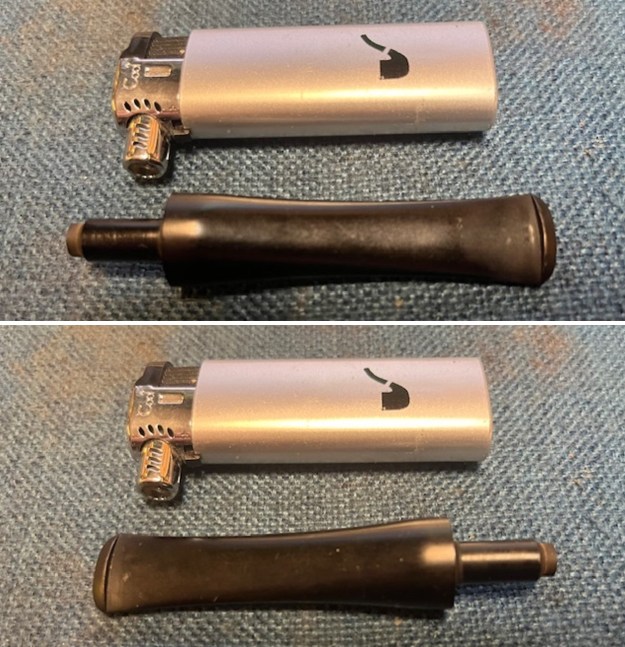

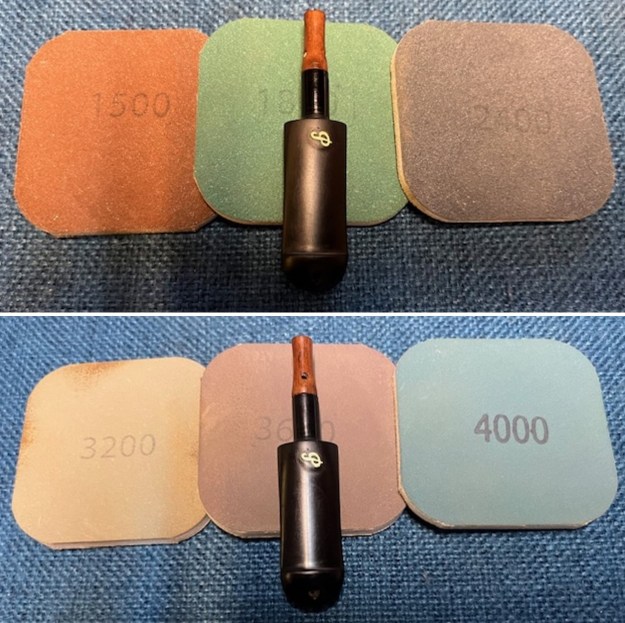
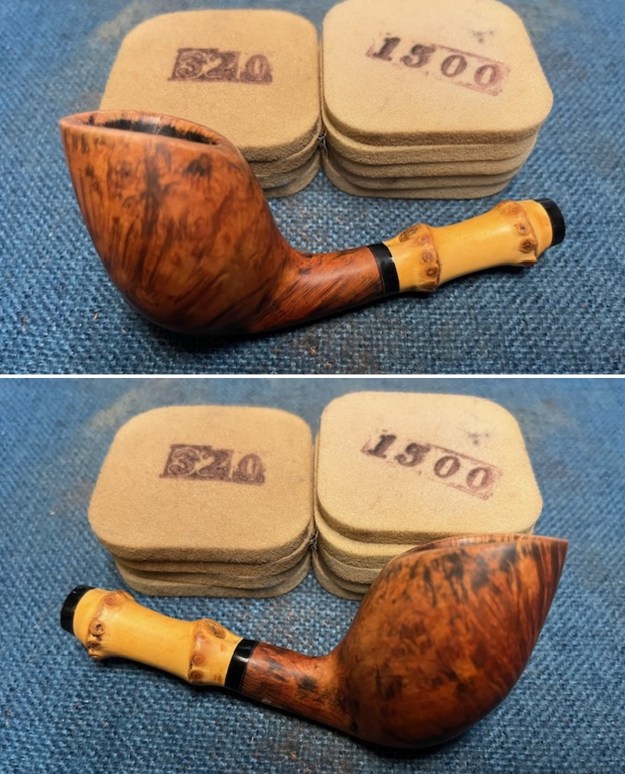
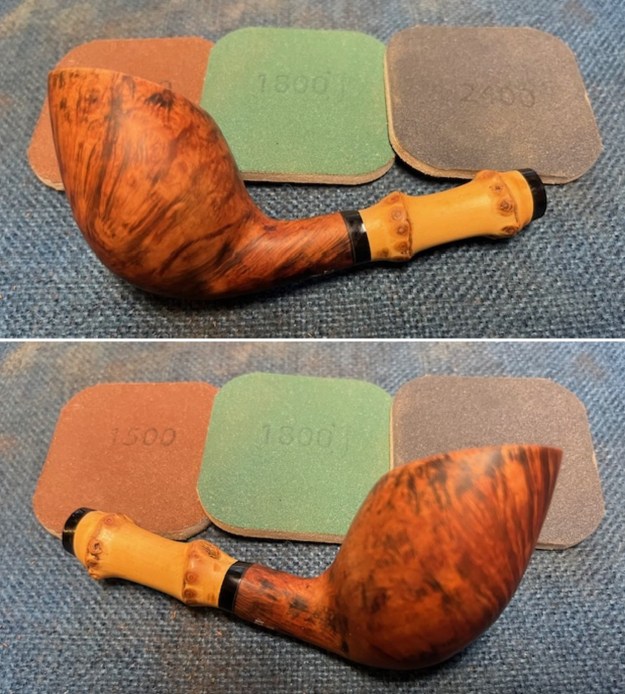
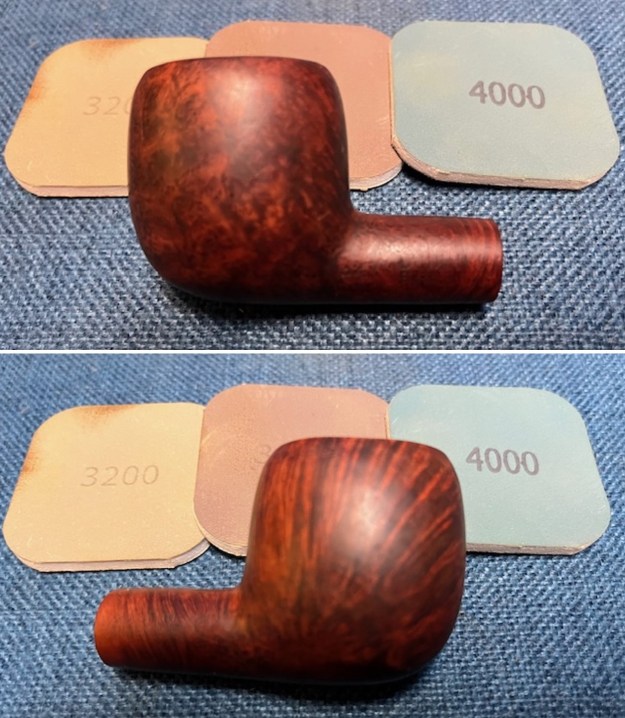
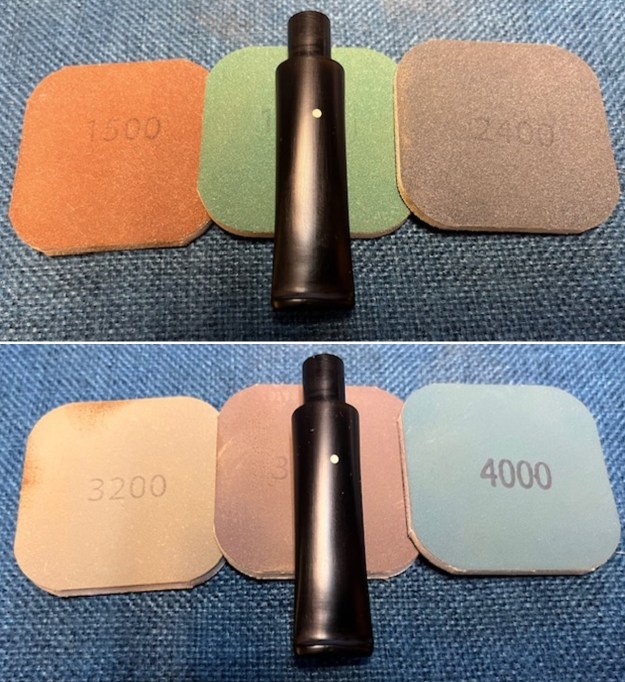
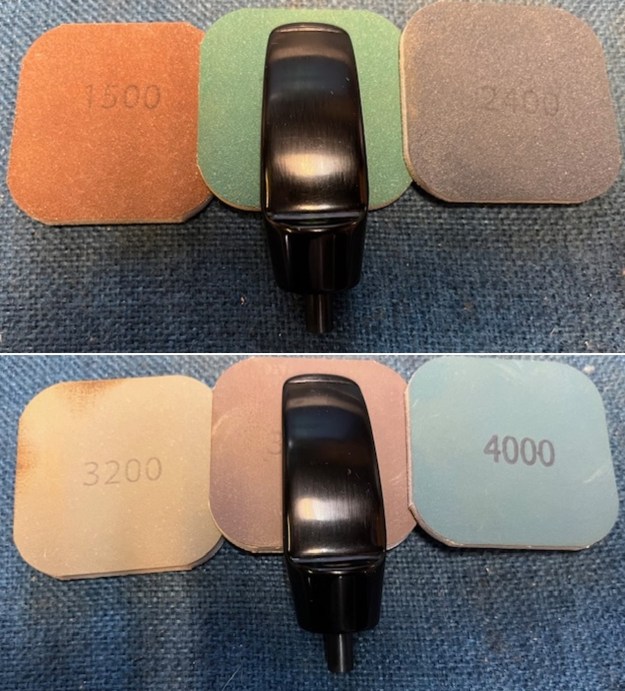
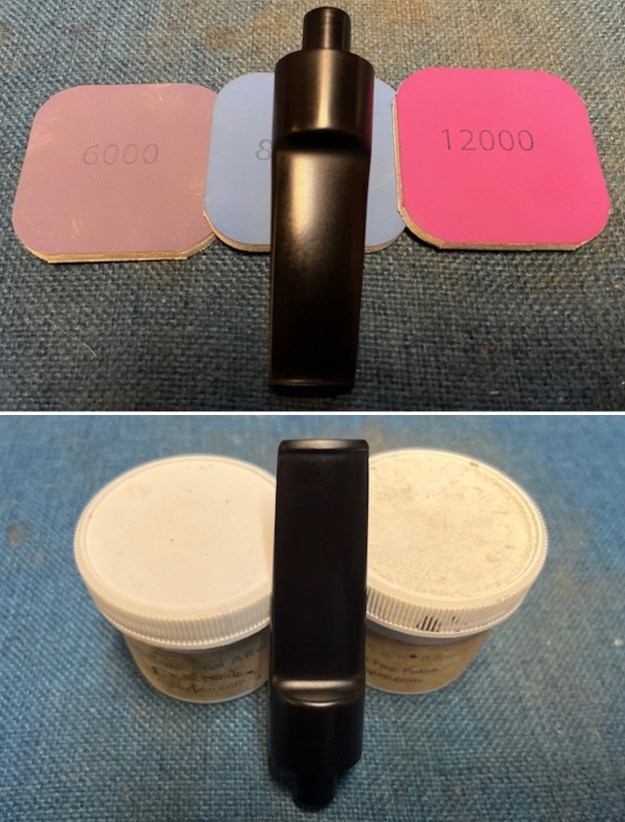
 I sanded the stem further with 320-3500 grit sanding pads. I wiped the stem down after each pad with a damp cloth to remove the debris. The stem really began to look good.
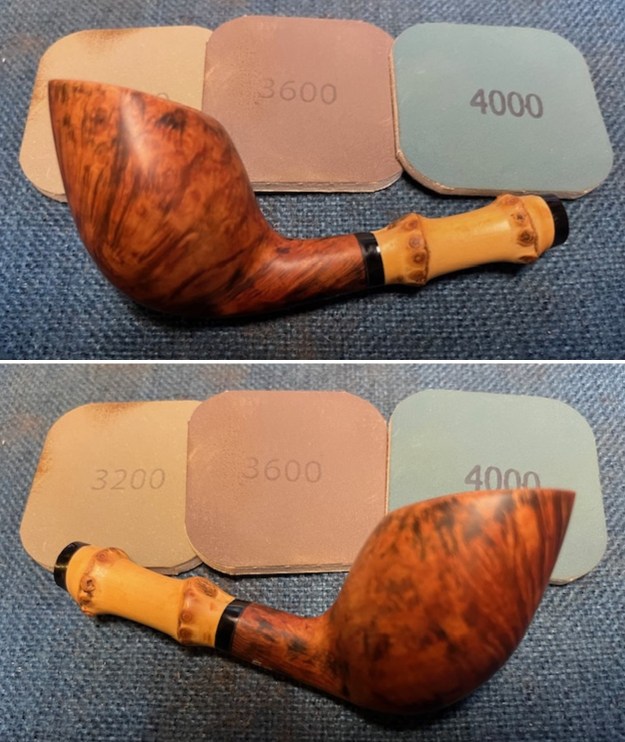
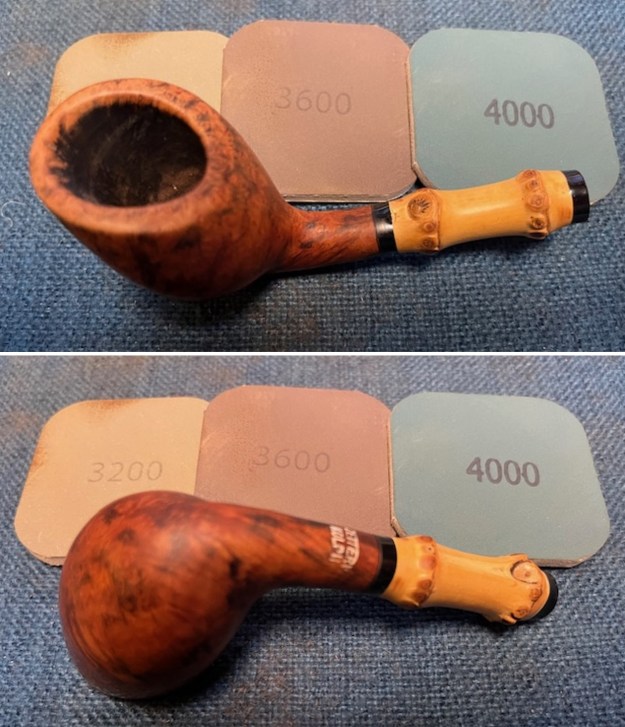
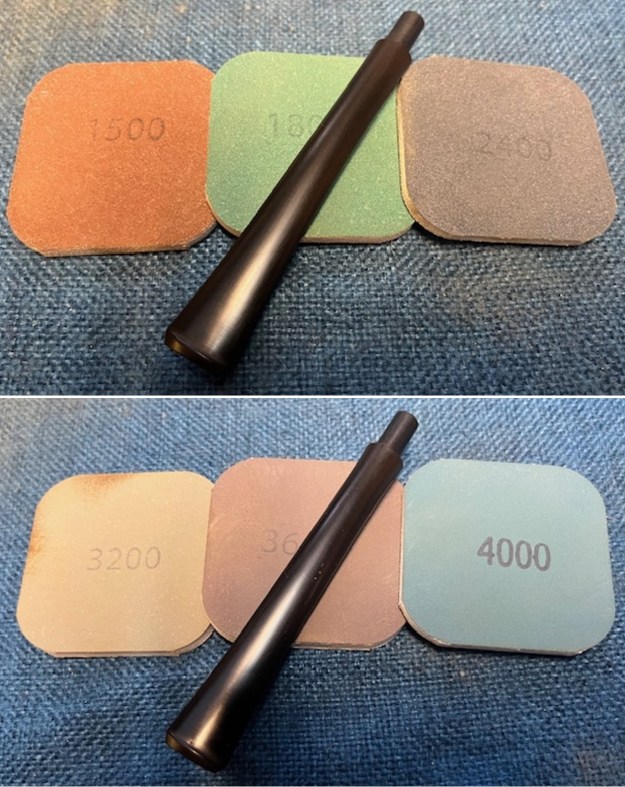
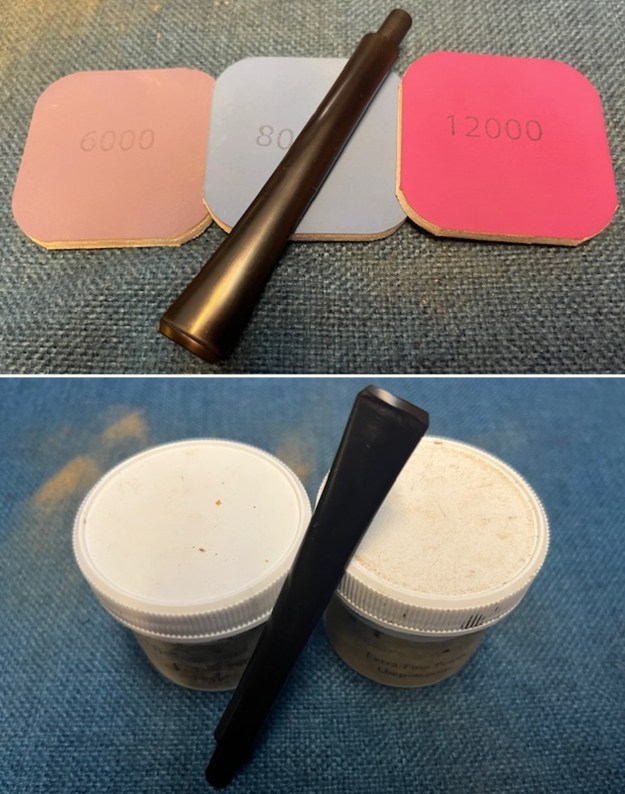
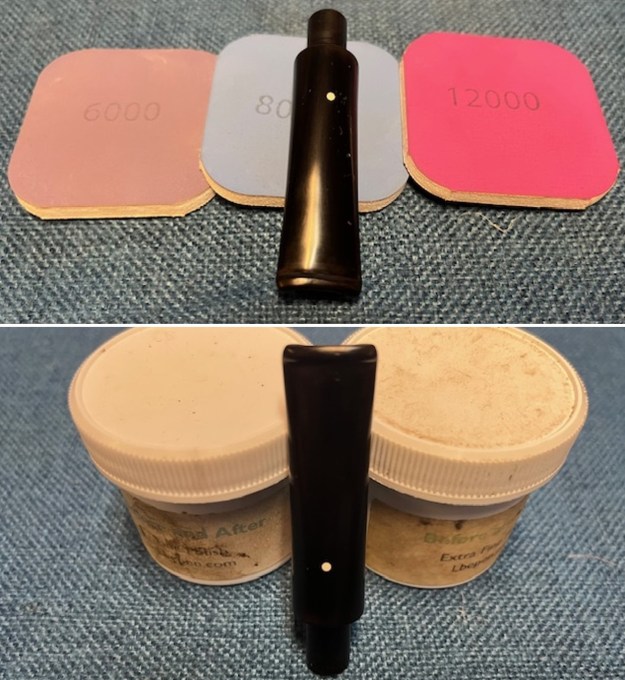
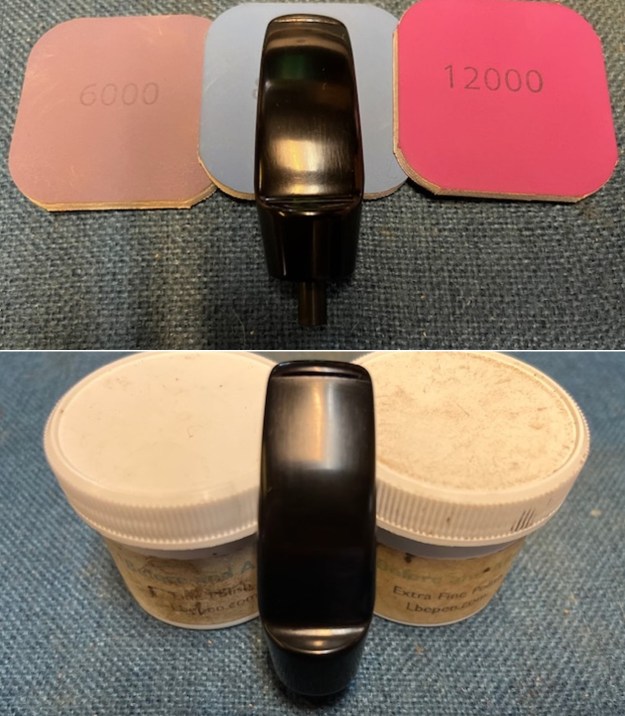
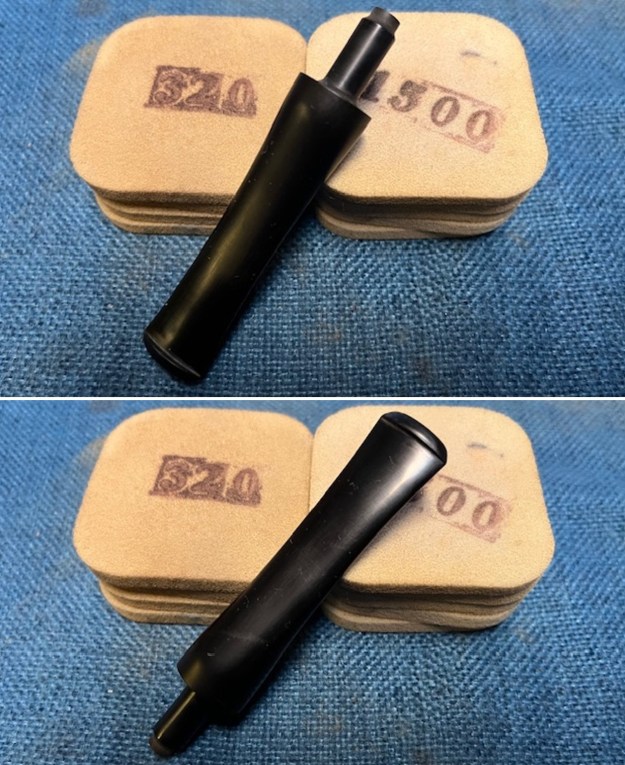 I polished the stem with micromesh sanding pads – dry sanding with 1500-12000 grit pads. I wiped the stem down after each sanding pad with Obsidian Oil to further protect the vulcanite surface. I finished the polishing with Before & After Pipe Stem Polish – Fine and Extra Fine. I wiped the stem down a final time with Obsidian Oil and a cloth. It really looks very good.
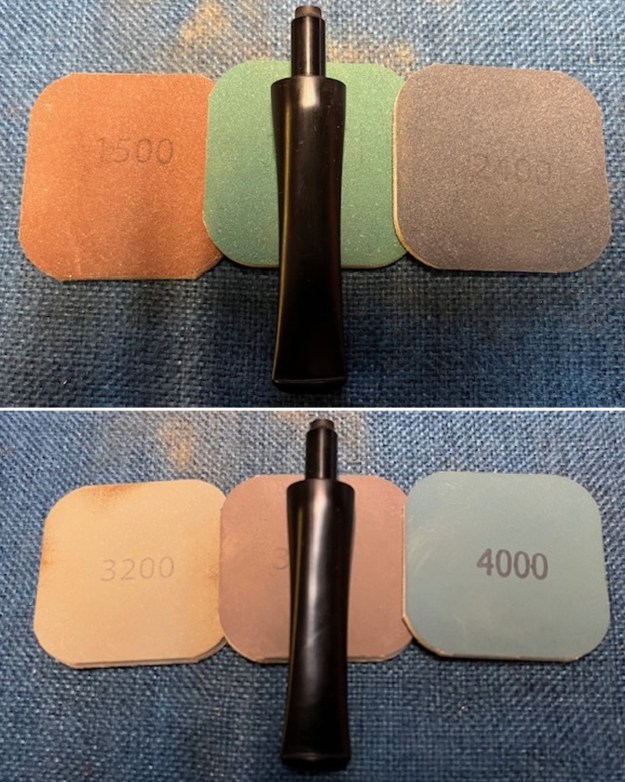
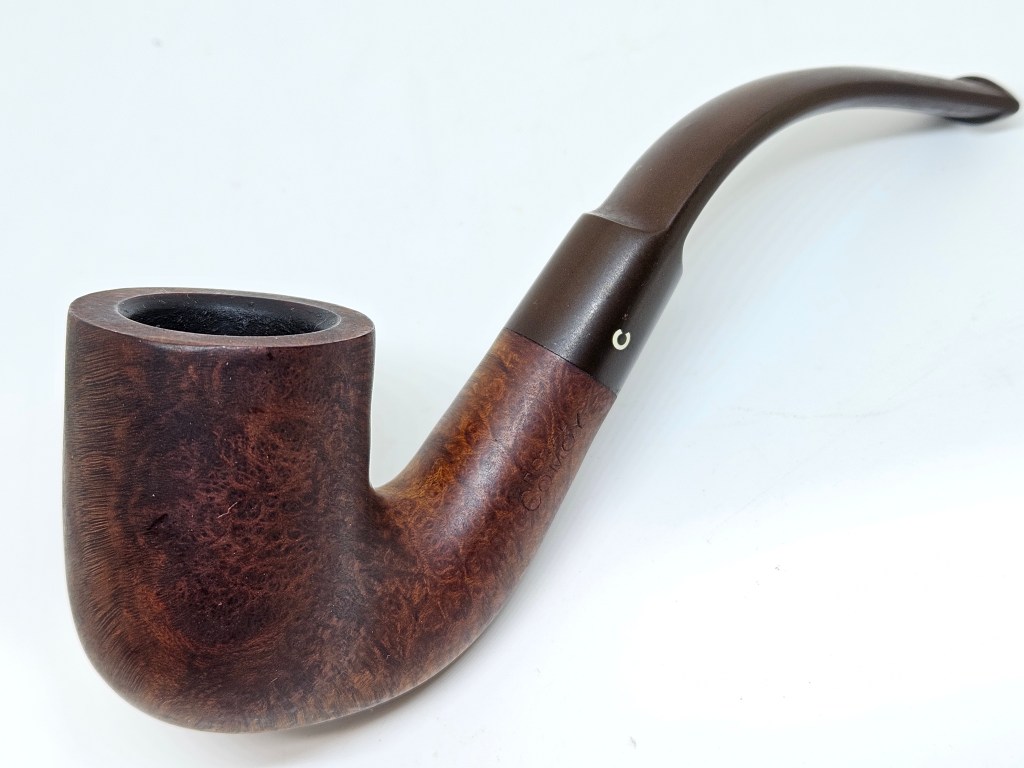
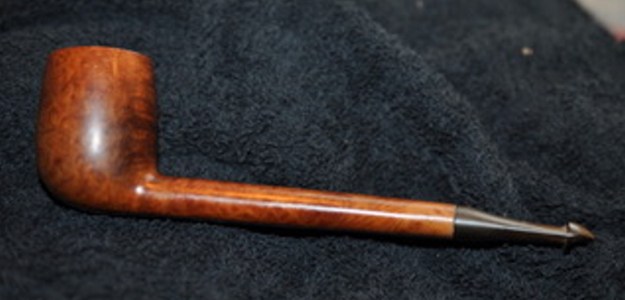
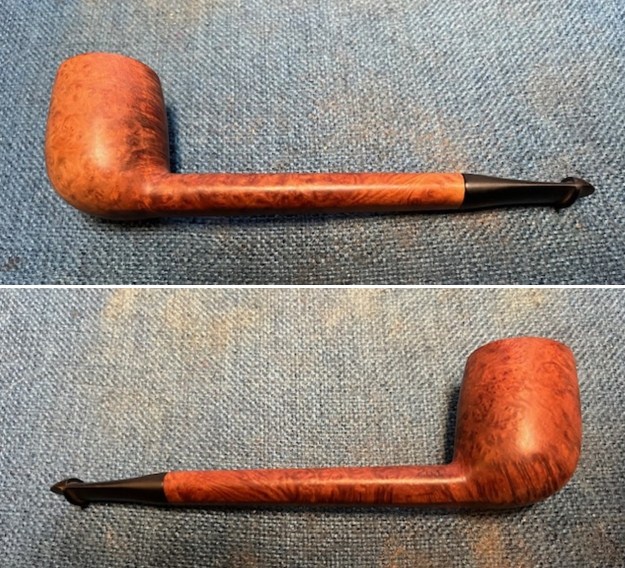
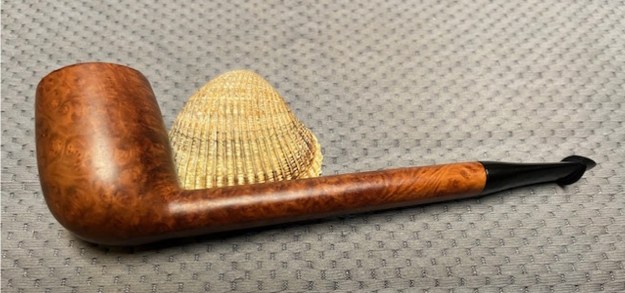
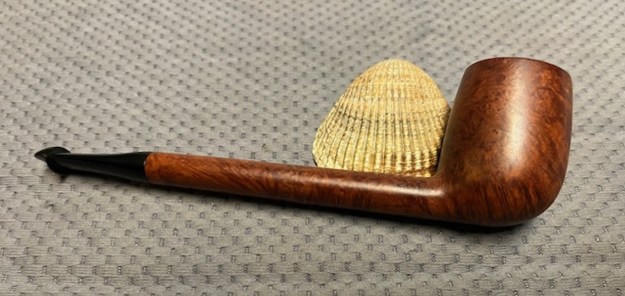
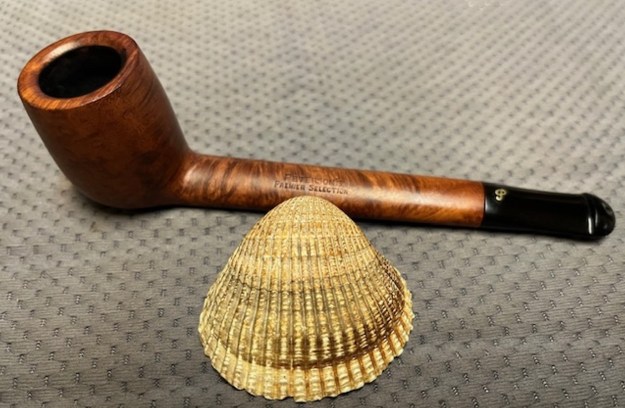
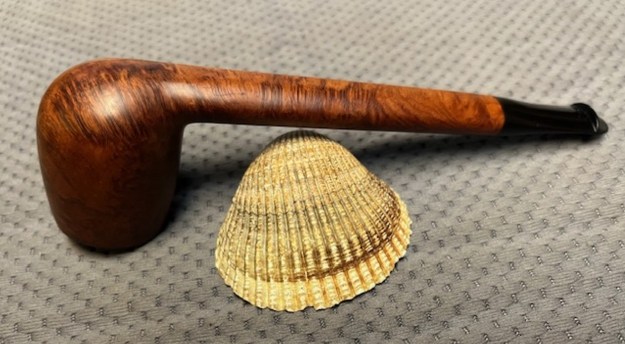
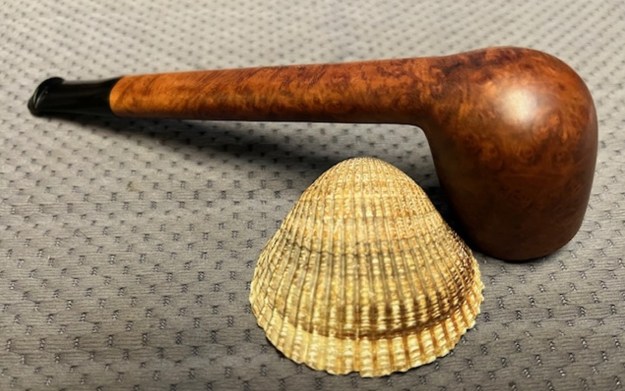
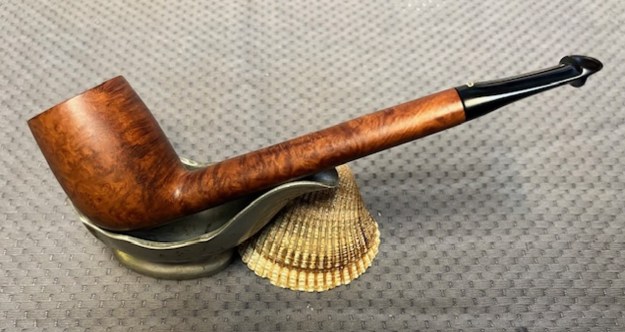
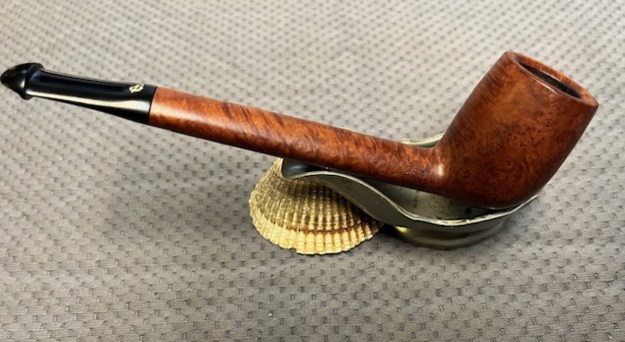
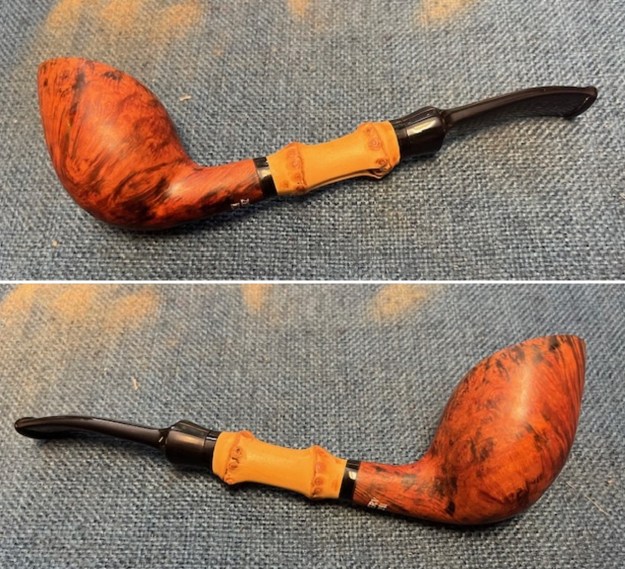
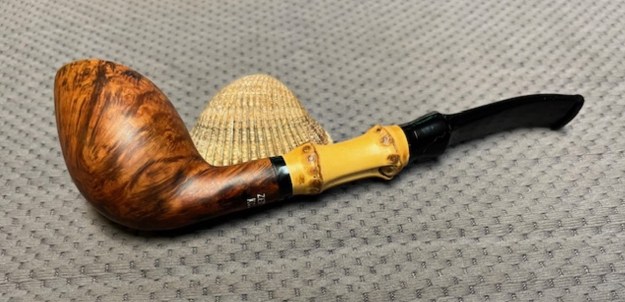
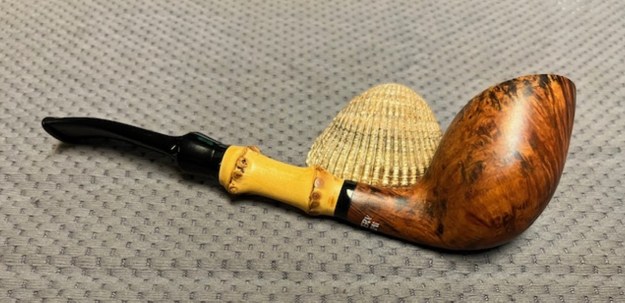
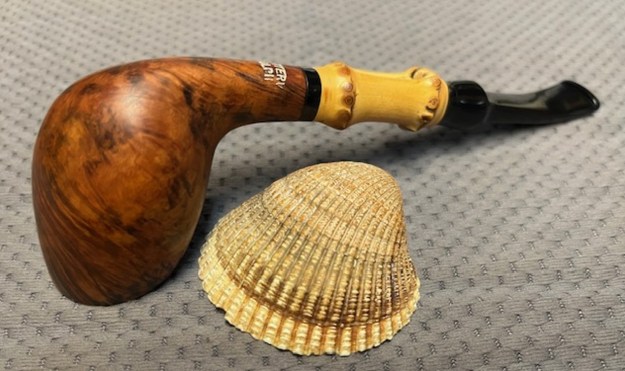
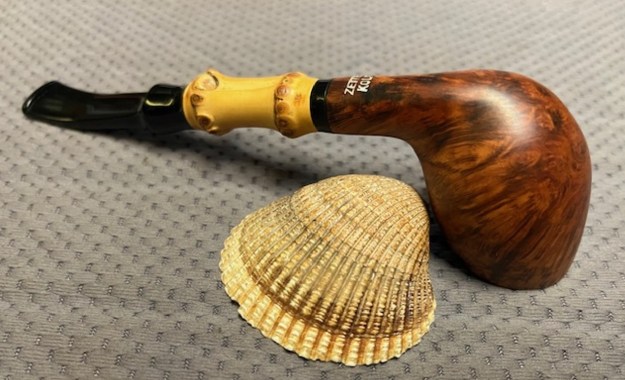
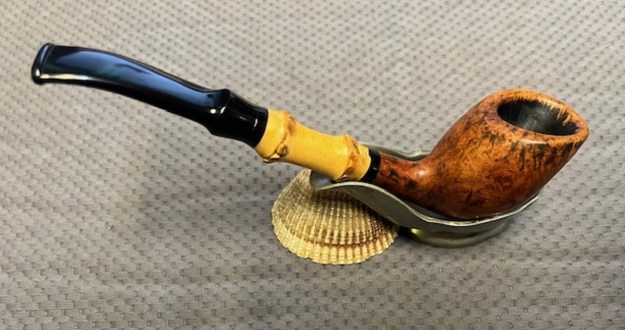
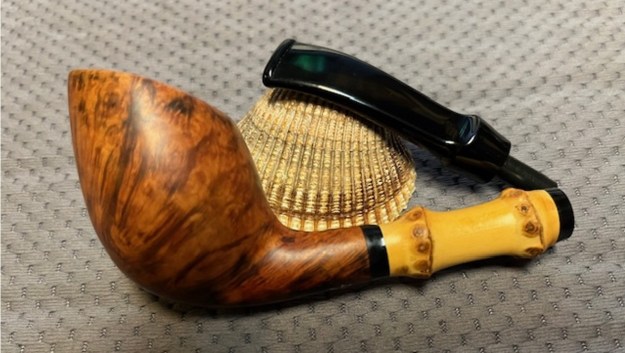
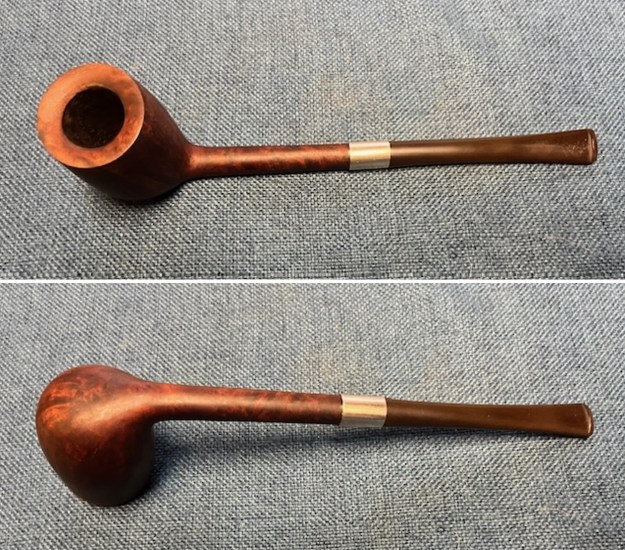
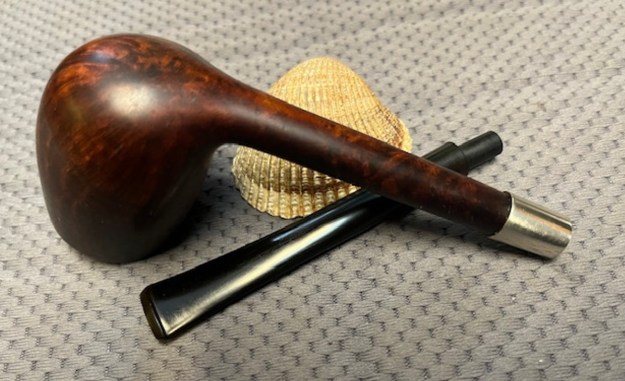
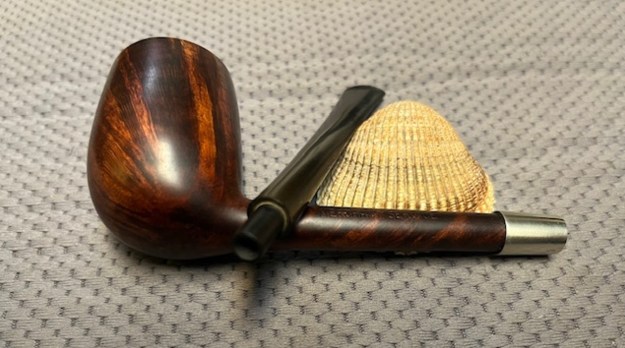
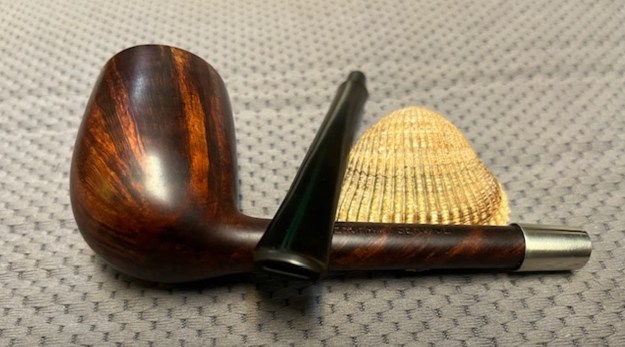
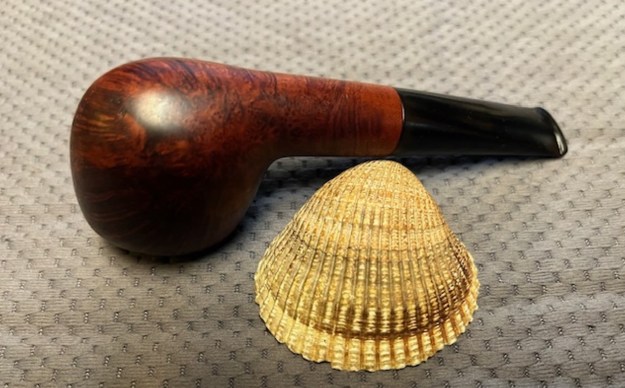
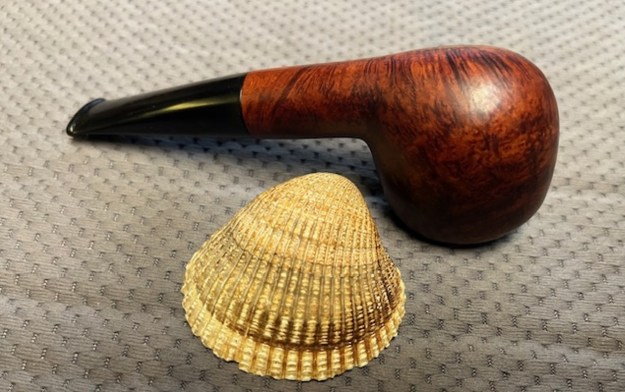
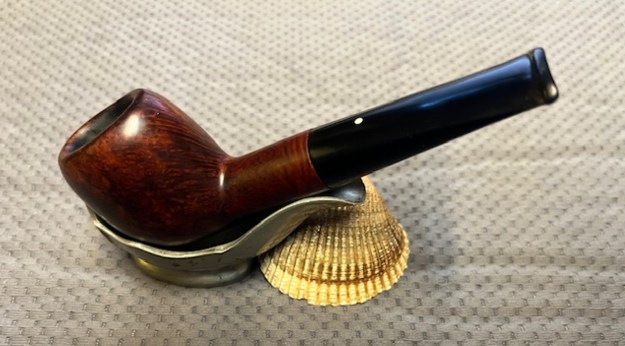
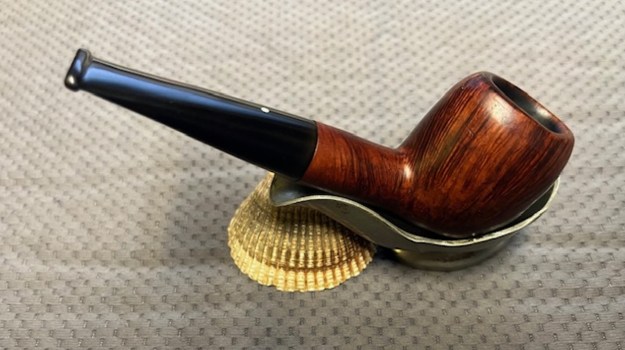
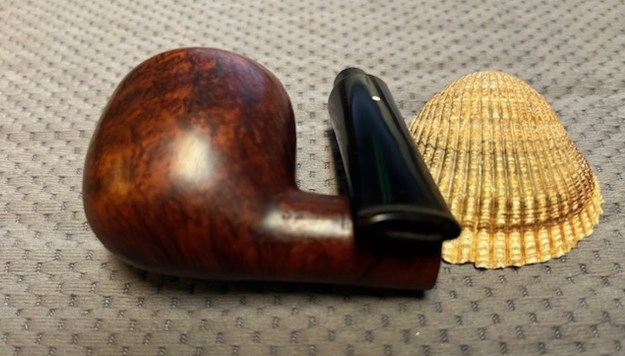
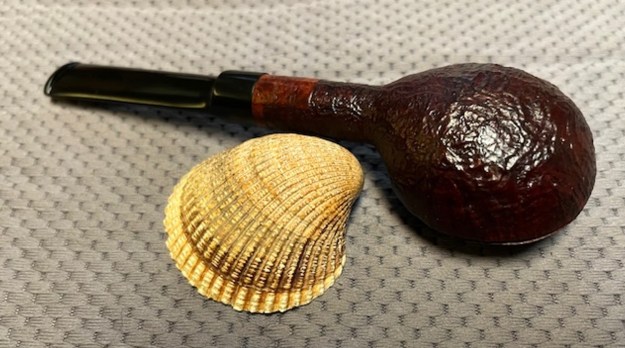
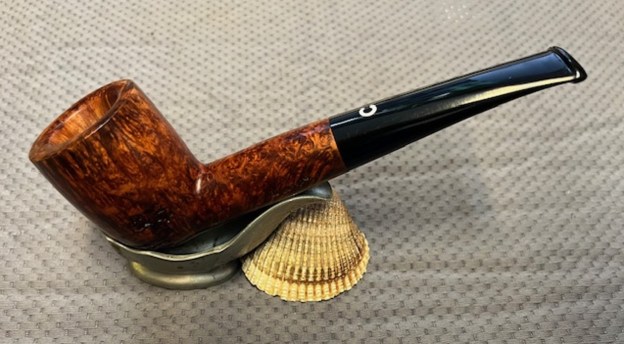
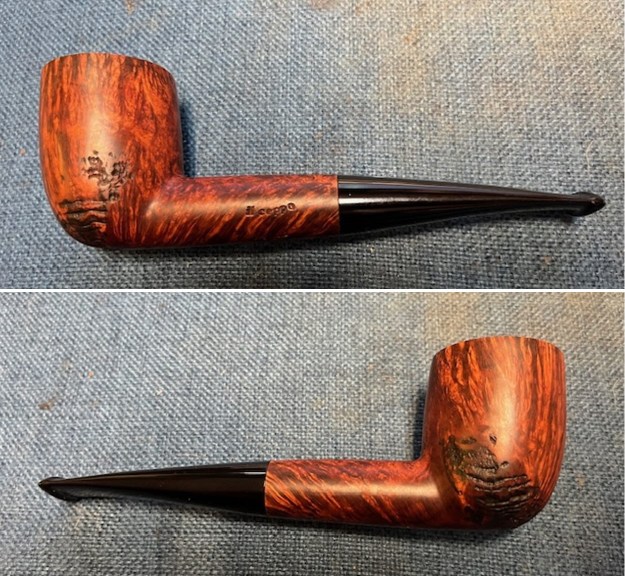
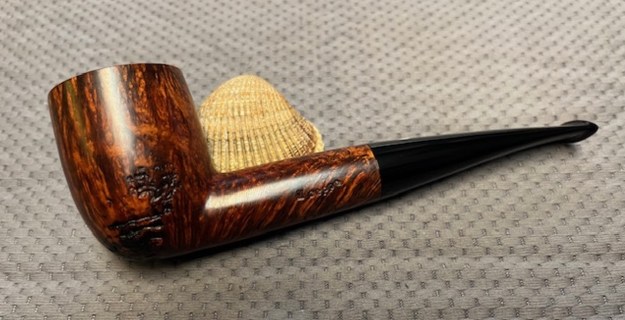
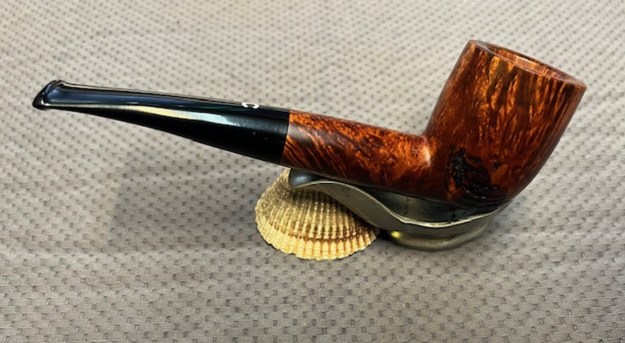
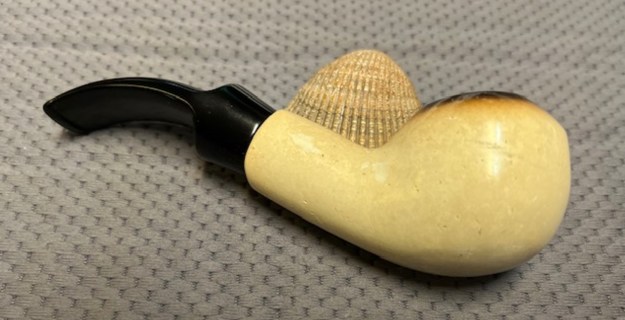
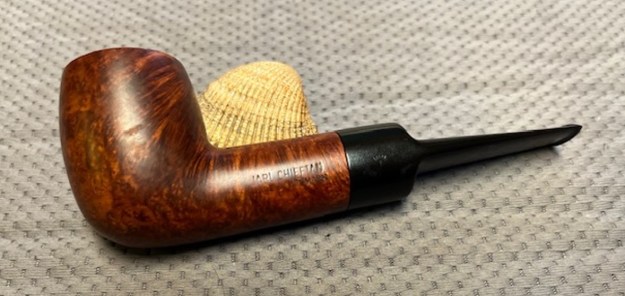
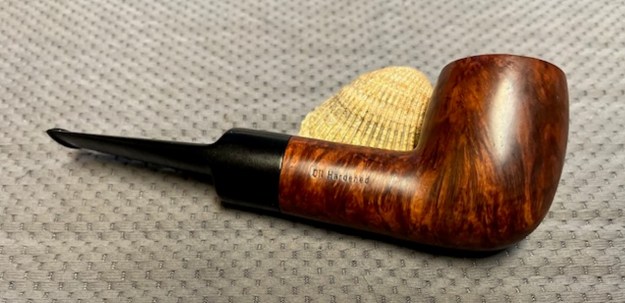
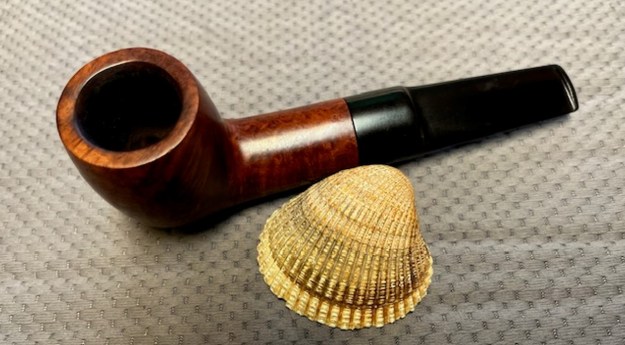
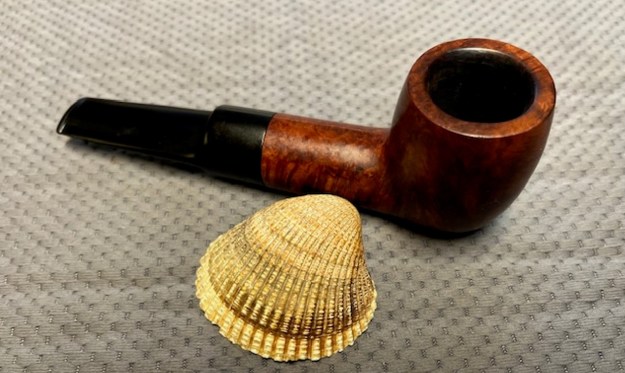
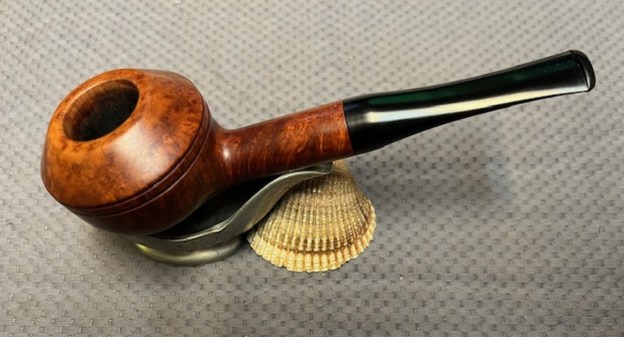
 I am excited to finish this beautifully grained, Perri & Son Rhodesian Sitter. I put the pipe back together and buffed it with Blue Diamond on the buffing wheel. I gave the bowl and the stem multiple coats of carnauba wax. I hand buffed the pipe with a clean buffing pad to raise the shine. It is fun to see what the polished bowl looks like with beautiful mixed grain all around it. The pipe looks great with the black vulcanite stem. This smooth Perri & Son Rhodesian is great looking and the pipe feels great in my hand. It is light and well balanced. Have a look at it with the photos below. The dimensions are Length: 6 inches, Height: 1 ½ inches, Outside diameter of the bowl: 2 inches, Chamber diameter: 7/8 of an inch. The weight of the pipe is 57 grams/2.05 ounces. It turned out to be a beautiful pipe. I will be putting it on the rebornpipes store shortly in the American Pipe Makers Section if you are interested in it. Thanks for walking through the restoration with me as I worked over this pipe. Thanks to each of you who are reading this blog.