Blog by Steve Laug
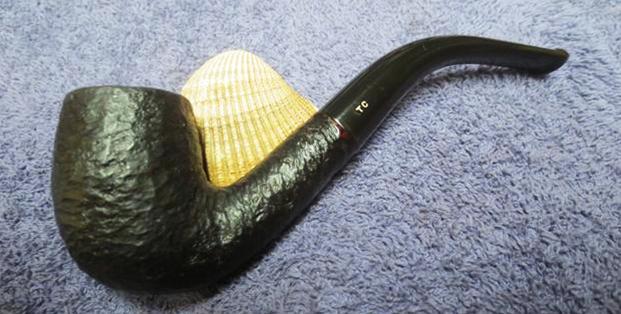
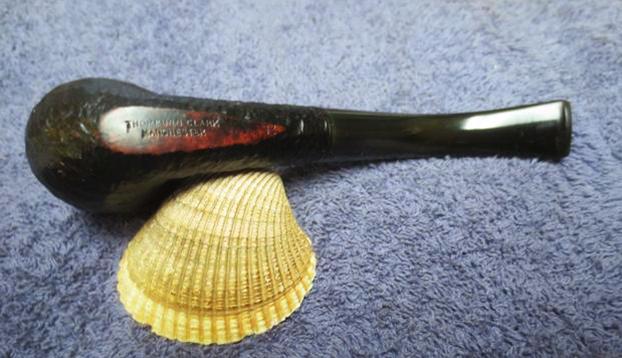
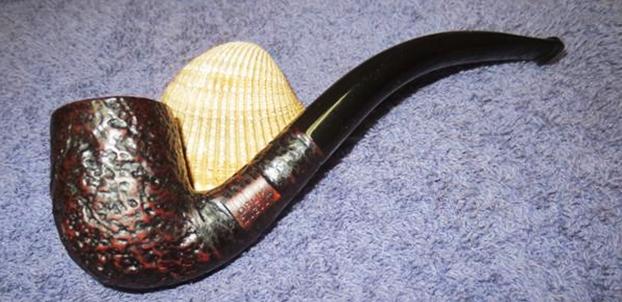
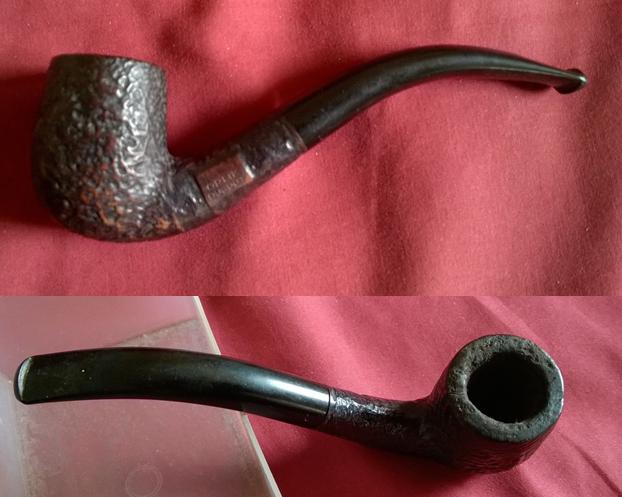
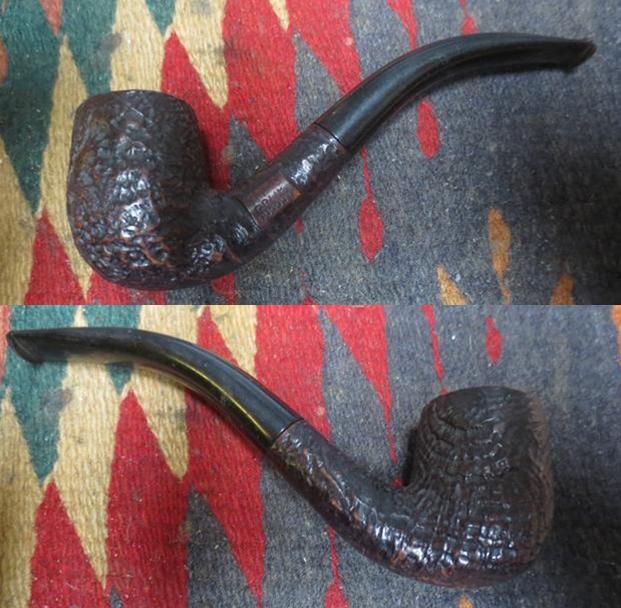
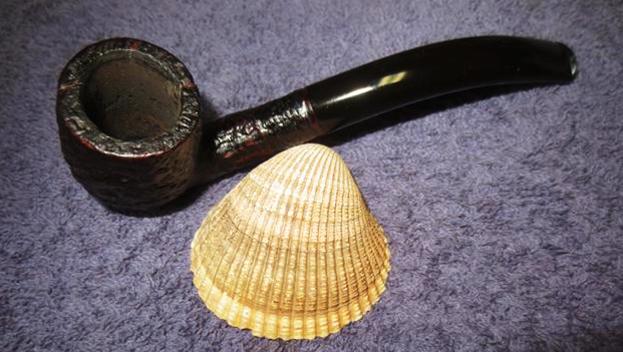
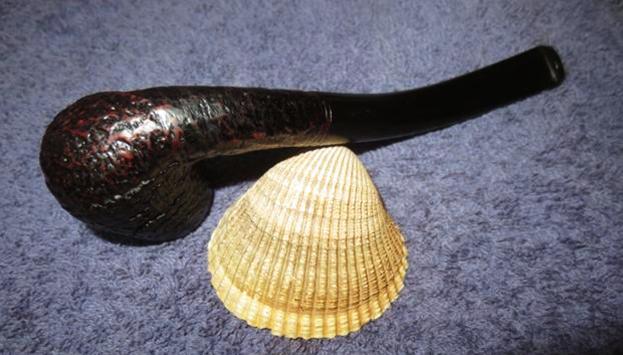
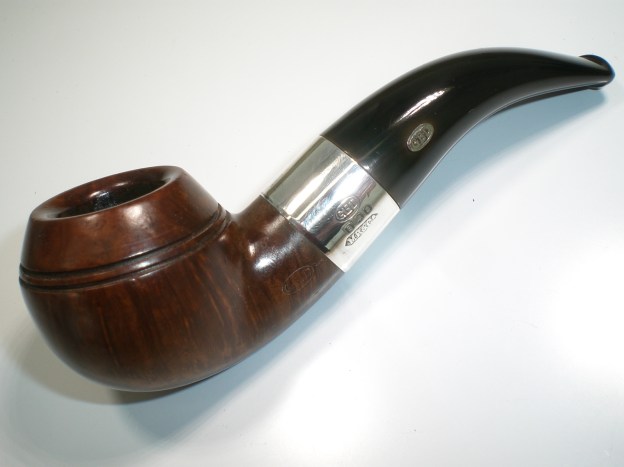
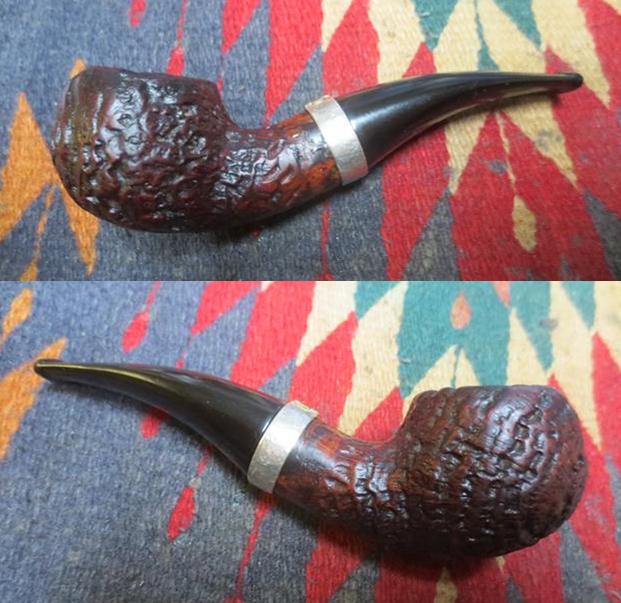
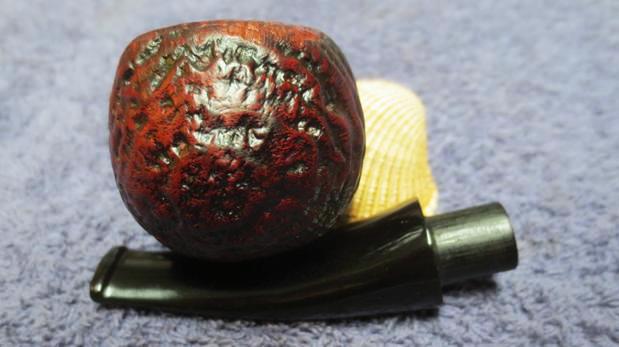
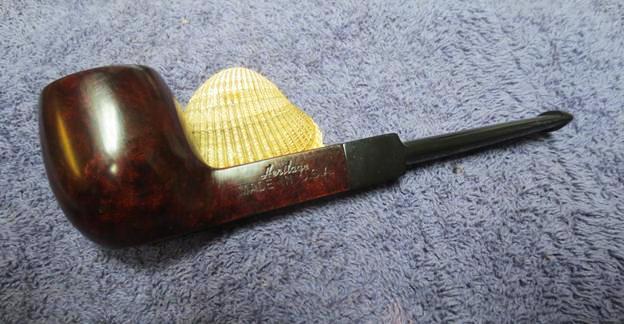
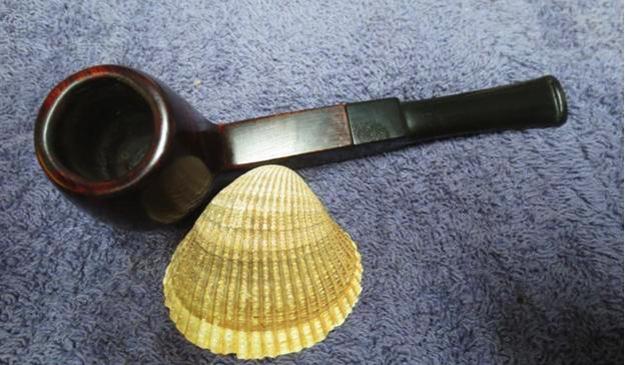
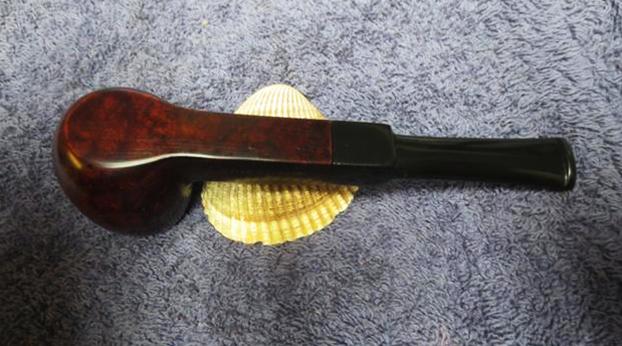
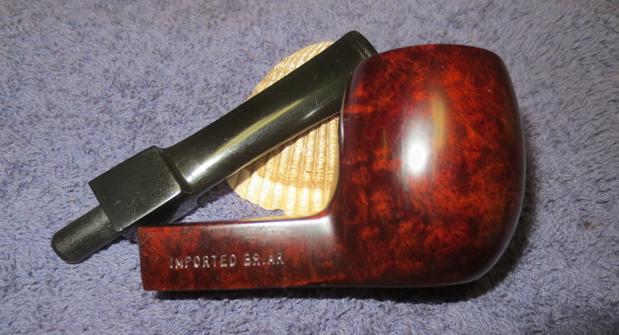
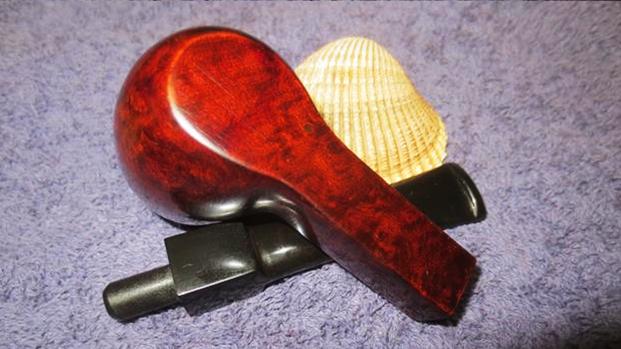
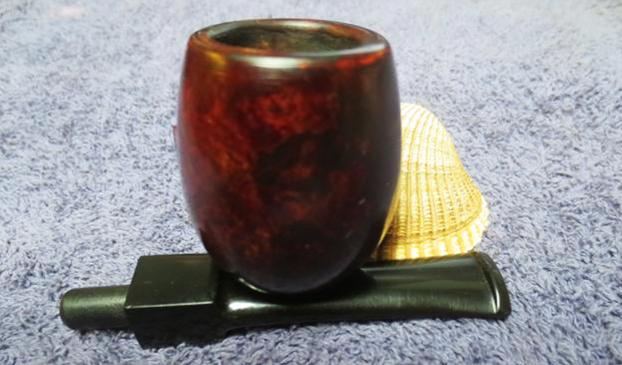
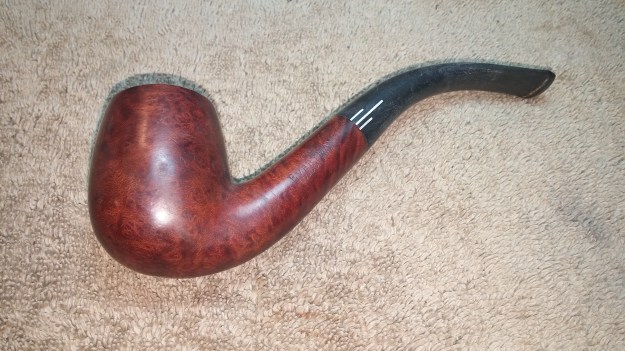
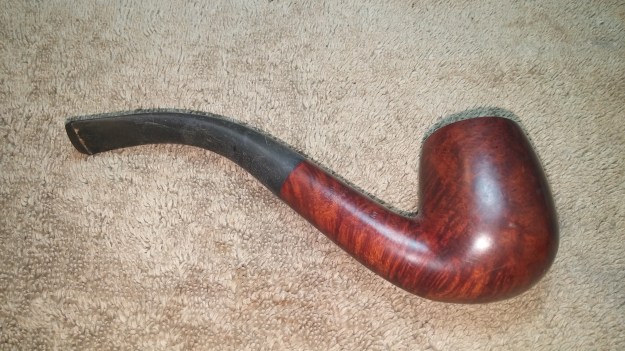
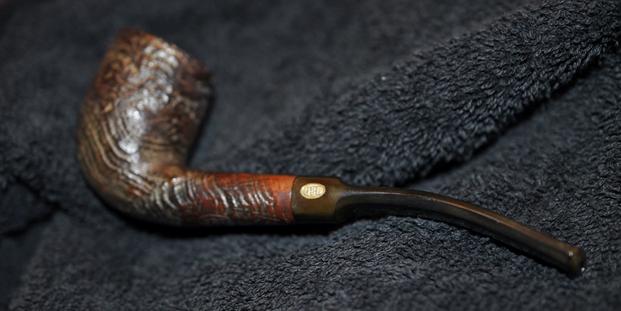
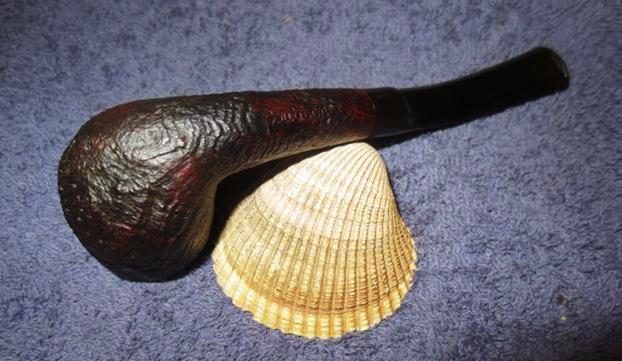
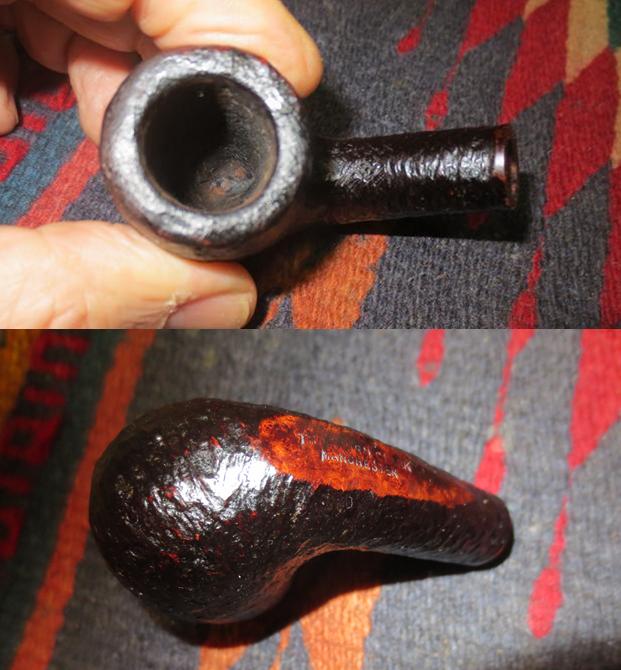
This is another pipe from one of the eBay sellers that I follow and check out their shops regularly. Yet again this favourite seller in England put up a pipe that I really like. I don’t have any idea how many of them I have purchased from him but this one caught my eye. This one is a small rusticated bent billiard that is another featherweight. Its diminutive size and delicate shape are a lot like the Orlik Dugout I bought from him as well. The rusticated finish has a textured and almost sandblast look to it. The contrast of dark and medium brown stains really worked well with the shape of the pipe. The pipe was stamped in a smooth box on the underside of the shank and reads THORBURN CLARK over MANCHESTER with the letter R at the shank end of the smooth portion. The photos below are the seller’s photos. They show the overall condition of the pipe and what it was that caught my eye.  I looked up the brand on Pipephil’s site – http://www.pipephil.eu/logos/en/logo-t5.html. I found out that the brand was carved by a tobacconist in Manchester, England. The owner of the shop used to carve his own pipes. The shop closed in the 1970s. I clipped the pertinent section from the site and included it below. The stamping on the stem of the one I have is the same as the pipe in the second photo below.
 I did some more digging into the brand to see what I could find out and found a link to a blog about the brand. I quote in part from the blog: https://pipesmokersjournal.wordpress.com/tag/thorburn-clark/
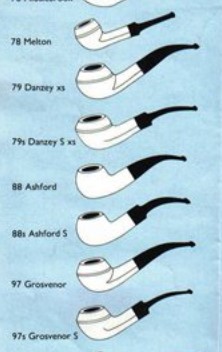
“This is an intriguing pipe, and a little piece of obscure British pipe making history. Thorburn Clark was, from what I can deduce, from my extensive online Sherlocking, Manchester-based tobacconists from the 1920s until the 1980s/90s. Behind their shop was a small pipe workshop, where a tiny workforce of craftsmen toiled to create a range of beautiful handmade pipes, each stamped upon the stem with their distinctive logo of an intertwining T and C.”
Another link brought a bit more information and some confirmation to the puzzle http://pipesmokerunlimited.com/archive/index.php/t-3749.html
“Thorburn Clark was a tobacconist based in Bridge Street, Manchester, a side street off Deansgate for those who know the area. Unlike most outlets of its kind, which shipped in pipes from outside makers and then branded them with the shop name, it seems that they had a small workshop attached to the premises where they crafted their own pipes.”
It was interesting to know that the pipe I had in hand was a pipe shop made pipe that came from Manchester. It was made in the small workshop in the back of the shop. I had learned that there were several carvers that worked there so I would not be able to know who made it. The pipe was obviously carved between the 1920s and the time the shop closed in the 1970s. Judging from the shape of the pipe and stem and the fact that it came with the Orlik made me put its date in the late 20s to early 30s.
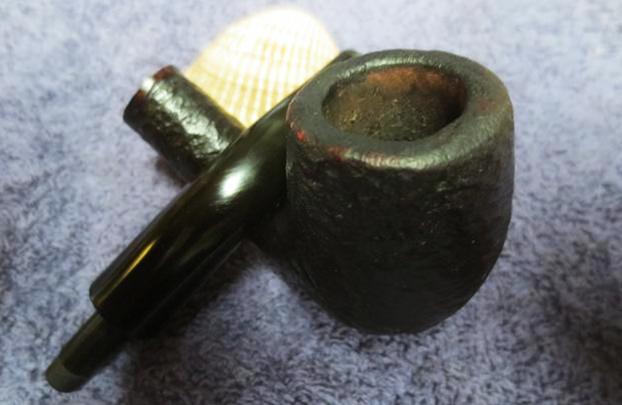
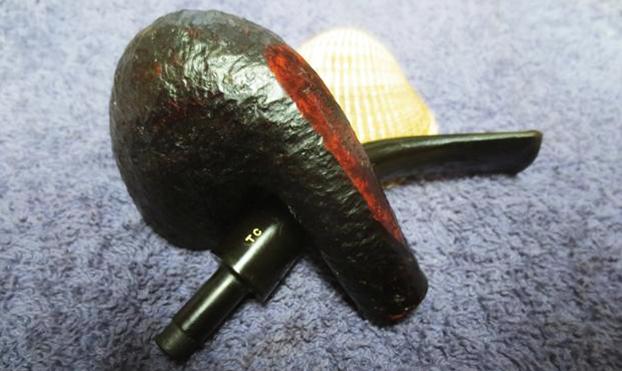
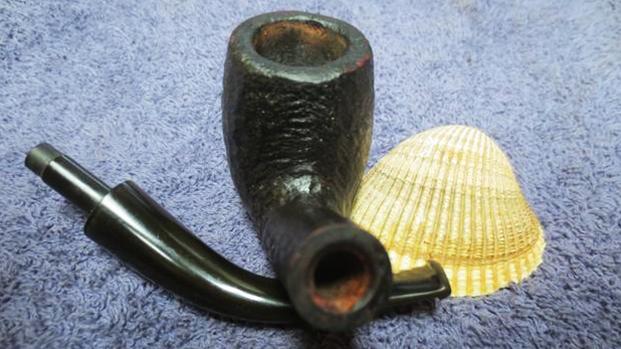
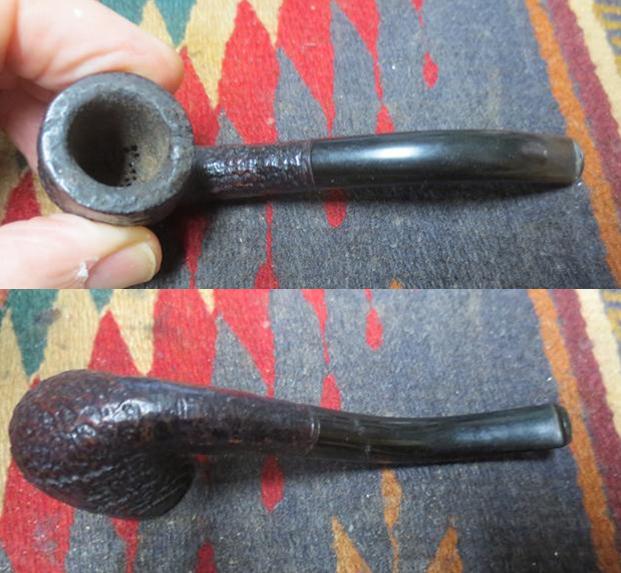
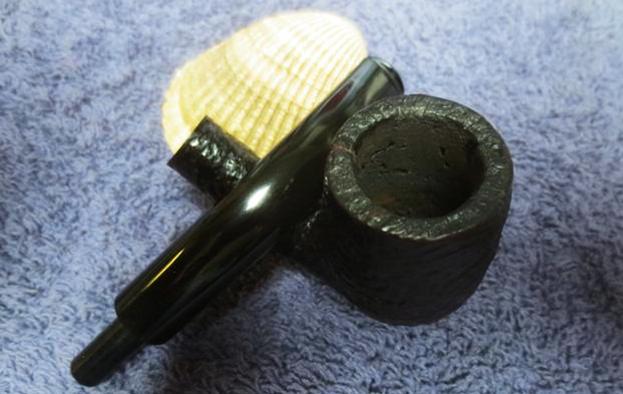
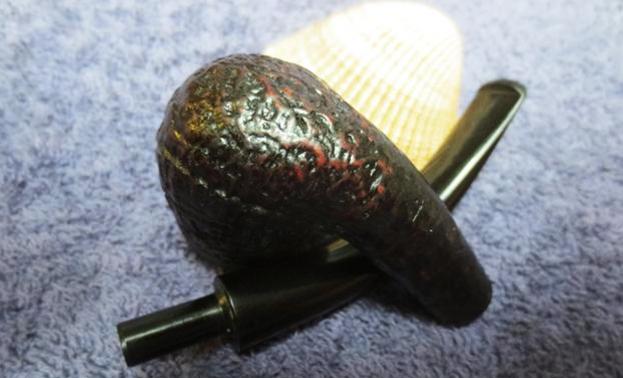
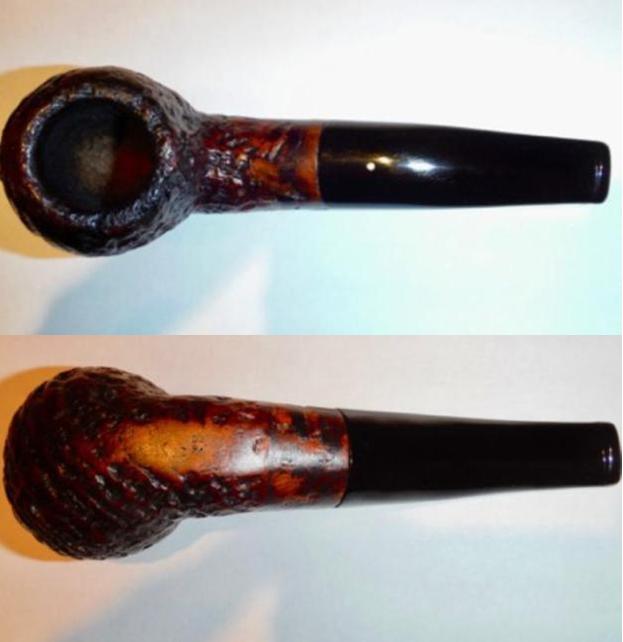
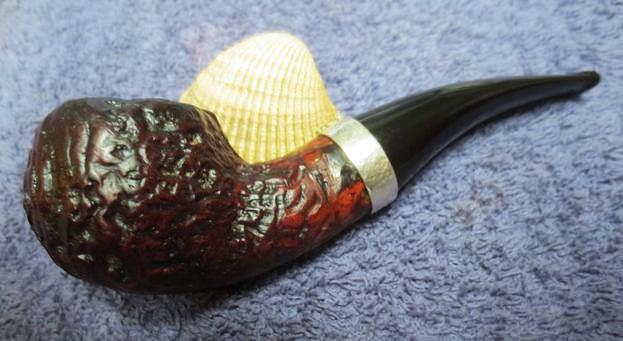
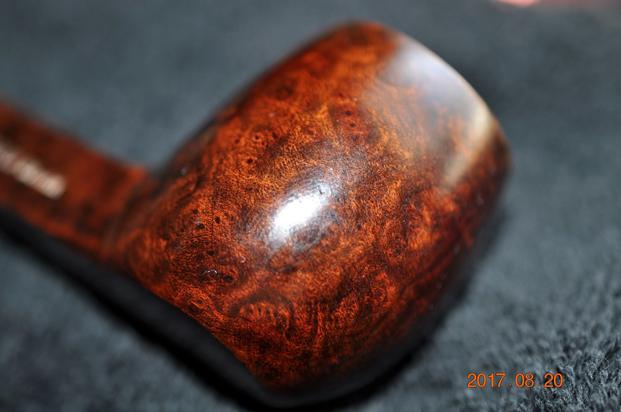
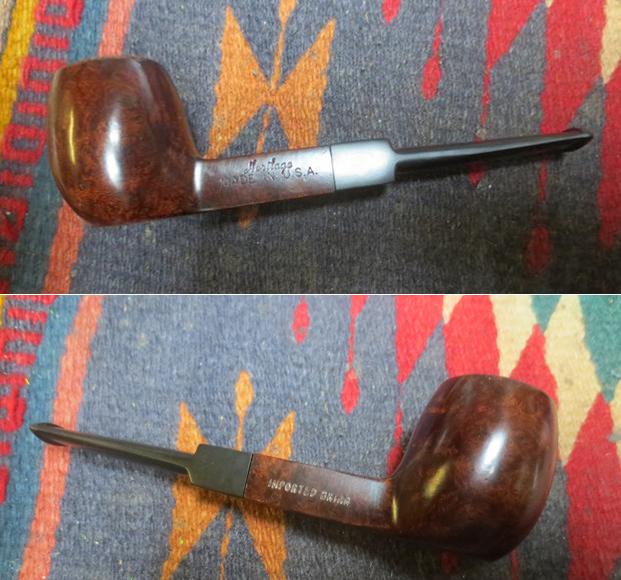
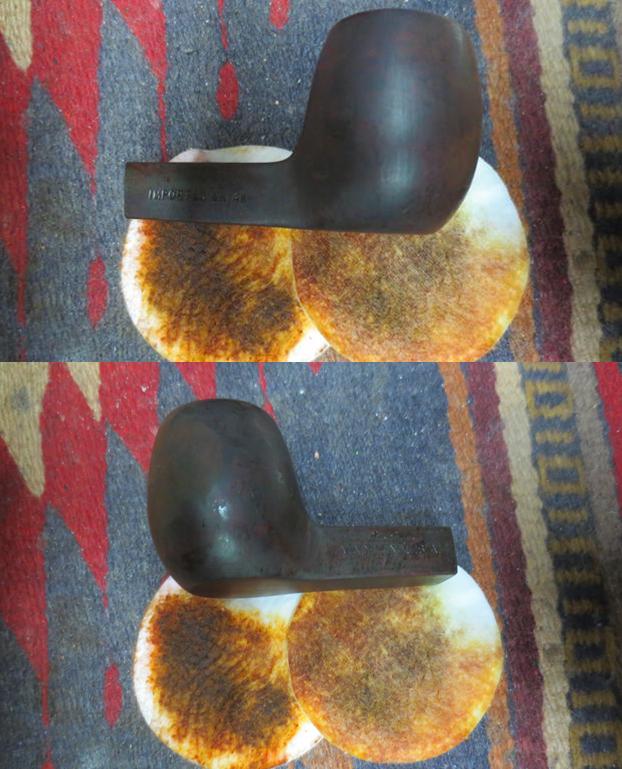
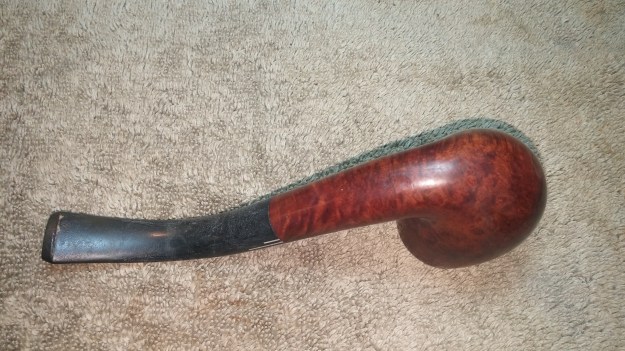
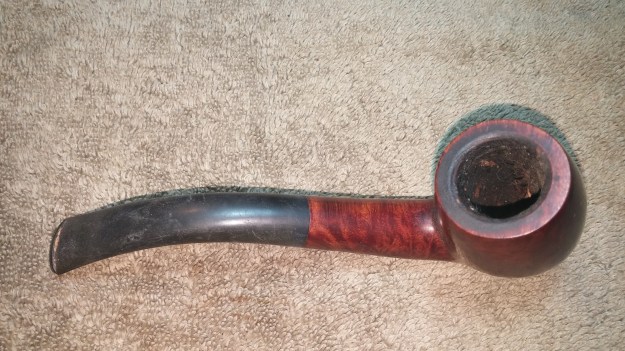
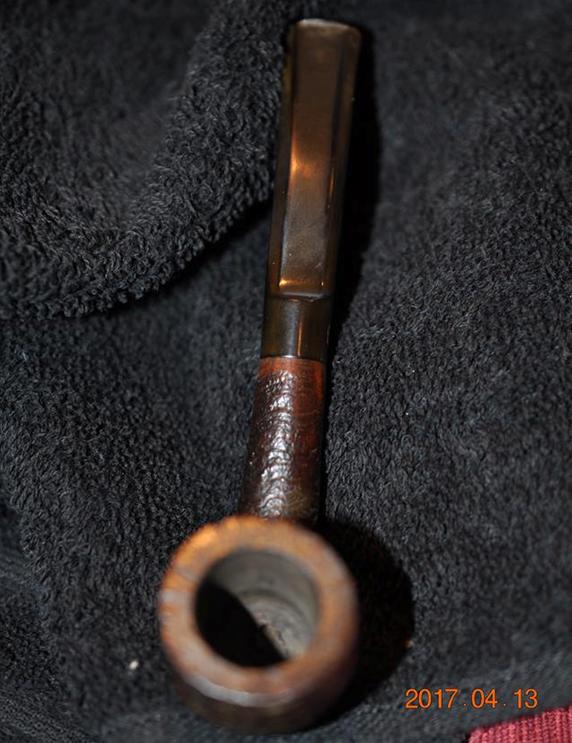
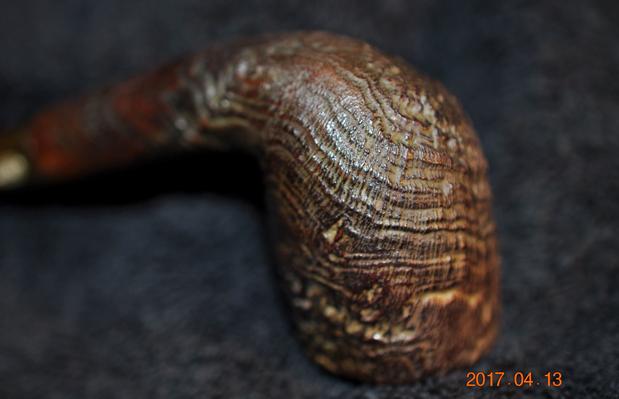
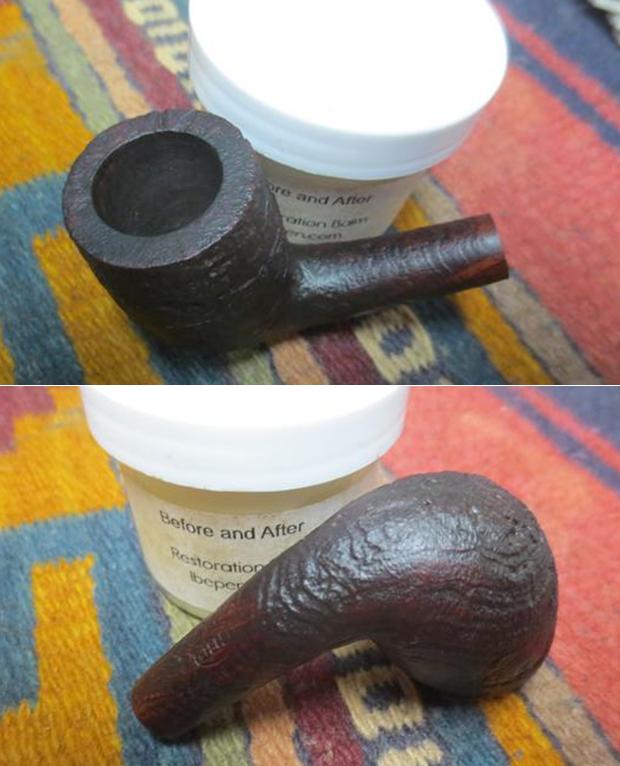
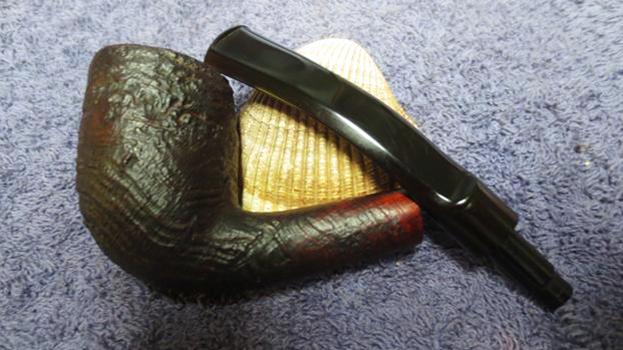
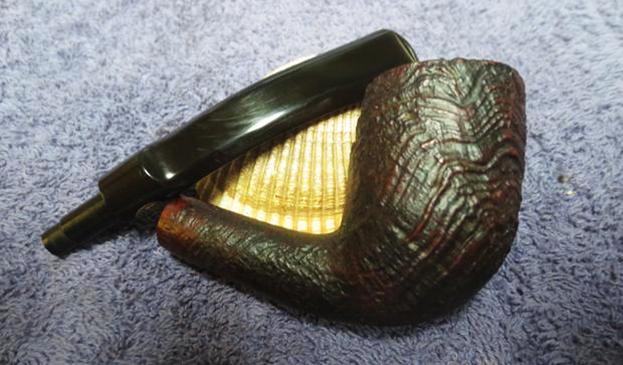
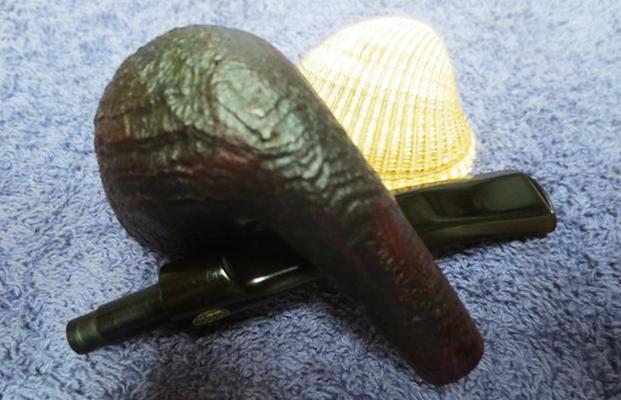
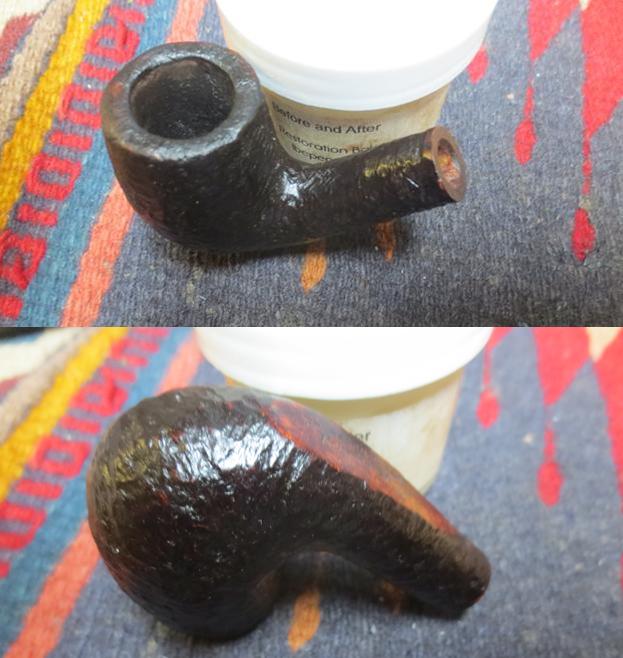
I had the seller ship this pipe with the Orlik Dugout. When the pipes arrived I brought them to my worktable. I completed work on the Dugout then turned my attention to this pipe. I took photos of it to show its condition before I began to work on it. The finish looked to be in good repair under the grime and dust that was in the grooves of the rustication. The rim top was covered with lava that had overflowed from the cake in the bowl. The cake was quite thick and the bowl choked with carbon. The packing material from the shipping box was jammed into the bowl. The stem was lightly oxidized and it still bore the TC stamp on the left side. The fit of the stem to the shank was tight and it did not sit against the shank end. That told me that the interior of the shank must be quite dirty with tars and oils. I wonder if both of these pipes came from the same pipeman.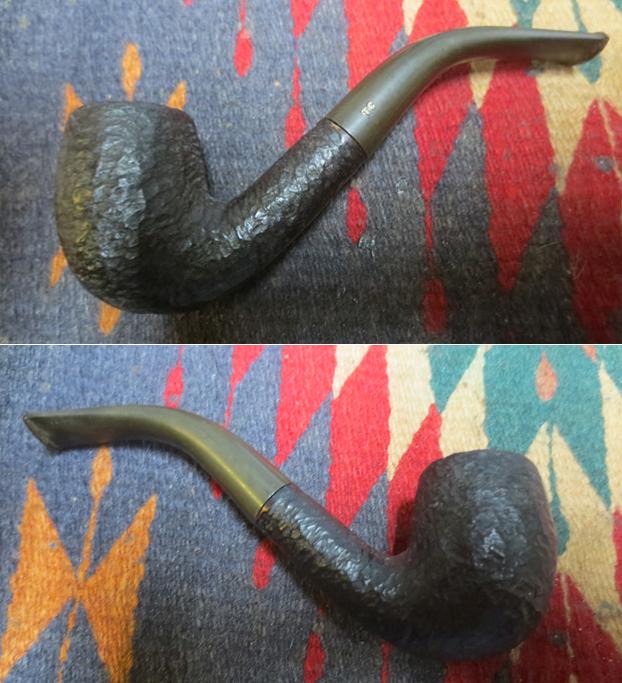
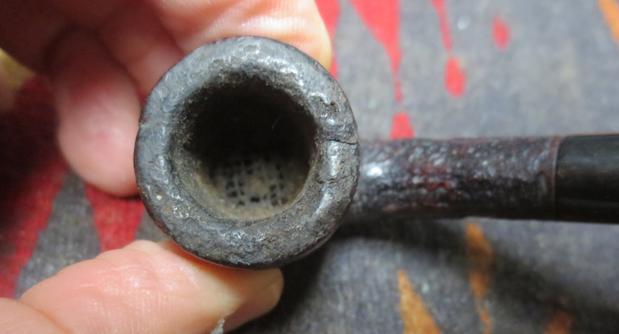
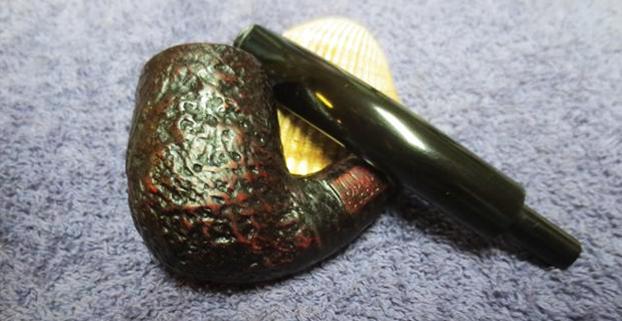
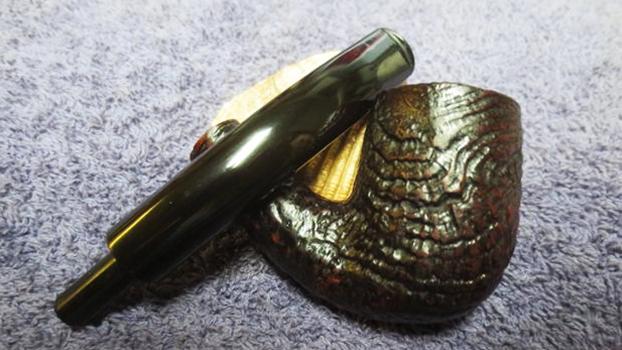
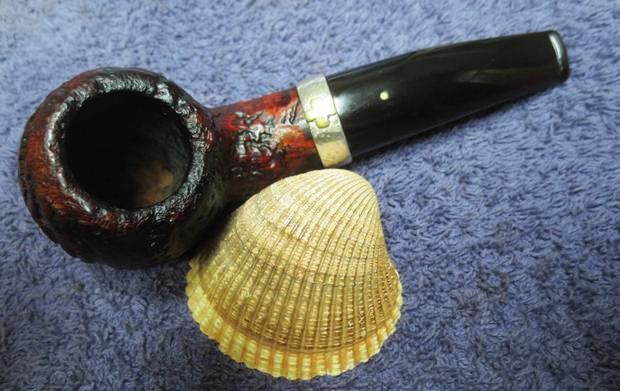
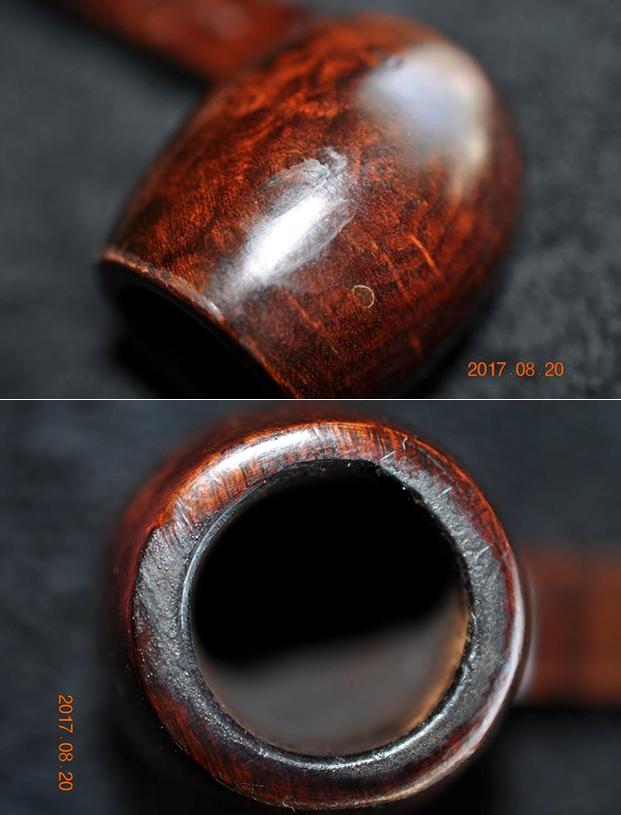
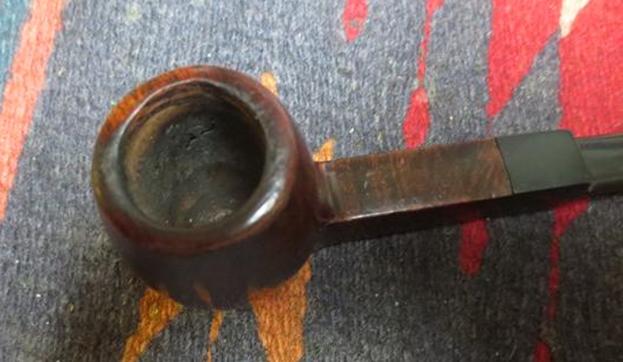
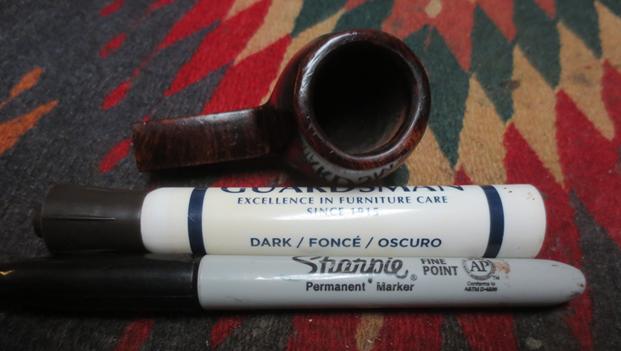
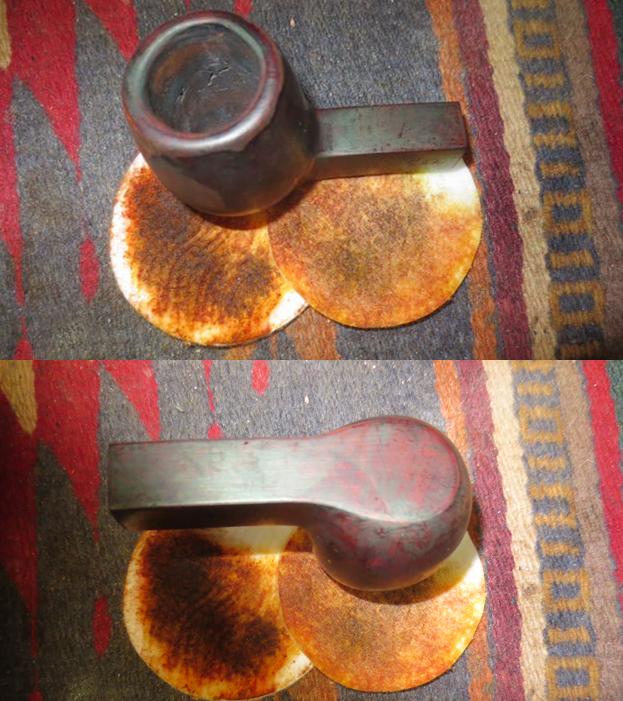
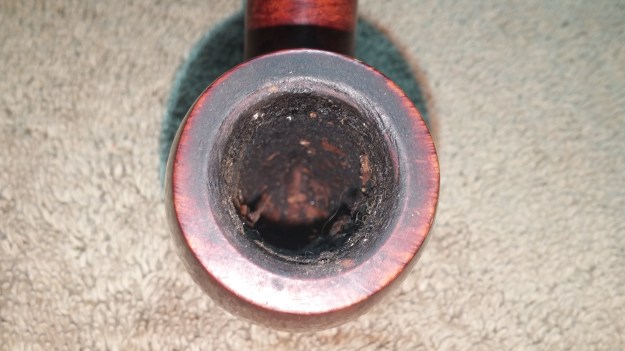
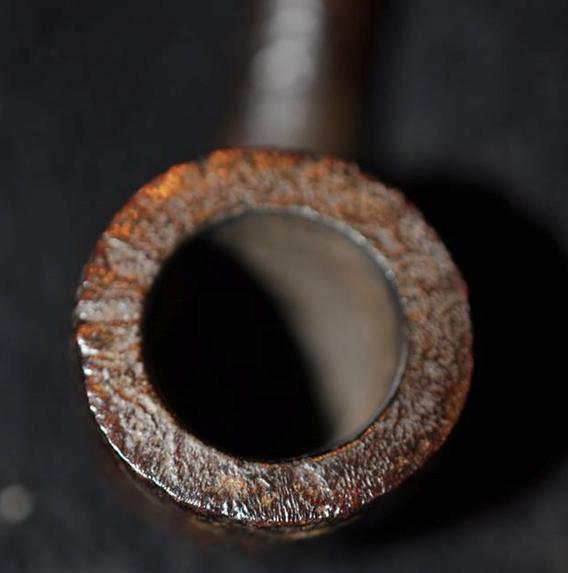
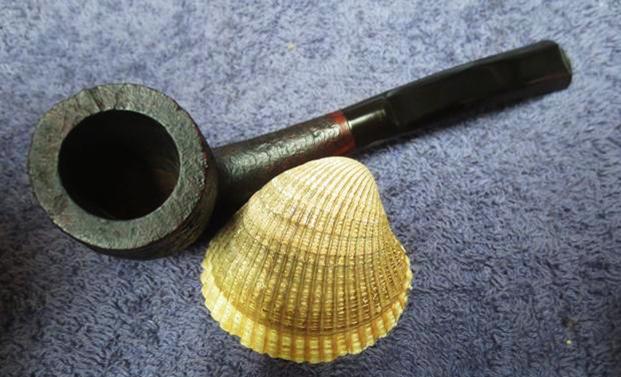
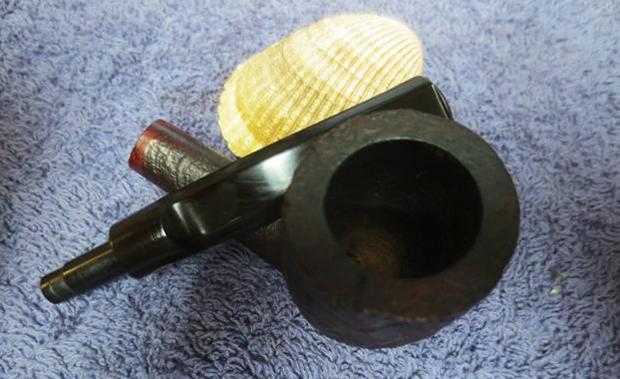
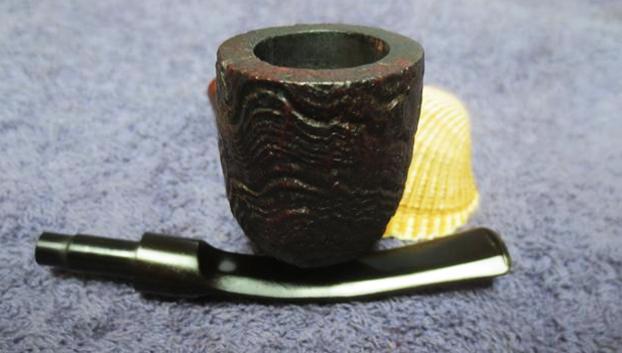
 I took a close up photo of the rim top to show the thickness of the cake in the bowl and overflow of lava on the rim. There were some worn spots on the rim where the finish was damaged. It looked like the inner and outer edges of the bowl were undamaged but I would know for sure once I had reamed it.
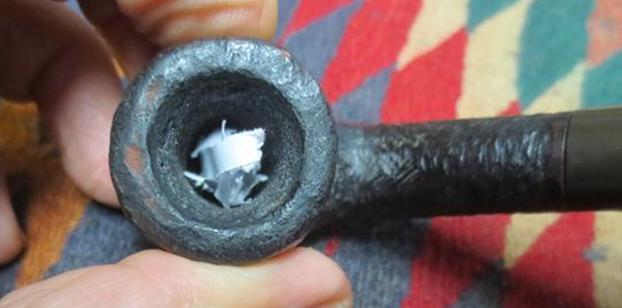 While the stem was lightly oxidized the only damage to it was on the top and underside edge of the button and some light tooth chatter on both sides. The TC stamp was readable and the stamping was deep enough to be cleaned without damage.
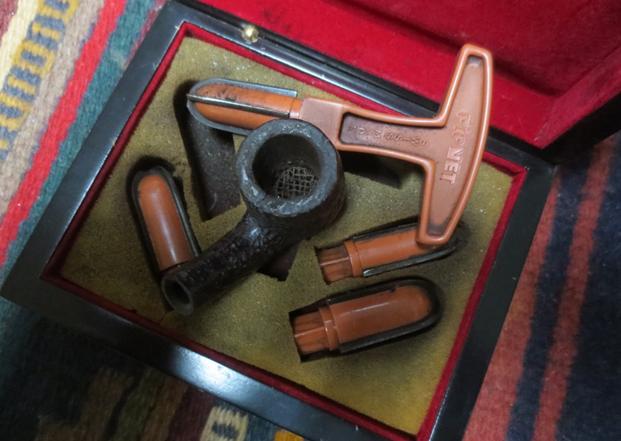
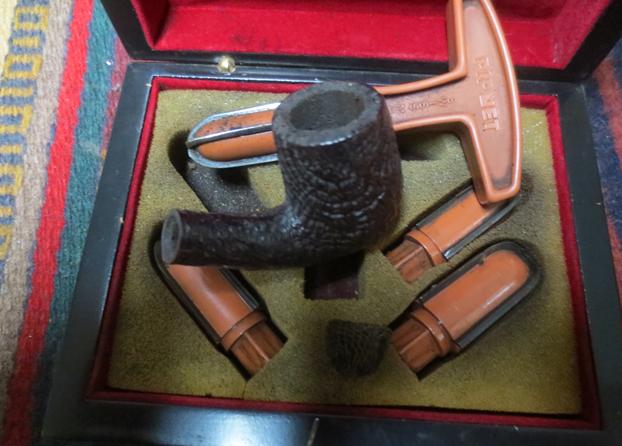
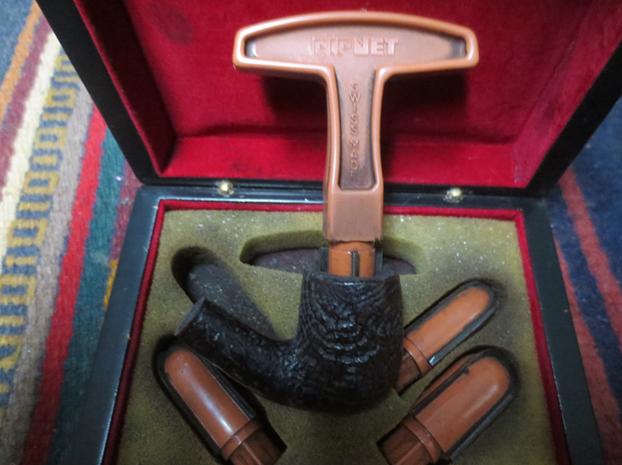
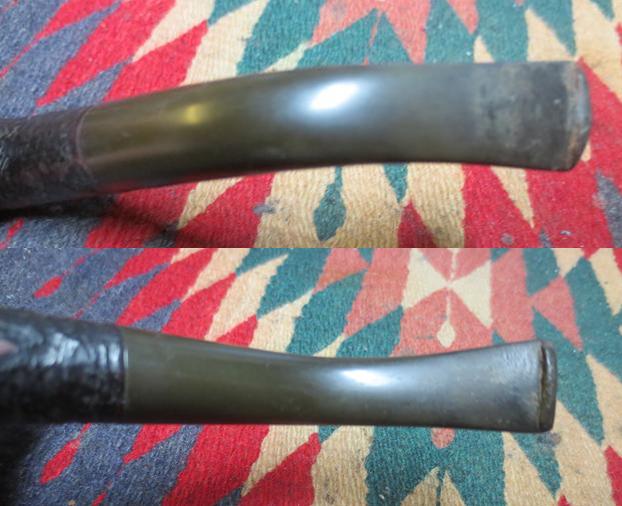 I reamed the bowl with the smallest cutting head on the PipNet pipe reamer. I took the cake slowly back to the bare briar. I wanted to see if there was cracking in the inside of the bowl. The cake was thick and hard so it took some steady and careful work to cut the cake back.
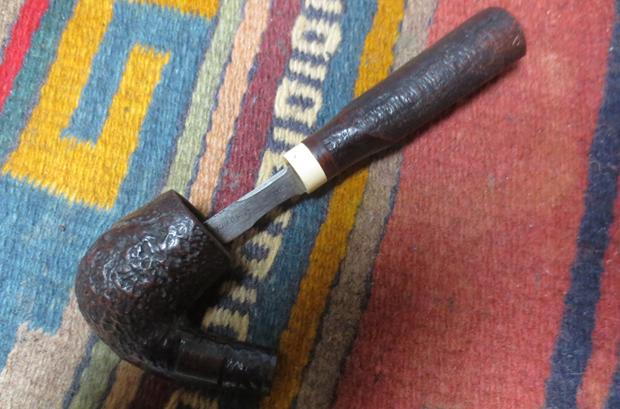
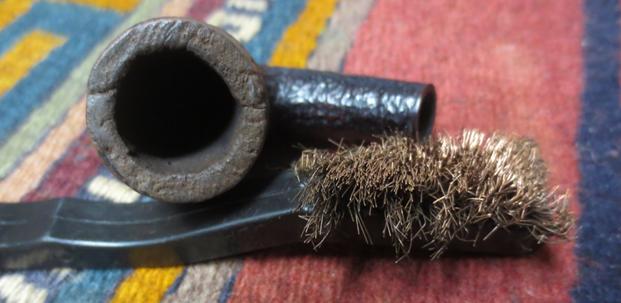
 I touched up the reaming of the bowl with t a Savinelli Fitsall Pipe Reaming Knife. I took what remained of the cake back to smooth, bare walls. I used a brass bristle wire brush to loosen the debris from the rim top. It was thick enough that it would take some work to get it off and clean out the grooves of the rustication.
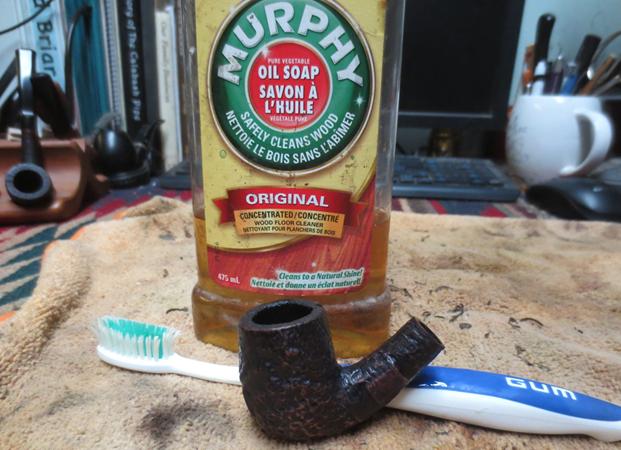
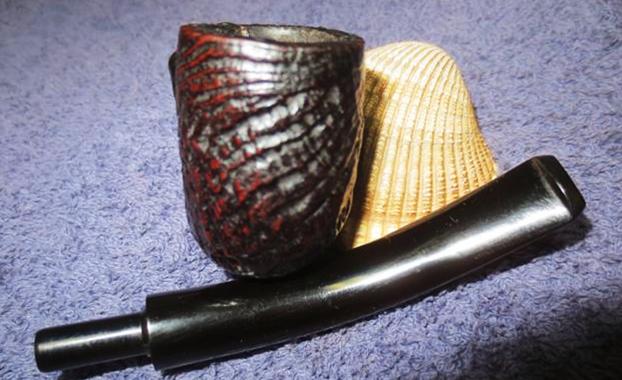
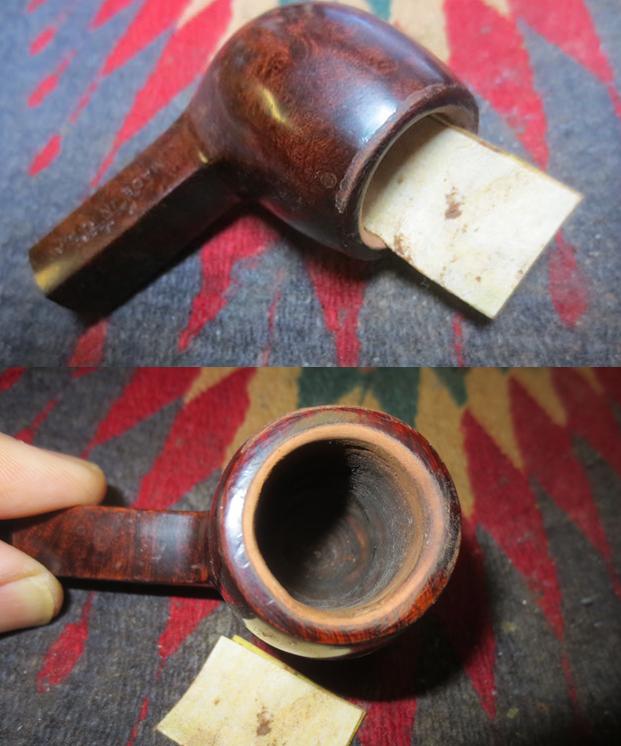
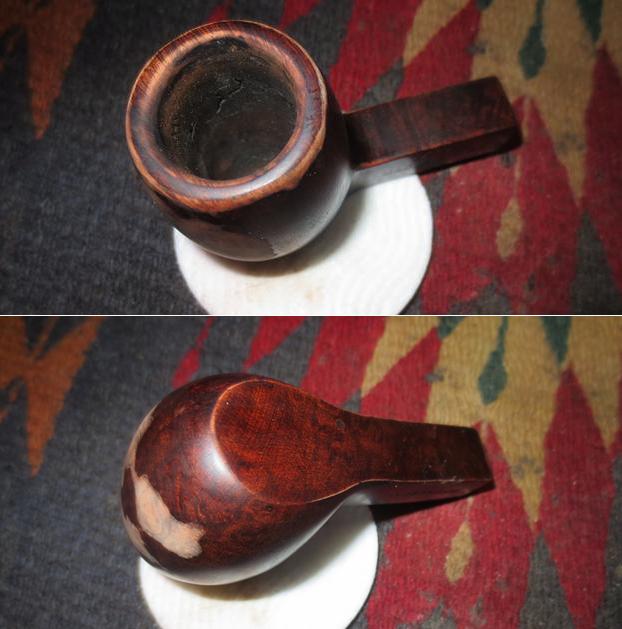
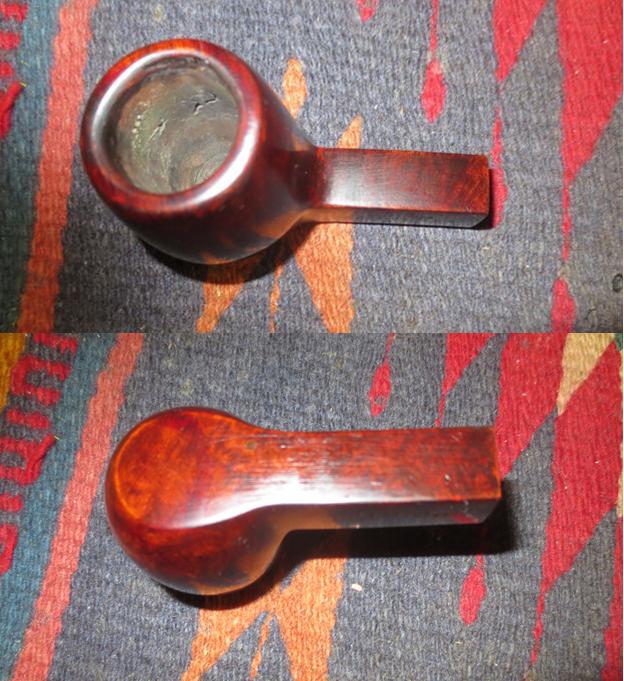
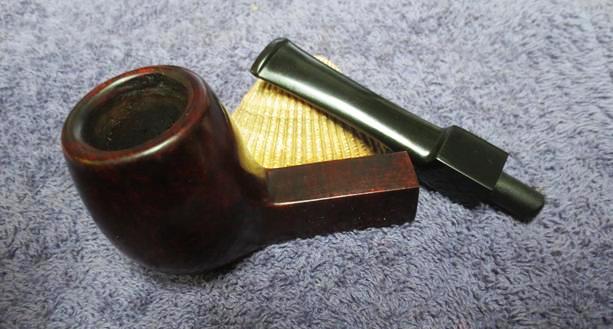
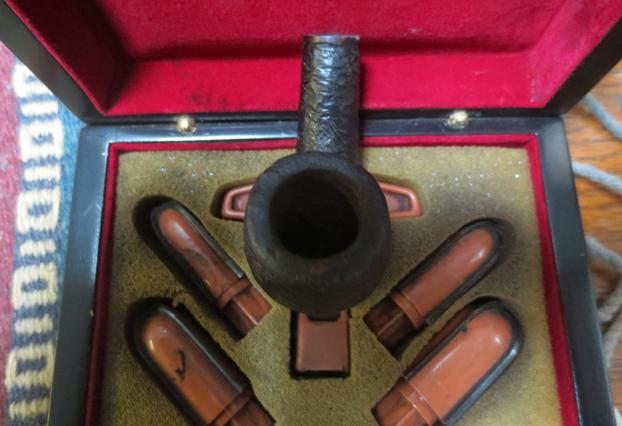
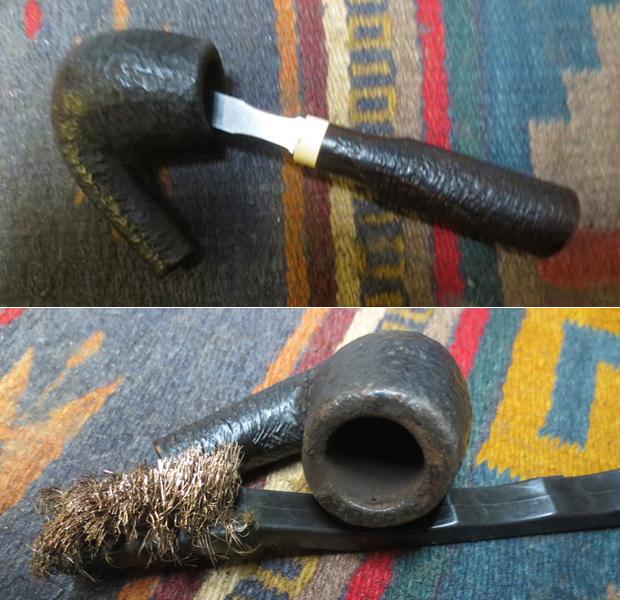 I scrubbed the briar with a tooth brush and Murphy’s Oil Soap to remove the dust and grime on the surface of the bowl and the grit that I had loosened on the rim top. I rinsed the bowl under warm water to remove the dust and scrubbed it with the brush under water. The results are shown in the photo below.
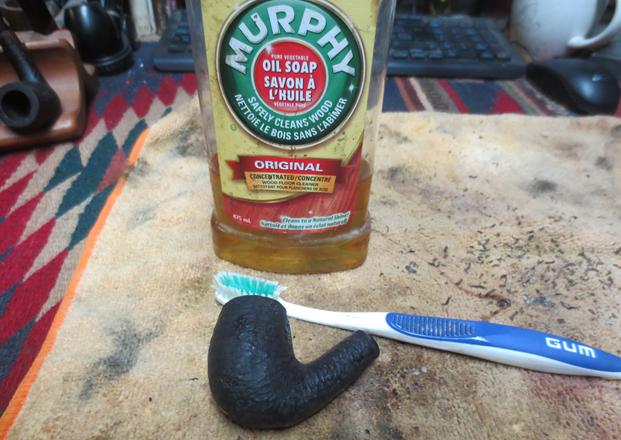 I used a finer bristle brass brush to work over the grooves on the rim top. This extra step took more of the grime off the surface and left the rim top very clean.
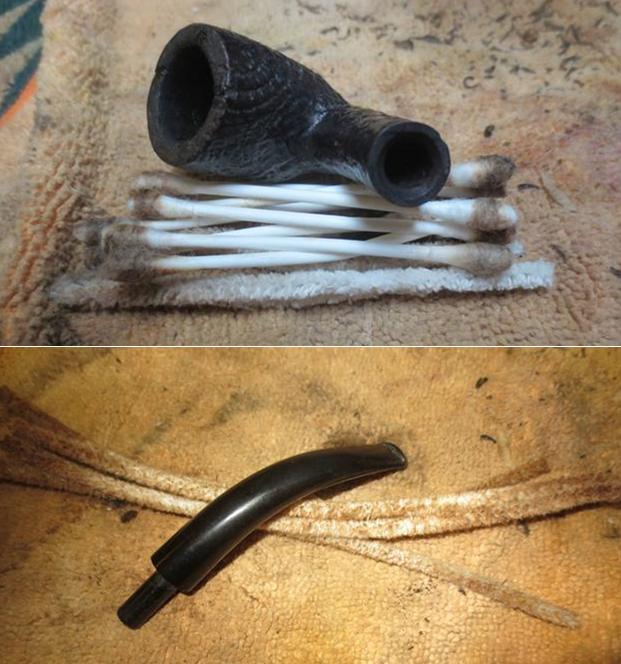
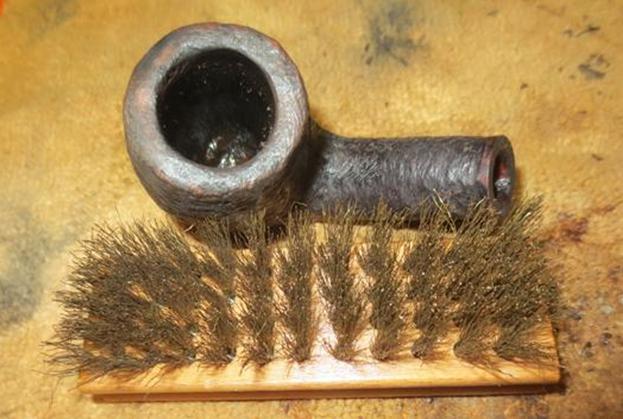 I cleaned out the inside of the shank with cotton swabs, pipe cleaners and alcohol to remove all of the tars and oils on the inside walls of the mortise. I cleaned out the airways in the shank and in the stem with pipe cleaners and alcohol.
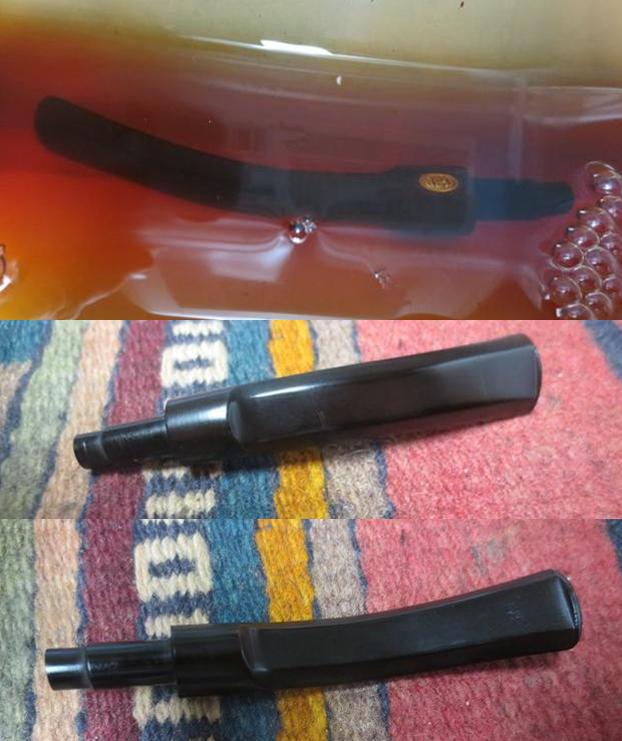
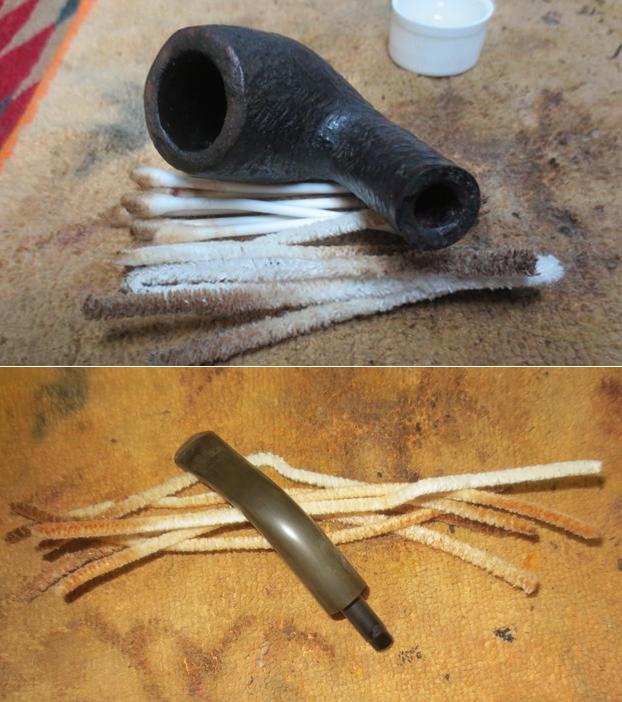 I put the stem in a soak of Before & After Pipe Stem Deoxidizer. I left it to soak for several hours while I worked on the bowl.
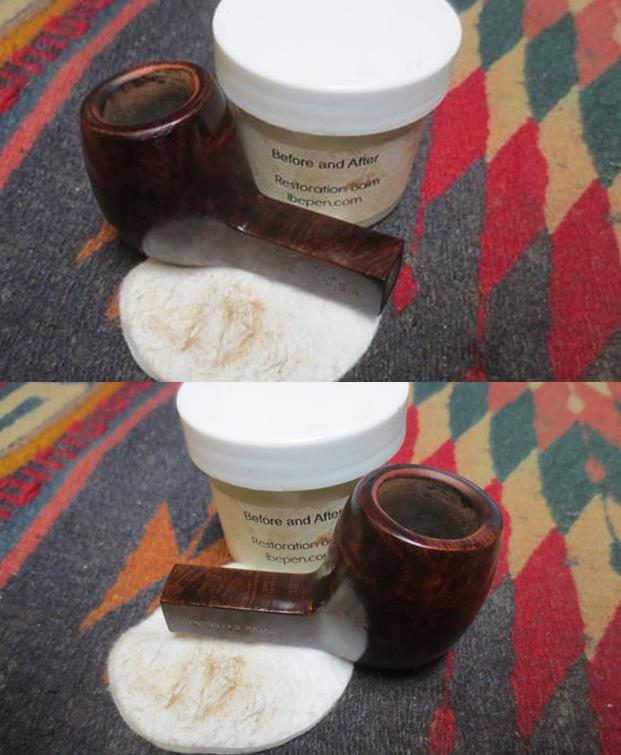
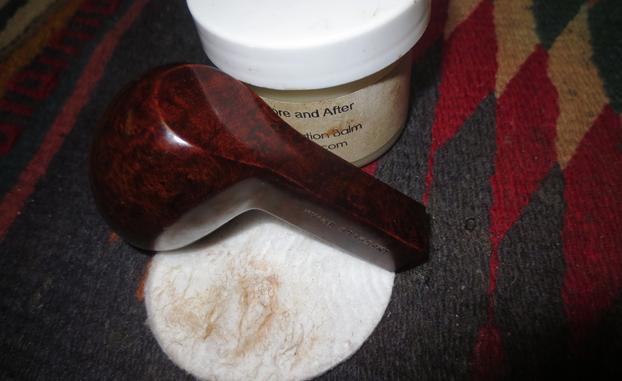
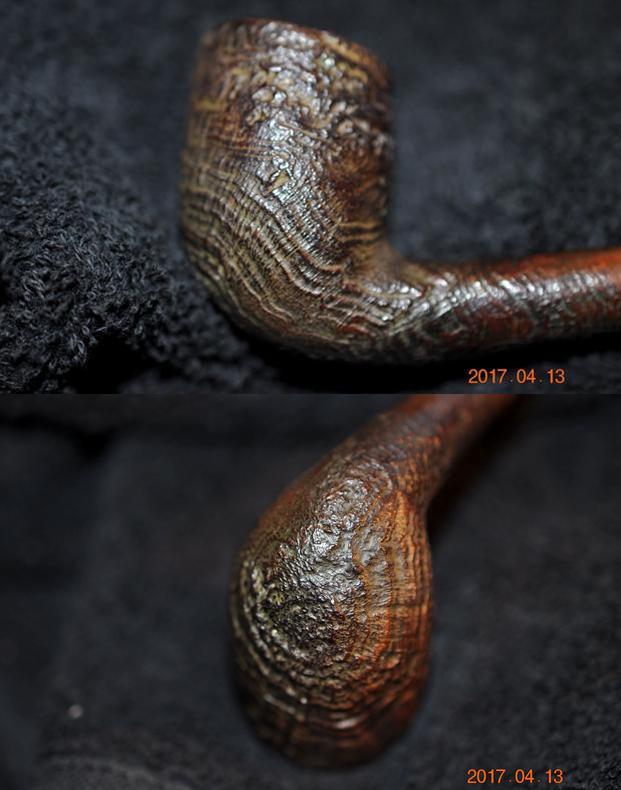
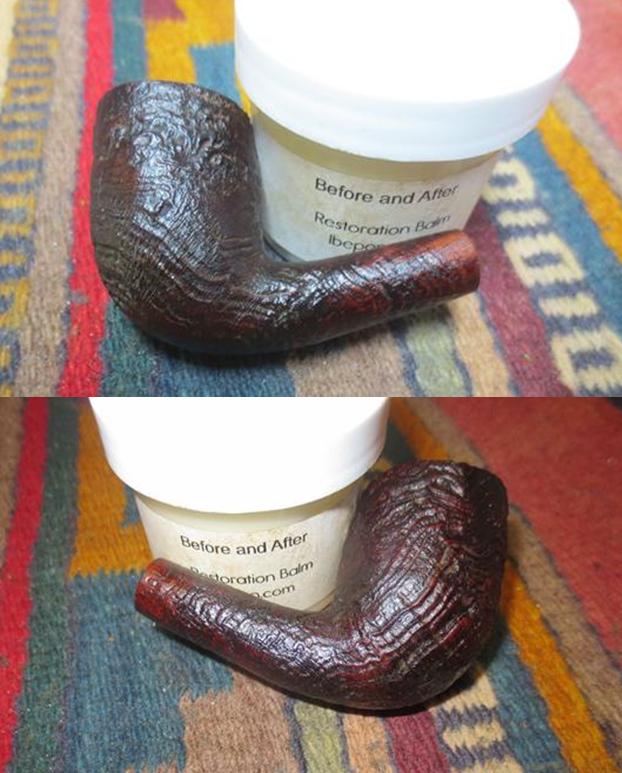
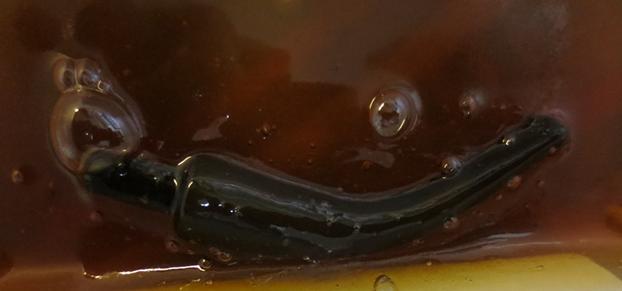 I turned my attention back to the bowl. I rubbed the bowl down with Before & After Restoration Balm. The product worked to lift the grime and debris out of the grooves of the briar. I rubbed it down and scrubbed it deeper into the grooves of the briar with a shoe brush. I polished the briar with a soft cloth to remove the balm from the briar.
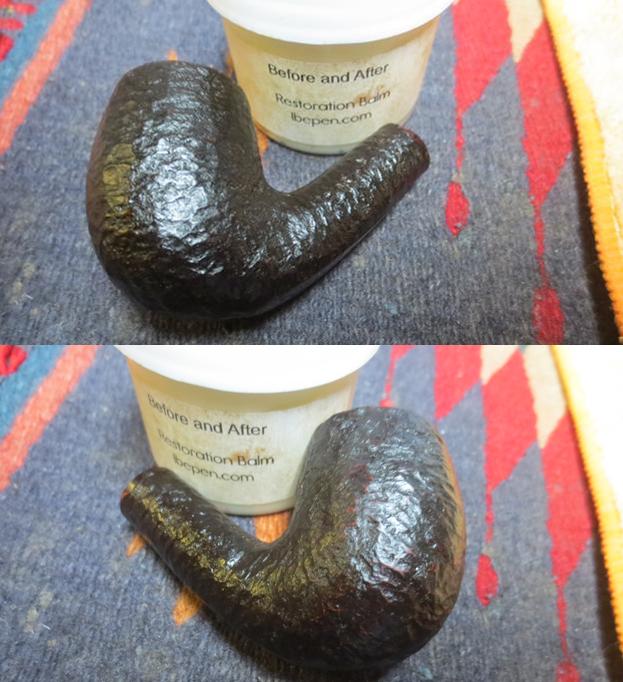
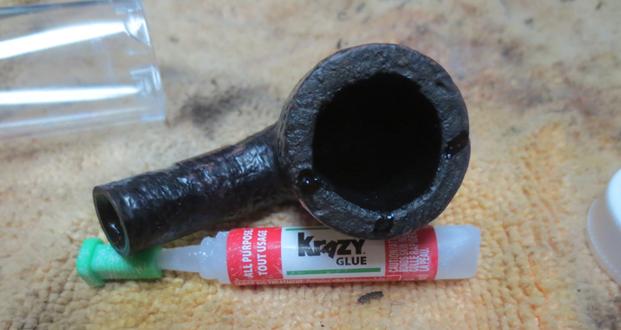
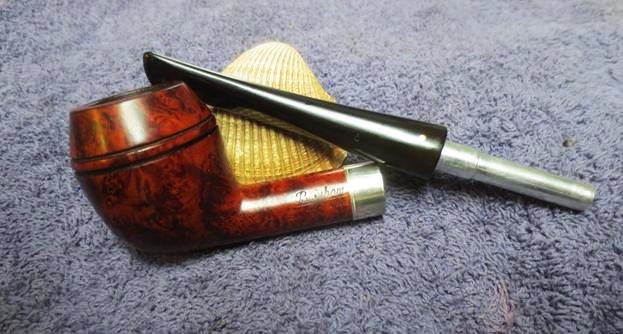
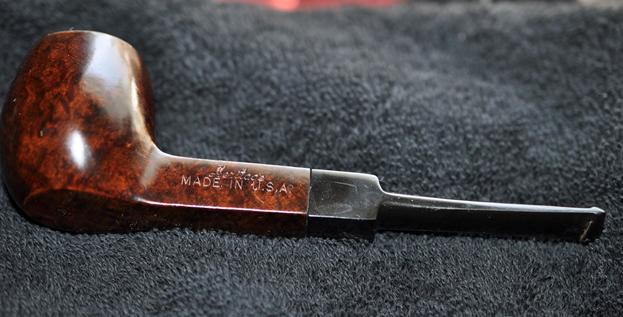
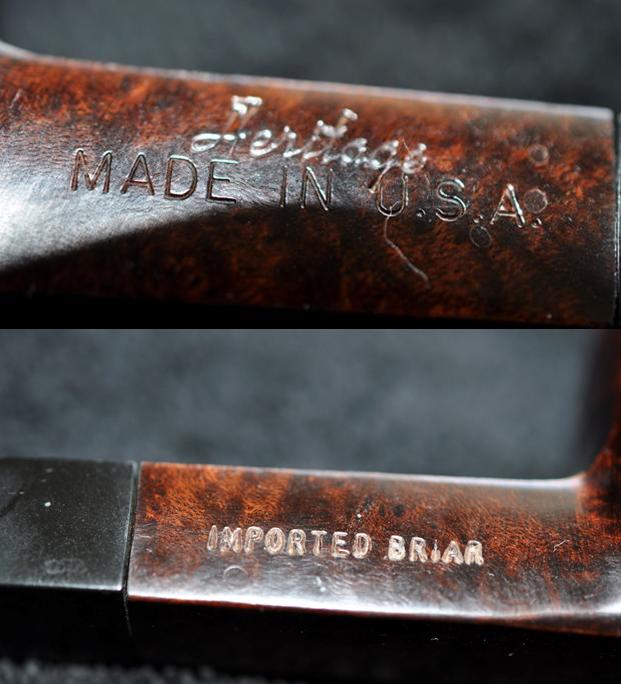
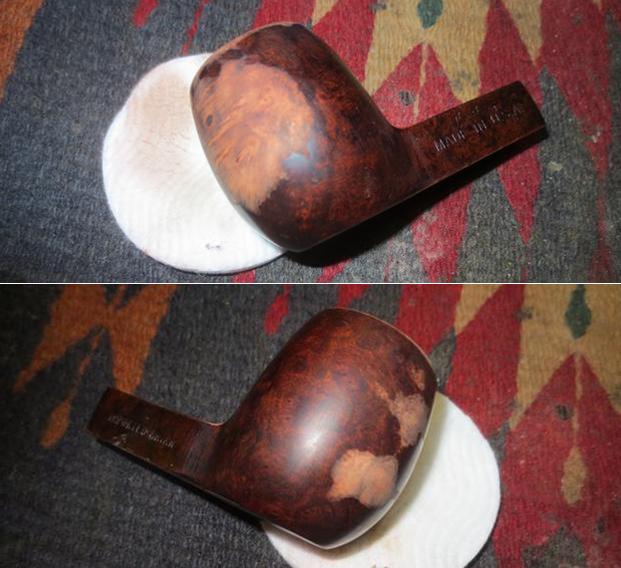
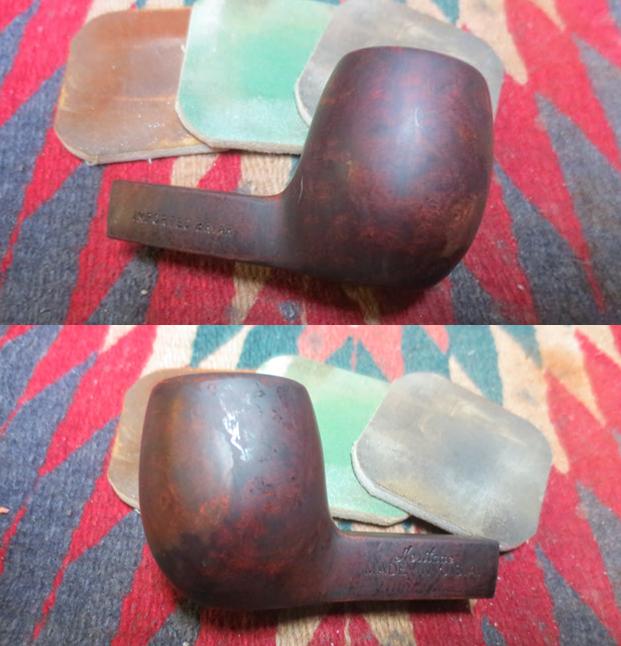
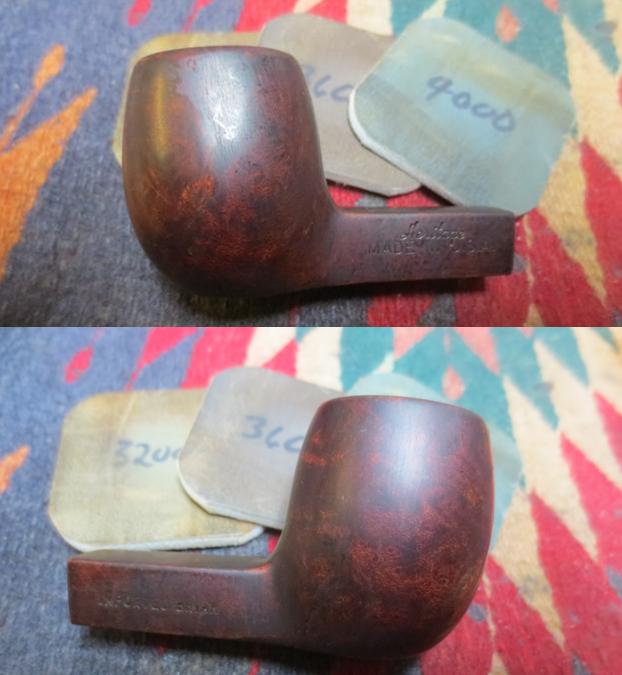
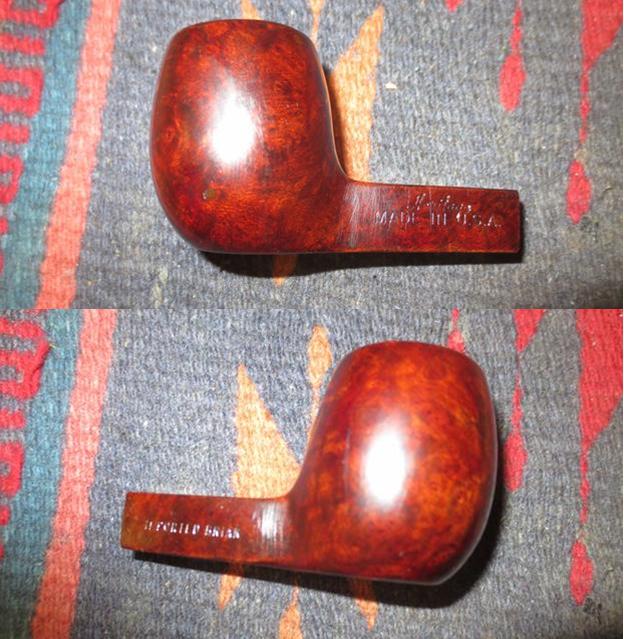
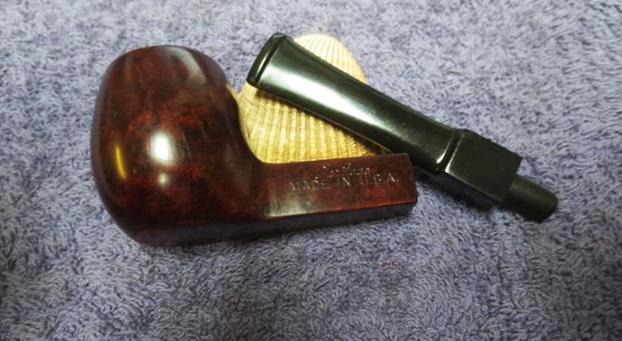
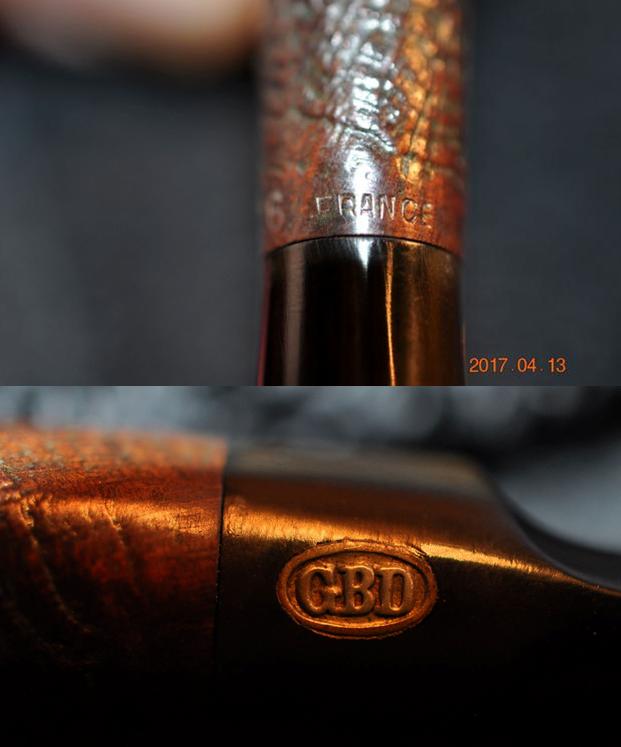
 I took a photo of the stamping on the shank because it was so clear and with the balm really stood out.
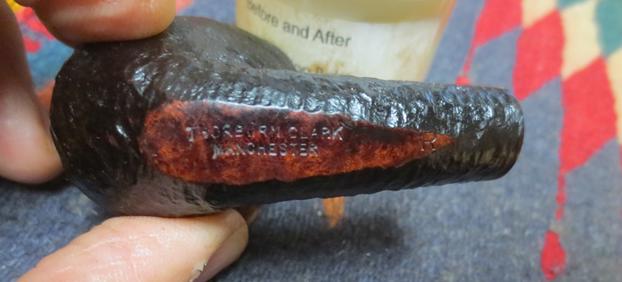 I touched up the worn spots on the rim top and edge with a dark brown stain pen. I buffed the rim top with a soft cloth to even out the stain coverage.
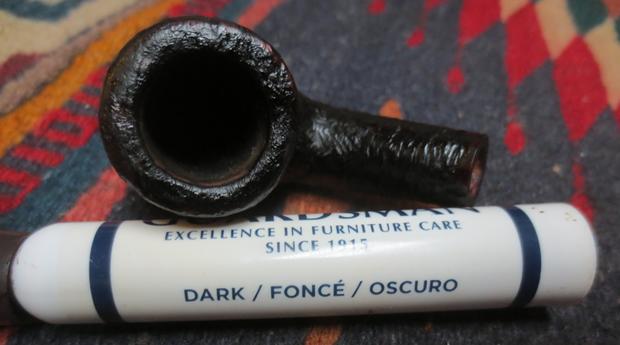 I rubbed the bowl down with several coats of Conservator’s Wax and buffed it with a shoe brush. The briar began to take on rich warmth. The feel of the bowl in the hand was comfortable and tactile. I think this would be a good smoking pipe.
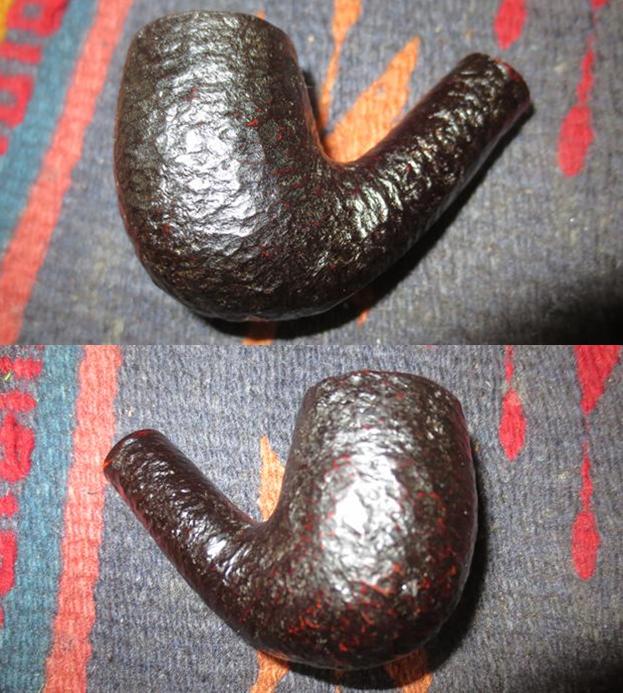
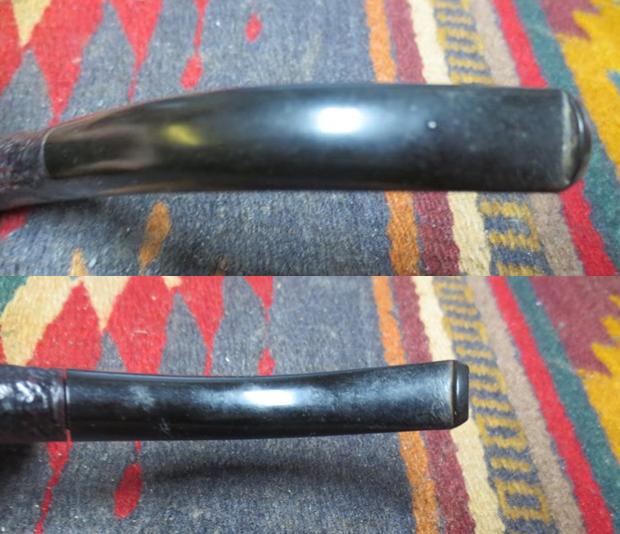
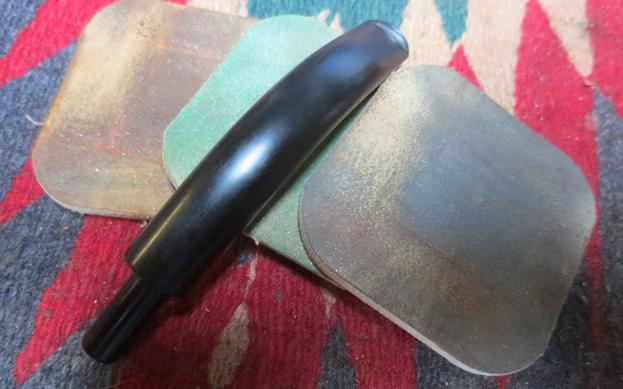
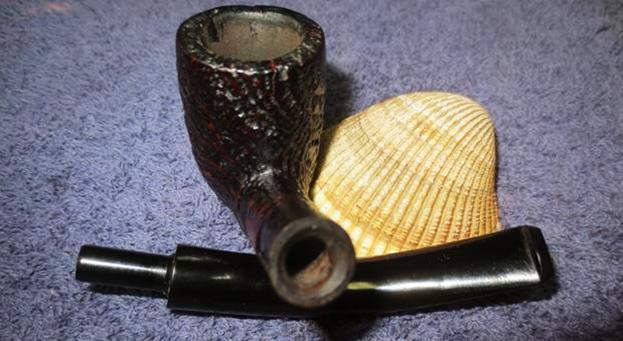
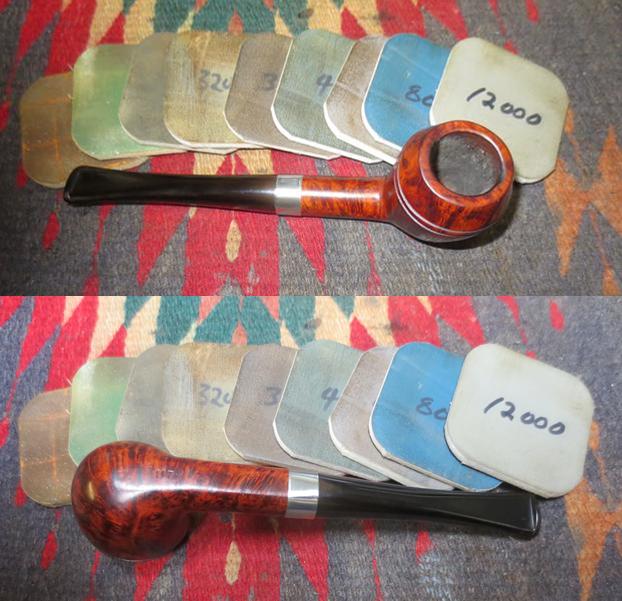
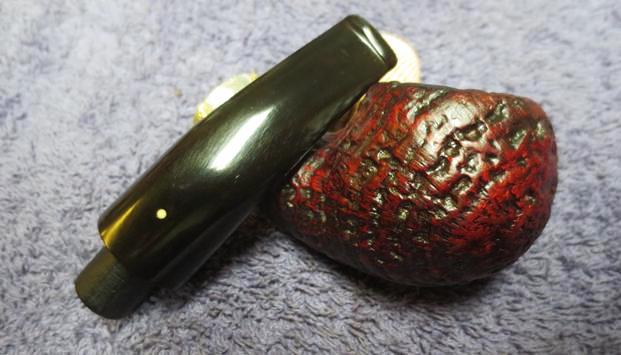
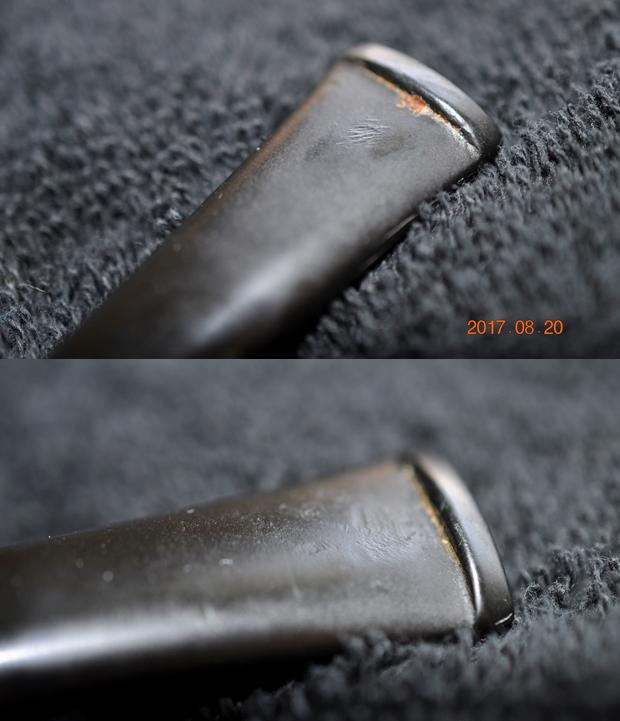
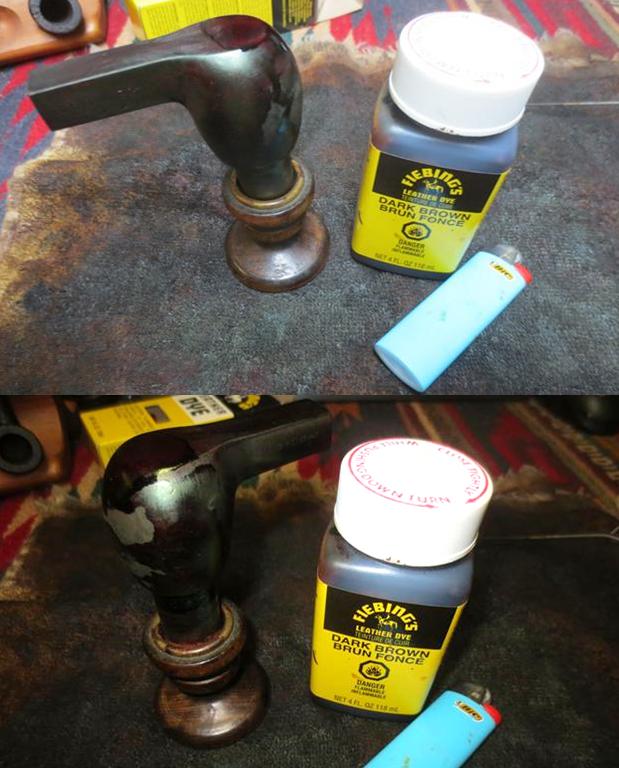
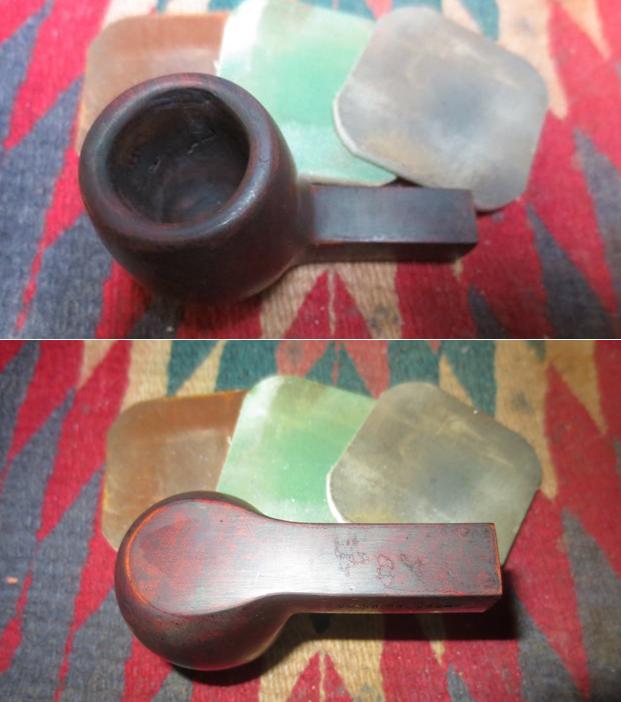
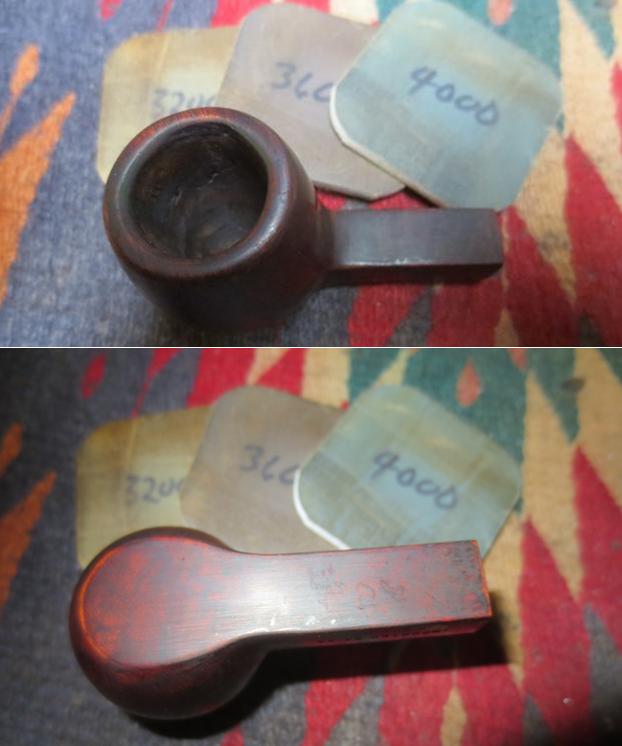
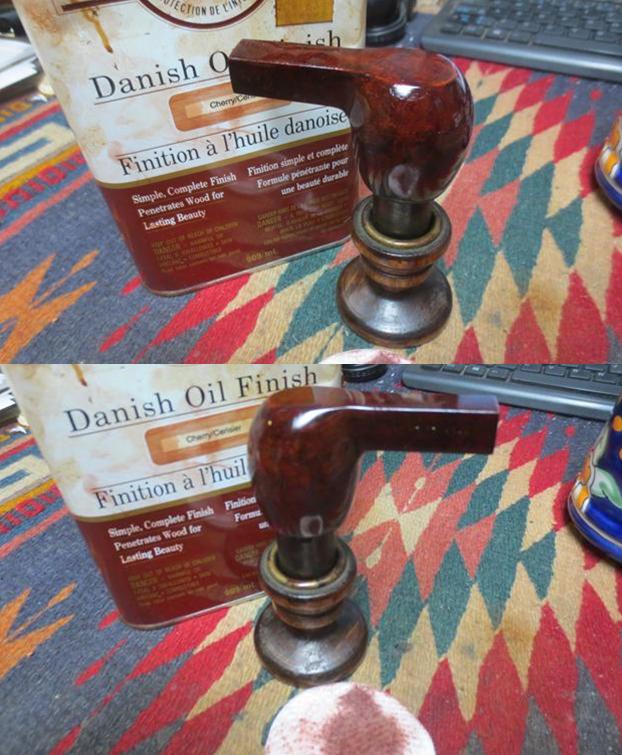
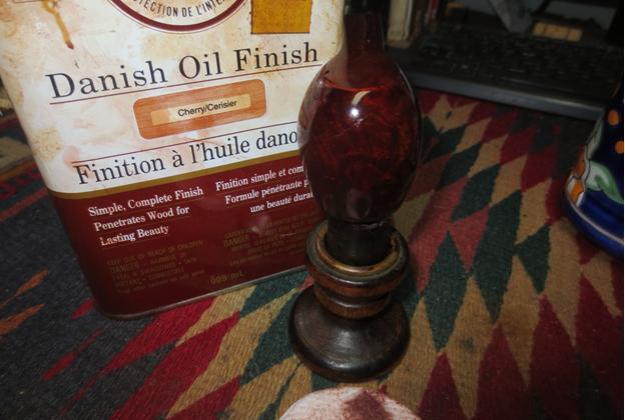
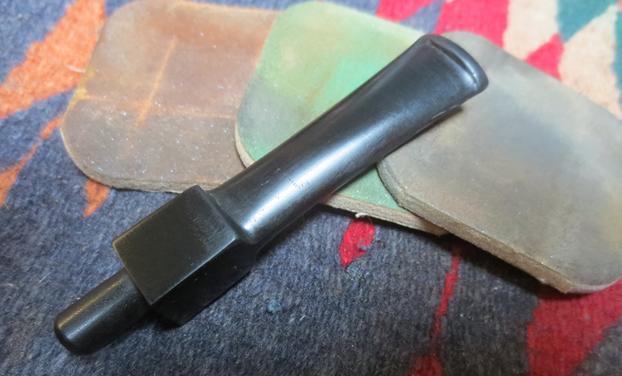
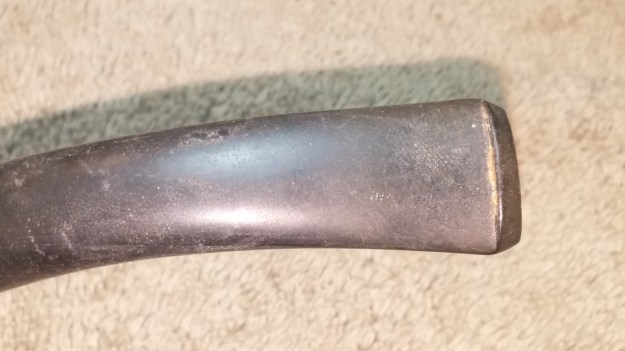
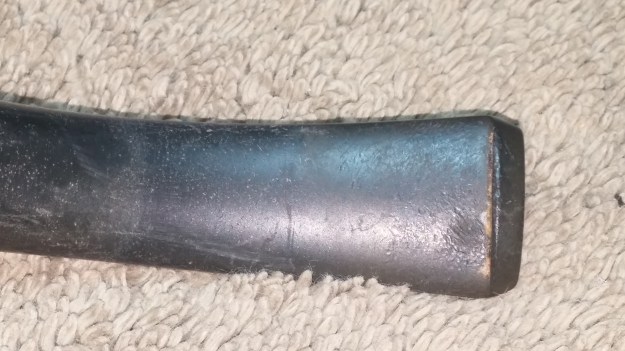
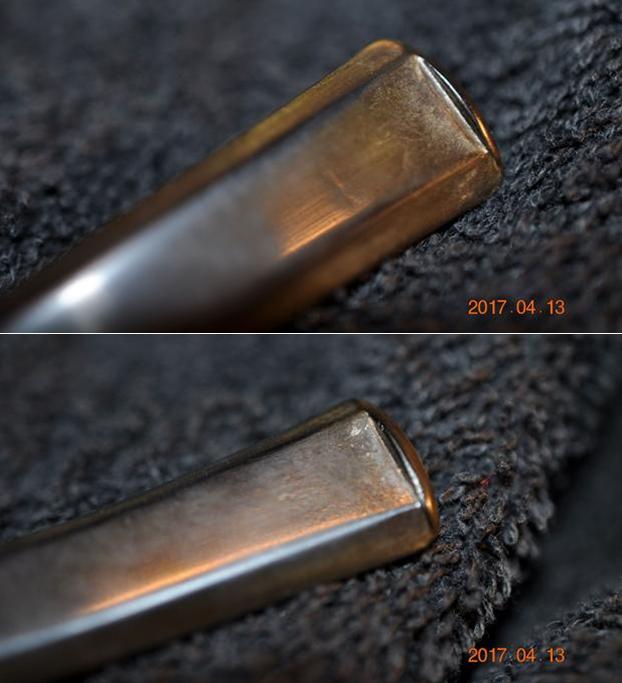
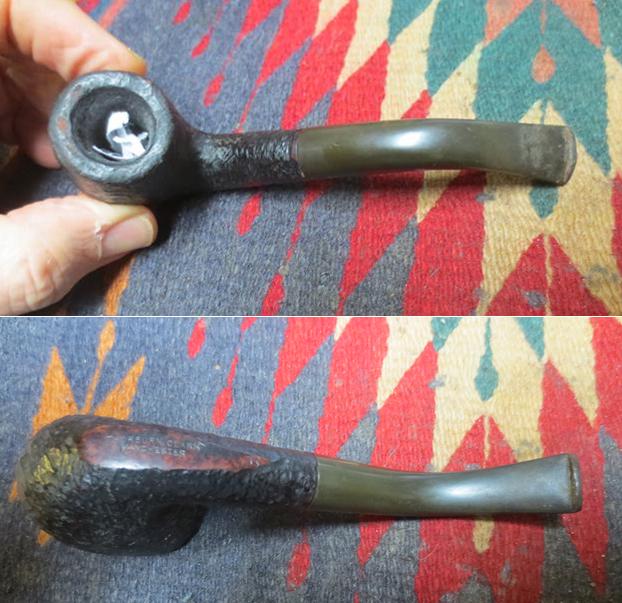
 I set the bowl aside and turned back to the stem. I removed it from the soak in the Before & After Deoxidizer and wiped it down. I cleaned out the inside of the airway with alcohol to remove the product from the stem. I polished the stem with a soft cloth to remove all of the deoxidizer and give it a bit of a shine. It had removed much of the light oxidation and left the stamping intact on the stem side. There was still some spots of oxidation that needed to be addressed and the button needed to be reshaped on both sides. The photos below show what it looked like at this point.
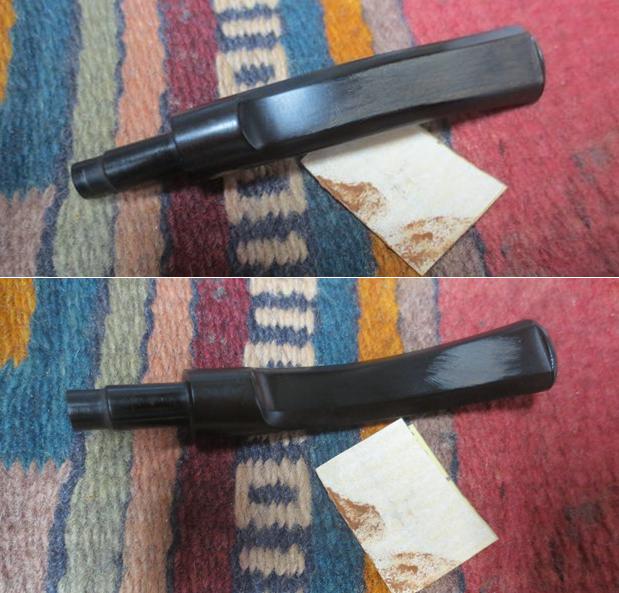
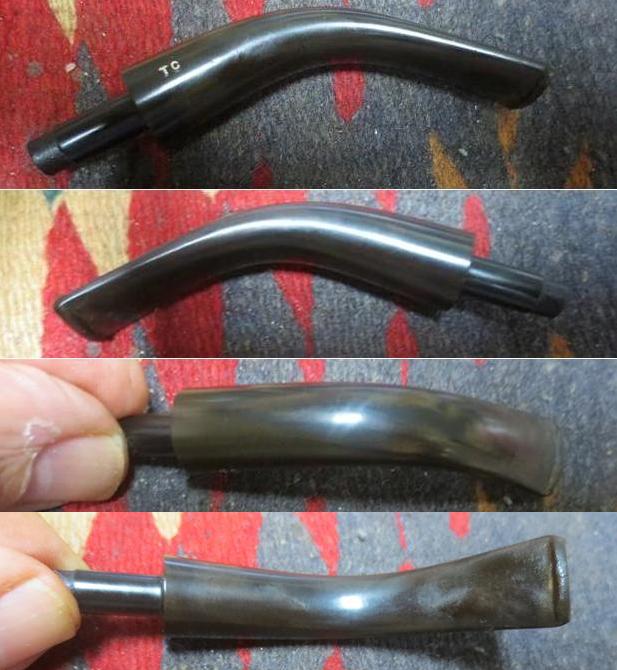 I used a folded piece of 220 grit sandpaper to work on the tooth chatter and to reshape the edge and surface of the button. I worked over the spots of oxidation with the sandpaper at the same time to remove it from the surface of the hard rubber stem.
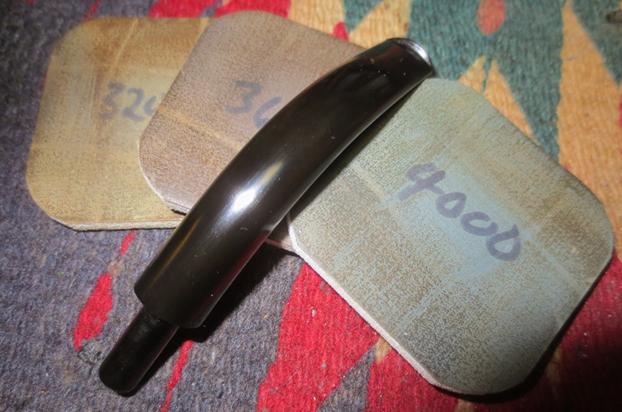
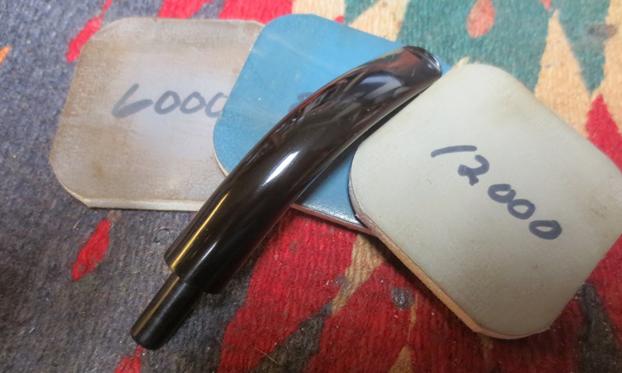
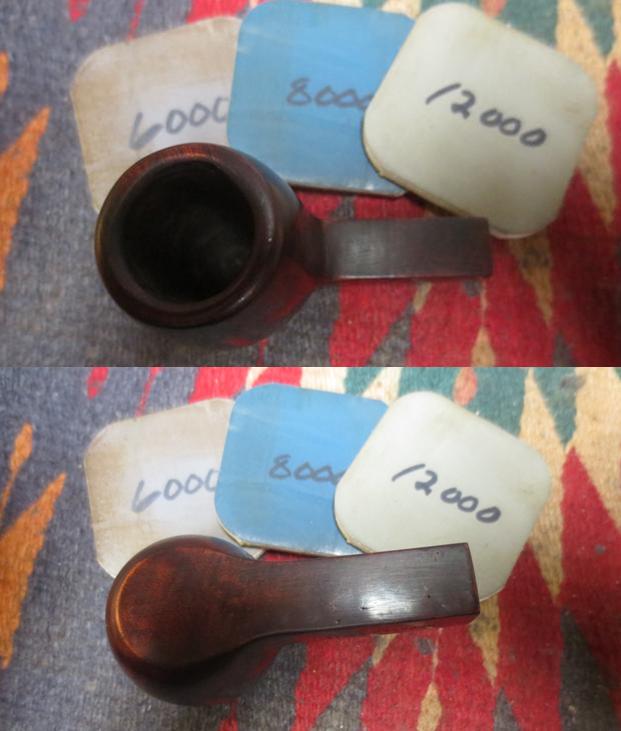
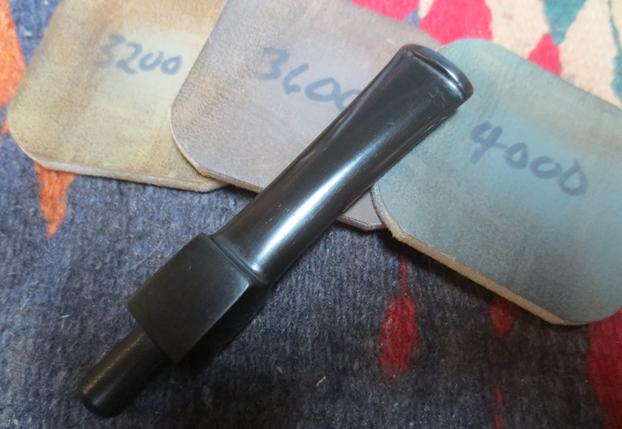
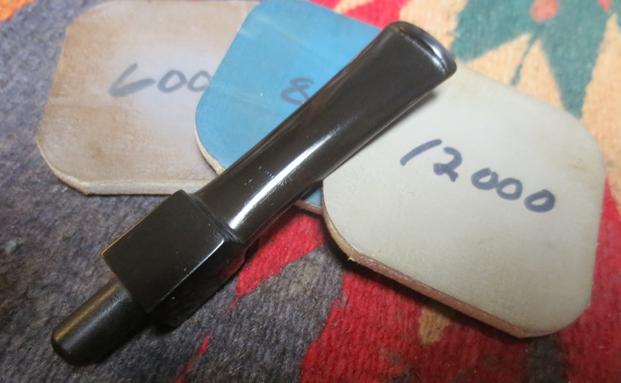
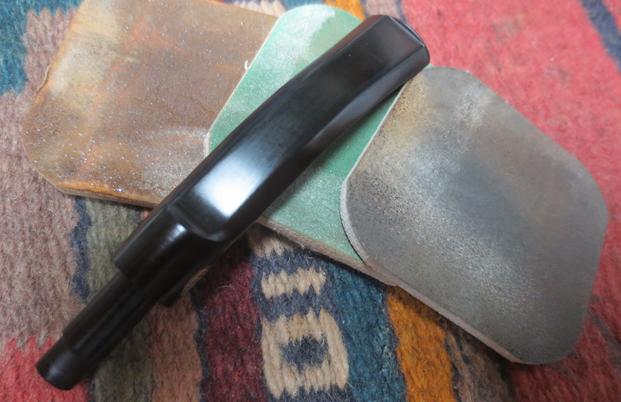
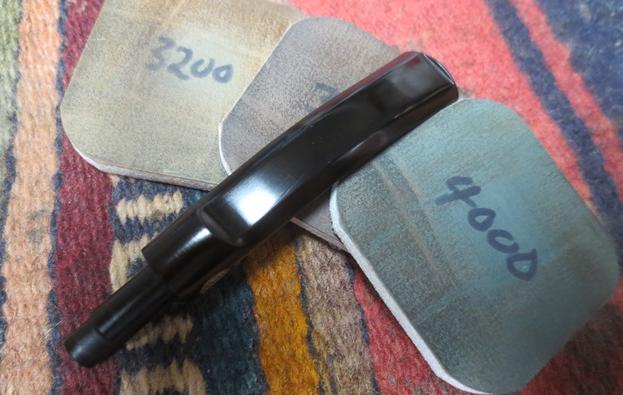
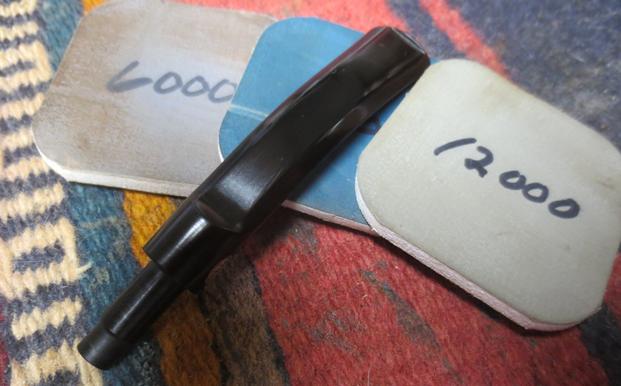
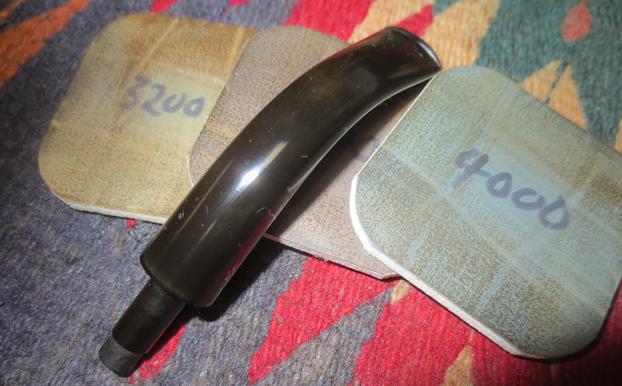
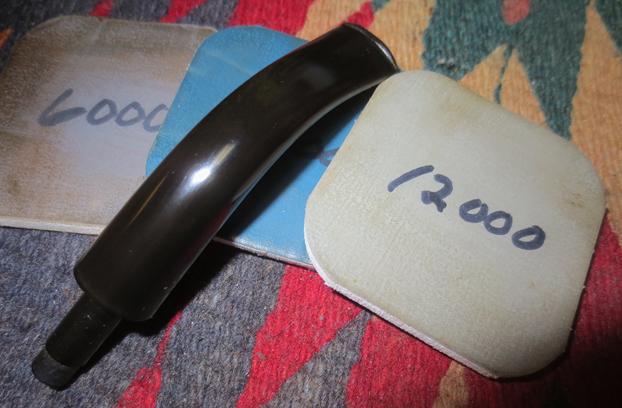
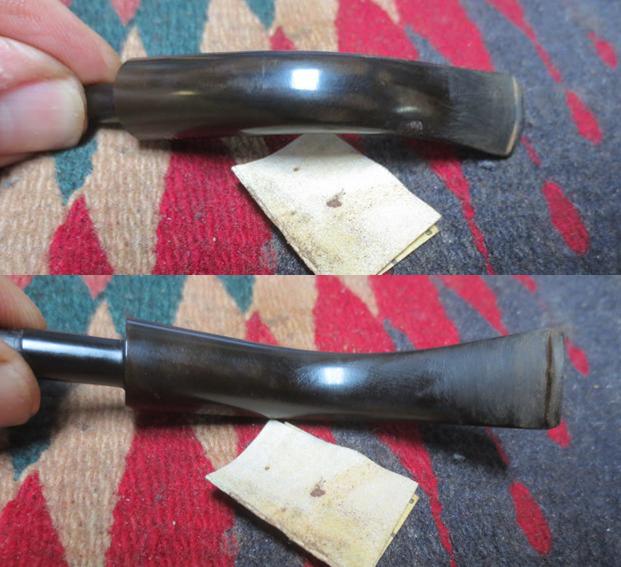 I polished out the sanding scratches and marks in the vulcanite with micromesh sanding pads – wet sanding it with 1500-2400 grit pads and dry sanding it with 3200-4000 grit pads. I wiped the stem down with Obsidian Oil after each sanding pad. I buffed the stem with Blue Diamond on the buffing wheel. I brought it back to the table and sanded it with the final three 6000-12000 grit pads. After the final pad I gave it a final coat of oil and set it aside to dry.
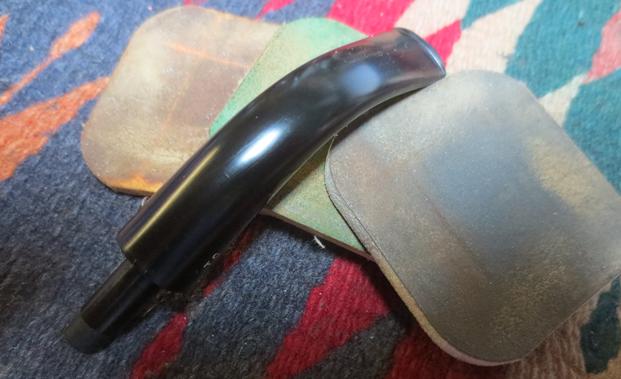
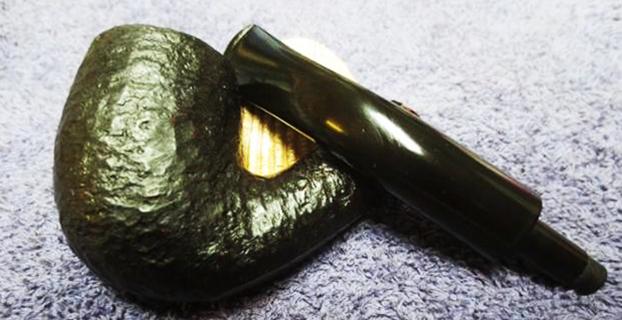
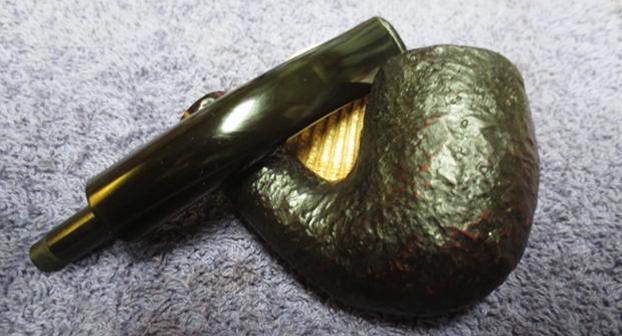
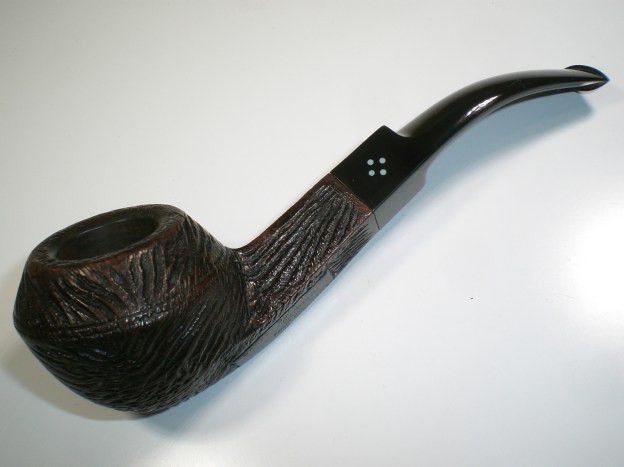
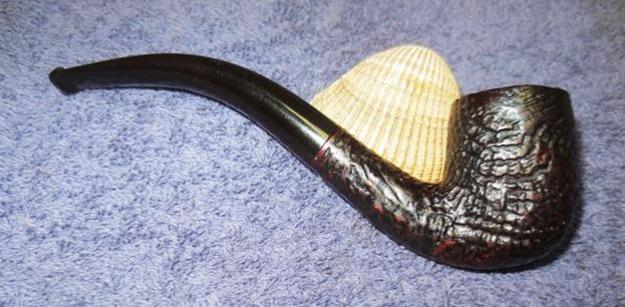
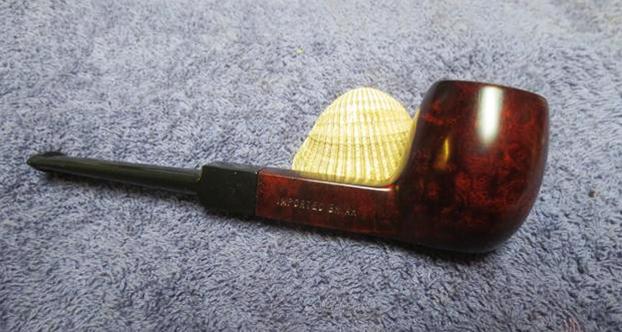
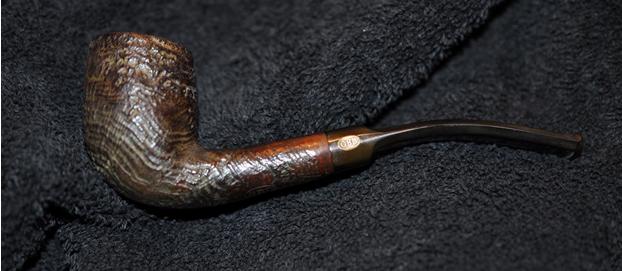
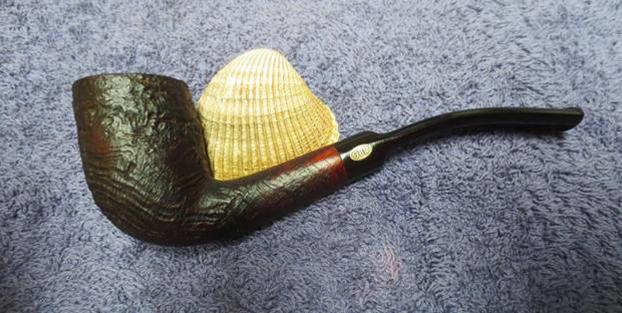
 I put the stem back on the bowl and worked the pipe over on the buffing wheel using Blue Diamond to polish the bowl and shank. I used a gentle touch on the briar when I was buffing it so that the grooves of the rustication would not be filled in and make more work for me. I buffed the stem with a harder touch to raise the gloss on the rubber. I gave the bowl multiple coats of Conservator’s Wax and gave the stem multiple coats of carnauba wax. I buffed the pipe with a clean buffing pad to raise the shine. I hand buffed it with a microfiber cloth to deepen the shine. The finished pipe is shown in the photos below. It looks better than it did in the beginning. It is a beautiful pipe. The dimensions of the pipe are: Length: 5 ½ inches, Height: 2 inches, Diameter of the bowl: 1 inch, Diameter of the chamber: 5/8 inches. I will be adding this one to the rebornpipes store shortly if you are interested in adding it to your collection. It will make a fine addition to the rack. If you are interested email me at slaug@uniserve.com or send me a message on Facebook. Thanks for looking.