by Kenneth Lieblich
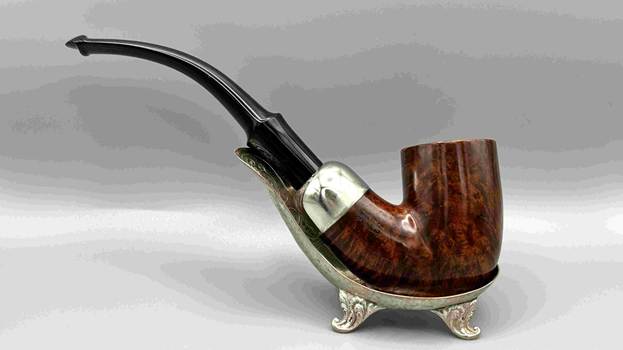
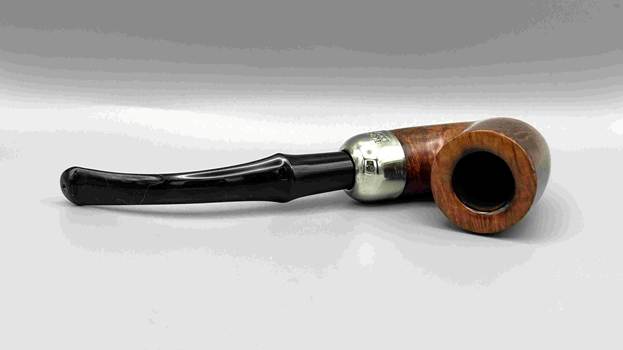
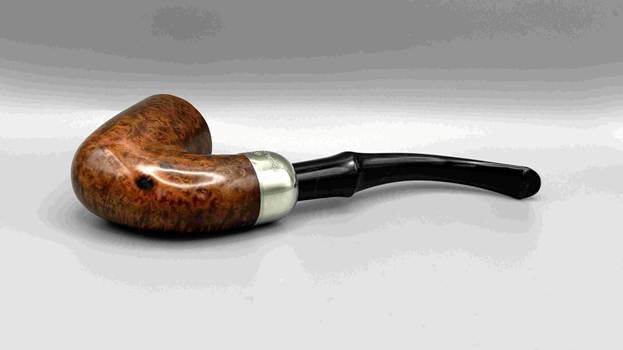
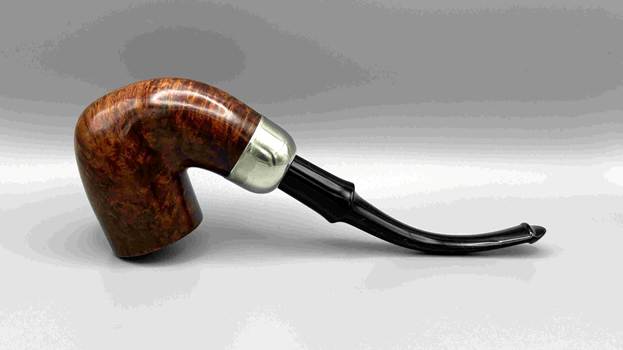
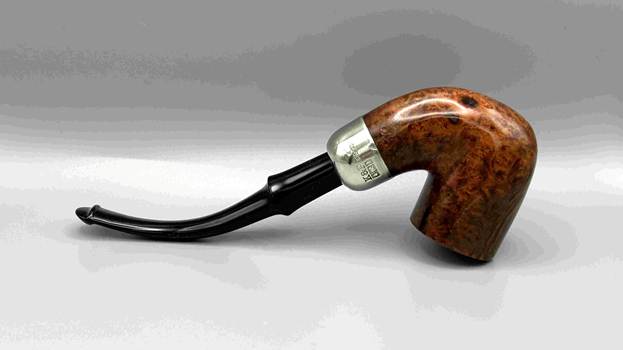
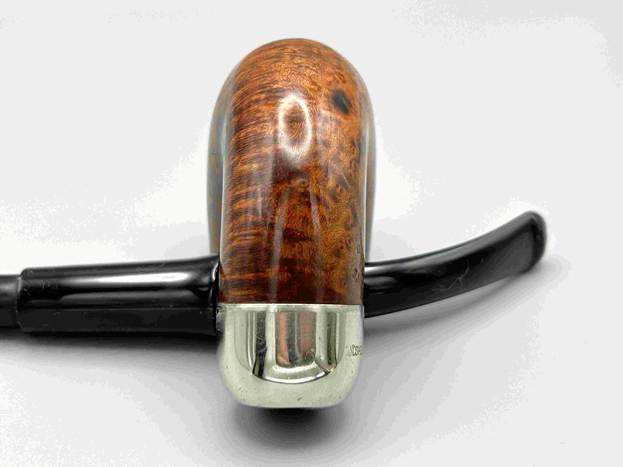
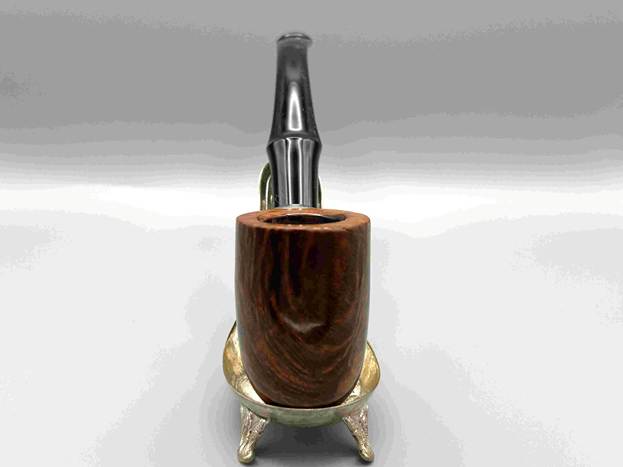
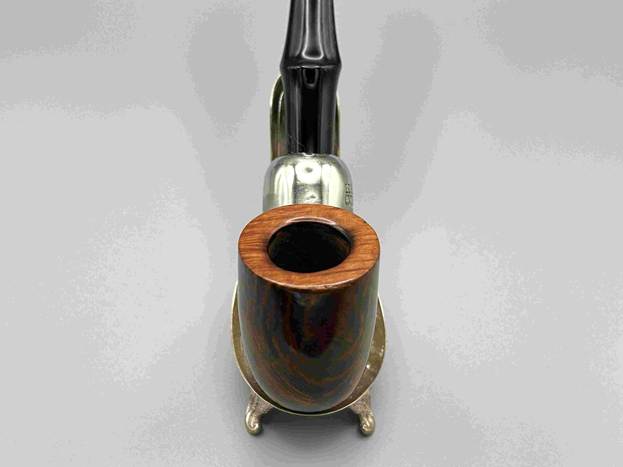
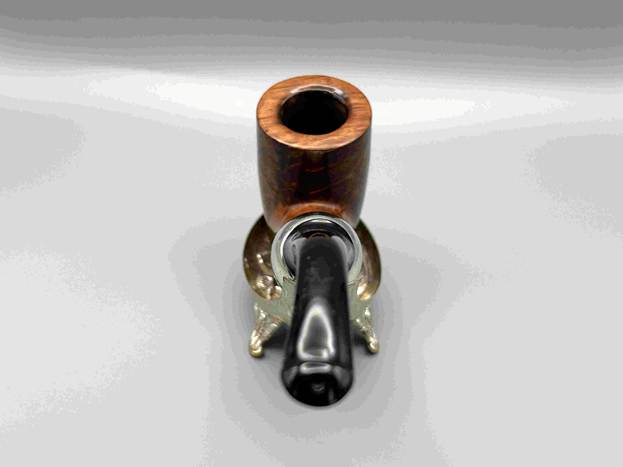
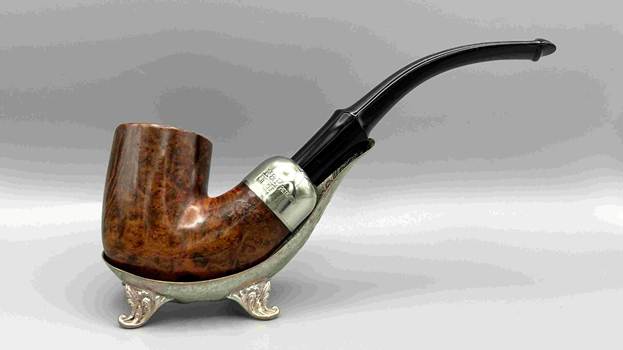
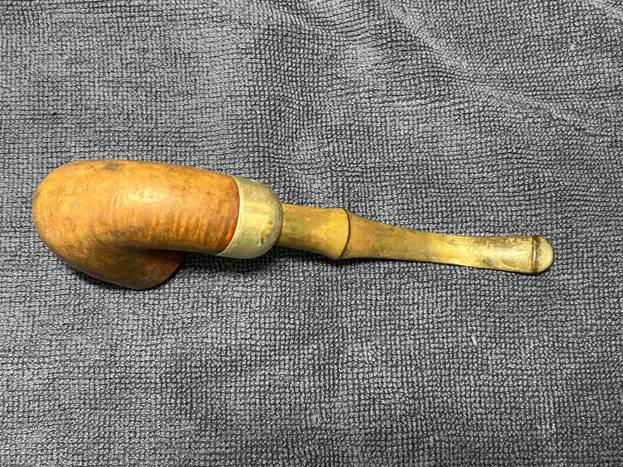
Next up is a pipe that I acquired from a local gentleman – and it is the classic Pete. This is a republic-era Peterson System Standard 1309 bent billiard. The smooth finish on it is really attractive and satisfying. Naturally, the stem has the time-honoured Peterson P-lip. The 1309 is exactly the same pipe as the 309 – the initial ‘1’ simply indicates that it was made for the Canadian market. Otherwise, they are identical.
This Pete has had a rough-and-tumble life. It has seemingly been through a few wars. This will be an interesting restoration, as it involves many different techniques. It’s definitely worth reading through this pipe’s journey – it was a hard row to hoe.
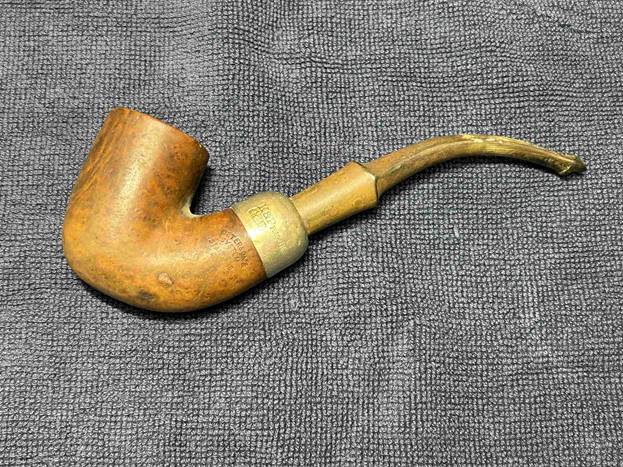
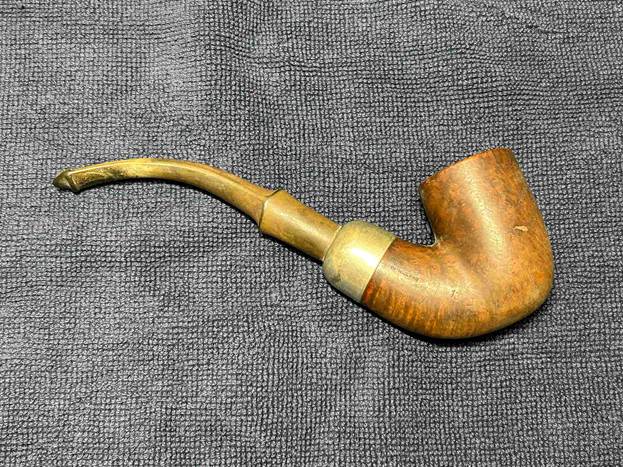
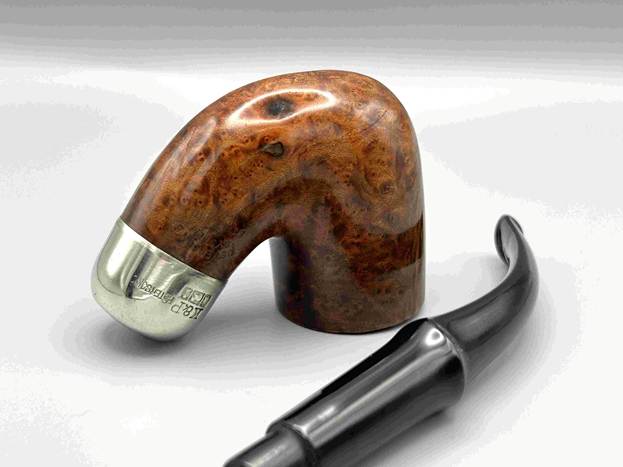
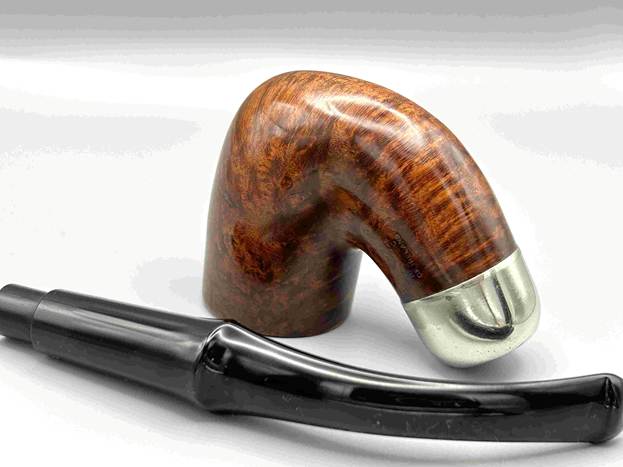
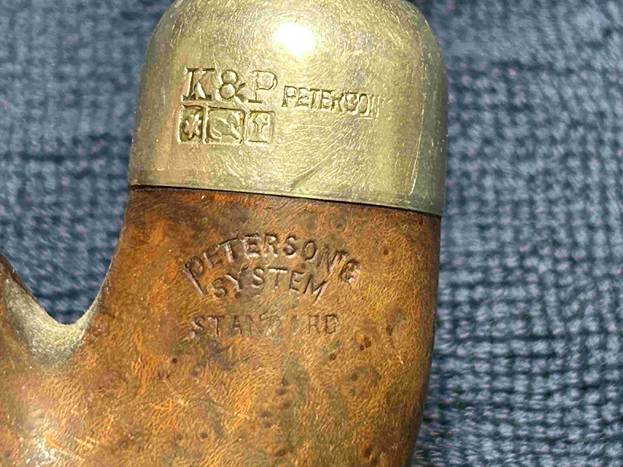
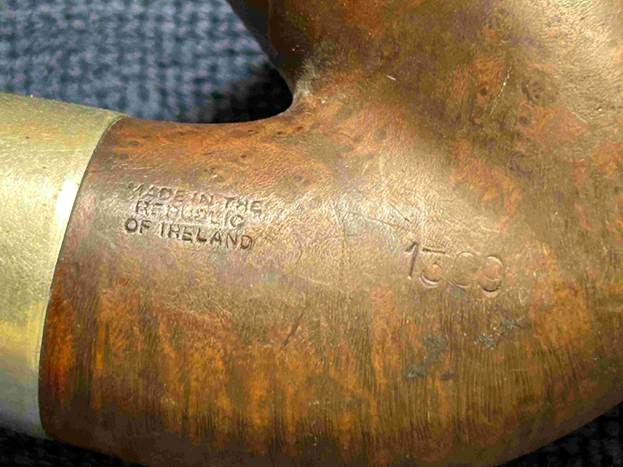
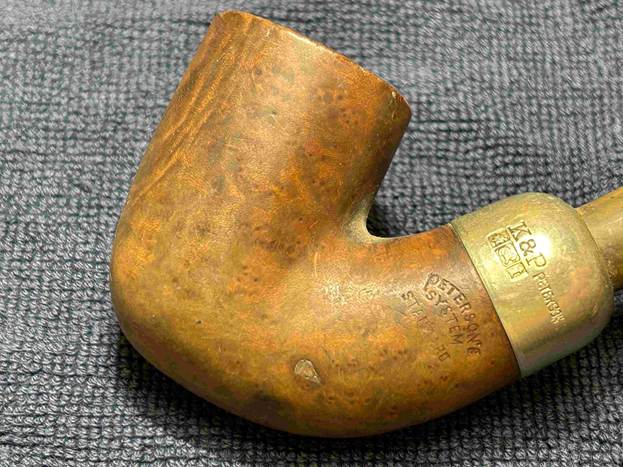
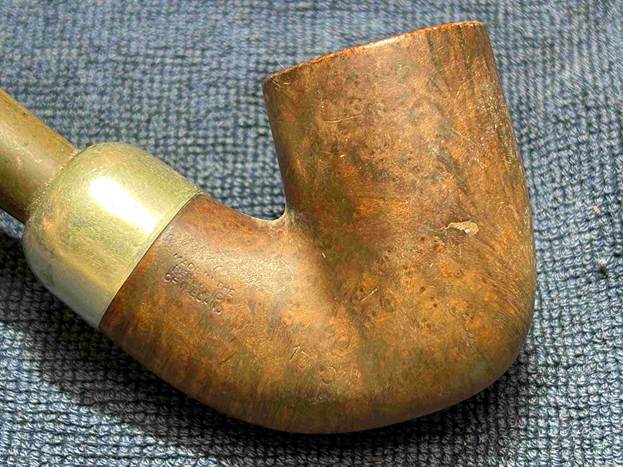
Looking on the left side of the stummel, we can see the marks. First, we have Peterson’s [over] System [over] Standard. On the right of the stummel we see Made in the [over] Republic [over] of Ireland. Then the shape number 1309. On the nickel ferrule, there are more marks. K&P [over] the symbols (not hallmarks) of a shamrock, a lion and a standing figure. Next to that is the name Peterson’s.
The Peterson website provides some great information, specifically about the 309 shape, and I quote it here:
Introduced in 1896, this large straight-sided Billiard (also known as the large Dutch Billiard) was among our first System pipes and remains among our most recognizable shapes. It’s the pipe smoked by Basil Rathbone in 12 of his Sherlock Holmes films and beautifully represents Peterson history from the first days of the patents. It is iconically, quintessentially Peterson.
They also included a good paragraph on the Peterson system itself:
In 1890, after 15 years of handling and repairing pipes while working for the Kapps, Charles Peterson secured a patent in his own name, titled “A certain new and useful improvement in Tobacco-Pipes,” which introduced a unique system comprised of a higher draft hole and a moisture reservoir bored into the shank and transition of a briar pipe. Over the next eight years, Charles continued to refine his System, applying for and securing patents for a graduated bore mouthpiece (1891), and a unique button design known today as the P-Lip (1894-1898). Designed to wick moisture away from the smoke, reduce tongue bite, and increase the longevity of the pipe, Peterson’s complete System patent sparked a tradition of innovation, one we continue to uphold to this day. The System Pipe is the invisible source behind our unique House Style: our pipes’ muscular shanks and transitions, tubular profile, and generous bends. Our overall shaping style has a distinctly antique form because it has remained largely unchanged for over 120 years.
Steve and I have written about the Peterson System many times in many blogs. The Peterson System pipes are well storied among Peterson collectors/admirers. I took the opportunity to read the article on Pipedia, specifically about the System pipes, by Jim Lilley. There is a lot of good information and I encourage you to read it here.
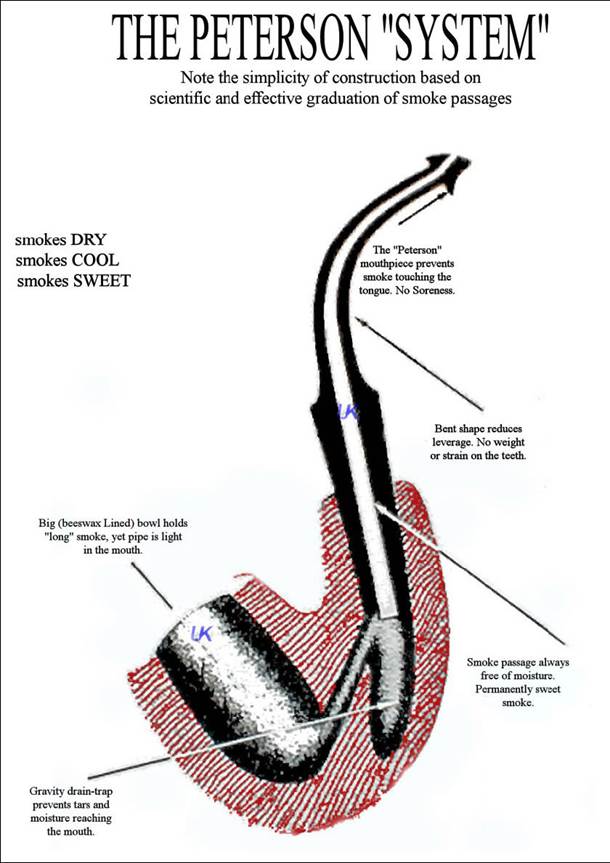
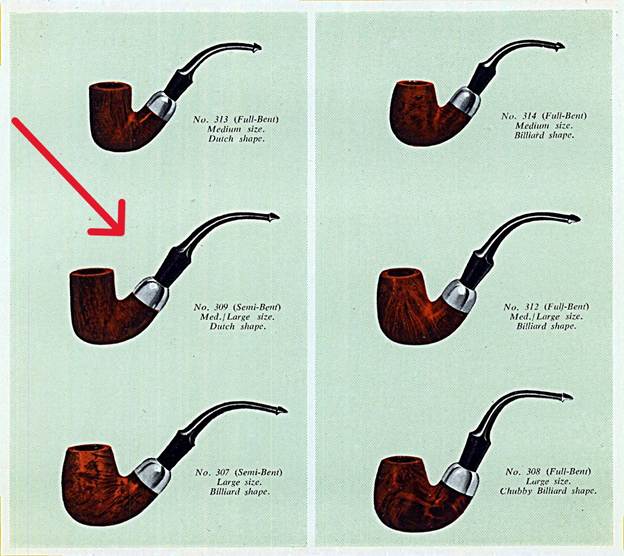
As usual, I owe a debt of gratitude to Mark Irwin of Peterson Pipe Notes. He has a very interesting article on the various System shapes and I highly recommend having a look here. In fact, regarding the 309, he says this: ‘As I’ve said many times, for me this is the Peterson shape.’ Here is a photo from his page:
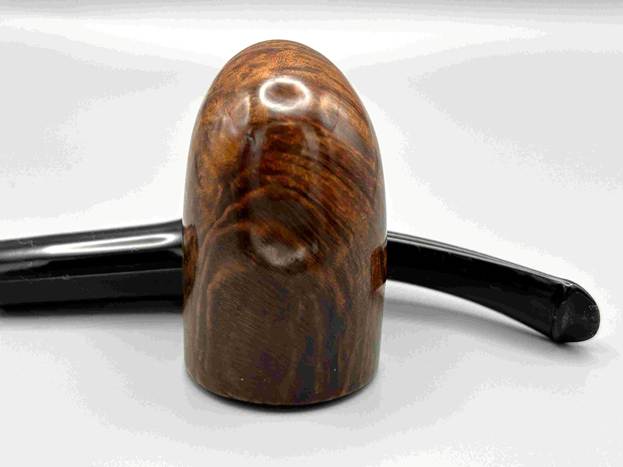
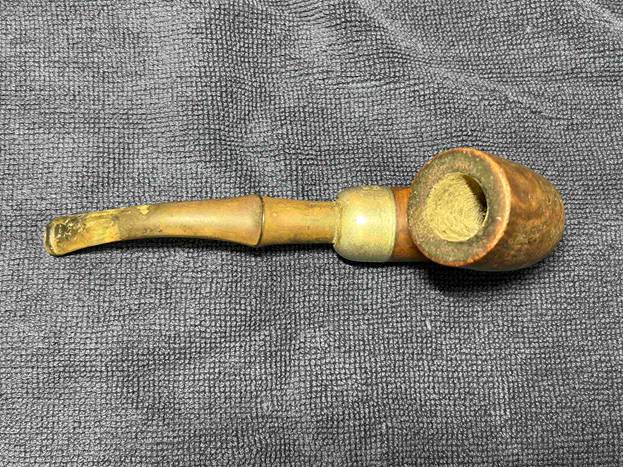
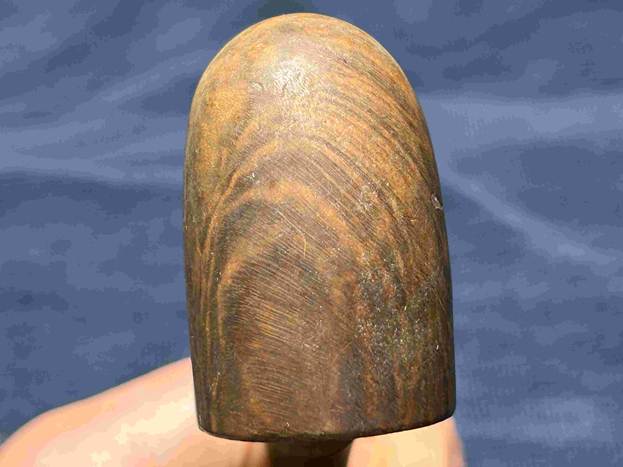
On to the pipe itself. It appears to be in rough shape and pretty darn dirty. The stem has tooth marks and dents, and tons of oxidation and calcification. There’s a lot of cake inside the bowl, and some charring to the rim. The outside shows two significant fills and one small burn spot. I’ve got my work cut out for me.
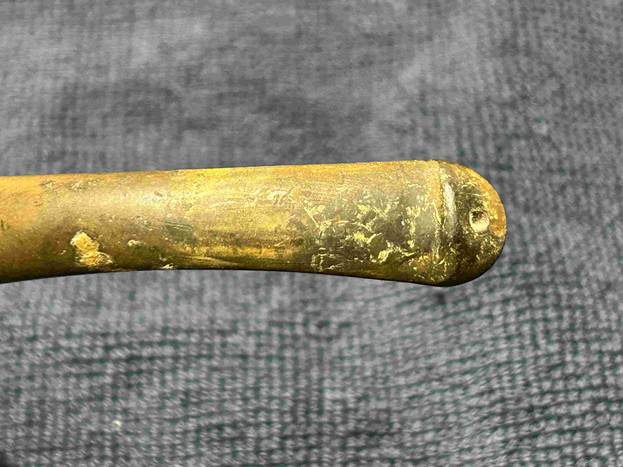
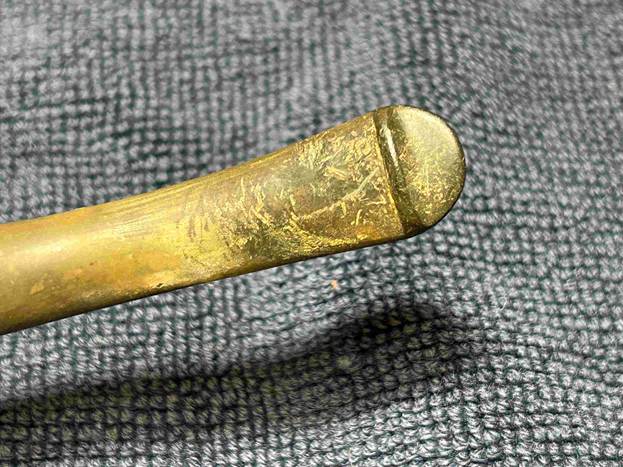

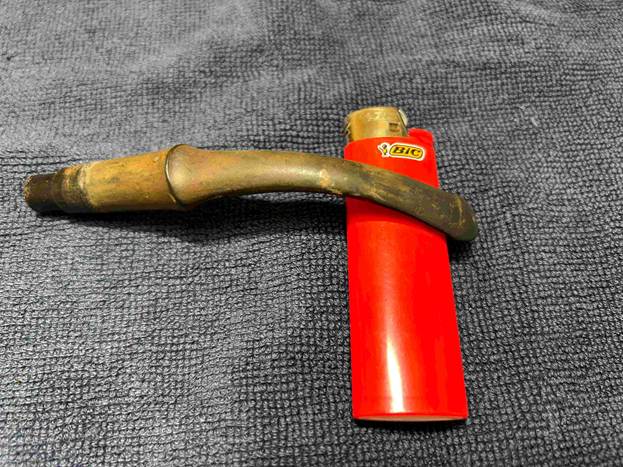
I used a disposable lighter and ‘painted’ the stem with its flame. The gentle heat of the flame can cause the dents in the vulcanite of the stem to expand back into shape. In this case, I got some movement – and that was satisfying.
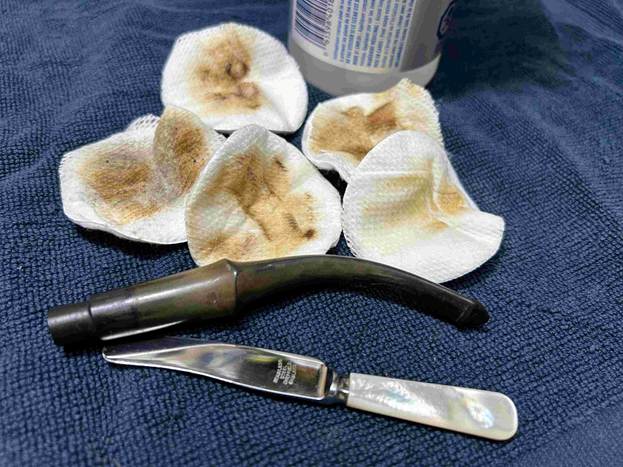
The stem’s calcification was quite substantial. I used an old butter knife and gently scraped some of the thicker accretion off. Doing this now helps later in removing the oxidation. I used isopropyl alcohol on a few cotton rounds and wiped down the stem to provide an initial cleaning of filth before moving on to the next steps.
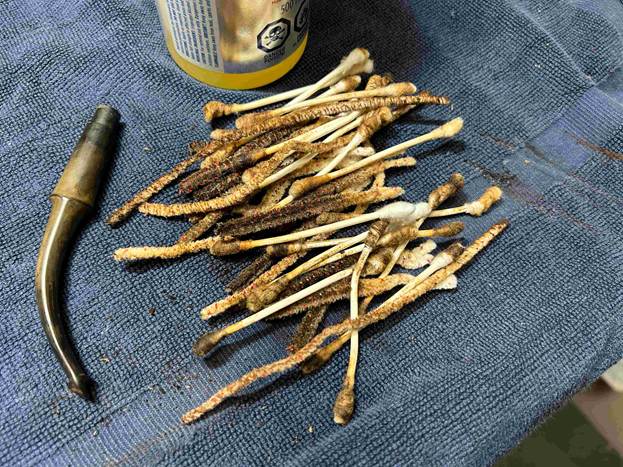
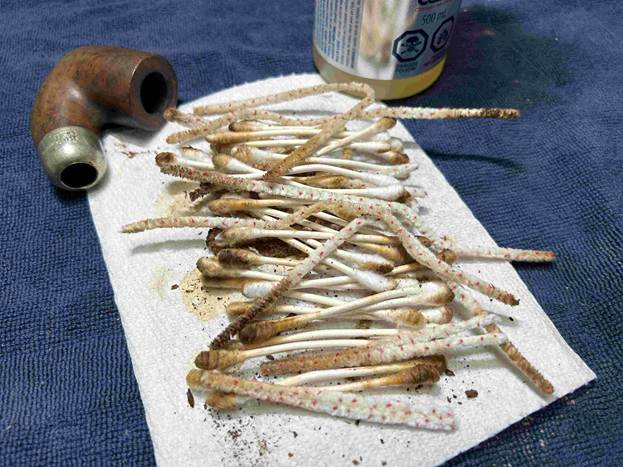
The primary cleaning came next. I disinfected the inside of the stem with both pipe cleaners and cotton swabs dipped in lemon-infused 99% isopropyl alcohol. I scrubbed thoroughly to make sure the interior was very clean. I used zillions of pipe cleaners and cotton swabs. The photos just don’t do it justice
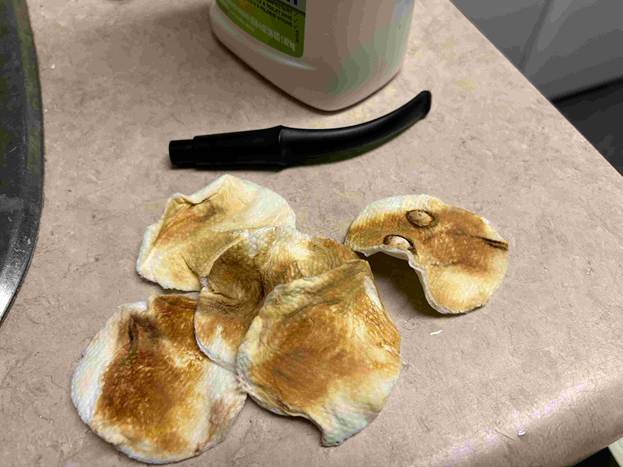
The goal of the next step is the removal (or minimization) of oxidation. Going to my sink, I used cream cleanser, cotton rounds, and a toothbrush, and scoured the stem to remove as much surface oxidation as possible. As the photos show, the result was a hideous, ochre-coloured mess – but better off the stem than on it.
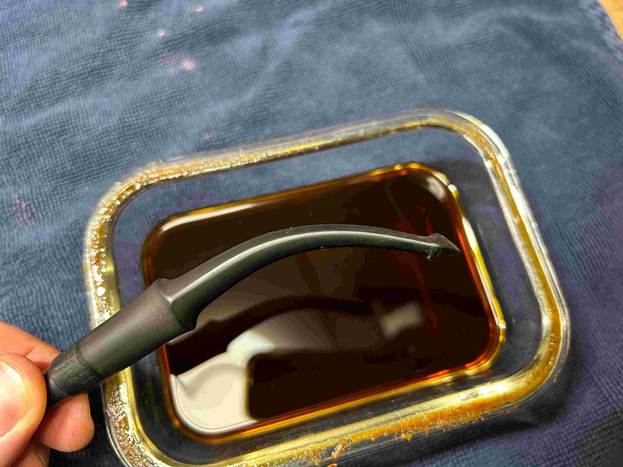
Once the stem was reasonably clean, I soaked it overnight in some Briarville Stem Oxidation Remover. This solution works to draw oxidation in the stem to the surface of the vulcanite. This is a major aid and an important step in ensuring a clean stem. The following day, I drew out the stem from its bath and scrubbed the lingering fluid with a toothbrush. Due to the severity of the oxidation, I then repeated the scrubbing with the cream cleanser for maximum effect.
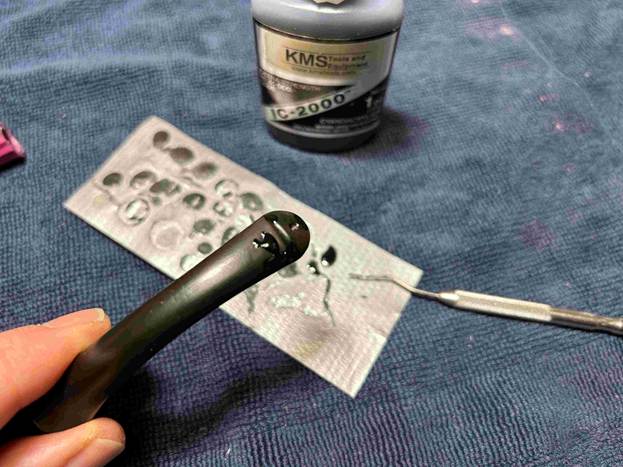
As the stem was now clean and dry, I set about fixing the marks and dents in the vulcanite. This was done by filling those divots with black cyanoacrylate adhesive, impregnated with carbon and rubber. I left this to cure and moved on.
The penultimate step for the stem is sanding. First, with my set of needle files, I reduced the bulk of the cyanoacrylate repairs. I removed the excess adhesive as near to the surface as possible, without cutting into the vulcanite. Following that, I used all nine of the micromesh sanding pads (1,500 through 12,000 grit) to sand out flaws, even out the vulcanite, and provide gentle polishing of the finished surface. I also applied pipe-stem oil while using the last five micromesh pads. There was a wonderful, deep black shine to the stem when I was done.
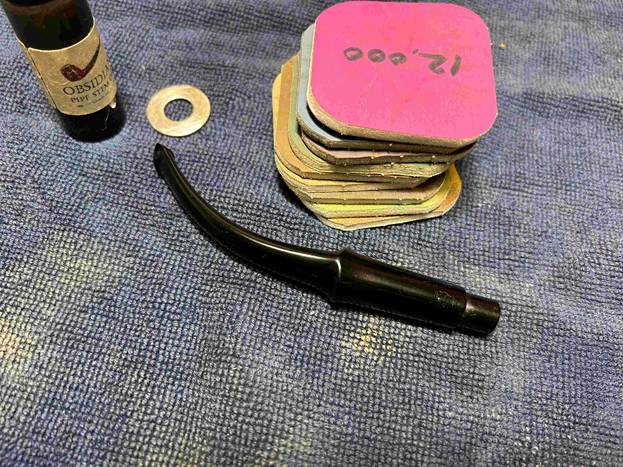
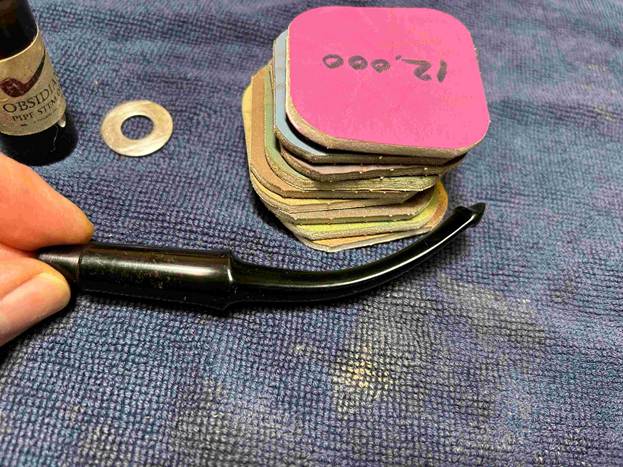
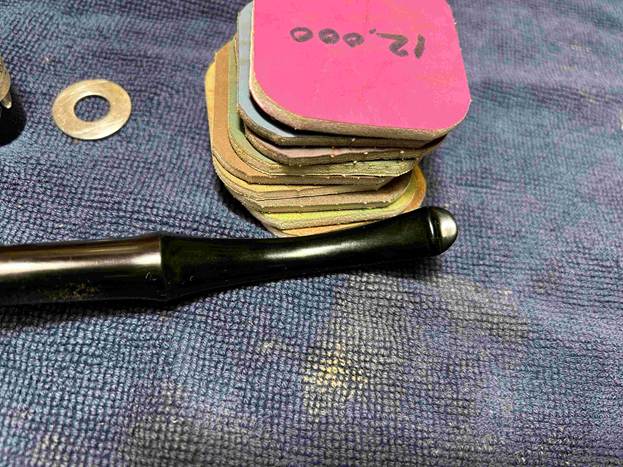
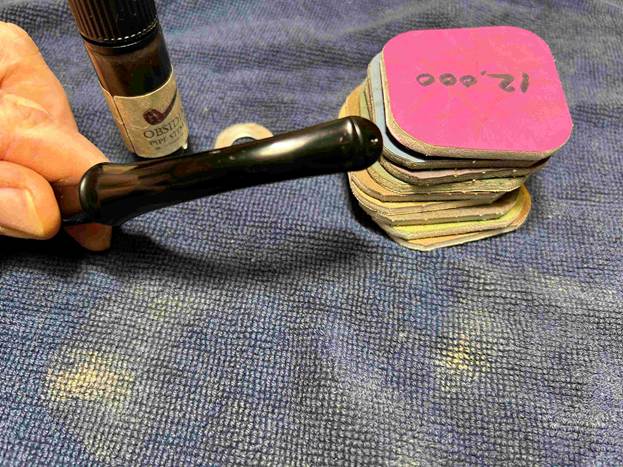
As the stem was (nearly) complete, I moved on to the stummel. The first step was to ream out the bowl – that is to say, remove all the cake inside the bowl. This accomplished a couple of things. First (and most obviously), it cleaned the bowl and provided a refurbished chamber for future smoking. Second, when the old cake was removed, I could inspect the interior walls of the bowl and determine if there was damage or not. I used a reamer, a pipe knife, and a piece of sandpaper taped to a wooden dowel. Collectively, these ensured that all the debris was removed – and there was so much.
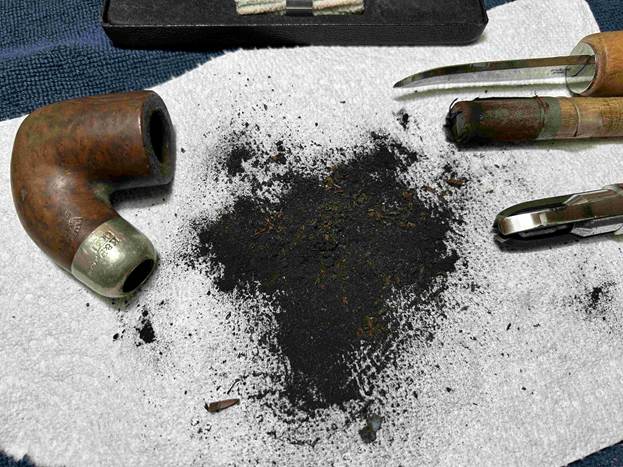
My next step was to remove the lava on the rim. For this, I took a piece of machine steel and gently scraped the lava away. The metal’s edge is sharp enough to remove what I need, but not so sharp that it damages the rim. That wasn’t really an issue since there was a lot of damage there already.
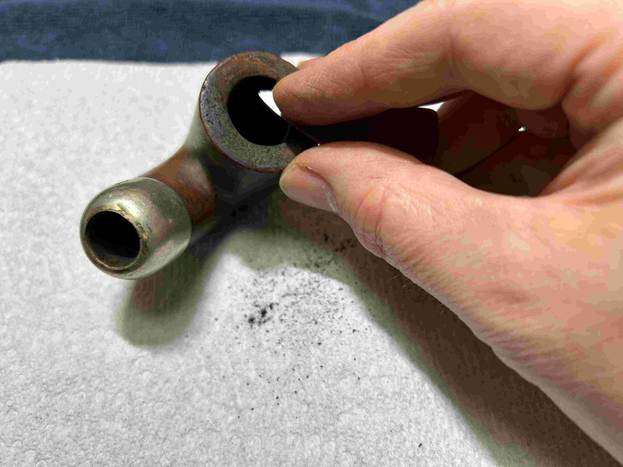
Similar to the stem, I then cleaned the stummel with both pipe cleaners and cotton swabs dipped in lemon-infused 99% isopropyl alcohol. With a pipe this dirty, it took quite a while and much cotton to clean. I can’t quite communicate to you just how dirty this pipe was.
I then decided to ‘de-ghost’ the pipe – that is to say, exorcize the remaining filth from the briar. I filled the bowl and the shank with cotton balls, then saturated them with 99% isopropyl alcohol. I let the stummel sit overnight. This caused the remaining oils, tars and smells to leach out into the cotton.
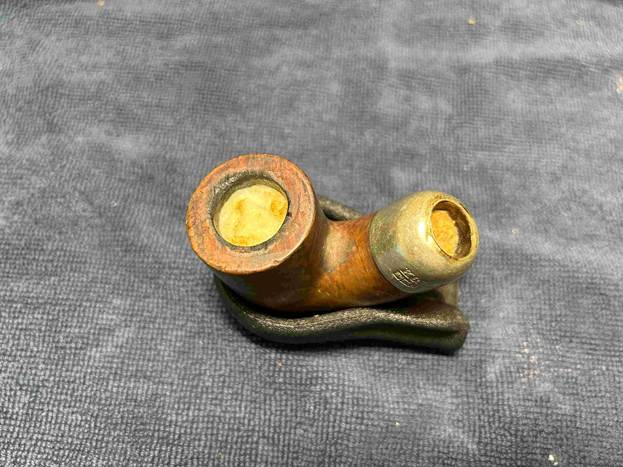
To tidy up the briar, I wiped down the outside, using a solution of a pH-neutral detergent and some distilled water, with cotton rounds. This did a good job of cleaning any latent dirt on the surface of the briar. The last step of the cleaning process was to scour the inside of the stummel with the same mild detergent and tube brushes. This was the culmination of a lot of hard work in getting the pipe clean.
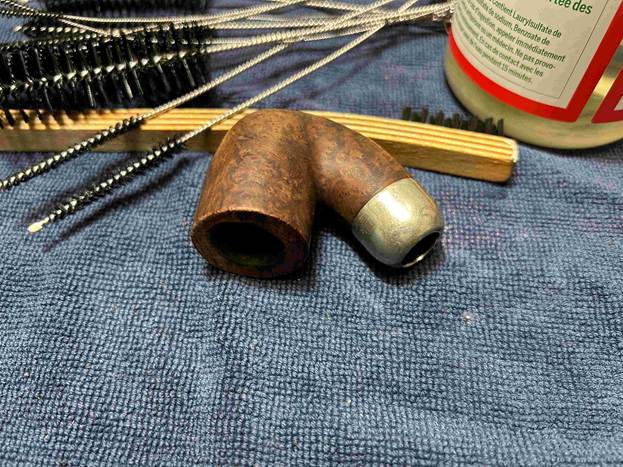
I then buffed the nickel ferrule with a couple of very gentle micromesh pads, then then buffed it with a jewellery cloth.
Time to deal with some other issues. As I previously mentioned, there were two fills and a burn to be addressed. I closely examined the fills. They were sound, but slightly depressed, relative to the wood. I delicately applied some clear cyanoacrylate to the fills to strengthen them and raise them to the level of the wood.
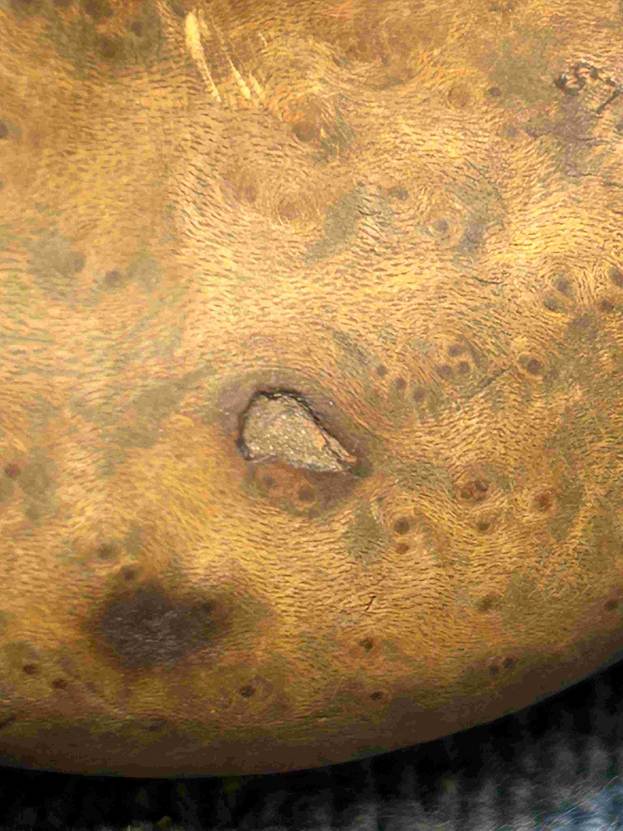
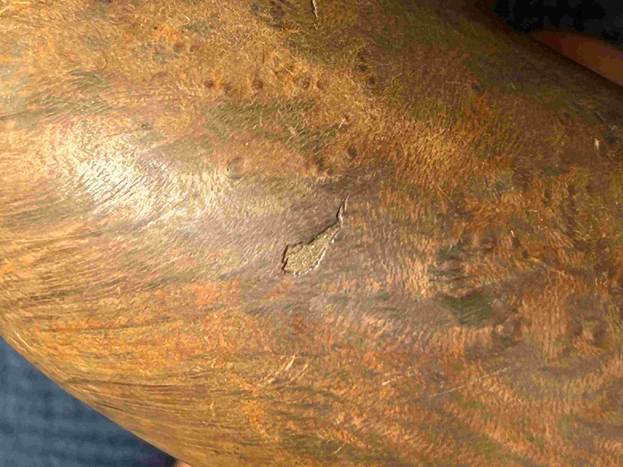
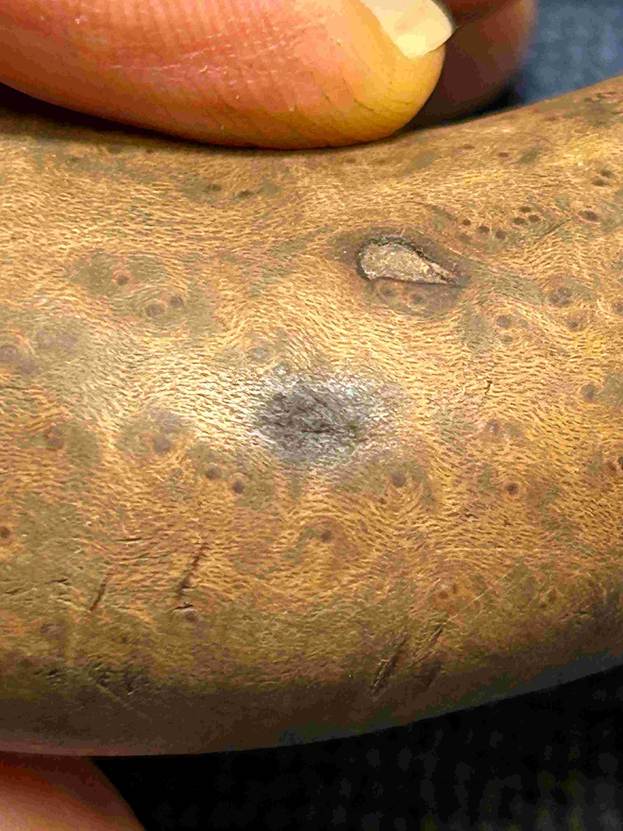
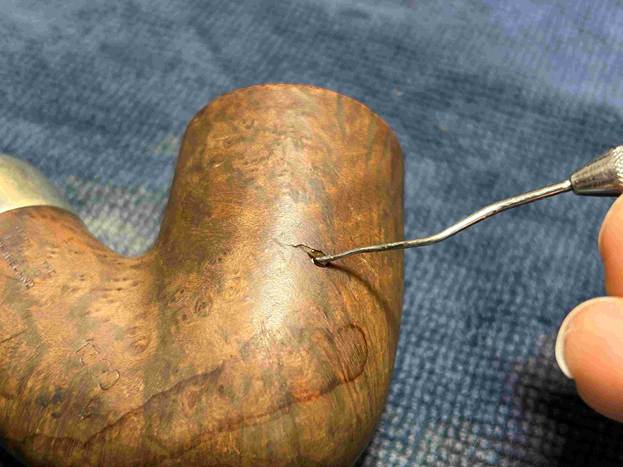
Now the burn. This also had a slight depression. I took some crystalized oxalic acid and dissolved it in warm water. I took some cotton swaps, dipped in the solution, and rubbed the burned spot vigorously. The weak acid works very nicely to alleviate superficial burns (where the integrity of the wood is still sound). This only worked so well and the burn spot remains – but it is part of the history and story of this old pipe.
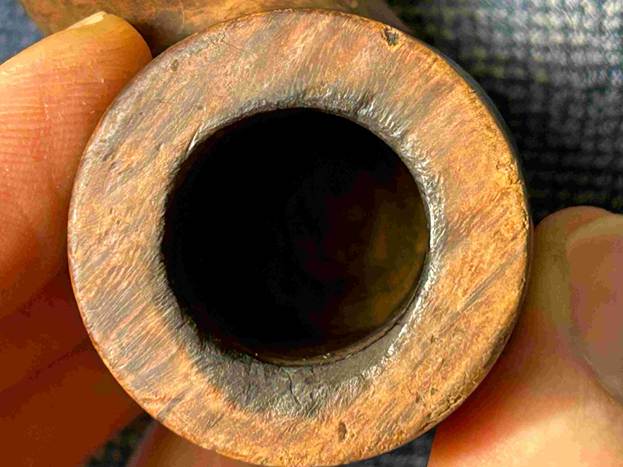
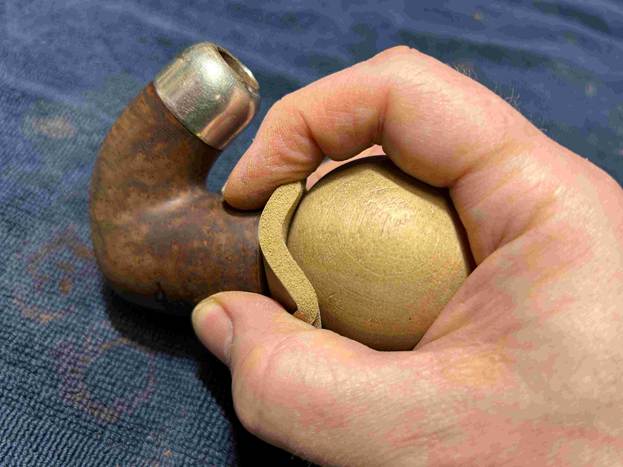
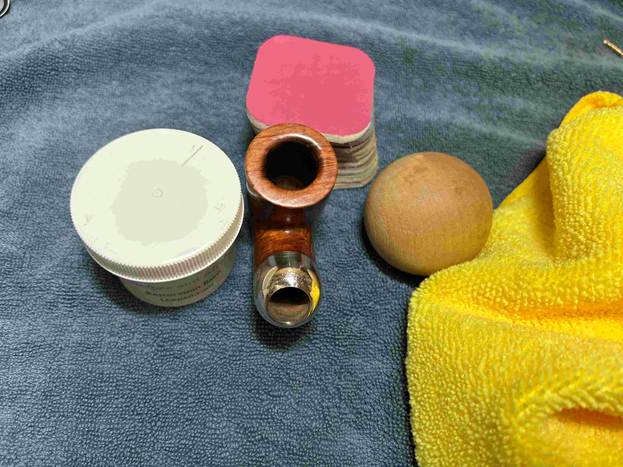
The damage to the rim was significant. In order to lessen the burns and nicks on the rim, I ‘topped’ the pipe – that is to say, I gently and evenly sanded the rim on a piece of 400-grit sandpaper. This effectively minimized the damage, without altering the look of the pipe. Then I took a solid wooden sphere, wrapped the micromesh pads around it, and lightly sanded the inner edge of the rim. This achieved two things: first, it removed some of the burn marks; and second (and more importantly), the circular shape and motion of the sphere gradually returned the edge to a perfect circle.
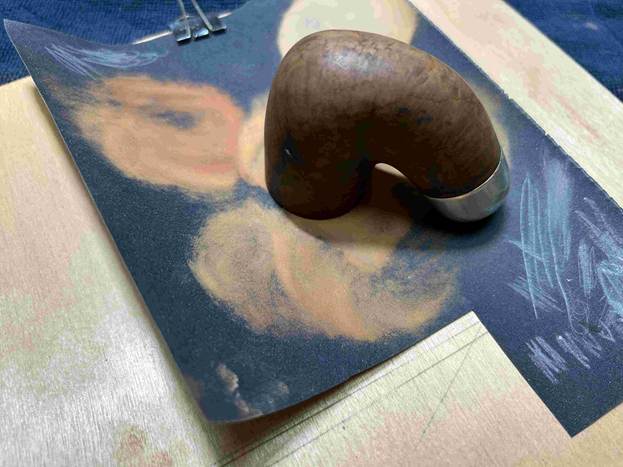
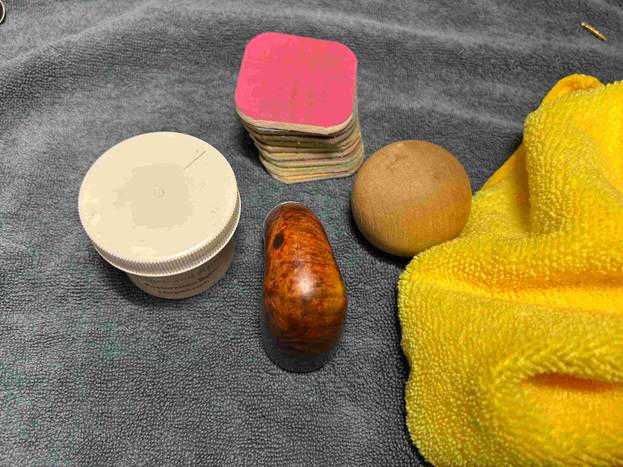
I rubbed some LBE Before & After Restoration Balm into the briar and let it sit for 30 minutes or so. The balm moisturizes the wood and gives a beautiful depth to the briar. I then buffed the stummel with a microfibre cloth. For the final step, I took the pipe to my bench polisher and carefully buffed it – first with a blue diamond compound, then with three coats of carnauba wax. This procedure makes the pipe look its best – the stummel sings and the stem glows.
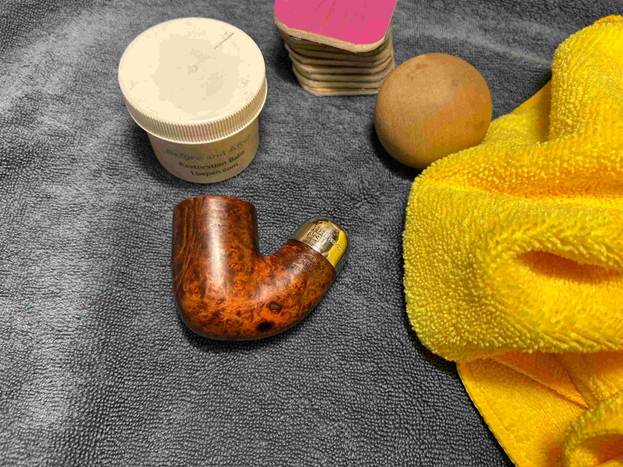
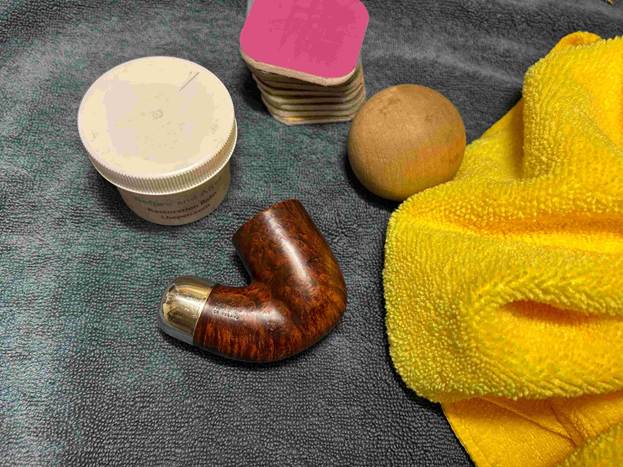
All done! This Peterson System Standard 1309 bent billiard looks fantastic again and is ready to be enjoyed by its next owner. I am pleased to announce that this pipe is for sale! If you are interested in acquiring it for your collection, please have a look in the ‘Irish’ section of the store here on Steve’s website. You can also email me directly at kenneth@knightsofthepipe.com. The approximate dimensions of the pipe are as follows: length 5¾ in. (147 mm); height 3⅛ in. (79 mm); bowl diameter 1⅓ in. (33 mm); chamber diameter ¾ in. (19 mm). The weight of the pipe is 1¾ oz. (52 g). I hope you enjoyed reading the story of this pipe’s restoration as much as I enjoyed restoring it. If you are interested in more of my work, please follow me here on Steve’s website or send me an email. Thank you very much for reading and, as always, I welcome and encourage your comments.