by Steve Laug
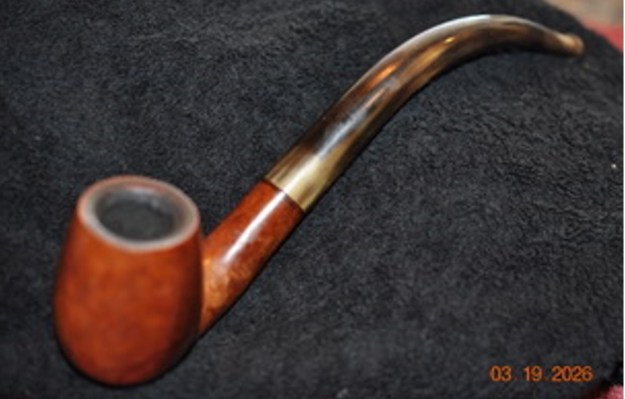
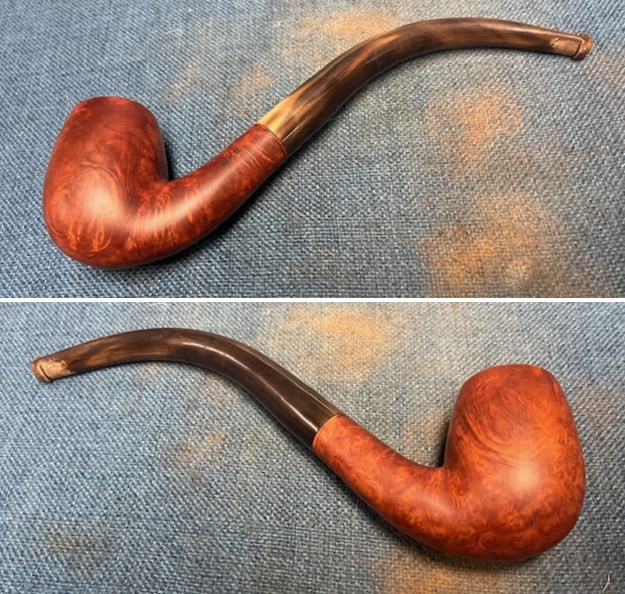
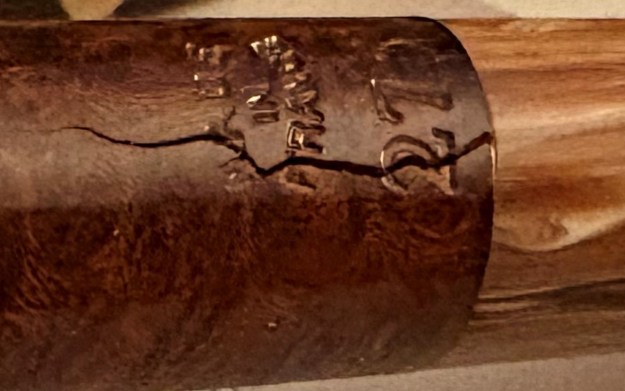
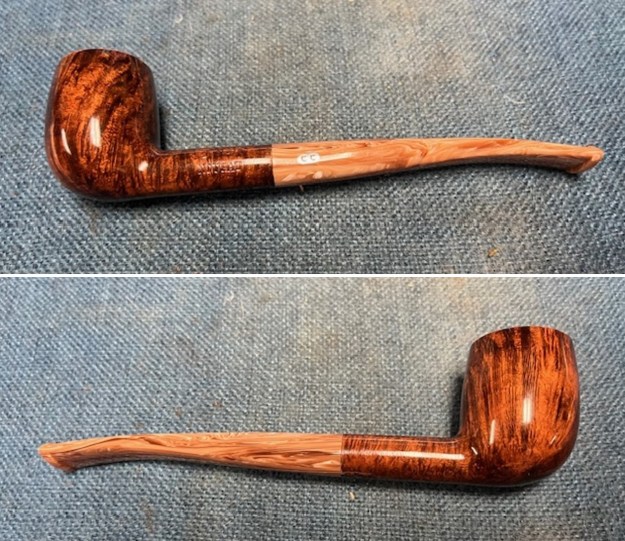
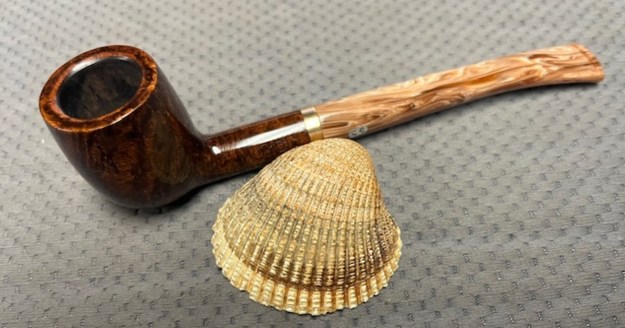
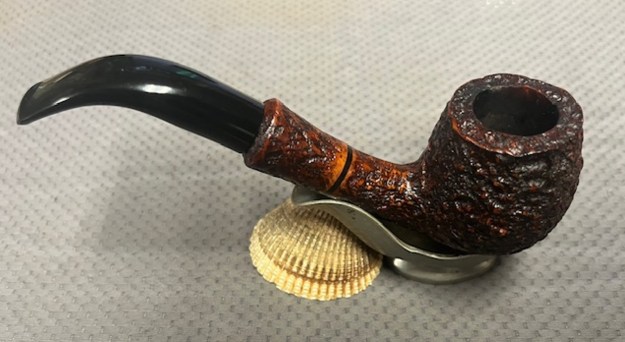
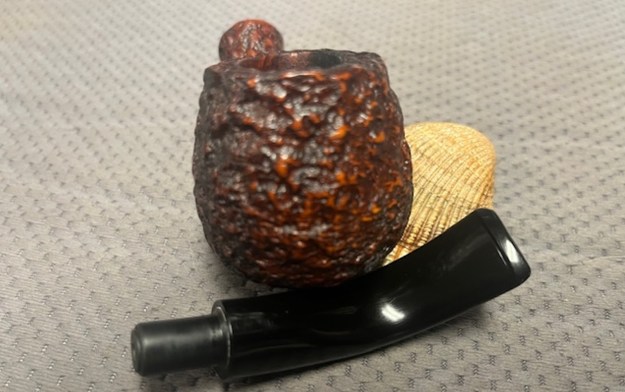
This particular rusticated Bent pipe was purchased on 01/20/2026 from a Facebook seller in Quaker Town, Pennsylvania, USA. It really is a beautiful, deeply rusticated Bent Brandy with thin black acrylic insert ahead of the shank end visible in the photos below. The deeply rusticated bowl is stained with a contrast of browns that give depth to the rustication. It is stamped on the left side of the shank on a smooth panel Fatte A Mano [over] Sumerler. At the right end of the smooth patch it is stamped Italy. The bowl had a moderate cake with an overflow of lava in the rusticated rim top – heavier toward the back of the bowl. There was grime ground into the finish which left the look quite dull. The bent acrylic stem has no logo stamped on the surface on either side of the stem. It had light tooth marks and chatter on both sides of the stem ahead of the button. Jeff took photos of the pipe before he started his work on it.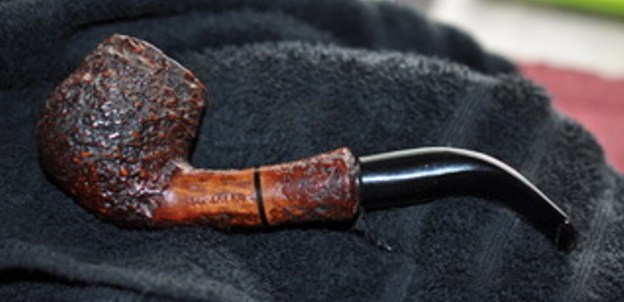
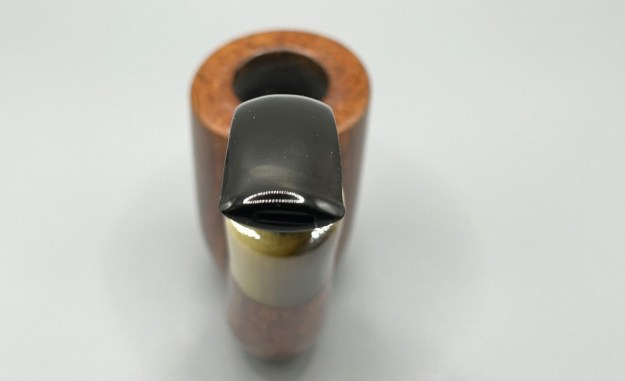
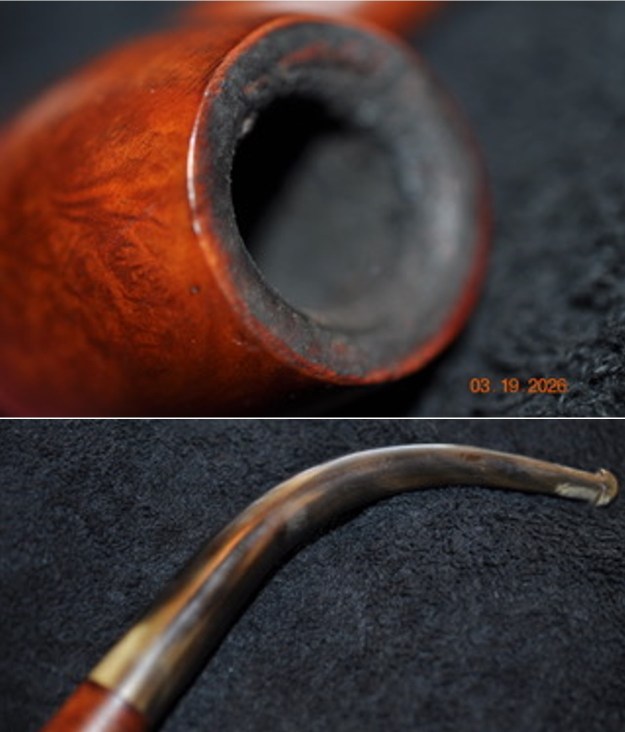
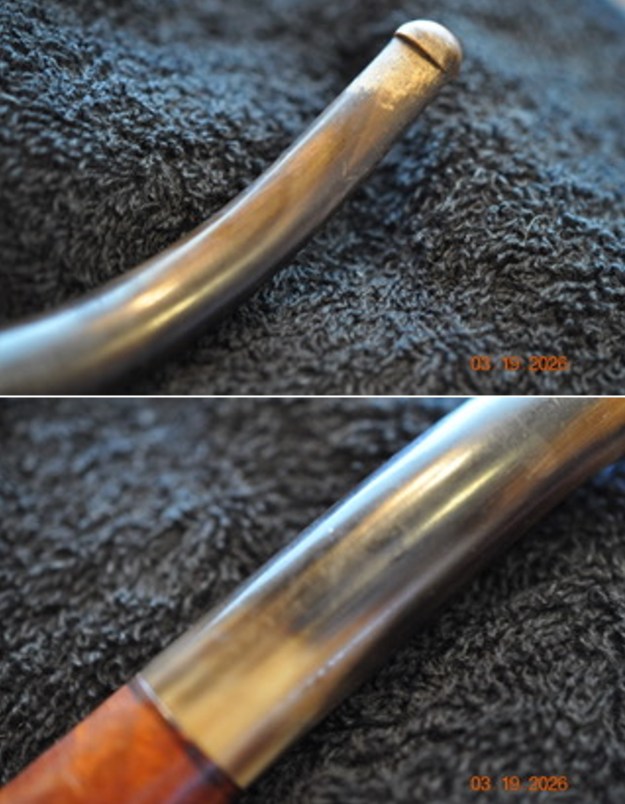
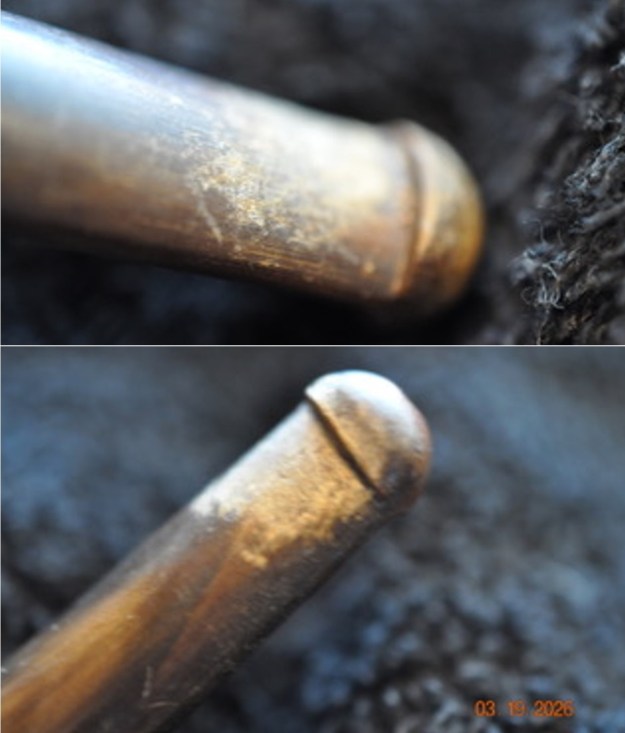
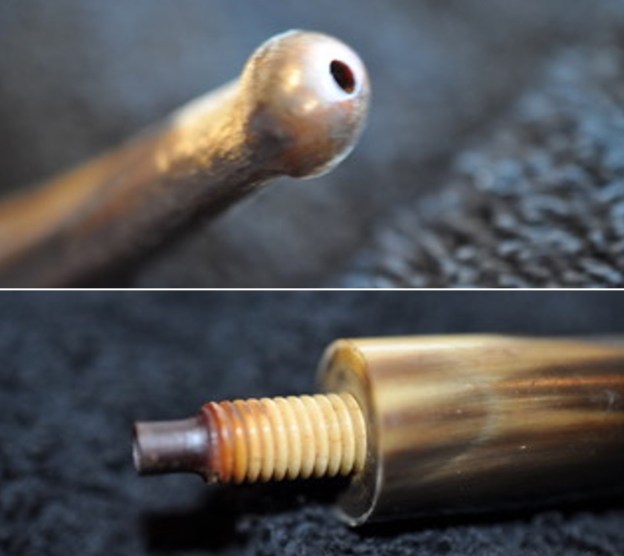
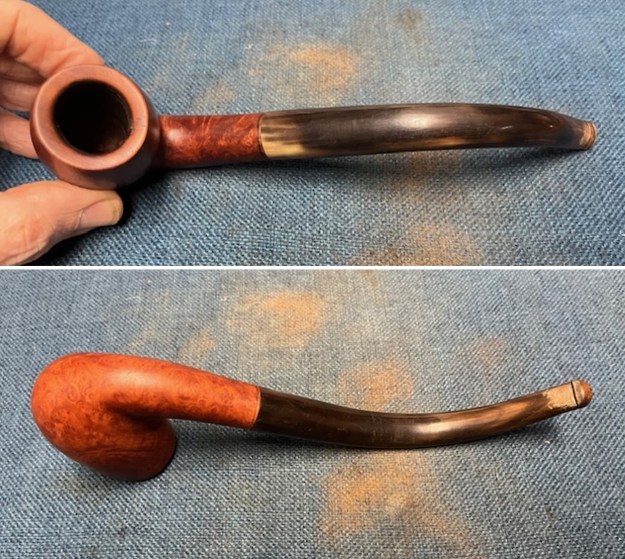
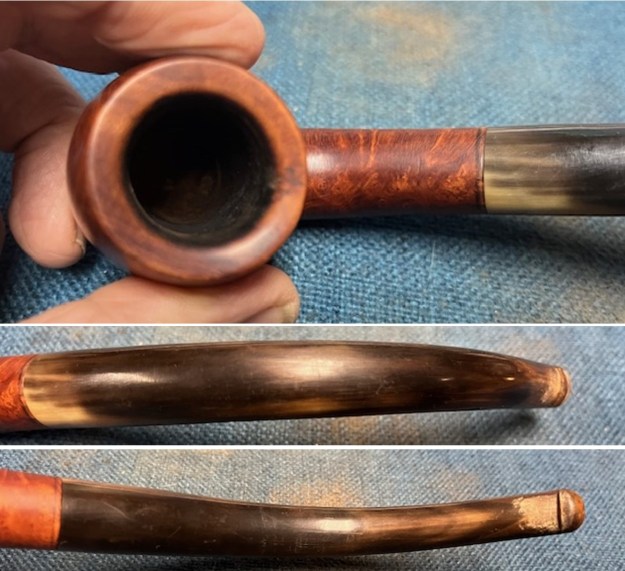
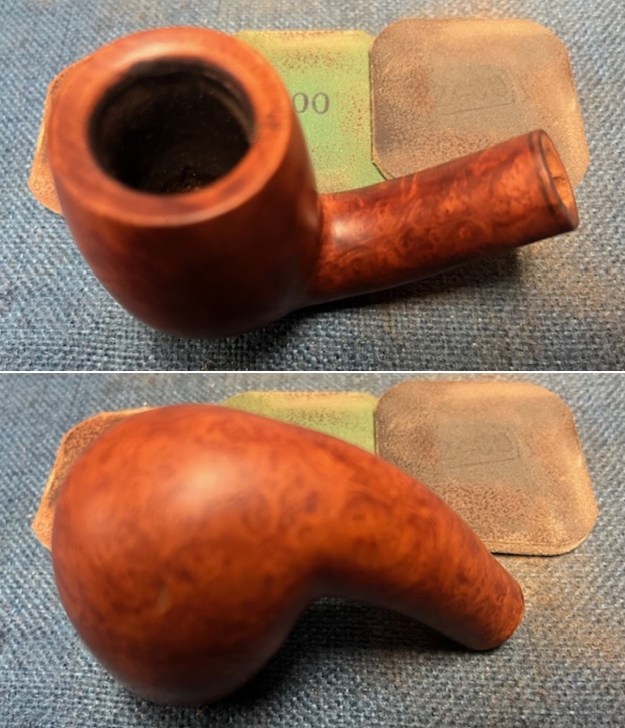
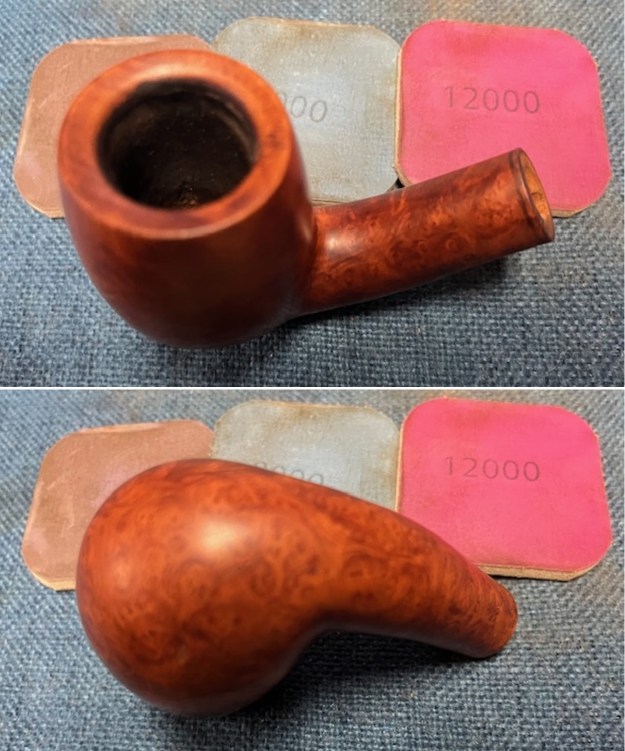
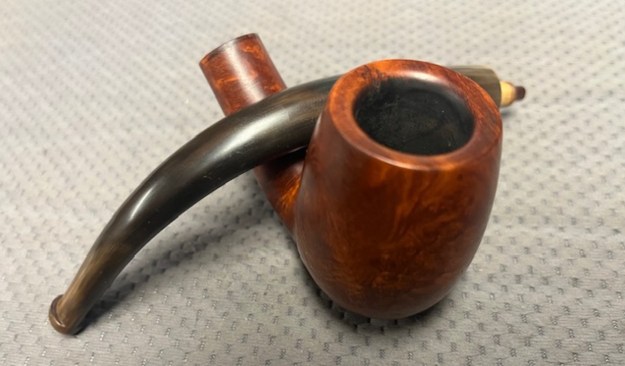
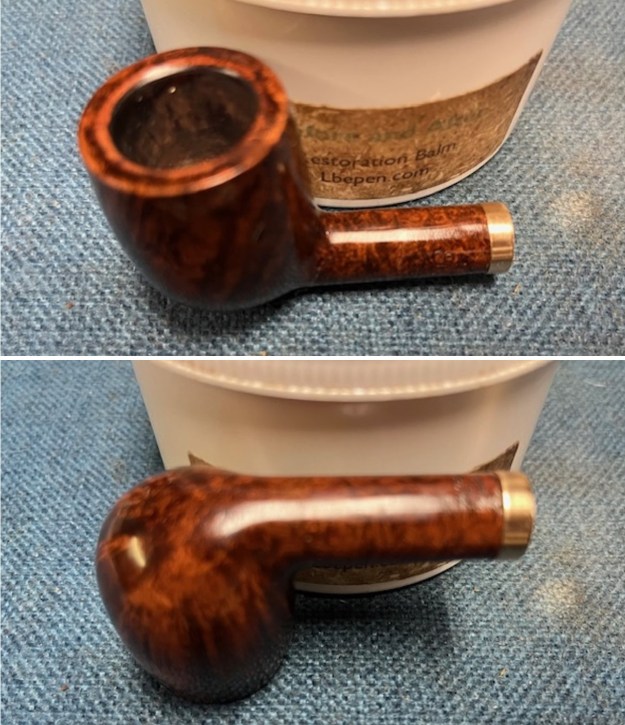
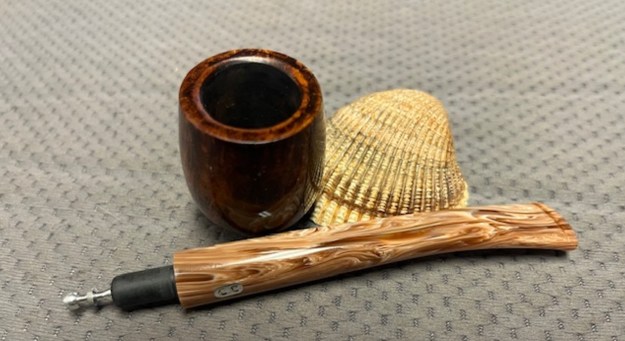
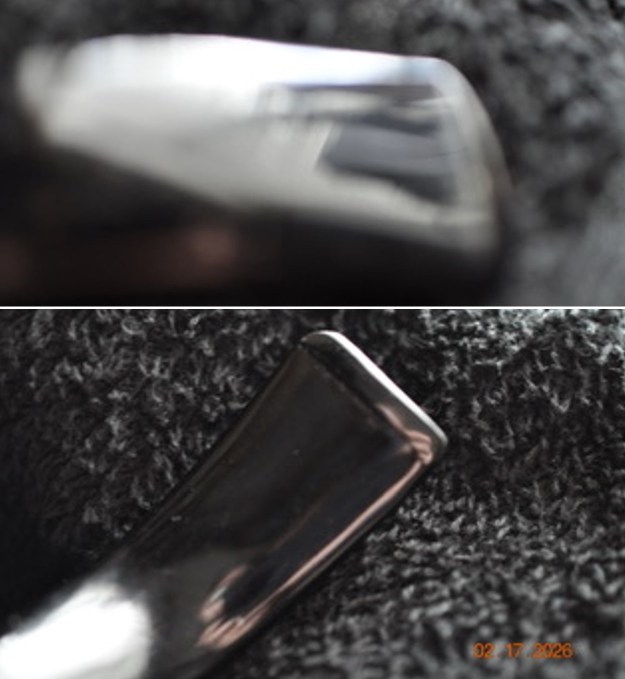
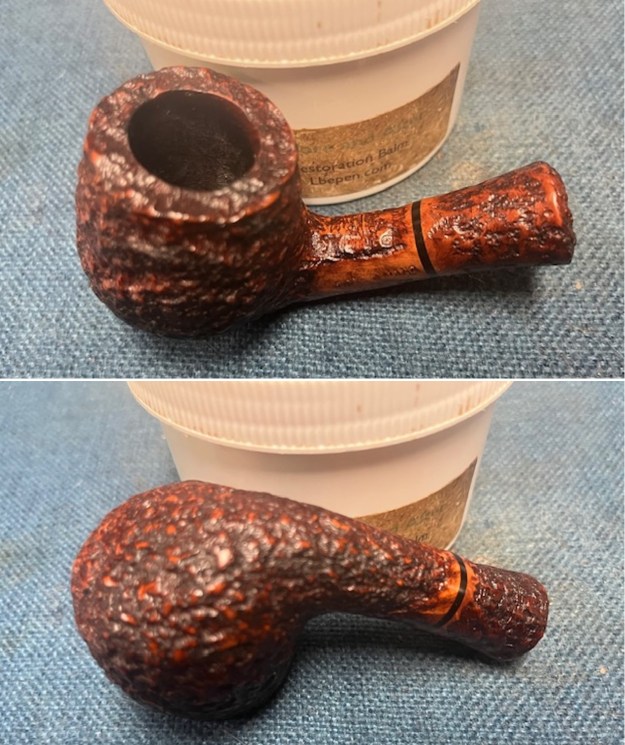
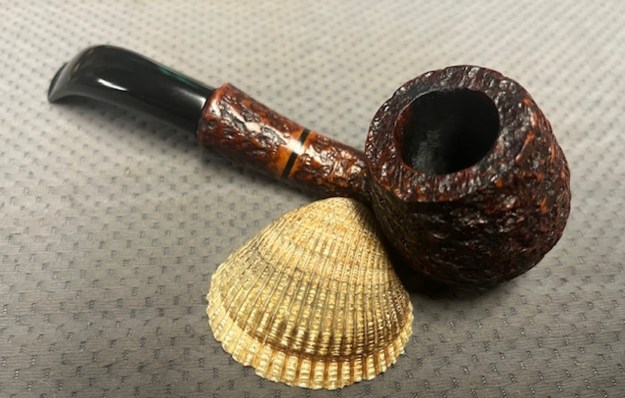
 He took photos of the rim top to show the condition of the top and edges of the bowl. It is dull and has the lava in the rusticated surface of the rim. It is uniquely a beautiful pipe. The stem had light tooth marks and chatter on both sides ahead of the button.
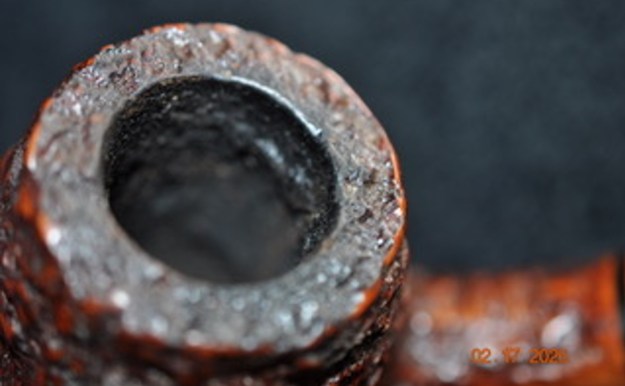
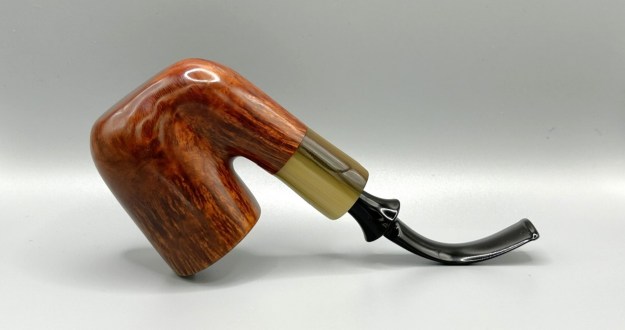
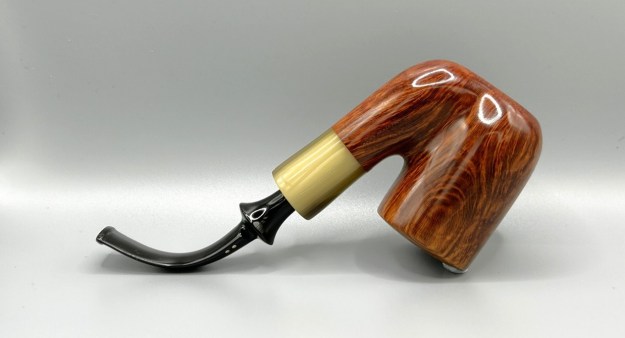
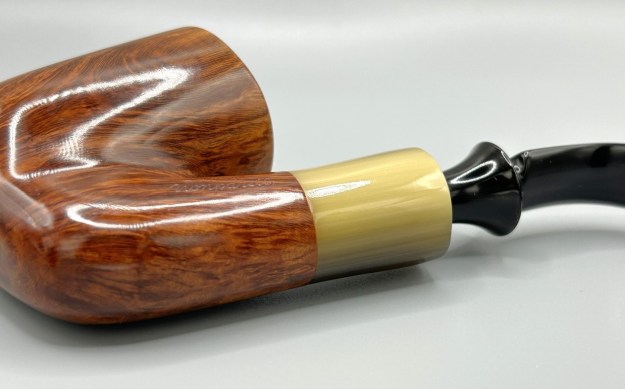
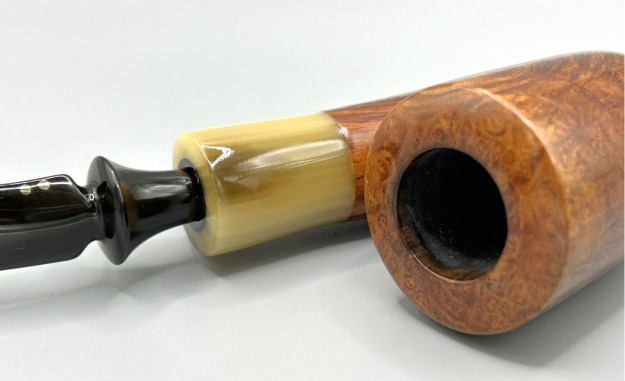
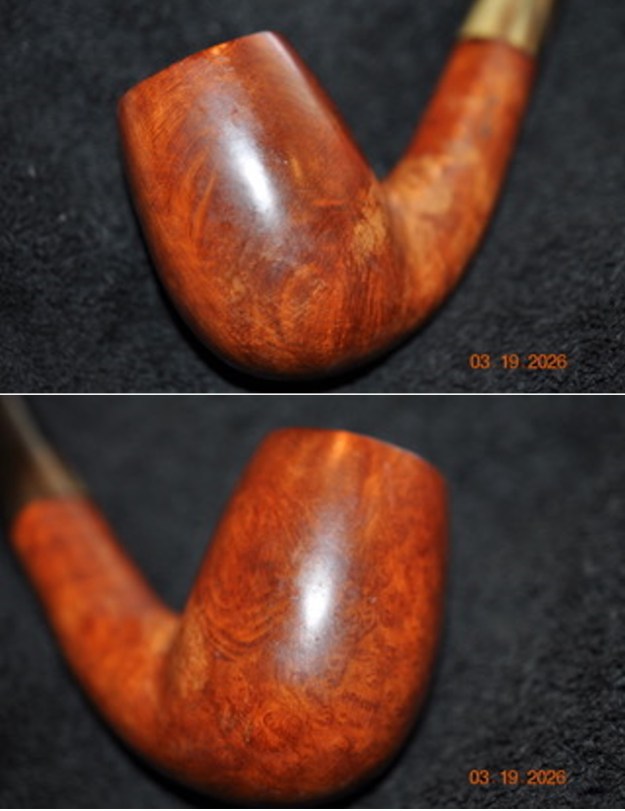
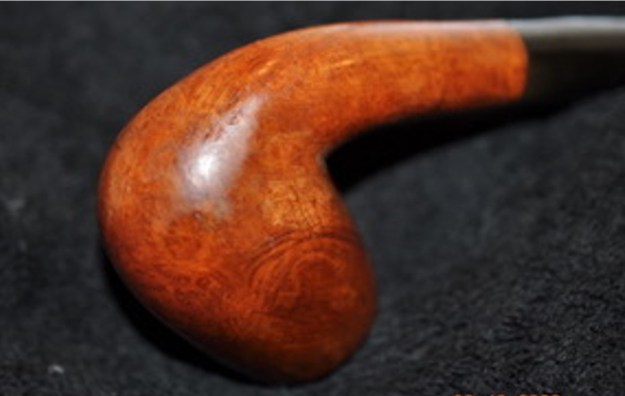
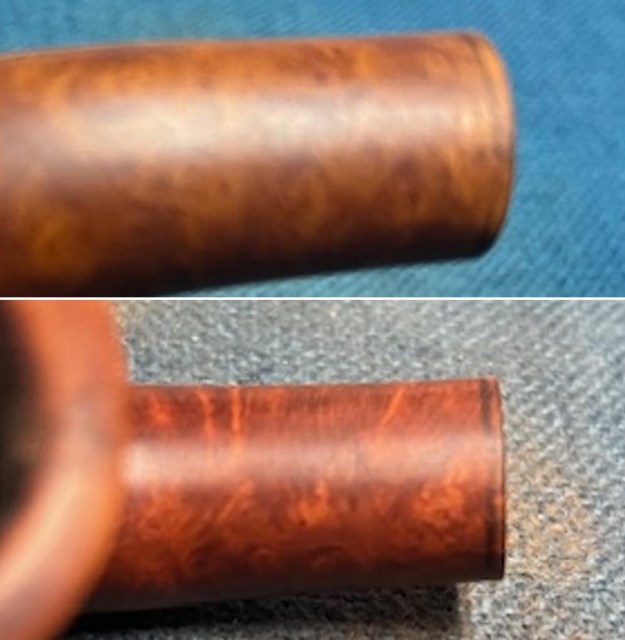
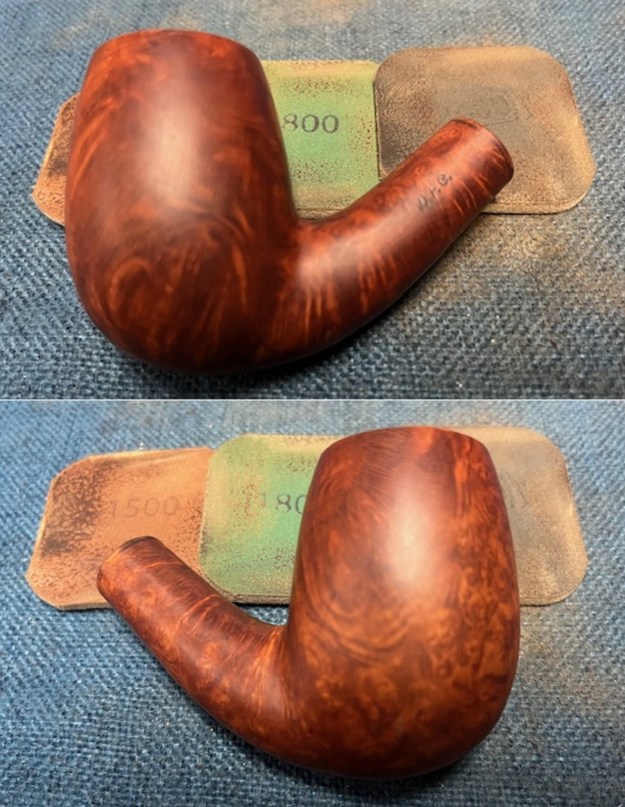
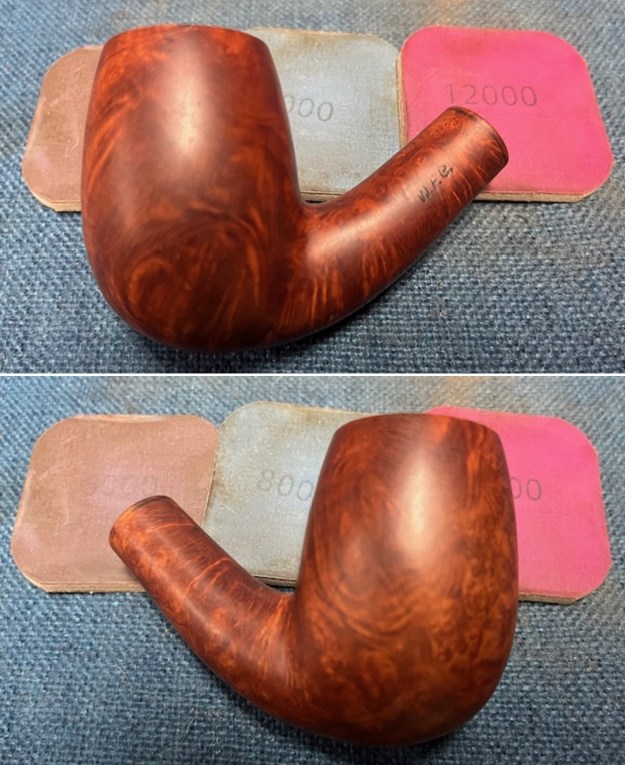
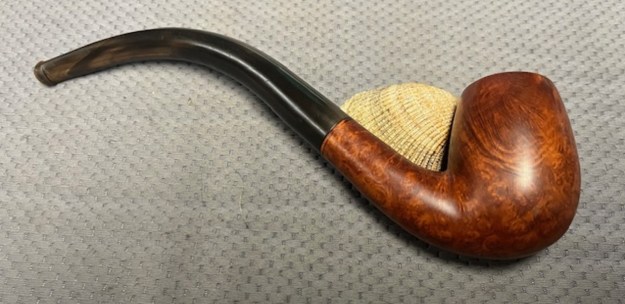
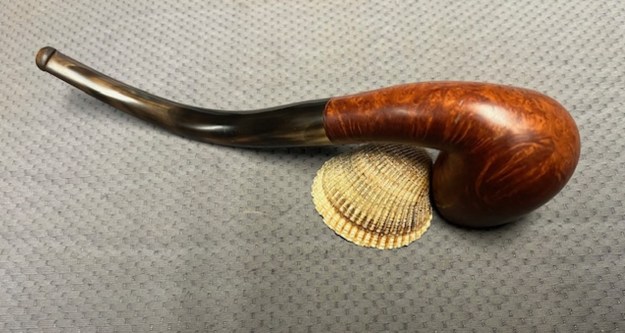
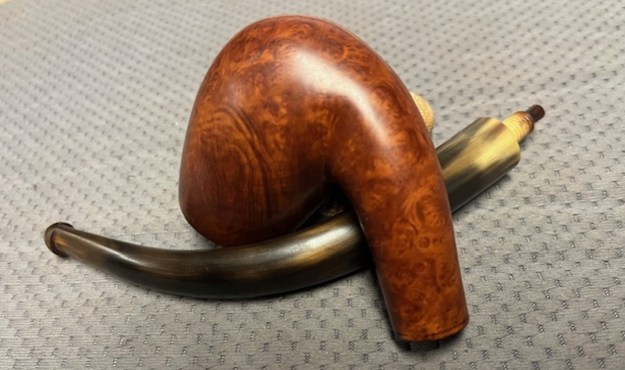
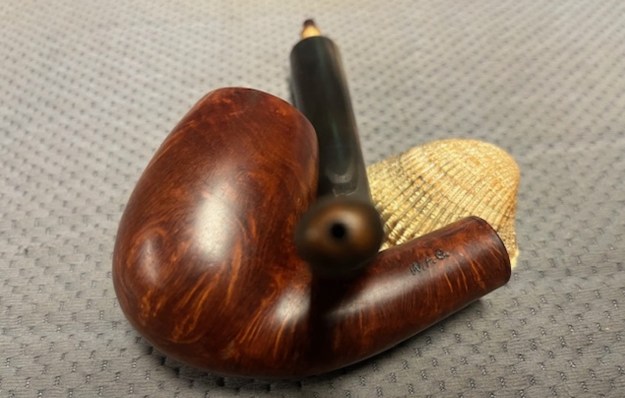
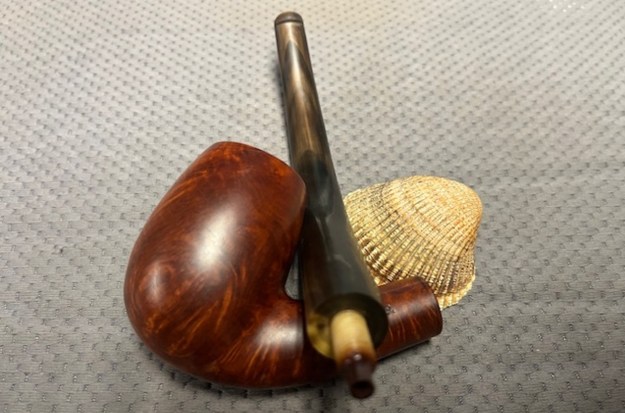
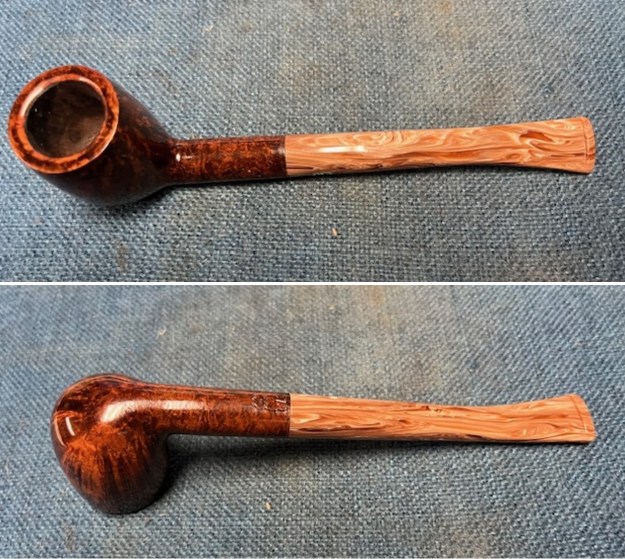
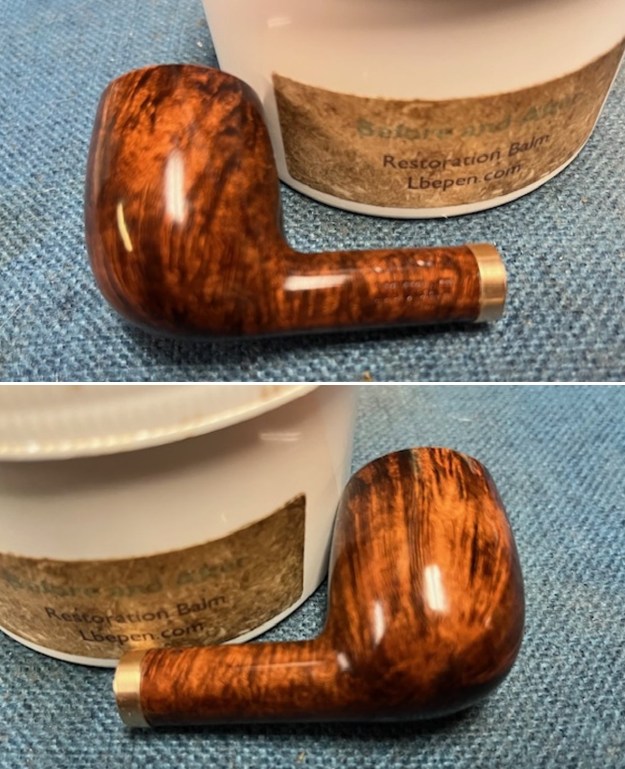
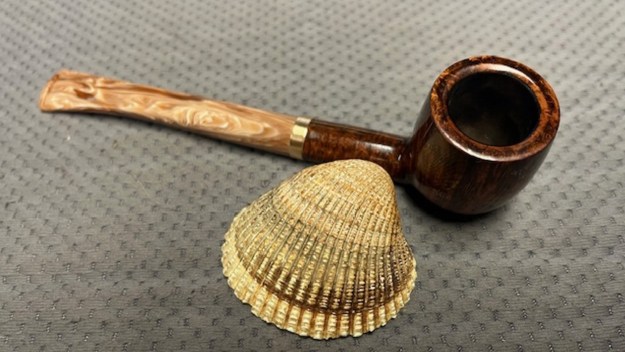
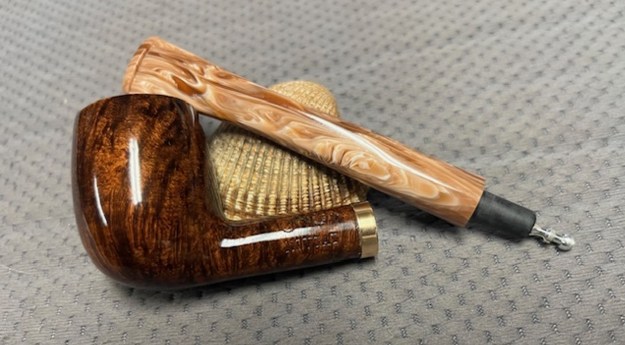
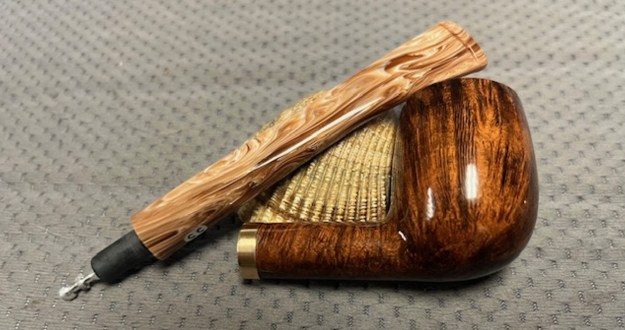
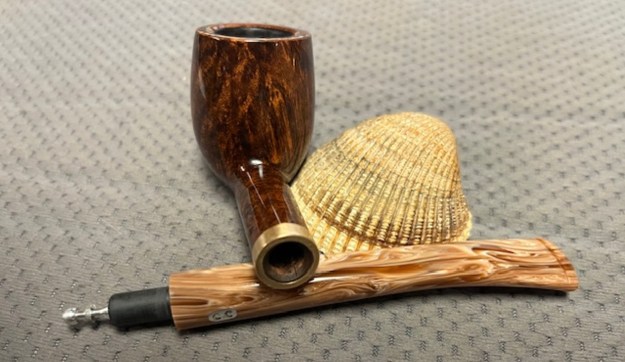
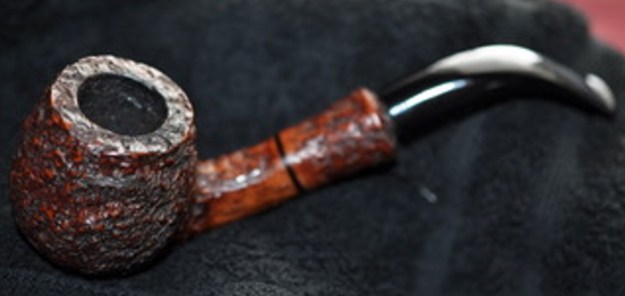
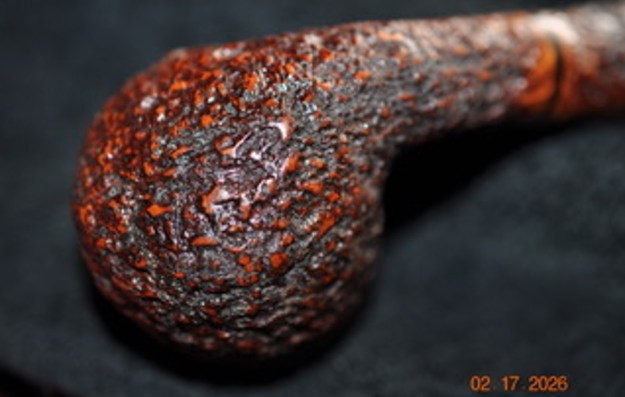
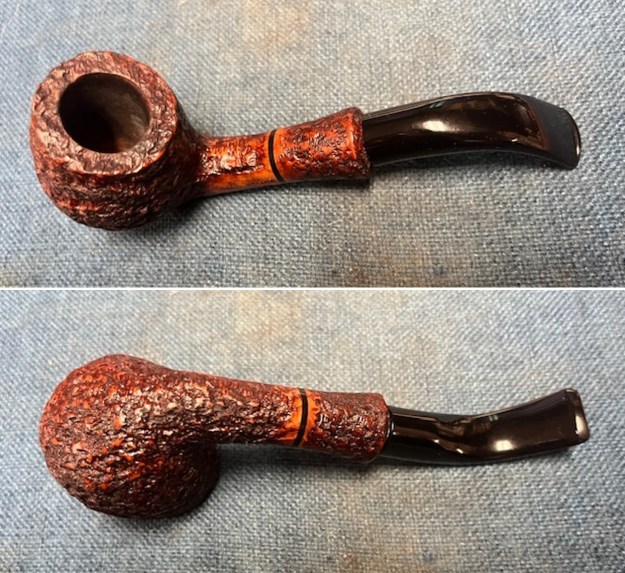
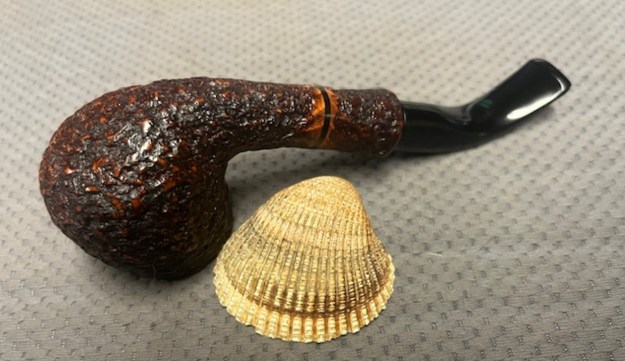
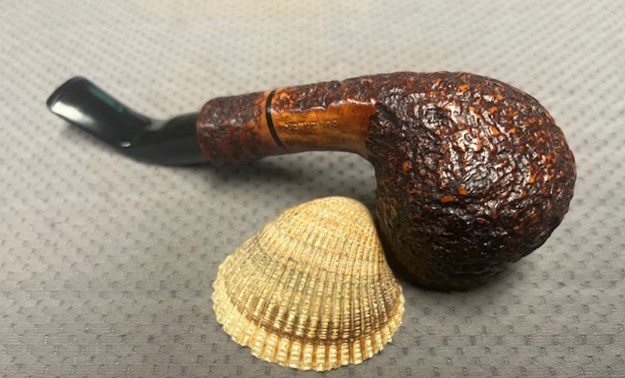
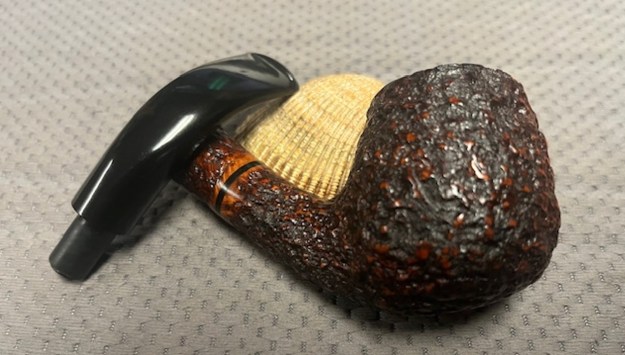
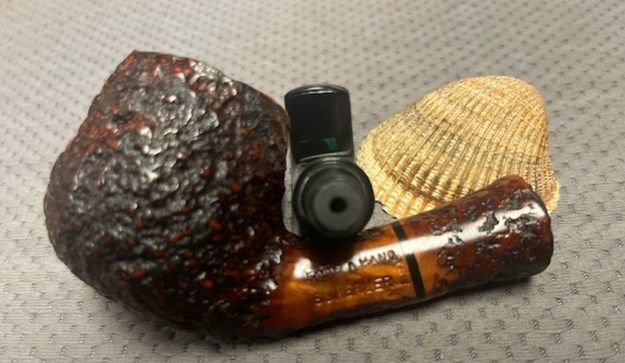
 He took photos of the sides and heel of the bowl to show the rusticated finish around the bowl and the condition of the pipe. You can see the grime ground into the surface of the briar. The black band inlaid on the shank is a great highlight in the briar of the shank.
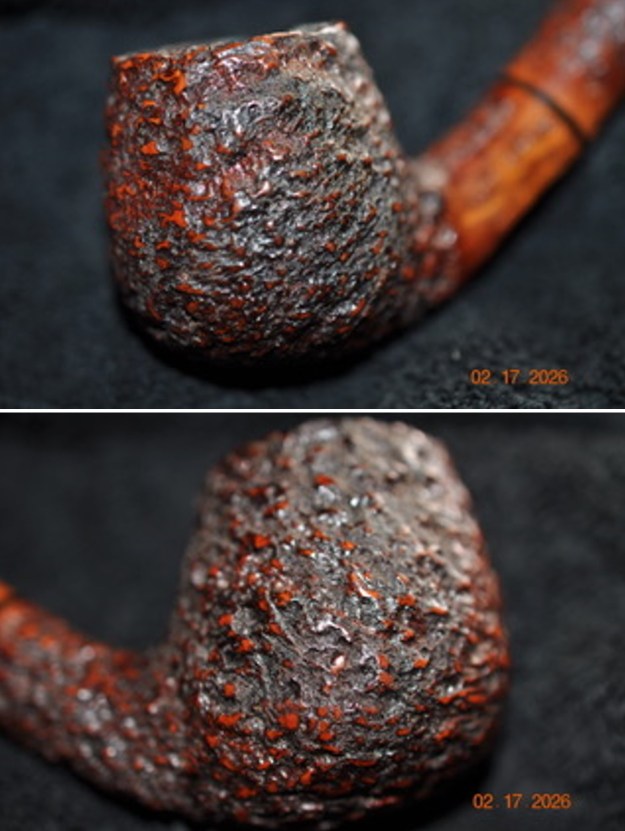
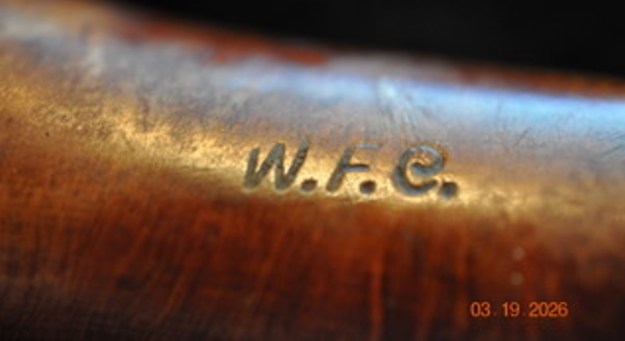
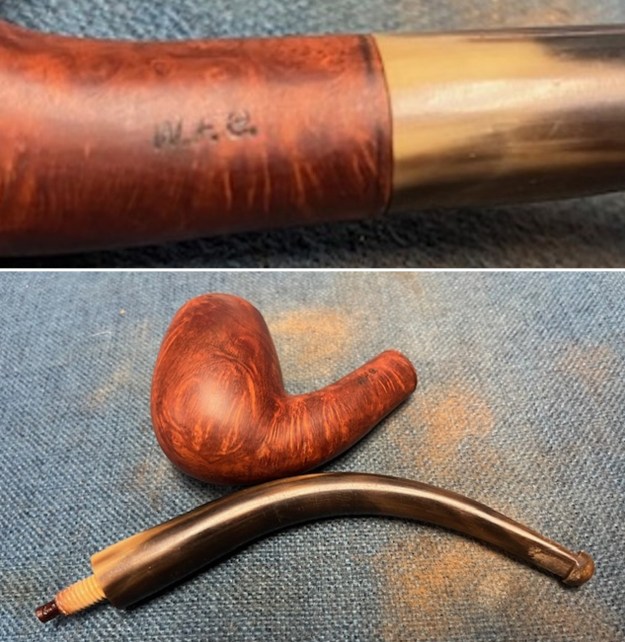
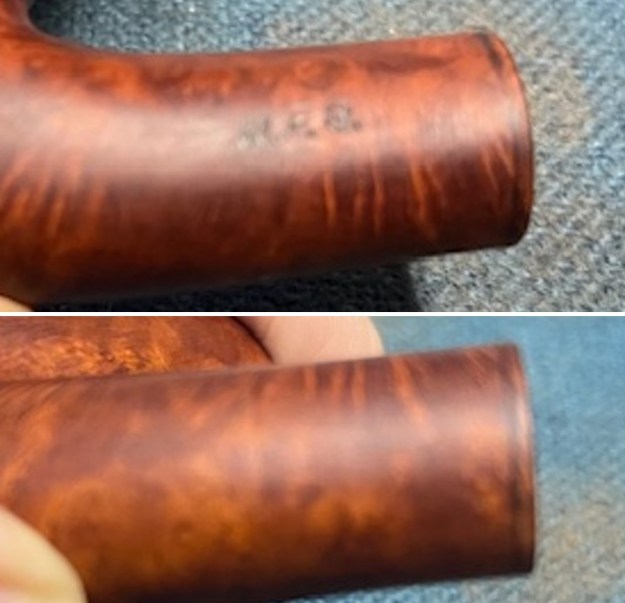
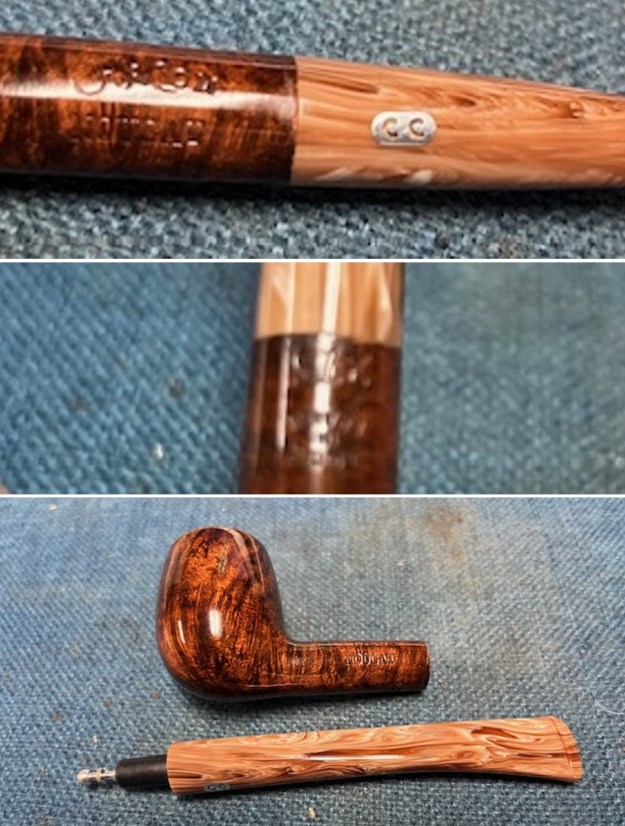
 He took a photo of the stamping on the left side of the shank. It is clear and readable as noted above.
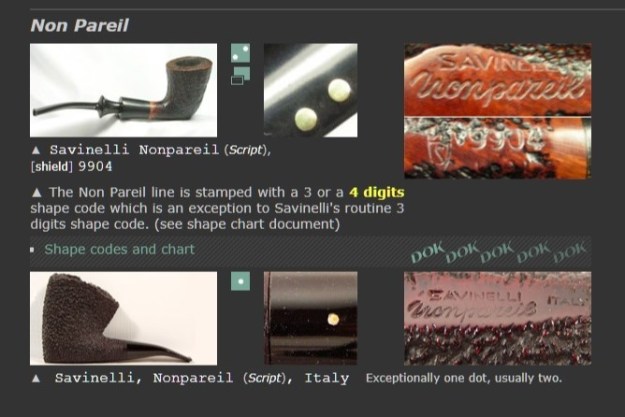
 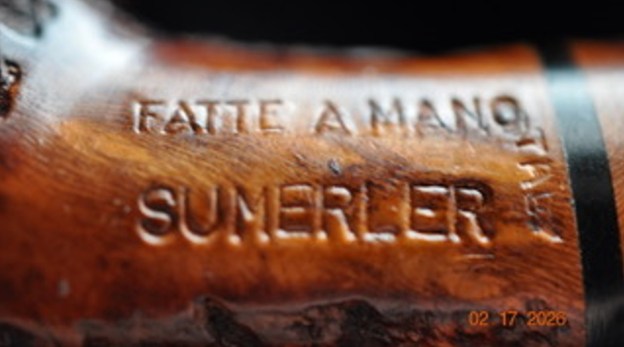 Before I started working on the pipe, I turned to Pipephil’s site to see if I could learn anything about the Fatte A Mano Sumerler brand (http://www.pipephil.eu/logos/en/logo-s13.html). There was a photo a Sumerler pipe that has the same stamping as the one I am working on. I did a screen capture of the pertinent section and have included the side bar information below the photo.
  Pipes with this brand are sometimes carved by Armellini.
It appears that the pipe was made by Armellini in Italy and sold as a sub line or second line to Armellini main work.
I looked up the Sumerler on Pipedia to see if I could gather further information on the company (https://pipedia.org/wiki/Armellini). The notation in Brands and Makers section took me to the article on Armellini. There was no reference there to Sumerler. It gives some great history.
It was time to work on the pipe. As usual Jeff had done a thorough cleanup on the pipe. He reamed the bowl with a PipNet pipe reamer and a Savinelli Fitsall pipe knife to remove the cake. He scrubbed out the mortise and the airway in the shank and the stem with alcohol, cotton swabs, shank brushes and pipe cleaners. He scrubbed the exterior of the bowl, rim, shank and stem with a tooth brush and Murphy’s Oil Soap to remove the oils and tars on the rim and the grime on the finish of the bowl. He rinsed it under running water. He dried it off with a soft cloth. He soaked the stem in Before & After Deoxidizer and rinsed it off with warm water. He dried it with a soft cloth. The pipe looked good. 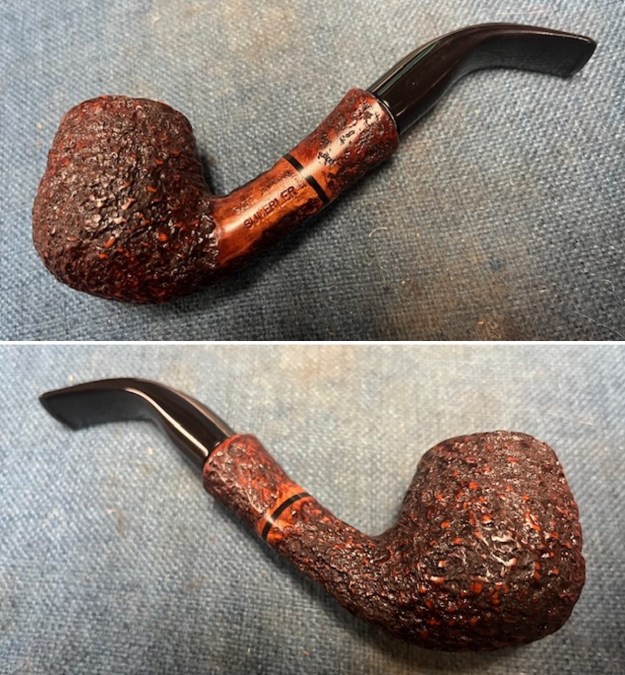
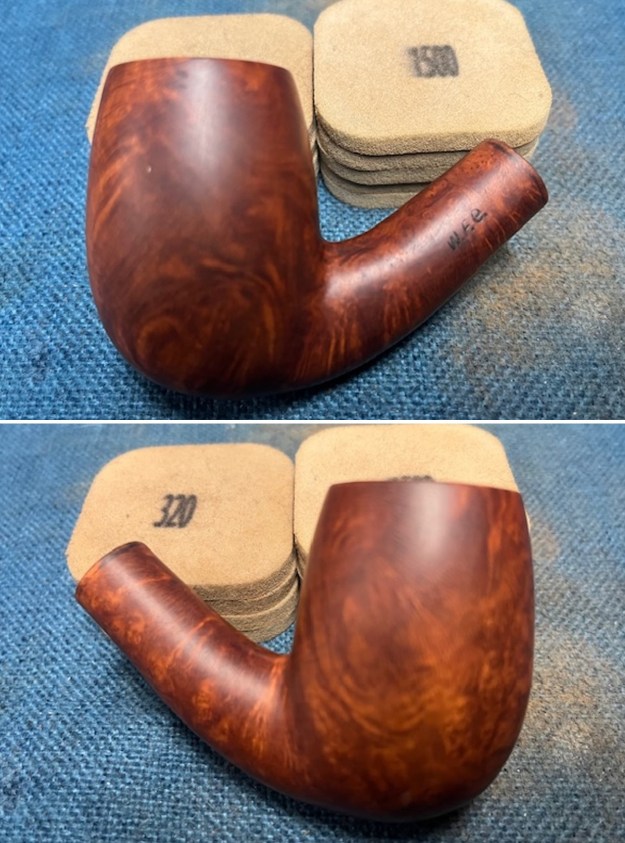
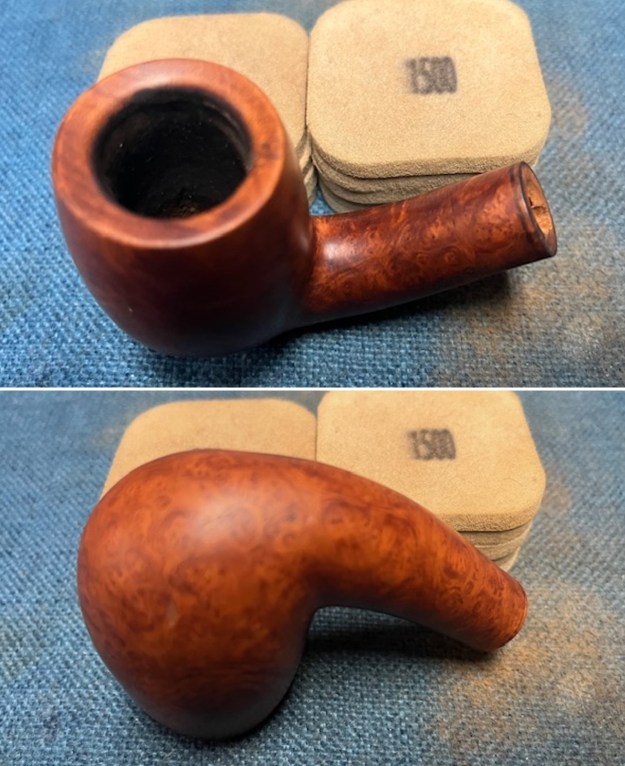
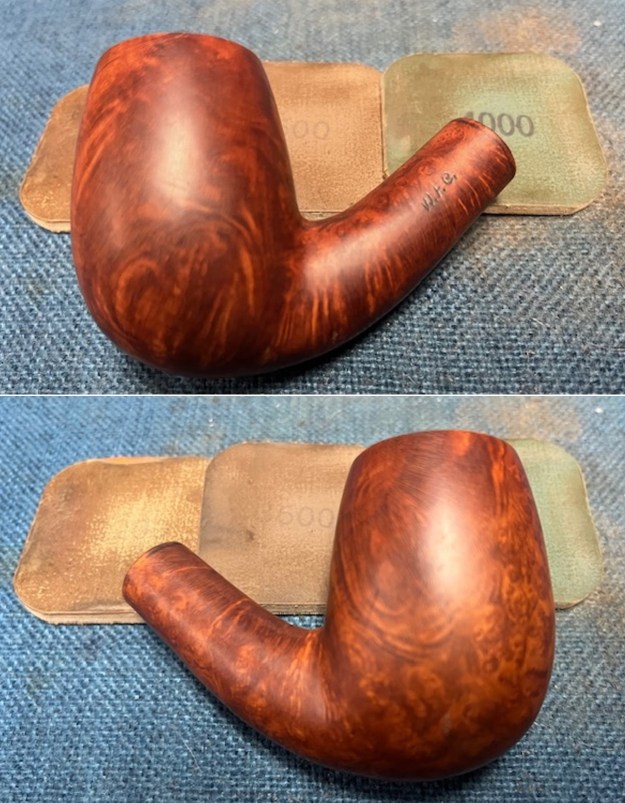
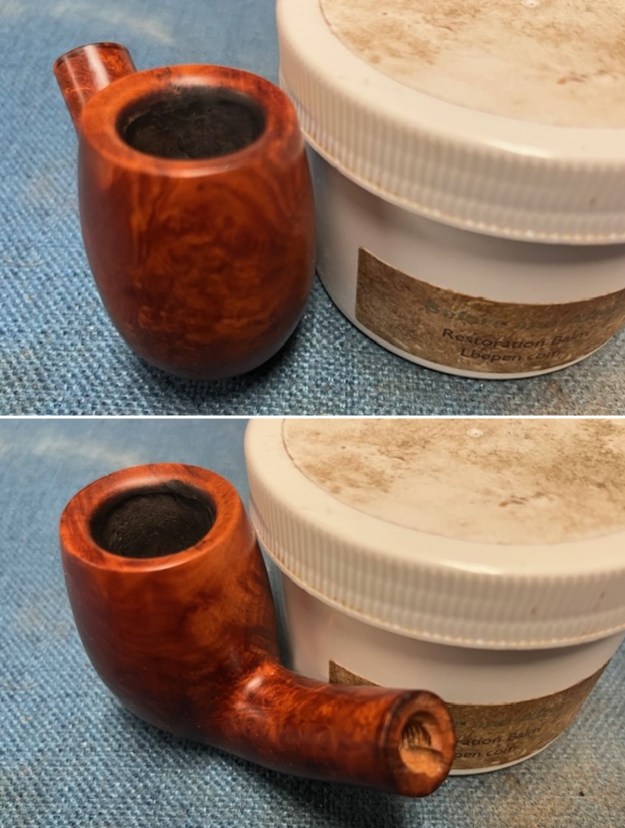
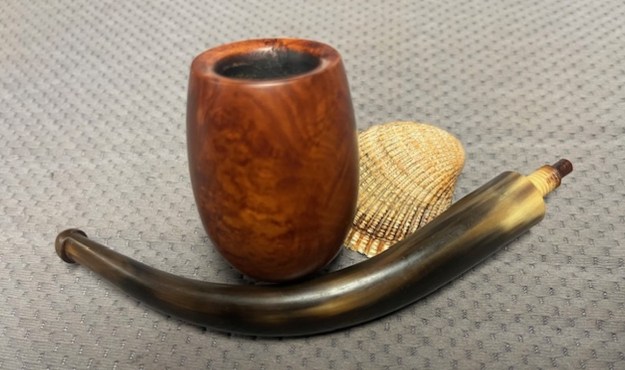
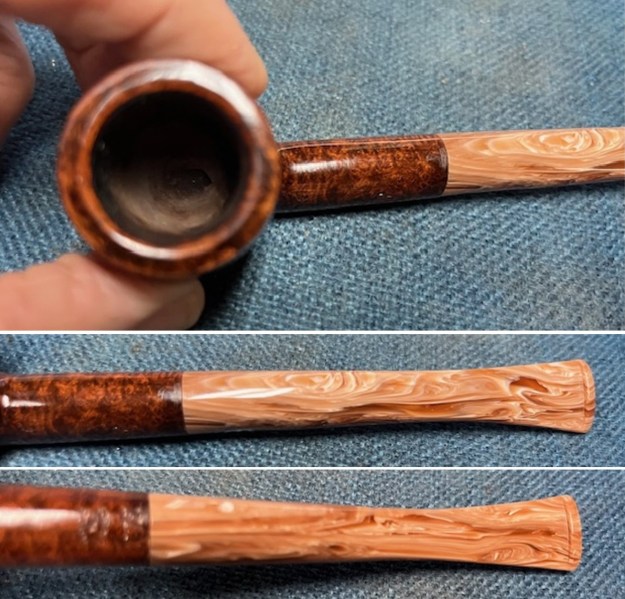
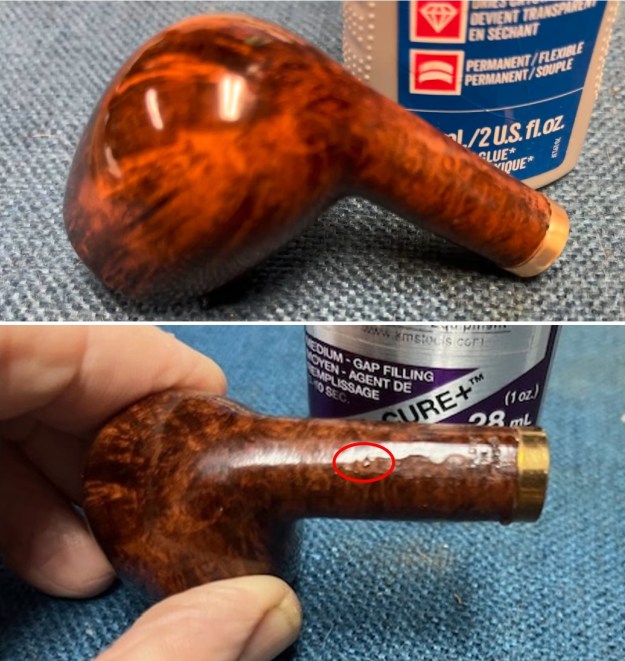
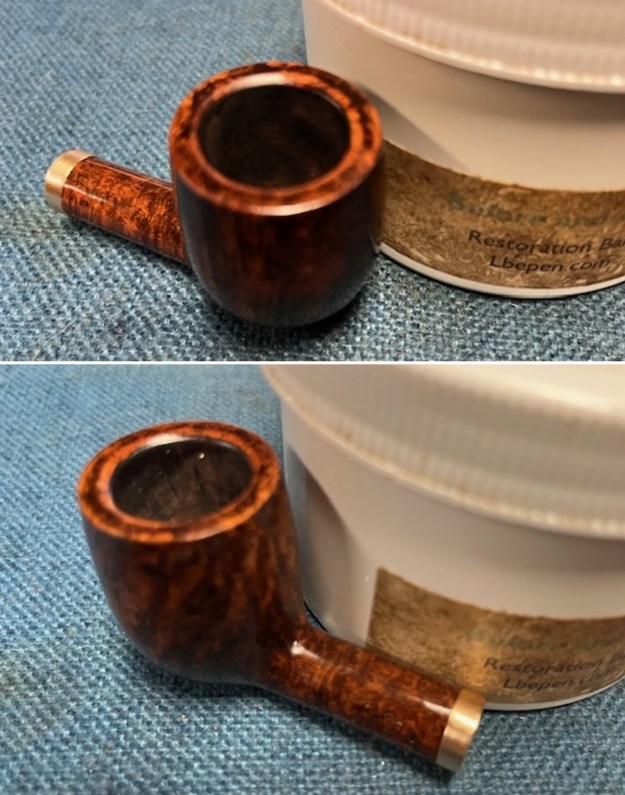
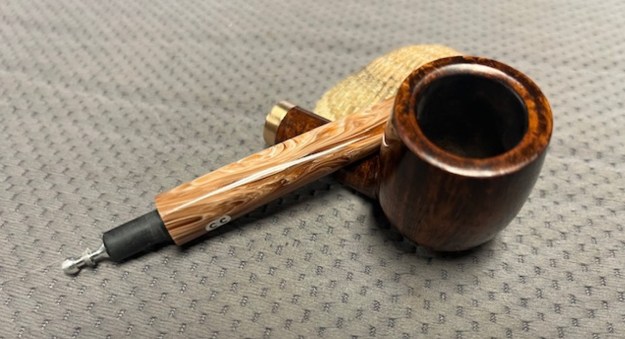
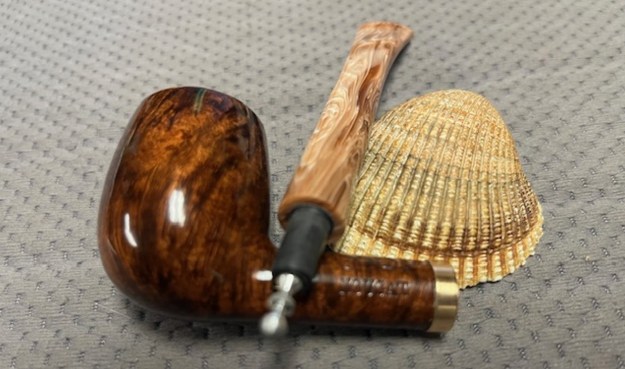
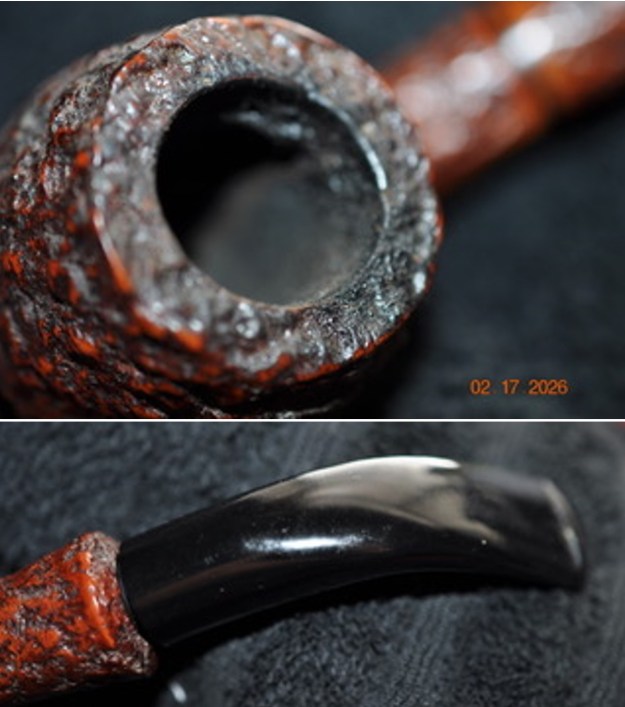
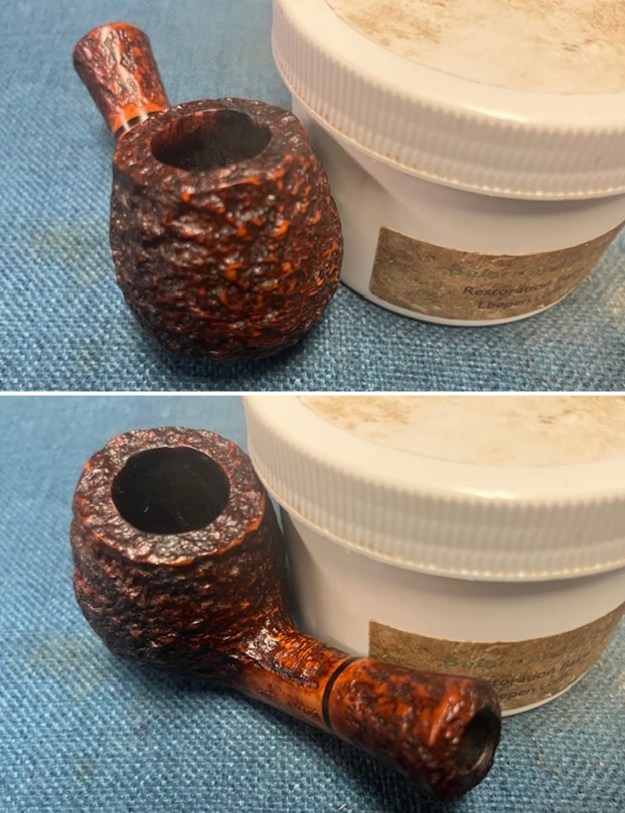
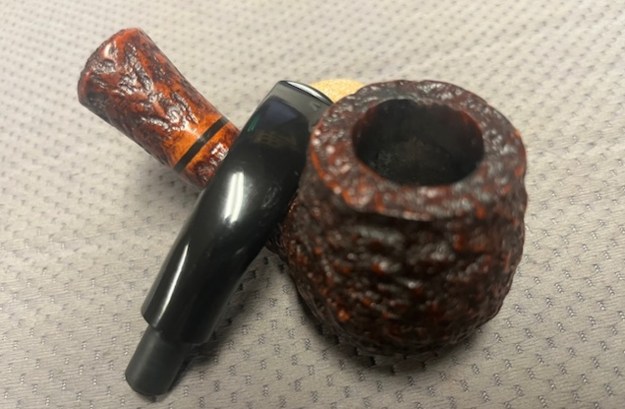
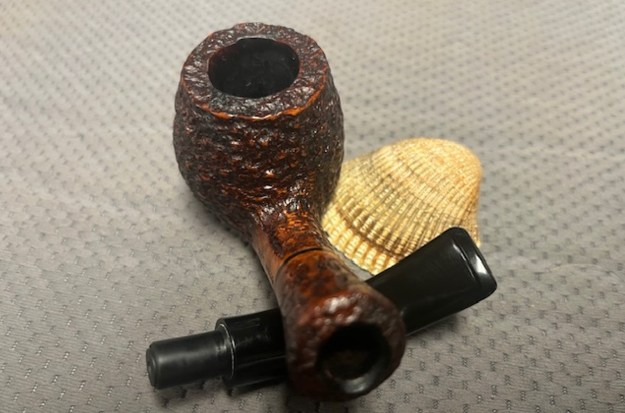
 I took a photo of the rim top and stem to show the condition. The finish on the rim top looked very good. The acrylic taper stem had light tooth chatter and marks on both sides ahead of the button and on the button edges.
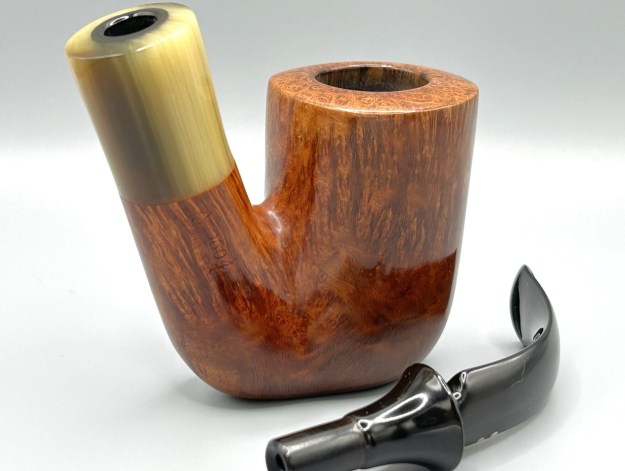
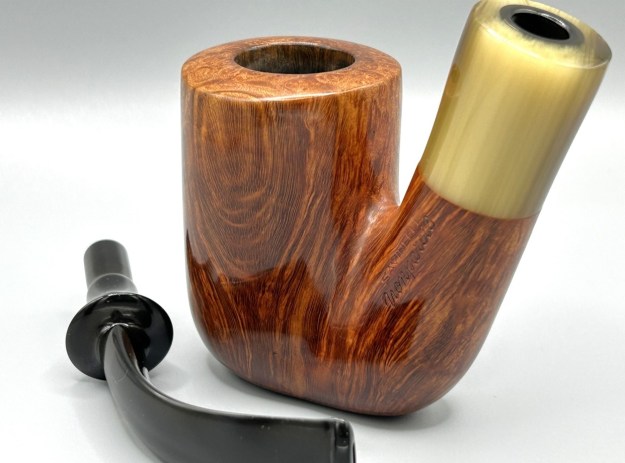
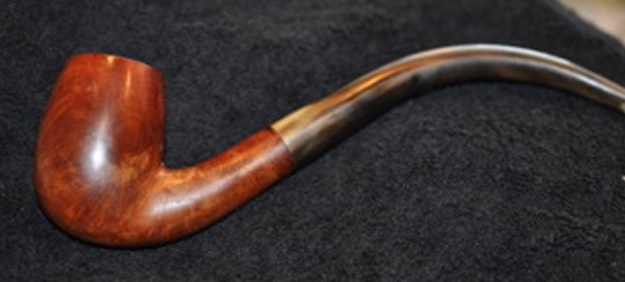
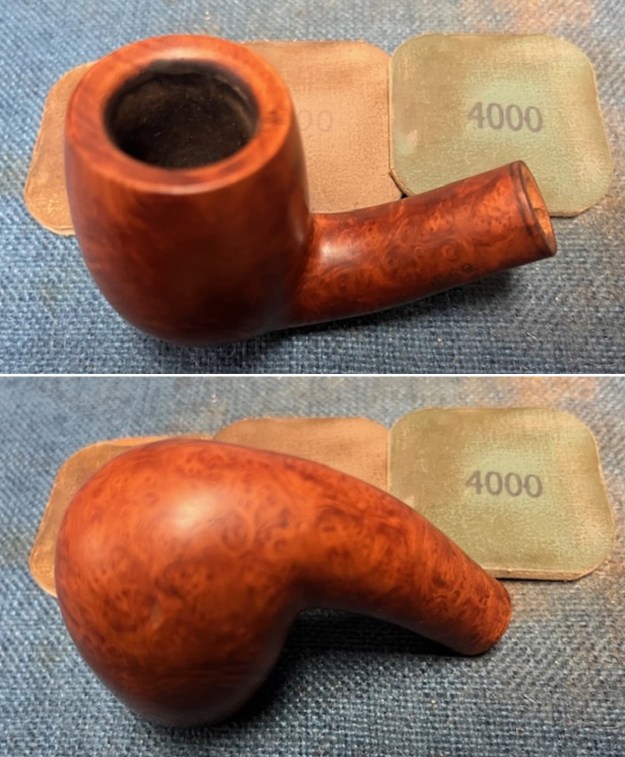
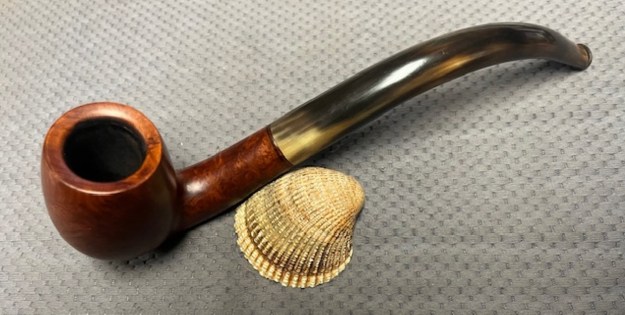
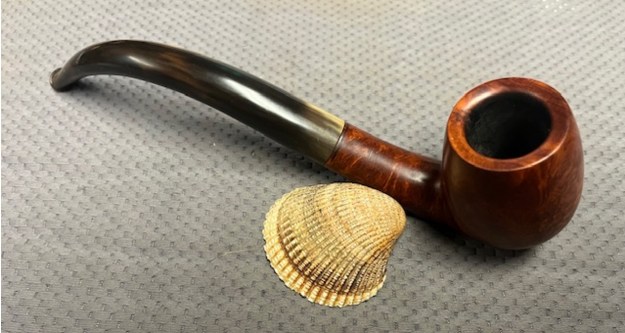
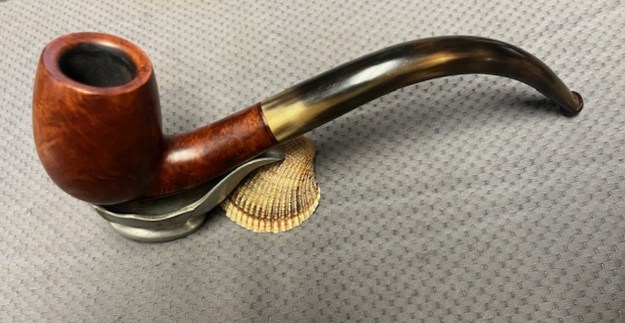
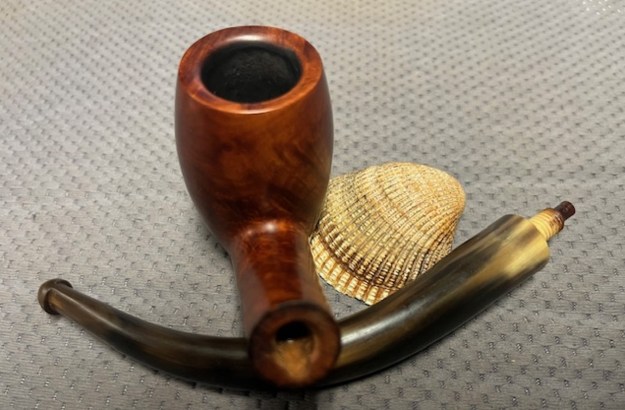
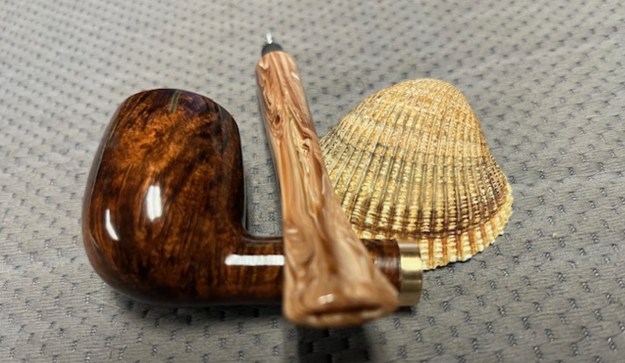
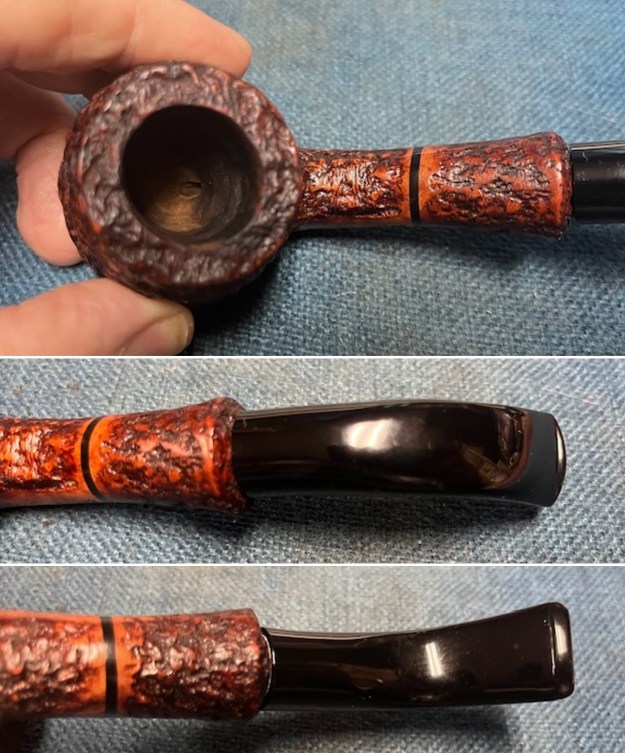 The stamping on the left side of the shank is clear and readable as noted above. I removed the stem from the shank and took a photo of the pipe to give a sense of the whole. It is a nice-looking rusticated Brandy and should clean up very well.
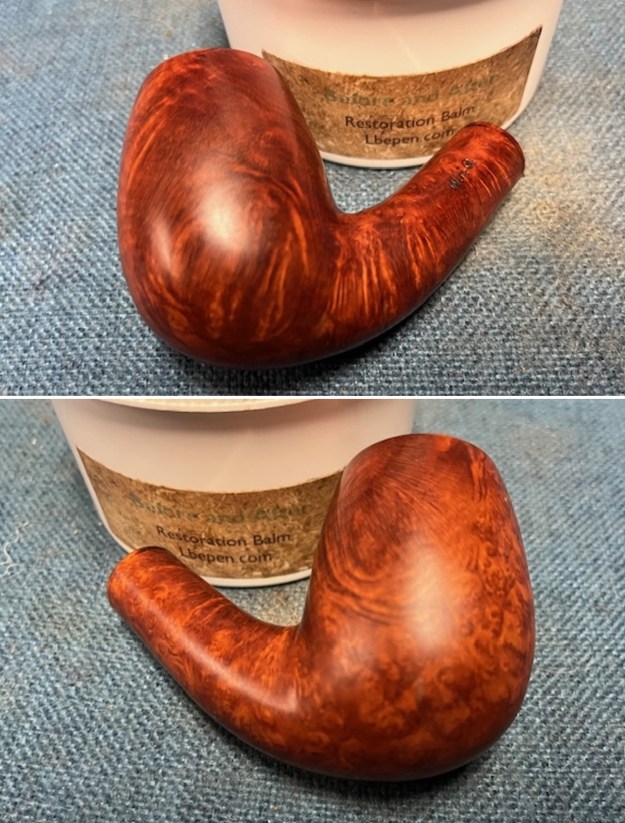
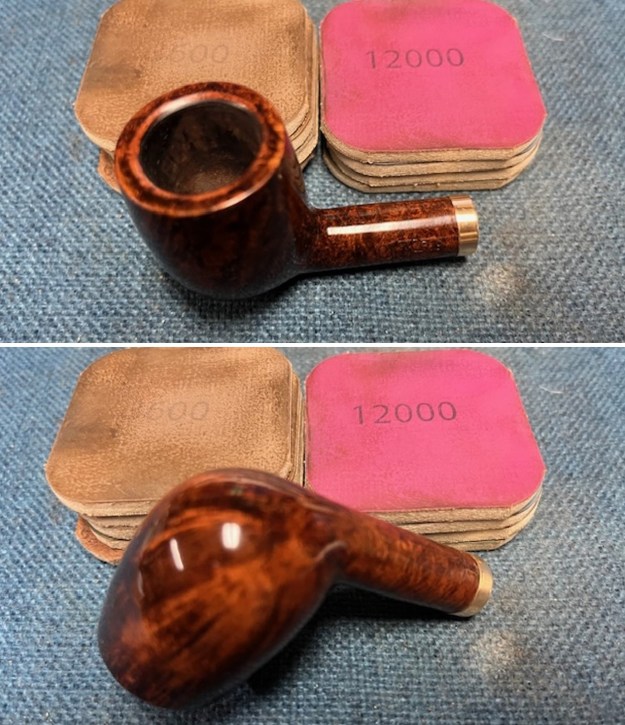
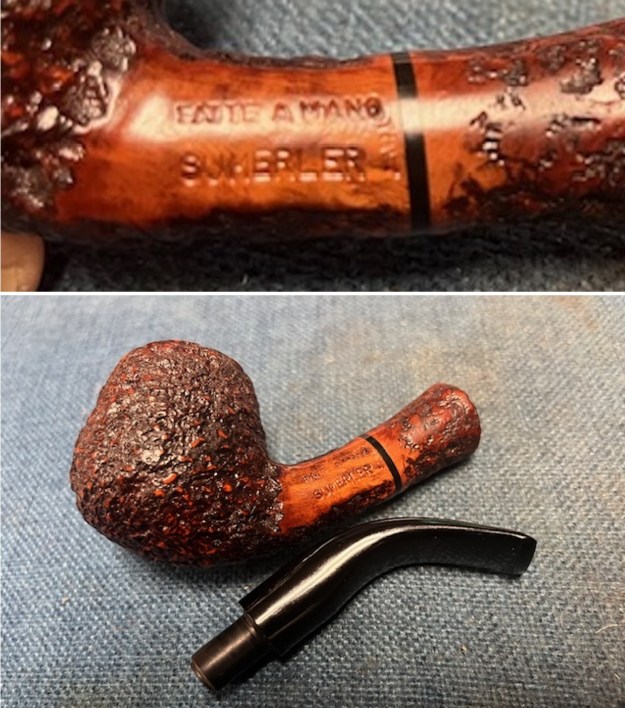 I worked some Before & After Restoration Balm into the surface of the briar with my finger tips and a shoe brush to work it into the rustication. The product is incredible and the way it brings the grain to the fore is unique. It works to clean, protect and invigorate the wood.
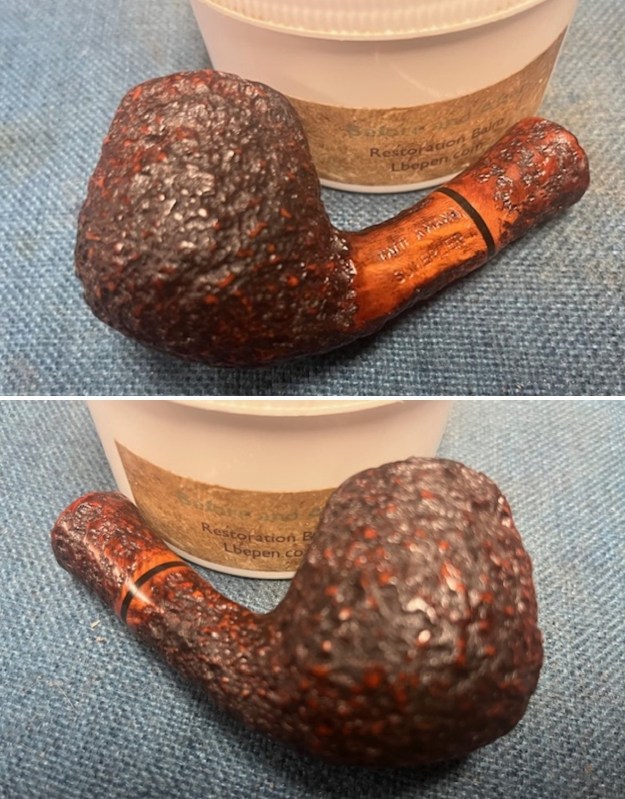
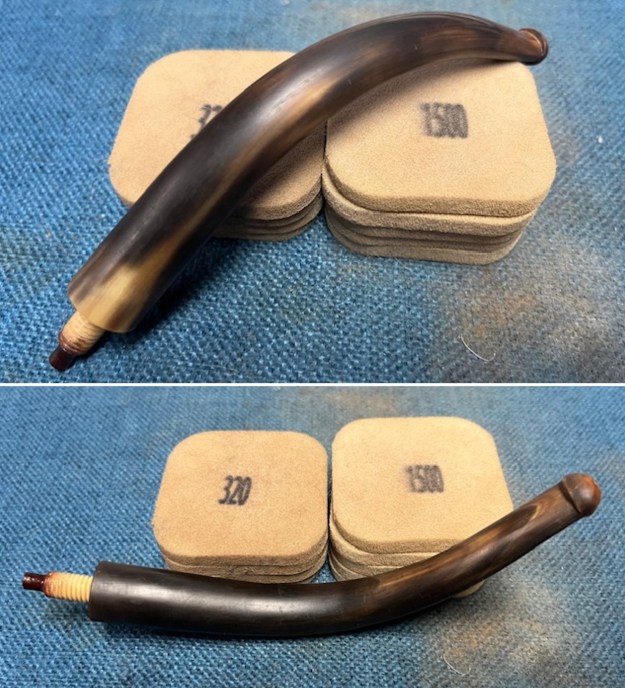
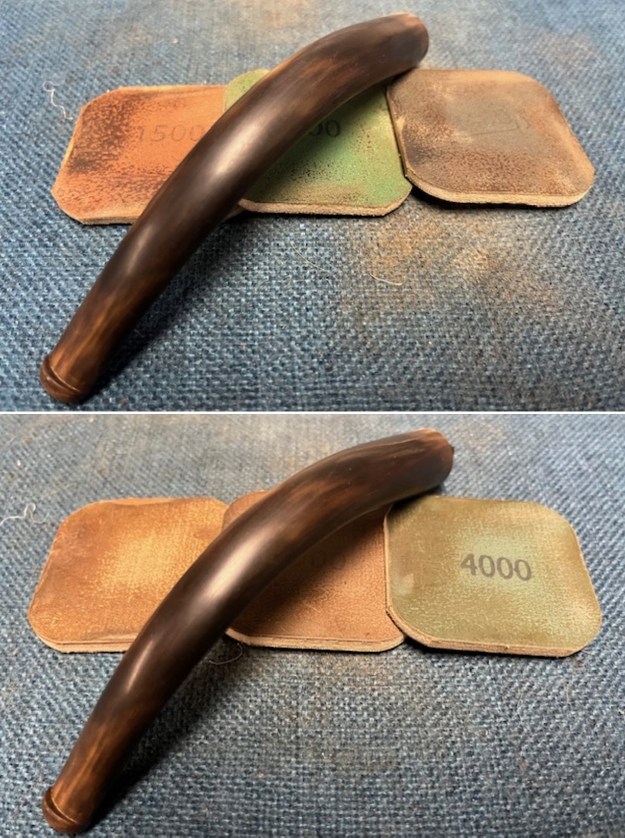
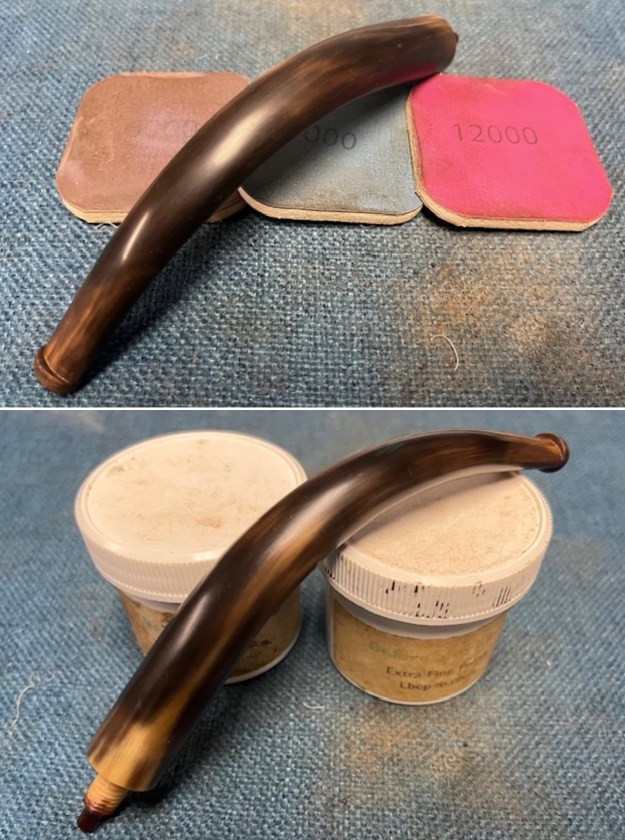
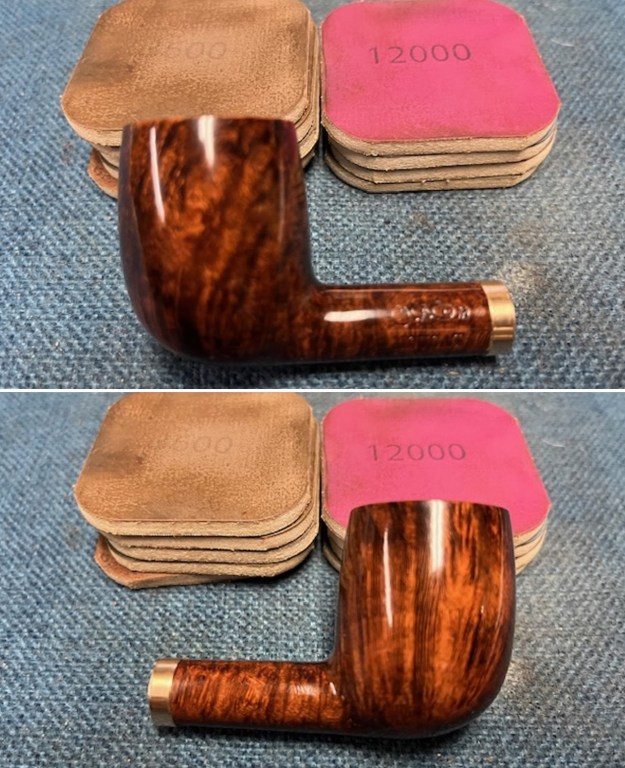
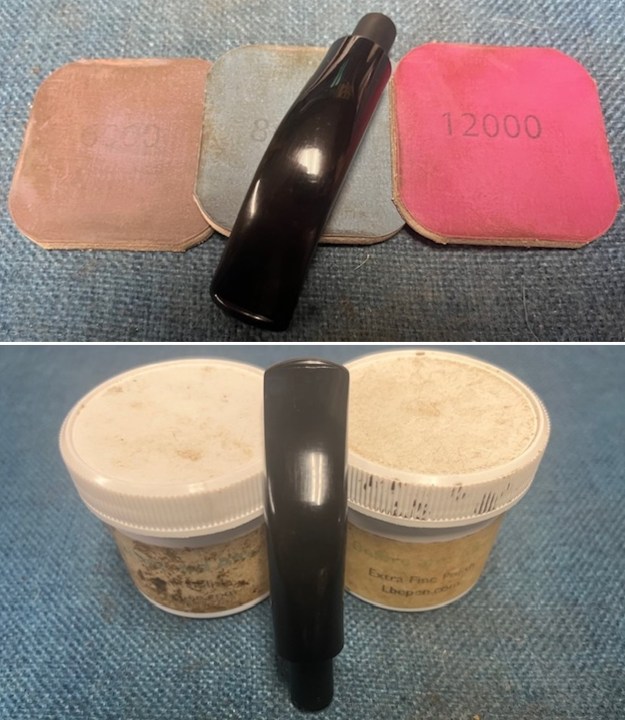
 I polished the stem with micromesh sanding pads – dry sanding it 1500-12000 pads. I wiped it down with Obsidian after each pad to remove the dust and polishing debris. I polished it with Before After Pipe Polish – both Fine and Extra Fine. I gave it another coat of Obsidian Oil.
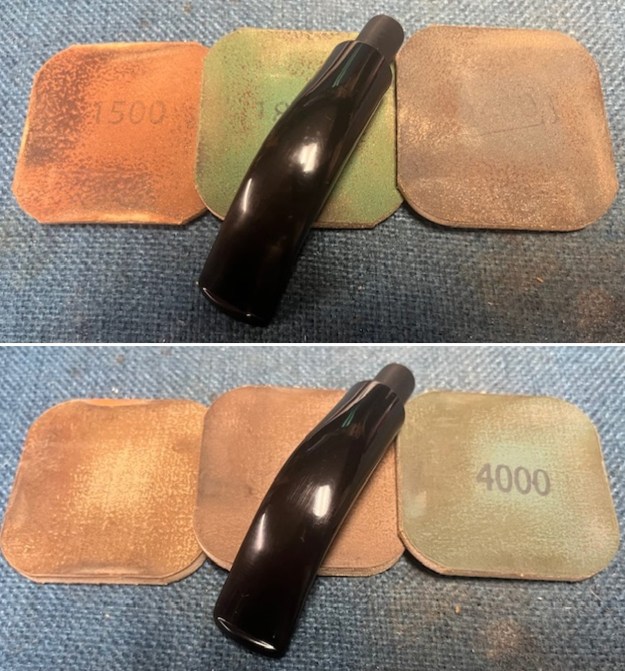
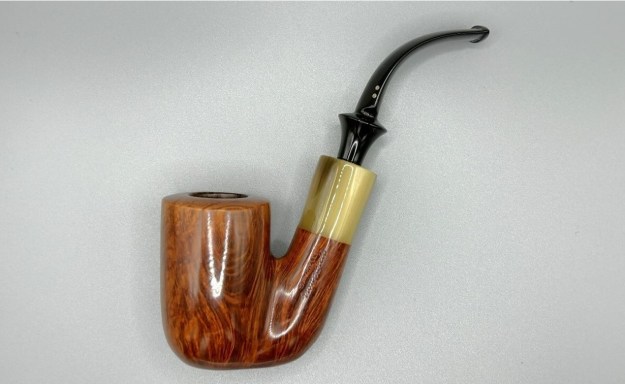
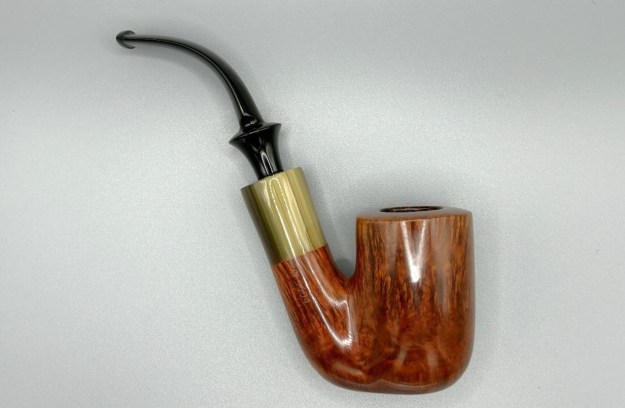
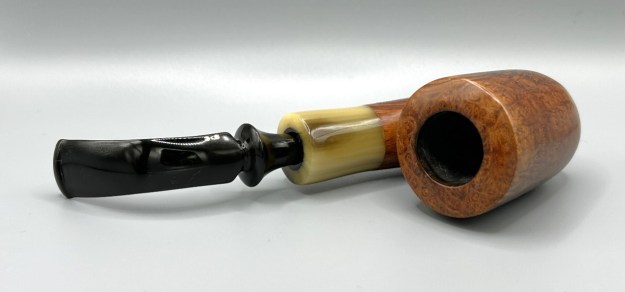
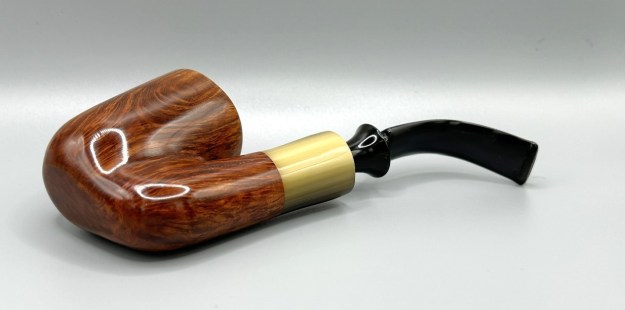
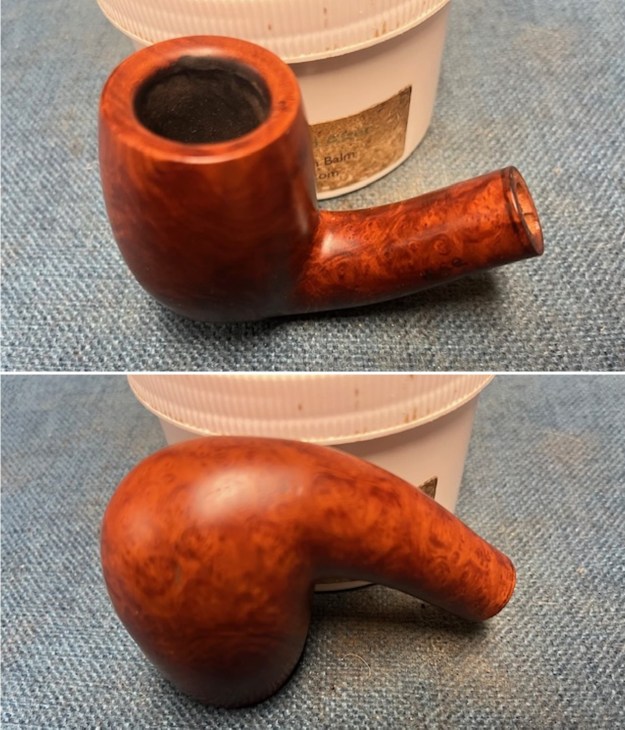
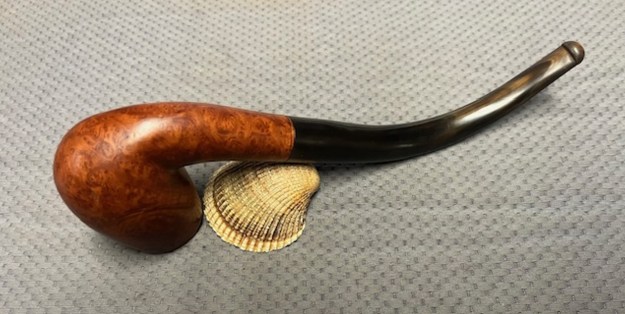
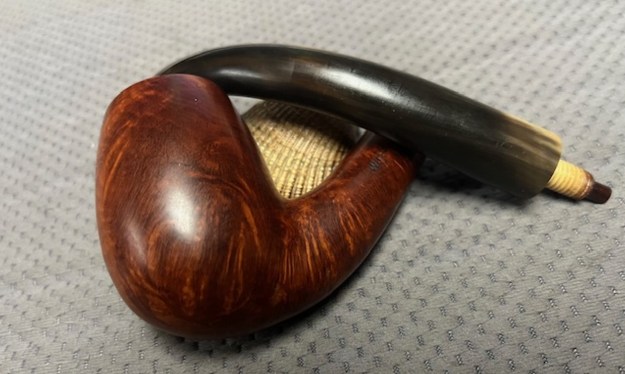
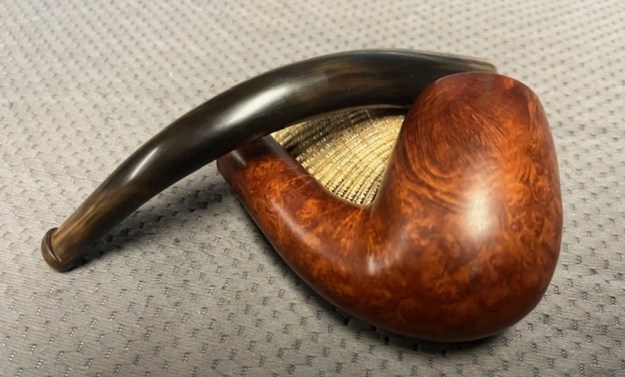
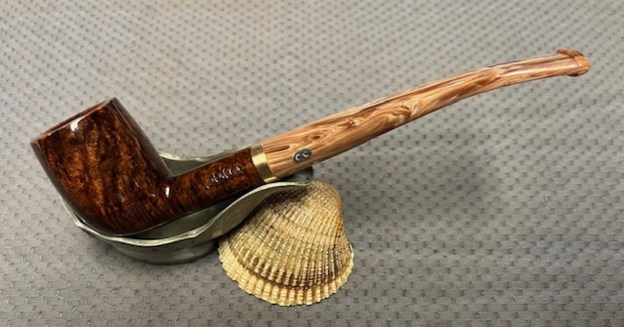
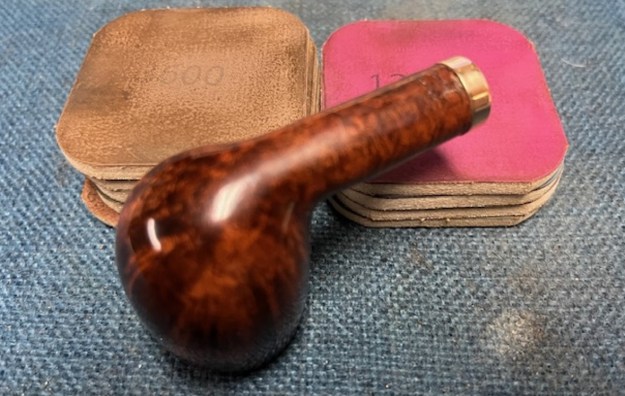
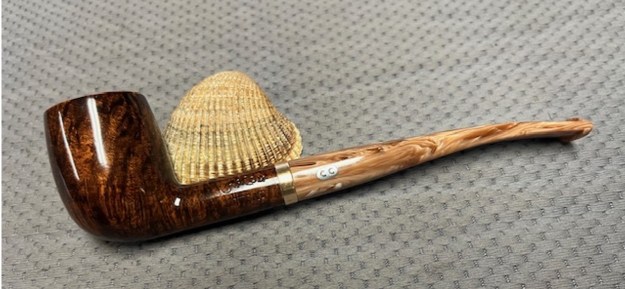
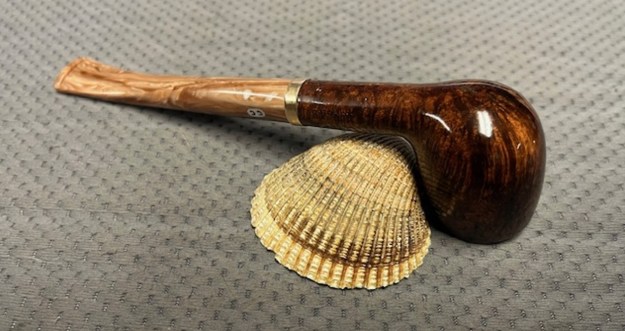
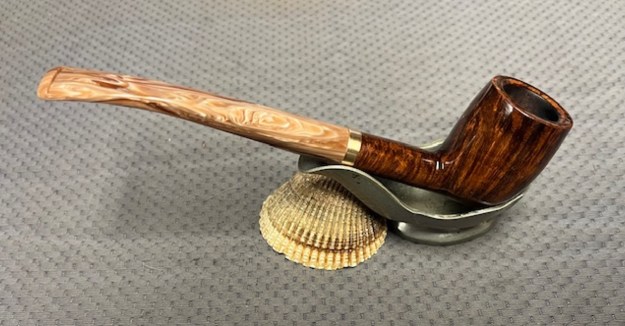
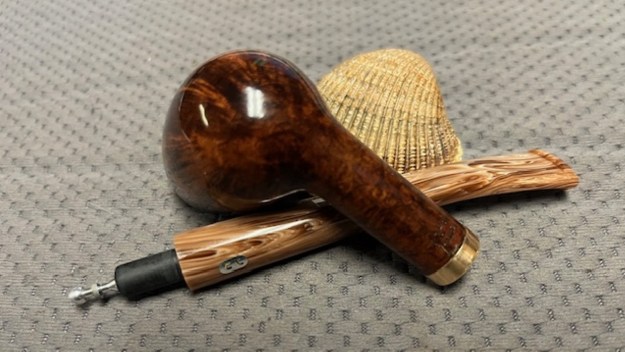
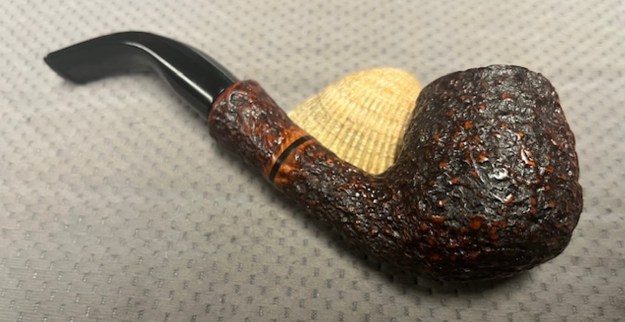
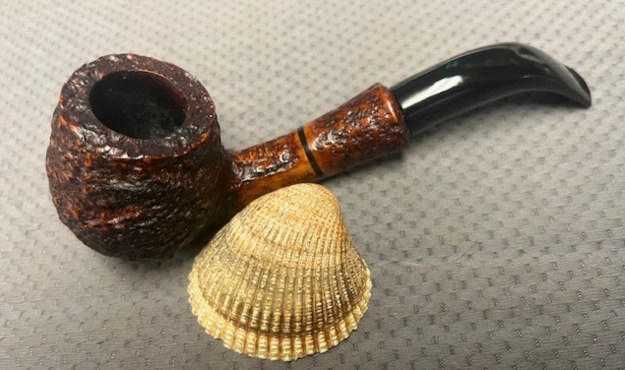
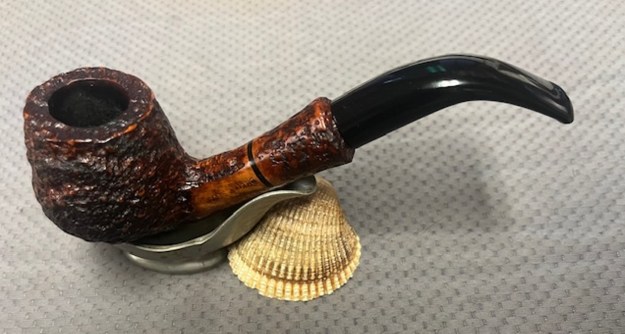
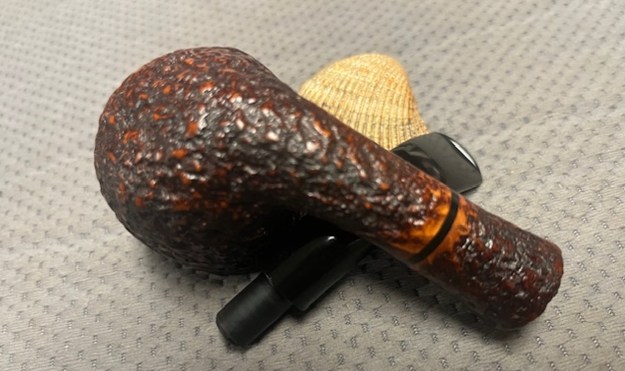
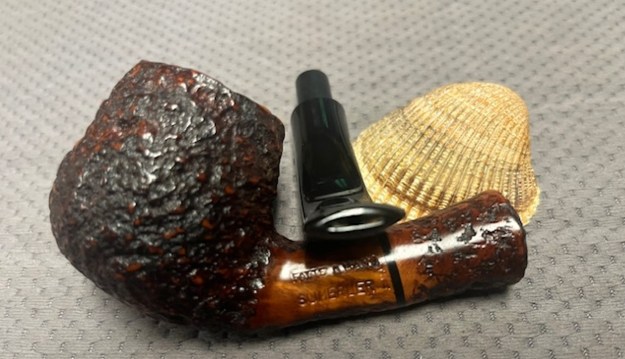
 This deeply rusticated Sumerler Bent Brandy with a thin black acrylic band mid shank is a great looking pipe now that it has been restored. The polished acrylic taper stem is in great condition. The briar is clean and really came alive. The rich brown stains gave the rustication a sense of depth with the polishing and waxing. I put the stem back on the bowl and carefully buffed the pipe with Blue Diamond on the buffing wheel using a light touch on the briar. I gave the bowl multiple coats of Conservator’s Wax and the stem multiple coats of carnauba wax on the buffing wheel. I buffed the pipe with a clean buffing pad to raise the shine. I hand buffed the pipe with a microfiber cloth to deepen the shine. The finished Sumerler Bent Brandy is a beauty and feels great in the hand and looks very good. Give the finished pipe a look in the photos below. The dimensions of the pipe are Length: 6 inches, Height: 1 ¾ inches, Outside diameter of the bowl: 1 ½ inches, Chamber diameter: ¾ of an inch. The weight is 2.19 ounces/62 grams. Thanks for reading this blog and my reflections on the pipe while I worked on it. I will be putting it on the rebornpipes store in the Italian Pipe Makers Section. If you are interested in adding it to your collection let me know. Thanks for following the blog on this restoration.
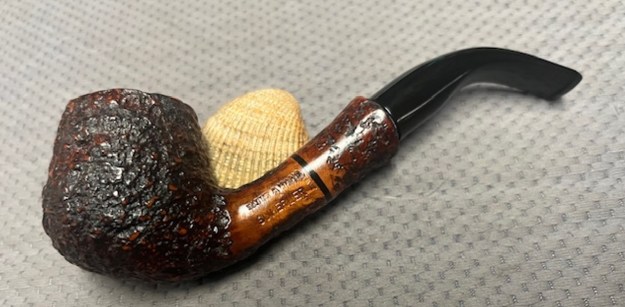

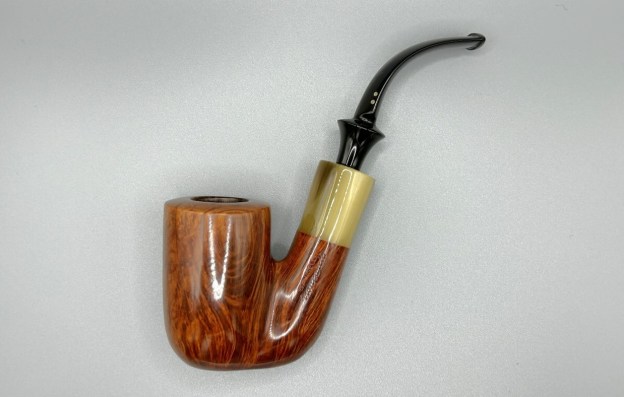
 This Savinelli Nonpareil 9604 Oom Paul is ready to be enjoyed by its next owner. I am pleased to announce that this pipe is for sale! If you are interested in acquiring it for your collection, please have a look in the ‘Italian’ section of the store here on Steve’s website. You can also email me directly at kenneth@knightsofthepipe.com. The approximate dimensions of the pipe are as follows: length 4⅜ in. (159 mm); height 4¾ in. (120 mm); bowl diameter 1½ in. (37 mm); chamber diameter ¾ in. (20 mm). The weight of the pipe is 2½ oz. (71 g). I hope you enjoyed reading the story of this pipe’s restoration as much as I enjoyed restoring it. If you are interested in more of my work, please follow me here on Steve’s website or send me an email. Thank you very much for reading and, as always, I welcome and encourage your comments.