
by Steve Laug
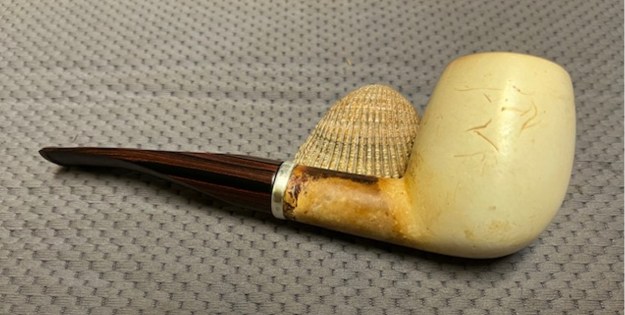
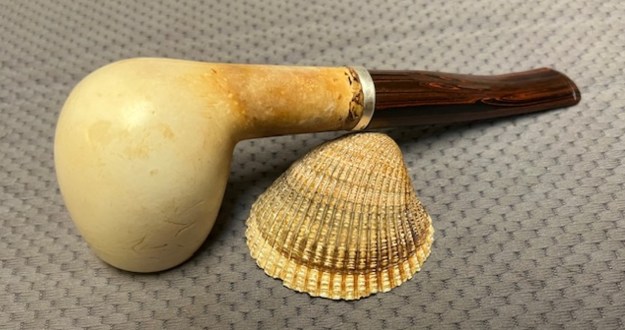
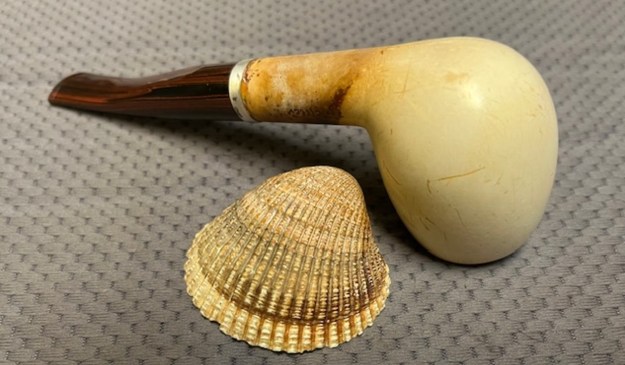
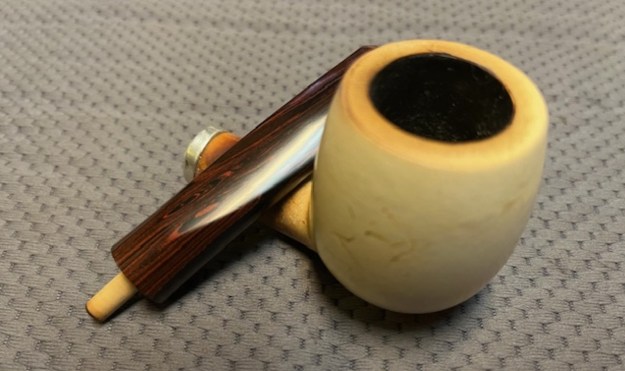
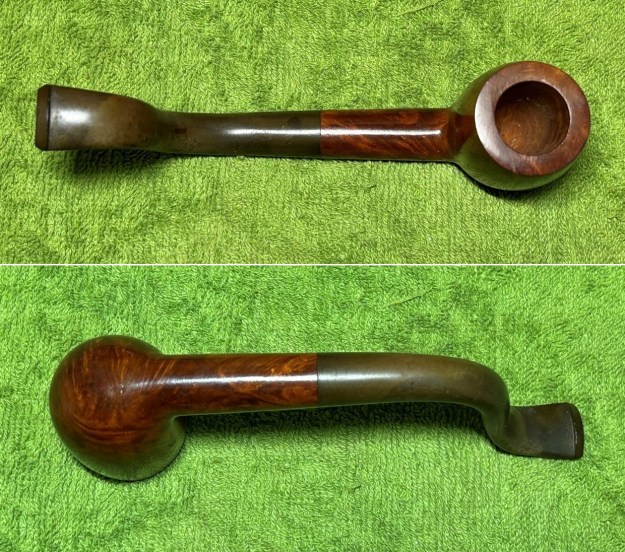
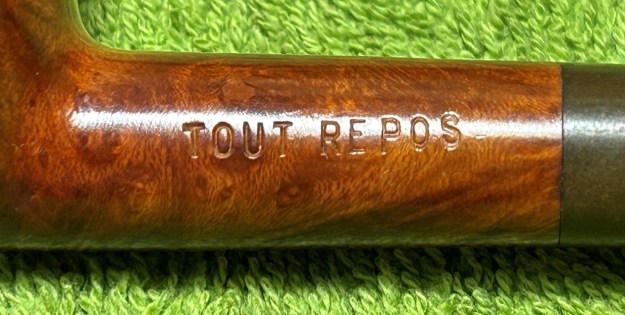
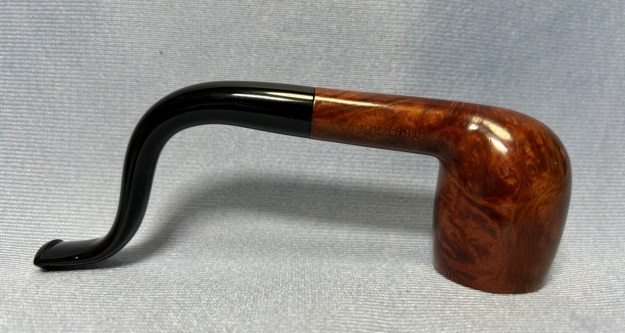
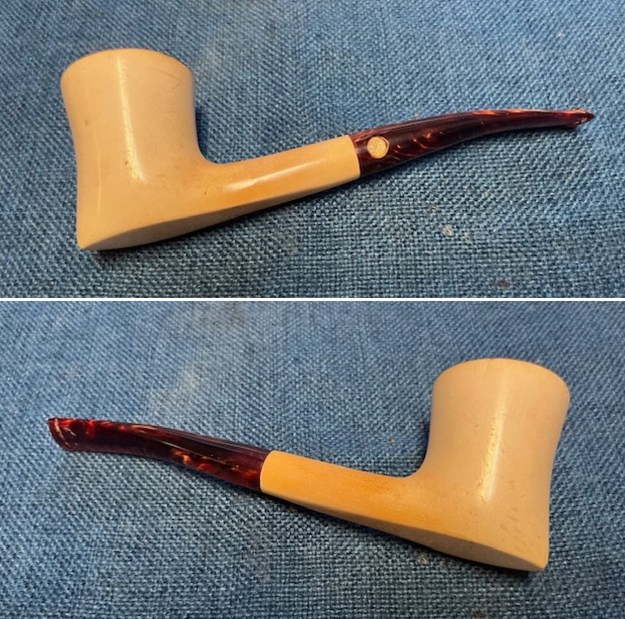
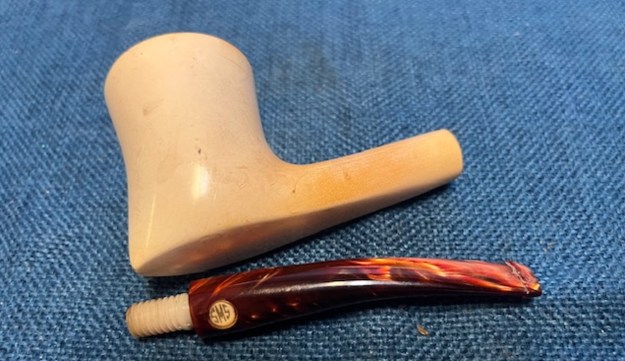
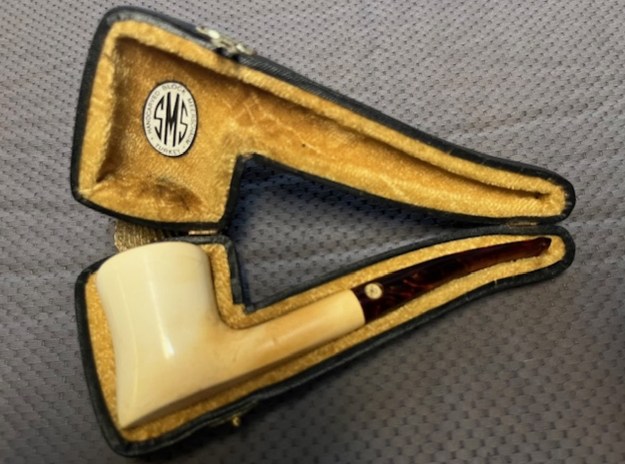
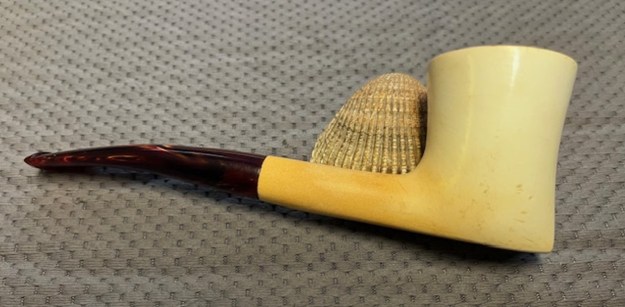
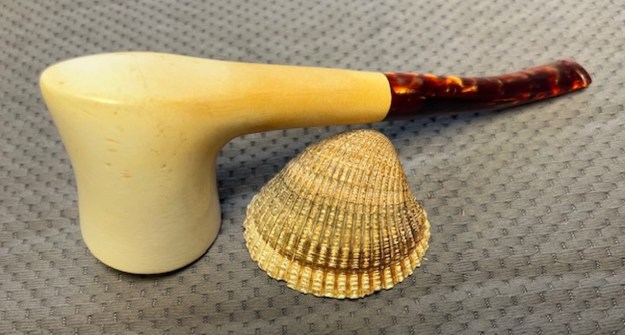
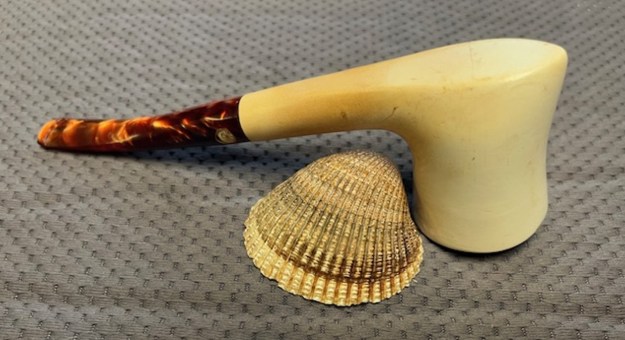
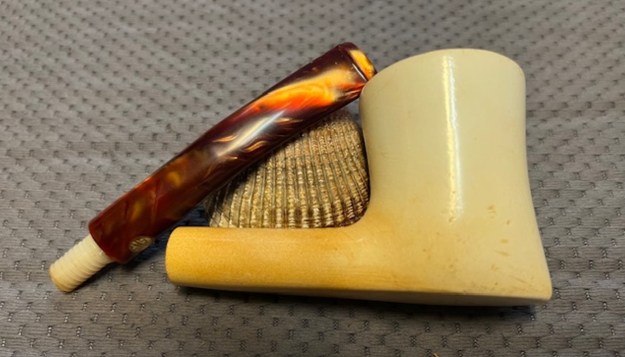
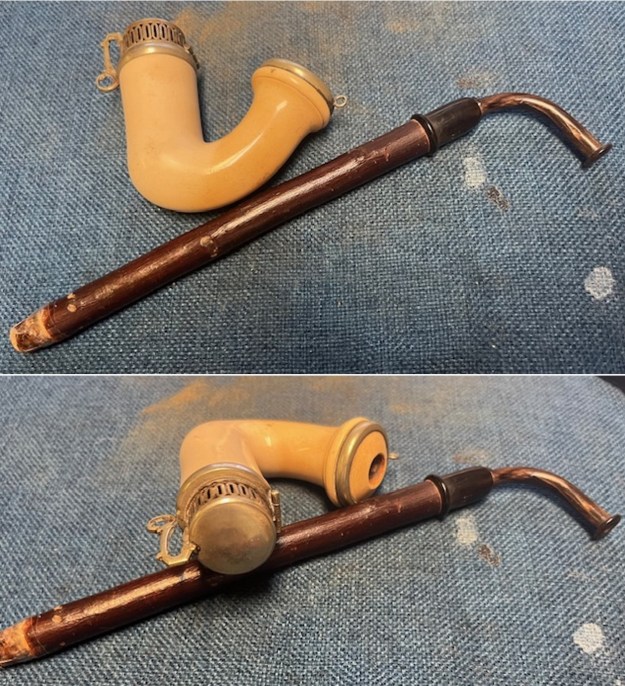
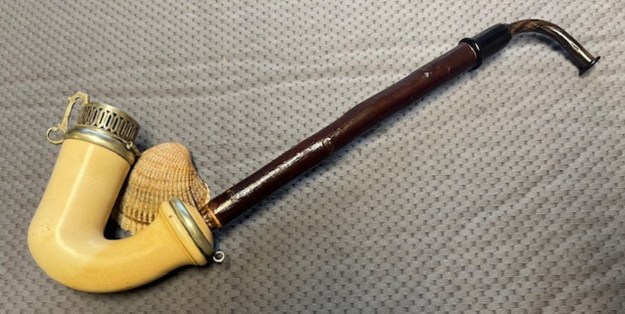
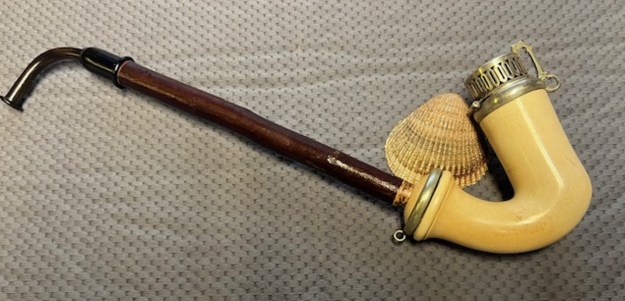
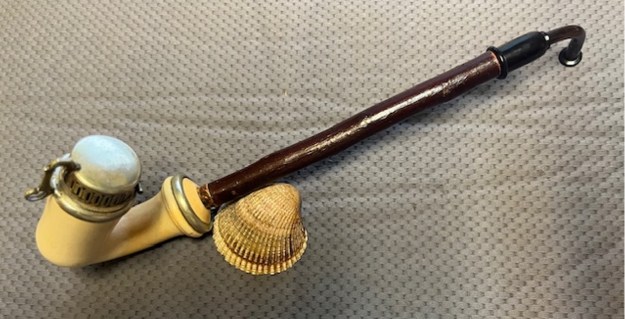
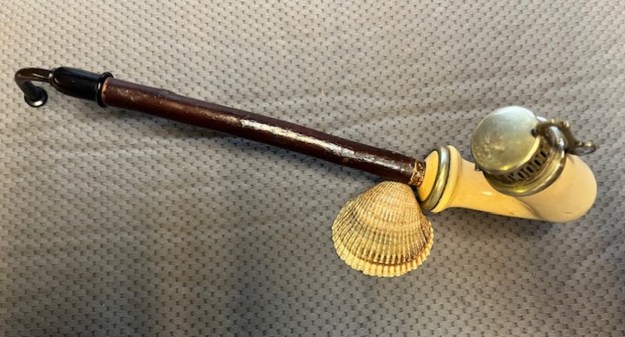
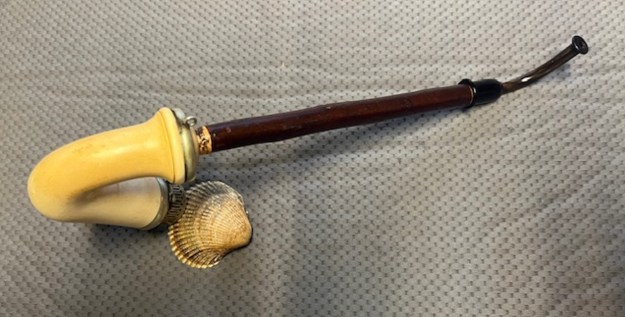
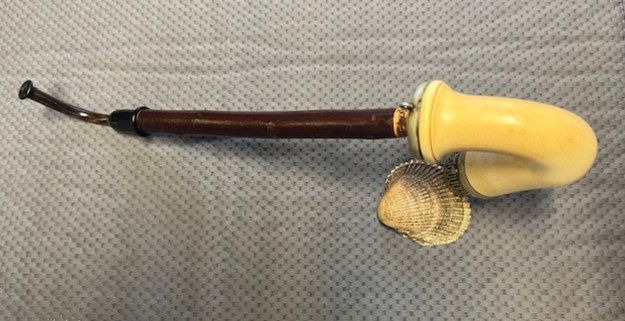
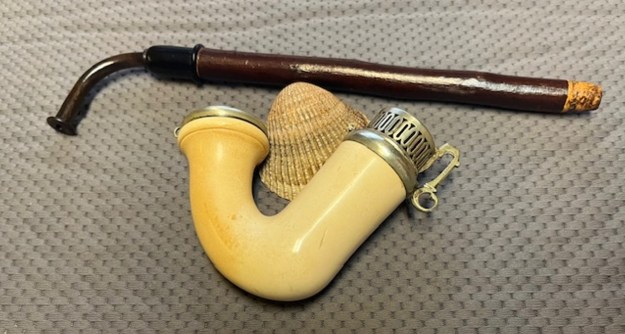
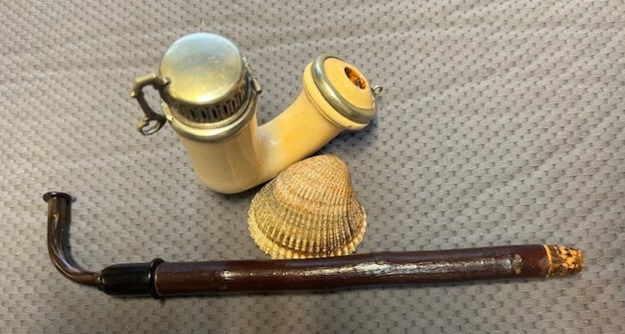
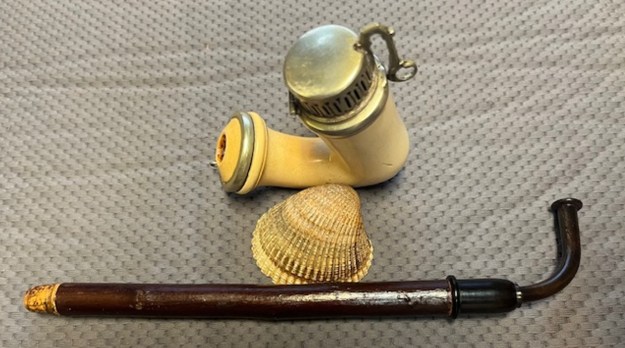
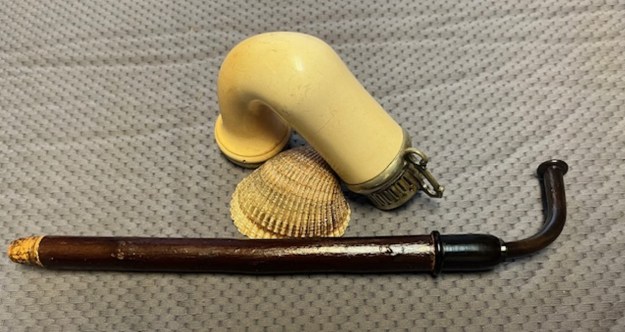
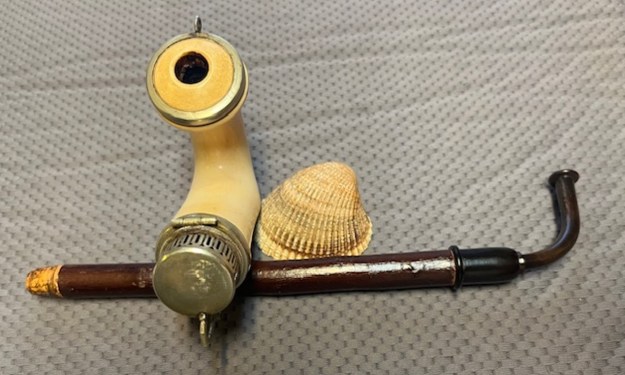
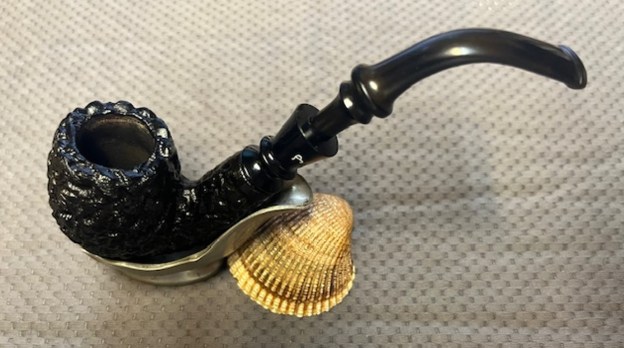
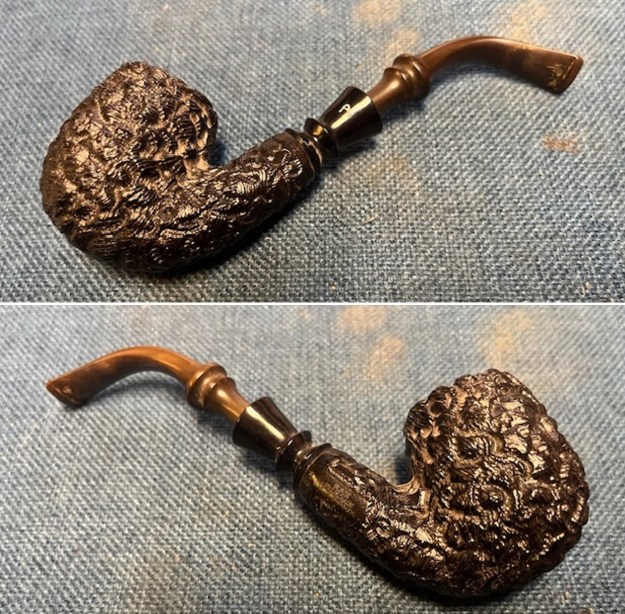
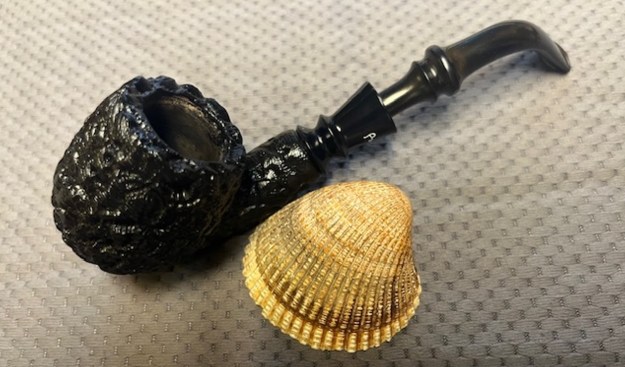
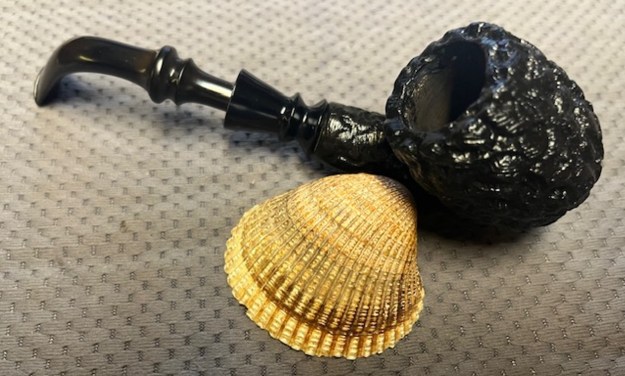
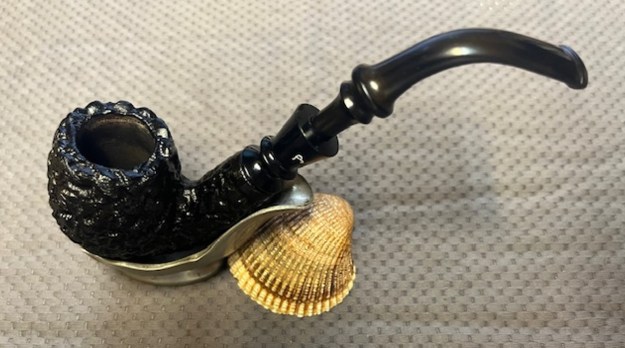
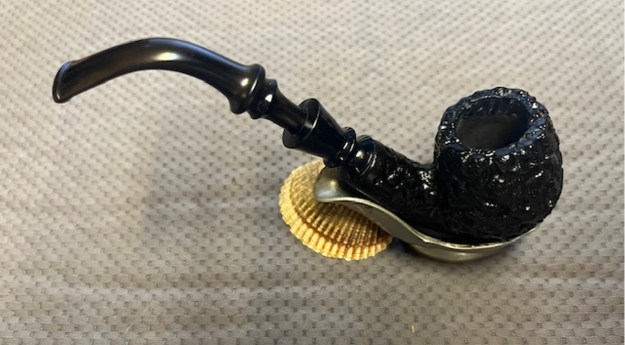
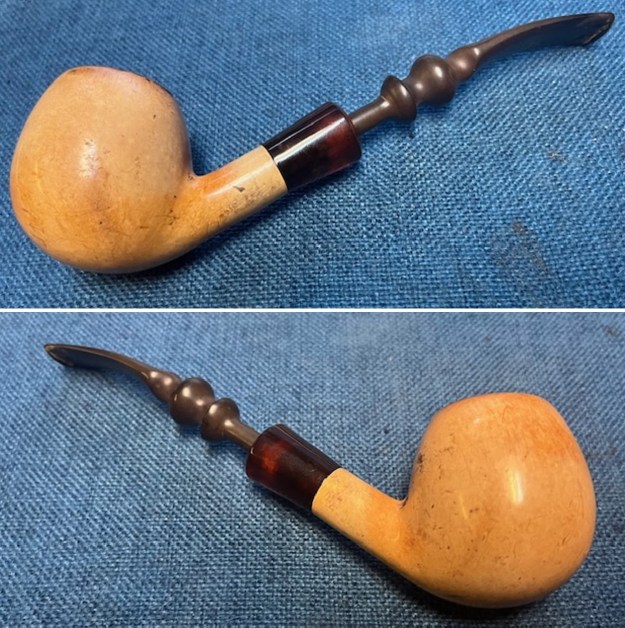
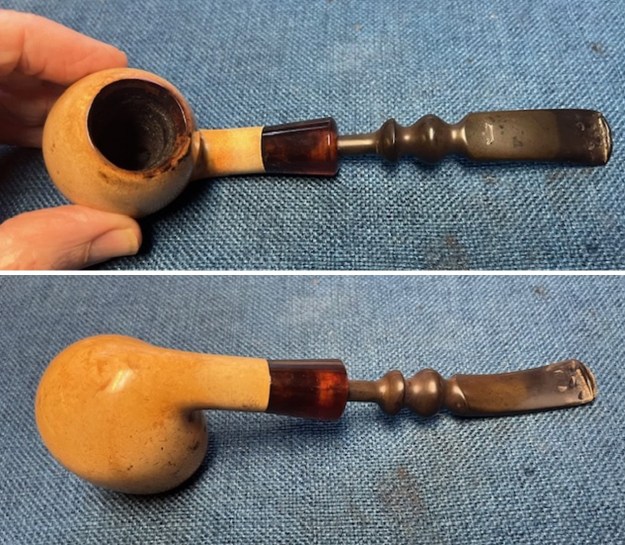
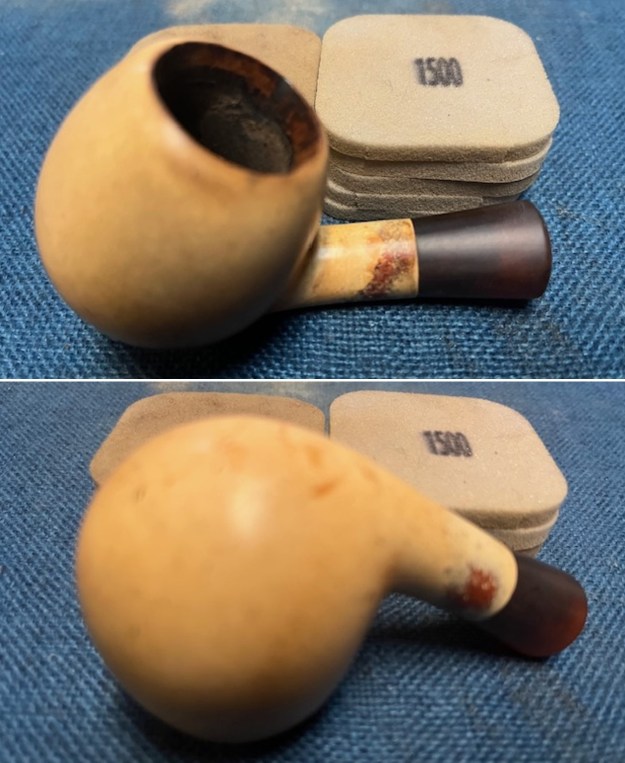
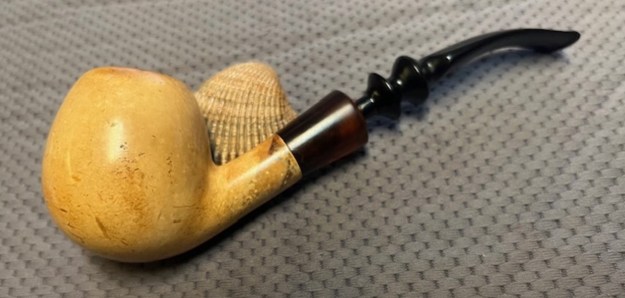
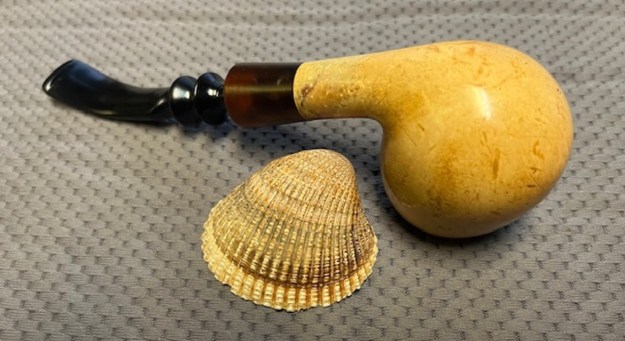
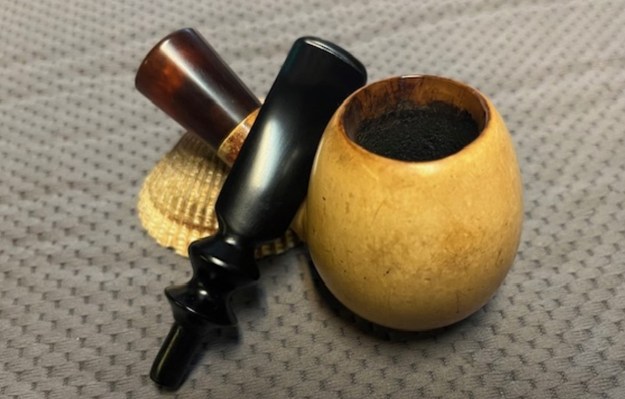
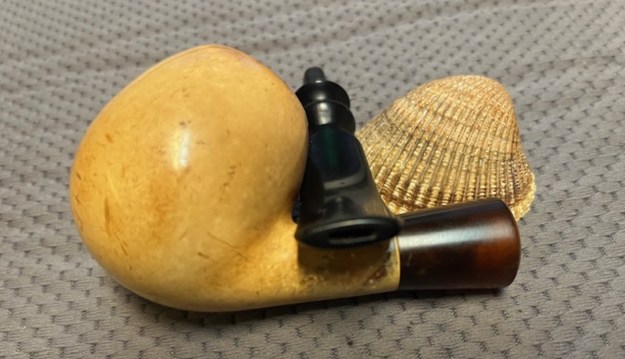
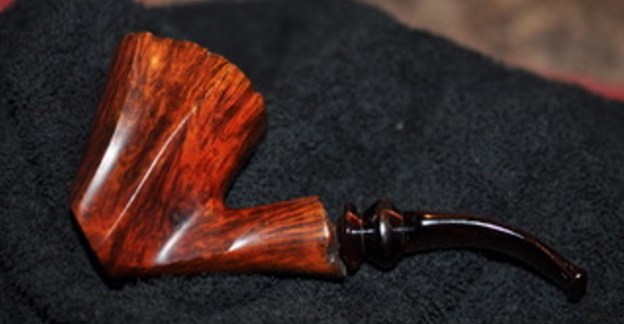
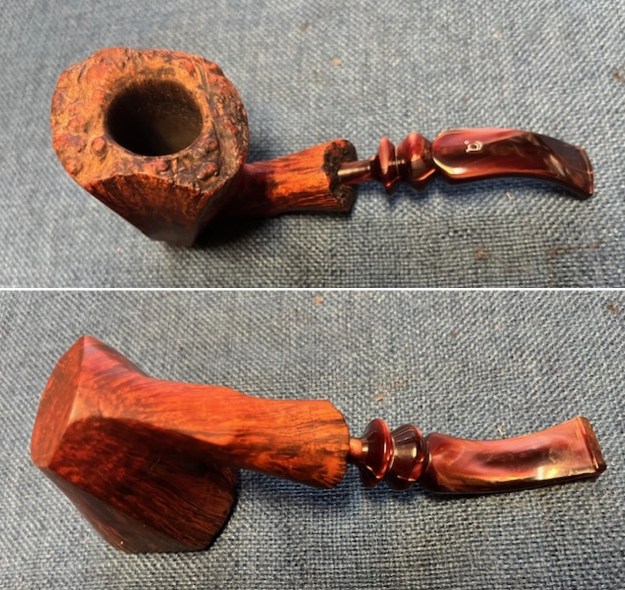
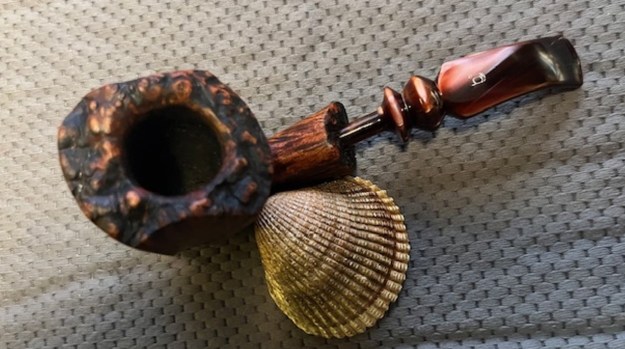
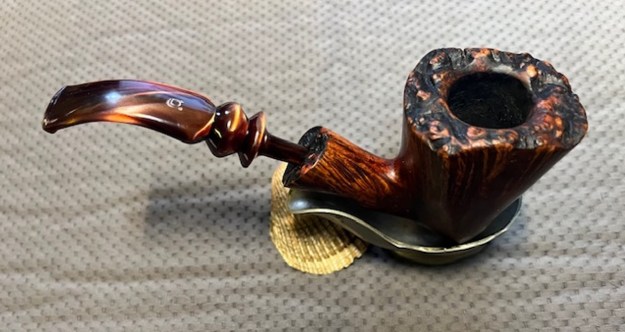
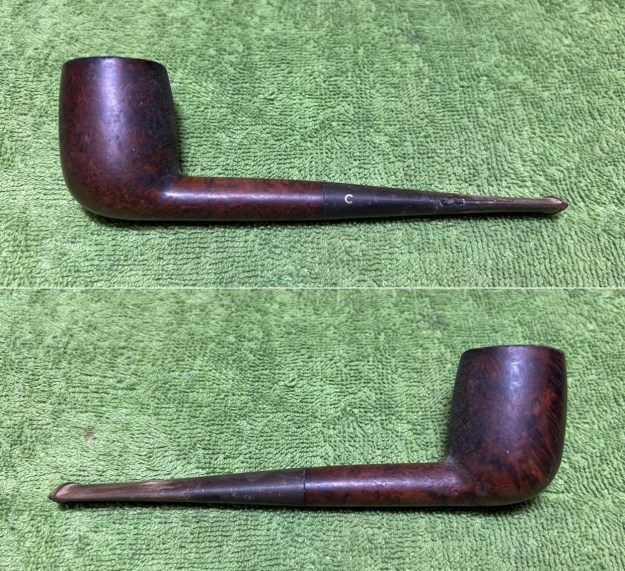
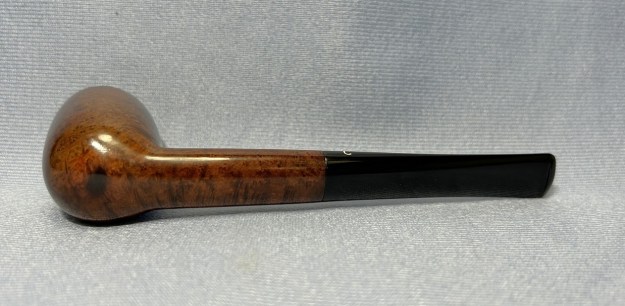
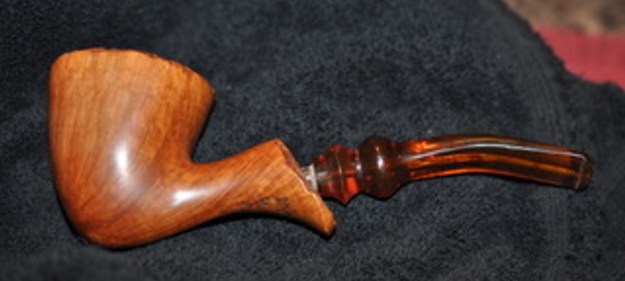
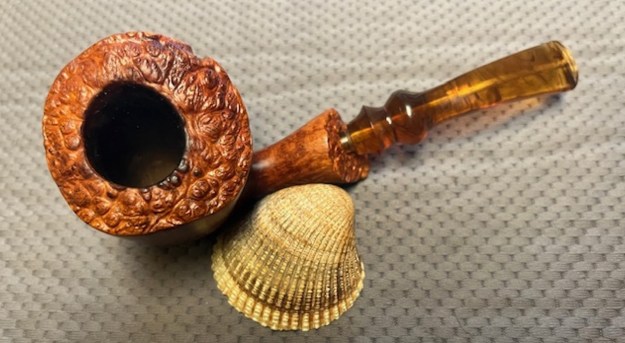
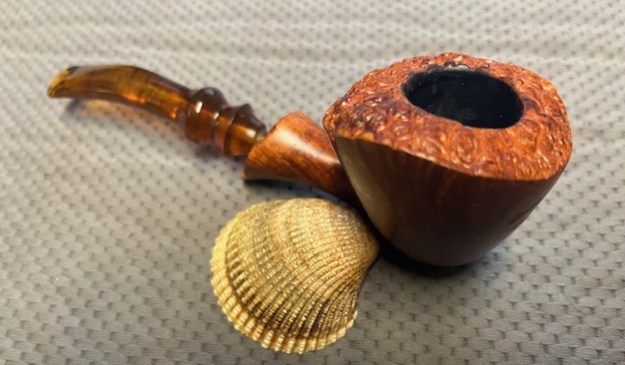
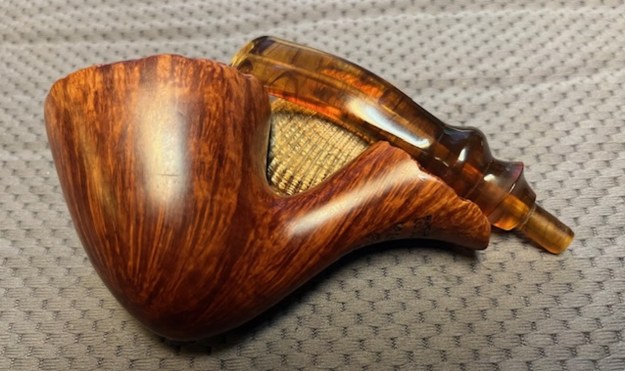
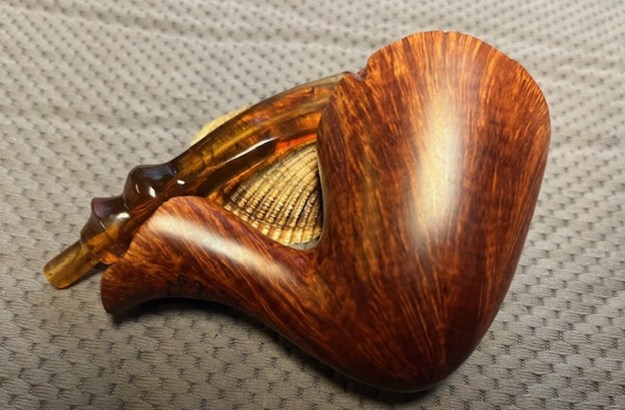
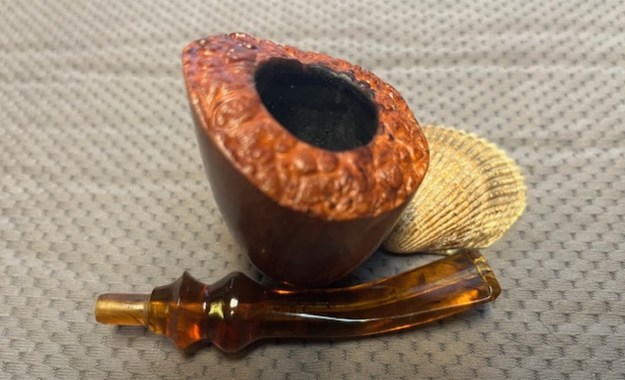
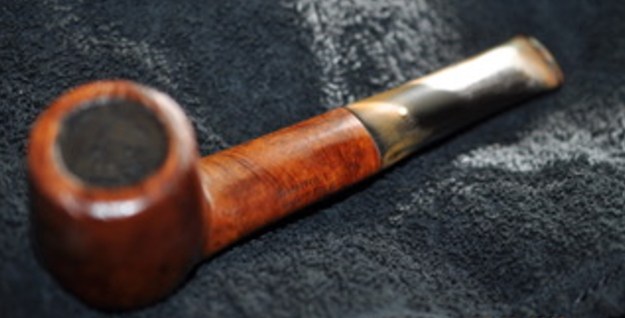
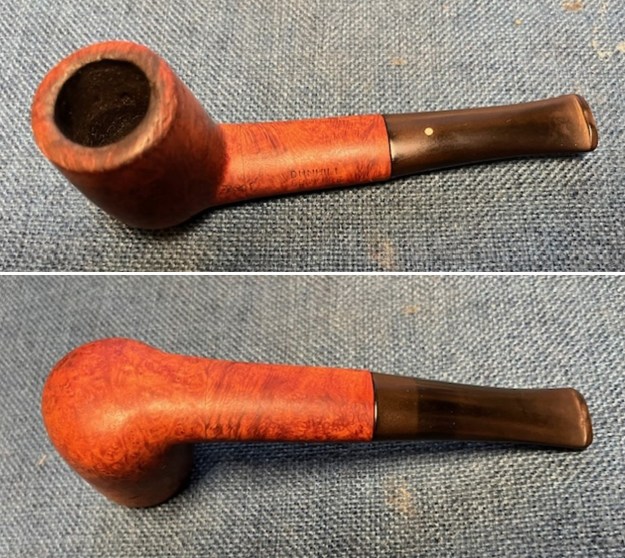
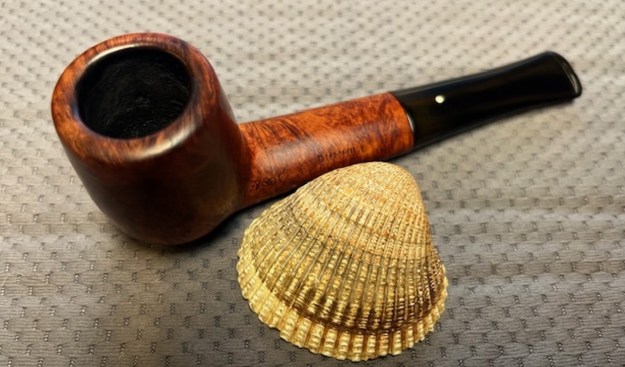
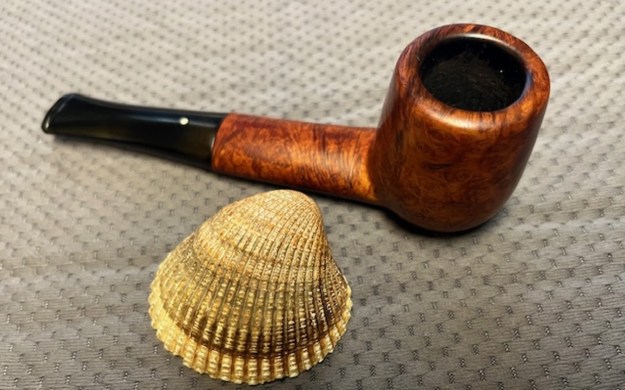
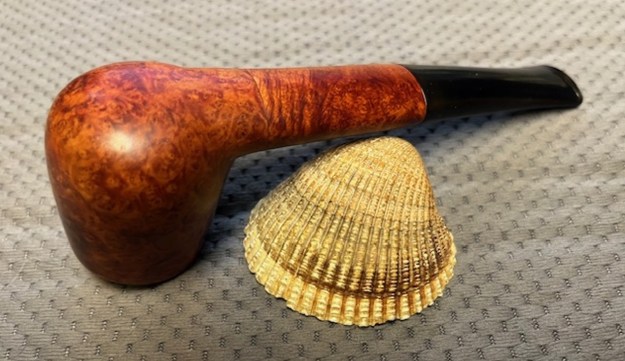
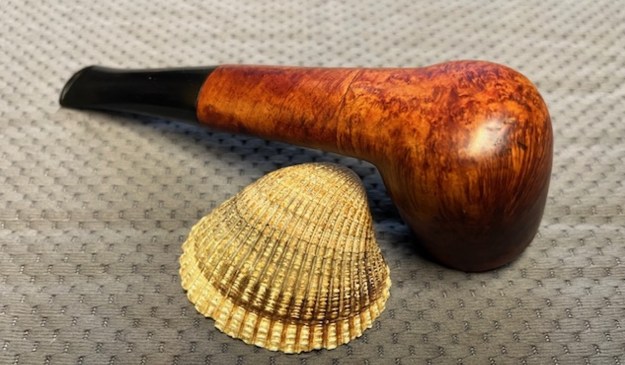
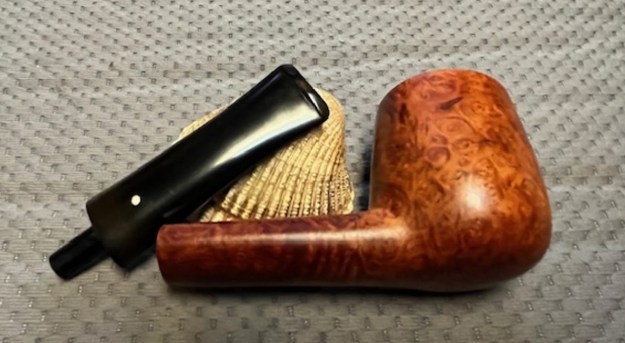
This afternoon I decided to work on another pipe that I no longer know where or when we purchased it. I have a large box of Meerschaum pipes that is sitting in my storage that I need to clean up and restore. I have honestly avoided them for years but now was the time to start my work on some of them. Today I chose another of the uncased meers. This one is a Billiard shape with a Cumberland Taper Stem and a Softee Bit on the end. My guess is that the Softee protected the stem for tooth marks. I will know for sure once I remove it. It is a beautifully shaped Billiard Meer that is filthy and covered with scratches from its journey. The bowl and shank have some nice patina particularly on the shank. There is also a signature stamp on the left side of the shank that reads I. Bekler. It is dirty from use with a thick cake in the bowl and a heavy overflow of lava on the inner edge and thin rim top, heavier on the back side. The shank has a silver band on the end that is quite oxidized. The Cumberland stem had a push tenon and the shank was fitted with a receiver mortise. It fit well against the shank end and was slightly dirty and had a dirty and well chewed Softee Bit on the end protecting the stem surface and button. I took photos of the pipe before I started my clean up work on it. 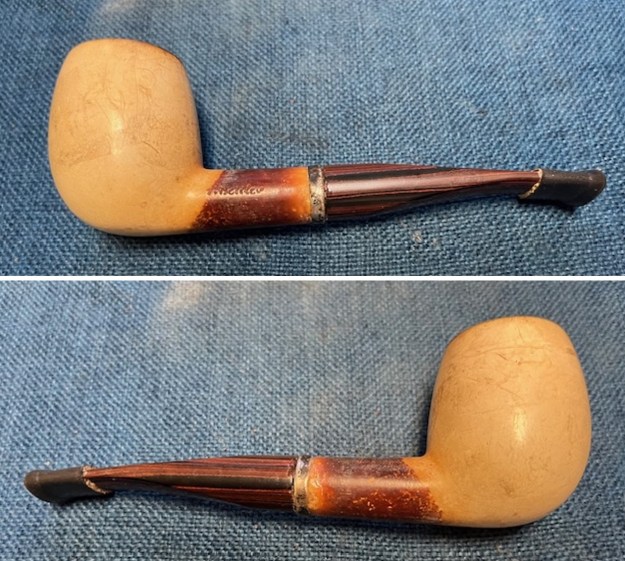
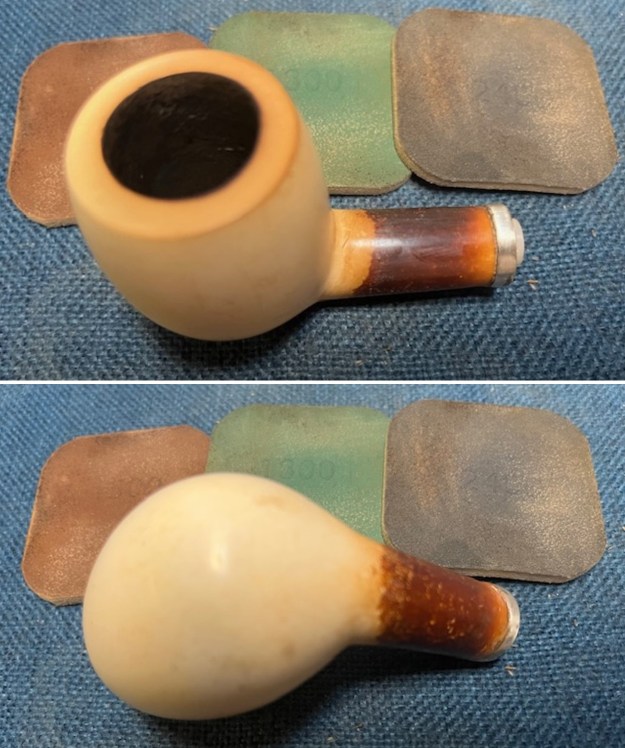
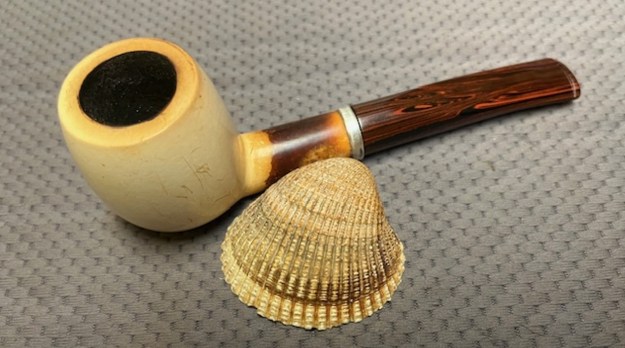
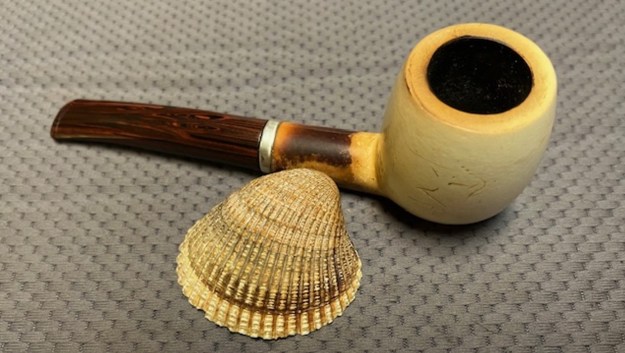
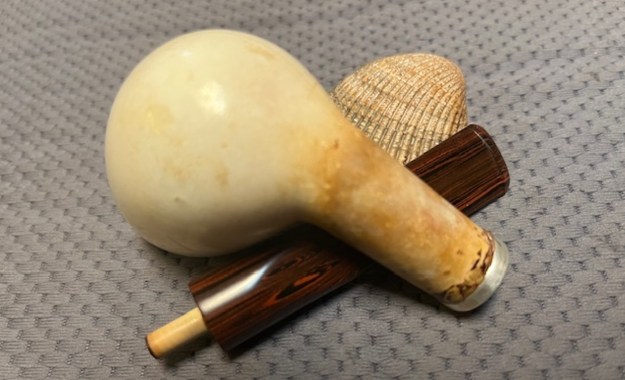
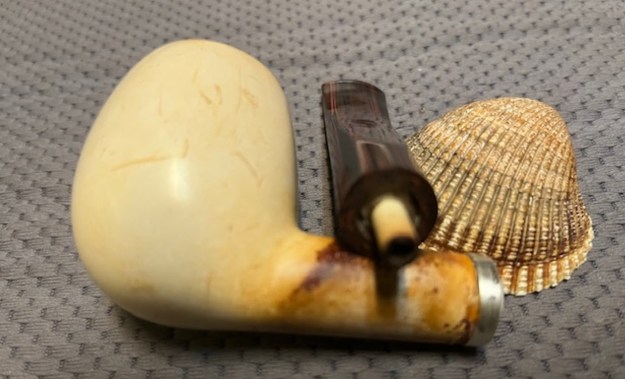
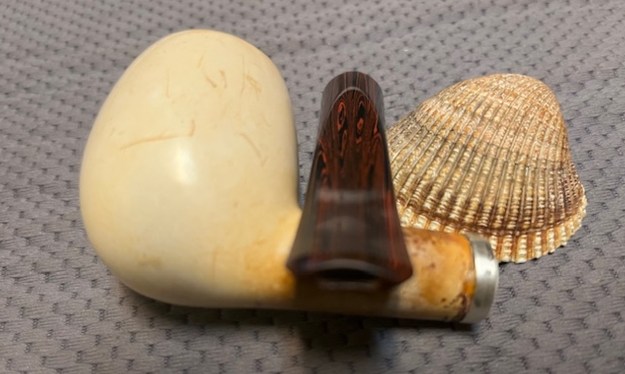
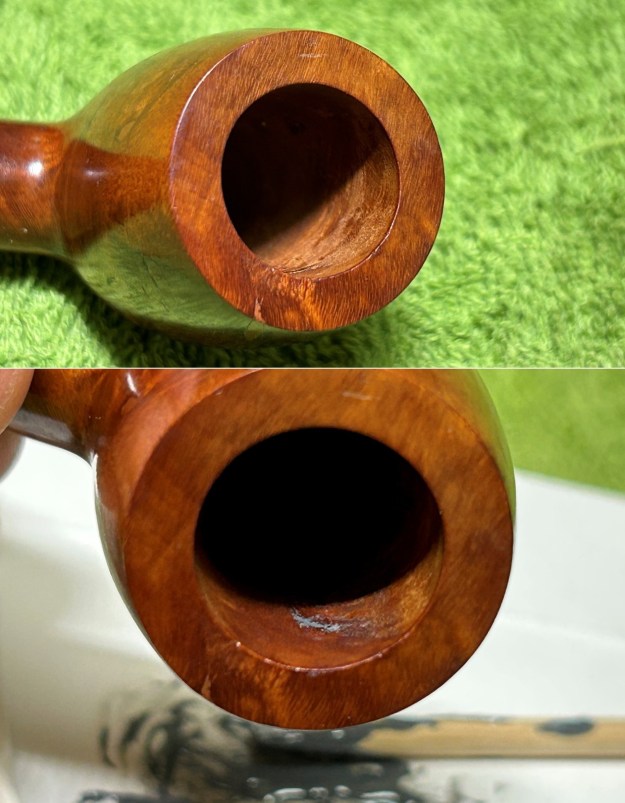
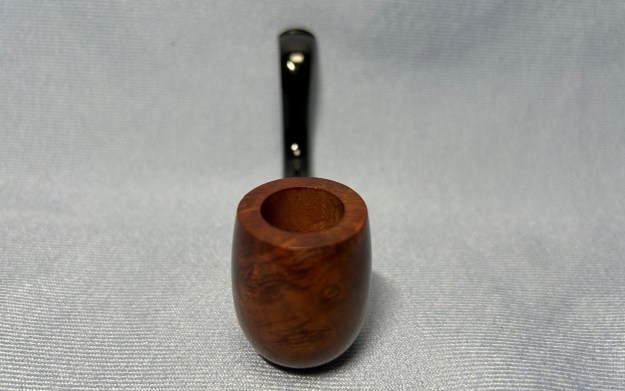
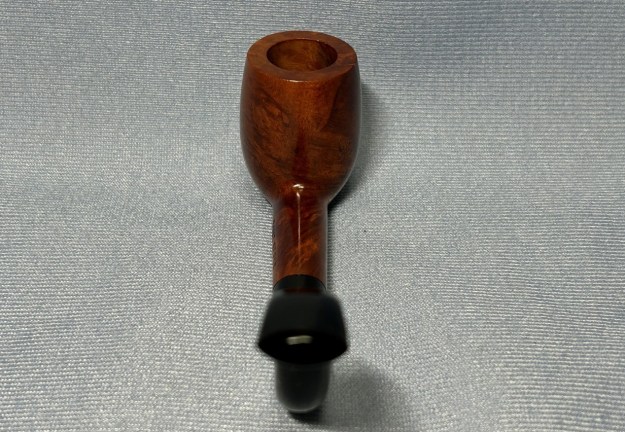
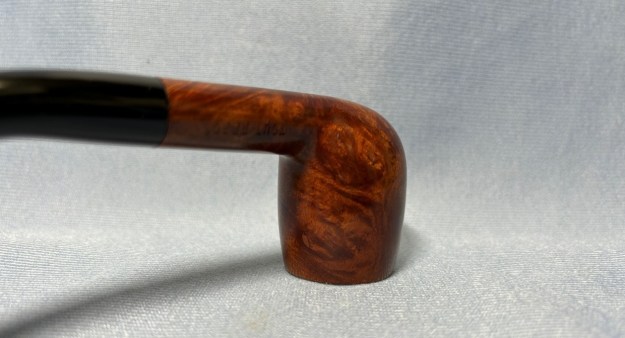
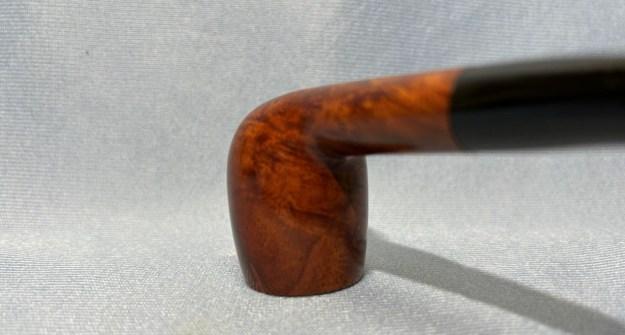
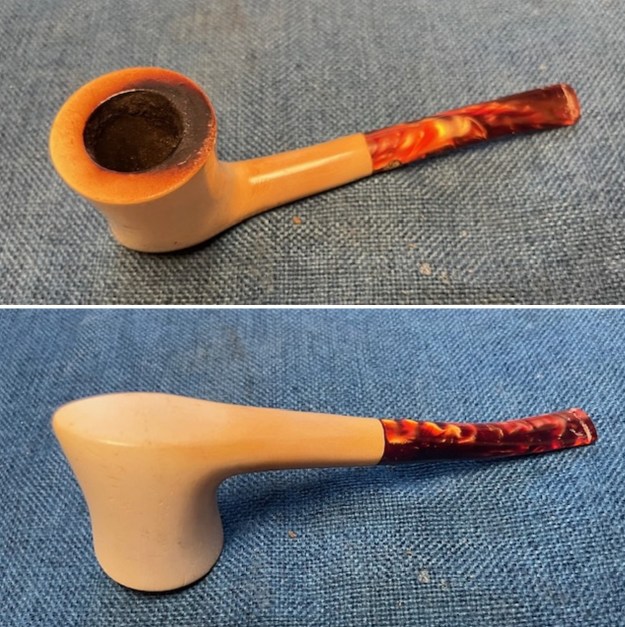
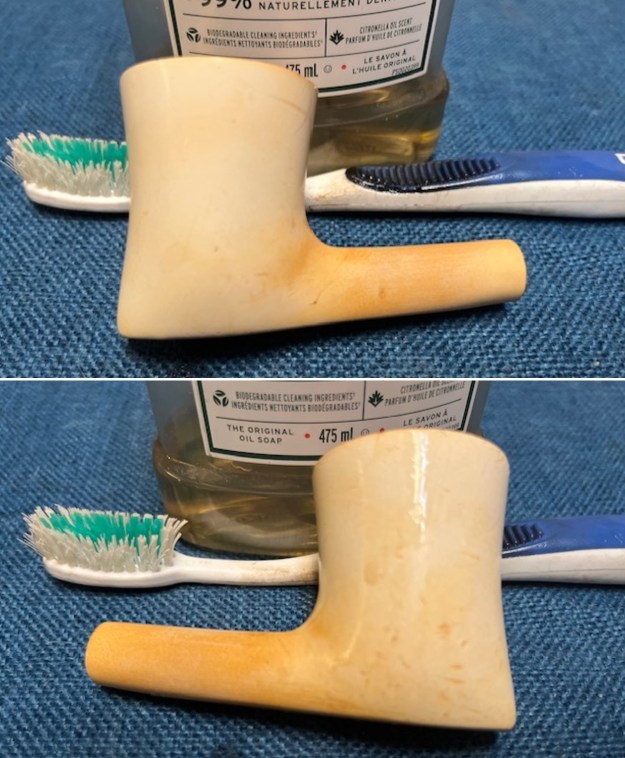
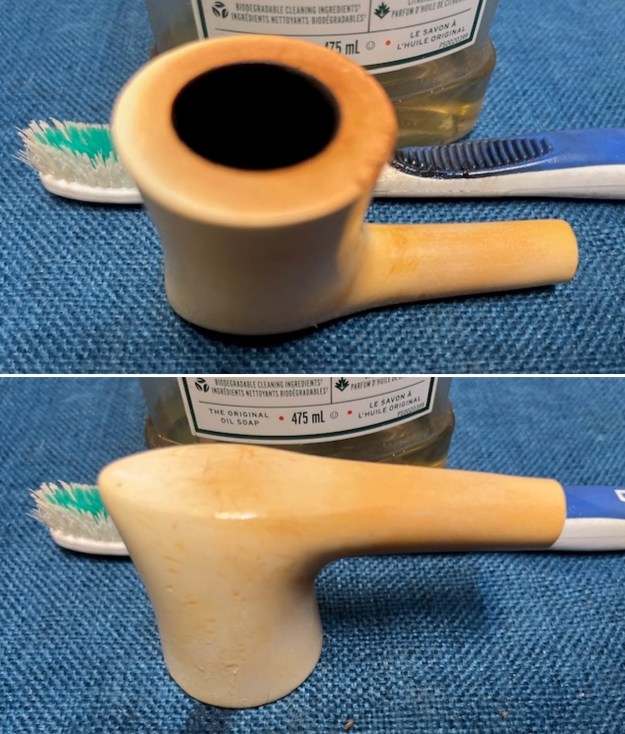
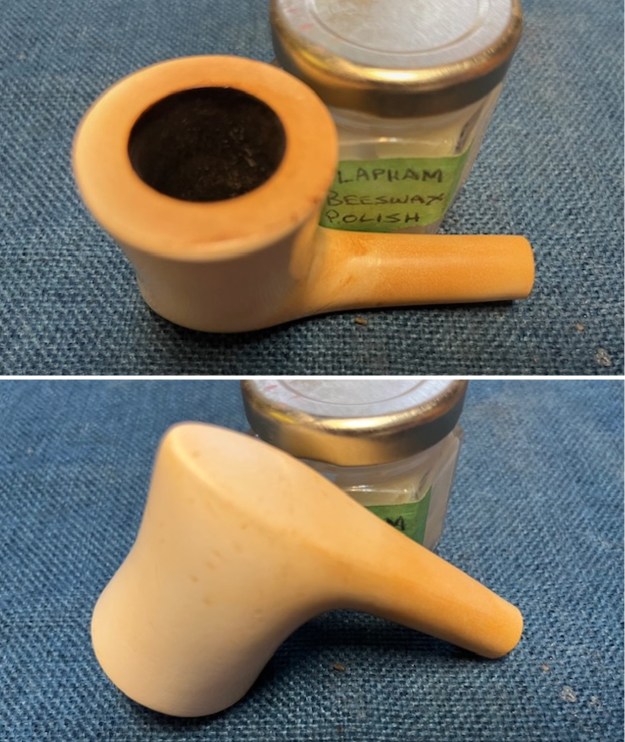
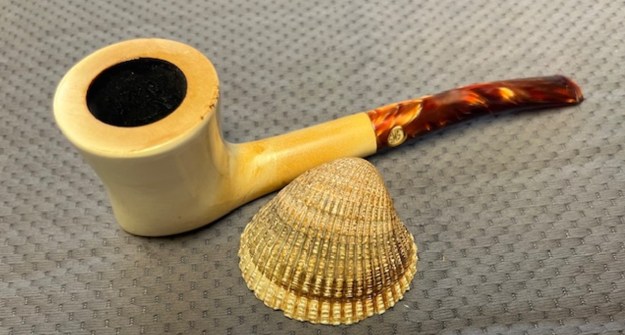
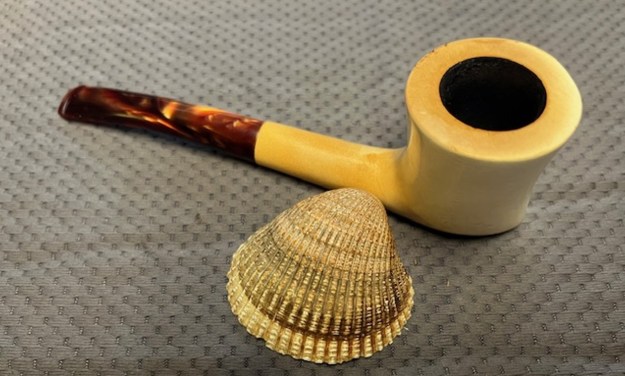
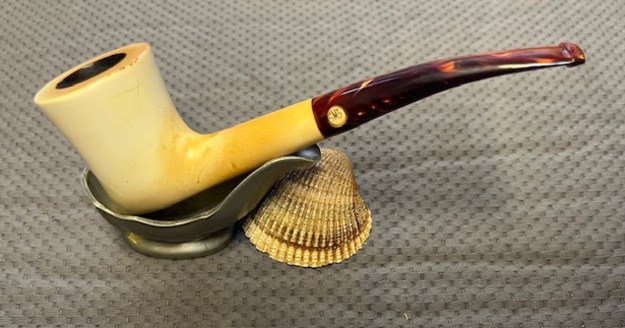
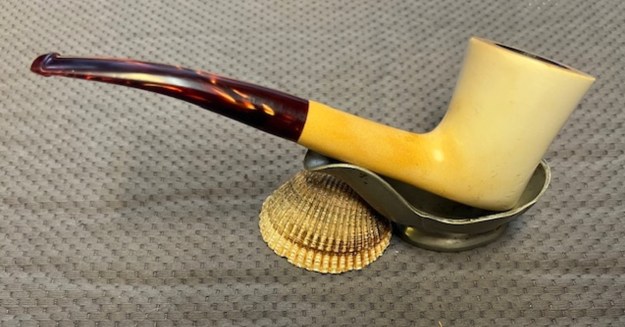
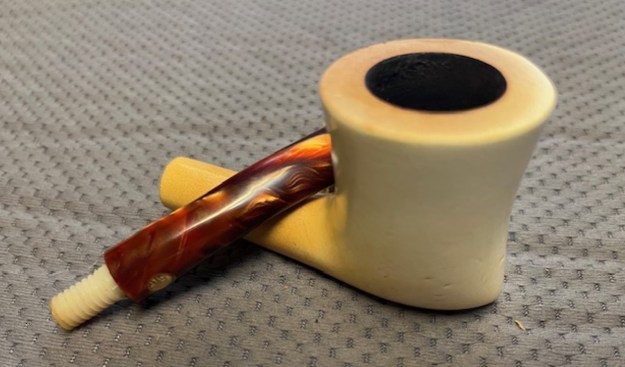
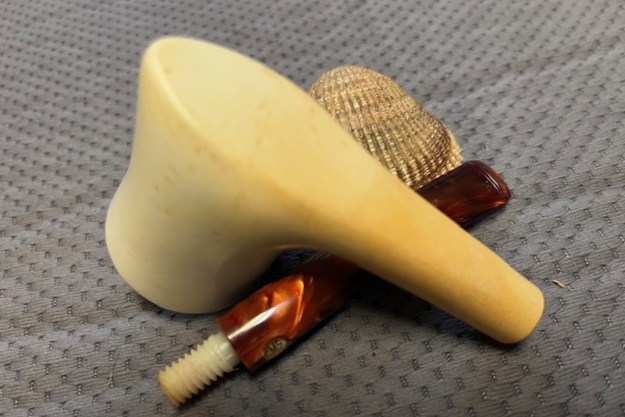
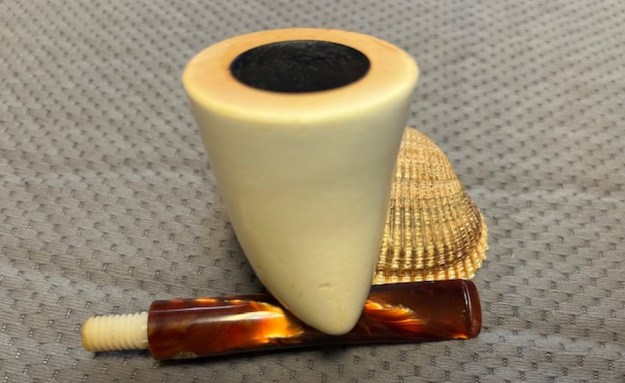
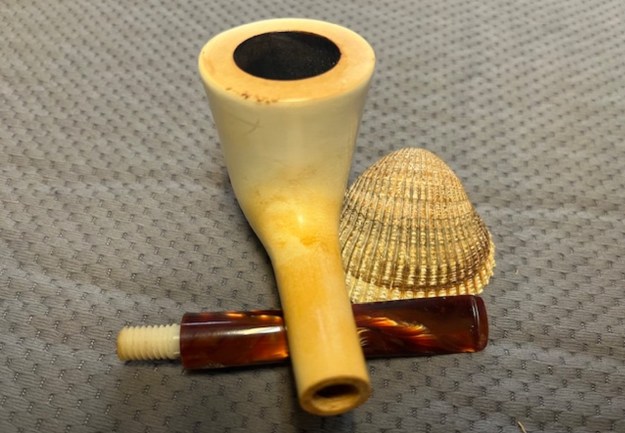
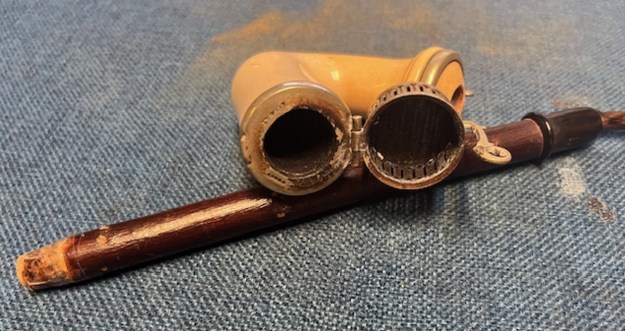
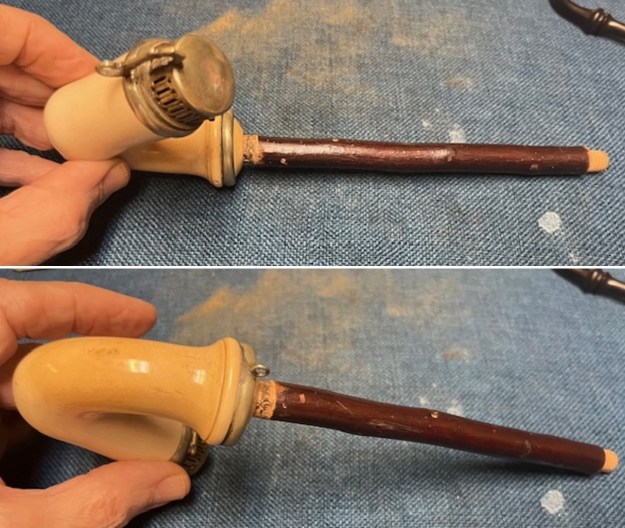
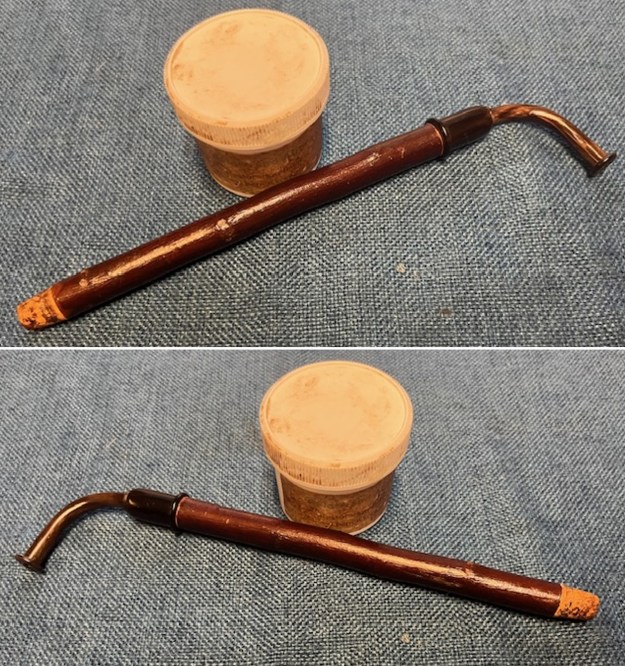
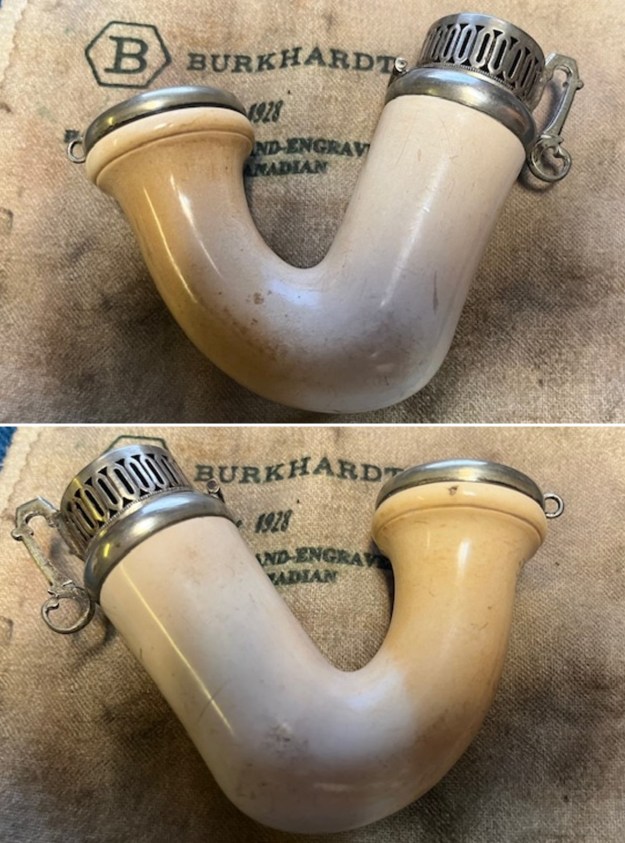
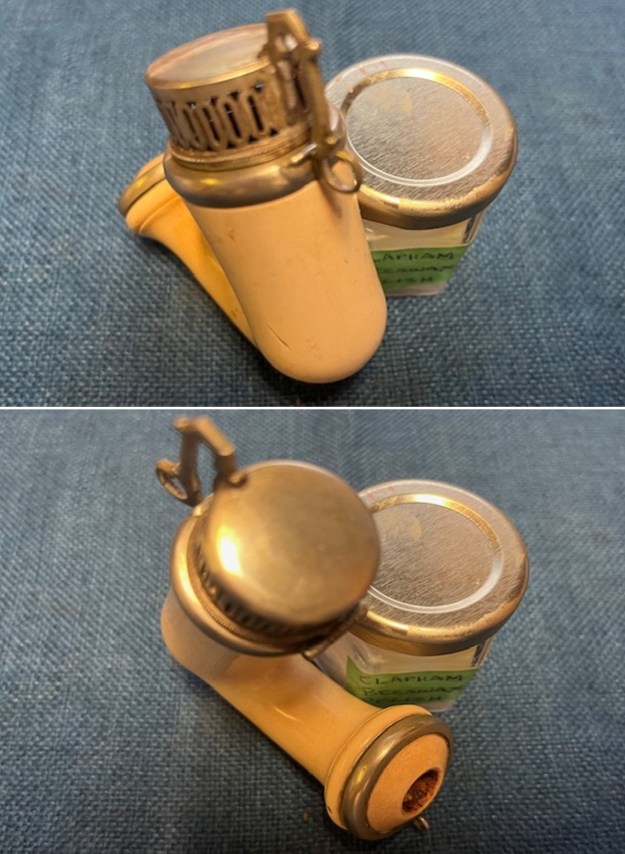
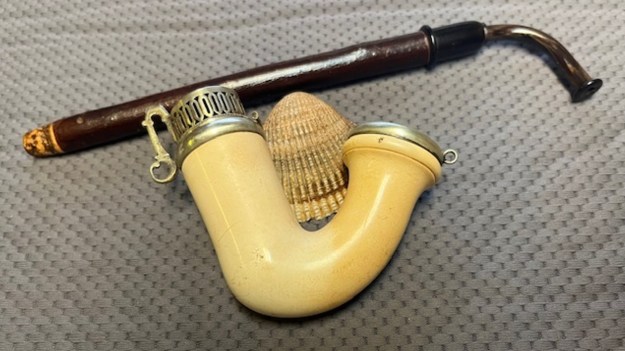
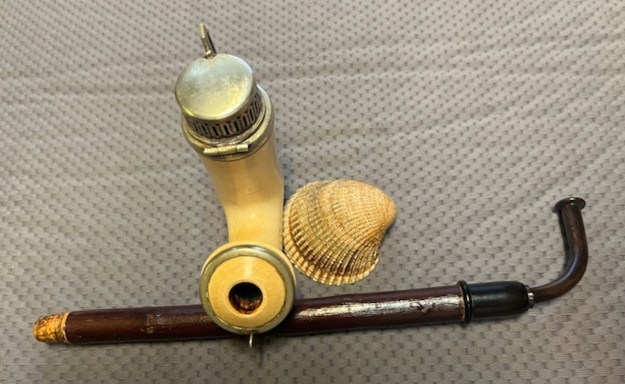
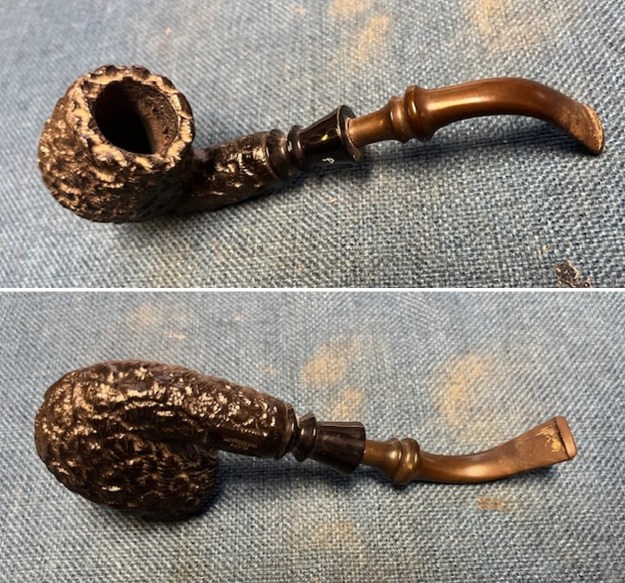
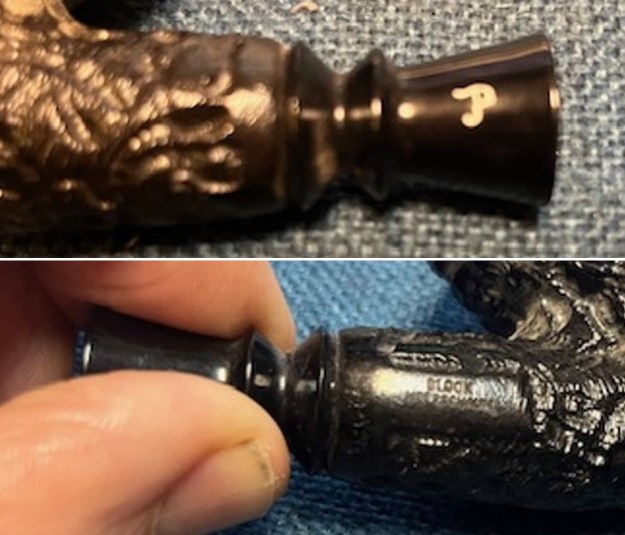
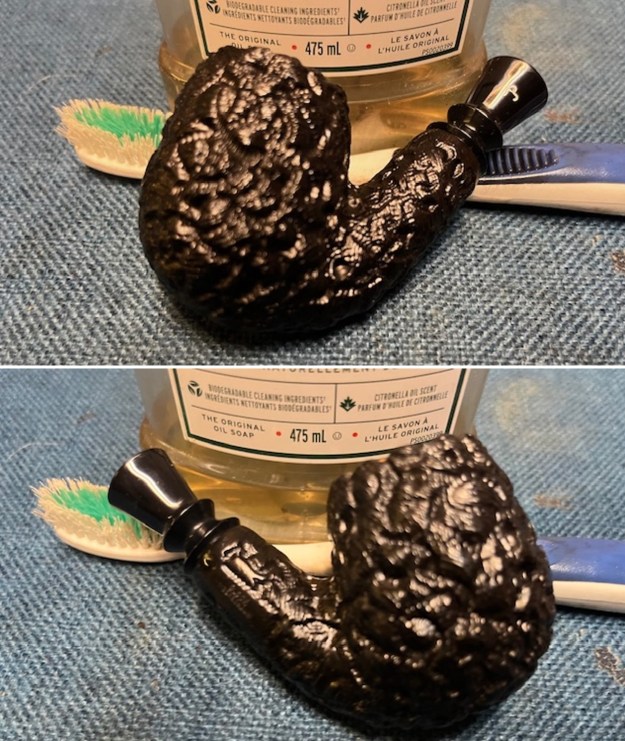
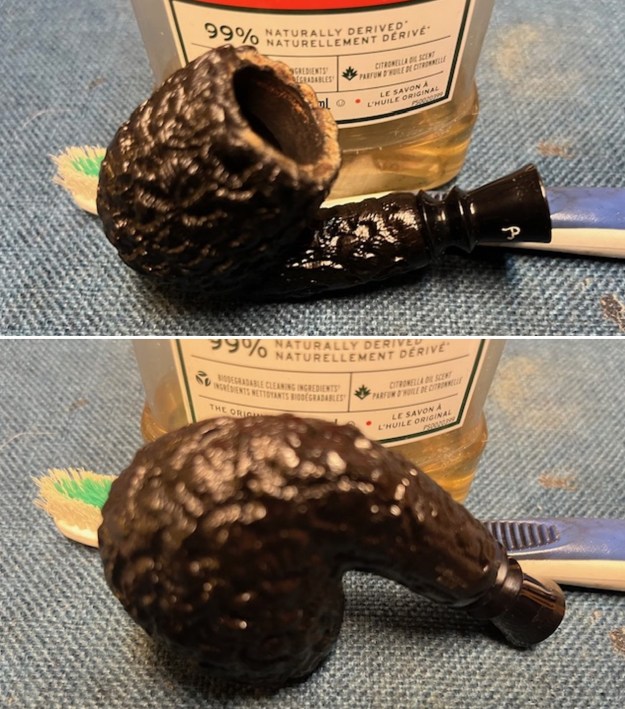
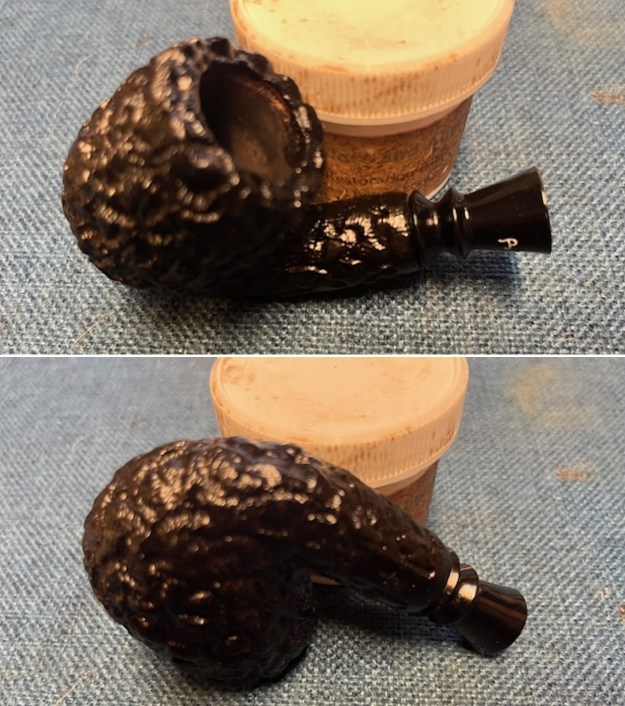
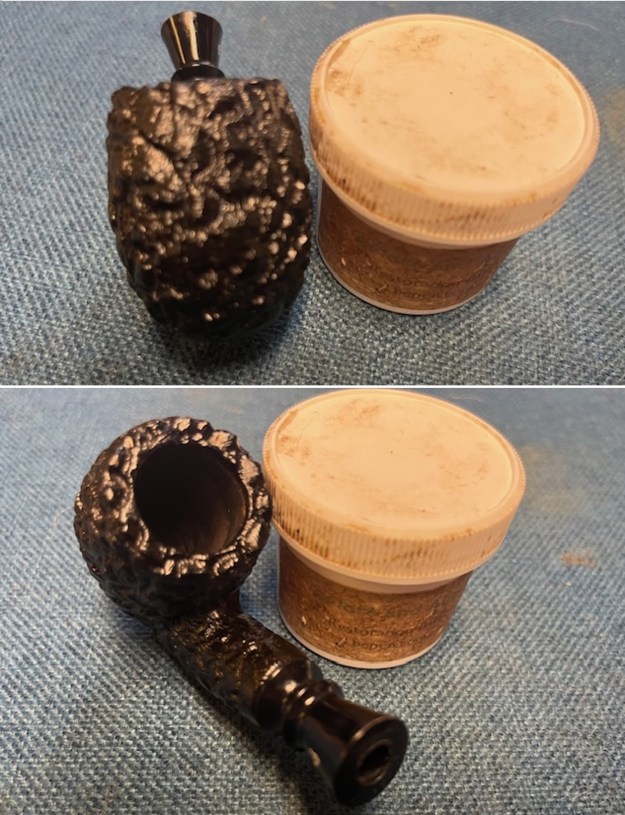
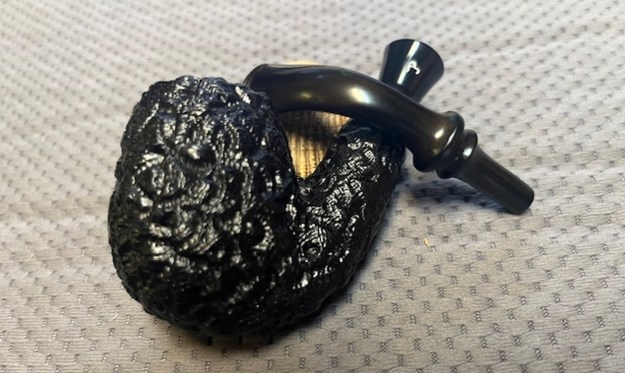
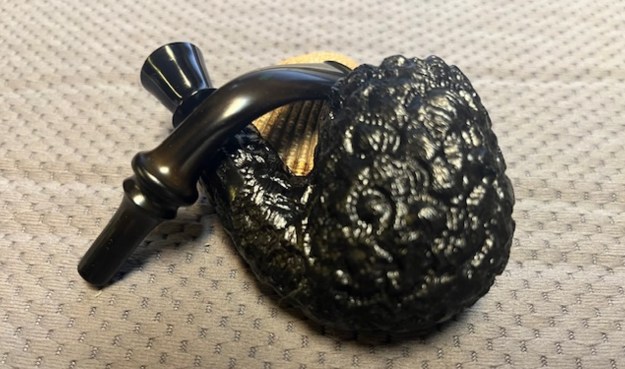
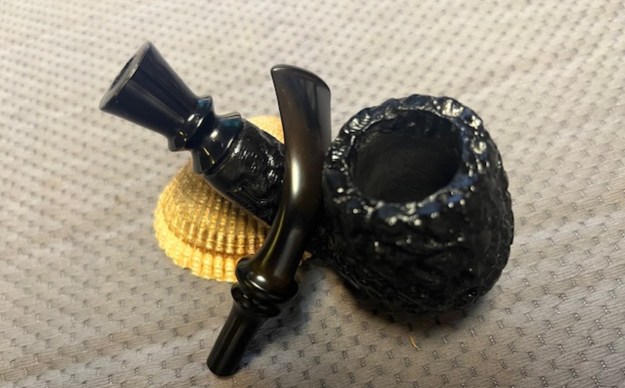
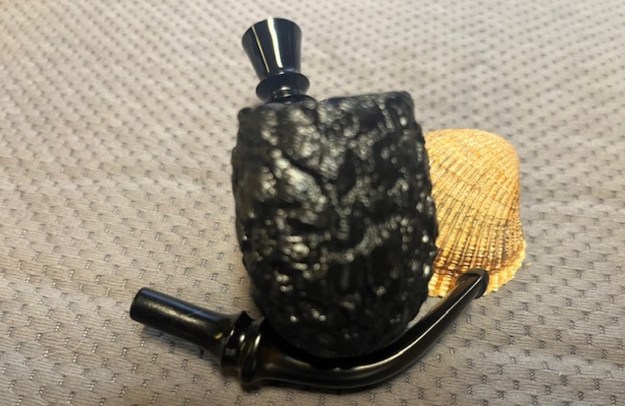
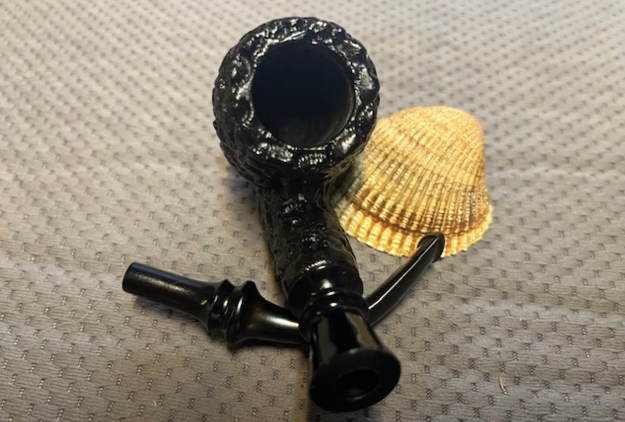
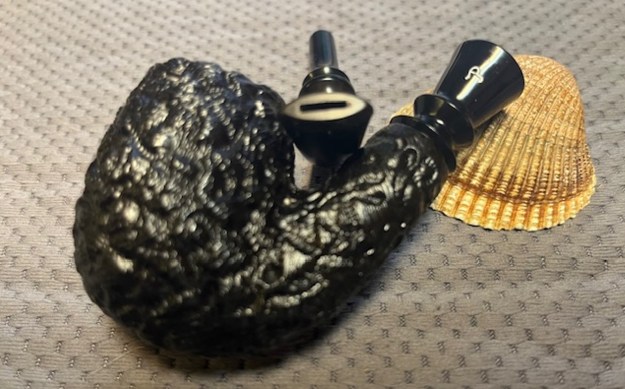
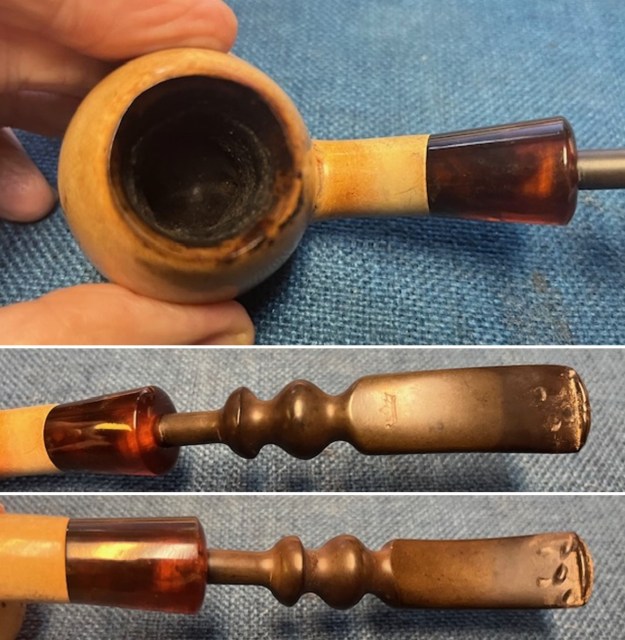
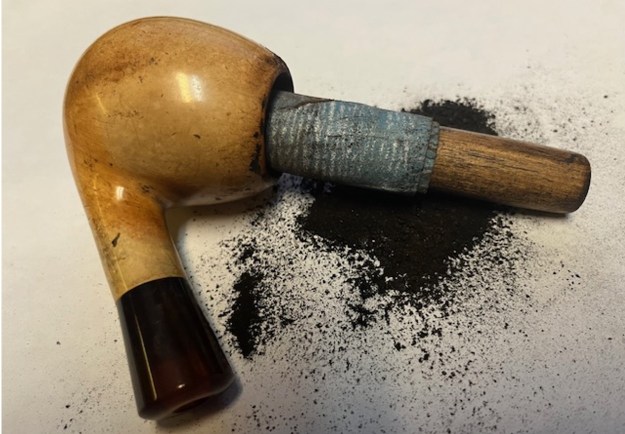
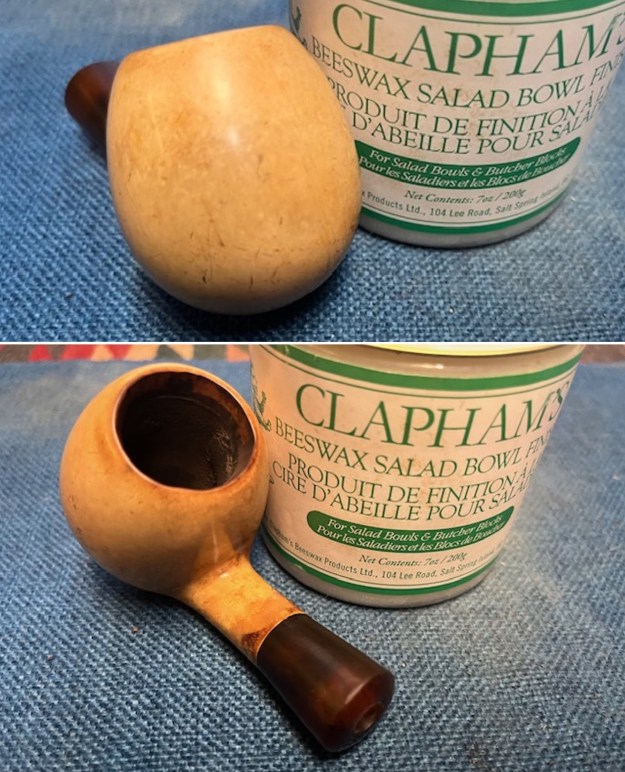
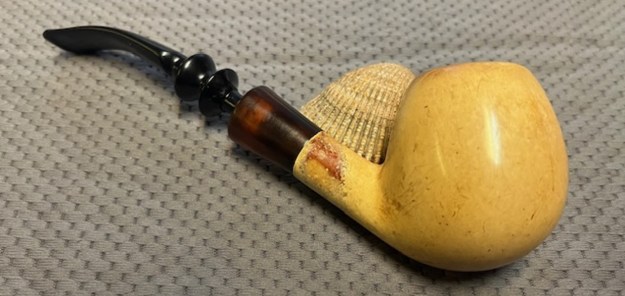
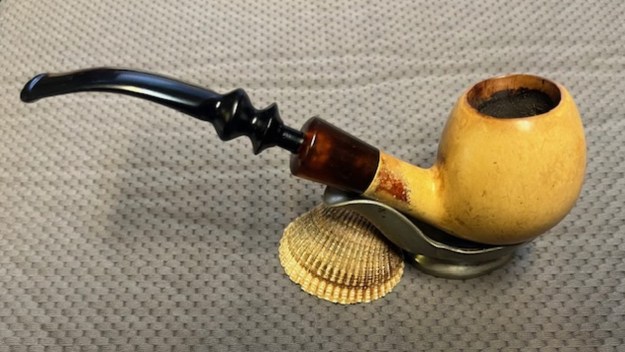
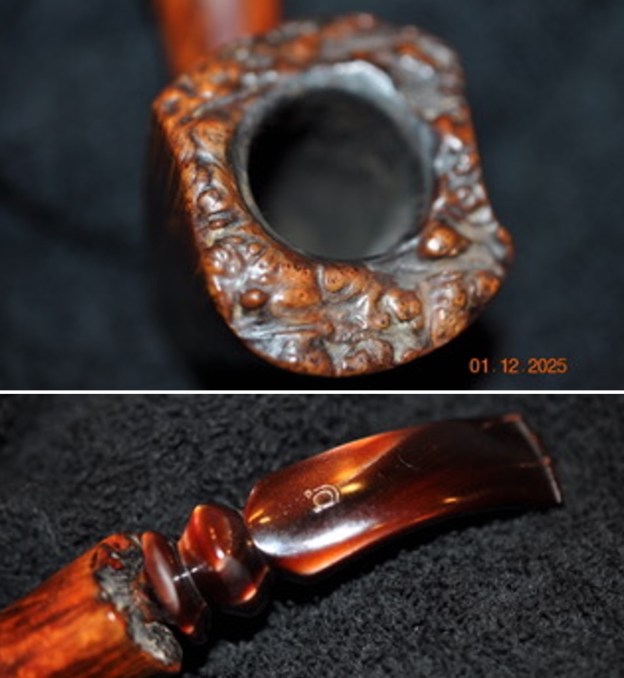
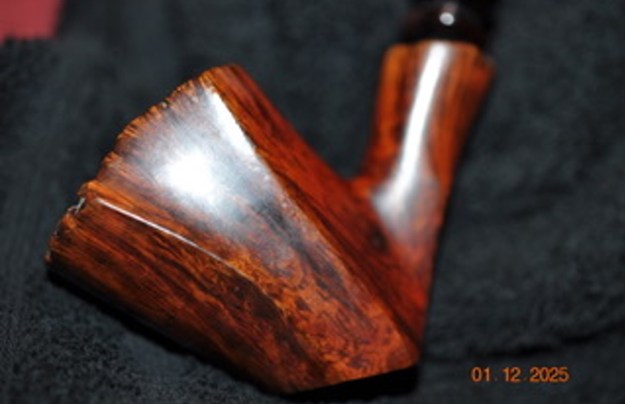
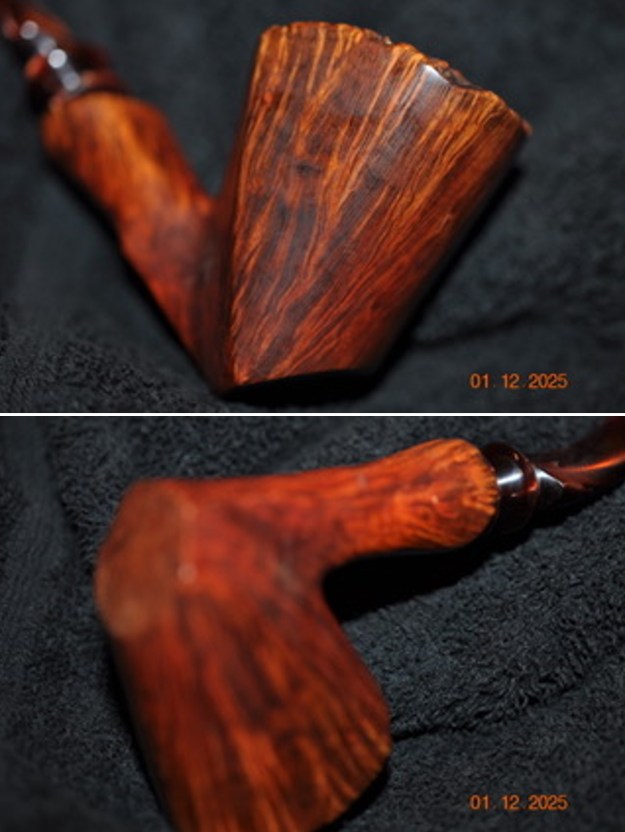
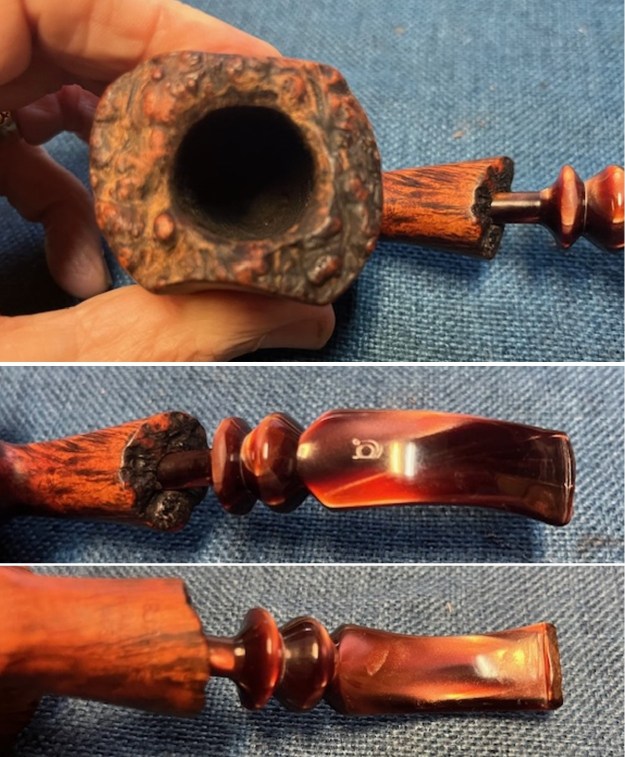
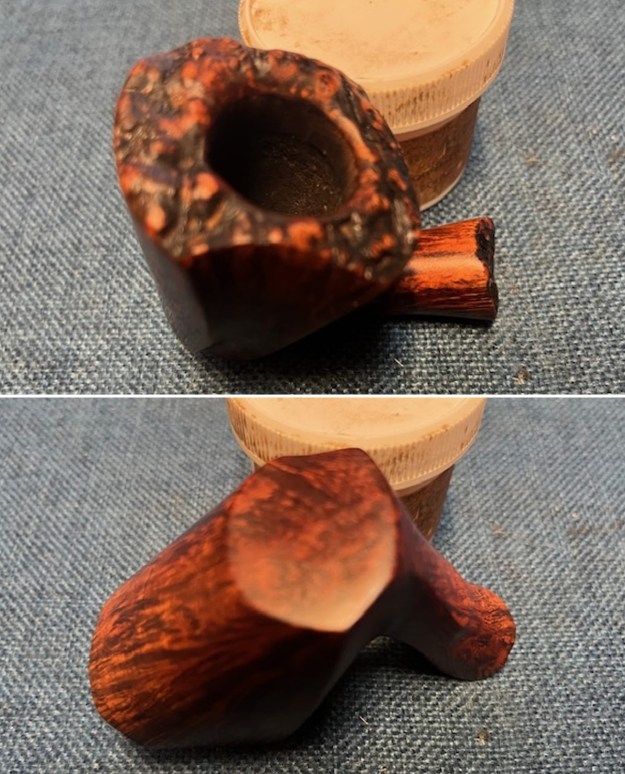
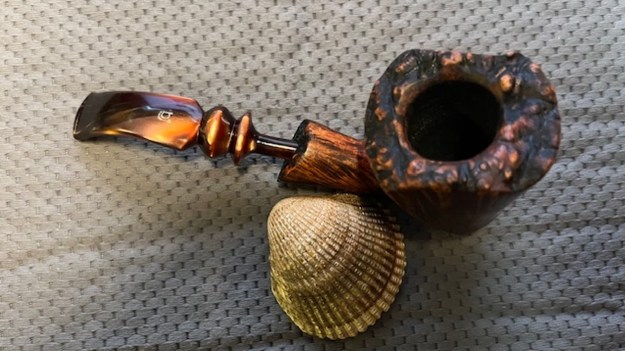
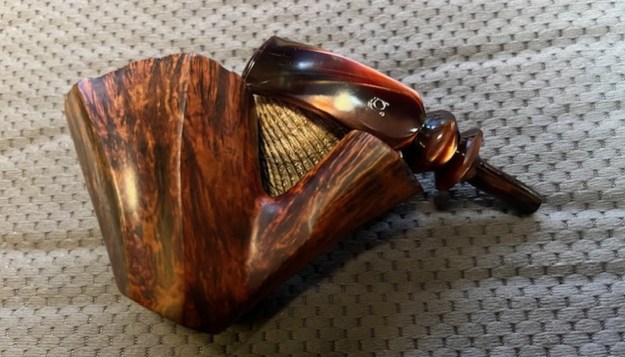
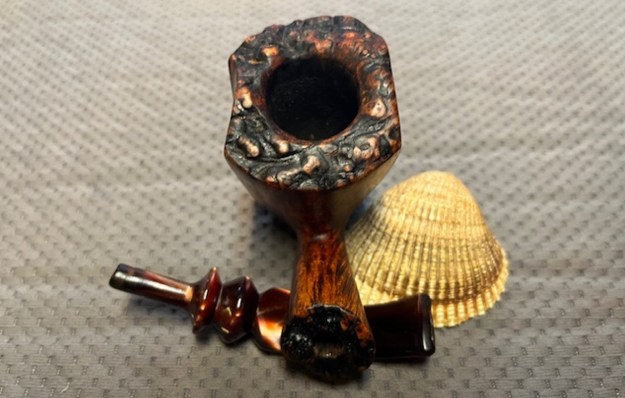
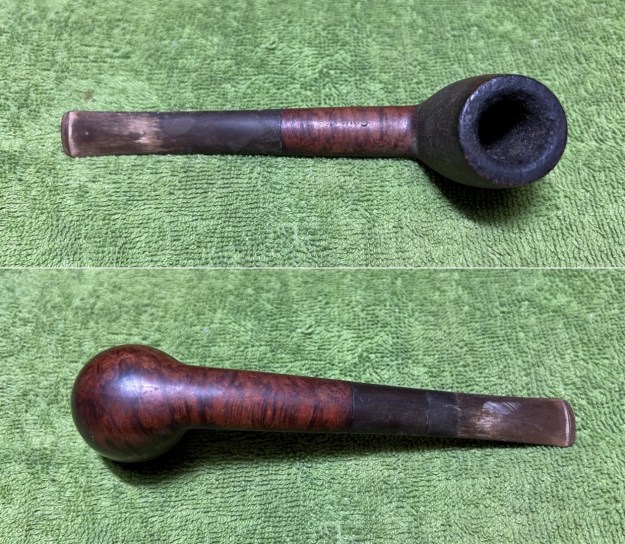
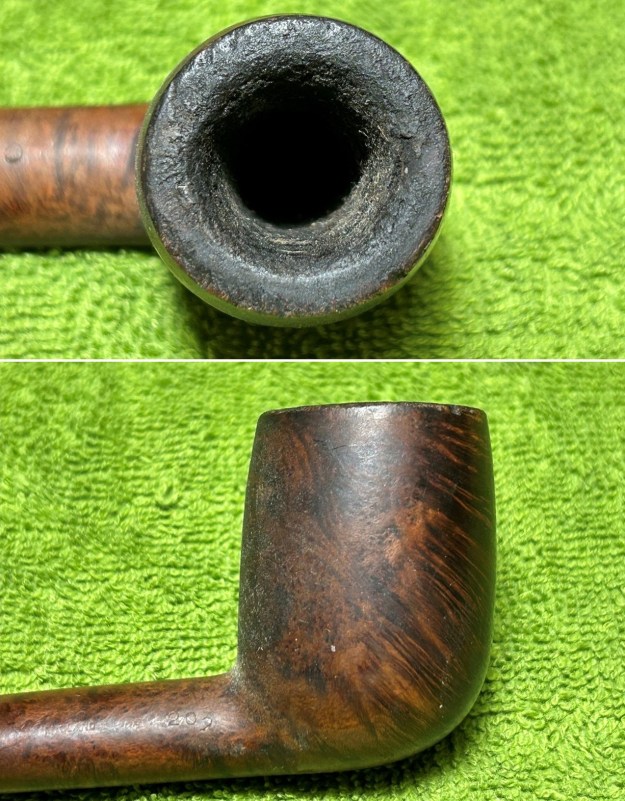
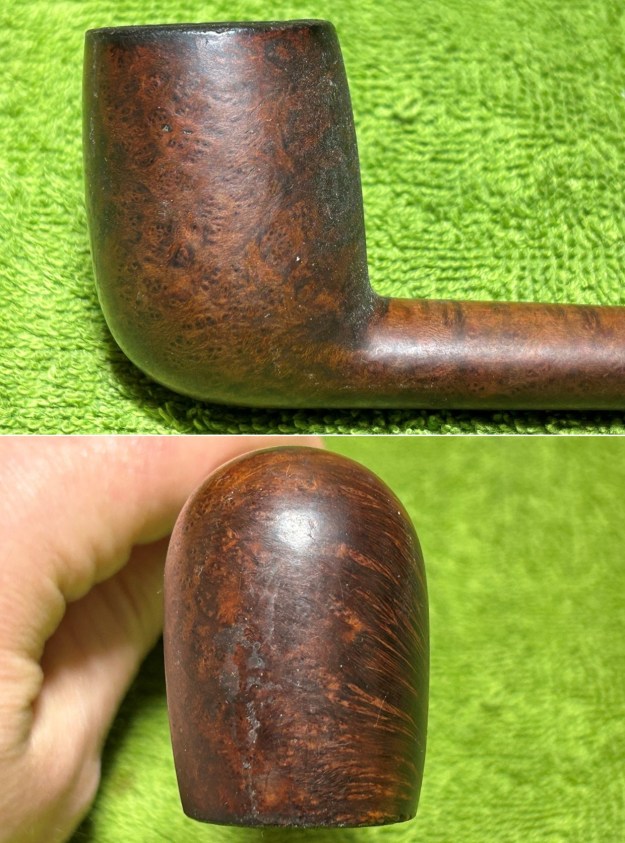
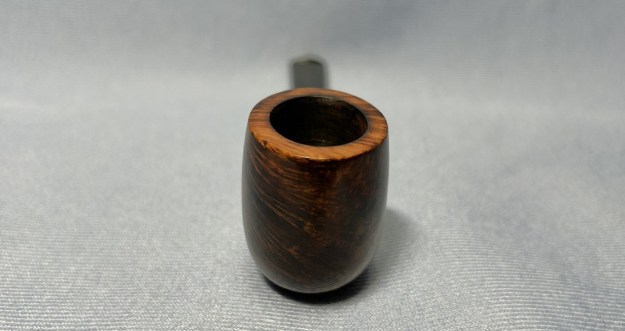
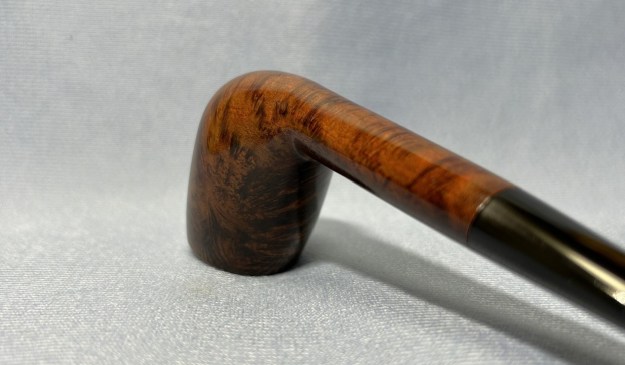
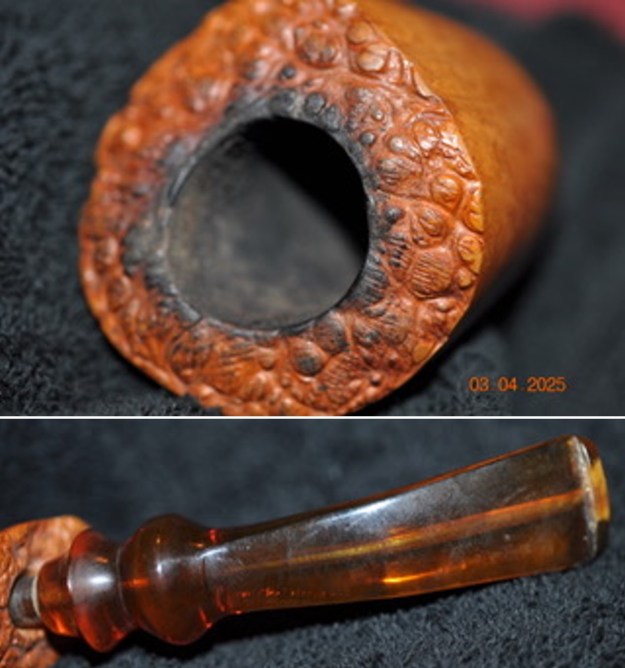
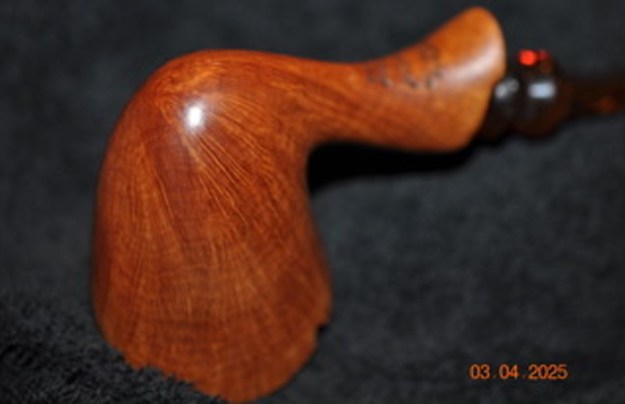
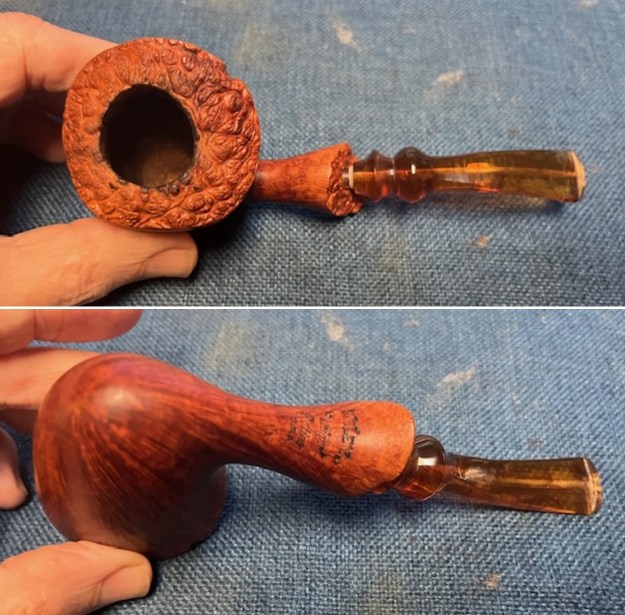
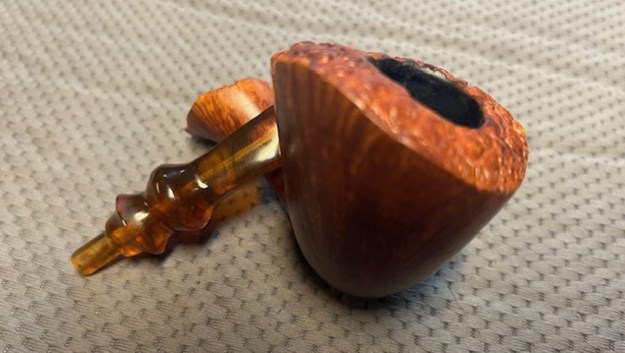
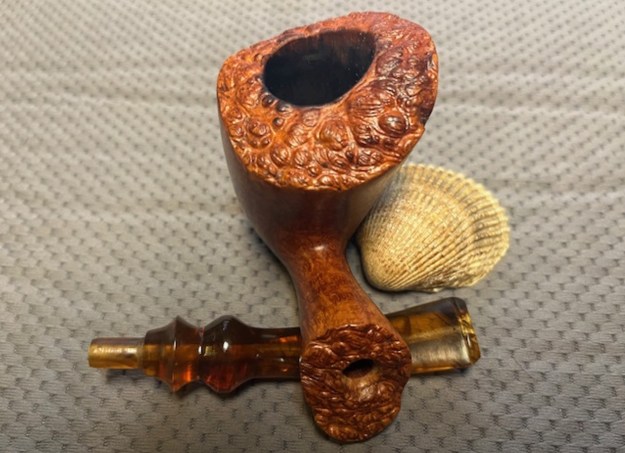
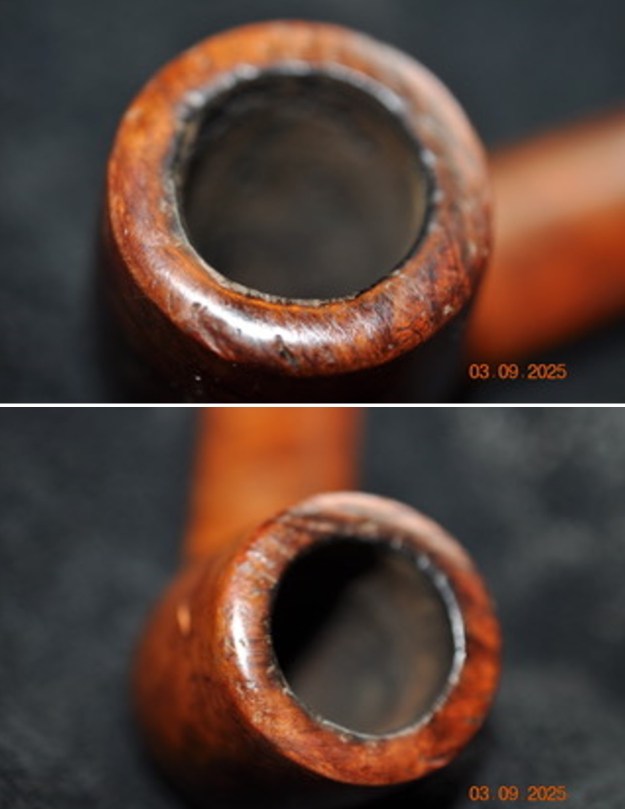
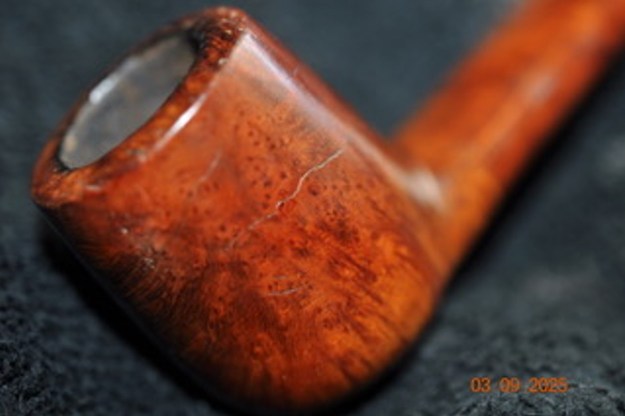
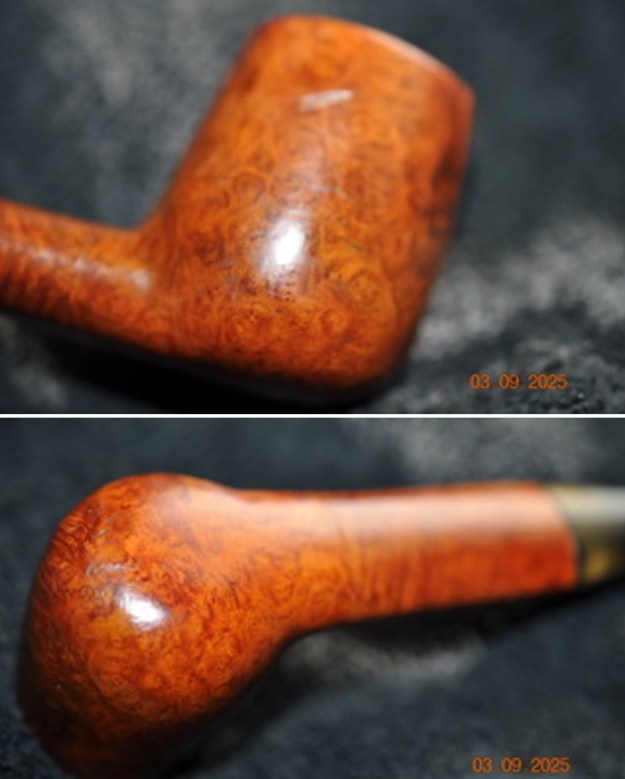
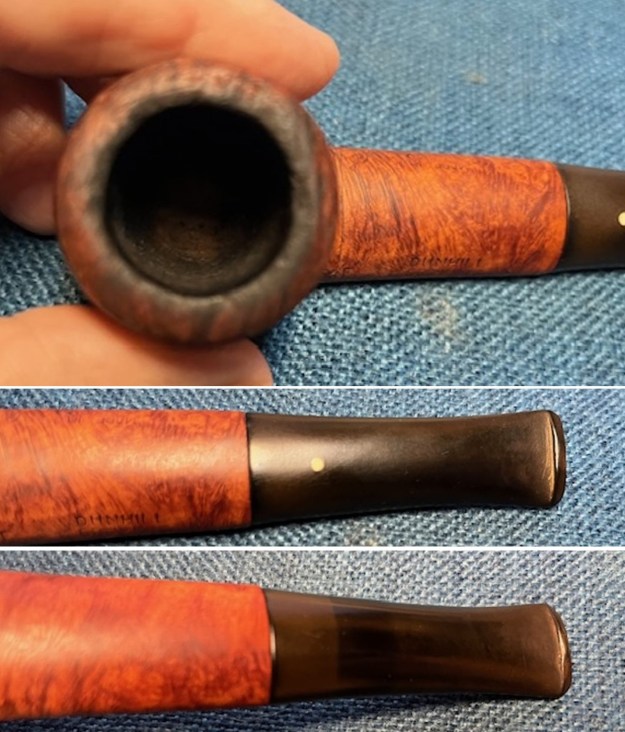
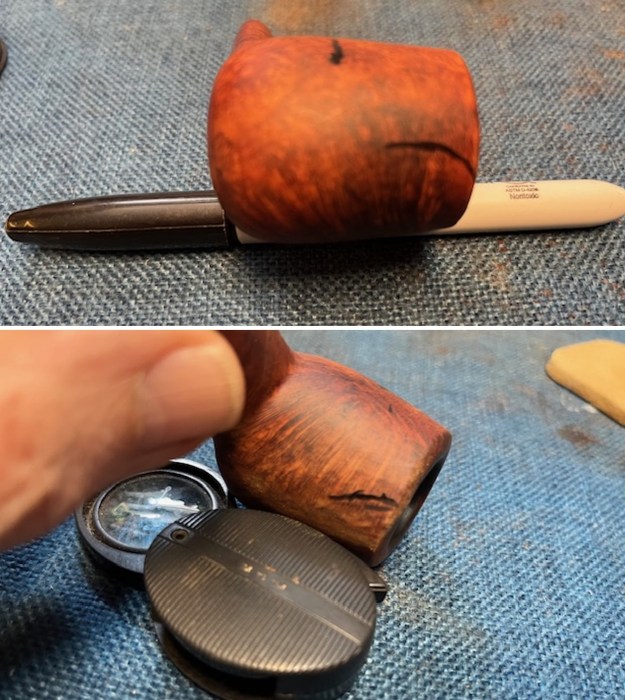
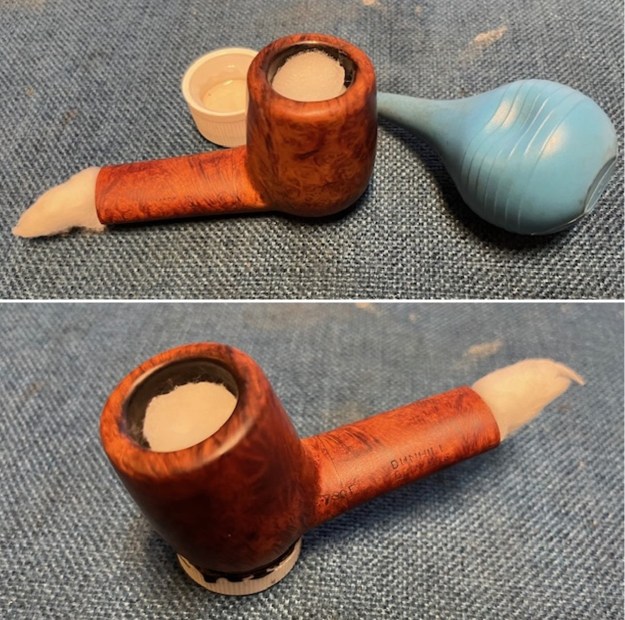
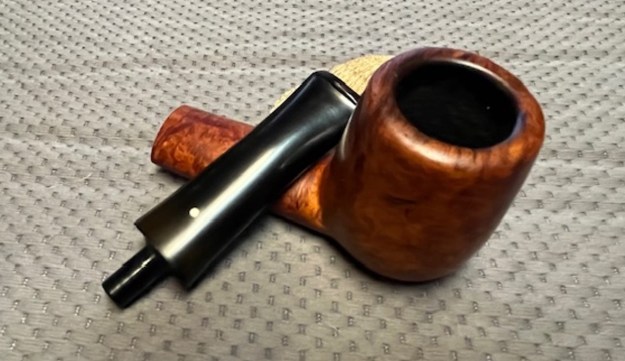
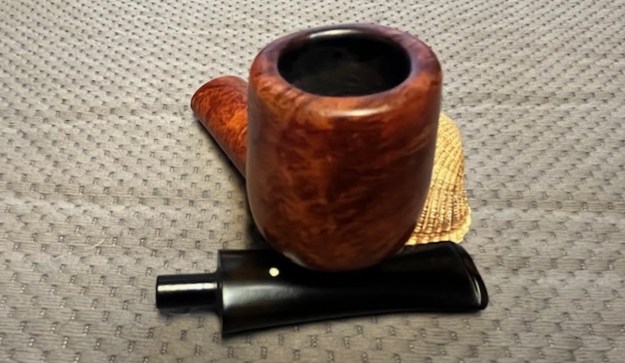
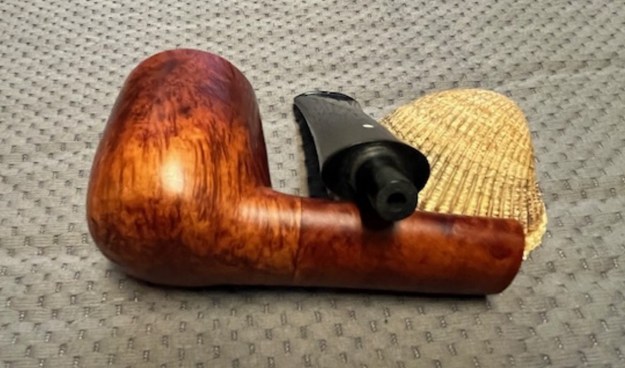
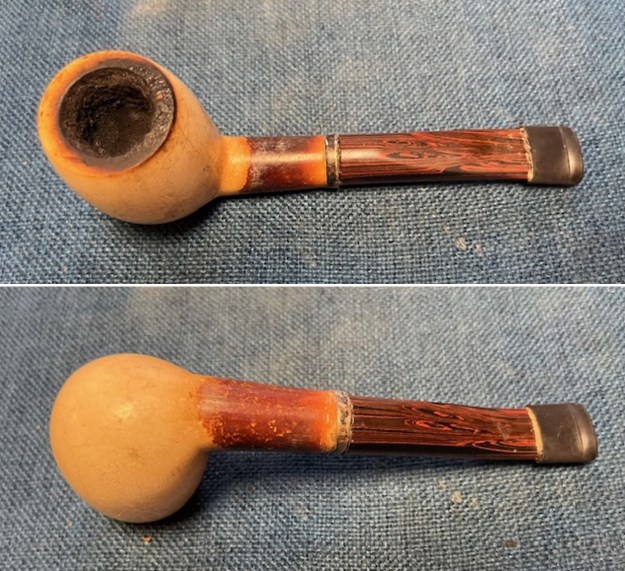 I took photos of the rim top and the stem to show the condition of the pipe when I brought it to the worktable. You can see the cake in the bowl and the heavy build up of lava and debris on the edge and top of the rim. It is another dirty pipe but still a charmer. There is a silver band on the shank end that is very oxidized and almost black. The Cumberland Taper stem has a rubber Softee Bit on both sides near the button.
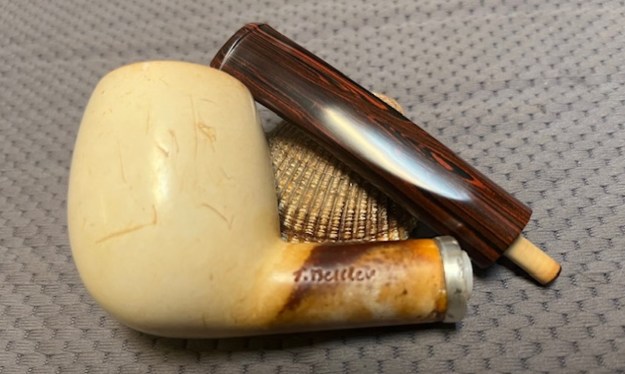
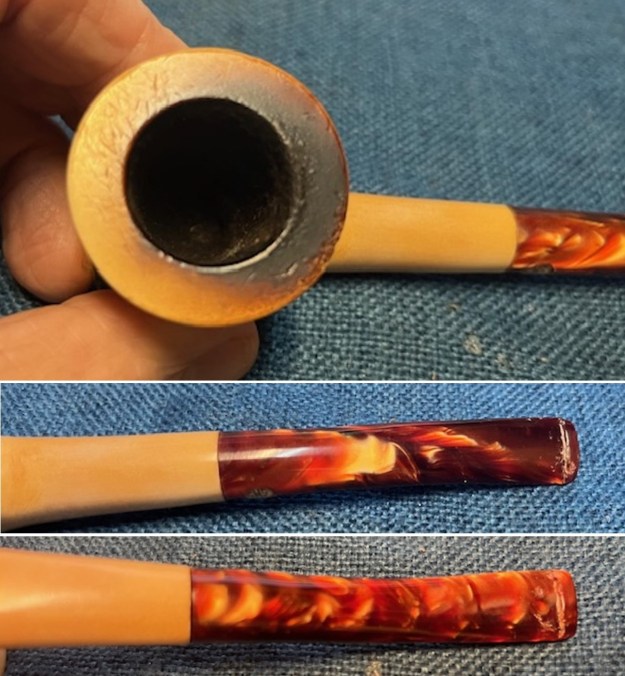
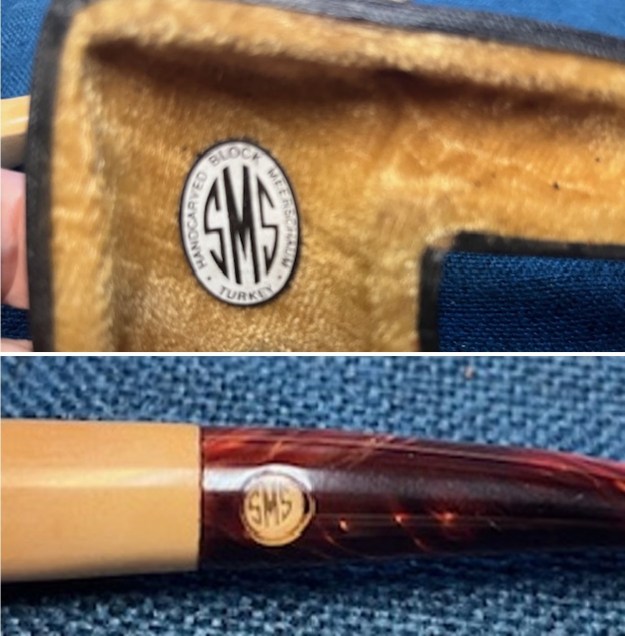
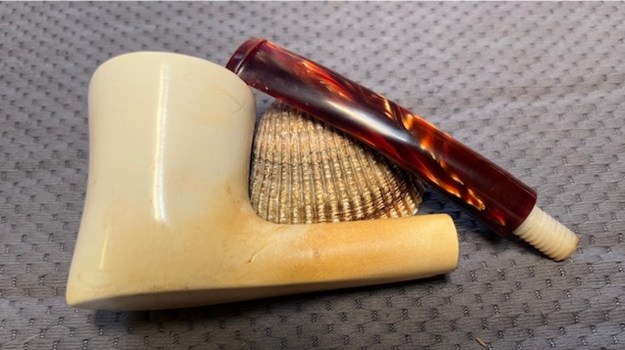
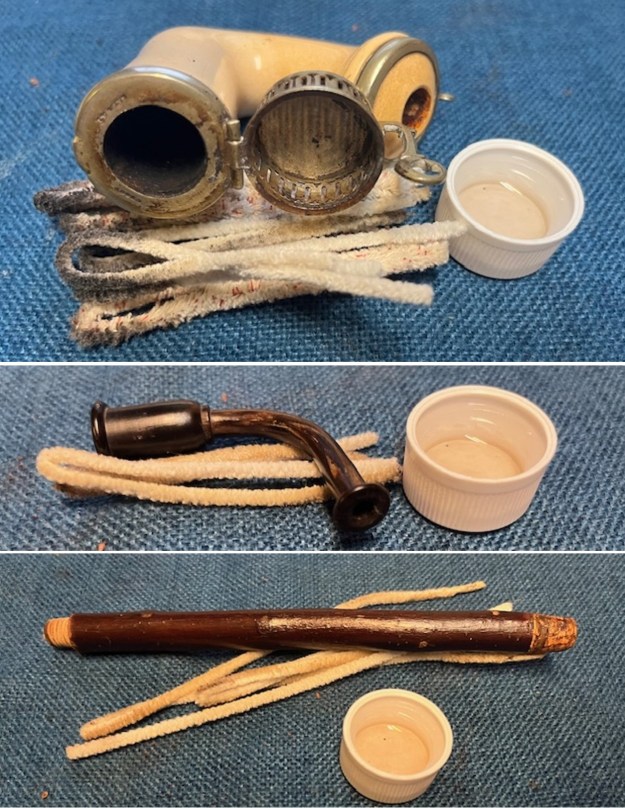
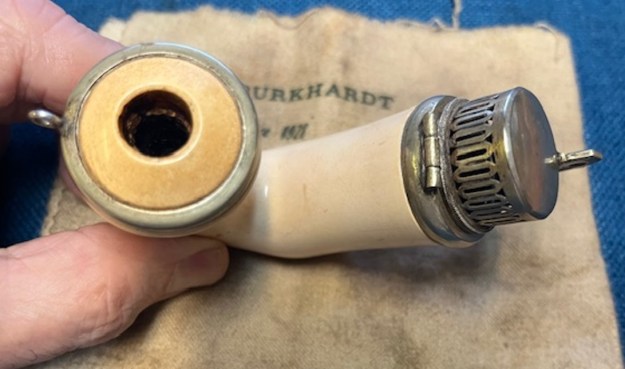
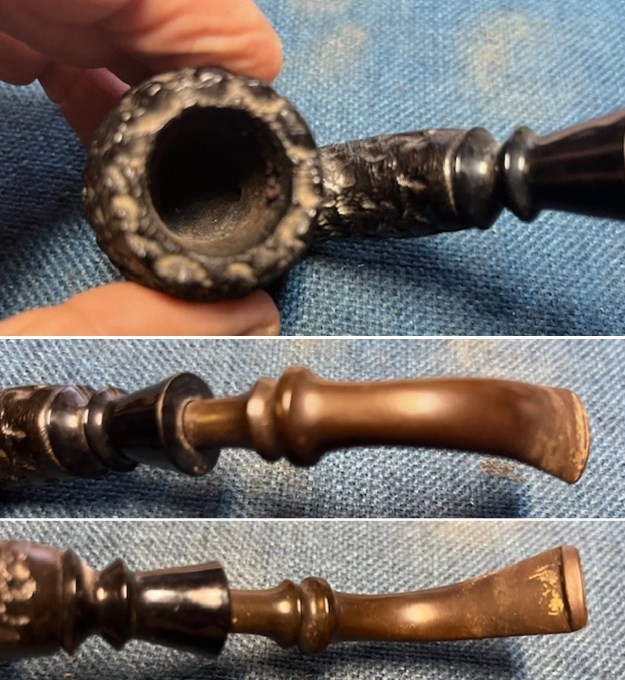
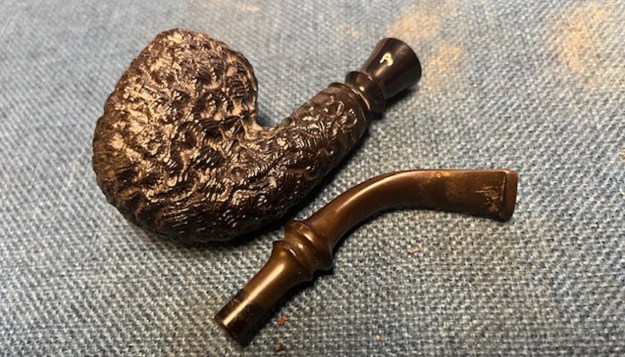
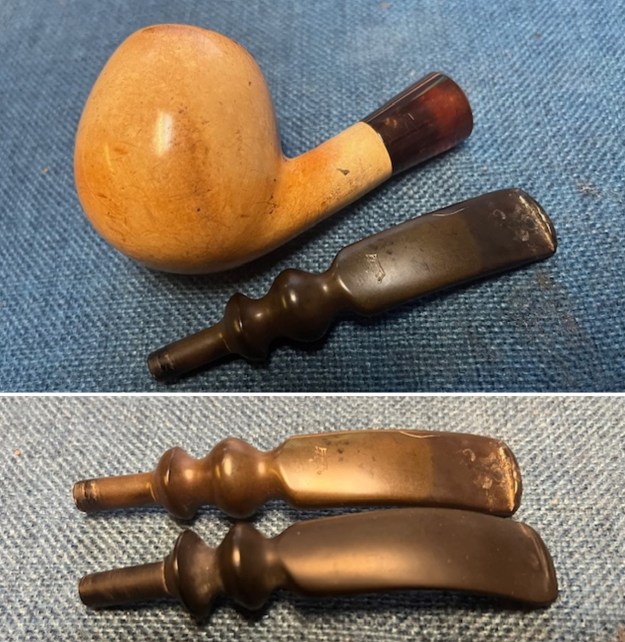
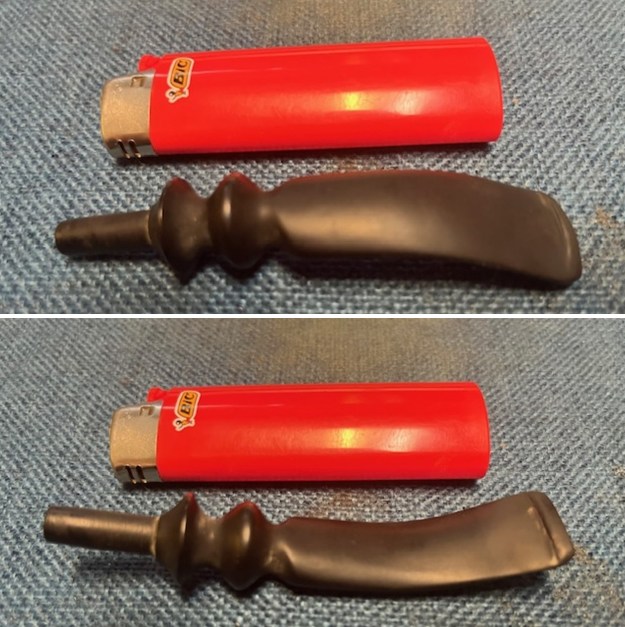
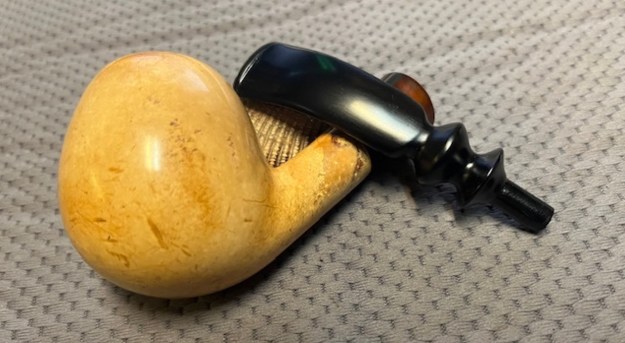
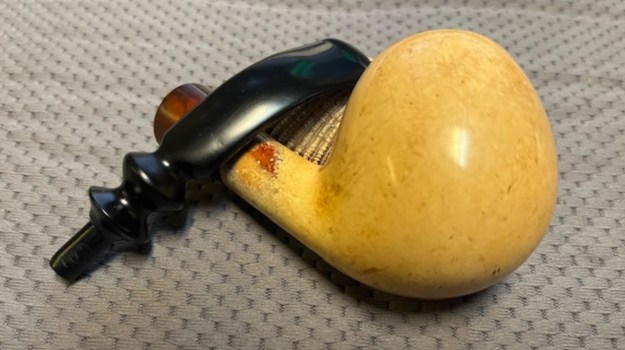
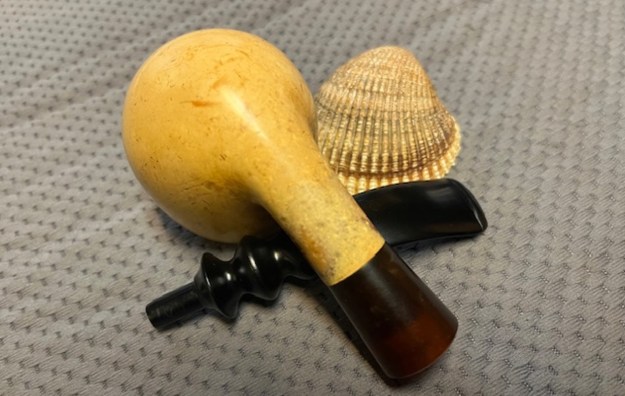
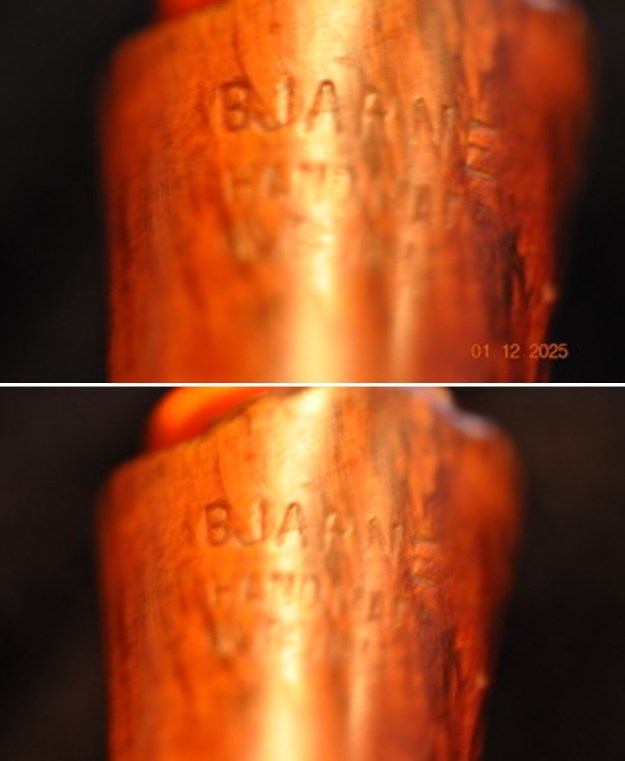
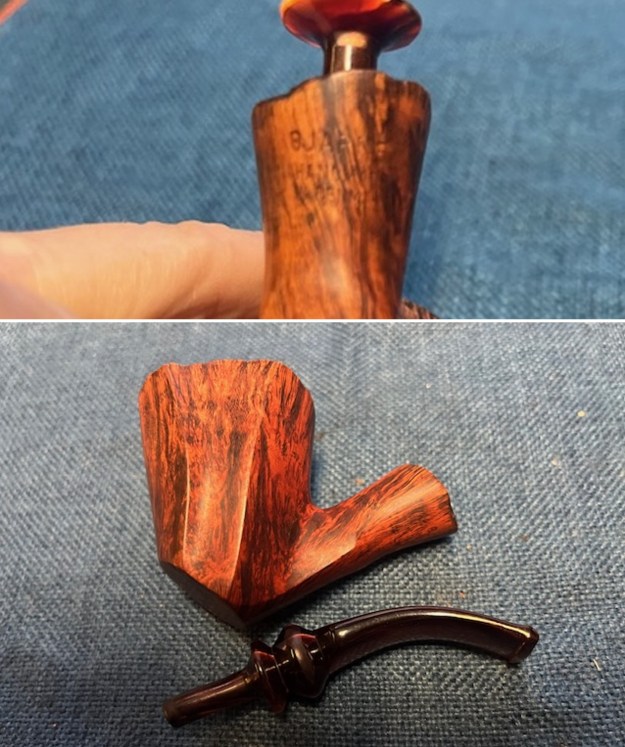
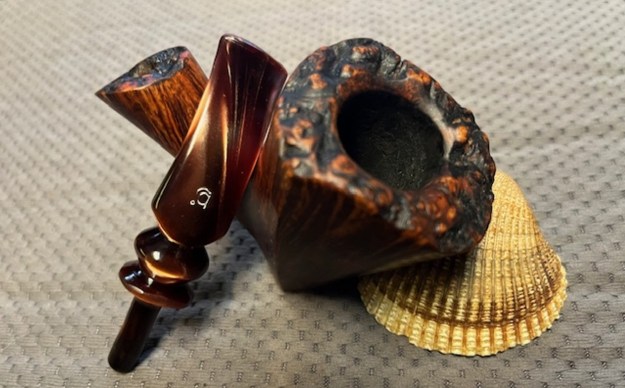
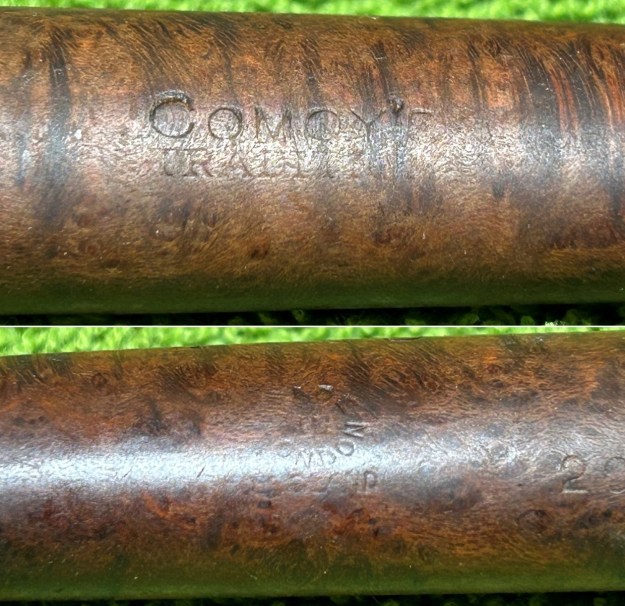
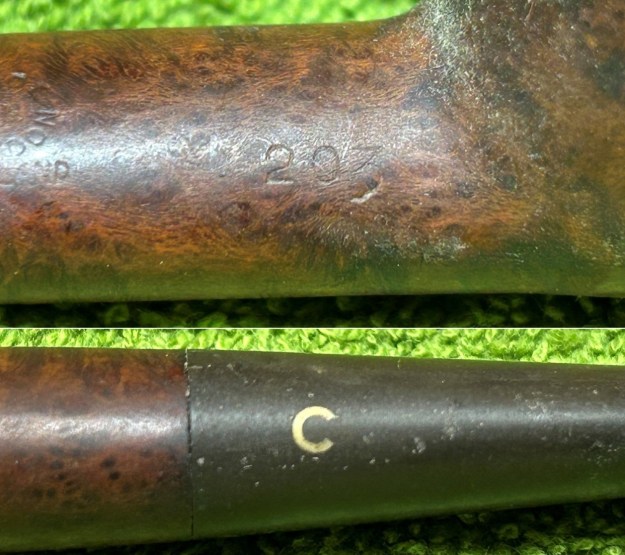
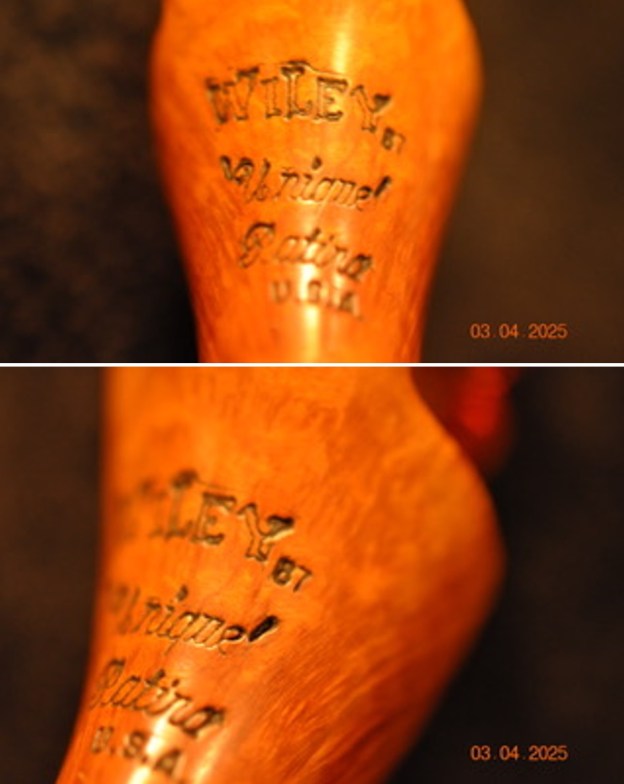
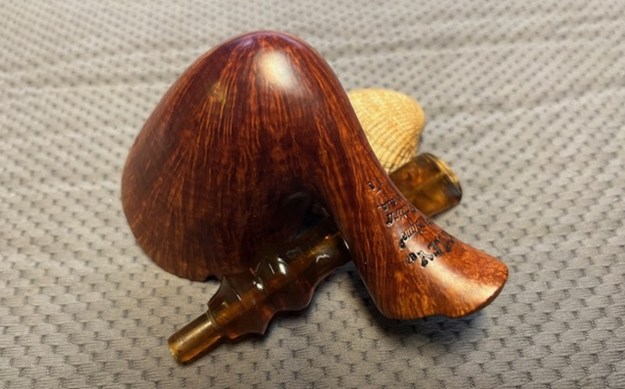
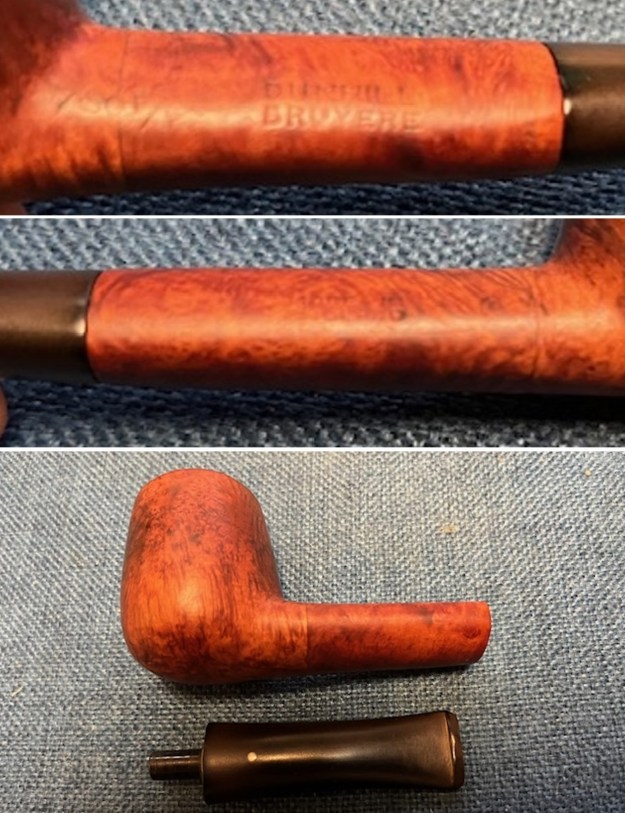
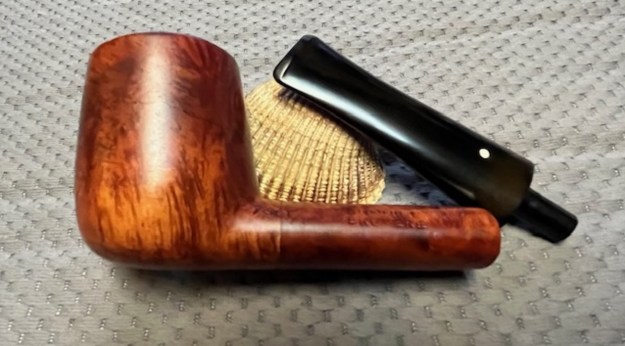
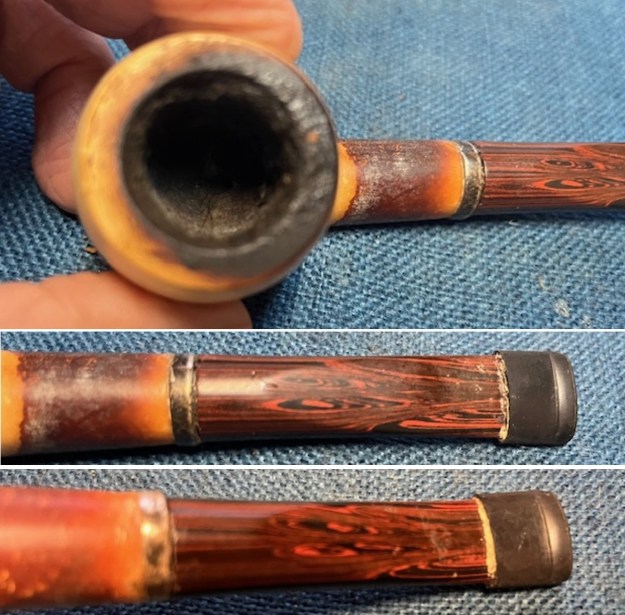 I took a photo of the I. Bekler signature stamp on the left side of the Cumberland taper stem. It is clear and readable. I removed the stem from the shank and took a photo of the parts.
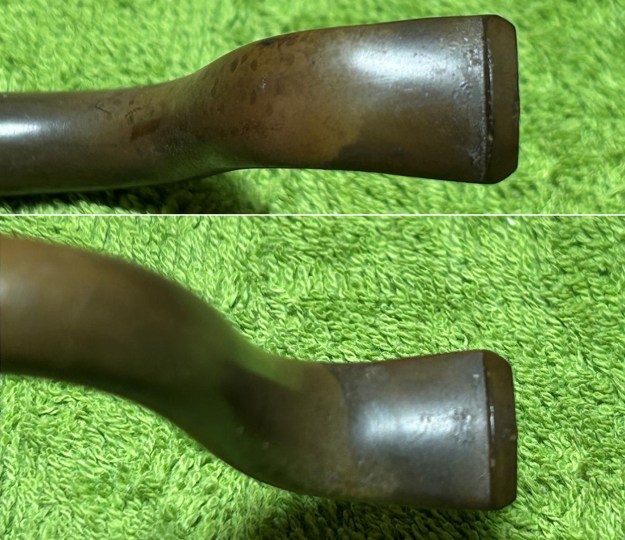
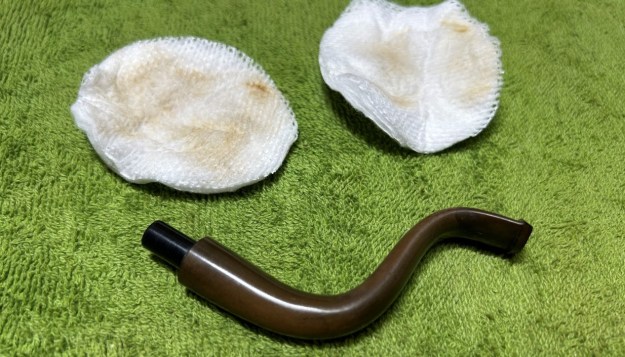
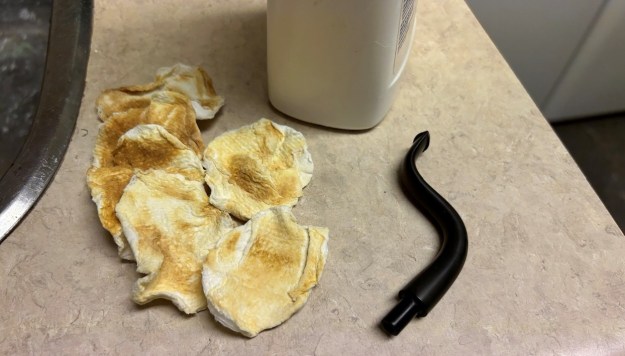
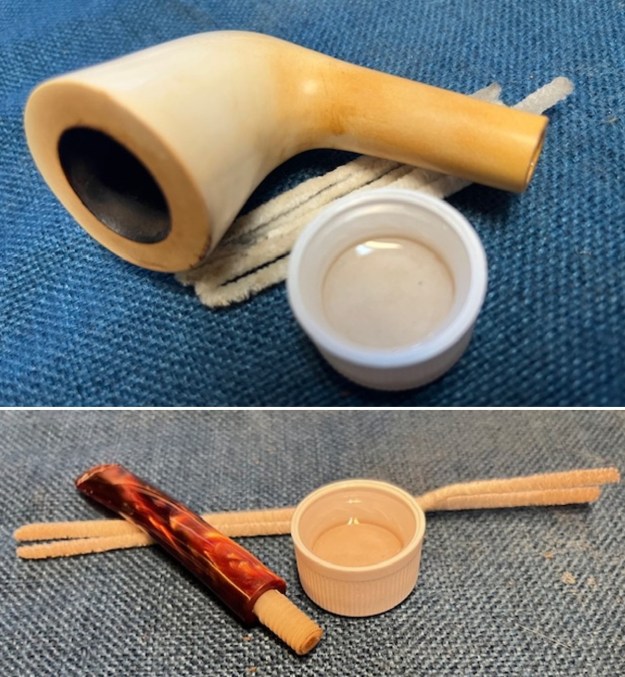
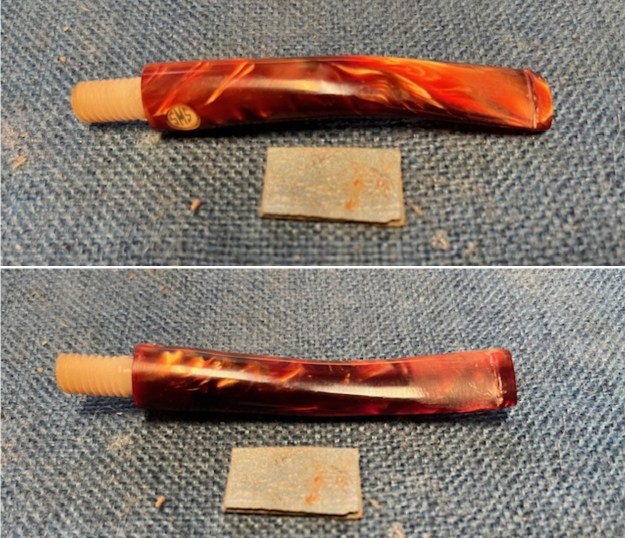
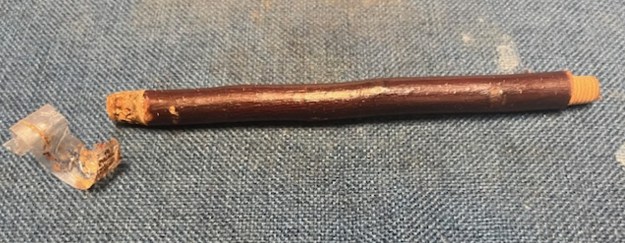
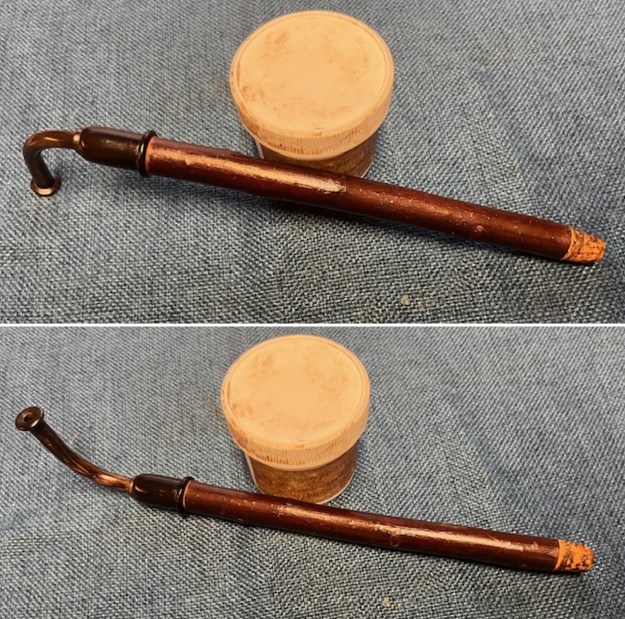
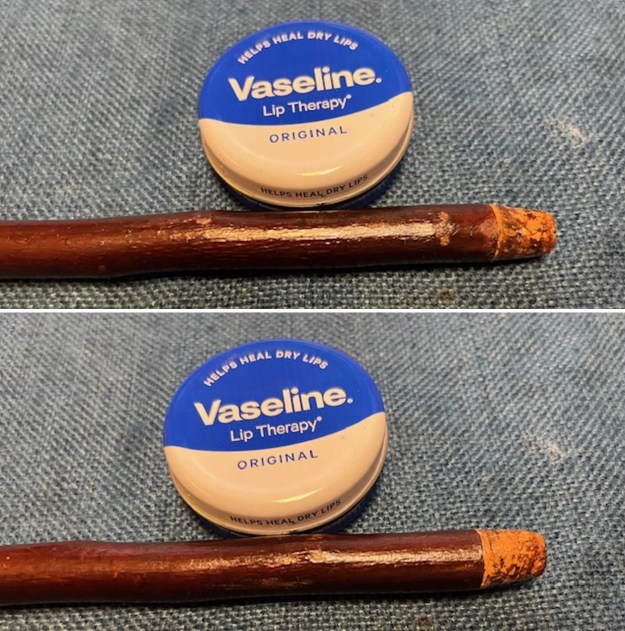
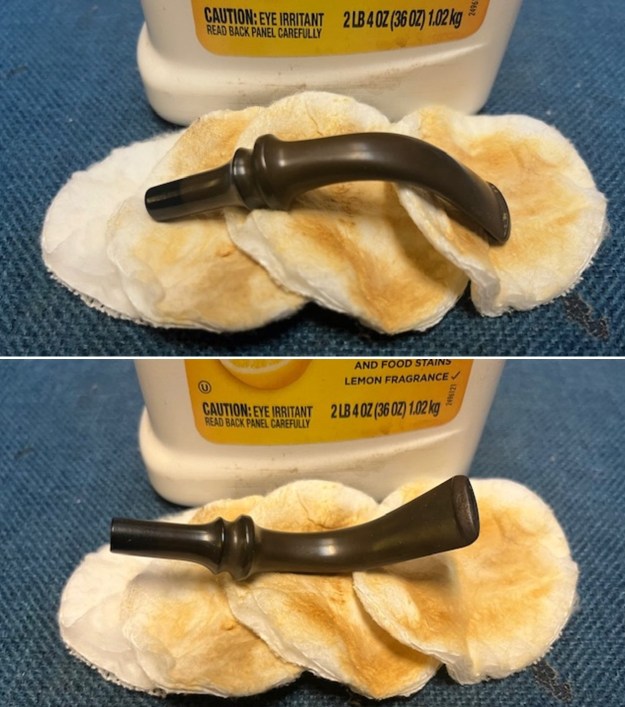
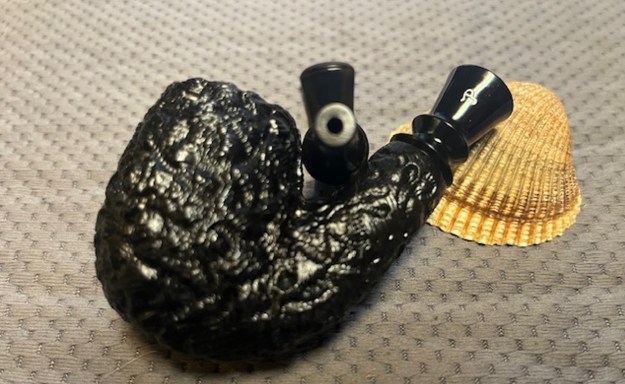
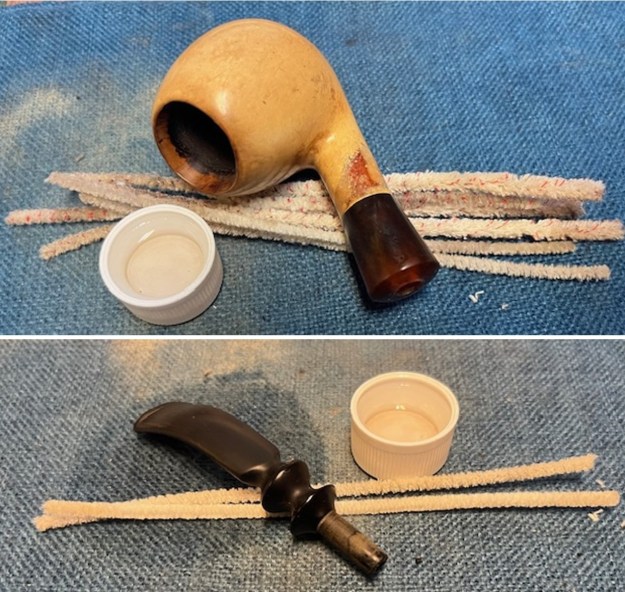
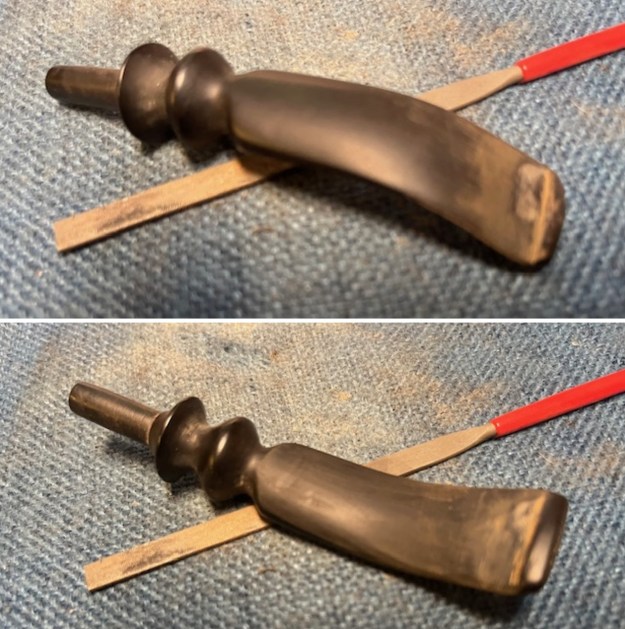
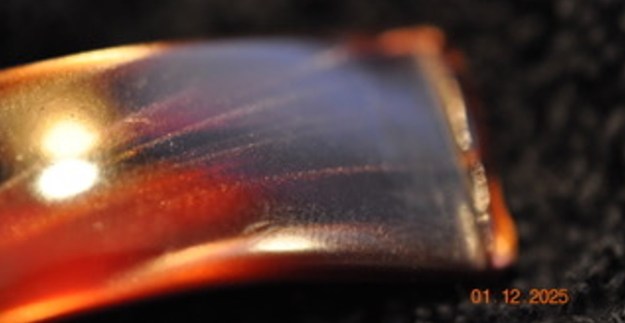
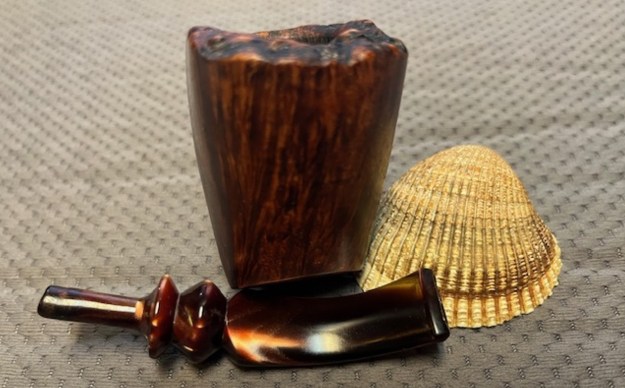
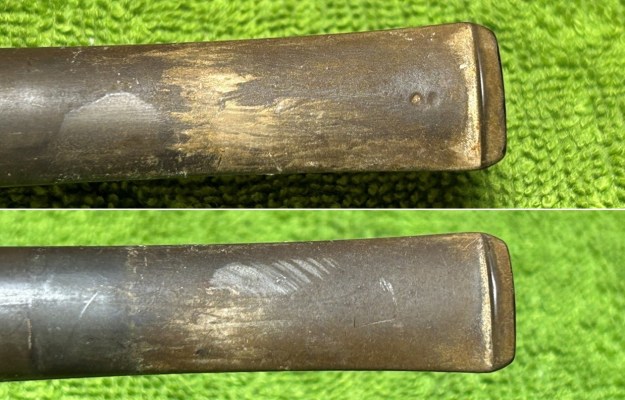
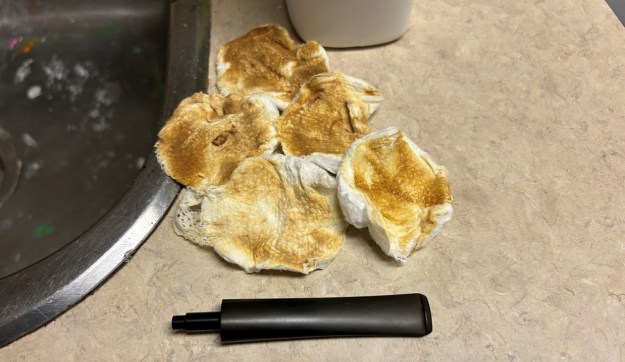
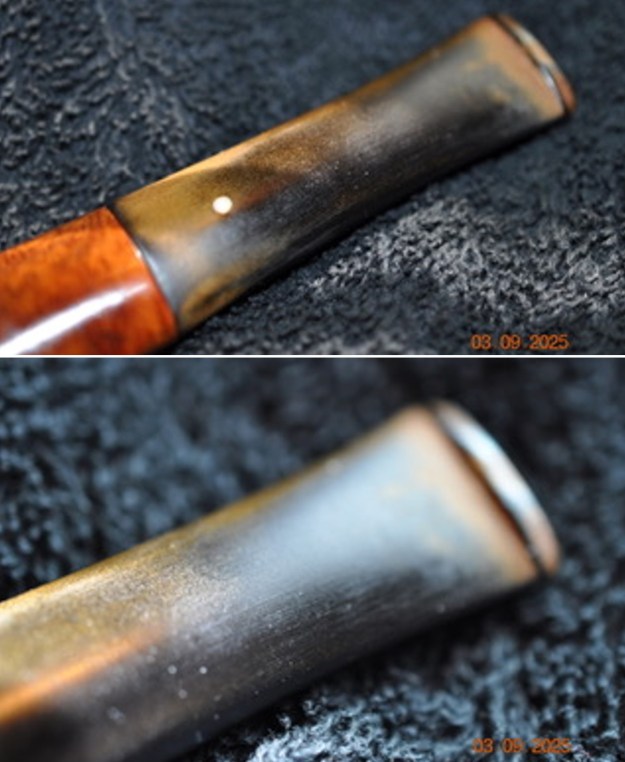
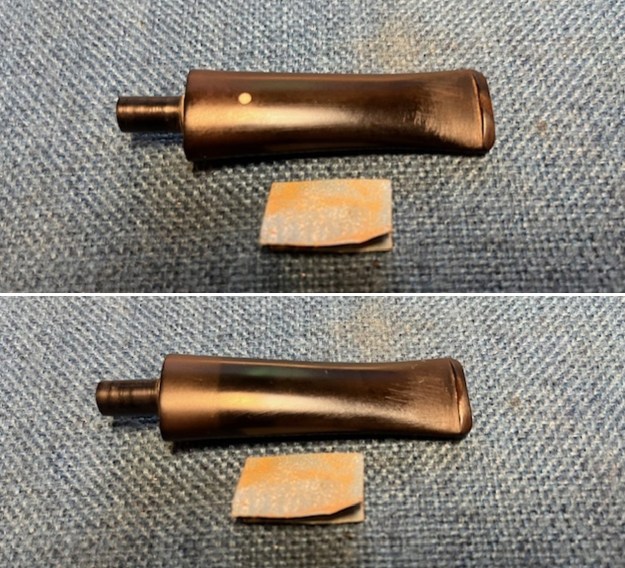
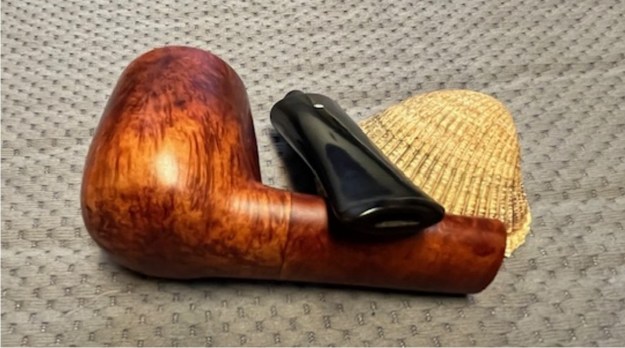
 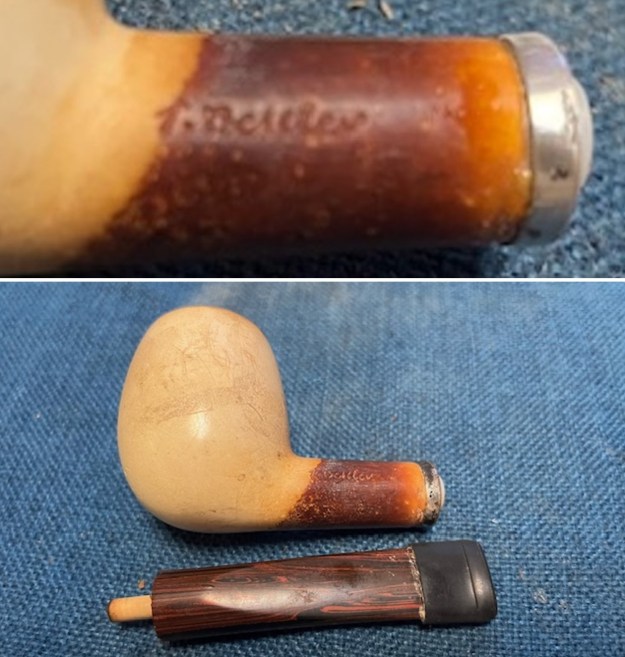 I used a small knife to pry off the Softee Bit on the stem end. I took photos of the stem. There was some sludge on the stem where the bit had ended but there were not any tooth marks or chatter on the stem surface ahead of the button. The Softee Bit had done its job and the stem looked great.
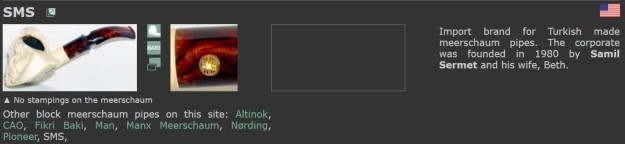
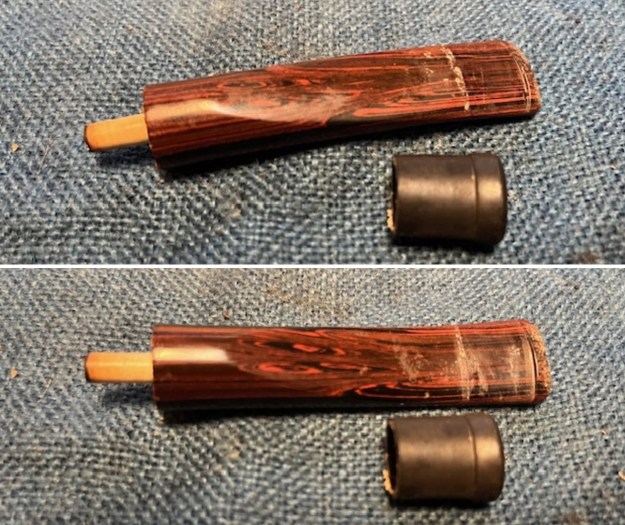 I wanted more background on the brand and on the carver Ismet Bekler. I turned first to Pipephil’s site (http://www.pipephil.eu/logos/en/logo-c2.html) and found a link between CAO meerschaum and Ismet Bekler. I have included a screen capture of the section on the brand and the connection between Ismet Bekler and CAO.
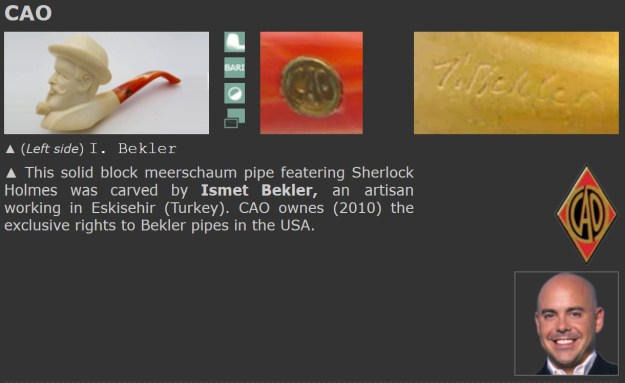 The CAO company was founded in 1968 by Cano Ozgener. Scandinavian Tobacco Group acquired the corporate in 2010. Current President of CAO (2010): Tim Ozgener (son of Cano). CAO was the US distributor for Europeans pipe brands like Preben Holm (from 1985) or Joura (Karl Heinz)
I then visited pipedia.org and did a search for more information on the American Meerschaum pipe company, CAO and Ismet Bekler(https://pipedia.org/wiki/CAO).
It was revealed that Ismet Bekler was a pipe carver who had carved many meerschaum pipes for CAO. I have reproduced certain relevant snippets of information from that article on pipedia.org.
C.A.O International, Inc. is the producer of one of the country’s top lines of premium cigars, cigar accessories, Meerschaum pipes, and pipe tobaccos. CAO’s Meerschaum pipes are smoked by presidents, senators, actors and other dignitaries. CAO was founded in 1964 by Cano A. Ozgener. Using his initials as the company logo.
Cano Ozgener’s interest in tobacco began on the banks of the Bosporus. Born on January 19, 1937, Ozgener was raised in his birthplace of Istanbul, Turkey, by his Armenian parents. His father was a jeweller, his mother a homemaker. He studied at a Jesuit French grammar school before being accepted into the American-run Roberts College in Istanbul, from which he received a bachelor’s degree in mechanical engineering in 1960.
As a student in Turkey, Ozgener enjoyed smoking pipes, especially those made from meerschaum.
Graduating from Columbia in 1964 with a professional engineering degree, Ozgener was recruited by DuPont to work in the firm’s Kinston, North Carolina, plant. It was during his stint in the textile division at the age of 27 that he came across some imperfect Turkish meerschaum pipes. In his spare time, he decided to use his engineering abilities to improve the pipes.
As Cano and the tobacconists were not happy with the quality of Turkish meerschaum, he decided to take the meerschaums and change the stems, make modifications and work with the carvers to improve them,” One day a tobacconist from Wilmington, Delaware, asked him where had he found the meerschaum, that he had never seen such quality. Cano told him that he had modified them. The tobacconist then ordered a dozen or two. That was just the beginning.
Ozgener kept his engineering job as he built his company. He worked constantly; his vacations from DuPont were spent attending tobacco conventions, which left little time to relax with his wife and two young children. Finally, in 1977, he left his engineering position to devote more attention to his growing business and to spend more time with his family.
The preceding article is reprinted here with the permission (forth coming) of Bennington Tobacconist
Ismet Bekler carved many meerschaum pipes, which were signed by him and sold by CAO, beginning in 1977. CAO actually trademarked his last name for use in 2001. Other carvers also provided pipes to CAO, and at least one other, Kural, also signed pipes made for CAO.
I surfed the net to know more about the pipe carver Ismet Bekler. I chanced upon a website that had some beautiful pipes on sale and most prominently, had many un-smoked meerschaum pipes carved by Ismet Bekler. Here is the link to the website. I have also noted some information about Ismet Bekler which is given in the introduction on this website. https://www.therightpipe.com/meerschaum-pipes/ismet-bekler-c382.html
Ismet Bekler was a prolific and popular carver. He began carving in the early 1970’s. Bekler is known as one of the best carvers in the history of Turkish Meerschaum. Master carver Bekler passed away in 2018 at the age of 84.
In 1980, the CAO Meerschaum Company contracted with Bekler to sell all of his carvings to them. CAO wanted to make Bekler a more well-known carver in the US and it was at this time he began signing his pipes.
Thus, from the above, my guess would be that this pipe is from the period post 1980 but could be pre-2018 since it is signed with the first initial, I. and the last name. However the lack of CAO in brass logo on the stem makes matters murky. Any inputs on this would definitely help me and other readers to know more about this pipe maker whose demise has left a void in the pipe carver’s community.
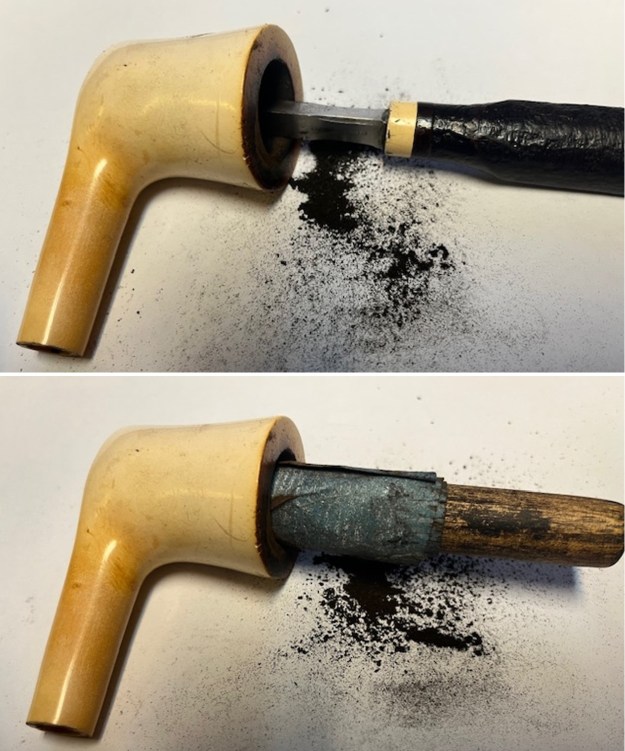
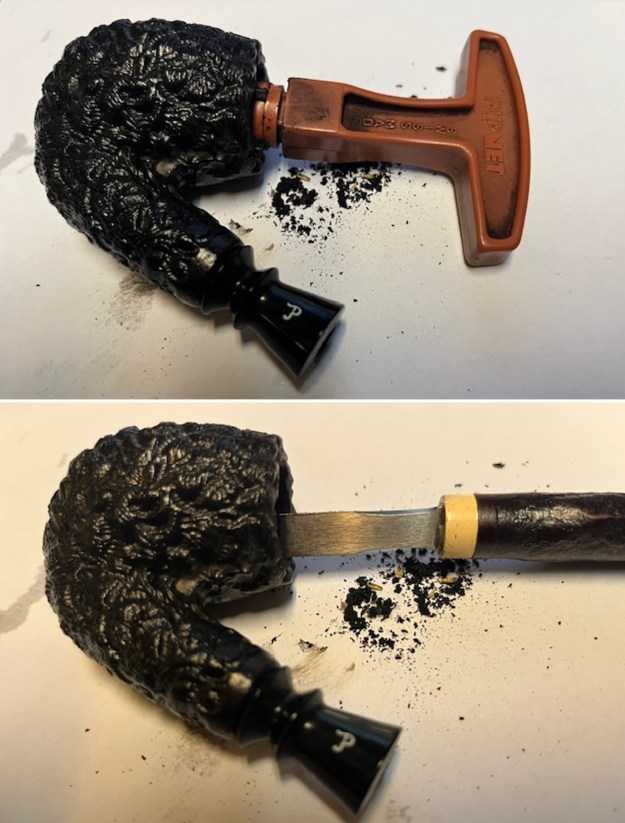
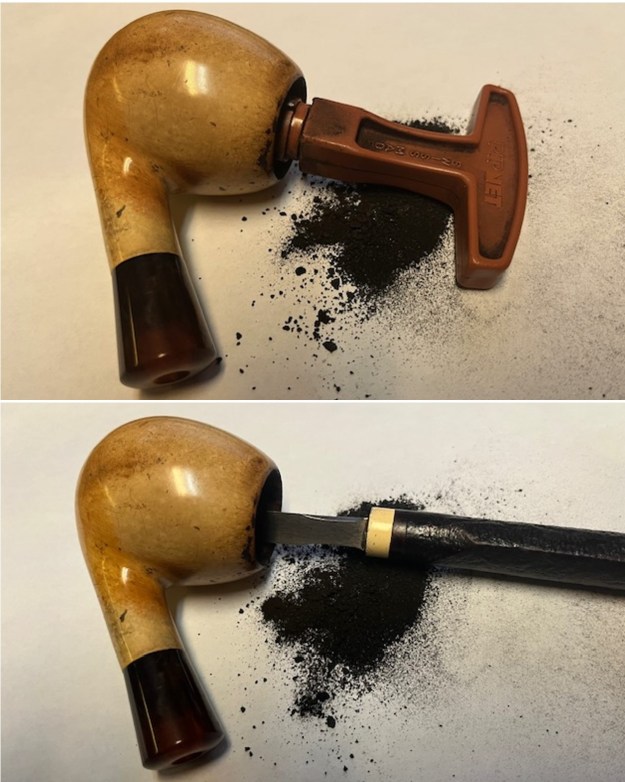
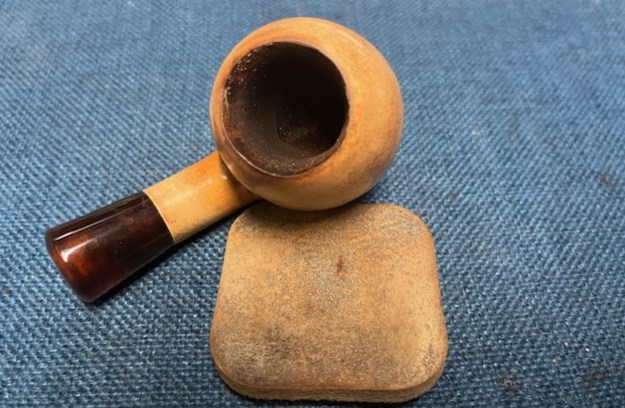
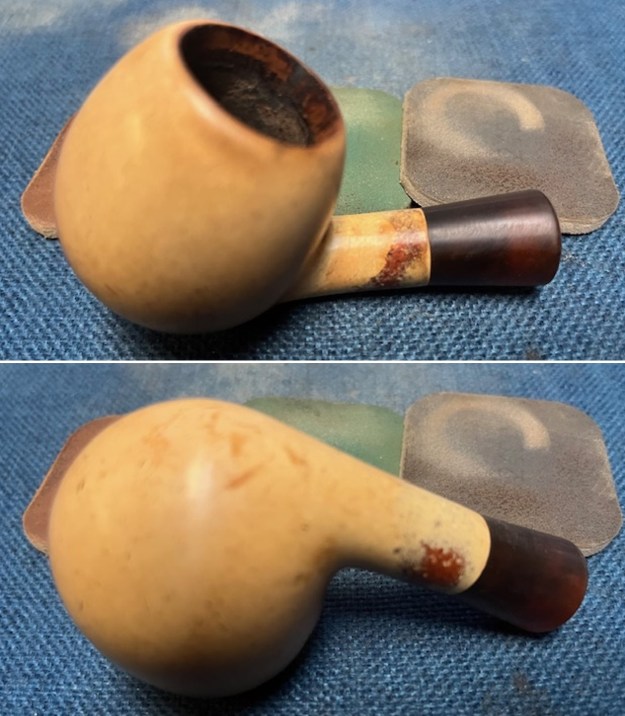
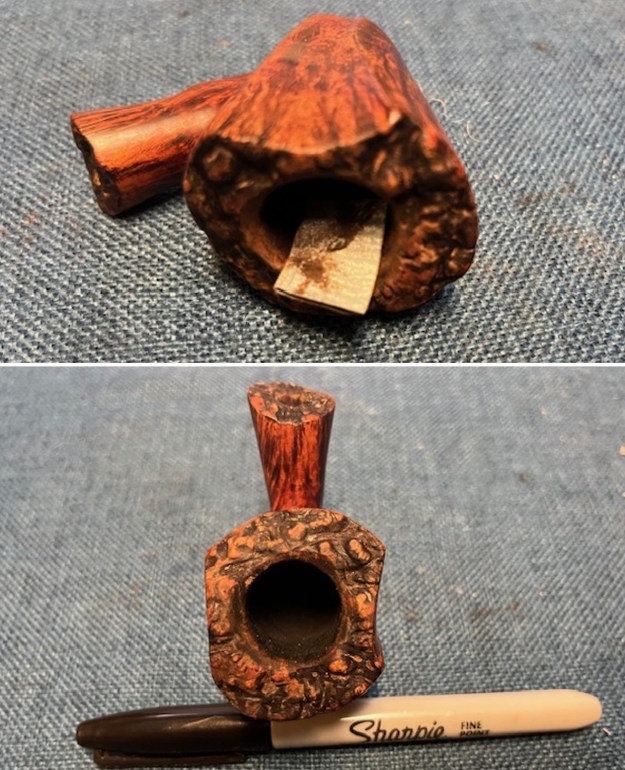
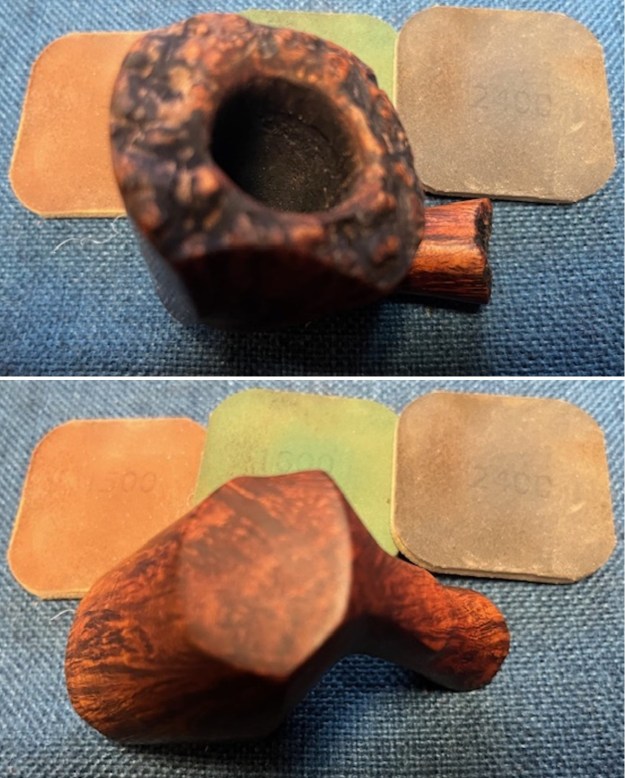
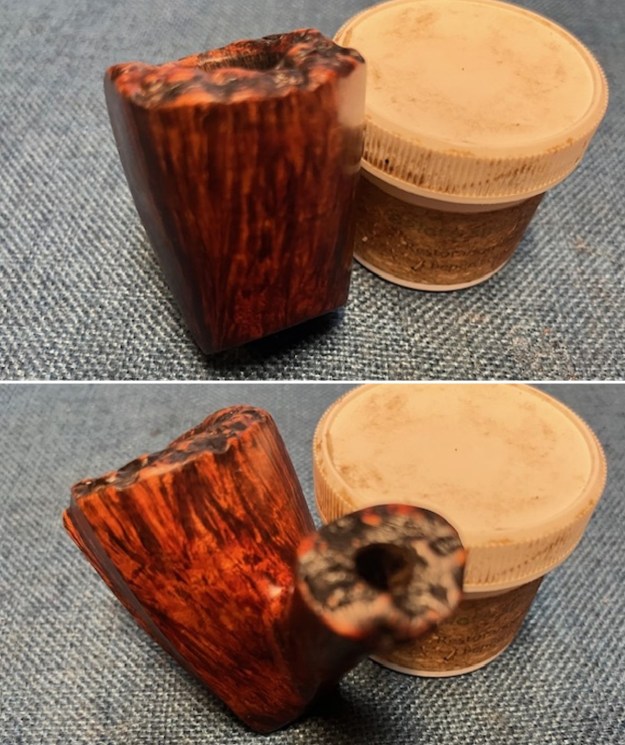
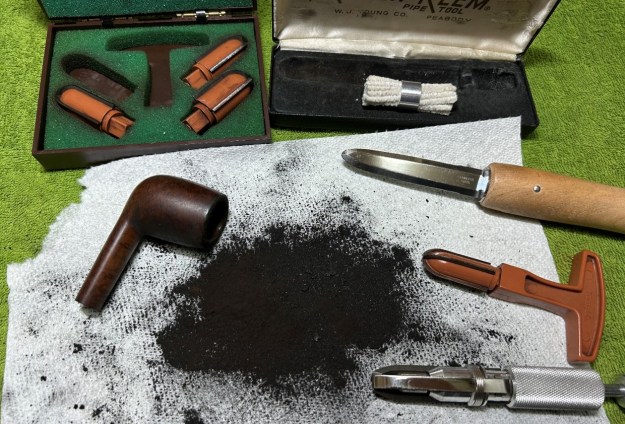
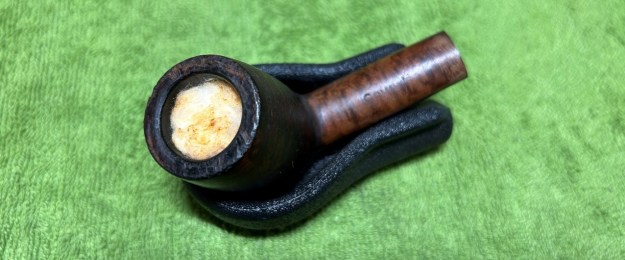
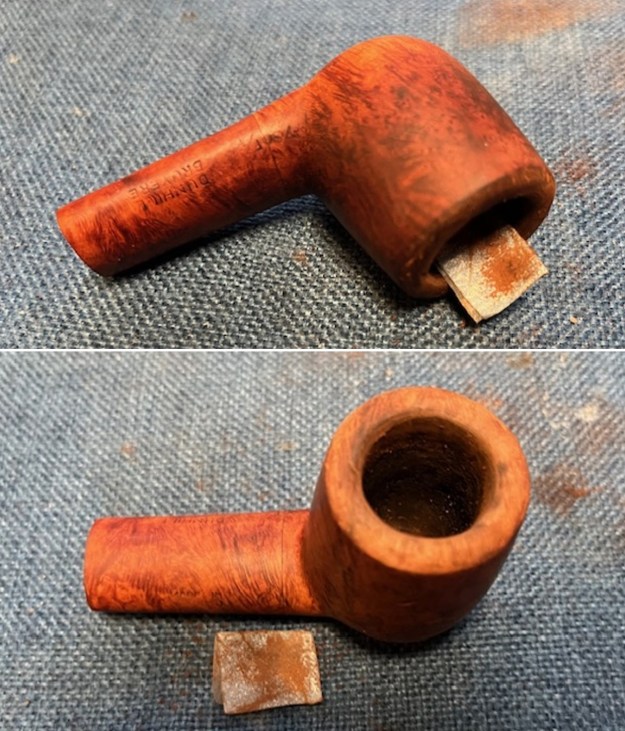
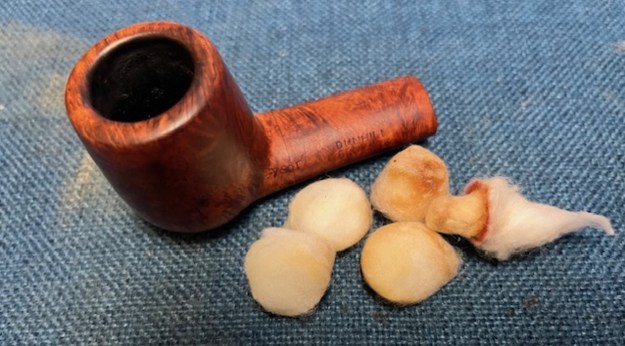
I started my work on the bowl by reaming the thick cake out of the bowl. I started with a PipNet reamer and the 2nd and 3rd cutting heads to take back the cake to the walls of the bowl. I cleaned up the reaming with a Savinelli Fitsall Pipe Knife. I sanded the bowl walls with a piece of dowel wrapped with 220 grit sandpaper. Once finished it looked very good.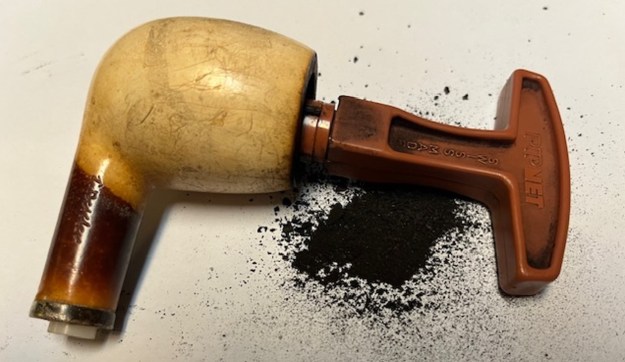
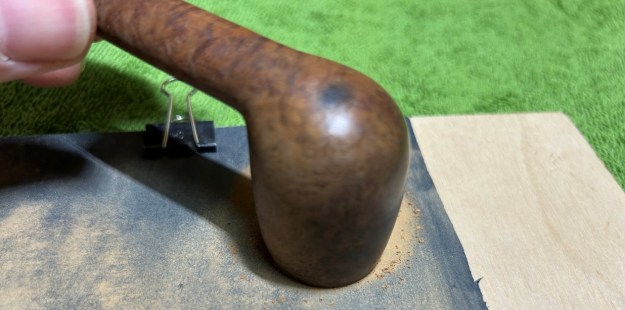
 I scraped off some of the lava coat on the rim top. I used a topping board and some worn 220 grit sandpaper to smooth out the damage on the rim top and remove the rest of the darkening on the meer. It looked much better once I finished.
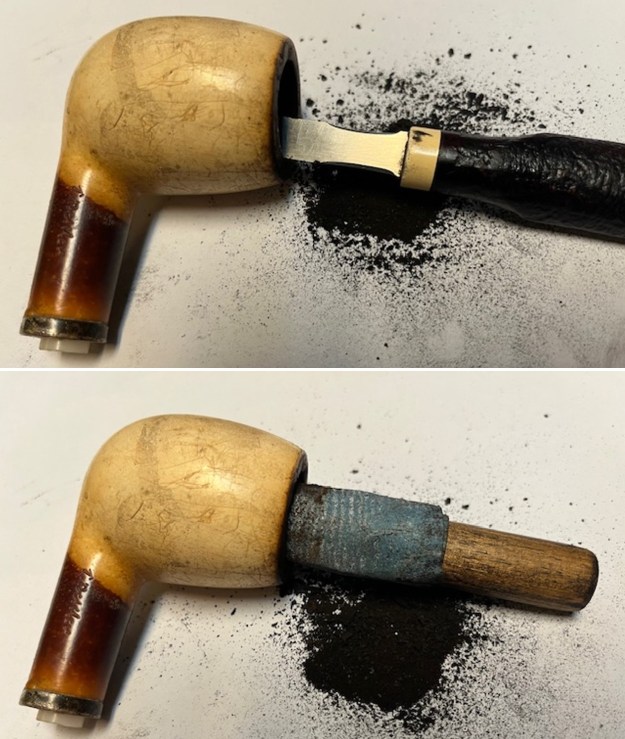
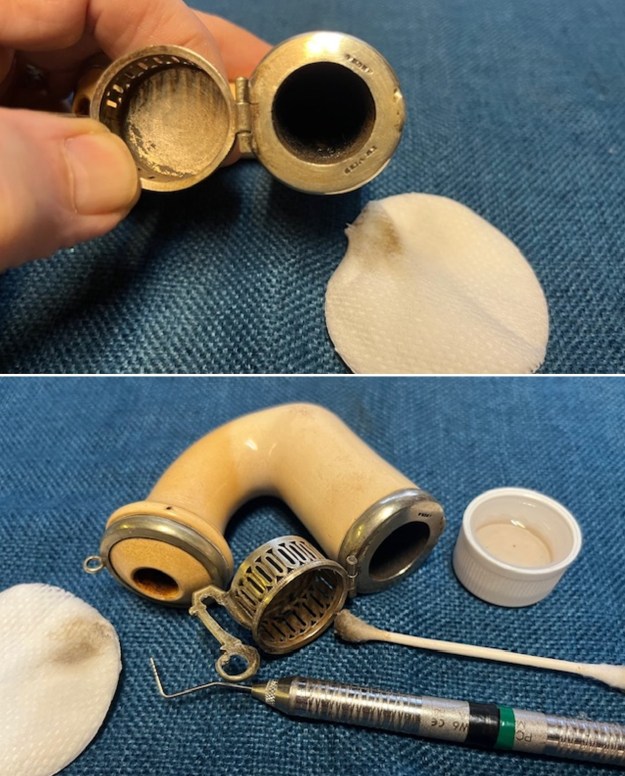
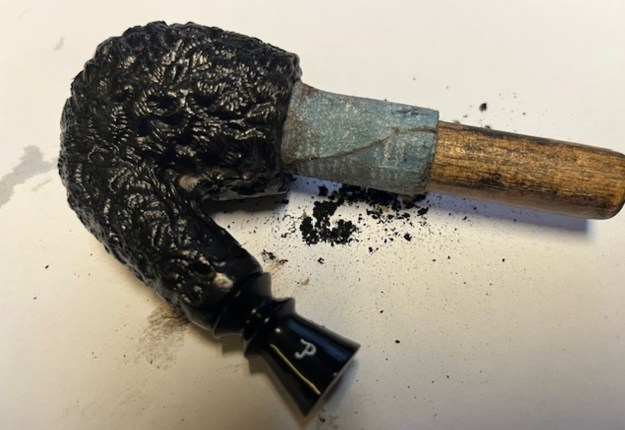
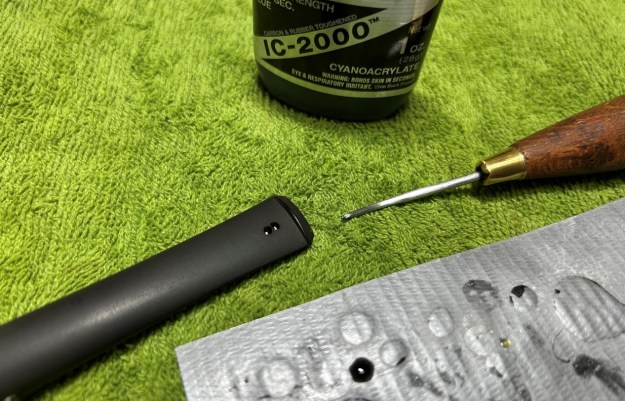
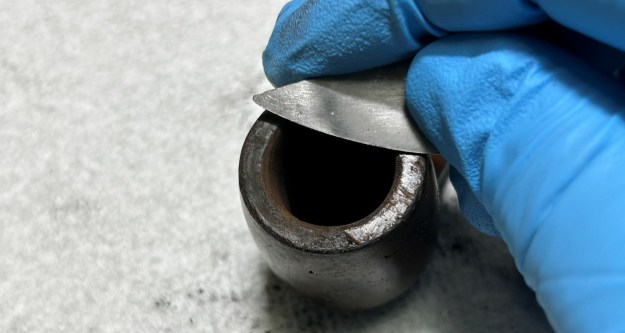
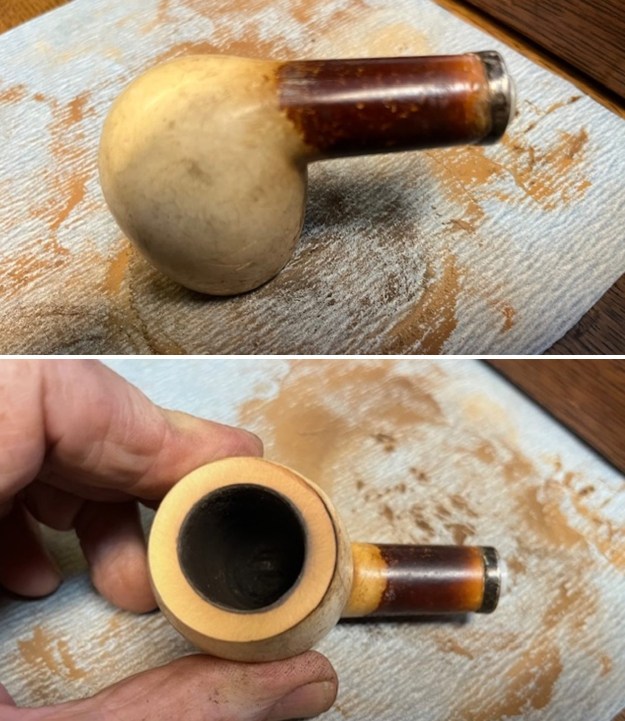 I used a sharp knife blade to clean out the build up in the shank end around the nylon/Delrin insert in the shank for a push tenon that was in the stem. The inset in the stem was also very dirty so I cleaned it up at the same time using the knife. Once clean it looked much better.
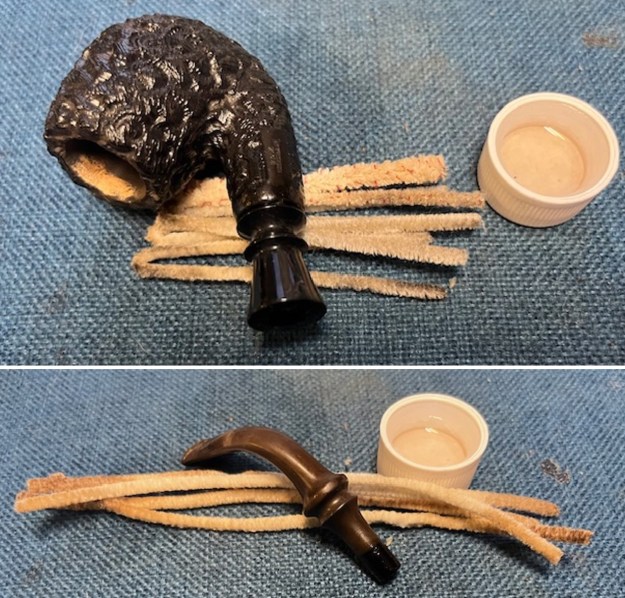
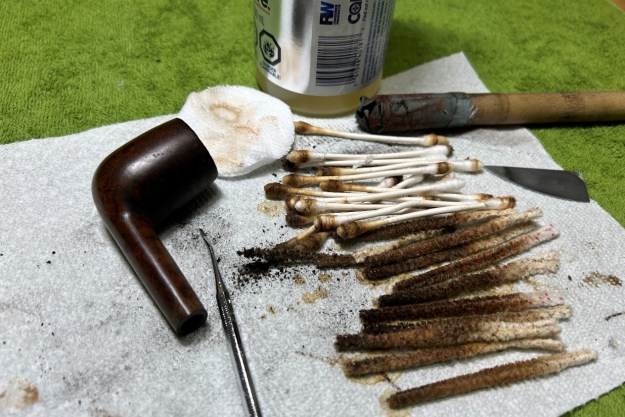
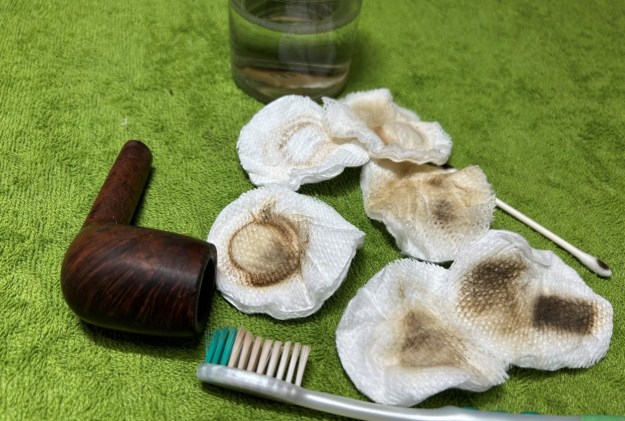
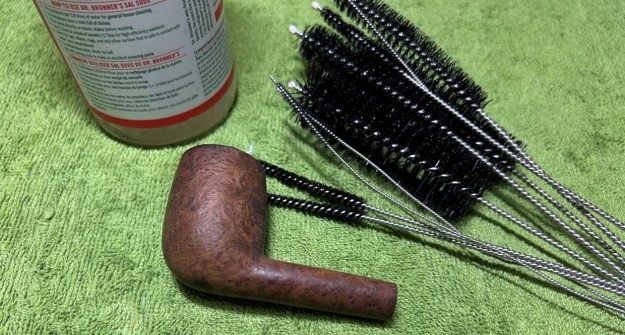
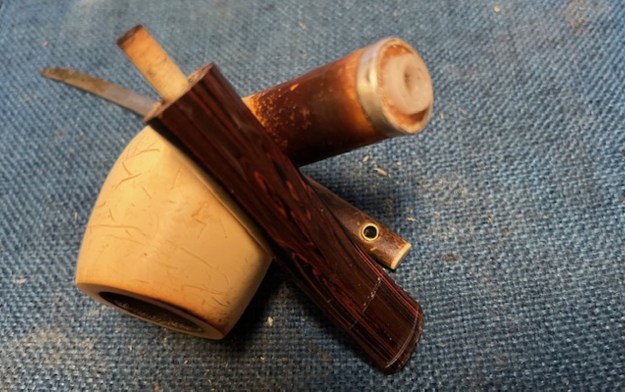 I cleaned out the airway in the shank and mortise as well as in the new stem with pipe cleaners (both bristle and regular) and alcohol. It was much better.
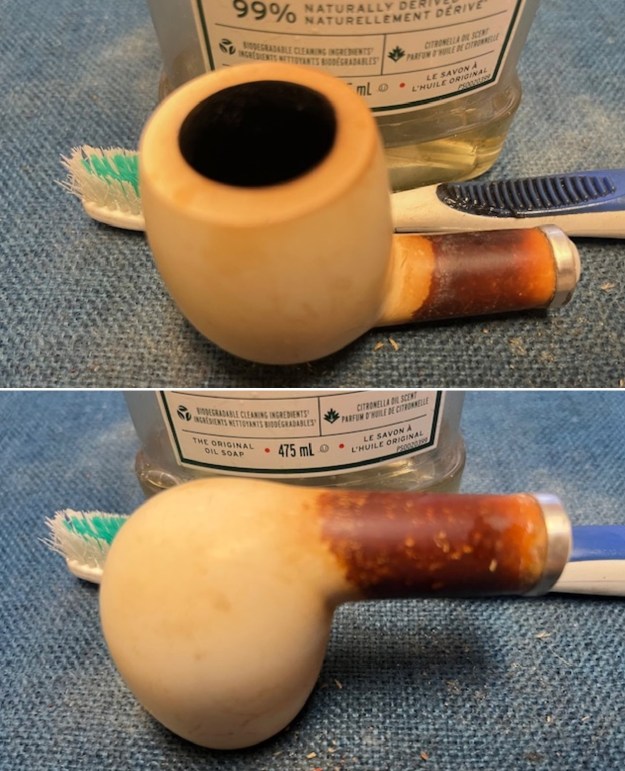
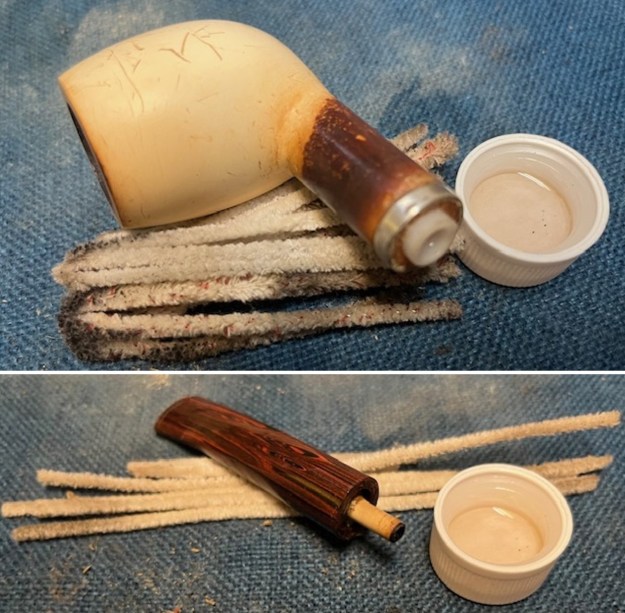 I scrubbed the bowl surface with a tooth brush and undiluted Murphy’s Oil Soap. I rinsed the bowl with warm running water to wash off the dirt and the soap. It looked much better at this point.
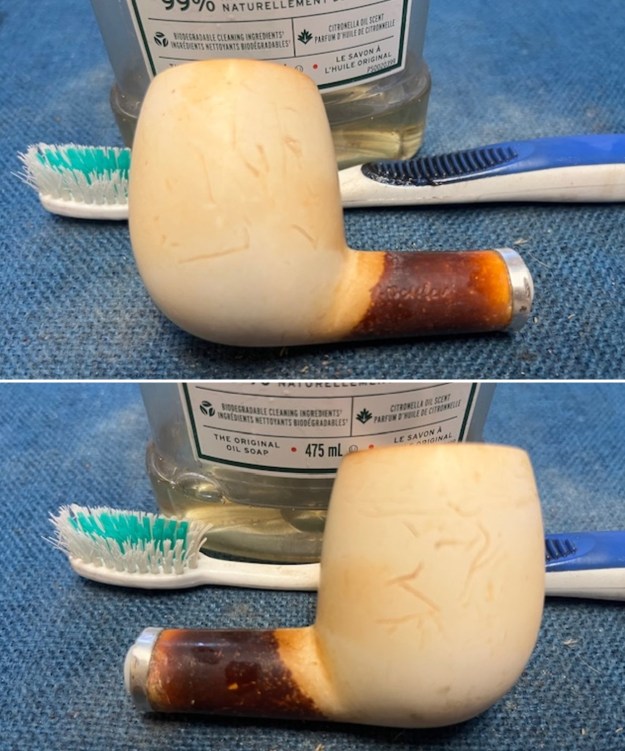
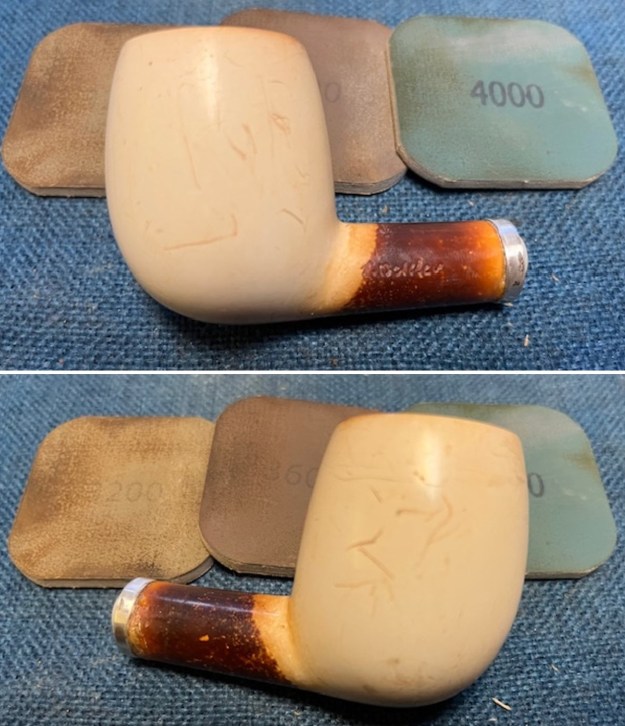
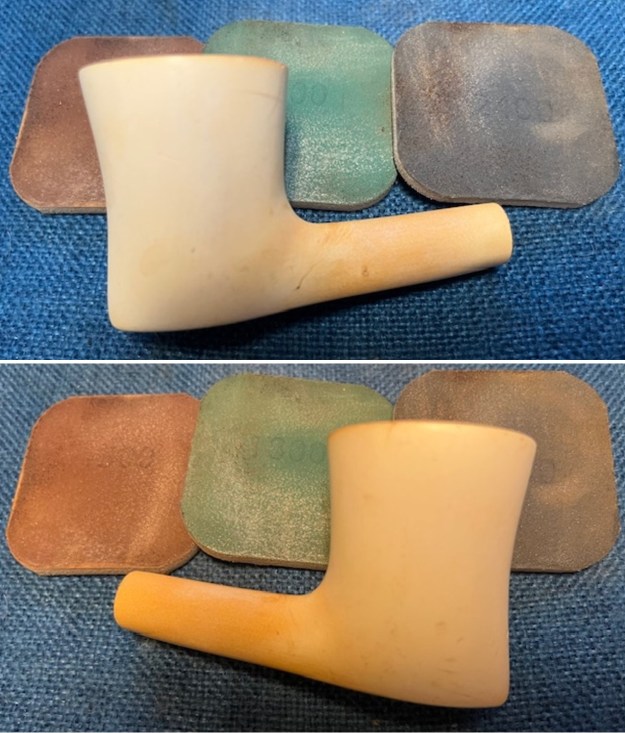
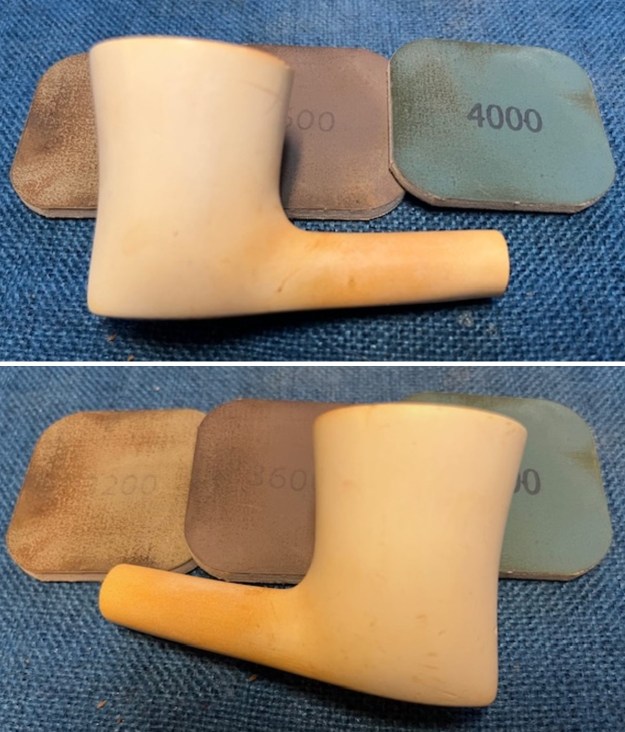
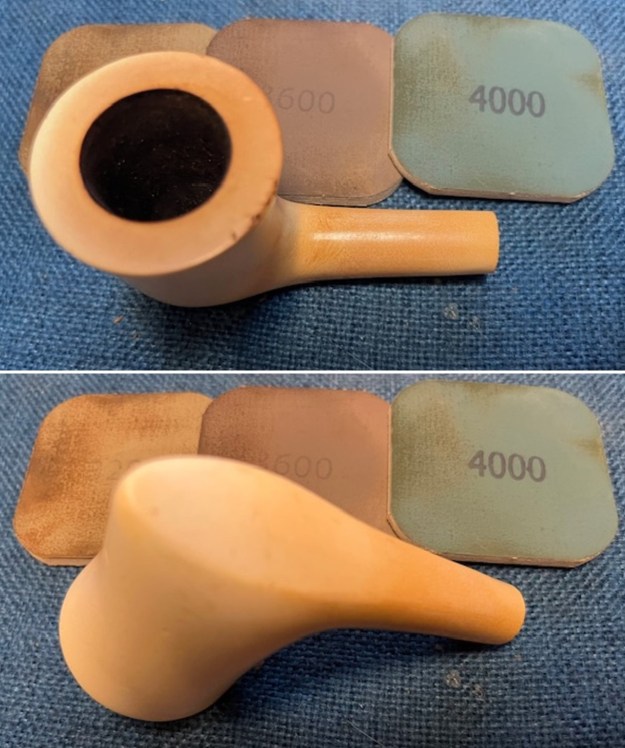
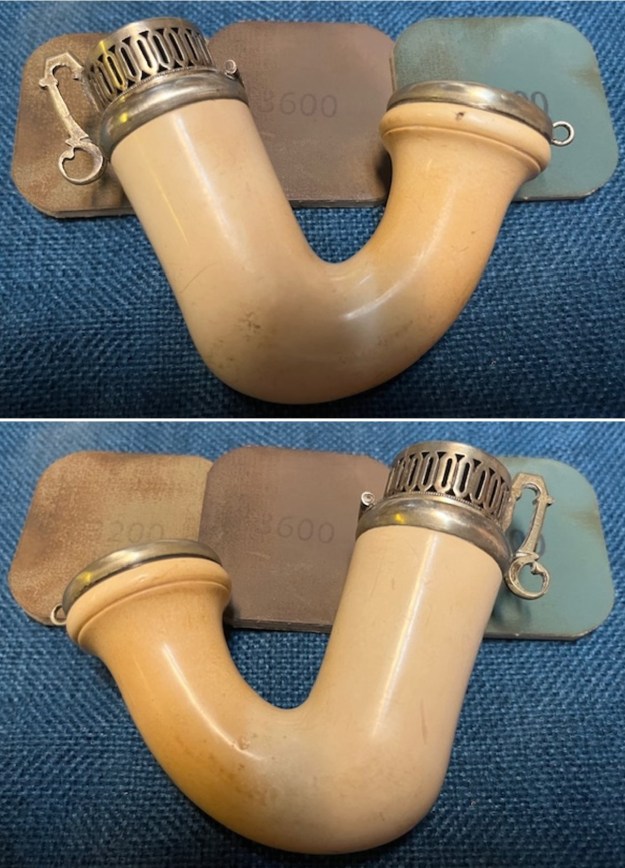
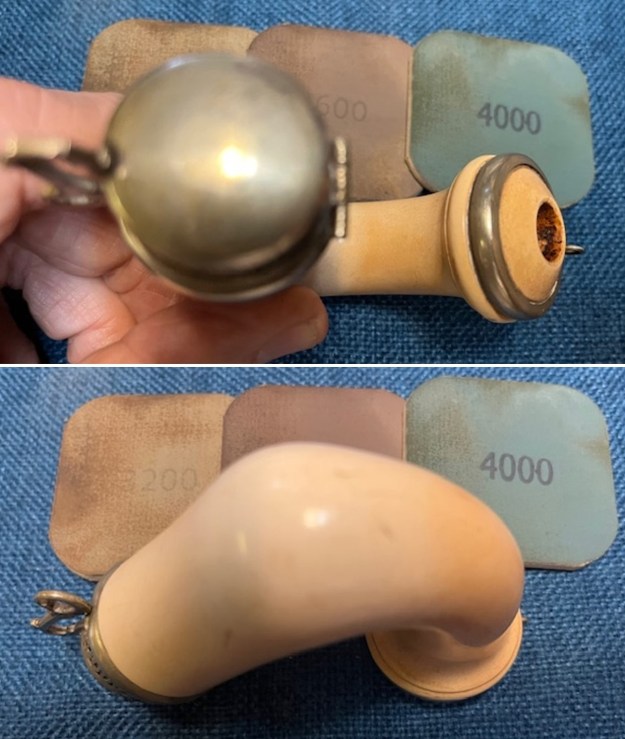
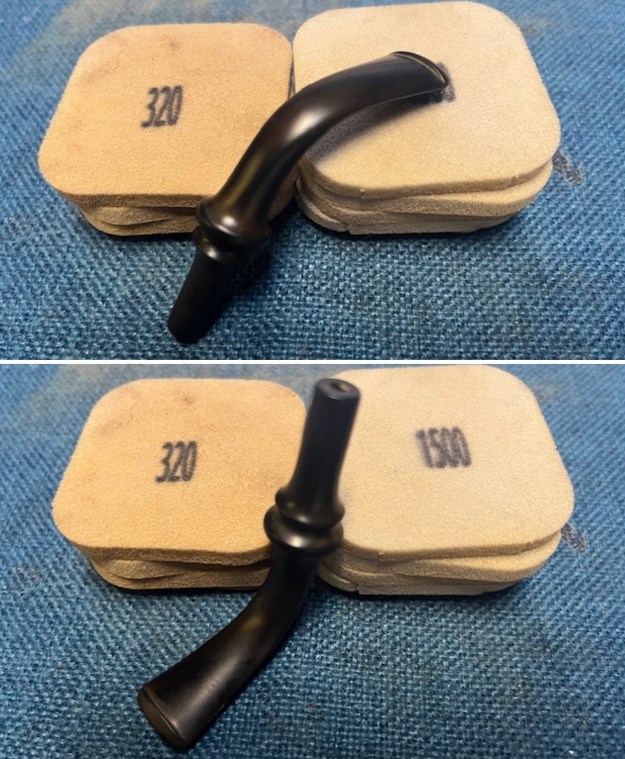
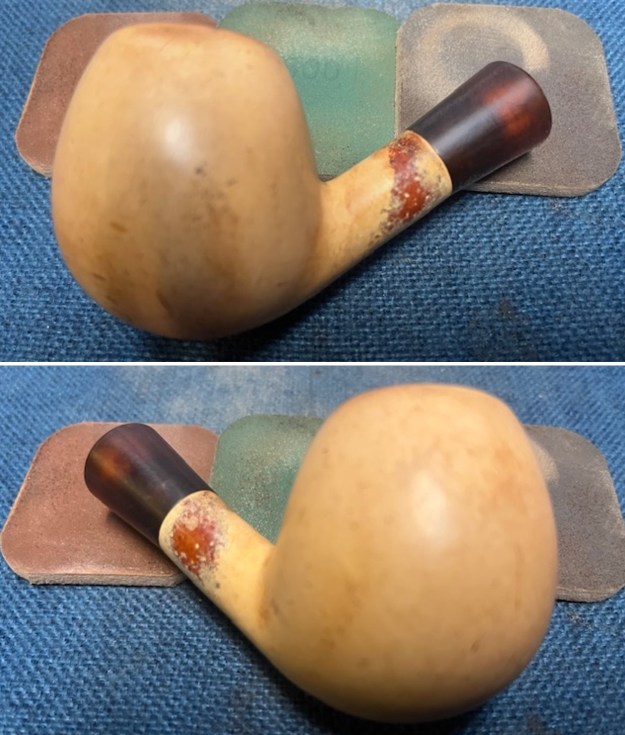
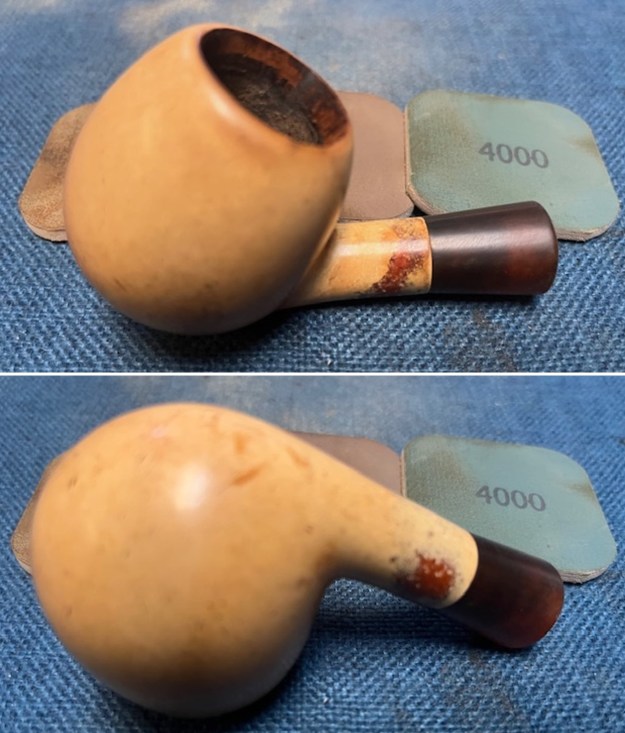
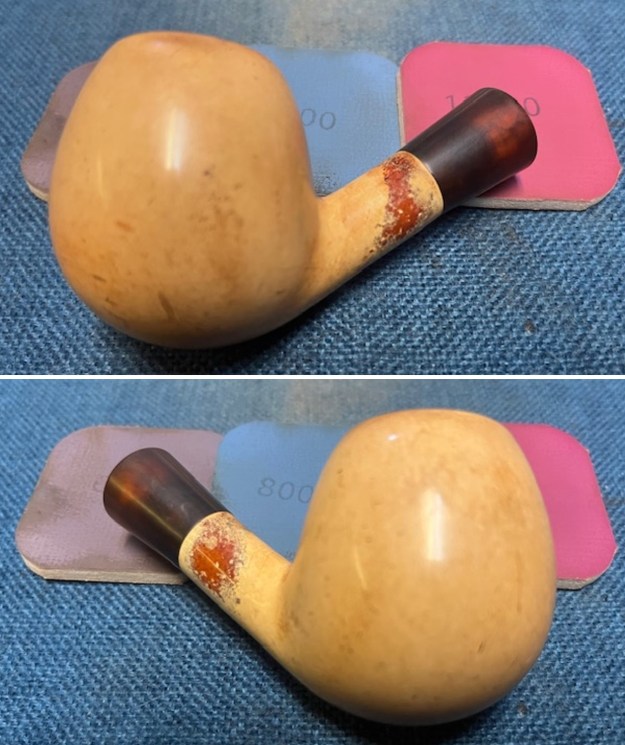
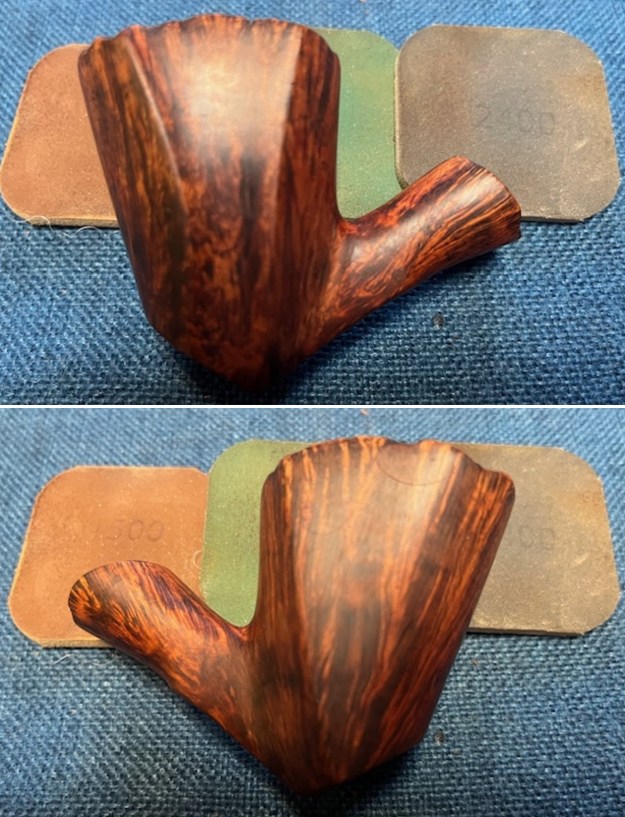
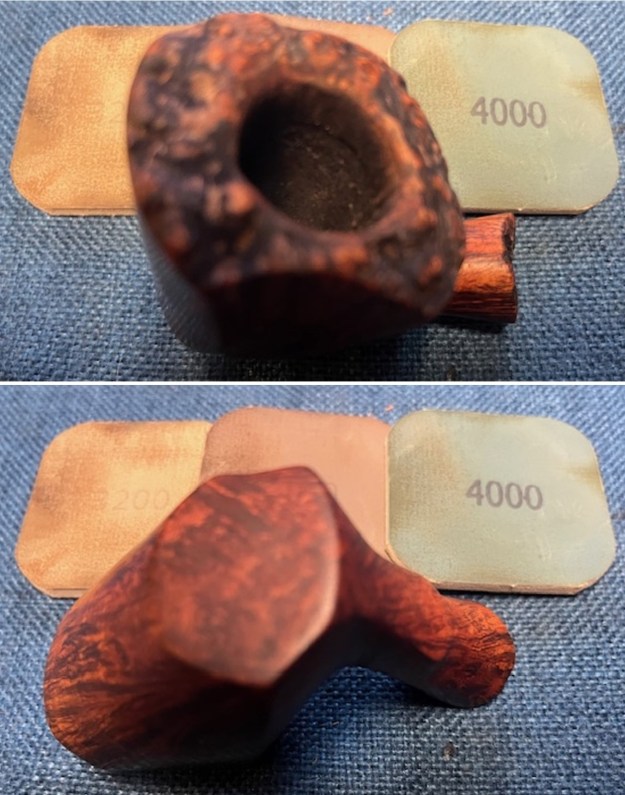
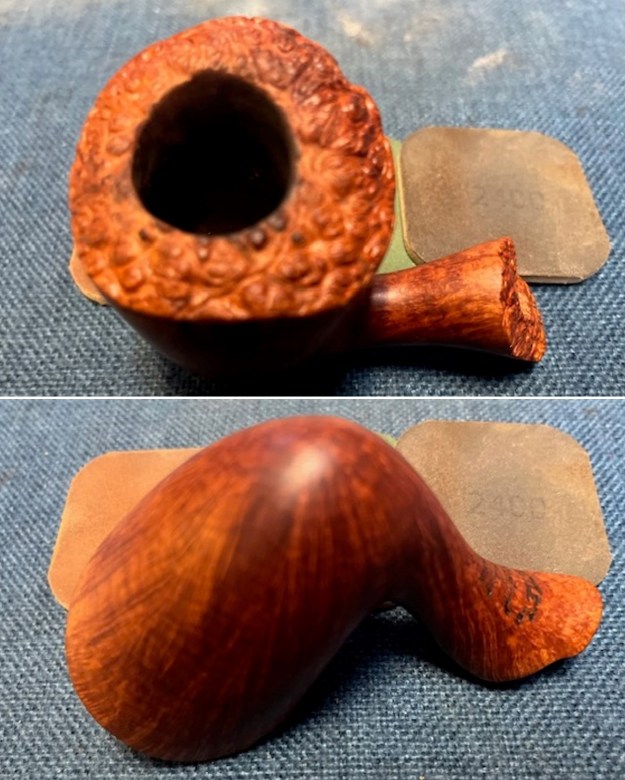
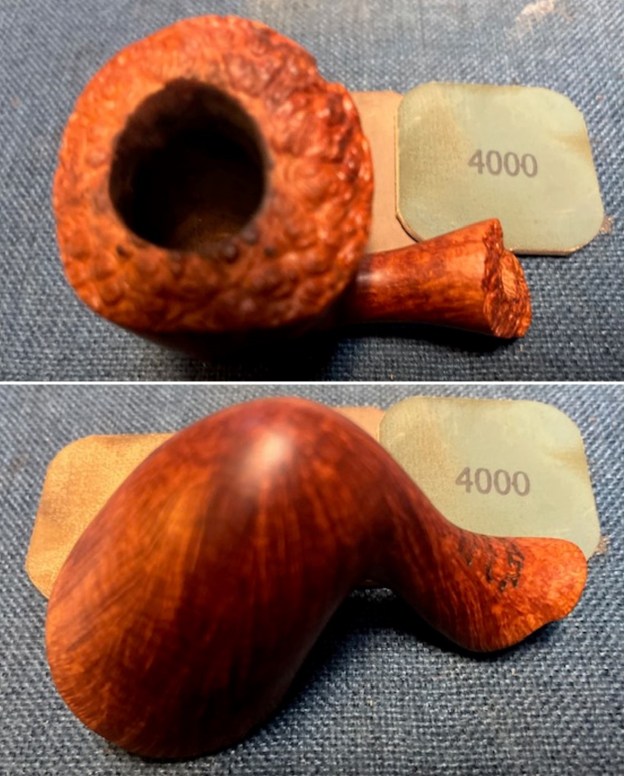
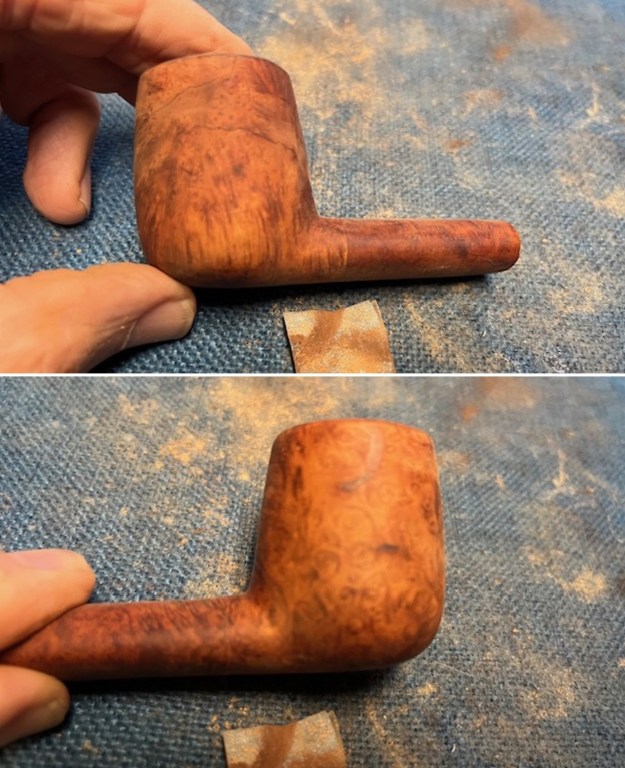
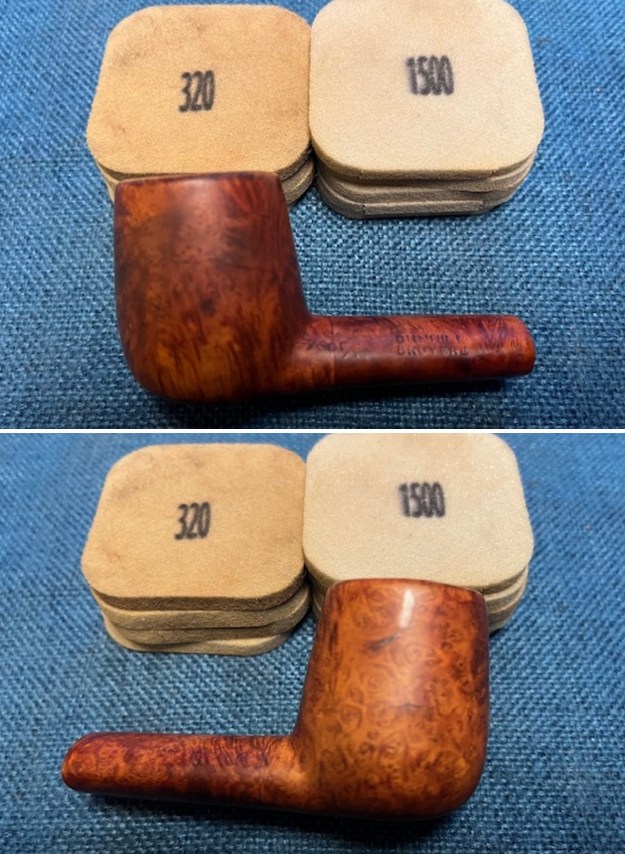
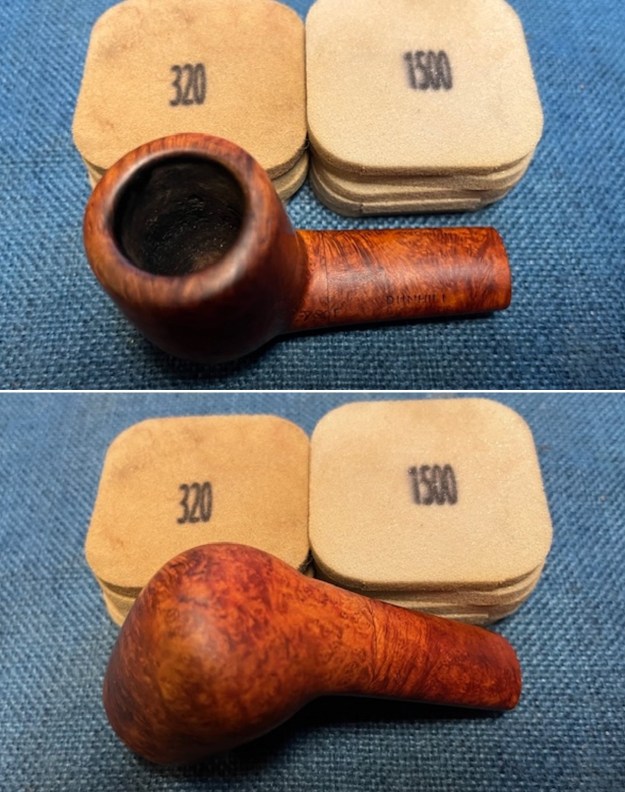
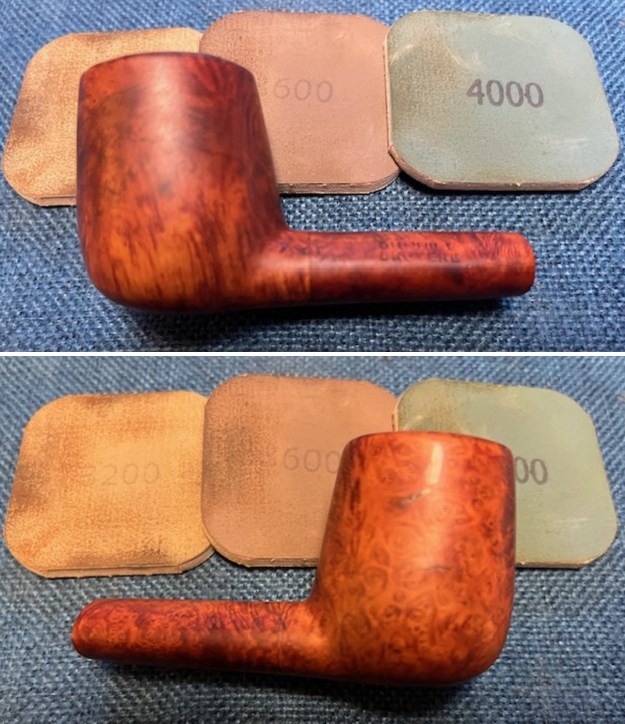
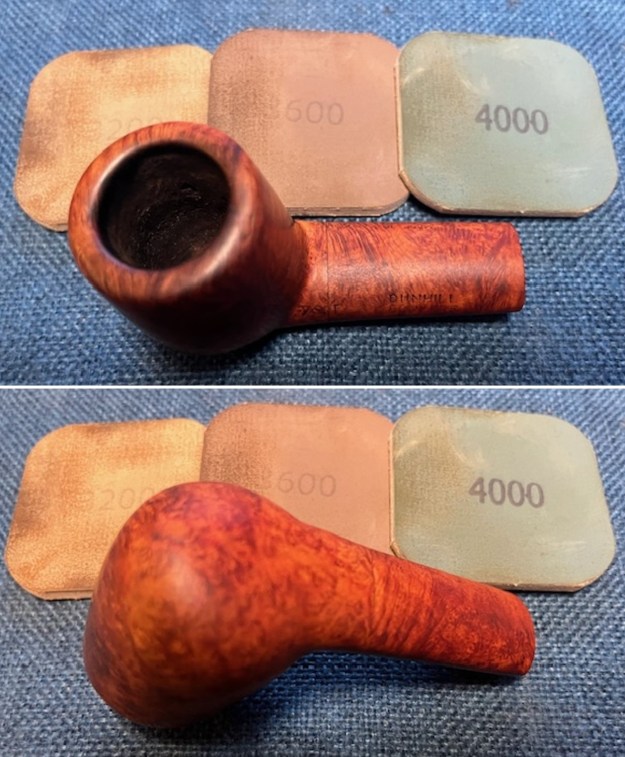
 I sanded the bowl to smooth out the scratches in the bowl sides and rim top with 320-2500 grit 2×2 inch sanding pads. I wiped the bowl down after each sanding pad to remove the debris. It seemed to minimize the scratches and bring out the beauty of the patina developing in the meer.
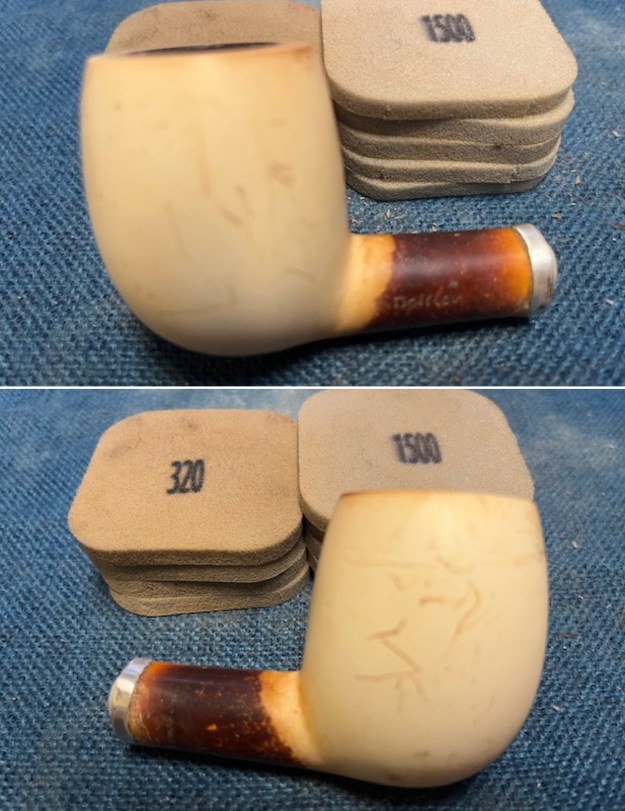
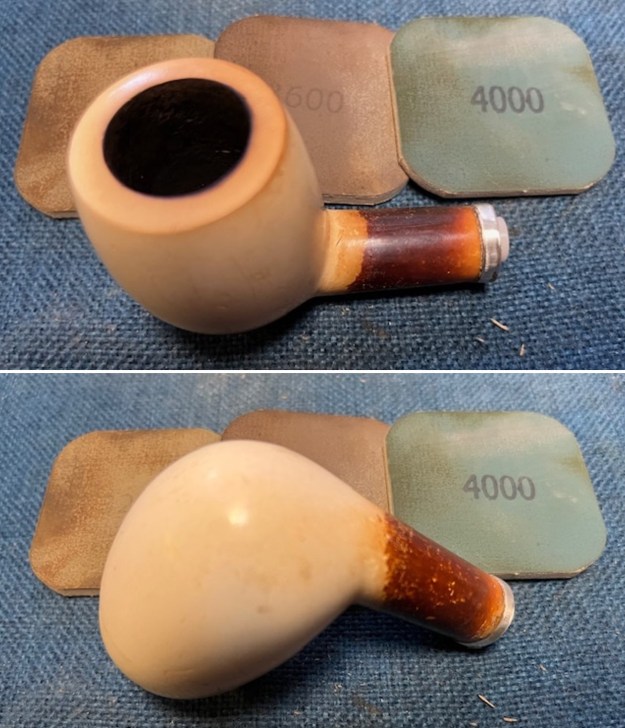
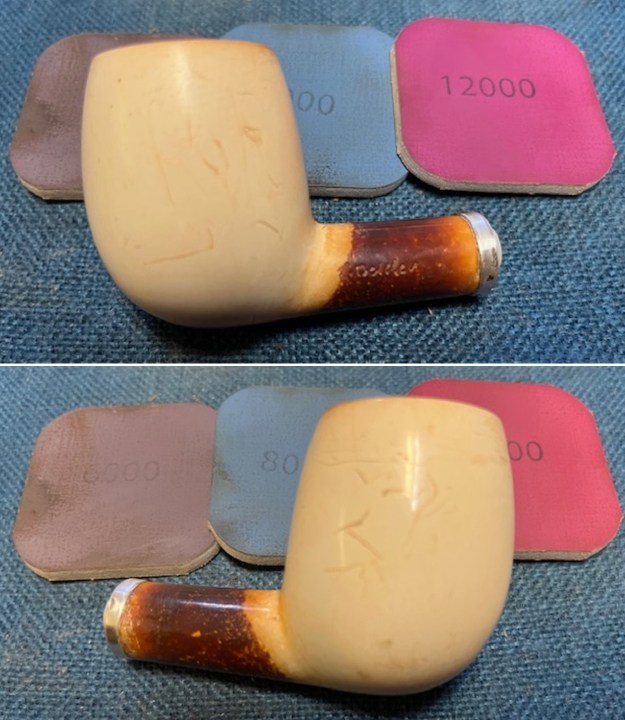
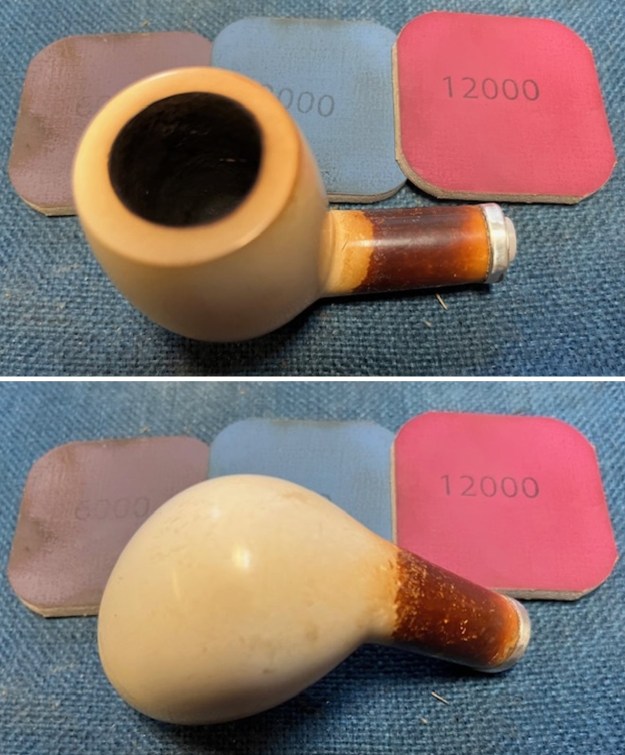
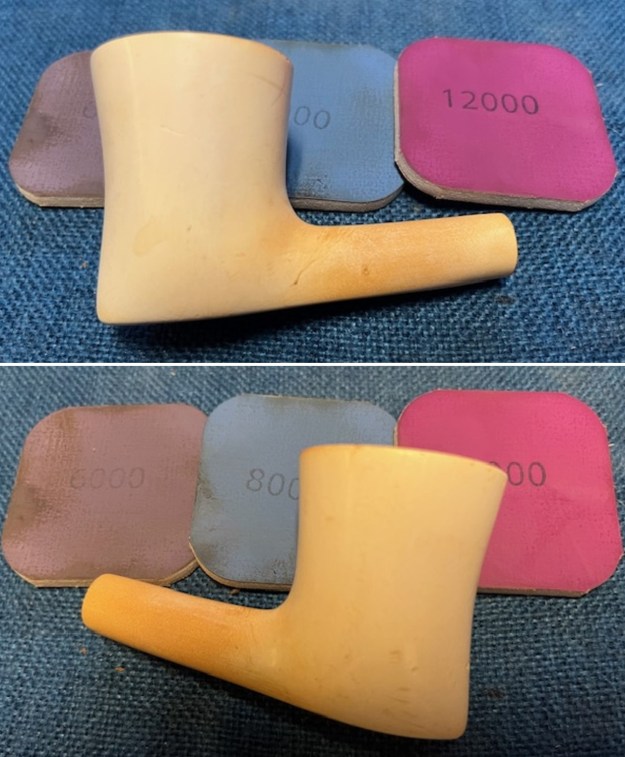
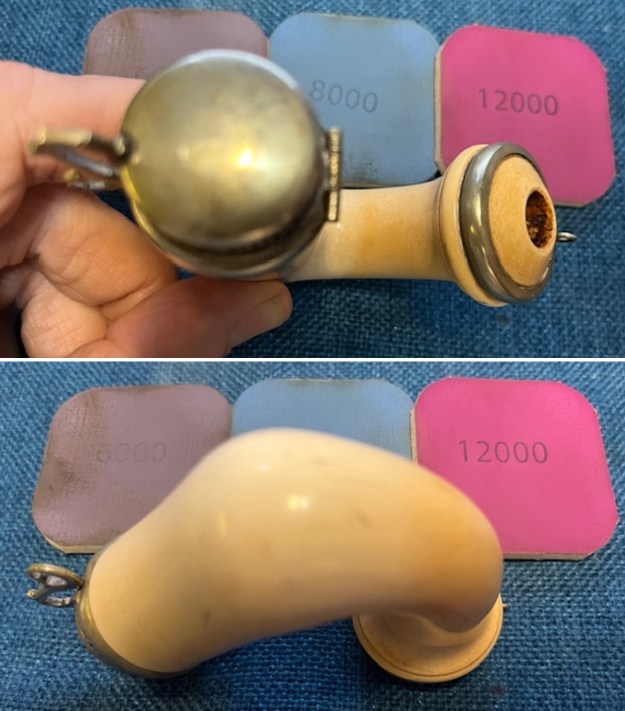
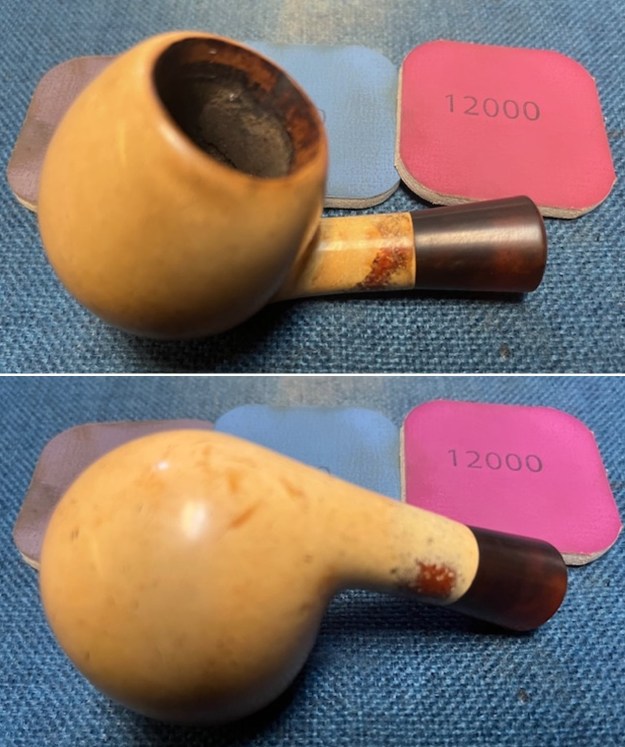
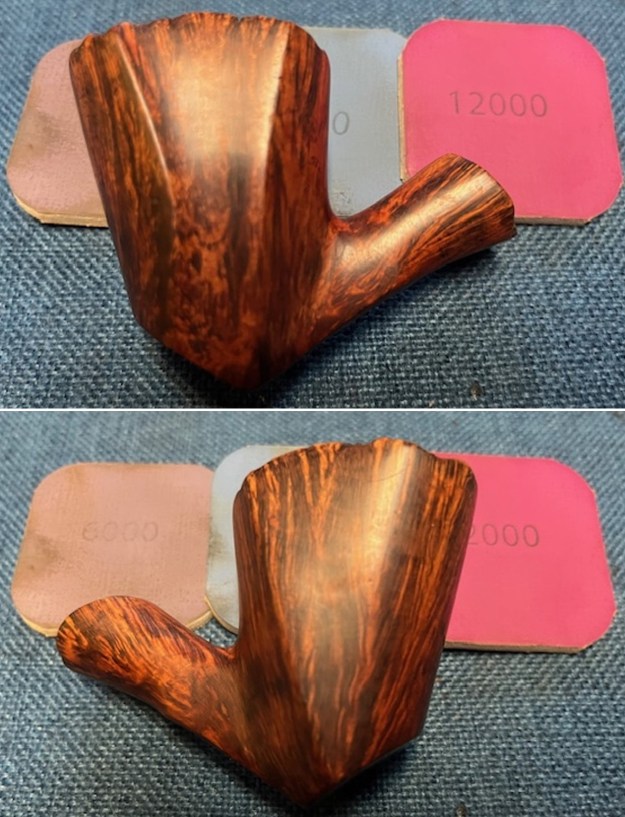
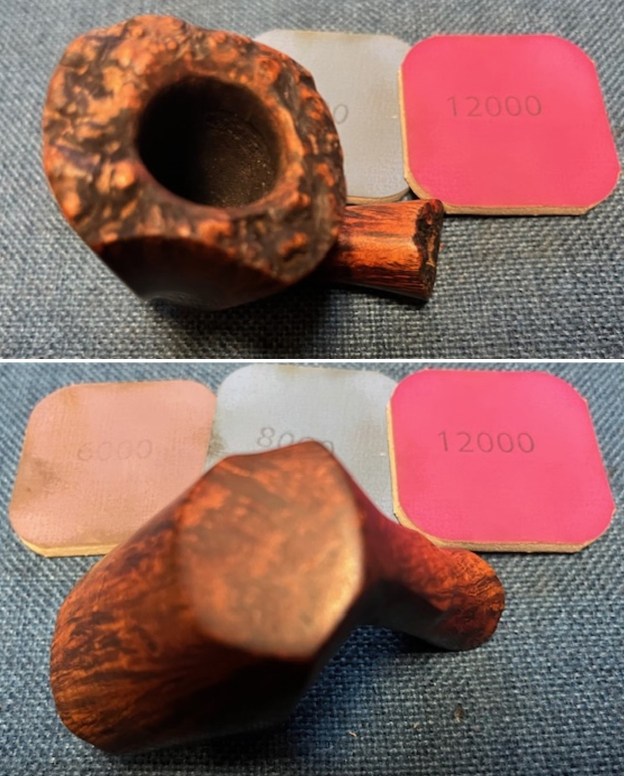
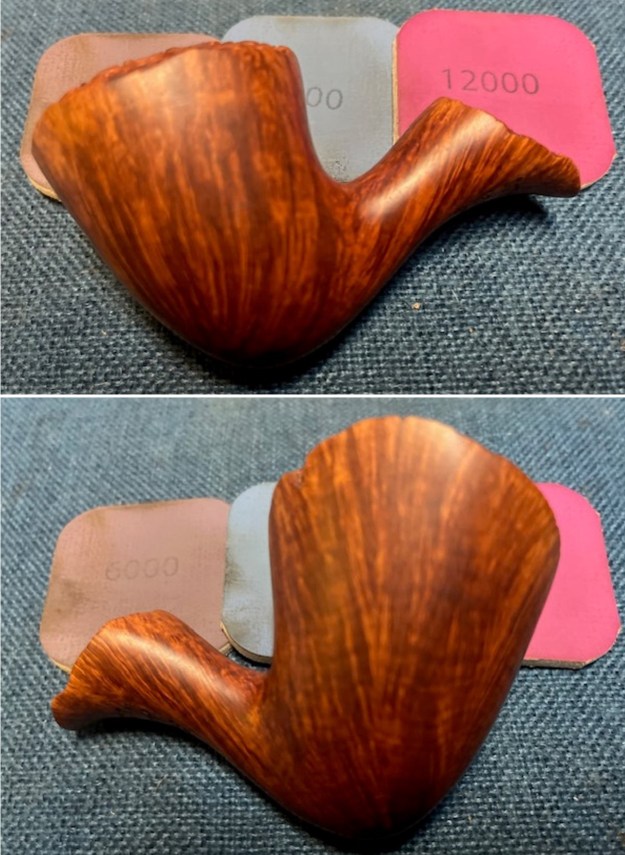
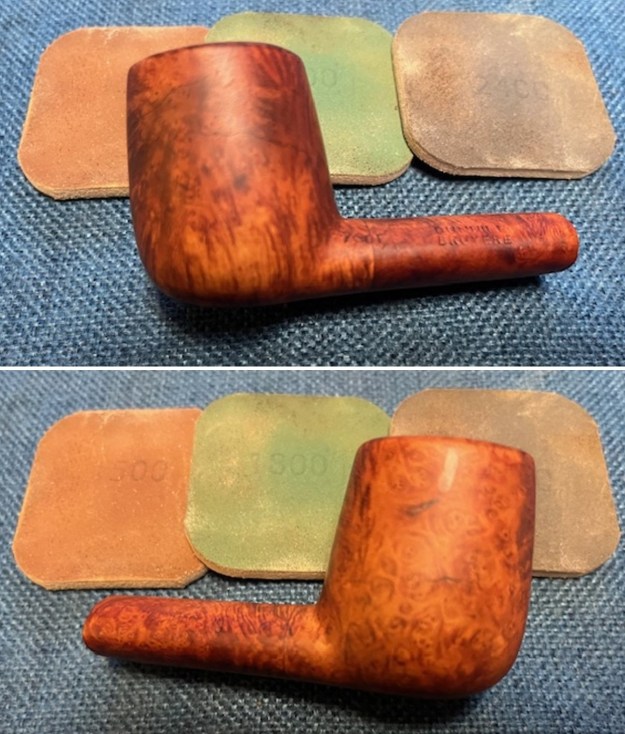
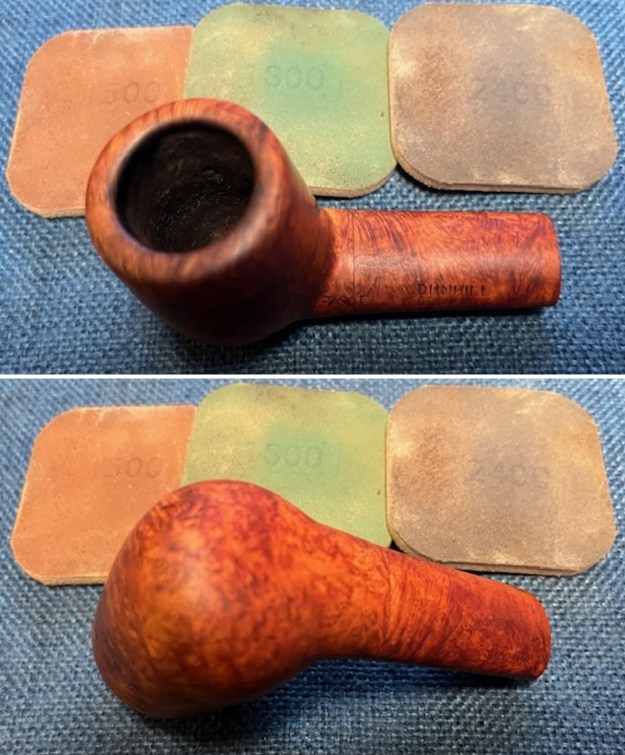
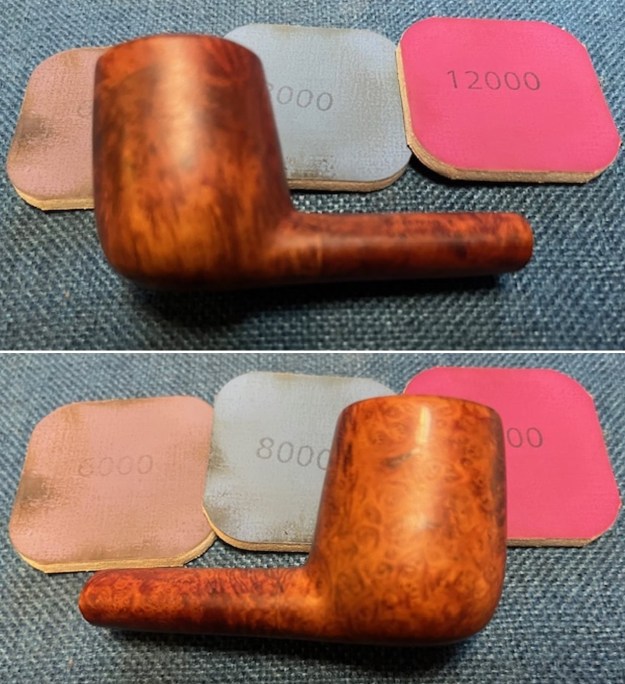
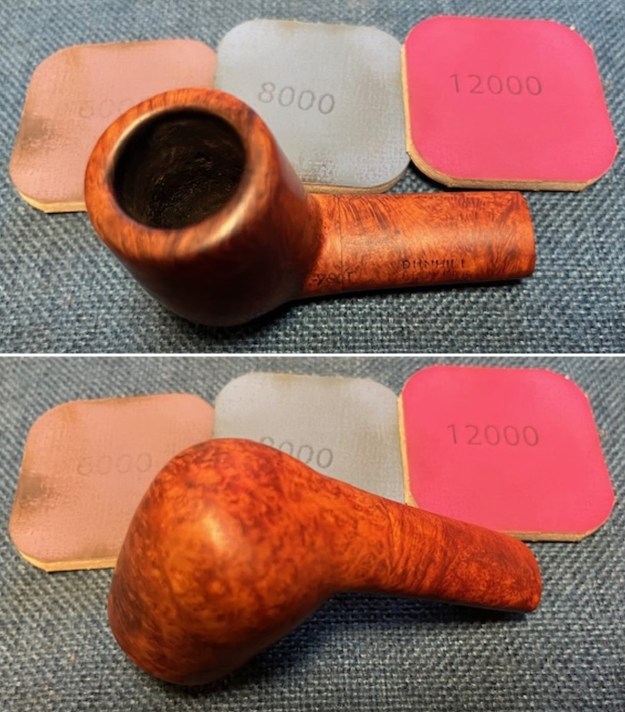
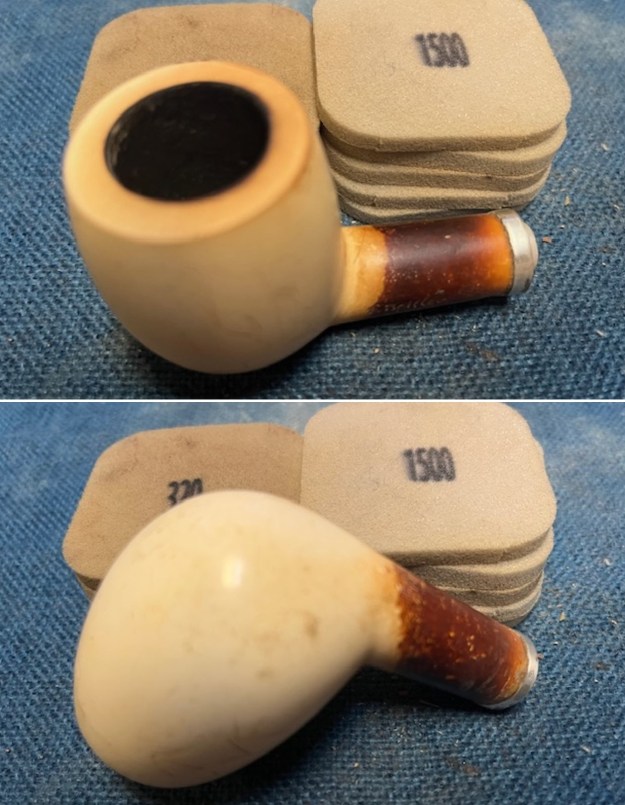 I polished the meerschaum with micromesh sanding pads – dry sanding with 1500-12000 grit pads. I wiped the bowl down after each pad with a damp cotton cloth. The bowl took on a shine by the last pad.
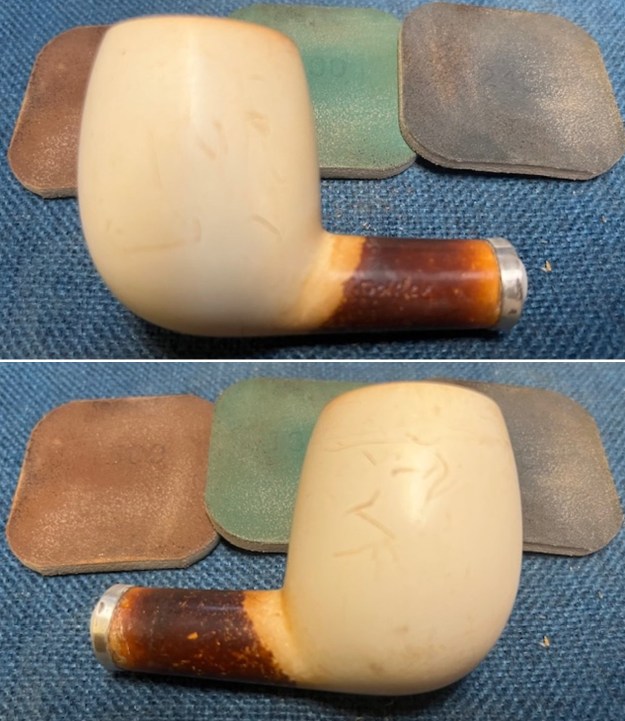
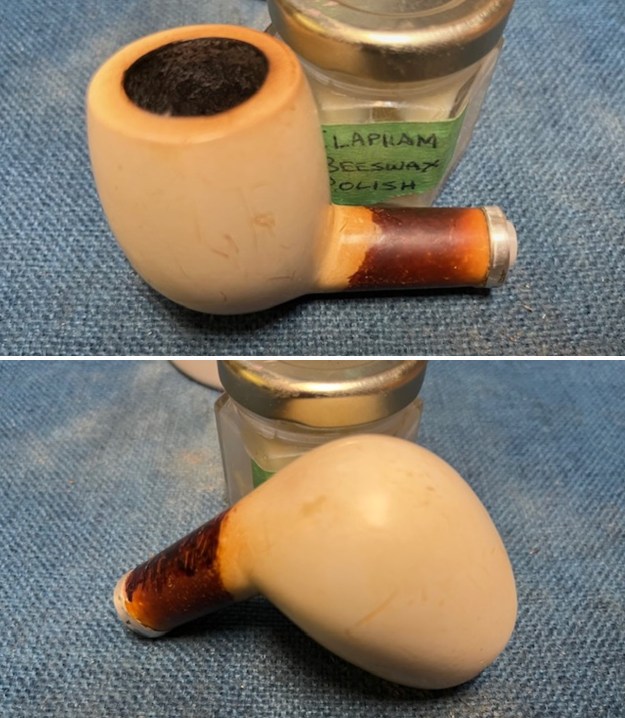
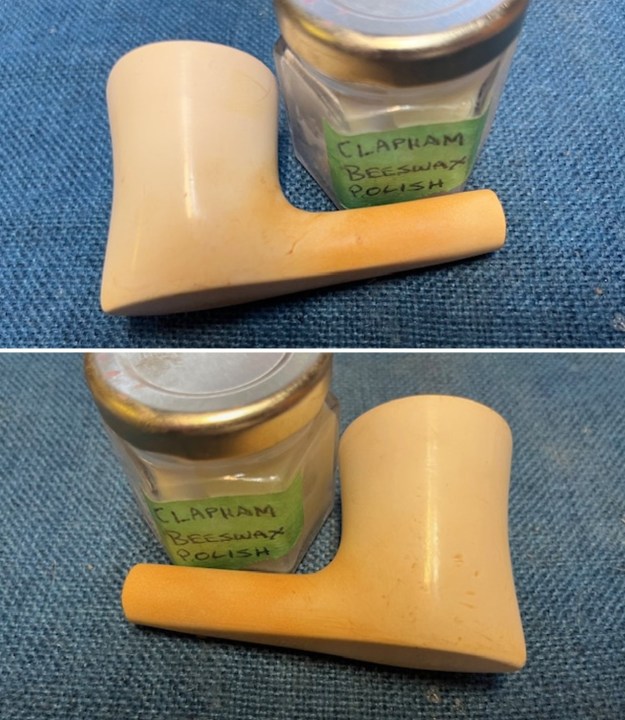
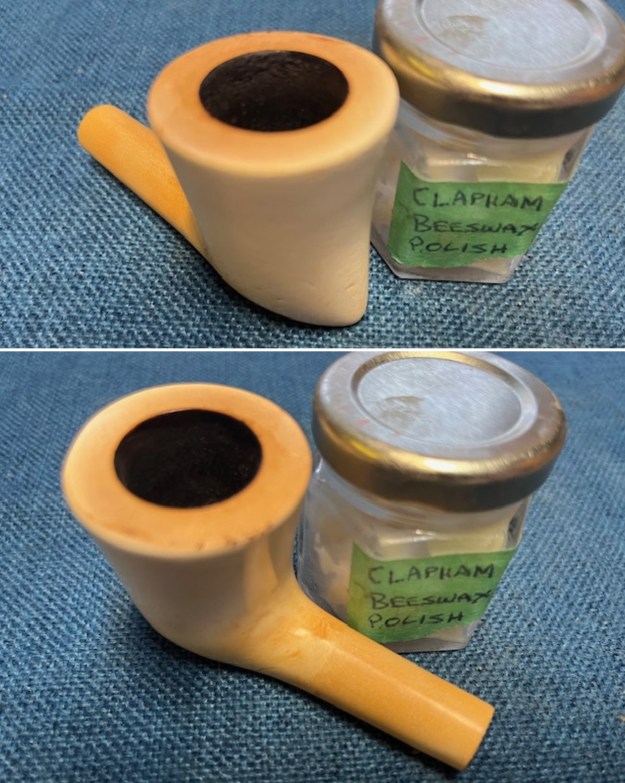
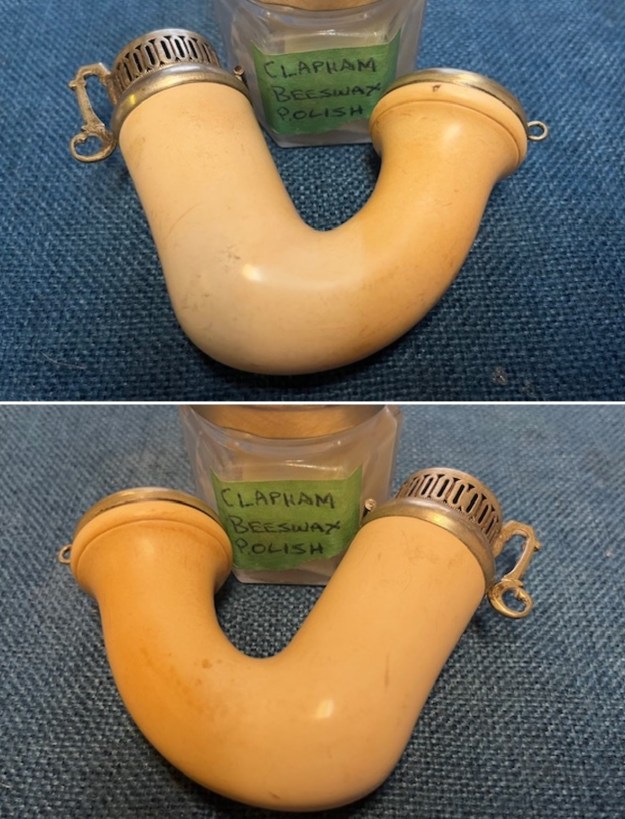
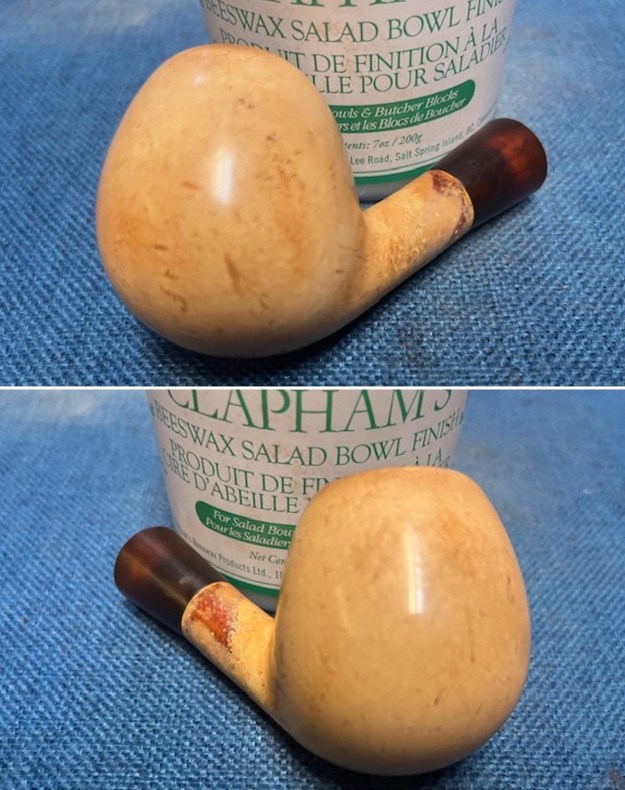
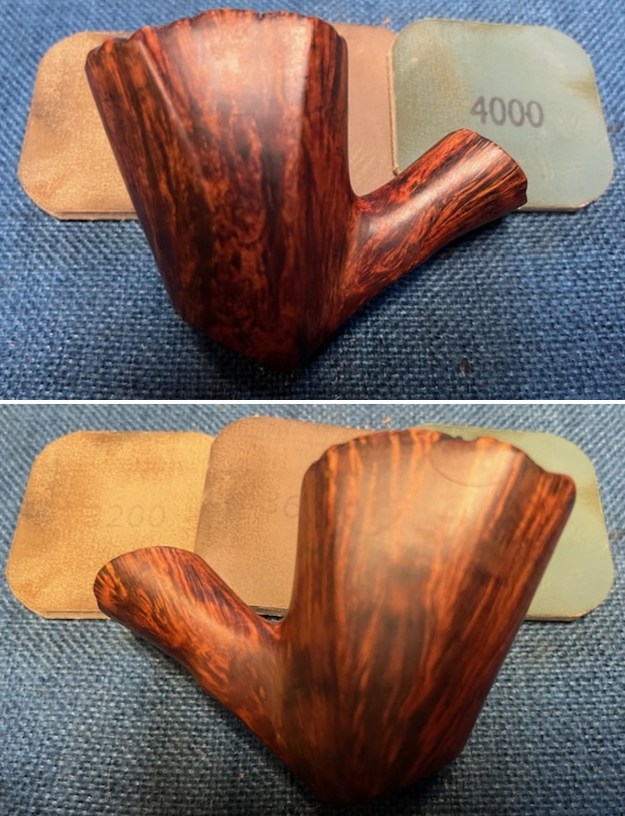
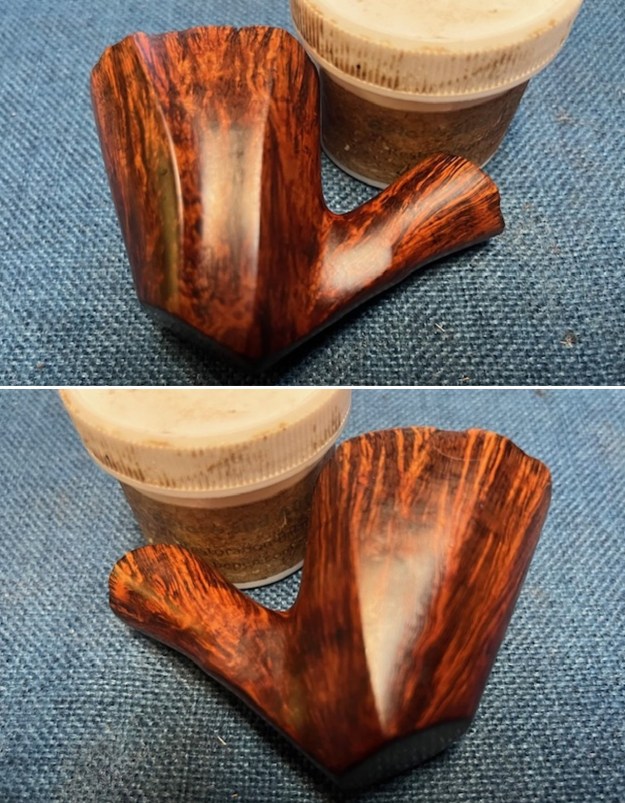
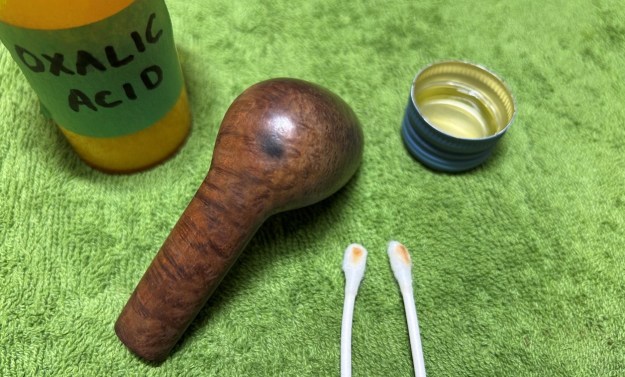
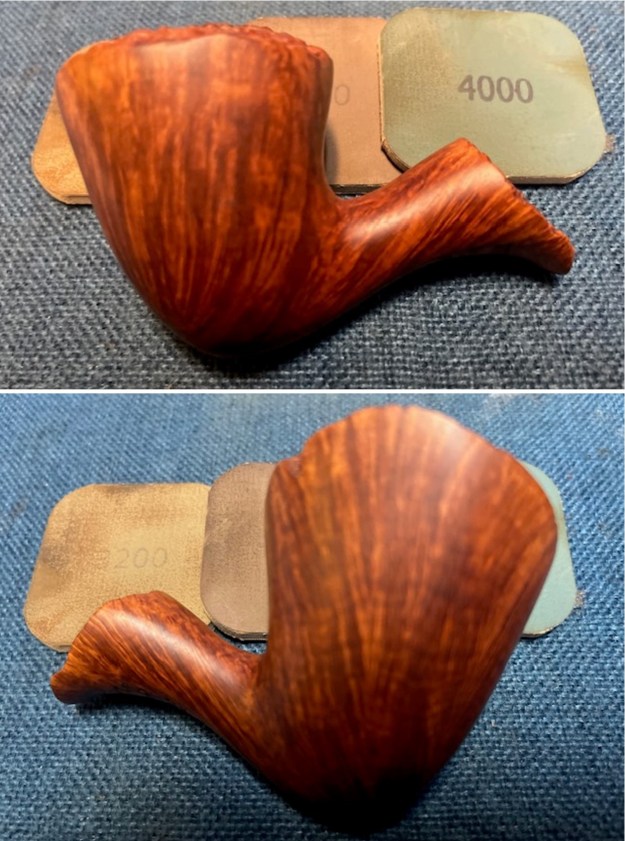
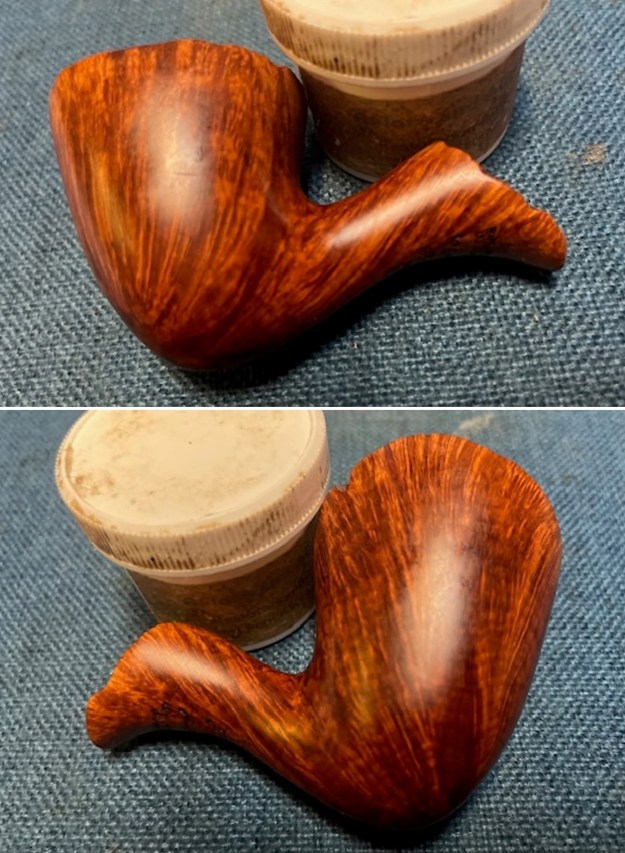
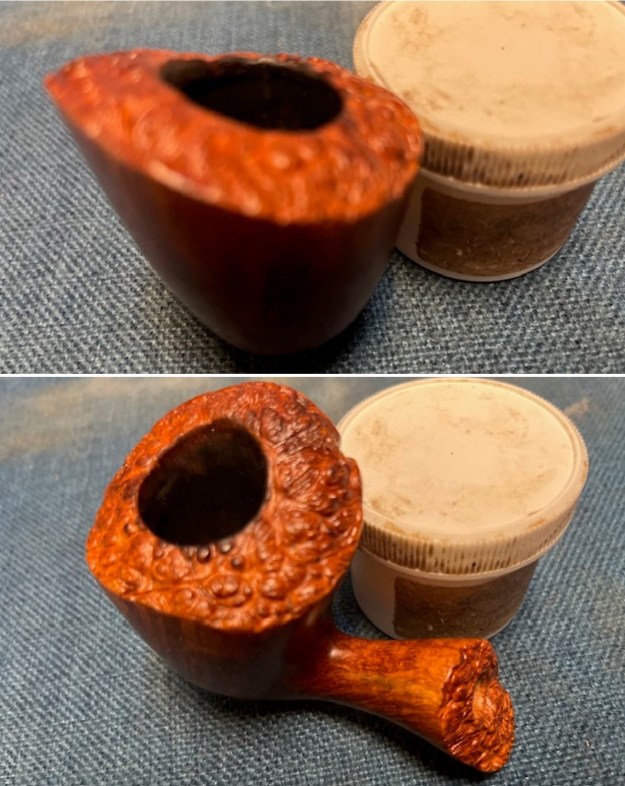
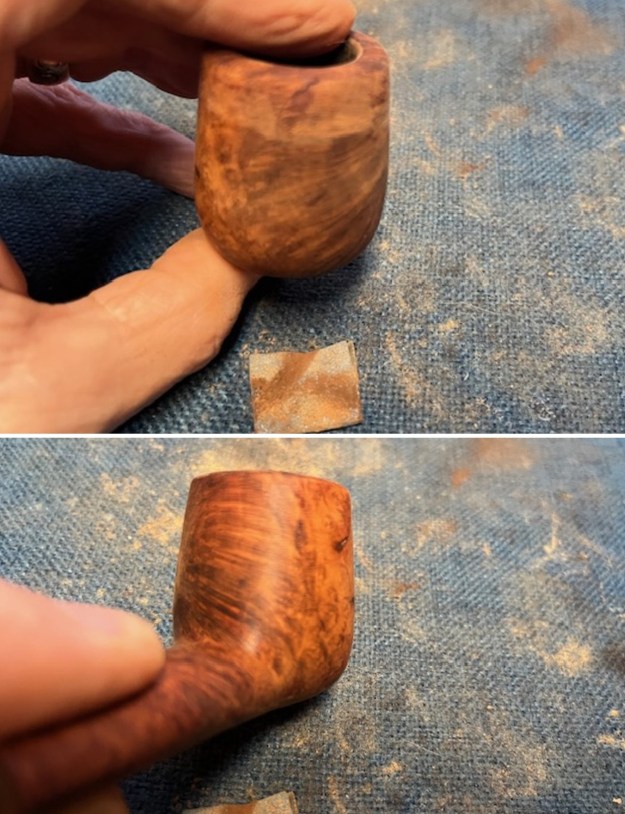
 I gave the bowl multiple coats of Clapham’s Beeswax Polish which is a soft wax. I rubbed the wax on the bowl sides and the shank end with my finger tips and set it aside to dry. Once the wax cured I buffed the bowl with a clean buffing pad and then with a soft microfibre cloth. The bowl has a rich glow.
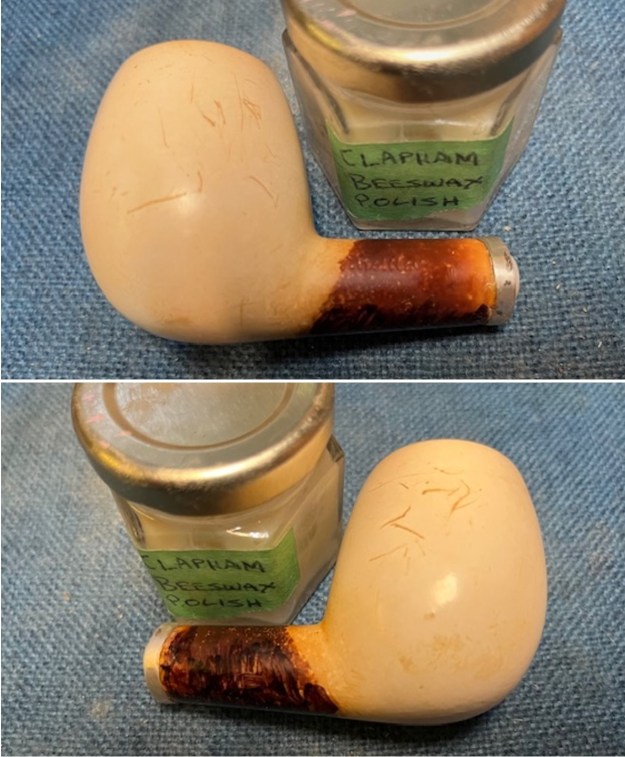
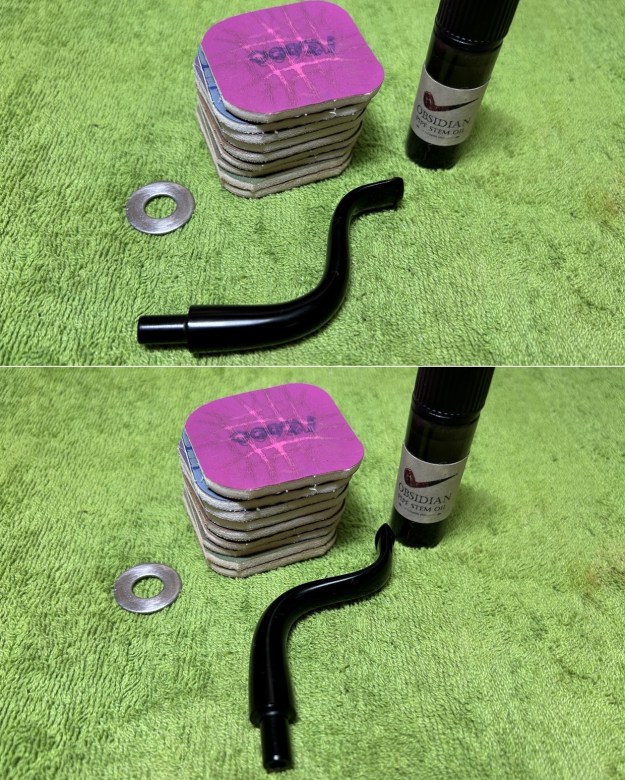
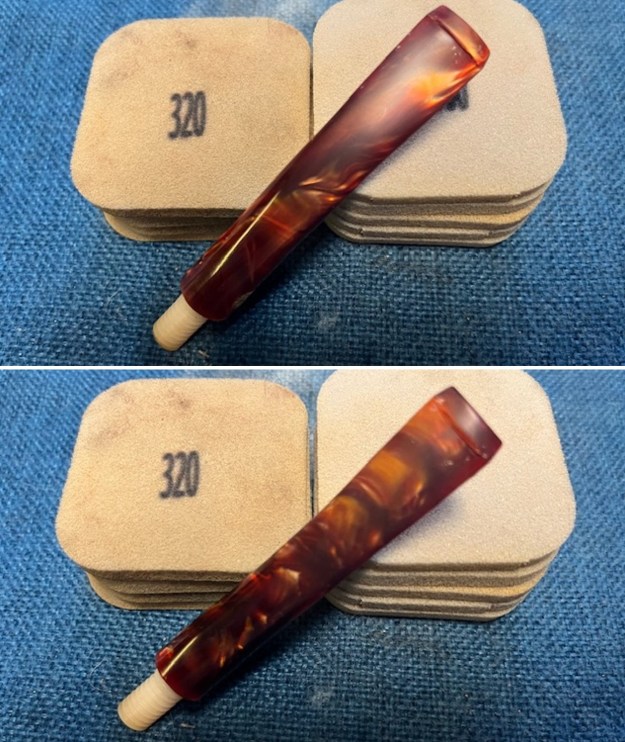
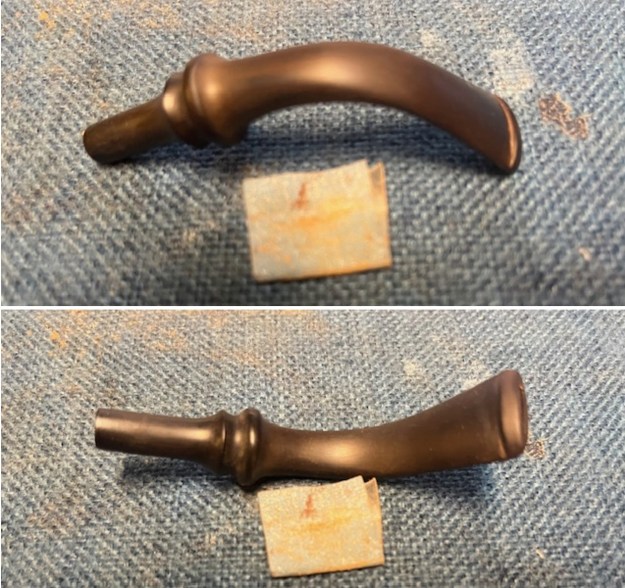
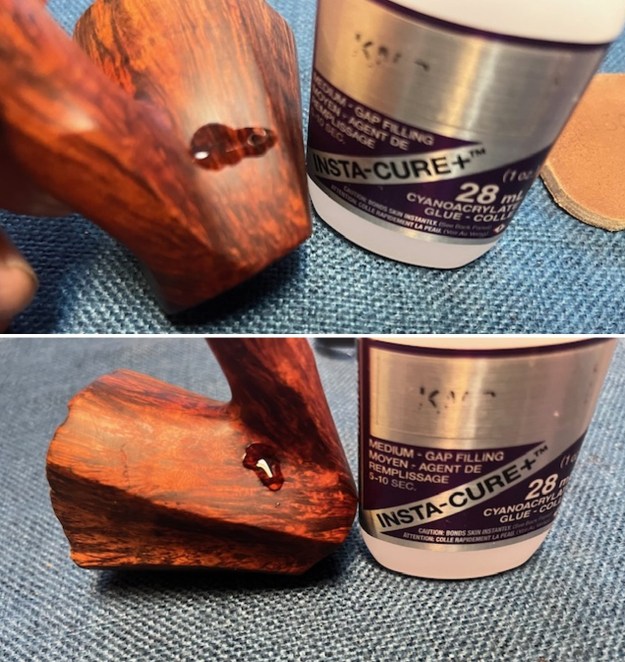
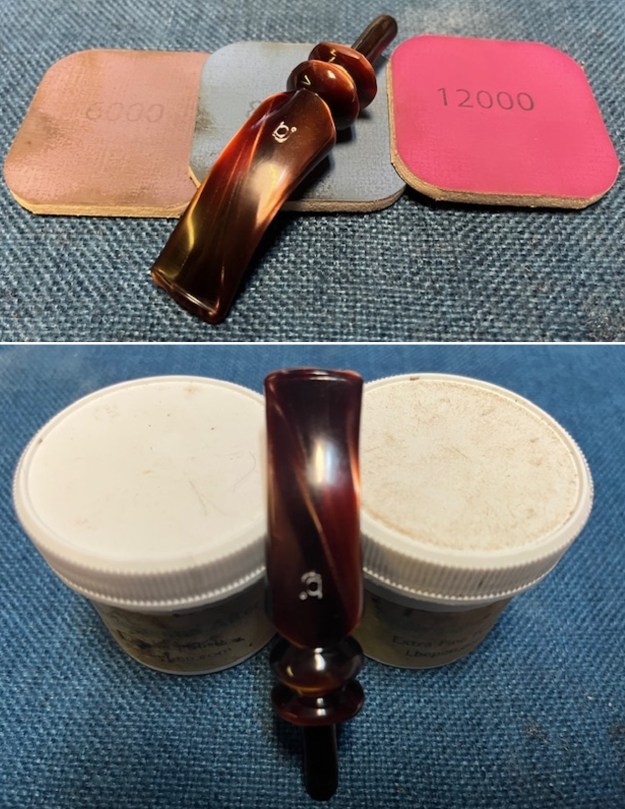
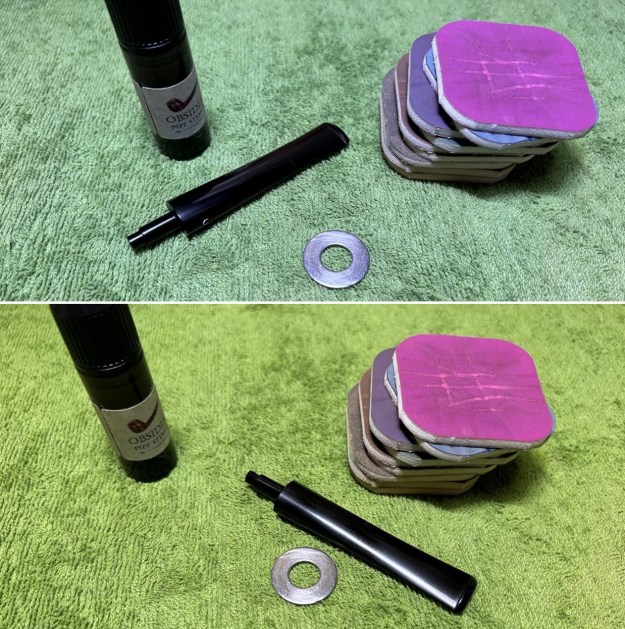
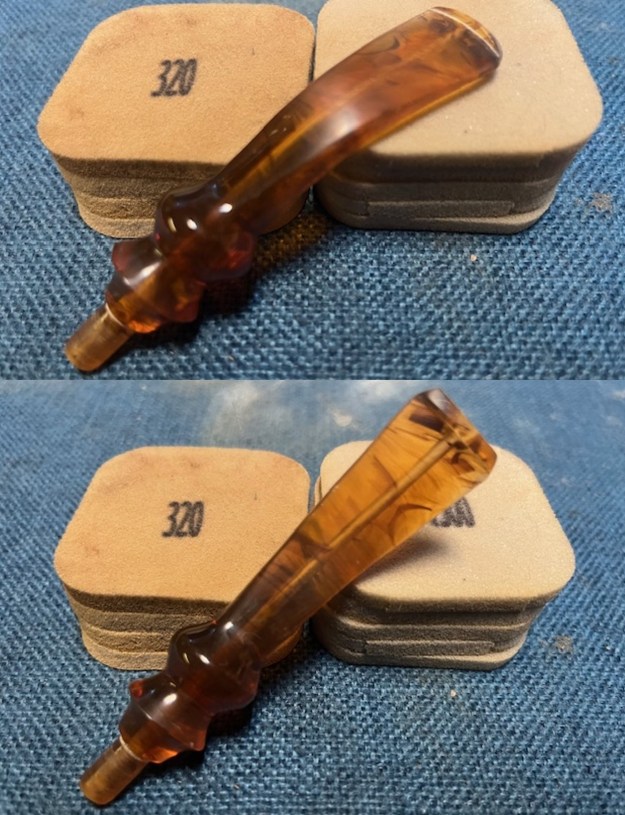
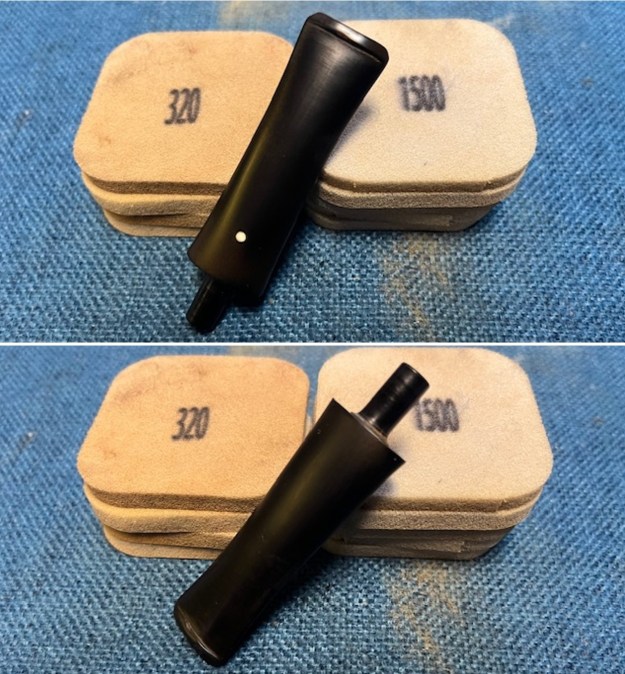
 I set the bowl aside and turned my attention to the stem. I sanded the stem surface with 320-3500 grit 2×2 inch sanding pads. I wiped the stem down after each pad with a damp pad to remove the debris. By the end it was quite shiny and ready for polishing.
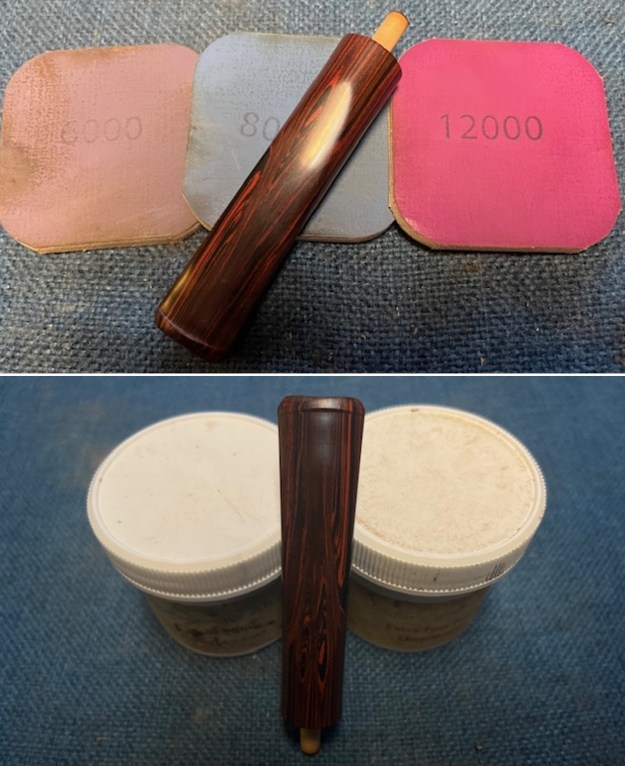
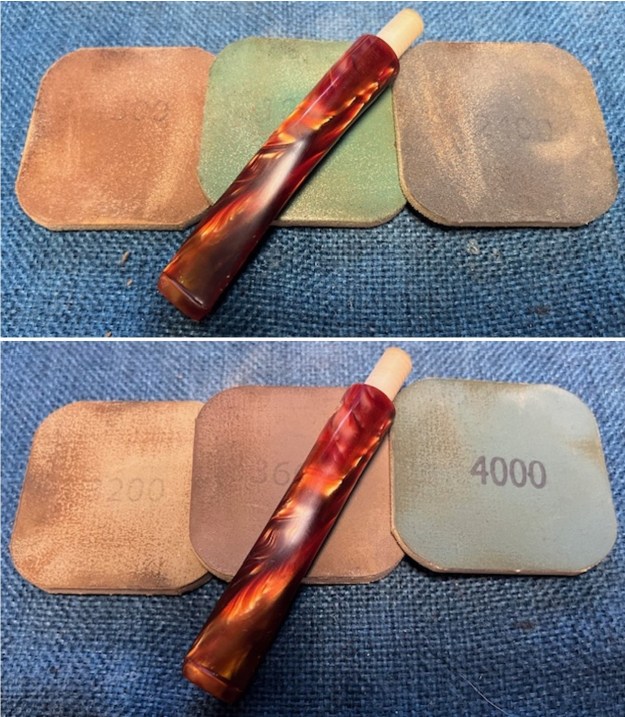
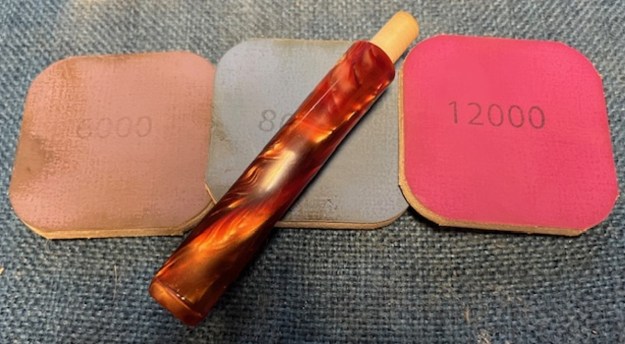
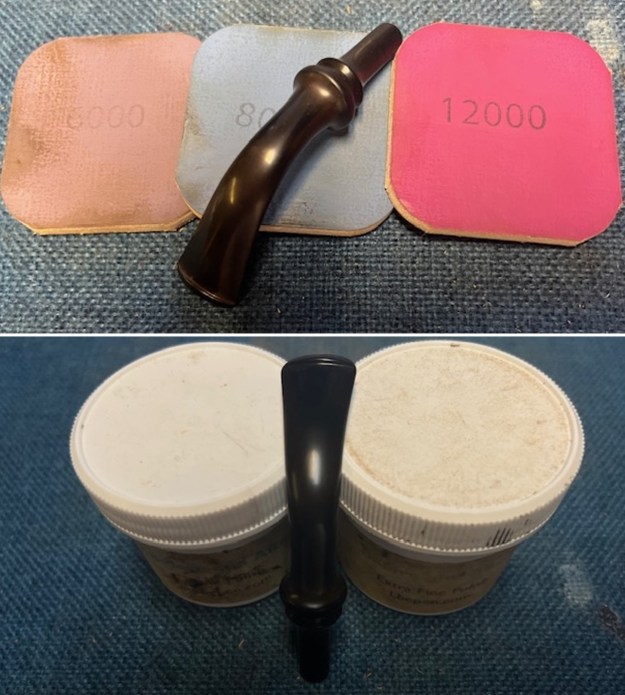
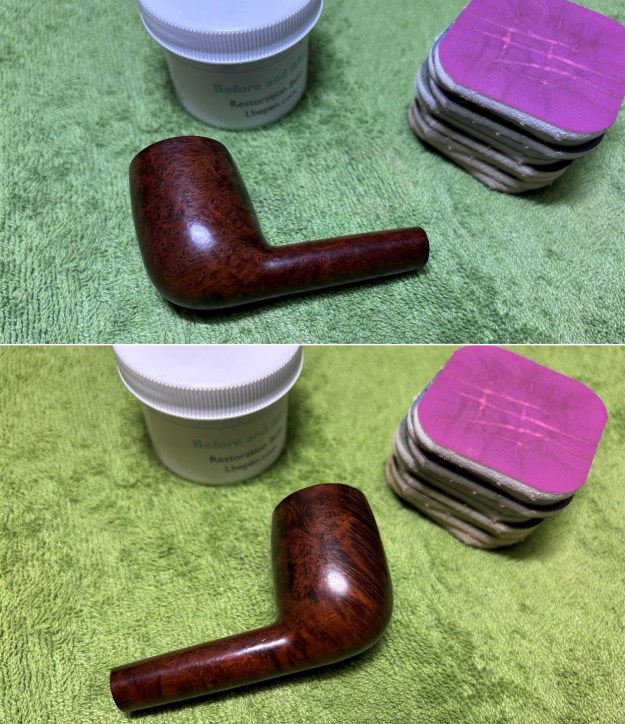
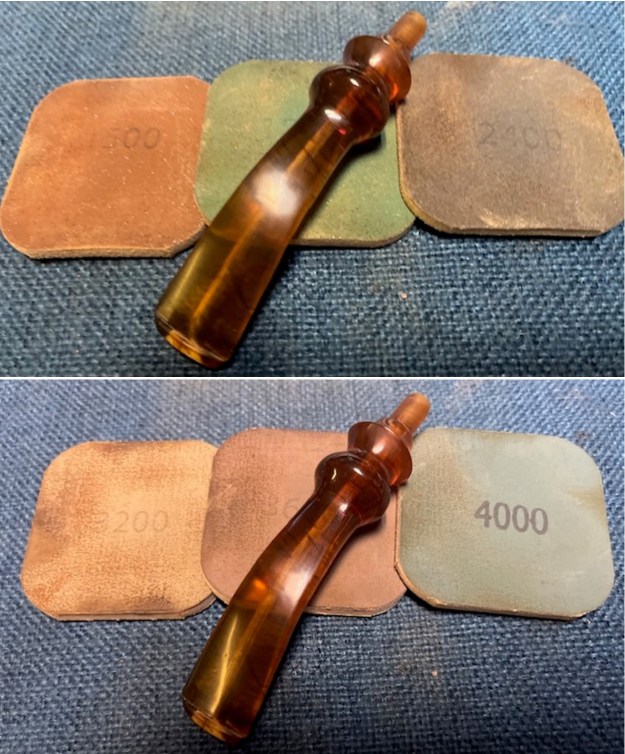
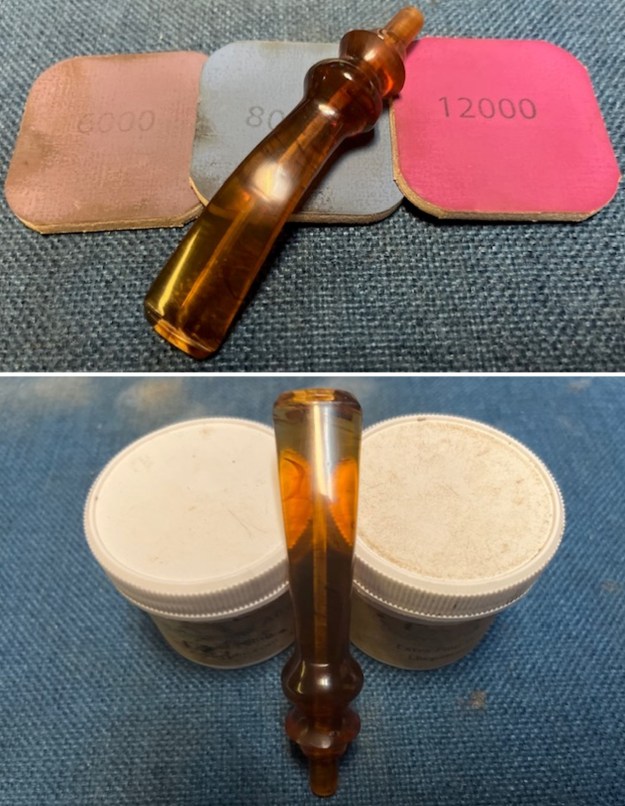
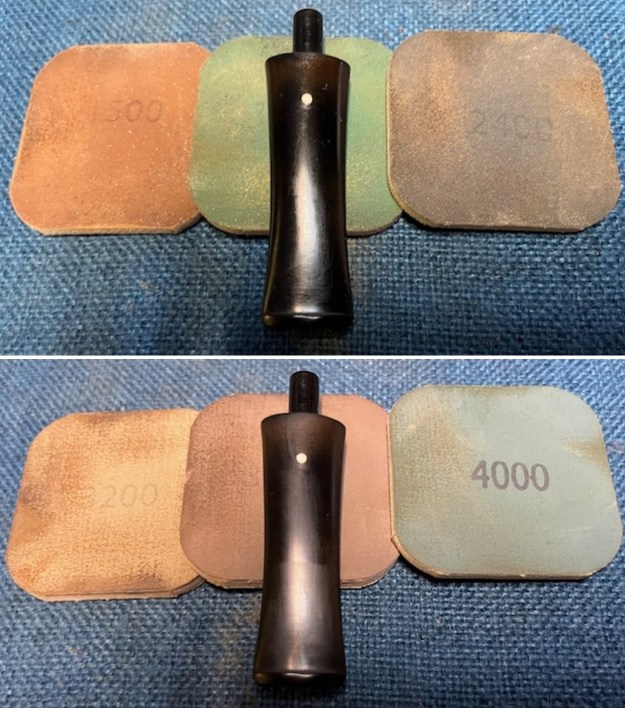
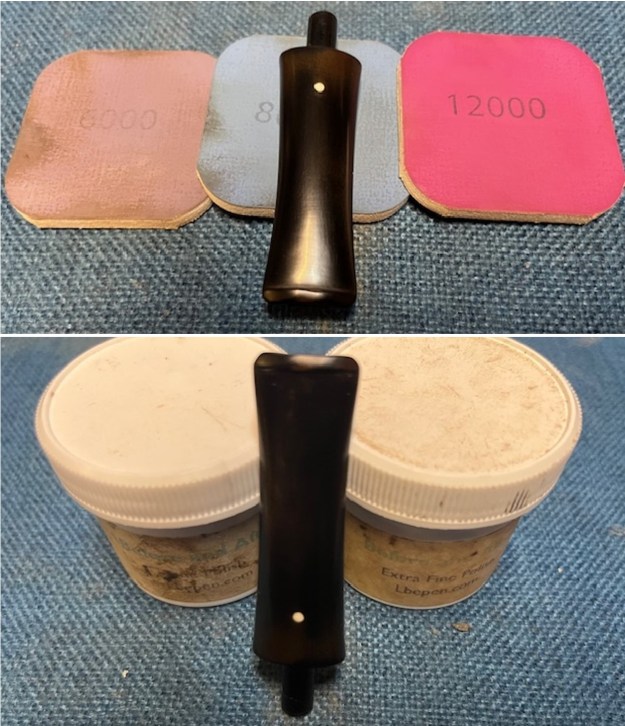
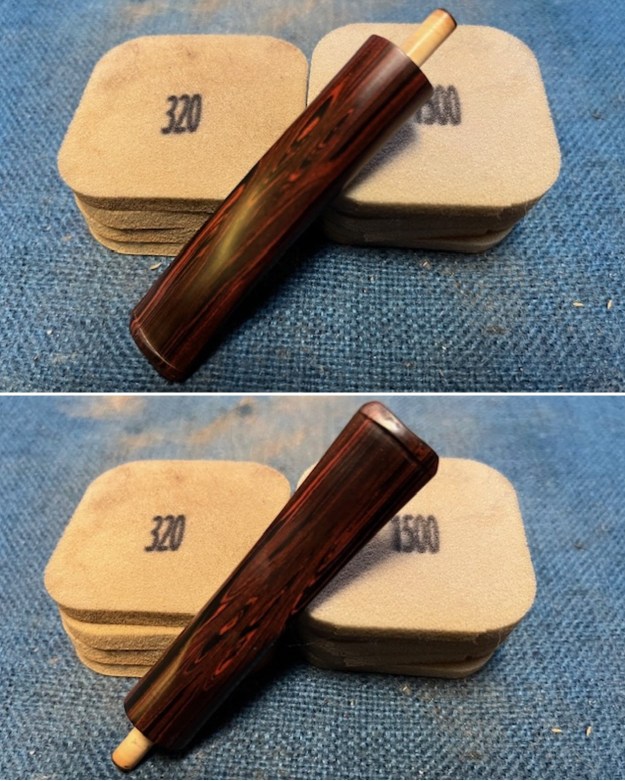 I polished the stem with micromesh sanding pads – wet sanding it 1500-12000 pads. I wiped it down with a damp cloth after each pad to protect it and preserve it. it with Before After Pipe Polish – both Fine and Extra Fine. I polished the stem on the buffer with Blue Diamond.
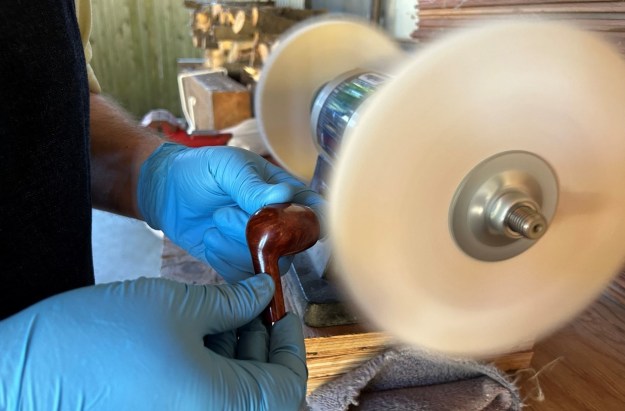
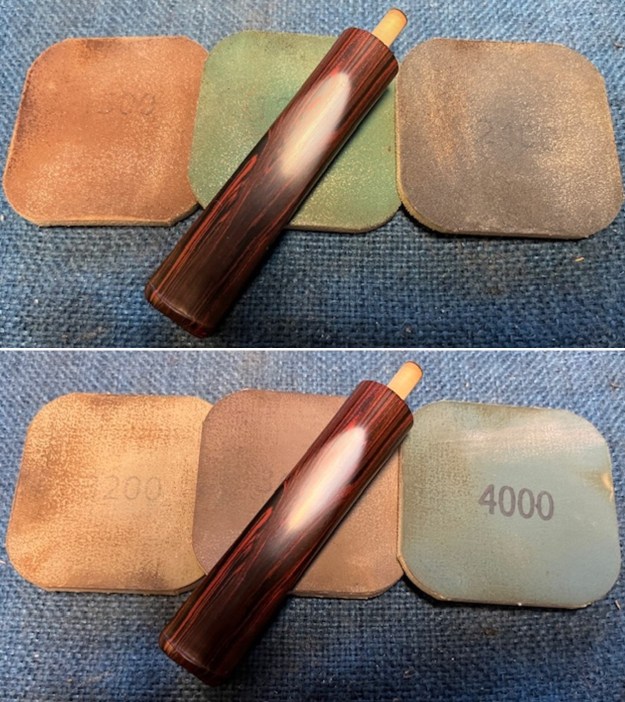
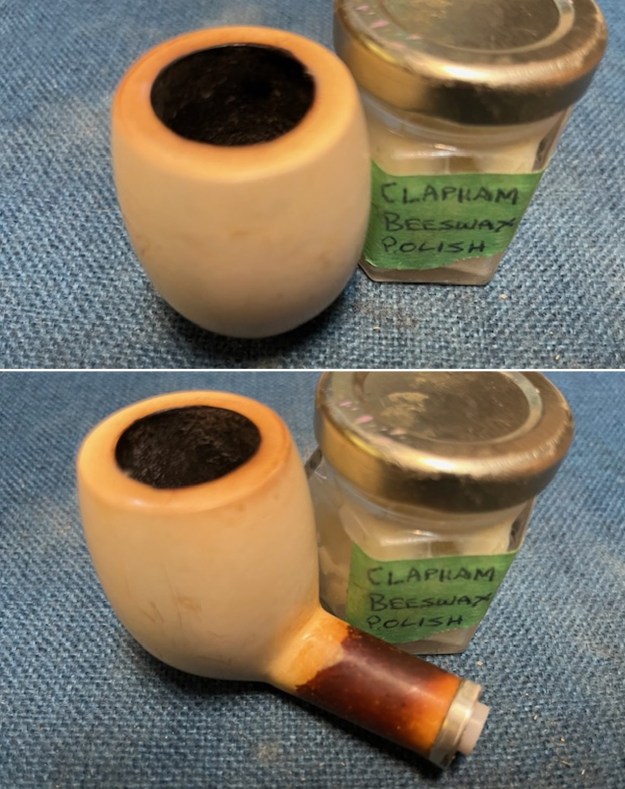
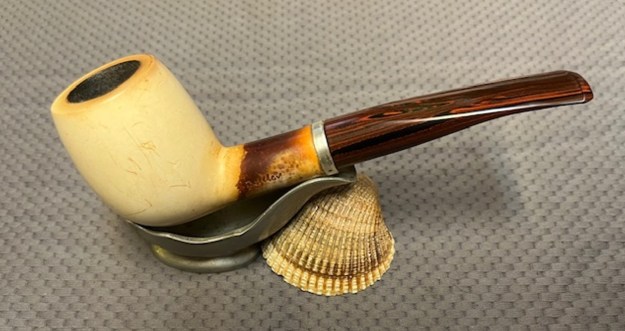
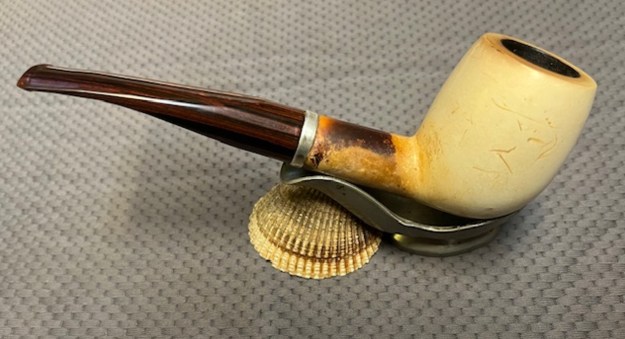
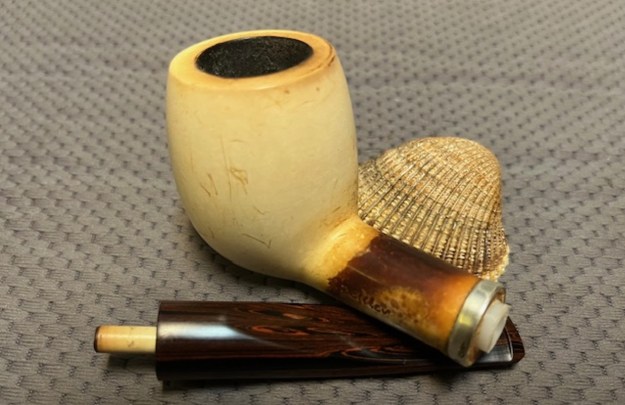
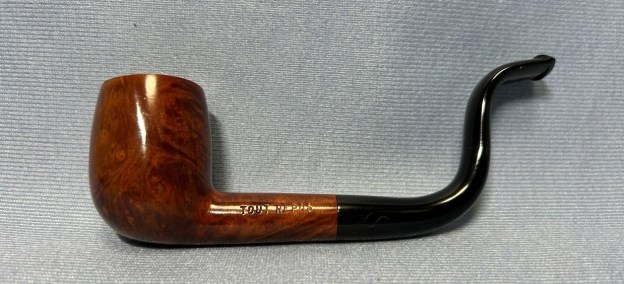
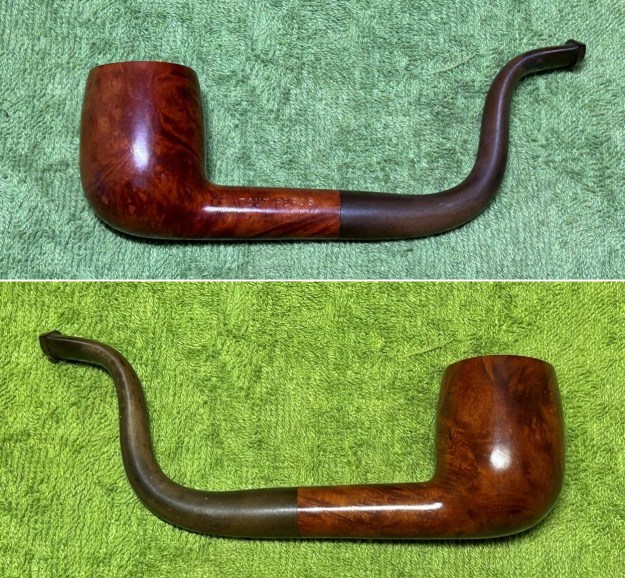
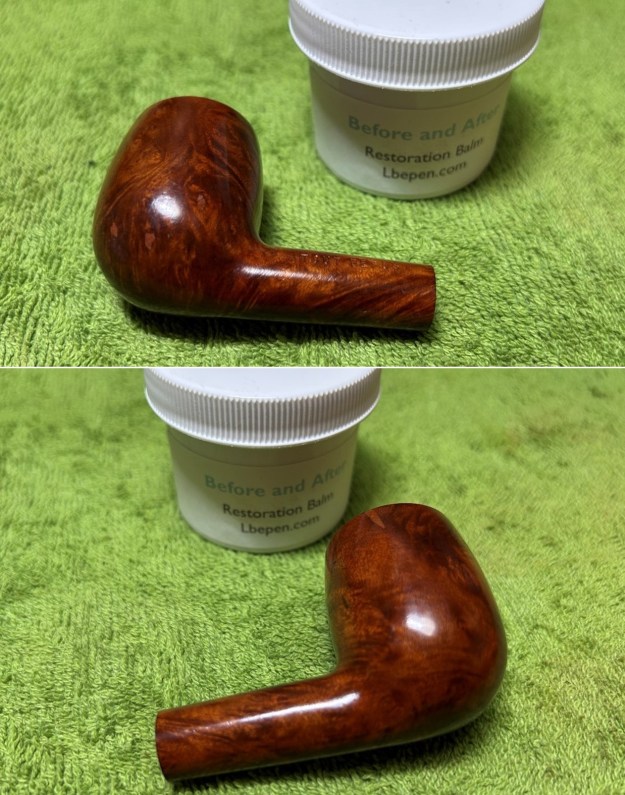
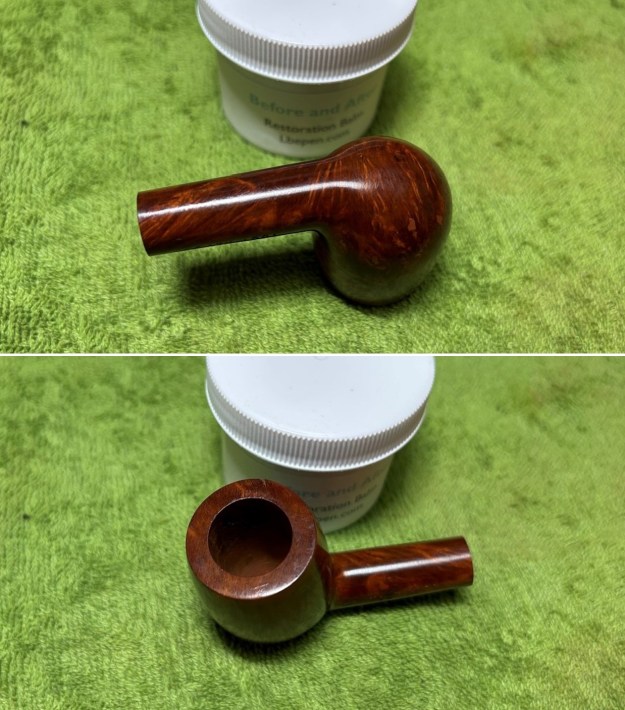
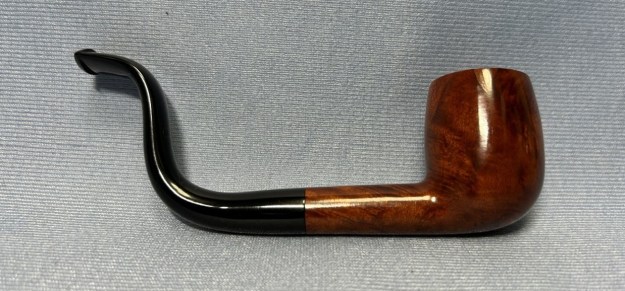
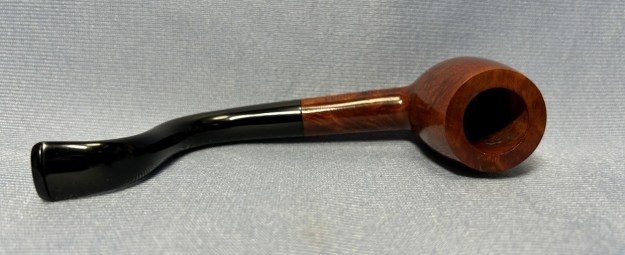
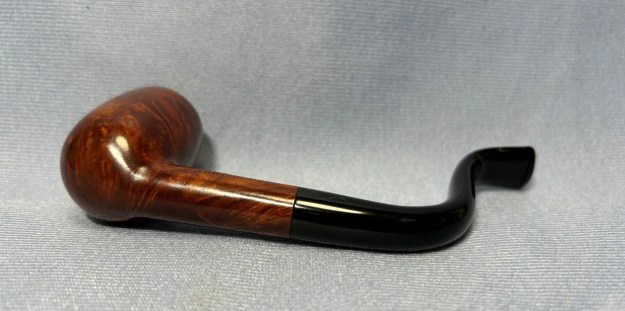
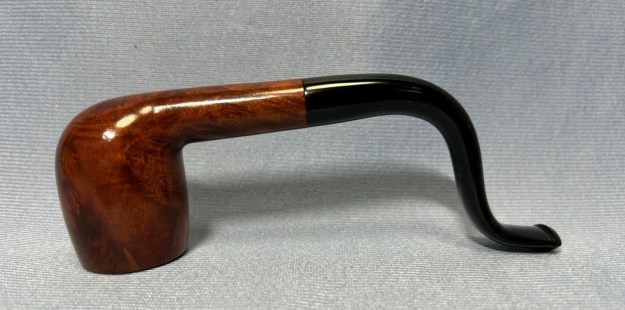
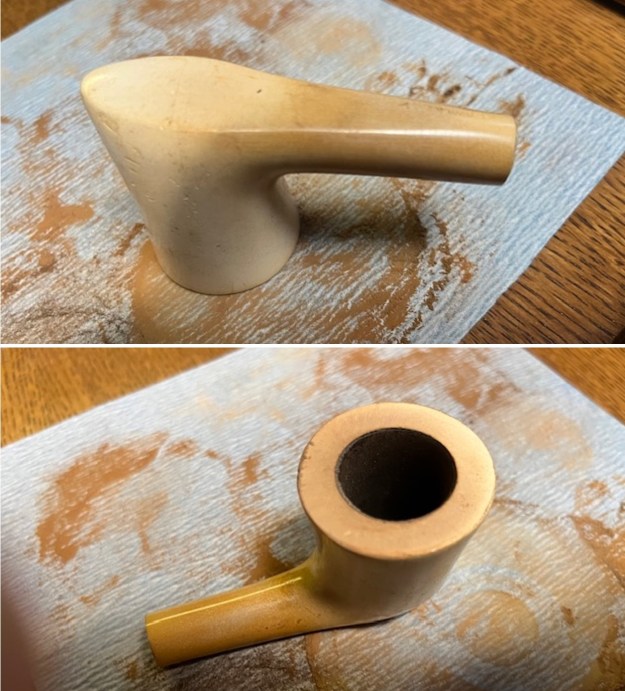
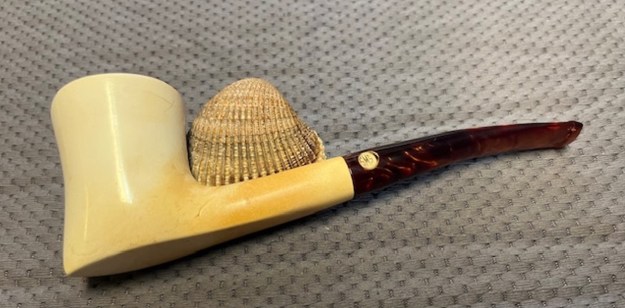
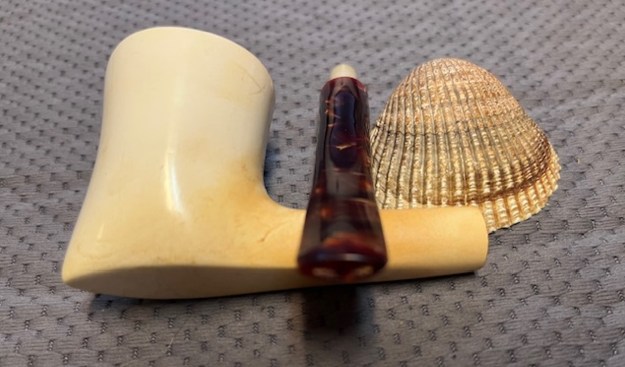
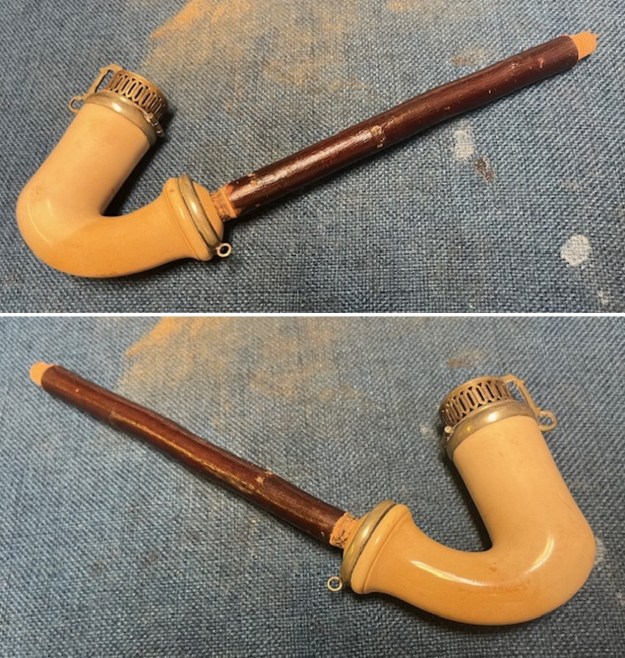
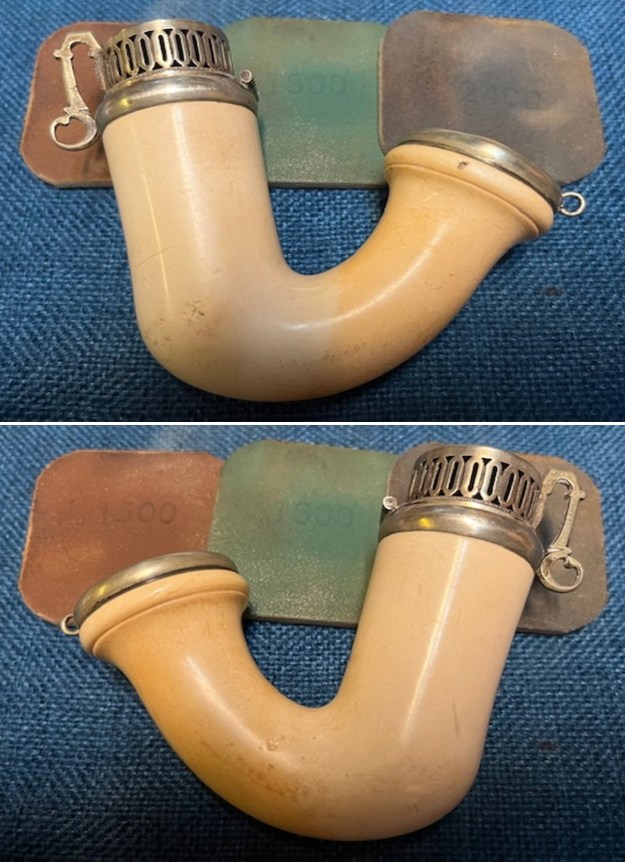
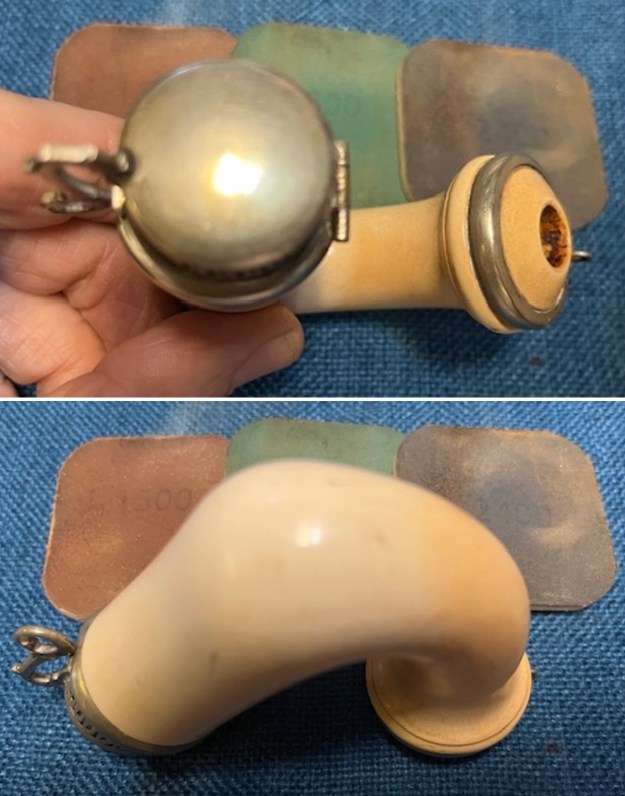
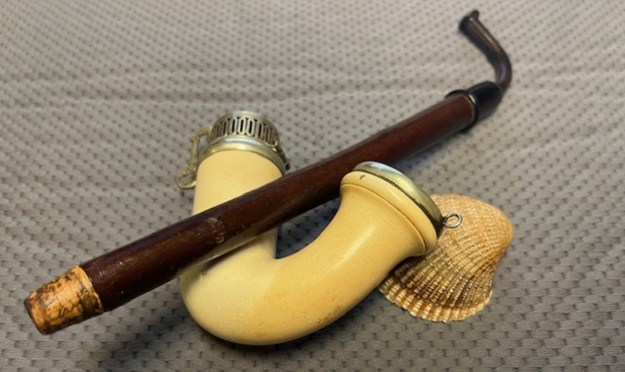
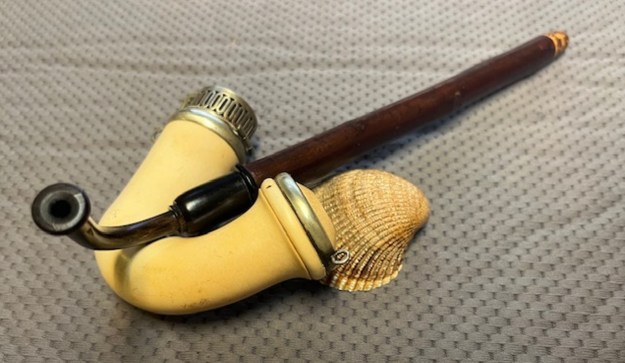
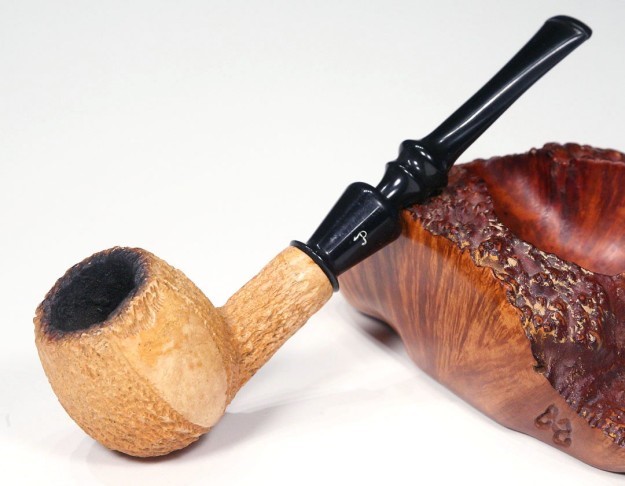
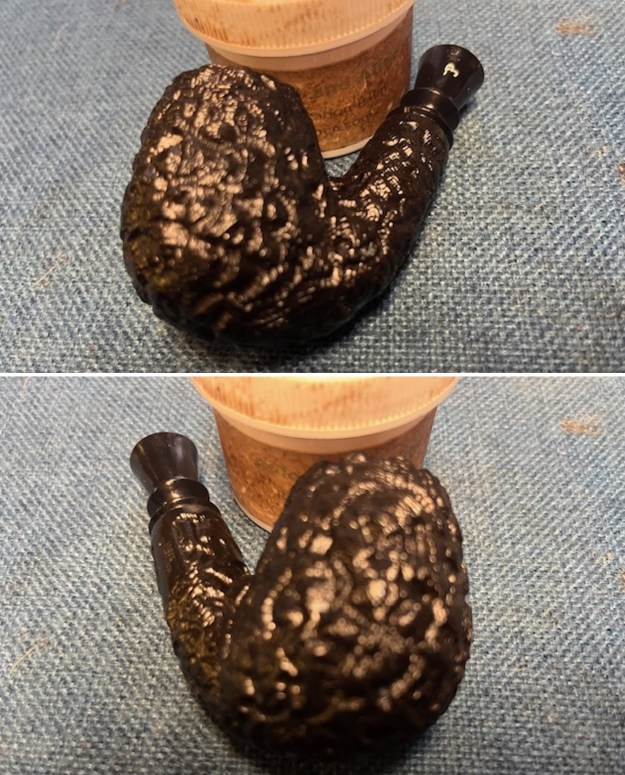
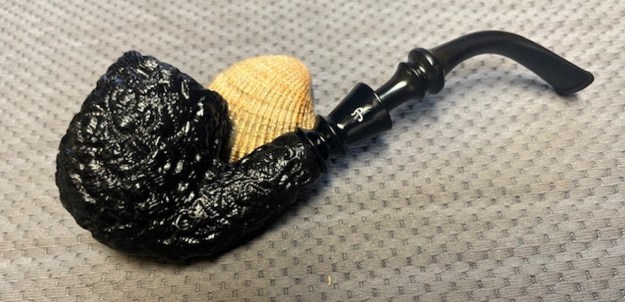
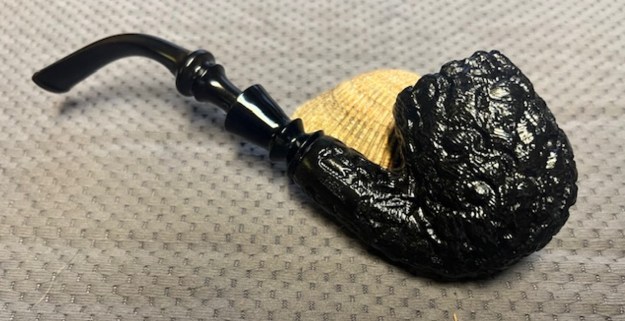
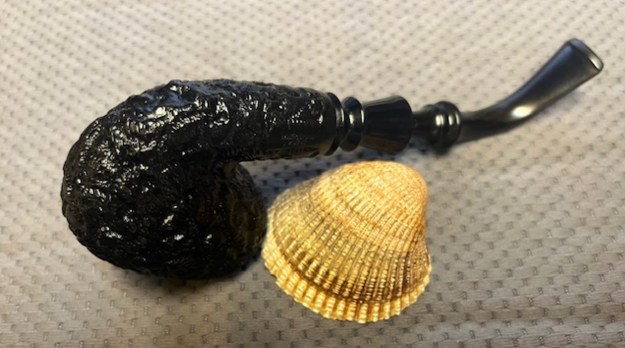
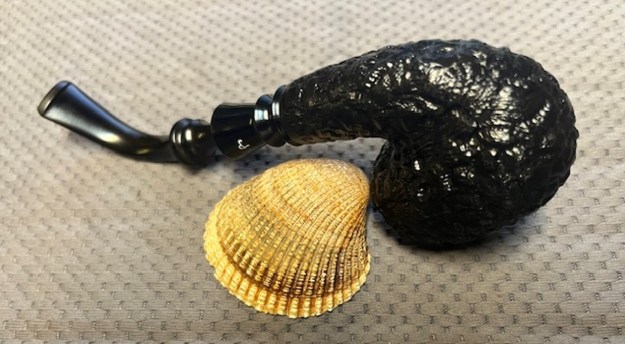
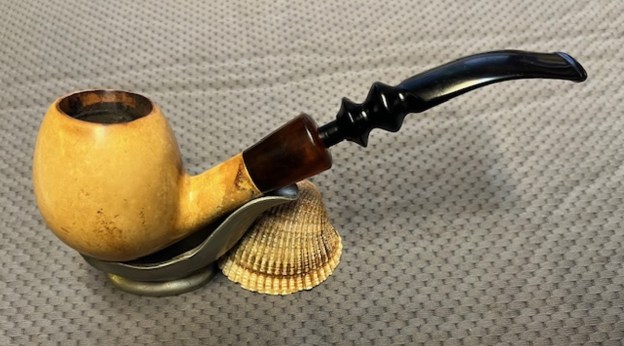
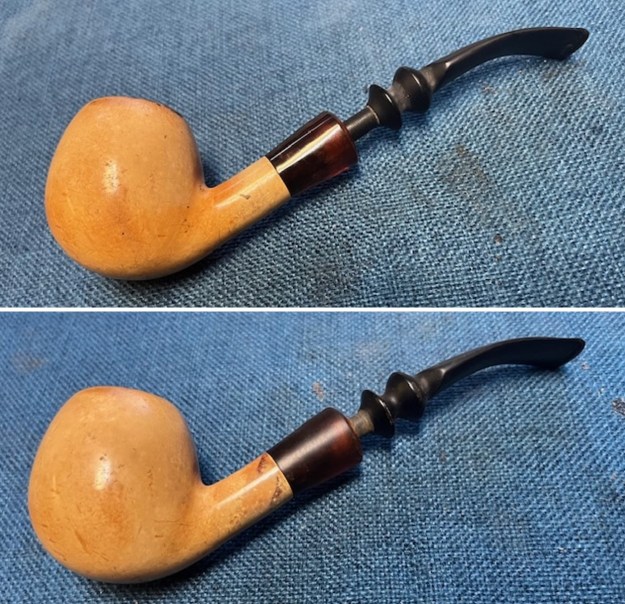
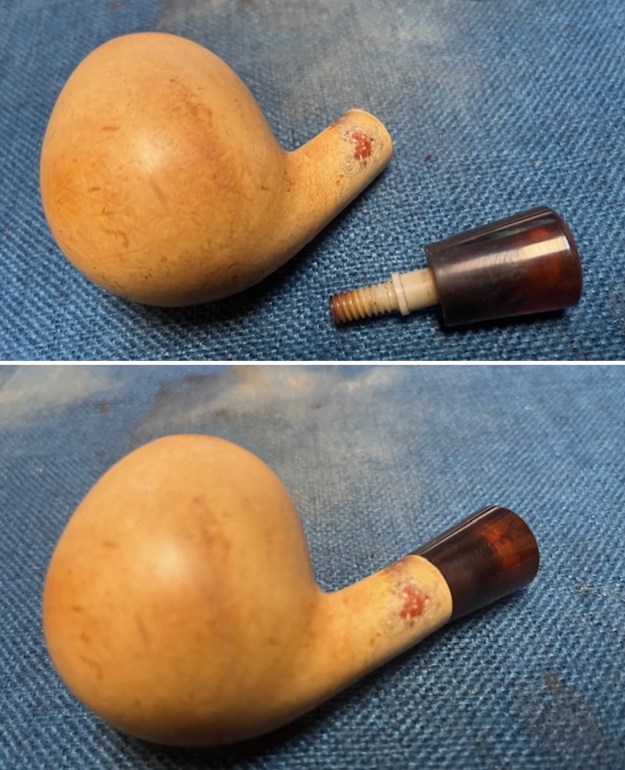
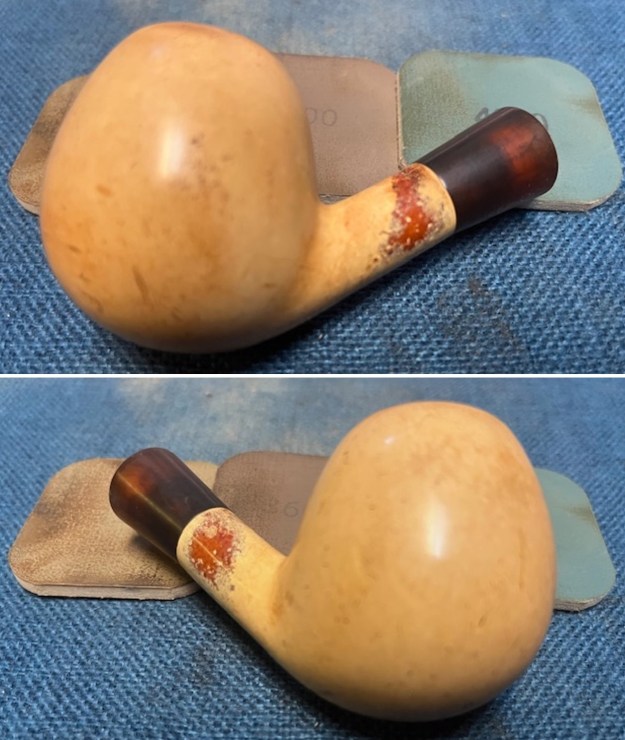
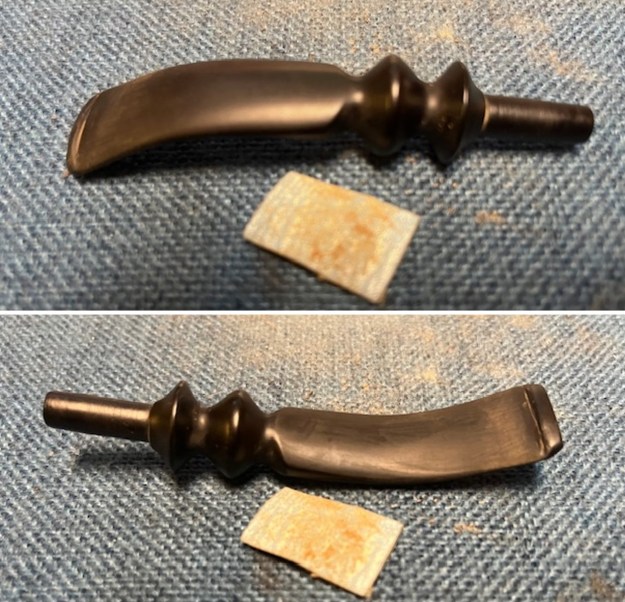
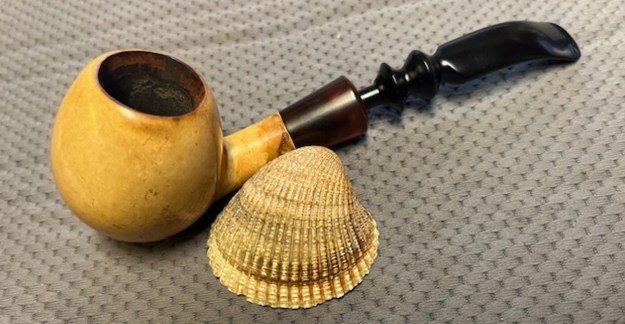
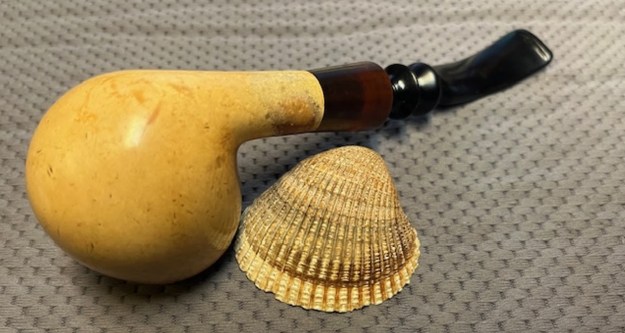
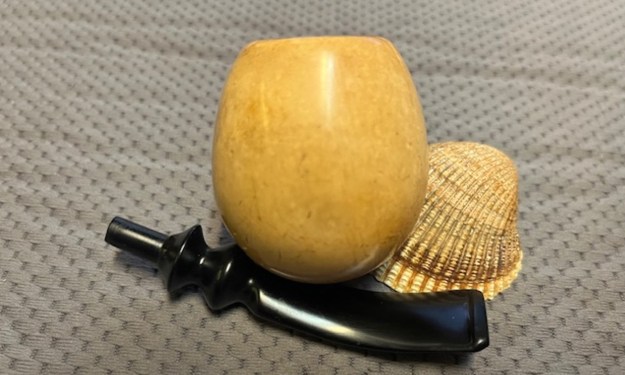
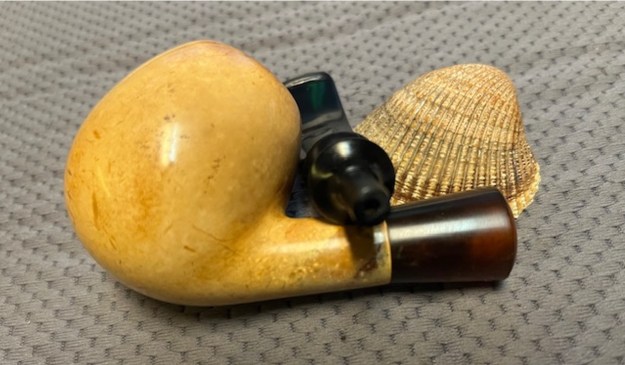
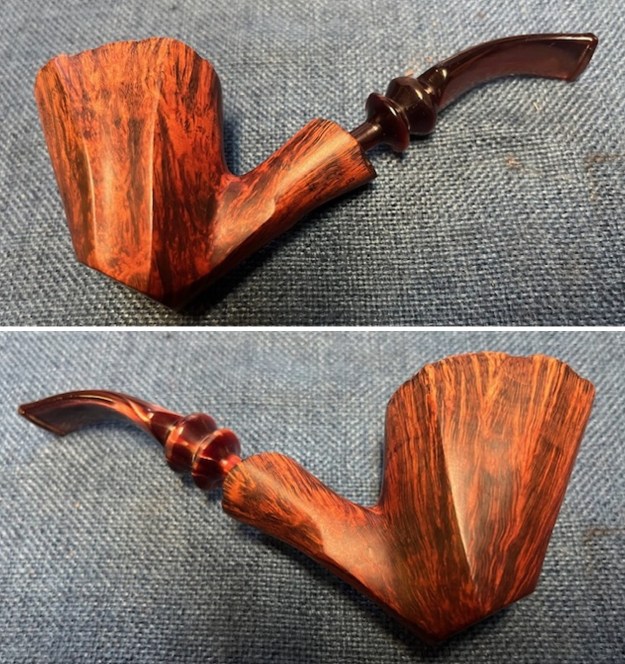
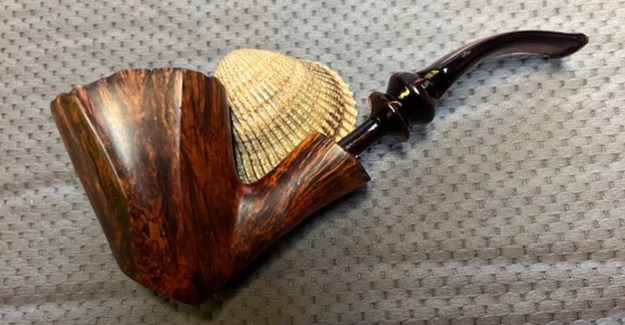
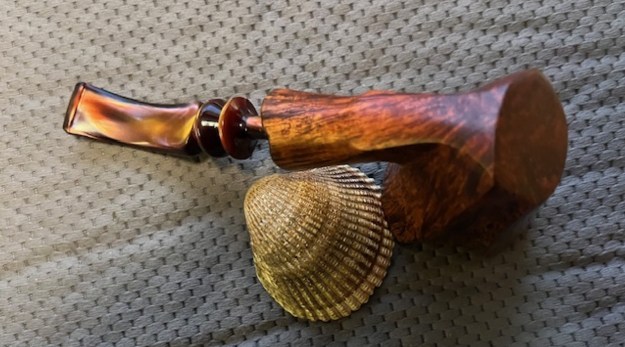
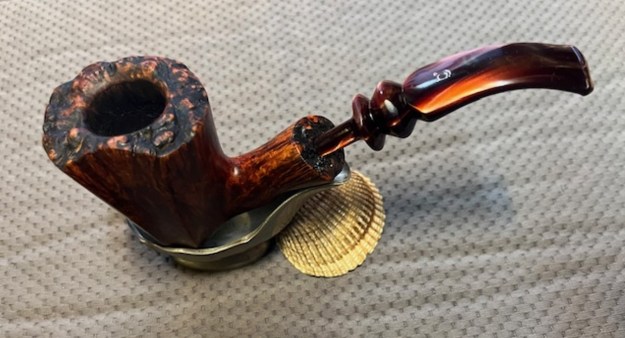
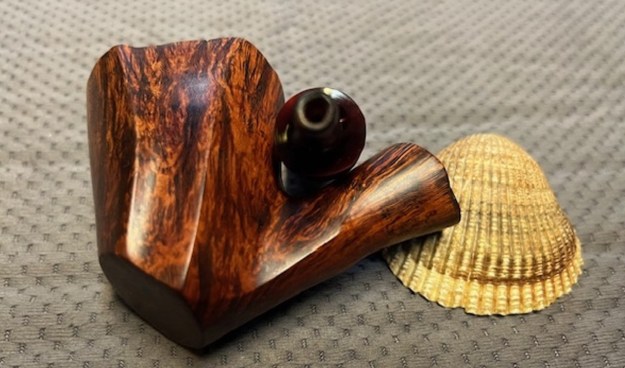
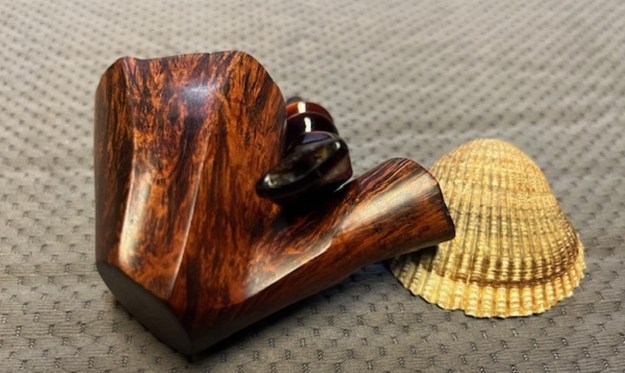
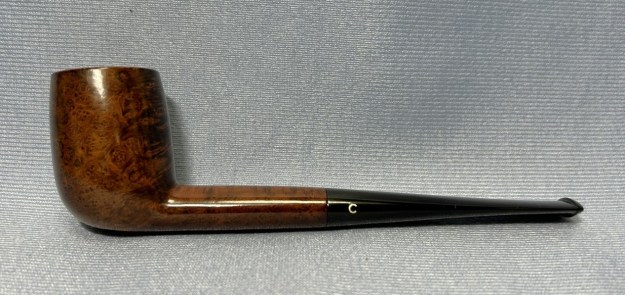
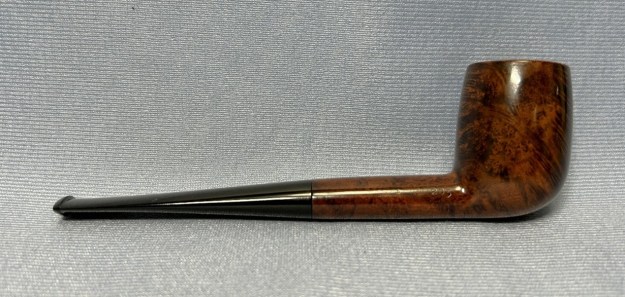
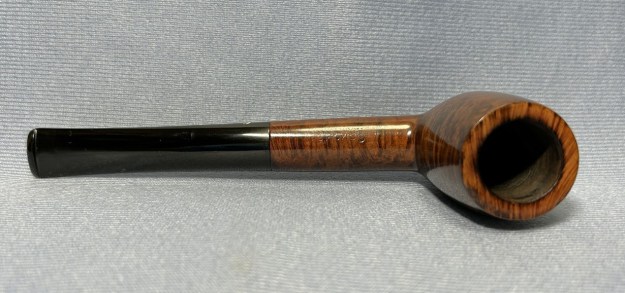
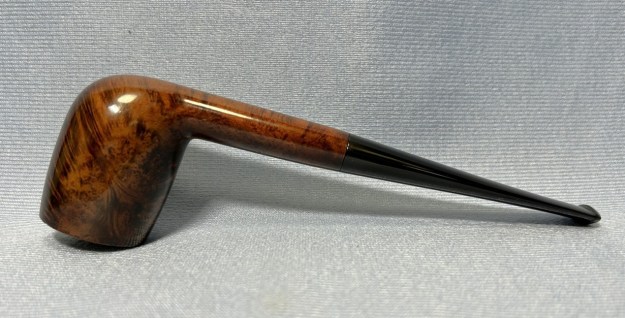
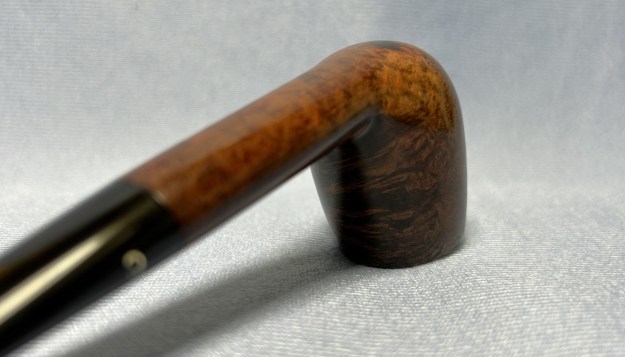
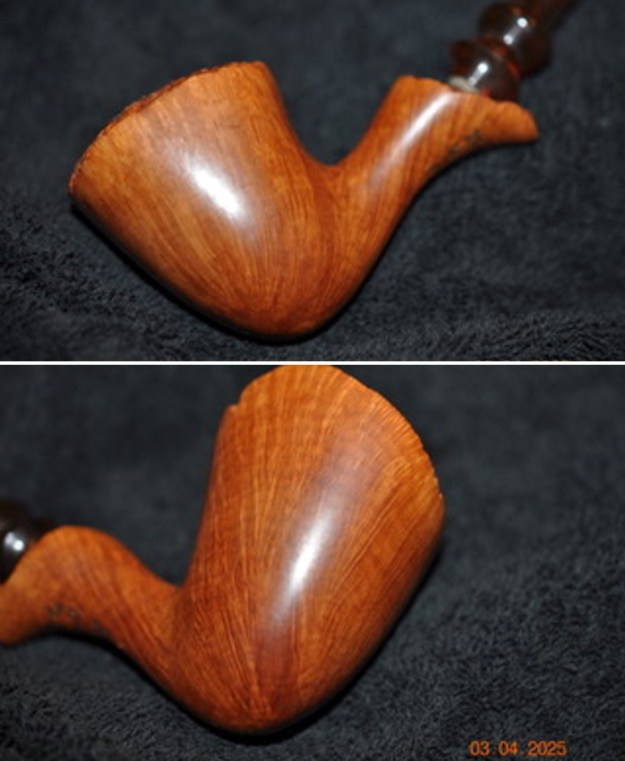
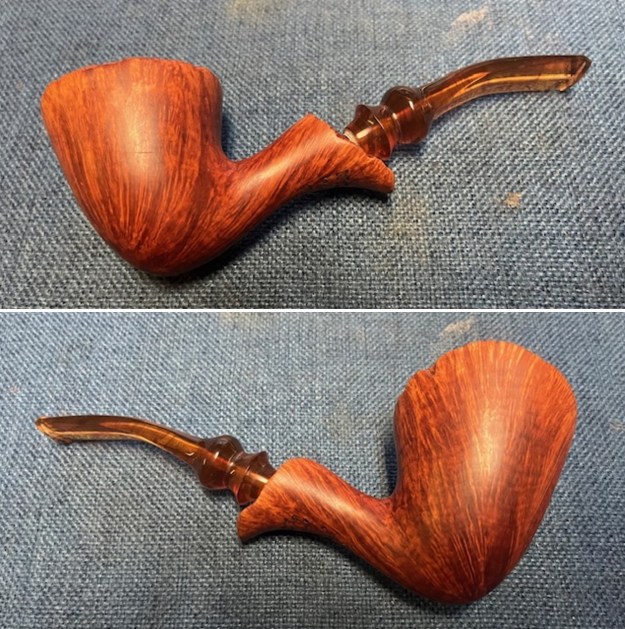
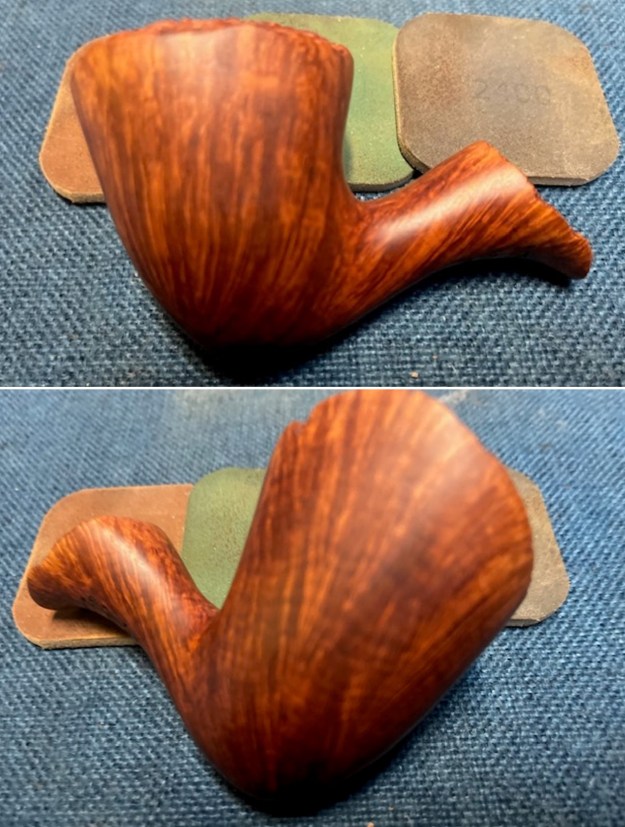
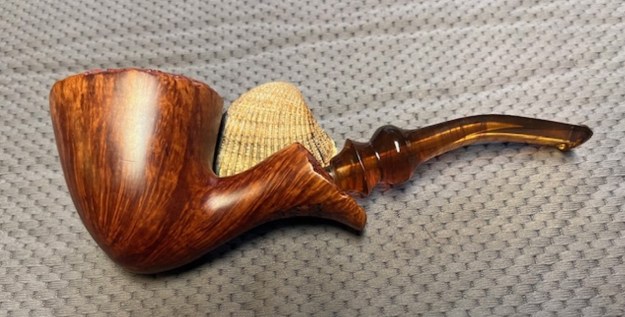
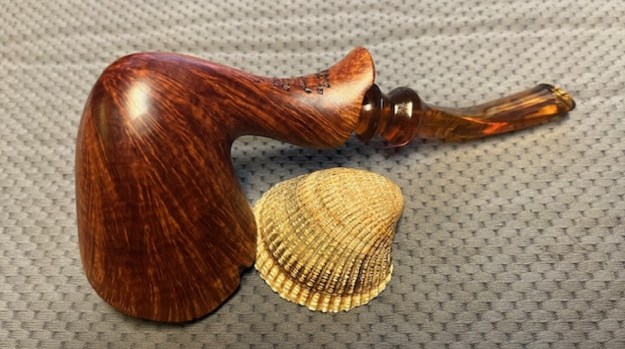
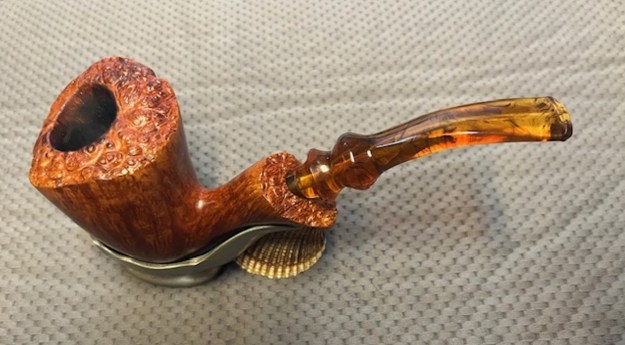
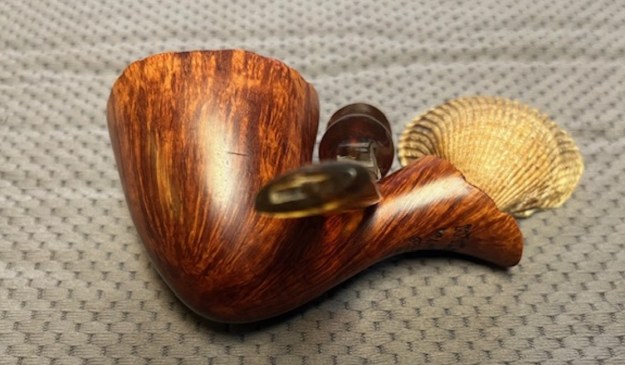
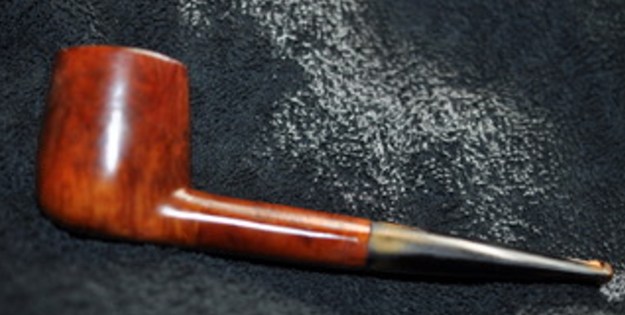
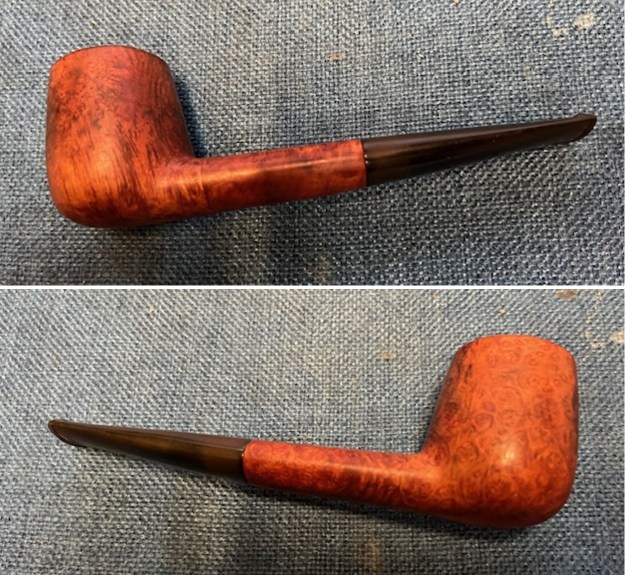
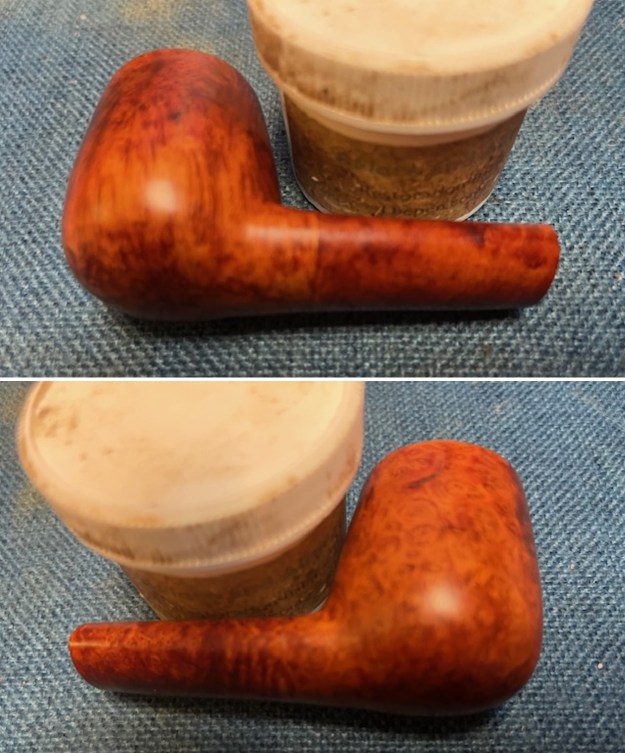
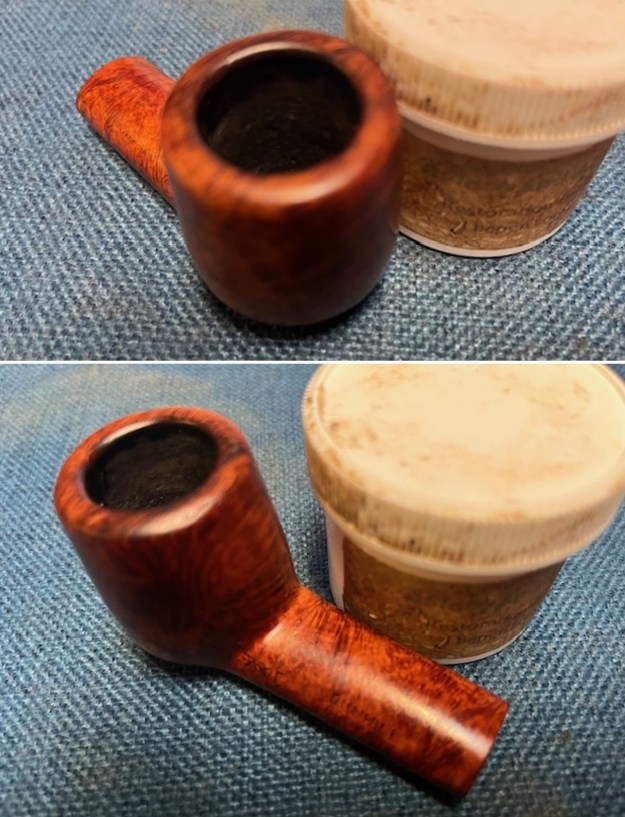
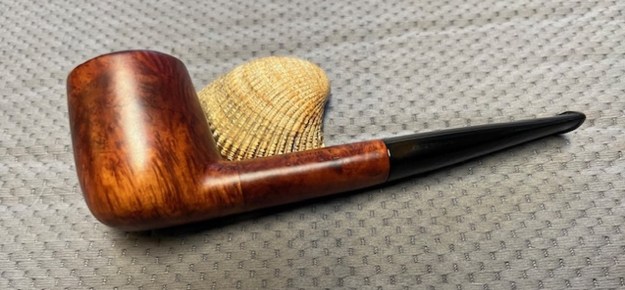
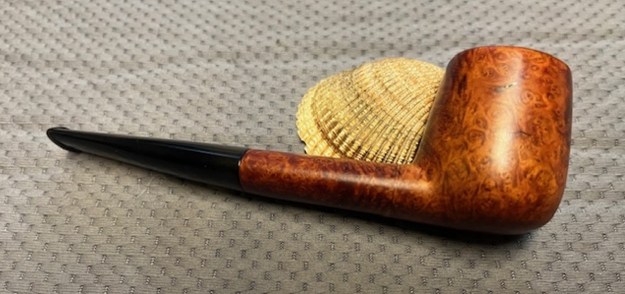
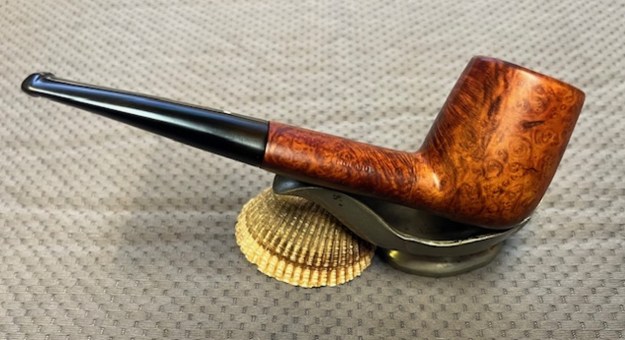
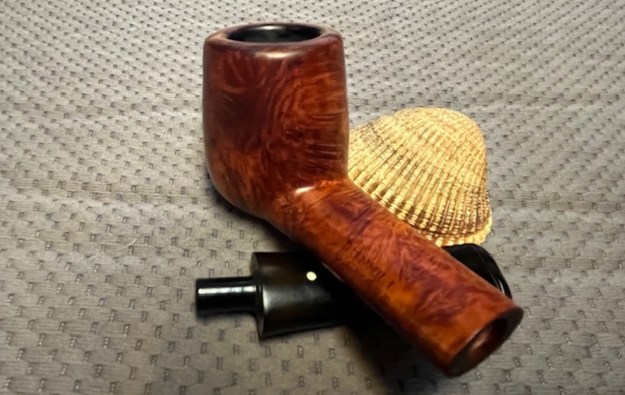
 I took photos of the finished I. Bekler Billiard with a Cumberland Taper Stem to show the shine and the patina around the bowl. The polished Cumberland stem looks very good with the deepening colour on the shank and the bottom of the bowl. With time the contrast will grow richer and deeper to a thing of beauty. The finished Bekler Billiard fits nicely in the hand and I think it will feel great as it heats up with a good tobacco. Give the finished pipe a look in the photos below. The dimensions of the pipe are Length: 6 inches, Height: 2 inches, Outside diameter of the bowl: 1 ¼ inches, Chamber diameter: ¾ of an inch. The weight of the pipe is 1.69 ounces/49 grams. If you are interested in carrying on the legacy of this pipe it will be going on the rebornpipes store shortly. It is listed in the Ceramic and Meerschaum Section. You can send me a message or an email to let know you are interested. Thanks for reading this blog and my reflections on the pipe while I worked on it. This is an interesting estate to bring back to life.
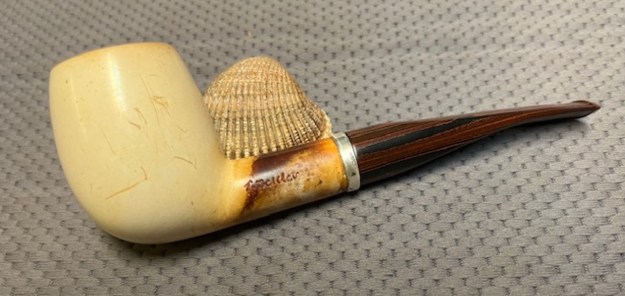


