by Steve Laug
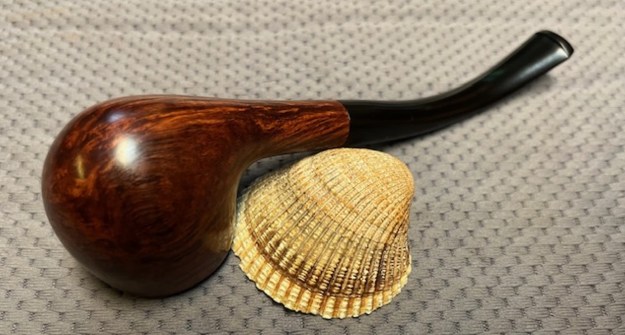
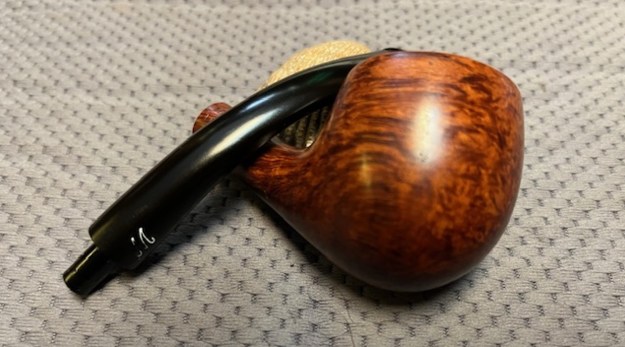
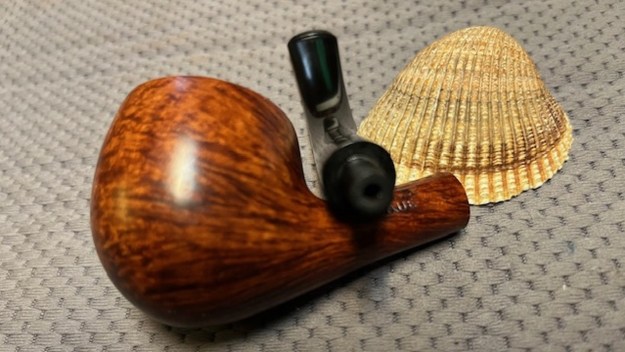
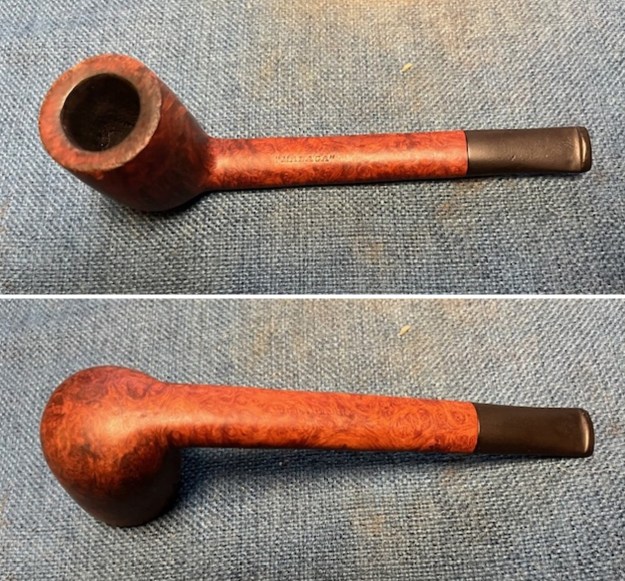
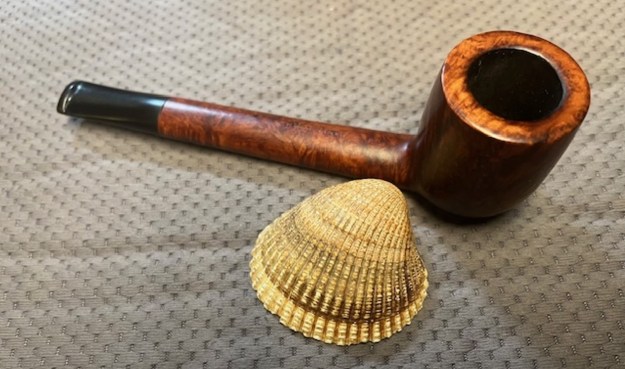
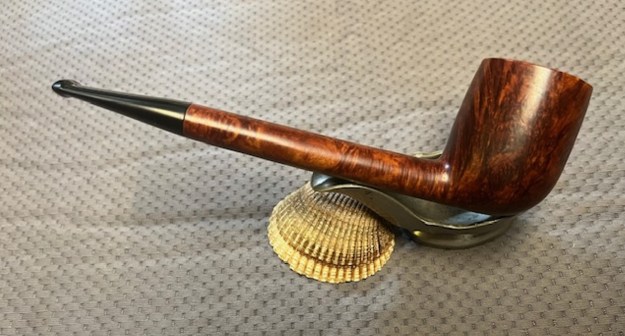
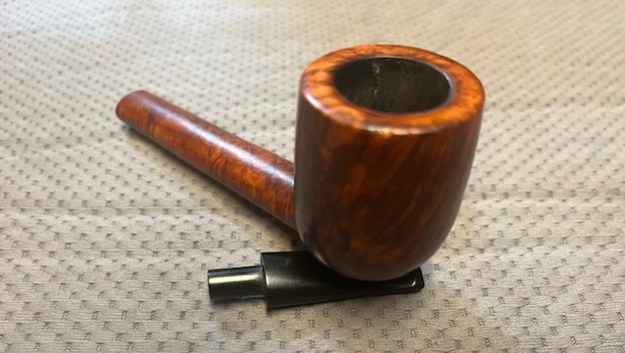
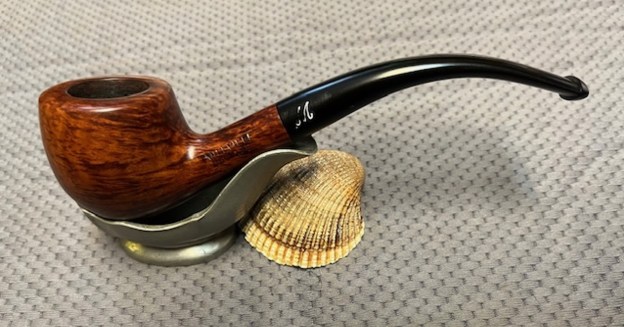
The next pipe on the worktable is a beautiful cross grain Bent Acorn. We bought it from a friend in Barrington, Rhode Island, USA. It is a truly beautiful piece of briar that is stamped Millville [over] Unique on the left side of the shank and Made by Hand [over] in [over] London City on the right side. The City stamp is slightly different that the stamping on Made in London. I have had a few Millville pipes come across my table over the years but this one is stunning. The cross grain on it is beautiful. When Jeff received it the bowl had been reamed and the pipe was quite clean. The stem was lightly oxidized and there was some chatter and tooth marks on the top and bottom of the stem near the button. The fit of the stem is perfect to the shank and there is a very faint characteristic M that graces this brand of pipe. It is almost gone from over-buffing but I am hoping it will still show when we have finished cleaning up the pipe. Jeff took photos of the pipe before he started his work on it. Jeff took close up photos of the bowl and rim to capture the condition of the pipe before he started his cleanup work. The crowned rim top was very clean with a slight bit of darkening on the back inner edge. The outer edge looked to be in decent condition. The stem showed some oxidation and light tooth marks on both sides ahead of the button.
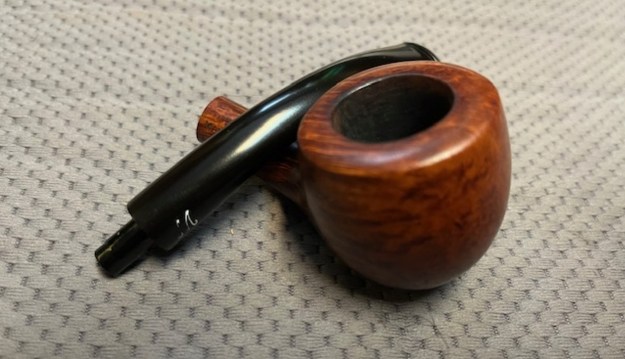
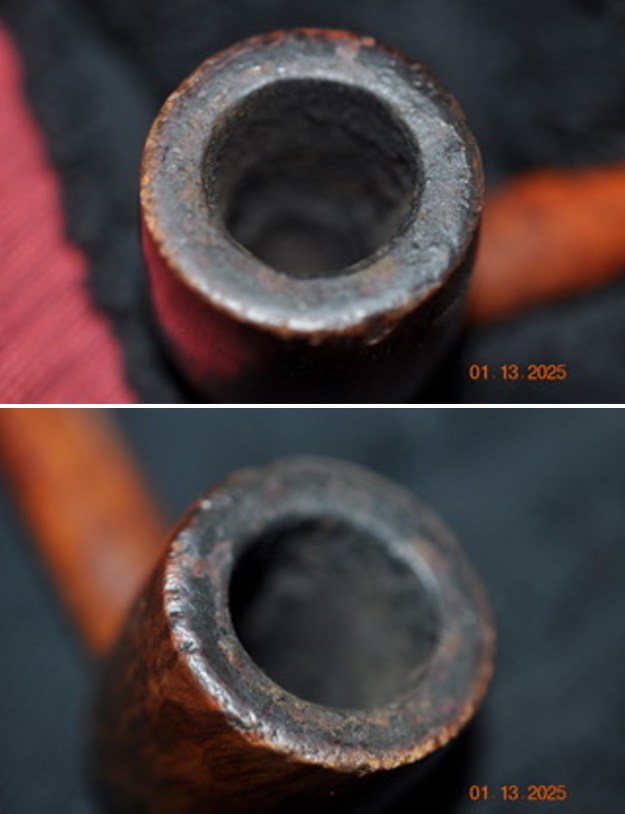
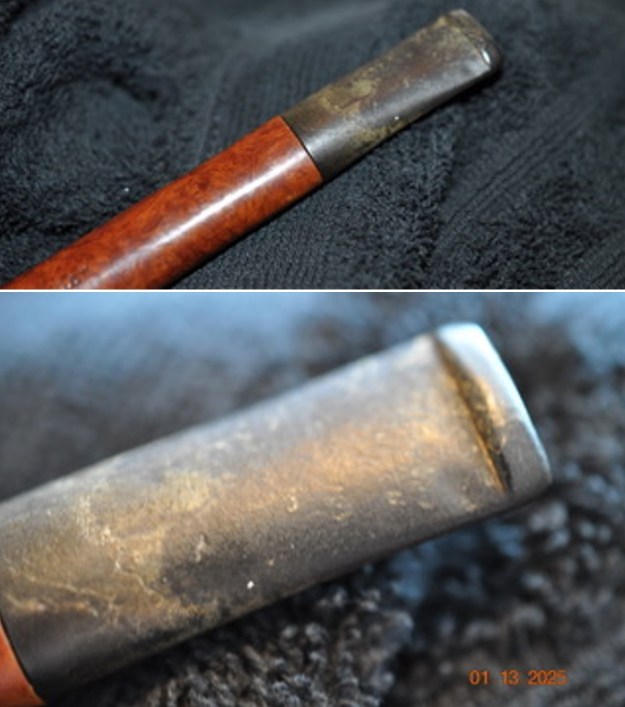
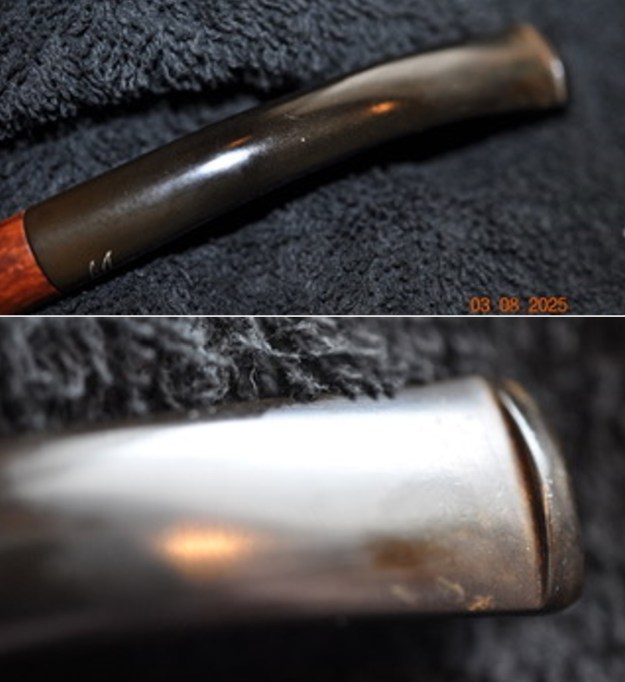
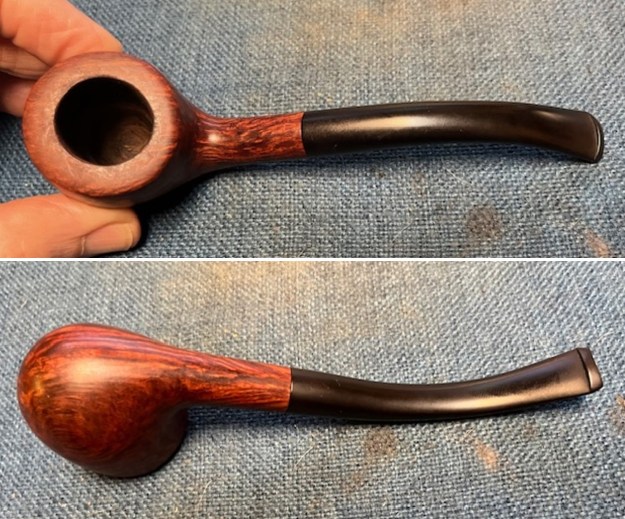
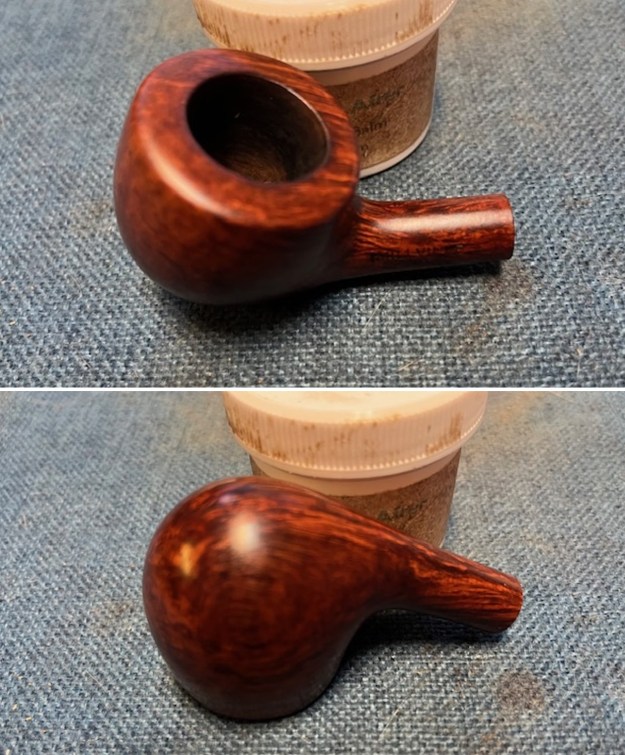
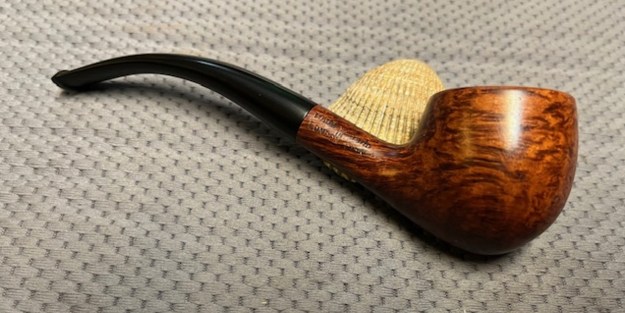
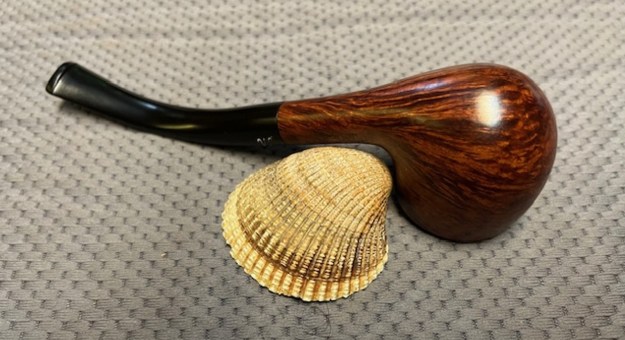
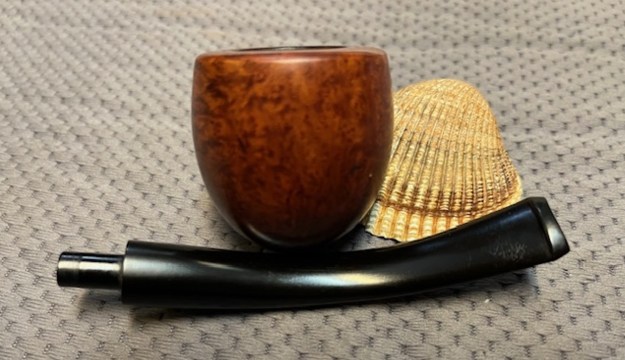
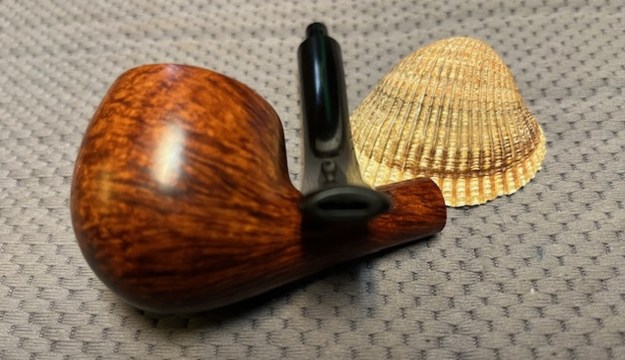
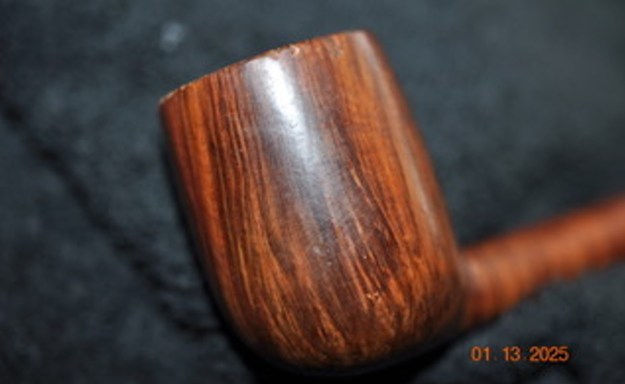
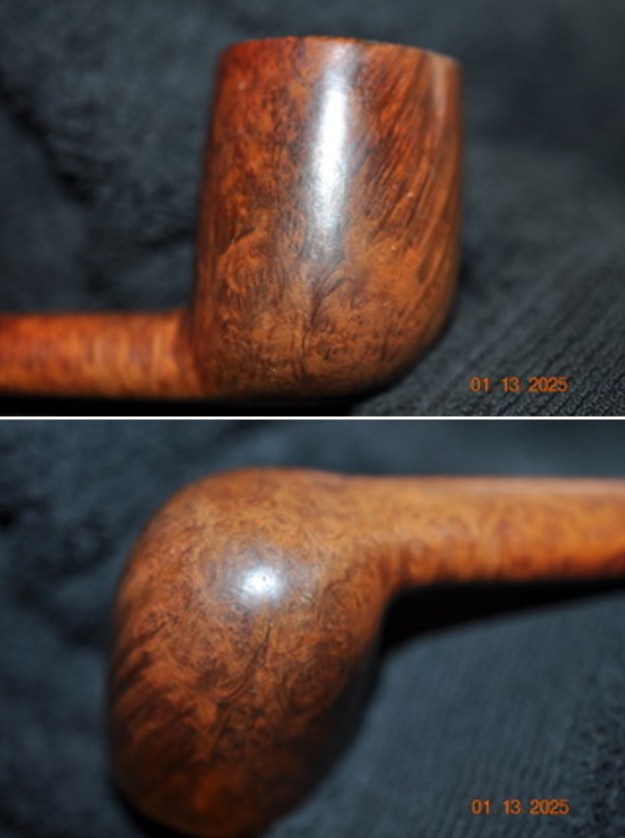
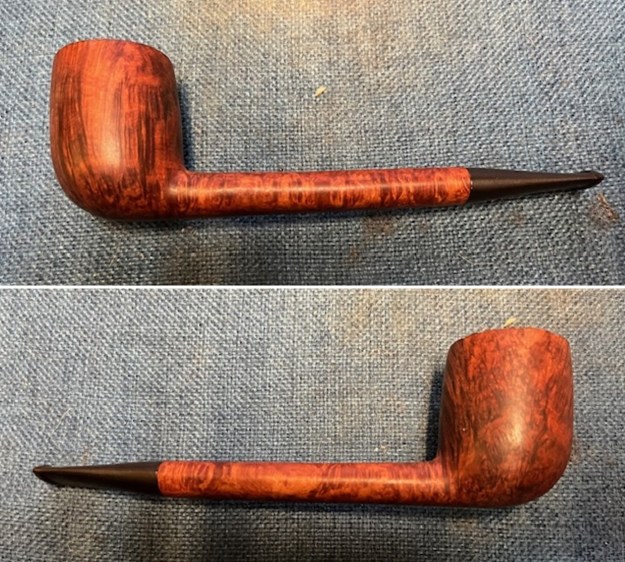
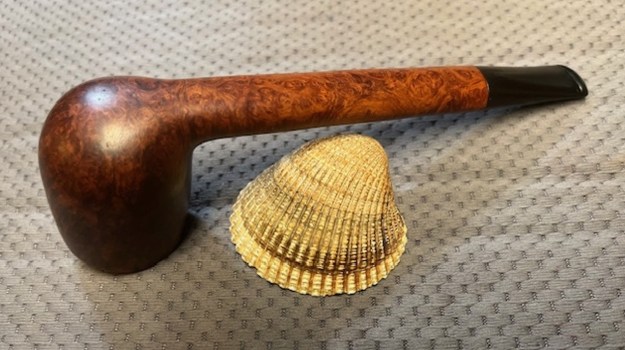
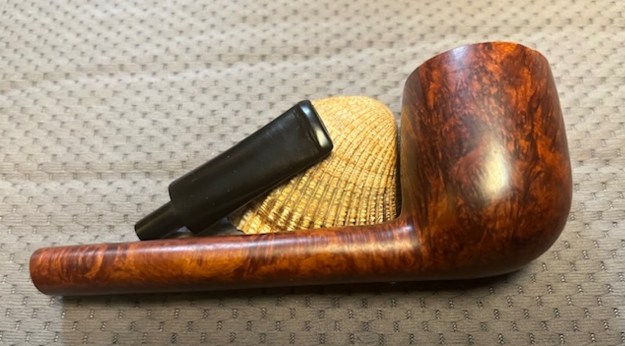
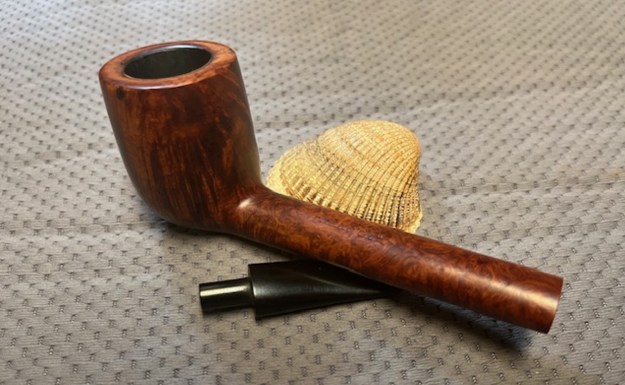
 He also took a photo of the side and bottom of the bowl and shank to show the beautiful grain around the bowl. The photos show the general condition of the bowl and it is quite clean and another beautiful pipe.
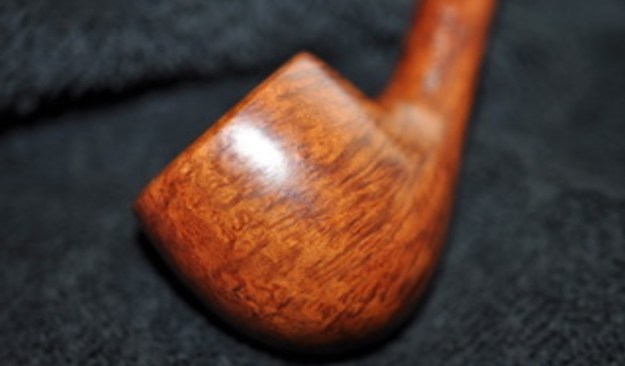
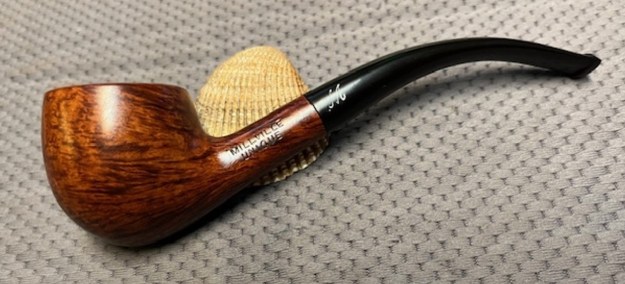
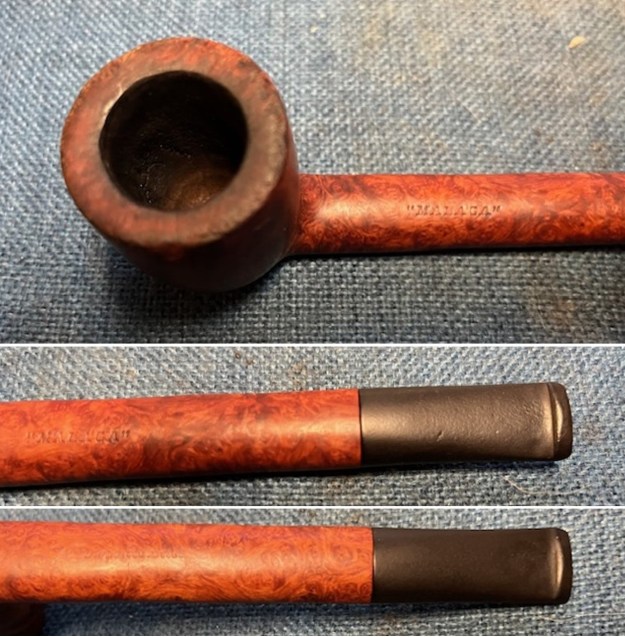
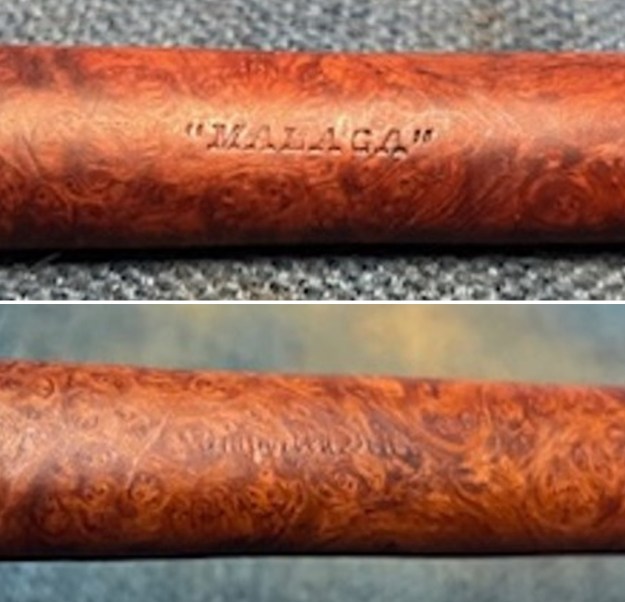
 Jeff took photos to capture the stamping on the sides of the shank and the stem. The photos show the stamping Millville [over] Unique on the left side and Made by Hand [over] in [over] London City on the right side. He also captured the M stamp on the stem side.
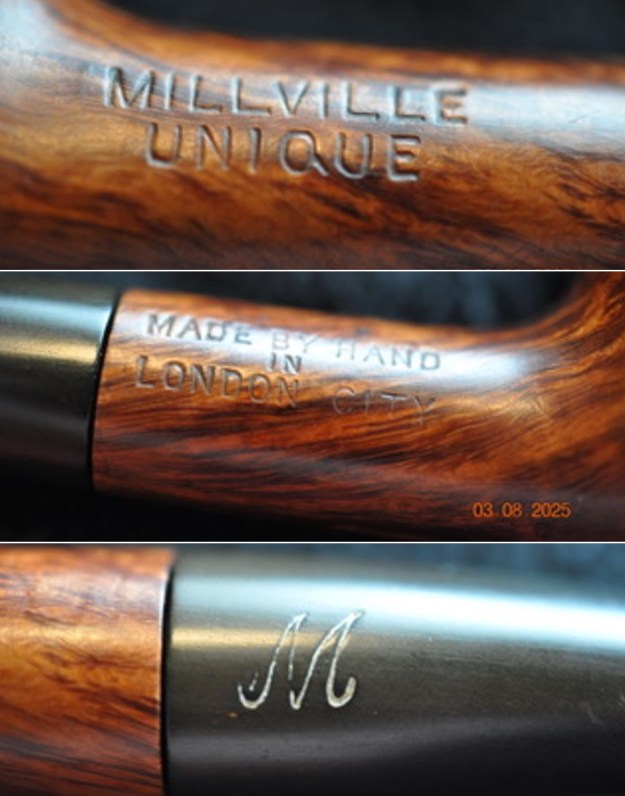 I wanted to know more about the brand so I did a bit of searching on the web to see what I could find out about Millville pipes. I turned first to Pipephil’s site to see what he had for information (http://www.pipephil.eu/logos/en/logo-m5.html). I did a screen capture of the section on the brand and have included that below. I also included the sidebar information below the picture. The pipe I am working is stamped like the second one below and is a Unique.
 Artisans: Dennis and John Marshall (father and son). They formerly worked at Charatans factory.
I turned to Pipedia for more information (https://pipedia.org/wiki/Millville). I have summarized what I found below:
Dennis Marshall started the brand in 1980. He had worked for Barling and Charatan for many years. His son John now makes all of the Millville pipes as Dennis is retired. Their pipes still very closely follow the artistic, freeform designs and grading of the old Charatan lines. The pipes are sold almost exclusively in Piccadilly, London in a stall in the market in front of St. James’s Church. Though you can sometimes find them online at British pipe sellers such as Bond’s of London. According to Pipedia the prices of their pipes “start at about 20 £ – hardly the price of a cheapish Stanwell. These were made from pre-turned bowls. The better pipes, entirely hand-made freehands in the old Charatan style, are made from a stock of very old briar, as John stresses. They use several grades like “Unique” or “Executive”. A “Bamboo” can make it up to 500 £.”
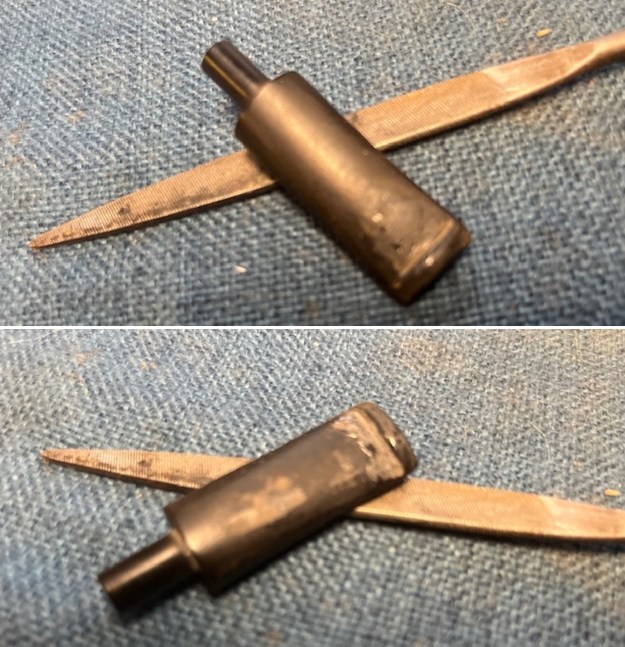
Jeff cleaned up the reaming with a Savinelli Fitsall Pipe Knife. He scrubbed out the mortise and the airway in the shank and the stem with alcohol, cotton swabs, shank brushes and pipe cleaners. He scrubbed the exterior of the bowl, rim, shank and stem with a tooth brush and undiluted Murphy’s Oil Soap to remove the oils and tars on the rim and the grime on the finish of the bowl. He rinsed it under running water. He dried it off with a soft cloth. He was able to remove the on the back side of the inner edge. I took photos of the pipe to show its condition before I started my work on it. The stem also looked better. 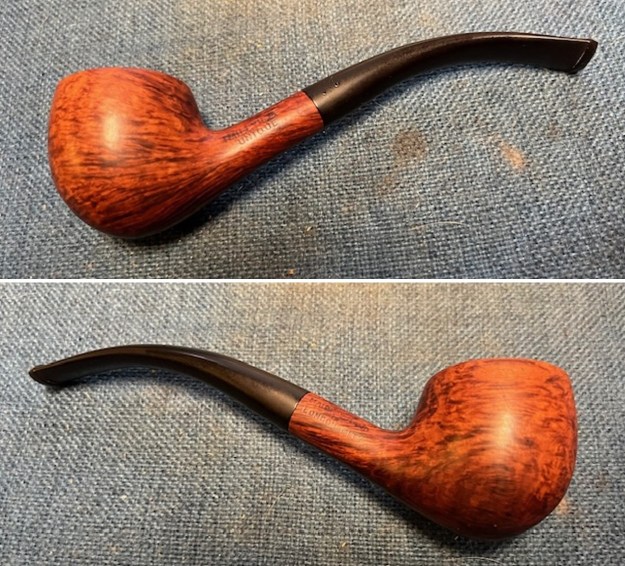
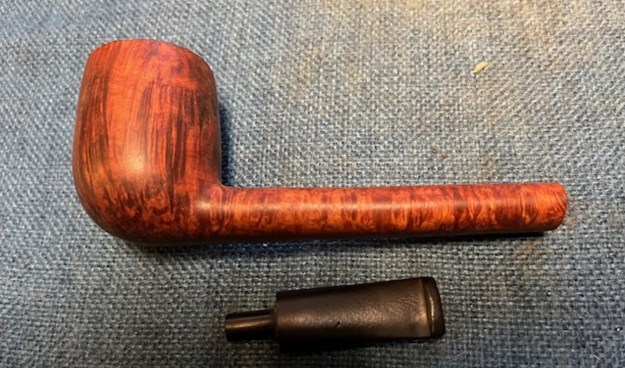
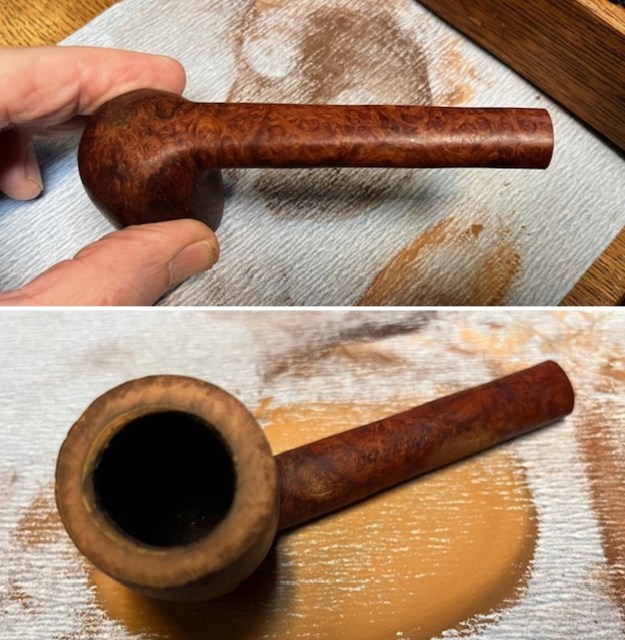
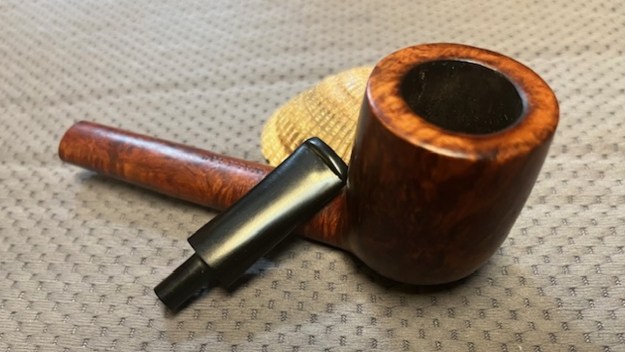
 I took close up photos of the bowl and rim top as well as the stem. You can see the condition of the rim top and bowl in the first photo. Jeff was able to remove the darkening on the back inner edge of the bowl and any remaining grime. It looked very good. The stem looked very good. The oxidation was all removed and the light tooth marks and chatter on both sides near the button were less visible and would polish out.
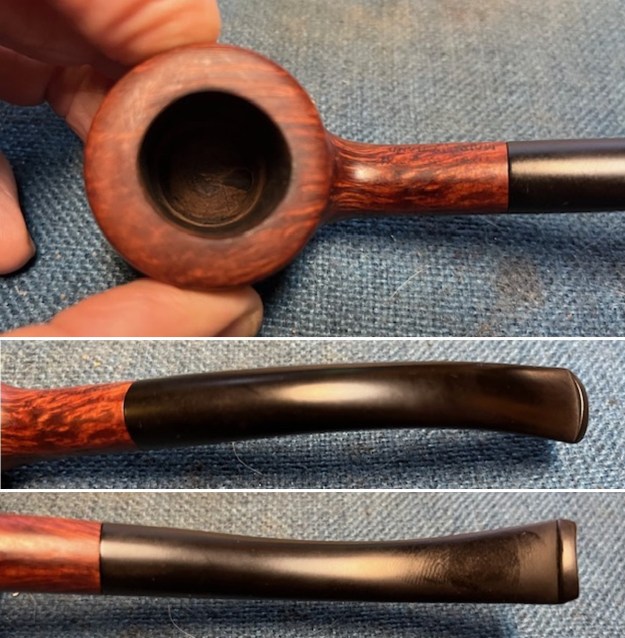 I took photos of the stamping on the shank to show their condition. They are clear and readable. The M stamp on the left side of the stem is faint but readable and I am hoping to be able to touch it up with white acrylic to make it stand out. I removed the stem from the shank to give a sense of the look of this Unique.
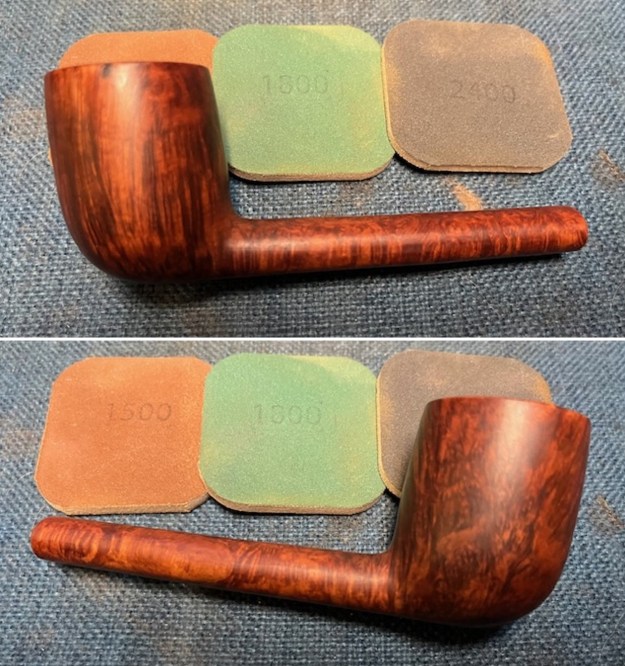
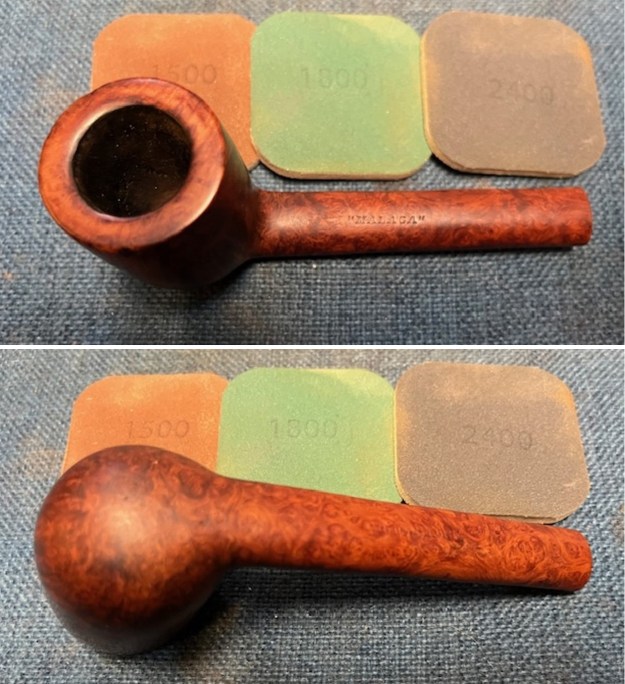
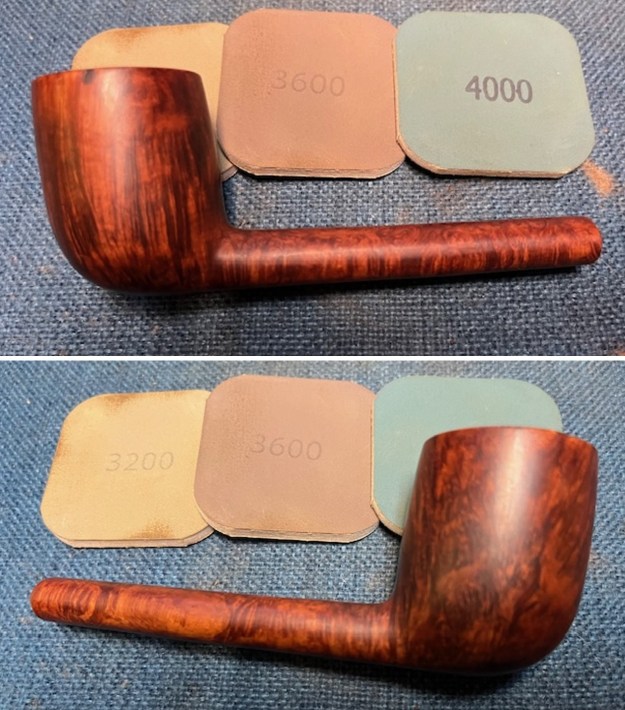
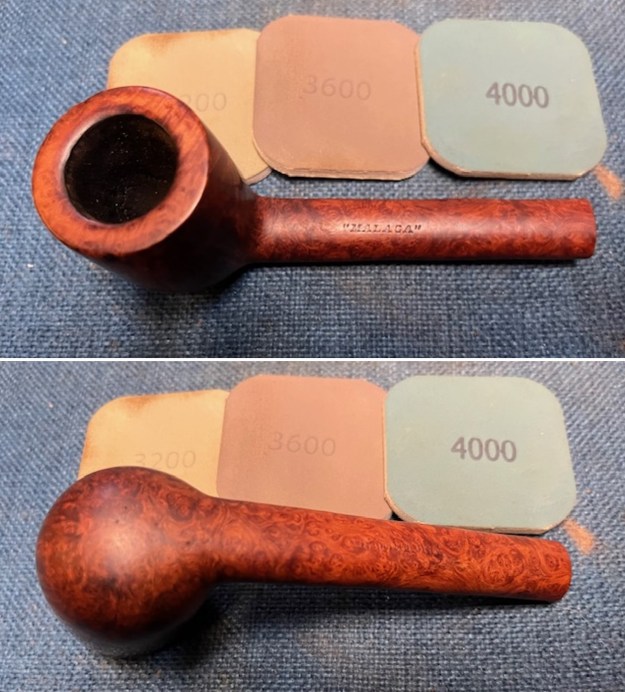
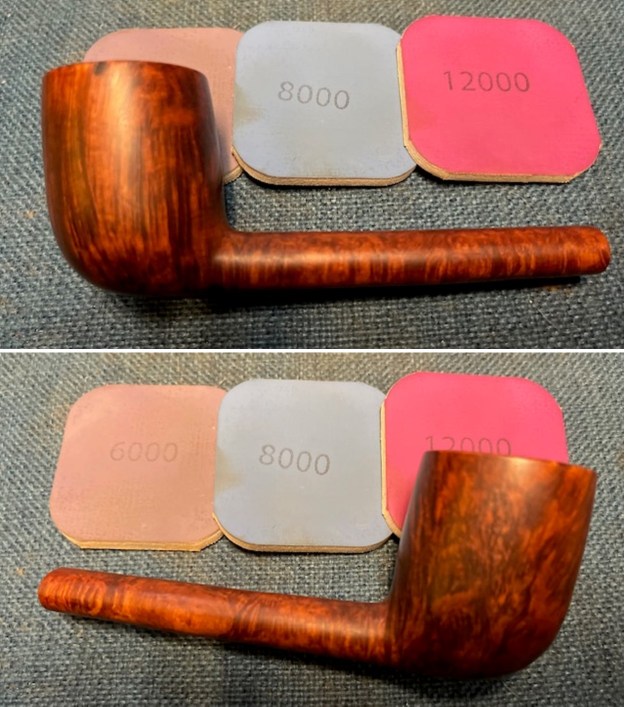
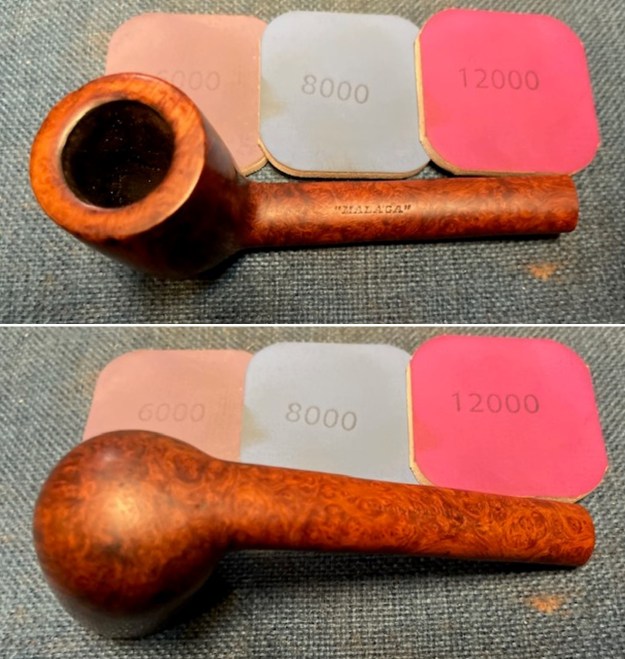
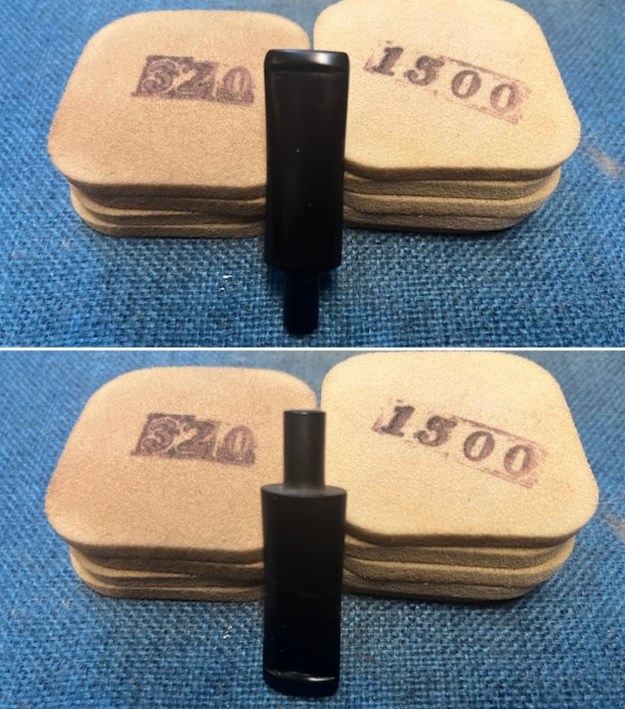
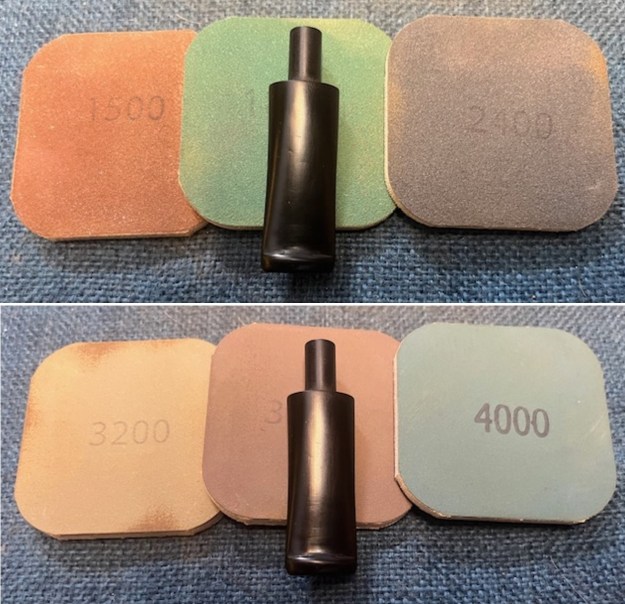
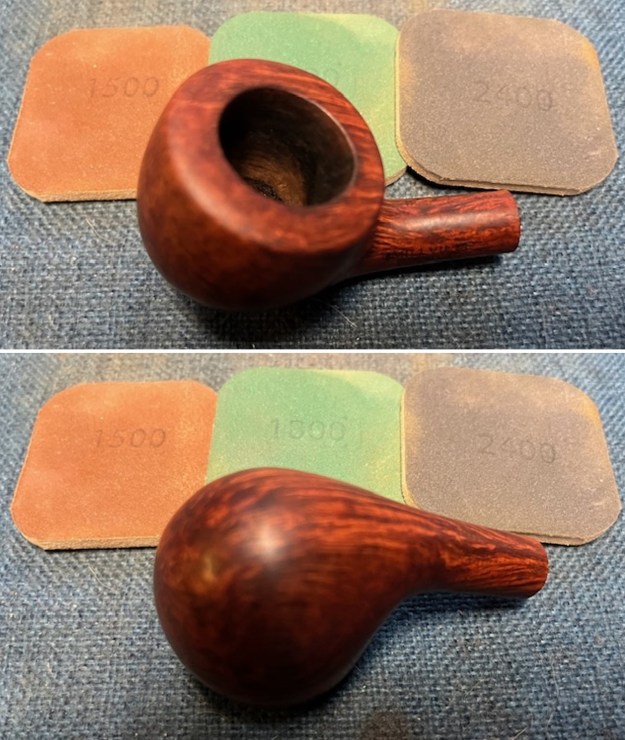
  I polished the rim top and the briar with micromesh sanding pads. I dry sanded the bowl with 1500-12000 grit sanding pads. I wiped the bowl down after each pad with a damp cloth to remove the sanding dust.
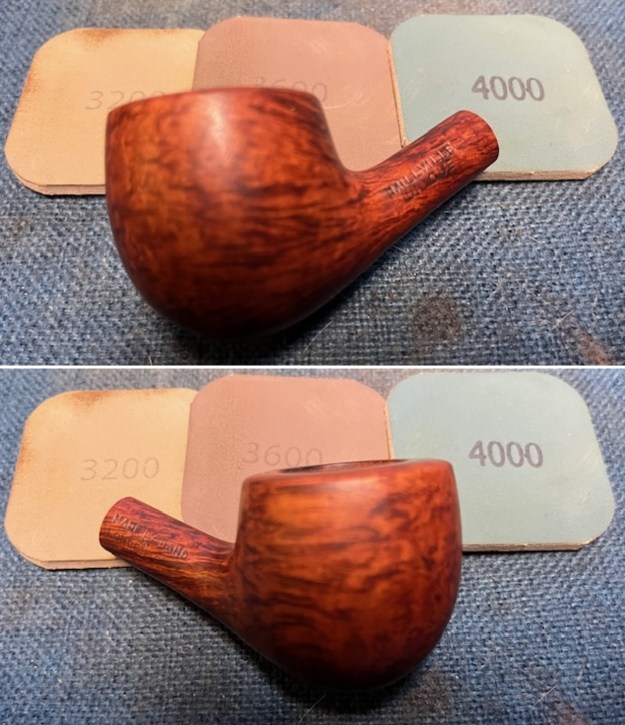
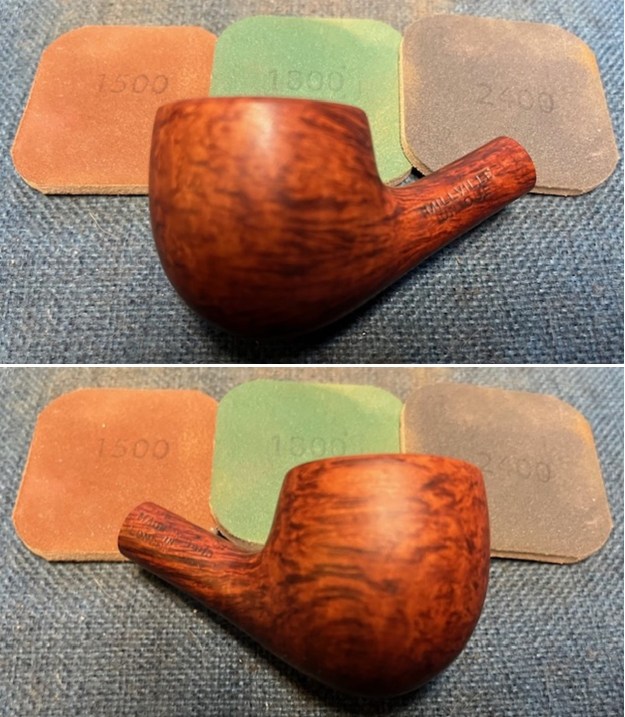

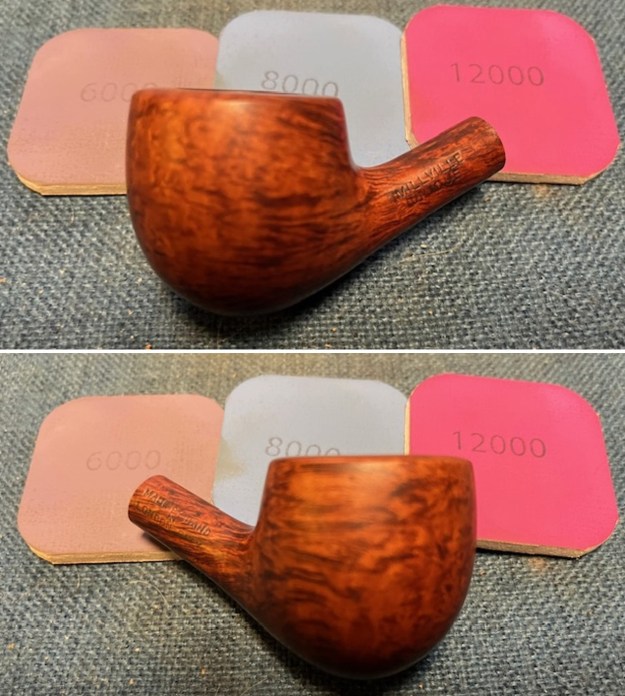
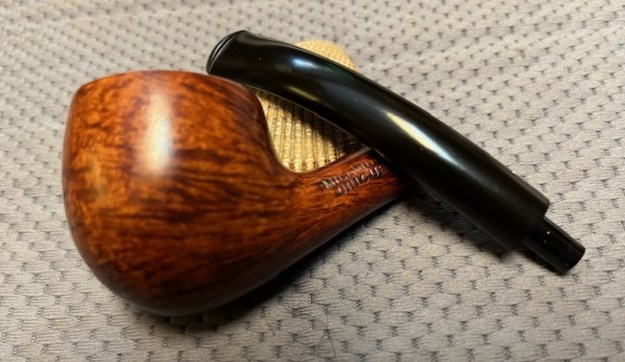
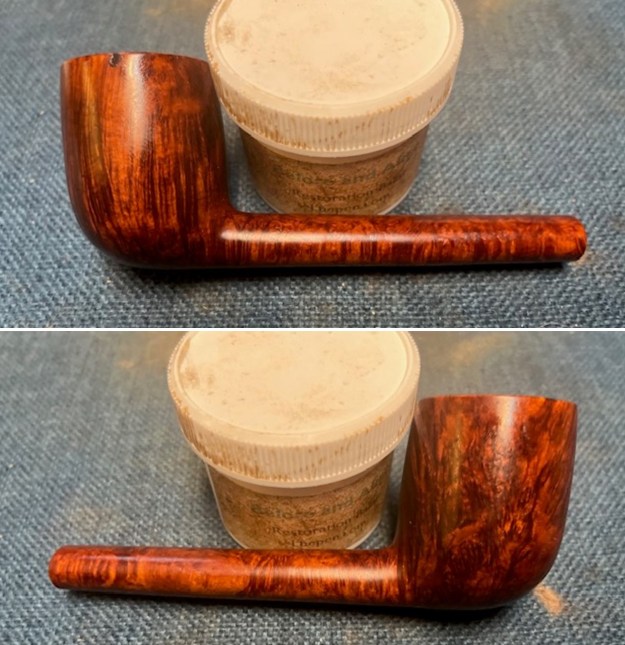
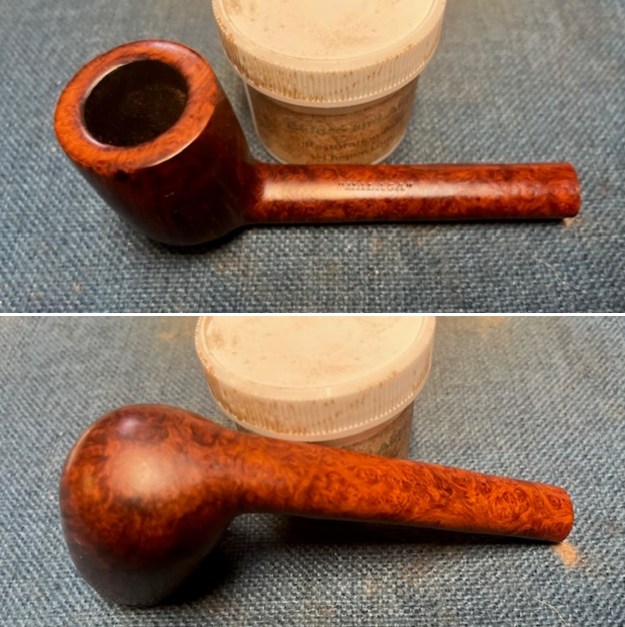
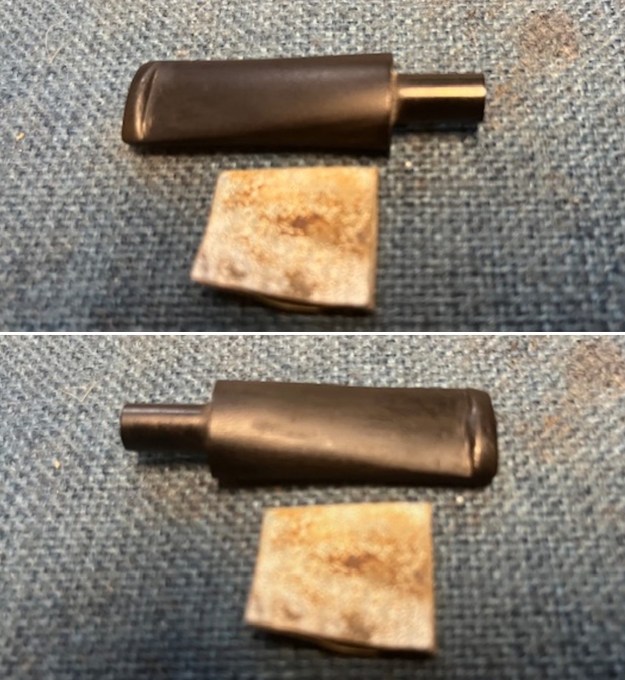
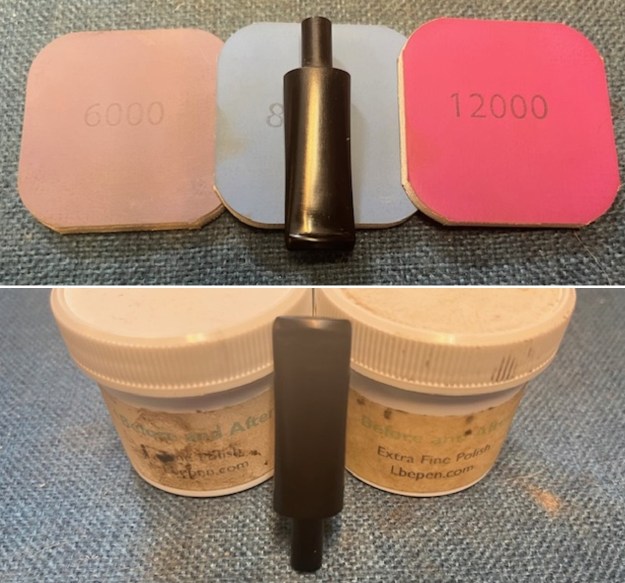
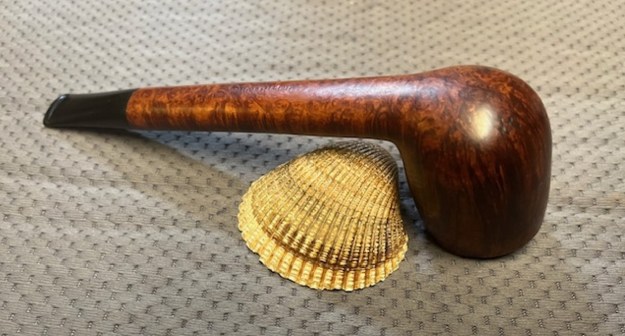
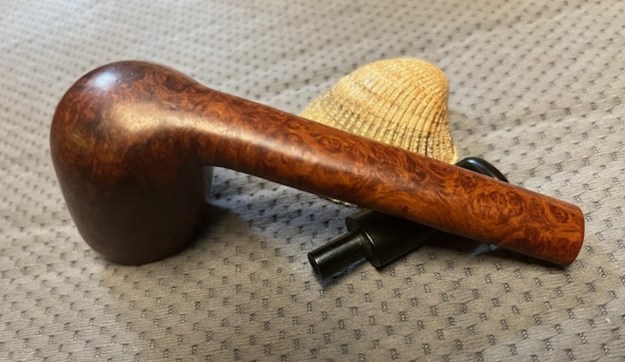
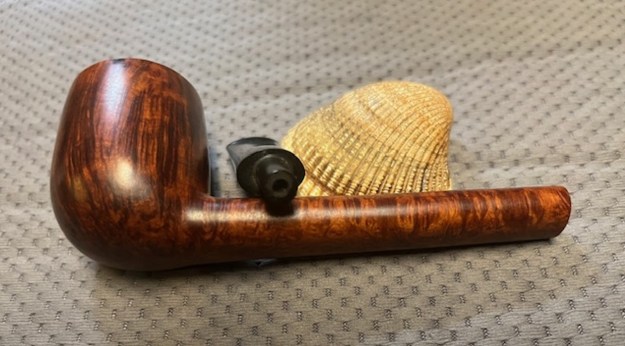
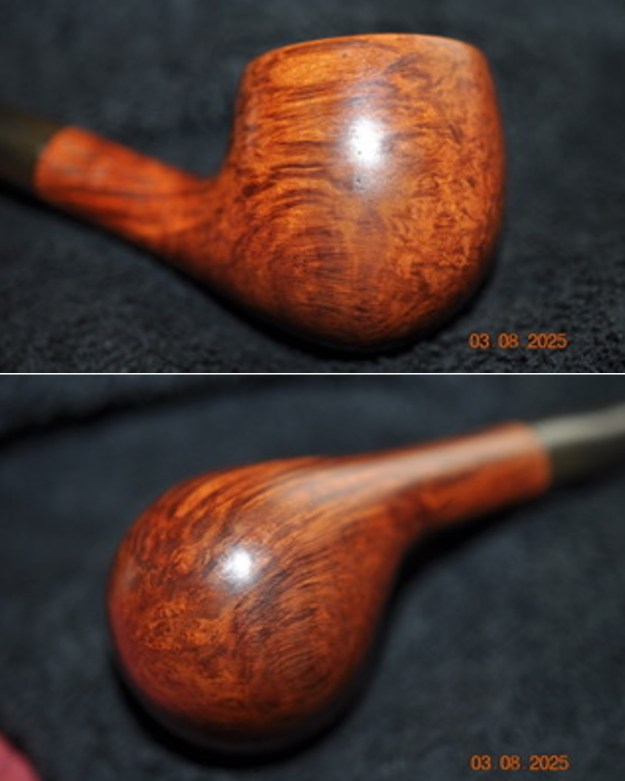
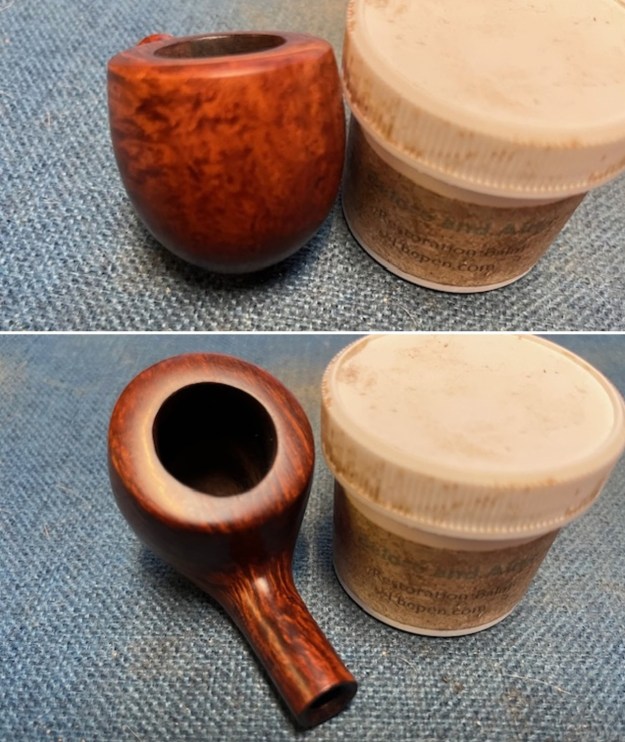
 I worked some Before & After Restoration Balm into the surface of the briar with my fingertips to clean, enliven and protect it. I let the balm sit for a little while and then buffed with a cotton cloth to raise the shine. The following photos show the bowl at this point in the restoration process. I am very happy with the results.
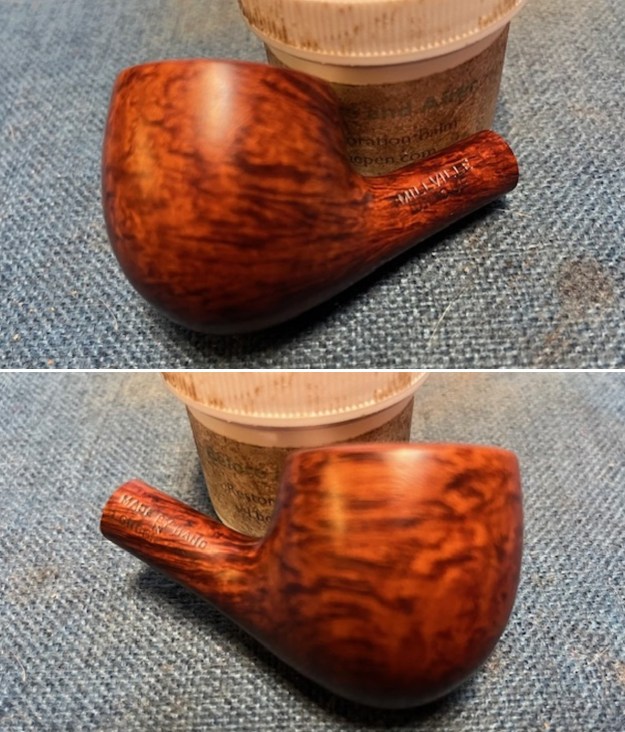
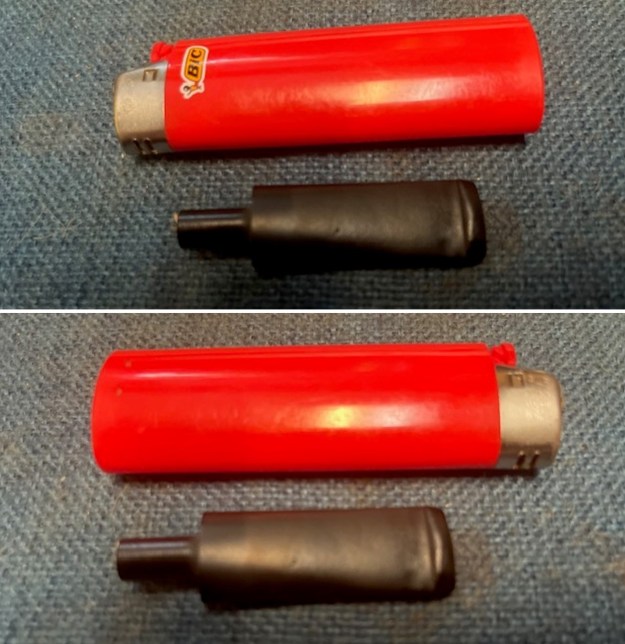
 I touched up the faint M stamp on the left side of the stamp with white acrylic fingernail polish. I worked it into the stamp and scraped it off with my nail. I cleaned up the excess with a 1500 grit micromesh sanding pad. It looked quite good though faint in spots.
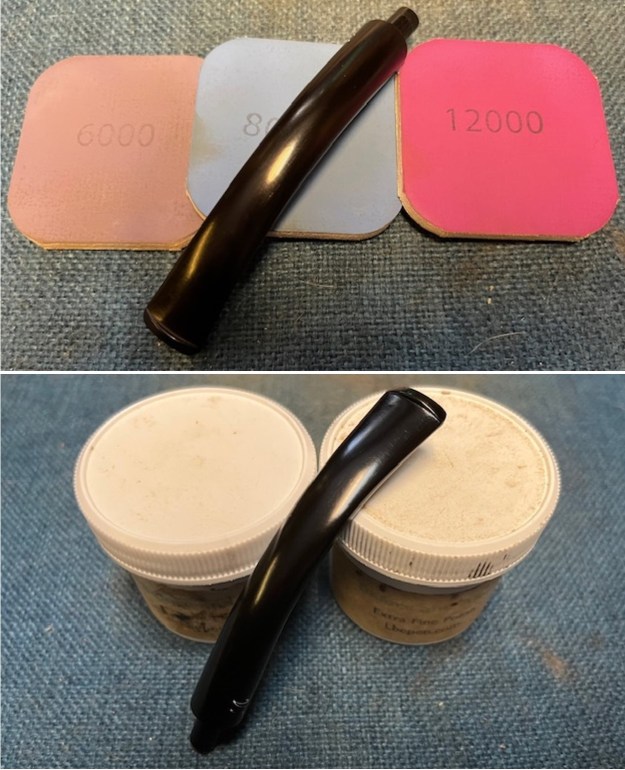
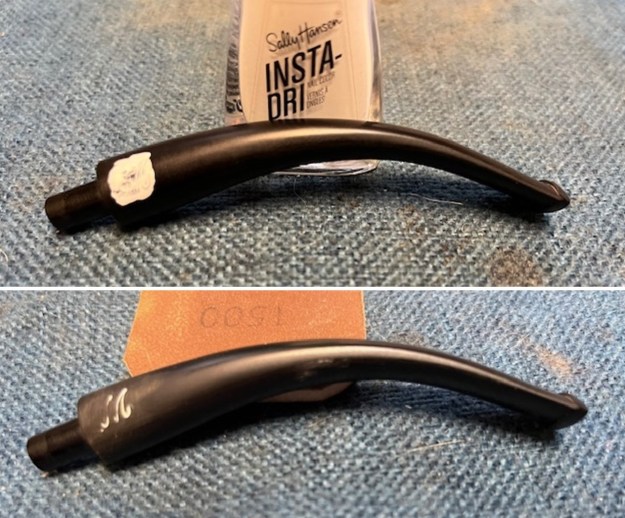 I polished the stem with micromesh sanding pads – dry sanding with 1500-12000 grit sanding pads. I wiped it down after each sanding pad Obsidian Oil. I finished by polishing it with Before & After Pipe Stem Polish both fine and extra Fine and then wiped it down with a final coat of Obsidian Oil.
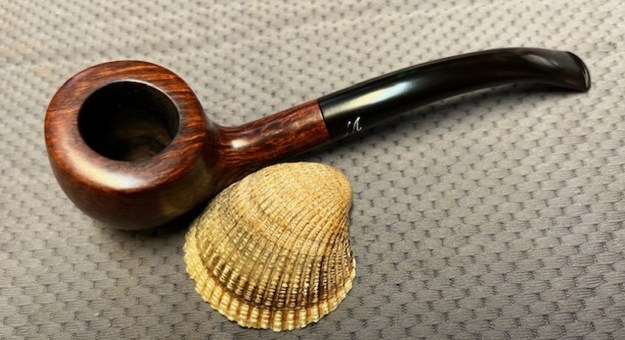
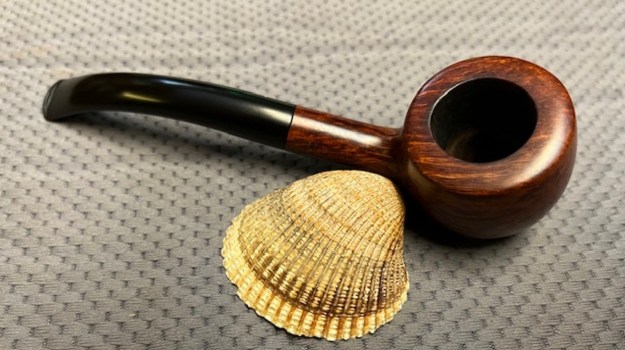
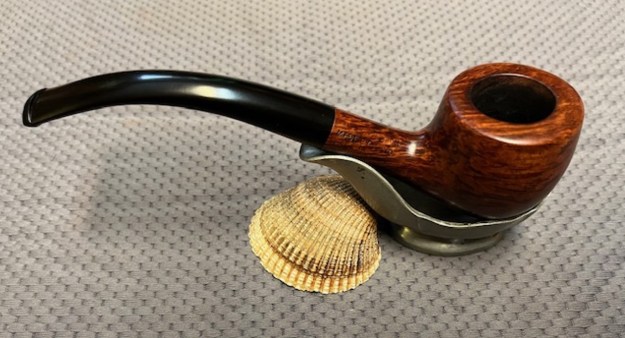
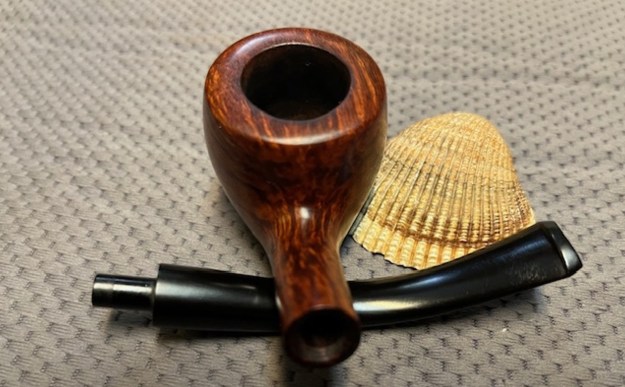
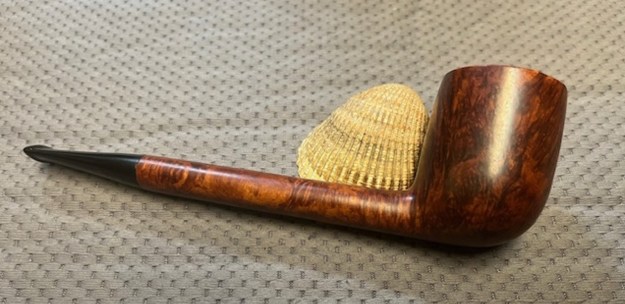
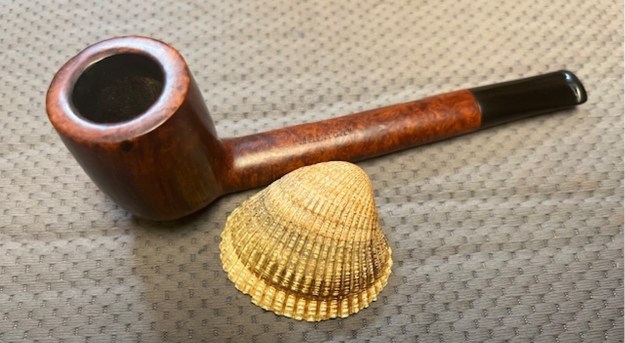
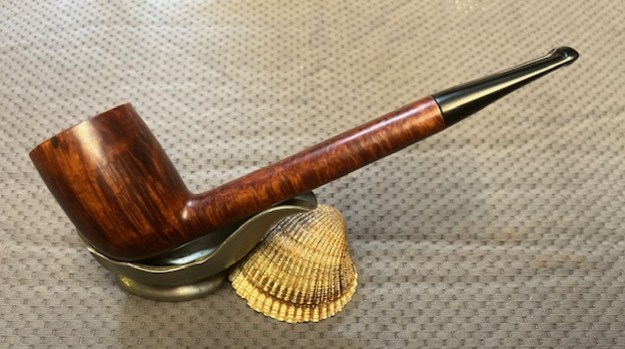
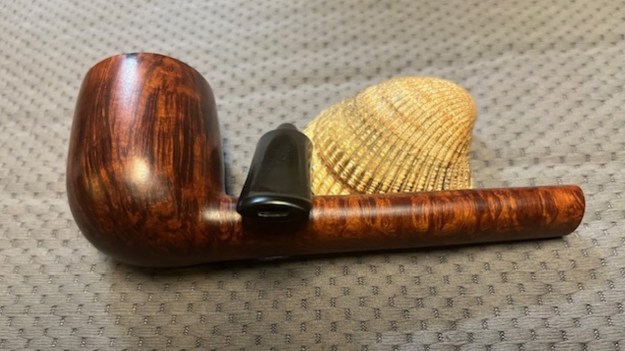
 This is a beautiful Millville Unique Hand Made in London City Bent Acorn with a vulcanite tapered stem. It has a great look and feel. The shape of the bowl, the rim top and the cut of the briar work well to highlight the grain around the bowl sides. I polished stem and the bowl with Blue Diamond polish on the buffing wheel. I gave the bowl and the stem multiple coats of carnauba wax. I buffed the pipe with a clean buffing pad to raise the shine. I hand buffed it with a microfiber cloth to deepen the shine. The pipe polished up pretty nicely. The grain took on life with the buffing. The rich oil cured colour works well with the polished vulcanite stem. The finished Millville Unique Bent Acorn has a rich look that is quite catching. Have a look at it with the photos below. The shape, finish and flow of the pipe and stem are very well done. The dimensions are Length: 6 inches, Height: 1 ¾ inches, Outside diameter of the bowl: 1 ½ inches, Chamber diameter: ¾ of an inch. The weight of the pipe is 1.48 ounces/43 grams. It is a beautiful pipe. I will be putting it on the rebornpipes store shortly in the British Pipemakers Section if you are interested in adding it to your collection. Thanks for walking with me through the restoration.