Monthly Archives: June 2024

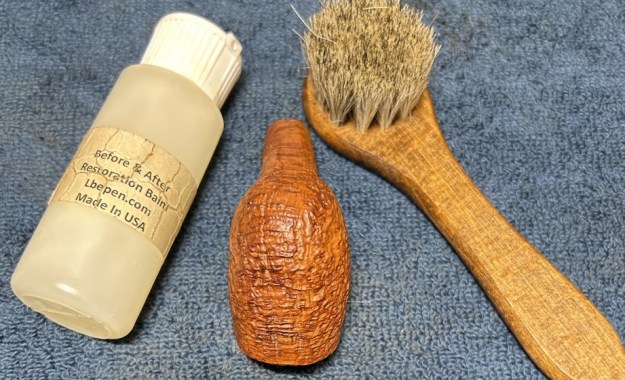
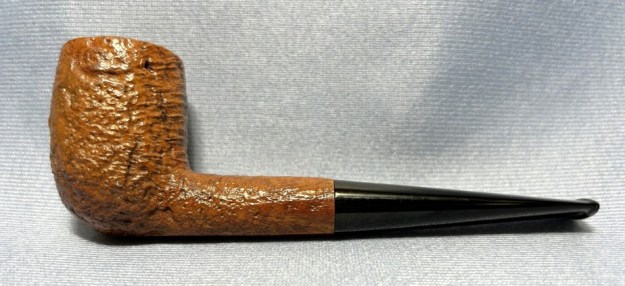
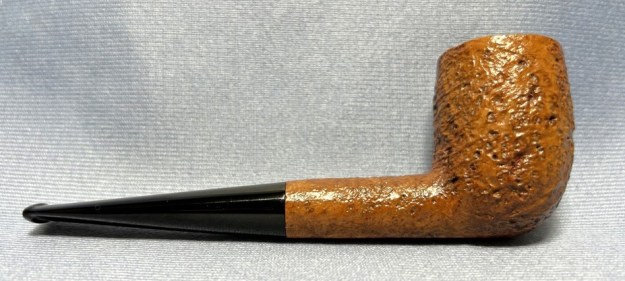
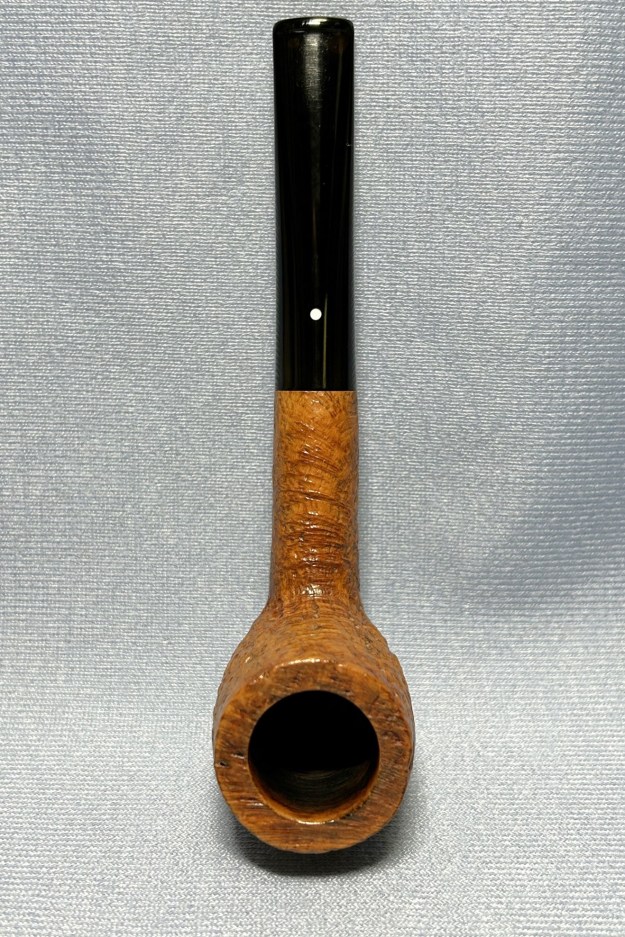
Restoring and Repairing a Larsen Copenhagen Handmade Made in Denmark Rustica


By Steve Laug

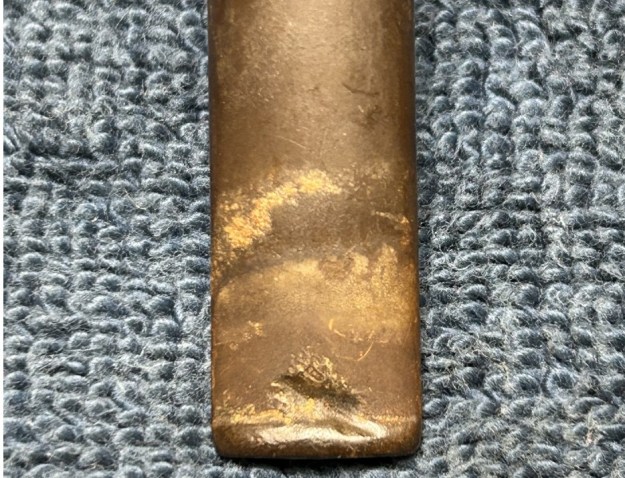
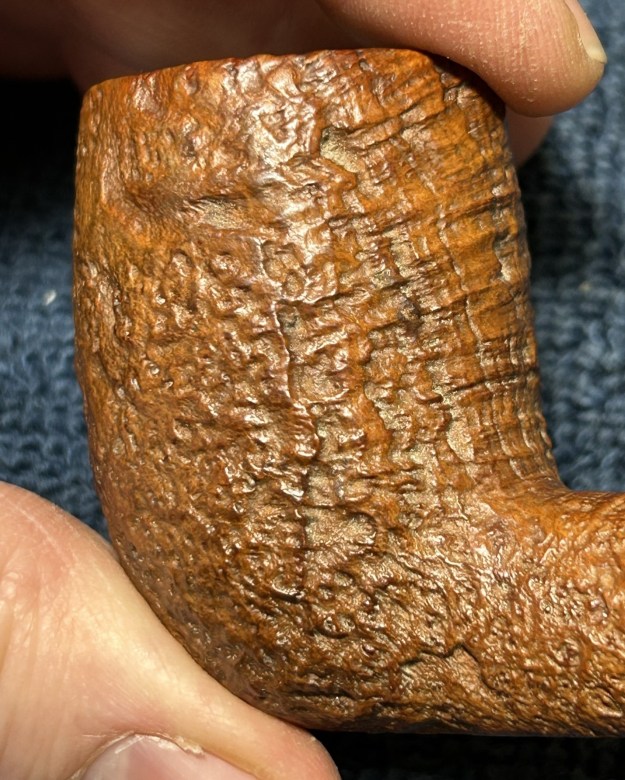
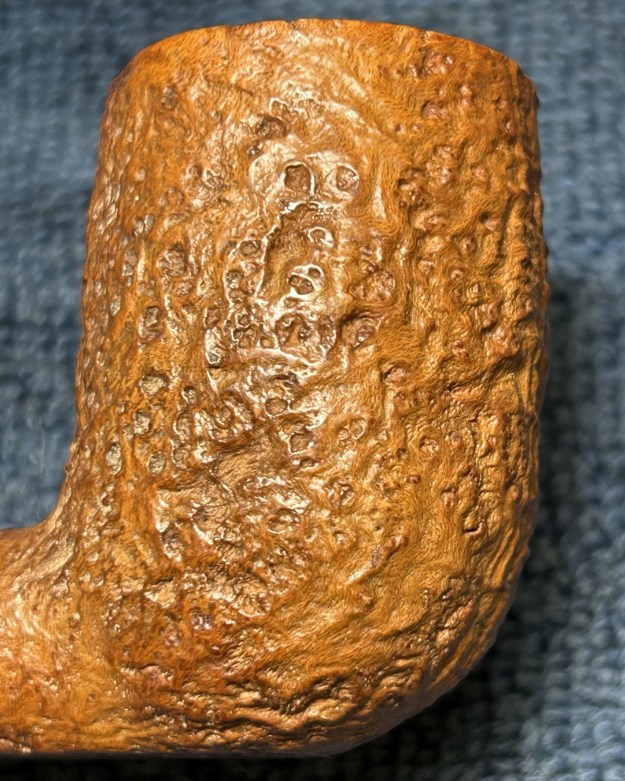
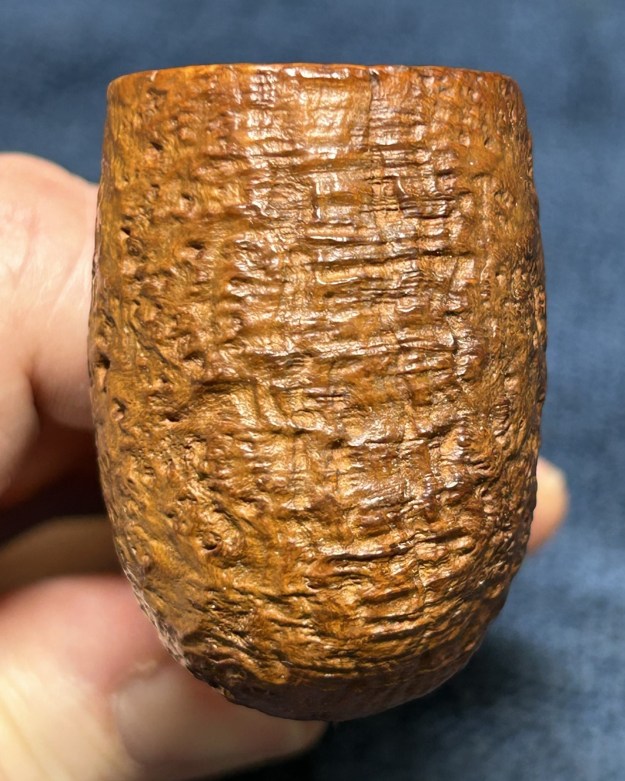
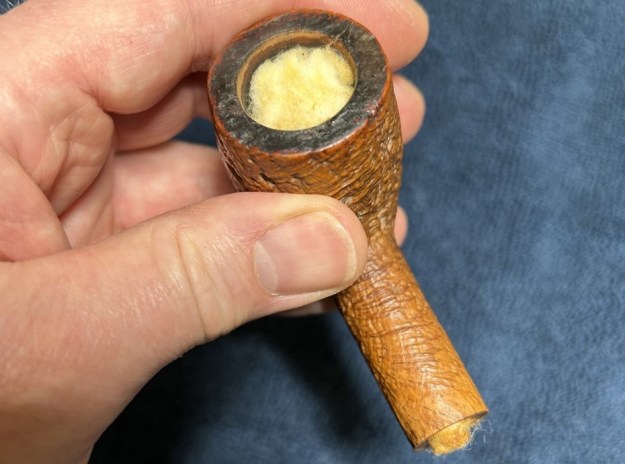
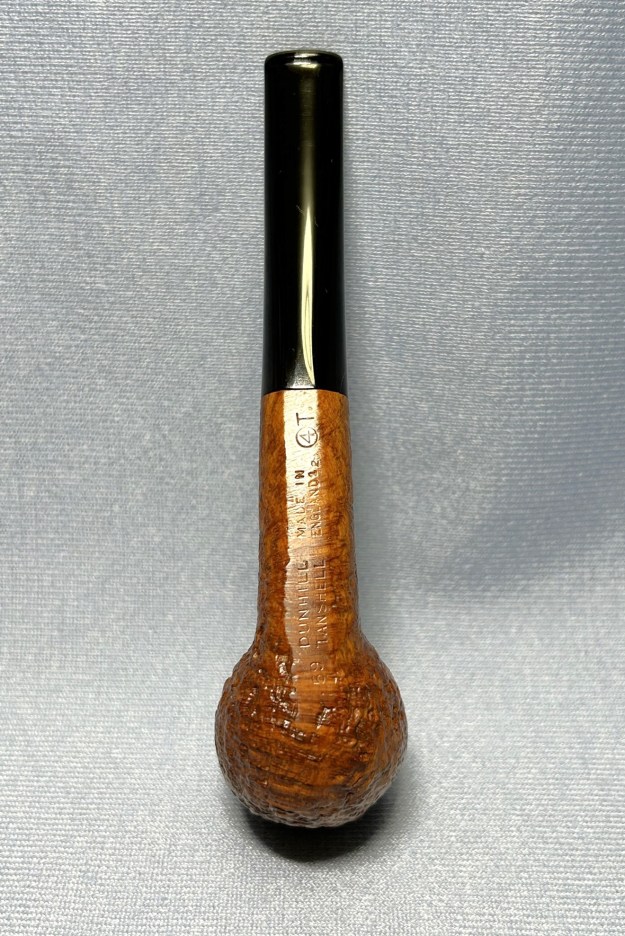
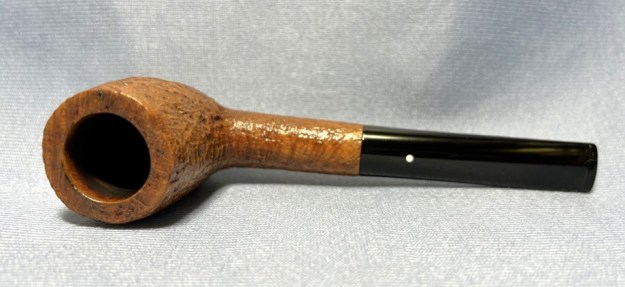
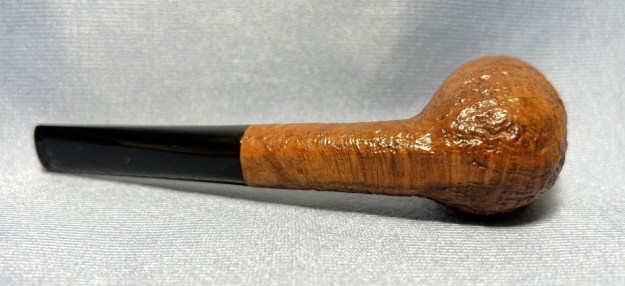
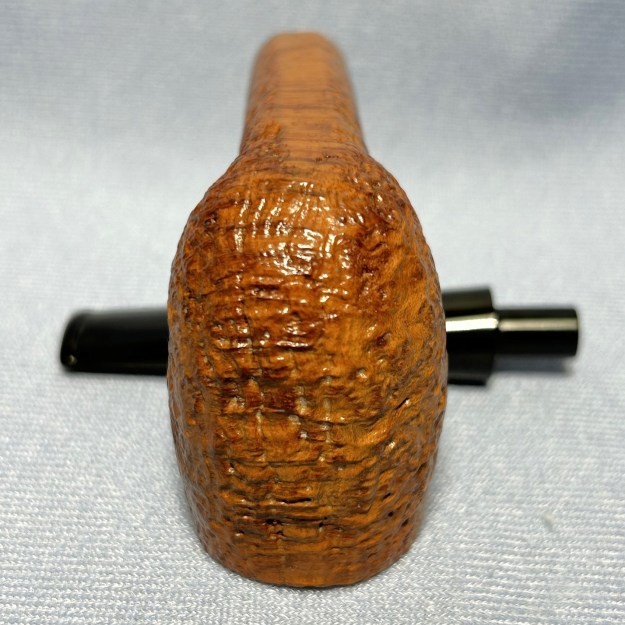
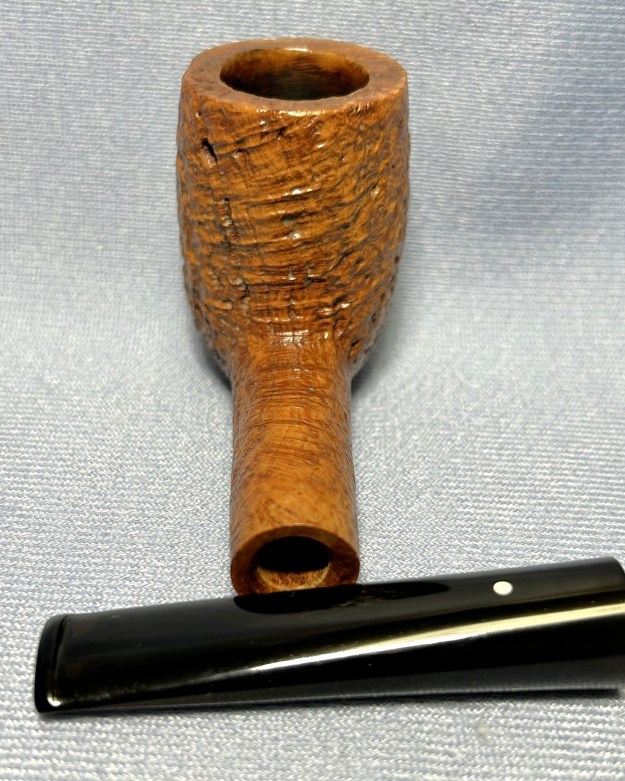
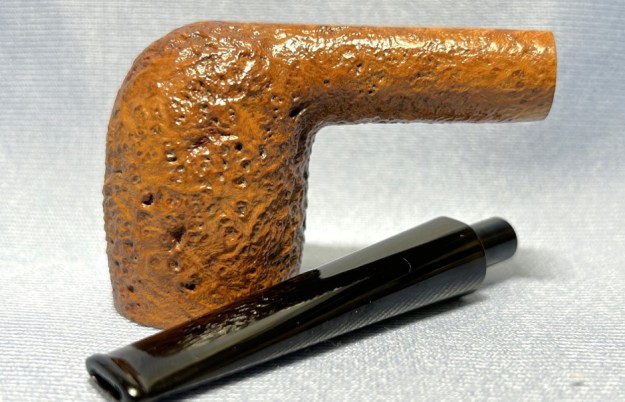
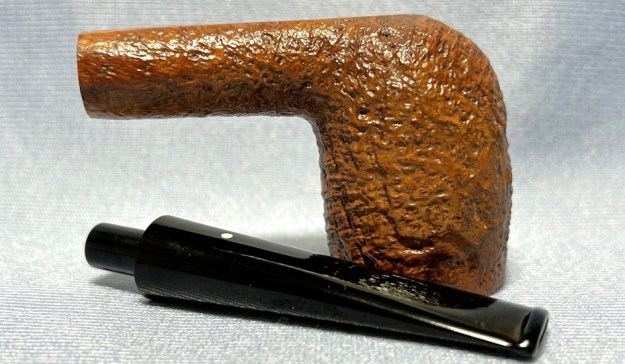
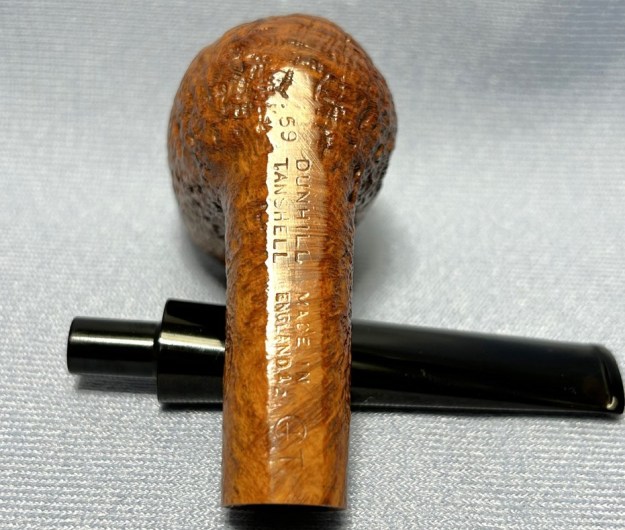
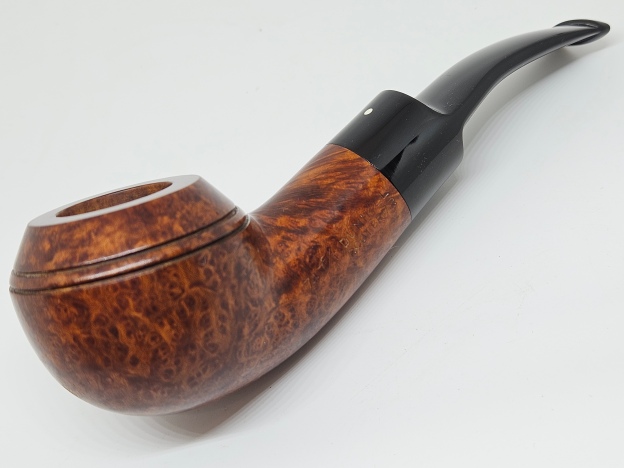
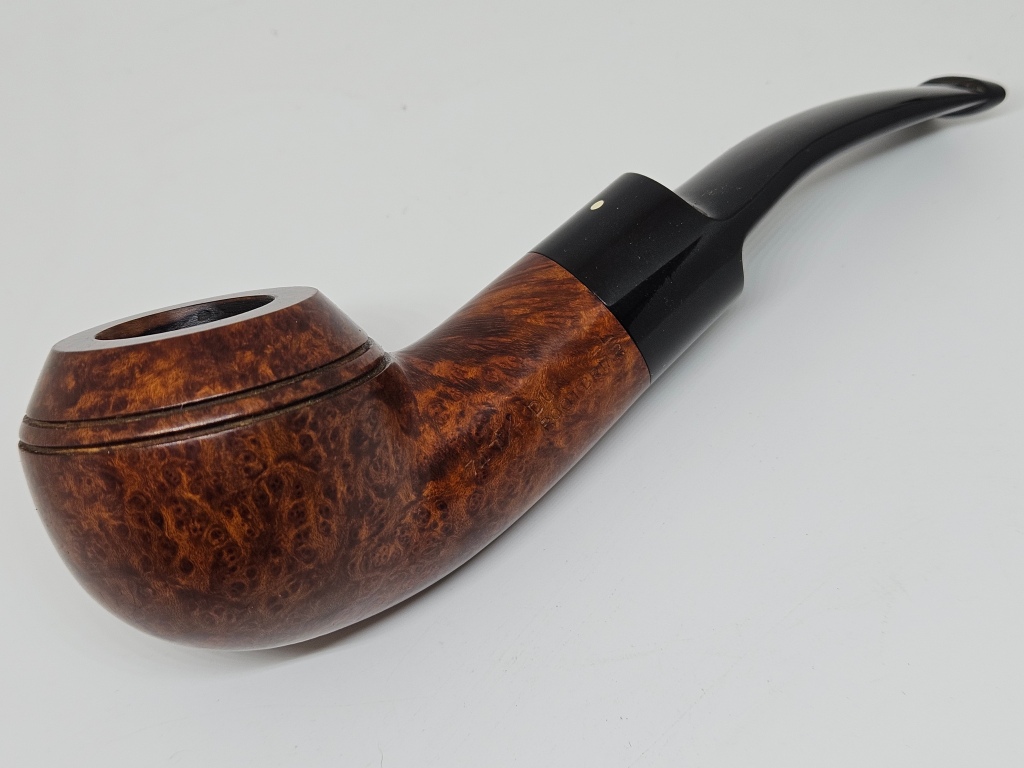
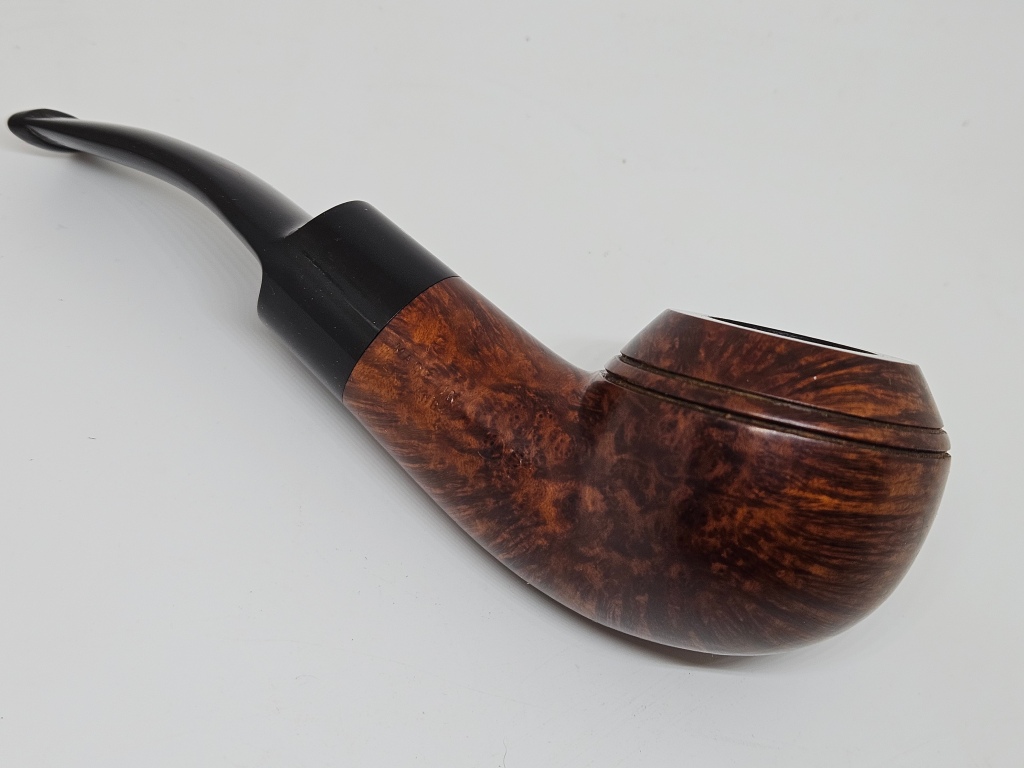
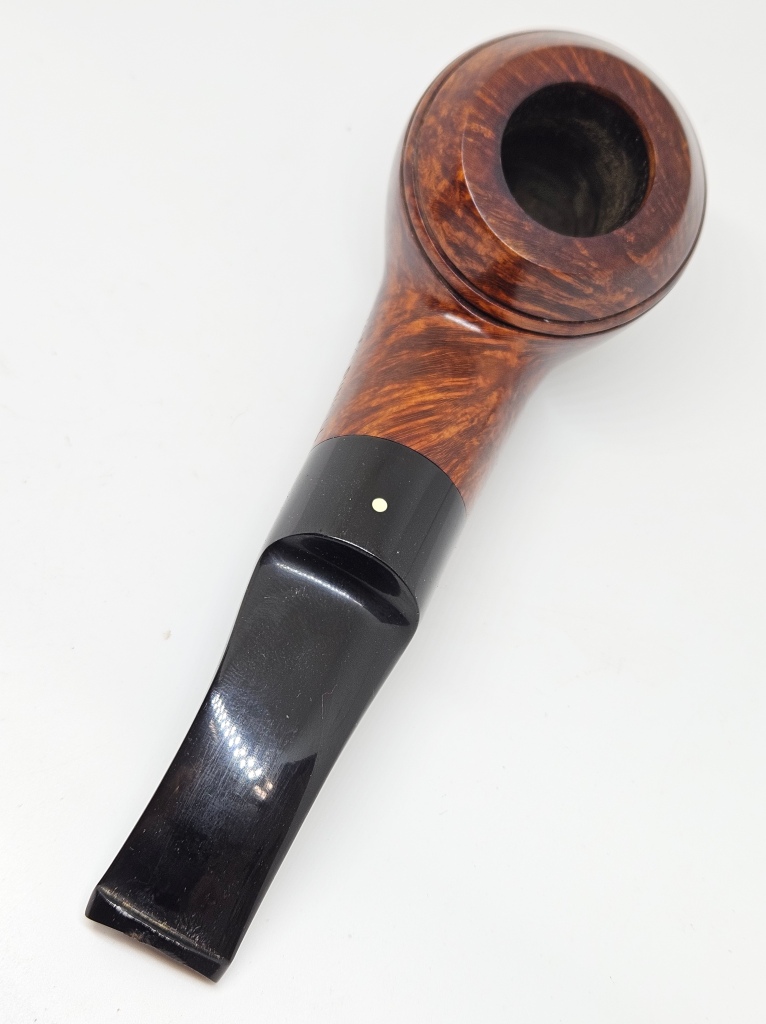
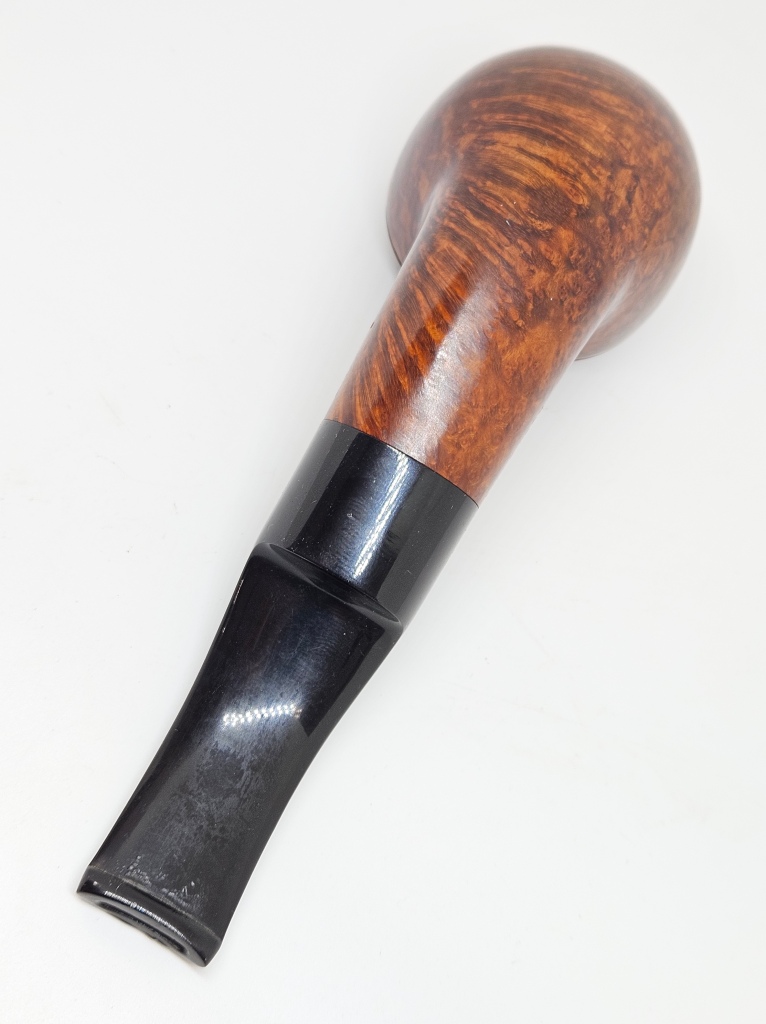
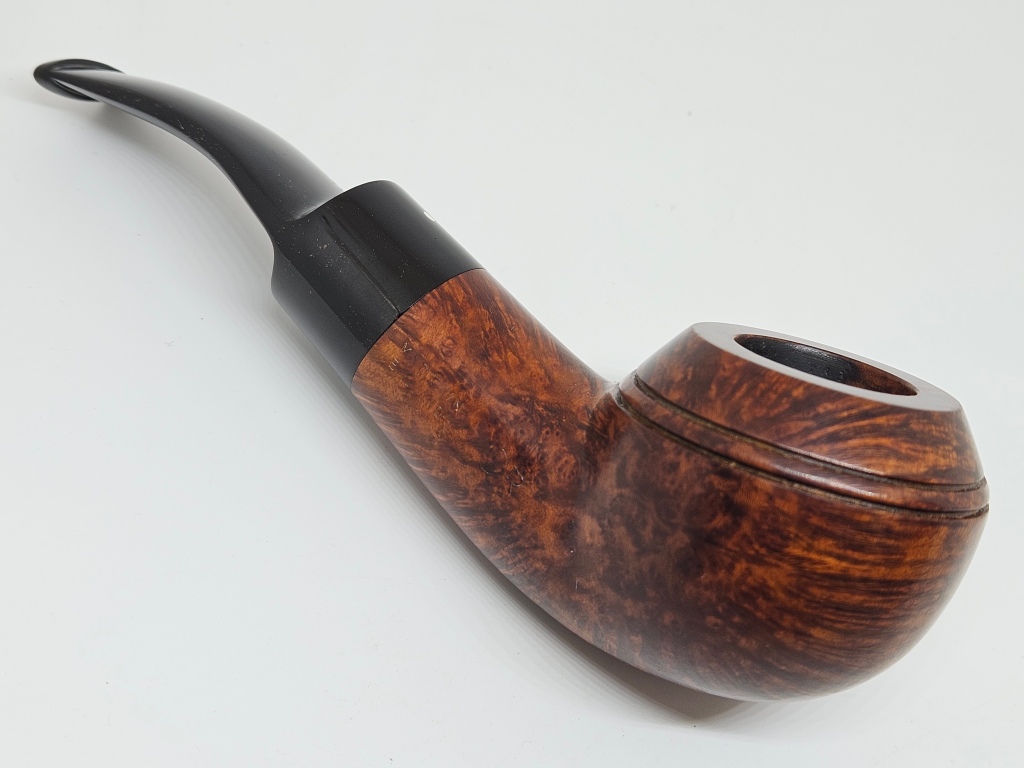
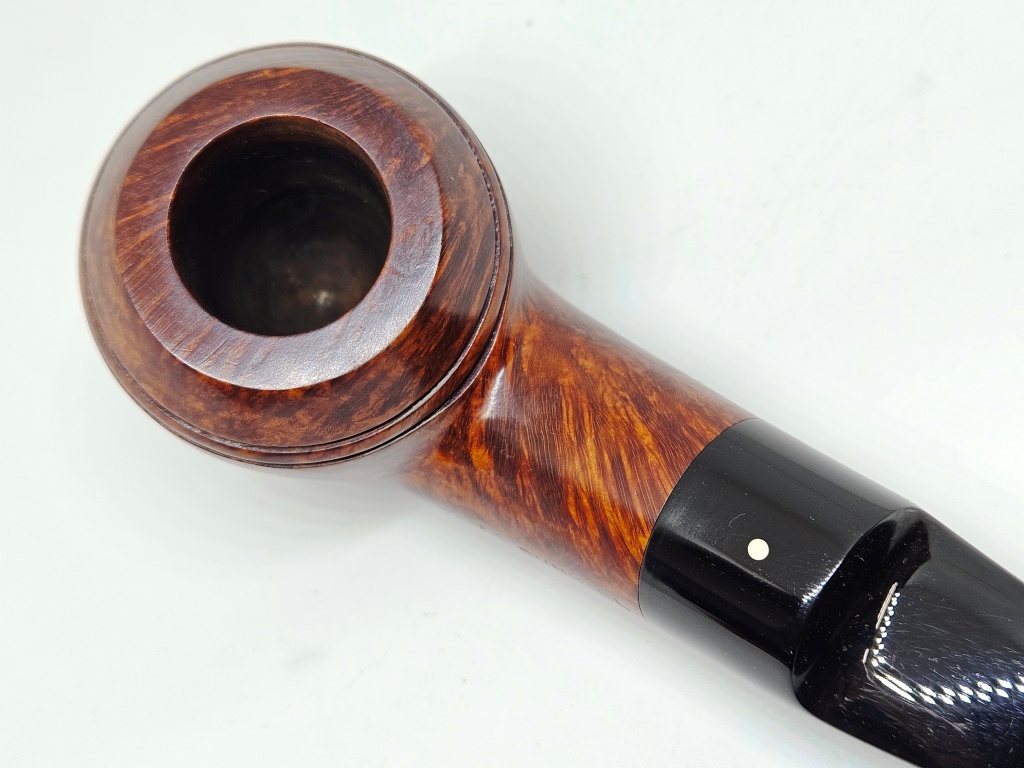
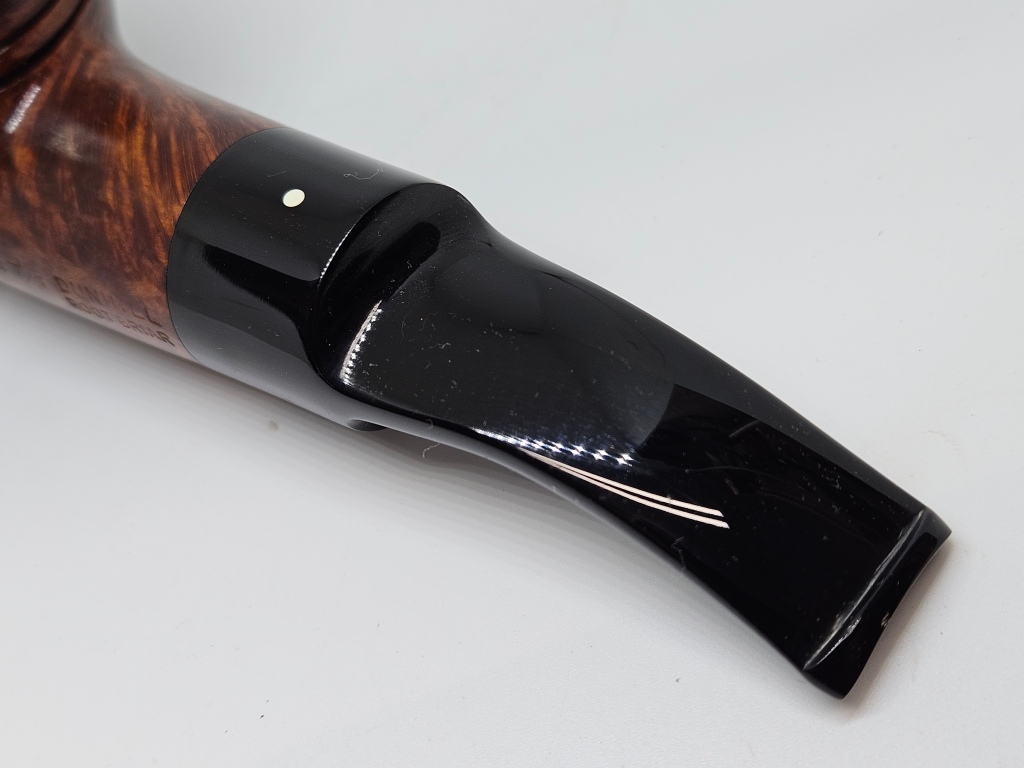
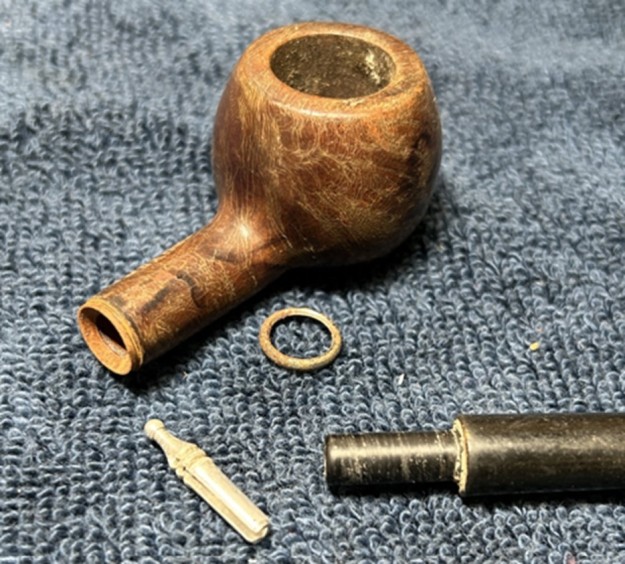
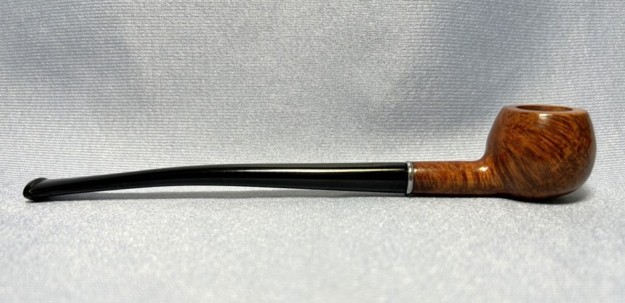
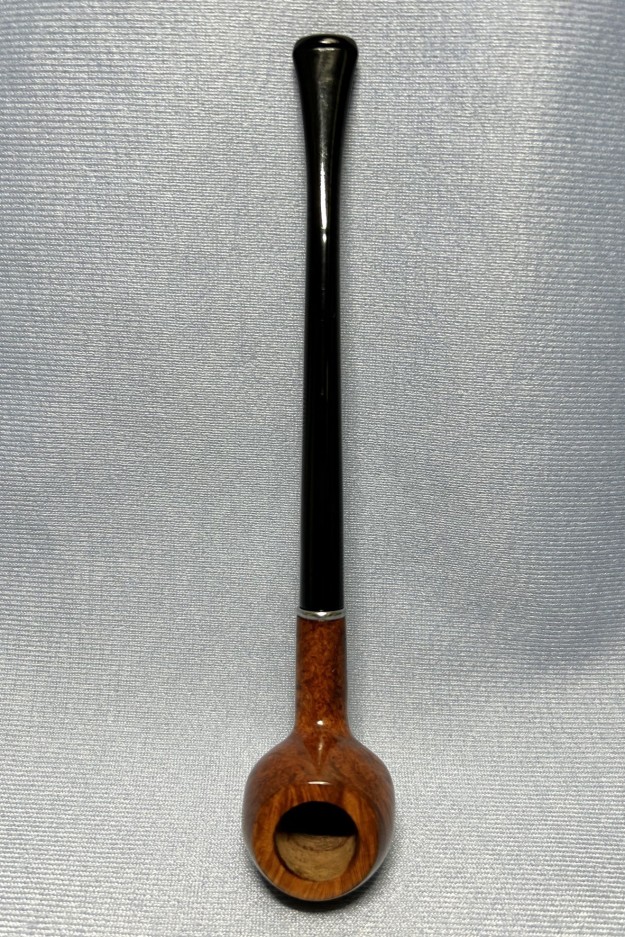
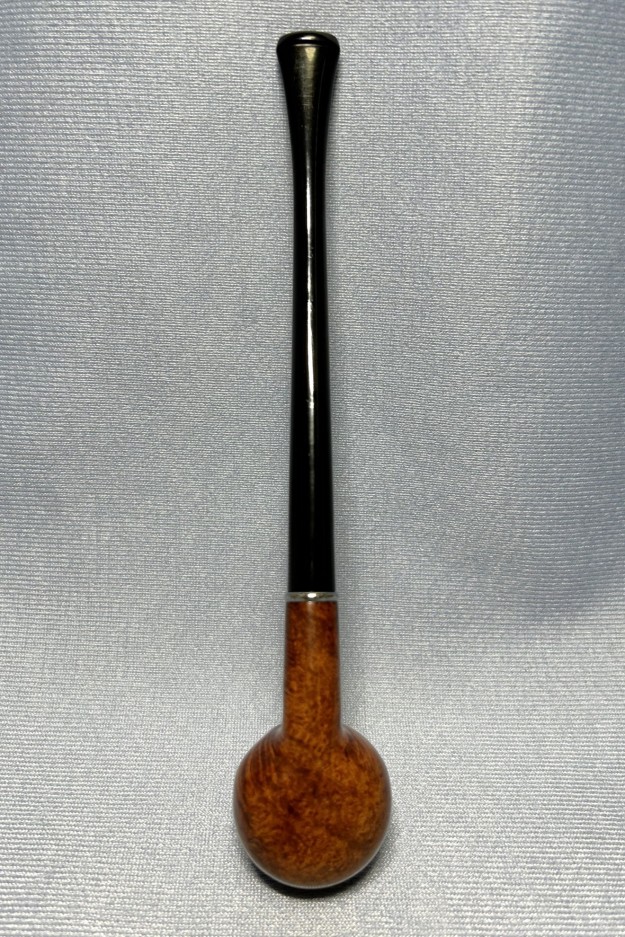
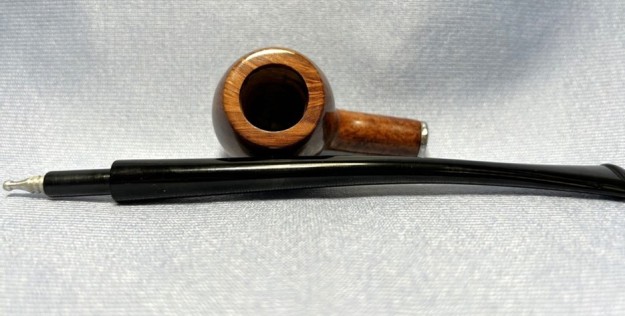
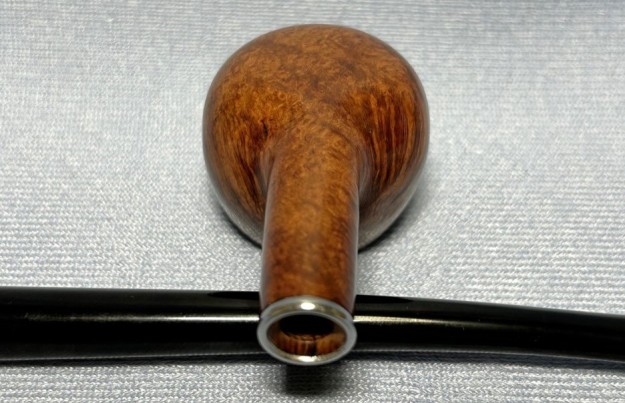
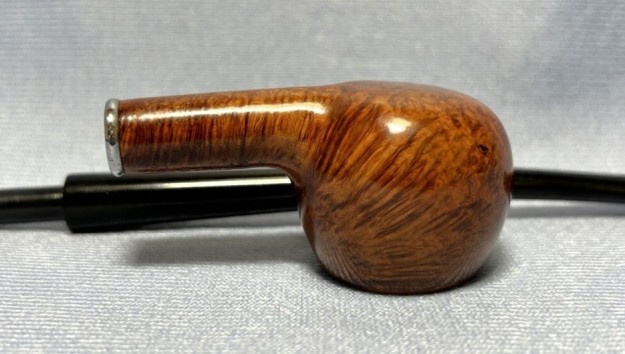
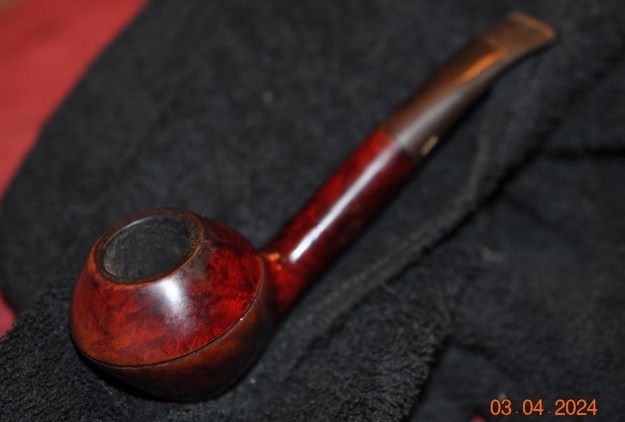
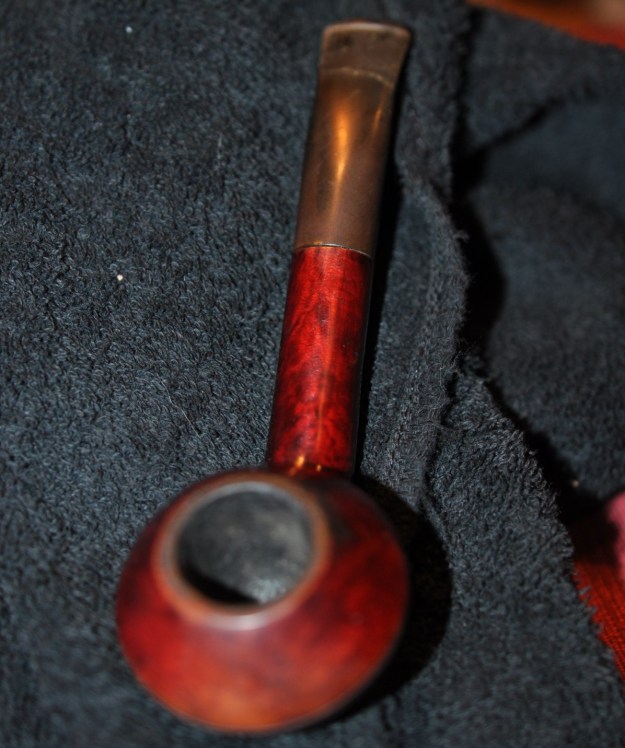
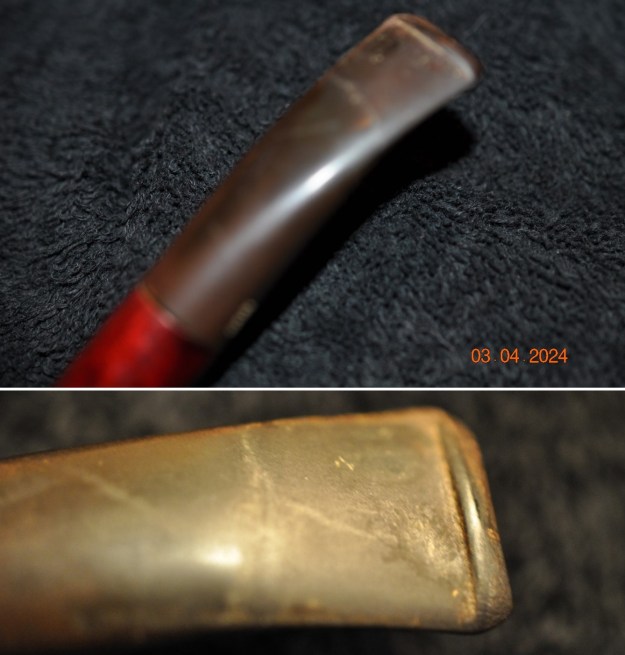
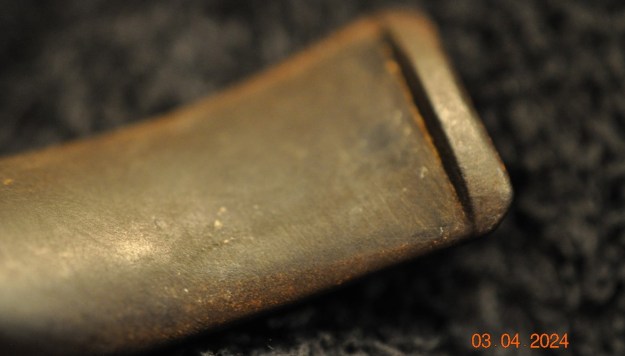
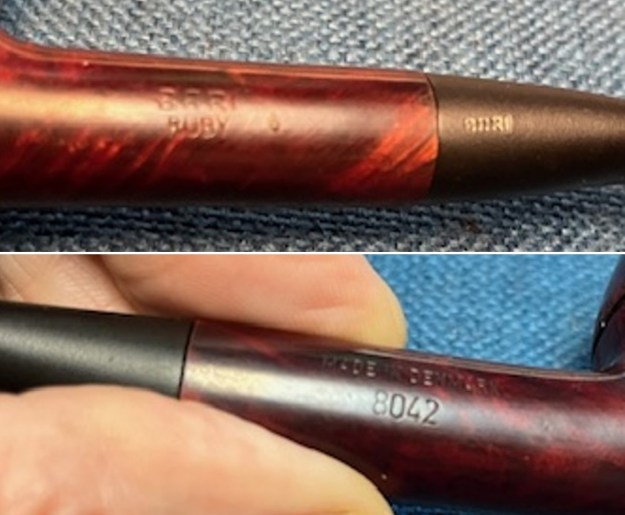
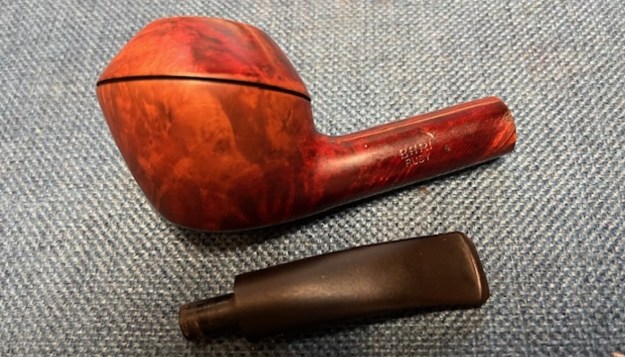
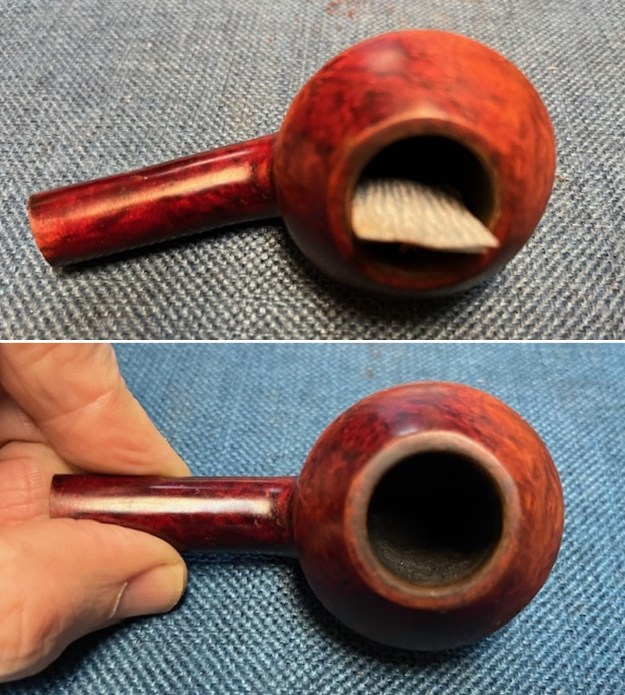
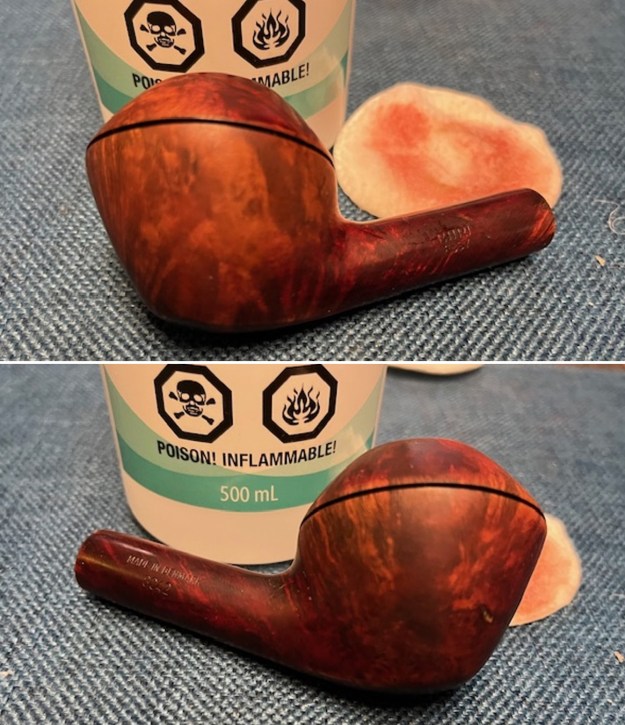
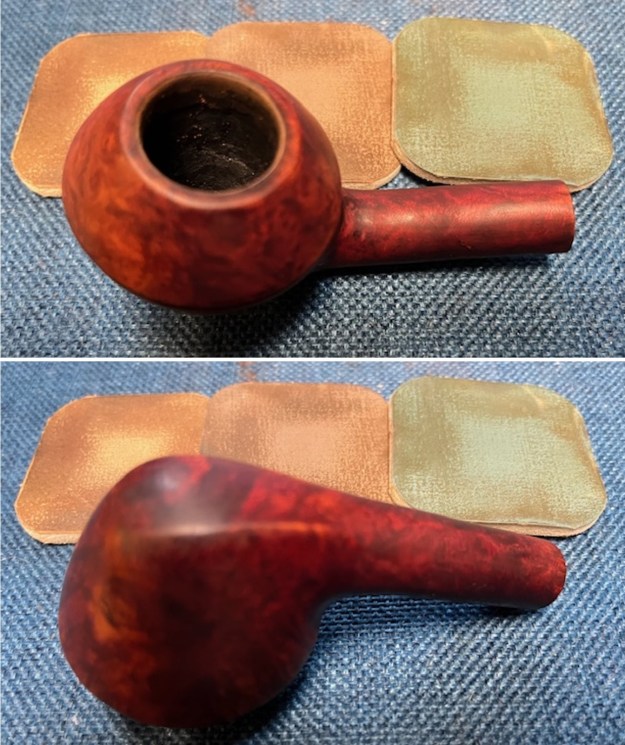
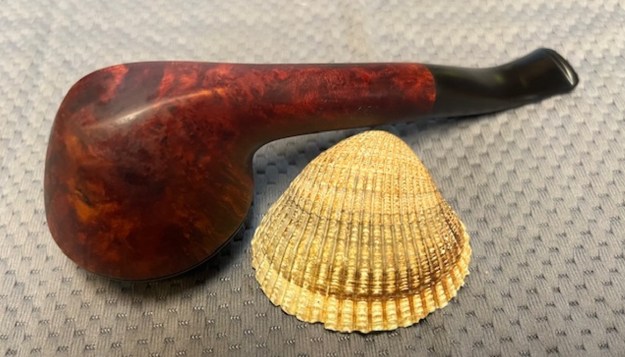
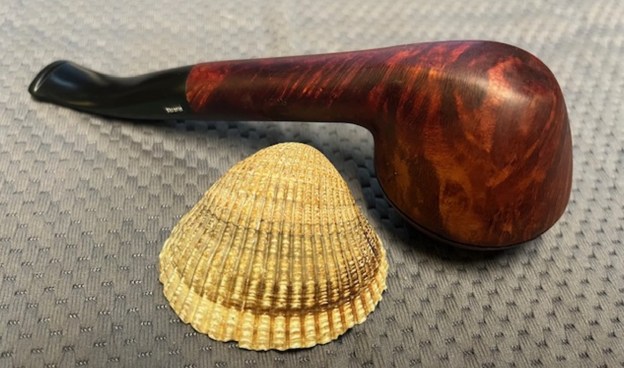
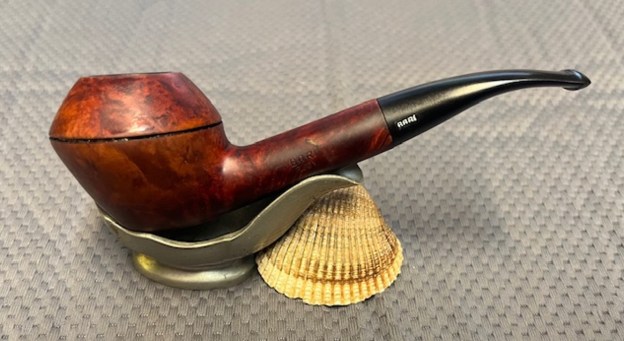
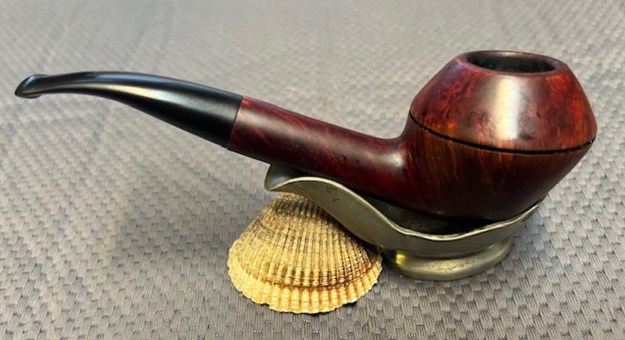
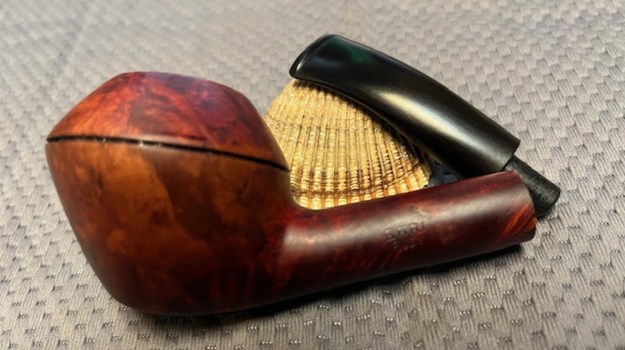
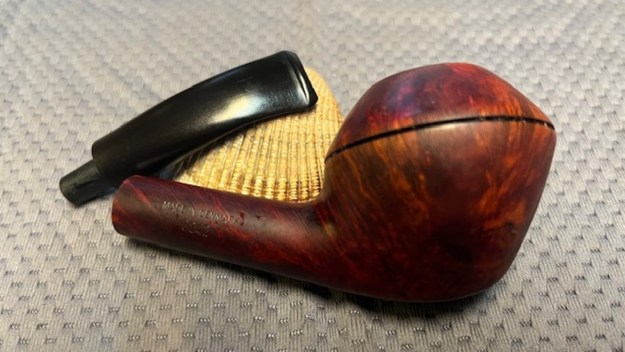
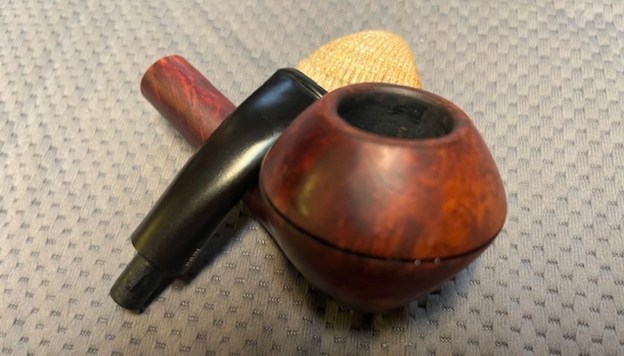
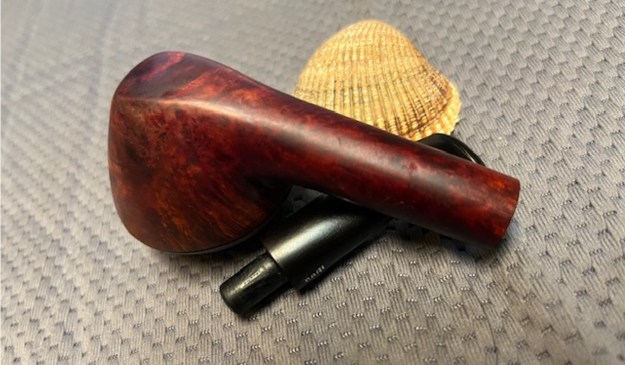
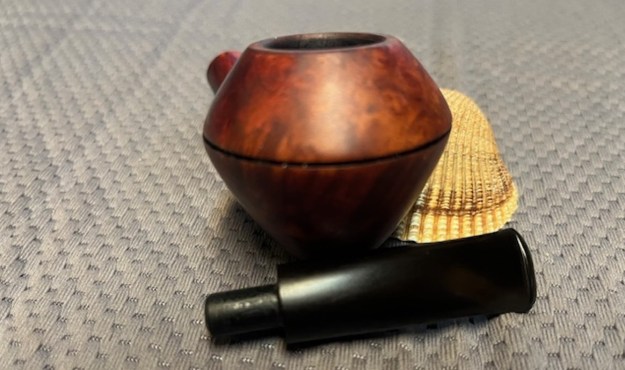
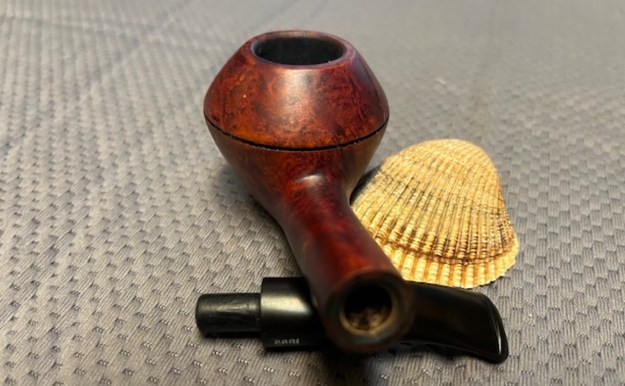
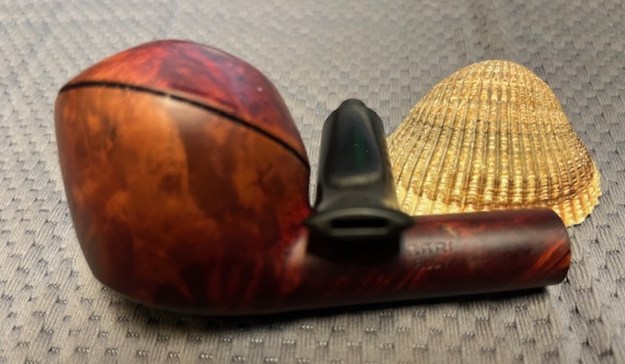
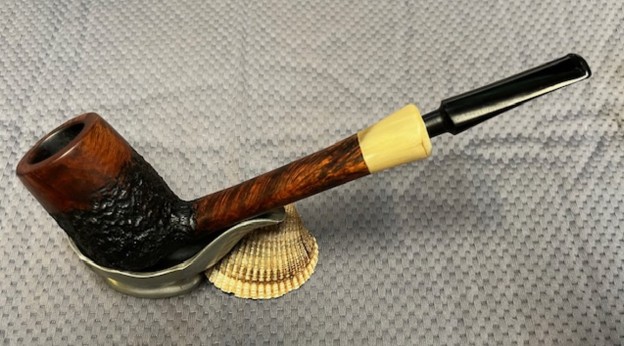
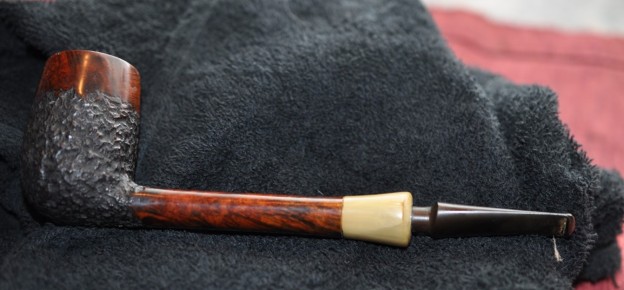
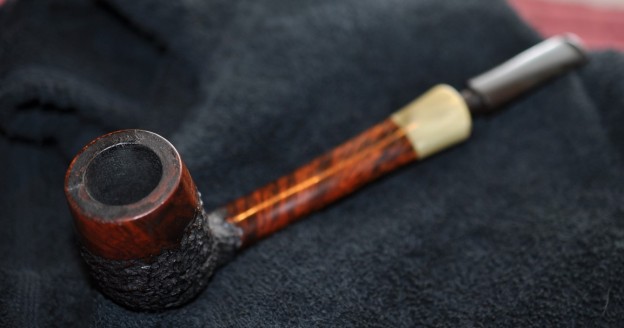
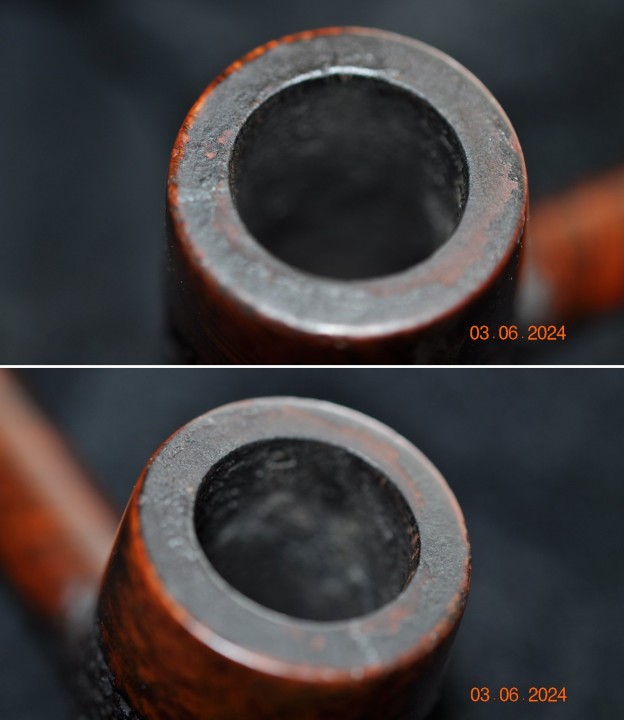
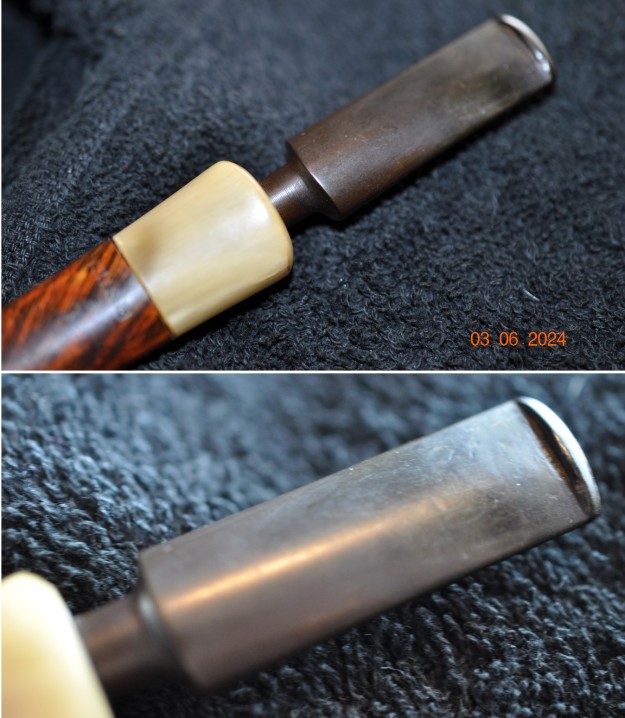
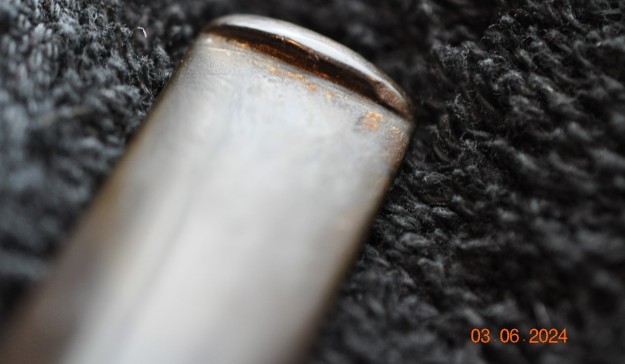
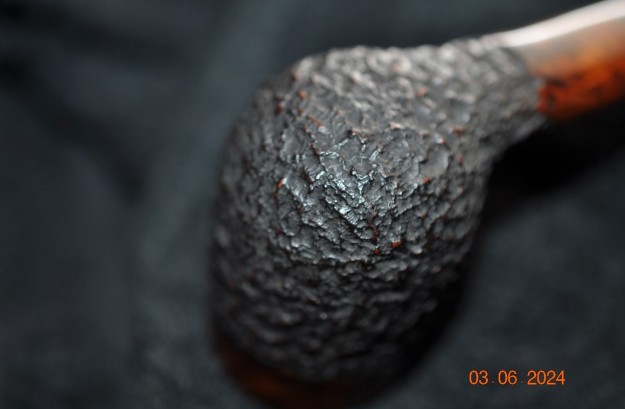
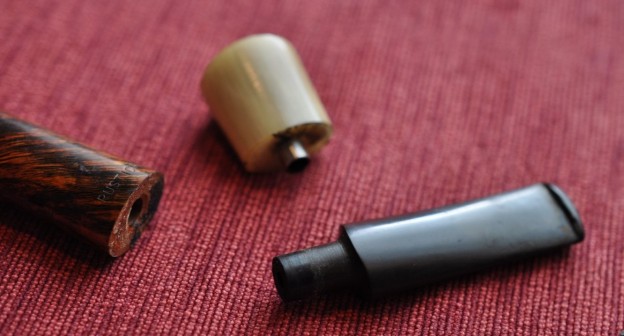
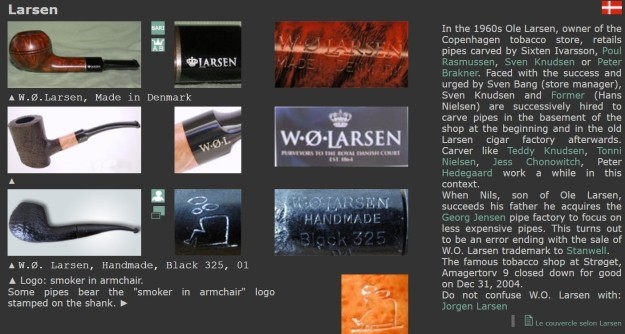
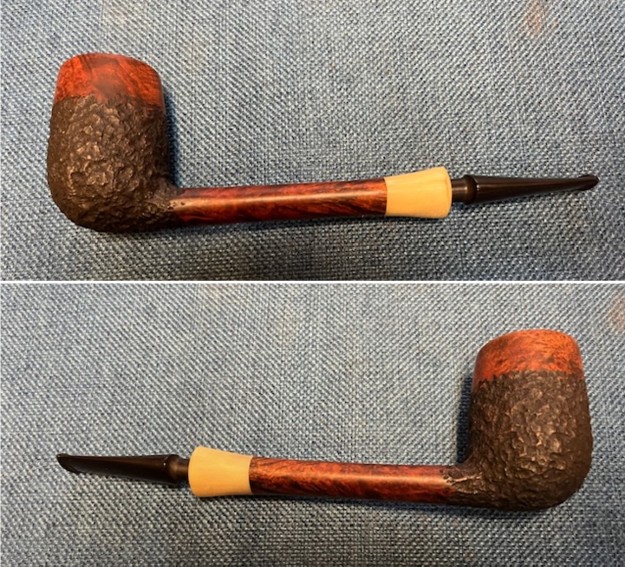
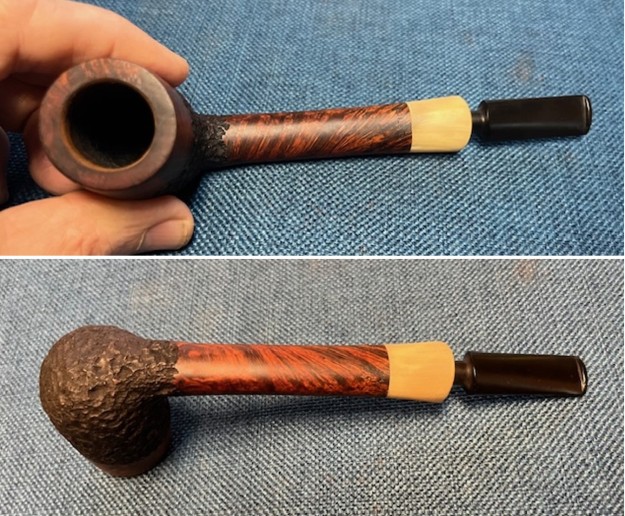
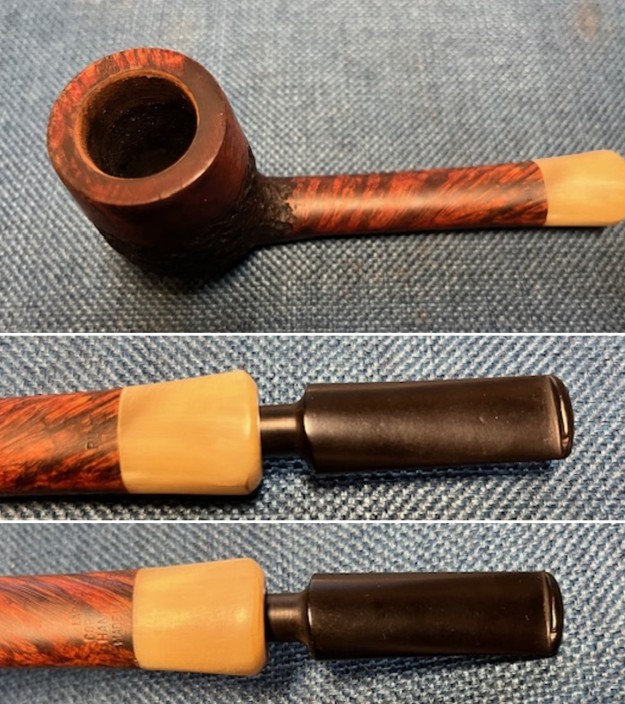
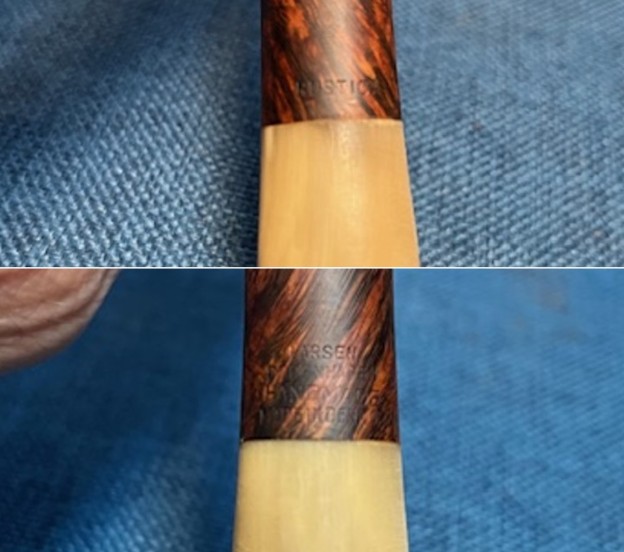
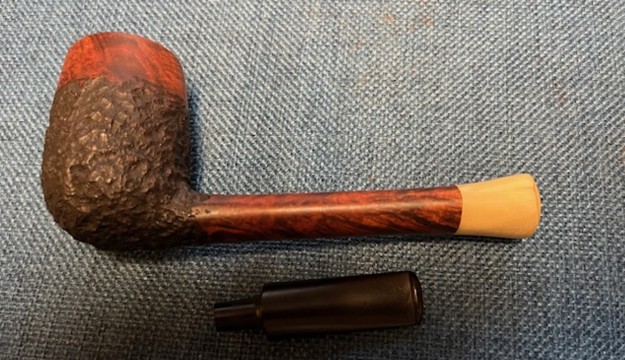
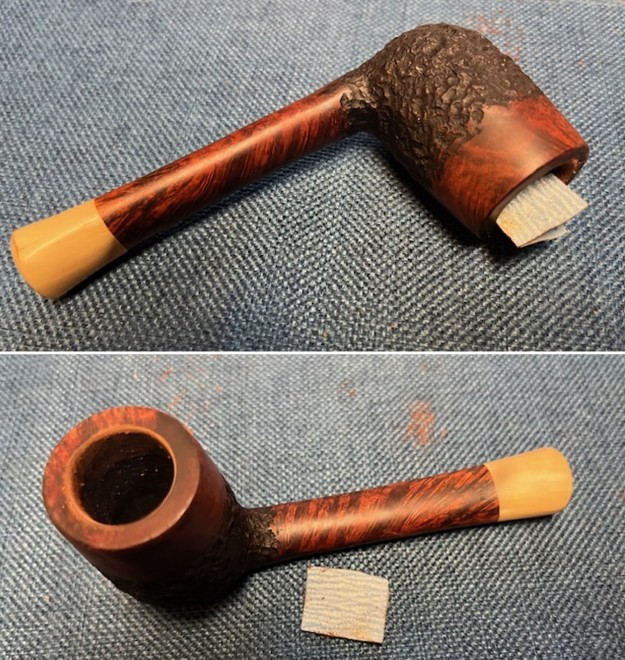
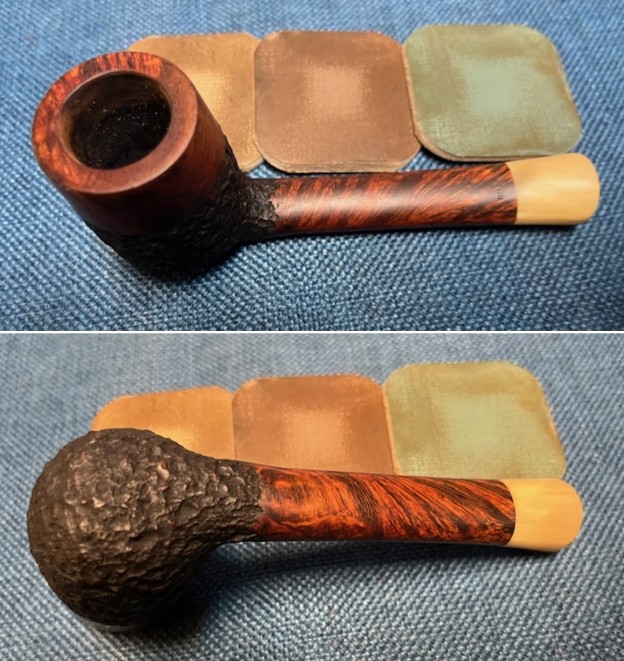
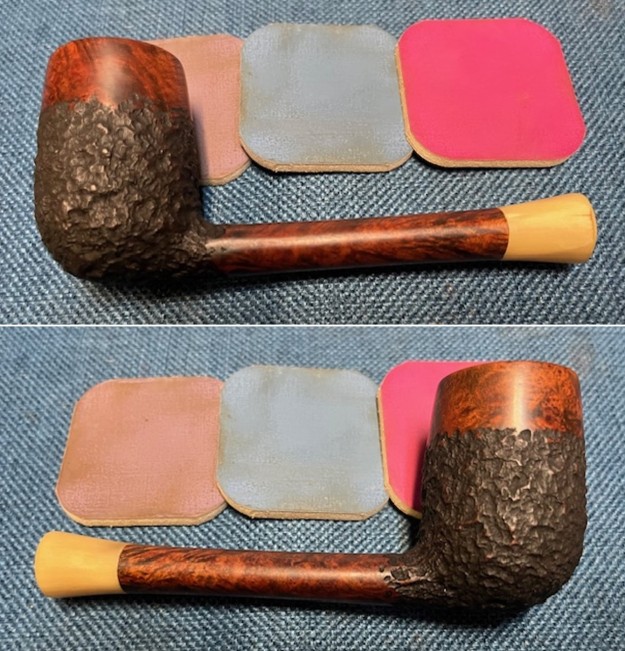
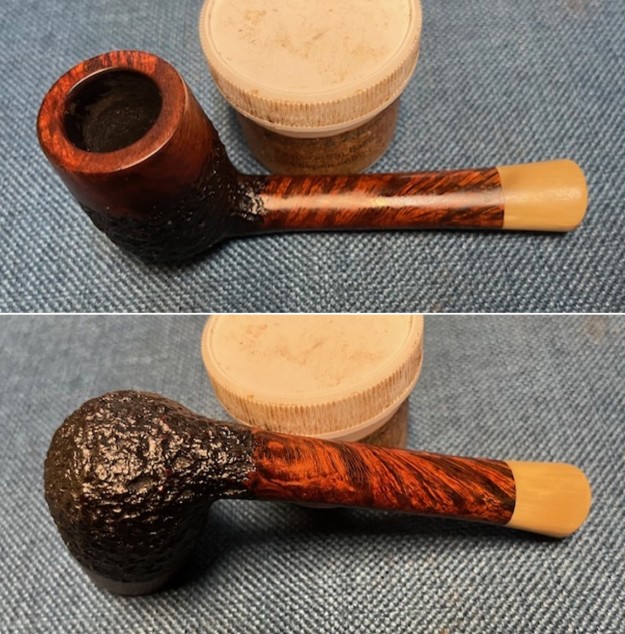
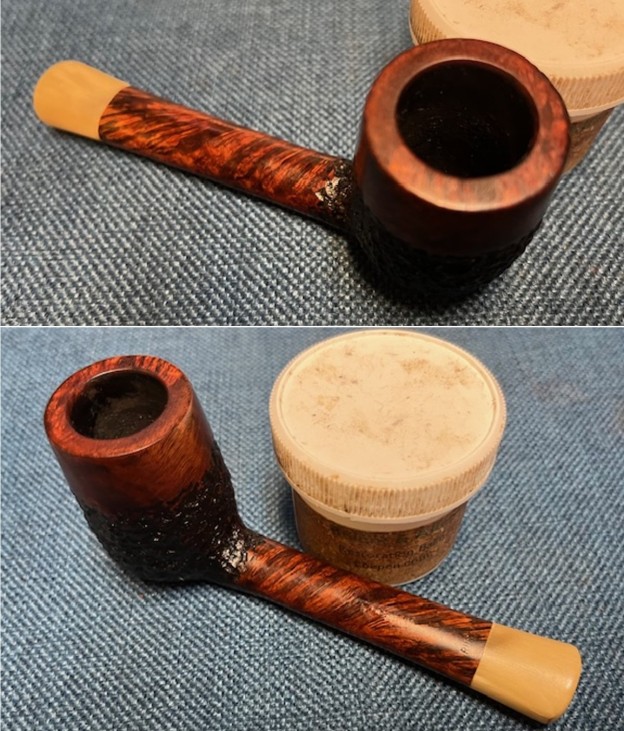
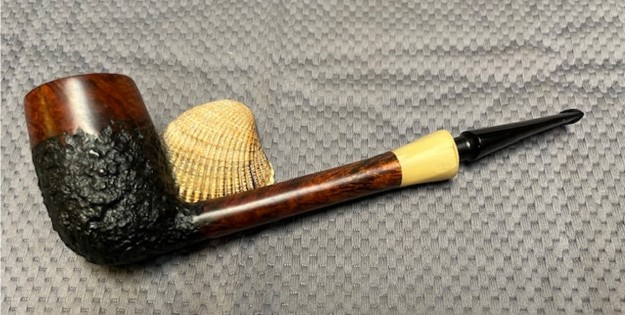
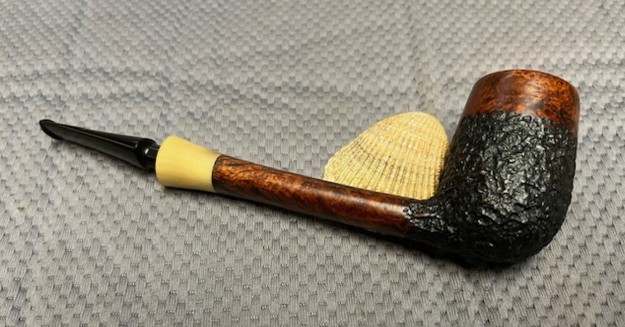
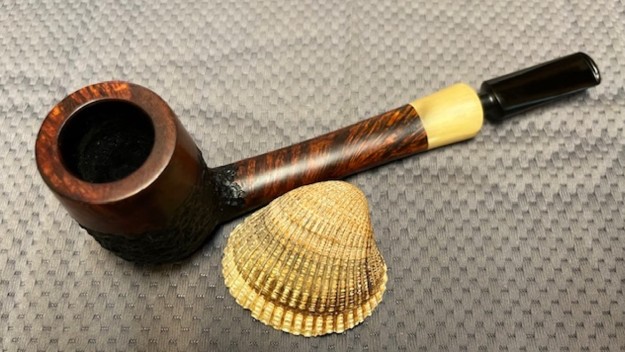
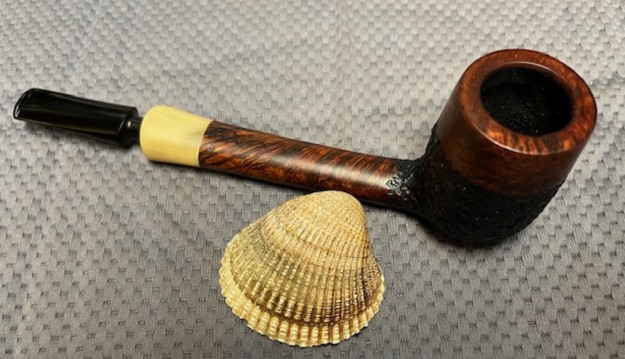
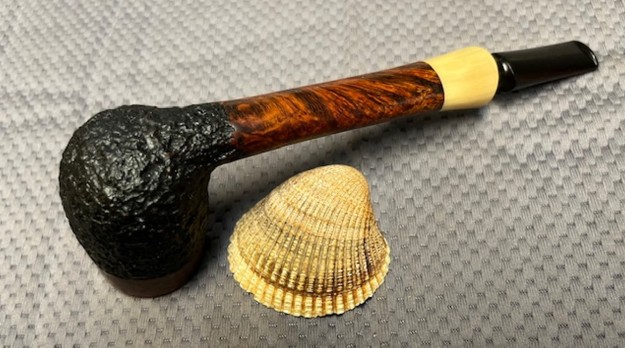
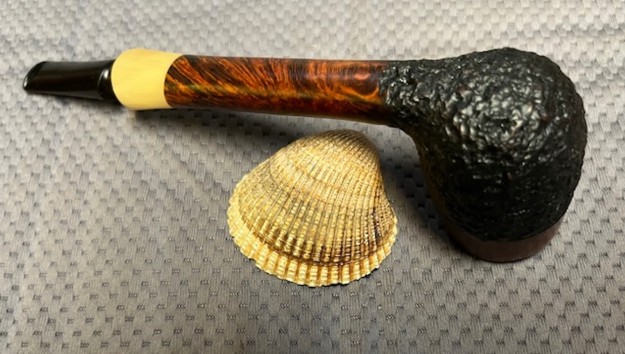
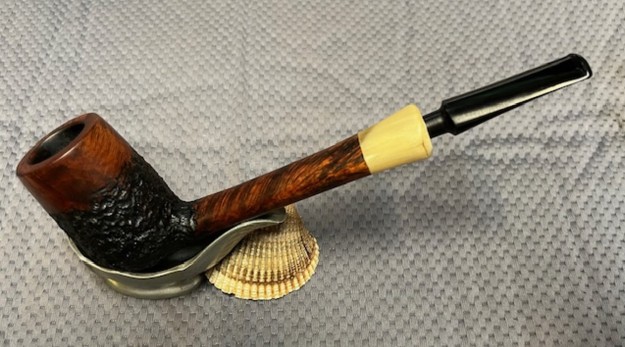
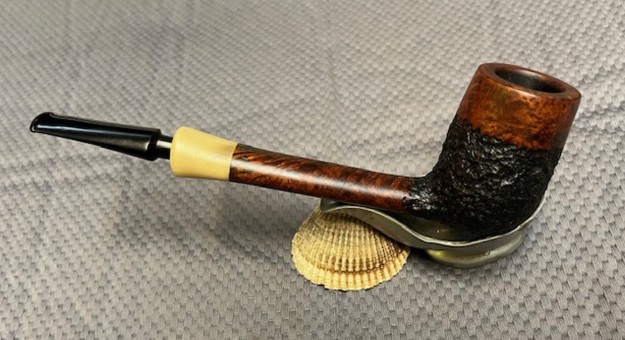
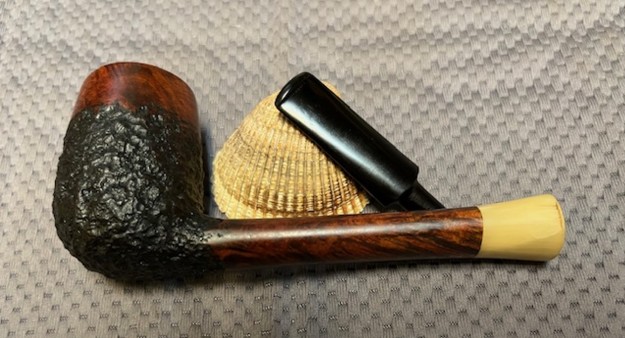
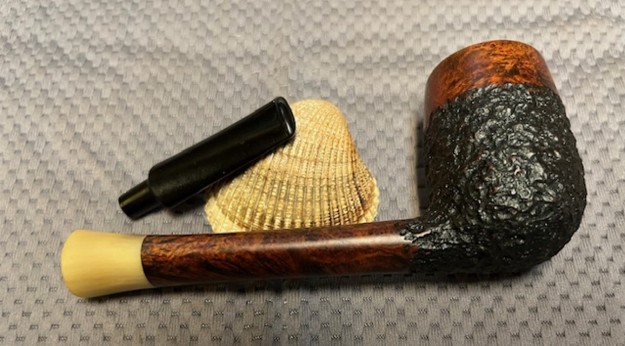
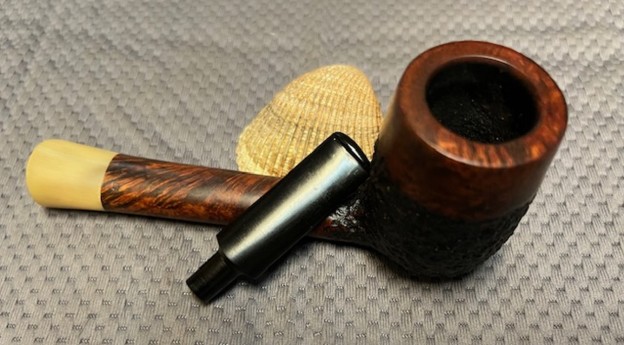
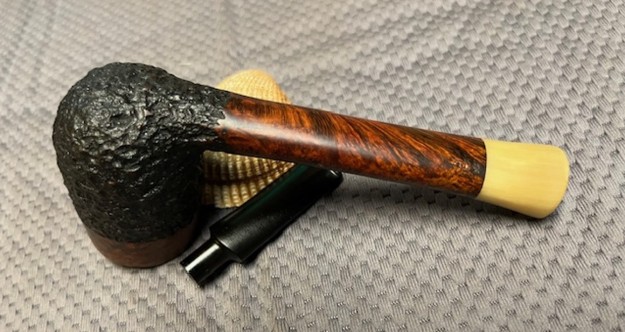
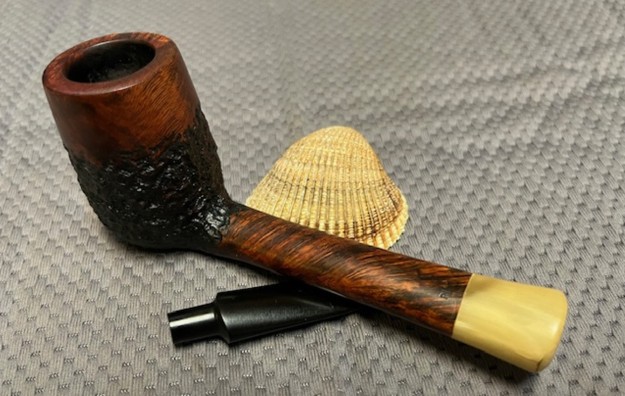
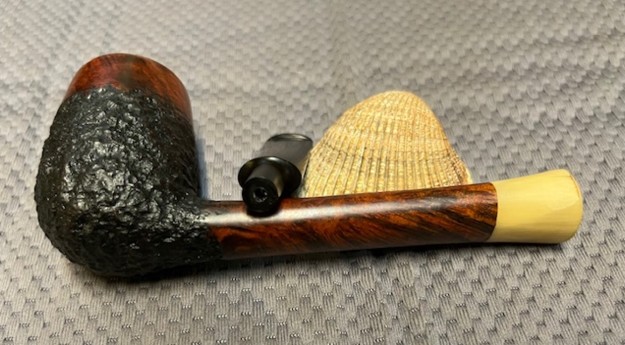
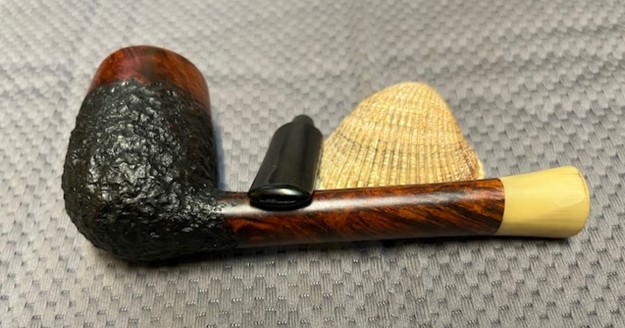
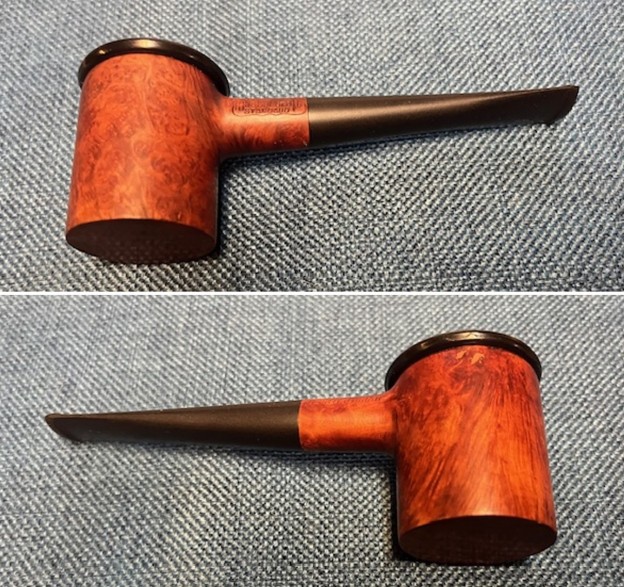
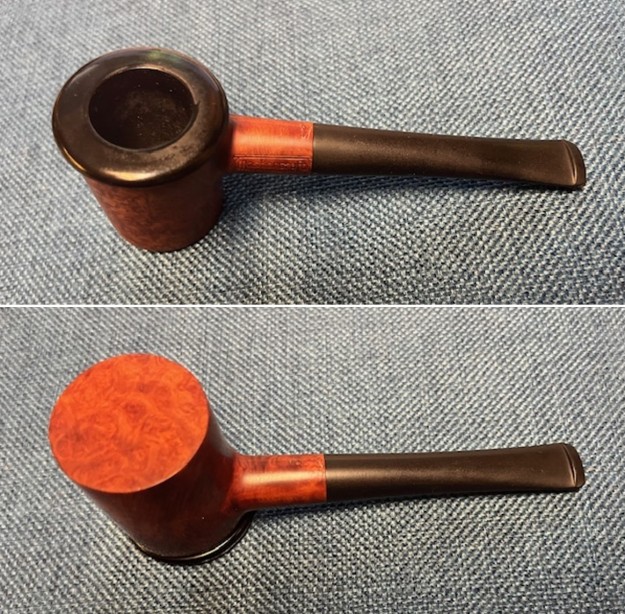
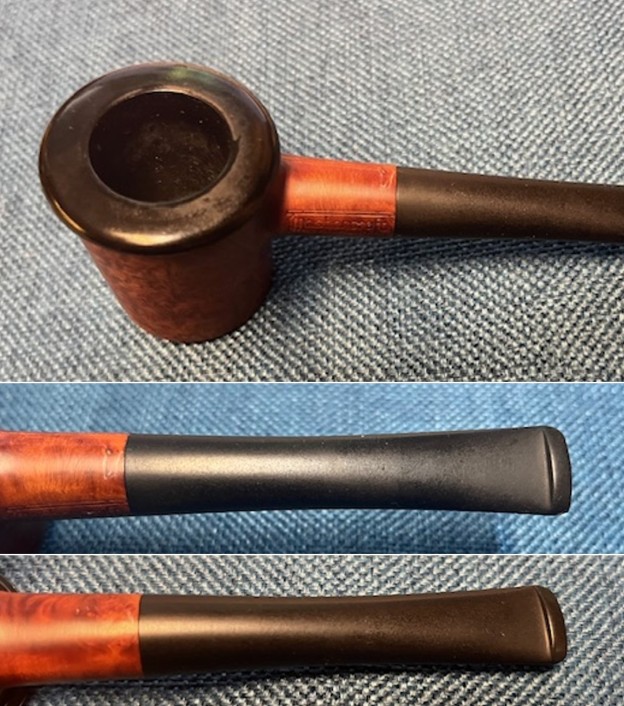
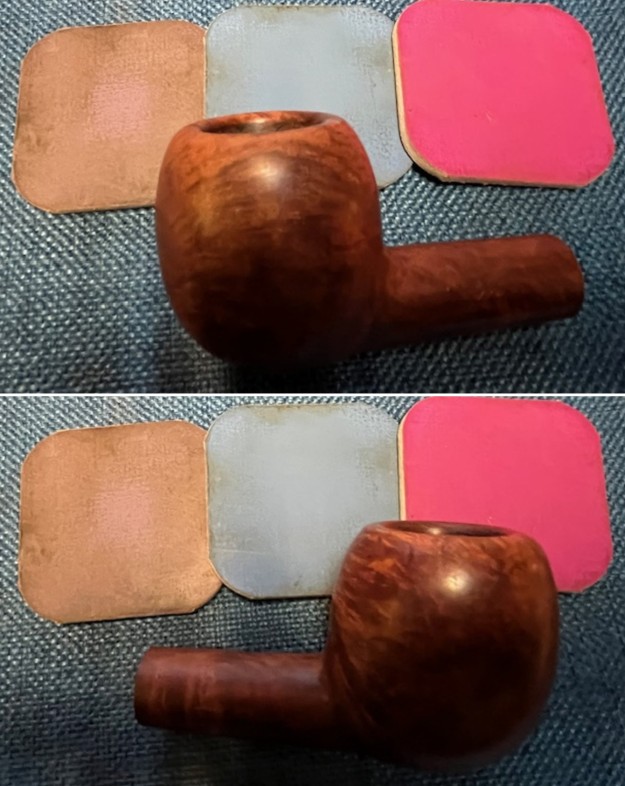
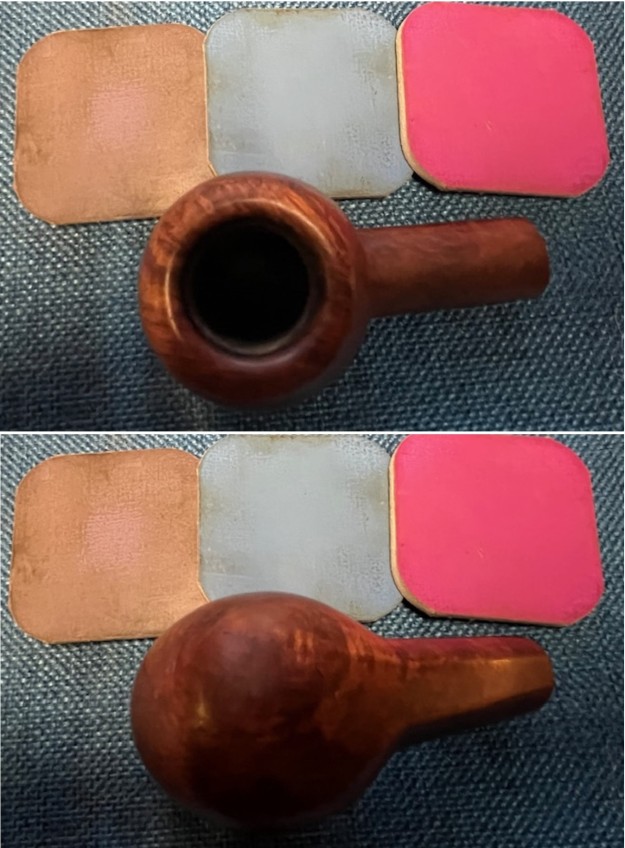
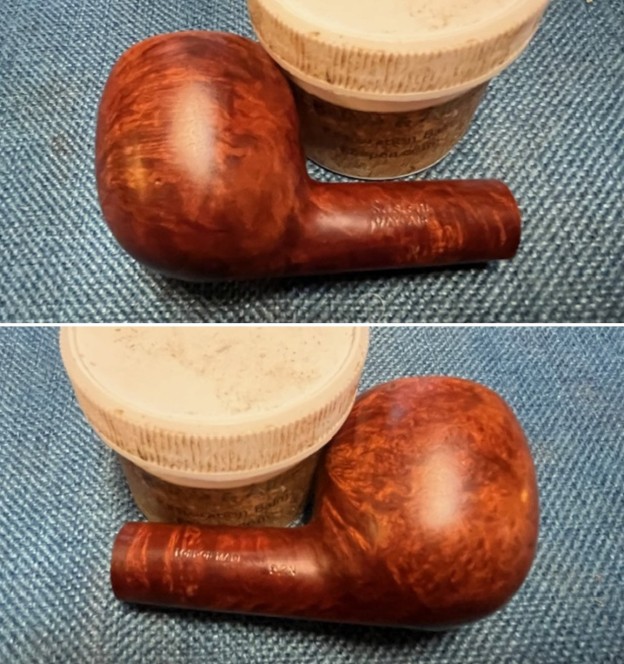
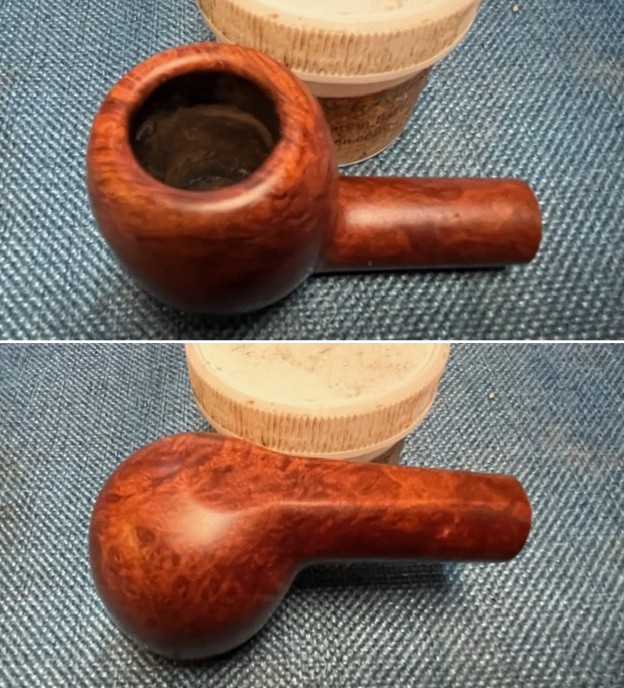
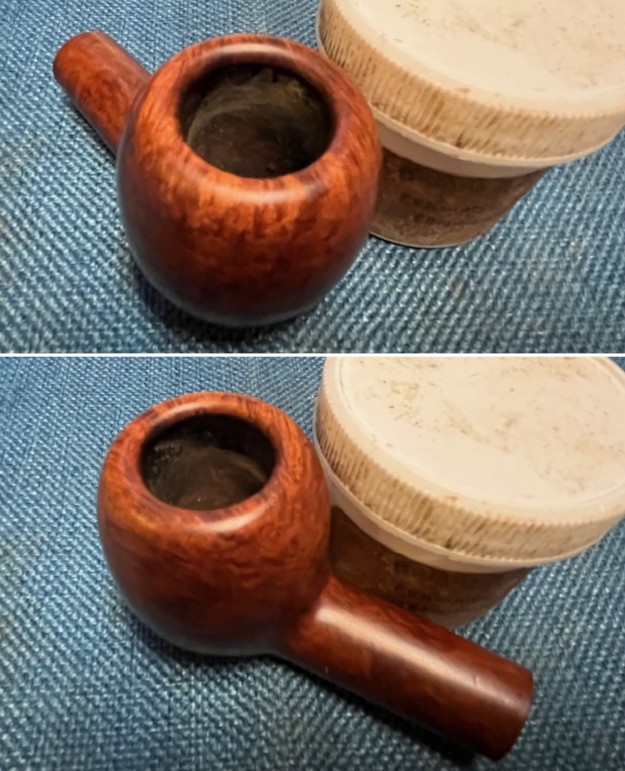
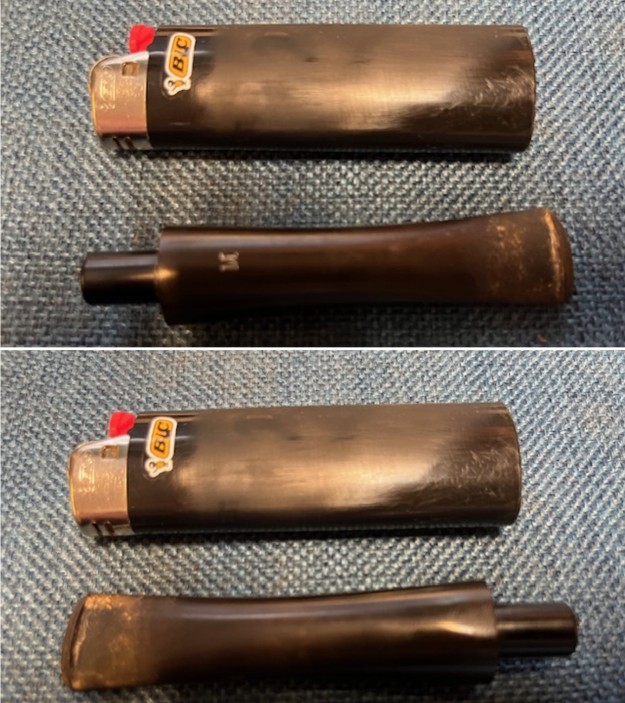
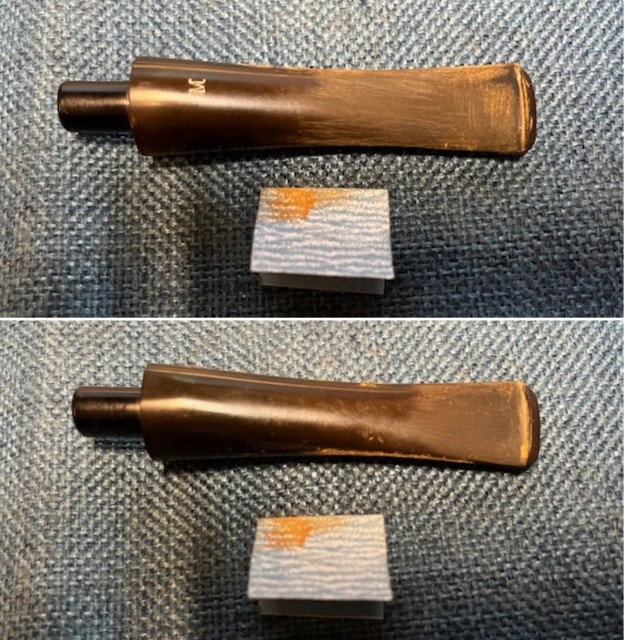
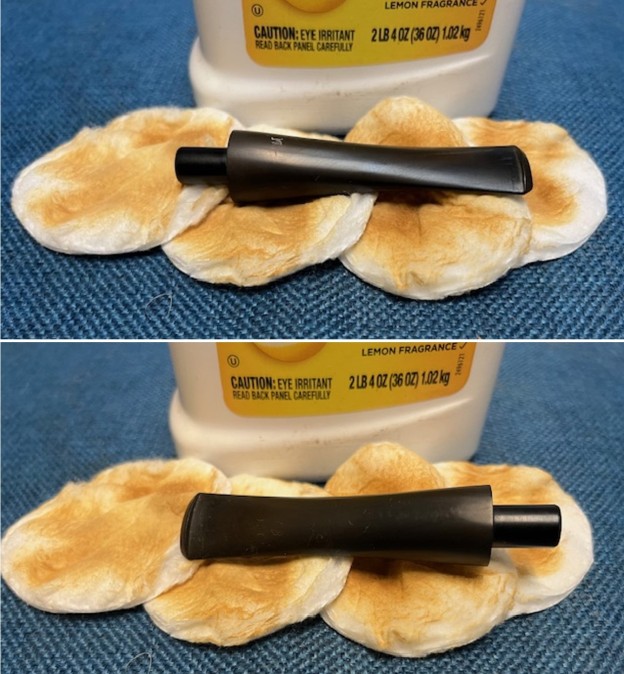
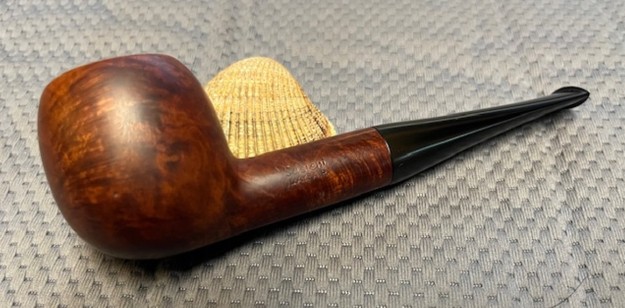
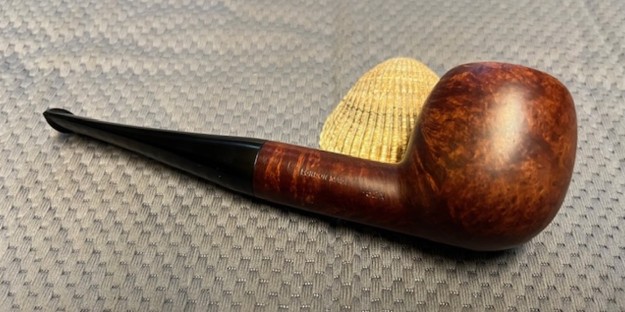
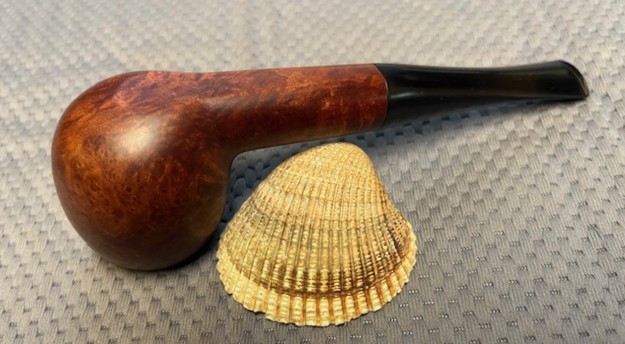
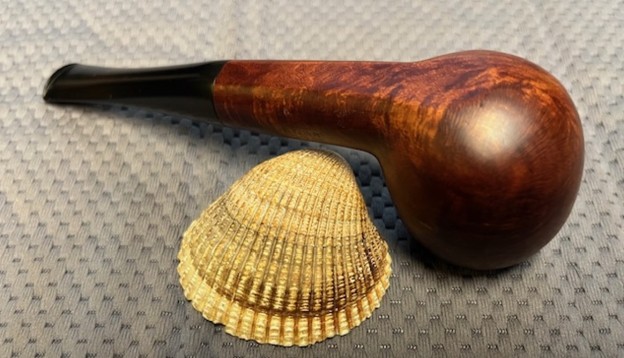
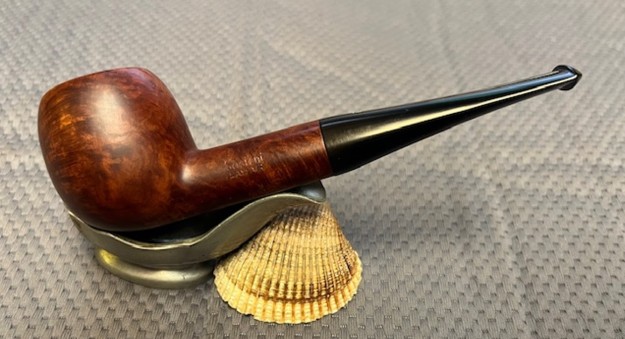
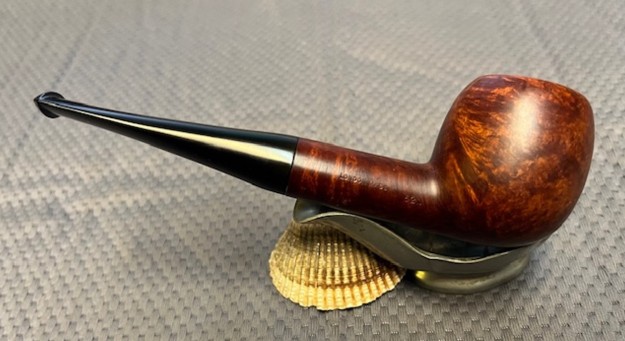
The next pipe on the worktable is a Danish made pipe from the workshop W.O. Larsen. It is a combination of rustication and smooth portions and a horn shank extension. The bowl is a classic Danish looking Canadian. The pipe came to us from eBay on 01/22/2024 from a seller in Jordan, Minnesota, USA.  The pipe is very dirty with a thick cake in the bowl and lava on the rim top. The rim edge looks like it might be slightly out of round but it was hard to know what was under the lava coat on the top and edges. It is stamped on the underside of the bowl and shank on a smooth panel. It reads Larsen [over] Copenhagen [over] Handmade [over] Made in Denmark. On the top side it is stamped Rustica. The finish was dusty and there were oils and grime ground into the rusticated and the smooth finish around the sides of the bowl. The horn shank extension had a metal insert to protect it from cracked and a tube inside connecting the extension to the shank. The stem fit well and was oxidized and dirty with tooth marks and chatter on both sides ahead of the button. Jeff took some photos of the pipe before he started his cleanup work. Jeff took a photo of the rim top to show the thick build up of lava on the rim top. It is also built up on the inner edge of the bowl. The thick cake in the bowl is very visible. He captured the oxidation and tooth marks on both sides of the stem ahead of the button as well. He took photos of the sides and the heel of the bowl to show the combined smooth and rusticated finish on the pipe. It is a unique finish that really gives depth to the rustication and shows the grain in the smooth portions. He took two photos to capture the stamping top and underside of the shank just ahead of the horn extension. Each one moves down the shank to the horn shank extension. It is clear and readable as noted above. You can also see that the horn extension is loose from the shank end.Once the stem was removed the shank extension came off in his hand. He took a photo of the parts.I turned to Pipephil (http://www.pipephil.eu/logos/en/logo-l2.html) to get a quick view of the brand once again. I did a screen capture of the site’s information and have included that below. The pipe I am working on is a Larsen as it is stamped similarly to the ones in the photos. It is interestingly stamped with a lot more detail than any of the ones shown in the screen capture below.I turned to Pipedia (https://pipedia.org/wiki/W.%C3%98._Larsen) for a quick read. The site is worth reading the history of the shop and the brand and its influence on Danish pipe carving. There was no additional information on the unique stamping on this pipe.

What I learned from the research is that the pipe is a Larsen made pipe that could have been designed by W.O Larsen himself or at least one of the shop carvers. It is a beauty that uses a unique finish to give definition to the shape. It is very similar to a previous Larsen that I restemmed and repaired (https://rebornpipes.com/2024/06/09/argggh-sometimes-the-easiest-restoration-becomes-a-real-nightmare/).

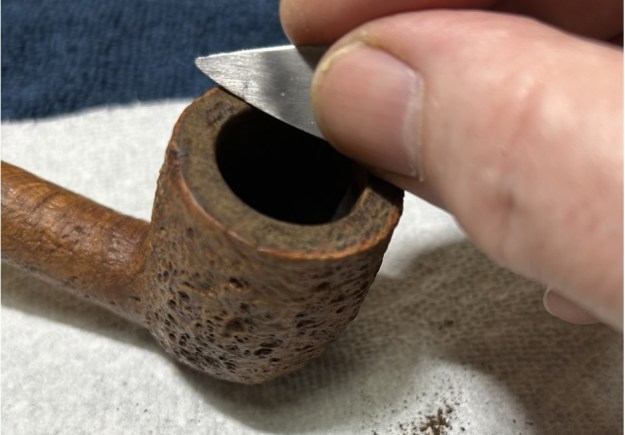
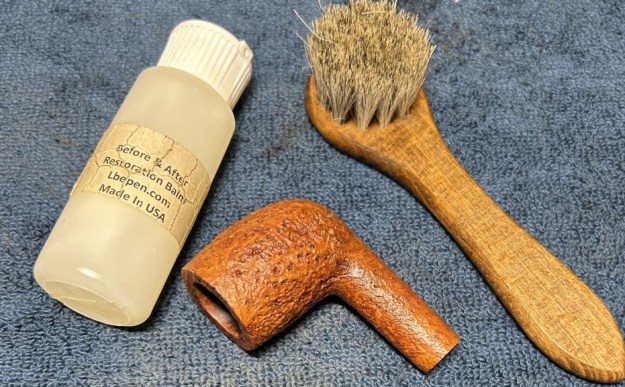
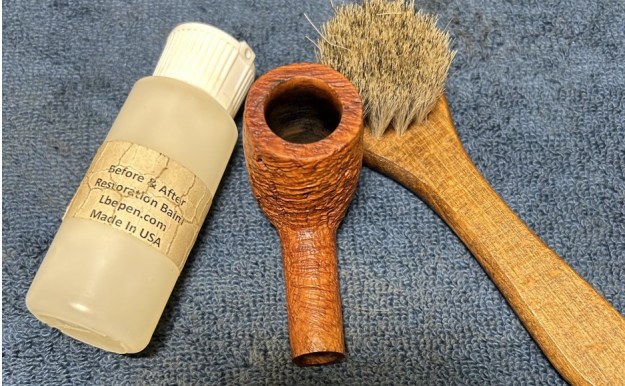
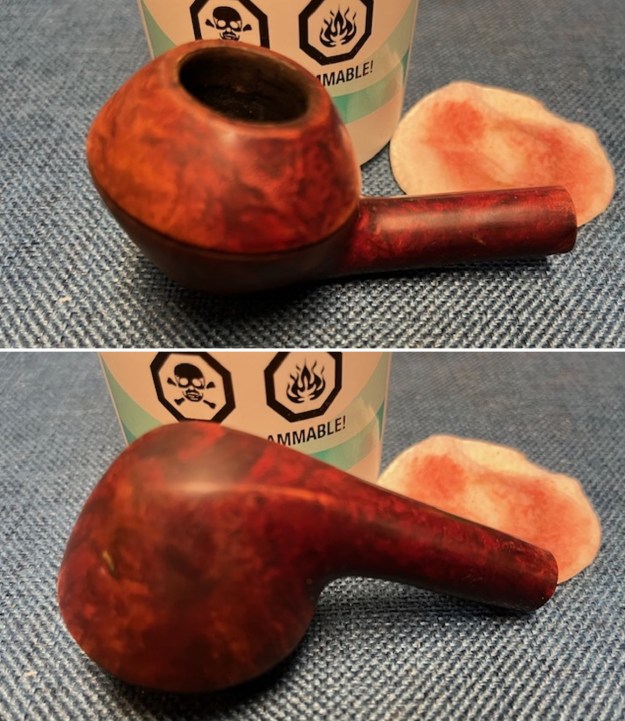
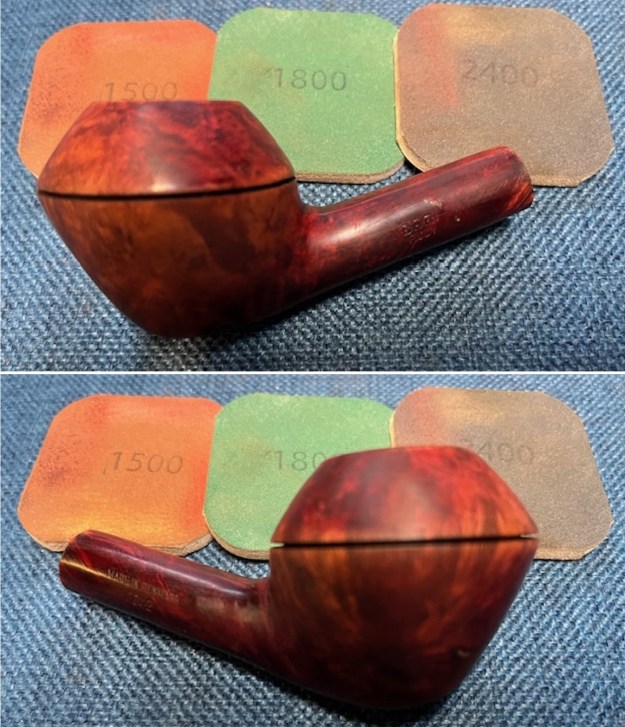
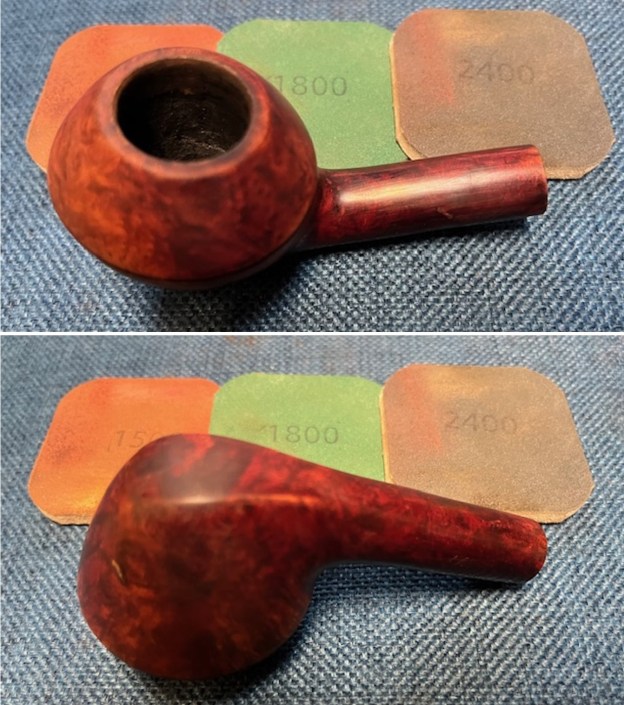
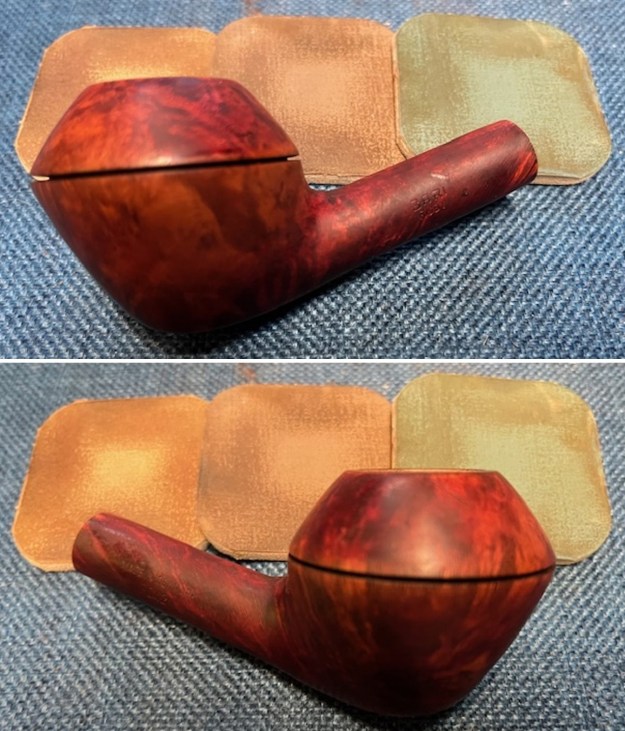
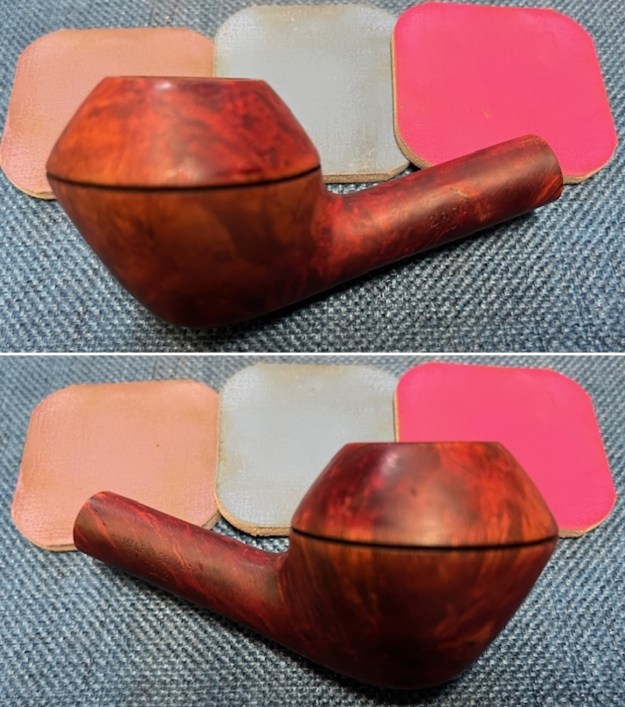
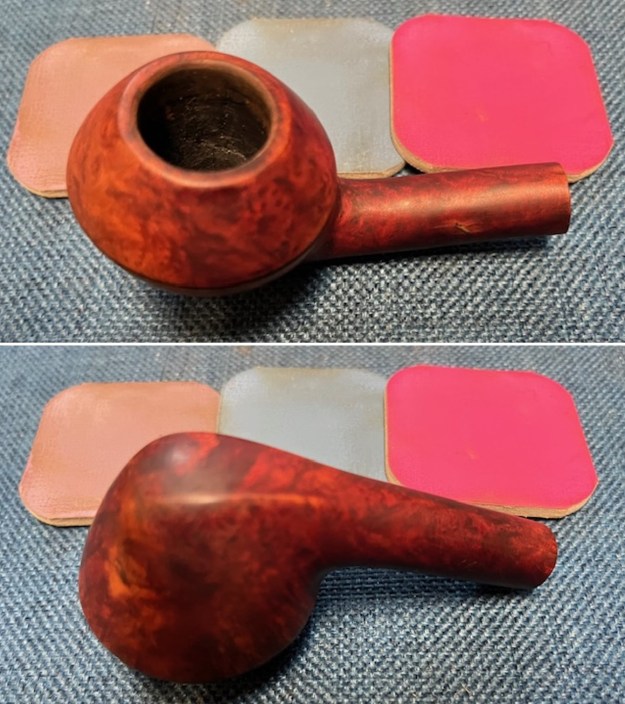
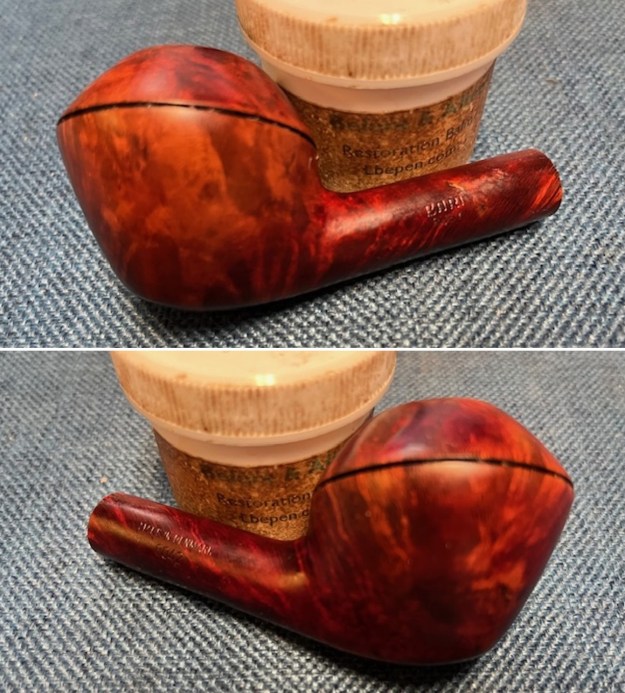
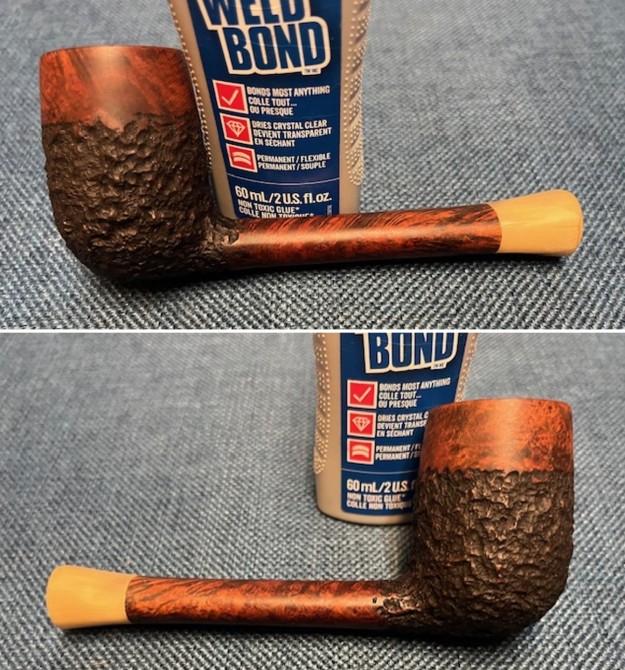
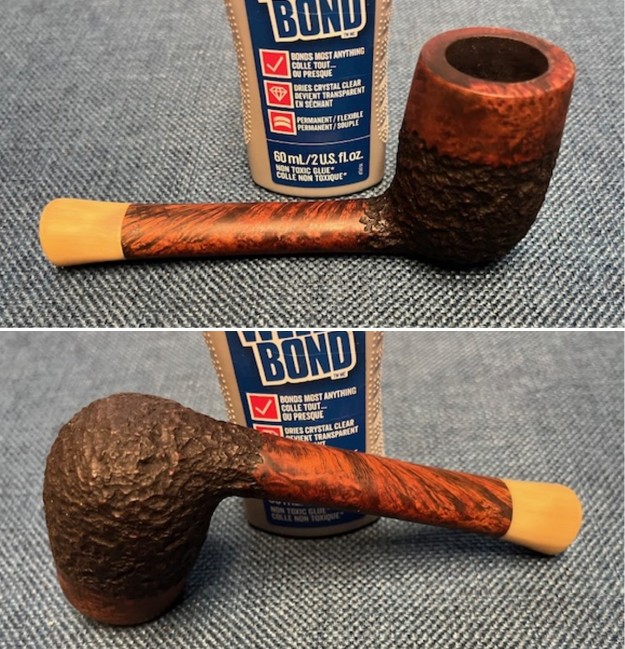
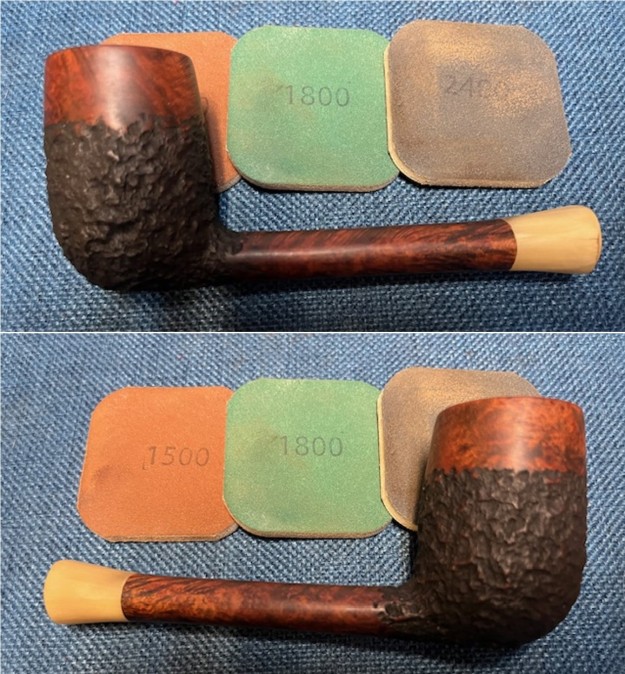
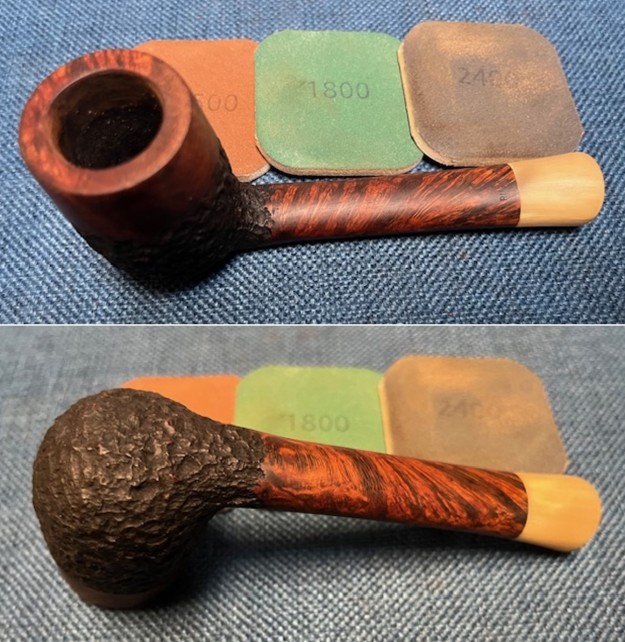
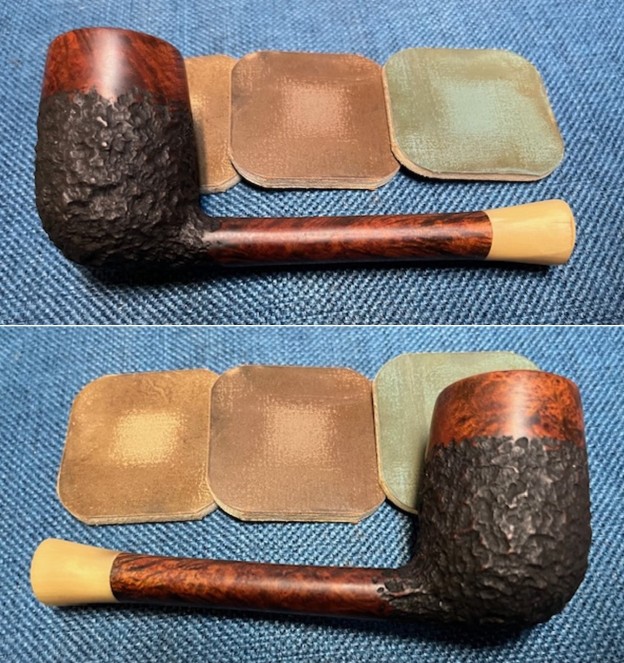
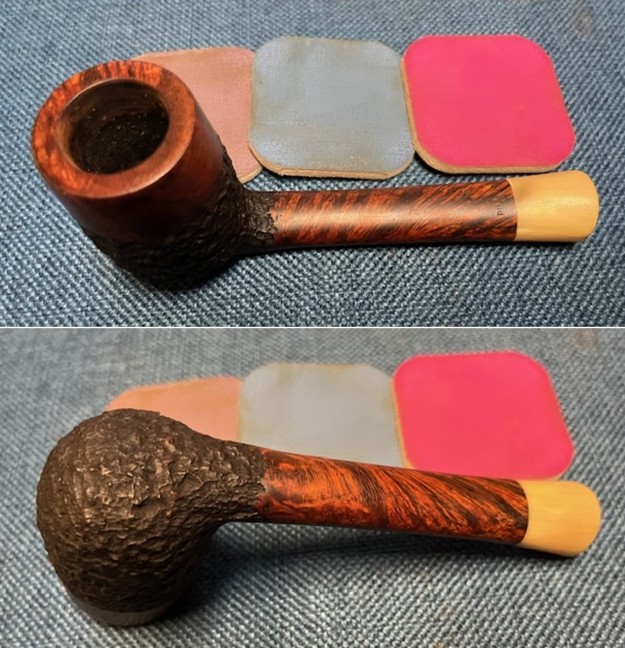
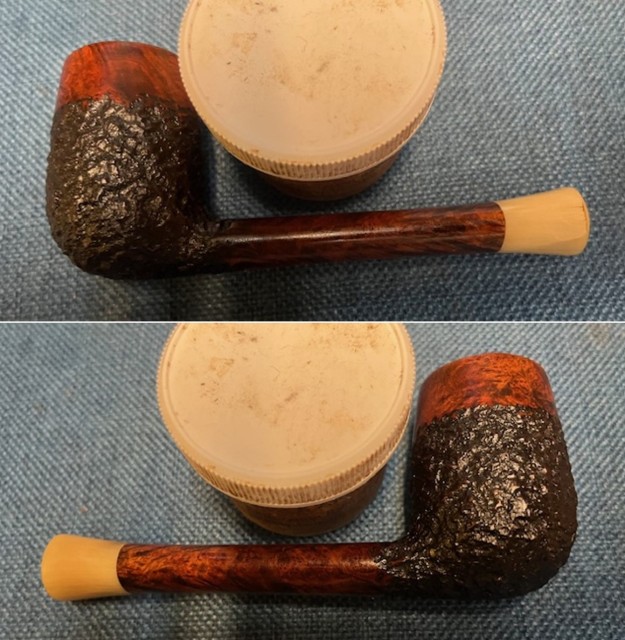
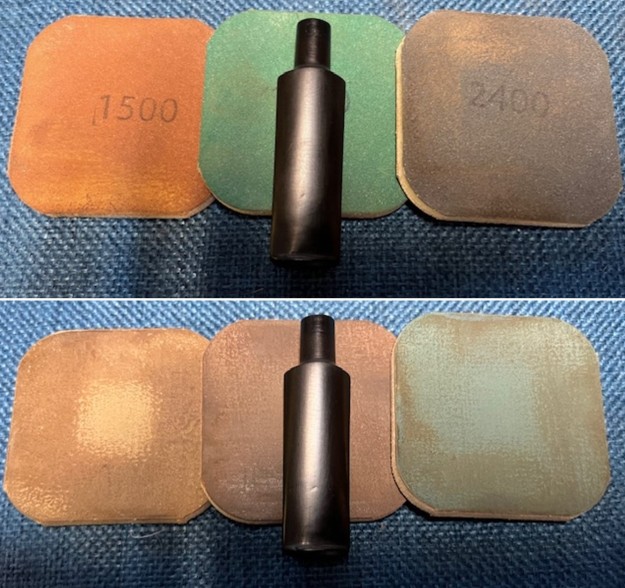
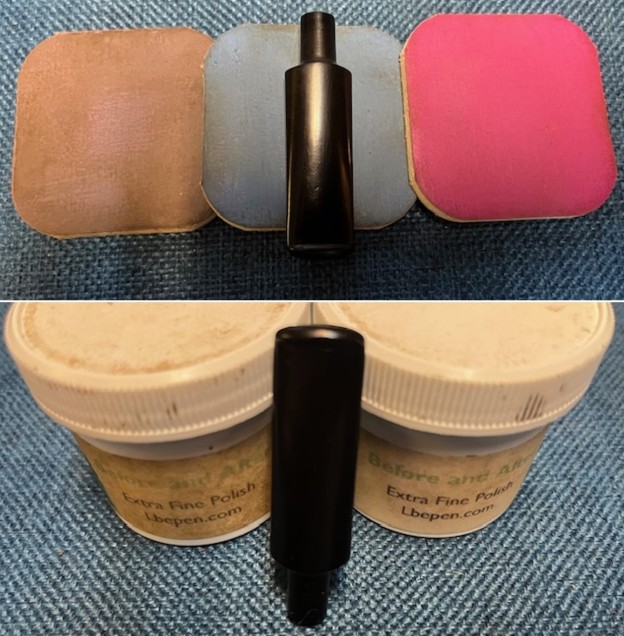
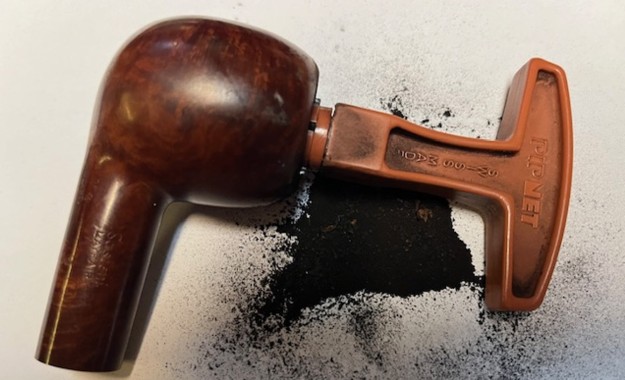
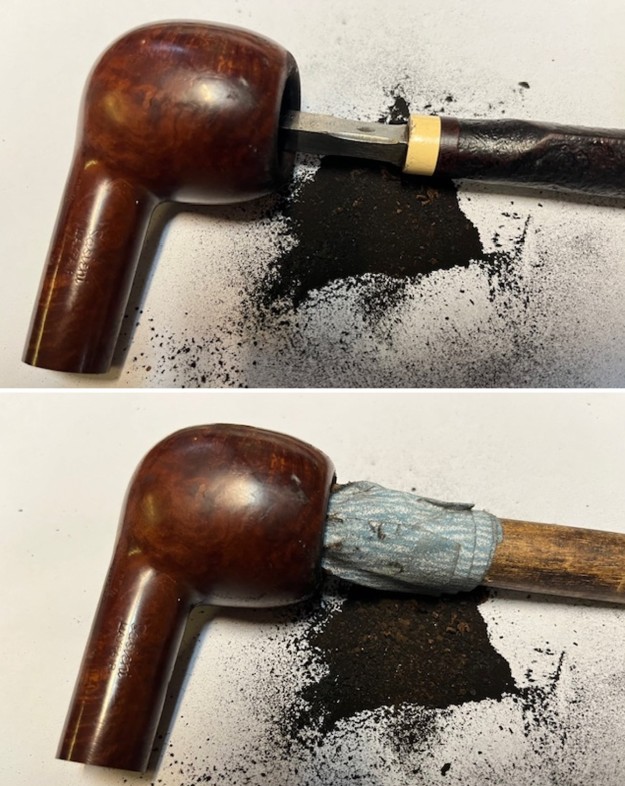
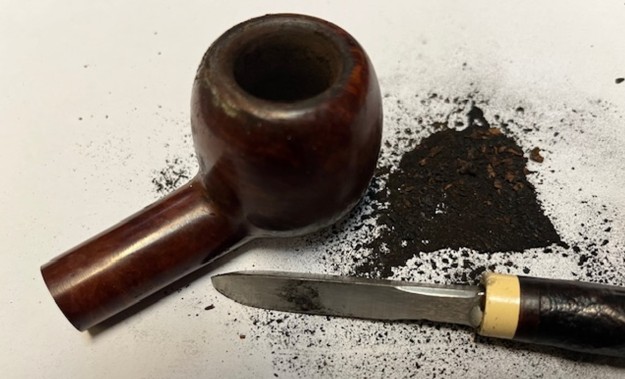
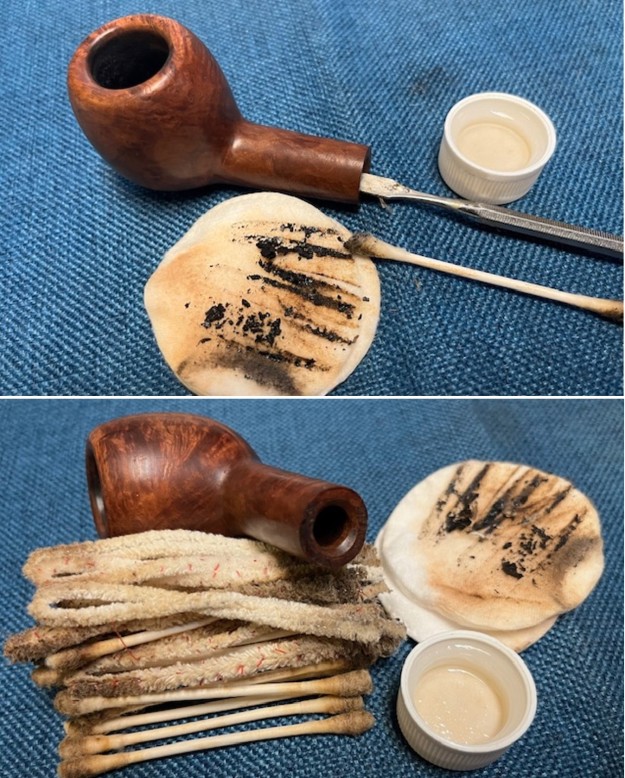
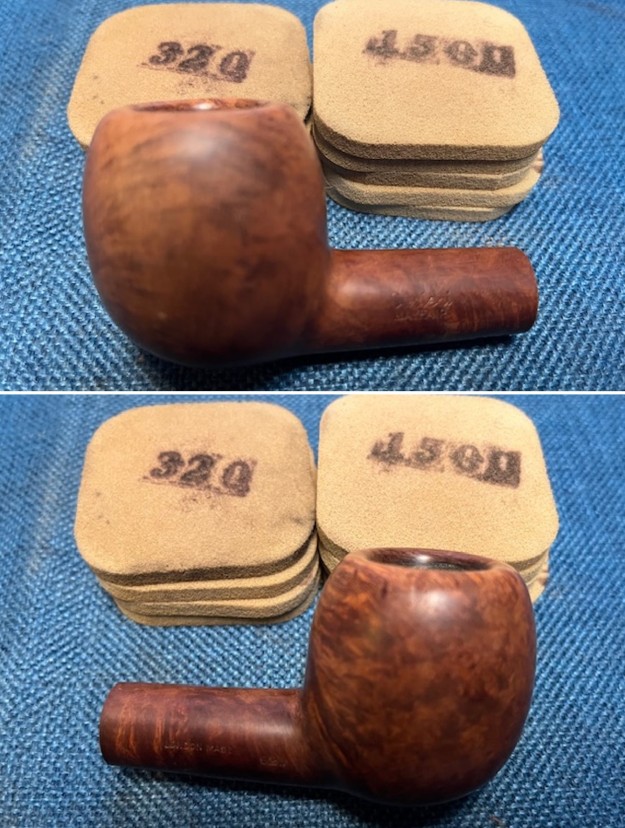
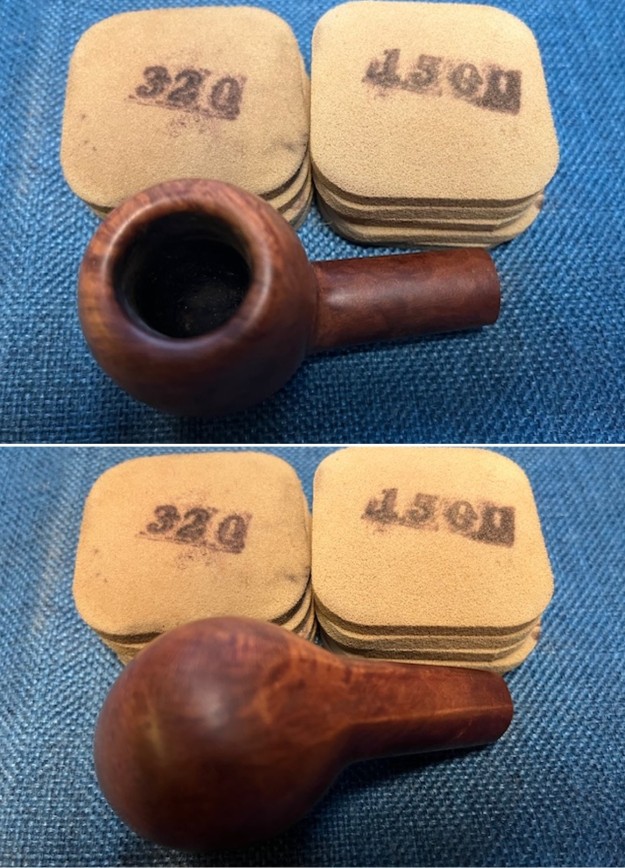
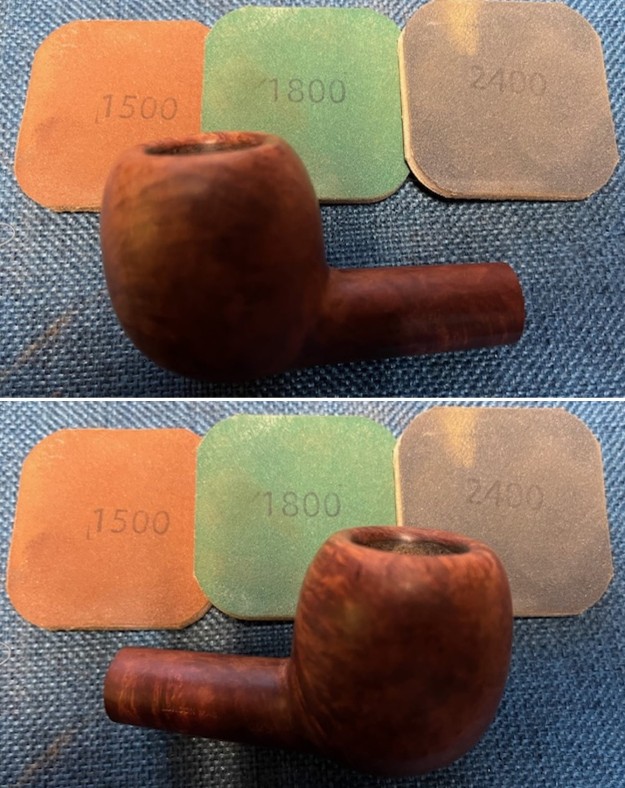
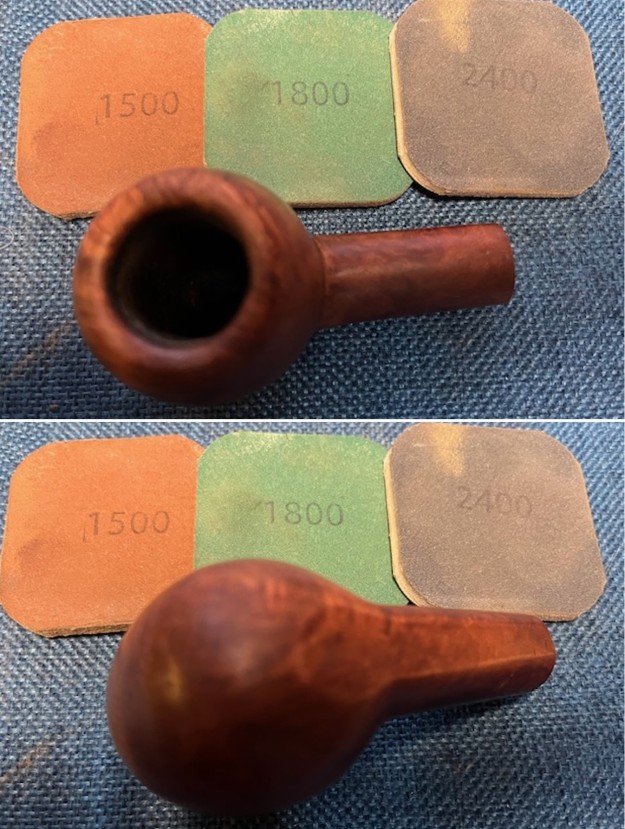
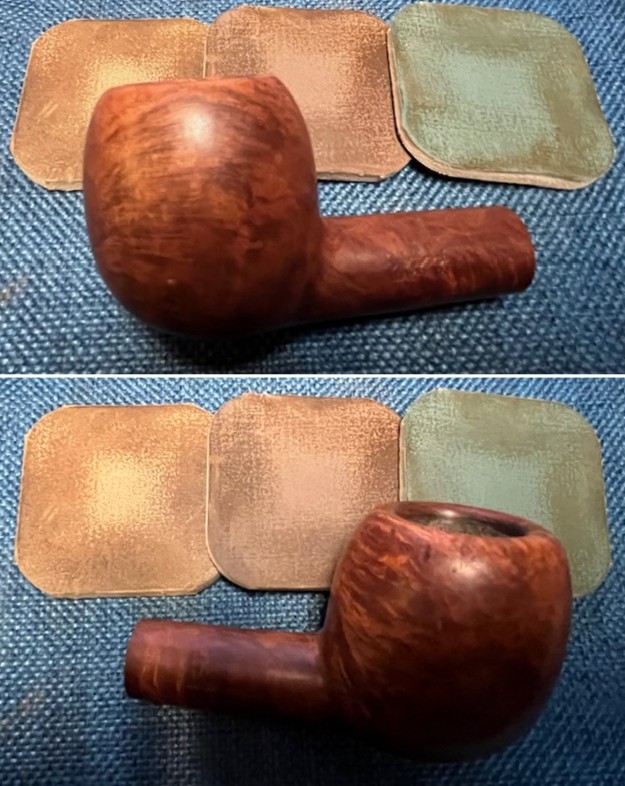
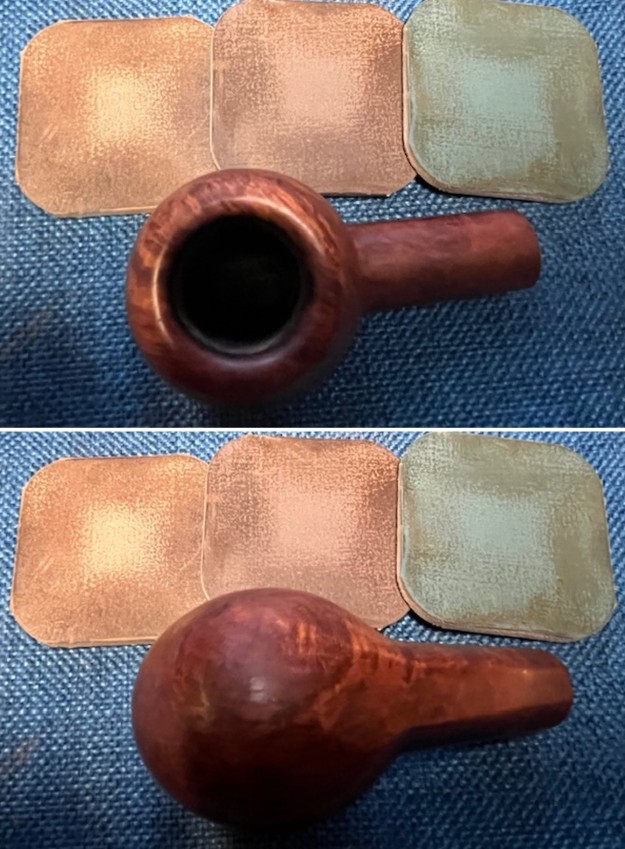
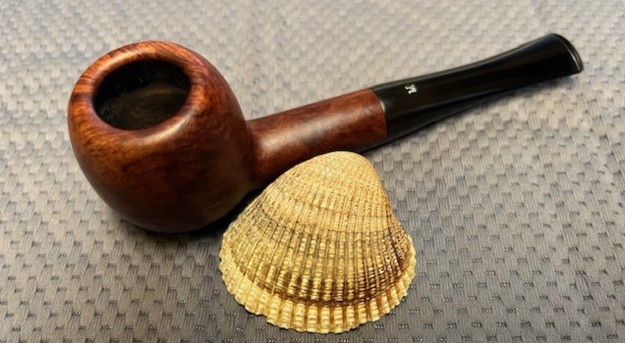
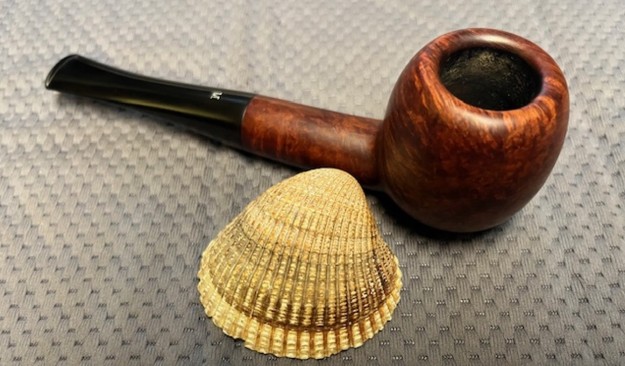
With that information I moved forward to work on the pipe itself and see what I had to do with it. Jeff had done an amazing job in removing all of the cake and the lava on the sand blast rim top. He had reamed the bowl with a PipNet Pipe Reamer and cleaned up the remnants with a Savinelli Fitsall Pipe Knife. He took the cake back to bare briar so we could check the walls for damage. He scrubbed the exterior of the bowl with Murphy’s Oil Soap and a tooth brush to remove the grime on the bowl and rim and was able to remove the lava and dirt. The finish on the bowl and rim top looked very good showing a unique and beautiful combination of smooth and rusticated finishes. He cleaned out the interior of the bowl and shank with pipe cleaners, cotton swabs and alcohol until they came out clean. He cleaned the stem with Soft Scrub on the outside and alcohol, pipe cleaners and cotton swabs on the inside. He soaked it in Briarville’s stem deoxidizer to remove the oxidation. It certainly looked better when it arrived.  I took photos of the pipe before I started my part of the restoration.  I took some close up photos of the rim top showing the inner edge of the bowl – damages and nicks in the edge. I took photos of the stem to try and capture the tooth marks but they are hard to see in the photos.I took photos of the stamping on the top and underside of the shank to show the condition after the cleanup. This stamping is clearer than the photos show. I took a photo of the bowl with the stem next to it to show the overall look of the pipe. I decided to start my work on this pipe by regluing the horn shank extension to the briar. I have used different types of glue in the past but I have gone back to using Weld Bond all purpose glue. It gives me lots of time to fine tune the fit to the shank. Once I have it in place I push the parts together to squeeze out the excess glue and let it start to cure. I wiped down the excess glue on the briar and horn and set it aside to cure over night. Once the repair cured I went on to address the chipping and marks on the inner edge of the rim. I used a folded piece of 220 grit sandpaper to smooth out the damage. I gave the rim a very subtle bevel and the damage disappeared.I polished the briar and the horn shank extension with micromesh sanding pads – dry sanding with 1500-12000 grit pads. I wiped the bowl down after each pad with a damp cloth to remove the sanding dust. I rubbed the bowl down with Before & After Restoration Balm. I worked it into the smooth and the rusticated finish of the bowl, rim top and shank with my fingertips and a shoe brush to clean, enliven and protect it. I find that the balm really makes the briar come alive again. The contrasts in the layers of stain and the contrasting finish really made the grain stand out. I let the balm sit for 15 minutes and then buffed with a cotton cloth and shoe brush to raise the shine. I set the bowl aside and turned my attention to the stem. I polished it with micromesh sanding pads – dry sanding with 1500-12000 grit sanding pads. I wiped it down after each sanding pad with a cloth containing some Obsidian Oil. I finished polishing it with Before & After Pipe Stem Polish – both Fine and Extra Fine and buffed it off with a cotton cloth. This Larsen Copenhagen Handmade Rustica Canadian is a great looking pipe now that it has been restored. The shape is elegant and flowing with a thin, fitted taper vulcanite stem. I put the stem on the bowl and carefully buffed the pipe with Blue Diamond on the buffing wheel using a light touch on the briar. I gave the rusticated parts of the bowl multiple coats of Conservator’s Wax and the smooth portions and the stem multiple coats of carnauba wax on the buffing wheel and followed that by buffing the entire pipe with a clean buffing pad. I hand buffed the pipe with a microfiber cloth to deepen the shine. The finished Larsen Copenhagen Rustica Canadian fits nicely in the hand and feels great. Give the finished pipe a look in the photos below. The dimensions of the pipe are Length: 7 inches, Height: 2 inches, Outside diameter of the bowl: 1 ¼ inches, Chamber diameter: ¾ of an inch. The weight of the pipe is 1.98 ounces/56 grams. I will be putting it on the Danish Pipe Maker Section of the rebornpipes store shortly. If you are interested in adding this pipe to your collection send me a message or an email. Thanks for reading this blog and my reflections on the pipe while I worked on it. There are many more to come!

Fresh Life for a Mastercraft Standard Calabash with a Bakelite Bowl


By Steve Laug

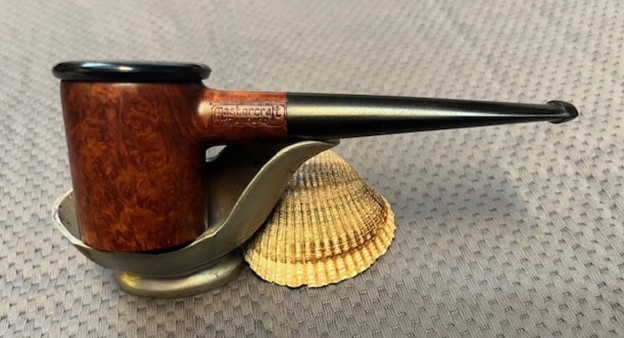
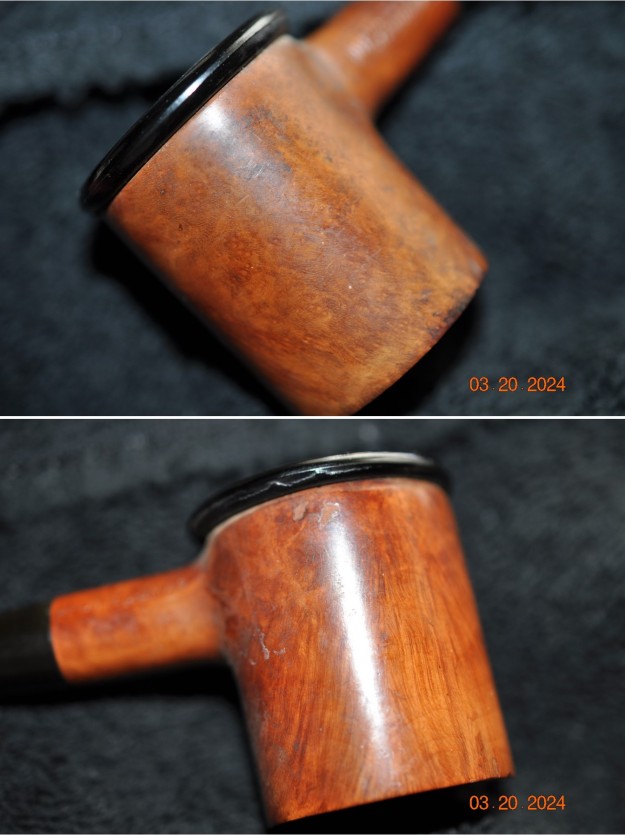
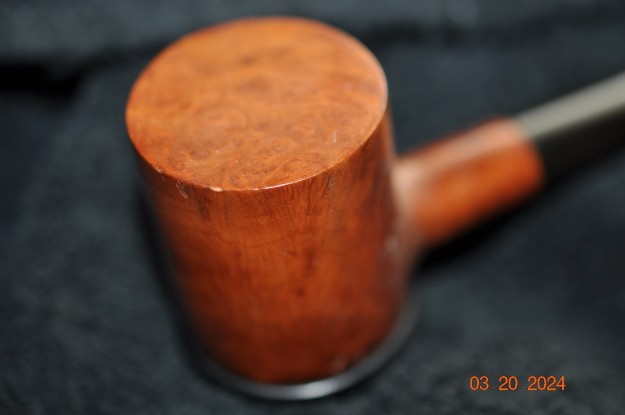
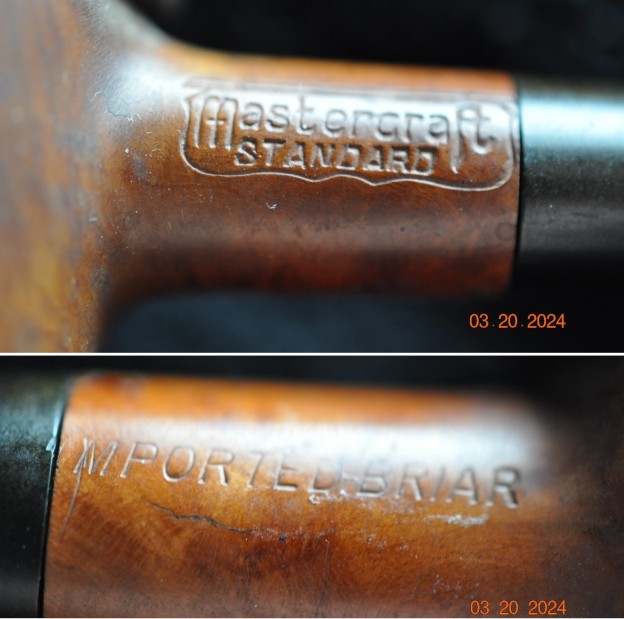
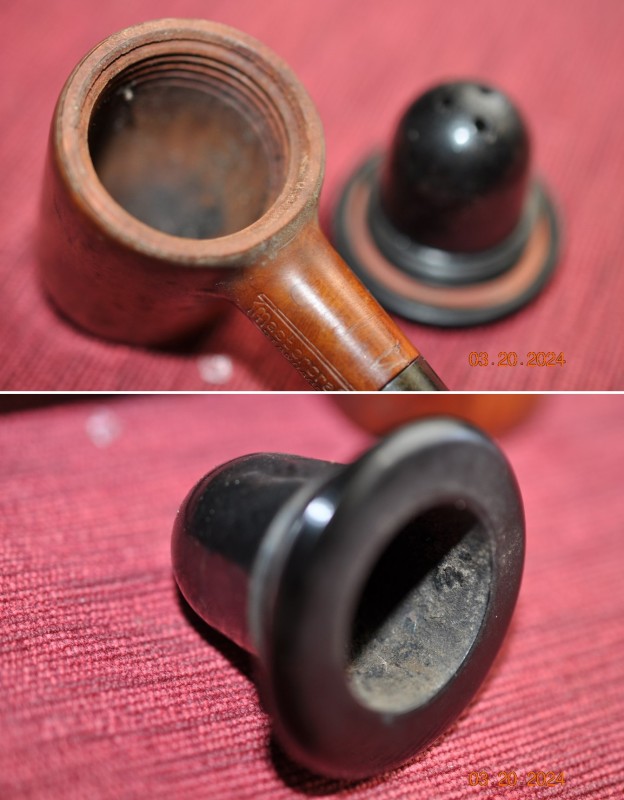
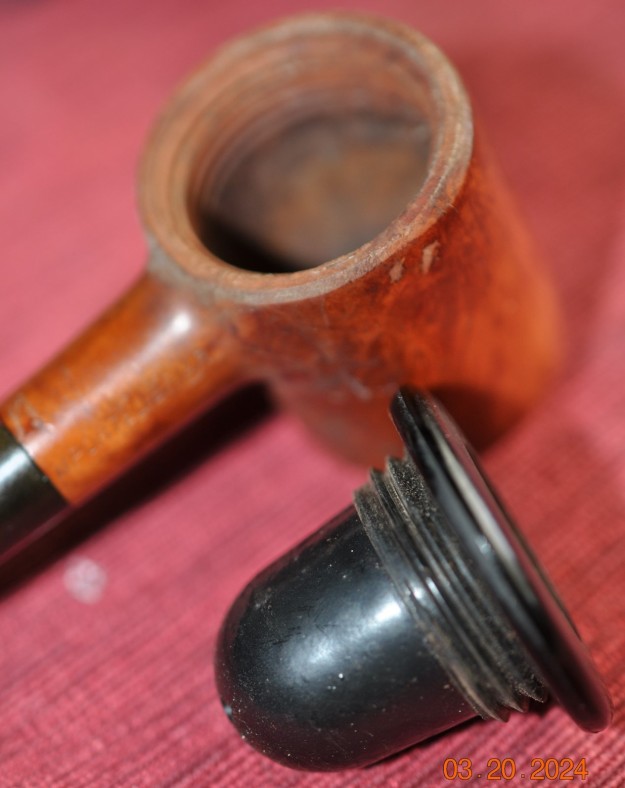
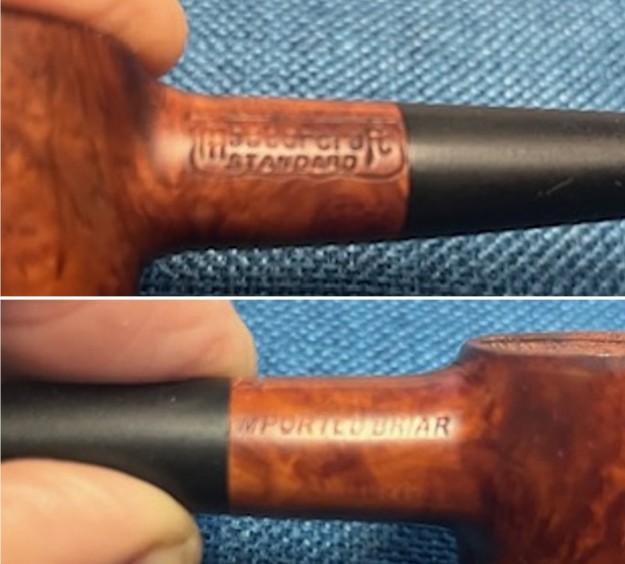
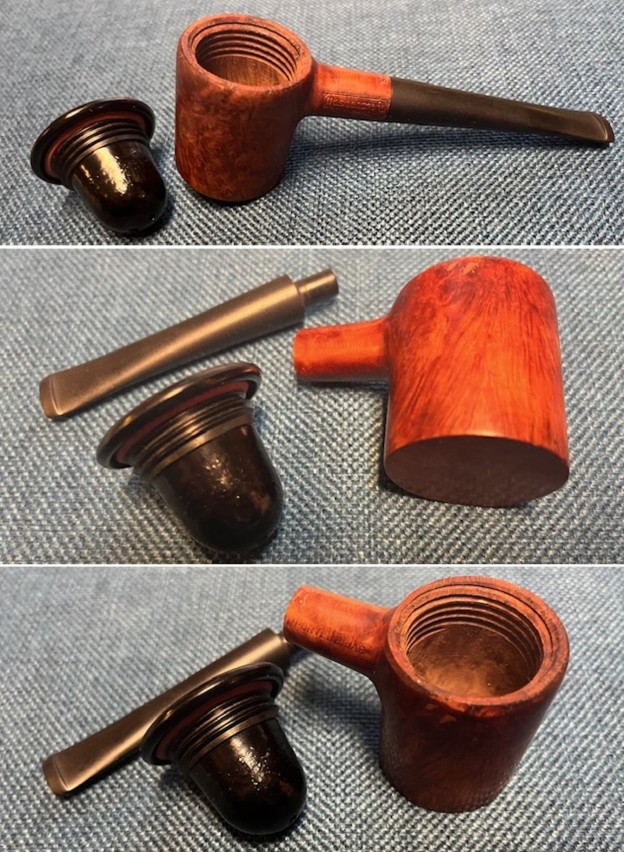
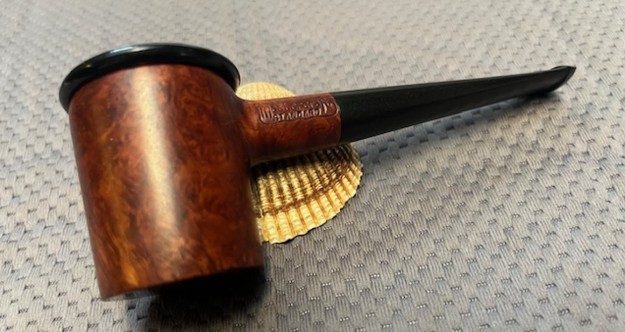
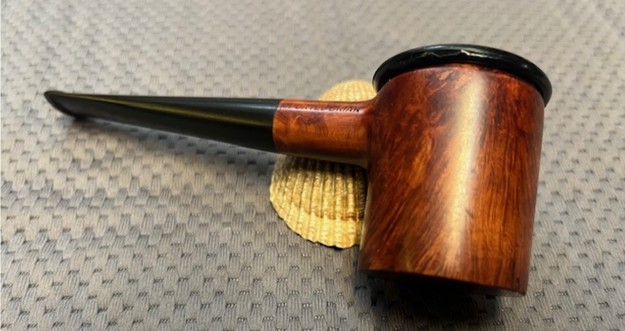
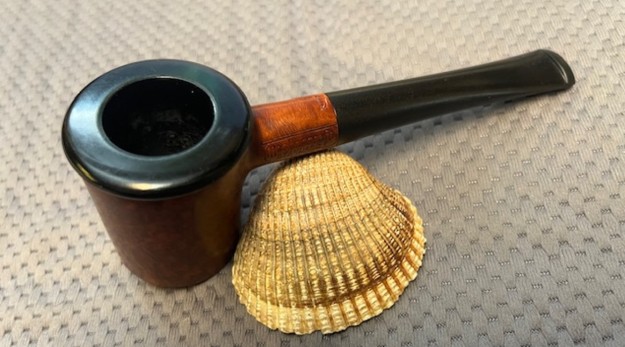
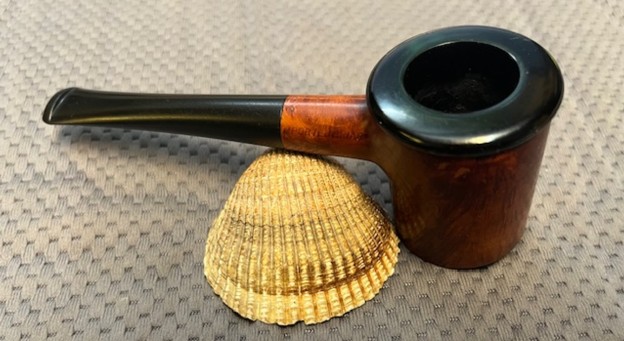
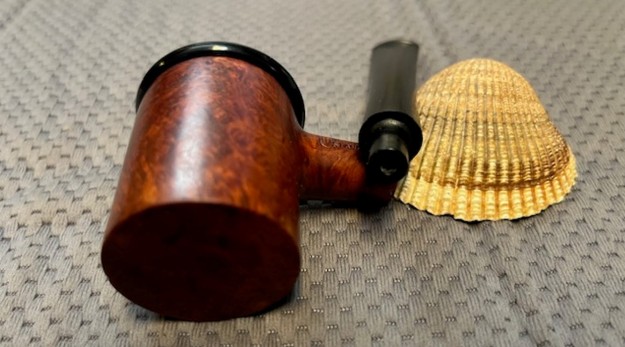
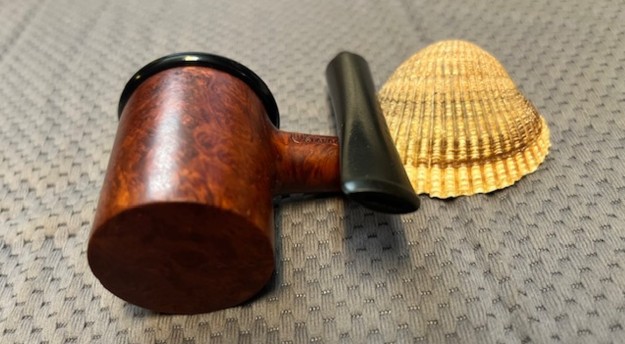
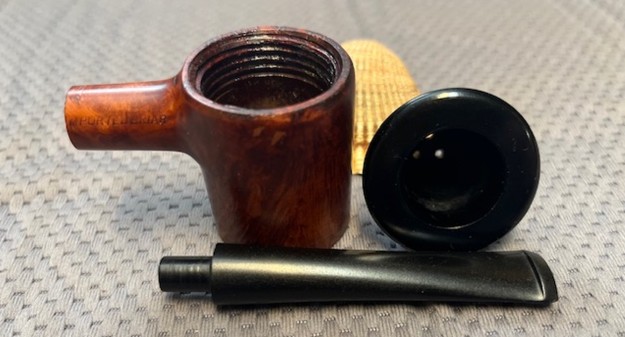
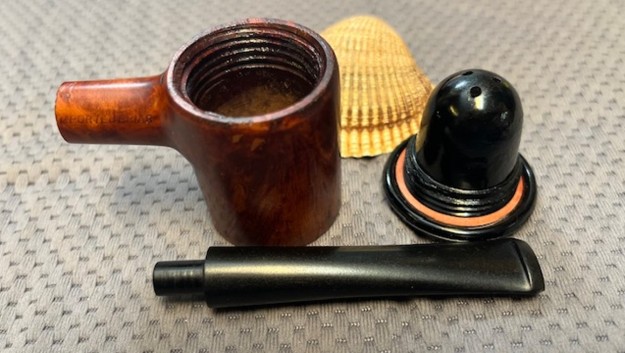
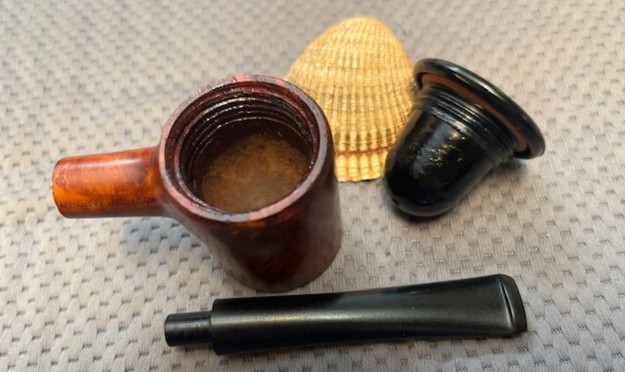
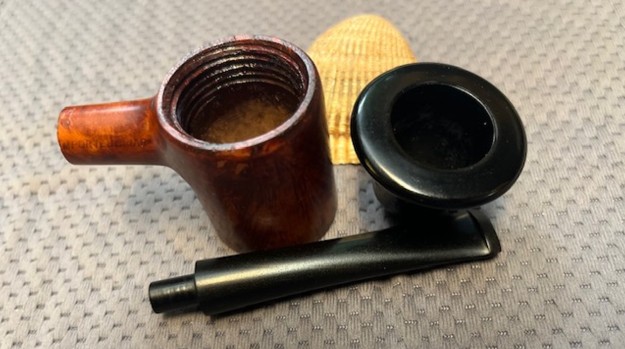
I don’t know what it is but there is something about these Campaign style pipes that captures my eye and my imagination. They are really quite ugly in terms of aesthetics so it can’t be that so I am not sure. It is basically a briar calabash pipe with a Bakelite bowl. I have had a few over the years so I know that they smoke very cool much like a gourd calabash. The bowl is screwed into the briar base with threads on both. The entrance of the airway is at the top of the bowl so the entire briar bowl is a cooling chamber to allow the settling of tars, oil and debris from the smoke before it rises to be drawn into the stem and your mouth. This pipe came to us on 12/07/2023 from a seller in Milwaukee, Oregon, USA. The pipe is stamped on the left side of the shank and reads Mastercraft [over] Standard in the Mastercraft logo shield. On the right side it reads IMPORTED BRIAR with the letter I missing on the shank end. There is no other stamping on the bowl, the insert or the vulcanite stem. The externals of the bowl and stem are quite dirty with oils and tars ground into the briar and light oxidation and chatter on the stem surface. The Bakelite bowl insert has a heavy cake in it with some lava on the rim top. The pipe was obviously someone’s favourite. Jeff took photos of the pipe before he started to clean it up. I have included them below. Jeff took close-up photos of the bowl and rim top to show its condition. The bowl had a thick cake on the walls of the Bakelite and some lava overflow on the rim top. The edges looked very good at this point under the lava. The stem was lightly oxidized and showed some tooth marks and chatter on both sides ahead of the button. Jeff took photos of the sides of the bowl and the heel to show the condition of the bowl at this point. It was dirty as can be seen. There appear to also be a few small fills on the right side of the bowl near the top. It will be interesting to see how well this cleans up.He took photos of the stamping on the shank sides. You can see that it is clear and readable as noted bove. You can also see the letter “I” is missing on the right side of the shank. It probably was stamped in the gap between the stem and the shank.Jeff unscrewed the Bakelite bowl from the briar bowl and took photos. You can see the rubber gasket at the top of the inside of the Bakelite cap. You can also see the three holes in the bottom of the Bakelite cup. This kind of Briar Calabash has been made by many companies – WDC, Kaywoodie, Mastercraft, Dunhill and others. They have come out with different names. They have been branded as Campaign pipes, Captain Warren pipes, Lyon Pipes, the General Dawes pipes and other names. Obviously, the concept of the inserted bowl is quite popular and has been around for a long time. The bowl insert has been made of different things in various pipes – the bowls could be meerschaum, briar or as in this case Bakelite. It really is a true calabash that acts to filter out tars, oils and debris and deliver a smooth smoke.

I have restored several of them over the years and always enjoyed working on them. They are also some good smoking pipes. Here are some links to a few of the pipes I have worked on over the years.

https://rebornpipes.com/2017/07/02/loving-the-old-wdc-campaign-pipe/

https://rebornpipes.com/2018/02/03/61583/

https://rebornpipes.com/2021/04/04/resurrecting-a-briar-wdc-campaign-pipe/

I found an excellent article on Pipedia on the Campaign style of pipes and two particular brands that were issued. It has some great history on the General Dawes and the Captain Warren pipes and the men behind them both. Give the article a read and take time to take a trip back in time. (https://pipedia.org/wiki/The_General_and_the_Captain:_Two_Period_Pipes_of_the_Early_Twentieth_Century).

The pipe I am working on is a little different than these because of the Bakelite Bowl that screws into the briar bowl. The others above were typically briar bowls and even a meerschaum bowl occasionally but I had not seen one of these with a Bakelite cup. It was now time to do my part of the work on the pipe.

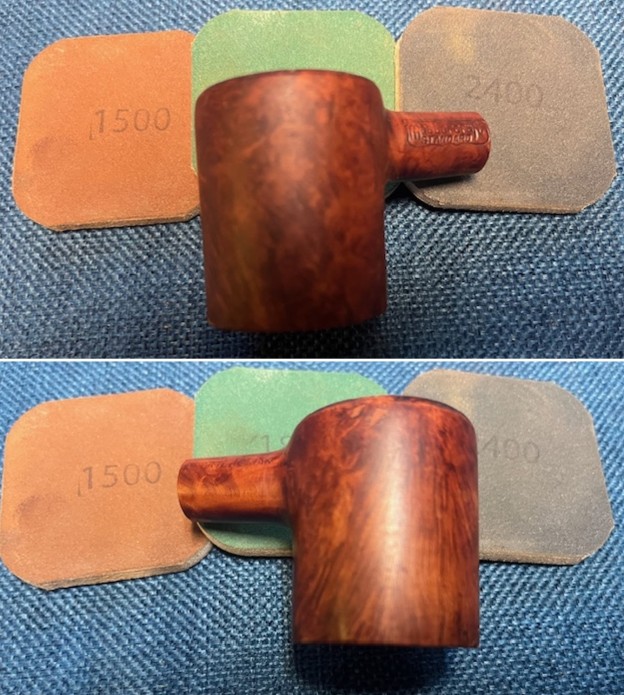
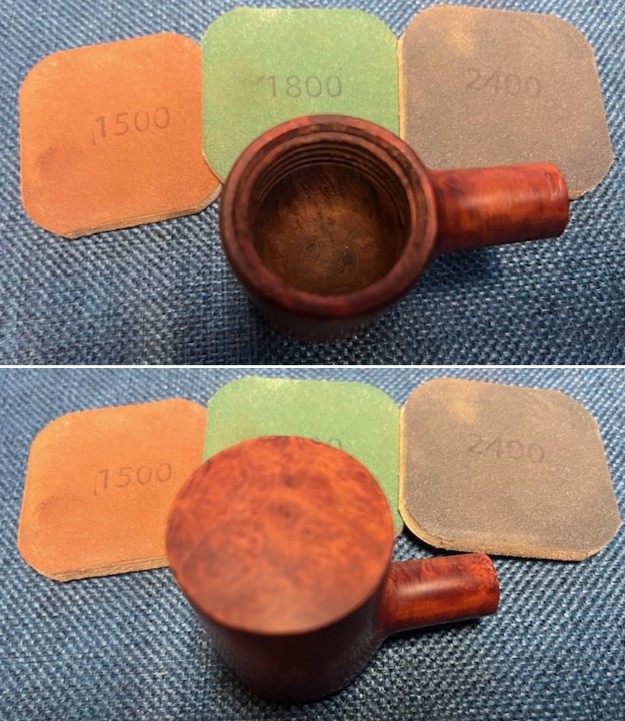
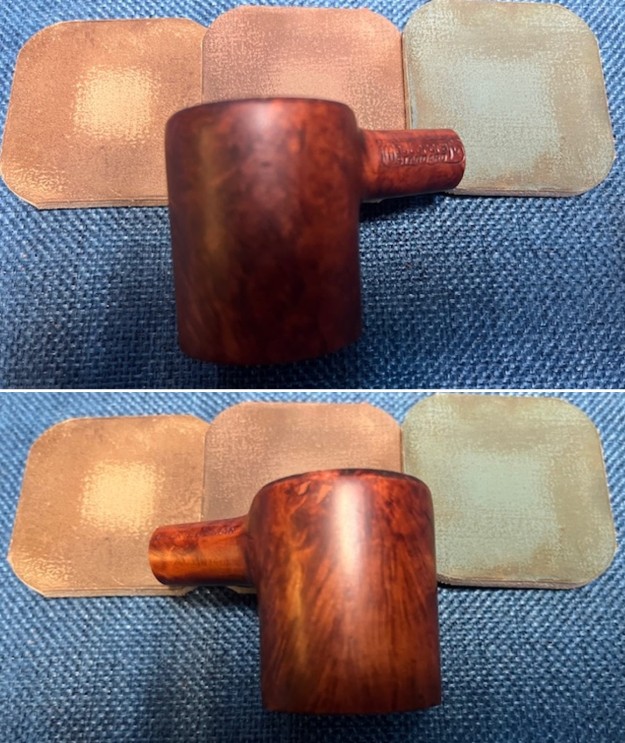
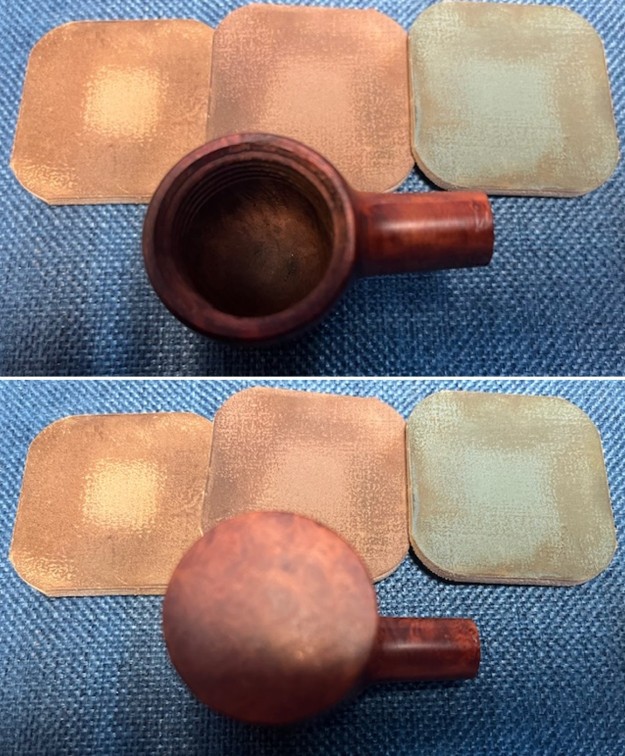
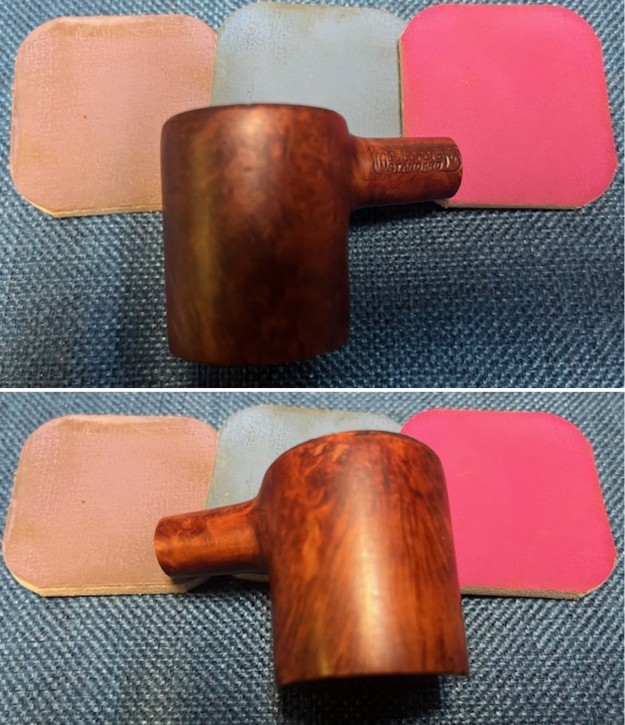
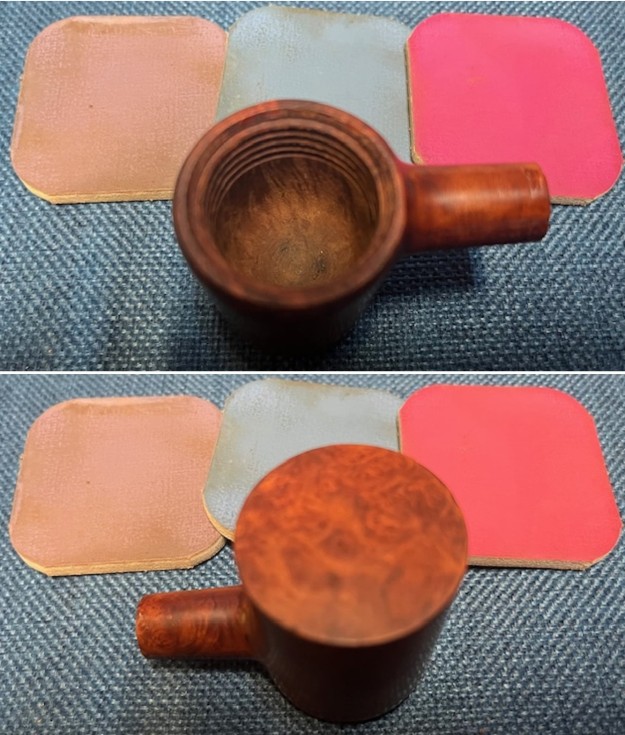
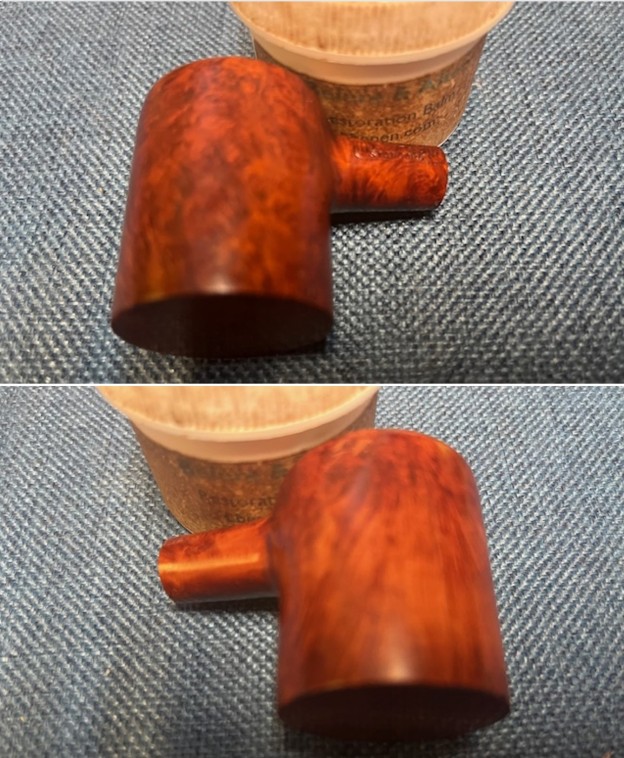
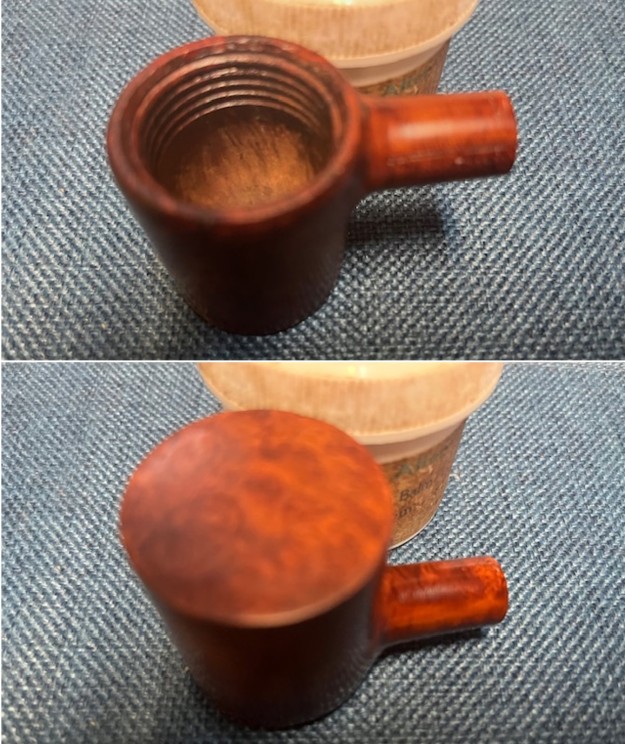
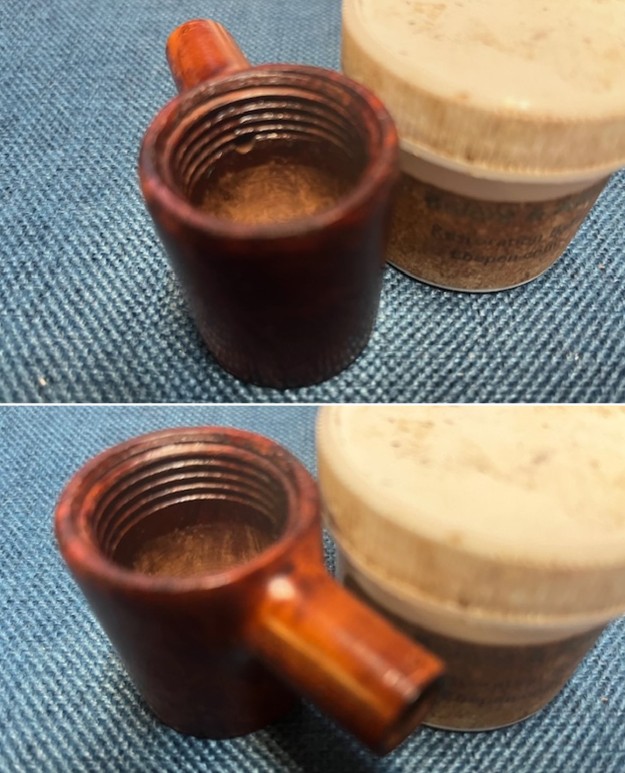
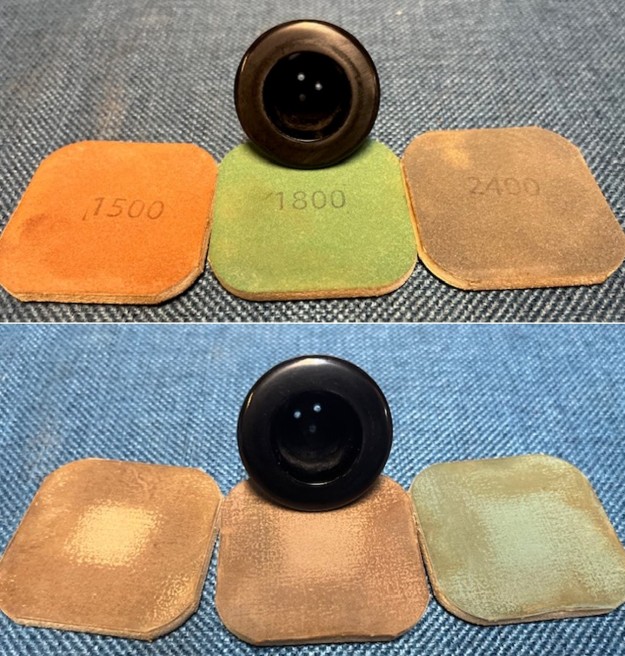
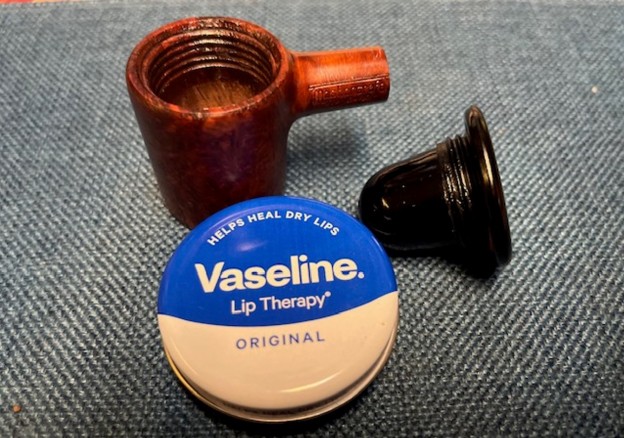
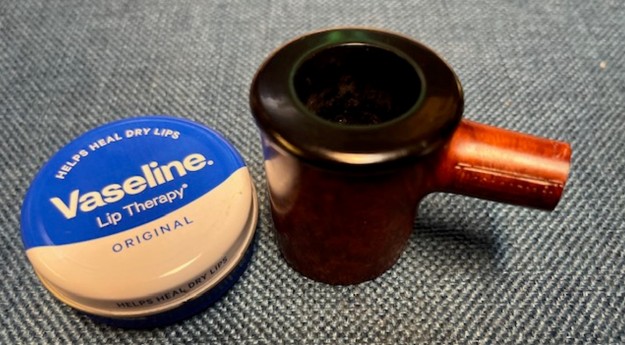
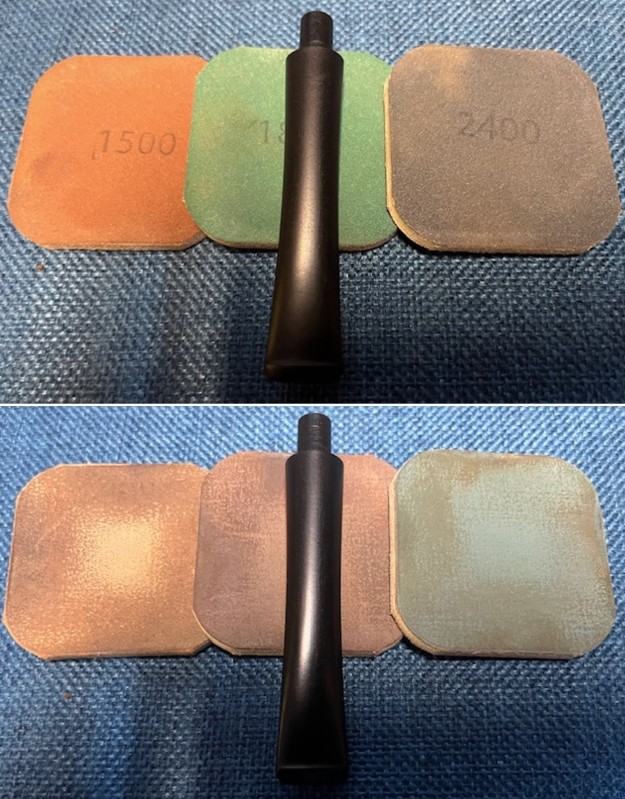
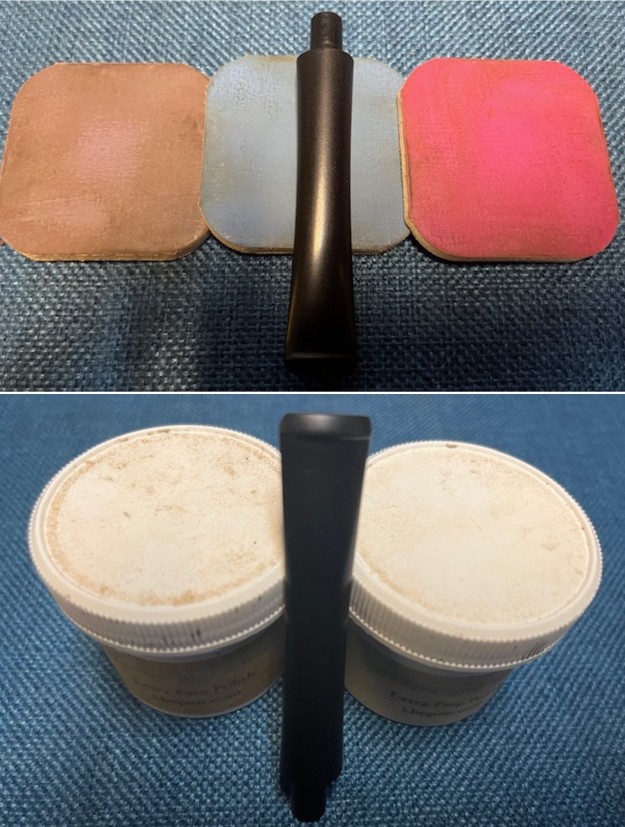
Jeff reamed it with a PipNet pipe reamer and cleaned up the reaming with a Savinelli Fitsall Pipe Knife. He scrubbed out the internals of the shank and stem with alcohol, pipe cleaners and cotton swabs until the pipe was clean. He scrubbed the exterior of the bowl with Murphy’s Oil Soap and a tooth brush to remove the grime and grit on the briar and the lava on the rim top. The finish on the bowl looked really good when I got it. The rim top and edges looked very good. He soaked the twin bore stem in Briarville’s Pipe Stem Deoxidizer bath to remove the oxidation. The stem looked better and the deep tooth marks and chatter on the surface were also visible. When the pipe arrived here in Vancouver for the second stop of its restoration tour it looked much better than when he found it. I took photos of the pipe before I started my work on it. I took photos of the condition of the rim top and stem before I started working. The rim top looks very good and the bowl is spotless. The stem is much better but still shows some oxidation and tooth chatter and deep marks on both sides near the button.   I took photos of the stamping on the sides of the shank. The stamping was clear and readable as noted above.I took the bowl and stem apart and took a photo of the pipe to show the look of the pipe. The first one shows the bowl unscrewed and the threads on both. The other photos show the parts with the stem removed.Now it was my turn to work on the pipe. The bowl was in very good condition so I polished the briar with micromesh sanding pads – dry sanding with 1500-12000 grit pads. I wiped the bowl down after each pad with a damp cloth to remove the sanding dust. I worked some Before & After Restoration Balm into the finish of the bowl, rim top and shank with my fingertips to clean, enliven and protect it. I find that the balm really makes the briar come alive again. The contrasts in the layers of stain really made the grain stand out. I let the balm sit for 15 minutes and then buffed with a cotton cloth to raise the shine. The bowl really looks good at this point. I polished the Bakelite cup top with micromesh sanding pads – dry sanding with 1500-12000 grit sanding pads. I wiped the rim top down after each sanding pad with a damp cloth. It really took on a shine. I wiped the threads down on both the cup insert and the briar bowl with Vaseline. I rubbed it deep into the threads of the briar and on the threads of the insert. I polished the vulcanite with micromesh sanding pads – 1500-12000 grit pads. I wiped it down with Obsidian Oil after each sanding pad. I used Before & After Pipe Polish – both Fine and Extra Fine to further polish the stem. I gave it a final coat of Obsidian Oil and let it dry. This Mastercraft Standard Calabash with a Bakelite Bowl Cup and a vulcanite taper stem has a beautiful, uniquely grained outer bowl that houses the threaded Bakelite cup. The polished vulcanite taper stem adds to the mix. I put the stem back on the bowl and buffed the pipe with Blue Diamond on the buffing wheel being careful to not buff the stamping. I gave the bowl and the stem multiple coats of carnauba wax on the buffing wheel and followed that by buffing it with a clean buffing pad. I hand buffed the pipe with a microfiber cloth to deepen the shine. The finished Mastercraft Standard Calabash is quite nice and feels great in the hand. Give the finished pipe a look in the photos below. The dimensions of the pipe are Length: 5 inches, Height: 1 ¾ inches, Outside diameter of the bowl: 1 ½ inches, Chamber diameter: ¾ of an inch. The weight of the pipe is 1.45 ounces/41 grams. Thanks for walking through the restoration with me as I worked over another beautiful pipe. This one will be going on the rebornpipes store in the American Pipe Makers Section. Thanks for your time.

A Linkman’s Dr Grabow De Luxe 9733 Restoration


John, I love these older Linkman Pipes and find that they use quality briar and are well made. That is a beauty. well done on the restoration. had to share it here. thanks

Photographed and written by John M. Young A few years ago when I started the hobby of pipe restoration I picked up a Linkman’s Dr Grabow 9733A with …

A Linkman’s Dr Grabow De Luxe 9733 Restoration

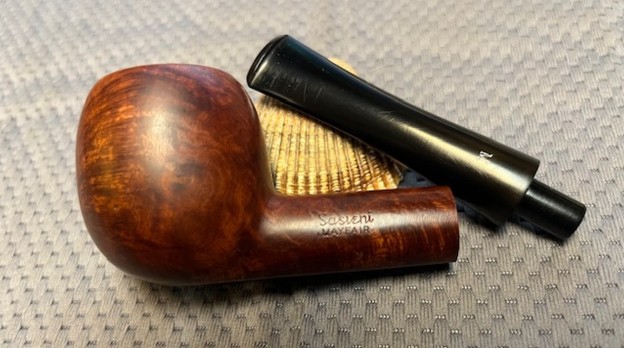
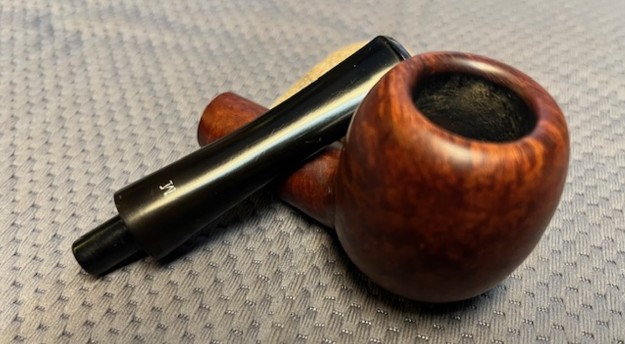
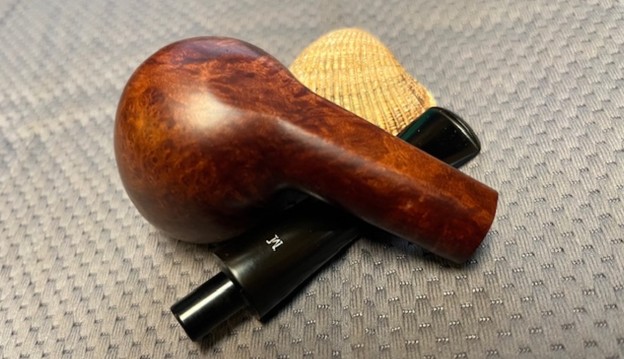
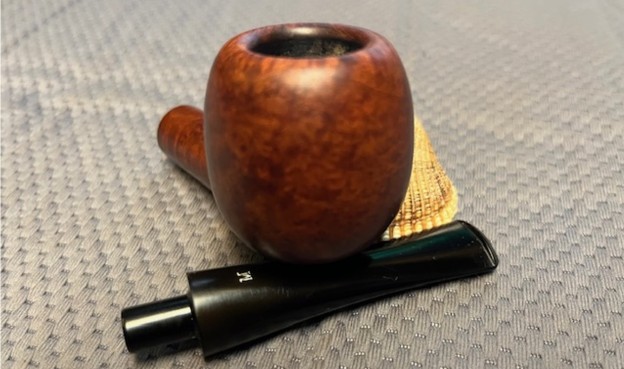
Cleaning up another Bellingham Pipe Hunt Find, a Sasieni Mayfair 52N Apple


By Steve Laug

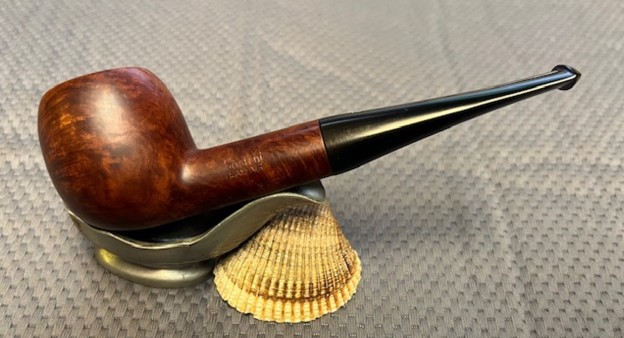
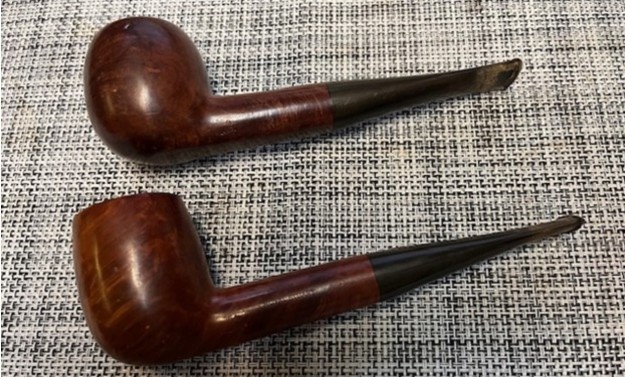
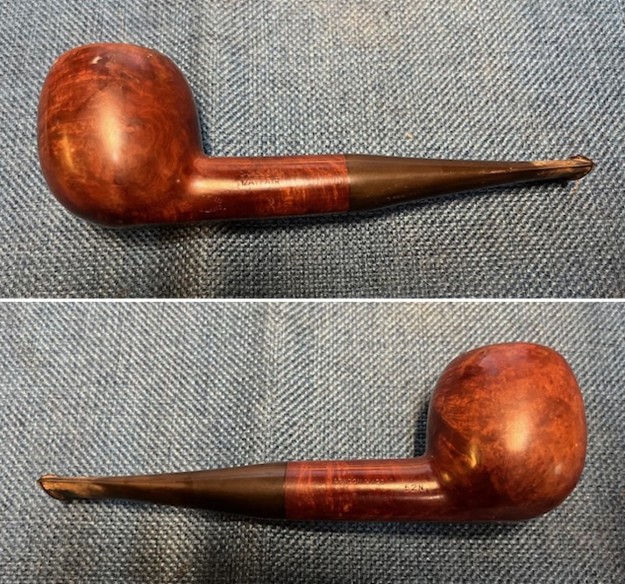
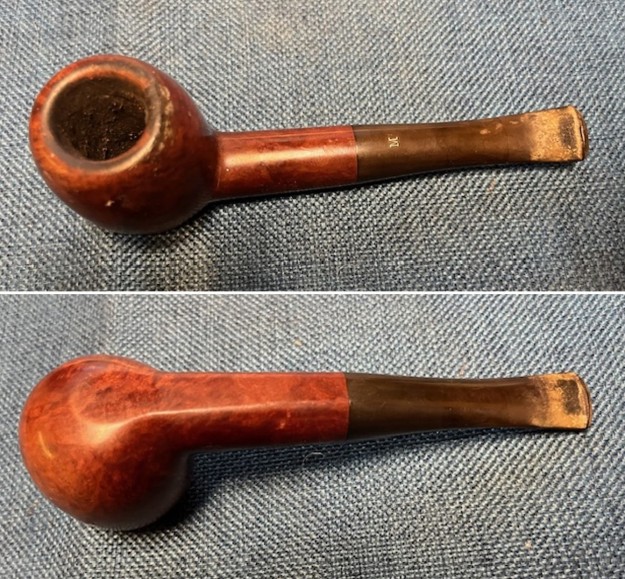
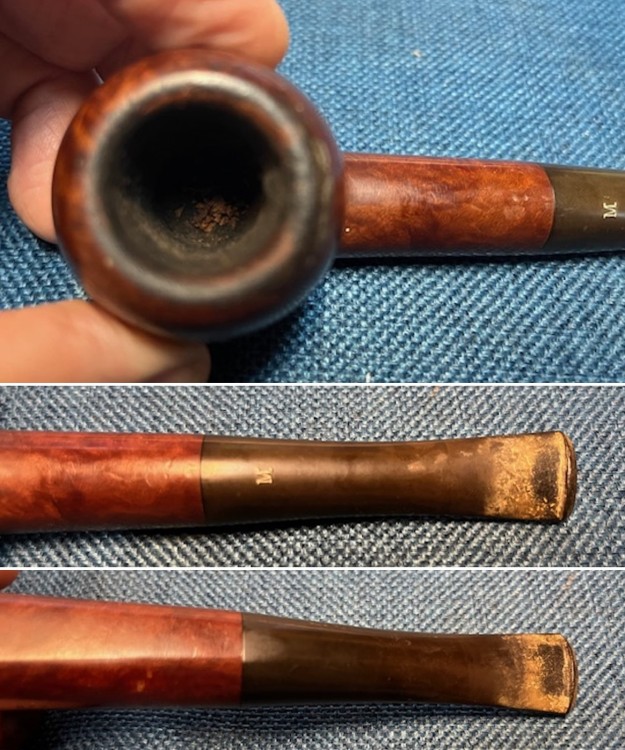
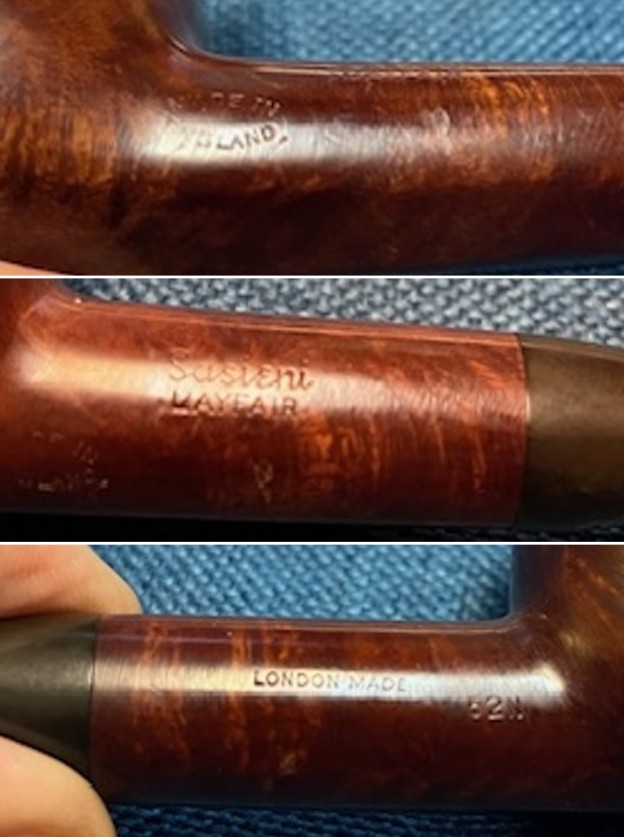
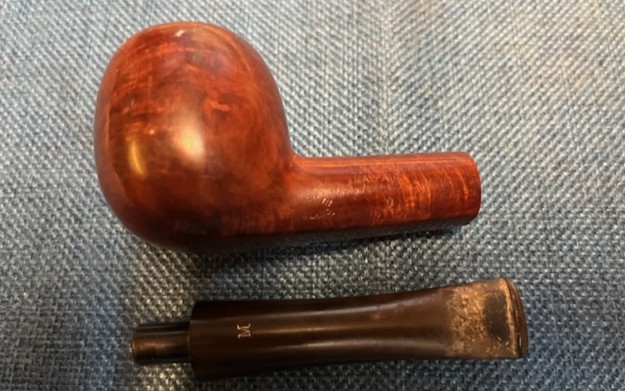
We met up at a local eatery and had a great breakfast together with our aunt. We took her to her residence afterwards and visited with her for most of the morning. Together we headed to Old Town Bellingham to begin our pipe hunt. We visited three of my favourite antique malls and worked out way through the aisles of wares for sale. Jeff and I tend to divide and conquer, each walking through the aisles of the shop looking for pipes. The rest of the family moves through looking for their own treasures. In the first shop there was a rack and in it were two pipes. The first was a Sasieni Royal Stuart Billiard and the second was a Sasieni Mayfair Apple. Both were great and were added to the hunt bag. Here is the link to the blog on the hunt and a photo of the pipes we added (https://rebornpipes.com/tag/bellingham-pipe-hunt/). Both were dirty but both contained the Sasieni Magic – classic shapes and nice briar. The next pipe on the work table is the second Sasieni a Mayfair Apple which is the upper pipe in the photo below. It is stamped on the left side of the shank and has a rugby ball stamp Made in England next to the shank/bowl junction. That is followed by Sasieni [over] Mayfair. On the right side it has the shape number 52N next to the bowl/shank junction followed by London Made stamped mid shank. The stem has an M logo on the topside. The bowl had a thick cake and a thick lava overflow on the rim. It was hard to estimate the condition of the rim top with the cake and lava coat but I was hoping it had been protected from damage. It appeared that the outer edge was in decent condition. The finish was a classic Sasieni smooth. The finish was dusty and tired but had some nice grain under the grime and the finish appeared to be in good condition. There were a few nicks in the surface on the left side of the bowl. A lot would be revealed once I had cleaned it. The stem was dirty, oxidized, calcified and had tooth chatter and tooth marks near the button on both sides. I took photos of the pipe before I stated my cleanup work. I took a close-up photo of the bowl and rim top to show its condition. The bowl had a thick cake in it and an overflow of lava on the top of the rim. The previous pipeman had left a mess for me to clean up. The stem was also is a mess. There was some tooth marks and dents on the top and underside ahead of the button. There was a thick coat of calcification and oxidation on the stem. M logo stamp on top of the stem was clear and readable.I took photos of the stamping on the right and left side of the shank. It is clear and readable as noted above. I removed the stem from the shank and took a photo of the parts. It is a beautiful pipe. The stinger apparatus is missing and the airway in the tenon is the same as the Royal Stuart that I worked on (https://rebornpipes.com/2024/06/16/cleaning-up-another-bellingham-pipe-hunt-find-a-sasieni-royal-stuart-55-billiard/). As is my usual practice I turned to Pipephil (http://www.pipephil.eu/logos/en/logo-sasieni2.html) to look for any information on the Mayfair line. It was not listed in the original Sasieni list but it did come up in the Sasieni Seconds list. It was listed there and I did a screen capture of the section and have included it below. The logo on the pipe stem I was working on is stamped like the third one below. The shank stamp was like the one in the third photo below. From that information I knew that I was dealing with a Family Era Sasieni with the white M logo that was used on these older ones. That placed the date before 1979 when the company was sold.

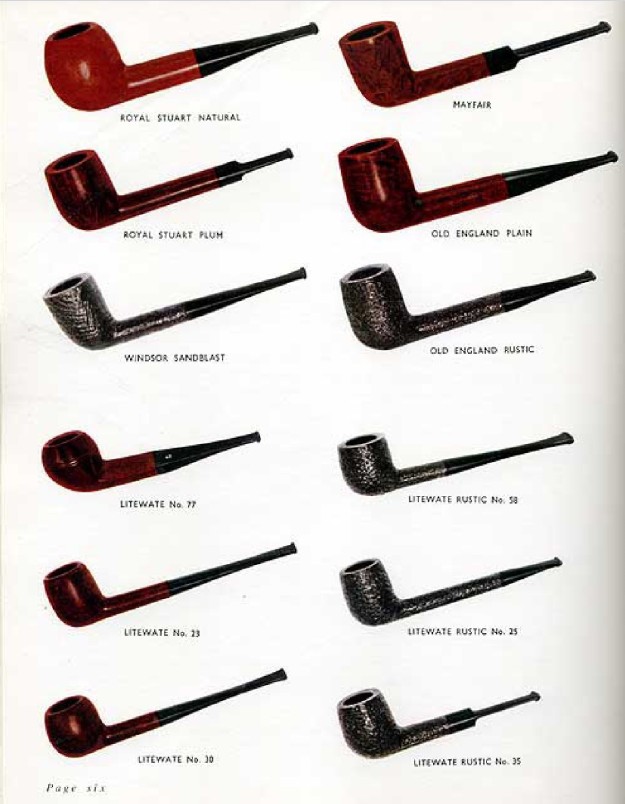
From there I turned to Pipedia and read through the history of the brand. It confirmed the date of manufacture as pre-1979. At the bottom of the Pipedia article there was a 1965 catalogue. I have included the link to the catalogue (https://pipedia.org/images/1/1b/Sasieni_1965.pdf). Page six of the catalogue had a listing of the Sasieni lines and on the top right column the Mayfair was shown.

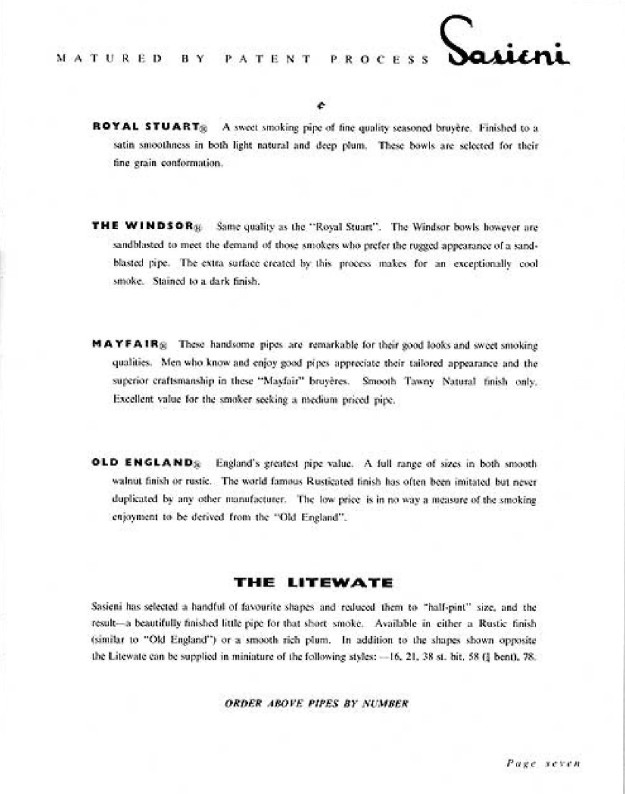
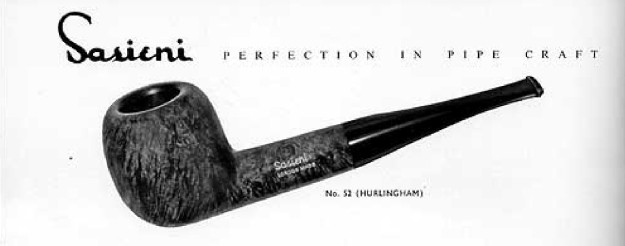
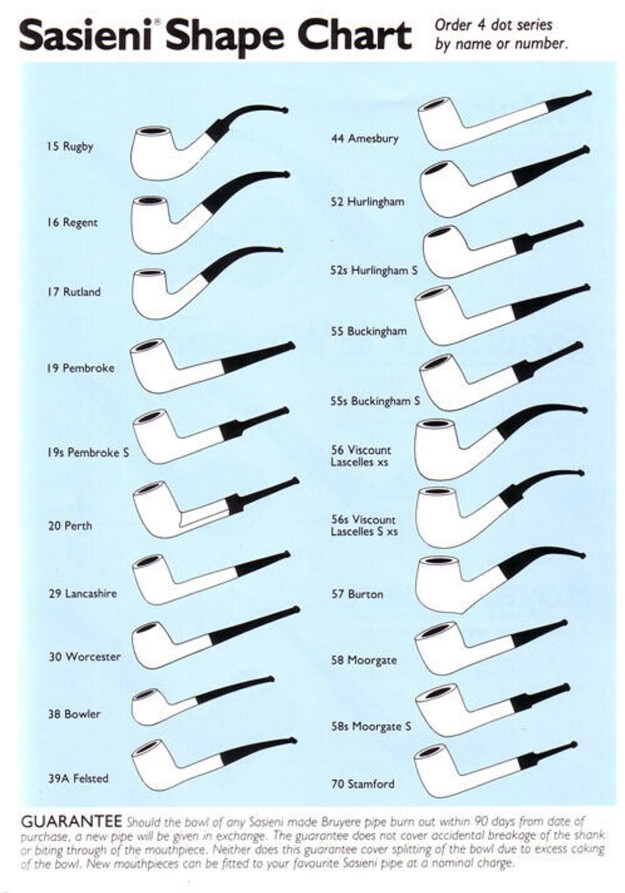
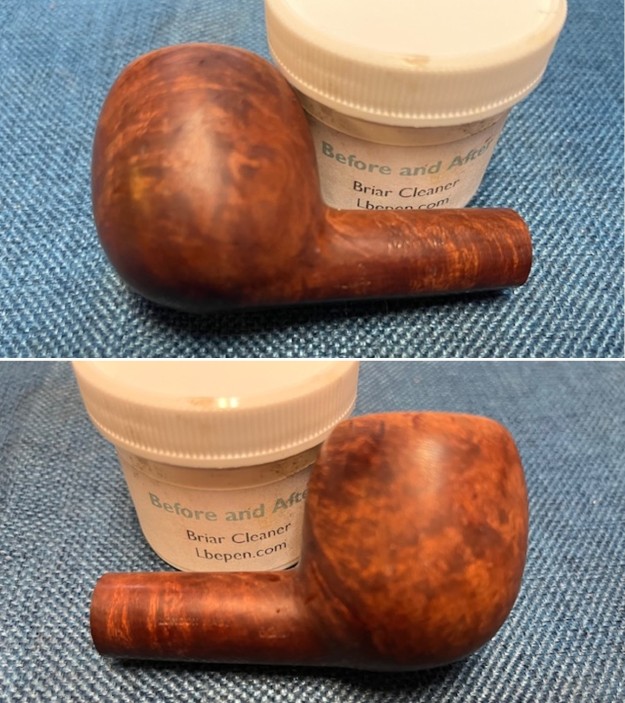
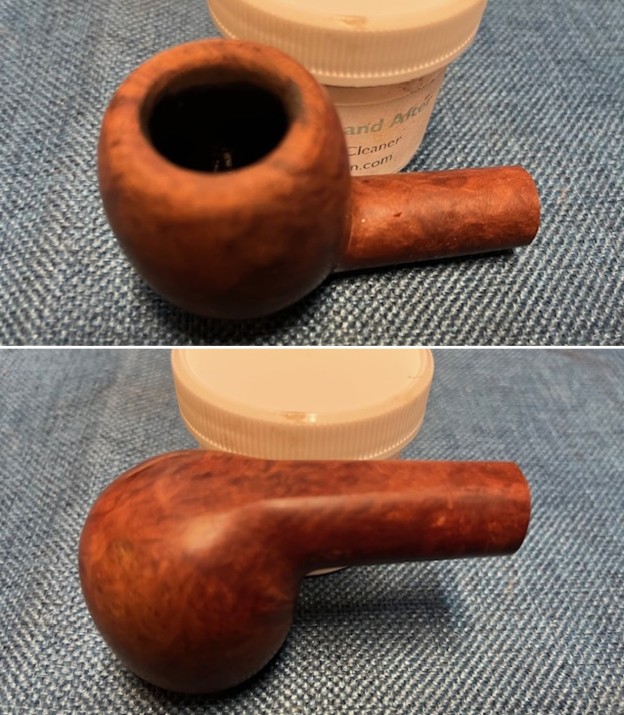
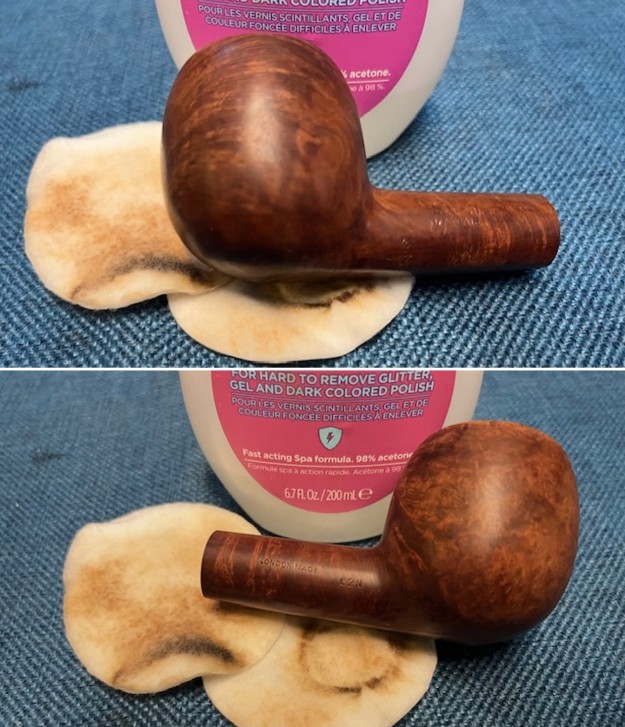
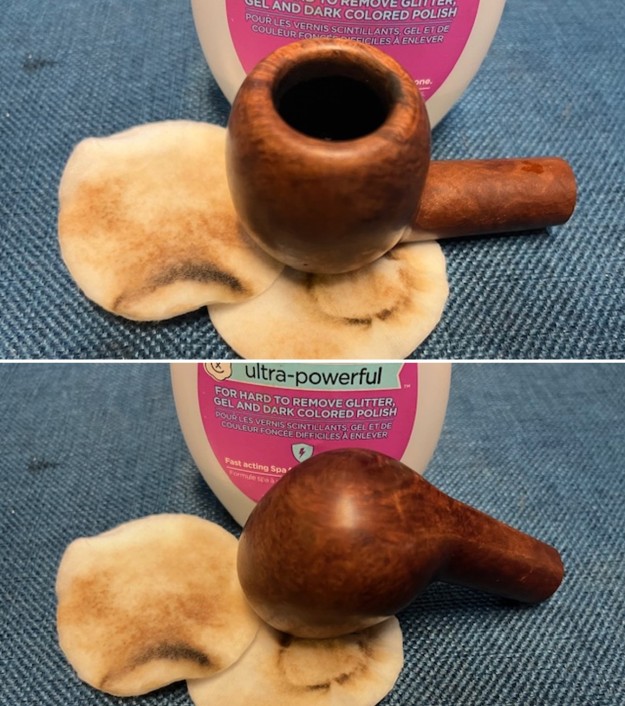
Page seven below gives a great description of the Mayfair line. It reads: Mayfair – these handsome pipes are remarkable for their good looks and sweet smoking qualities. Men who know and enjoy good pipes appreciate their tailored appearance and the superior craftsmanship in these “Mayfair” bruyeres. Smooth Tawny Natural finish only. Excellent value for the smoker seeking a medium priced pipe. Now I knew that is was not a second at all at this point in time. It was rather a well made pipe selected for its tailored appearance and superior craftsmanship on a medium priced pipe. That also pushed the date back to at 1965. The catalogue also had a shape photo that matched the numbers on the pipe I am working on. The shape 52 was known as a Hurlingham and was used in quite a few of the Sasieni lines for that large Apple. I have included a screen capture of the shape photo in the catalogue.There was also a shape chart on Pipedia and I have saved the page that included the shape of the 52N (Hurlingham) (https://pipedia.org/wiki/File:Sasnieni_Shapes.jpg).Now I knew what I was working on. It was a pre-1965 Apple in the Hurlingham shape in an early version of the Mayfair and in Smooth Tawny Natural finish that had taken on some colour through smoking. Now it was time to start my work on it. I reamed the pipe with a PipNet pipe reamer using the second and the third cutting head to take the cake back to bare briar. I cleaned up the remnants of the cake with a Savinelli Fitsall Pipe Knife. I finished the bowl internals by sanding the bowl walls with 220 grit sandpaper wrapped around a piece of dowel. The bowl walls looked very good with no checking or cracking to the walls. I scraped the heavy lava on the rim top with the edge of the Savinelli Fitsall Pipe Knife. I was able to remove the majority of the build up. The rest would come up after I scrubbed the bowl.I decided to scrub the bowl with Mark Hoover’s Before & After Briar Cleaner. He had sent me a sample to try out so this was the first pipe to try it out on. I shook the jar to make sure it was well mixed. I applied it to the surface of the briar bowl and the filthy rim top with my finger tips. I scrubbed it with a tooth brush and wiped it off with a cotton pad to remove the grime and the residual product left on the briar.  It looked much better once I had cleaned it. I rinsed it off with warm water and dried the briar with a cotton cloth. There were still some flecks of paint and debris on the briar and the rim top still had some lava that I needed to remove. I wiped the bowl with a cotton pad and acetone and cleaned off the remainder of the debris and the briar looked very good. With the externals cleaned it was now time to work on the internals of the mortise, shank and airway in the stem. I scraped the walls of the shank with a dental spatula and took a lot of tars and oils out with the spatula. From there I cleaned up the debris with pipe cleaners, cotton swabs and isopropyl alcohol until it was clean and the smell was gone. I cleaned the airway in the stem with alcohol, cotton swabs and pipe cleaners. I used both bristle and fluffy pipe cleaners to clean out the oils and tars. I scoured out the open tenon with a cotton swab. It came out looking much better. I set the stem aside and went back to working on the bowl. I sanded the briar with 320-3500 grit sanding pads. I wiped the briar down after each sanding pad with a damp cloth to remove the debris that was left behind. By the time I finished the last pad the briar was very smooth and clean to the touch. I polished the briar with micromesh sanding pads – dry sanding with 1500-12000 grit sanding pads. I wiped it down with a damp cloth after each sanding pad. The bowl began to really shine with the polishing. I worked some Before & After Restoration Balm into the finish of the briar with my finger tips. The product works well to clean, enliven and protect the briar and really brings it back to life. I have been using it for quite a few years now and really like the way it makes the briar come alive and makes the grain pop. I set aside the bowl and turned my attention to the stem. I “painted” the tooth marks on the surface of the stem and was able to lift them all. I blended the remaining marks into the surface with a folded piece of 220 grit sandpaper. I worked on the oxidation on the stem with Soft Scrub and cotton pads. I find that the product really cut through the deep oxidation and removes it well. I worked on both side of the stem and was pleased that it did no harm the “M” stamp on the topside of the stem.I sanded the stem with 320-3500 grit sanding pads to blend in the scratch marks from the 220 grit sandpaper and to remove the residual oxidation that still remained. I wiped it down after each sanding pad with a damp cloth. By the final 3500 grit sanding pad the stem had a more normal shine and the oxidation, tooth marks and chatter were gone.I decided to touch up the M stamp on the top of the stem at this point. I used an acrylic white fingernail polish and it dries hard and matches very well. I applied it with the brush in the cap and worked it into the stamp with a tooth pick. Once it was cured I lightly sanded it off with a 1500 grit micromesh sanding pad.I polished the vulcanite with micromesh sanding pads – 1500-12000 grit pads. I wiped it down with Obsidian Oil after each sanding pad. I used Before & After Pipe Polish – both Fine and Extra Fine to further polish the stem. This Sasieni Mayfair 52N Apple with a vulcanite taper stem has a beautiful, unique Natural Sasieni finish that has some great grain standing out. The polished vulcanite taper stem adds to the mix. I put the stem back on the bowl and buffed the pipe with Blue Diamond on the buffing wheel being careful to not buff the stamping. I gave the bowl and the stem multiple coats of carnauba wax on the buffing wheel and followed that by buffing it with a clean buffing pad. I hand buffed the pipe with a microfiber cloth to deepen the shine. The finished Made in England Sasieni Mayfair 52N Apple is quite nice and feels great in the hand. Give the finished pipe a look in the photos below. The dimensions of the pipe are Length: 6 inches, Height: 1 ¾ inches, Outside diameter of the bowl: 1 ¼ inches, Chamber diameter: ¾ of an inch. The weight of the pipe is 1.76 ounces/50 grams. Thanks for walking through the restoration with me as I worked over another beautiful pipe. This one will be going on the rebornpipes store in the English Pipe Makers Section. Thanks for your time.

Cleaning up another Bellingham Pipe Hunt Find – a Sasieni Royal Stuart 55 Billiard


By Steve Laug

We met up at a local eatery and had a great breakfast together with our aunt. We took her to her residence afterwards and visited with her for most of the morning. Together we headed to Old Town Bellingham to begin our pipe hunt. We visited three of my favourite antique malls and worked out way through the aisles of wares for sale. Jeff and I tend to divide and conquer, each walking through the aisles of the shop looking for pipes. The rest of the family moves through looking for their own treasures. In the first shop there was a rack and in it were two pipes. The first was a Sasieni Royal Stuart Billiard and the second was a Sasieni Mayfair Apple. Both were great and were added to the hunt bag. Here is the link to the blog on the hunt and a photo of the pipes we added (https://rebornpipes.com/tag/bellingham-pipe-hunt/). Both were dirty but both contained the Sasieni Magic – classic shapes and nice briar. The next pipe on the work table is the Sasieni Royal Stuart which is the lower pipe in the photo below. It is stamped on the left side of the shank and has a rugby ball stamp Made in England next to the shank/bowl junction. That is followed by Sasieni [over] Royal Stuart. On the right side it has the shape number 55 next to the bowl/shank junction followed by London Made stamped mid shank. The stem has an RS logo on the topside. The bowl had a thick cake and almost a half bowl of tobacco filling it. There was a thick lava overflow on the rim. It was hard to estimate the condition of the rim top with the cake and lava coat but I was hoping it had been protected from damage. It appeared that the outer edge was in decent condition. The finish was a classic Sasieni smooth. The finish was dusty and tired but had some nice grain under the grime and the finish appeared to be in good condition. A lot would be revealed once I had cleaned it. The stem was dirty, oxidized, calcified and had tooth chatter and tooth marks near the button on both sides. I took photos of the pipe before I started my cleanup work. I took a close-up photo of the bowl and rim top to show its condition. The bowl is over half full with burned tobacco and debris. It is unburned just below the surface of the ash. I always wonder when I find a bowl filled like this what happened to the pipeman who had the pipe before. Was he suddenly called out during a smoke? Did something happen to him after he laid the bowl down that kept him from coming back and finishing his smoke. I guess know one will ever know. It left a mess for me to clean up. The stem was also is a mess. There was some tooth marks and dents on the top and underside ahead of the button. There was a thick coat of calcification and oxidation on the stem. RS logo stamp on top of the stem was clear and readable.I took photos of the stamping on the right and left side of the shank. It is clear and readable as noted above. I removed the stem from the shank and took a photo of the parts. It is a beautiful pipe. The stinger apparatus was filthy and clogged with tar and oils in the spear end and all the spirals. It is aluminum but you would never know that from looking at it.As is my usual practice I turned to Pipephil (http://www.pipephil.eu/logos/en/logo-sasieni2.html) to look for any information on the Royal Stuart line. It was not listed in the original Sasieni list but it did come up in the Sasieni Seconds list. It was listed there and I did a screen capture of the section and have included it below. The logo on the pipe stem I was working on is stamped like the second one below. The shank stamp was like the one in the third photo below. While this was helpful it did not get me any closer to establishing a date for the pipe. I turned to Google and did a quick search there. It came up with a Worthpoint article that I have included along with the photos below (https://www.worthpoint.com/worthopedia/sasieni-family-era-royal-stuart-139465999).This COLLECTIBLE BRIAR PIPE is an OLD “FAMILY-ERA” SASIENI in the CLASSIC CANADIAN Shape!!! It is a Dunhill Group 4 Size. Although like most non-dotted Sasieni’s it does not have a “Town Name” (which Sasieni used in lieu of Shape Numbers), Sasieni connoisseurs will recognize this as the ever-popular “Amesbury” Shape (#44 on the Sasieni Shape Charts)! It comes from one of Sasieni’s oldest and most popular lines – – – the “ROYAL STUART”!!! It is one of the OLDEST ROYAL STUART’s because it has the ORIGINAL “RS” OVERSTAMPED LOGO (with the “R” Stamped over the “S” or vice versa)! For those who have not experienced the quality of Sasieni Pipes, this is an outstanding opportunity that does not require the commitment of a substantial investment as do many higher graded Sasieni’s! In the early Sasieni History after the short reign of the One Dot, Sasieni Eight Dots, the Four Dots became the top-of-the-line throughout most of the “Family Era” (or the time during which the Sasieni Family continued in ownership and operated the company including the quality control). Pipes that were not quite good enough to receive a higher grade became Two Dots or “Claret” One Dots. At the same time and throughout the history of the Company, Sasieni also offered a wide variety of non-dotted pipes beginning with their earliest catalogs. Many of those early lines like “His Royal Highness,” “The Henley Club” and “The Friar” disappeared into the rich lore of Sasieni History. But the “ROYAL STUART” survived the test of time and continued throughout the Family Era. During the “FAMILY ERA,” the finish often became the distinguishing characteristic between lines of “non-dotted” Sasieni’s. Mayfair’s were “Smooth Tawny Natural finish,” and Old England’s started as rusticated pipes while Royal Stuart’s were natural smooth or “deep plum” colored . Their great popularity quickly caused Sasieni to expand the Royal Stuart line to include “carved rusticated finish” pipes, too! And, the Royal Stuart became one of the longest-running “workhorses” among all Sasieni lines! Royal Stuart’s were advertised as an “outstanding quality and rare value” pipe but it was the bowl selection process that separated this line from others. Sasieni explained: “These bowls are selected for their fine grain conformation.” And this Canadian is a good example! Much of the Bowl has BIRDSEYE on the sides with DIAGONAL CROSS GRAIN which is actually more like STRANDS OF FLAME GRAIN on the front and back!!! The FLAME GRAIN continues on both sides of the Shank where it becomes PERPENDICULAR, PARALLEL STRAIGHT GRAIN!!! The NATURAL SMOOTH Finish has mellowed into a LIGHT WALNUT BROWN PATINA and there are NO dents, chips or scratches which detract from the beauty of the finish! A few small sandpits or sandspots keep the Pipe from perfection (and undoubtedly kept it from becoming a “dotted” Sasieni)! NO varnish, lacquer or shellac has been added to improve the finish for the pictures and temporarily conceal scratches and toothmarks! And, NO coating has been applied to the inside of the bowl to hide cracks, heat fissures and even burn-outs! The Pipe shines as it did when it came from the factory! This Canadian is 6″ LONG with a Bowl just OVER 1 3/4″ TALL!!! The nomenclature is crisp and clear: “Sasieni [in script], ROYAL STUART, LONDON MADE, MADE IN ENGLAND [in the classic Sasieni “football” shape], 44N”. The very oldest White Sasieni “RS” Overstamped Logo used on Royal Stuart’s remains mostly visible on the original bit! This is an unusual and collectible old Sasieni that is in PRISTINE CONDITION!!! It is an excellent entry-level Sasieni collectible! If the CONDITION of your eBay purchase is of importance to you, you will not find a better Sasieni Royal Stuart on eBay. Particularly because of its condition, this Royal Stuart is a bargain priced collectible! This Sasieni Canadian has been refurbished and is ready to smoke. There are no toothmarks on the mouthpiece and no carbon build-up on the Rim of the bowl.

From that information I knew that I was dealing with a Family Era Sasieni with the white overstamped RS logo that was used on these older ones. That placed the date before 1979 when the company was sold.

From there I turned to Pipedia and read through the history of the brand. It confirmed the date of manufacture as pre-1979. At the bottom of the Pipedia article there was a 1965 catalogue. I have included the link to the catalogue (https://pipedia.org/images/1/1b/Sasieni_1965.pdf). Page six of the catalogue had a listing of the Sasieni lines and on the top left column the Royal Stuart was shown.

Page seven below gives a great description of the Royal Stuart line. It reads: Royal Stuart a sweet smoking pipe of fine smoking quality bruyere. Finished to a satin smoothness in both light natural and deep plum. These bowls are selected for their fine grain conformation.Now I knew that is was not a second at all at this point in time. It was rather a well made pipe selected for its fine grain conformation. That also pushed the date back to at 1965. The catalogue also had a shape photo that matched the numbers on the pipe I am working on. The shape 55 was known as a Buckingham and was used in quite a few of the Sasieni lines for that large Billiard. I have included a screen capture of the shape photo in the catalogue.There was also a shape chart on Pipedia and I have saved the page that included the shape of the 55 (Buckingham) (https://pipedia.org/wiki/File:Sasnieni_Shapes.jpg).Now I knew what I was working on. It was a pre-1965 Billiard in the Buckingham shape in an early version of the Royal Stuart and in the light Natural finish that had taken on some colour through smoking. Now it was time to start my work on it. I used a dental spatula to remove the dried tobacco in the bottom half of the bowl. It was too dry and to compromised to determine the type of tobacco but I could tell that it was not an aromatic as there was no smell in the tars and oils in the shank and on the stinger.I reamed the pipe with a PipNet pipe reamer using the second and the third cutting head to take the cake back to bare briar. I cleaned up the remnants of the cake with a Savinelli Fitsall Pipe Knife. I finished the bowl internals by sanding the bowl walls with 220 grit sandpaper wrapped around a piece of dowel. The bowl walls looked very good with no checking or cracking to the walls. I scraped the heavy lava on the rim top with the edge of the Savinelli Fitsall Pipe Knife. I was able to remove the majority of the build up. The rest would come up after I scrubbed the bowl.I decided to scrub the bowl with Mark Hoover’s Before & After Briar Cleaner. He had sent me a sample to try out so this was the first pipe to try it out on. I shook the jar to make sure it was well mixed. I applied it to the surface of the briar bowl and the filthy rim top with my finger tips. I scrubbed it with a tooth brush and wiped it off with a cotton pad to remove the grime and the residual product left on the briar.  It looked much better once I had cleaned it. I rinsed it off with warm water and dried the briar with a cotton cloth. There were still some flecks of paint and debris on the briar and the rim top still had some lava that I needed to remove. I wiped the bowl with a cotton pad and acetone and cleaned off the remainder of the debris and the briar looked very good. With the externals cleaned it was now time to work on the internals of the mortise, shank and airway in the stem. I scraped the walls of the shank with a dental spatula and took a lot of tars and oils out with the spatula. From there I cleaned up the debris with pipe cleaners, cotton swabs and isopropyl alcohol until it was clean and the smell was gone. In order to clean out the shank I needed to remove the stinger apparatus from the tenon. I heated the stinger with a lighter and the goo softened enough to be able to remove the singer. I then cleaned the airway in the stem with alcohol, cotton swabs and pipe cleaners. I used both bristle and fluffy pipe cleaners to clean out the oils and tars. I used a tooth brush and a brass bristle wire brush to clean off the stinger at the same time. I scoured out the open tenon with a cotton swab. It came out looking much better. I set the stem aside and went back to working on the bowl. I sanded the briar with 320-3500 grit sanding pads. I wiped the briar down after each sanding pad with a damp cloth to remove the debris that was left behind. By the time I finished the last pad the briar was very smooth and clean to the touch. I polished the briar with micromesh sanding pads – dry sanding with 1500-12000 grit sanding pads. I wiped it down with a damp cloth after each sanding pad. The bowl began to really shine with the polishing. I worked some Before & After Restoration Balm into the finish of the briar with my finger tips. The product works well to clean, enliven and protect the briar and really brings it back to life. I have been using it for quite a few years now and really like the way it makes the briar come alive and makes the grain pop. I set aside the bowl and turned my attention to the stem. I “painted” the tooth marks on the surface of the stem and was able to lift them partially. I cleaned out the tooth marks with alcohol and q-tip then filled in the ones that remained with some rubberized, black CA glue. Once the glue cured I flattened out the repairs and recut the button edge with small files to start the process of blending them into the surface of the vulcanite. I further blended then with a folded piece of 220 grit sandpaper. I sanded the stem with 320-3500 grit sanding pads to remove the varnish coat that covered it. I wiped it down after each sanding pad with a damp cloth. By the final 3500 grit sanding pad the stem had a more normal shine and the varnish, tooth marks and chatter were gone. Once I finished with the sanding pads I reinserted the stinger apparatus in the tenon. I used a small blade to spread the gap in the end of the insertion part and pressed into the tenon. It is really a strange looking piece of aluminum. I polished the vulcanite with micromesh sanding pads – 1500-12000 grit pads. I wiped it down with Obsidian Oil after each sanding pad. I used Before & After Pipe Polish – both Fine and Extra Fine to further polish the stem. This Sasieni Royal Stuart 55 Billiard with a vulcanite taper stem has a beautiful, unique Natural Sasieni Royal Stuart finish that has some great grain standing out. The polished vulcanite taper stem adds to the mix. I put the stem back on the bowl and buffed the pipe with Blue Diamond on the buffing wheel being careful to not buff the stamping. I gave the bowl and the stem multiple coats of carnauba wax on the buffing wheel and followed that by buffing it with a clean buffing pad. I hand buffed the pipe with a microfiber cloth to deepen the shine. The finished Made in England Sasieni Royal Stuart 55 Billiard is quite nice and feels great in the hand. Give the finished pipe a look in the photos below. The dimensions of the pipe are Length: 6 inches, Height: 2 inches, Outside diameter of the bowl: 1 ¼ inches, Chamber diameter: ¾ of an inch. The weight of the pipe is 1.73 ounces/49 grams. Thanks for walking through the restoration with me as I worked over another beautiful pipe. This one will be going on the rebornpipes store in the English Pipe Makers Section. Thanks for your time.

Fresh Life for a 1976 Dunhill Shell Briar 126 3S Billiard


By Steve Laug

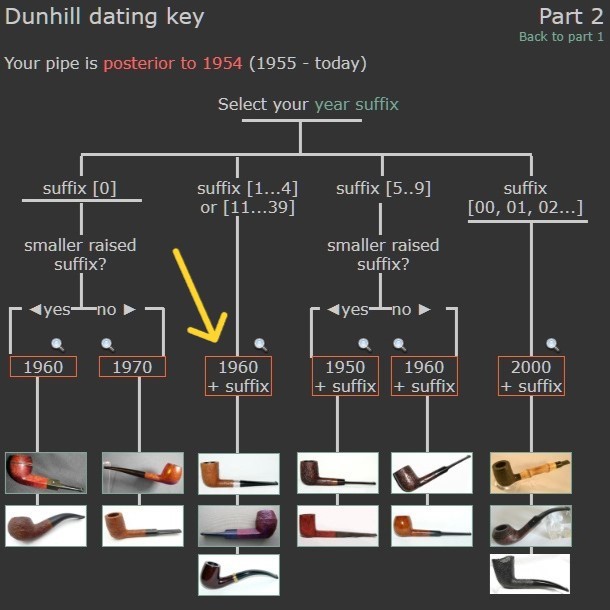
The next pipe on the work table is a lovely Dunhill small sandblast Billiard shaped briar pipe. We purchased it from our contact in Copenhagen, Denmark on 01/22/2024. It is a classic Dunhill Sandblast Billiard shaped bowl. It has a sandblast, rich brown stained bowl that really highlights the grain in the briar. The bowl is dirty with grime in the finish. There also appears to be a shiny varnish coat over the grime in the sandblast. There appears to be a varnish coat on the stem as well. The bowl has a moderated cake and a light lava overflow on the sandblast rim top and edges. The stamping on the pipe is clear and readable and on the under side it reads 126 the shape number [followed by] Dunhill [over Shell Briar. That is followed by Made in England the superscript date number 16 is stamped after the D in England. There is a circle 3S following the date stamp that identifies the pipe as a group 3 sized pipe in a Shell finish. The stem had a white spot that is damaged and shrunken on the top side of the taper. It is lightly oxidized and has tooth chatter and deep tooth marks on both sides ahead of the button. The sad thing is that once again the stem is covered with a varnish coat. Jeff took photos of the pipe before he started his cleanup. He took photos of the pipe’s bowl and rim top to show the cake in the bowl and the lava coat overflowing onto the top. It is another dirty pipe. You can see the shiny coat on top of the finish and the grime in the photos. He also took photos of the stem to capture the tooth marks on the top and underside near the button. He took photos of the sides and the heel of the bowl to give a sense of the sandblast finish on this one. Even under the grime and shiny varnish coat in the grooves the blast is quite beautiful. Jeff took photos of the stamping on the underside of the shank. It is clear and readable though it is faint in some spots. I wanted to unpack the Dunhill stamping on the shank and work to understand each element of the stamp. I generally use the Pipephil site to gather as much initial information as possible (http://pipephil.eu/logos/en/dunhill/shell-briar1.html). The stamping is interpreted as follows: The number 126 is the shape number for a taper stem Billiard. The Shell Briar stamp refers to the finish. The underlined, superscript number 16 following the D of England would give the date the pipe. The circle 3S tells me that the pipe is a group 3 sized pipe and the S is for the Shell finish. The photo below is of the stamping on a Don shape but the stamping is similar on this one.Pipephil also has some helpful dating keys on the site that are basically flow charts that you can walk through to date your pipe (http://pipephil.eu/logos/en/dunhill/cledat-en1.html). I turned to Part 1 of the Dating Key and followed the chart. This pipe has 16 following the D in England. There was no patent number so that took me to the section on the chart below (column one) which instructed me that the pipe could be dated as being made “posterior to 1954”.I followed the link under “Your pipe is posterior to 1954. Narrow down your dating”. That took me to Page 2 of the dating key (http://pipephil.eu/logos/en/dunhill/cledat-en1a.html). The second column – suffic [1…4] or [11…39] led me to the next section. Since the 16 after the D in England the date of the pipe spelled as 1960 + 16 making the date 1976.I then turned to Pipedia’s section on Dunhill Shell Briar to get a bit of background on the Dunhill finishes (https://pipedia.org/wiki/Dunhill#Root_Briar). I quote:

Shell

A deep craggy sandblast with a black stain finish (usually made using Algerian briar) – the color of the stain used has varied over the years. Although there is some doubt as to them being the first to sandblast pipes, Dunhill’s Shell pipes, and the sandblasting techniques developed to create them are considered one of Dunhill’s greatest and most lasting contributions to the art of pipe making.

The documented history of Dunhill’s inception of the Shell is largely limited to patent applications — there are no catalog pages or advertisements promoting blasted pipes at the time. The preliminary work on the English patent (No. 1484/17) was submitted on October 13, 1917. The patent submission was completed half a year later, on April 12, 1918, followed by the granting of the English patent on October 14, 1918. This was less than a month before the end of The Great War on November 11th.

In 1986 Dunhill released a line of premium Shell finish pipes – “RING GRAIN”. These are high-quality straight grain pipes which are sandblasted. Initially only Ring Grain, but now in two different finishes. In 1995 the “Shilling” was introduced with Cumberland finish – it is an extremely rare series. These pipes exhibit a deeper blast characteristic of that of the 1930’s – mid-1960’s (and the limited ‘deep blast’ pipes of the early 1980s) and show a fine graining pattern. These are considered the best new Dunhills by many enthusiasts today and are very rare. The finish is sometimes described as tasting like vanilla at first, with the taste becoming more normal or good as the pipe breaks in.

I turned to work on the pipe itself. Jeff had done an amazing cleanup of the pipe. He reamed the cake with a PipNet reamer and cleaned up that with a Savinelli Fitsall Pipe Knife. He scrubbed the internals of the bowl and stem with alcohol, cotton swabs, pipe cleaners and shank brushes. He scrubbed the externals with undiluted Murphy’s Oil Soap and rinsed the bowl off with running water. His scrubbing removed the varnish on the bowl with just a few spots remaining. He soaked the stem in Briarville’s Pipe stem Deoxidizer and once it had soaked rinsed it off with warm water to remove the residual solution. He dried it off and rubbed it down to remove any oxidation that was still on the stem. The soak did not penetrate the varnish on the stem at all but it certainly looked better. Other than the shiny spots in the finish where the varnish remained, the pipe looked very good when I received it. You can also see the sunken state of the white spot on the stem surface. I took a photo of the rim top to show the condition. It looks good with the tars and oils removed from the rim top. The inner edge of the bowl was in excellent condition. The bowl itself was very clean. The stem came out clean but the varnish coat remained and discoloured the white spot. The photos clearly pick up the shrunken white spot on the stem top. The varnish coat gave the whole stem an artificial shine that hid the tooth marks and chatter underneath.I took a photo of the underside of the shank to show the stamping. The photo shows the stamping and it is very readable other than the date stamp which is visible in person. I removed the stem from the shank and took a photo of the pipe parts to show what I was working with. I think once the varnish is removed the pipe will be a nicer looking piece.The briar was actually very clean and the varnish coat had been eliminated on the bowl so I had a bit of an easier job than on the previous 126 that had a heavy varnish coat. I rubbed the bowl down with Before & After Restoration Balm. I worked it into the surface with my fingertips and a horsehair shoe brush to work it into the nooks and crannies of the sandblast finish. The product works to clean, enliven and preserve the briar. I let it sit for 10 minutes (it varies how long I leave it not for any specific reason but because I get preoccupied with other things). Once it has done its magic I buff it with a cotton cloth to deepen the shine. The pipe really comes alive with the balm. I sanded the stem with 320-3500 grit sanding pads to remove the varnish coat that covered it. I wiped it down after each sanding pad with a damp cloth. By the final 3500 grit sanding pad the stem had a more normal shine and the varnish, tooth marks and chatter were gone. With that done I was ready to address the shrunken and discoloured white spot.Once I hard removed the varnish coat I cleaned up the sunken white spot with a cotton swab and isopropyl alcohol. I was able to remove the staining on the spot and the grime that had built up in the hole. It was now ready for the patch. Mark Hoover has some small white acrylic dots that can be used to fill in the hole in the stem top.  I followed Mark’s direction and put one acrylic dot into a small amount of acetone for a couple of seconds. I then pushed it into the hole with some tweezers. Mark had said that if the drilled hole goes a bit deeper and is not to the level with the surface of the stem then wait a minute or two and put another on top. I let it harden and then I sanded it smooth with 220 grit sandpaper. I polished the vulcanite with micromesh sanding pads – 1500-12000 grit pads. I wiped it down with Obsidian Oil after each sanding pad. I used Before & After Pipe Polish – both Fine and Extra Fine to further polish the stem. This 1976 Dunhill Shell Briar 126 Billiard with a vulcanite taper stem has a beautiful, unique Dunhill Sandblast finish that is very deep and craggy. The Shell Briar mixed brown finish highlights some great grain around the bowl and shank. It has a unique sandblast that Dunhill specialized in making. The removal of the varnish gave a clearness to the stem surface. The polished vulcanite taper stem adds to the mix. I put the stem back on the bowl and buffed the pipe with Blue Diamond on the buffing wheel being careful to not buff the stamping. I gave the bowl multiple coats of Conservator’s Wax and the stem multiple coats of carnauba wax on the buffing wheel and followed that by buffing it with a clean buffing pad. I hand buffed the pipe with a microfiber cloth to deepen the shine. The finished Dunhill Shell Briar 126 Billiard is quite nice and feels great in the hand. Give the finished pipe a look in the photos below. The dimensions of the pipe are Length: 5 ¼ inches, Height: 1 ½ inches, Outside diameter of the bowl: 1 ¼ inches, Chamber diameter: ¾ of an inch. The weight of the pipe is 1.13 ounces/32 grams. Thanks for walking through the restoration with me as I worked over another beautiful pipe. This one will be going on the rebornpipes store in the English Pipe Makers Section. Thanks for your time.

Repairing a Broken Tenon and Restoring A Ben Wade Golden Matt Handmade Freehand


Blog by Steve Laug

To me there is something almost electric about handling and working on a pipe designed and carved by Preben Holm. I can’t describe adequately the feeling I have when I turn the bowl and stem over in my hands even before I start working on one of these his pipes. All I know is that there is an energy and fluidity that flows through the pipe because of the way he carved and shaped the briar. He is a master of chasing the grain in the briar. Every time I get a chance to work on one I am excited about the possibility. So, a few weeks ago when I got an email from a reader of the blog about his Ben Wade, Preben Holm pipe it was with no hesitation that I accepted working on it. I have included that email below along with a photo I asked him to send me to see the pipe.

I wondering if you can find me a replacement pipe stem for my Ben Wade pipe. Dropped my pipe and broke it. — TomThis Ben Wade Golden Matt was no exception to my experience with Ben Wade pipes. Tom sent it to me and today it arrived. I was excited to be able to work on it. This one has incredible grain around the bowl sides and shank. The bowl had a very thick cake on the walls. The plateau on the rim top is filled with tars and lava but it is a large top. The shank end also has a plateau finish. It is very unique pipe. The combination of dark and medium stains highlights grain that runs like flames across both sides of the bowl culminating at the flat heel of the bowl. The rim top is plateau and it looks quite unique – with the valleys and hills in the top and also something that looked like it had been wire brush. The variegated copper, brown and gold acrylic stem is beautiful and the turning of acrylic give it an amazing look. The tenon is broken off and fortunately the piece has been pulled from the shank. It is a smooth break which makes things easier. There were tooth marks on the top and underside of the stem ahead of the button. I took photos of the pipe to try and capture what it looked like before I started working on it. It really is a beauty in spite of the grime in the finish. I took some time to really examine the condition of the pipe. I made some notes of what I saw. It is clear to me that this is one of Tom’s favourite pipes as you can see from the thick cake in the bowl and the lava on the rim top. It is hard to know the condition of the inner edge of the bowl due to the lava on the edges. The outside of the bowl and plateau portions are dirty and dusty but the grain pops through. The fancy acrylic turned stem still had a faint BW Cross and Crown logo on the top just past the fancy turnings. The stem as a whole was dirty and dusty with tooth marks and chatter on the both sides ahead of the button. I took a photo of the stamping on the underside of the shank to capture all of the stamping. It was clear and read Ben Wade in script at the top [over] Golden Matt [over] Hand Made [over] in [over] Denmark. Though the photo is a bit blurry the stamping is much clearer in person.I wanted to get a sense of the background of the pipe. I always enjoy the background as a part of my work on a pipe. I am including the history that I included in a previous blog. It includes the idea that the Preben Holm pipes were marketed under the Ben Wade label in the US and imported through Lane Ltd. I turned to Pipedia and read the listing on the brand to refresh my memory and flesh out the knowledge of the brand (https://pipedia.org/wiki/Ben_Wade). I have included a photo from that site that was taken from a Tinderbox advertisement. The pipe labelled D in the advertisement is a Ben Wade Golden Matt Freehand.

Ben Wade Ad in a Tinder Box catalogue, courtesy Doug Valitchka

I quote the portion of the article that summarizes the history of the brand.

Young Copenhagen master pipemaker Preben Holm had made a meteoric career heading a pipe manufacture employing 45 people at the age of 22! But around the turn of 1970/71 he was in major financial difficulties. His US distributor, Snug Harbour Ltd. in New York City, left him in the lurch. Holm had three unpaid invoices on his desk and another large shipment was ready for the USA, when Snug Harbour’s manager told him on the phone that there was no money at all on the account to pay him.

So, the Dane went to New York for an almost desperate search for a new distribution partner. He made contacts with Lane Ltd. and met Herman G. Lane in February 1971. Lane Ltd. had no interest in Holm’s serial pipes produced at that time but so much the more in the hand-carved freehands because the hype for Danish freehands and fancies in the States was still on its way to the climax then. The meeting resulted in an agreement to start a cooperation. Lane insisted to improve the quality considerably and in return he assured to be able to sell essentially larger quantities.

Holm went back home to work on new samples with all-new designs and altered finishes for Lane. Both, Lane and Holm, agreed that it would be unwise to sell the pipes under Preben Holm’s name as long as Snug Harbour had a considerable stock of Preben Holm pipes and might sell them pipes at very low prices just to bring in some money.

So, on Mr. Lane’s proposal it was determined to use the name Ben Wade belonging to Lane Ltd. Lane spent considerable amounts of money for advertising the new brand in the big magazines– the centerpiece being whole-page ads showing a very exclusive Seven Day’s Set.

The cooperation with Lane Ltd. proved to be an eminent business success for both partners. Within a very short time Ben Wade Handmade Denmark sold in much larger quantities and at higher prices than they had ever dreamed of. And the hype these freehands and fancy pipes caused went on unbroken long after Herman G. Lane deceased. Preben Holm – obviously much more brilliant in pipe making than in pipe business – was in major troubles again in 1986 and had to sack most of his staff. The Ben Wade production was significantly lowered but continued until his untimely death in June of 1989.

Up to now Preben Holm made Ben Wade pipes are cult and highly sought for on the estate markets.

This pipe was another Preben Holm made Freehand distributed in the US by Lane Ltd under the name Ben Wade. The freehand rage occurred in the late 70s and the pipes were made until Preben’s death in 1989. My guess would be that this pipe was made sometime during that time period and potentially in the late 70s.

Armed with that information I moved forward to work on the pipe itself and see what I had to do with it. I reamed the pipe with a PipNet pipe reamer using the second and the third cutting head to take the cake back to bare briar. I cleaned up the remnants of the cake with a Savinelli Fitsall Pipe Knife. I finished the bowl internals by sanding the bowl walls with 220 grit sandpaper wrapped around a piece of dowel. The bowl walls looked very good with no checking or cracking to the walls. I worked over the rim top with a brass bristle wire brush to knock off the loose debris on the rim top. I worked it over to clean out the grooves and valleys of both the plateau top and the wire marks across the surface of the rim. It really is a beautiful pipe and a unique looking rim top finish. It cleaned up quite well.With the internals of the bowl cleaned I worked on the airway in the shank, mortise and the stem. I cleaned it with pipe cleaners – both regular and bristle, cotton swabs and 99% isopropyl alcohol. I was able to remove a lot of the debris and oils in the pipe. It smells much better. Now that the reaming and scrubbing of the interior was finished, I moved on to the exterior of the pipe. I scrubbed the plateau rim top and shank end along with the smooth bowl with undiluted Murphy’s Oil Soap and a tooth brush. The grime and oils just rinsed off under the warm water that I ran over the finish. I dried it off with a soft cloth and I was please with how clean it was and how the grain stood out. I sanded the briar with 320-3500 grit sanding pads. I wiped the briar down after each sanding pad with a damp cloth to remove the debris that was left behind. By the time I finished the last pad the briar was very smooth and clean to the touch. I polished the briar with micromesh sanding pads – dry sanding with 1500-12000 grit sanding pads. I wiped it down with a damp cloth after each sanding pad. The bowl began to really shine with the polishing. I worked some Before & After Restoration Balm into the finish of the smooth briar with my finger tips. I worked it into the plateau on the rim top and shank end with a horse hair shoebrush. The product works well to clean, enliven and protect the briar and really brings it back to life. I have been using it for quite a few years now and really like the way it makes the briar come alive and makes the grain pop. The bowl is finished and really looks amazing. All that remains is that I have to polish it on the buffer. I set it aside and turned my attention to the broken tenon. I went through my collection of tenons and found a couple that would work. The difference was in the diameter of the portion of the tenon that went into the stem.I chose the top one in the photo above as the tenon insertion point was smaller in diameter and would fit better in the stem. I used a Dremel and sanding drum and 220 grit sandpaper and a topping board to flatten the broken end on the snapped tenon. I wanted a flat surface to be able to drill the airway for the new tenon.Once it was flattened I used progressively larger drill bits to open the airway.  By the third drill bit the opening was perfect for the diameter of the tenon insert end. I smoothed out the junction of the tenon and the stem using a flat file and the transition was very smooth. I flattened the threads of the insert end with the file at the same to make the fit snug. I knew that once I glue it in place it would be secure and strong.I painted the end of the threaded portion of the tenon with rubberized black CA glue. I inserted a pipe cleaner in the stem and threaded the new tenon onto the pipe cleaner. Once everything was aligned I pressed the tenon in place in the stem end. It aligned perfectly with the pipe cleaner as a guide.Once the glue had set and the tenon was firmly in place I sanded it with 220 grit sandpaper to achieve a snug fit in the shank.I touched up the Cross & Crown stamp on the top of the stem with Rub’n Buff Antique Gold and buffed it off with a cotton pad. It was faint but it was readable. I sanded the tooth marks and chatter on both sides with the 220 grit sandpaper to smooth out the marks and minimise them. It looked better.I polished the stem with micromesh sanding pads. I used 1500-12000 grit sanding pads. I wiped it down with a damp cloth to remove the sanding debris on the surface of the stem. I polished the new tenon at the same time and both took on a rich shine and looked better. I finished by polishing the stem and tenon with Before & After Pipe Stem Polish and gave it a final wipe with Obsidian Oil. This is a beautiful Hand Made Preben Holm made Ben Wade Golden Matt Freehand with a fancy, turned, variegated acrylic stem. It has a great look and feel. The shape fits well in the hand with the curve of the bowl and shank junction a perfect fit for the thumb around the bowl when held. I polished stem and the bowl with Blue Diamond polish on the buffing wheel. I gave the plateau on the rim top and shank end multiple coats of Conservator’s Wax. I gave the bowl and the stem multiple coats of carnauba wax. I buffed the pipe with a clean buffing pad to raise the shine andwith a microfiber cloth to deepen the shine. The rich combination of browns and black in the smooth finishes and the black plateau areas took on life with the buffing. The rich colour of the briar works well with the polished stem. I like the grain and finished look of this Preben Holm Ben Wade Golden Matt Freehand. Have a look at it with the photos below. The dimensions are Length: 6 ½ inches, Height: 2 ¼ inches, Outside diameter of the bowl: 2 wide x 2 ¼ inches long, Chamber diameter: 7/8 of an inch. The weight of the pipe is 74 grams/2.61 ounces. This Danish Freehand is a real beauty. Thanks for walking through the restoration with me as I worked over another beautiful pipe. It will be heading back to Tom shortly and he will once again have his favourite pipe to enjoy. Thanks for your time.

New Life for a GBD Speciale Standard London England 788 D Bent Apple


By Steve Laug

The next pipe on the worktable is an English made oval shank bent Apple with a classic brown finish. It is a combination reddish brown stains. The pipe came to us from a lot that we bought from a Facebook auction from Beach Lake, Pennsylvania, USA on 01/29/2024. The pipe is very dirty with a thick cake in the bowl and lava on the rim top. The rim edge looks good but it was hard to know what was under the lava coat on the top and edges. It is stamped on the top and the underside of the shank. On the topside it reads GBD in an oval [over] Speciale [over] Standard. On the underside it is stamped London, England [over] the shape number 788 followed by the letter D. The finish was dusty and there were oils and grime ground into the finish around the sides of the bowl. The stem is a vulcanite saddle stem with grime on the surface and tooth chatter and deep marks ahead of the button on both sides. There is an inlaid GBD oval medallion on the top of the saddle stem. Jeff took some photos of the pipe before he started his cleanup work. Jeff took a photo of the bowl and rim top to show the condition of the pipe. There was a thick cake in the bowl and a build up of lava on the smooth rim top. It is also built up on the inner edge of the bowl. The stem photos show the grime and the deep tooth marks on both sides ahead of the button. He took photos of the sides and the heel of the bowl to show the finish on the pipe. It is a unique stain on it that really shows the grain around the bowl sides. He took two photos to capture the stamping on the sides of the shank. It is clear and readable as noted aboveI turned to PipePhil’s site (http://www.pipephil.eu/logos/en/logo-gbd.html) to see what I could find. The site had nothing particular on the GBD Speciale Standard line of pipes.

I then turned to Pipedia (https://pipedia.org/wiki/GBD) to see if there was info the brand. It is a great read in terms of history but there was nothing giving details on a GBD Xtra Straight Grain.

The claims after the 1st World War demanded further distinctions. First of all was the London Made, which became the Standard London Made, followed by the New Era– in 1931 the top model asking 12½ Shilling. The Pedigree, although sketched around 1926, was not produced until the later 1930s. The New Standard was introduced in order to give the popular Standard of the 20s a higher rank in value. The Prehistoric, a deeply sandblasted black pipe, that still carried the small GBD Xtra stamp, was entirely new and unusual.

The French GBDs more or less followed the same developments, although Xtra and Speciale very longly used there. In the late 1920s a GBD with a metal filter system was introduced under the name Extra Dry. Also, from Paris came another important new feature: the introduction of the inserted metal plate with the GBD initials on the stems. That insert added a further “touch of class” to the pipes and in London it was attached immediately.

From that small note I knew that I was working on a post WW1 Pipe that carried the GBD Speciale Standard stamp.

I then followed a link at the end of the article to another article on Pipedia about model information (https://pipedia.org/wiki/GBD_Model_Information). There I found a note to the Speciale stamp that stated Production in France.

Further on in the thread on the Speciale pipe I found this response by snagstangl that reads as follows:

I was re reading a Jacques Cole article concerning GBDs titled “Story of a Pipe Brand” it had this to say about this topic:

“We have seen that early Briar GBDs were made in only one, later two qualities and the need to mark the difference did not arise. There were few finishes but towards the end of the 19th century demand was changing, for instance the UK had a “penchant” for the darker finishes. Qualities were therefore sub-divided and we see the introduction of the GBD XTRA (note the spelling). The GBD Speciales were as the name implied, special models, finishes and fittings. GBD XTRAs were the cream, being mostly straight grains. The “ordinary* quality was simply
stamped GBD. Demand after the First World War called for further identification starting with GBD ‘London Made* which became ‘Standard London Made*, followed by GBD “New Era’, top of the range in 1931 at 12/6d! GBD ‘Pedigree’, although first thought of around 1926, was well established in the late 1930s. GBD “New Standard’ was created to give a boost to the “Standards’ of the 1920s and a newly introduced sandblast was called GBD ‘Prehistoric’, still bearing a small GBD ‘Xtra* stamp. French made GBDs followed more or less the same ideas, still however using ‘Xtra’ and ‘Speciale’ while in the late ’20s a metal system GBD was introduced under the name GBD ‘Extra Dry*. The 1920s also saw an important development with the introduction of the metal GBD inlay on mouthpieces which gave the pipes that extra ‘touch of class’. This inlay has been used on GBDs for nearly 60 years.”

That was followed by a response from osiris01:

I started with either this text or one using it as source and it does explain well the reason for creating, first the Xtras and Speciales, and later, the other graded lines like New Era, Pedigree etc. The problem is that the Xtra and Speciale were discontinued in 1937/8 (Pipedia et al) because the new lines provided a more refined grading system. And yet, the Xtra was listed in the catalogs until 1950.

My guess is that the French factory continued with the Xtra, for a reason unknown to me. The only evidence I have of this is a badly translated sentence from Pipedia that describes the process of creating additional lines. It reads “The French GBDs more or less followed the same developments, although Xtra and Speciale very longly used there.” What ‘Longly used there’ means I don’t know, but somewhere was still making them, and if you translate ‘longly’ as ‘longer’, it does imply that they continued making them for a longer period. It’s a far from perfect explanation but, as I said, they were still being made somewhere and it does imply that the French factory were responsible. However, they were different to the Xtras made in the 20s/30s since the later ones had a chamfered rim, different stems etc.

However, reading you text again, I wonder if the it is hinting at a COM. “Demand after the First World War called for further identification starting with GBD ‘London Made* which became ‘Standard London Made*,”. It doesn’t say that a COM was not used before then (that would be too easy), but you wouldn’t stamp a pipe “Xtra, London Made, London Made” or similar.

I just don’t have enough evidence, reference points, old models to compare against etc. Even describing it as an educated guess is still stretching it a bit. The best guess, perhaps.

However, what I do know is that the 1930s Xtras were fitted with a specific stem with an unusual button called the ‘curved wafer tip of comfort’ (just rolls off the tongue). The following images shows the detail from a 1938 catalogue and the button on my pipe, and to my eye, they are the same. Not in any way conclusive, but it’s the best I’ve been able to come up with.

Now I knew that I was dealing with a French made GBD Speciale Standard created in the 1950s.

Jeff reamed it with a PipNet pipe reamer and cleaned up the reaming with a Savinelli Fitsall Pipe Knife. He scrubbed out the internals of the shank and stem with alcohol, pipe cleaners and cotton swabs until the pipe was clean. He scrubbed the exterior of the bowl with Murphy’s Oil Soap and a tooth brush to remove the grime and grit on the briar and the lava on the rim top. The finish on the bowl looked really good when I got it. The rim top and edges looked very good. He soaked the twin bore stem in Briarville’s Pipe Stem Deoxidizer bath to remove the oxidation. The stem looked better and the deep tooth marks and chatter on the surface were also visible. When the pipe arrived here in Vancouver for the second stop of its restoration tour it looked much better than when he found it. I took photos of the pipe before I started my work on it.  I took photos of the condition of the rim top and stem before I started working. The rim top looks very good and the bowl is spotless. The stem is much better but still shows some oxidation and tooth chatter and deep marks on both sides near the button. I took photos of the stamping on the sides of the shank. The stamping was clear and readable as noted above. I took the bowl and stem apart and took a photo of the pipe to show the look of the pipe. Now it was my turn to work on the pipe. The bowl was in very good condition so I polished the briar with micromesh sanding pads – dry sanding with 1500-12000 grit pads. I wiped the bowl down after each pad with a damp cloth to remove the sanding dust. I worked some Before & After Restoration Balm into the finish of the bowl, rim top and shank with my fingertips to clean, enliven and protect it. I find that the balm really makes the briar come alive again. The contrasts in the layers of stain really made the grain stand out. I let the balm sit for 15 minutes and then buffed with a cotton cloth to raise the shine. The bowl really looks good at this point. I set aside the bowl and turned my attention to the stem. I “painted” the tooth marks on the surface of the stem and was able to lift them partially. I cleaned out the tooth marks with alcohol and q-tip then filled in the ones that remained with some rubberized, black CA glue. Once the glue cured I flattened out the repairs and recut the button edge with small files to start the process of blending them into the surface of the vulcanite. I sanded the stem with 320-3500 grit sanding pads to further blend in the repairs. I wiped the stem down after each pad with an Obsidian Oil saturated cloth to remove the grime and protect the stem. I polished the stem with micromesh sanding pads – wet sanding it with 1500-12000 grit pads. I polished it further with Before & After Pipe Stem Polish – both fine and extra fine. I wiped it down again with some Obsidian Oil and let it sit and dry. I always look forward to the moment when all the pieces are put back together. The pipe makes a final trip to the buffing wheel and is met first with Blue Diamond polish on the buffing wheel. That is followed by multiple coats of carnauba wax over the whole pipe. Then I do a step that not everyone does but I learned from one of the old pipe men who no longer with us, I buff the pipe with a clean buffing pad to raise the shine. Finish my buffing by hand with a microfiber cloth to deepen the shine. It is fun to see what the polished bowl looks like with black vulcanite stem. This richly stained GBD Speciale Standard 788 Bent Apple is light weight and ready for you to load up a tobacco of preference and enjoy. Have a look at it in the photos below. The dimensions are Length: 5 ½ inches, Height: 1 ½ inches, Outside diameter of the bowl: 1 ¼ inches, Chamber diameter: ¾ of an inch. The weight of the pipe is 48 grams/1.69 ounces. This is one that will go on the British Pipemakers Section of the rebornpipes online store shortly. Let me know if you are interested in adding it to your rack. Thanks to each of you who are reading this blog. Remember we are not pipe owners; we are pipemen and women who hold our pipes in trust until they pass on into the trust of the next generation.

A Nice Break after a few complicated ones – a Comoy’s Classic 184 Bent Globe


Blog by Steve Laug

The next pipe on the worktable is an English made Bent Globe with a classic brown finish. It is a combination dark and medium brown stains. The pipe came to us from a lot that we bought from an estate in Spring Branch, Texas, USA on 02/29/2024. The pipe is very dirty with a thick cake in the bowl and lava on the rim top. The rim edge looks good but it was hard to know what was under the lava coat on the top and edges. It is stamped on the sides of the shank. On the left side it reads Comoy’s [over] Classic. On the right side it is stamped with the shape number 184. Next to the shank/stem junction it has a circular COM stamp that reads Made London in a circle around “In” in the centre [over] England. The finish was dusty and there were oils and grime ground into the finish around the sides of the bowl. The stem is acrylic with grime on the surface and tooth chatter and marks ahead of the button on both sides. The is a single stamped C on the left side of the taper stem. Jeff took some photos of the pipe before he started his cleanup work. Jeff took a photo of the bowl and rim top to show the condition of the pipe. There was a thick cake in the bowl and a build up of lava on the smooth rim top. It is also built up on the inner edge of the bowl. The stem photos show the grime and light tooth marks on both sides ahead of the button. He took photos of the sides and the heel of the bowl to show the finish on the pipe. It is a unique stain on it that really shows the grain around the bowl sides. He took two photos to capture the stamping on the sides of the shank. It is clear and readable as noted above. I looked on both Pipedia and Pipephil’s sites for information on the Comoy’s Classic Line. Neither site had any information about that particular stamping. The name stamp obviously remains a bit of a mystery. The COM stamp on the shank was a Comoy’s style stamp as noted above. I would need to move ahead and do some work on the shape number to see if what I could learn of that.

I turned to Pipedia’s Comoy’s shape chart and sure enough the 184 shape was a Comoy’s shape. I have included the link (https://pipedia.org/wiki/Comoy%27s_Shape_Number_Chart). I did a screen capture of the section on the 184 shape. The shape is a Medium sized half bent pipe that was called a GLOBE.I now knew that the pipe I was working on was made by Comoy’s (thanks to the shape number and the COM stamp on the shank). It was a beauty for sure and one that would only become more beautiful as it was restored.

I really enjoy working on classic shaped pipes so I was glad to be working on this one. Jeff had reamed it with a PipNet pipe reamer and cleaned up the reaming with a Savinelli Fitsall Pipe Knife. He scrubbed out the internals with alcohol, pipe cleaners and cotton swabs until the pipe was clean. He scrubbed the exterior of the bowl with Murphy’s Oil Soap and a tooth brush to remove the grime and grit on the briar and the lava on the rim top. The finish looks better but there is still some darkening on the rim top and edges of the bowl. Jeff scrubbed the stem with Soft Scrub and soaked it in Before & After Deoxidizer to remove the oxidation on the vulcanite. When the pipe arrived here in Vancouver for the second stop of its restoration tour it looked a lot better. I took photos before I started my part of the work. I took some close up photos of the rim top and the condition of the bowl. I also took photos of the top and the underside of the stem.I took photos of the stamping on the top and underside of the shank to show the condition after the cleanup. This stamping is clearer than the photos show. I removed the stem from the shank and took a photo of the parts of the pipe to show the overall look of the pipe. I polished the briar with micromesh sanding pads – dry sanding with 1500-12000 grit pads. I wiped the bowl down after each pad with a damp cloth to remove the sanding dust. I rubbed the bowl down with Before & After Restoration Balm.  I worked it into the finish of the bowl, rim top and shank with my fingertips to clean, enliven and protect it. I find that the balm really makes the briar come alive again. The contrasts in the layers of stain made the grain stand out. I let the balm sit for 15 minutes and then buffed with a cotton cloth to raise the shine. I set aside the bowl and turned my attention to the stem. I sanded out the bite marks on both sides ahead of the button with a folded piece of 220 grit sandpaper remove the damage.I polished the stem with micromesh sanding pads – dry sanding with 1500-12000 grit sanding pads. I wiped it down after each sanding pad with a cloth containing some Obsidian Oil. I finished polishing it with Before & After Pipe Stem Polish – both Fine and Extra Fine and buffed it off with a cotton cloth. This Comoy’s Classic Made in London 184 Bent Globe is a great looking pipe now that it has been restored. The shape is elegant and flowing with a taper acrylic stem. I put the stem on the bowl and carefully buffed the pipe with Blue Diamond on the buffing wheel using a light touch on the briar. I gave the bowl and the stem multiple coats of carnauba wax on the buffing wheel and followed that by buffing the entire pipe with a clean buffing pad. I hand buffed the pipe with a microfiber cloth to deepen the shine. The finished Comoy’s Classic 184 Bent Globe fits nicely in the hand and feels great. Give the finished pipe a look in the photos below. The dimensions of the pipe are Length: 5 inches, Height: 1 ¾ inches, Outside diameter of the bowl: 1 inch, Chamber diameter: ¾ of an inch. The weight of the pipe is 1.45 ounces/41 grams. I will be putting it on the British Pipe Makers Section of the rebornpipes store shortly. If you are interested in adding this pipe to your collection send me a message or an email. Thanks for reading this blog and my reflections on the pipe while I worked on it.

A Portland Pipe from my Grandfather


by Kenneth Lieblich

Next on the chopping block is a very personal pipe – and one that is staying in my collection. The pipe you see belonged to my late grandfather. It is this pipe’s restoration that I am recounting today. I have blogged here about some of my grandfather’s pipes before, but I haven’t done one in a while. In this case, I do not know where my grandfather acquired it (or under what circumstances), but I suppose it does not ultimately matter. My grandfather was an enthusiastic pipe smoker and I am definitely looking forward to cleaning this one up. It has a value well beyond dollars – especially because this is actually the first pipe I ever smoked. Unsurprisingly, I didn’t know what I was doing it with it, so any damage you see is almost certainly from me! I don’t remember why I picked this pipe of his to try, but it definitely worked well. The pipe is a classic billiard shape with a lovely, long stem. What a handsome pipe! I do not know the exact date of the pipe, but, knowing what I do about my grandfather and his pipes, it seems likely to be from the 1950s or 1960s. On the left-hand side of the shank, the pipe’s markings read, First Call [over] London. To the right of that is the number 69 – presumably a shape number. The right hand side of the shank also has markings, but they are more worn. They read, Portland Pipe Product [over] Made Wholly in England. I wasn’t familiar with these names, so I did some digging.I began my research with José Manuel Lopes’ book, Pipes: Artisans and Trademarks. As the photo shows, there was a little information, but not a lot.The connection with Barling was interesting, so I also checked Wilczak and Colwell’s book, Who Made That Pipe? From the photos below, you can see that First Call refers me to the Portland Pipe Co. and that they both make a connection to Barling too.Time to check online. Pipephil had a similarly brief write-up (included here).Pipedia was a bit more helpful. Their page on the Portland Pipe Co. includes the following information (the typos are in the original and are NOT mine):

Portland Pipe Company was an English pipe maker, and appears to have started in the 1930’s, and went out of business in 1962. It’s though they had ties to Barling pipes from the 1930’s. They might have been a sub-brand or “second” which was separate from, but fully owned by Barling’s all along. It also thought that after Portland closed down, and during Barling’s corporate era (BB&S), Barling picked up some of the Portland brand (Londoner, Cragmoor and Portland) and made them for a while. WILCZAK & COLWELL in their book “Who Made That Pipe?” acknowledge the brand as from England, though some have been made in Italy as well (see Pipephil.eu). The Brand John Peel is a pipe which has the stamping: JOHN PEEL, A PORTLAND PIPE, MADE WHOLLY IN ENGLAND. I have a model with is also stamped SPECIAL, it’s a stack design with shape number 801. This pipe might have been made either by Portland or Barling. According to a 1940 price sheet, the following models were offered, along with the correlating prices:

Vintage (10/6)
Exchange (7/6)
Londoner (7/6)
Mosaic (7/6)
Portland Super (7/6)
Crustor (5/6)
Diploma (5/6)
Port Royal (5/6)
Port-de-Luxe (5/6)
Portland Patent (5/6)
Souk-el-Arba (5/6)
Times (4/6)
British Sovereign (3/6)
John Peel (3/6)
Jubilee (3/6)
Sirdar (3/6)
Campaigner (2/6)
Dandy (2/6)
First Call (2/6)
Knobby (2/6)
Topsall (2/6)
Topsall Comfort (2/6)
Portman (2/-)
British National (1/6)
Ruf Kut (1/6)

This seems to confirm that this pipe is in the lower range of Portland Pipes AND that it likely comes from before 1962. However, there are a few other tidbits of information. The PipesMagazine.com forums include an interesting comment from Barling expert Jonathan Guss:Finally, over at the Very Keen on Pipes website, a reader commented on one of their posts by saying:

“… Portland pipes make up one of the great mysteries of London pipe making. No one knows when Barling bought Portland but most of us barling guys believe it was mid to late 30’s. I saw a reference once online using the year 1936 but this cannot be confirmed. Next, John Peel was for a long time thought to have been a shop but there is no evidence proving that. However, John Peel pipes were almost certainly made by Portland. What most of use want in a pipe of this type is a pipe made before 1962, when the barling family was let go by the new owners and the brand went into a downward spiral quality wise. Re Portland, a number of them have recently turned up as a result of a “garage find” of a batch of pipes from the Toronto Canada area and they were mixed in with other wood from the 50’s and that seems to indicate a 50’s date of manufacture. Note: in those days several of the larger pipe makers made pipes or just bowls for other brands and these were mostly Charatan, Comoy and other makers such as Orlick. What is almost certain is that never did barling make / sell any pipes that were not carved by barling carvers untill after 1970. So, Portland and Peel were never actually barling made, these pipes were either made by Portland in house or, in later years past 1962, by Charatan and others. Also, if one looks at the style of the bits it evident that Portland and Peel pipes were not made that long ago, probably 50’s and 60’s unless there is a BB&S stamp which indicates post 1970 age (the & symbol being the give away since B.B.S was used in the older pre 1962 era.) Just some info for you to keep in mind… “

Let’s tie it all together. By inference (and some educated guesswork), this pipe of my grandfather’s was made in England, prior to 1962, and that the Portland Pipe Co. who made it was owned by Barling. As for the “69” shape number, I do not know what to say – this doesn’t correspond to Barling, so I suppose Portland had their own numbering system. It’s a nifty pipe – however, it was not without its issues. The stem had plenty of tooth chatter and was pretty oxidized. The stummel was actually in pretty good shape, except for the rim. I burned it pretty darn thoroughly. It had some minor wear, but nothing too tricky. The stem was first on my list. I wiped down the outside of the stem with Murphy’s Oil Soap on some cotton pads. Then, I cleaned out the insides with pipe cleaners and isopropyl alcohol. Then it went so soak in the deoxidizing fluid. After that, I wiped it down with some cleanser and removed the rest of the oxidation. Once clean, I built up the nicks and dents and scratches on the stem with black cyanoacrylate adhesive and let it fully cure.I then sanded the adhesive down with my grey pads to bring the repairs to the level of the stem. I ensured that the stem kept its shape and looked like it should. I then used all nine Micromesh pads (1,500 through 12,000 grit) to emphasize the beautiful black of the stem. I also used Obsidian Pipe Stem Oil in between each pad scrubbing, after 3,600. On to the stummel, and the usual cleaning procedures were in order for this pipe. I used the KleenReem to remove the built-up cake, and followed that with 220-grit sandpaper to remove as much as I could. I wanted to take the bowl down to bare briar to ensure there were no hidden flaws in the walls of the bowl. Fortunately, there were none. I then proceeded to clean out the insides of the shank with cotton swabs, pipe cleaners, and isopropyl alcohol. There was quite a bit of filth inside this stummel – it took many pipe cleaners et cetera to clean it out. I decided that a de-ghosting session would be a good idea. I thrust cotton balls into the bowl and the shank and saturated them with 99% isopropyl alcohol. I let the stummel sit overnight. This caused the oils, tars and smells to leach out into the cotton. The bowl was nice and clean after this.I followed that up by cleaning the insides with some dish soap and tube brushes. I then moved on to cleaning the outside of the stummel with Murphy’s Oil Soap and some cotton pads. Because of the extensive burning to the rim, I sanded away the damage on my topping board and it looked much improved. Now, it was time to sand down the stummel. I used all nine Micromesh pads (1,500 through 12,000 grit) to wet/dry sand everything smooth. After that, a light application of Before & After Restoration Balm brought out the best in the stummel’s grain. What a difference that made! There is some beautiful wood there! Then it was off for a trip to the buffer. A dose of White Diamond and a few coats of carnauba wax were just what this pipe needed. The lovely shine made the wood look absolutely beautiful.This is a beautiful pipe that has a very elegant feel to it. I hope the final product is worthy of my beloved grandfather’s memory. Obviously, this is one pipe that I am keeping for myself and adding to my collection. The approximate dimensions of the Portland First Call are as follows: length 6⅓ in. (160 mm); height 1¾ in. (44 mm); bowl diameter 1¼ in. (32 mm); chamber diameter ⅔ in. (17 mm). The weight of the pipe is 1 oz. (30 g). I hope you enjoyed reading the story of this pipe as much I as I did restoring it. If you are interested in more of my work, please follow me here on Steve’s website or email me directly at kenneth@knightsofthepipe.com. Thank you very much for reading and, as always, I welcome and encourage your comments.