Blog by Steve Laug
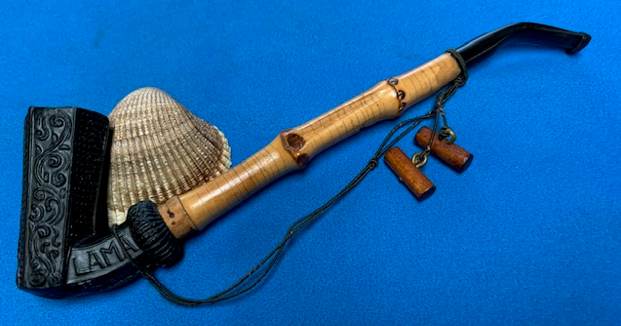
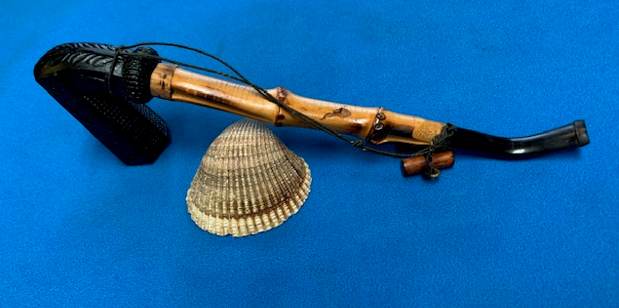
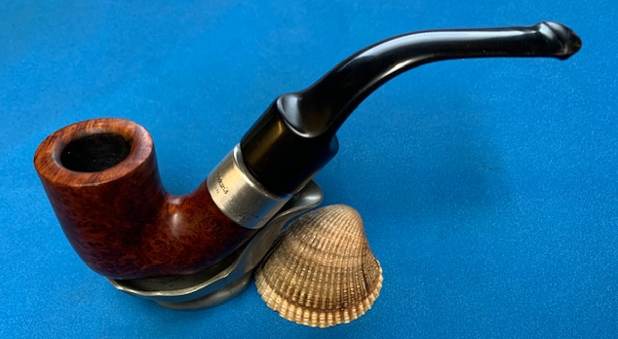
Jeff cleaned this pipe up recently and I received it in the mail last week. It is a unique pipe that caught my eye and made me want to work on it next. This pipe was purchased from an online auction on 07/28/22 in Manorville, New York, USA. The left side of the shank is stamped in the clay and reads LAMA. The right side is stamped with a banner with the letter “L” or maybe a “T” in the center and what looks like a pipe crossing the letter. The bowl of the pipe is clay with a double bottom to the bowl. The shank is Bamboo with a cork fitment on the end of the bamboo to hold it in the shank. There was a cord around the shank and then also around the horn stem. The pipe is well used and heavily smoked. There was a thick cake in the bowl with some lava spots on the rim top and inner edge. The exterior of the hexagonal clay bowl was stamped with unique and twisted/vine like patterns on the sides and a checked pattern on the other front and back of the bowl. The stamping patterns on the bowl are filled in with a lot of dust and debris. It is very dirty looking all the way around. The cork fitting is quite dirty but still has life in it. It is not chipping or torn. The cord is dirty. The Bamboo shank is a two knuckle piece with great patina and crackling in the finish. The horn stem is glued in the bamboo shank and the fit is very good. The horn stem has tooth marks and chatter on both sides near the button. There are some “wrinkles” in the bend of the stem that will need to be addressed. Jeff took the following photos of the pipe before he started his clean up work on it.
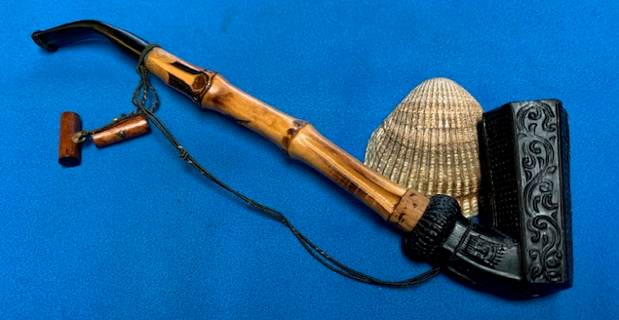
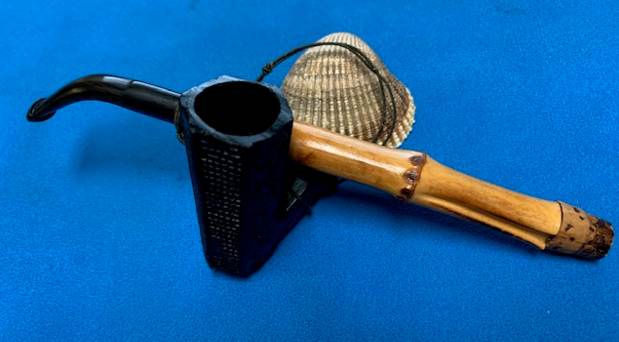
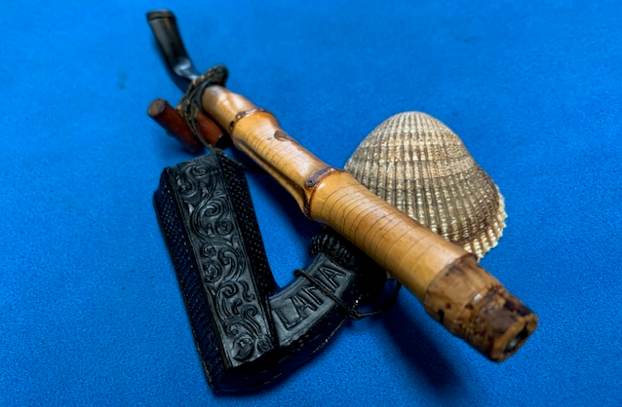
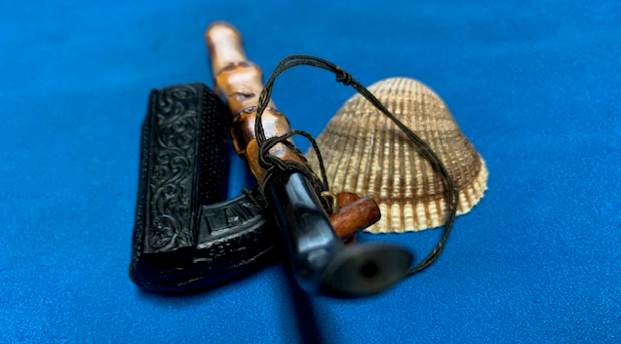
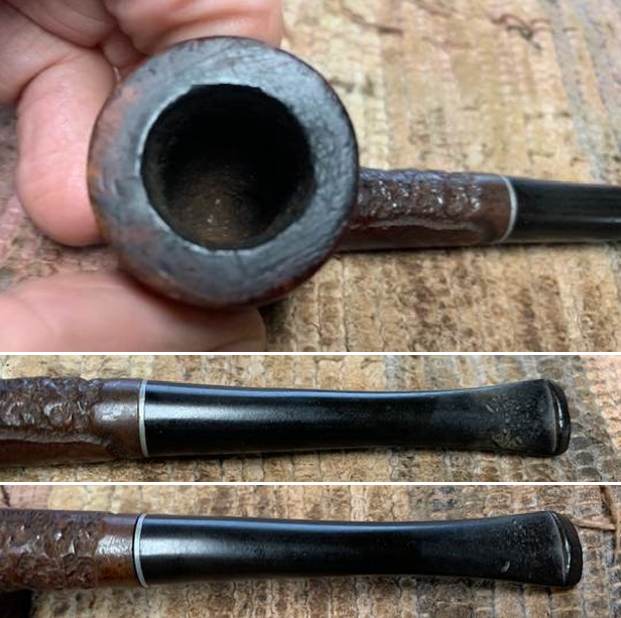
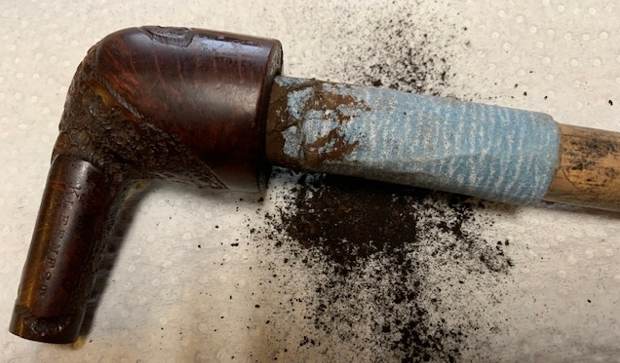
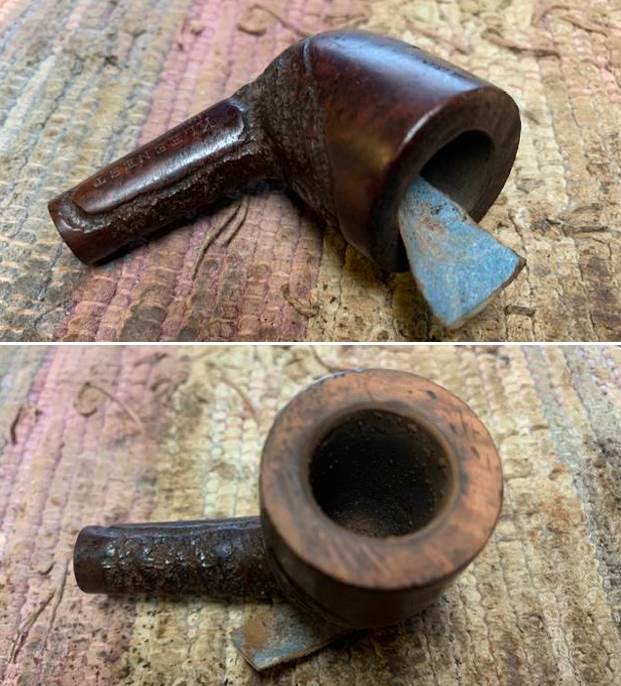
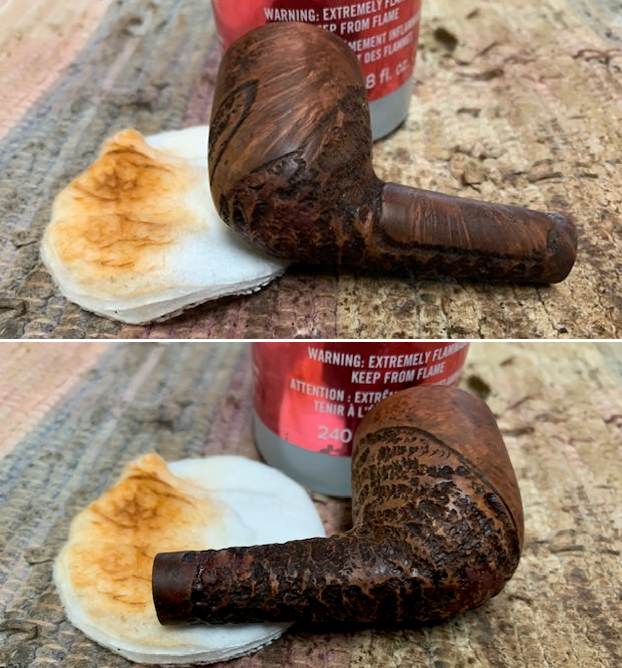
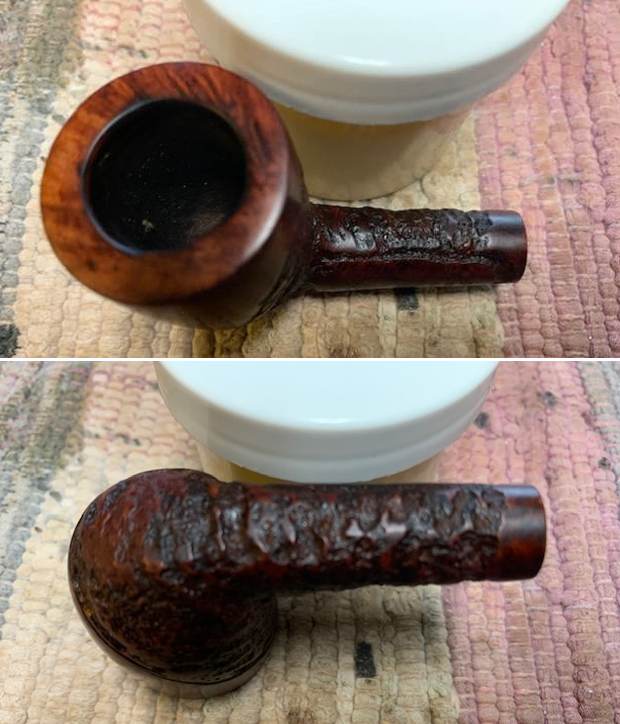
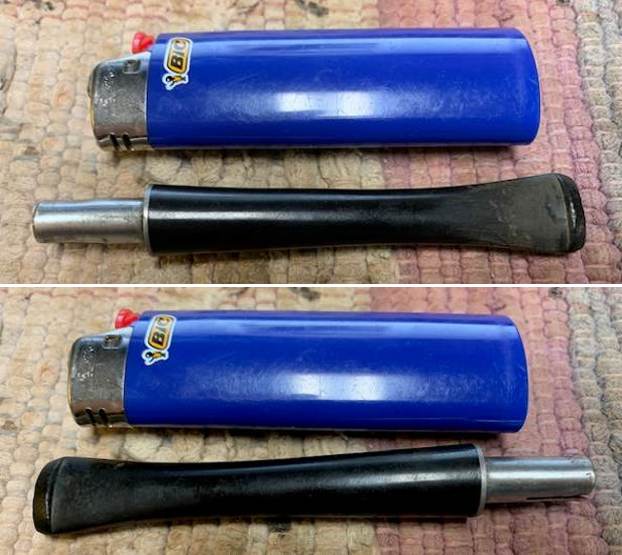
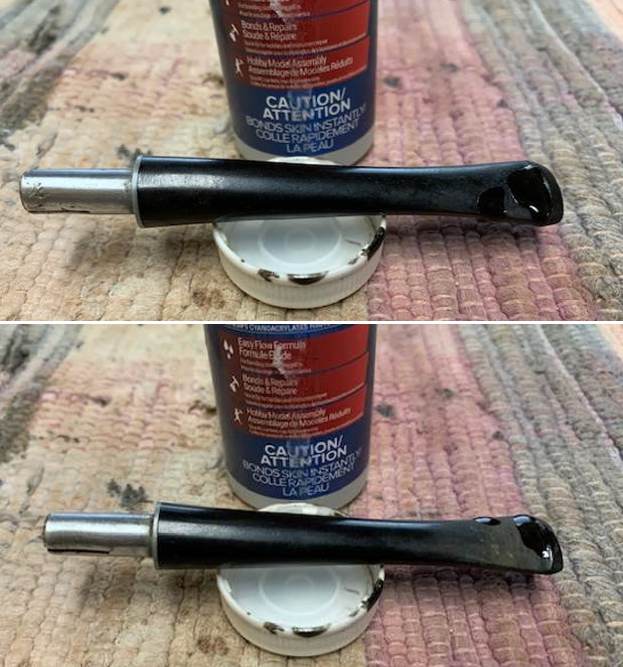
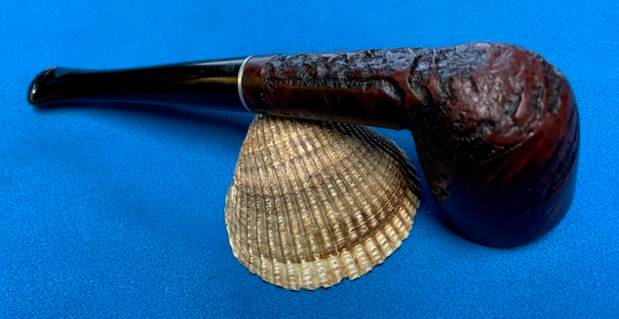
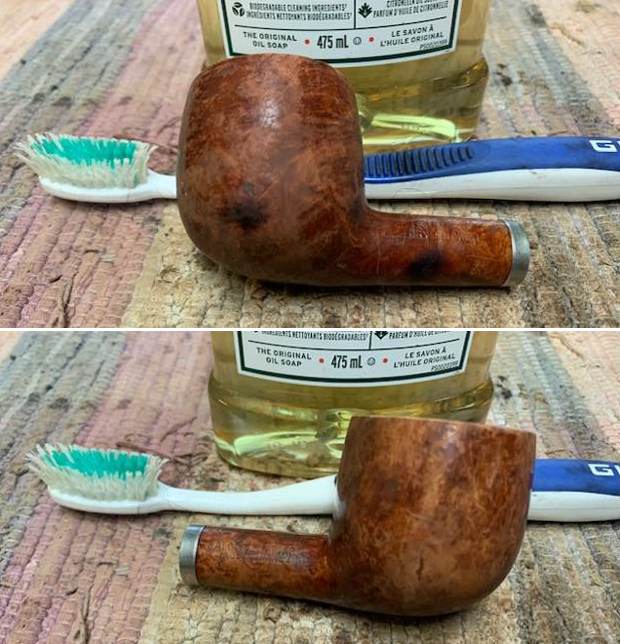
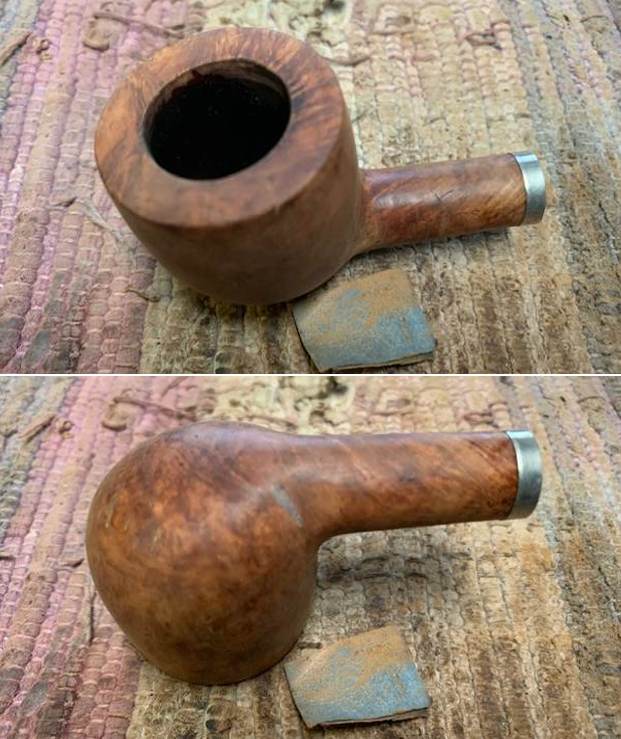
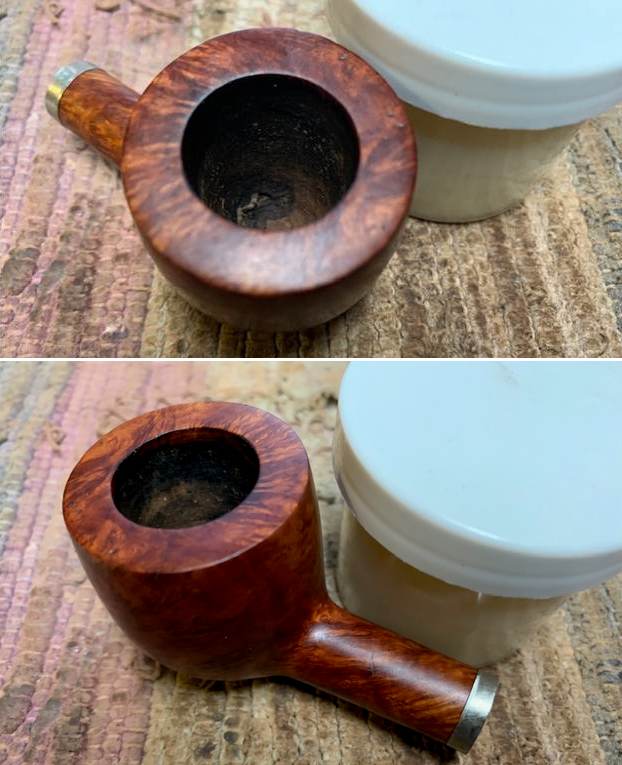
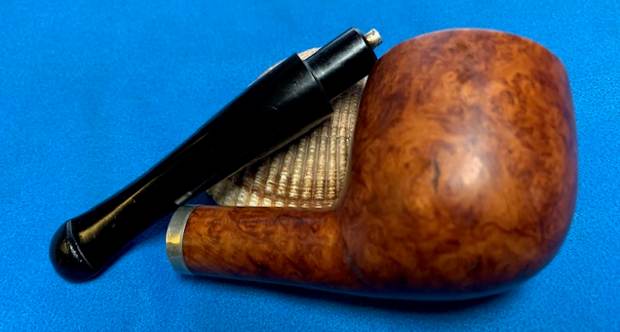
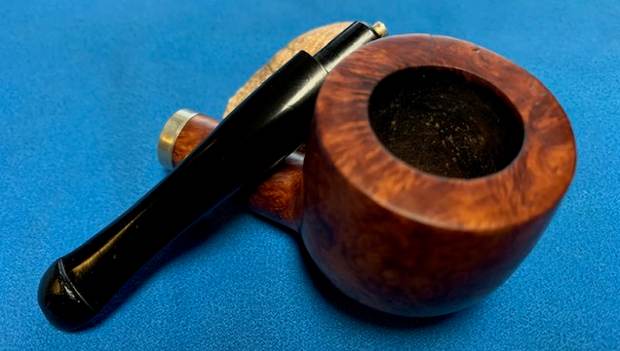
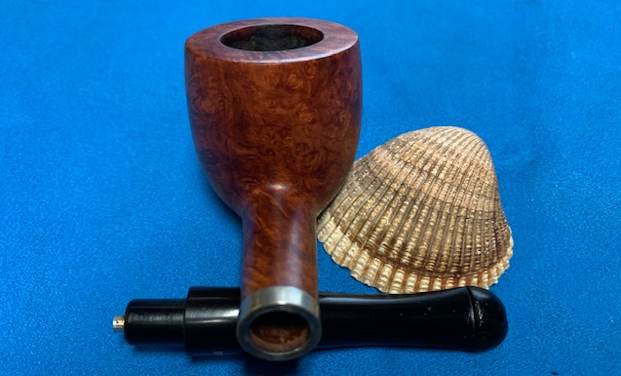
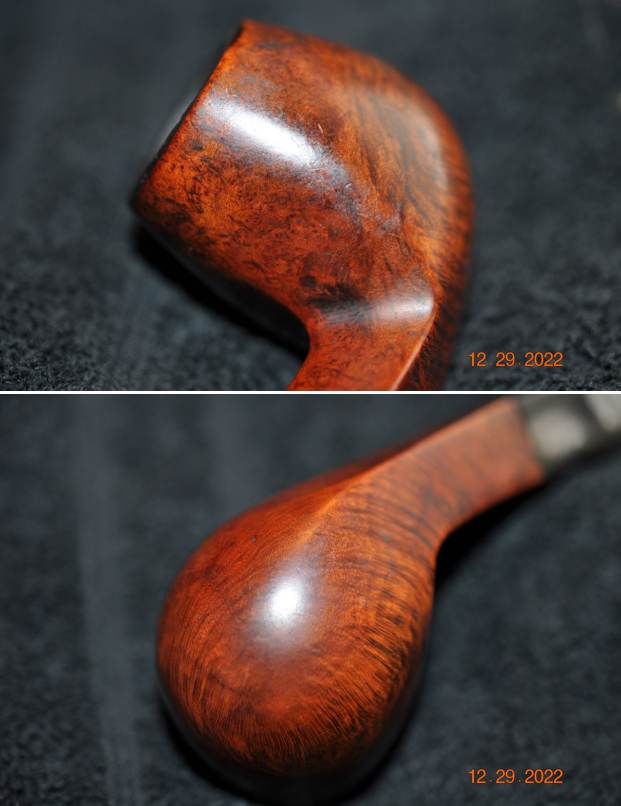
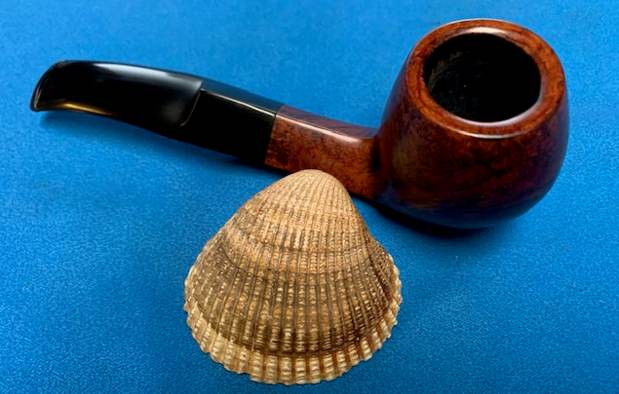
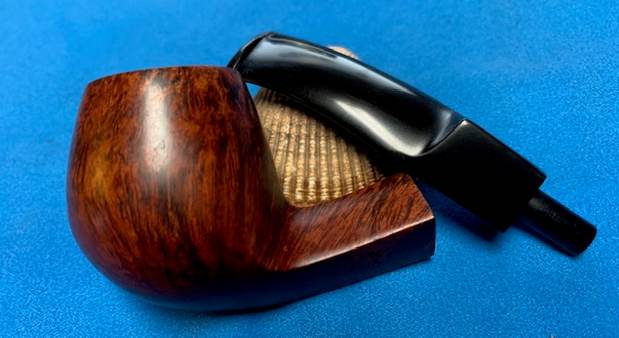
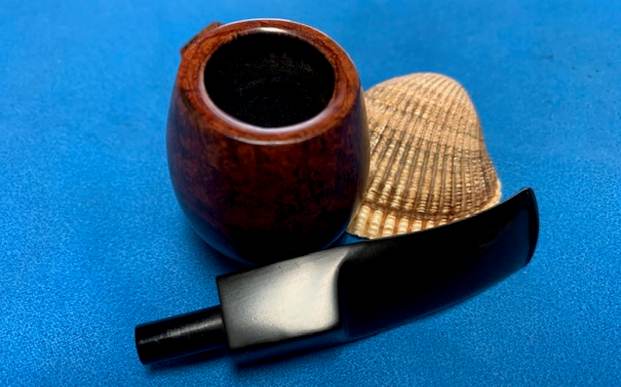
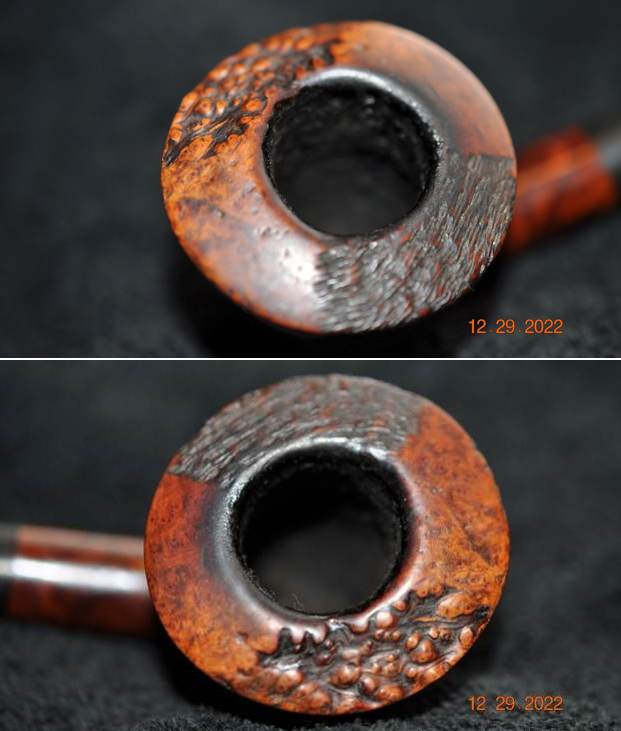
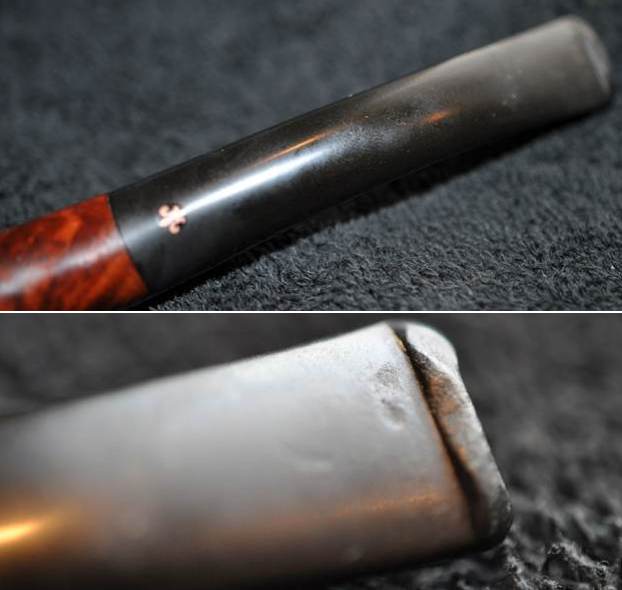
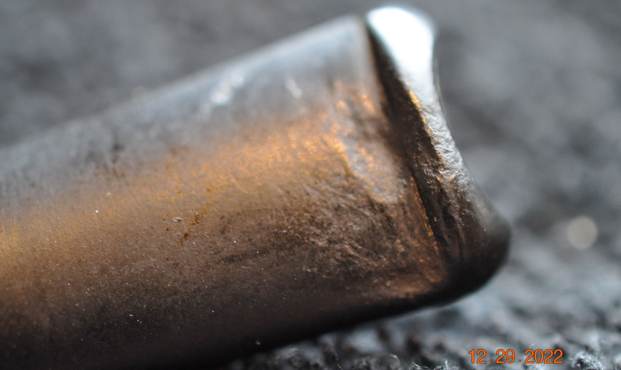
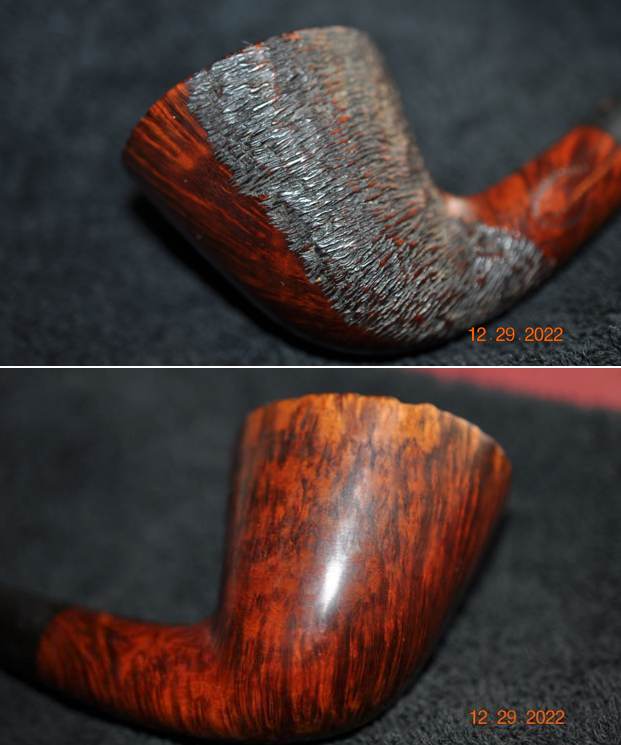
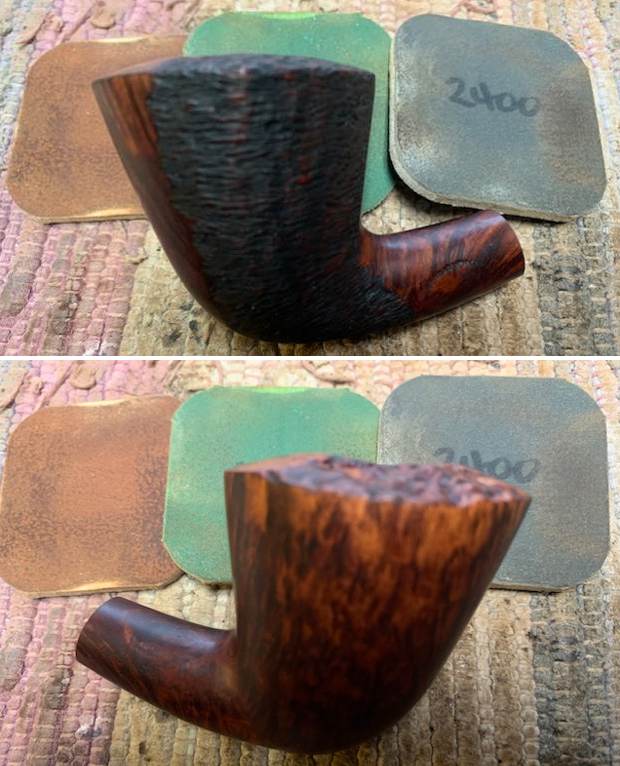
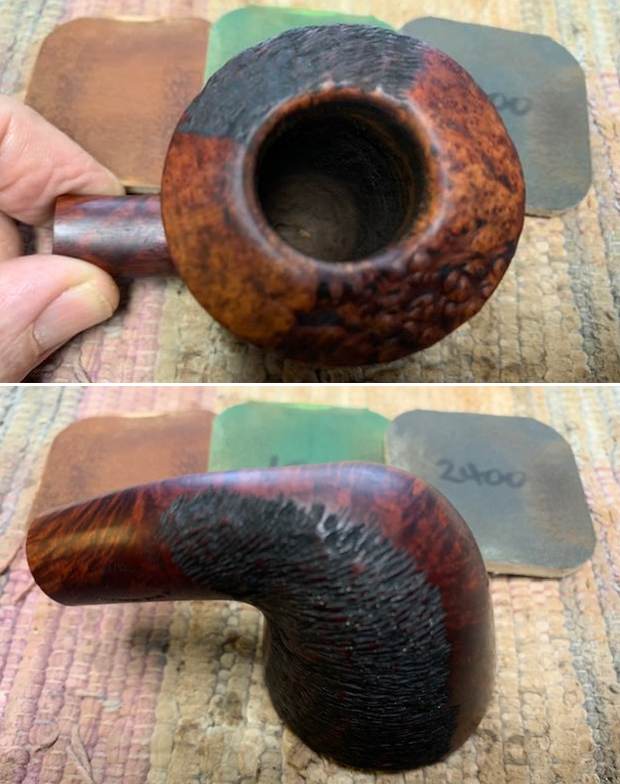
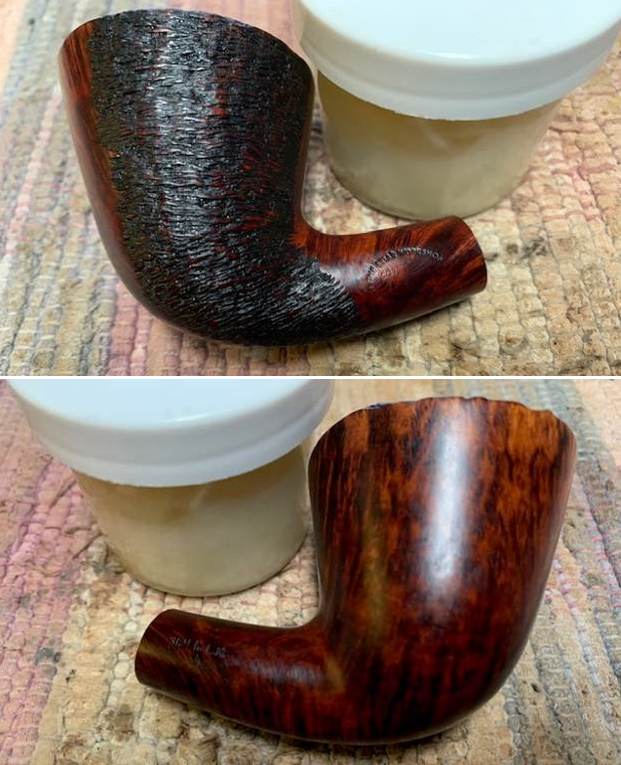
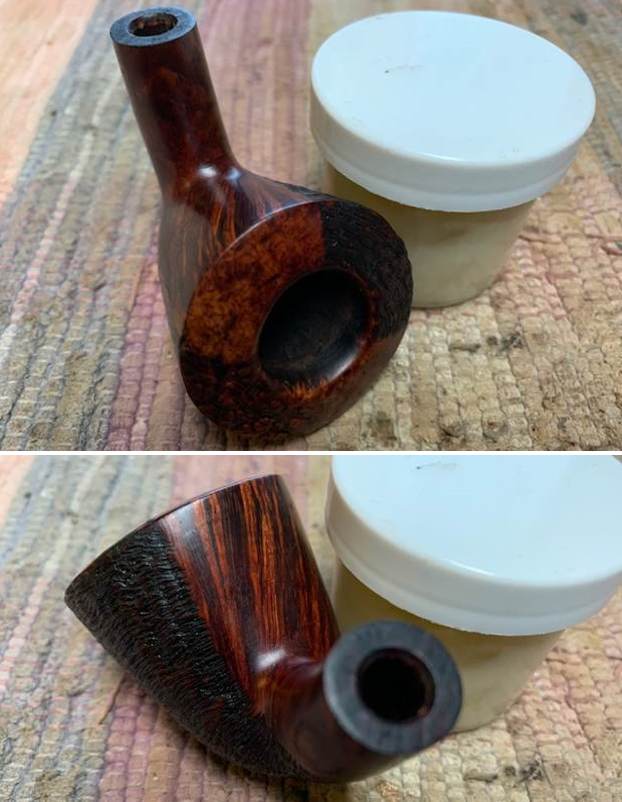
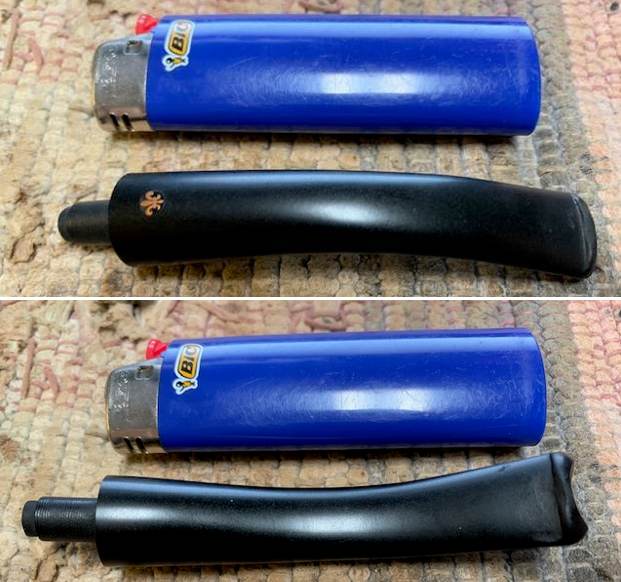
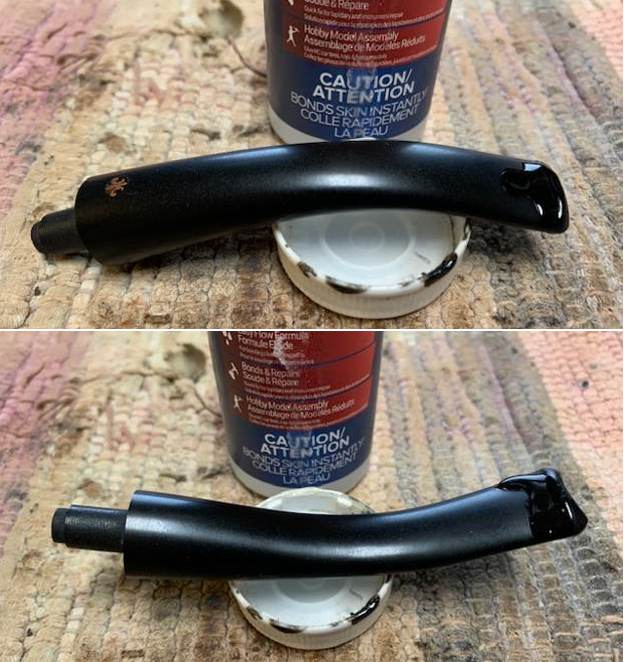
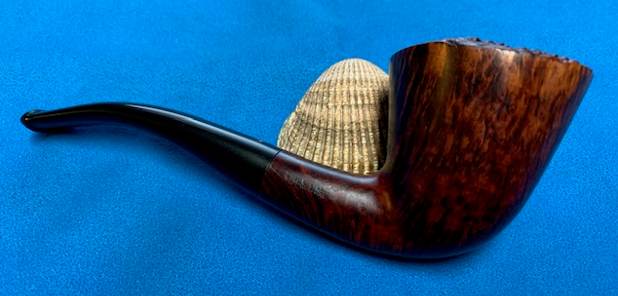
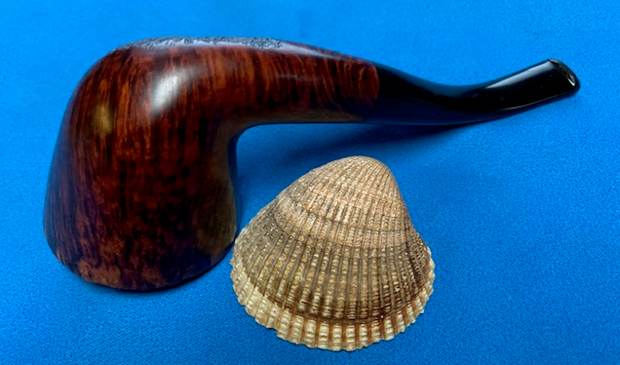
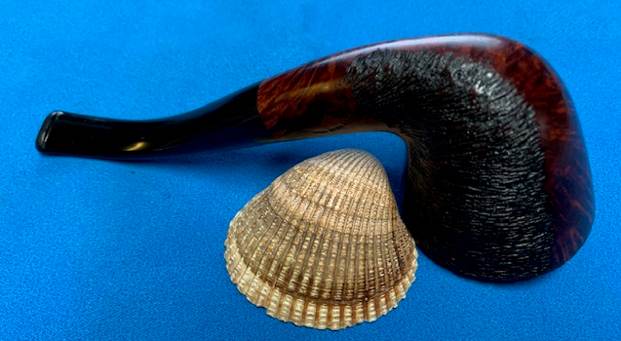
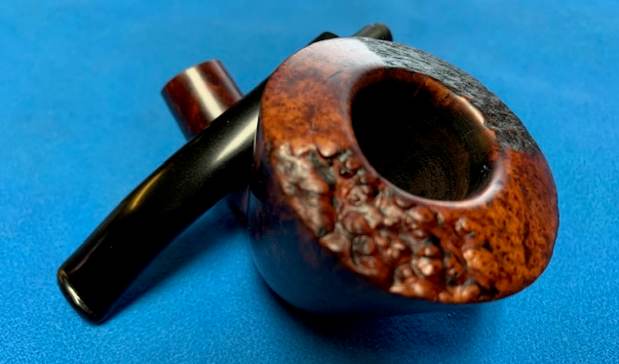
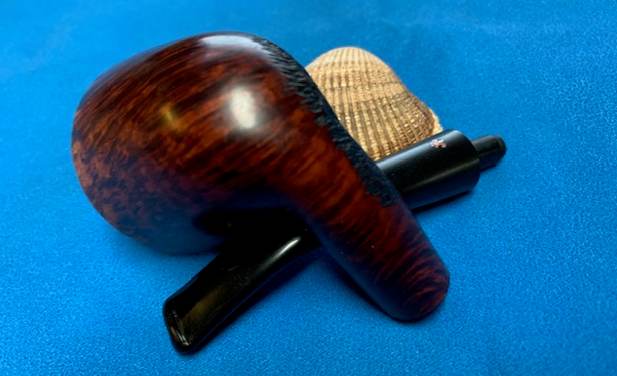
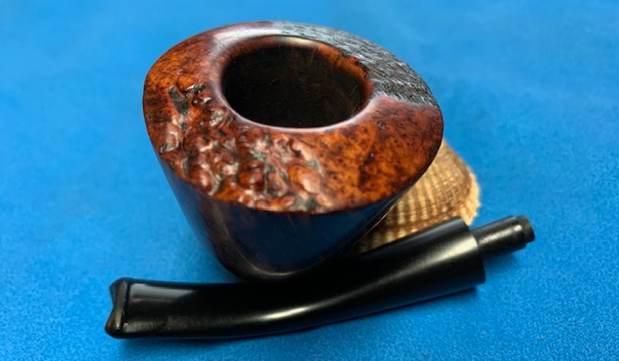
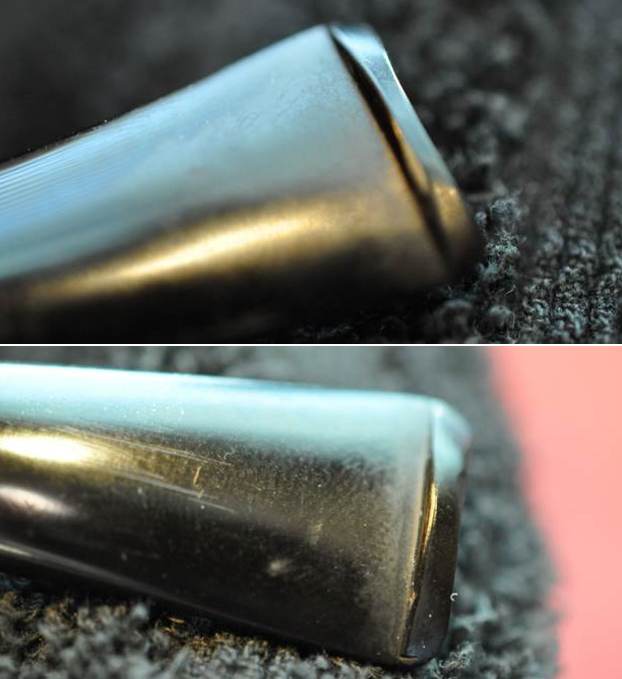
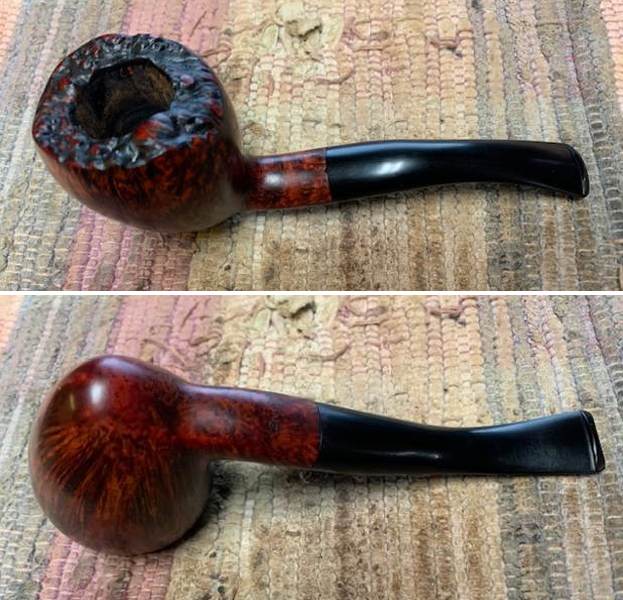
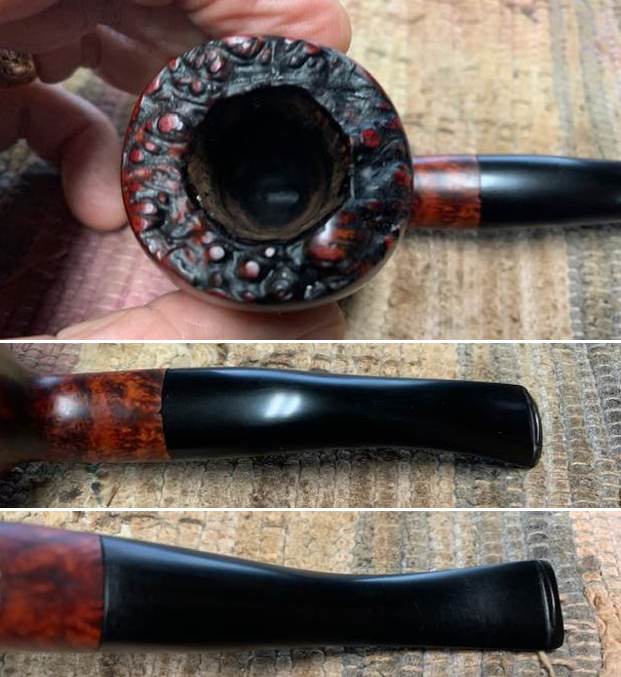
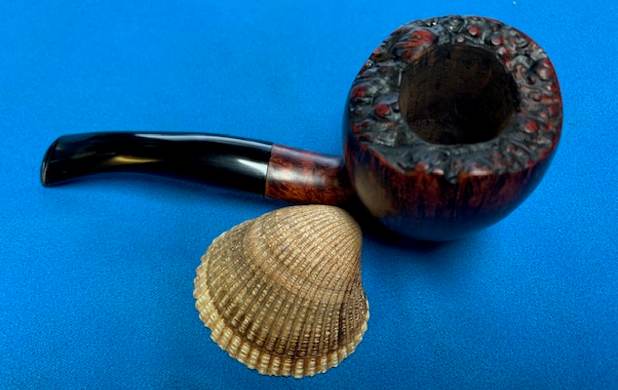
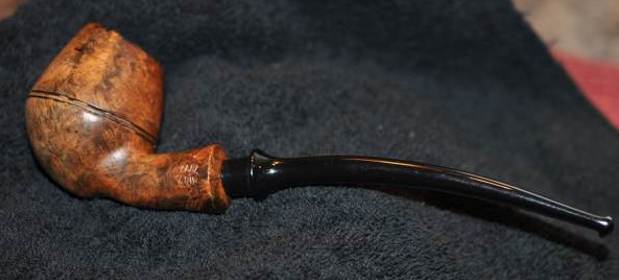
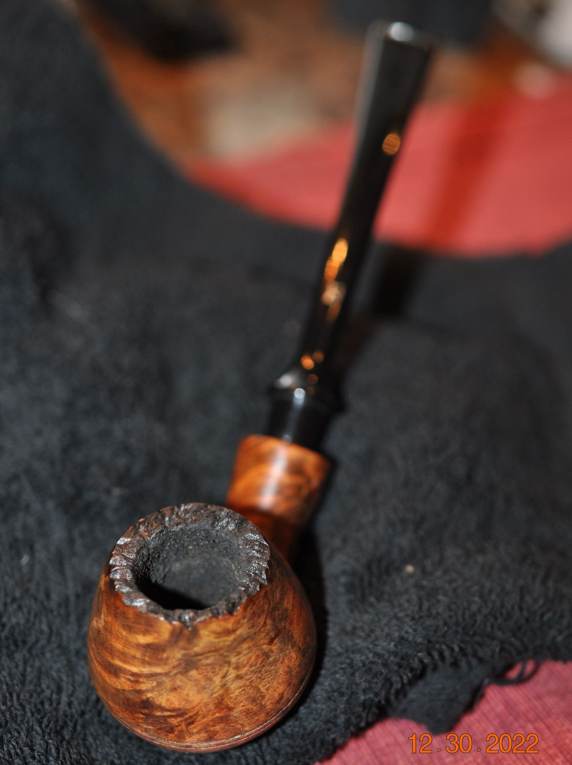
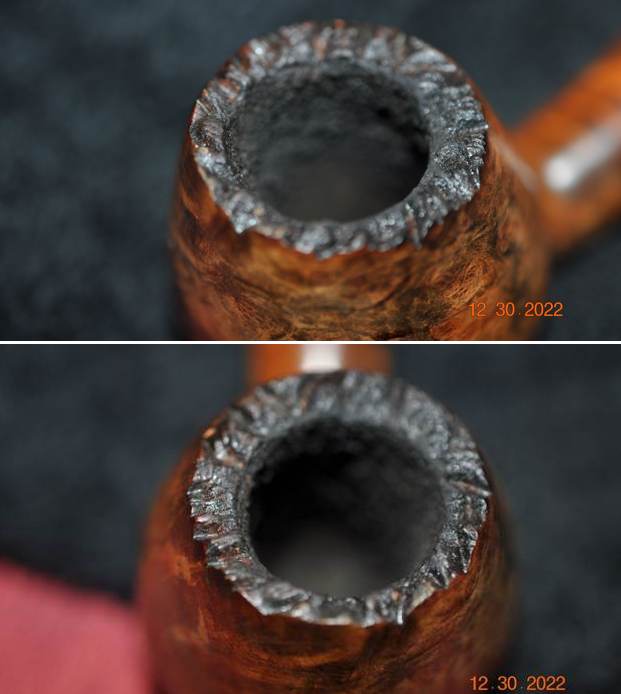
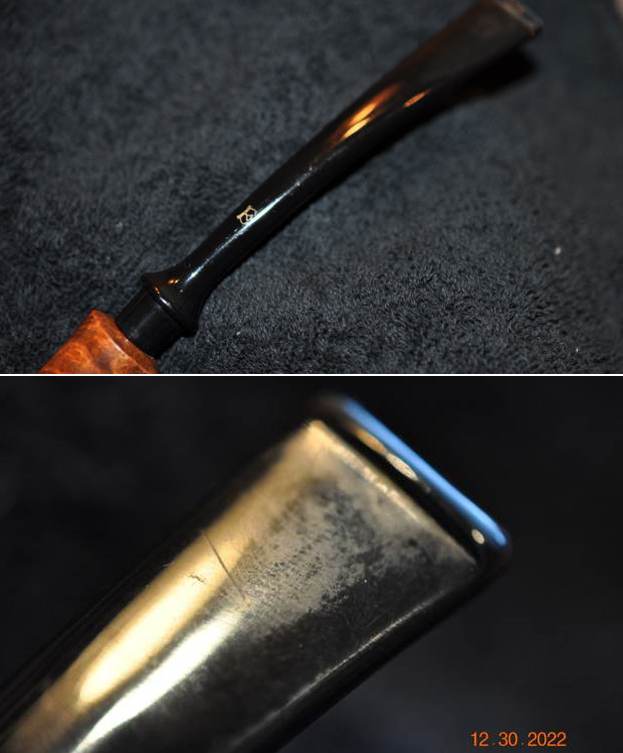
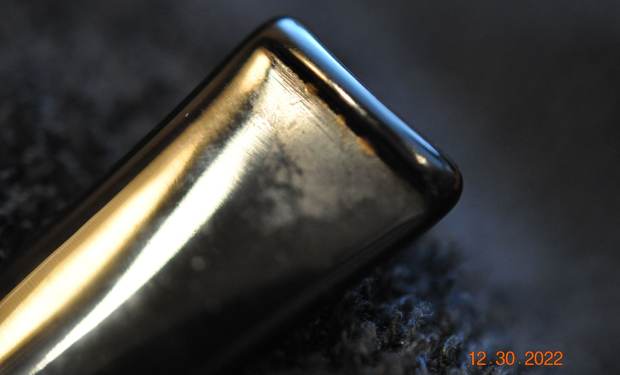
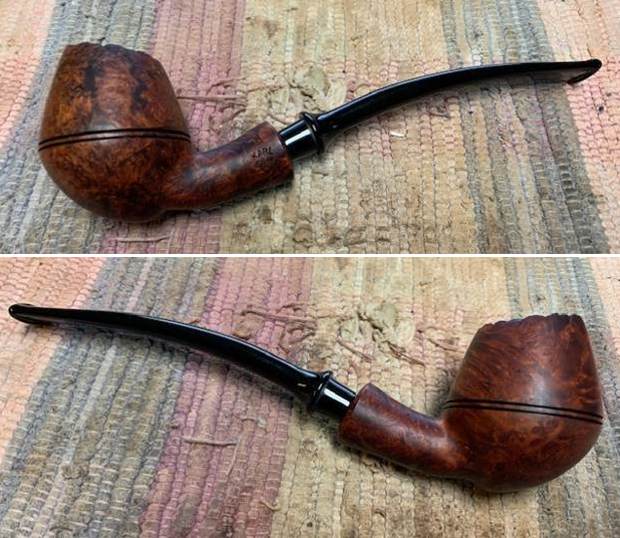
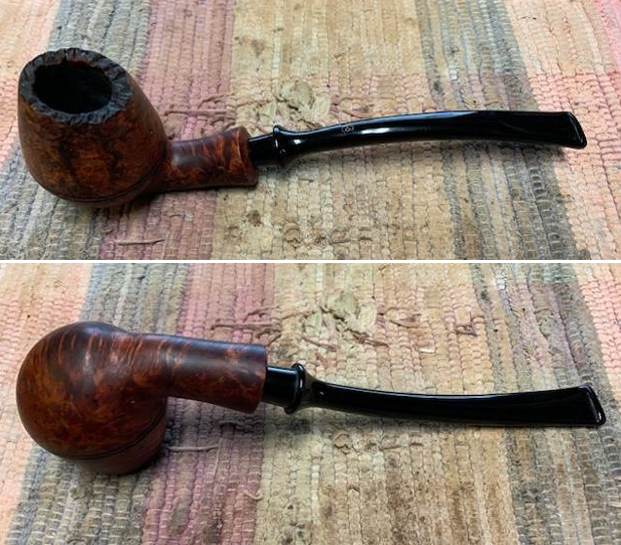
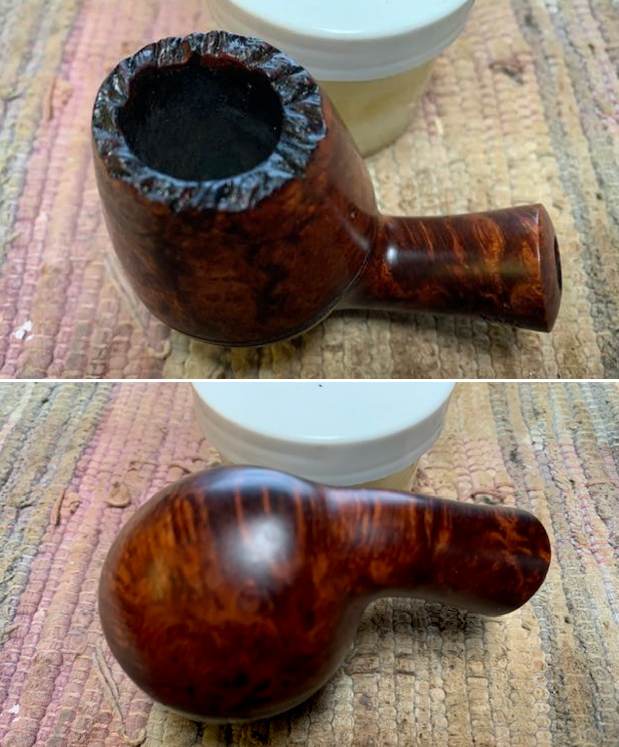
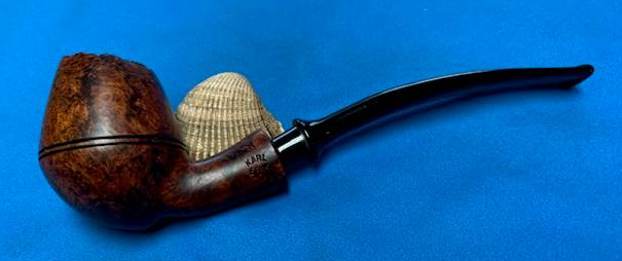
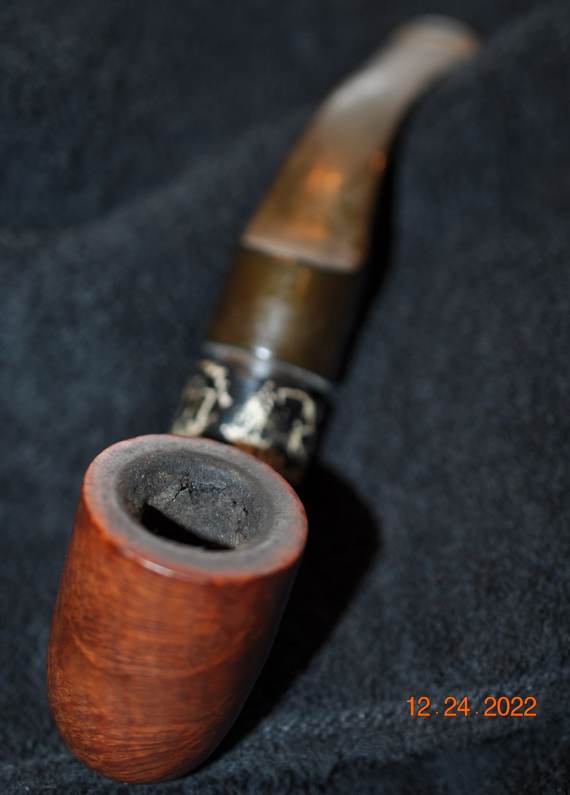
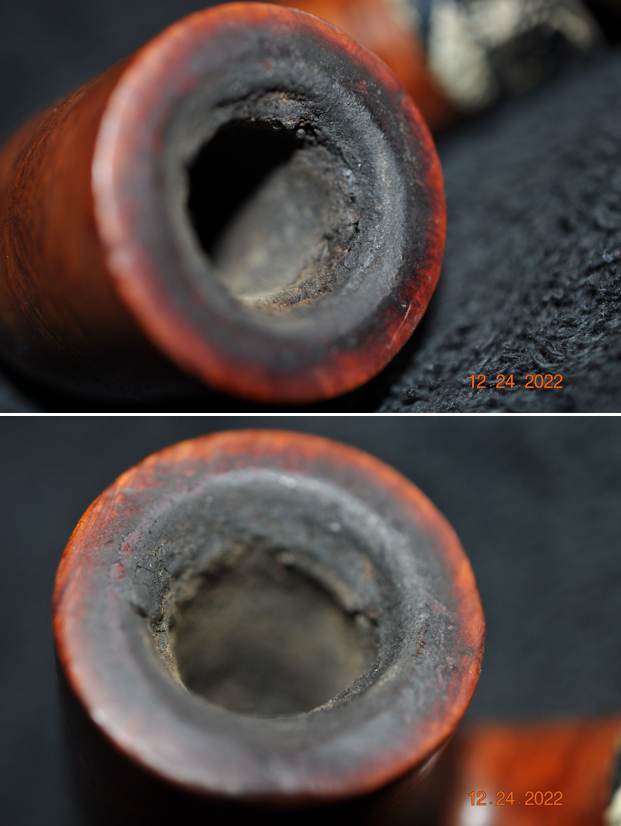
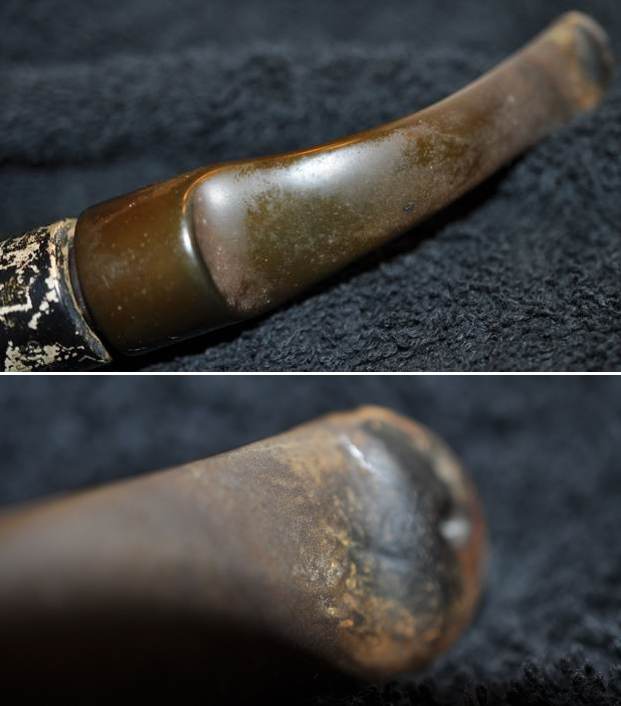
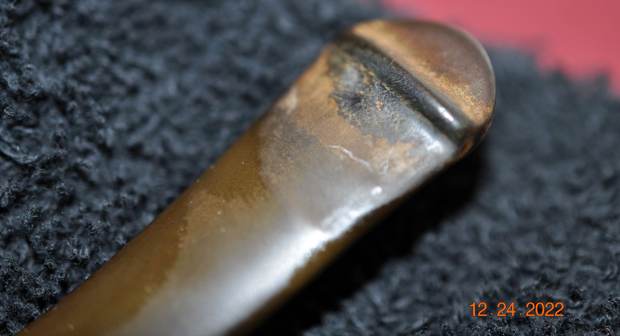
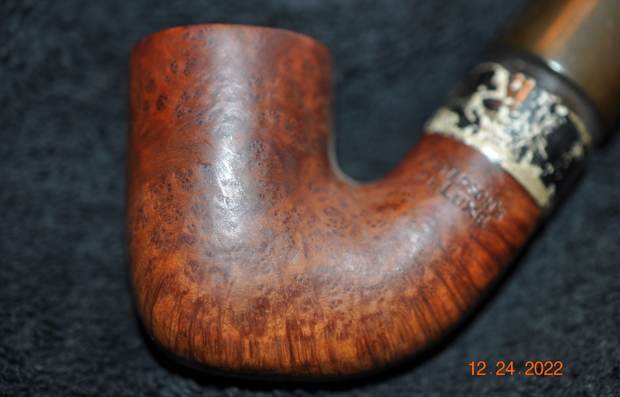
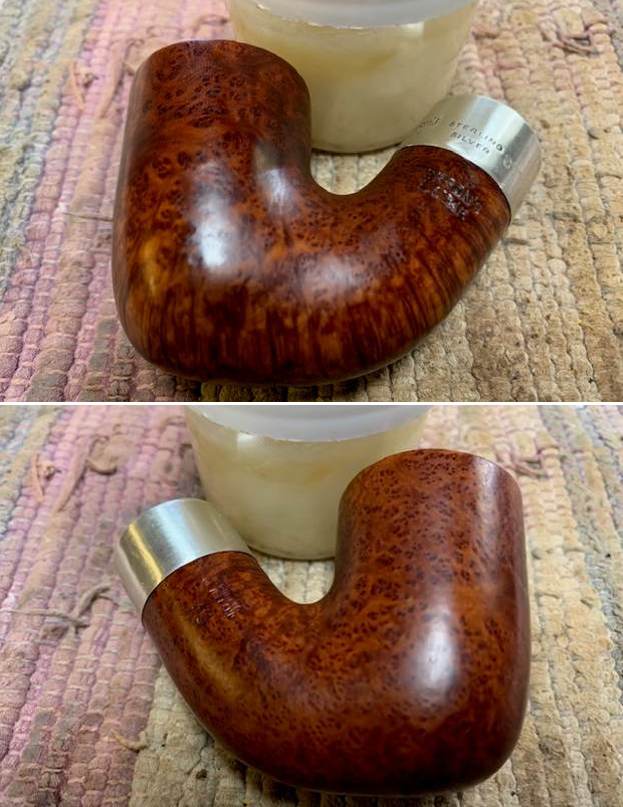
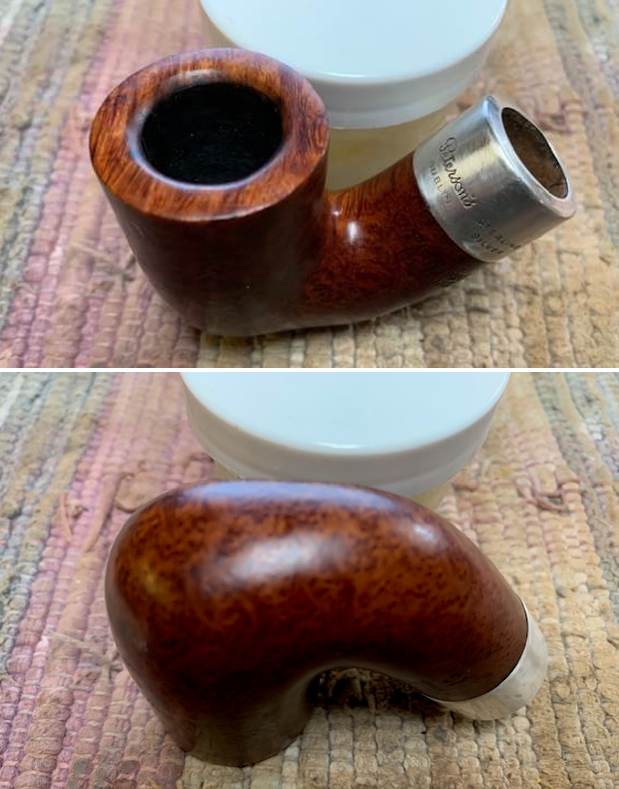
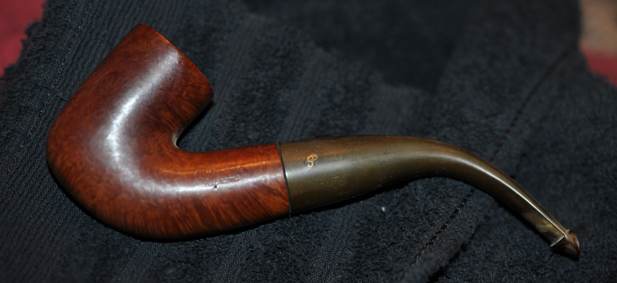
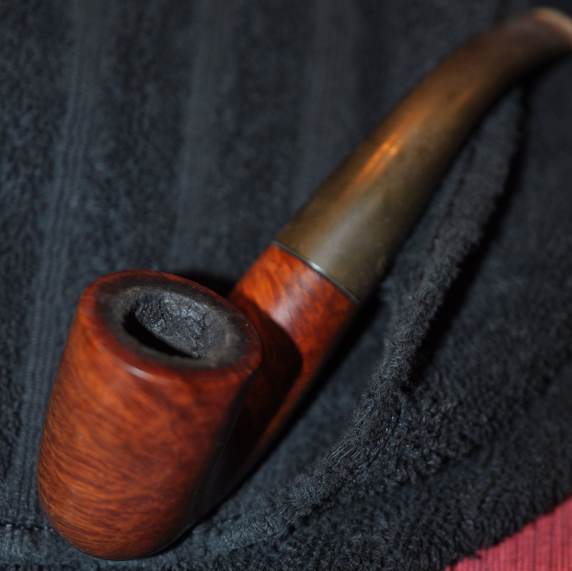
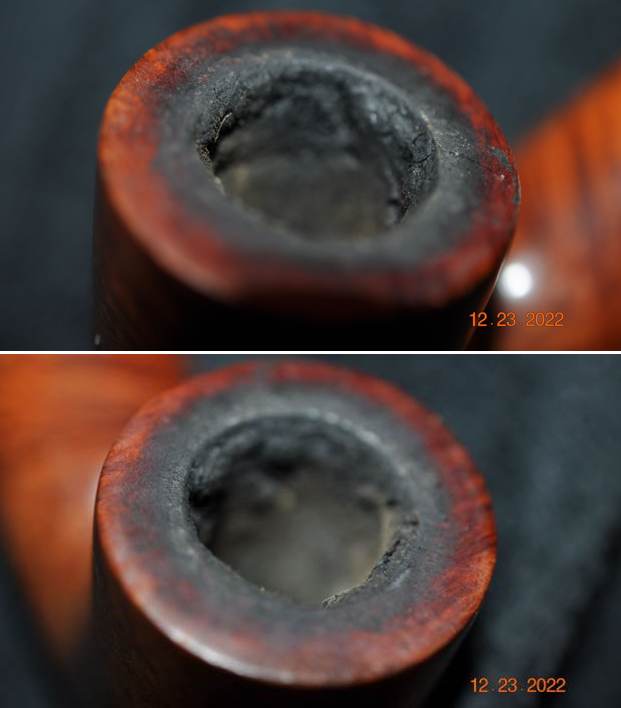
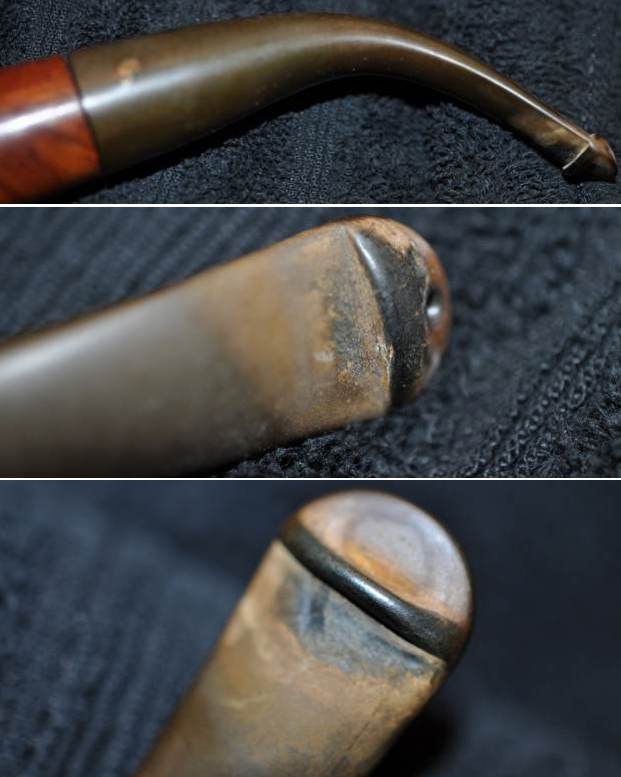
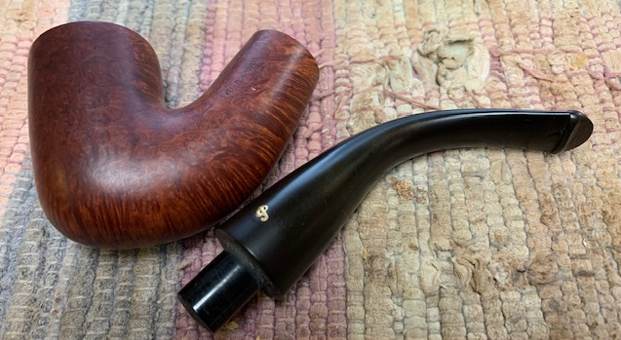
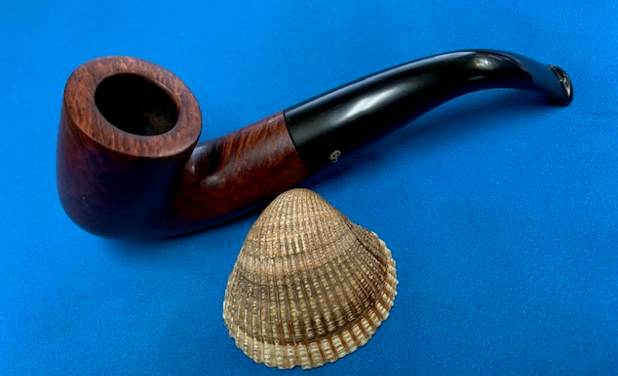
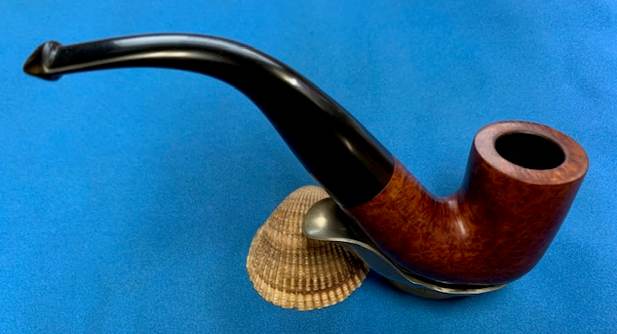
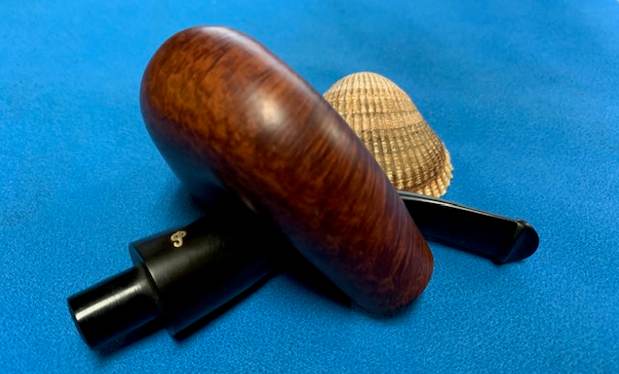
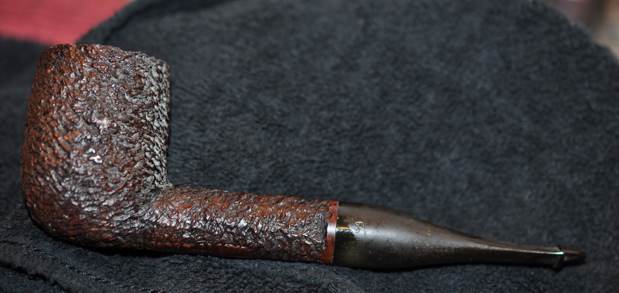
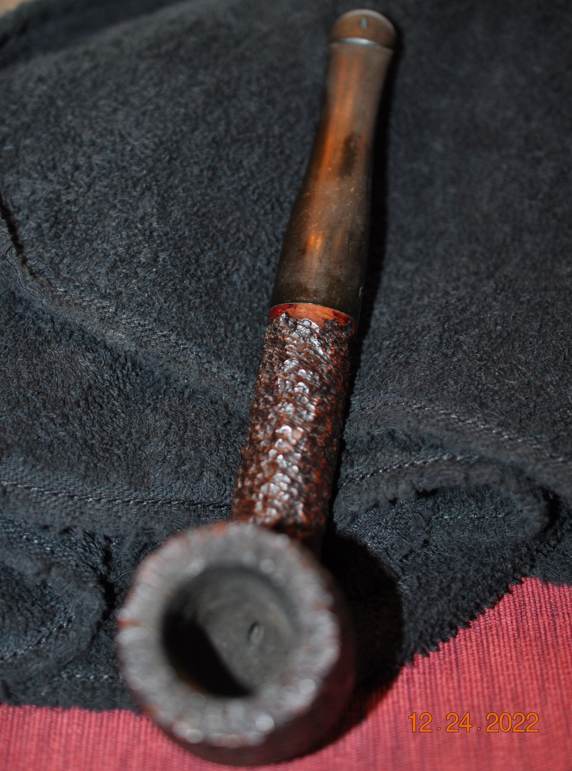
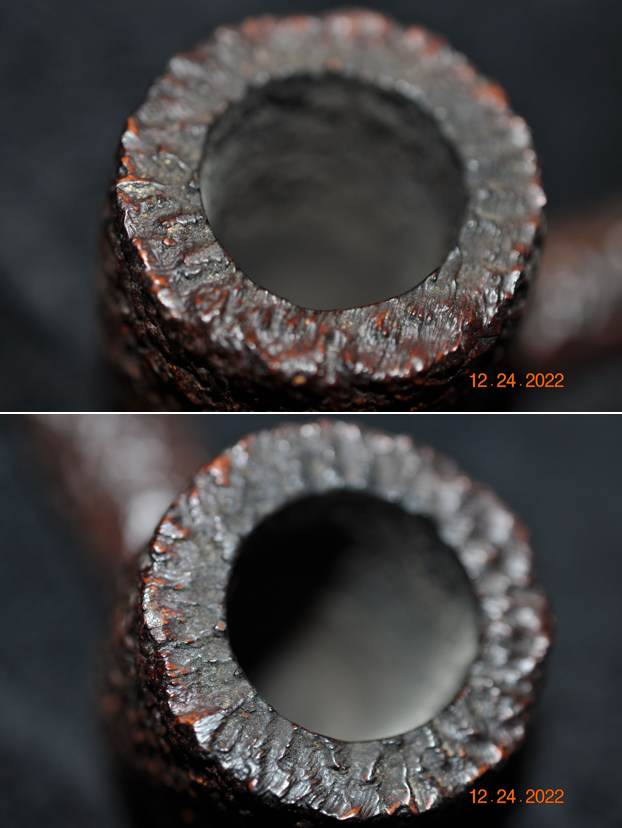
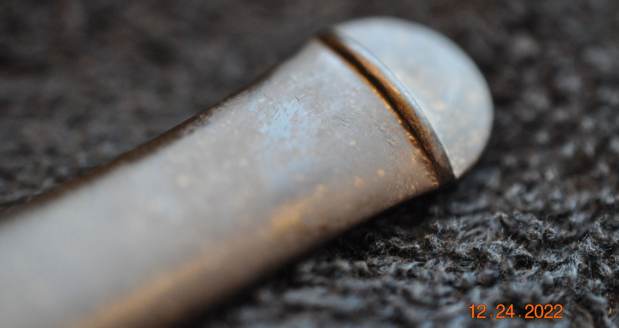
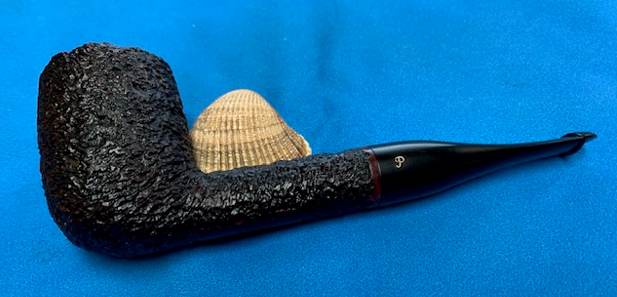
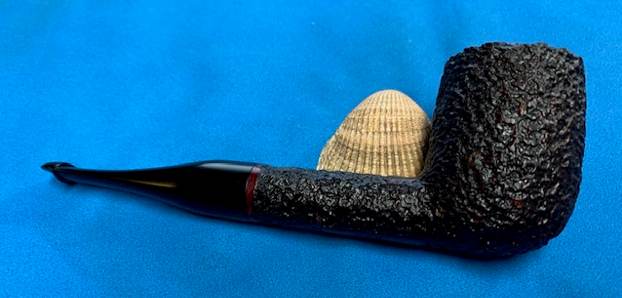
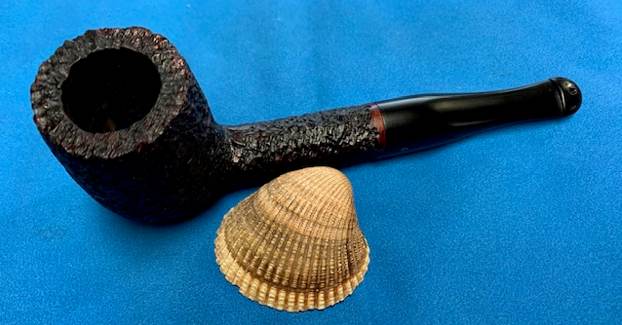
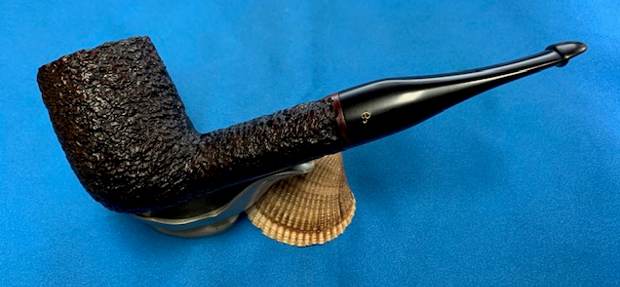
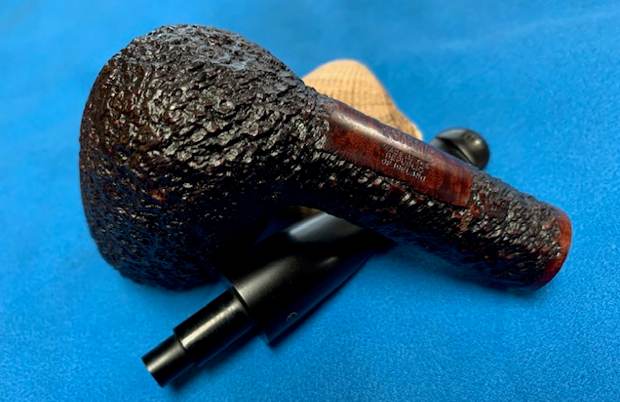
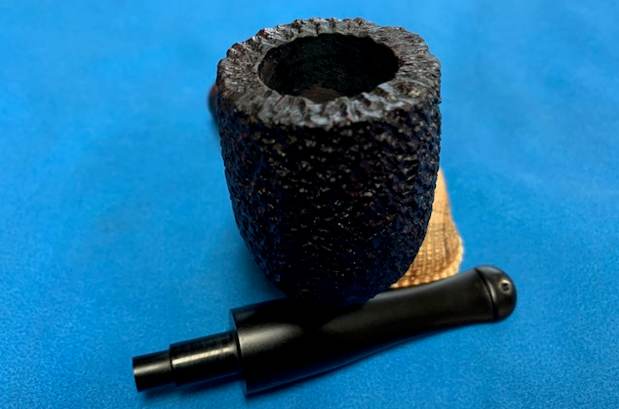
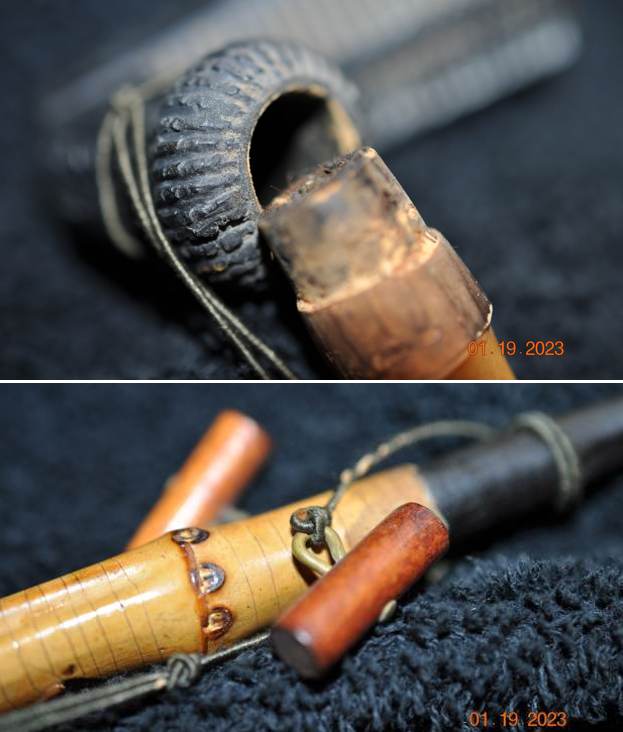
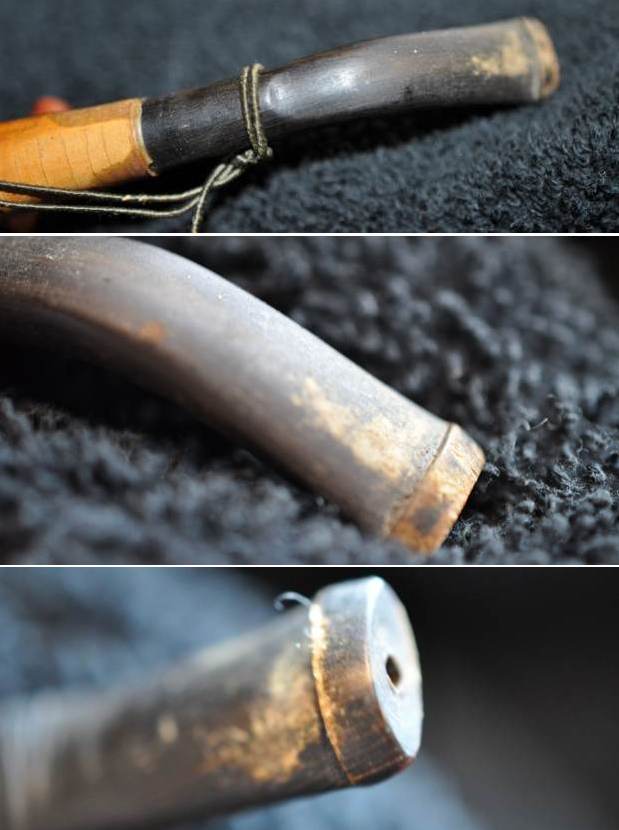
 He took photos of the bowl and rim top to show what they looked like before his clean up. He also took some of the bamboo shank to show the patina and crackled finish. You can also see the cork that secured the bamboo shank in the bowl. The photo of the horn stem show the condition of both sides.
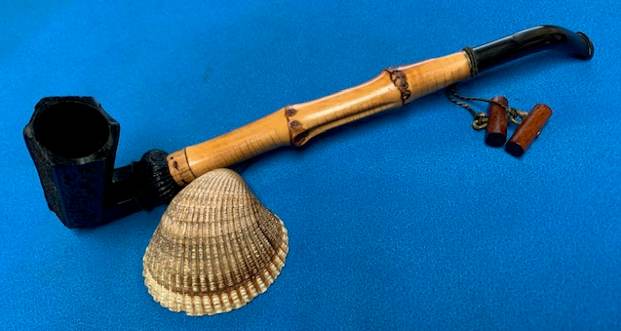
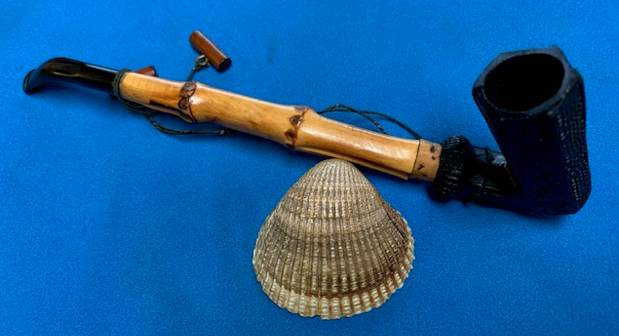
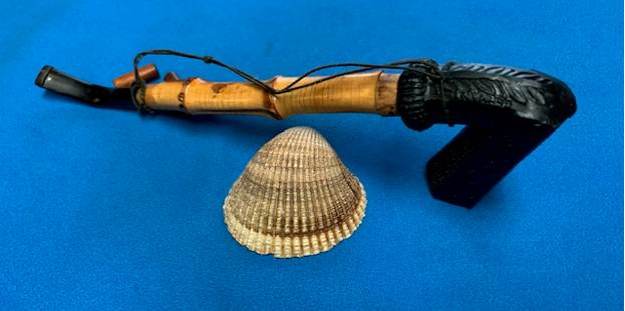
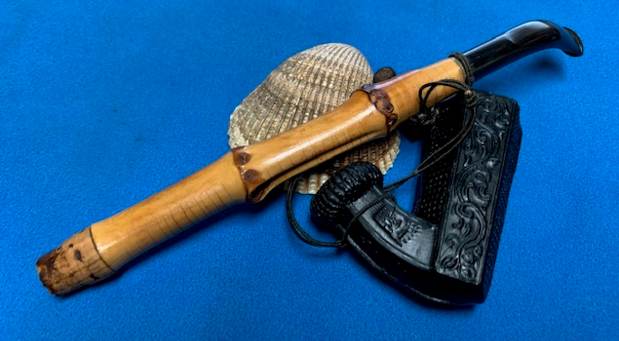
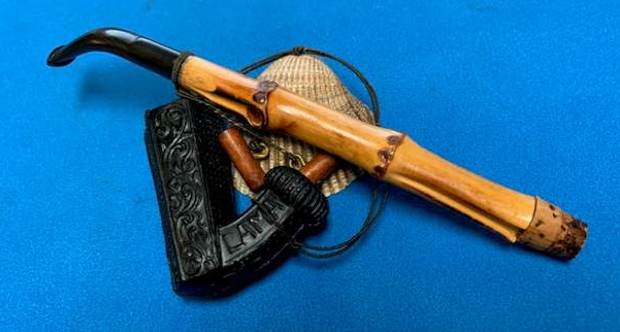
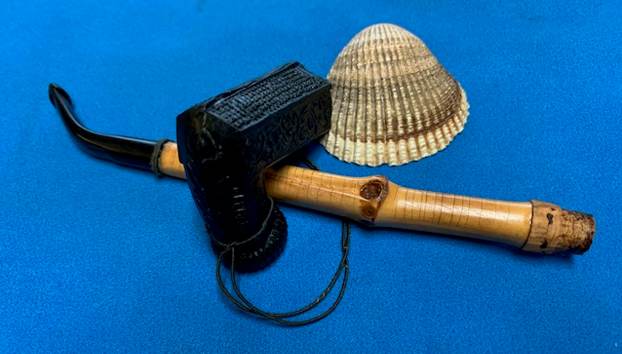
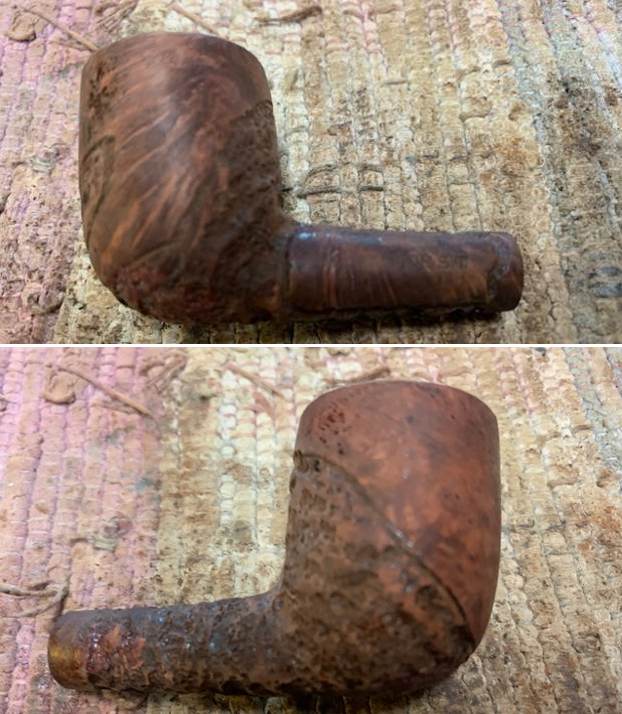
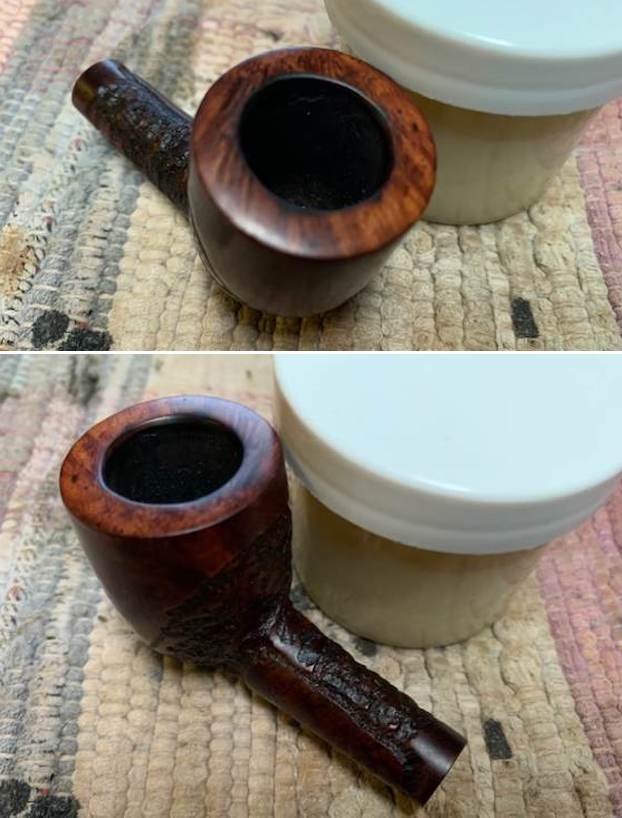
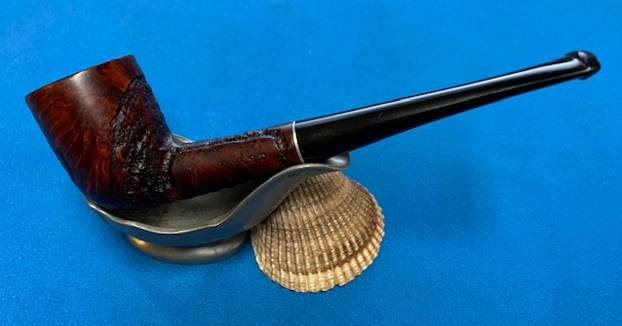
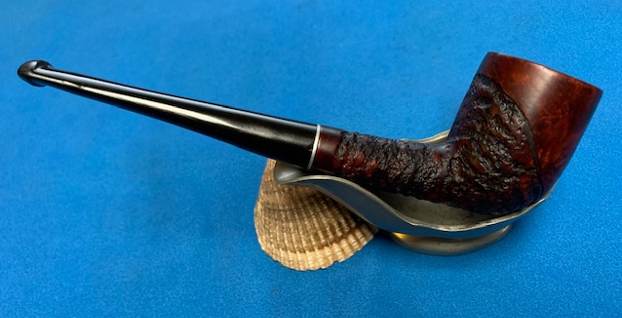
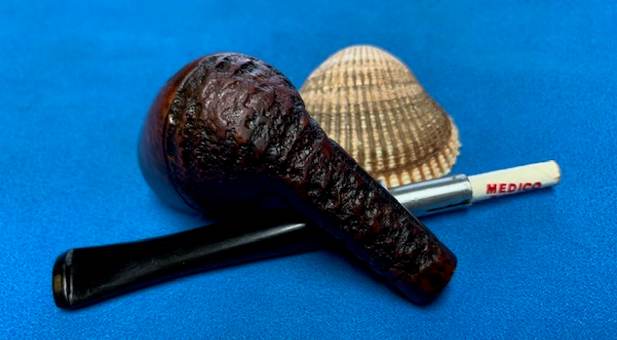
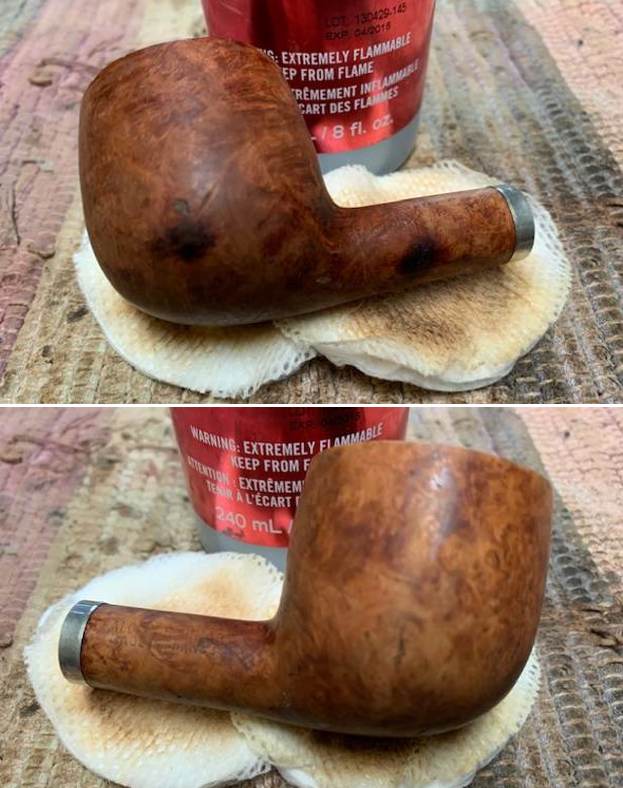
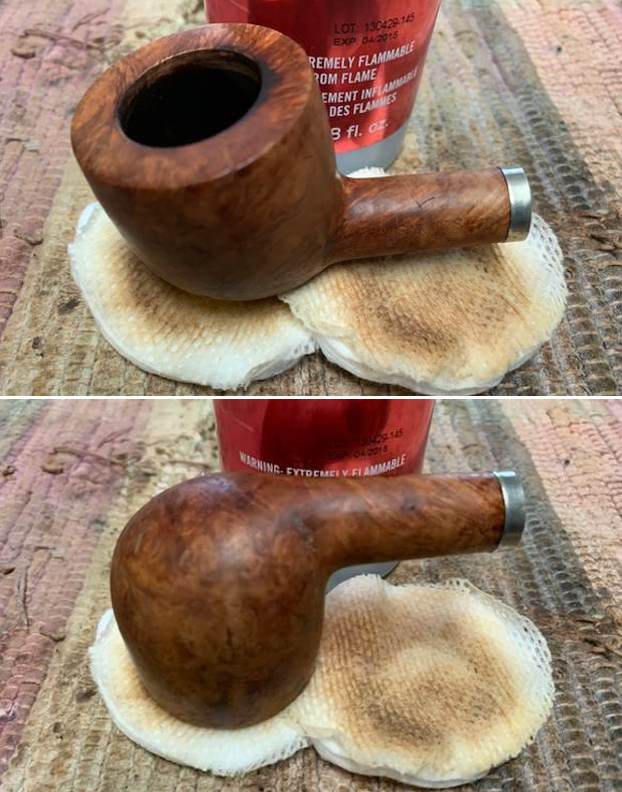
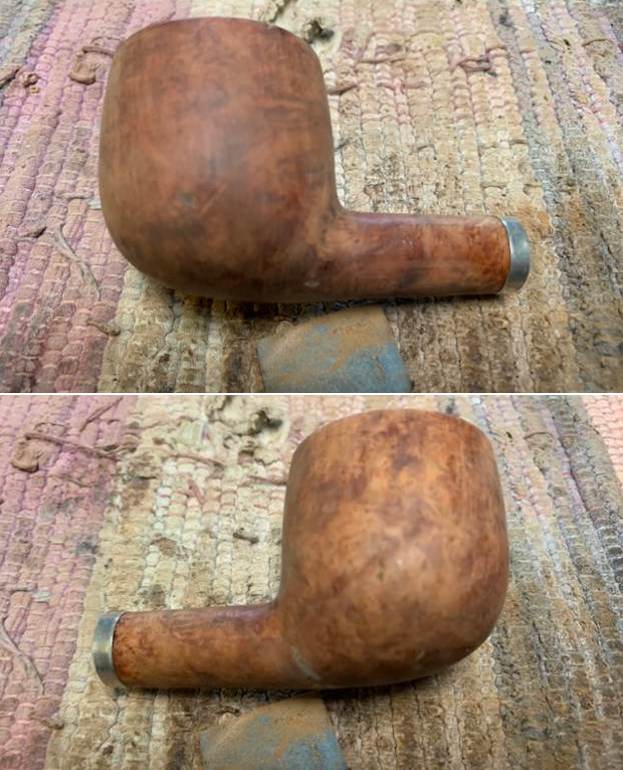
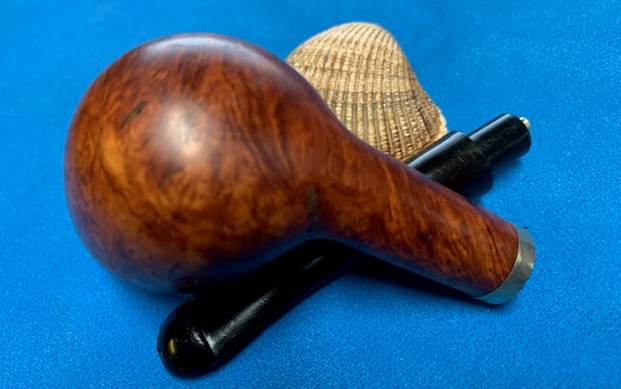
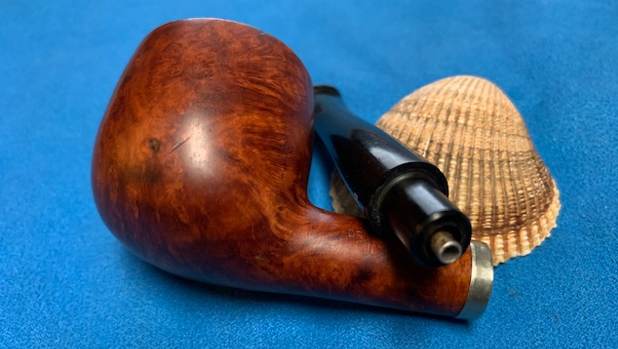
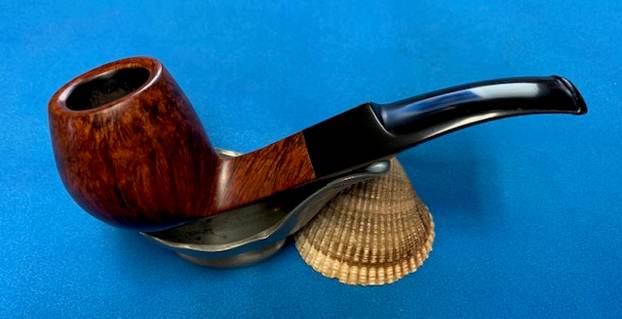
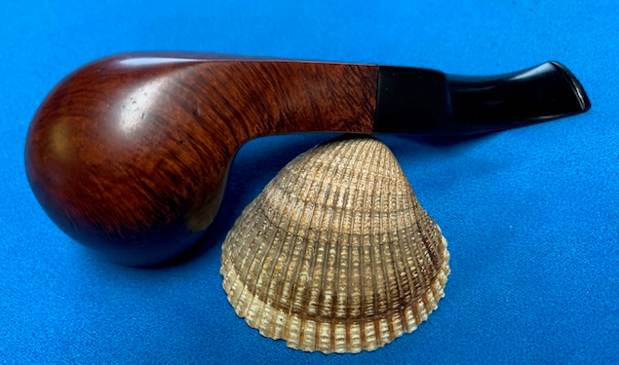
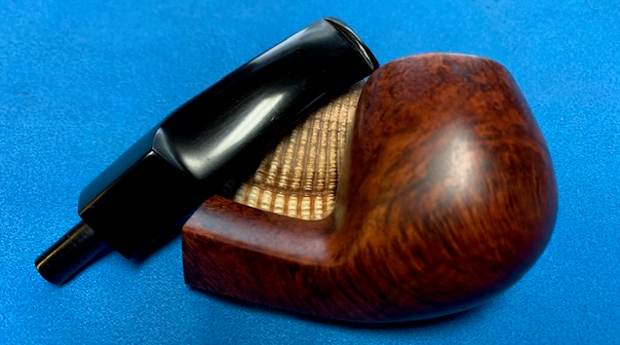
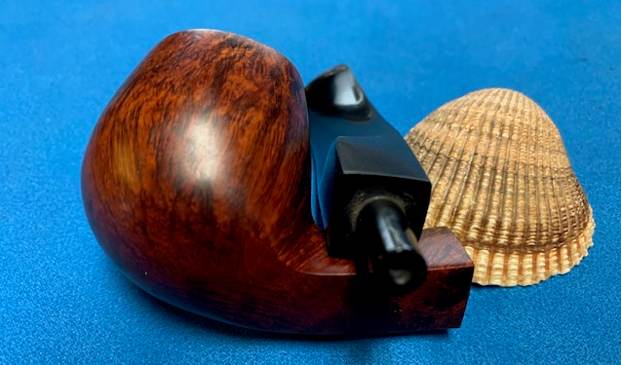
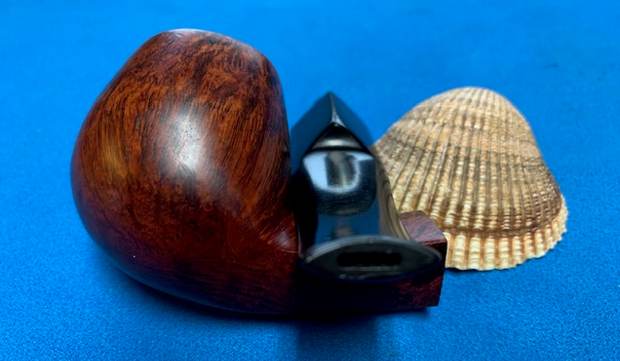
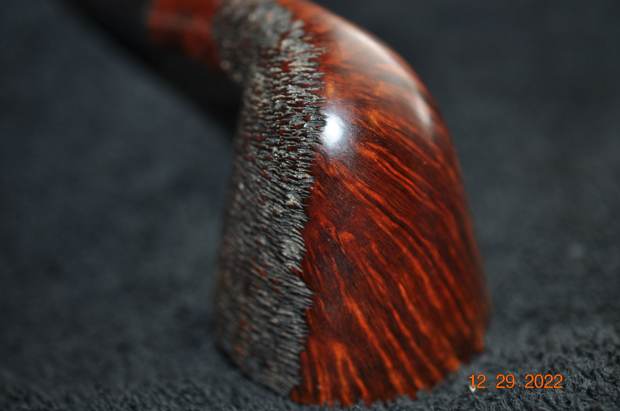
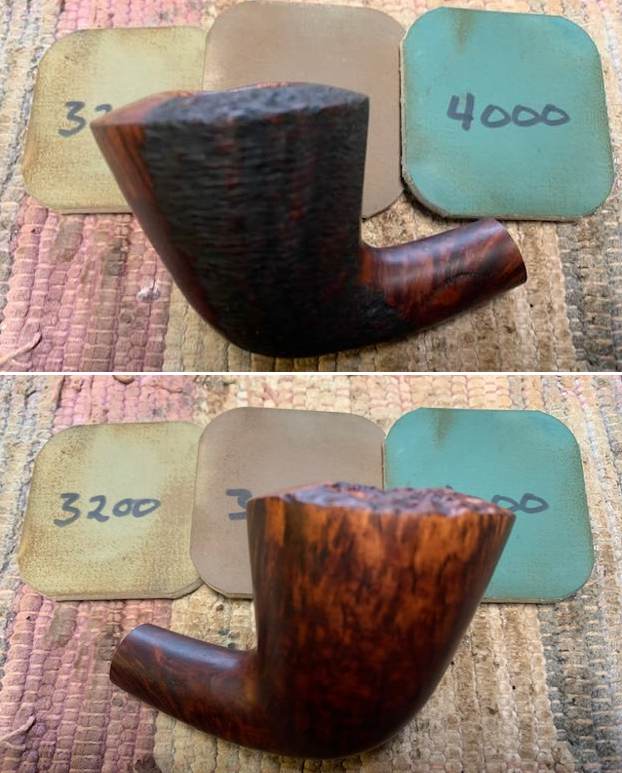
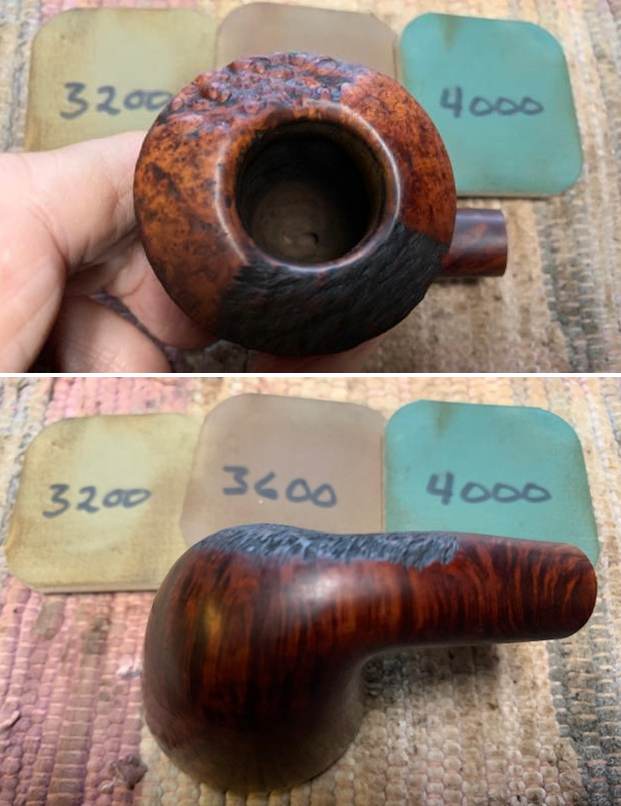
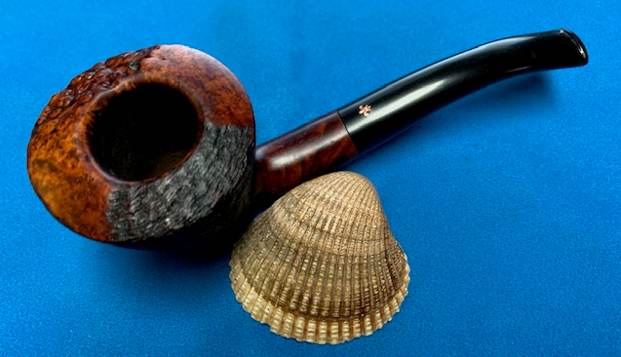
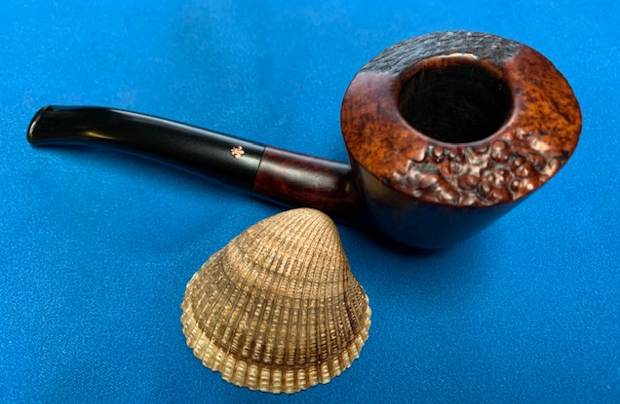
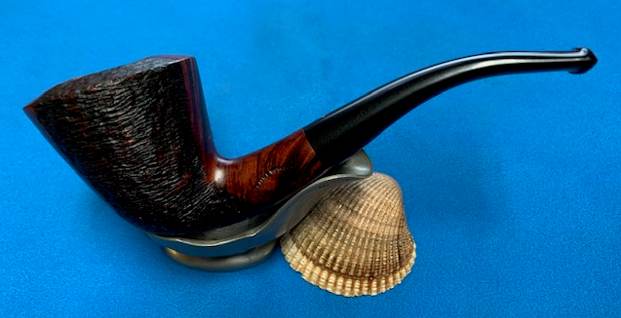
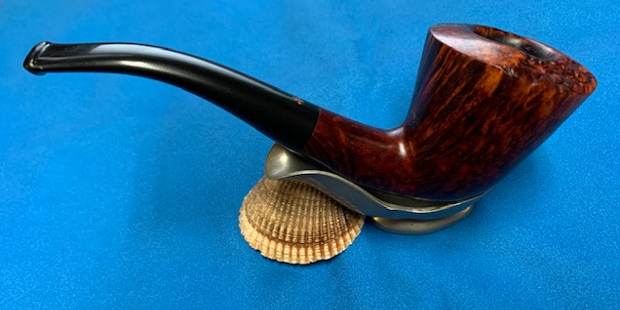
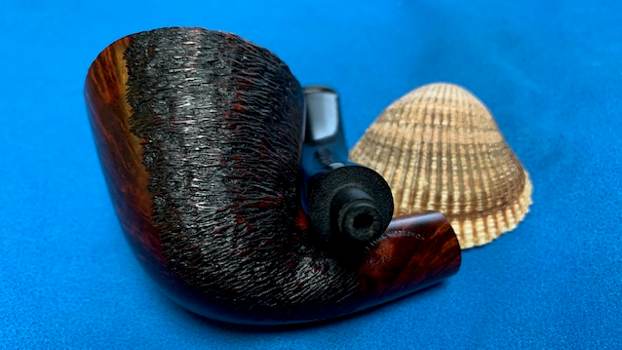
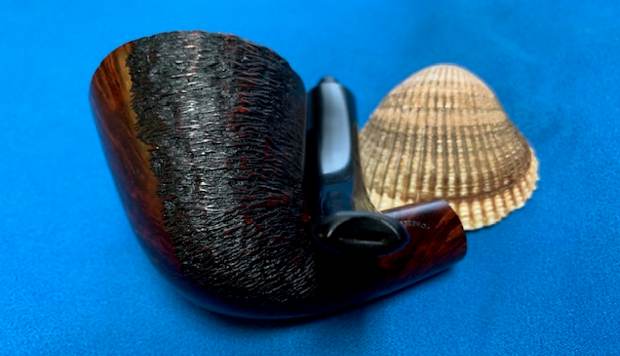
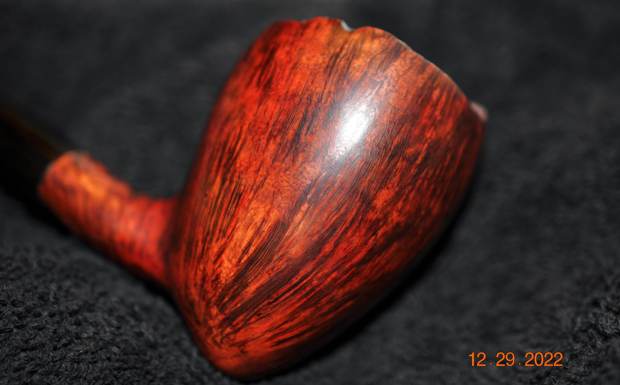
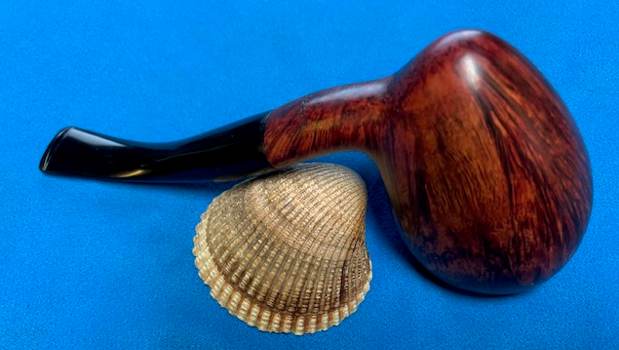
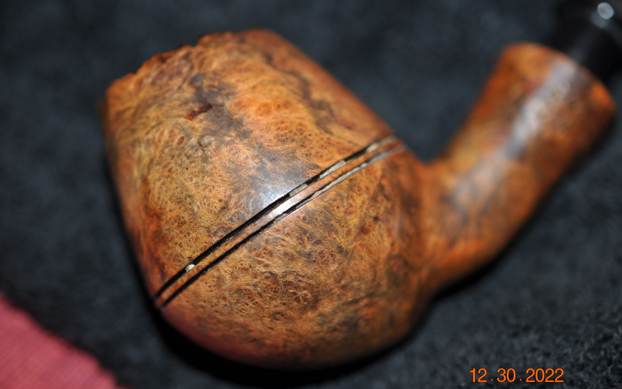
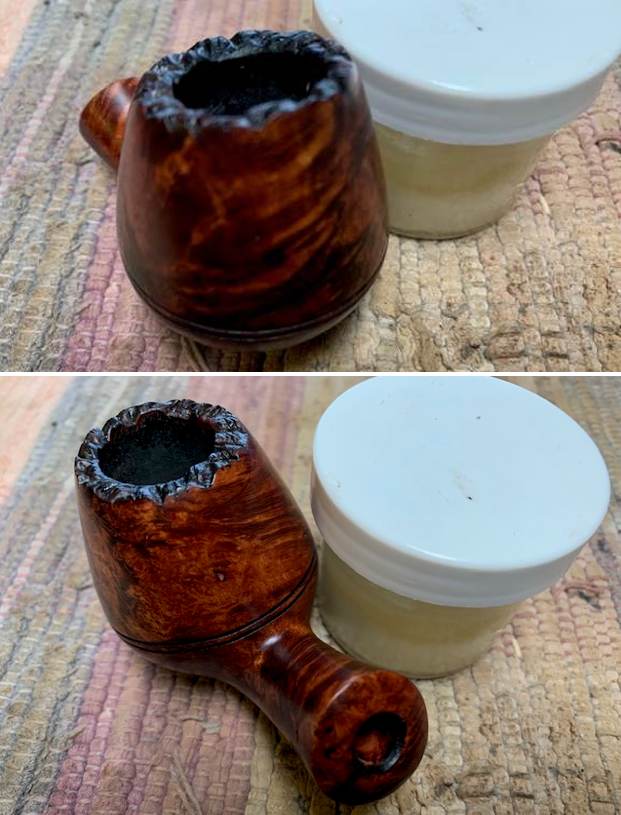
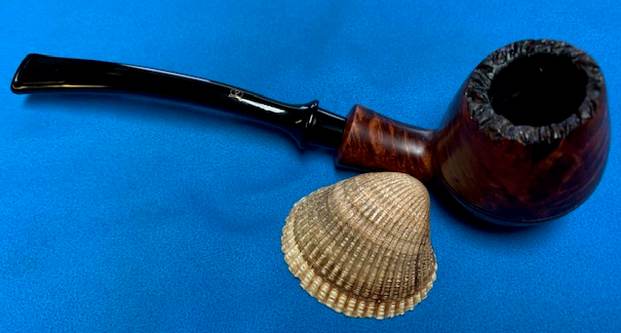
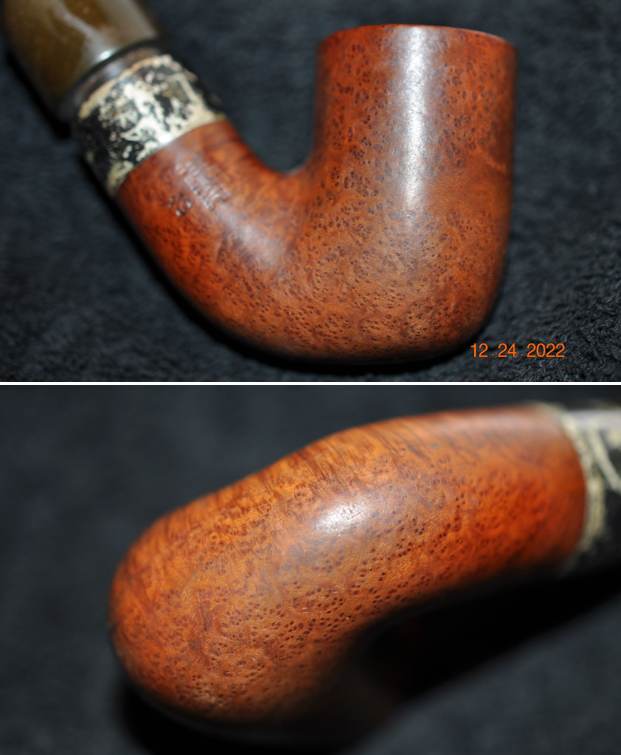
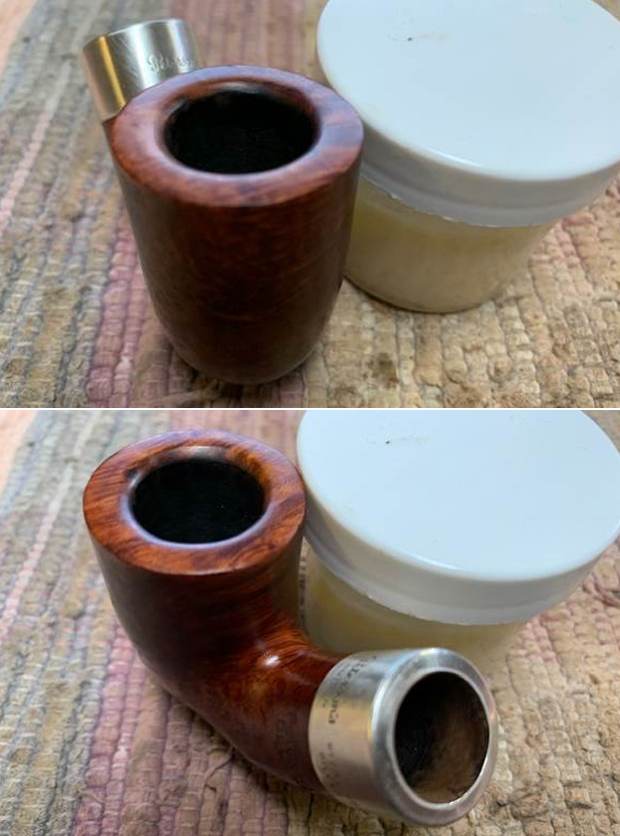
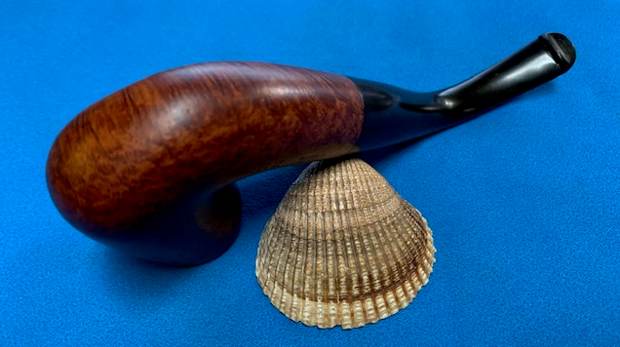
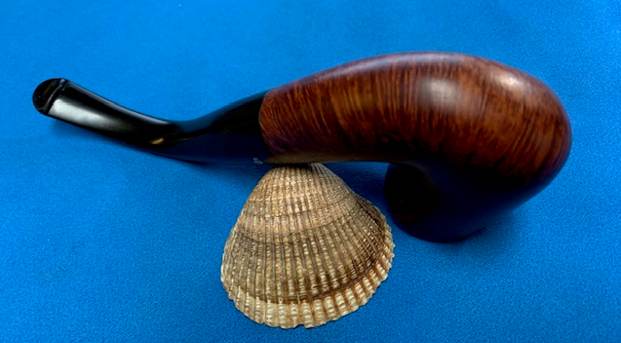
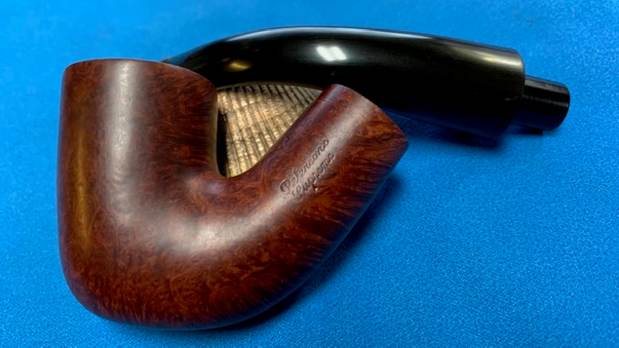
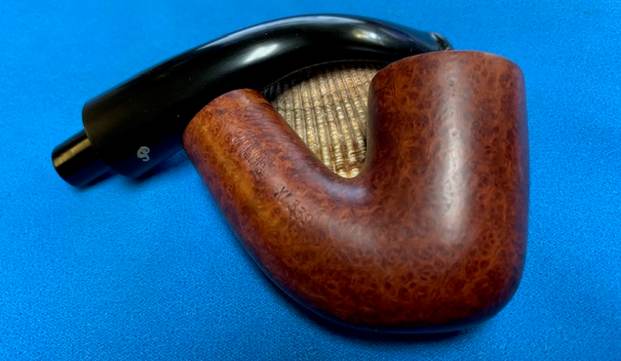
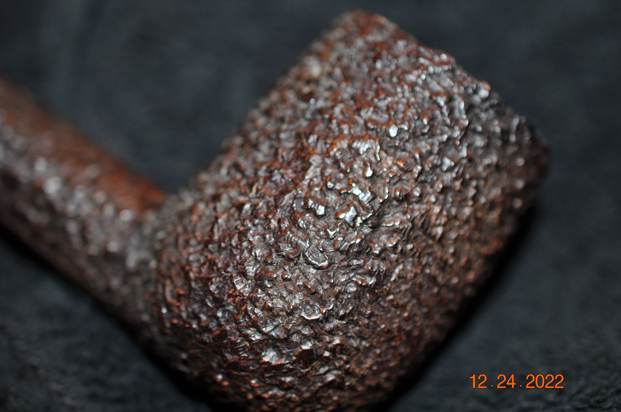
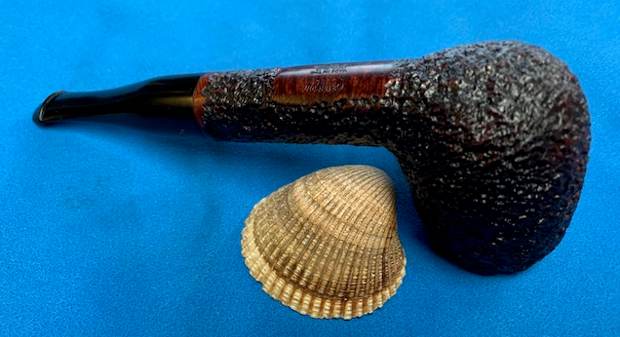
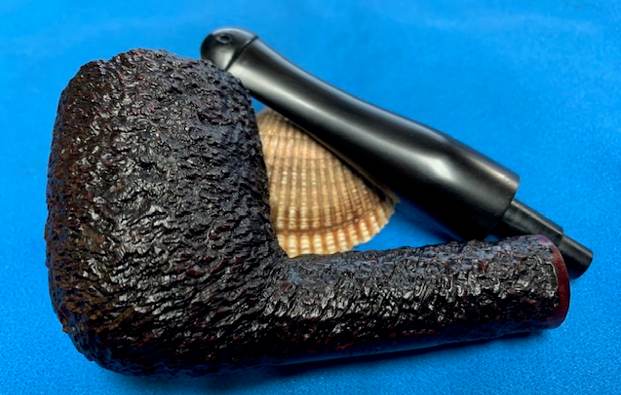
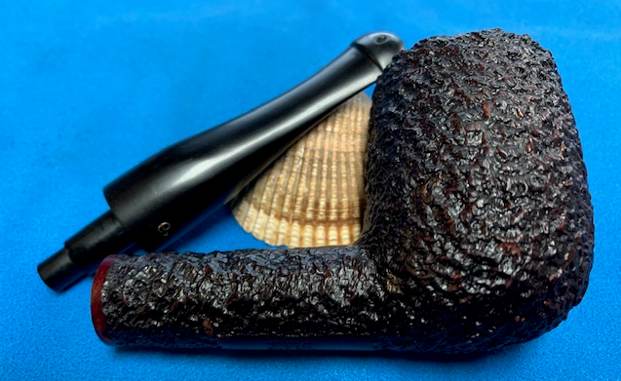
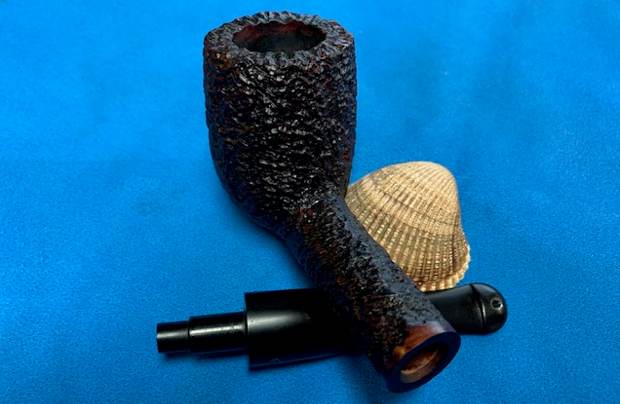
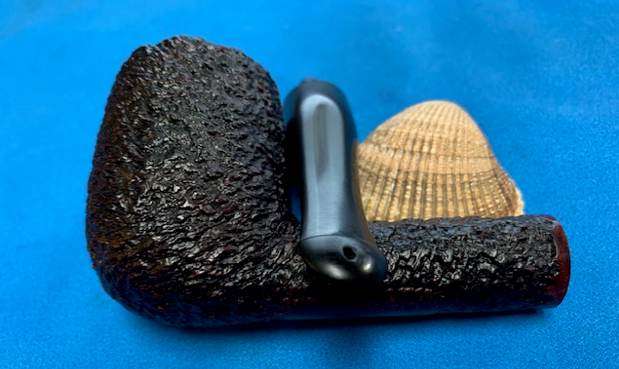
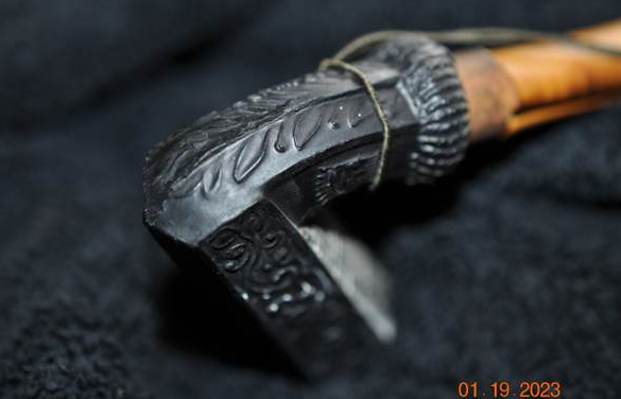
 The photos of the sides and heel of the bowl show the stamping in the clay around the bowl and shank. The mixture of a fancy carved finish and the black stain on the clay give the pipe a sense of elegance and old age charm. Even under the grime it is a real beauty.
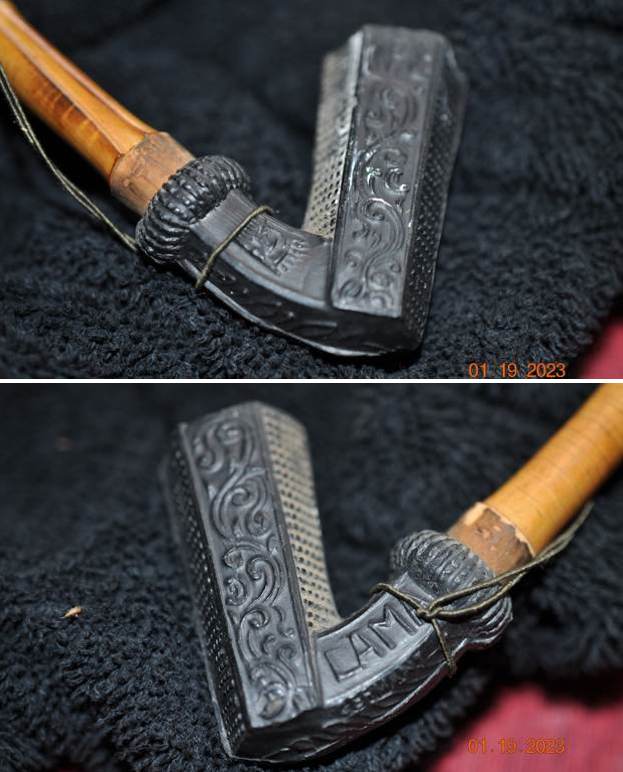
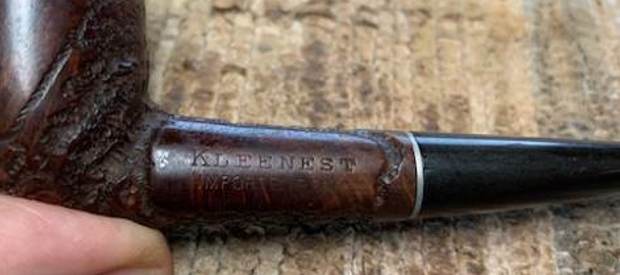
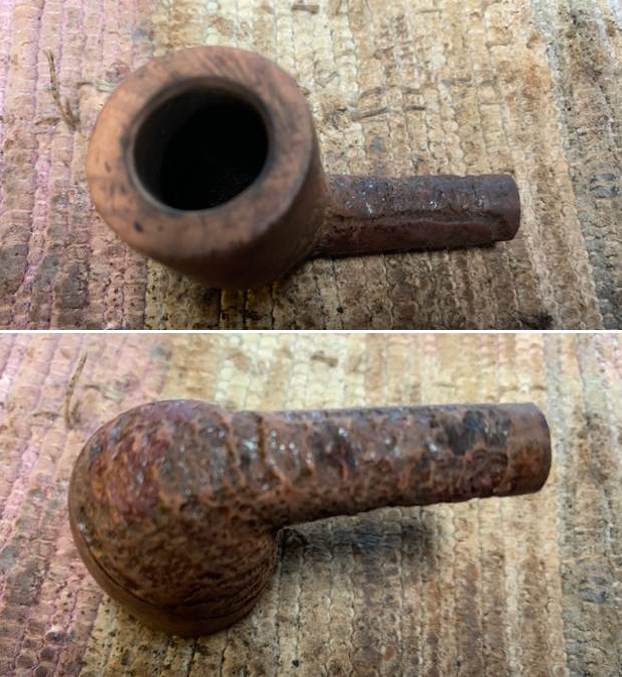
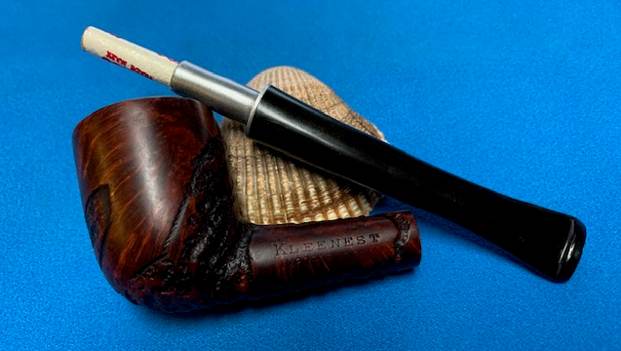
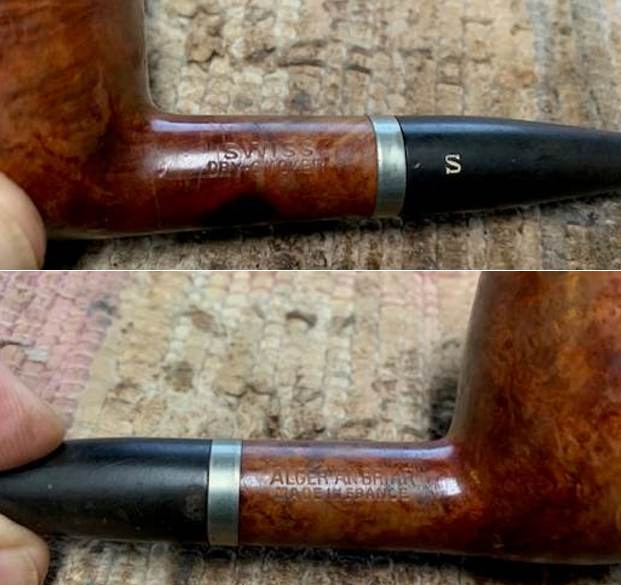
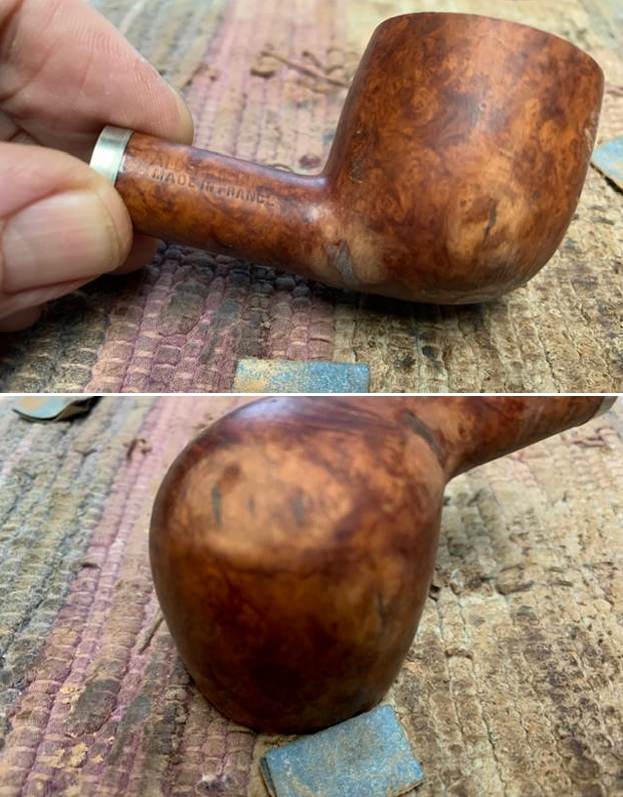
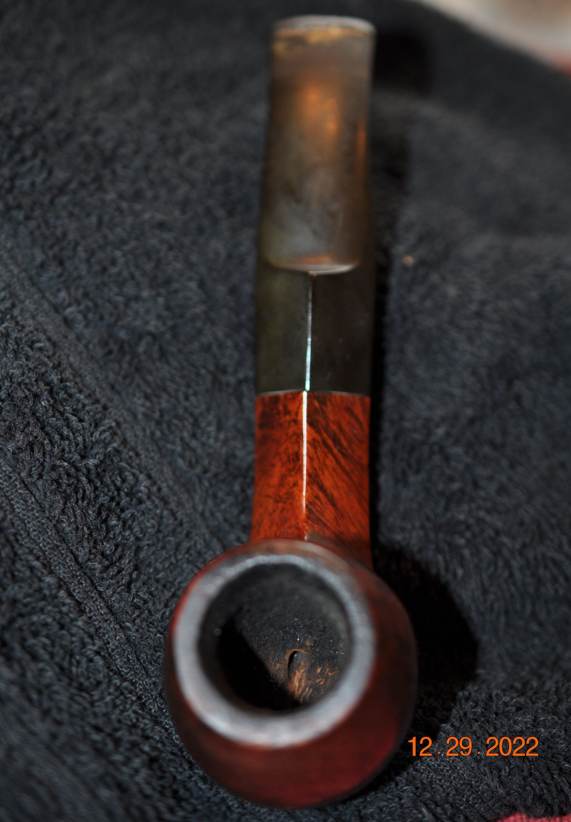
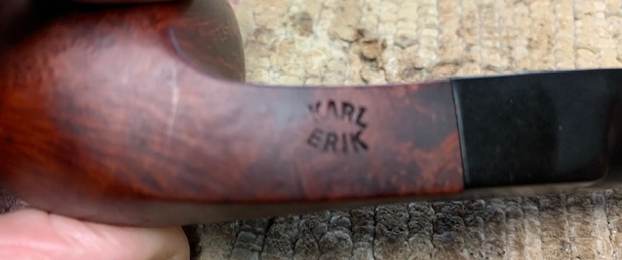
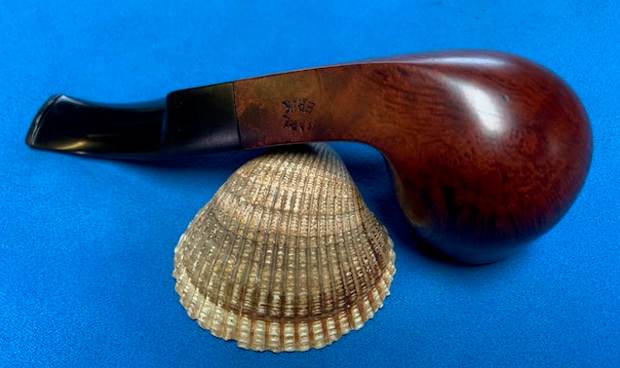
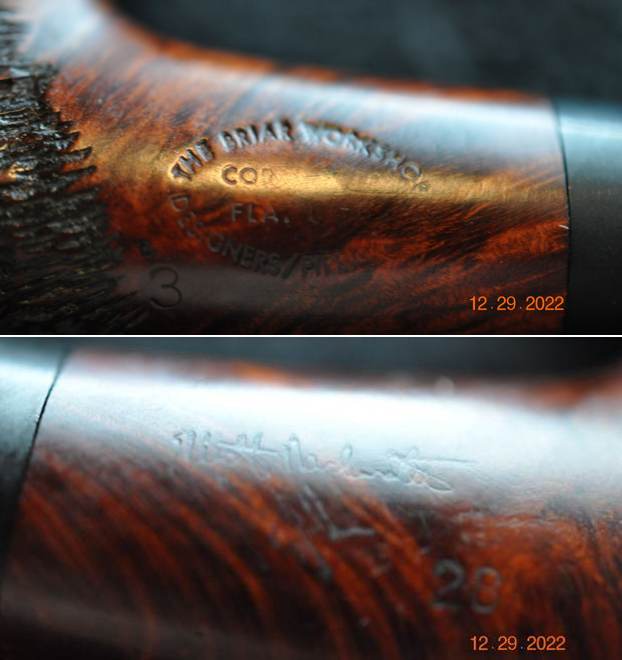
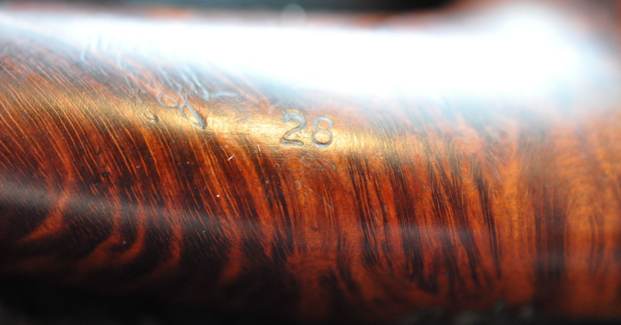
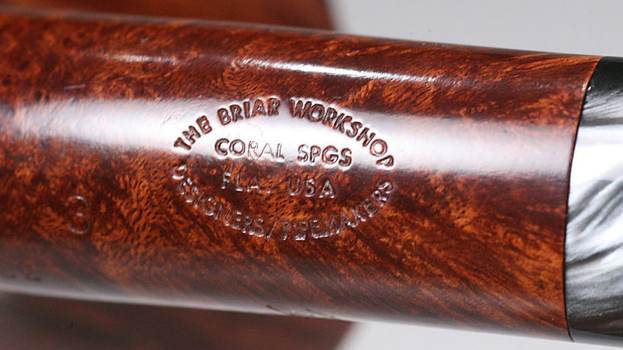
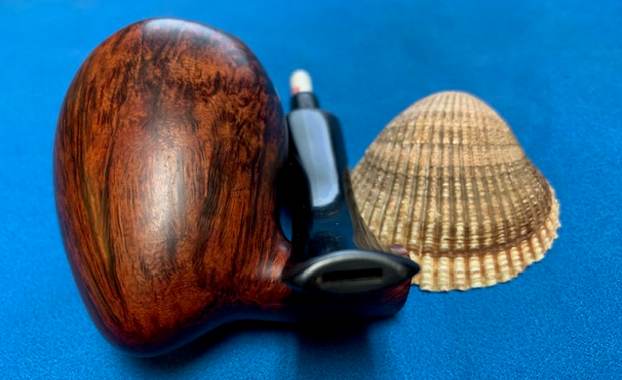
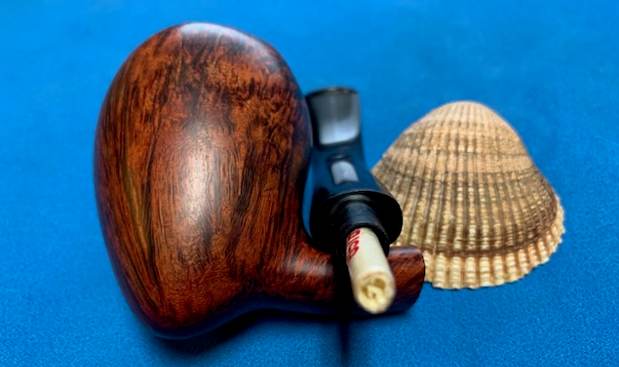
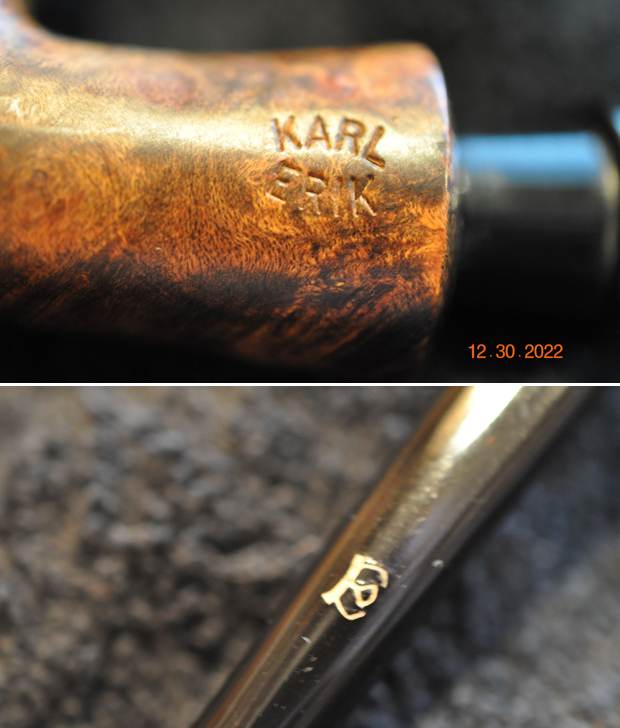
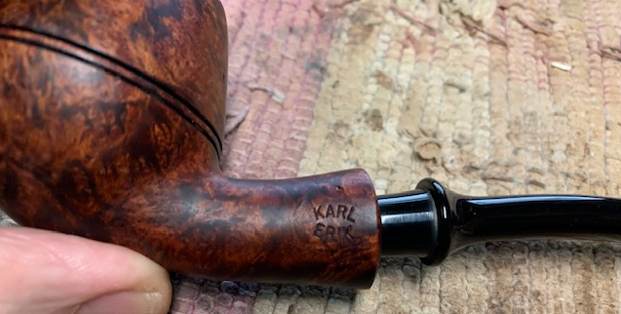
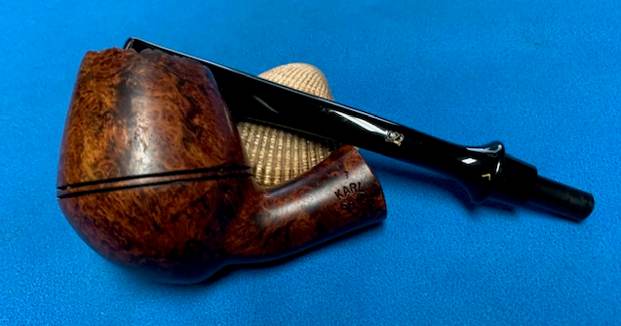
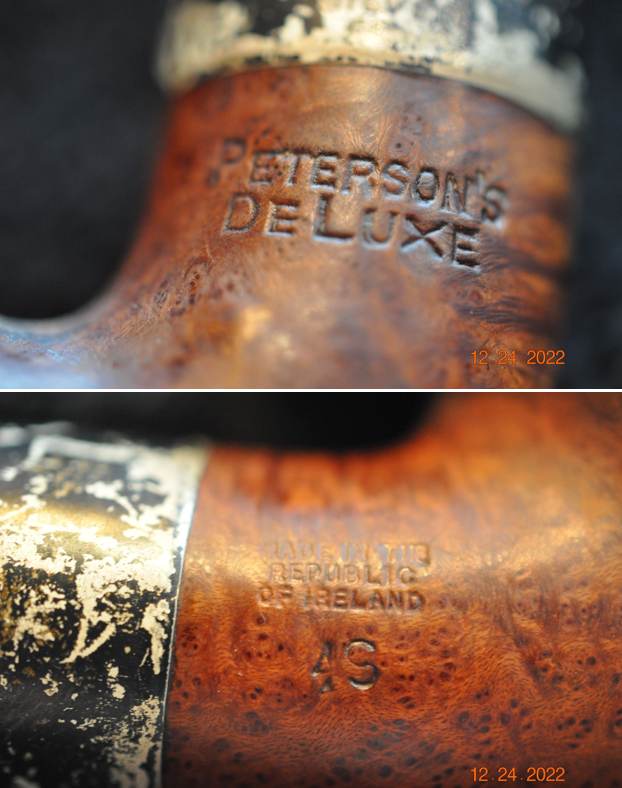
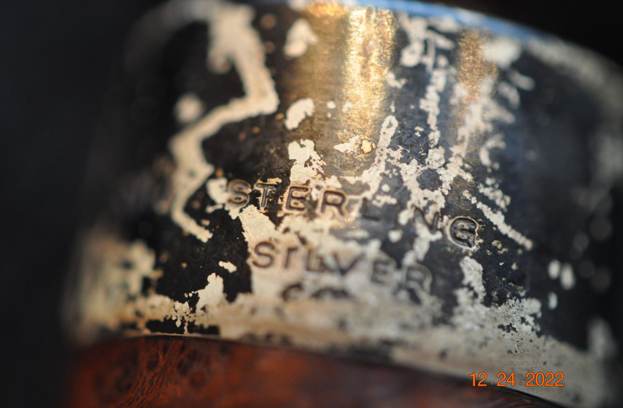
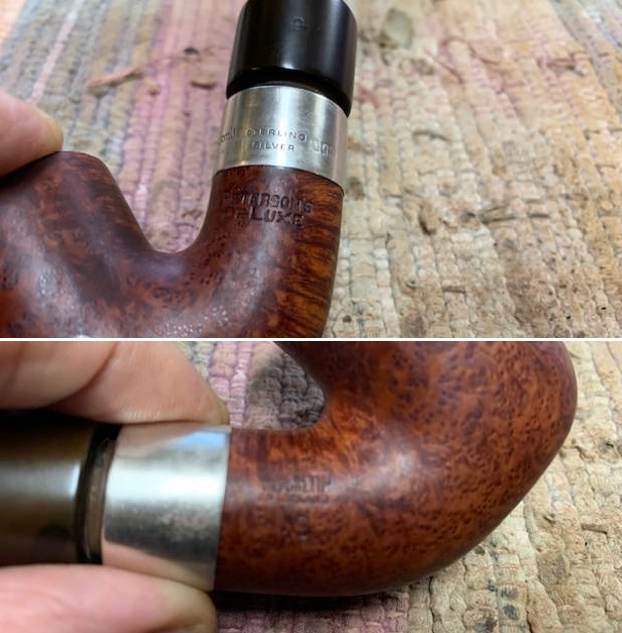
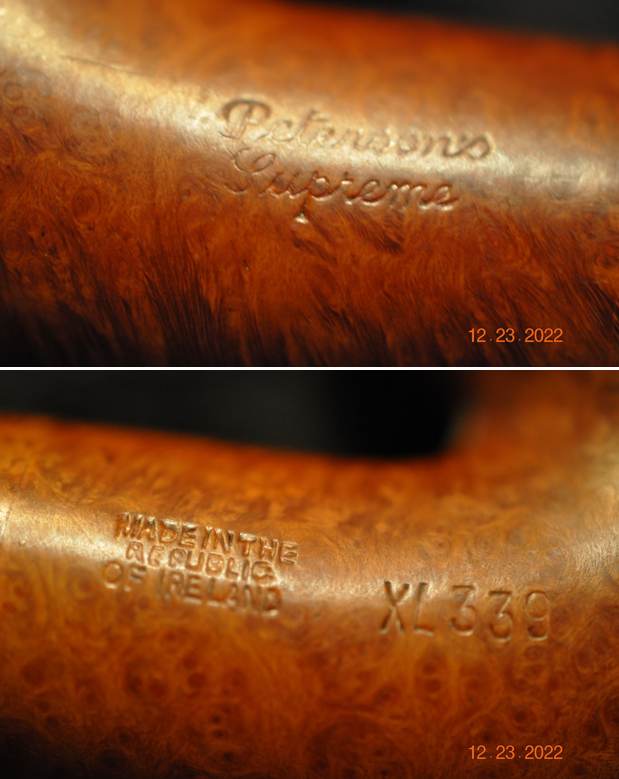
 The stamping on the left side the shank is shown in the photo below. It is clear and readable as noted above.
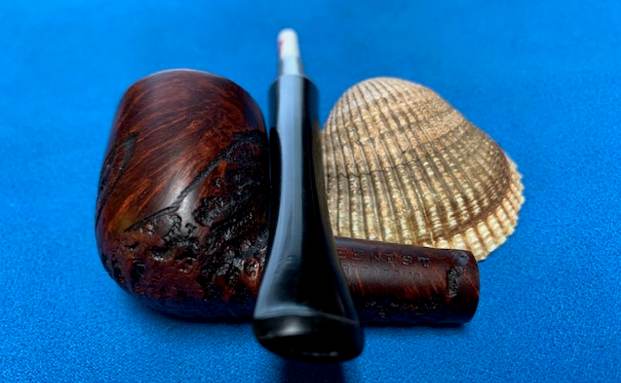
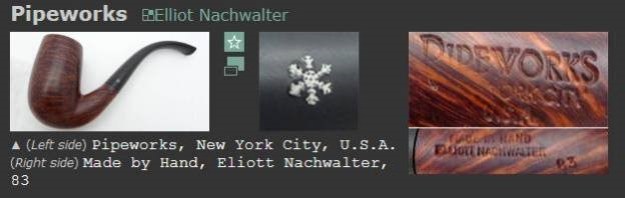
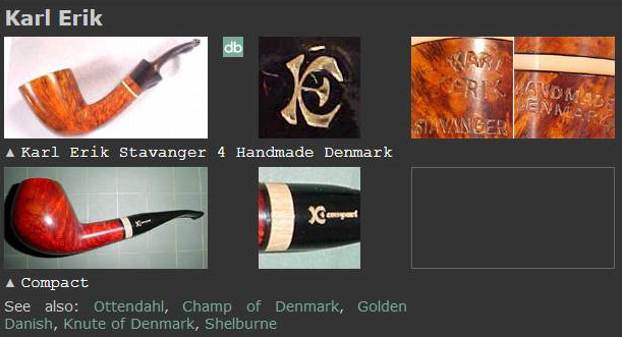
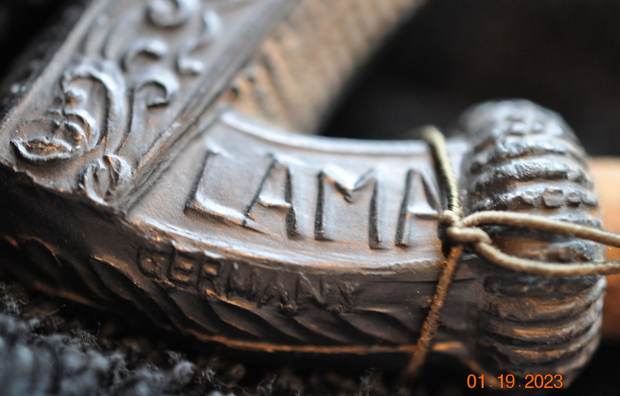 I did a bit of digging on Google and found that the pipe that Jeff and I purchased was a Viennese Coffeehouse Pipe. The logo on the paper in the background of the photo below is the same stamp that is on the right side of the shank – the letter L or T with a pipe crossing the letter. The stamp on the right side of the shank is LAMA same as the one above.
 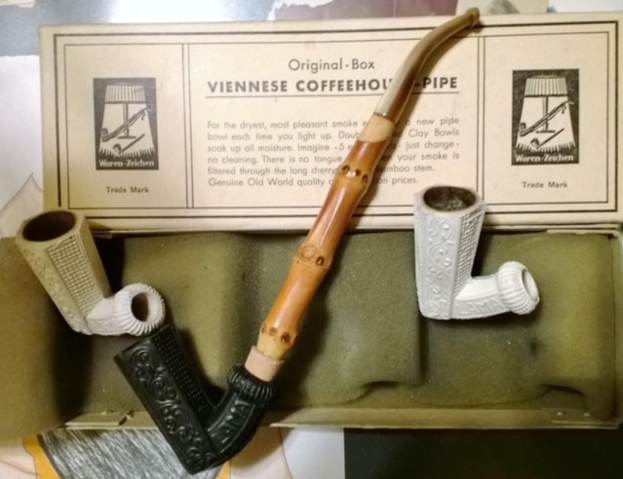 From there I turned to Pipedia to see what I could learn further about the Viennese Coffeehouse Pipe (https://pipedia.org/wiki/Wiener_Kaffeehauspfeife). I quote from that article below:
Wiener Kaffeehauspfeifen (Viennese coffee house pipes) are a special type of clay pipes where only the stummel is made of unglazed clay. The shank is often made of wood and the mouthpiece may be made from horn.
“As early as the late 18th century, some Viennese coffee houses had their own rooms for smokers. Business-minded coffee house owners offered their guests pipes stuffed with tobacco as a service. They only paid for the tobacco, the use of the pipe was free. Which brings us to the classic Viennese coffee house pipe of the 19th century. Its tall, slender head with six facets, made of white pipe clay, is easy to recognize. In the ornament-friendly 19th century, of course, the charming ornamentation could not be missing. The repertoire included geometric patterns, delicate tendrils, flowers, vases and figures. These pipes intended for the Austro-Hungarian market were made in workshops in the Westerwald, Germany, southeast of Cologne – well into the 20th century. The astonishingly long stems were mostly made of cherry or sour cherry wood. In order to have enough suitable wood available for their production, trees were planted near Vienna, in Theresienfeld in Lower Austria. One can only hope that the horn mouthpieces of the rental pipes were replaced and washed after use …”[1]
“Anyone who wanted could rent such a pipe for a small fee or for free if it was a known person for the duration of a pipe filling. The guest got a new mouthpiece, mostly they were made of goose quill and then he could indulge in his smoking pleasure. Once it was smoked, the pipe was taken apart, cleaned by the servant of the coffee house and another guest could enjoy it. We know a similar custom from other large cities, including England. There, clay pipes were borrowed in the so-called Tabagie[2] for a small fee and could then be smoked by those who did not own a pipe or who had forgotten it at home. The Kaffee Neuner on Seilergasse was particularly famous in Vienna. Famous contemporaries liked and often frequented there: Lenau and Grillparzer, for example, they quietly smoked their borrowed pipes there.”[3]
Footnotes:
- https://stadtarchaeologie.at/aus-der-wundertuete-wiener-kaffeehauspfeifen/
- See https://en.wikipedia.org/wiki/Tabagie_(room)
- Peter Lehmann, http://169807.xobor.de/t4796f23-Rund-um-die-Pfeifen-von-und-mit-Peter-Lehmann.html#msg17103
I followed some leads on Google to a link on Worthpoint which is an auction site that sells pipes (https://www.worthpoint.com/worthopedia/viennese-coffeehouse-pipe-by-waren-zeichen-w-6). There was a listing there with the same paper above the photo as the one I shared above. It is also interesting to note that the pipe came with one stem/shank unit and an assortment of dark and light coloured clay bowls. I still don’t know how large the pipe is at this point. I include the photo and the quote below:
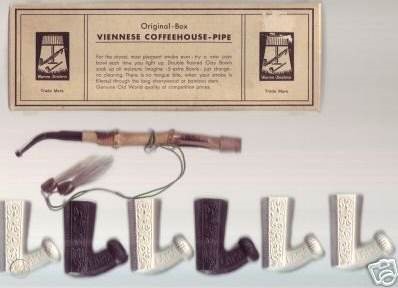 VIENNESE COFFEEHOUSE – PIPE in original box with six bowls in black and white all in like new never used condition(bowls have no chips and no ash residue, they are not used). I am not sure of the age of these, however box has no UPC label and states; Waren – Zeichen Trade Mark with the number 5514 B on box ends and Made in Germany – (below description has complete box information from top cover). Box is in excellent condition with only a mild scuff where there was an old price label, metal staples on box corners are all intact and perfect. Individual pipe bowls have the word LAMA on them. Pipes are made from clay, stem is bamboo. Double floored Clay Bowls soak up all moisture. Imagine – 5 extra Bowls – just change – no cleaning.
From Jeff’s photos I made the erroneous assumption that this was quite a large pipe. I was thinking it had a large style bowl like some of the older Meerschaum pipes I have worked on from Germany – somewhere in the neighbourhood of 12 inches long and 3 inches tall or more. You can imagine my surprise when it arrived. The pipe really is quite petite and light weight. The dimensions are as follows – Length: 7 ½ inches, Height: 2 inches, Outside diameter of the bowl: 7/8 inches, Chamber diameter: ¾ of an inch. The weight of the pipe is 40 grams / 1.41 ounces.
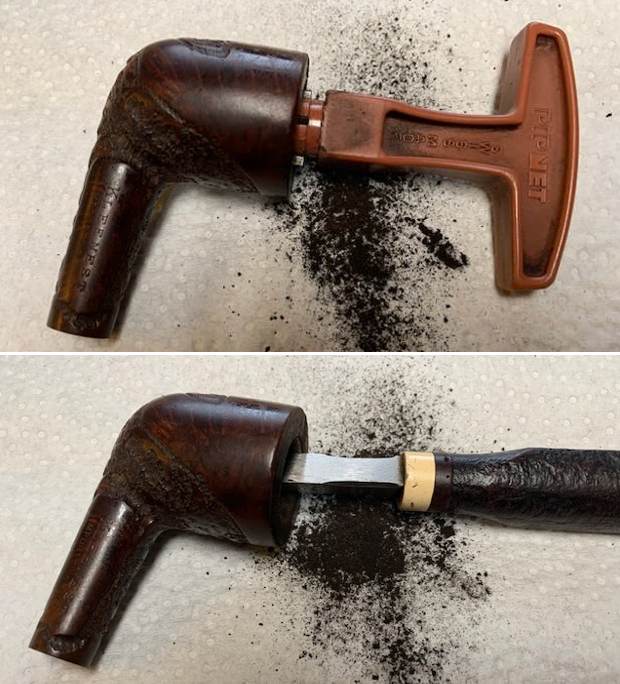
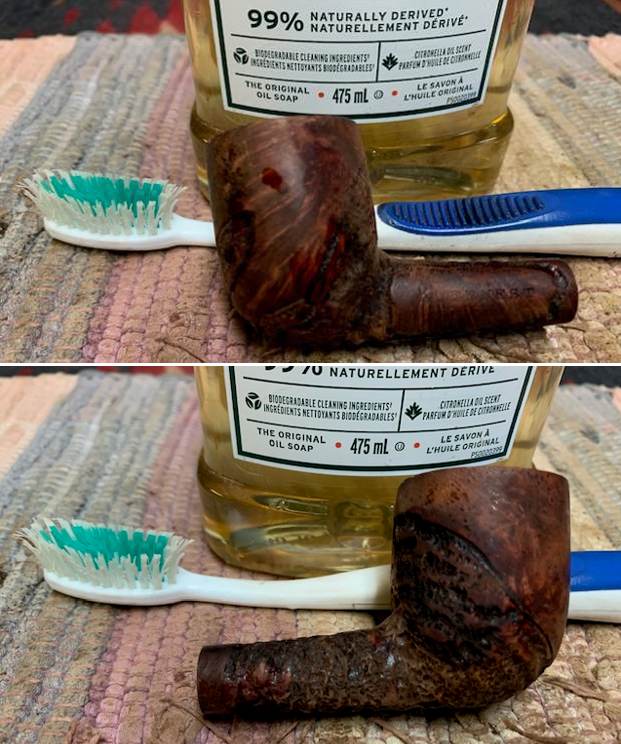
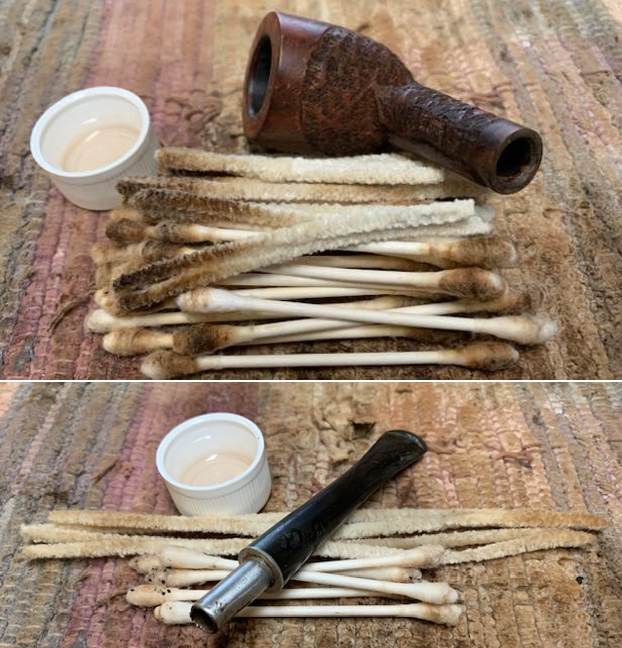
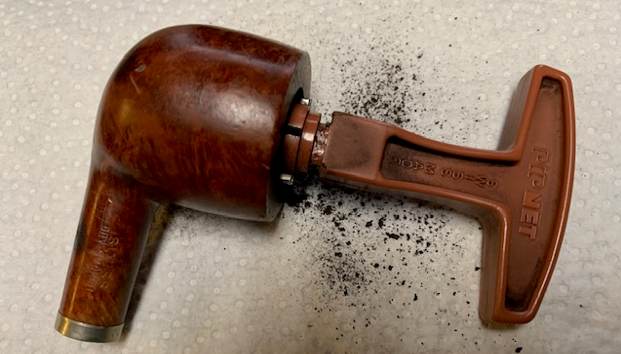
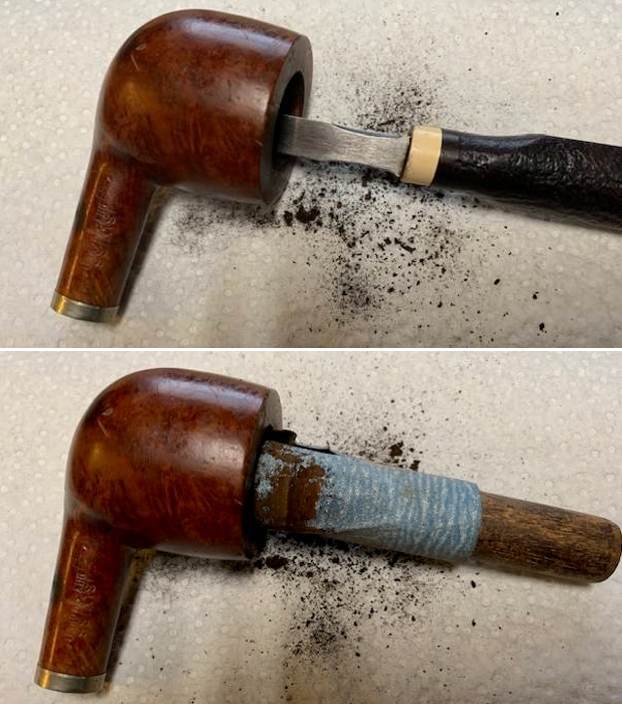
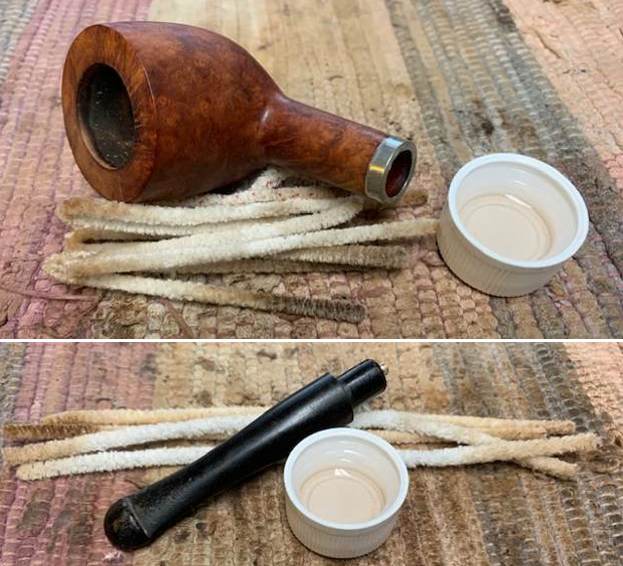
Jeff had thoroughly cleaned up the pipe. He reamed the pipe with a PipNet Pipe Reamer and cleaned up the remnants with a Savinelli Fitsall Pipe Knife. He scrubbed the bowl with undiluted Murphy’s Oil Soap with a tooth brush. He rinsed it under running warm water to remove the soap and grime. He cleaned out the inside of the bamboo shank and the airway in the stem with alcohol, cotton swabs and pipe cleaners. He scrubbed the exterior of the stem with Soft Scrub to remove as much of the oxidation and calcification as possible. He soaked the stem in Before & After Deoxidizer and rinsed it off with warm water. 
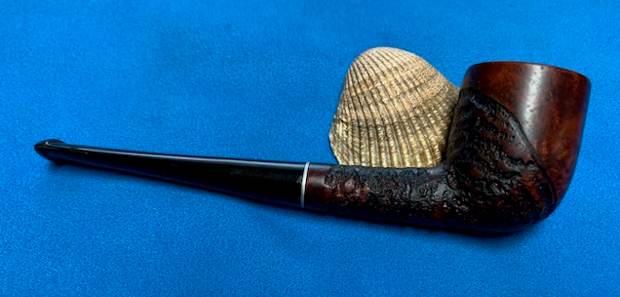
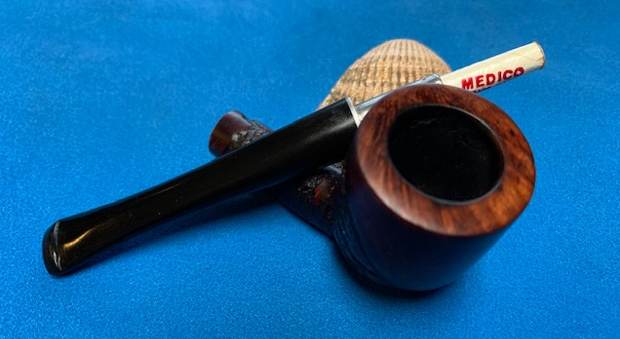
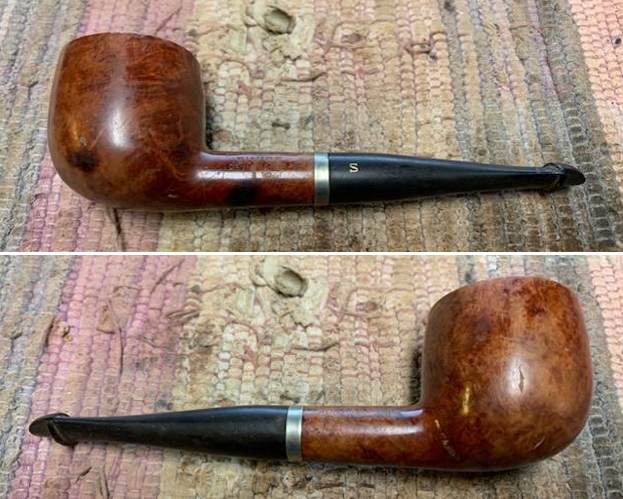
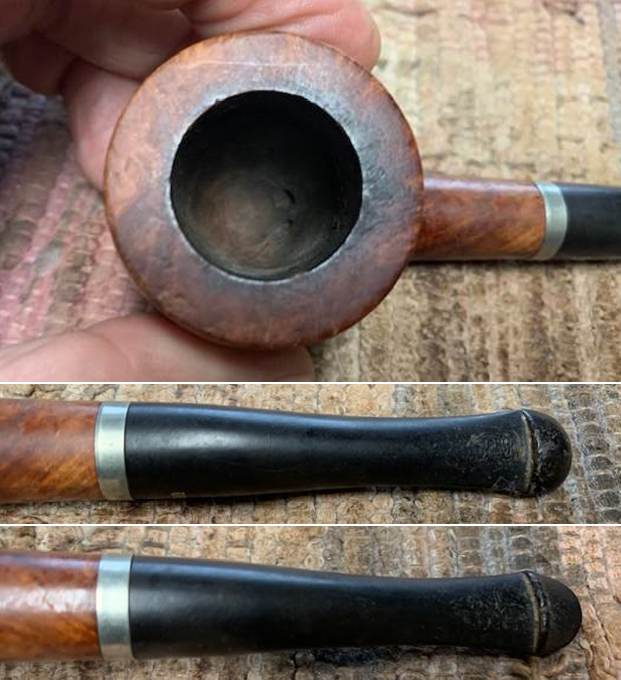
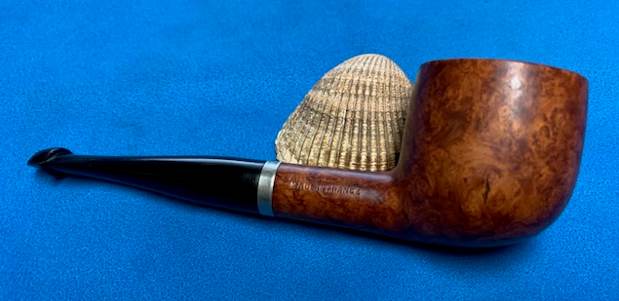
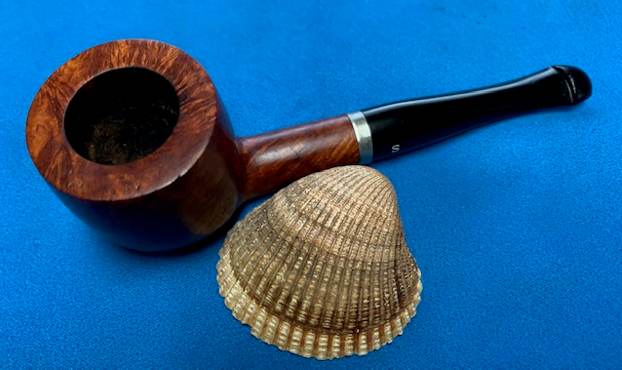
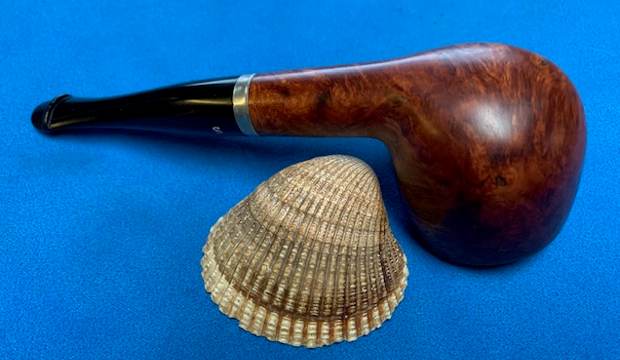
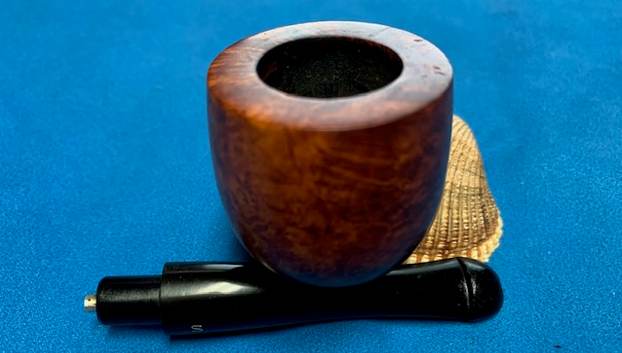
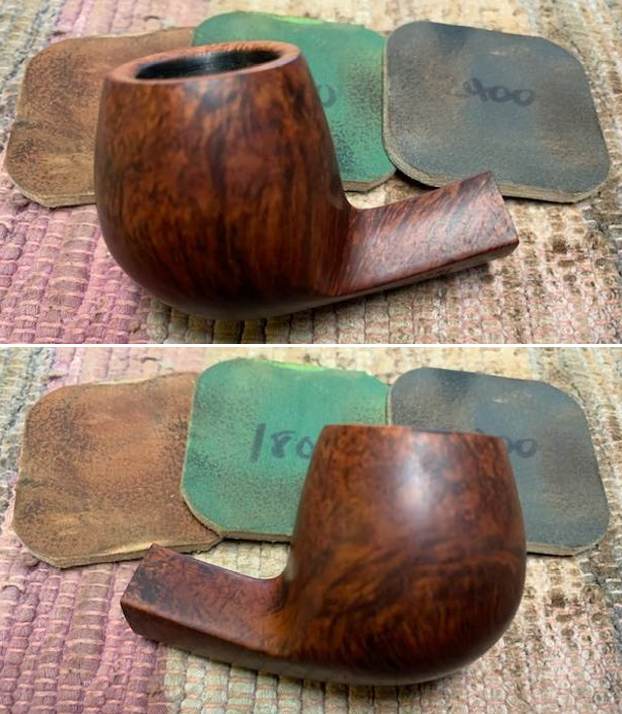
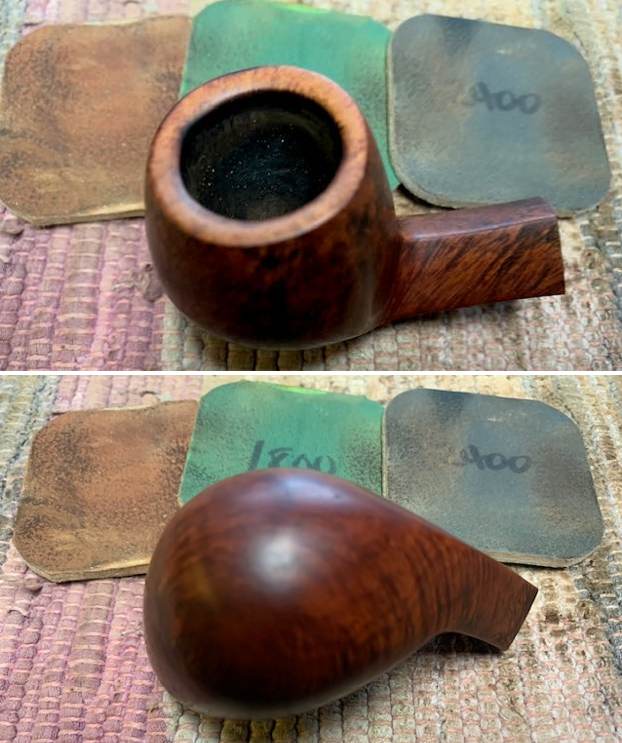
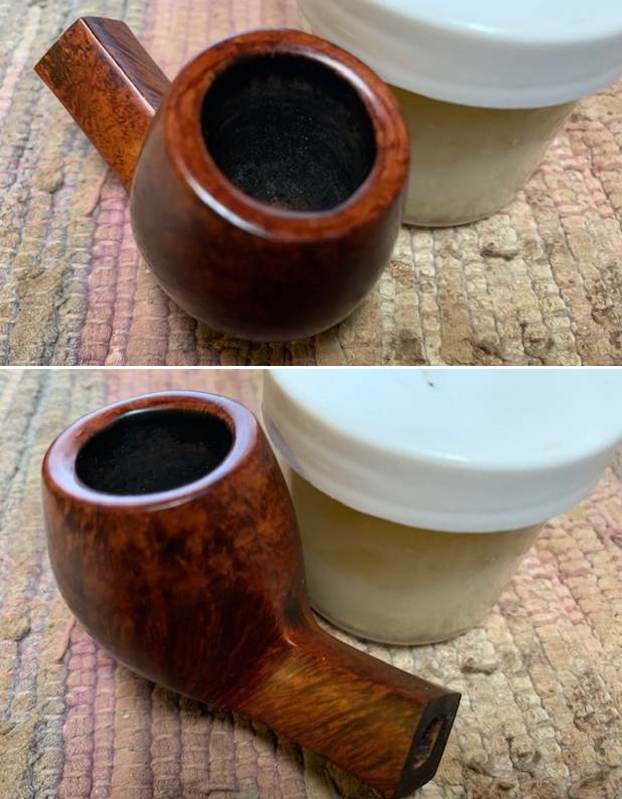
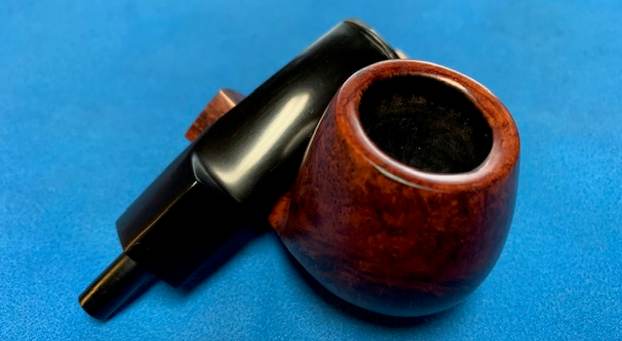
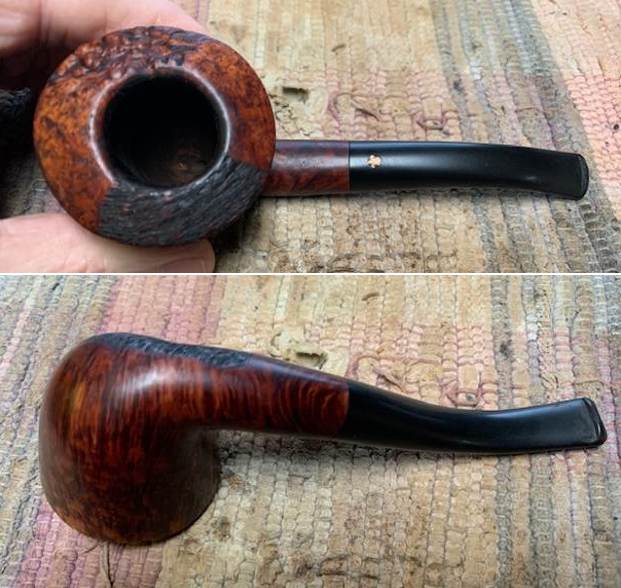
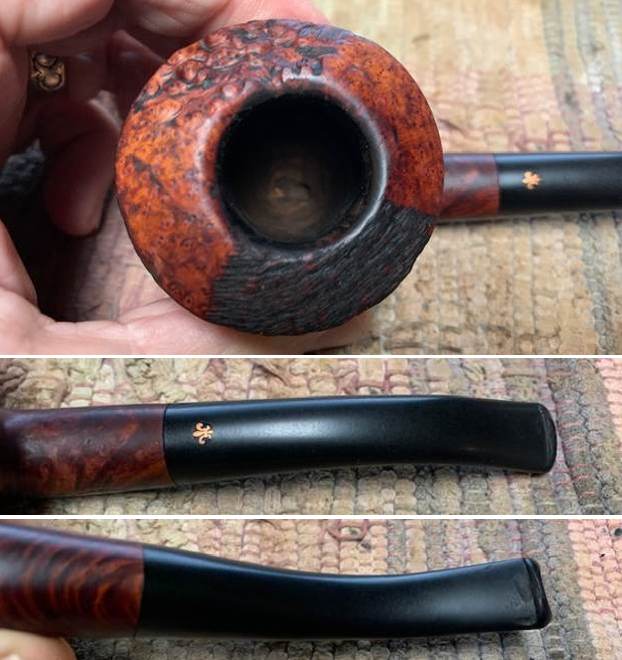
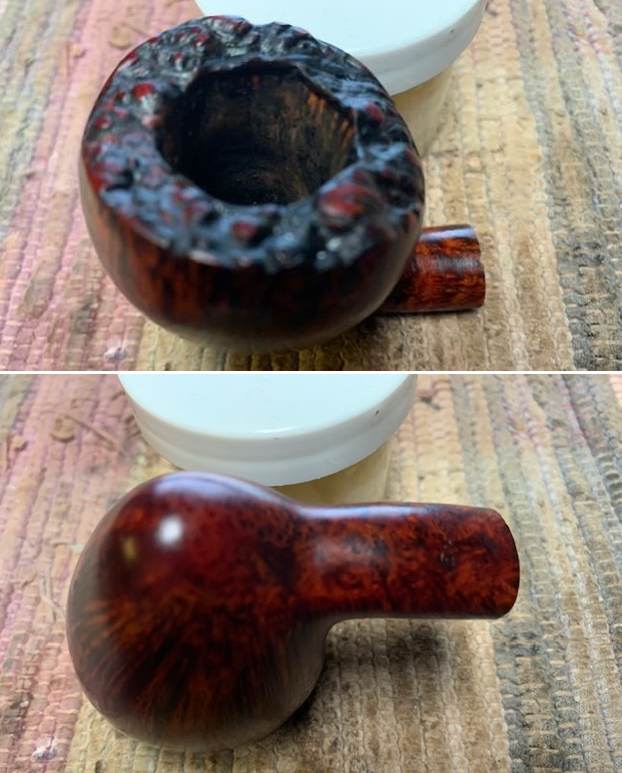
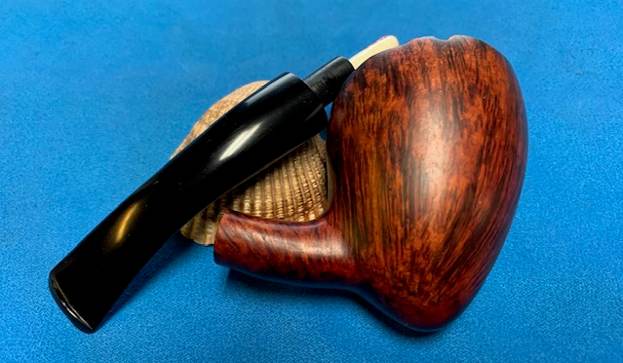
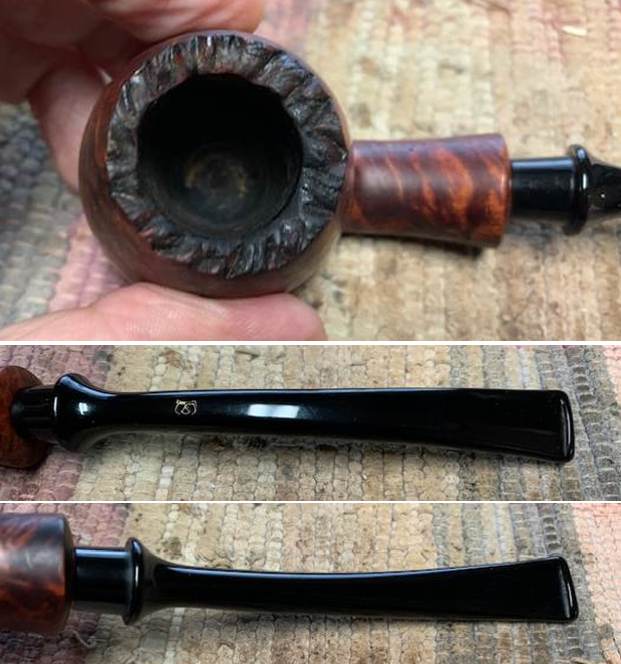
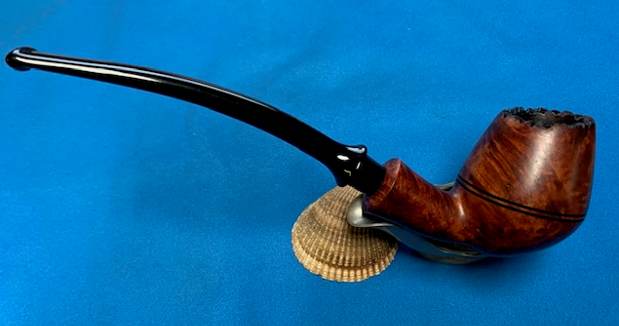
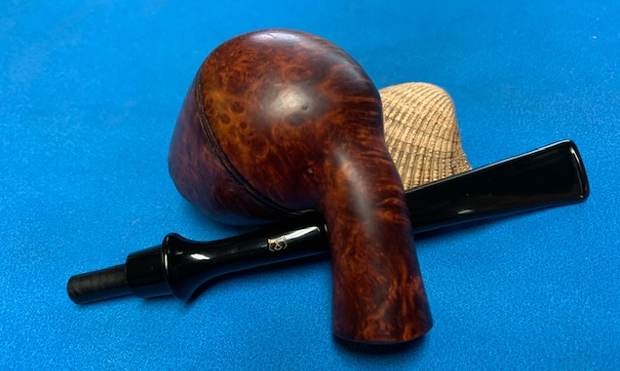
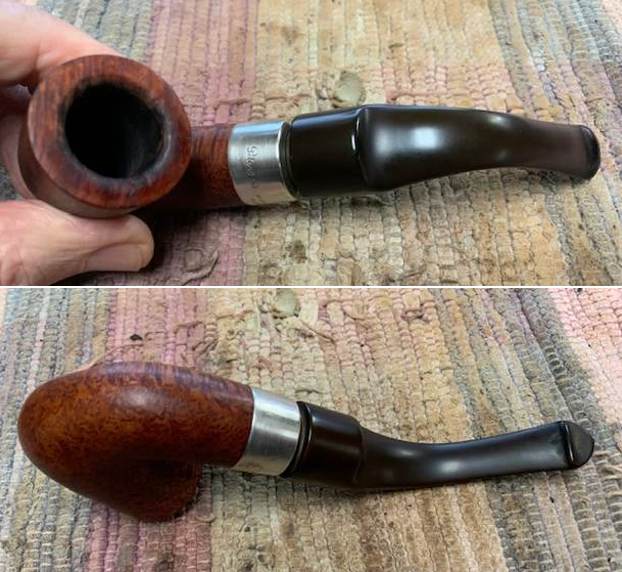
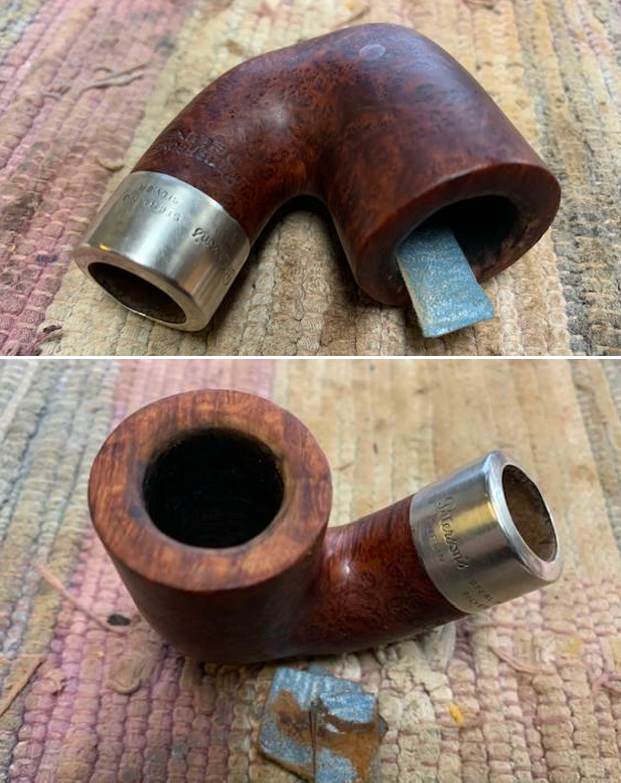
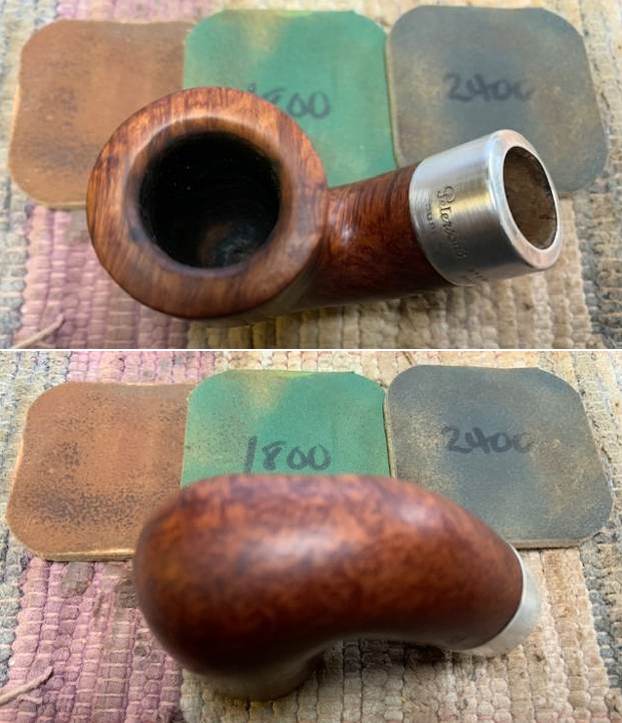
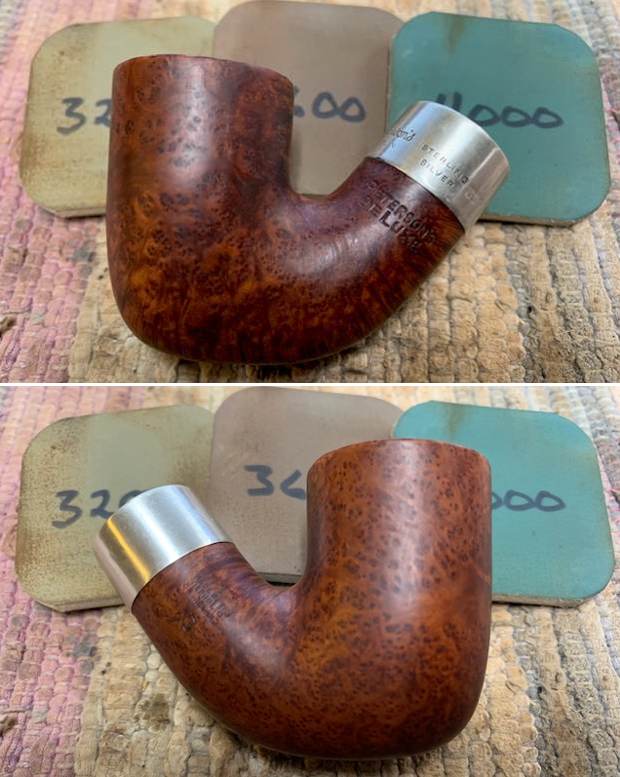
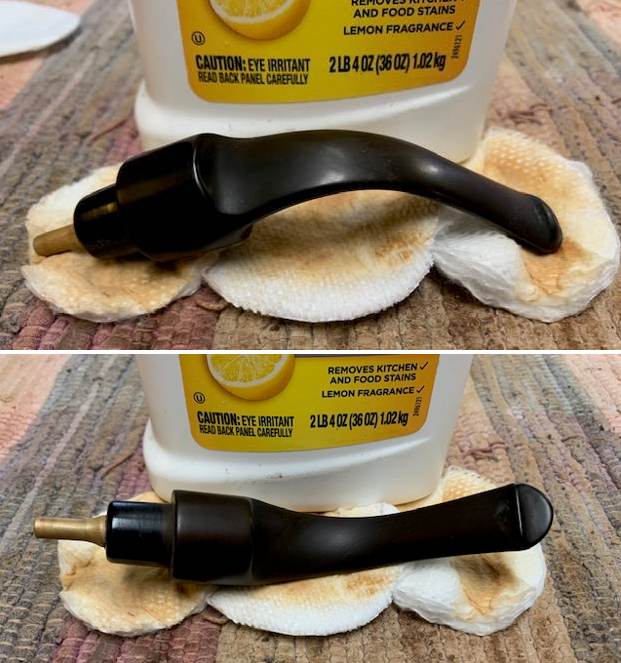
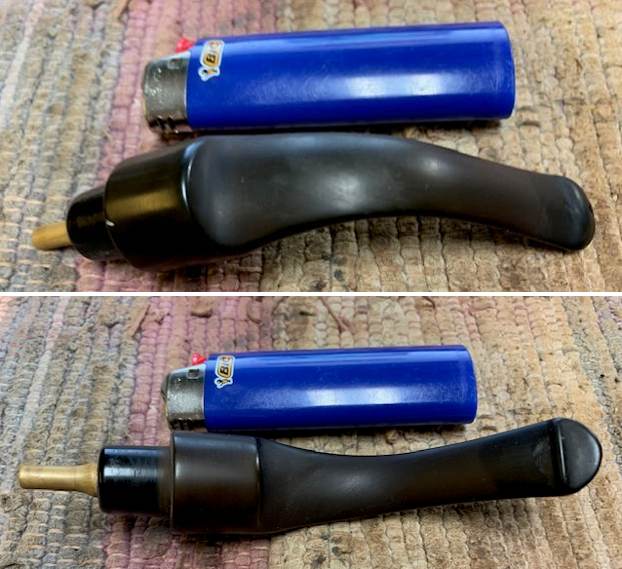
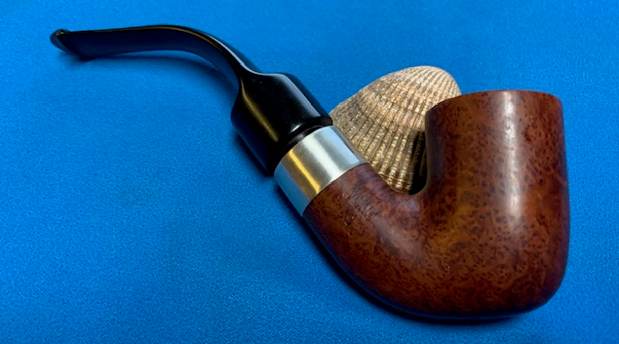
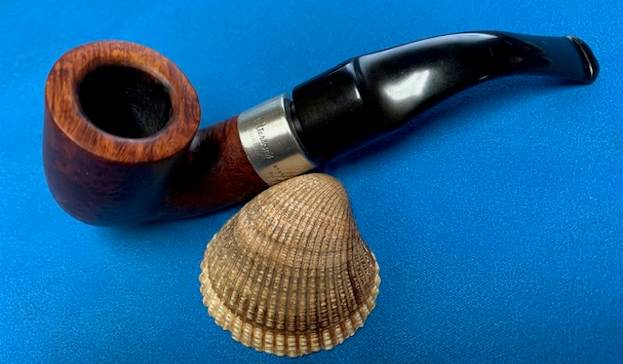
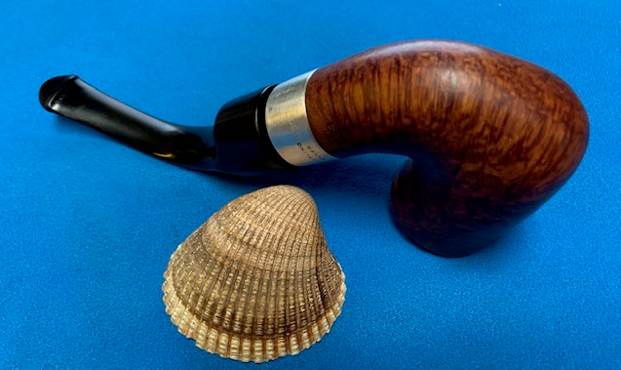
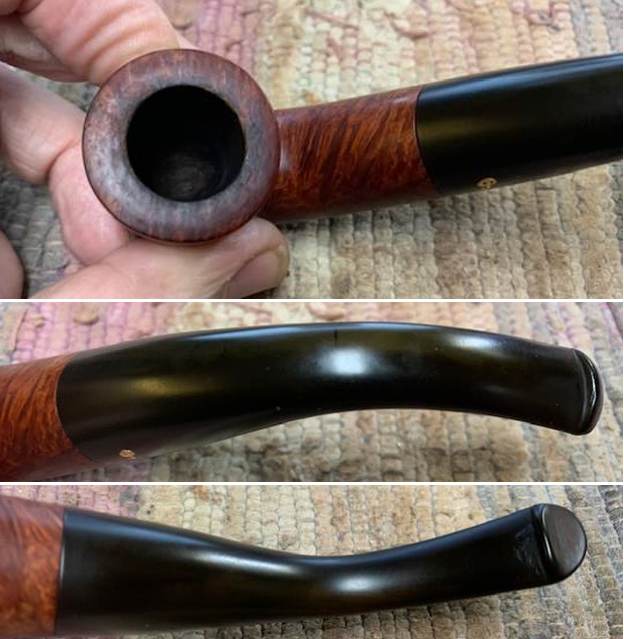
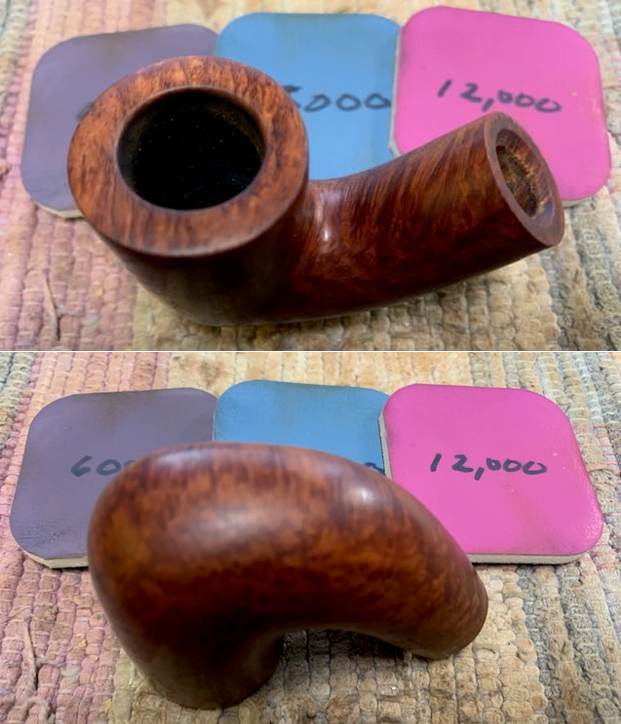
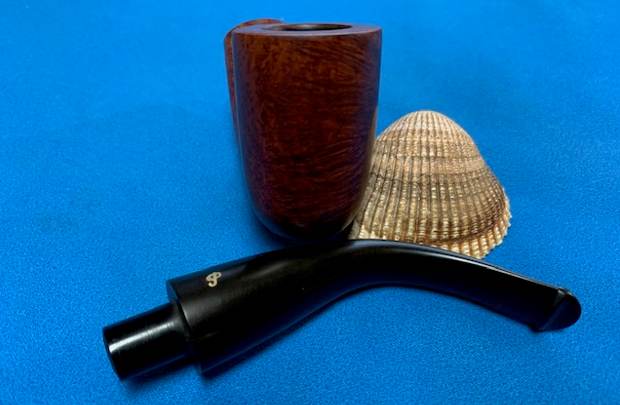
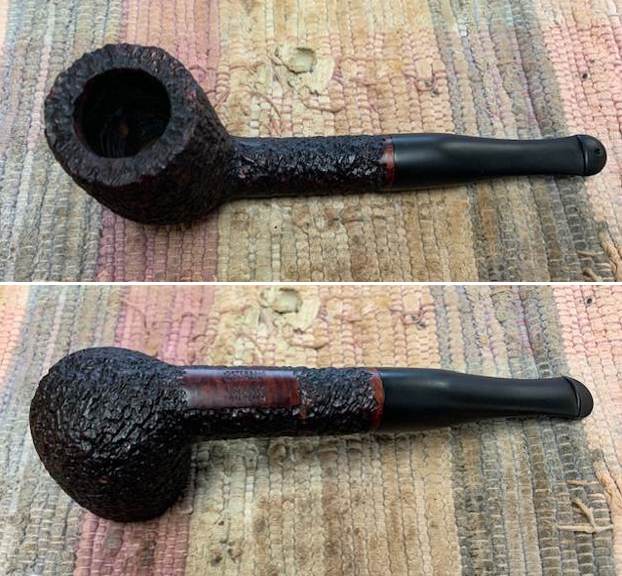
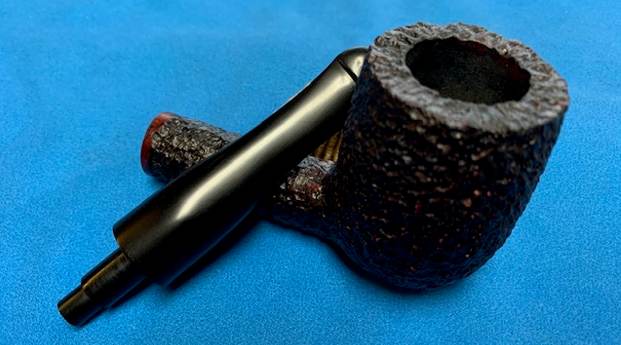
 I took close up photos of the bowl, rim and the stem. You can see how clean the bowl and rim top and edges are. The horn stem is in good condition with light tooth marks and some chatter as noted above.
 I took photos of the stamping on the sides of the shank. It is readable as noted above.
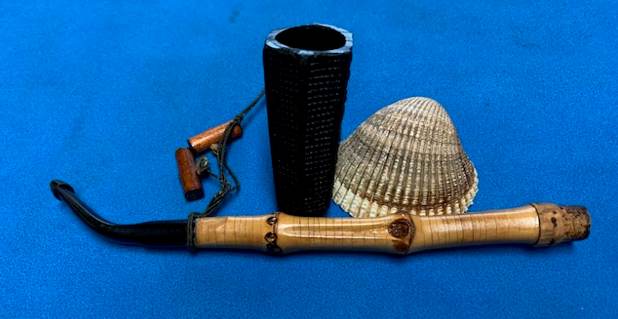
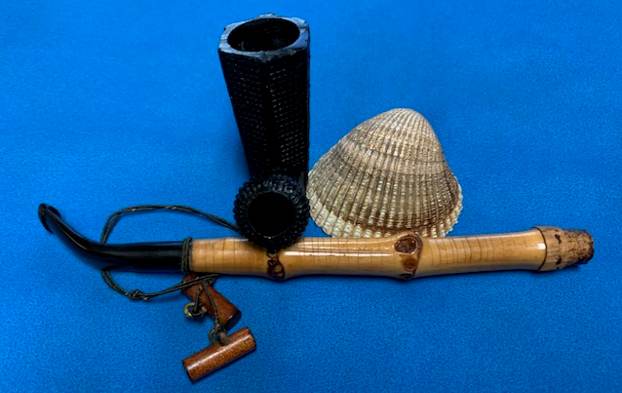
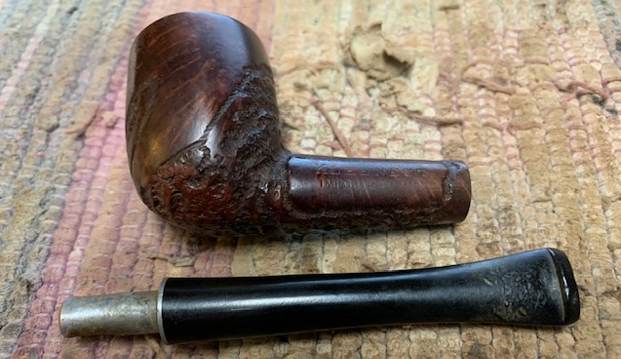
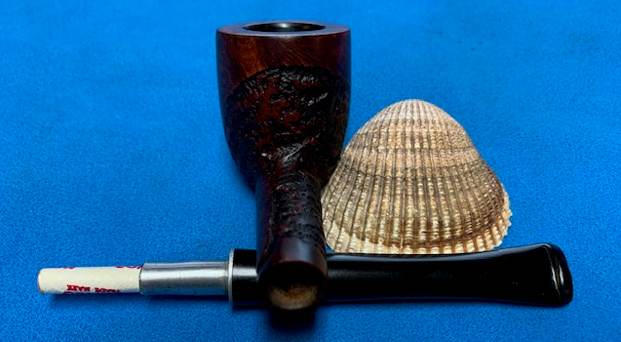
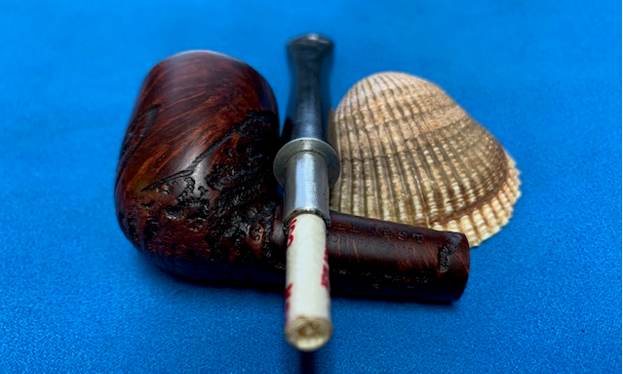
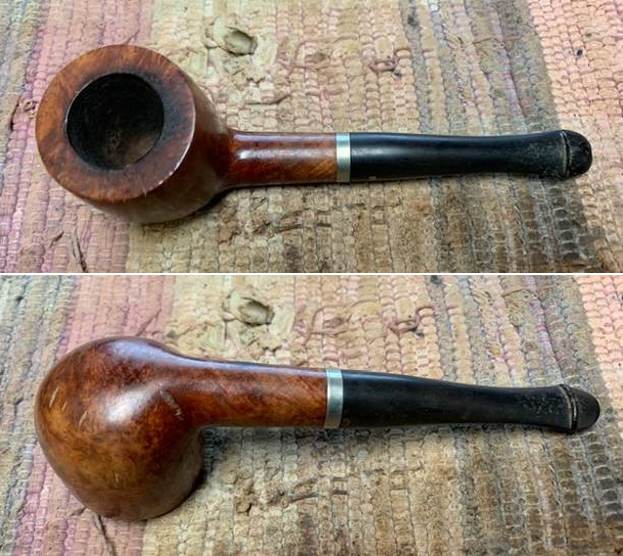
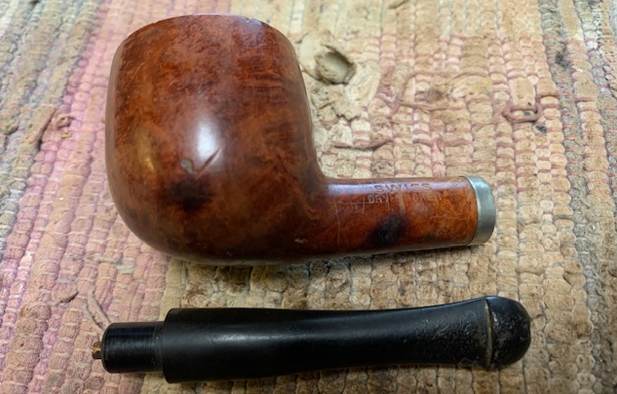
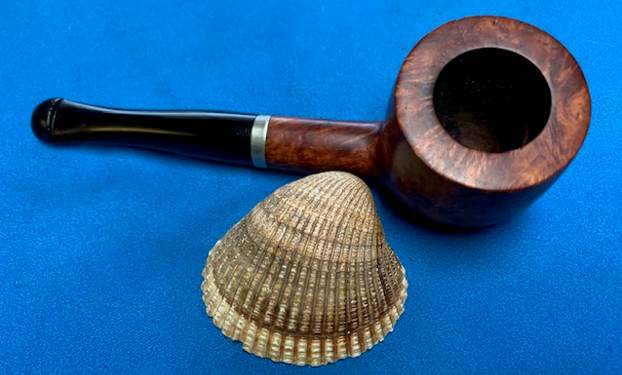
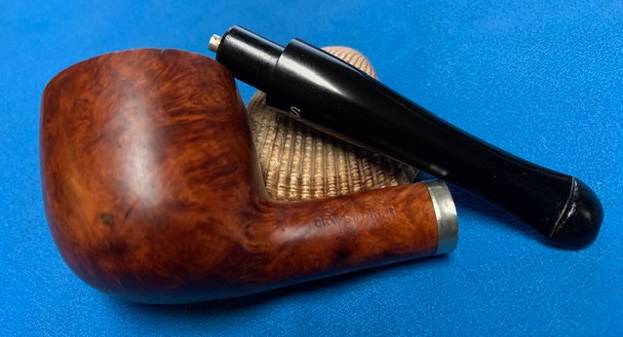
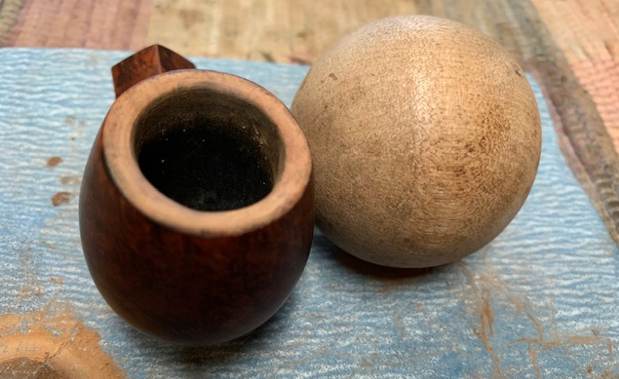
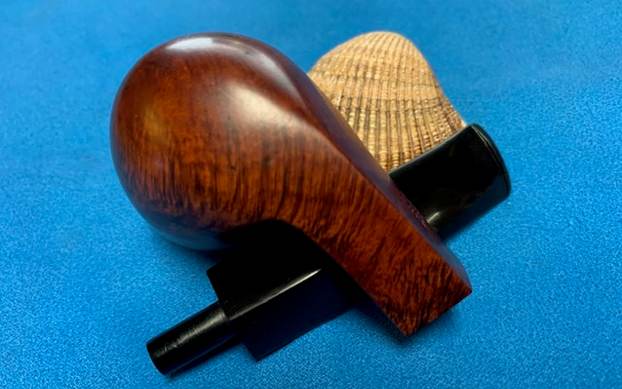
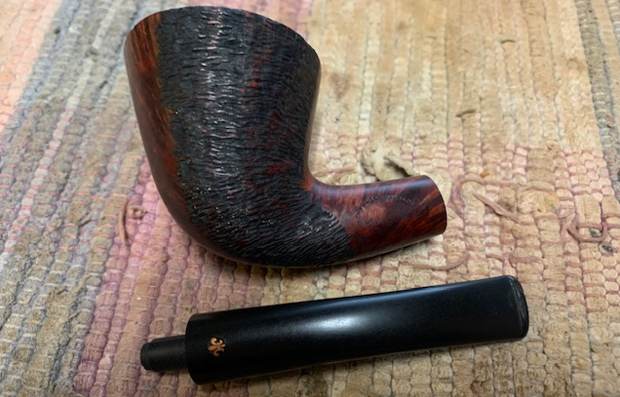
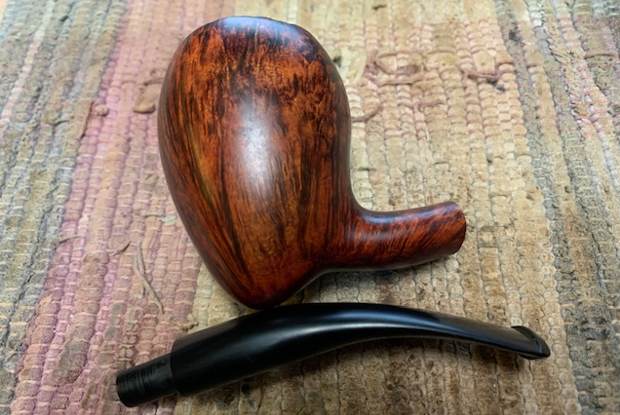
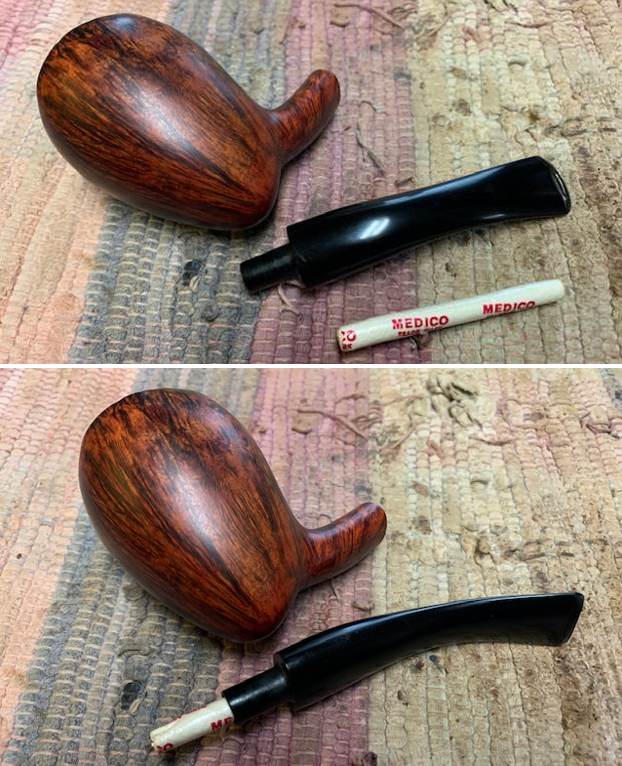
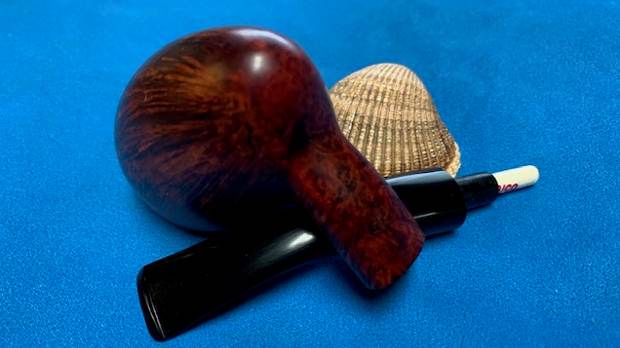
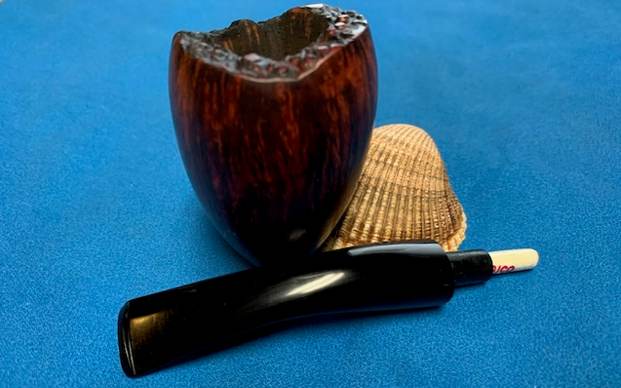
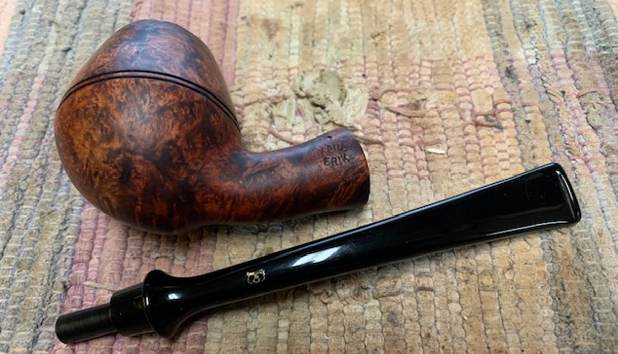
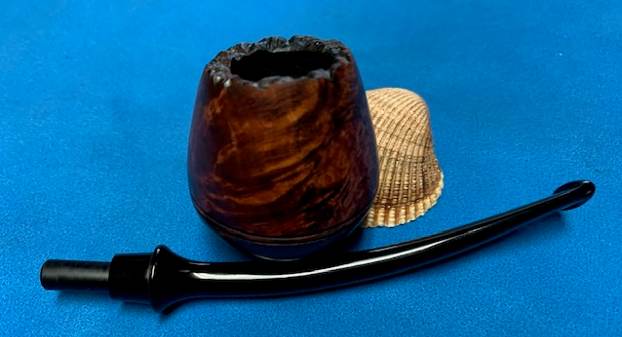
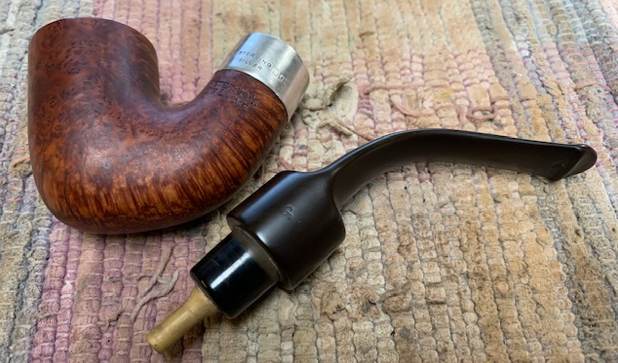
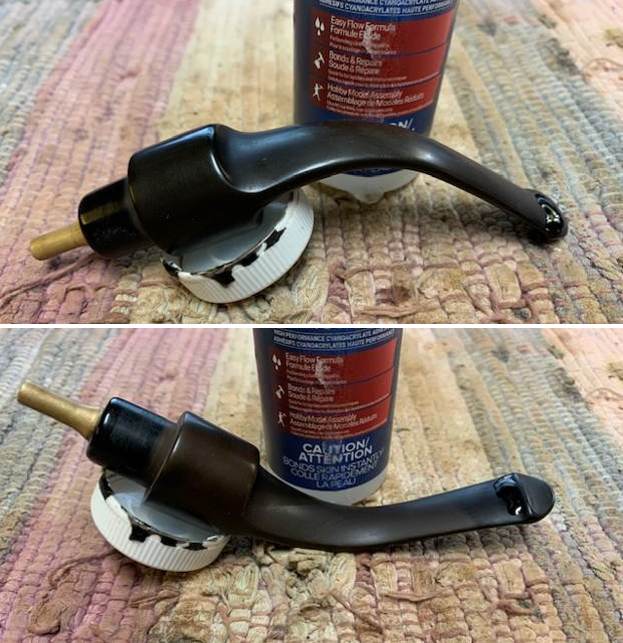
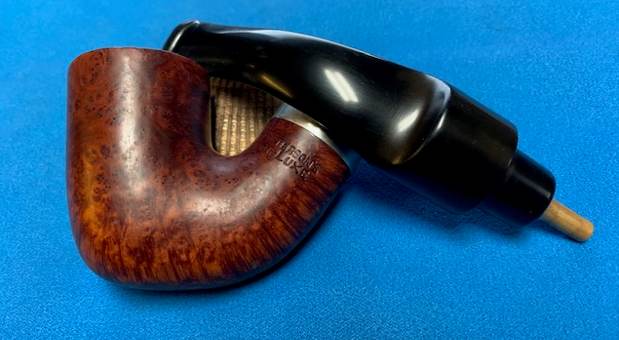
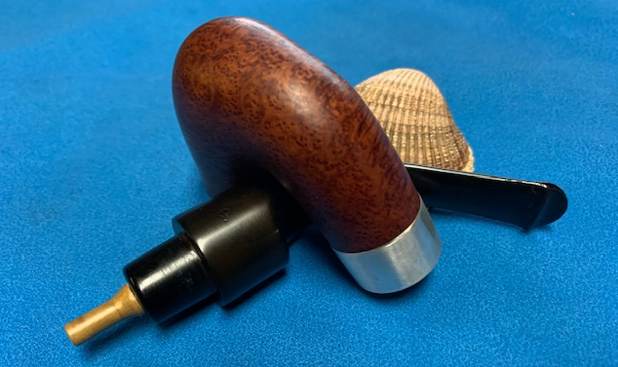
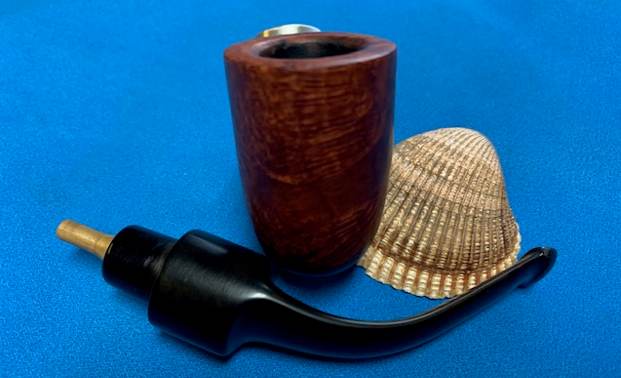
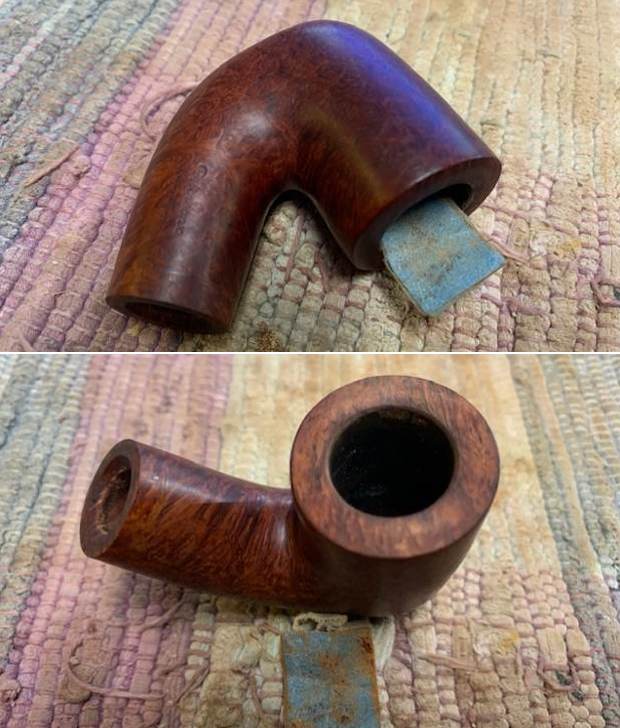
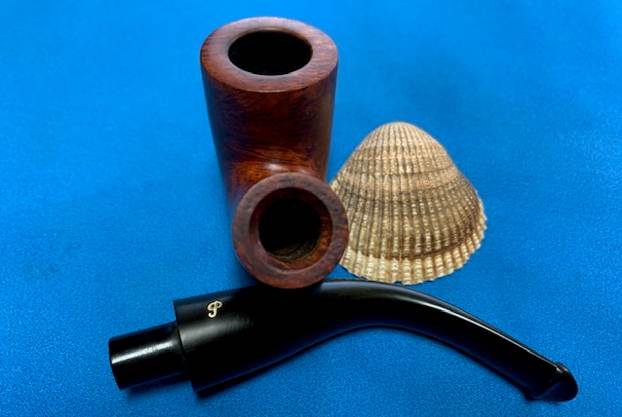
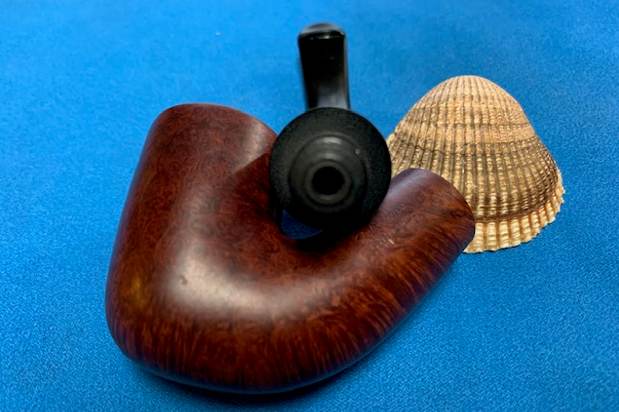
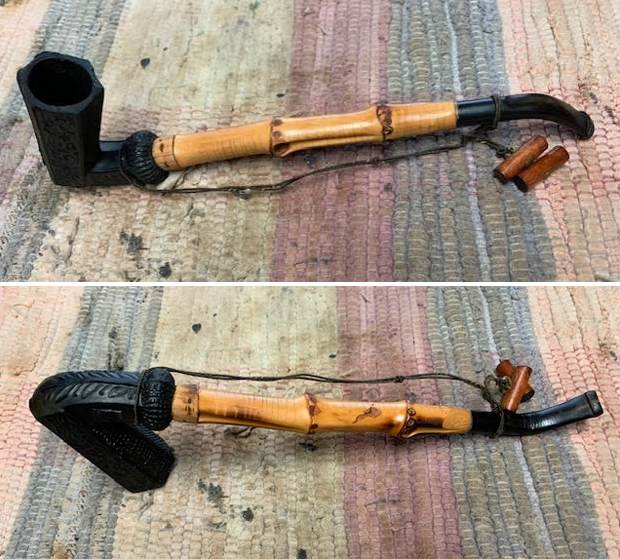
  I removed the stem and the shank from the clay bowl and took photos of the bowl an bamboo shank and horn stem to give a sense of the proportions of the pipe.
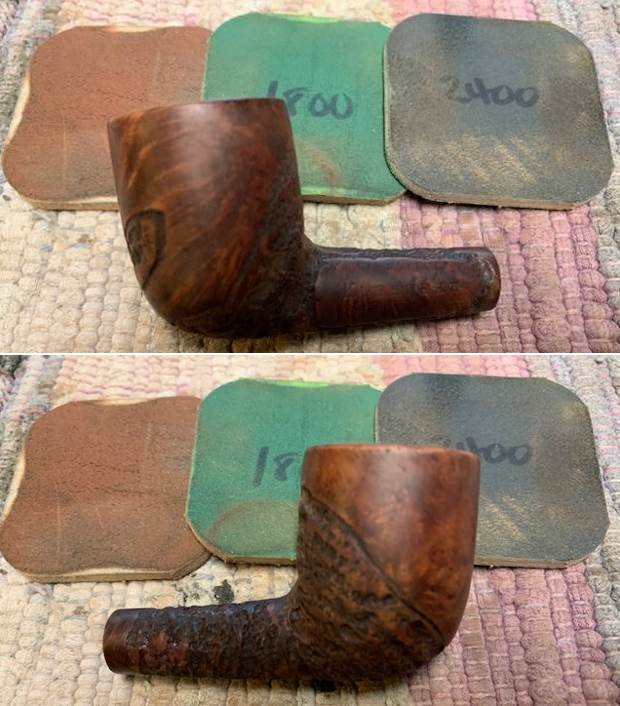
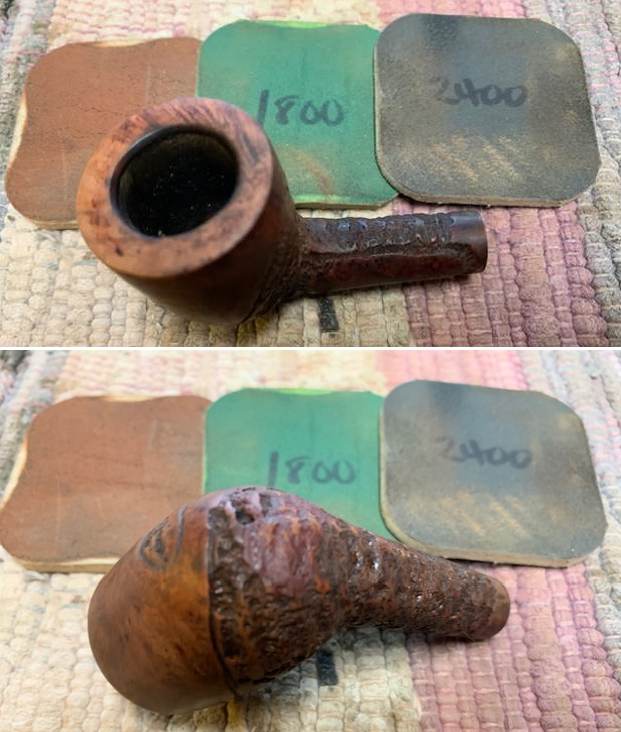
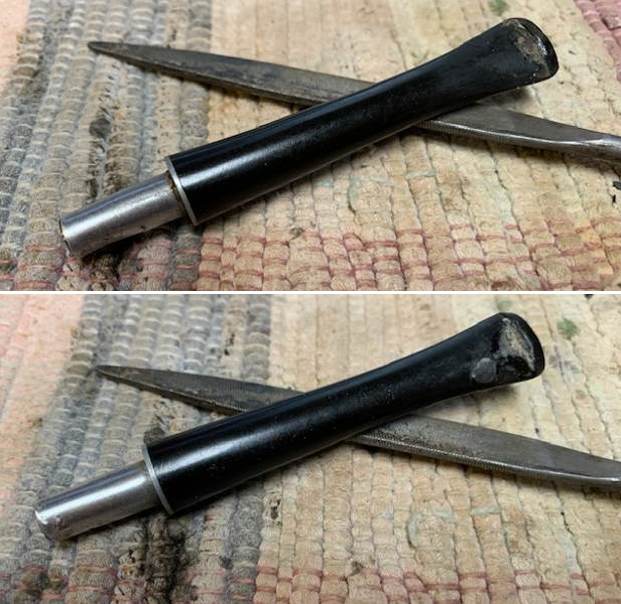
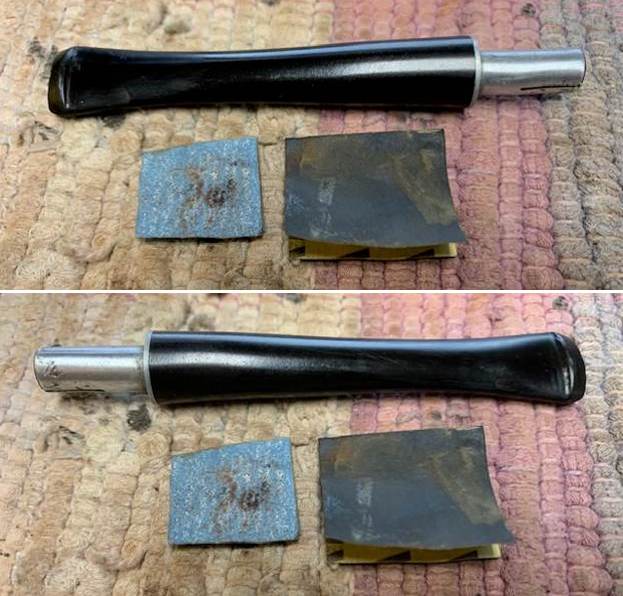
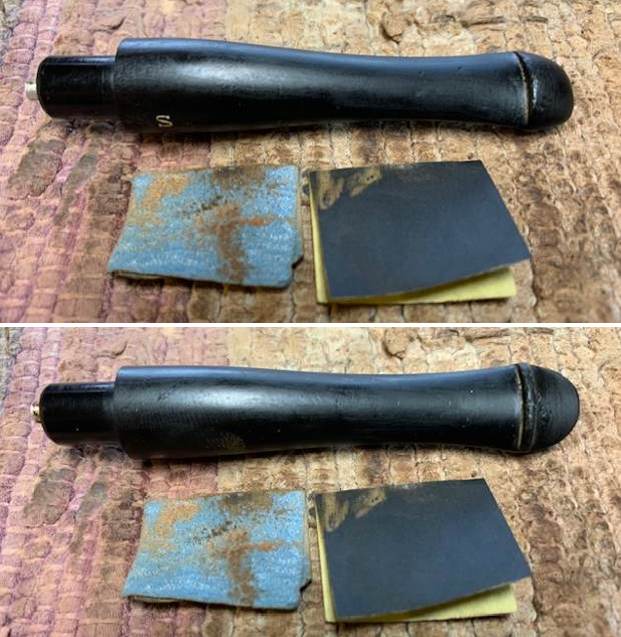
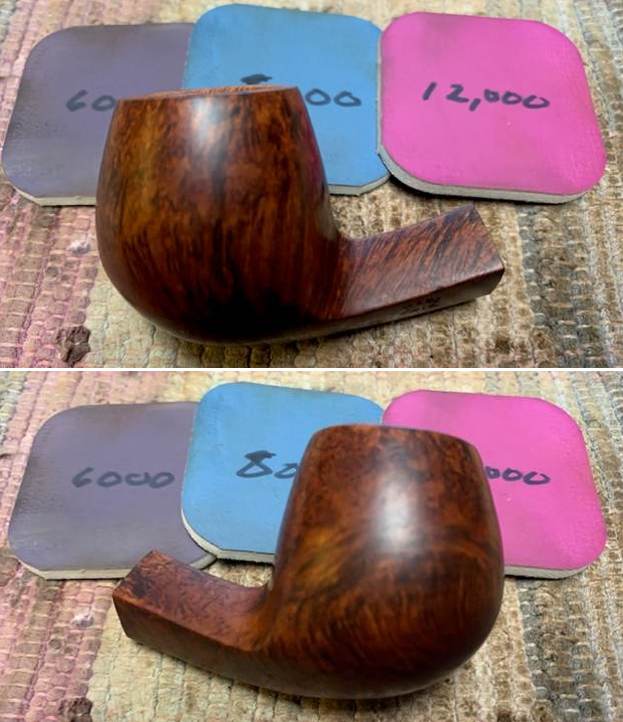
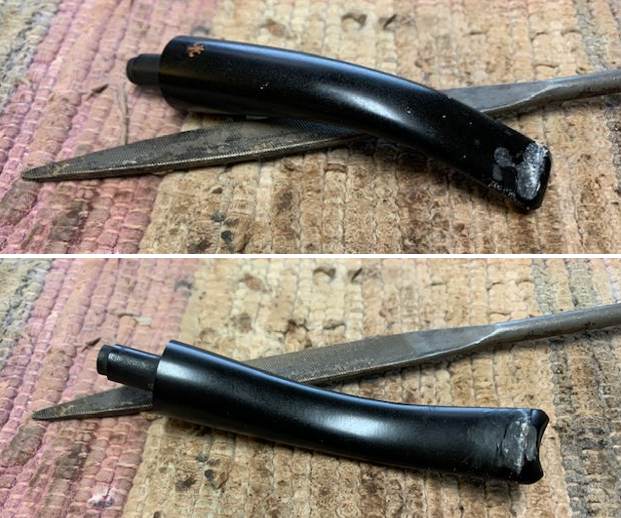
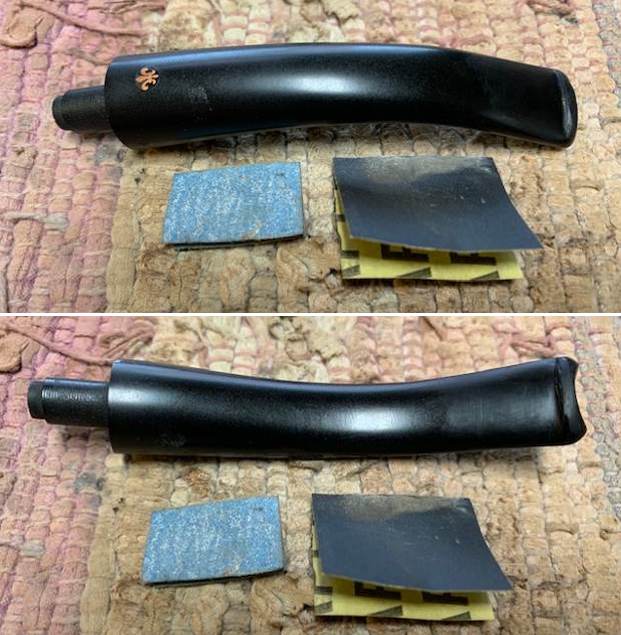
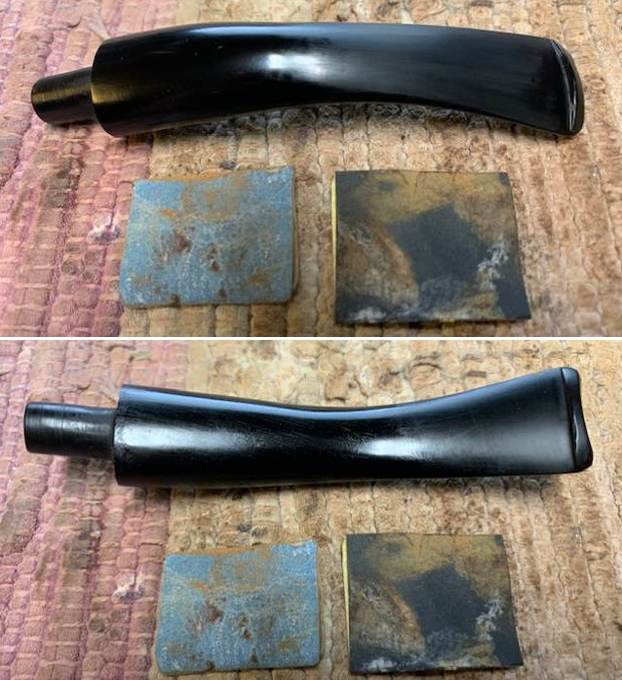
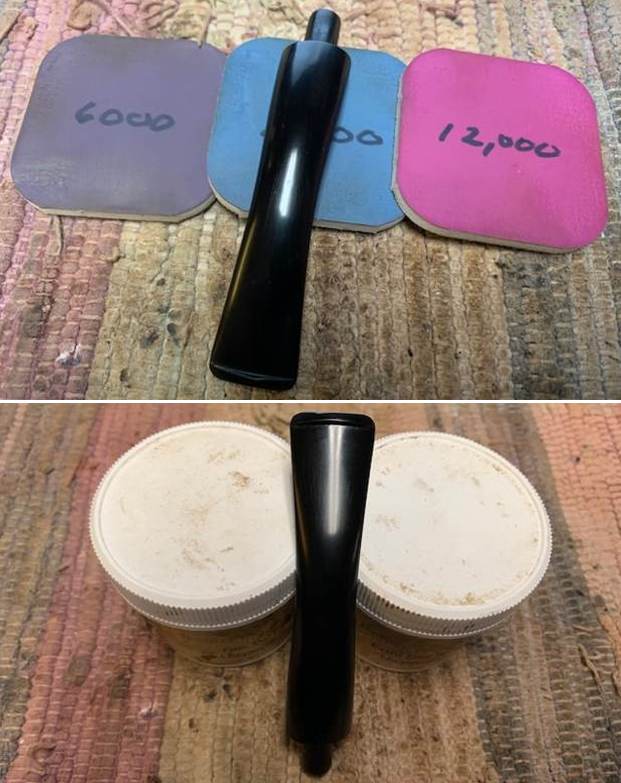
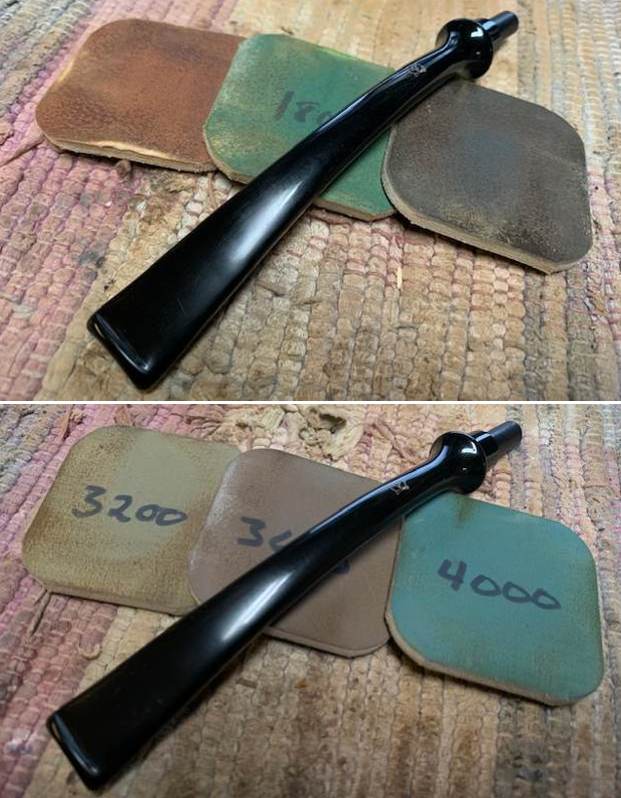
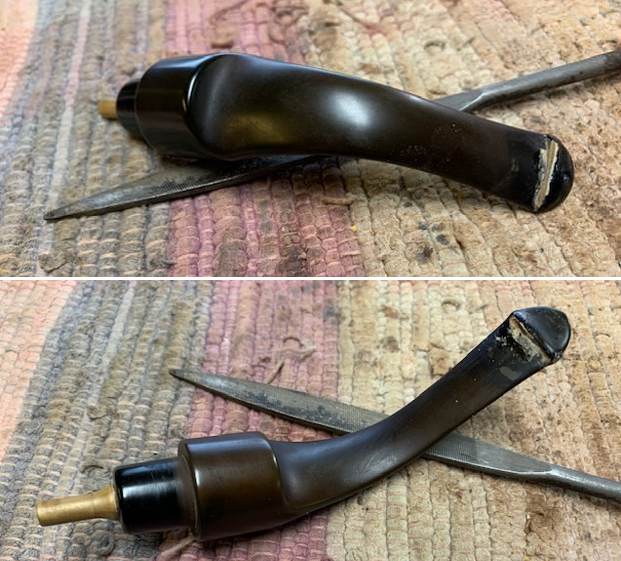
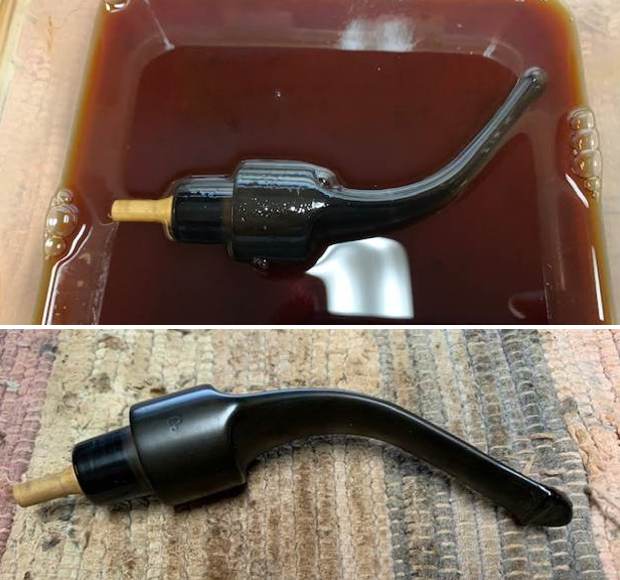
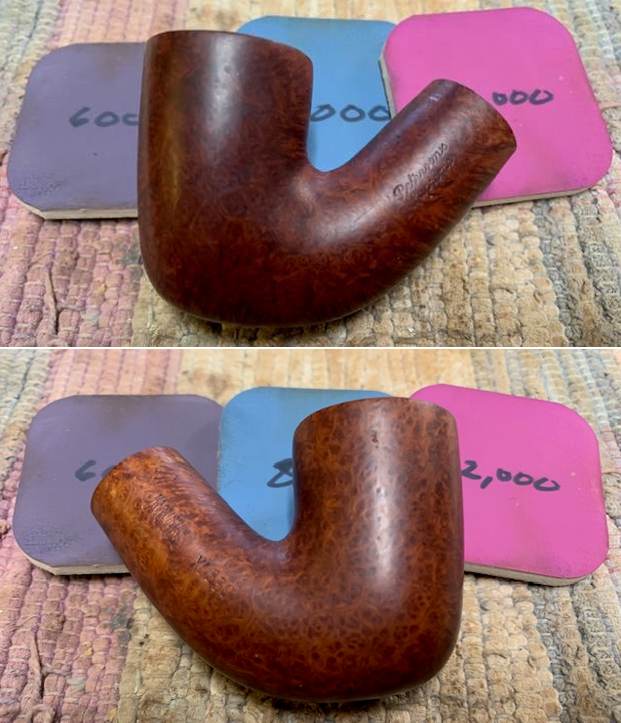
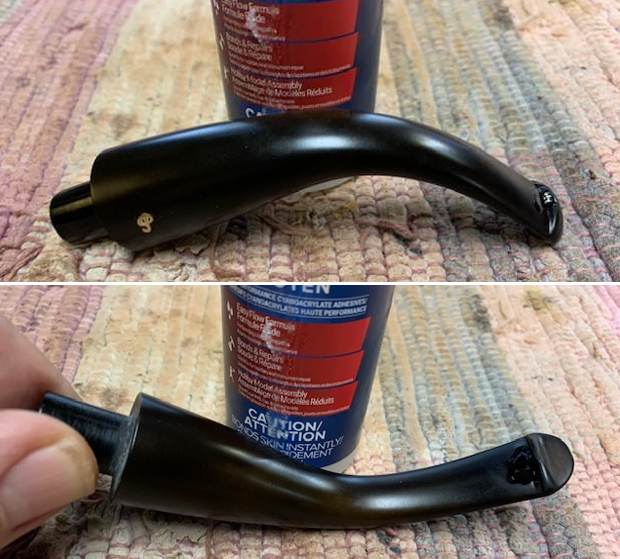
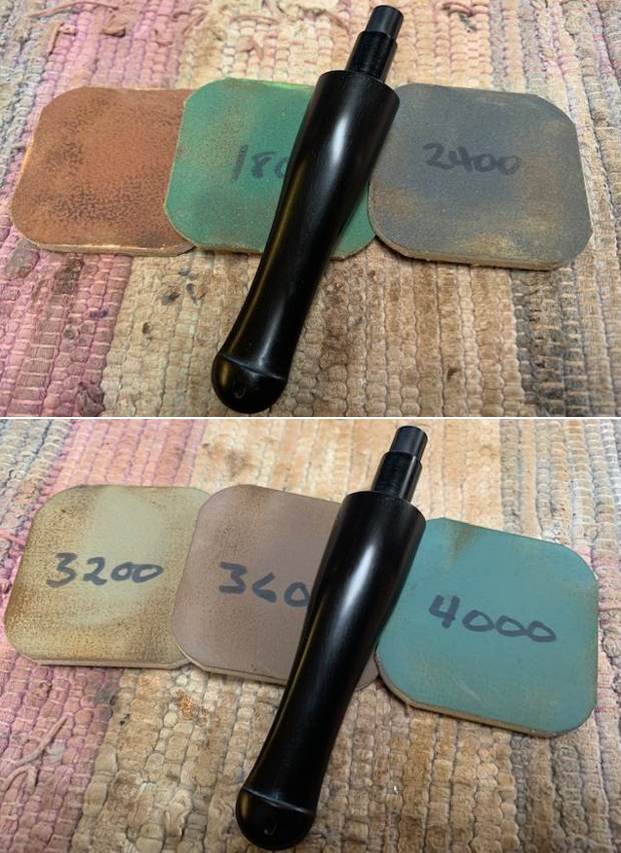
 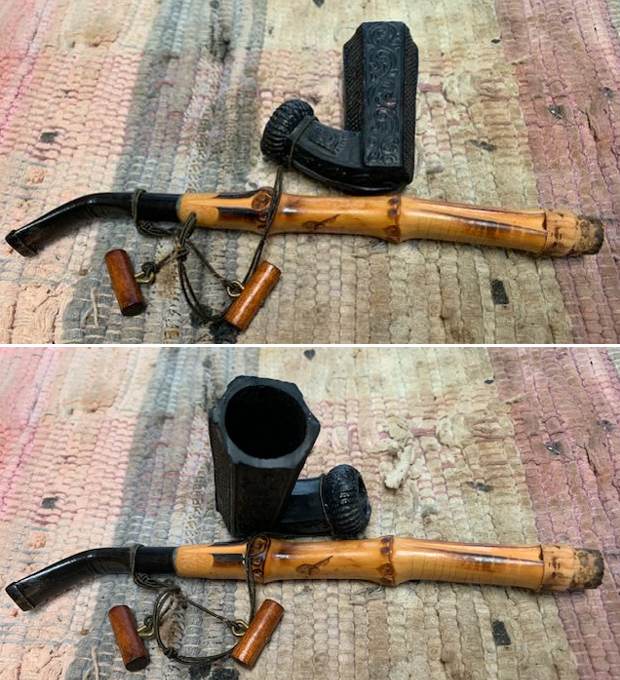 I started my work on the pipe by working on the stem. I sanded out the tooth marks and the wrinkles on the bend on the underside of the stem sides with 220 grit sandpaper and started the polishing process with 600 grit wet dry sandpaper.
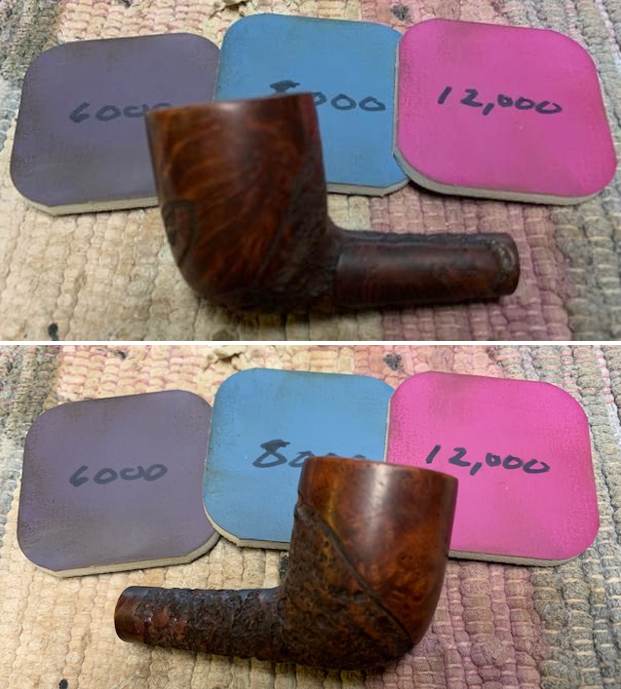
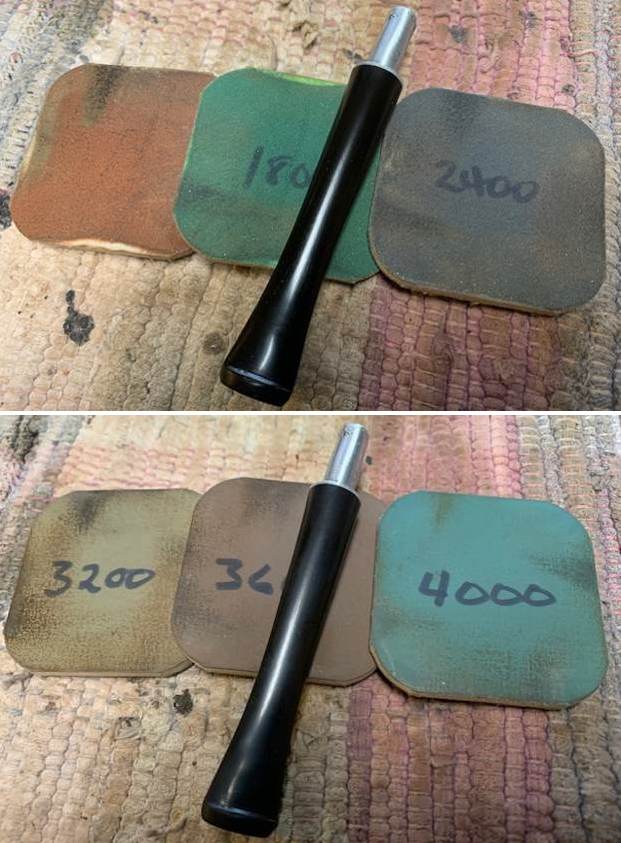
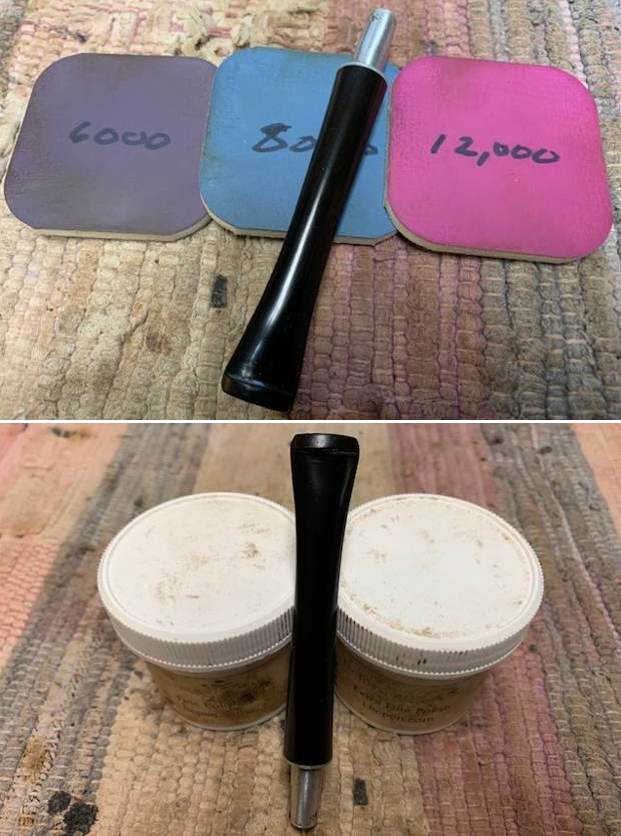
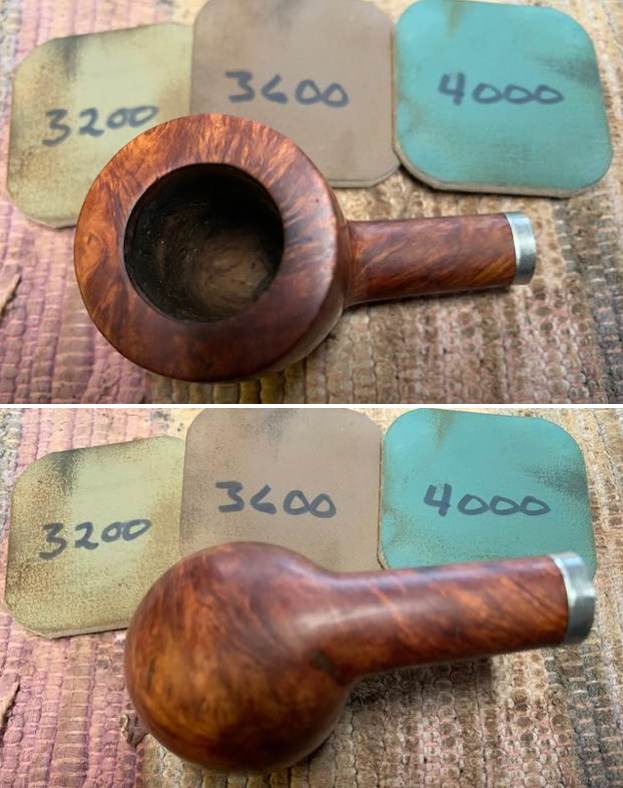
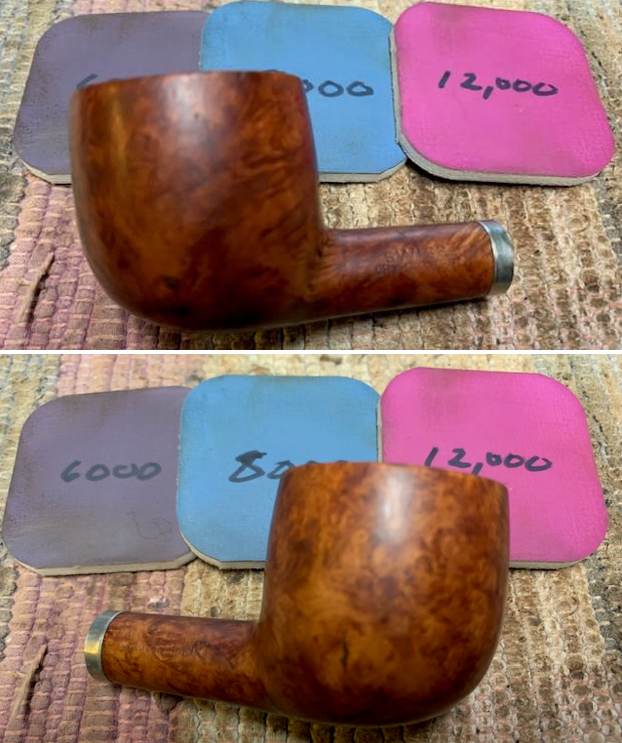
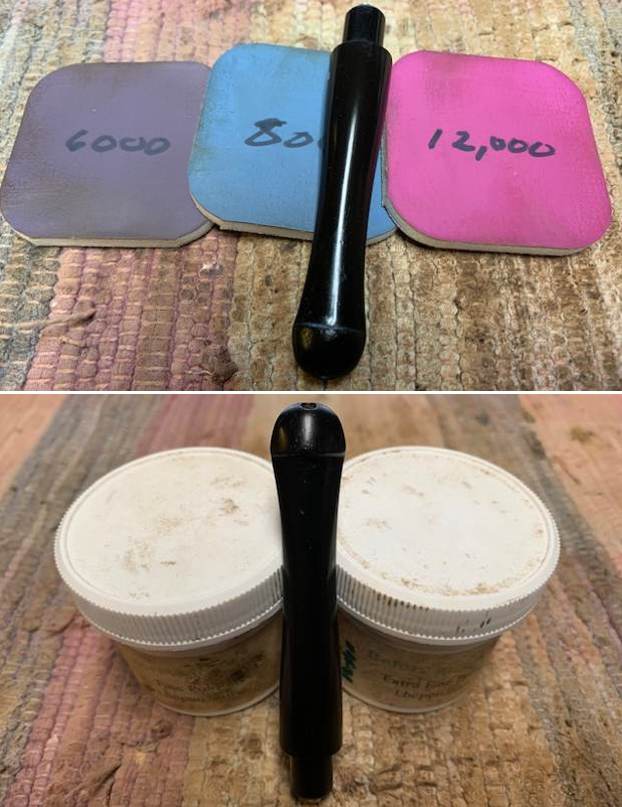
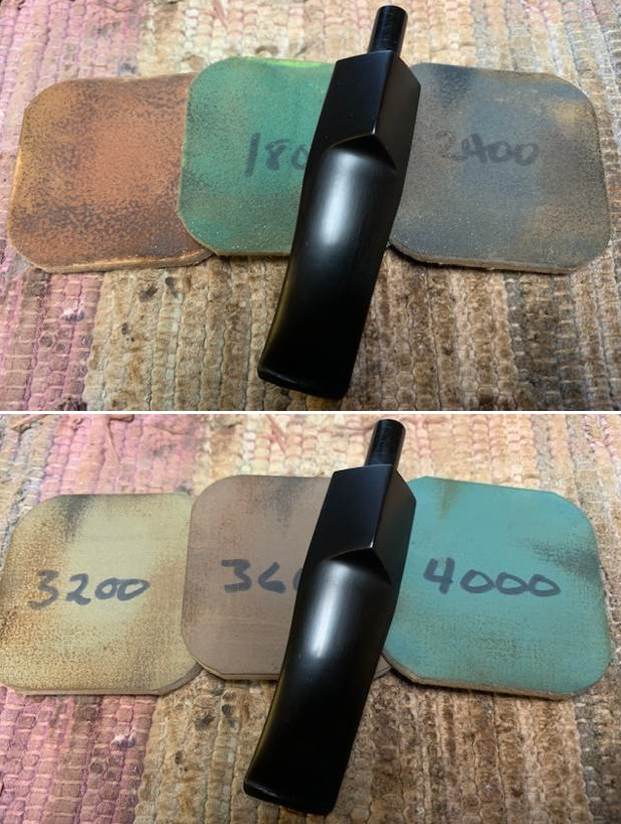
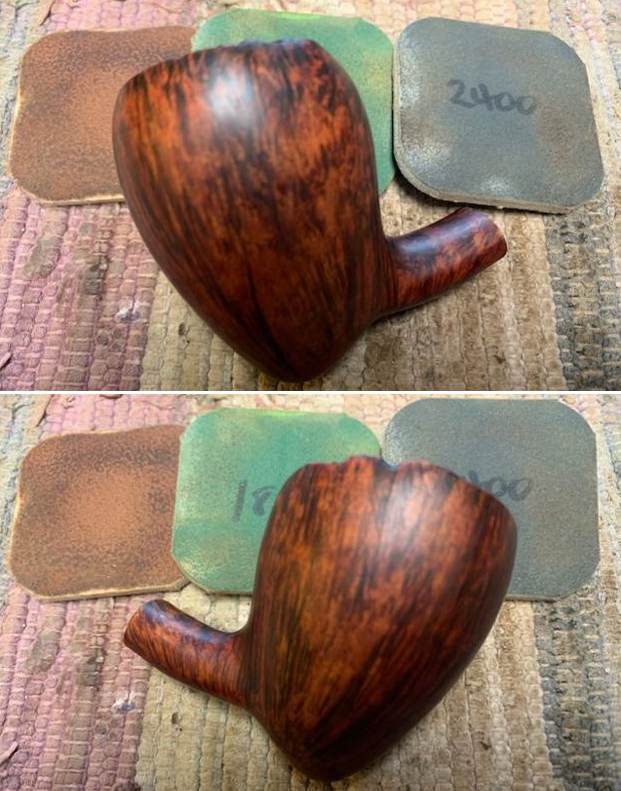
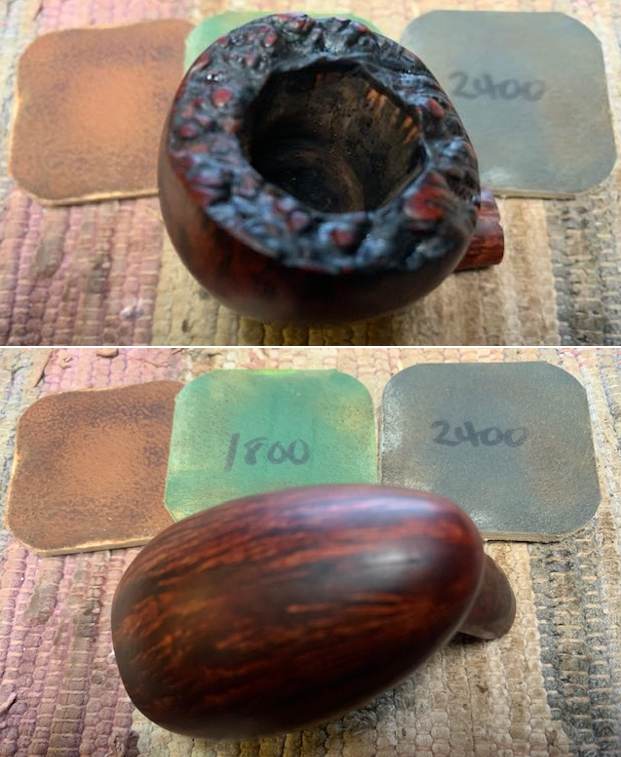
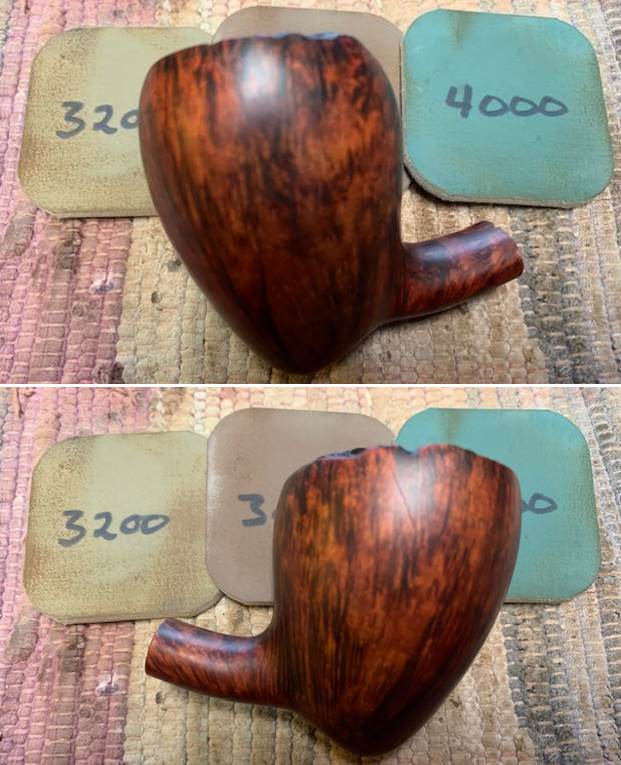
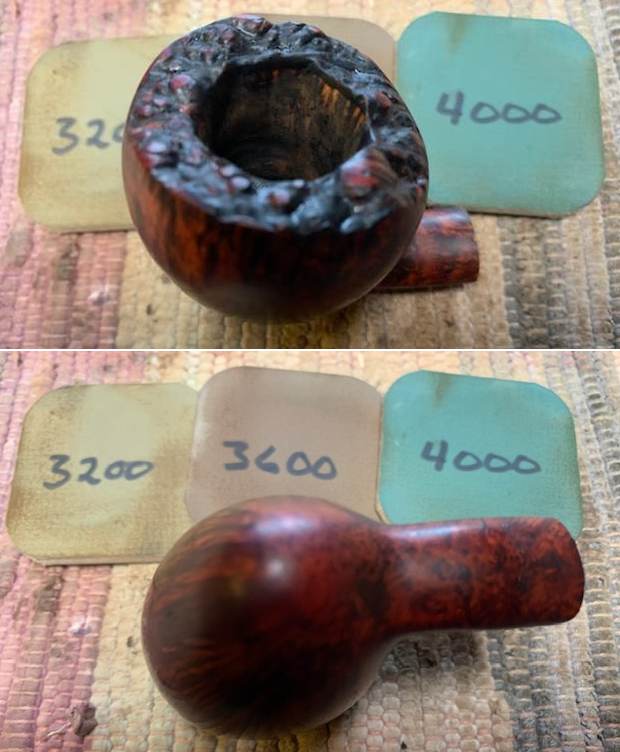
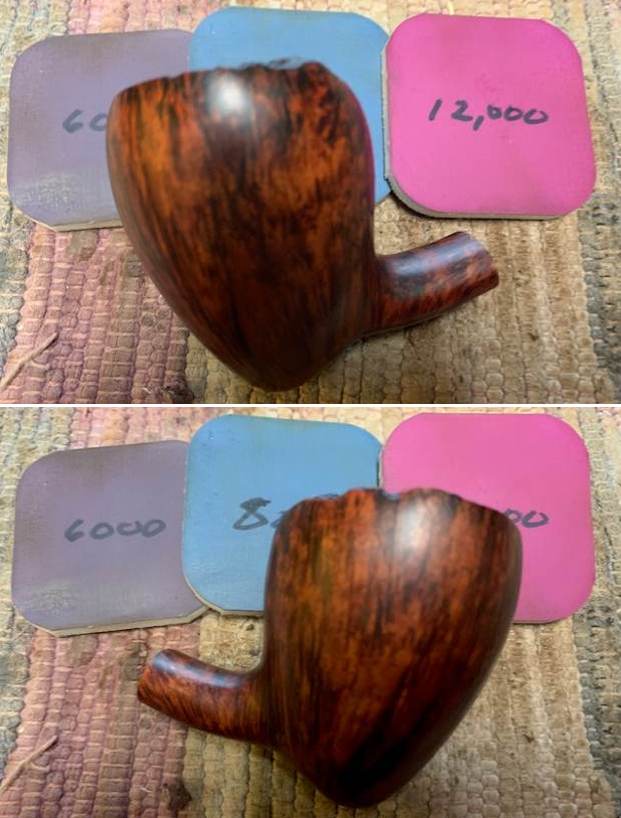
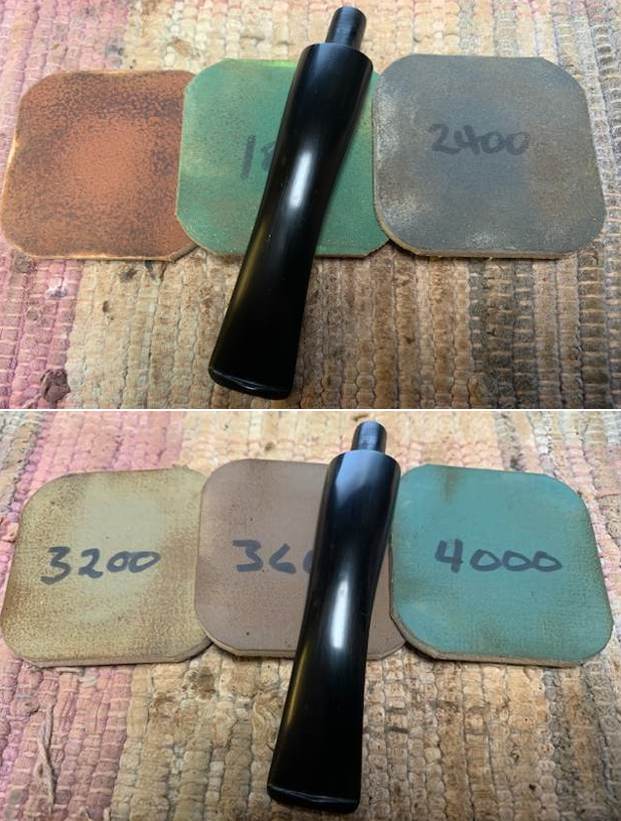
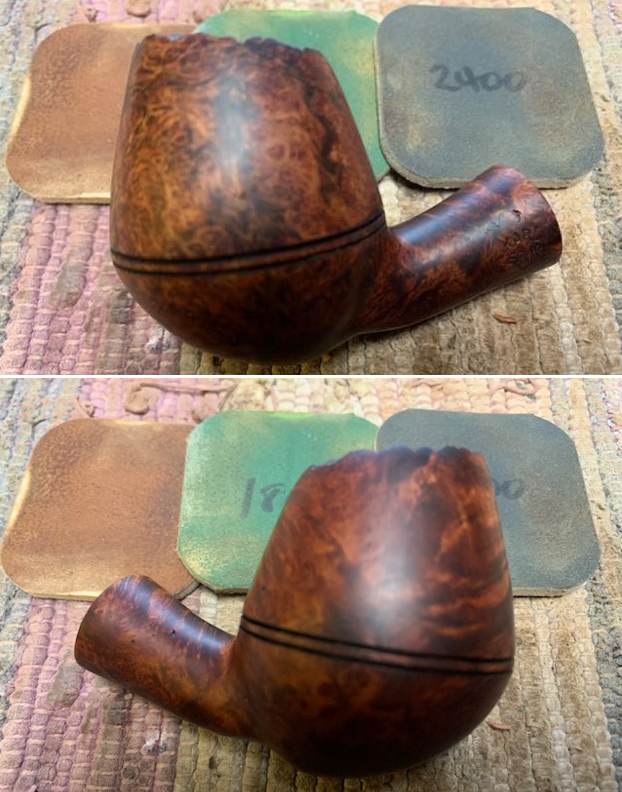
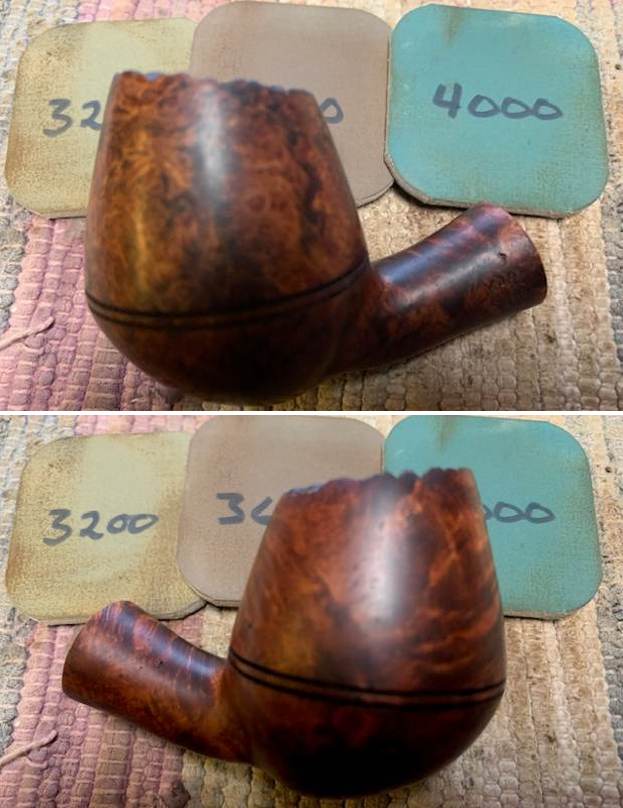
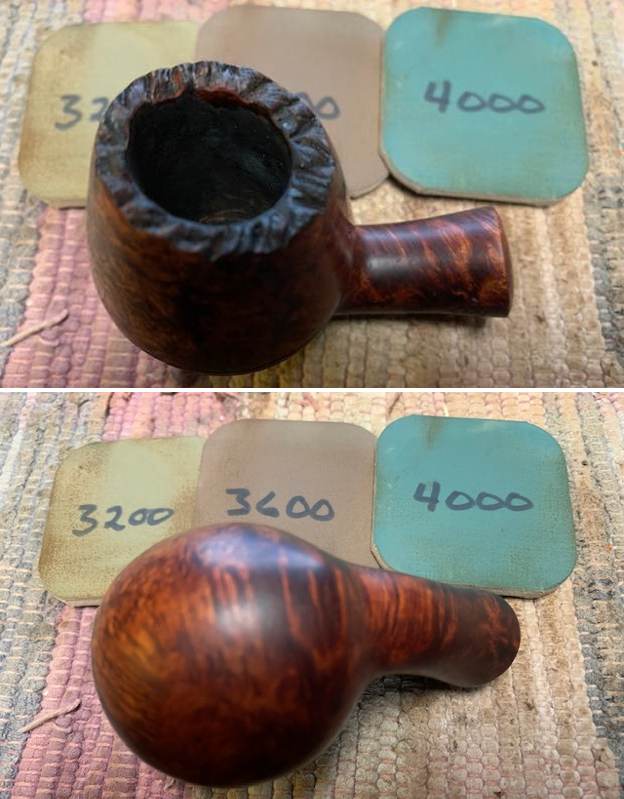
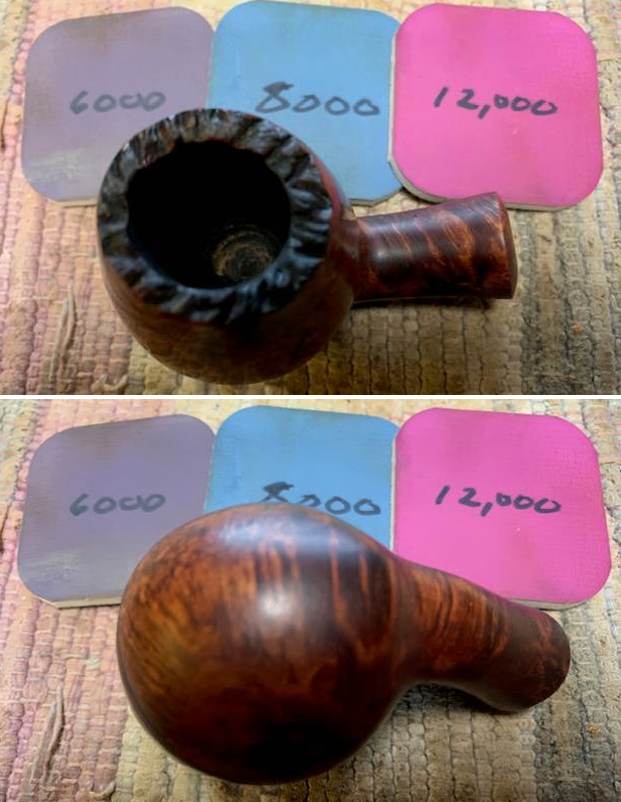
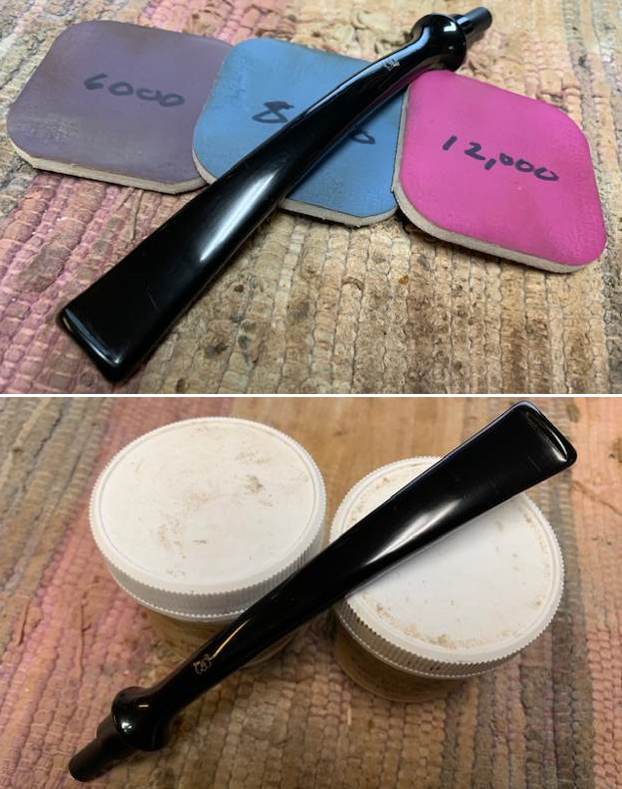
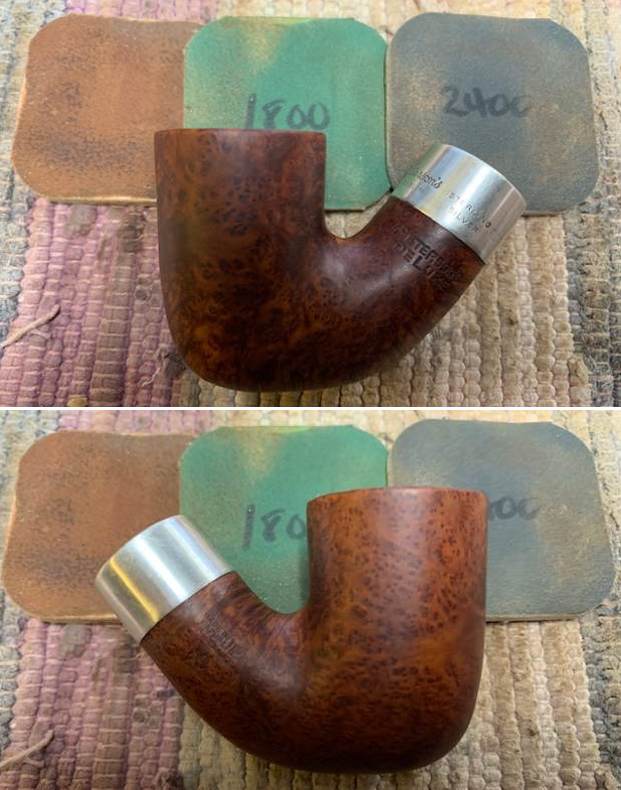
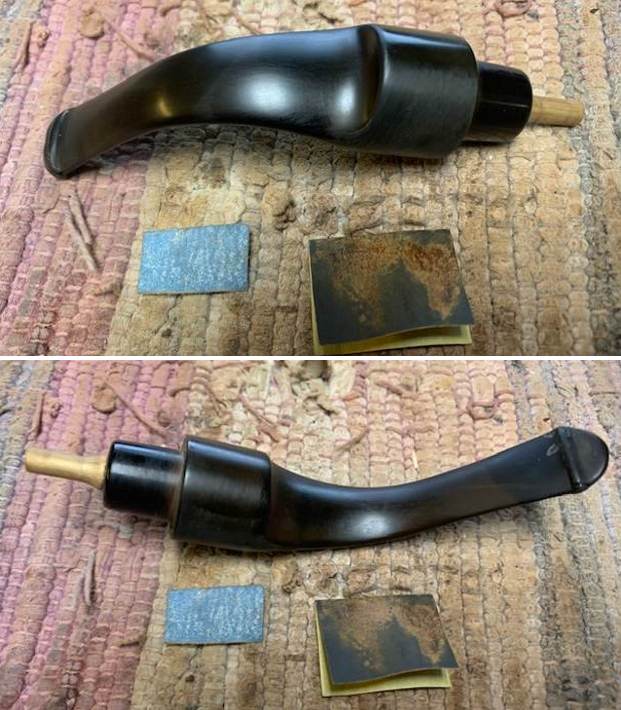
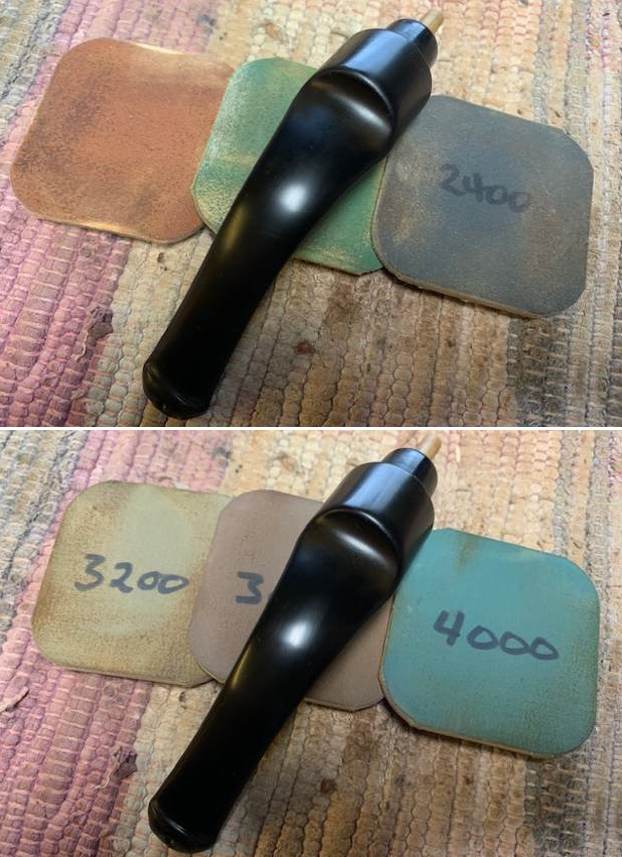
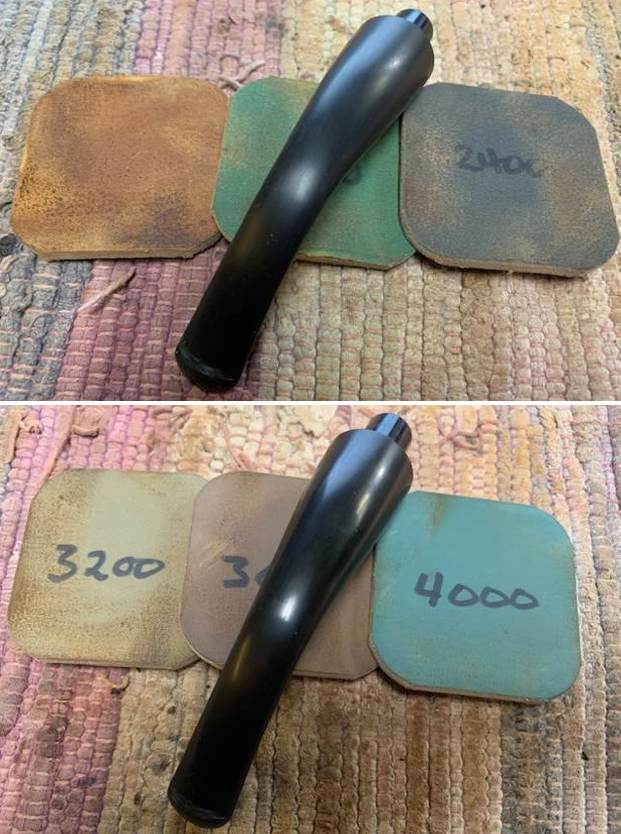
 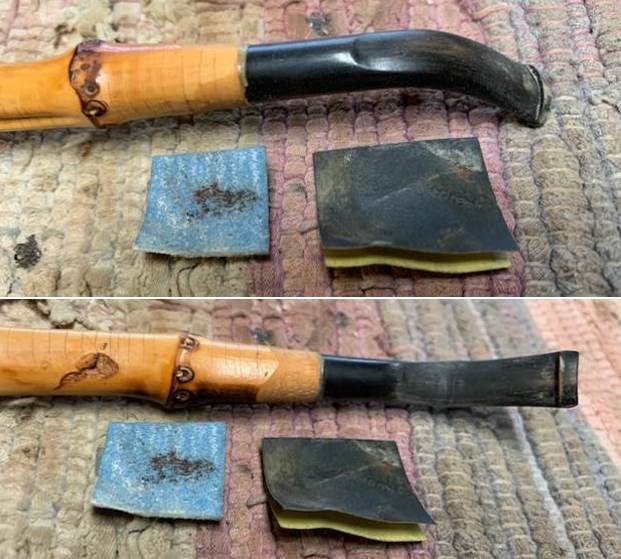 I was able to polish horn stem and the shaved portion of the bamboo with micromesh sanding pads – 1500-12000 grit pads. I wiped it down with a damp cloth after each sanding pad. I used Before & After Pipe Polish – both Fine and Extra Fine to further polish the stem.
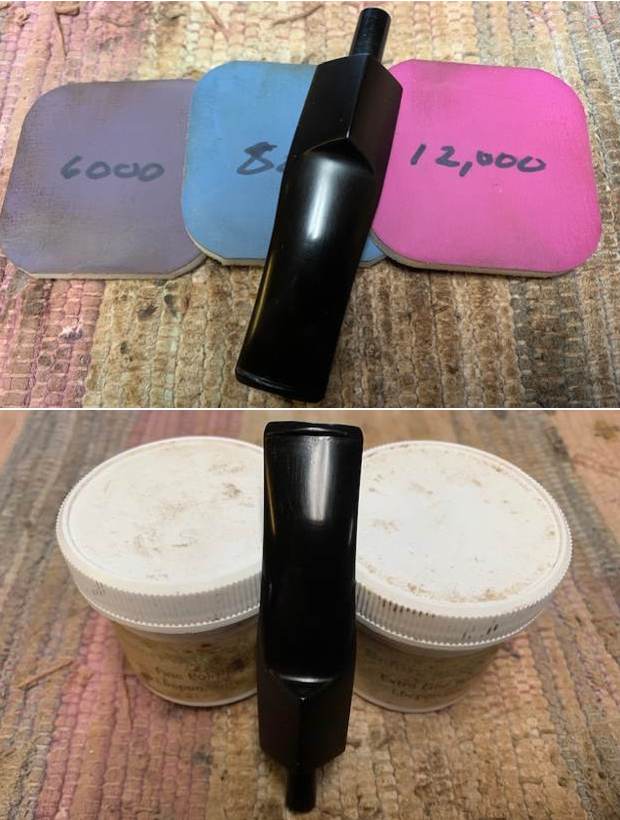
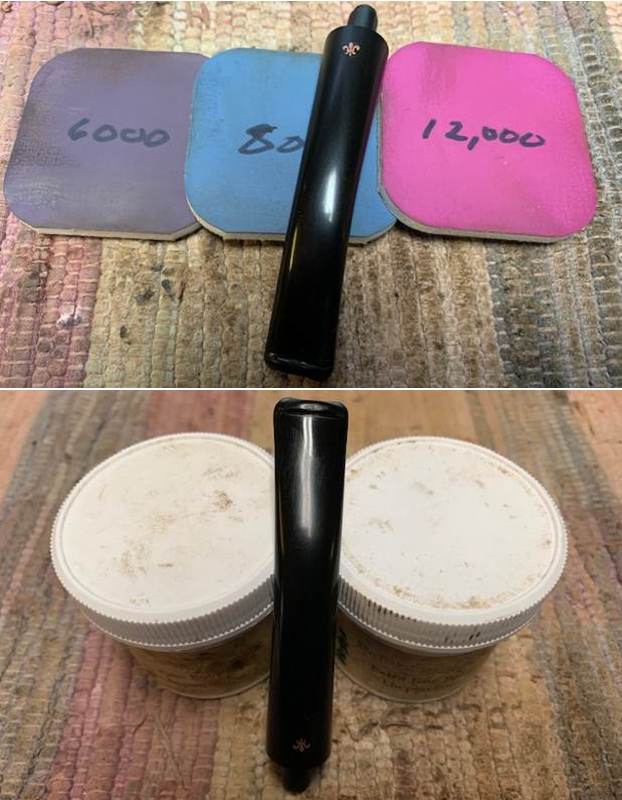
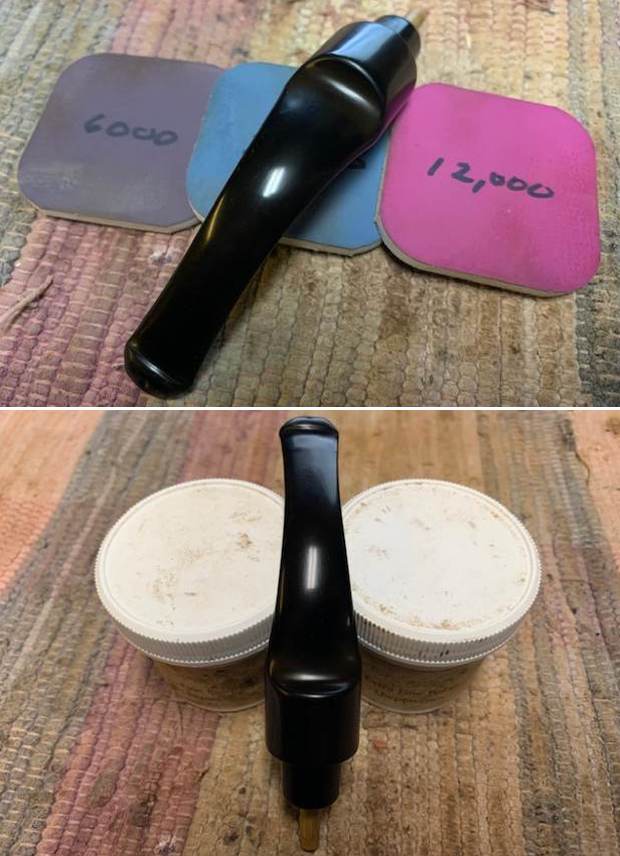
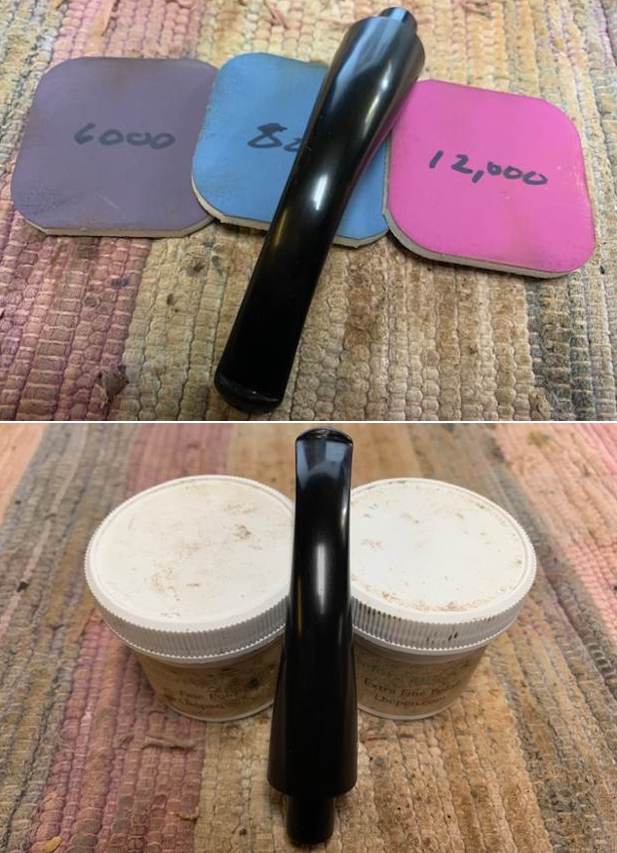
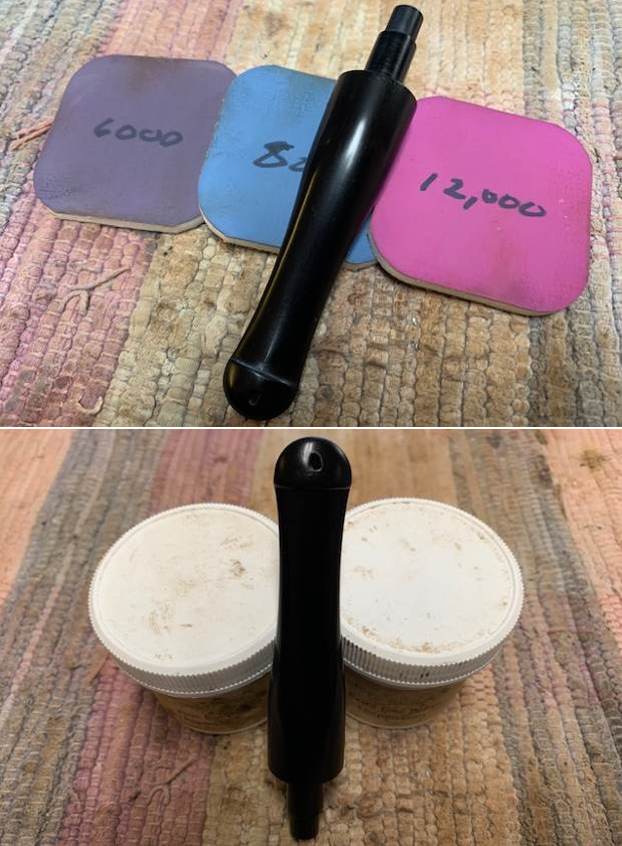
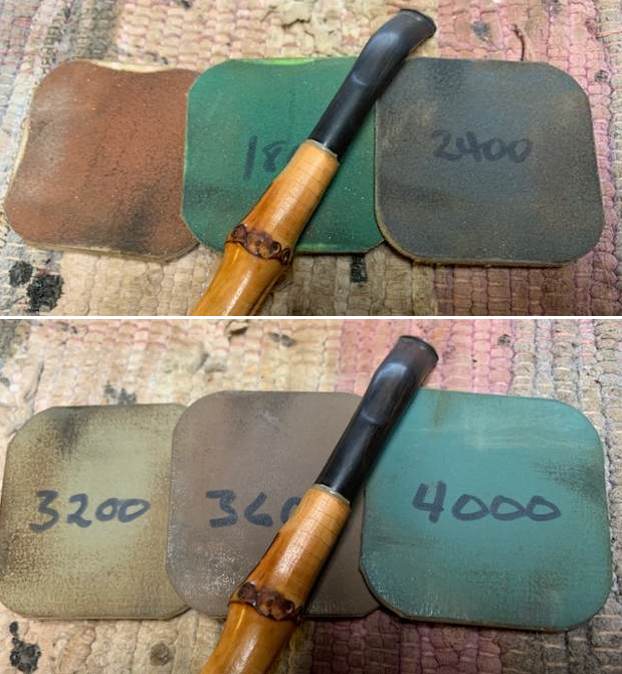
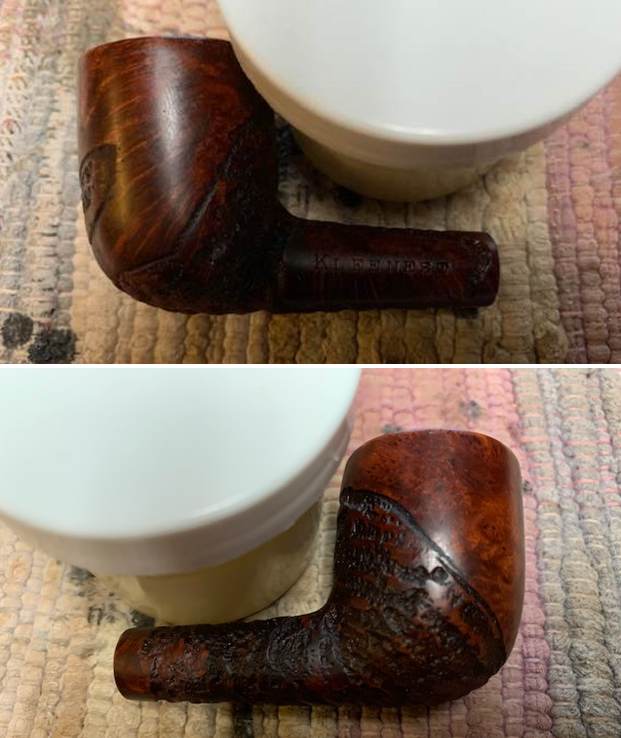
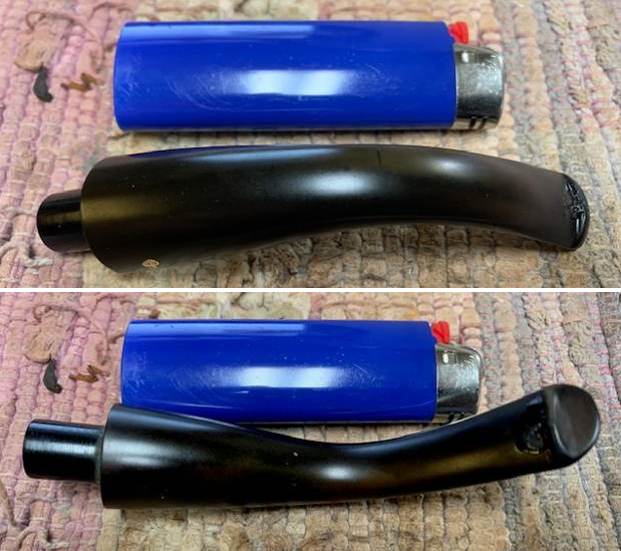
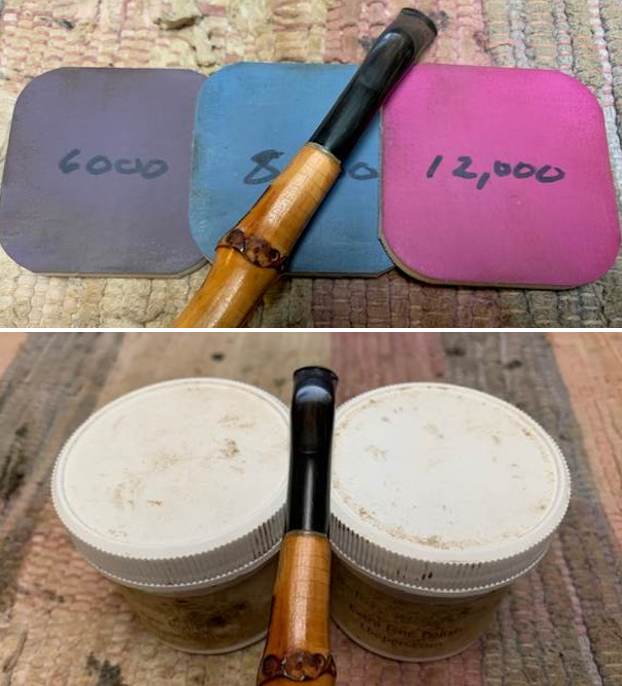 I worked some Before & After Restoration Balm into the horn stem and also the Bamboo. I worked it in with my fingertips and a shoe brush. I let it sit and absorb into the surface of both. I buffed it off with a soft cloth. The Bamboo and the stem came alive.
  I worked some Vaseline Petroleum Jelly into the cork plug that fit on the end of the shank. It enables a snug fit of the shank in the clay bowl. The Vaseline softens the cork and gives it more flexibility and give.
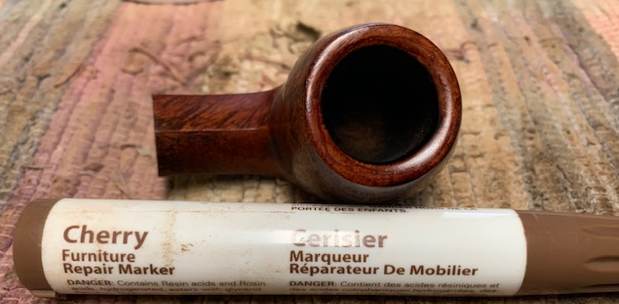
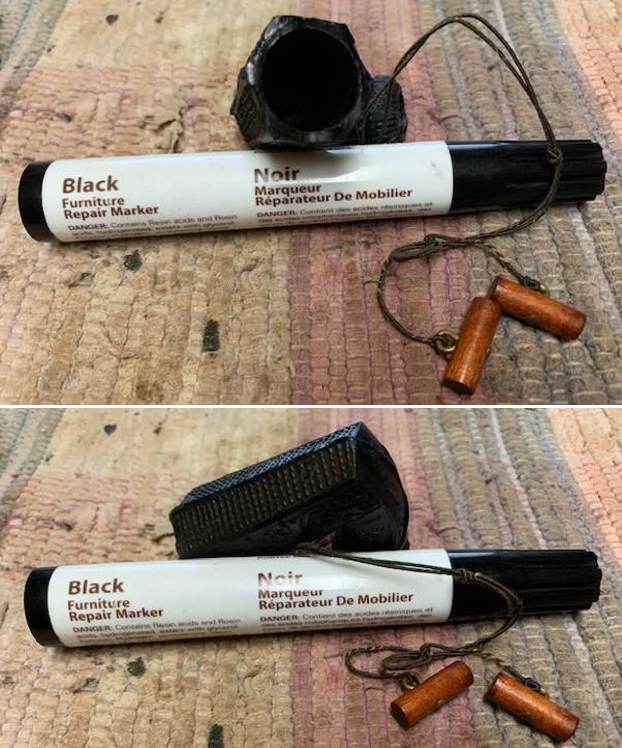
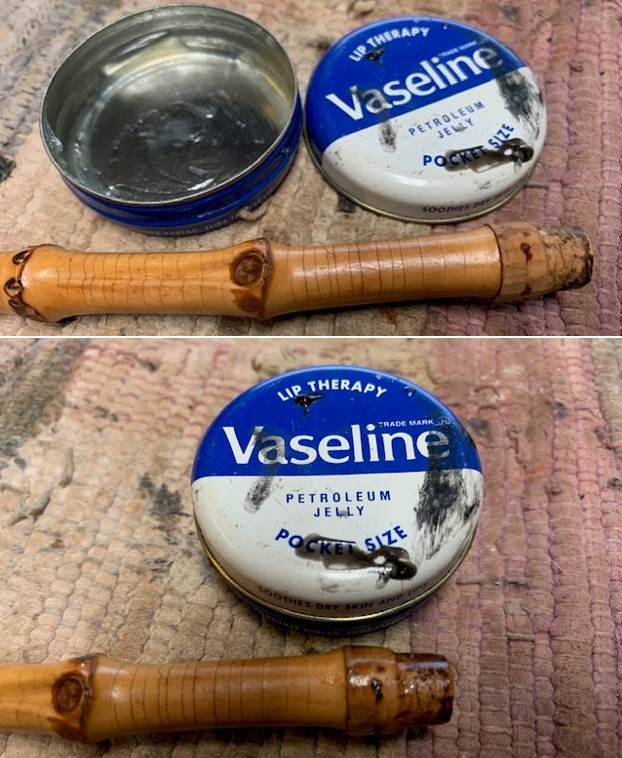 I laid the Bamboo shank and stem aside to let the Vaseline absorb into the cork.While it was sitting I turned m attention back to the bowl. I touched up the white spots on black bowl and shank with a black stain pen to blend it into the rest of the clay bowl. It looked much better.
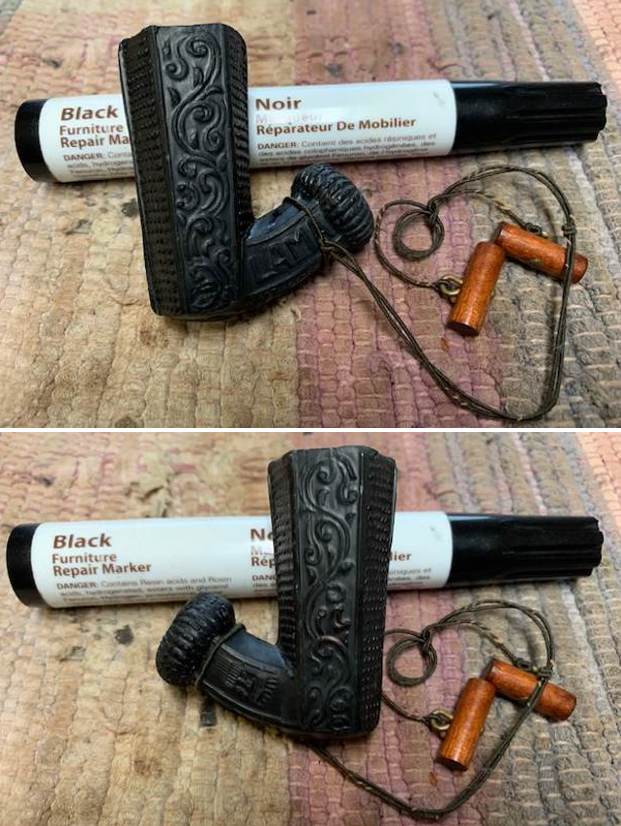
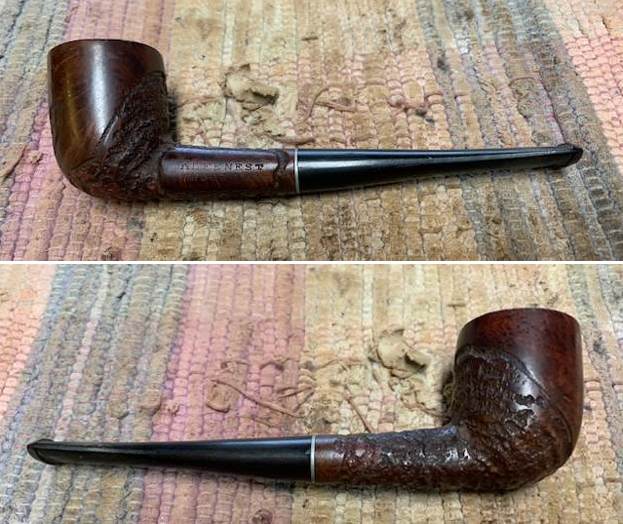
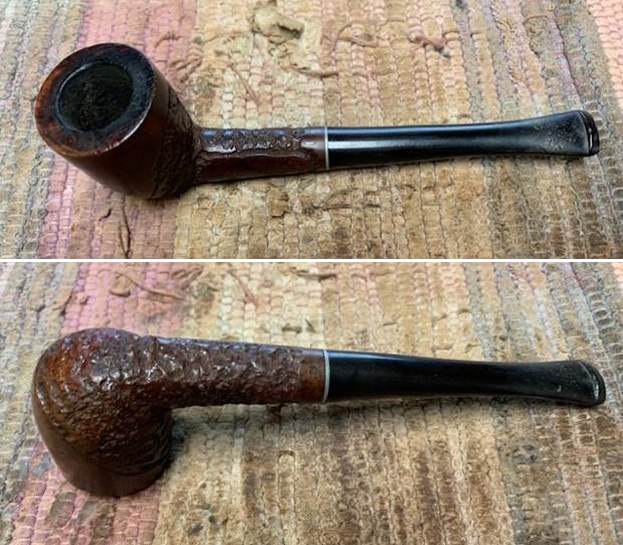
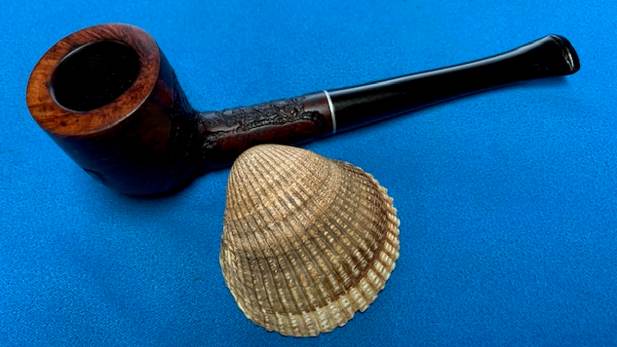
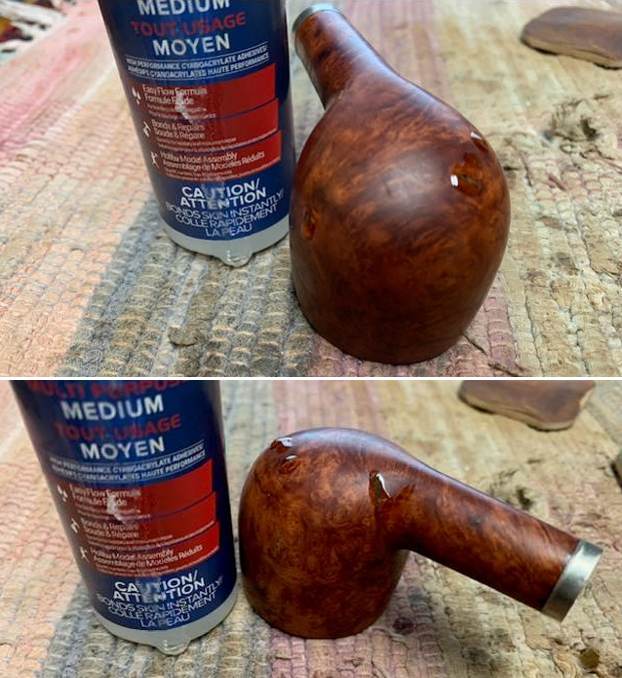
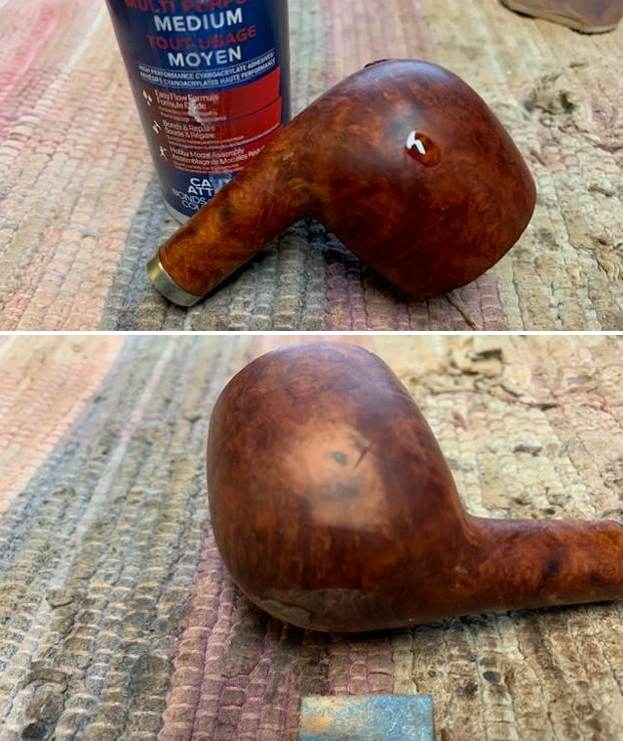
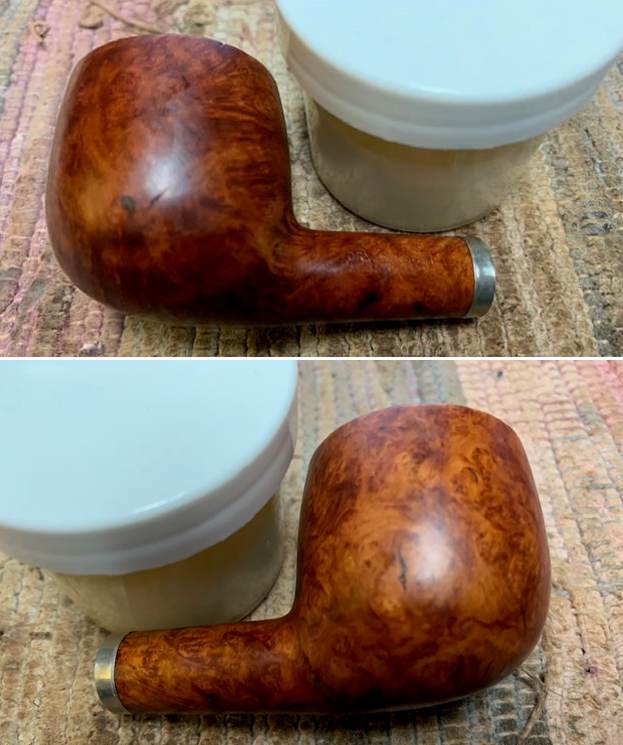
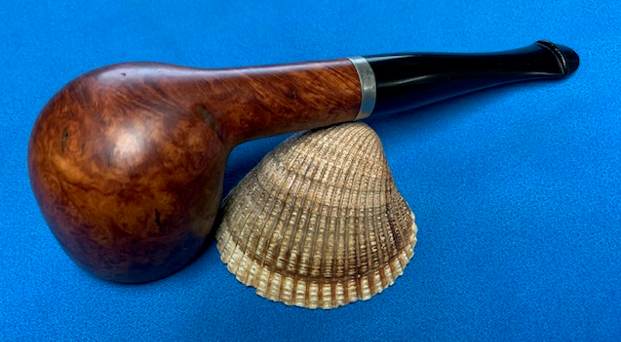
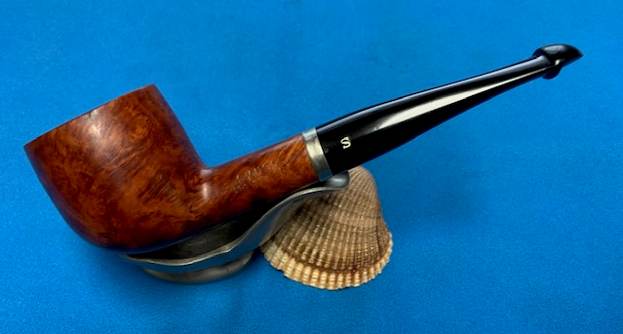
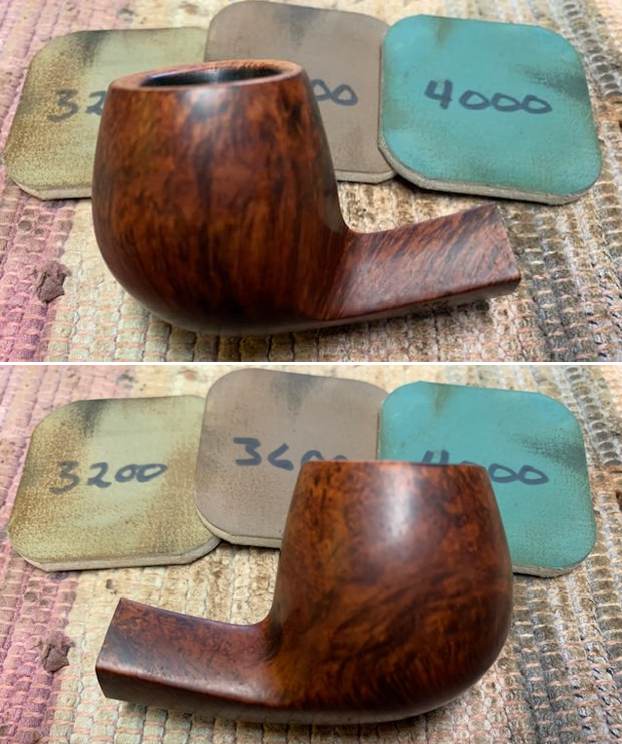
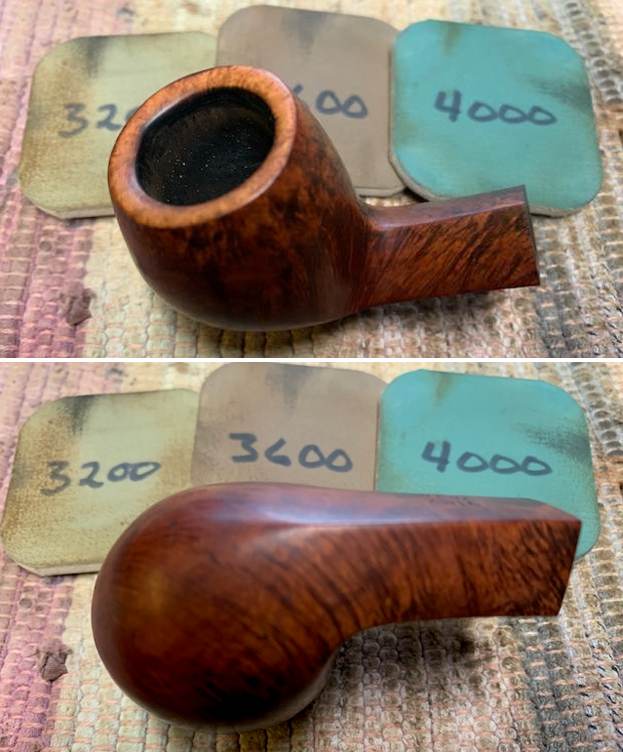
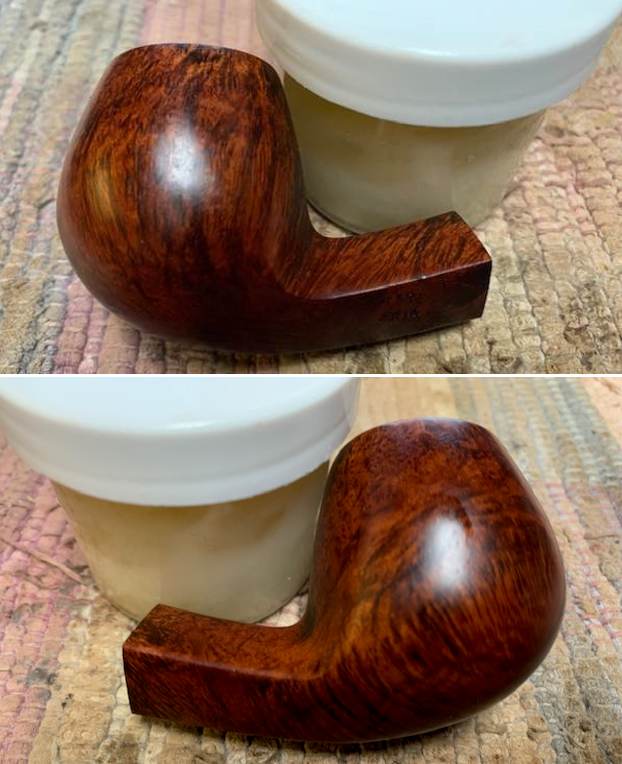
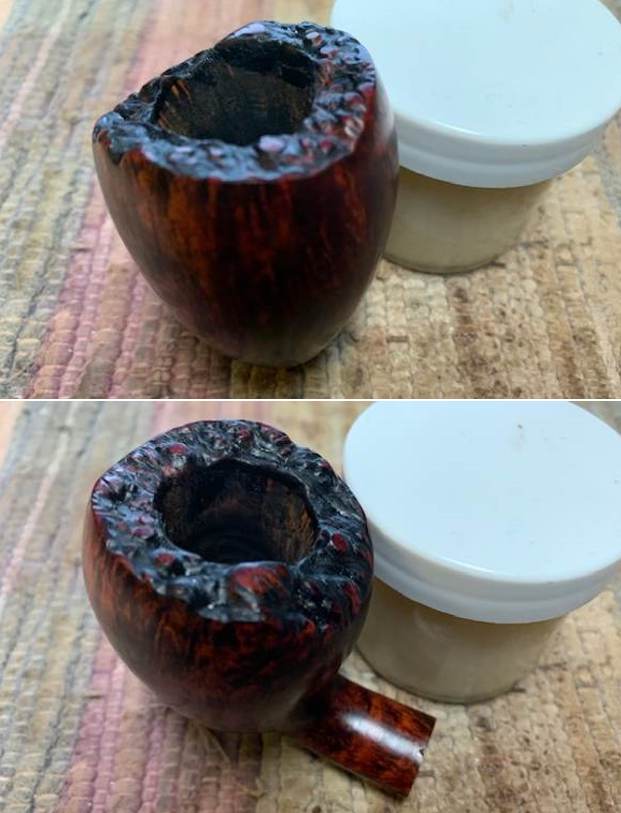
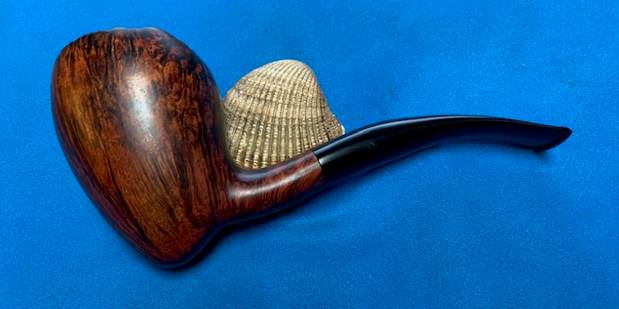
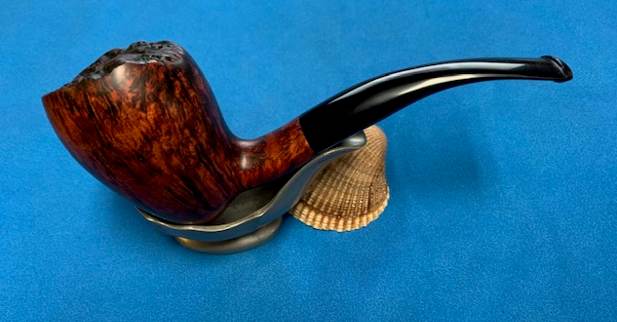
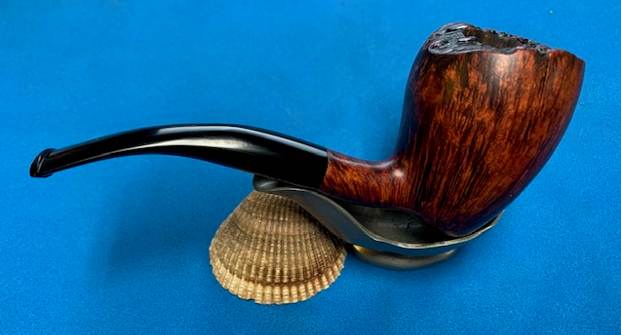
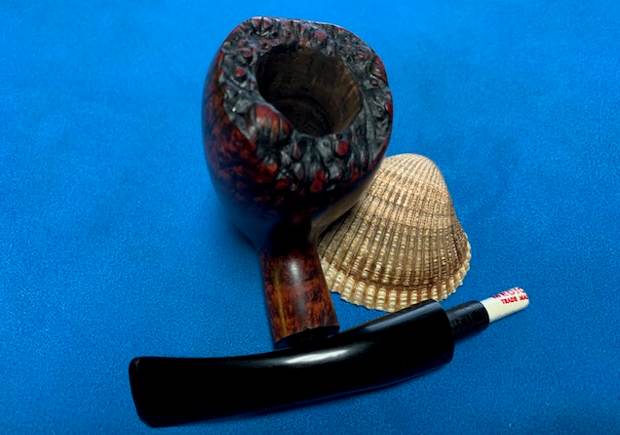
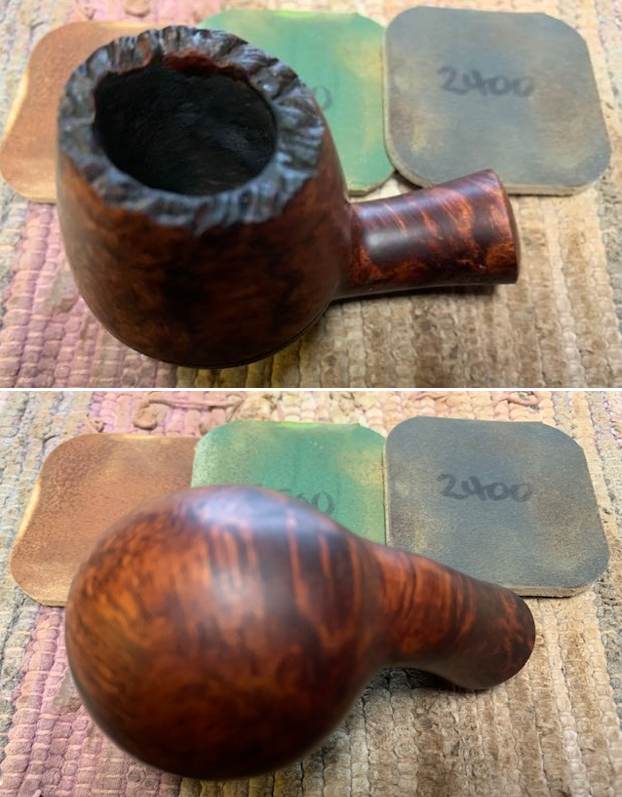
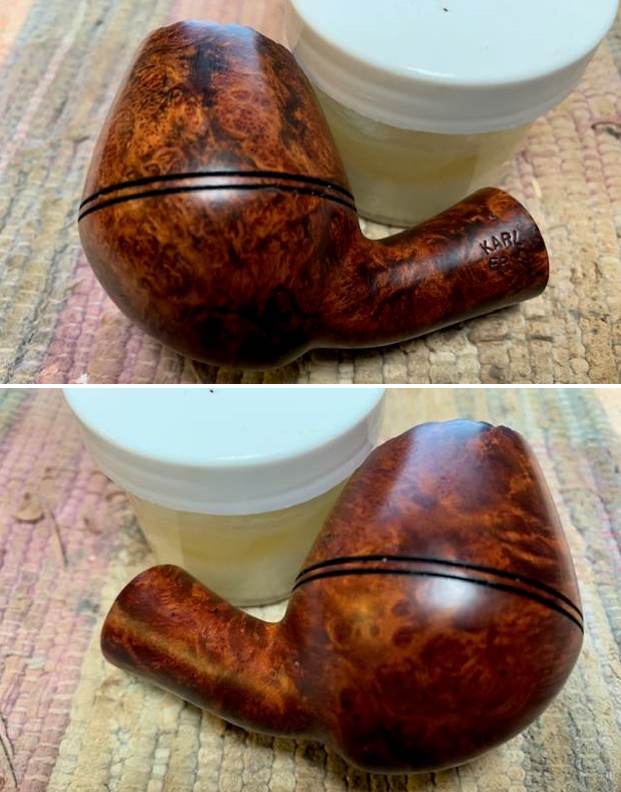
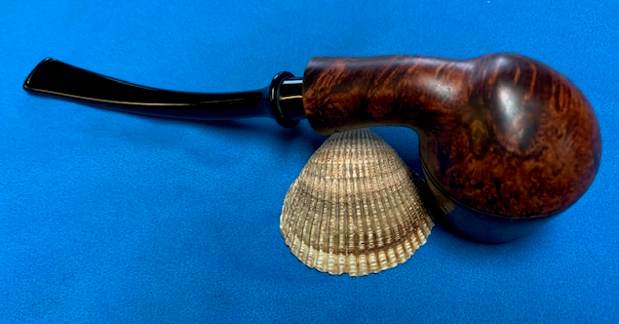
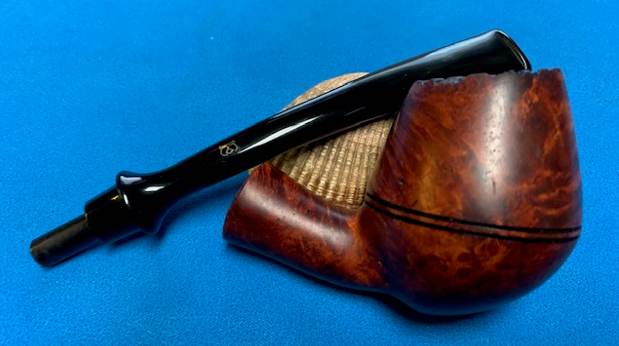
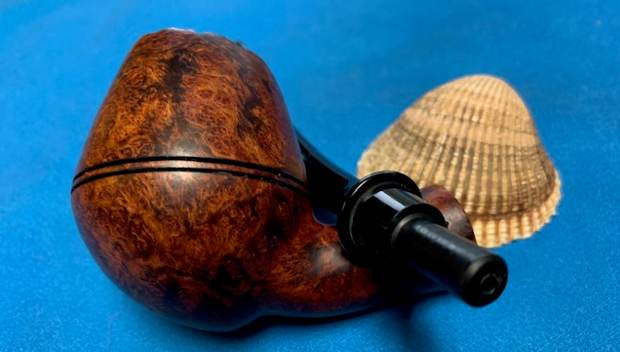
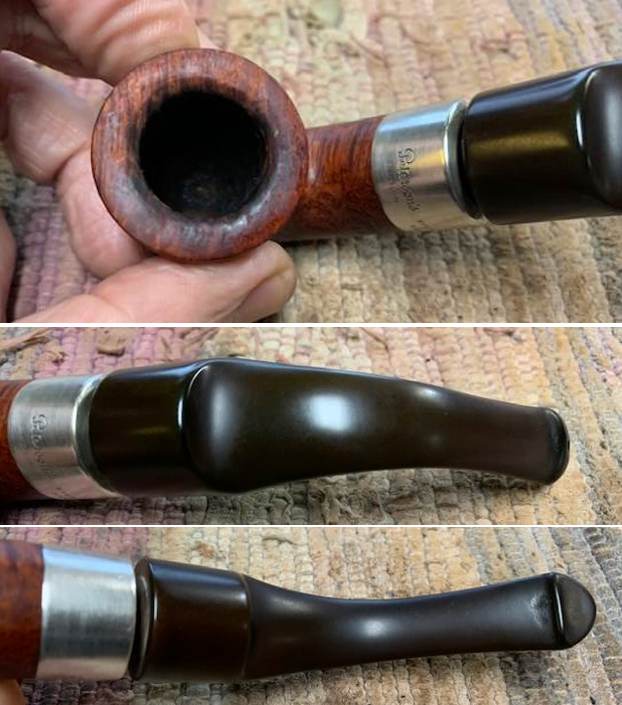
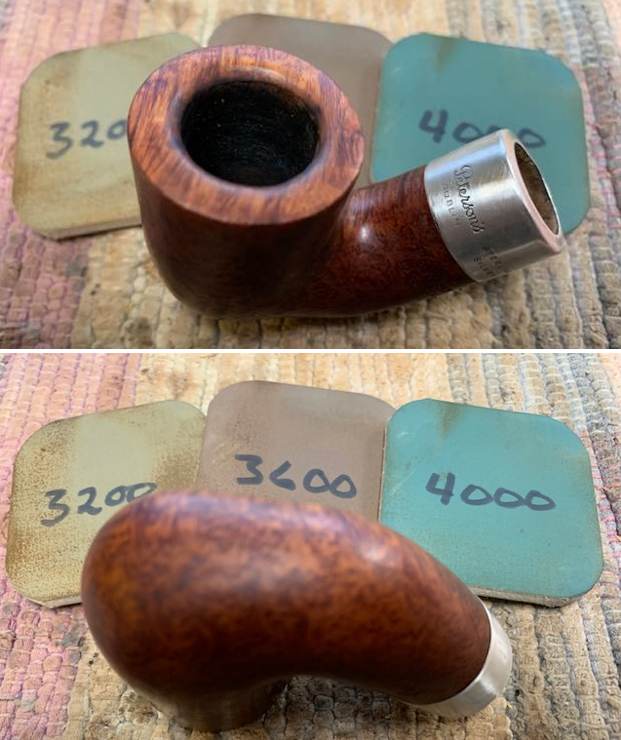
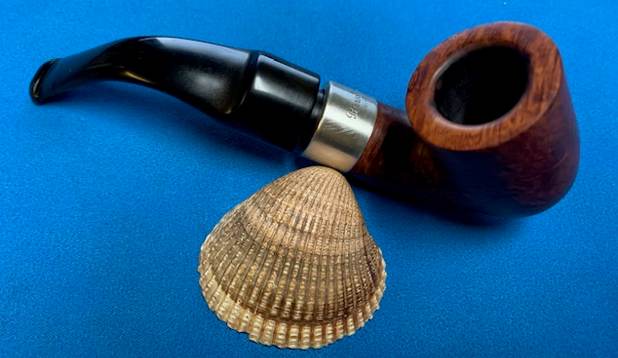
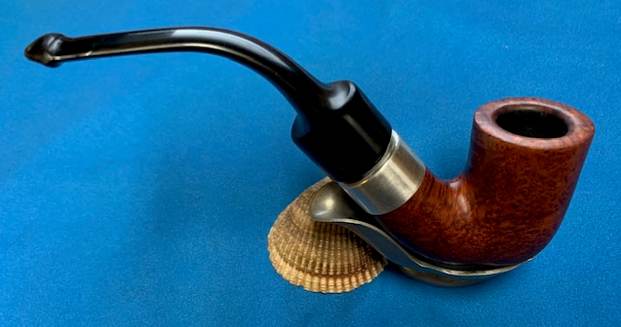
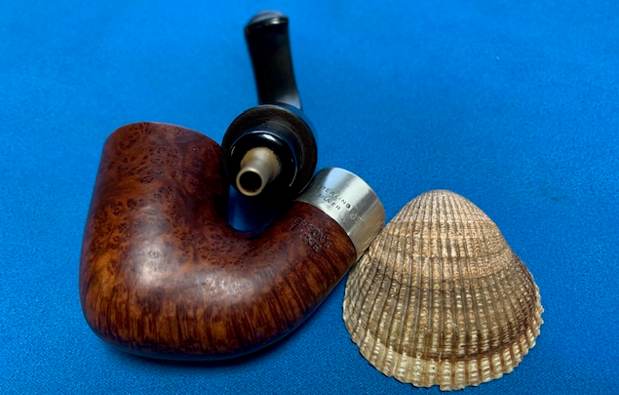
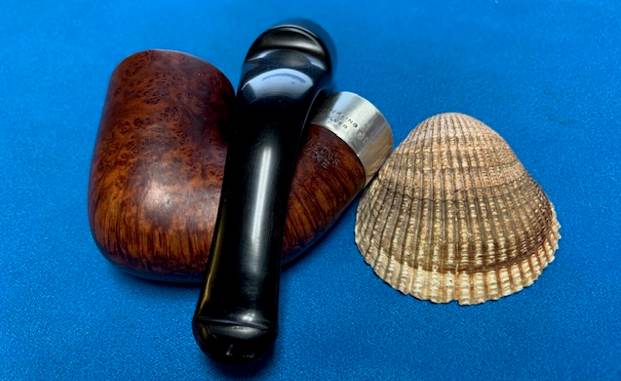
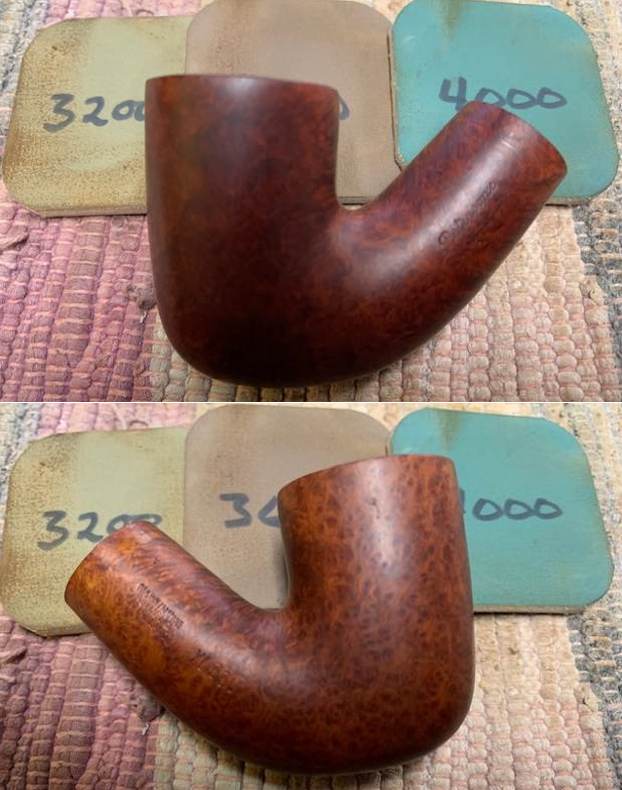
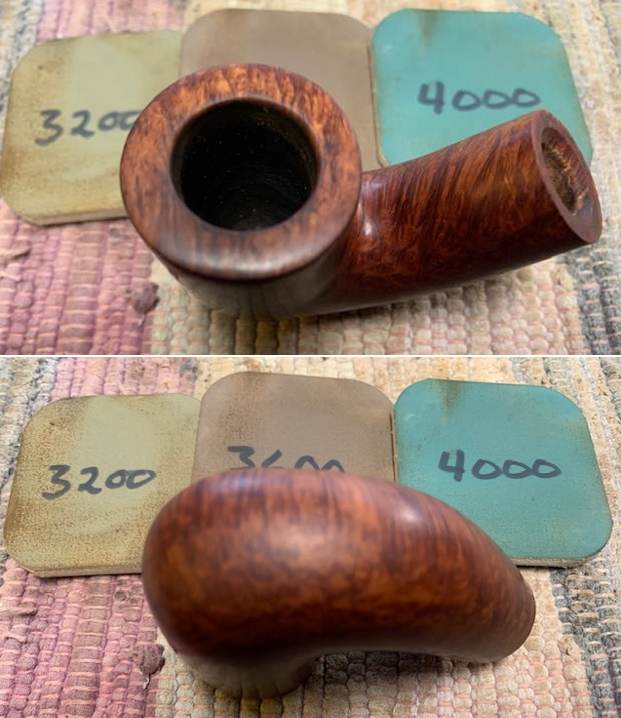
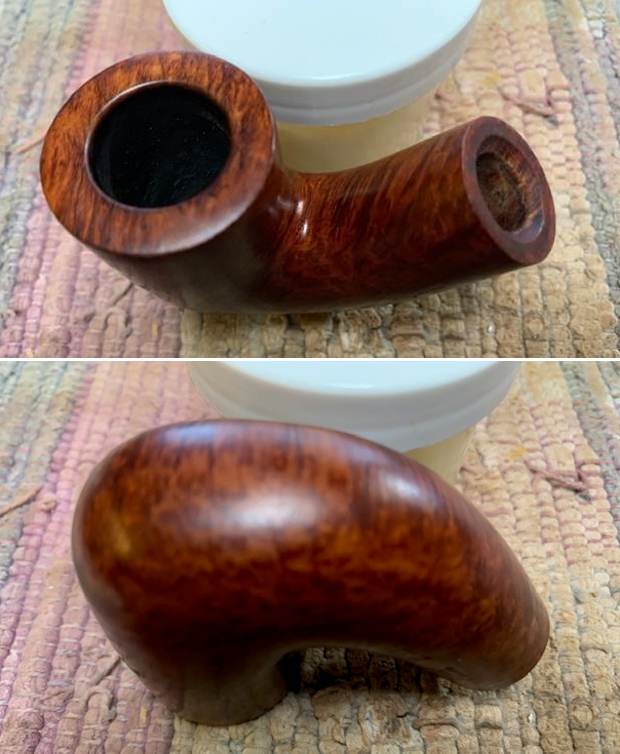
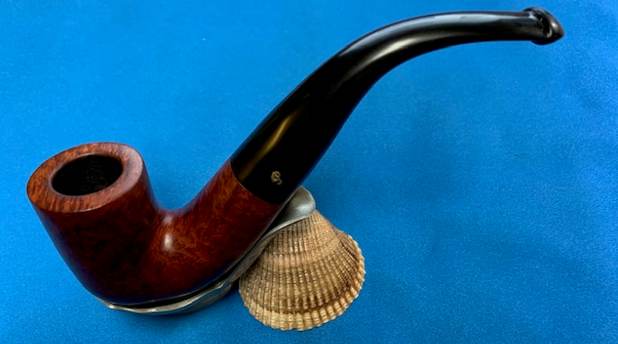
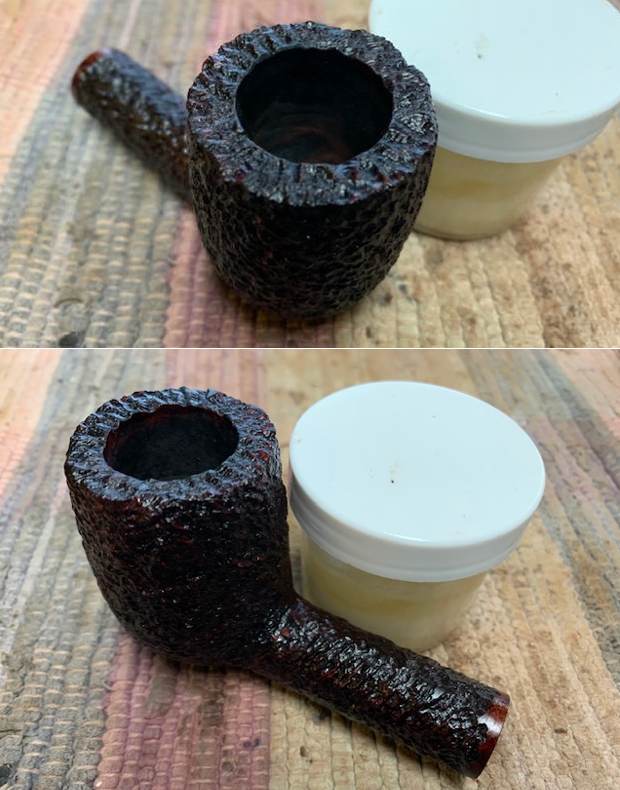
 I rubbed the clay bowl down with Before & After Restoration Balm. I worked it into the surface of the clay with my finger tips. I worked it into the stampings on the clay bowl and shank sides with a shoe brush. I let it sit for 10 minutes and the Balm did its magic. It enlivens, cleans and preserves a pipe. It certainly brought this bowl back to life. I buffed it off with a clean cloth and took the following photos.
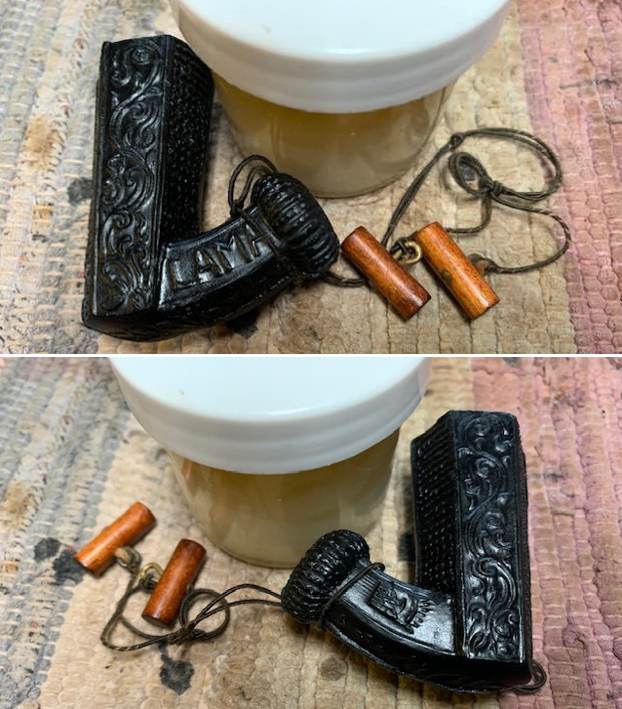
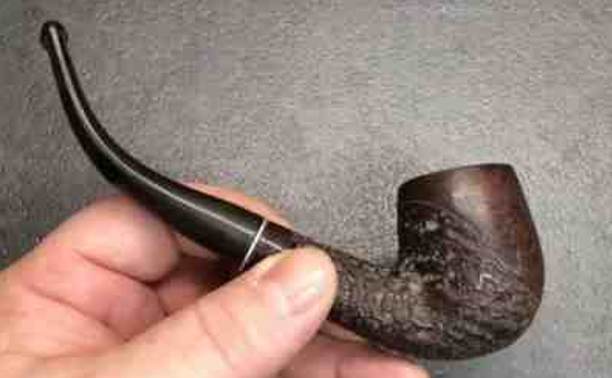
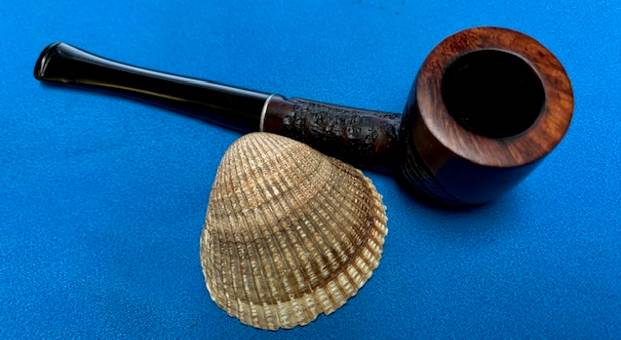
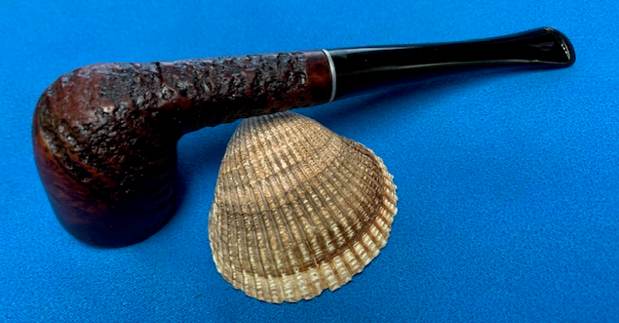
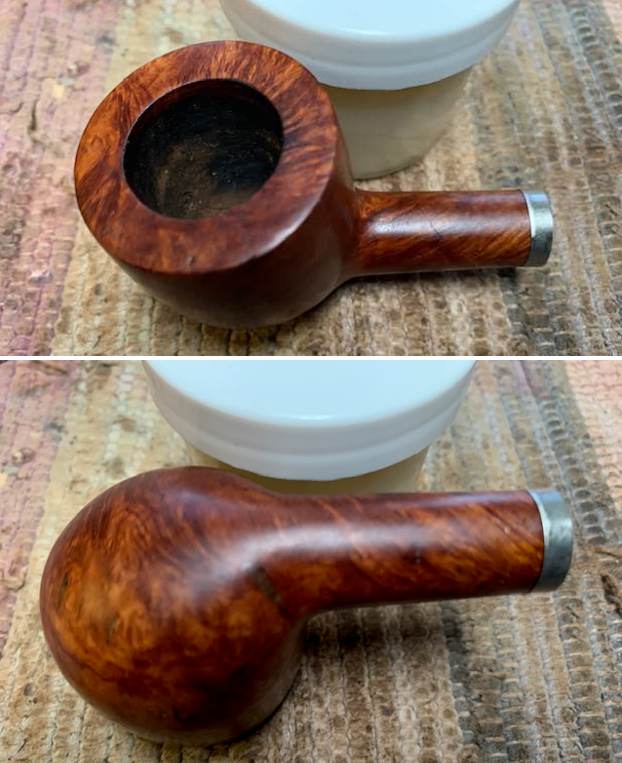
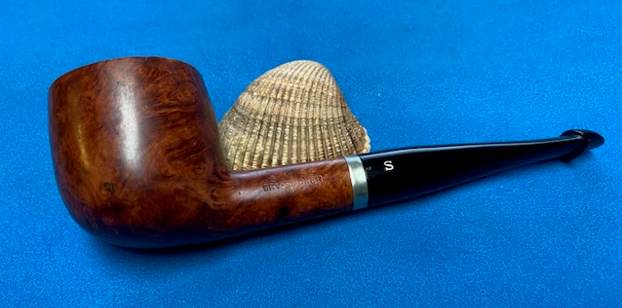
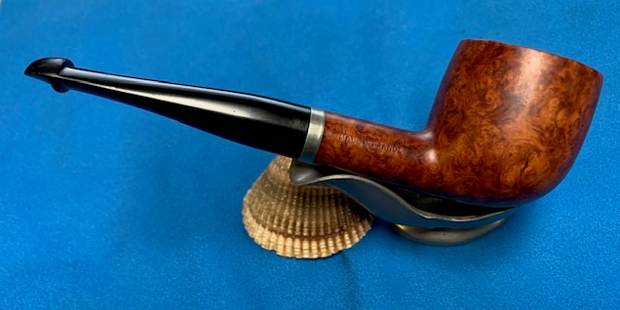
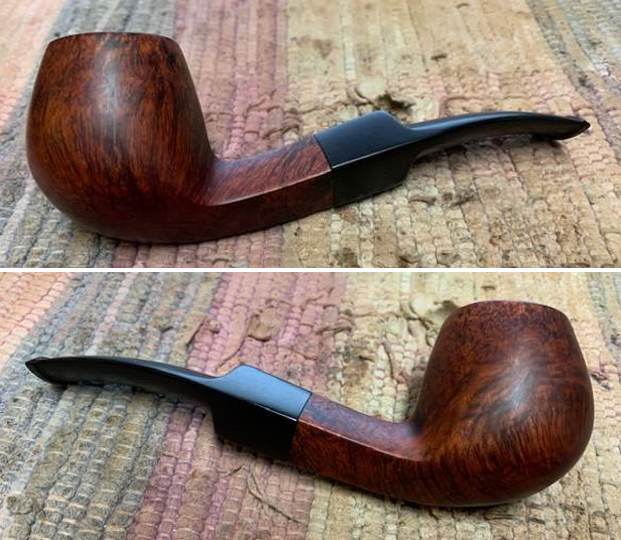
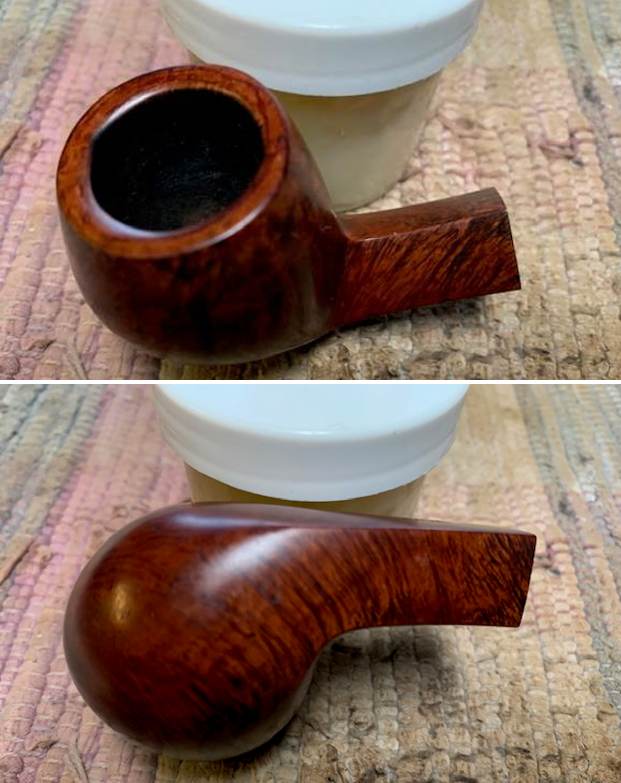
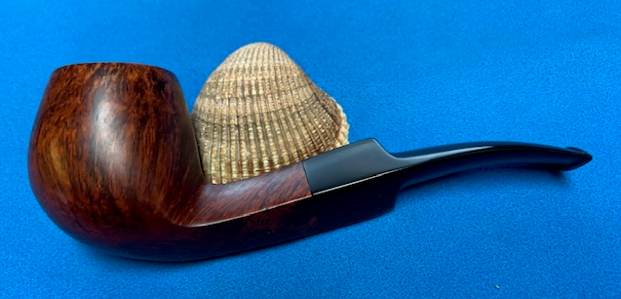
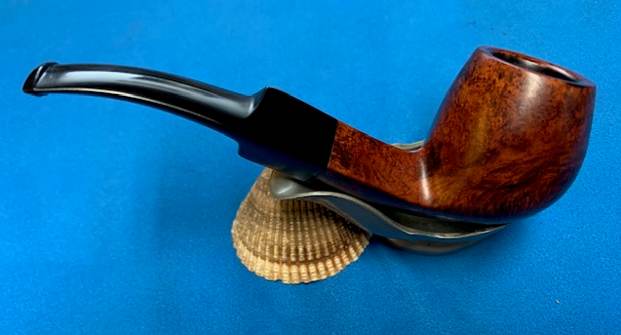
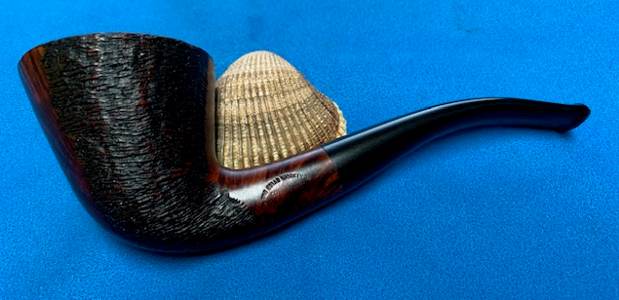
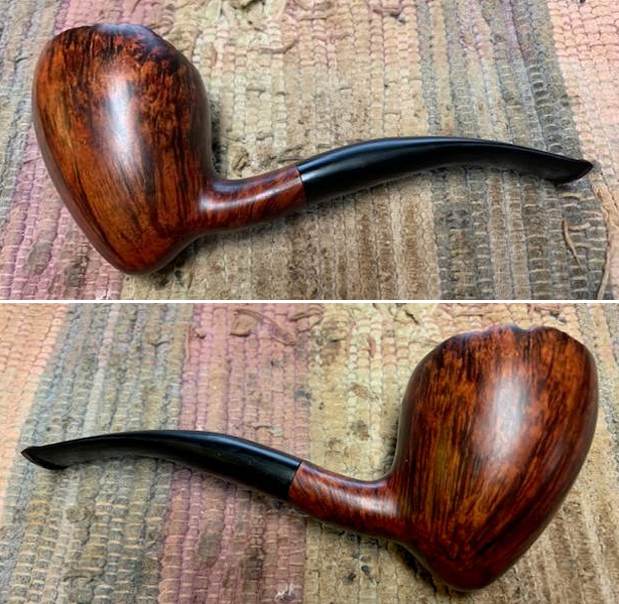
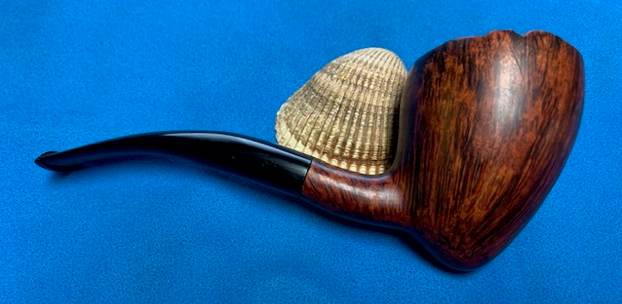
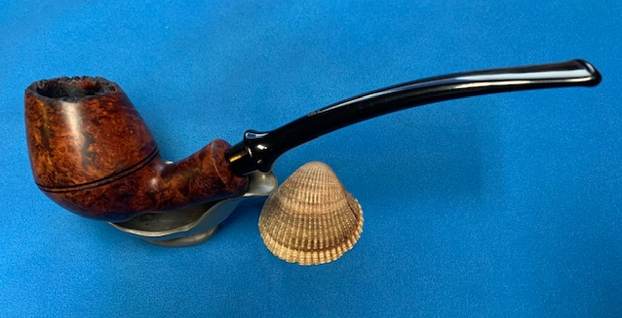
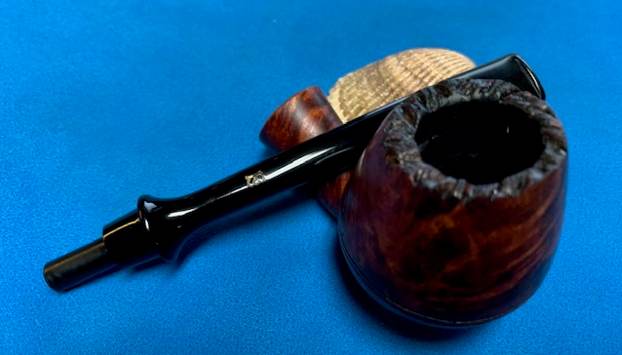
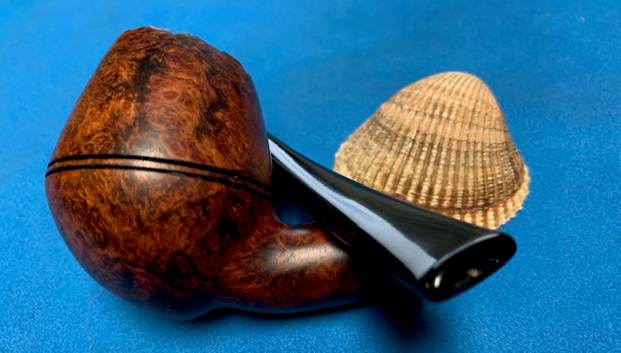
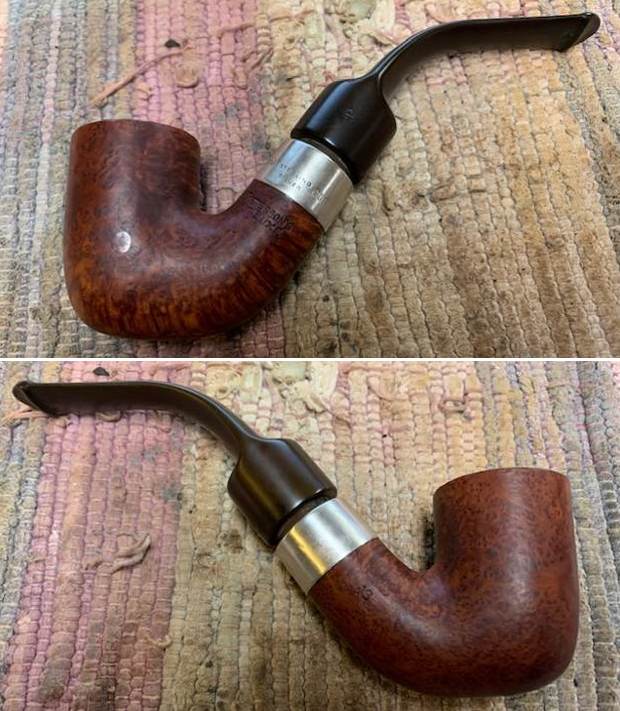
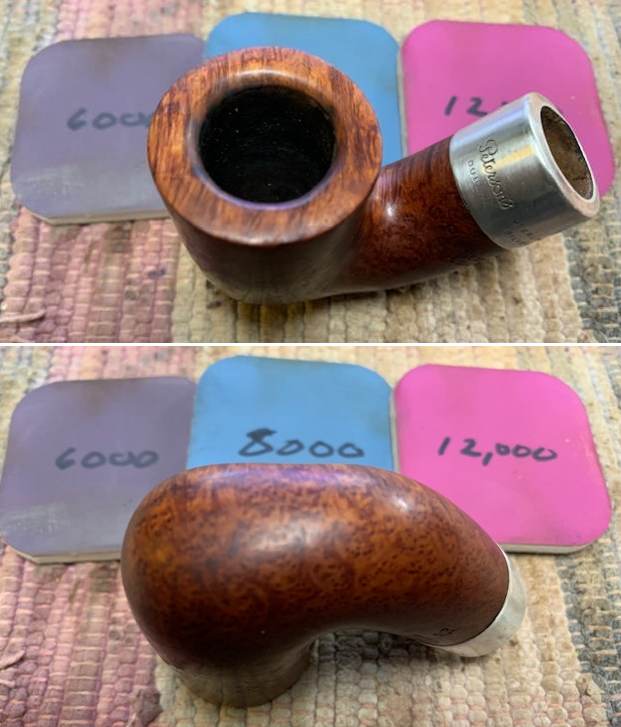
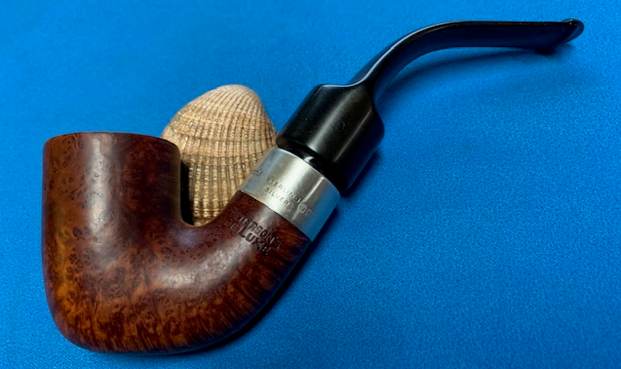
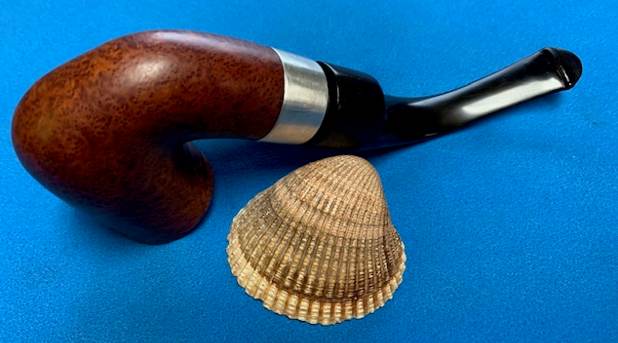
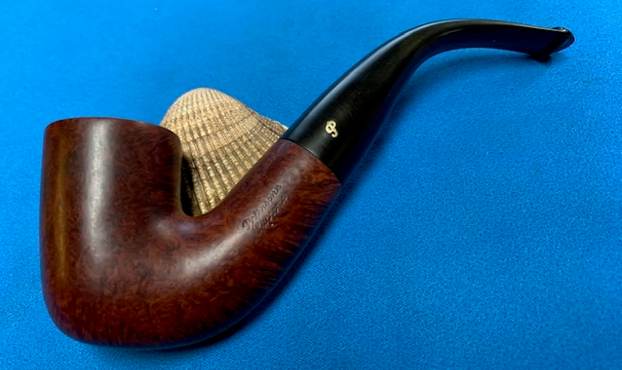
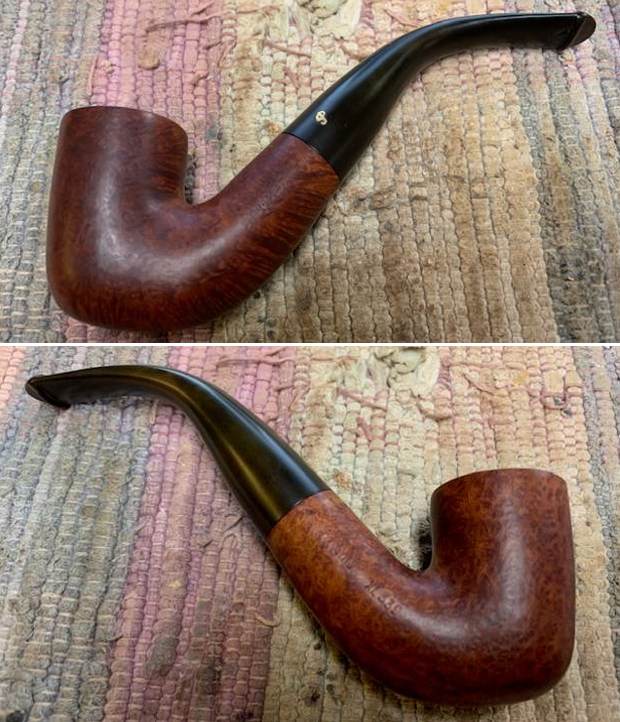
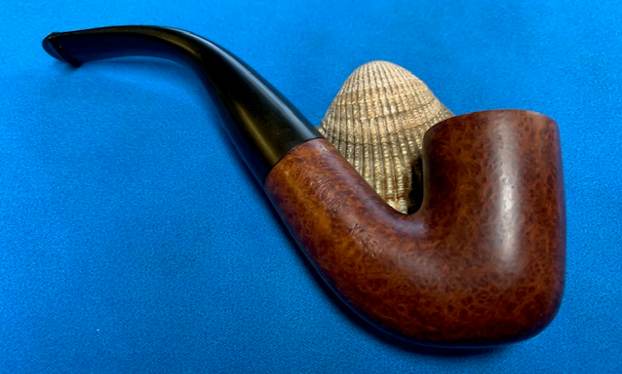
 This Lama Viennese Coffeehouse Pipe with a Bamboo Shank and horn stem is a great looking pipe now that it has been restored. The beautiful finish really highlights the grain and the polished finish is stunning. I put the stem back on the bowl and carefully buffed the pipe with Blue Diamond on the buffing wheel. I gave the bowl and the stem multiple coats of carnauba wax on the buffing wheel and followed that by buffing the entire pipe with a clean buffing pad. I hand buffed the pipe with a microfiber cloth to deepen the shine. The finished Lama Viennese Coffeehouse Pipe fits nicely in the hand and feels great. Give the finished pipe a look in the photos below. Once again the dimensions are as follows – Length: 7 ½ inches, Height: 2 inches, Outside diameter of the bowl: 7/8 inches, Chamber diameter: ¾ of an inch. The weight of the pipe is 40 grams / 1.41 ounces. I plan on holding on to this unique piece of history so that I can enjoy a transport back in time to Vienna. I will enjoy a bowl of tobacco while time traveling. Thanks for reading this blog and my reflections on the pipe while I worked on it.