Blog by Steve Laug
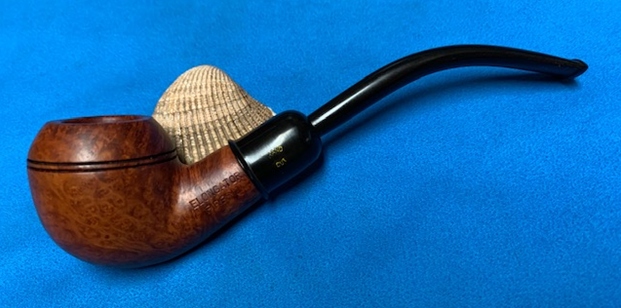
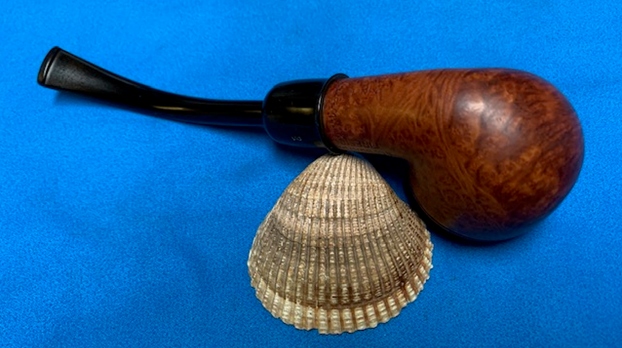
The next pipe on the table came to us in a group of pipes that we picked up from an Antique Mall on the Oregon Coast, USA. Even though the finish was a bit dull and lifeless it had some amazing grain showing through the grit and grime of the years. On the left side of the shank it was clearly stamped Elongator [over] Fireside. On the right side it is stamped Century Old [over] Briar Italy. On the underside of the shank it is stamped 2 in 1 which I wonder if it points to the possibility that the pipe originally came with the stem that is on it and a long Churchwarden stem. Unfortunately the long stem is missing. The pipe has the shape number stamped on the underside near the junction of the shank and vulcanite ferrule and reads 8343/1. The finish is filthy with grime and oil ground into the smooth briar of the bowl and shank sides. The bowl had a thick cake and tobacco debris mixed in with the cake. There was a light overflow of lava on the rim top and inner bevel of the rim. There was a vulcanite ferrule on the shank end that read Hand Cut. The stem was a thin military style vulcanite stem that fit snugly in the ferrule. The vulcanite stem was oxidized, calcified and had tooth marks and chatter on both sides ahead of the button. Jeff took some photos of the pipe to show its overall condition before he started his cleanup work.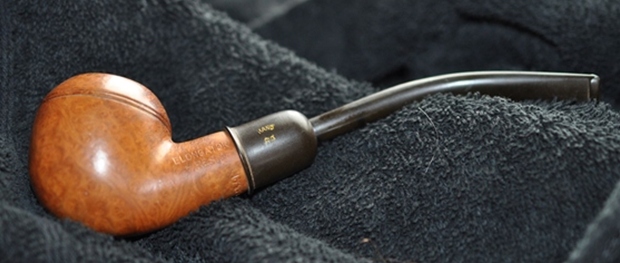
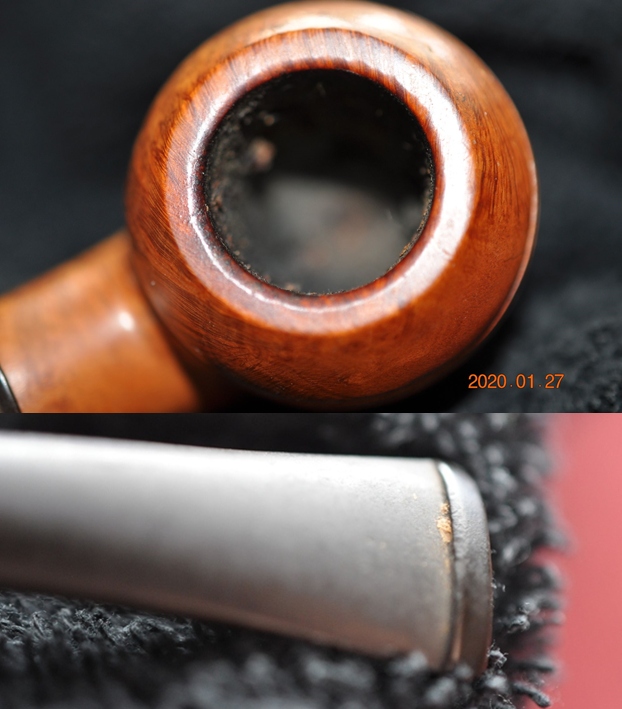
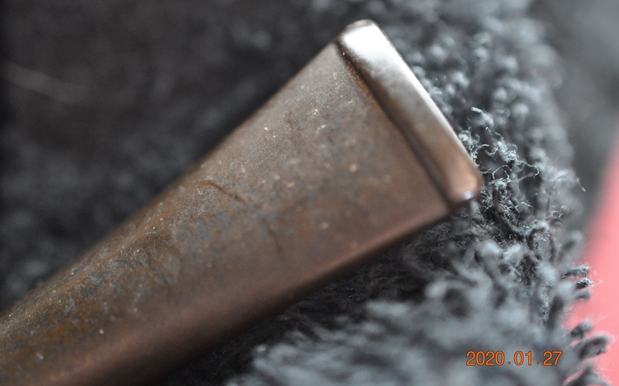
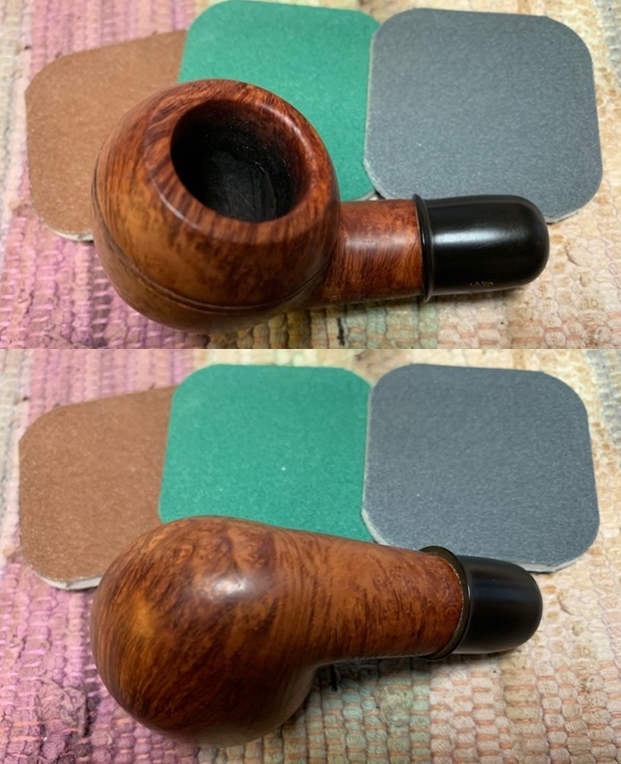
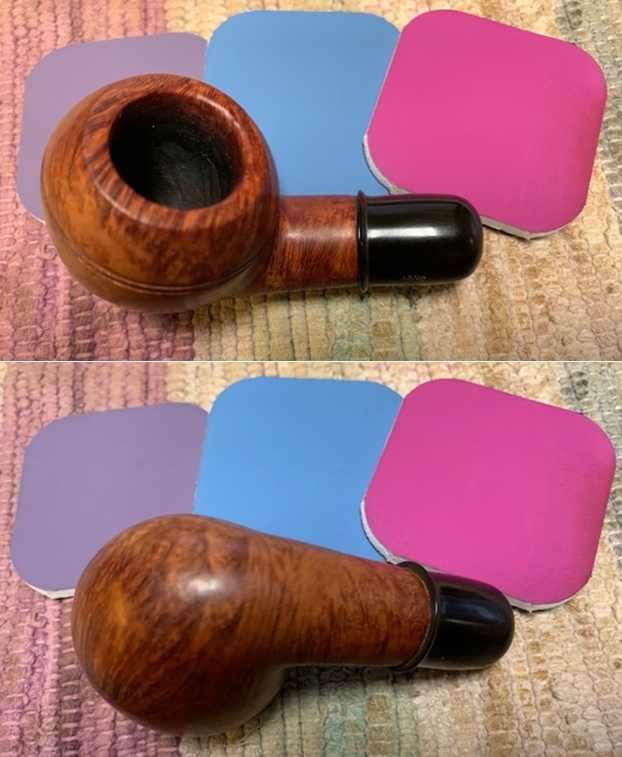
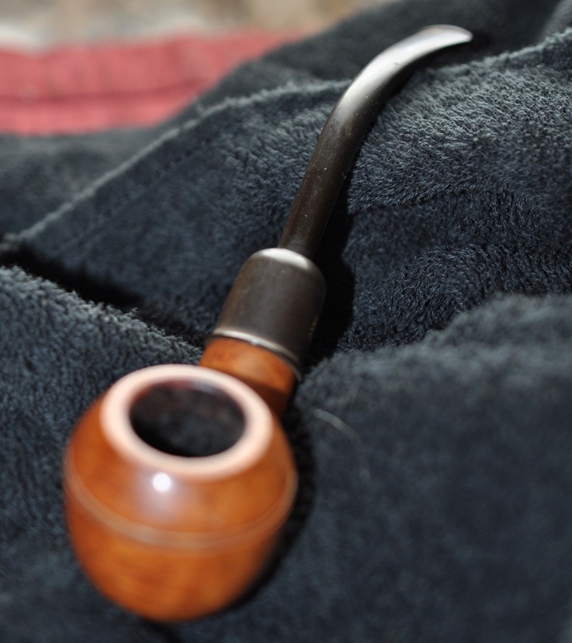 He took photos of the rim top and bowl to give a clear picture of the thickness of the cake and the lava on the rim top. There is dust and debris stuck to the walls of the bowl clearly visible in the photos. He also took photos of the top and underside of the stem to show the chatter and tooth marks. Otherwise the stem is quite clean.
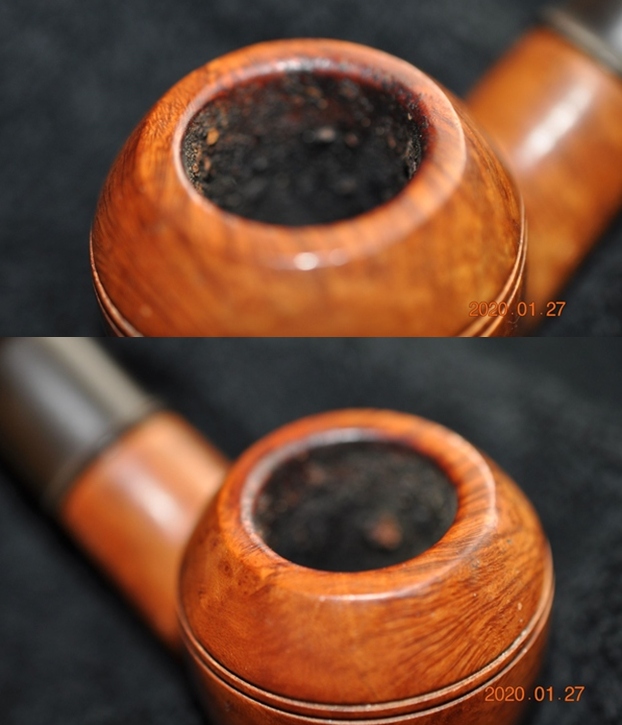
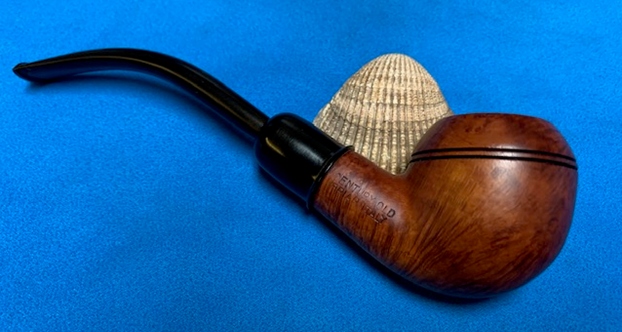
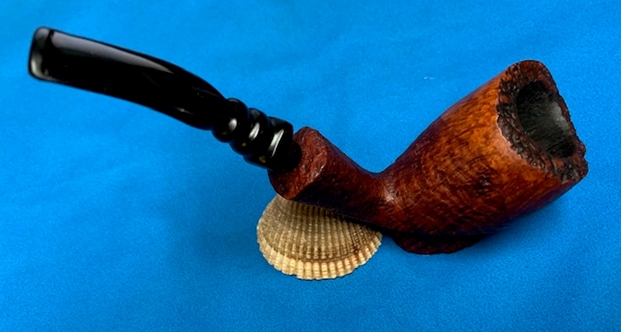
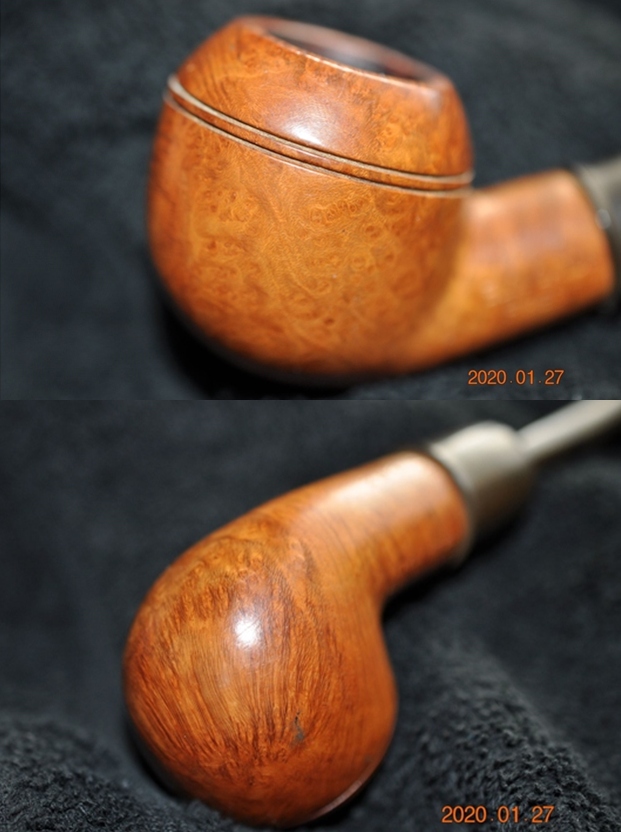
 Jeff took photos of the sides and heel of the bowl to give a picture of what the briar around the pipe looked like. There are a lot of angles on this pipe and there is some stunning grain under the grime.
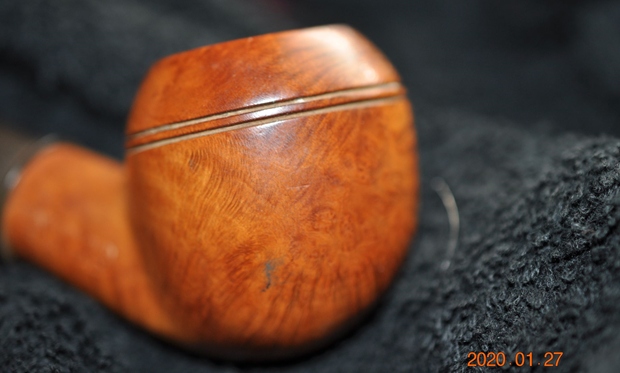
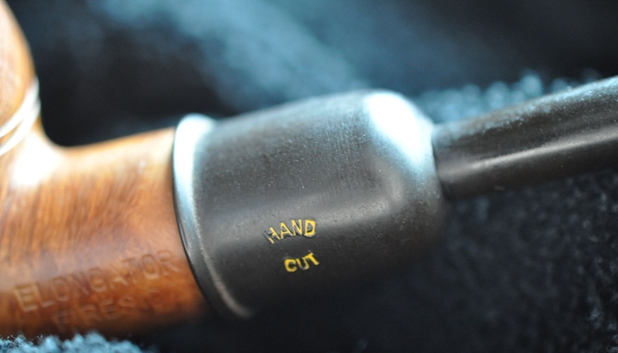
 He took photos of the stamping on the shank. It reads as noted above and is clear and readable.
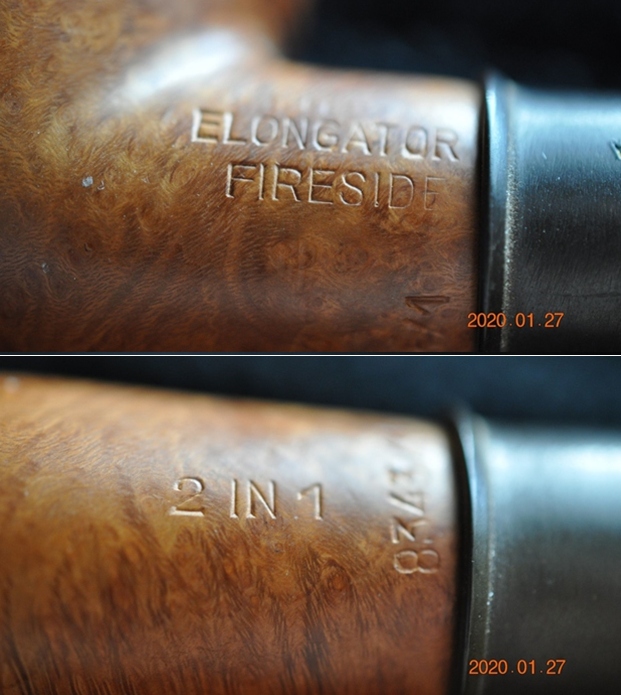

 I did a google search for the Elongator Fireside Pipes and did not find anything on either Pipedia and Pipephil. I did find a listing on Esty for a very similar pipe. Here is the link that shows the longer stem that is missing. I don’t know if the stem fits in the end of the long piece or if the entirety is a stem. It could very well be a stem that can fit in the vulcanite tube and the shank end (https://www.etsy.com/ca/listing/220451374/fireside-churchwarden-tobacco-smoking?show_sold_out_detail=1&ref=nla_listing_details). I have included the photo that I found below.
 Jeff had cleaned up the pipe with his usual penchant for thoroughness. He reamed the pipe with a PipNet Pipe Reamer and cleaned up the remnants with a Savinelli Fitsall Pipe Knife. He scrubbed the bowl with undiluted Murphy’s Oil Soap with a tooth brush. He worked over the debris on the rim top and was able to remove it. He rinsed it under running warm water to remove the soap and grime. He cleaned out the inside of the shank and the airway in the stem with alcohol, cotton swabs and pipe cleaners. He soaked the stem in Before & After Pipe Stem Deoxidizer and rinsed it off with warm water. He scrubbed the stem with Soft Scrub and cotton pads to remove remaining oxidation on the ferrule and the stem. He rinsed it with warm water and dried it off. I took photos of the pipe once I received it. It really looked good.
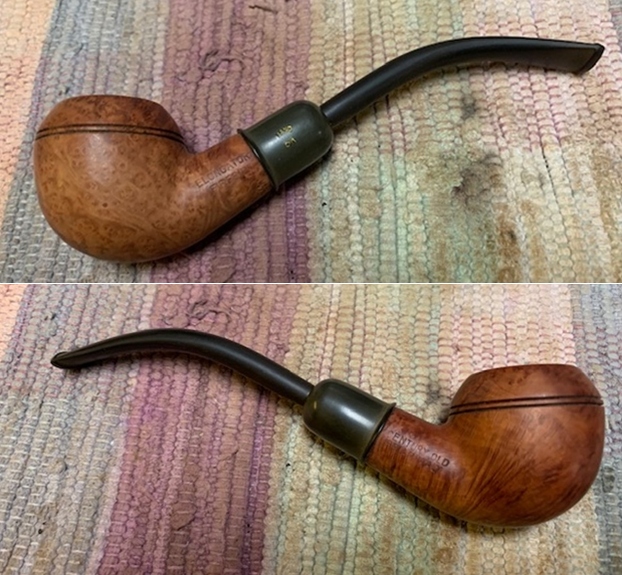
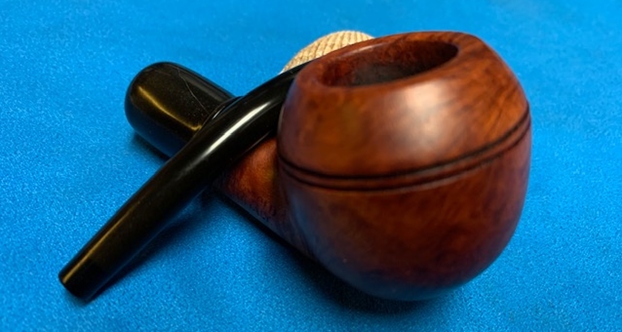
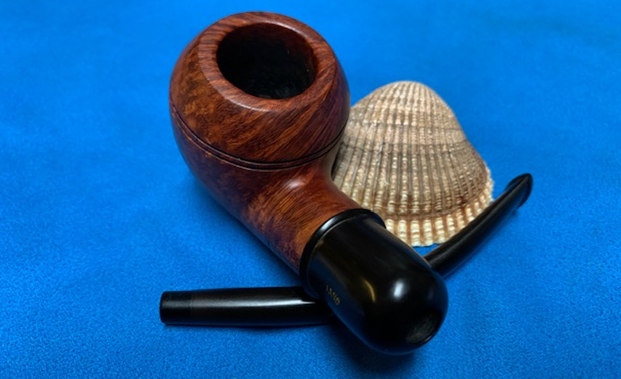
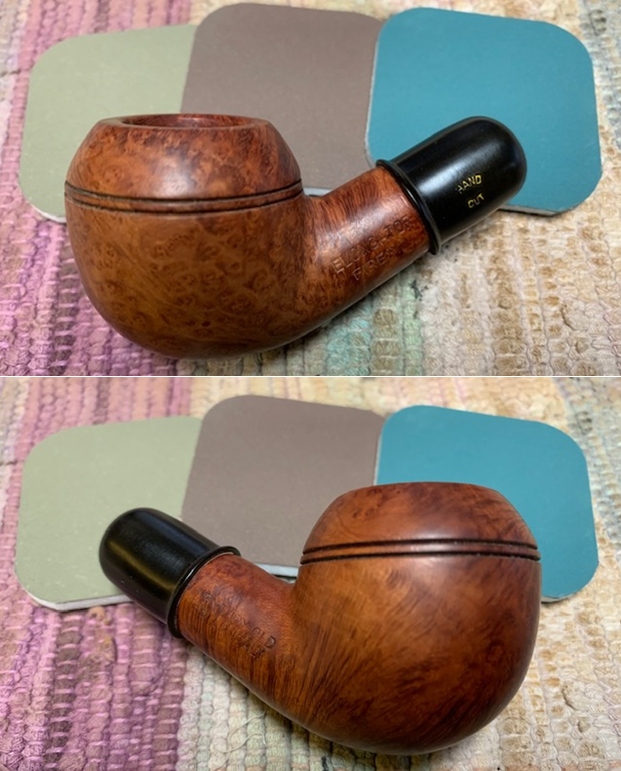
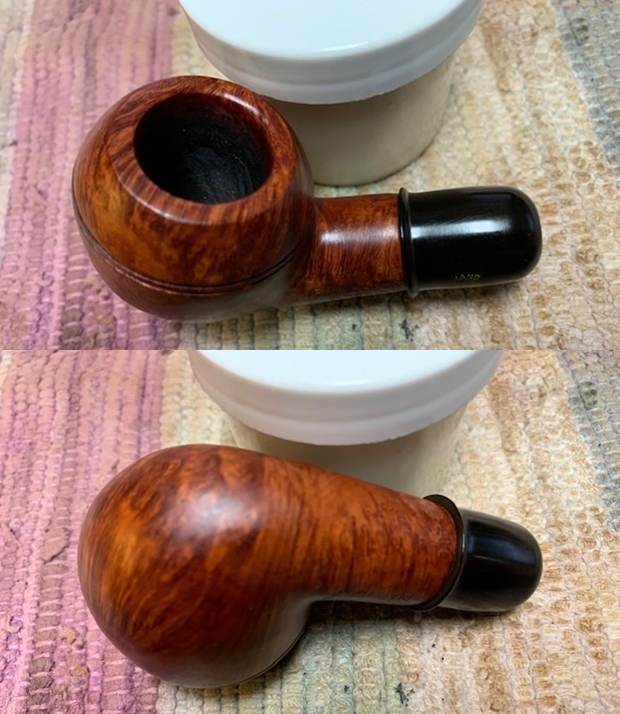
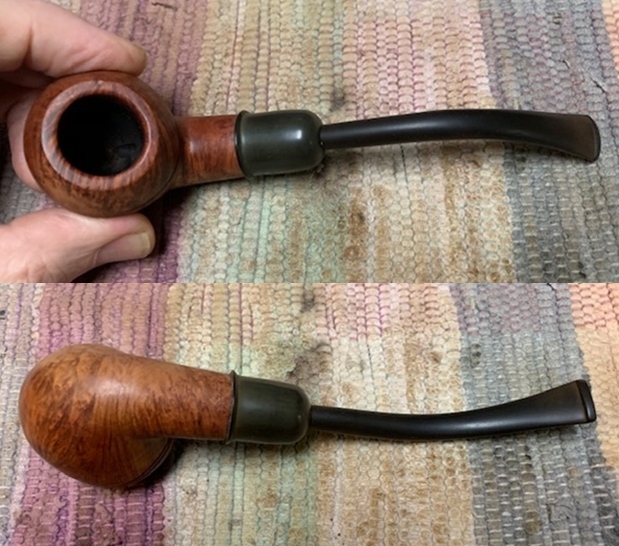 The rim top and the inner edge of the rim looked very good after the cleaning. The ferrule had some light oxidation as did the stem surface. It had a few small tooth marks and chatter on both sides near the button.
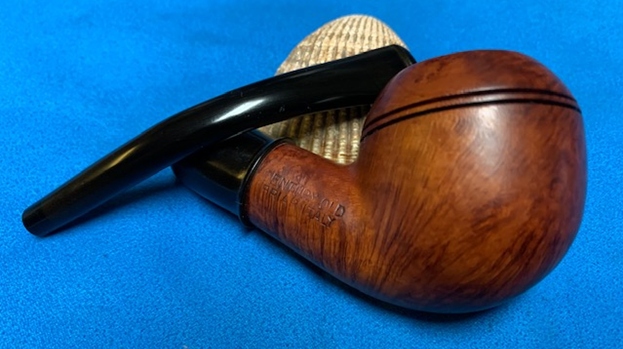
 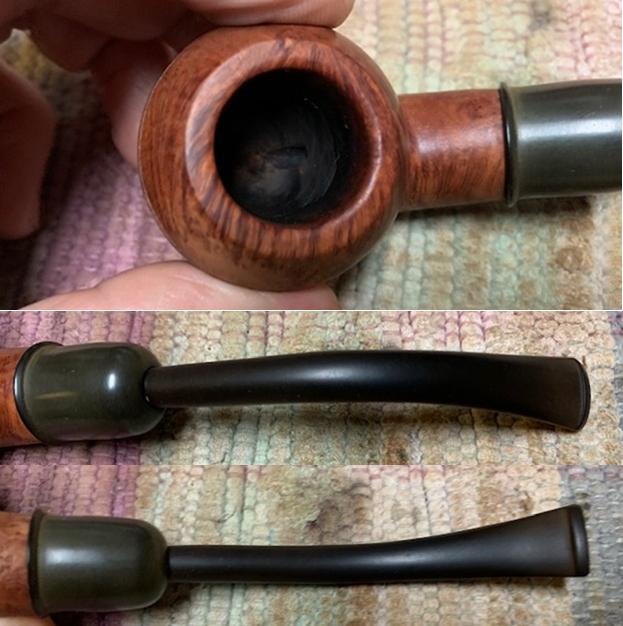 I took a photo of the stamping on the sides of the shank and ferrule. It was clear and read as noted above.
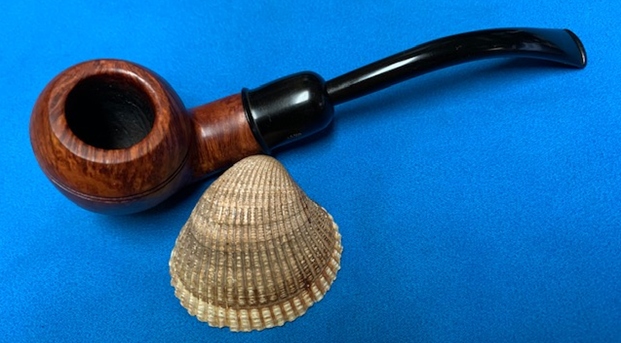
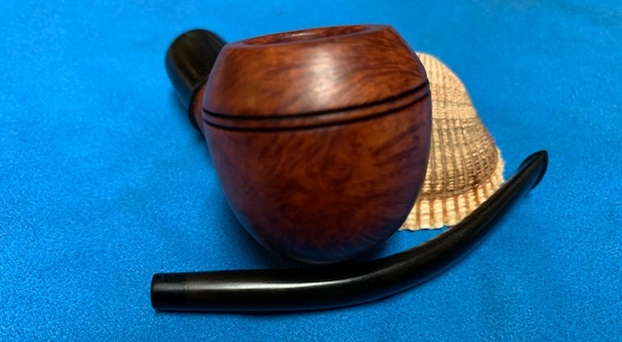
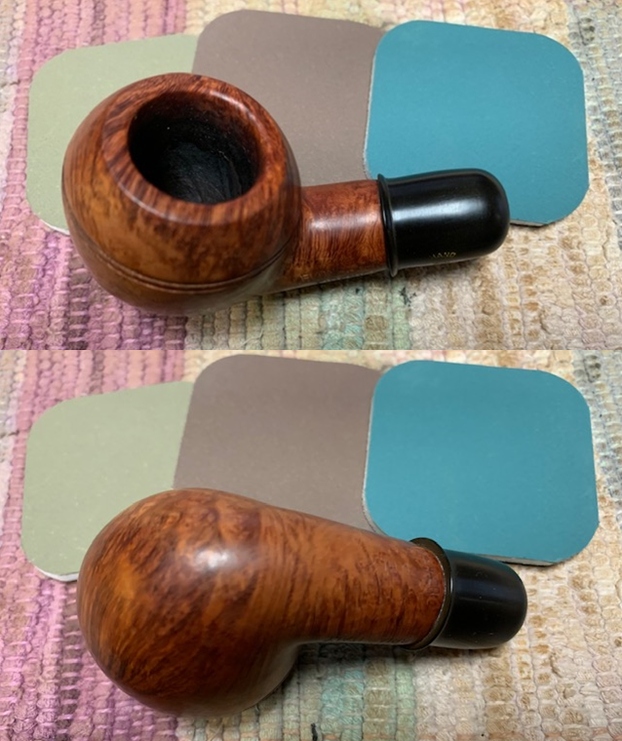
 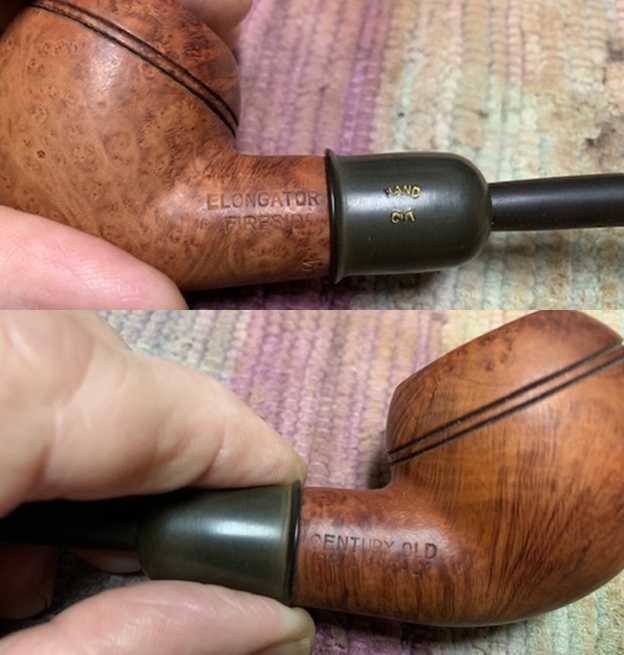 I removed the stem and took a photo of the pipe to give a sense of the whole. The stem is a military bit shape made of vulcanite. I can only guess what the vulcanite long tube must have looked like.
 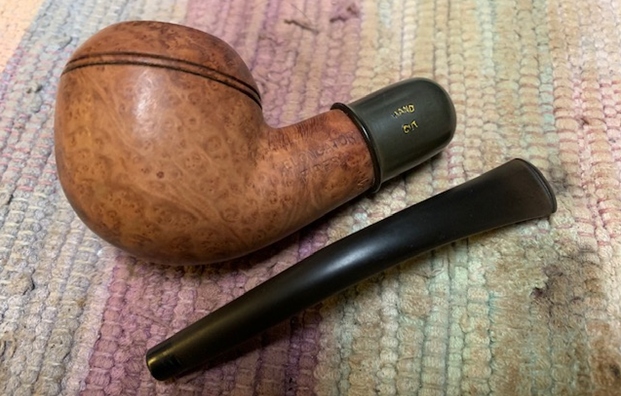 I scrubbed the vulcanite stem and the ferrule with Soft Scrub All Purpose cleaner to remove the remaining oxidation on both. It came clean with a bit of scrubbing.
 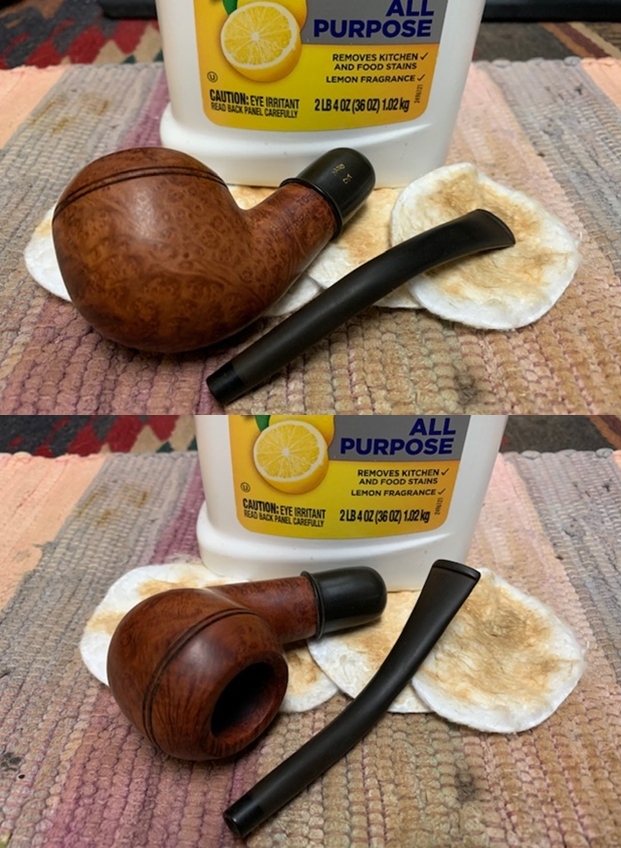 I touched up the Hand Cut stamp on the vulcanite ferrule with Rub’n Buff Antique Gold. I applied it into the stamp with a tooth pick and buffed off the excess with a cotton pad.
 I polished the bowl and the smooth portions on the rim top with micromesh sanding pads – dry sanding with 1500-12000 grit pads and wiping it down after each pad with a damp cloth.
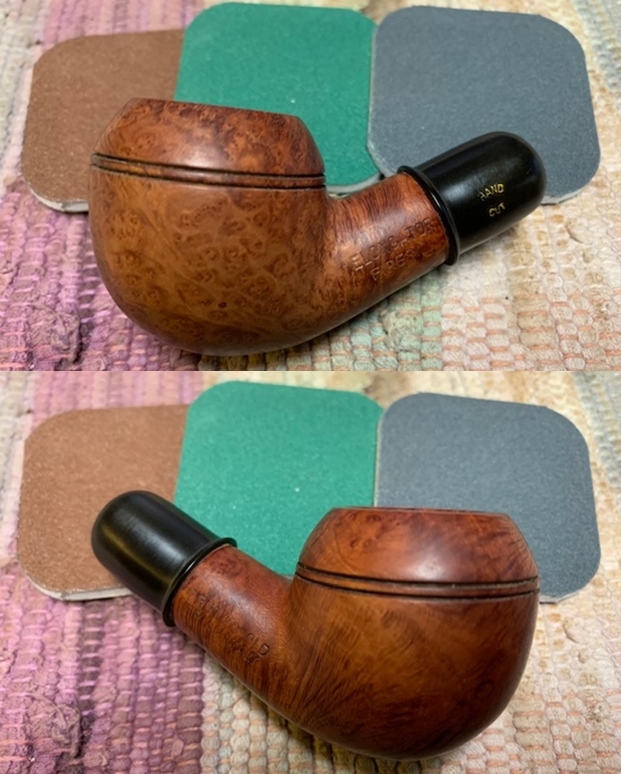
 I rubbed the bowl and shank down with Before & After Restoration Balm. I worked it into the surface of the bowl sides and shank with my fingertips. The product works to clean, enliven and protect the briar. I let the balm sit for 15 minutes and then buffed with a cotton cloth to raise the shine.
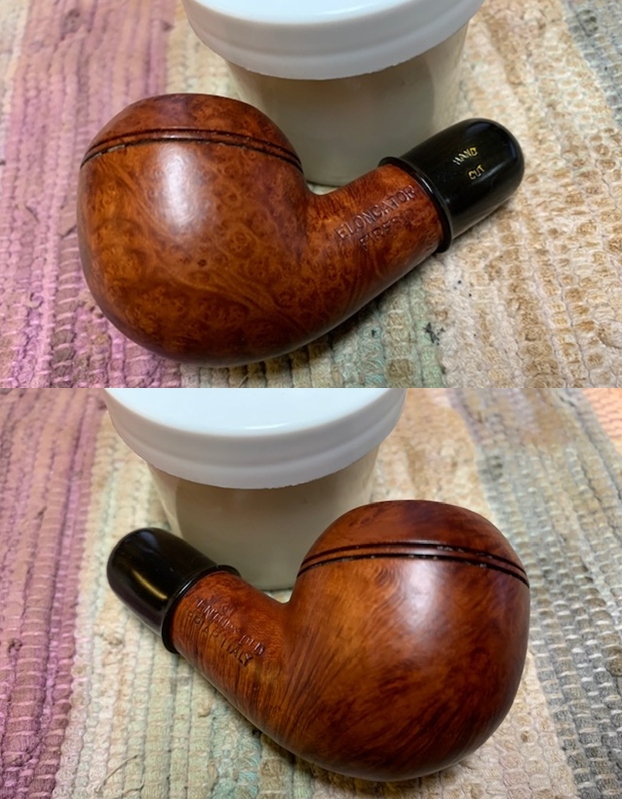
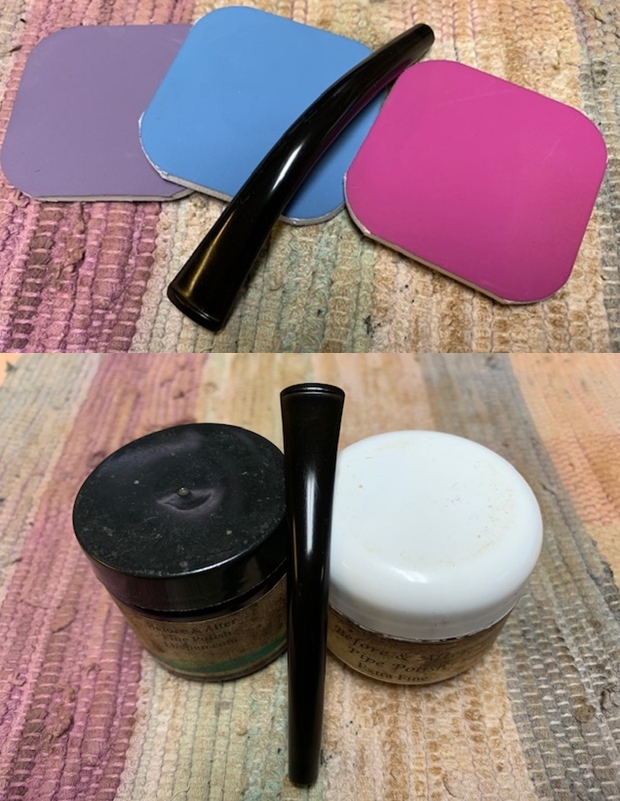
 I polished the vulcanite stem with micromesh sanding pads – 1500-12000 grit pads. I wiped it down with a damp cloth after each sanding pad. I used Before & After Pipe Polish – both Fine and Extra Fine to further polish the stem.
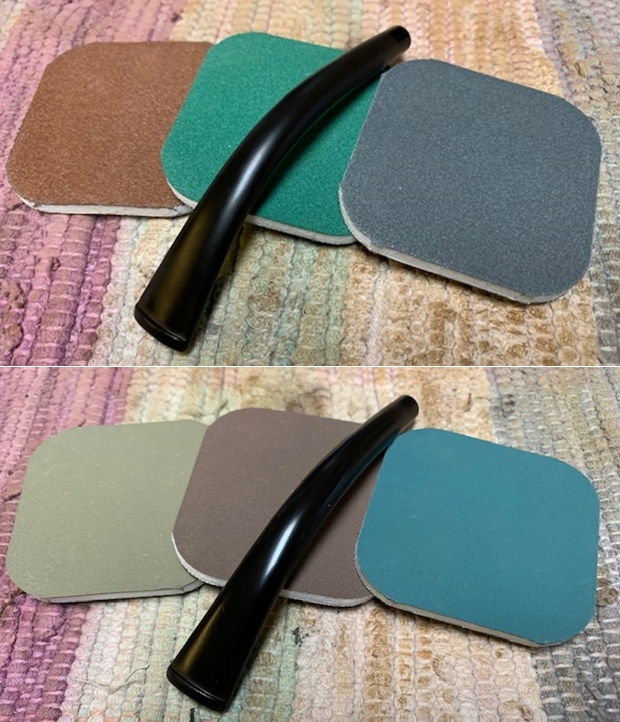
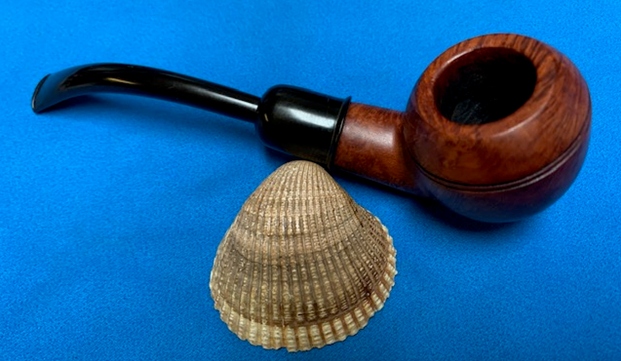
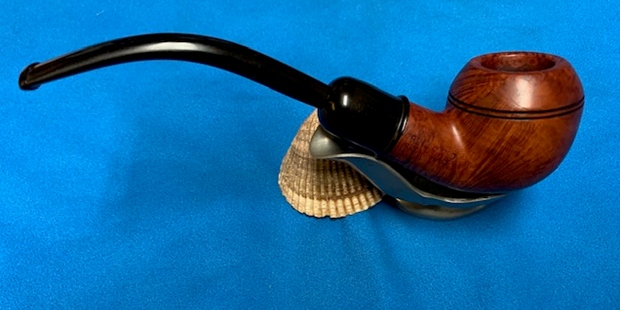
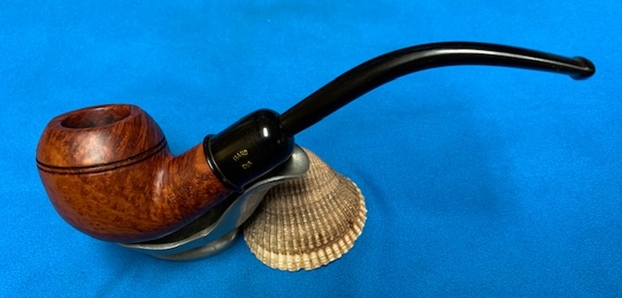
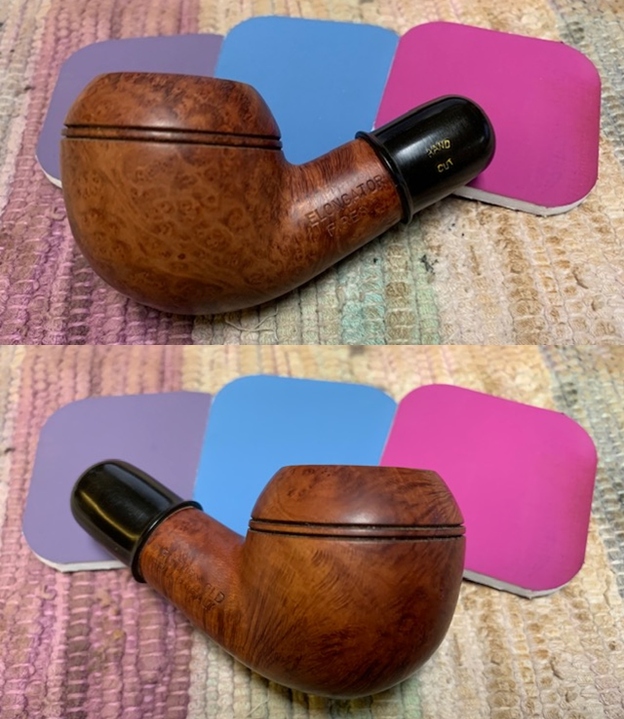
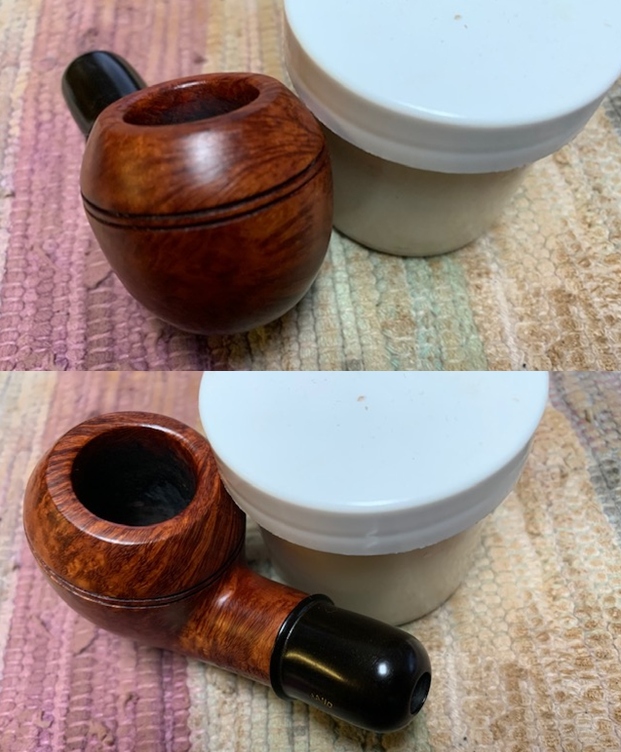
 This beautiful Elongator Fireside Rhodesian with vulcanite military style stem is a great looking pipe now that it has been restored. I put the stem back on the bowl and carefully buffed the pipe with Blue Diamond on the buffing wheel using a light touch on the briar. I gave the bowl and the stem multiple coats of carnauba wax on the buffing wheel and followed that by buffing the entire pipe with a clean buffing pad. I hand buffed the pipe with a microfiber cloth to deepen the shine. The finished Elongator Rhodesian fits nicely in the hand and feels great. I can only guess what the “elongator” stem would be like. Give the finished pipe a look in the photos below. The dimensions of the pipe are Length: 6 1/2 inches, Height: 1 ¾ inches, Outside diameter of the bowl: 1 ½ inches, Chamber diameter: ¾ of an inch. The weight of the pipe is 46grams/1.62oz. It is an interesting pipe that I am going to hold on to for a while. I want to see if I can find an extension for the stem. Thanks for reading this blog and my reflections on the pipe while I worked on it. There are many more to come!