Blog by Steve Laug
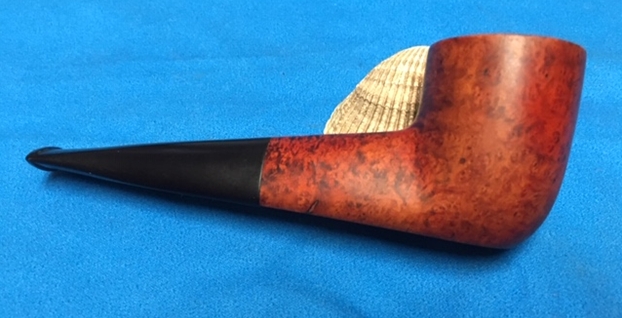
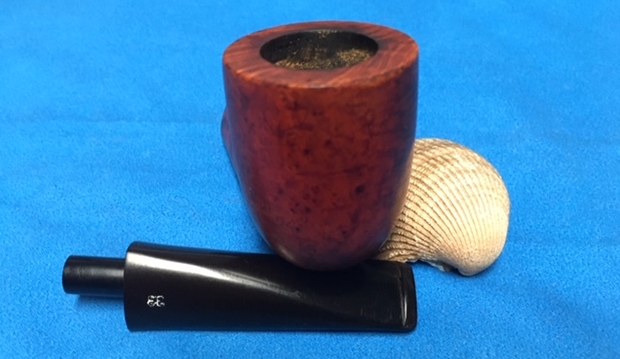
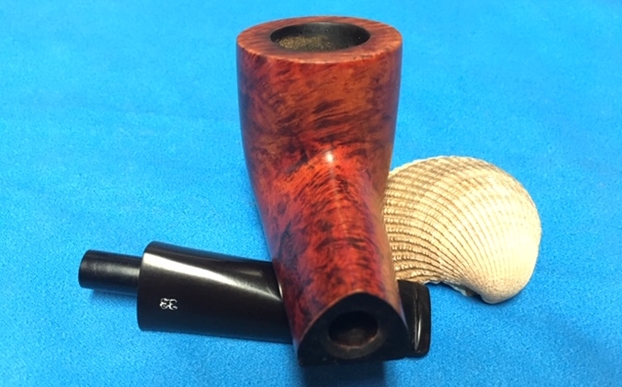
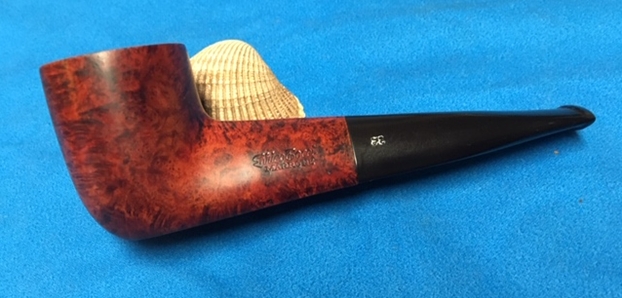
The next pipe in the queue is an interesting triangular shaped billiard – I think that is what I would call it. It came to us in the lot that included the pipe cabinet and 21 pipes. There is a decided slope from the button to the junction of the bowl and shank. The bottom of the bowl and shank is flattened and broad so that it is a very stable sitter. It is a unique piece and like many of those in this lot it is a brand that I have not seen before. It is on the second shelf, the third pipe from the right in the photo below. I have circled it in red to make it easier to identify. The finish on the pipe is very dirty with an interesting orange and black contrasting stain. I look forward to seeing it cleaned. There is a thick cake in the bowl and a lava overflow on the rim top. I can see some damage to the outer edge of the rim but because of the cake and tars it is hard to know what the inner edge looks like. Jeff took photos of the pipe before cleaning it. The photos give a pretty clear picture of the shape of the pipe and its general condition when we received it.
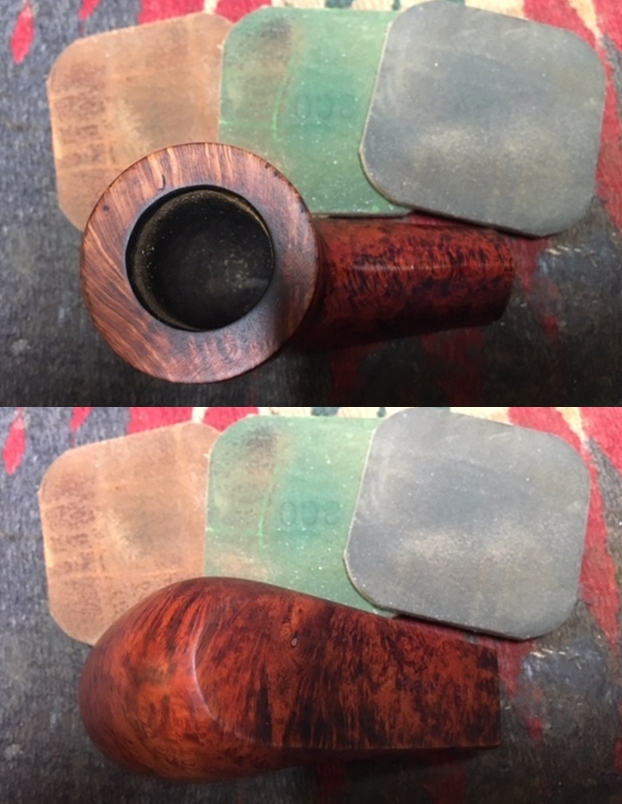
 Jeff took some photos of the bowl/rim top and the sides and bottom of the bowl to give and idea of the condition and the shape. You can see the nicks on the back and front side of the outer edge of the rim.
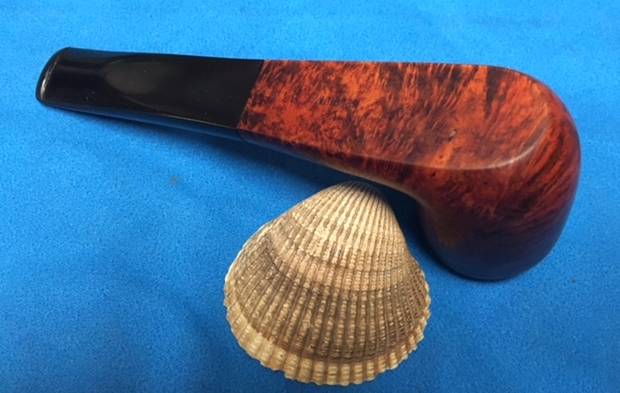
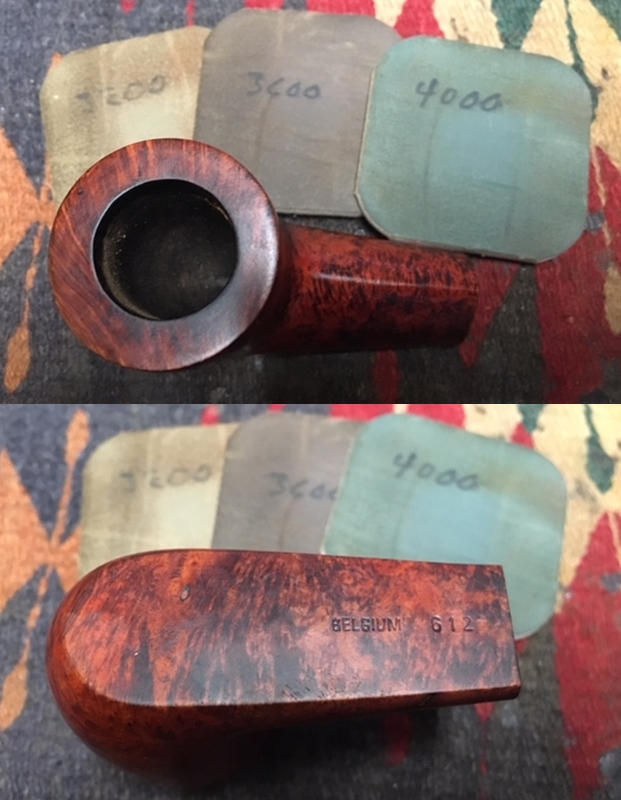
 He also took photos of the stamping on the left and underside of the shank. The left side was clear and readable. It read Enrico Bocci in script over Marrone. On the underside it said Belgium followed by the shape number 612. The left side of the stem also had a stamped EB logo.
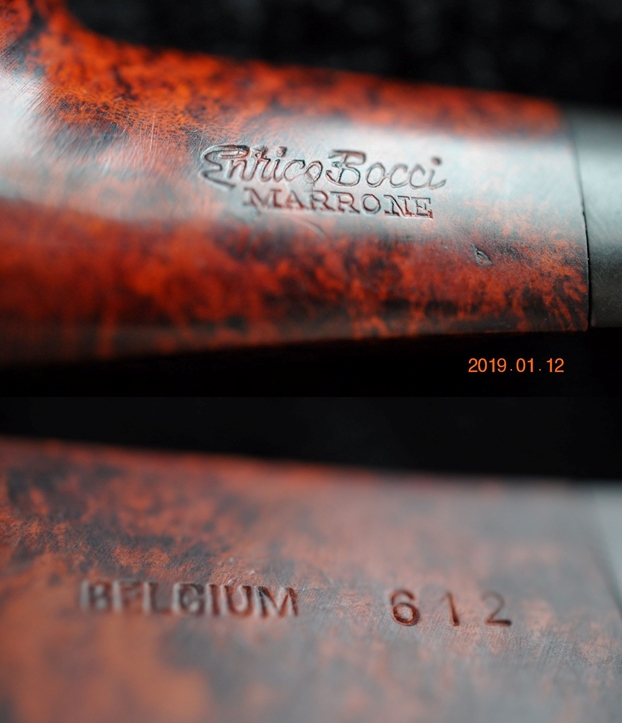
 The stem had some deep scratching in the surface ahead of the button and some small tooth marks next to the button. There was also wear on the sharp edge of the button.
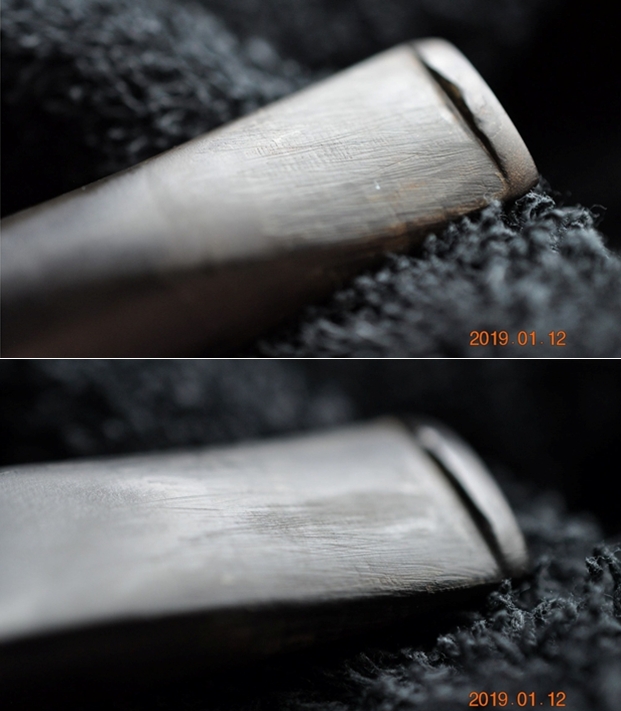 Enrico Bocci was a brand that I was unfamiliar with so I did some research on the web to see what I could learn about the brand and the maker. I turned first to Pipephil and found the first lead. As usual the site gives a great summary. It identified the maker as Enrico Bocci and the brand as Italian (http://www.pipephil.eu/logos/en/logo-e3.html). This did not match the Belgium stamping on the underside of the shank so more searching would be necessary. I have included a screen capture from Pipephil that gave the initial information on the brand. It seems that Bocci retired from pipe making in the 1980s so that helped to date the pipe that I am working on.
 I turned then to Pipedia to see what I could find out there (https://pipedia.org/wiki/Bocci). The brand was listed under the country of Belgium. Sadly there was not a lot of information. I have copied the information and included it below.
Enrico Bocci, presumed to be of Italian origin, primarily turned out machine made pipes. The better ones were pre-turned and finally shaped and finished by hand.
From that at least I found that the maker was of Italian origin (not hard with a name like that). I knew that the pipe I had in hand was Belgian made and made prior to 1980. I also could deduce from the listing being in the Belgian list of pipemakers that Bocci lived there. Armed with that information I turned to deal with the pipe on the table.
As usual Jeff does a lot of the clean up on the pipes that we buy. He does a great job. When I pick them up here or do repairs here in Canada I am reminded just how much work he does to get the pipes to the point they are when I open his box to work on them.
Jeff reamed the bowl with a PipNet pipe reamer and followed up with a Savinelli Fitsall pipe knife to remove the cake. He scrubbed out the mortise and the airway in the shank and the stem with alcohol, cotton swabs and pipe cleaners. He scrubbed the exterior of the bowl, rim, shank and stem with a tooth brush and Murphy’s Oil Soap to remove the oils and tars on the rim and the grime on the finish of the bowl of the pipe. He rinsed it off under running water. He dried it off with a soft cloth. He was able to remove most of the lava build up on the rim top of the pipe leaving behind some darkening and a clear view of the damage to the outer edge. I took photos of the pipe to show its condition before I started my work.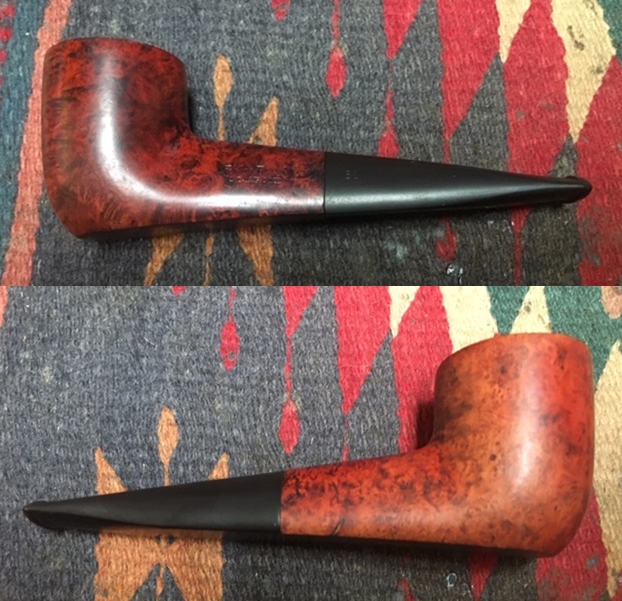
 I took a close up photo of the rim top to show the darkening on the top and the damage to the outer edge at both the back and the front. You can also see some nicks and marks on the surface of the rim top. The stem photos show the scratching I noted above that extends from the button forward about an inch. They also show the tooth marks and the wear on the button surface on both sides.
 I took photos of the stamping to document what it looked like at this point in our cleanup process. You can also see some of the fills in the bowl and shank.
 I decided to address the damage to the rim top and edges of the bowl first. I used a folded piece of 220 grit sandpaper to clean up the inner edge of the bowl first. Once that was complete, I topped the bowl on a topping board using 220 grit sandpaper to remove the damage along the top surface and minimize the damage to the outer edge of the bowl.
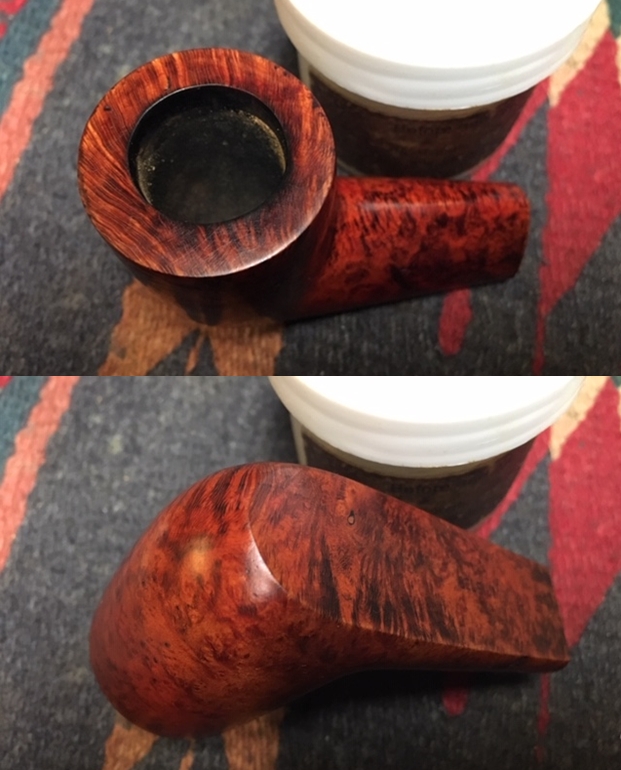
 It looks like I forgot to take a photo of the rim top at this point. I removed the damaged surface (a minimal topping). I worked over the outer edge with a 1500 grit micromesh sanding pad to smooth out the damage on the edges (the condition of the rim top can be seen in the third photo below). Once I finished that I polished the entire bowl and shank with micromesh sanding pads. I wet sanded it with 1500-2400 grit pads to clean up the rim and smooth out the bowl. There were shiny spots on the finish from what looked like a light varnish coat that needed to be removed as well.
 I decided to stain the rim top and touch up the spots on the bowl and shank that needed it with a Maple stain pen before proceeding with the rest of the polishing. This might seem odd but I have found that it can work to blend the colours better. I let the stain coat dry for about 30 minutes and worked on the stem. Once the stain had cured for that time I continued polishing the bowl.
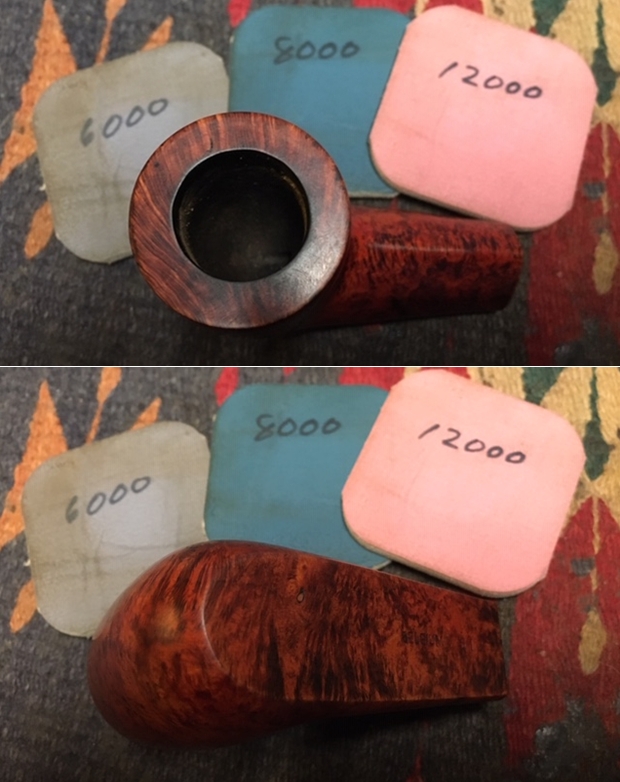
 I continued to polish the bowl with 3200-12000 grit micromesh sanding pads. Each successive grit of micromesh made the grain stand out more and hid the fills better. The overall look of the bowl improved.

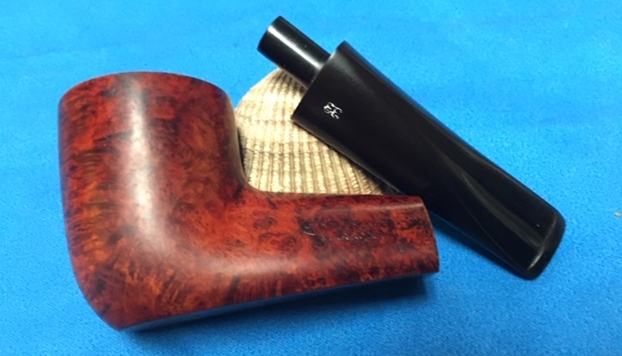
 With the rim top and bowl polished, I worked some Before & After Restoration Balm into the surface of the briar with my fingertips to clean, enliven and protect it. I let the balm sit for a little while and then buffed with a cotton cloth to raise the shine. The following photos show the bowl at this point in the restoration process. The bowl and the rim top look really good and the darkening and lava are gone. The finish looks good and though the fills are visible they are not as obnoxious looking as before. I am very happy with the results.
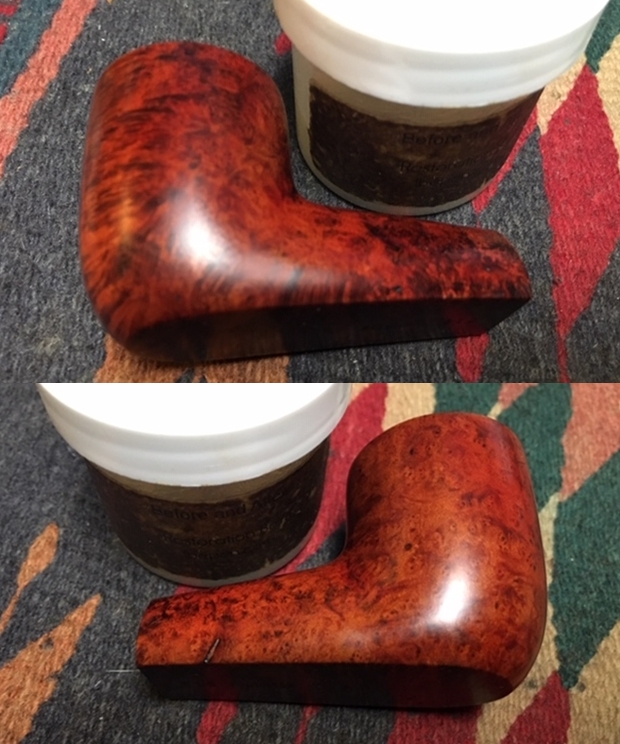
 With the bowl finished I set it aside and turned my attention to the stem. I sanded the scratches and the tooth marks on the stem and then filled it in with clear super glue. I set it aside to cure for about a half hour then smoothed out the fills with a needle file to dress up the sharp edge of the button. I sanded the repairs with 220 grit and 400 grit sandpaper to blend them into the surface.
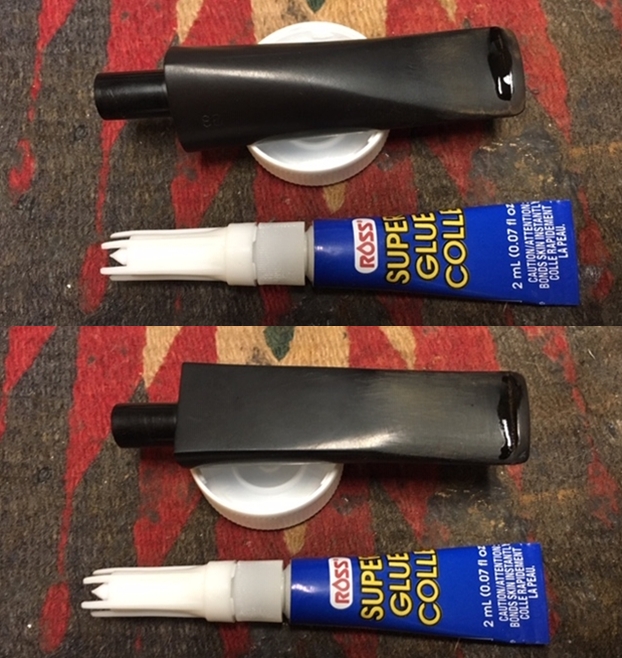

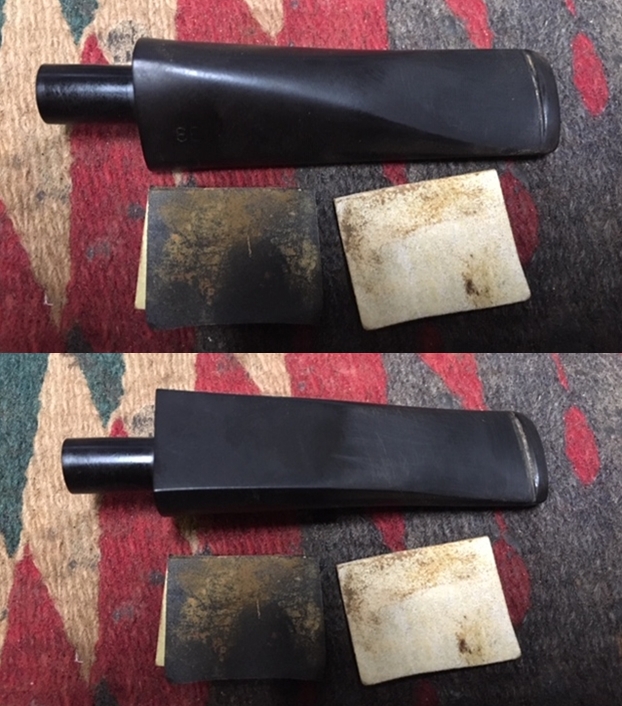 I polished the stem with micromesh sanding pads – wetsanding it with 1500-2400 grit pads and dry sanding it with 3200-12000 grit pads. I wiped the stem down with Obsidian Oil after each pad.
 I used some liquid paper or correction white out to touch up the stamping on the stem. I applied it with a tooth pick and when it had dried I buffed the excess off with a cotton pad.
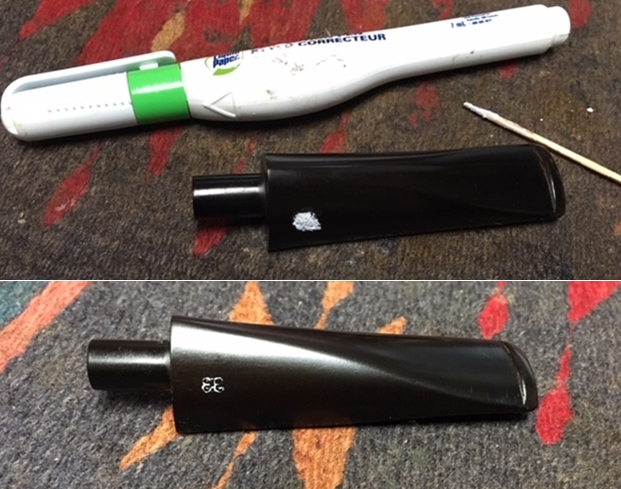 I further polished it with Before & After Pipe Polish – both Fine and Extra Fine. I gave it a final coat of Obsidian Oil and set it aside to dry.
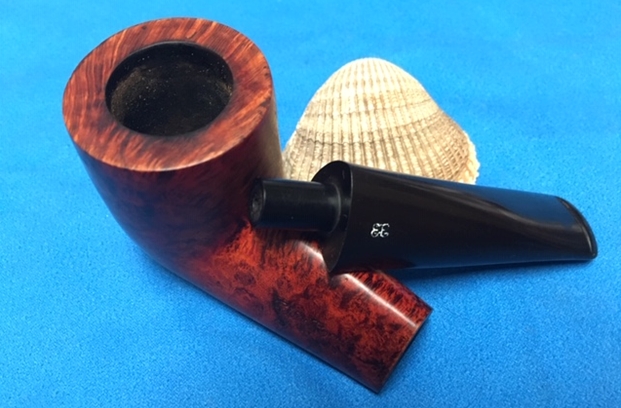
 This interestingly shaped Enrico Bocci surprised me. When I first saw it I thought it was a Lorenzo pipe and expected a real mess under the stain and lacquer coat. It turned out I was wrong. I polished stem and the bowl with Blue Diamond polish on the buffing wheel. I gave the bowl and the stem multiple coats of carnauba wax. I buffed the pipe with a clean buffing pad to raise the shine. I hand buffed it with a microfiber cloth to deepen the shine. The pipe polished up pretty nicely. The contrasting grain came alive with the buffing. The rich contrasting orange/brown and black colour works well with the polished black vulcanite stem. The finished pipe is a beauty and feels great in the hand. Have a look at it with the photos below. The dimensions are Length: 5 ½ inches, Height: 1 ¾ inches, Outside diameter of the bowl: 1 1/2 inches, Chamber diameter: ¾ of an inch. I will be putting this triangular shanked billiard on the rebornpipes online store soon. It may well the kind of unique pipe you have been looking for so have a look. Thanks for walking through the restoration with me on this interestingly shaped Enrico Bocci.