Blog by Steve Laug
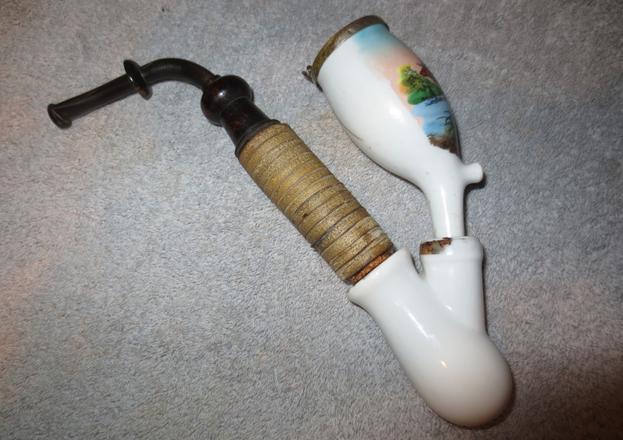
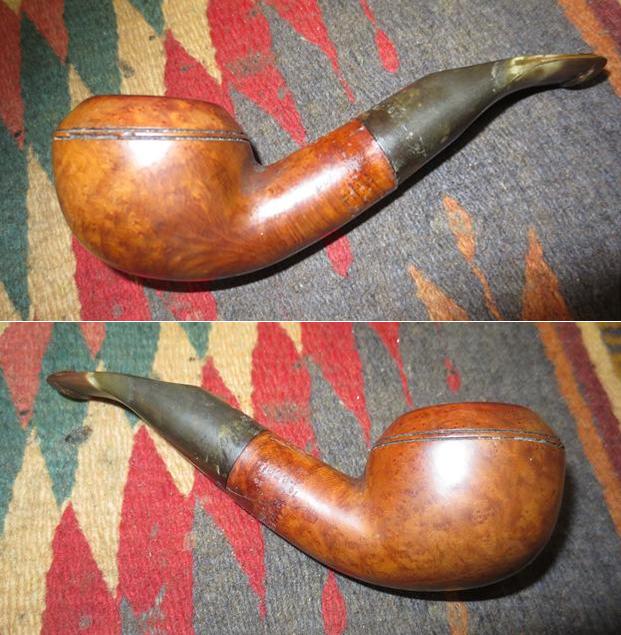
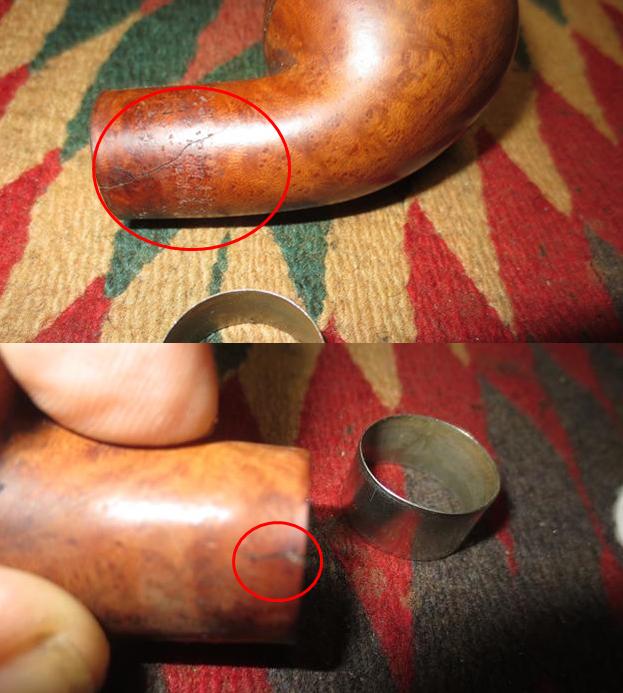
The fourth pipe I chose to work on from the lot the fellow dropped by on his way out of town for his holidays was a family heirloom. He said it was his grandfather’s pipe and then his father’s pipe afterwards. It now was in his keeping. Somewhere along the way the bowl had been cracked but was held together by the brass rim cap. The domed wind cap was also missing. The pictorial scene on the front of the bowl was in perfect shape with no scratches. 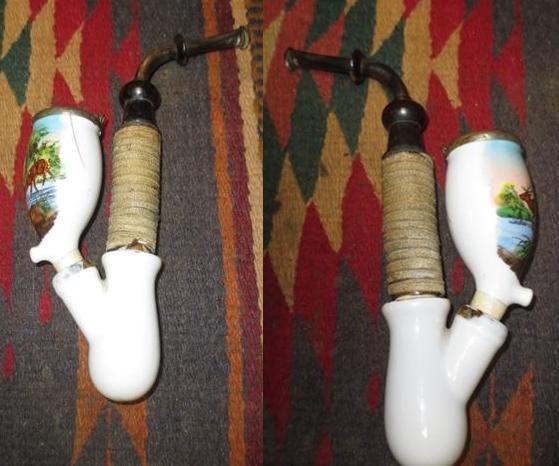
 The bowl was held in place by a wrap of masking tape where there had originally been cork. The remnants of the old cork plug were still stuck to the sides of that portion of the lower cup. The stem was Cherrywood but his father had wrapped it with a leather lace because he liked the way it looked. The end portion of the stem was horn and had tooth marks on the top and bottom next to the chewed on button. The stem was held in the lower cup by a wrapping of thick tape that was wrapped around the end of the Cherrywood in place of the cork. There was a bit of original gold around the bowl portion of the cup. The bottom of the cup portion had some scratches and the porcelain parts of the pipe were dirty and sticky.
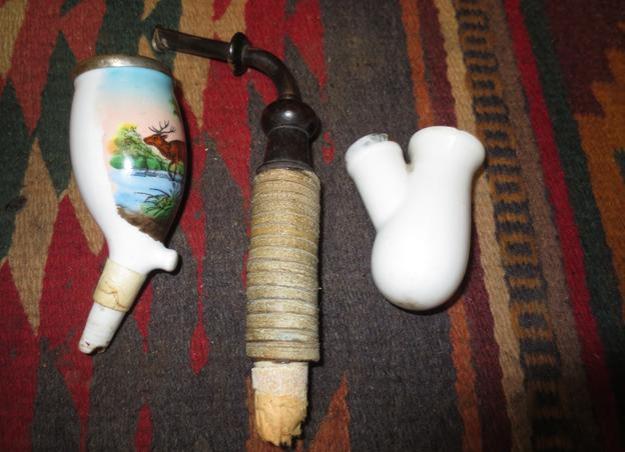 This traditional German porcelain pipe has been variously called a porcelain wine pipe, Tyrolean pipe, Black Forest pipe, alpine folk pipe, and several other variations on those themes. There are two glazed porcelain sections – a wind-capped bowl (the wind cap was missing on this one) and what I’ve heard call the “chamber-pot” section, or “wine bowl”. I’ve heard and read that sometimes a little wine was put in the chamber pot bottom cup to both flavor and gentle the smoke. The two porcelain sections are fired with a white glaze with a pair of deer at a stream under the glaze.
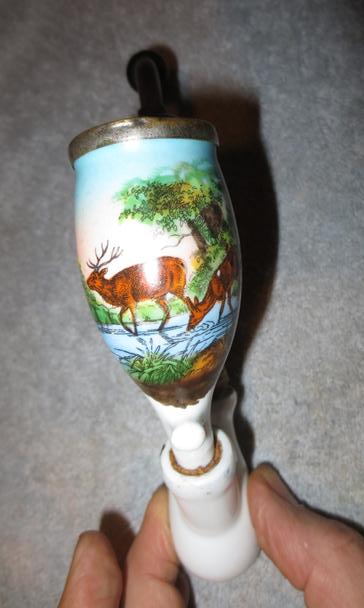
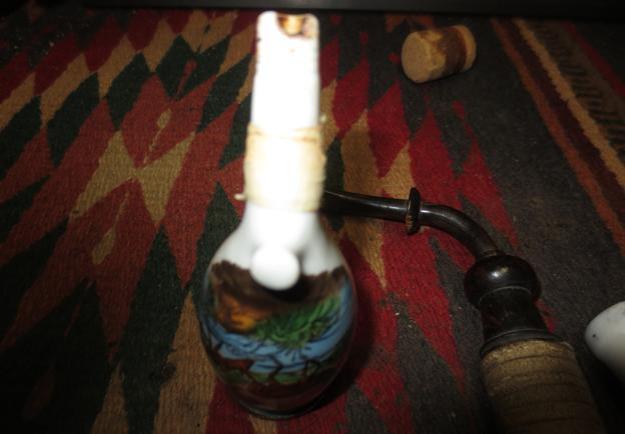
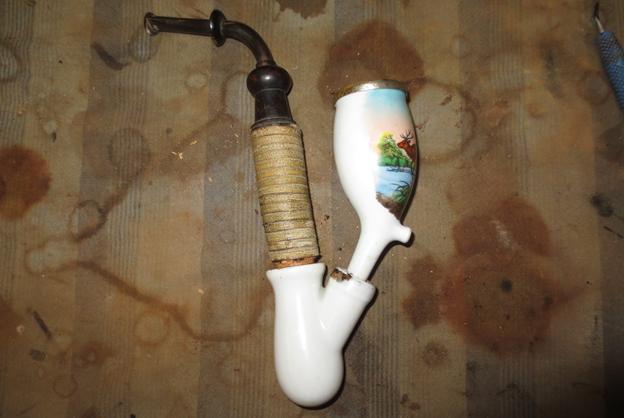
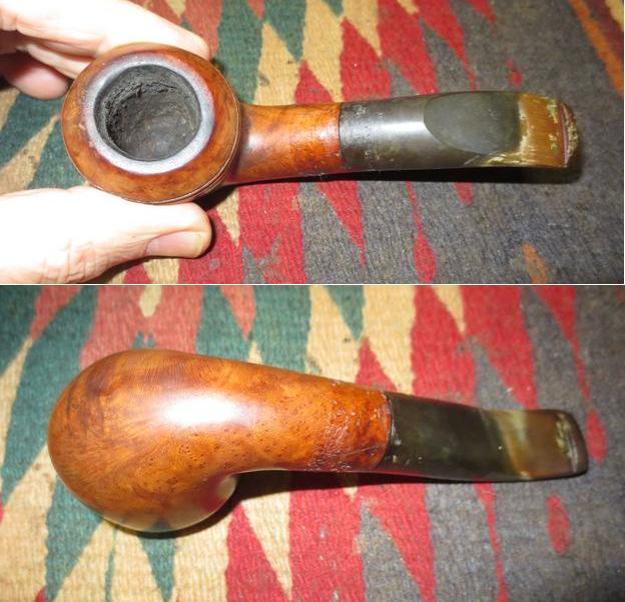
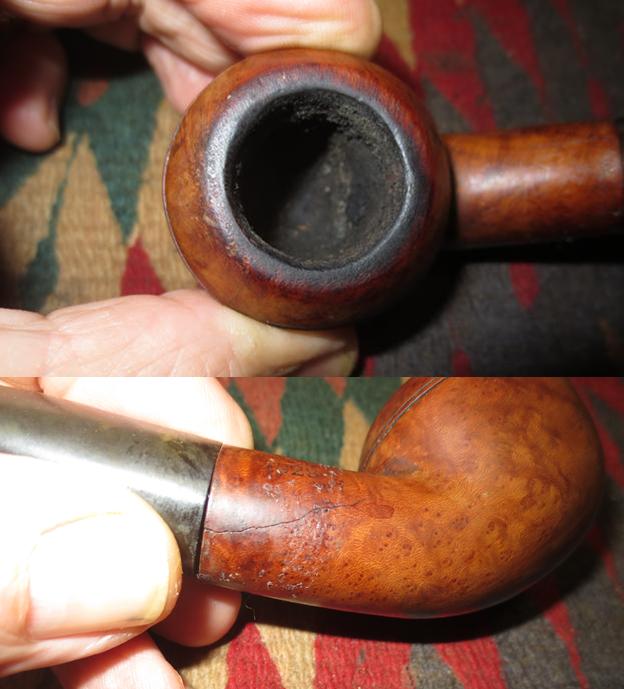
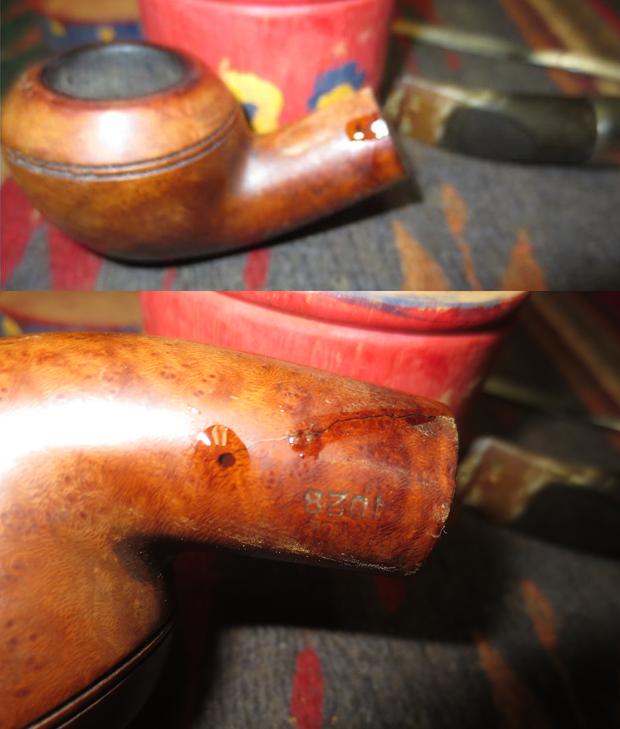
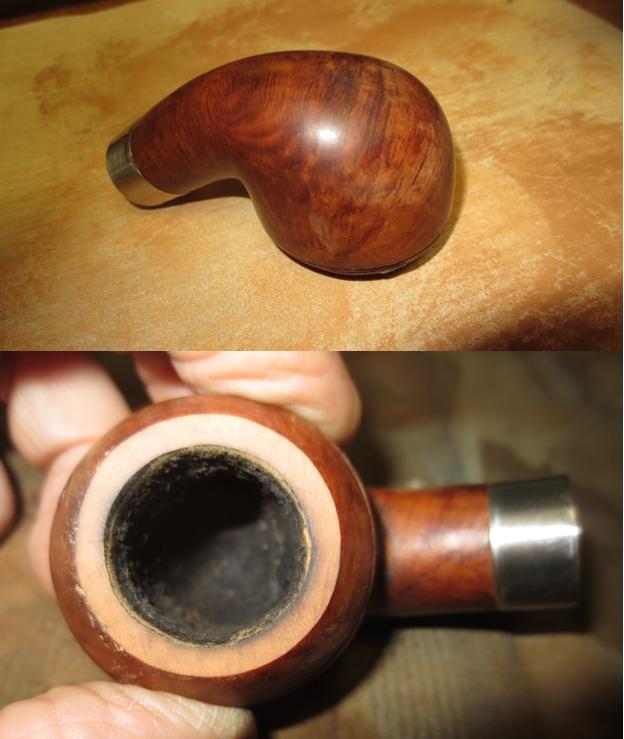
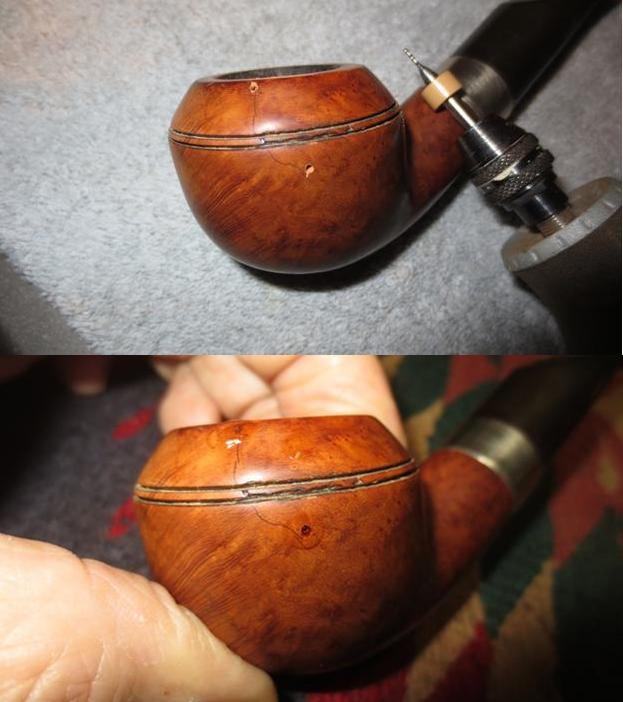
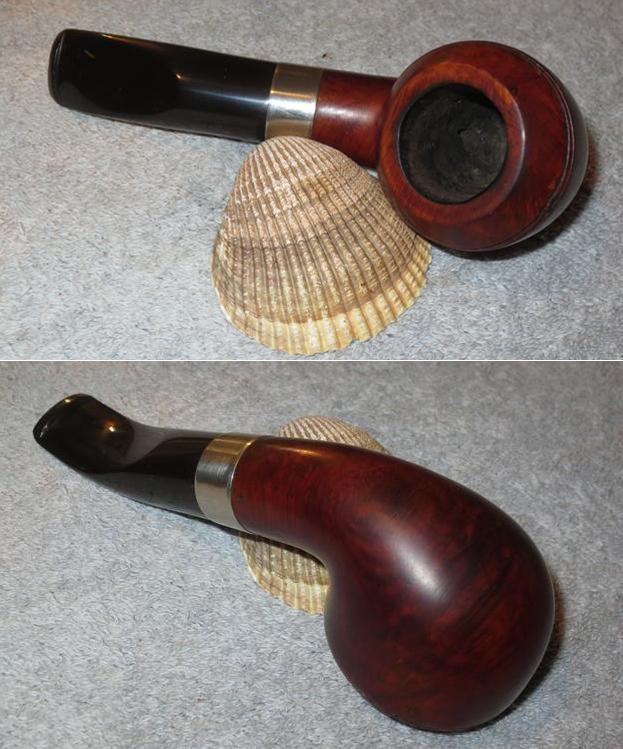
I took some close up photos of the bowl front, the top and the bottom of the bowl to show the condition. The fired painted deer on the front is in excellent condition. The top of the rim is brass and the hinged wind cap is missing. The bottom of the bowl shows some wear and a rough spot in the porcelain. You can also see the wrap of masking tape around the foot of the bowl to keep it in place in the bottom cup/chamber pot.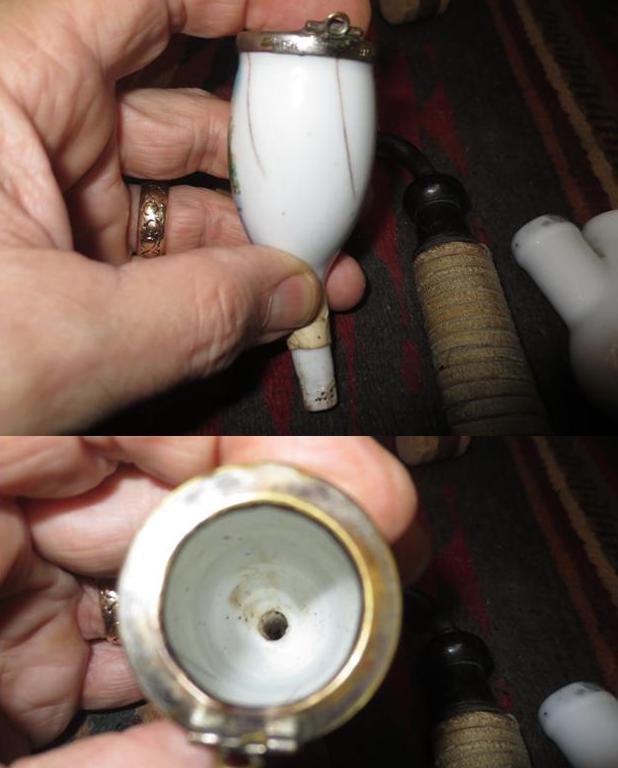
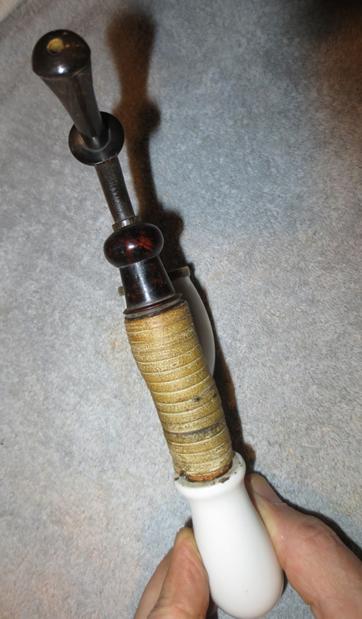
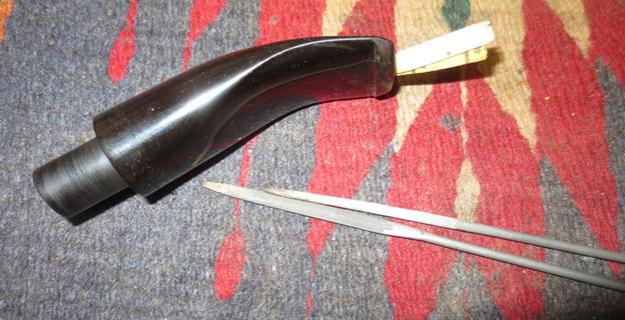
 The end of the stem was wrapped in masking tape as well. This was done in place of the cork that would have originally been present to hold the stem in the bottom chamber pot. You can also see the wrapped leather lace that was glued to the Cherrywood portion of the stem.
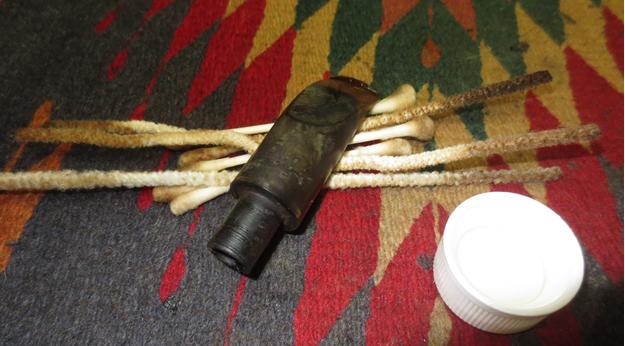
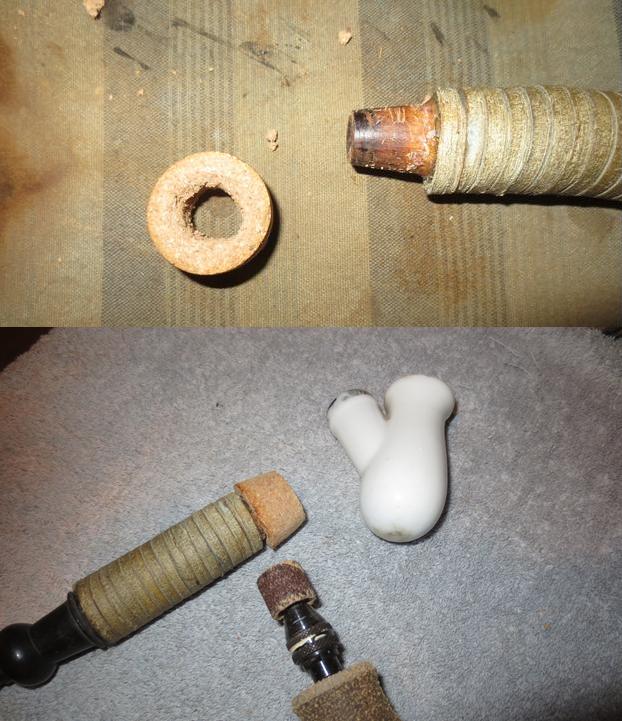
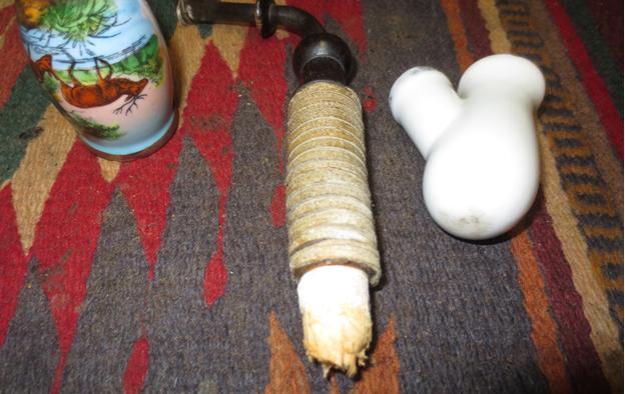 I unwrapped the tape from the end of the stem in preparation for fitting a new cork on the stem end. I wiped down the cherrywood with alcohol on a cotton pad to remove the glue and tape residue from the wood. The piece of wine cork that is shown in the photo is the one I planned on using to recork the stem and the bowl end.
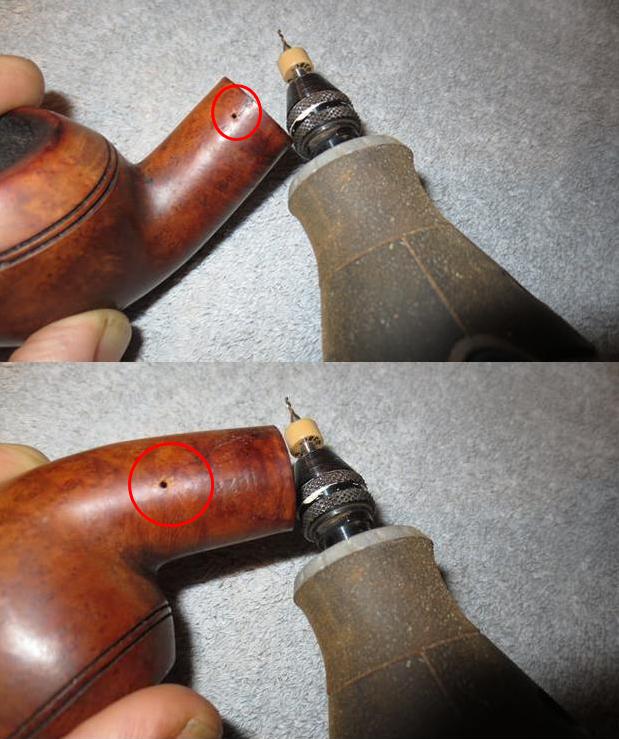
 I cut the wine cork in half with a sharp knife. I set up a cordless drill and turned the cork onto the bit by hand. I started by drilling a hole in the centre of the cork with a small bit to get started. I worked my way up to a drill bit that was the same size as the small end of the stem. J cleaned out the hole with a sharp knife to make it more smooth and round. I used a file to smooth out the hole in the centre of the cork and then shaped it with a Dremel and sanding drum. I continued to sand the cork with the Dremel and sanding drum to take it down until it fit in the chamber pot. The next photos tell the story.
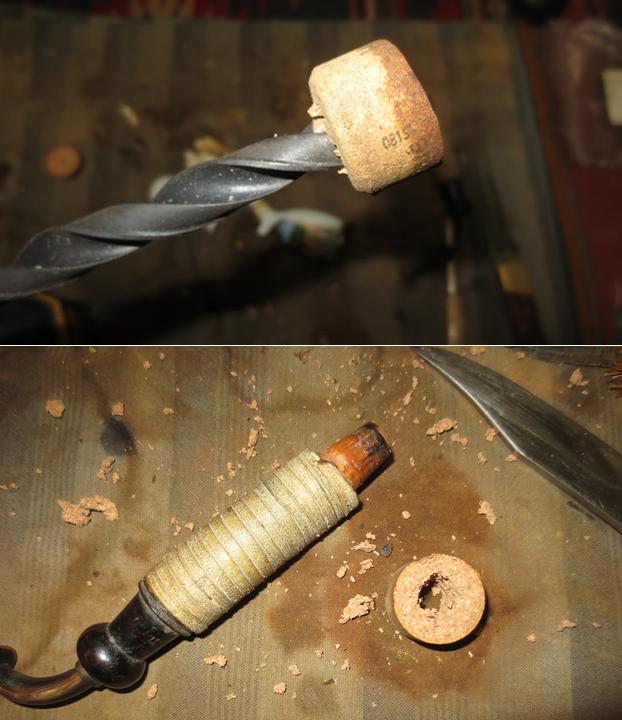
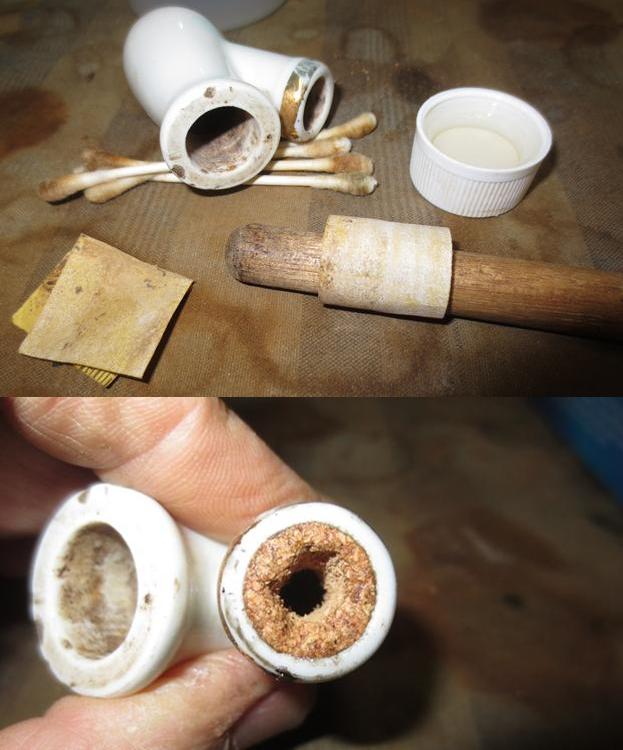
 I drilled a hole in the centre of the other half of the cork and continued until the hole was the same diameter as the nipple at the end of the bowl. I took down the diameter of the second cork to match that of the part of the chamber pot that held the bowl in place. I sanded it with the Dremel and sanding drum until it fit snuggly in the pot. I could see from looking at the inside of the pot that there was originally a cork gasket glued in place at that point. The pictures tell the story. I scraped the walls of the part that held the bowl with a sharp pen knife and removed the remnants of cork I cleaned out the walls where the cork insert would go and where the stem would go using alcohol and cotton swabs. I sanded the inside with 220 grit sandpaper wrapped around a piece of dowel to clean it out. I scrubbed the top of each side with a scrubbing pad and some soft scrub to remove the grime that was built up there. I rubbed the outside of the cork with some Vaseline to soften and lubricate the cork and pressed it into the hole. I put a bead of white glue around the top edge of the cork and set it aside to dry. Once it had dried I used a file to smooth out the hole in the cork.
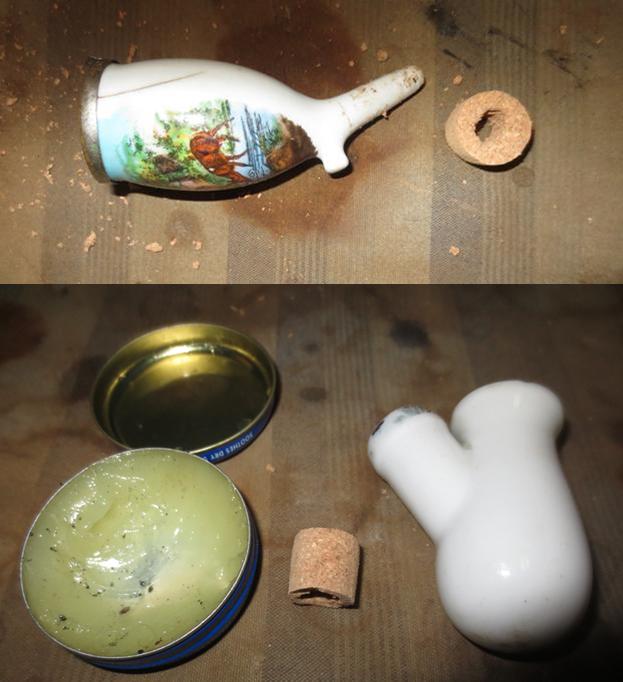
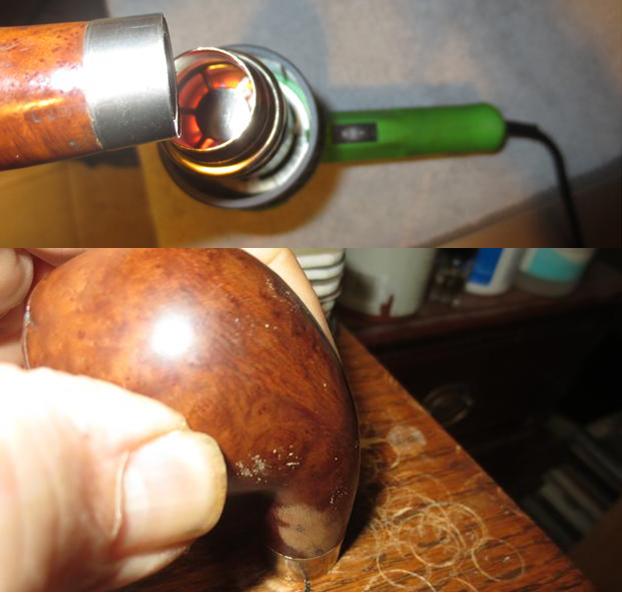
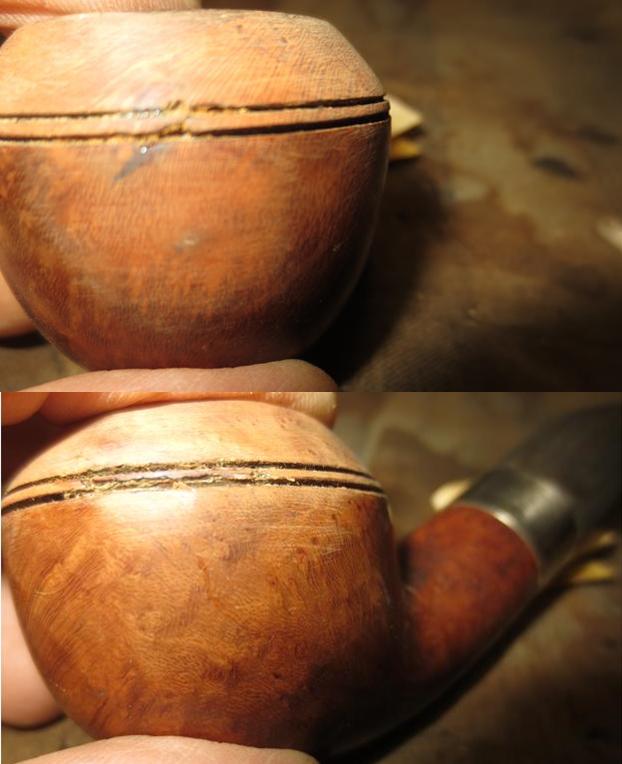
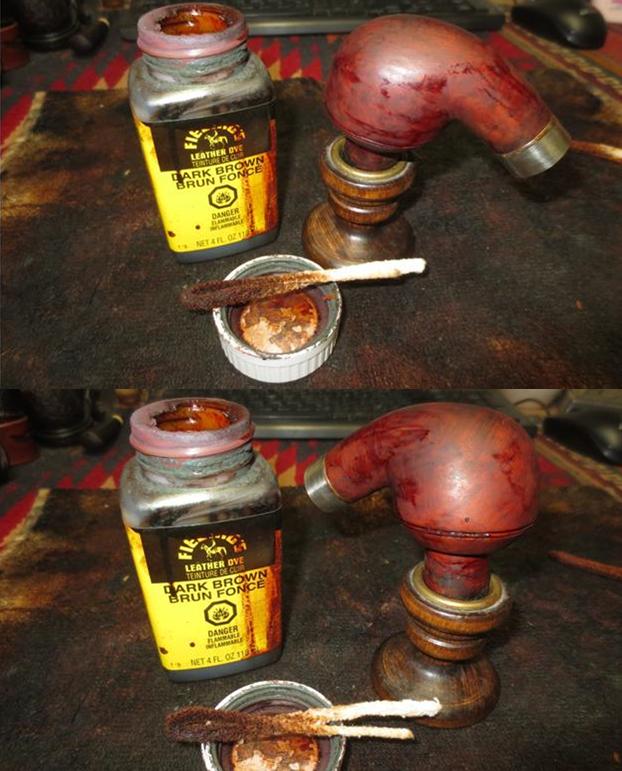
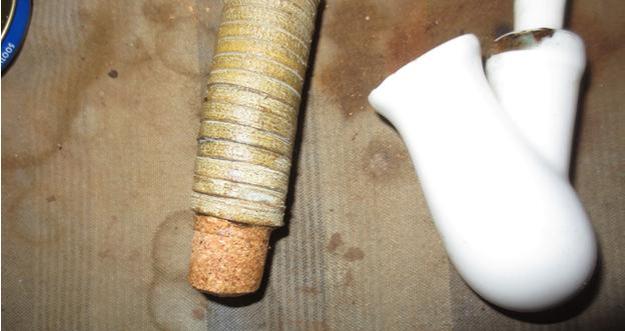
 I put Vaseline on the cork on the stem portion and on the end of the bowl and put the pipe back together. The photos below show how things fit together. I could see from the photos that I needed sand off a little more of the cork on the stem to get it seated correctly.
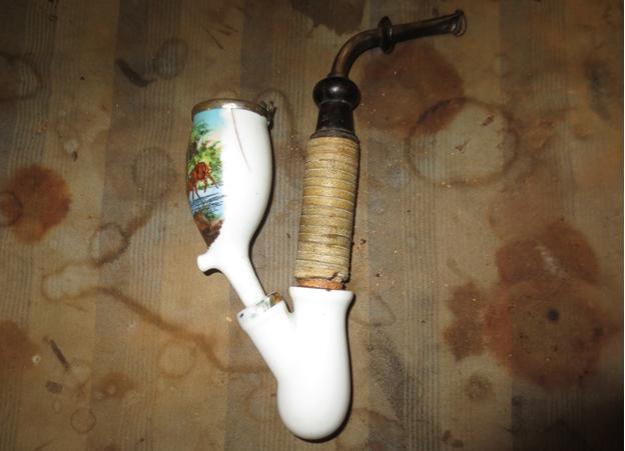
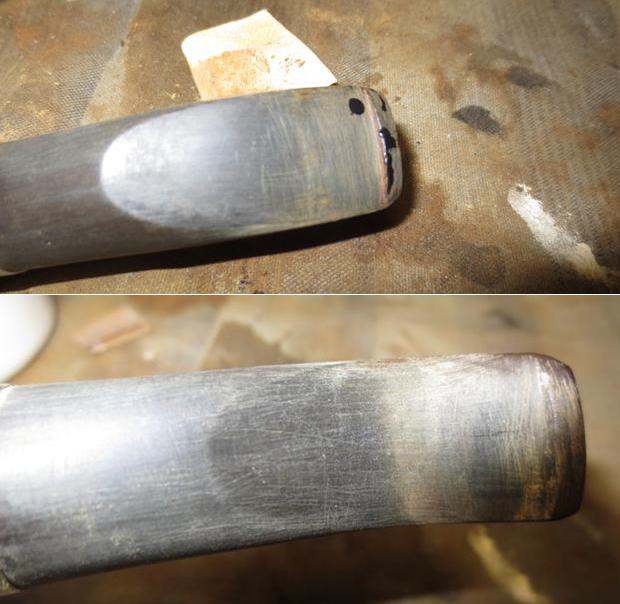
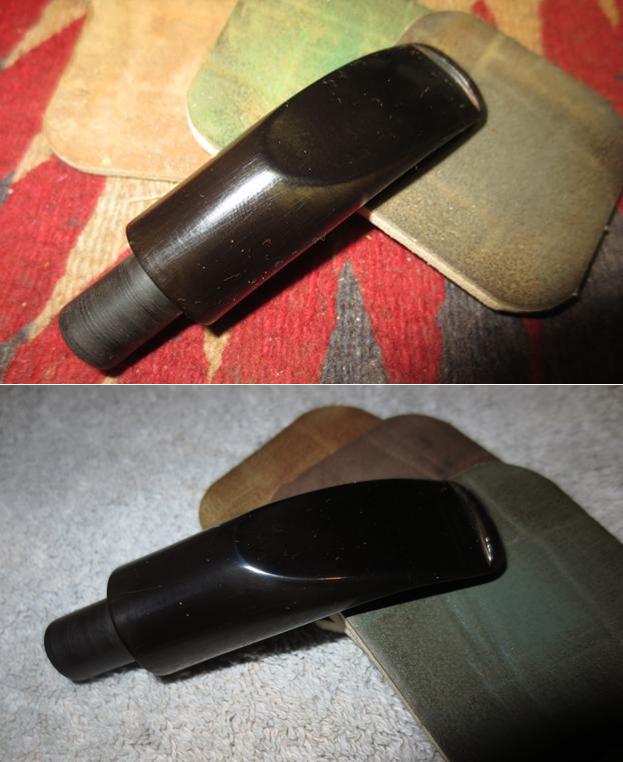
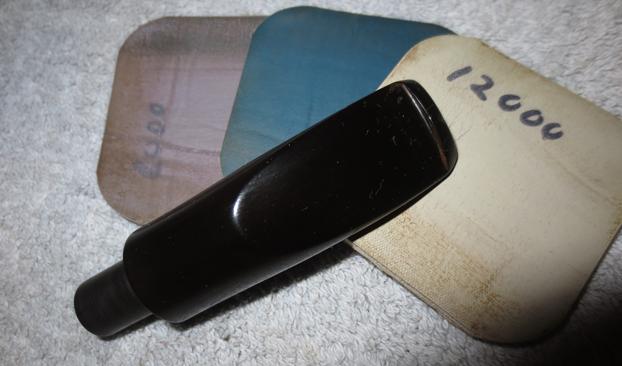
 The horn stem had tooth marks and chatter on both sides near the button. There were some tooth marks on the edges of the button on both sides. I sanded the marks out with 220 grit sandpaper to remove them. I polished the horn stem with micromesh sanding pads – wet sanding with 1500-2400 grit pads and dry sanding with 3200-12000 grit pads. I rubbed the stem down with Obsidian Oil after each set of three pads. After the final pad I gave it another coat of oil and set it aside to dry.
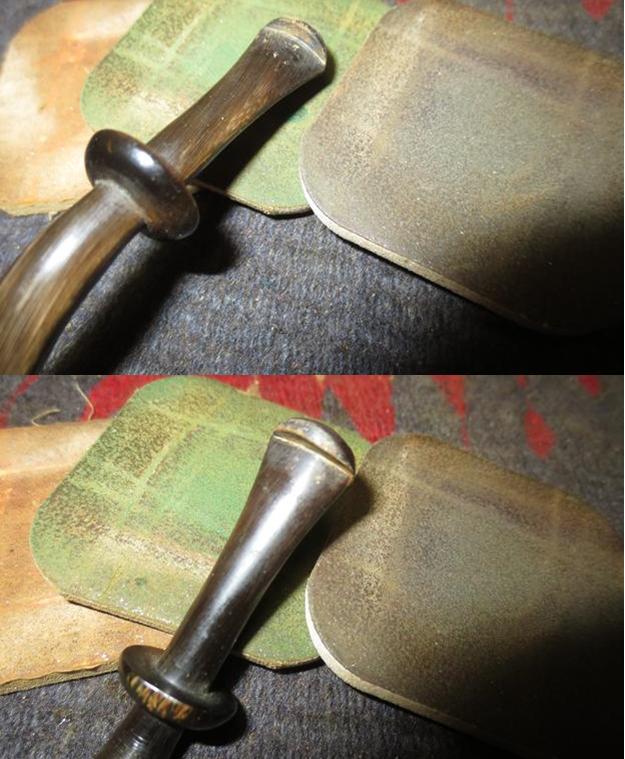

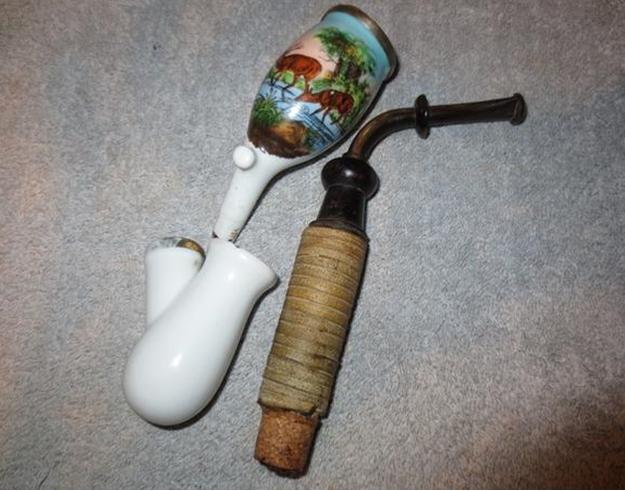
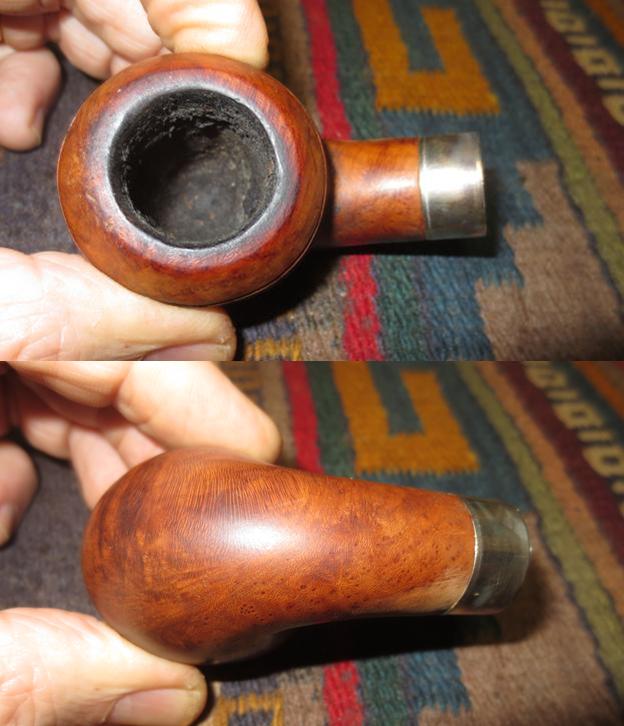
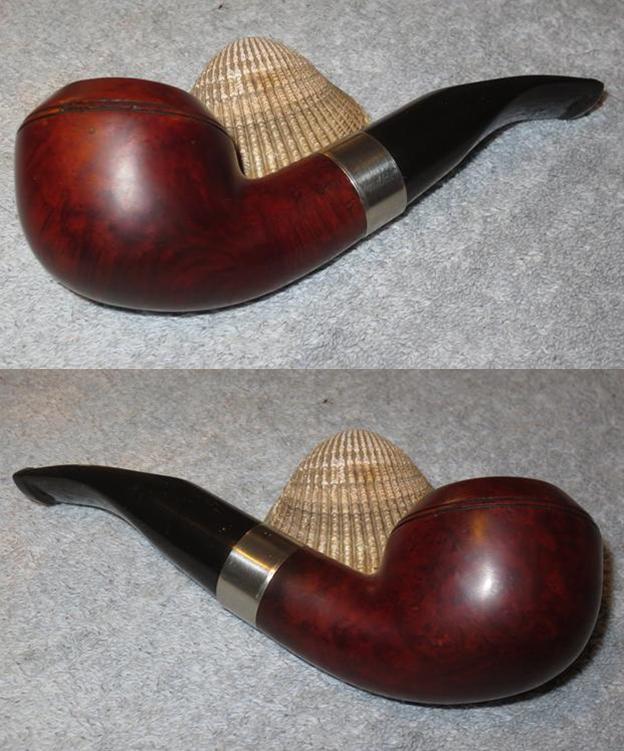
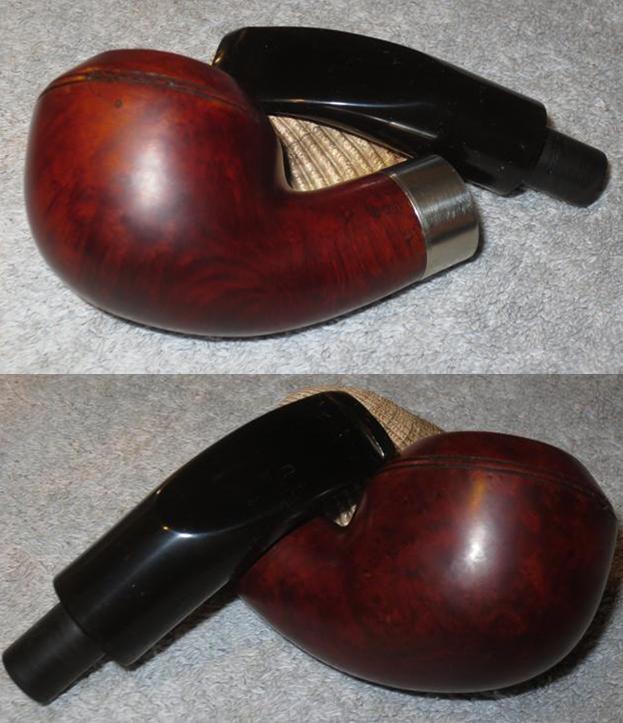
 I scrubbed off the porcelain with Soft Scrub to remove the stickiness and grime. I unscrewed the horn stem from the Cherrywood portion and cleaned out the threads and the airway in both the stem and the shank portion. I put some Vaseline on the horn threads and put the stem back in place. I hand buffed the porcelain bowl and chamber pot with a soft microfibre cloth and gave the stem several coats of carnauba wax to protect it. The finished pipe is shown in the photos below. It is ready for the fellow to pick up. Only five more of his pipes to work on before I give him a call to come pick them up. Thanks for looking.