By Al Jones
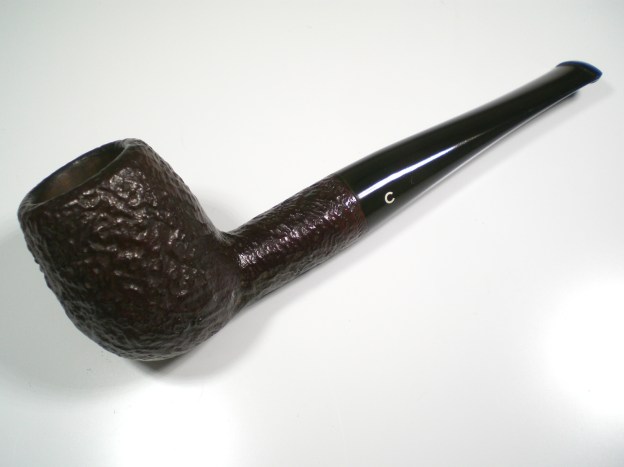
As a fan of the wonderfully chubby Peterson 999 shape, the XL999 has always intrigued me. To this point, I’ve only seen them on the web and never handled one in person. This one showed up on Ebay, with an attractive “Buy It Now” price and offer. I struck a deal and it was delivered a few days ago.
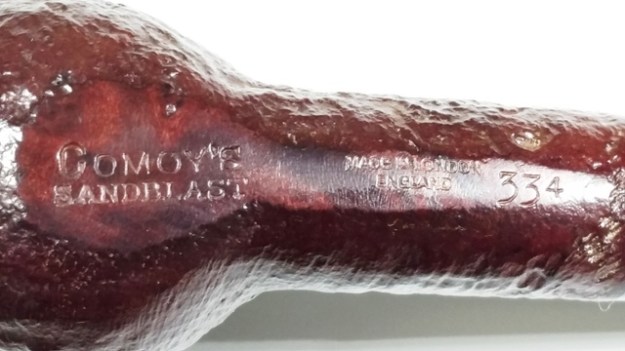
We’ve already learned from Mark Irwins blog, the Peterson Pipe Notes that the XL999 model straddled the change from the chunkier pre-Republic 999 to the slimmer model offered from the late 1990’s until the present. Mark tells us that the XL999 was introduced to the Peterson catalog in 1977 and morphed into the 998 shape by 1992. You can read Mark’s blog entry here below and I include a catalog photo from Mark.
Peterson Chubbies, Part 1 “The 999 John Bull”

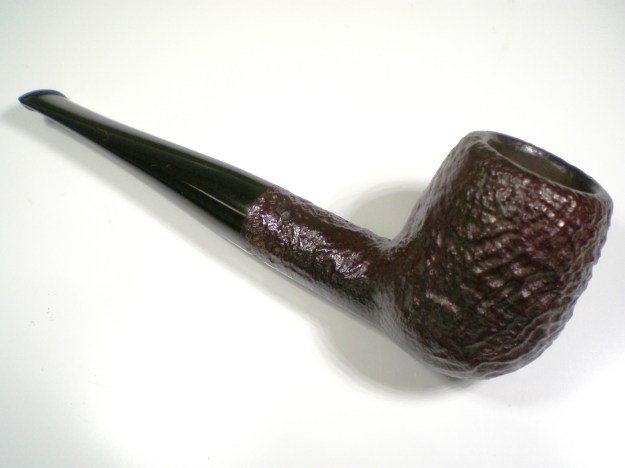
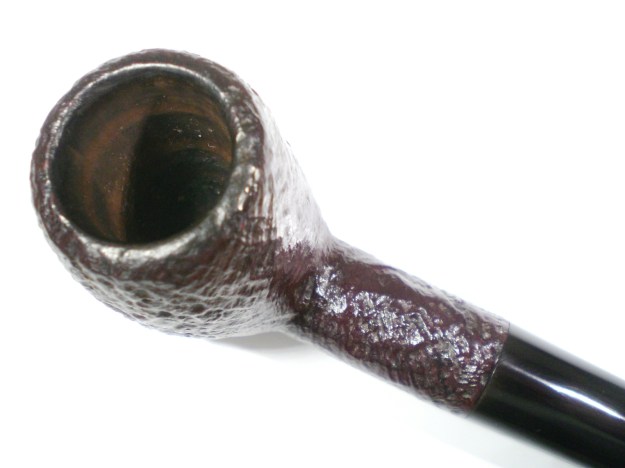
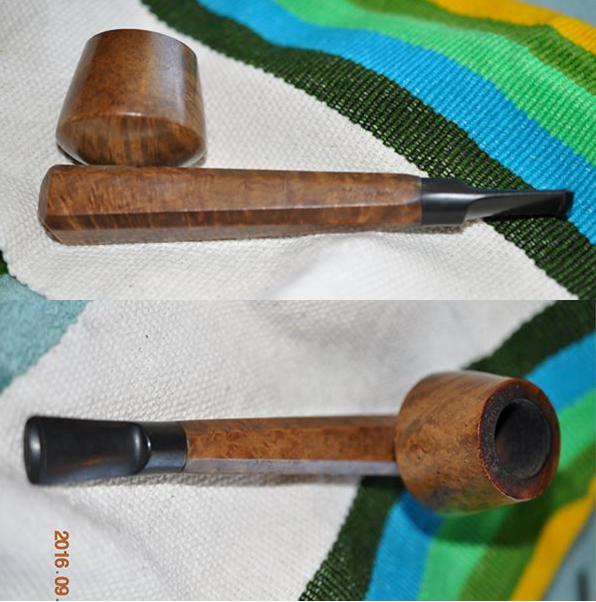
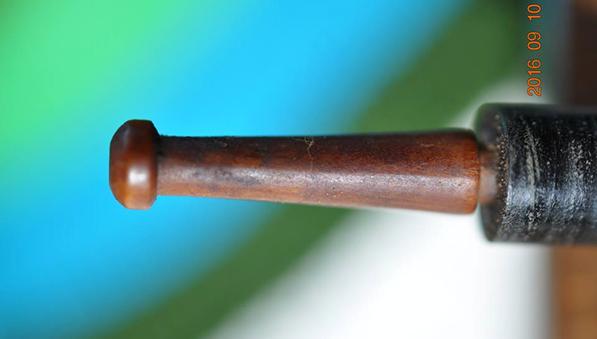
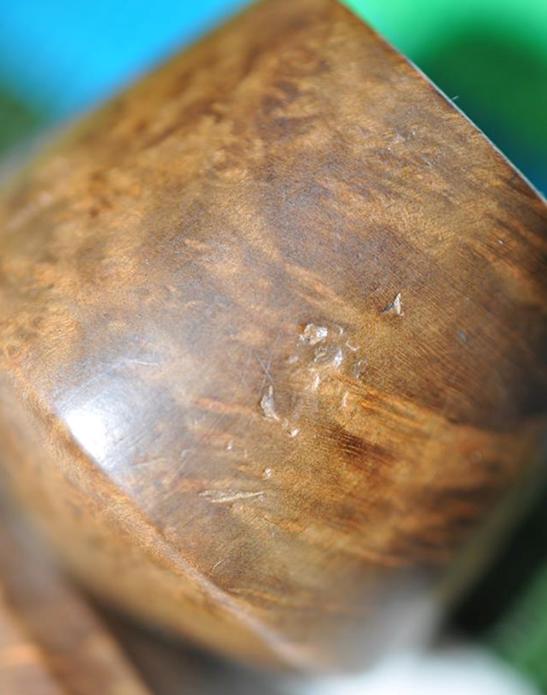
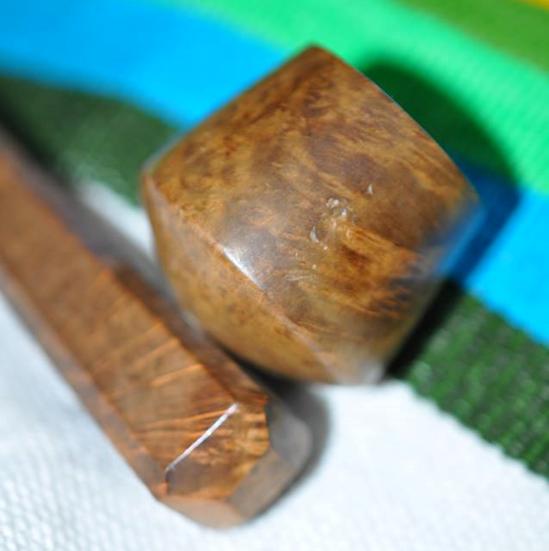
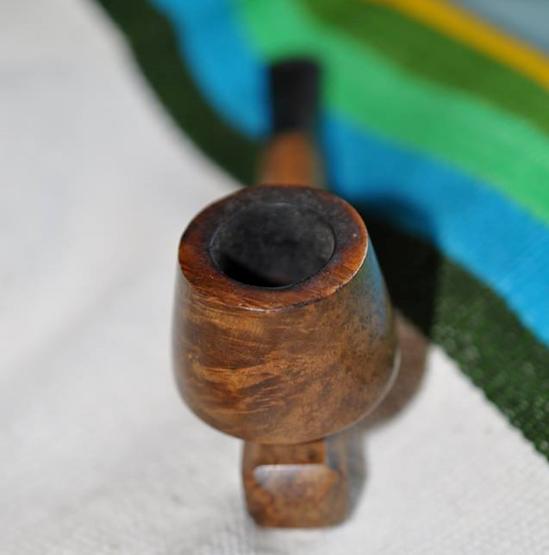
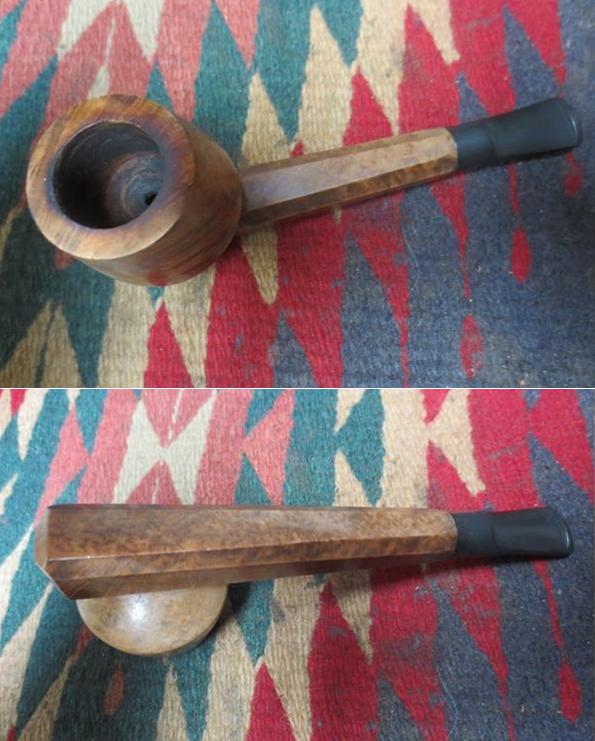
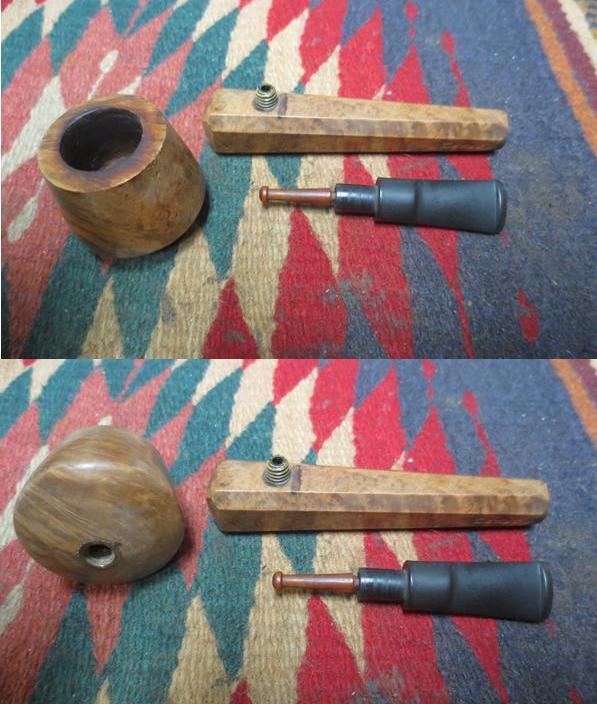
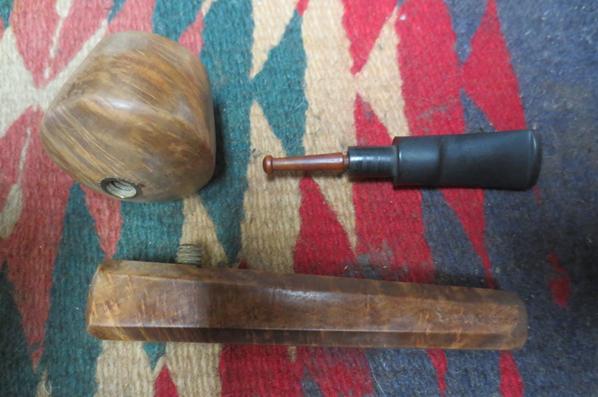
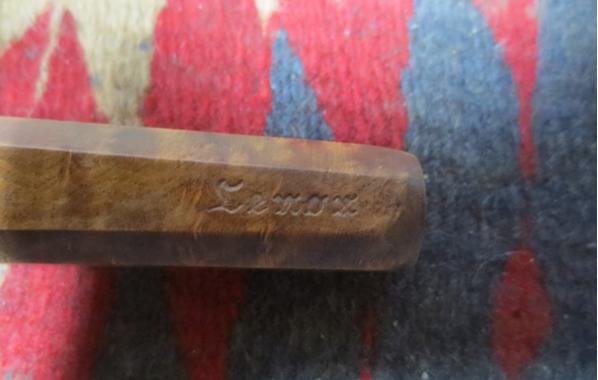
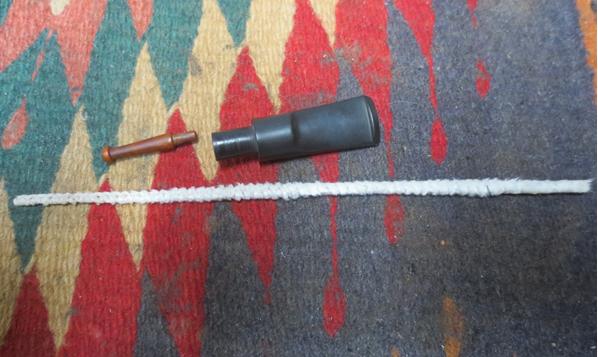
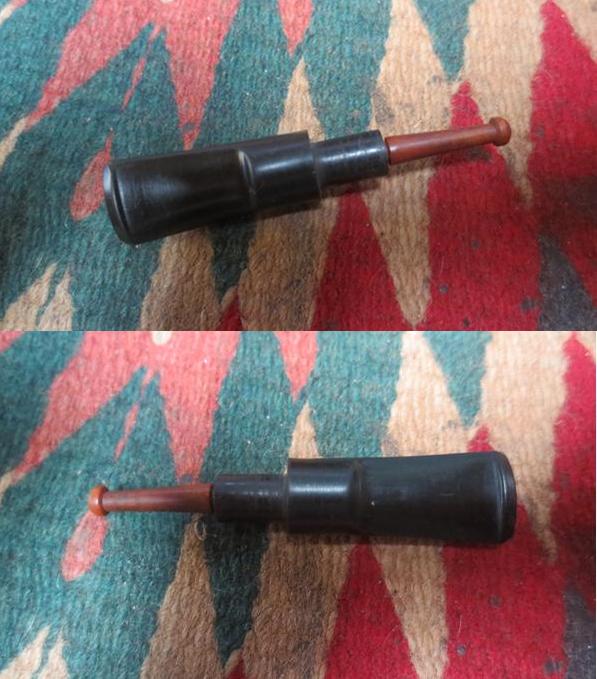
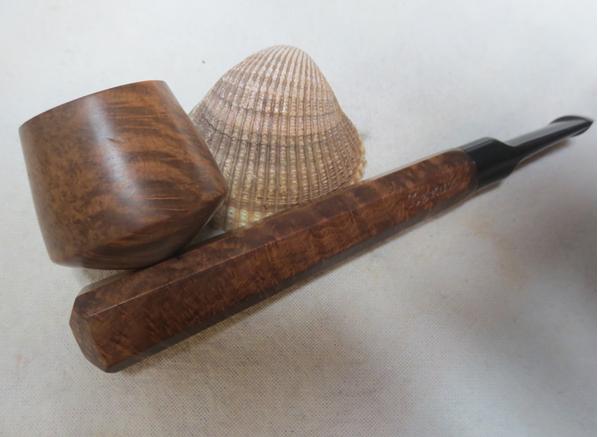
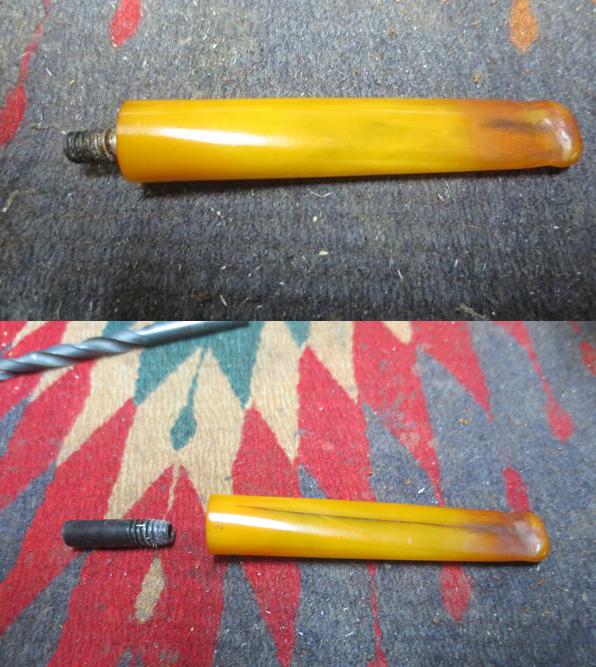
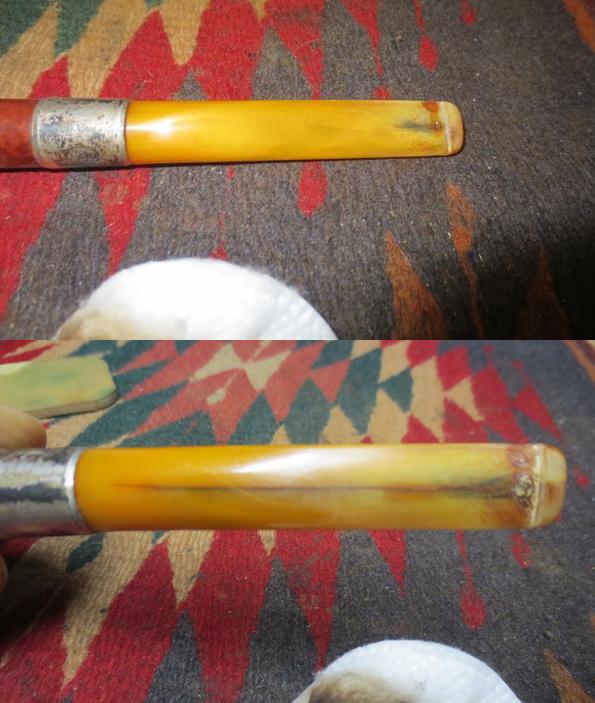
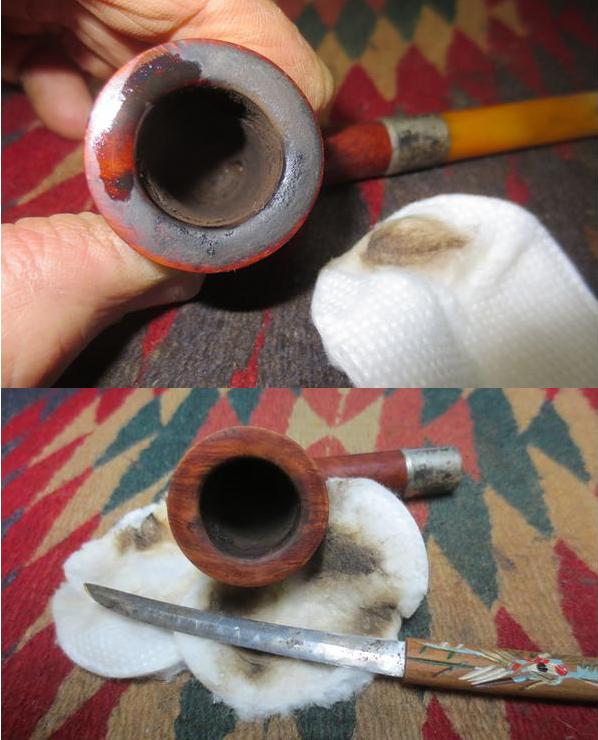
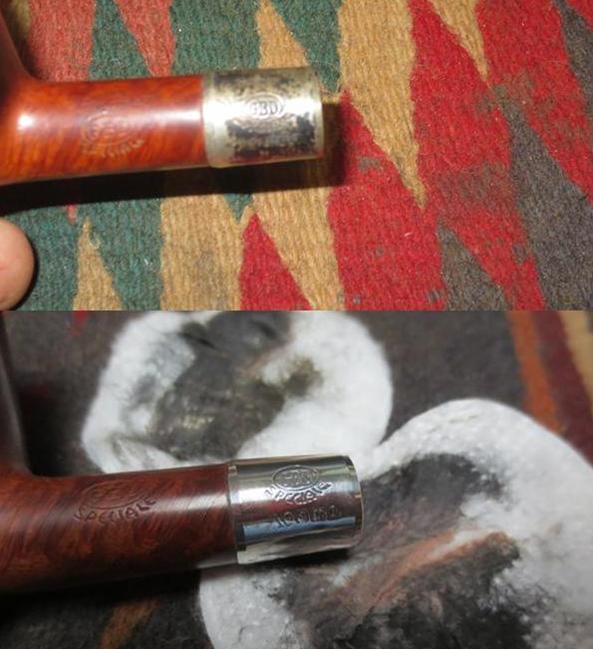
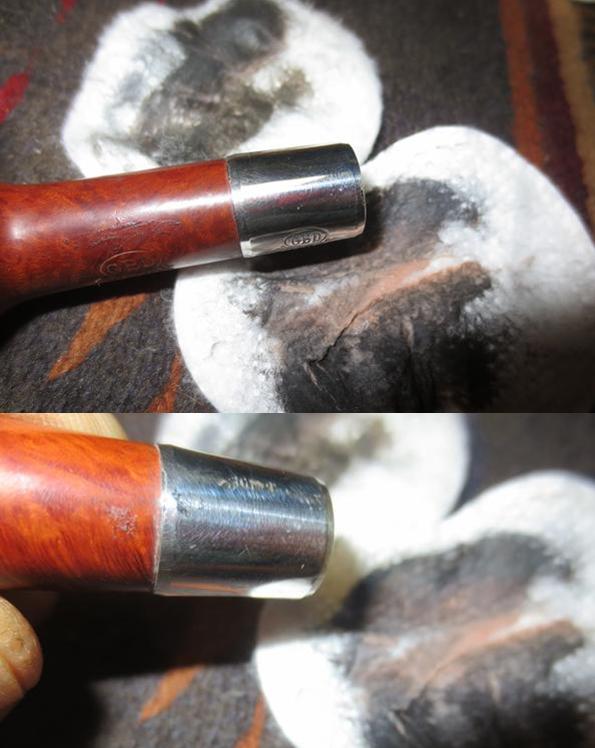
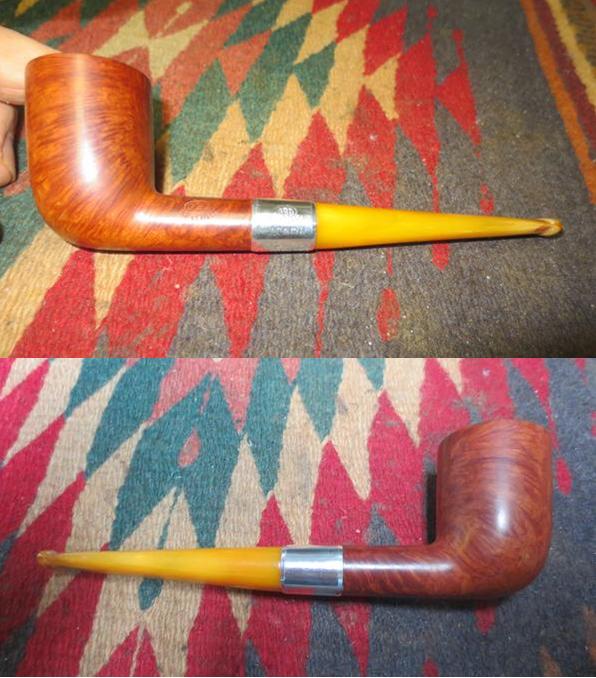
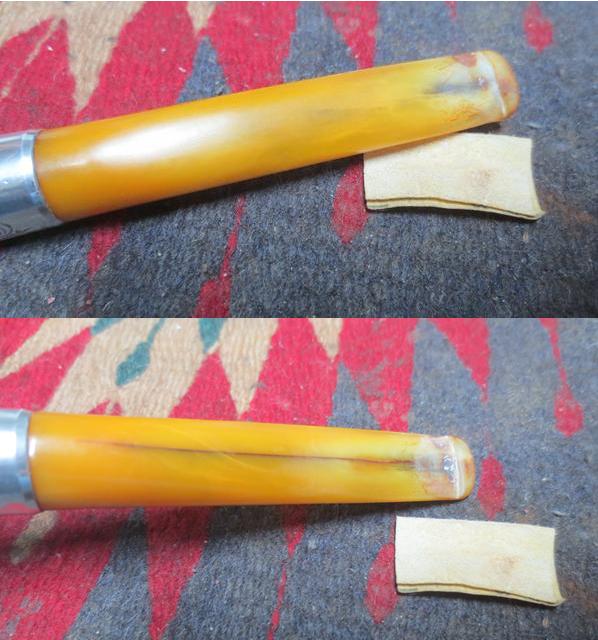
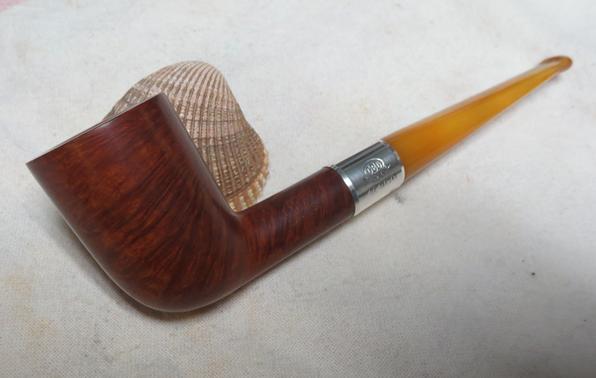
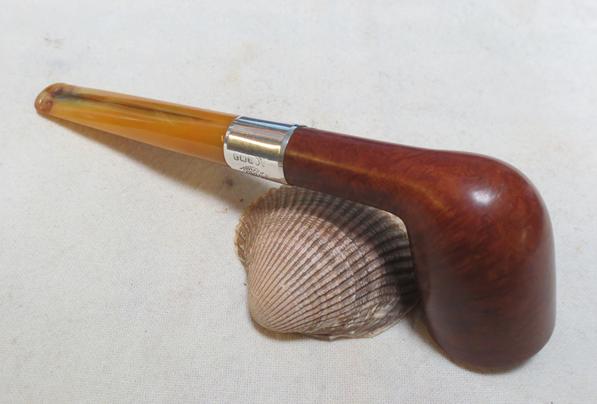
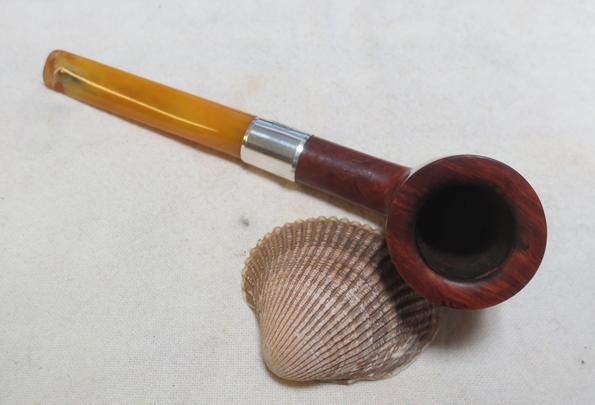
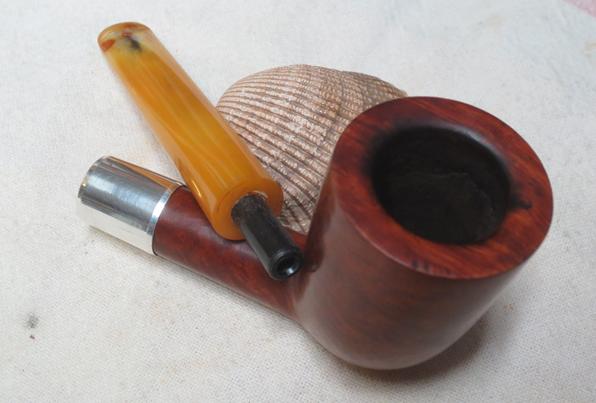
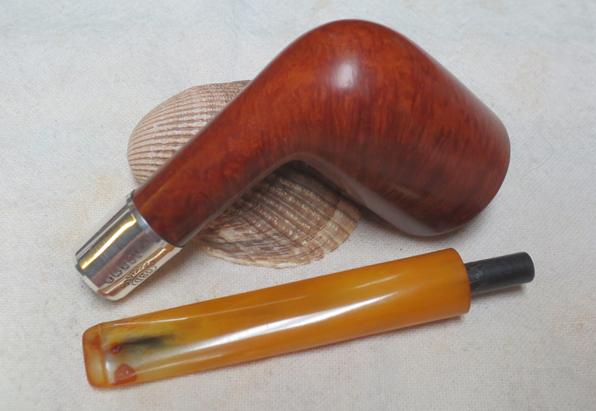
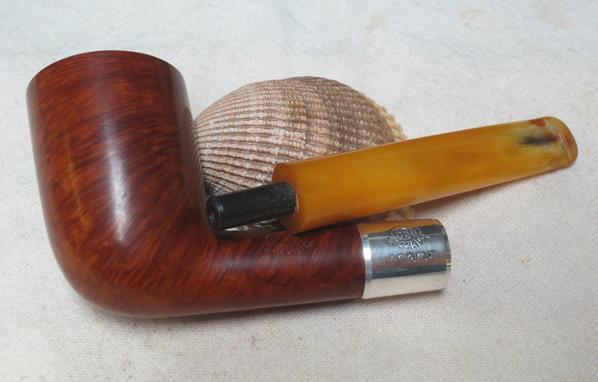
The Kildare finish is a lower grade and the grain on this one is unremarkable. The pipe was delivered in very good condition, with some heavy oxidation on the stem. There was some tar build-up on the bowl top but the stem was bite free, with only some light chatter. Most importantly, this one had the P-lip stem that completes the look.


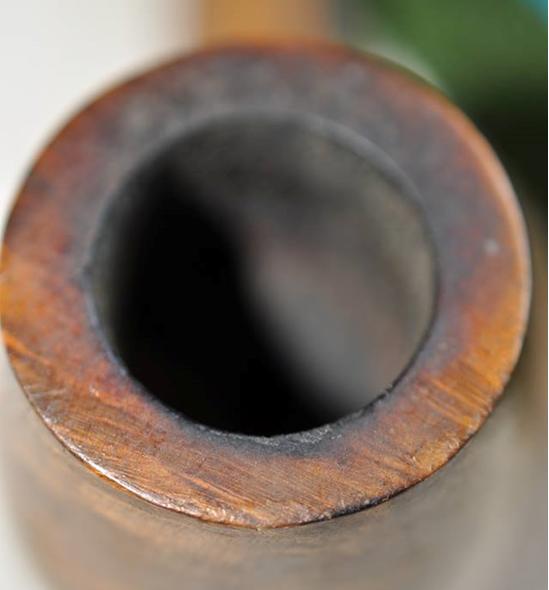
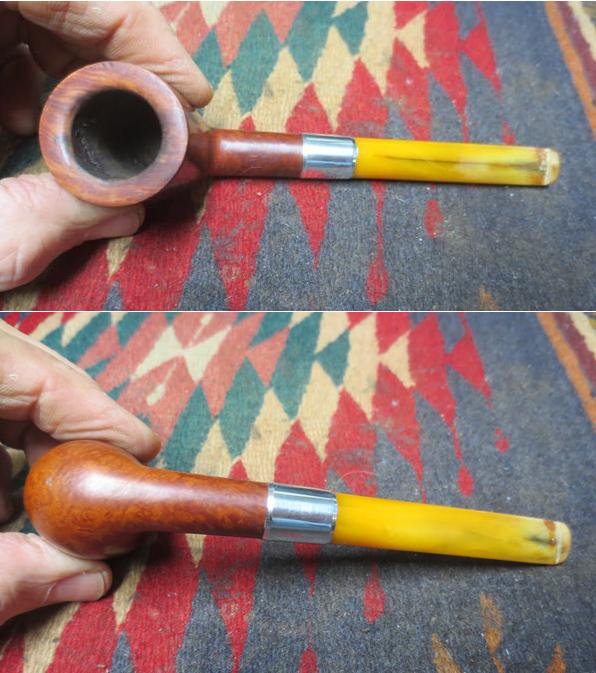
The bowl was reamed and then I removed the bowl-top build up with a cloth and water. I finished the bowl top with 2000 grade wet paper and 8000 grade micromesh. The bowl was then soaked with alcohol and sea salt. Following the soak, there was a lot build-up in the shank, which I removed with screwed-in paper towels and then a series of brushes.
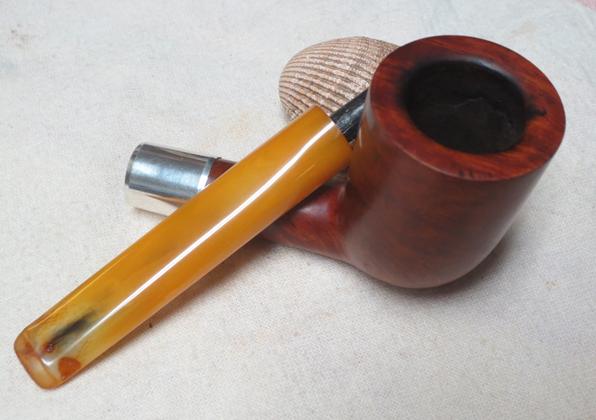
The bowl was buffed with White Diamond but still seemed a little dull. I wiped on a nearly clear (heavily diluted) Medium brown stain and then buffed it again, which woke up the finish a bit. The bowl was finished with several coats of Carnuba wax.
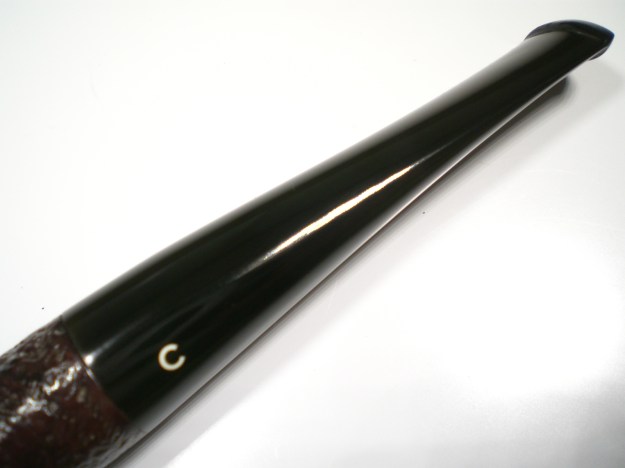
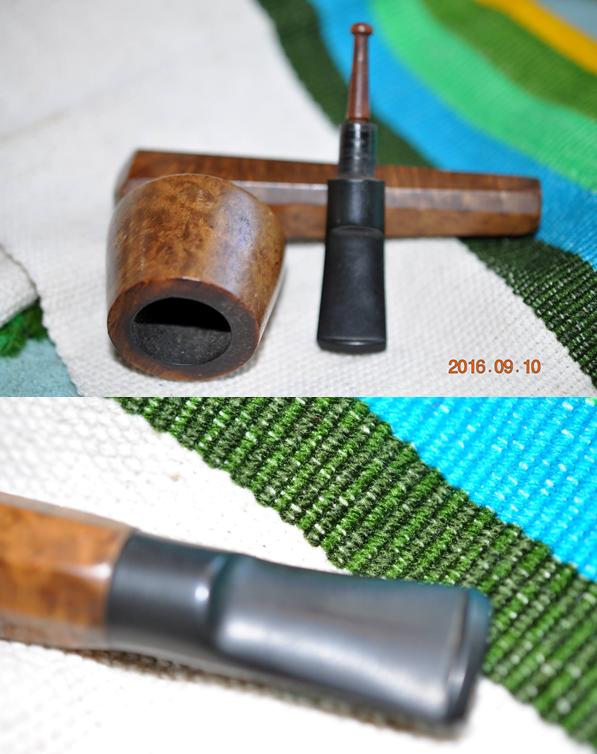
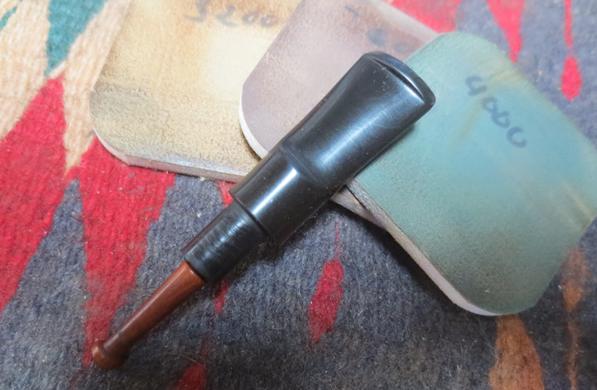
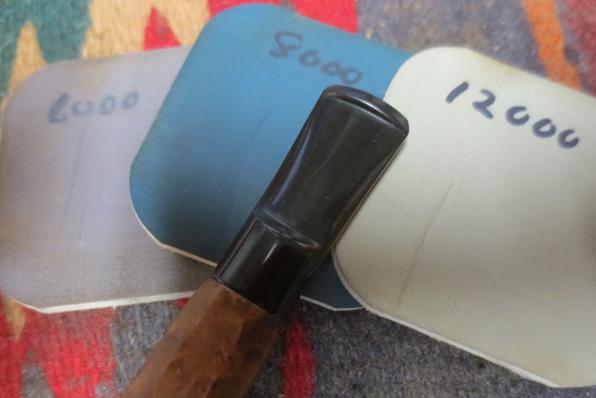
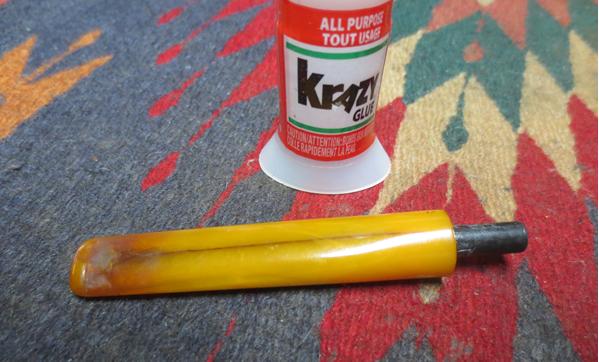
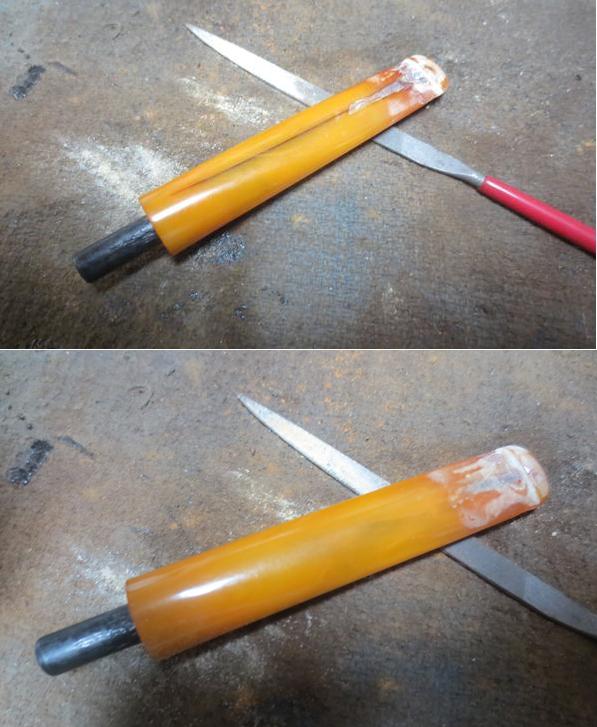
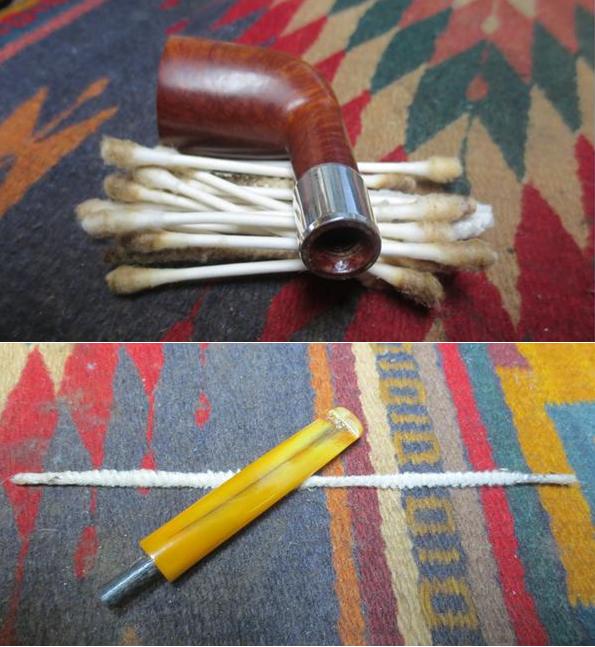
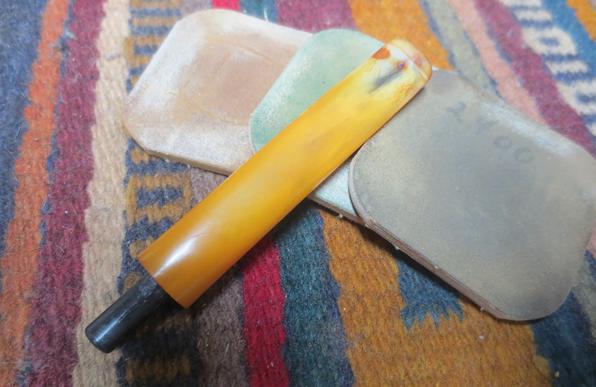
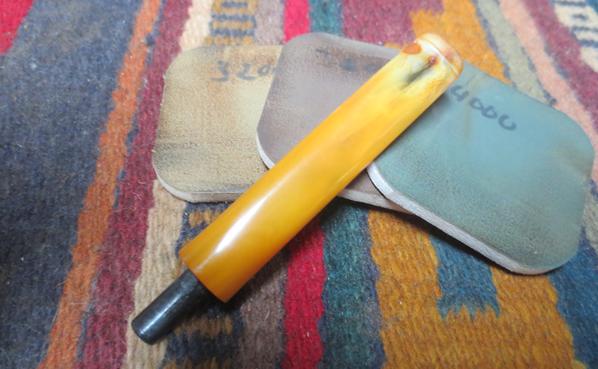
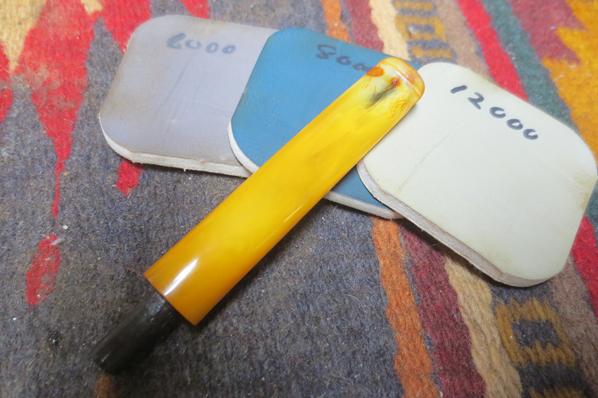
While the bowl was soaking, I also soaked the stem in a mild Oxy-clean solution, with a dab of grease on the P logo. The stem was then mounted and oxidation removed with 800, 1000 and 2000 grade wet paper. This was followed by 8000 and 12000 grade micromesh. The stem was then buffed with White Diamond, followed by Meguiars Plastic Polish.
I mulled over re-painting the white of the P-stem logo, but I often don’t care for that result. So for now, it remains as received.
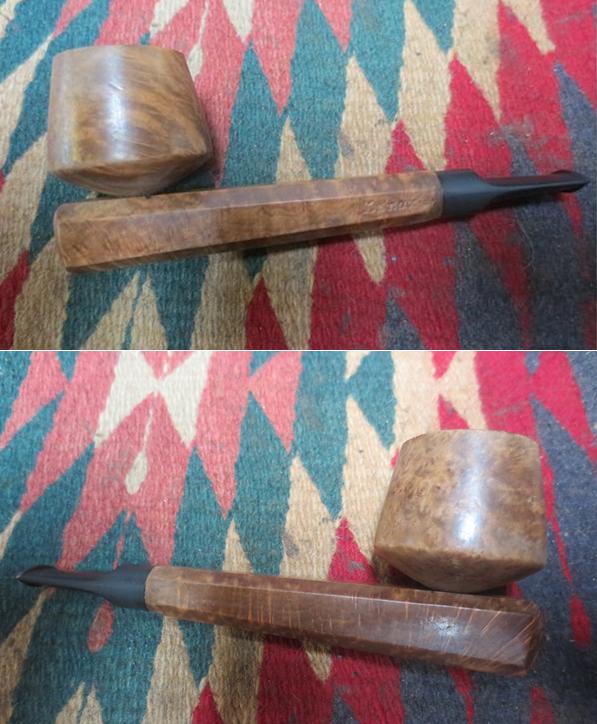
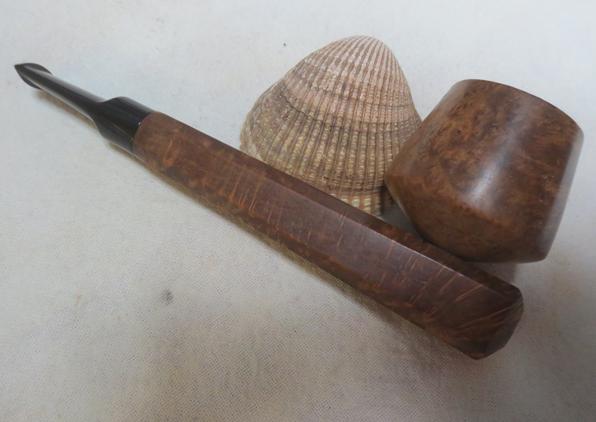
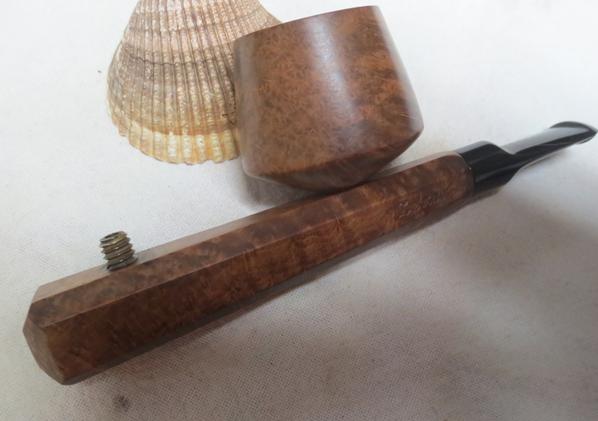
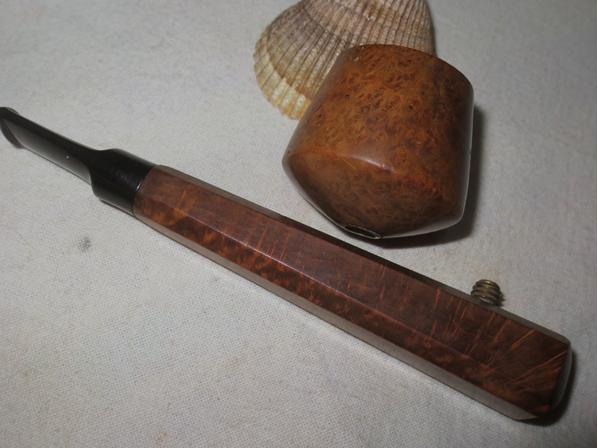
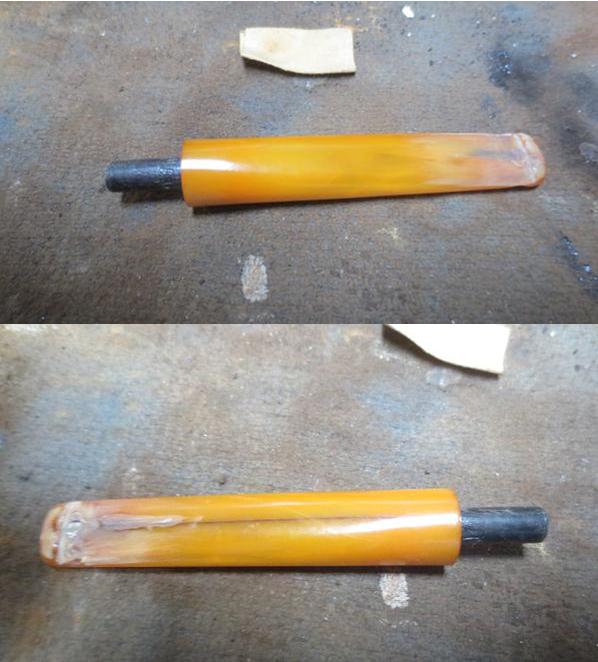
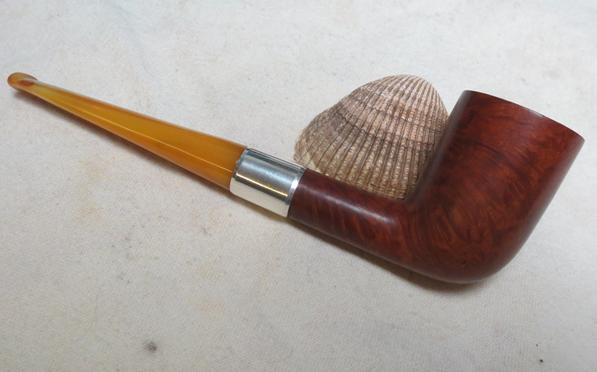
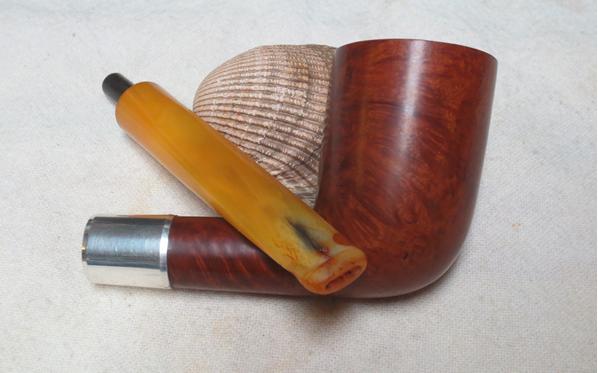
Below is the finished pipe.


?

?
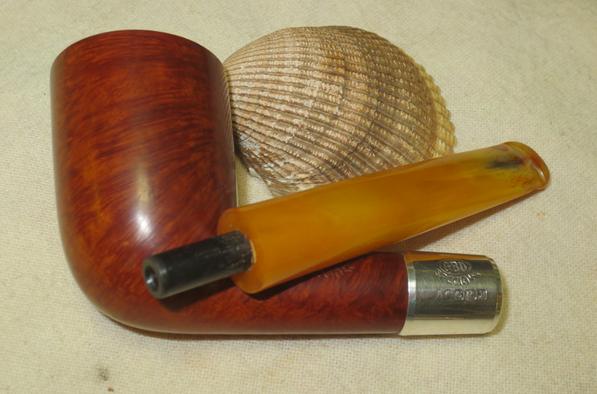
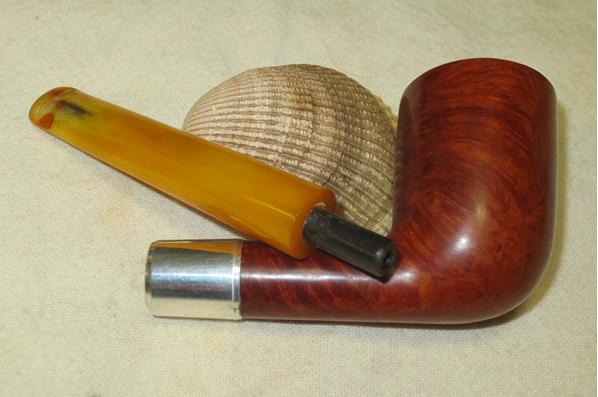
Below is a group shot of the pipe with my other 999’s, both of which are pre-Republic era pipes. It’s interesting to see the slight shape variations and size. This one is very near in shape and weight to my Deluxe 999 (with Gold P logo), and it weighs 51 grams.