Blog by Steve Laug
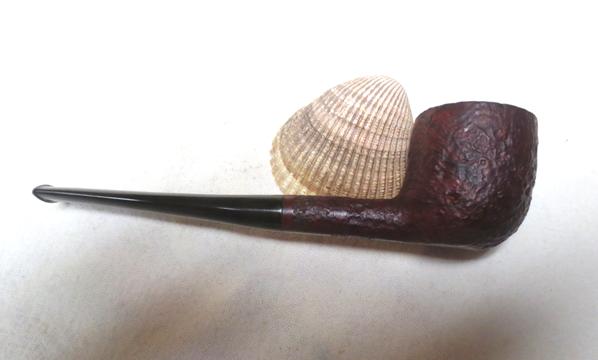
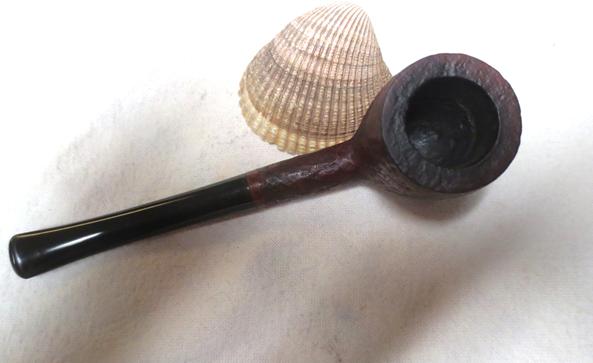
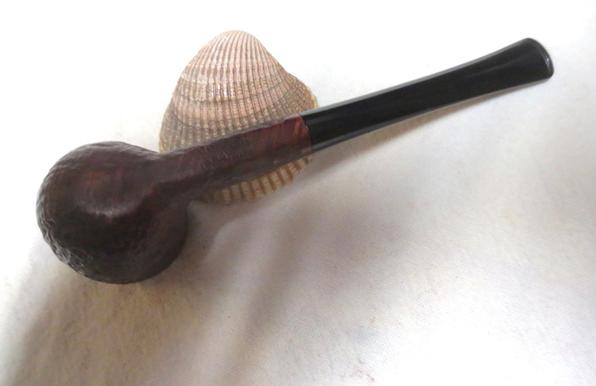
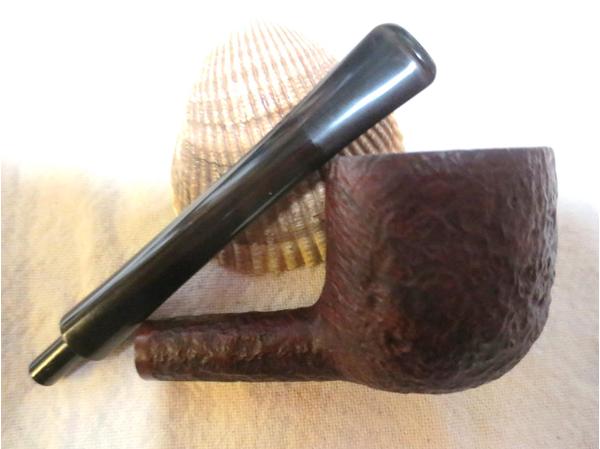
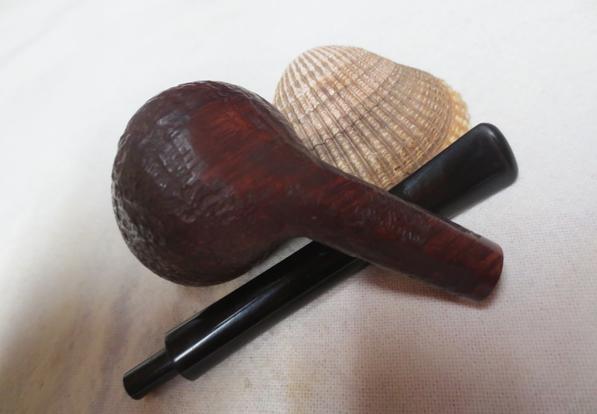
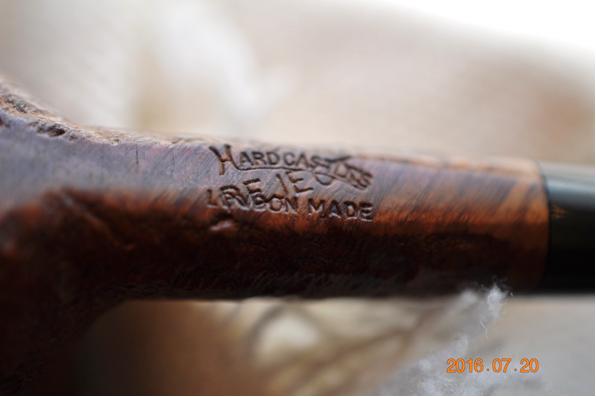
This perfectly shaped little Hardcastle’s sandblast pot was the next pipe to my worktable. It is a small almost pencil shank pot. It is stamped Hardcastle’s London Made and across that it is stamped Reject. It has a rich blast on the sides of the bowl and shank. There is a smooth portion on the bottom of the bowl and shank for the stamping and allowing it to be a sitter. My brother took the next photos to show the condition of the pipe before he cleaned it up.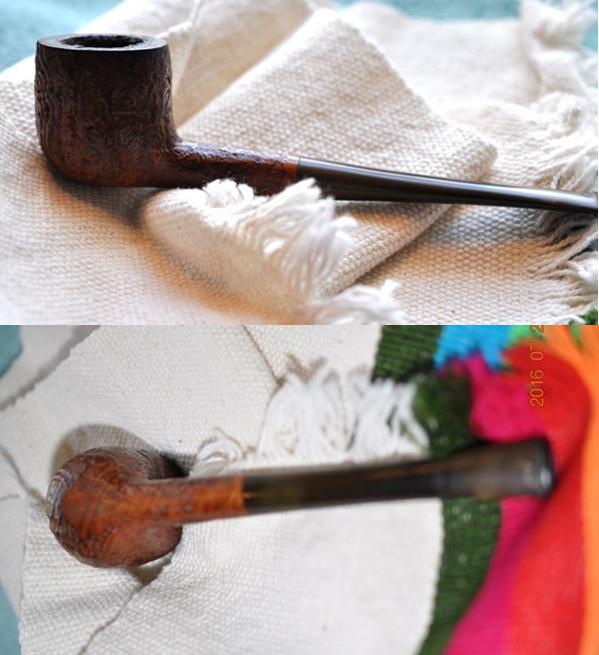 He took some close up photos of the bowl and stamping. The bowl had a thick cake and a large overflow of lava on the rim. The lava covered the light blast finish on the rim completely and it was hard to tell the condition of the bowl at this point. The finish was worn and dirty but there were no chips or dents marring the finish. The stem is oxidized and you can see the Hardcastle’s H stamp on the left side near the shank. You can see the stamping on the shank and clearly see the REJECT stamp across the initial stamping. I am not sure why this pipe was rejected. It appears to be a decent piece of briar. There were two small sandpits on the sides of the bowl that I suppose may have caused it to be a reject but that is not clear to me.
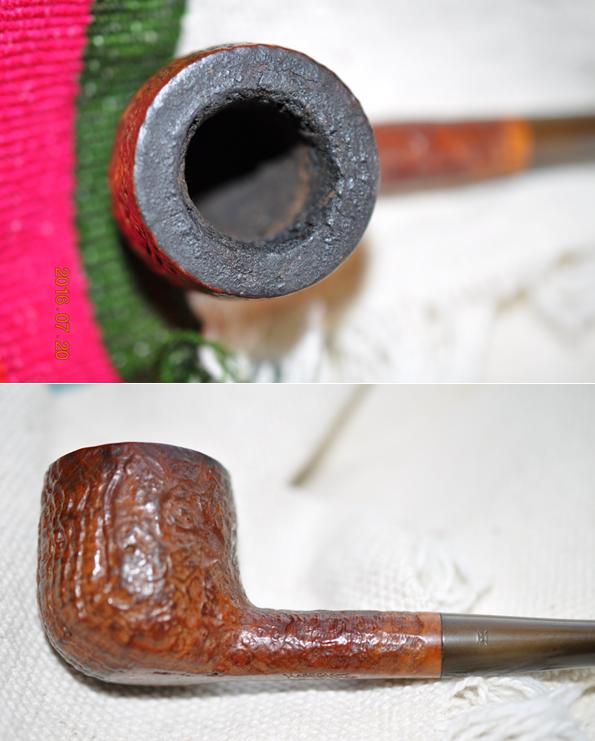
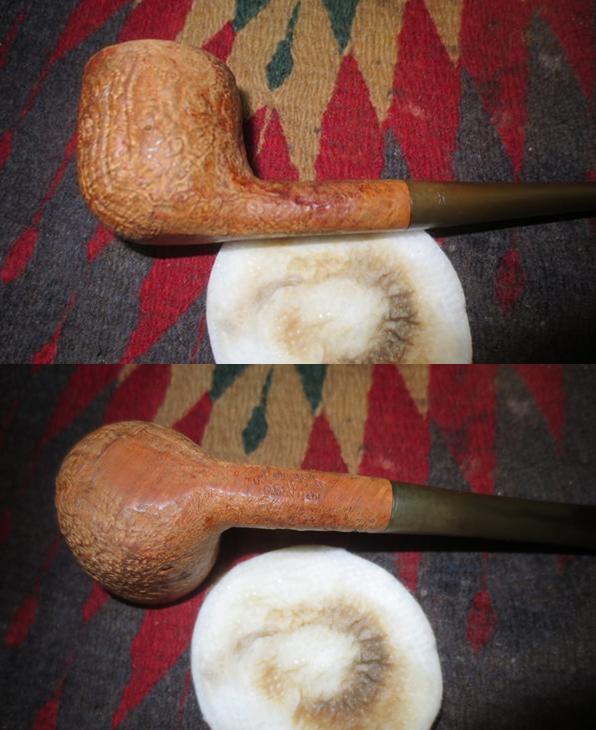
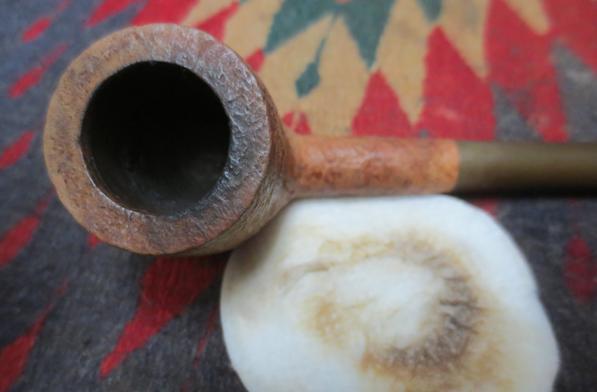
 My brother did his usual great clean up on the exterior of the pipe. He scrubbed it with Murphy’s Oil Soap and a tooth brush and was able to remove the finish. He reamed the bowl and removed the lava build up on the rim and left a slightly darkened rim with no burns or damage to the edges. I took the next set of photos to show what the pipe looked like when it arrived in Vancouver.
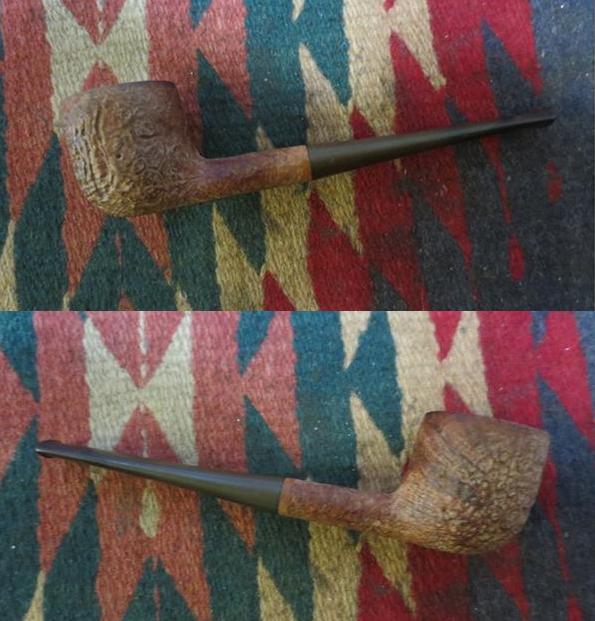
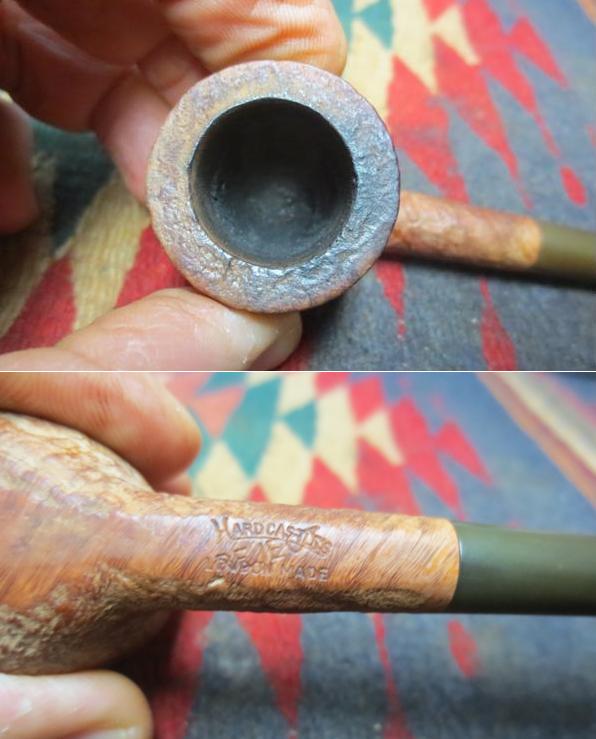
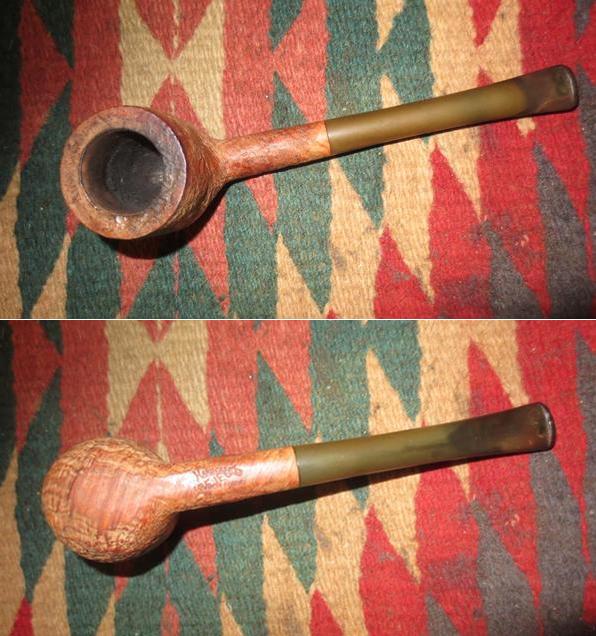 I took a close up photo of the rim to show the darkening on the back side of the top. It was clean but darkened. There were no burn marks or damaged briar on the edges of the bowl. The stamping is also shown and it remains sharp and distinct.
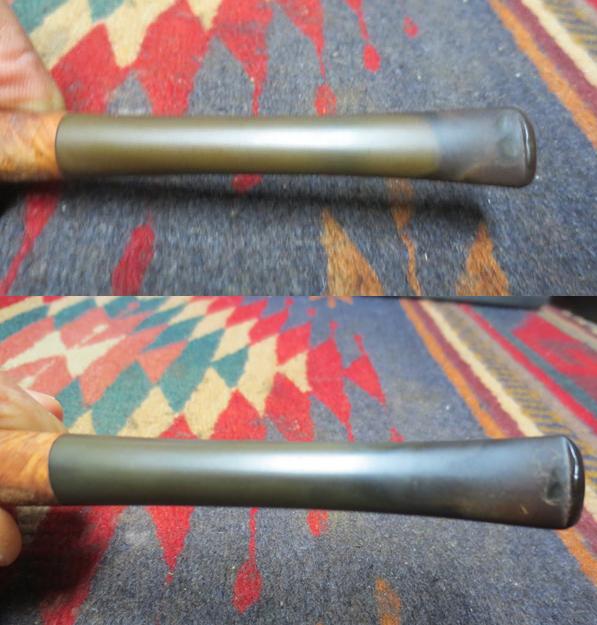
 The stem was lightly oxidized and there were tooth dents and chatter on the top and underside near the button. The button had some flattening and wear as well.
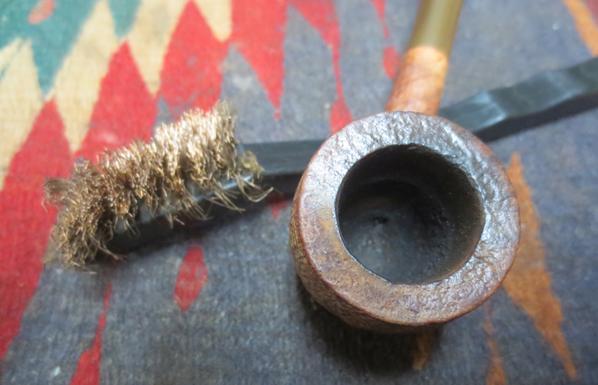
 I used a brass bristle tire brush to scrub the top of the rim and try to clean out some of the darkening on the rim. I was able to remove some of it and make it less pronounced.
 I wiped the bowl down with acetone on cotton pads to clean of any remnants of the old finish and to remove the debris from the brass brush work on the rim.
 With the bowl cleaned I stained it with a dark brown aniline stain mixed 50/50 with isopropyl alcohol. I flamed the stain and repeated the process until the coverage was even on the bowl and in the deep pits of the sandblast finish.
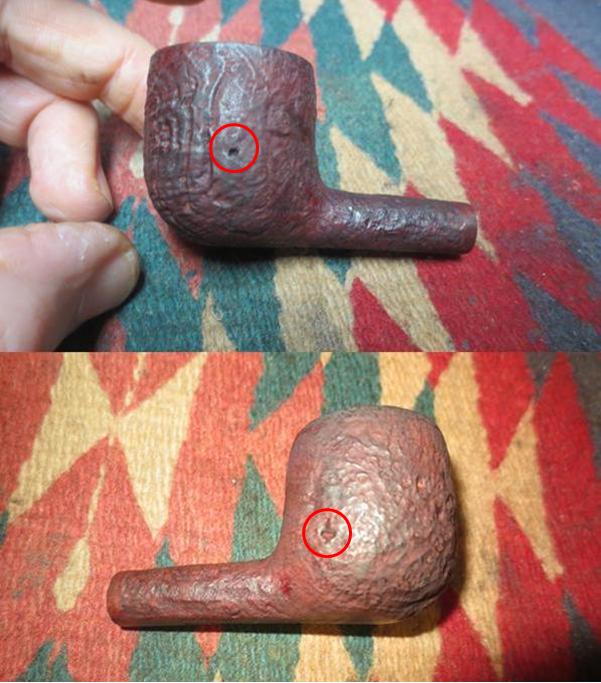
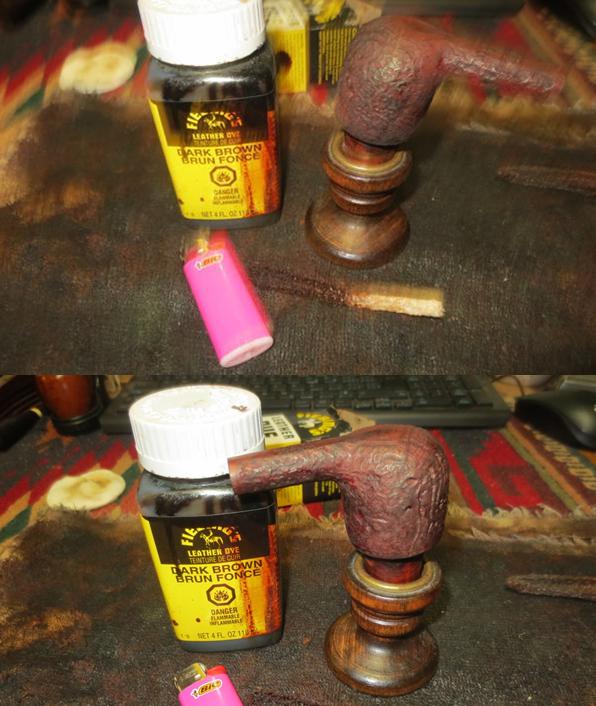 I took some photos of the pipe at this point in the process. The stain had covered well. The colour was a little dark for my liking and would need to be lightened a bit before I was finished. You can see the sand pits on both sides of the bowl that may have made this pipe a reject. I have circled them in red.
 I cleaned the mortise with a dental spatula and then cotton swabs, pipe cleaners and alcohol. I also cleaned out the airway into the bowl and in the stem.
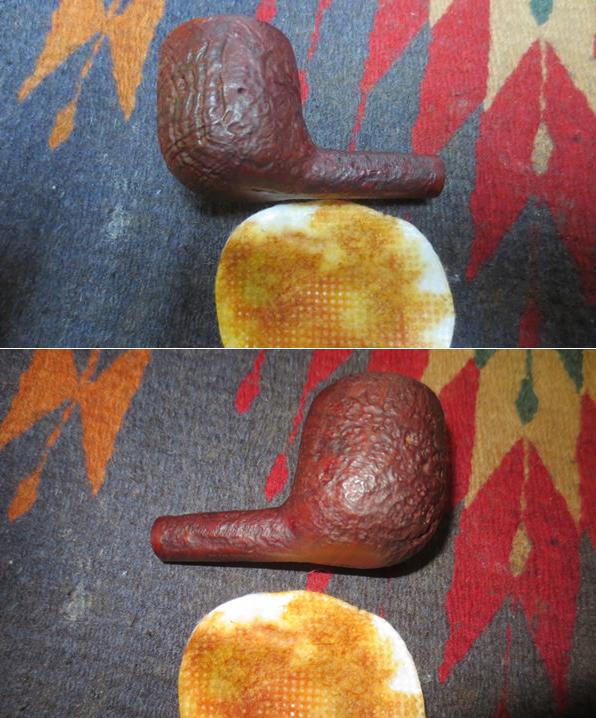
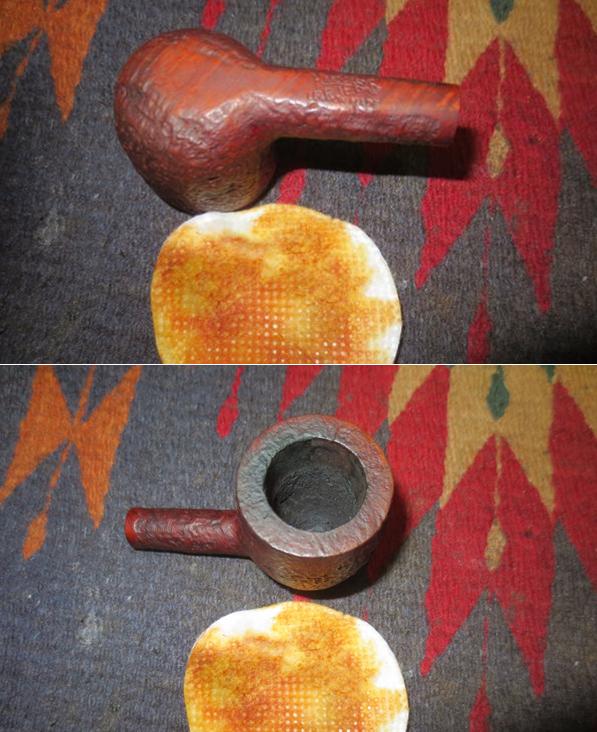
 To lighten the colour of the stain I washed it down with some alcohol on cotton pads until the colour was more to my liking. The finished colour is shown in the photos below.
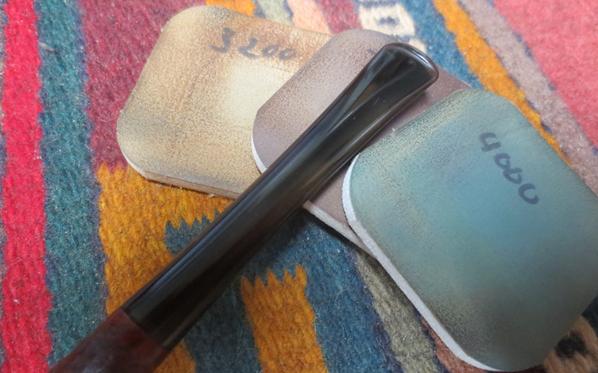
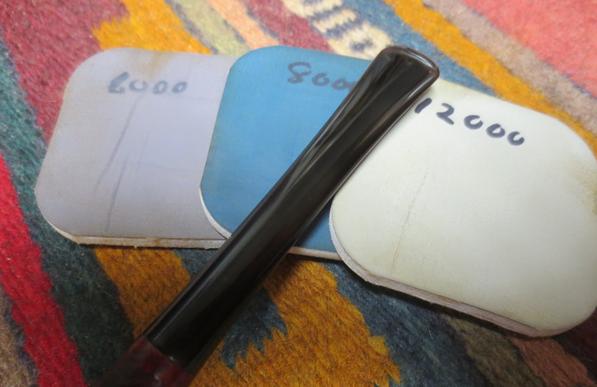
 I painted the dents in the stem with the flame of a Bic lighter and was able to raise them almost smooth. I sanded the stem with 220 grit sandpaper to smooth out the slight dimples that remained in the surface. I wet sanded the stem with 1500-2400 grit micromesh sanding pads and rubbed it down with Obsidian Oil. I dry sanded it with 3200-12000 grit pads and rubbed it down with the oil after each set of three pads. After the final 12000 grit sanding I gave it a final coat of Obsidian Oil and set it aside to dry.
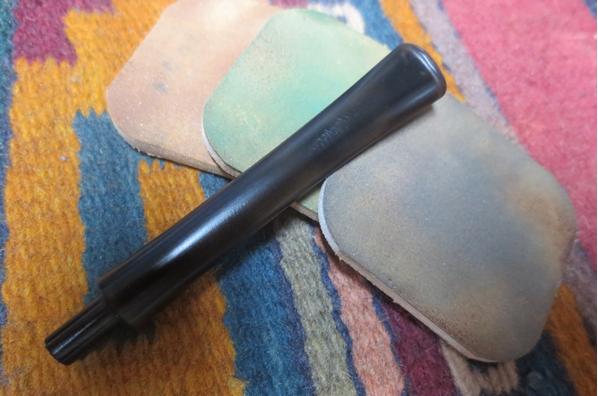
 I buffed the pipe with Blue Diamond on the buffer and gave the stem multiple coats of carnauba wax. I hand waxed the bowl with Conservator’s Wax. I buffed the bowl and stem with a clean buffing pad and again by hand with a microfibre cloth to raise and deepen the shine on the briar. The finished pipe is shown in the photos below. I am pretty happy with the finished pipe. Thanks for looking.
