Blog by Steve Laug
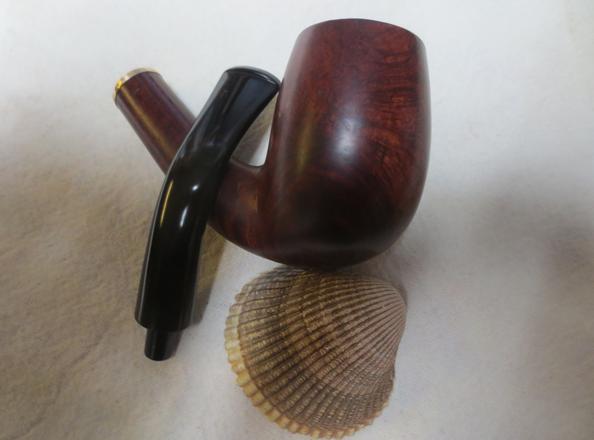
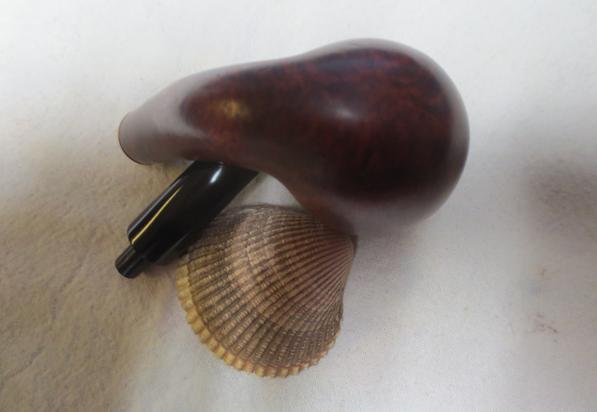
The graceful swan neck like bends and curves of this pipe are one of its attractions for me. It is what drew me to work on it as my next restoration project. It is quite a large pipe – 7 inches long, 2 ¼ inches tall, 1 ¼ inches outer diameter of the bowl and 7/8 inch chamber diameter. The briar is quite nice – lots of birdseye around the bowl. The finish was dirty and worn but other than a few dents and dings it was in decent shape. The brand – Tania – is one that I cannot find any information about online. It is a mystery pipe to me.
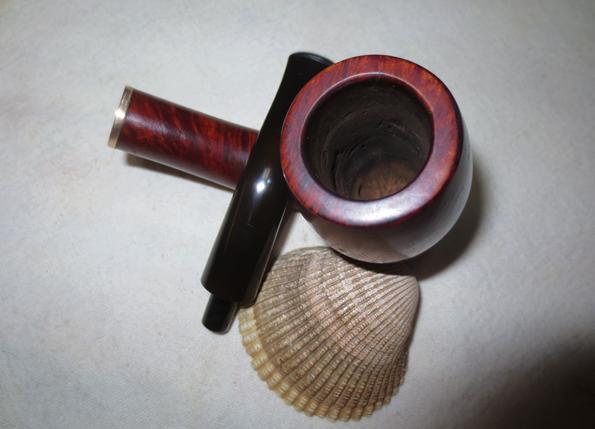
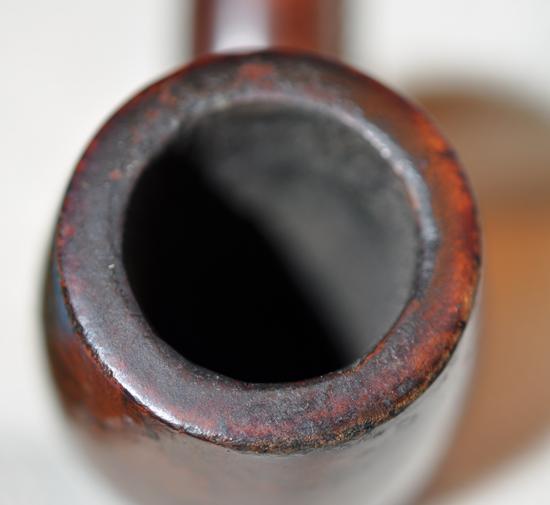
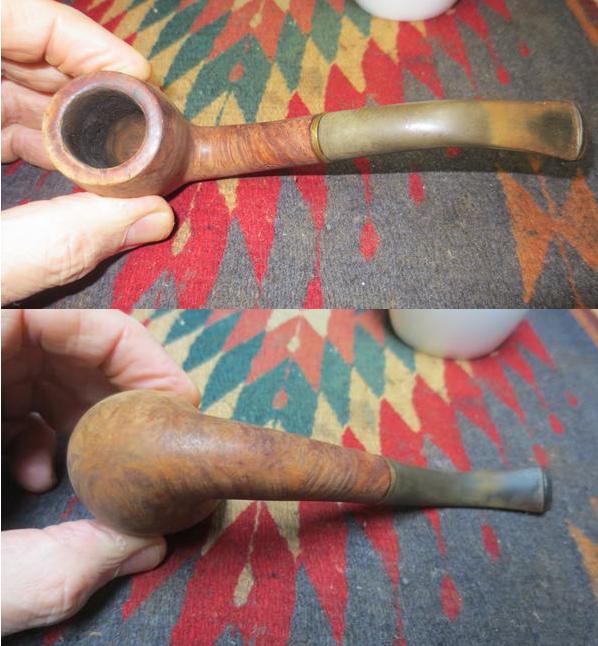
 My brother took some close up photos of the bowl. The first photo shows the large of fills on the right side of the bowl. There are at least 6 or 7 fills on that side and none on the other sides of the bowl. The outer edge of the rim was chipped and worn. There was some wear from knocking it out on something hard. The inner edge of the bowl also was also out of round. The rim top was dented and worn and there were some flecks of tars and oils on it as well.
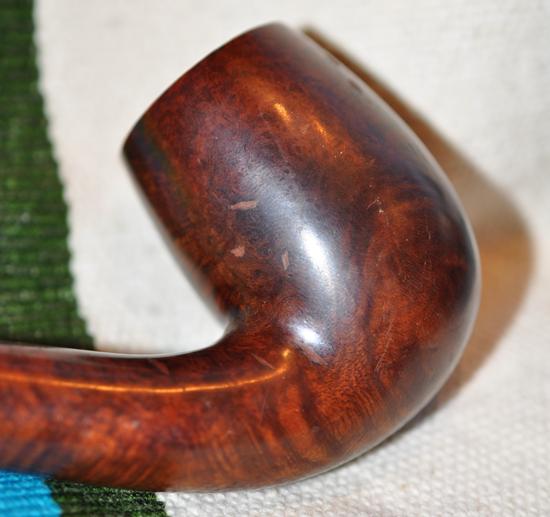
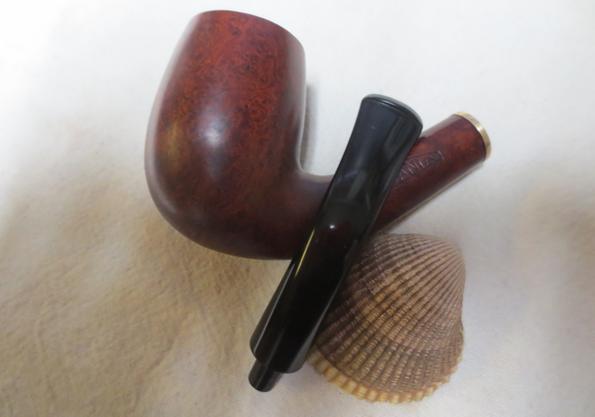
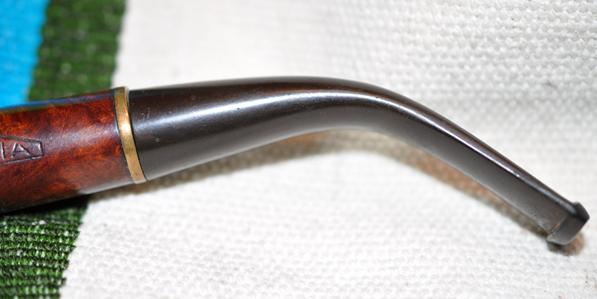
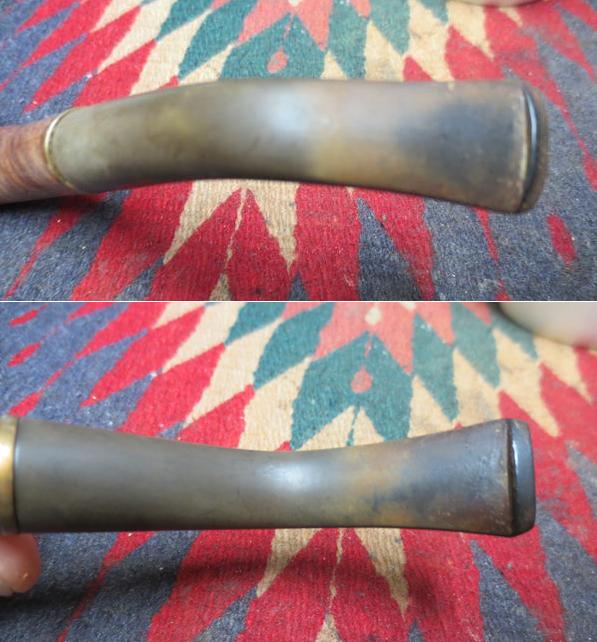
 The next two photos show the stamping on the side of the shank. You can see the name TANIA wrapped with a house shaped frame which peaks at the N. The brass band separating the stem and the shank is actually a ferrule that is bent over the end of the shank. It is dented and tarnished. The final photo shows the oxidation and wear on the stem. Both sides of the stem show the wear and tear on the surface just ahead of the button.
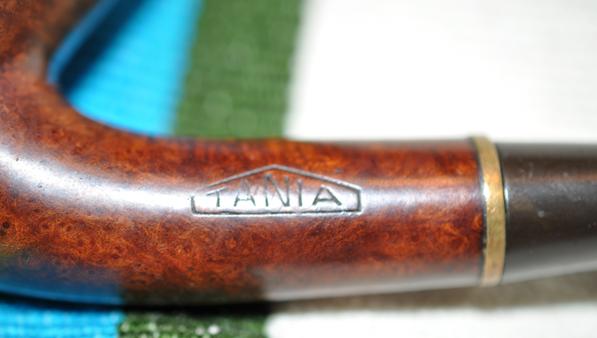
 My brother scrubbed the exterior of the pipe with Murphy’s Oil Soap and removed the finished and left behind some clean briar. He scrubbed the inside of the shank and stem with pipe cleaners, cotton swabs and alcohol. The stem oxidized in the cleanup process. He was able to get much of the tars and oils off the rim of the bowl. I took the next photos when I brought it to the work table.
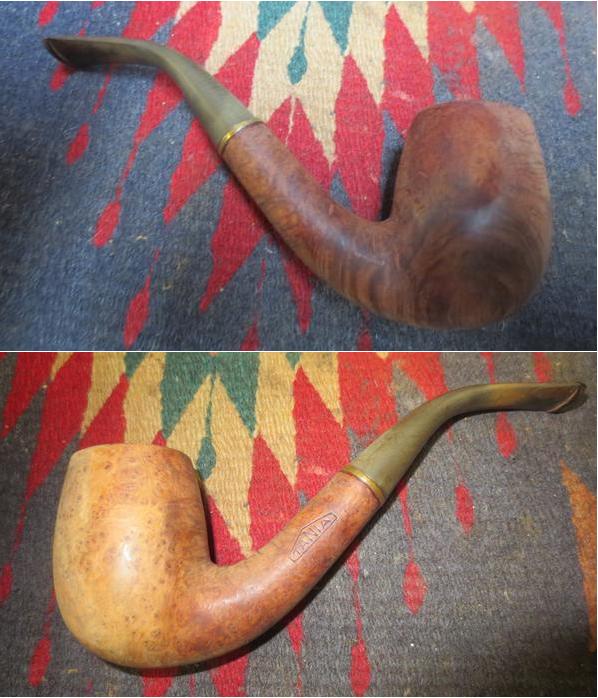
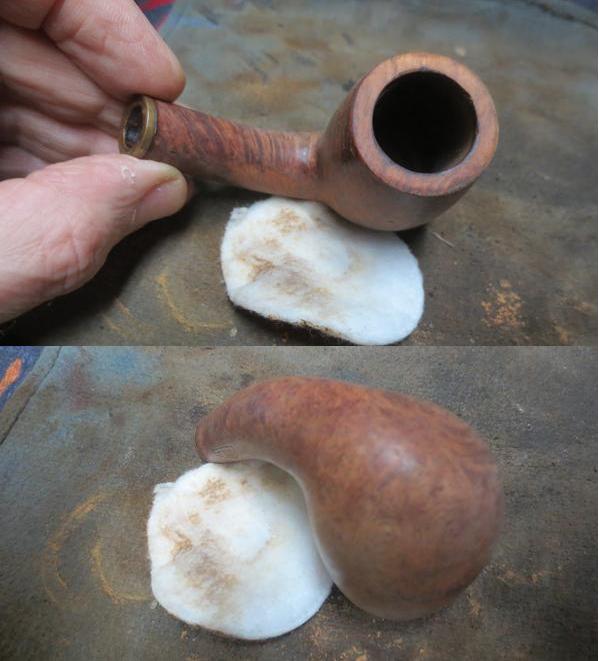
 The rim looked better but it was worn. The outer edge of the rim was in rough shape from knocking it out. The inner edge was damaged with a knife or a sharp object used to scrape the bowl. There were some dents and nicks in the rim top. I took some photos of the stem. It was in very good shape other than oxidation. There were no tooth marks or tooth chatter on the stem.
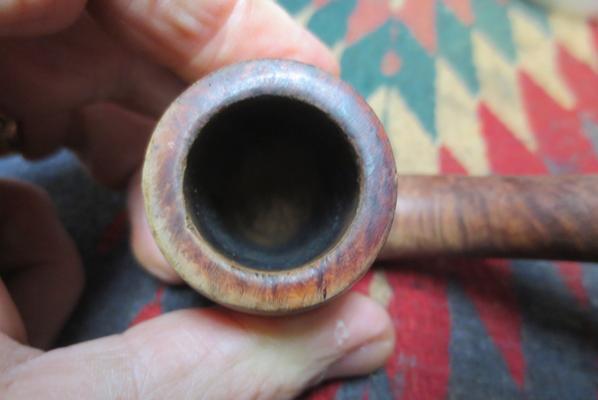
 The fills on the right side of the bowl were not smooth. They were pitted and dented. I sanded the surface of the bowl around the fills and wiped it down with some acetone. I refilled them with clear super glue.
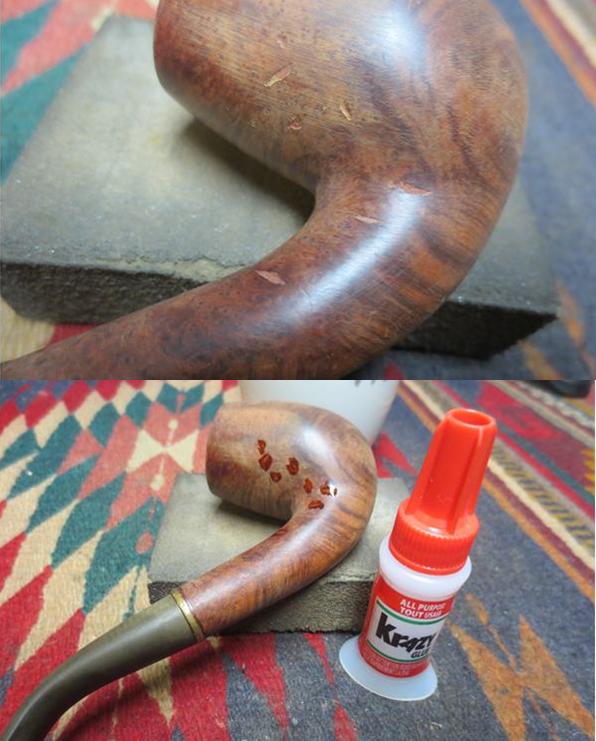 I sanded the bowl repairs with 220 grit sandpaper and then with 1500-4000 grit micromesh sanding pads. I sanded it with a medium and a fine grit sanding sponge. I wiped the bowl down with alcohol on cotton pads. I checked the inside of the mortise and airway with pipe cleaners, cotton swabs and alcohol. It was very clean.
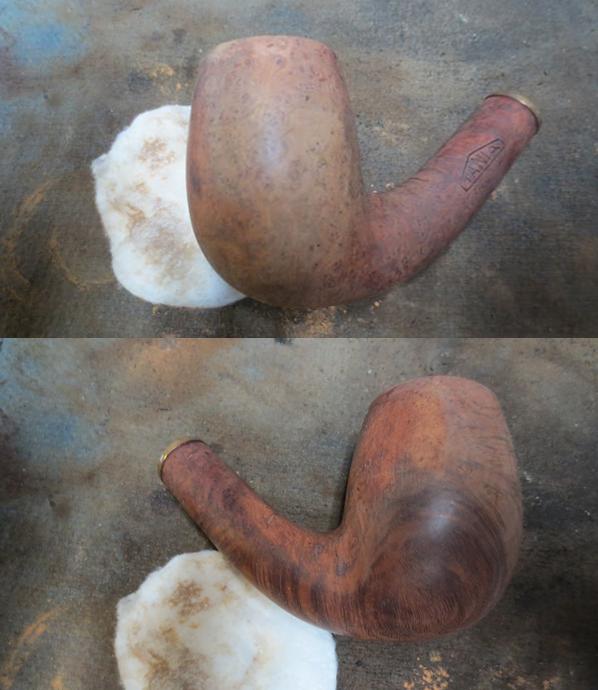
 I stained the bowl with a dark brown aniline stain cut 50/50 with isopropyl alcohol. I applied it, flamed it and repeated the process until the coverage on the briar was even.
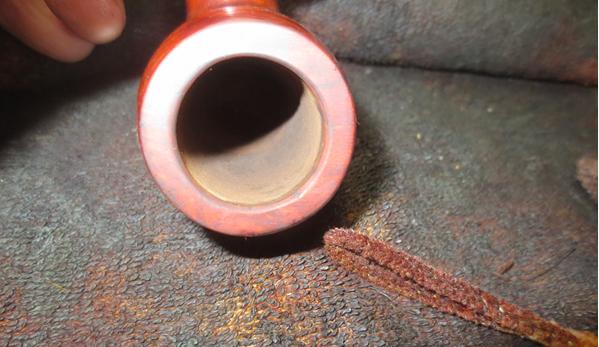
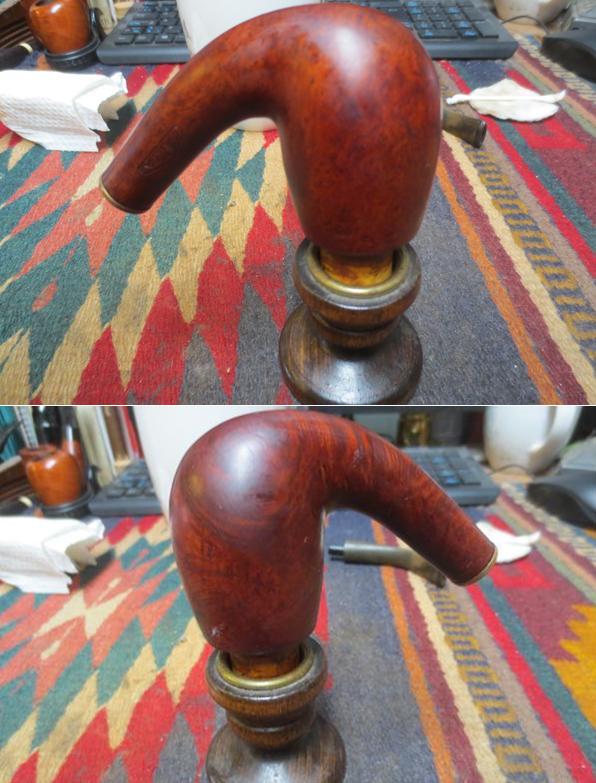 The inner edge of the bowl still showed some damage so I sanded it with a tube of 220 grit sandpaper wrapped around my finger. I sanded until the inside was clean and the edge was more round. I sanded the inner edge to bevel it slightly and take care of the knife damage. I sanded it with 1500-2400 grit micromesh sanding pads. I stained the inside edge with stain on a pipe cleaner.
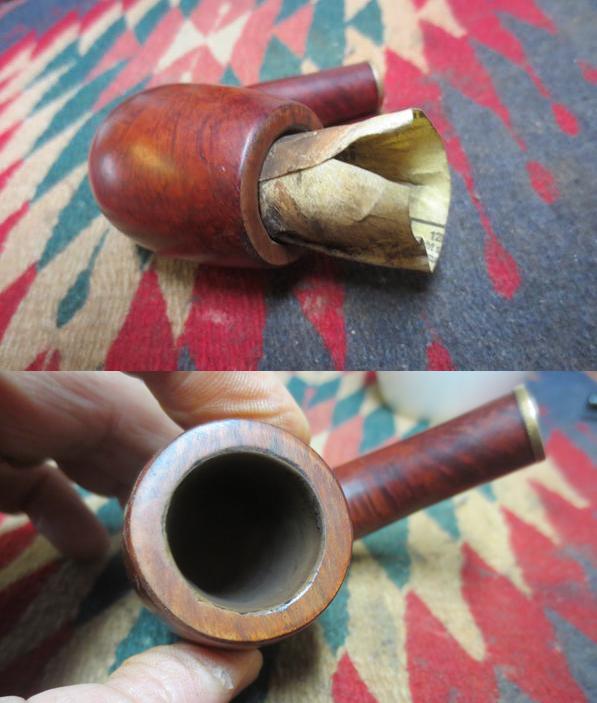
 I buffed the bowl with Blue Diamond on the buffing wheel and gave it a light coat of carnauba wax. I buffed it with a clean buffing pad to raise the shine.
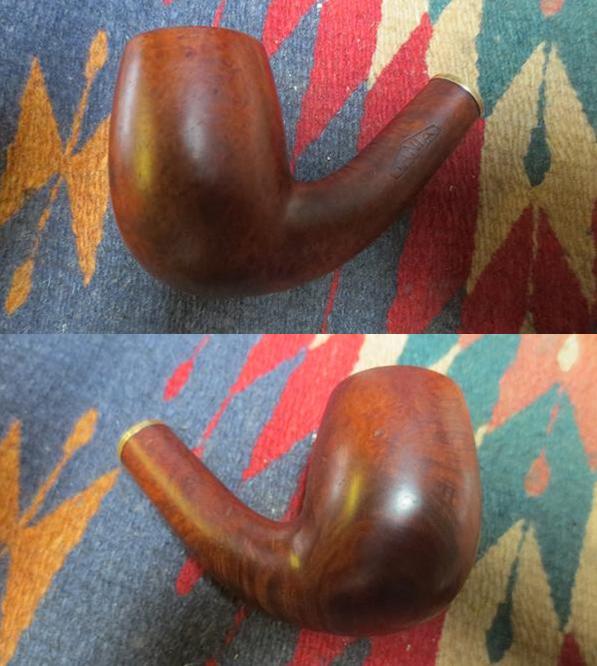
 I sanded the stem with 220 grit sandpaper to remove the oxidation on the stem. I cleaned up the sharp edge of the button with the sand paper and sharpened and reshaped the button.
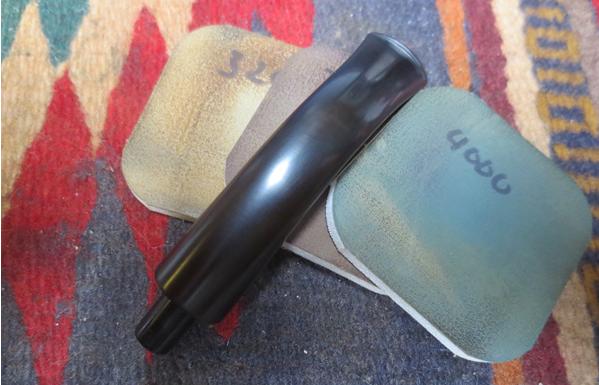
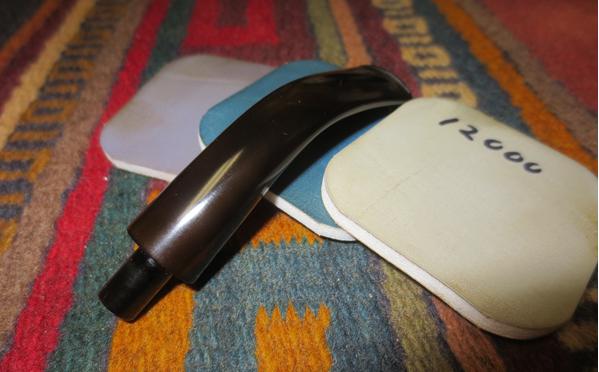
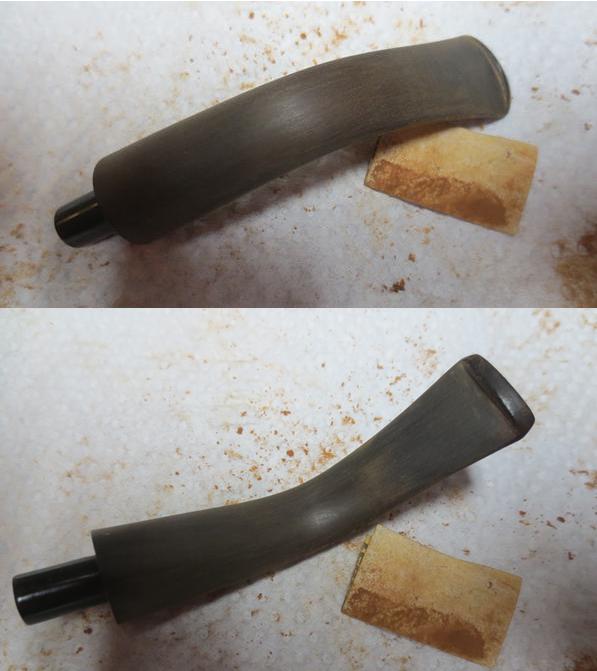 I wet sanded the stem with 1500-2400 grit sanding pads and rubbed it down with Obsidian Oil. I dry sanded it with 3200-12000 grit sanding pads. I rubbed it down with Obsidian Oil after each set of three sanding pads. After the final pad I rubbed it down a final time with oil and set it aside to dry.
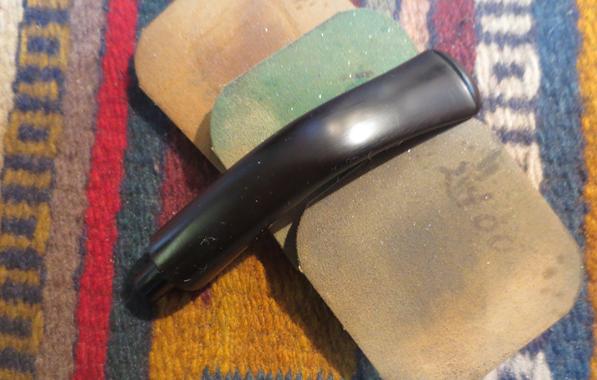
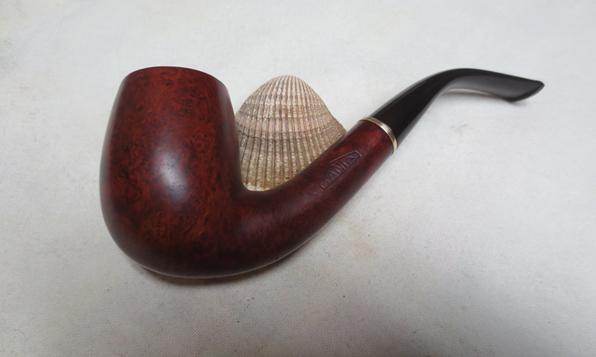
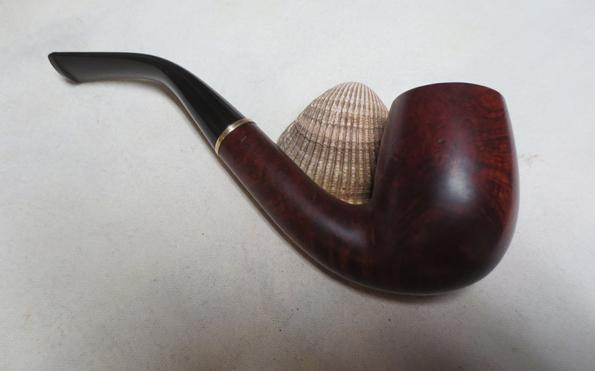
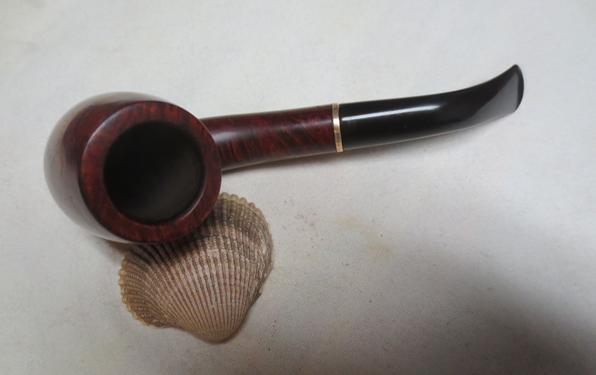
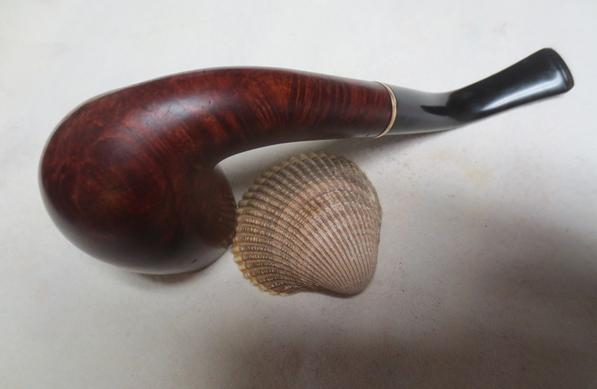
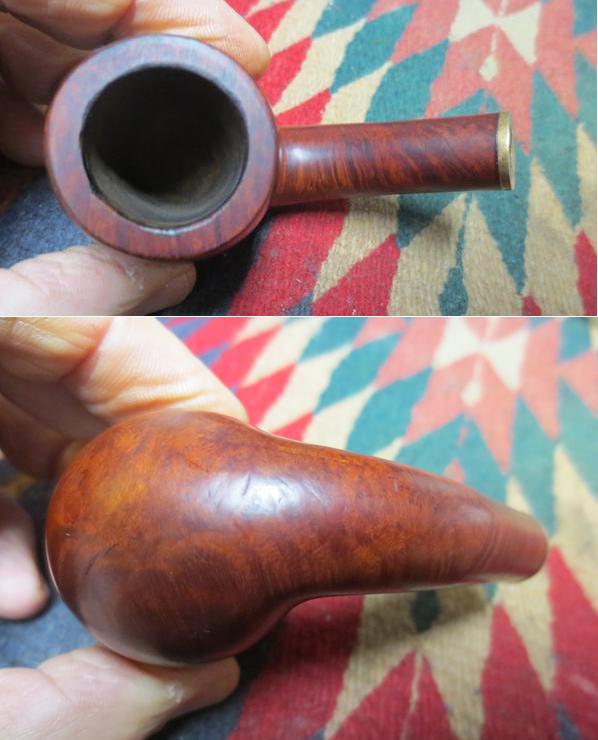
 I buffed the pipe with Blue Diamond on the buffing wheel to polish out the scratches. I gave the pipe multiple coats of carnauba wax and buffed it with a clean buffing pad. I took it back to the work table and hand buffed it with a microfibre cloth. The finished pipe is shown in the photos below. If anyone can tell me about the brand – Tania, please leave a response below. I can find nothing regarding the brand online or in my normal reference tools. If you would like to add the pipe to your rack let me know via email at slaug@uniserve.com or in the response area below. Thanks for looking.