Blog by Steve Laug
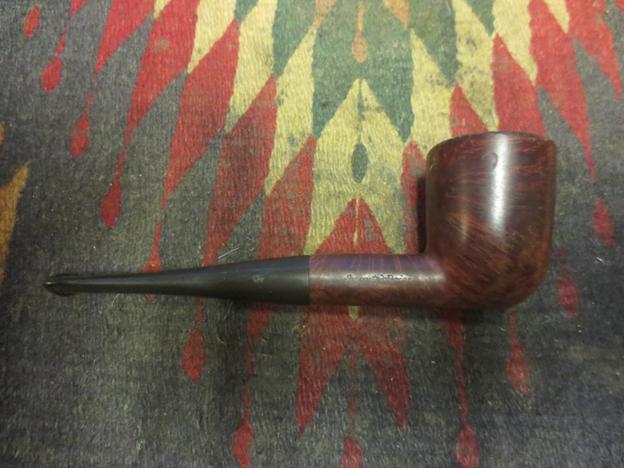
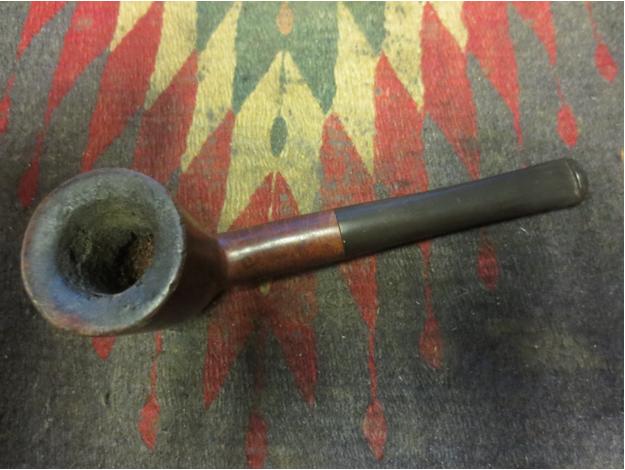
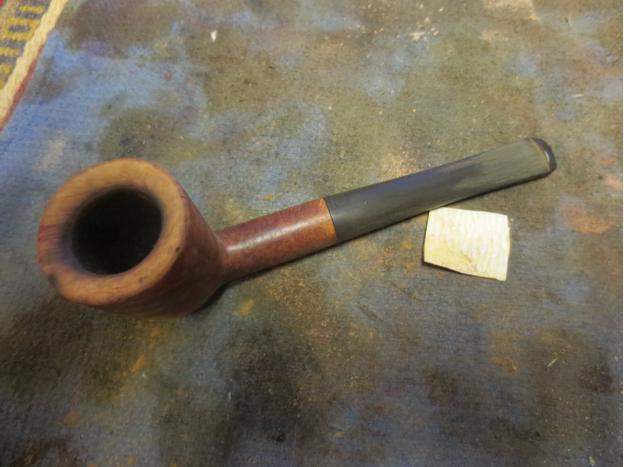
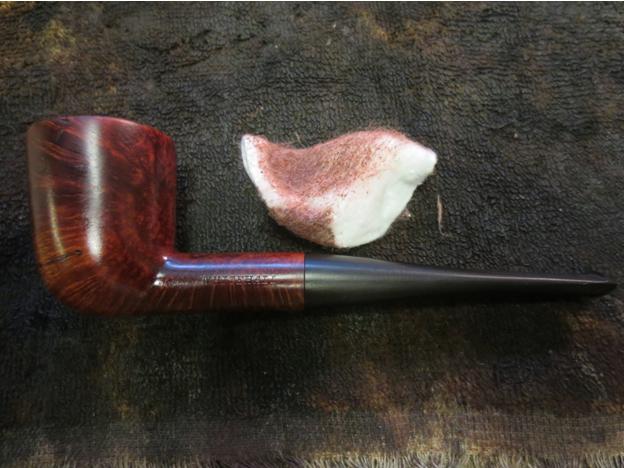
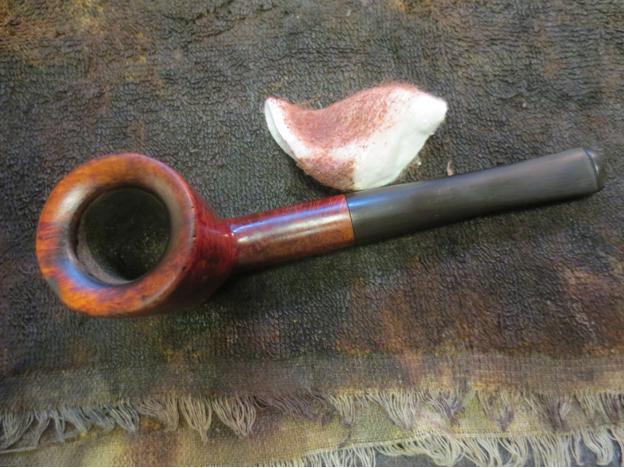
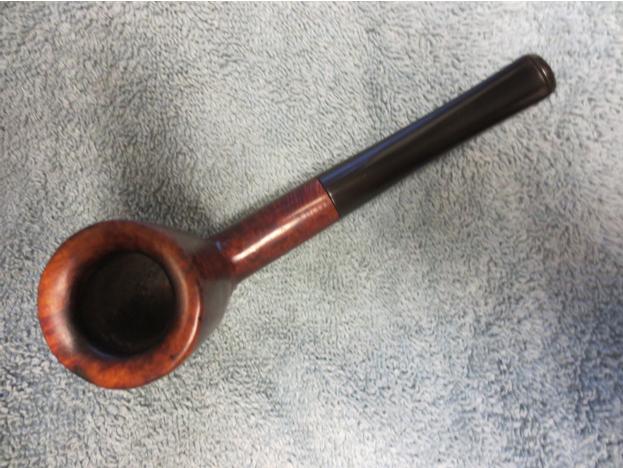
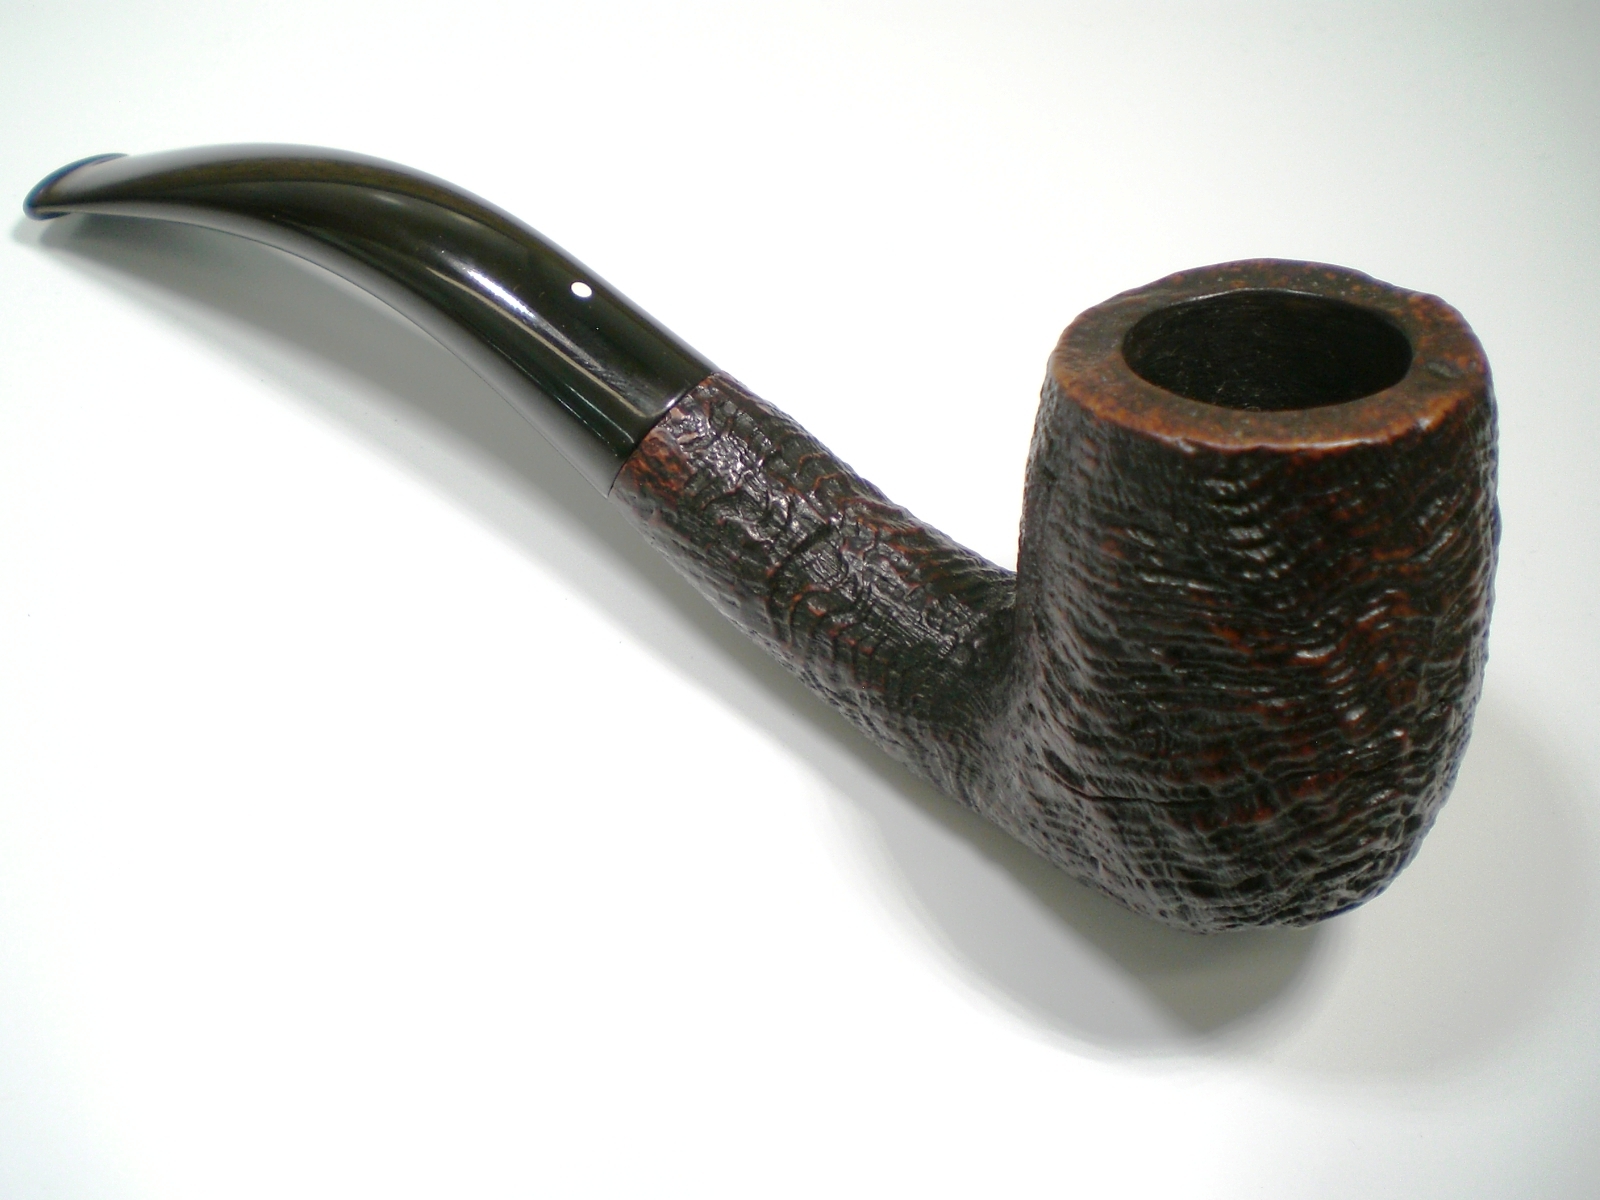
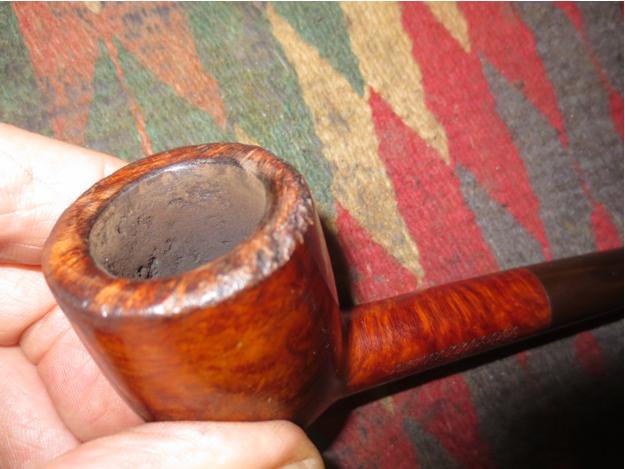
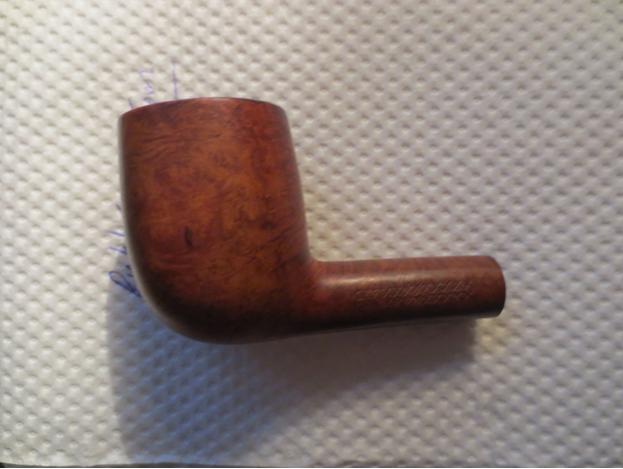
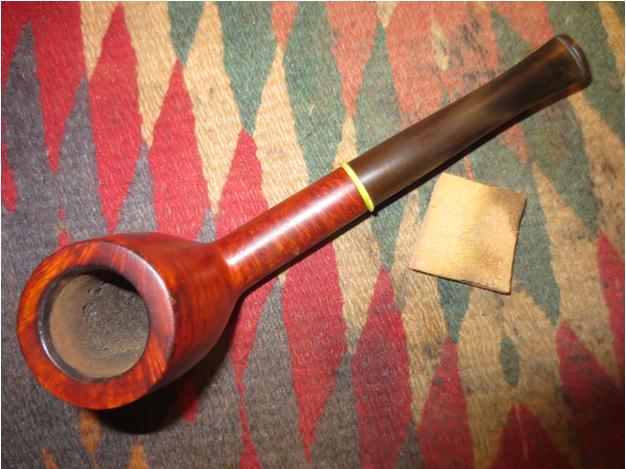
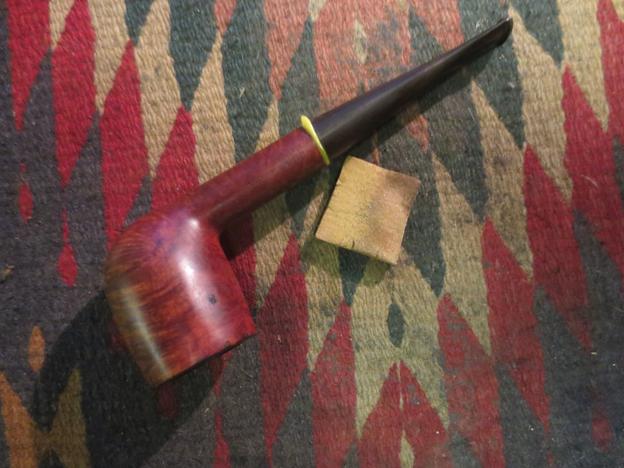
This old pipe came to me in a lot that was a gift from a friend and it was in very rough shape. The bowl covered in varnish and the rim had been used to hammer nails. There was not one smooth surface on the rim of the pipe. The outer edge of the bowl was very rough particular on the backside with chunks of briar missing. There were several fills on the bowl – on both sides that were missing and there were large deep scratches on the bottom of the bowl.

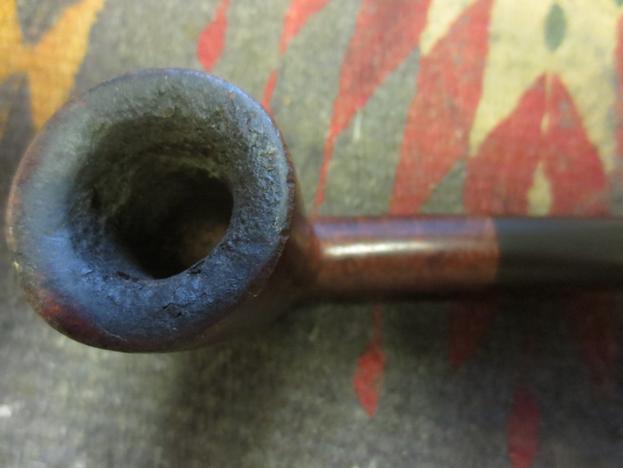
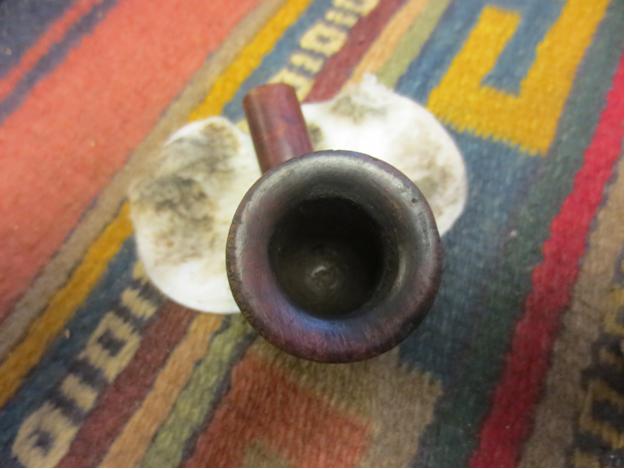
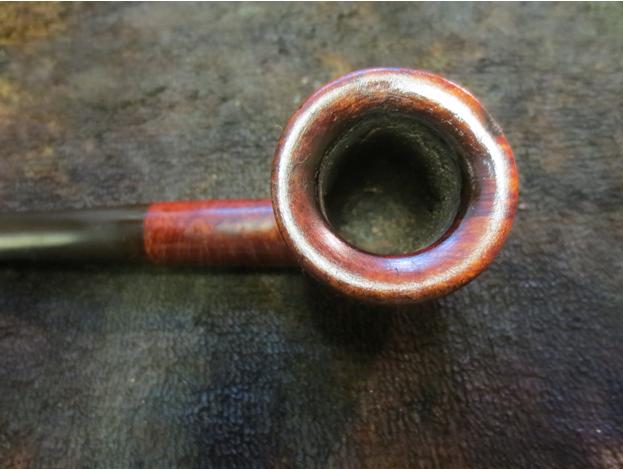
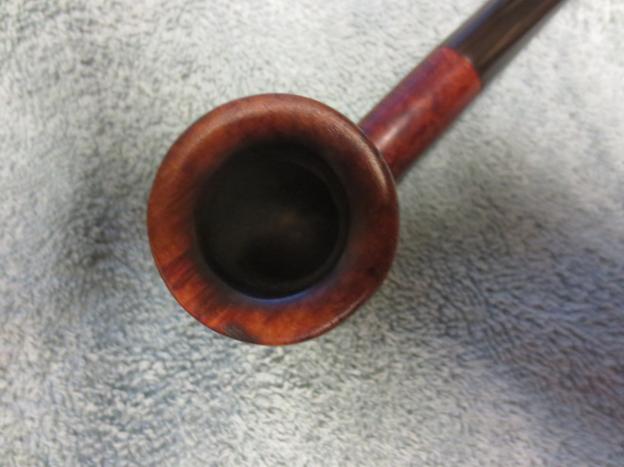
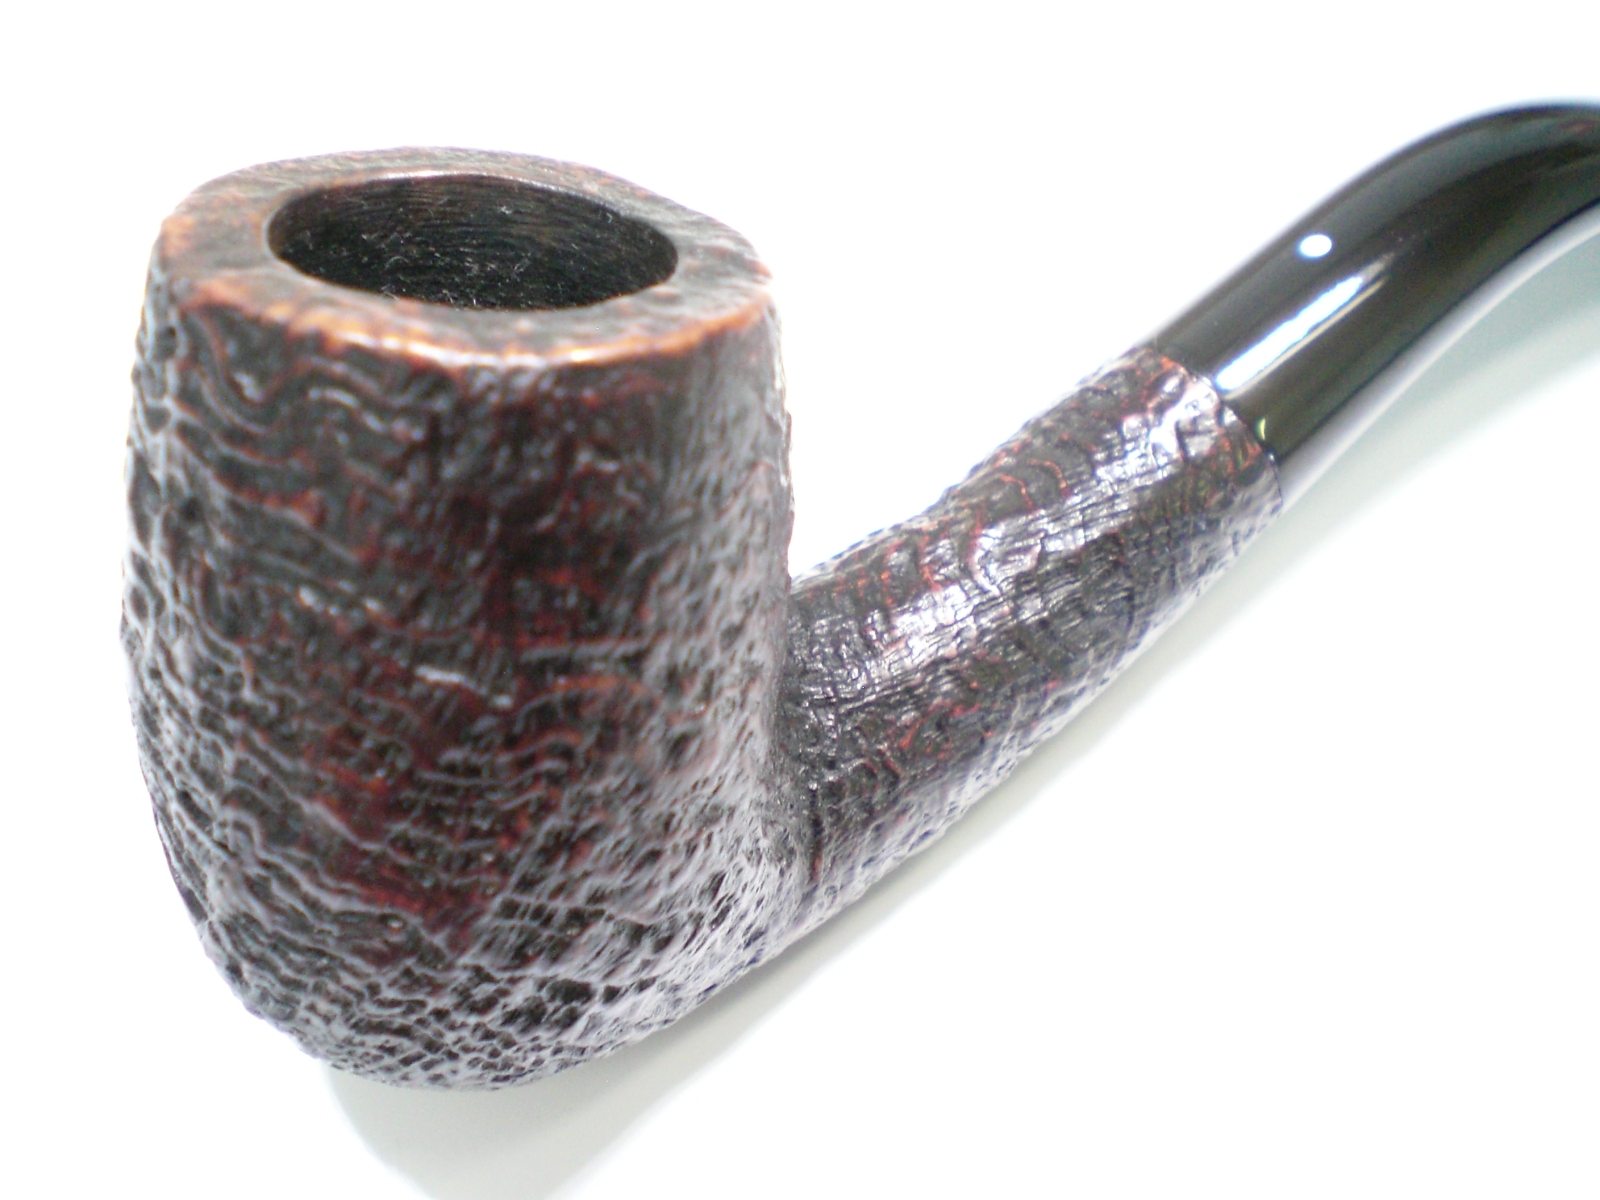
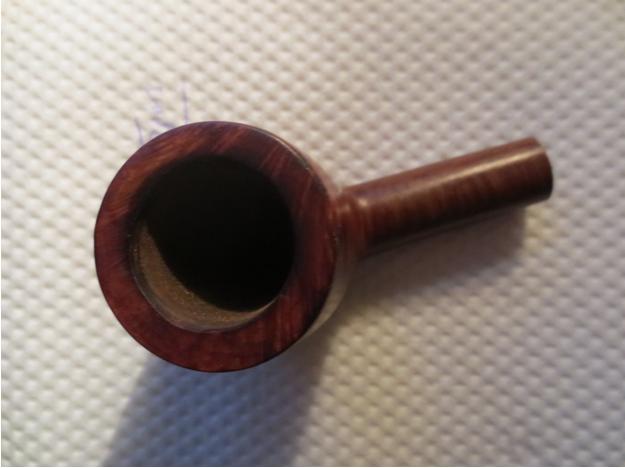
 I have included a close-up photo of the rim to show the extent of the damage.
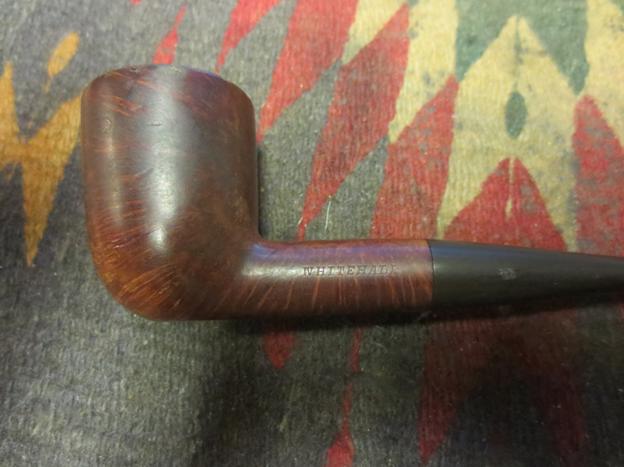
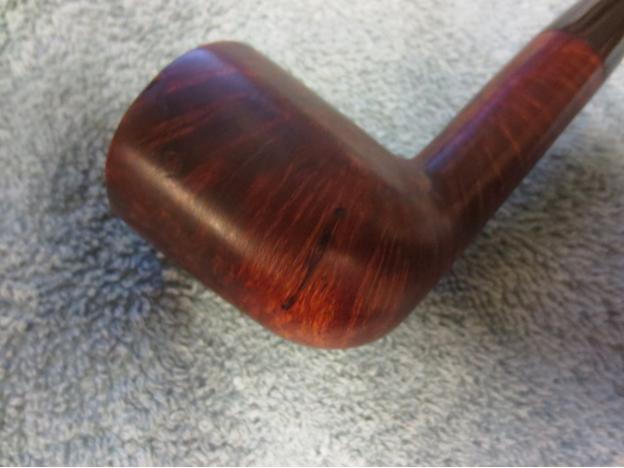
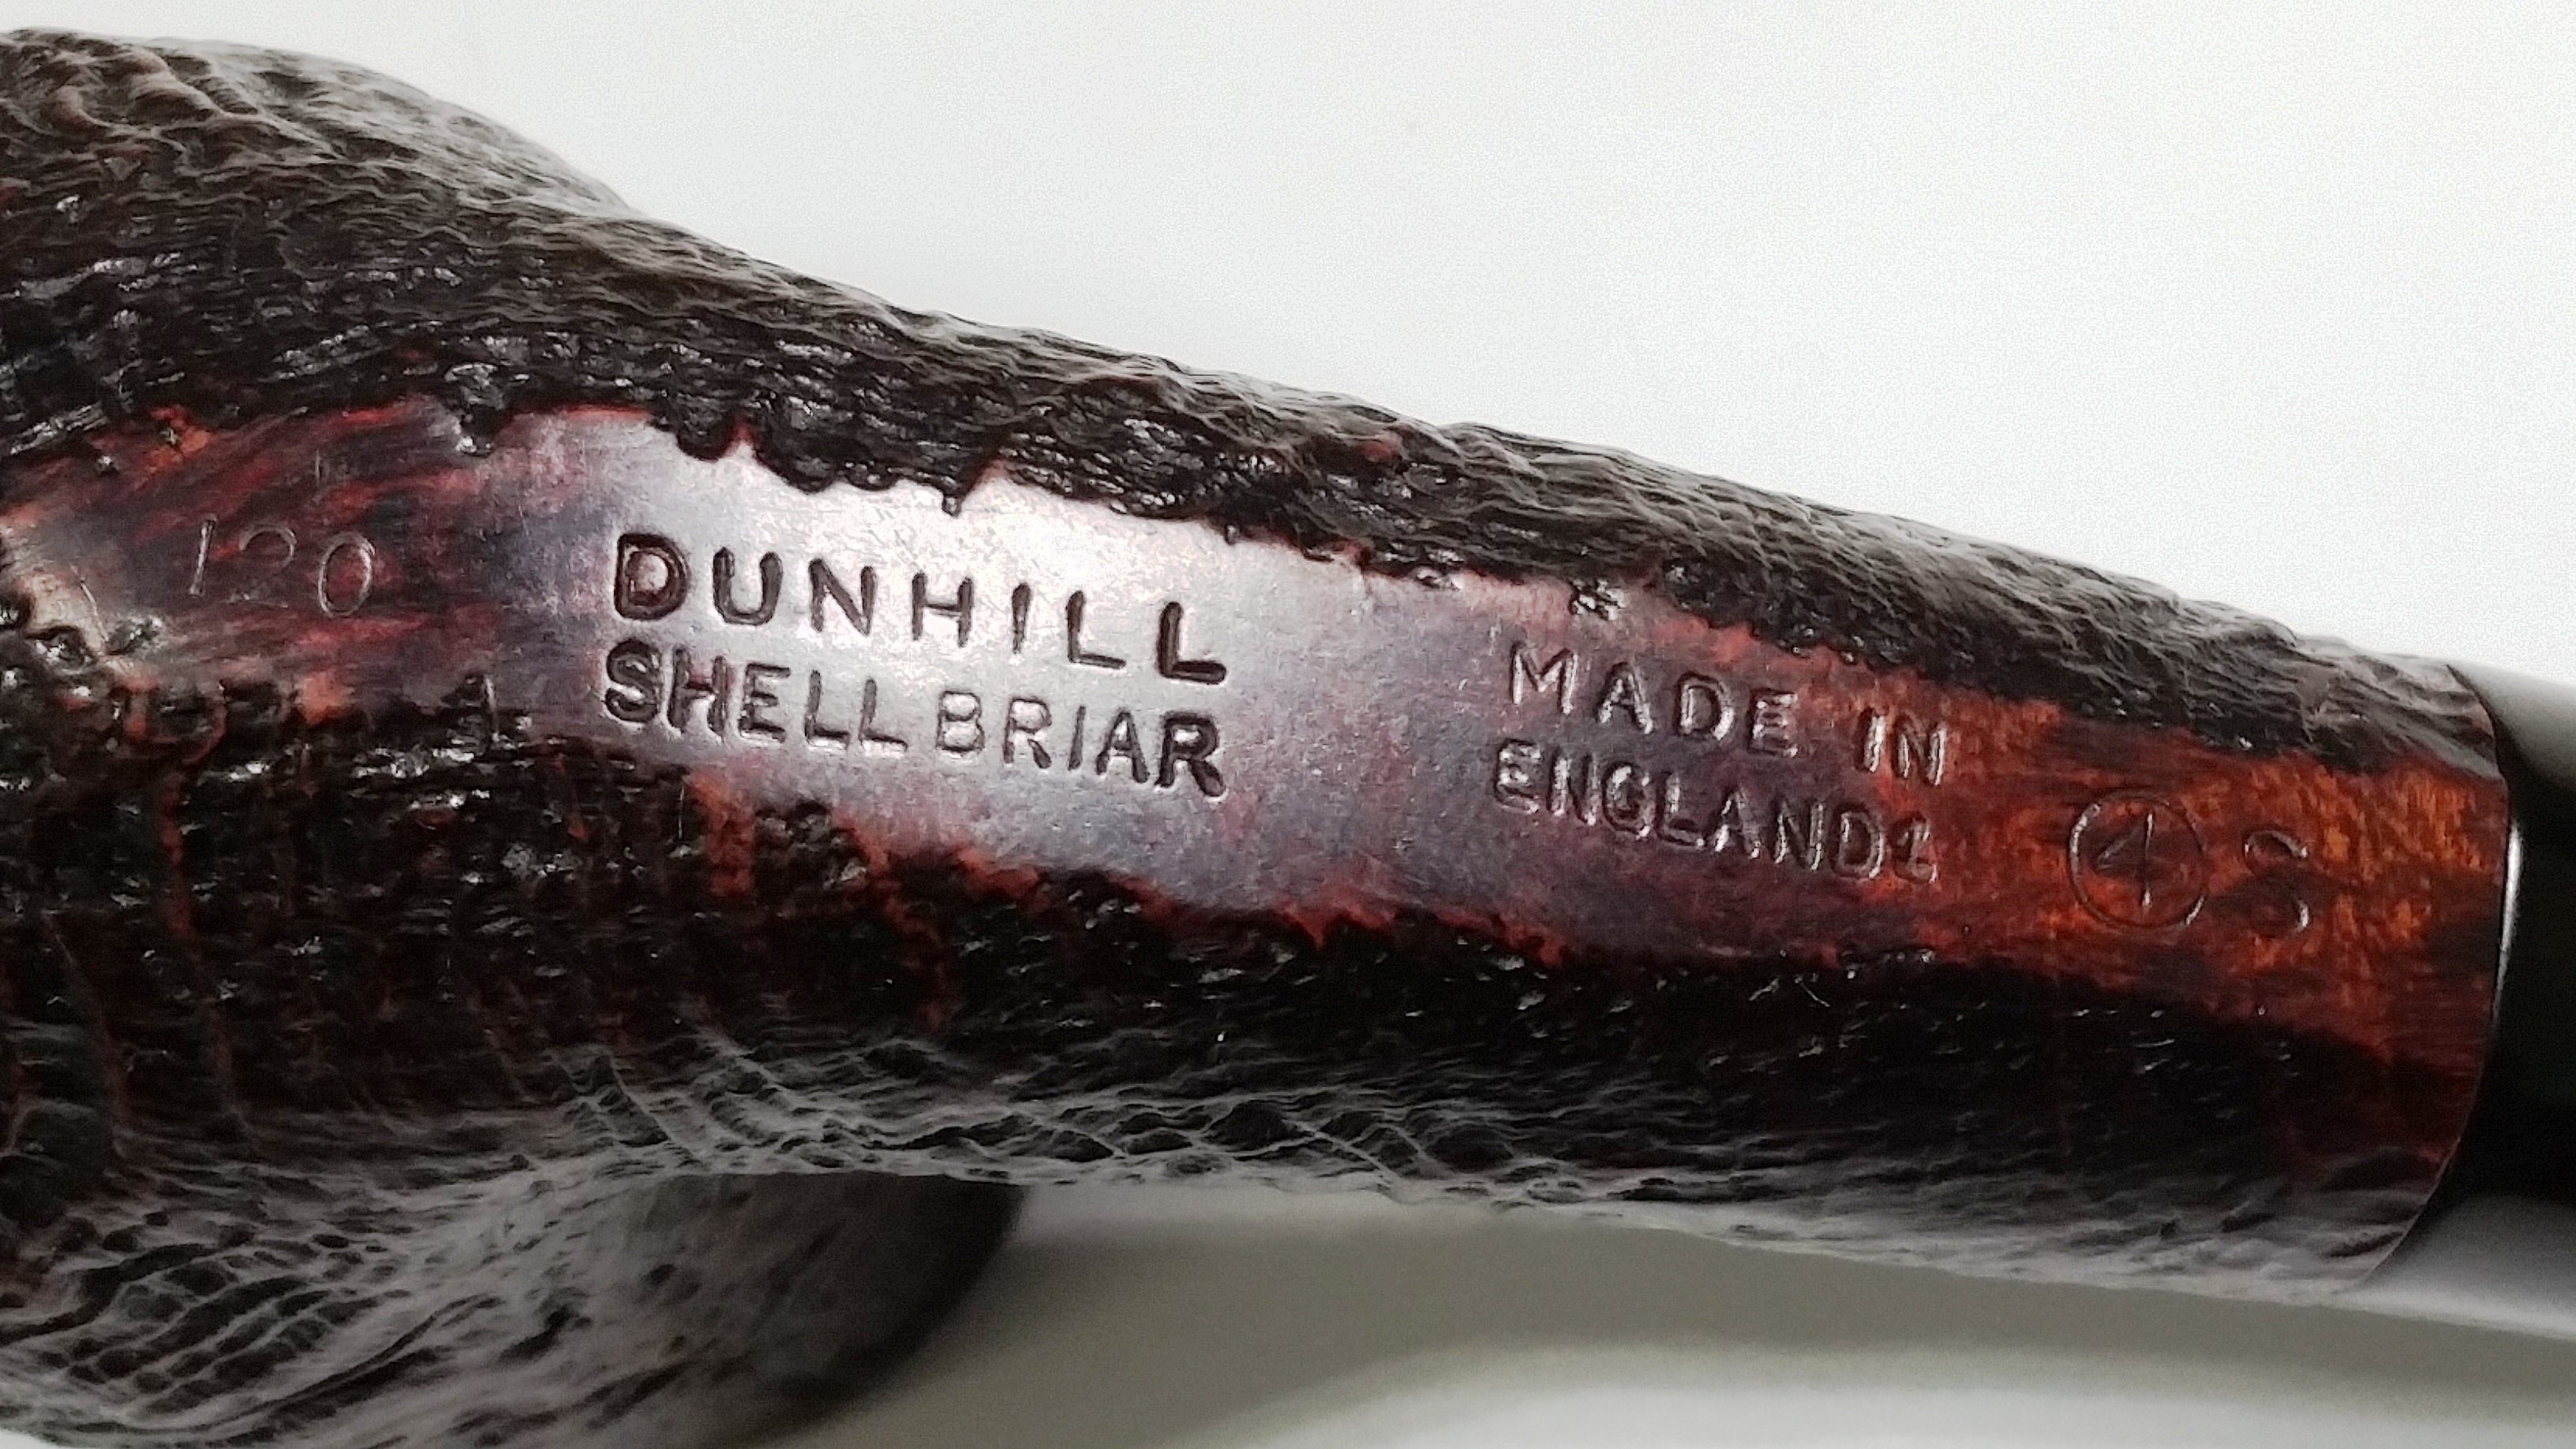
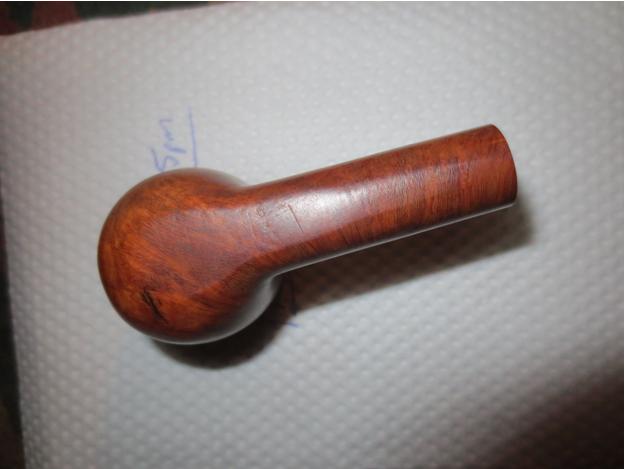
 I also took some close-up photos of the stamping to give an idea of what that looks like. The shank is stamped on the right side with the words MADE IN FRANCE. On the left side it is stamped with a double line of XXXX’s. I interpret that as the stamping that a pipe company uses to declare a pipe a REJECT. Some of the English companies actually stamp the pipe reject while others X out the stamping. In this case I was able to read through the X’s and see that underneath it was stamped La Fond’s Vintage on the first line and below that it read Algerian Briar. There is not a shape number on the shank.
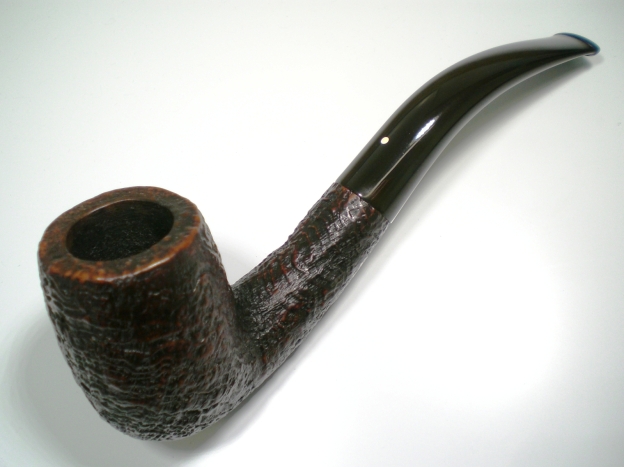
 I looked in Who Made That Pipe to see if I could find any information on the brand. The book listed that the brand was unknown but was English made. I looked on pipephil’s site, Pipes: Logos and Markings and found the listing below http://www.pipephil.eu/logos/en/logo-l1.html. The left side of the shank on the pipe I am working on is stamped identically to the one in the photo. The right side of mine says Made in France instead of Made in England. There is also no shape number on the one I have.
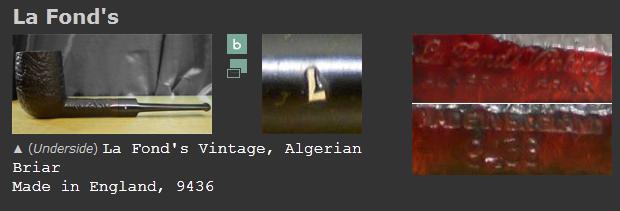 I think that an educated guess can be made regarding the company behind this brand of pipe. Looking at the shape of the pipe and the shape number on the pipe in the photo it looks to me that the brand may well have been a sub brand of GBD. Certainly the 9436 shape number matches the same shape number that GBD stamped on that shape pipe.
As I have been doing lately, I reamed the bowl with a PipNet pipe reamer to take the cake back to bare briar. I wanted to see if there was any significant damage to the inside walls of the bowl considering the damage everywhere else. After reaming I would need to sand the inside of the bowl as the cake was both crumbly in some places and hard and pitted in others.

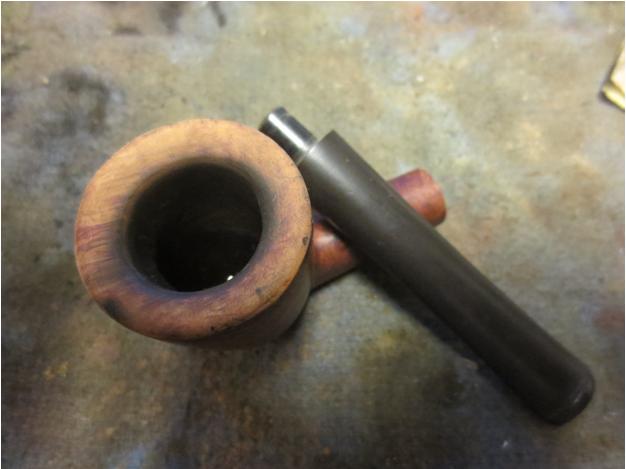
 The rim damage made it necessary to top the bowl to remove as much of it as possible. I used the topping board and 220 grit sandpaper to do the work.
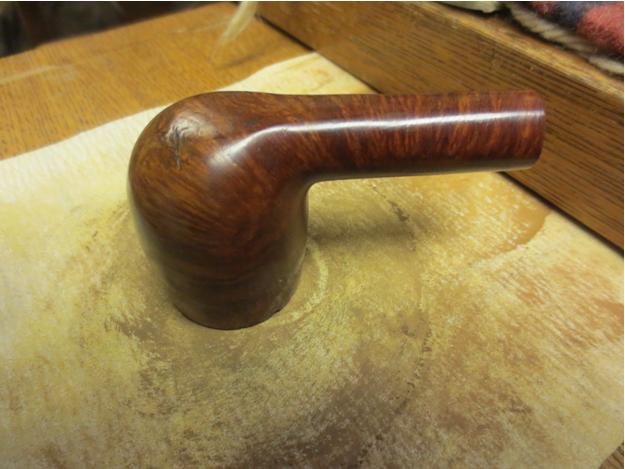 I removed as much of the top of the rim as possible without changing the overall appearance of the pipe. I was able to remove the majority of the damage. There were still some missing chunks of briar on the back side of the bowl near the top edge that I would need to address in a different manner.
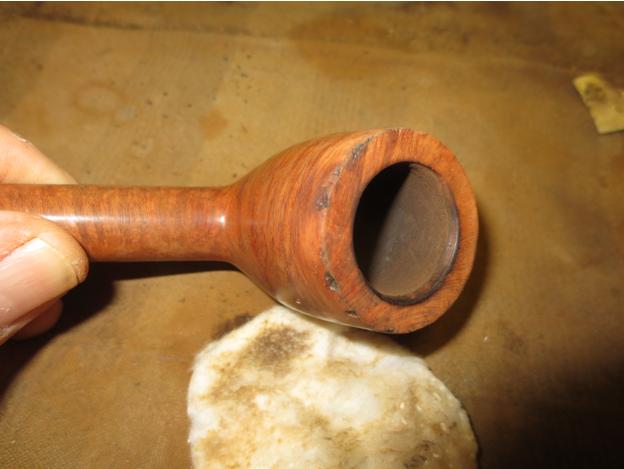
 I wiped the bowl down with acetone on cotton pads to remove the varnish coat that covered the bowl and shank. Fortunately it came off quite easily. At least they did not coat the bowl with urethane or some other modern plastic coat. I worked on the damaged areas and the missing fills to make sure that I was able to get the grit and grime out of the holes.
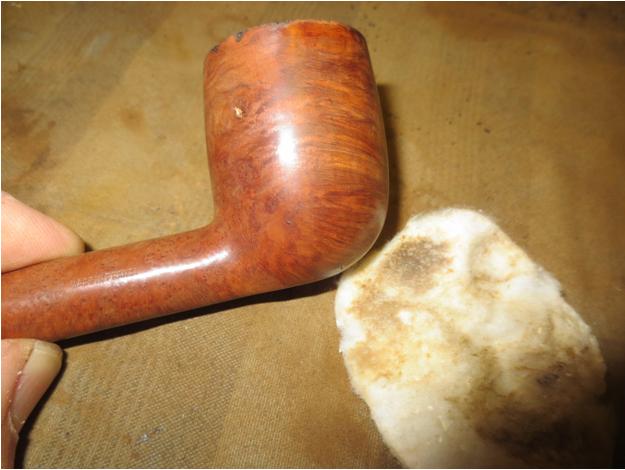

 I picked out any pieces of debris in the divots and wiped it down one final time. I filled the holes with briar dust and then dripped clear super glue on top of the briar dust. I added more briar dust and more glue until I had the surfaces built up and repaired.
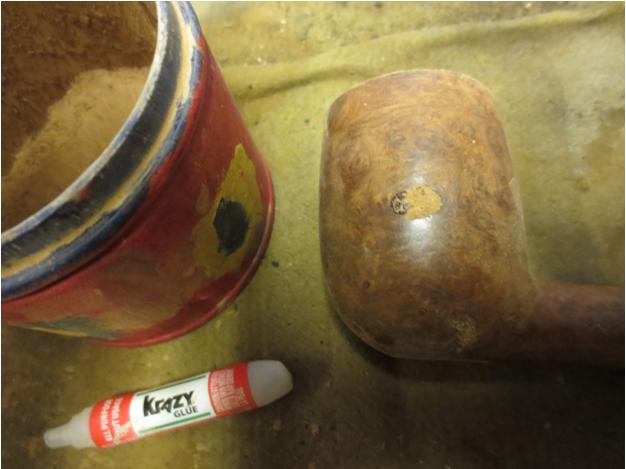

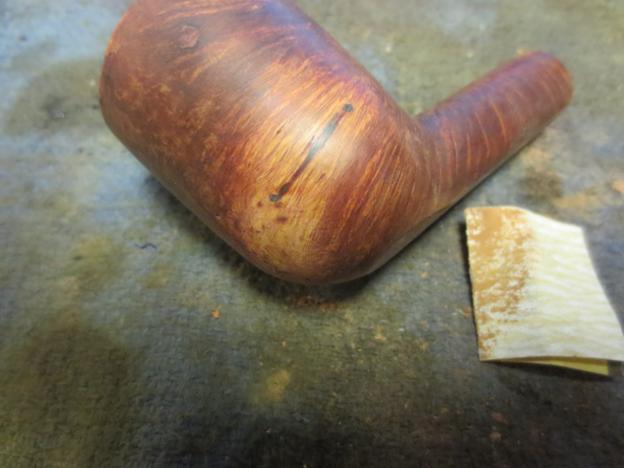
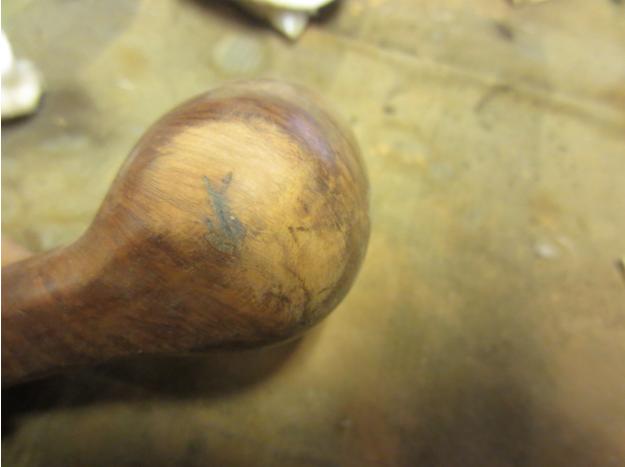
 I sanded the repairs with 220 grit sandpaper to blend the patches into the surrounding briar. It took a bit of sanding to smooth things out and leave the patches only in the holes that needed to be repaired and not on the surface of the bowl. Once the surface was smooth I sanded the areas with a medium and fine grit sanding sponge to remove the scratches.
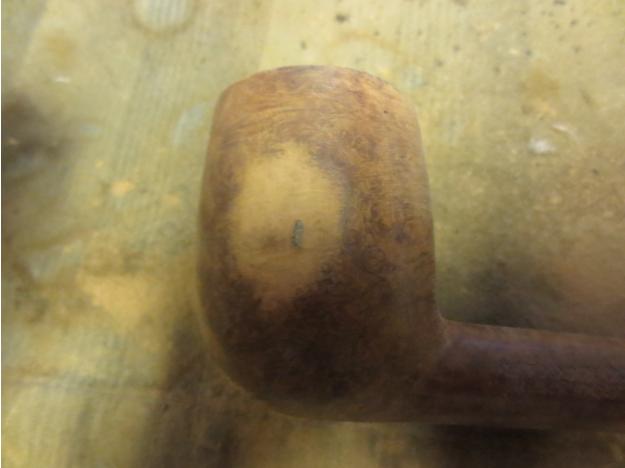

 I sanded the inside of the bowl and then scrubbed out the bowl, shank and stem with pipe cleaners, cotton swabs and isopropyl alcohol. I scrubbed until the shank was clean.
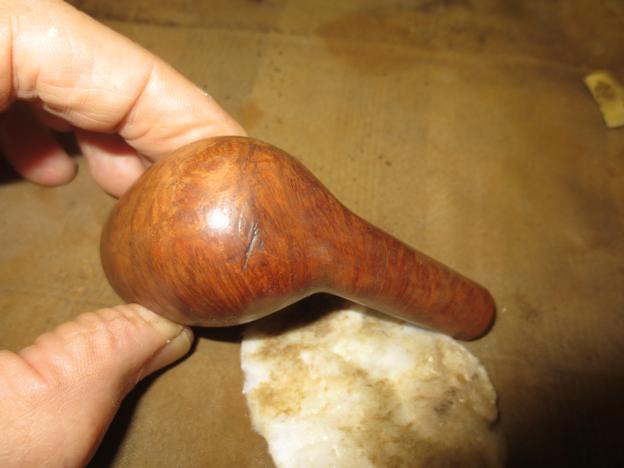
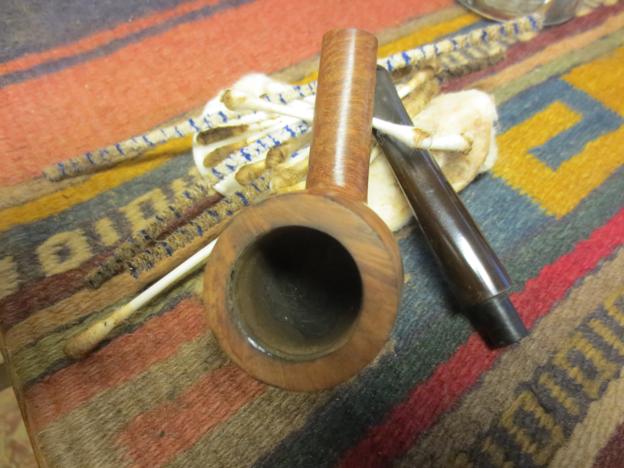 I used the stain pens to blend in the sanded areas with the colour of the rest of the bowl. I used it on the rim and the repairs around the bowl. I blended light brown and dark brown stain pens to get the colour to match. I sanded the bowl and rim with a fine grit sanding block to feather in the stained areas.
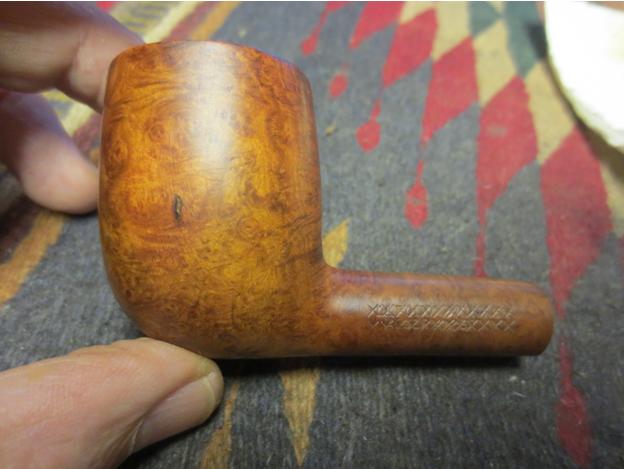


 After sanding I rubbed the bowl down with a light coat of olive oil and buffed it into the briar.
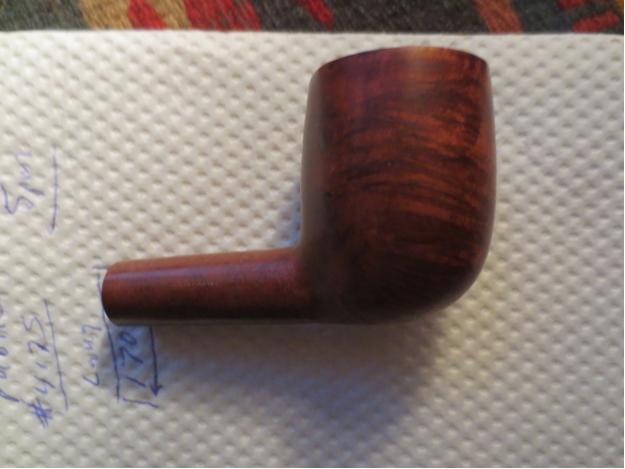
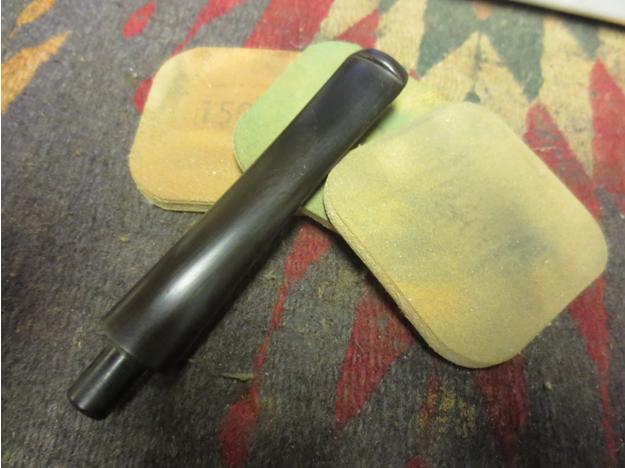
 I would need to wax and polish the bowl once I had finished with the stem but it was done for the time being. I turned to the stem and sanded it with 220 grit sandpaper to remove the ripples in the vulcanite on the top and bottom of the stem from the button toward the bowl for about 1 ½ inches. It was obvious and ugly in my opinion. I finished smoothing out the stem surface and then sanded it with a medium and a fine grit sanding sponge to smooth out the scratches.
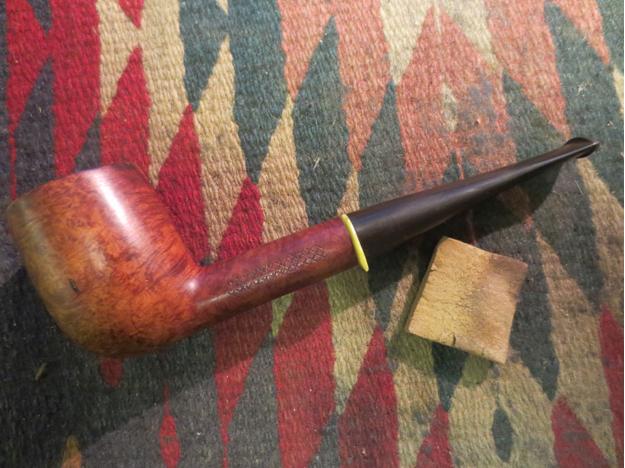
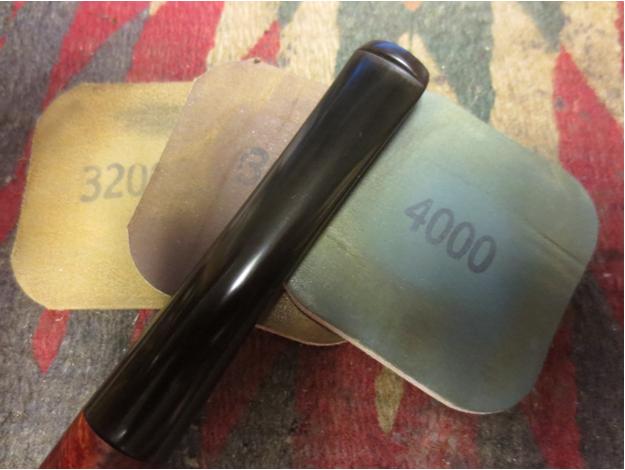
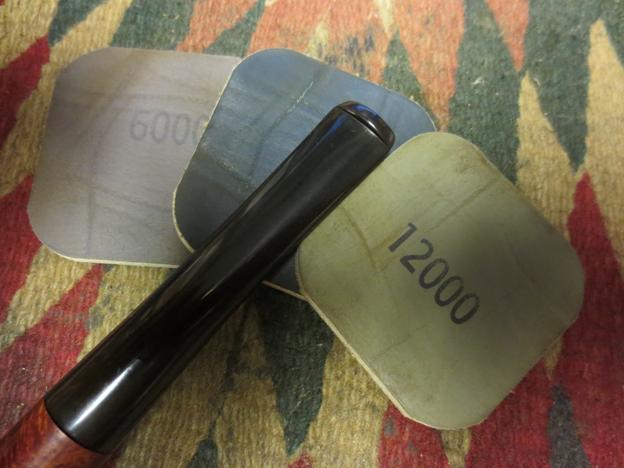
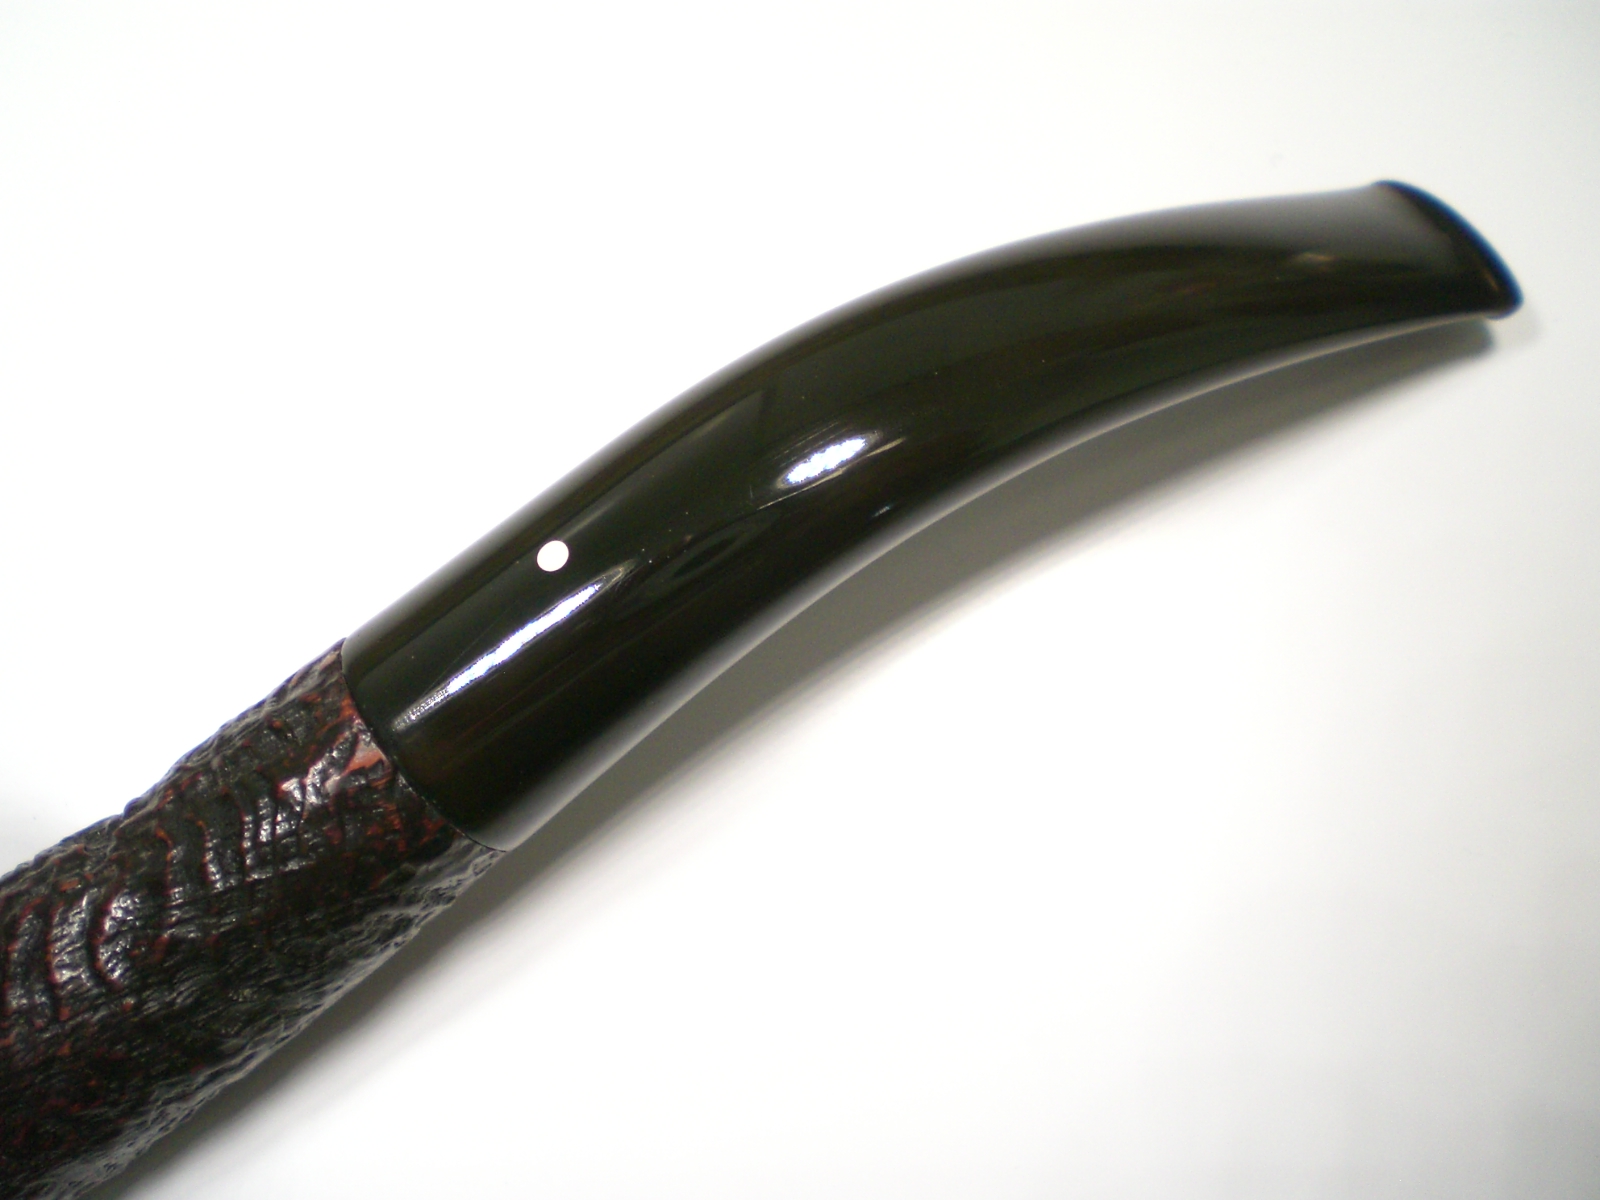
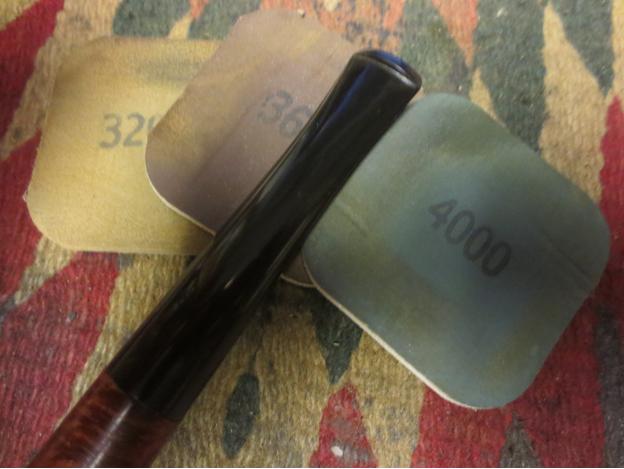
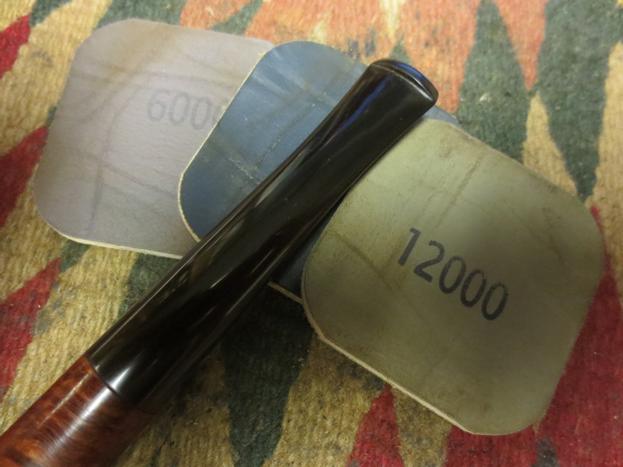
 There was some oxidation on the stem that needed some more work so I repeated the process until the oxidation was removed. I wet sanded the stem with 1500-2400 grit micromesh sanding pads. I rubbed the stem down with Obsidian Oil and then dry sanded it with 3200-4000 grit pads and gave it another coat of oil I finished sanding with the micromesh pads dry sanding with 6000-12000 grit. I gave the stem a final coat of Obsidian Oil and let it dry.
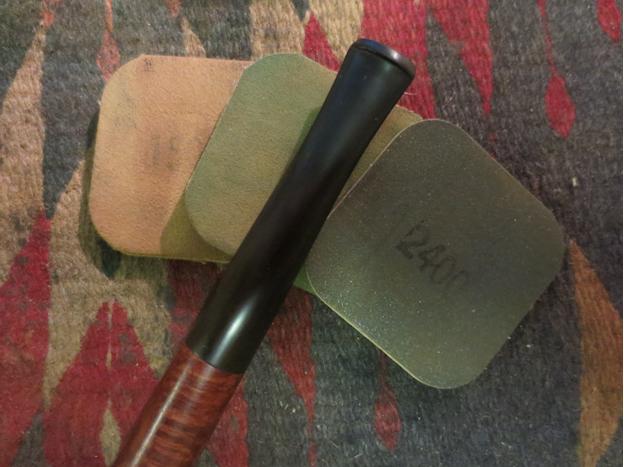
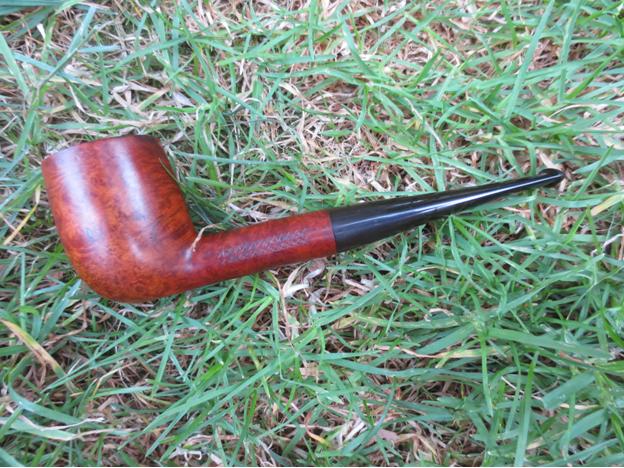
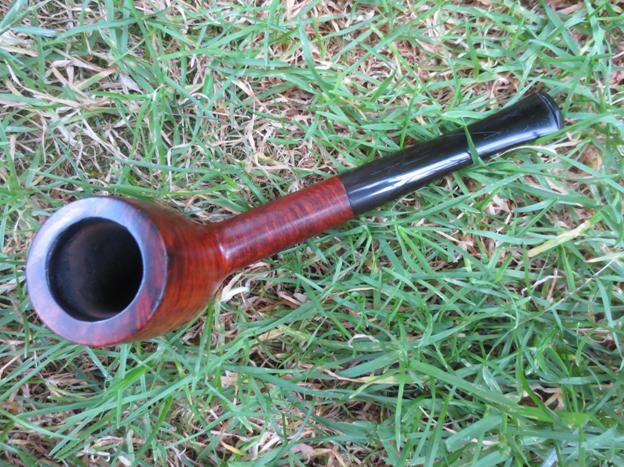
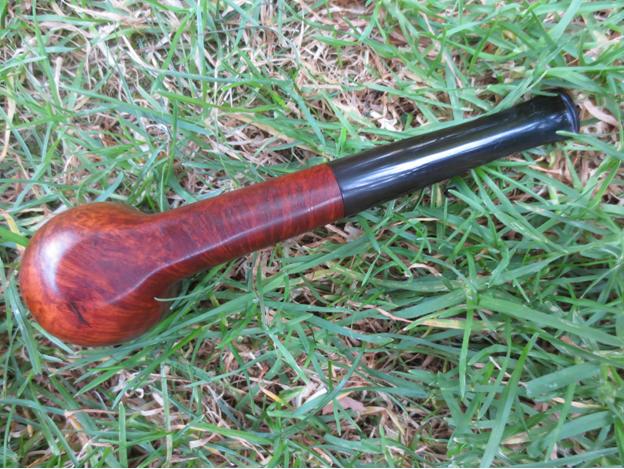
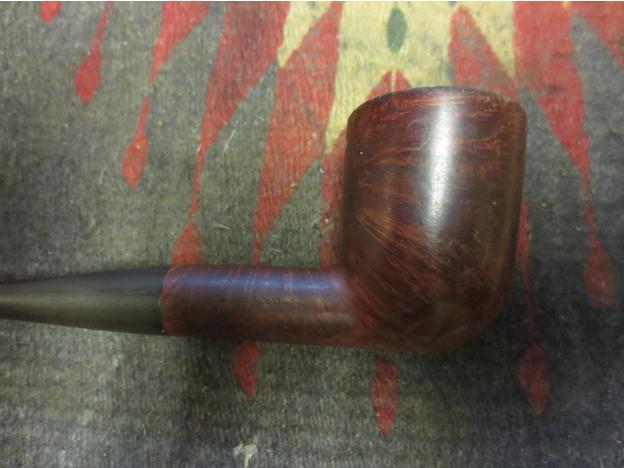
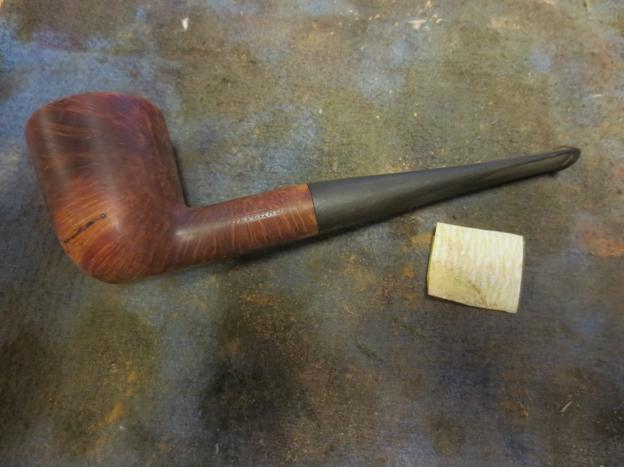
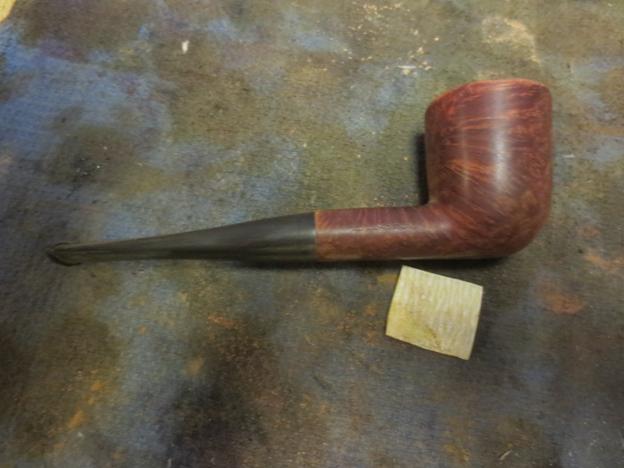
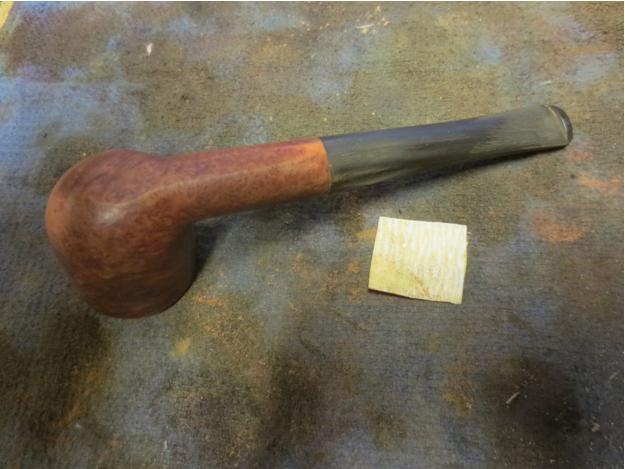
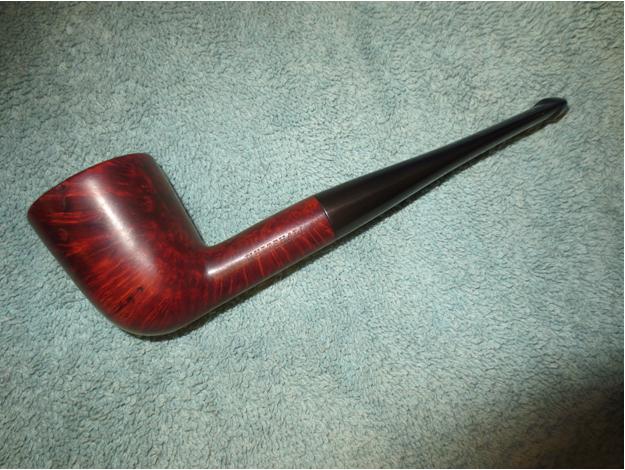
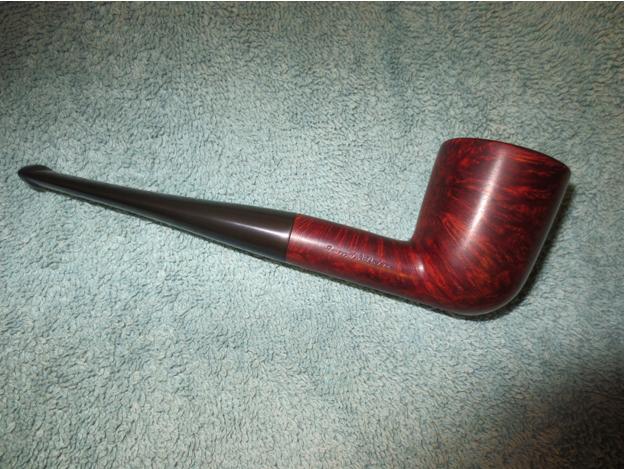
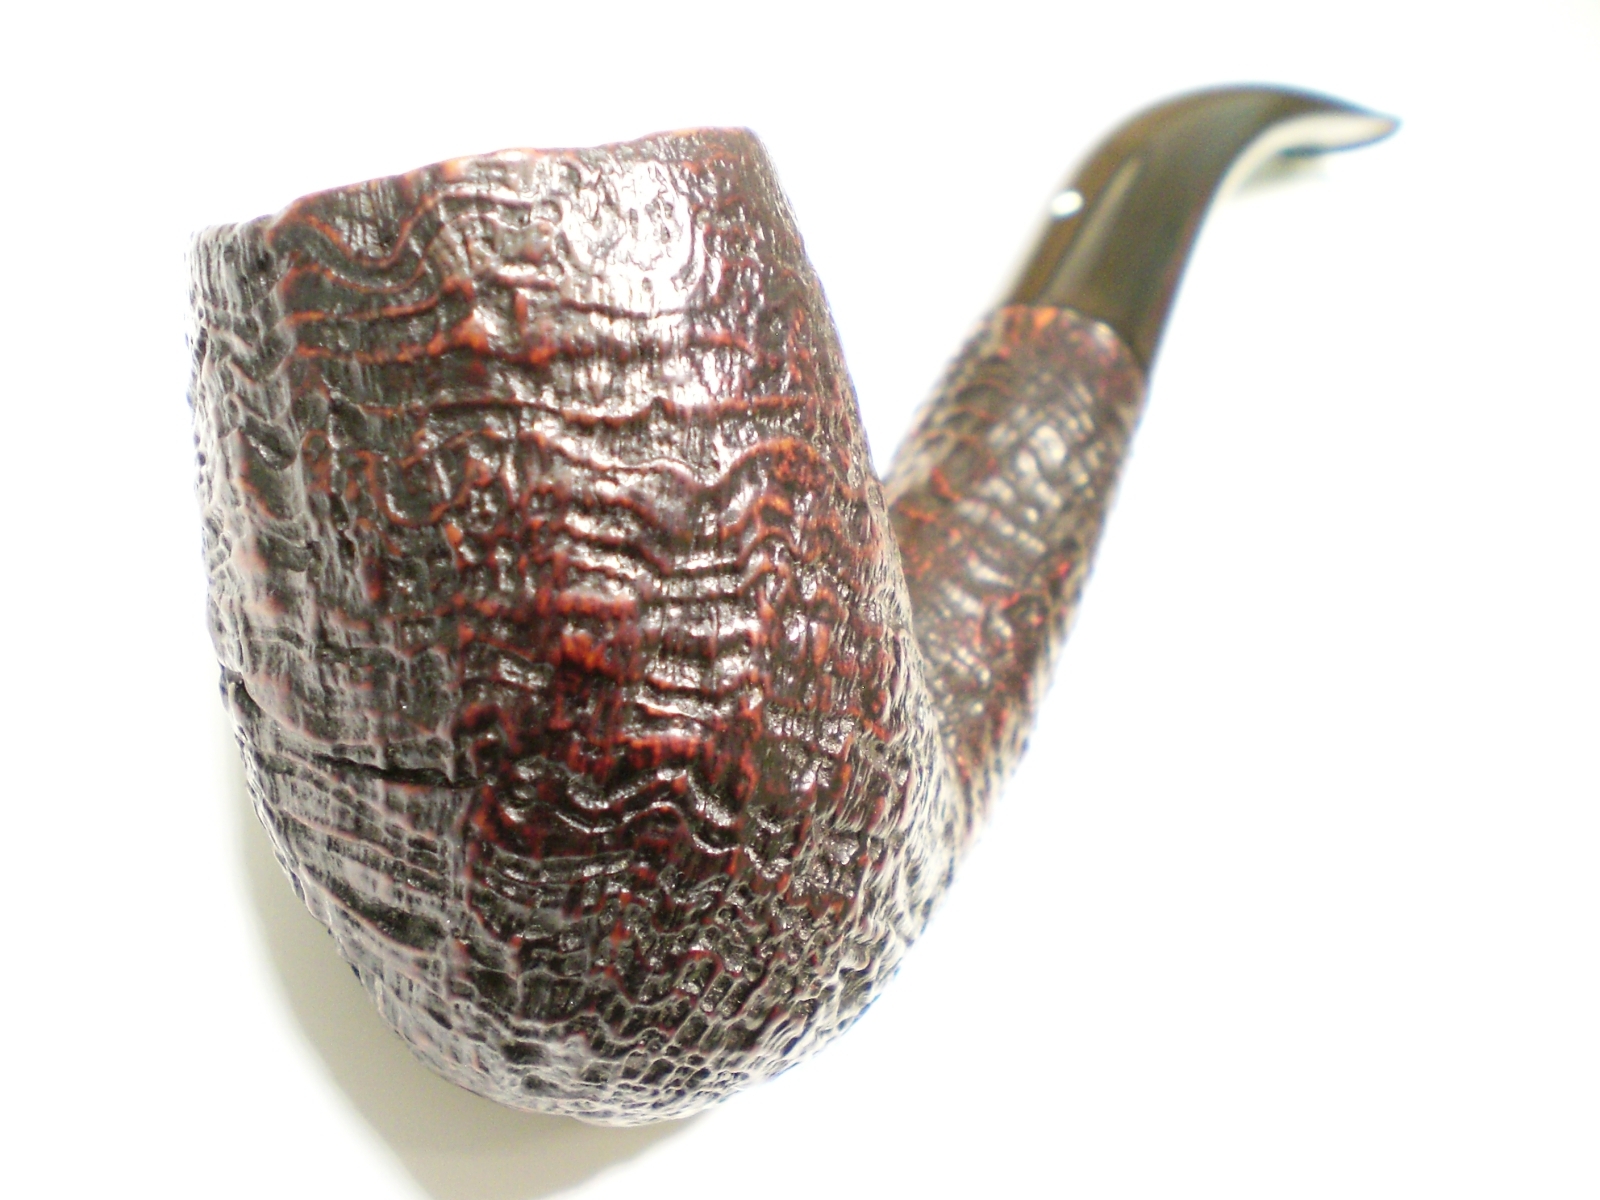
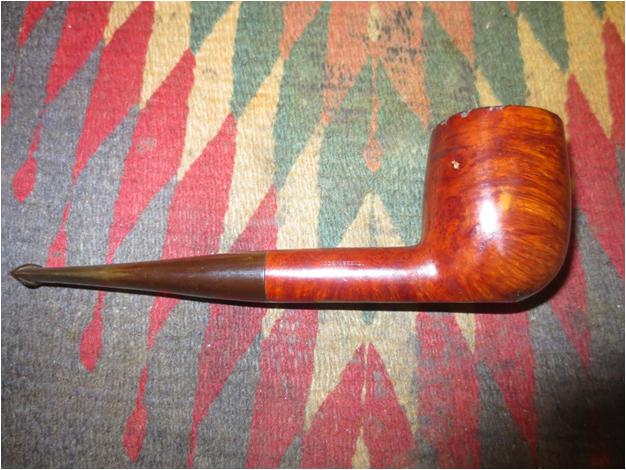
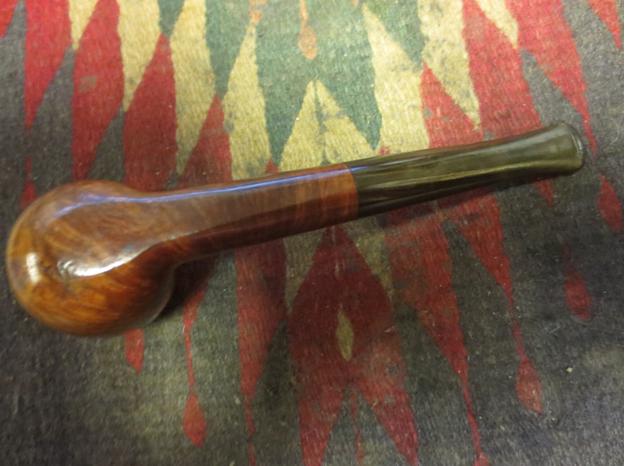
 I buffed the pipe with Blue Diamond on the buffing wheel and then gave it multiple coats of carnauba wax. I buffed it with a clean flannel buffing pad and then took it back to the work table and hand buffed it with a microfibre cloth. Dave Gossett wrote about doing that several blogs ago and I have been doing it ever since. It seems to add depth to the shine that a buffer alone does not give. The finished pipe is shown in the photos below. I took the photos outside in the waning light of the day. I really like the look of the pipe in the grass. The green sets off the colours of the briar and the black of the stem. This old timer is ready for a long life ahead of service to whoever takes it home to their rotation. Thanks for looking.