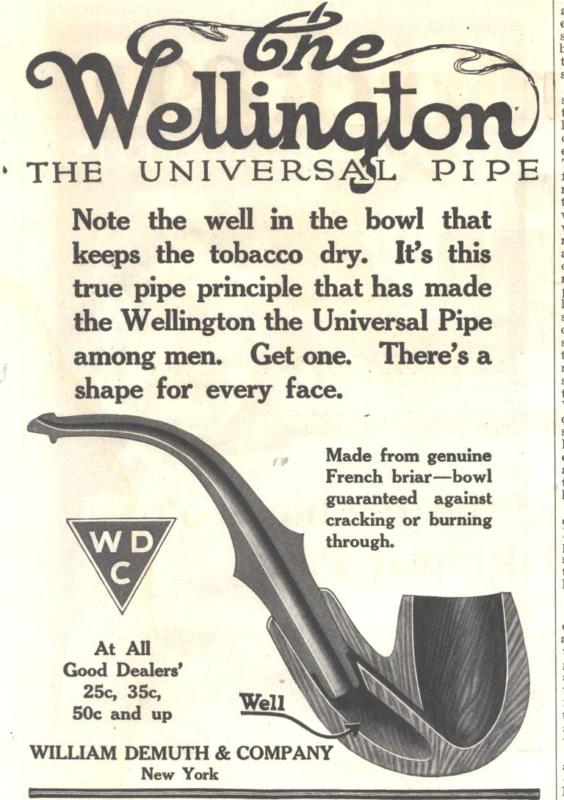
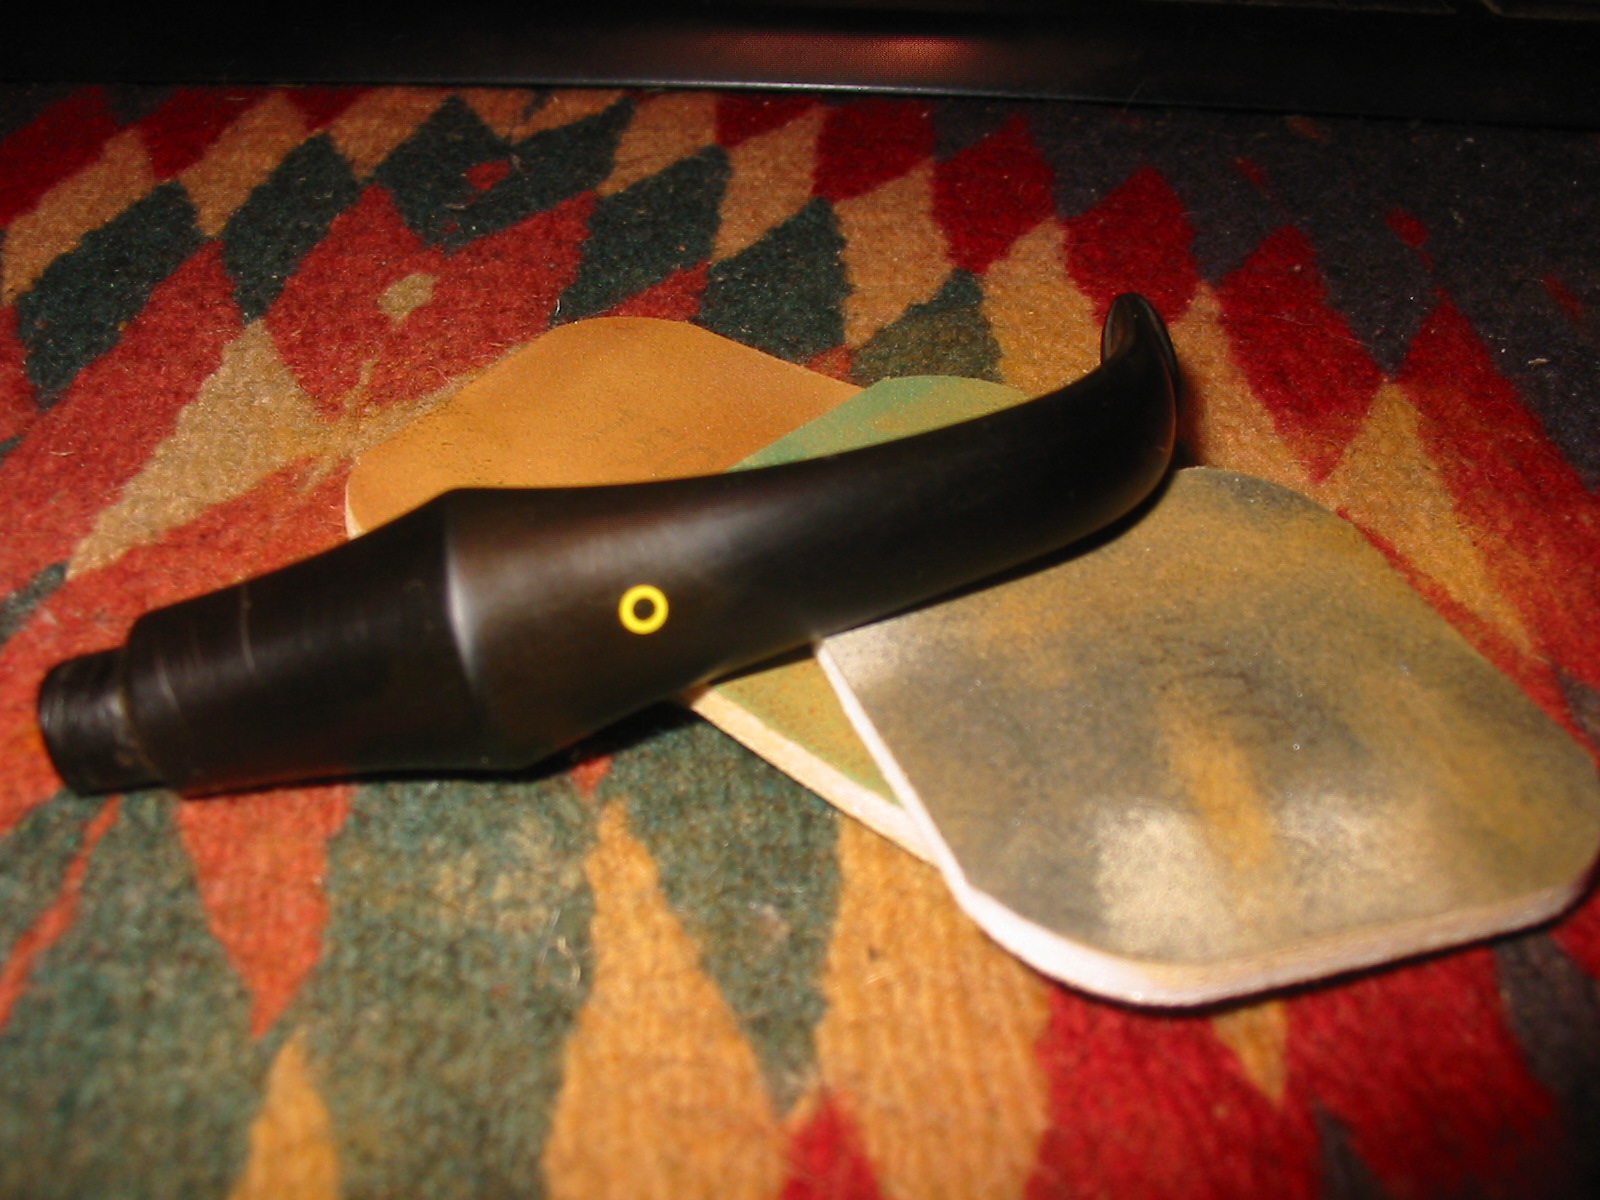
The second bowl I decided to work on from the box of bowls I was gifted was an old Wellington bowl that was actually in decent shape. The bowl is 2 inches tall and 1 3/8 inches in diameter. The bowl has an internal diameter of 7/8 inches. It is quite a large bowl. The nickel ferrule was in good shape but slightly oxidized with a few small nicks and dents. There was an uneven cake in the bowl and the sump area was filled with tars and oils. The finish was varnished but peeling as can be seen in the photo below. The rim had a tar build up and the varnish was peeling under it. The inner edge and outer edge of the rim was in excellent shape. The stamping on the bowl was on the left side of the shank and included the WDC inverted triangle and letters and next to that Wellington in script over the words IMPORTED BRIAR. There was no other stamping on the bowl. The stem did not come with the bowl. I had an old Yello Bole stem from the same era as the Wellington and with the same structure at the tenon and the P-lip. It was scratched and oxidized and had some tooth marks on the top and bottom sides just ahead of the button. The stem has a bright yellow “O” on the top. The bend in the stem had straightened so it would need to be re-bent to work well with the bowl.

I have several WDC pipes and have done quite a bit of research on the brand that I have written about on the blog. I have even repaired and given away quite a few Wellington’s over the years. This one appeared to be a great piece of briar so I wanted to repair it. I also wanted a quick refresher about this line of WDC pipes and how it fit within the hierarchy of WDC lines. The following is a brief excerpt from the pipedia.org article on WDC pipes.
“William Demuth, a native of Germany, entered the United States at the age of 16 as a penniless immigrant. After a series of odd jobs he found work as a clerk in the import business of a tobacco tradesman in New York City. In 1862 William established his own company. The William Demuth Company specialized in pipes, smoker’s requisites, cigar-store figures, canes and other carved objects.
The Demuth Company is probably well known for the famous trademark, WDC in an inverted equilateral triangle. William commissioned the figurative meerschaum Presidential series, 29 precision-carved likenesses of John Adams, the second president of the United States (1797-1801) to Herbert Hoover, the 30th president (1929-1933), and “Columbus Landing in America,” a 32-inch-long centennial meerschaum masterpiece that took two years to complete and was exhibited at the World’s Columbian Exposition in Chicago in 1893.
The Presidential series was the result of Demuth’s friendship with President James A. Garfield, a connoisseur of meerschaum pipes. Demuth presented two pipes to Garfield at his inauguration in 1881, one in his likeness, the other in the likeness of the President’s wife. Later, Demuth arranged for another figurative matching the others to be added to the collection as each new president acceded to the White House, terminating with President Hoover.
In 1897 Ferdinand Feuerbach joined the Demuth Company and by 1903 had become the production manager. Feuerbach is credited with developing Demuth’s popular Royal Demuth and Hesson Guard Milano pipelines. He left in 1919, when Sam Frank Sr. needed an experienced pipe man to run his pipe factory, located at 168 Southern Blvd., in the Bronx. Feuerbach and Frank had been close friends since Frank started his own business in 1900 and was closely associated with the sales staff of WDC, selling their line of pipes.
In early 1937, the City of New York notified S.M. Frank & Co. of their intent to take by eminent domain, part of the land on which the companies pipe factory was located. This was being done to widen two of the adjacent streets. As a result of this, Frank entered into negotiations to purchase the Wm. Demuth Co.’s pipe factory in the Richmond Hill section of Queens. It was agreed upon that Demuth would become a subsidiary of S.M. Frank and all pipe production of the two companies would be moved to DeMuth factory. New Corporate offices were located at 133 Fifth Avenue, NYC.
Demuth pipes continued to be made at the Richmond Hill plant till December 31, 1972. Then the Wm. Demuth Company met its official end as a subsidiary company by liquidation. Demuth’s mainstay pipe, the Wellington continued to be offered in the S.M. Frank catalog until 1976. In the mid-80’s, the Wellington even made a brief return as a direct to the consumer offer.”
The two leaflets below give some of the details on the Wellington pipe. The first one is a sales leaflet that speaks of the assets of the pipe and what it has to offer the pipe smoker. The second one is a cutaway picture of the Wellington pipe that clearly shows the details of the drilling both of the airway and the sump or well in the heel and shank of the pipe.

With the above diagram and information I was better equipped to work on the internals of the pipe and give it a thorough cleaning. I really like digging out the information and some of the diagrams of the pipes that I work on so that I can get a feel for the design and an appreciation for the work.
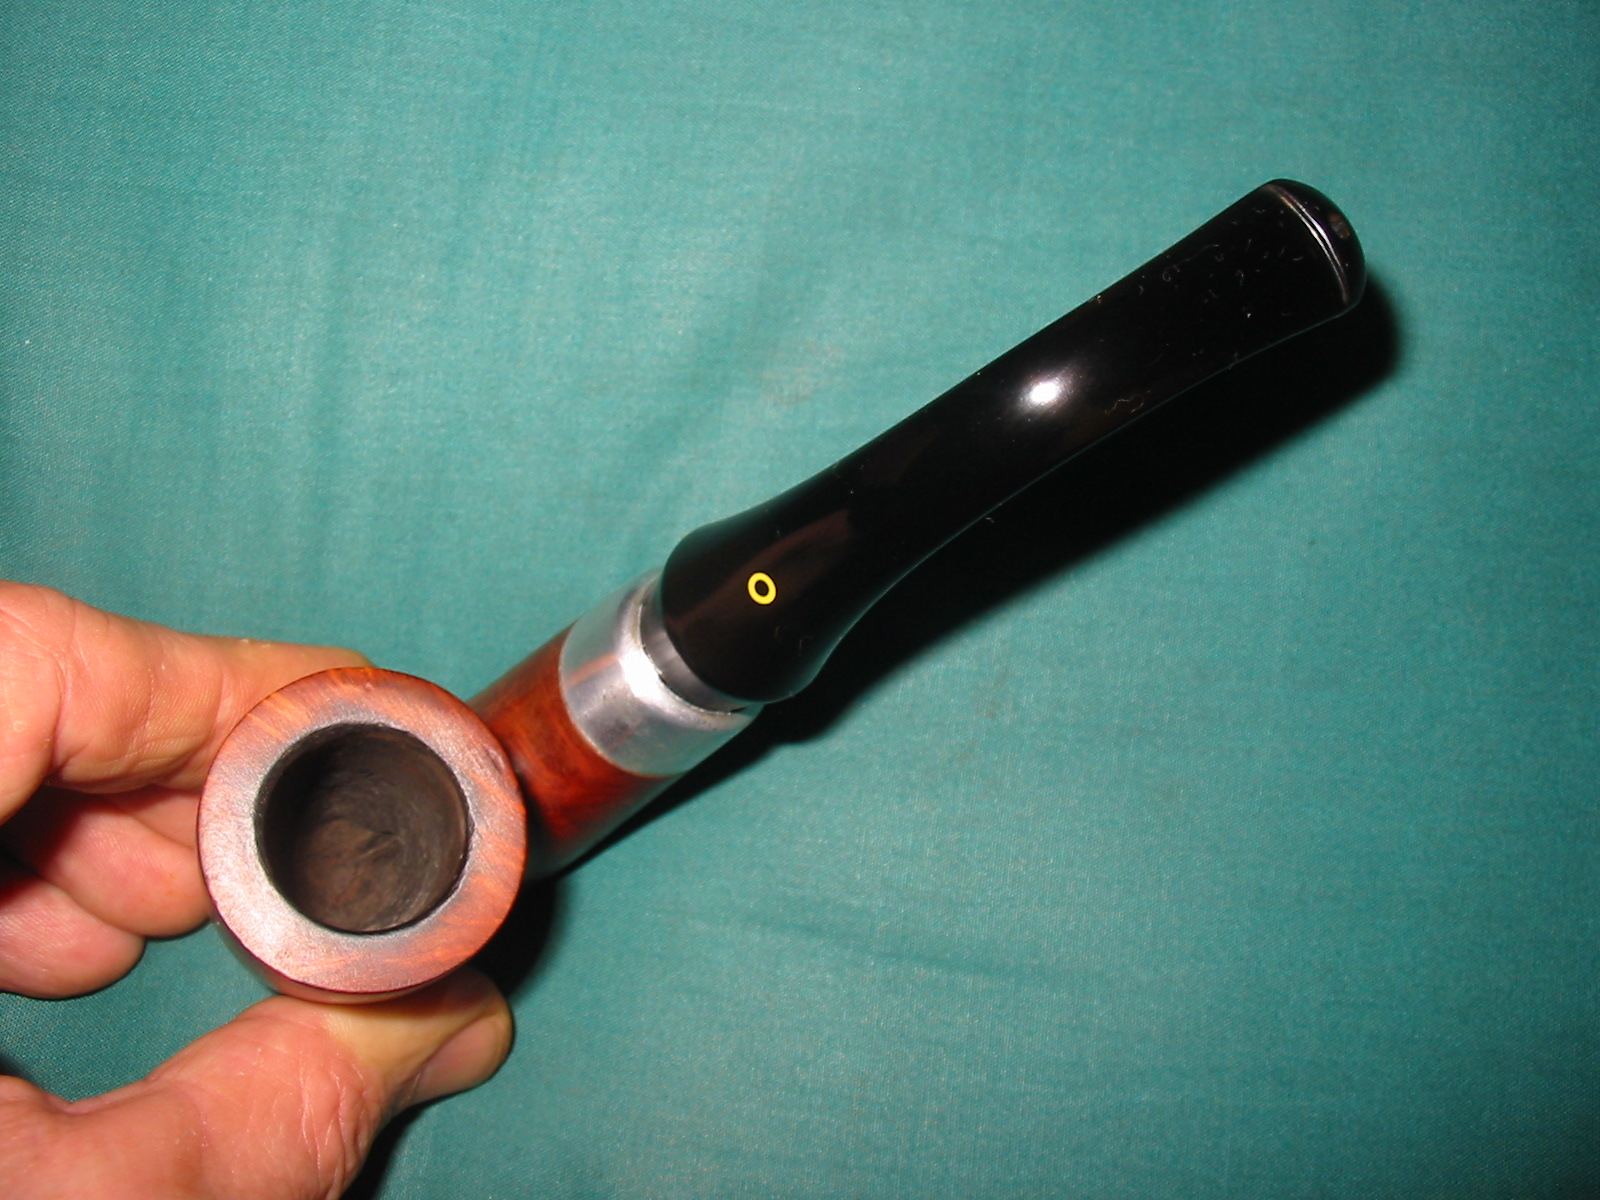
I fit the stem on the bowl and the overall look and feel was the same as the Wellington. The shoulder or ridge that formed the saddle was not as sharply defined as in the original stem but the look was close. The P-lip was the same and the tenon insert end was a match to the diagram above. Once the stem was re-bent the look would be even closer to the original.


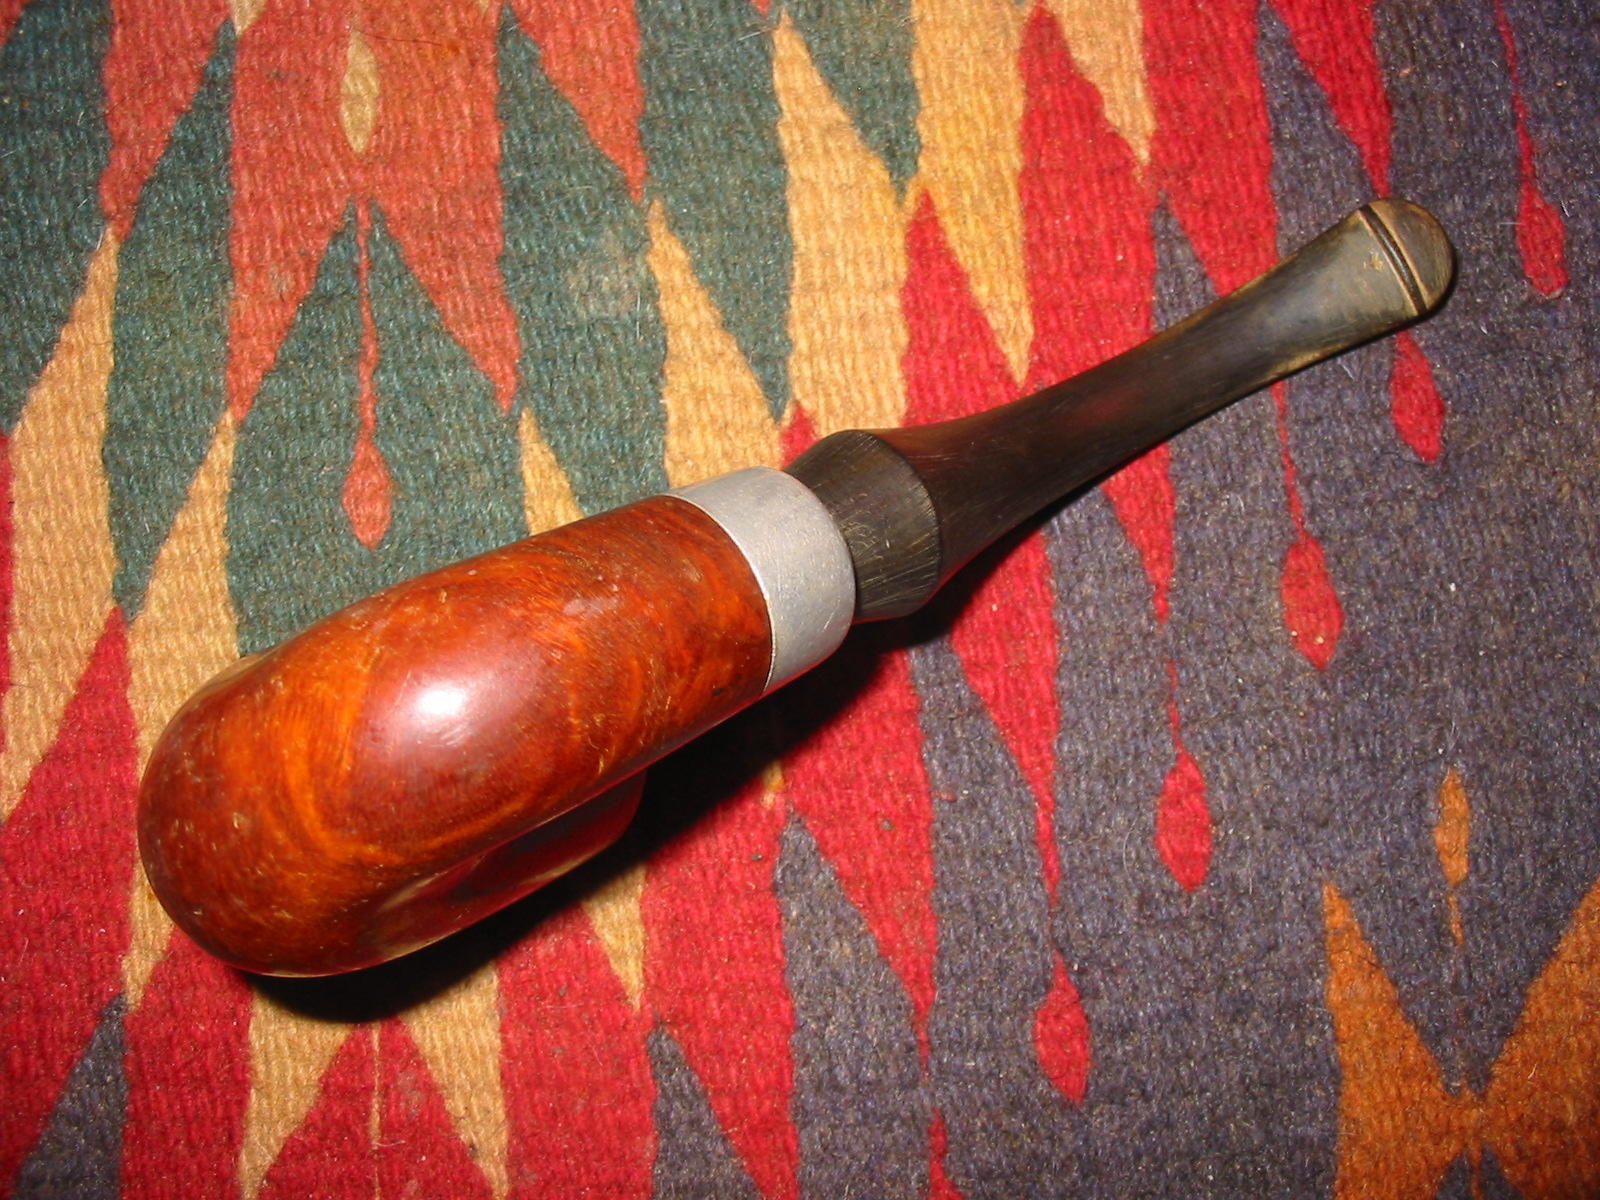
I cleaned the top of the rim with a cotton pad and alcohol to remove the tars and oils. I then reamed the bowl with a PipNet Reamer – a tool that I use on virtually every pipe I work on. The interchangeable heads allow me to use various heads to careful trim back the cake. In this case I took it back to bare wood to clean it up and remove the uneven buildup.

I scrubbed down the finish with acetone on cotton pads. The varnish came off with scrubbing. Underneath the peeling varnish the stain was in good shape. The briar was very clean with no fills. The grain was quite nice with a mix of cross grain and birdseye.


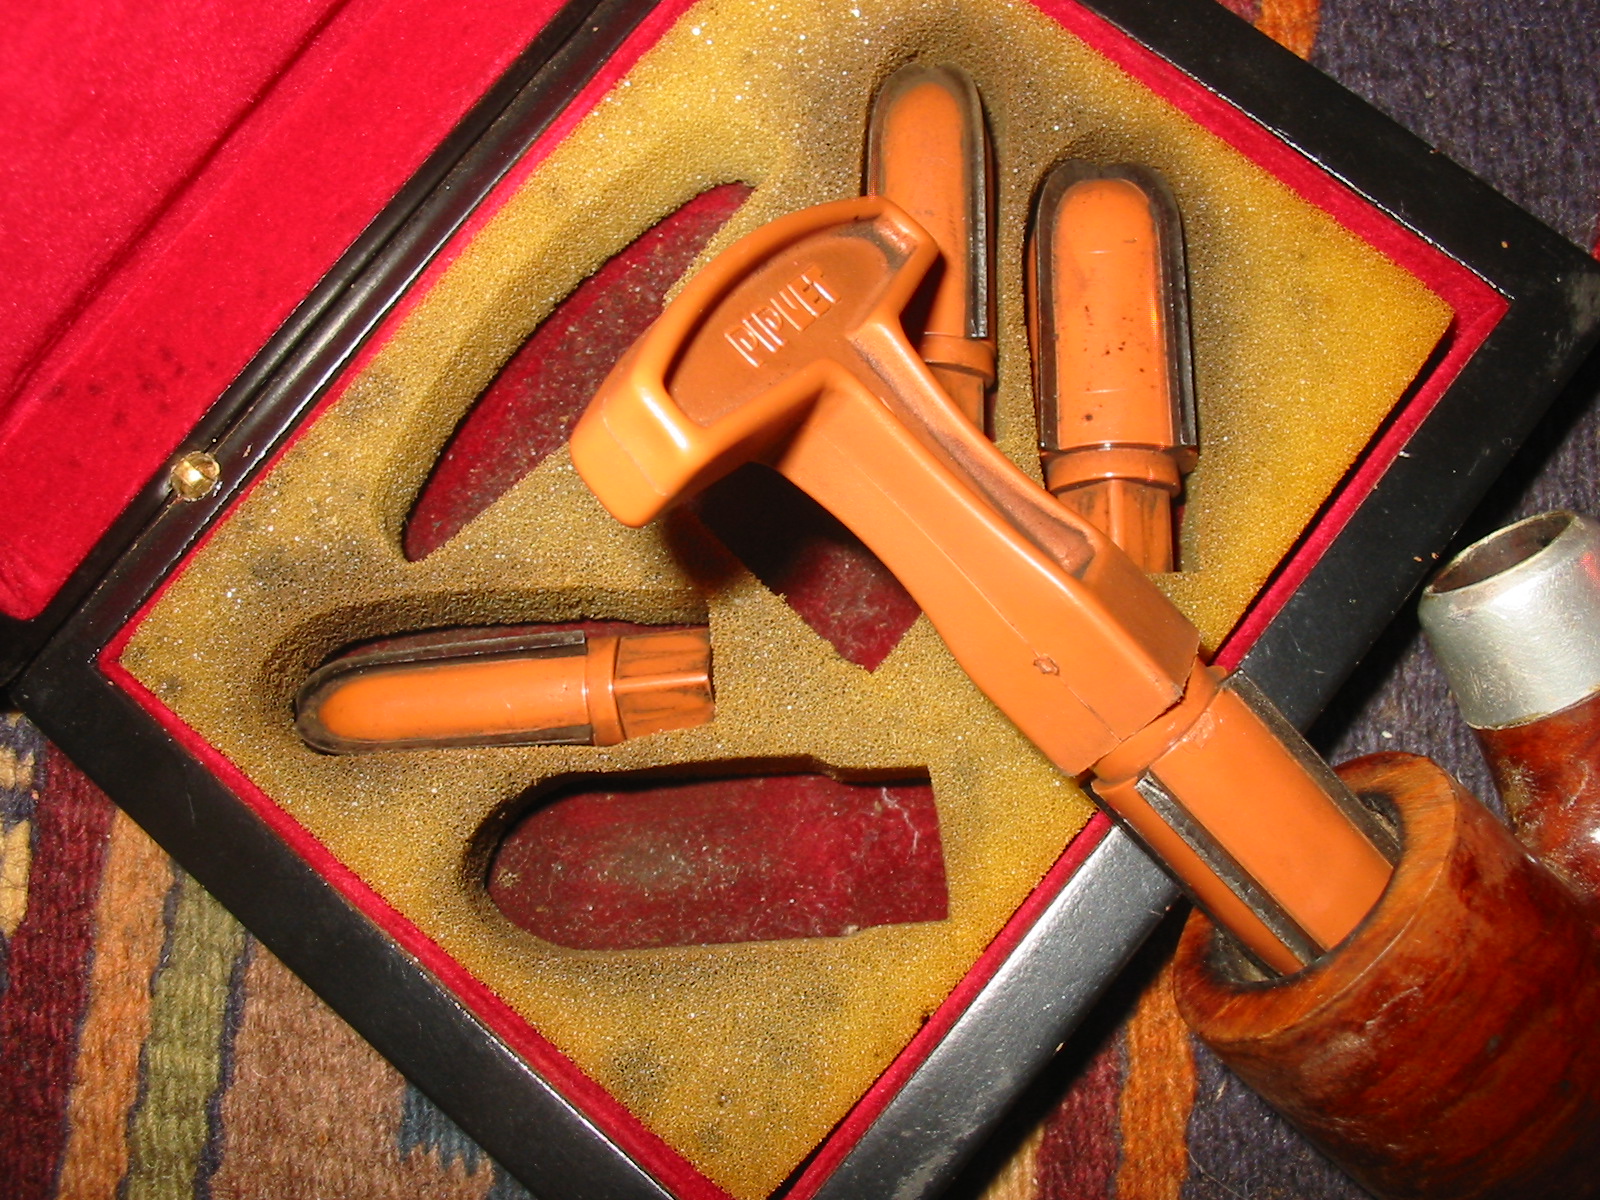
I scrubbed out the sump and the internals of the pipe with cotton swabs, pipe cleaners and isopropyl alcohol. Once the cleaners came out unstained I stuffed cotton balls in the shank and the bowl and then used an ear syringe to fill both with isopropyl alcohol (99%).


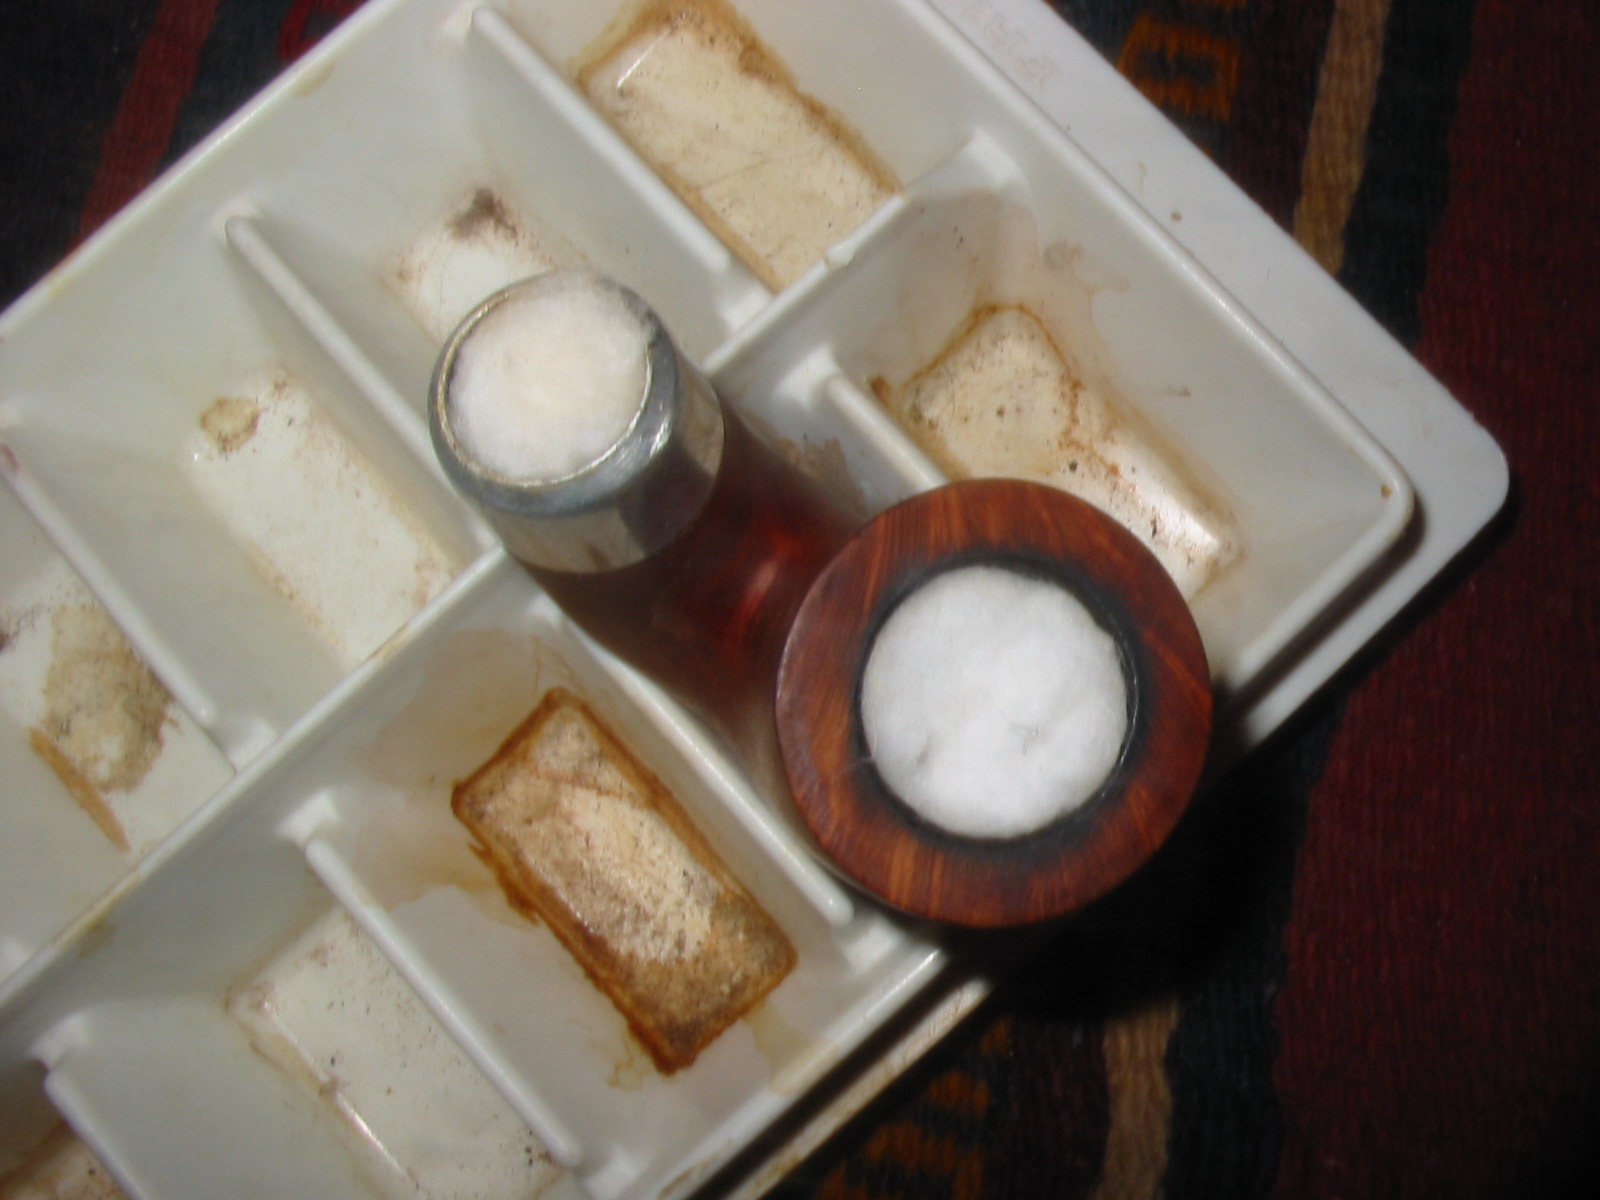
I put the bowl upright in an ice cube tray that I use for a stand when sweetening the pipes I clean. It works very well in wicking out tars and oils. I let it sit overnight. The first photo below shows the bowl after filling. The second photo below shows the bowl after 12 hours of soaking. Once I remove the cotton and re-clean the bowl and shank the smell of the pipe is fresh and clean.

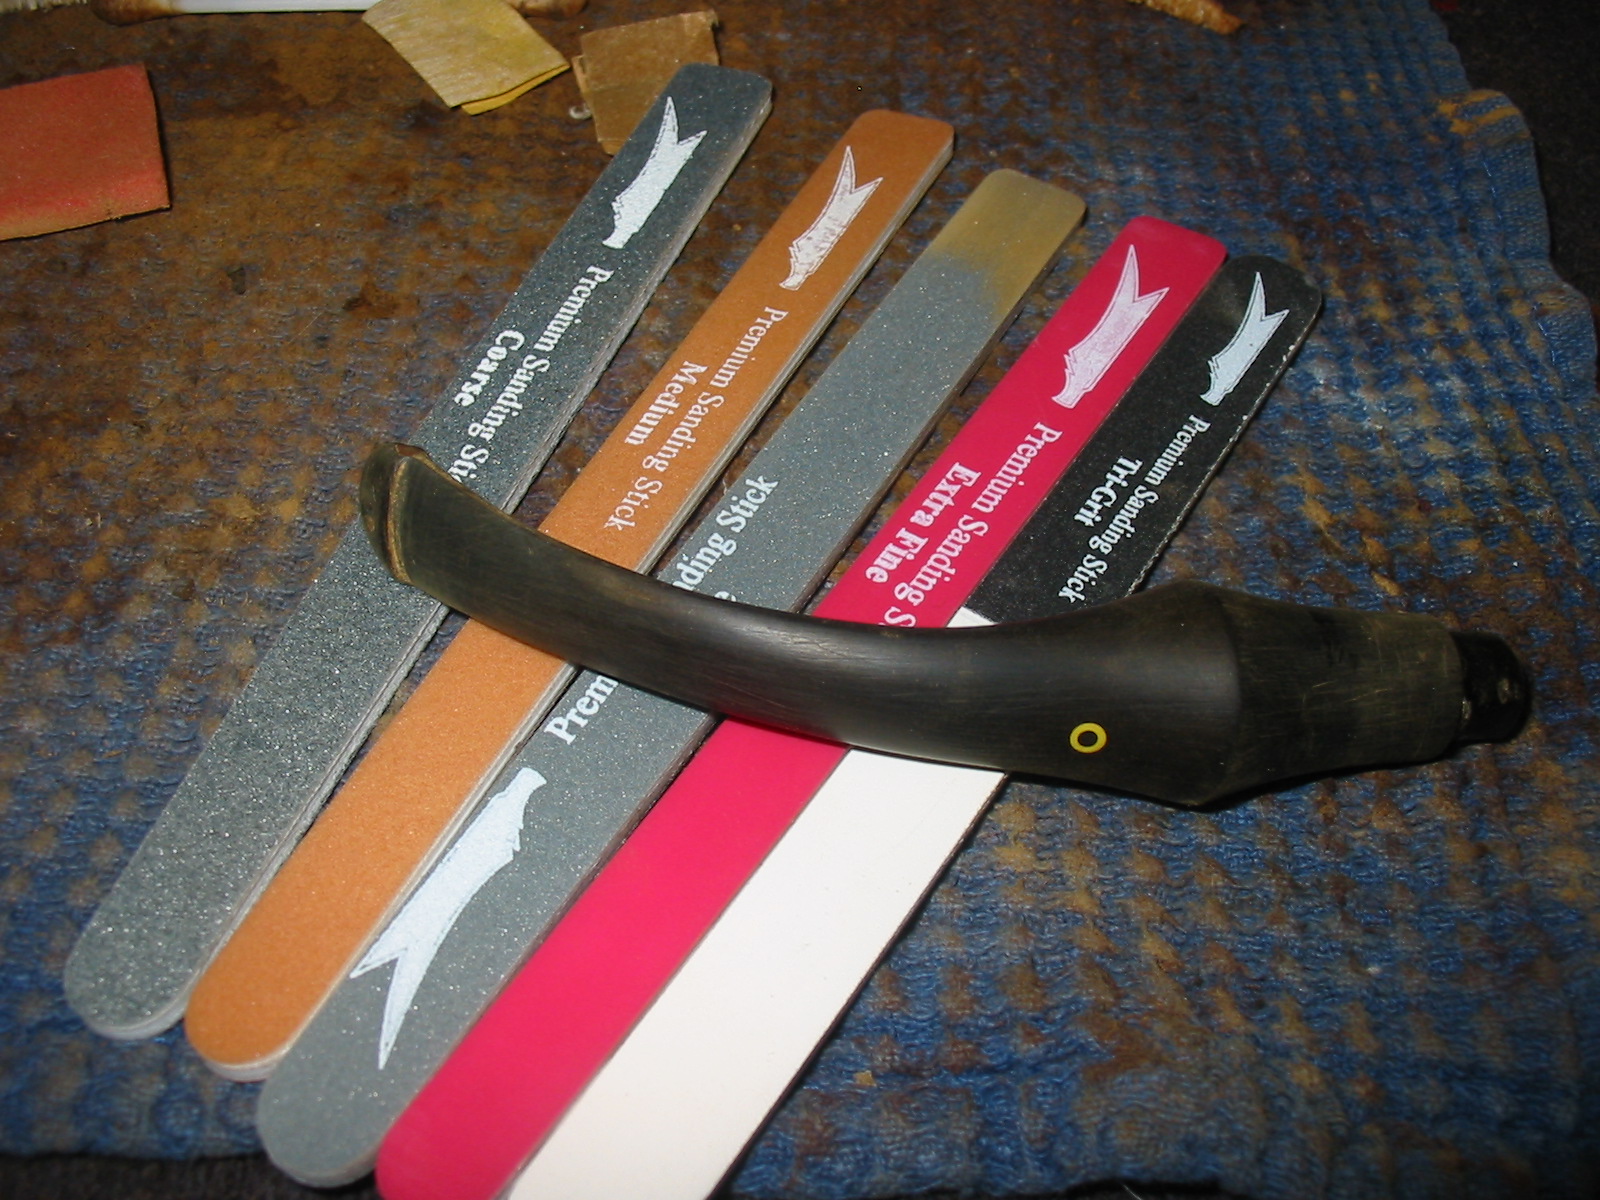
Over the weekend I picked up a few new tools to make the clean up simpler. One set of tools was the sanding sticks shown in the photo below. The various grits are clearly on the sticks. These work exceptionally well in the crease next to the button and on the shelf on the underside of the P-lip stem. I sanded the stem with 220 grit sandpaper and with medium and fine grit sanding sponges.
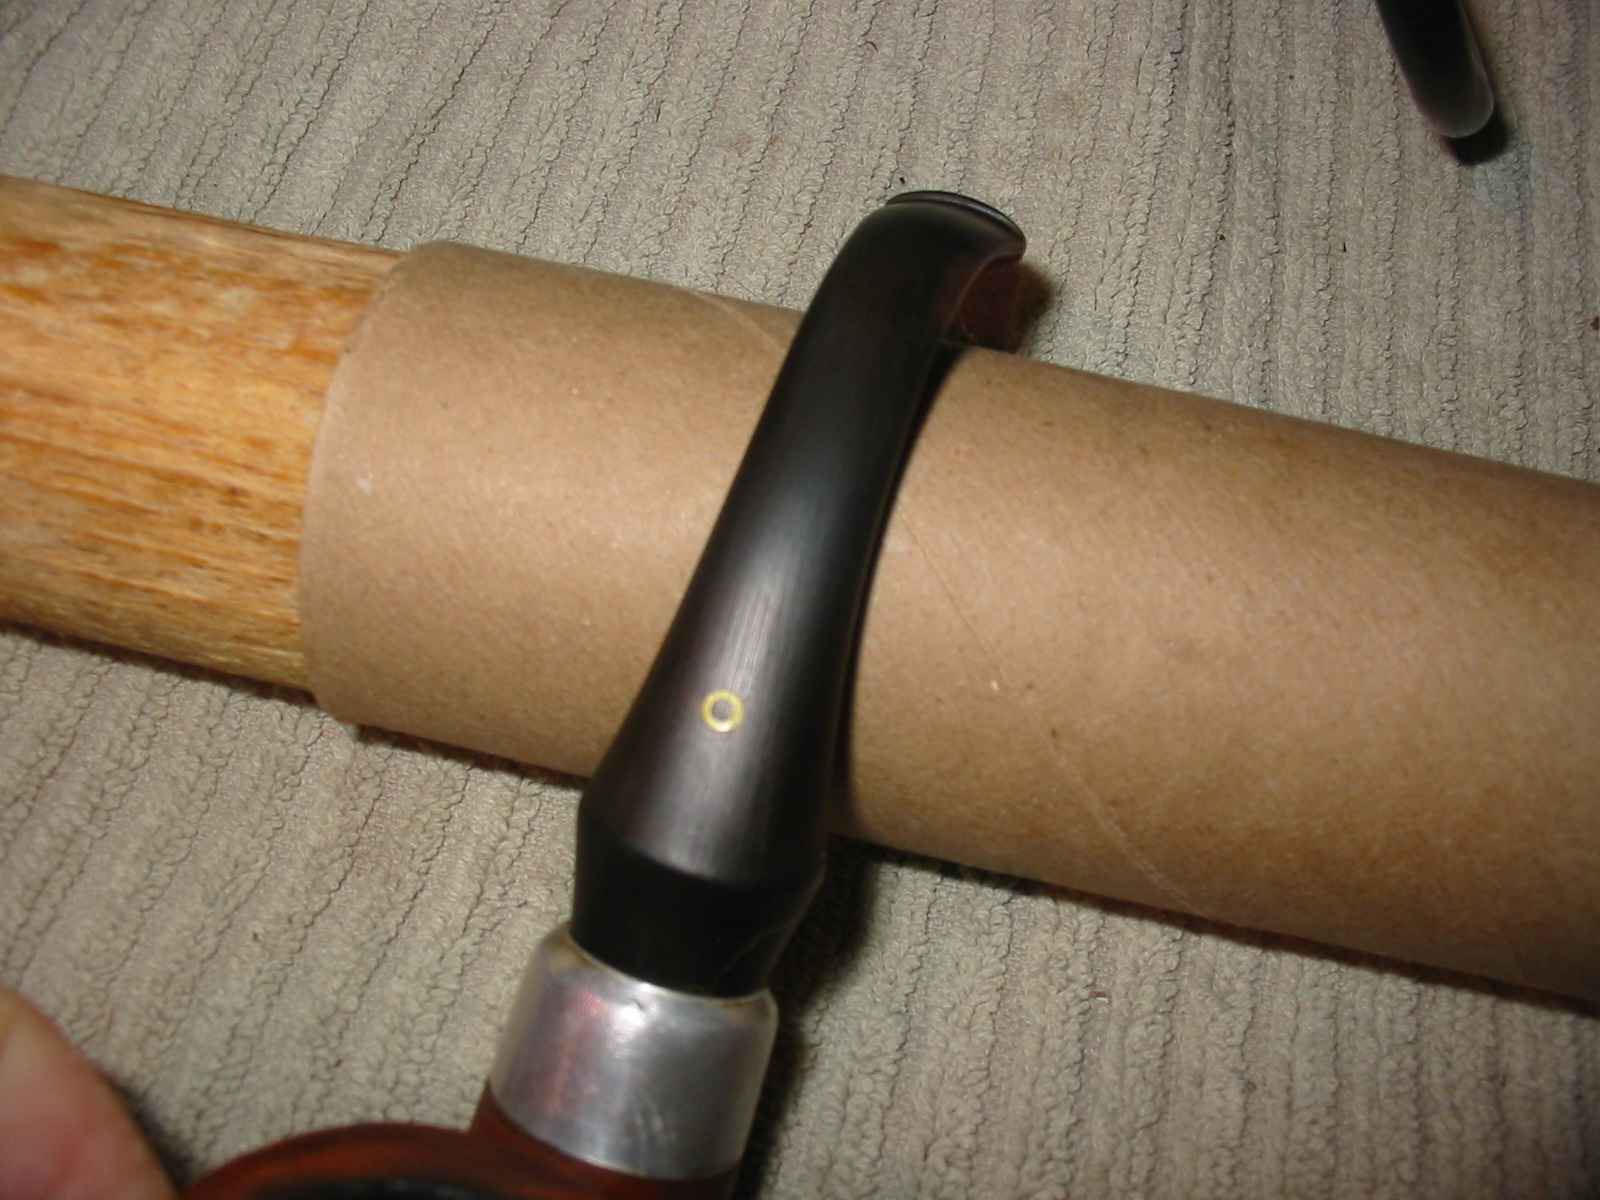
After the initial sanding was finished I used a heat gun to heat the stem and bent it over a rolling pin covered with a thick cardboard tube to give the stem a clean bend and avoid kinking the airway. I have been using this for quite a few years now and have not experienced trouble with damaging the airways in the bending process.


I sanded the stem once again with a fine grit sanding sponge. I generally do this before moving on to the micromesh sanding pads.


I wiped down the bowl with a damp cloth to remove any dust and to get an idea of whether I would give it a coat of stain. Once it was clean it looked good to me. No stain would be necessary on this old timer. The colouring once it was buffed would be perfect.

The rim needed a bit more sanding with the micromesh to clean up the top and then a folded piece of sandpaper on the inner edge to smooth things out.

I worked on the stem with the micromesh sanding pads. I wet sanded with 1500-2400 grit pads. Afterwards I noticed the oxidation that still remain at the saddle so I sanded it again with the medium and fine grit sanding sponges and repeated the micromesh wet sanding.
I sanded it with the 3200-4000 grit pads and still saw some oxidation in that area. I repeated the process above with the sanding sponges and the six grits of micromesh to clean it more deeply. I then buffed it with Tripoli and then finished the final three grits of micromesh from 6000-12,000 grit. I buffed it with White Diamond.


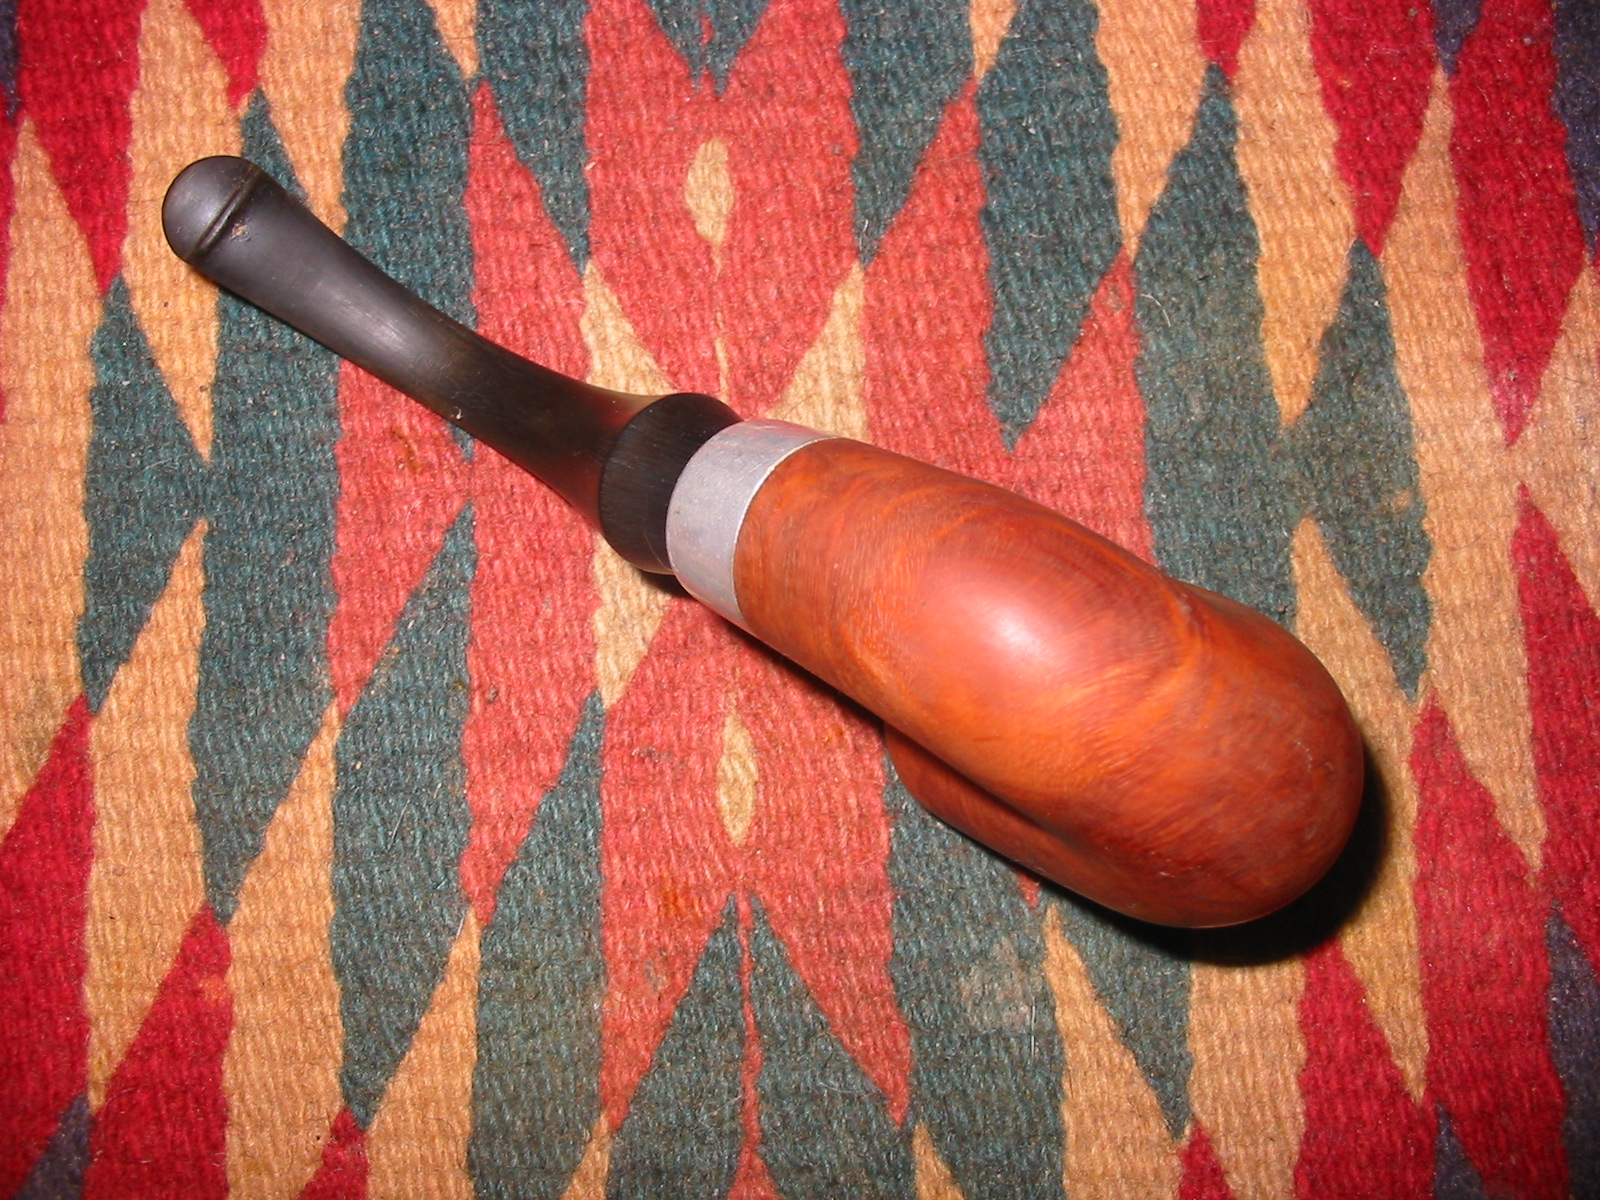
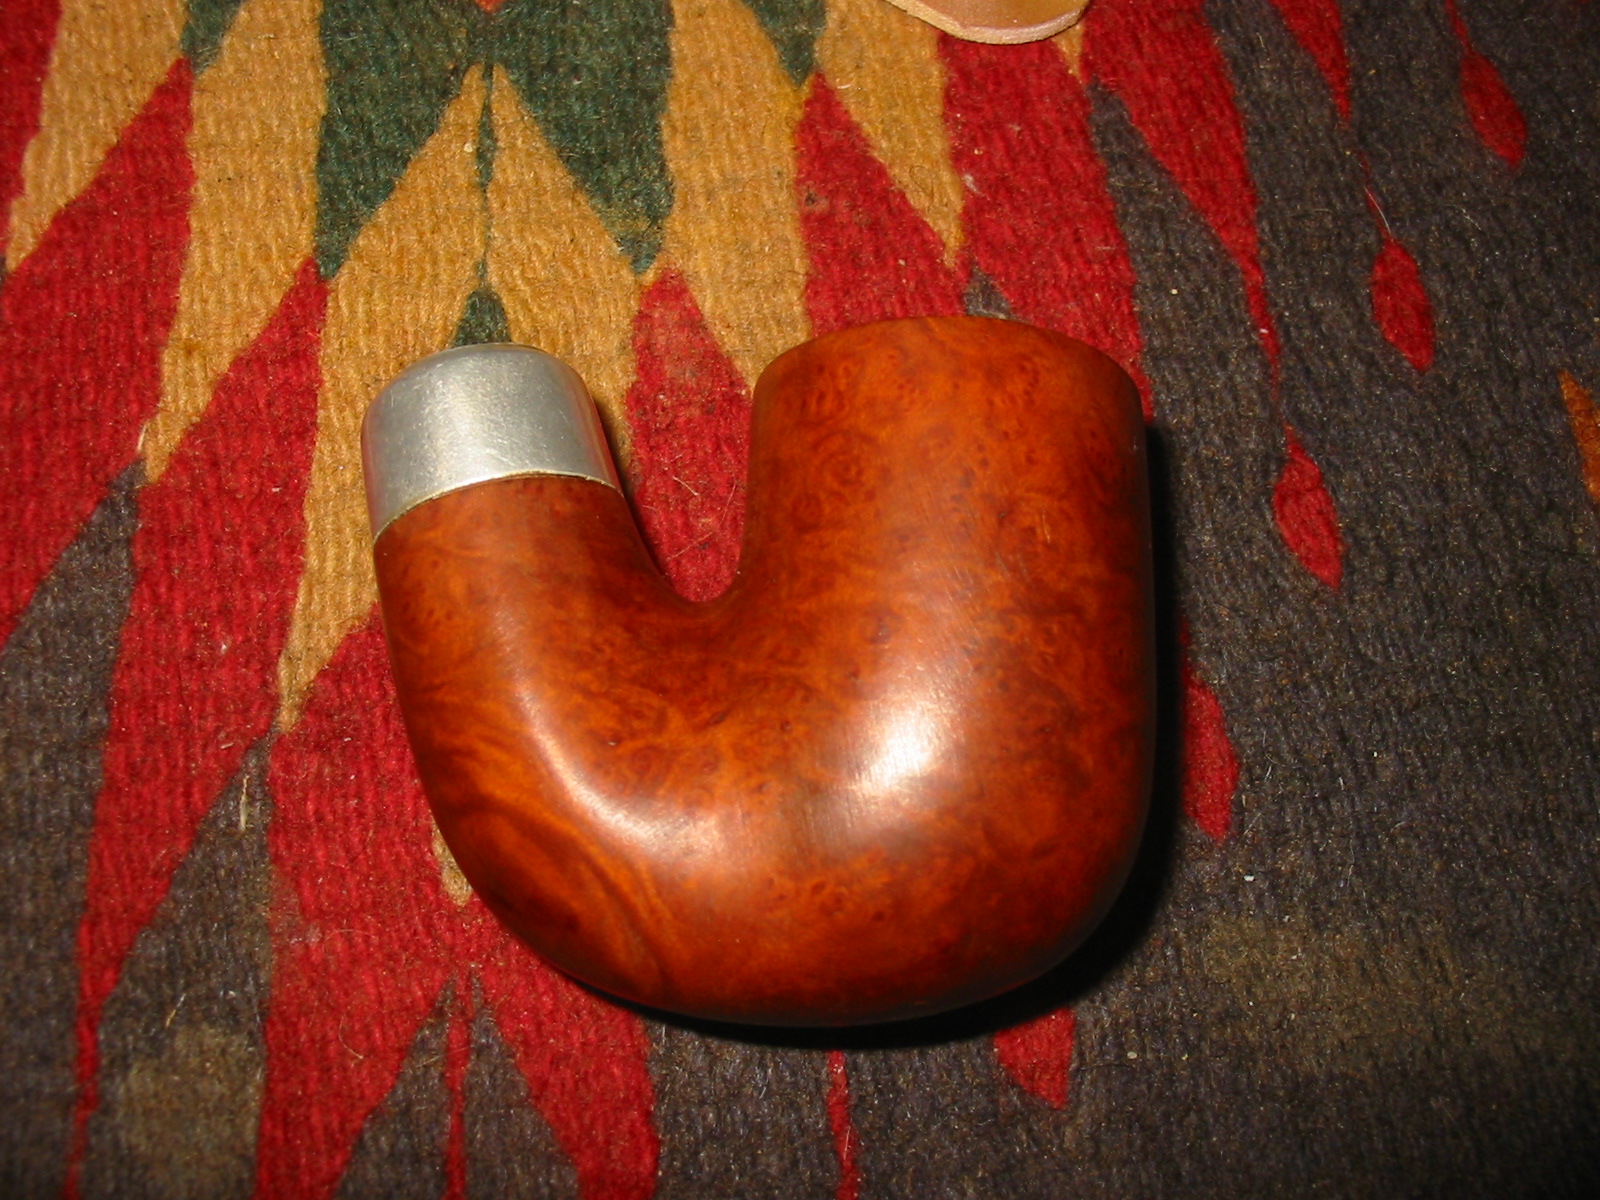
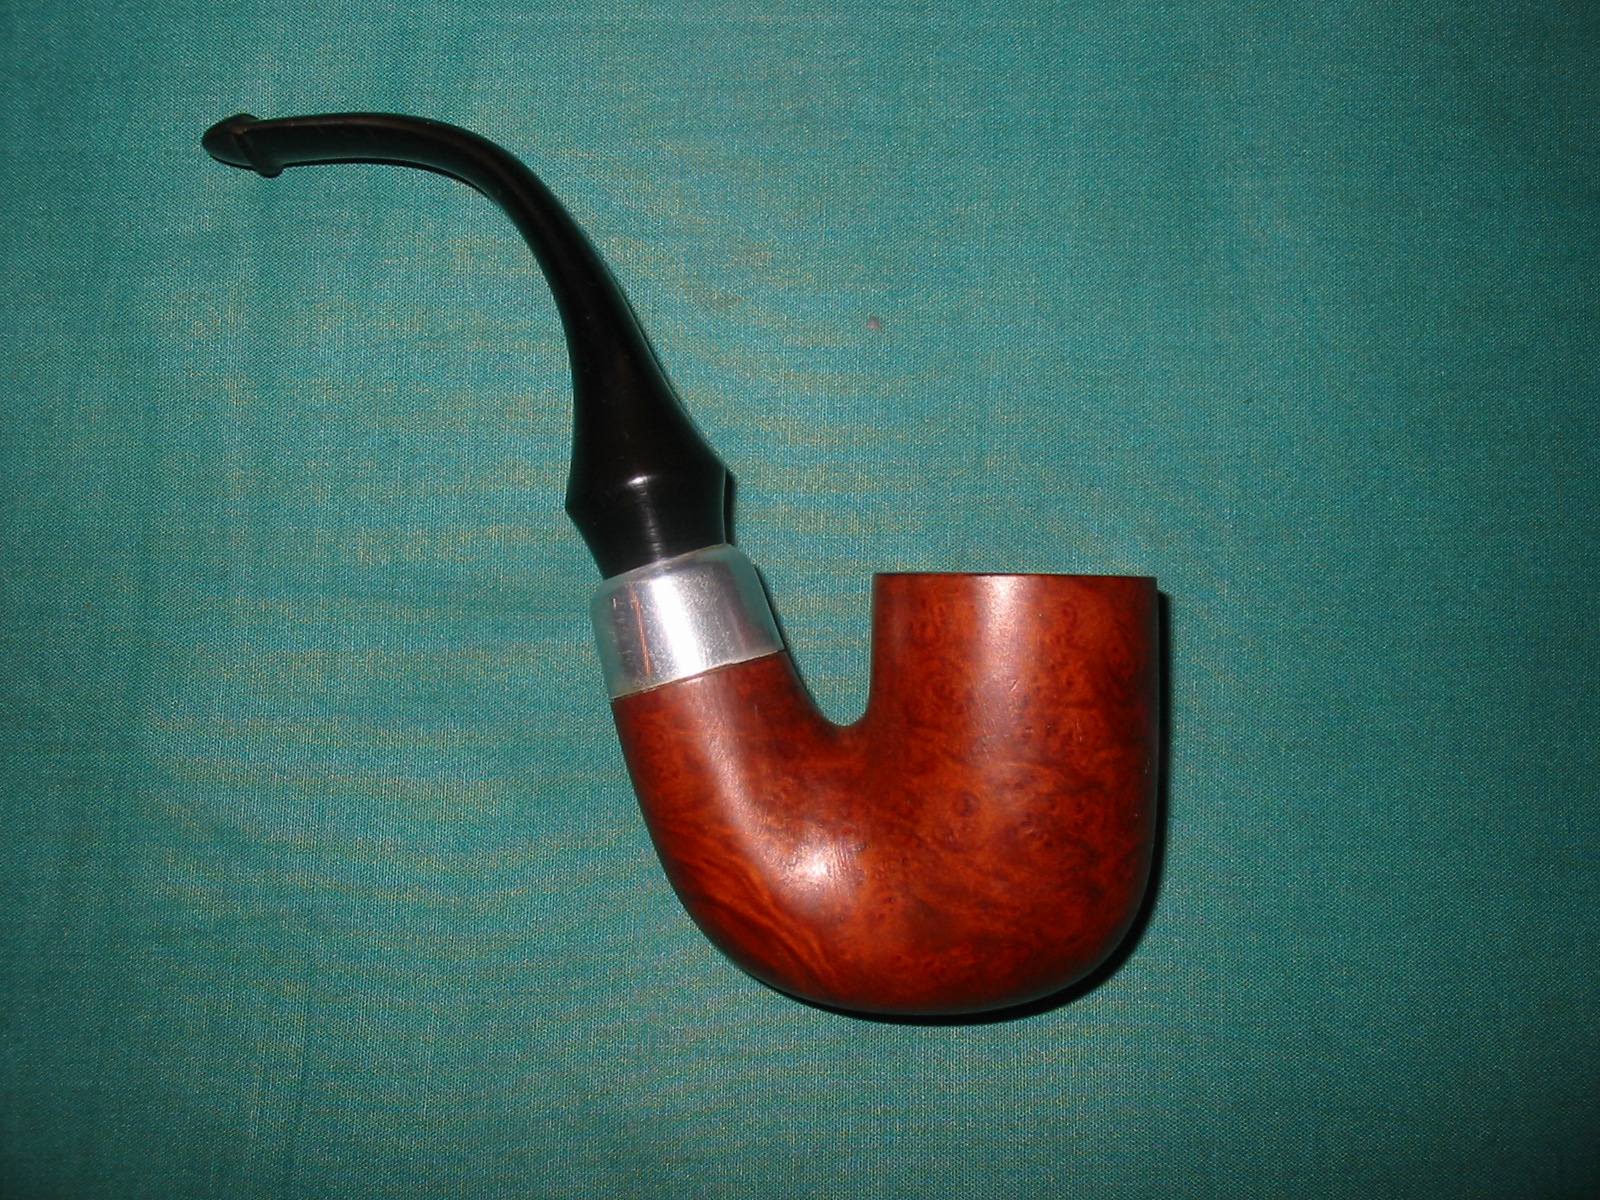
I polished the nickel ferrule with silver polish and a polishing cloth and then buffed the bowl and stem a final time with Whtie Diamond. I gave the entire pipe multiple coats of carnauba wax, buffing in between coats with a soft flannel buff. The finished pipe is shown below. I am quite pleased with the new look. The old Yello Bole stem works well with the pipe.


Sweet resto!
LikeLike