Blog by Steve Laug
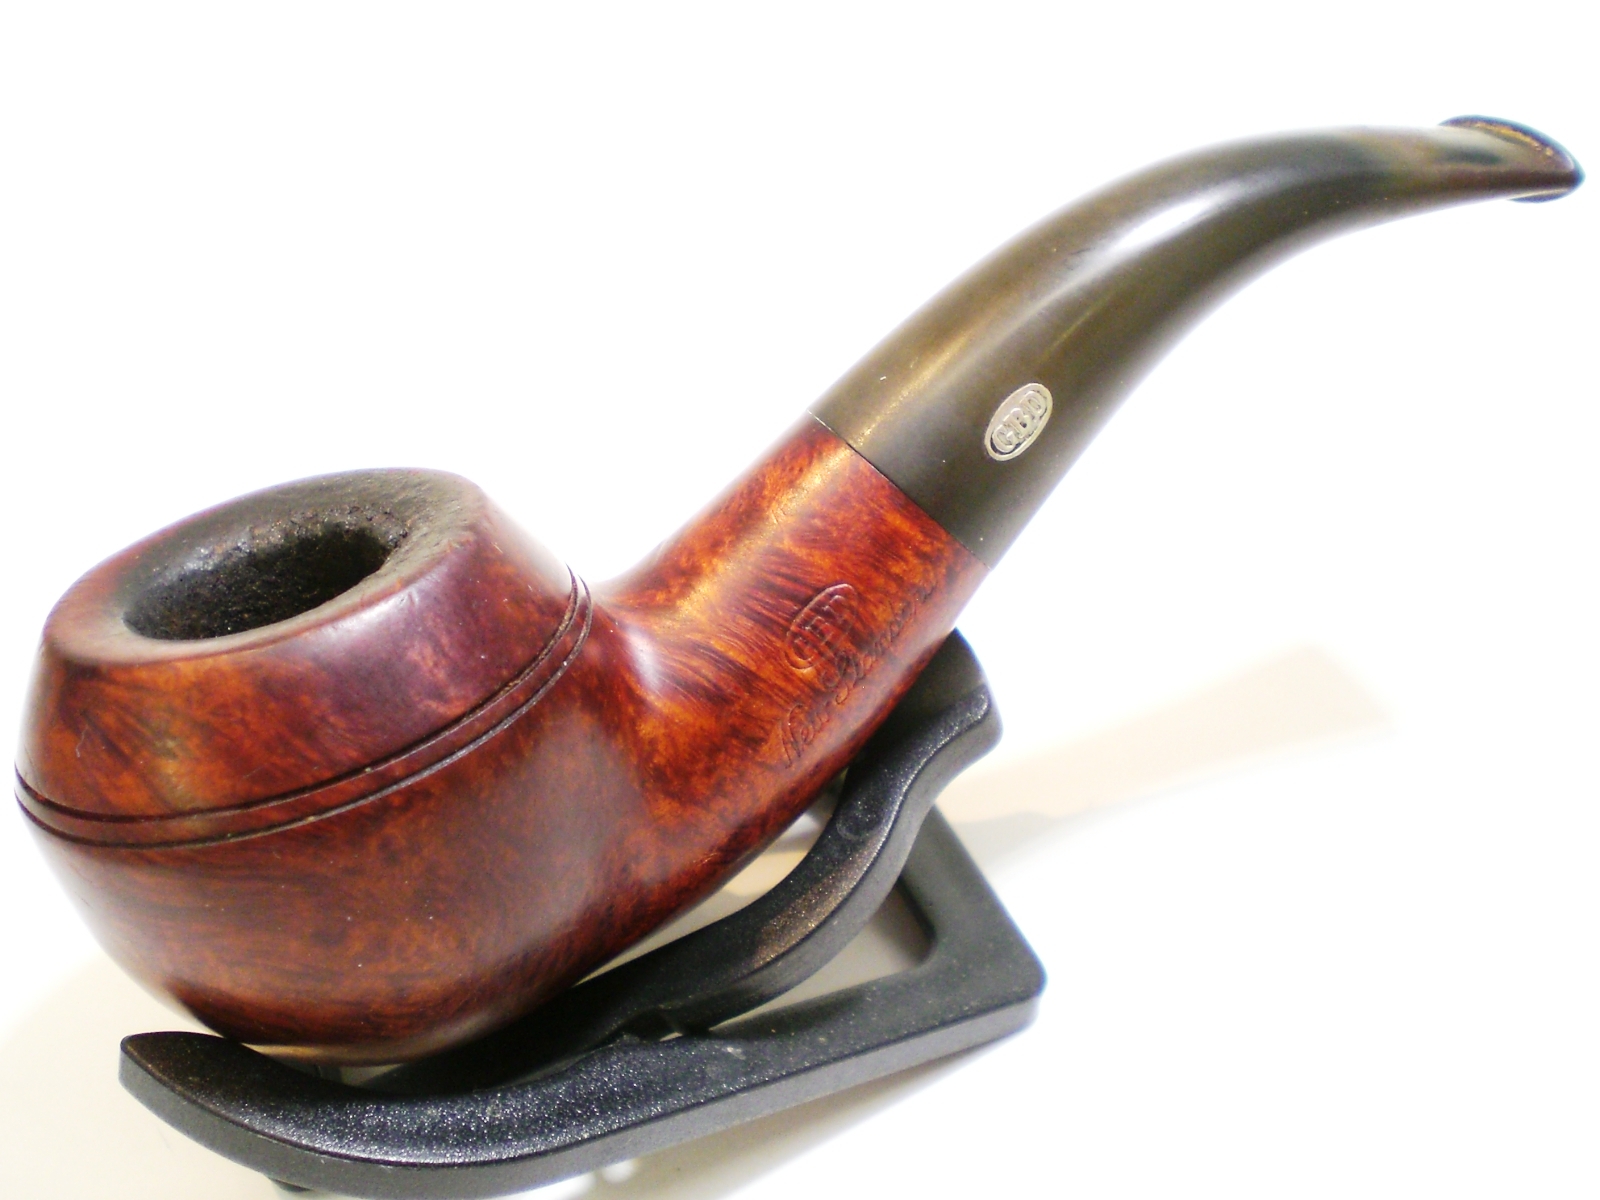
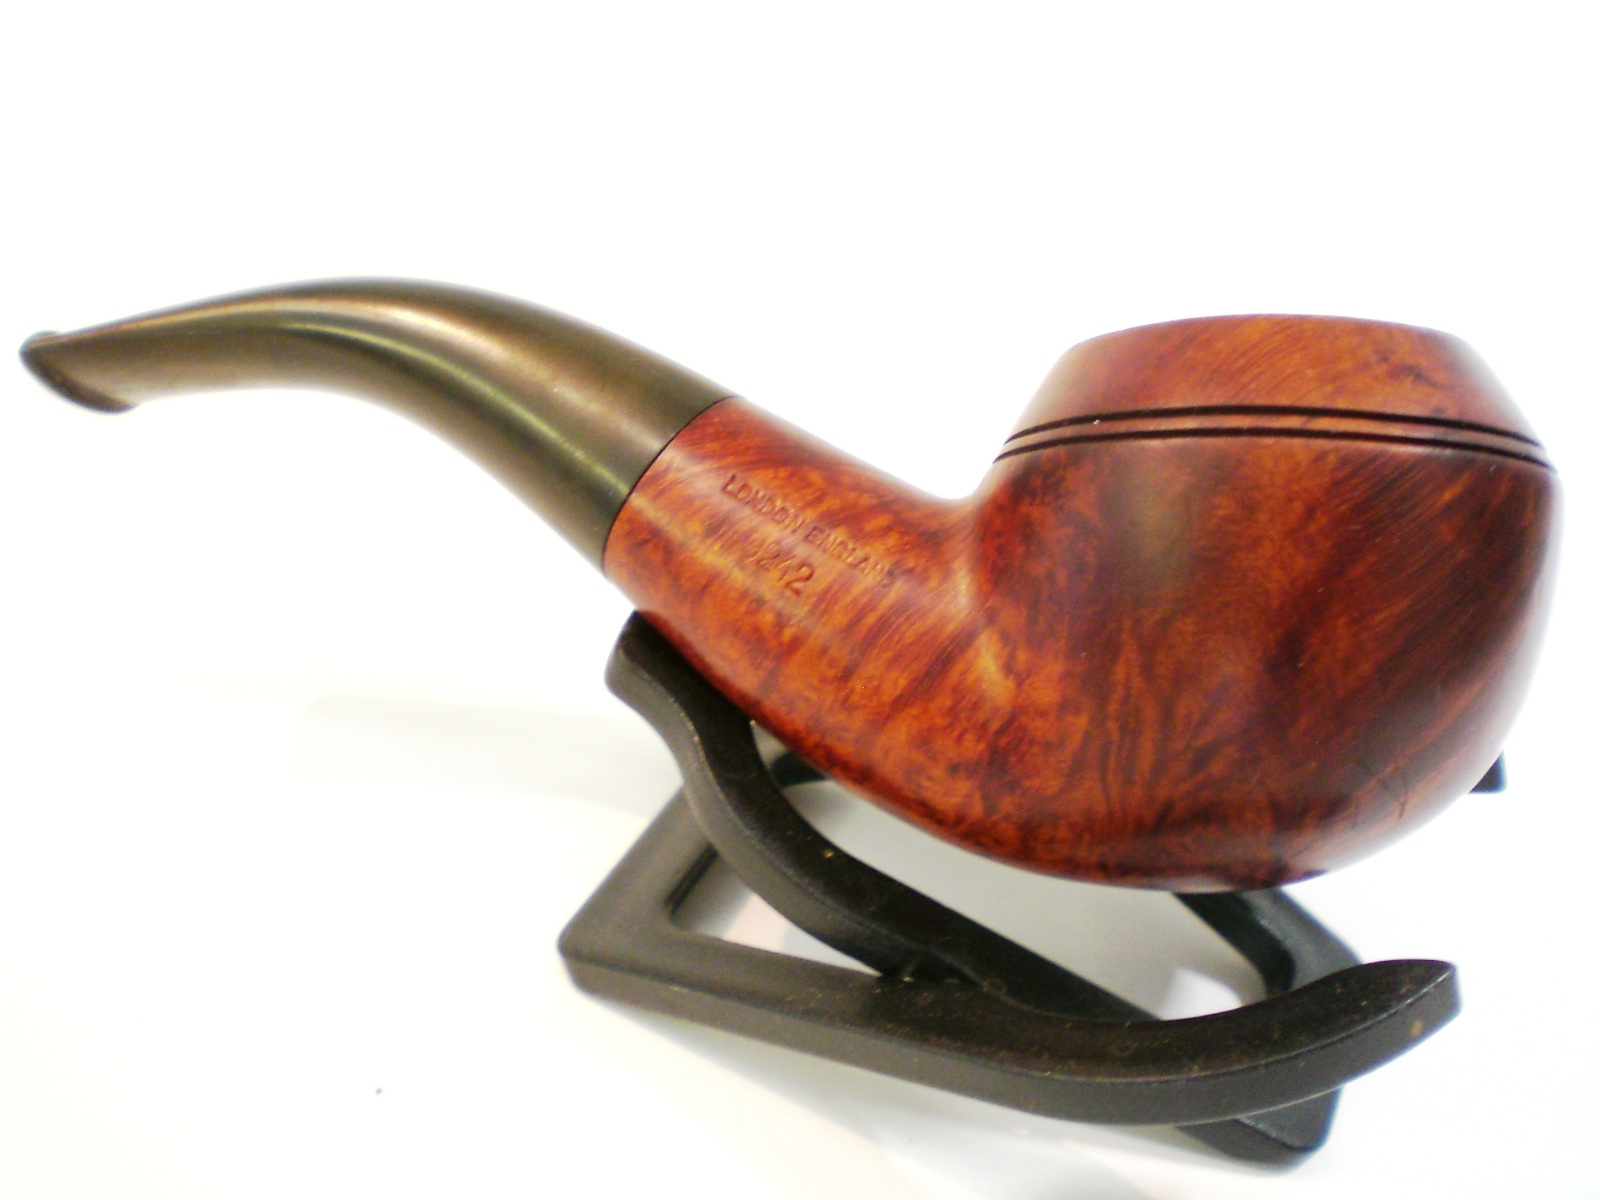
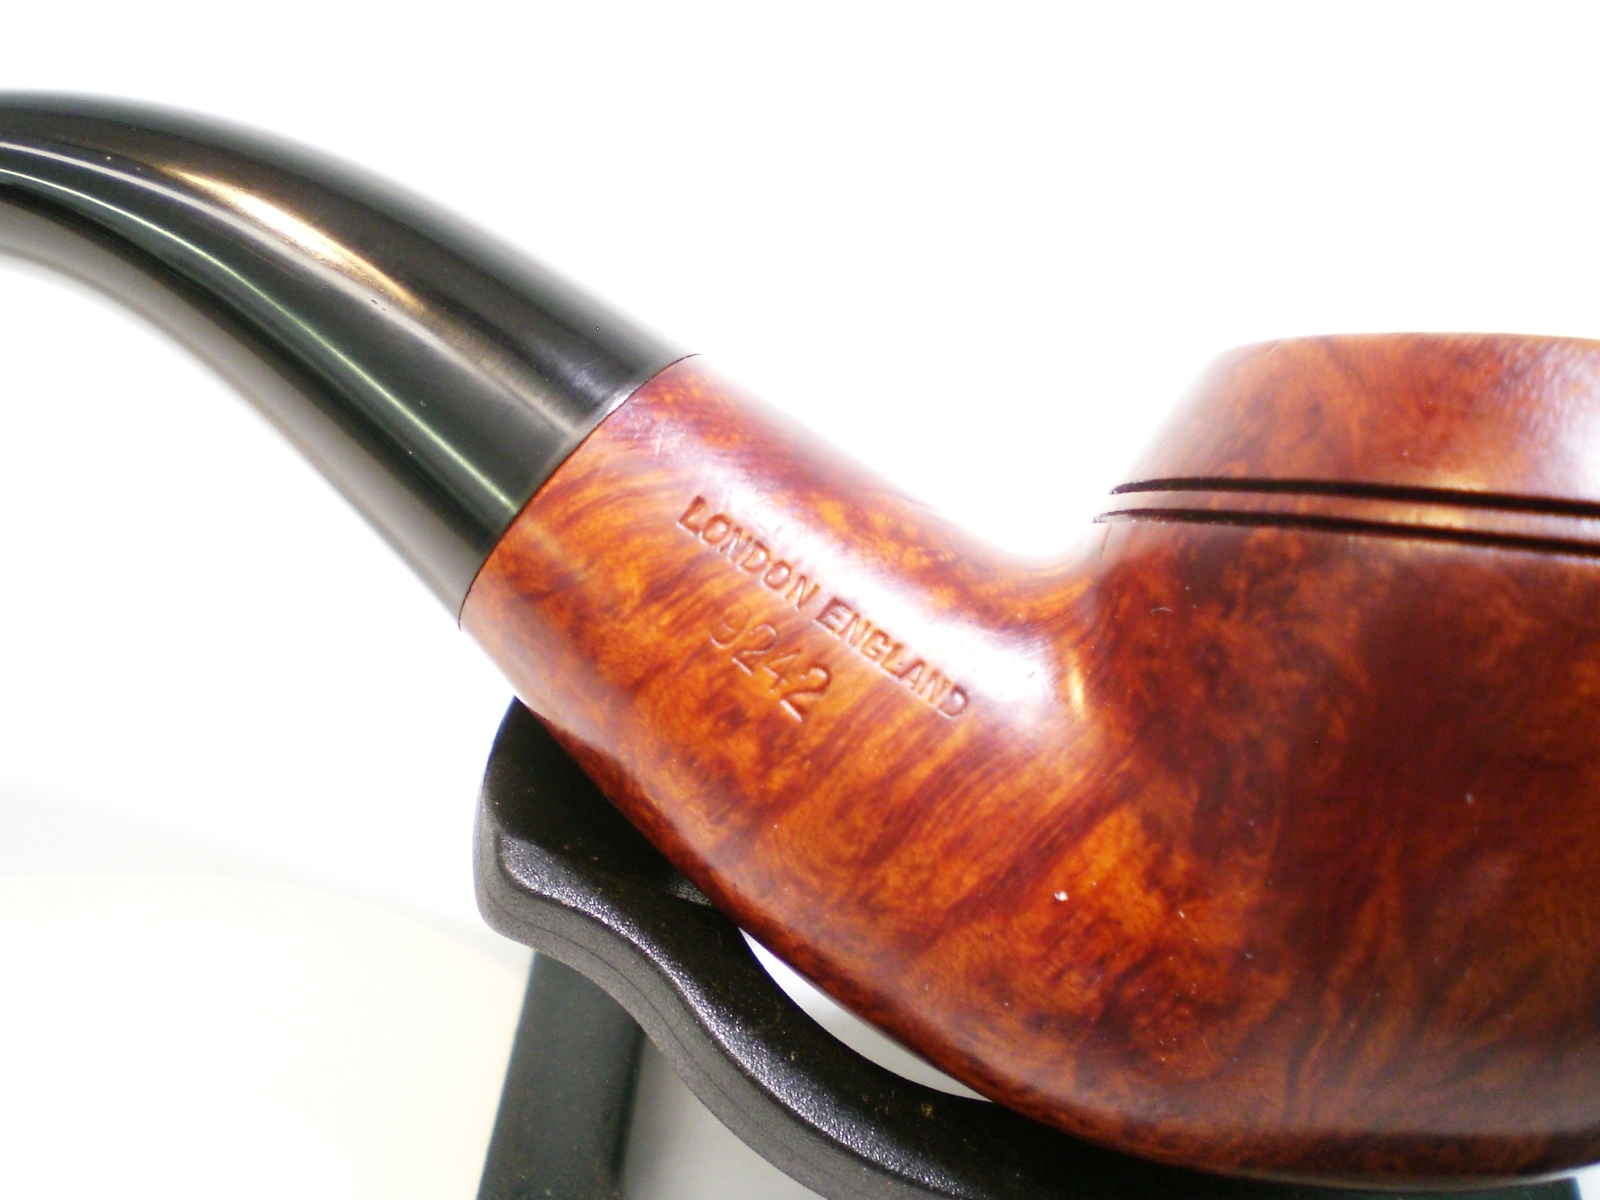
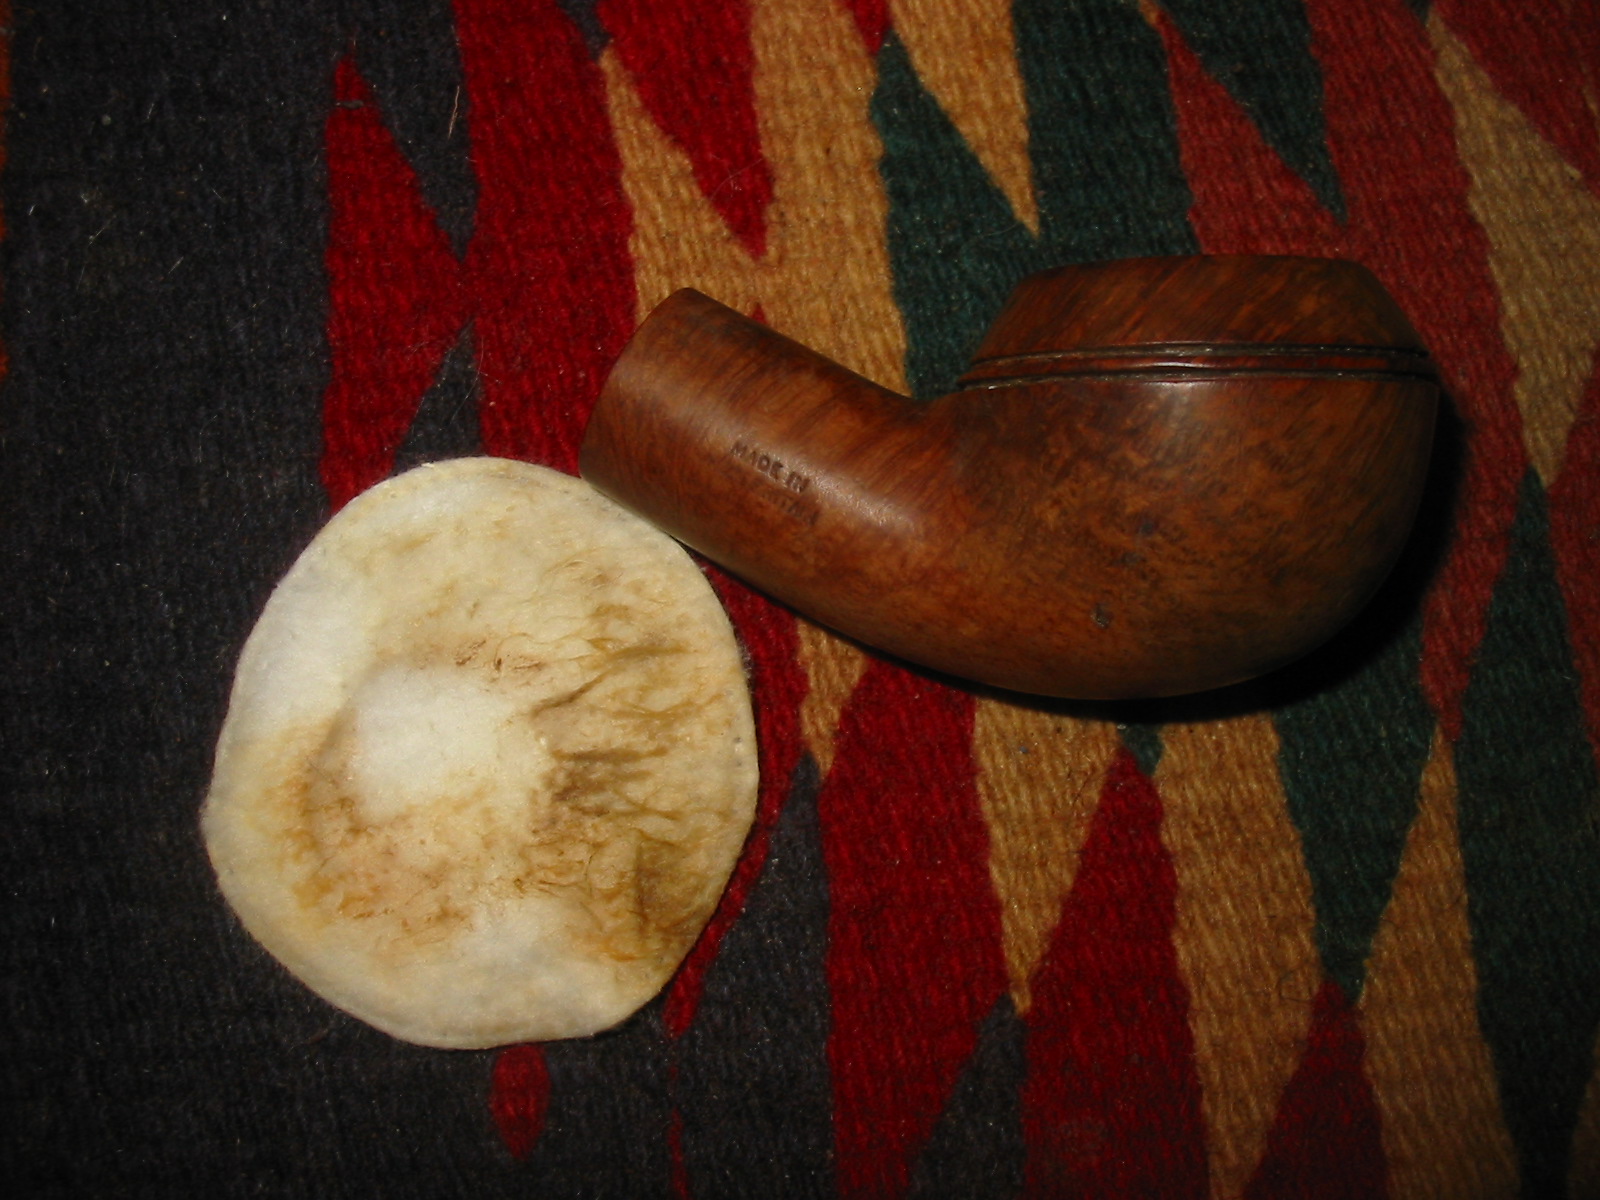
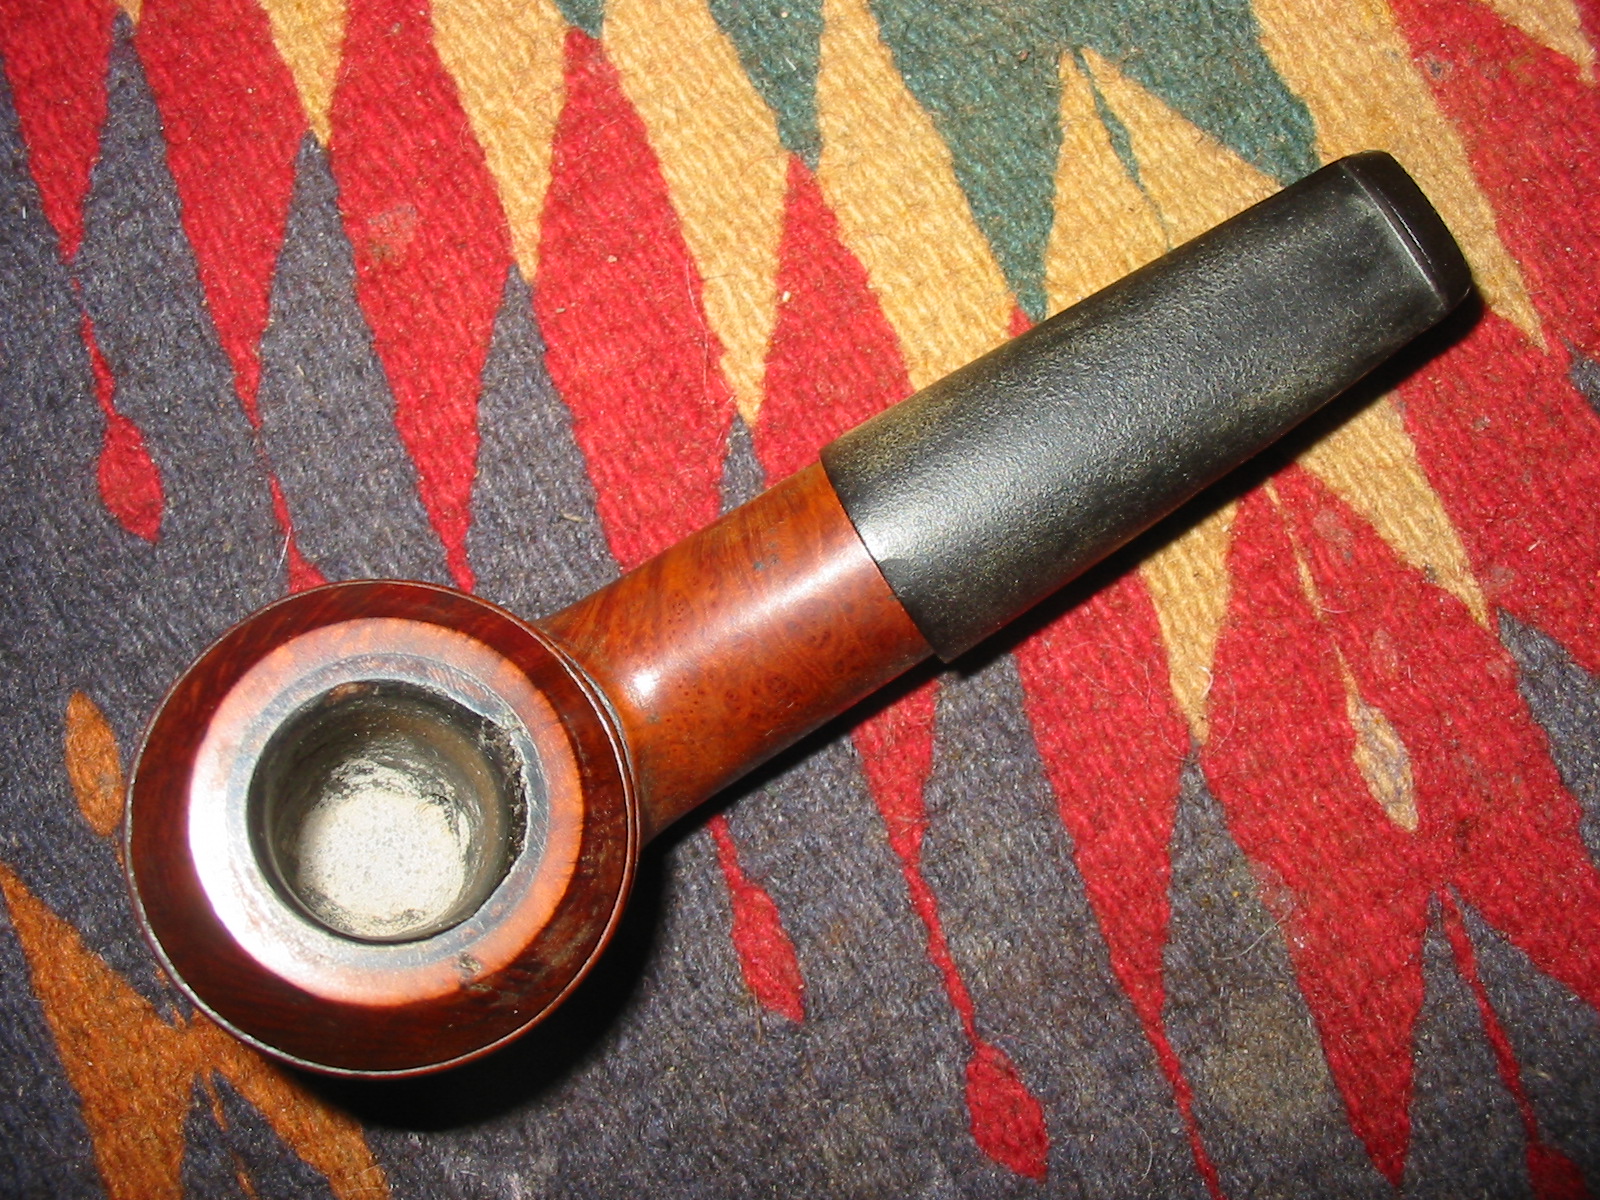
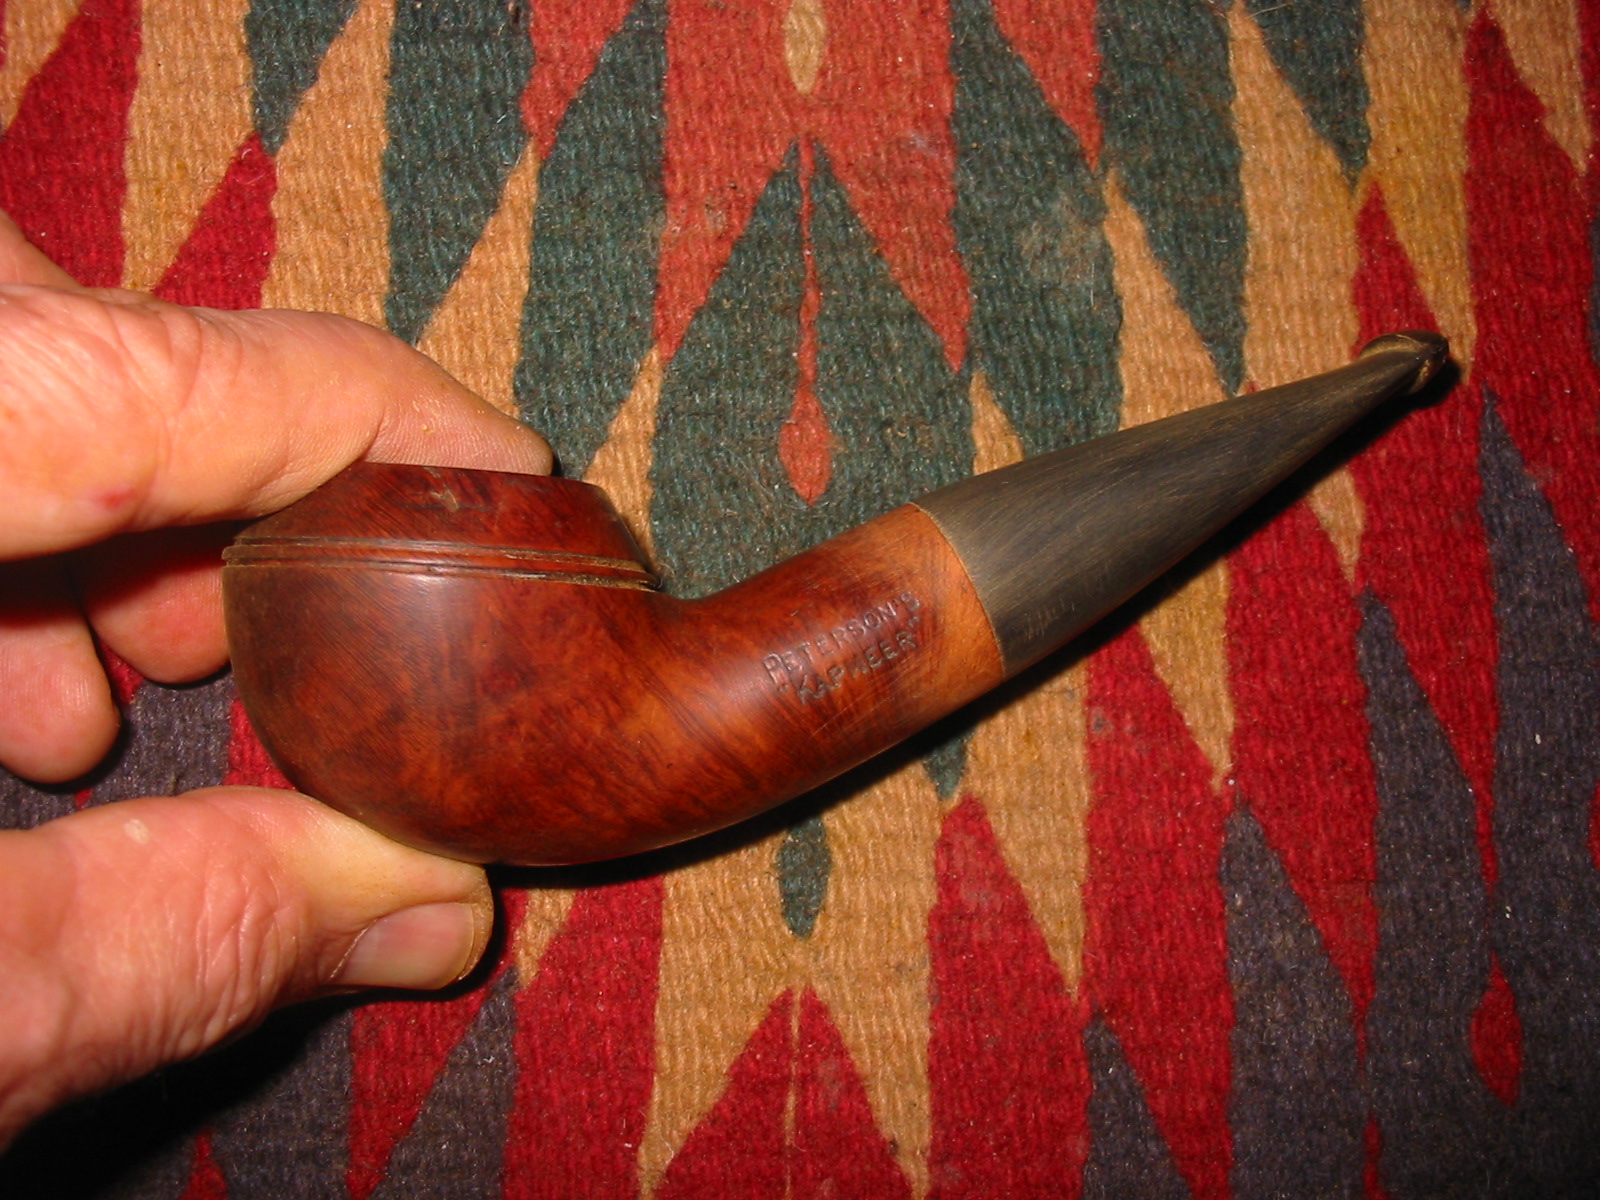
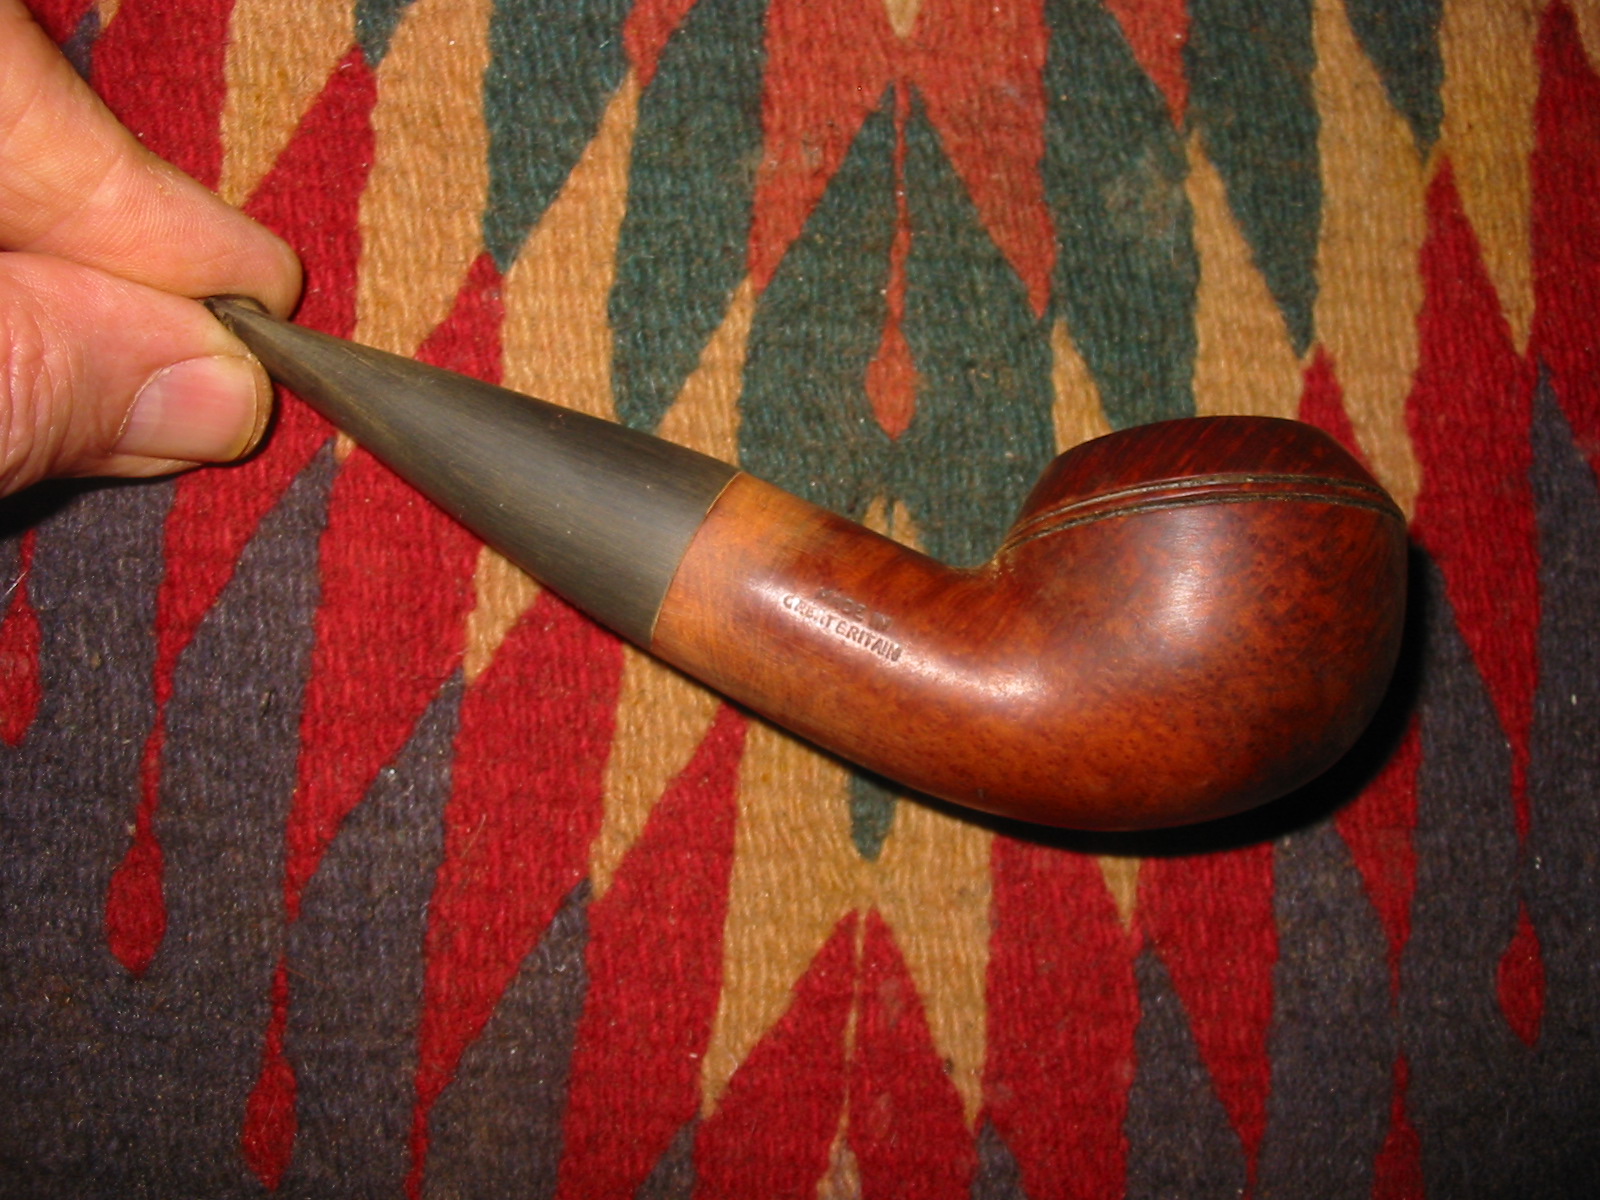
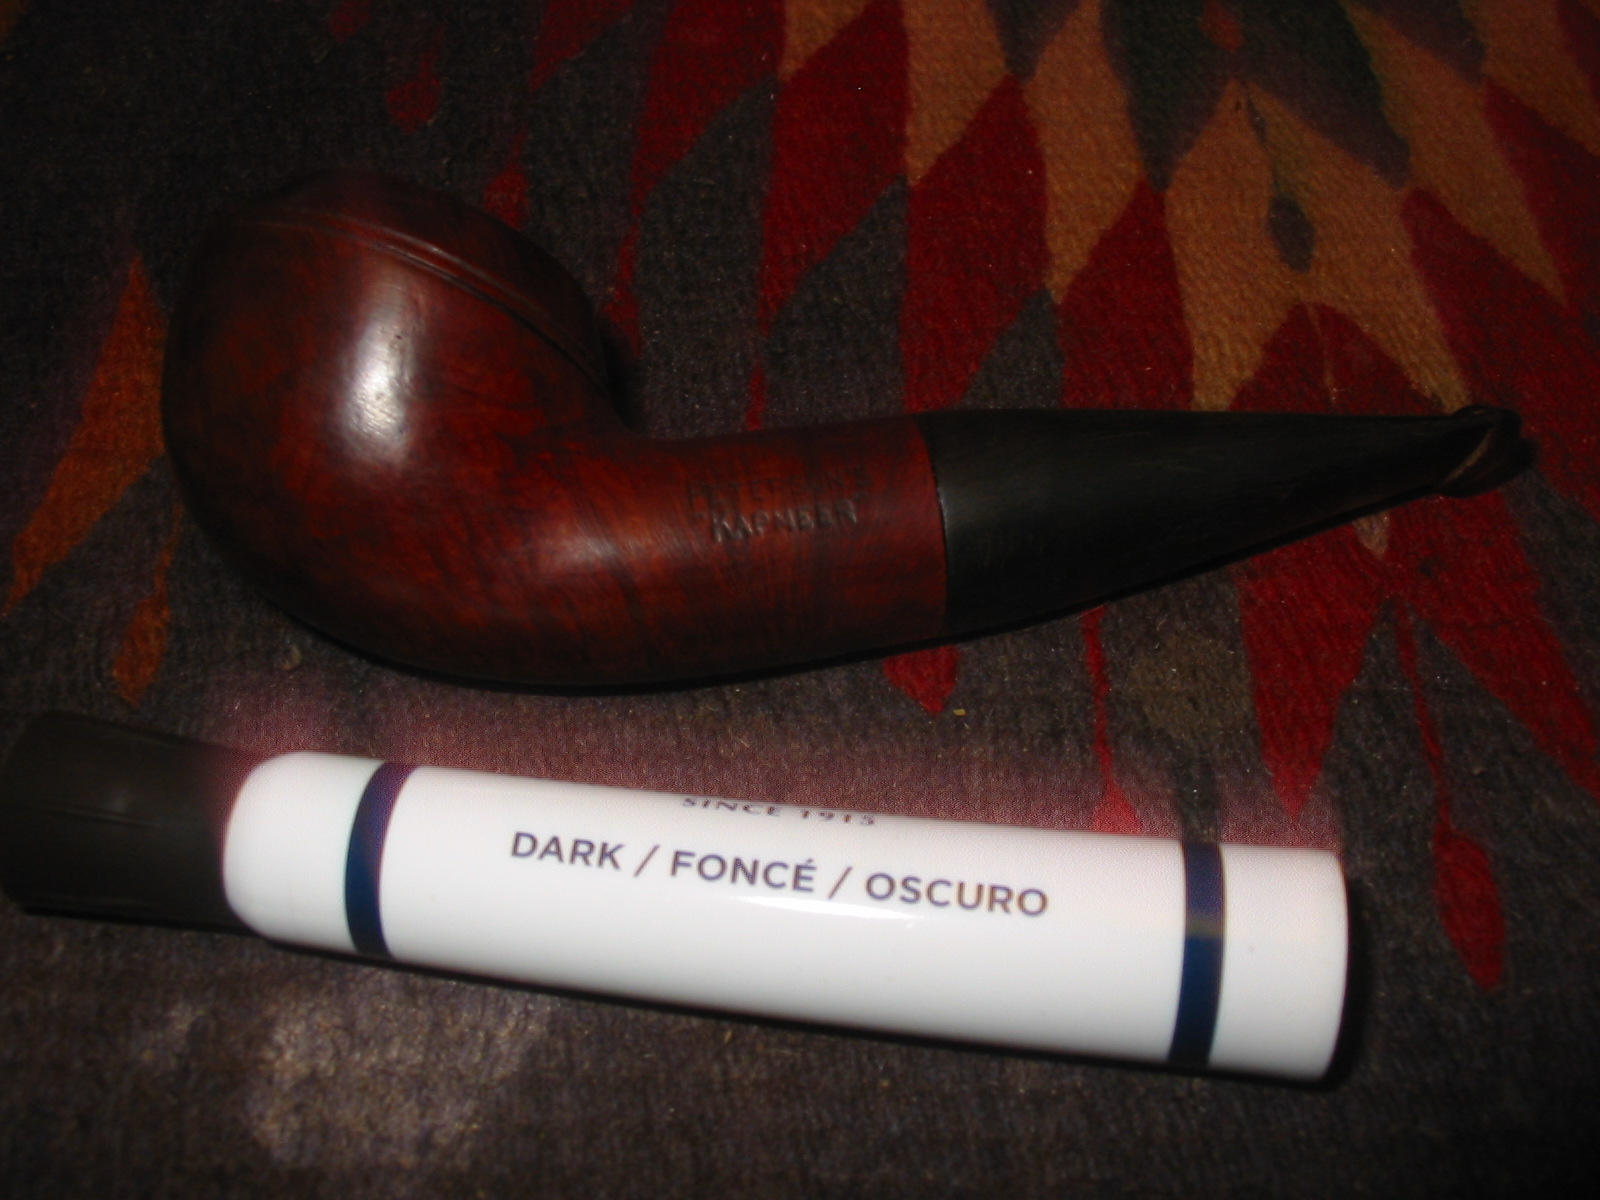
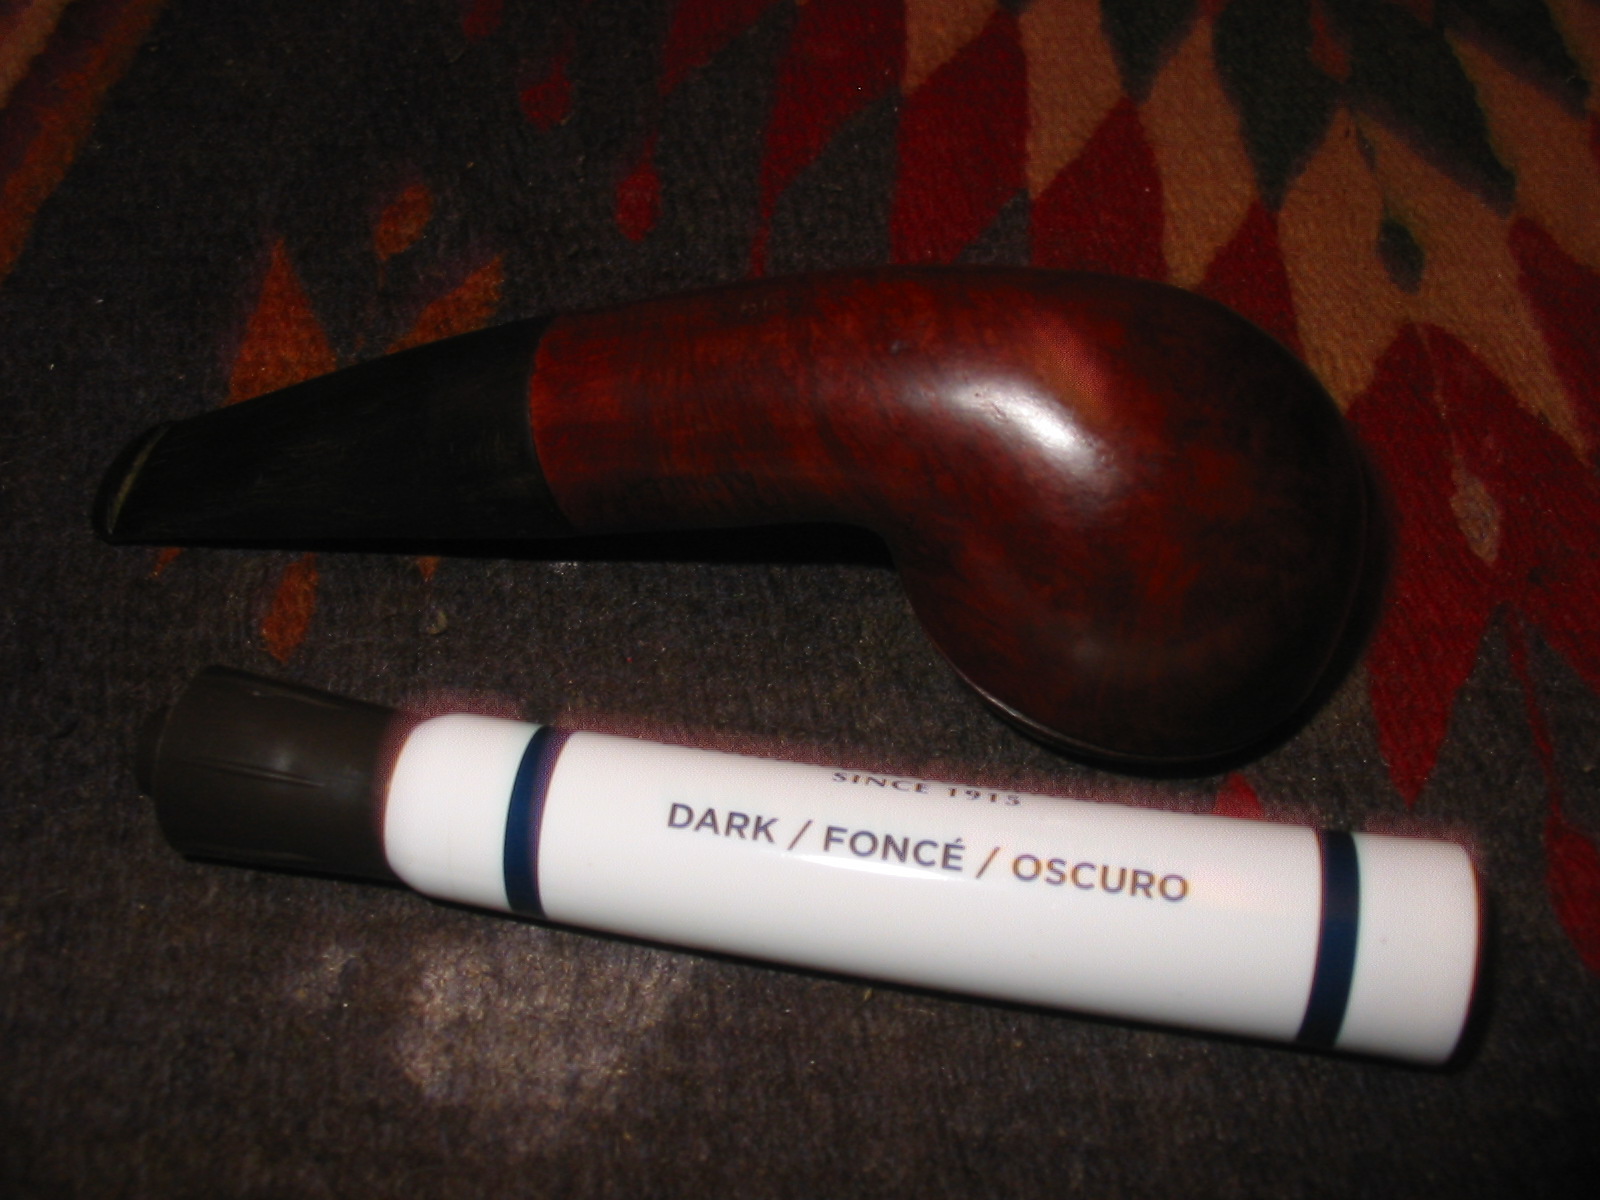
I just finished working on the second of the three pipes that I picked up on Ebay in the lot of three Petersons. It is the third bowl in the photos below. It is stamped Peterson’s over KAPMEER on the left side of the shank, 999S on the underside of the shank and Made in Great Britain on the right side of the shank. It is actually the reason I bid on this lot of pipe bowls. I love the older 999 shape with the thick shank. I like the way it feels in hand and the look of it. As you can see it was in rough shape. There was no stem for it. The finish was rough and worn, the bowl had a thick uneven cake in it and the top of the rim was thick with a cake build up. From what little I knew the KAPMEER was a meerlined pipe. There was something unique about its design but that escaped me at the moment.
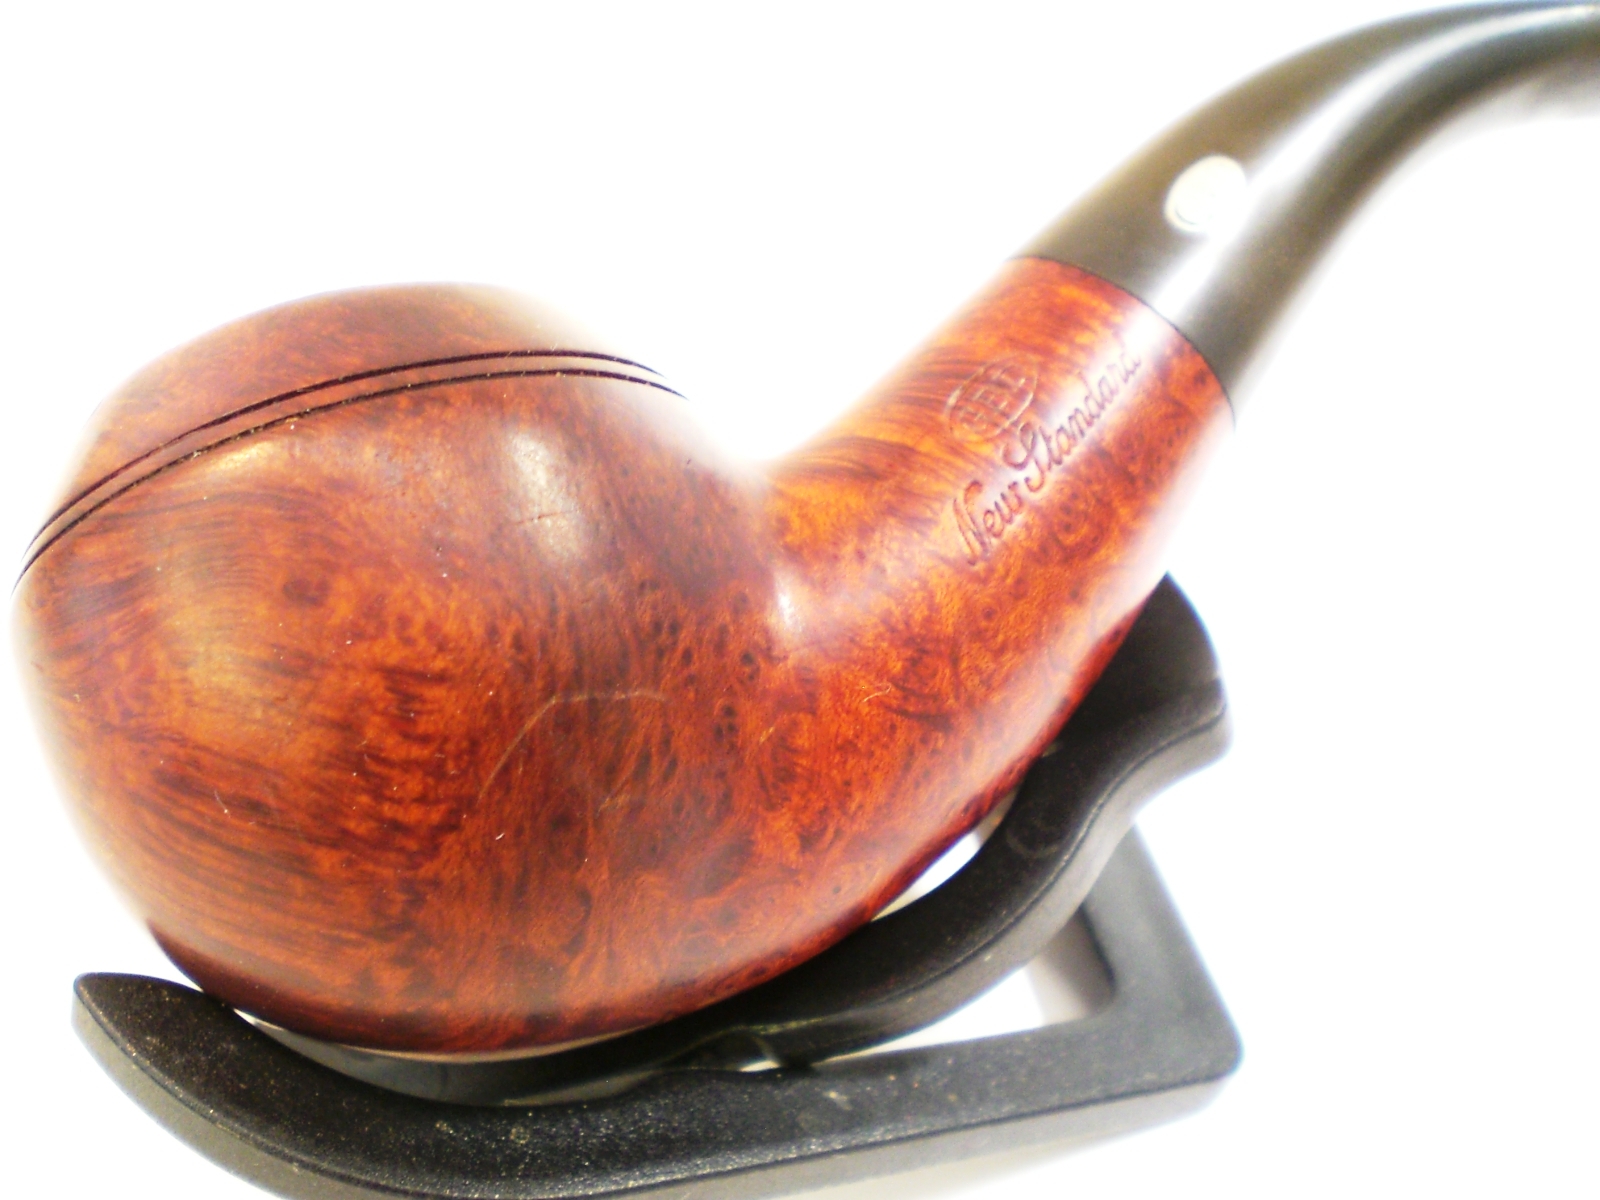
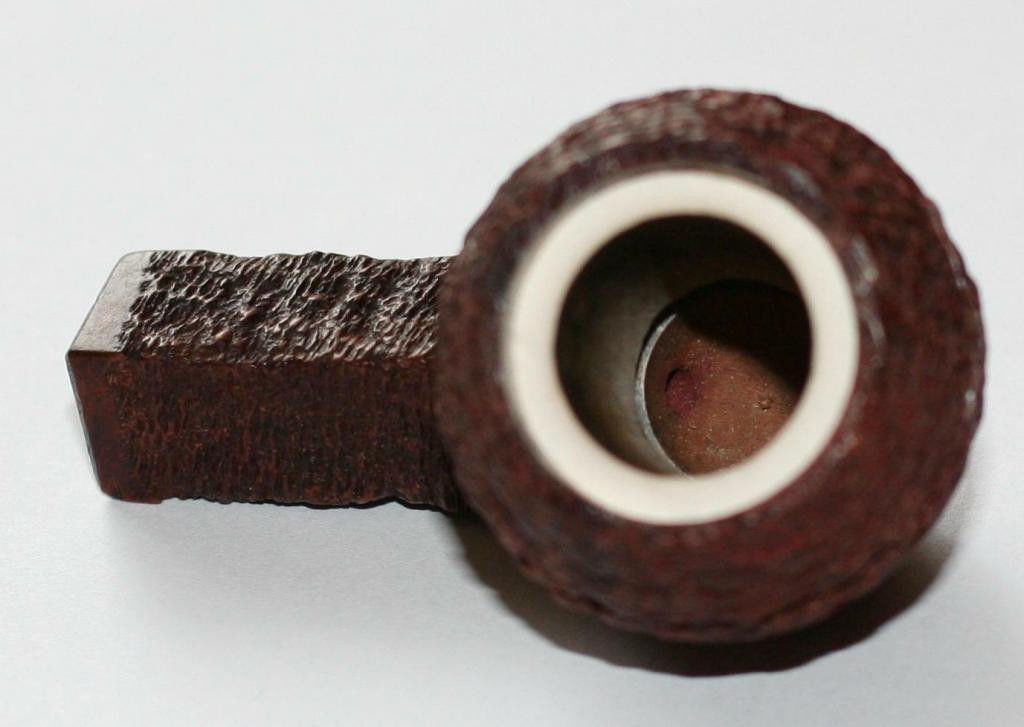
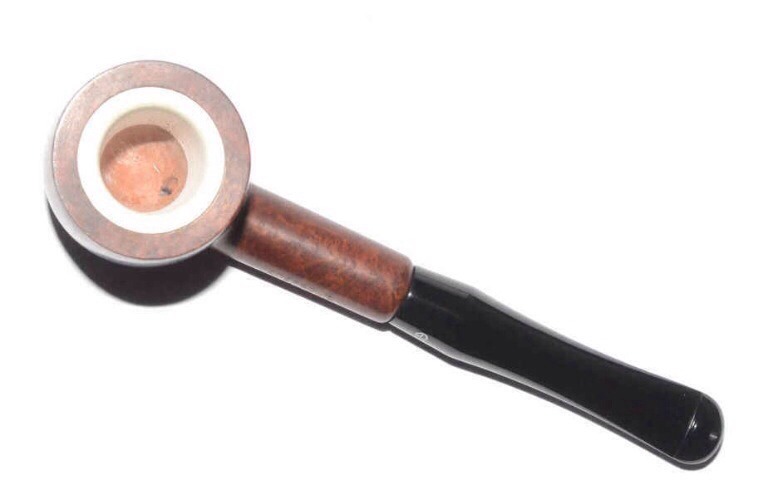
While I waited for it to arrive I did a bit of digging into the KAPMEER line. The first thing I found was a quote that said, “The line was introduced for those who preferred to smoke their tobacco in a meerschaum bowl, but still have the looks and advantages of a briar pipe”. That was not altogether helpful to me. It is much the same advertizing info that is included in most of the sales material for meerlined pipes. What was the difference between those pipes and the KAPMEER? The meerschaum lining ended just before the draw hole, so you do not have the problem of deterioration in the bottom of the meerschaum insert in the tobacco chamber. It was believed that this would reduce the possibility of a burn out on the sides of the bowl. I found the two photos below online that clearly show the design of the KAPMEER bowl. The first photo shows the bottom edge of the insert just above the draught hole. The bowl bottom is briar. The second photo shows the contrast between the meerschaum lining and the briar on the bottom of the bowl. In looking at these photos I think I understand the idea of combining the best of meerschaum and briar pipes. The theory would be that the meerschaum lining would deliver a meerschaum style cool smoke and the briar bottom would give the durability and strength of briar.
or early 1970s. The pipe in the second photo is a later design. The early pipes had a regular stem/shank junction rather than the faux military stem. The one that I had came from a period in time where the stem was most likely a tapered stem with an aligned fit. The pipes were made in Great Britain on the Isle of Man. I found out that though Peterson had maintained a factory in London since 1899, the ‘Made in England’ stamp was discontinued with the closing down of the London-based factory (1969/70). That puts my bowl pre-1970 in terms of date. The thick shank on the 999 bowl dates it earlier than that period.
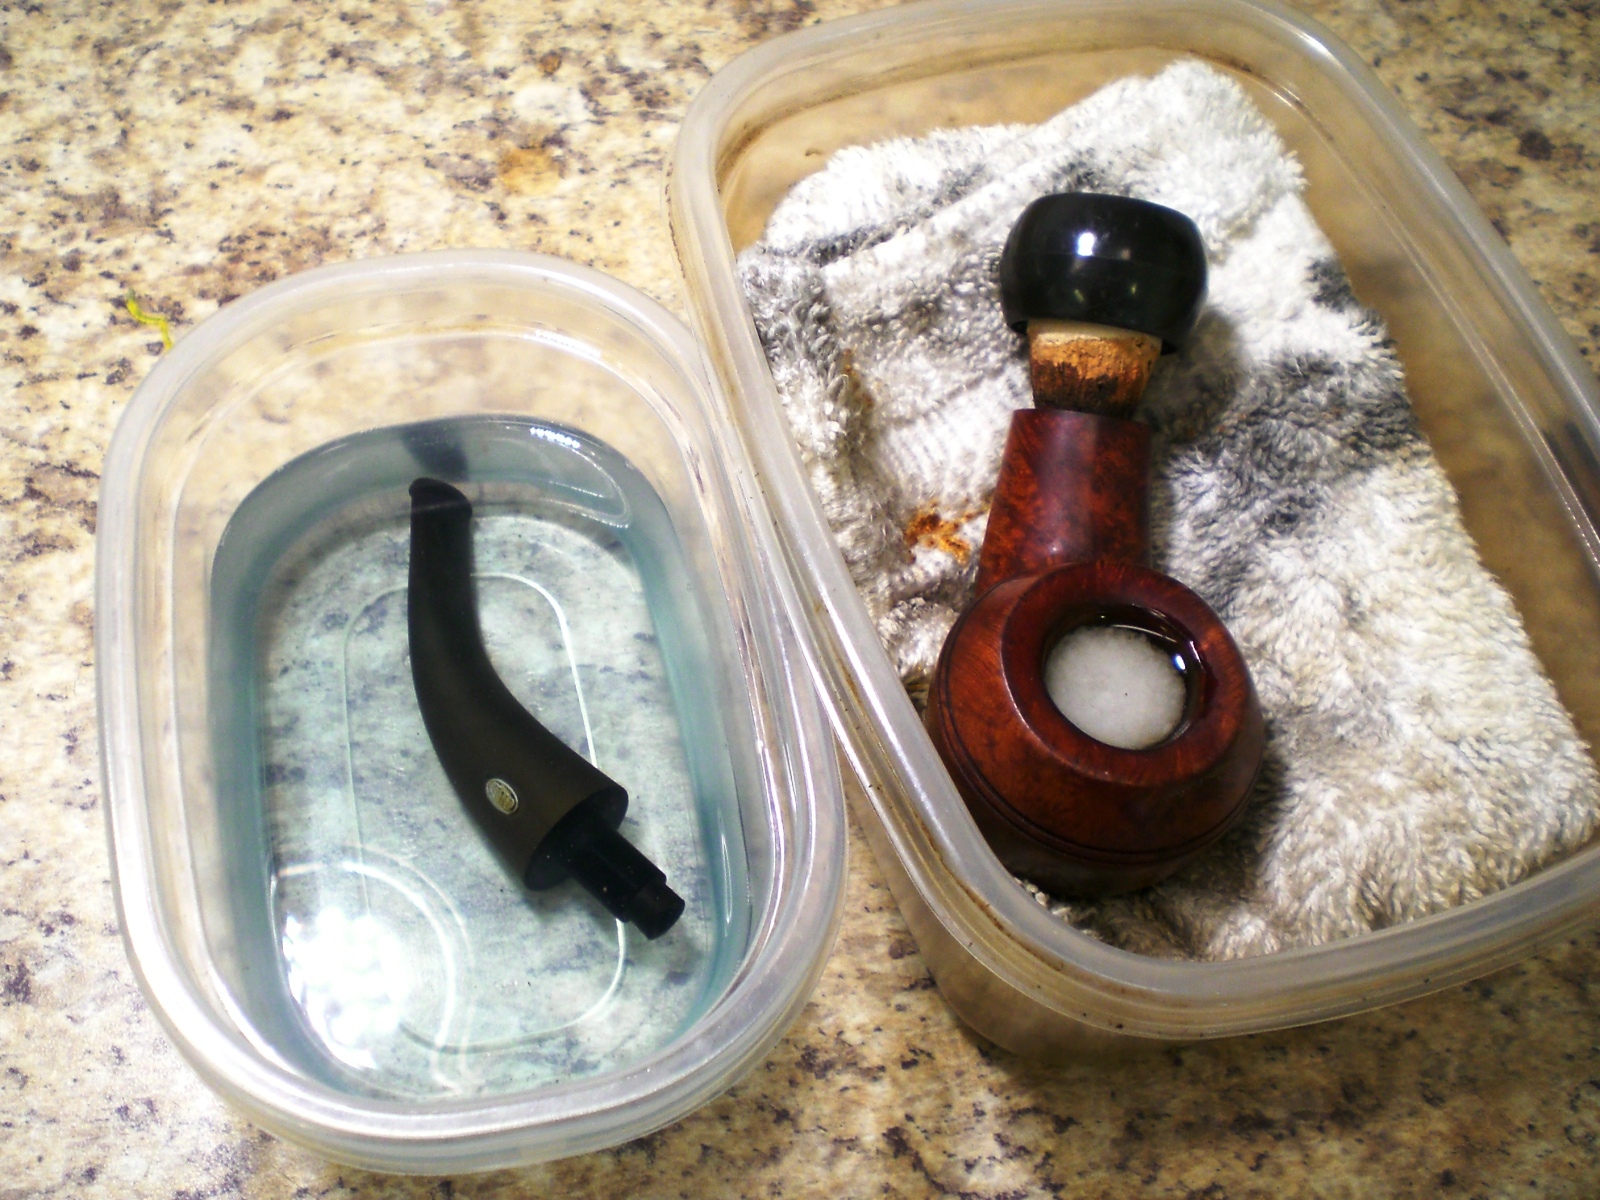
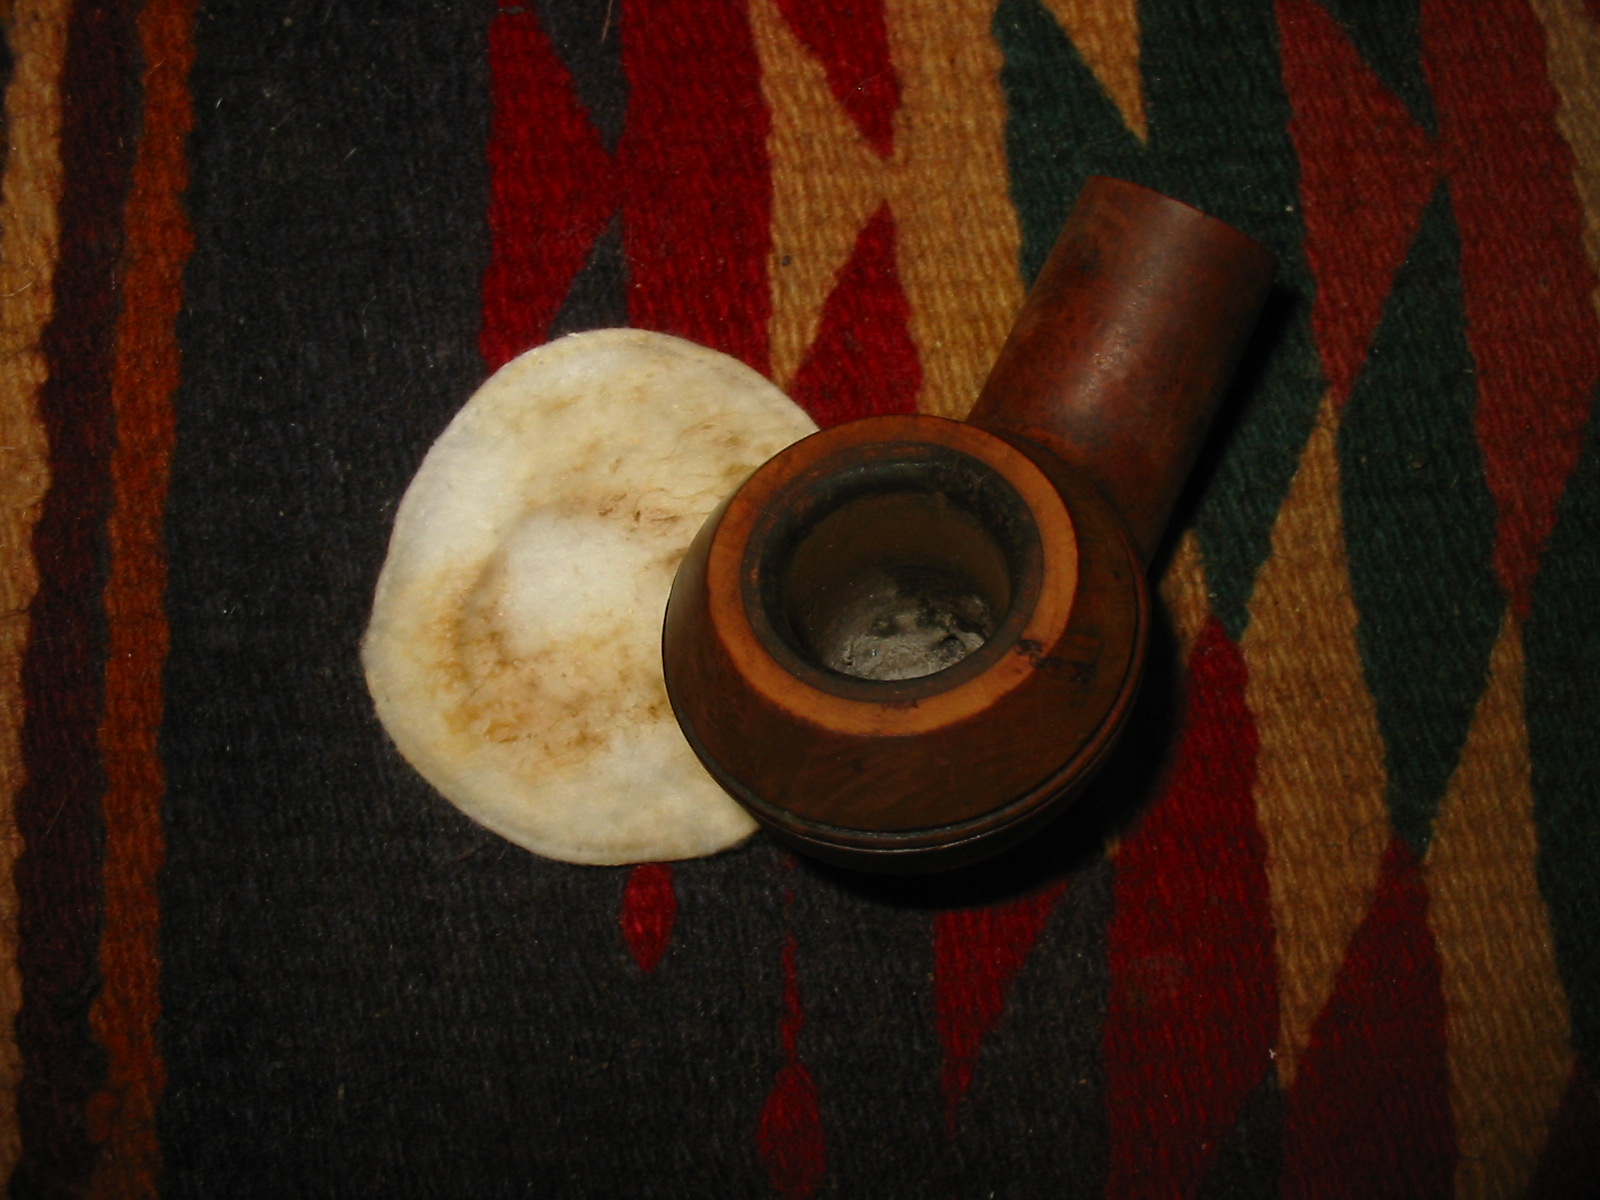
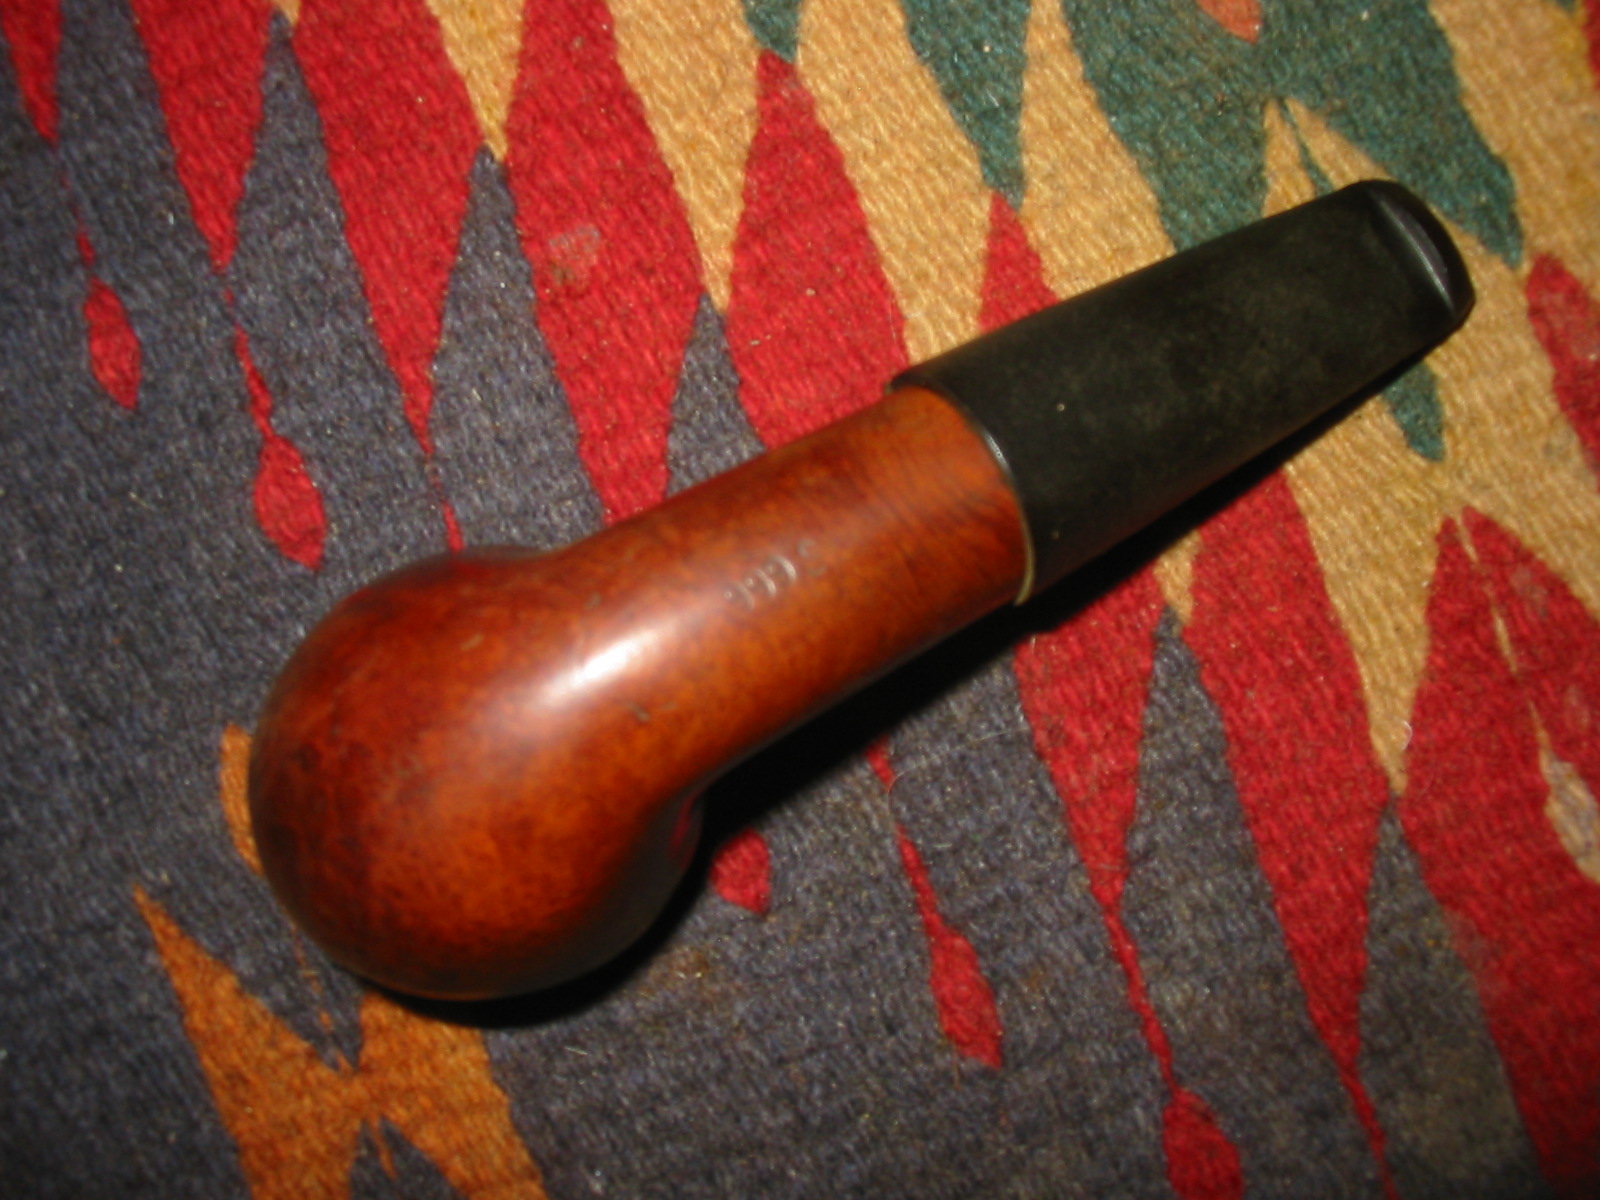
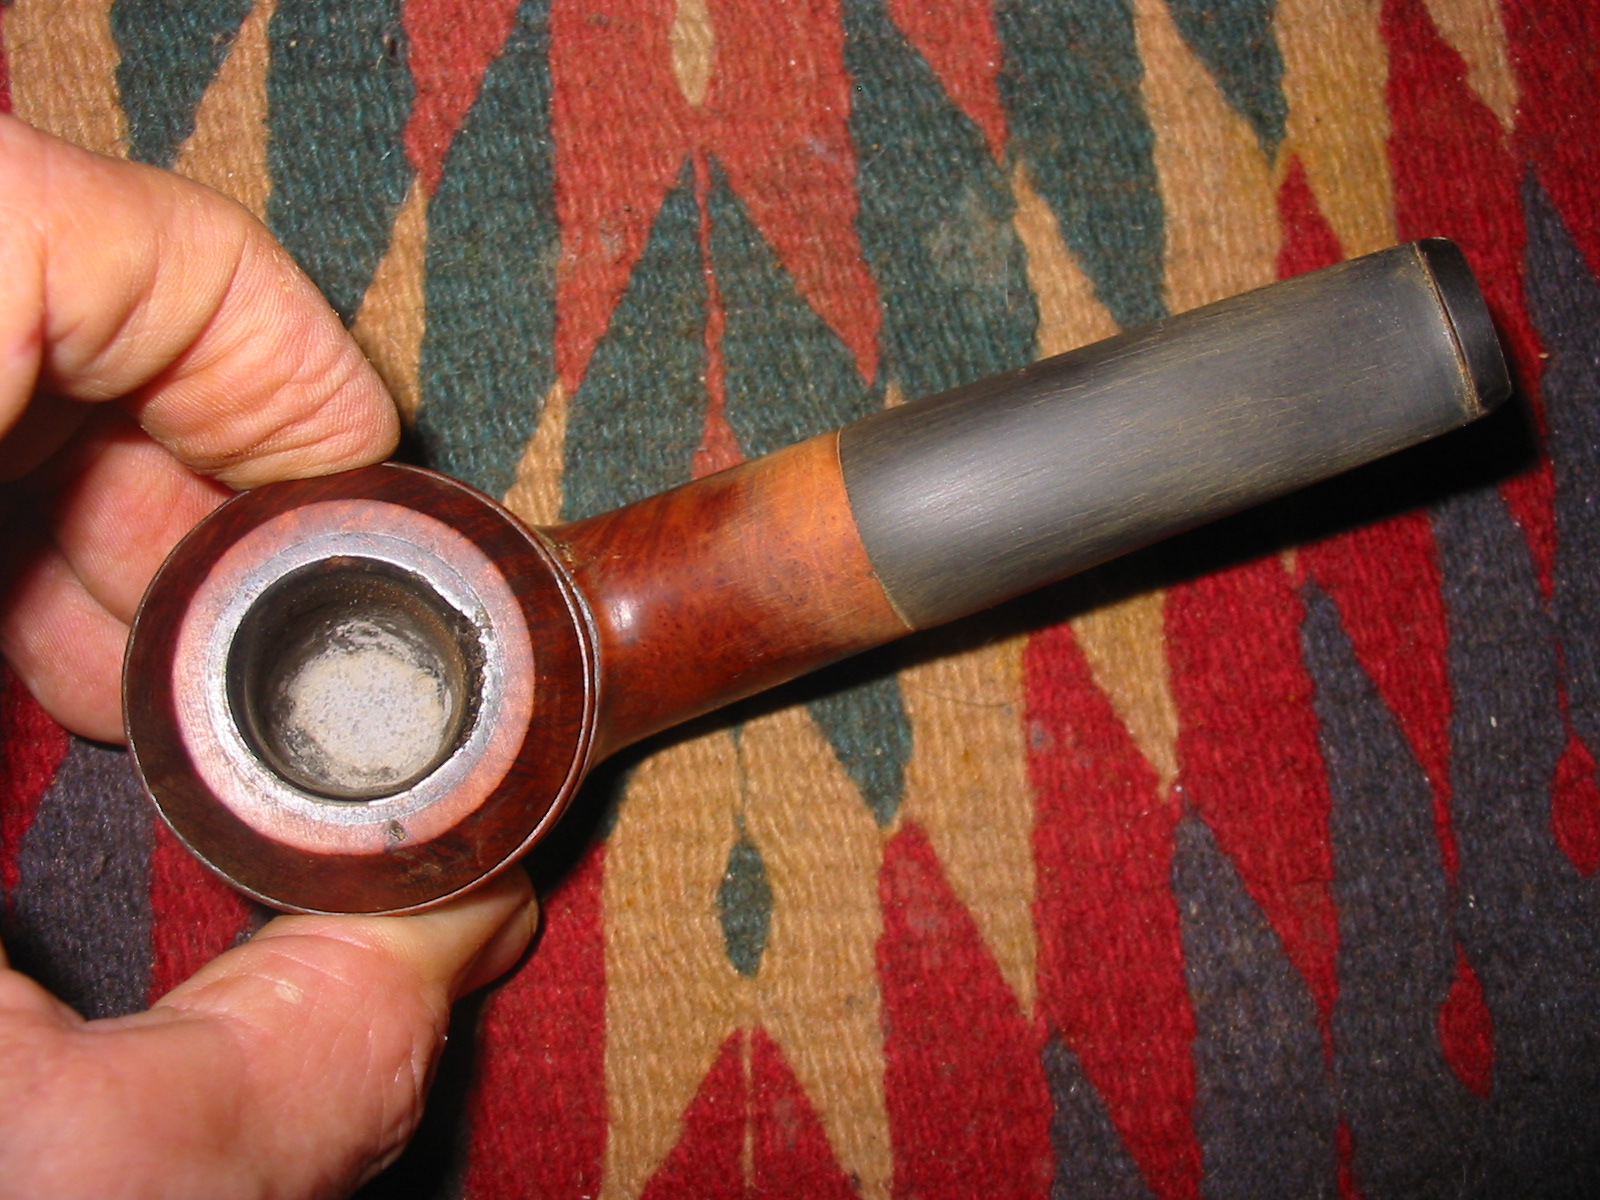
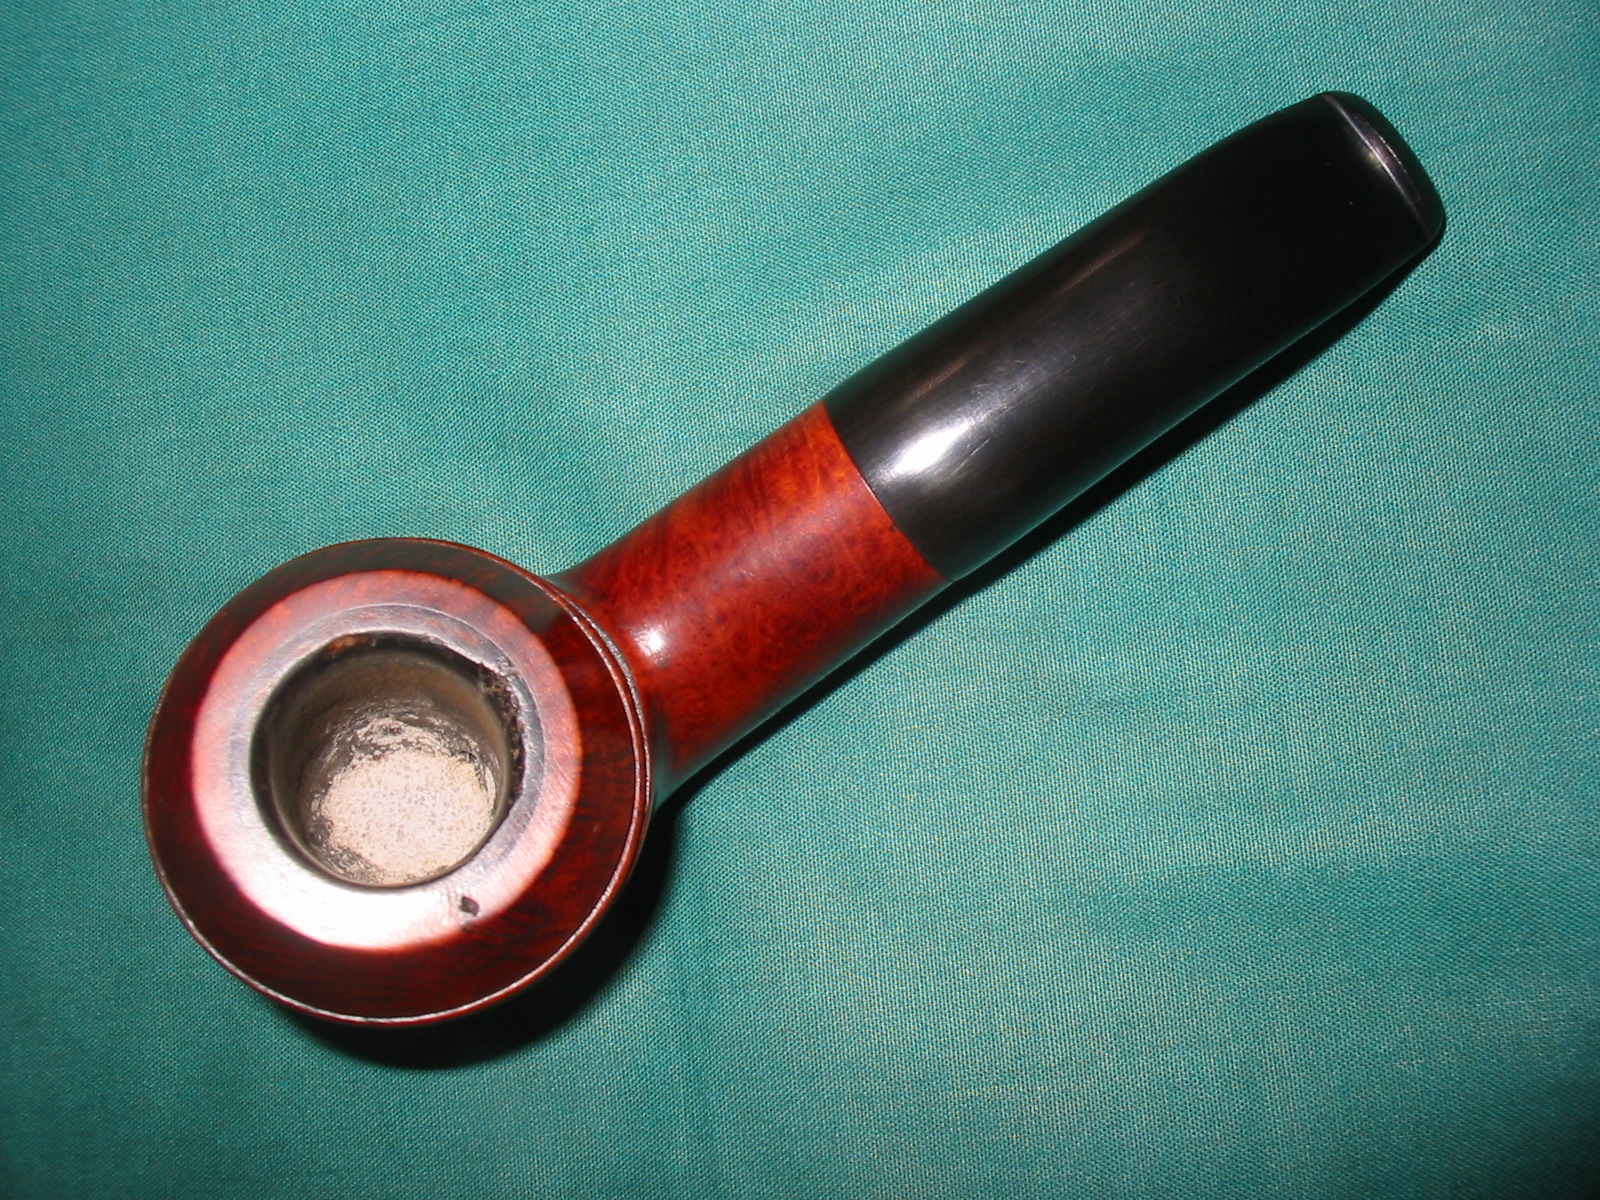
I gently reamed the bowl, being careful to not damage the meer lining. I wanted to take the cake back as far as possible with the reamer and would do the rest with sandpaper. I sanded the meer lining with 220 grit sandpaper until the entire cake was gone and the meer was once again smooth. It was darkened and would not be white again do to use. I gently topped the bowl with a topping board to remove the cake and smooth out the rim damage before working on the rest of the bowl. I wiped the bowl down with acetone on cotton pads, carefully avoiding the meerschaum lining on the top of the rim. The acetone removed the grime and the spotty stain on the bowl and would form the base for restaining the bowl later.
The bottom of the bowl had been over reamed and the briar damaged with deep gouges on the bottom. The bottom was still thick so there were no worries about burn out. I mixed a batch of pipe mud from cigar ash and water and applied it to the bottom of the bowl to bring the bottom up to the airway entrance. I tamped it in place with a pipe nail. I put some mud on the side walls below the end of the meerschaum lining. I set it aside to cure.

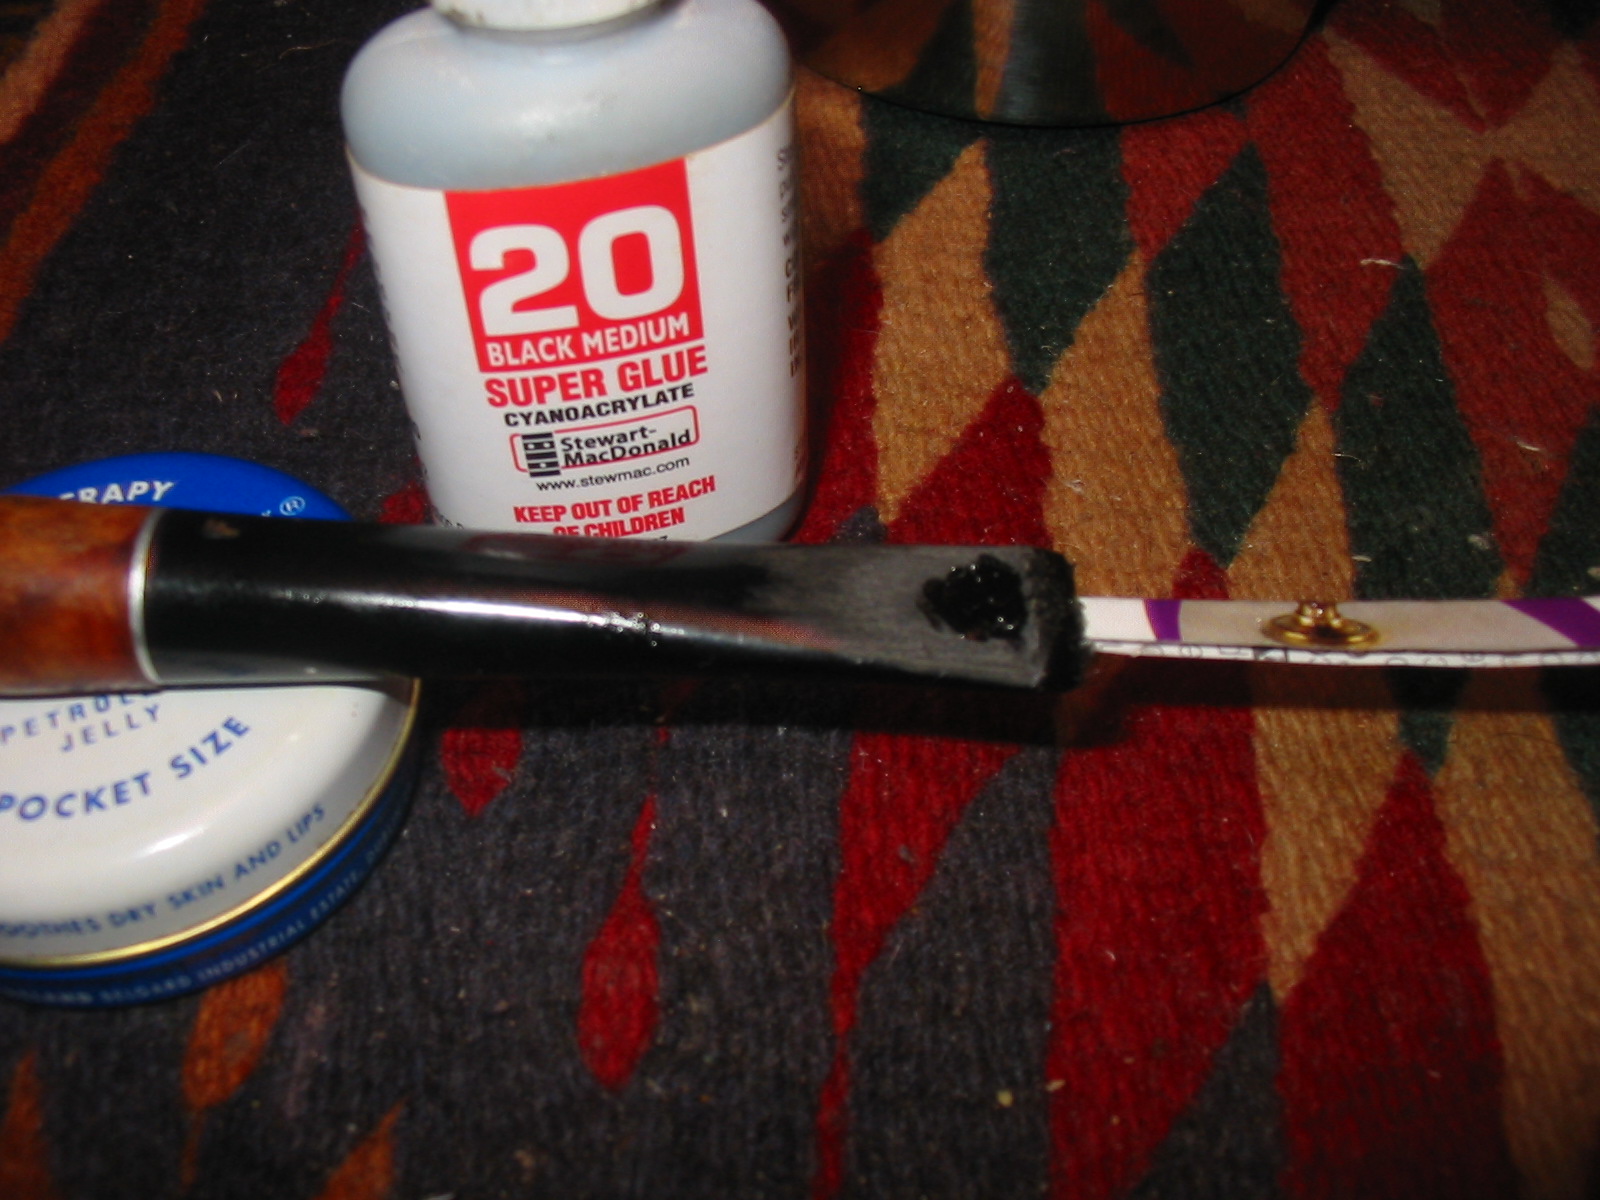
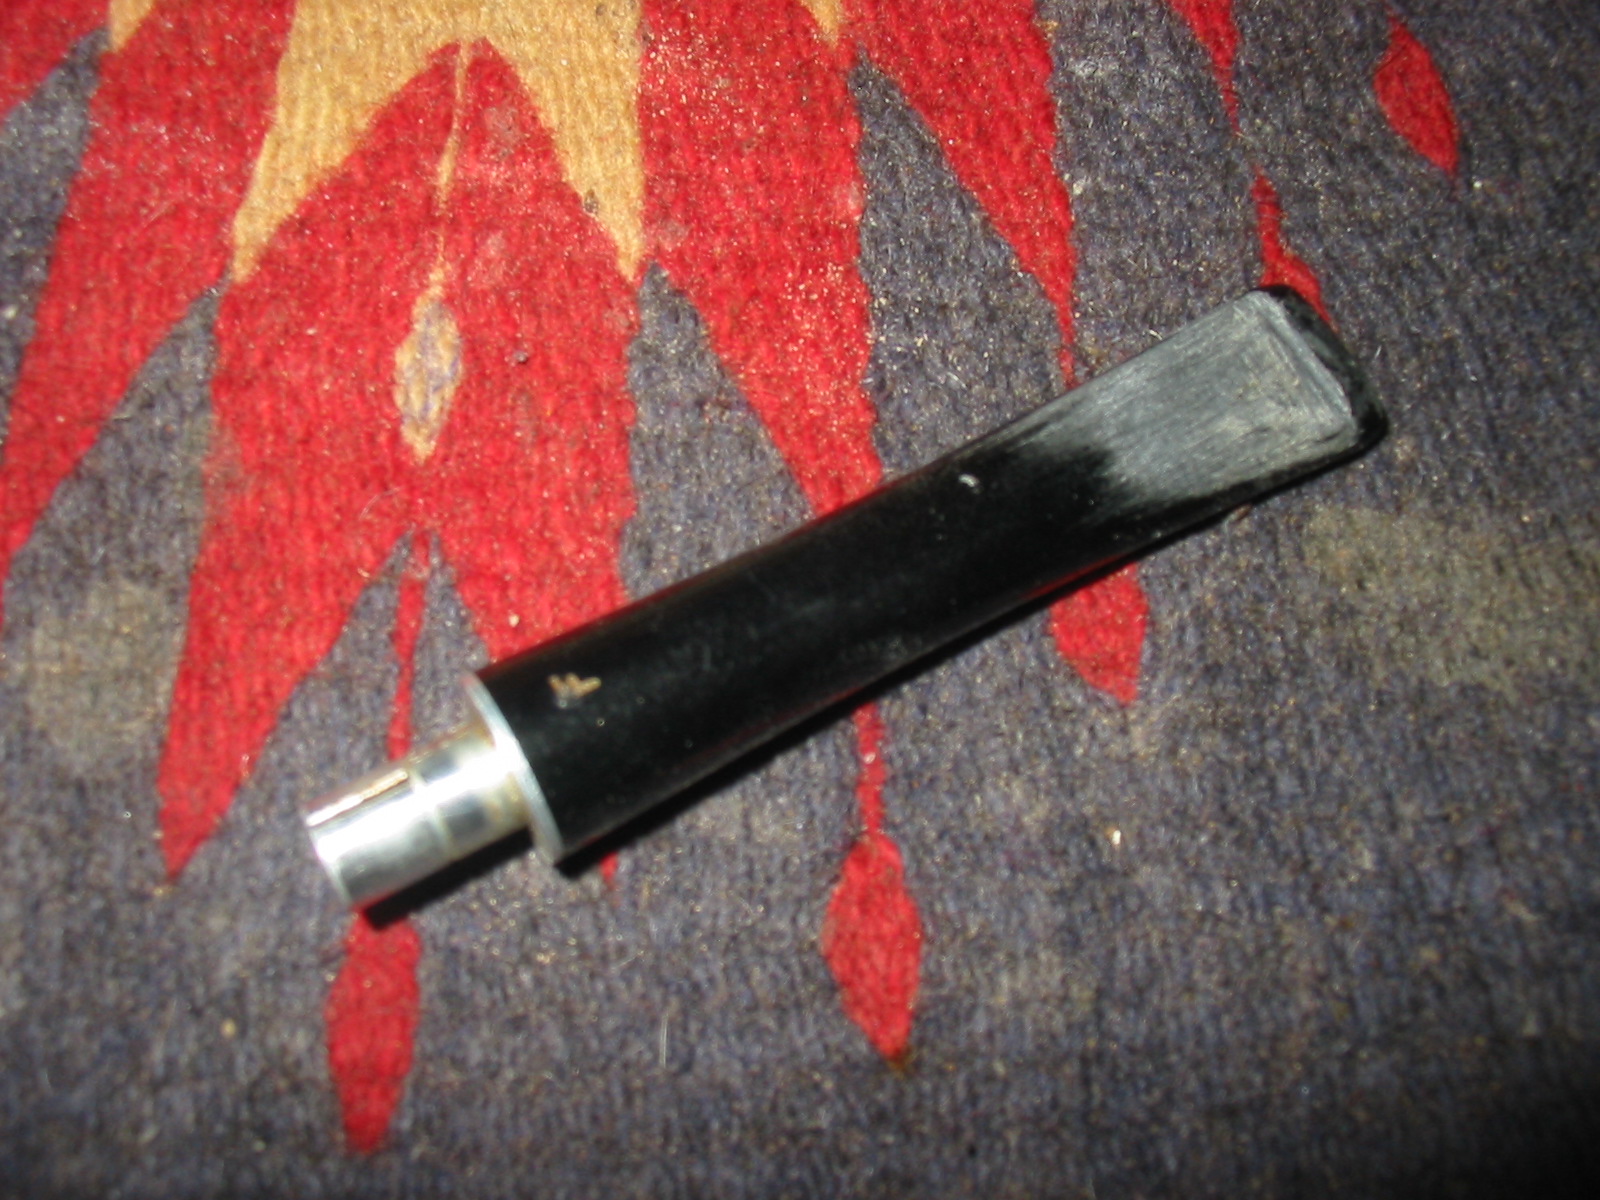
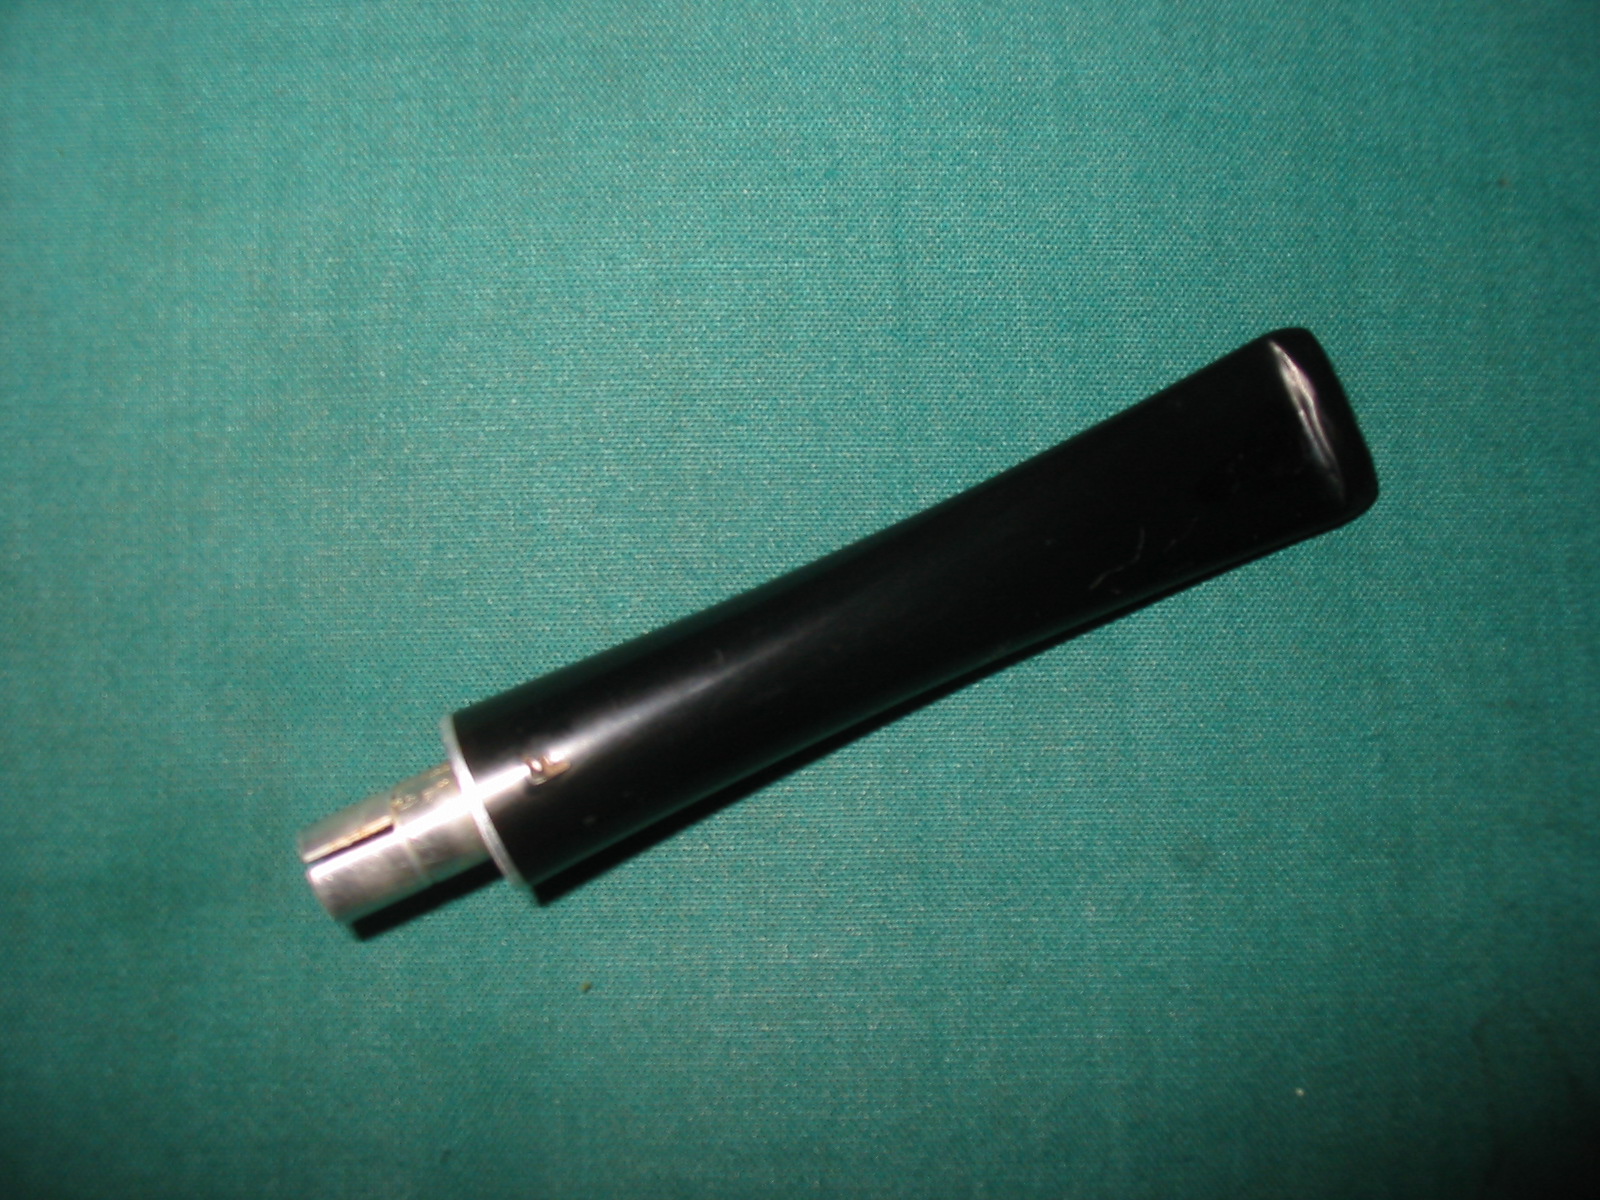
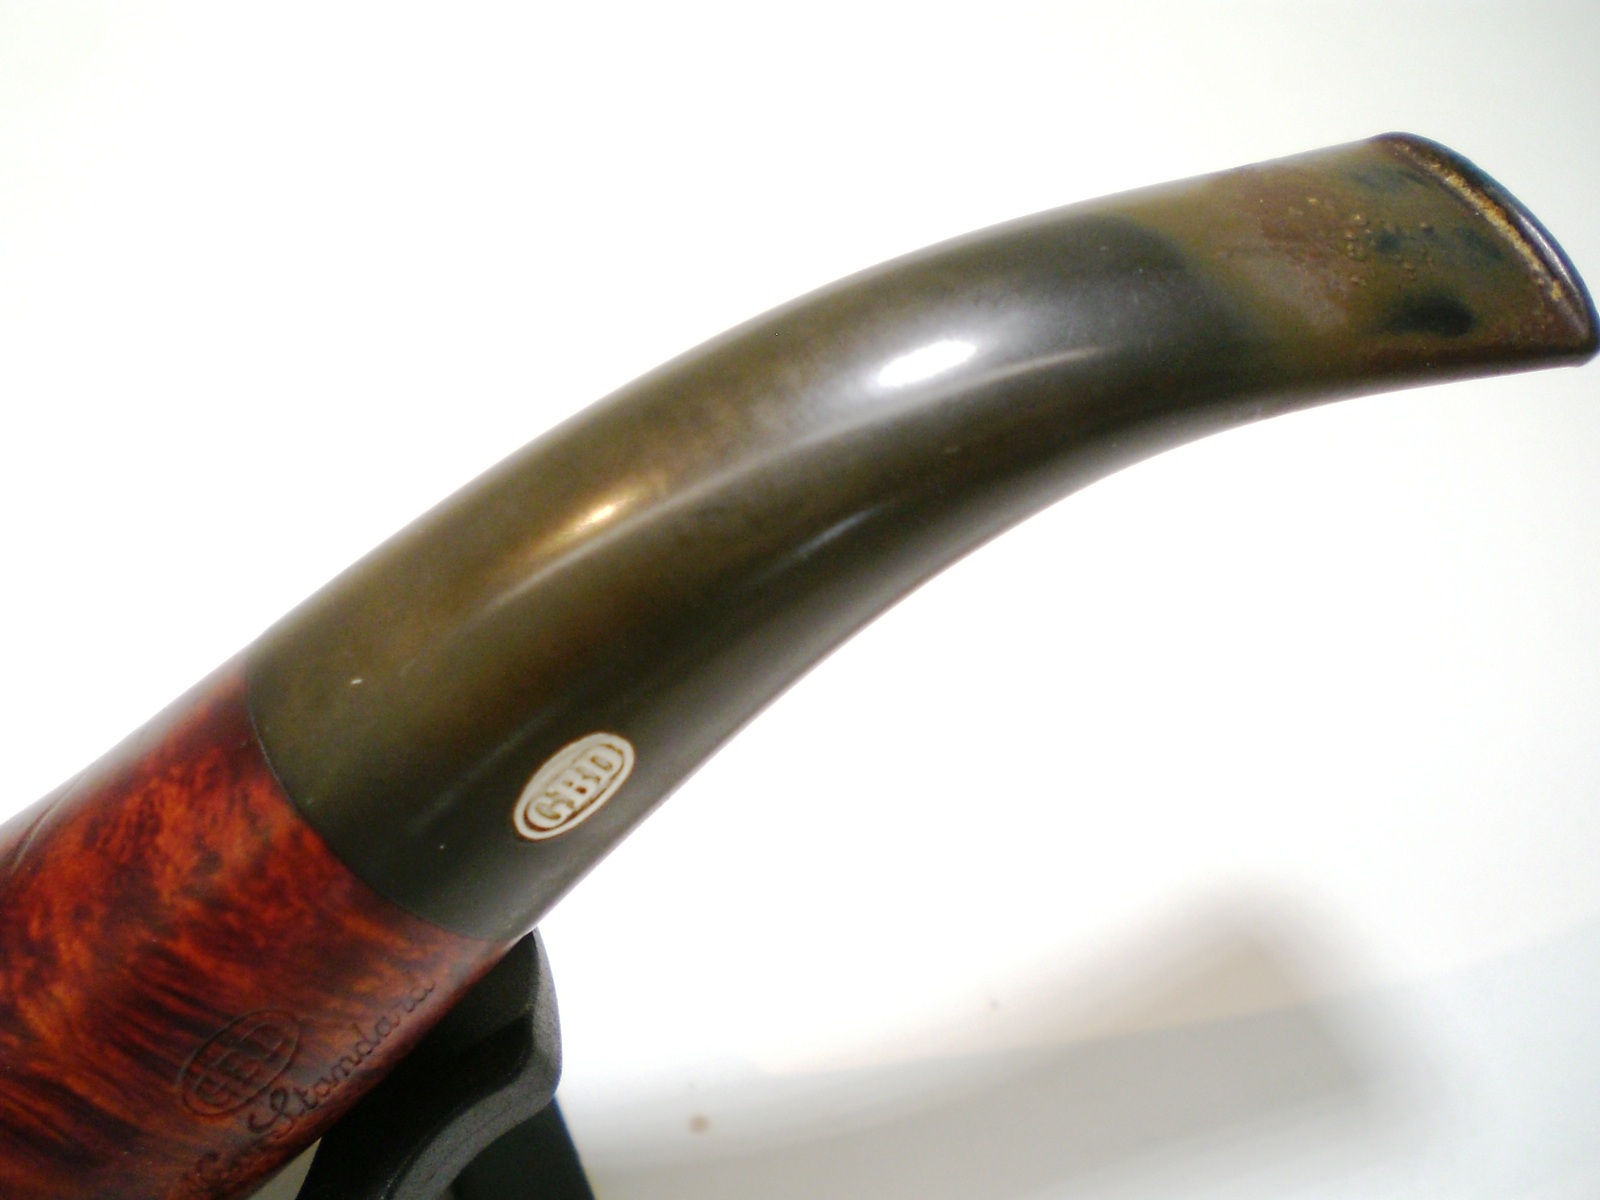
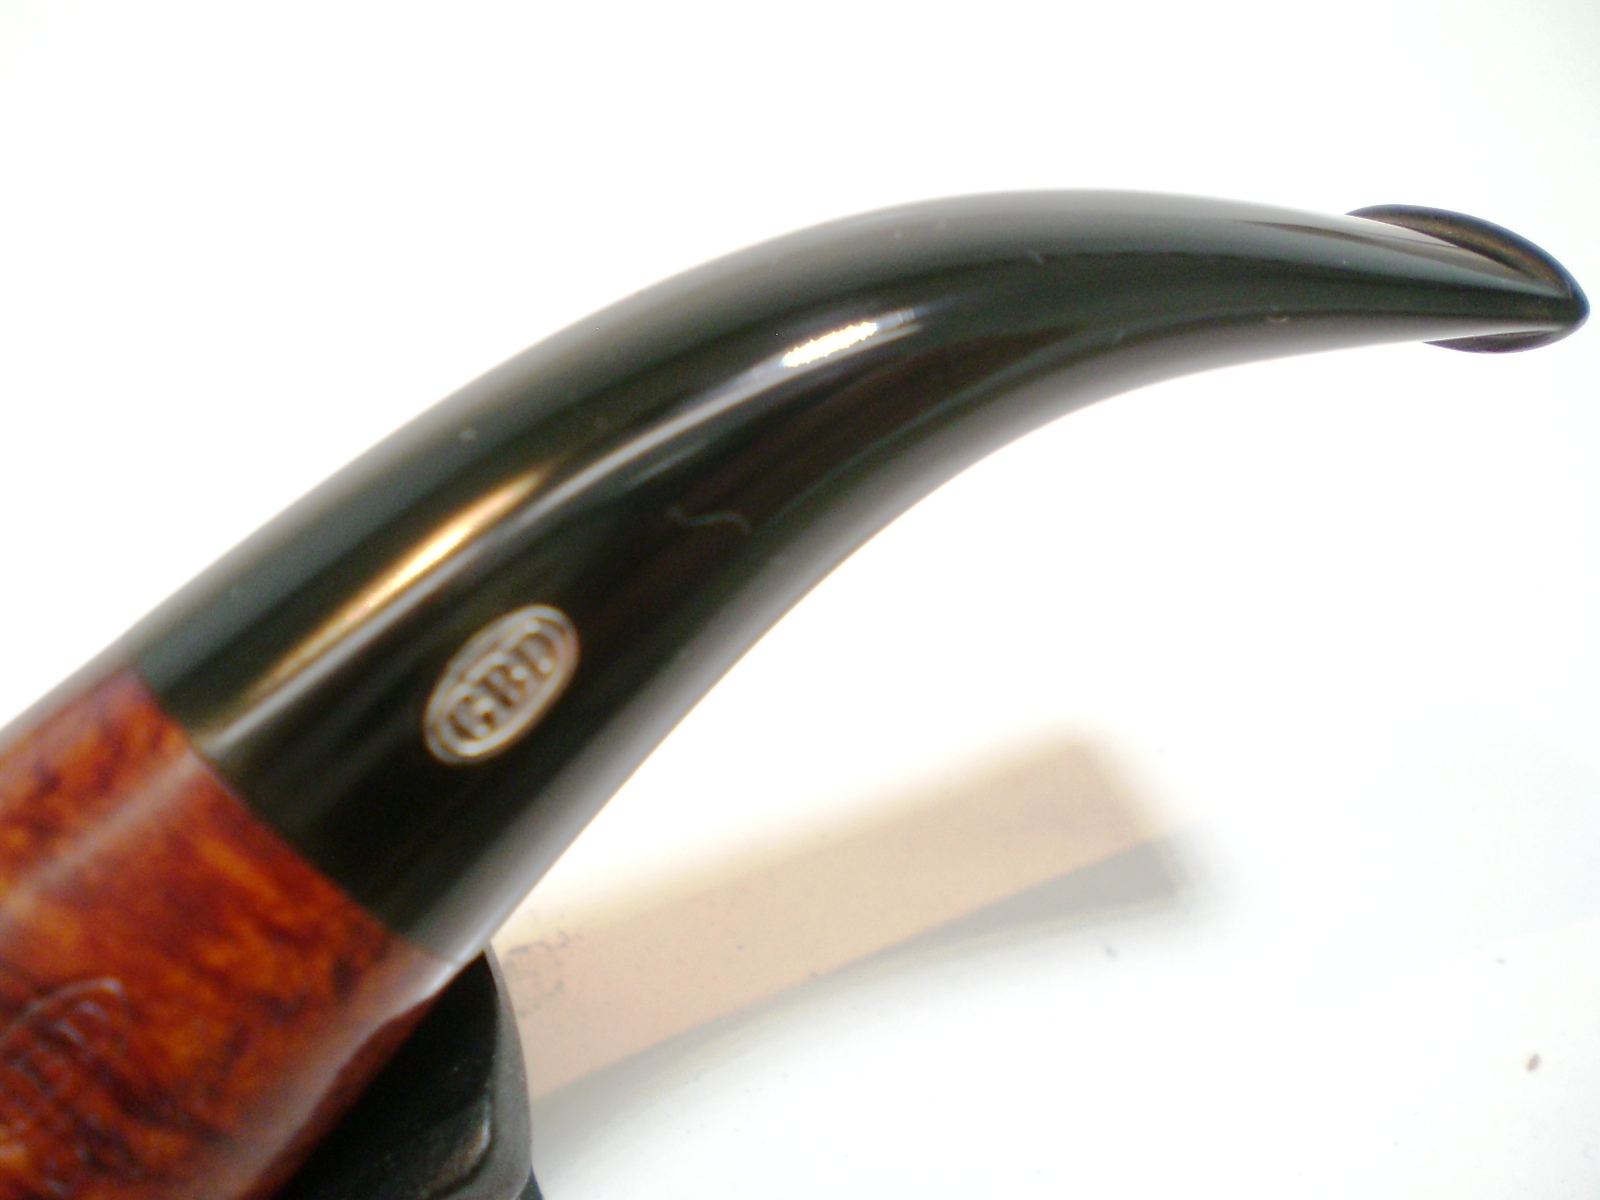
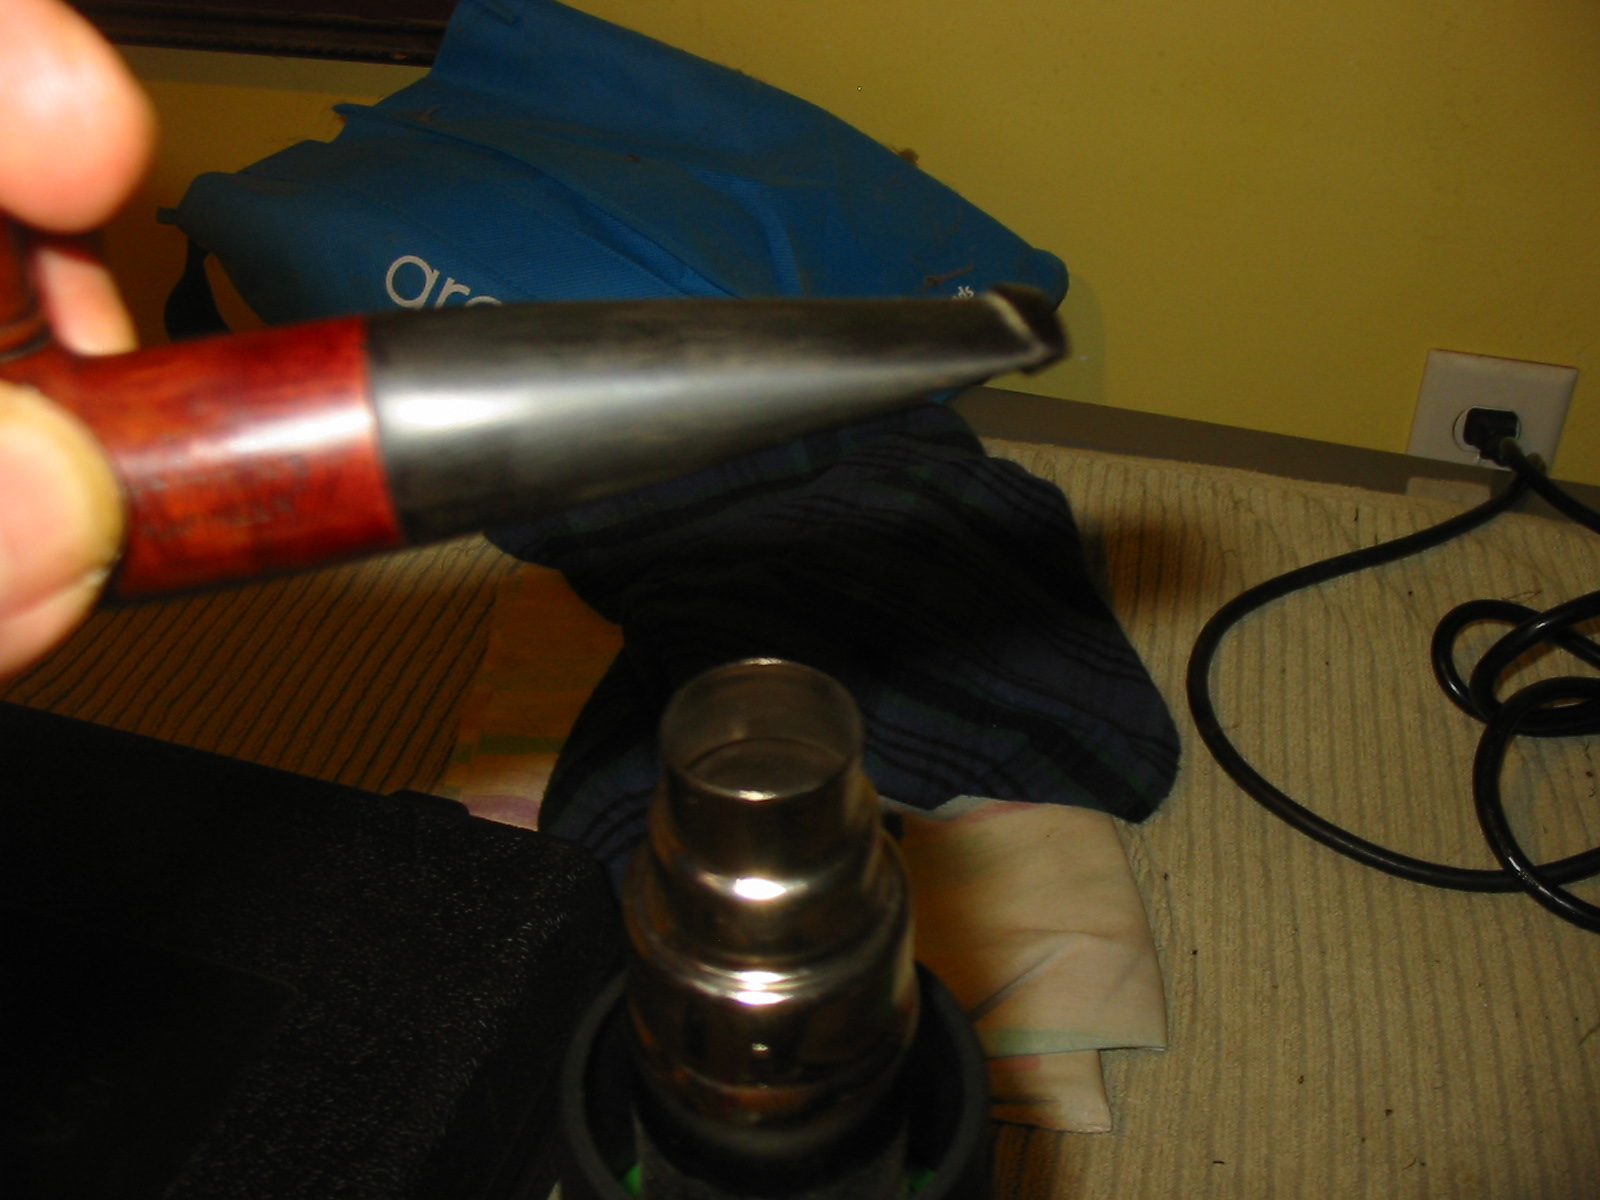
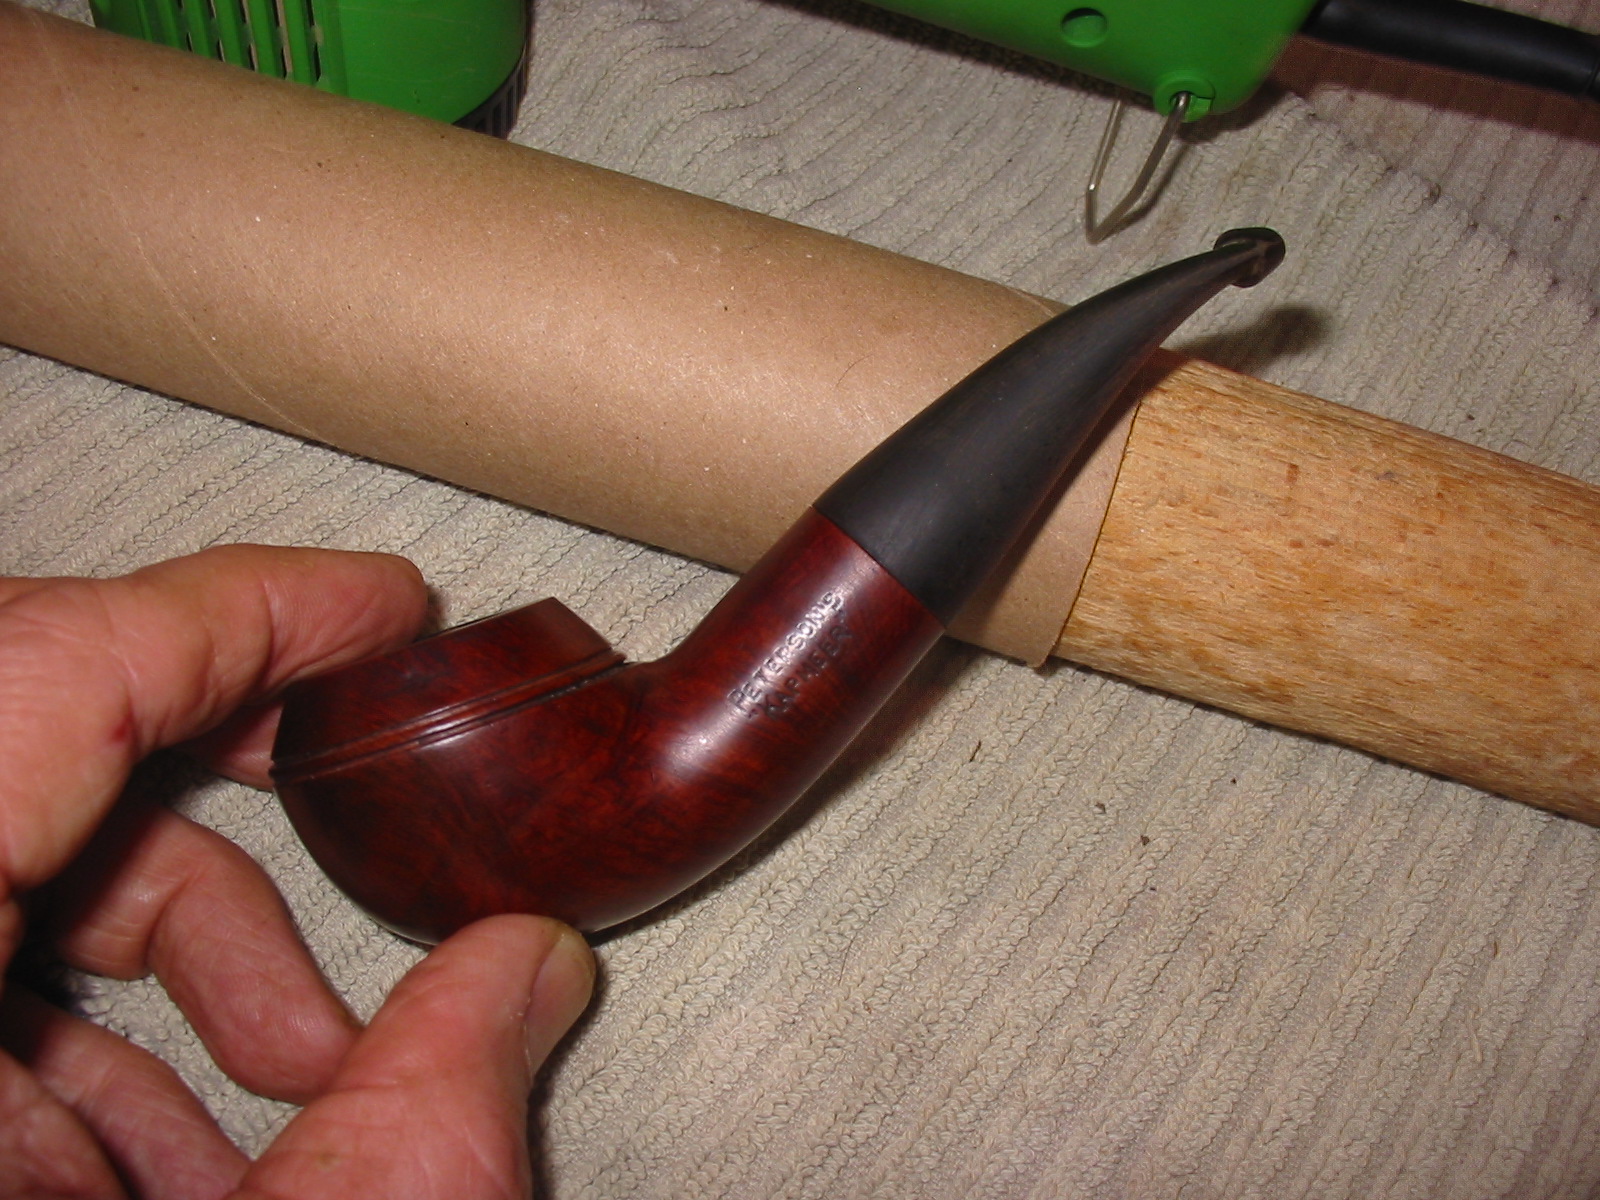
Once the mud had cured I wiped out the inside of the bowl with a damp cotton pad to clean any of the mud that had gotten on the meer lining. I wiped down the outside of the bowl with acetone and cotton pads a final time. I had a stem set aside from my can of stems that would fit the shank once the tenon was turned and the diameter of the stem reduced. I turned the tenon with a PIMO Tenon Turning Tool slowly until it fit the shank. I sanded the tenon with a sanding drum on a Dremel to finish the fit. I sanded the casting marks on both sides of the stem and on the end of the button with the Dremel as well. When all was finished the fit against the shank was snug and clean.

 As can be seen from the photos above the diameter of the stem was bigger than that of the shank. I used the sanding drum on the Dremel to take it down as close as possible to the shank diameter without damaging the shank. Once I had it close I did the rest of the work with 150 grit sandpaper and followed that with 220 grit sandpaper. When the transition between the two was smooth to touch I used a medium and a fine grit sanding sponge to remove the scratch marks from the stem. Since I was planning on restaining the pipe I sanded the shank gently to make sure that the transition would be smooth and the flow correct. I have found that this is the only way to keep the stem and shank matching without and shift in height on either material.
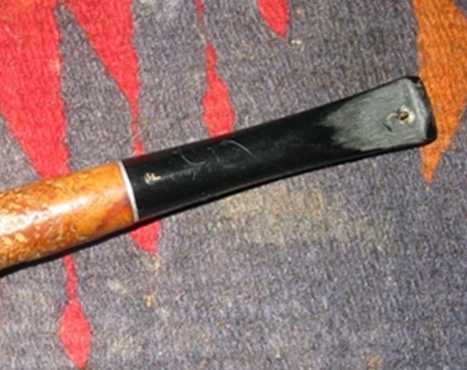
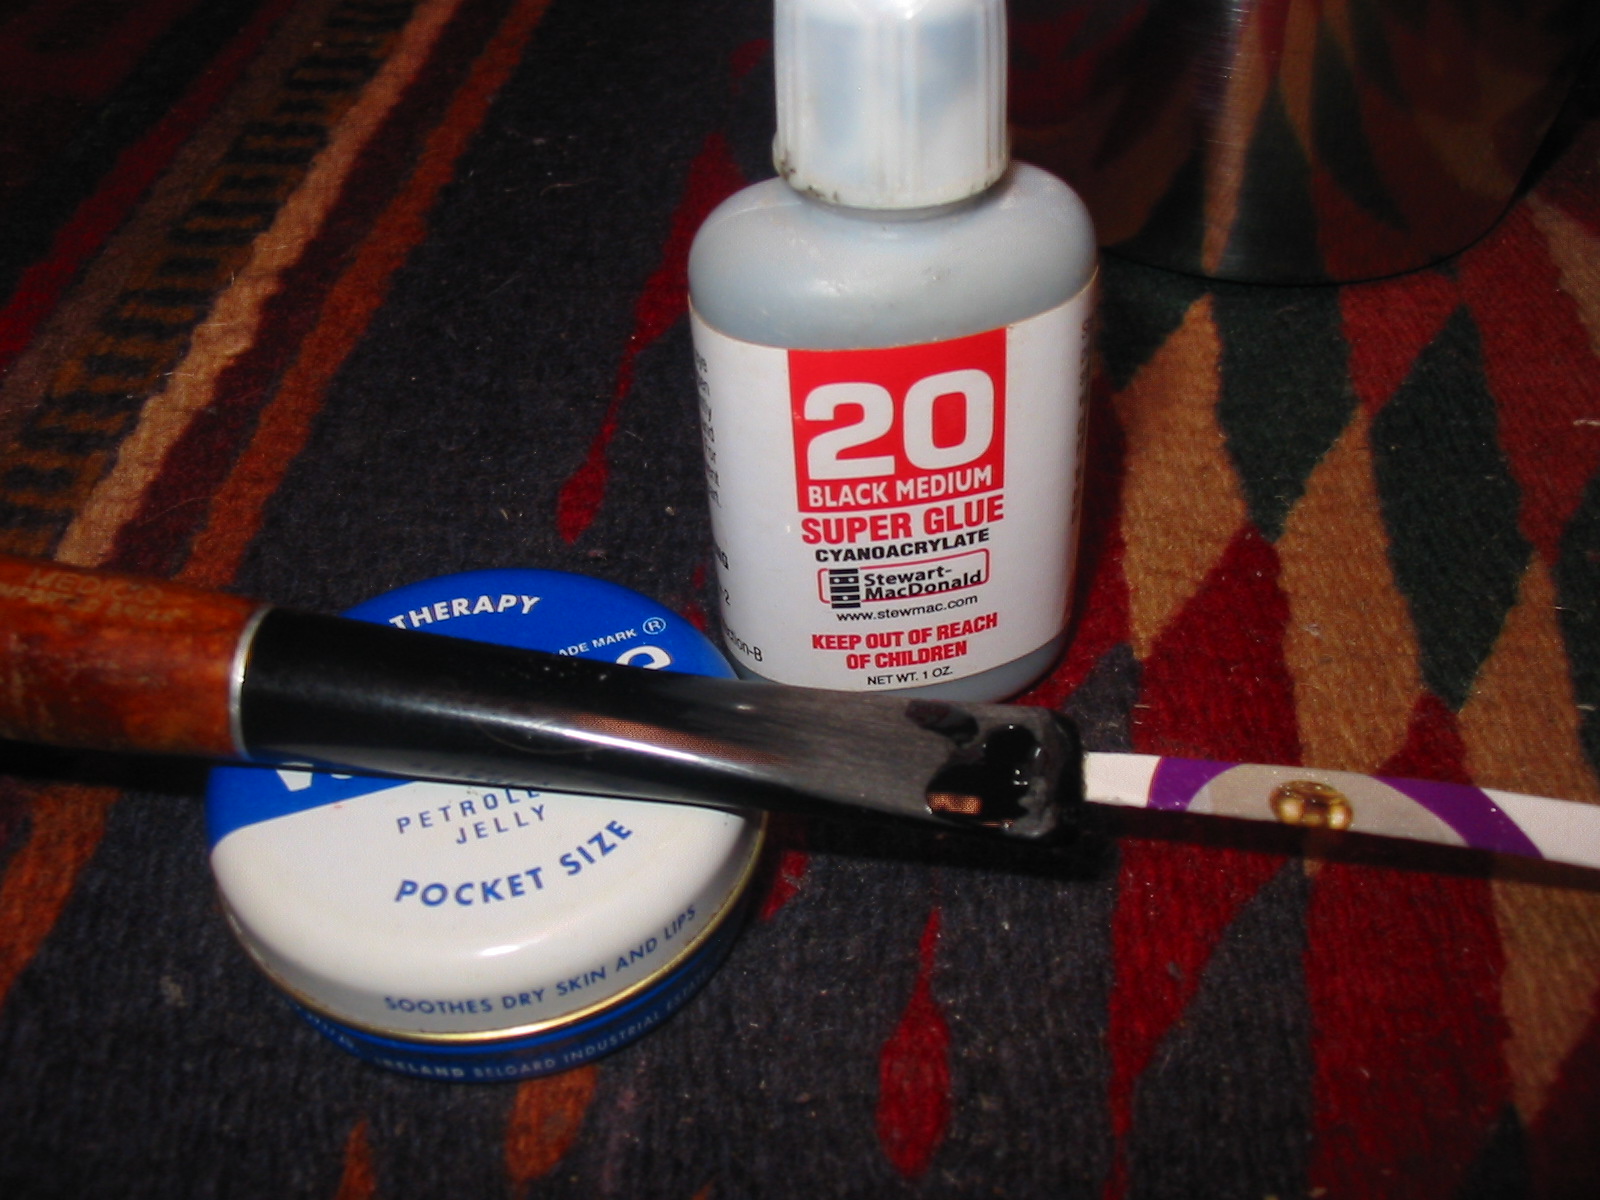
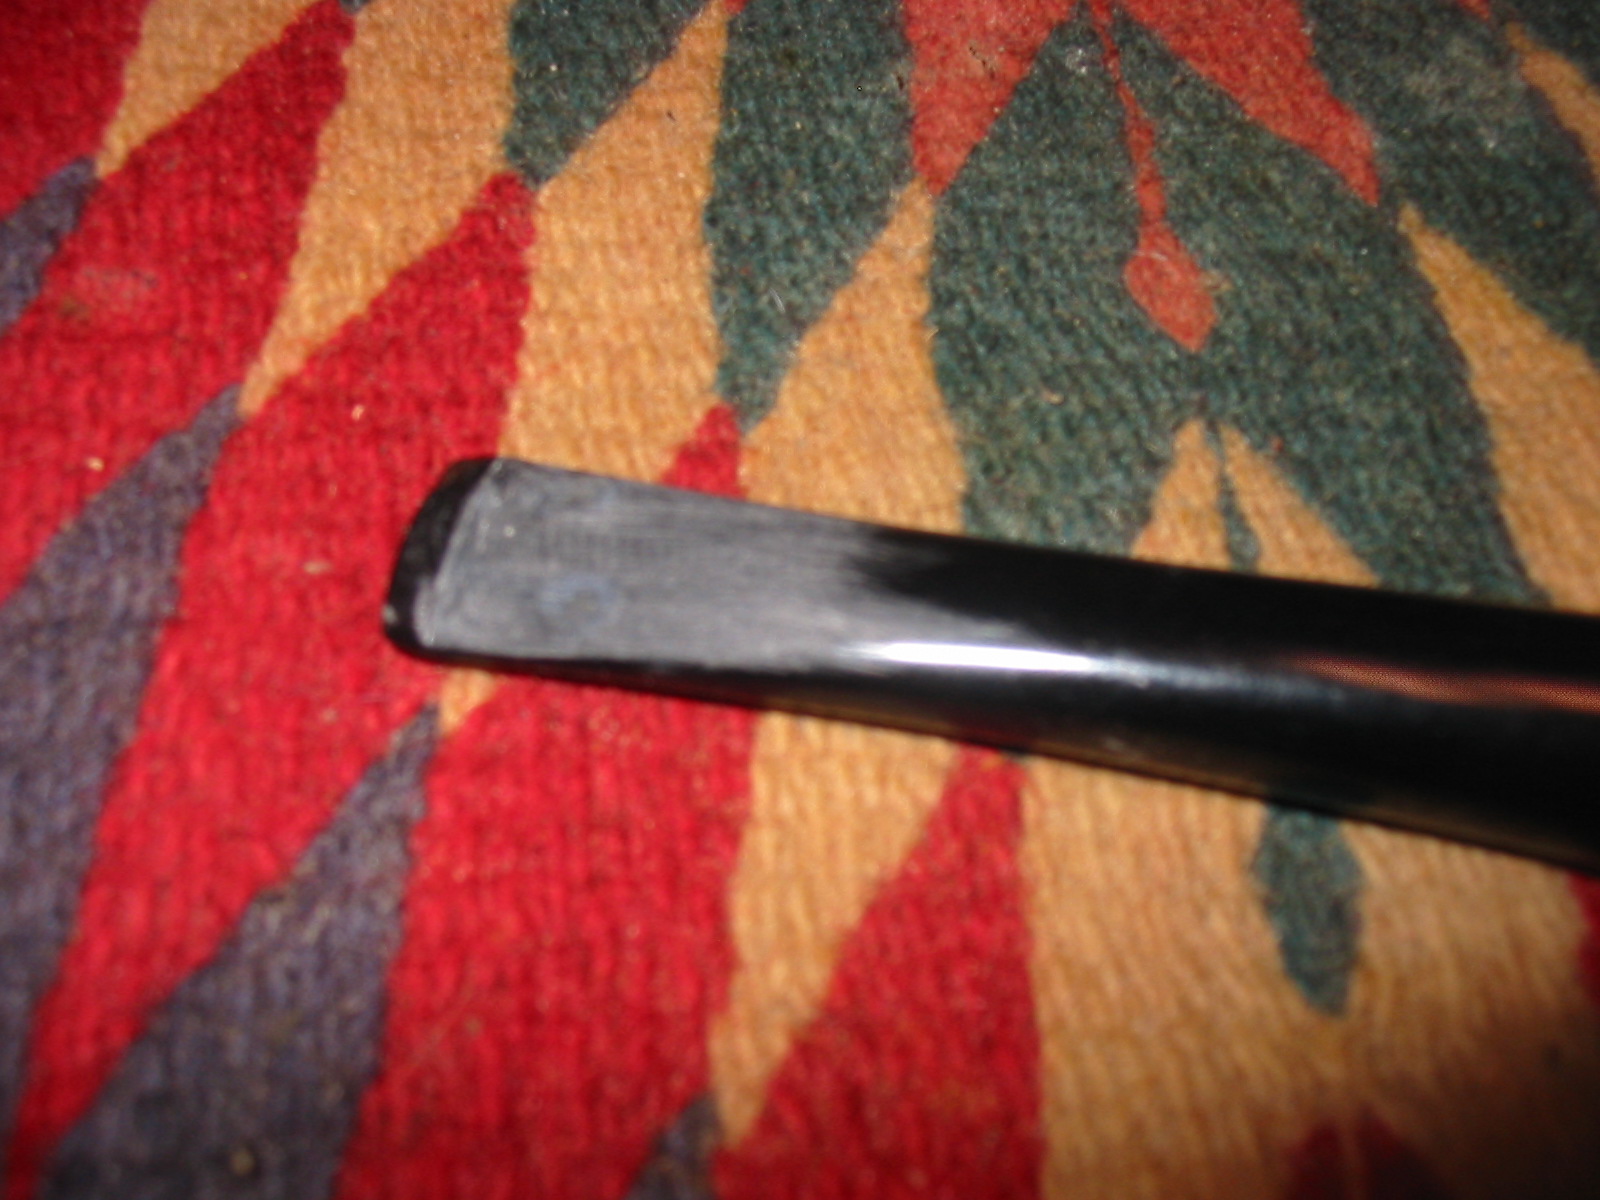
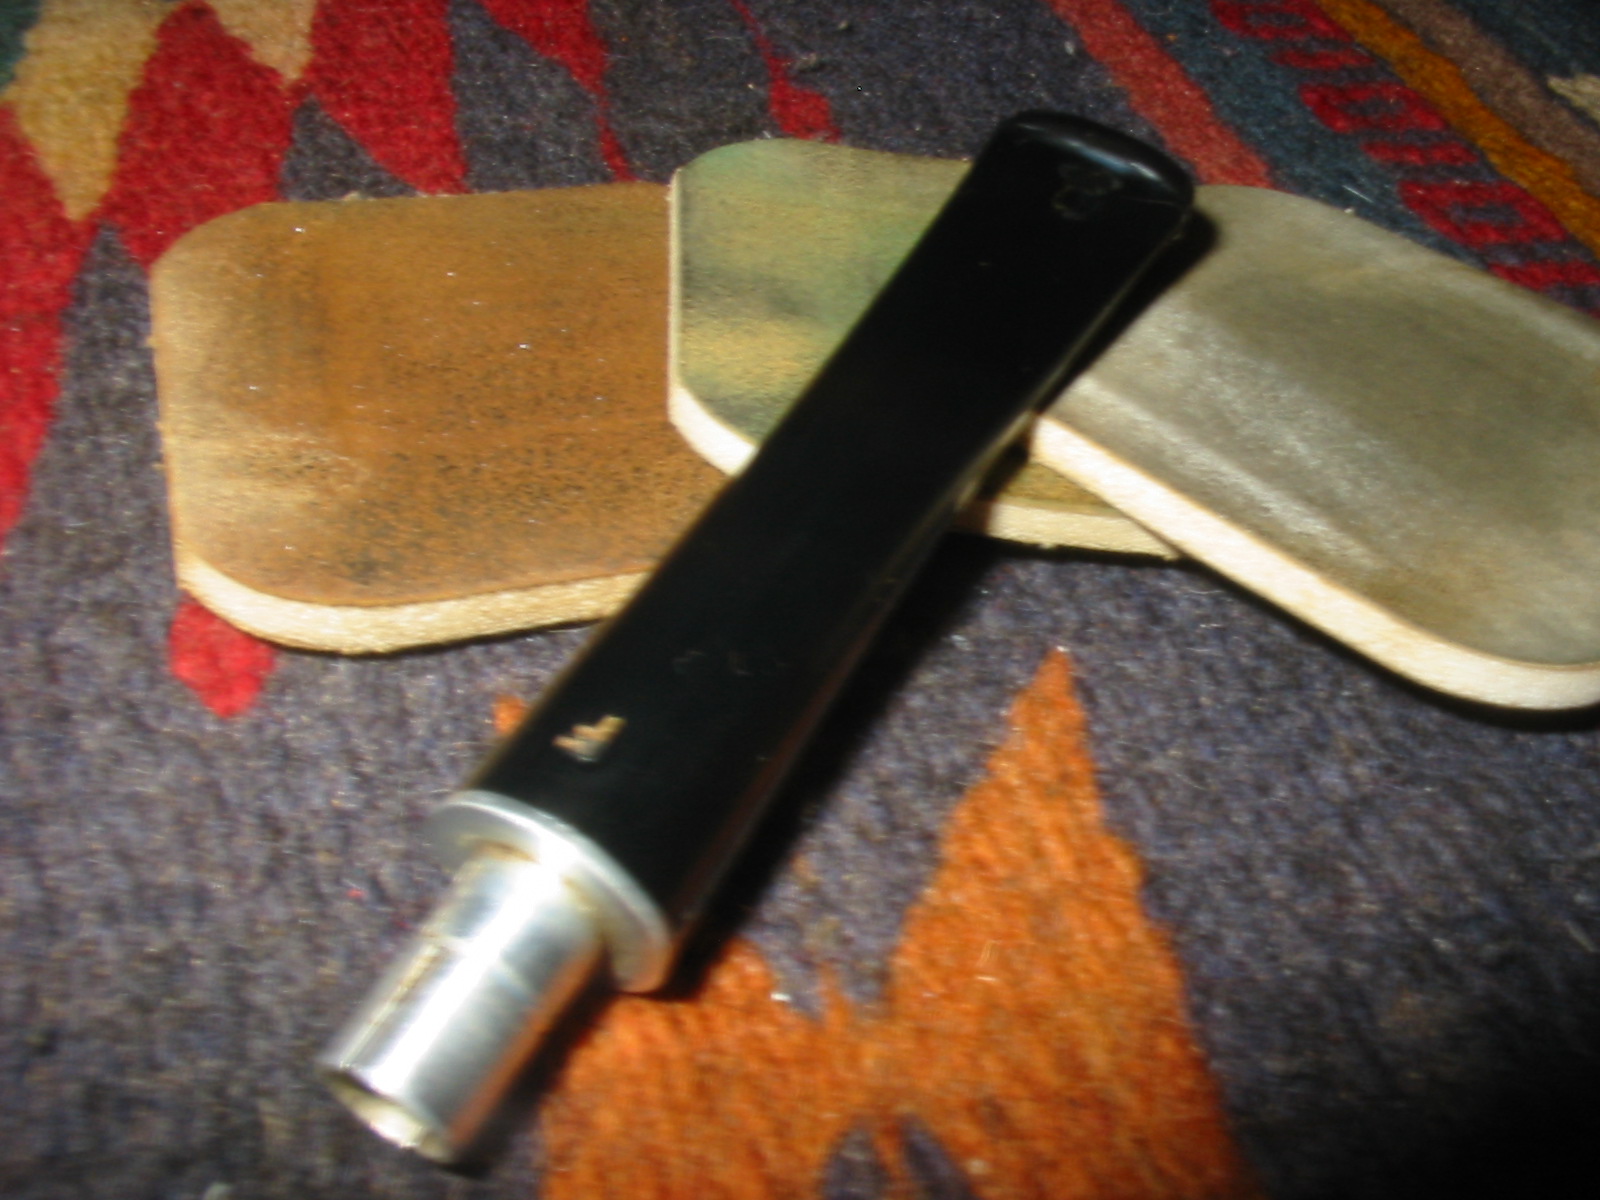
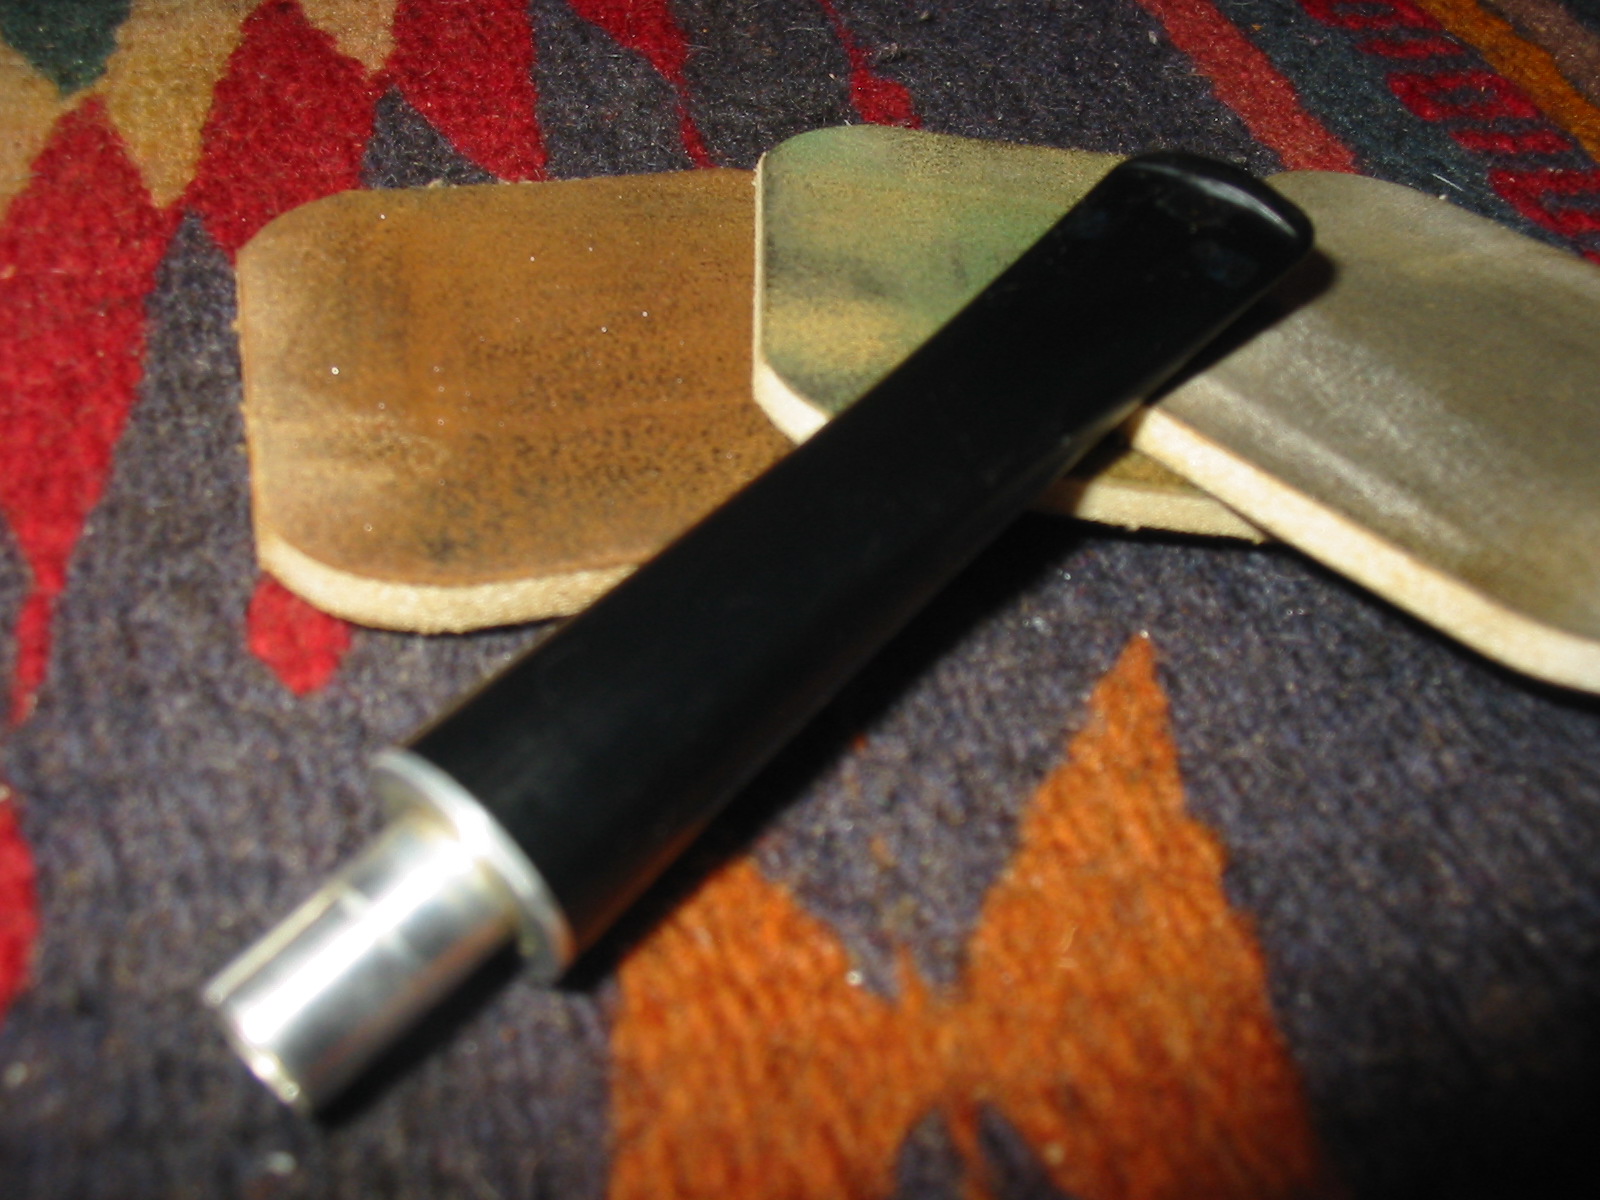
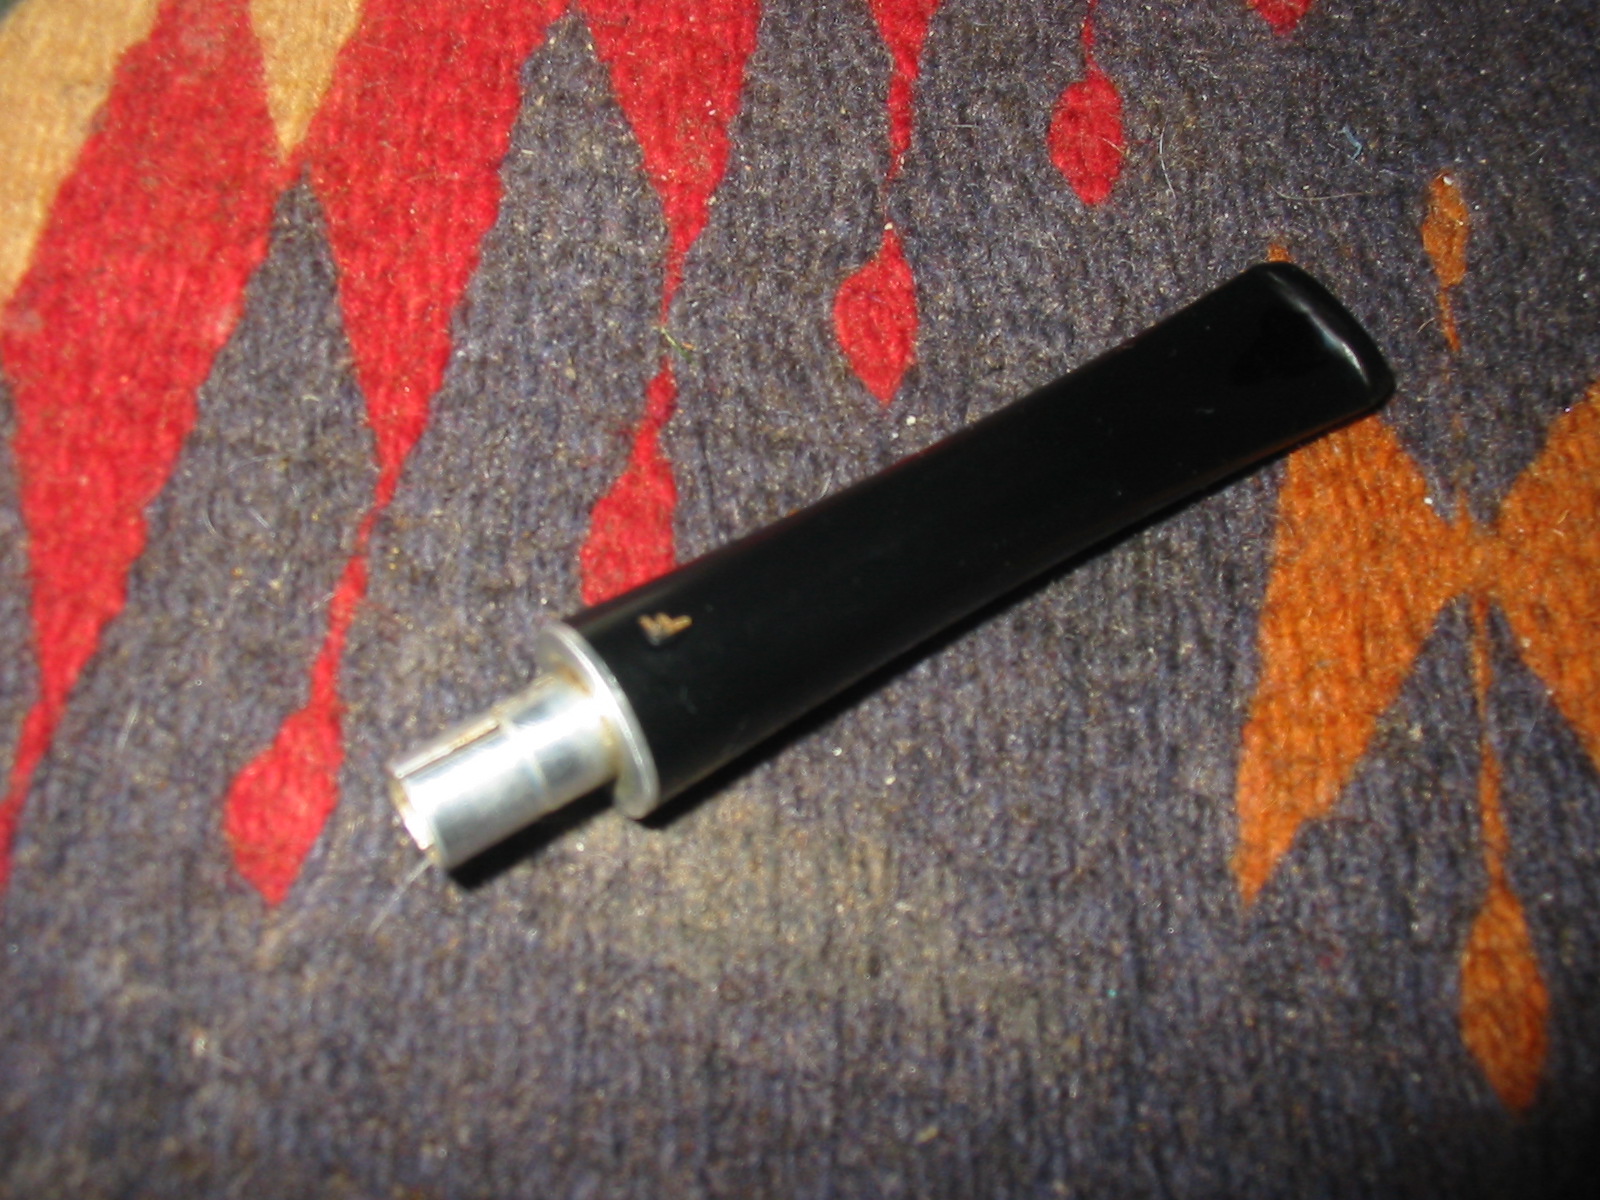
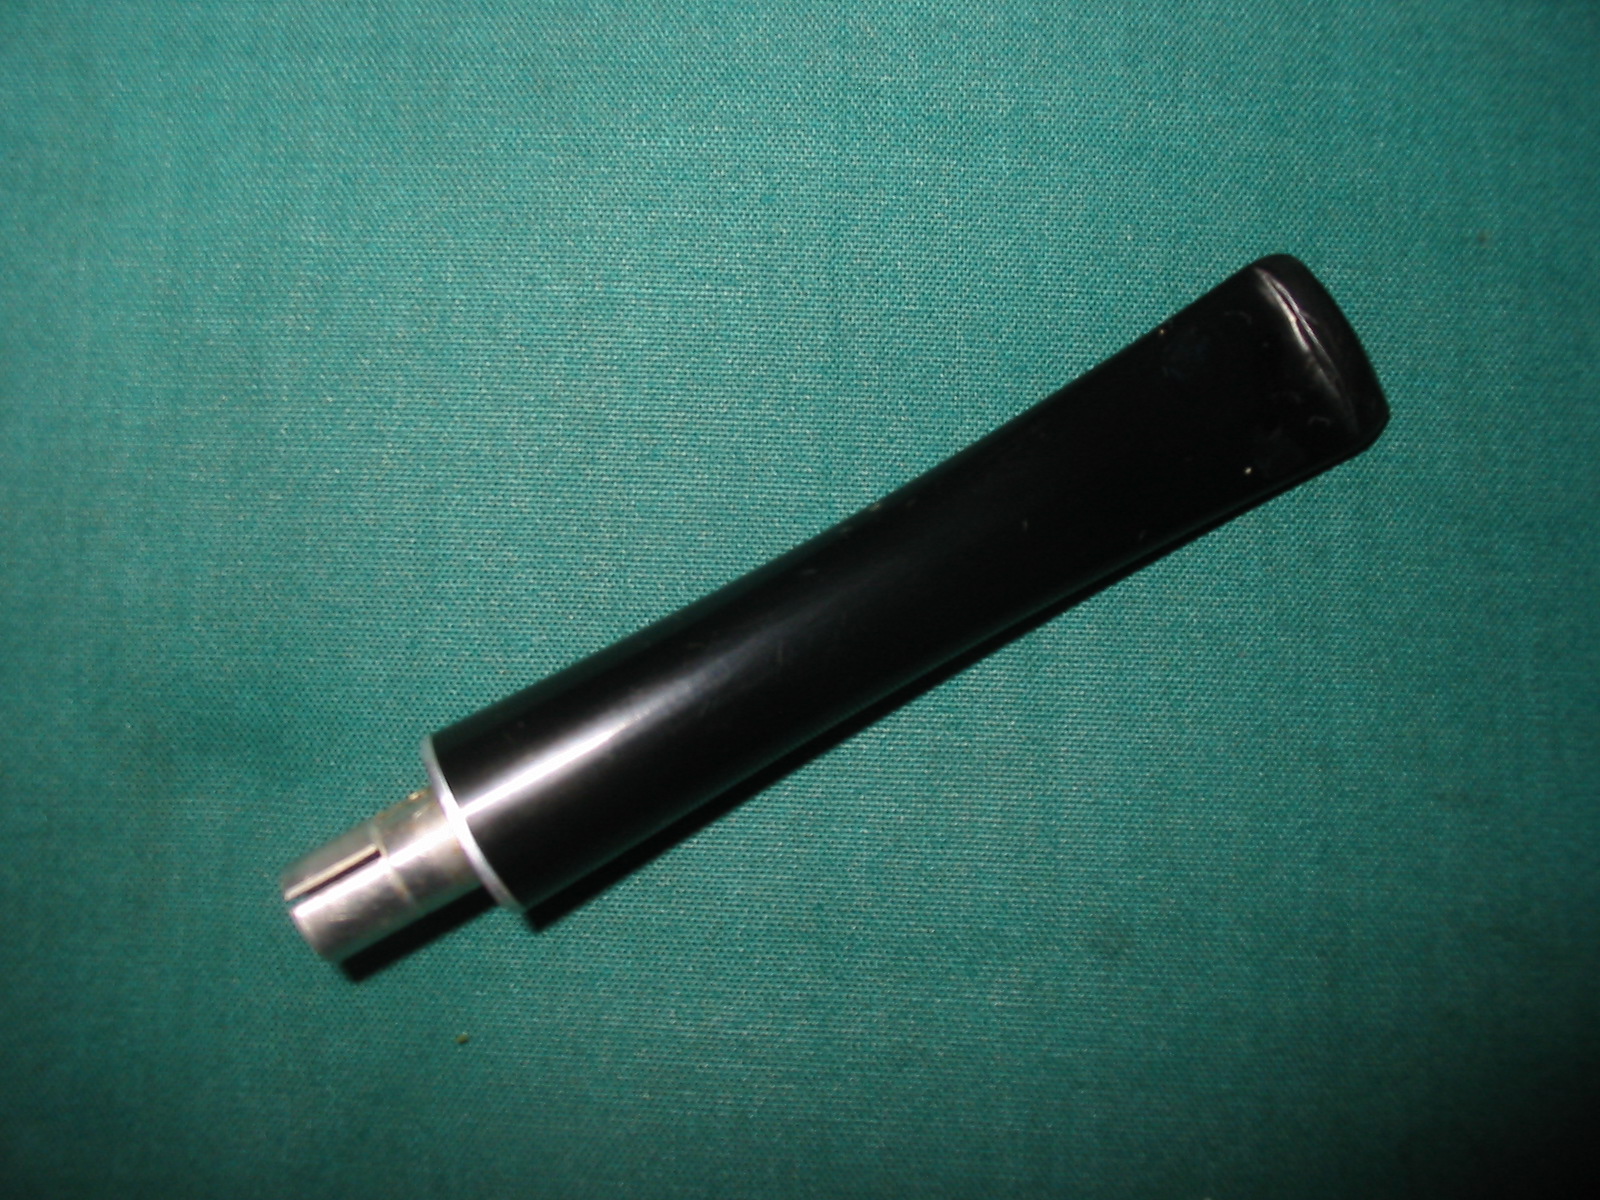
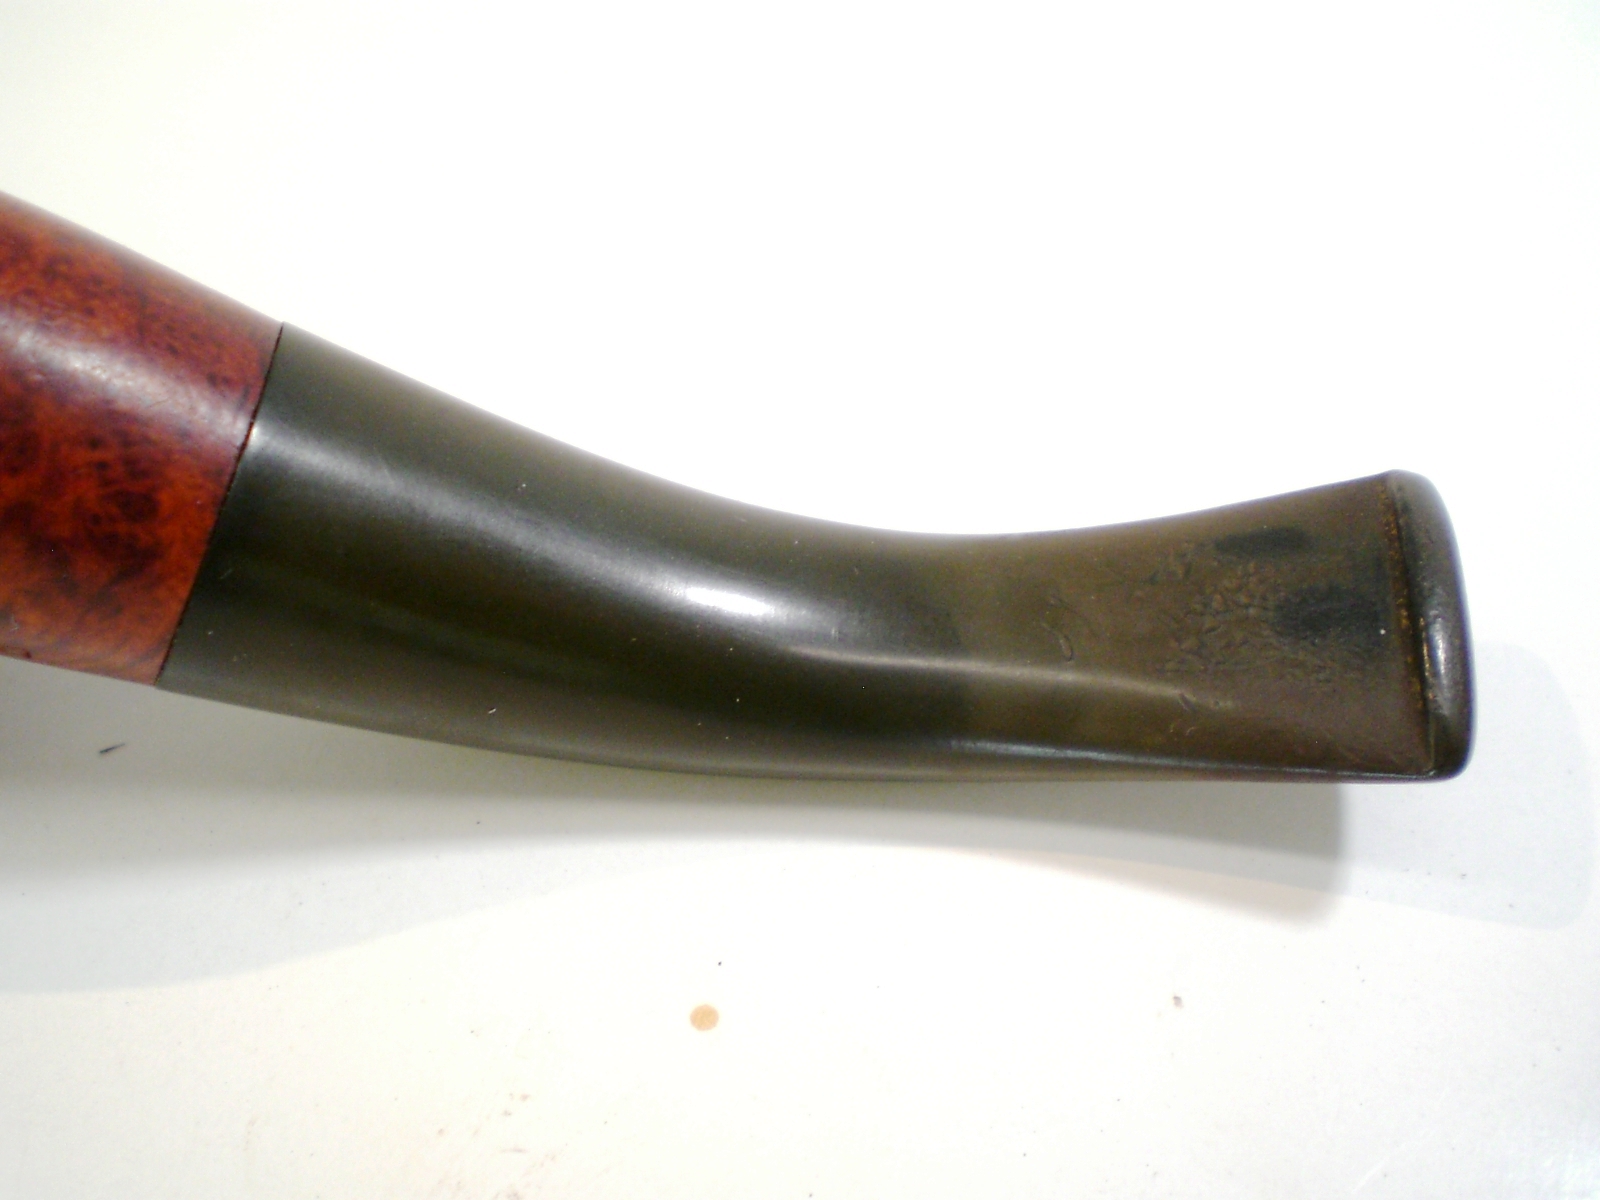
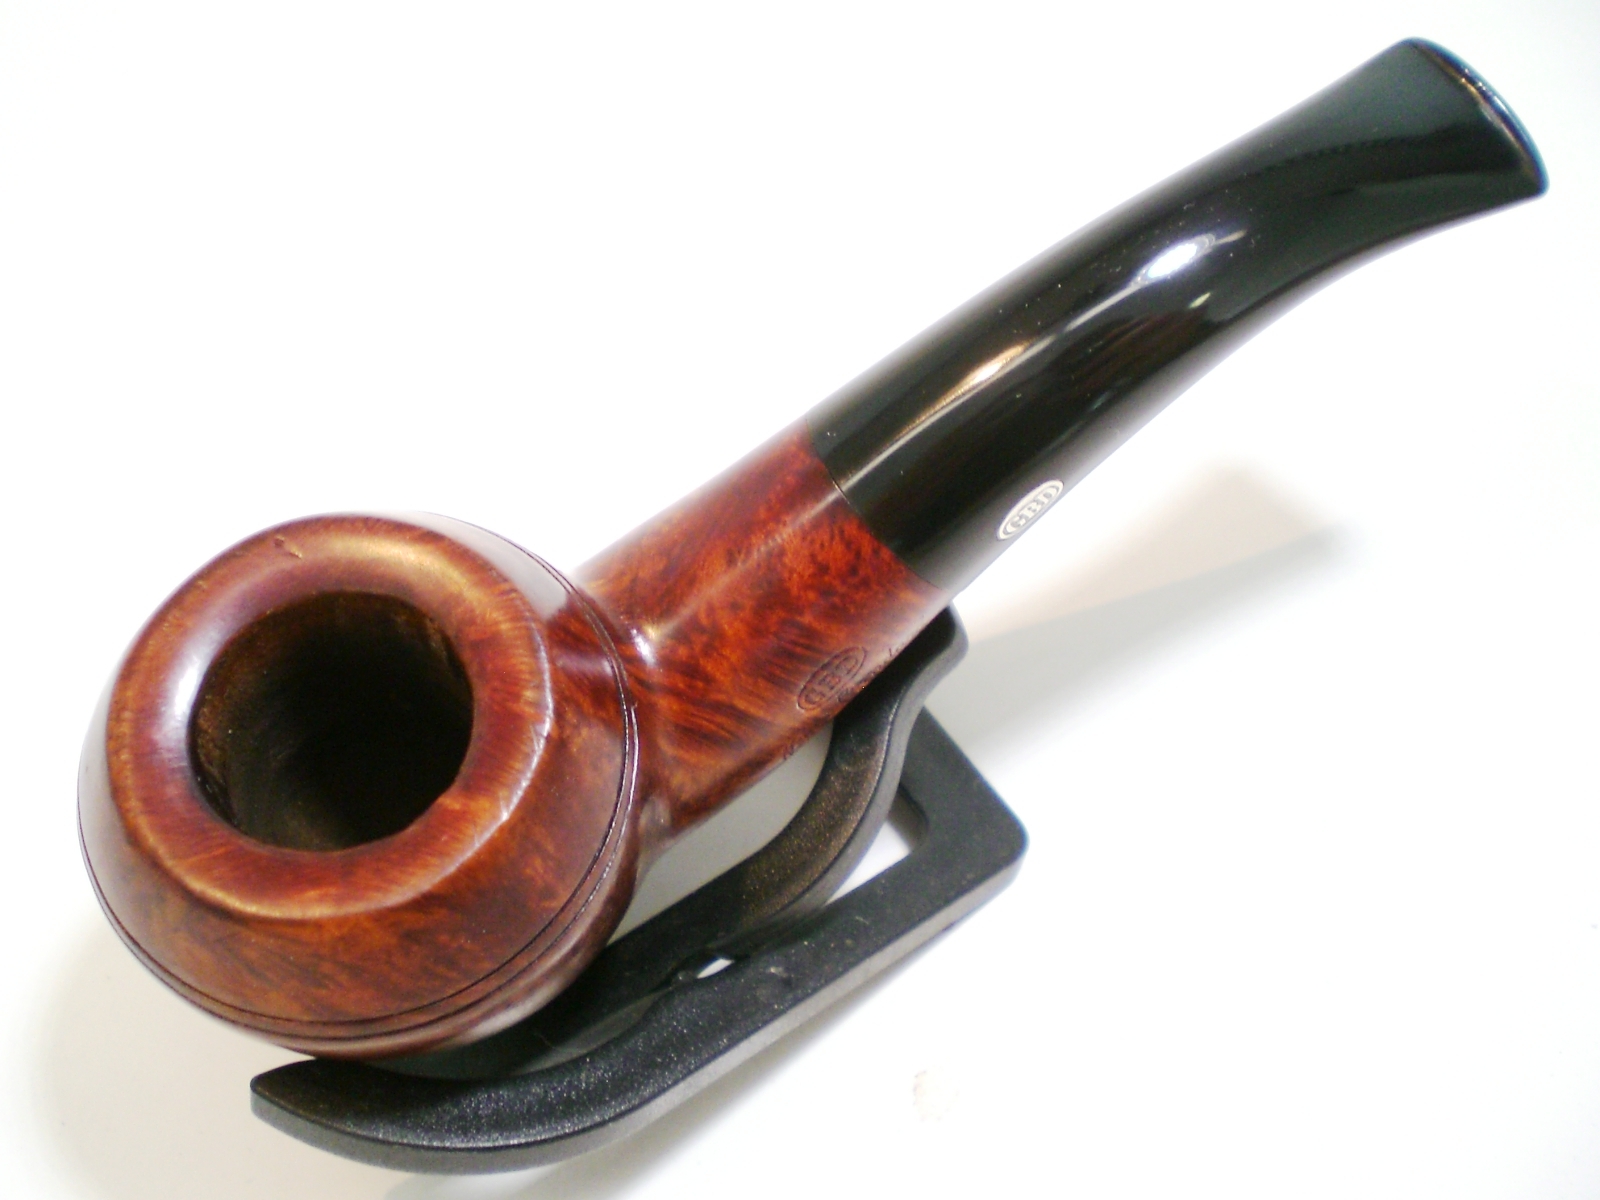
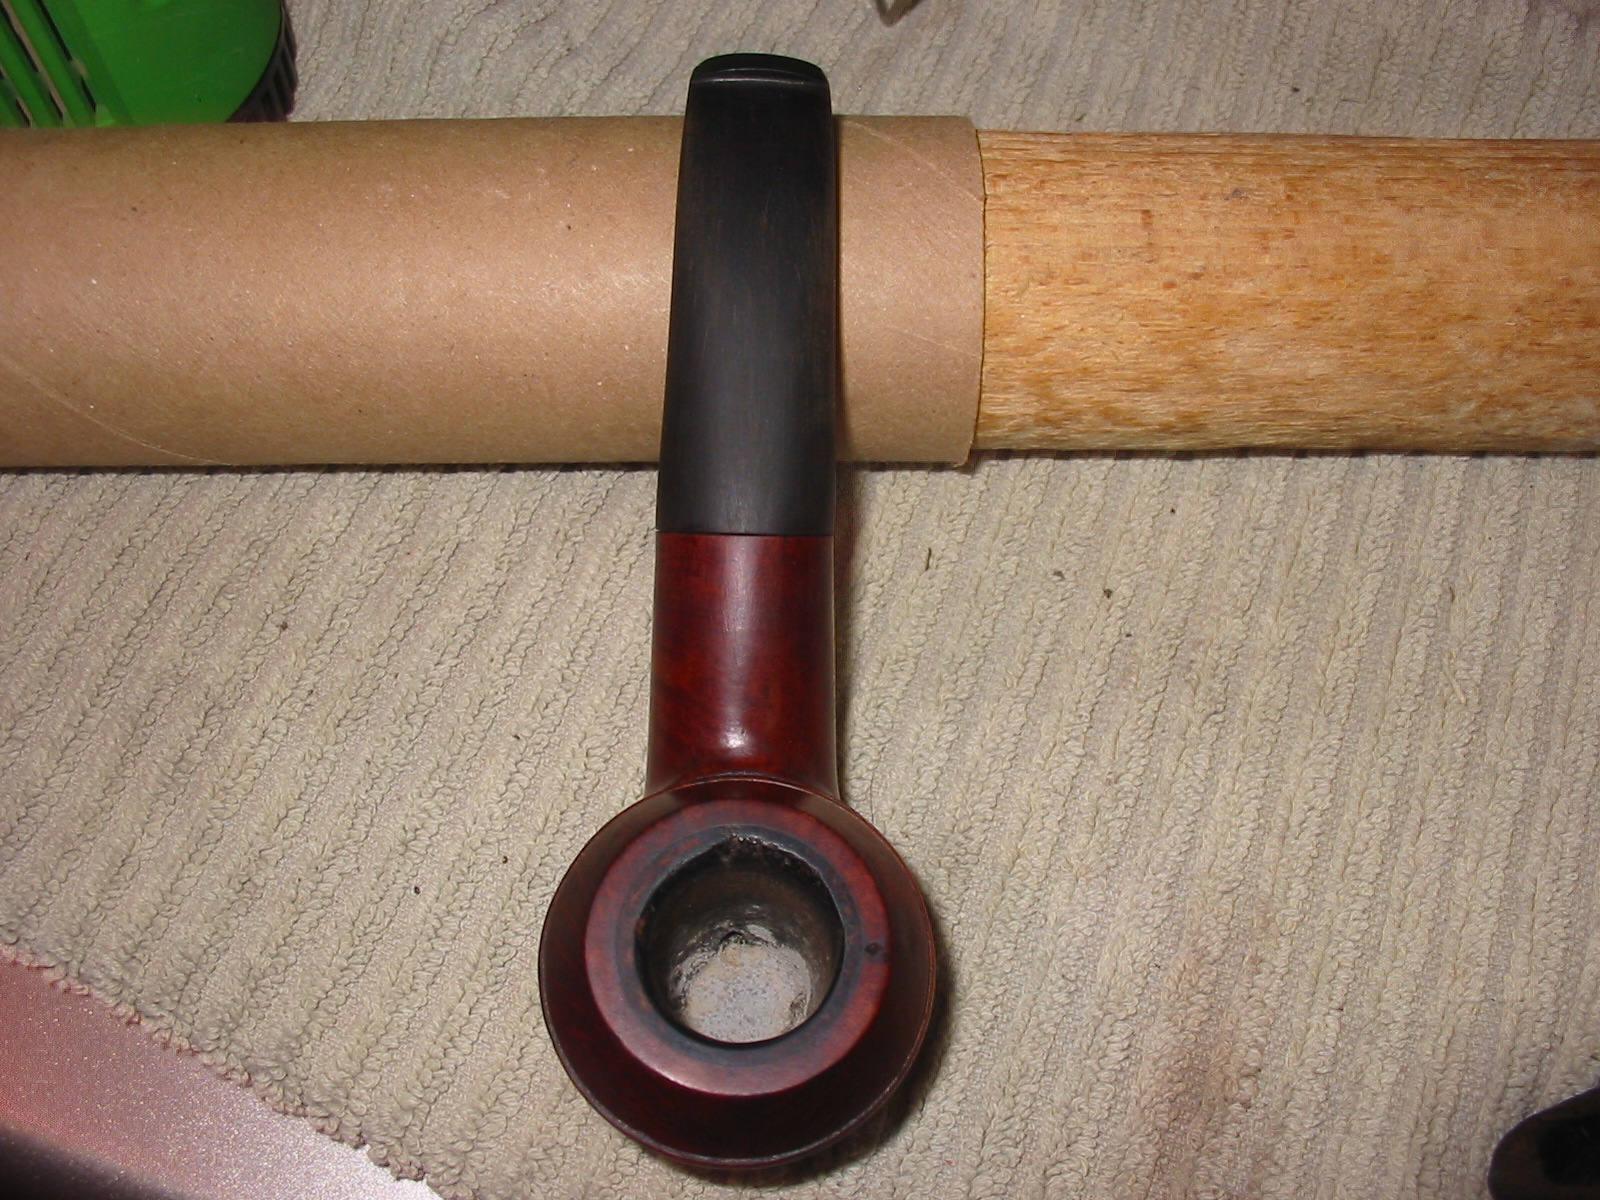
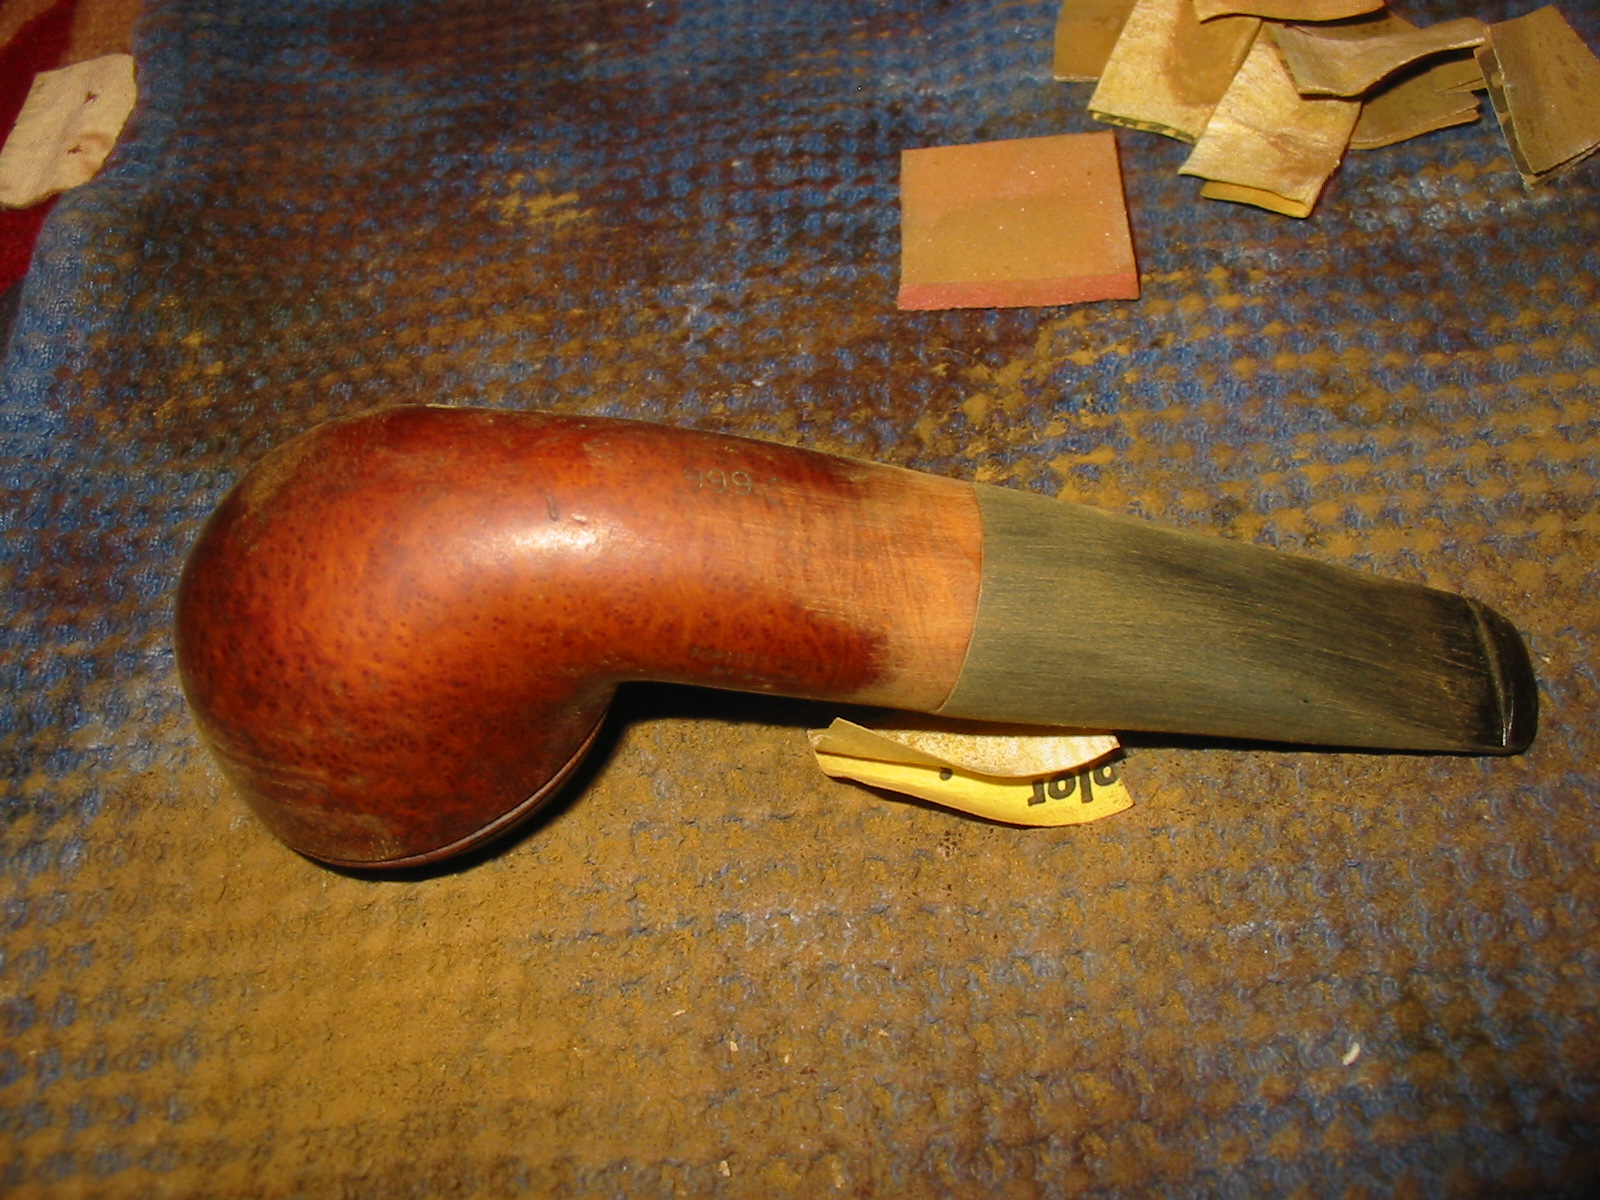 I wiped off the sanding dust with a damp cloth and gave the stem a wipe down as well. The photos below show the look of the stem and shank union at this point in the process. I also gave the rim a light sanding with the sanding sponges as well. There is one small sandpit in the top left side of the rim. I decided to leave it rather than fill it.
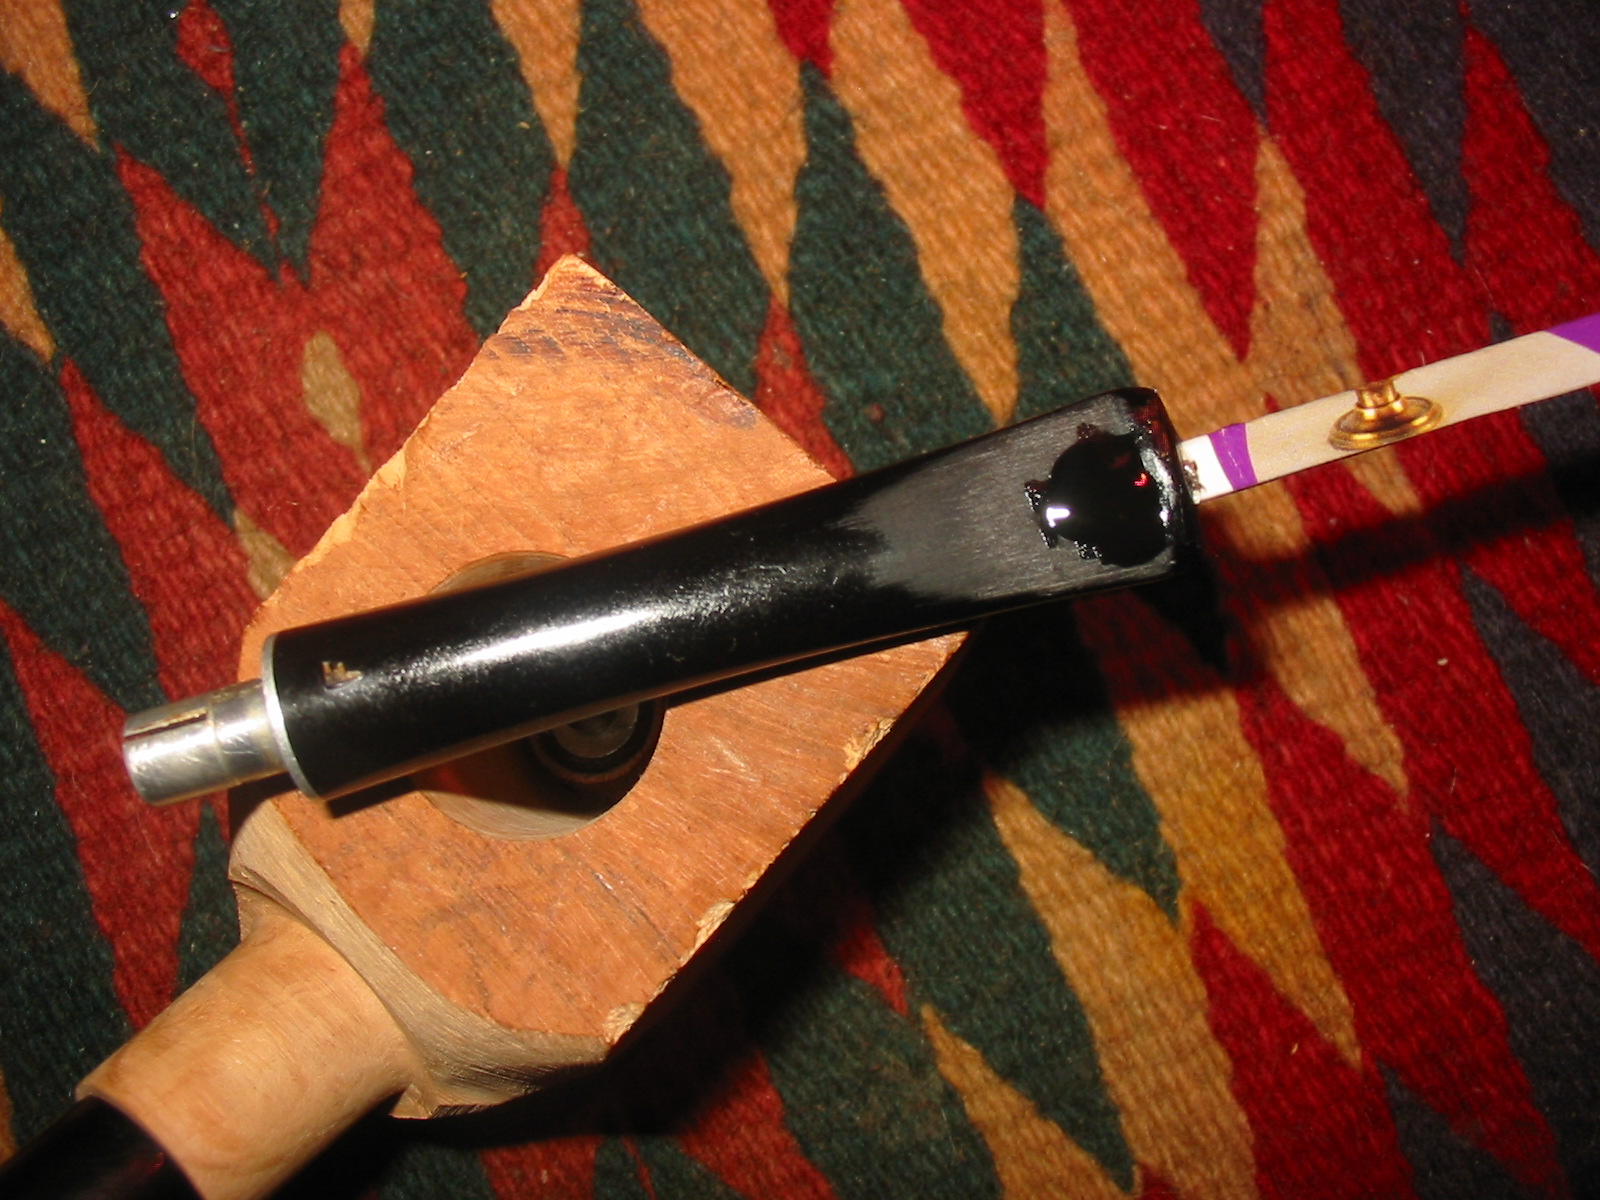
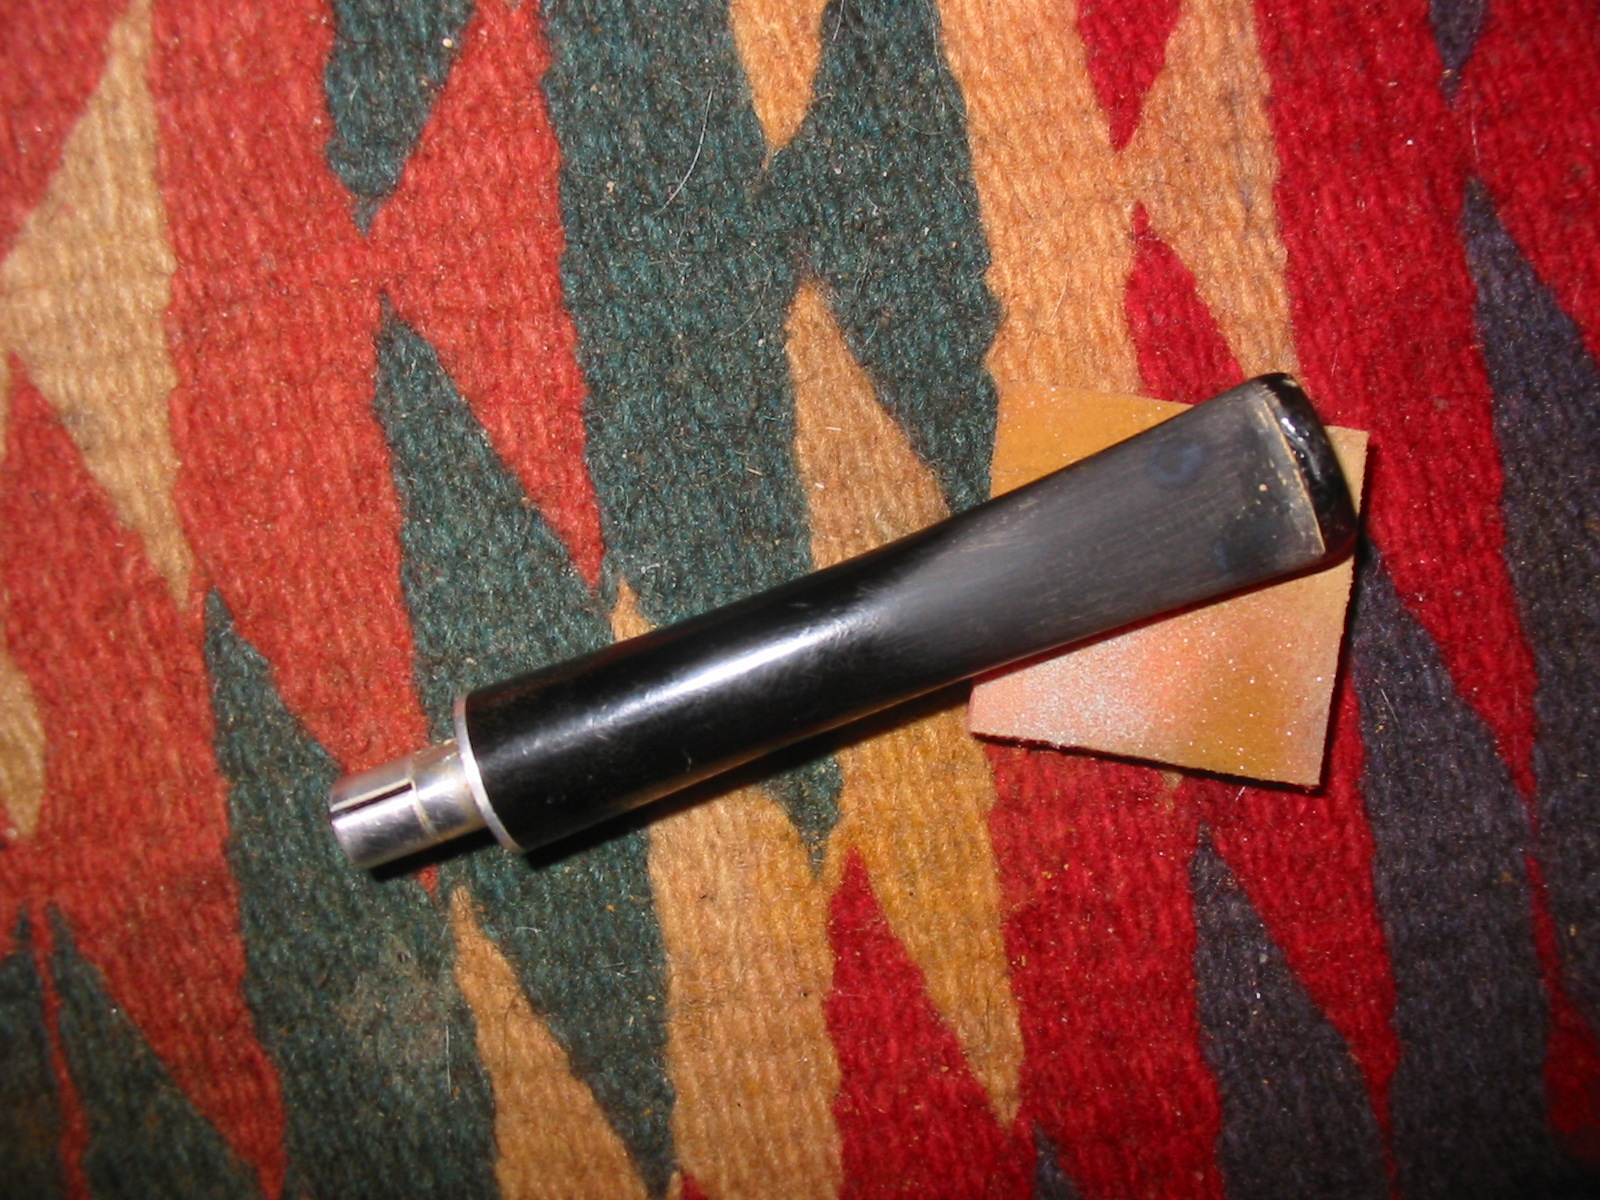
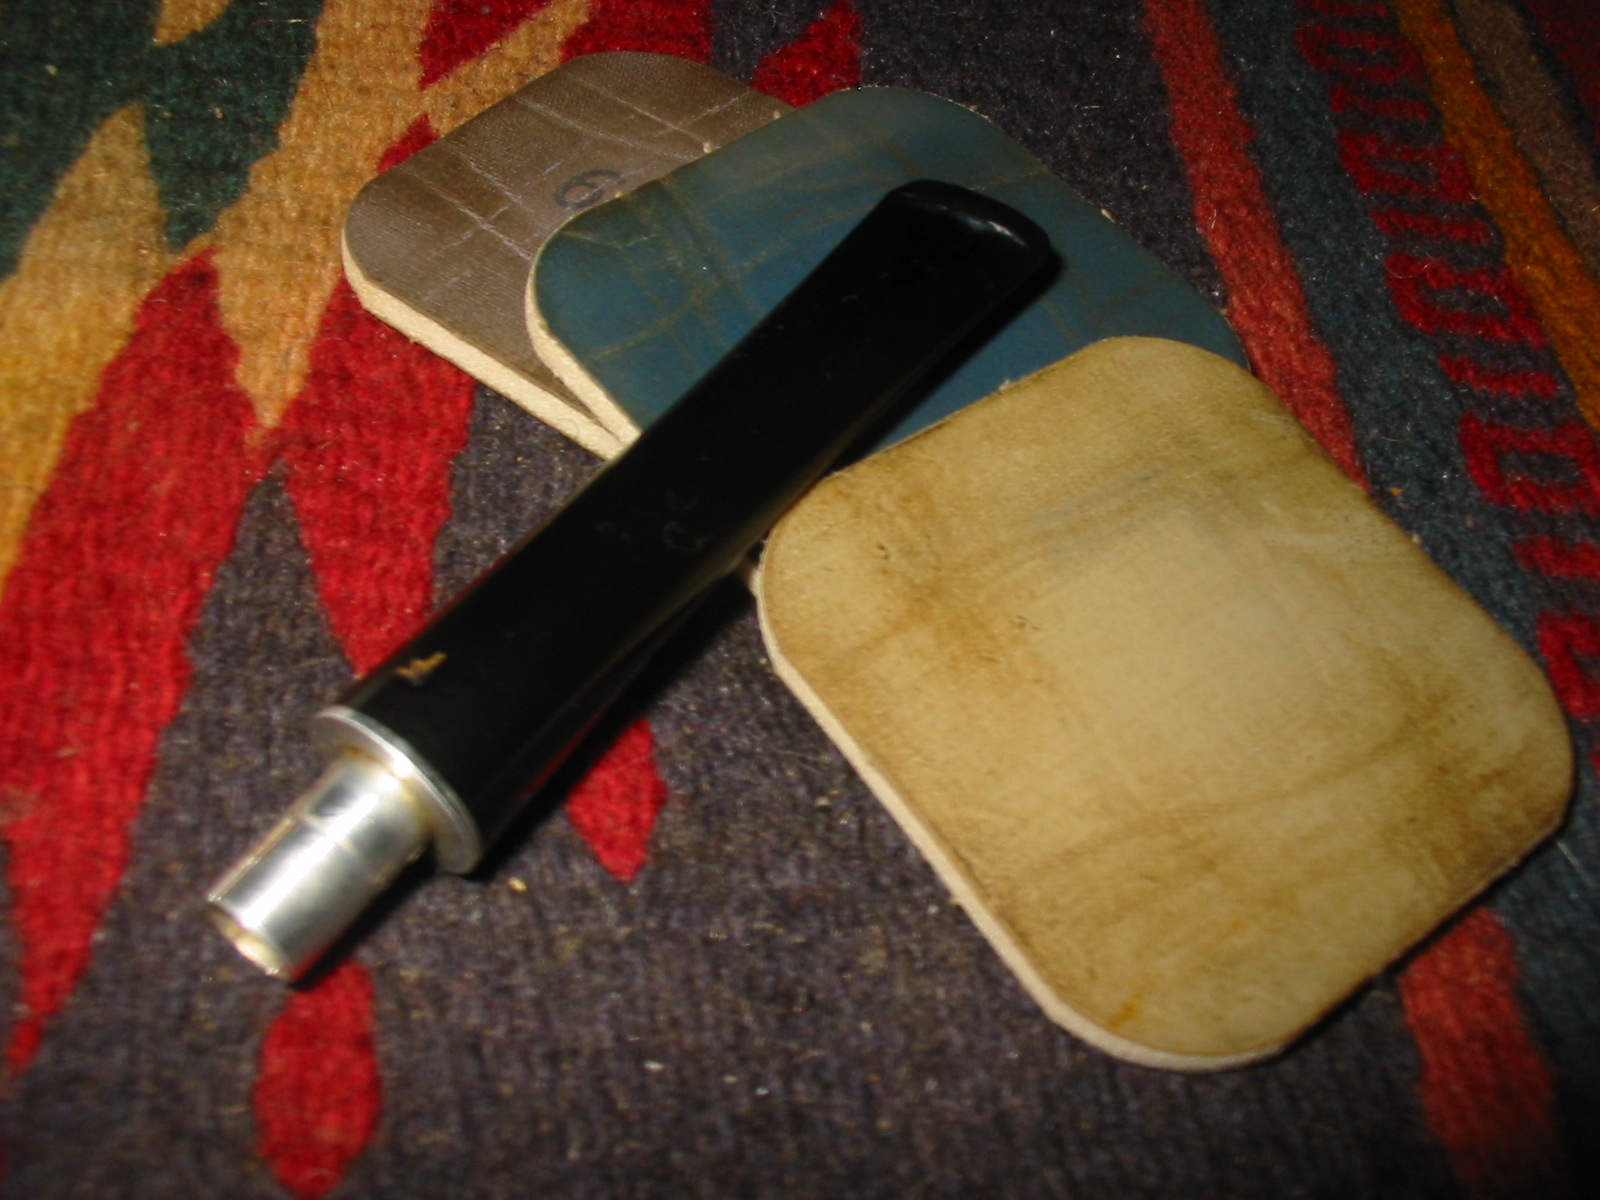
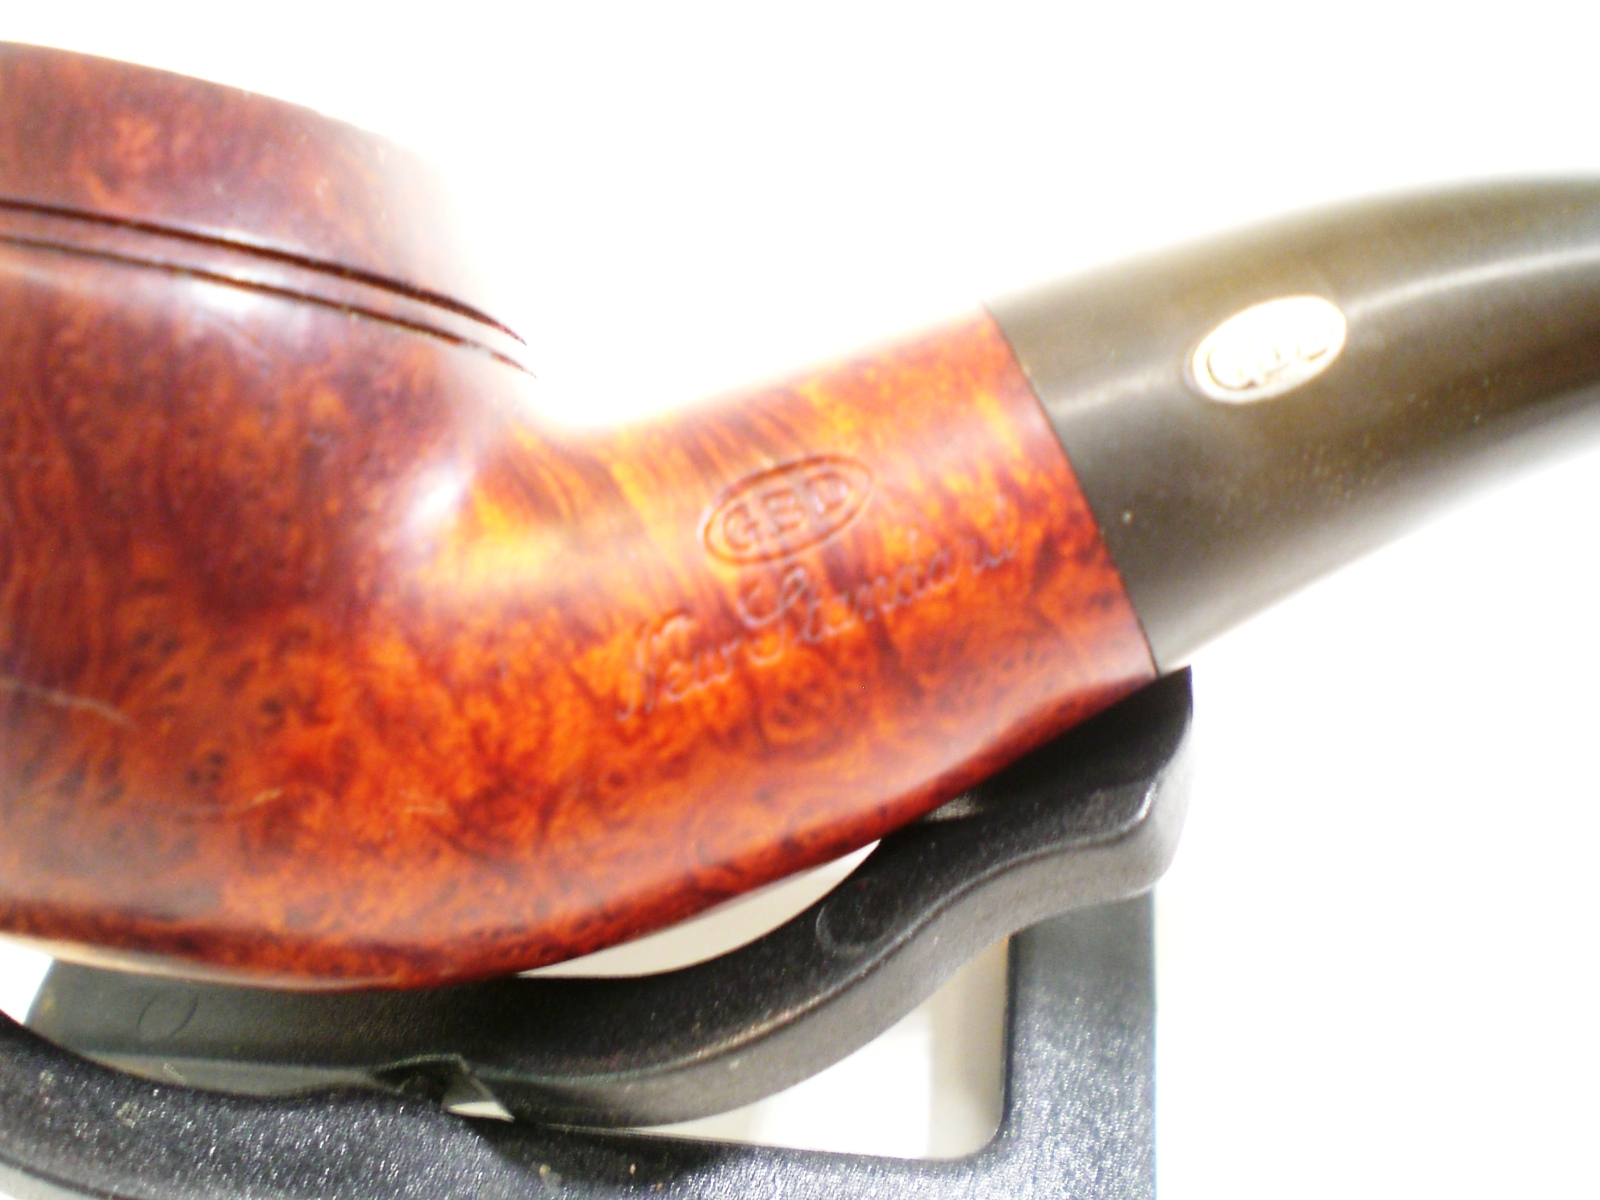
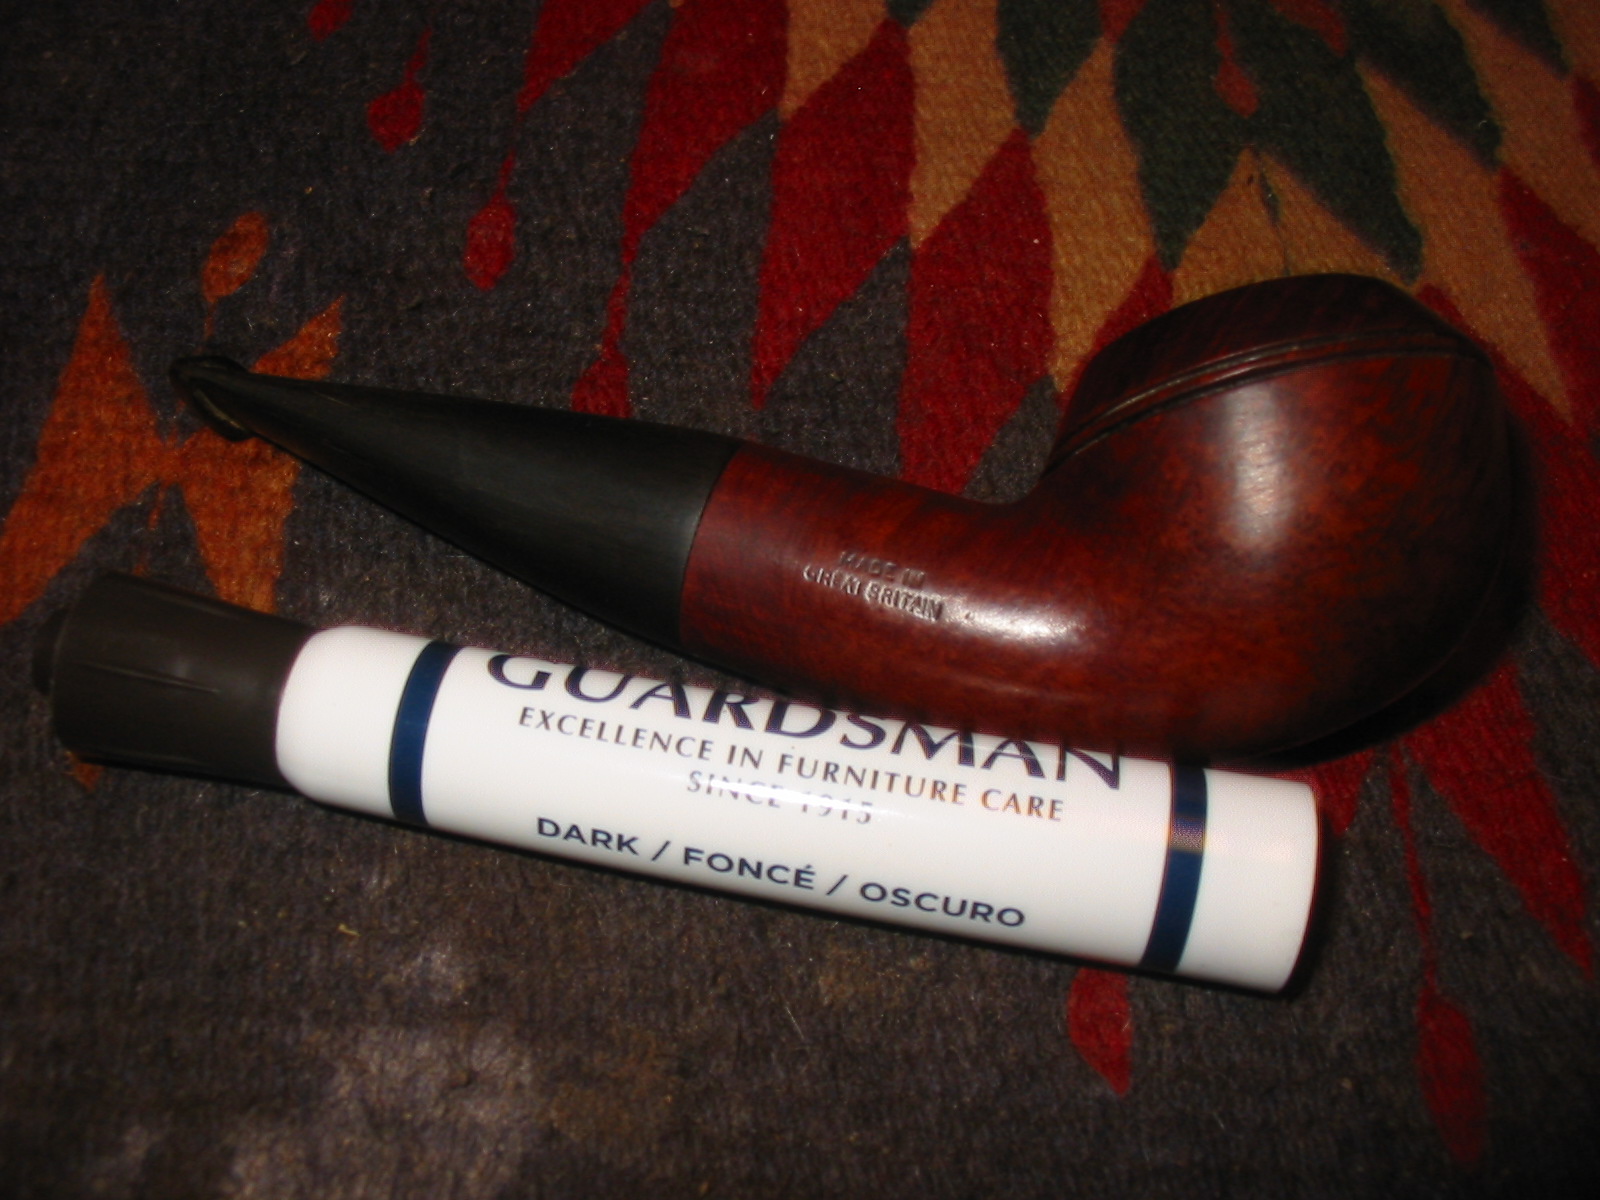
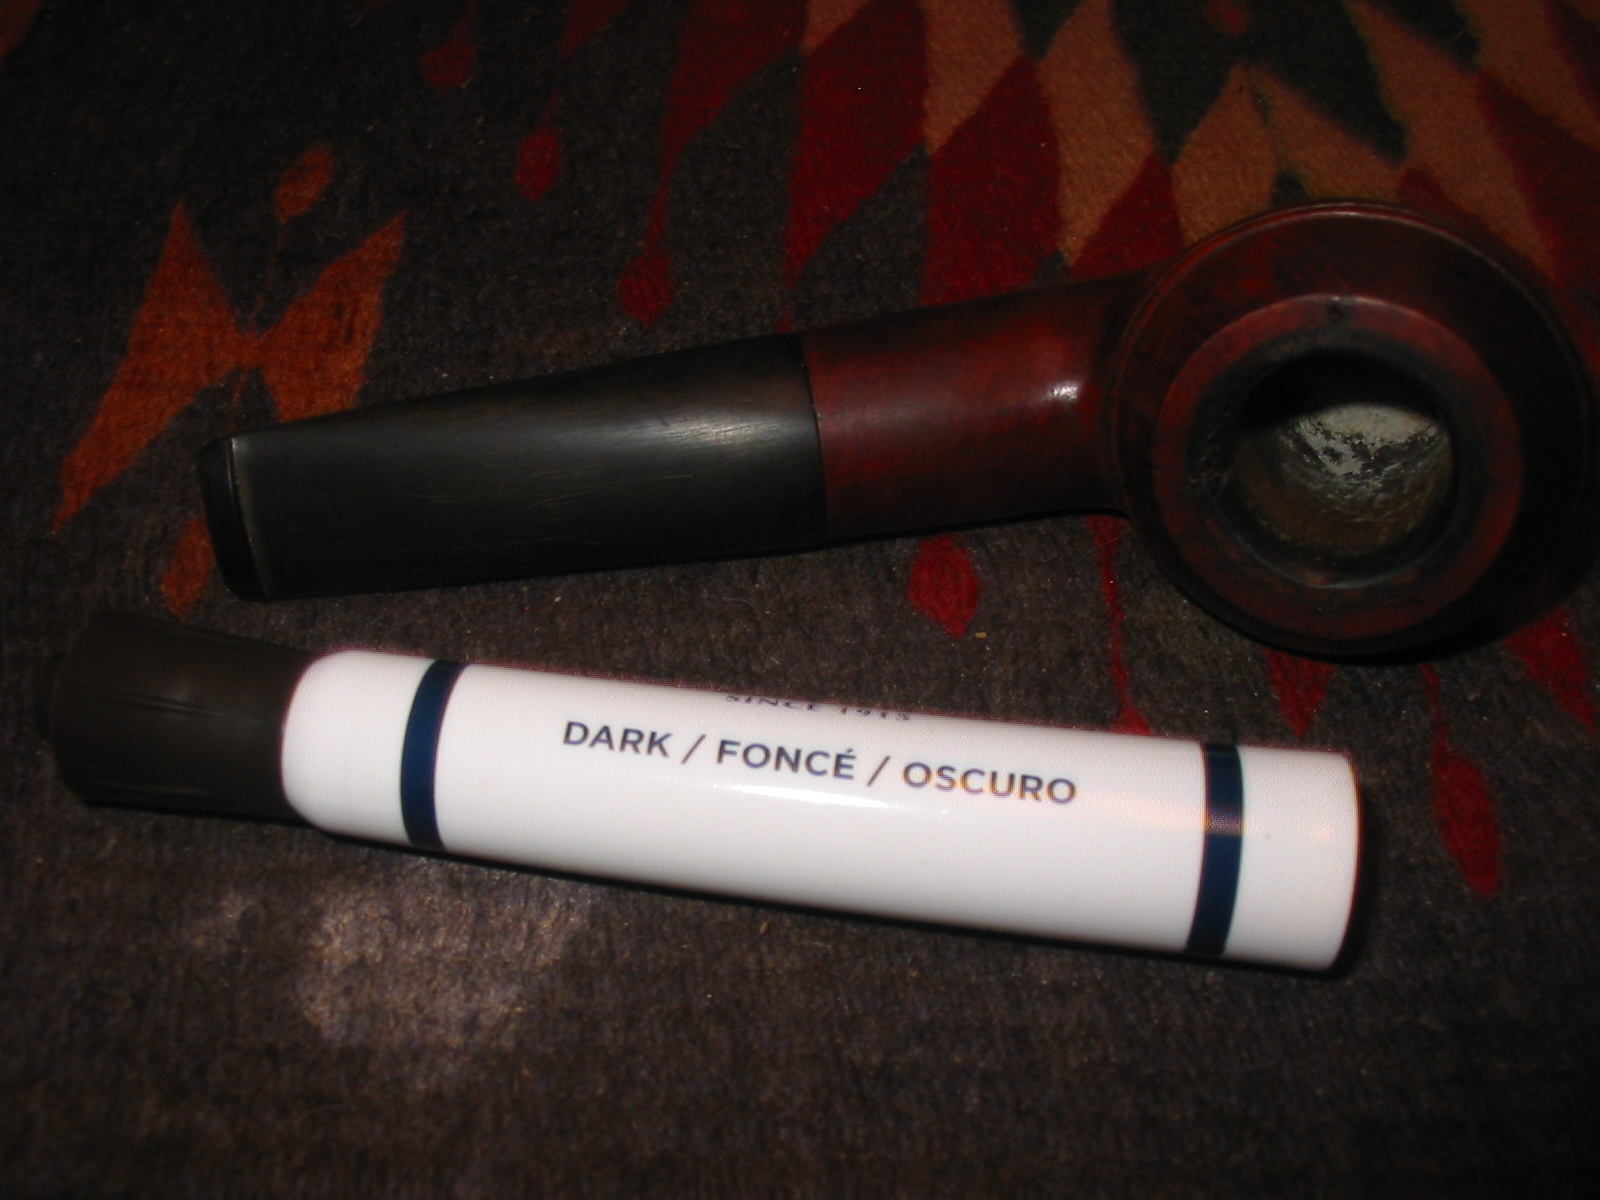
 I sanded the shank with 1500-2400 grit micromesh sanding pads to remove scratches in the finish and wiped the bowl down with alcohol on a cotton pad. Greg sent me a set of staining pens to work with so I decided to try them out on this pipe. I tried the light and medium pens and found that they did not match the stain on the pipe so I settled for the dark pen. I drew on the unstained surface of the shank and then blended it into the rest of the bowl. I also did the same on the rim, blending it downward into the sides of the bowl. The pen was very easy to control and keep off the meer lining on the inner edge of the rim.
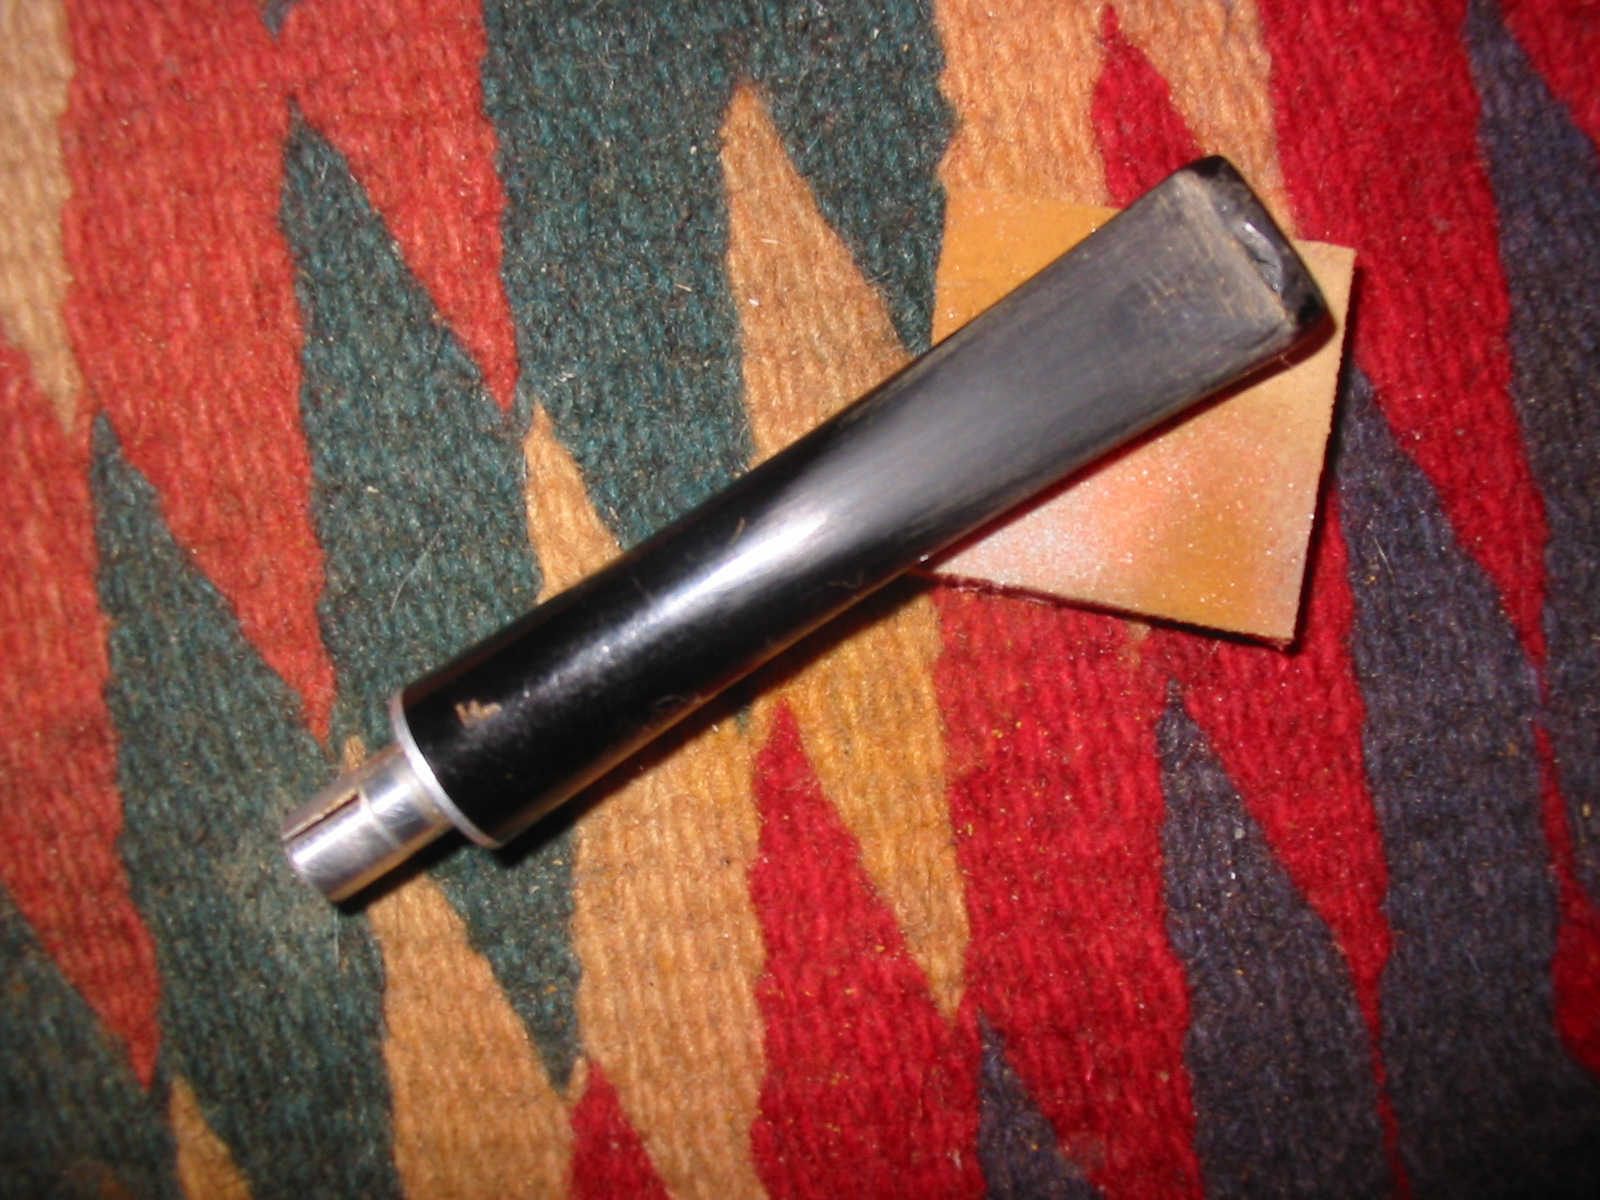
 When the stain had dried I buffed the bowl with White Diamond and then gave it a coating of carnauba wax to seal it and give it a shine. I had done enough of the early sanding on the stem by that point to set up a heat gun to heat and bend the stem. I held it over the heat until the stem was soft and then bent it over a rolling pin that I use for bending stems. I have a thick cardboard tube that I slide on the rolling pin to provide a softer surface than the old rolling pin when I am bending the heated vulcanite.
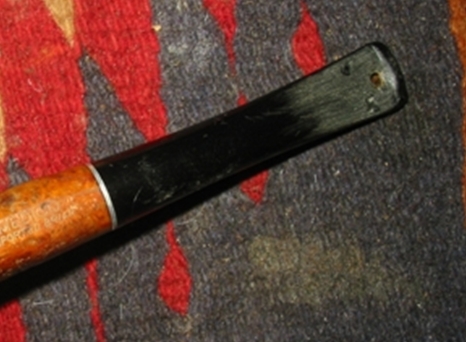
 The photo above shows the first attempt at the bend in the stem. It was not bent enough to my liking so I reheated it and bent it again. Once the bend was correct I set it in cool water.
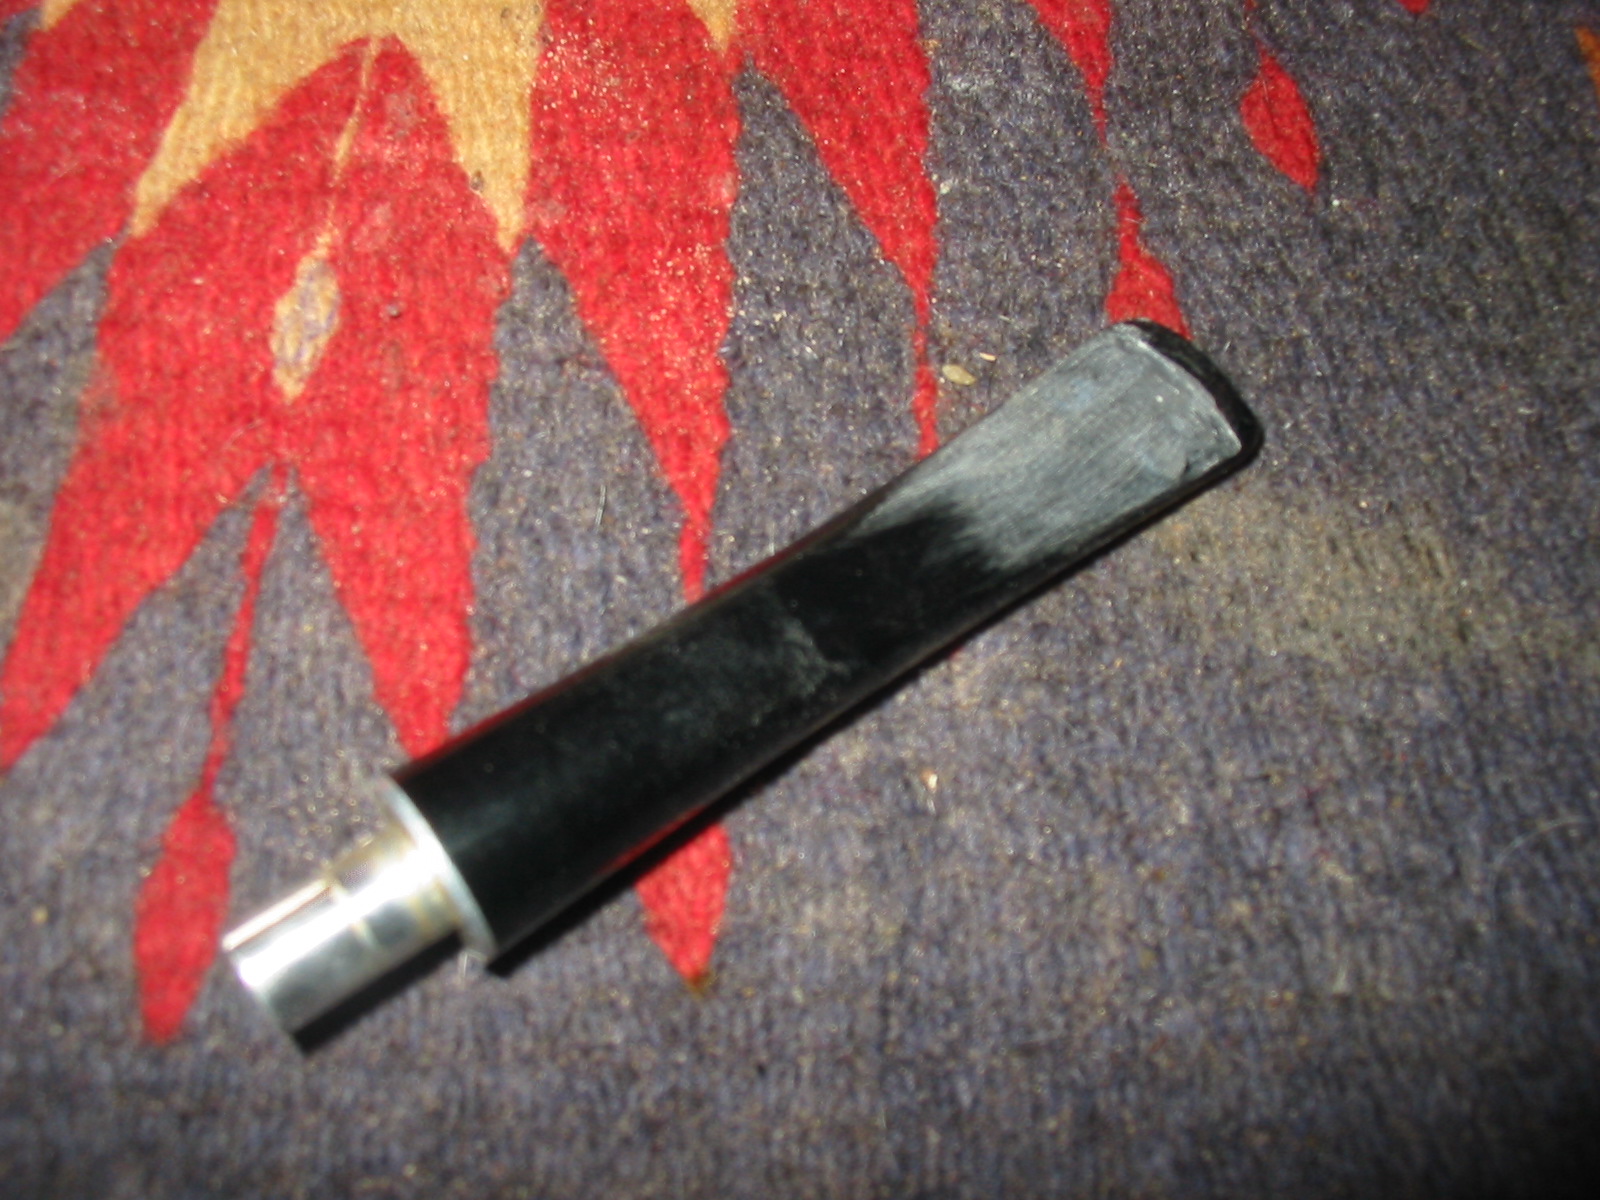
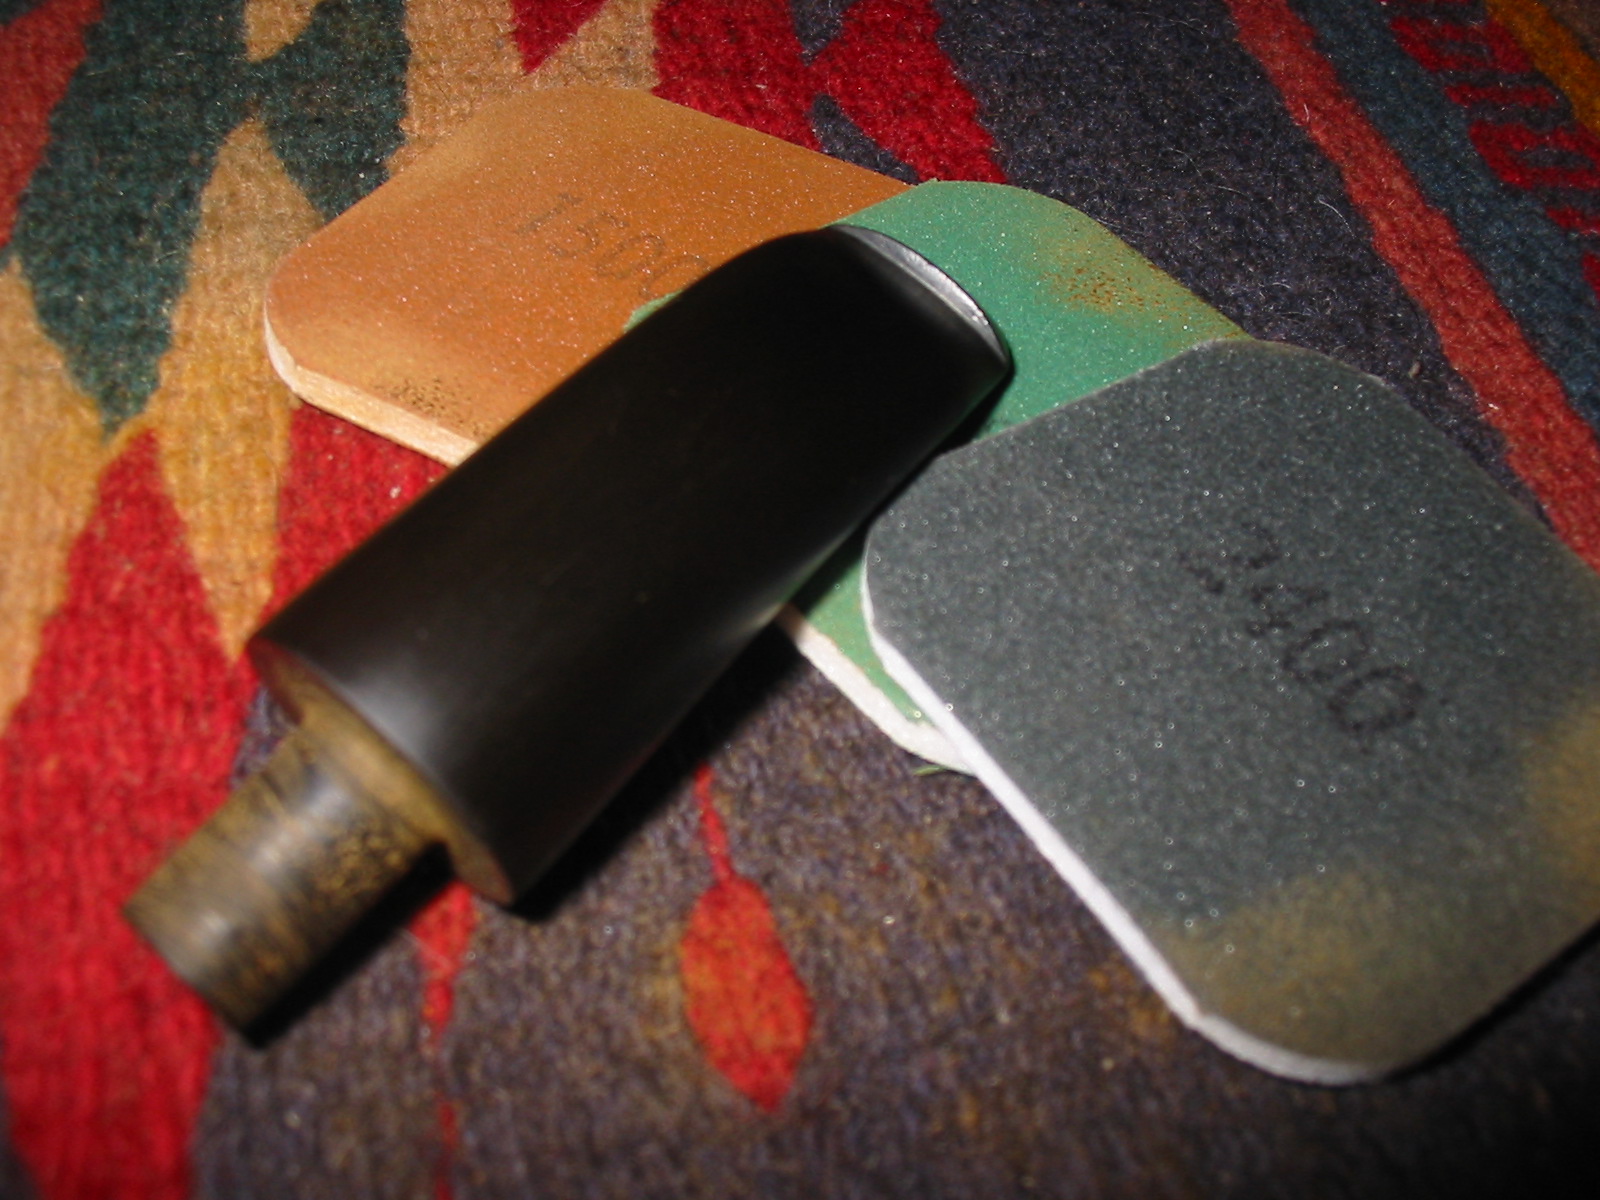
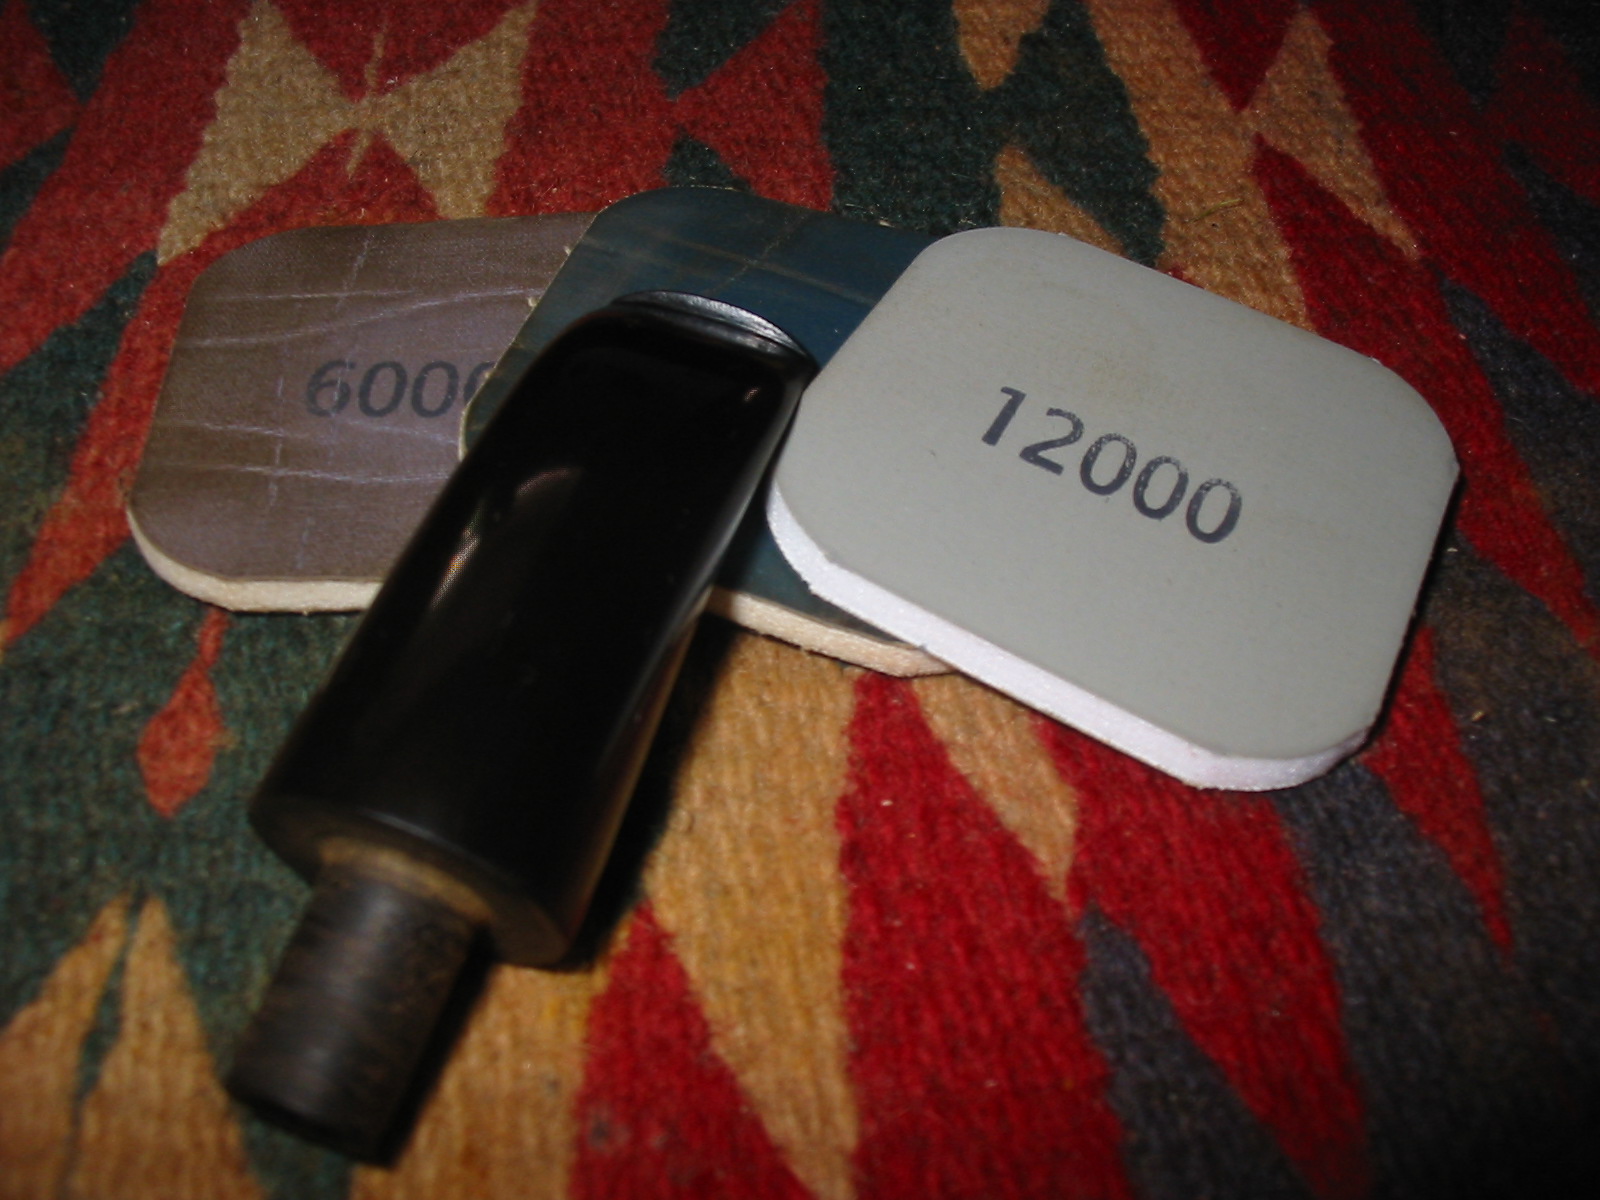
 I took the pipe back to the worktable to sand the stem. I wet sanded with 1500-2400 grit micromesh sanding pads and dry sanded with 3200-12,000 grit pads. I rubbed the stem down between each of the three grits with Obsidian Oil and let it soak in before moving on to the next series of three grits.

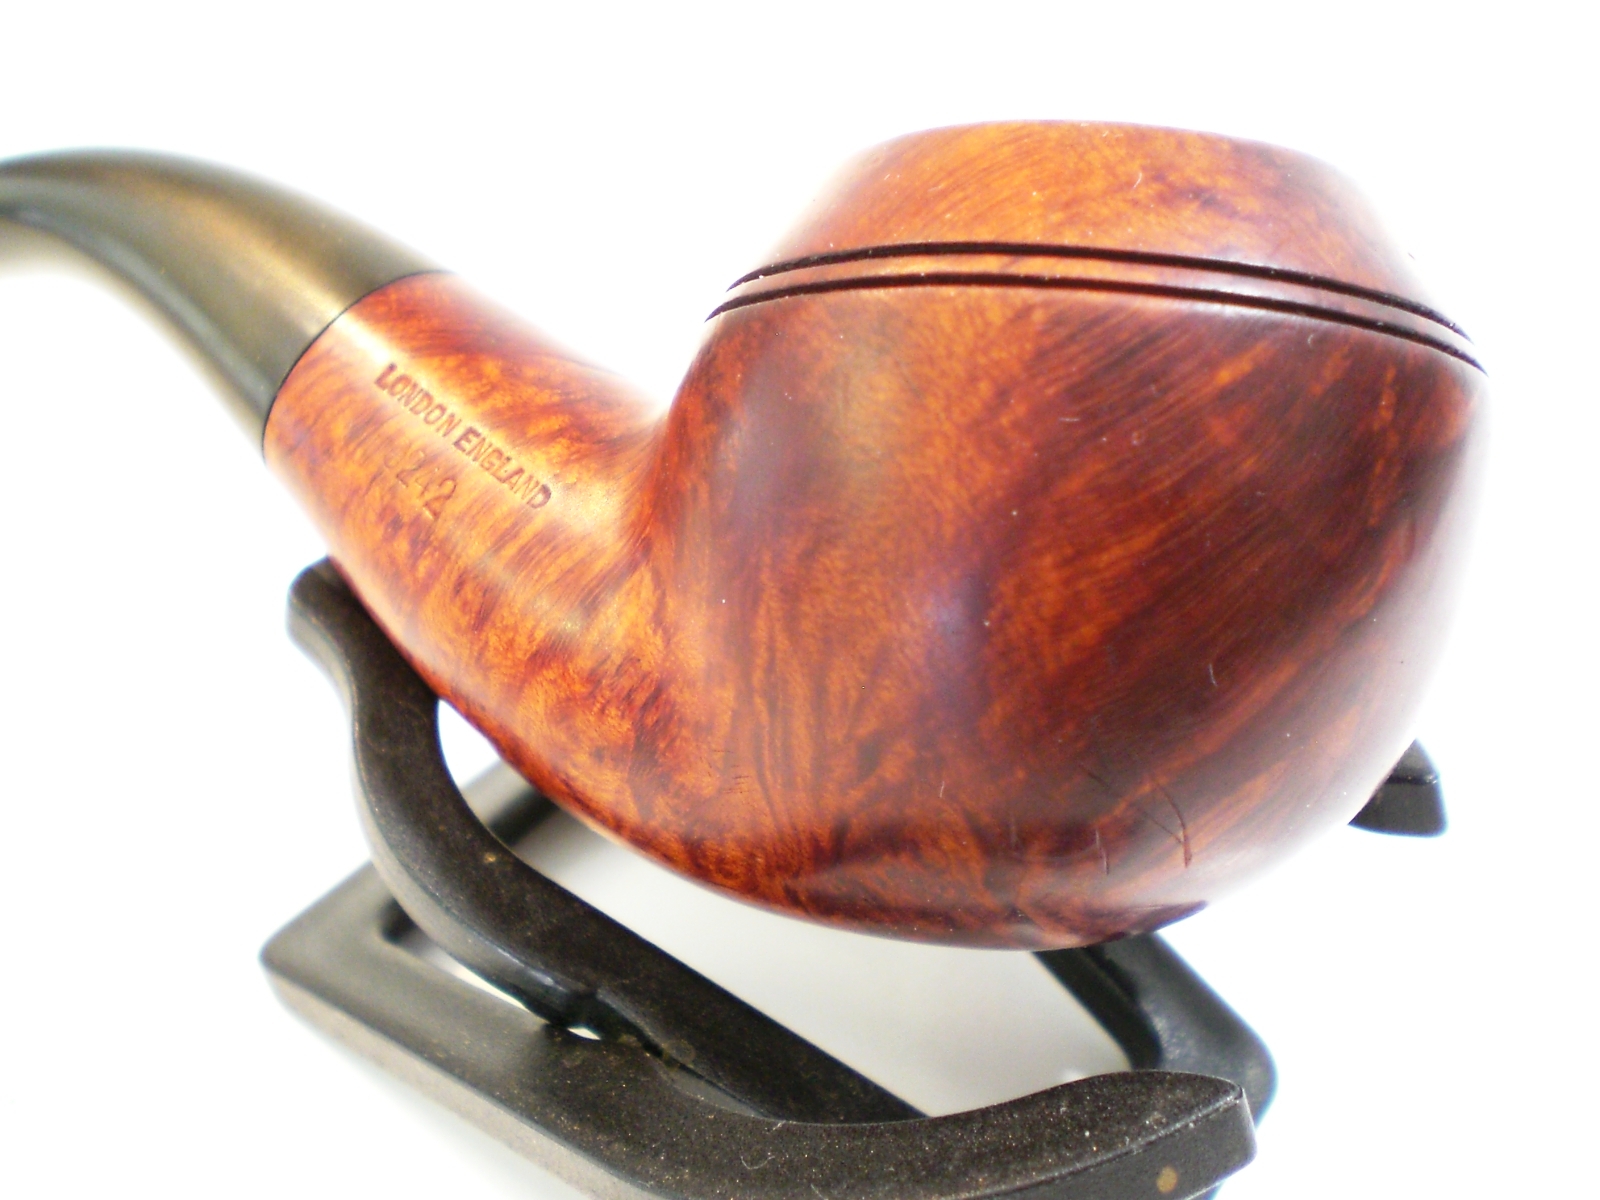
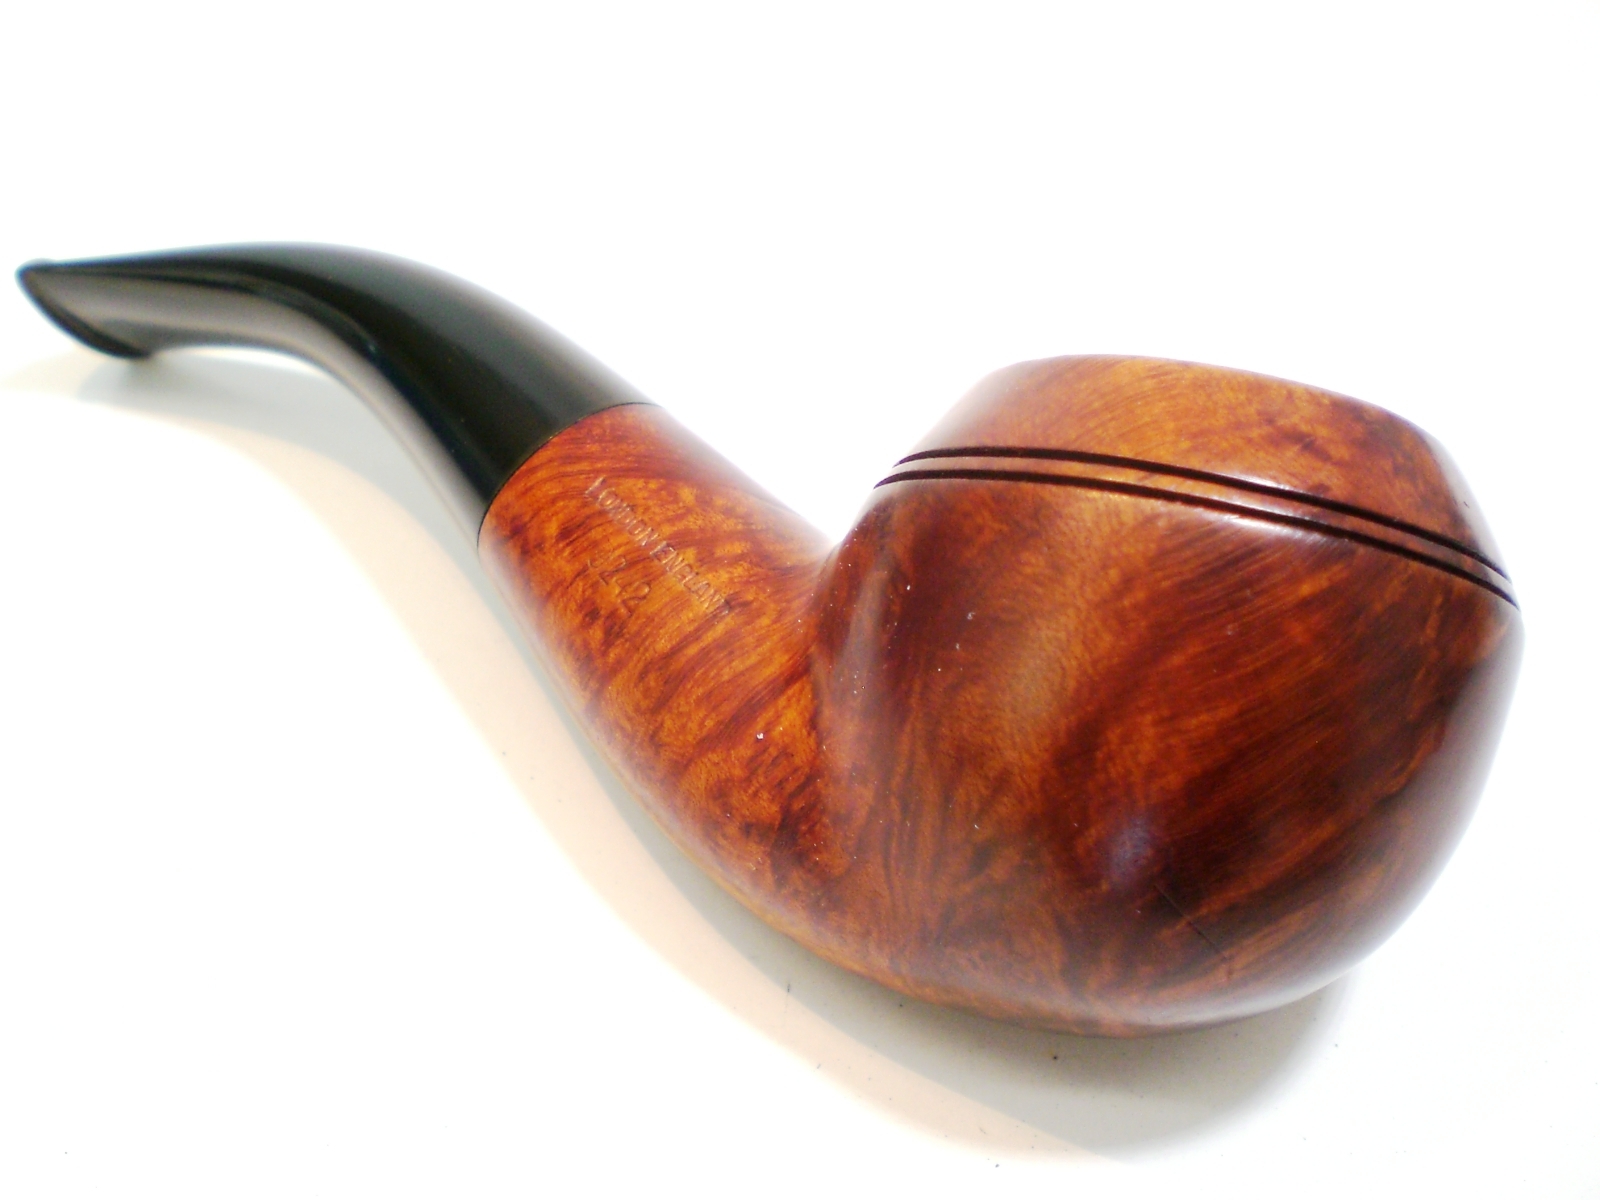
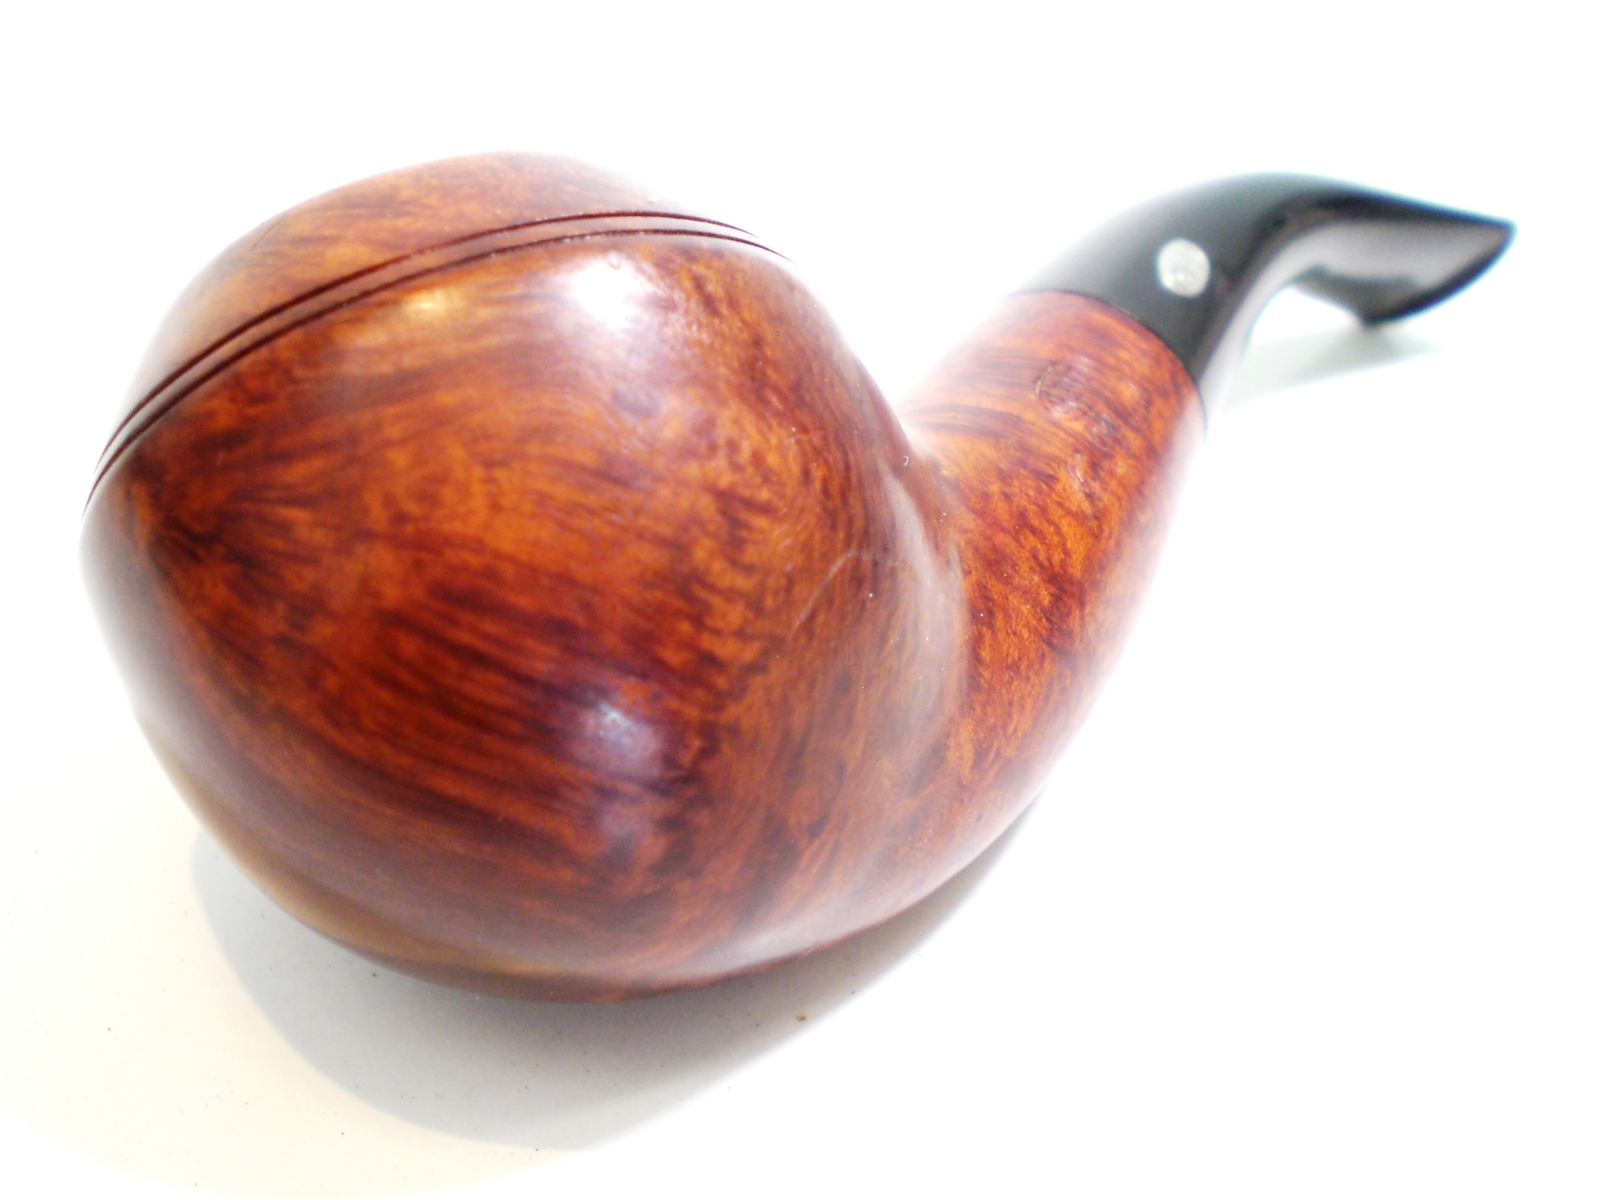
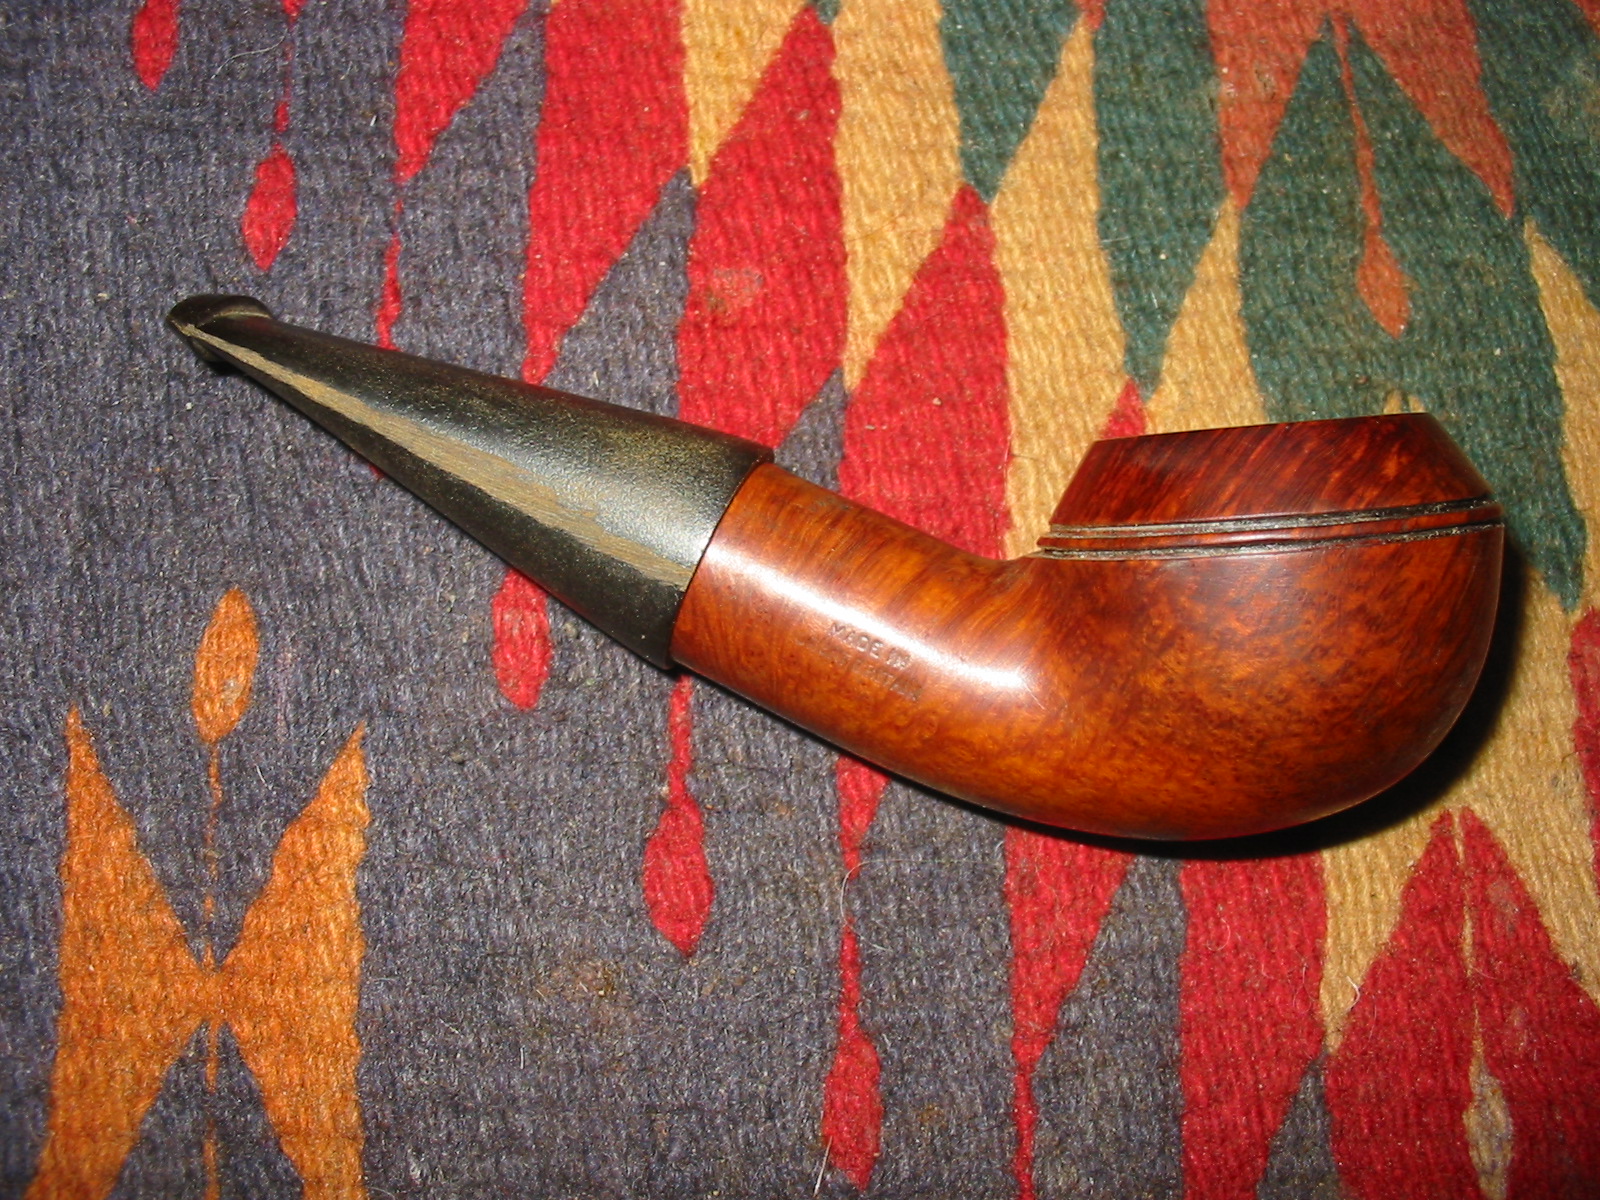
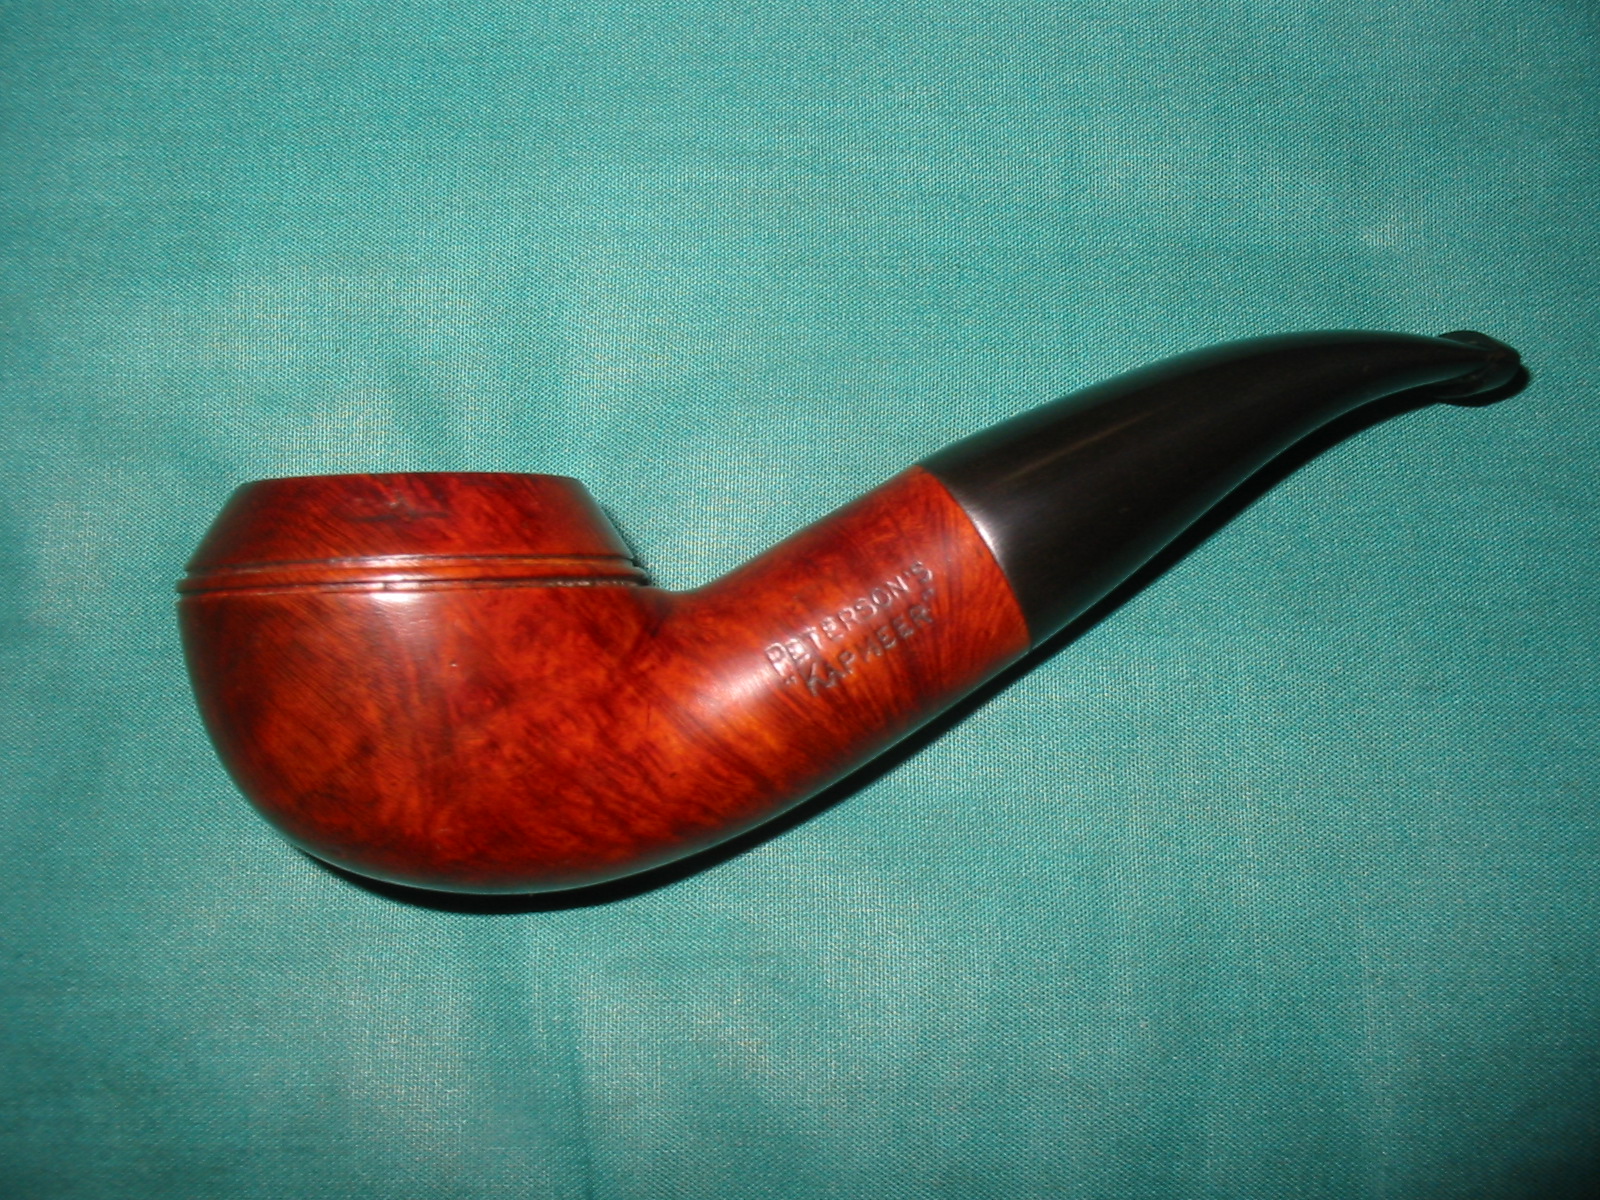
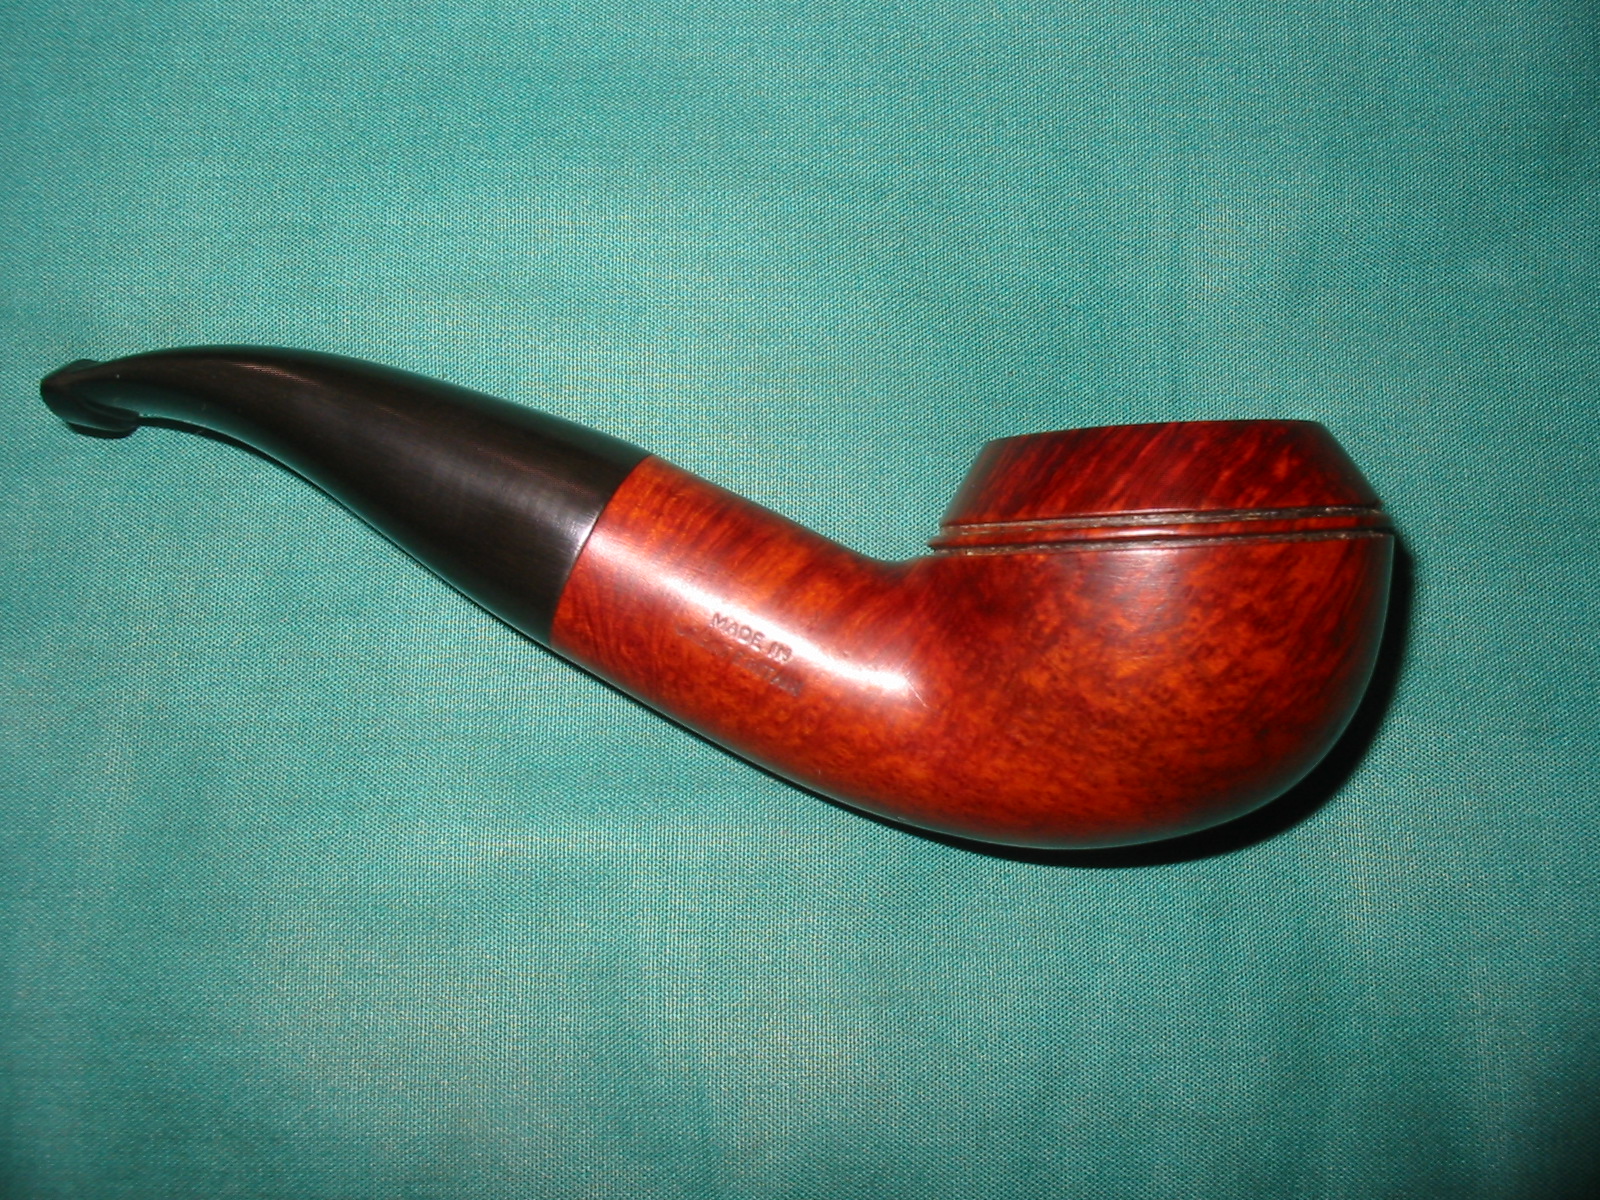
 I rubbed it down a final time with the Obsidian Oil and then buffed the pipe and stem with White Diamond on the wheel. I gave the pipe multiple coats of carnauba wax and between each coat buffed it with a soft flannel buff. The finished pipe is shown in the photos below. All that is left is to load a bowl of some aged Louisiana Red and enjoy a bowl.
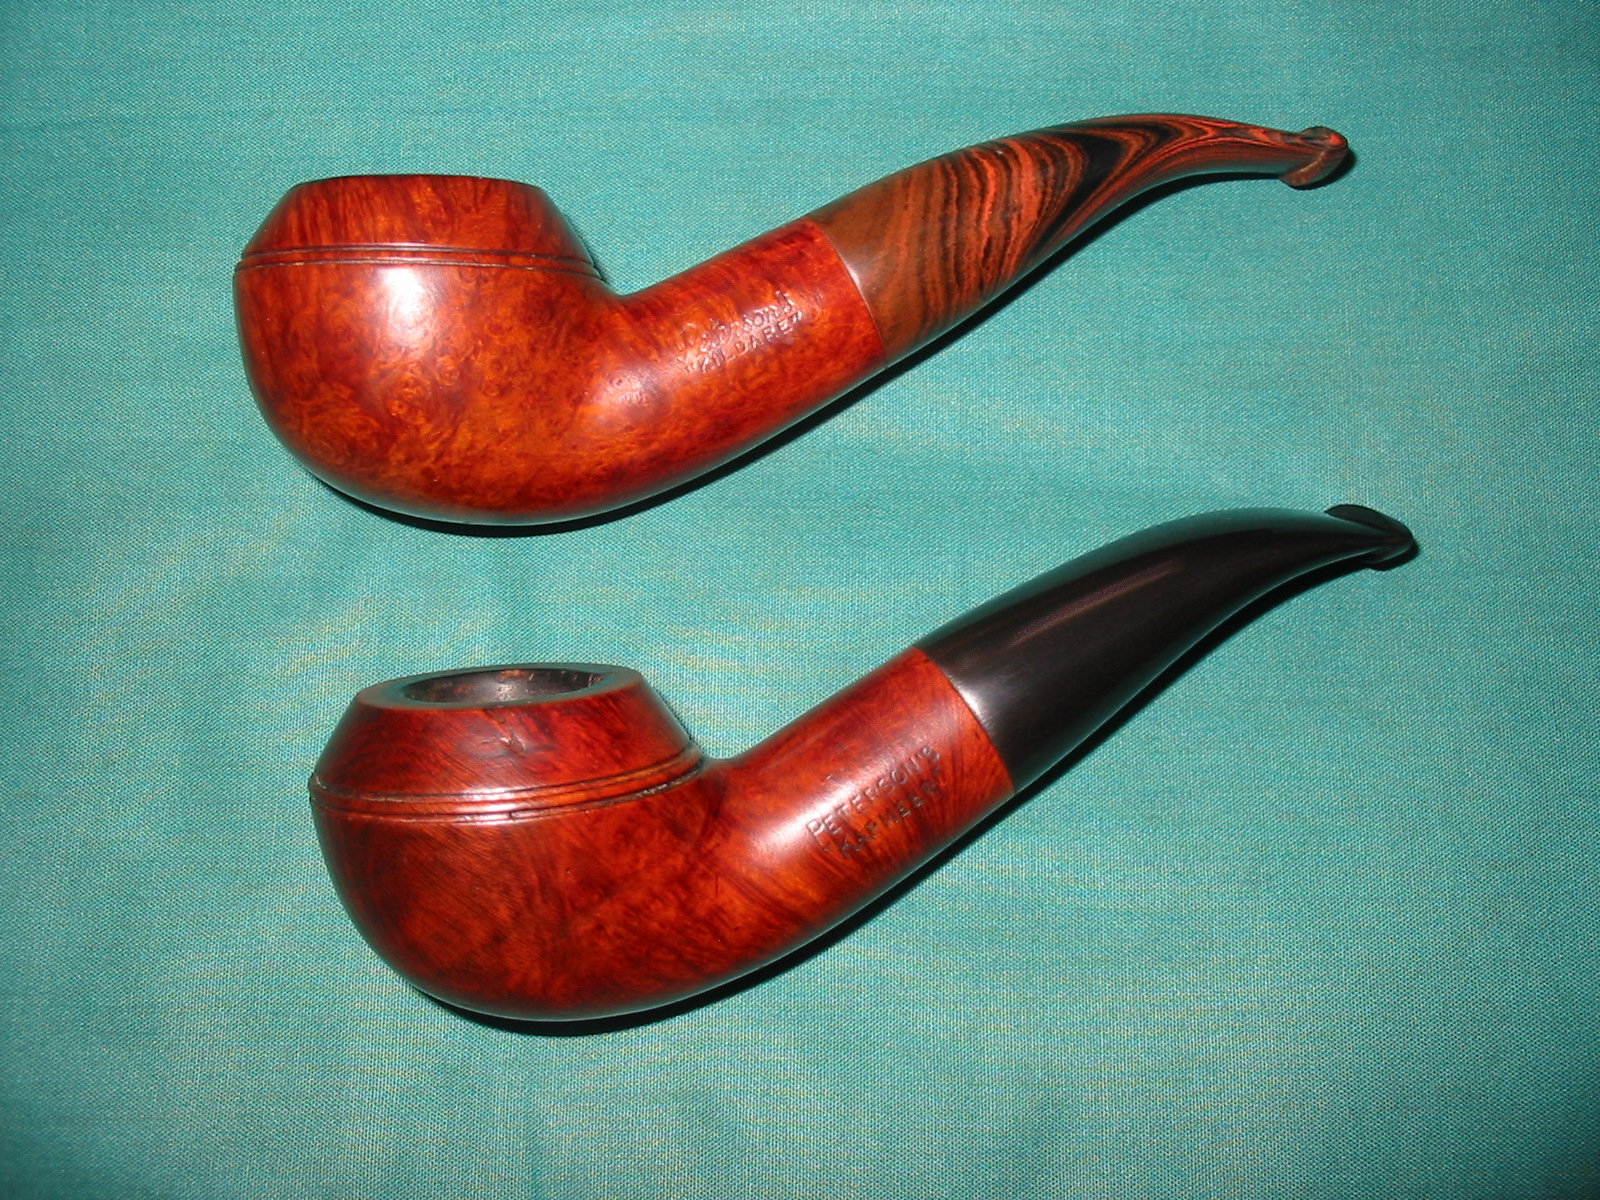
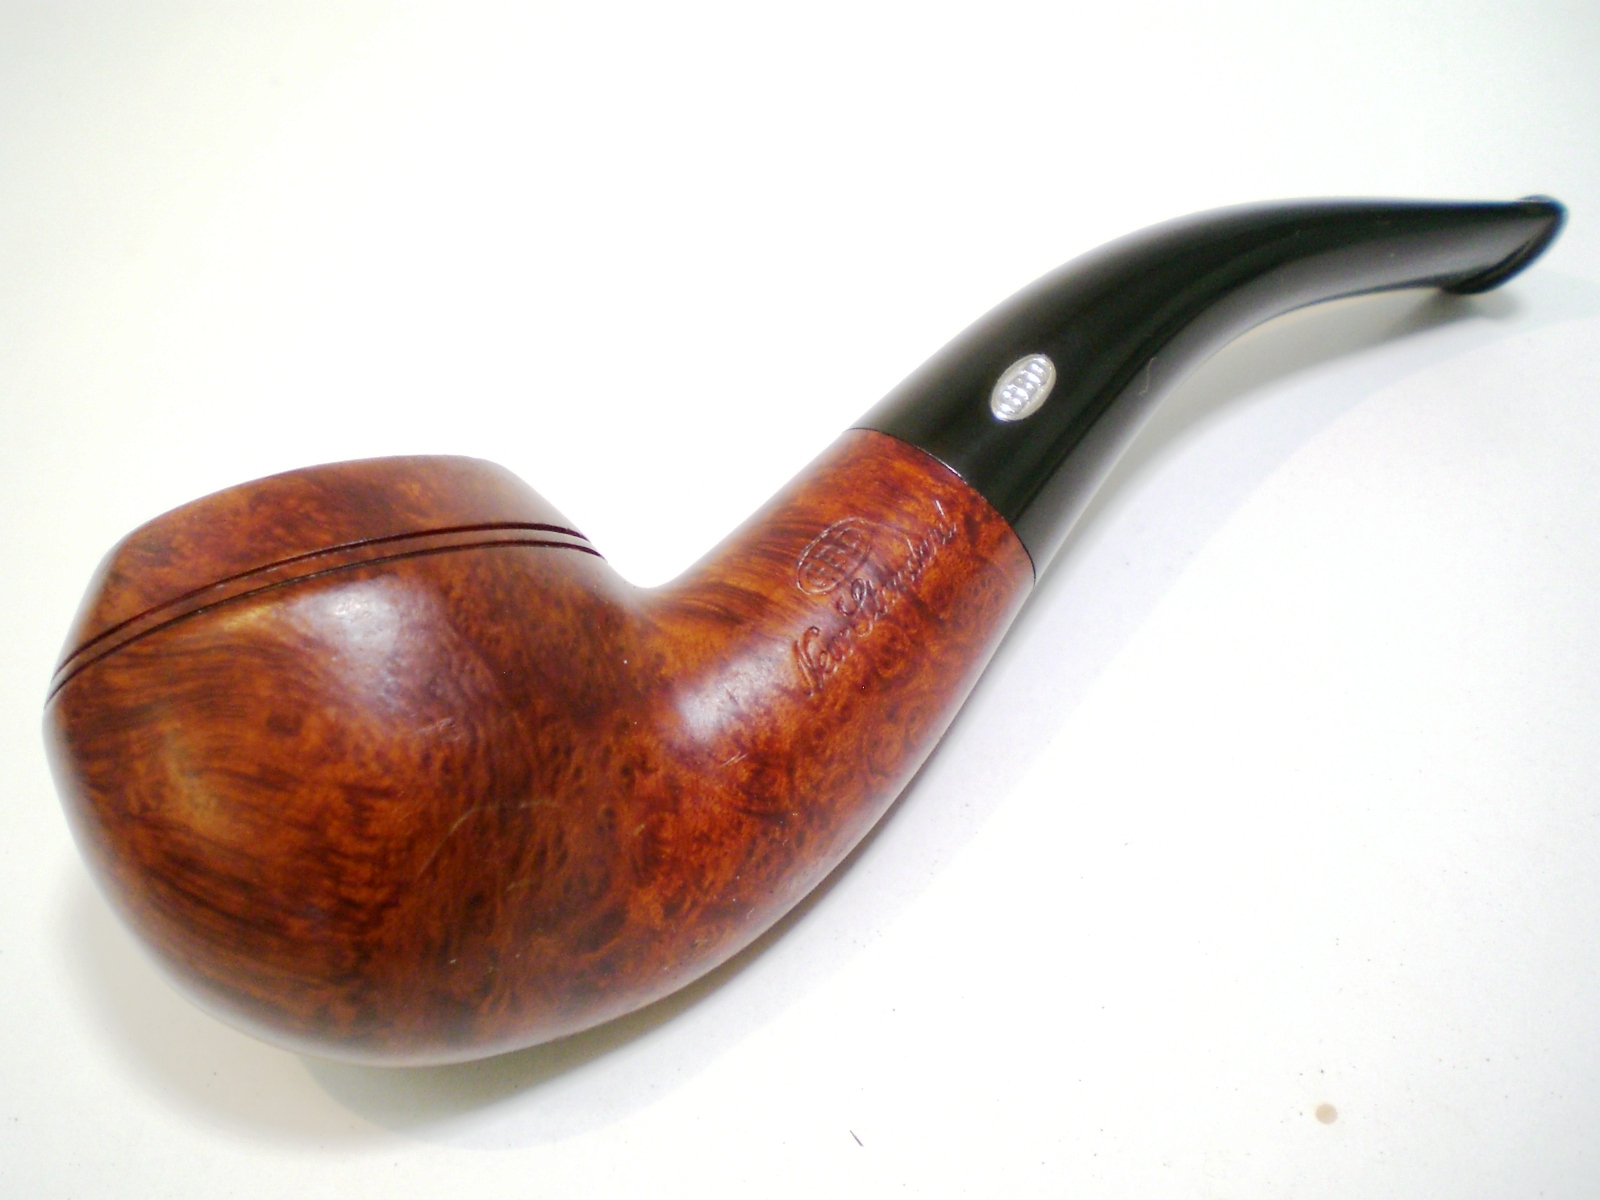
 For comparison sake, I have included a photo of the newly reworked KAPMEER with the earlier KILDARE that I restemmed from a piece of Cumberland rodstock that I purchased from Todd Bannard of Briar, Sweat and Tears Pipes http://www.briarsweatandtears.com/ . Todd cut the length and did the drilling and shaping on that piece before sending it to me to finish. As you can see both have the thicker old style shanks that are no longer used on Peterson 999 pipes. This pipe is the third one that I have from that earlier time period. It is the shape of the 999s that I favour.