
by Steve Laug
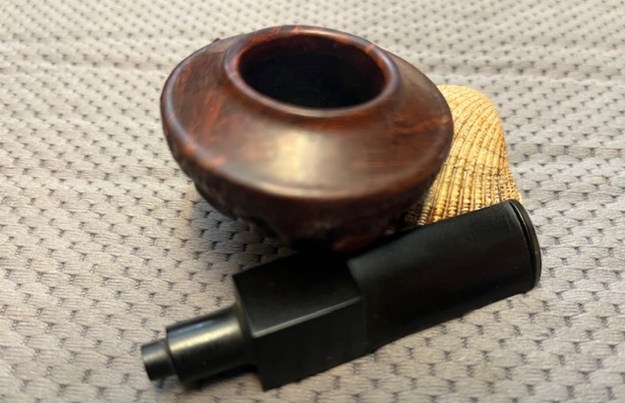
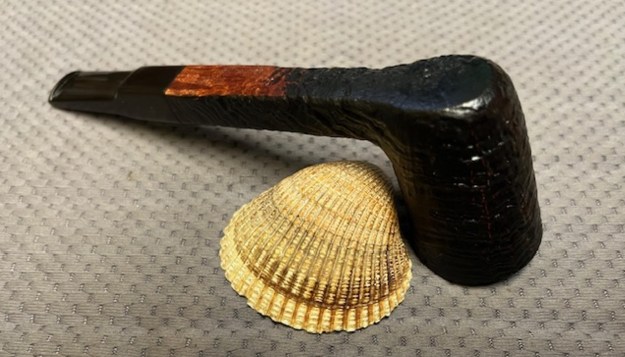
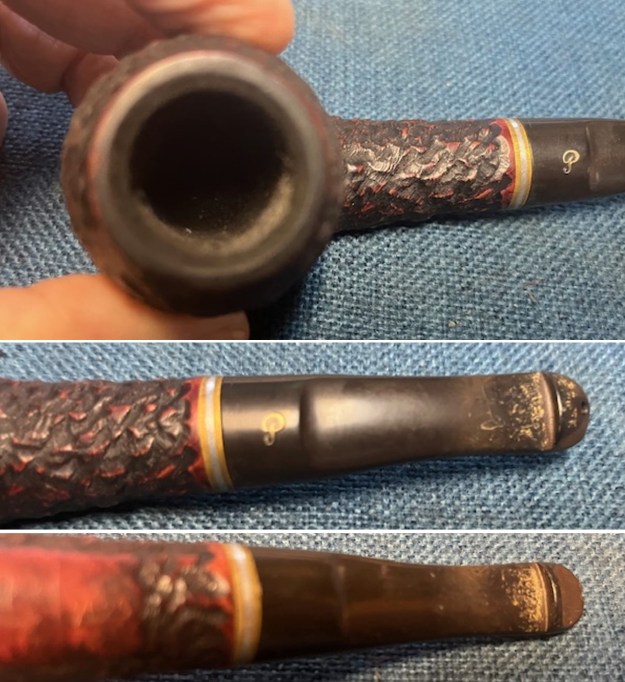
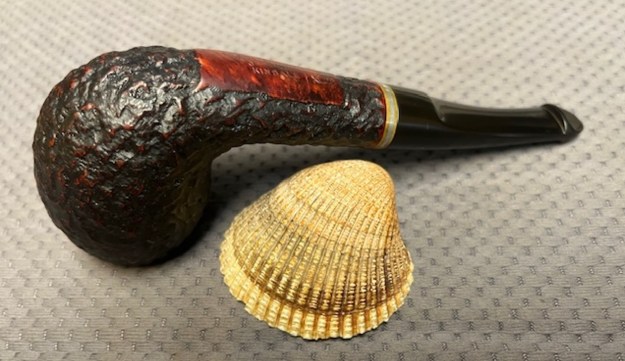
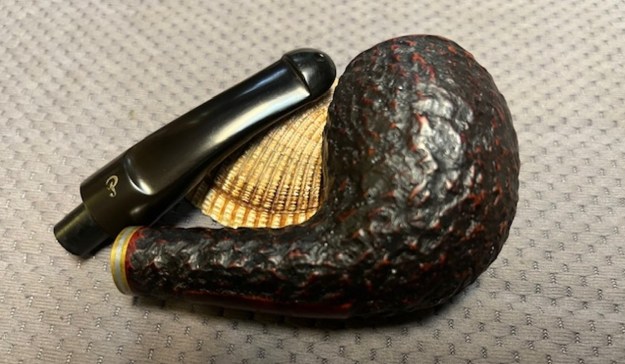
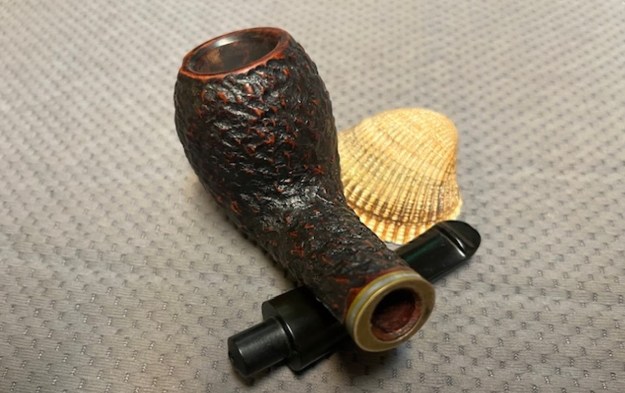
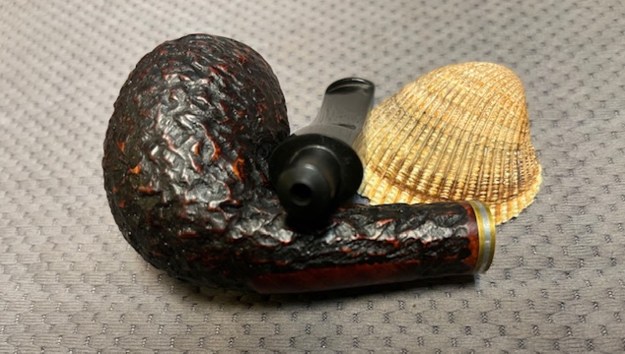
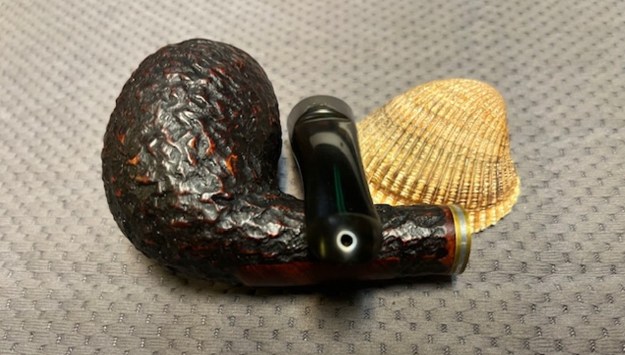
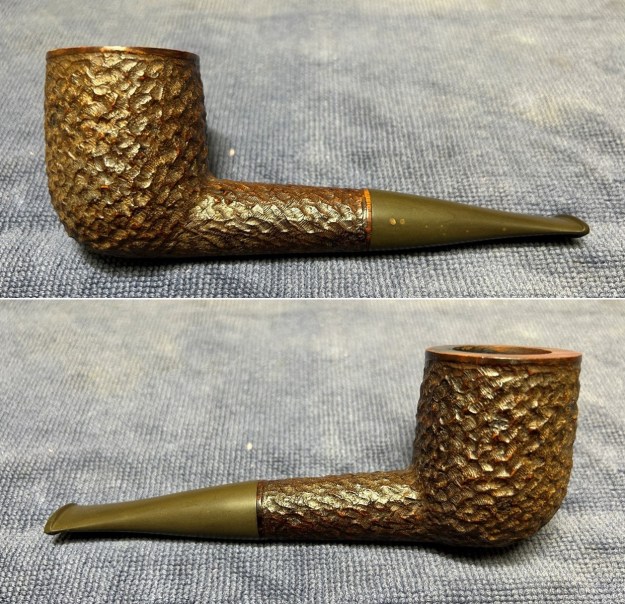
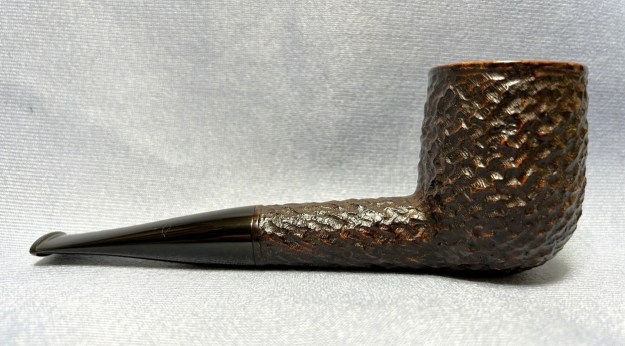
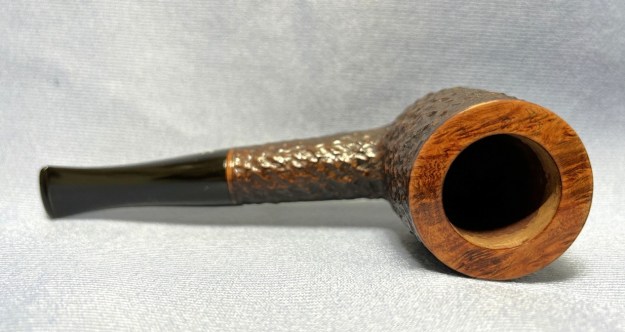
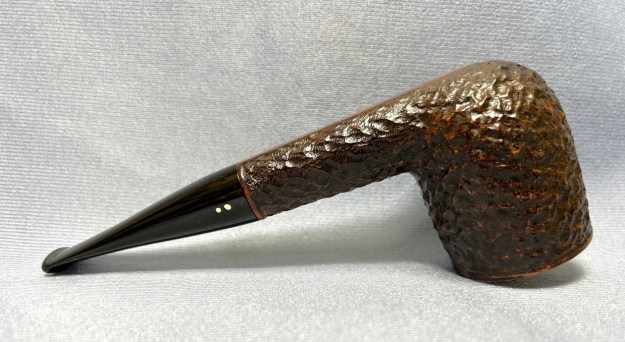
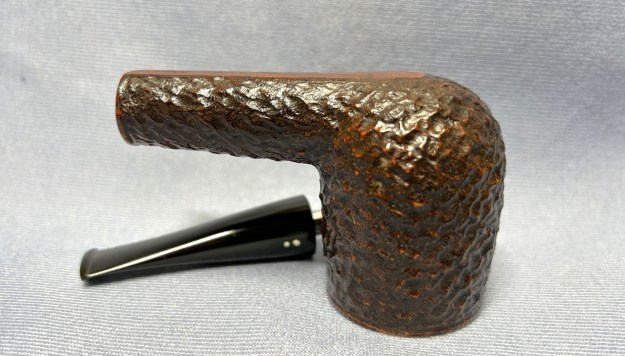
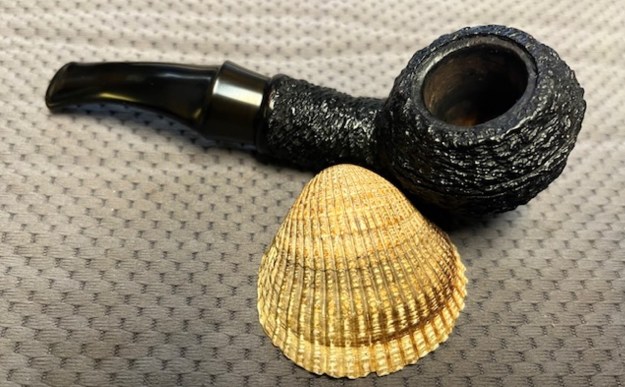
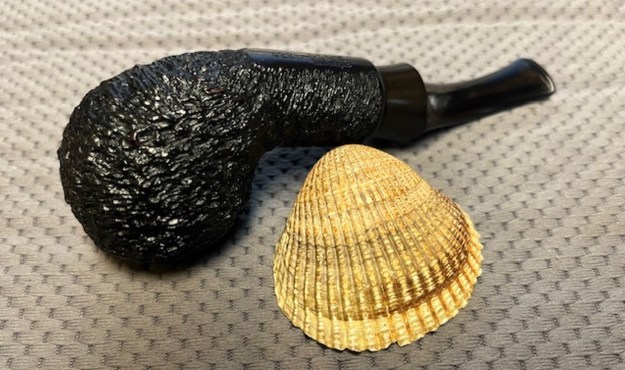
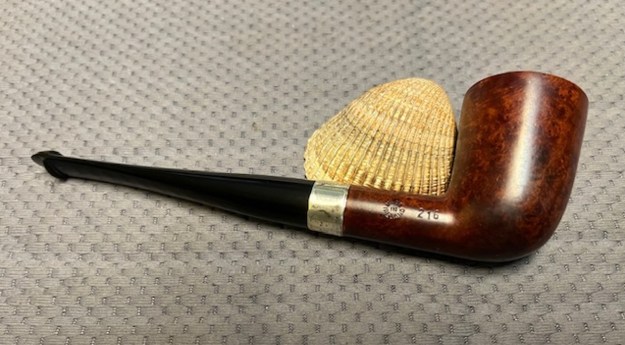
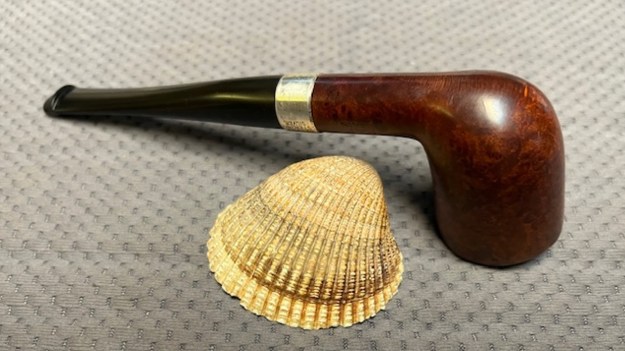
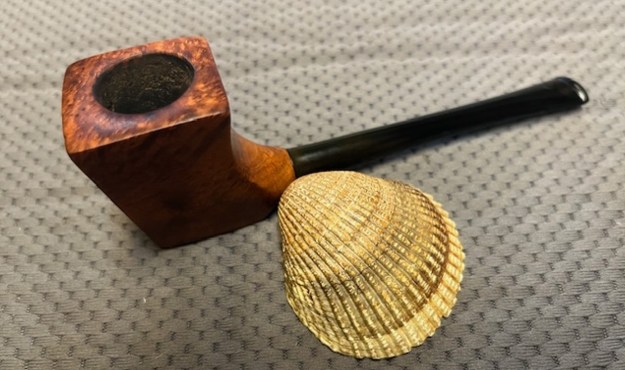
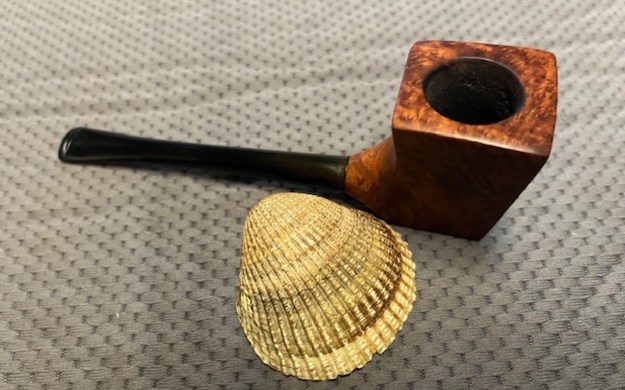
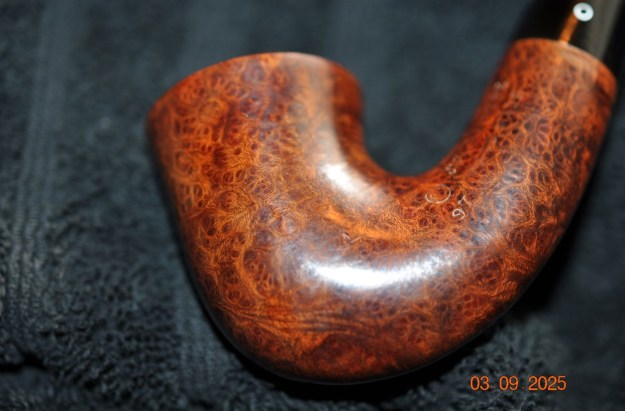
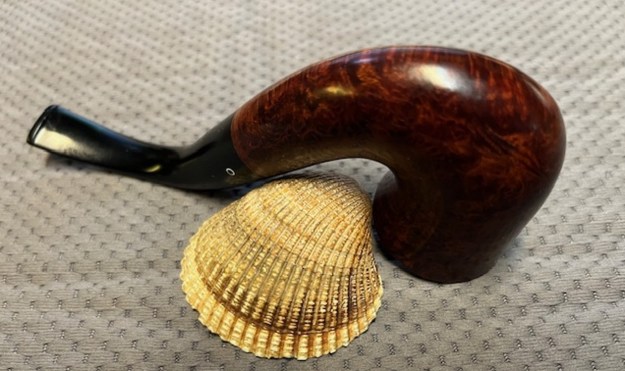
Last Fall I received an email from a lady in Pasadena, California, USA. We bought it from her on 11/08/2024. She sent me a series of photos to give me a sense of the condition of the pipe. The first photo showed the damaged box. The old box was definitely a Weber Box but it was for a Billiard not a Bulldog. The Box says Hand Turned from Genuine Imported Briar on the top of the box cover. On the end of the box it is labelled Billiard [over] the Weber logo [over] Synchro Standard. The box was in very rough condition with the paper label torn and falling apart. Inside there was mould on the bottom and one end of the box. It was a mess and to my mind was not worth keeping. Here are her photos.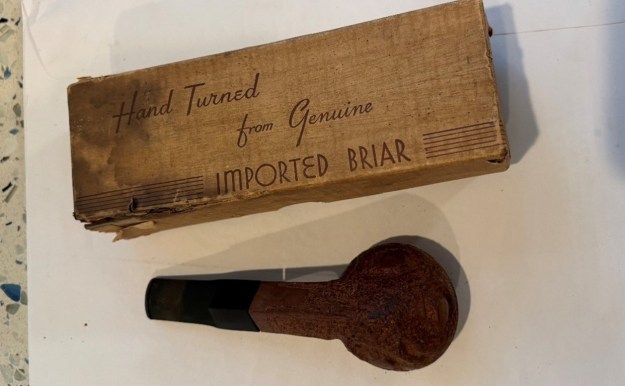 She also sent photos of the pipe so I could see it as she had described it. This particular Weber was a shape that he made famous. I have had several different versions of this pipe – mostly straight or ¼ bent and all were rusticated with Weber’s recognizable rustication. This one was different – it had a unique rustication style that set it apart. The first is a side and top shot that gives a sense of the rustication on the bowl side and the inset rim top. The stem was also quite clean. The second and third photos below show the top and the heel of the bowl. The top is smooth and inset a little bit. The rim edges look quite good. The sides and heel of the bowl are heavily rusticated with three odd shaped smooth spots on the front and the sides.
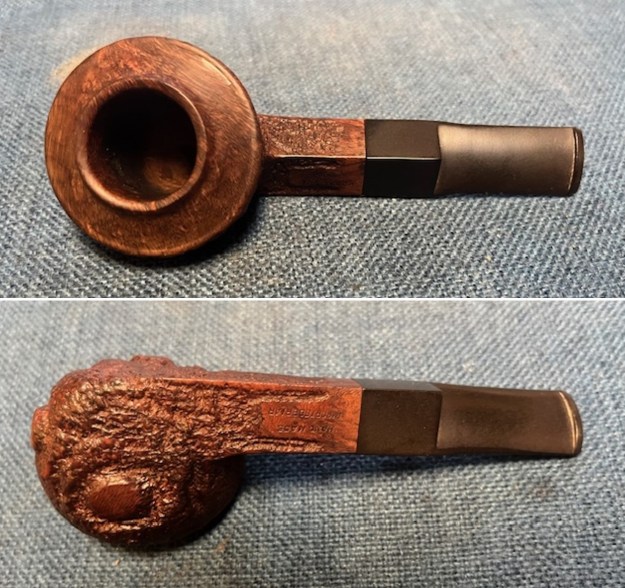
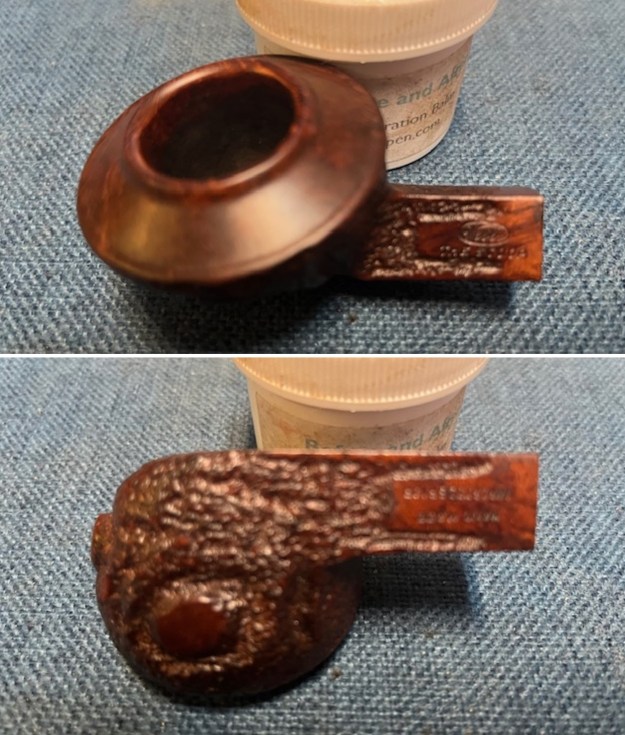
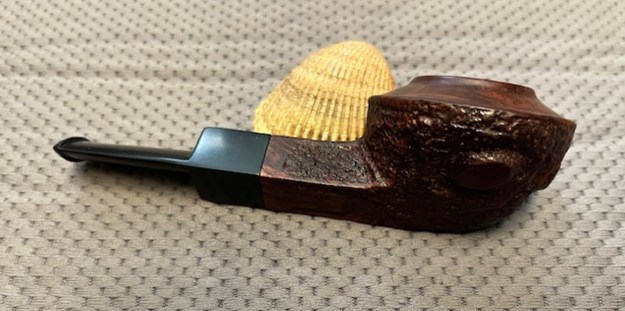
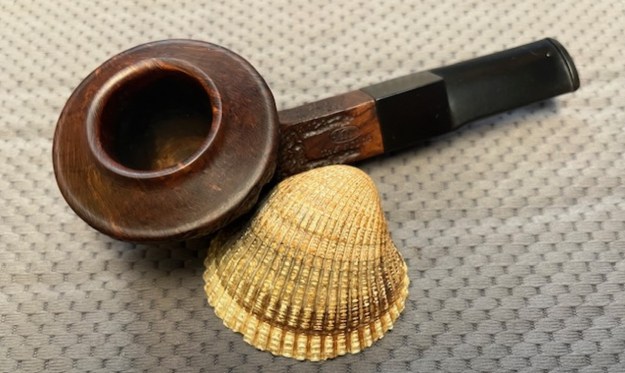
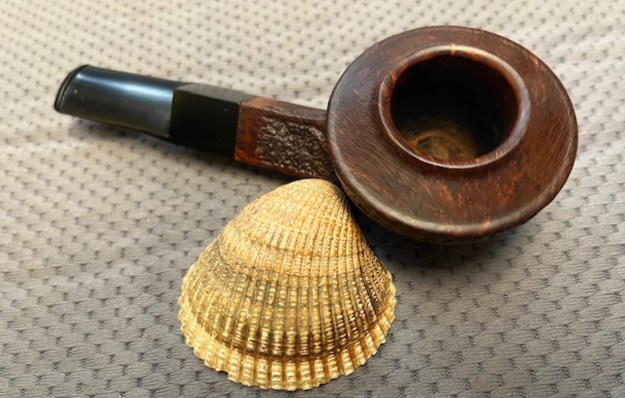
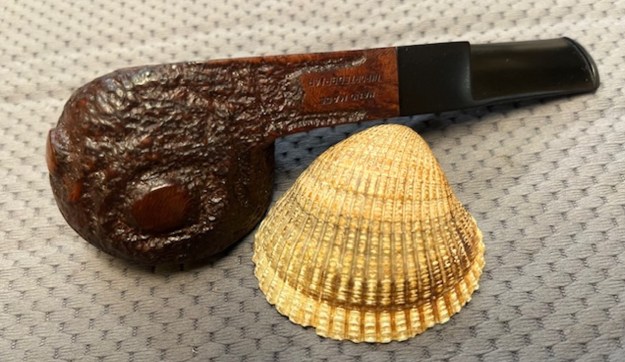
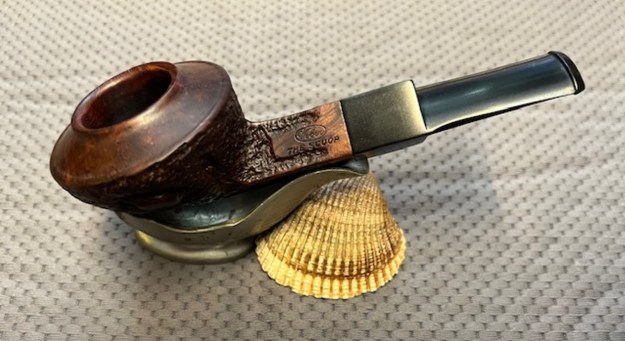
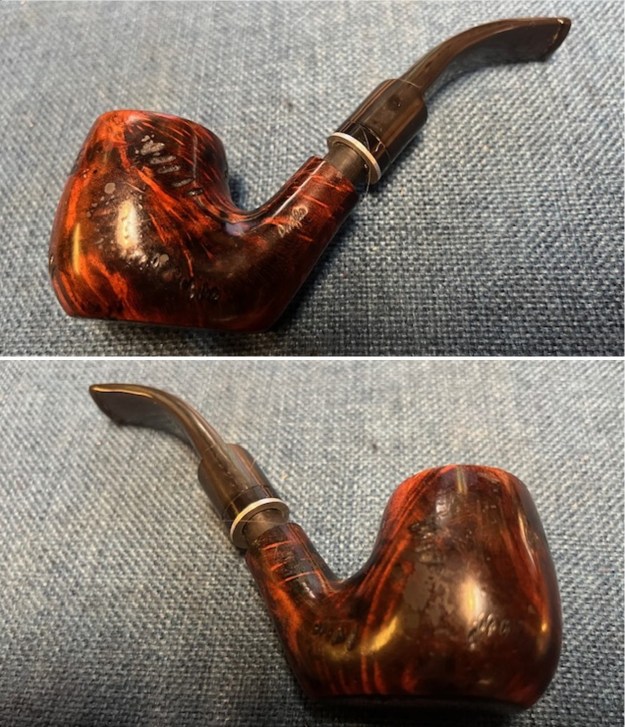
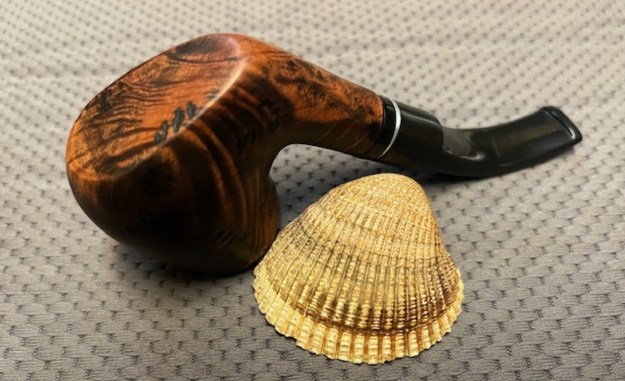
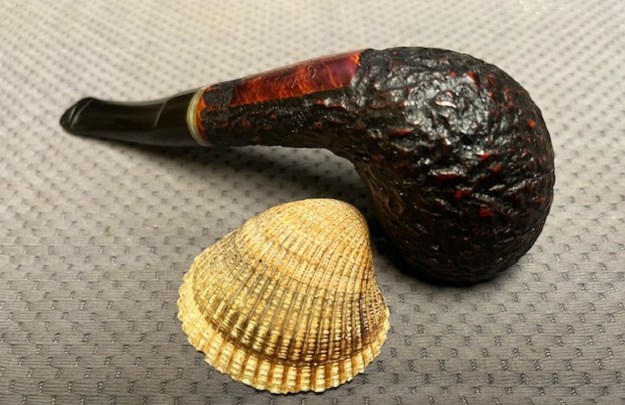
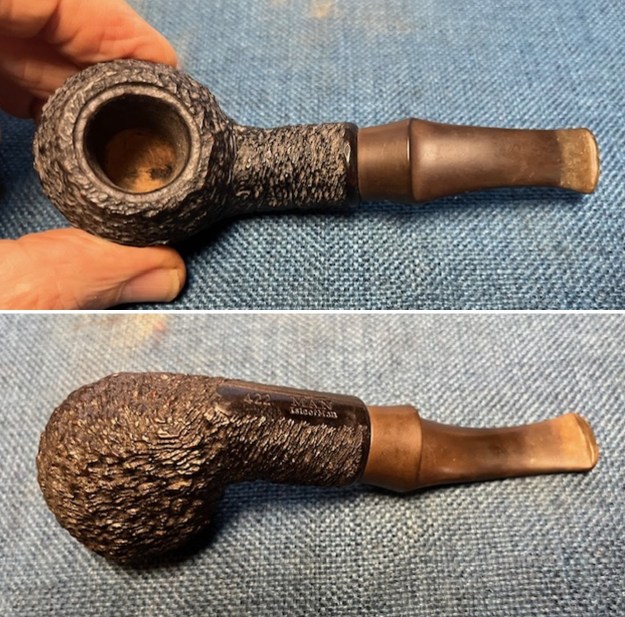
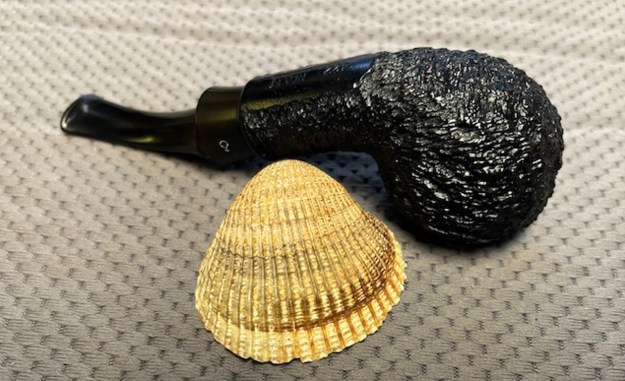
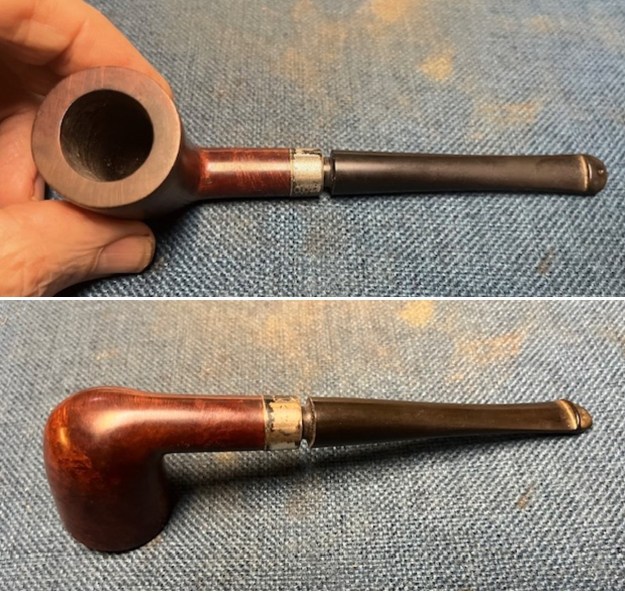
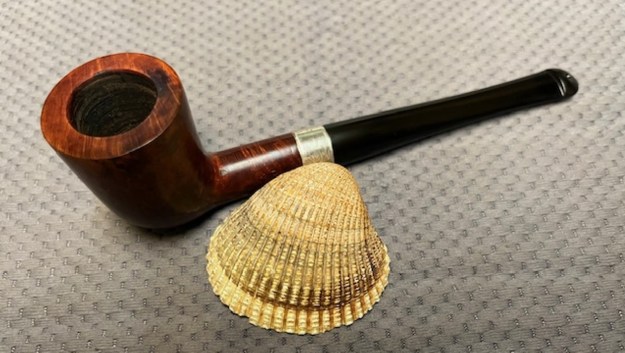
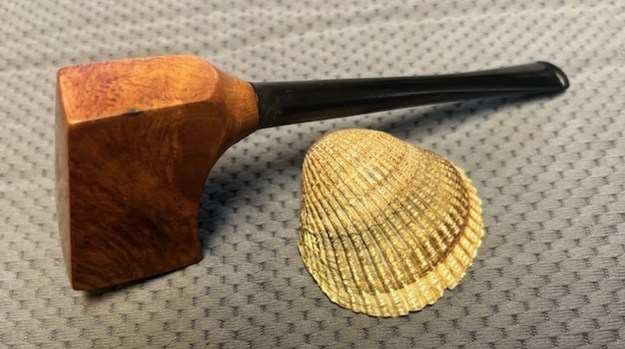
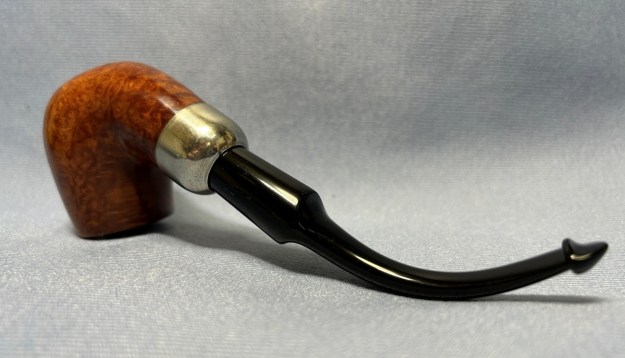
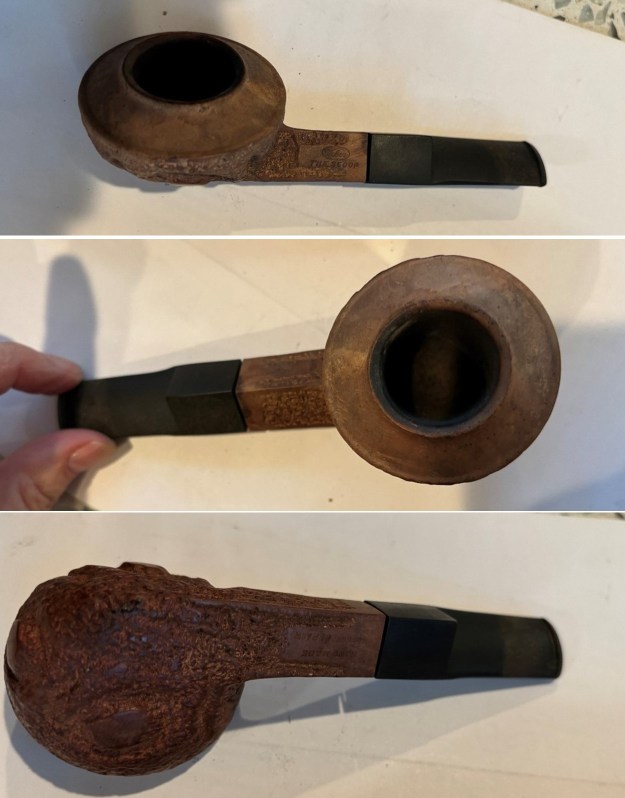 The rusticated finish on this pipe and the Weber Scoop stamping are what caught our eye. The pipe has something about it that just grabbed me. I have worked on many Weber pipes and even a scoop in the past. But never have I seen one like this one. It is stamped on the left topside of the shank and reads Weber in an oval (logo) [over] The Scoop. On the right underside of the diamond shank it is stamped Hand Made [over] Imported Briar. It has a classic combination of Brown stains on the smooth and rusticated finish that is a stark contrast to the vulcanite saddle stem. It is a squat Bulldog with a vulcanite stem. The bowl is smooth on the rim top and rusticated everywhere else. There was a light cake in the bowl and spots of lava on the edges of the rim top. The inner edge and the top look good other than that. The stem is oxidized and very dirty at this point. It does not show any tooth marks or chatter on the top and underside ahead of the button. There is no logo on the diamond saddle stem and other than being dirty looks to be in good condition. Jeff took some photos of the box to confirm what I thought of the condition from the above photos.
 He removed the lid from the box and took photos of the inside of the box. It is very dirty and the inside had a lot of mould build up on the bottom of the box and ends. The pipe itself was very dirty and smelled mouldy.
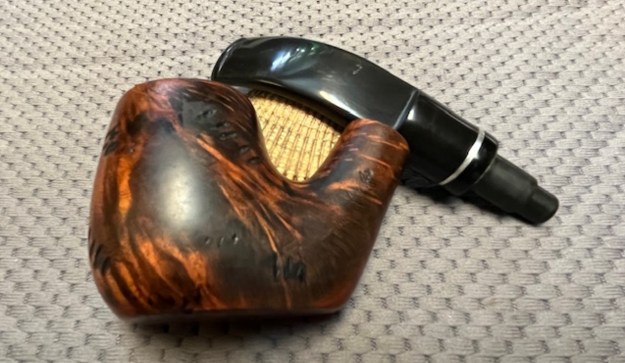
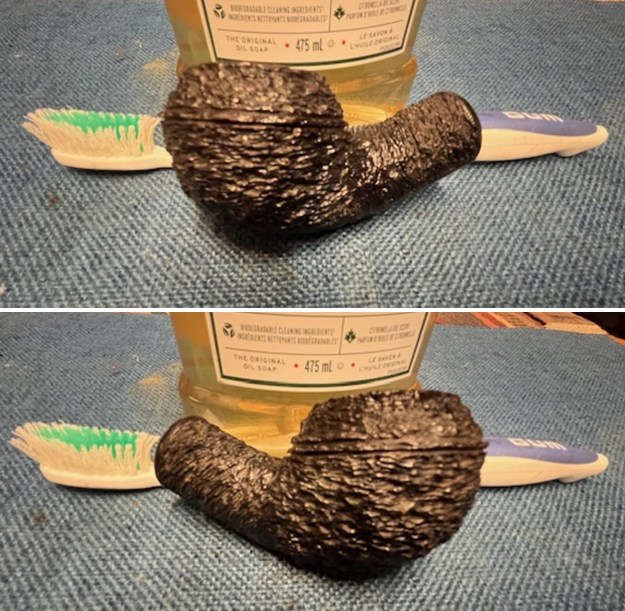
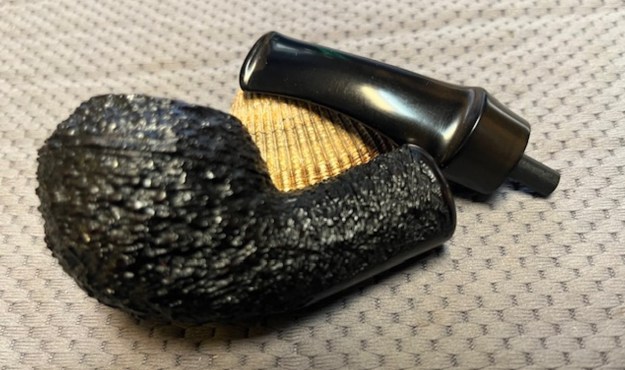
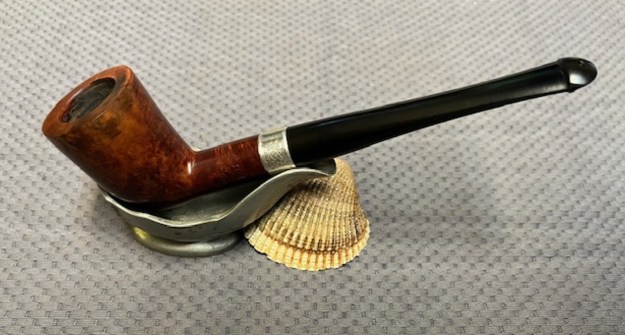
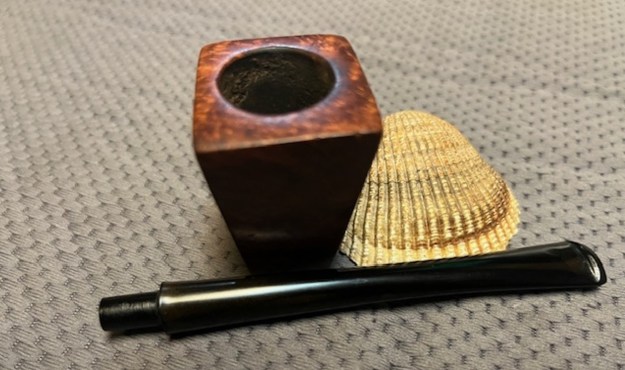
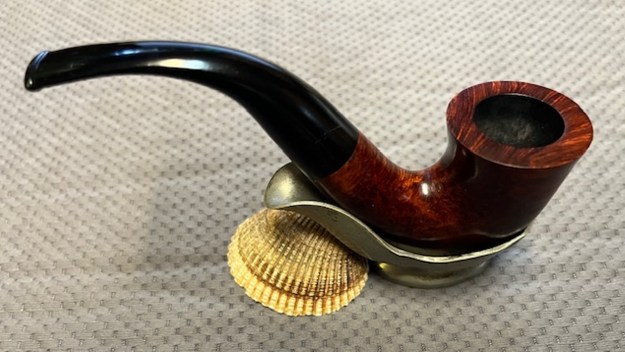
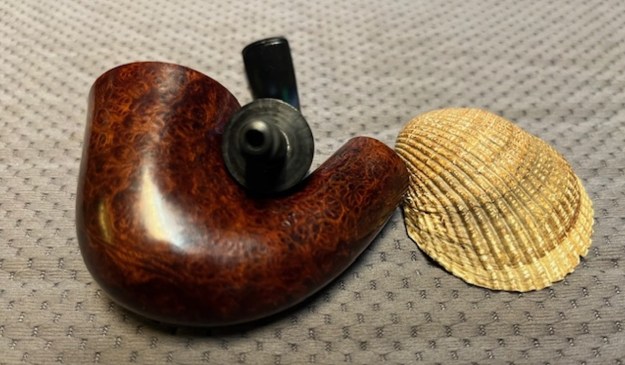
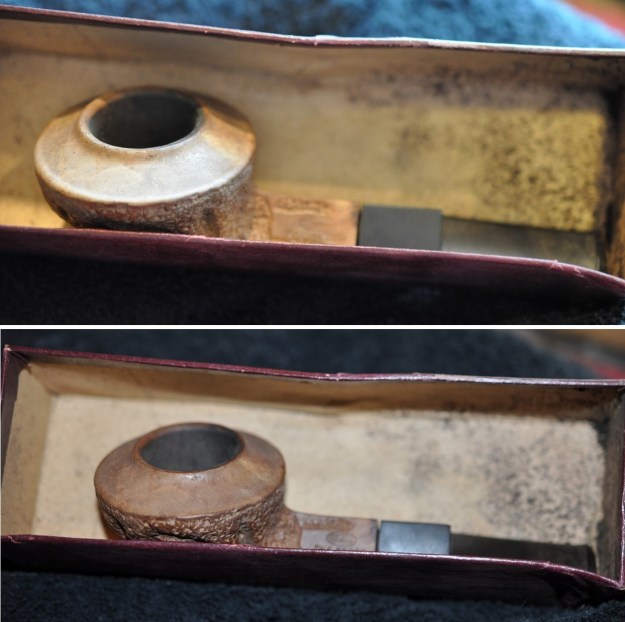 Jeff took the pipe out of the box and took photos of the pipe to show its condition. It is dirty, dusty and mouldy smelling. You can clearly see the unique finish that I spoke of above.
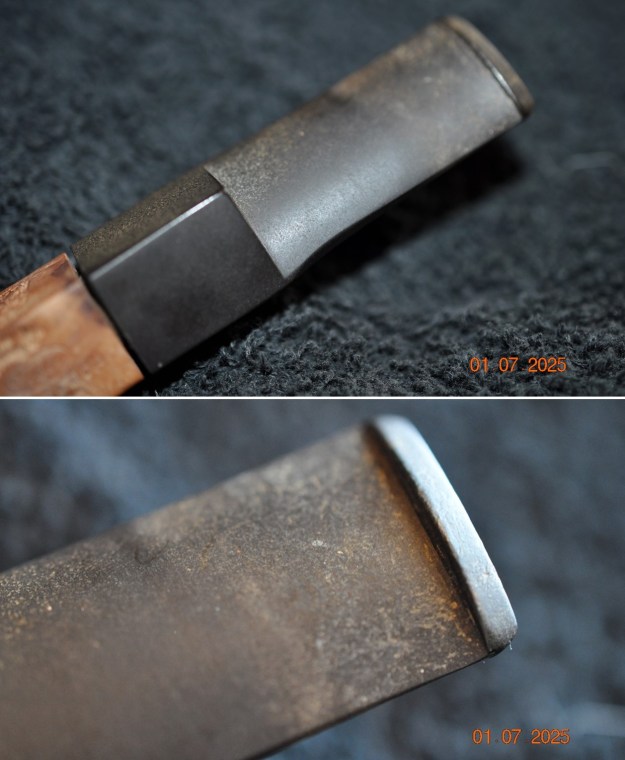
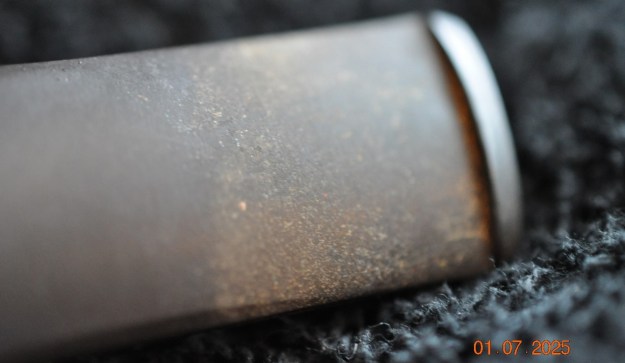
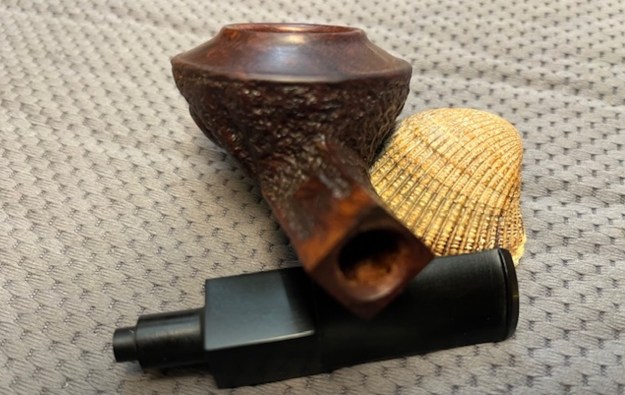
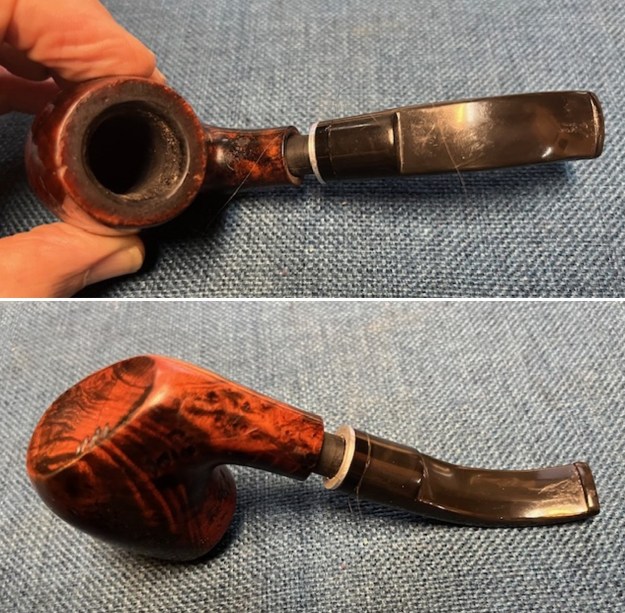
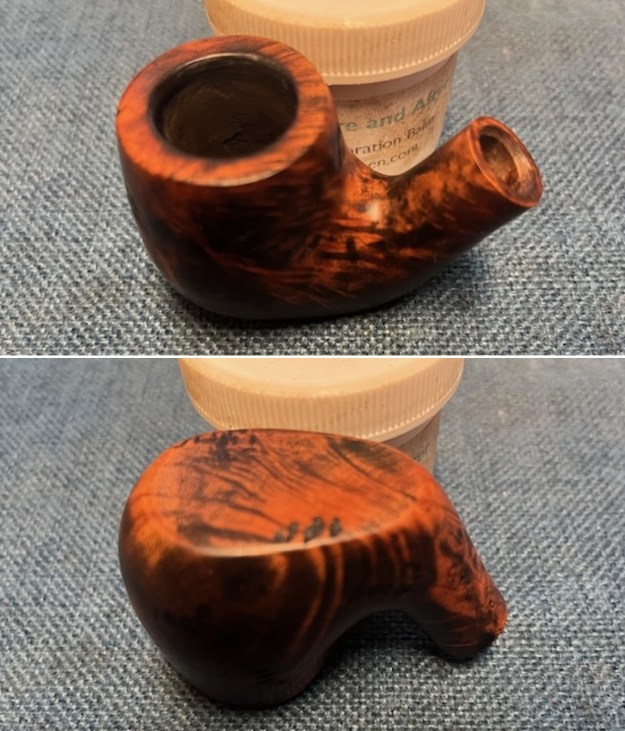
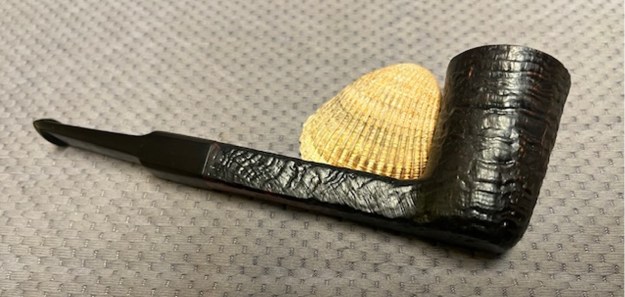
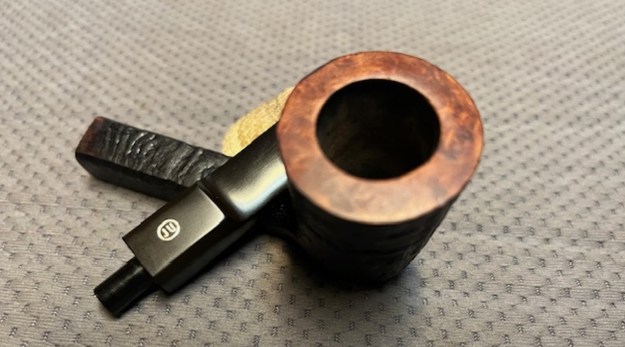
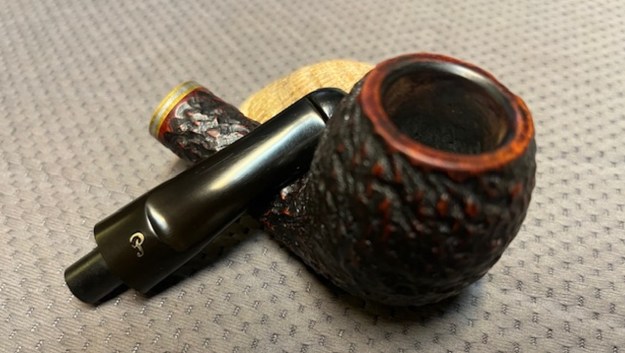
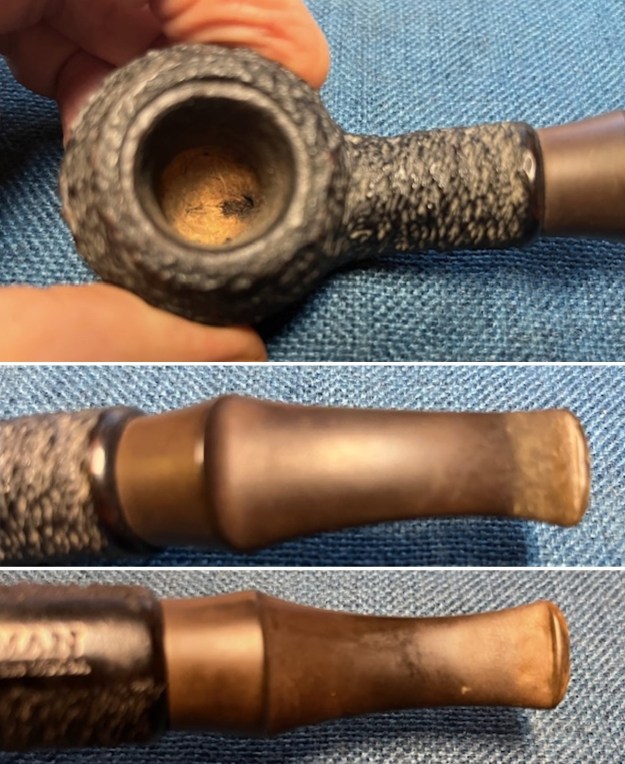
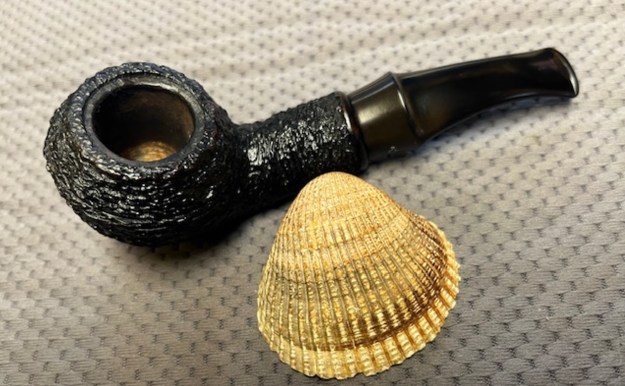
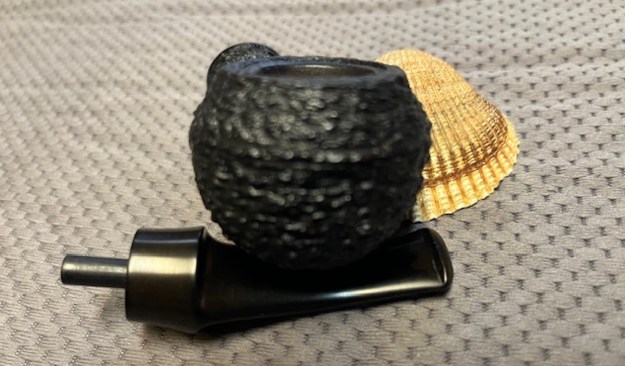
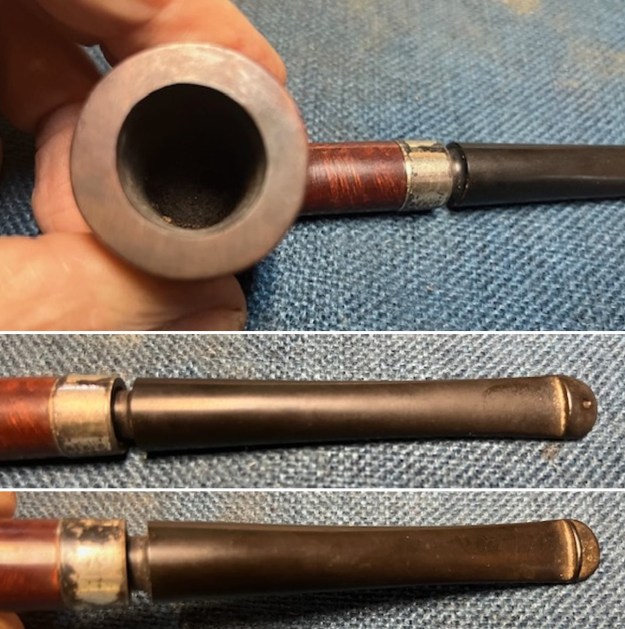
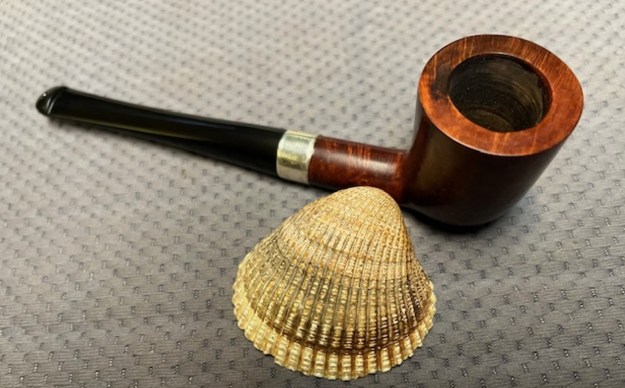
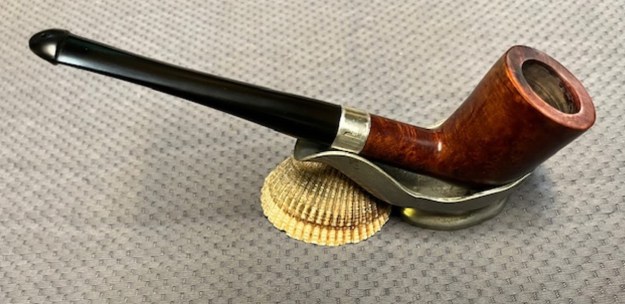
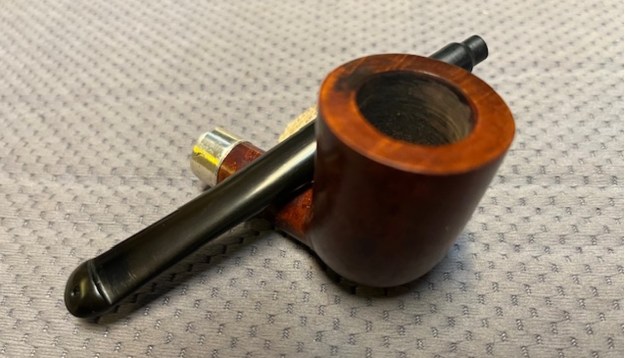
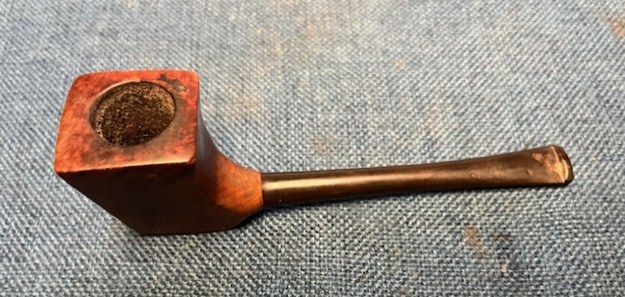
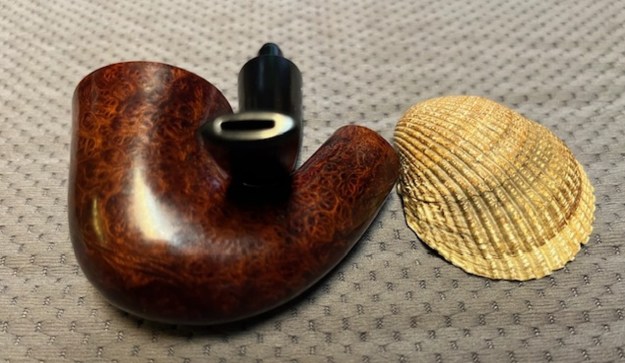
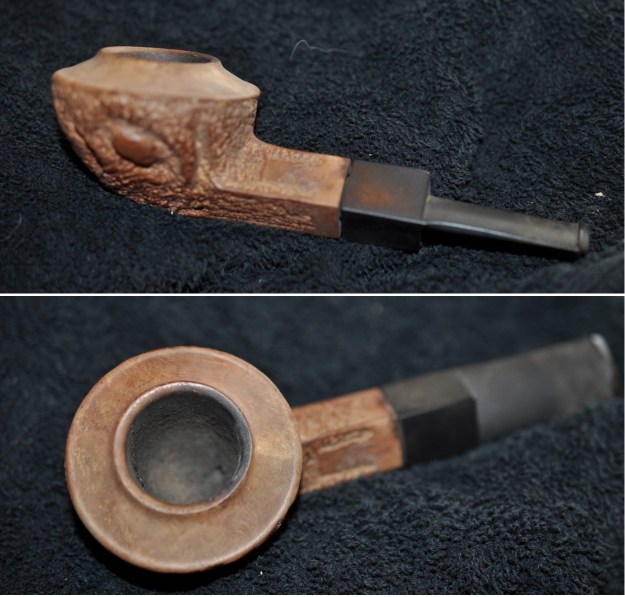 He took some photos of the rim top and bowl from various angles to give me a clear picture of the condition of the rim top and bowl. It a light cake on the inside of the bowl and the rim top is spotted with lava that is heavier on the back side. He included photos that show the top and underside of the stem. It is as described above.
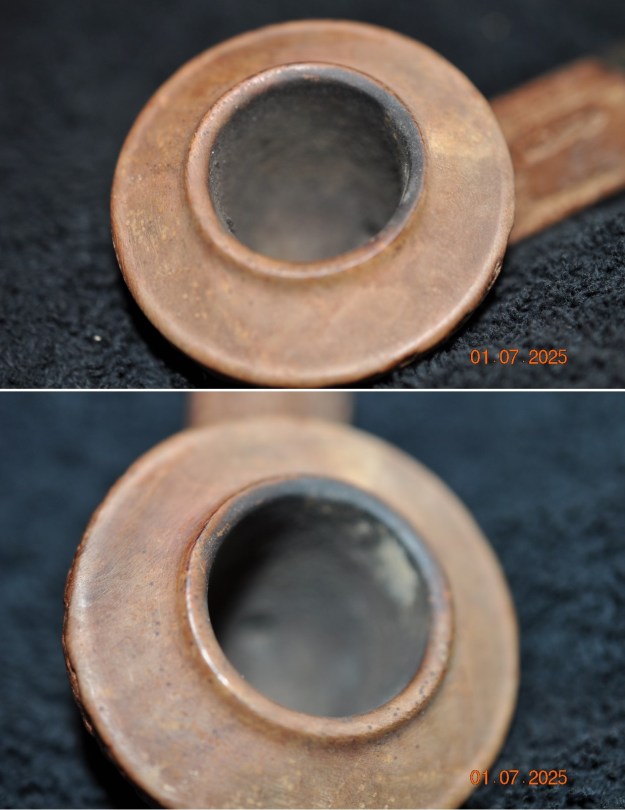
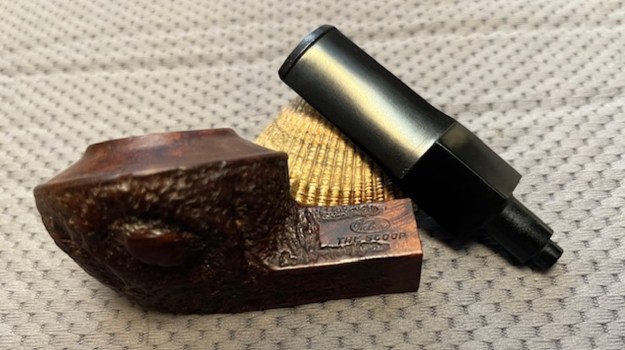
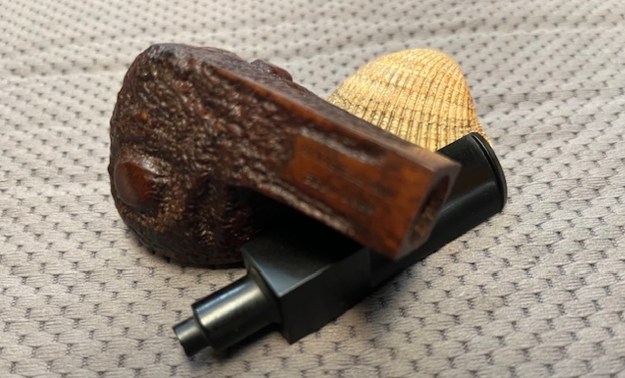
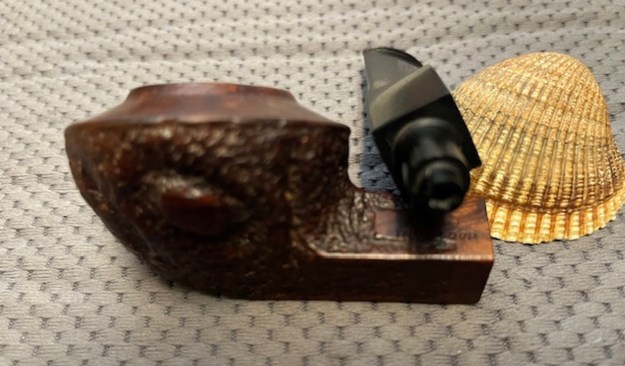
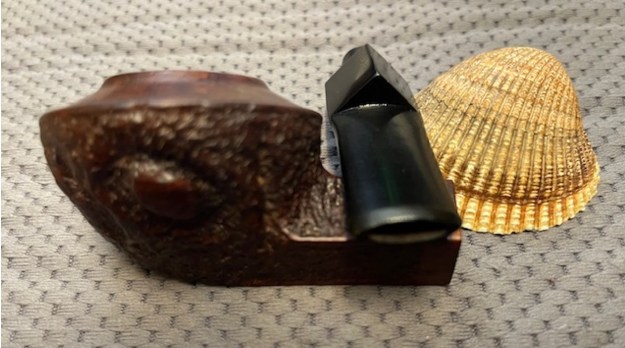
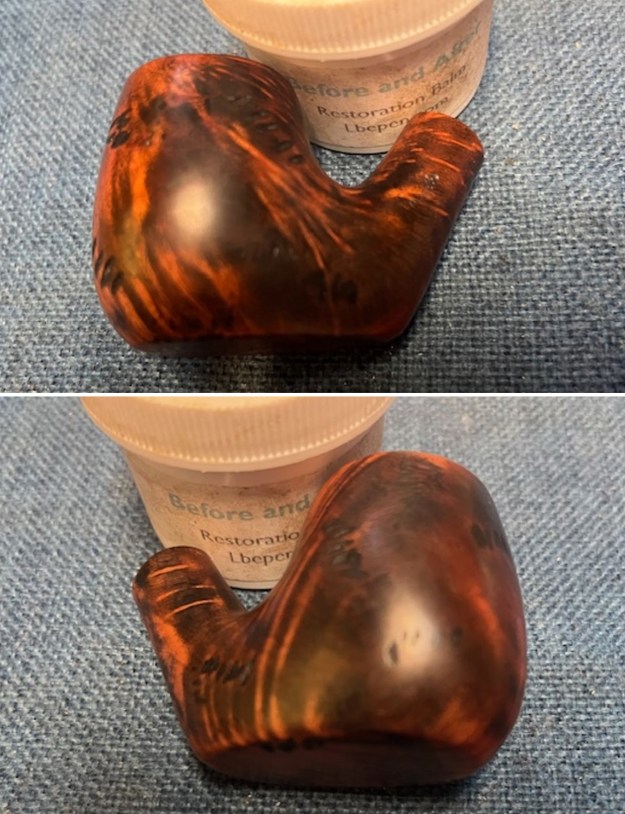
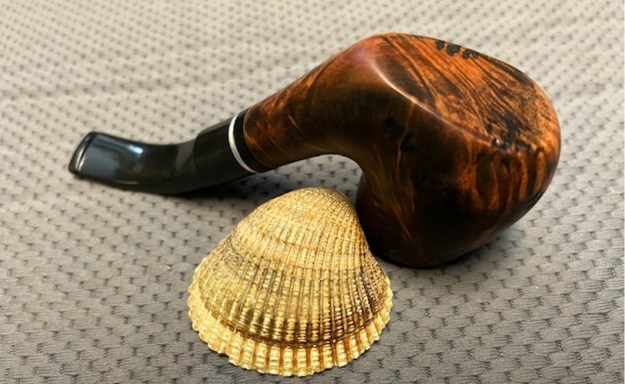
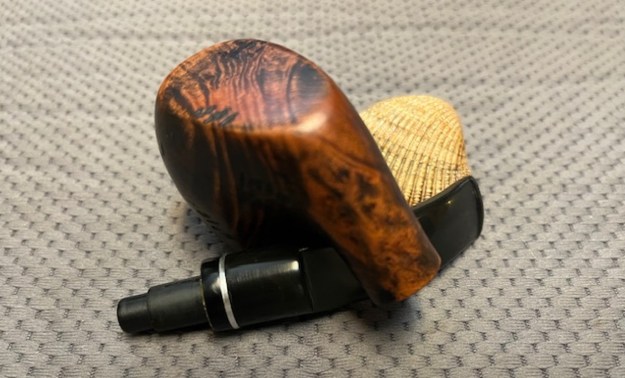
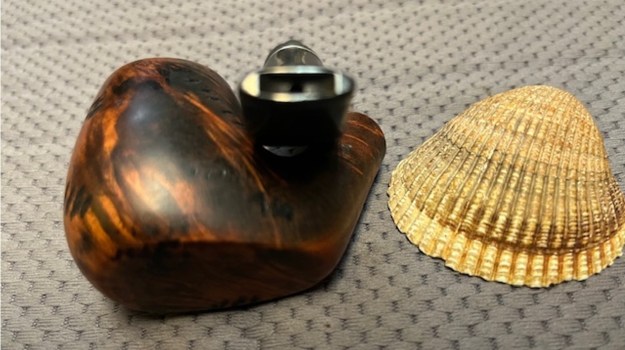
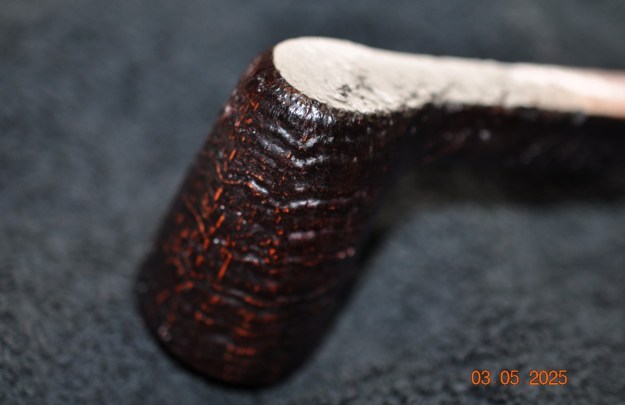
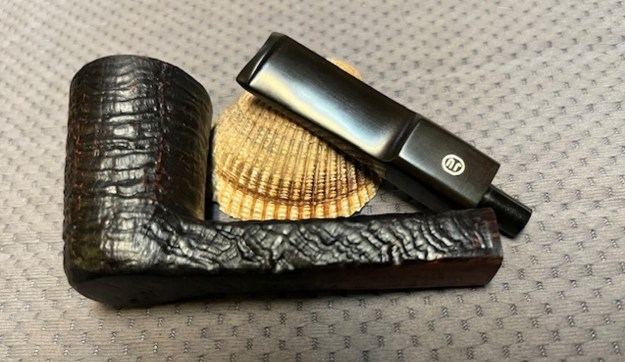
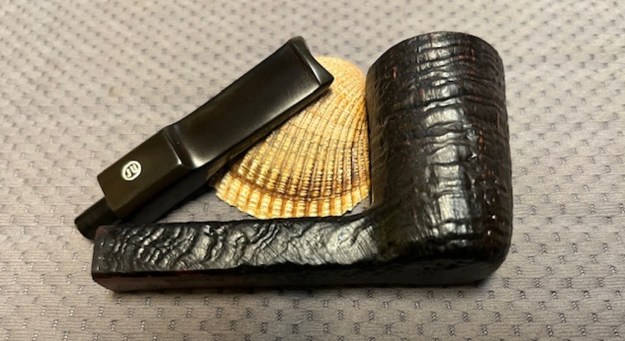
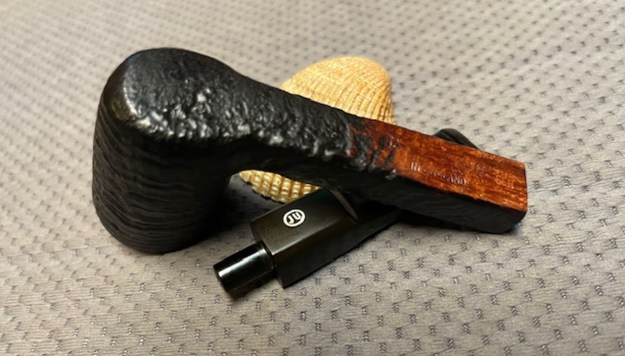
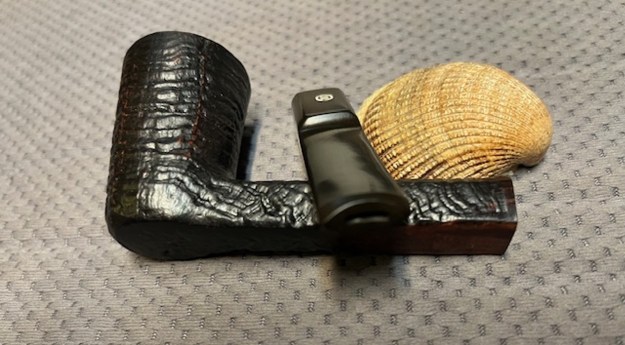
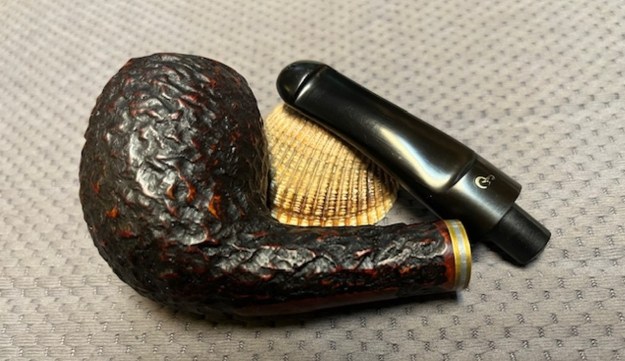
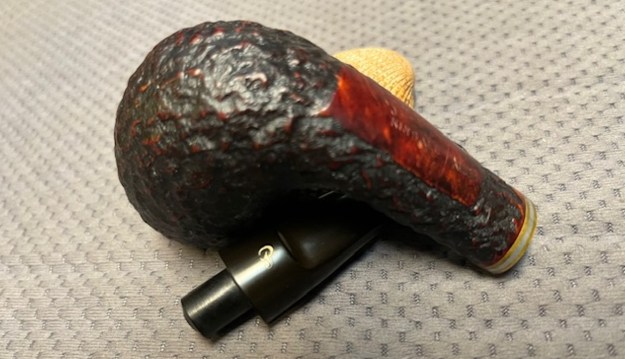
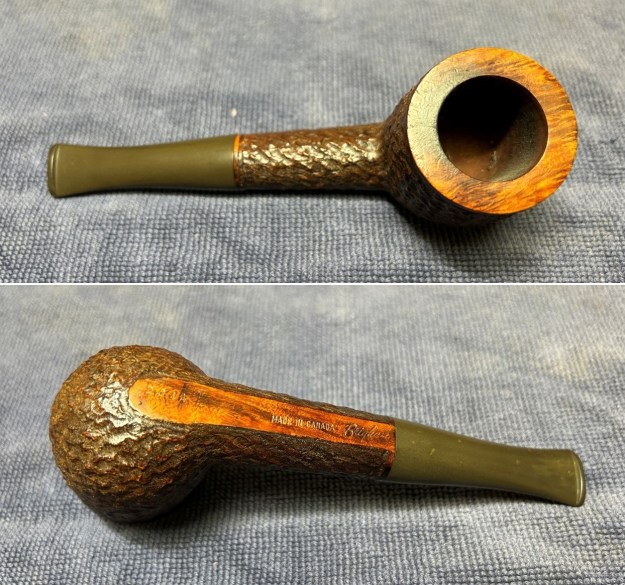
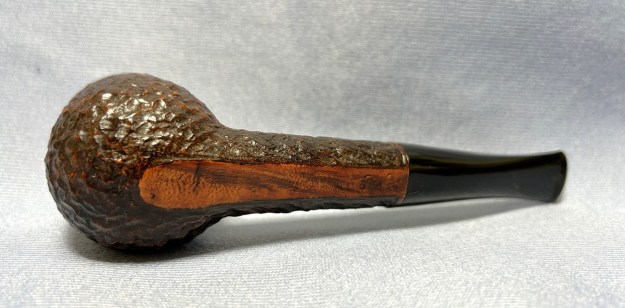
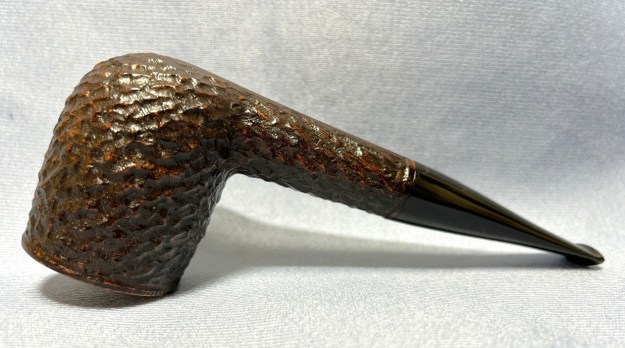
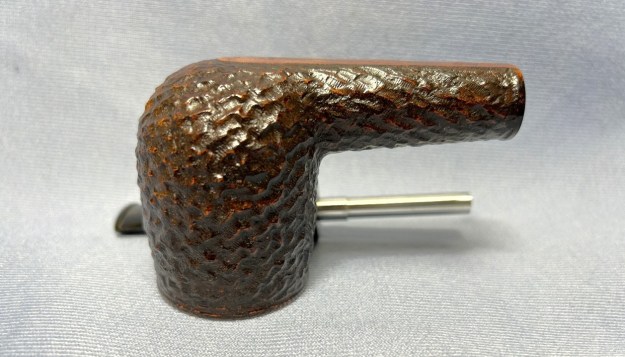
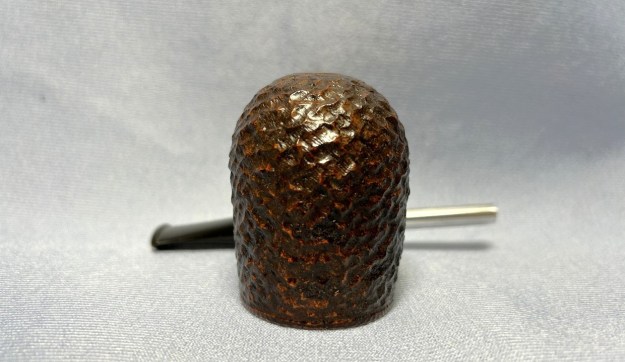
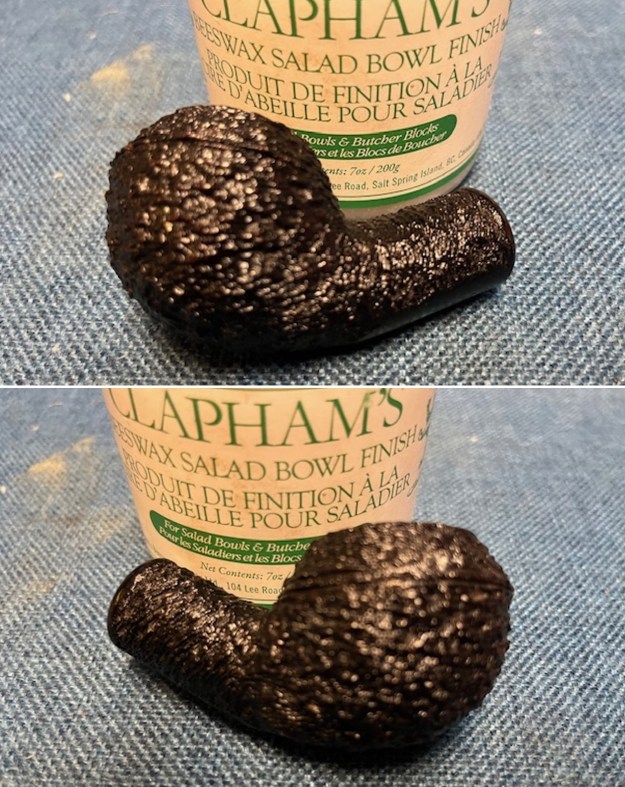
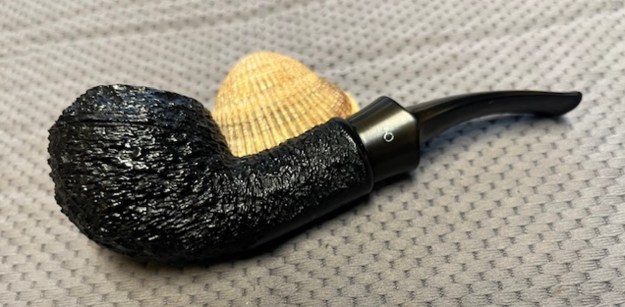
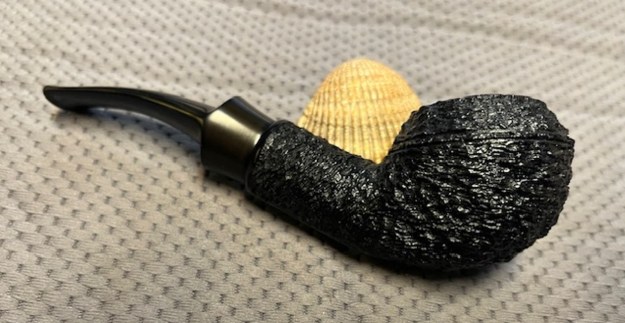
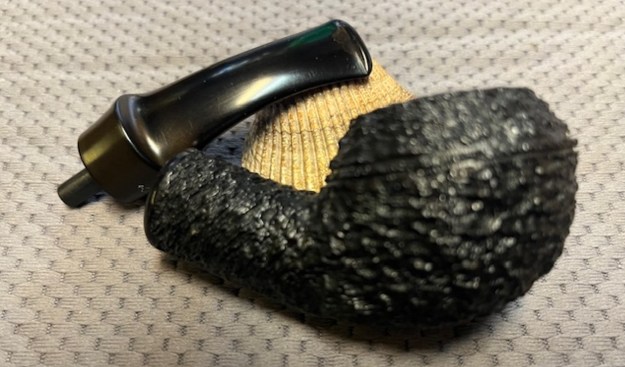
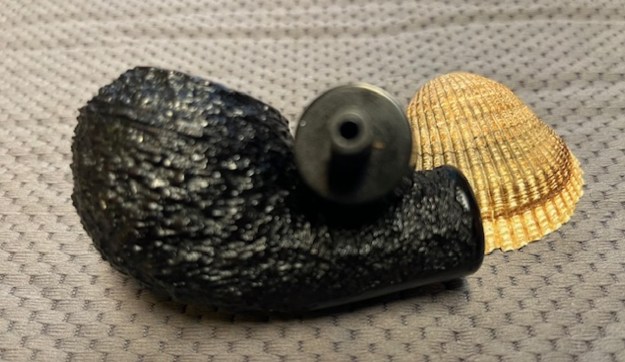
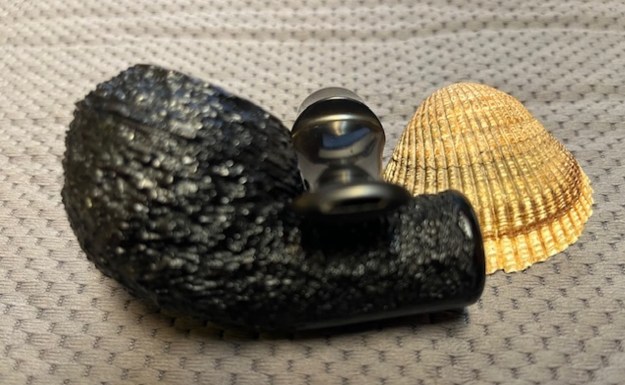
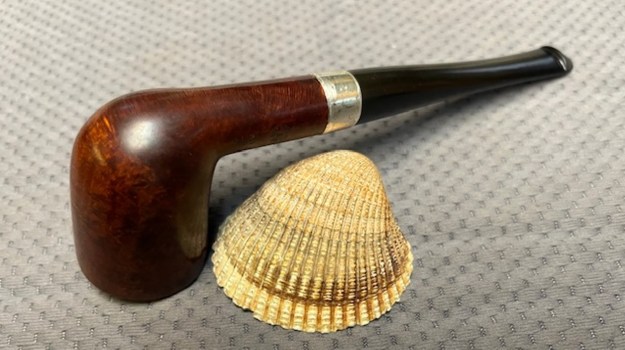
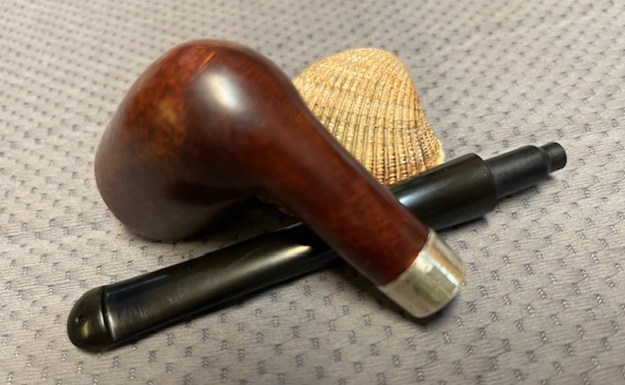
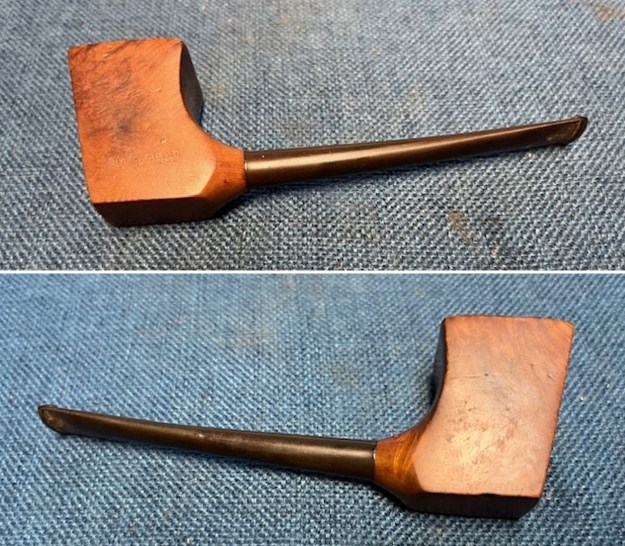
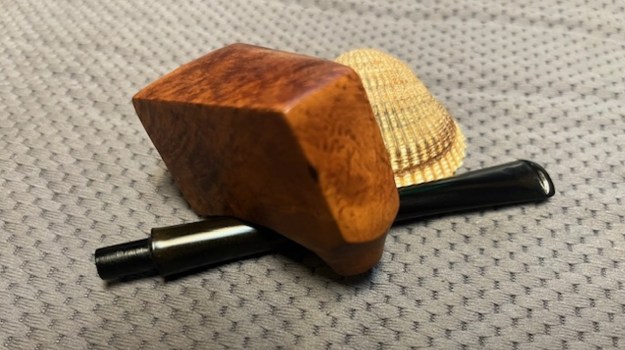
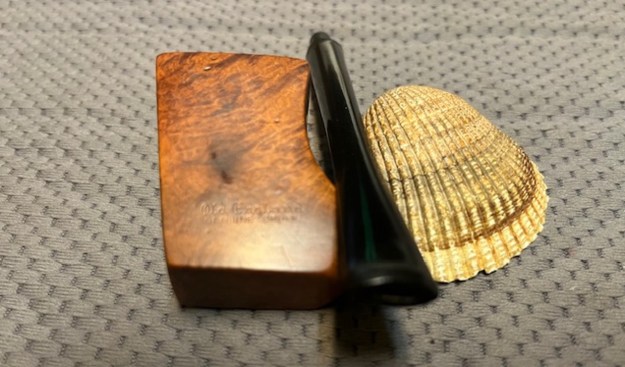
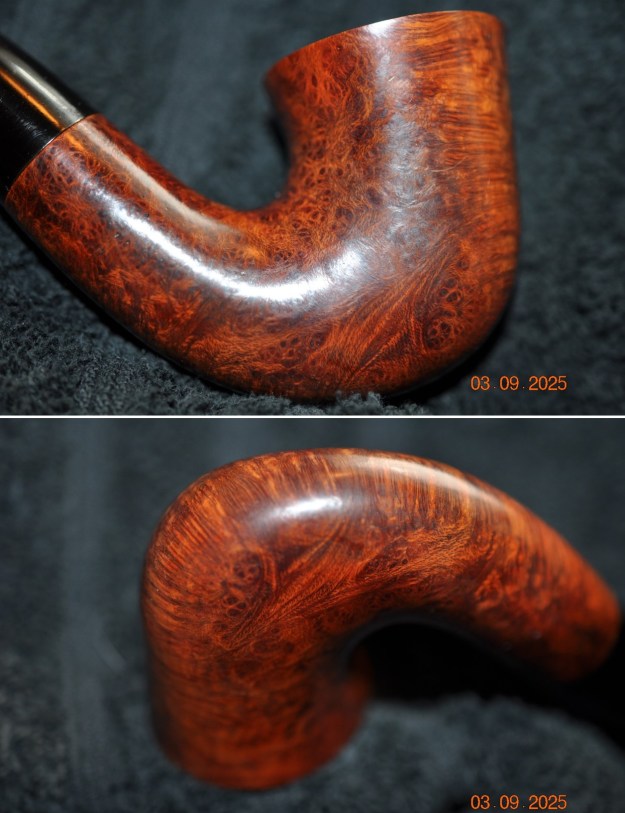
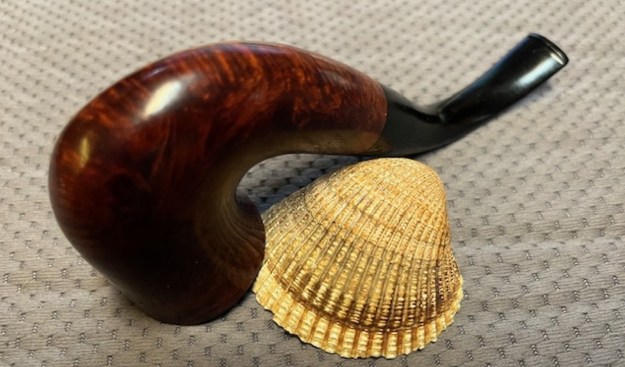
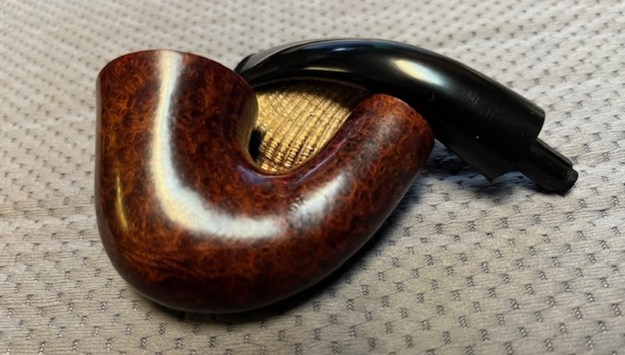
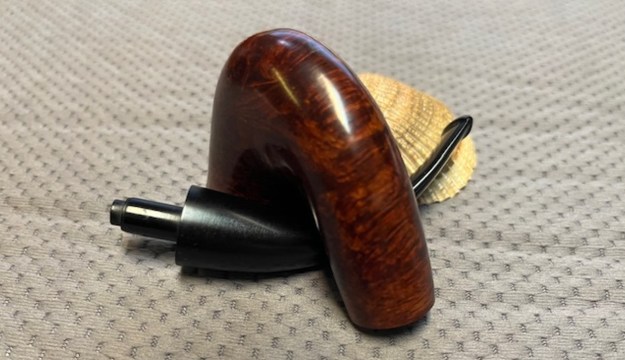
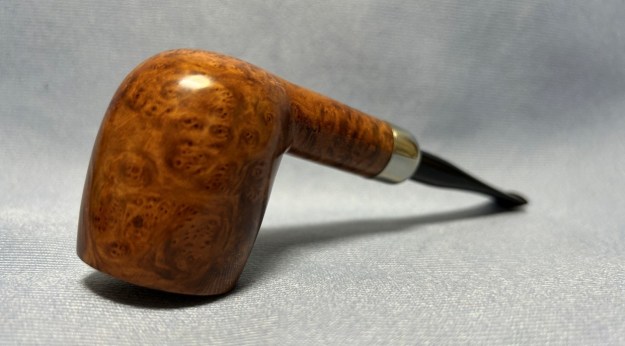
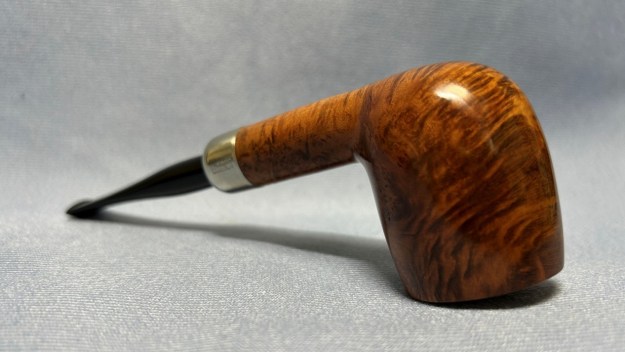
 Jeff took photos of the sides and heel of the bowl to give a sense of the carving and rustication on the bowl. It is quite unique and strangely beautiful.
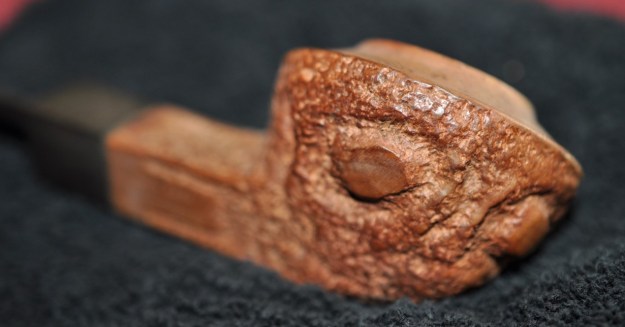
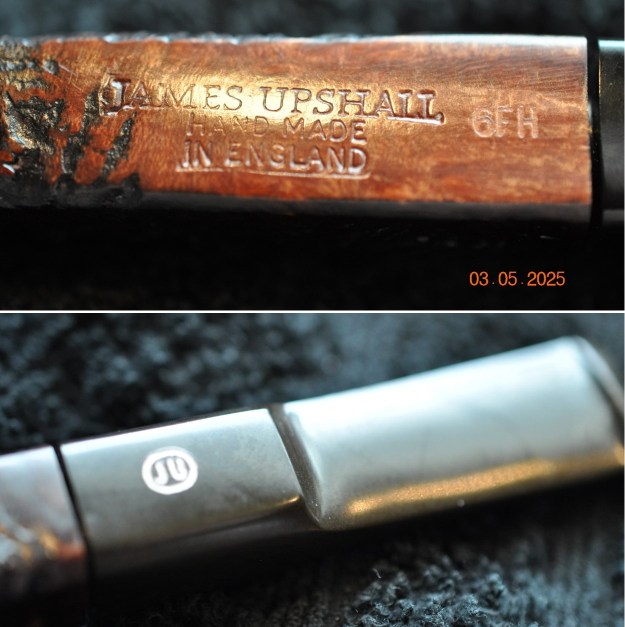
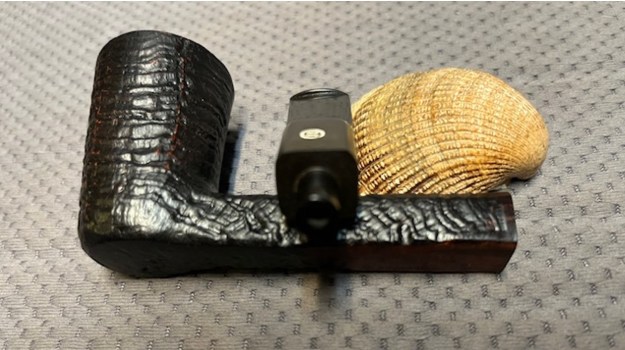
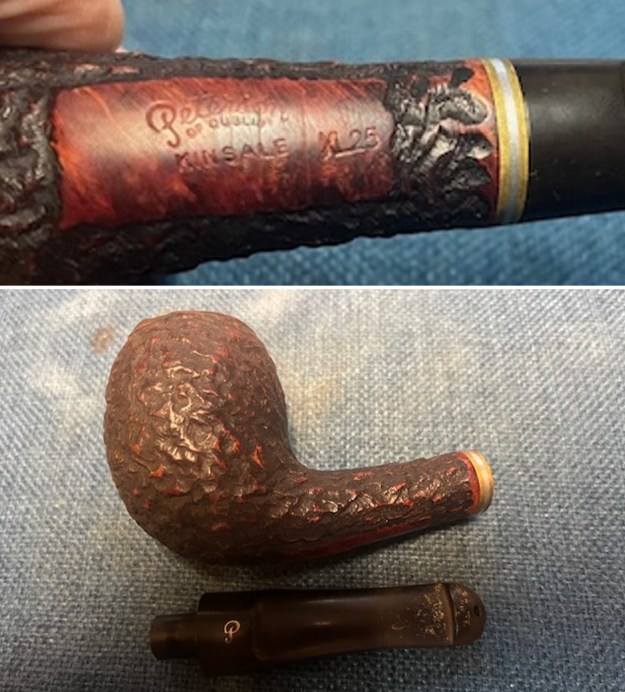
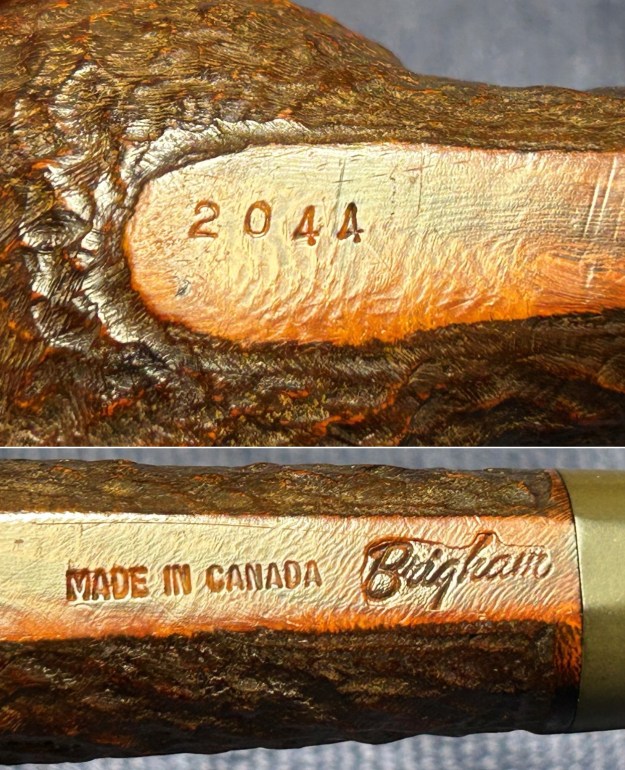
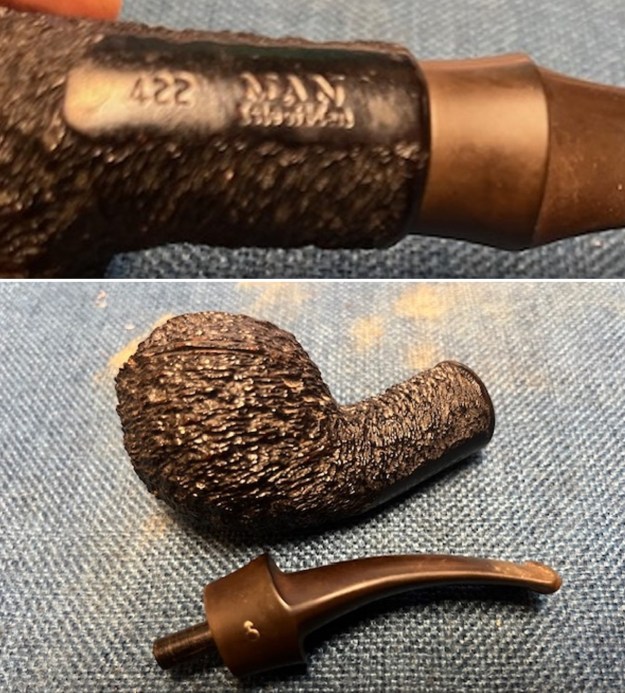
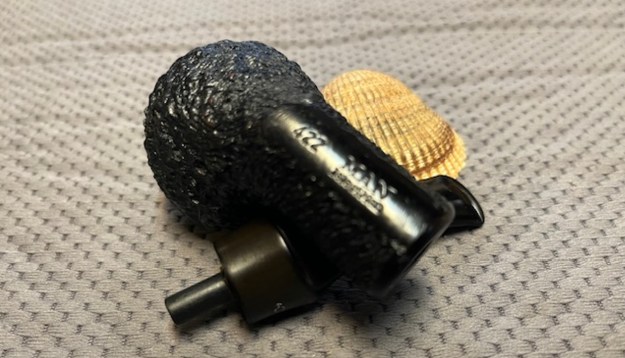
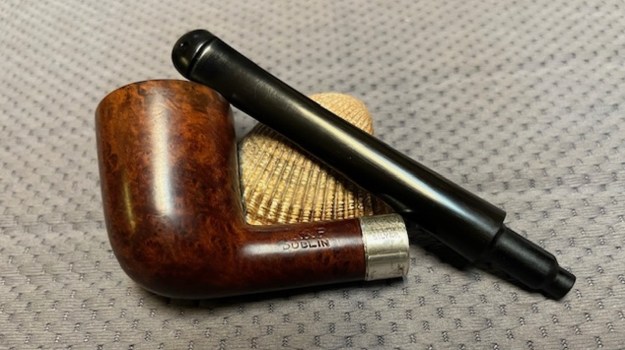
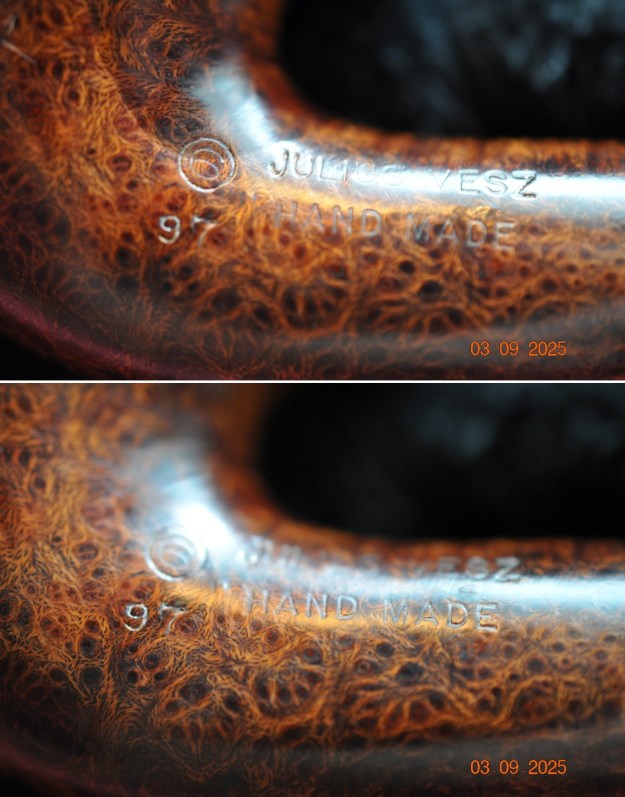
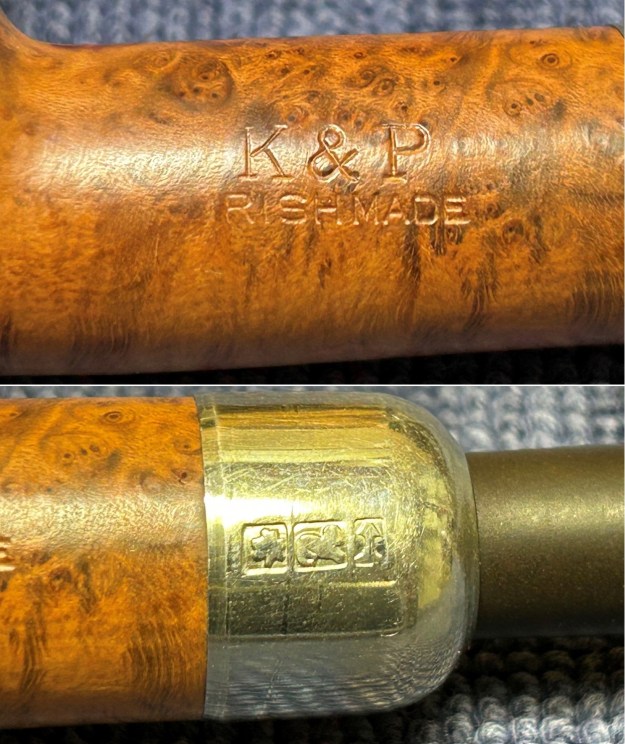
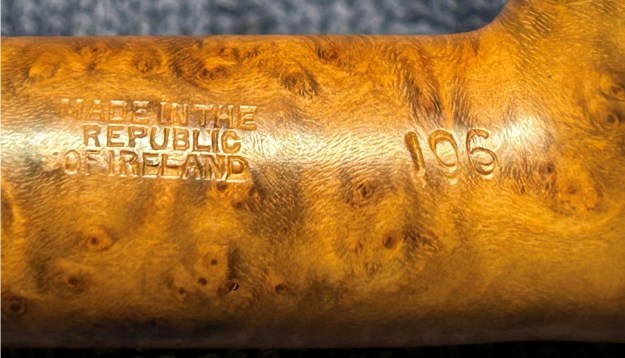
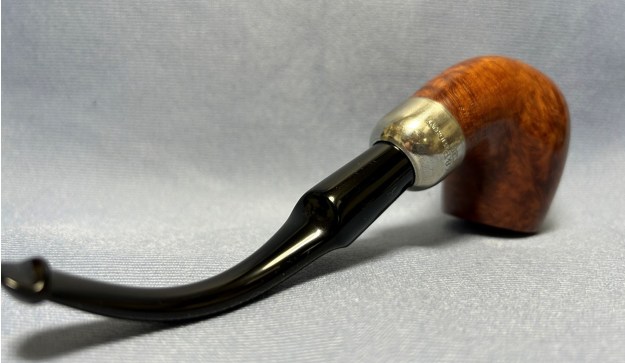
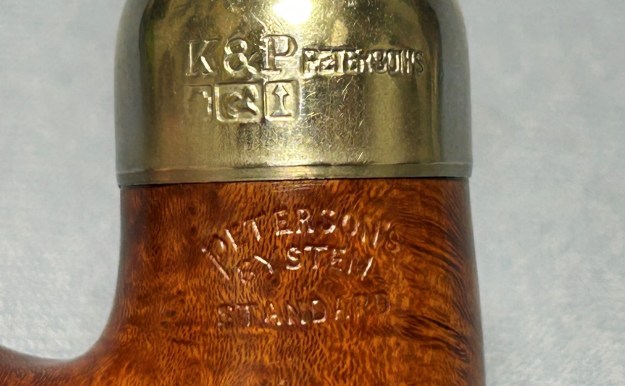
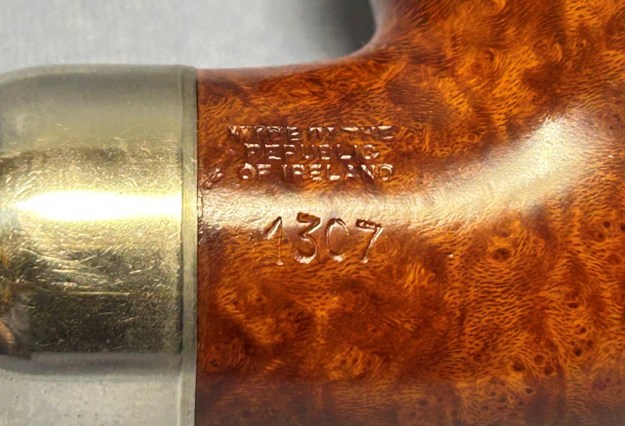
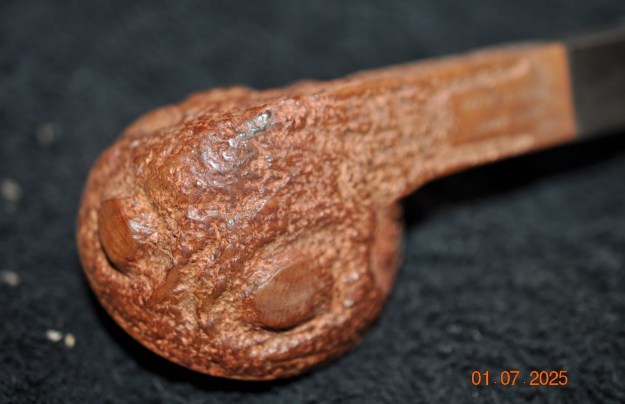 He captured the stamping on the sides of the shank. It read as noted above and is clear and very readable.
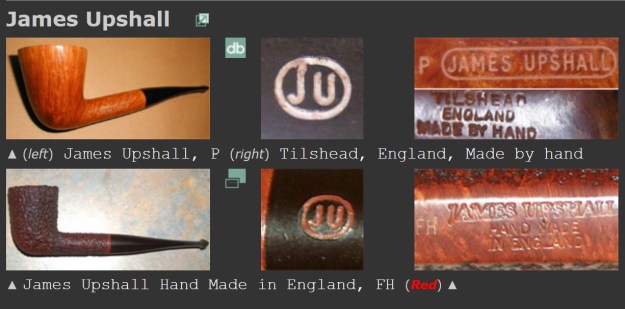
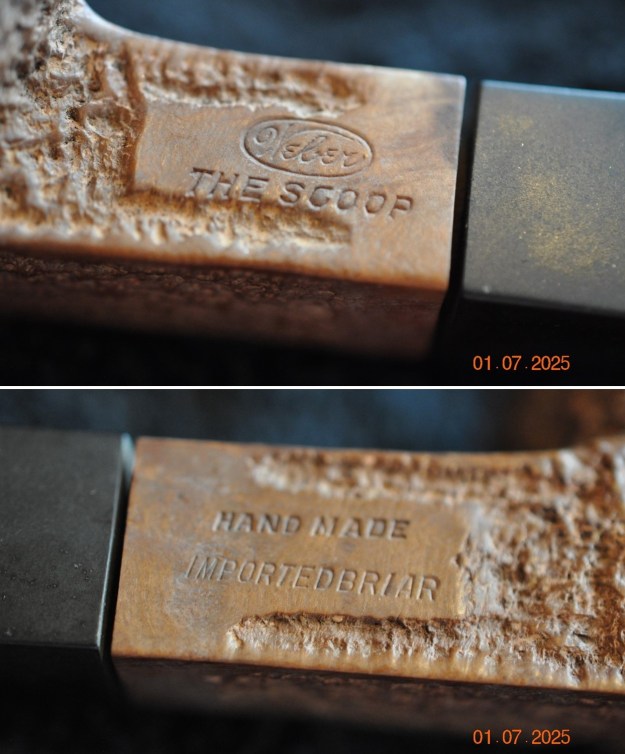 I decided to do a bit of reading on Weber pipes in general and also see if I could pick up specific information on Weber The Scoop. I looked on Pipedia and found the following interesting historical information (https://pipedia.org/wiki/Weber_Pipe_Co.).
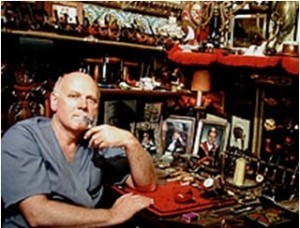
Carl B. Weber was a German from Bavaria. Aged 21 he immigrated to the USA in 1911. In 1938 he established Weber Briars Inc. in Jersey City, New Jersey – later renamed the Weber Pipe Co. The firm grew to be one of the giants of American pipe industry focusing itself in the middle price and quality zone. Trademark: “Weber” in an oval. Beside that Weber – especially in the years after 1950 – was a most important supplier for private label pipes that went to an immense number of pipe shops. In New York alone for example, exactly the same pipes were found at Wilke’s, Barclay Rex, Trinity East, Joe Strano’s Northampton Tobacconist in Ridgewood, Queens, Don-Lou in Bensonhurst, Brooklyn. Nearly all pipes for Wilke were unstained and many models, for example the “Wilke Danish Bent”, could hardly deny originating of Weber. Among others well reputed pipemaker Anthony Passante worked for Weber.
Weber Pipe Co. owned and manufactured Jobey pipes – when mainly sold in the USA by The Tinderbox from 1970’s – 80’s. In addition Jobey / Weber bought Danish freehands from Karl Erik (Ottendahl). These pipes were offered as Jobey Dansk. Ottendahl discontinued exports to the United States in 1987 and in the very same year – obviously only as a ghost brand – Jobey was transferred to Saint-Claude, France to be manufactured by Butz-Choquin. Carl B. Weber is the author of the famous book “Weber’s Guide to Pipes and Pipe Smoking”.
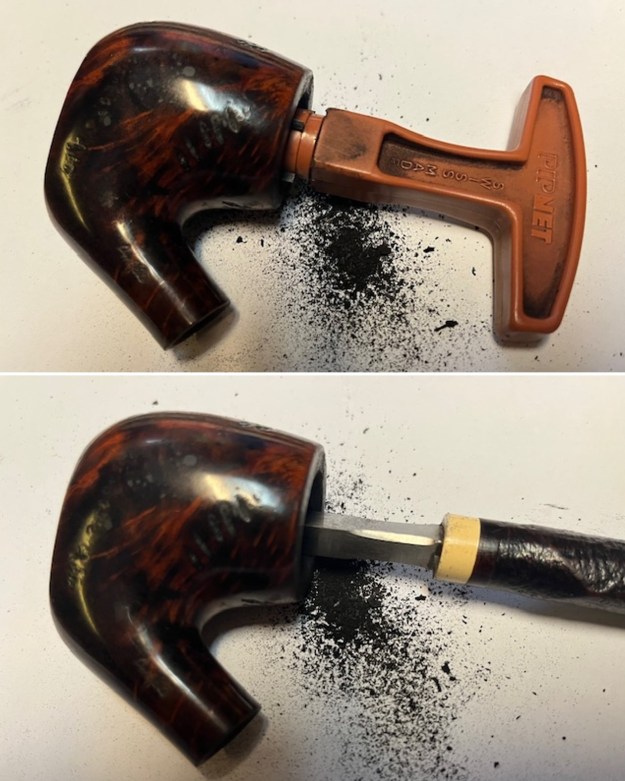
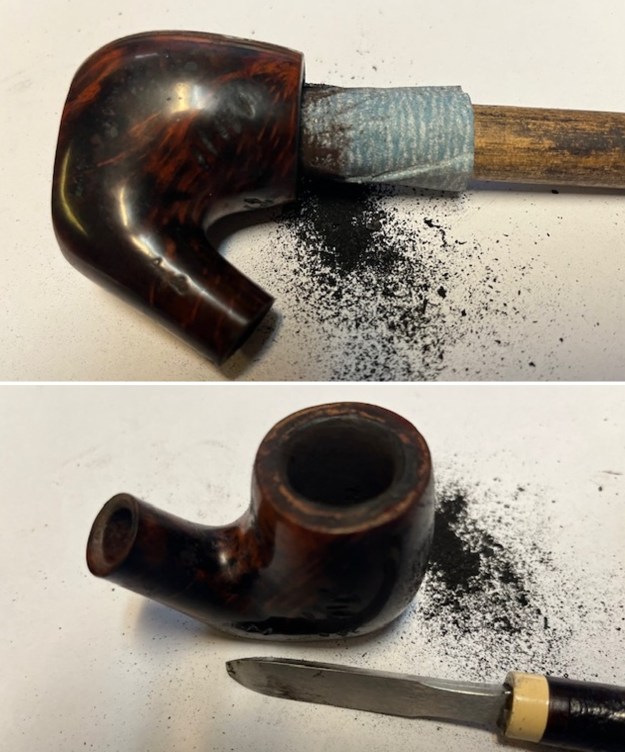
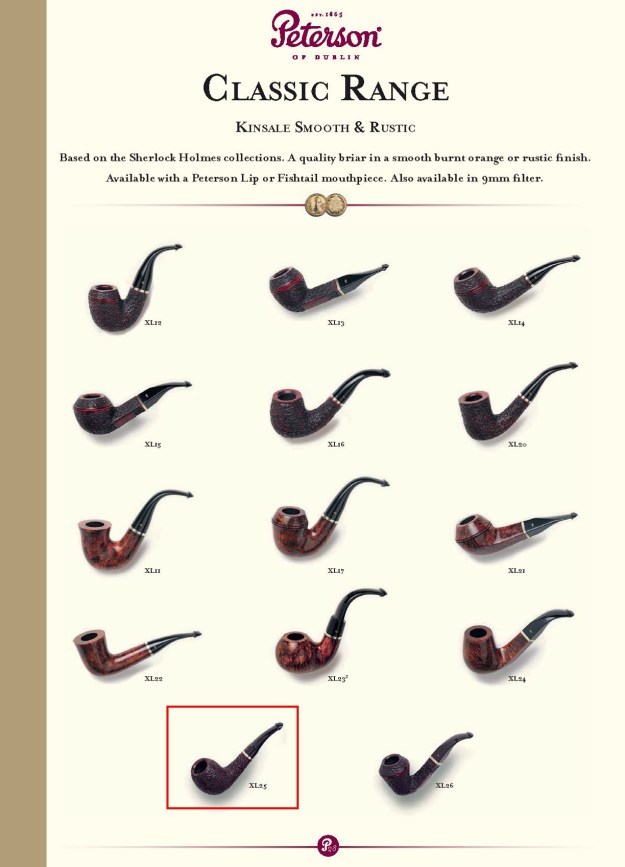
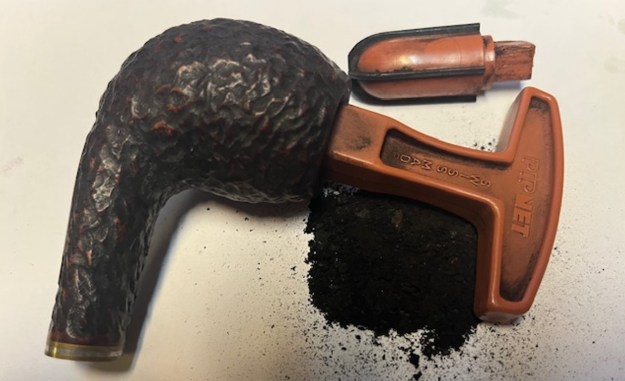
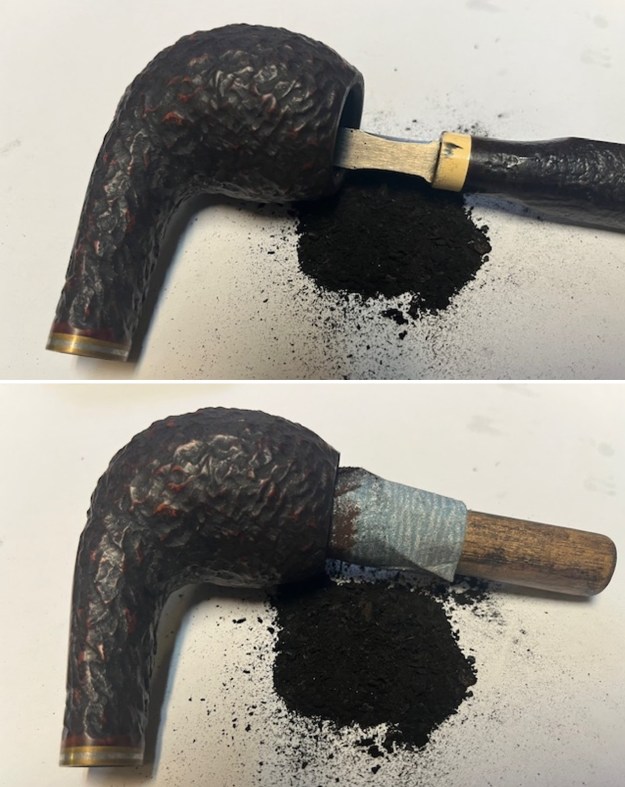
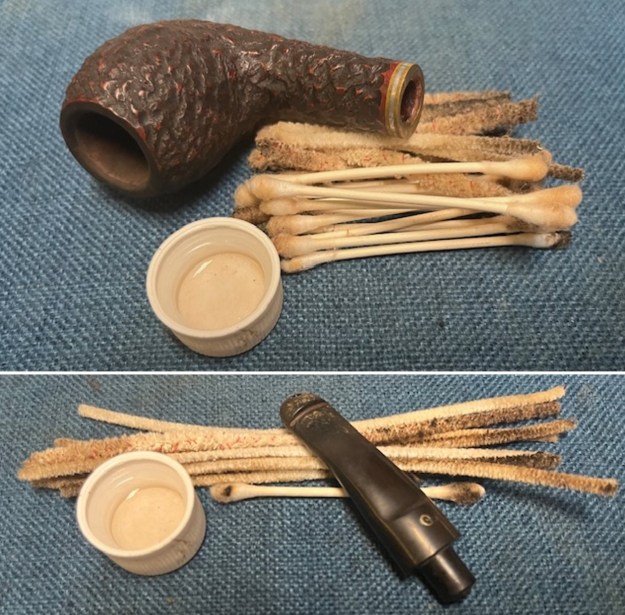
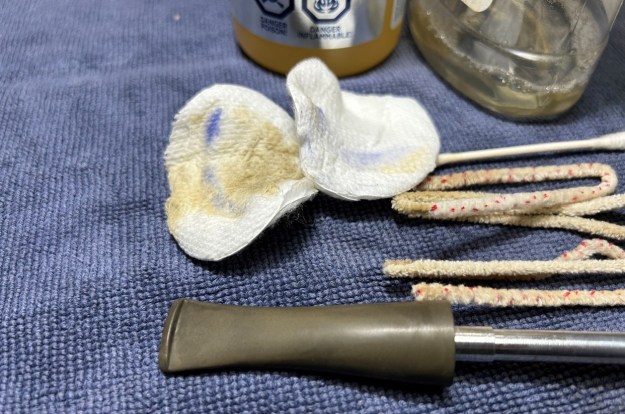
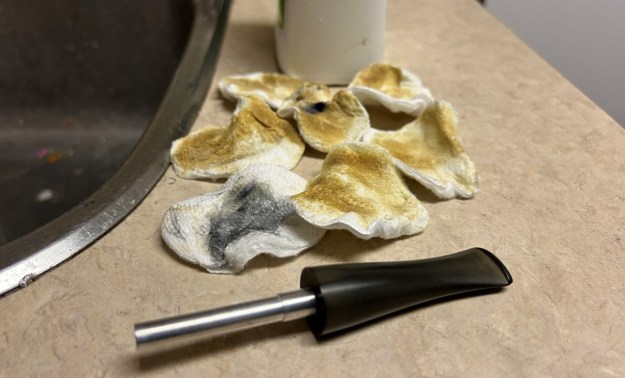
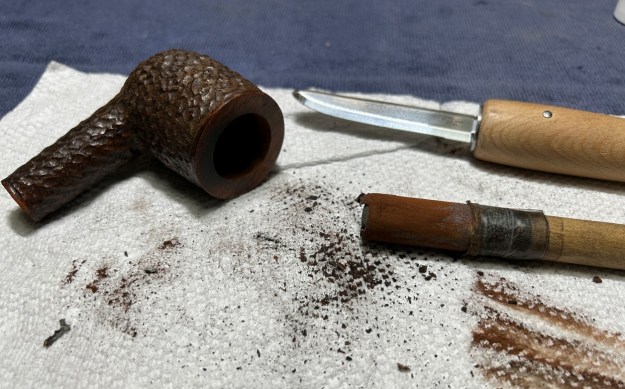
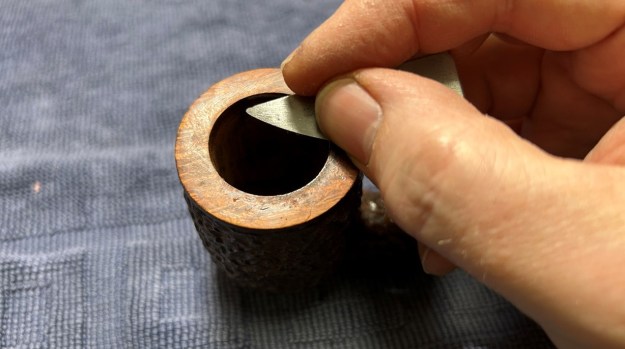
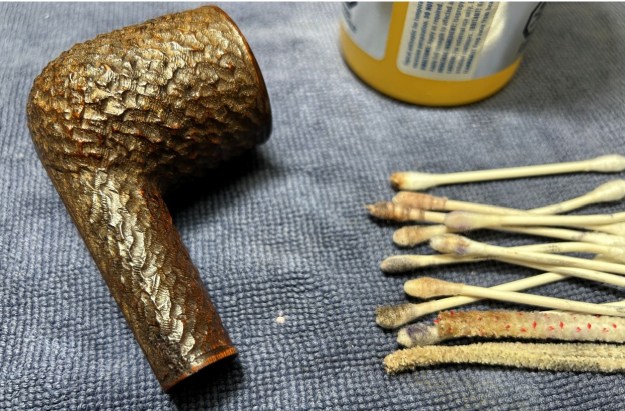
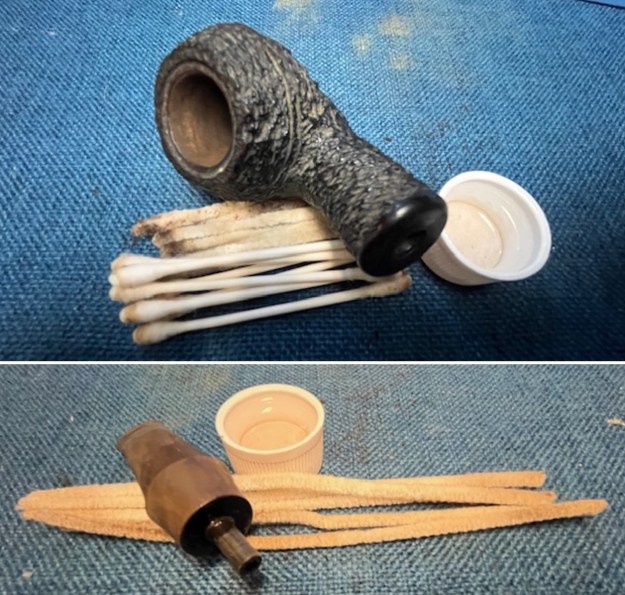
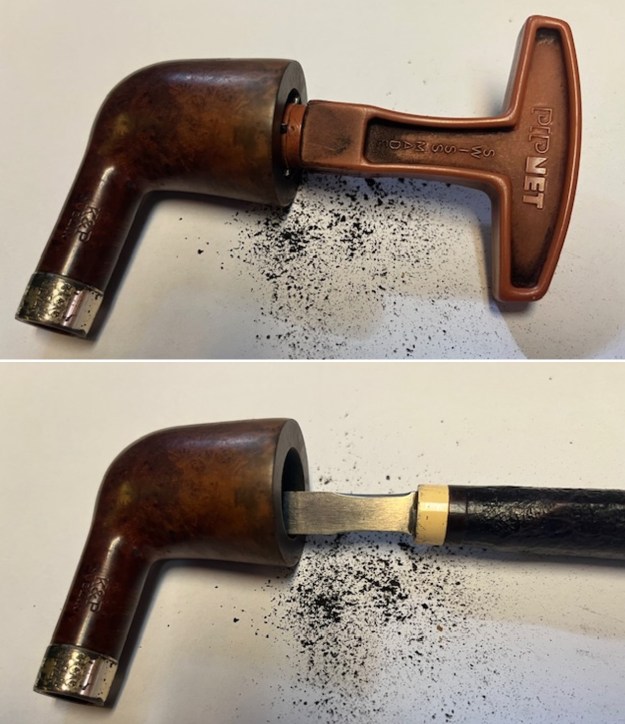
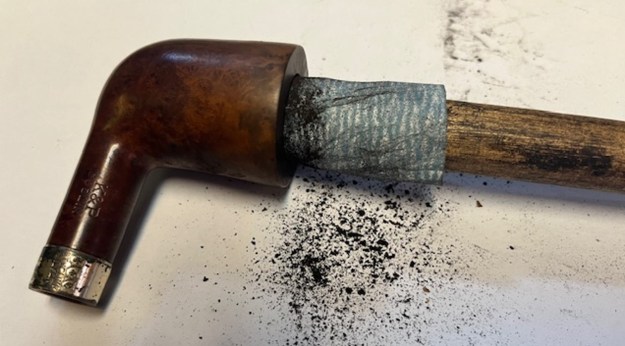
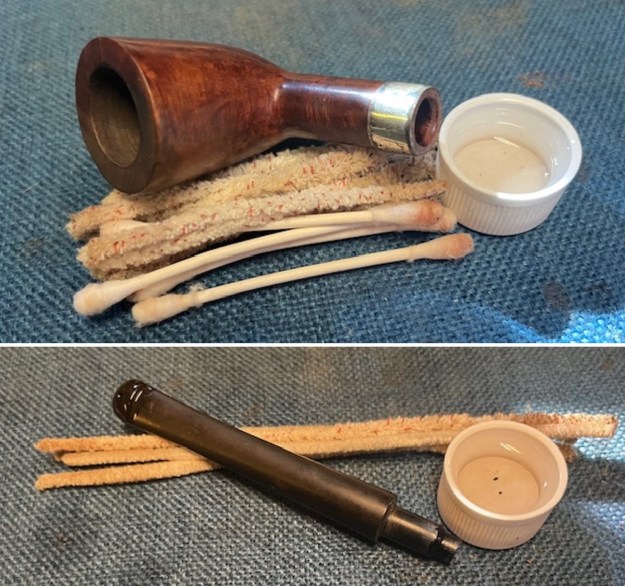
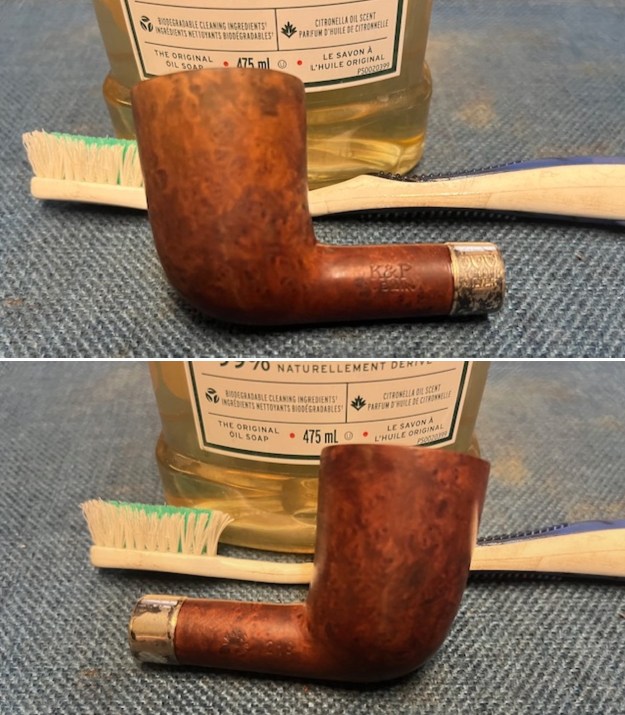
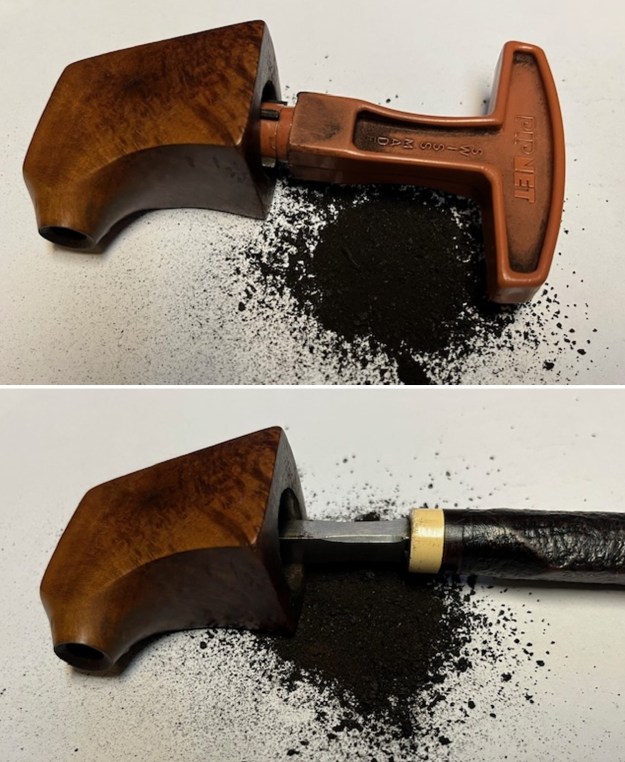
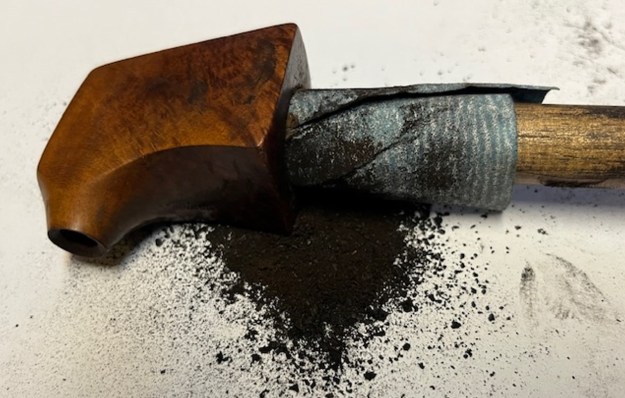
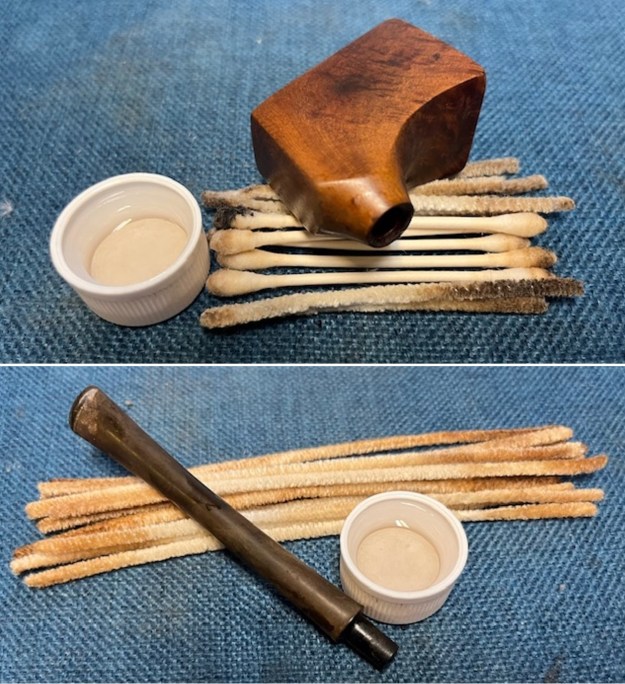
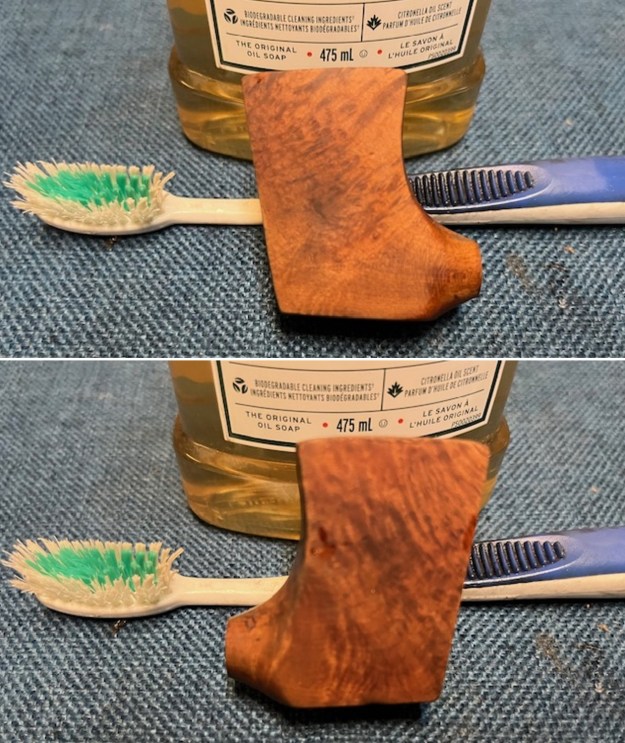
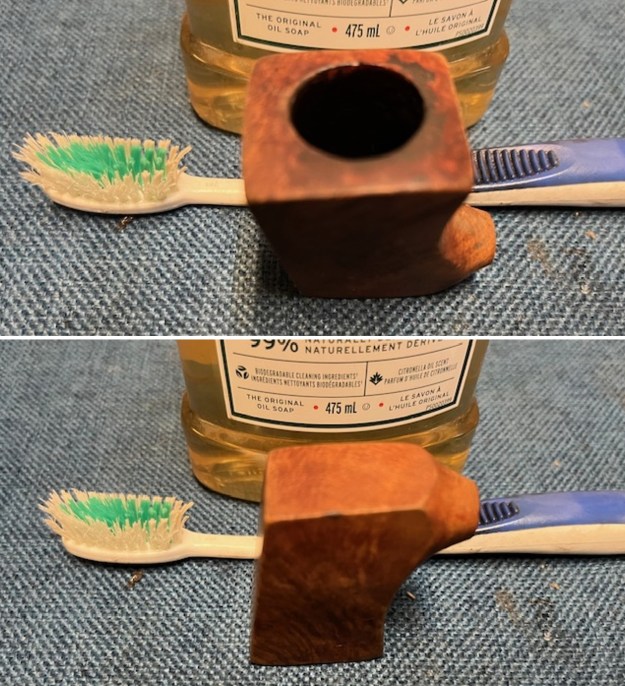
There was also a sales poster on the site that had an inset about The Scoop so I have included a copy of that poster below. Make sure to have a look at the photo and information. 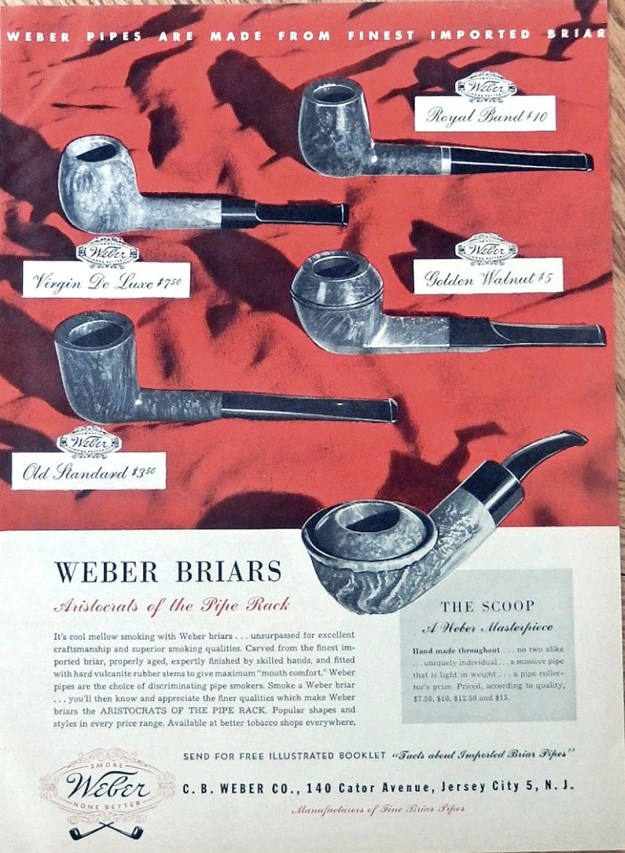 Armed with that information I turned my attention to the pipe itself. Jeff had cleaned the pipe with his usual penchant for thoroughness that I really appreciate. He reamed it with a PipNet pipe reamer and cleaned up the reaming with a Savinelli Fitsall Pipe Knife. He scrubbed out the internals with alcohol, pipe cleaners, shank brushes and cotton swabs until the pipe was clean. He scrubbed the exterior of the bowl with Murphy’s Oil Soap and a tooth brush to remove the grime and grit on the briar and the lava on the rim top. The finish looks very good with good looking grain around the bowl and shank. The musty smell of the ruined box was no longer and issue. Jeff soaked the stem in Before & After Deoxidizer to remove the oxidation on the rubber. When the pipe arrived here in Vancouver for the second stop of its restoration tour it looked very good. I took photos before I started my part of the work.
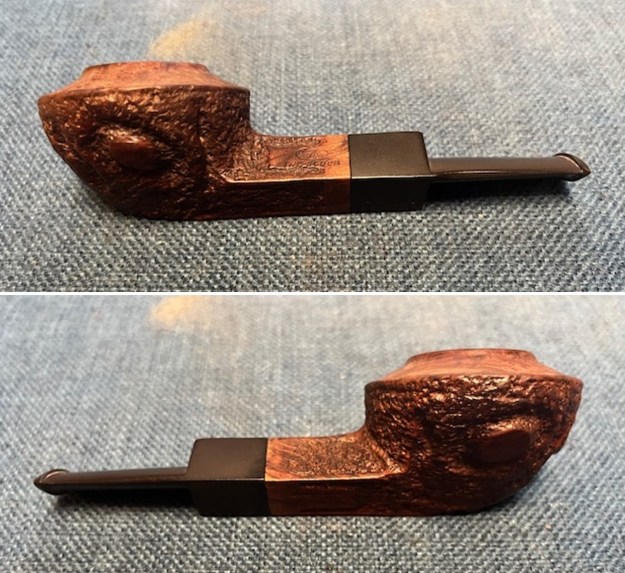
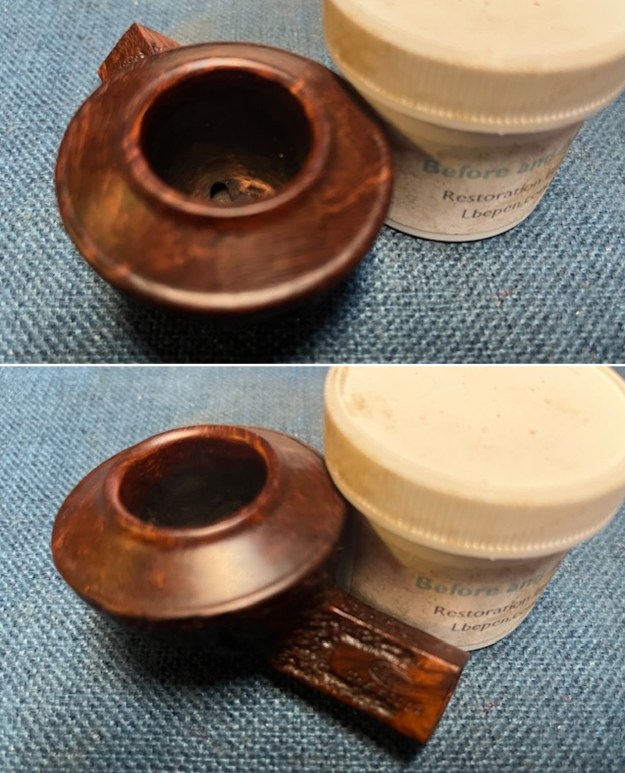
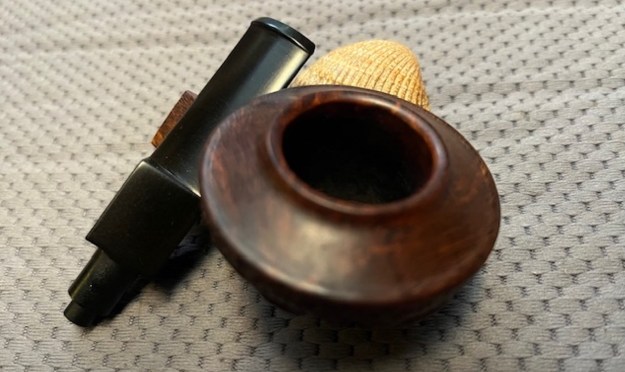
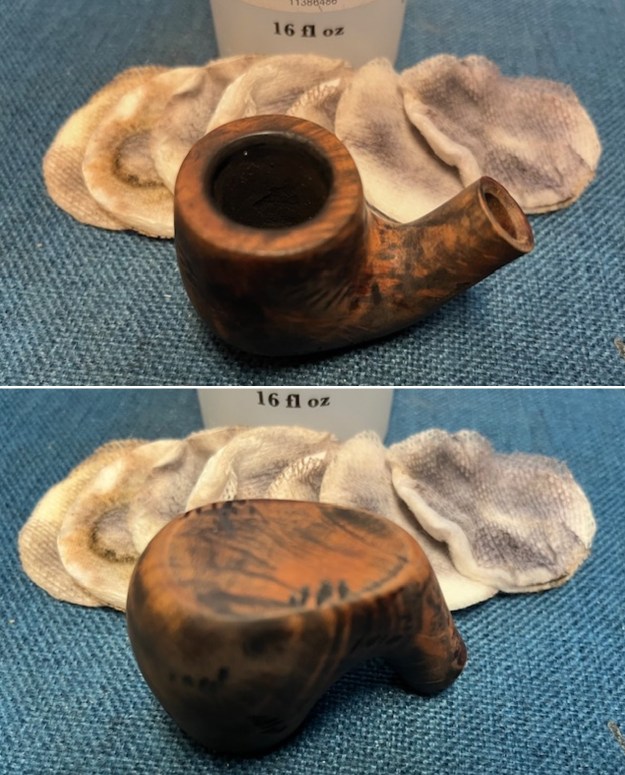
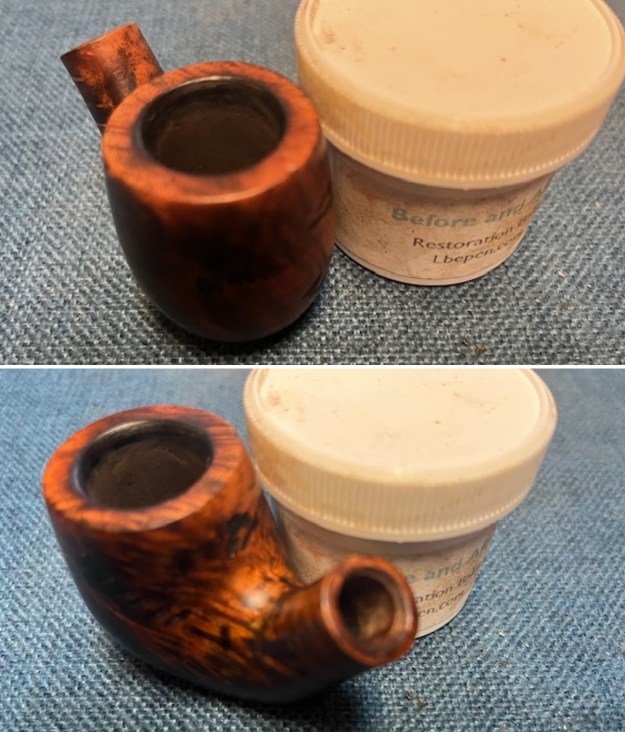
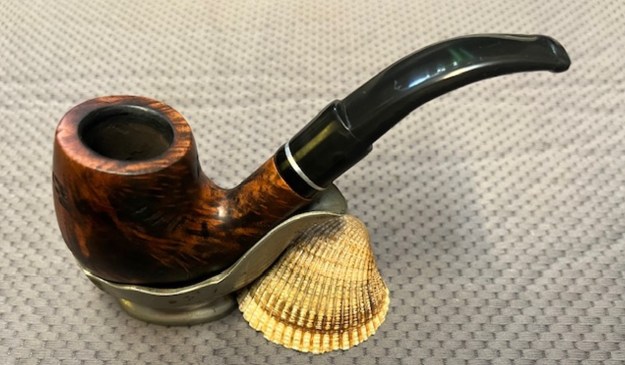
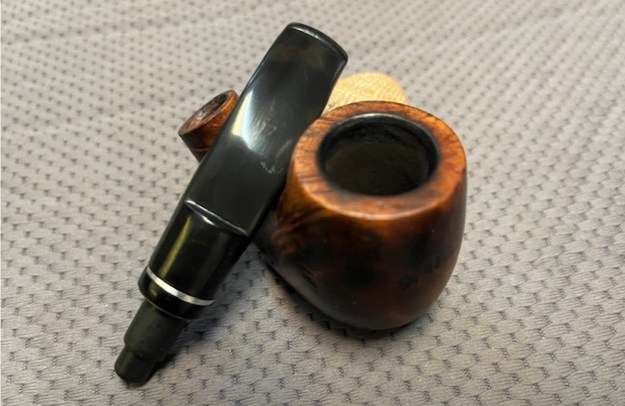
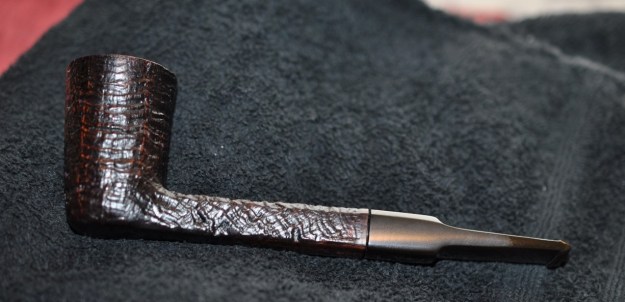
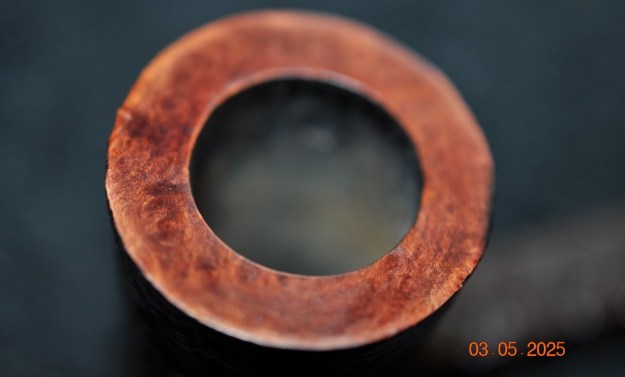
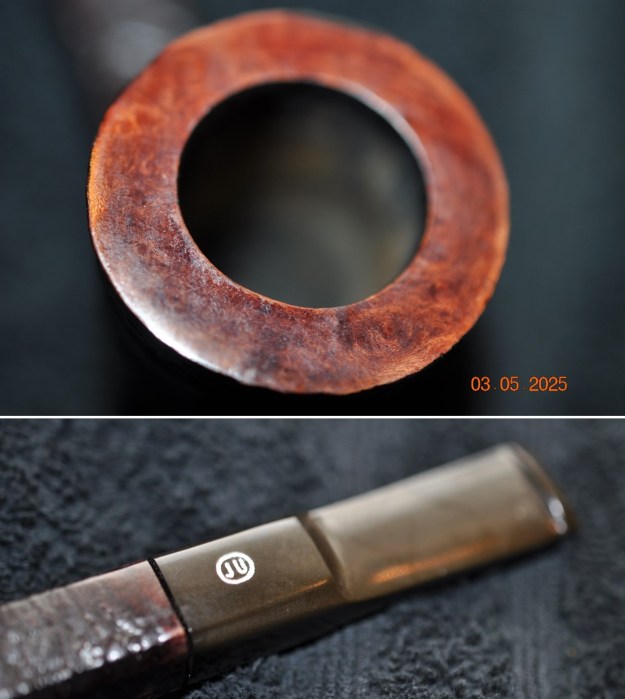
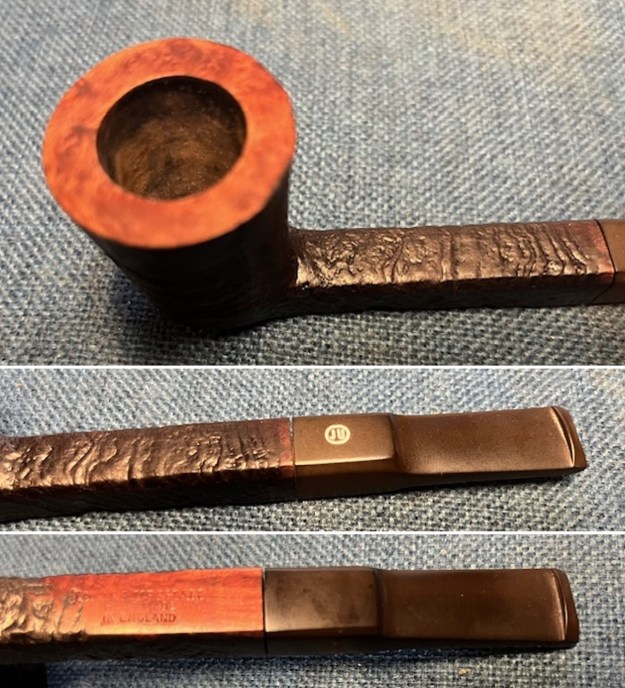
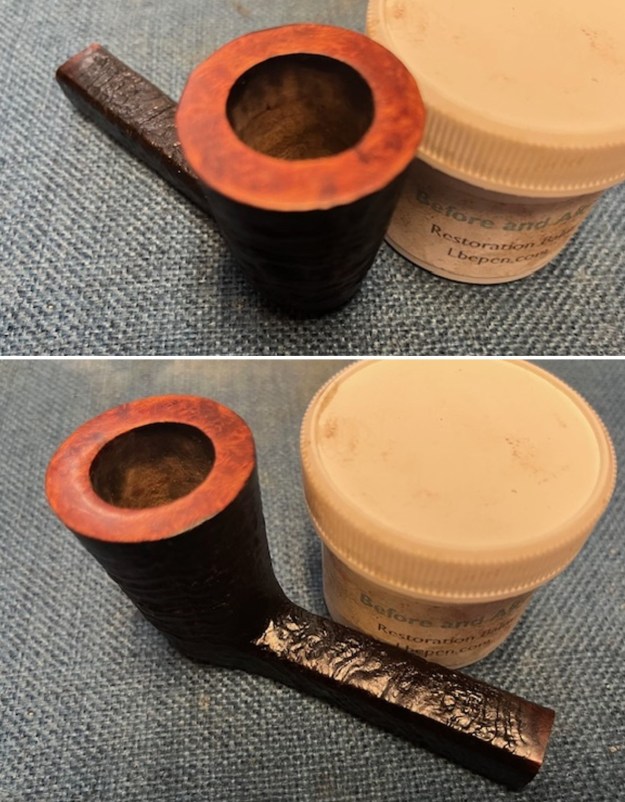
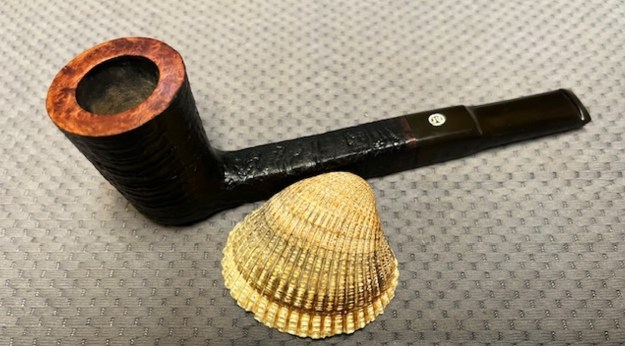
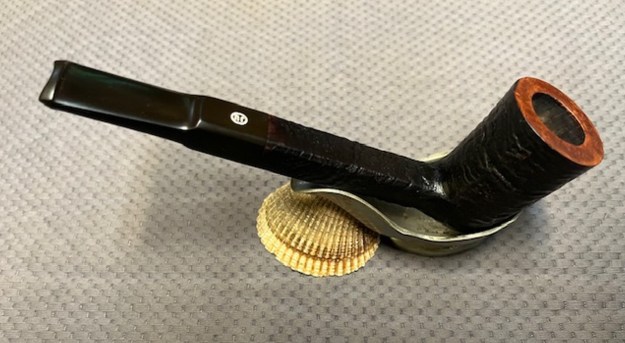
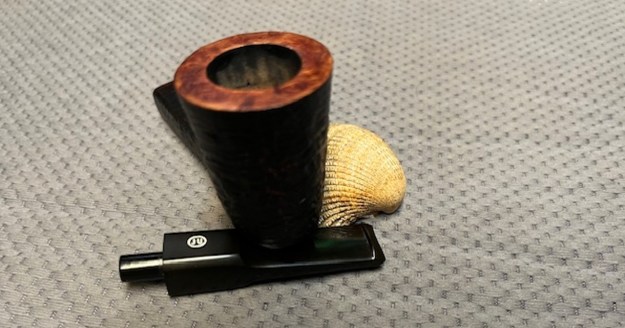
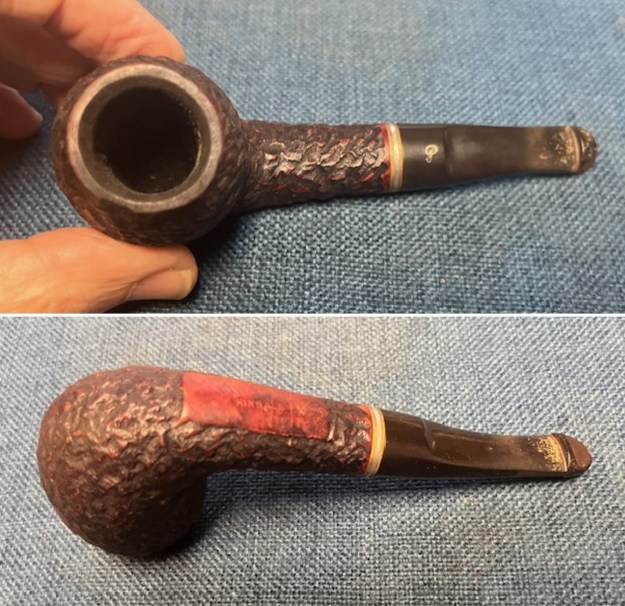
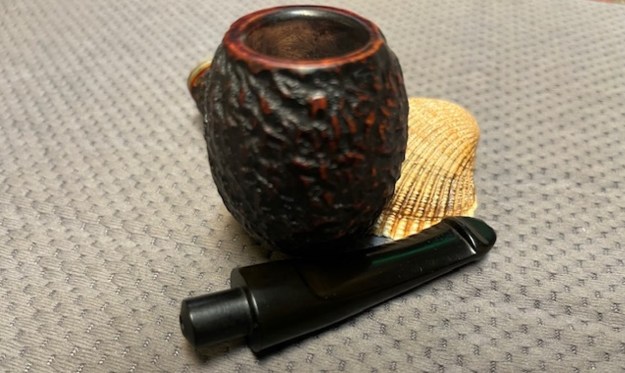
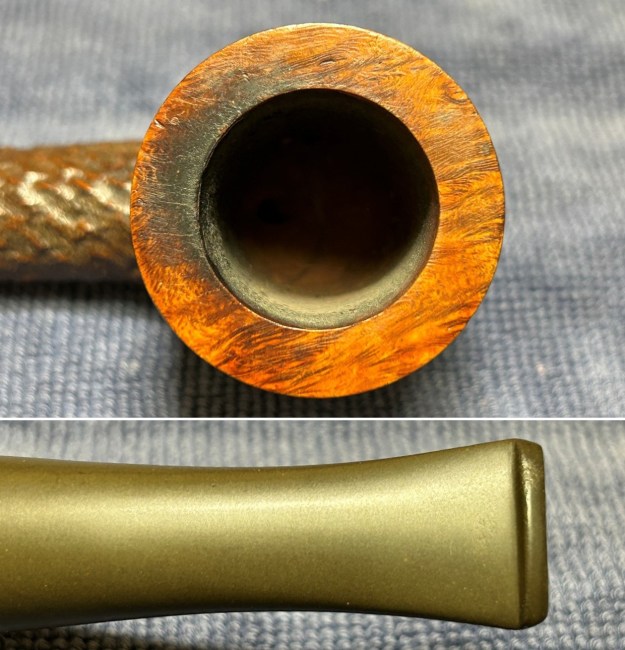
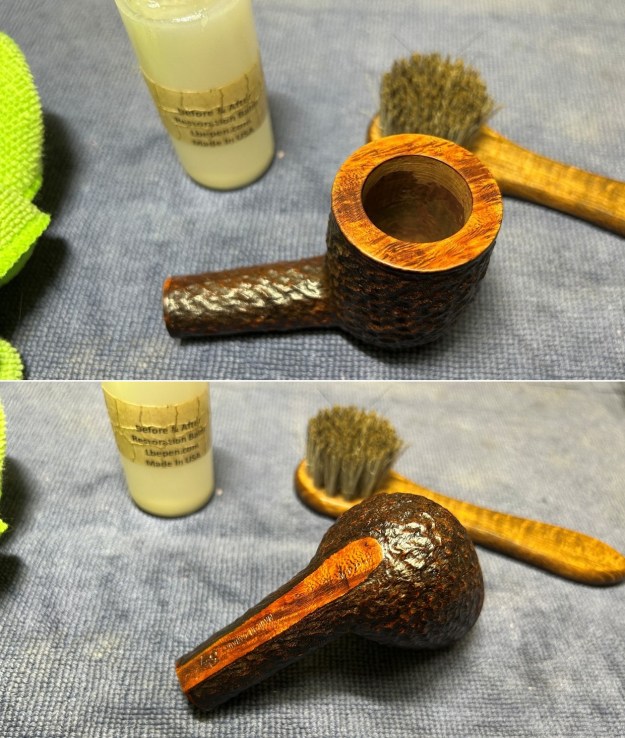
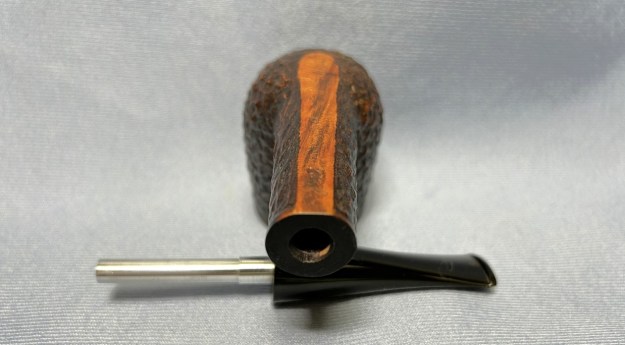
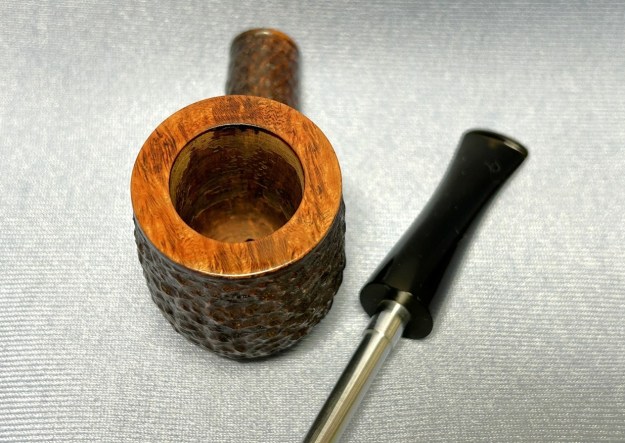
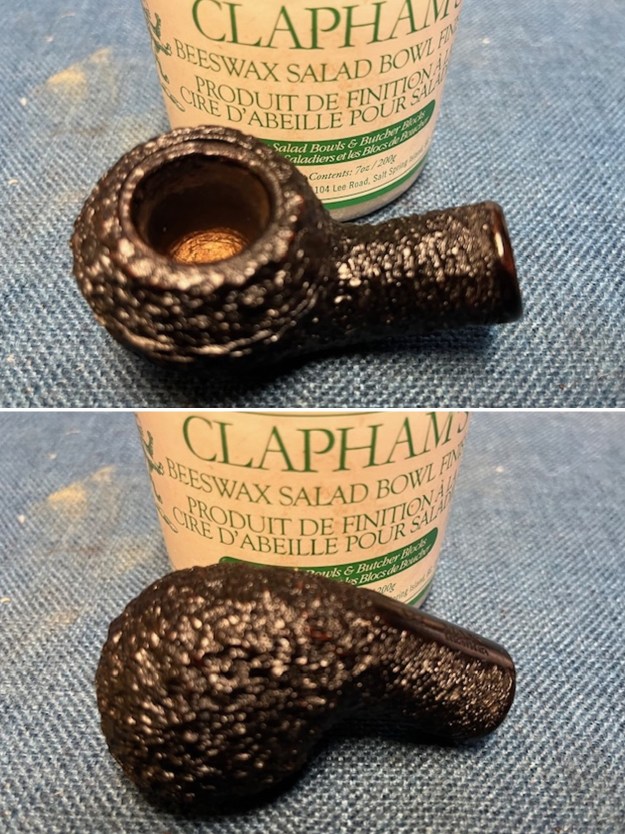
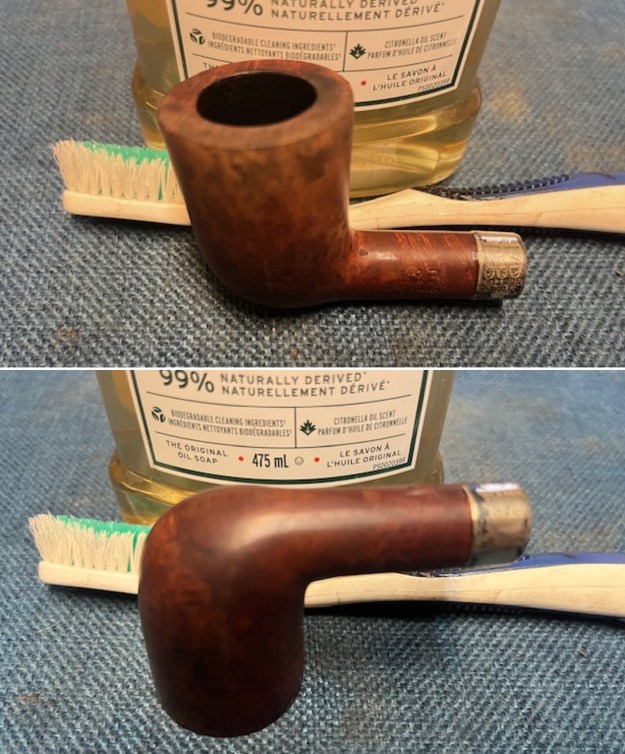
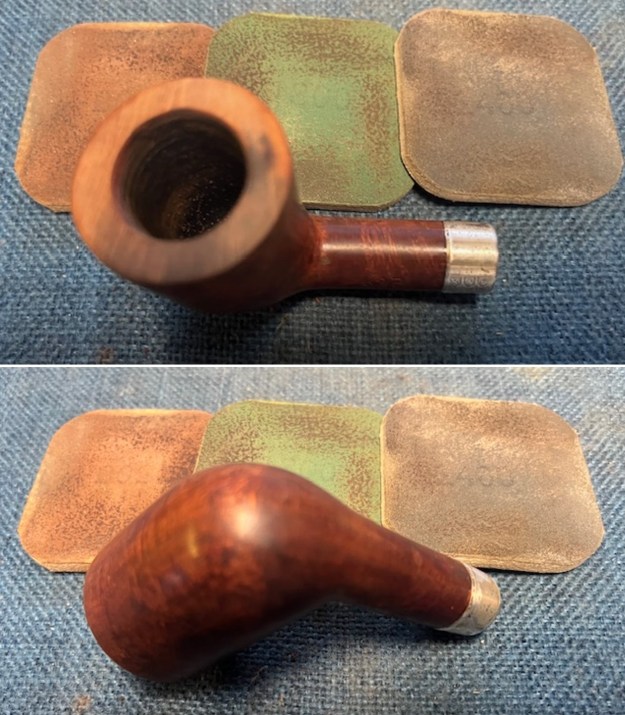
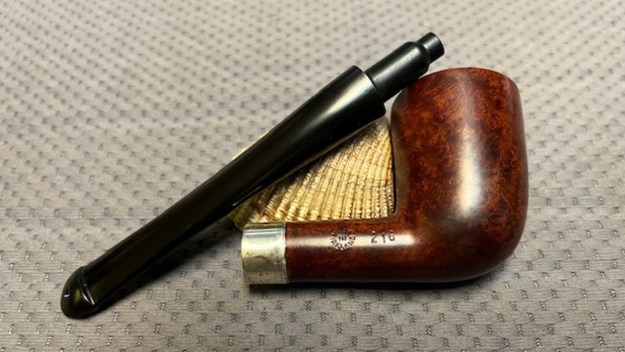
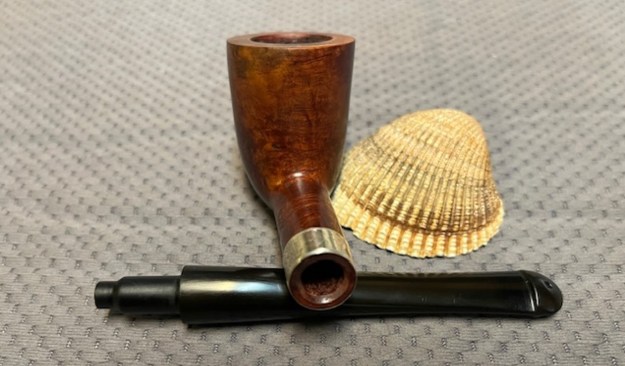
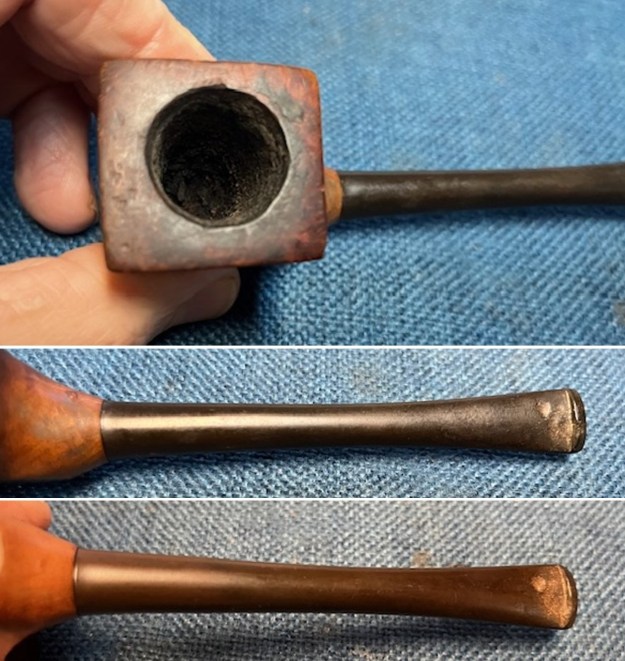
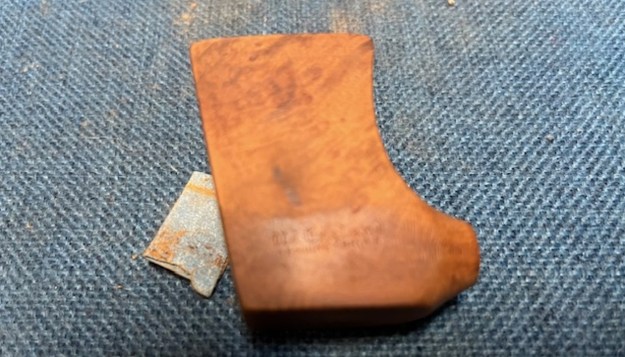
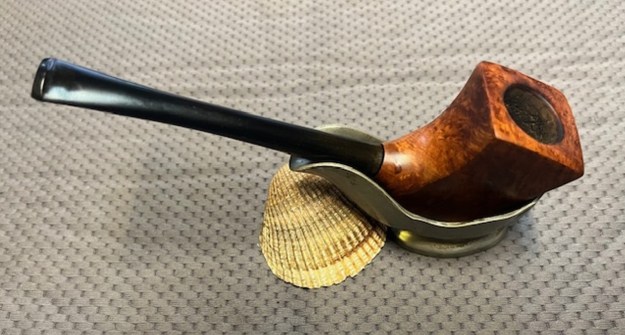
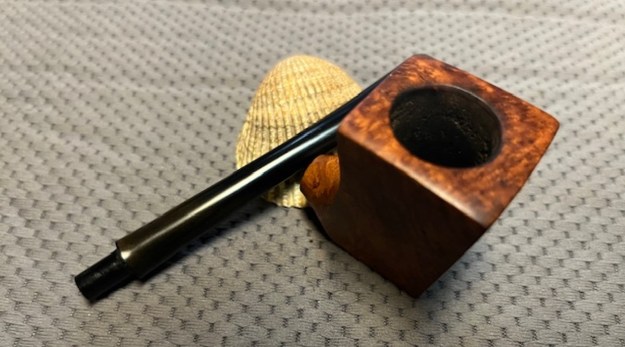
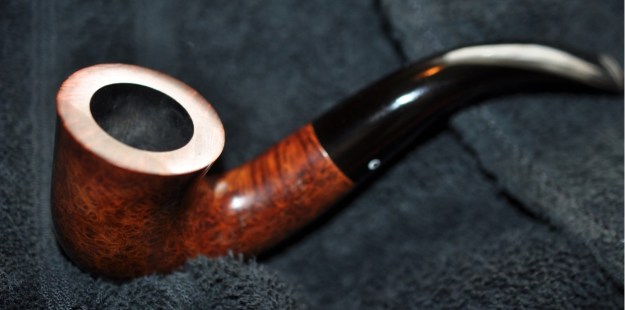
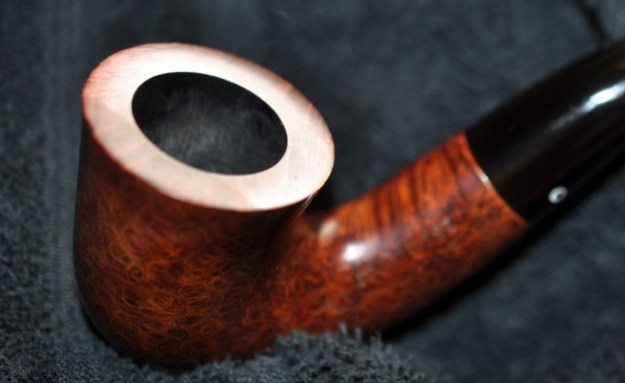
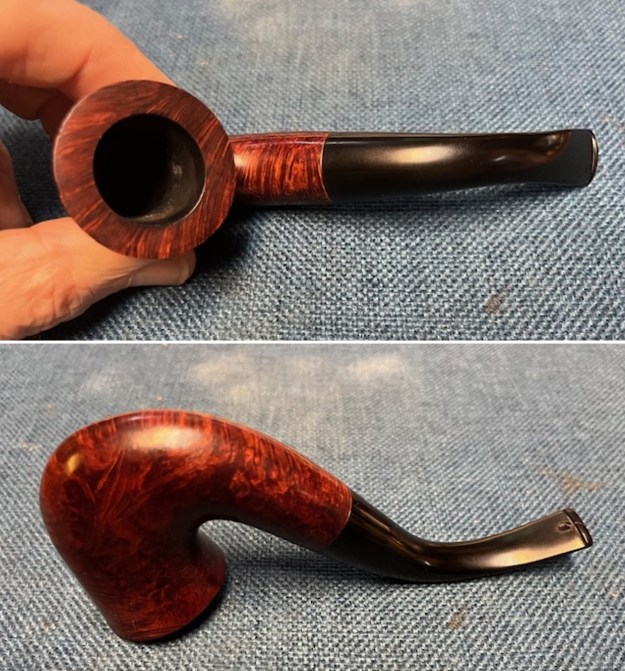
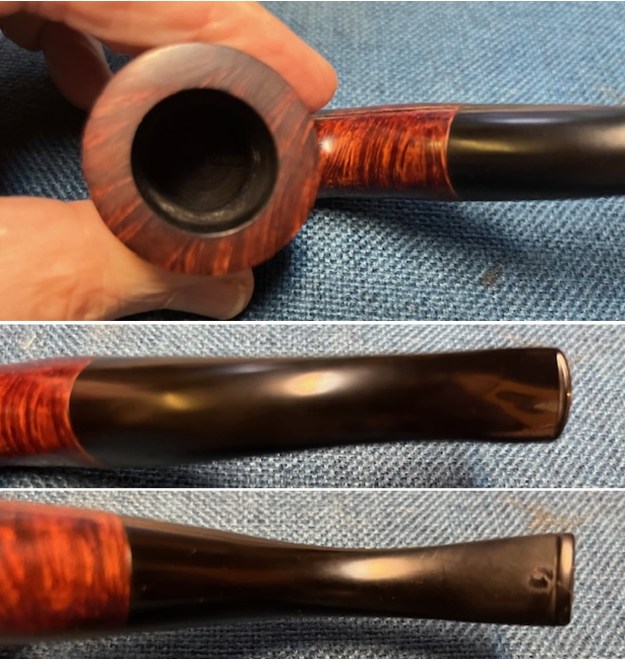
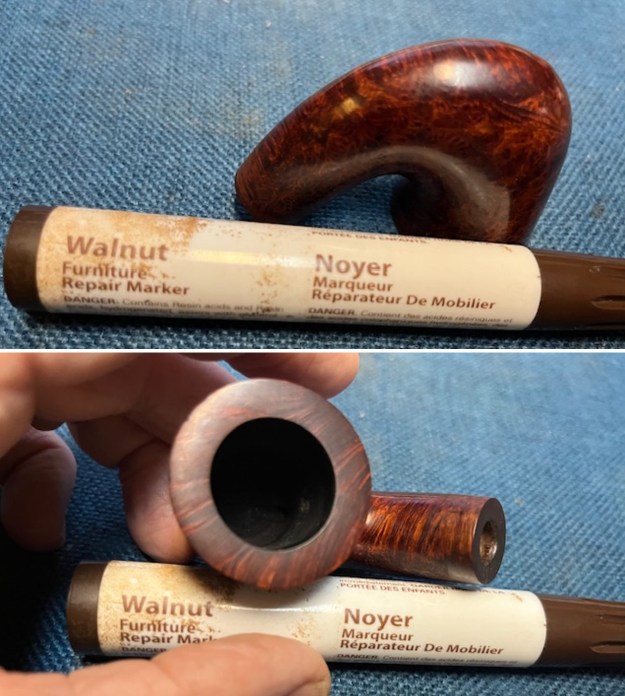
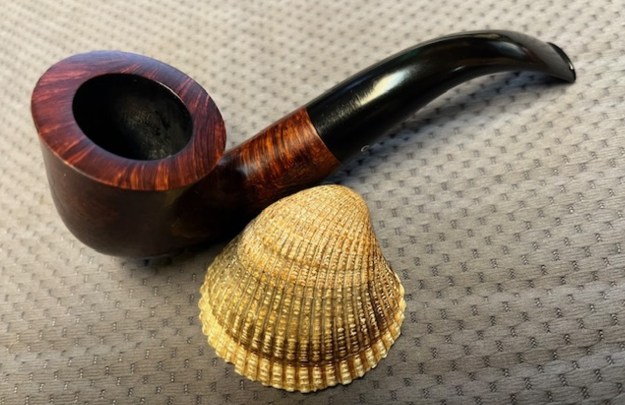
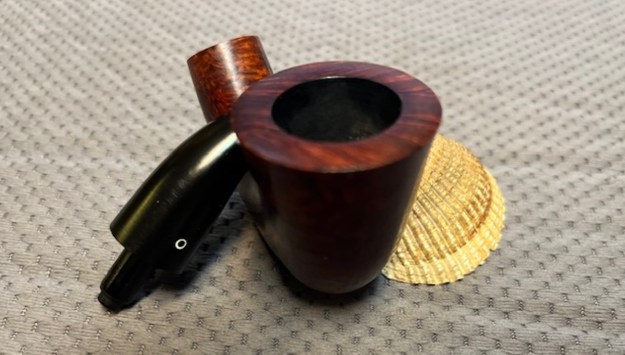
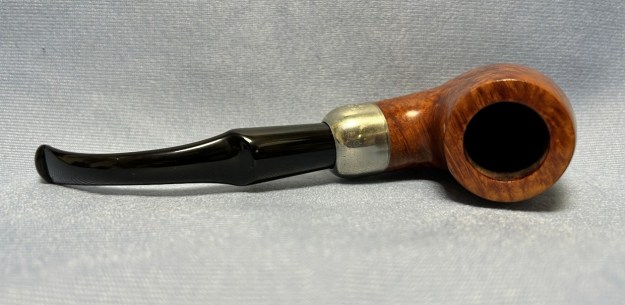
 I took close up photos of the bowl, rim top and stem to show how clean the pipe was. The bowl was clean and the rim top and the inner edge look beautiful. The cap on this pipe was smooth with a ring around the inner and out edge and a rim top that is slightly inset. It is unique among the Weber Pipes that I have worked on. The stem was clean and did not show either tooth marks or chatter.
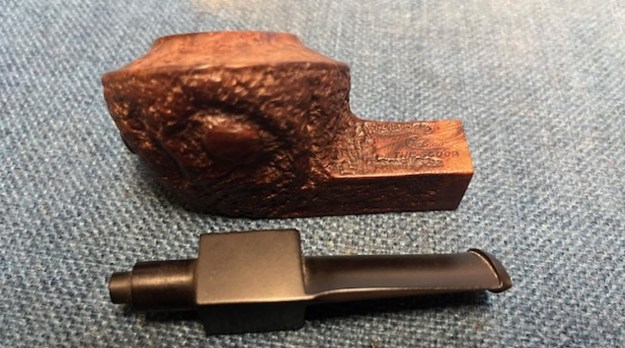
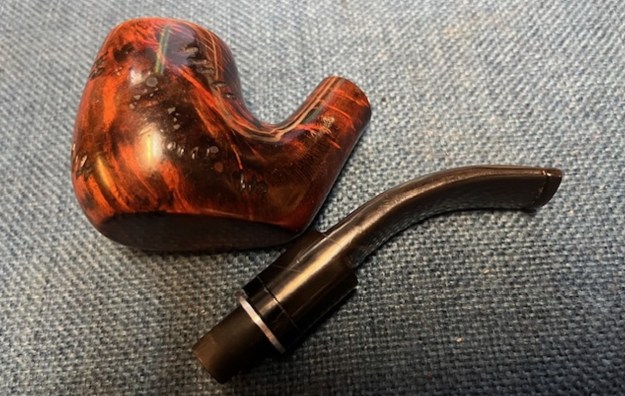
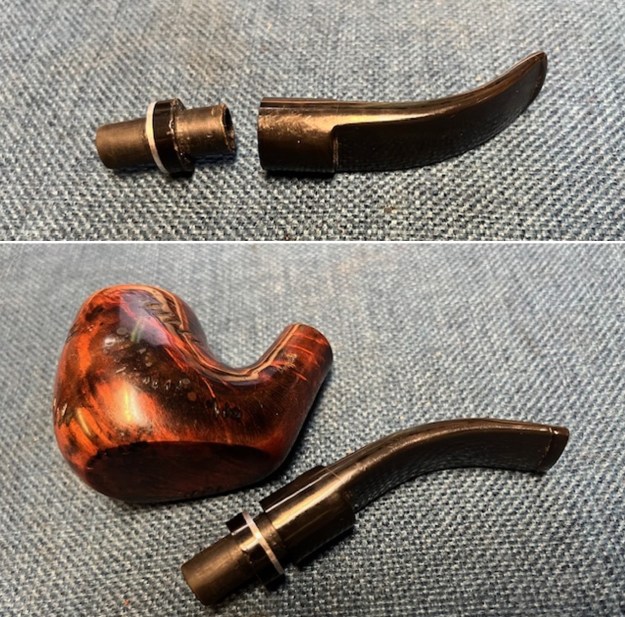
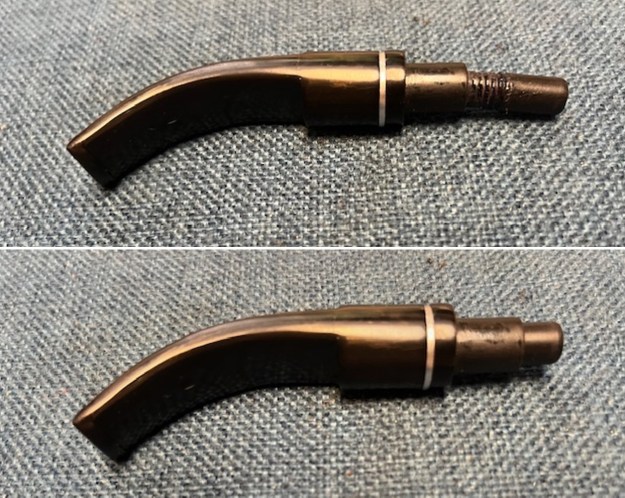
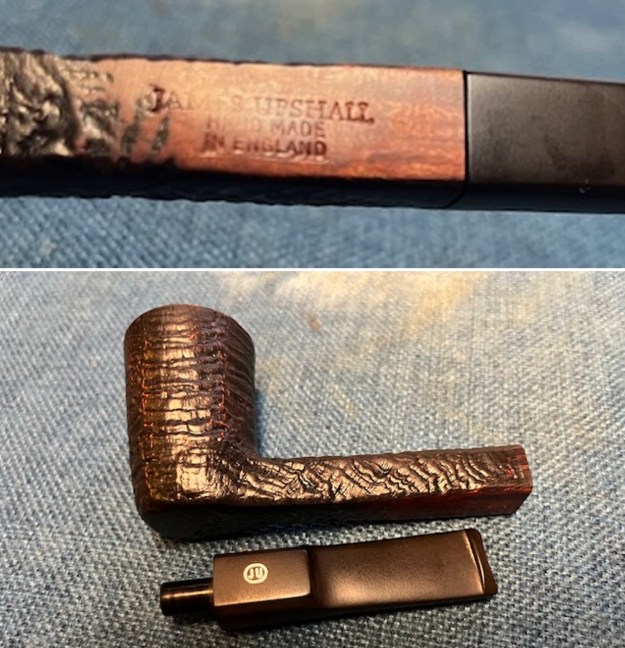
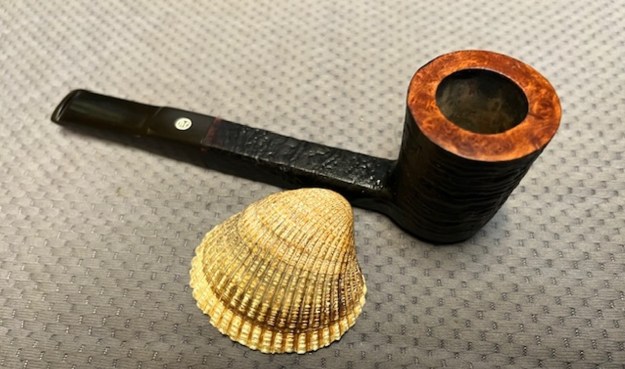
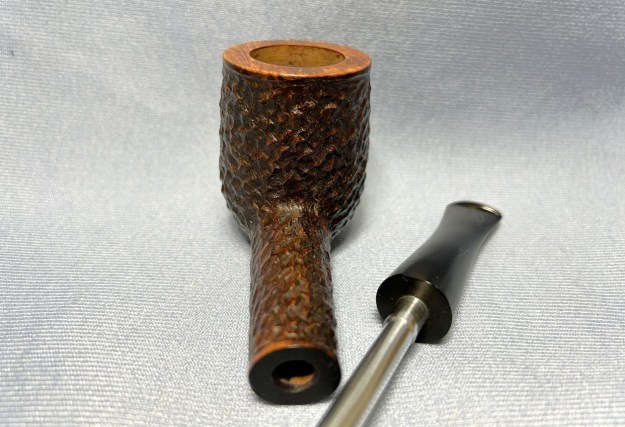
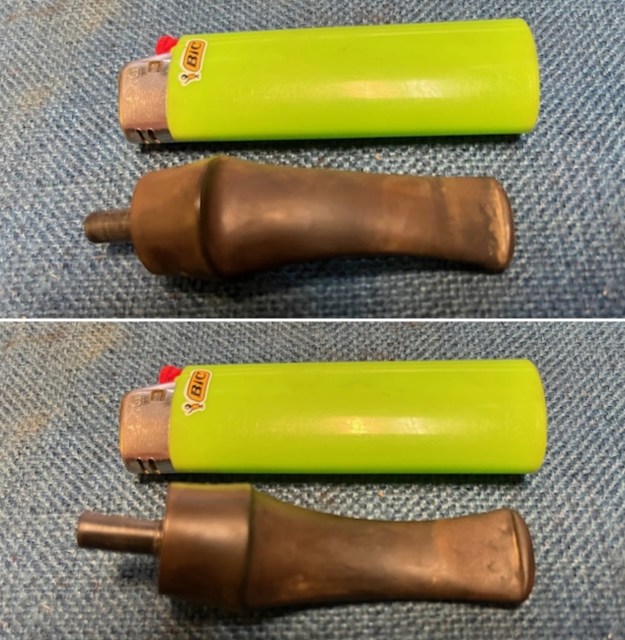
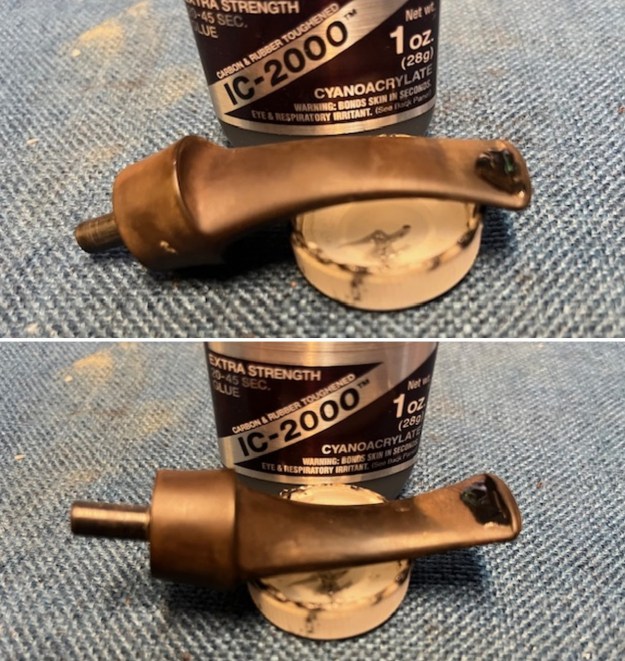
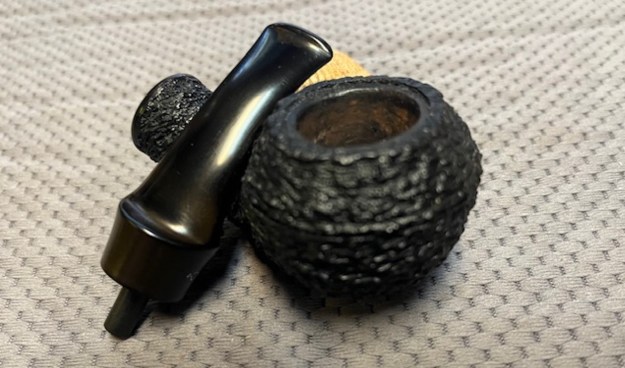
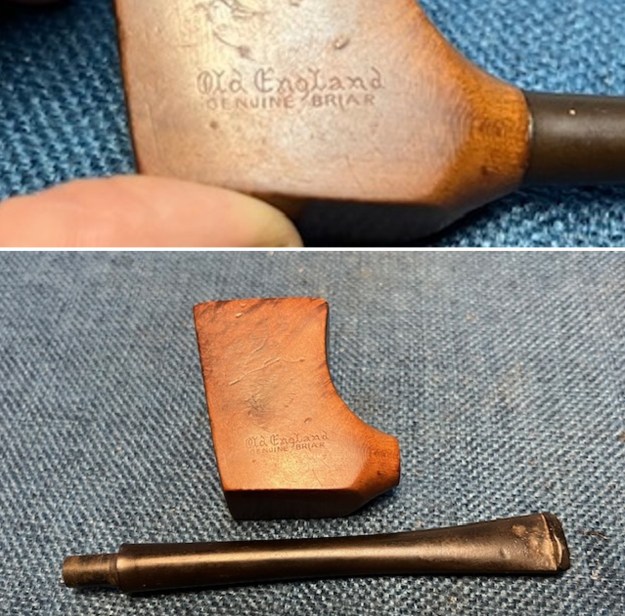
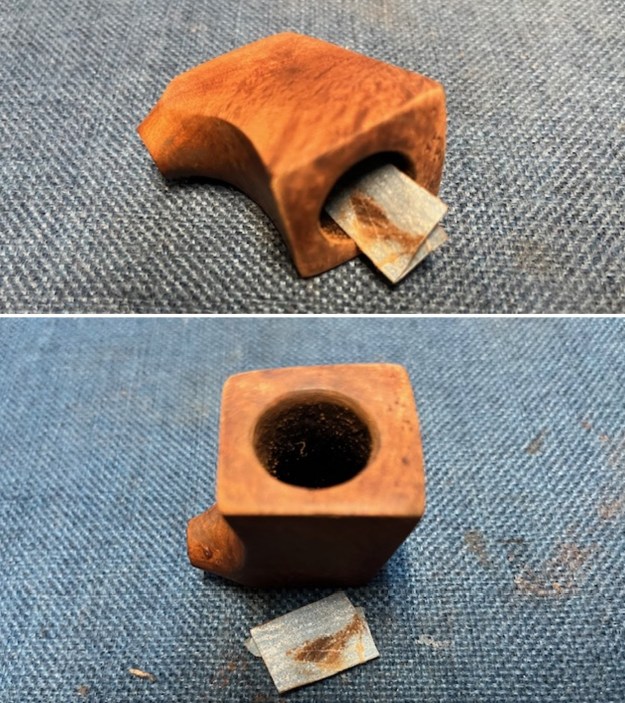
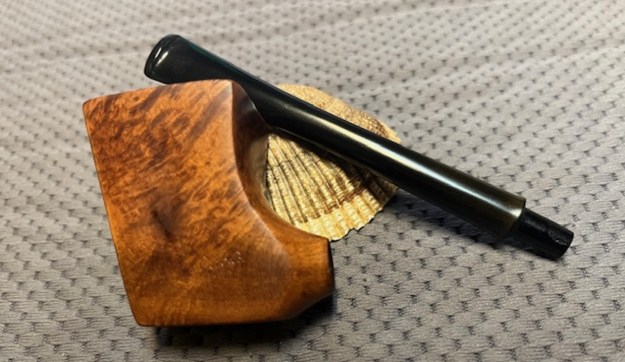
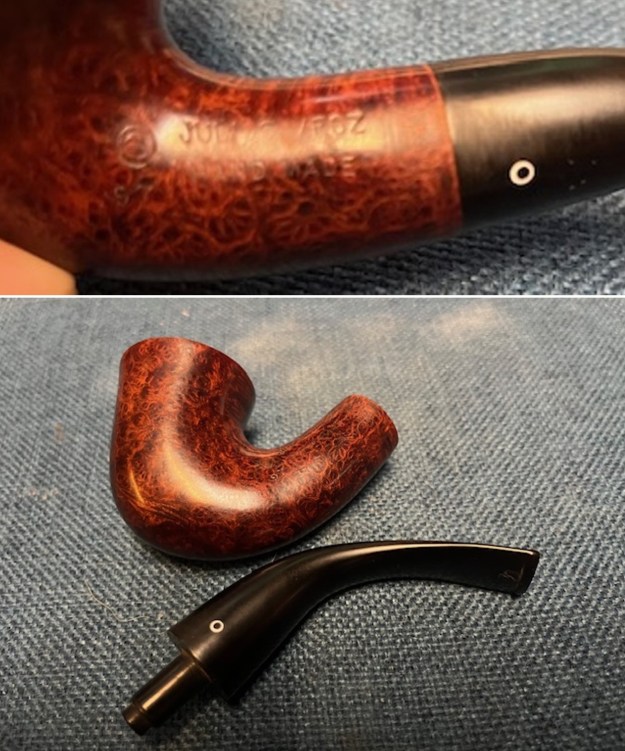
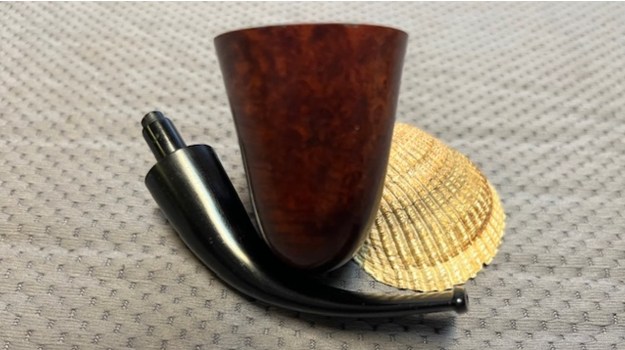
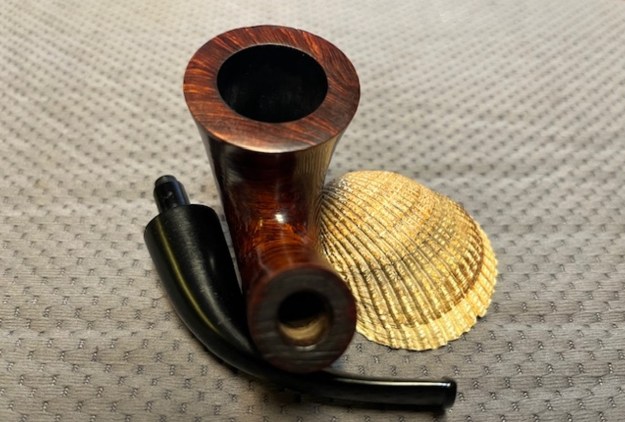
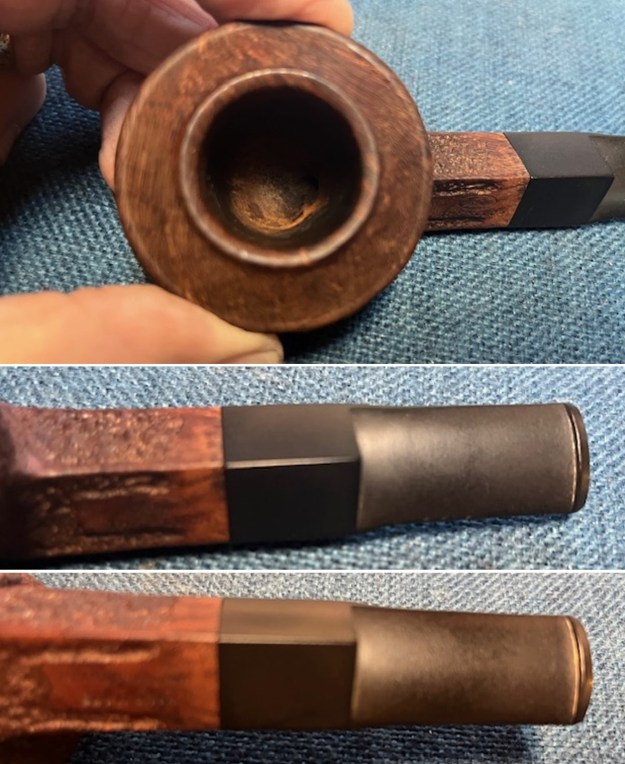 I took photos of the stamping on the sides of the shank. It is very clear and readable and read as noted above. I also removed the stem from the shank and took photos of the pipe to show the look of the parts.
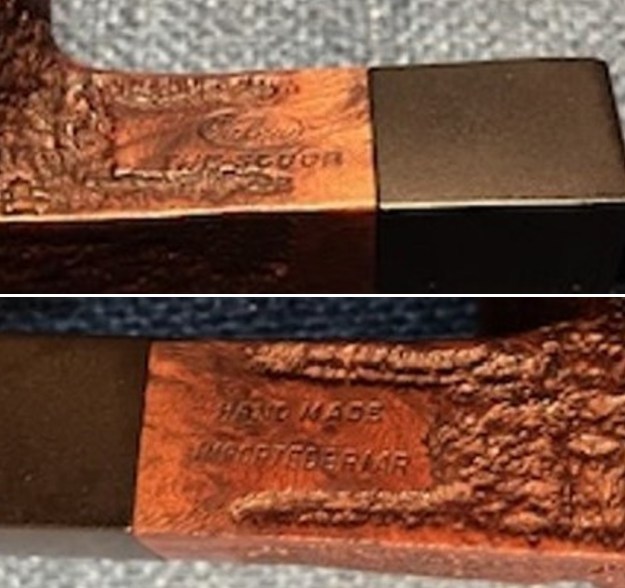
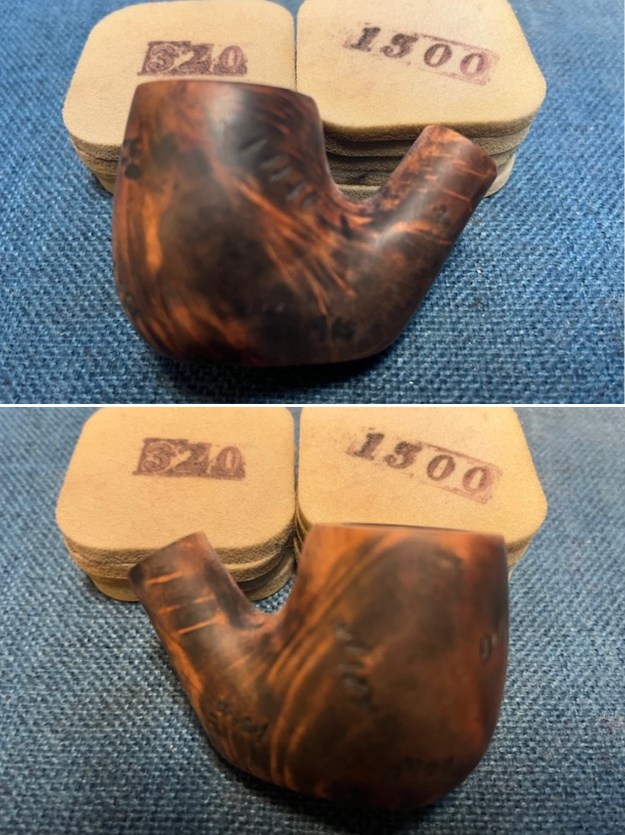
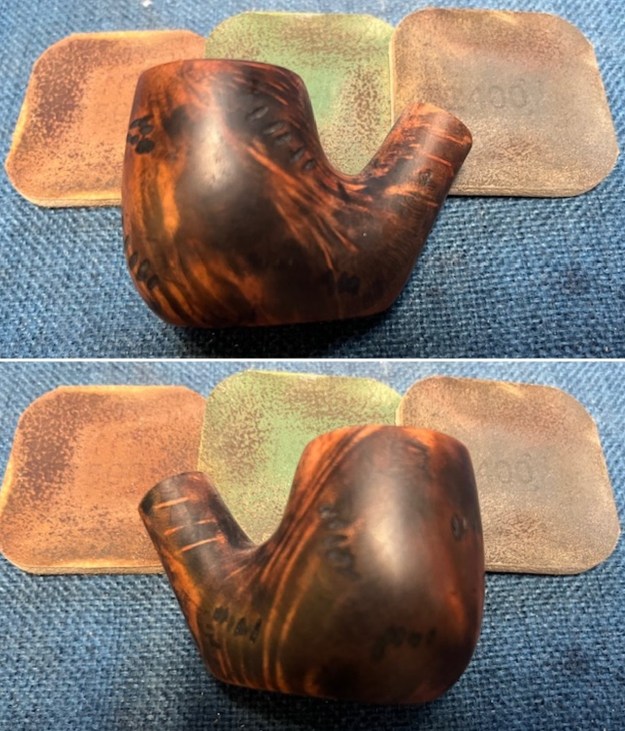
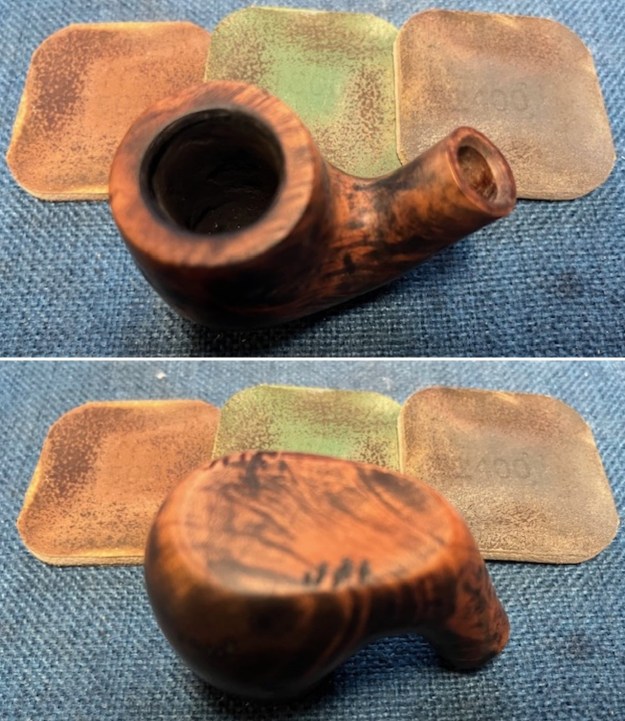
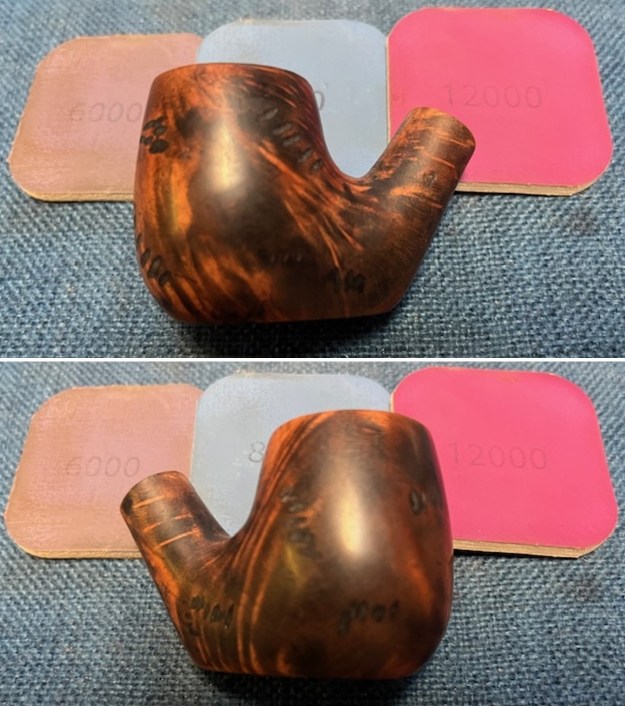
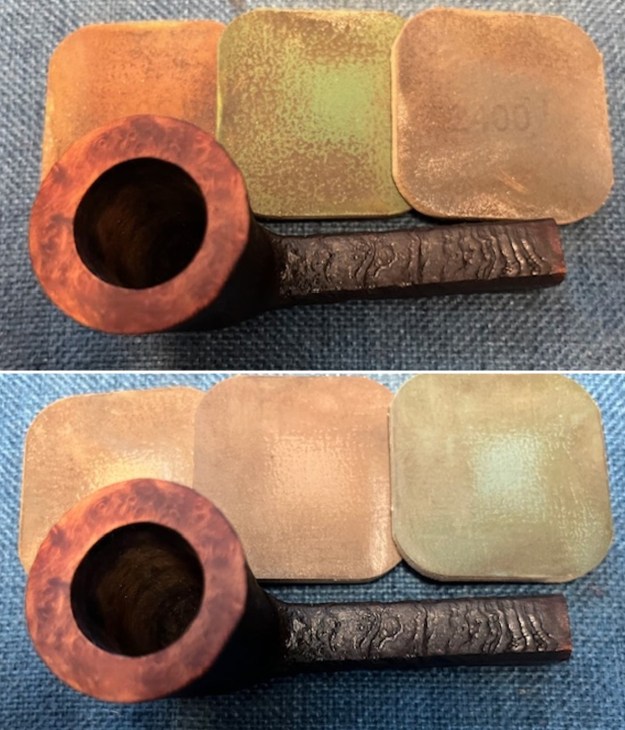
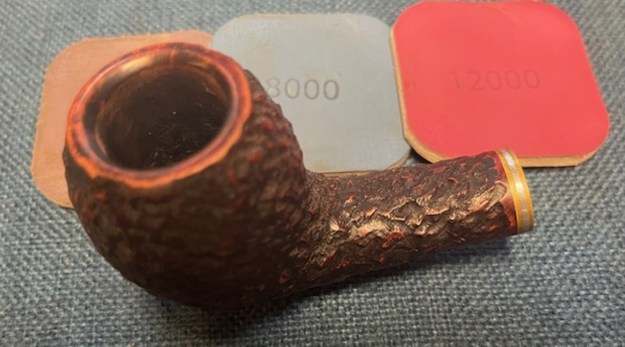
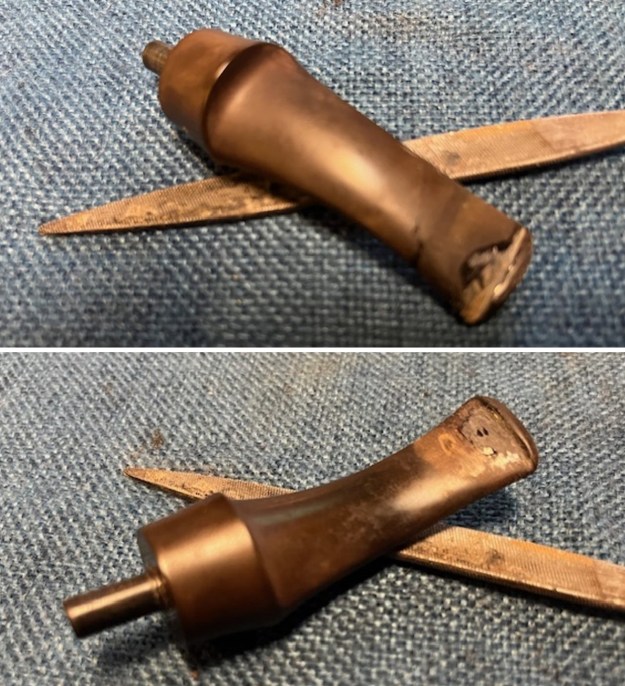
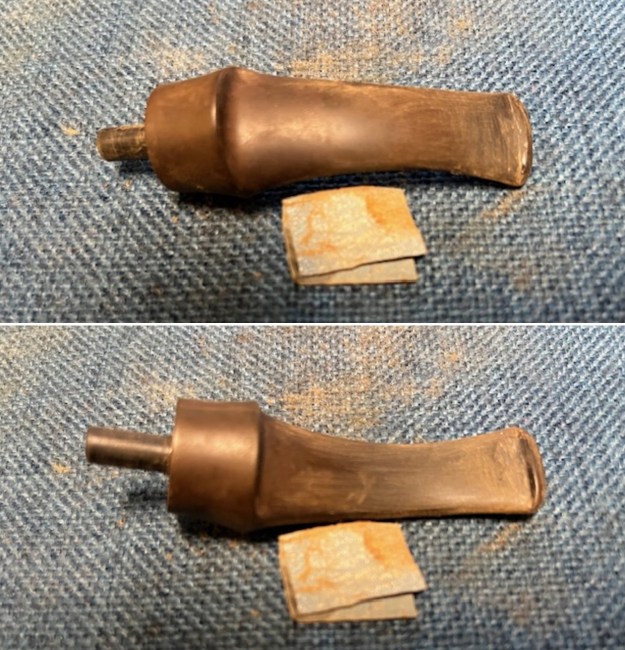
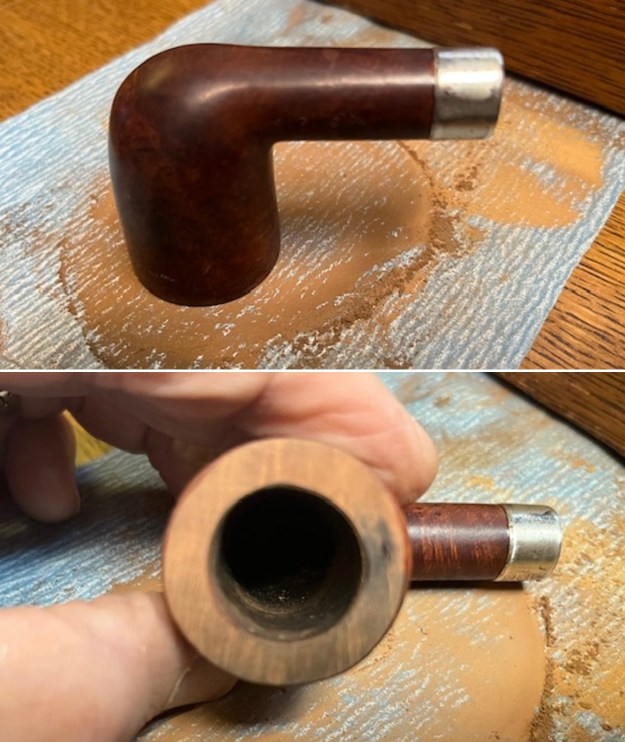
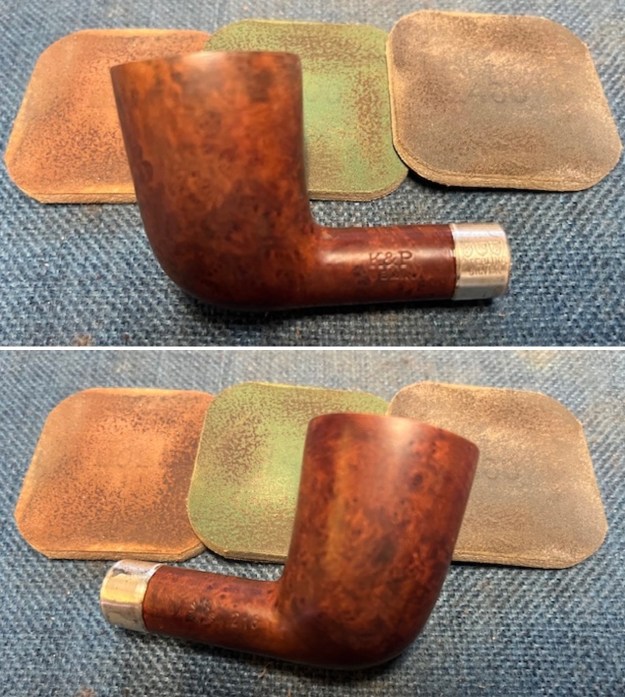
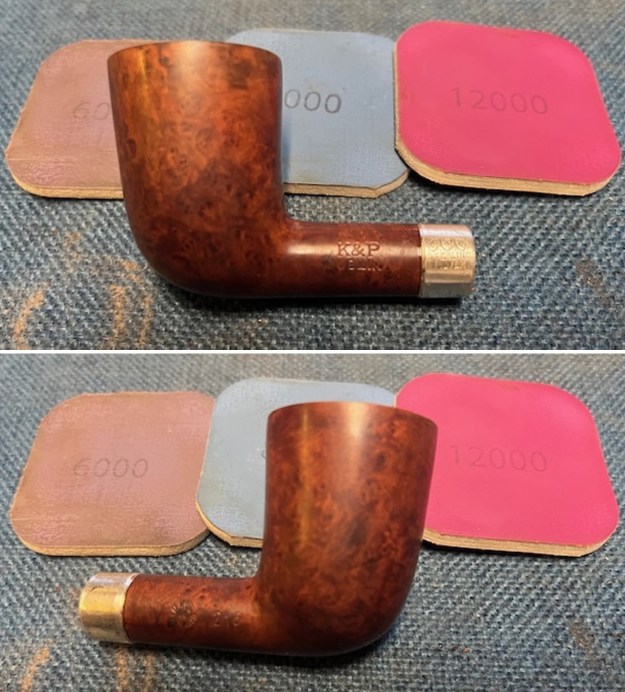
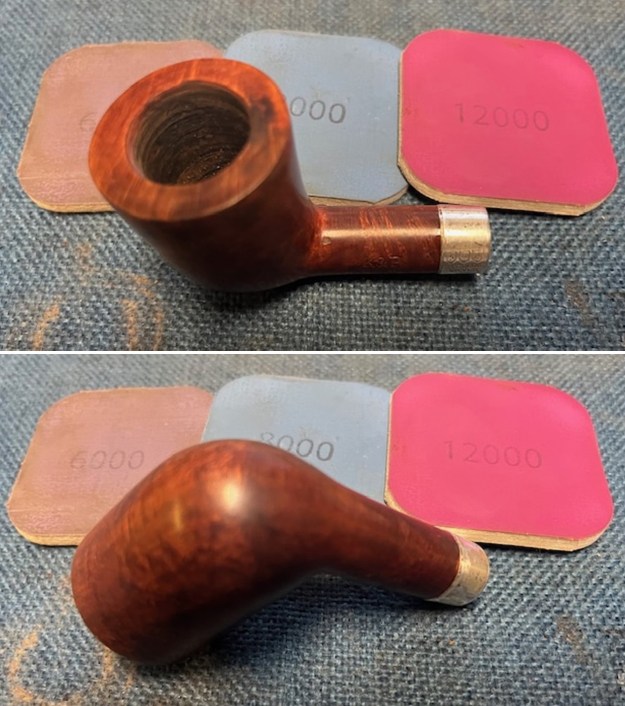
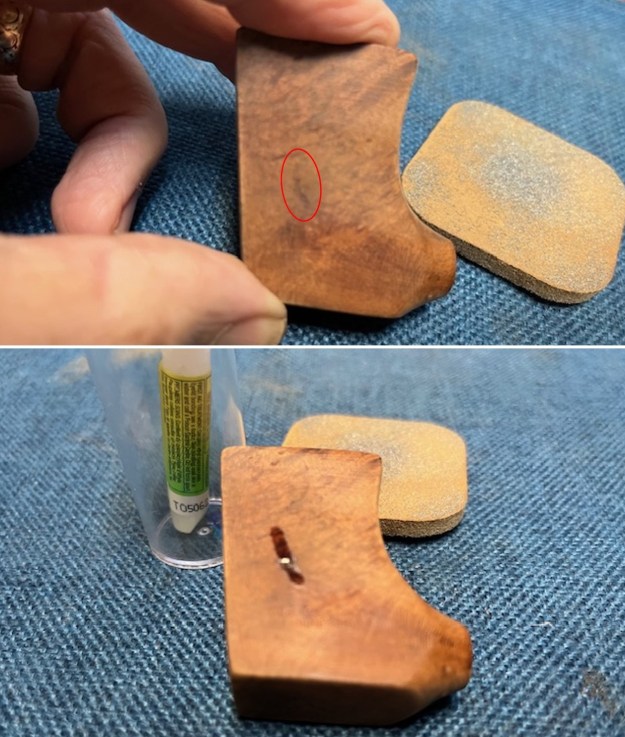
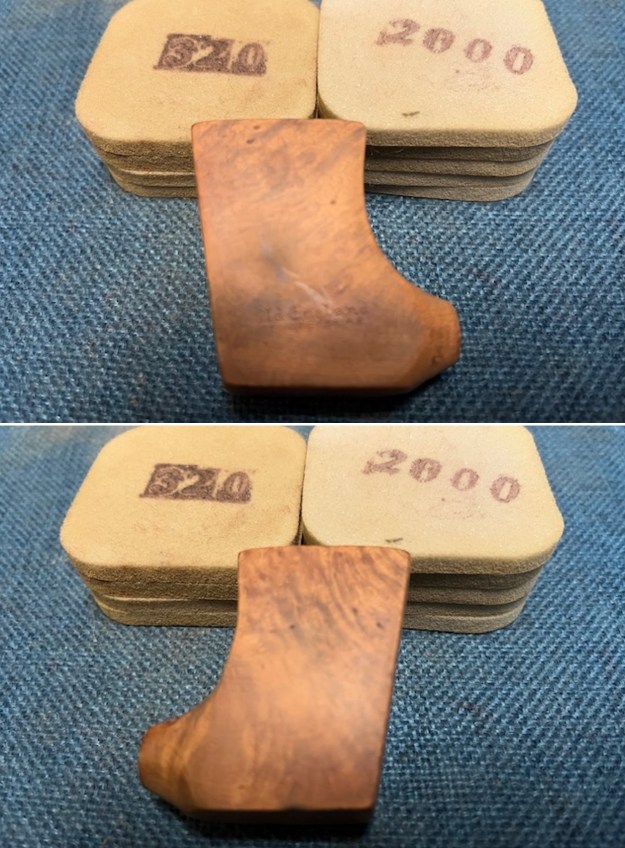
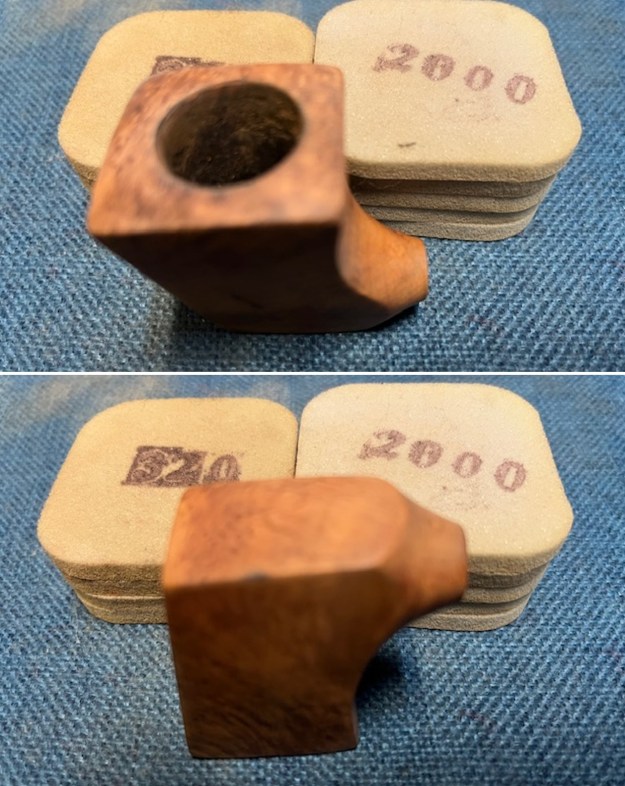
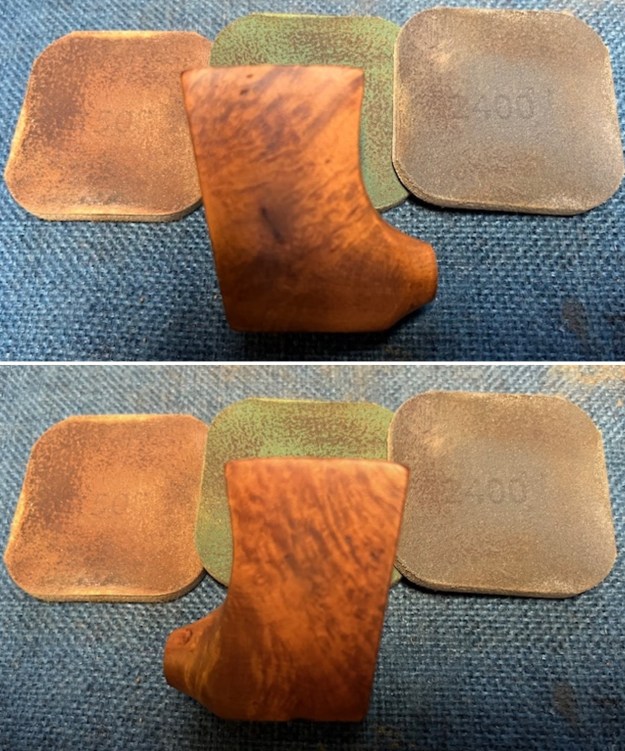
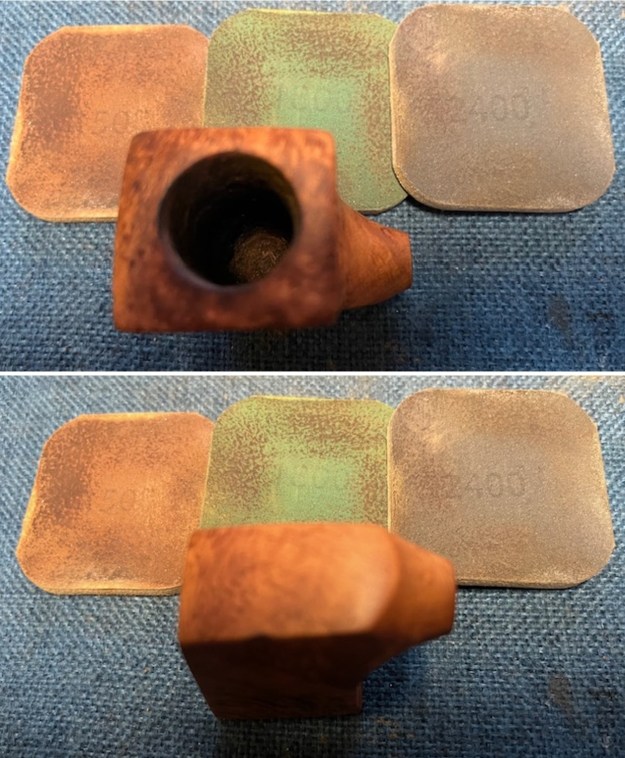
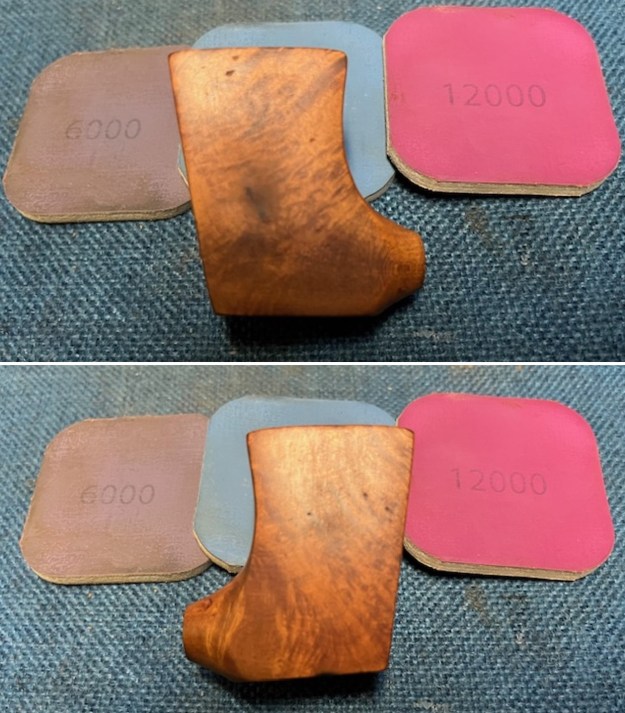
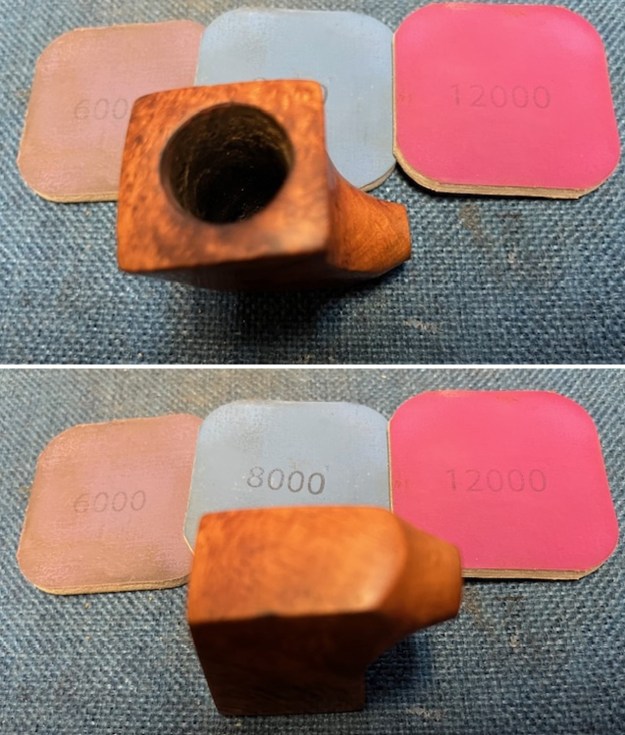
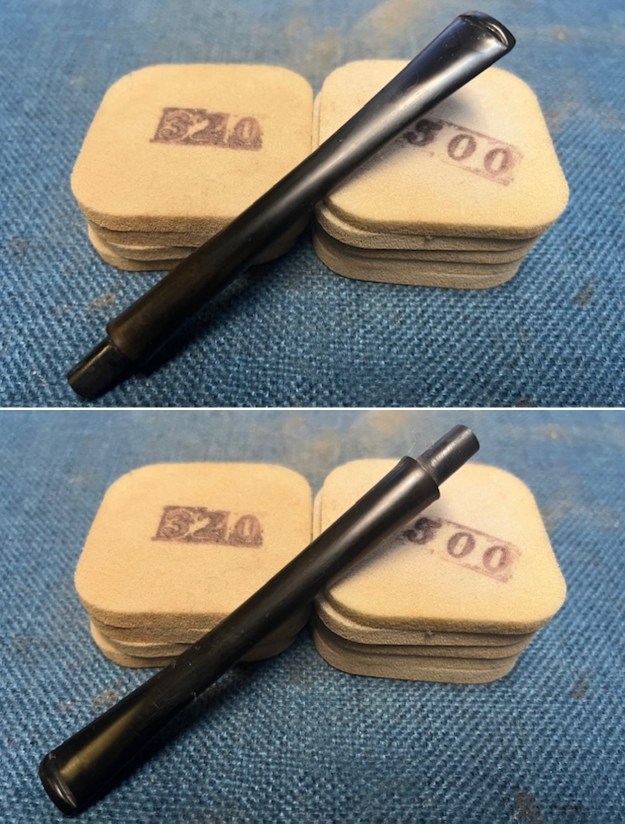
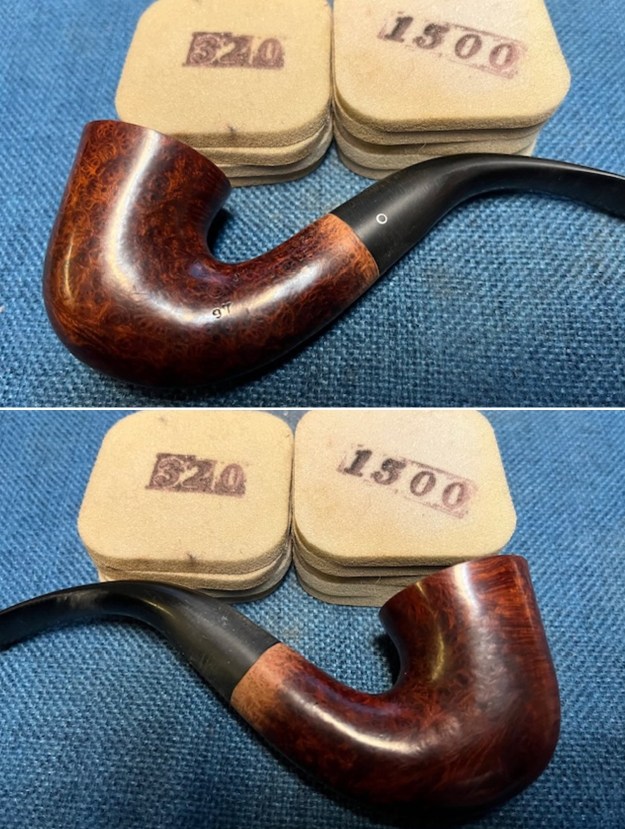
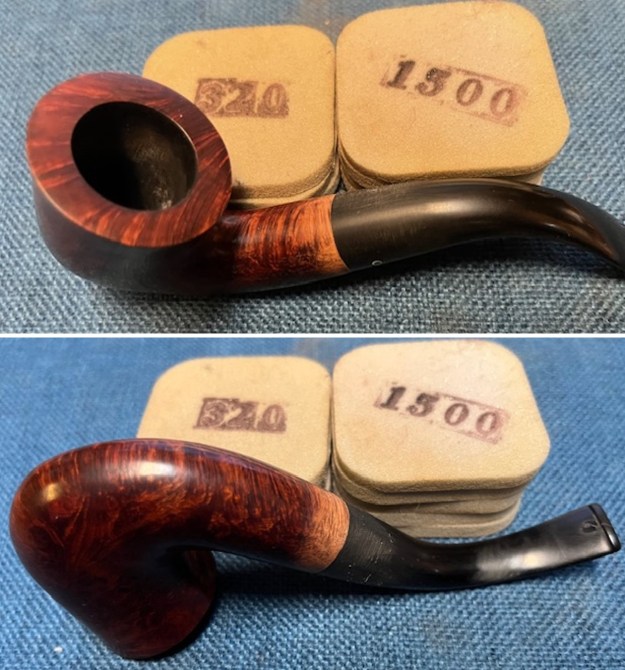
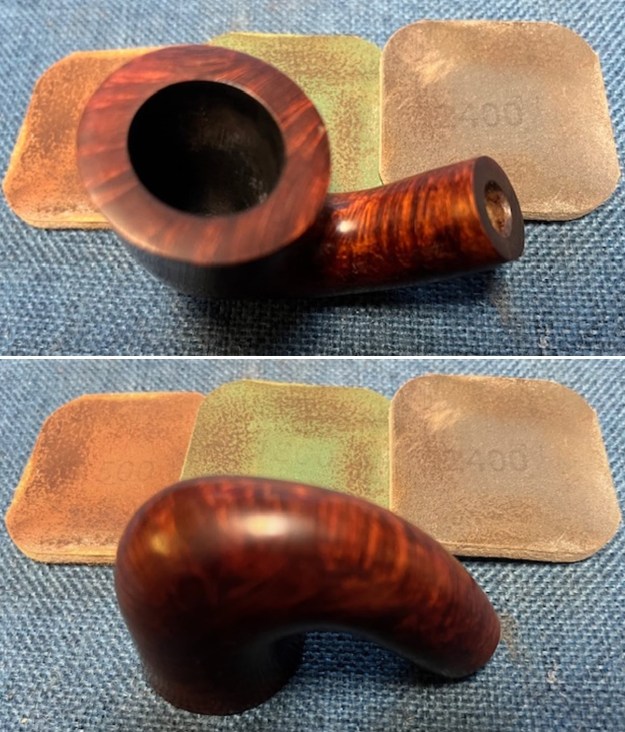
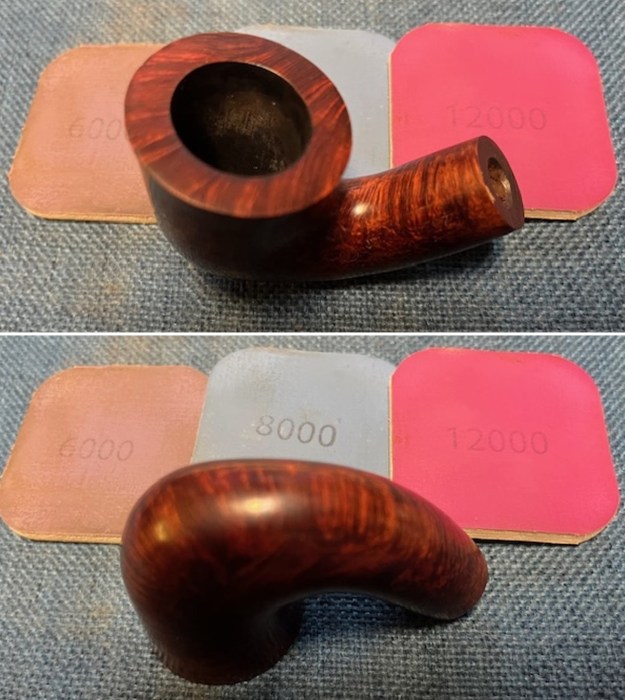
 I sanded the rim top with 320-3500 grit sanding pads to remove the light scratching on the edges and surface of the rim. I wiped it down with a damp cloth after each sanding pad to remove the debris.
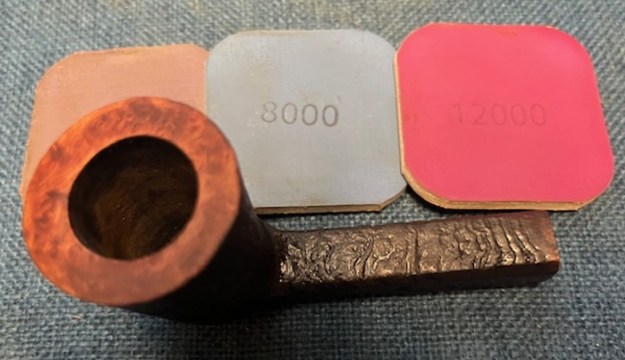
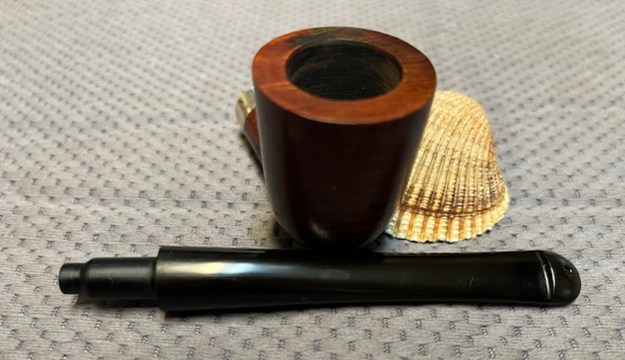
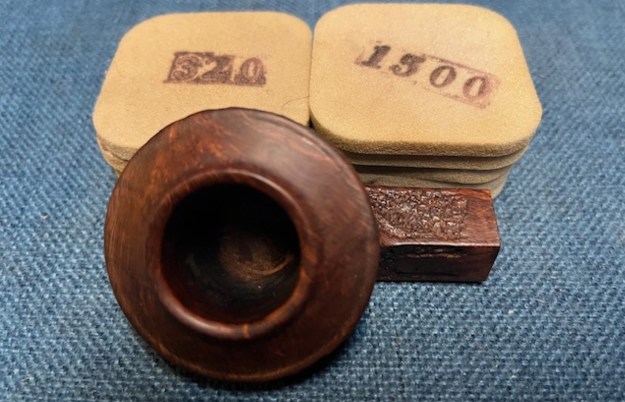 I polished the smooth rim top with 1500-12000 grit micromesh sanding pad – dry sanding it with the pads. I wiped the bowl down with a damp cloth after each pad. It began to take on a deep shine.
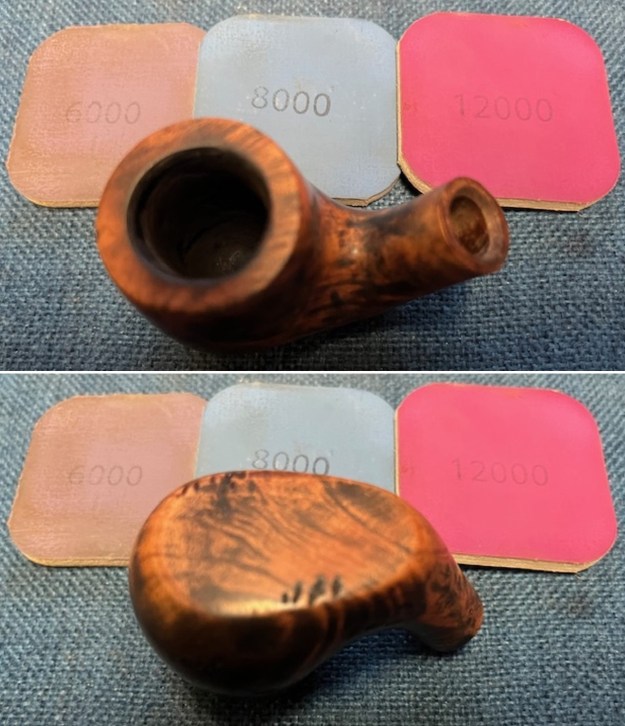
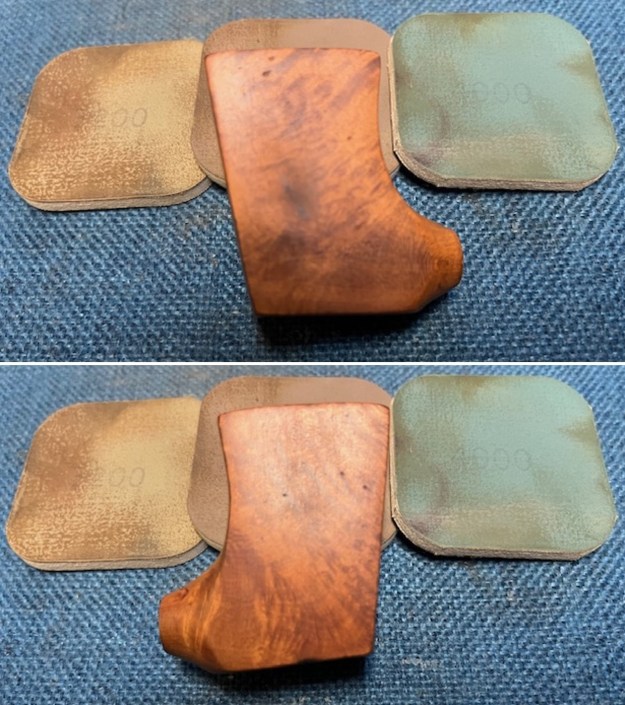
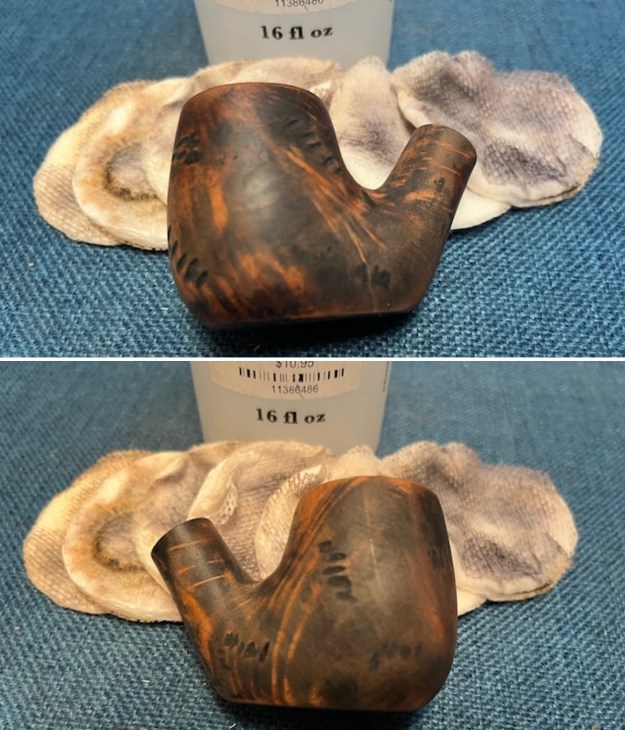
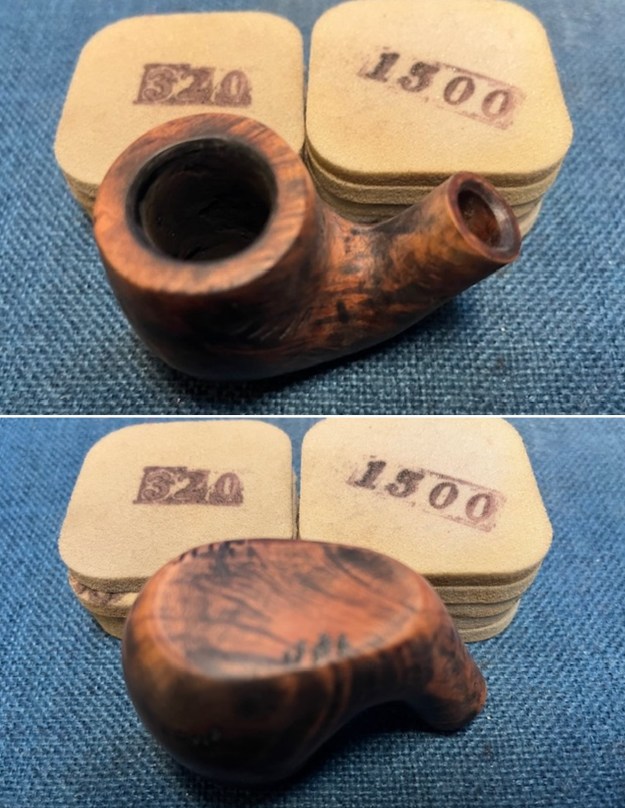
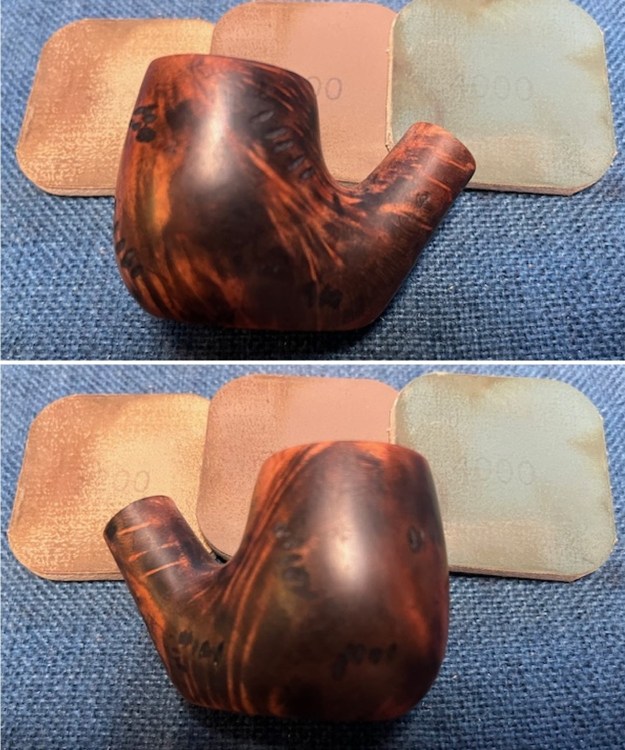
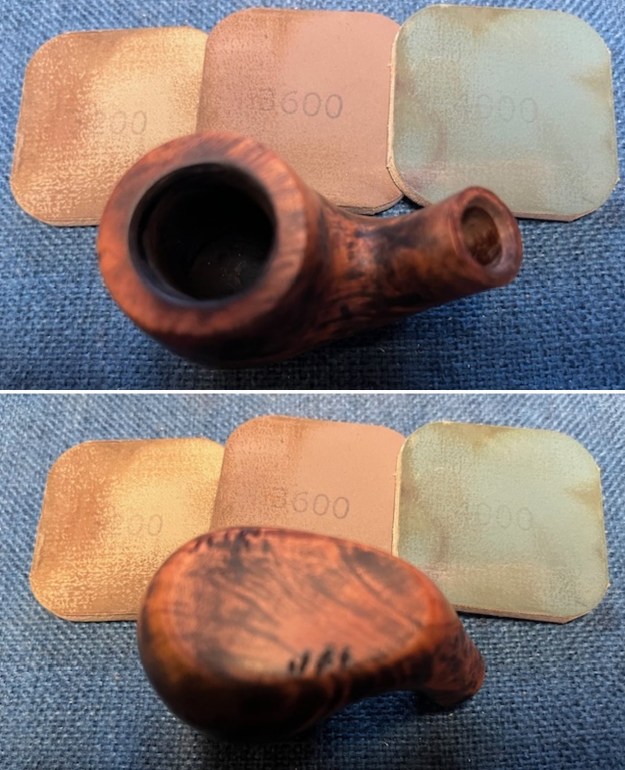
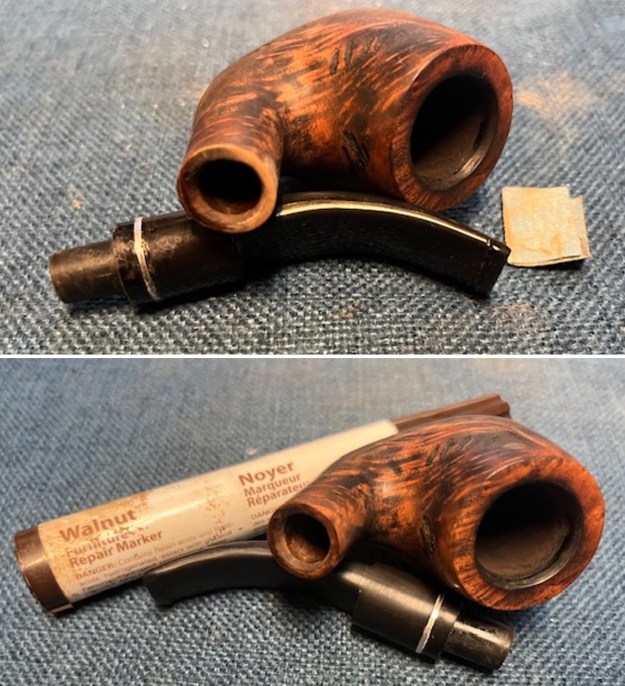
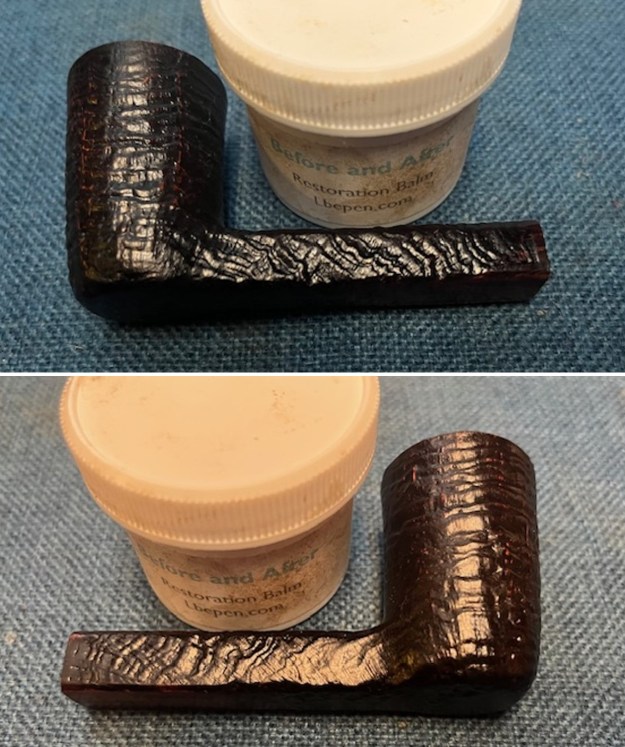
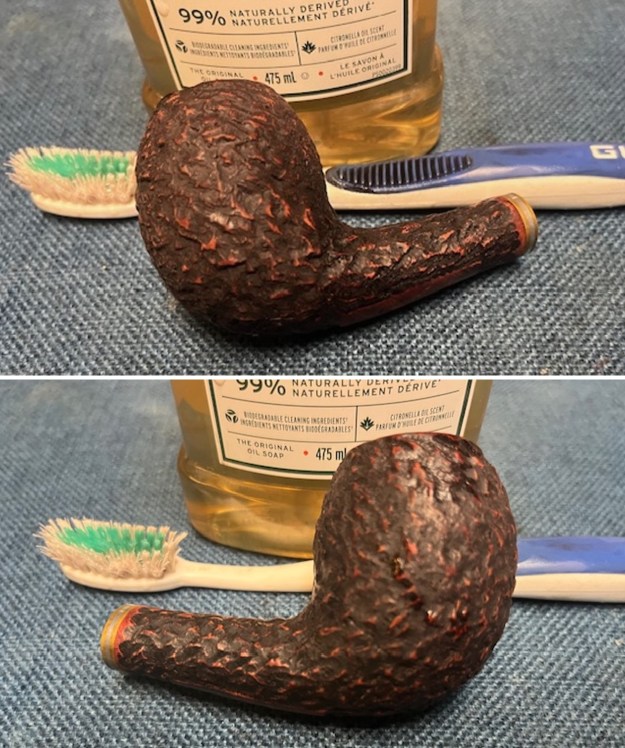
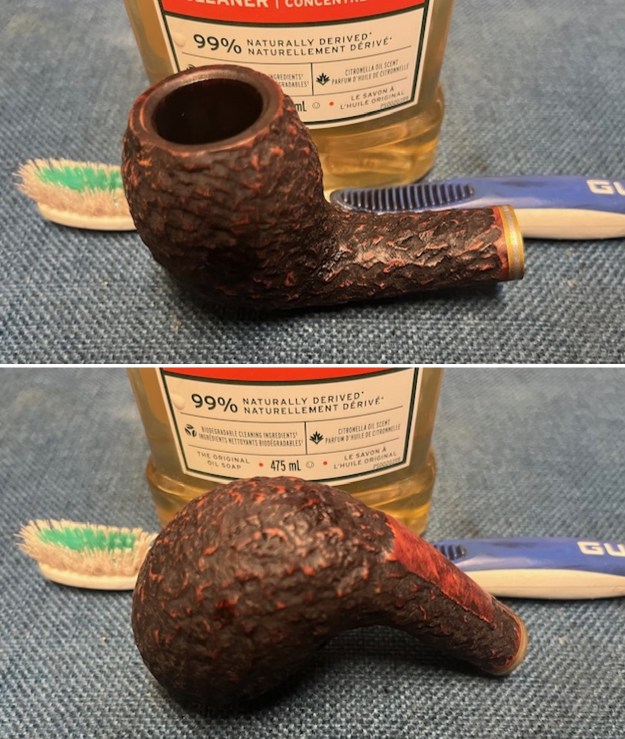
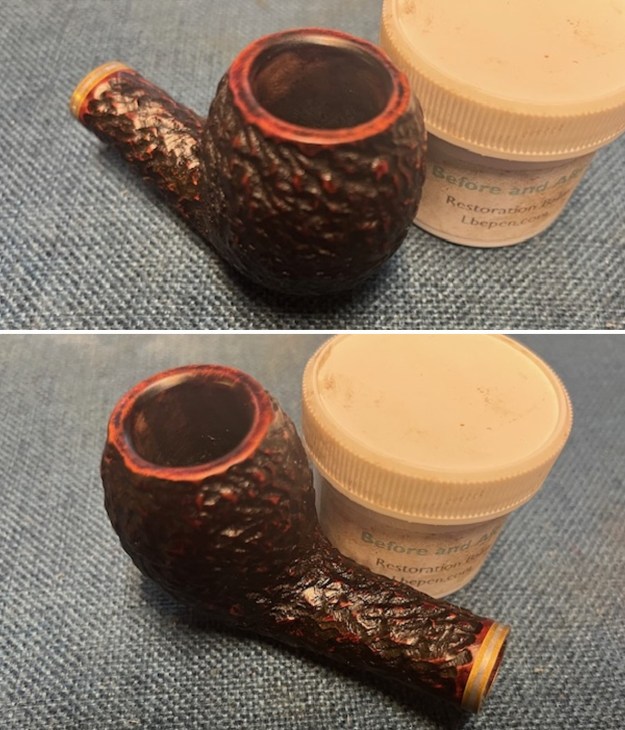
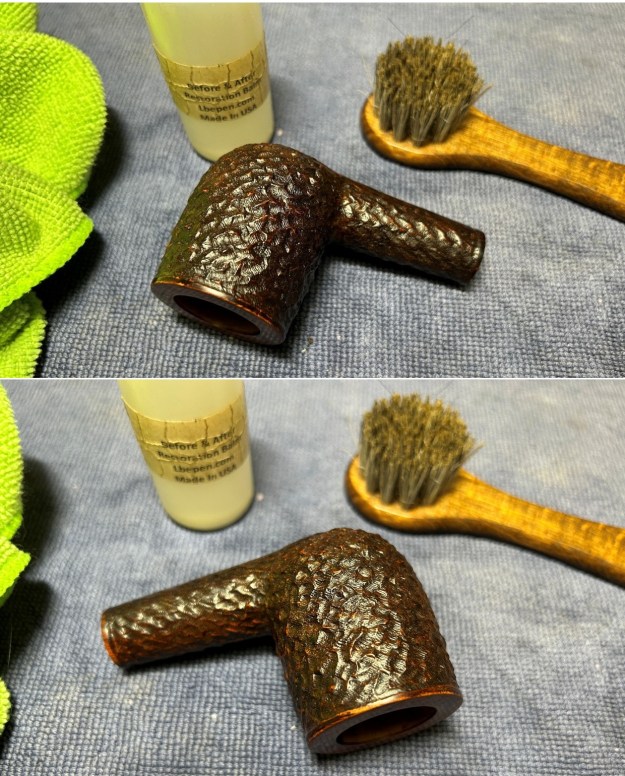
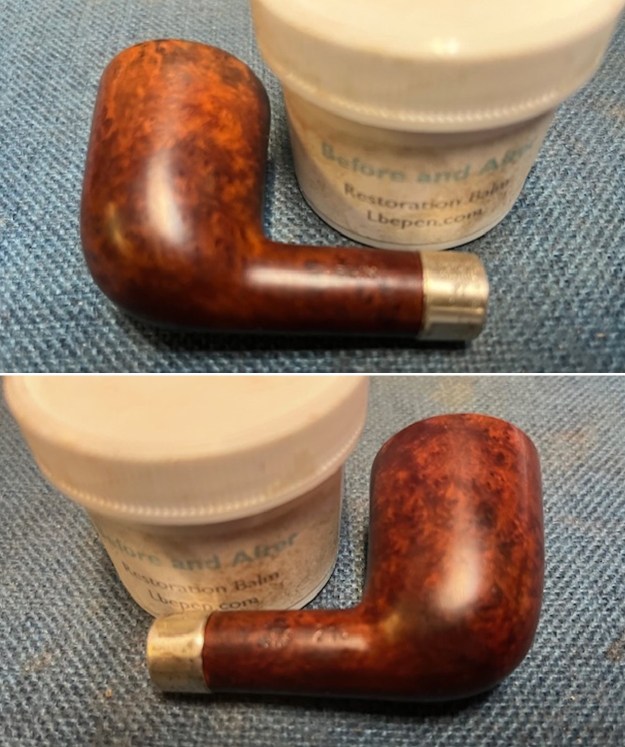
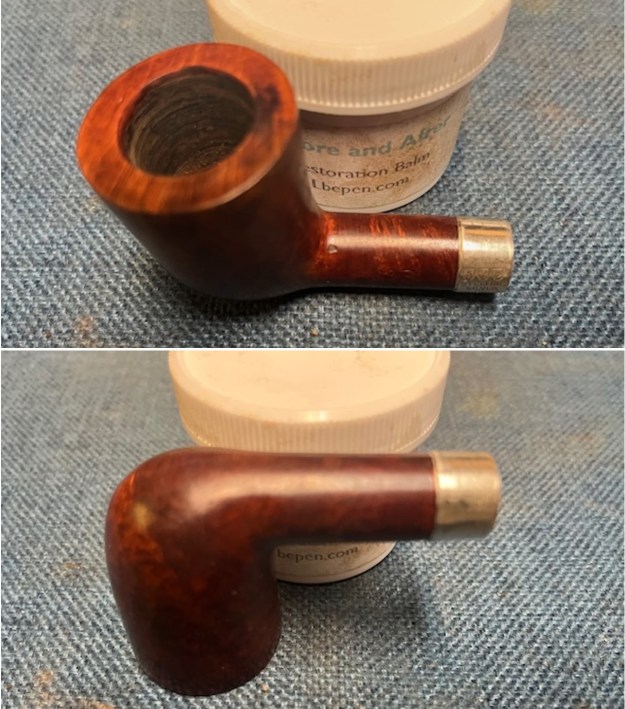
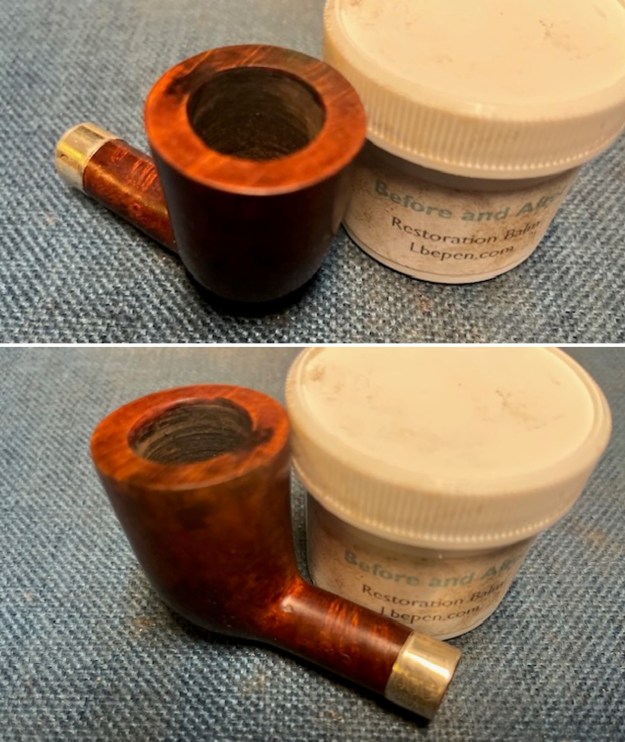
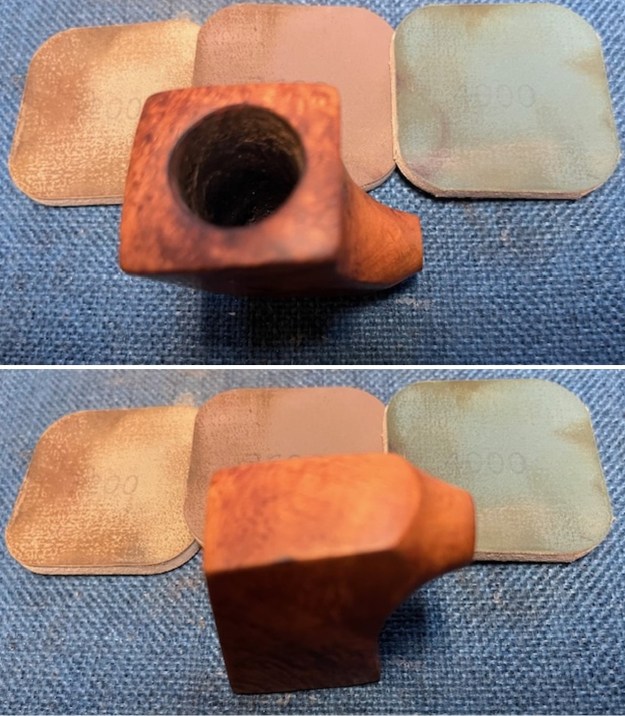
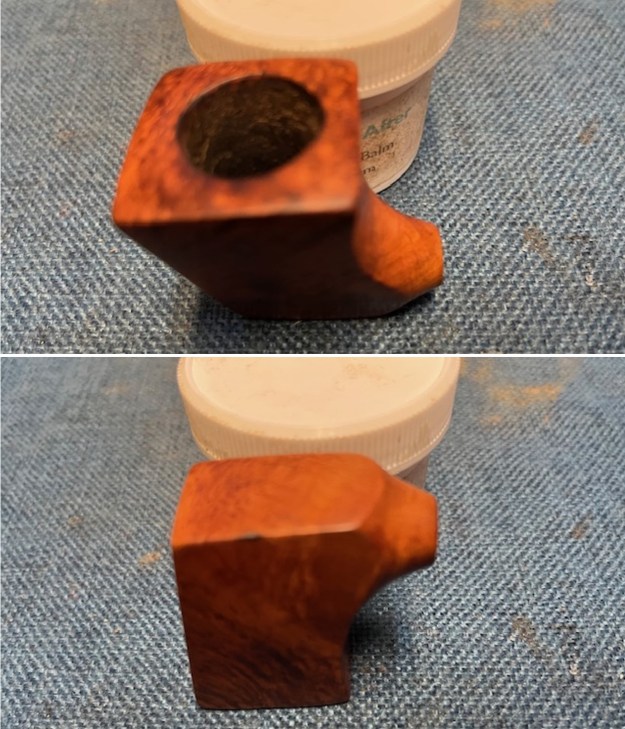
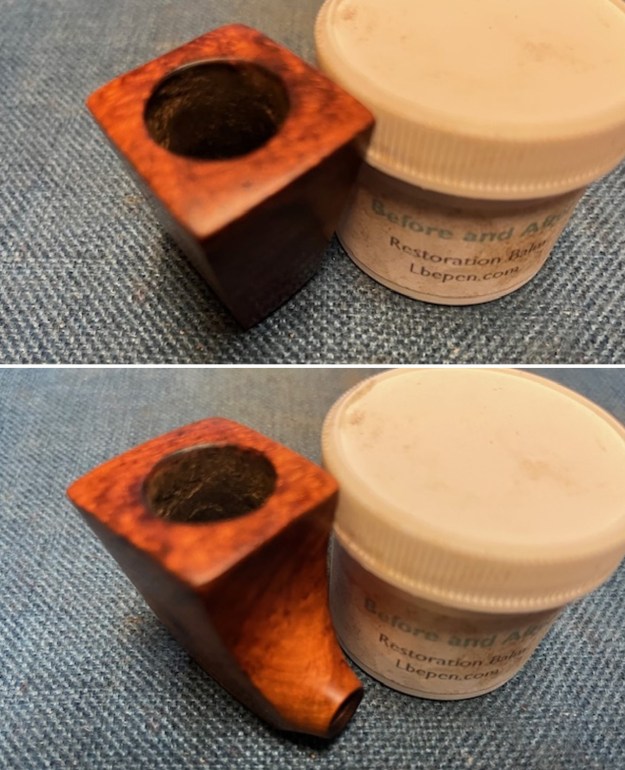
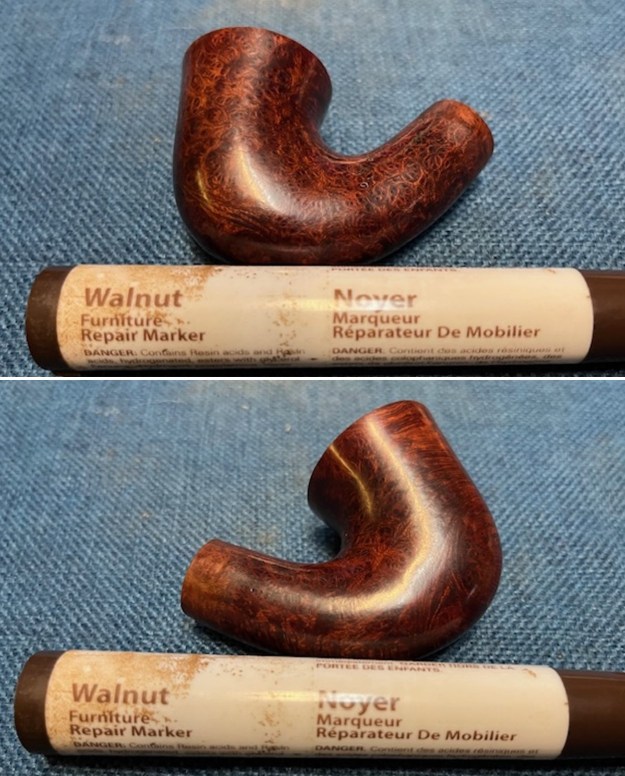
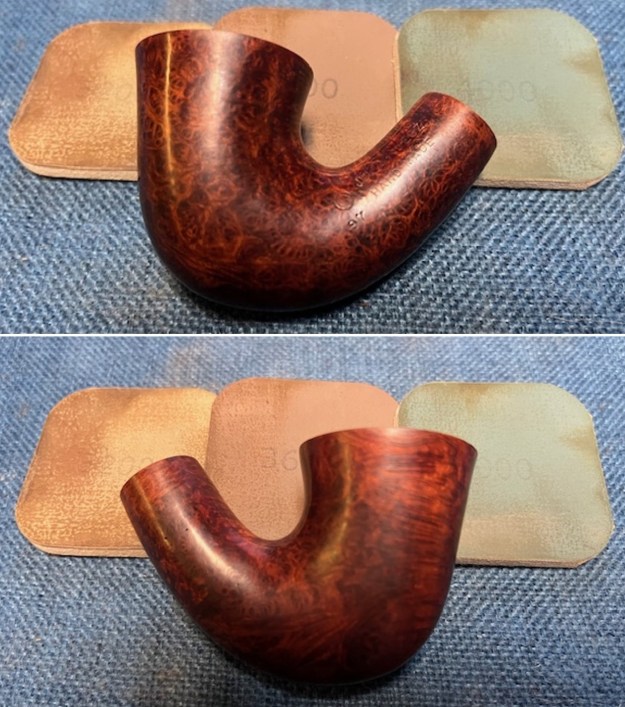
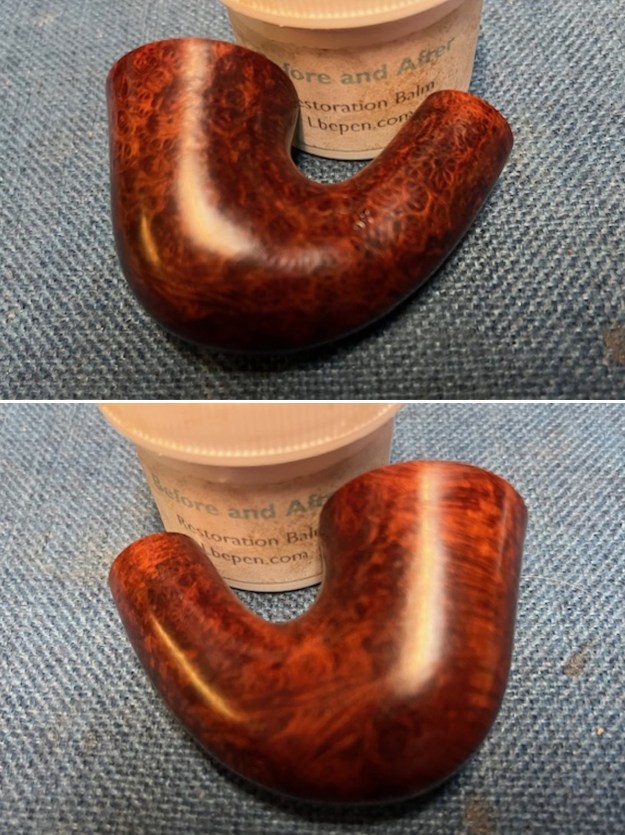
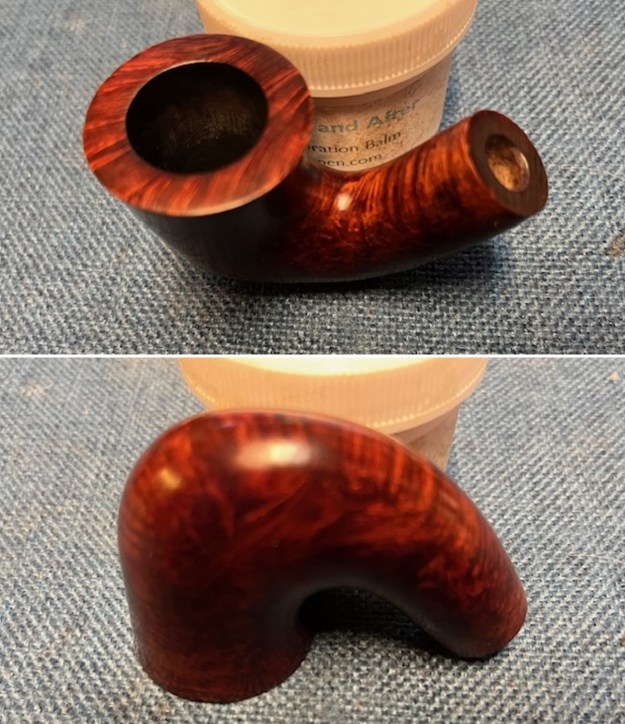
 The exterior of the bowl look better after sanding. I worked some Before & After Restoration Balm into the briar with my finger tips and a shoe brush to get into the nooks and crannies. I let it sit on the bowl for 10 minutes and then buffed it off with a paper towel and soft cloth. The product is a great addition to the restoration work. It enlivens, enriches and protects the briar while giving it a deep glow. It is a product I use on every pipe I restore.
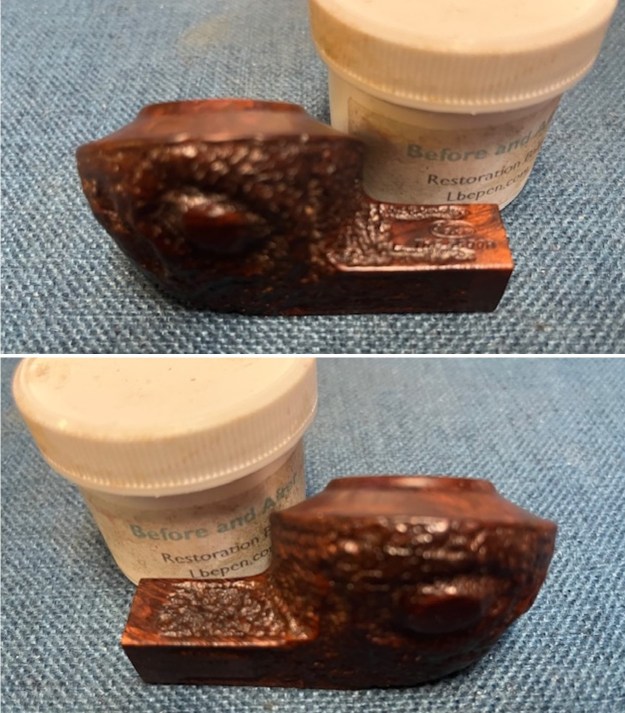
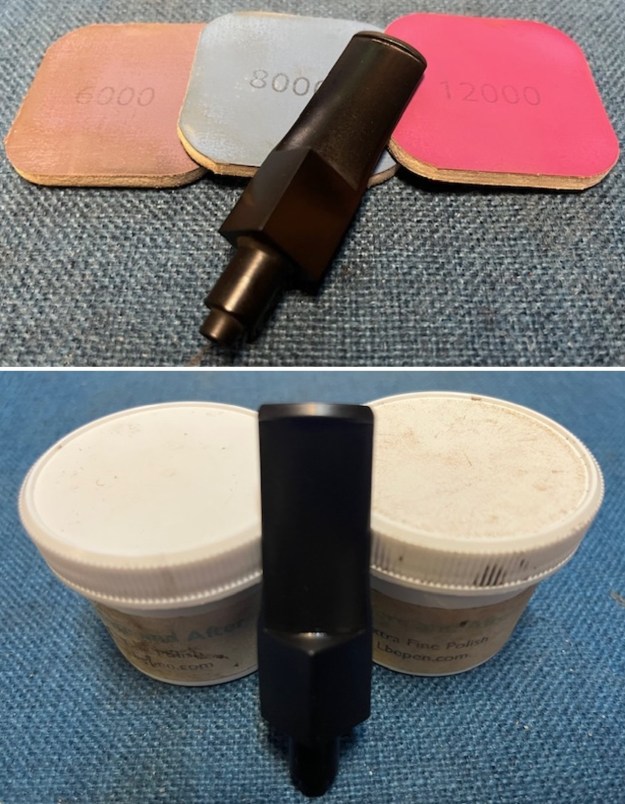
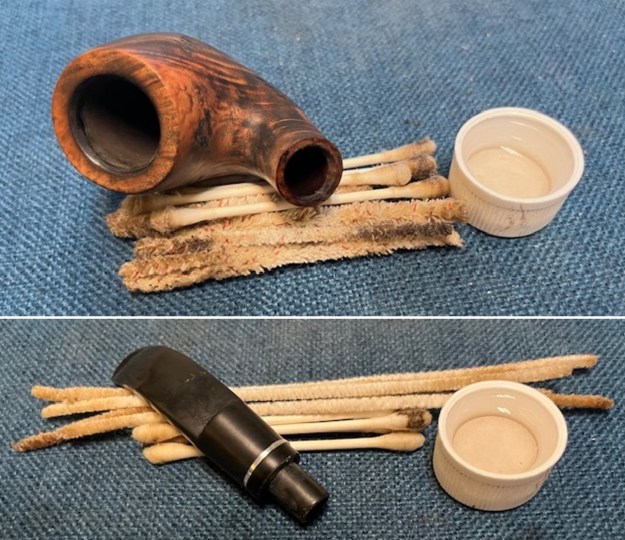
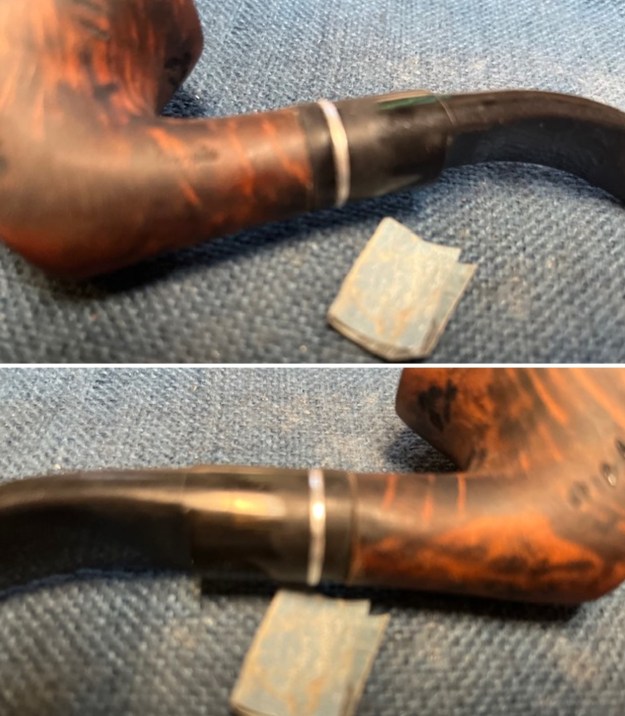
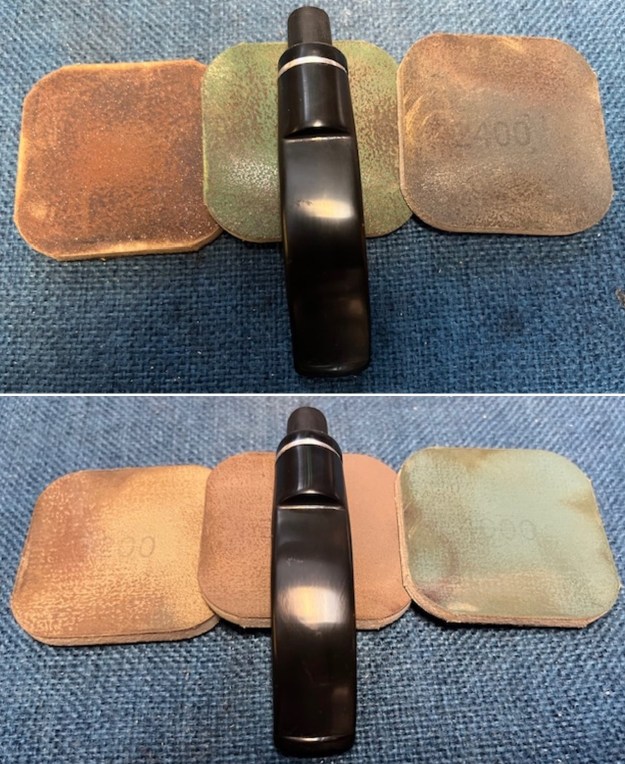
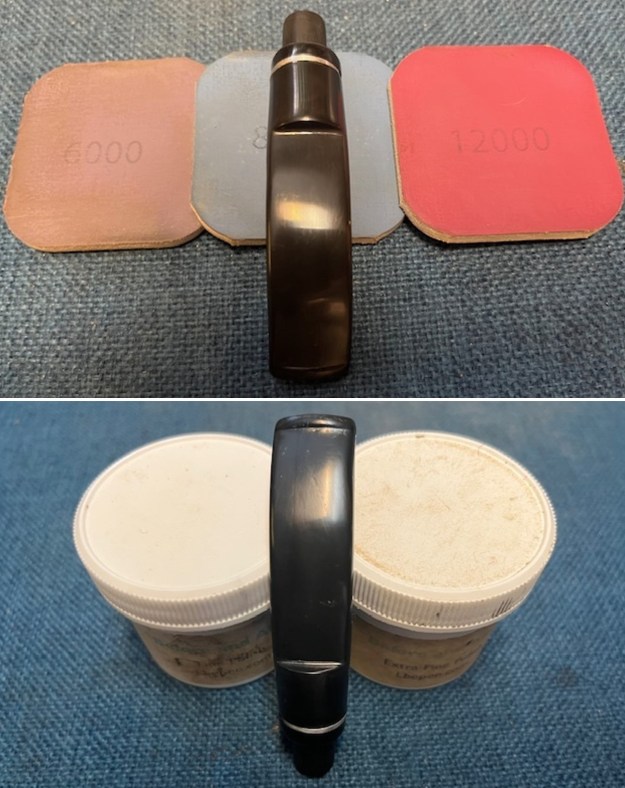
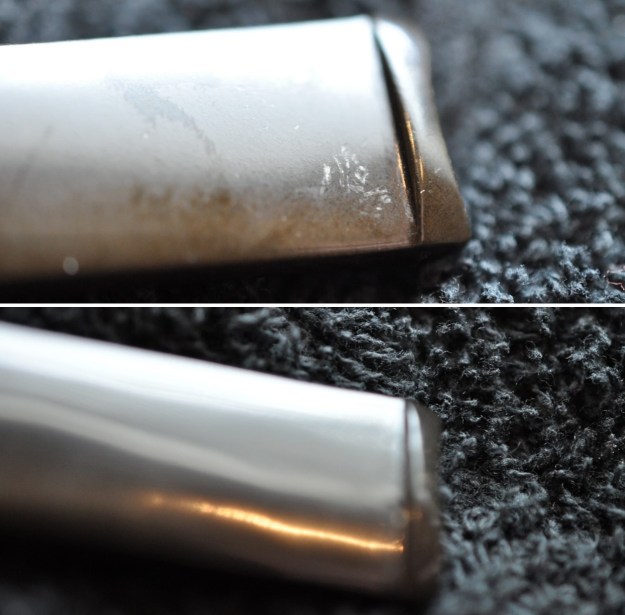
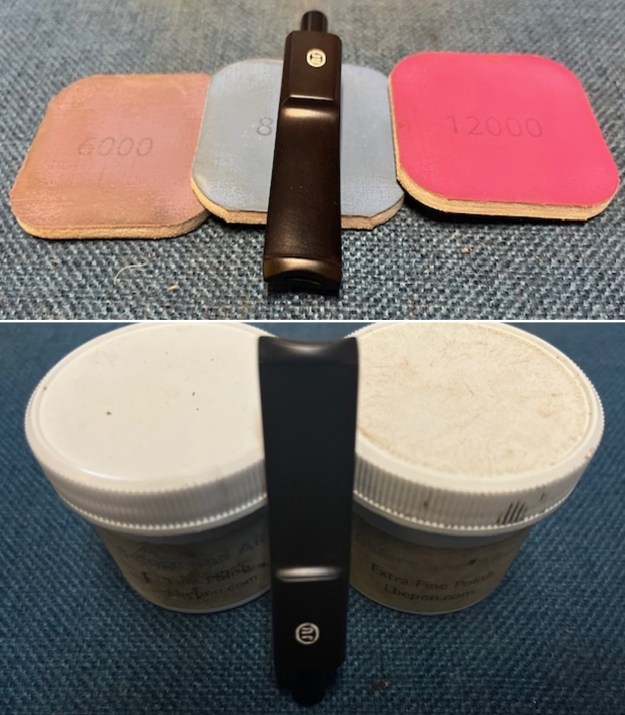
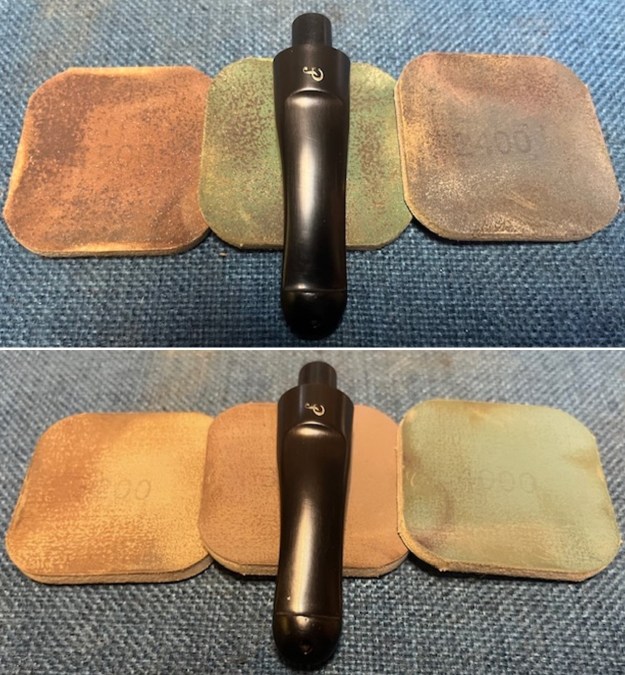
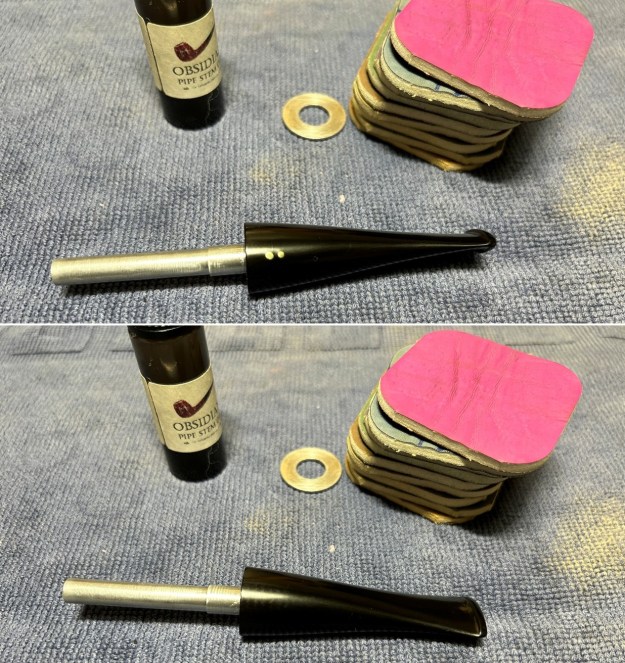
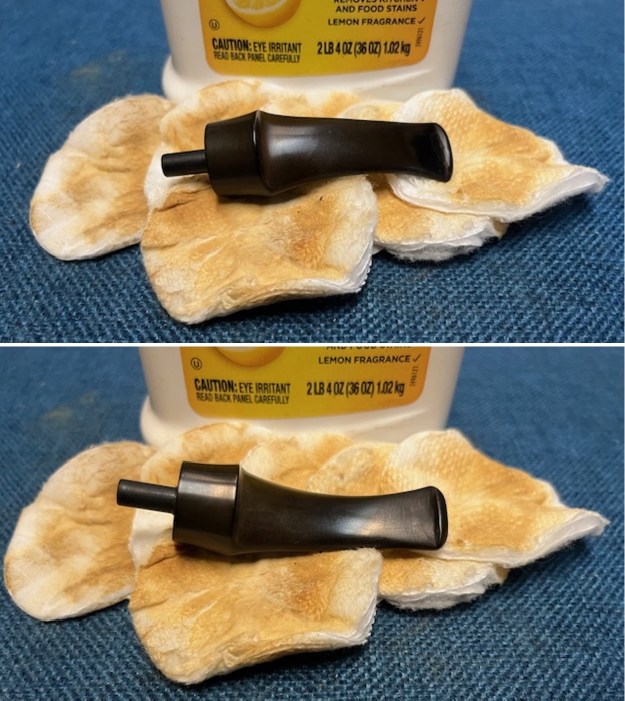
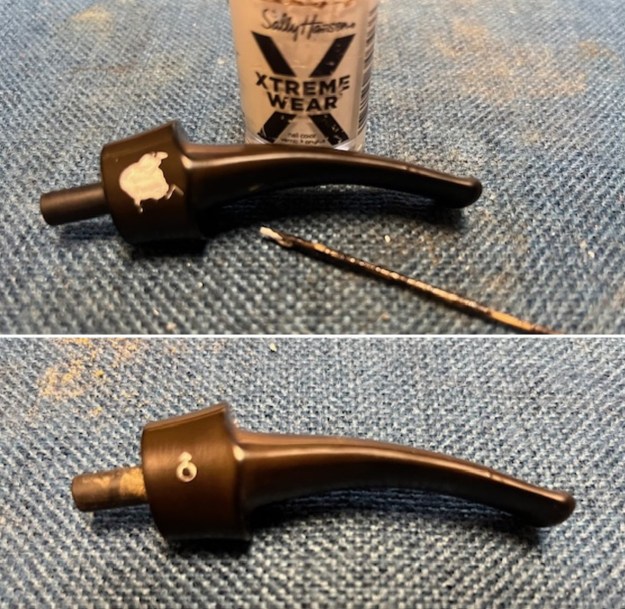
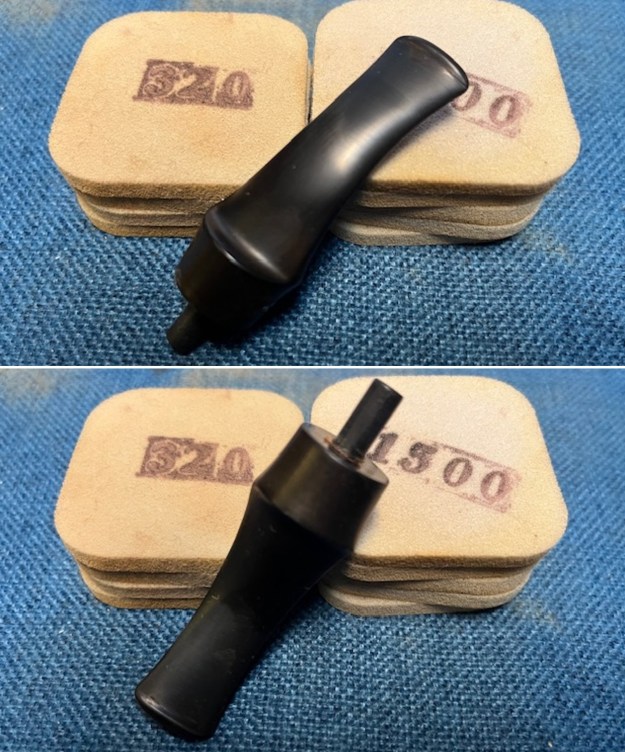
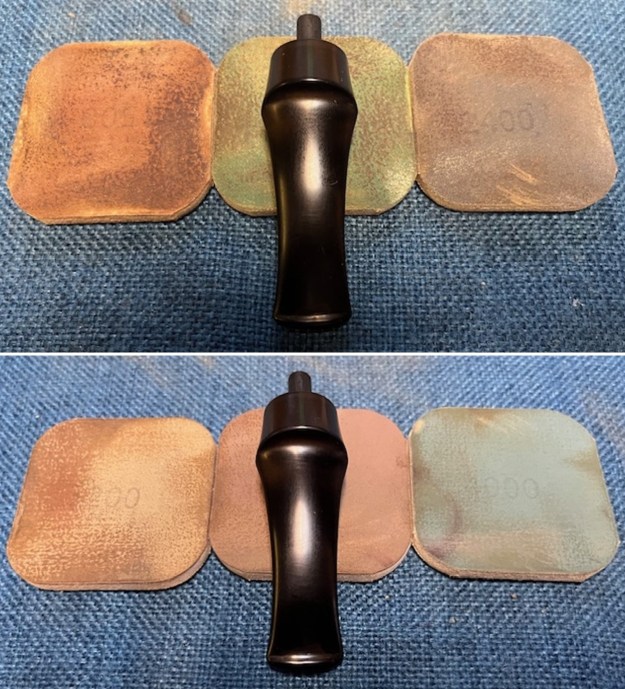
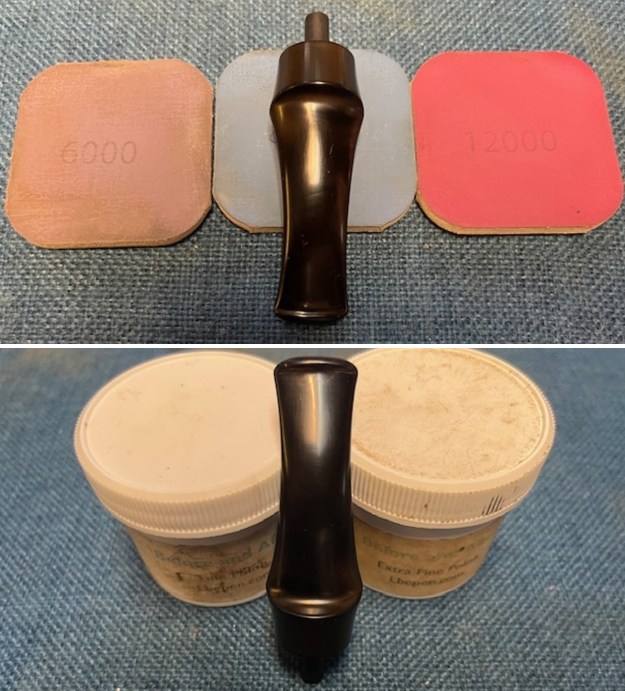
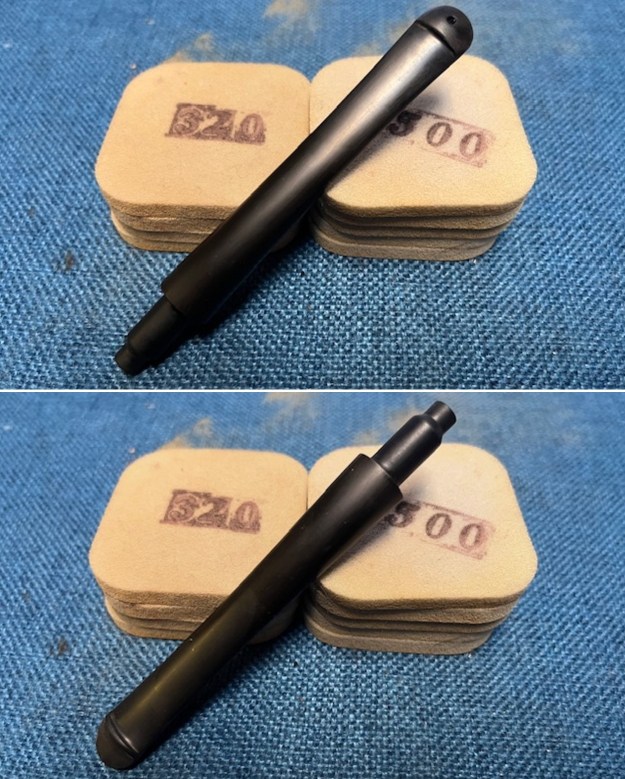
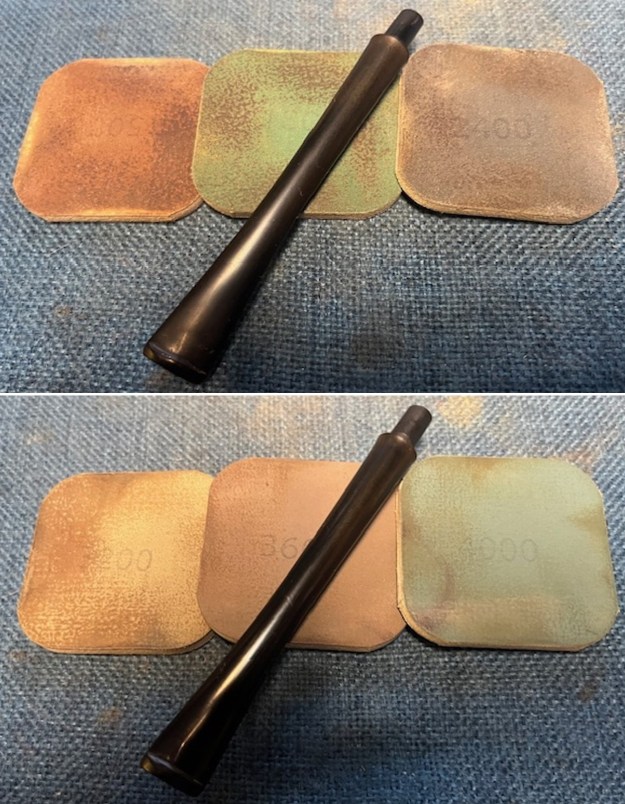
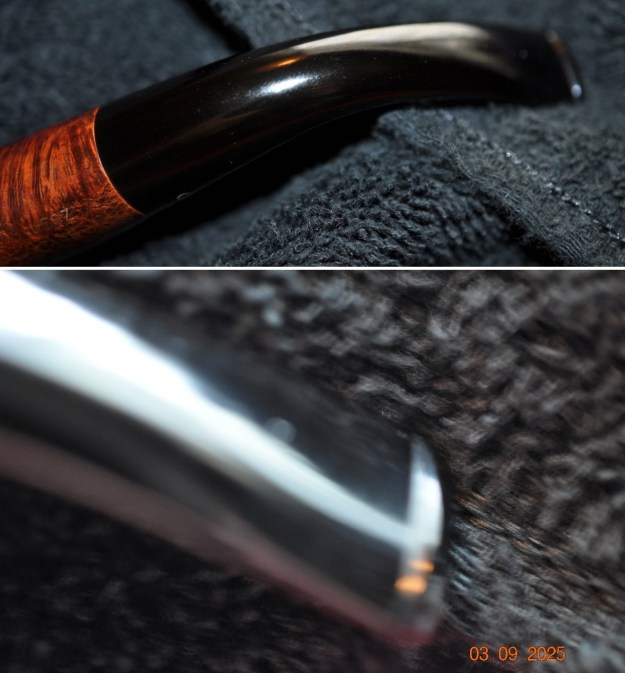
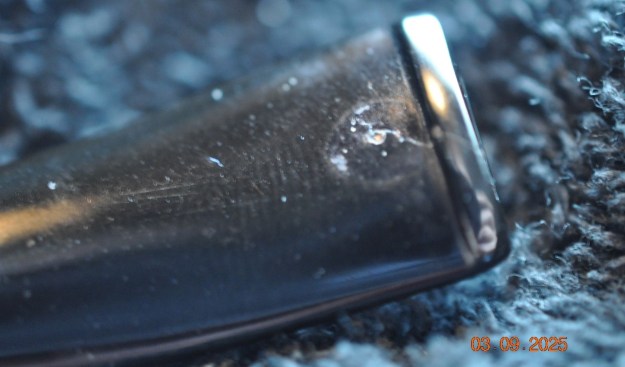
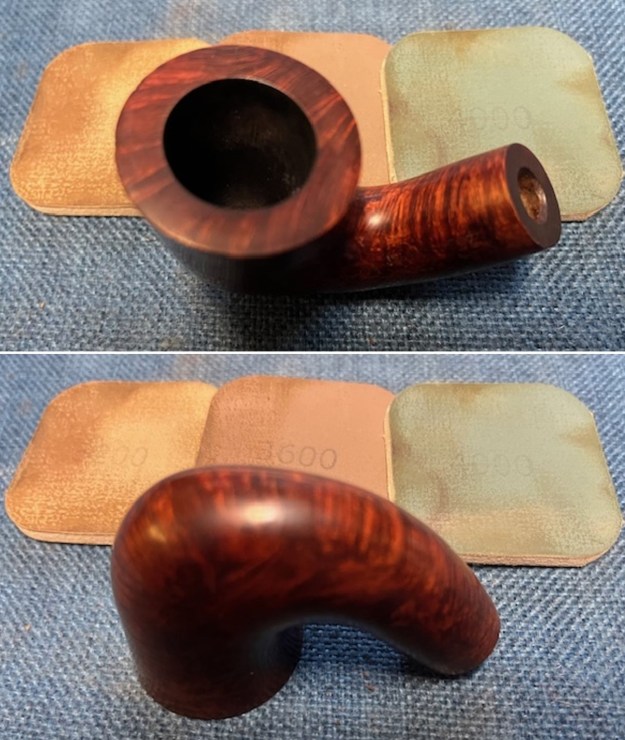
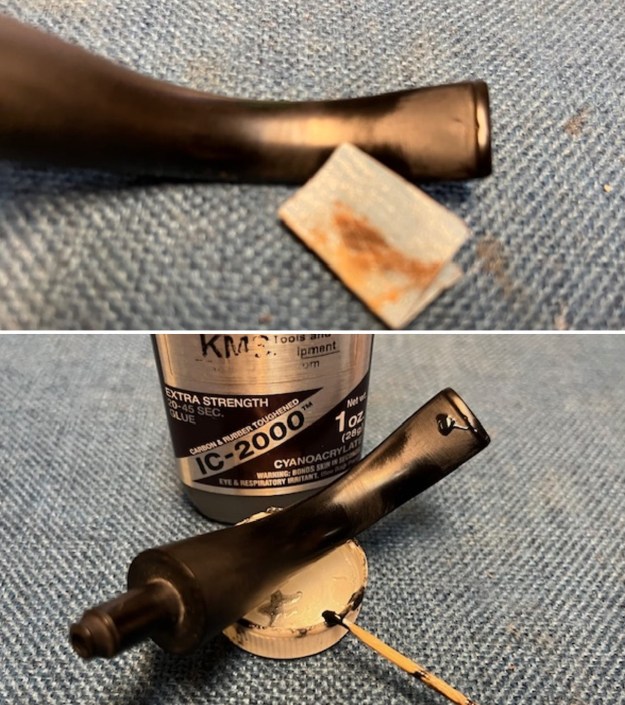
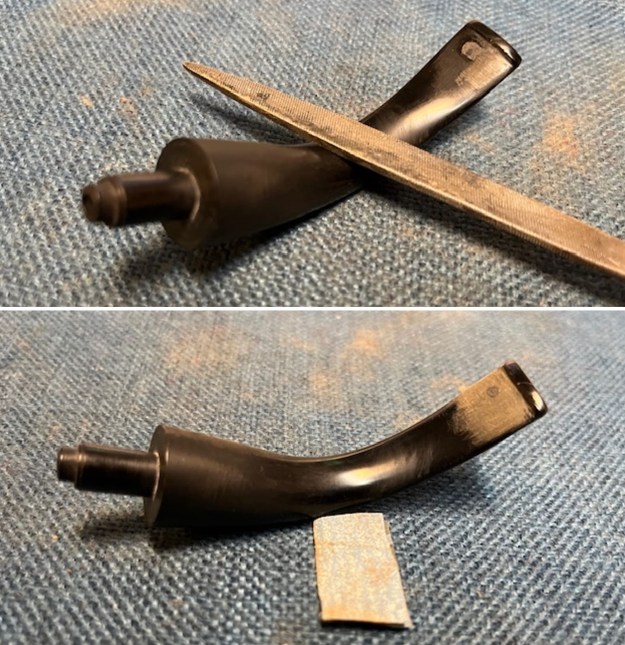
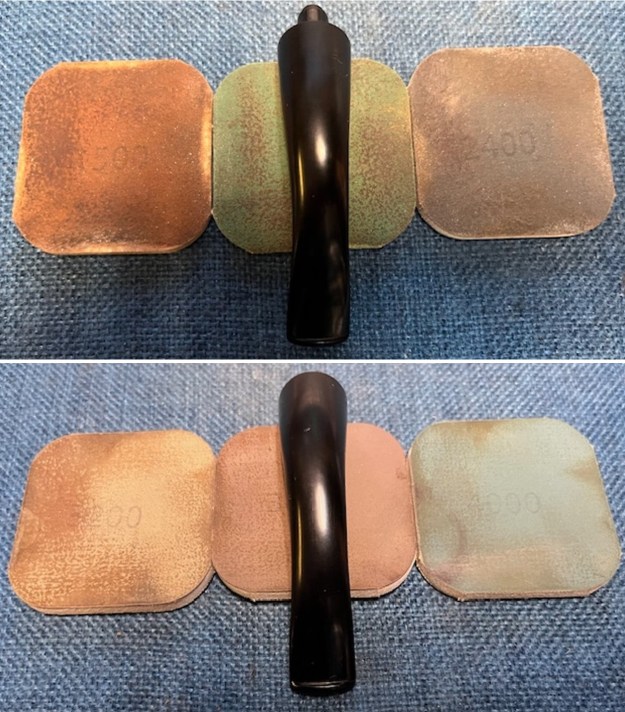
 I set the bowl aside and sanded the stem with 320-3500 grit sanding pads. I wiped it down after each pad with Obsidian Oil and it began to look very good.
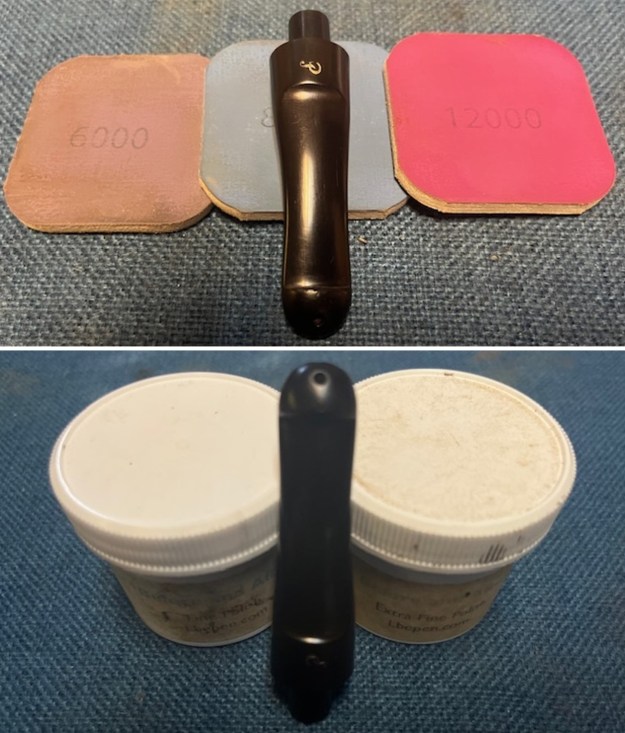
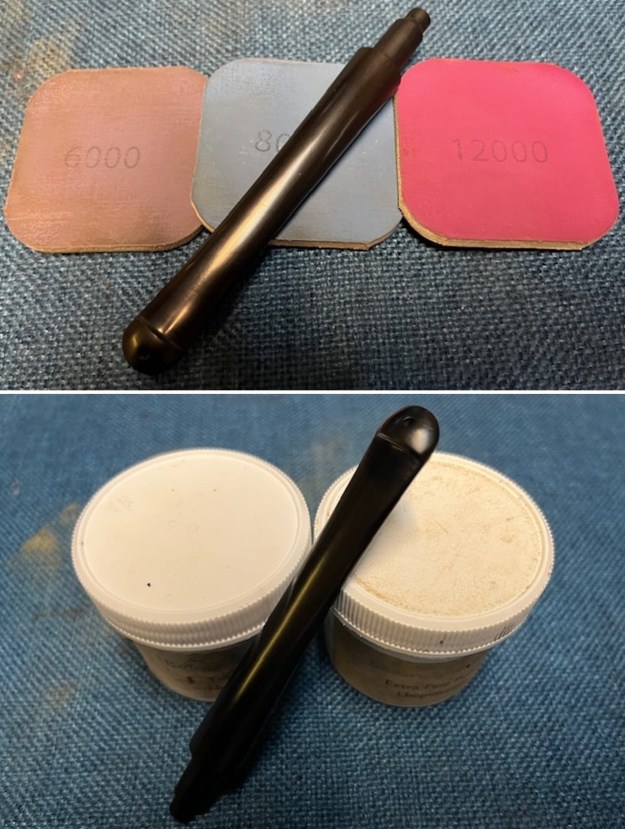
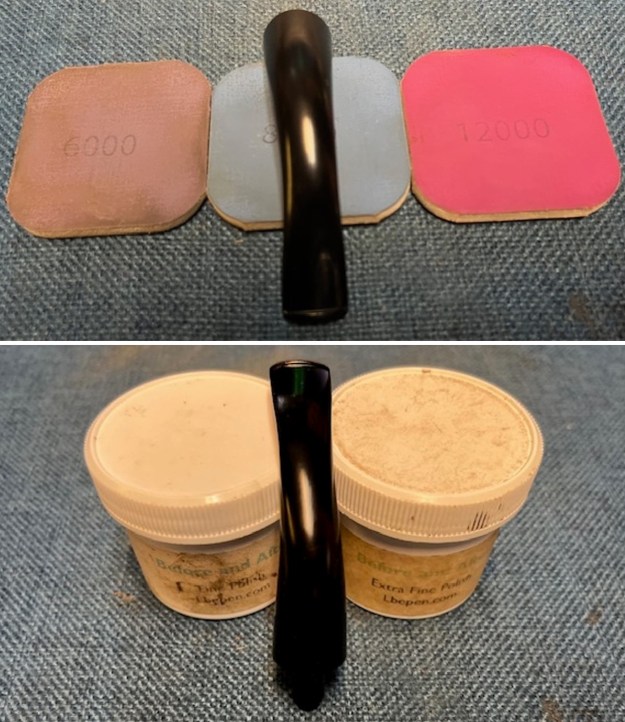
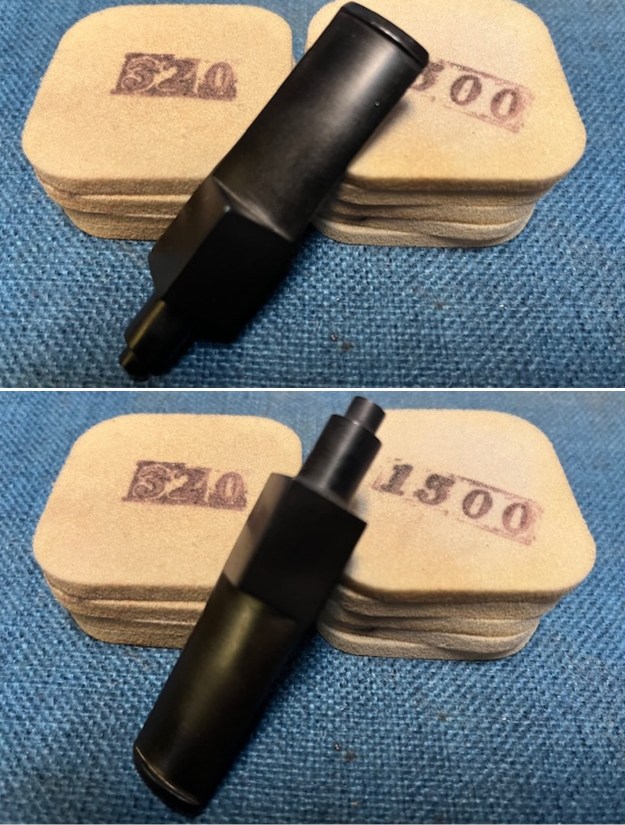 I polished the stem with micromesh sanding pads – dry sanding with 1500-12000 grit pads. Once again, I wiped it down between each pad with Obsidian Oil. I further polished it with Before and After Stem Polish – both Fine and Extra Fine. It looked very good.
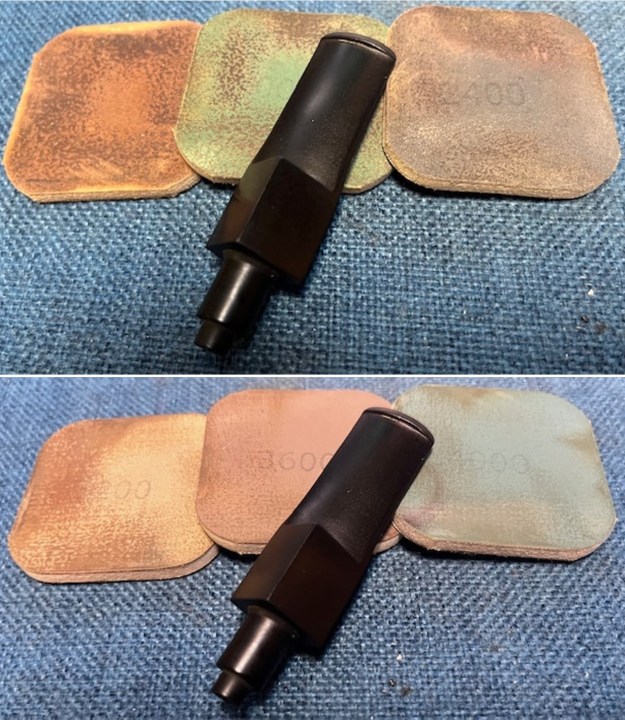
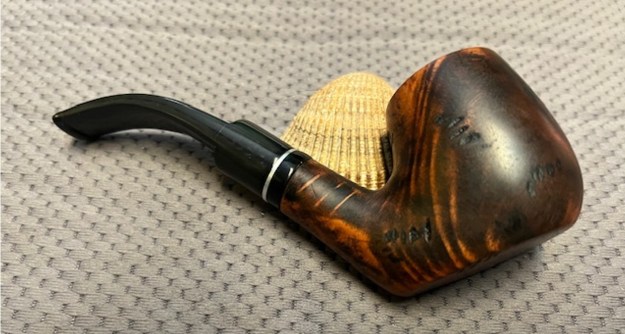
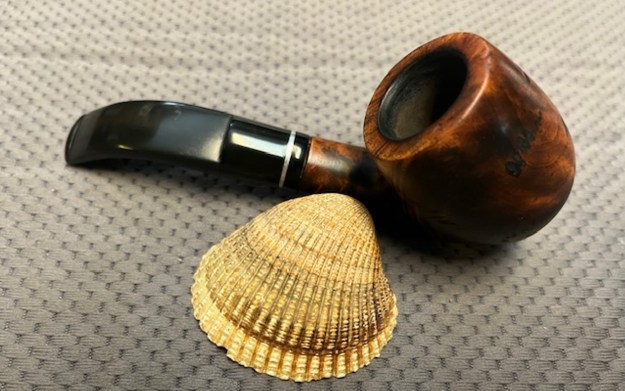
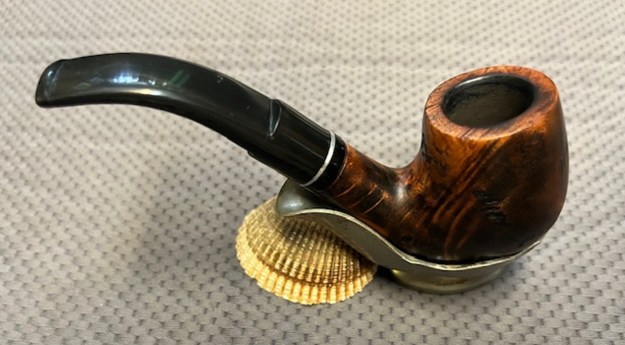
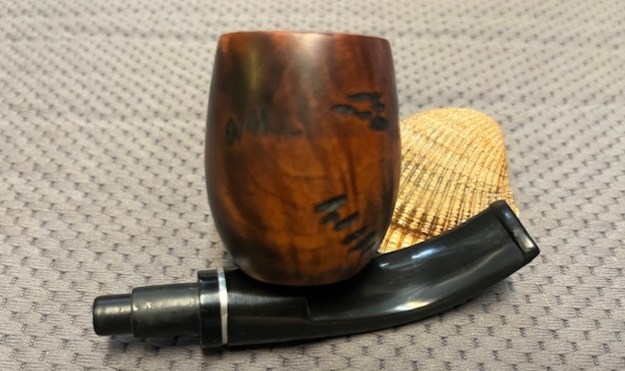
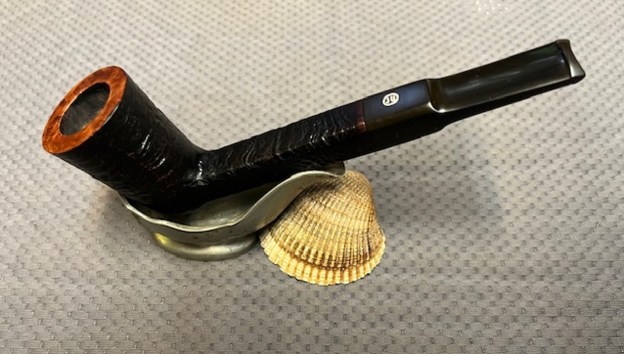
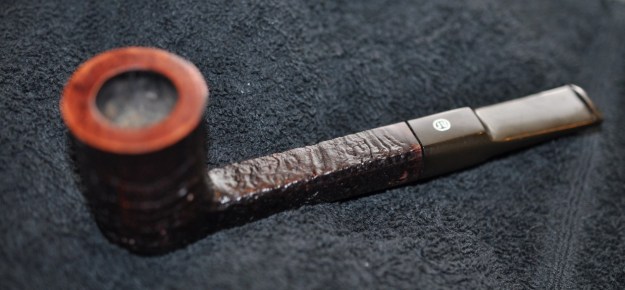
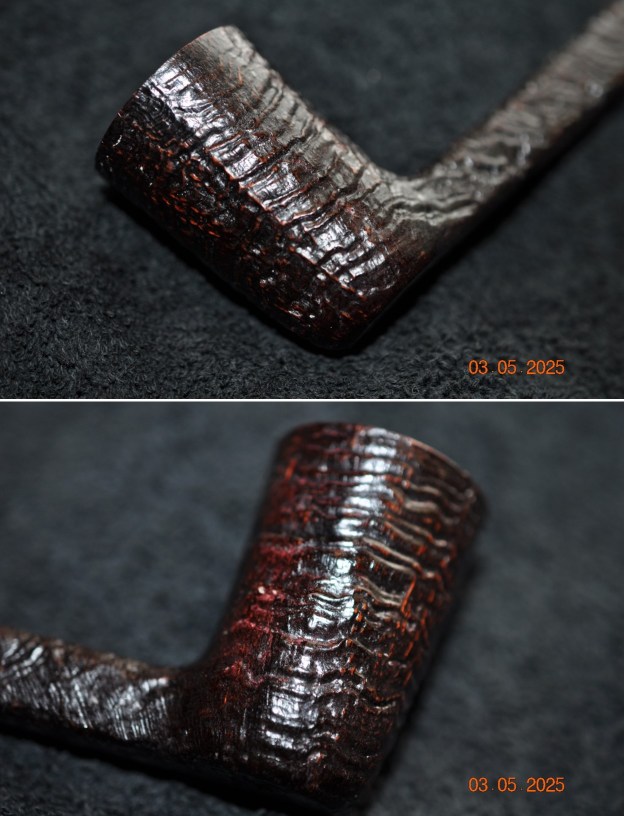
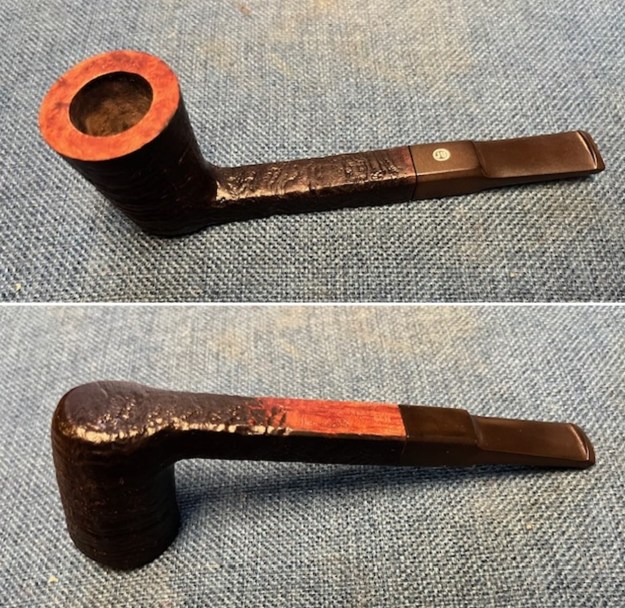
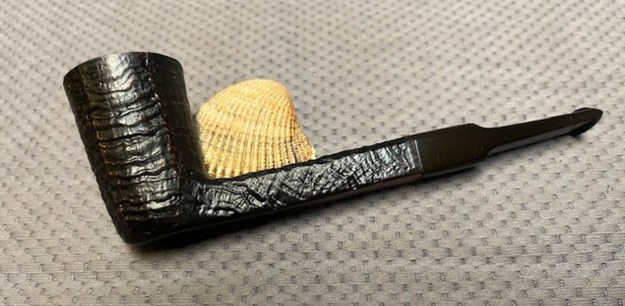
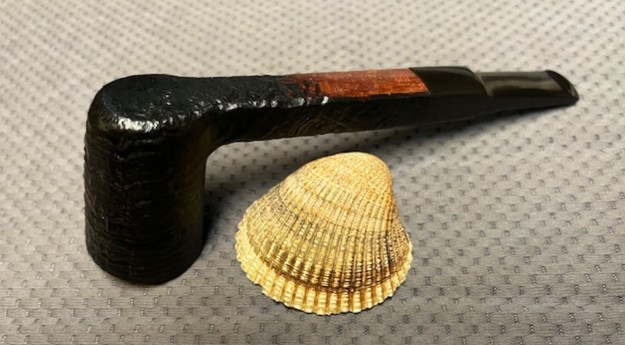
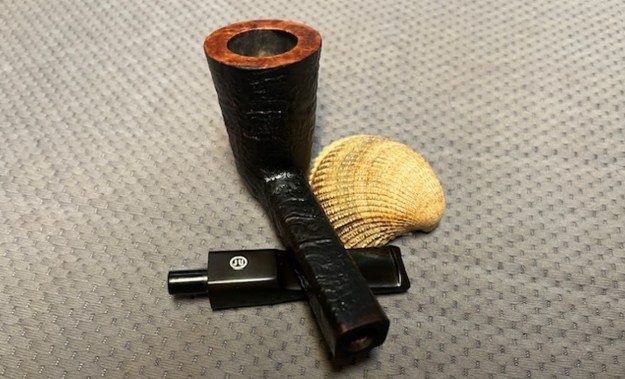
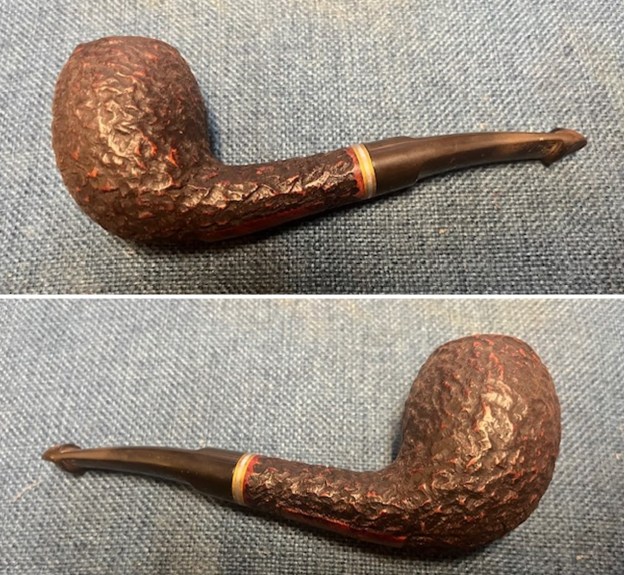
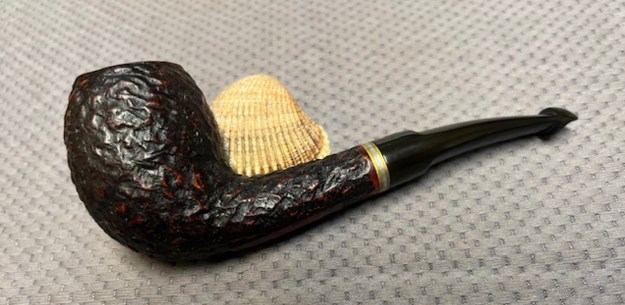
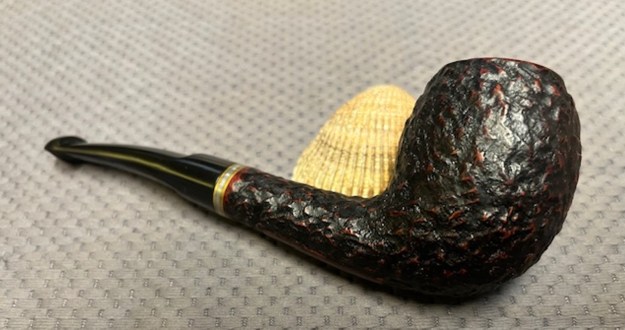
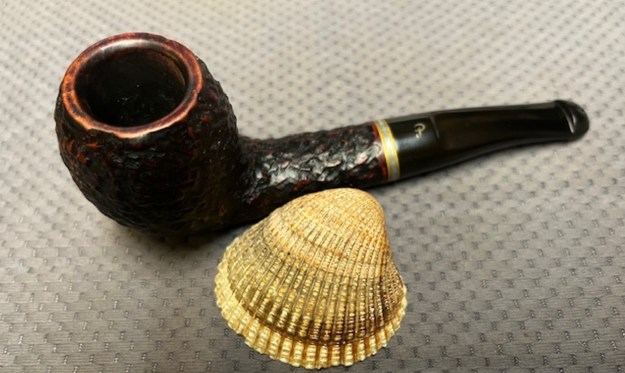
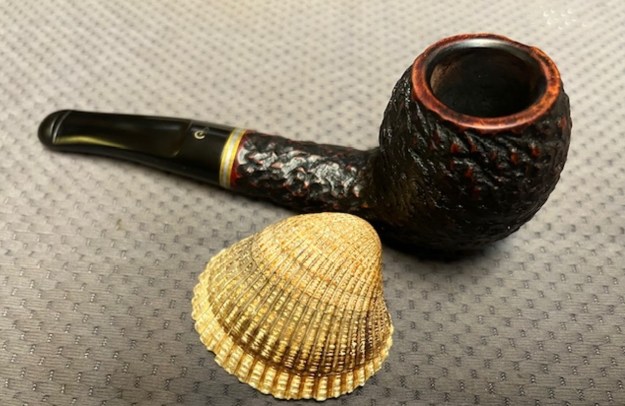
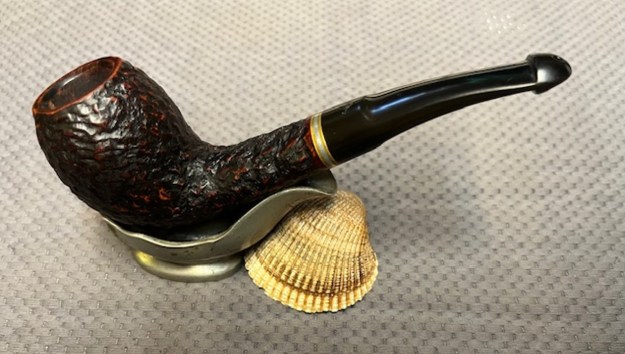
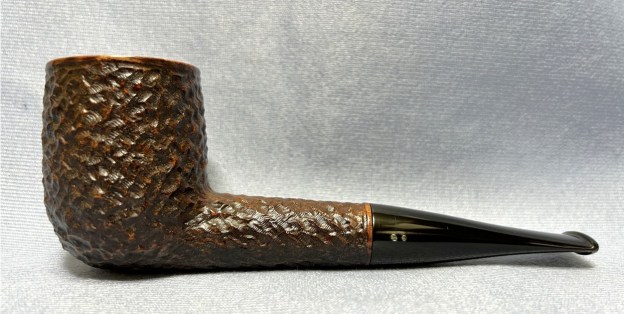
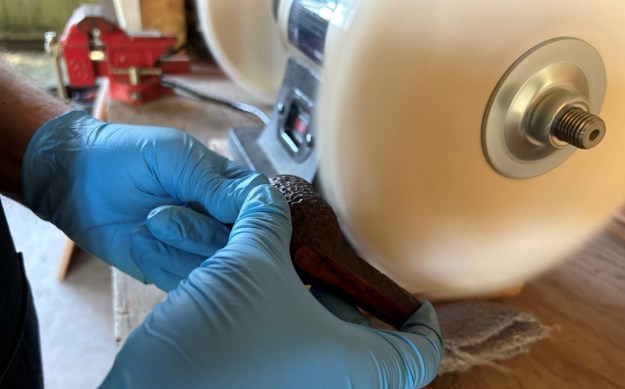
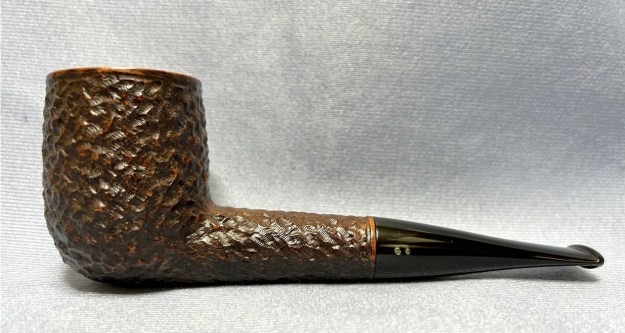
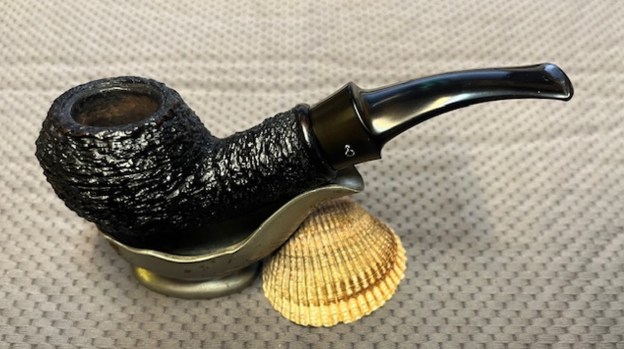
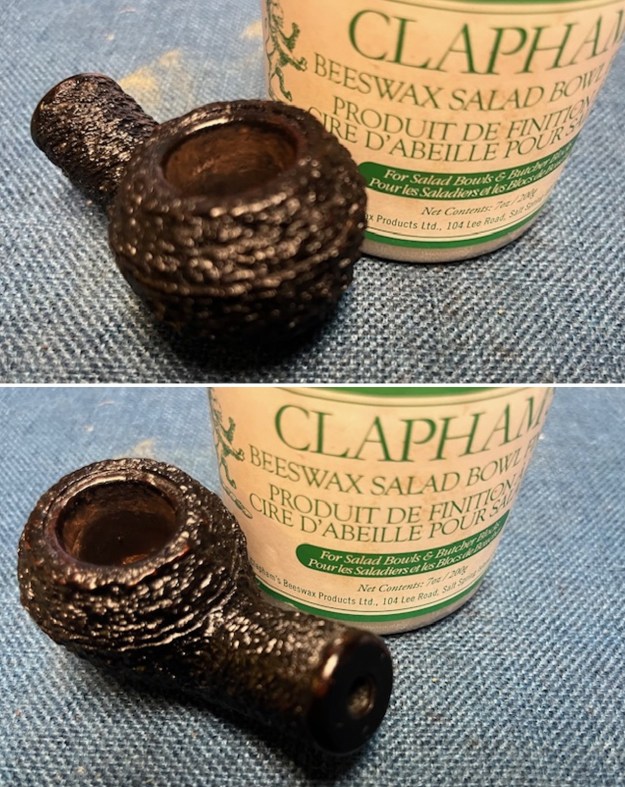
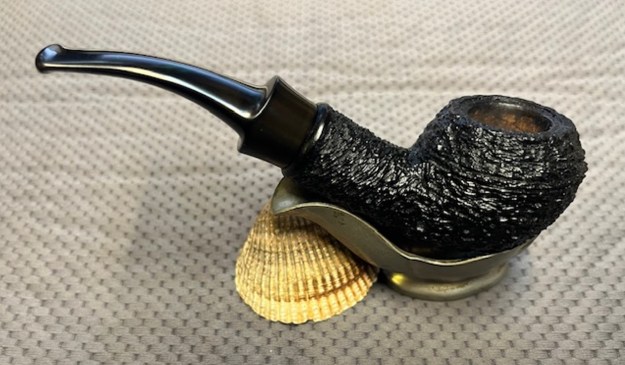
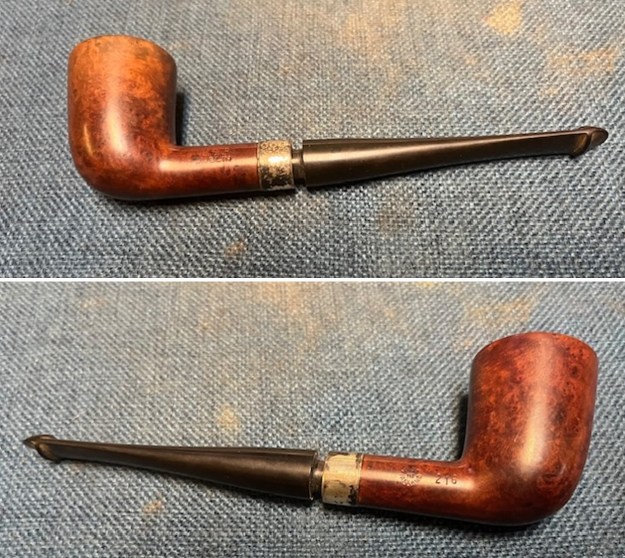
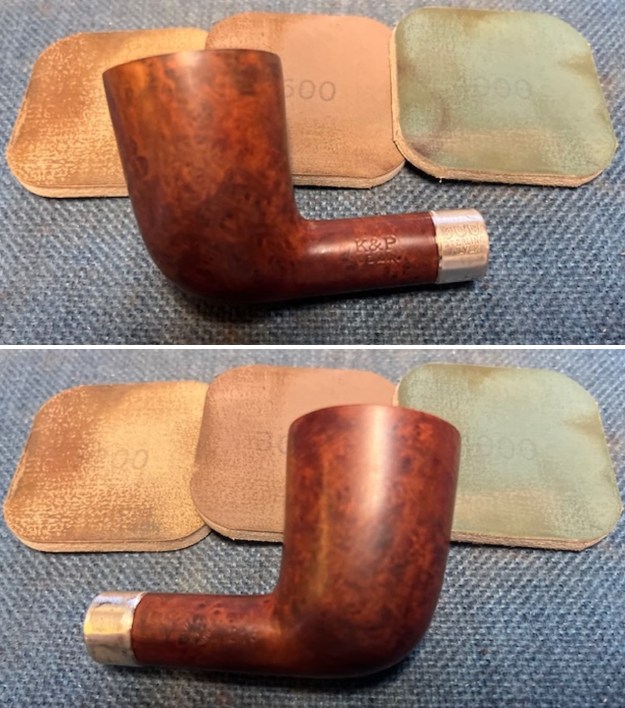
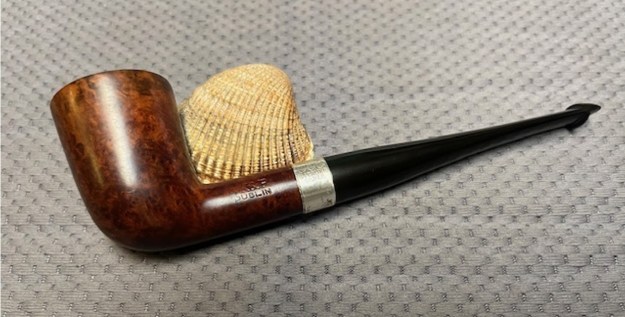
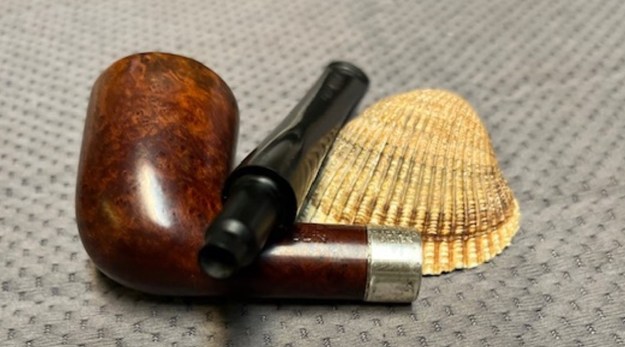
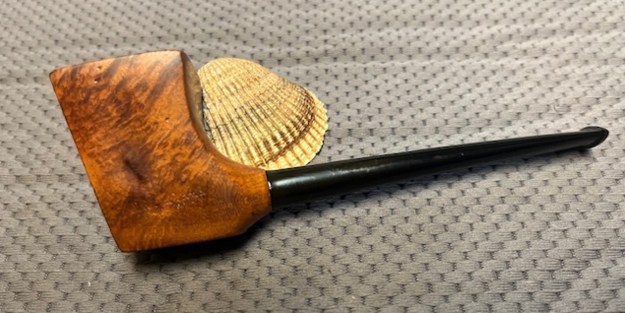
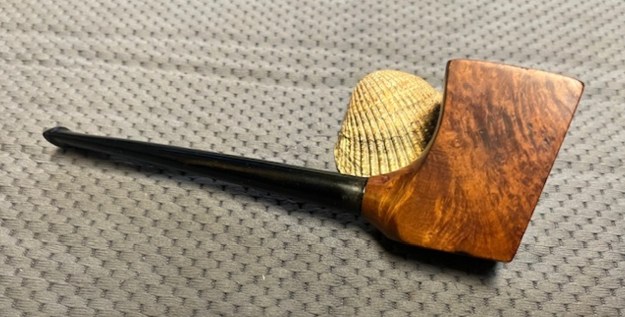
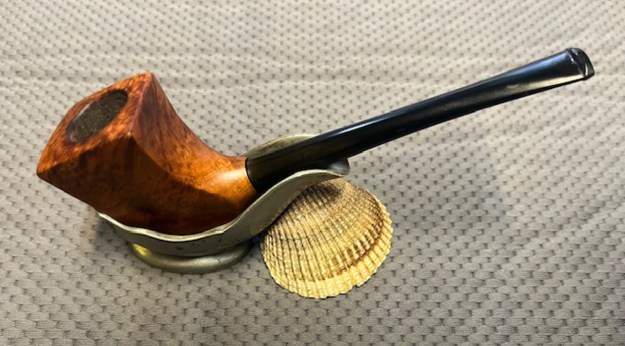
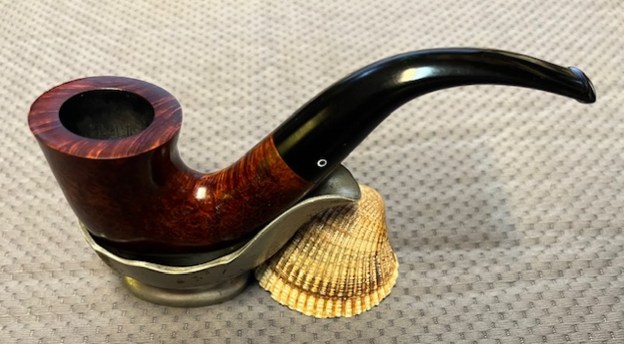
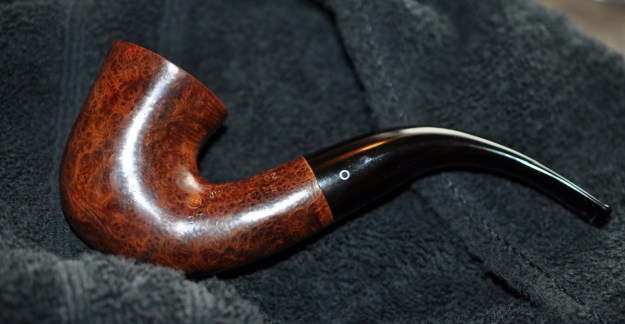
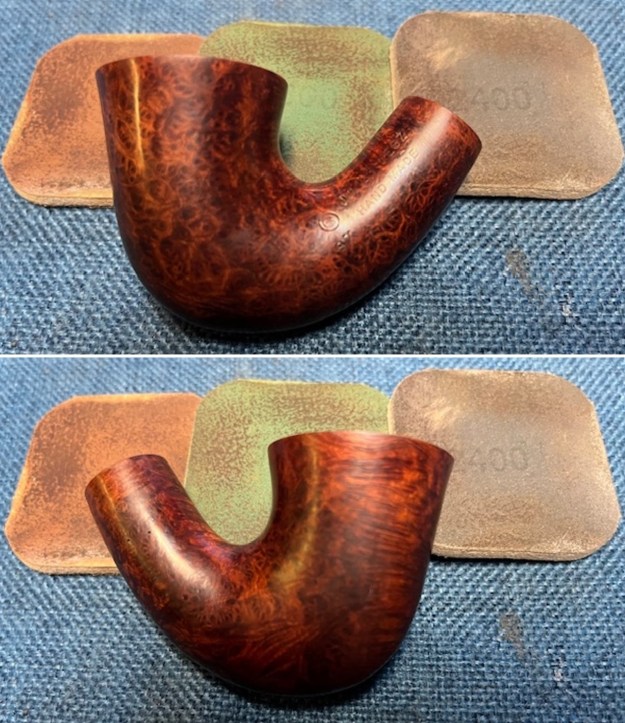
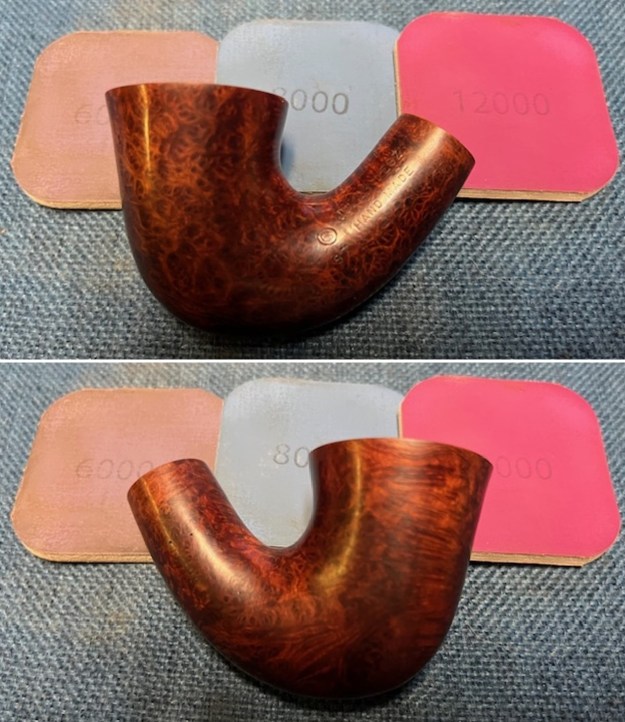
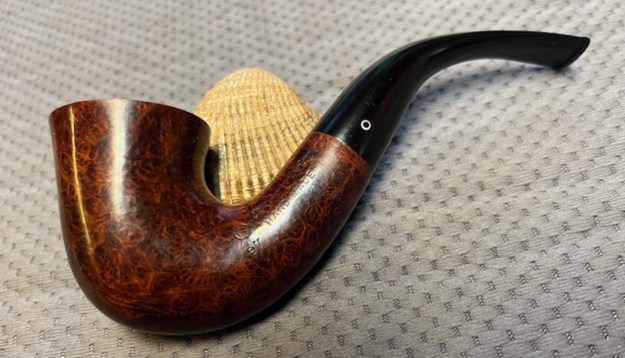
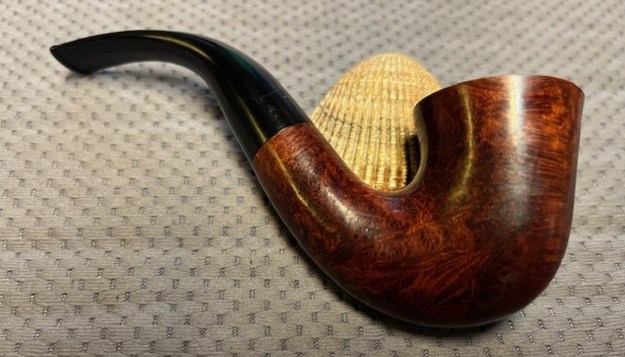
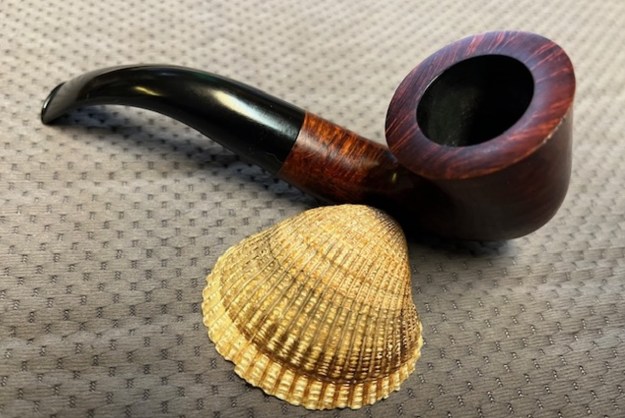
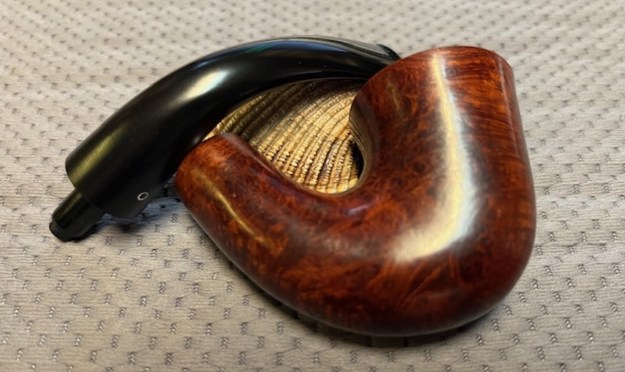
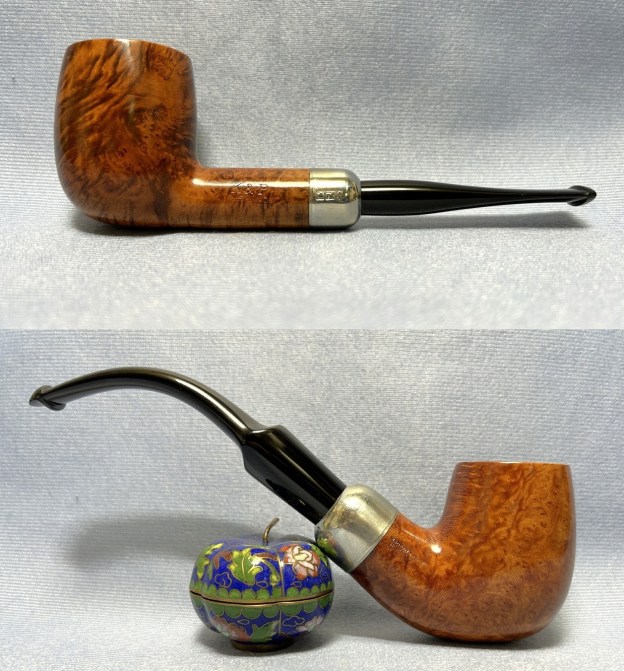
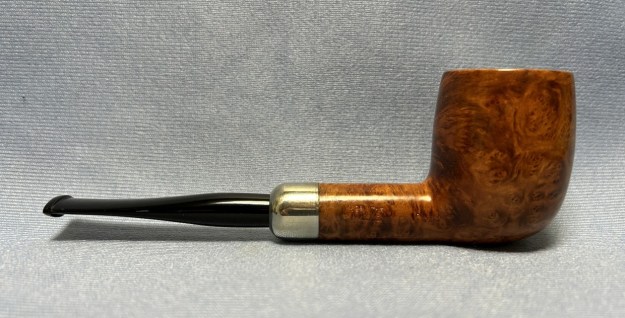
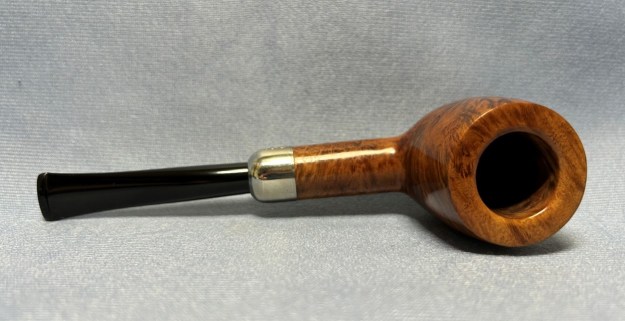
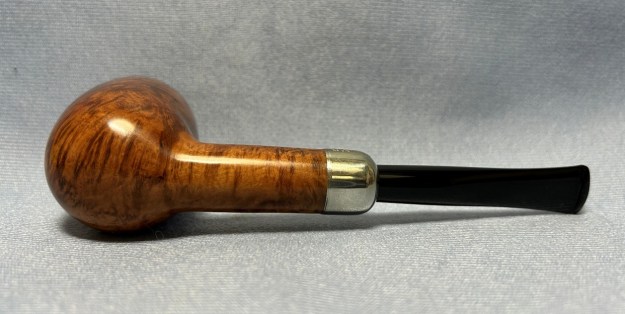
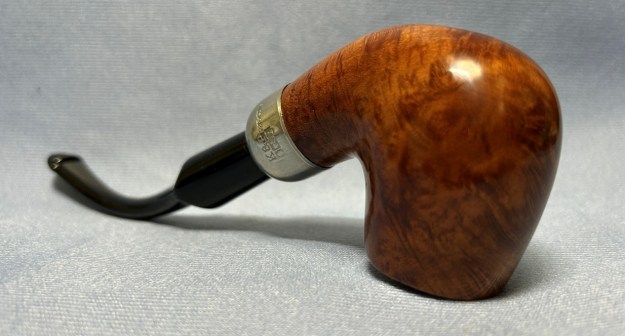
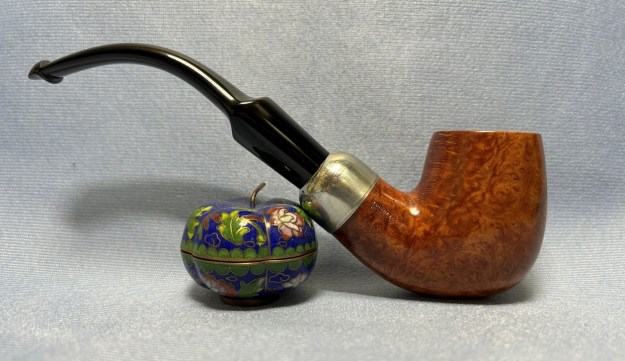
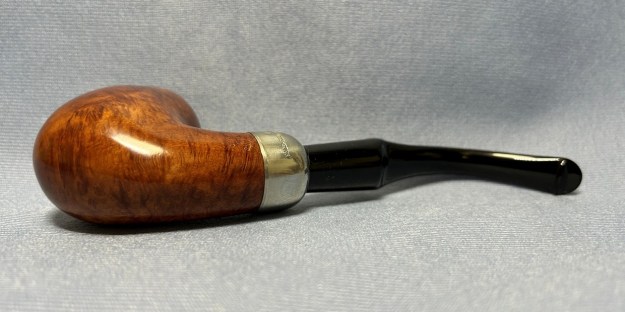
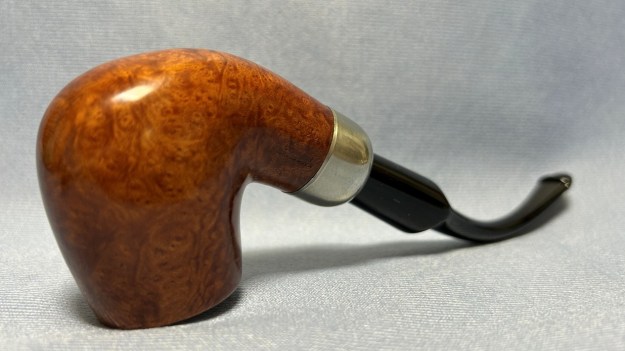
 I am excited to be on the homestretch with beautiful Weber The Scoop Squat Bulldog. This is the part I look forward to when it all comes back together, polished and waxed. I put the bowl and stem back together. I polished the bowl and stem with Blue Diamond to polish out the scratches in the briar and the vulcanite. I gave the bowl multiple coats of Conservator’s Wax and the stem multiple coats of carnauba wax. I buffed the pipe with a clean buffing pad to raise the shine. I hand buffed it with a microfiber cloth to deepen the shine. The unique rusticated finish looks really good with the interesting patterns standing out on the shape. The richly stained briar and the polished black vulcanite went really well together. This Weber Scoop has a recognizable shape and look that catches the eye. The brown stain really makes the rustication depths pop. It is another comfortable pipe to hold in the hand. The finished pipe is shown in the photos below. The dimensions of the pipe are Length: 5 ½ inches, Height: 1 ½ inches, Outside diameter of the bowl: 2 inches, Chamber diameter: 1 inch. The weight of the pipe is 39 grams/1.38 ounces. This one will soon be on the American Pipe Makers Section of the rebornpipes store. Let me know if you are interested in adding it to your rack. Thanks for reading this blog and my reflections on the pipe while I worked on it.
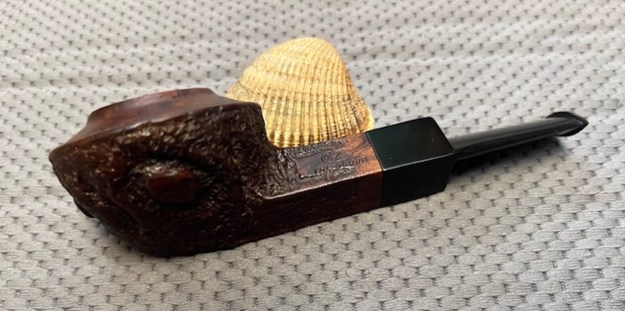


