Blog by Steve Laug
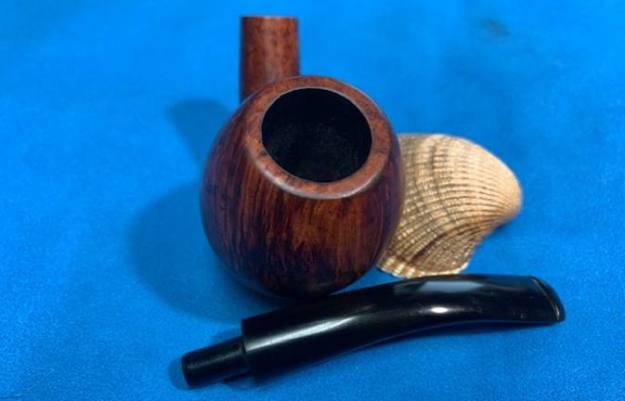
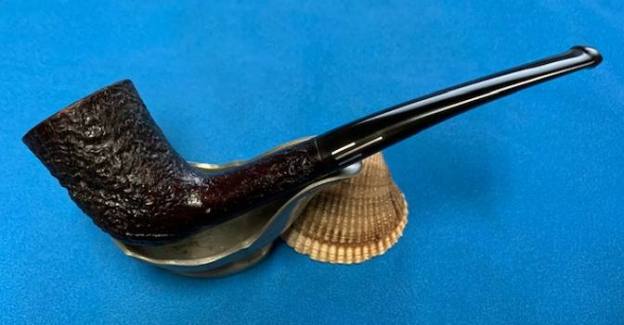
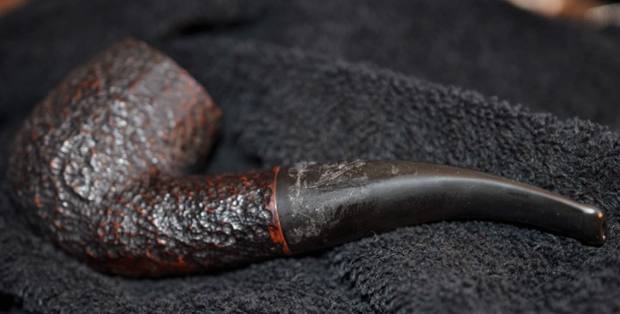
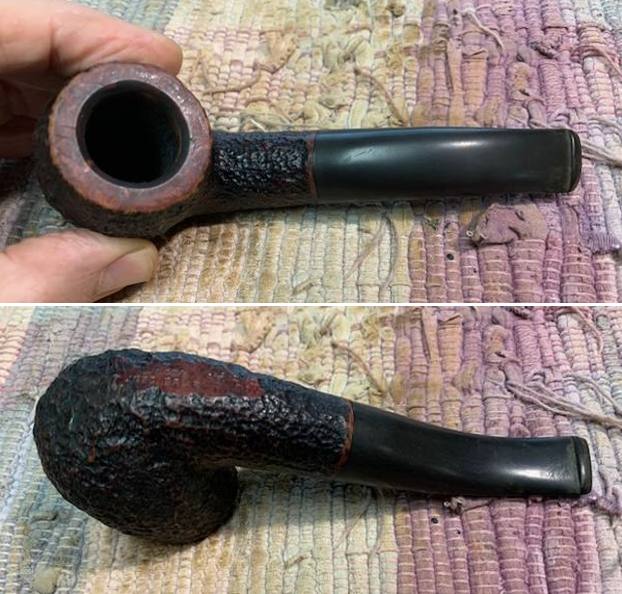
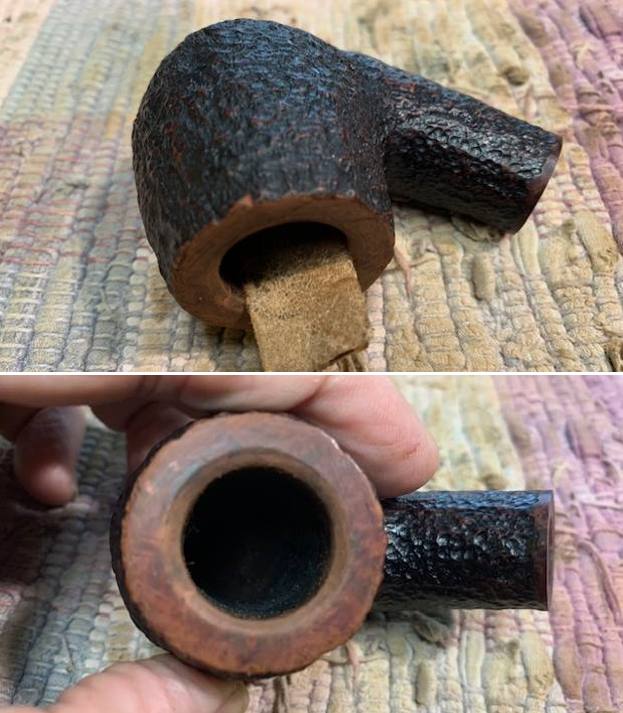
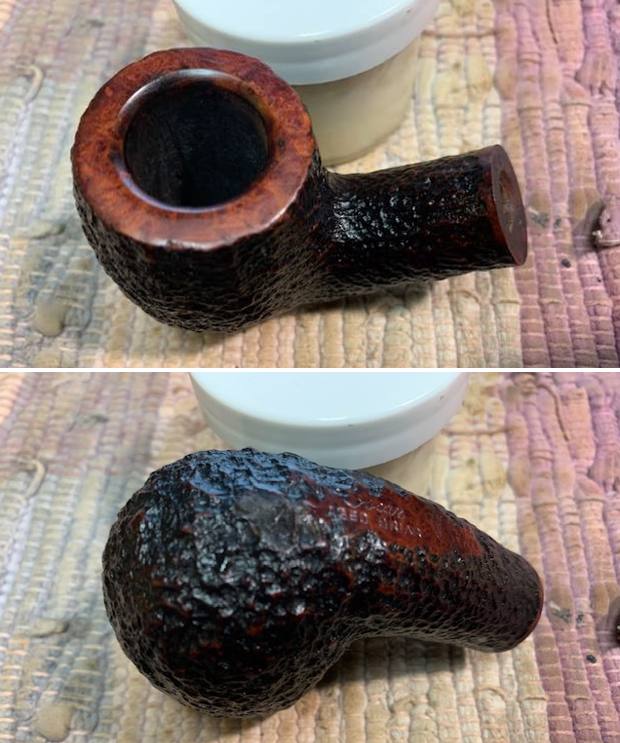
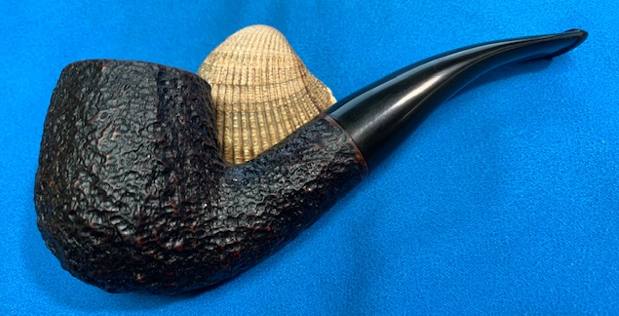
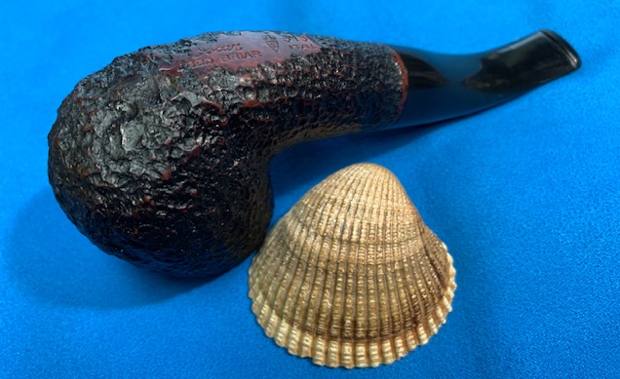
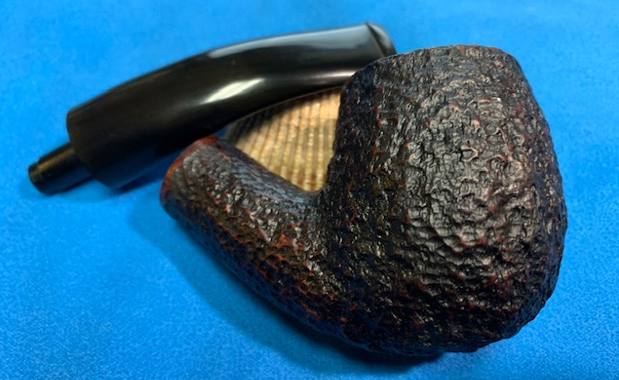
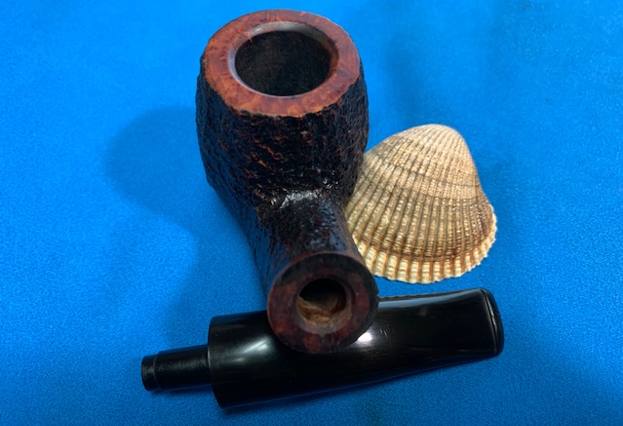
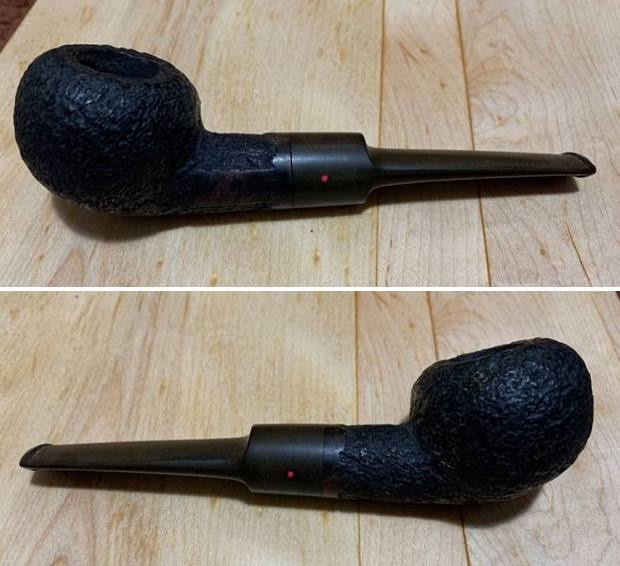
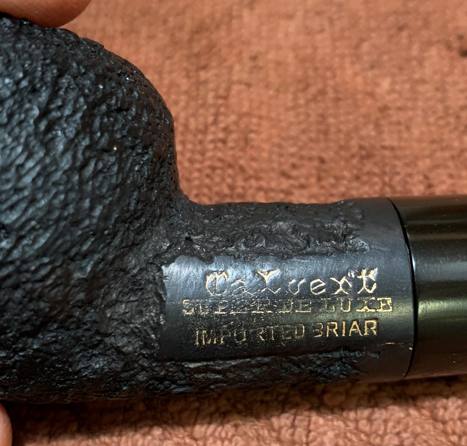
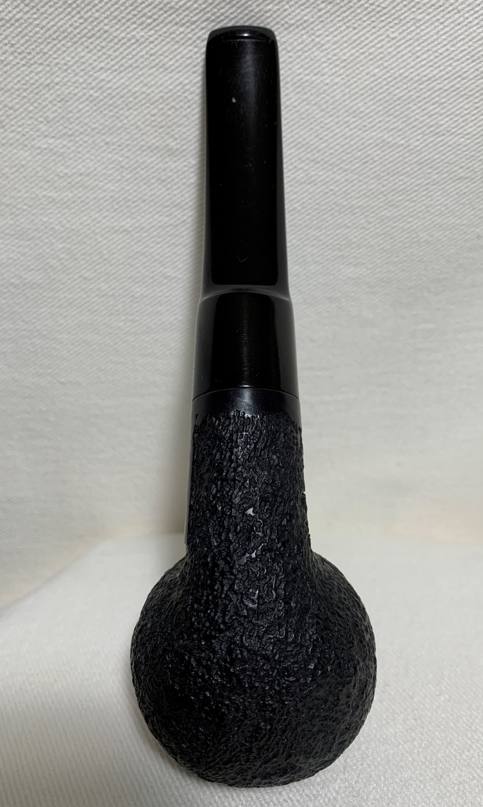
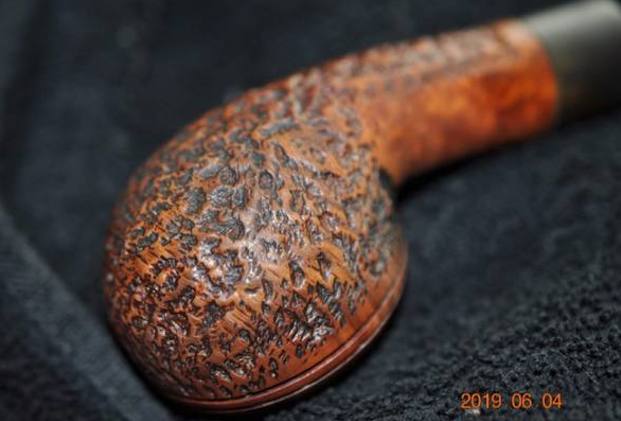
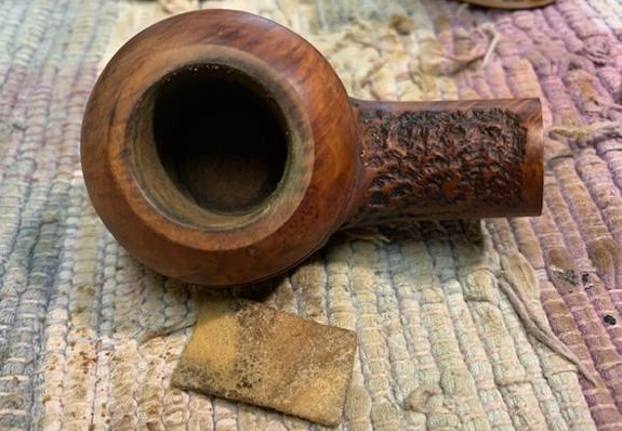
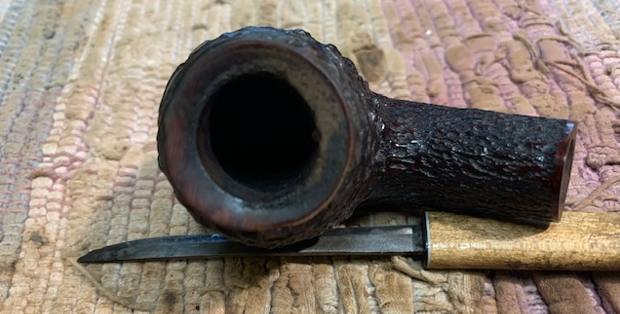
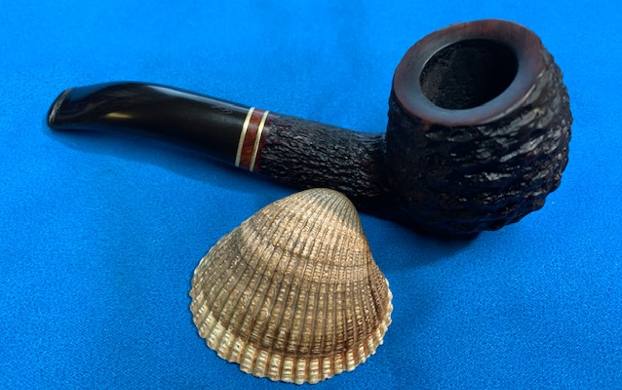
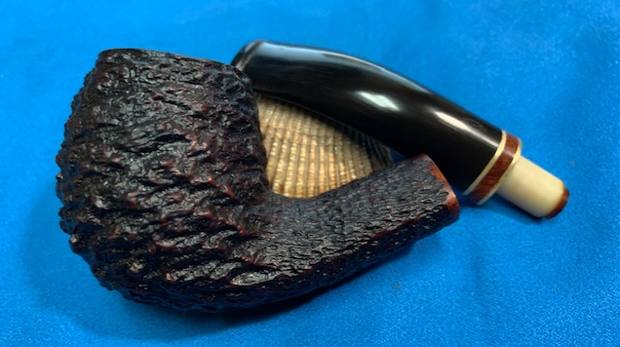
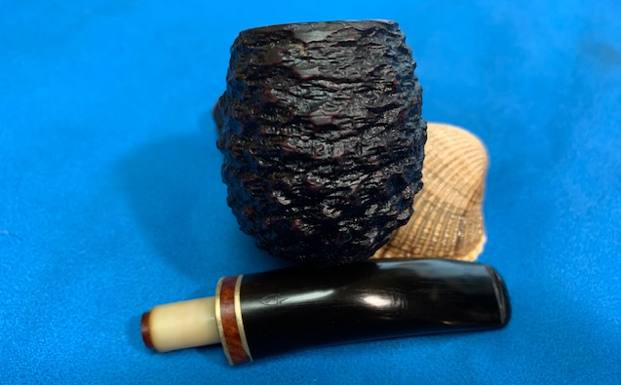
Neither Jeff nor I remember where we picked up this egg shaped pipe. We have no idea where it came from – whether the US or Canada. We have no idea when we purchased it or who we purchased it from. We have no idea what we paid for it. To top off all the unknowns about this pipe it is also not stamped with any identifying marks on the briar or on the stem surface. So the pipe is a mystery – no known maker, no location where it was found and no sense of time when we picked it up. But all of that does not deal with the fact that it is a stunning piece of briar underneath all of the nicks, scratches and ground in grime that covered it. Jeff took these photos of the pipe back in 2019 before he started his clean up work on it. Have a look at the photos he took and you will hopefully see through the debris and grime on the briar and gouges in the vulcanite stem. There is something remarkably graceful about the pipe. 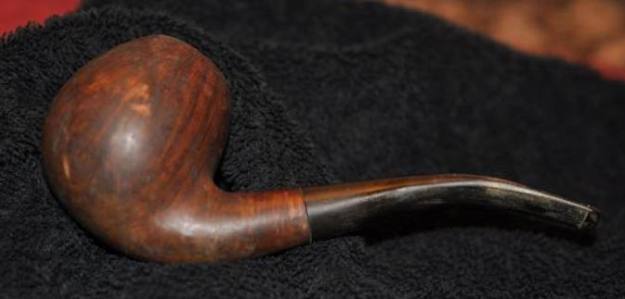 The next photo gives a glimpse of the overall condition of the pipe. You can see the thick cake in the bowl and tobacco shards in the cake. You can see the thick lava build up on the rim top and even some grain poking through. The stem is calcified, oxidized and had a lot of bite marks and tooth chatter on both sides that made the stem surfaces pitted and awful looking. But…
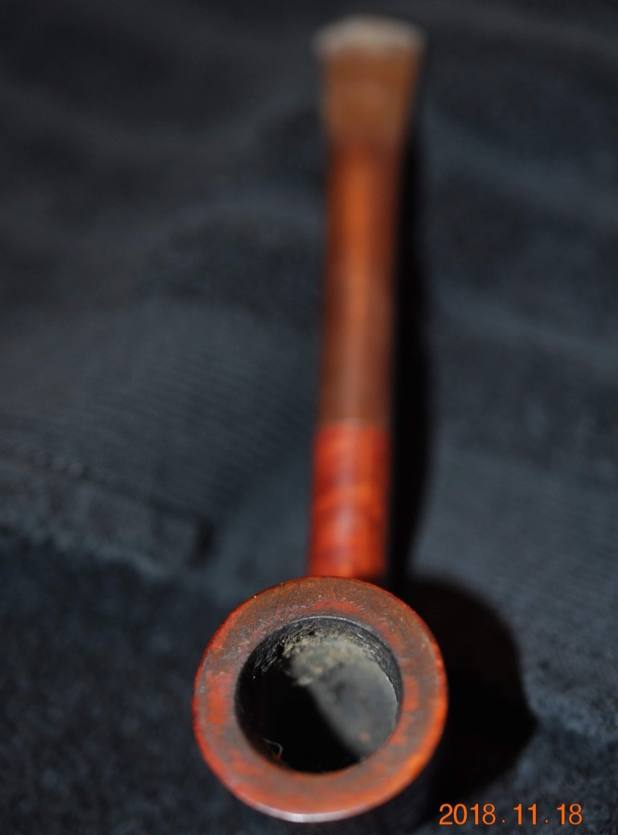
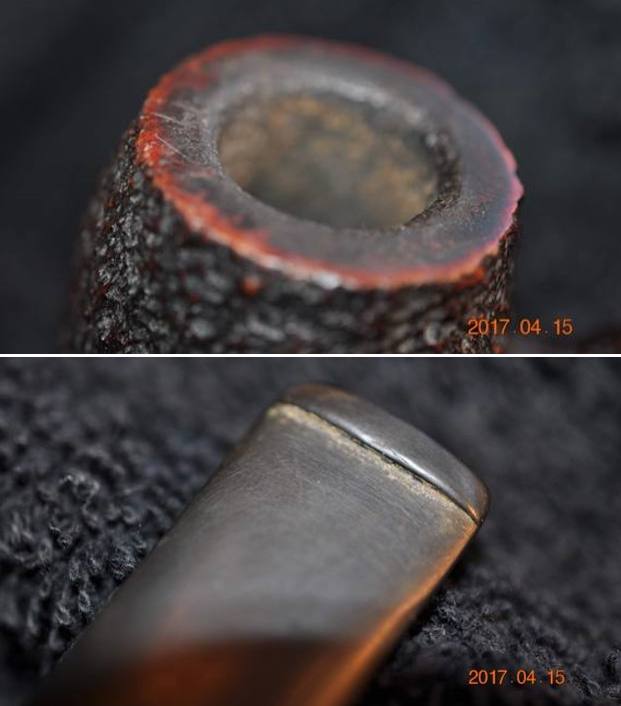
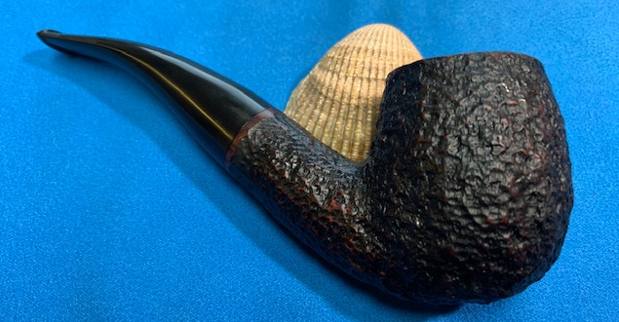
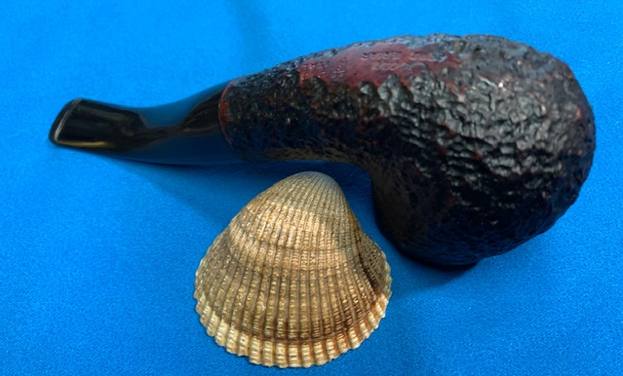
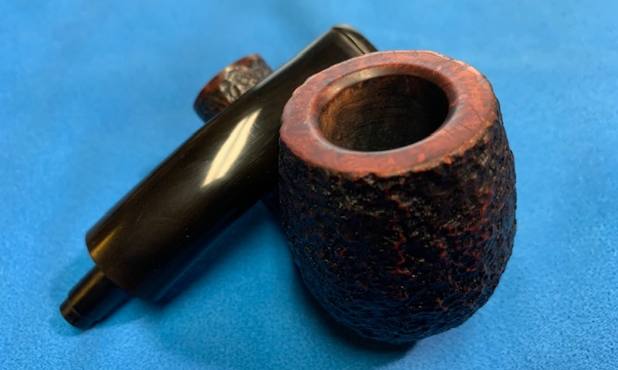
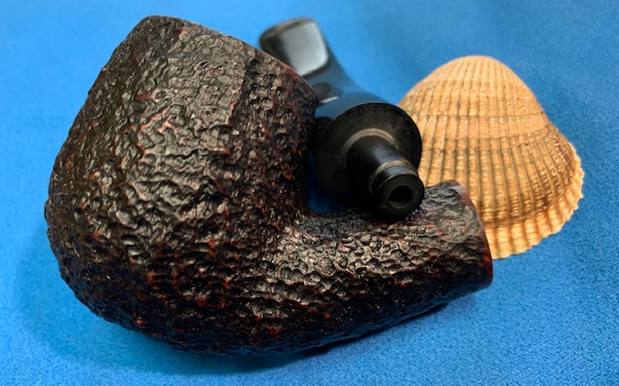
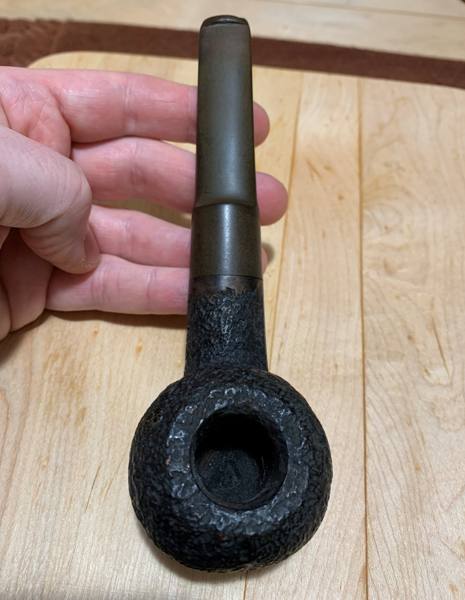
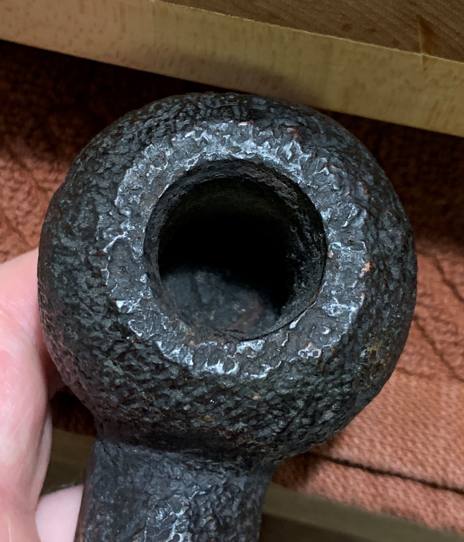
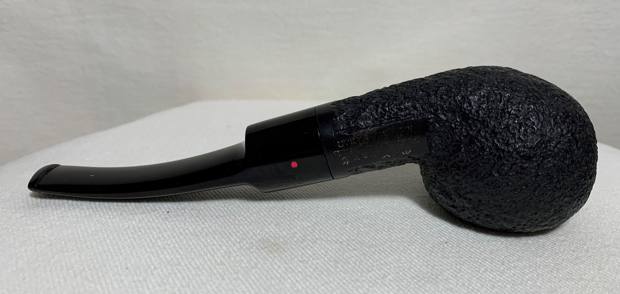
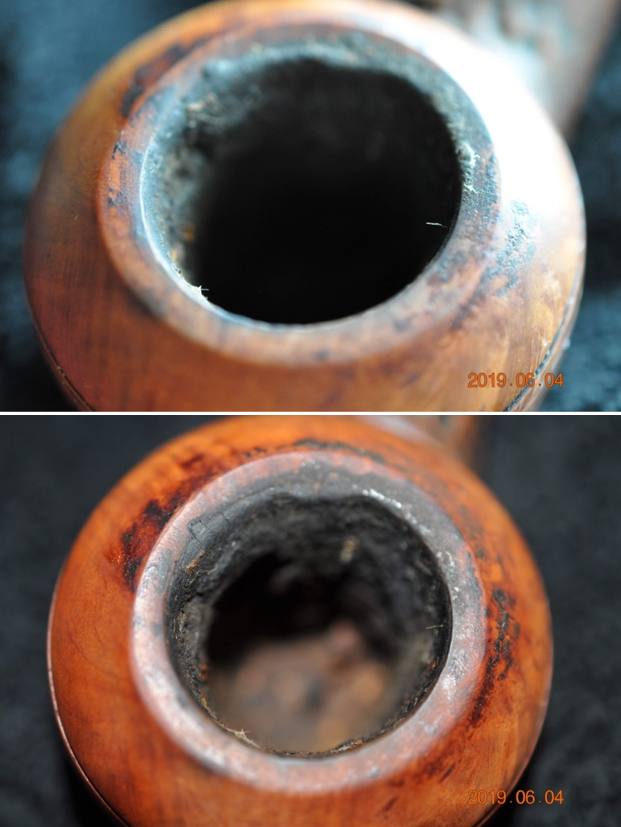
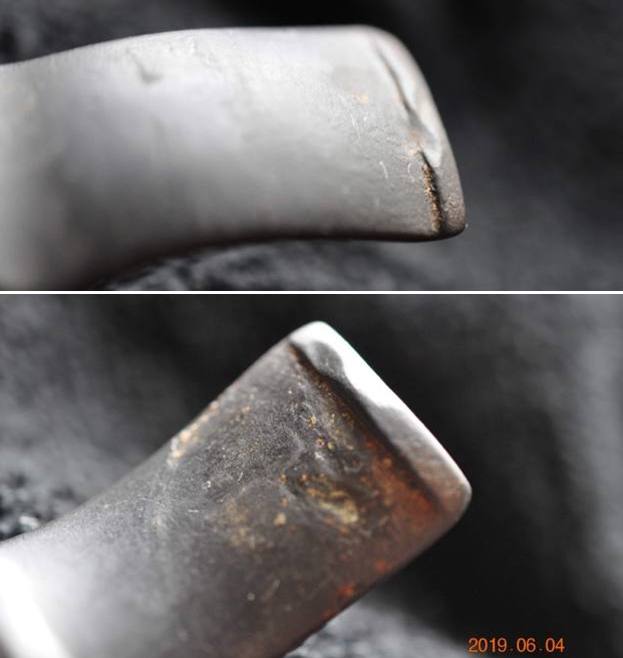
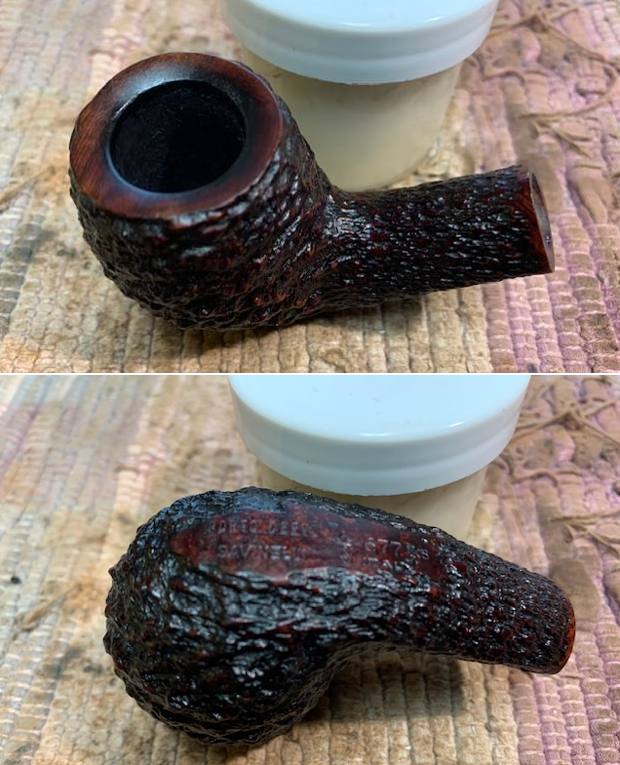
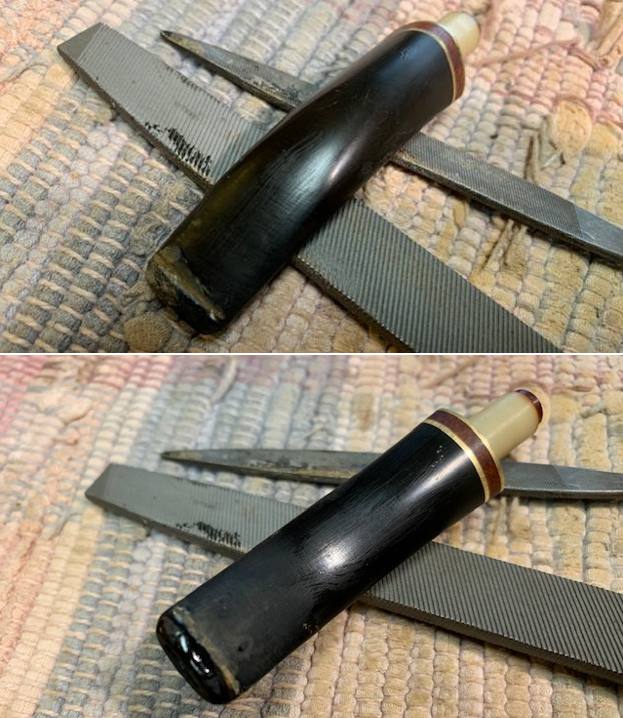
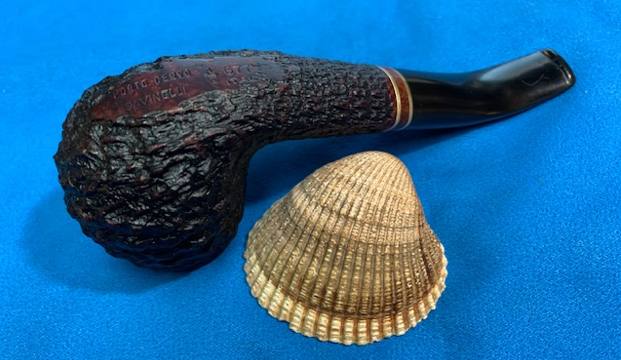
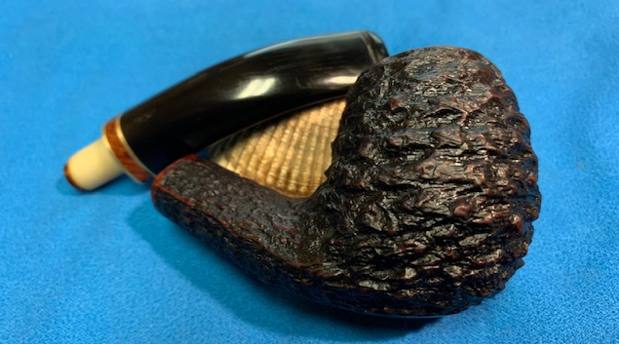
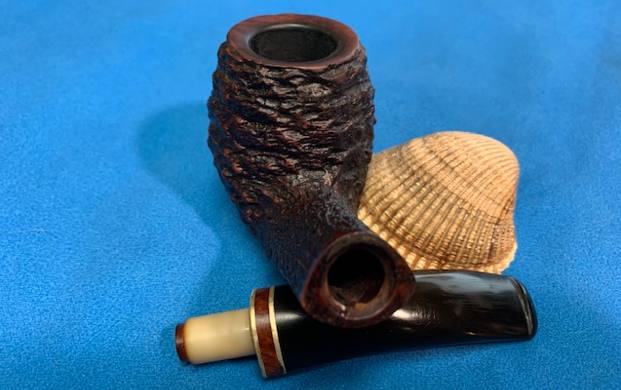
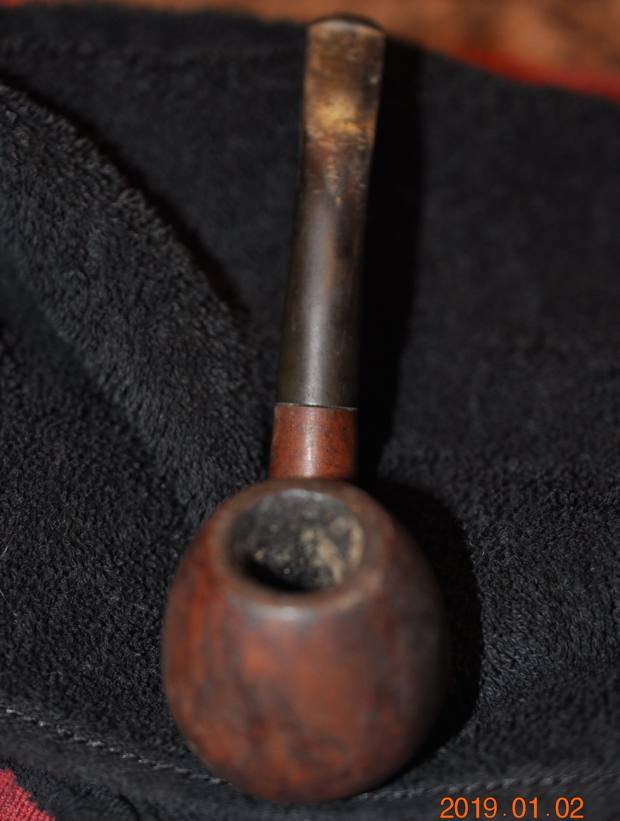 He took close up photos of the bowl, rim top and the sides of the stem to help us see the mess even more clearly. Look at the thickness of the cake in the bowl and the fuzz and tobacco debris in the bowl sides. The rim top is buried under a thick lava coat and it is impossible to know what the inner or outer edges looked like. One can only hope they were protected but the armor coat. The stem was in brutal shape. You can see the deep tooth marks – gouges really in the surface on both sides almost halfway up the stem from the button. You can see the thick calcification and oxidation as well. Either you can say that the pipe was well loved or it was abused. The choice is yours. But I think we can all agree that it is a mess.
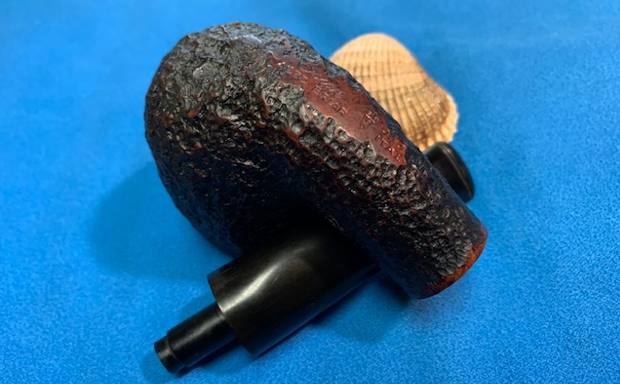
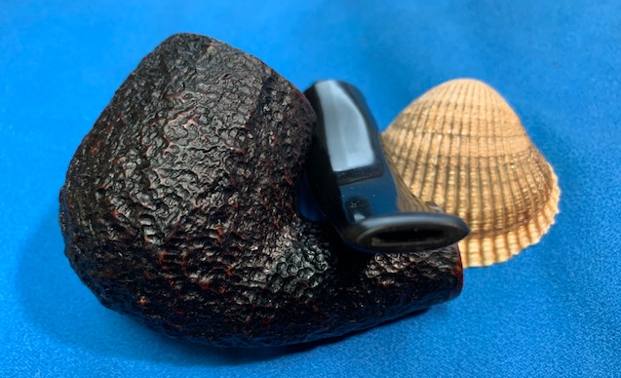
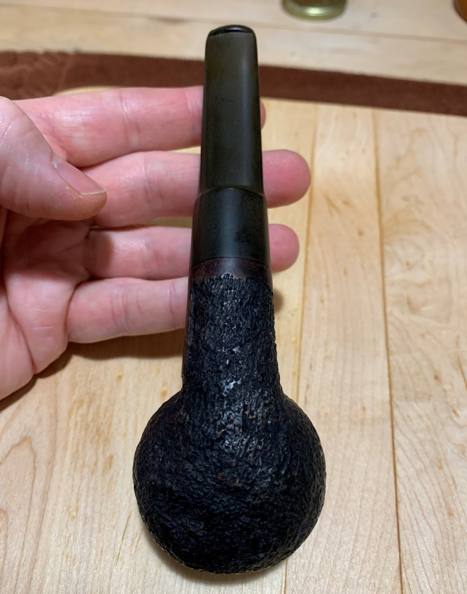
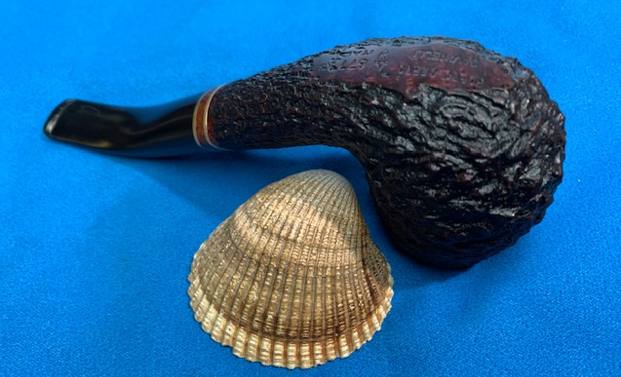
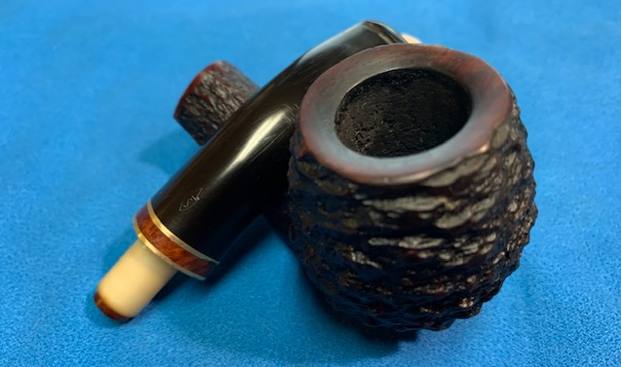
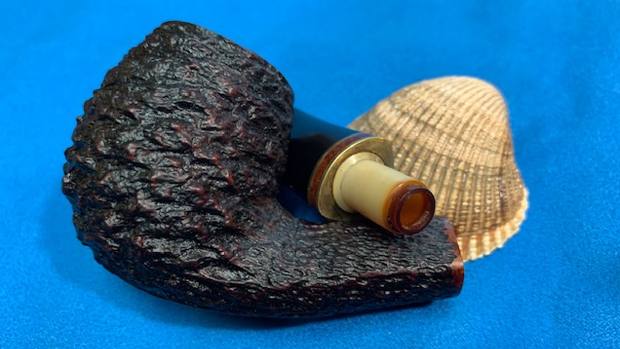
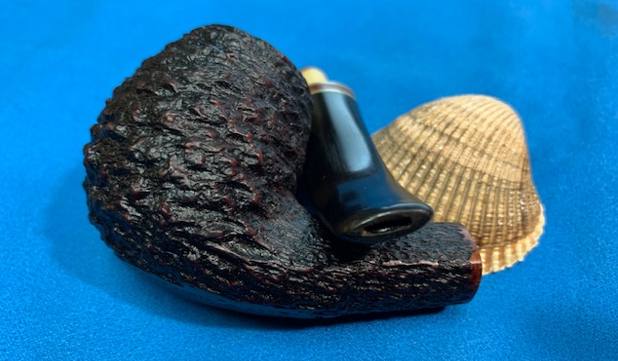
 Jeff captured the filth that was ground into the briar around the bowl sides and heel well but do not miss the grain that pokes through or you will miss something spectacular.
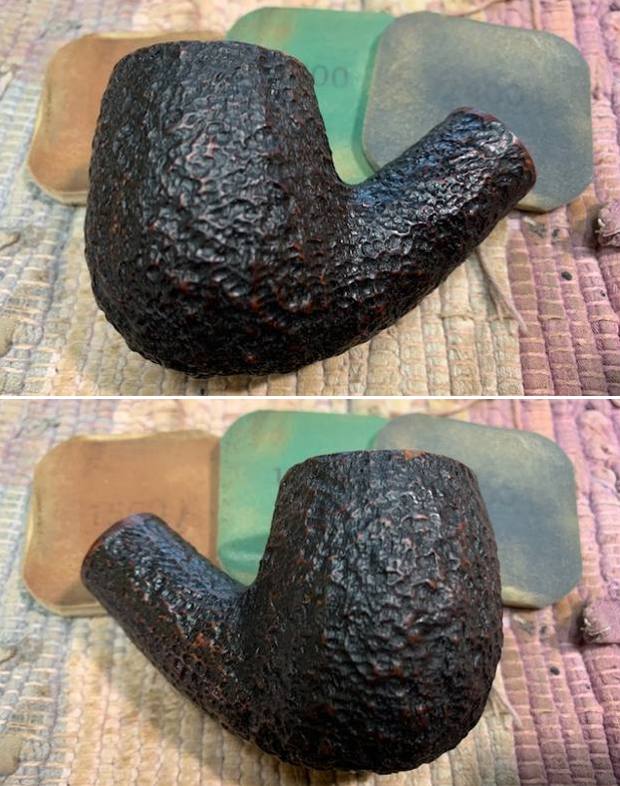
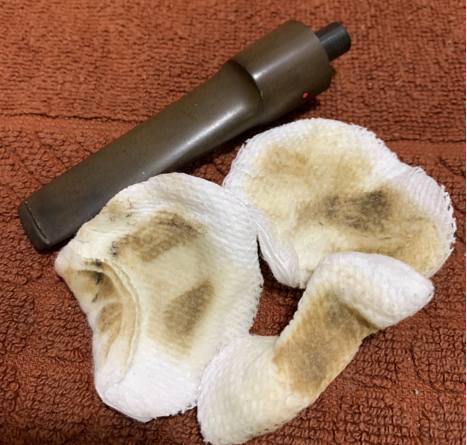
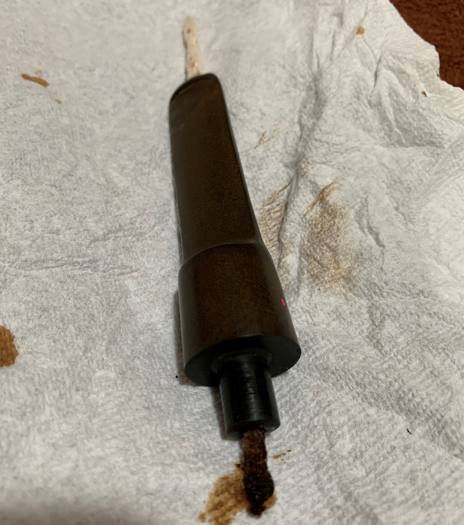
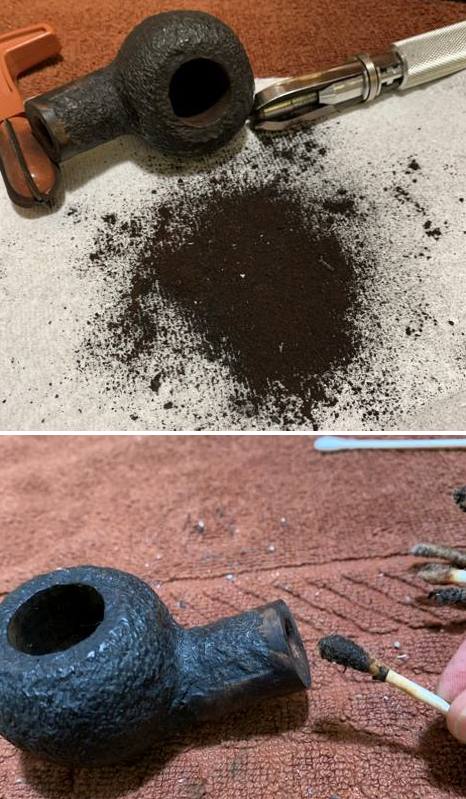
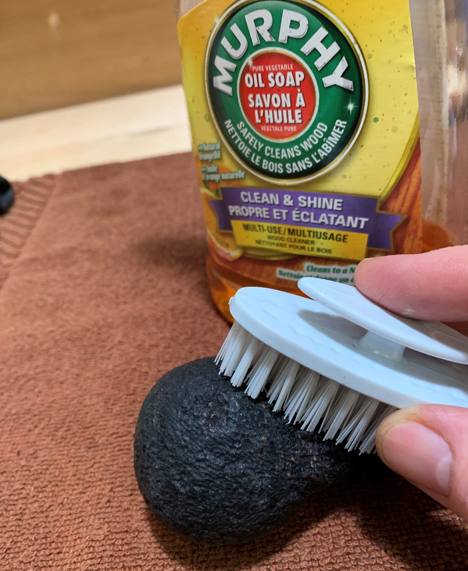
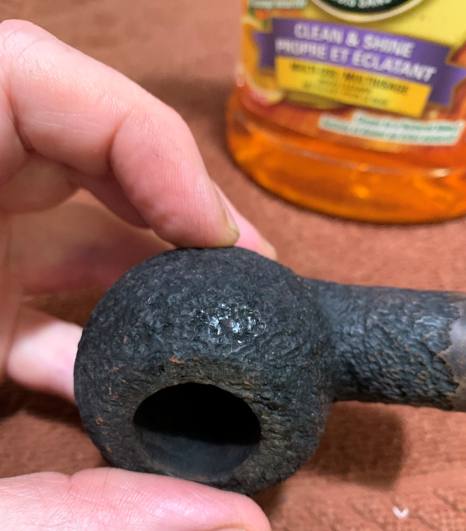
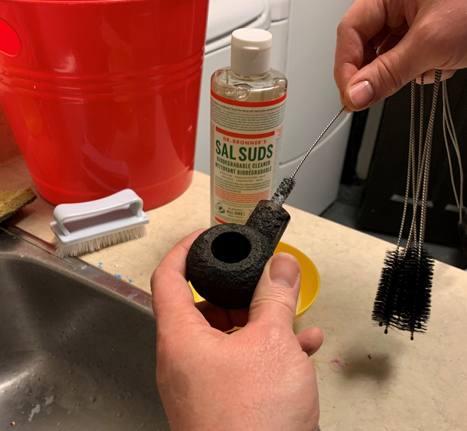
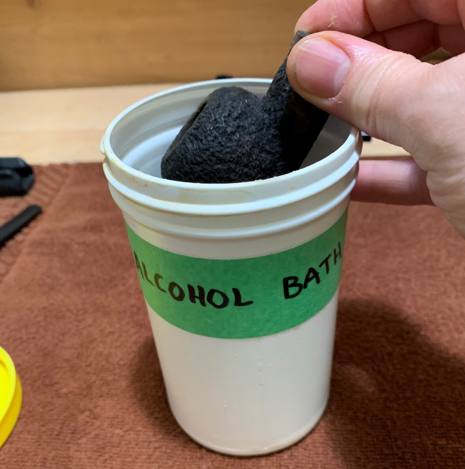
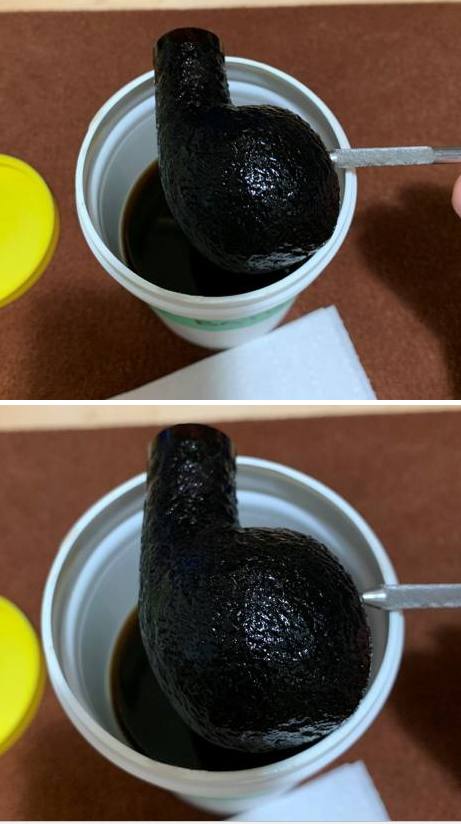
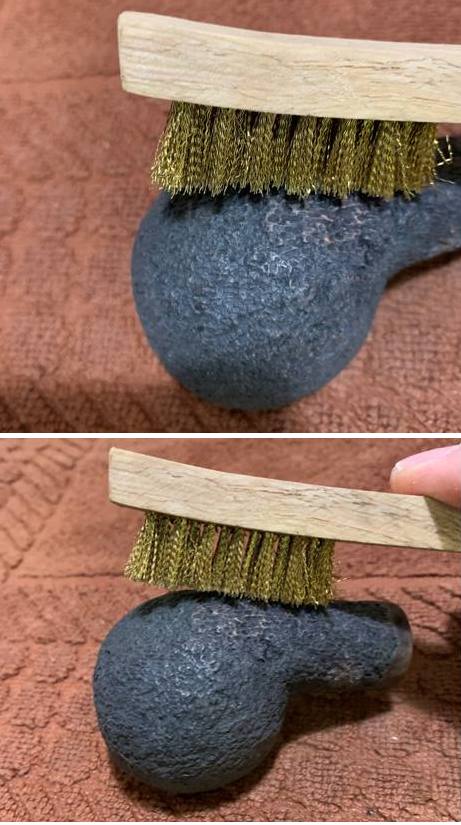
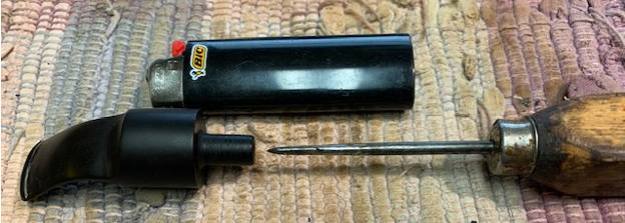
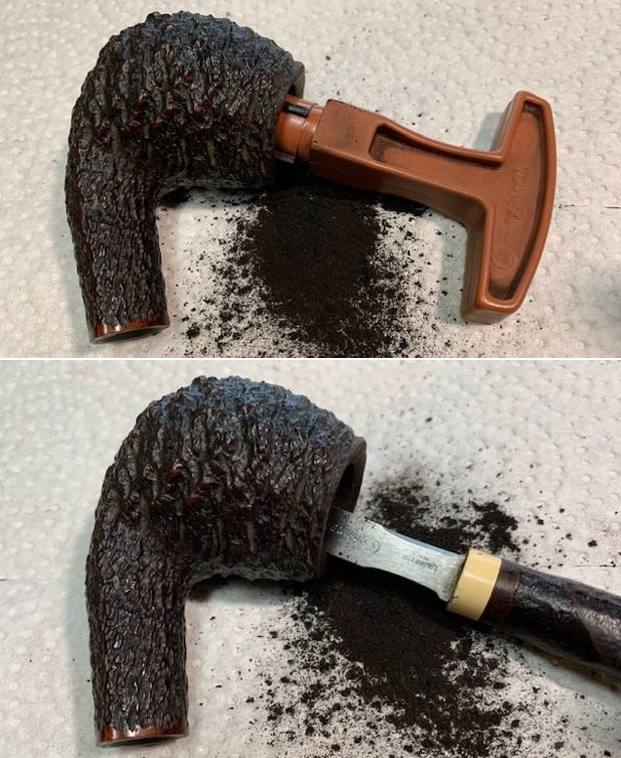
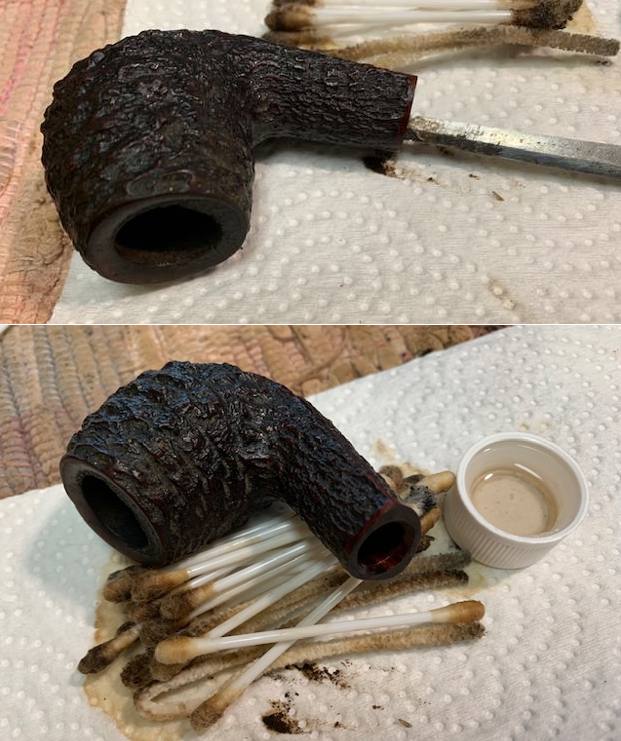
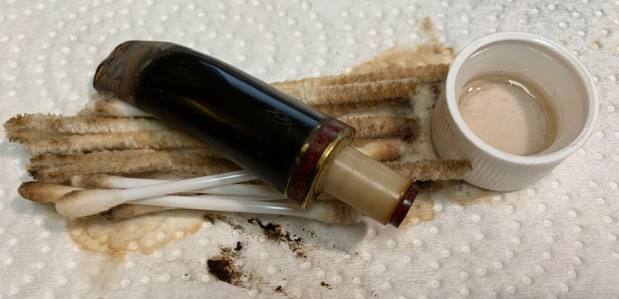
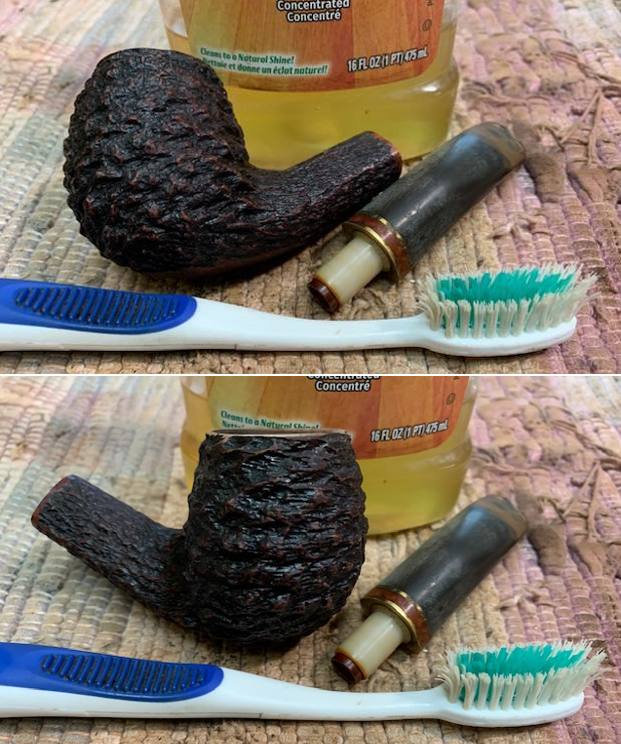
  The next photos show the pipe after Jeff worked a miracle in getting all of the cake, lava and grime of the exterior of the pipe. You can only imagine what it looked like on the inside once he opened it up. It really was a disgusting pipe and one that truly only a pipe restorer could love. He reamed it with a PipNet reamer and cleaned that up with a Savinelli Fitsall Pipe Knife. He scraped the lava with a knife and then scrubbed the exterior with a tooth brush and undiluted Murphy’s Oil Soap. He scrubbed the stem with Soft Scrub to remove the debris. He scoured out the internals with isopropyl alcohol, cotton swabs and pipe cleaners. He soaked the stem in Before & After Pipe Stem Deoxidizer and then rinsed it with warm water. He left the pipe looking surprisingly good. Here is what I saw when I received it.
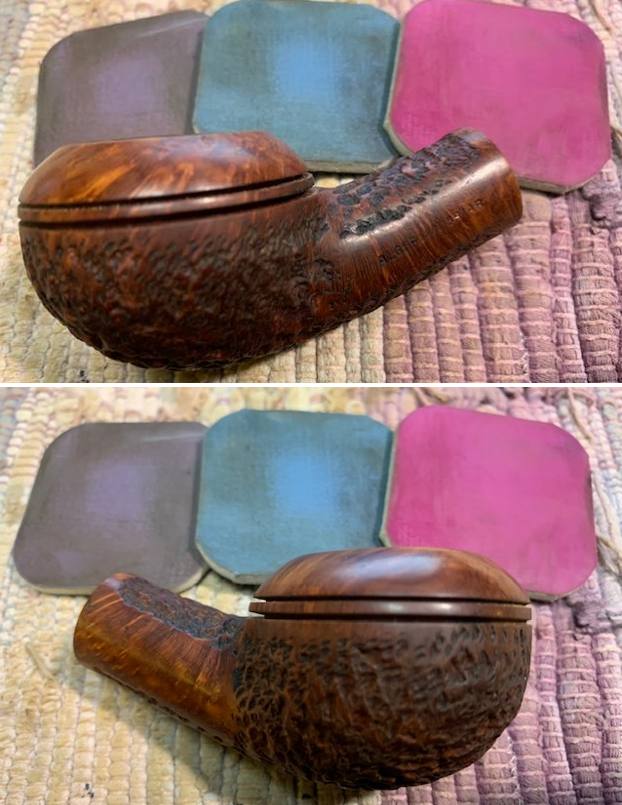
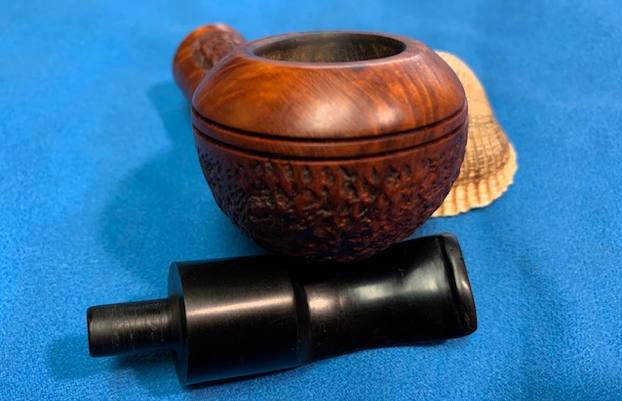
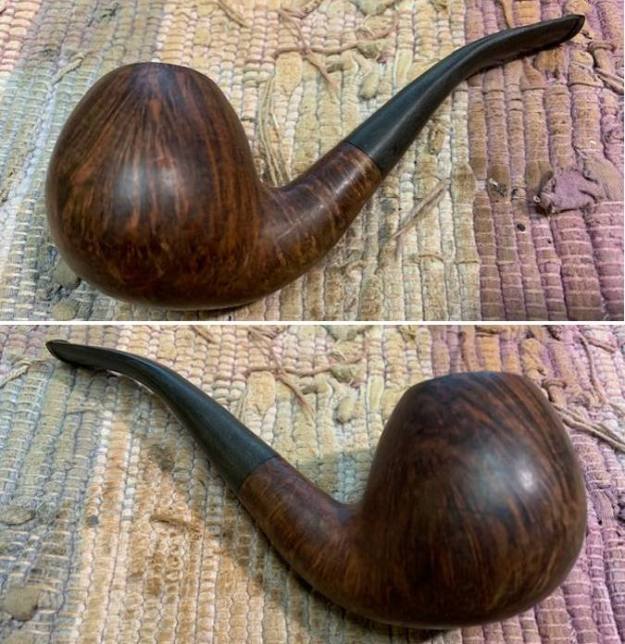
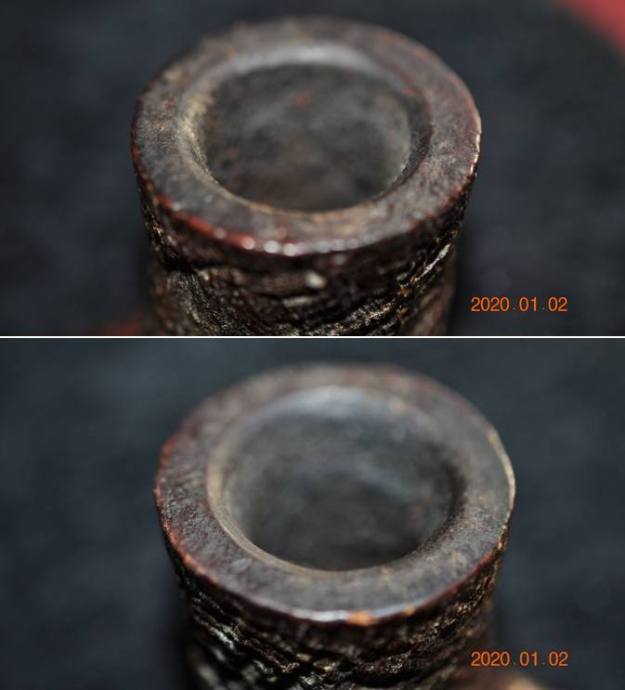
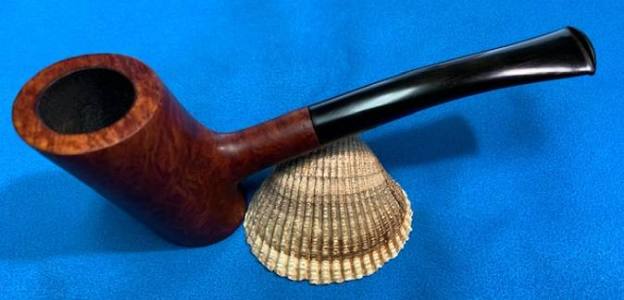
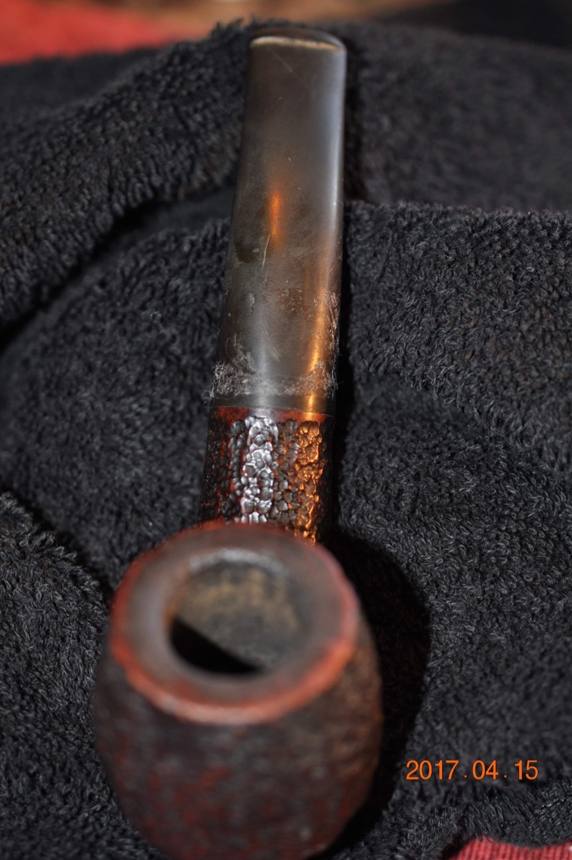
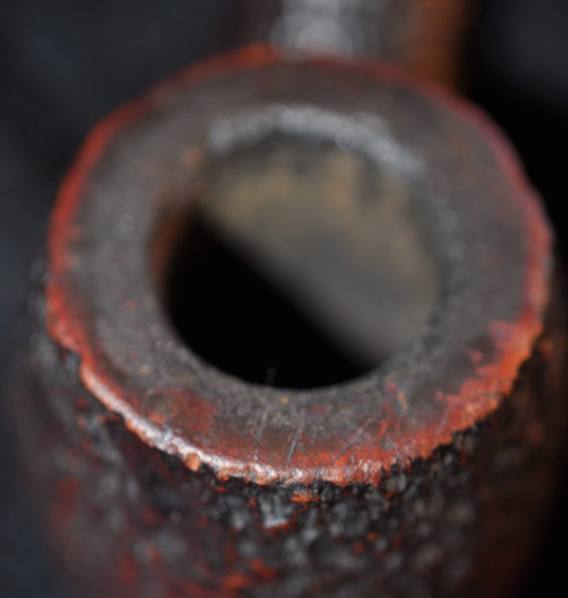
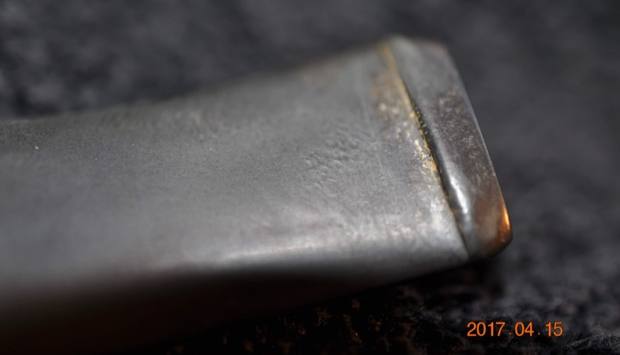
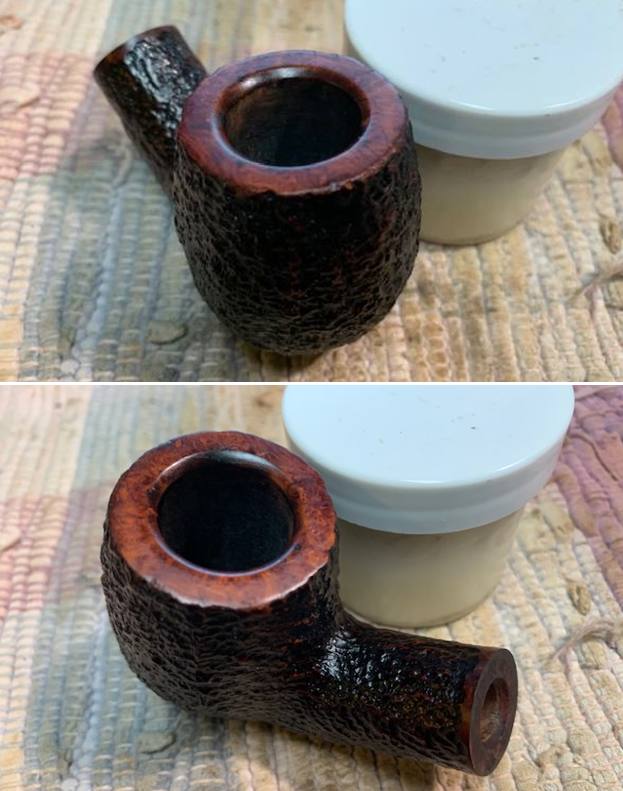
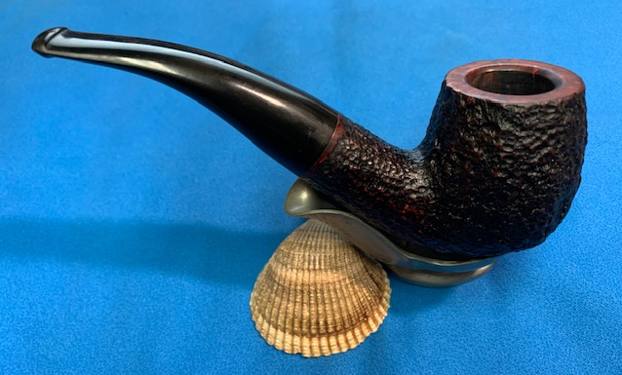
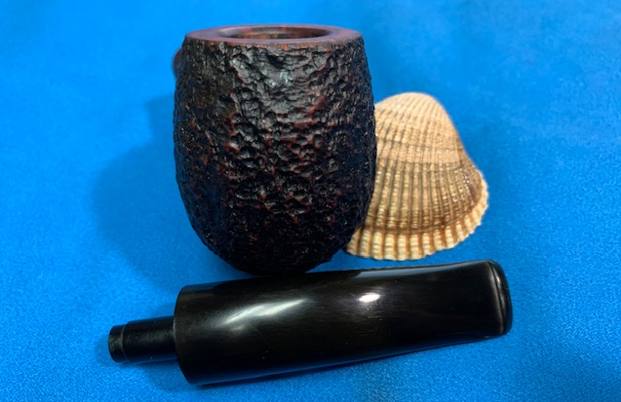
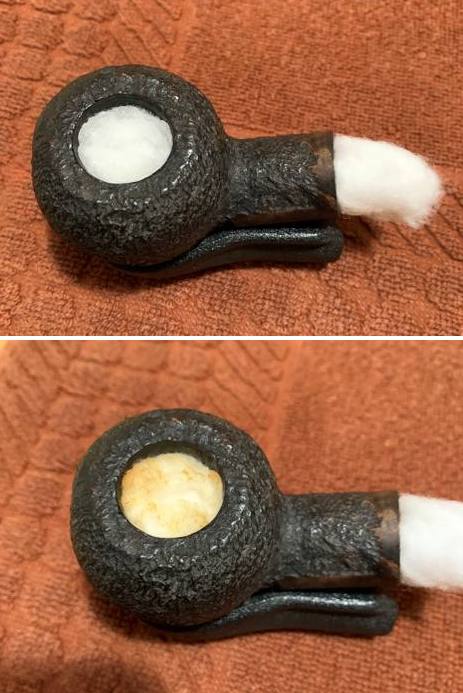
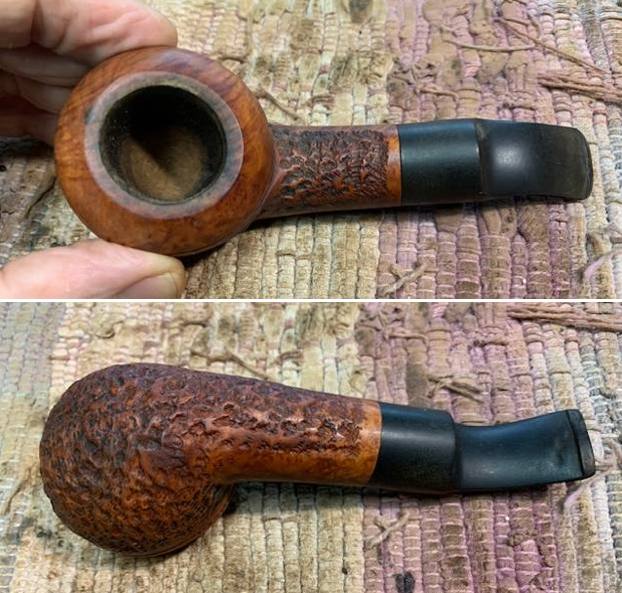
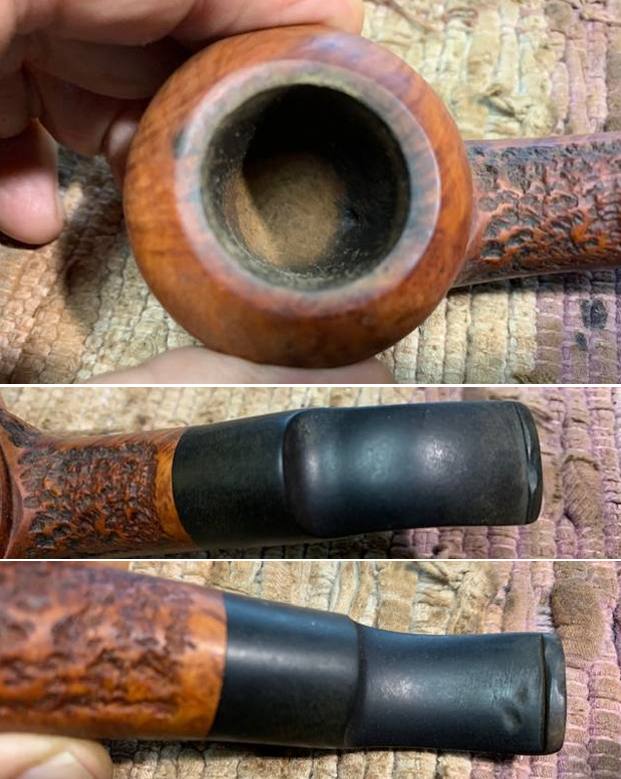
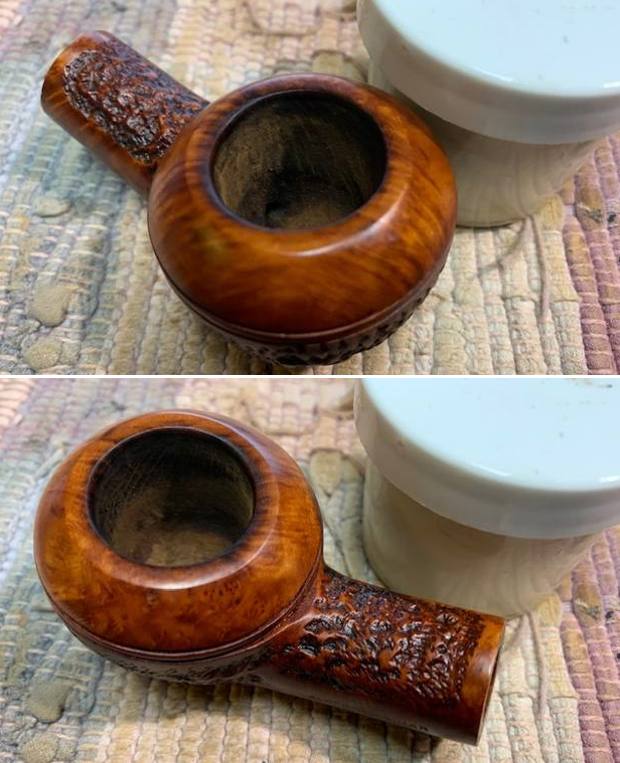
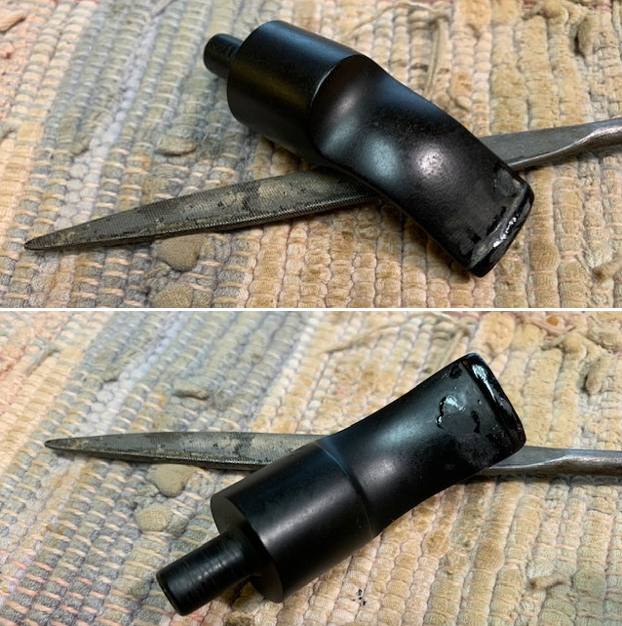
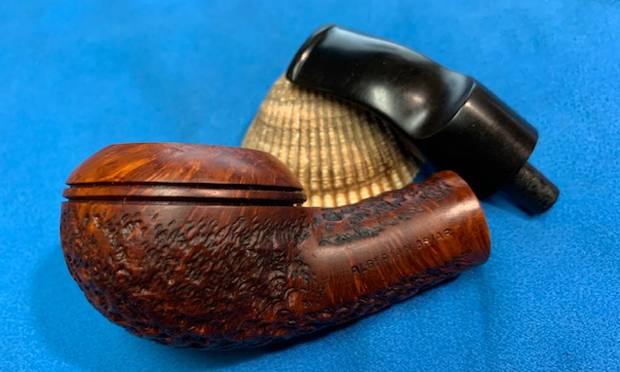
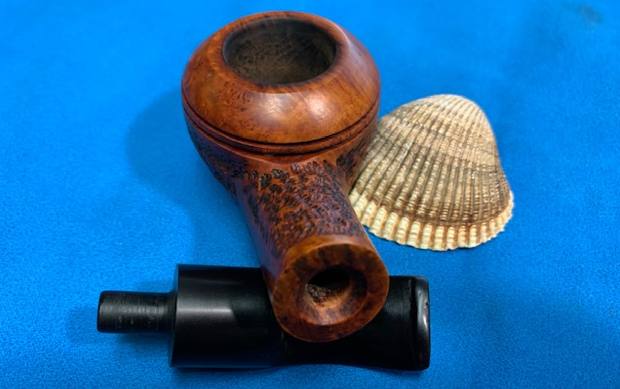
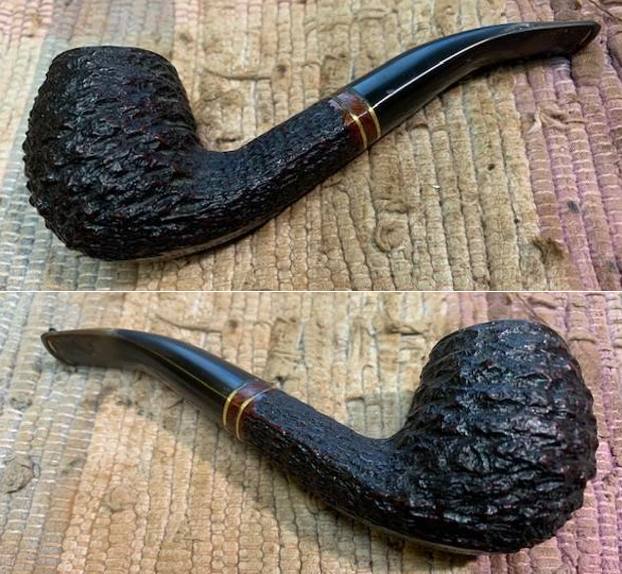
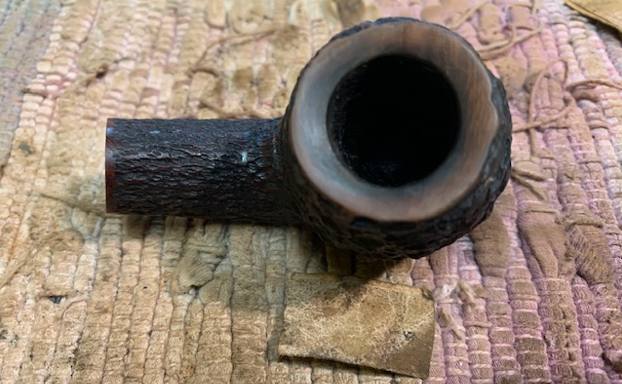
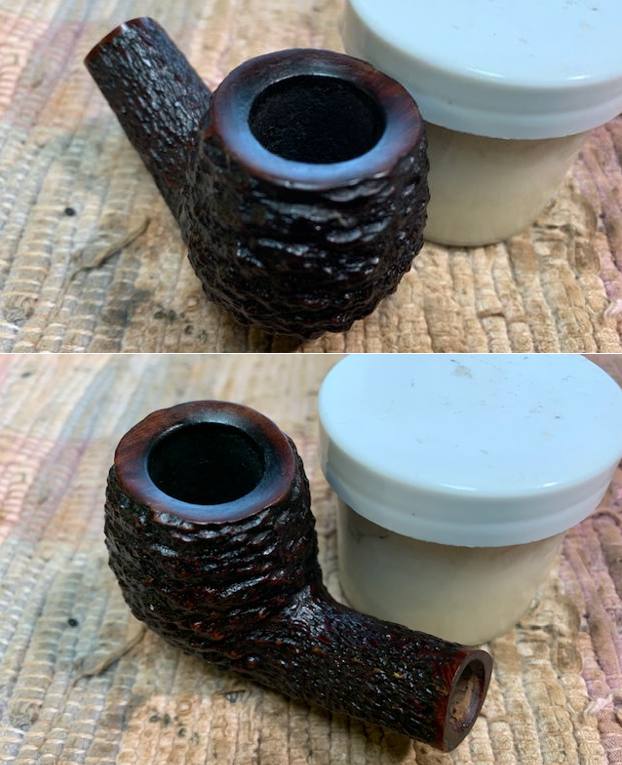
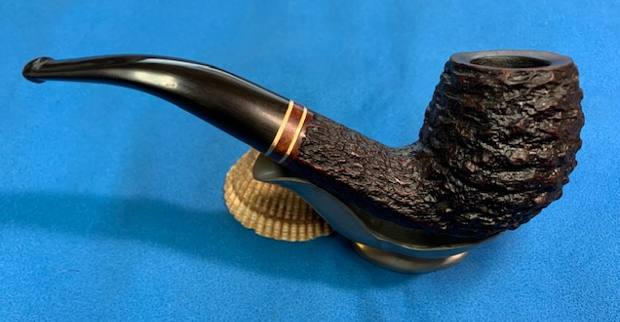
 I took a photo of the rim top and bowl to show the condition more closely. Amazingly, considering its condition on arrival, it looked very good. The walls of the bowl were smooth and the edges looked good. There was some darkening on the rim top but otherwise it was in good condition. The photos of the stem show that it was very clean but the tooth marks and grooves/gouges in the stem surface were deep on both sides quite a way up the stem. It was a mess on both sides.
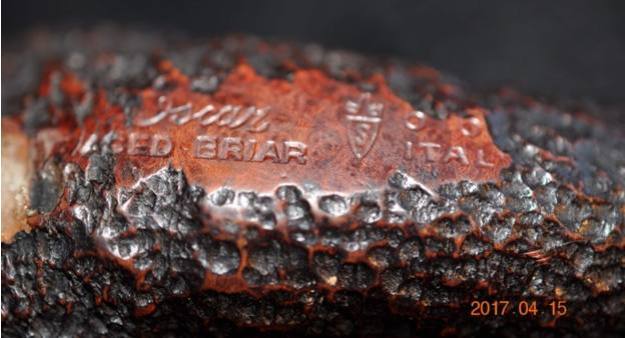
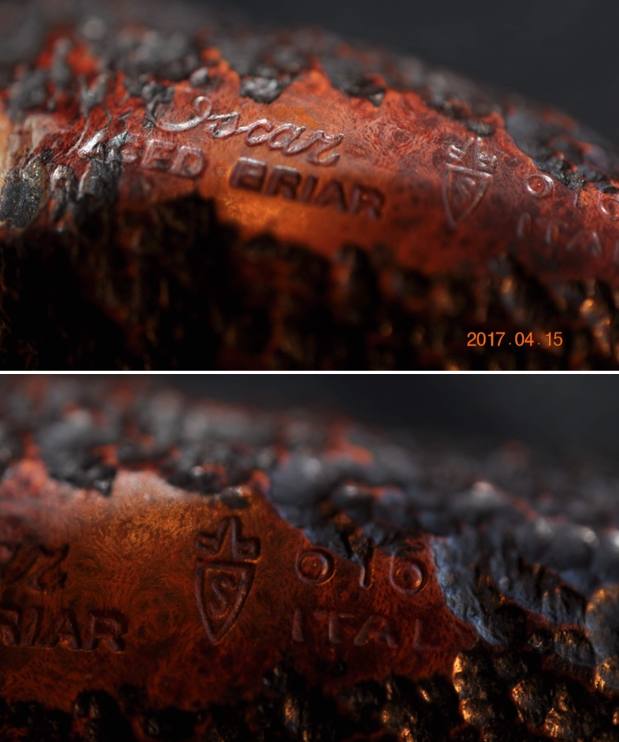
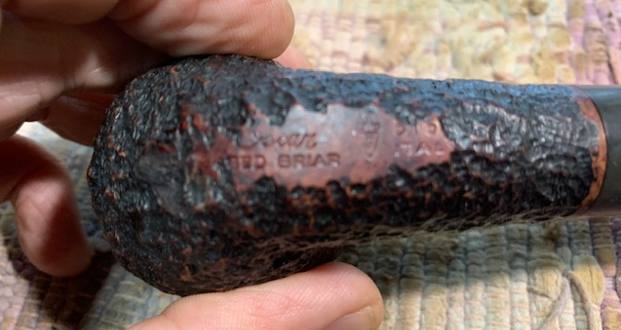
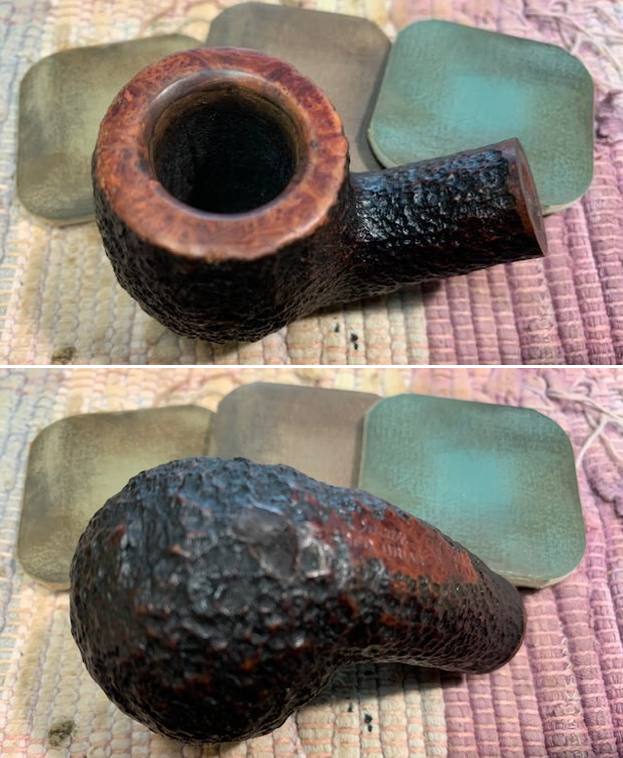
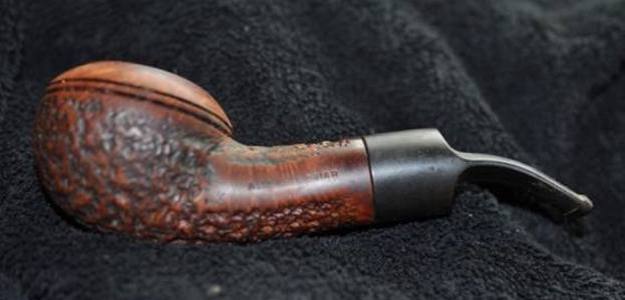
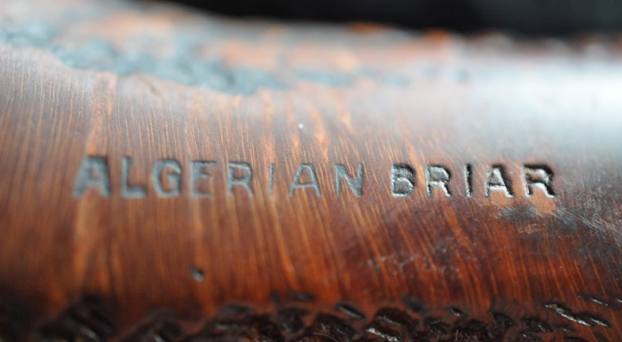
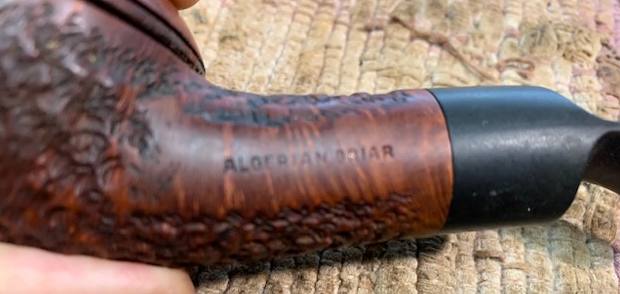
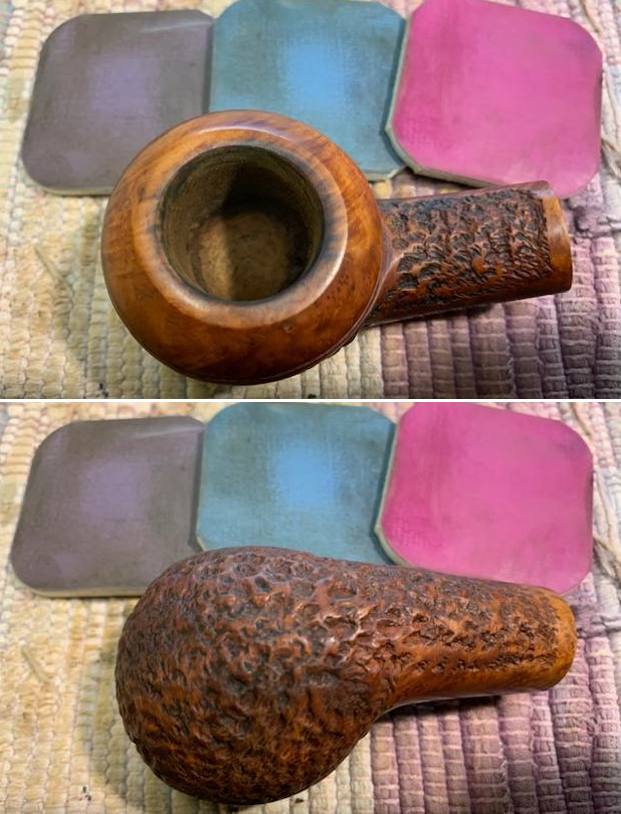
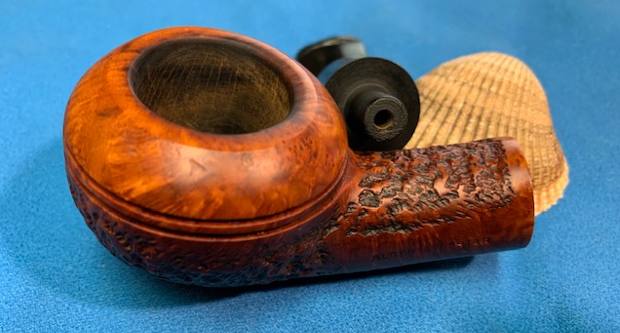
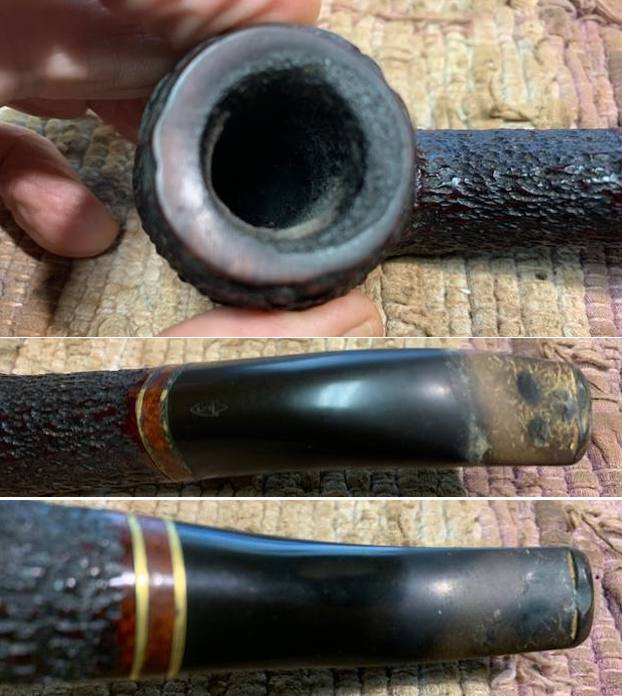
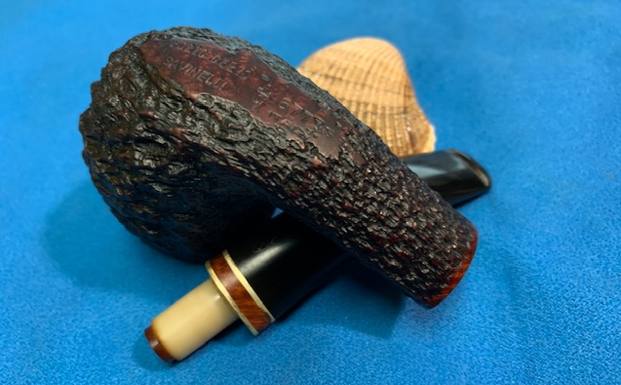
  I took some photos of the shank to show their unstamped condition. It is truly a nameless pipe by an unknown maker.
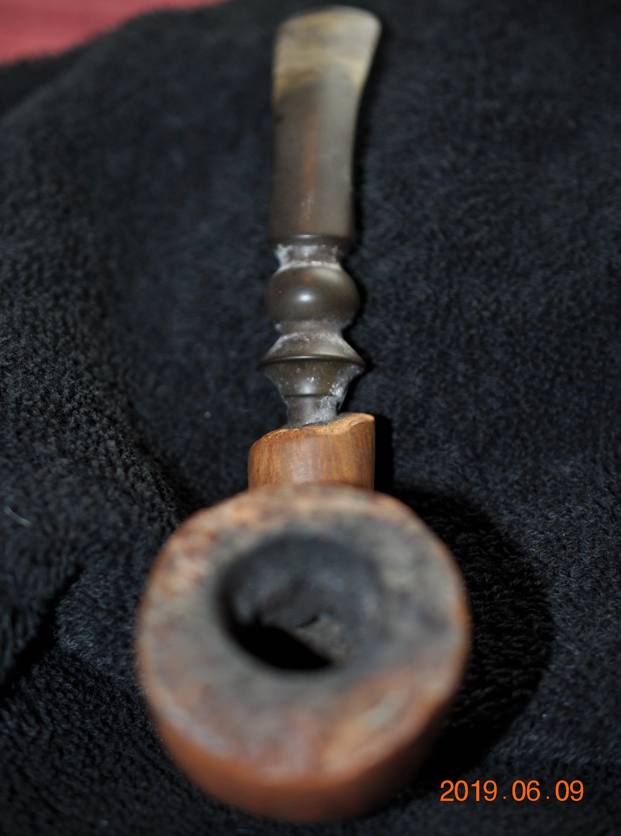
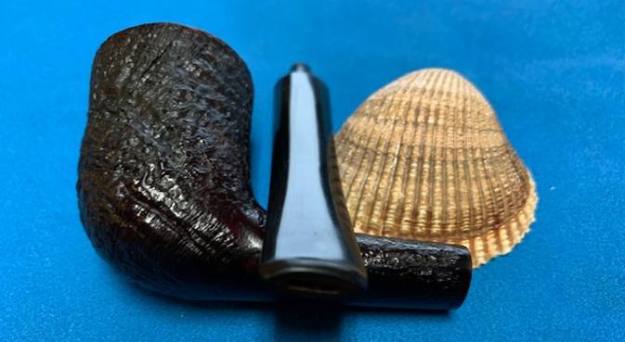
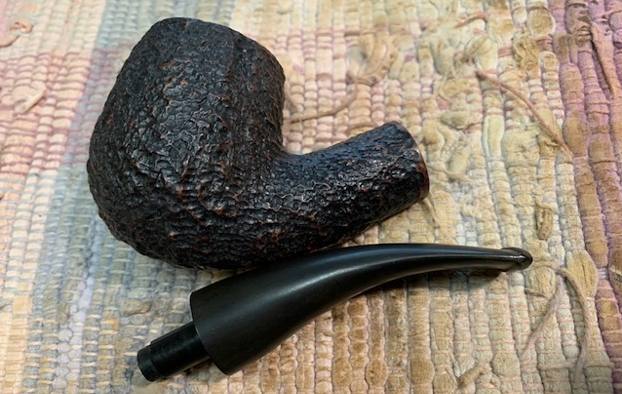
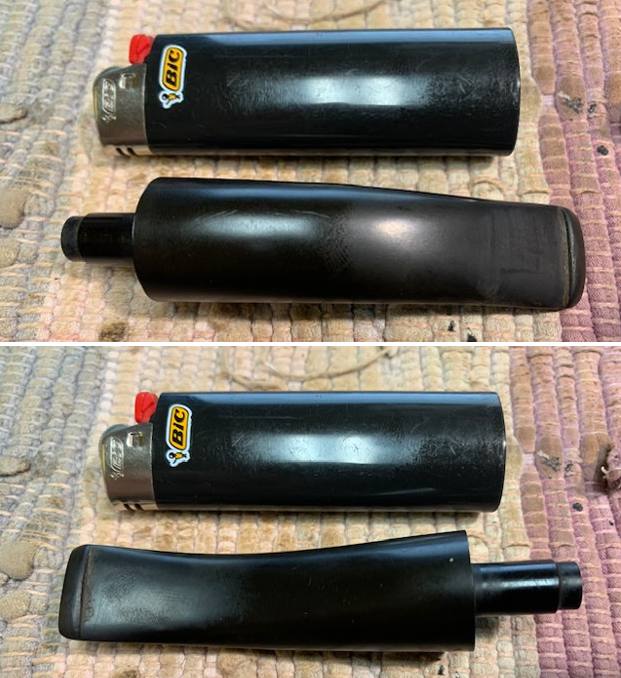
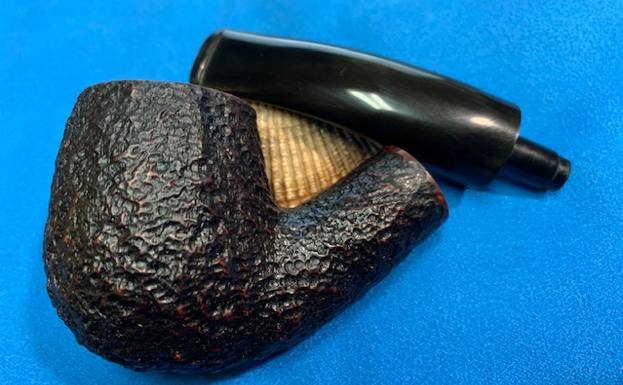
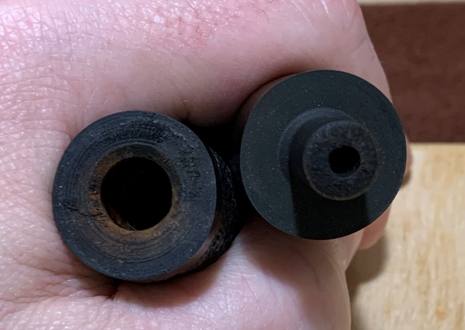
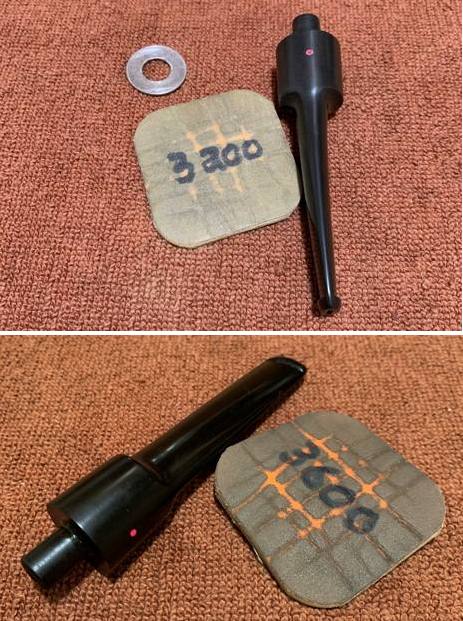
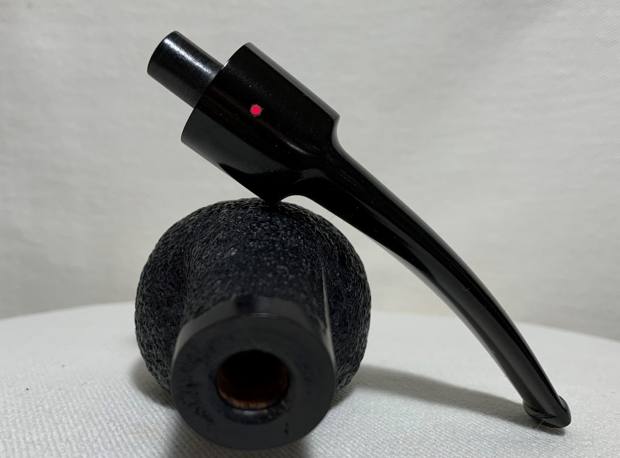
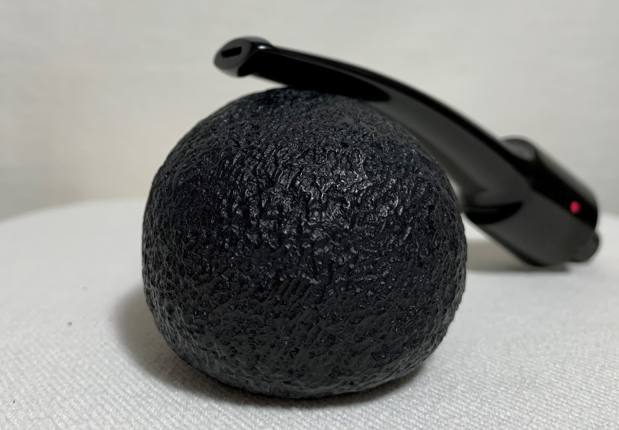
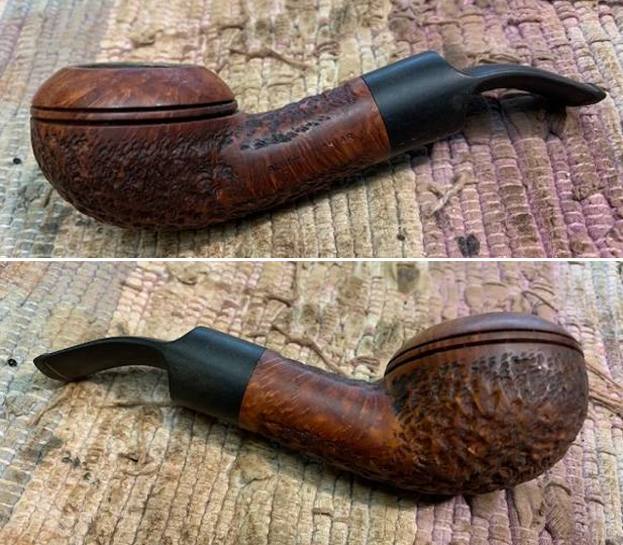
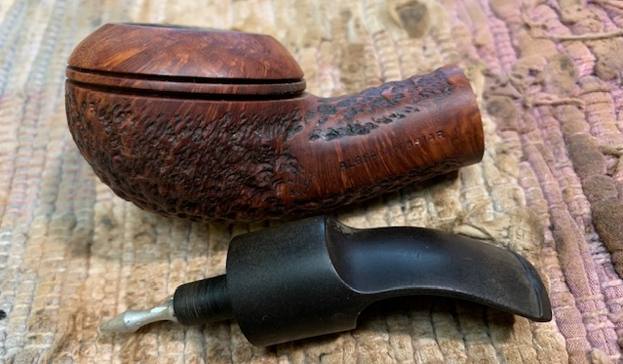
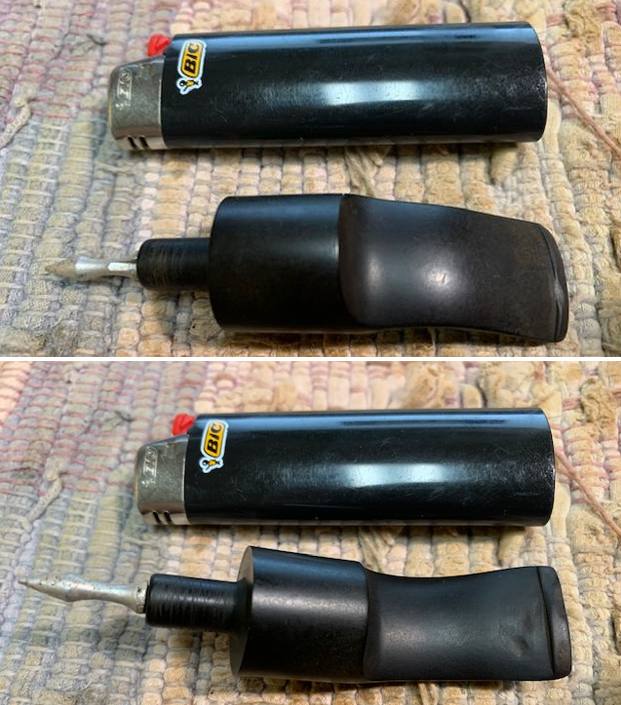
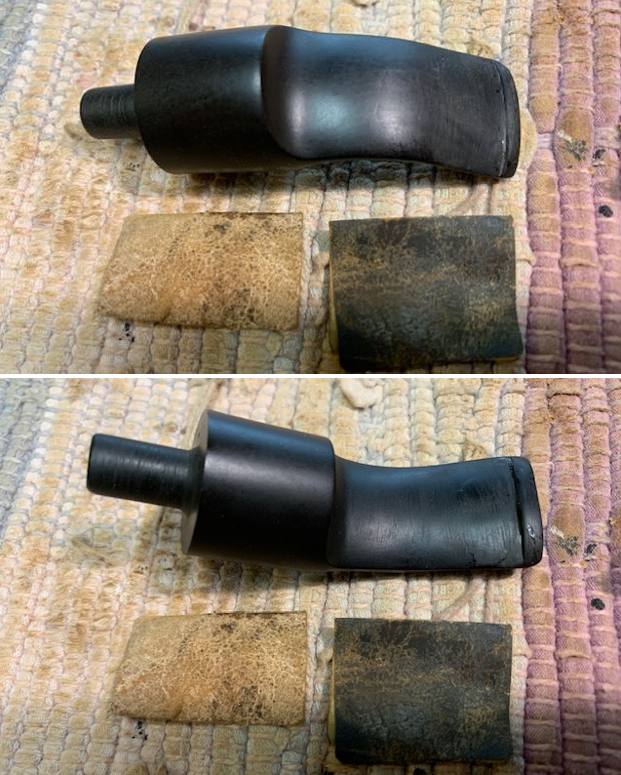
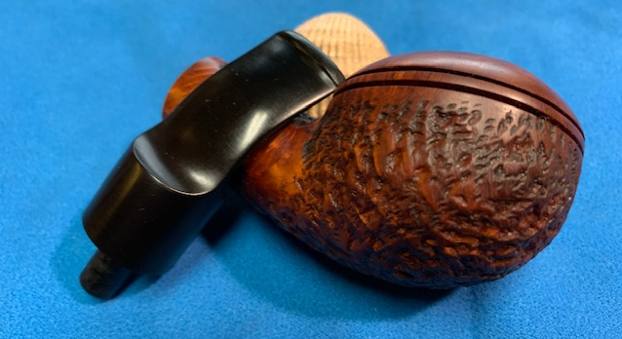
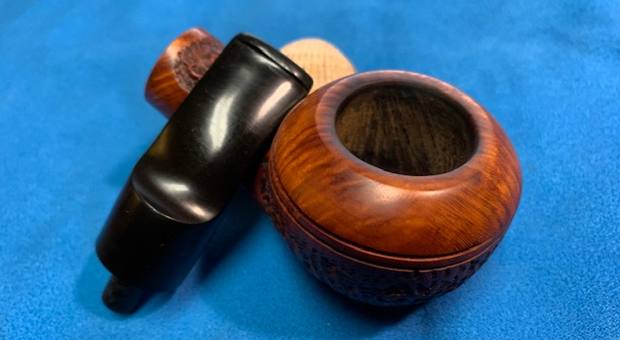
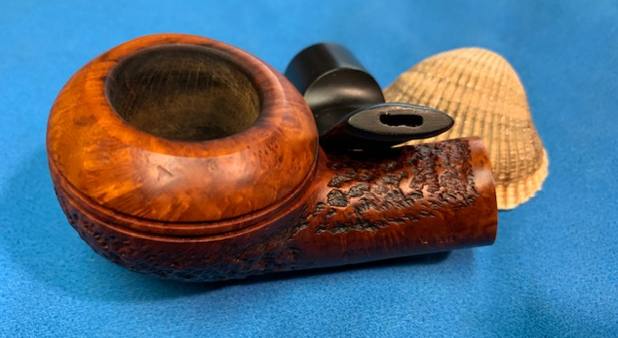
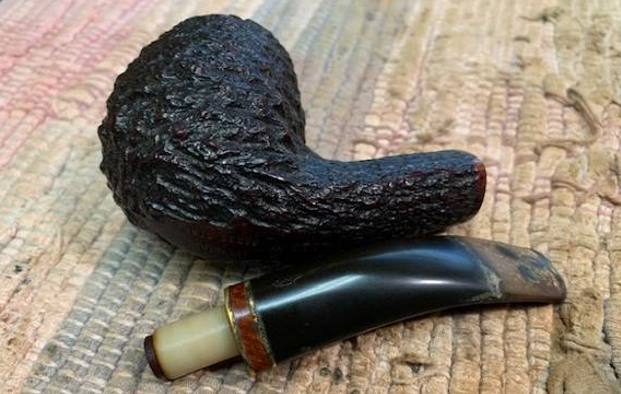
 I removed the stem from the shank and took a photo of the parts. I wanted to give a idea of the delicate feel of the stem and the shank to the size of the bowl. It really does remind me of some of the Nachwalter pipes that I have worked on in the past.
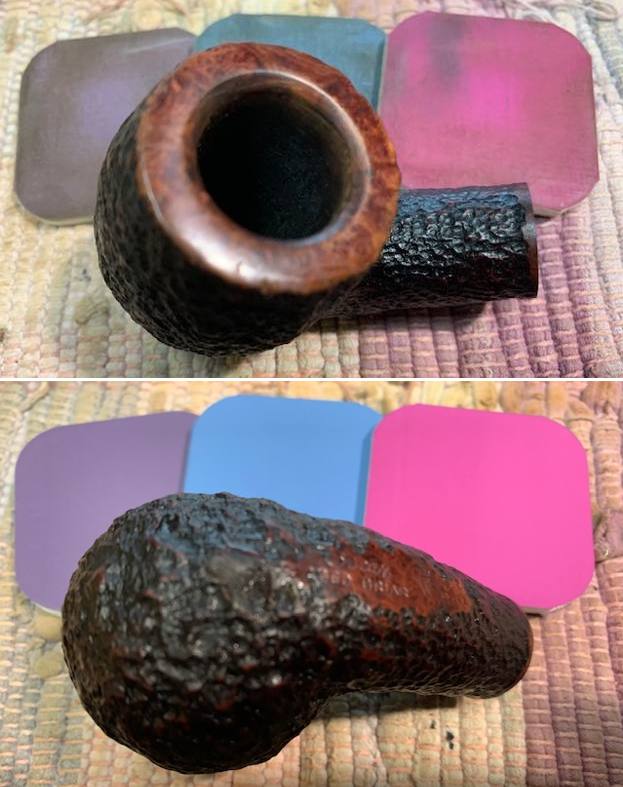
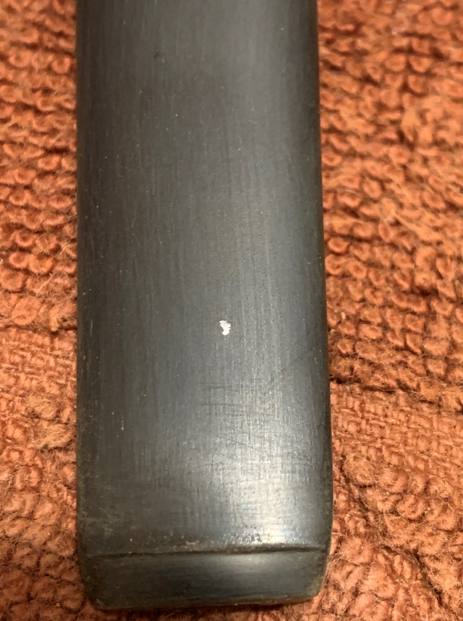
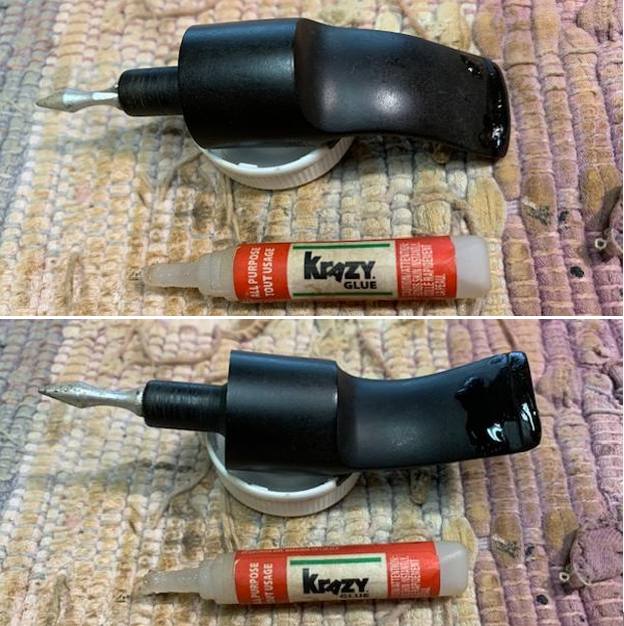
 I decided to start my work on the pipe by addressing the gouges in the briar on the left and right sides of the bowl. I tried steaming them and it was a useless effort as the nicks and gouges had sharp edges and did not lift at all. I filled them in with clear CA glue. Once the repairs cured I sanded them smooth with 220 grit sandpaper to begin to blend them into the surrounding surface area.
 To clean up the rim top I lightly topped it on a topping board with 220 grit sandpaper. My goal was not to take off much of the top but merely to reduce the darkening on the top and edges.
 I sanded the entire bowl and shank (with the stem in place for the shank portion) with a medium and fine grit sanding sponge. I wanted to remove as much of the scratching on the surface of the pipe as possible and further blend in the repaired areas. Keeping the stem on during the sanding of the shank guaranteed that the transition would remain smooth. The grain began to really stand out as I sanded it.
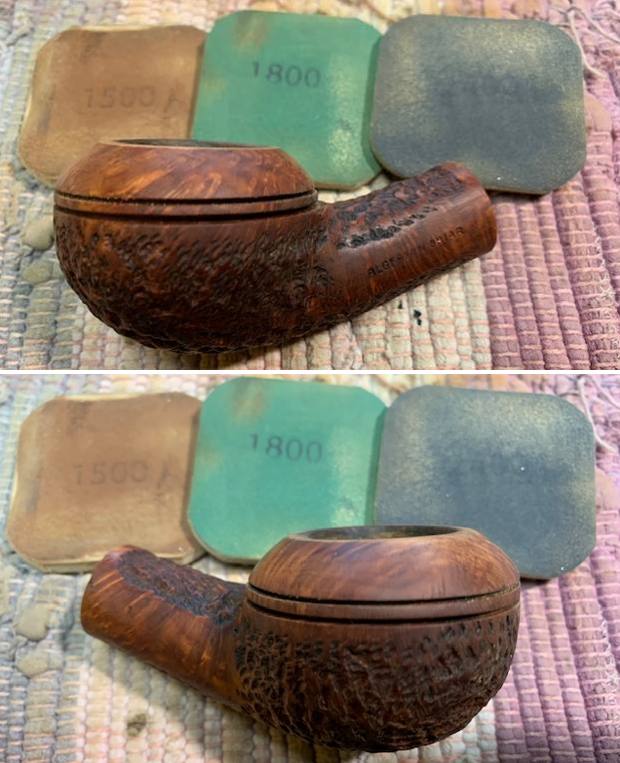
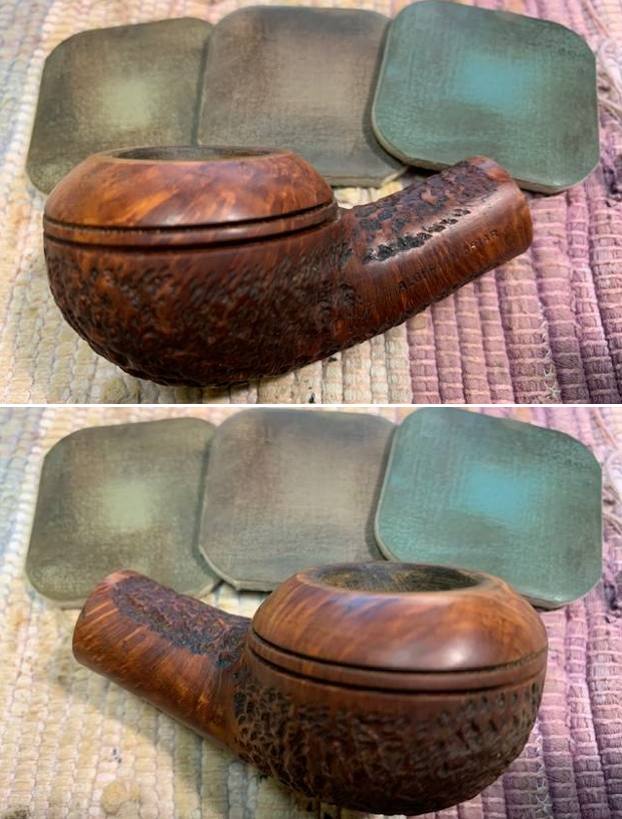
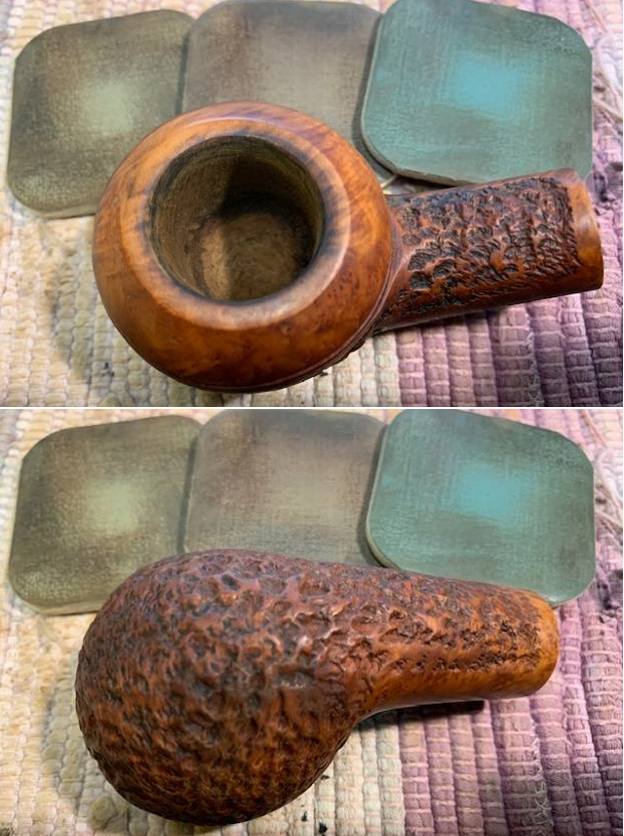
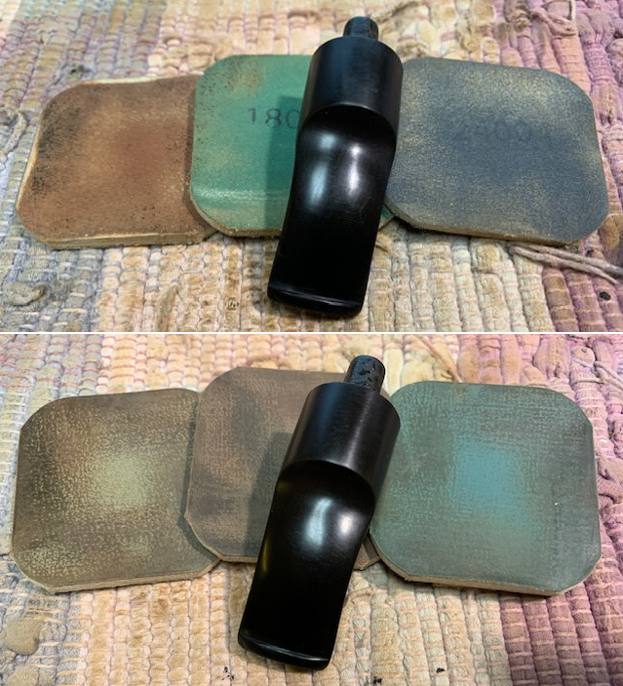
 I continued to polish the briar with micromesh sanding pads – dry sanding with 1500-12000 grit pads. I wiped the bowl down after each pad with a damp cloth to remove the sanding debris. The bowl and shank really began to take on shine and the grain is stellar.


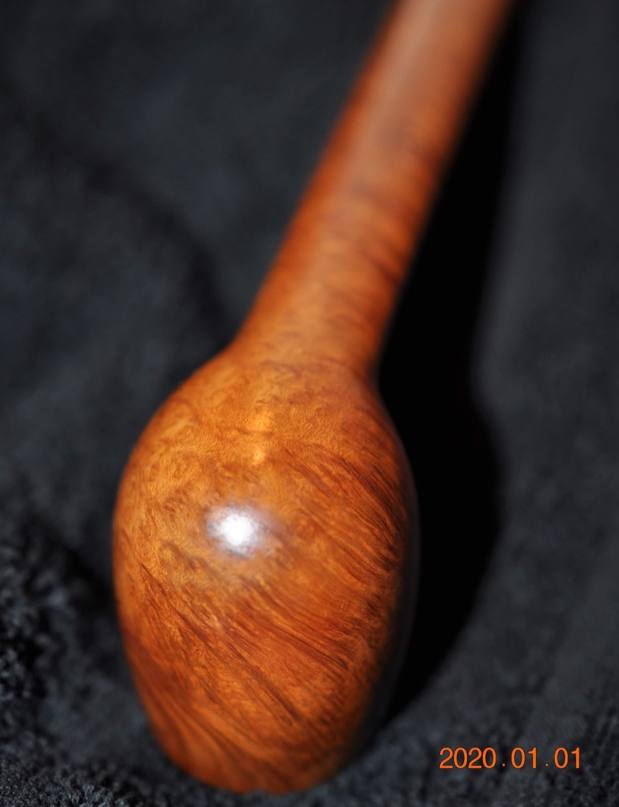
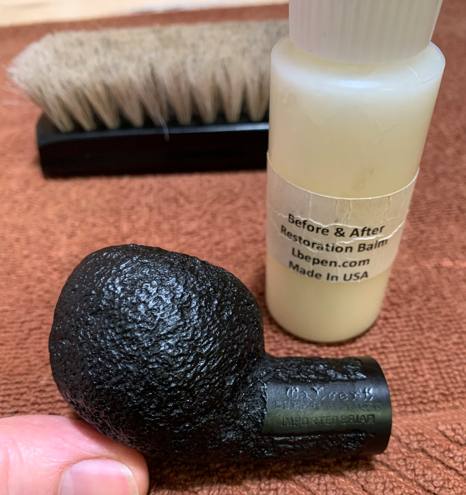
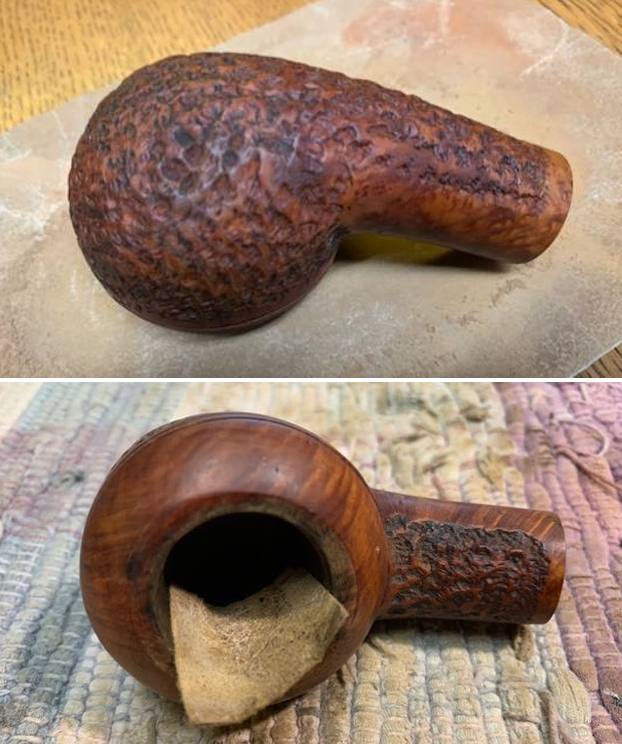
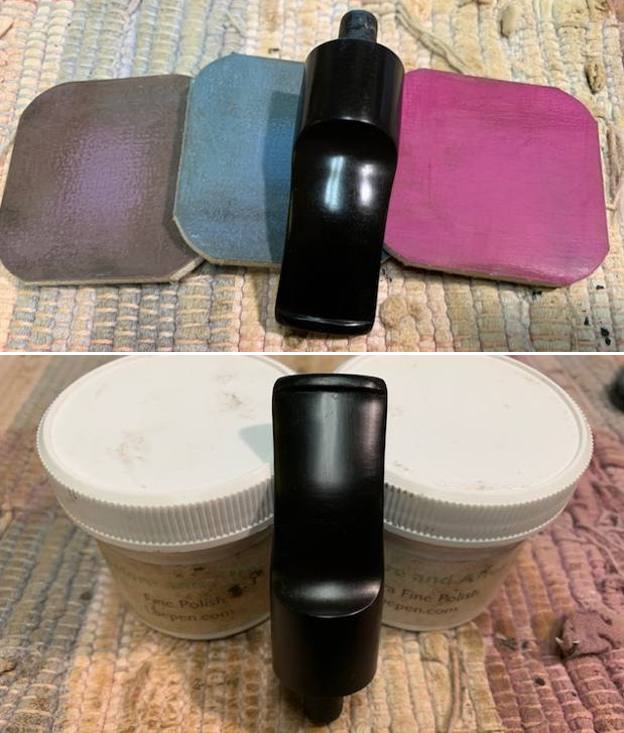
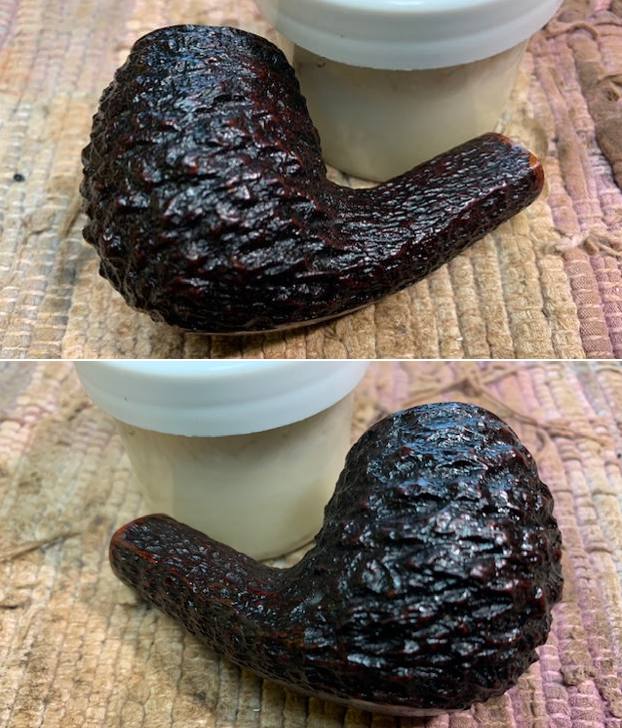
 I rubbed the bowl down with Before & After Restoration Balm and worked it into the briar with my finger tips. I let it sit and work its magic for 10 minutes then buffed it off with a soft cloth. The grain really came alive with the Balm. This is a really beautiful looking pipe.

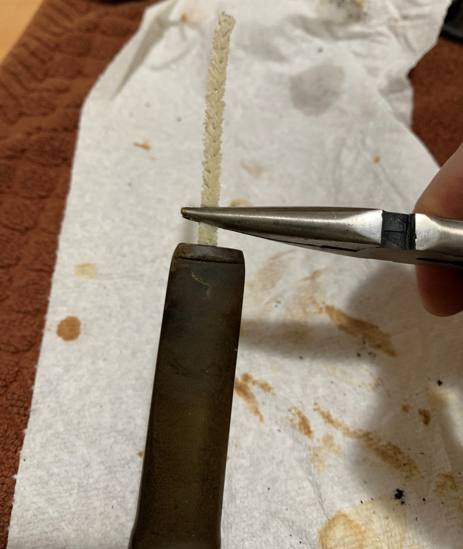
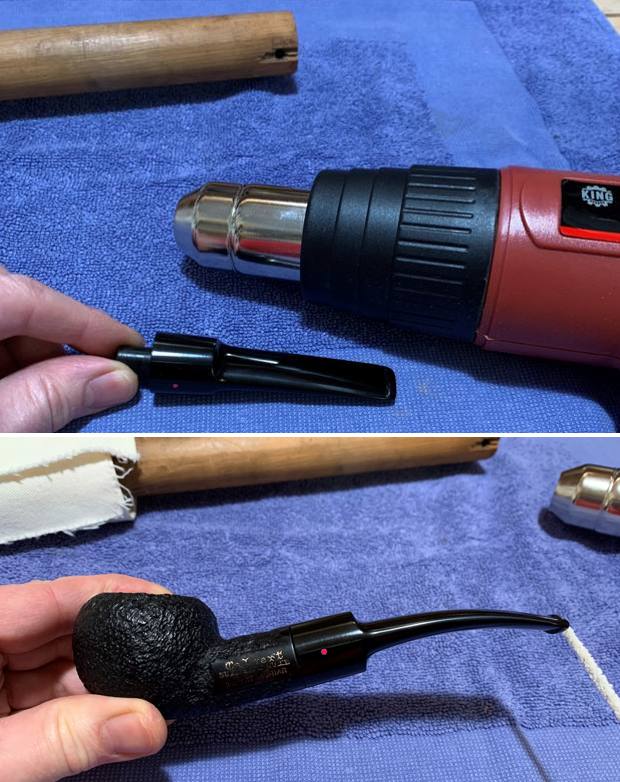
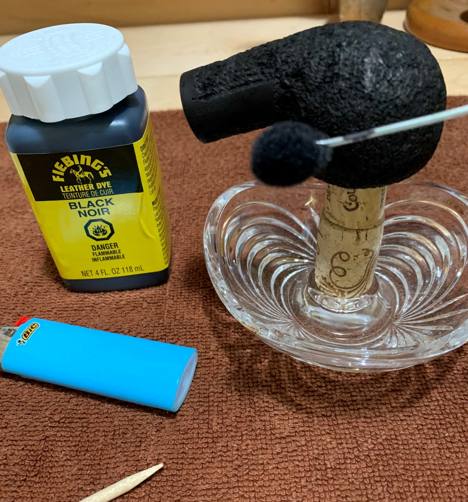
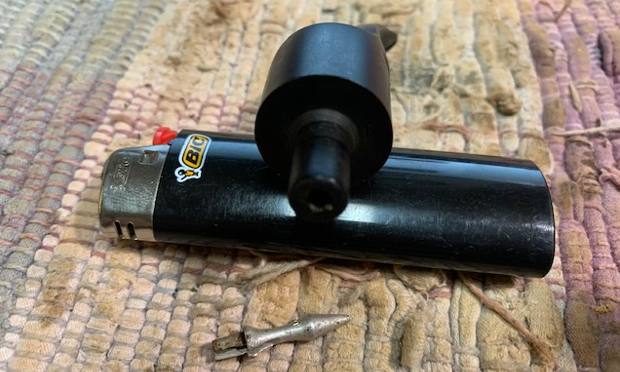
 I set the bowl aside and turned to work on the stem issues. I “painted” it with the flame of a lighter and was able to lift the tooth marks and grooves some. I filled in the remaining marks and gouges with clear CA glue and set them aside to cure.
 Once the repairs had cured I flattened them out with a small file. I sanded them and the rest of the stem with 220 grit sandpaper to further smooth them out and remove damage on the stem and button. I started polishing the stem with 400 grit wet dry sandpaper.
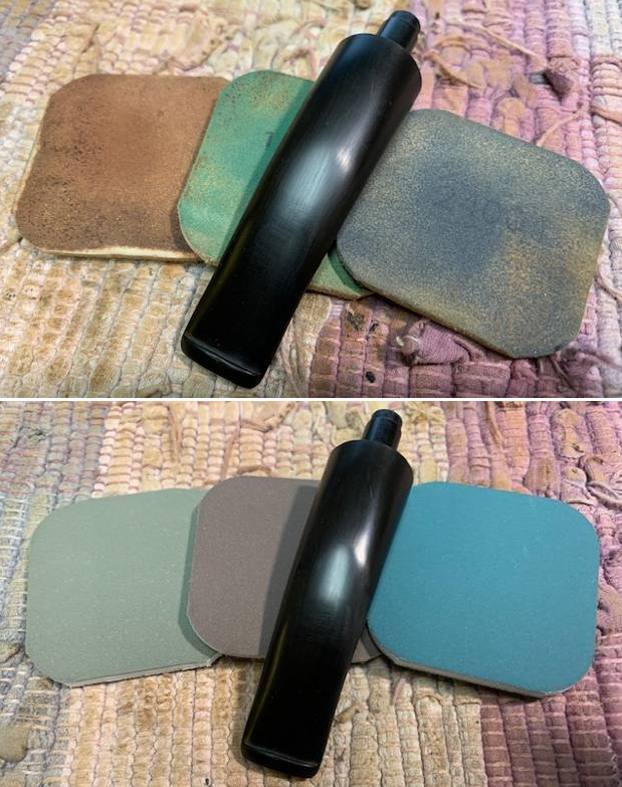
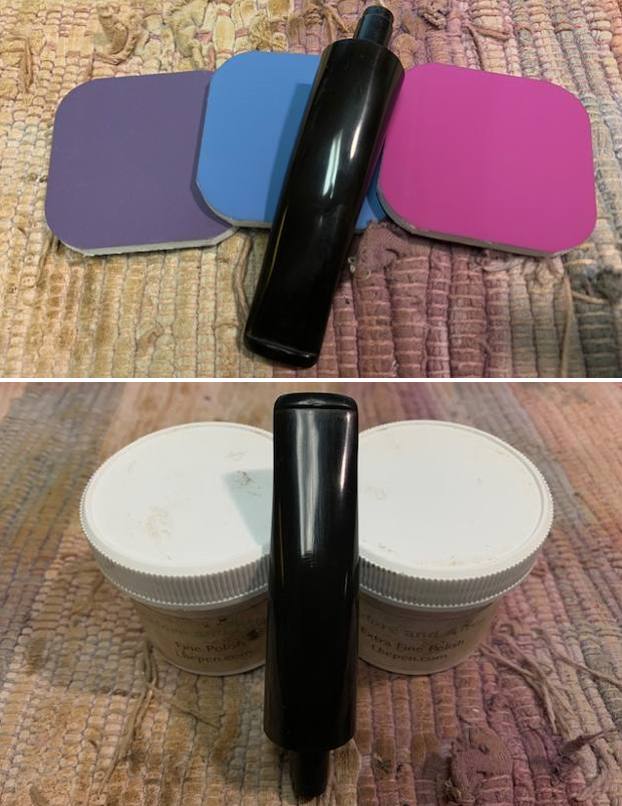
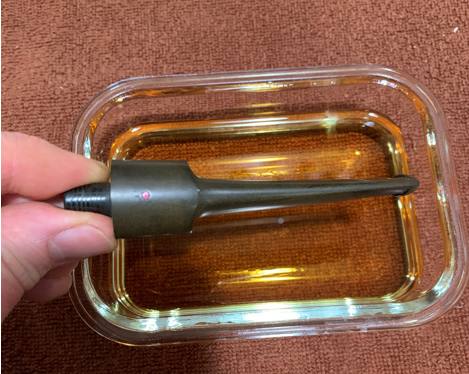
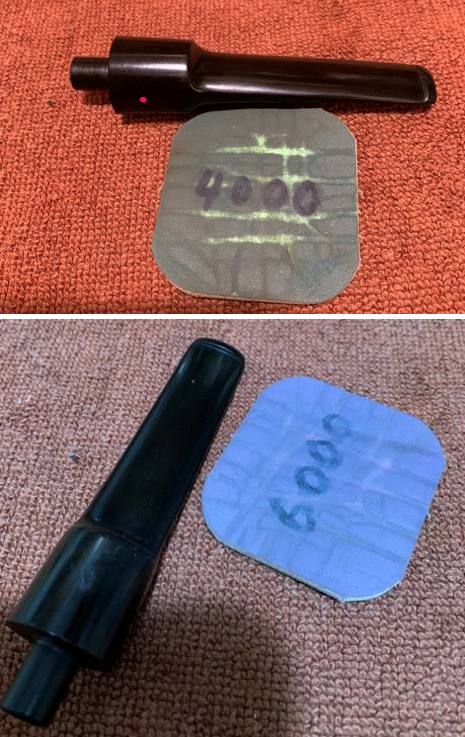
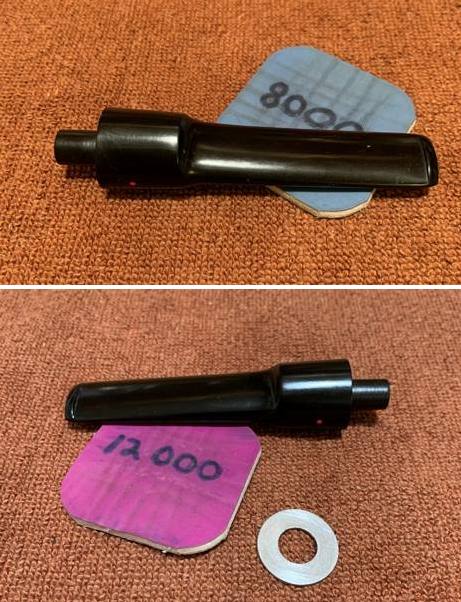
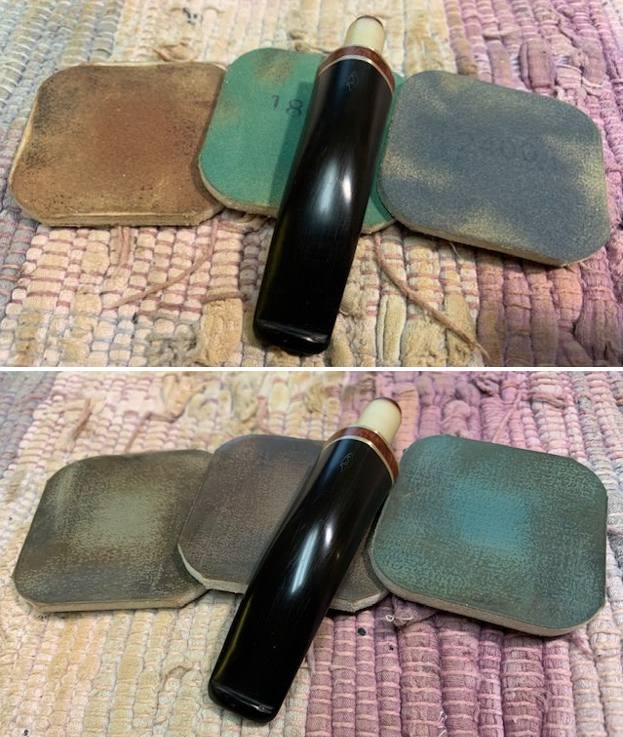
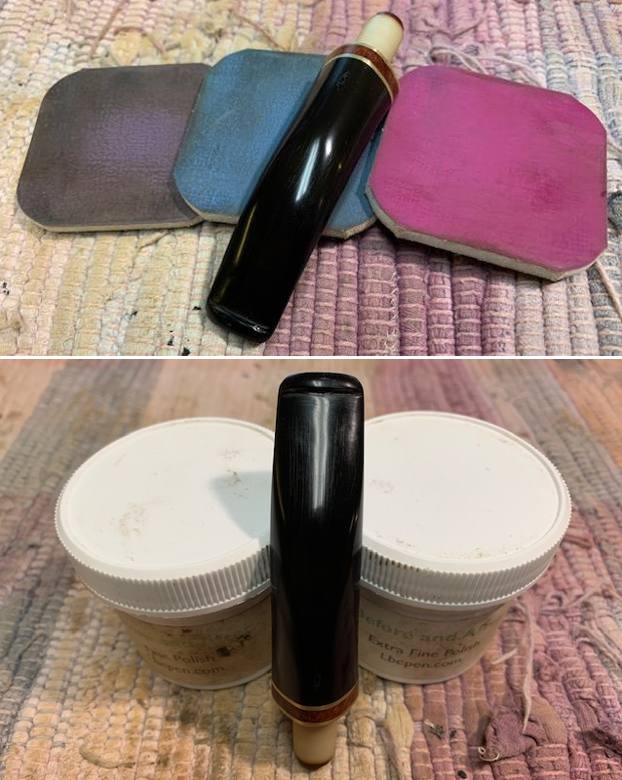
 I polished the stem with micromesh sanding pads – dry sanding with 1500-12000 grit pads. I wiped the stem down after each pad with a cloth impregnated with Obsidian Oil. I finished polishing the stem with Before & After Stem Polish – both Fine and Extra Fine and then wiped the stem down a final time with the cloth and Obsidian Oil. I set it aside to dry.
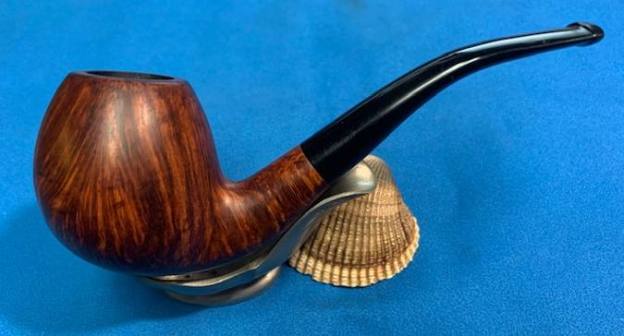
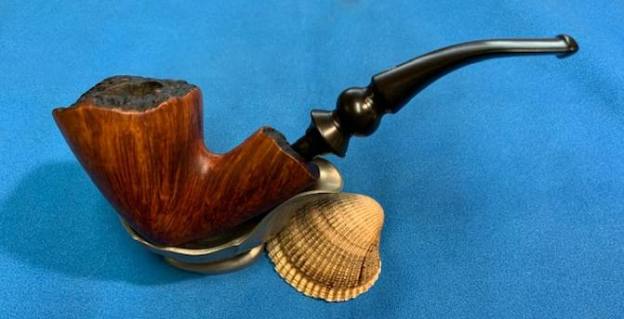
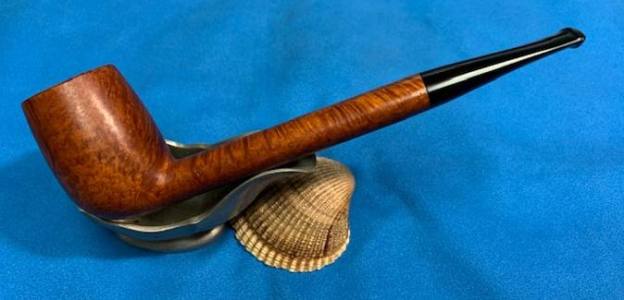
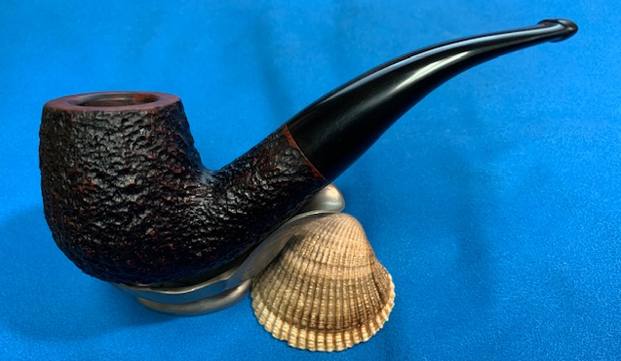
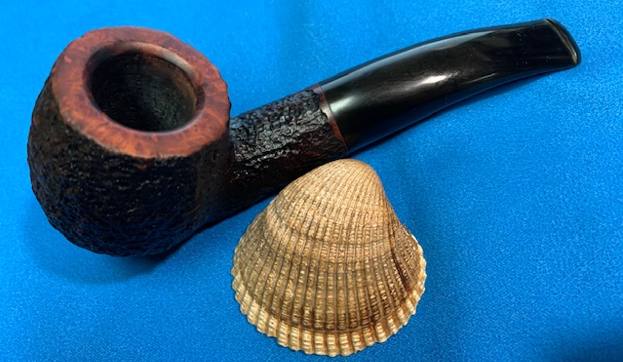
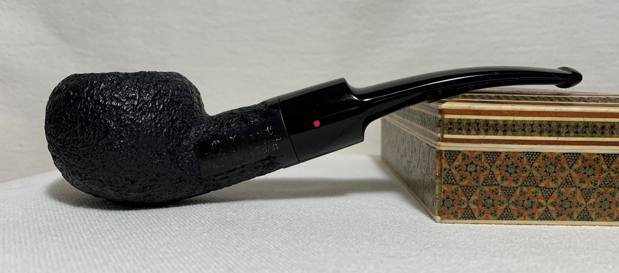
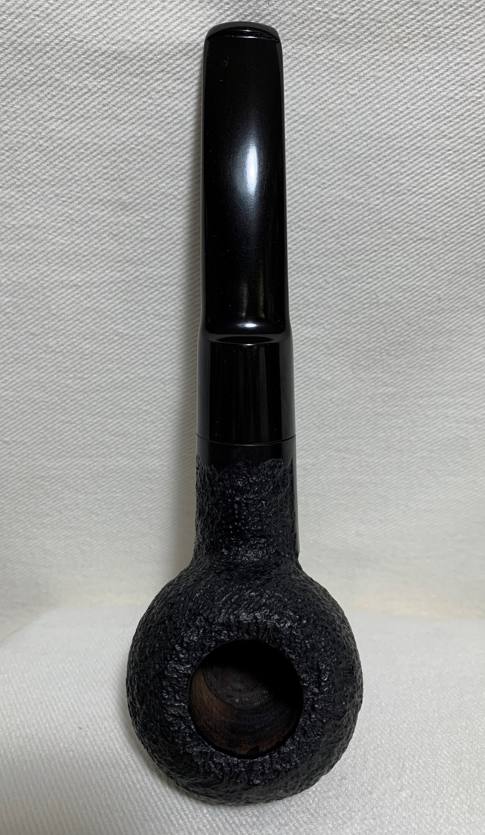
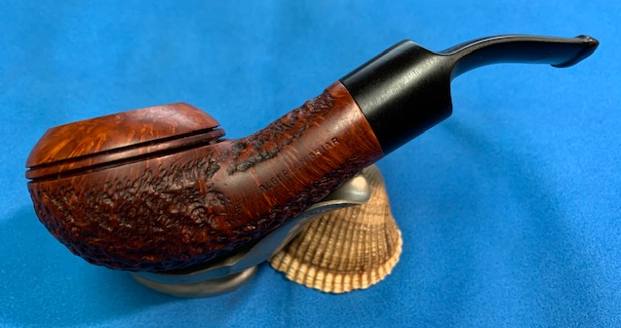
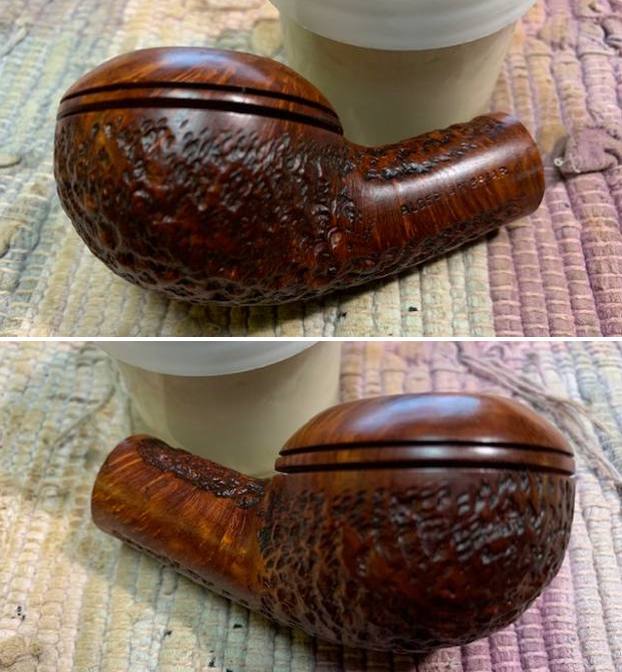
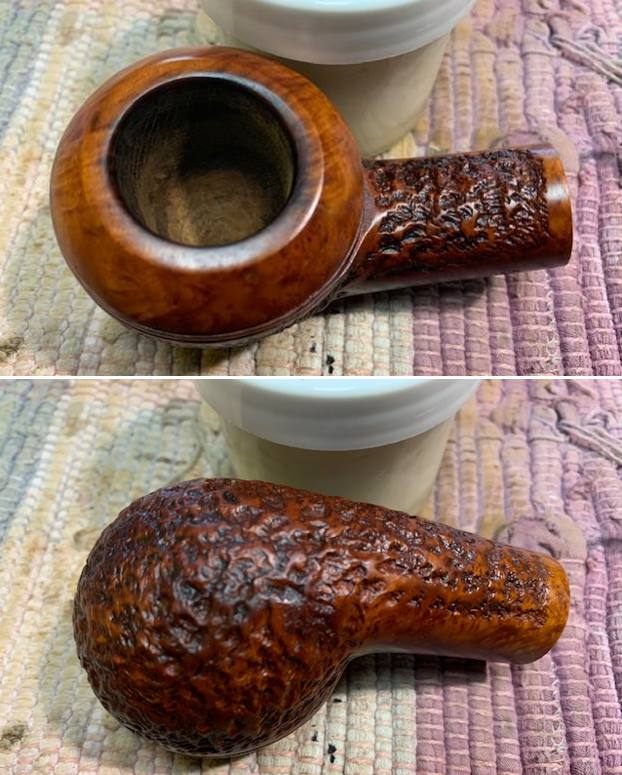
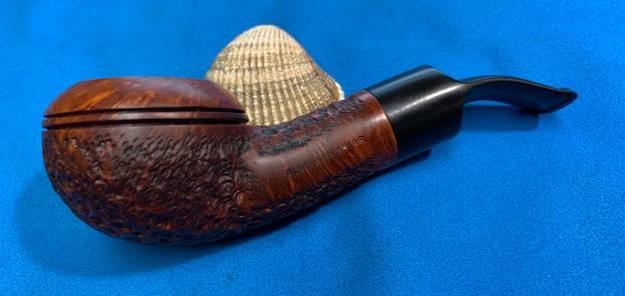
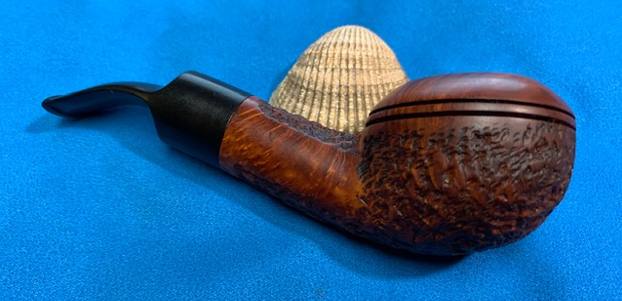
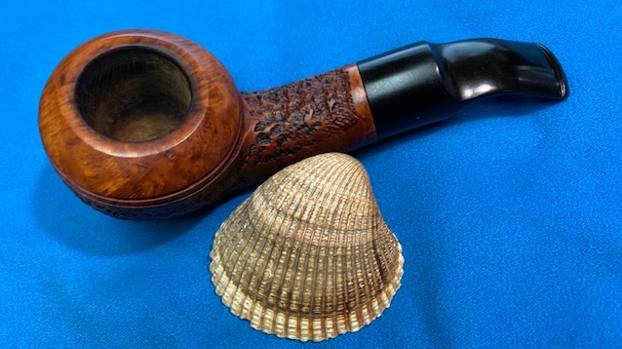
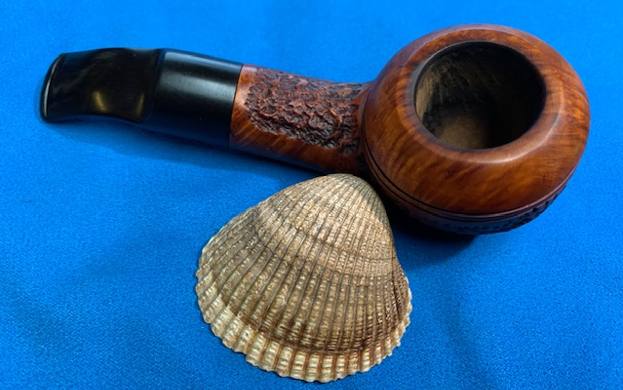
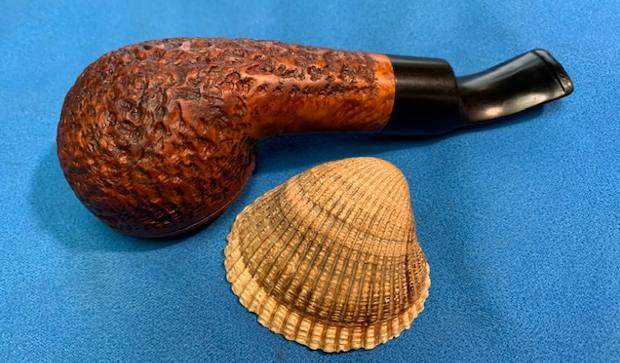
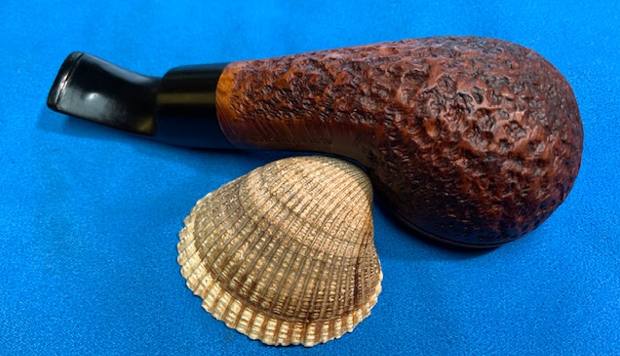
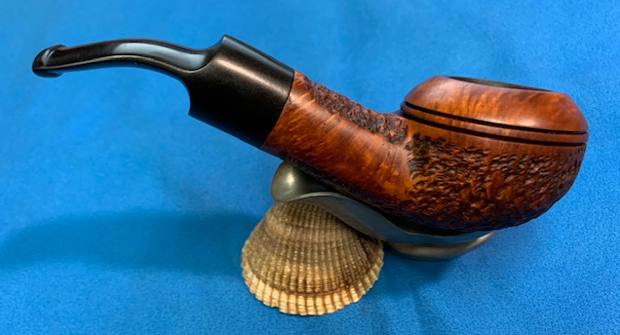
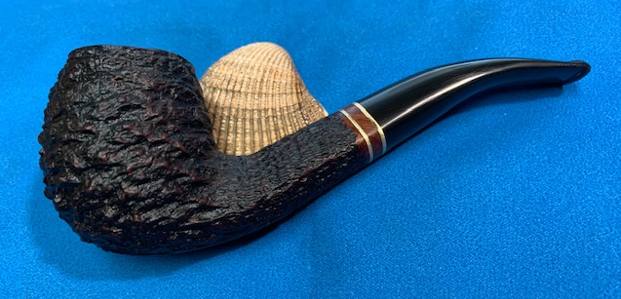
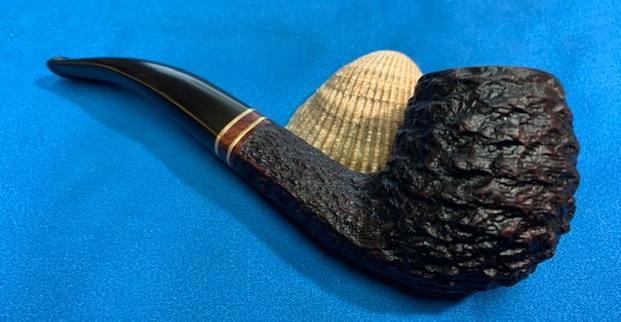
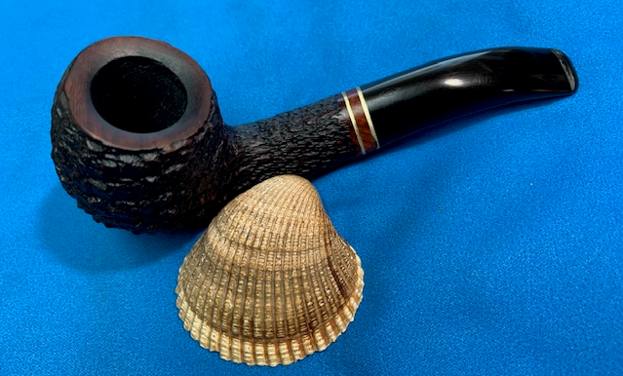
 This Mystery Maker Bent Egg is a really nice looking pipe. The finish is smooth and the flow of the cut of the briar follows the grain. I put it back together and buffed it with Blue Diamond on the buffing wheel. I gave the bowl and the stem multiple coats of carnauba wax. I buffed the pipe with a clean buffing pad on the wheel to raise the shine and hand buffed it with a microfiber cloth to deepen the shine. It is fun to see what the stunning grain looked like with the polished black vulcanite stem. The pipe really is beautiful. This egg shaped No Name Pipe is nice looking and the pipe feels great in my hand. It is light and well balanced. Have a look at it with the photos below. The dimensions are Length: 5 ½ inches, Height: 2 inches, Outside diameter of the bowl: 1 1/8 inches, Chamber diameter: ¾ of an inch. The weight of the pipe is 65 grams/ 2.29 ounces. It is a beautiful pipe and one that will soon be on the rebornpipes store in the American Pipe Makers section (though I am not sure where it was made). If you are interested in adding it to your collection let me know. Thanks for walking through the restoration with me as I worked over this pipe. Please we are not pipe owners; we hold our pipes in trust until they pass on into the trust of the next in line.


