Blog by Steve Laug
Probably some time early in the past year Al purchased this pipe from Jeff and me. It quickly became his favourite pipe and he enjoyed smoking it. He wrote me a quick email a few weeks ago which I include here
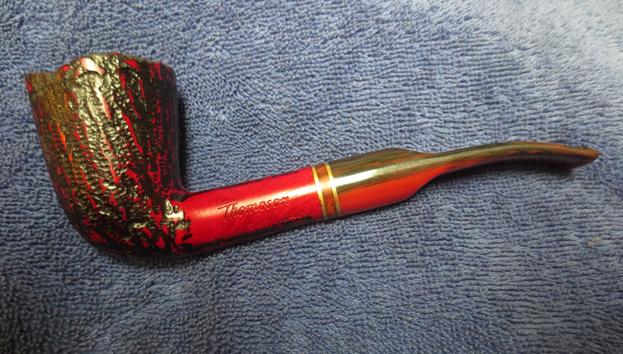
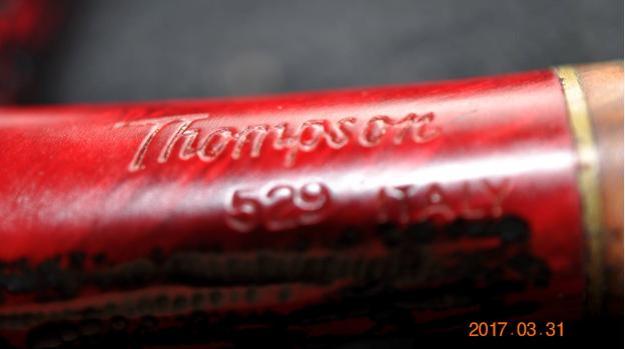
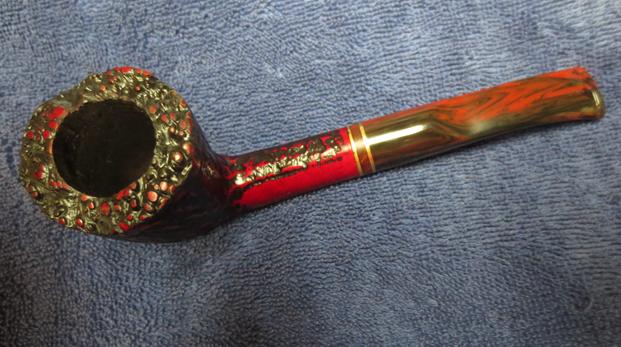
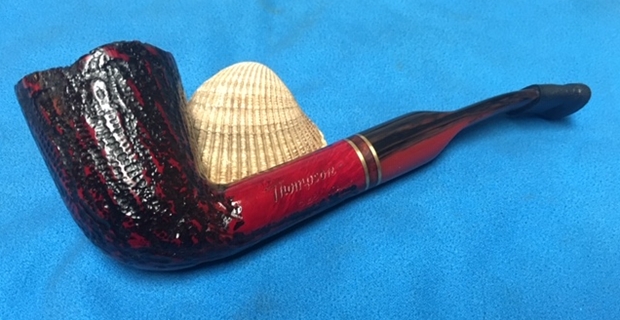
Steve, I purchased a Thompson Freehand in red stain some time ago. It has become my most favorite pipe. However, the pipe suffered catastrophic damage as the stem broke cleanly at the base of the bowl, the result of a slip of the grip while at the buffing wheel despite my vise like grip.
I’ve included a photo of my favorite pipe in hopes that you can perform a miracle of craftsmanship.
Help me Steve, you’re my only hope!
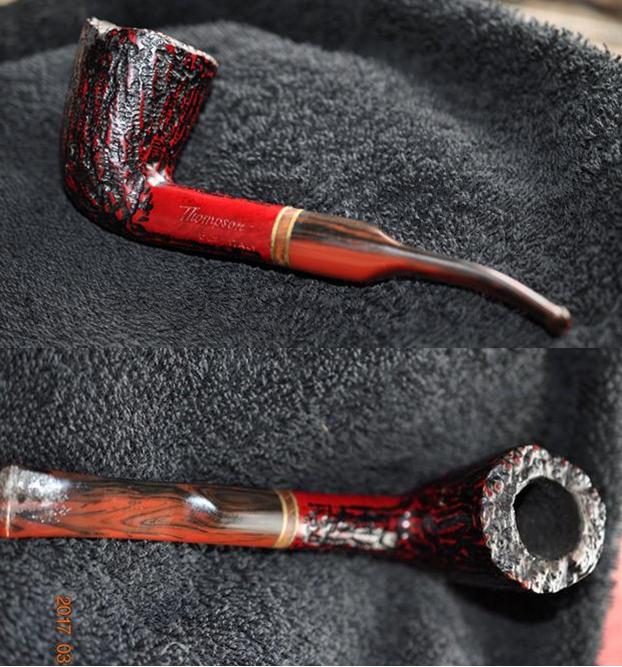
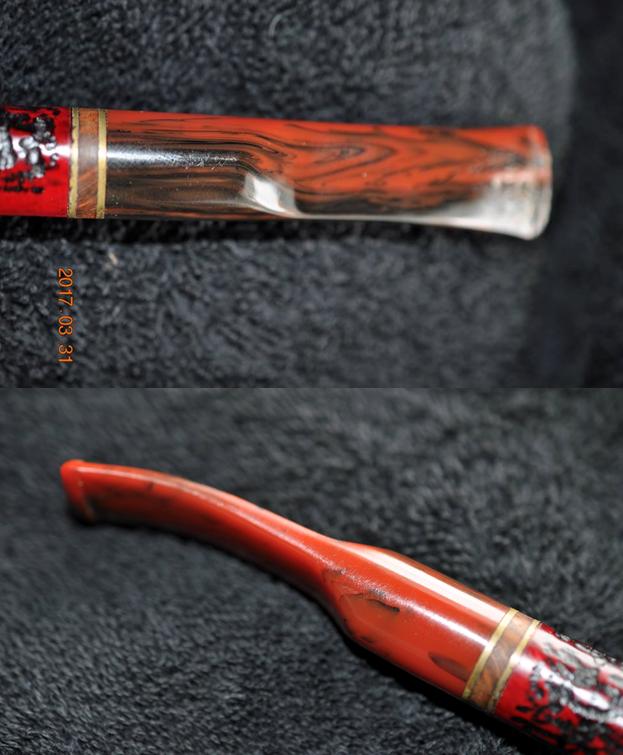
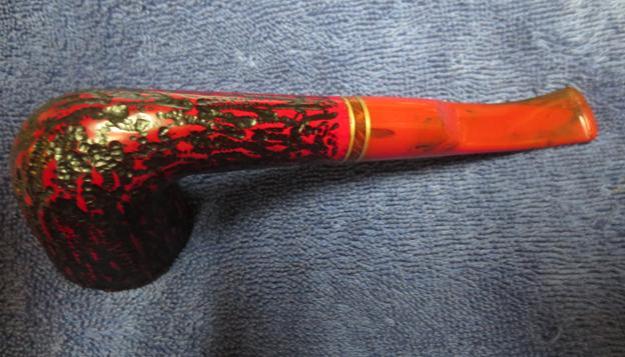
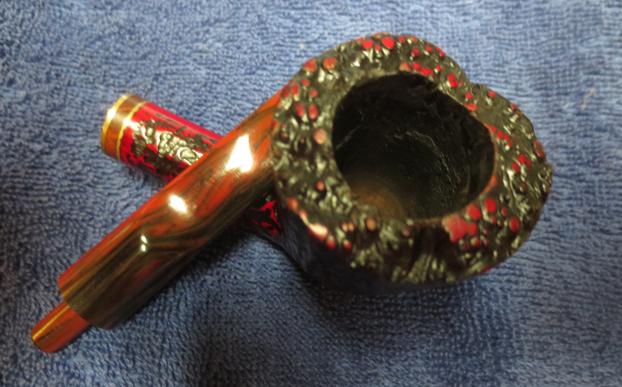
Sincerely, Al — newly retired and heartbroken… He had cleaned it and was buffing it and the pipe got away from him (pipe restorer’s and repairman’s nightmare). It hit the floor or wall or something hard anyway and the shank snapped off at the bowl. It was a clean break and looked repairable. It arrived on Tuesday this week. I opened the box and I found the stem and shank carefully wrapped in bubble wrap and tissue and the bowl separately wrapped the same way. Both had been packed in a pipe box and carefully cushioned with paper and bubble wrap in a larger box. I always wonder what the Customs Inspectors must think when they open these carefully wrapped packages and find a broken, used tobacco pipe. They must shake their heads in disbelief that such care would go into packing such “debris”. I took the pipe from the boxes, unwrapped it and took the following photo. The shank was indeed snapped at the bowl and the stem was still in the shank!
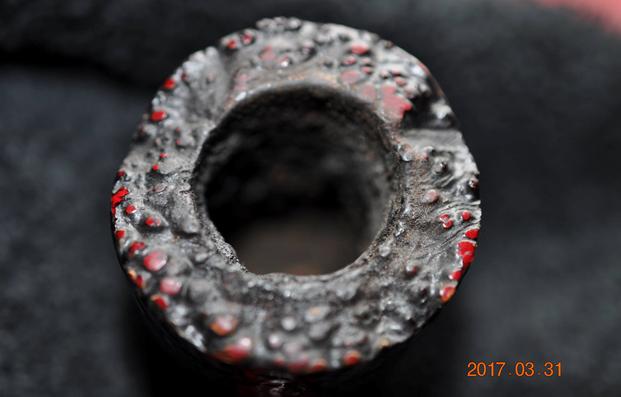
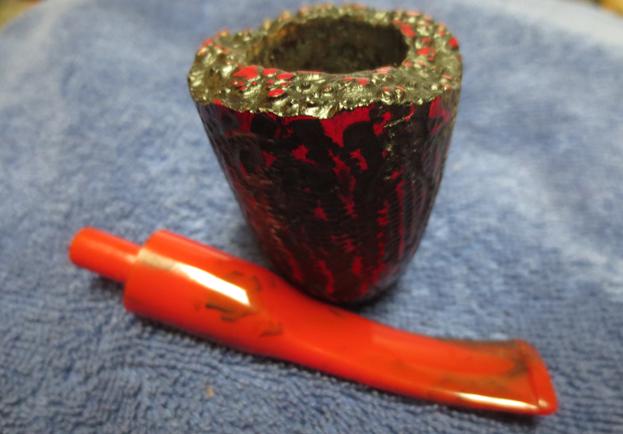
 I took the stem off the shank and checked the fit. It was a pretty clean break – just a few small piece of briar chipped and missing. I went through my collection of tubes and found one that was close to the length I needed and was a perfect fit in the airway in the two sections.
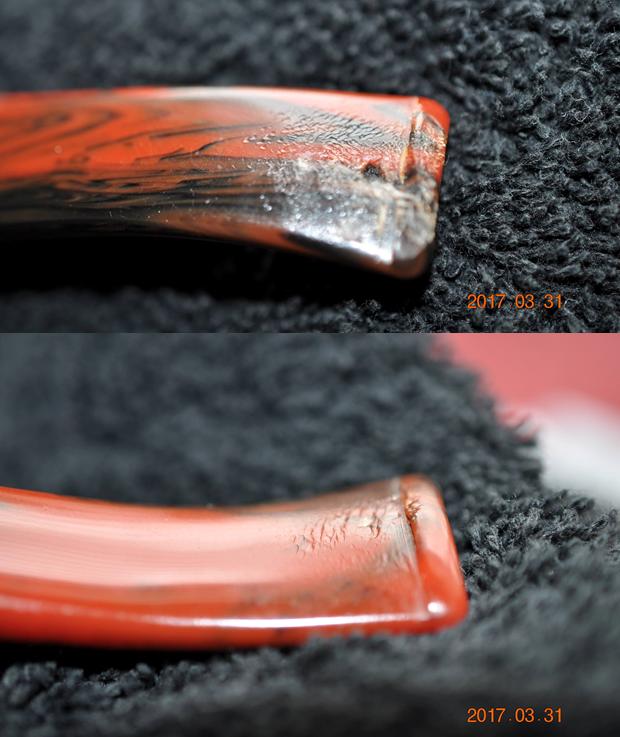
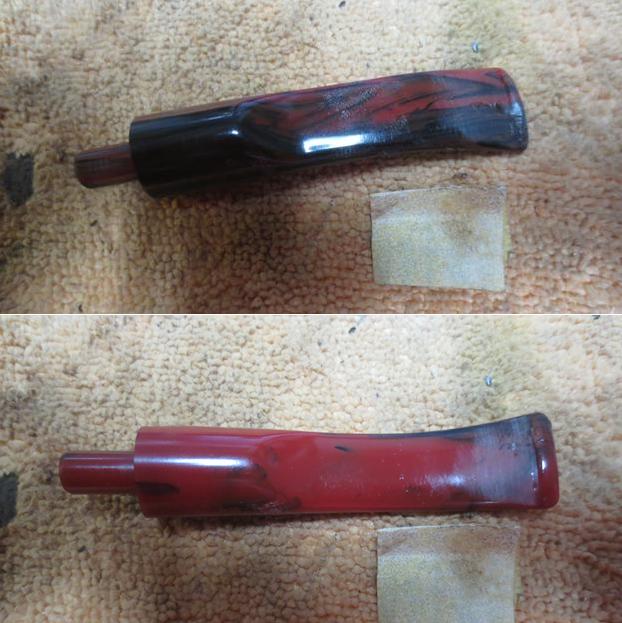
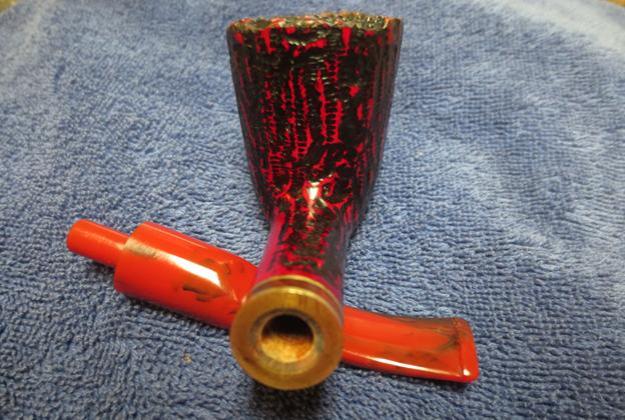
  I roughed up the tubing with a file to give the glue a good surface to bind with. I coated the end of the tube that fit in the shank portion with a two part epoxy and put it in place in the shank. Once the glue had hardened I could adjust the length of the tube however much I needed on a topping board of with the Dremel and sanding drum.
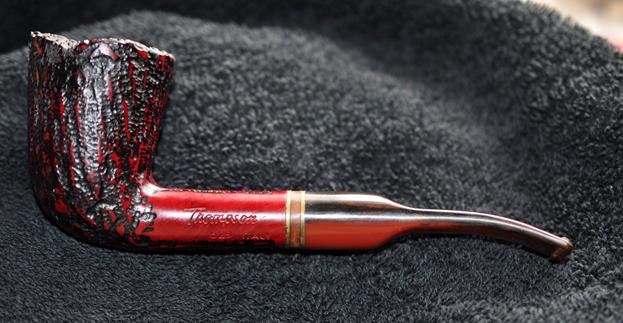
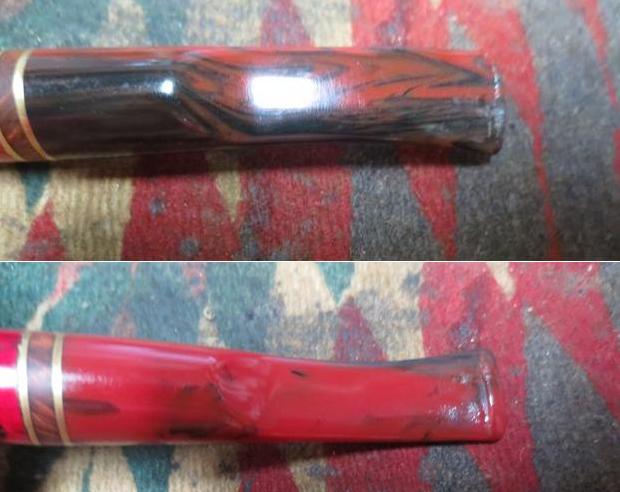
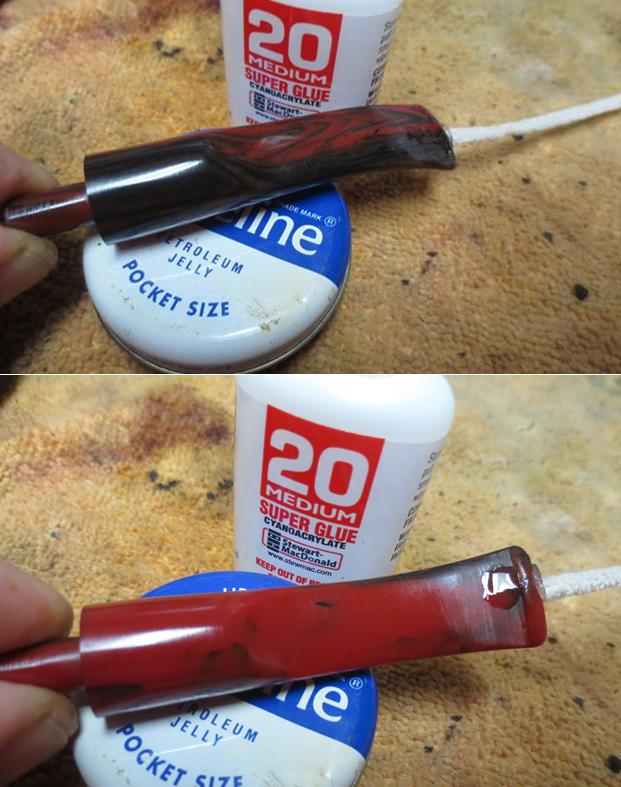
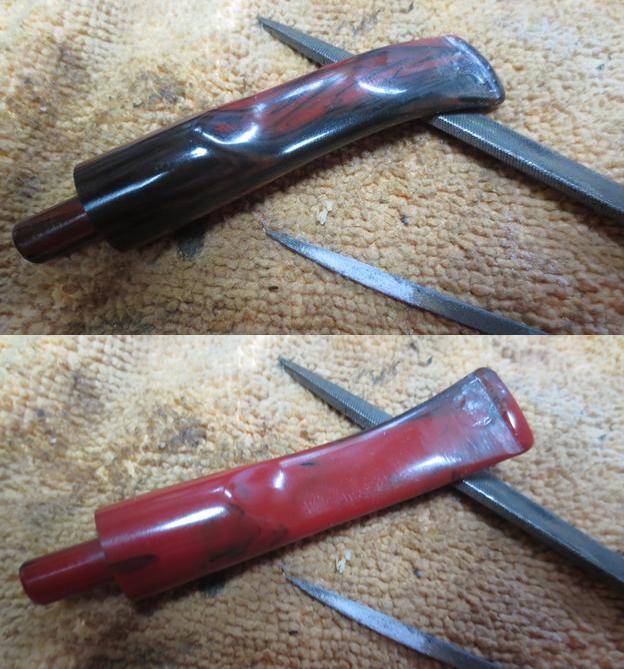
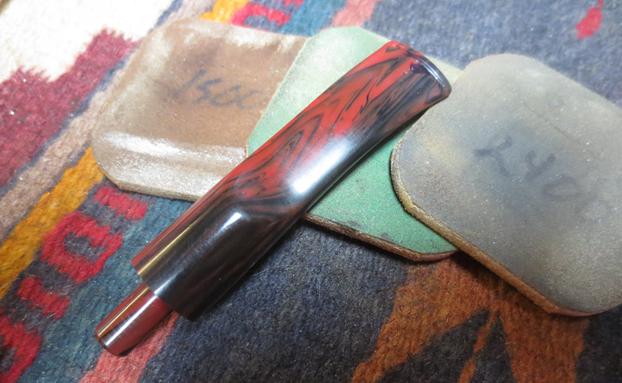
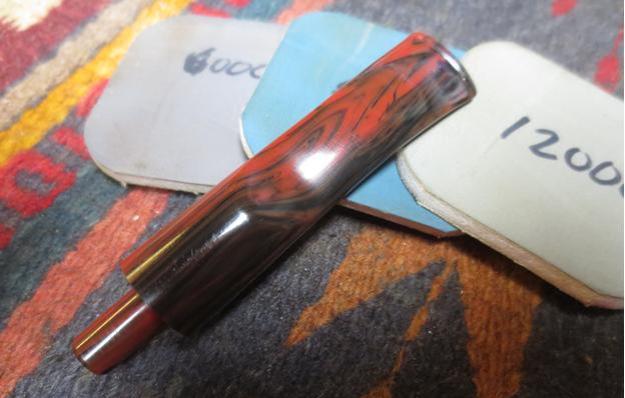
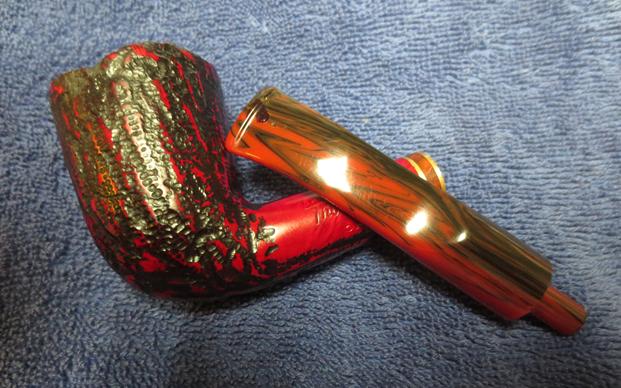
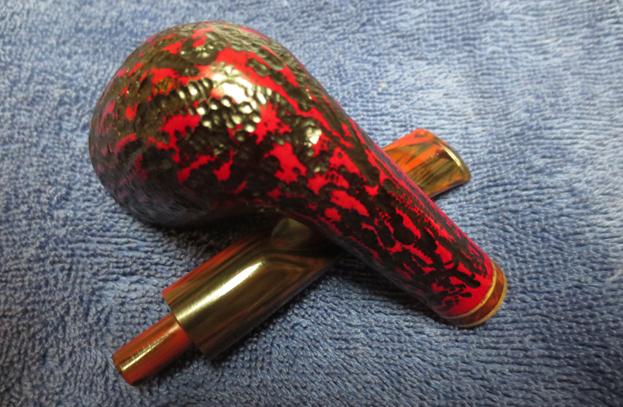
 Once the glue cured and I had adjusted the length of the tube I spread the epoxy on the tube and on the surfaces of the snapped briar and pressed them together. I used an epoxy that hardened fairly quickly so I adjusted the fit and pressed the two parts together and held them until the glue had hardened. Once the repair had cured I took pictures of the repaired pipe. You can still see the cracked area on the right and underside of the bowl but the fit is quite tight. I needed to do a bit more work on those areas to get a good blend to the repair.
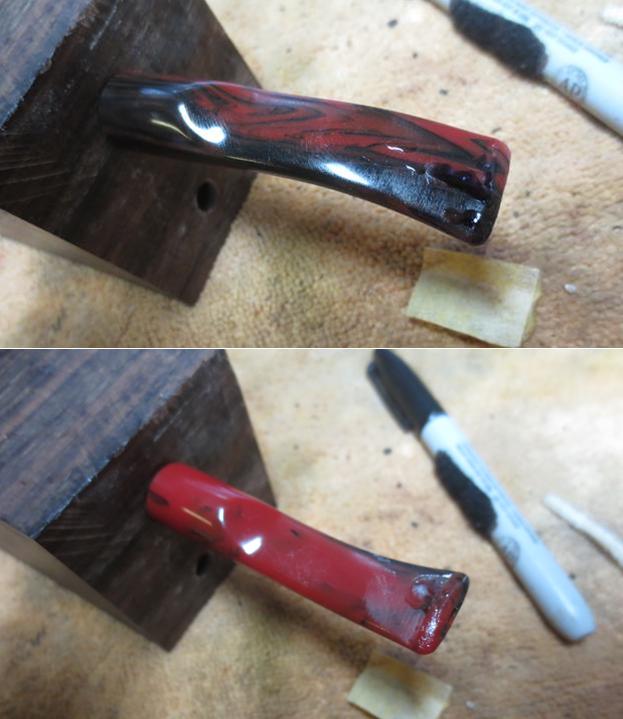
 I used my Dremel and a steel burr to replicate the rustication pattern around the bowl. I set the Dremel as the lowest speed and worked the burr to connect both vertical and horizontal patterns. It blended well. The first set of 3 photos shows the cut patterns and the second set of 3 shows the finished carving.

 I used a Black Sharpie and a Red Sharpie pen to stain the freshly carved rustication. The black went into the carving while the red was applied to the high spots. I covered the whole repaired area with some Mahogany stain to blend the colours into the rest of the finish.
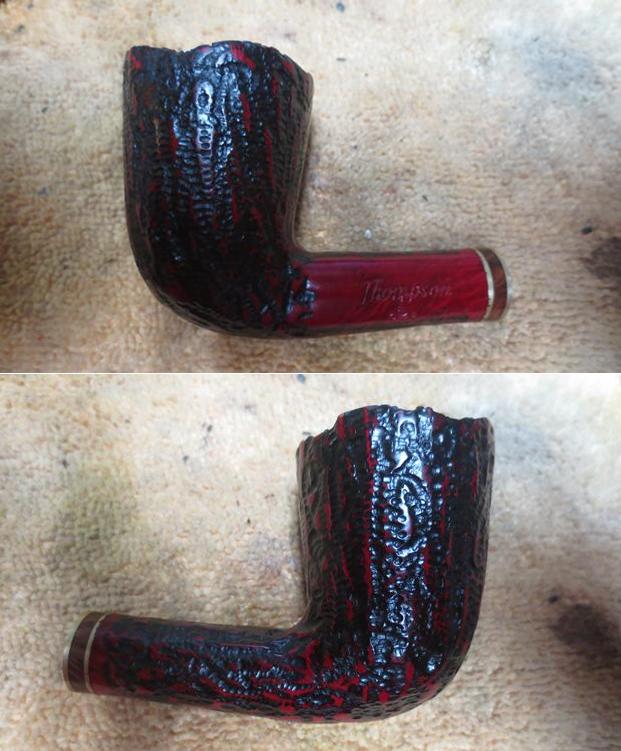
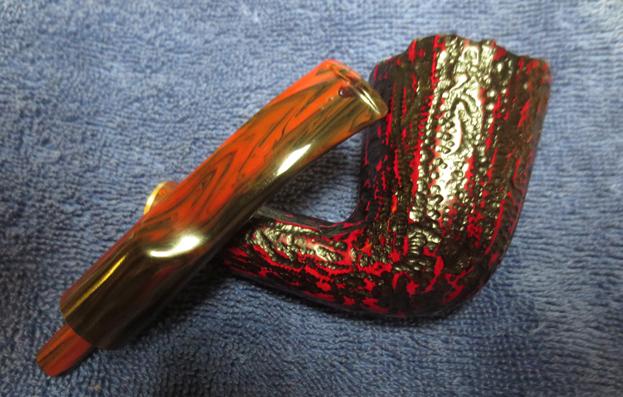
 I gave the repaired area a coat of Danish Oil and Cherry stain to give it a shine that would match the shine on the rest of the bowl. I set it aside to dry.
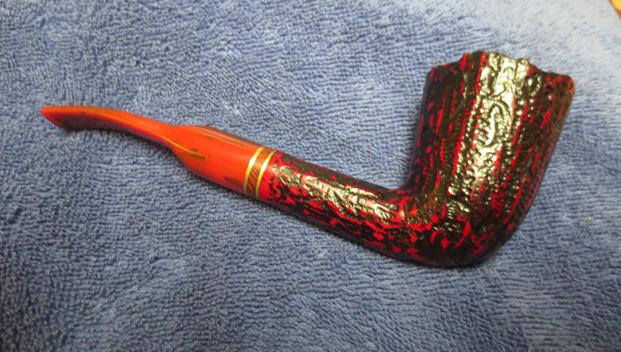
 Once the Danish Oil coat had dried I lightly buffed the pipe with microfibre cloth to polish the repaired area. I gave the bowl multiple coats of Conservator’s Wax and buffed it with a clean buffing pad to raise the shine. I am happy with the repair and the finishing on the shank. The repair blends in very well. It is ready to send it back to Al. I will get it packed up and get it in the mail. I hope that he continues to enjoy this beauty. Thanks for following the blog and reading about the repair. Cheers.