Blog by Steve Laug
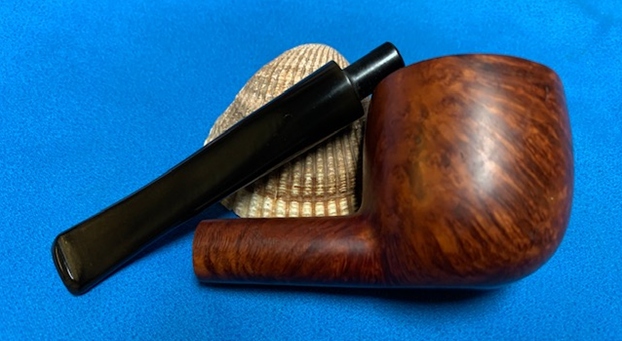
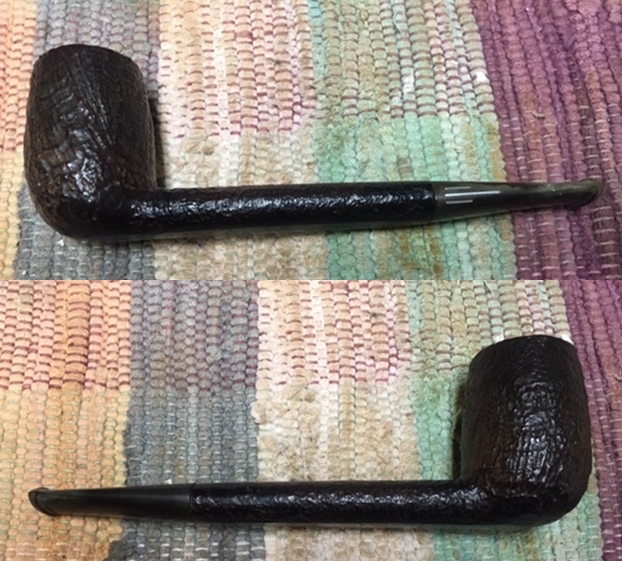
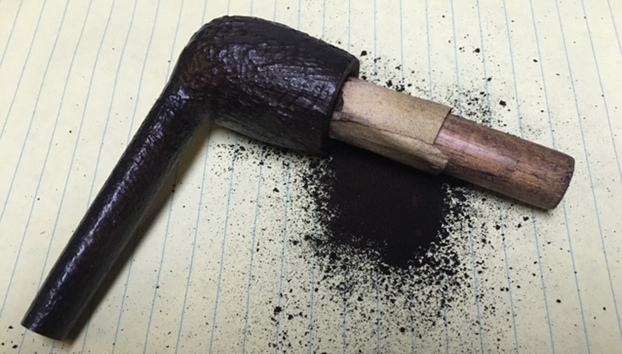
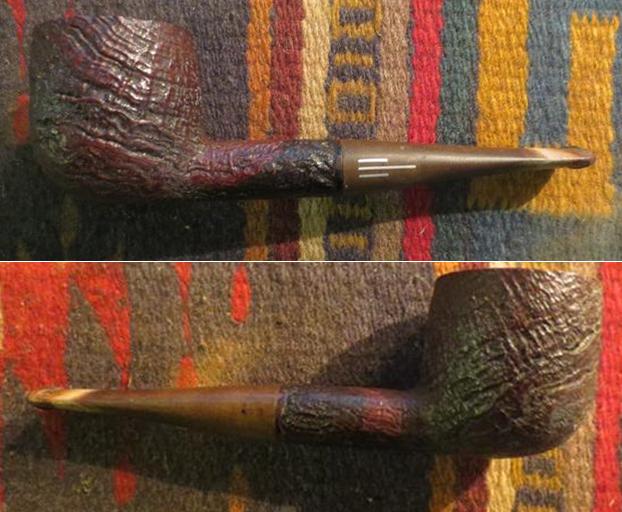
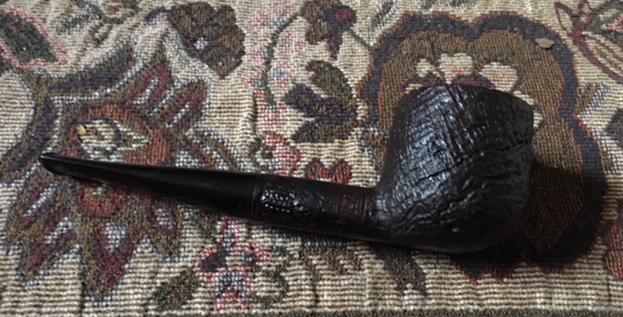
The next pipe on the work table came to us from an online auction from Wilkes Barre, Pennsylvania, USA. It is a Comoy’s made The Everyman pipe. It is a nice piece of briar under all of the grime ground into the finish. The pipe is stamped on the left side and reads The [over] Everyman [over] London Pipe. On the right side it reads 126 (shape number) next to the shank. There is also the circular Comoy’s COM stamp Made in London in a circle [over] England. The bowl was moderately caked with a light lava coat on the top of the rim heavier toward the back of the bowl. It was hard to tell how the inner and outer edge of the rim actually looked until the bowl was reamed. The stem was obviously a replacement as it did not have the characteristic 3-bar logo that is usually on the Everyman pipes. The stem had the same deep tooth marks and chatter on the top and underside near the button as the rest of the pipes in this estate. Jeff took photos of it before cleaning to show that even though it was dirty the pipe showed promise. 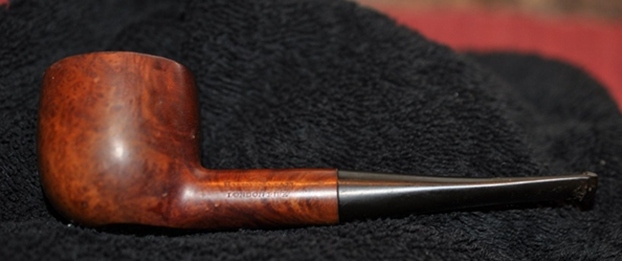
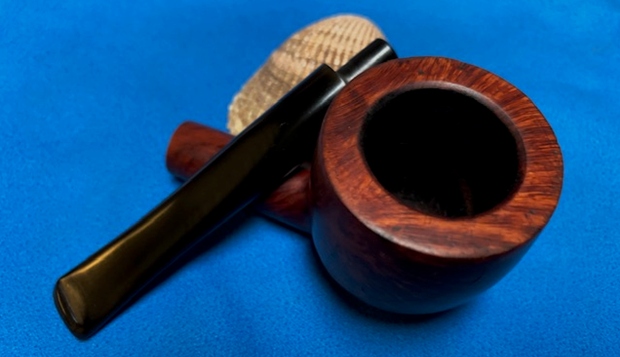
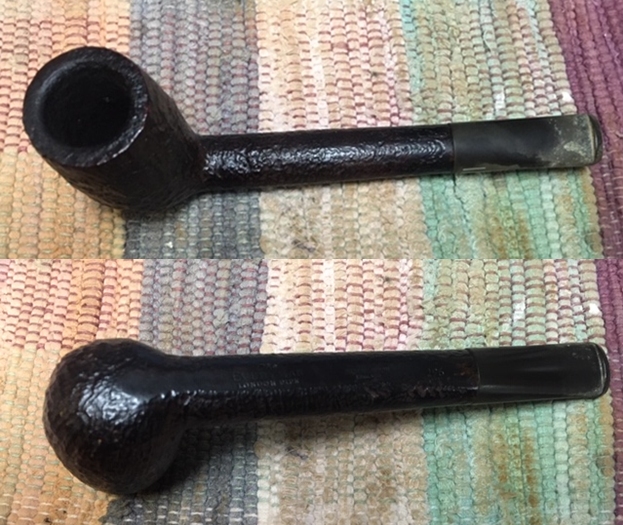
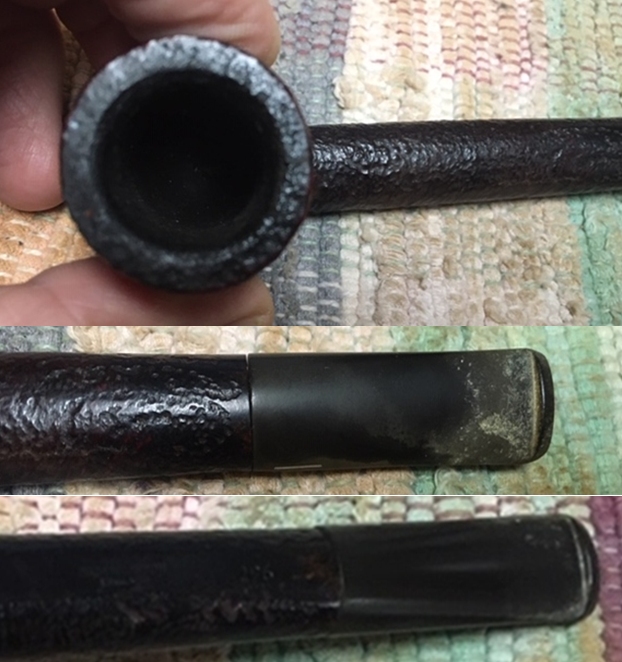
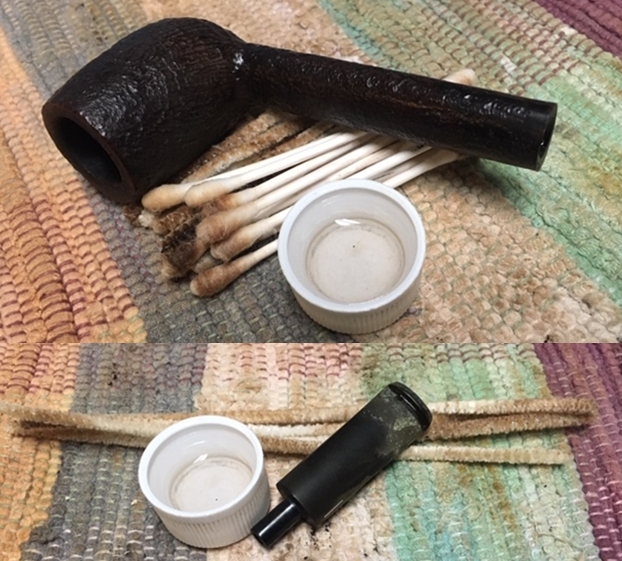
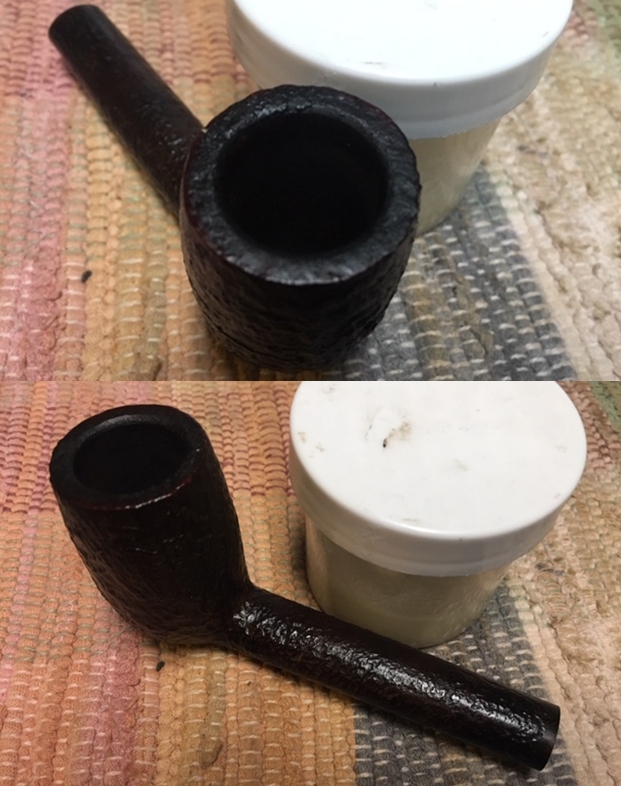
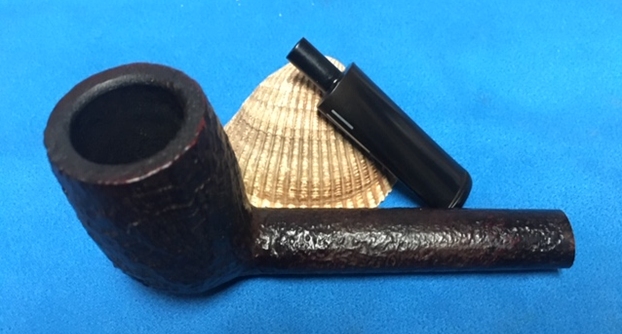
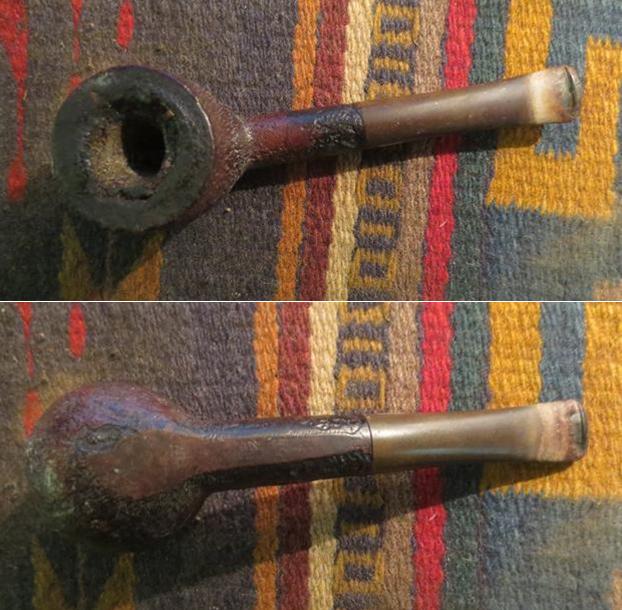
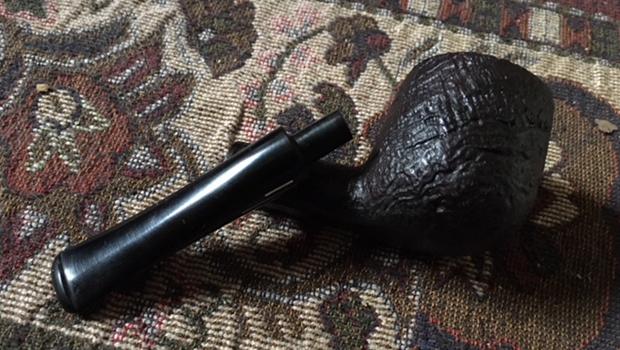
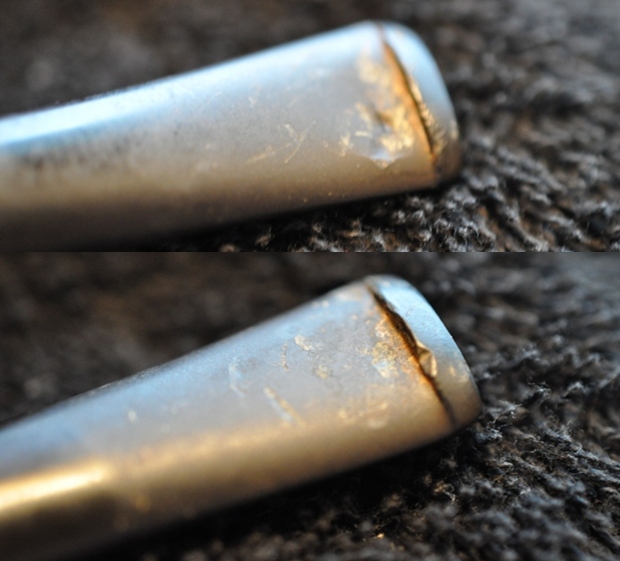
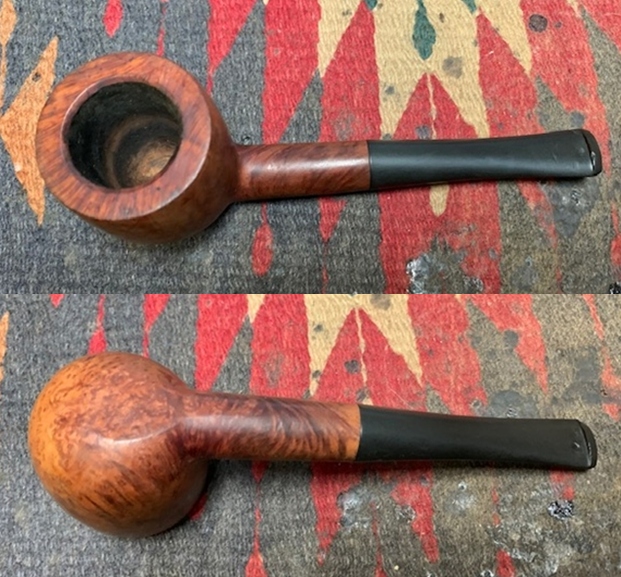
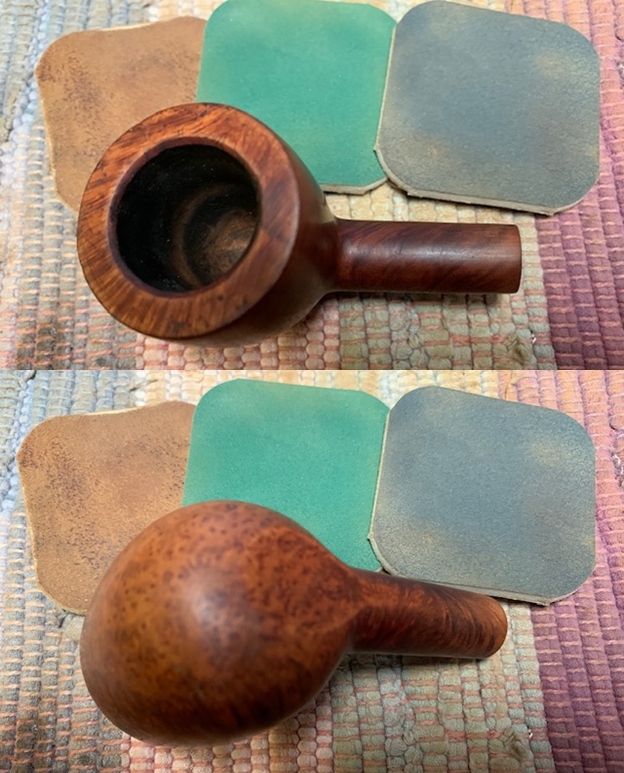
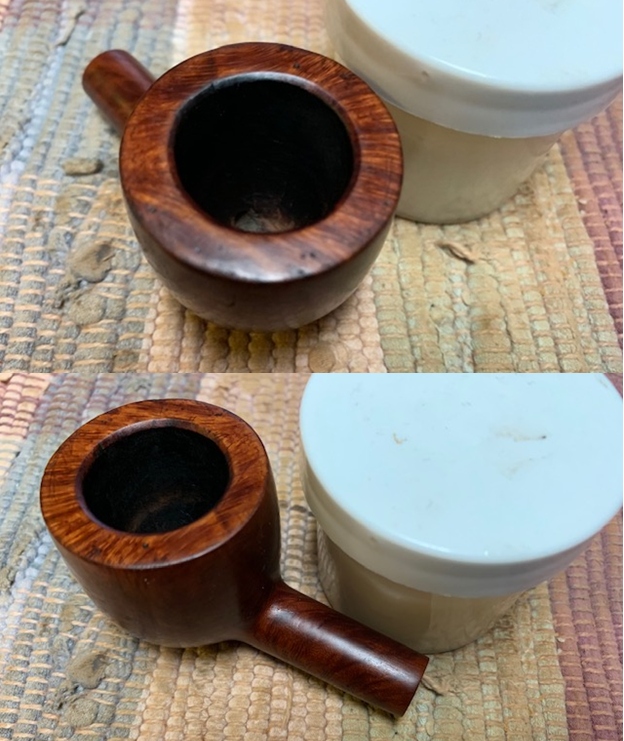
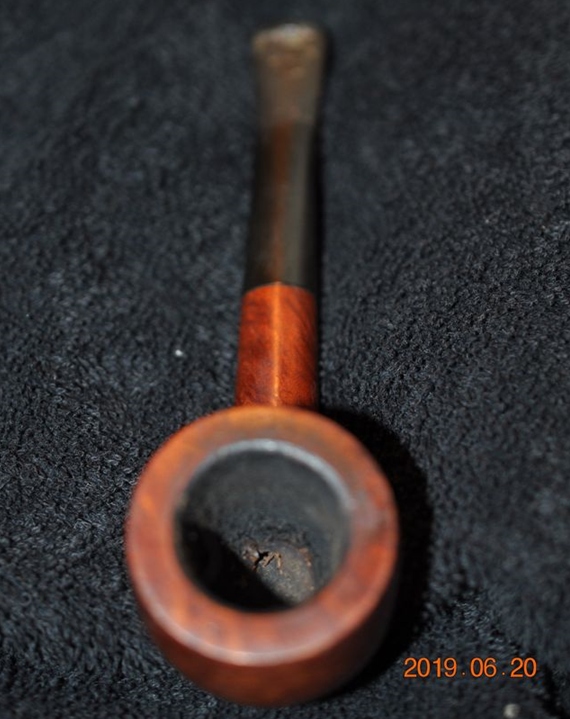 I took photos of the rim top and the stem to show their condition. Jeff was able to clean out the bowl completely and the rim top. He removed the tars and lava and left behind a clean top that would need some stain touch ups. The stem was oxidized with scratches, tooth chatter and marks on both sides near the button and on the surface edges of the button itself.
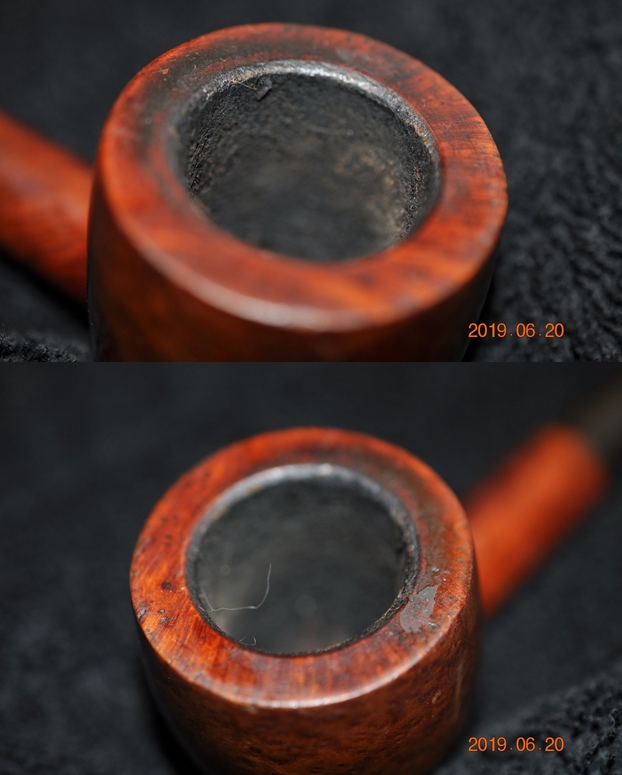
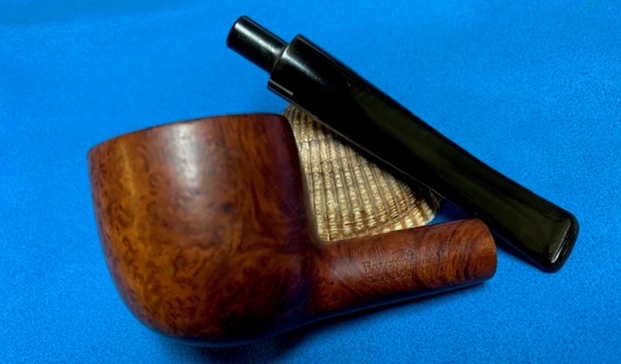
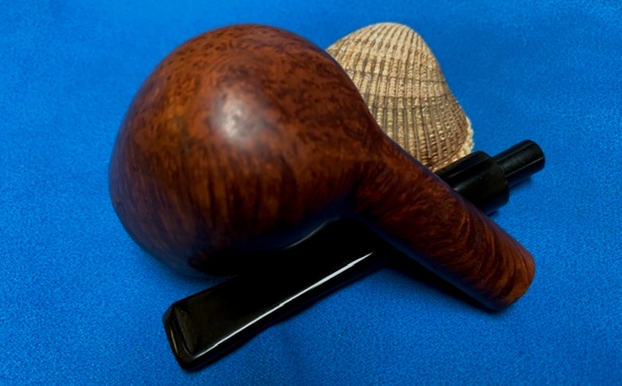
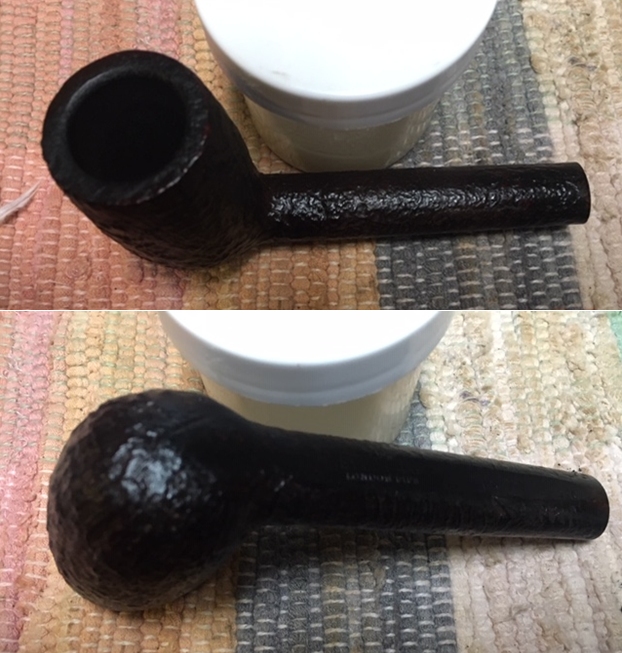
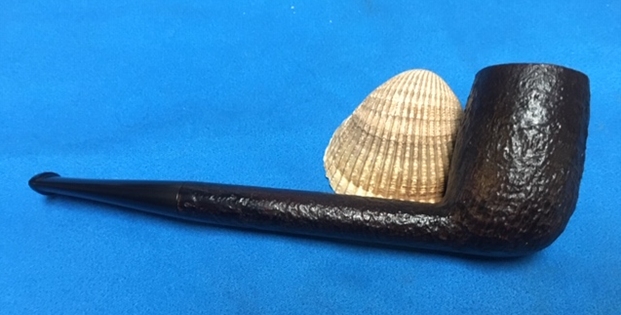
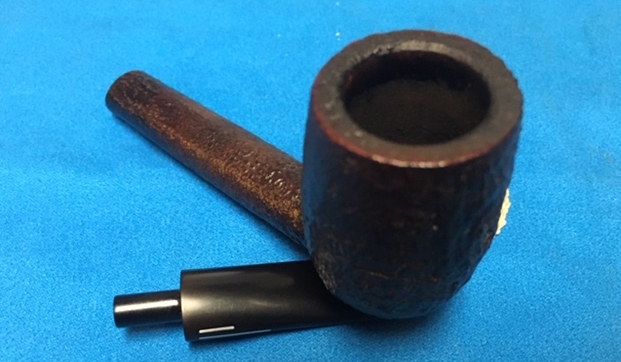
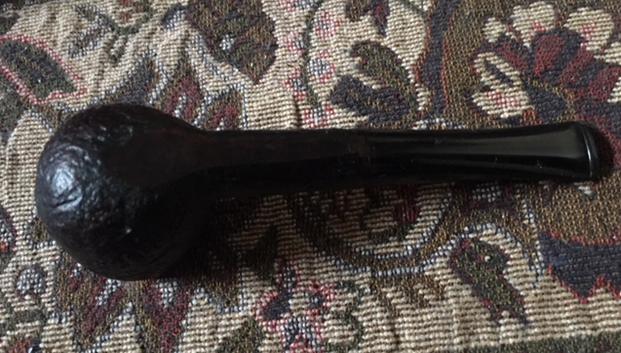
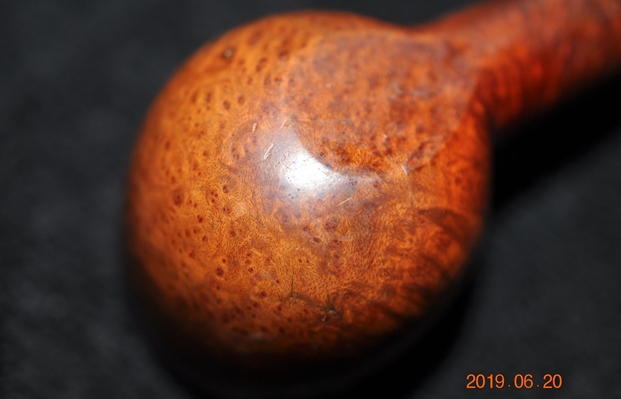
 Jeff took photos of the sides and heel of the bowl to give a picture of what the briar around the pipe looked like. There is some stunning grain under the grime.
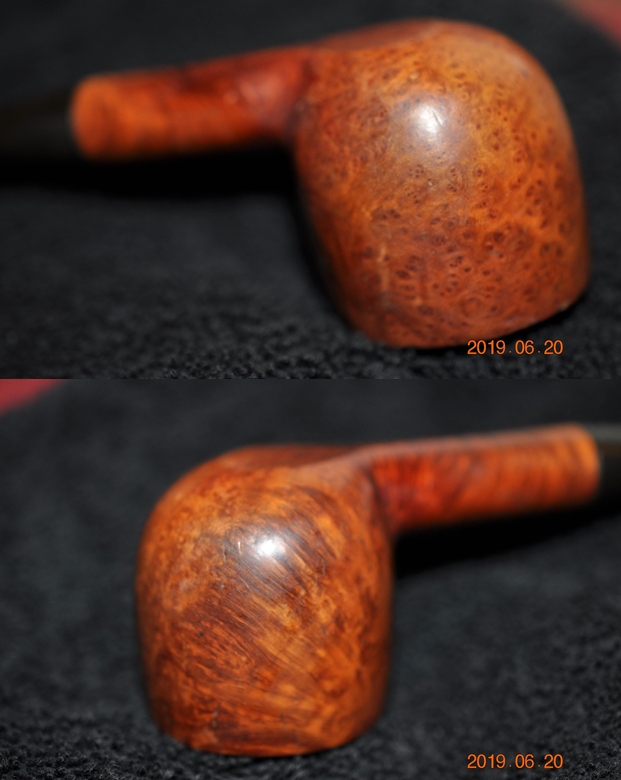
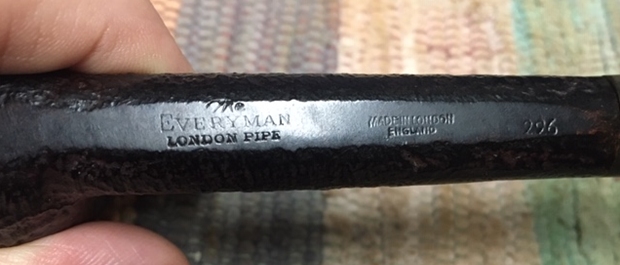
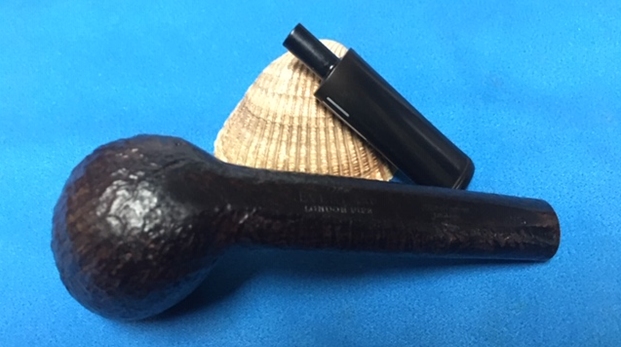
 He took photos of the stamping on the shank. It reads as noted above and is clear and readable. He did not include the stamping on the right side in his photos.
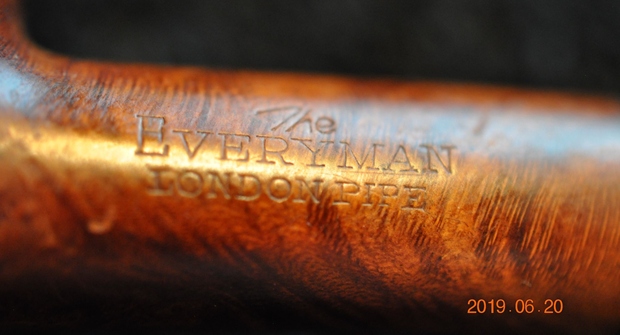 Before starting my cleanup work on the pipe I turned my favourite go to sites on background of brands. The first is Pipephil’s site (http://www.pipephil.eu/logos/en/logo-e4.html). There I looked up the Everyman brand and confirmed what I remembered about it being made by Comoy’s.
  From there I turned to Pipedia (https://pipedia.org/wiki/Comoy%27s). I went directly to the section on Comoys pipes. I found this shape chart. The shape number 296 is shown as a Large Canadian. I have drawn a red rectangle around it in the photo below.
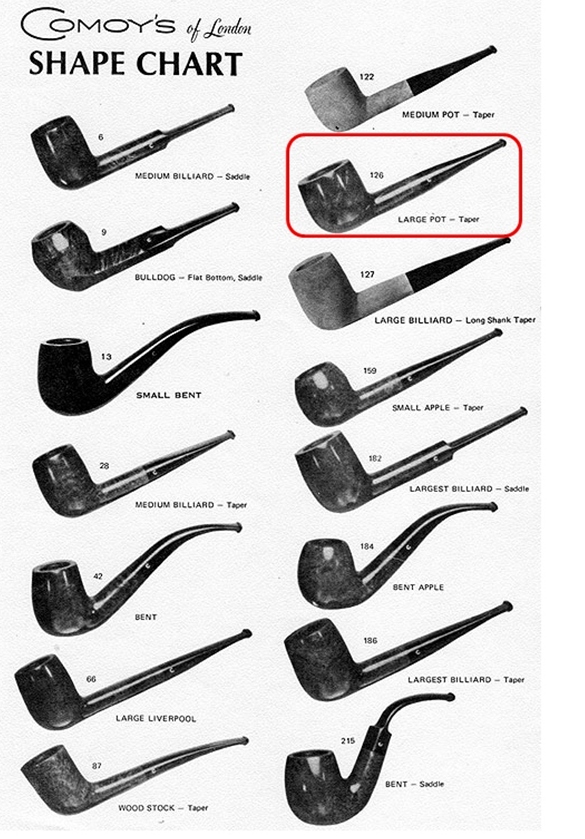
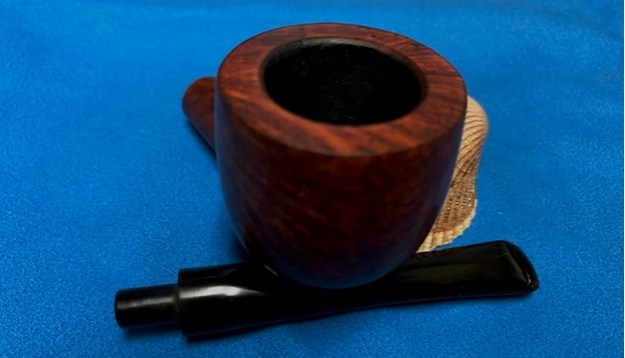
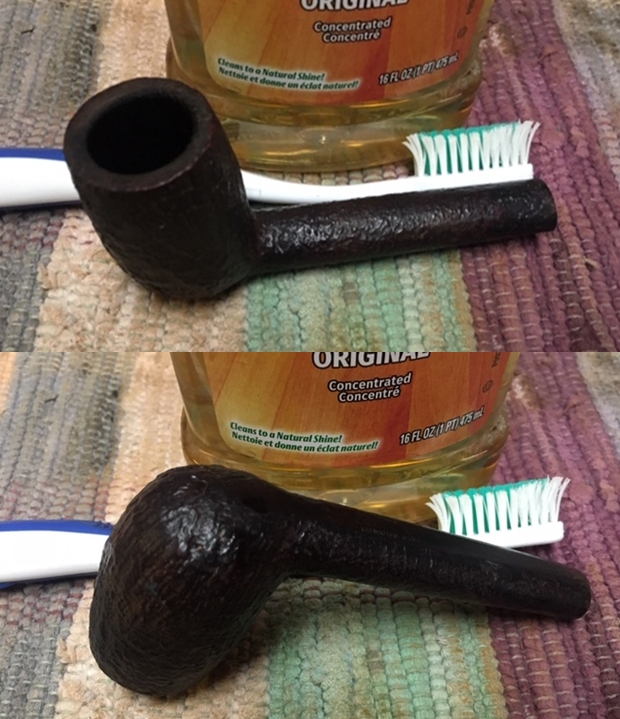
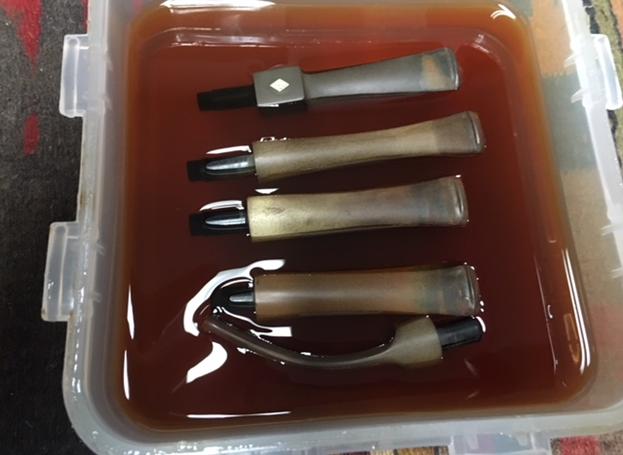
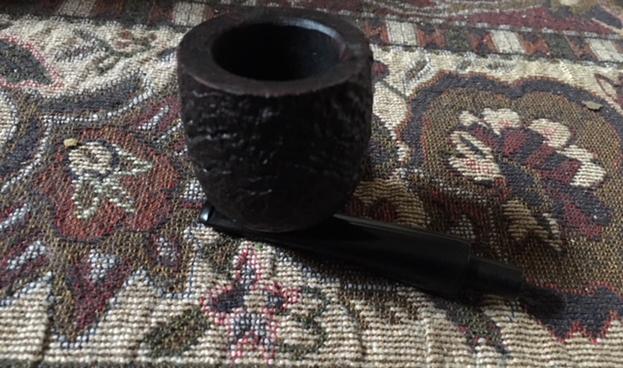
Jeff had cleaned up the pipe with his usual penchant for thoroughness. He reamed the pipe with a PipNet Pipe Reamer and cleaned up the remnants with a Savinelli Fitsall Pipe Knife. He scrubbed the bowl with undiluted Murphy’s Oil Soap with a tooth brush. He rinsed it under running warm water to remove the soap and grime. He cleaned out the inside of the shank and the airway in the stem with alcohol, cotton swabs and pipe cleaners. He soaked the stem in Before & After Deoxidizer and rinsed it off with warm water. I took photos of the pipe once I received it. 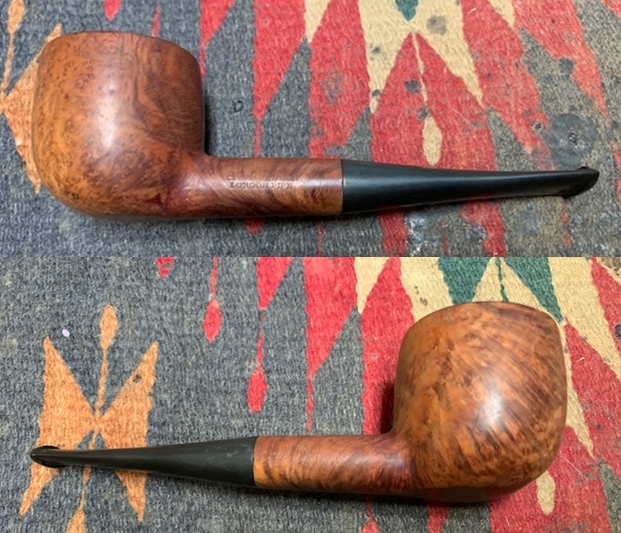
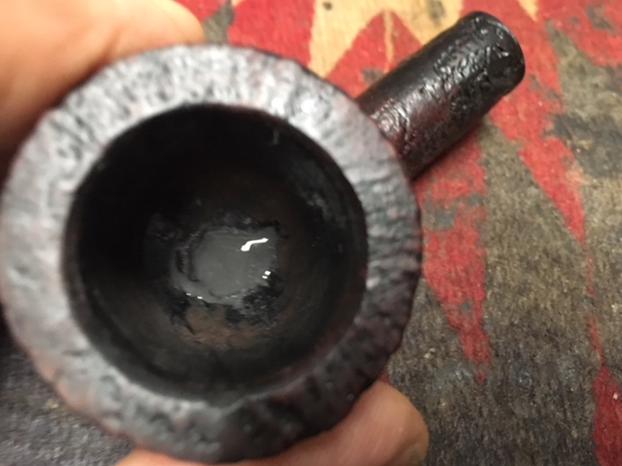
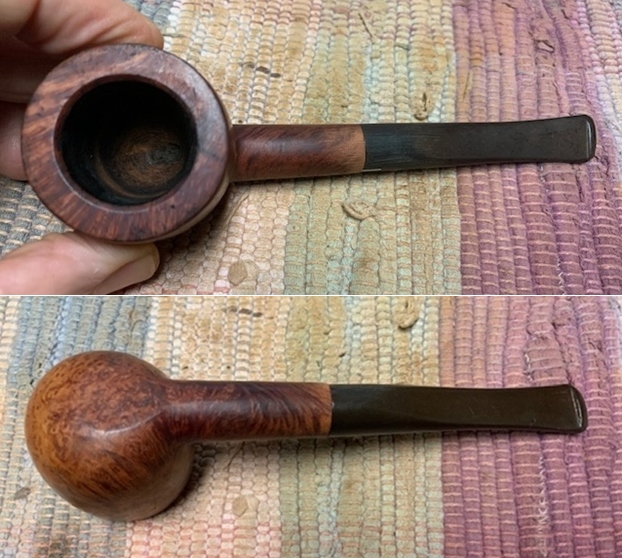
 The rim top had some scratches and nicks in the briar. The inner edge of the rim looked very good with no damage. The outer edge has some small nicks but also looked good. The stem surface looked very good with a few small tooth marks and chatter on both sides near the button. The stem was a replacement and I think I have an original stem in my collection of stems that will fit the pipe.
  I took a photo of the stamping on the sides of the shank. The left side was stamped The [over] Everyman [over] London Pipe. On the right side was the shape number 126 next to the shank and the Comoy’s COM Stamp Made in London in a circle [over] England. The stamping is clear and readable.
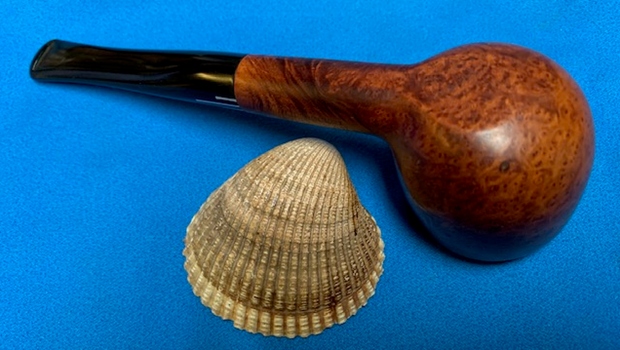
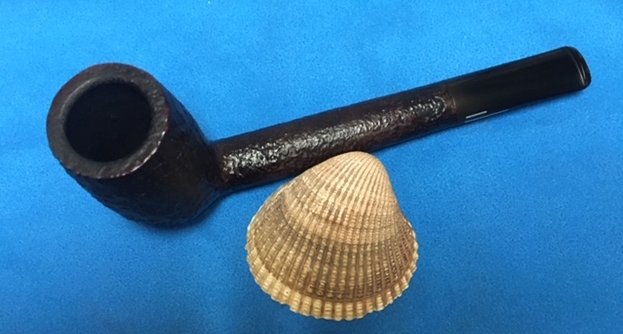
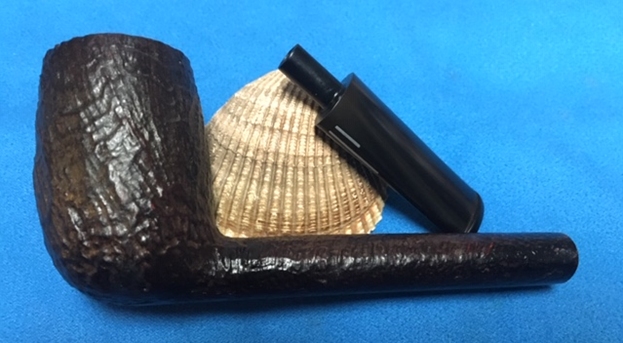
 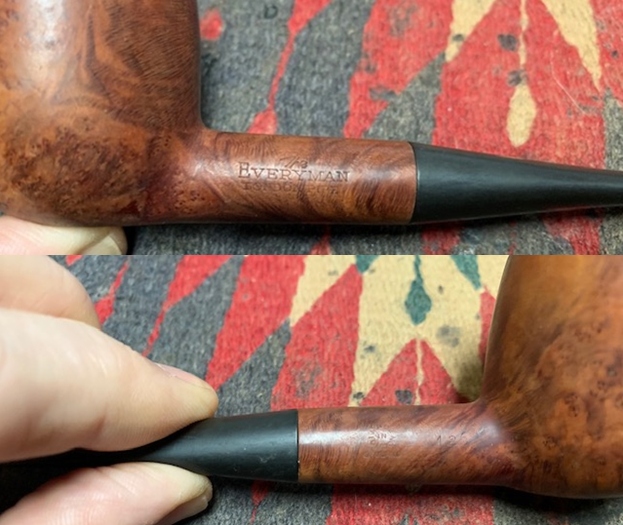 I removed the stem and took a photo of the pipe to give a sense of the whole. The stem is tapered.
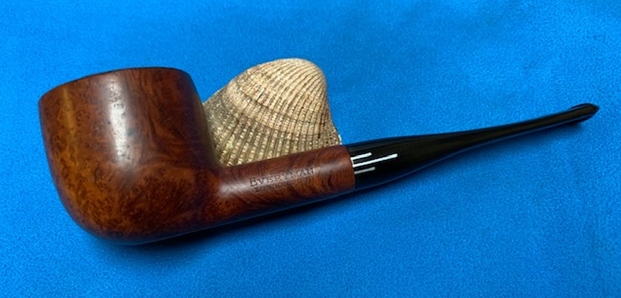
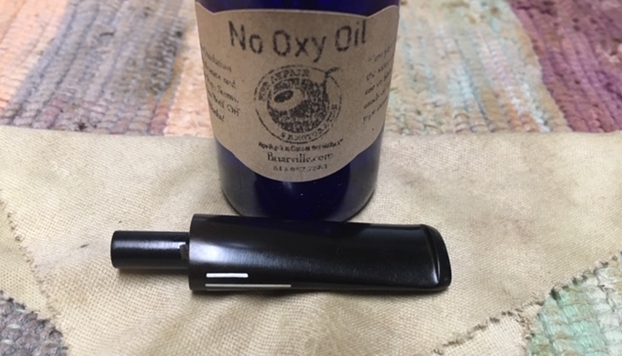
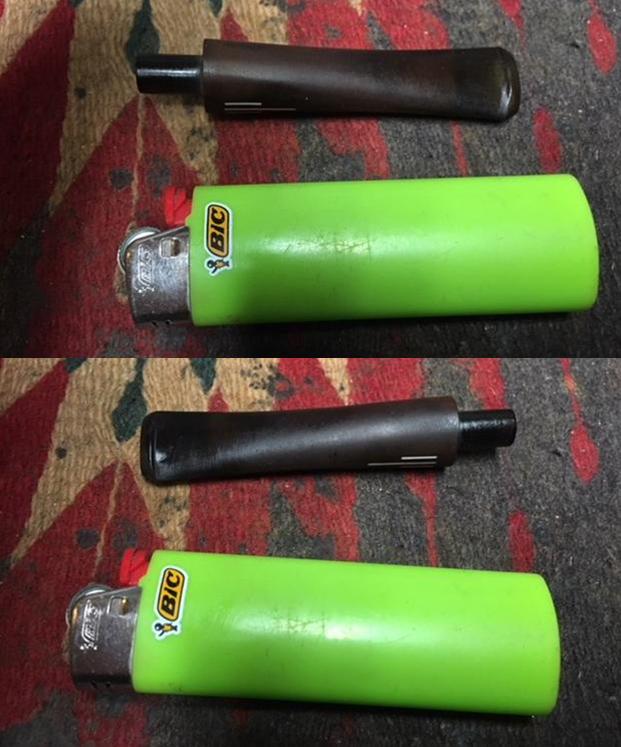
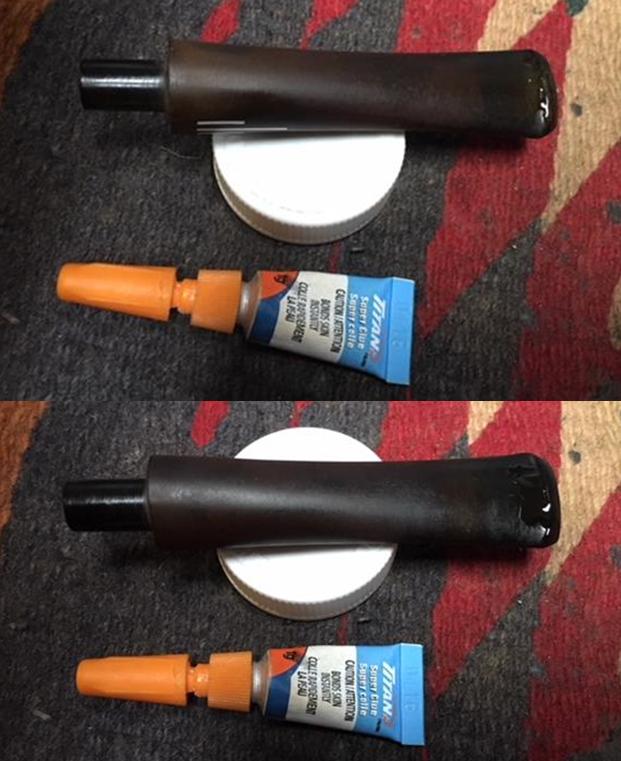
  I knew I had an original stem for The Everyman London Pipe in my cans of stems so I went through them until I found it. The fit to the shank is almost perfect. There needed to be a little adjustment made for a perfect fit but it was going to work well. I took a couple of photos of it before I tried it on the shank.
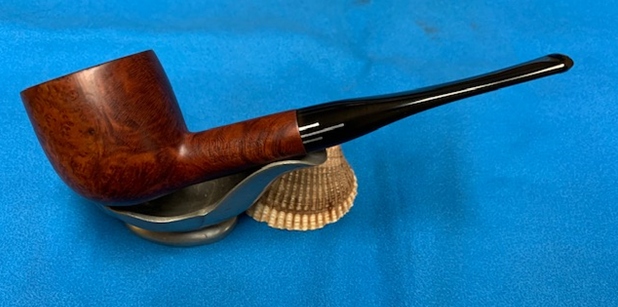
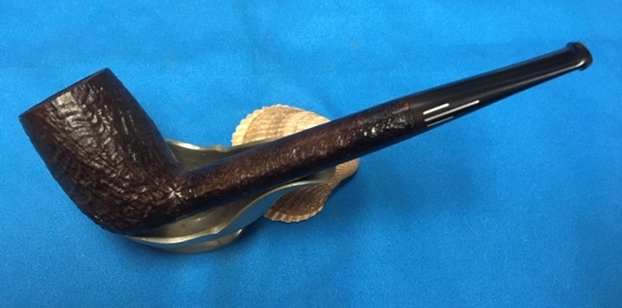
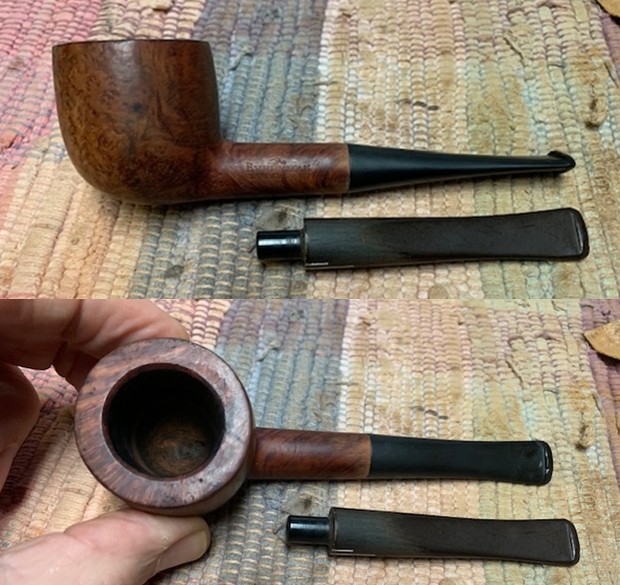 Here is what the pipe looked like with the “new” original stem.
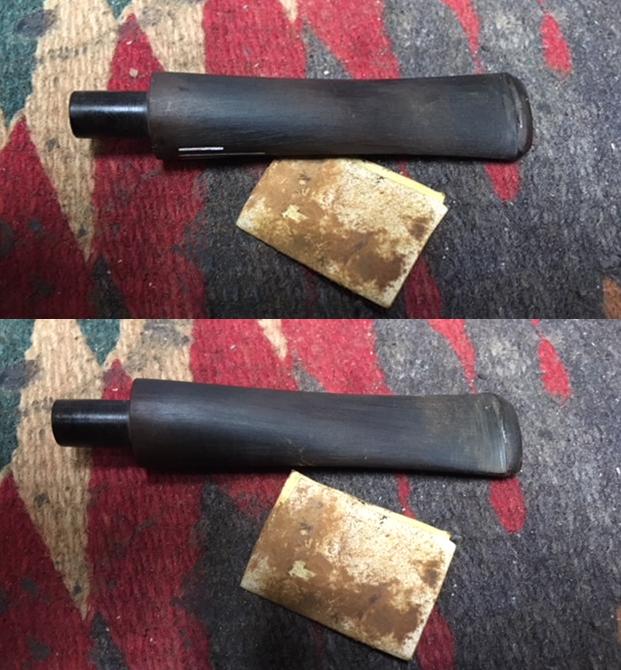
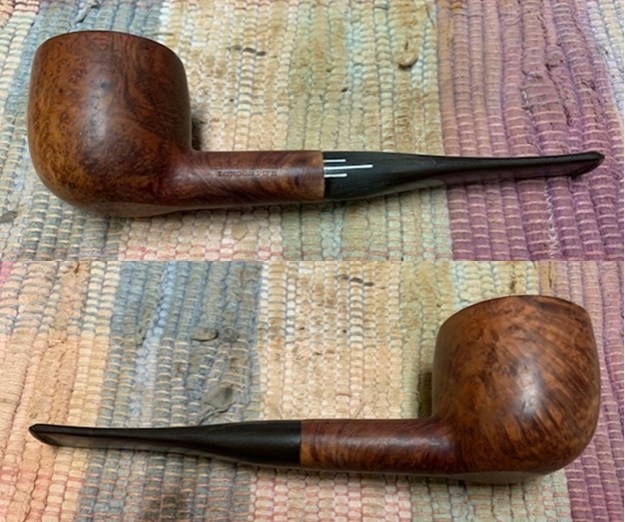 I used a folded piece of 220 grit sandpaper to smooth out the transition between the shank and the stem. It did not take too much to make it smooth and once I was finished it looked original.
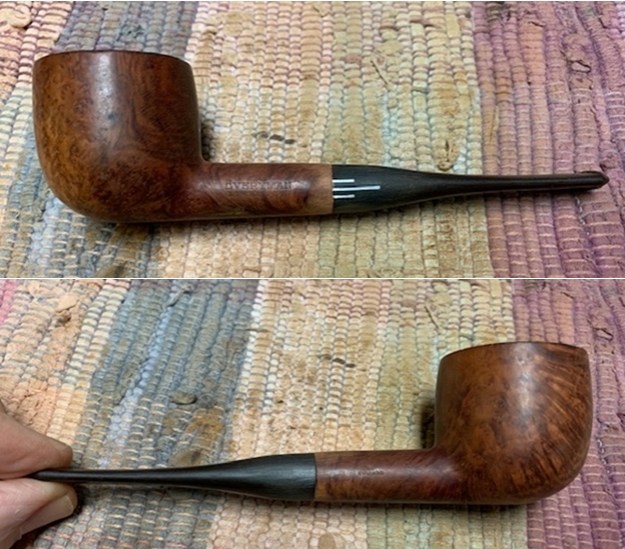
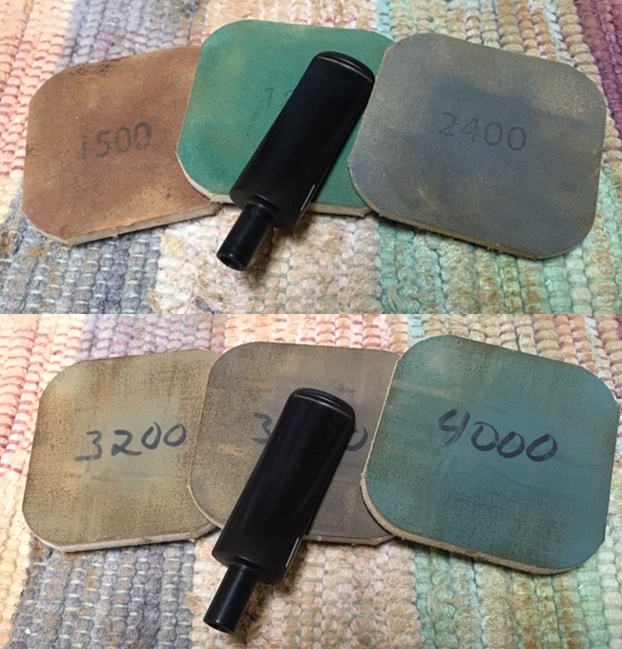
 With the new stem fit on the shank I turned back to cleaning up and polishing the bowl. I polished it with 1500-12000 grit micromesh sanding pads. I wiped it down after each sanding pad with a damp cloth.
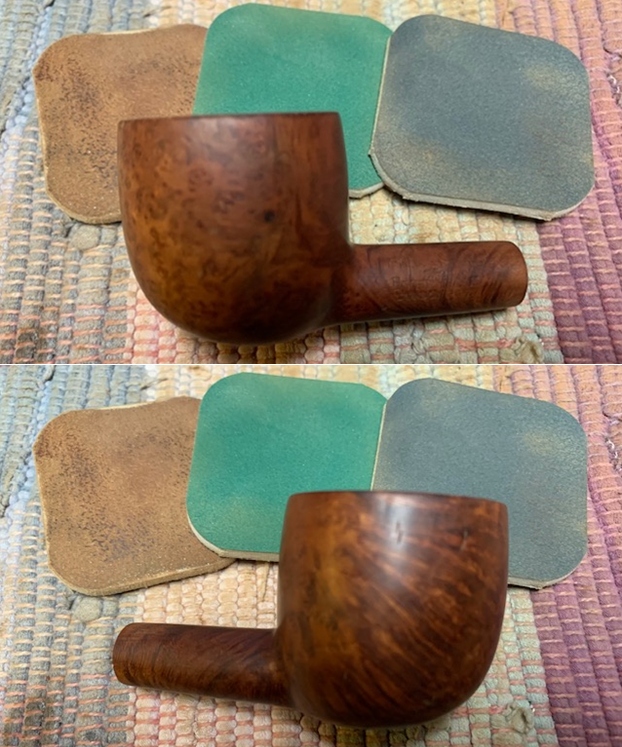
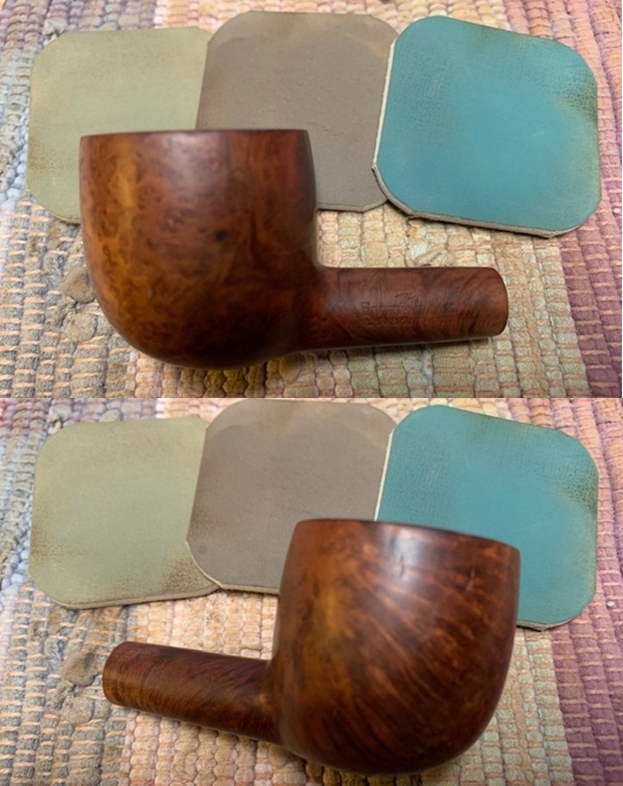

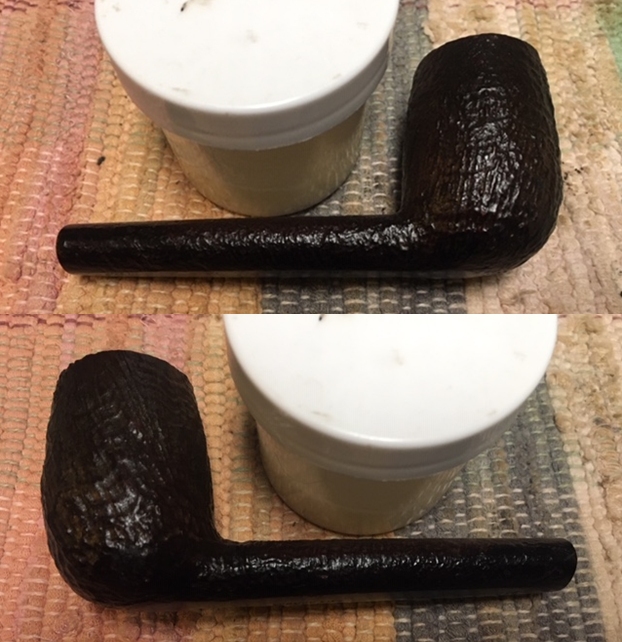
 I rubbed down the briar with Before & After Restoration Balm. I worked it into the finish to clean, enliven and protect the new finish. I let the balm sit for 10-15 minutes and then buffed it with a cotton cloth to raise the shine.
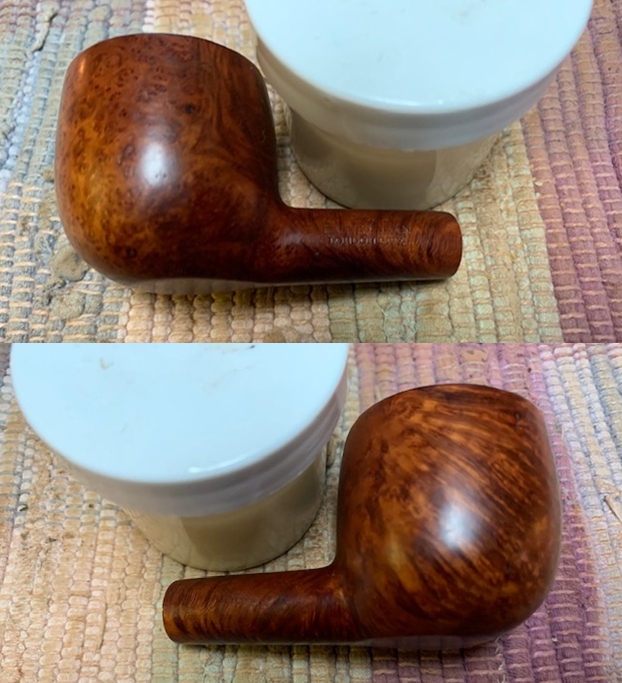

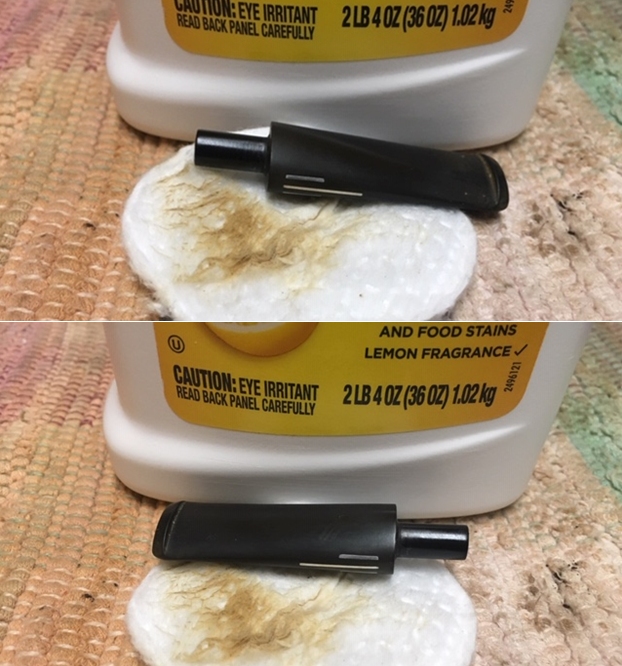
 I scrubbed the stem with Soft Scrub All Purpose Cleanser to remove the remaining oxidation on the vulcanite.
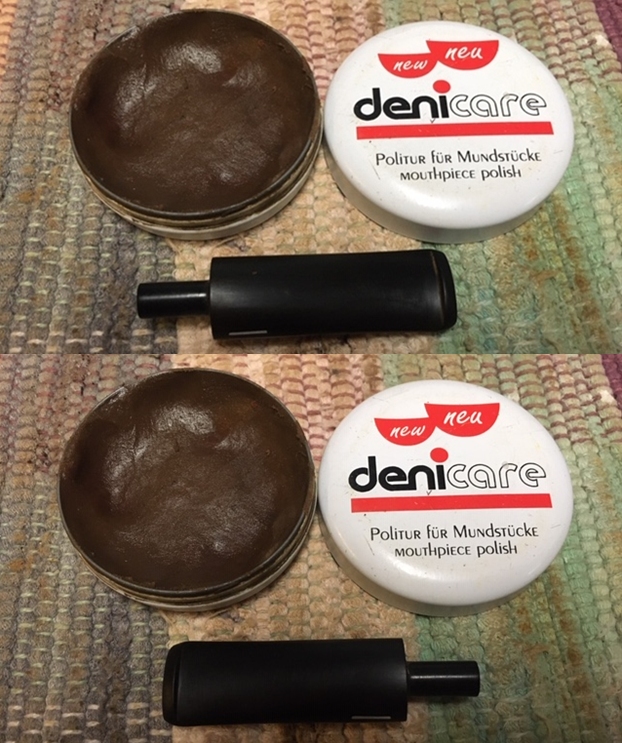
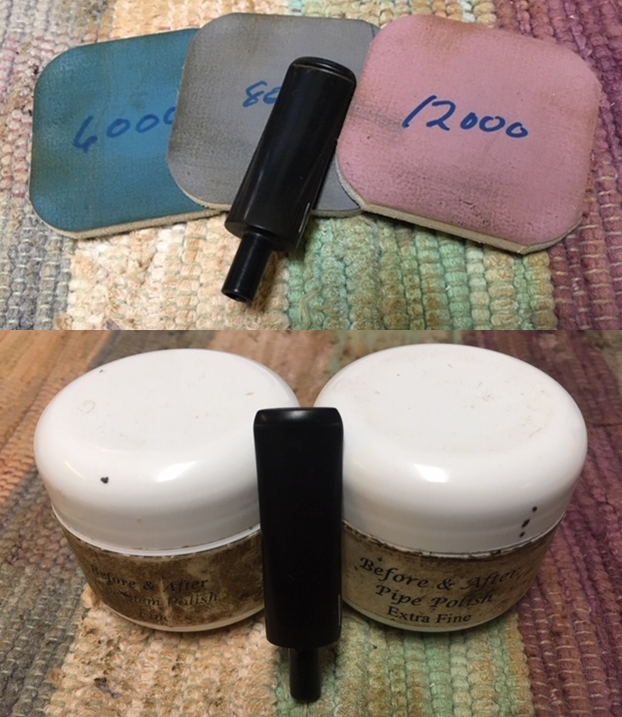
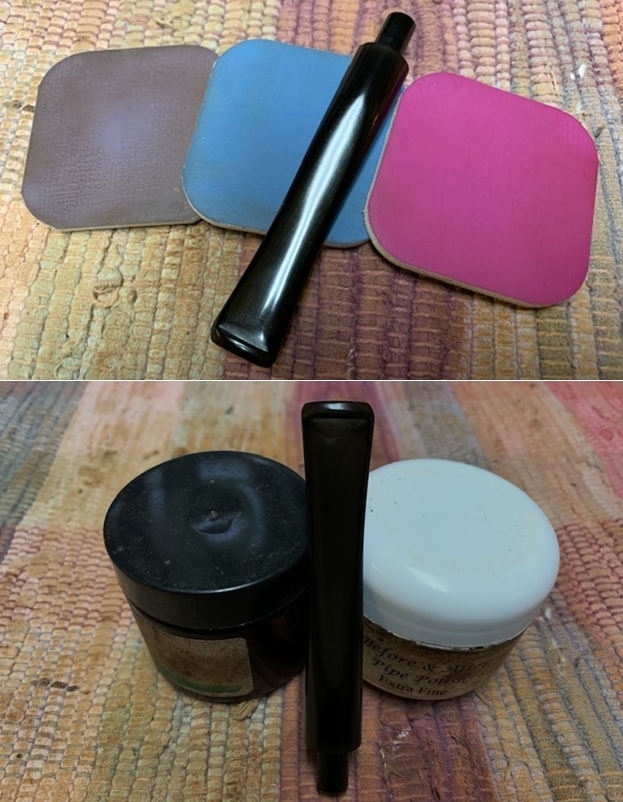
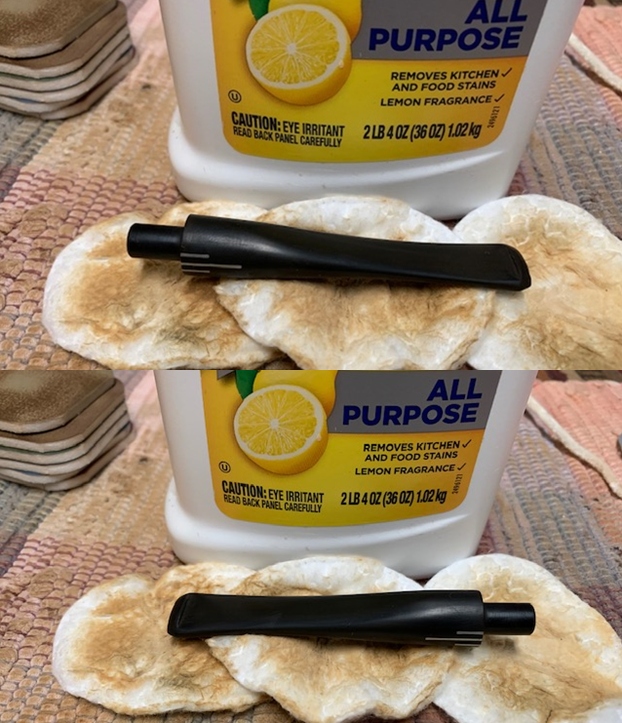 I turned my attention to the “new” stem. I sanded it with 1500-12000 grit micromesh sanding pads. I wiped the stem down after each pad with Obsidian Oil. I polished the stem with Before & After Pipe Stem Polish – both Fine and Extra Fine.
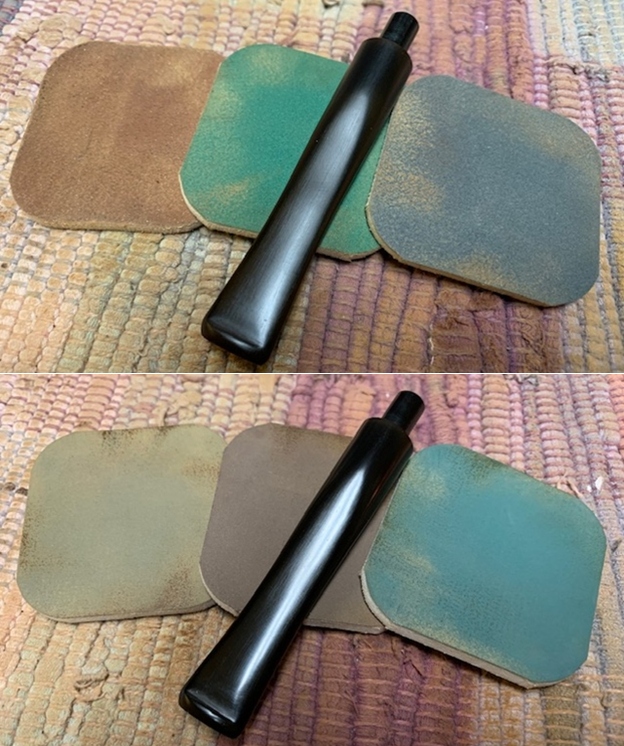
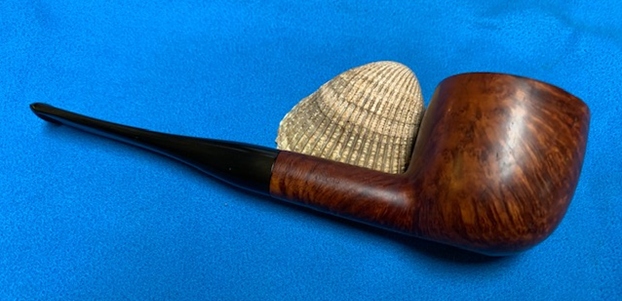
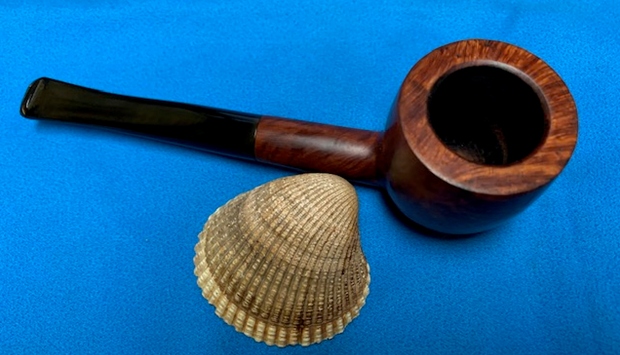
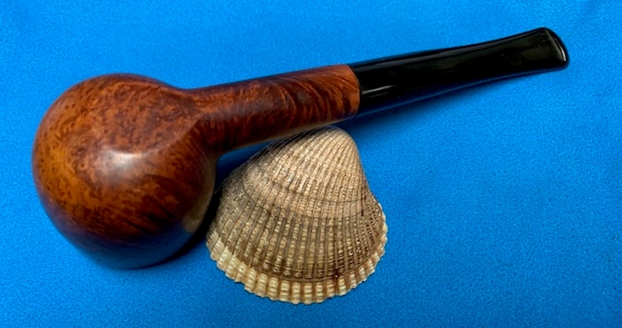
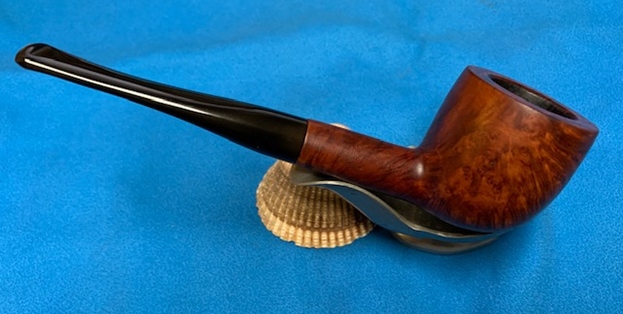
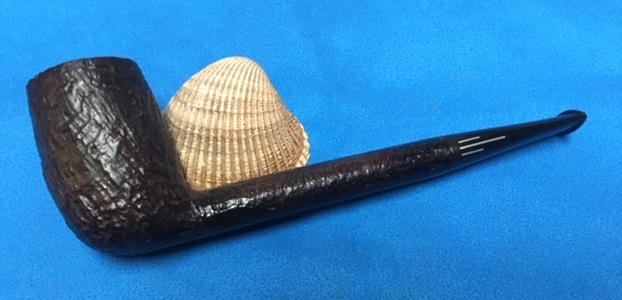
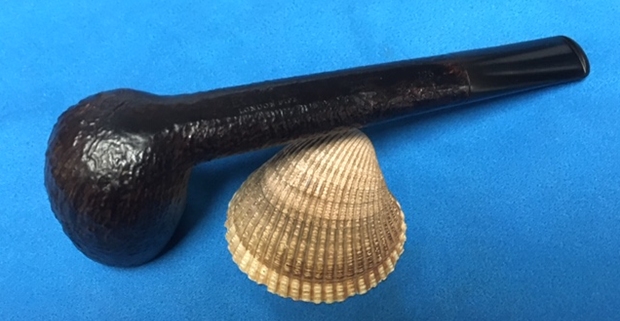
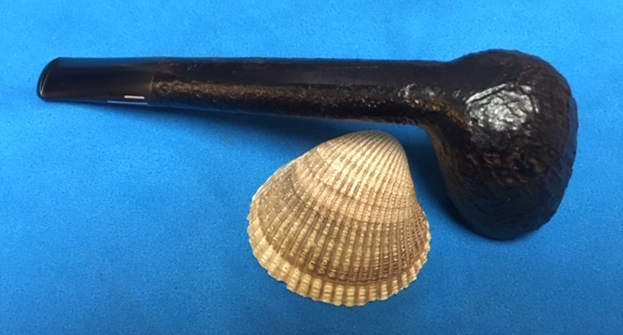
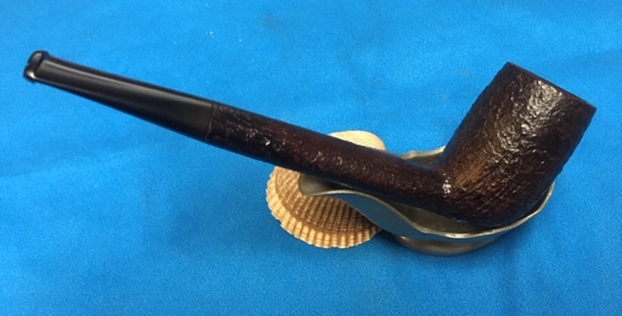
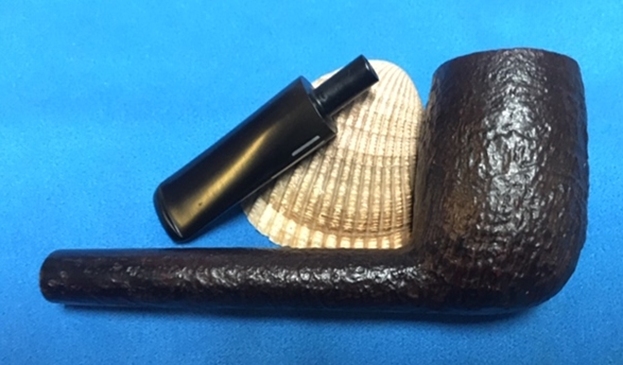
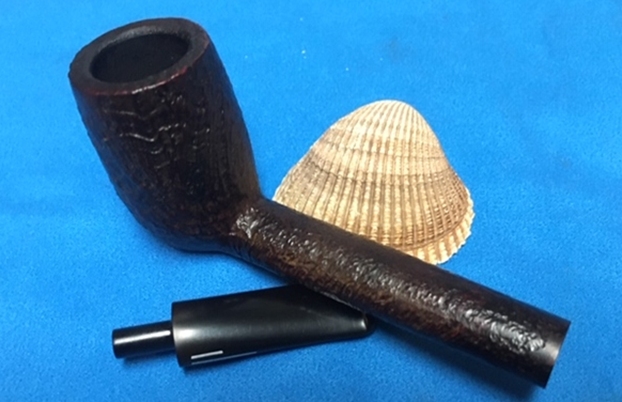
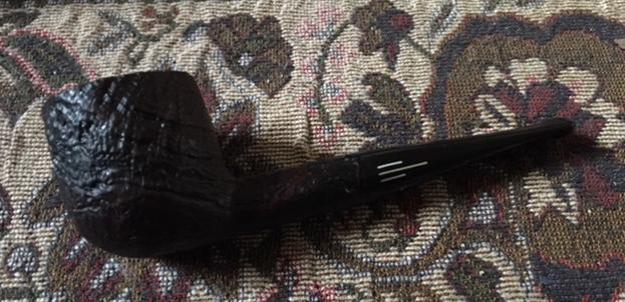
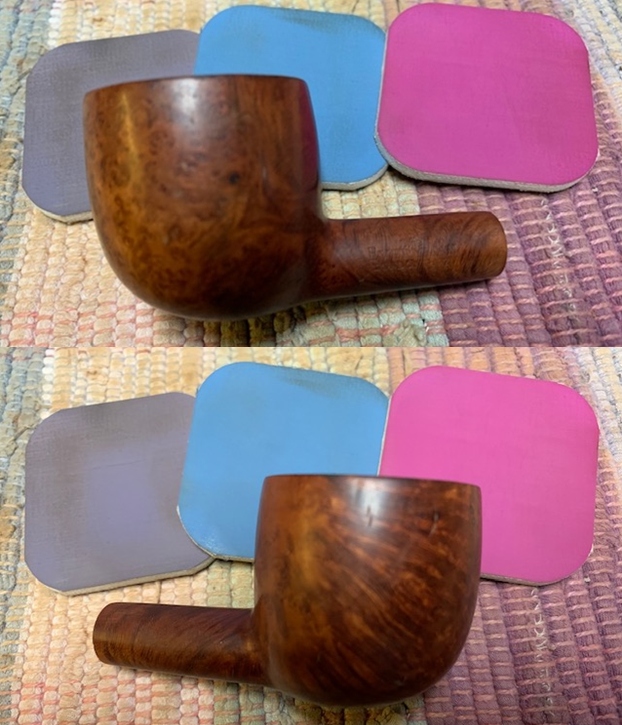
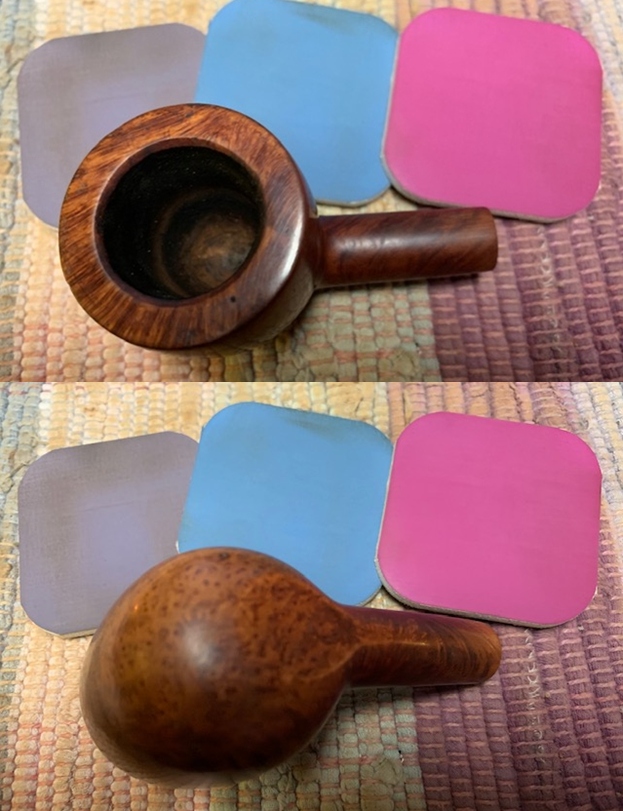
 This Comoy’s Made The Everyman London Pipe 126 Pot came out looking very good. I am glad I remembered that I had an original stem in my can of stems and that it FIT. I put the pipe back together and buffed the bowl and the stem with Blue Diamond polish. I gave the bowl and the stem several coats of carnauba wax and buffed the pipe with a clean buffing pad to raise the shine. I hand buffed it with a microfiber cloth to deepen the shine. The pipe polished up pretty nicely. The finished pipe is shown in the photos below. The smooth finish looks really good in person with great grain around the bowl. It should be a great smoking pipe with a good hand feel. The dimensions are Length: 5 1/2 inches, Height: 1 1/2 inches, Outside diameter of the bowl: 1 1/2 inches, Chamber diameter: 7/8 inches. I will be posting it on the rebornpipes store very soon. It should make a nice addition to your pipe rack if you have been looking for a reasonably priced Comoy’s The Everyman London Pipe. Thanks for walking through the restoration with me as I worked over this estate Comoy’s Made pipe.