It is once again my pleasure to present an article by Robert Boughton. Robert has written several pieces on his work in refurbishing pipes. He always has a great way of not only describing the process he uses in the work but also does very thorough research into the background of the pipe brands he works on. This article covers his work on two pipes that recently joined his rack – a Bewlay and Playboy meerschaum. Thank you Robert for your willingness to share your work with us.
Bewlay Beauty and the Playboy Meer Beast Guest Blog by Robert M. Boughton
http://about.me/boughtonrobert Photos © the Author

“Destiny has two ways of crushing us – by refusing our wishes and by fulfilling them.” – Henri Frederic Amiel, Swiss philosopher, poet and critic
INTRODUCTION
As I admitted in a thread on the Smoker’s Forums, I am the first person to acknowledge that I suffer from a severe case of Pipe Acquisition Disorder (P.A.D.), and so I take both of the above admonitory notes with all due respect, even though I made up one and have no intention of troubling myself with the other. With that in mind, during the past two months my pipe acquisitions have reached epic proportions, at least for me, at 16 additions and one more (a 1980s series Peterson Mark Twain) I am committed to buy on Friday. I really have no choice about that last one, you see, as my word is as good as the metal of the band in my Peterson Gold Spigot Bent System natural grain.And to further my own defense, I should add that I received a nice tax refund and pay raise.Besides, there are far worse things on which to spend ones money, and I have no other serious vices, even having given up alcohol 26 years ago for reasons obvious to everyone who knew me back in the day. Really, when you look at the situation from all sides, it’s more of a quirk than a disorder. Right? I say the habit should be called Pipe Acquisition Quirk, or P.A.Q., to downplay the association of the condition from that of a mental disease.At any rate, that is quite enough of that.
My goal here, as I have already tried to begin making clear, is to have some fun describing the excitement of the hunt for little gems of pipes that can be found in odd locations, such as second-hand stores and antique shops, and the special thrill when it is apparent that the rewards located need some attention and care to restore them to their rightful glory. The latter aspect of the overall adventure is the best part for me, anyway. That is why I was almost disappointed to find that the Knickerbocker and Winston pipes I picked up on Tuesday are in pristine condition and have never even been smoked. If you ask me, I have to say that response to buying pipes is more twisted than being in the habit of acquiring one at every turn.
But as I already suggested, there is nothing like the clandestine hunt for the prized pipe, not online or in the regular haunts but in the wild, so to speak – lurking out there in a dark corner of the jungle where everything from the lowest to the highest example of the art of pipe craft might be found by the crafty hunter, just waiting for the right person to place in his sights and liberate the artifact from its unwitting seller for restoration and lifelong appreciation.
Such was the case this Friday past, while I was driving to my weekly pipe meeting earlier than usual and the notion hit me to veer from my regular course for a stop at an unassuming and poorly situated antique arcade on the east side of town, whence I had heard from a fellow pipe club member of incredible deals on excellent pipes. However, by the time I arrived at the scene, my friend, who seems to have a touch of the old P.A.D. himself, had pretty well cleared out the available stock and was remembered with cloying fondness by all of the vendors. Still, there were five left – the two I bought last Friday, which are the subjects of this blog, the other pair I purchased on Tuesday and one I let someone else have. Note I do not call it the one that got away because had it been a fish I caught I would have thrown it back in the water.
THE RESTORATIONS
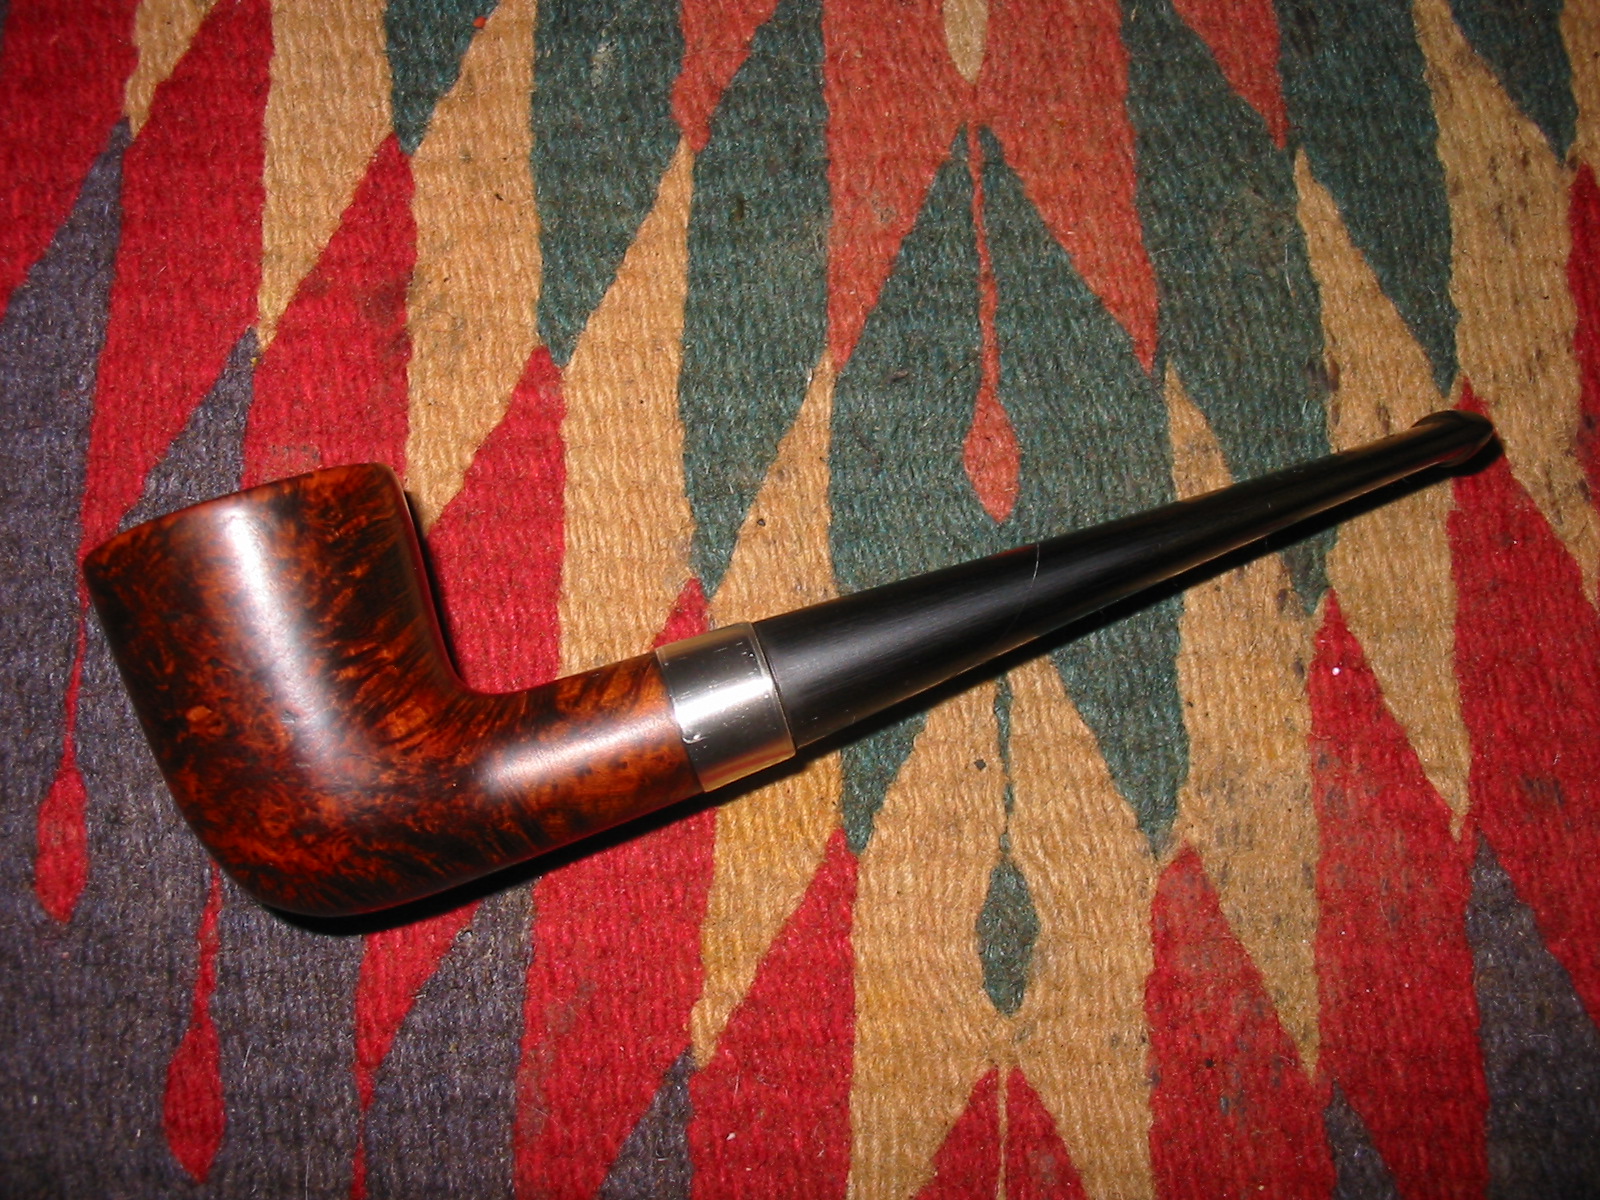
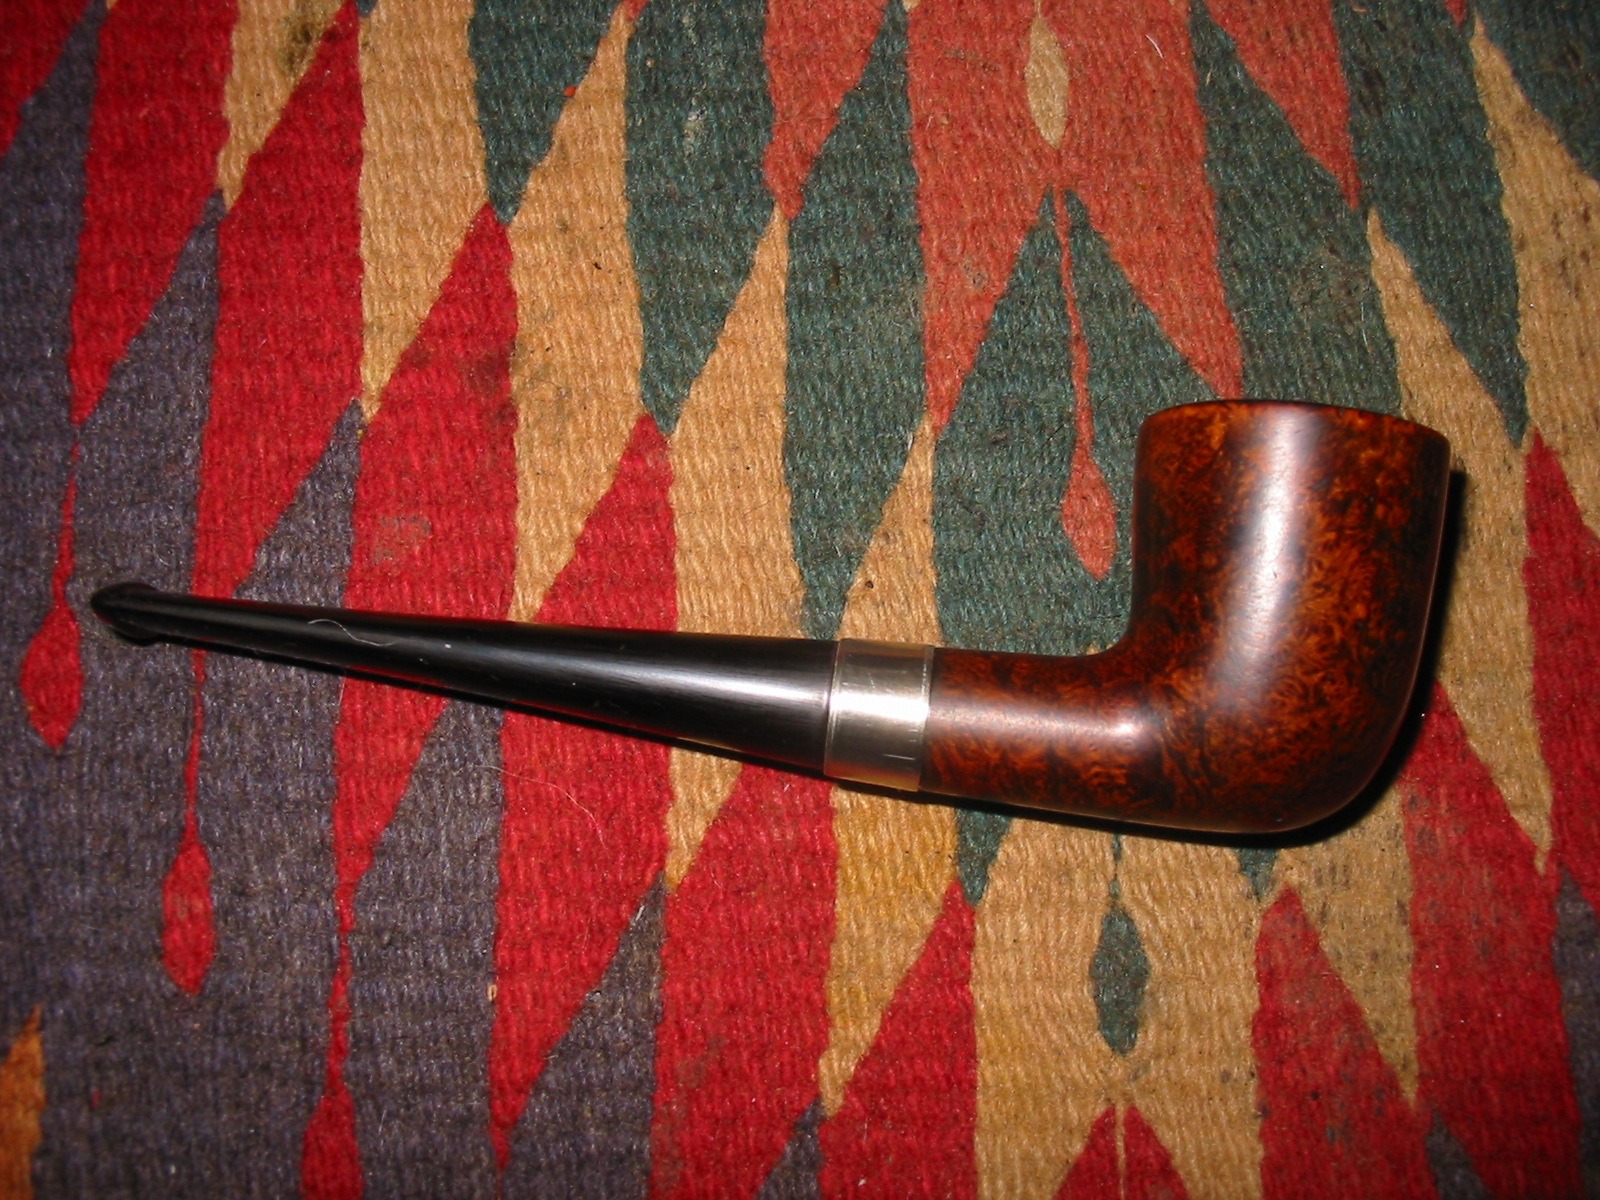
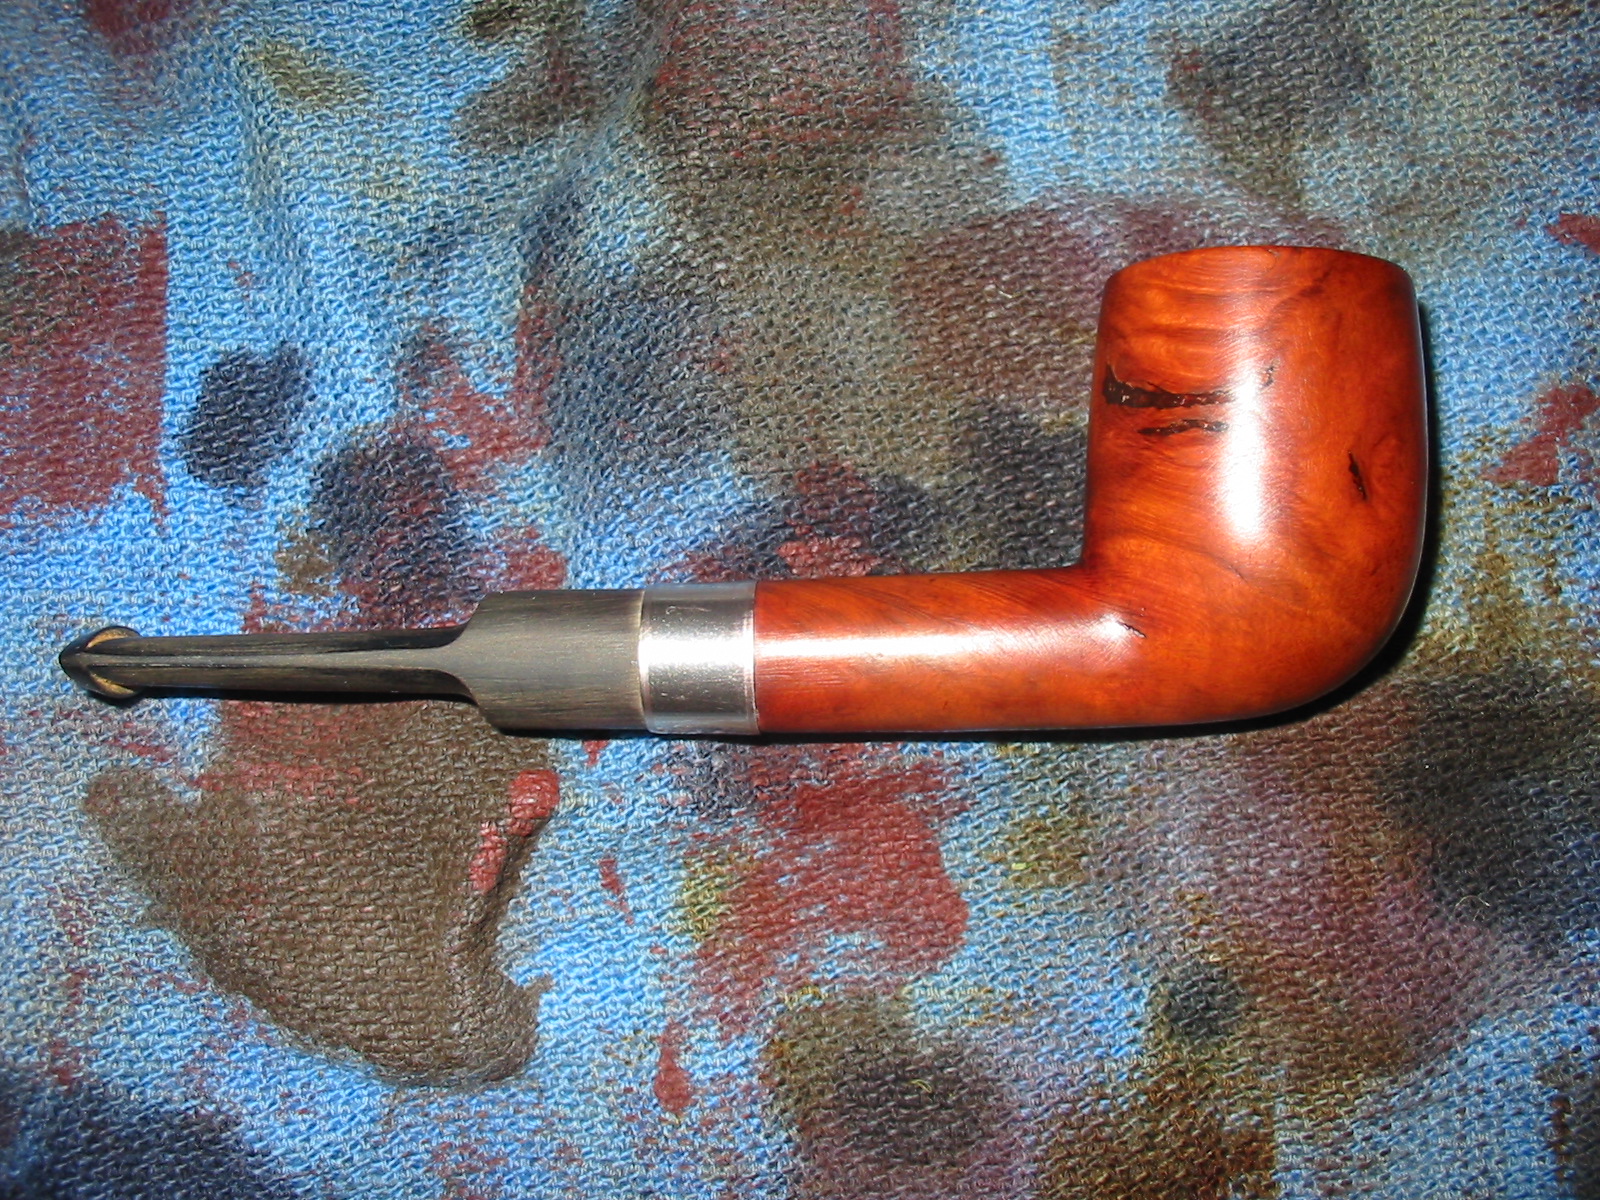
I.The Bewlay London Made Hand Cut Spiral
 Bewlay & Co., Ltd. was an English chain of pipe shops for about the first half of the 20th century until it was sold. [See Steve’s excellent recap of everything I found in my own research and more at https://rebornpipes.wordpress.com/2014/03/07/house-of-bewlay-pipes-tobacco-leaflets/.%5D The general consensus is that Bewlay sold only Barlings, Charatans and Loewes with the Bewlay name and mark on the pipes. Another source included Orlik in the list. But regardless of the total roster of pipe crafters that supplied Bewlay, everything they offered was considered to be of high quality.
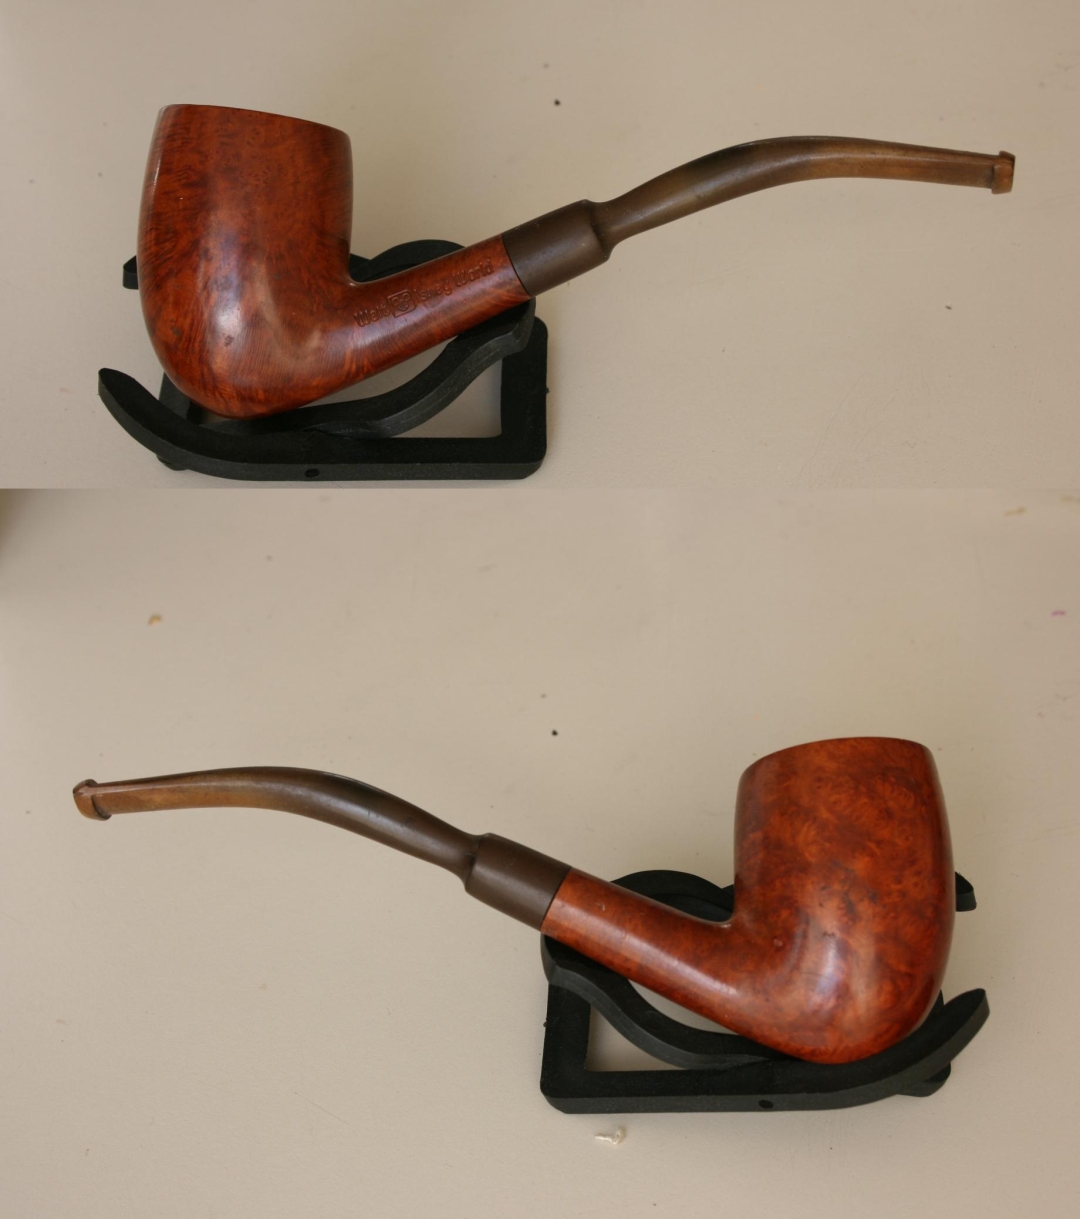
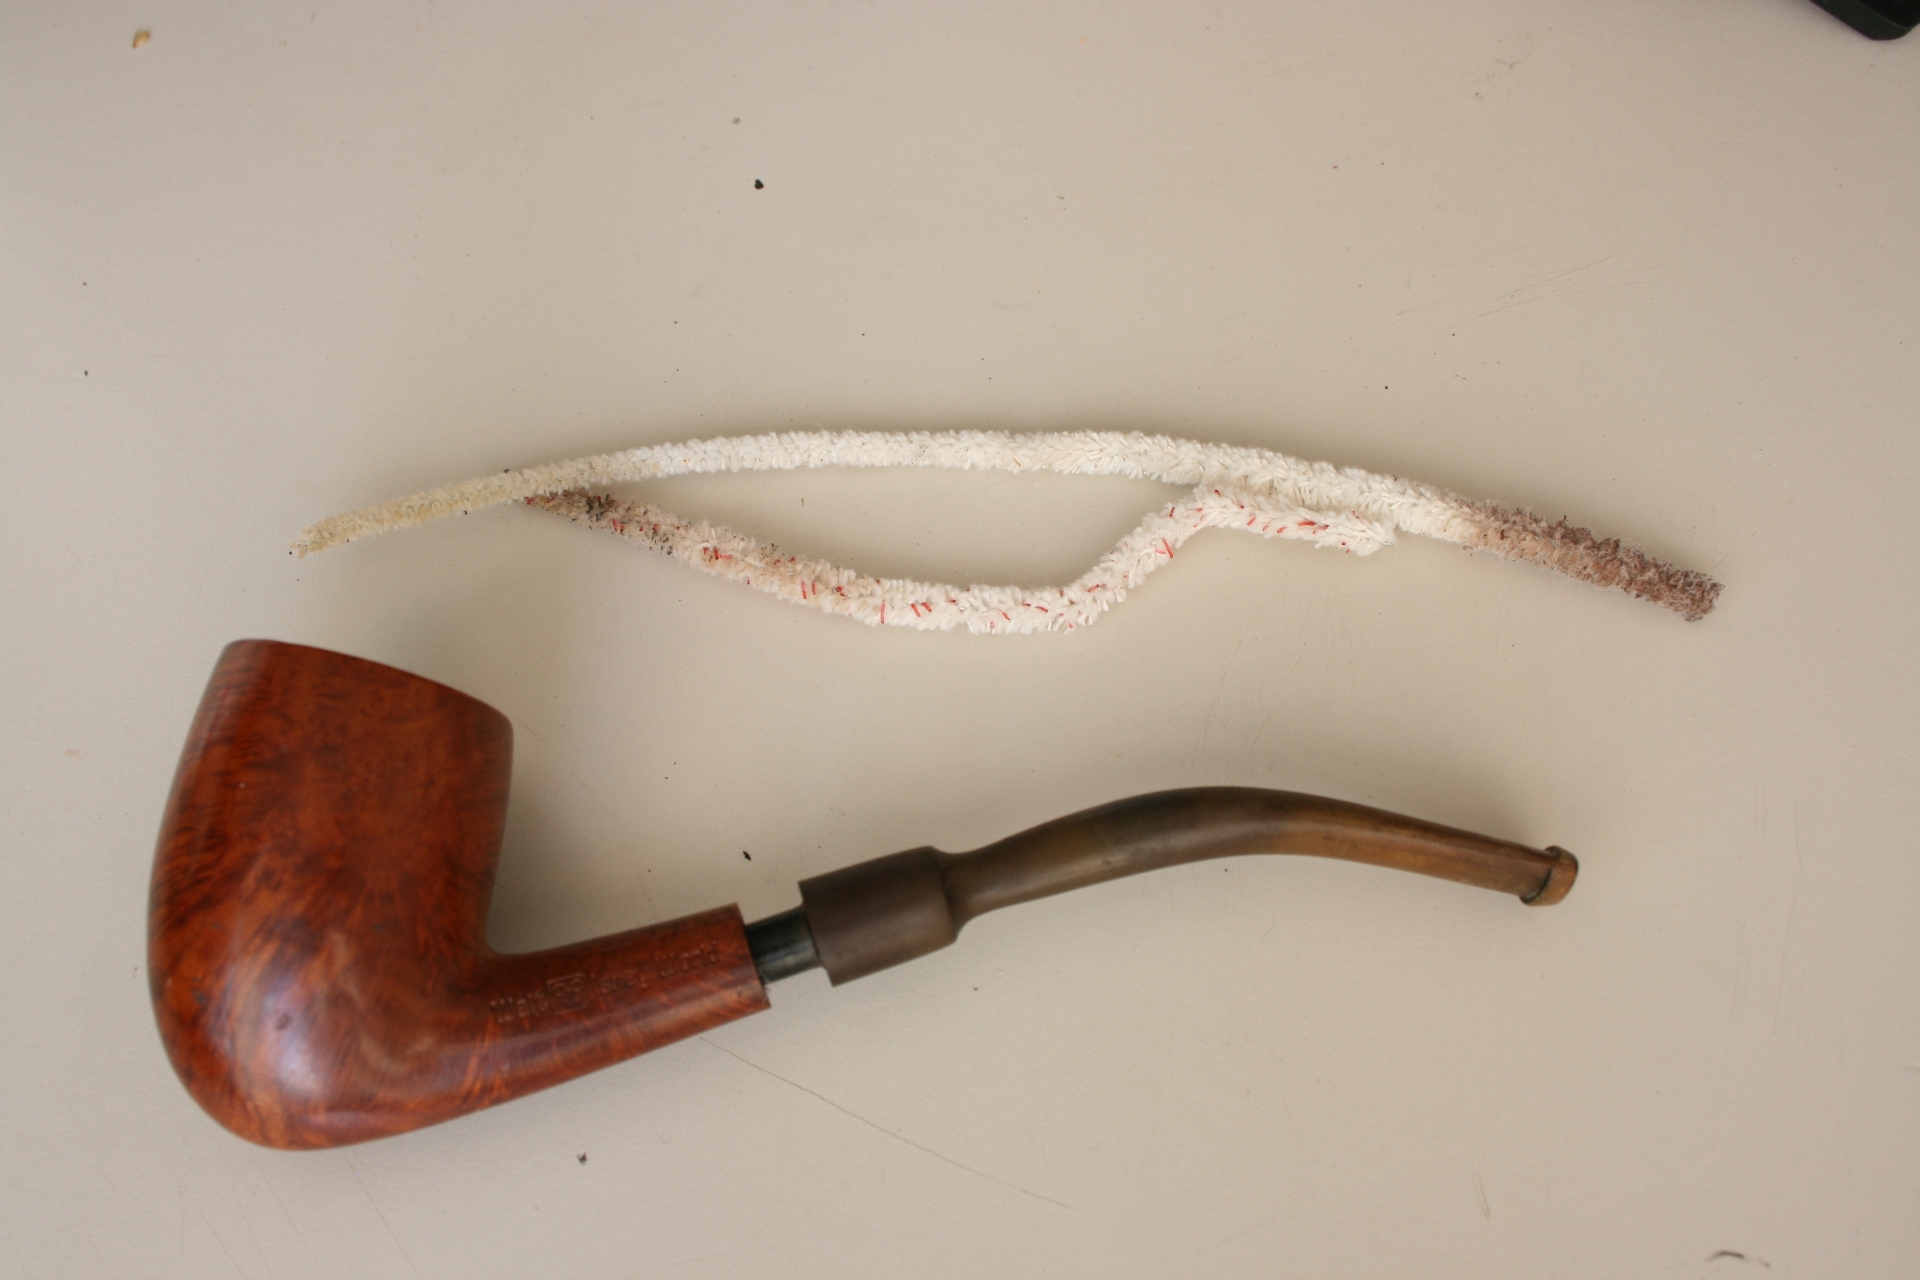
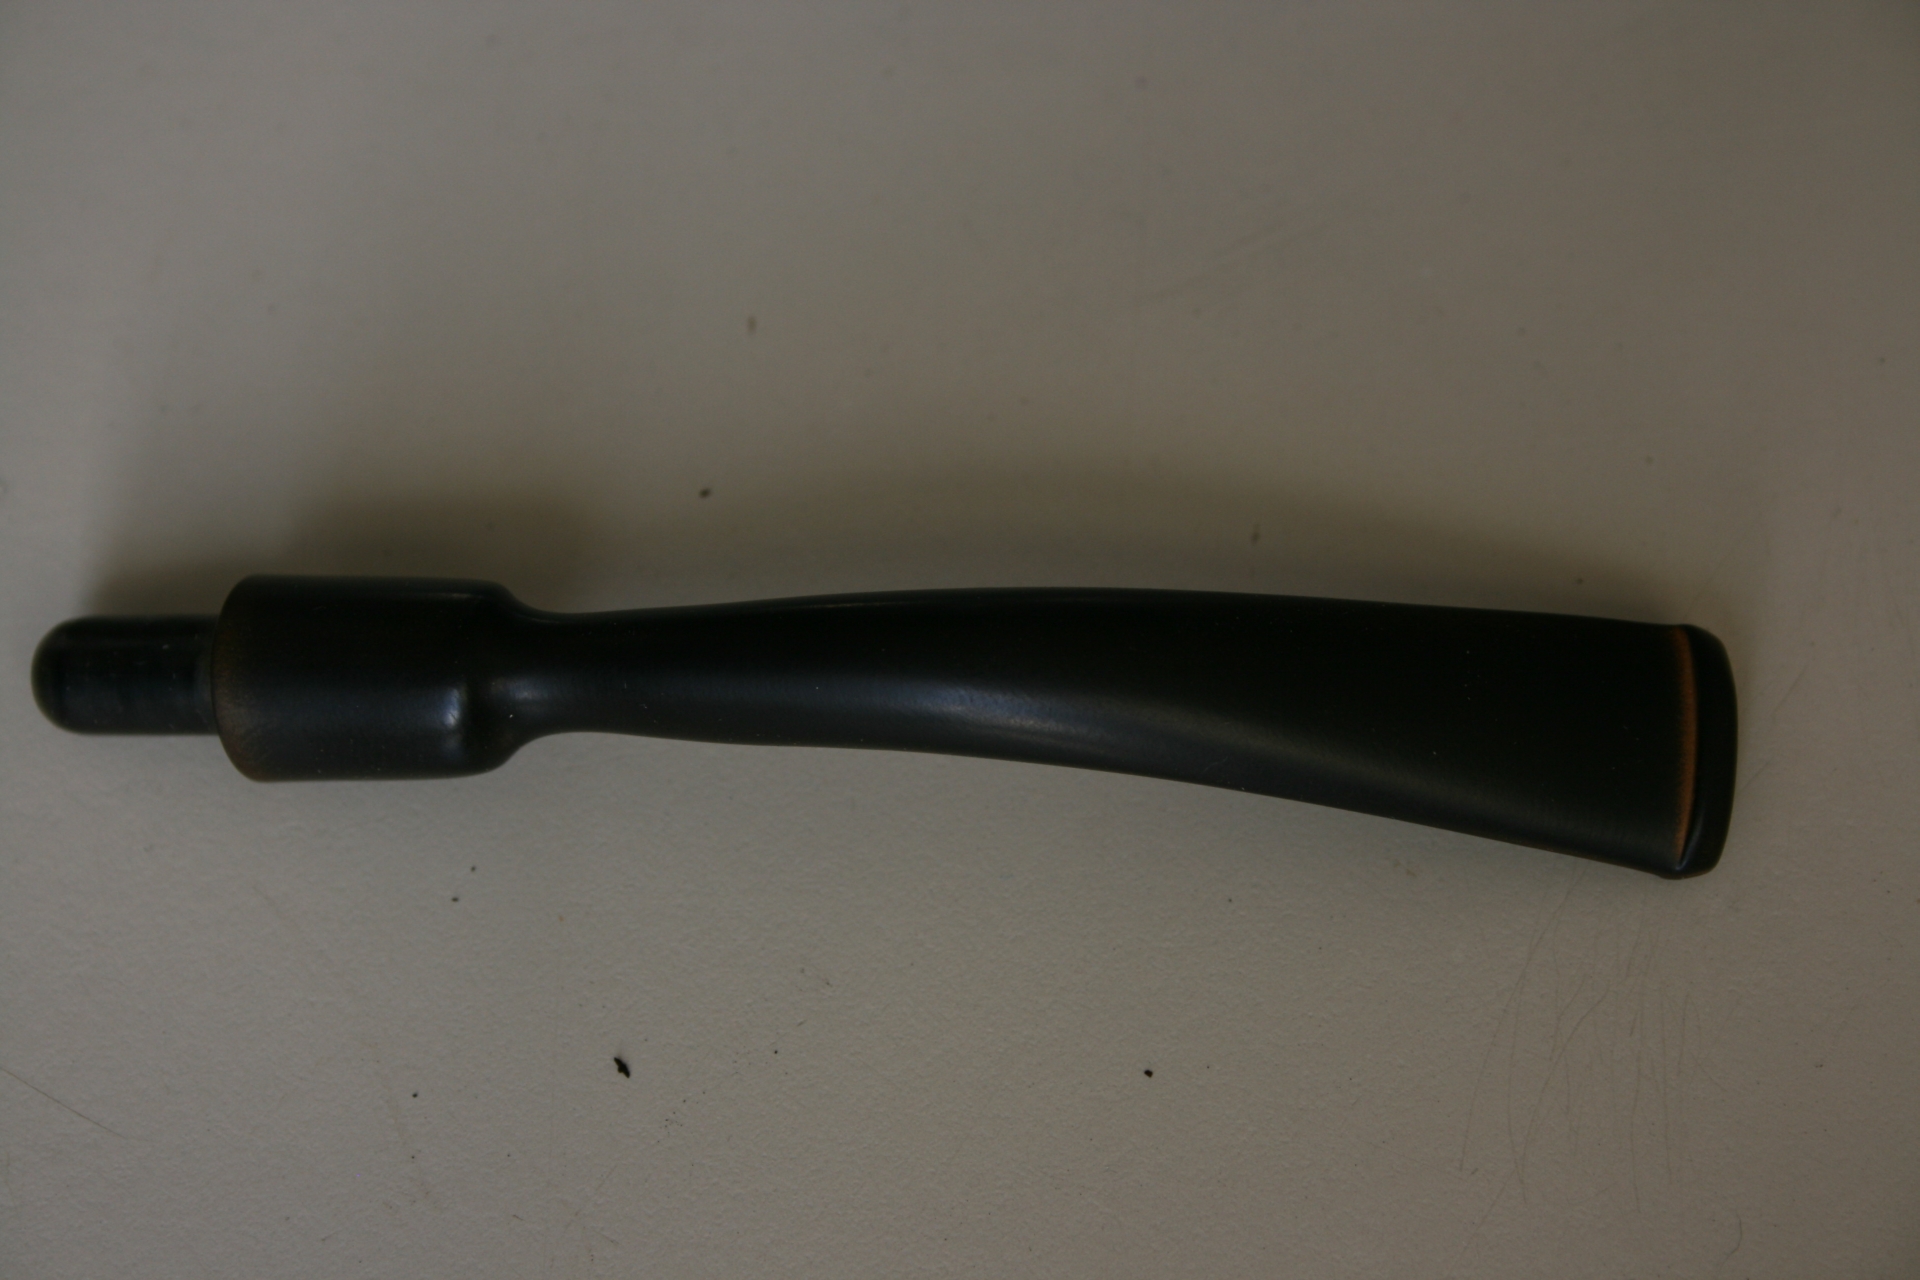
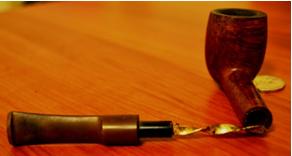
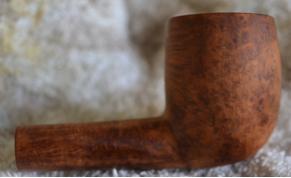
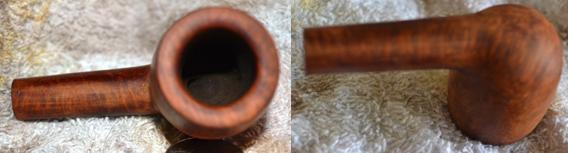
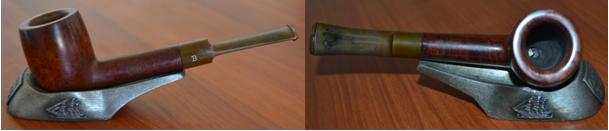
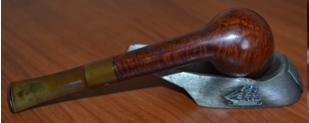
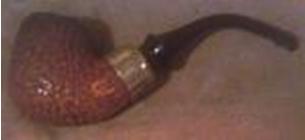
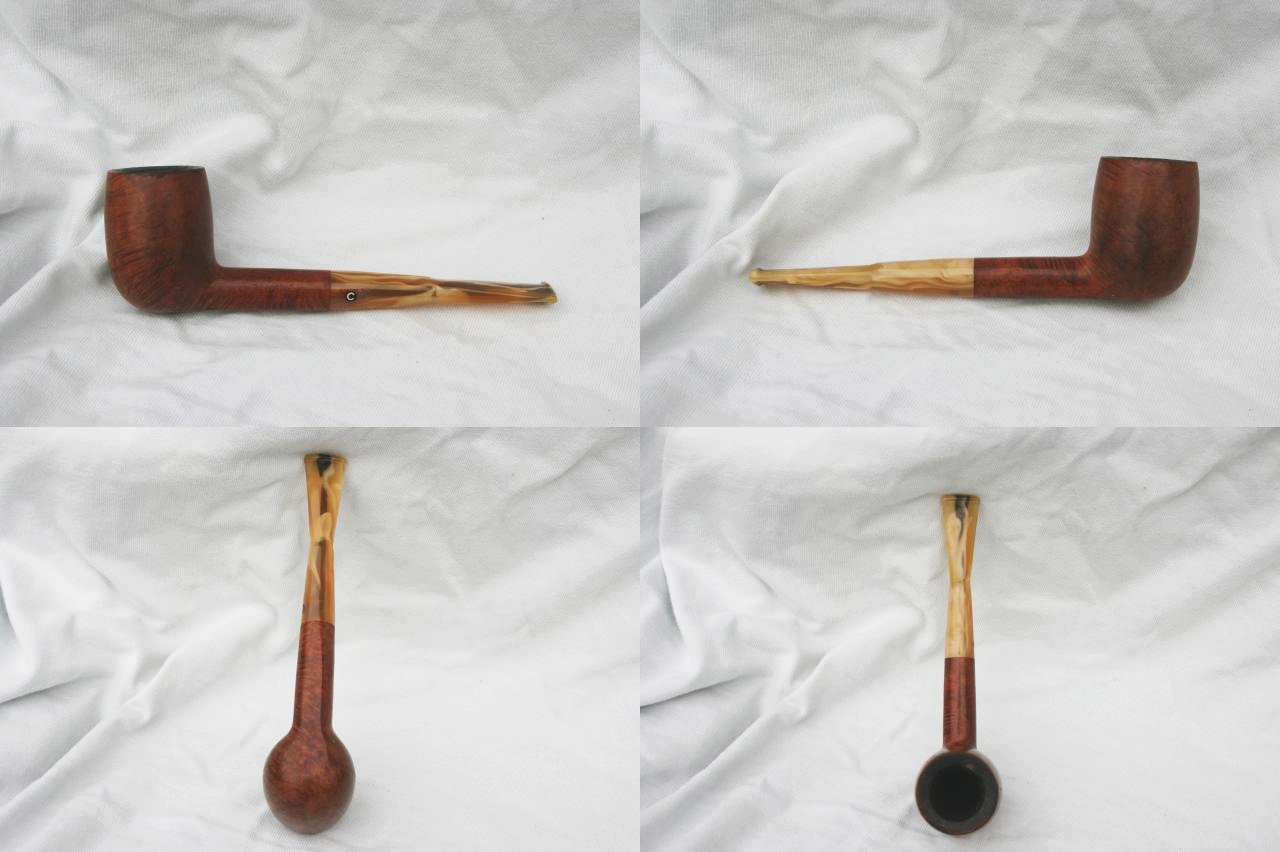
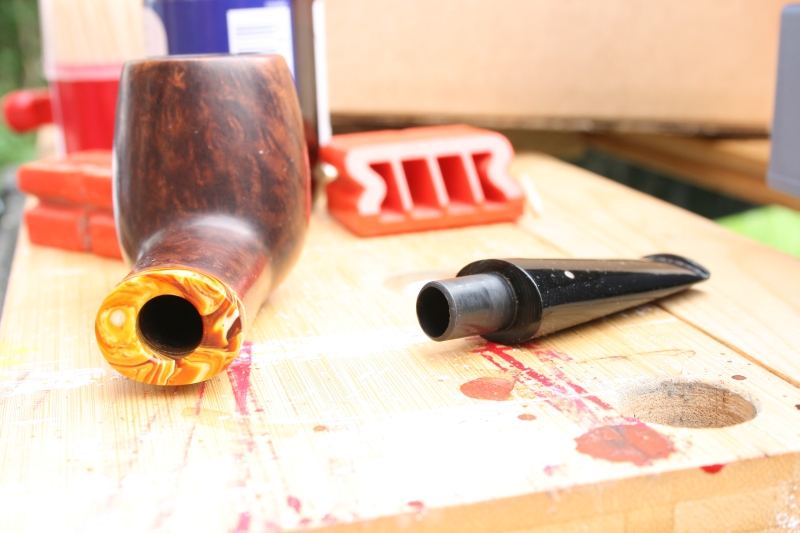
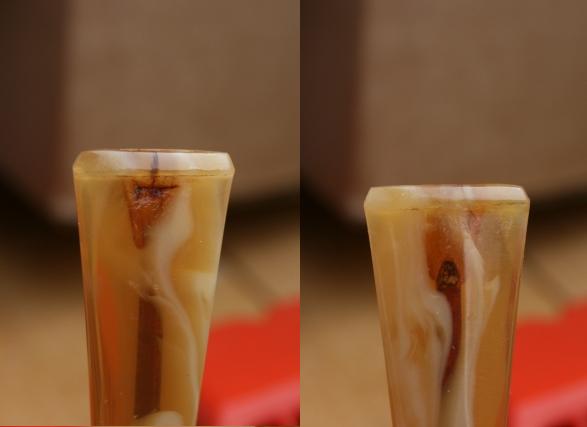
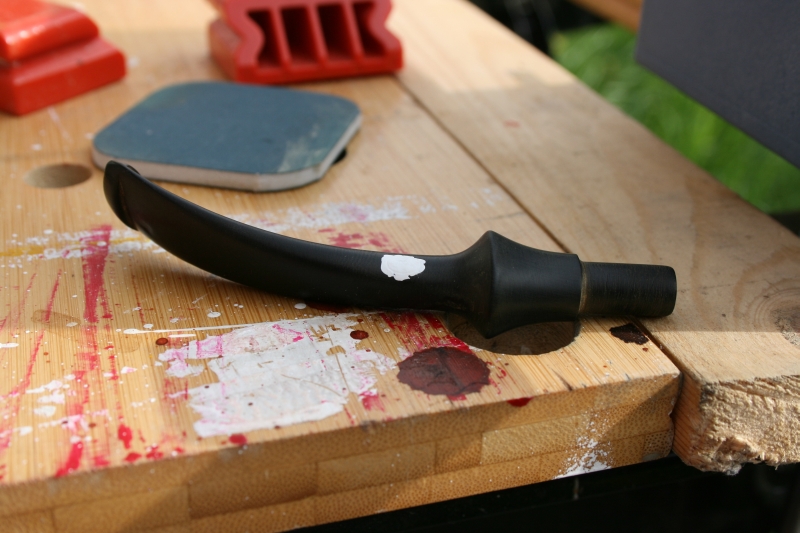
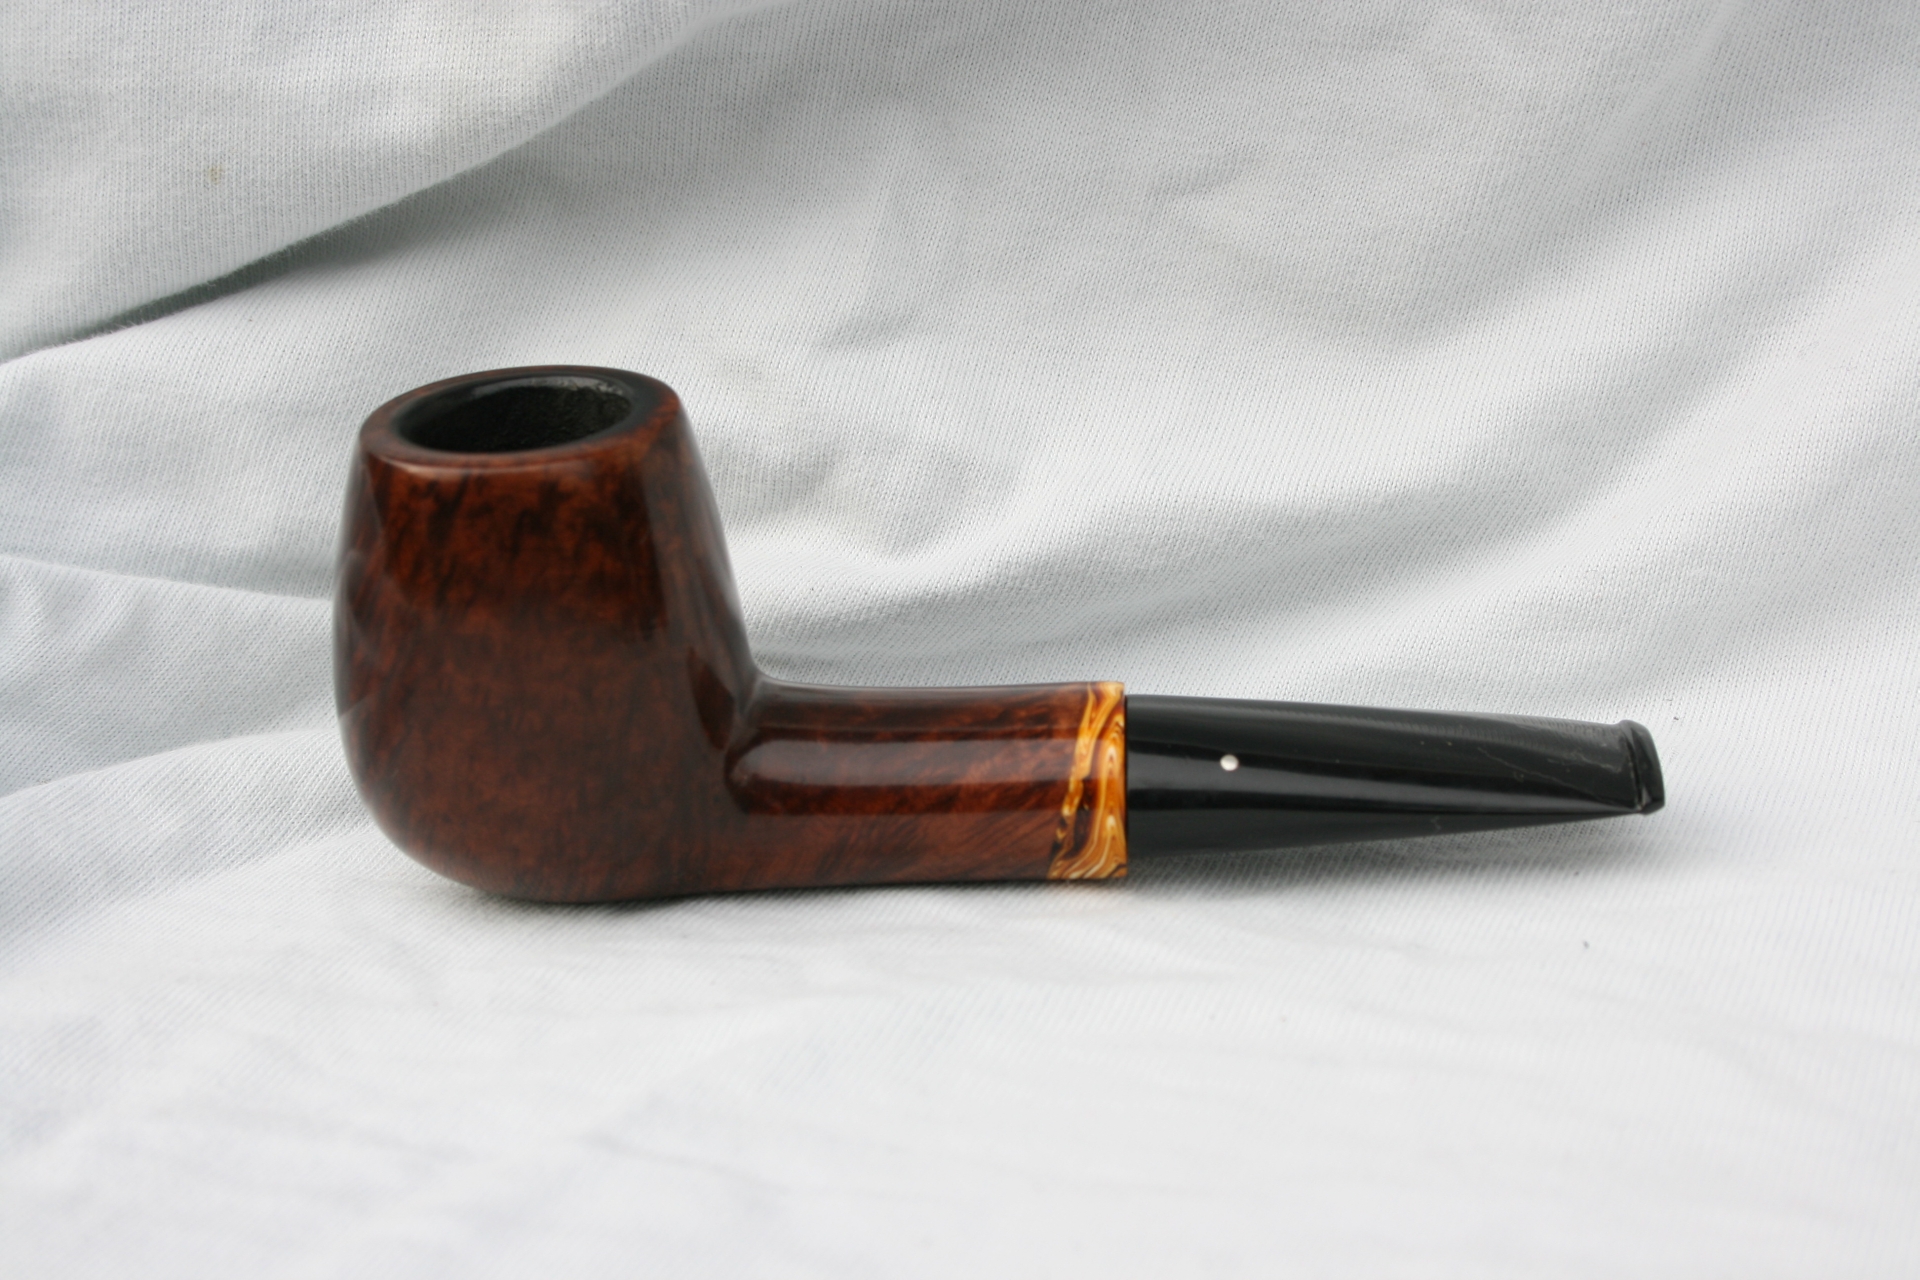
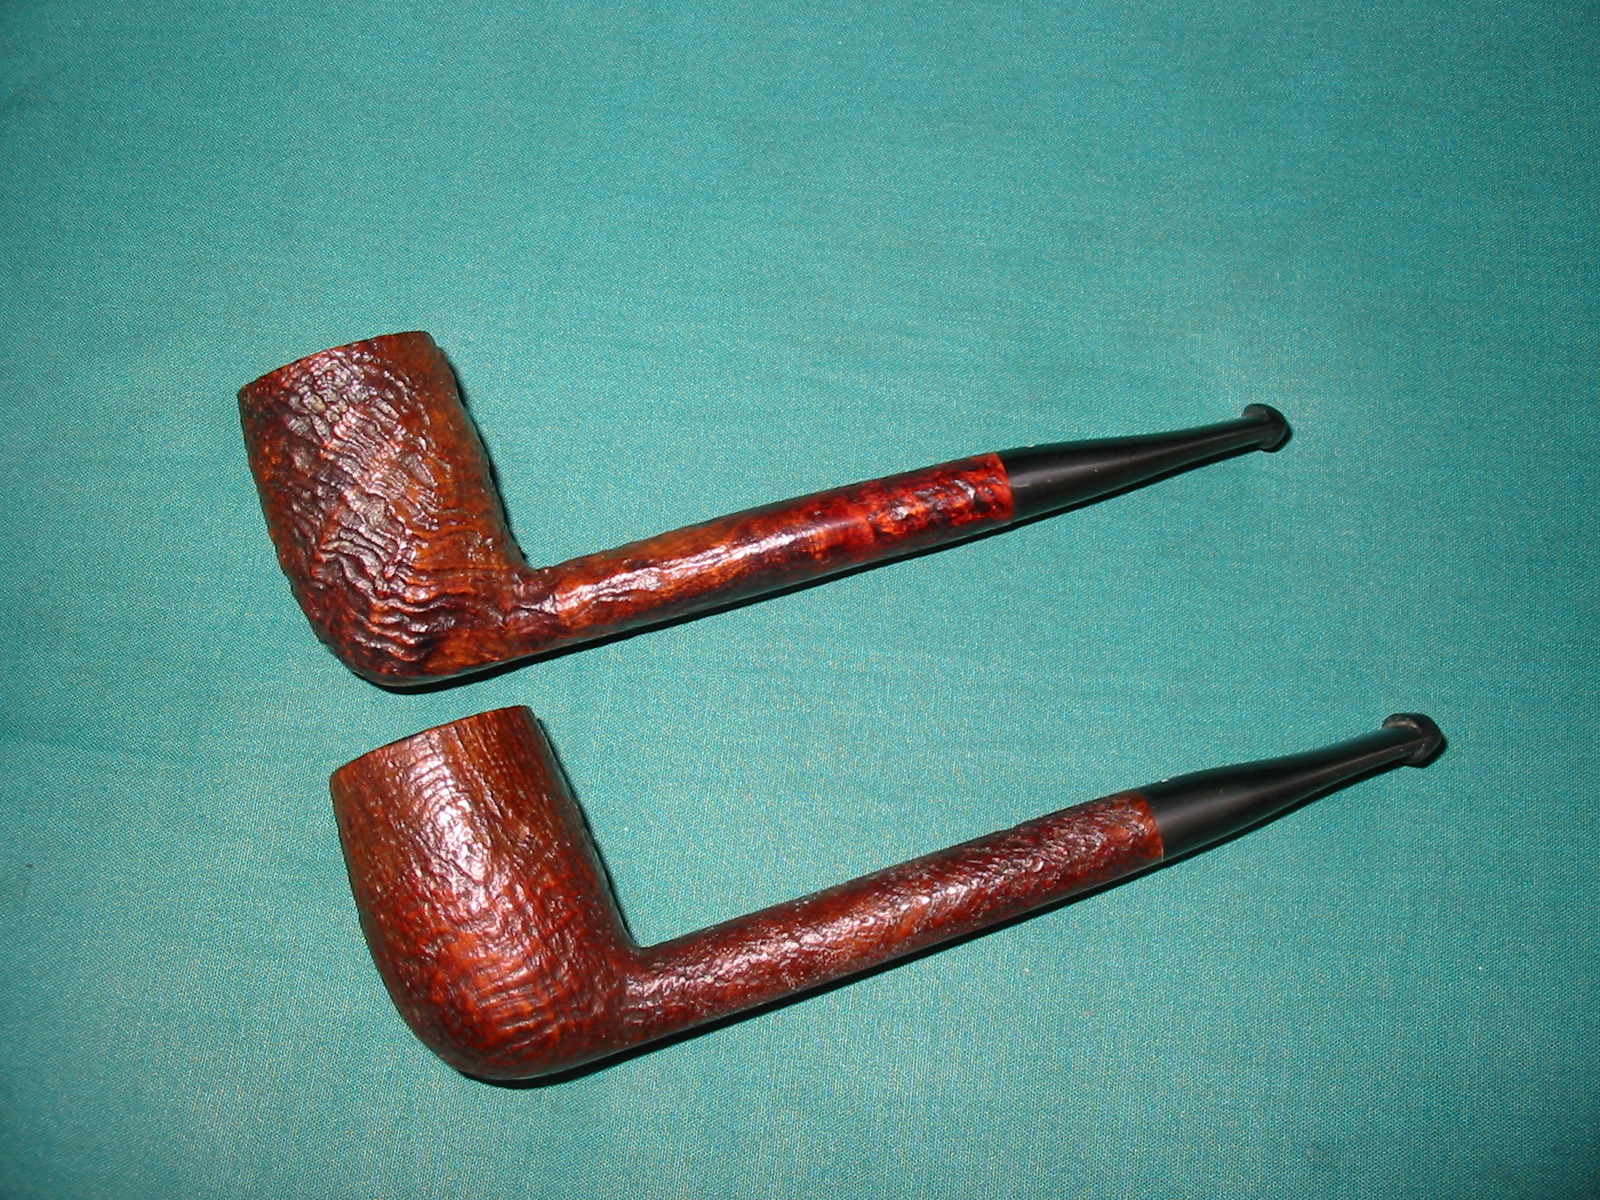
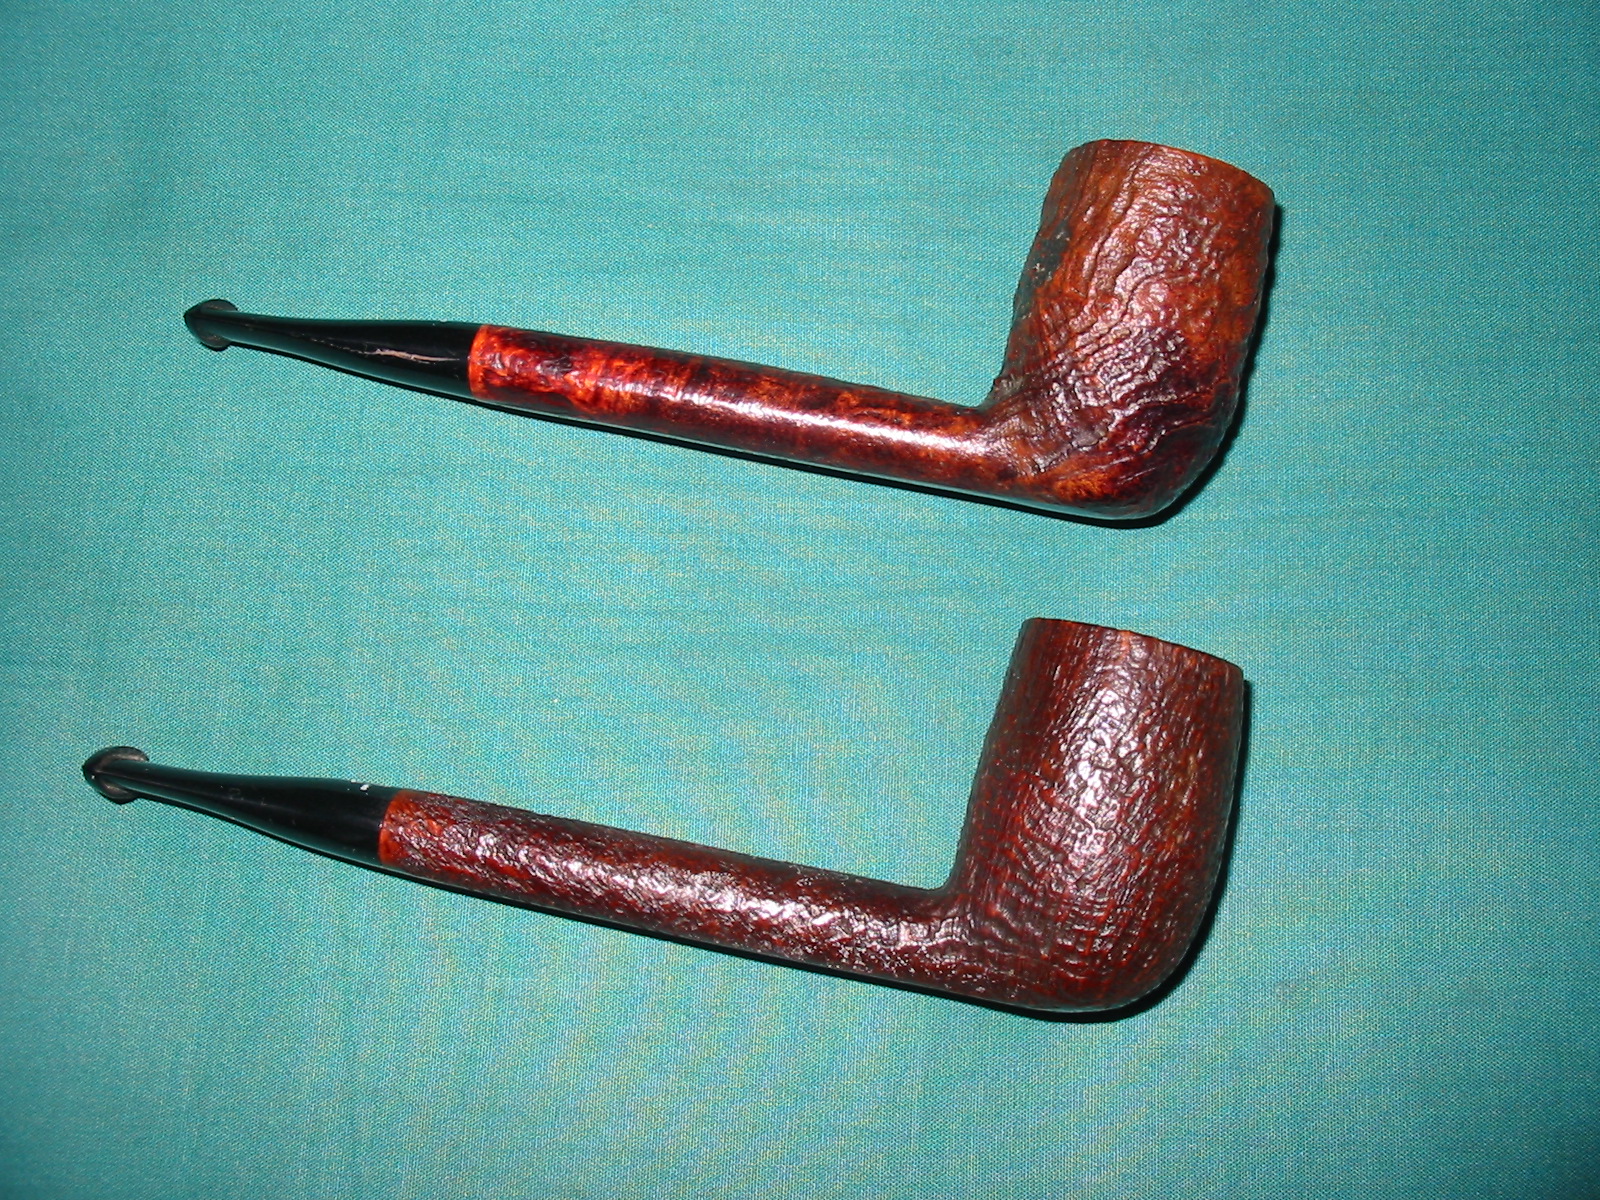
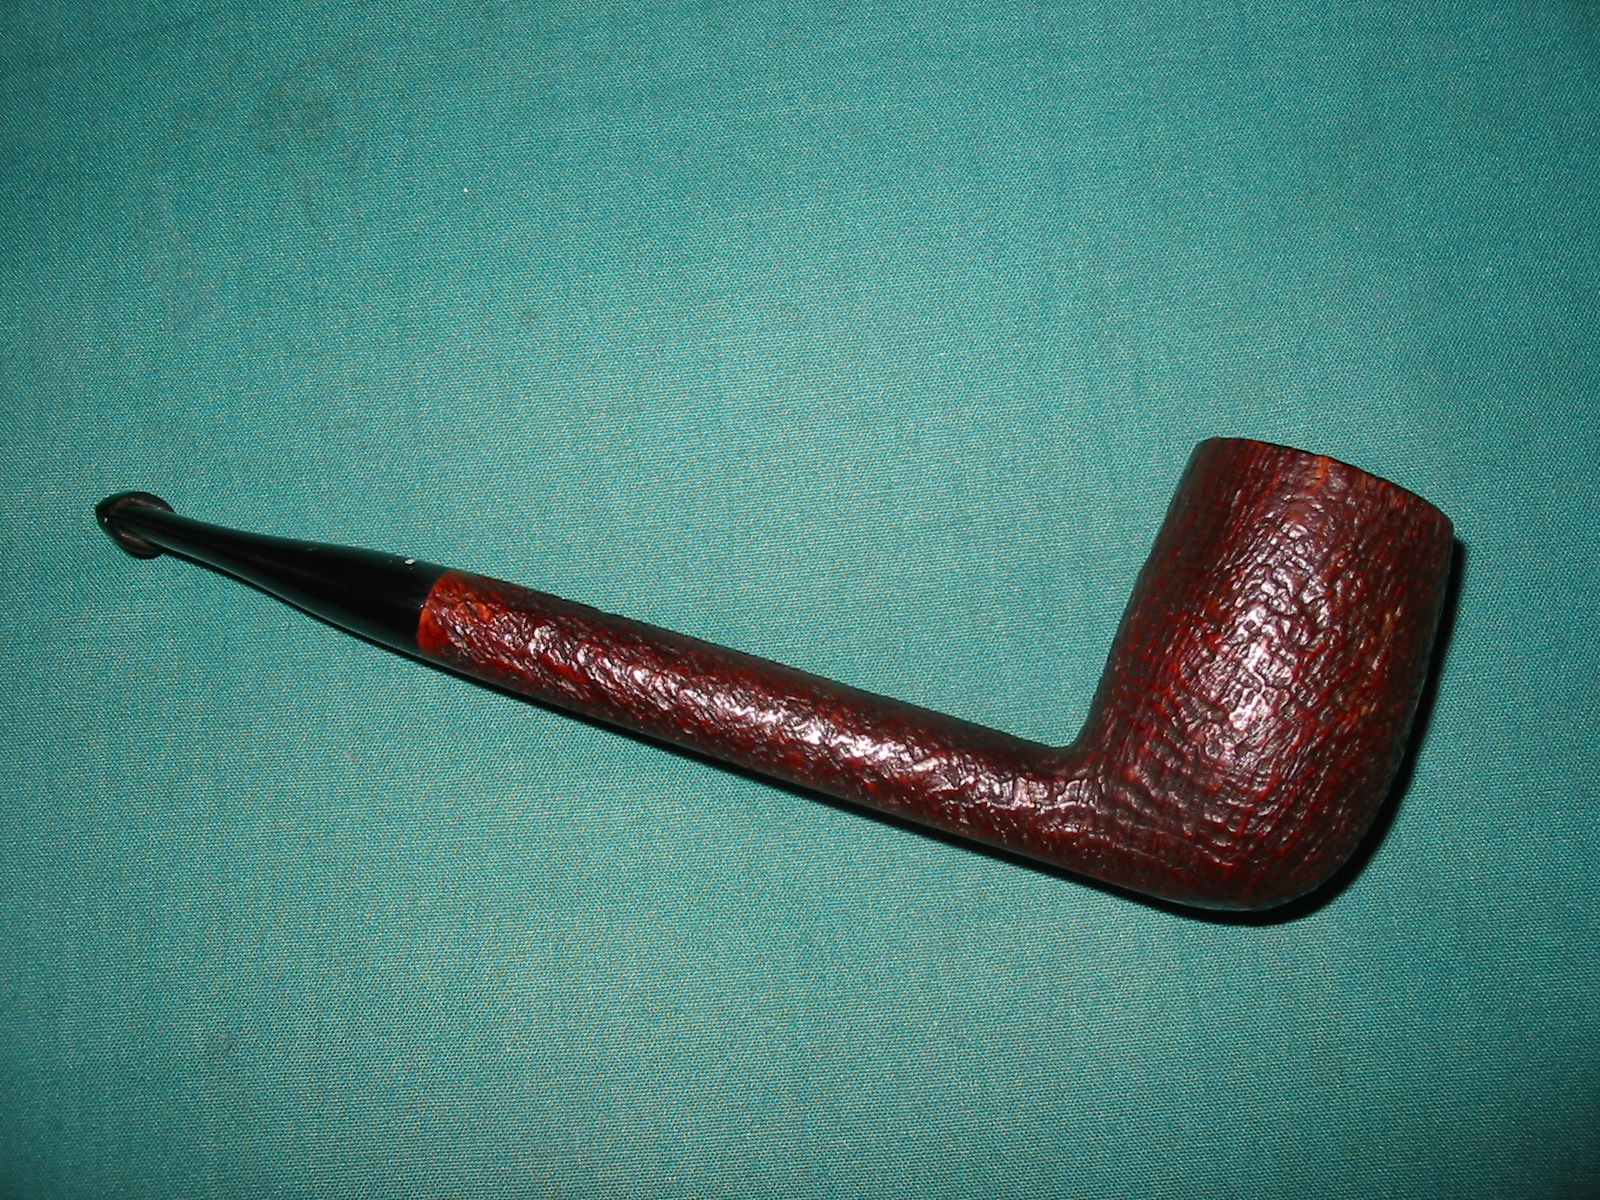
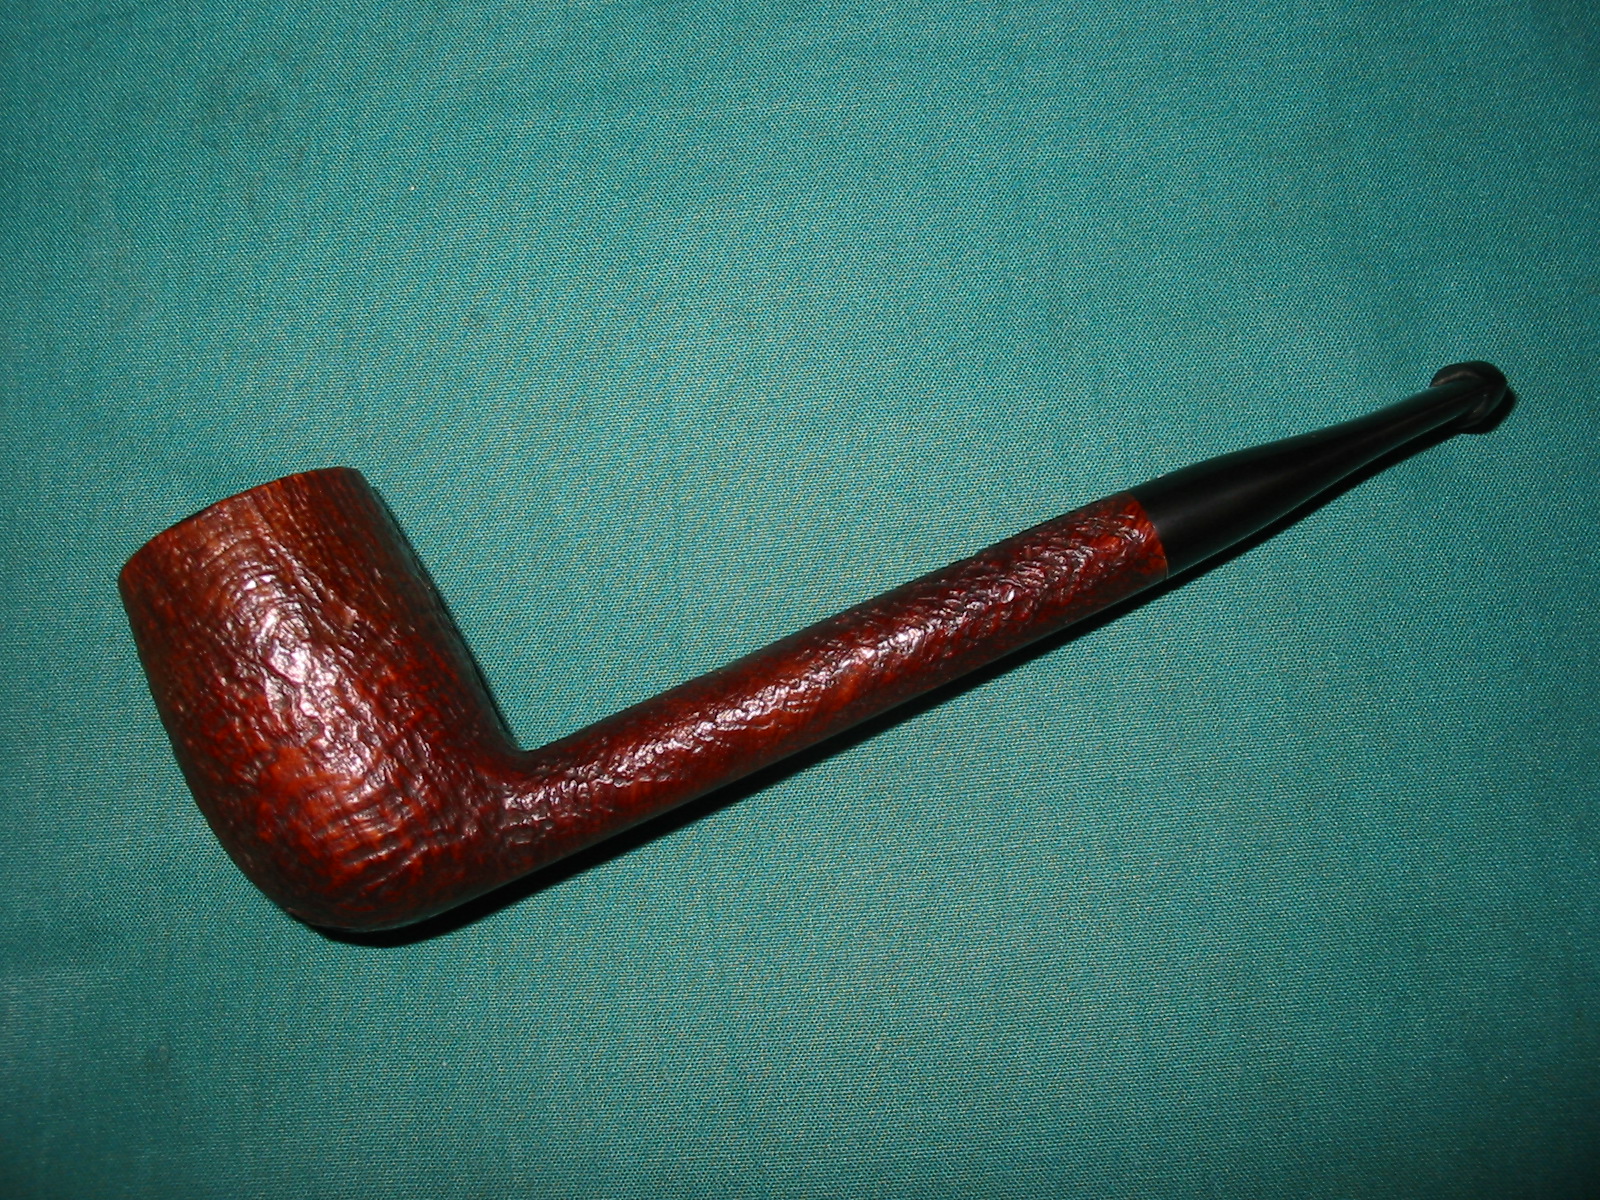
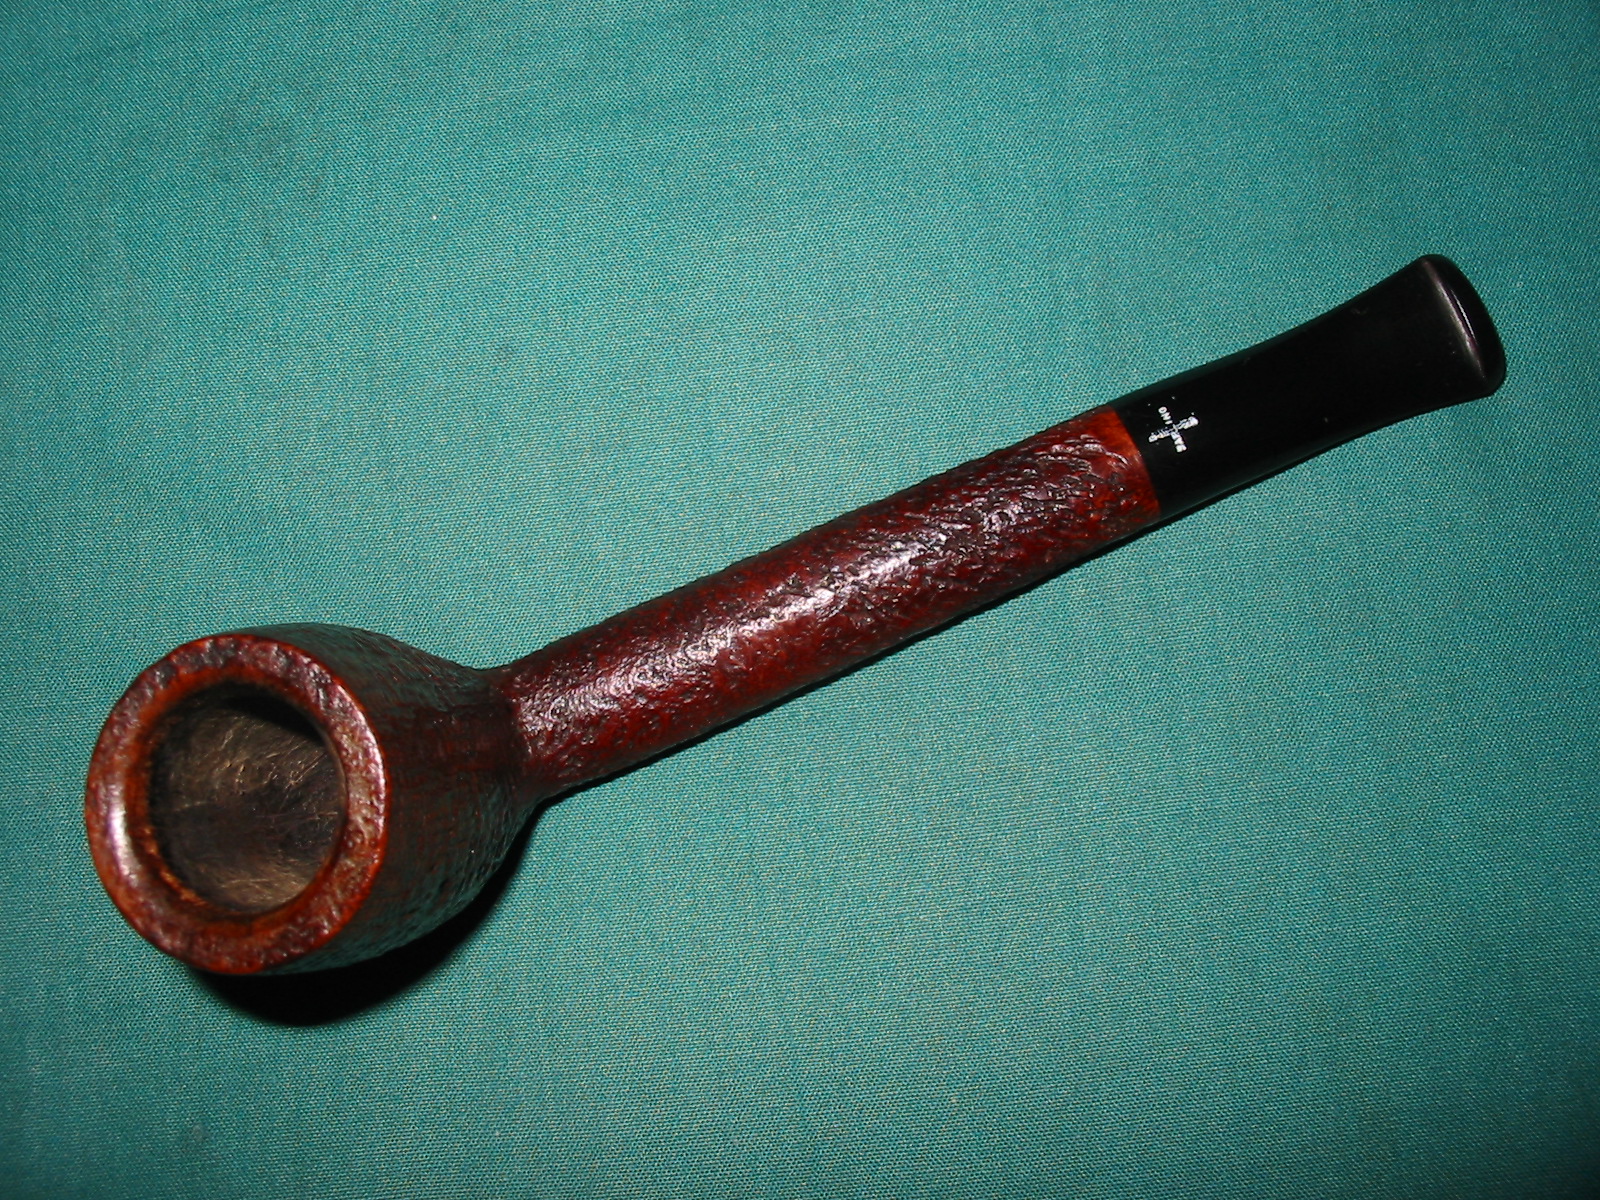
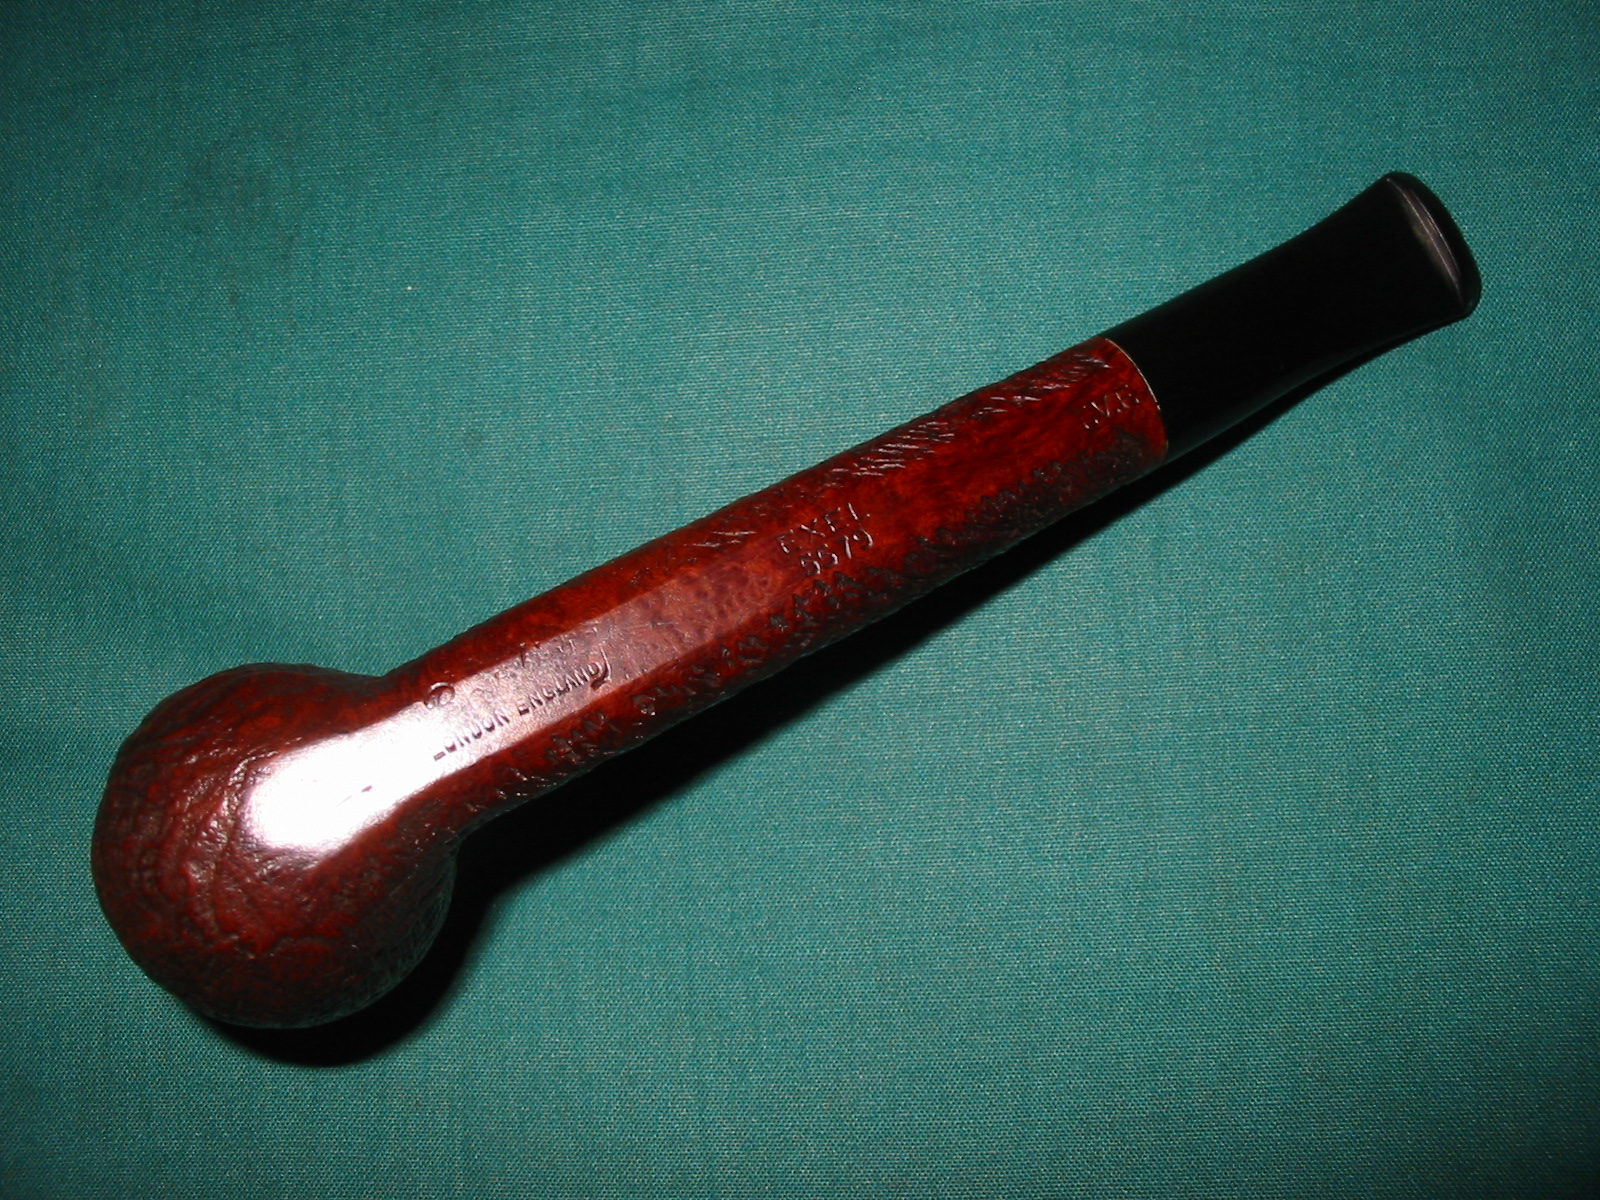
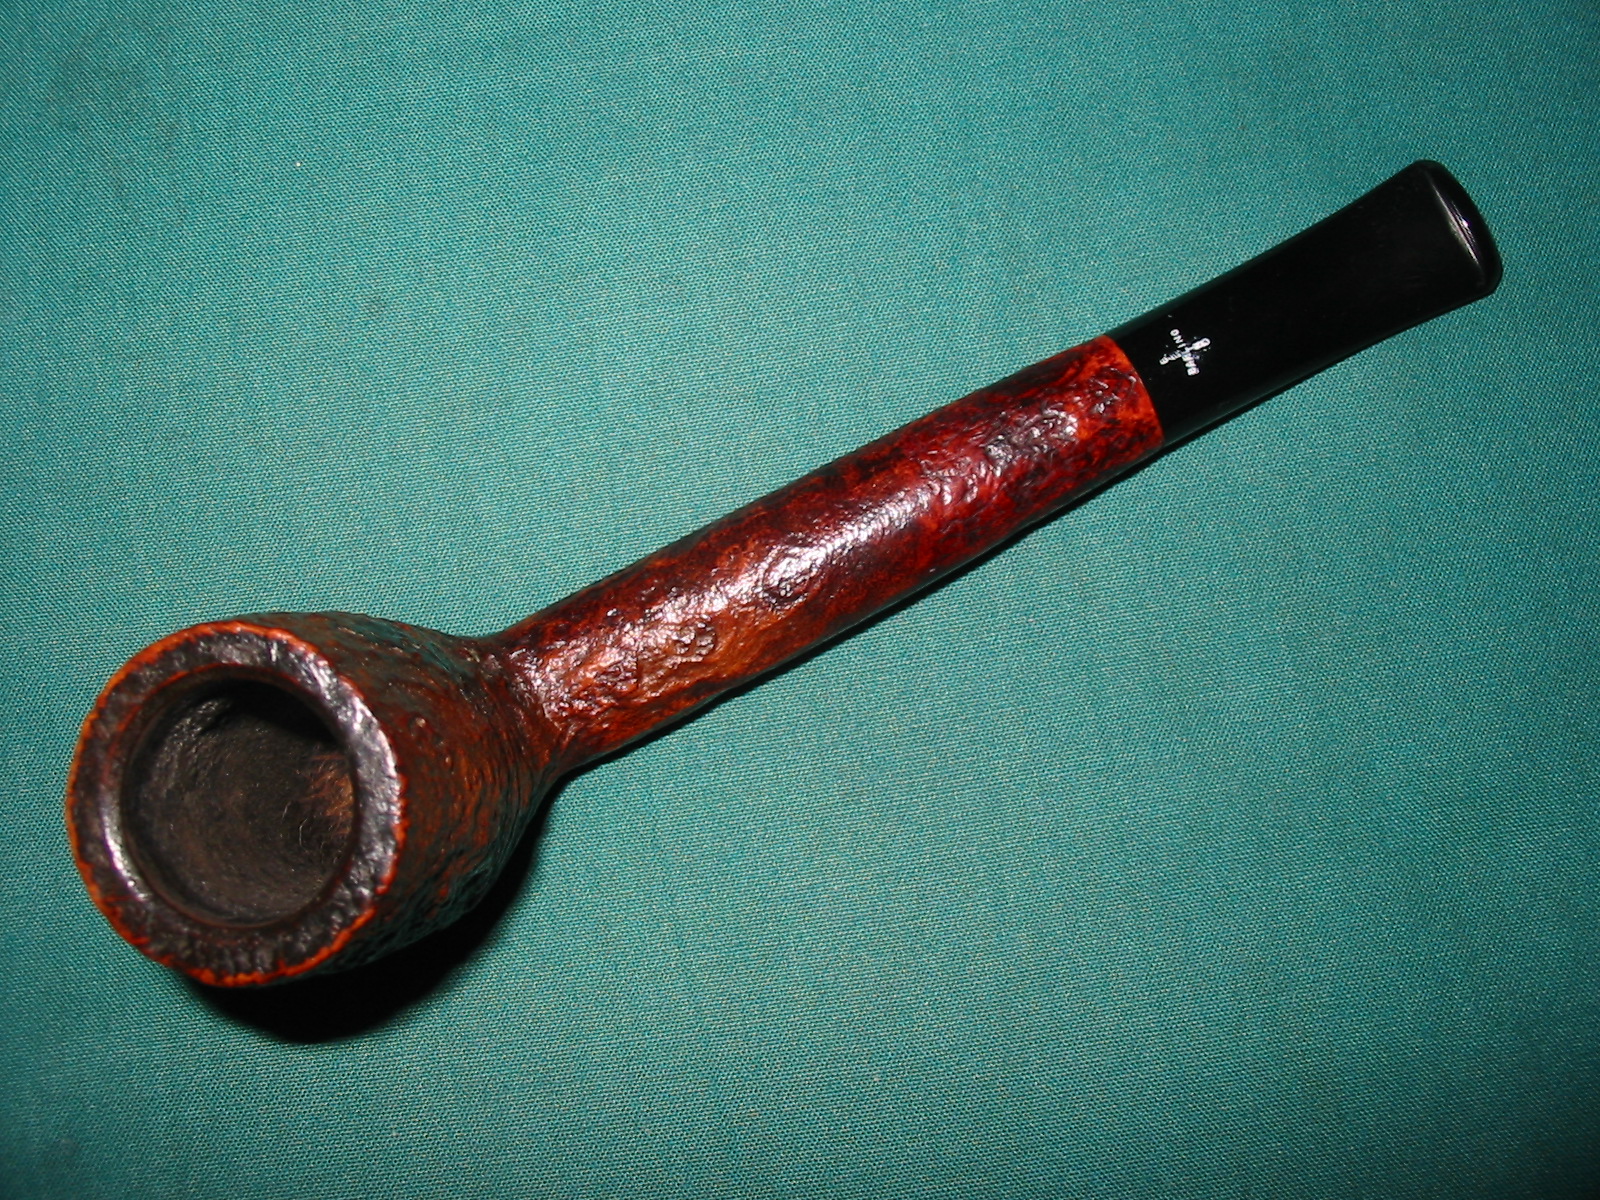
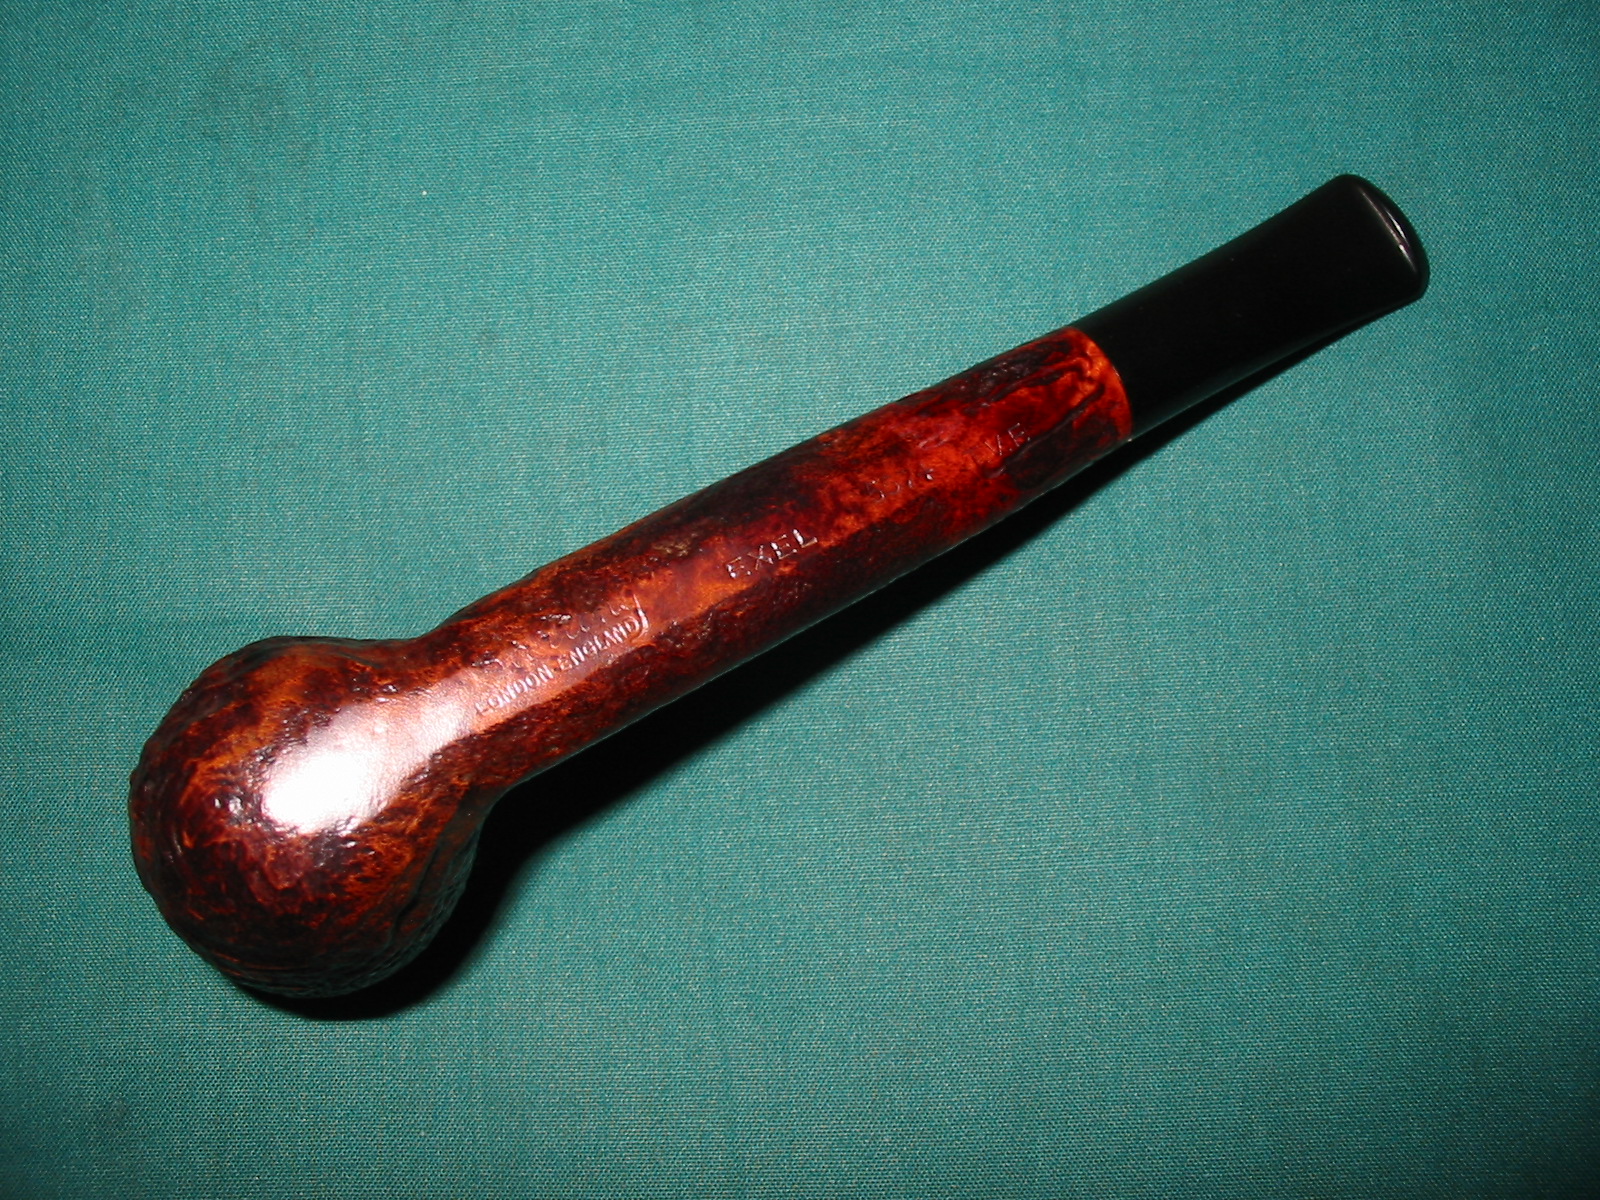
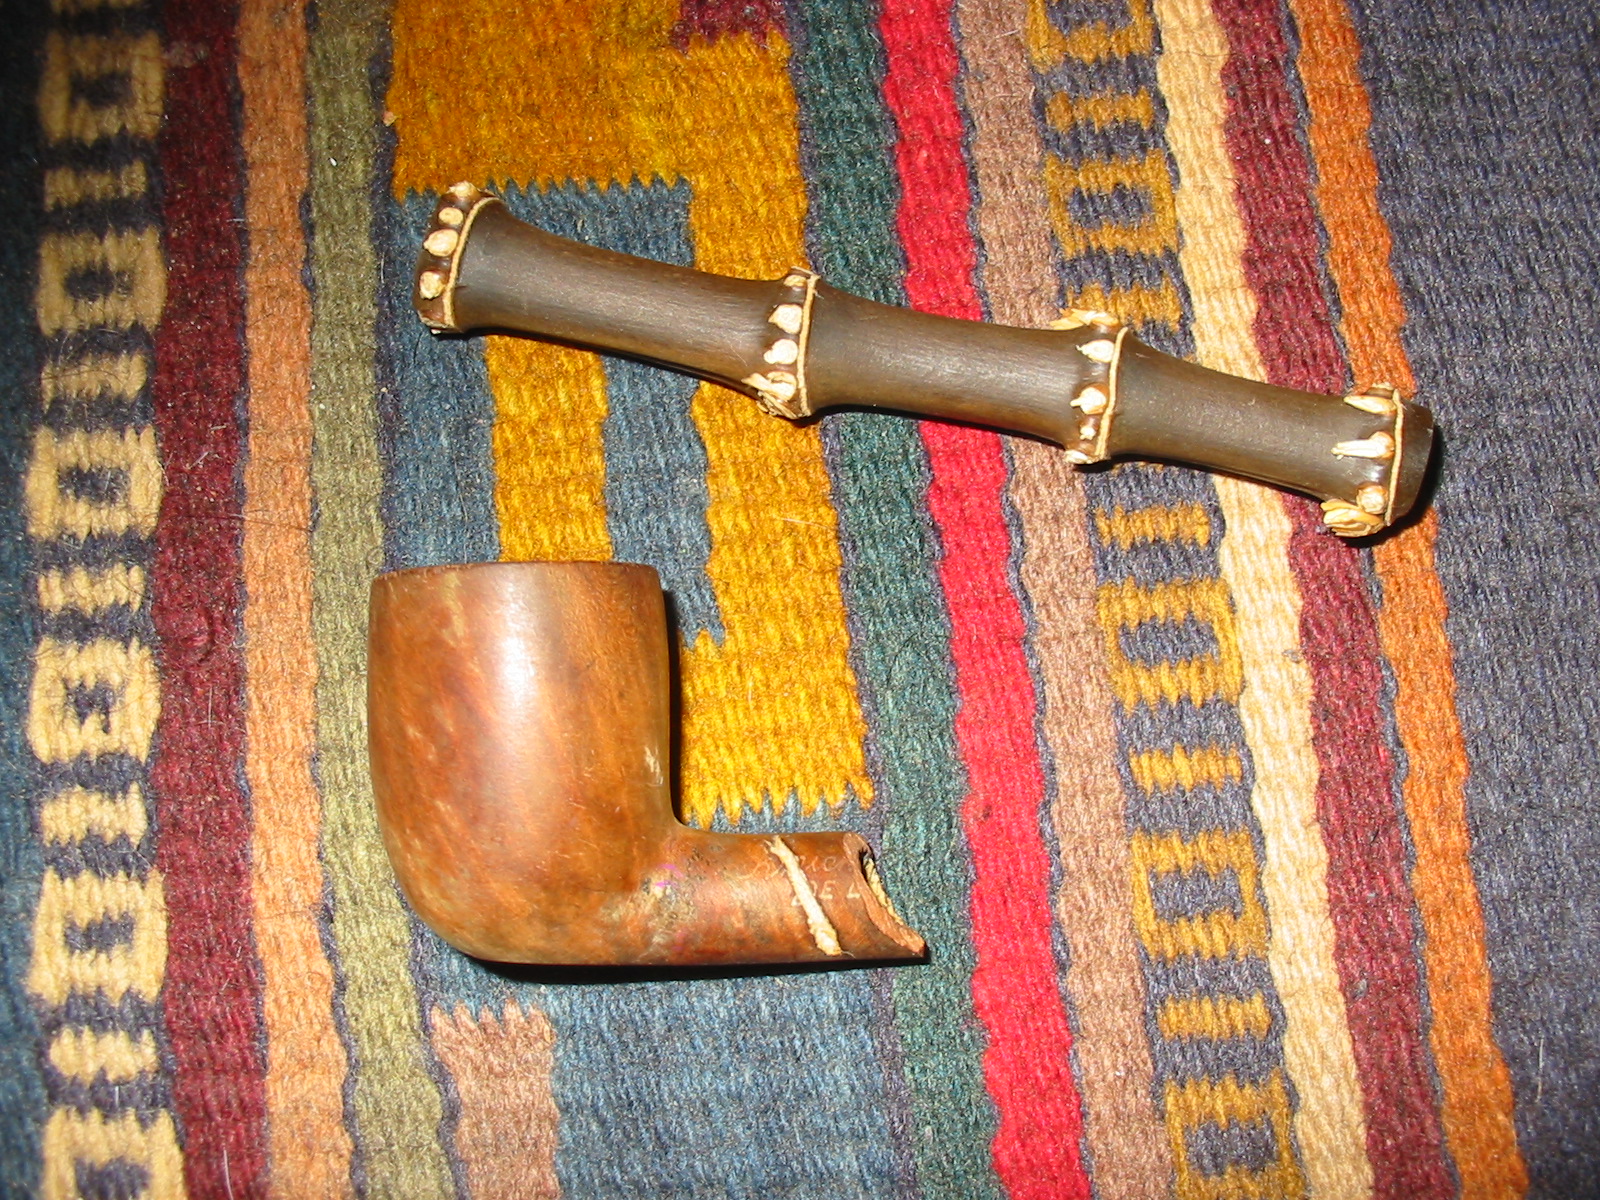
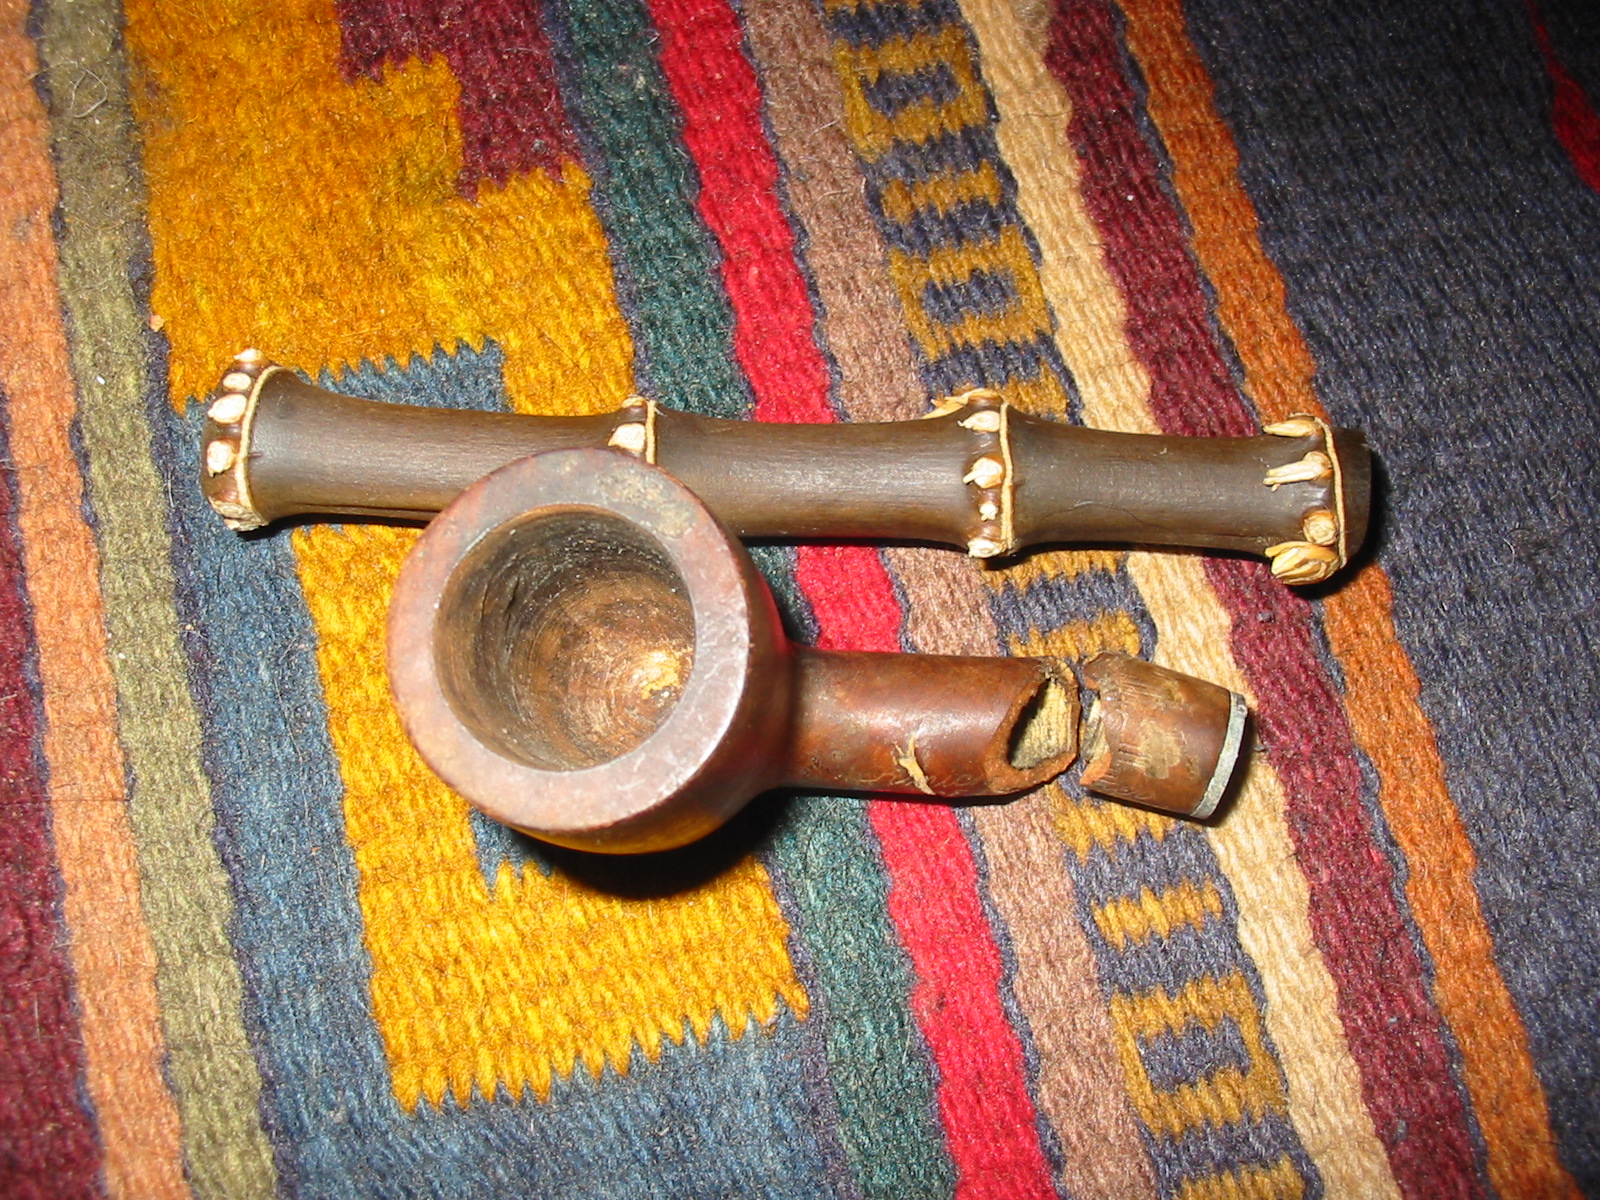
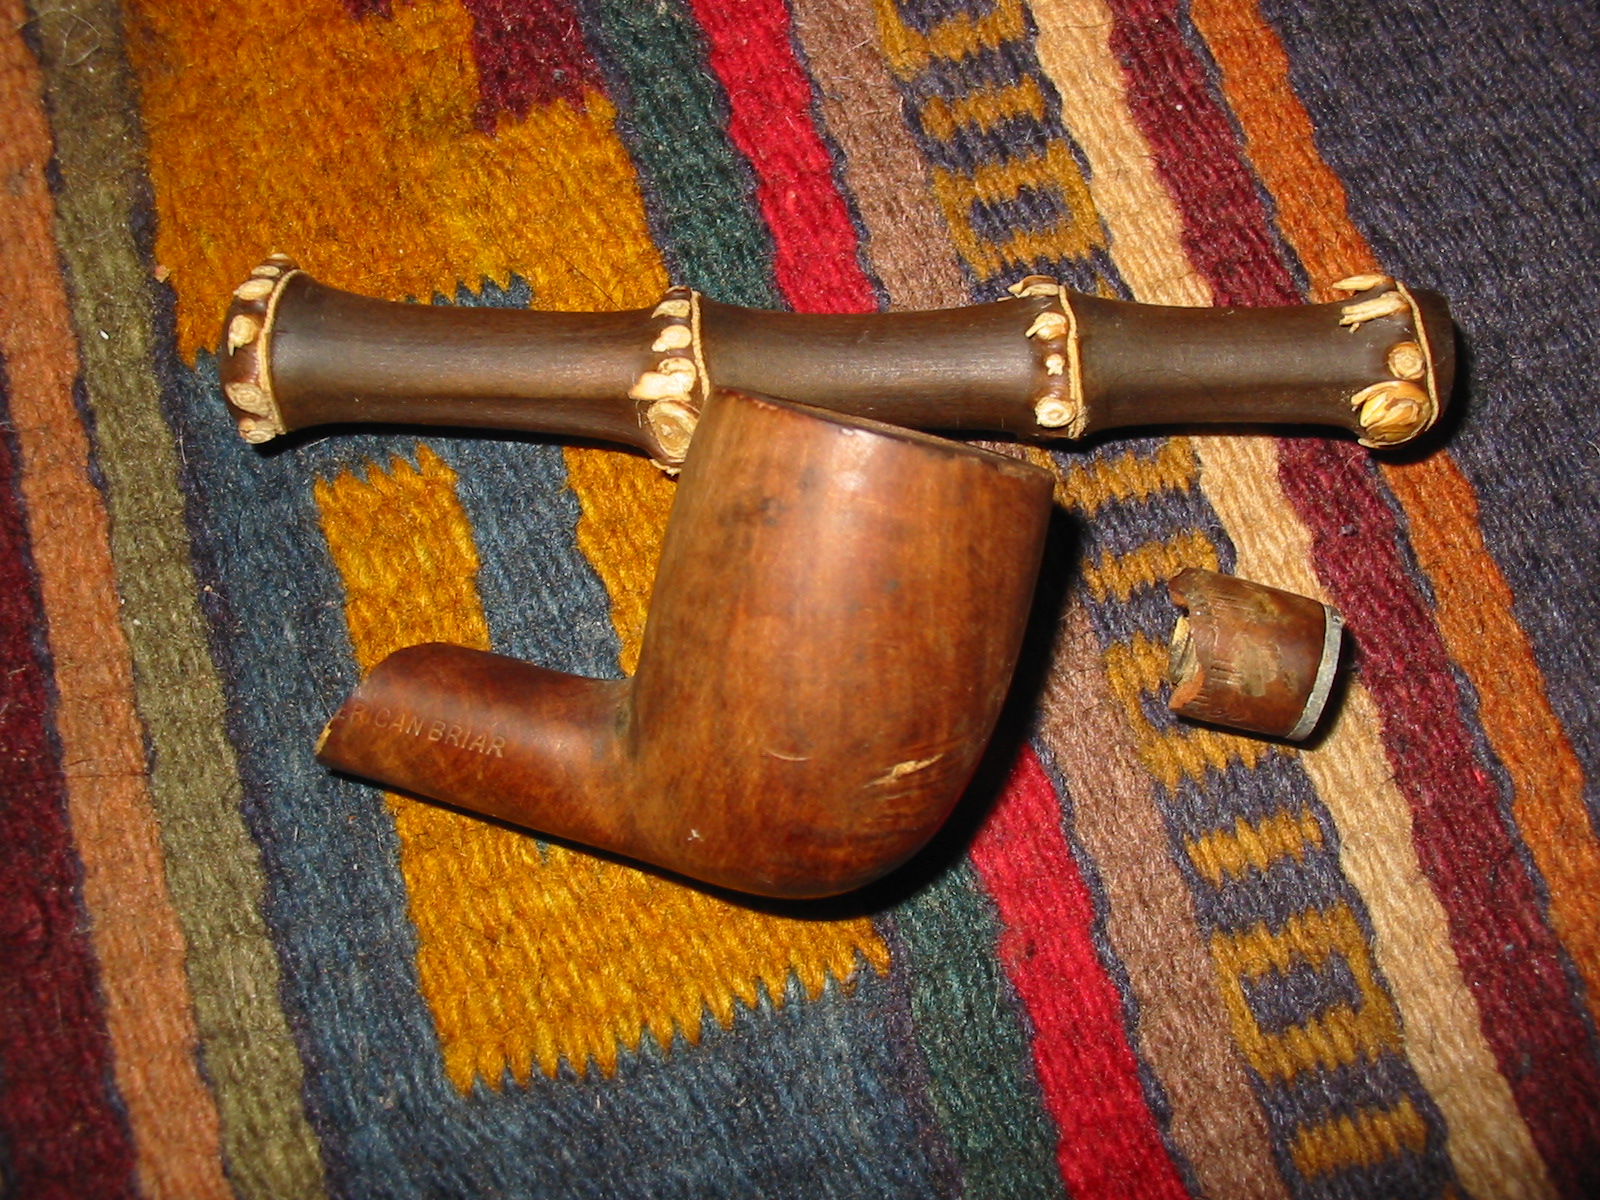
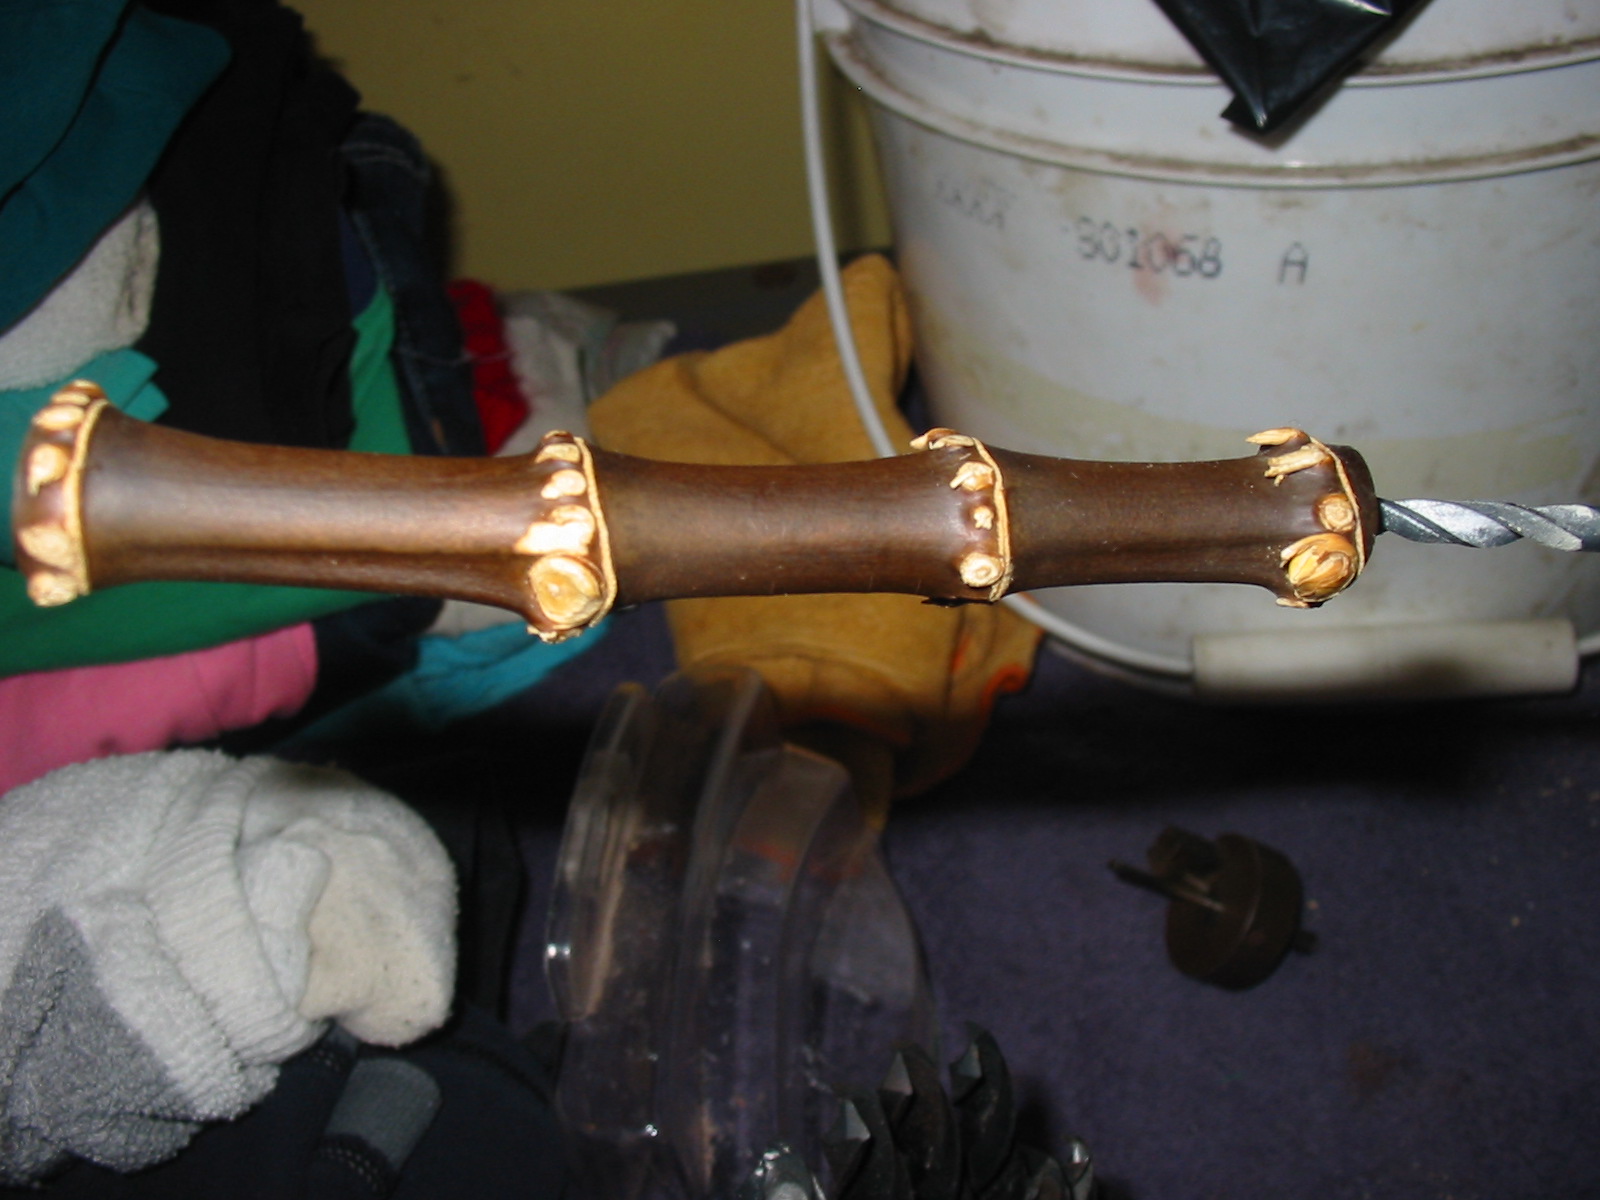
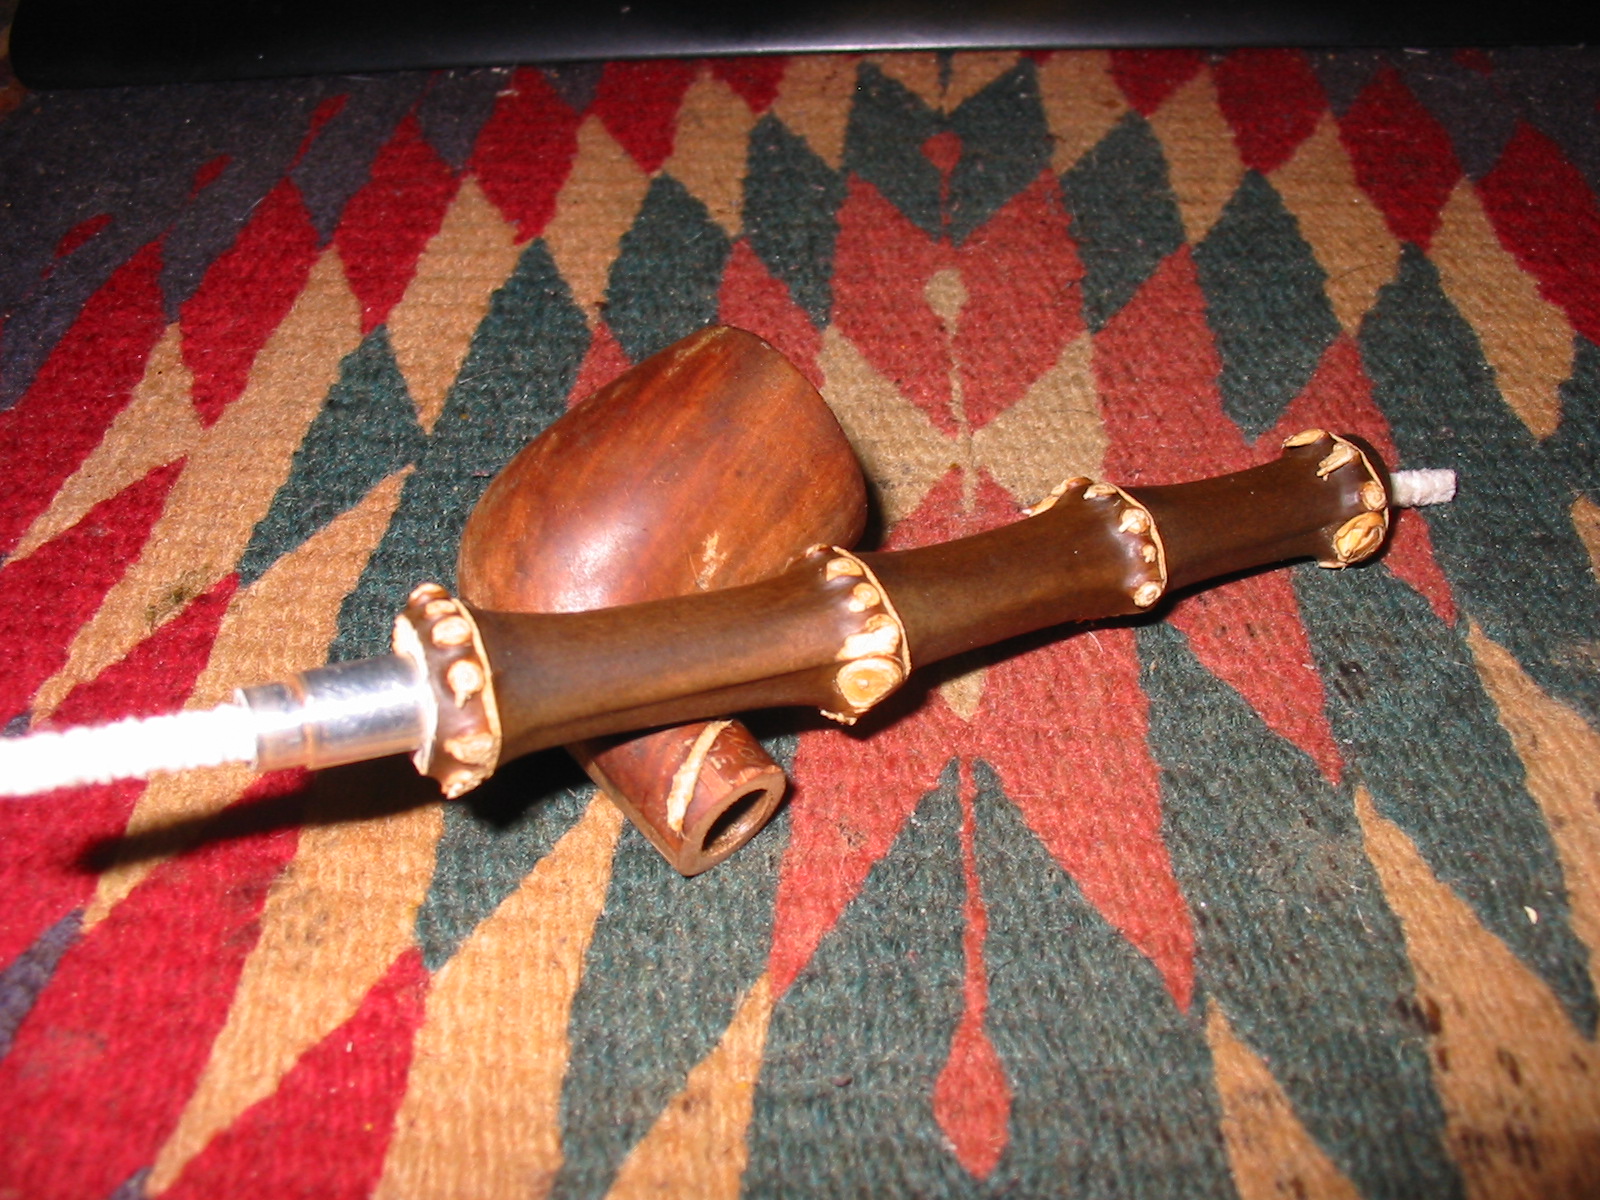
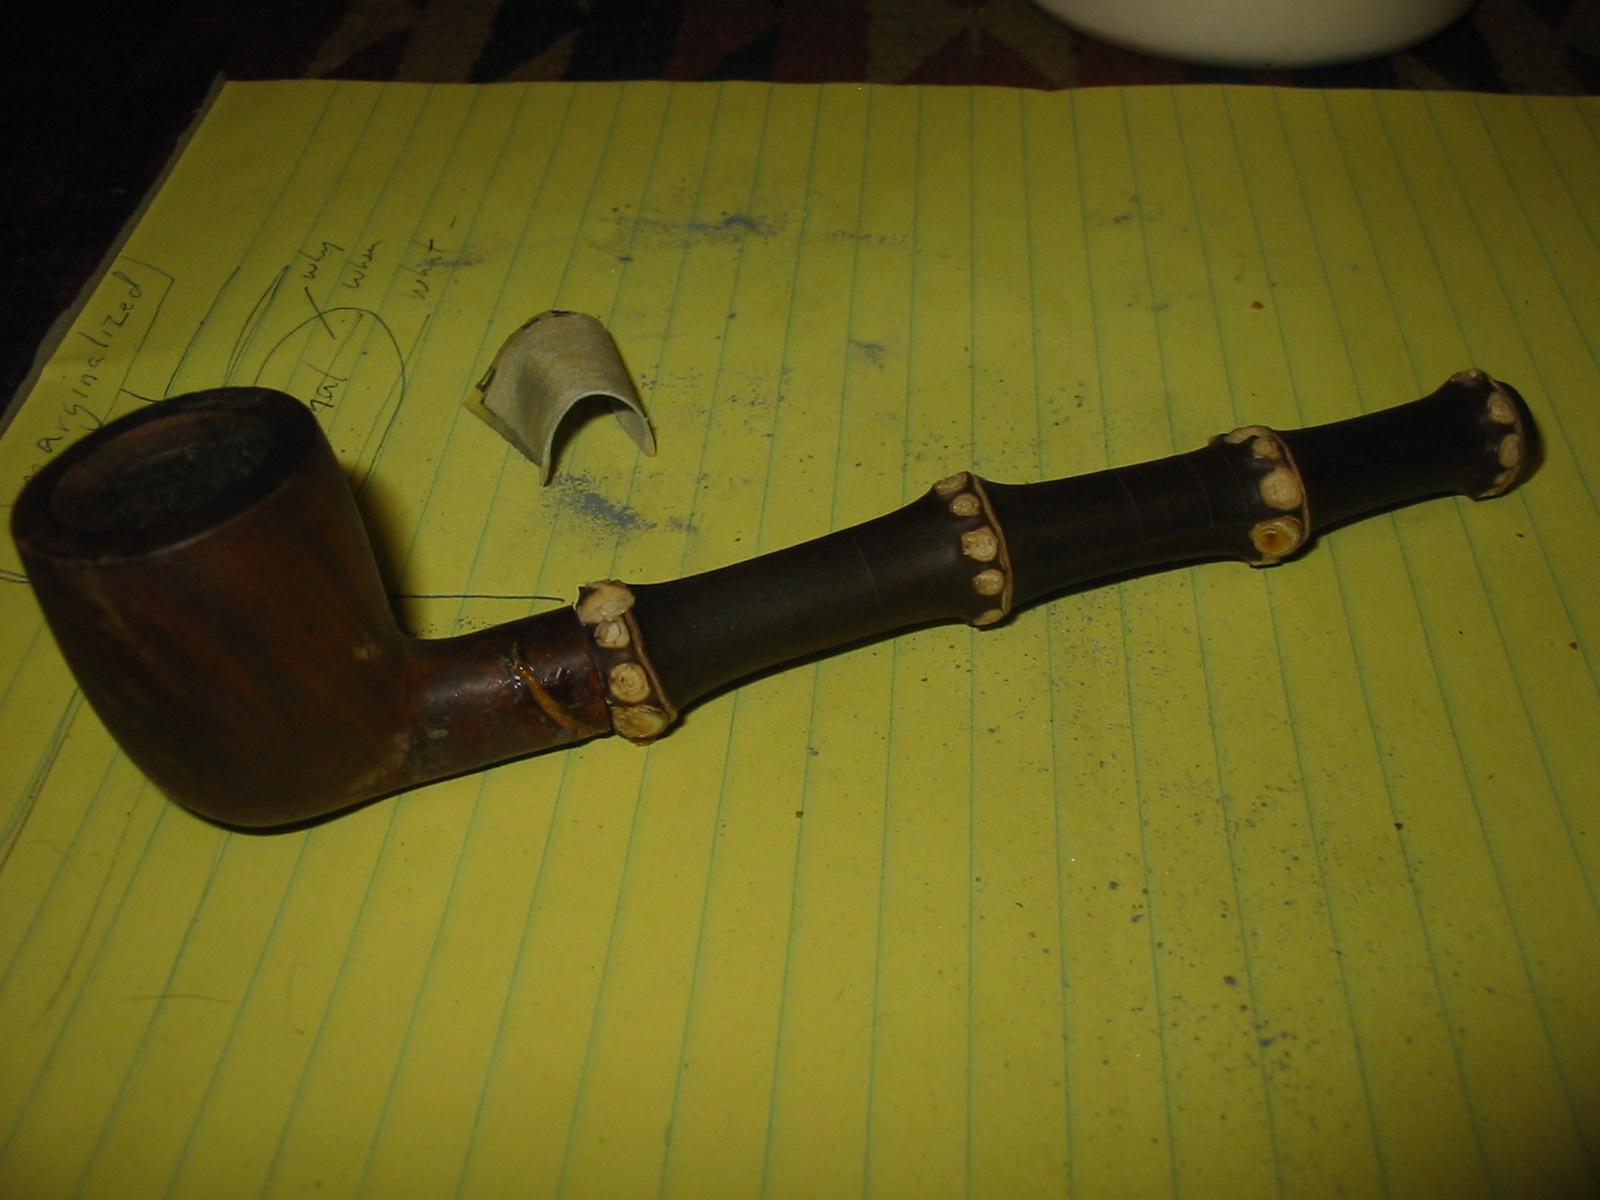
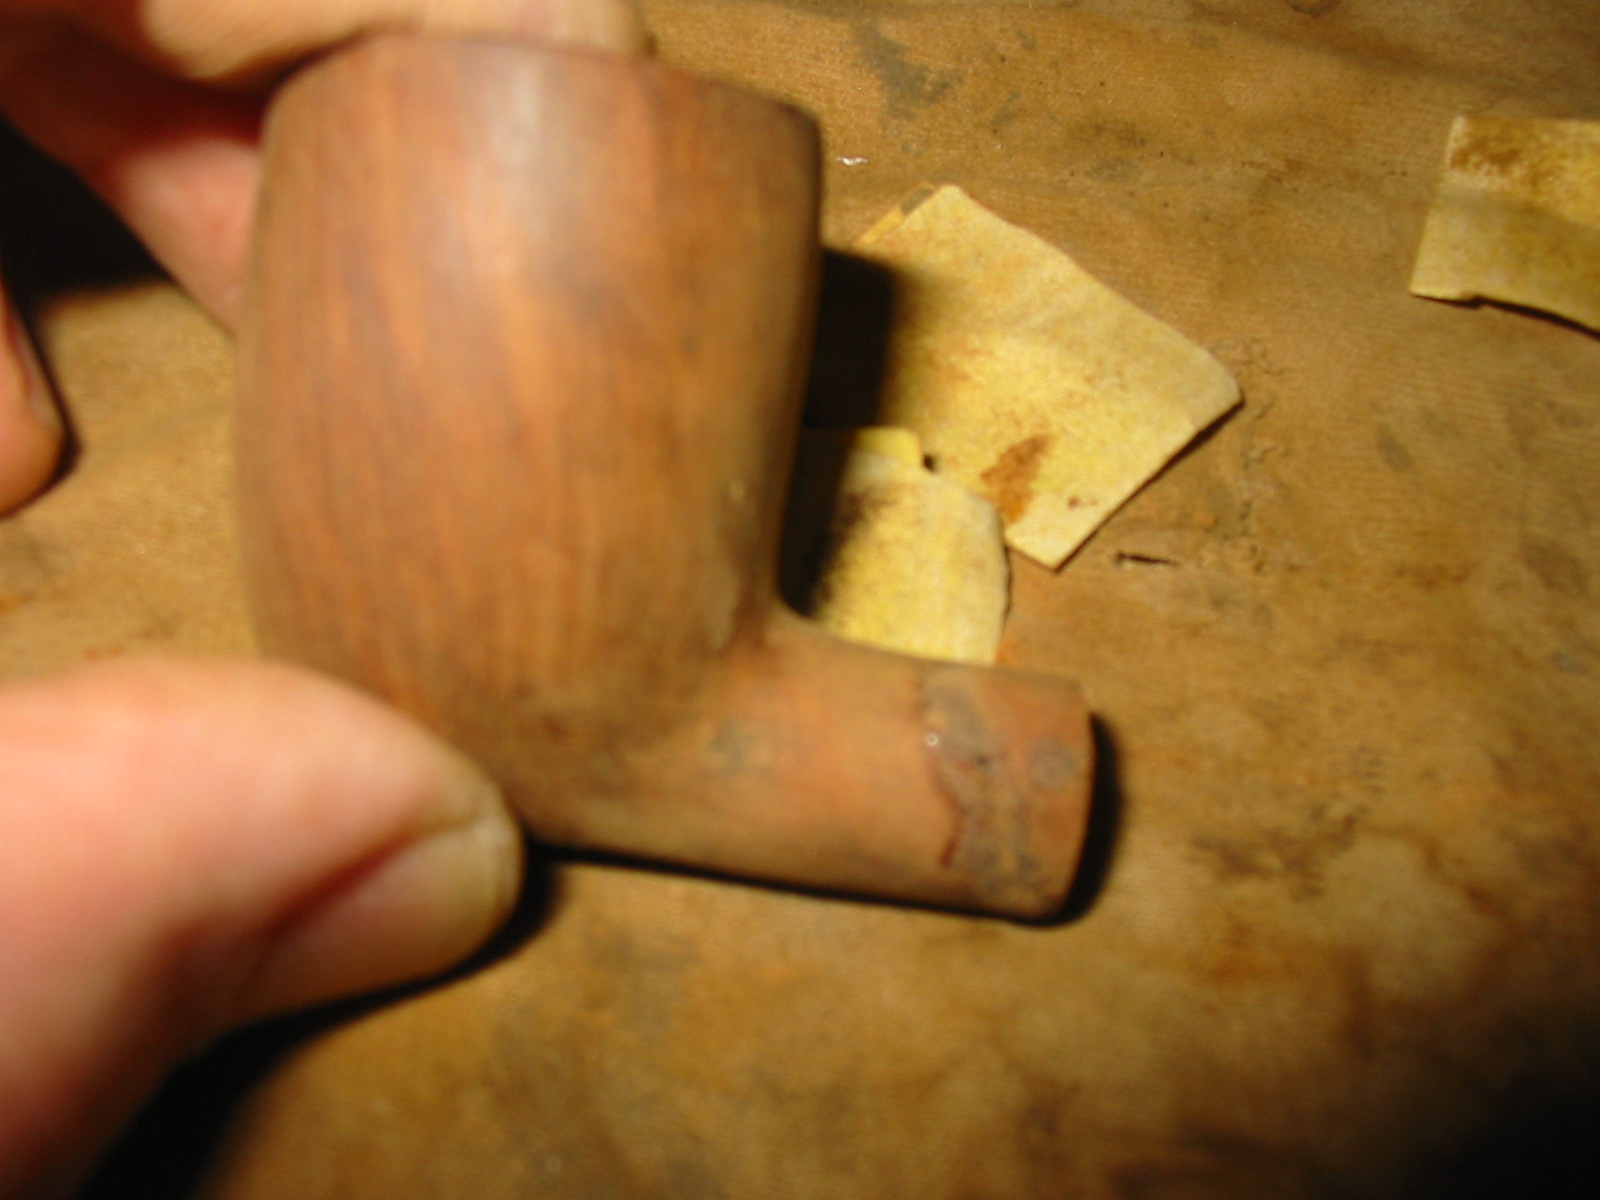
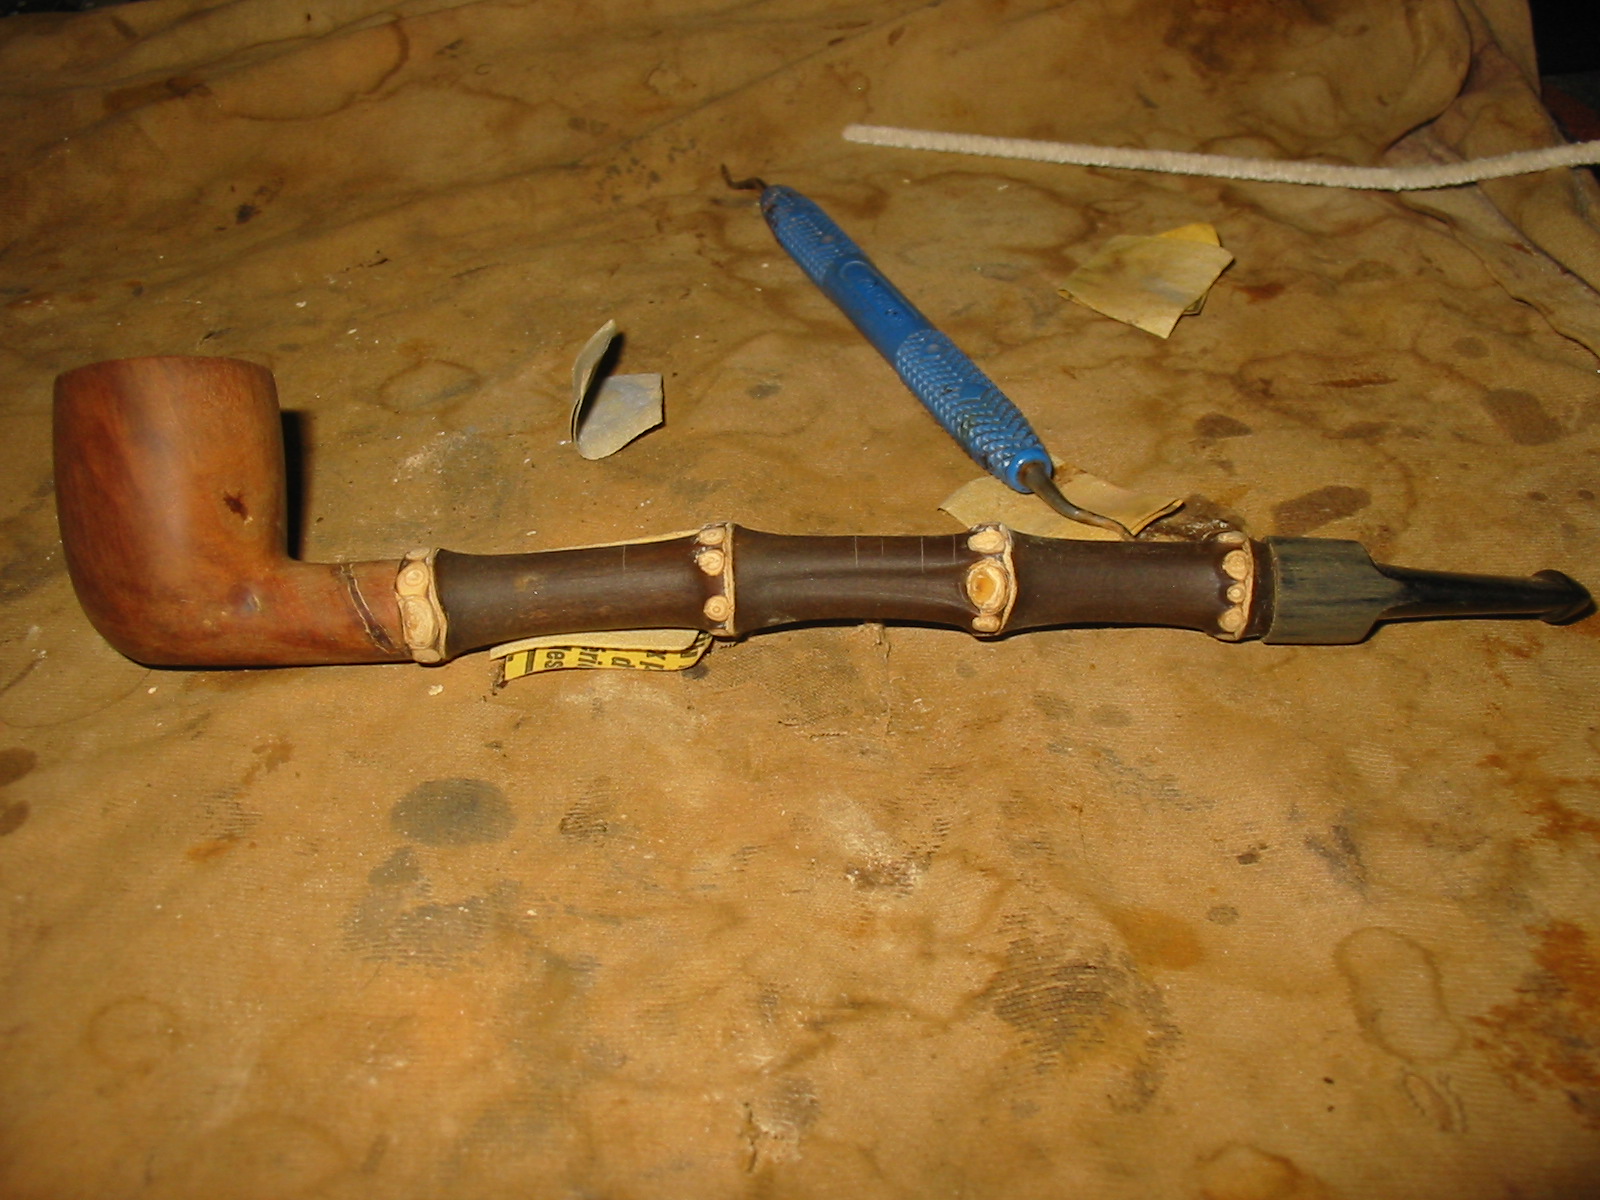
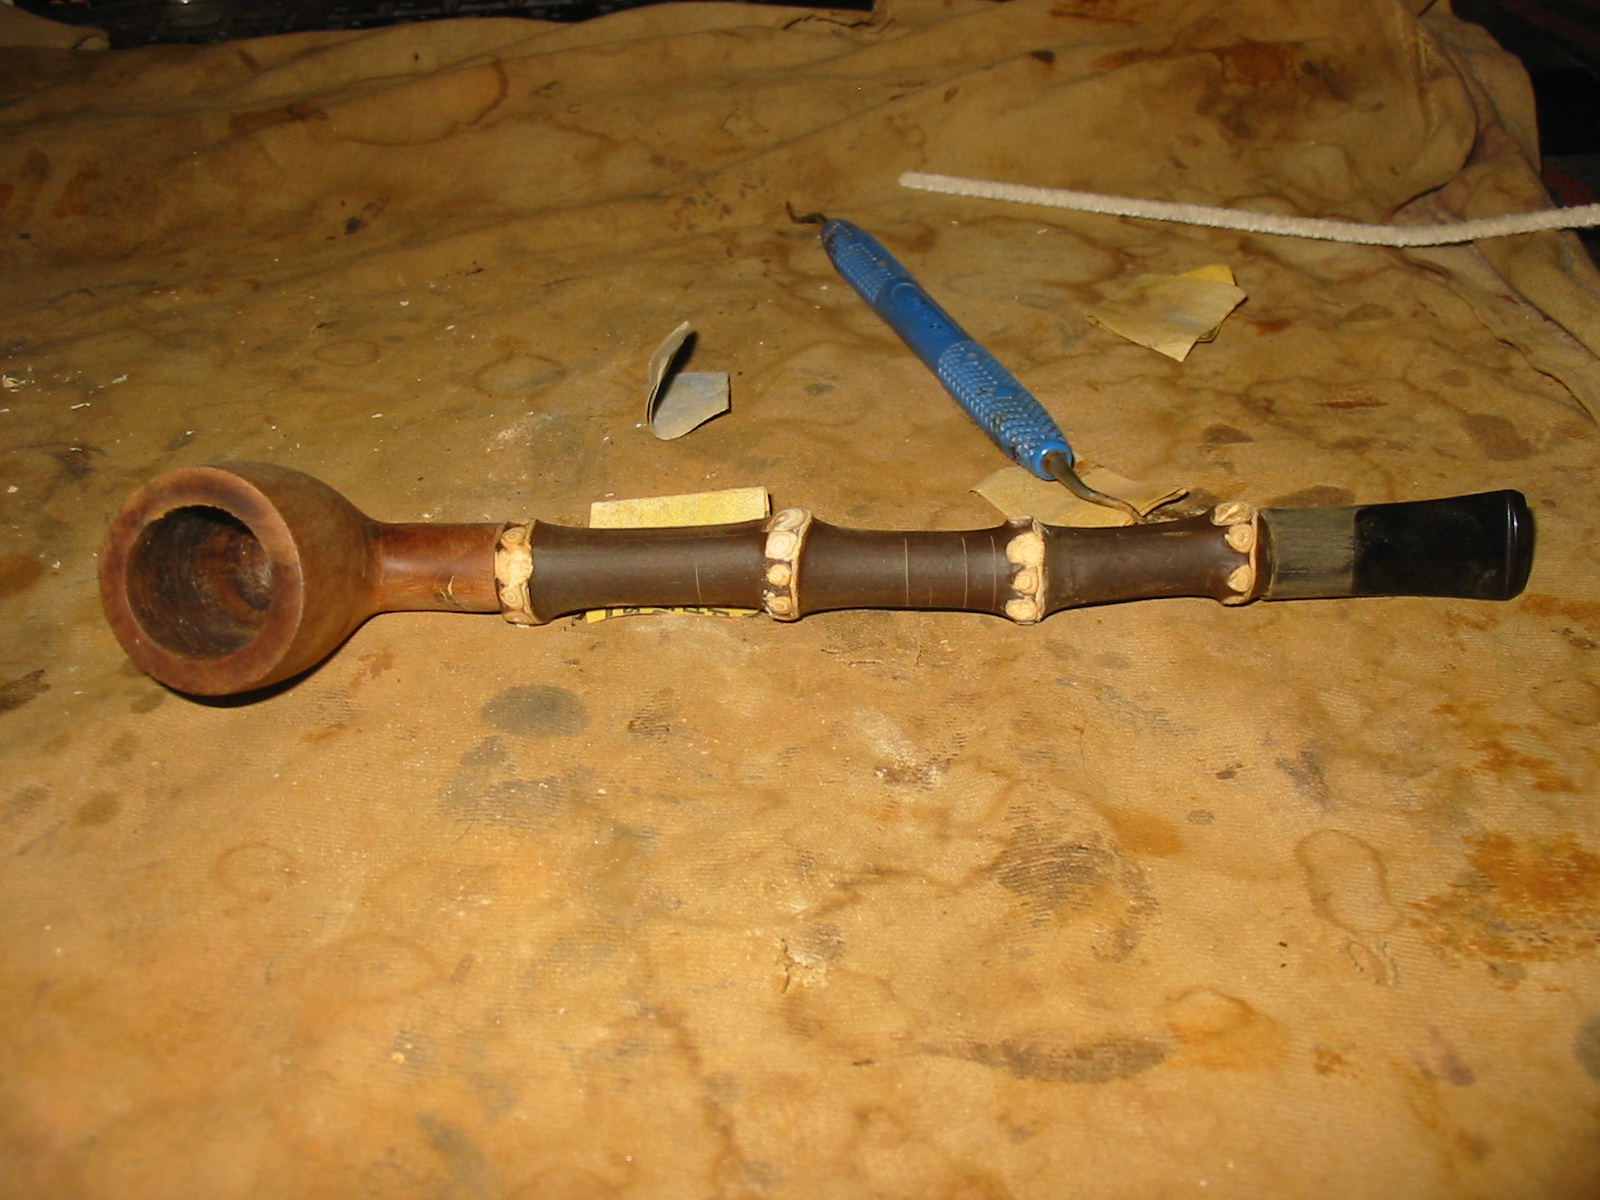
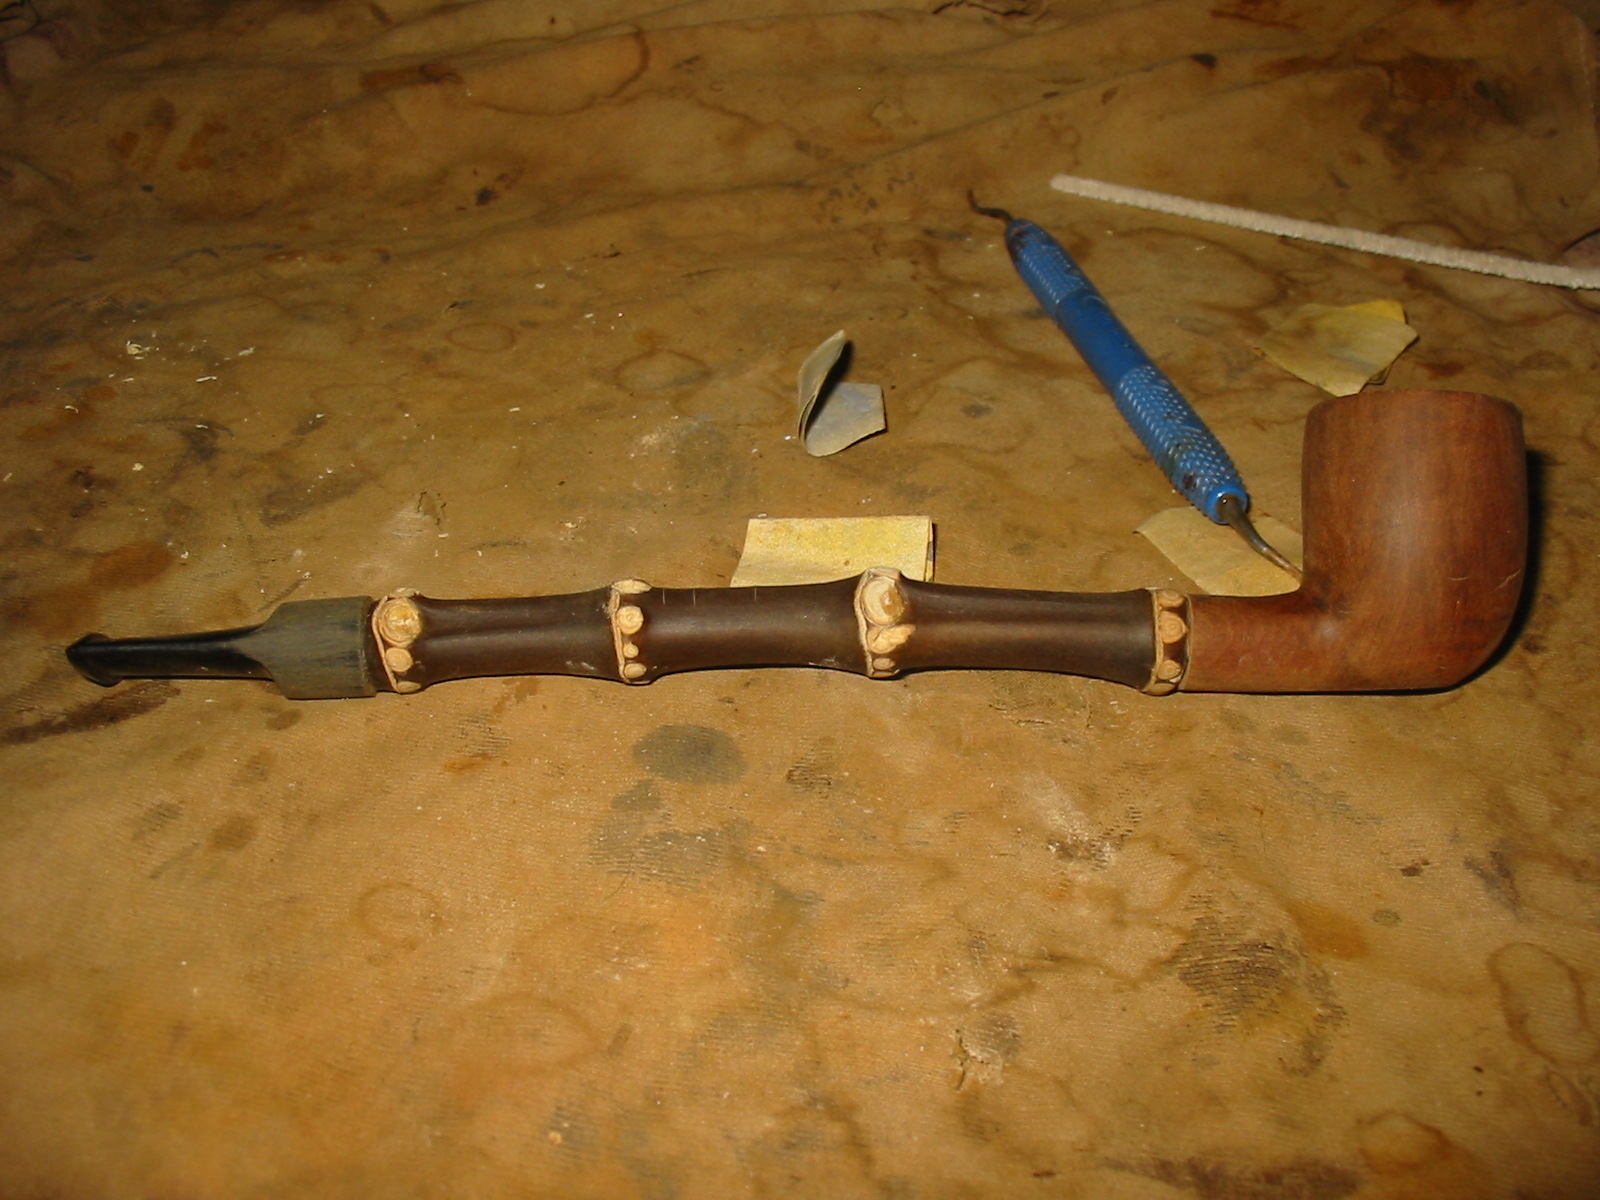
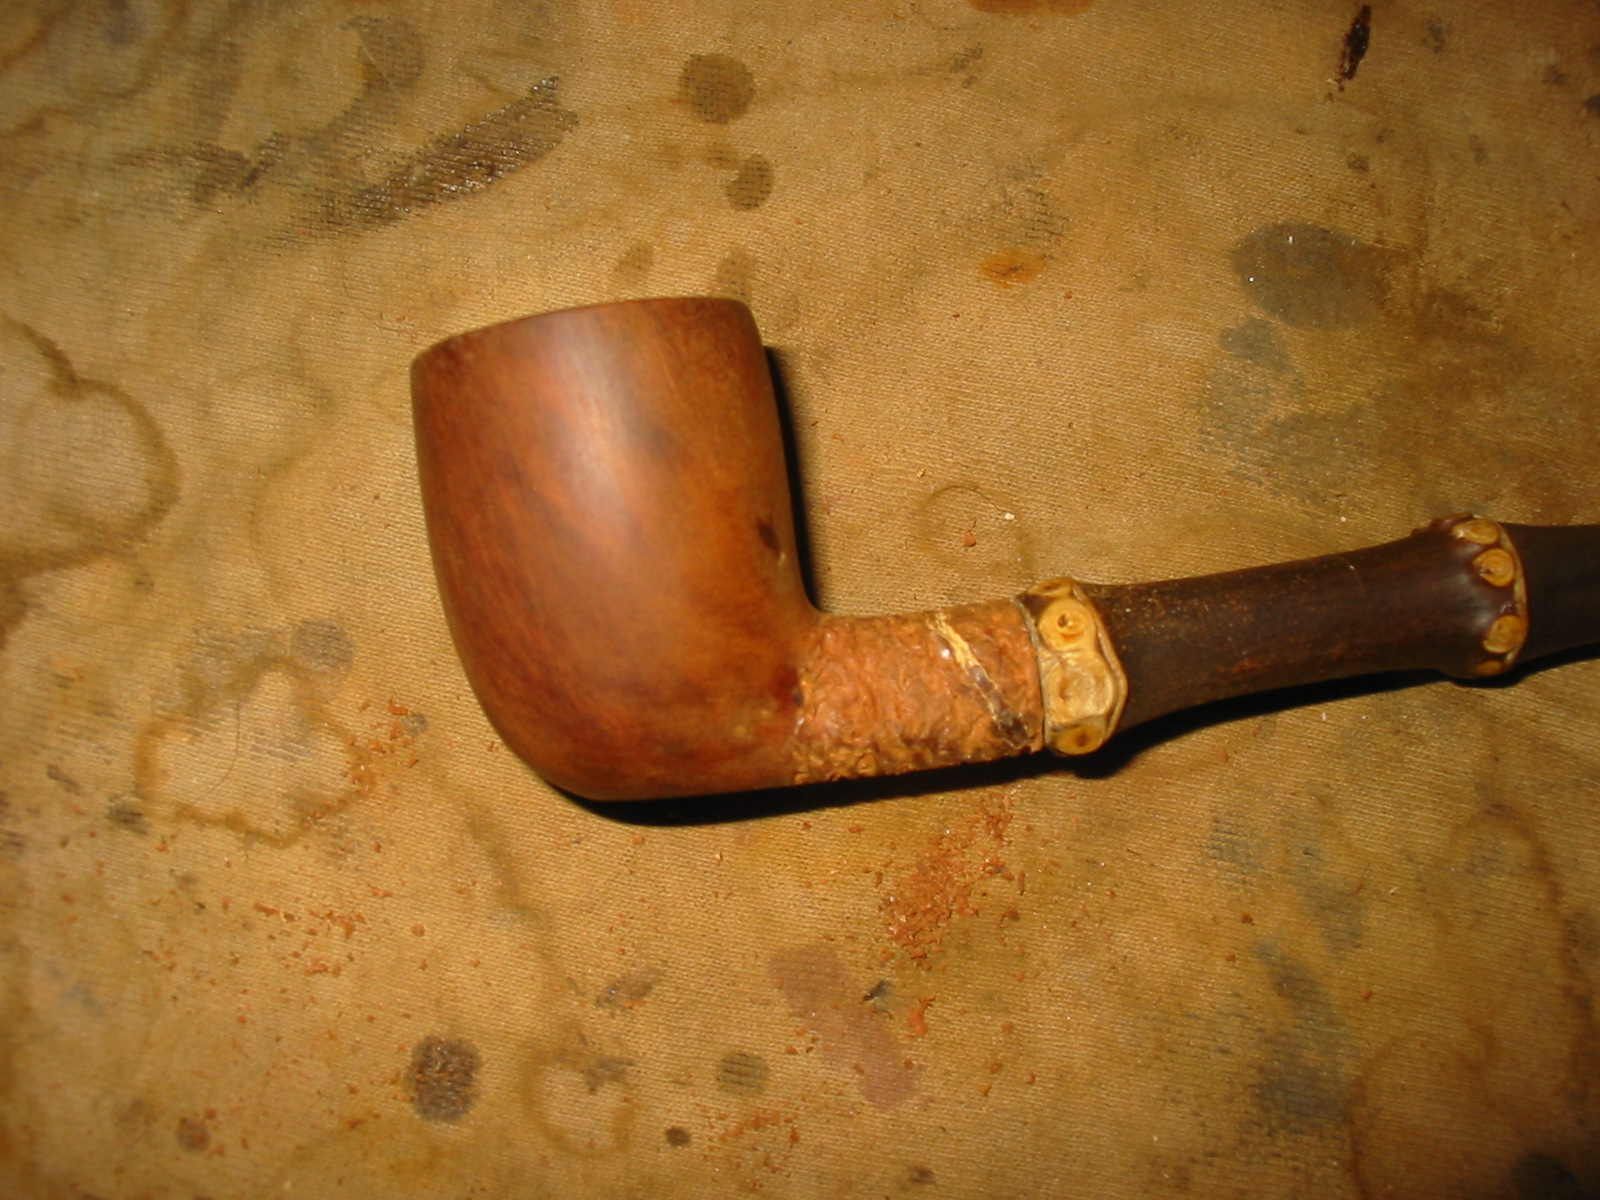
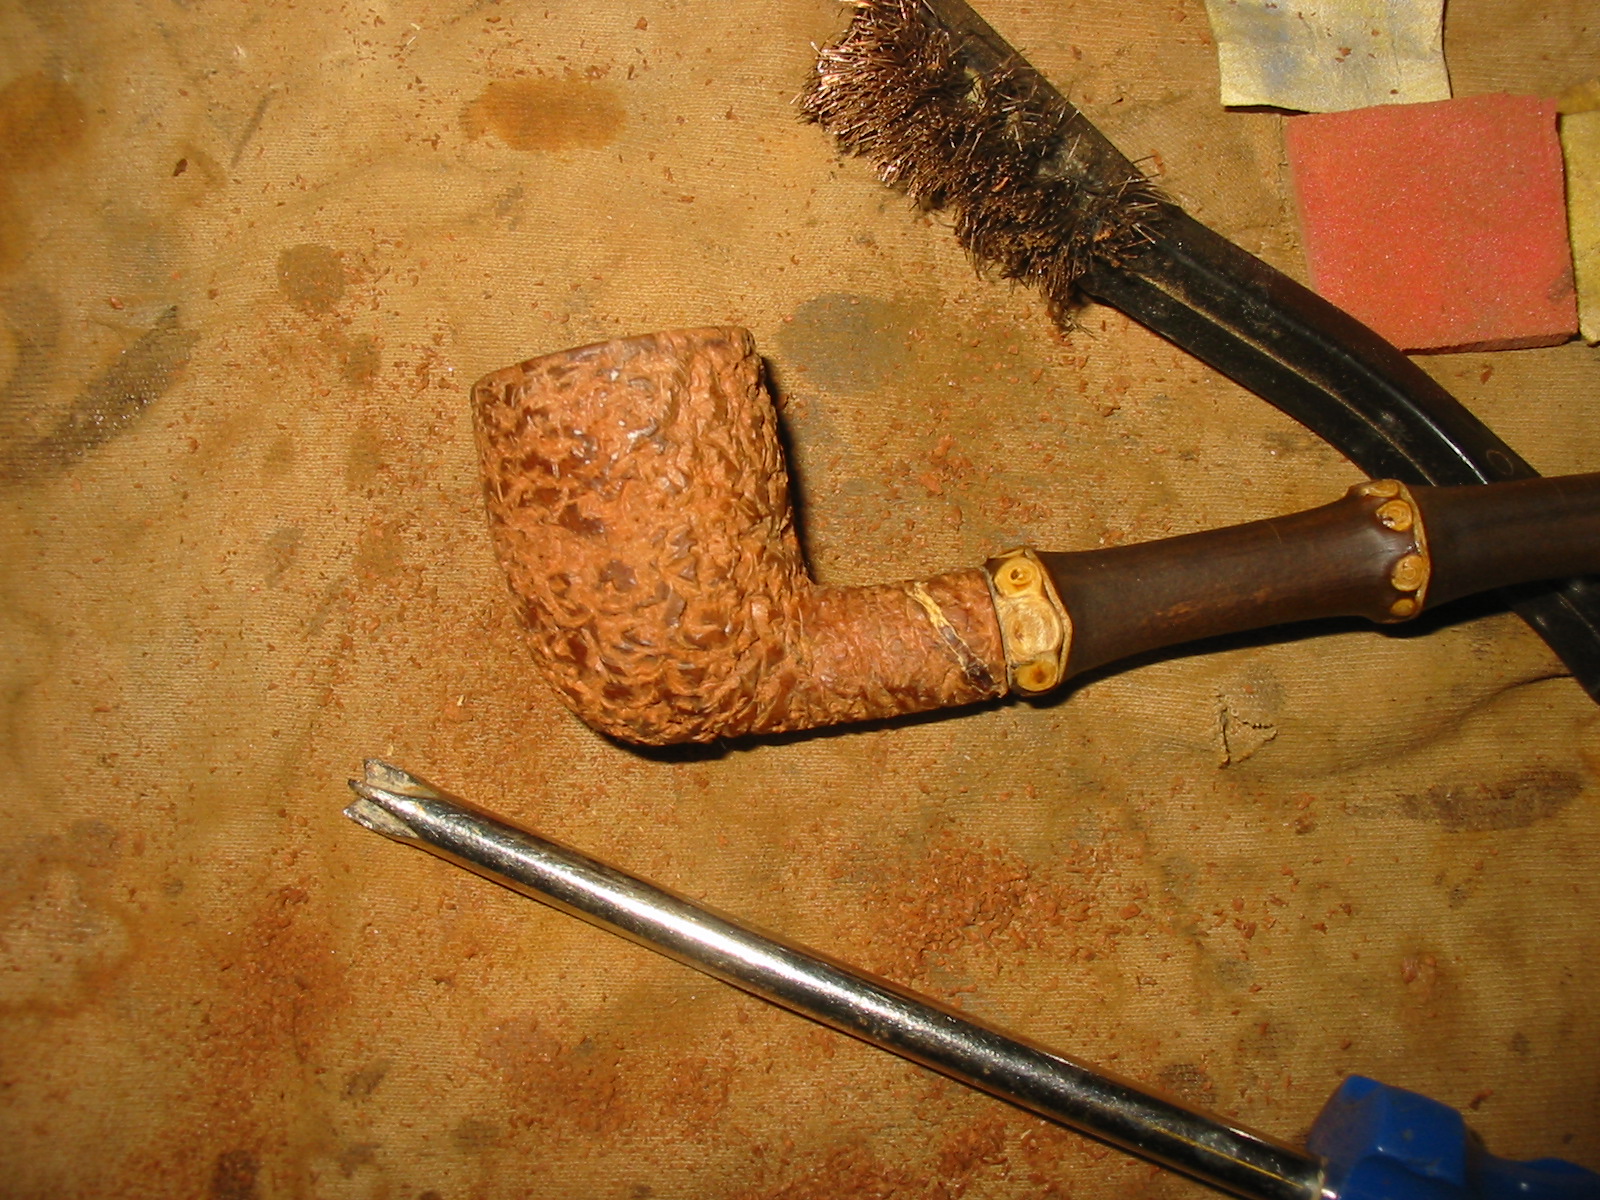
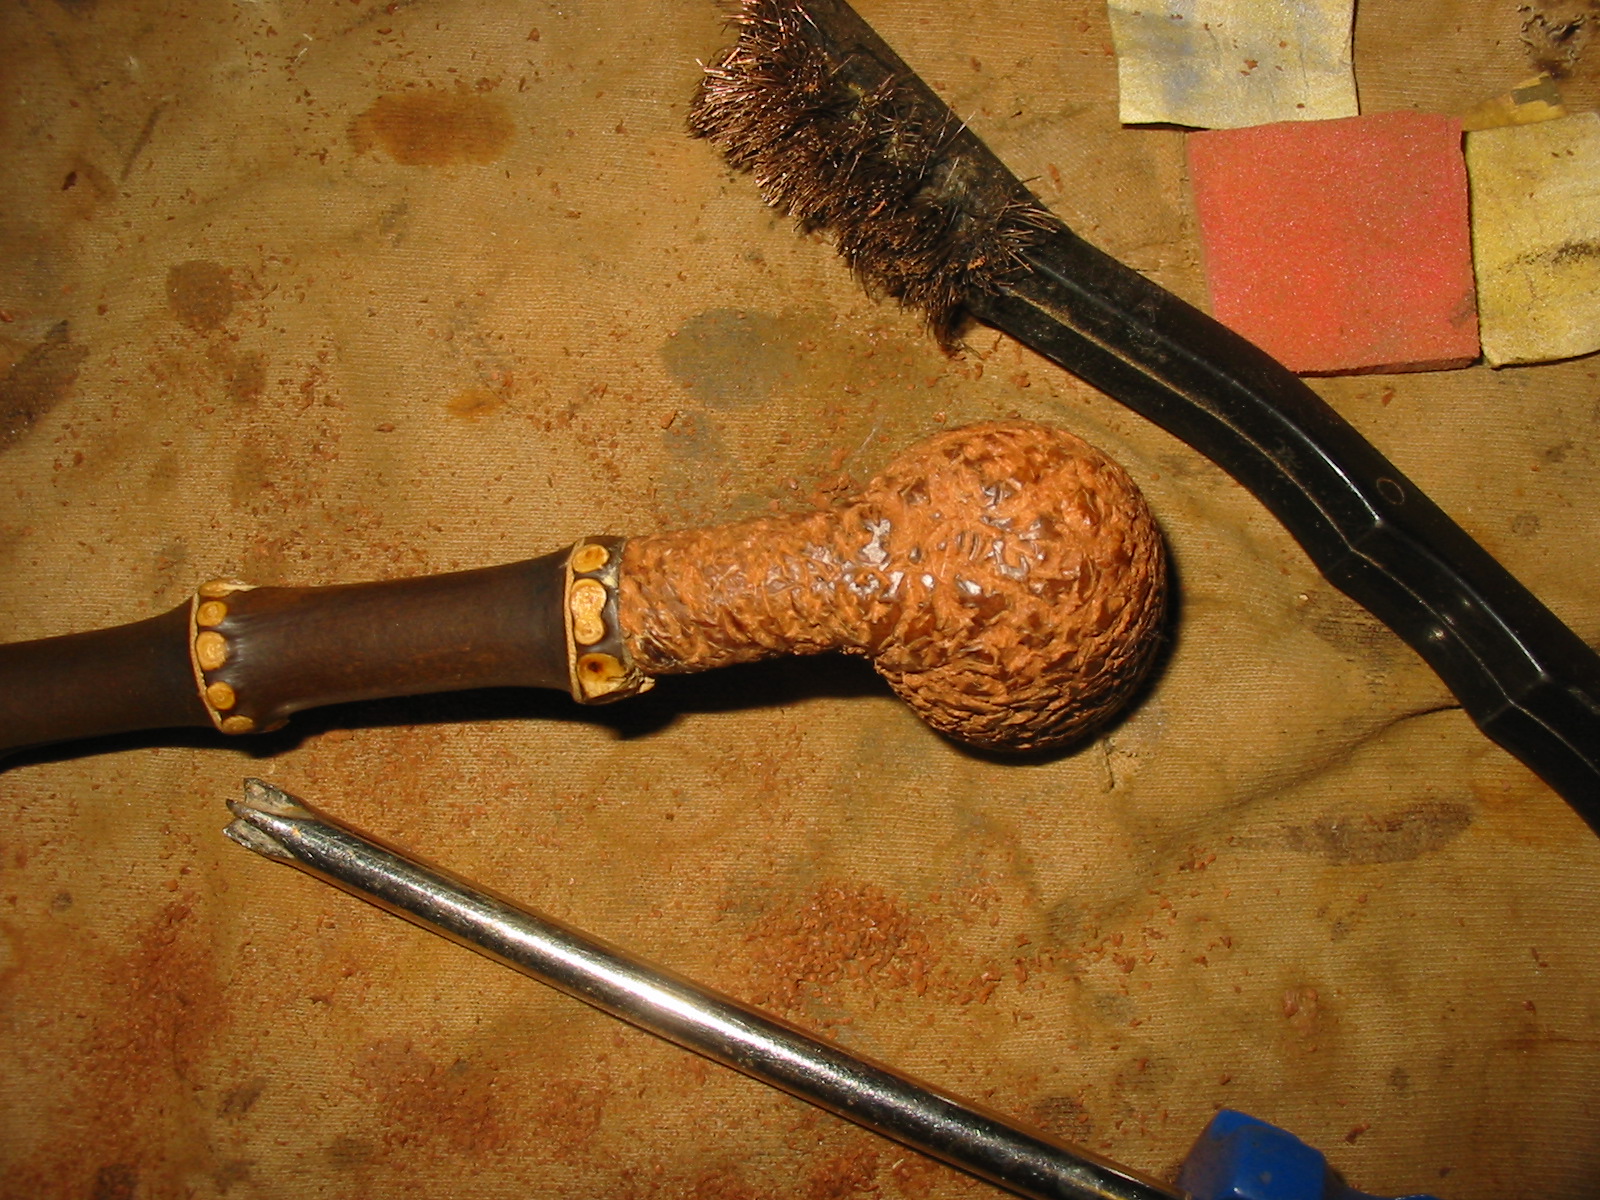
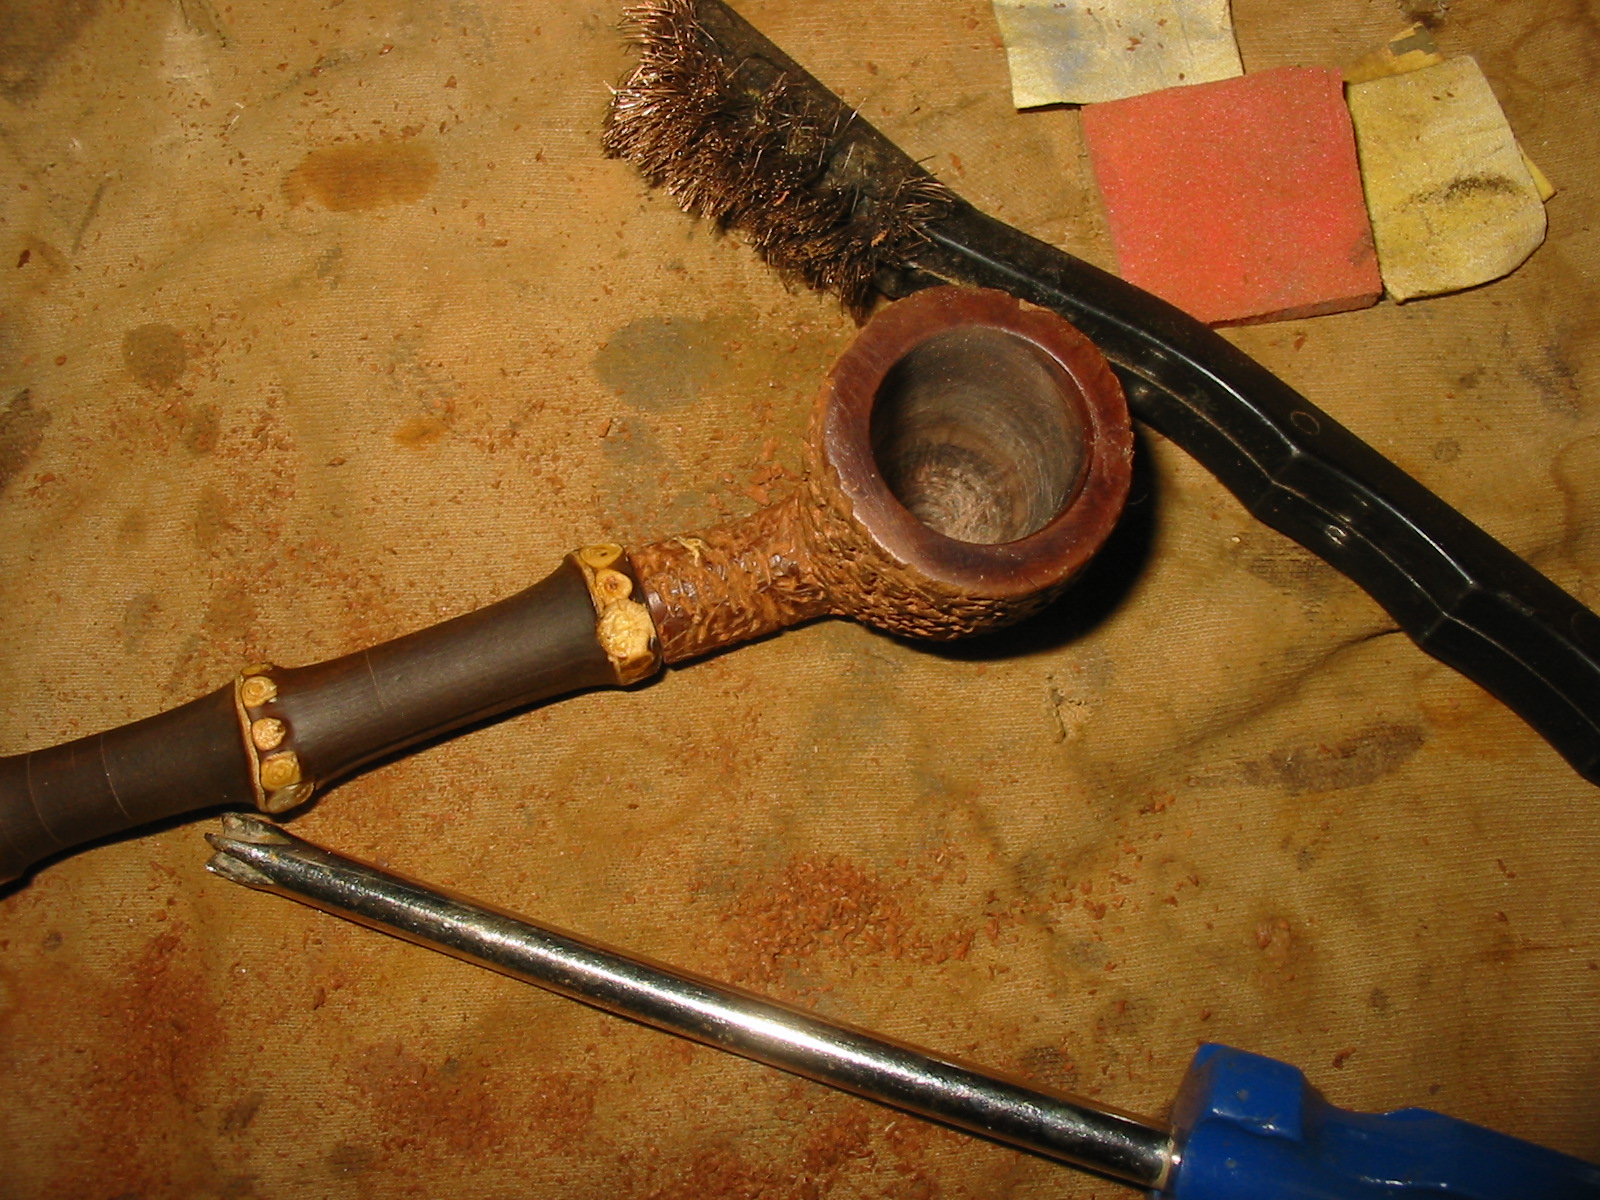
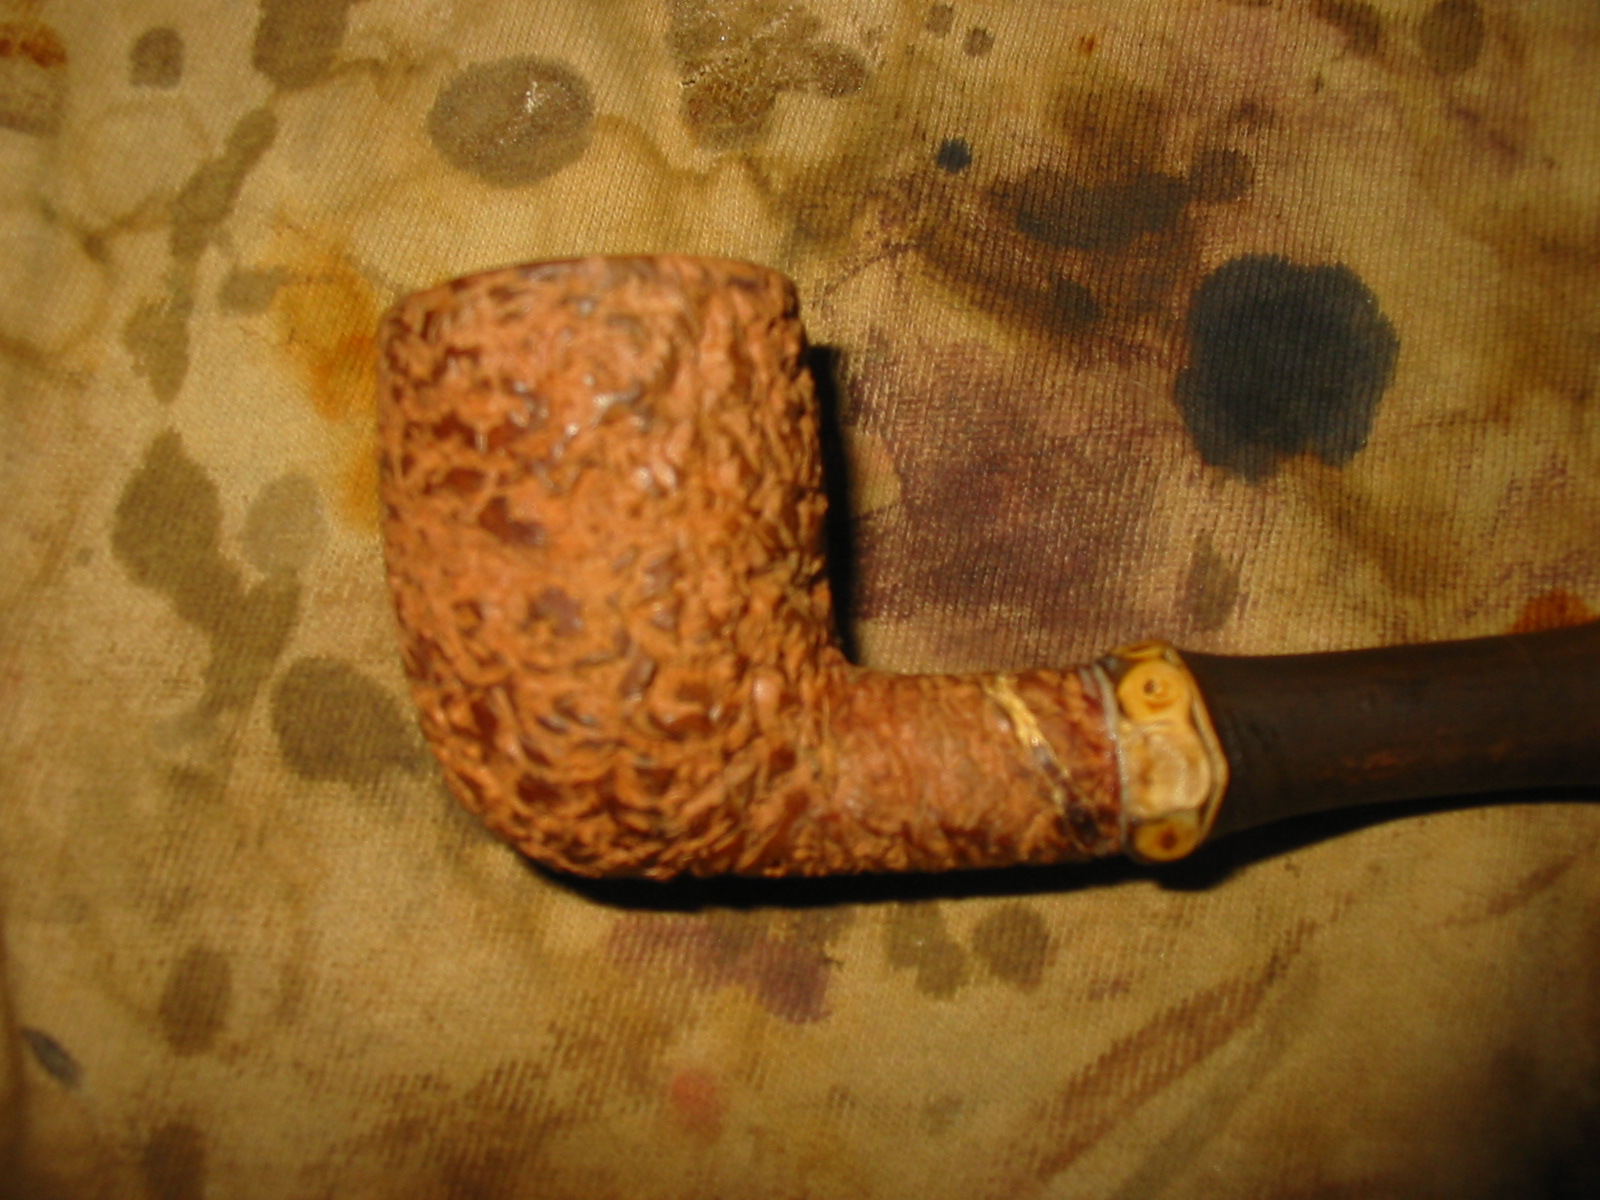
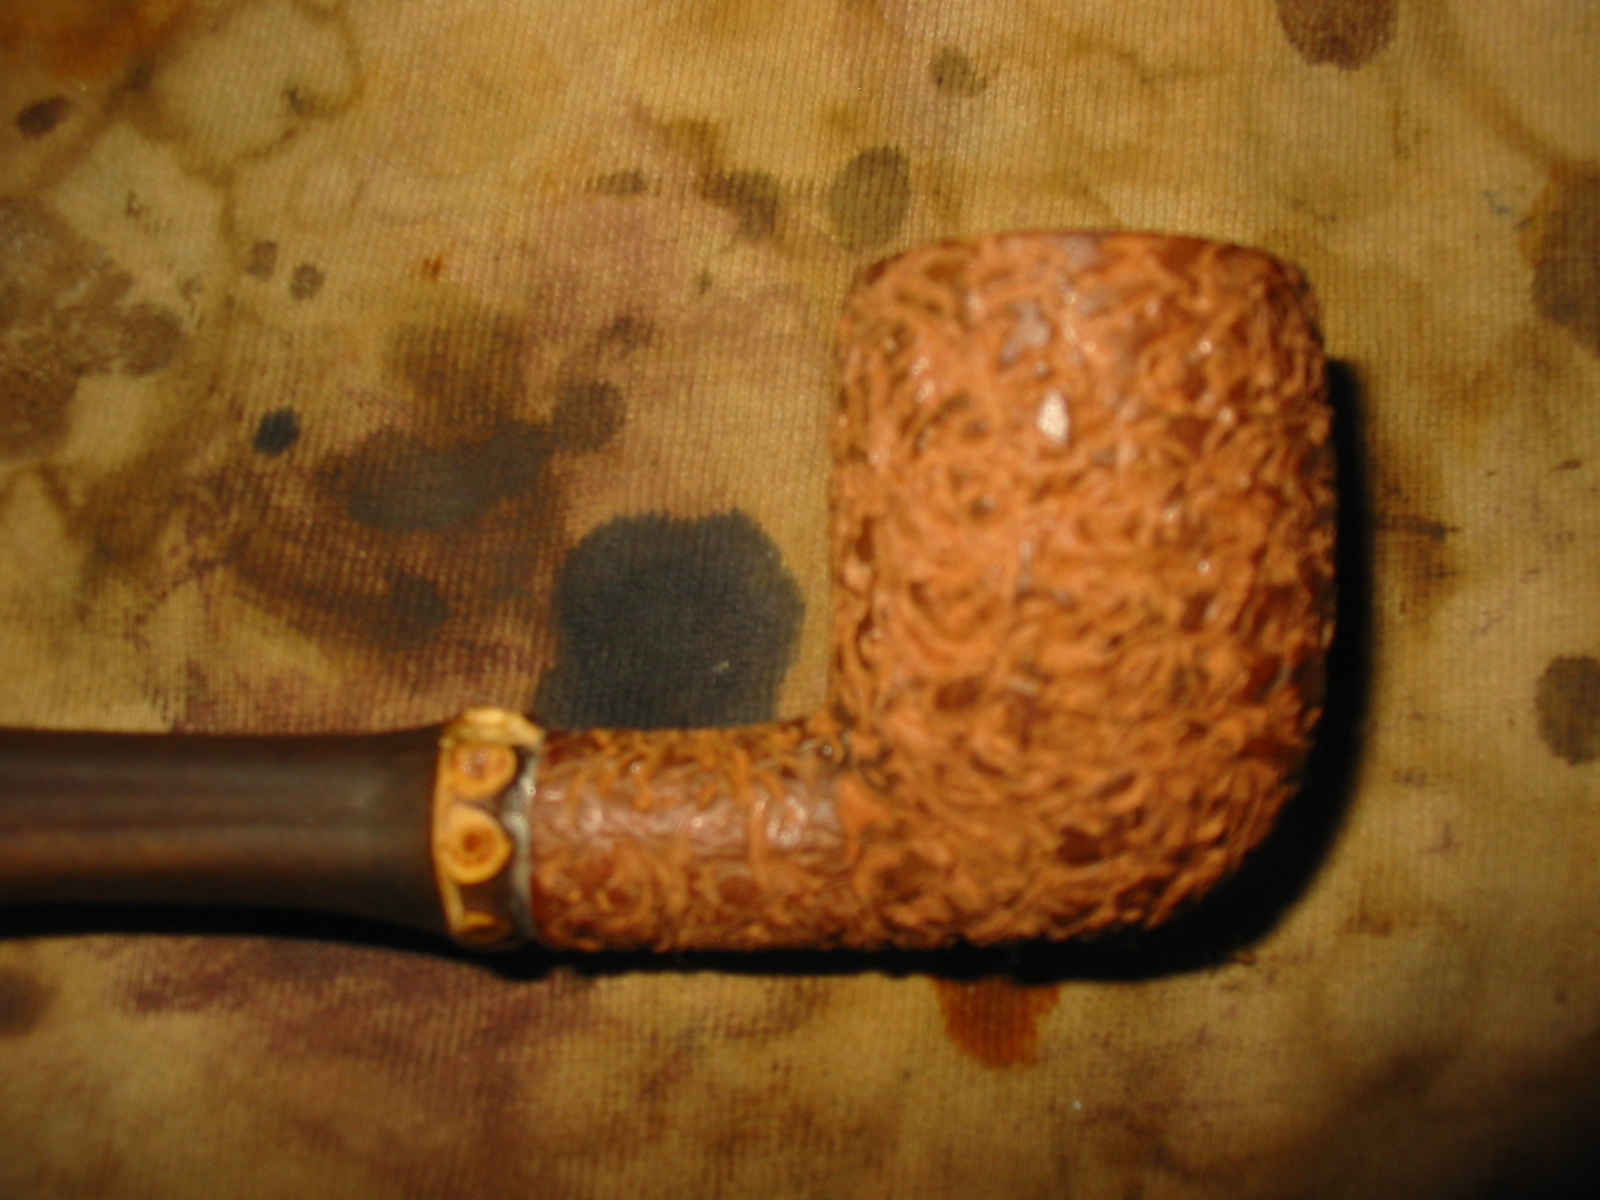
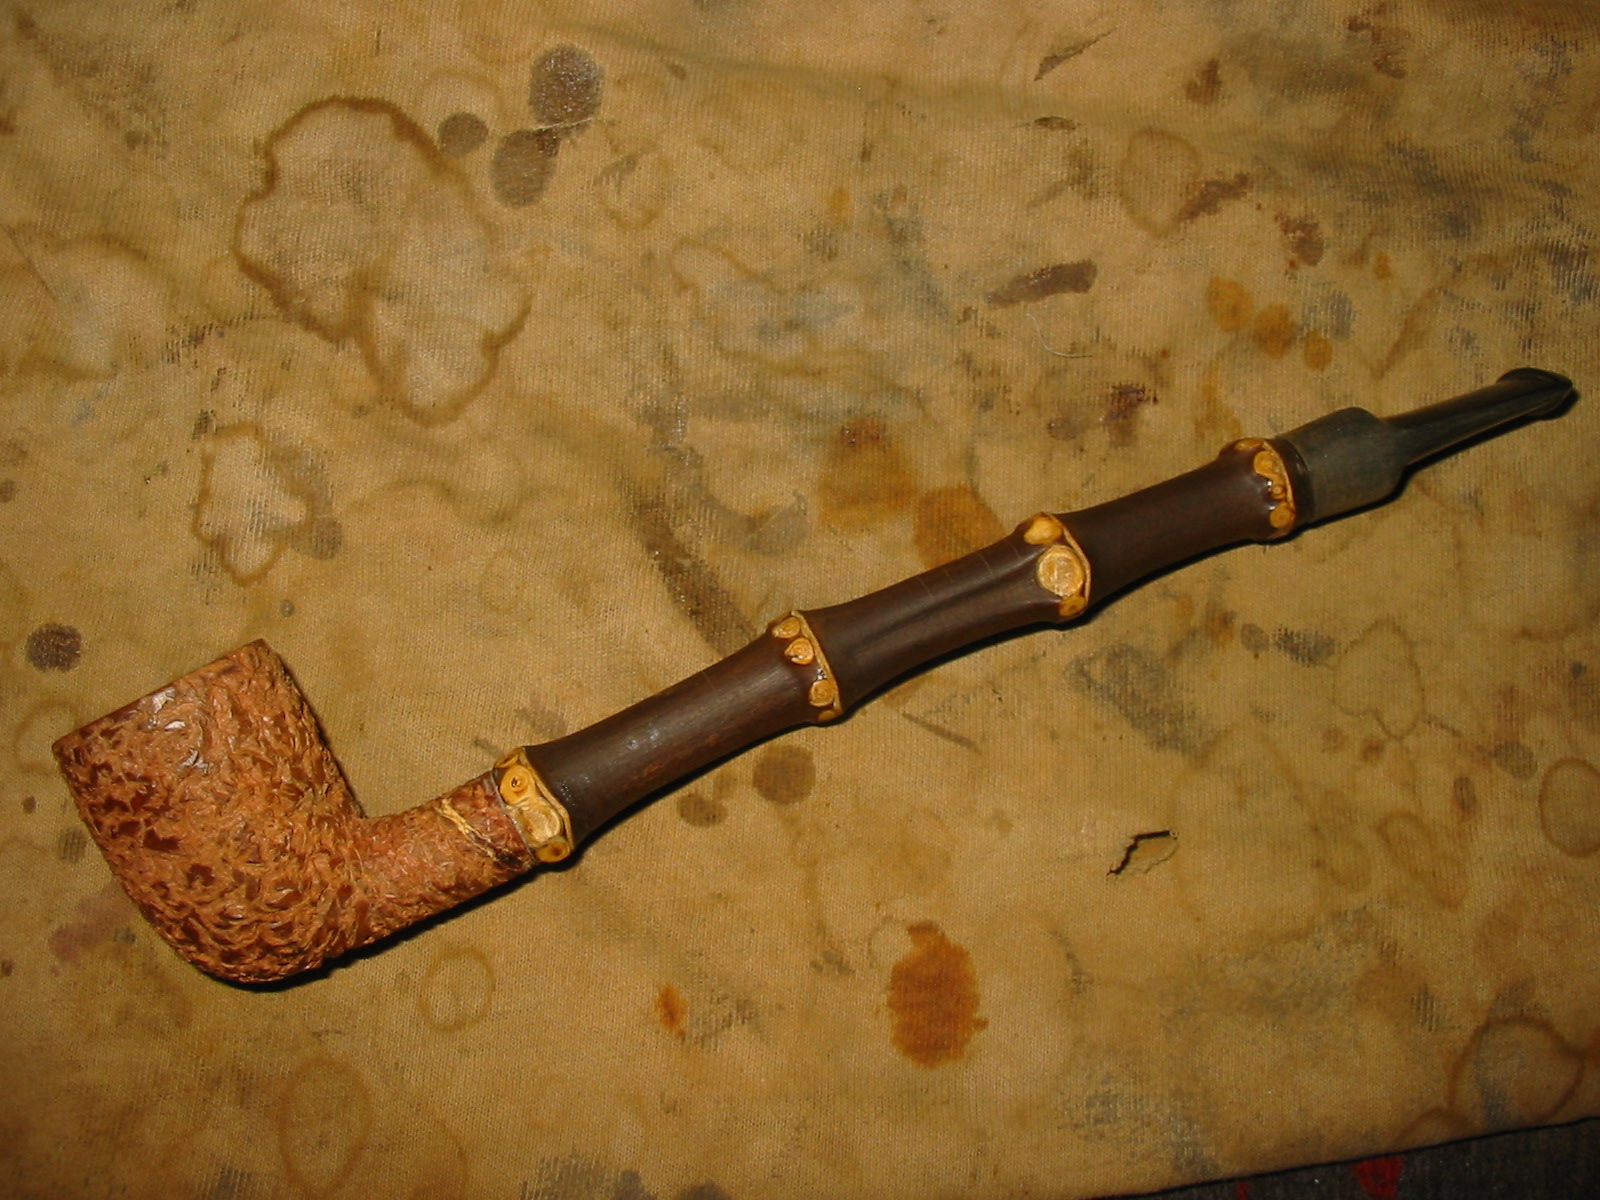
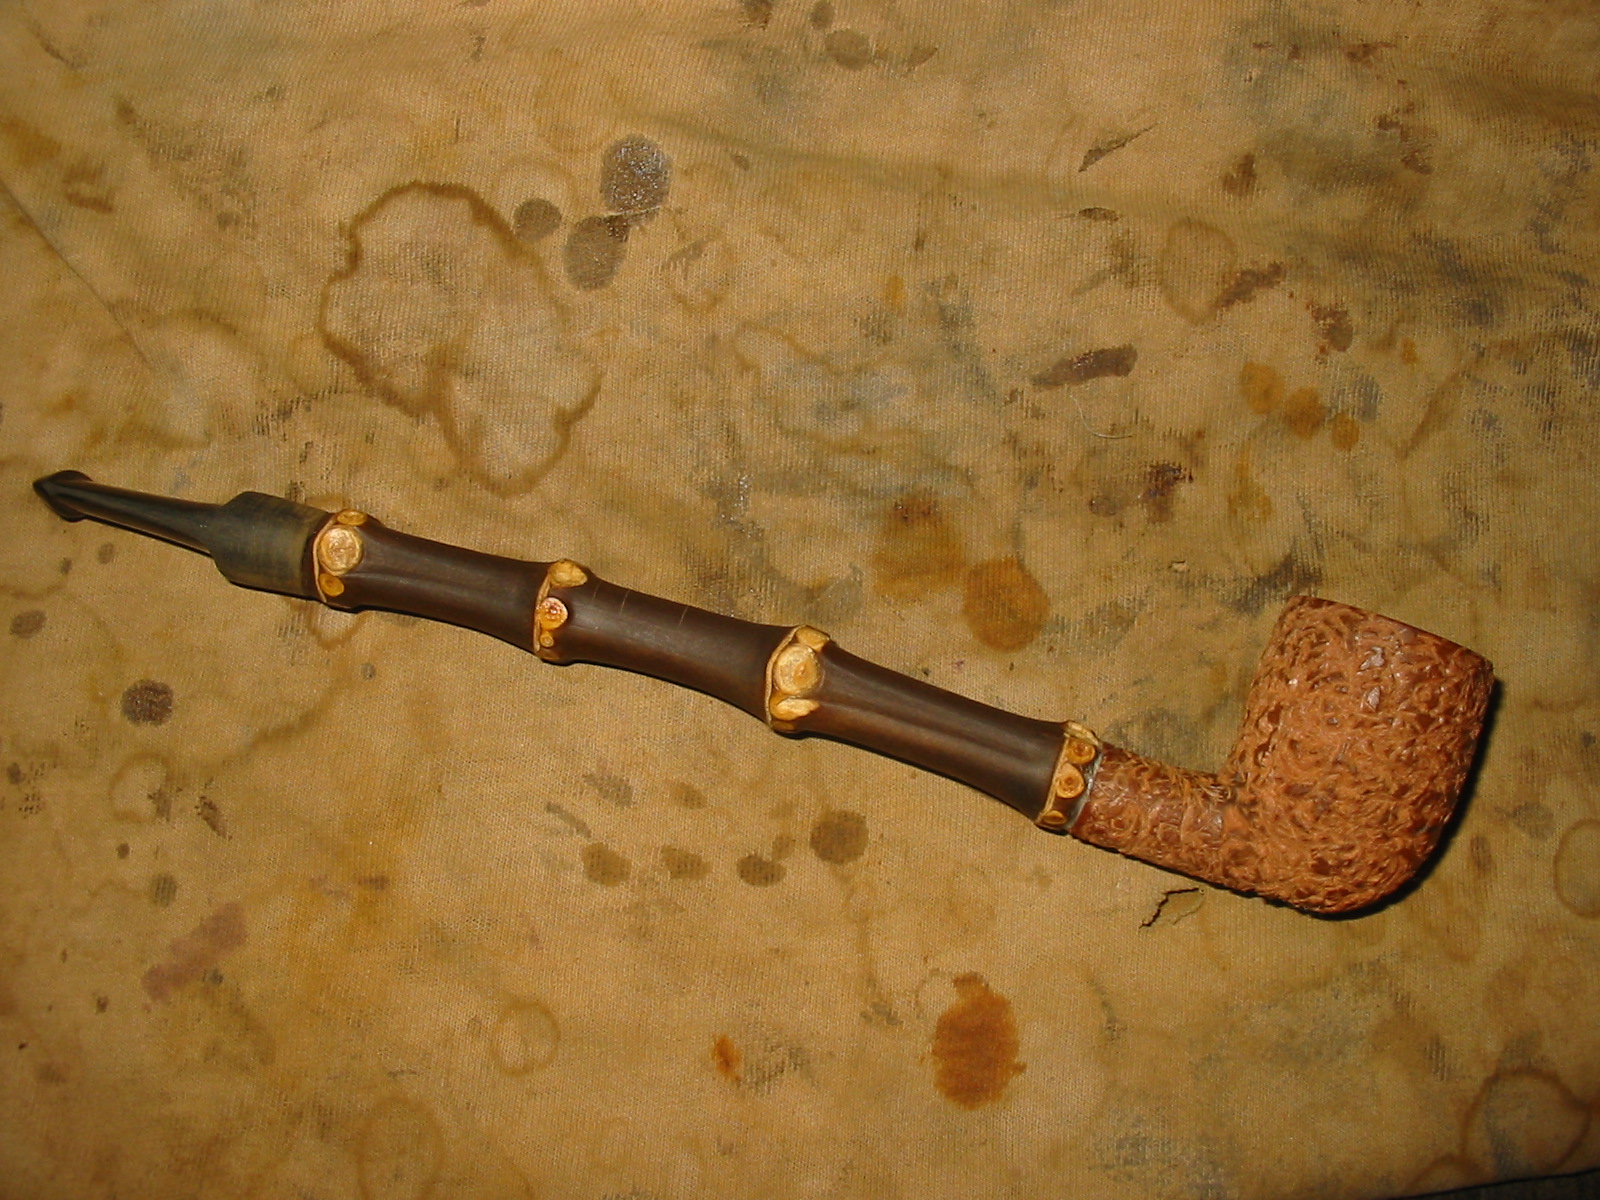
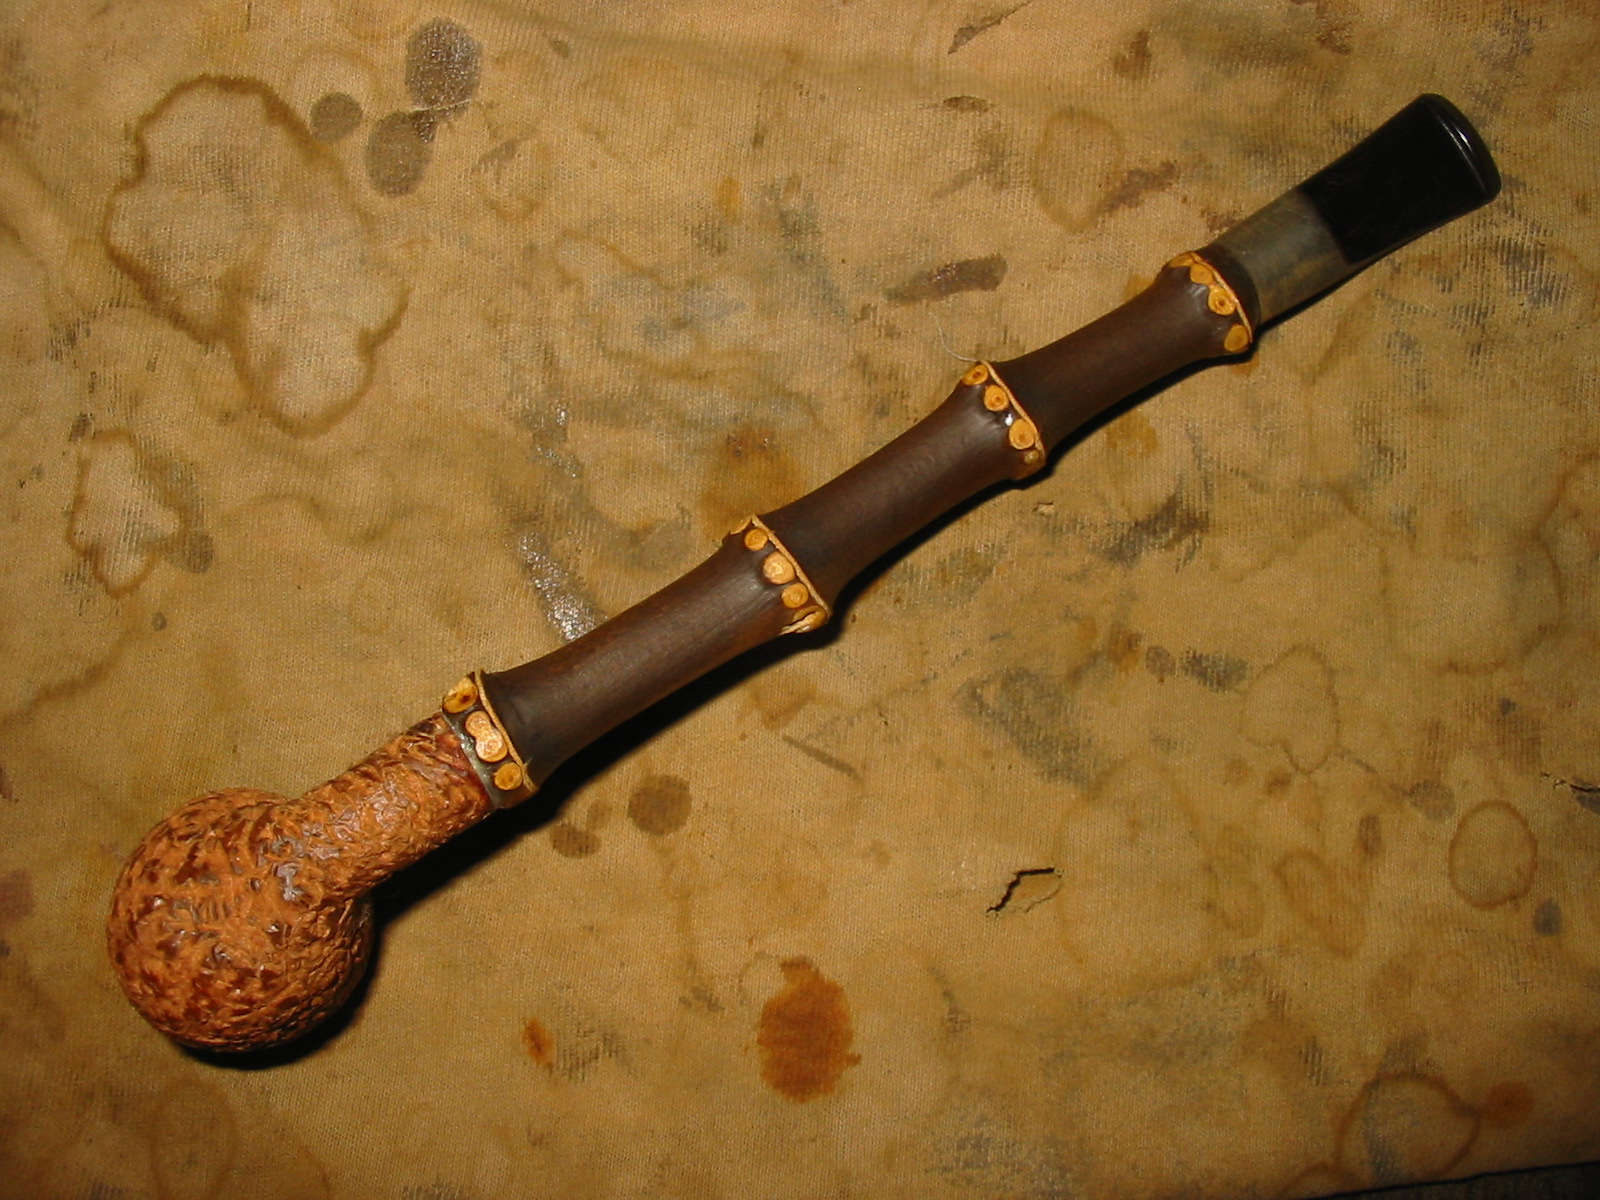
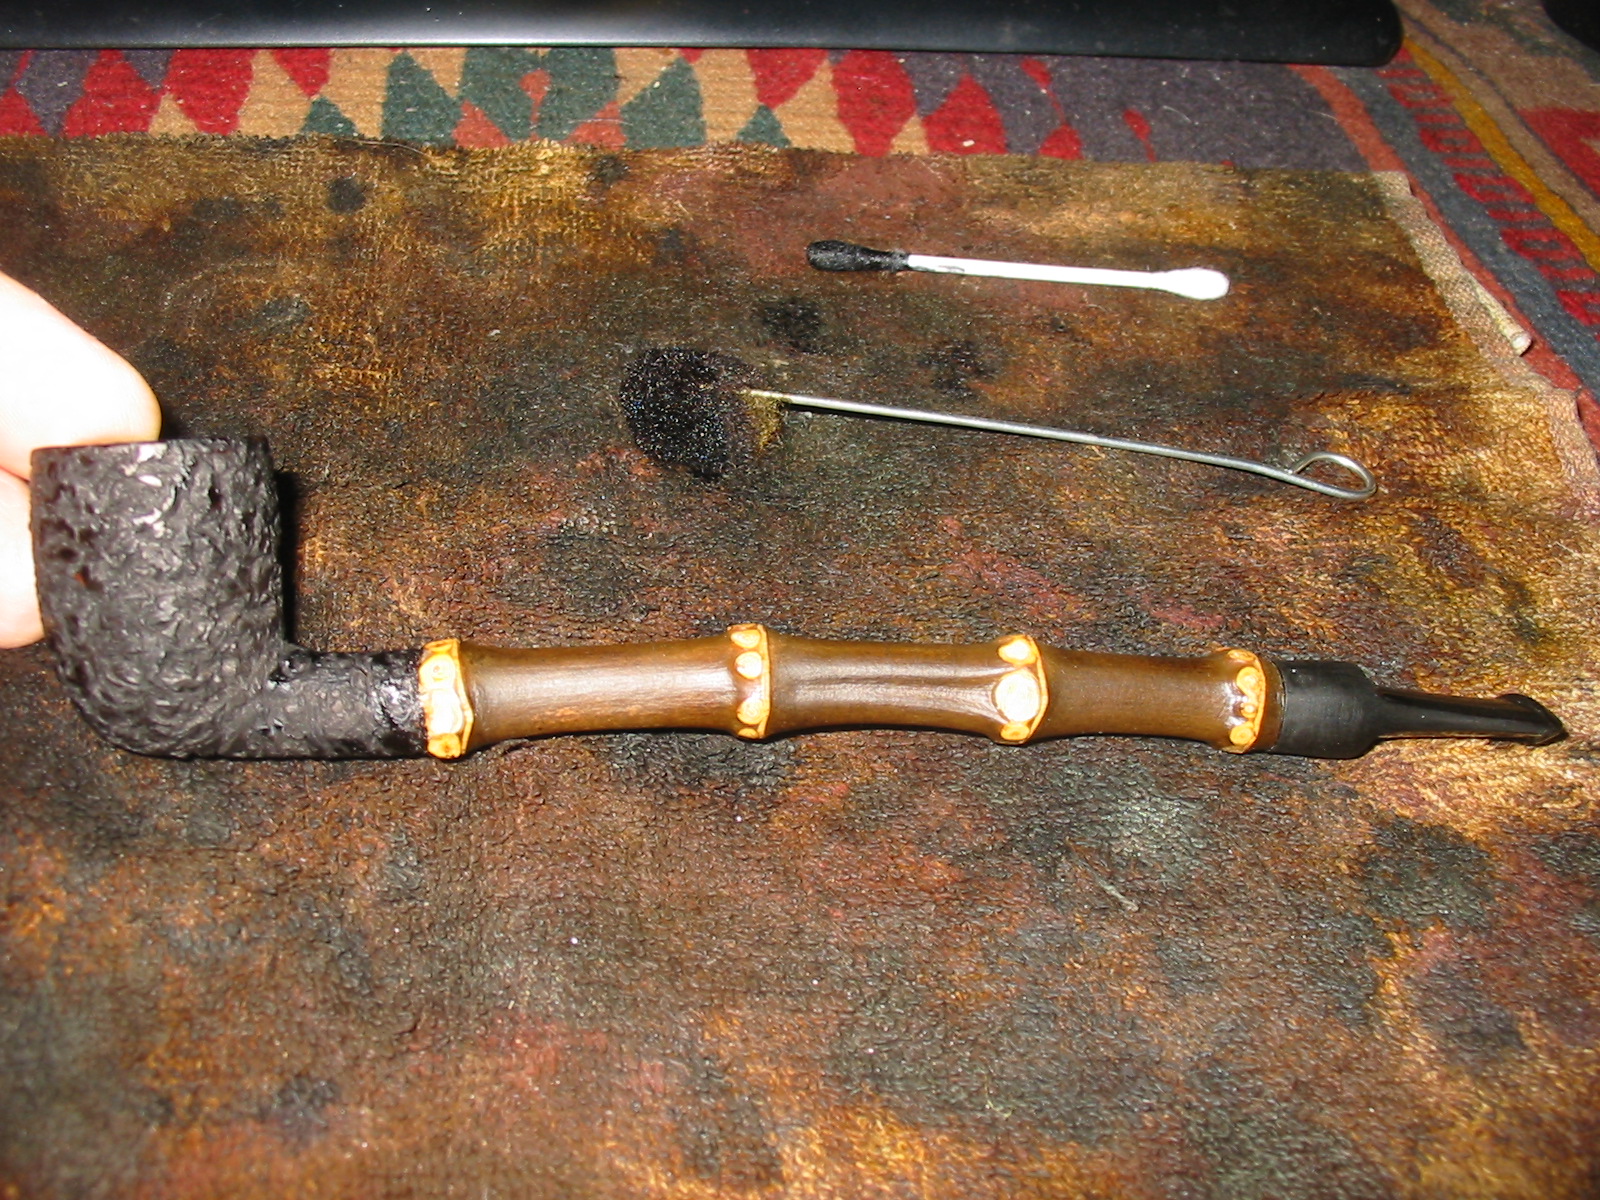
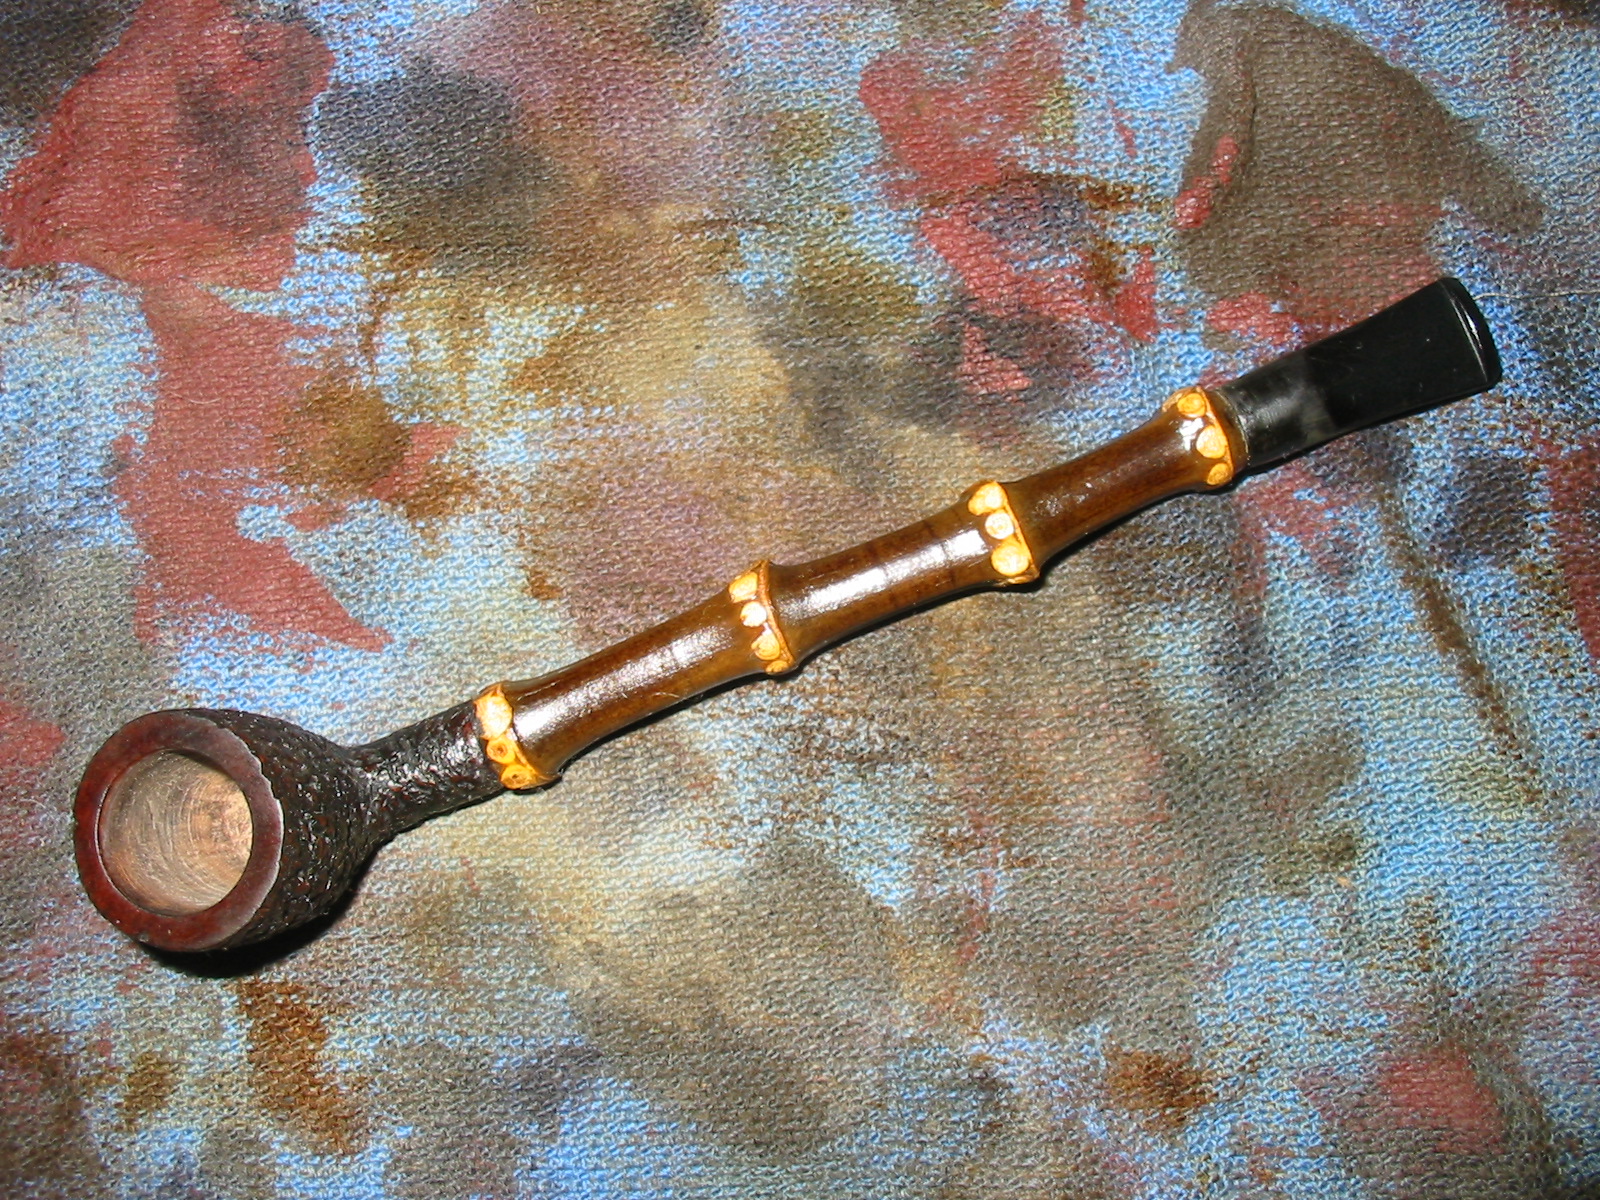
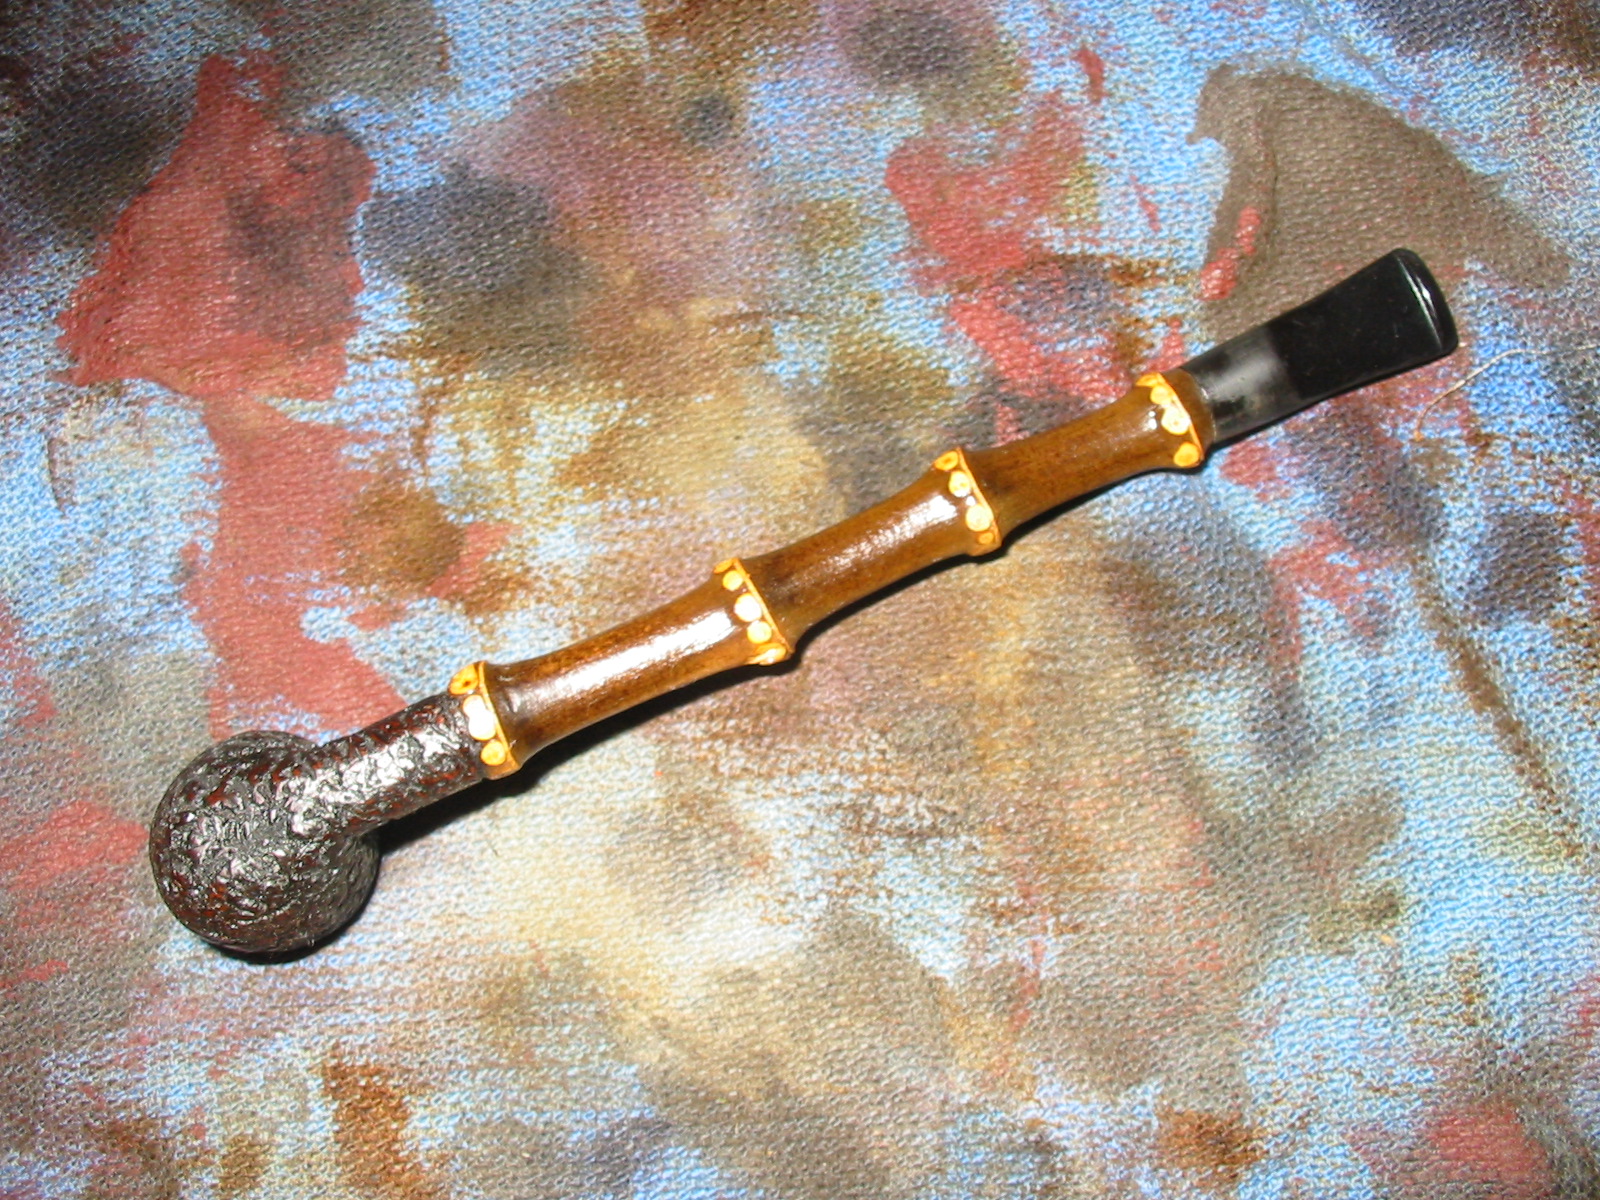
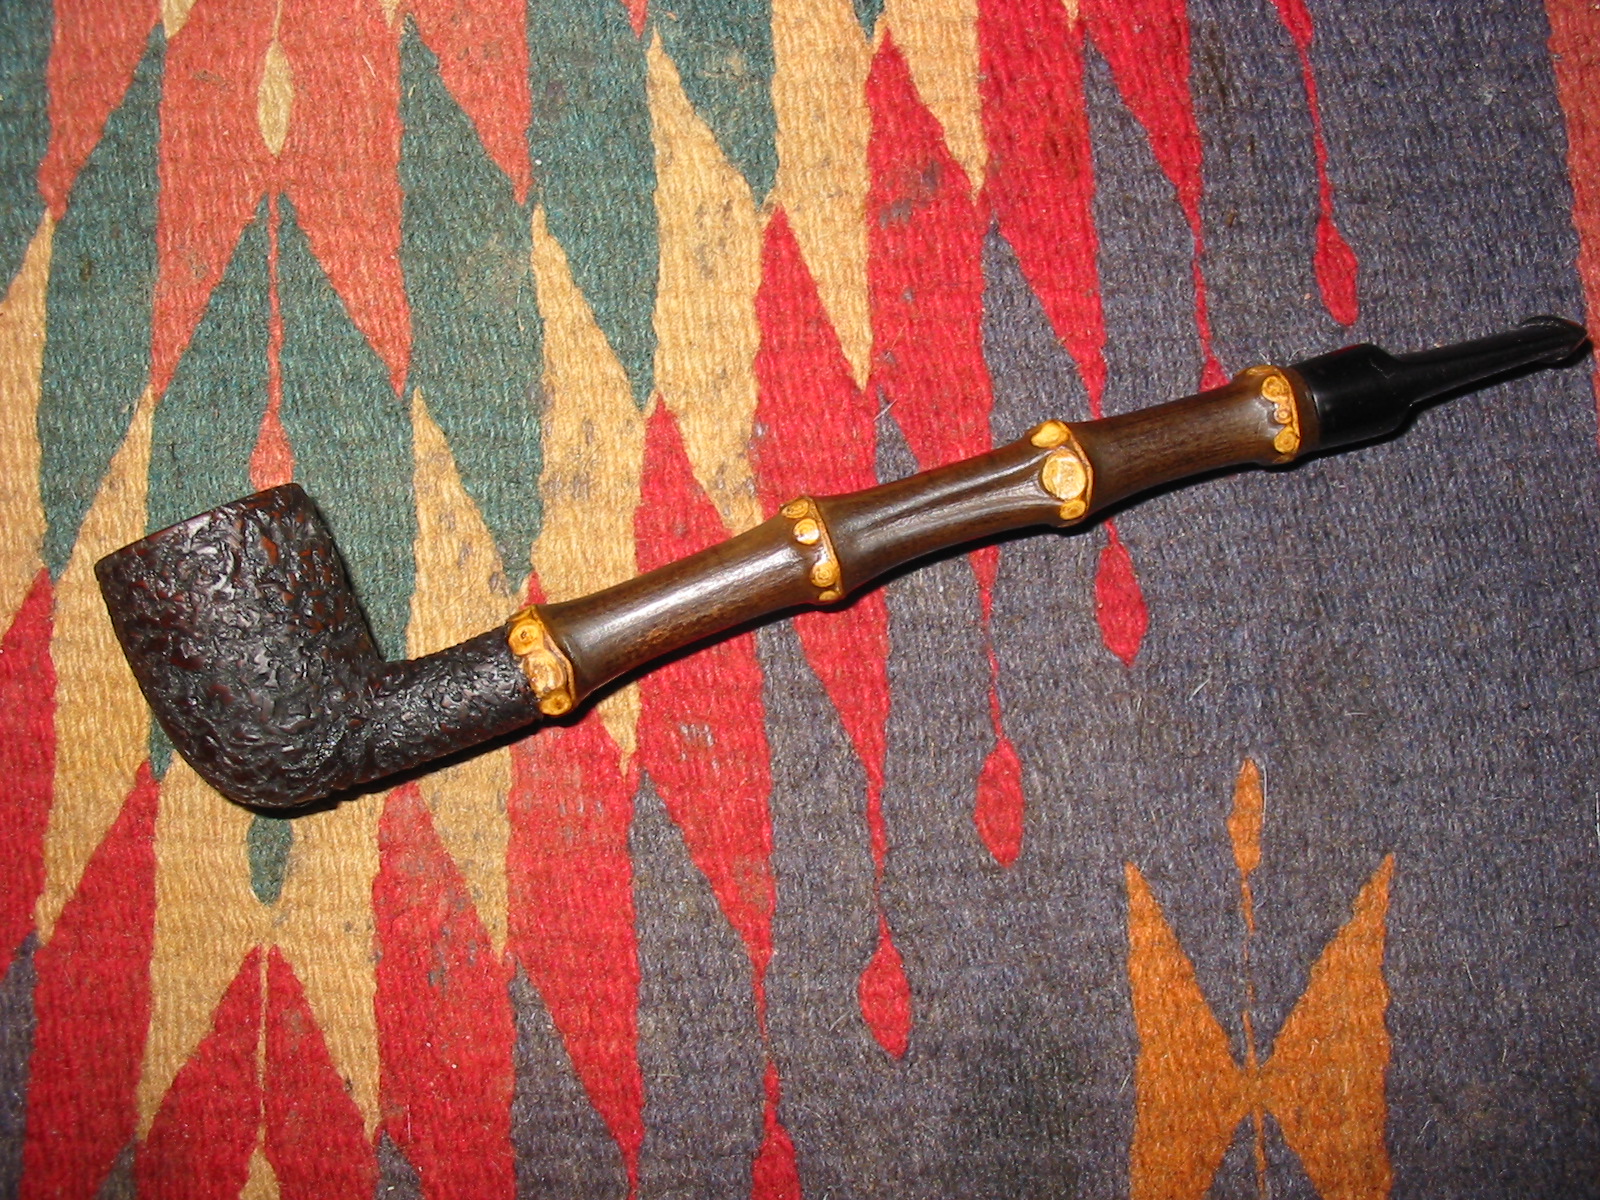
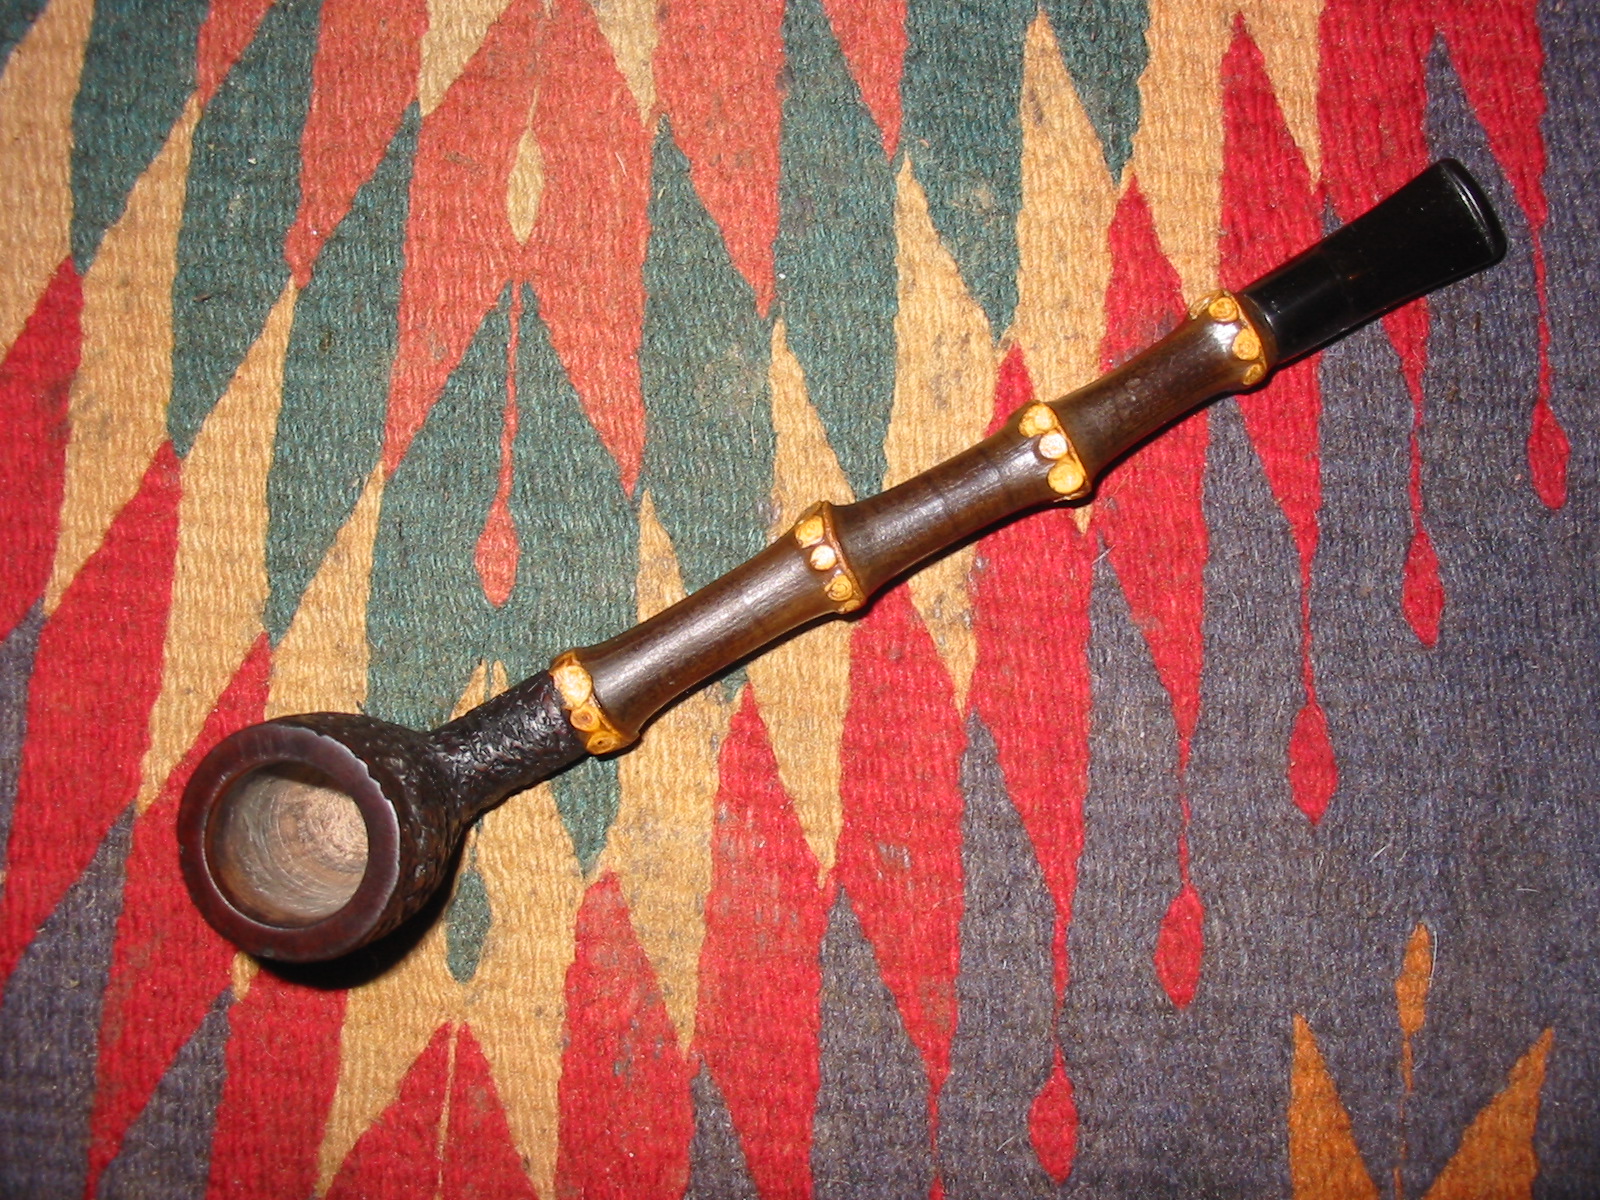
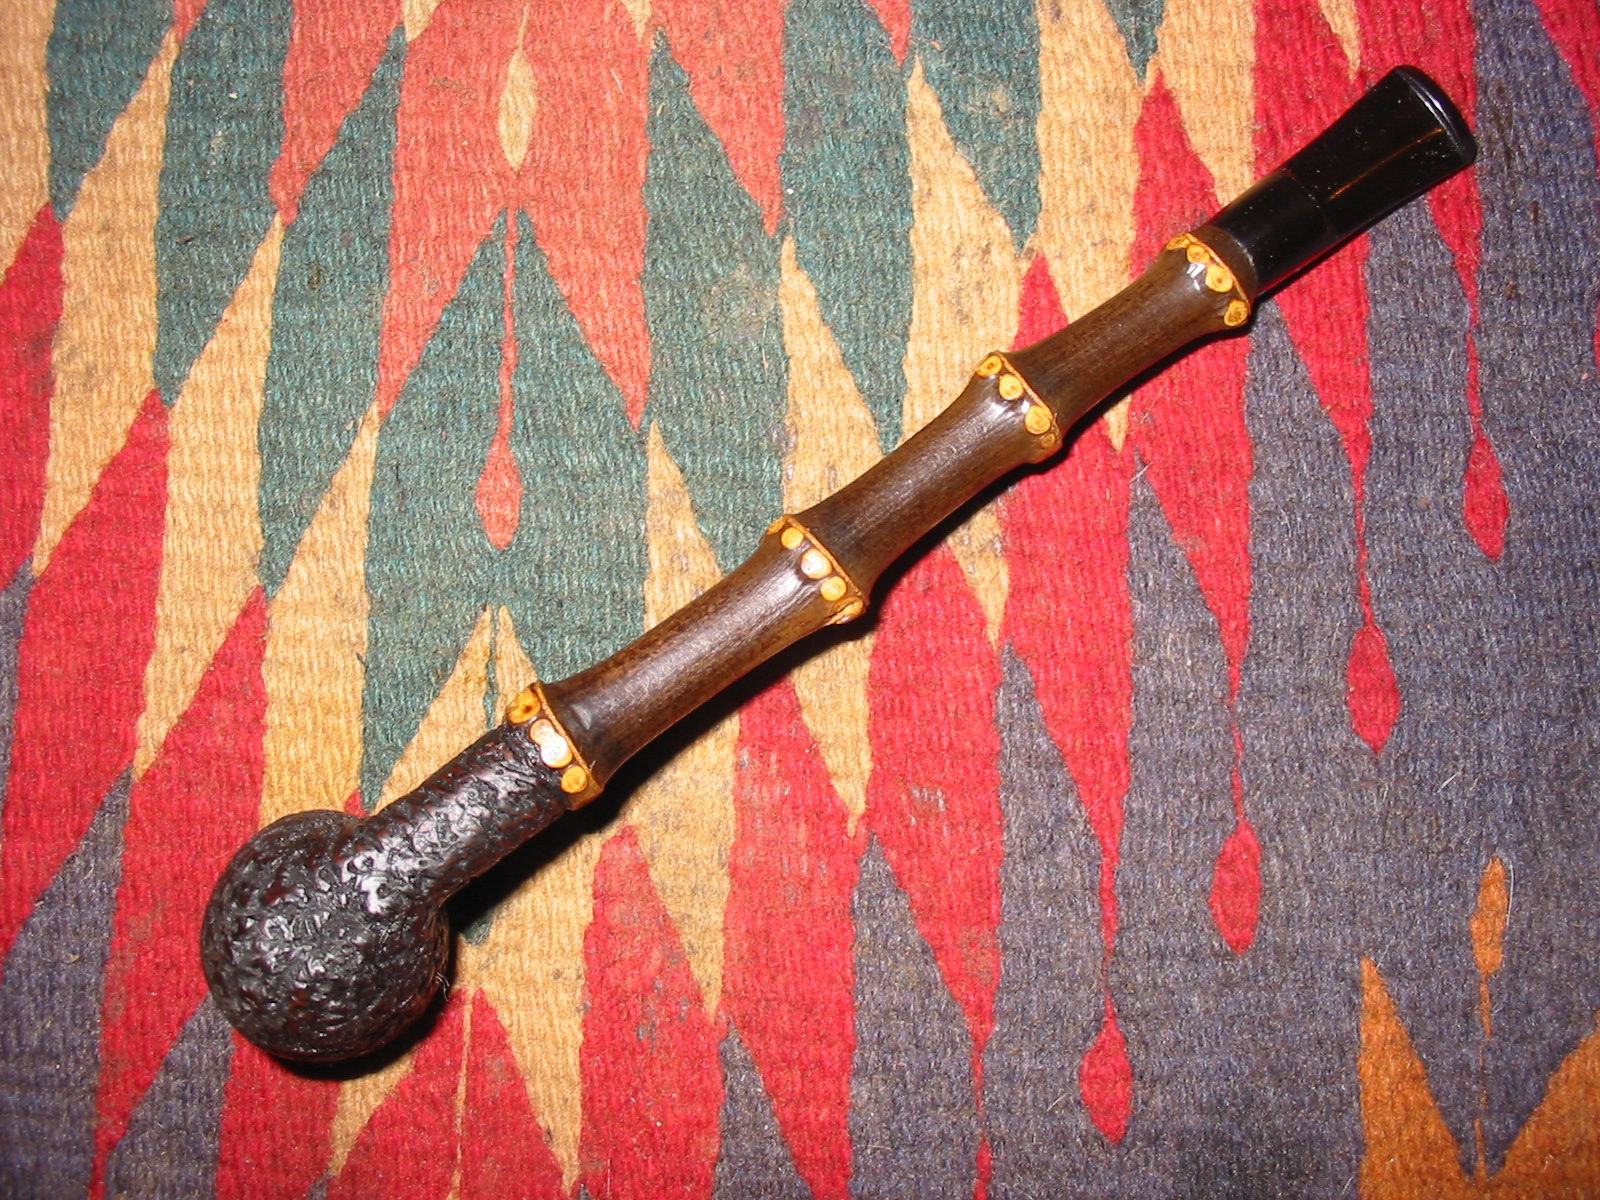
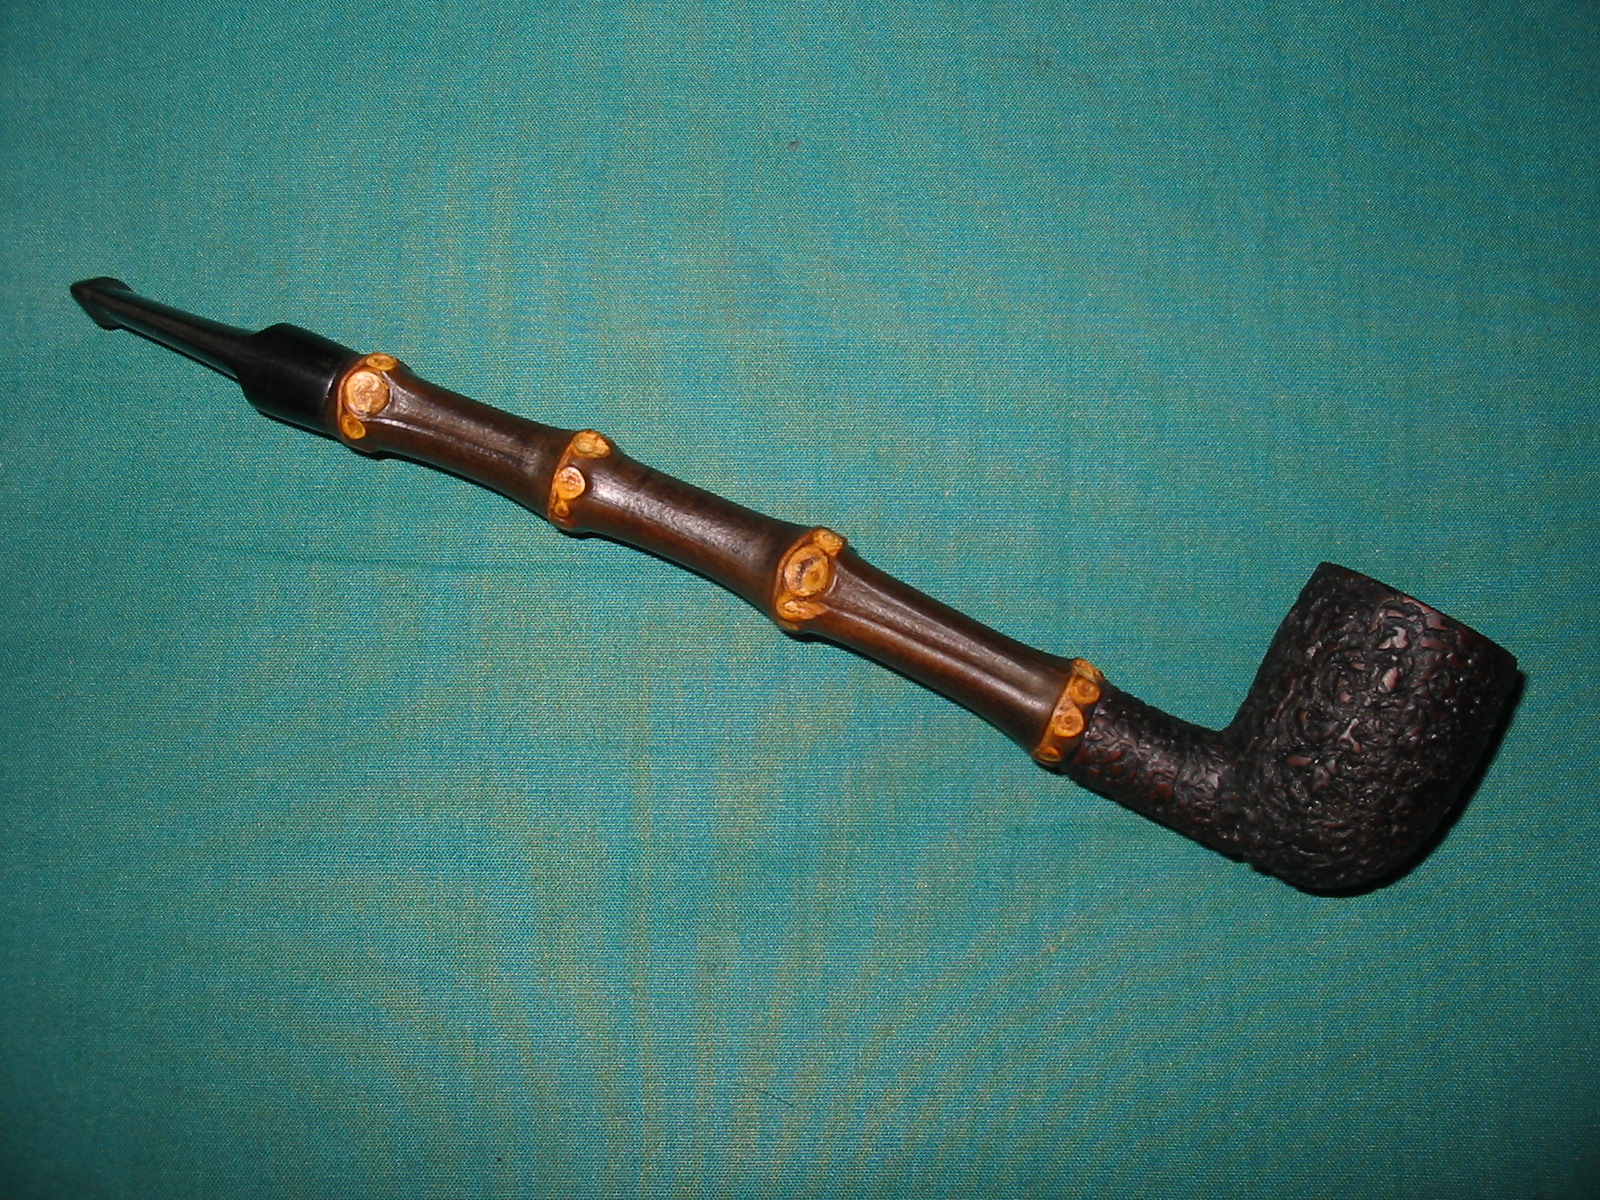
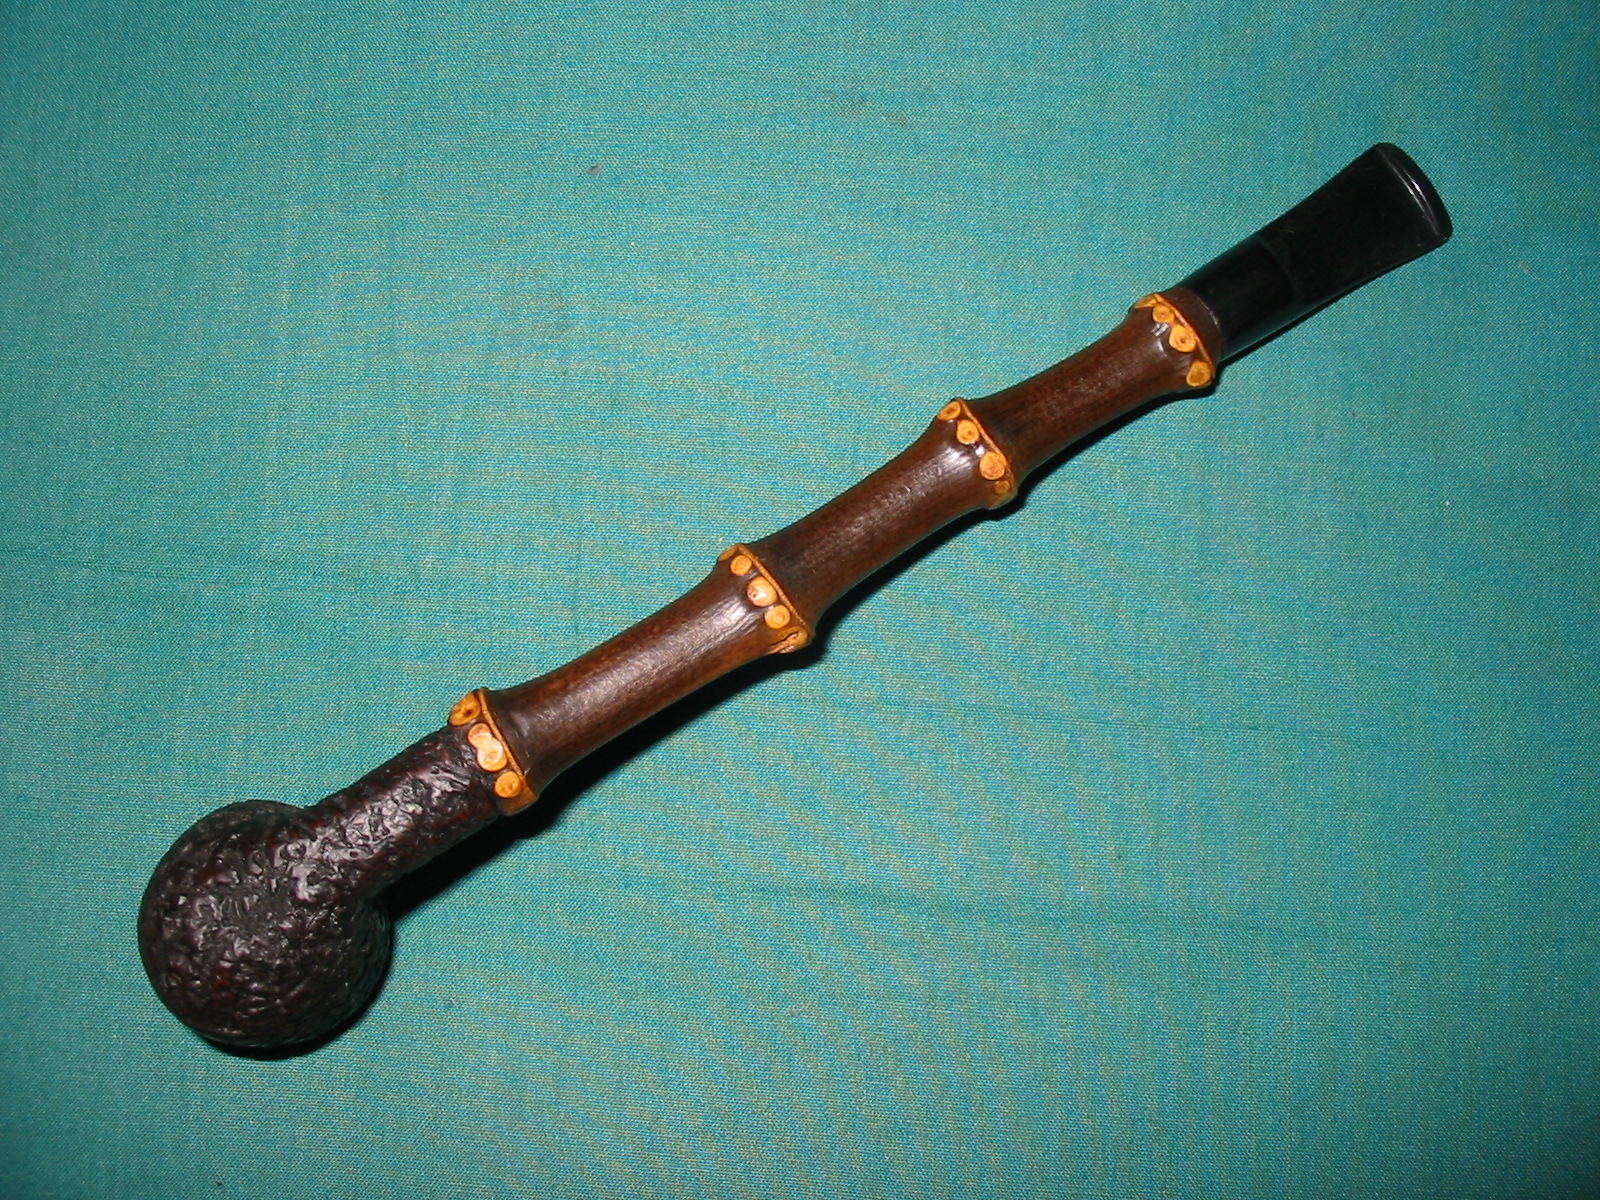
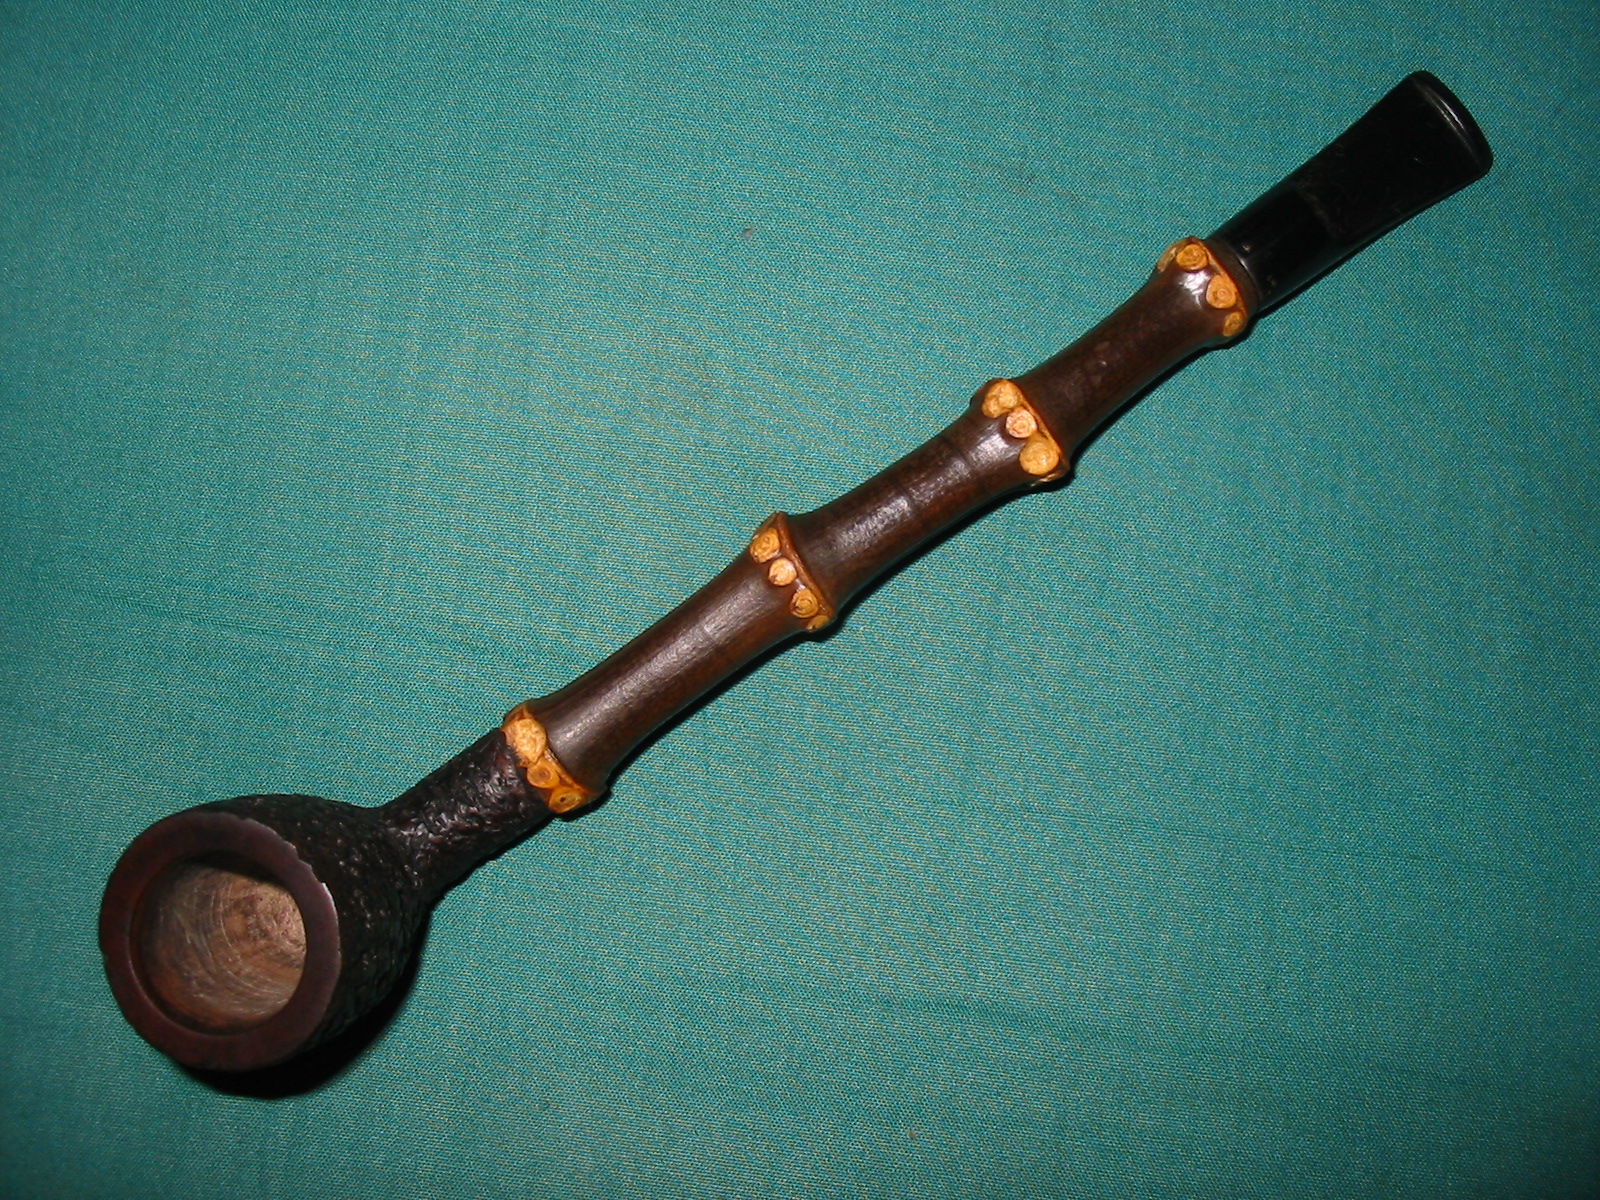
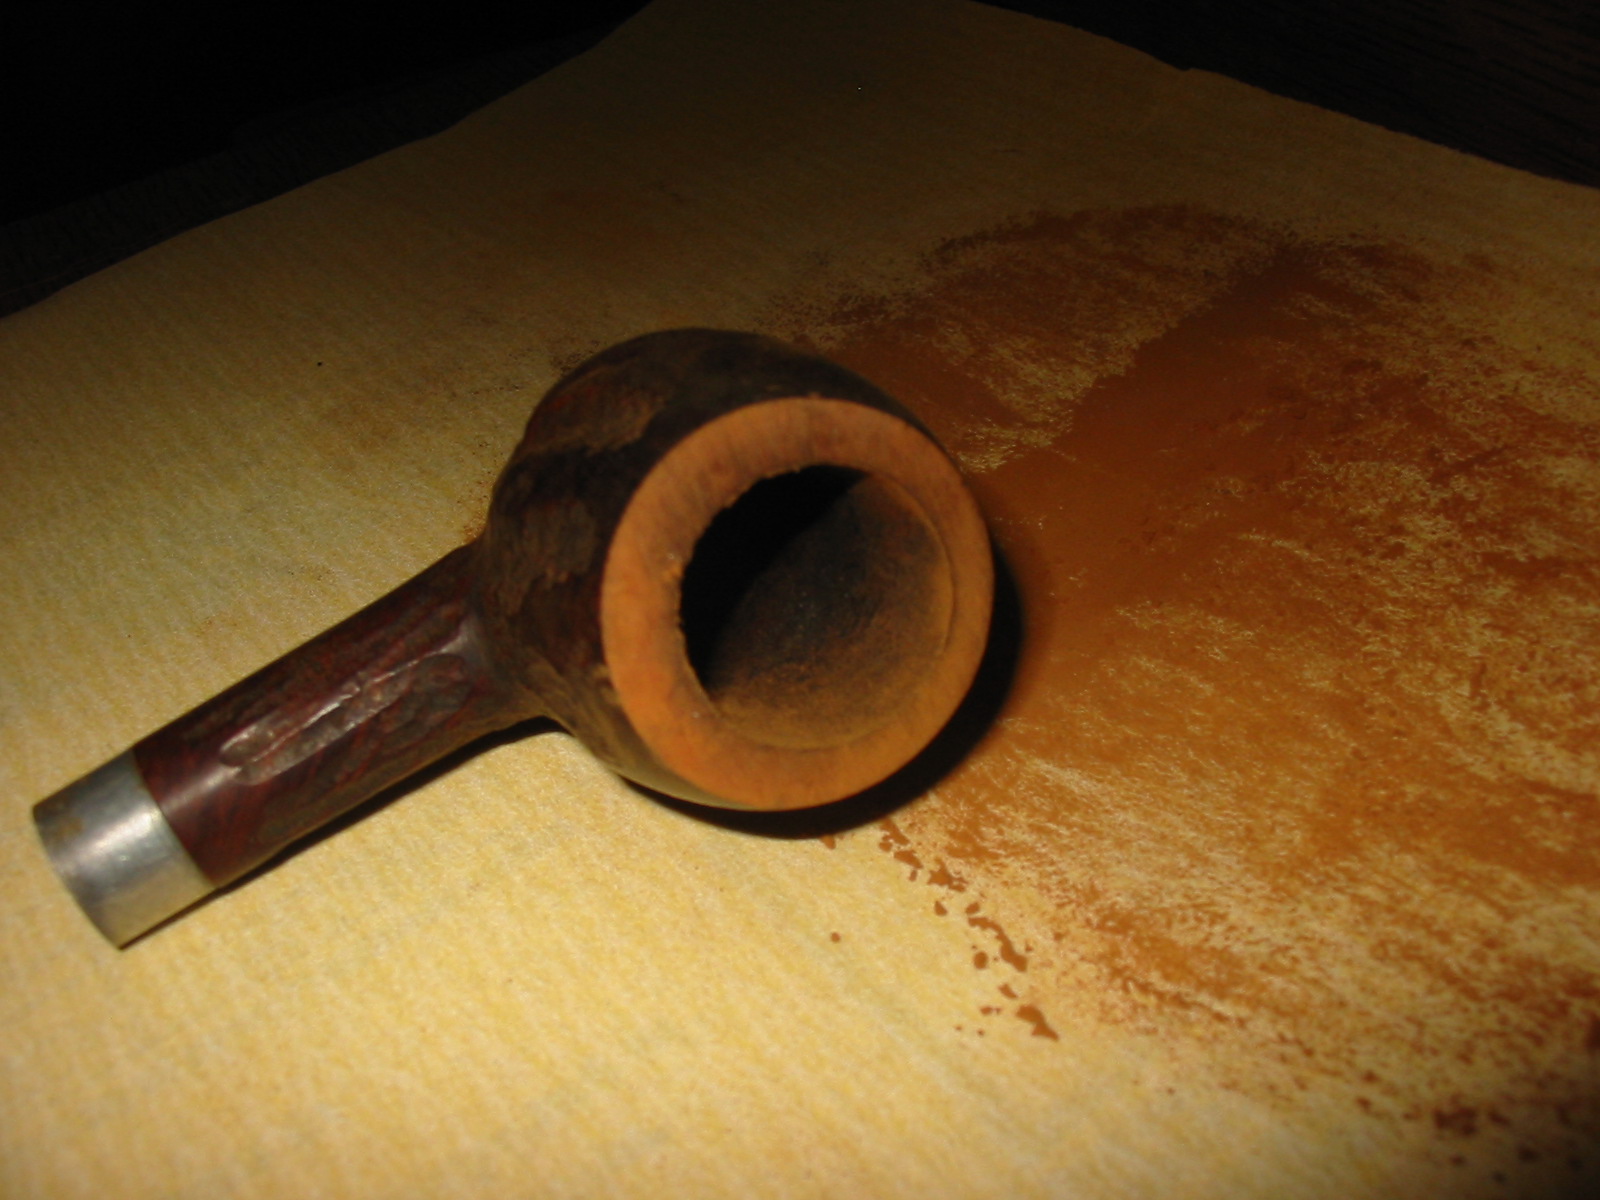
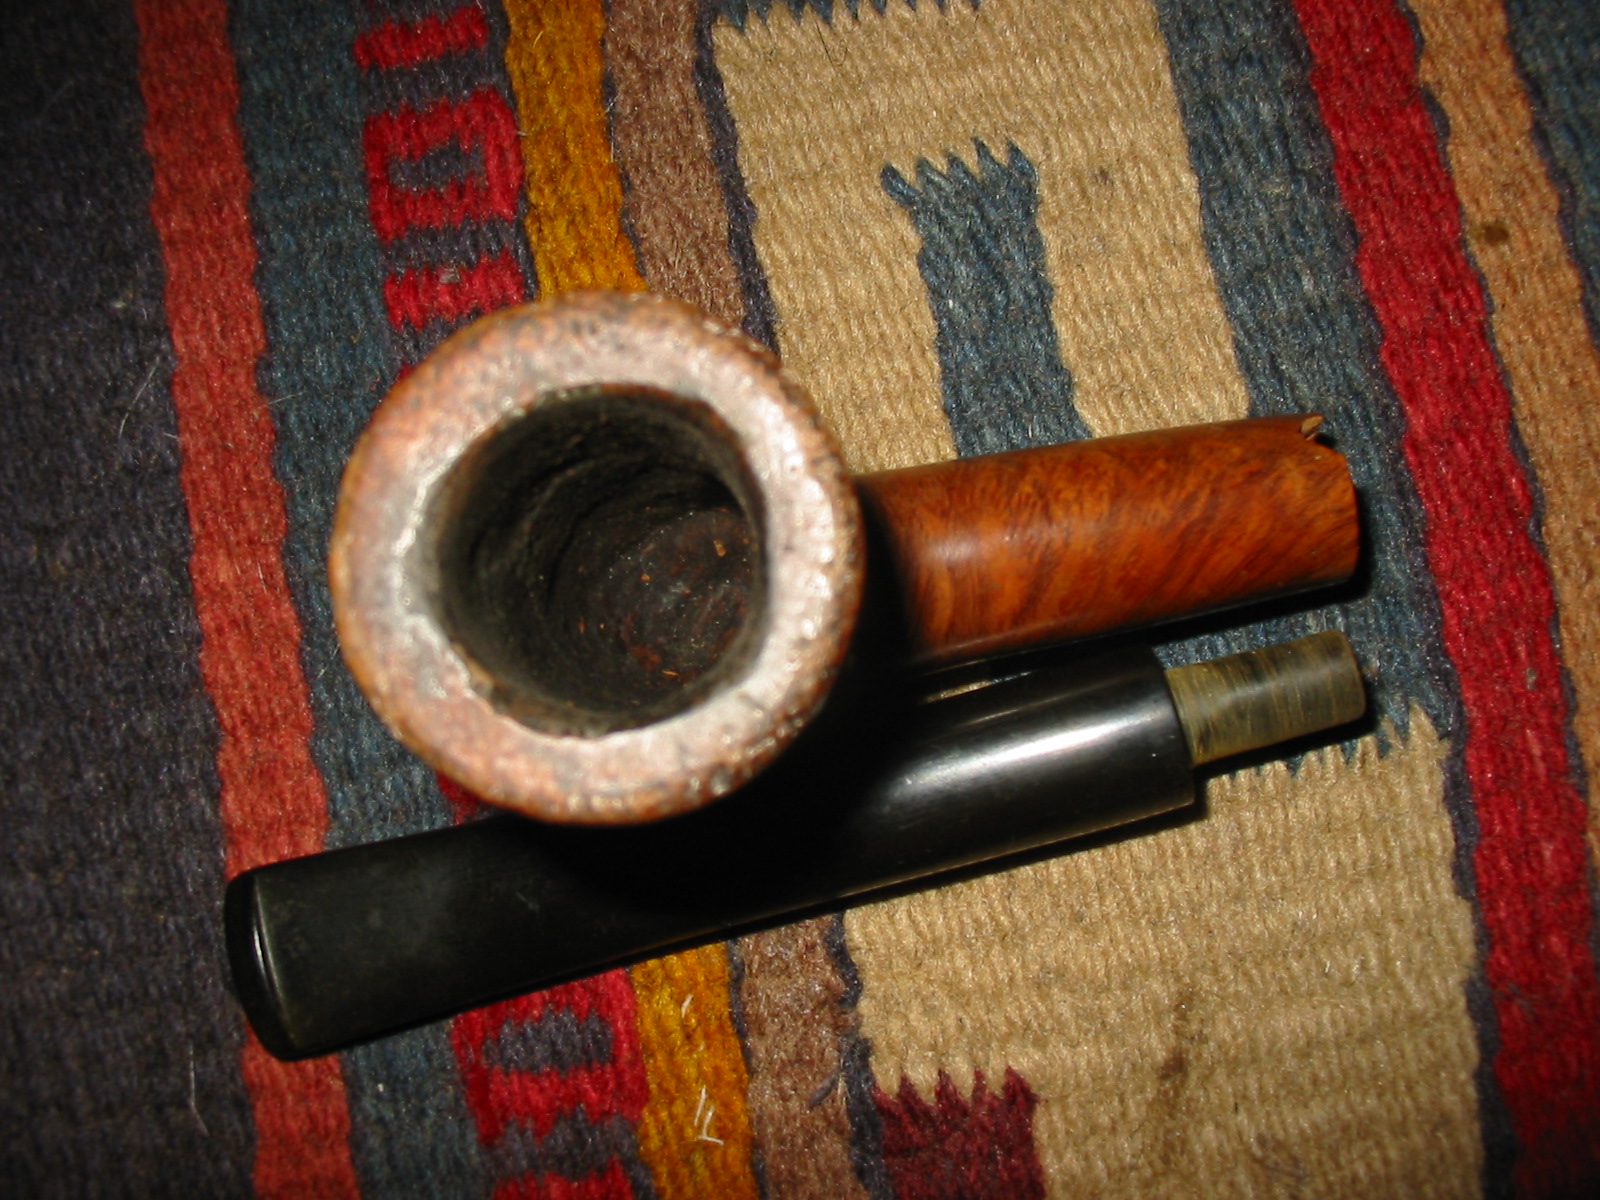
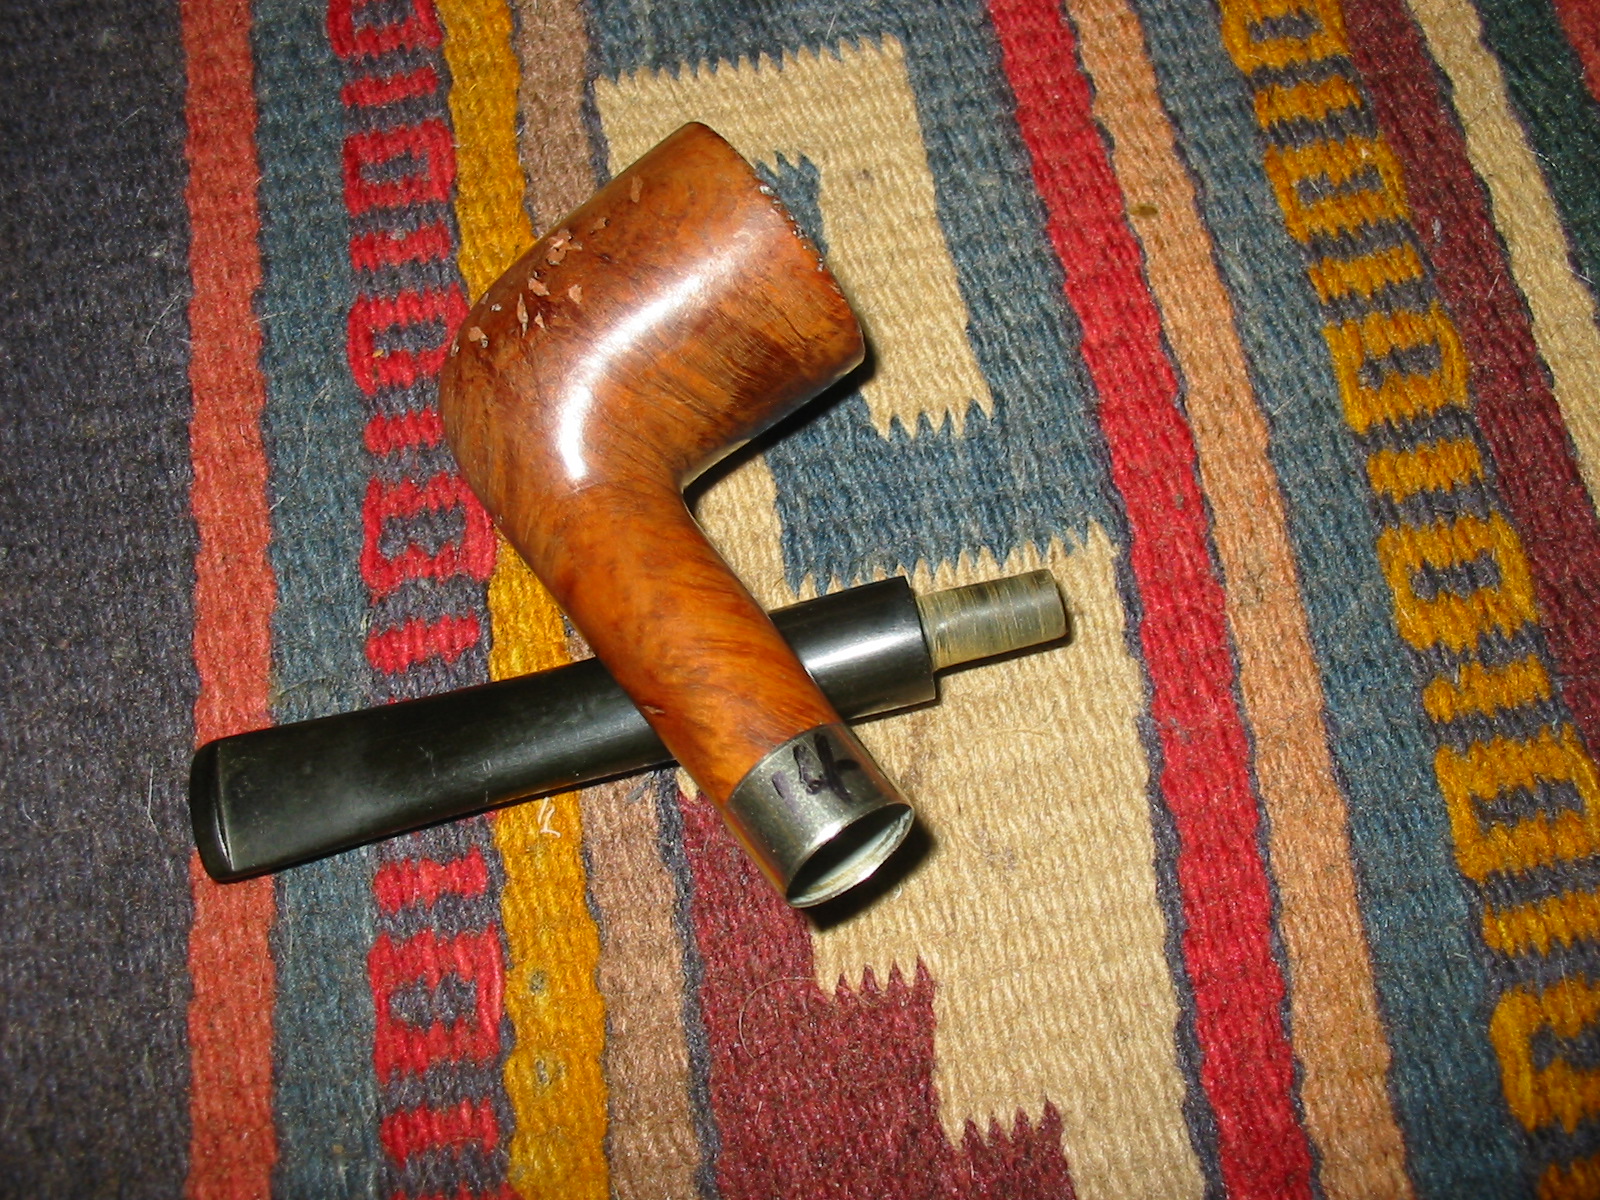
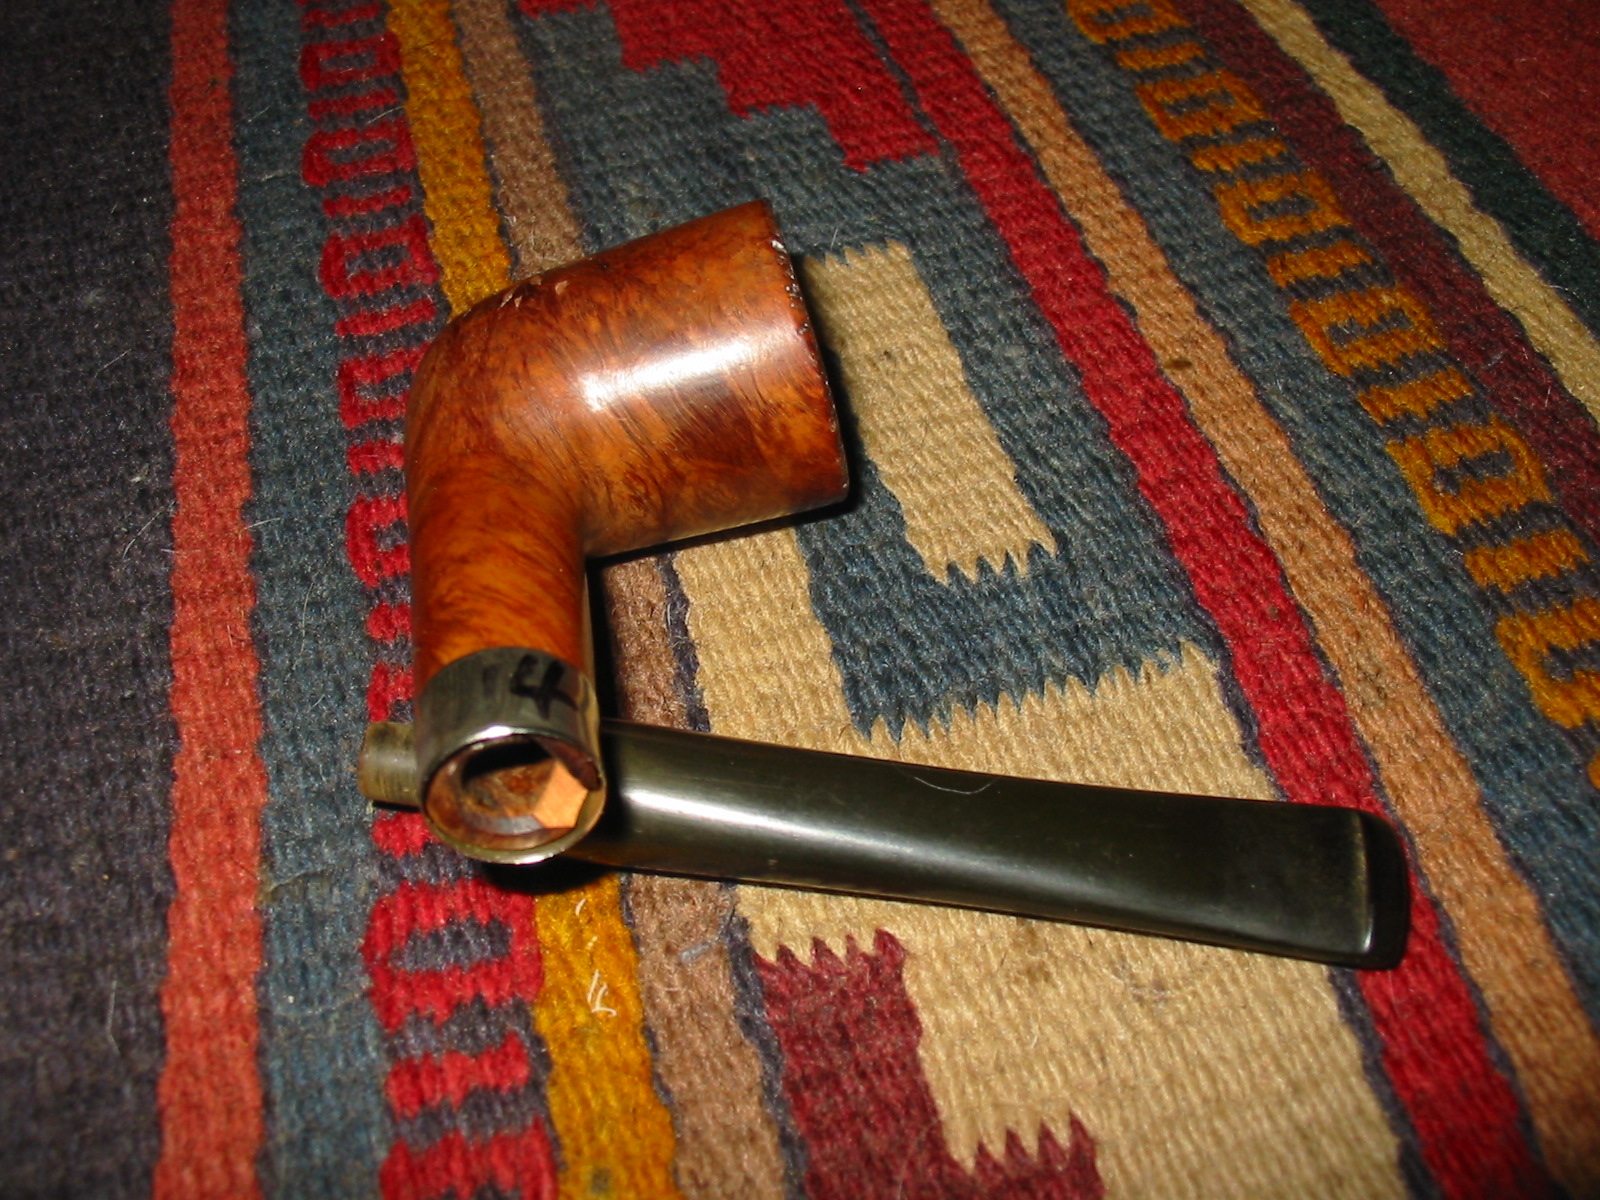
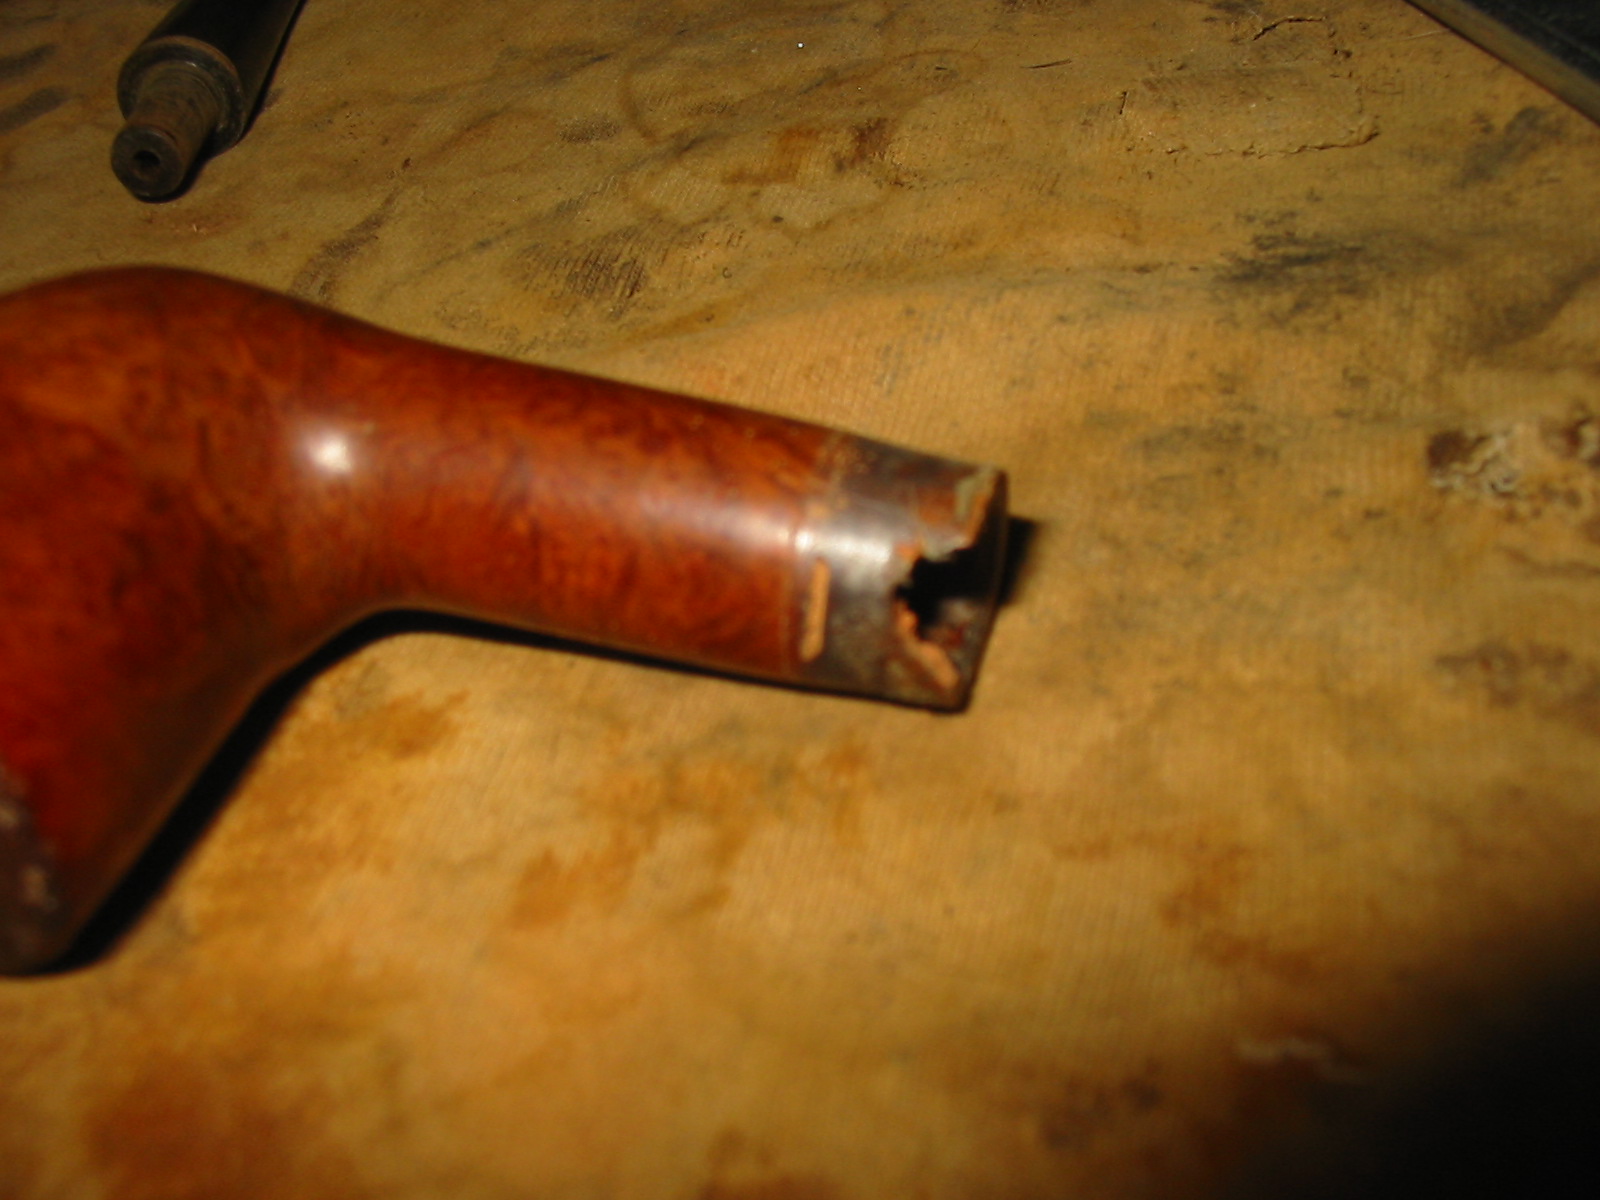
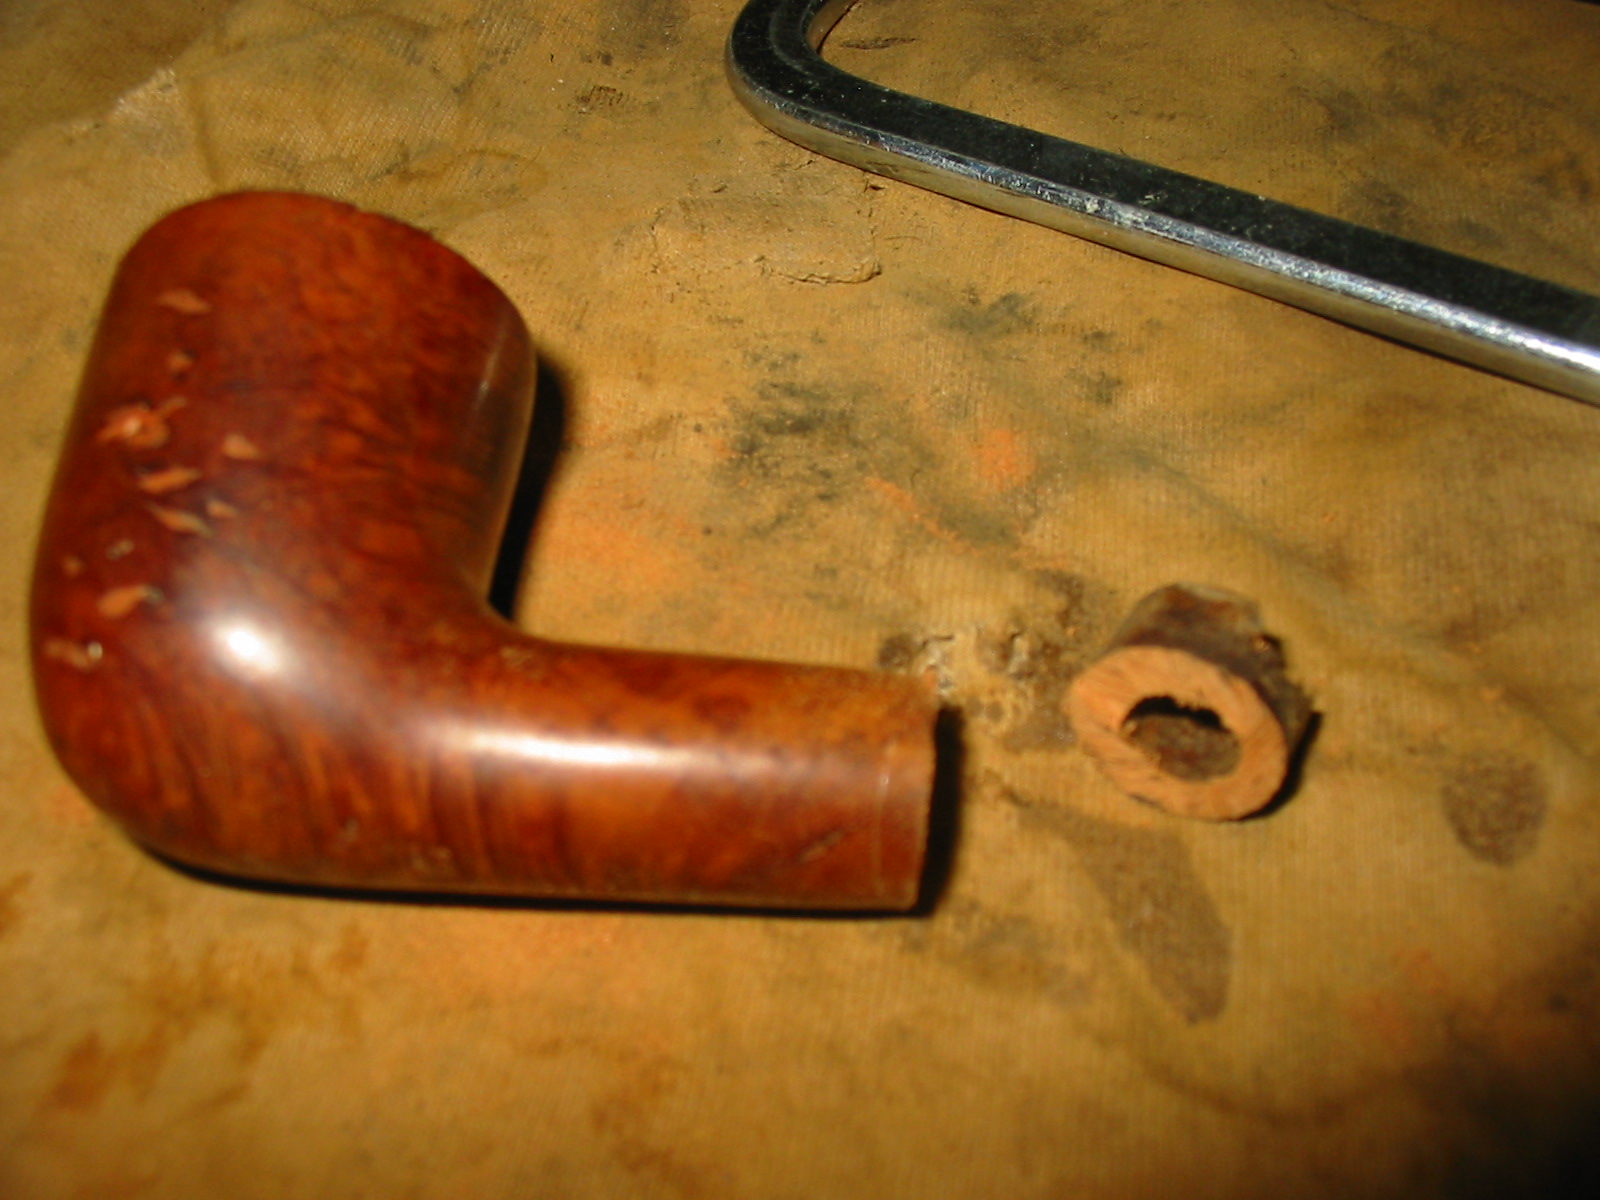
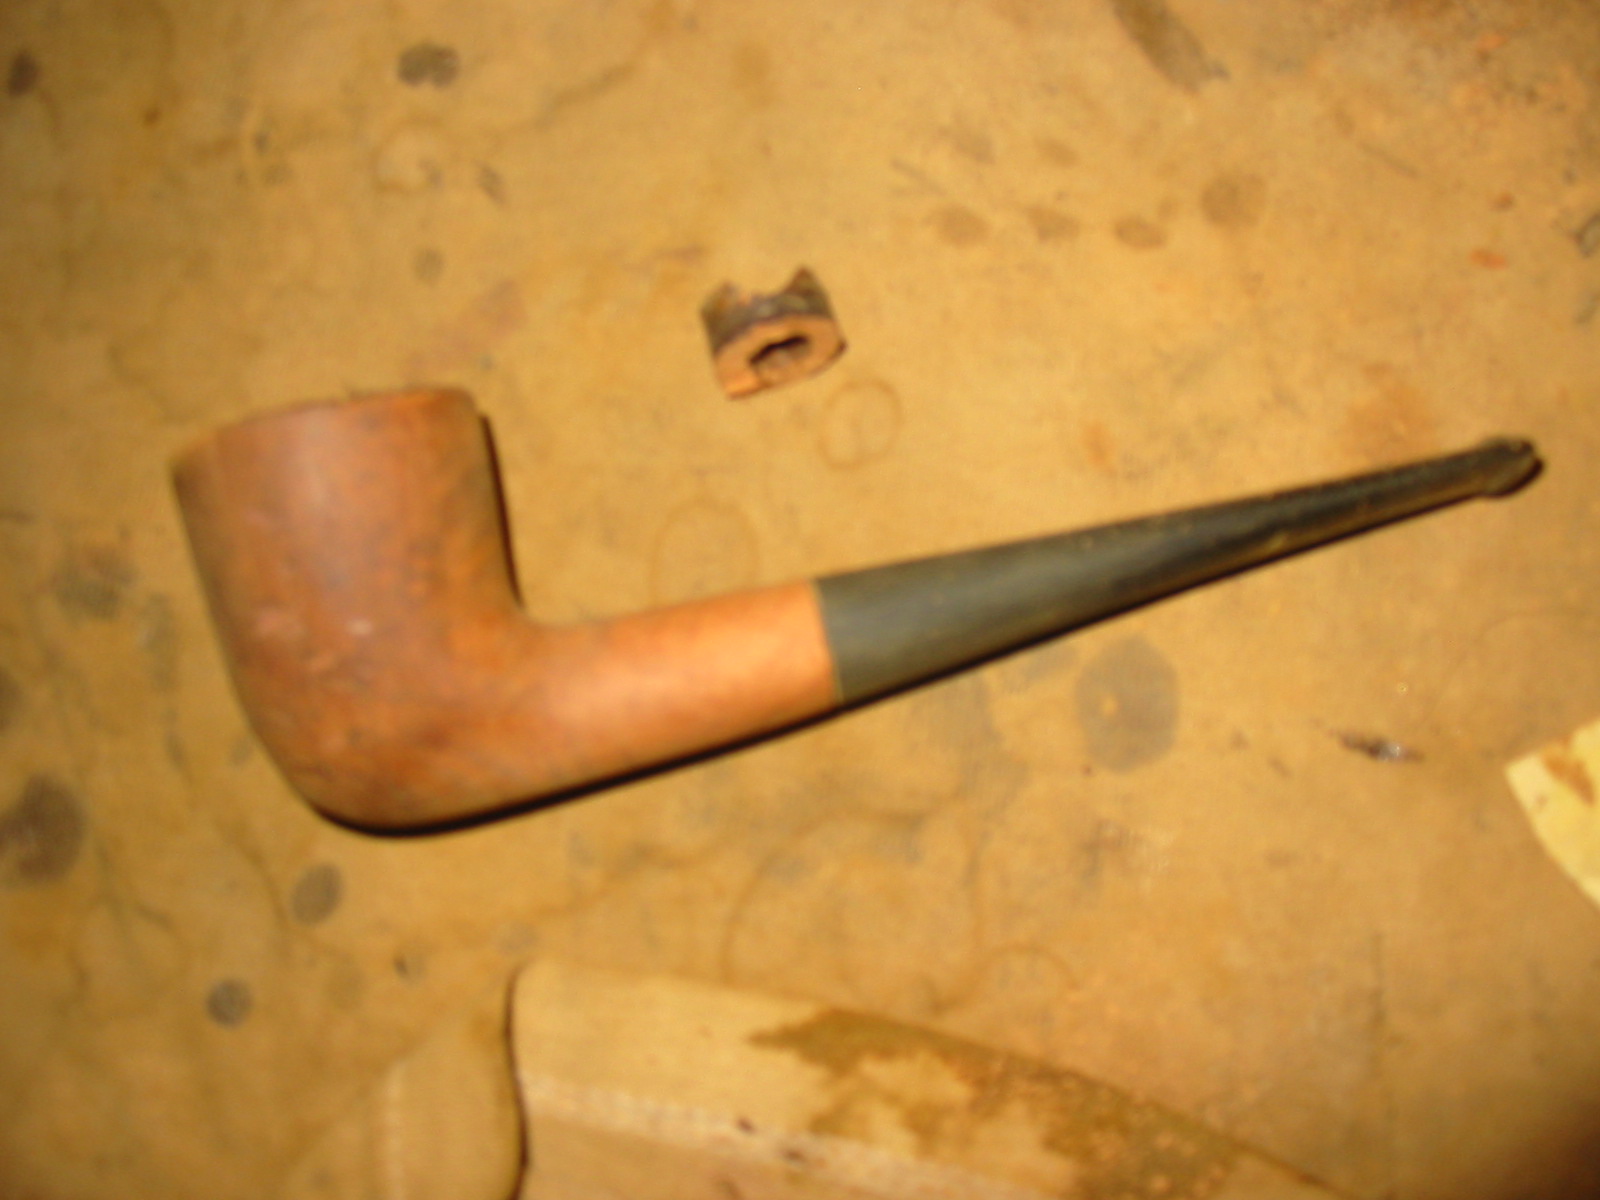
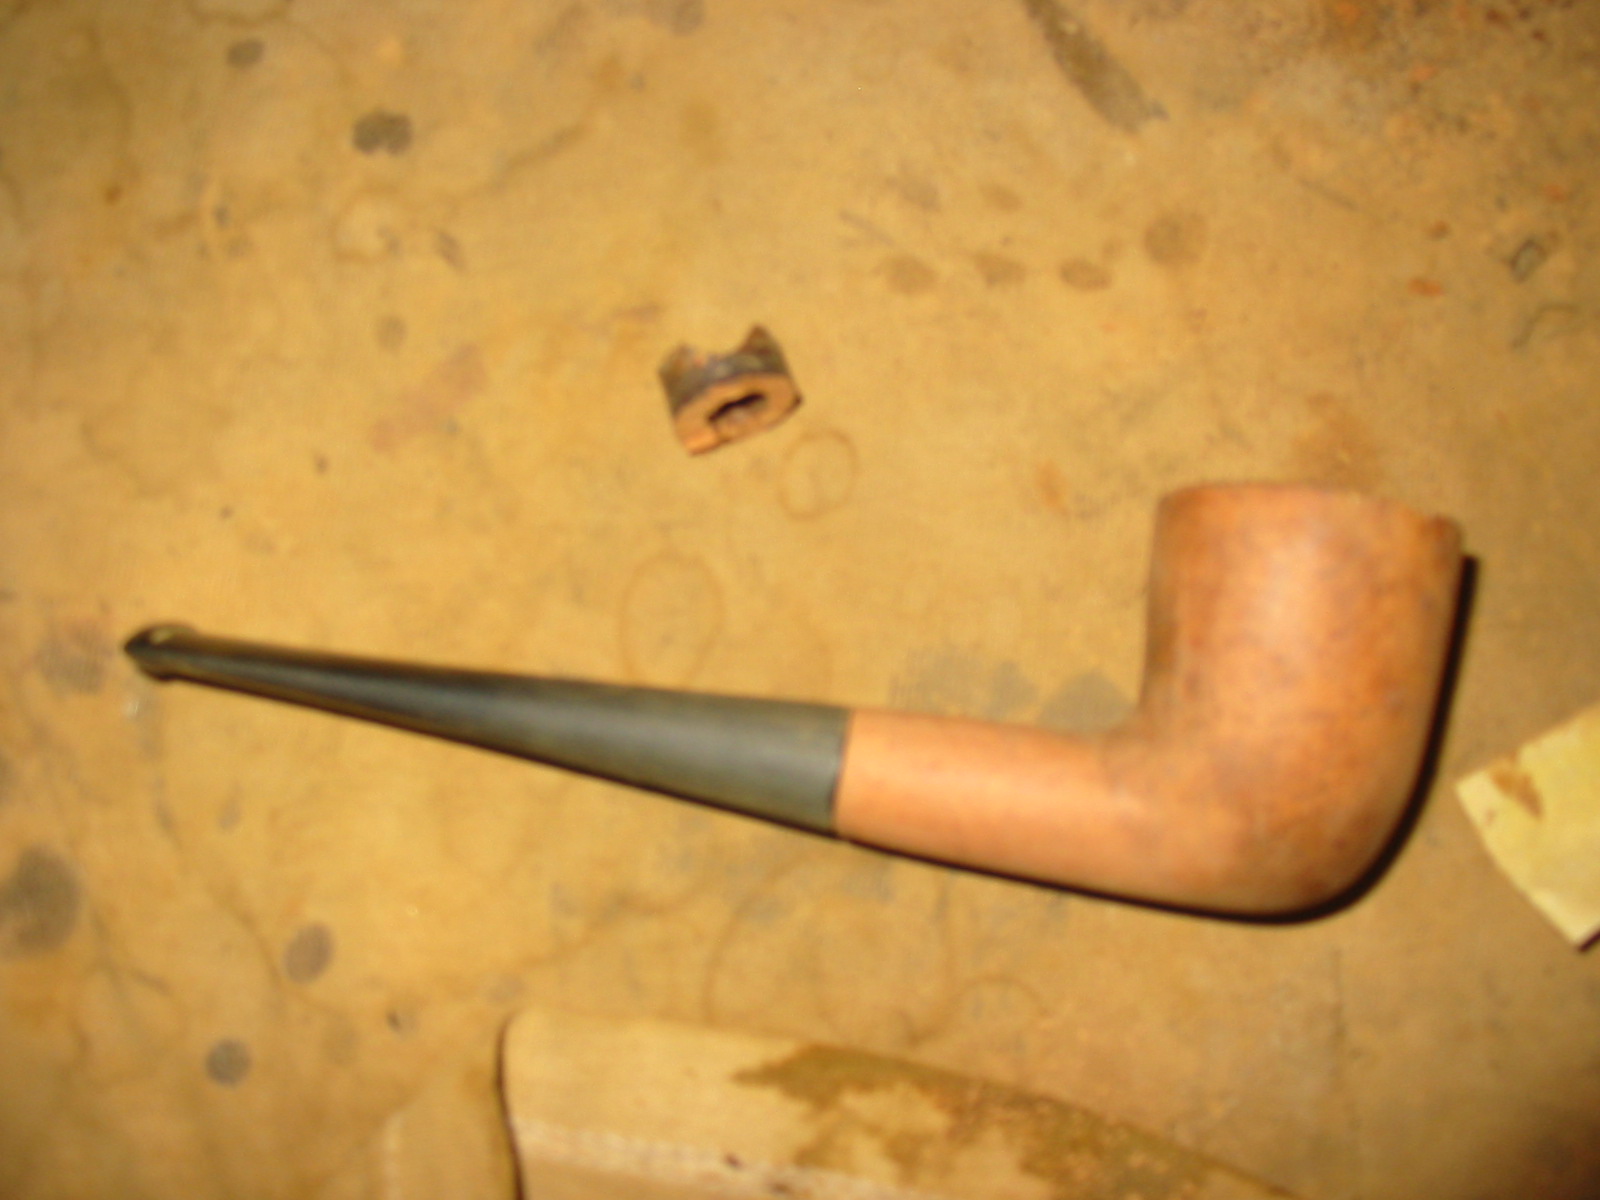
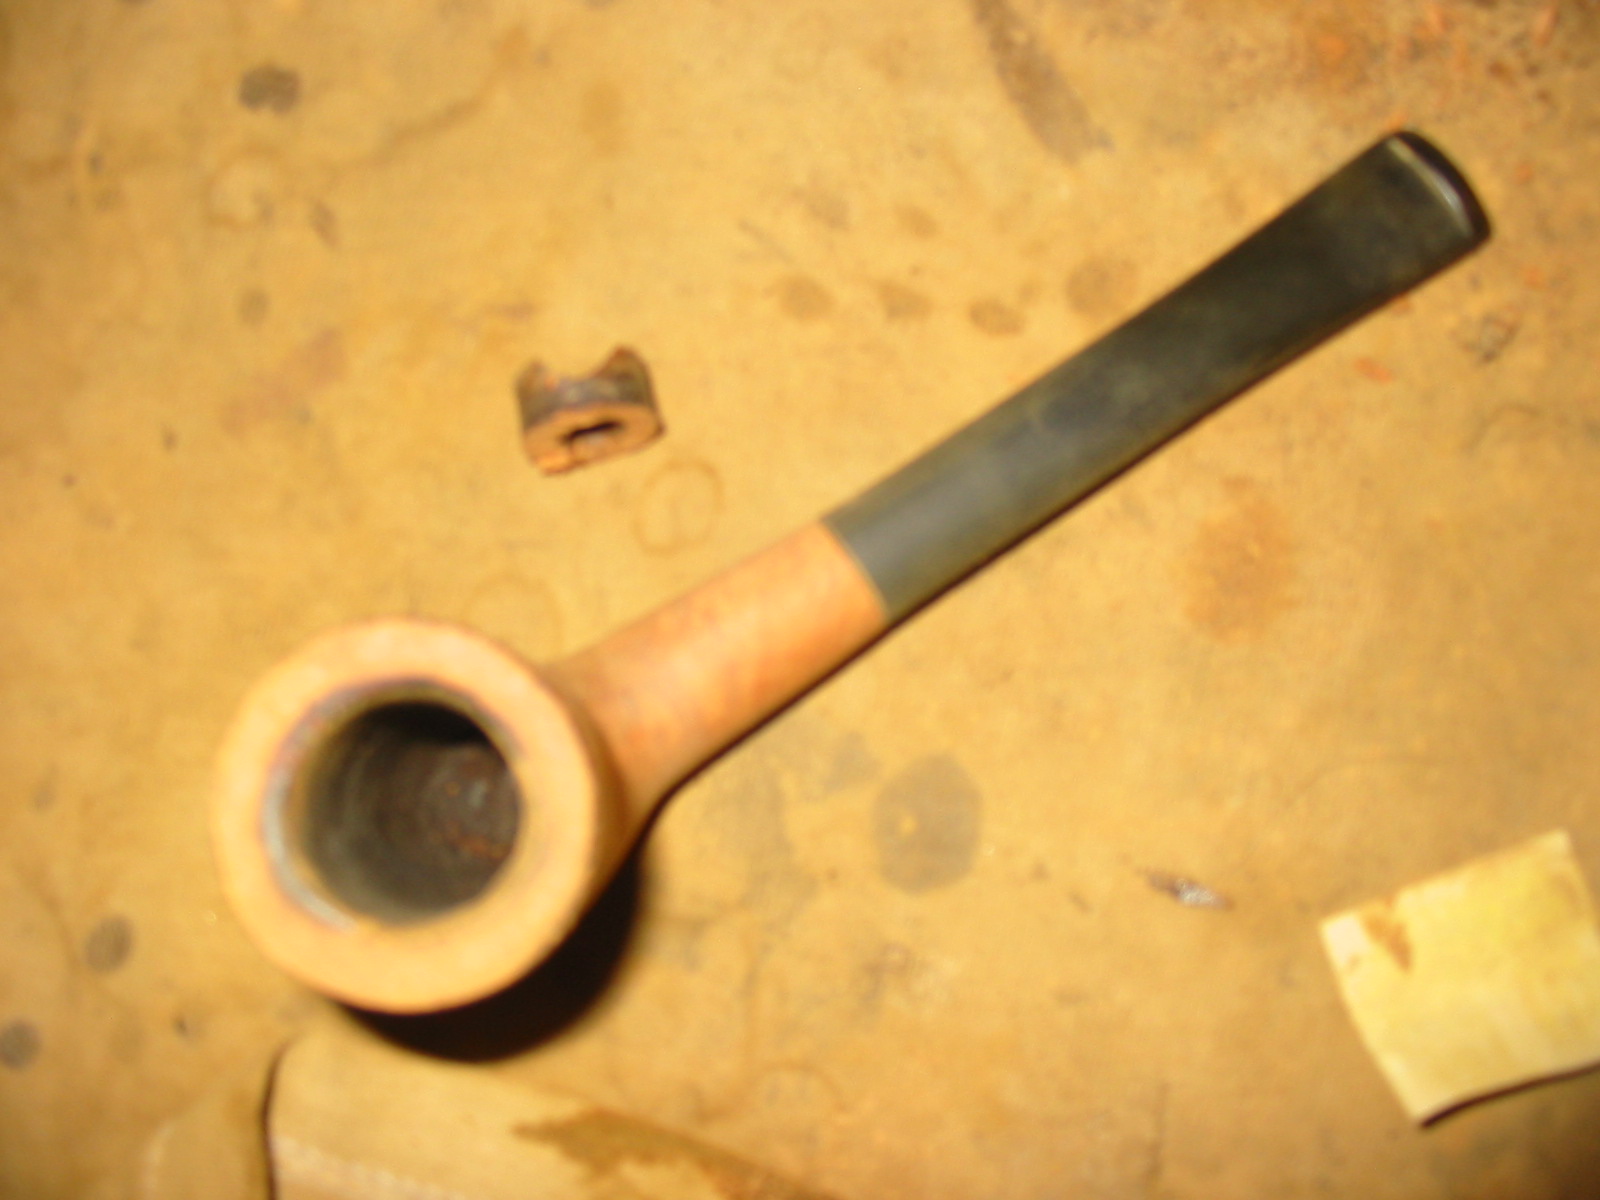
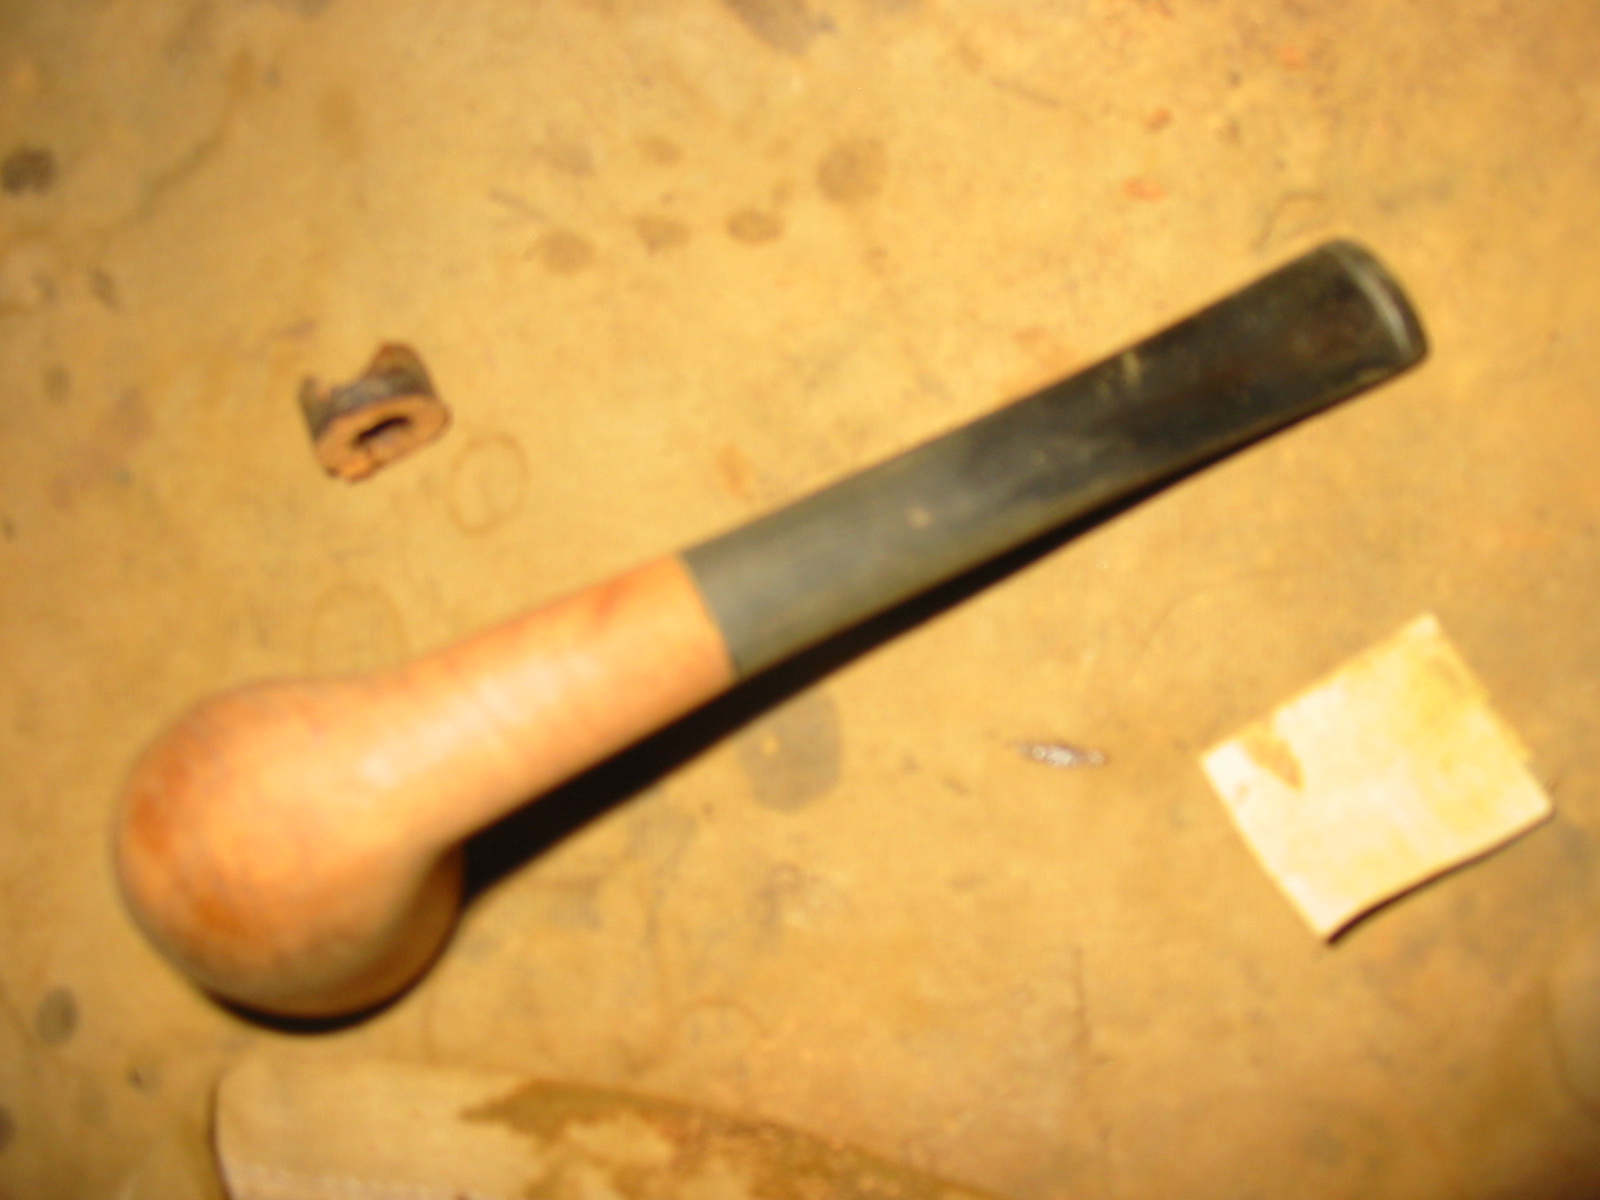
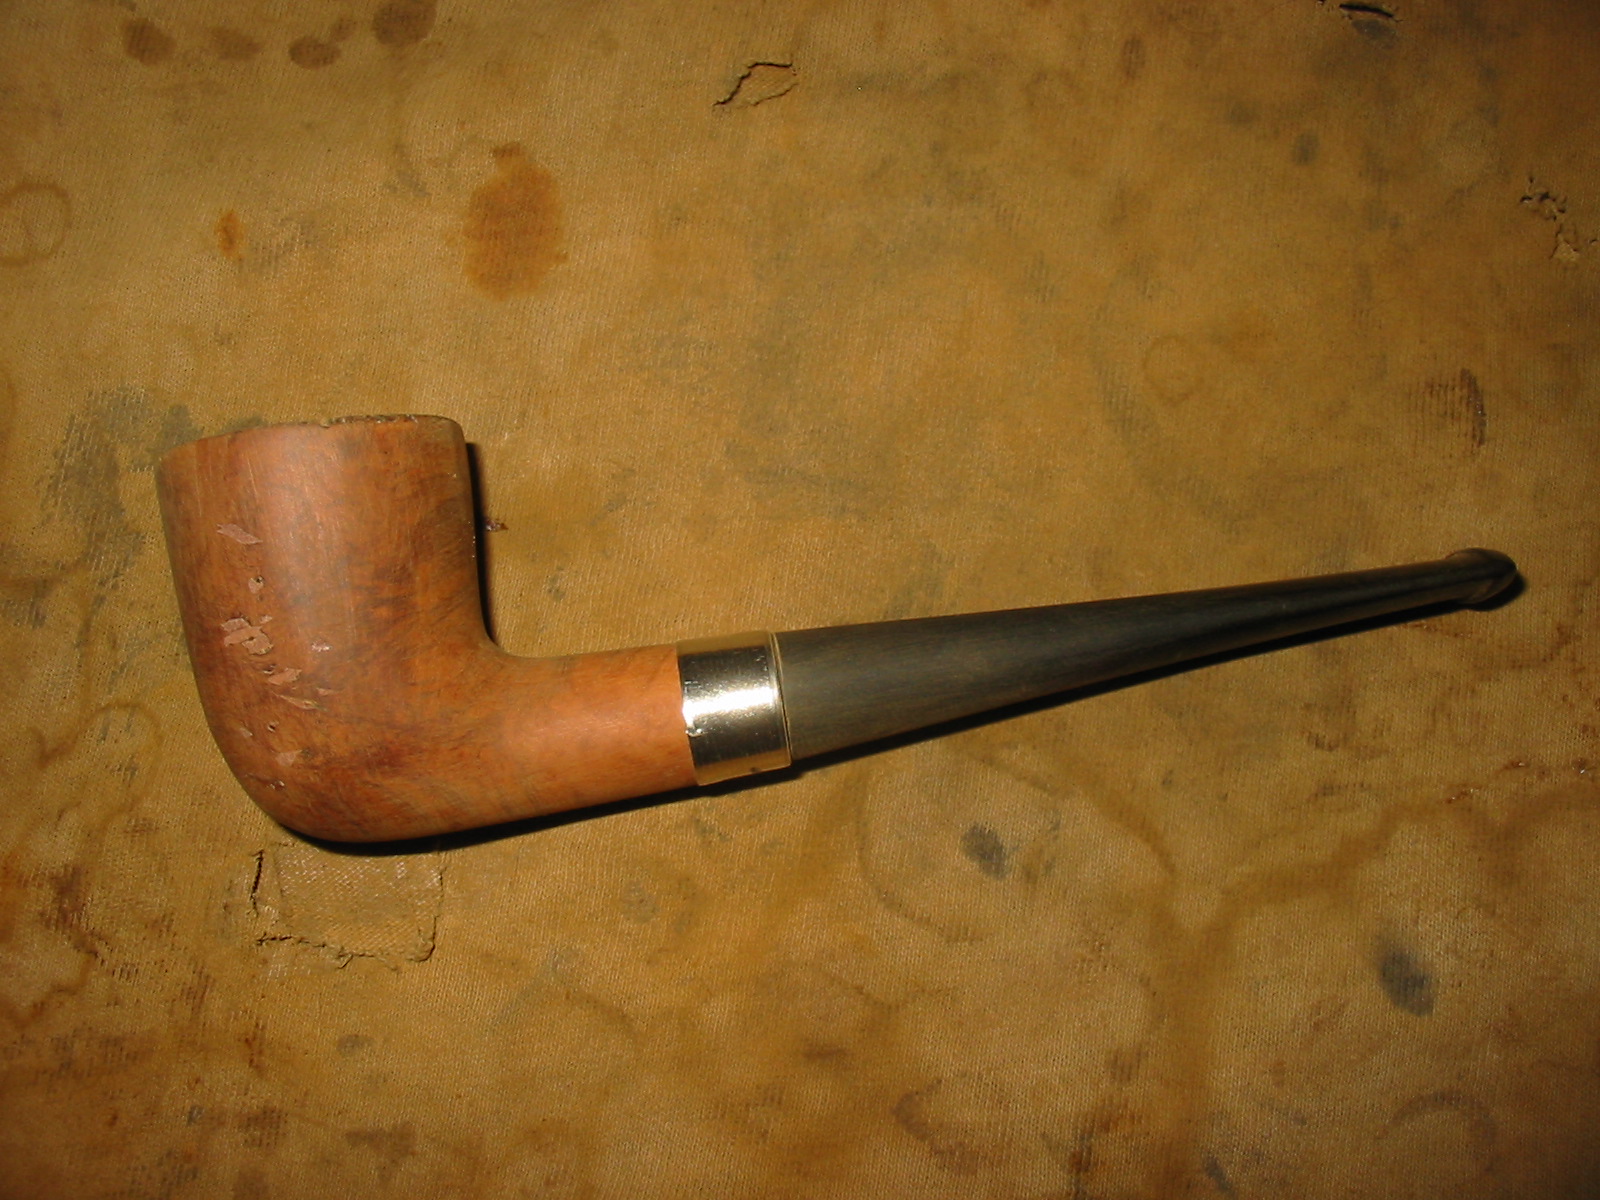
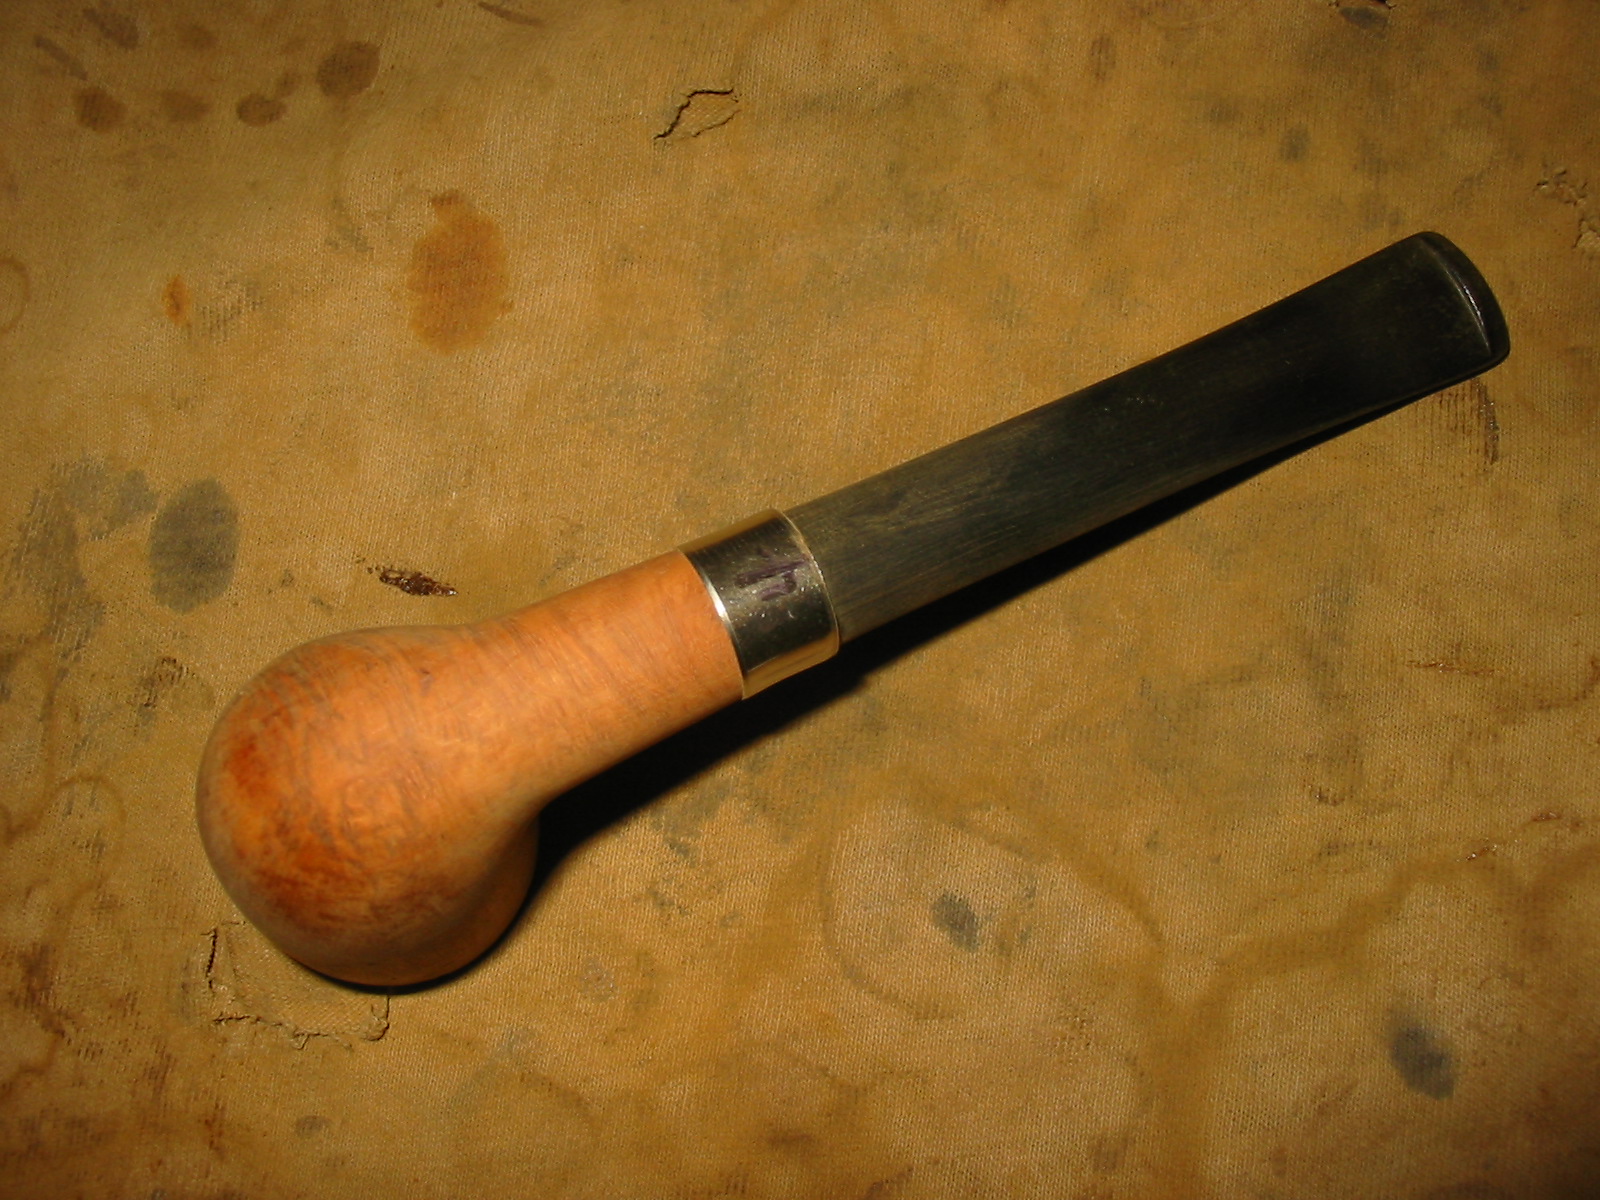
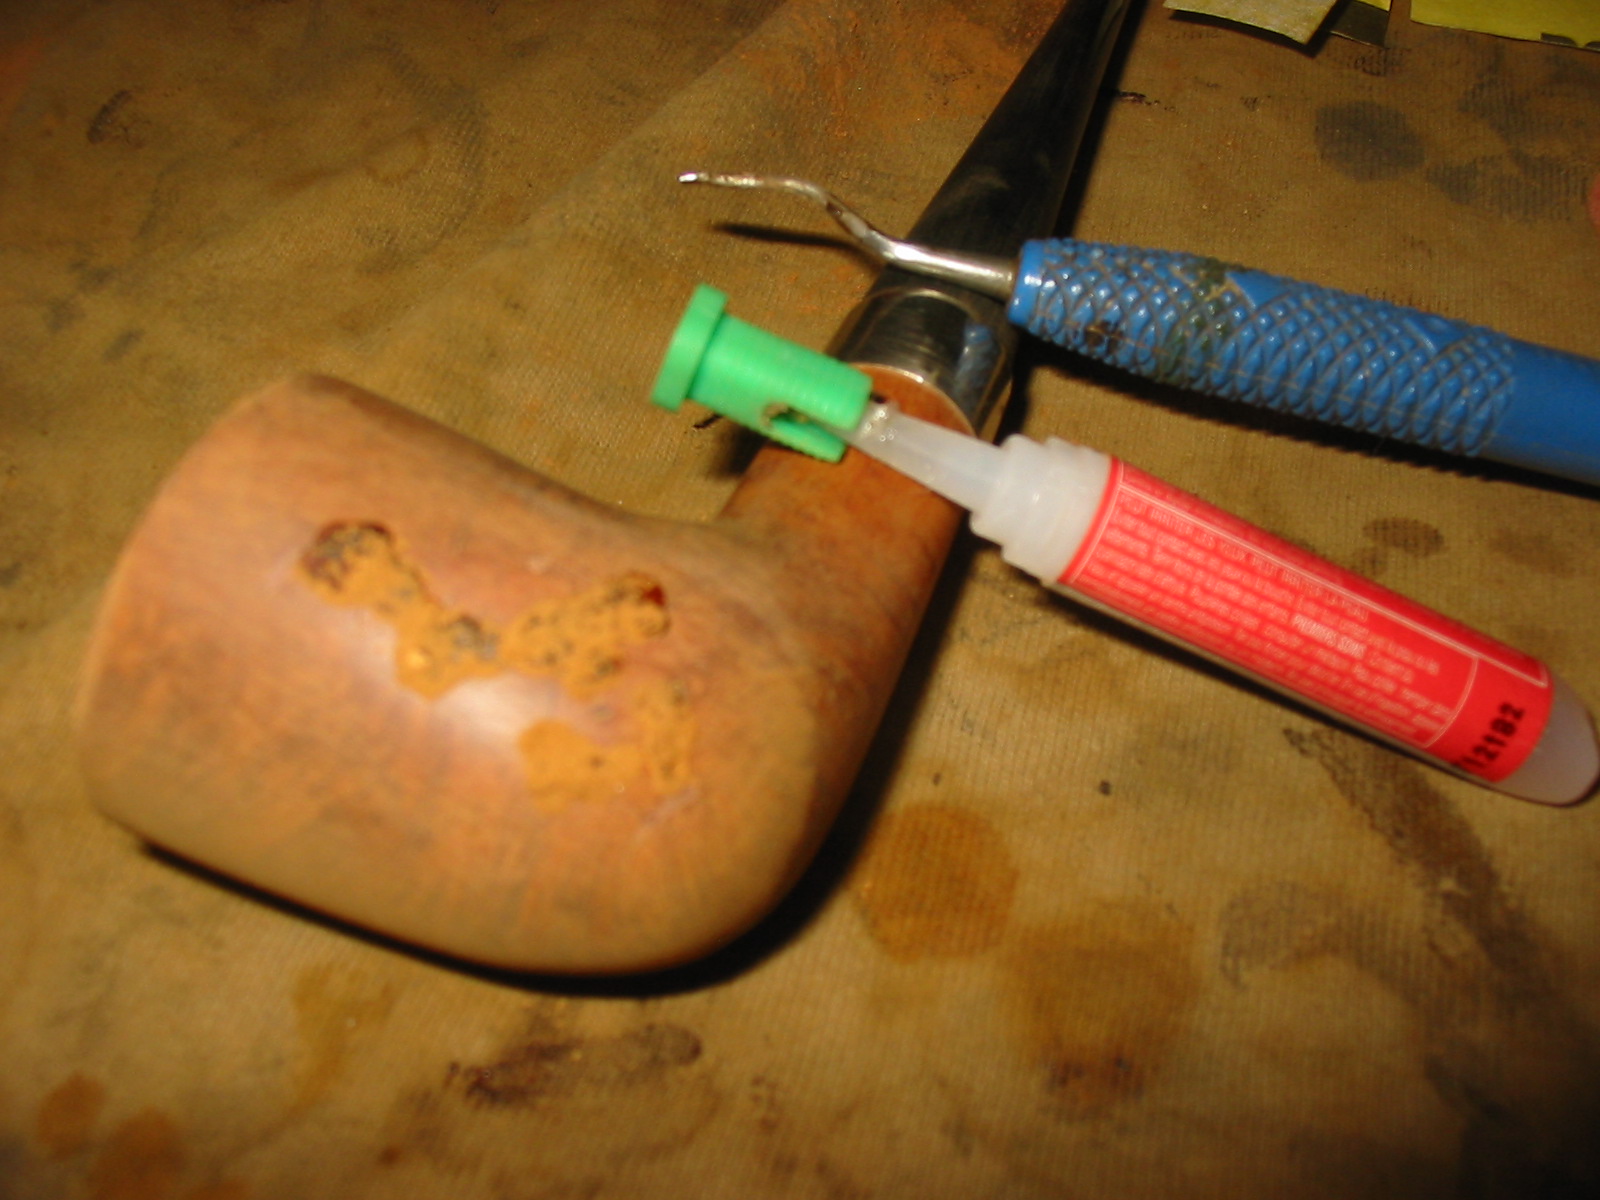
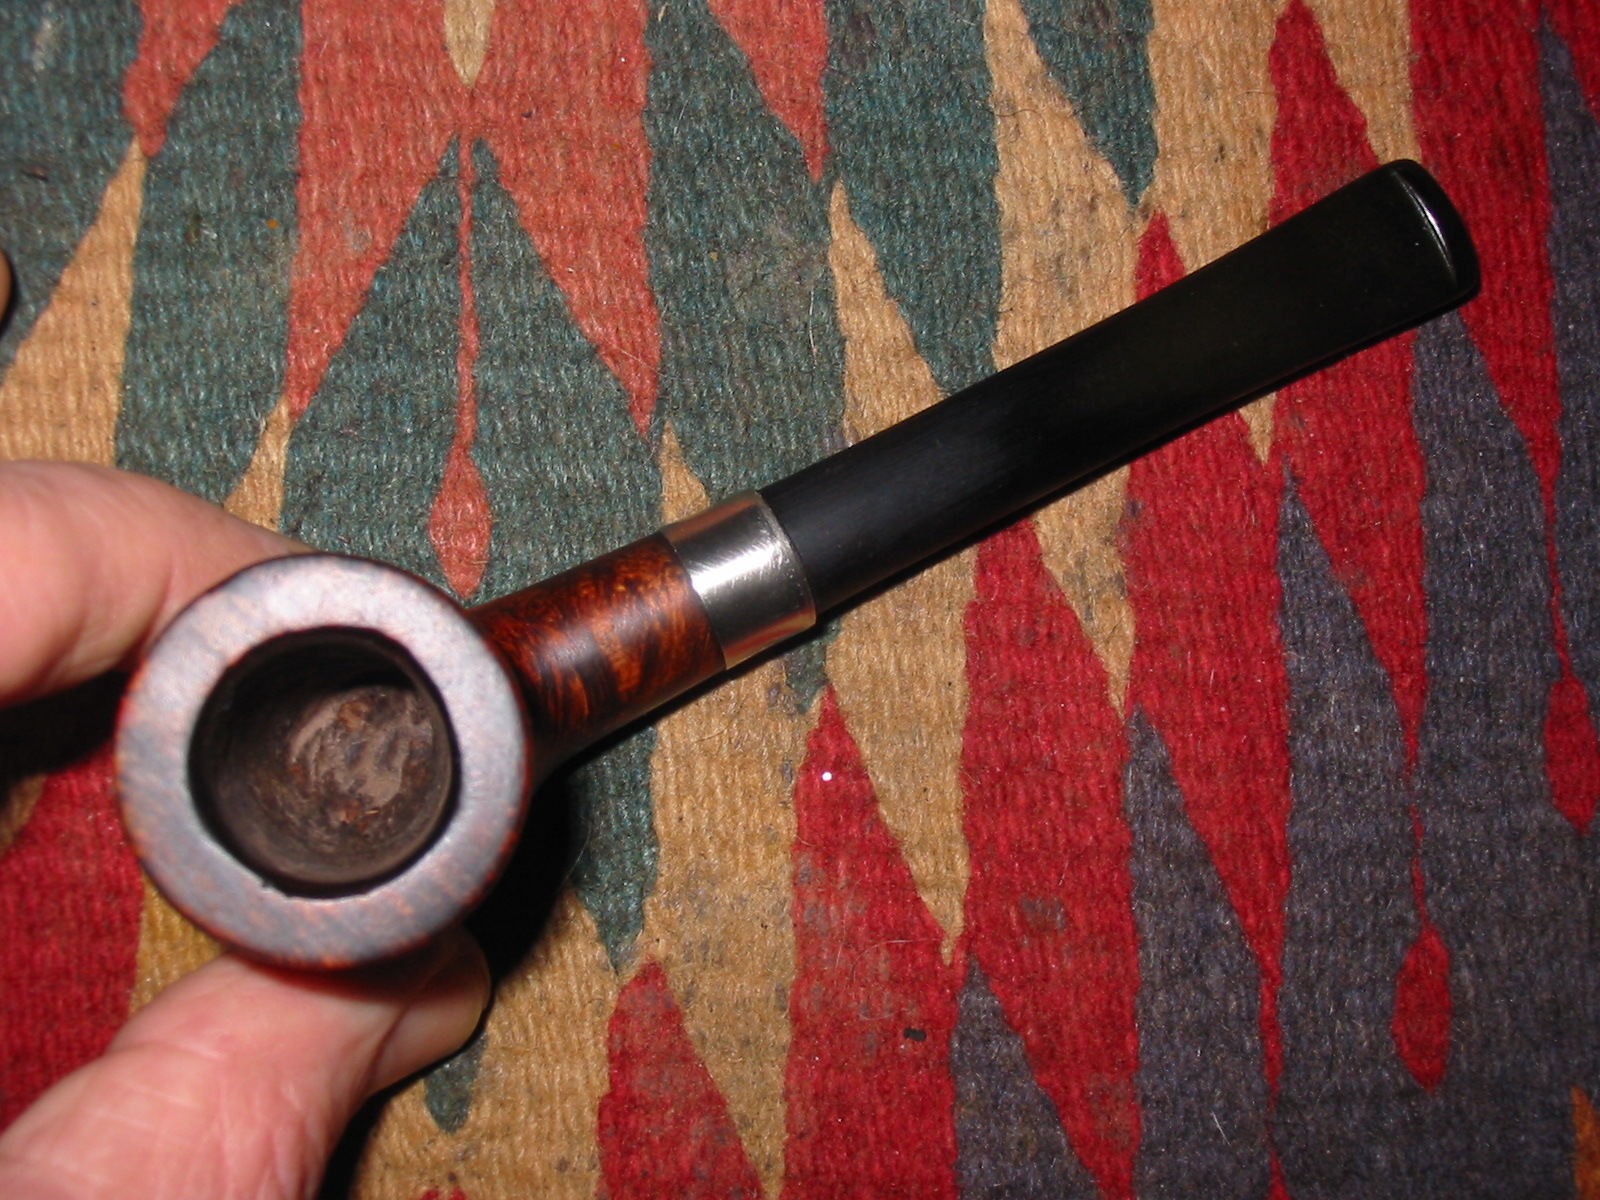
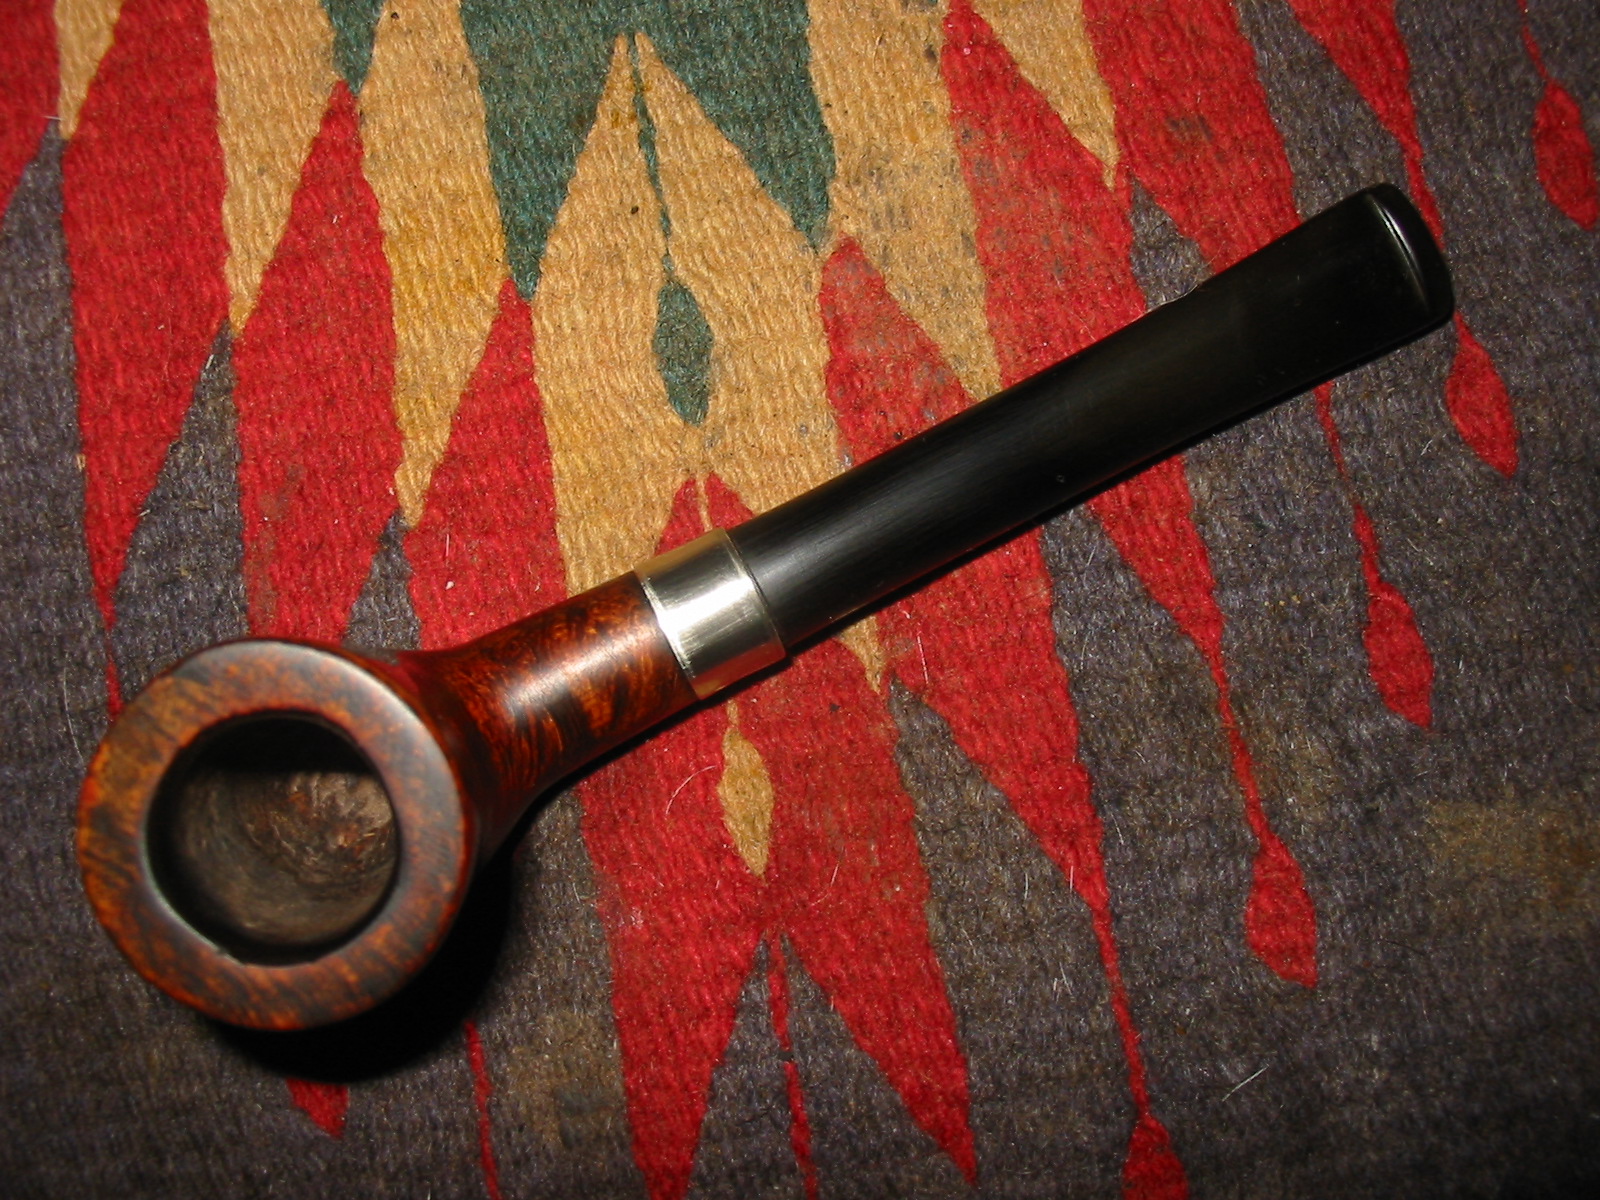
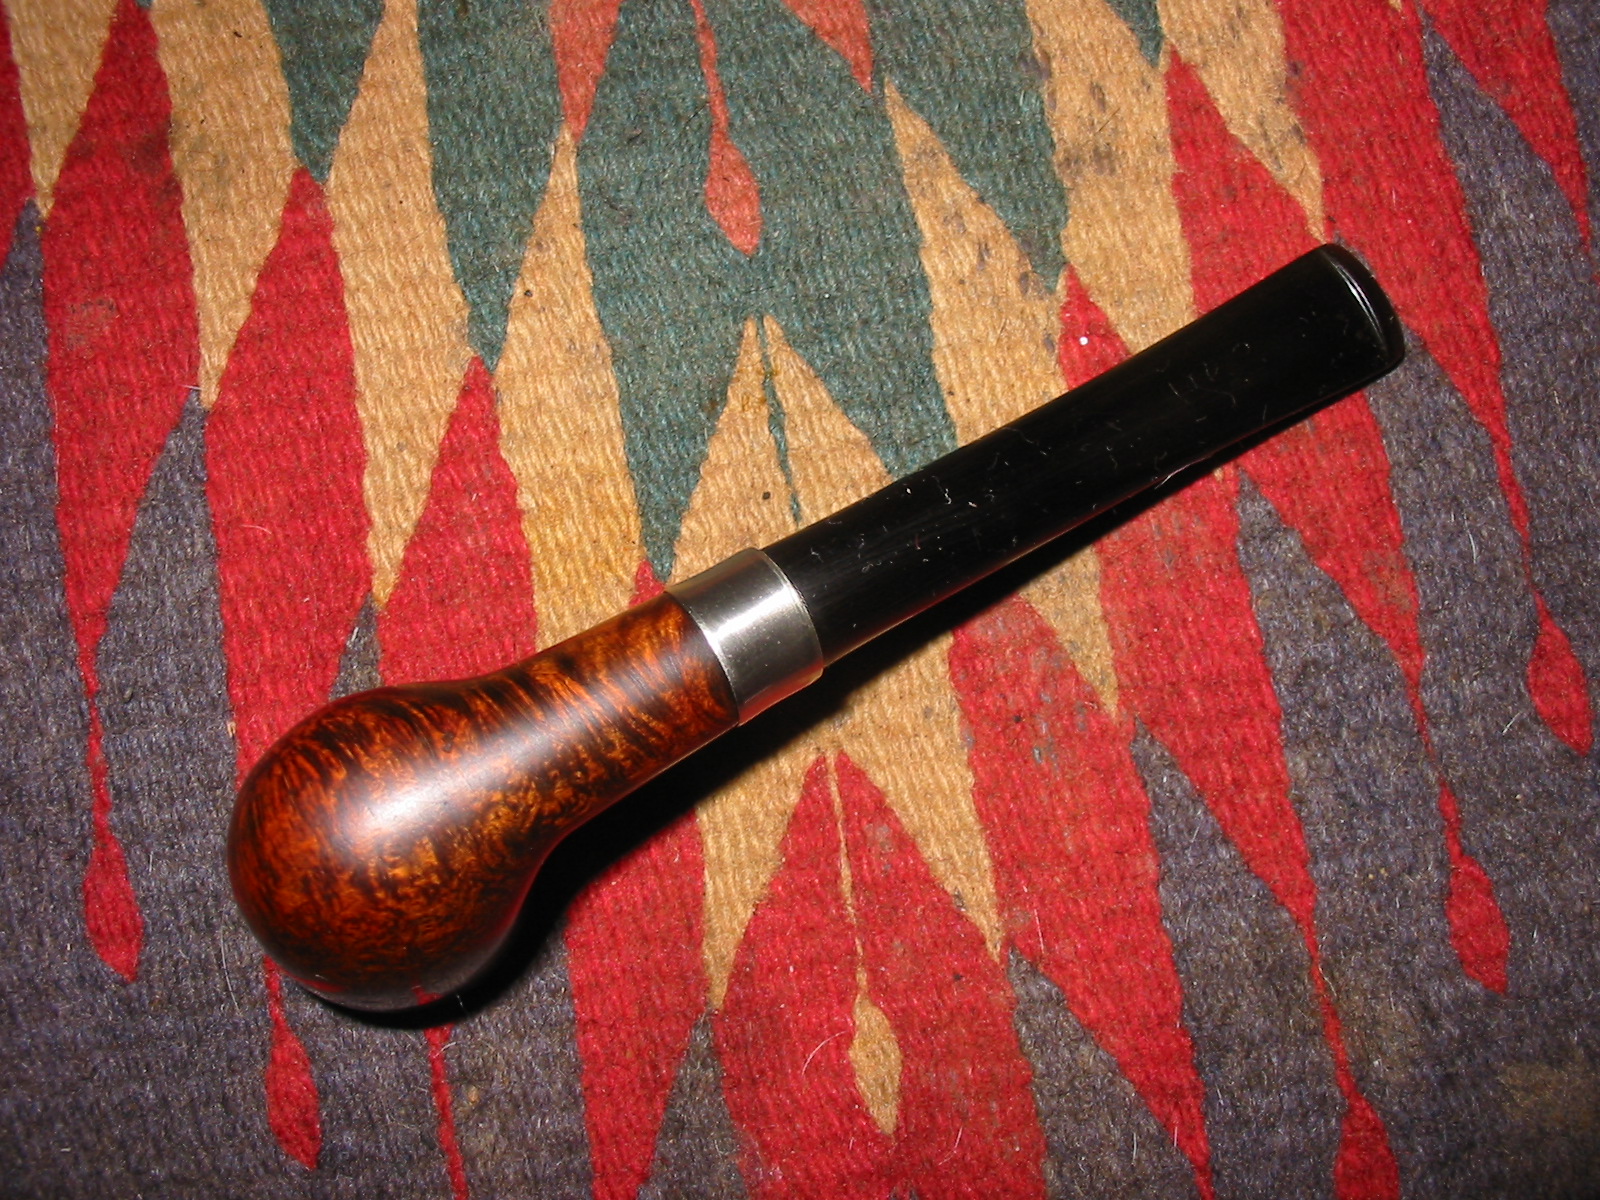
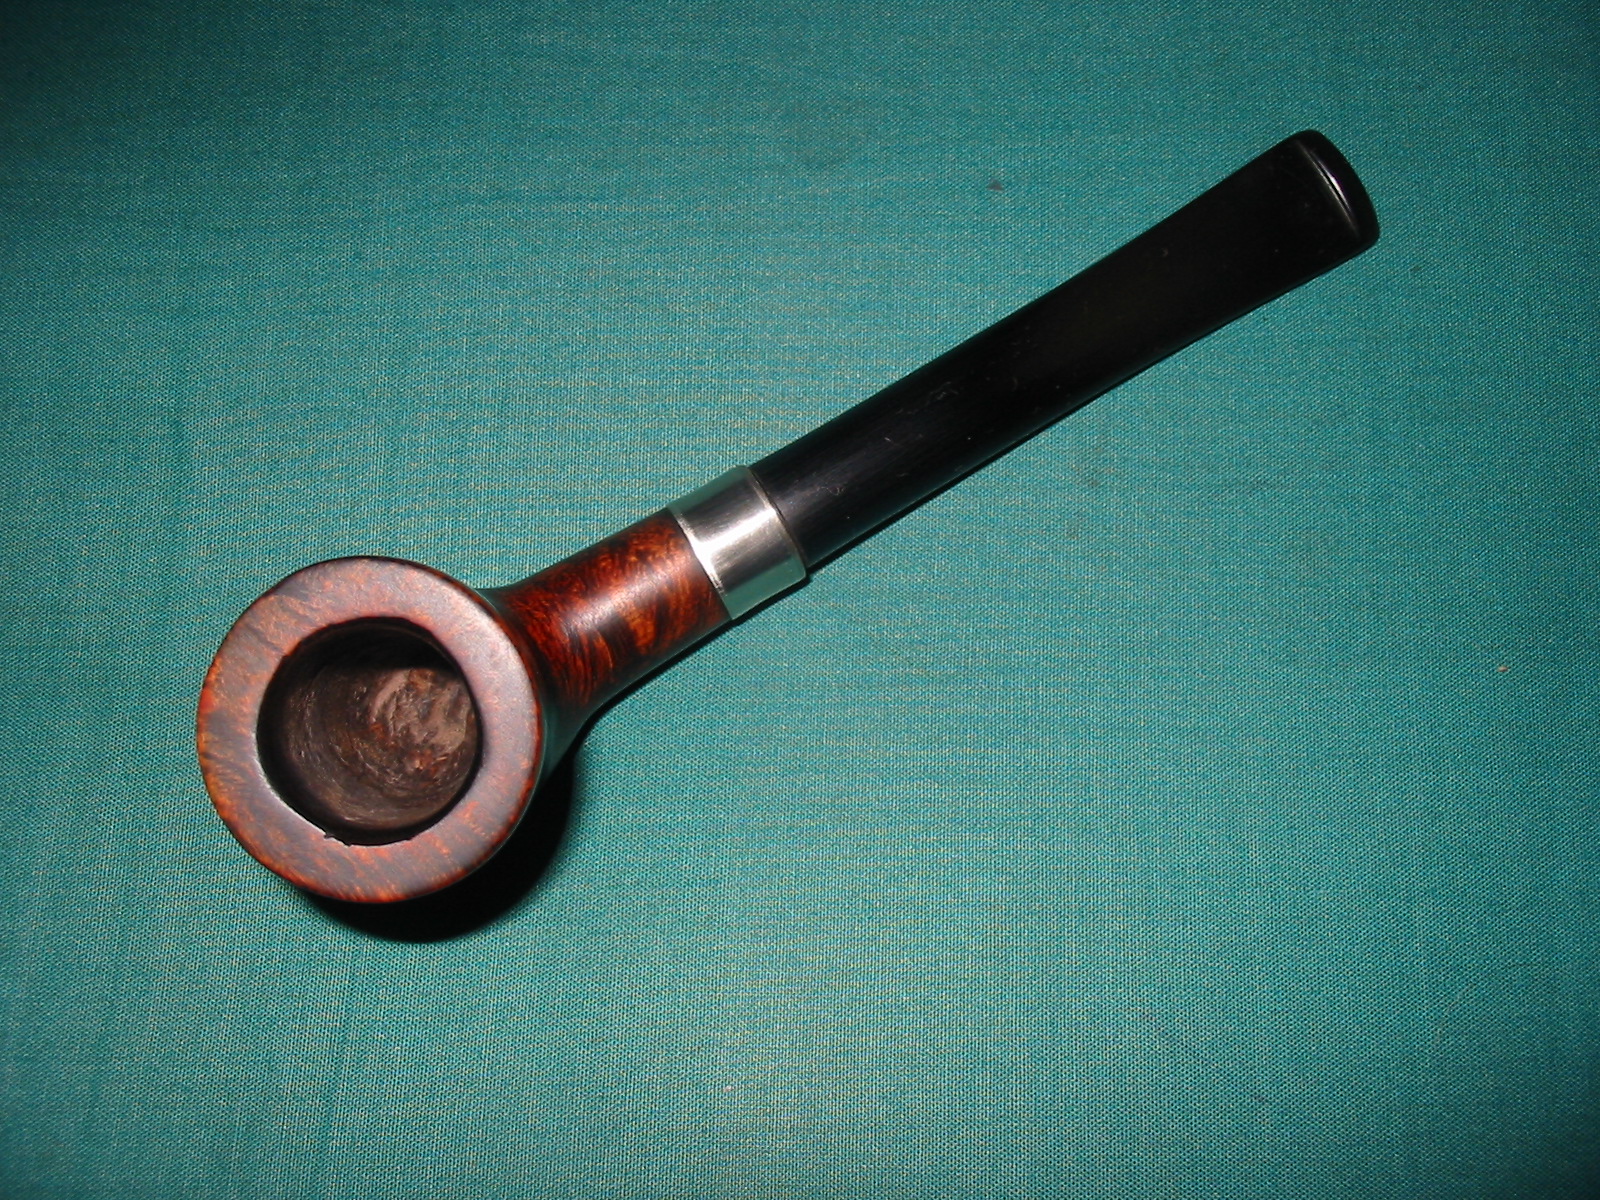
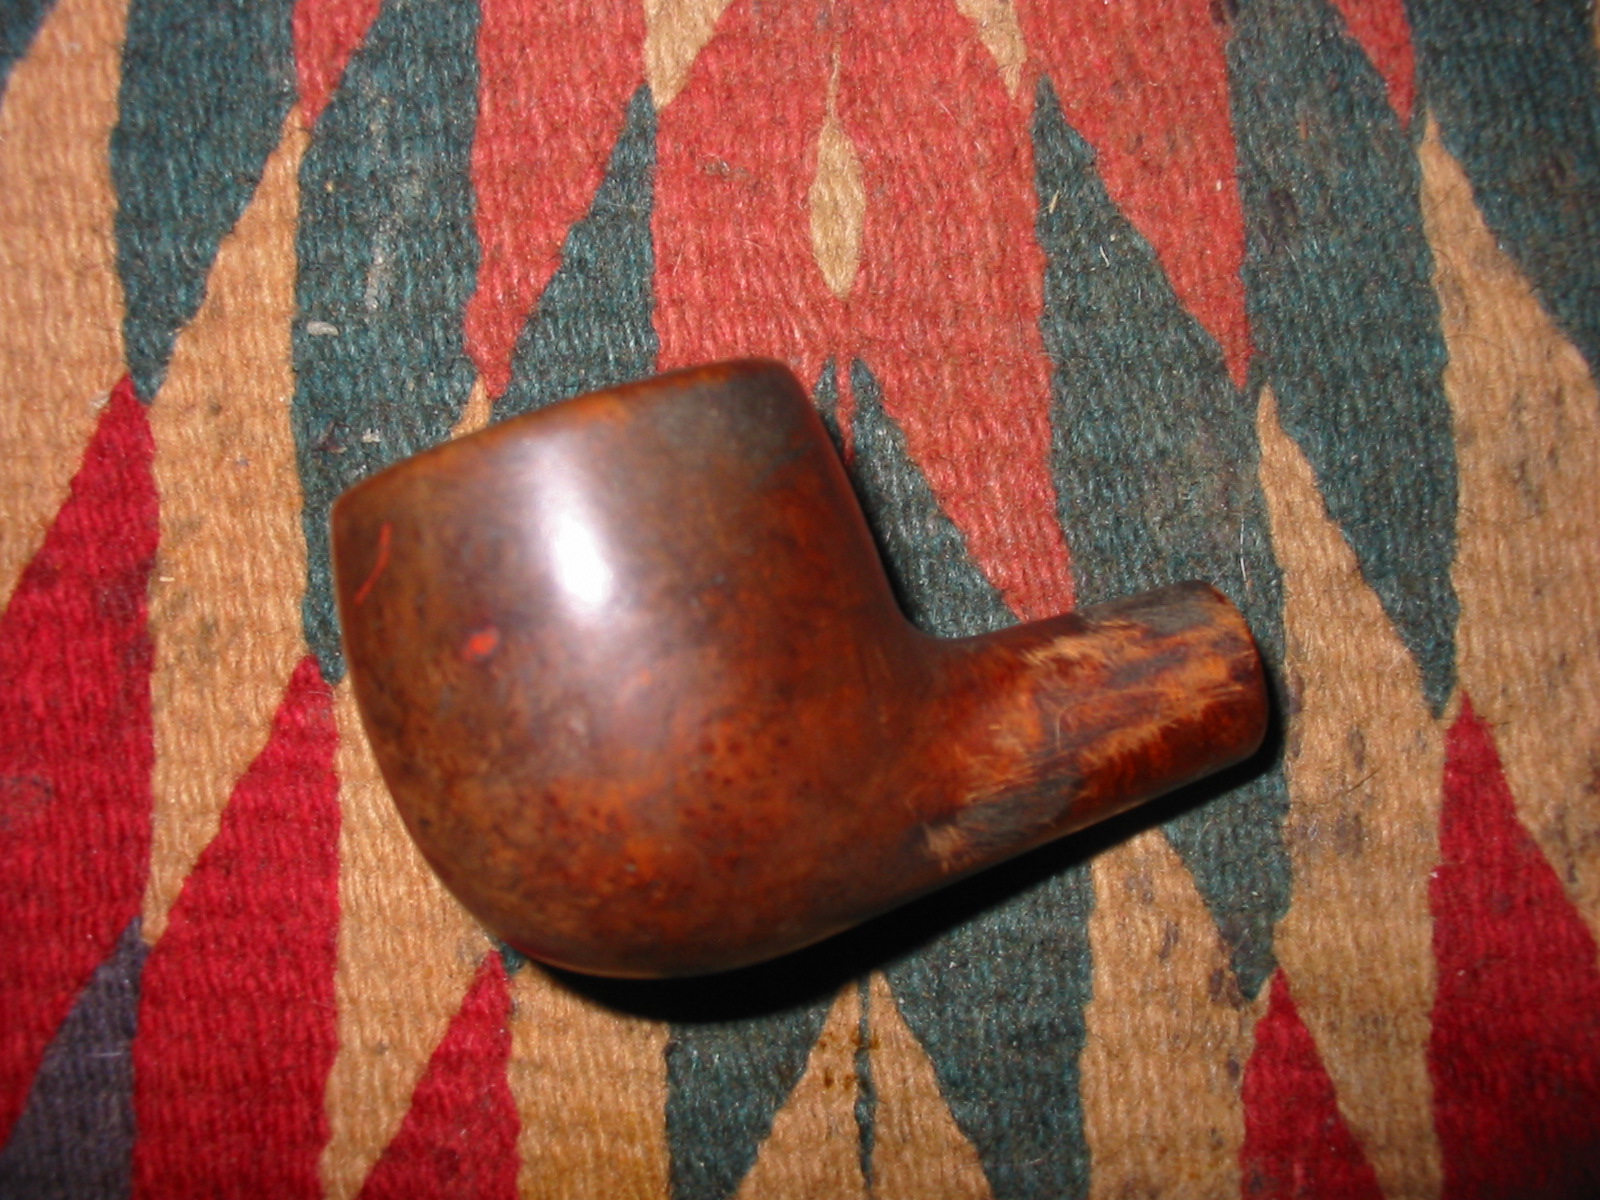
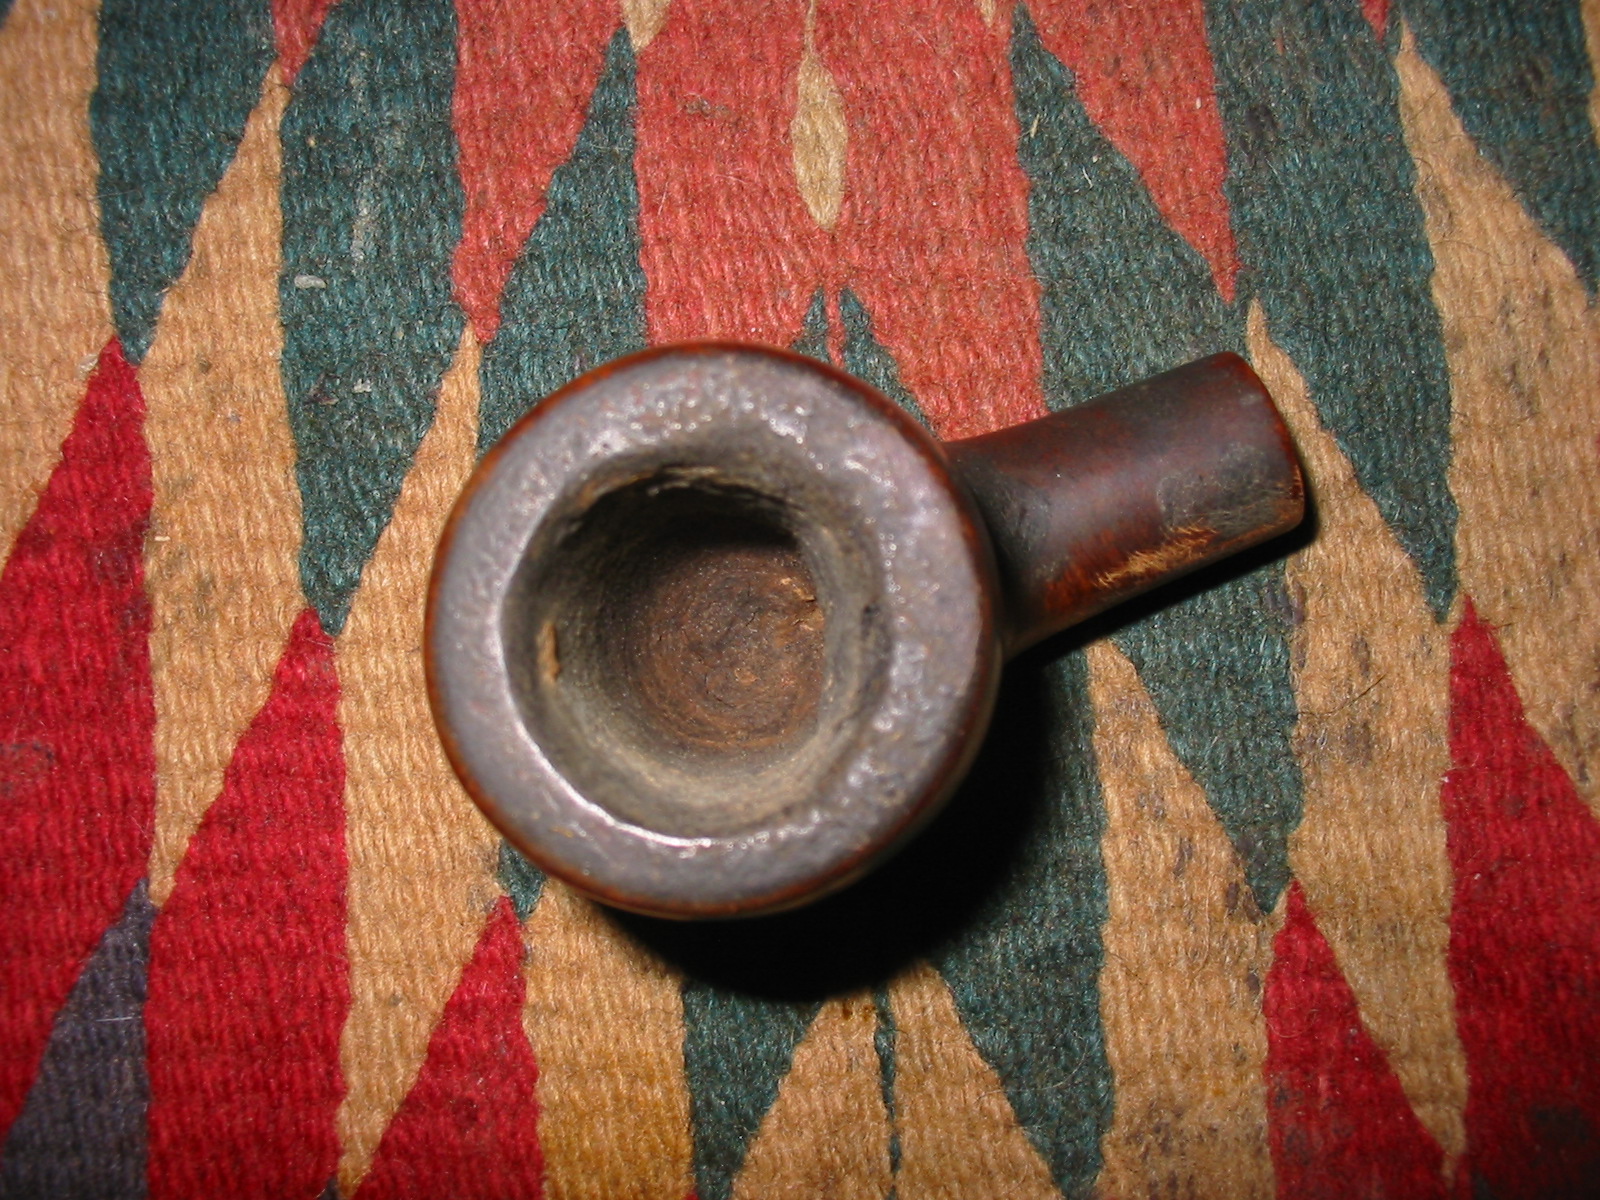
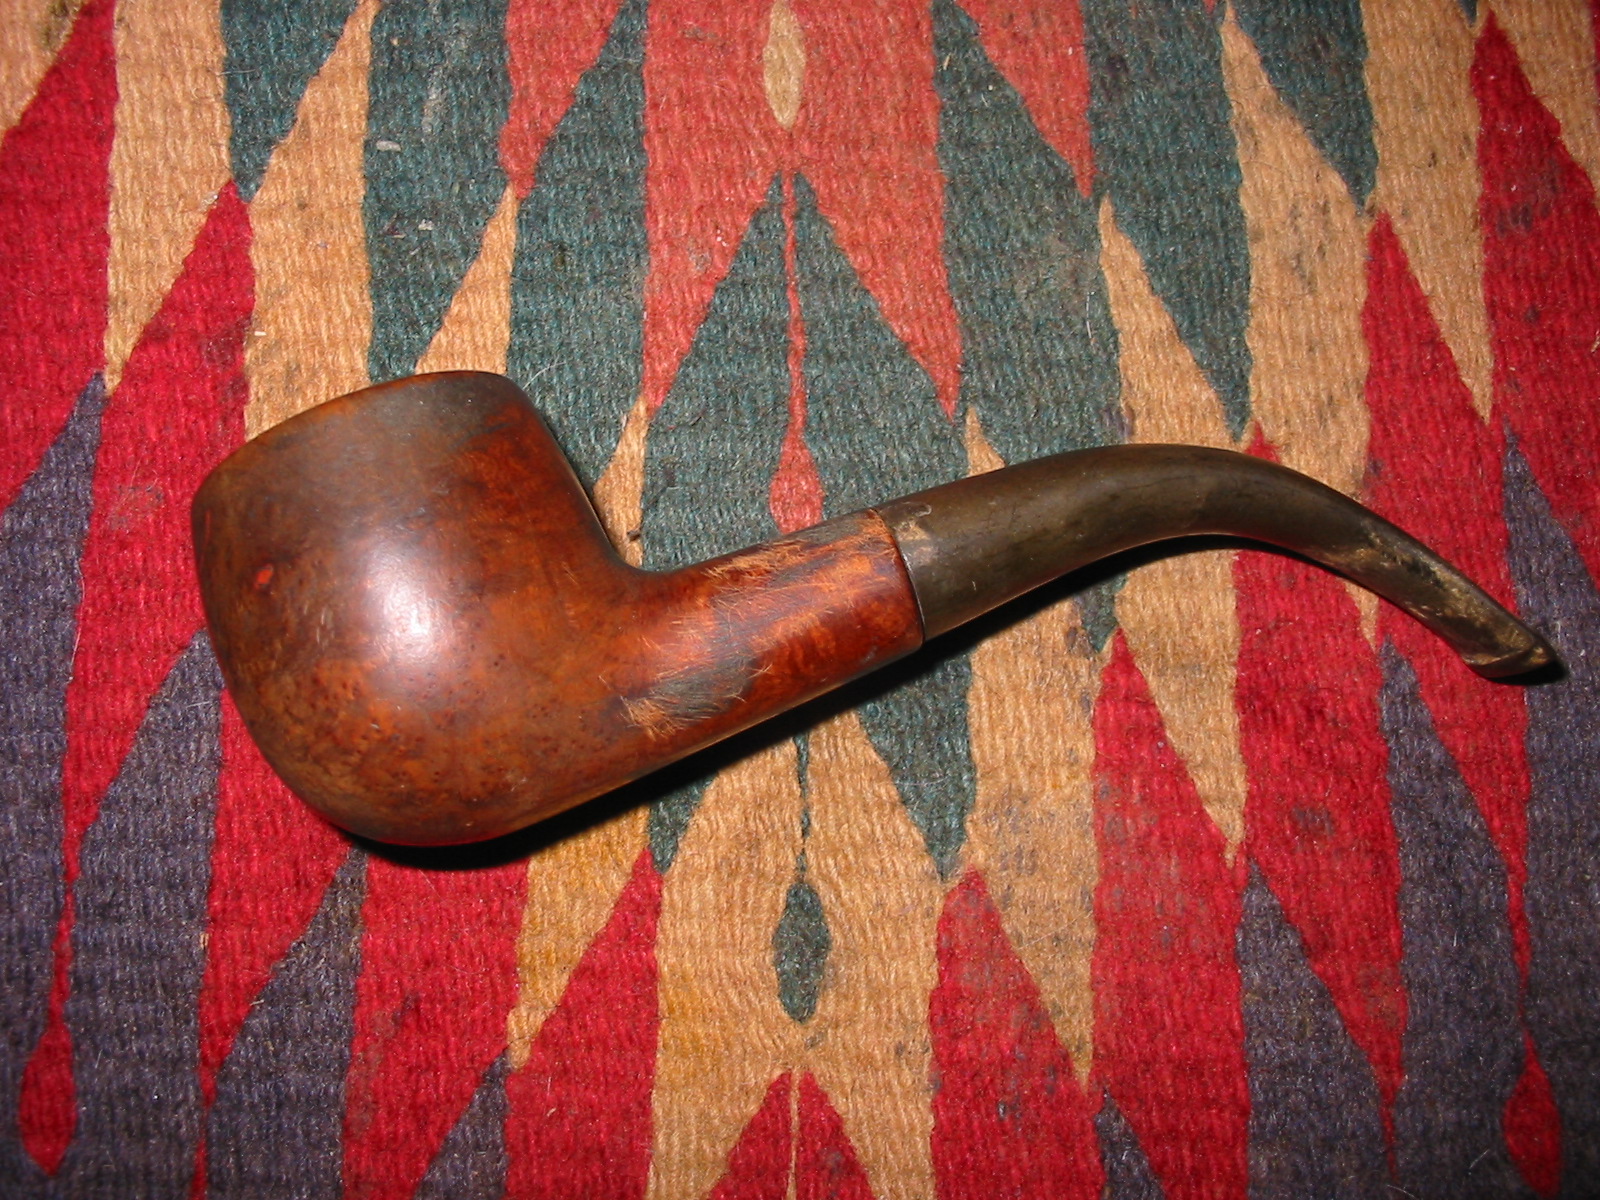
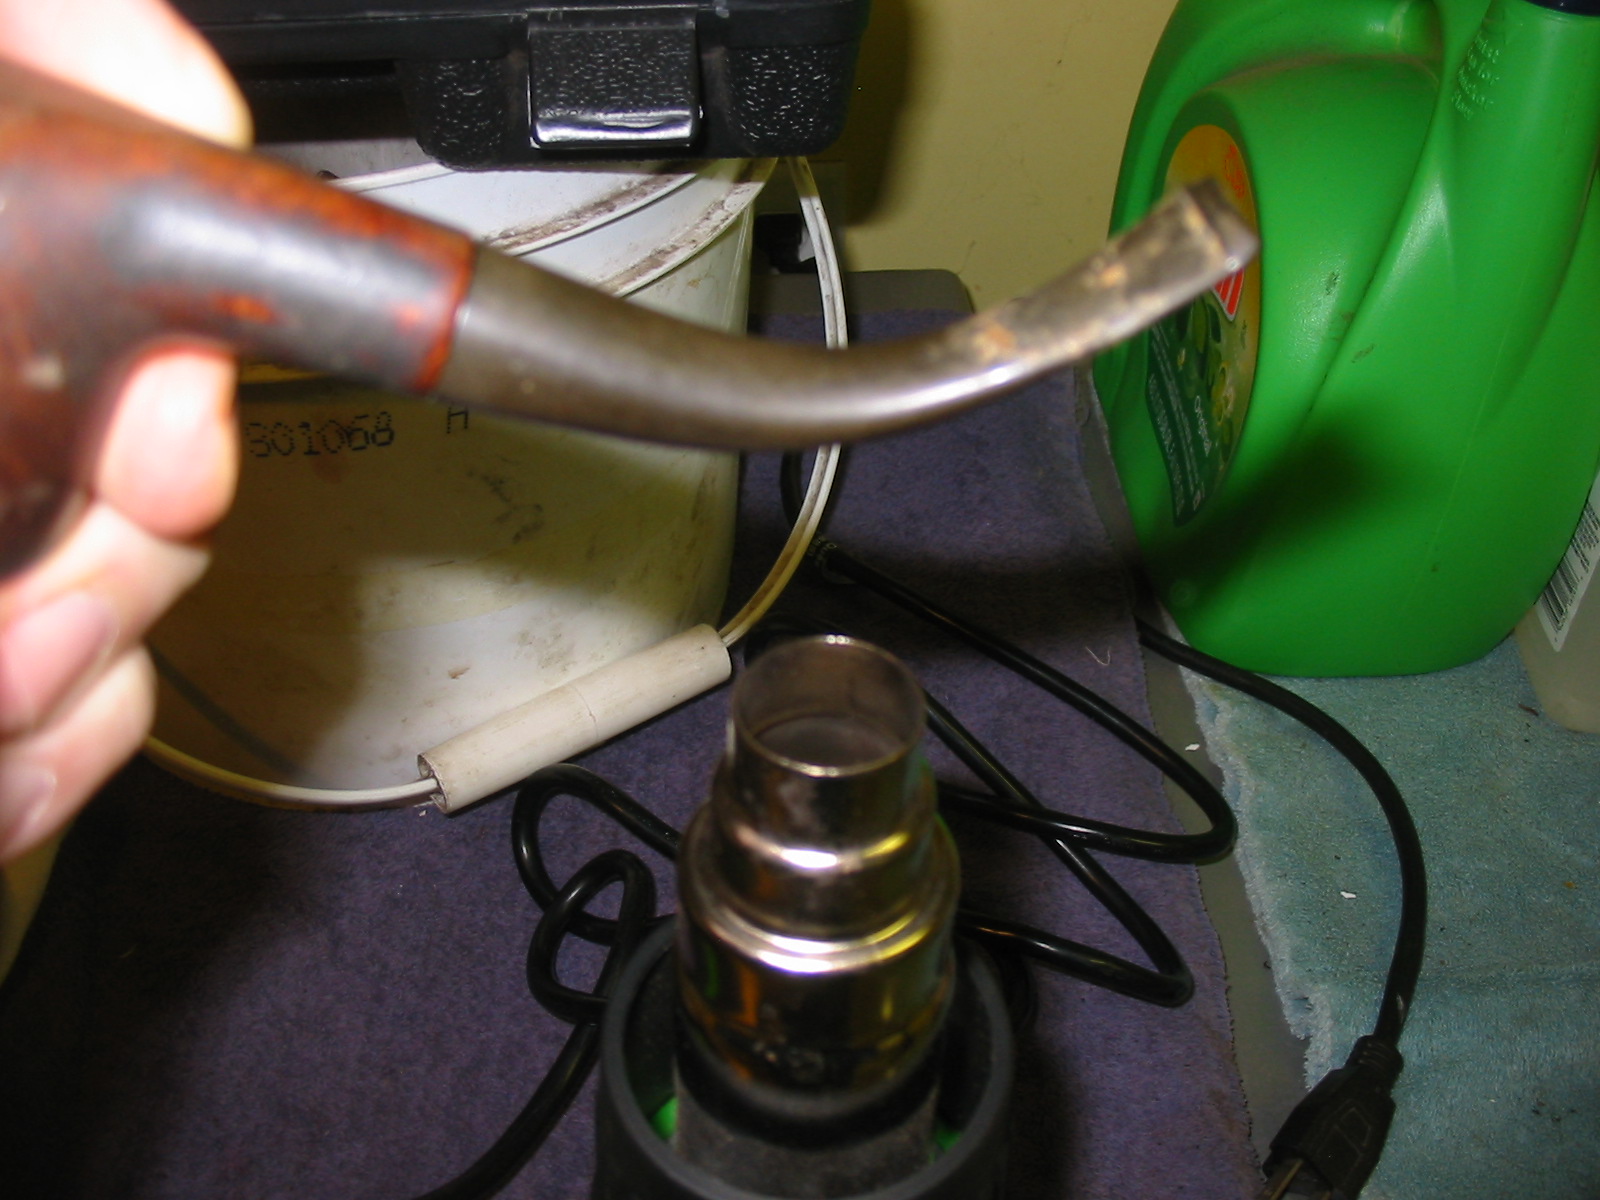
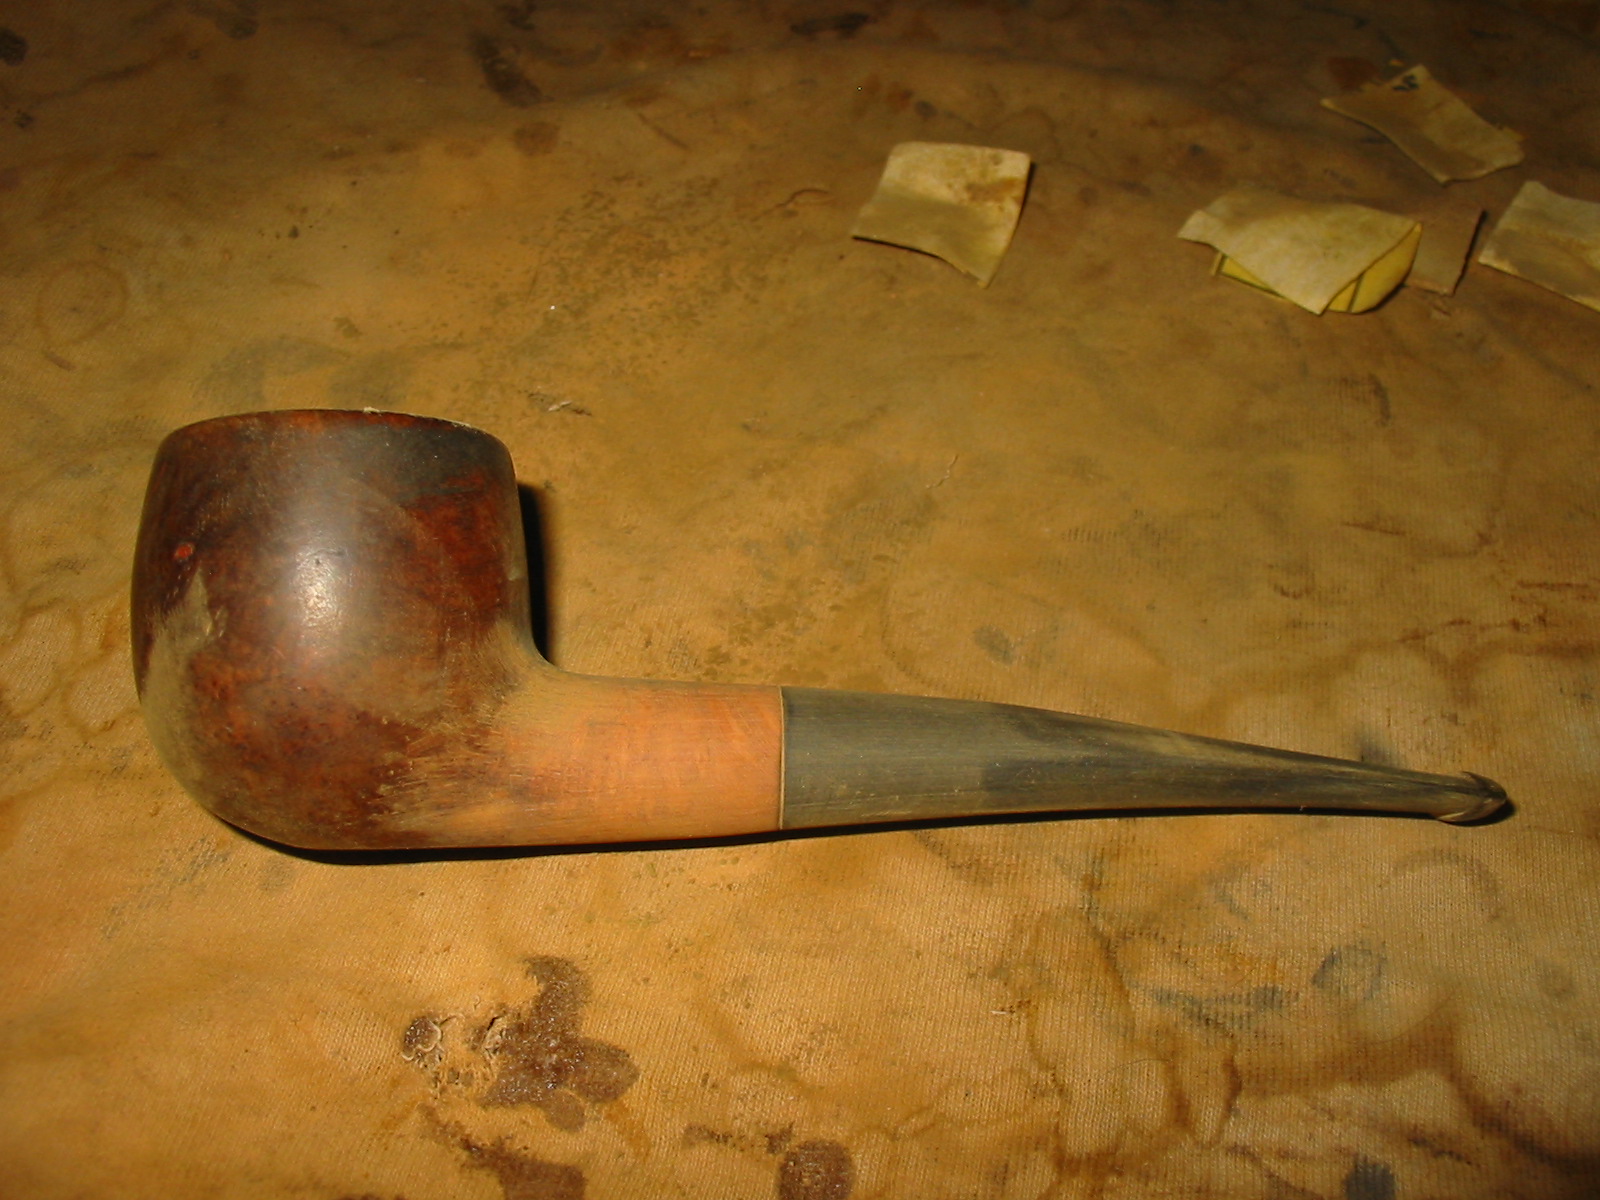
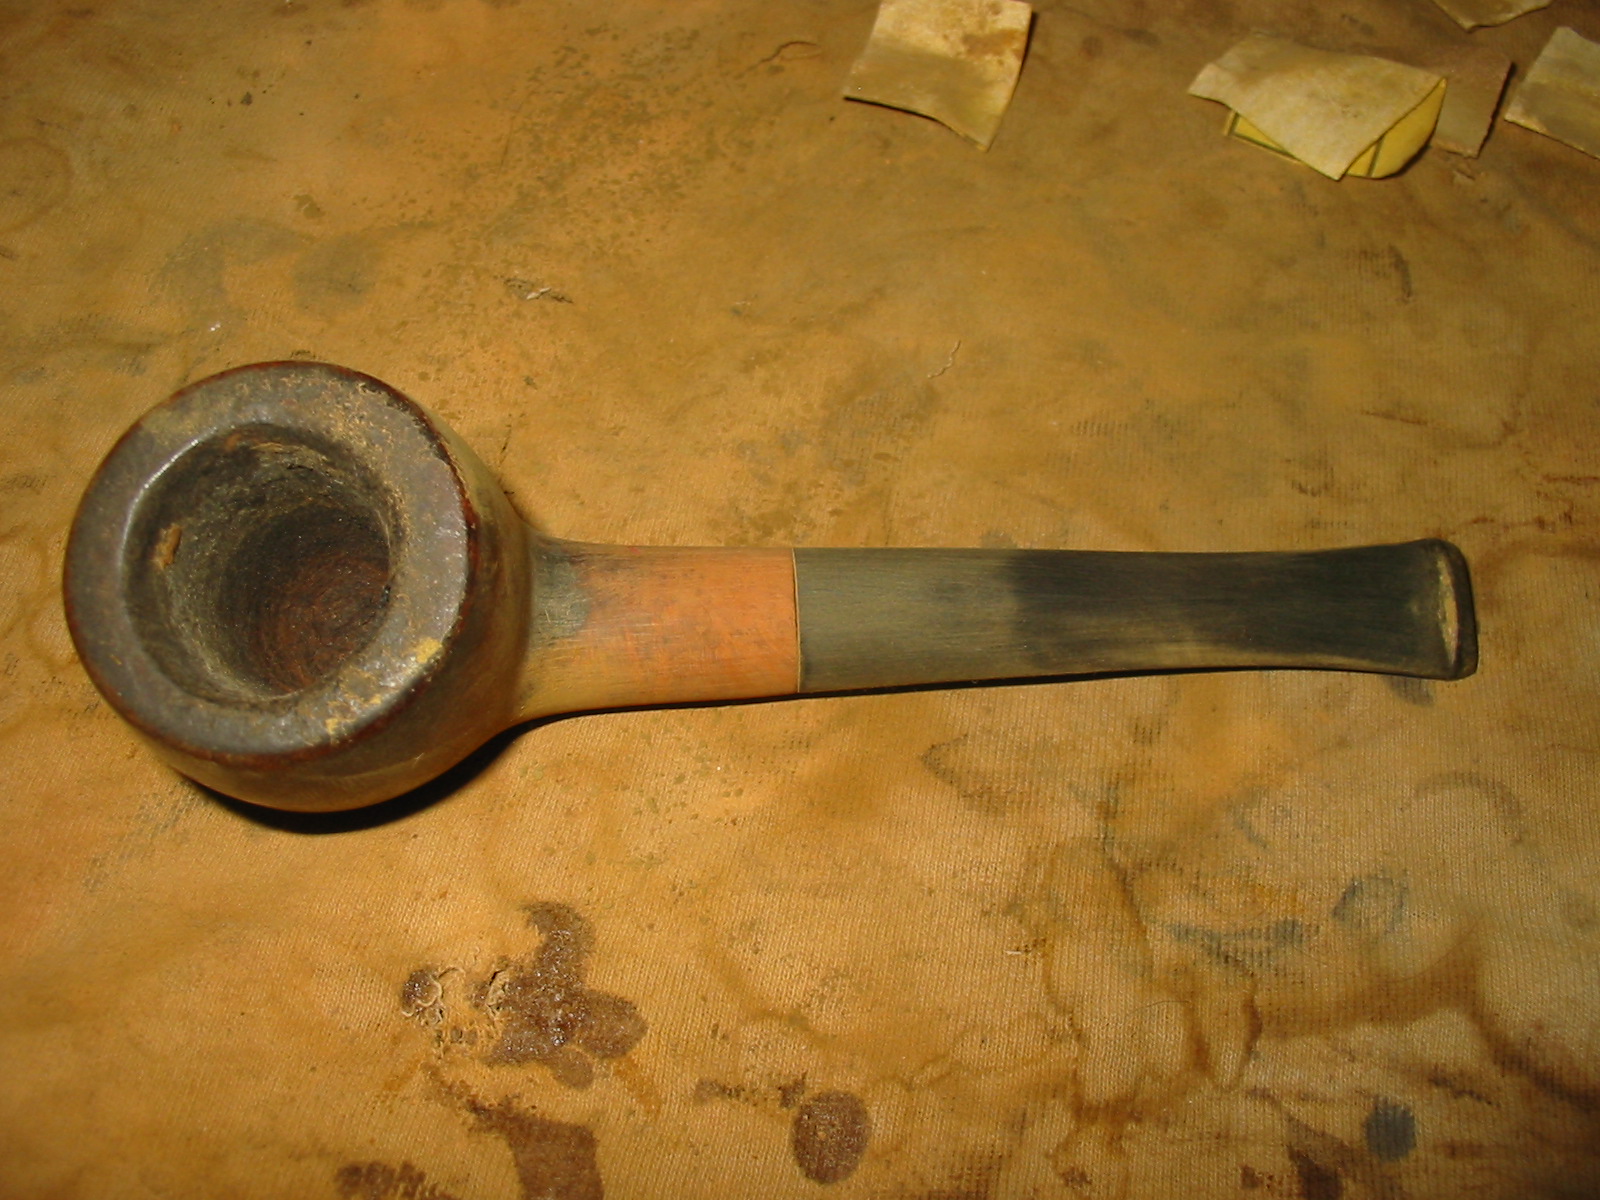
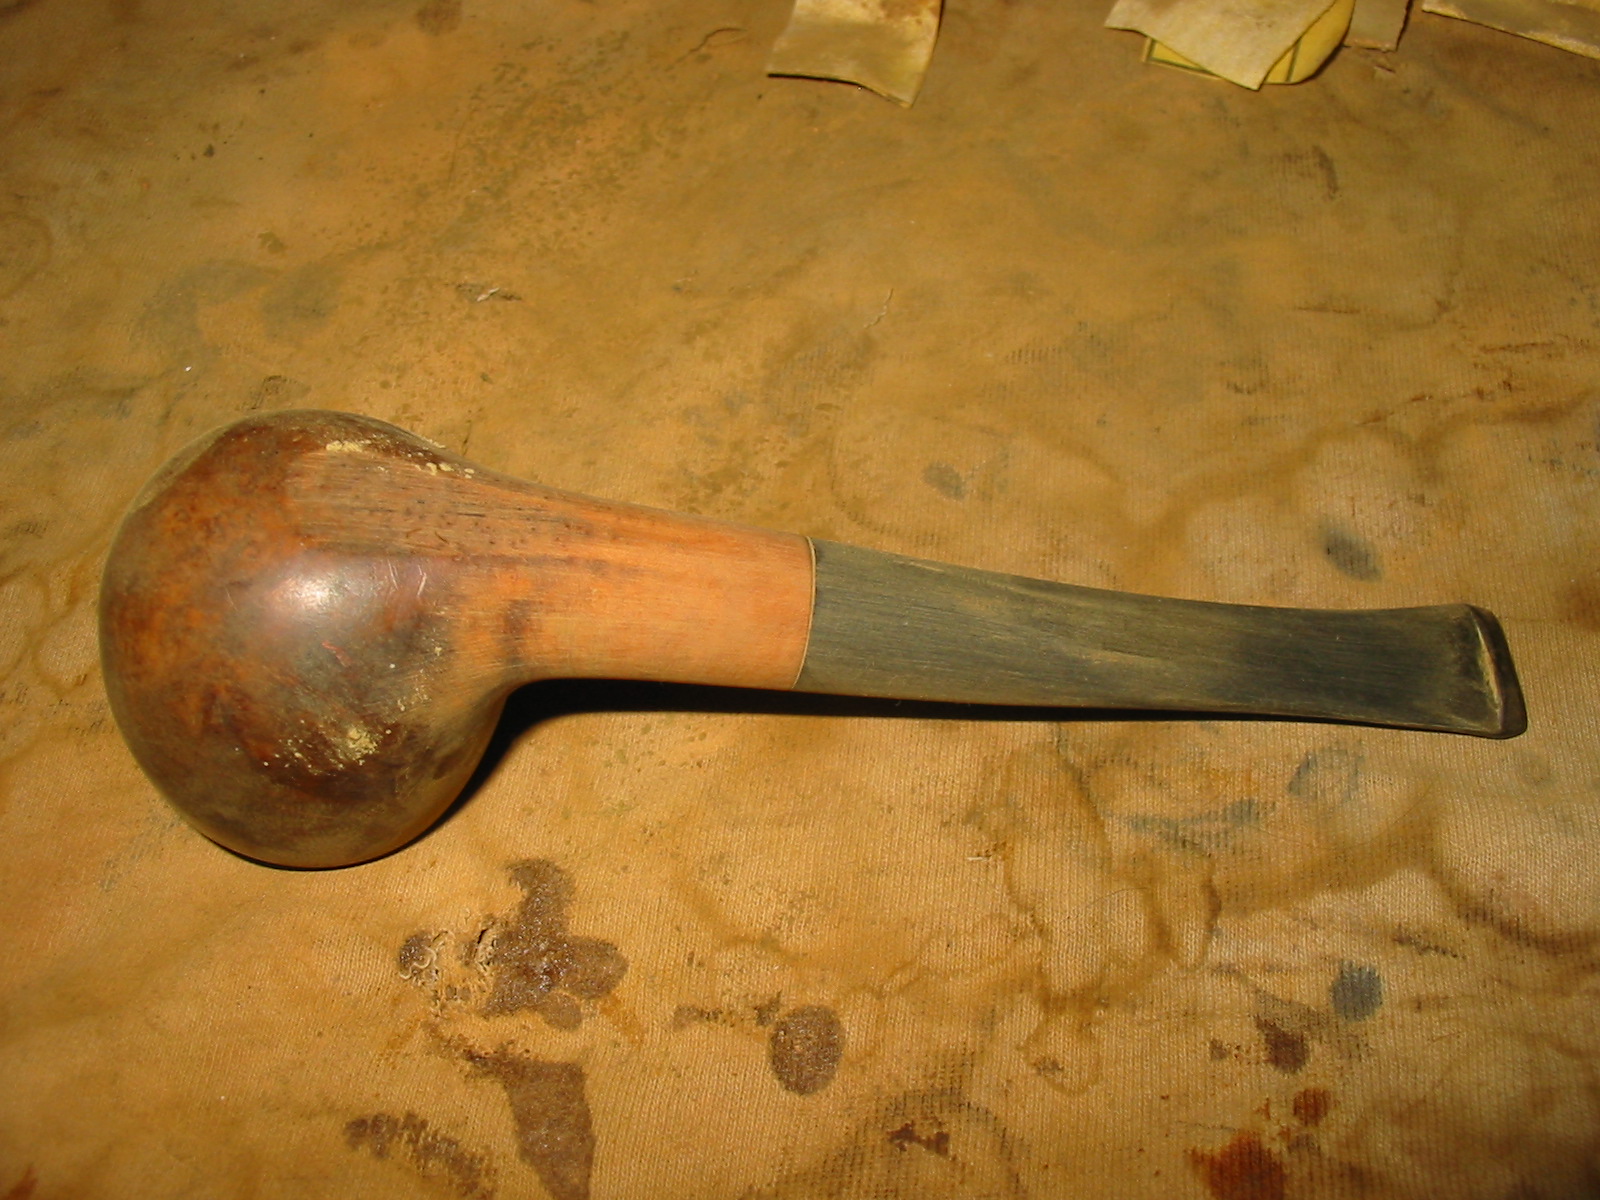
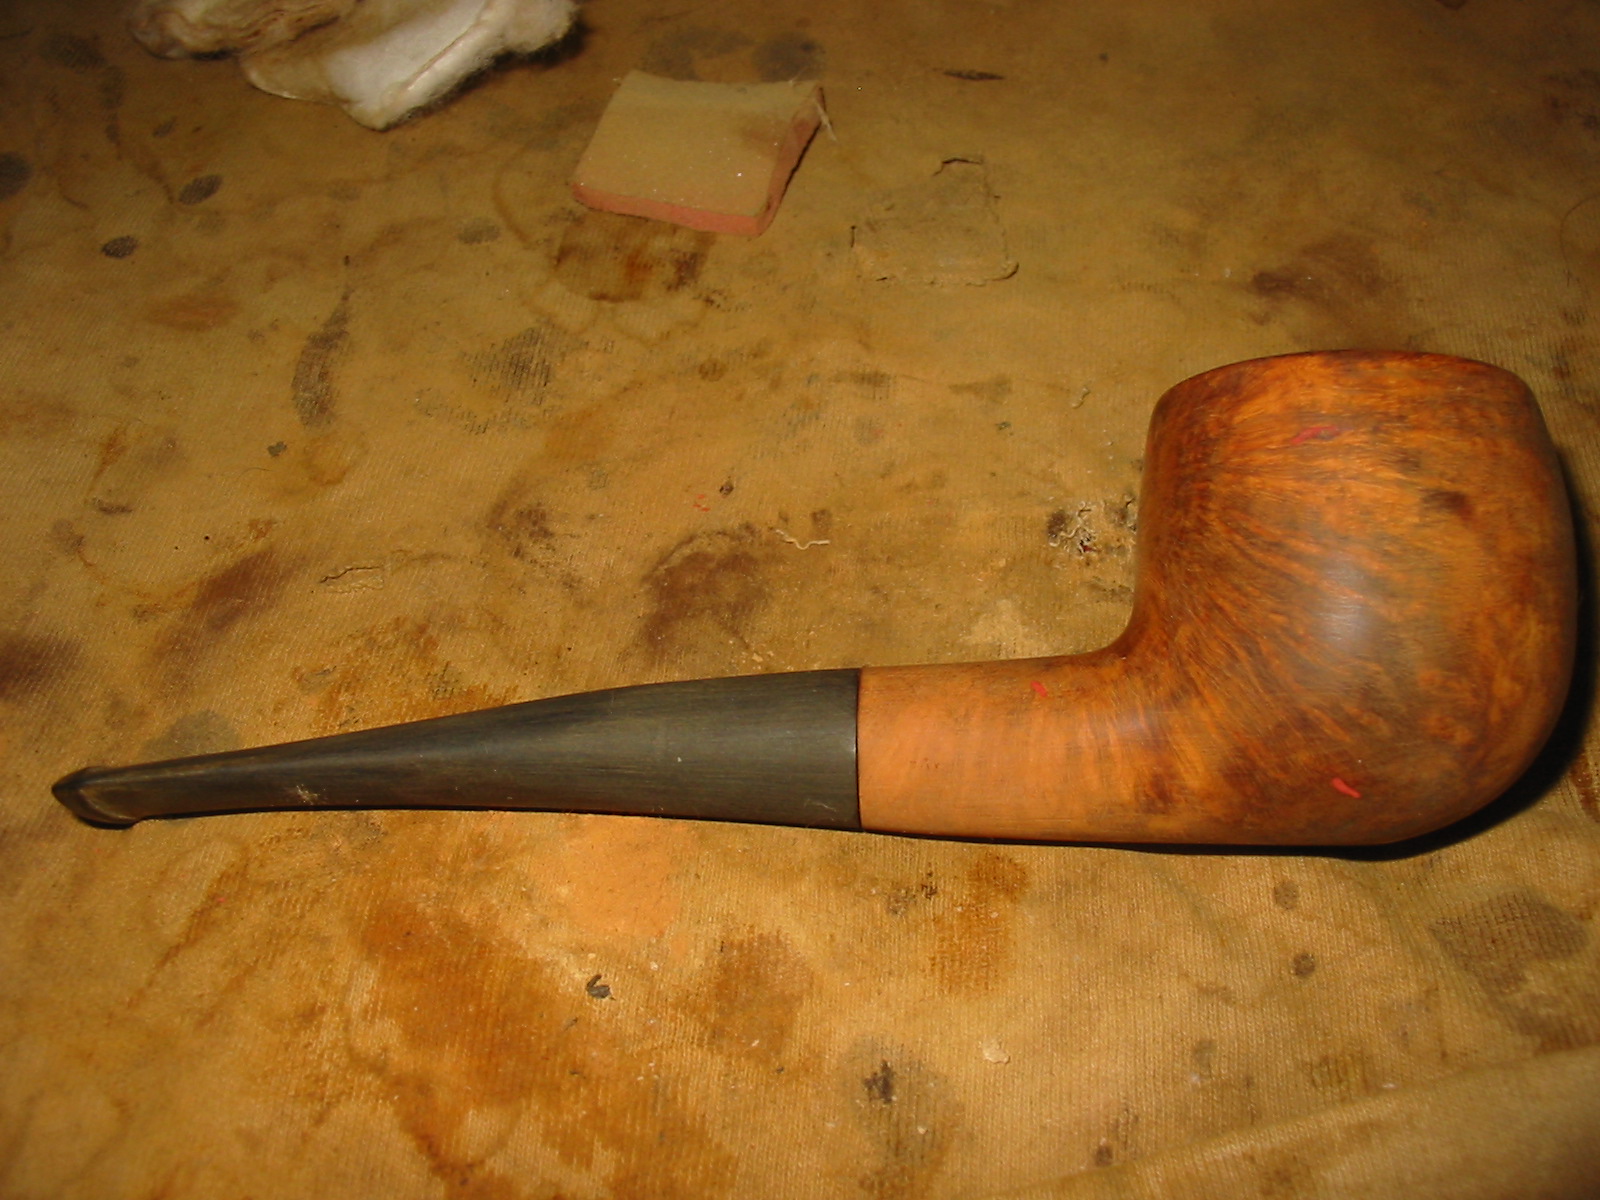
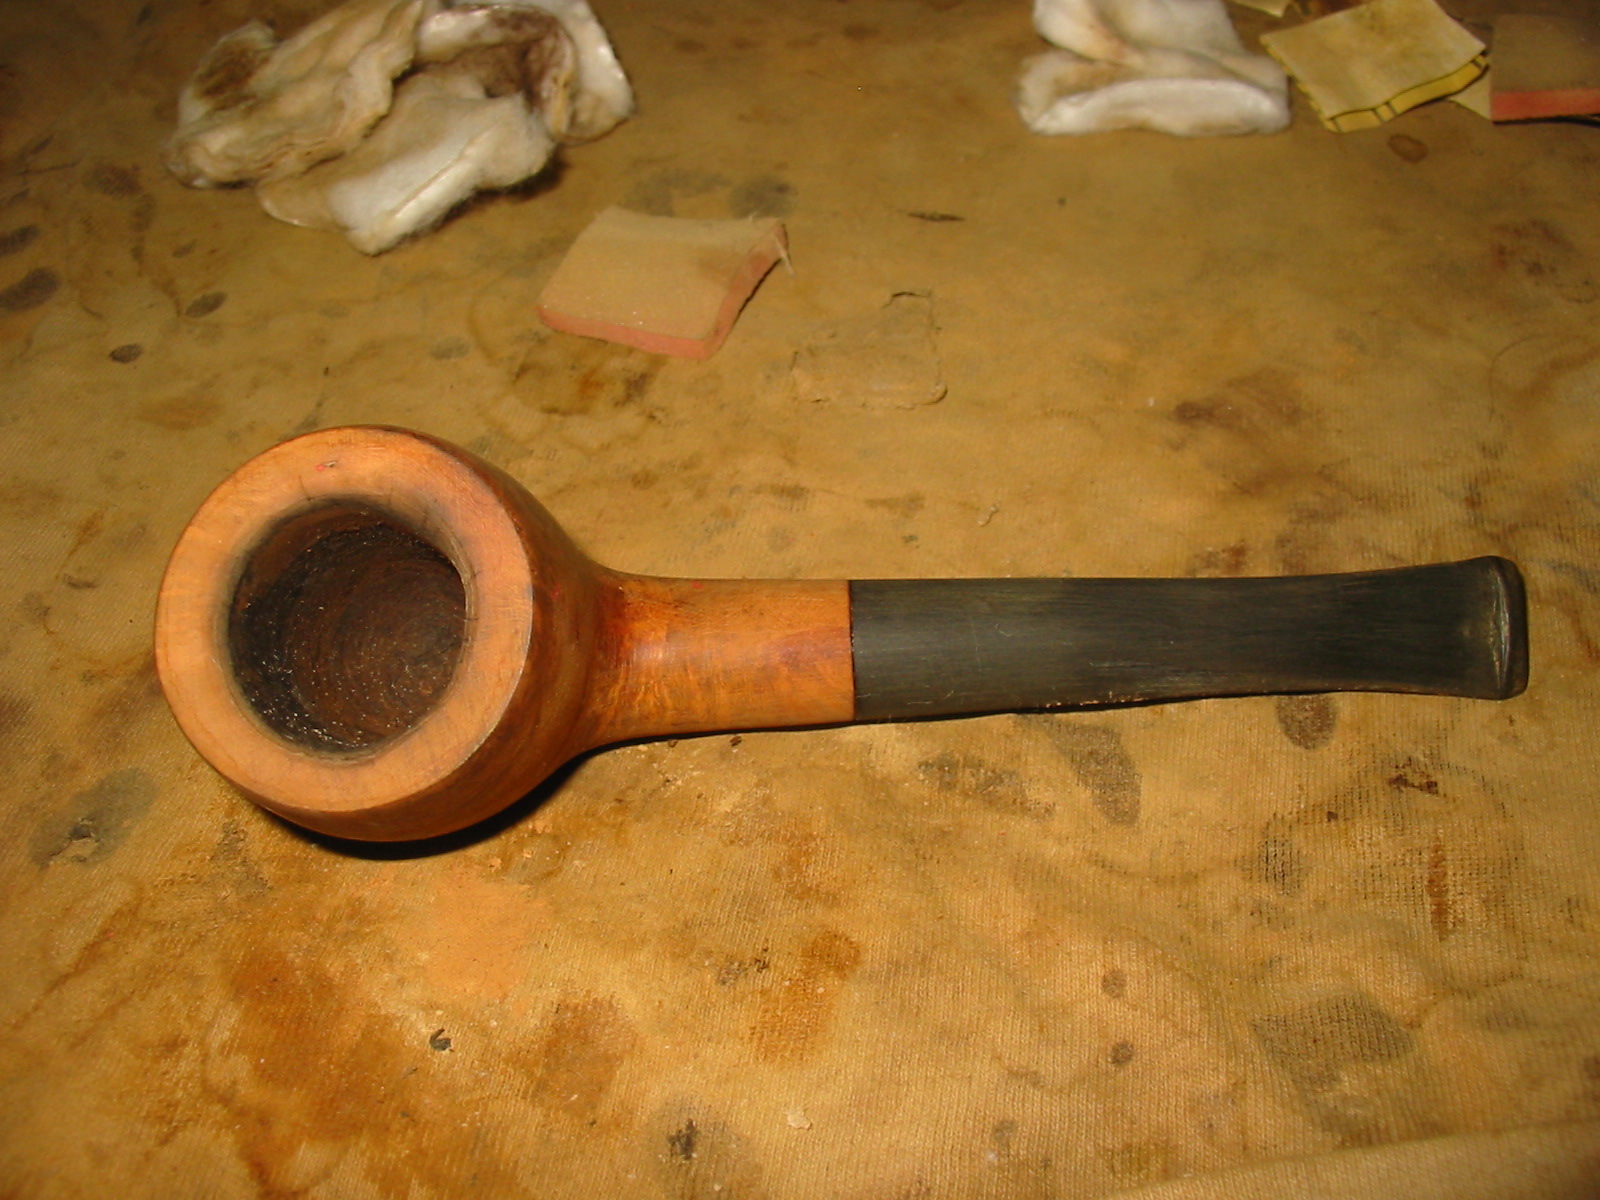
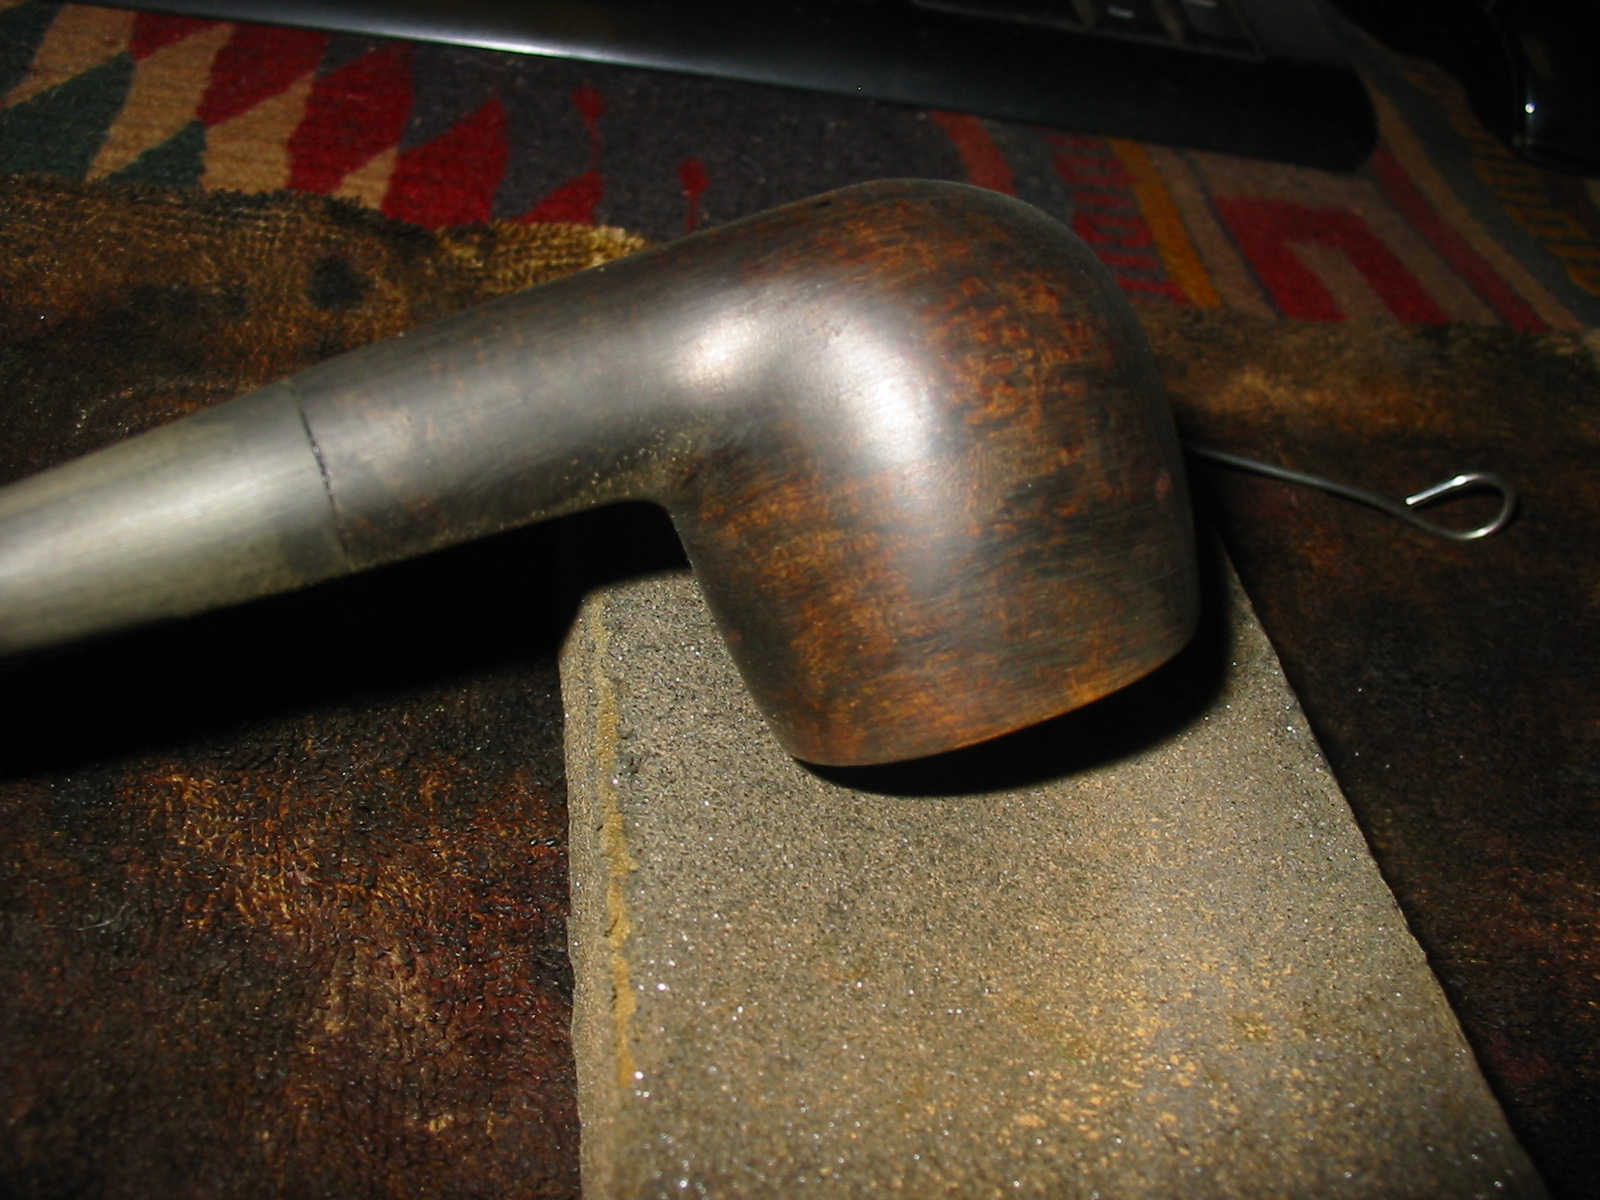
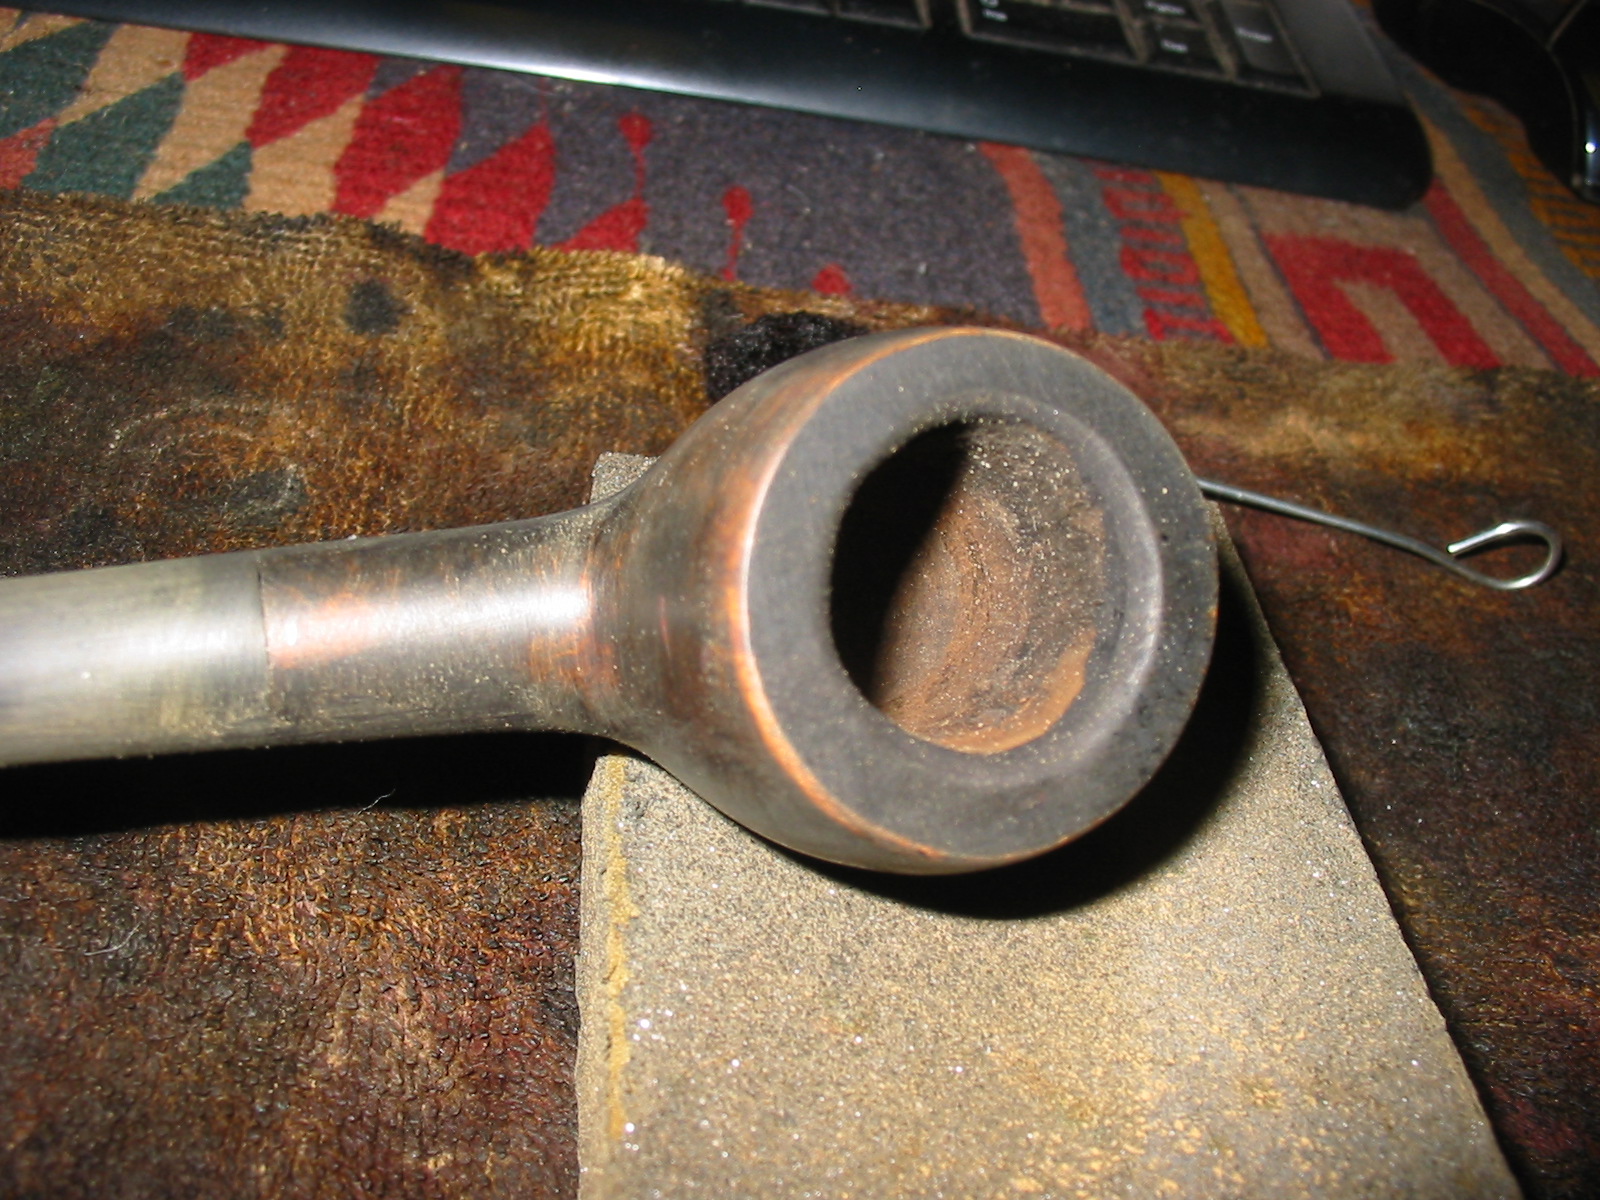
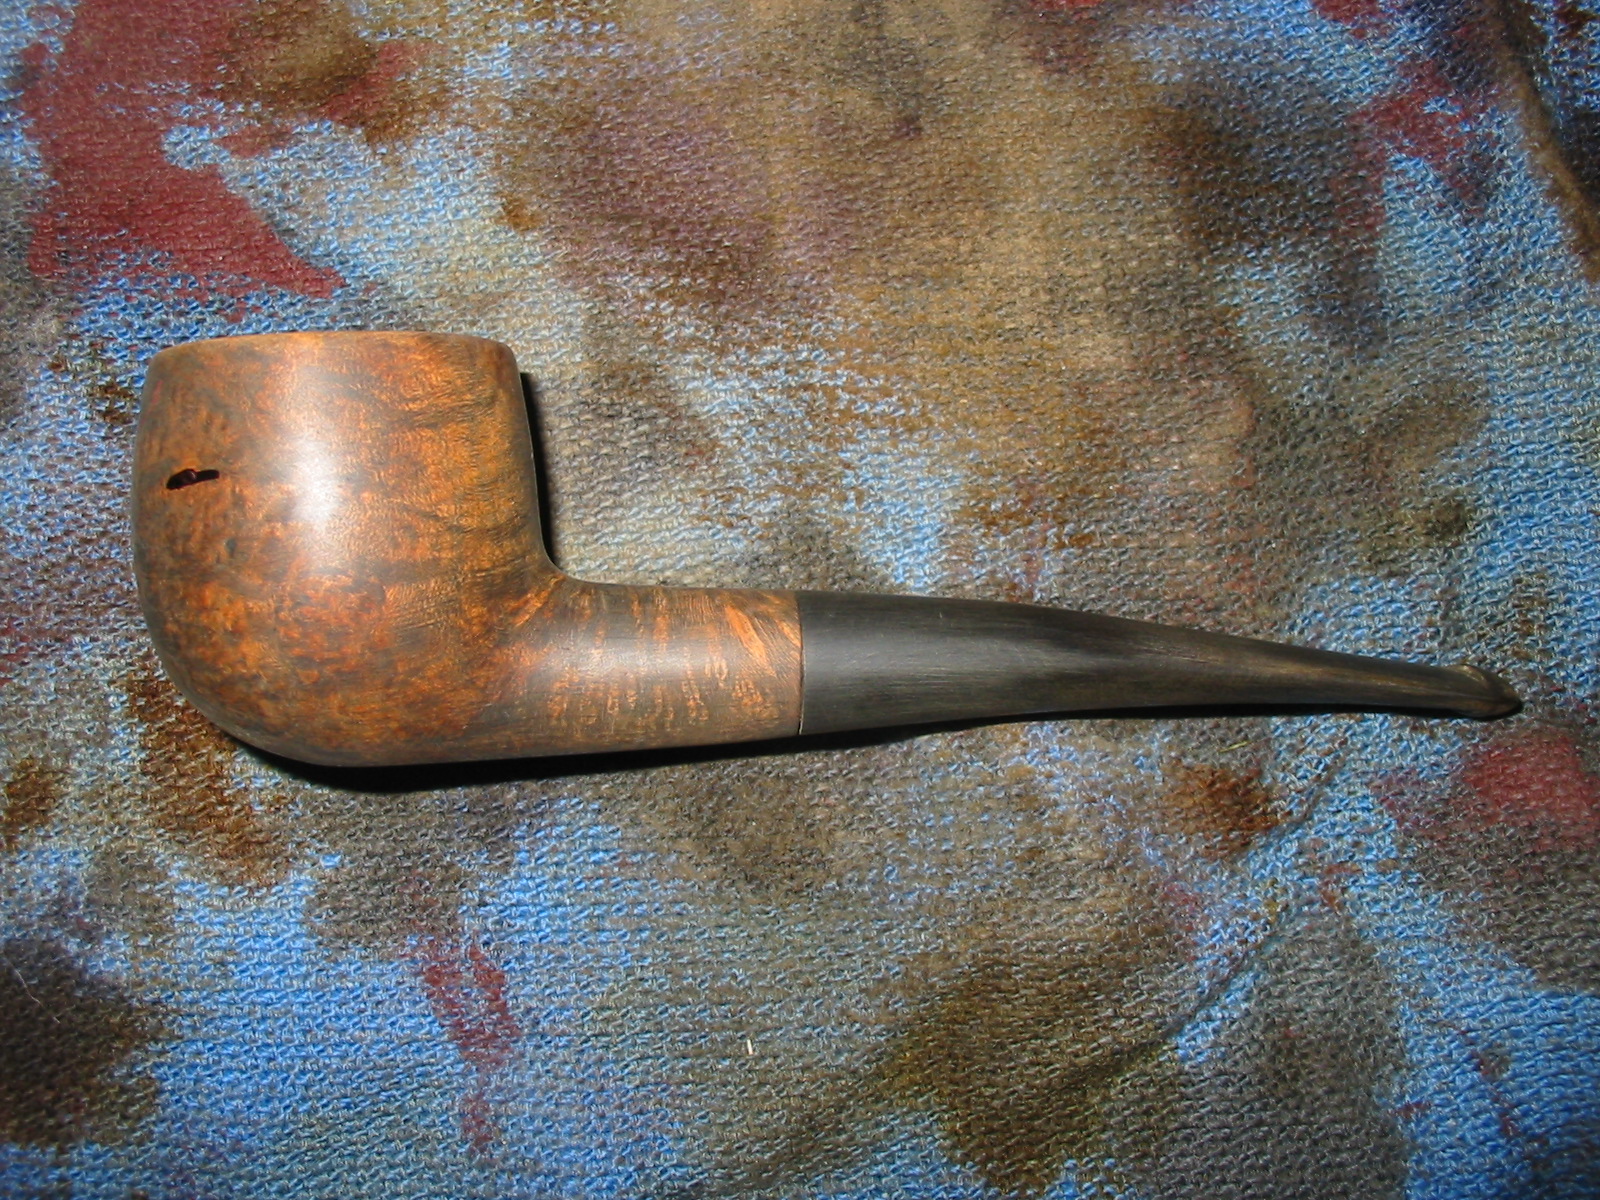
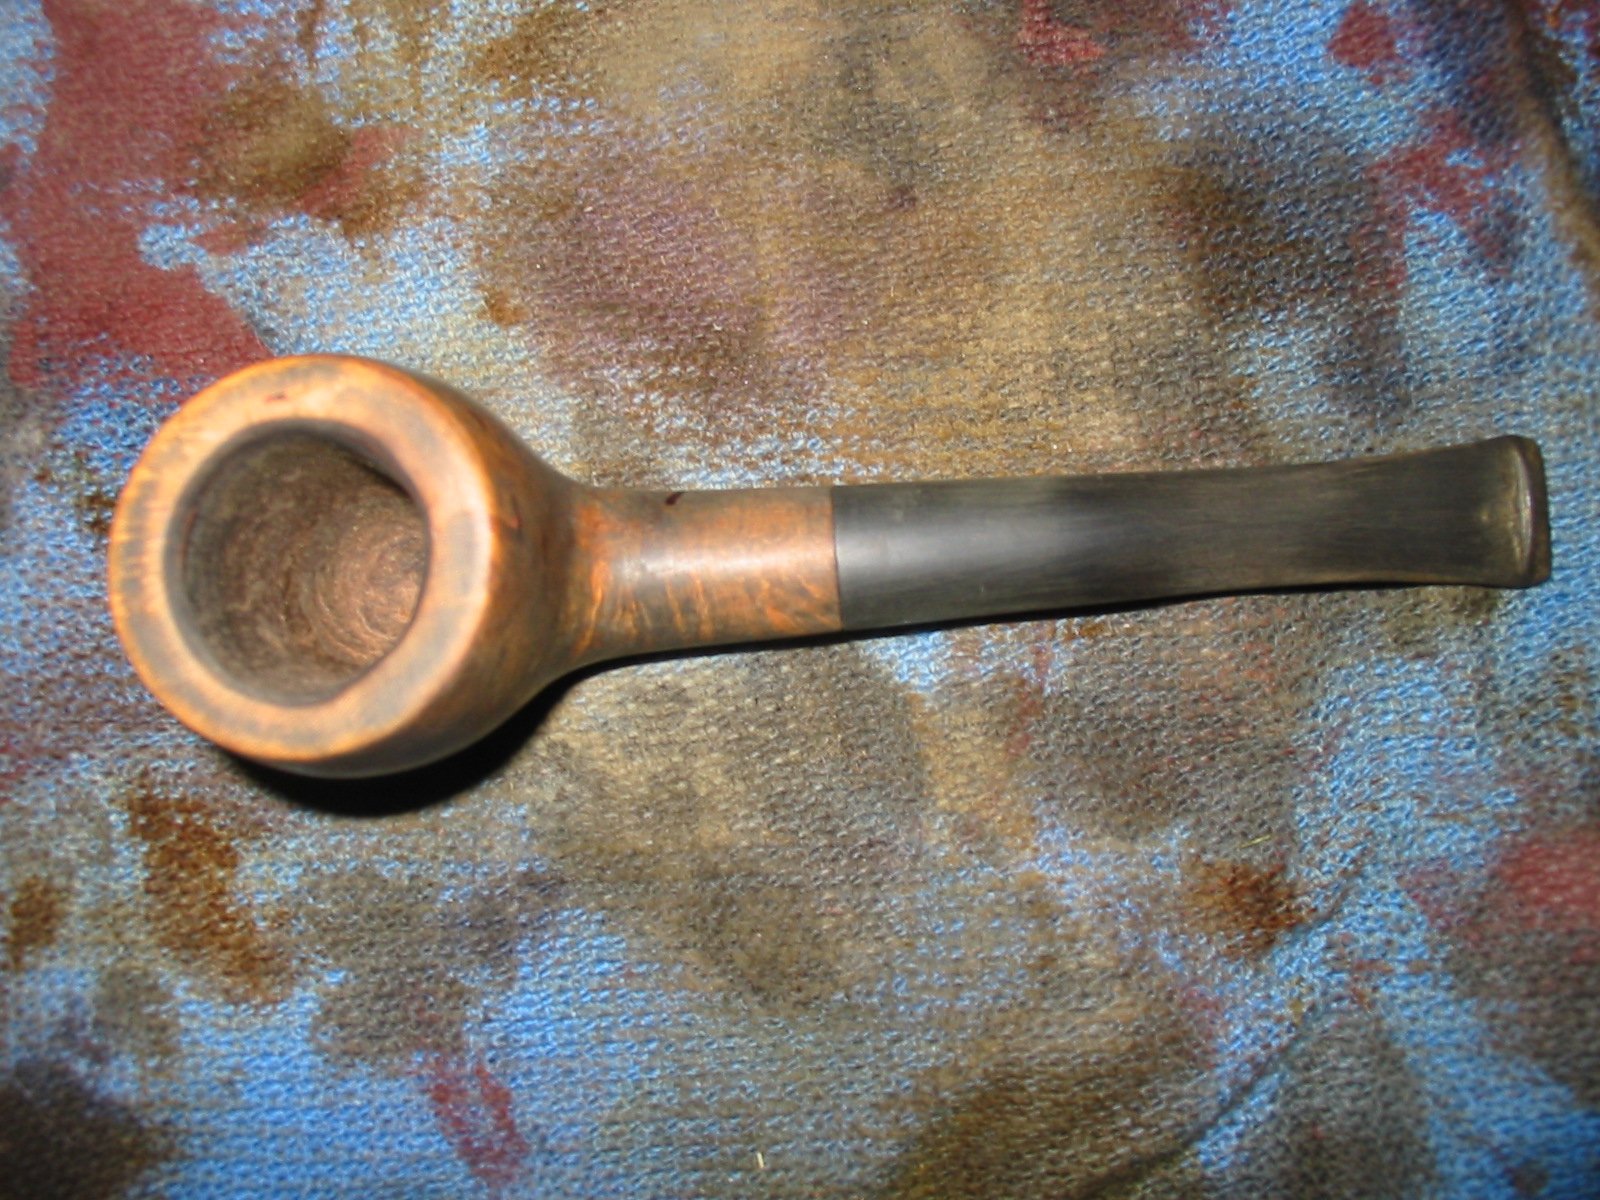
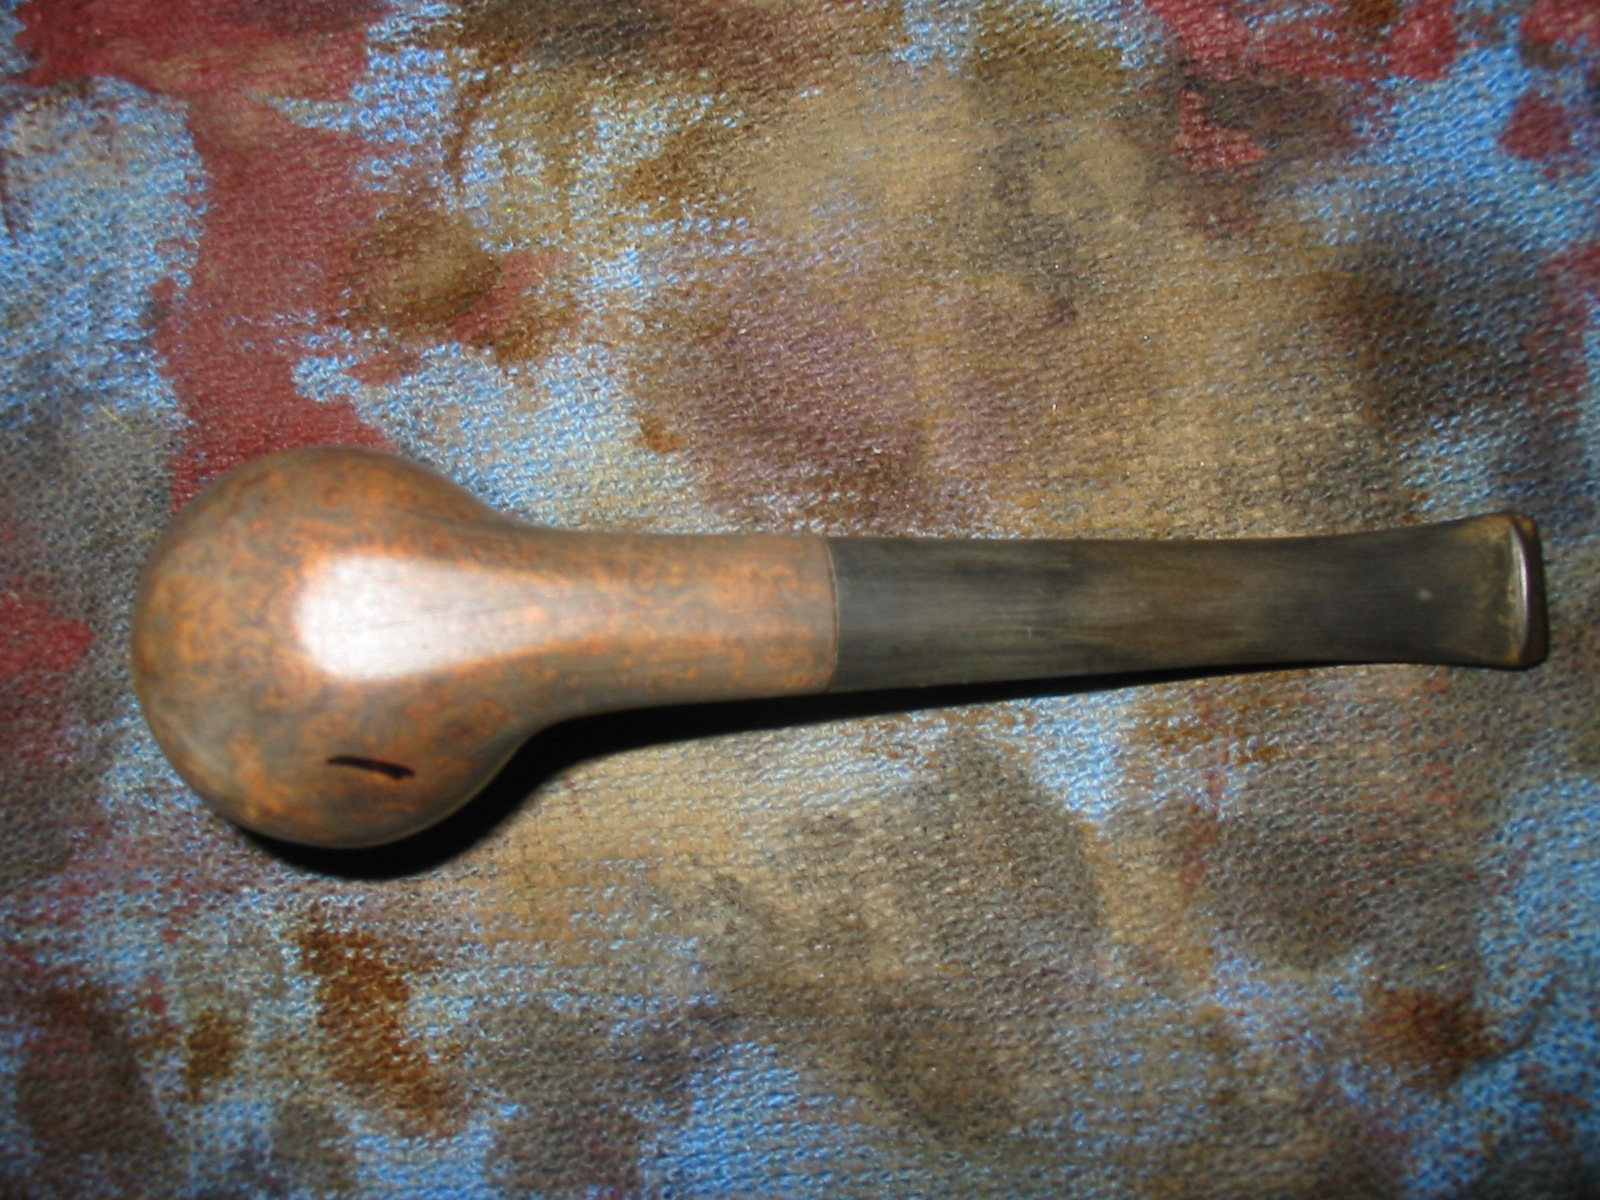
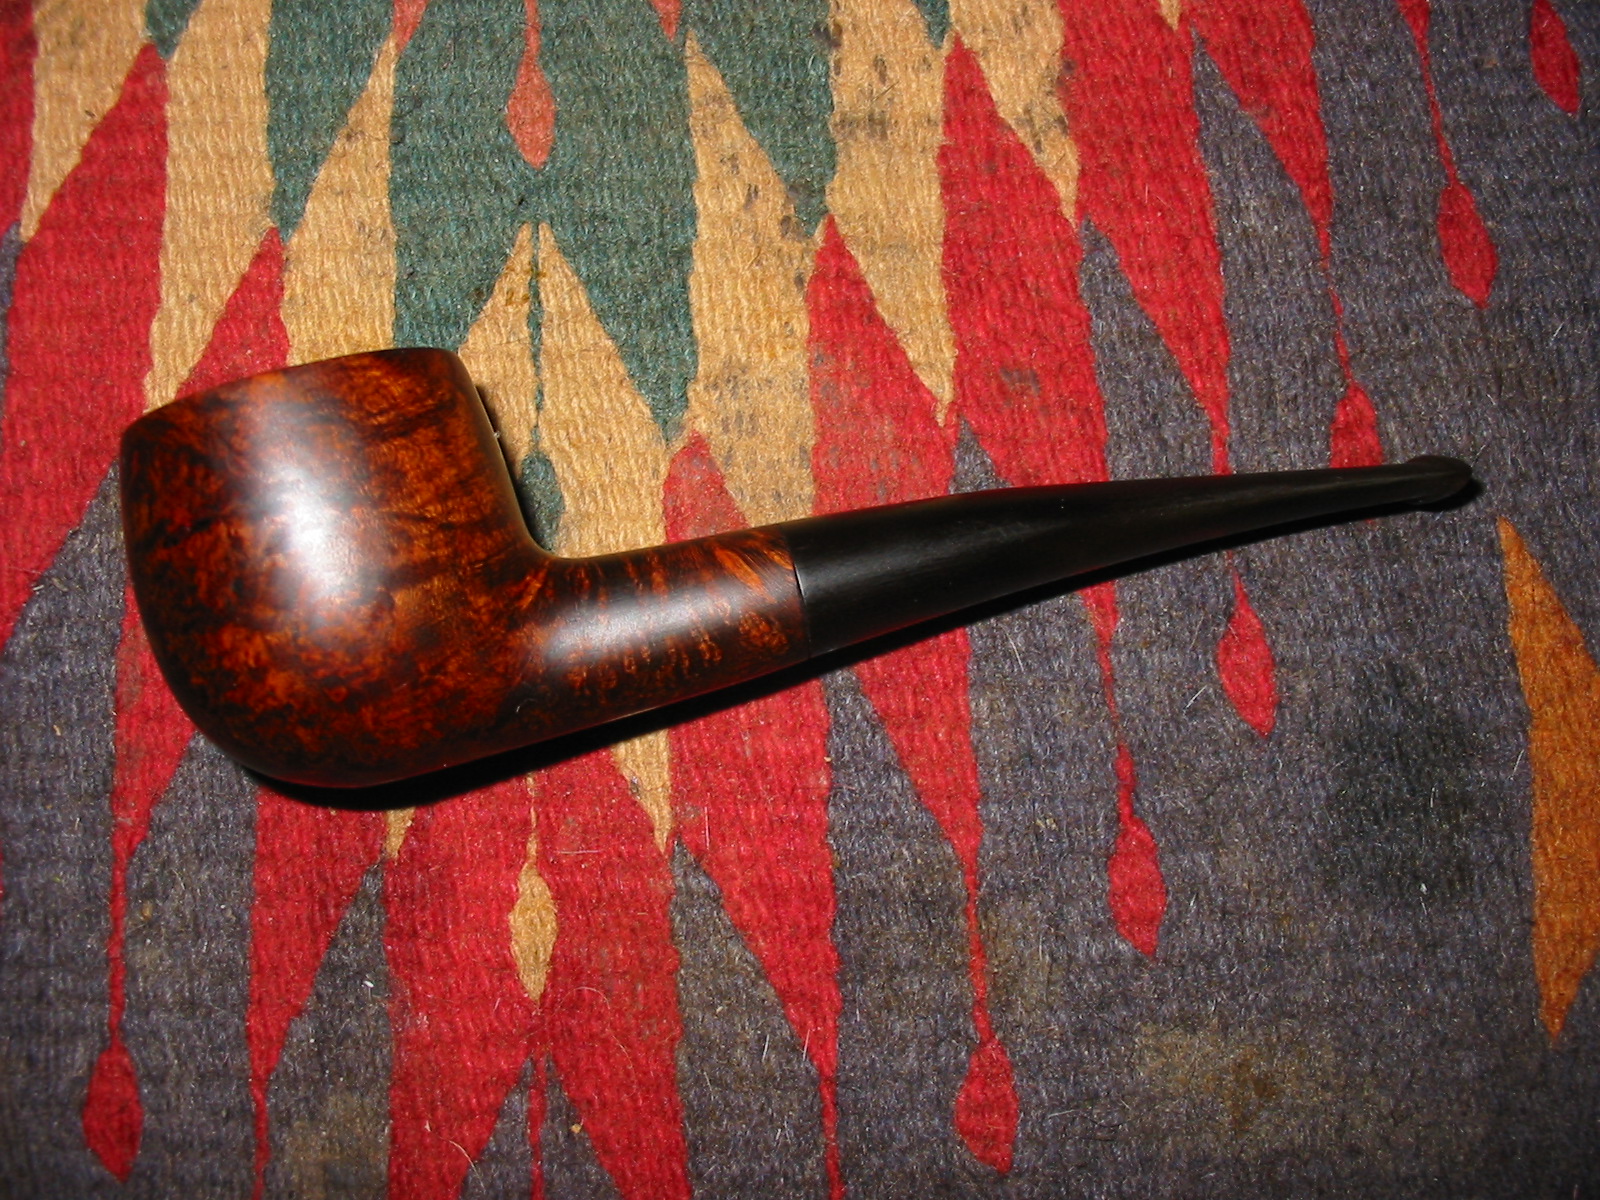
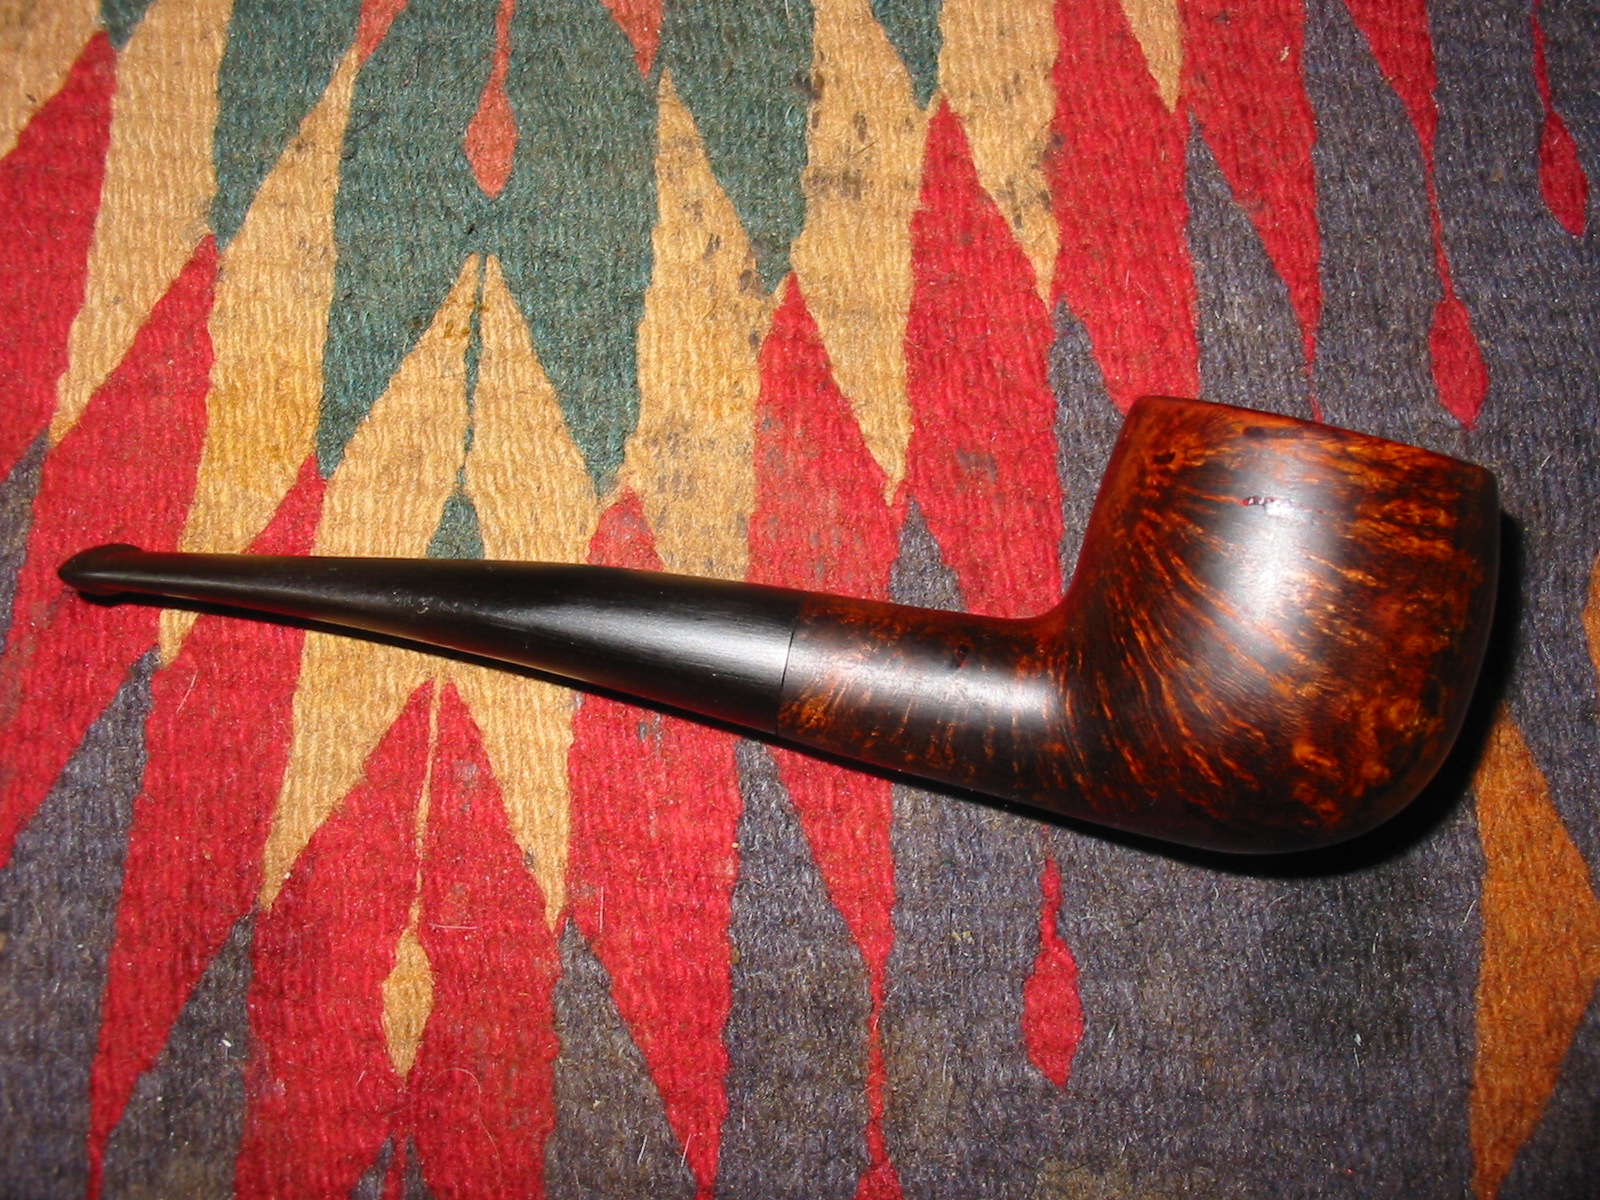
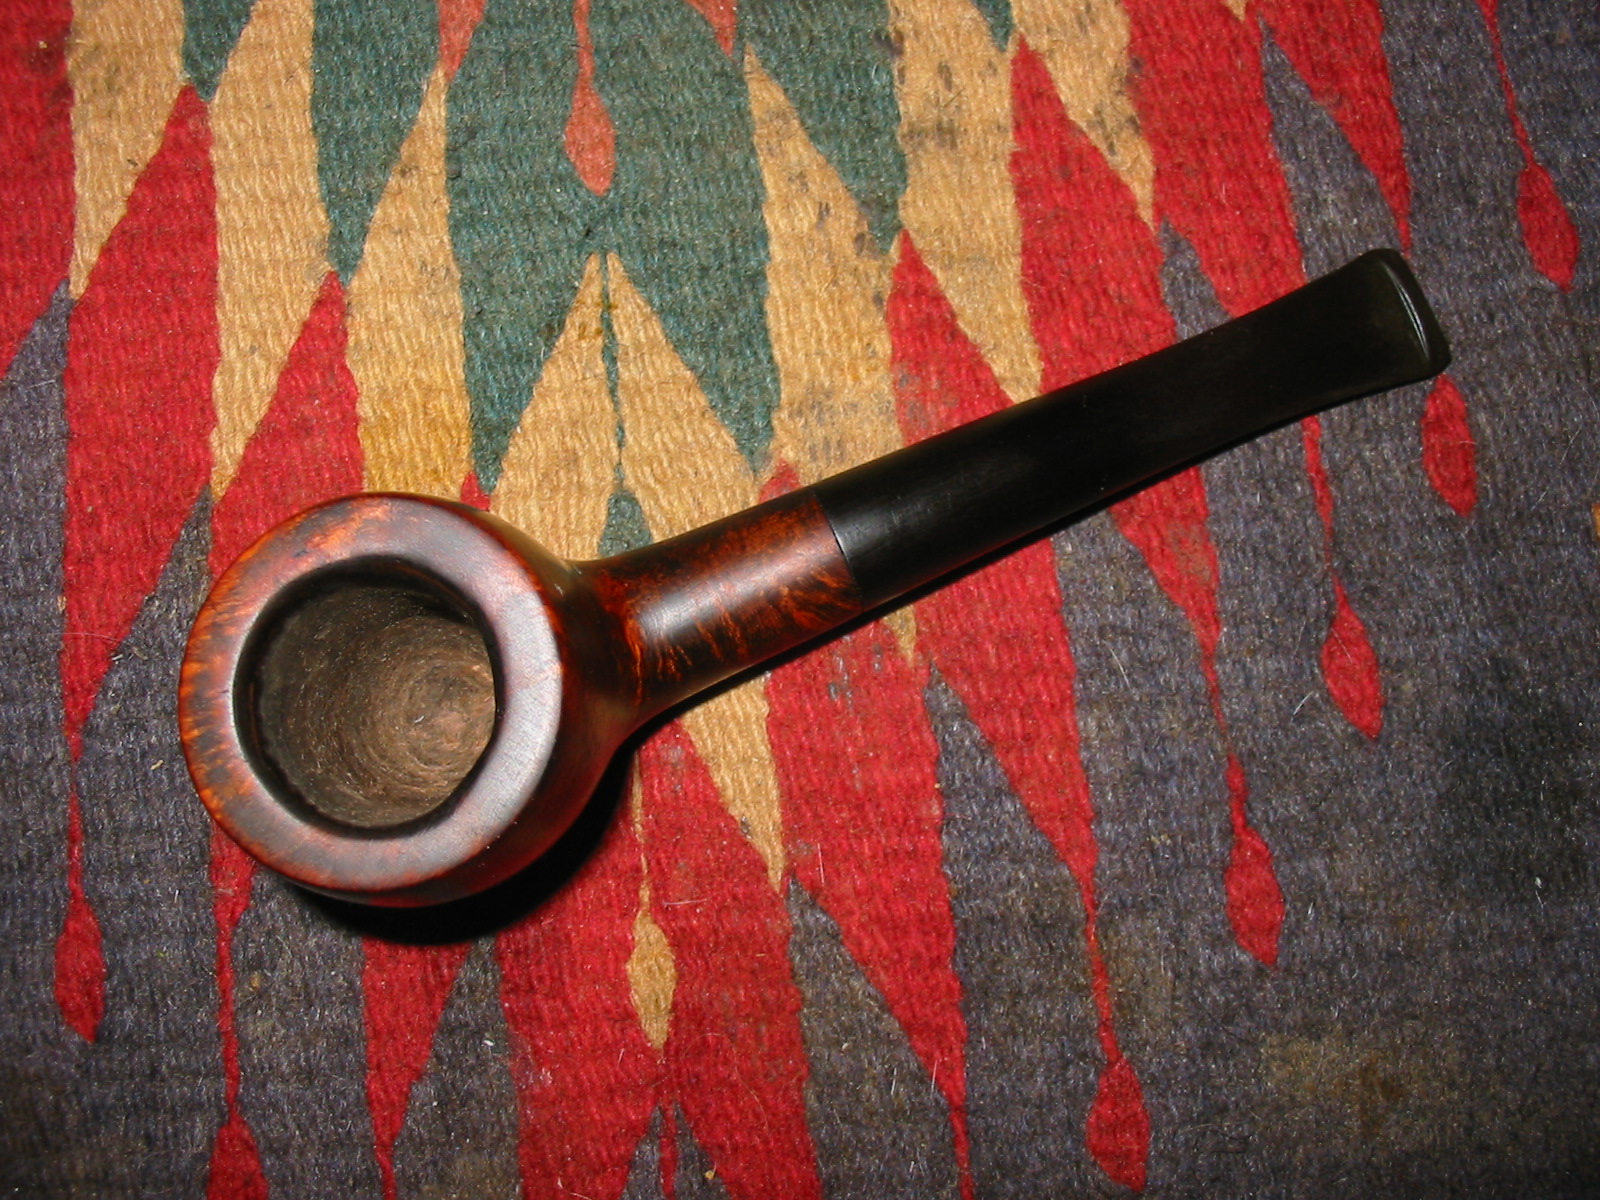
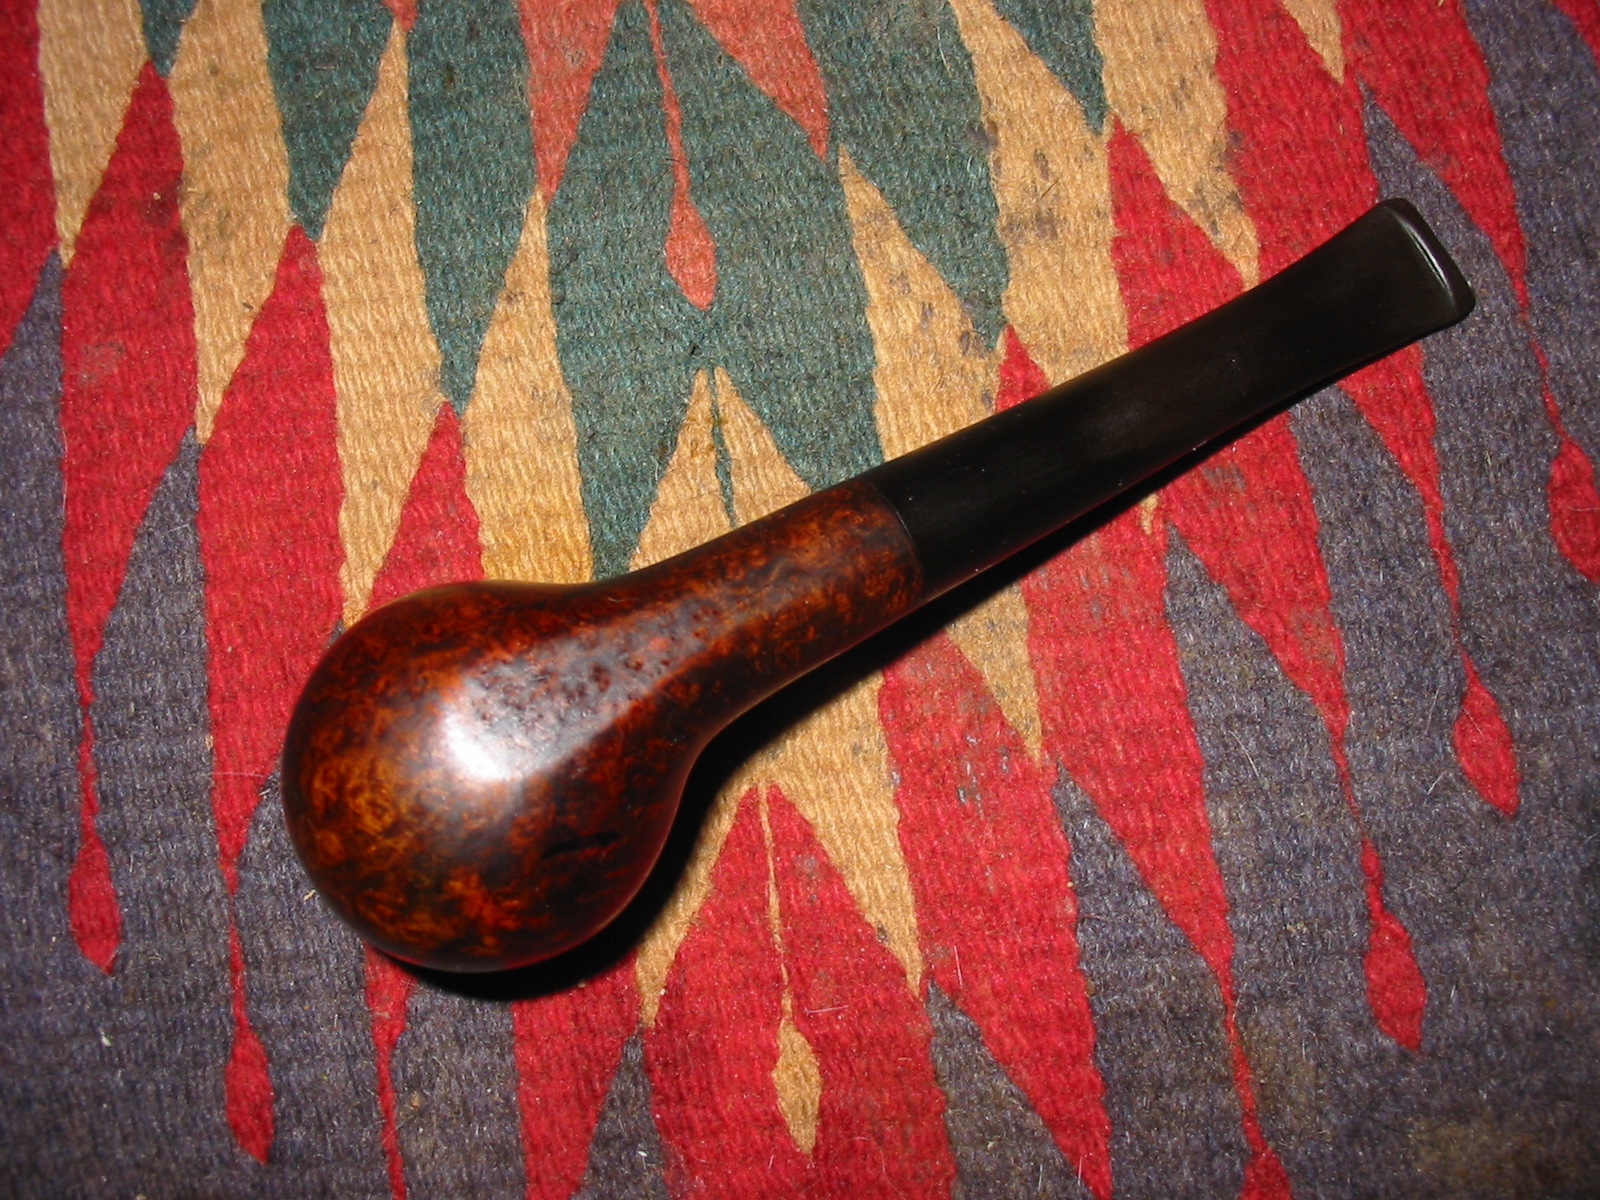
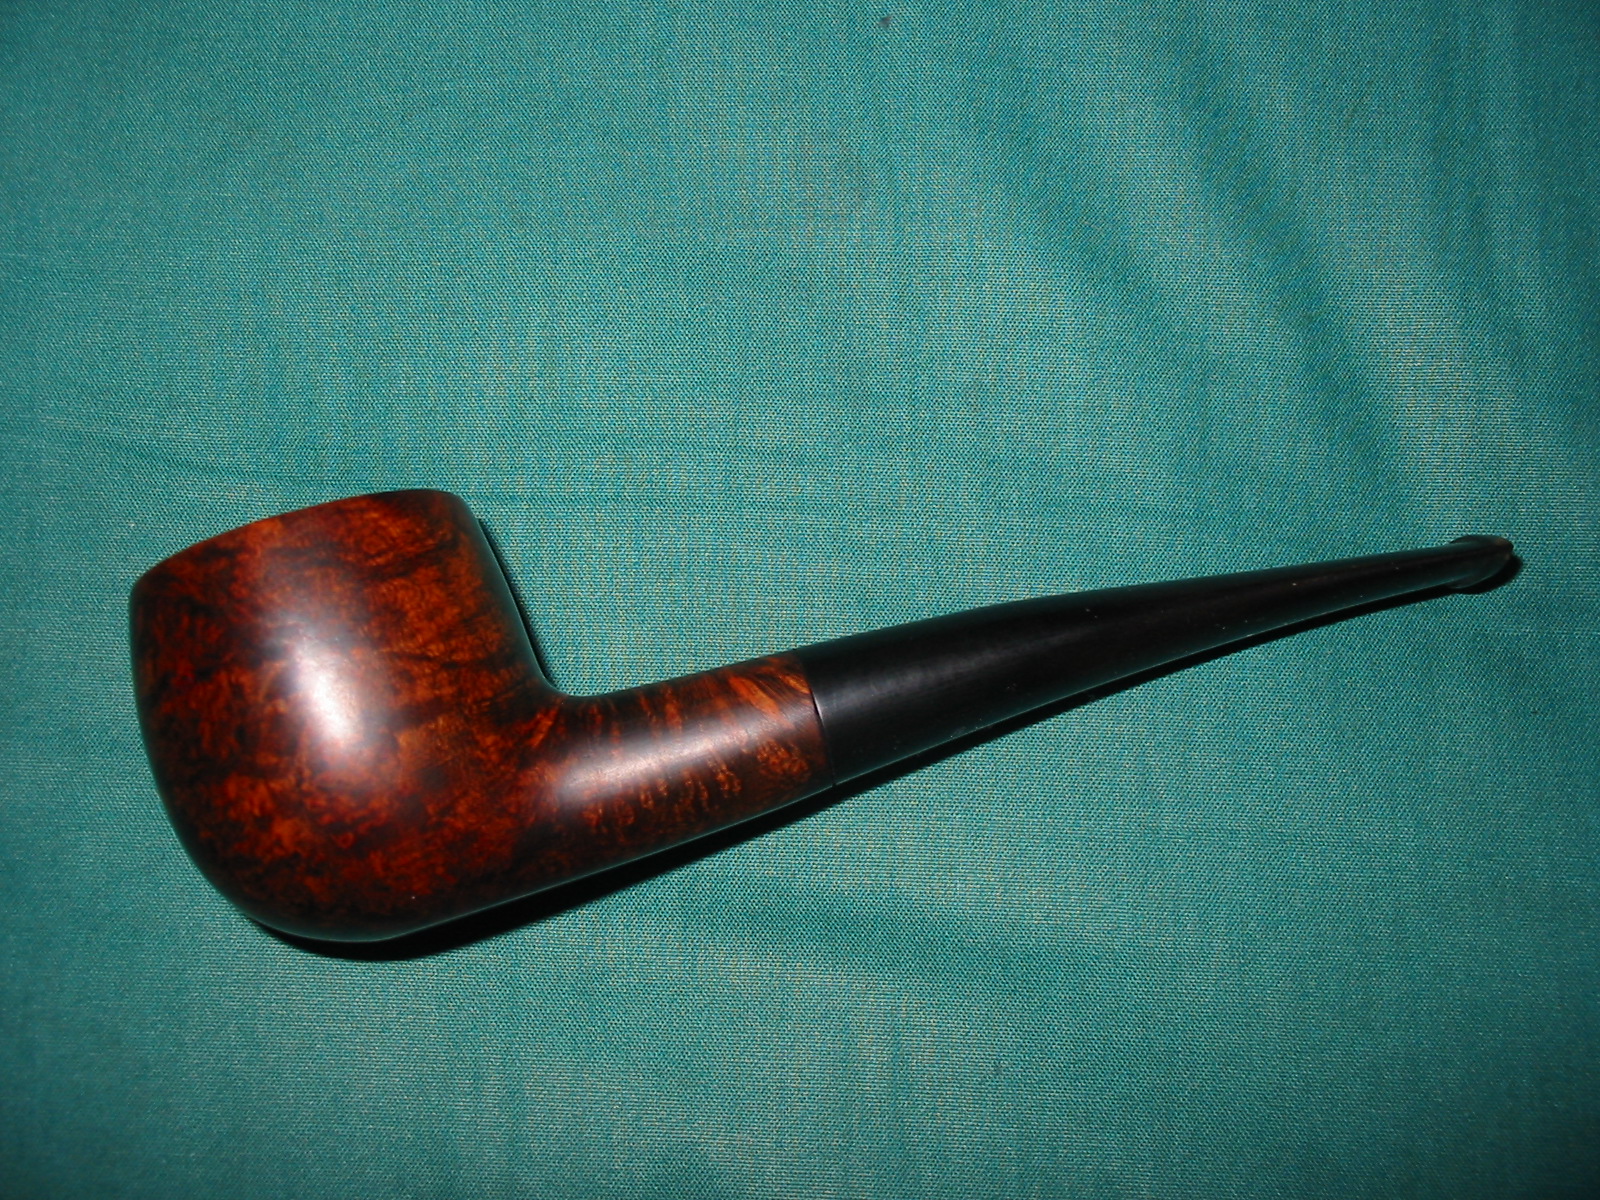
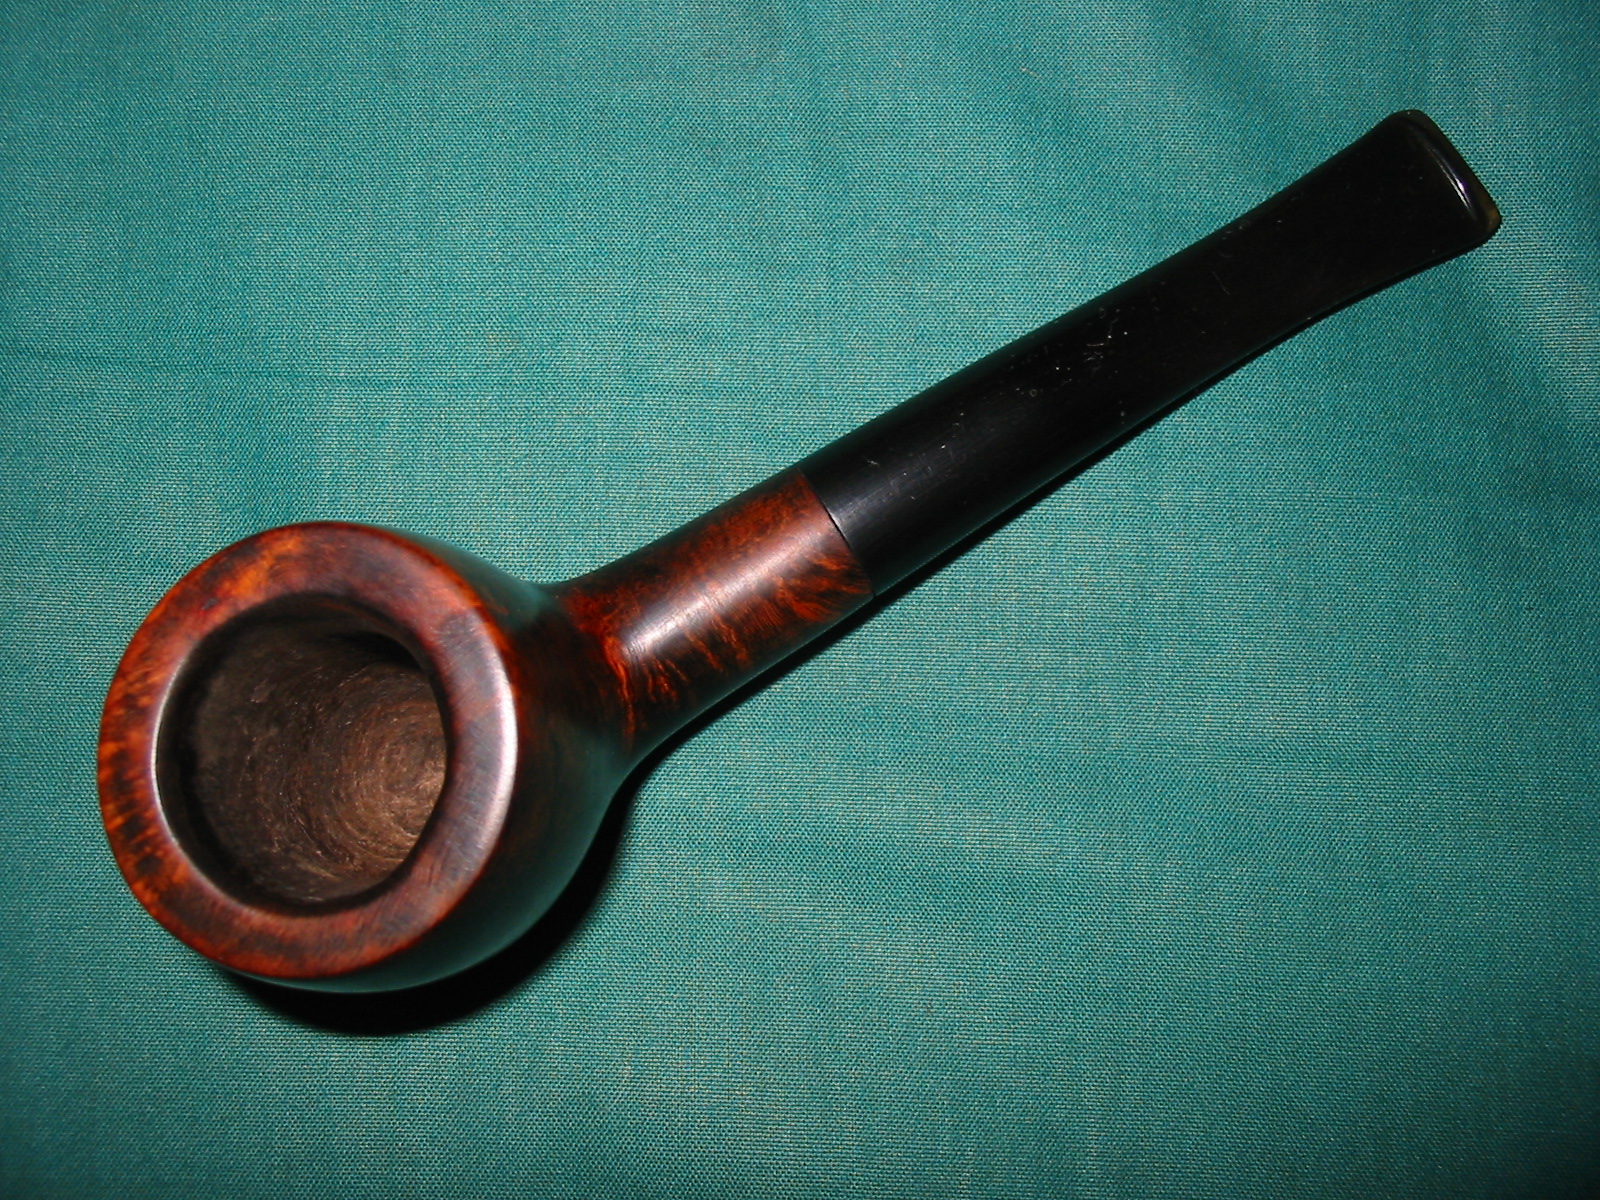
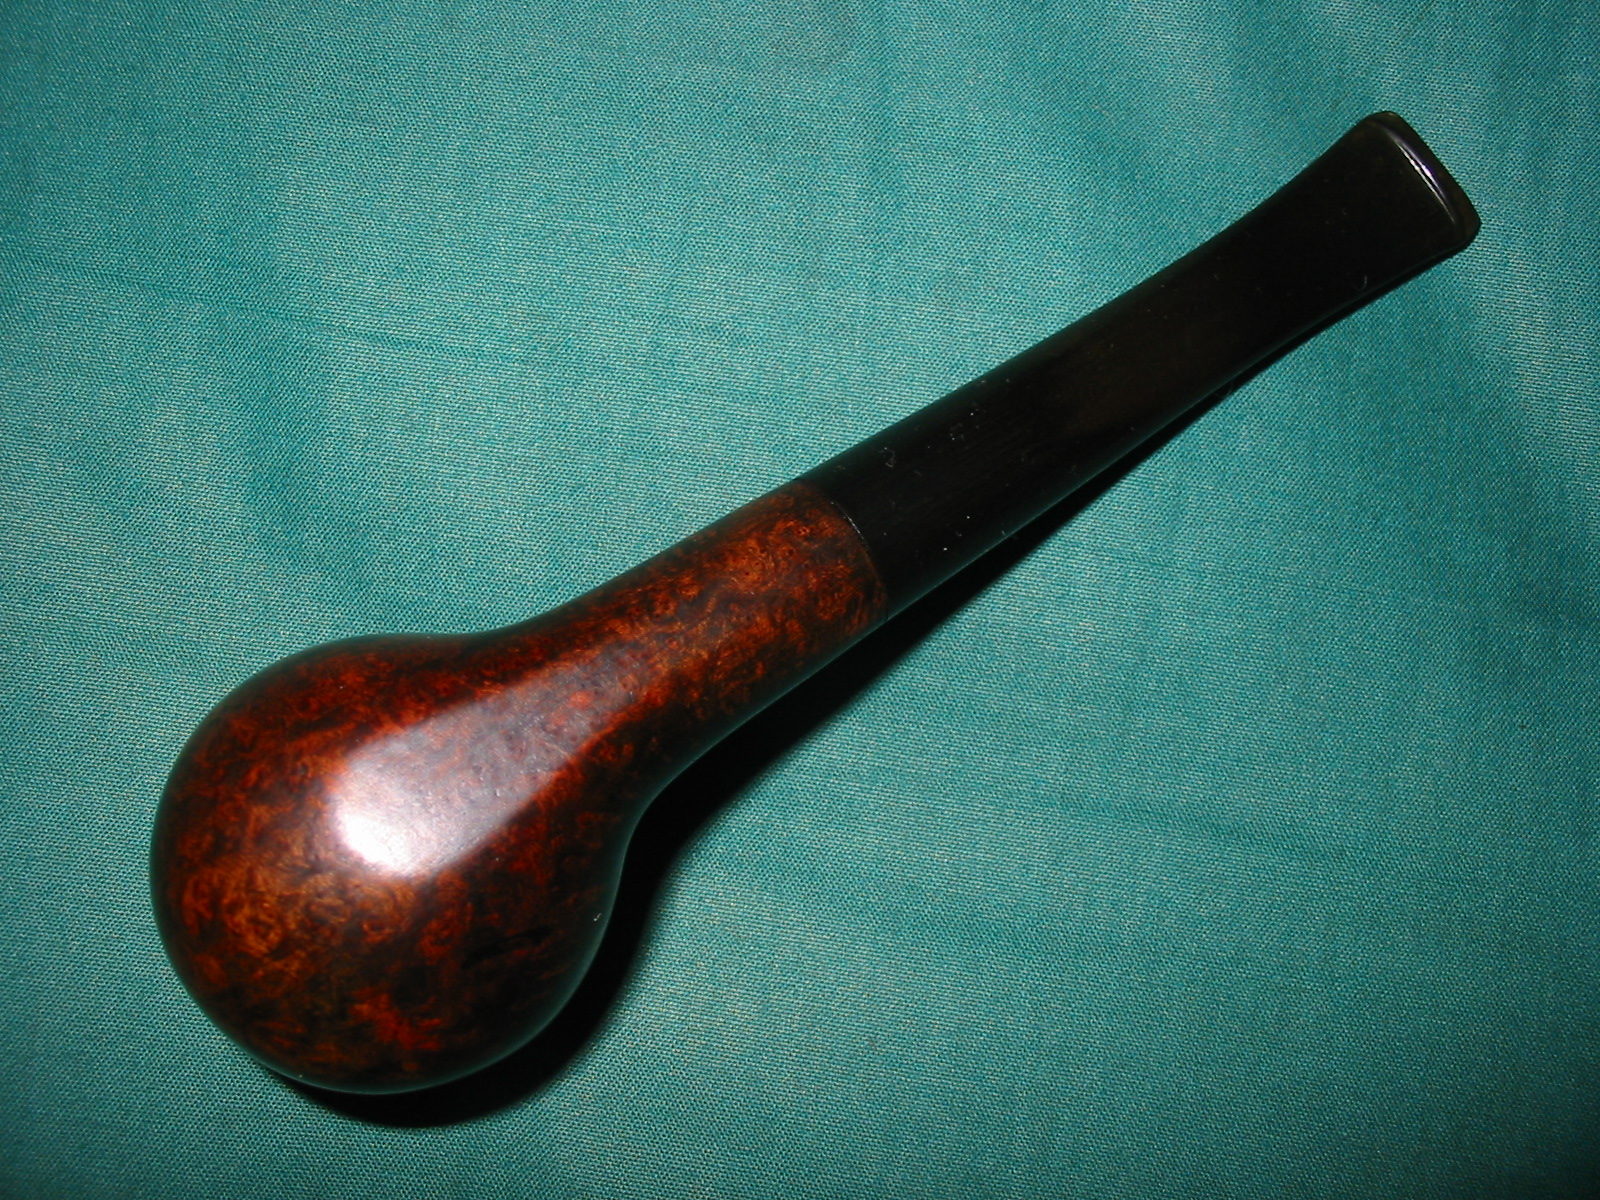
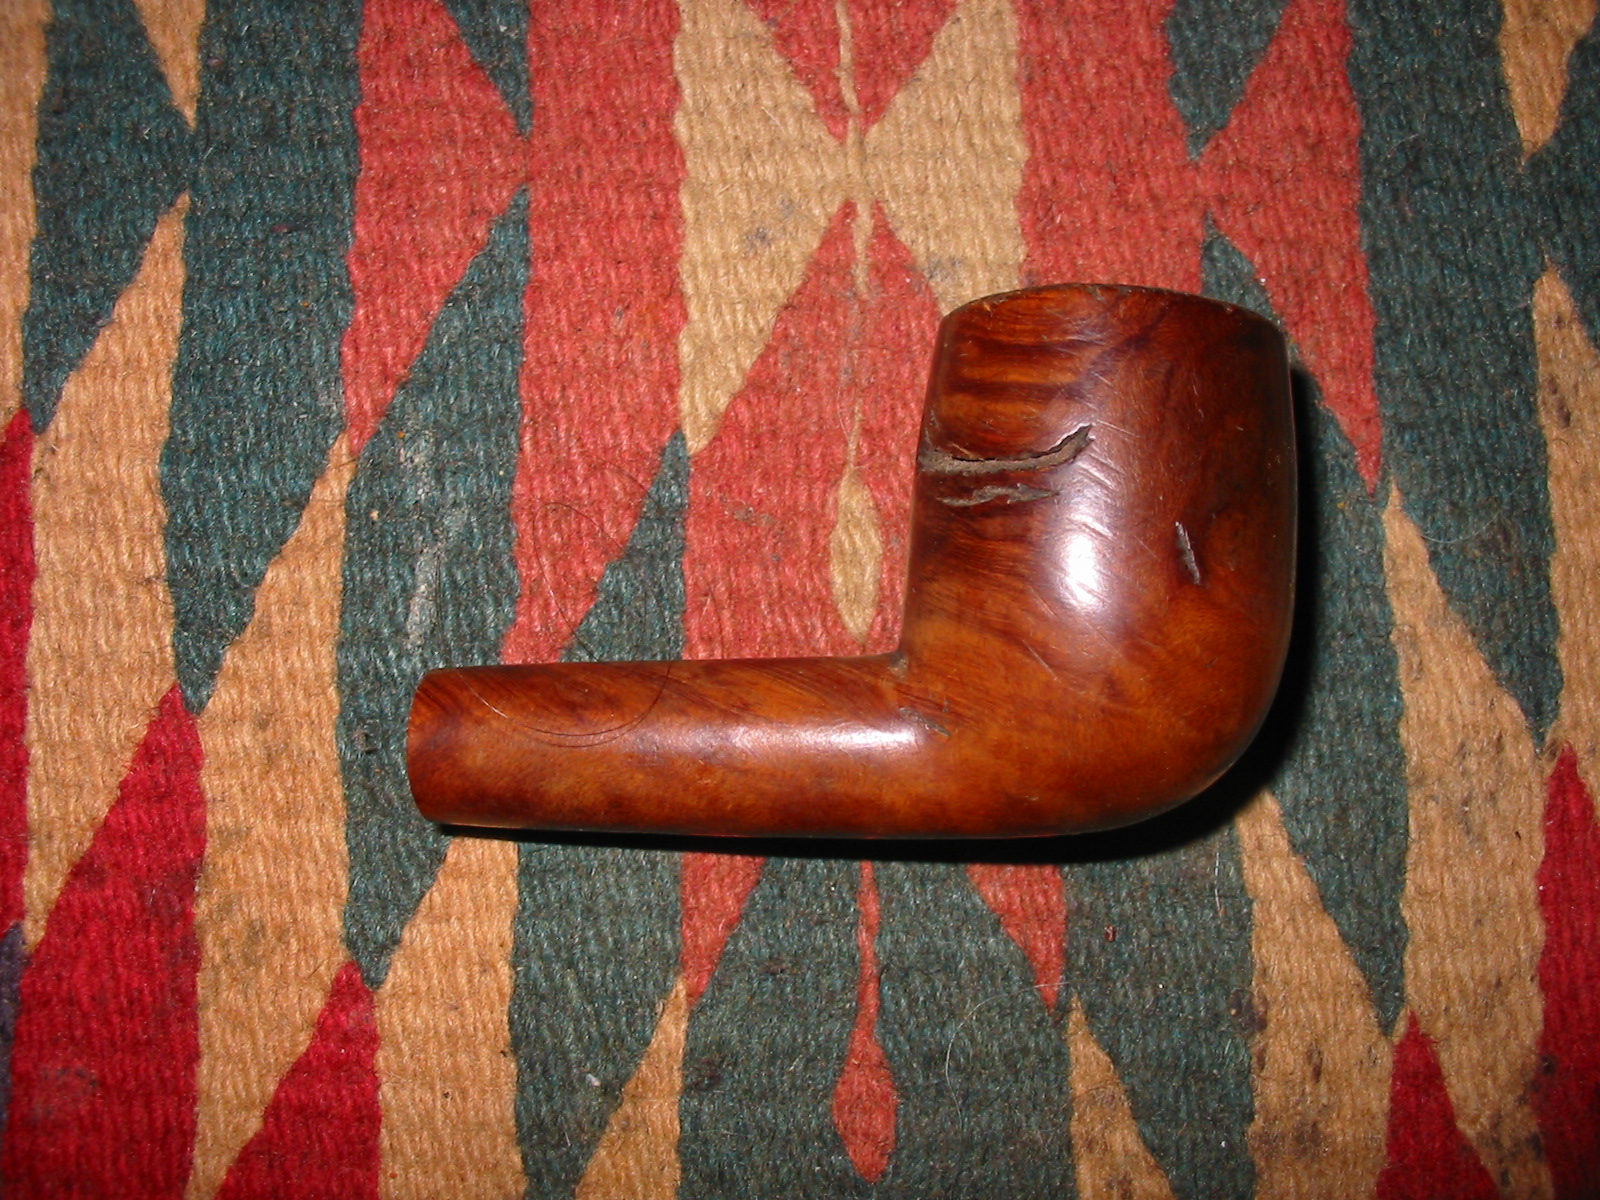
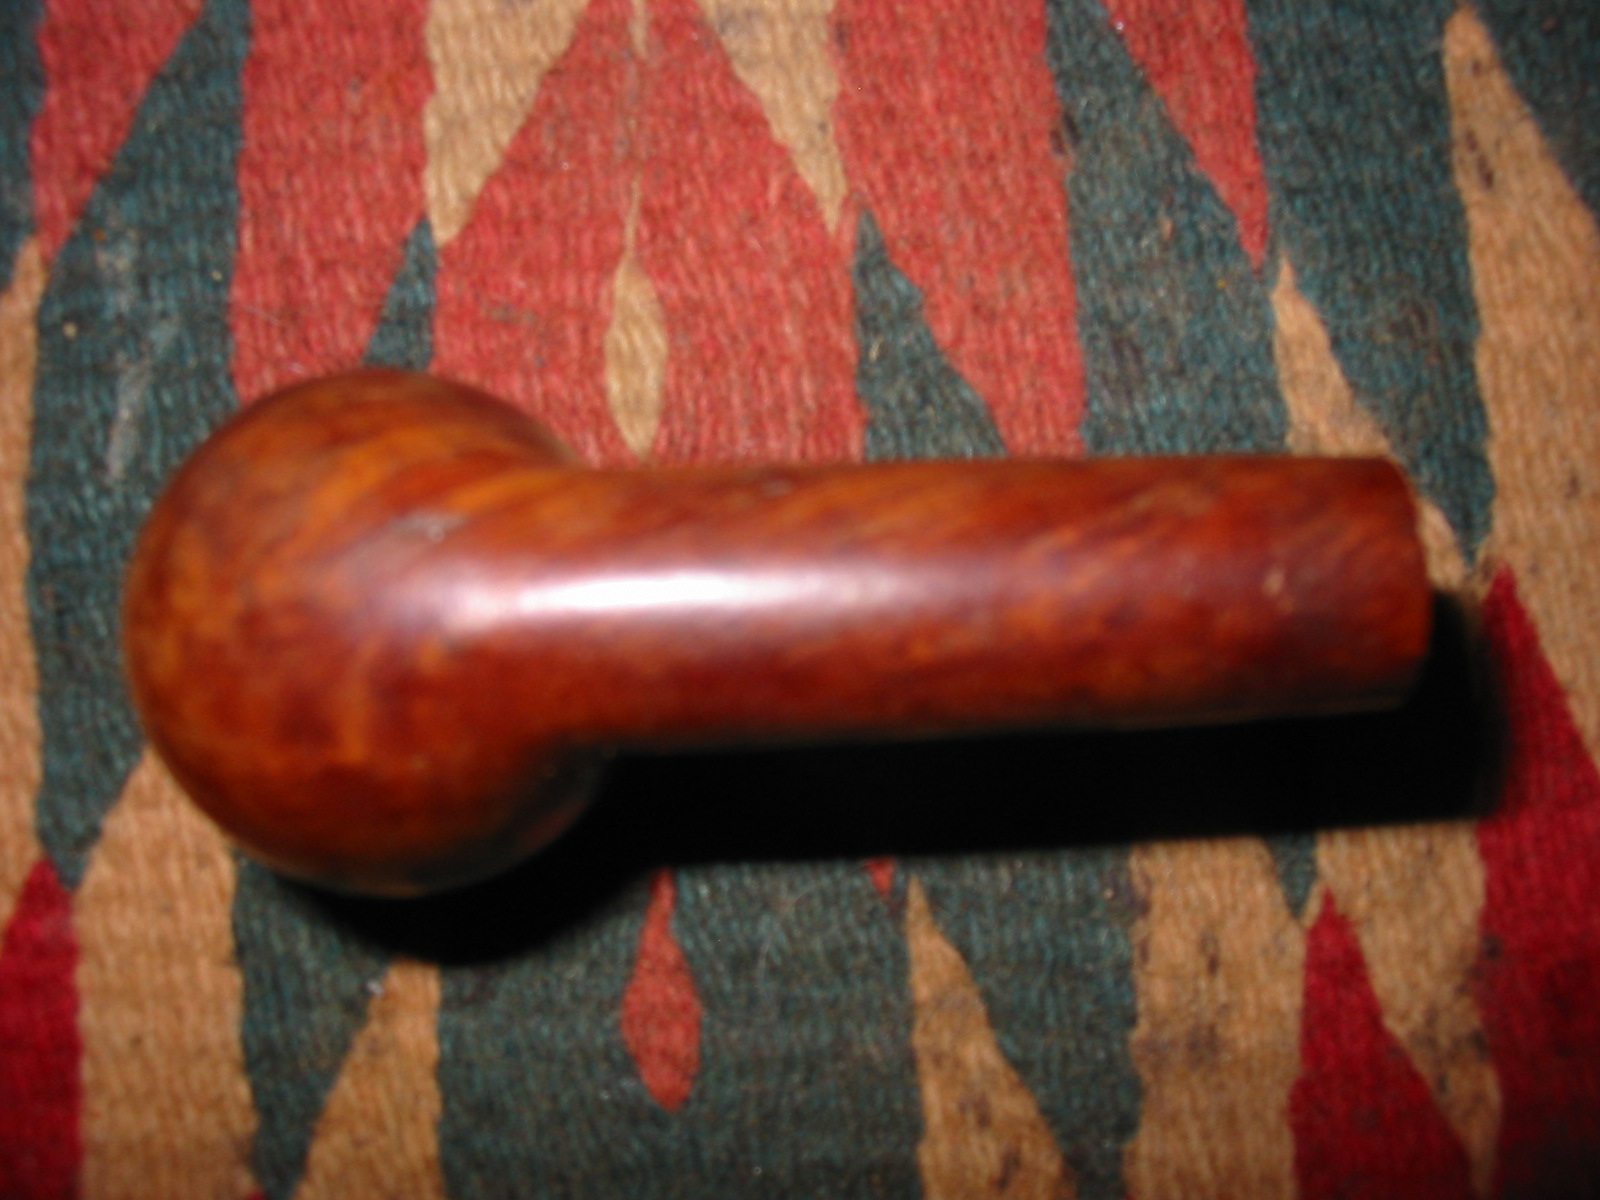
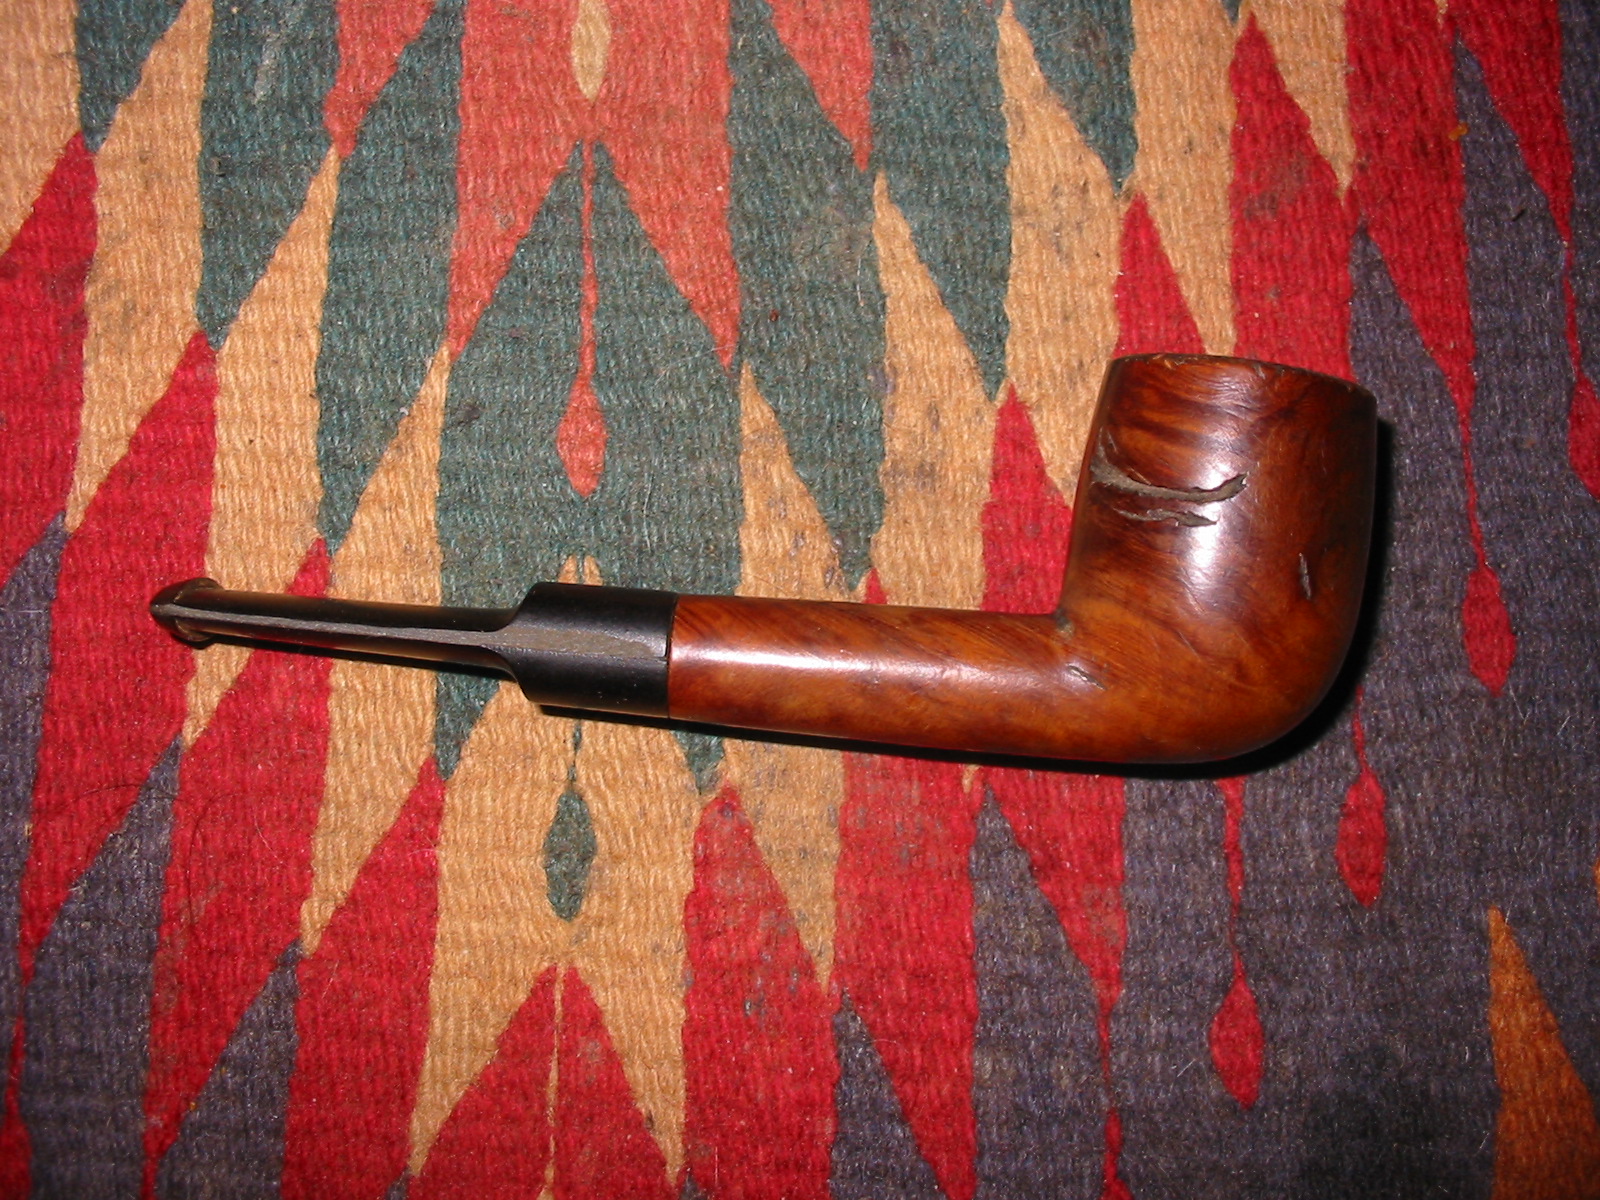
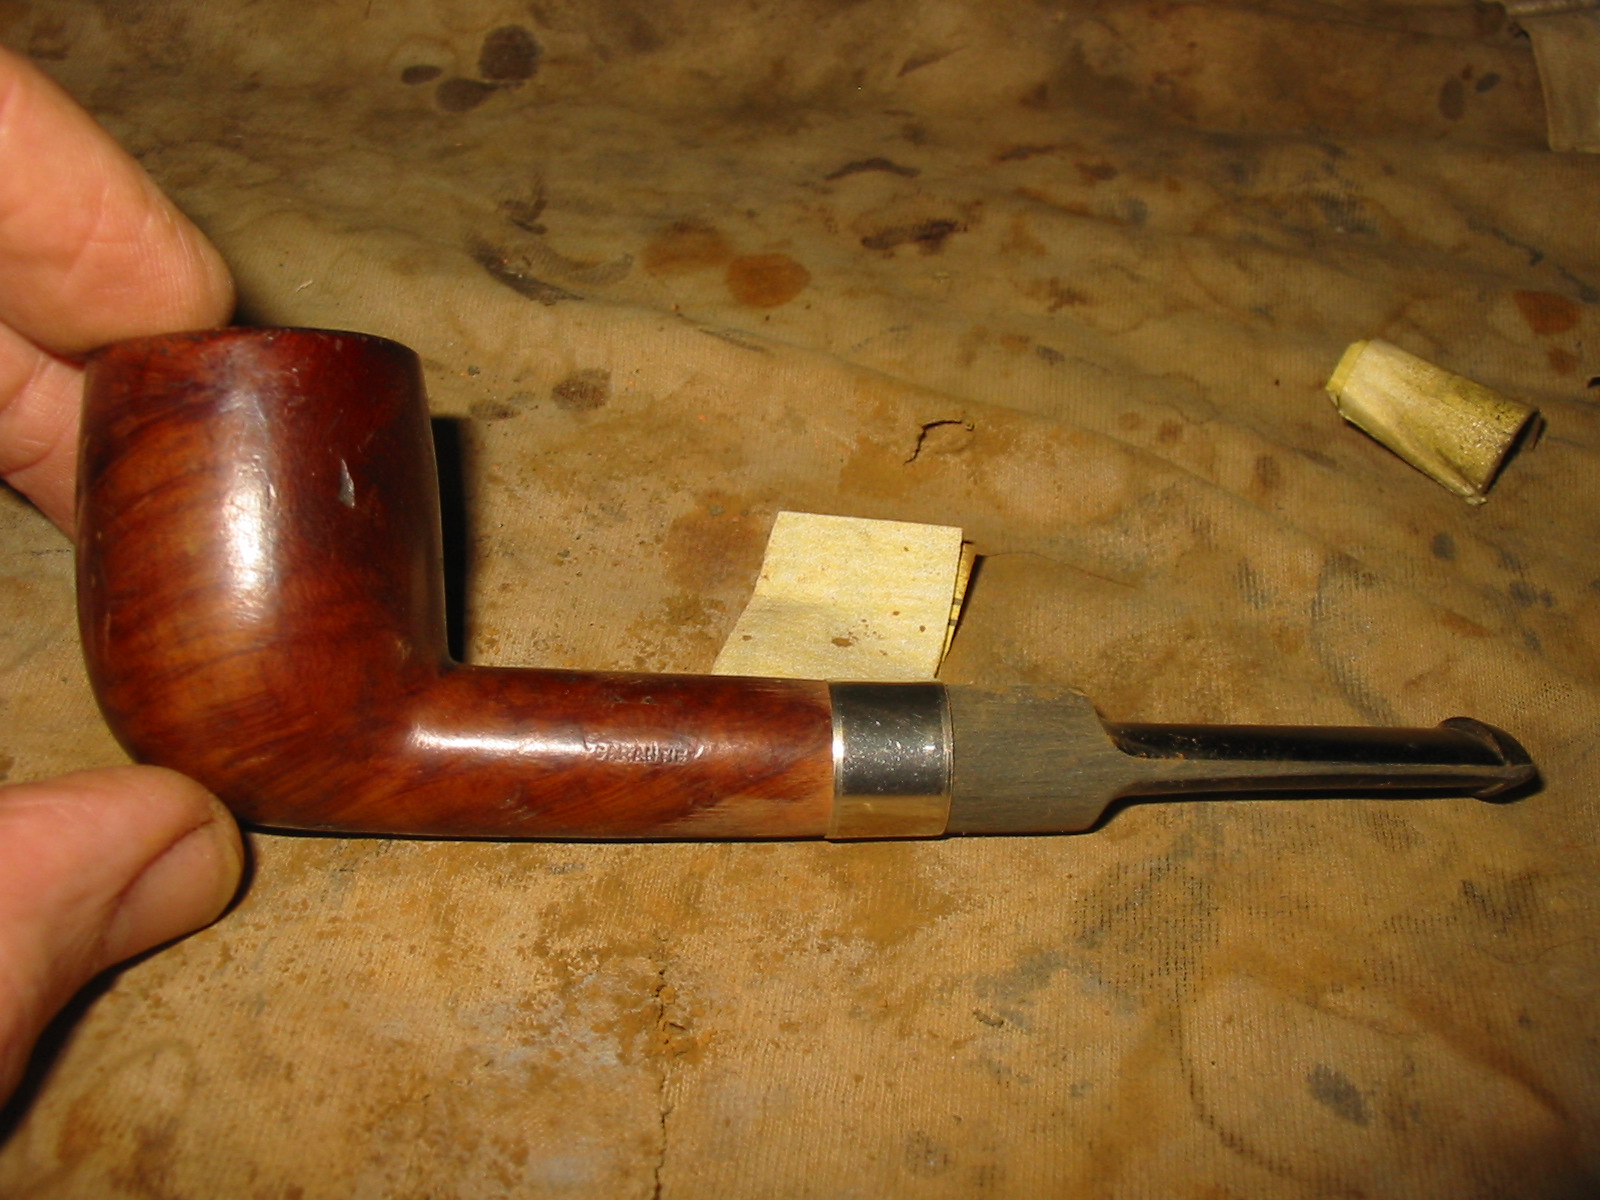
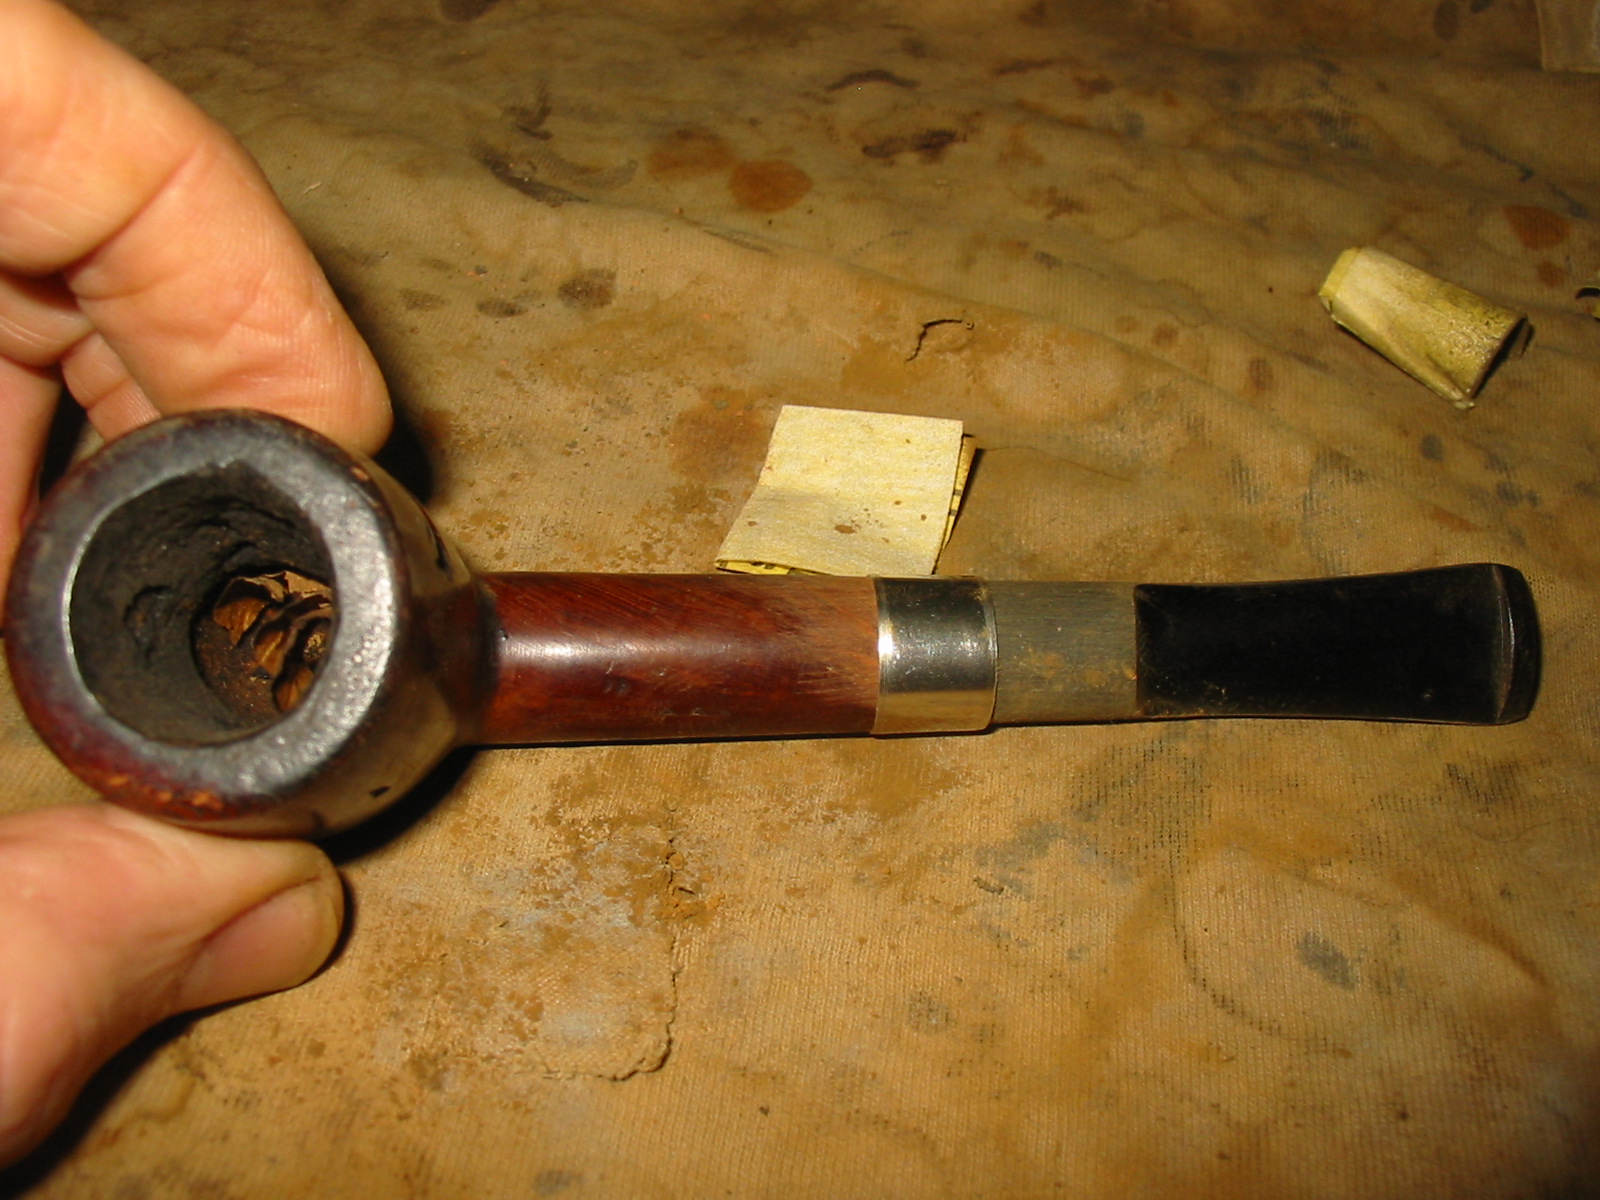
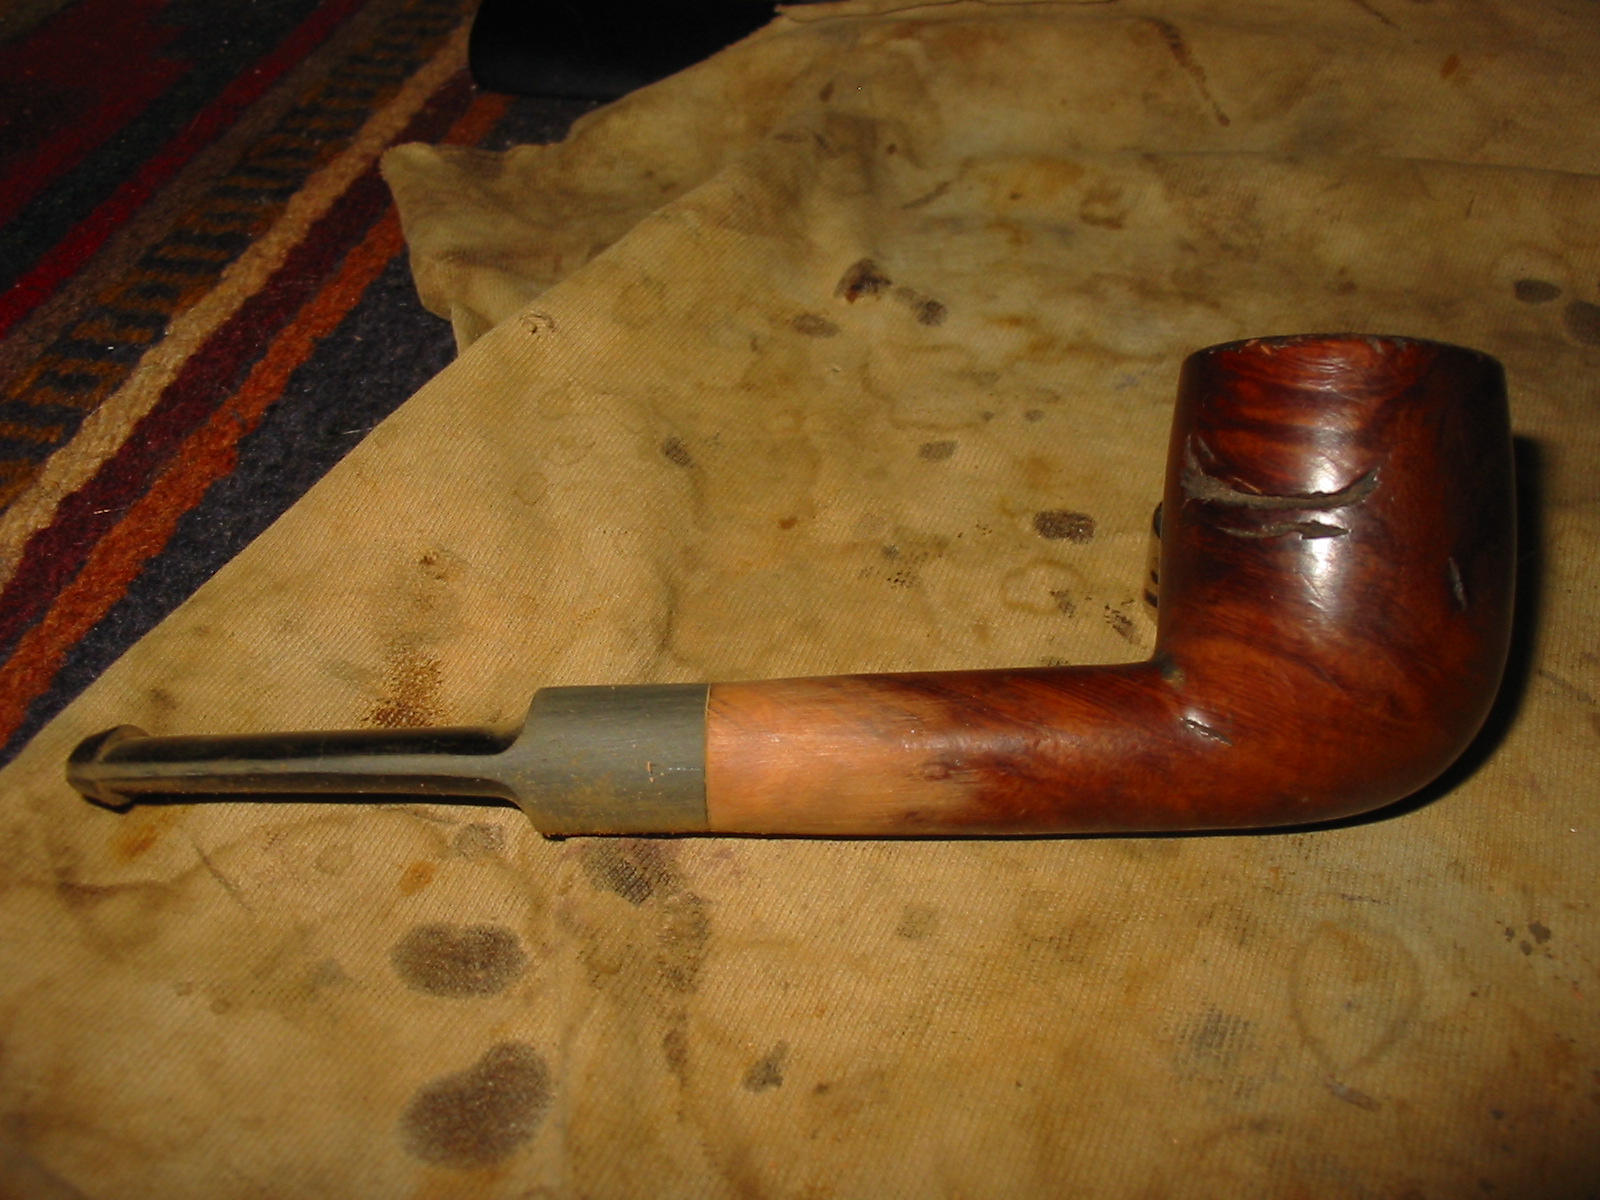
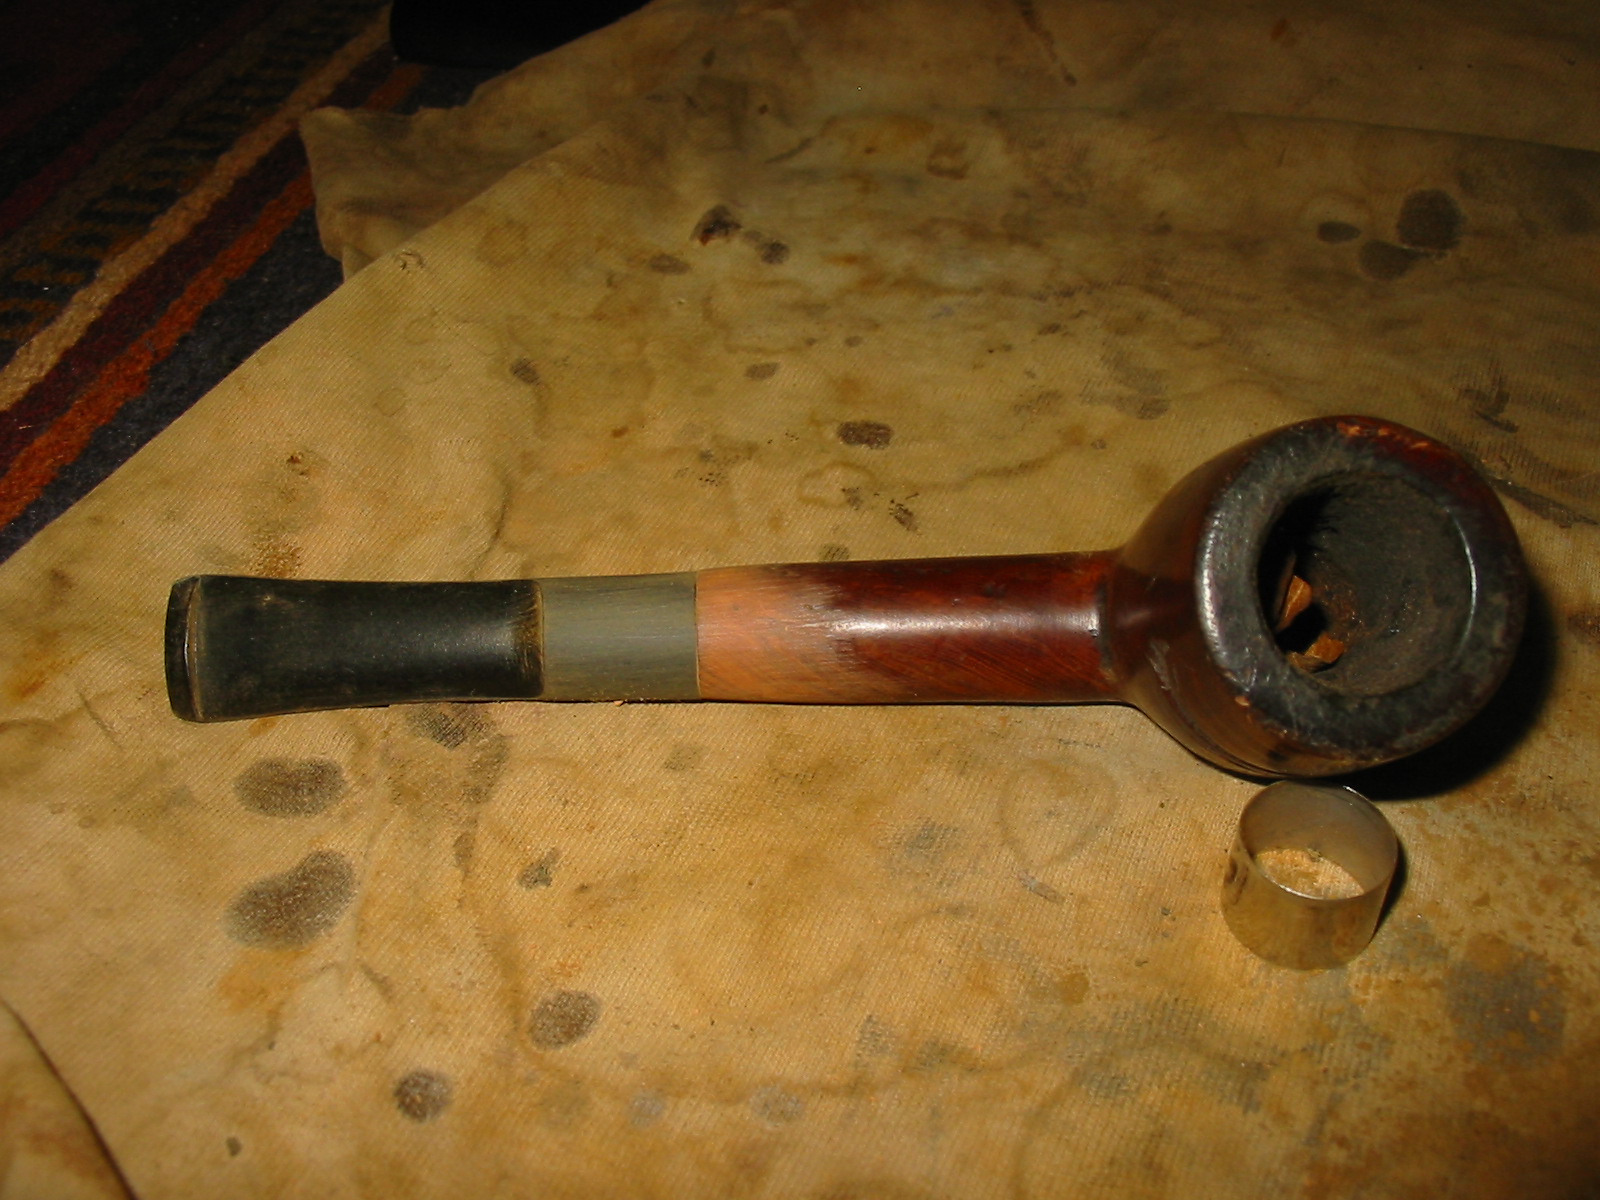
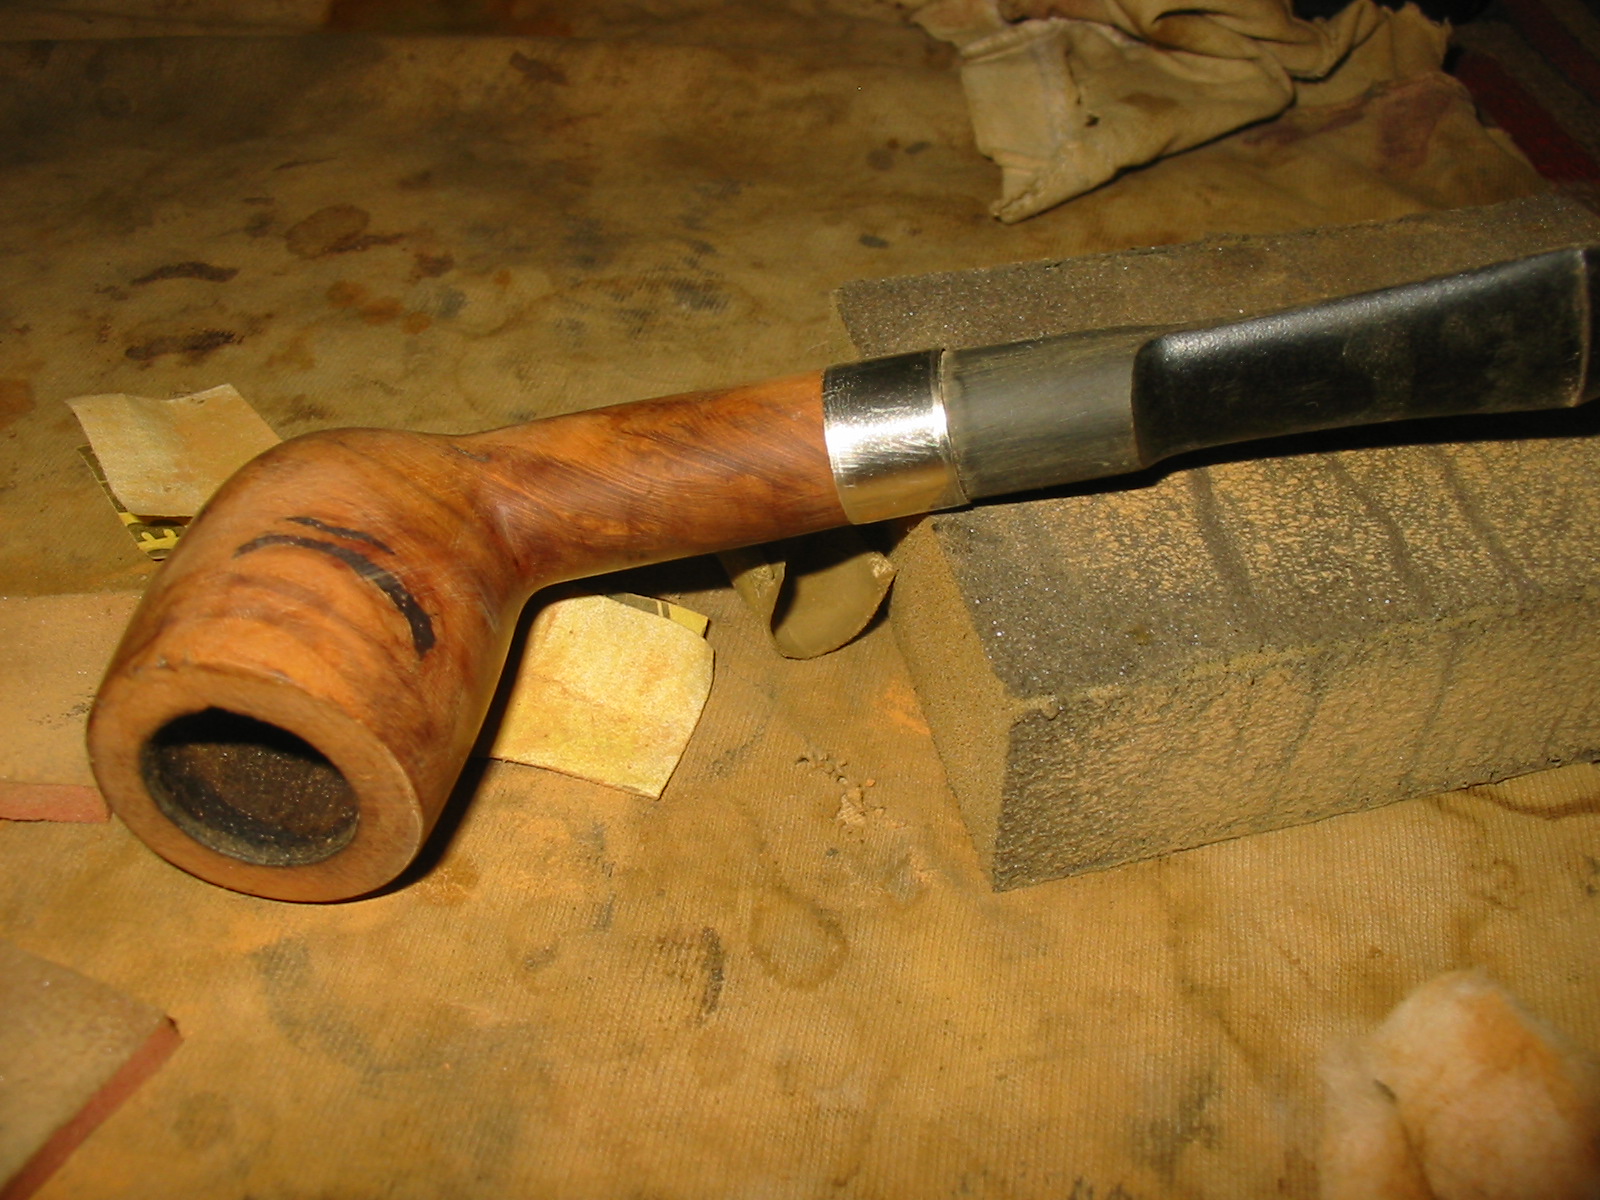
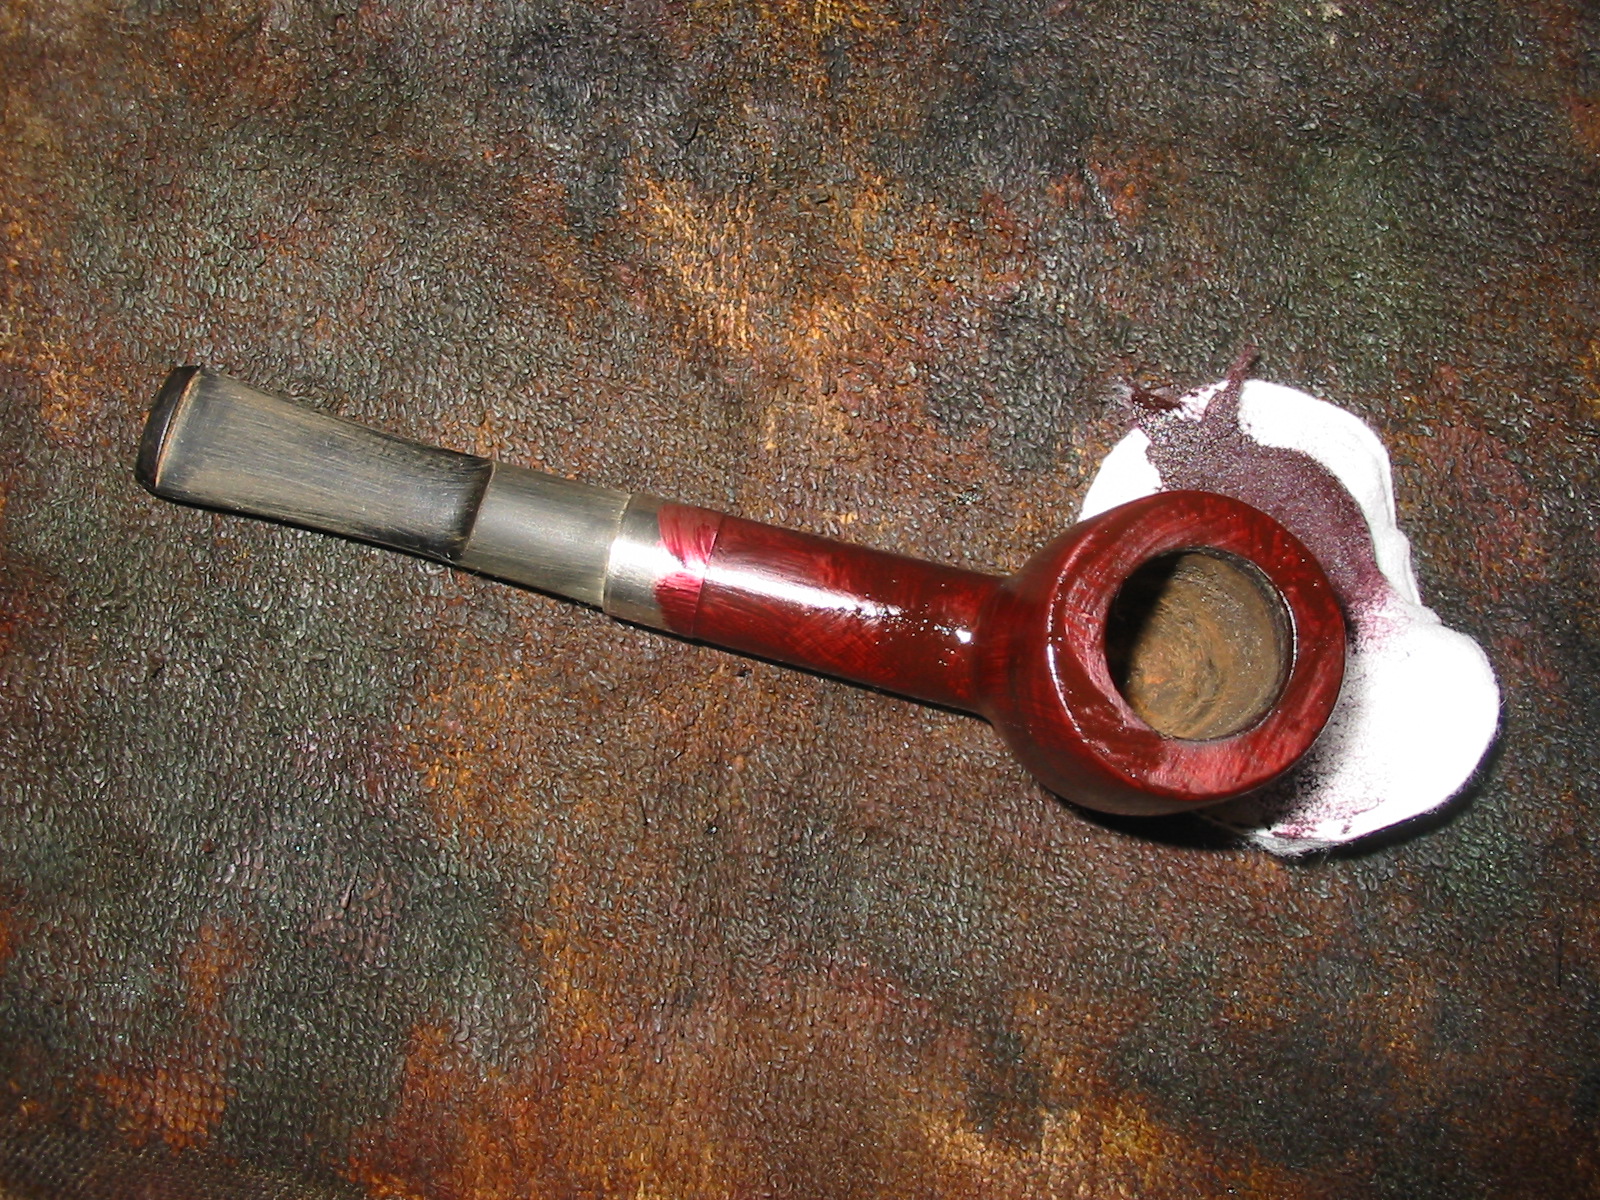
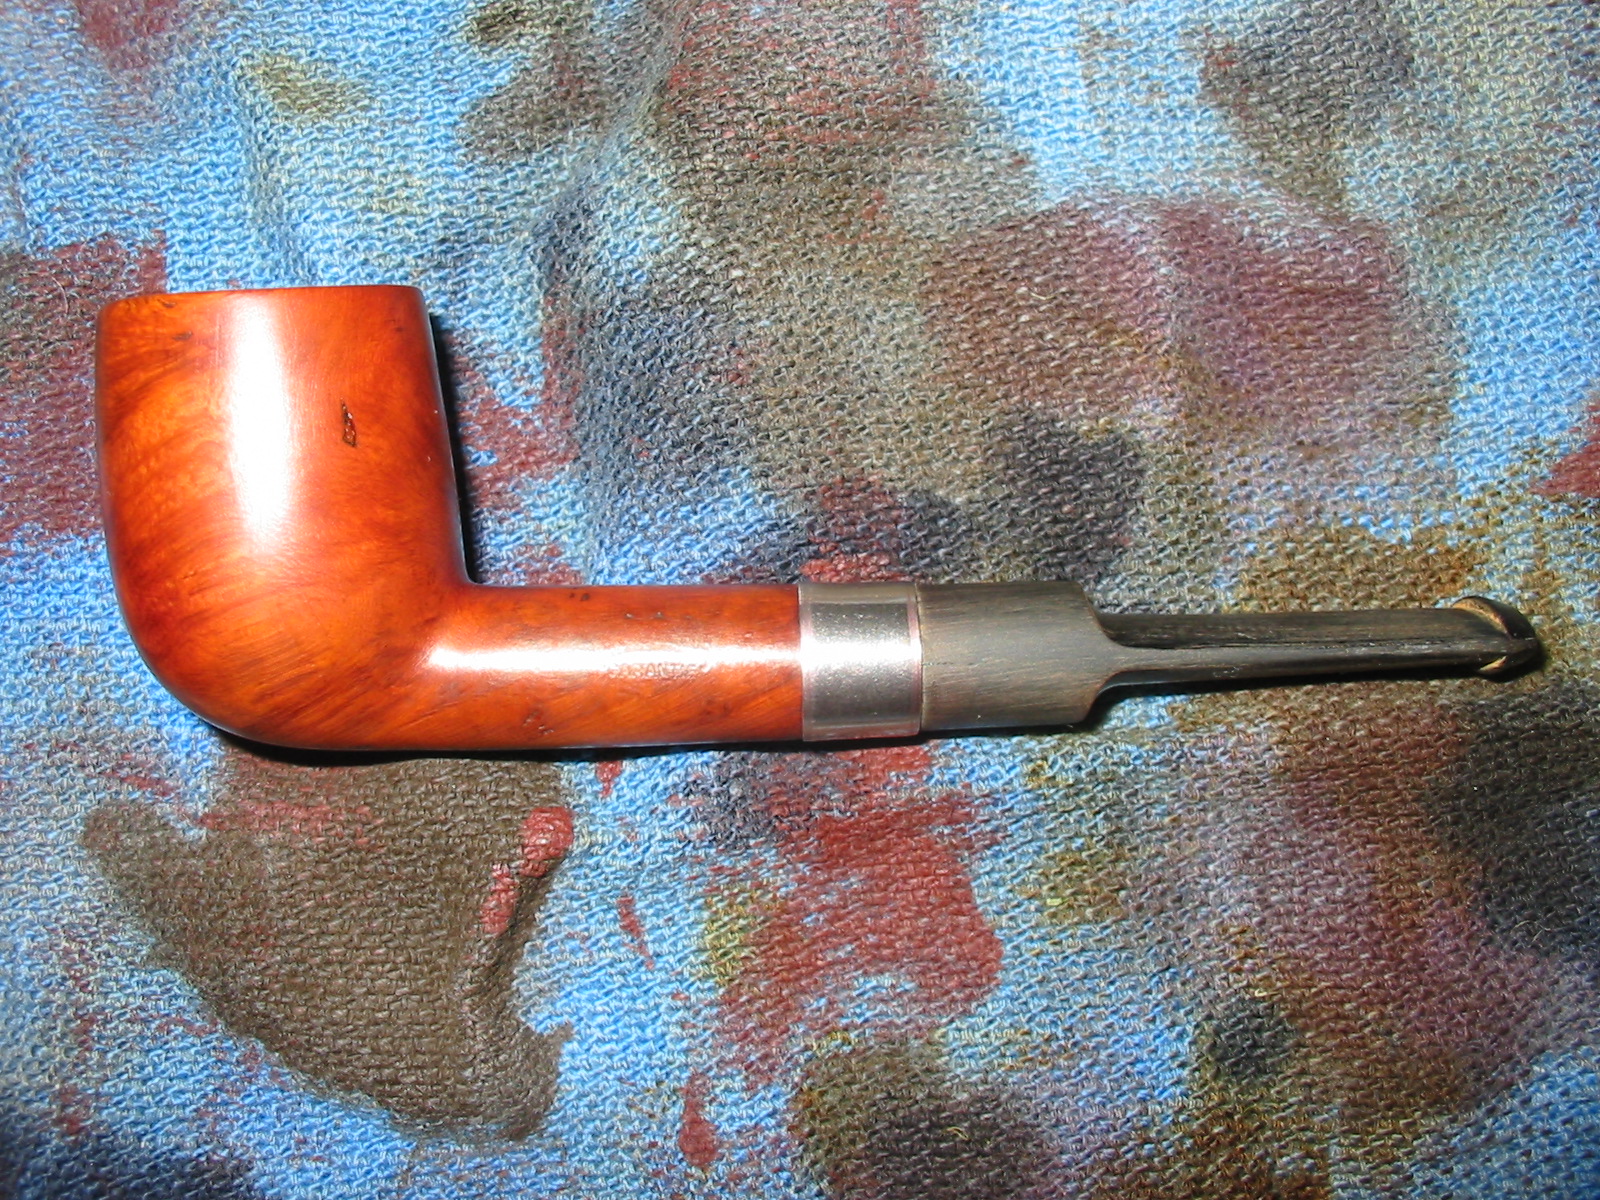
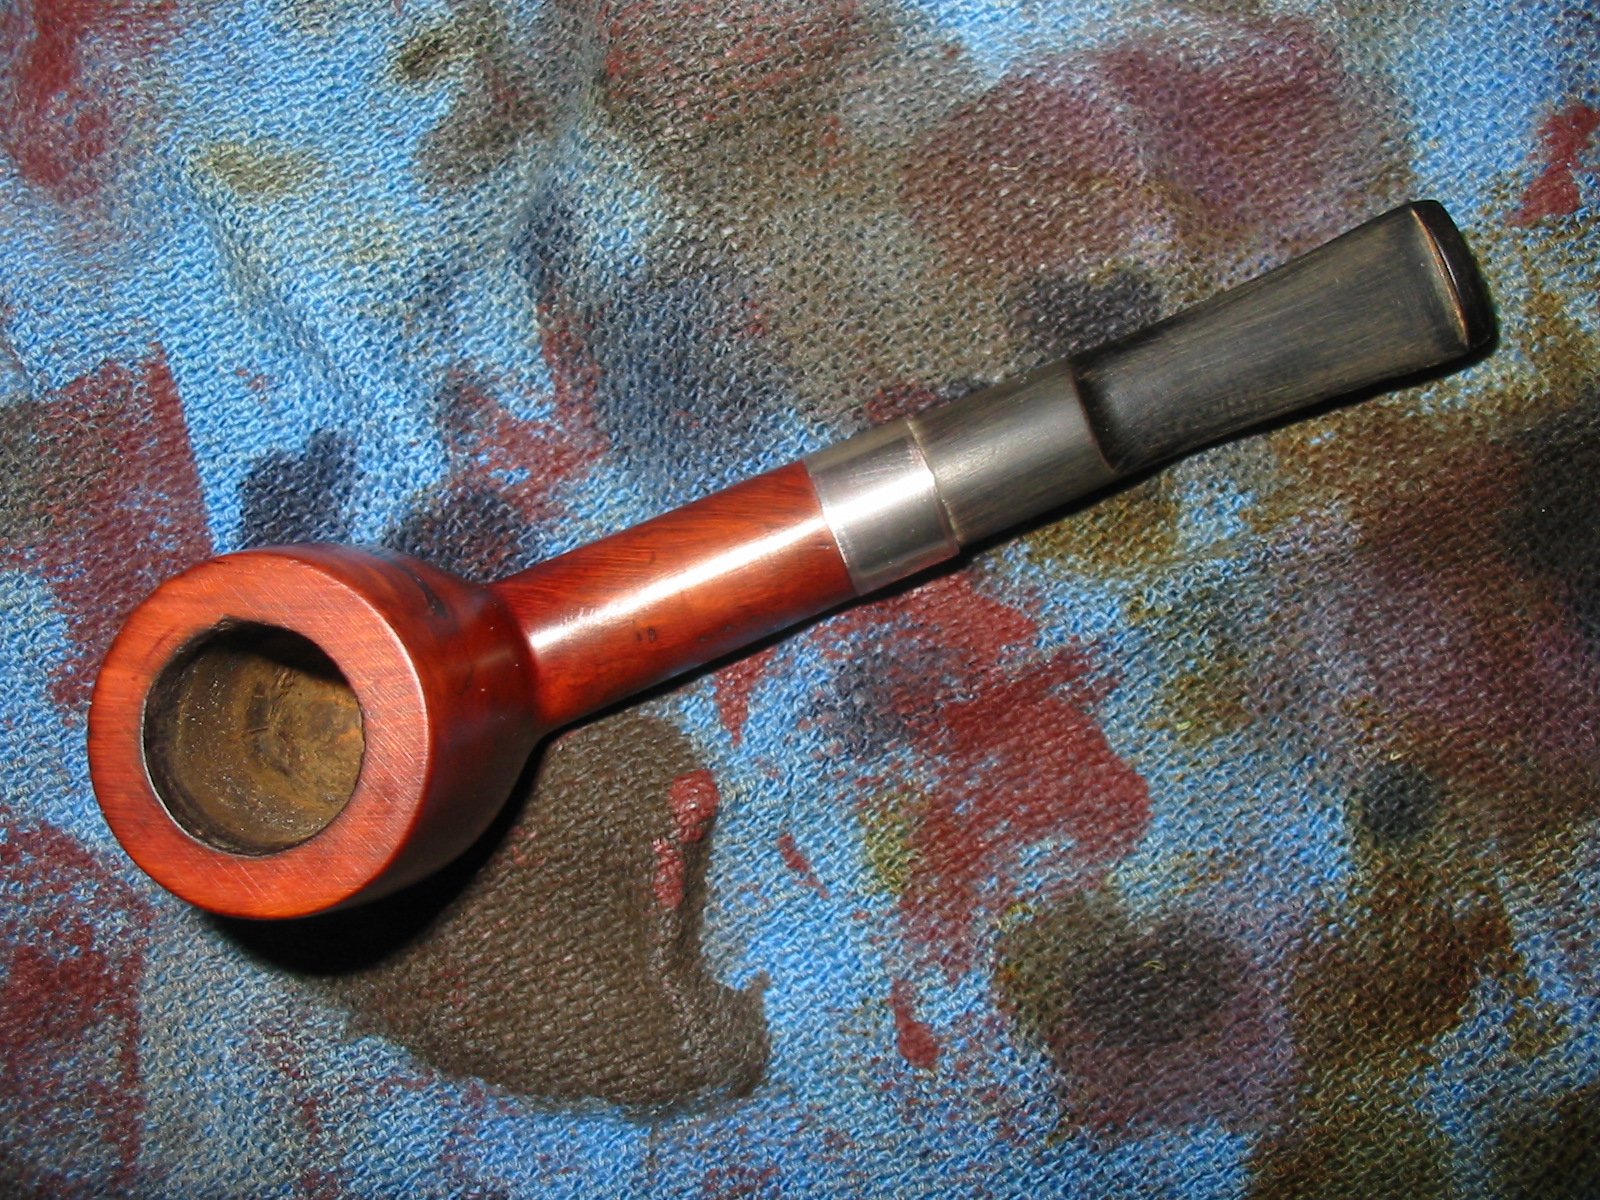
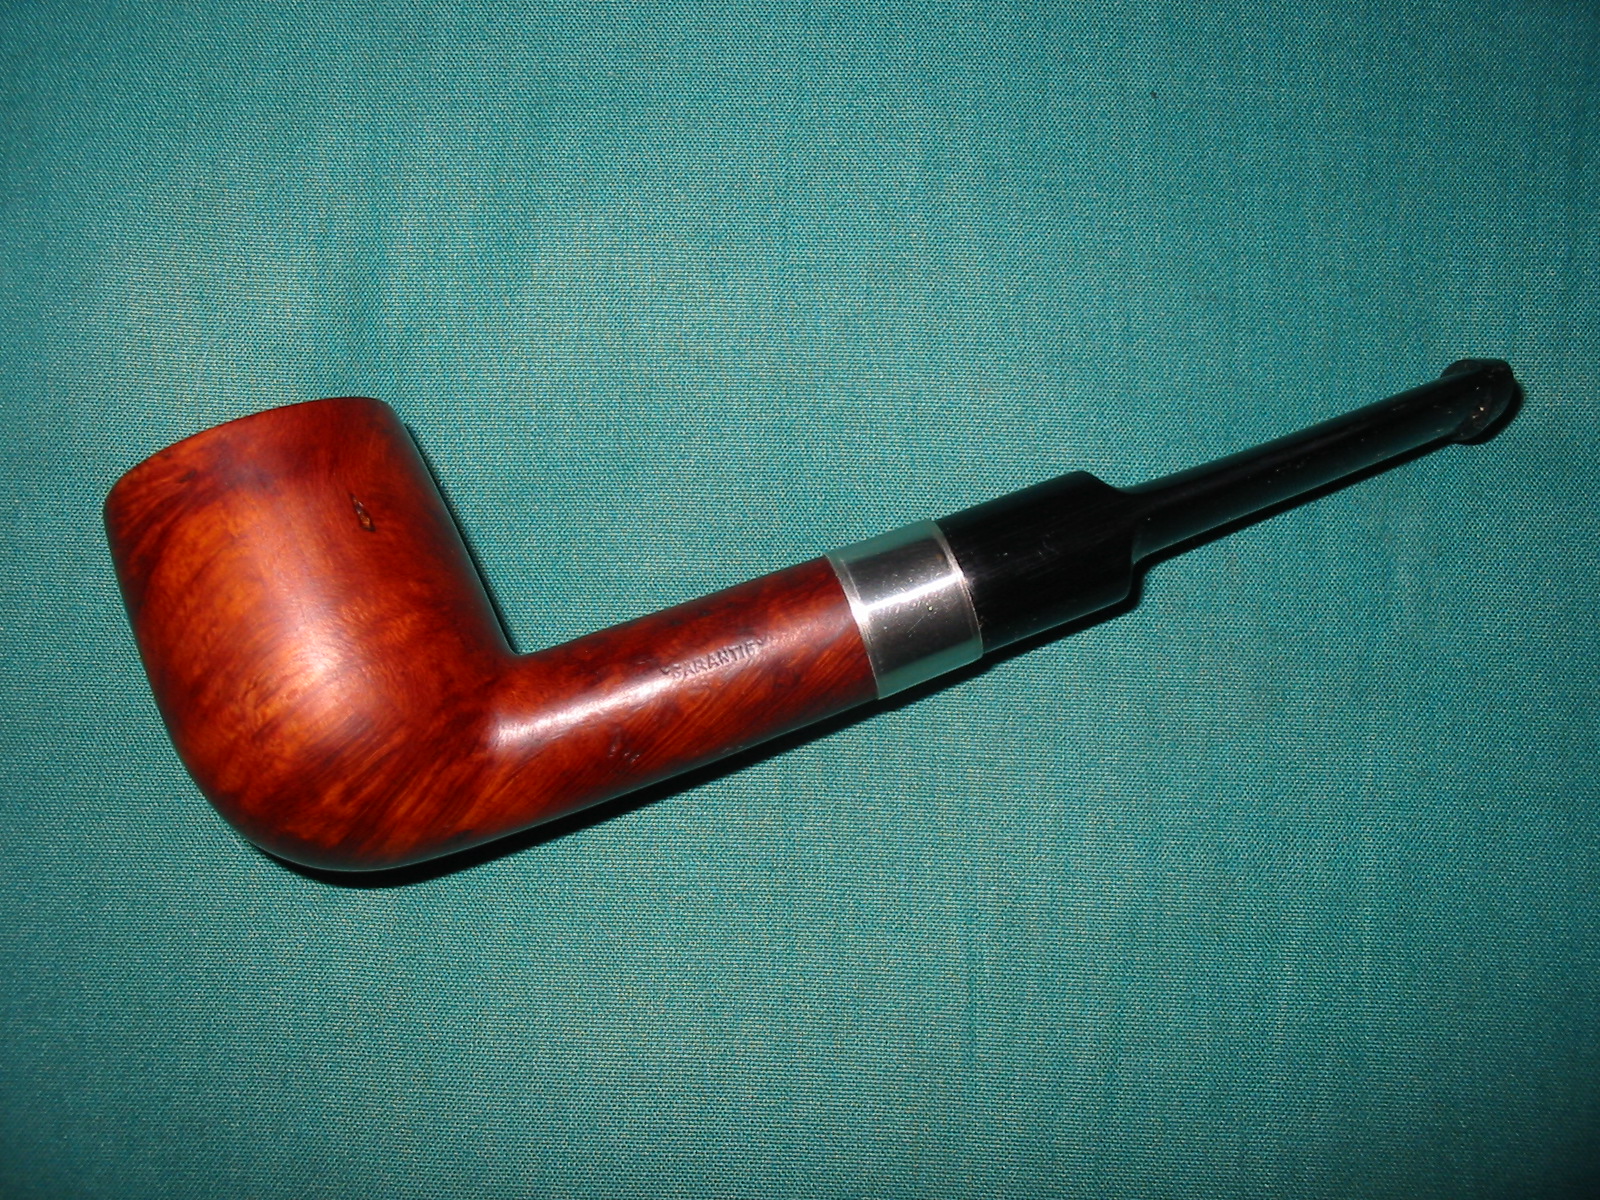
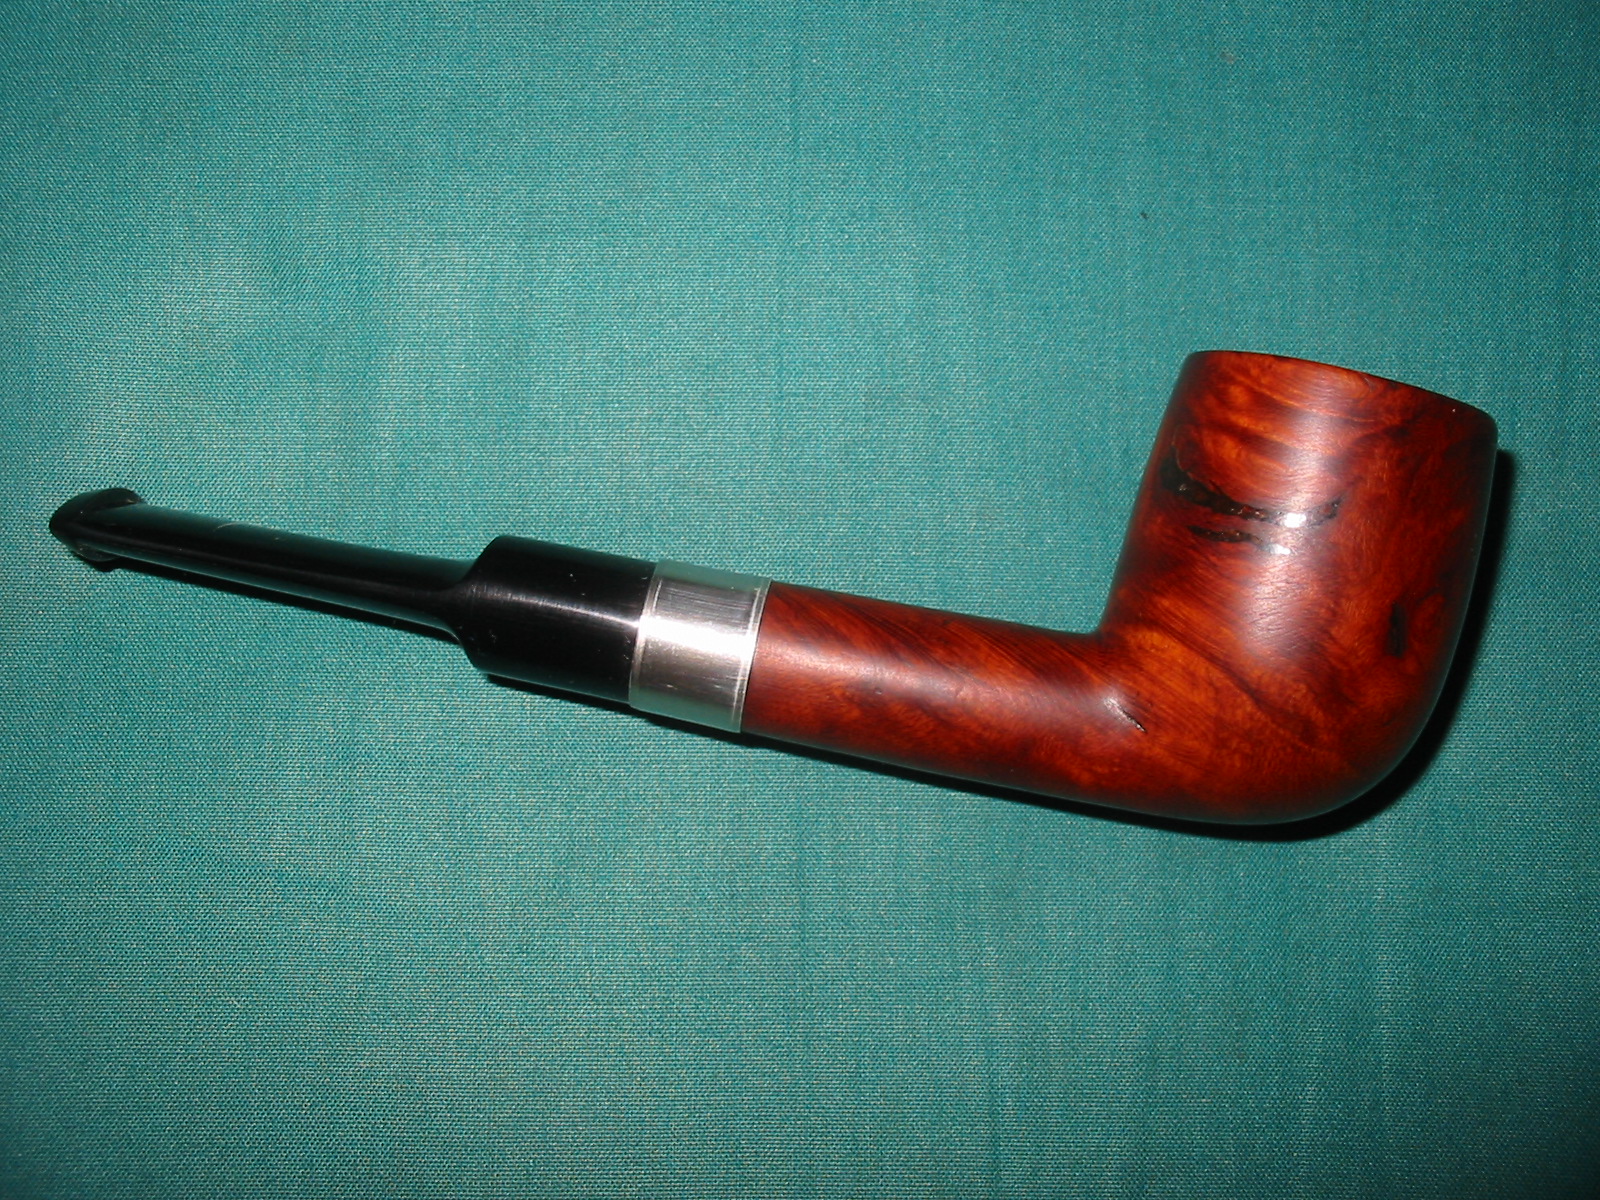
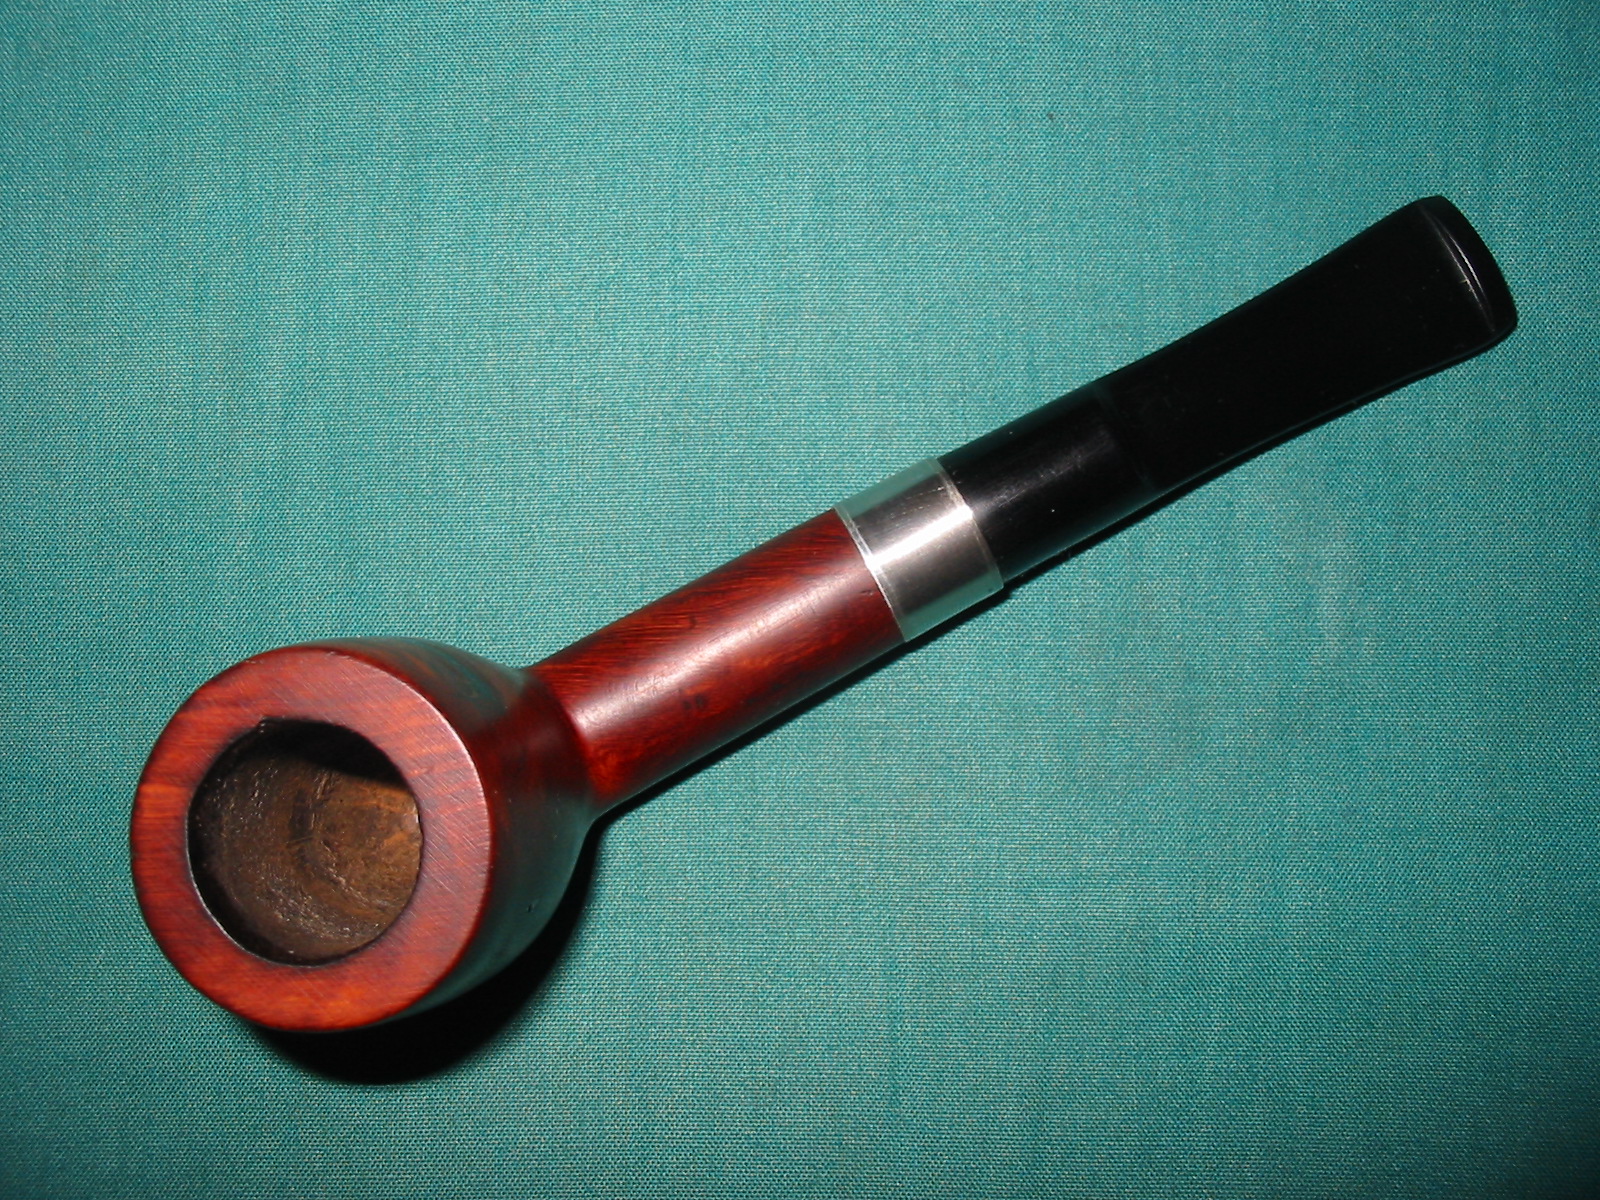
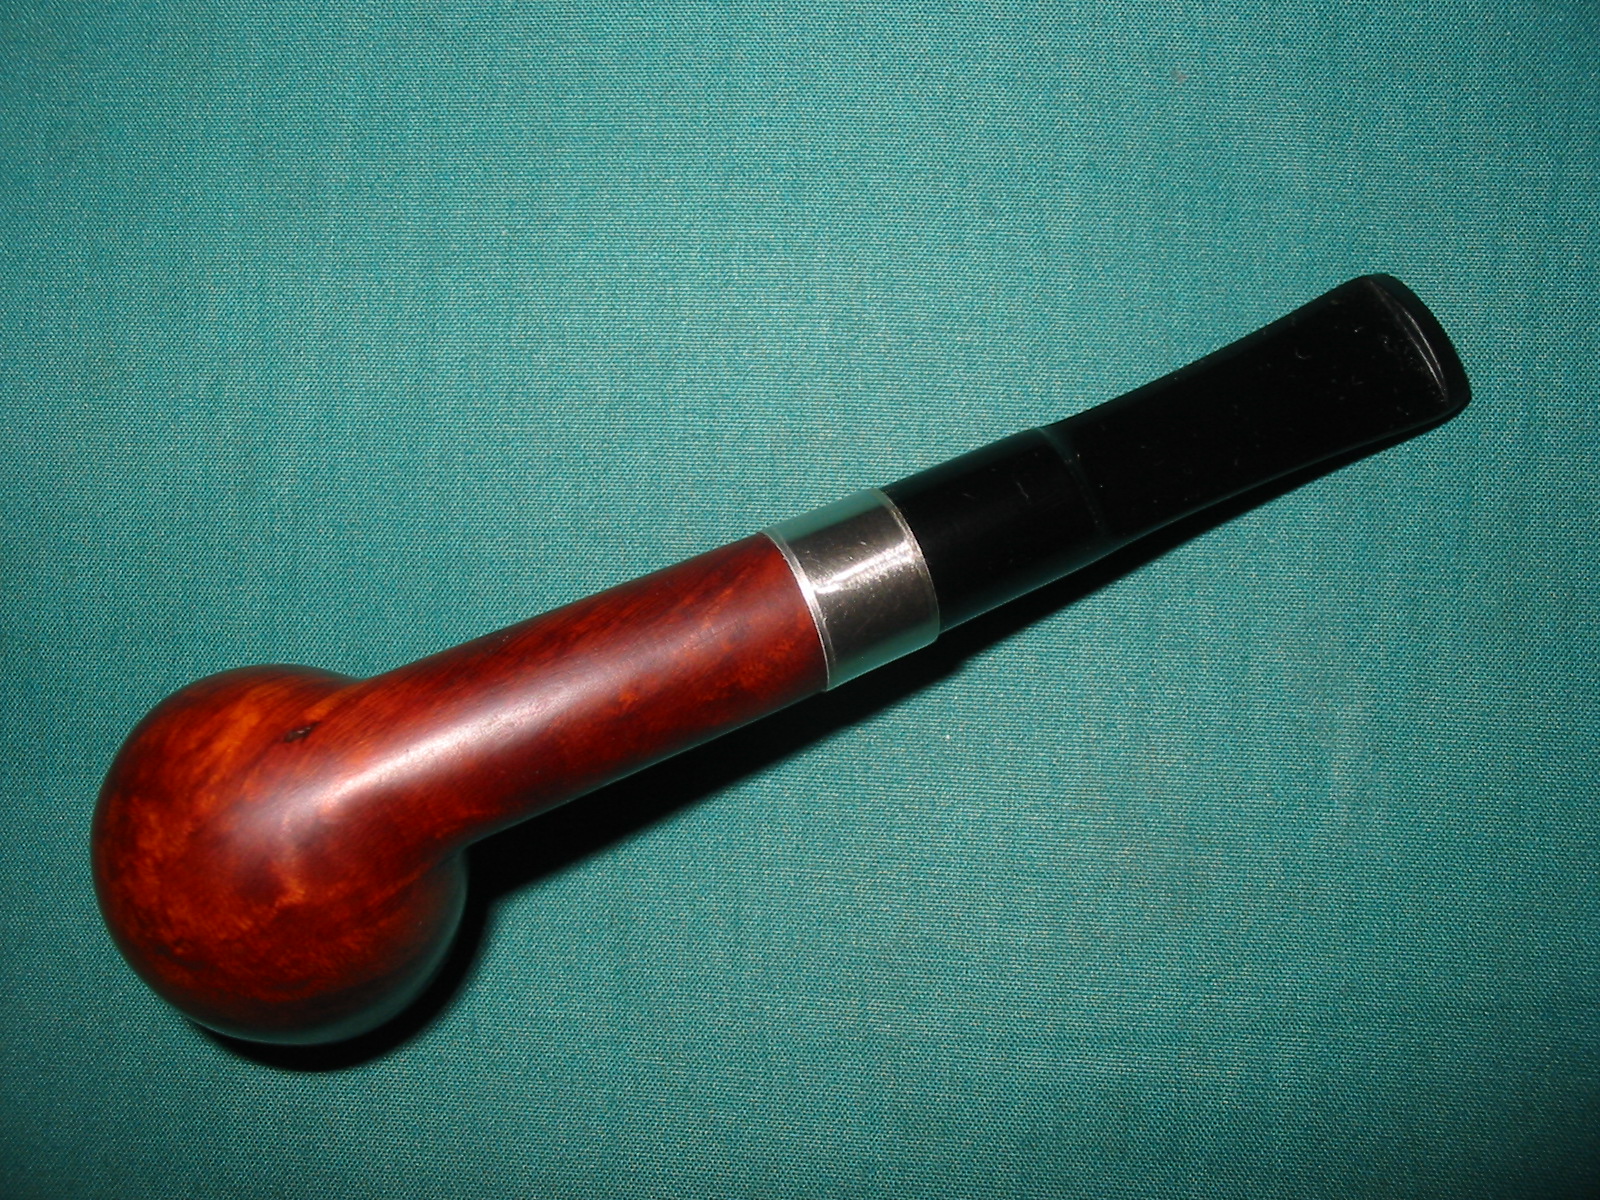
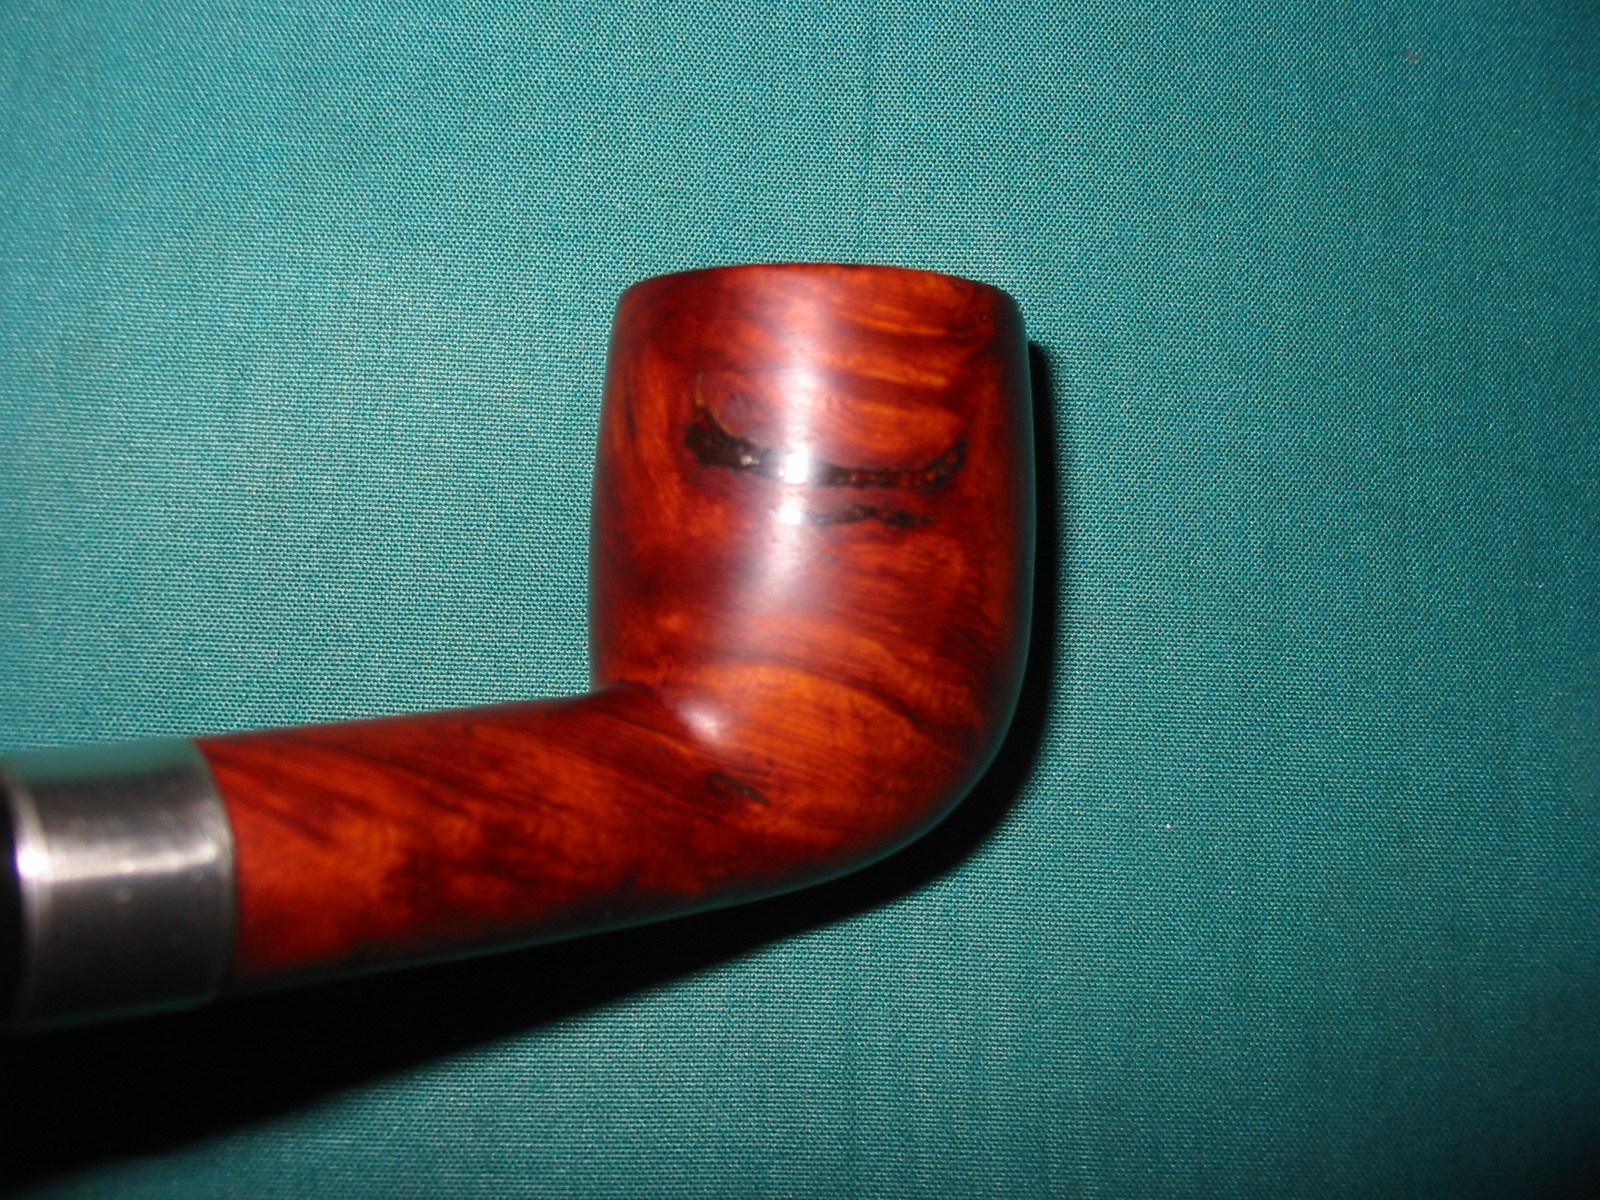
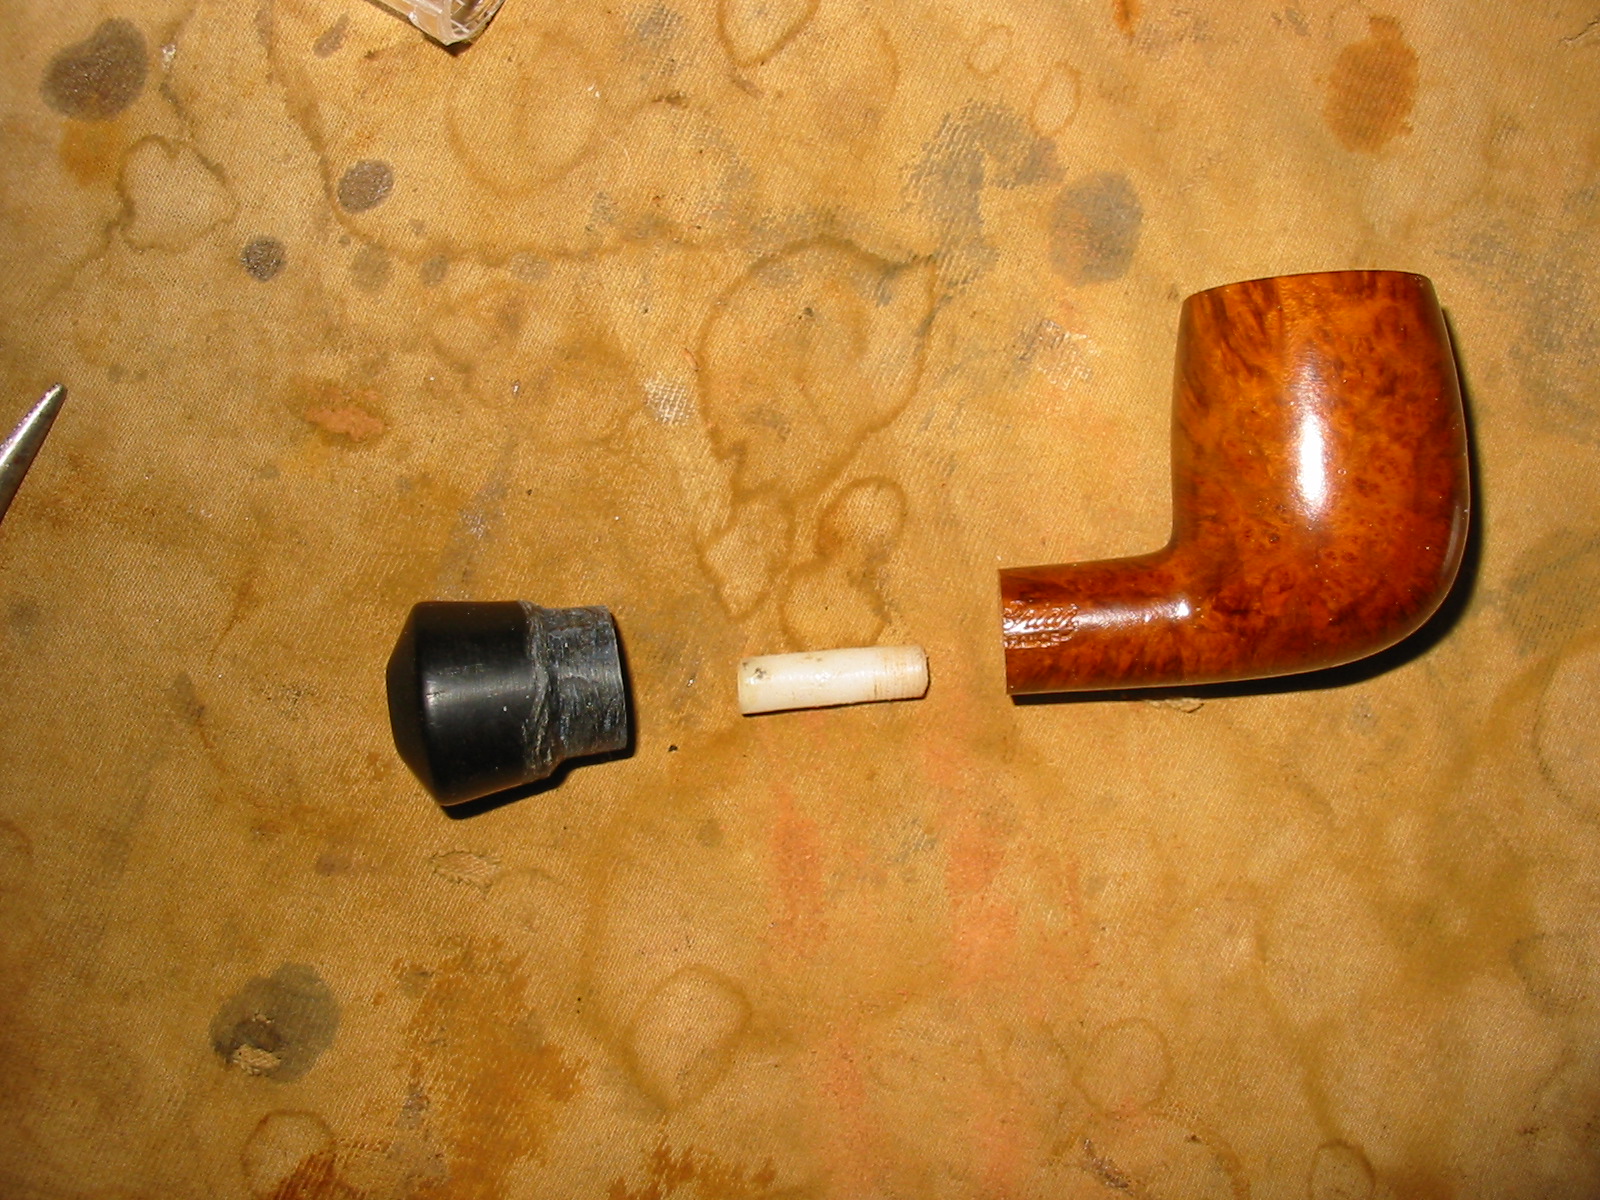
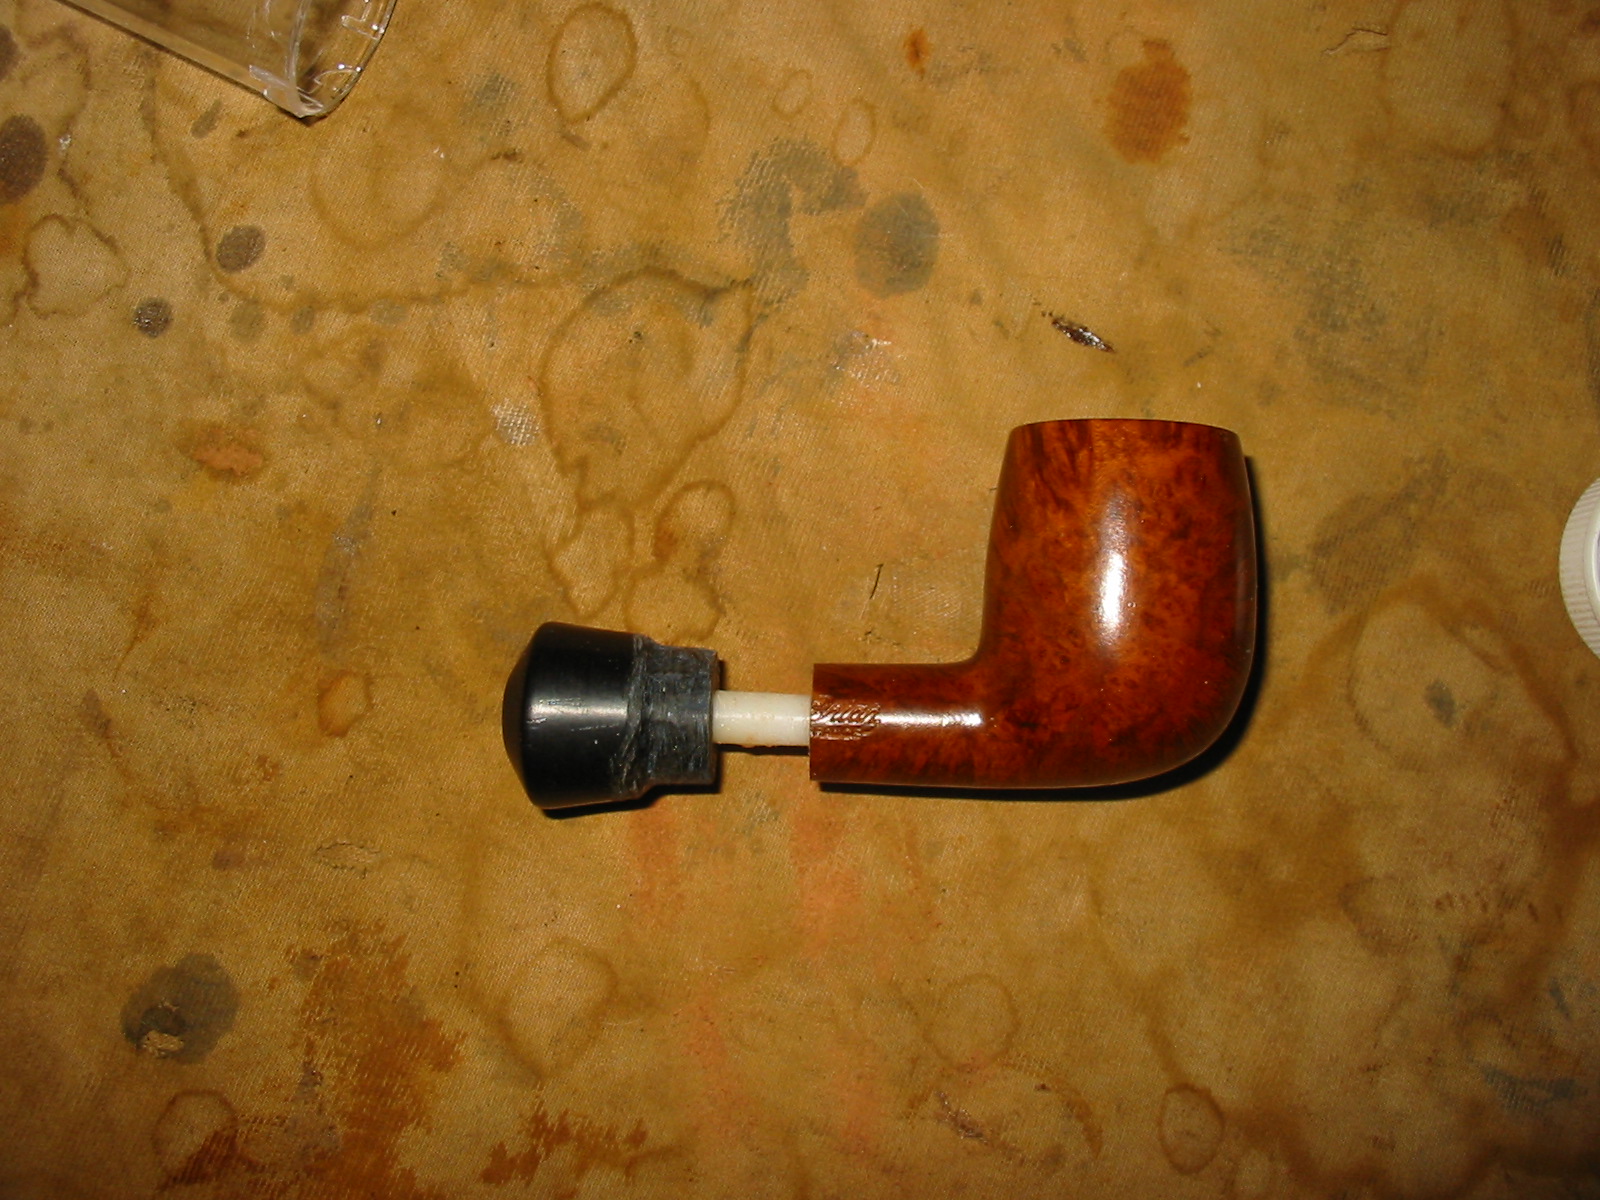
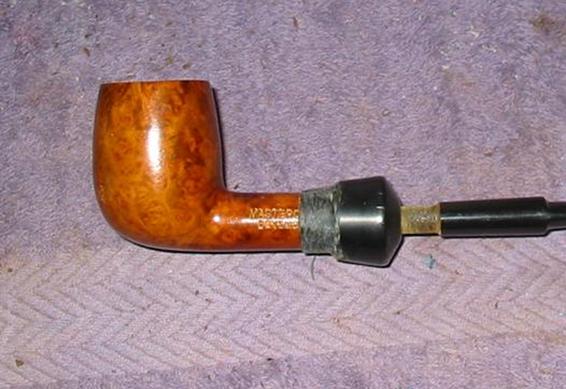
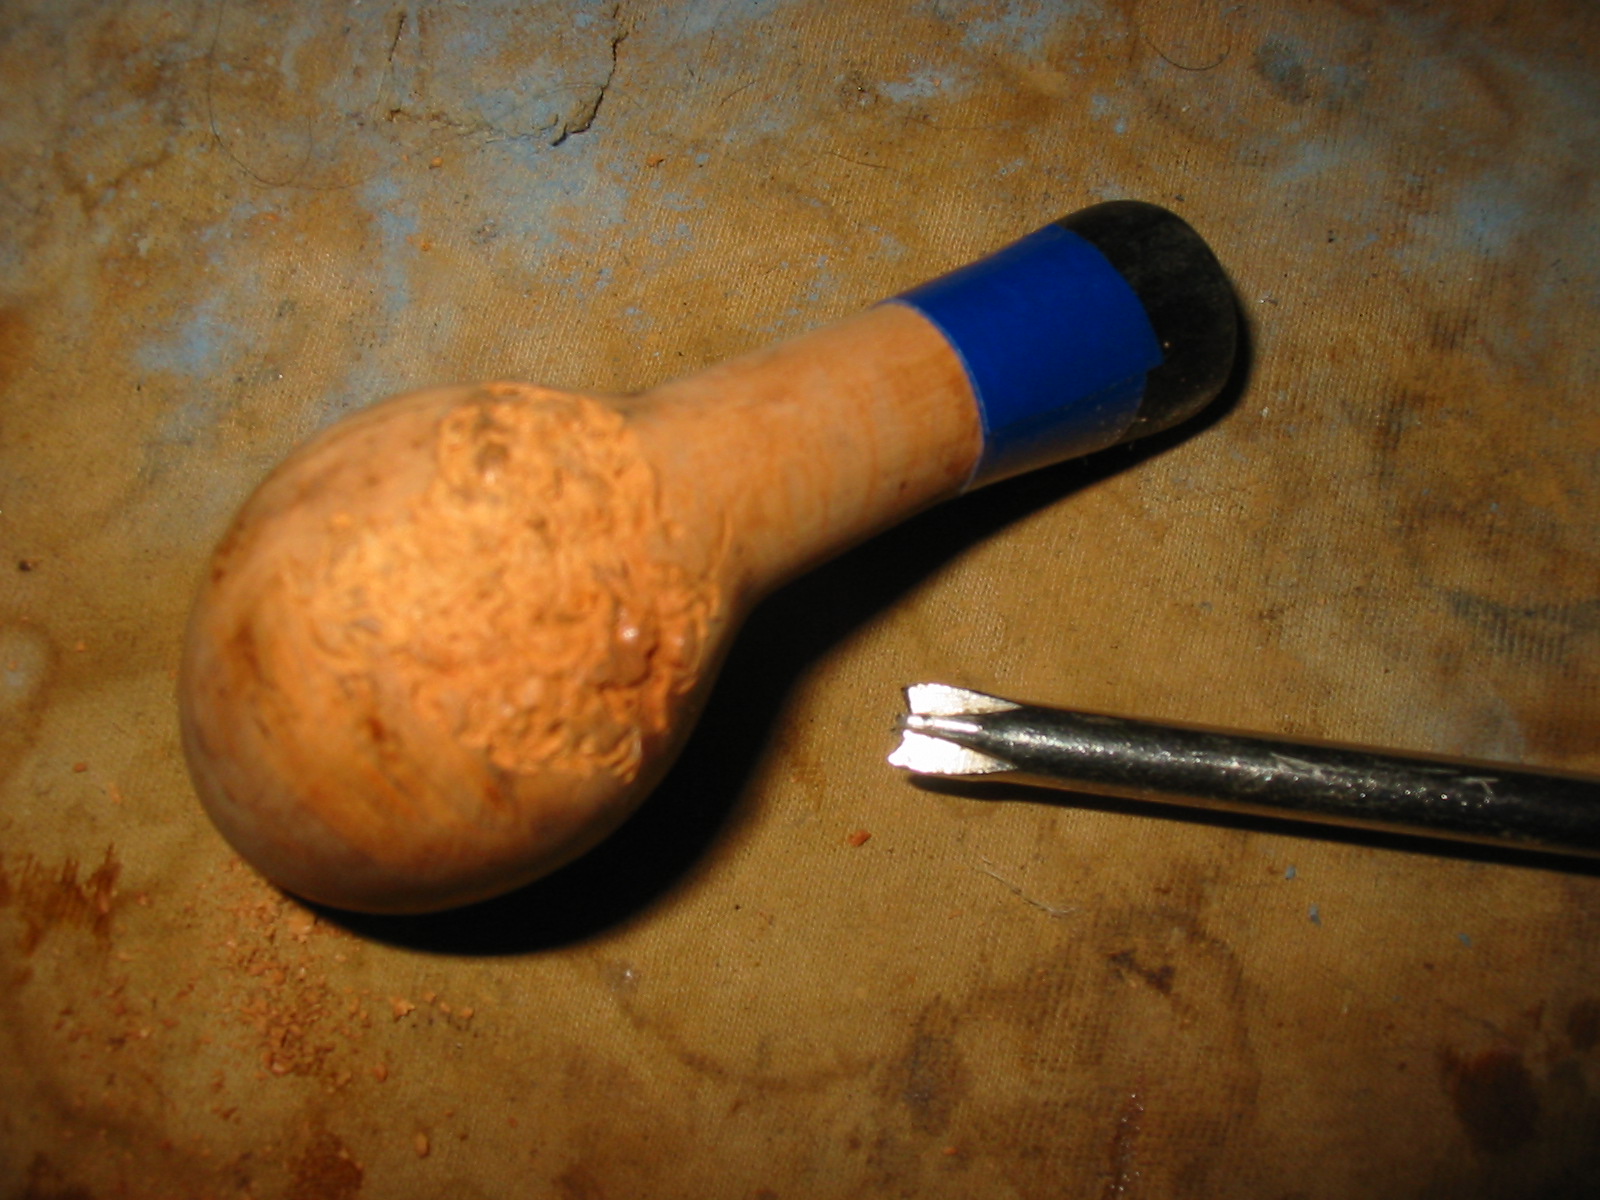
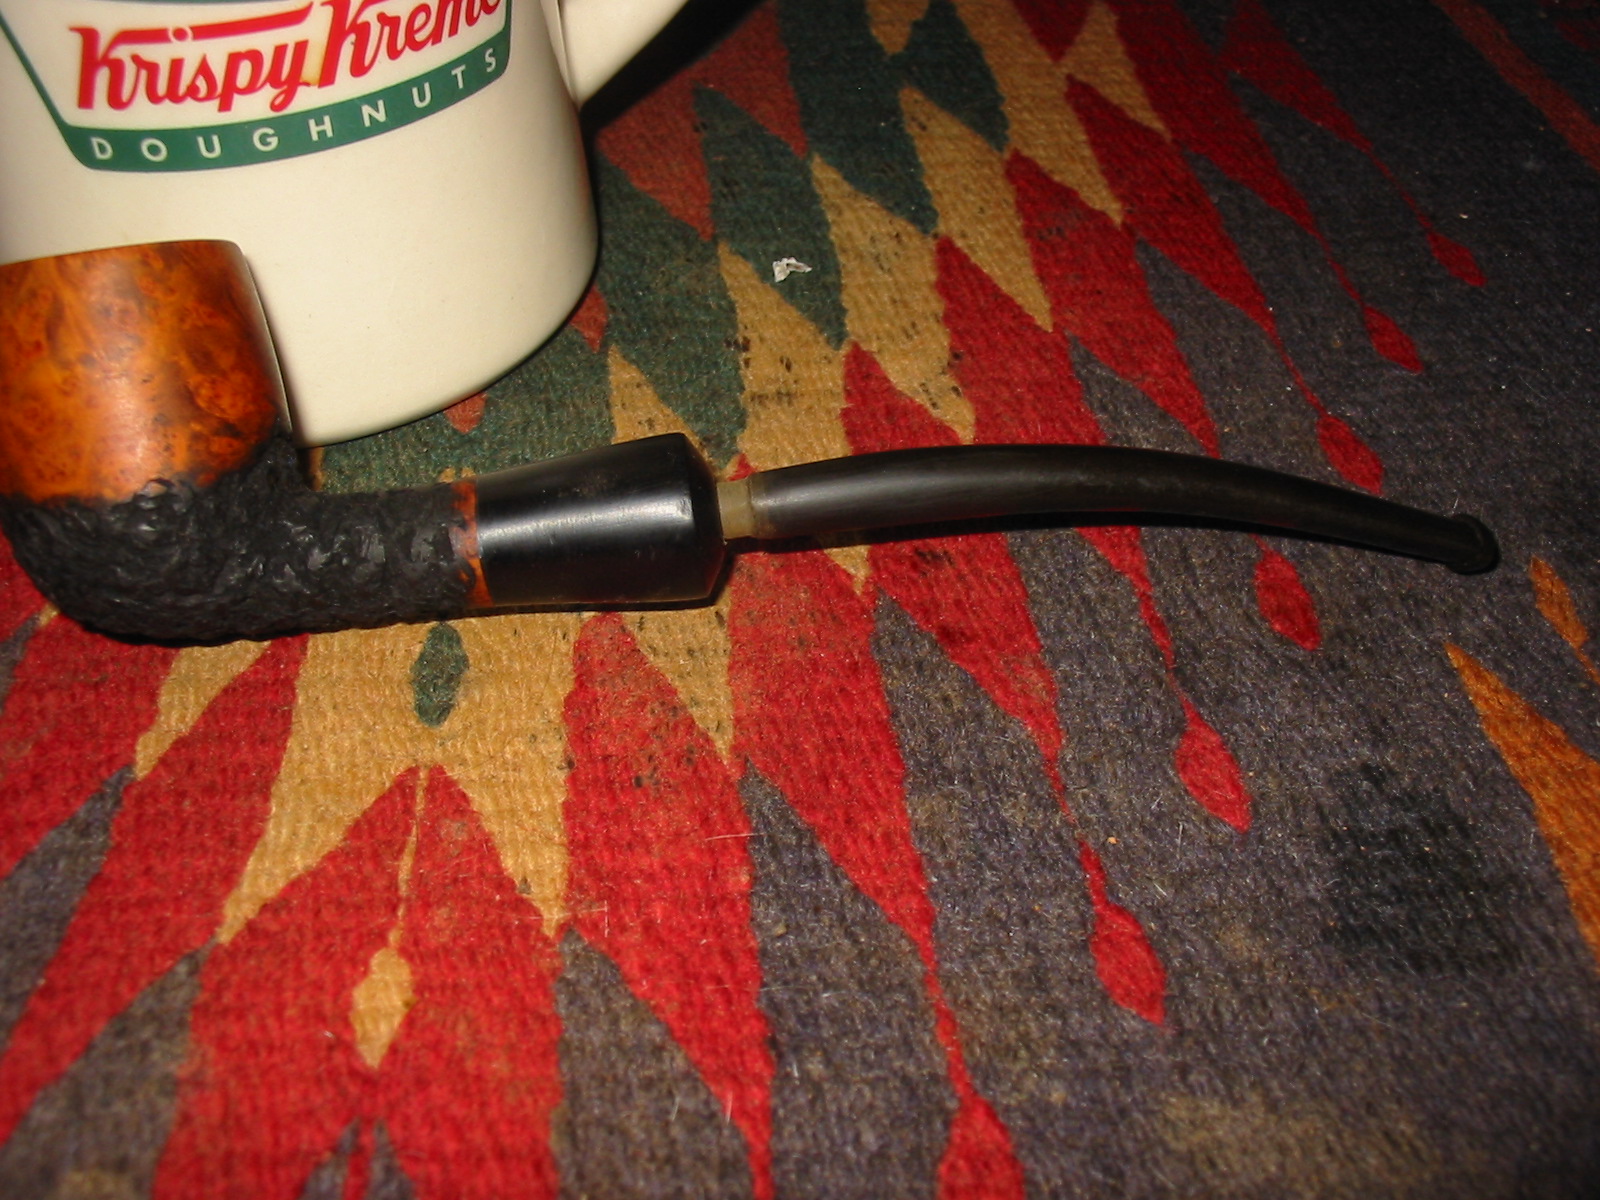
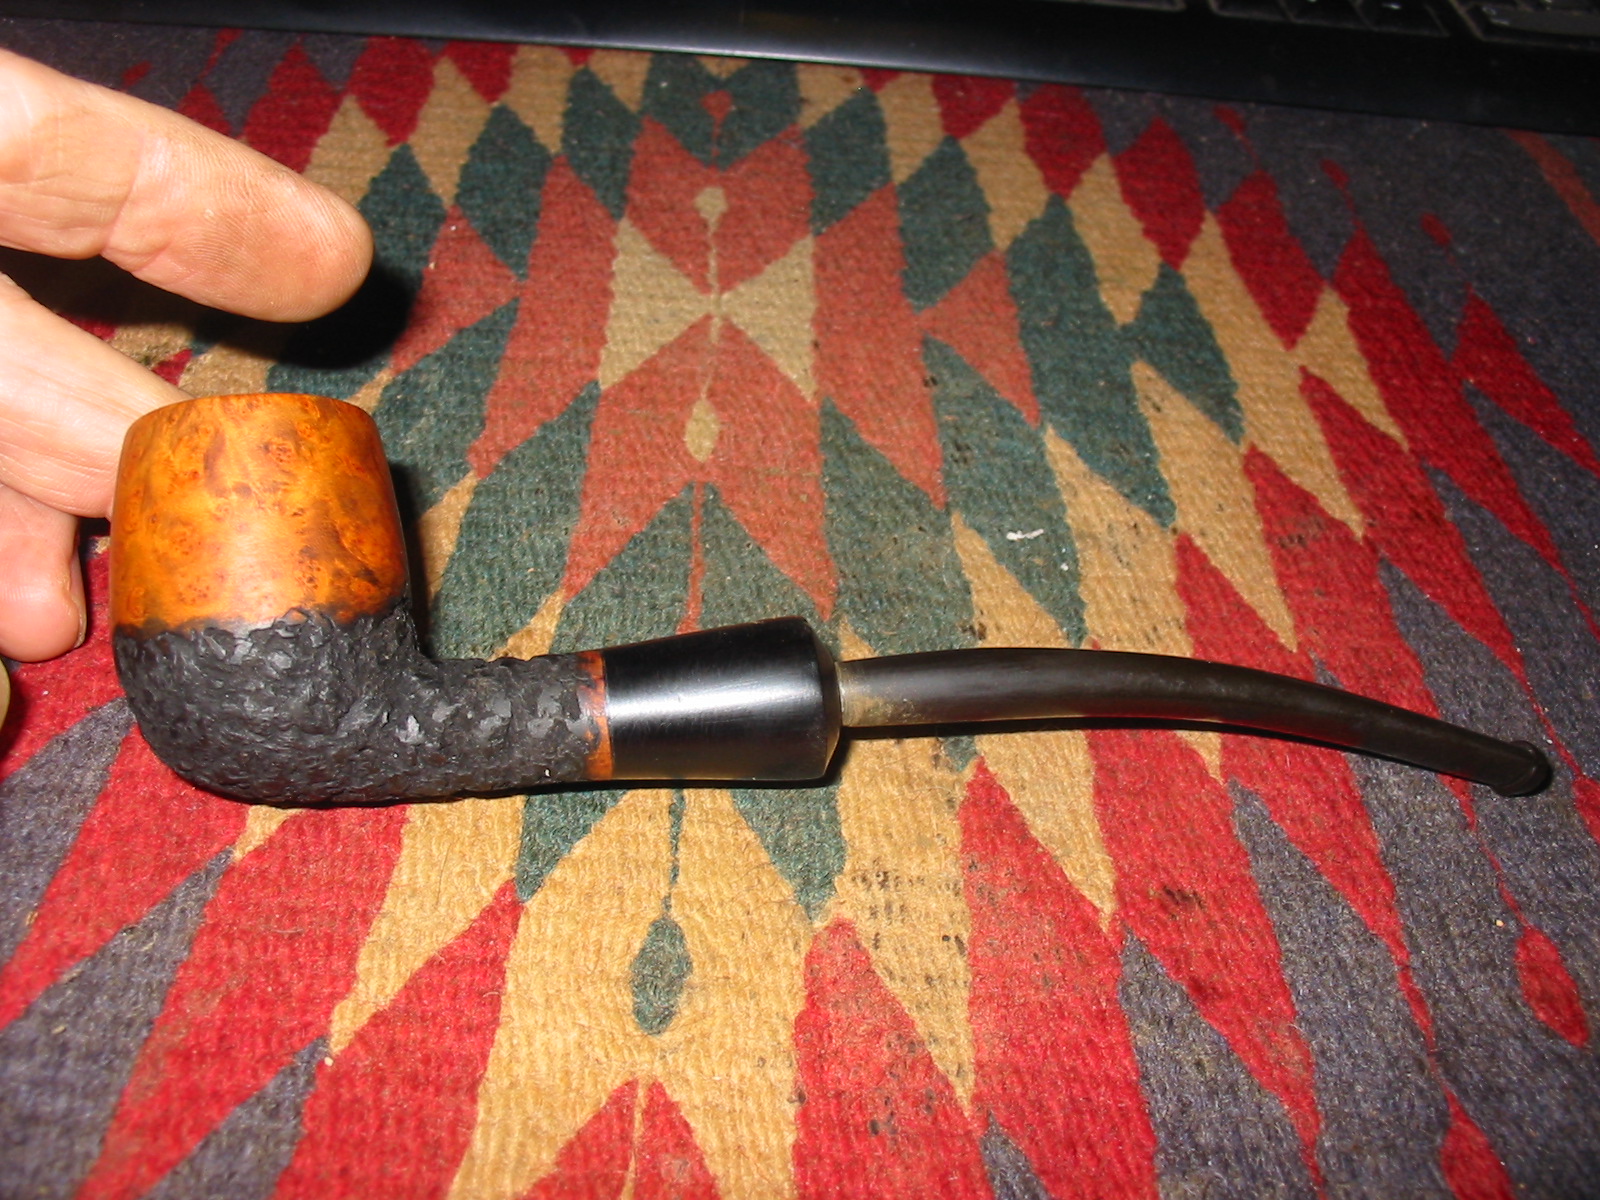
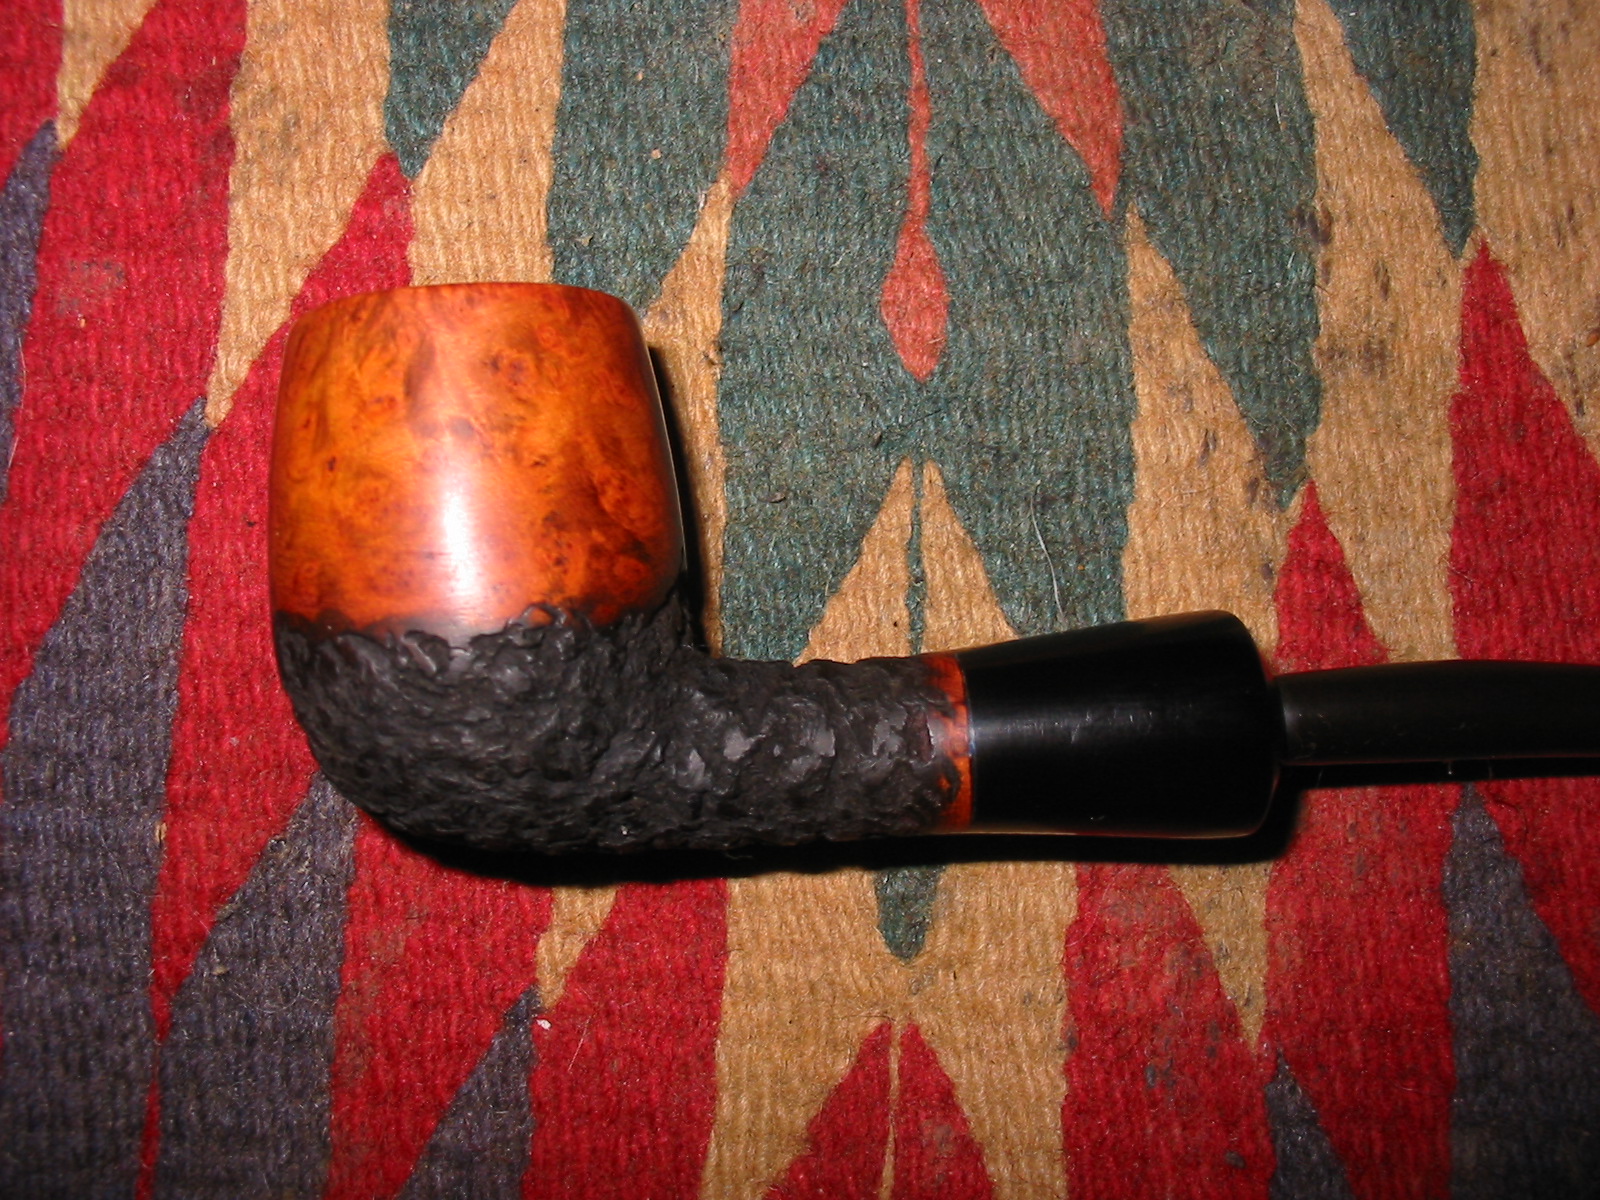
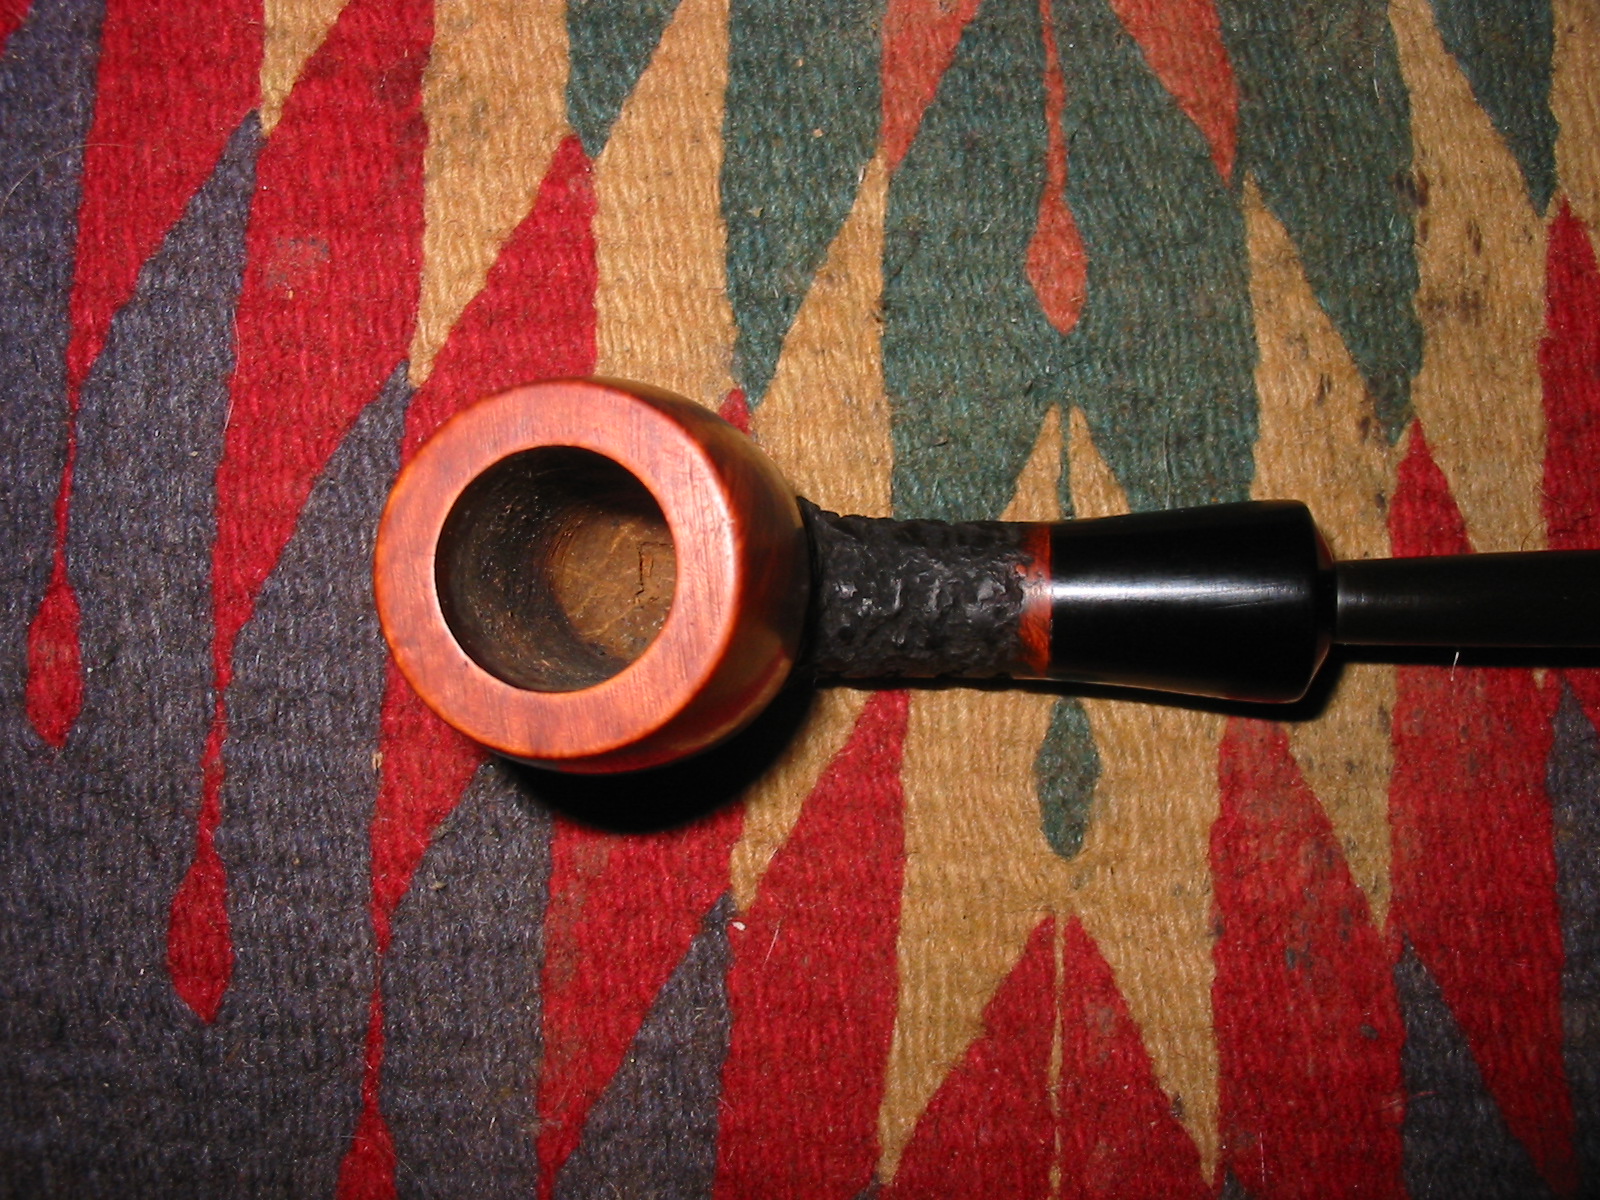
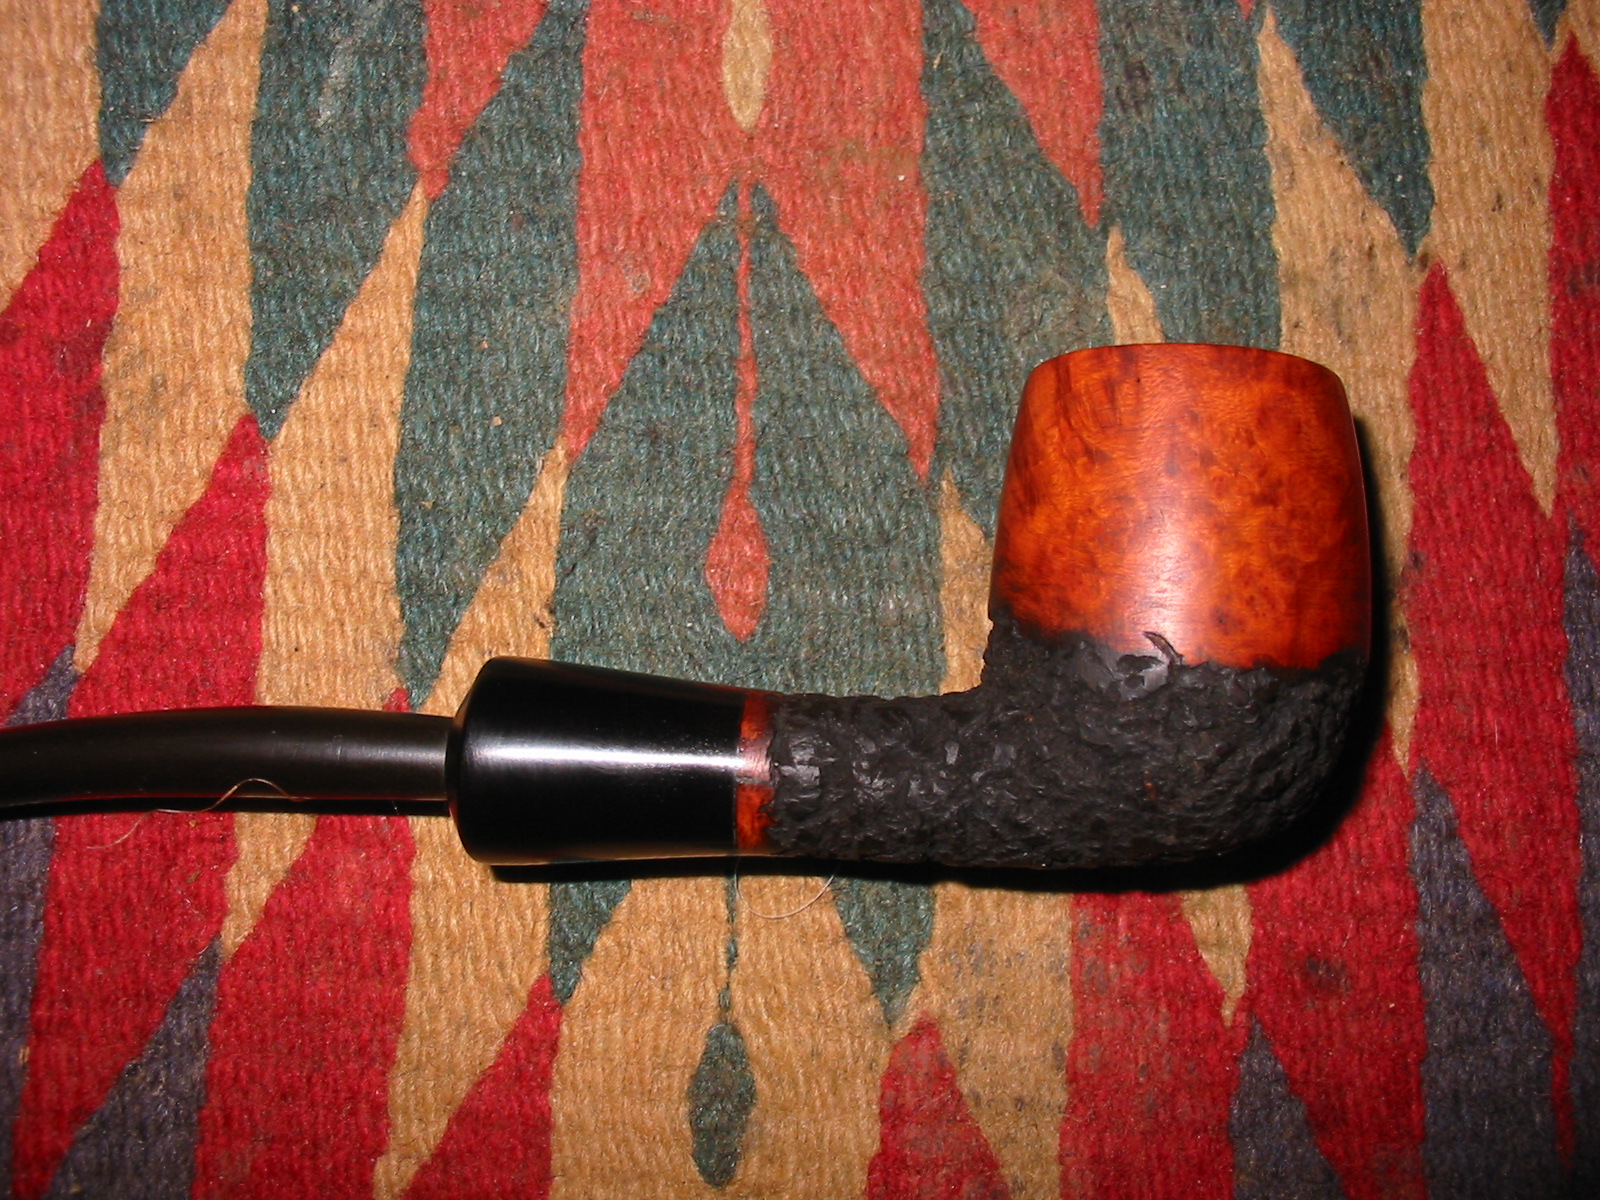
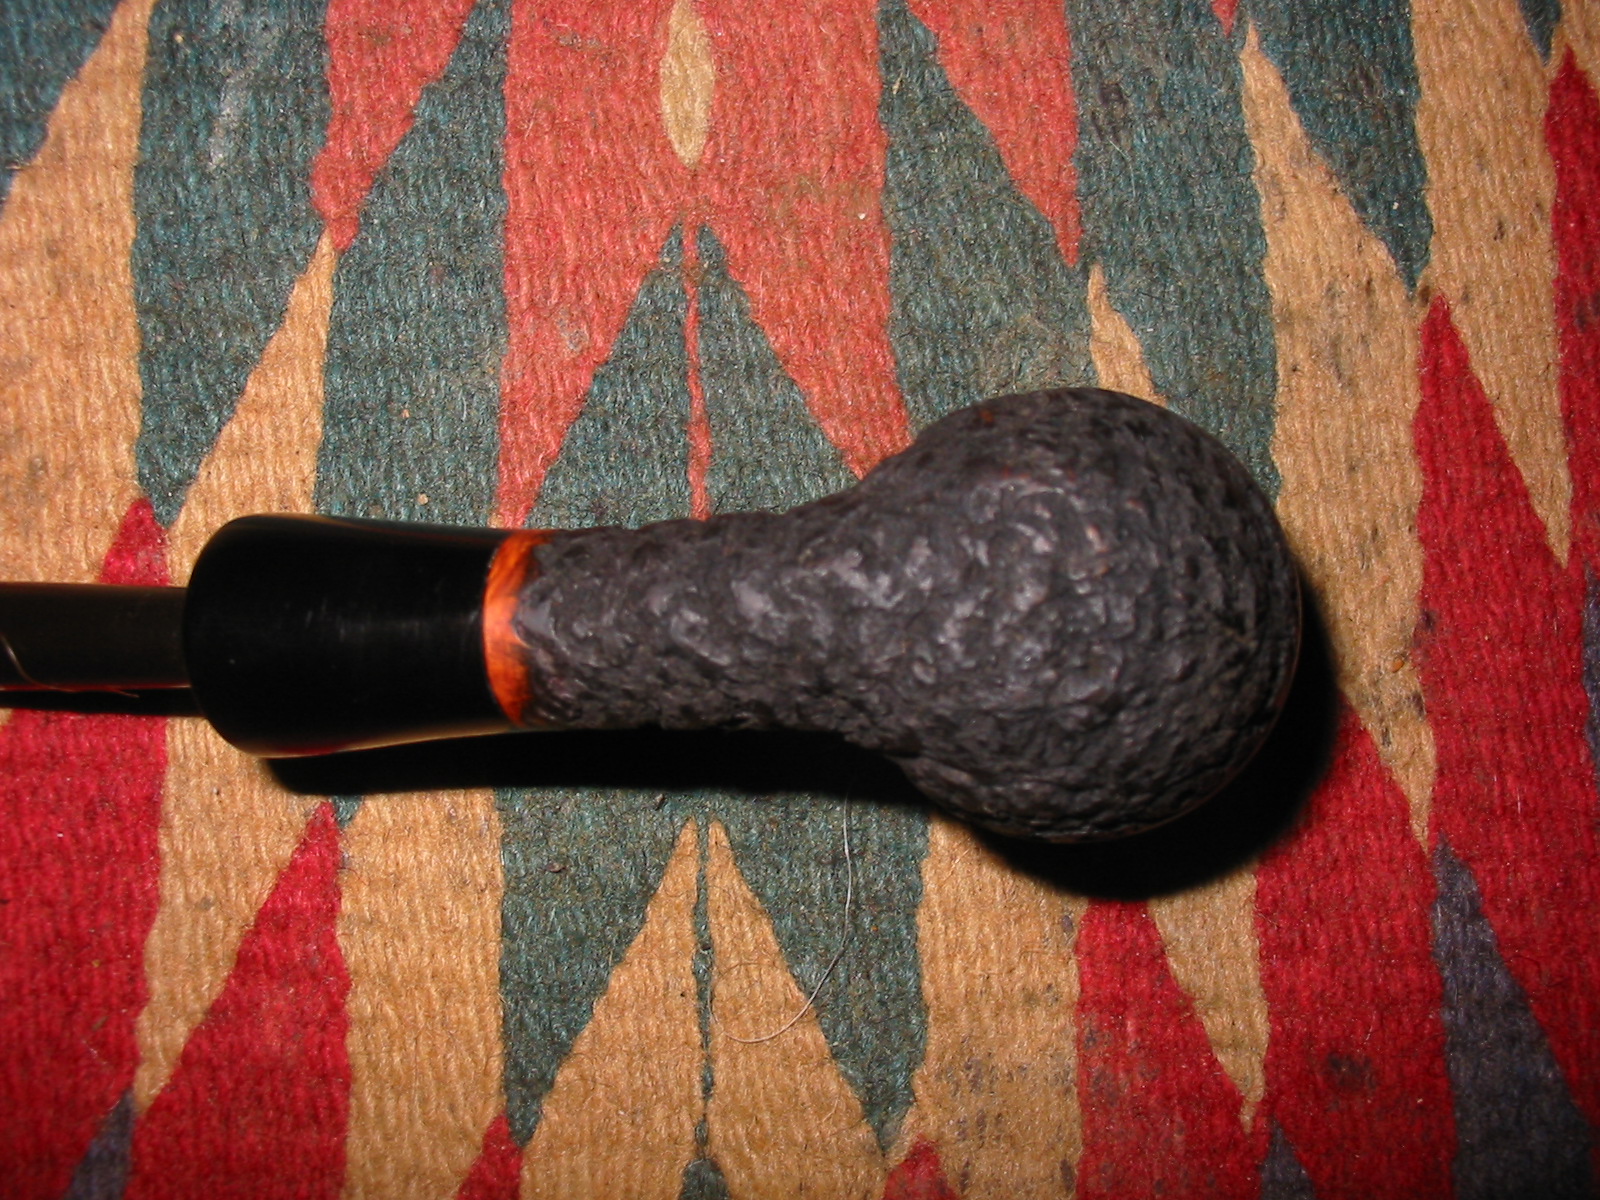
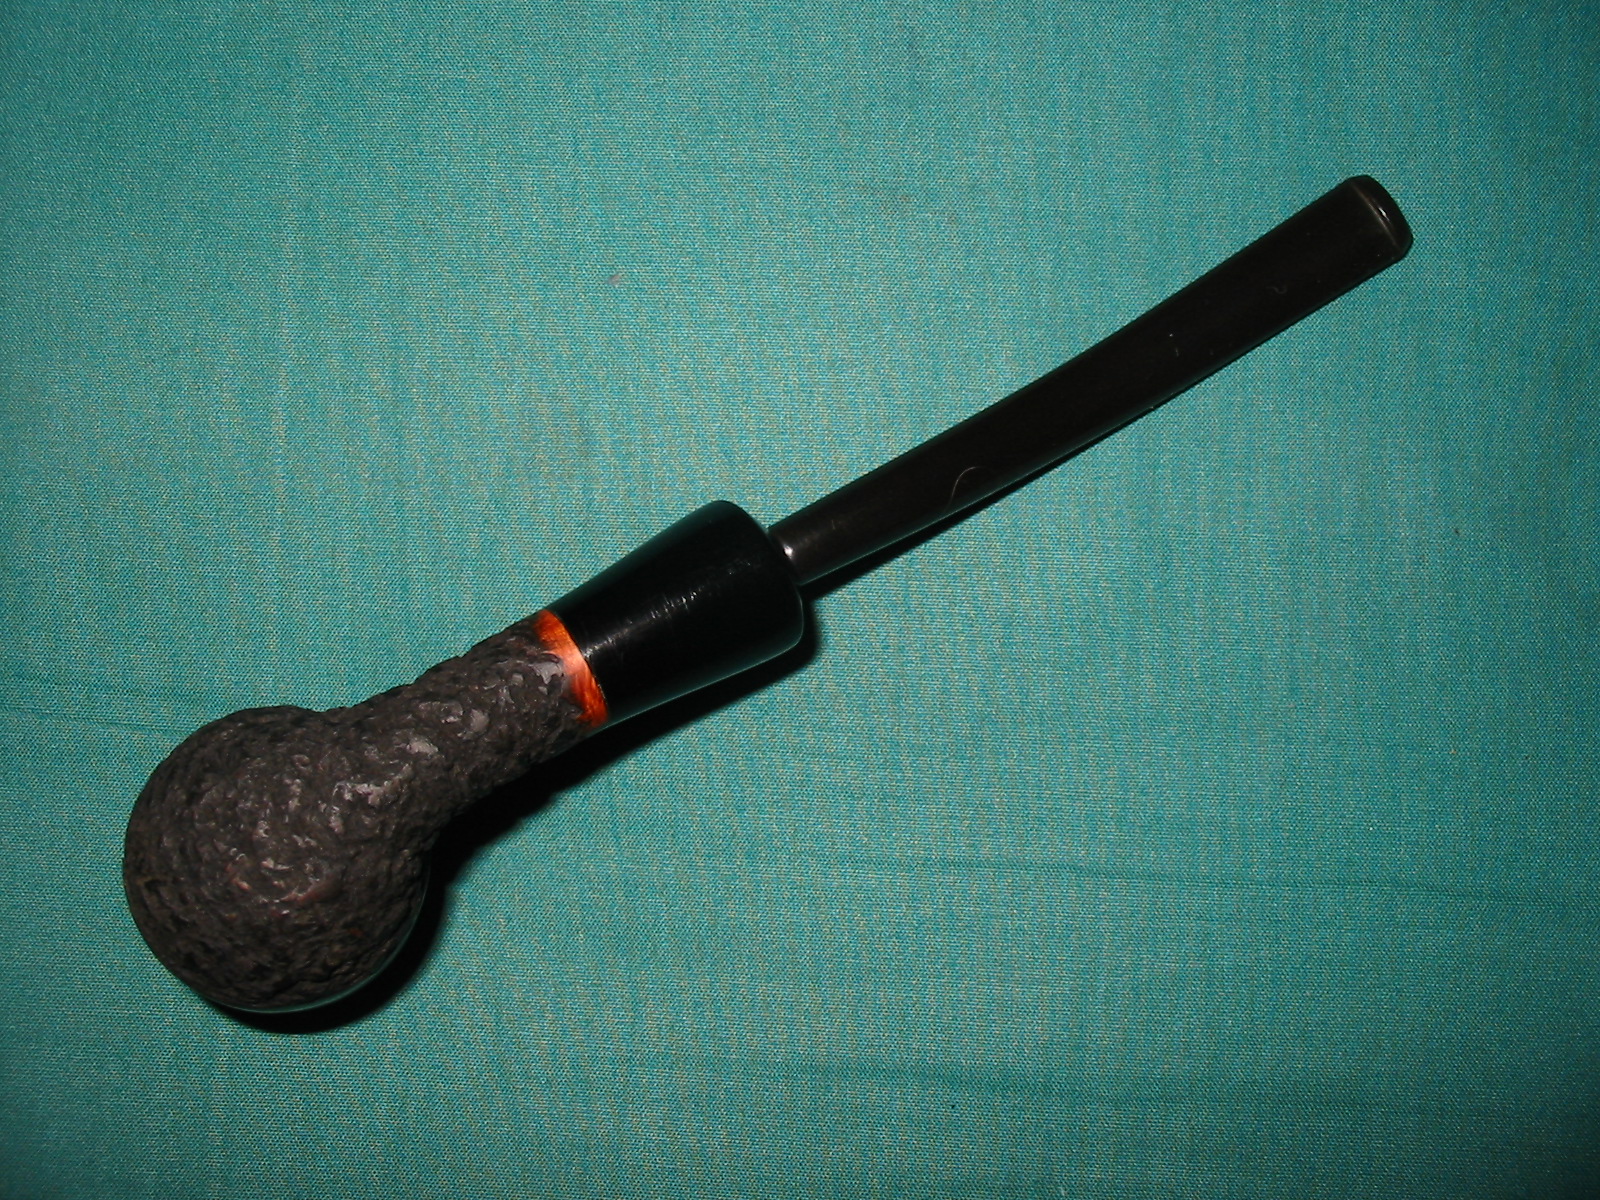
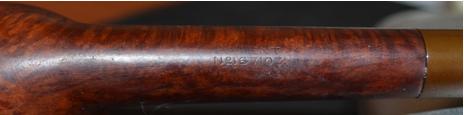
Such is the case with my little beauty of a Bewlay small billiard (1-½” x 5”). I have had a difficult time trying to match this pipe with its maker. Even after viewing many samples of all of the above pipe crafters’ works, it is with uncertainty but sufficient confidence that I attribute the pipe’s origin as Barling.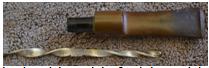 Most of my pipe friends to whom I have shown the Bewlay commented right away that it looks like a Barling. My only serious doubt arose from the little billiard’s bizarre, if I may be so bold as to describe it, tenon bit. Here indeed is a bit fashioned by an evil dentist tossed out of the profession and turned stem-maker. My friend and mentor, Chuck Richards, calls it a “funky screw,” but I prefer corkscrew or even drill bit. The thin half of the screwy bit, which bears the same Patent number found on the bottom of the shank – № 167103 – as shown above separate from the bit, fits snugly through a thin horizontal slot in the front of the tenon. The wider half slips into the mortise. Whatever this bit’s real name (and I would very much appreciate a message from anyone who knows the answer), it is removable for cleaning and perhaps replacement if necessary, which is not unimaginable given its frailty. To tell the truth, in fact, I bent mine with almost no force applied when I first discovered its presence and just had to probe to see what I could discover. Well, I soon found that the odd bit is at least like aluminum and can be removed intentionally or not, and bends with alarming ease, but then again bends right back just as handily.
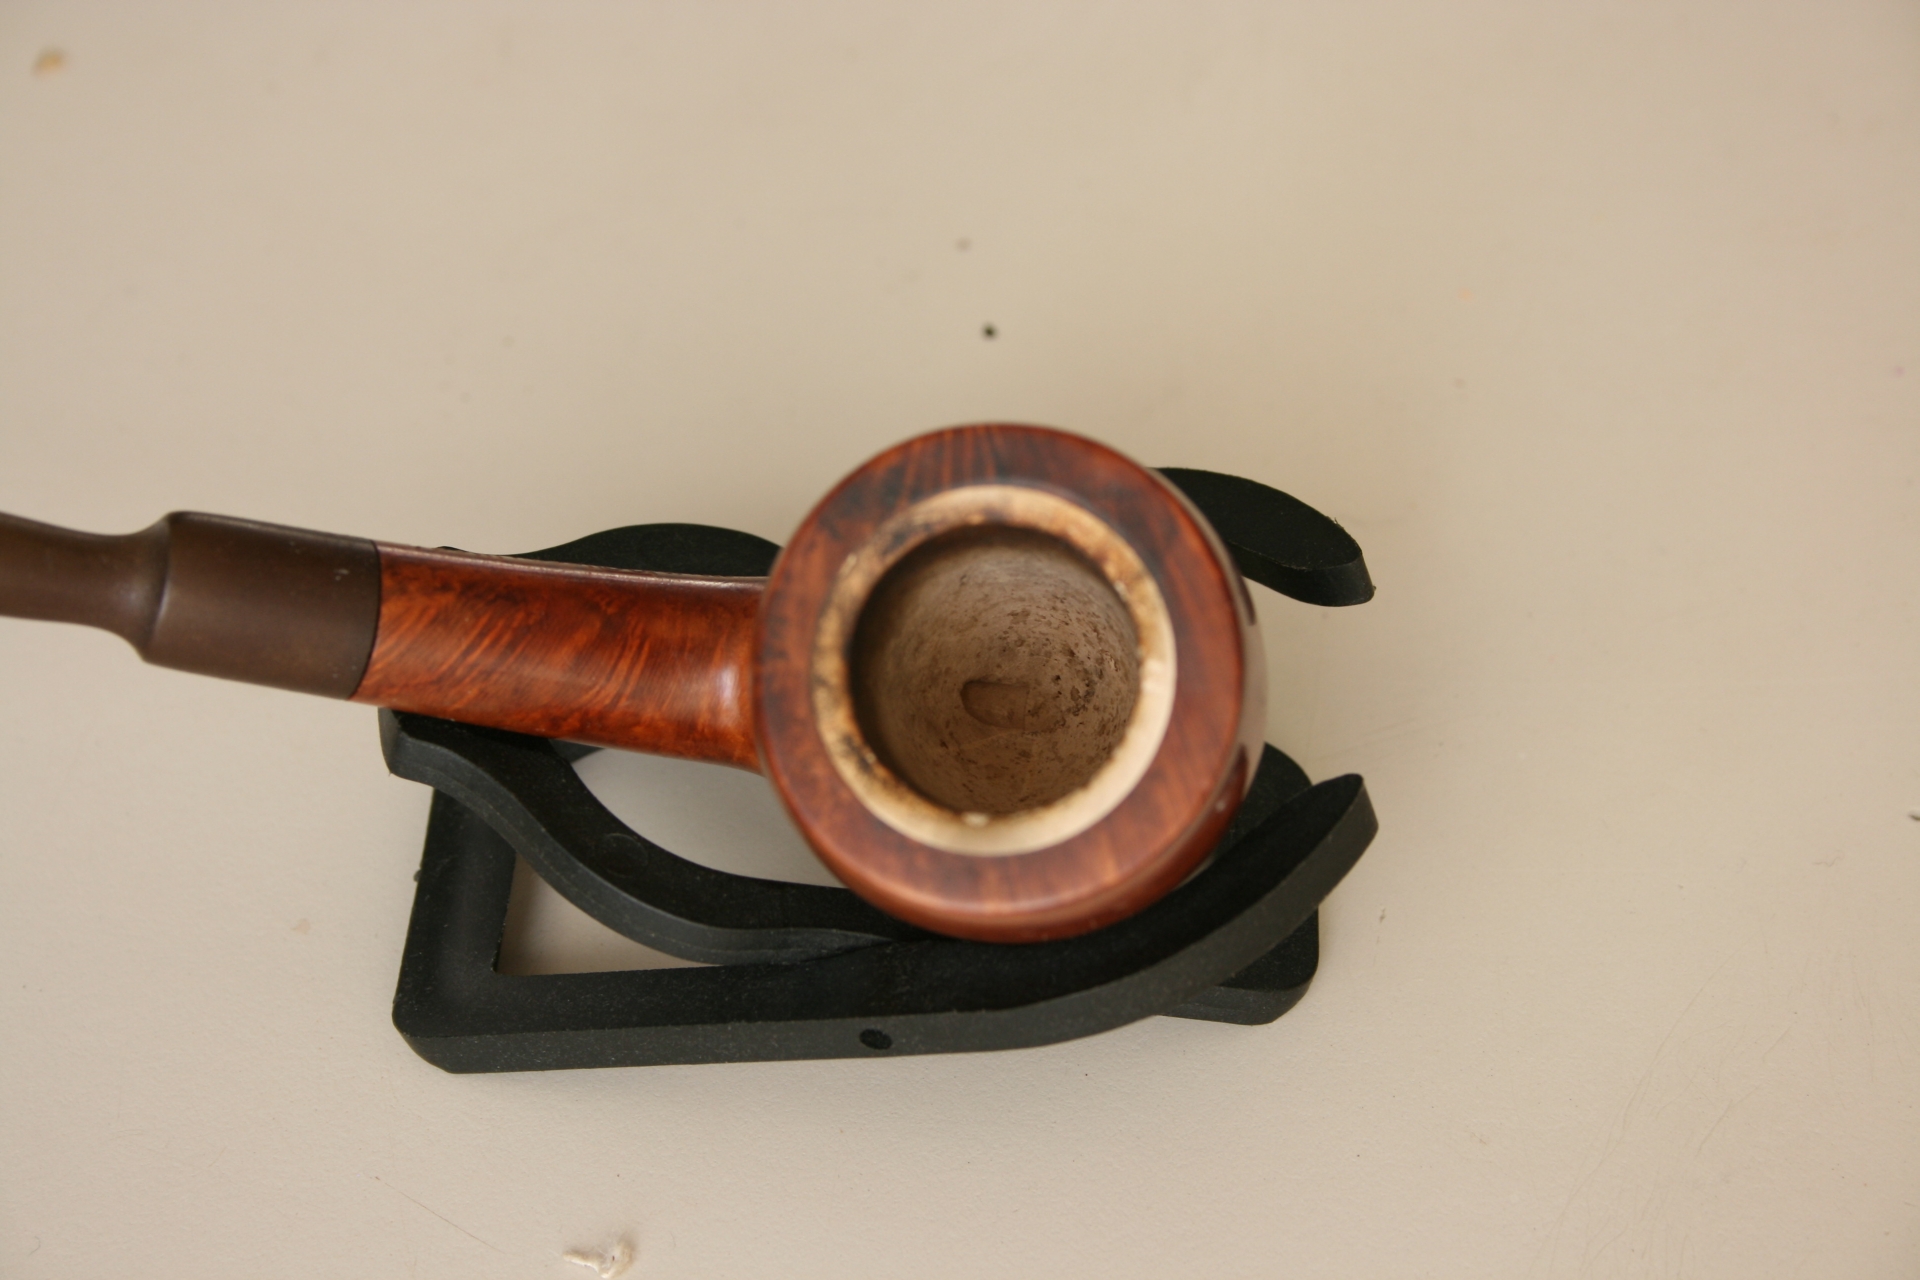
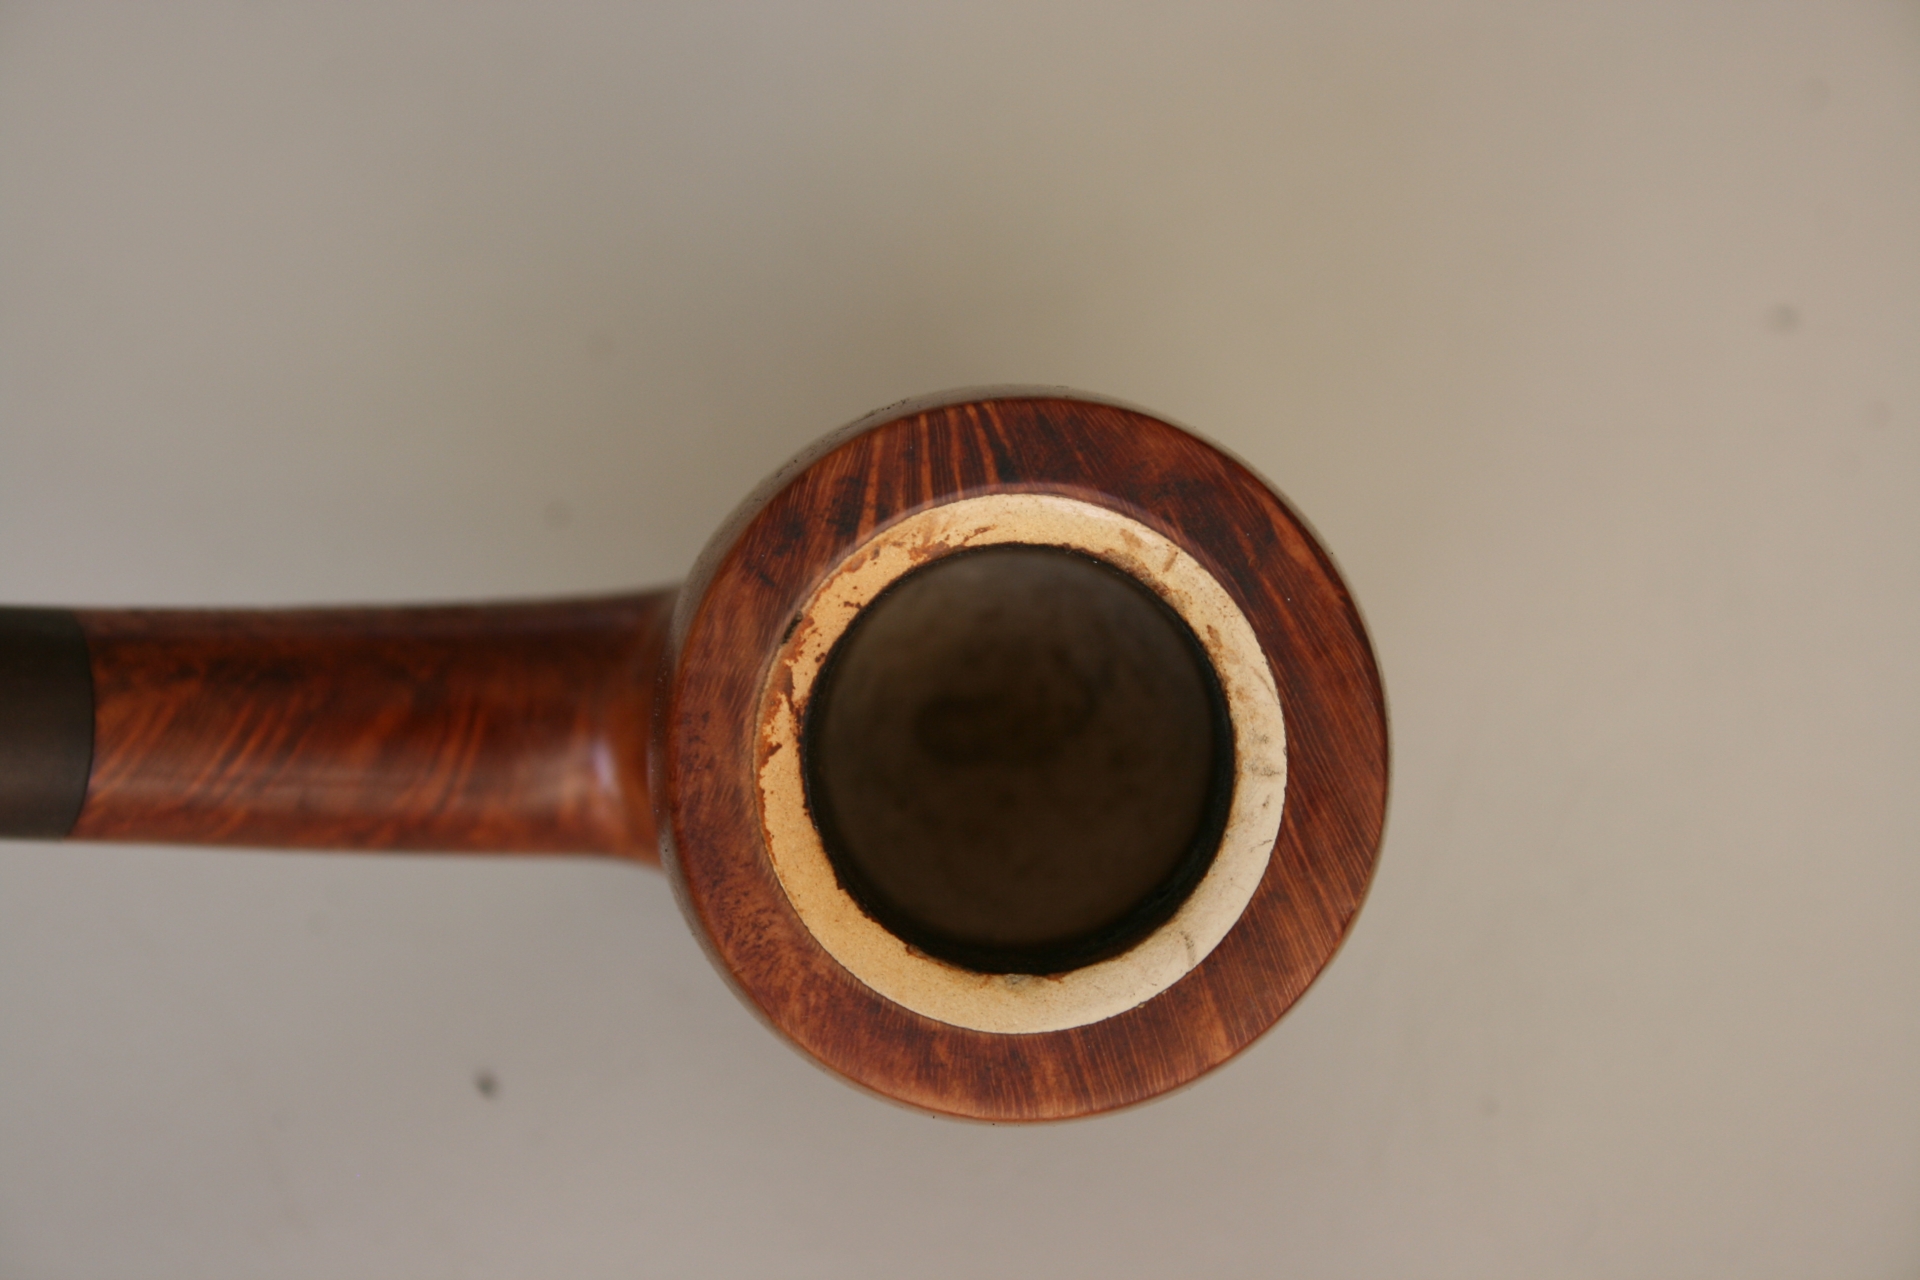
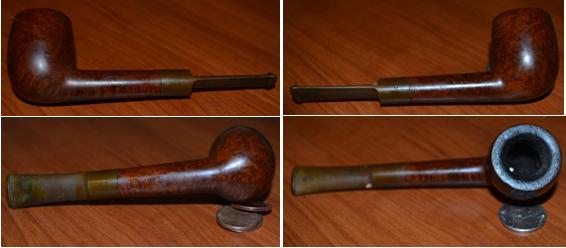
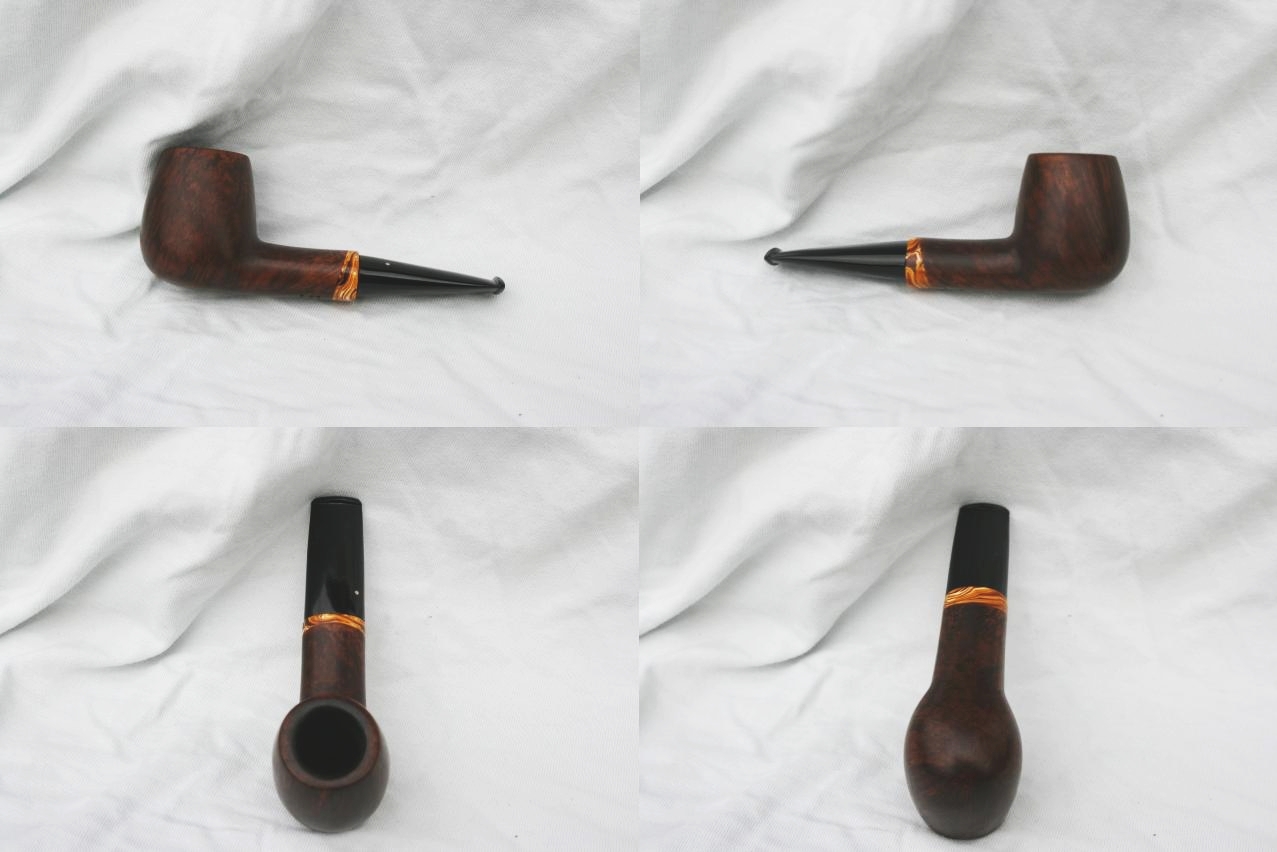
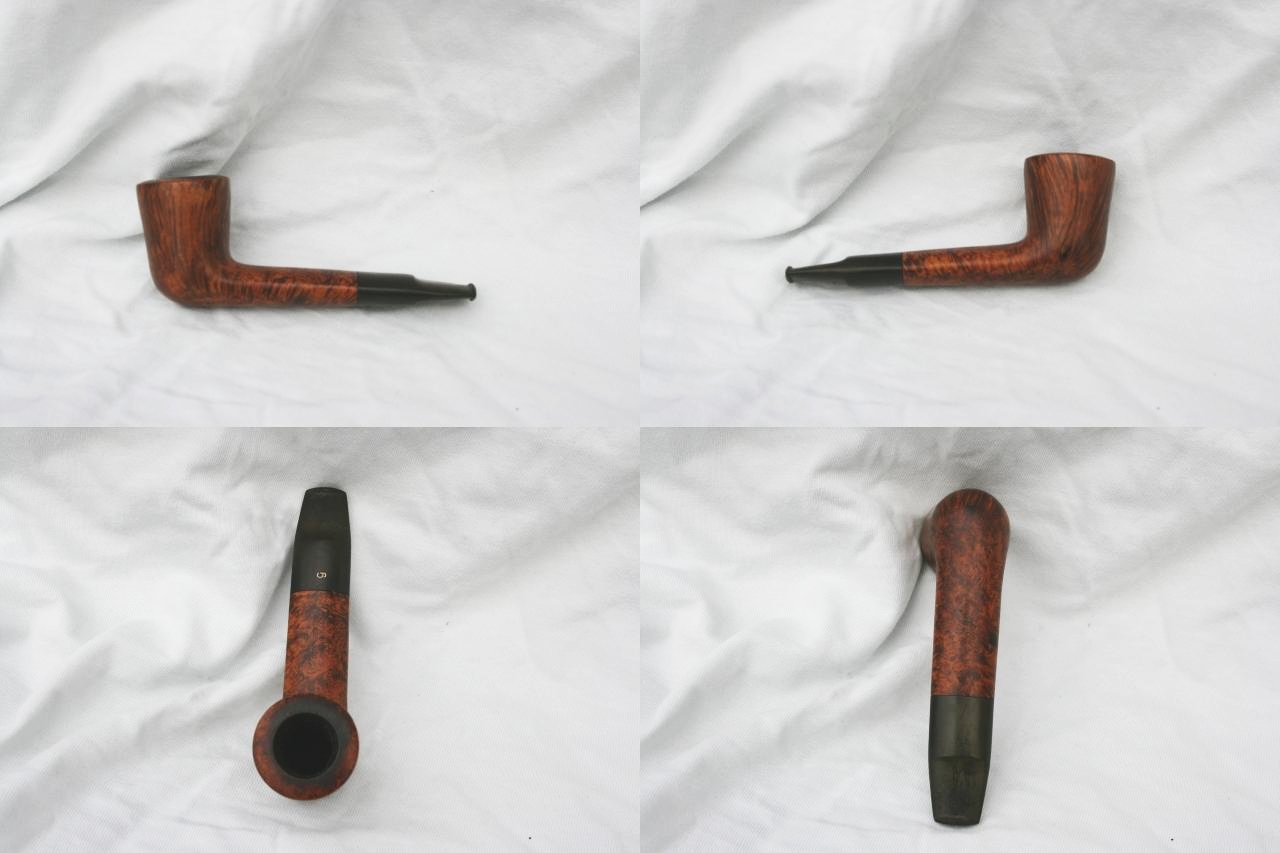
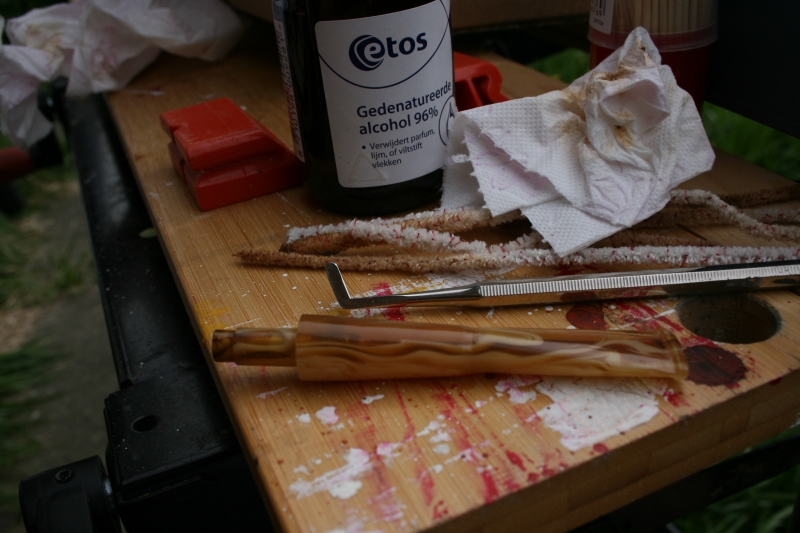
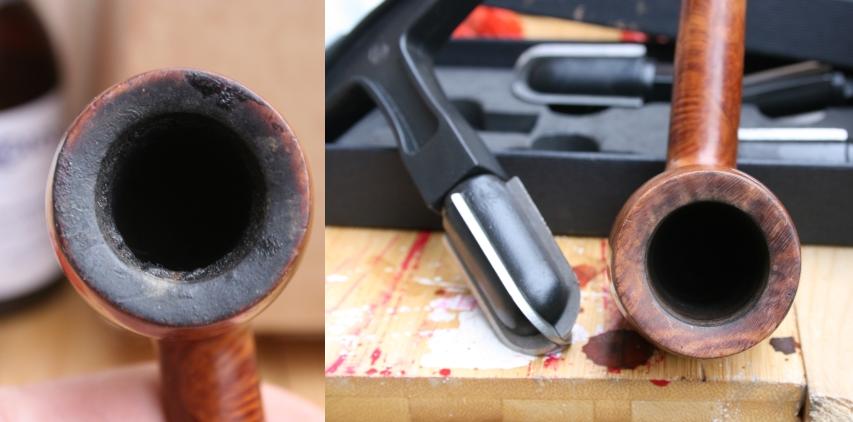
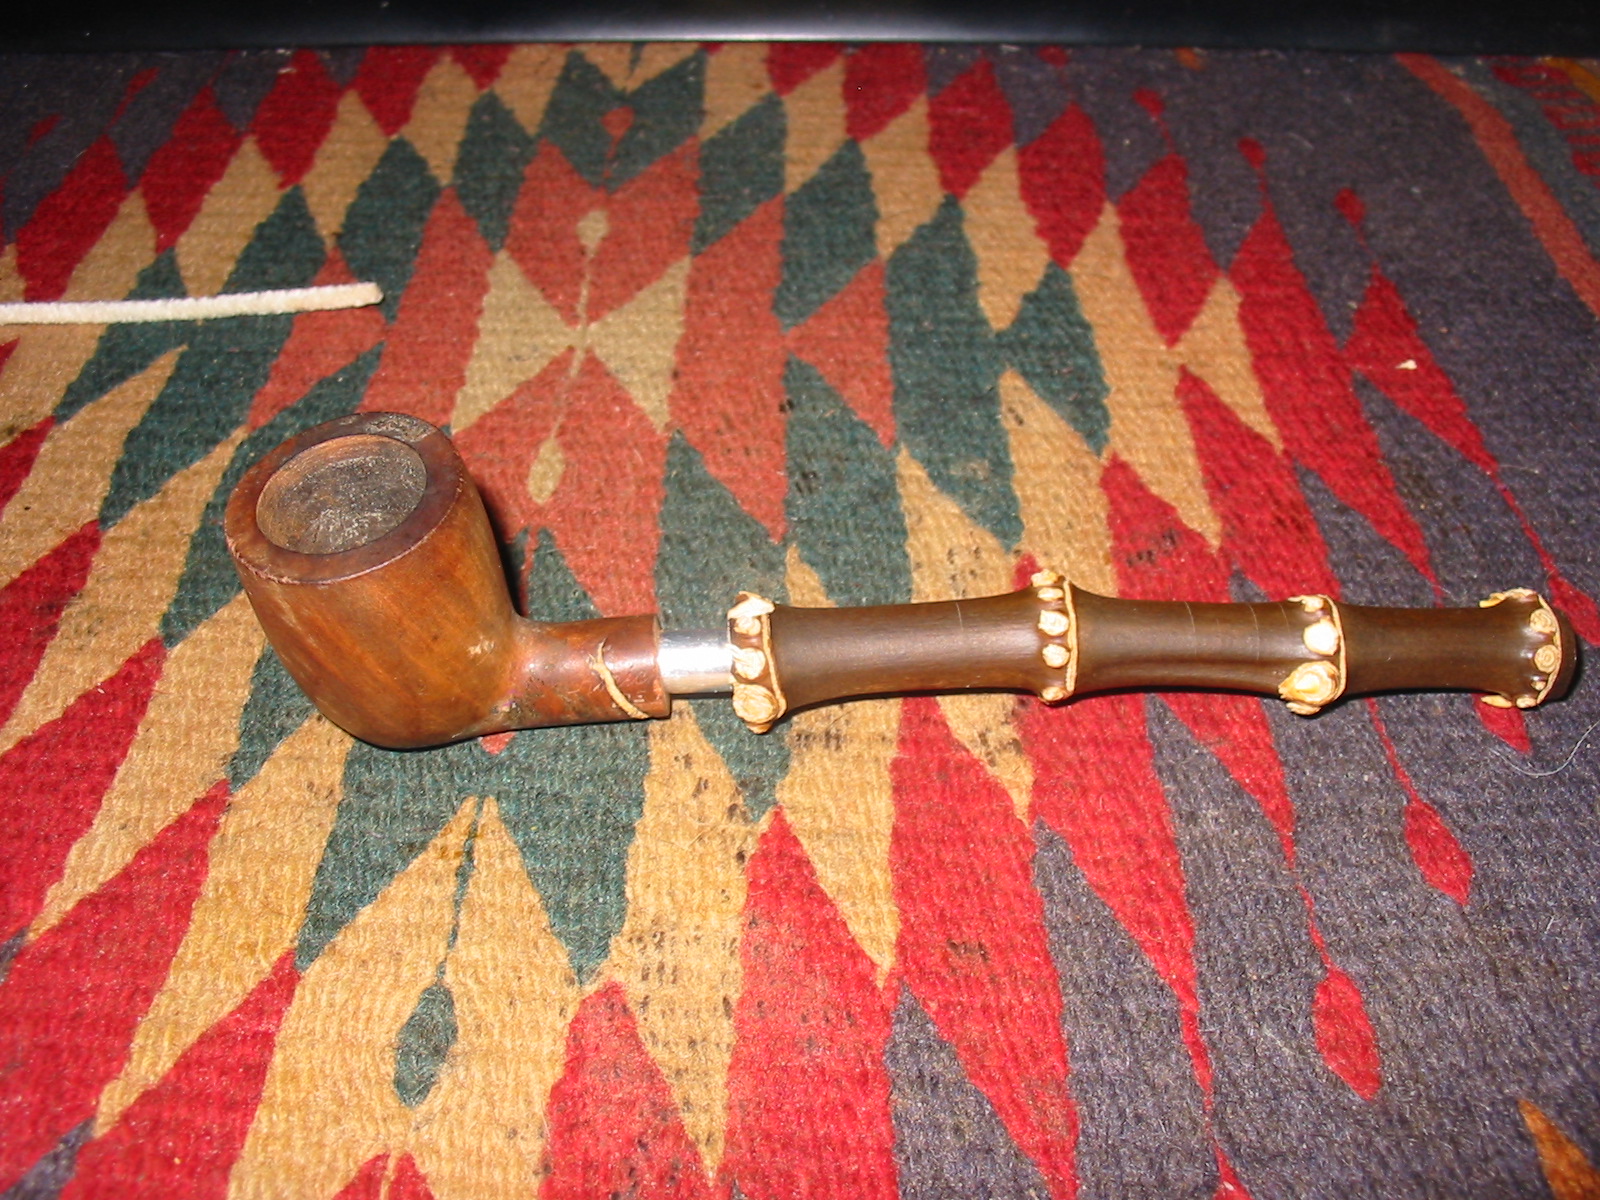
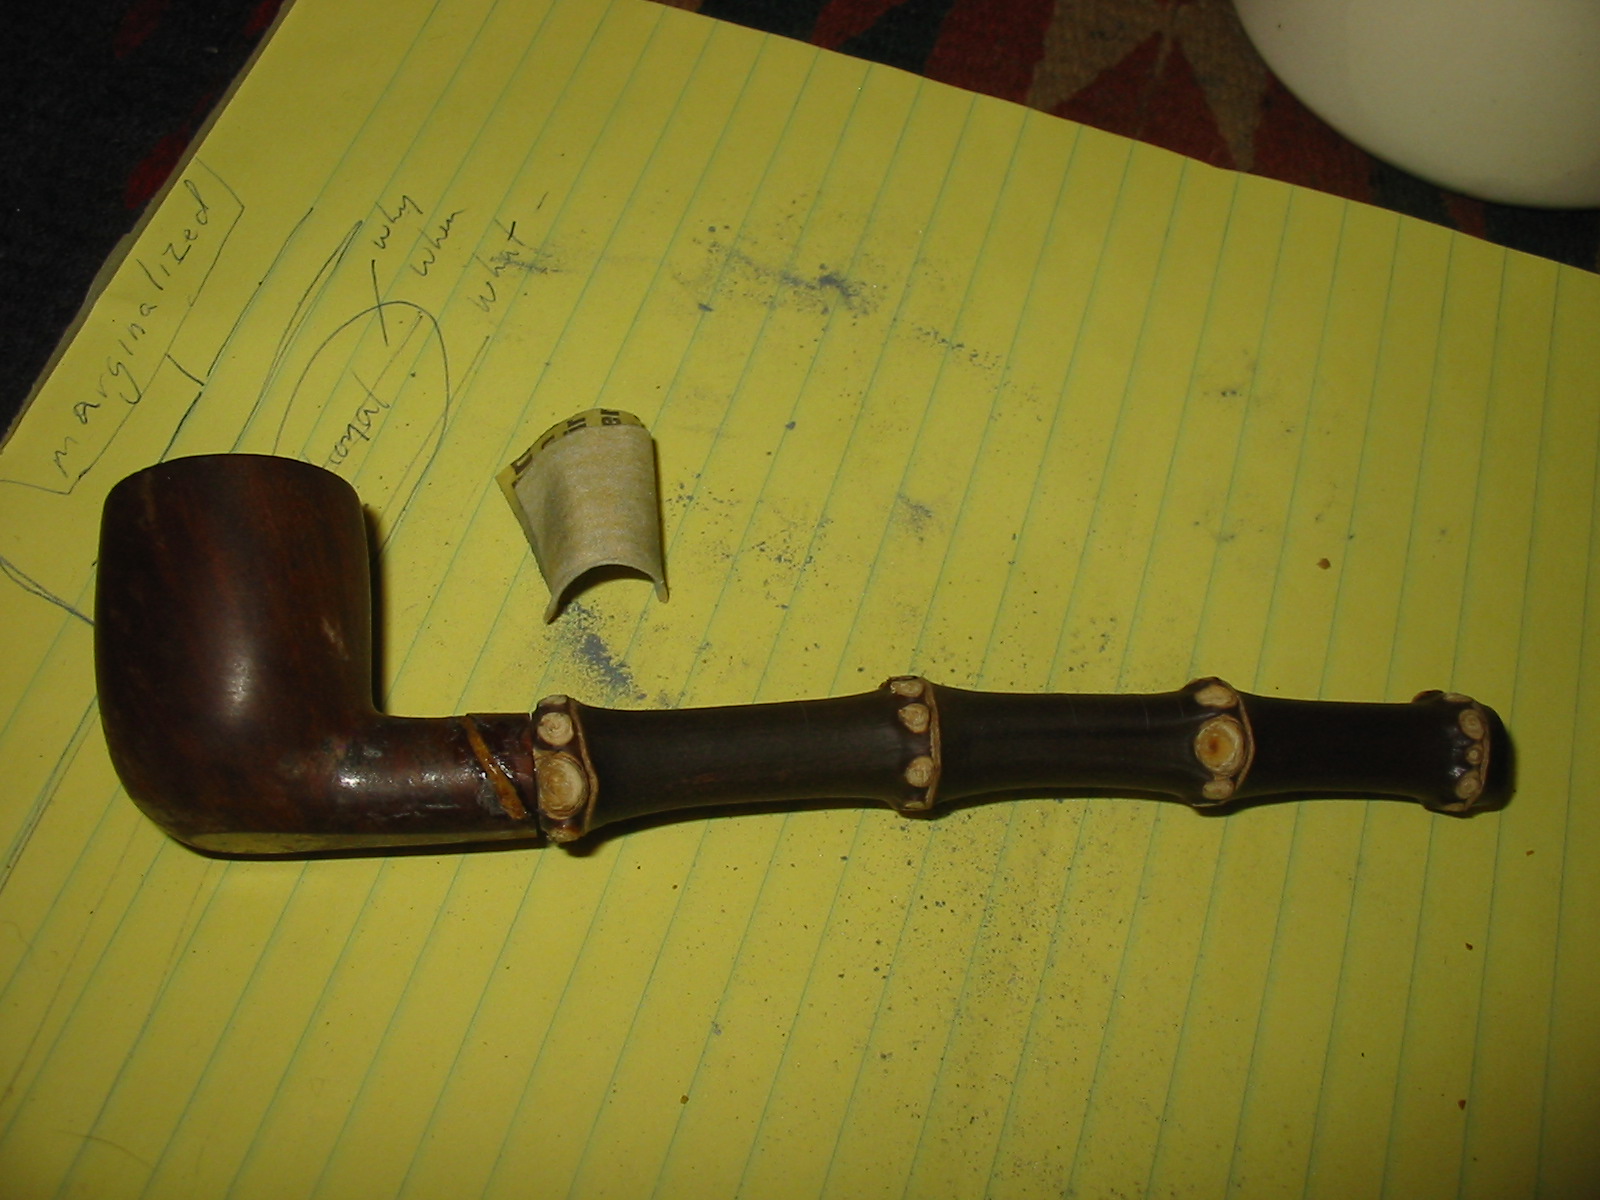
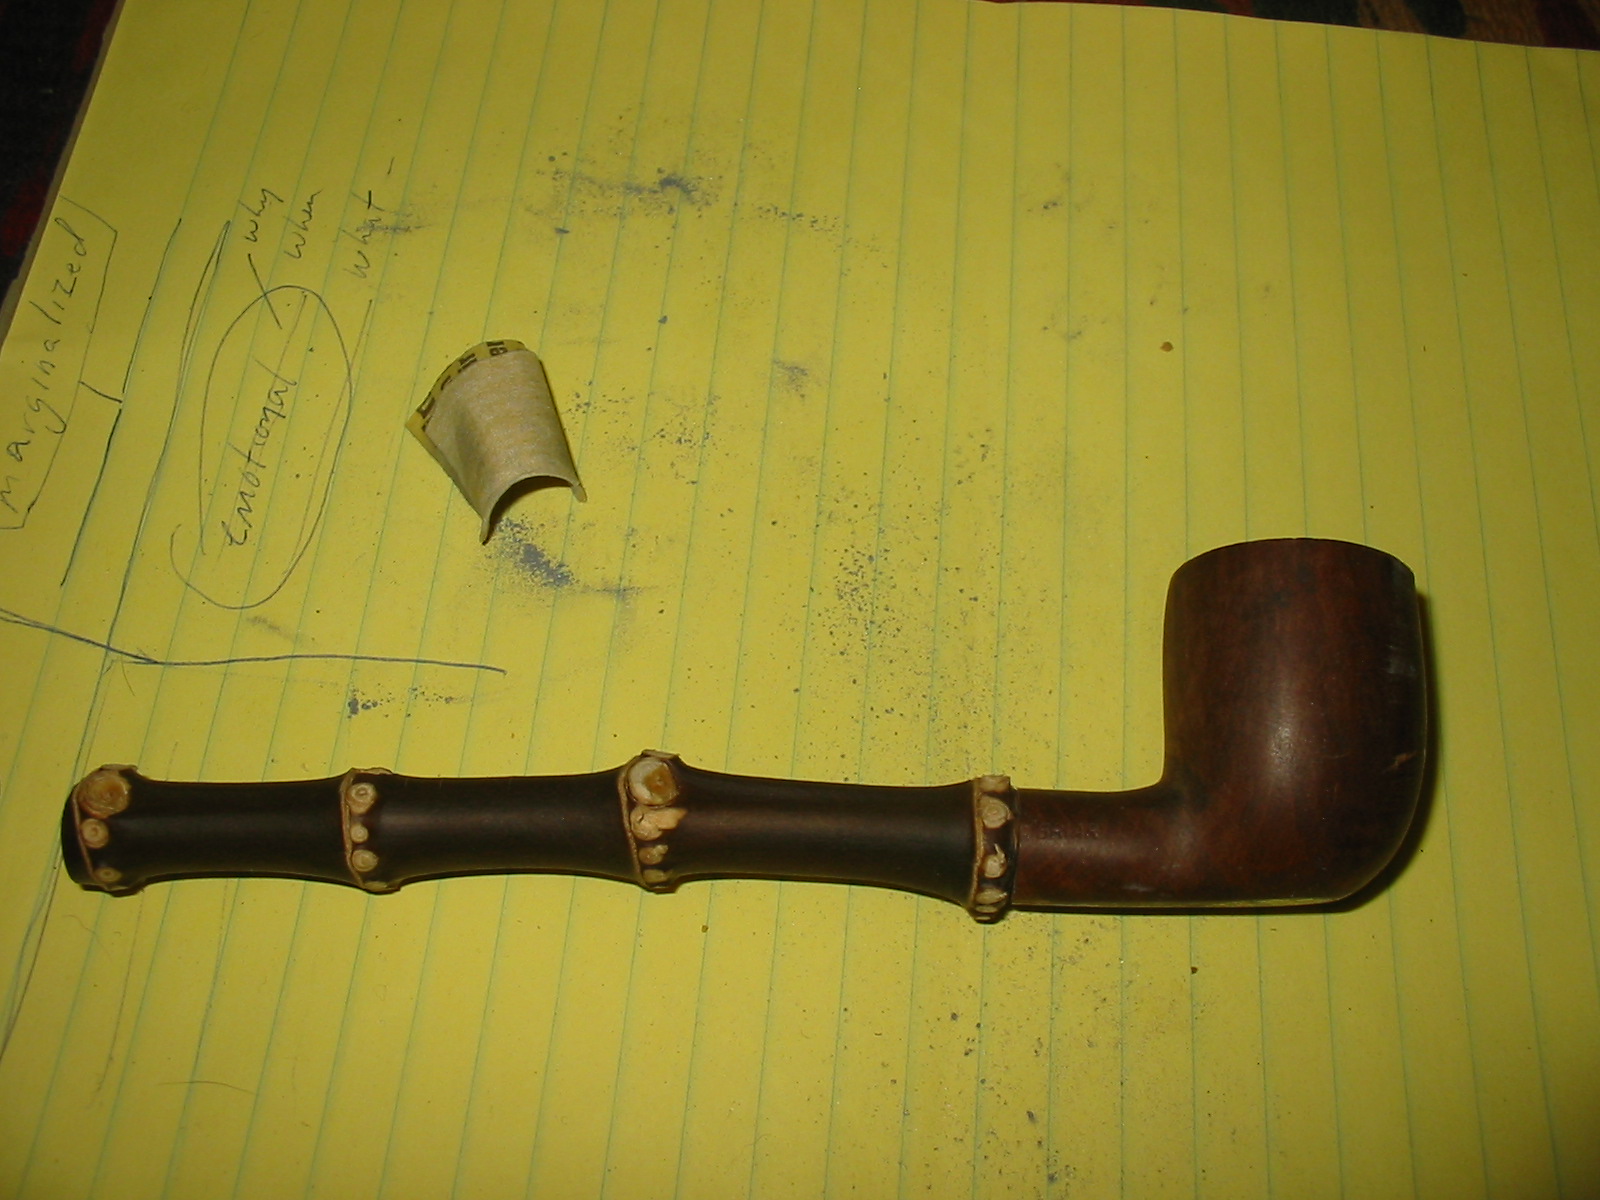
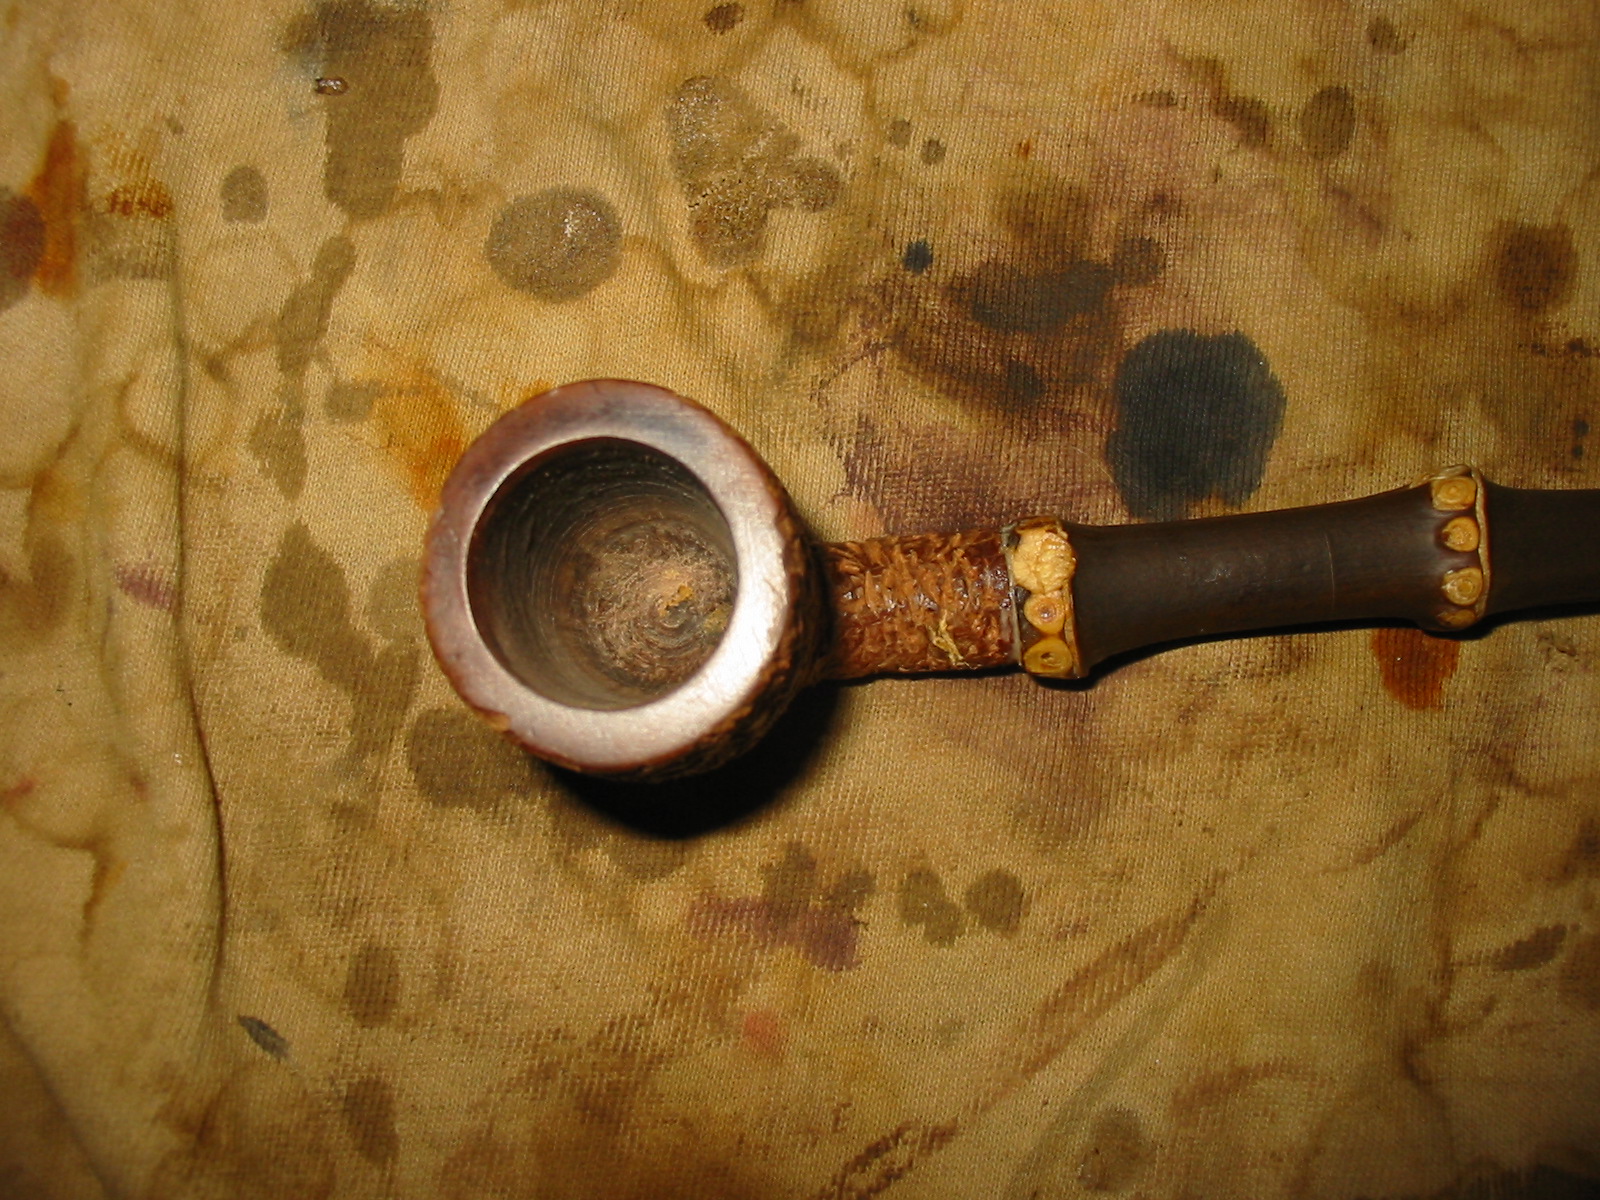
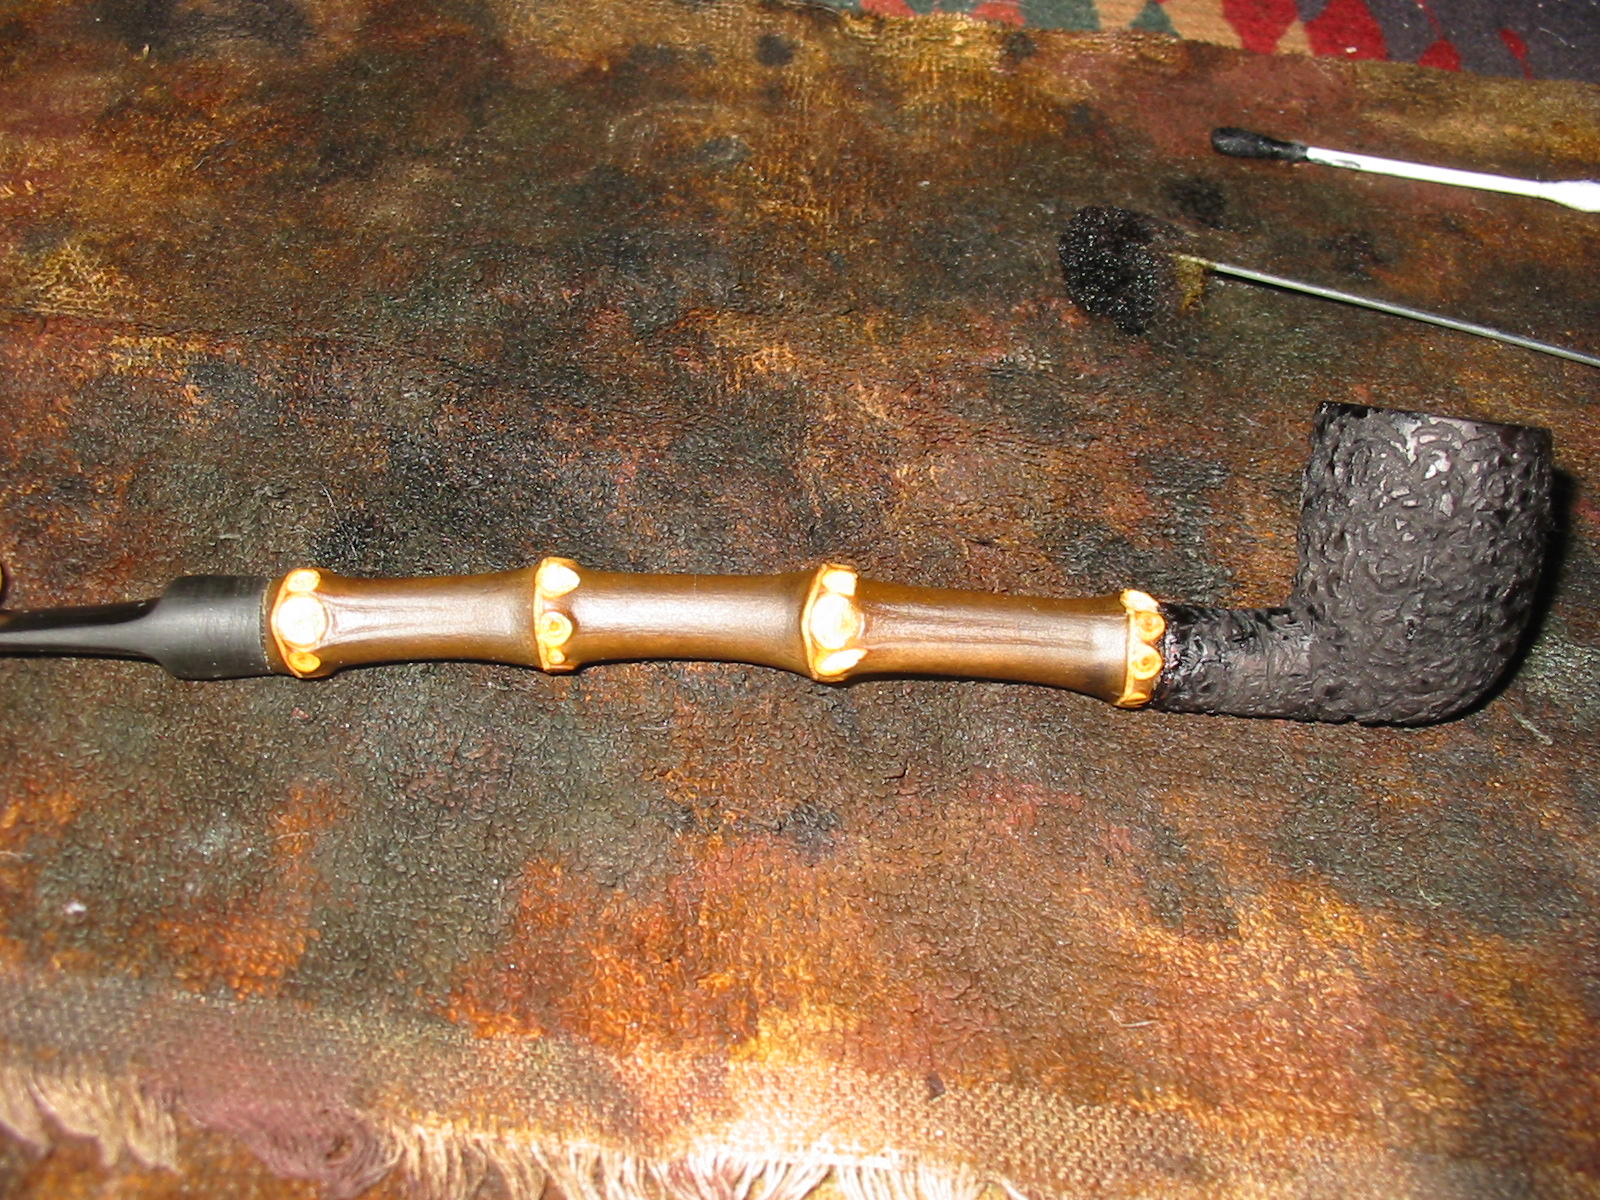
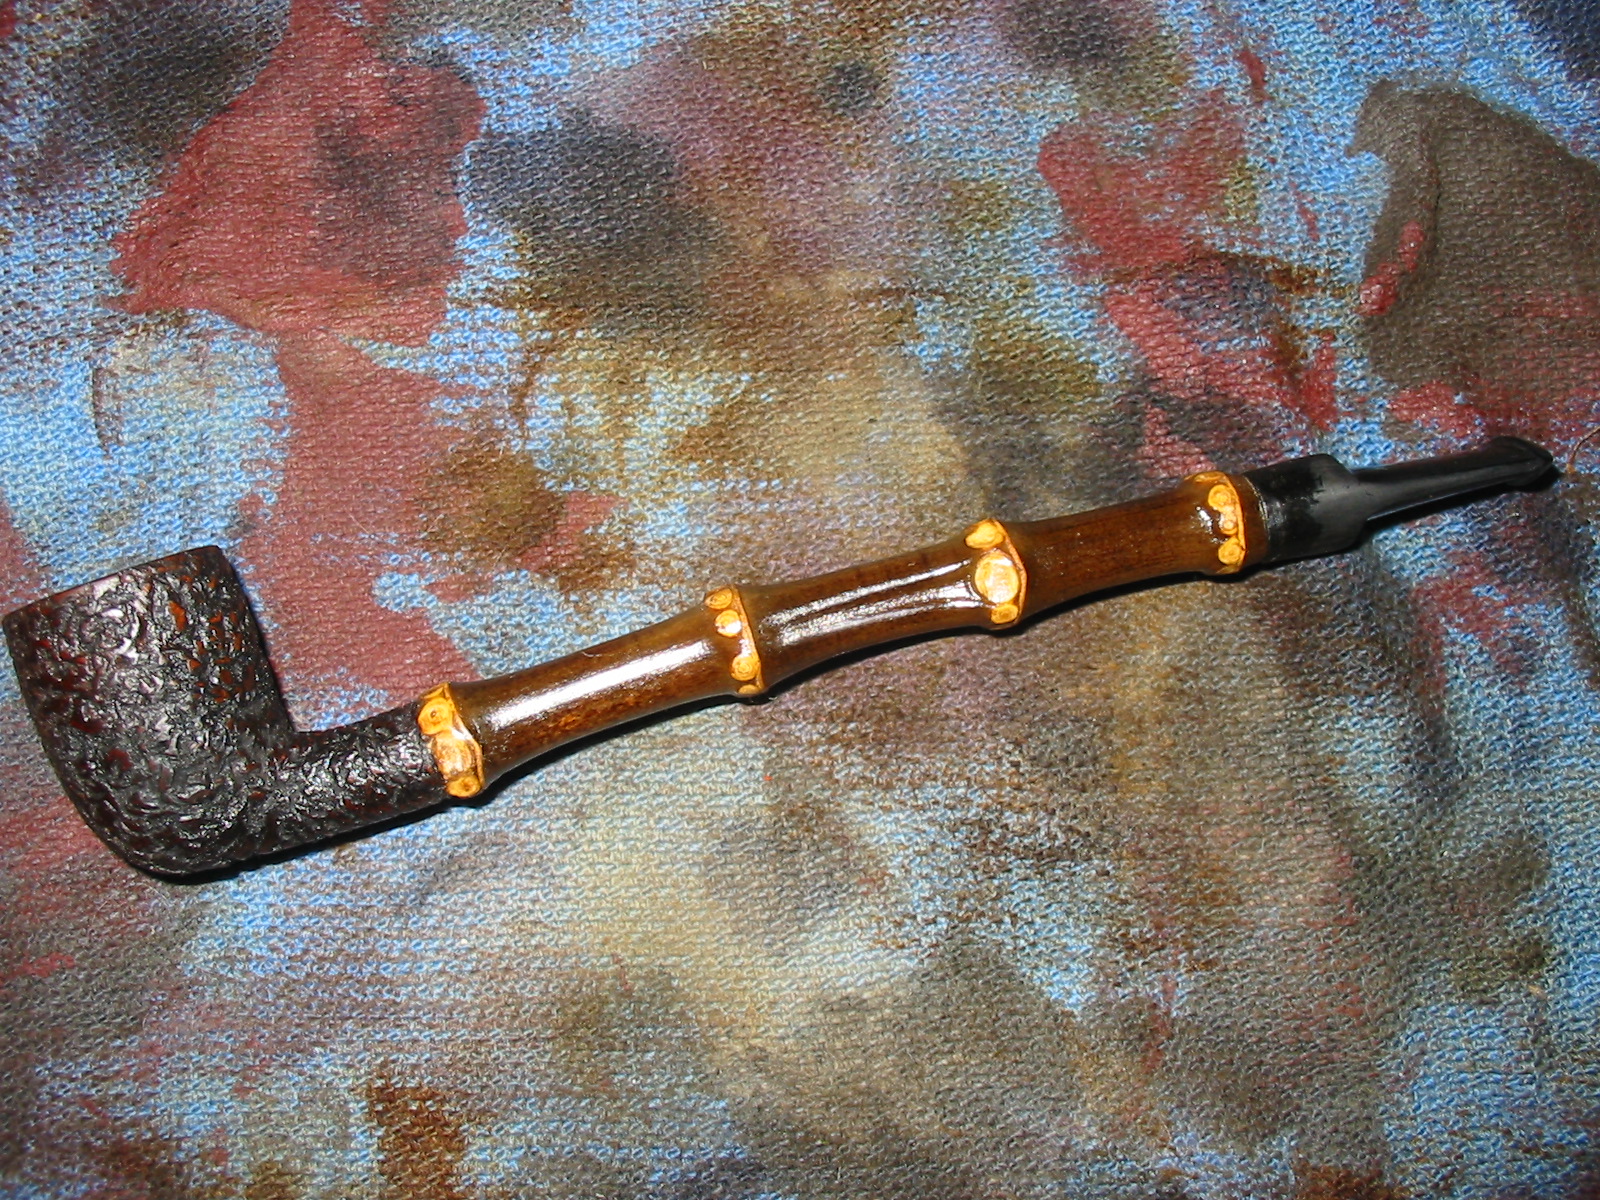
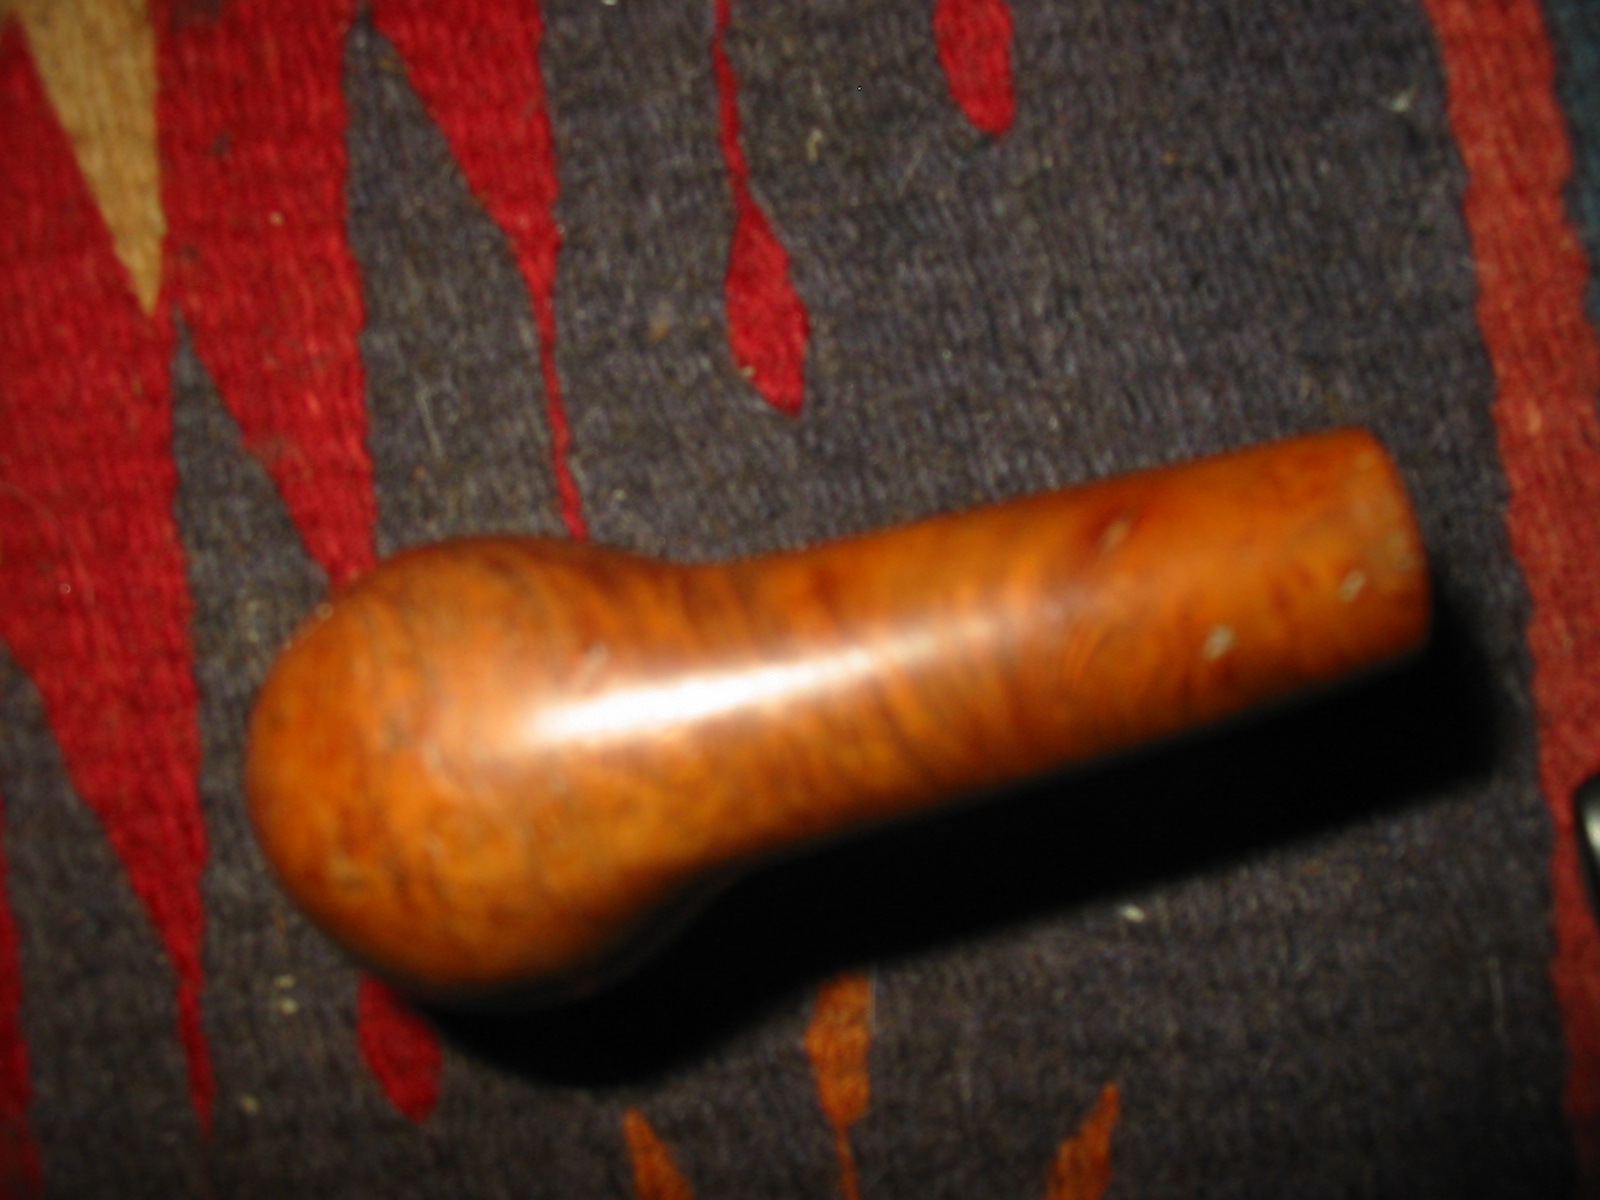
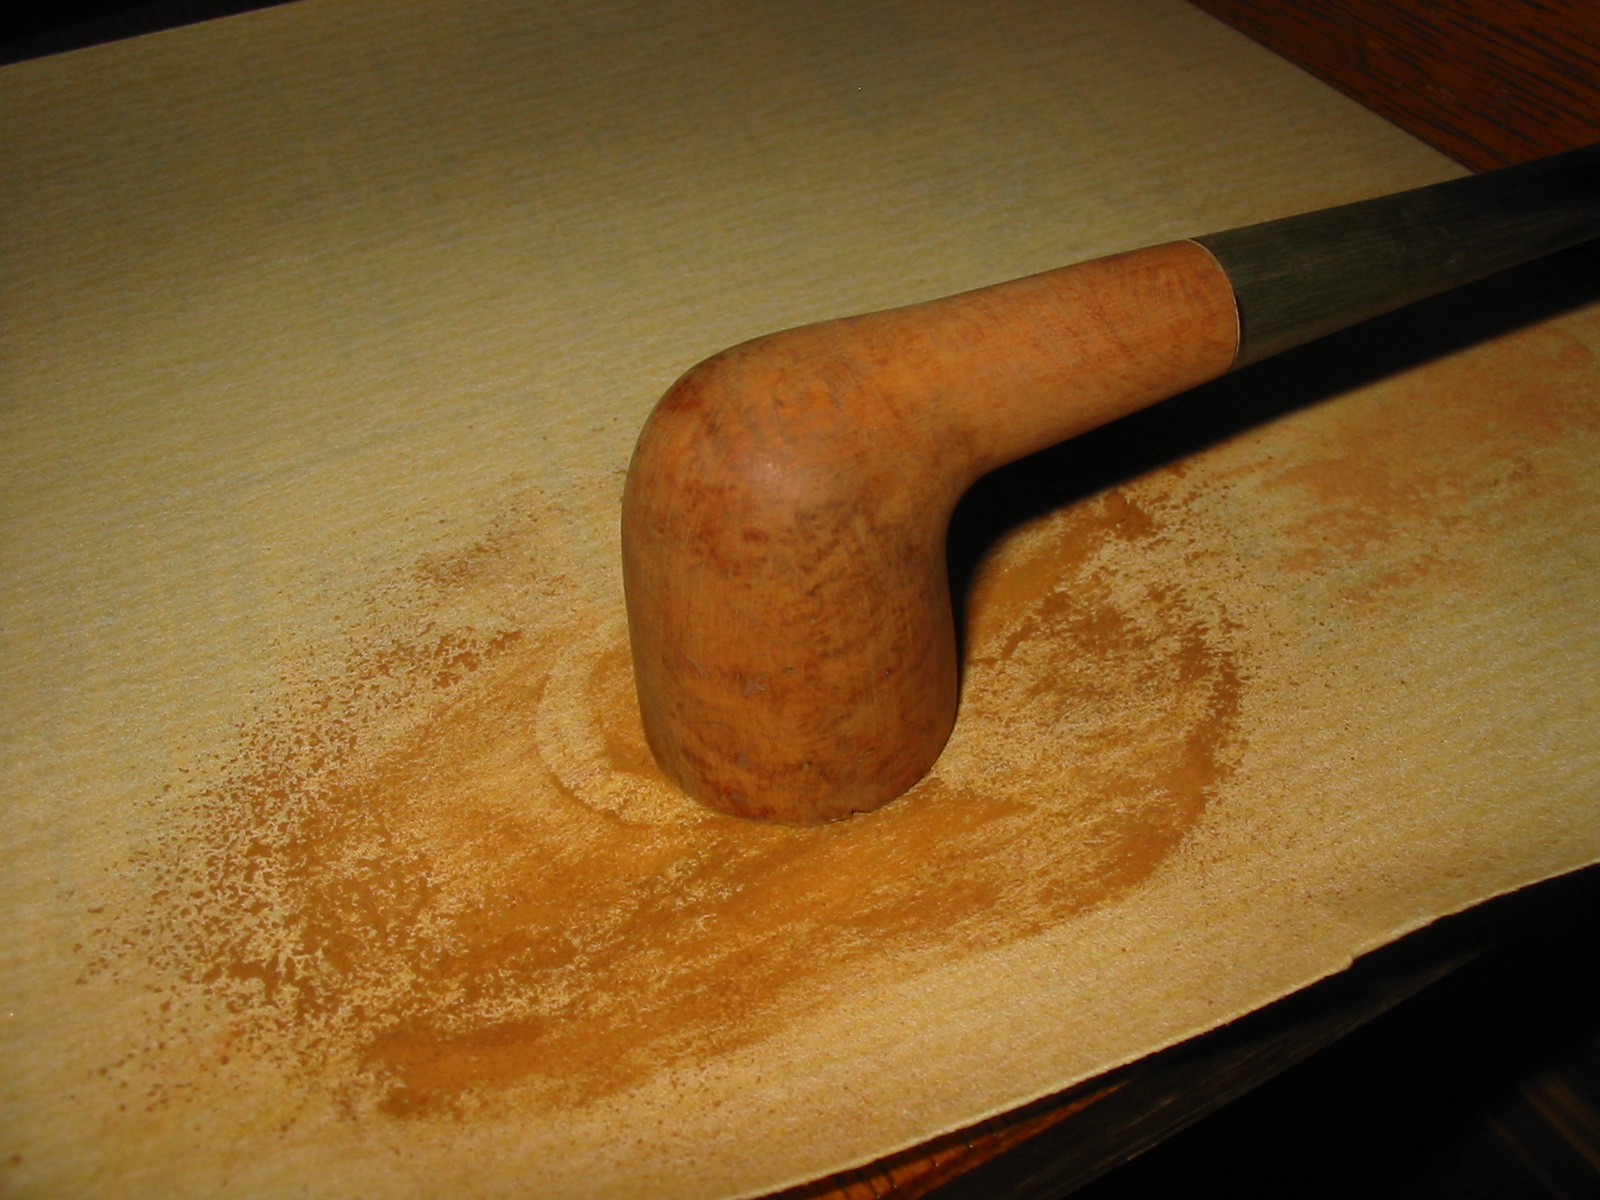
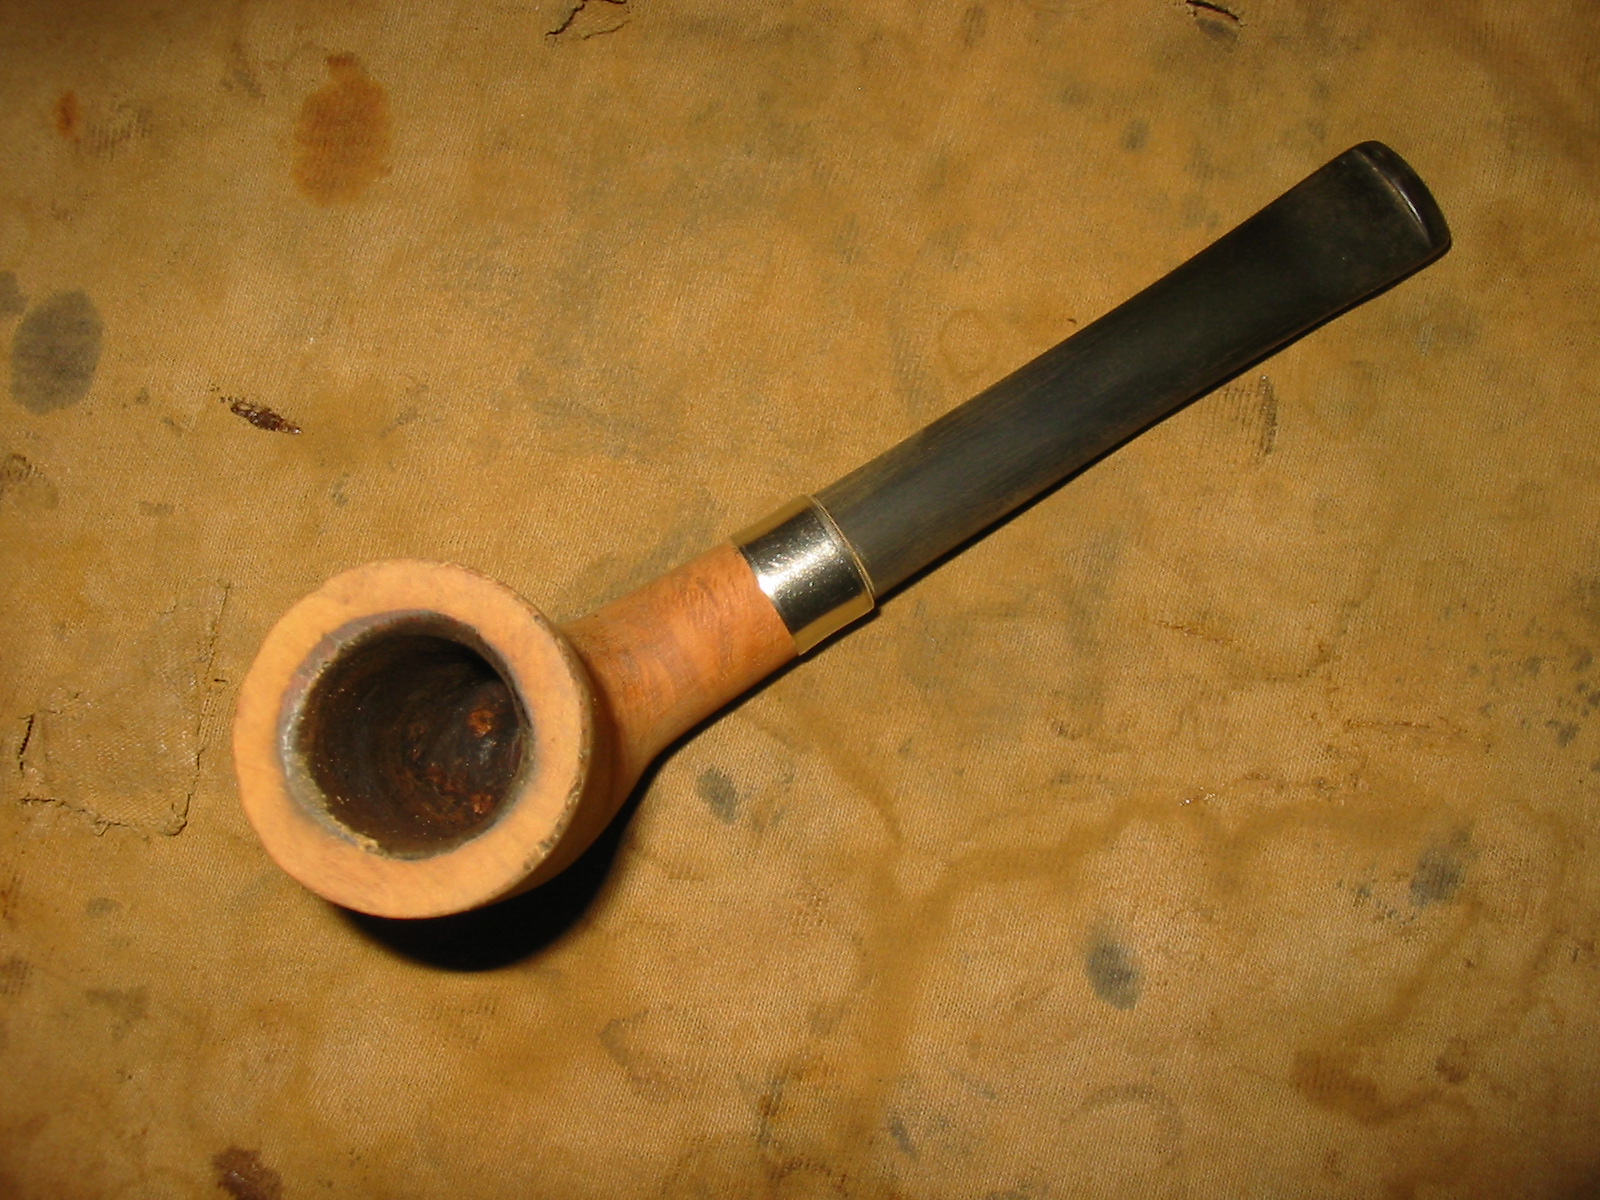
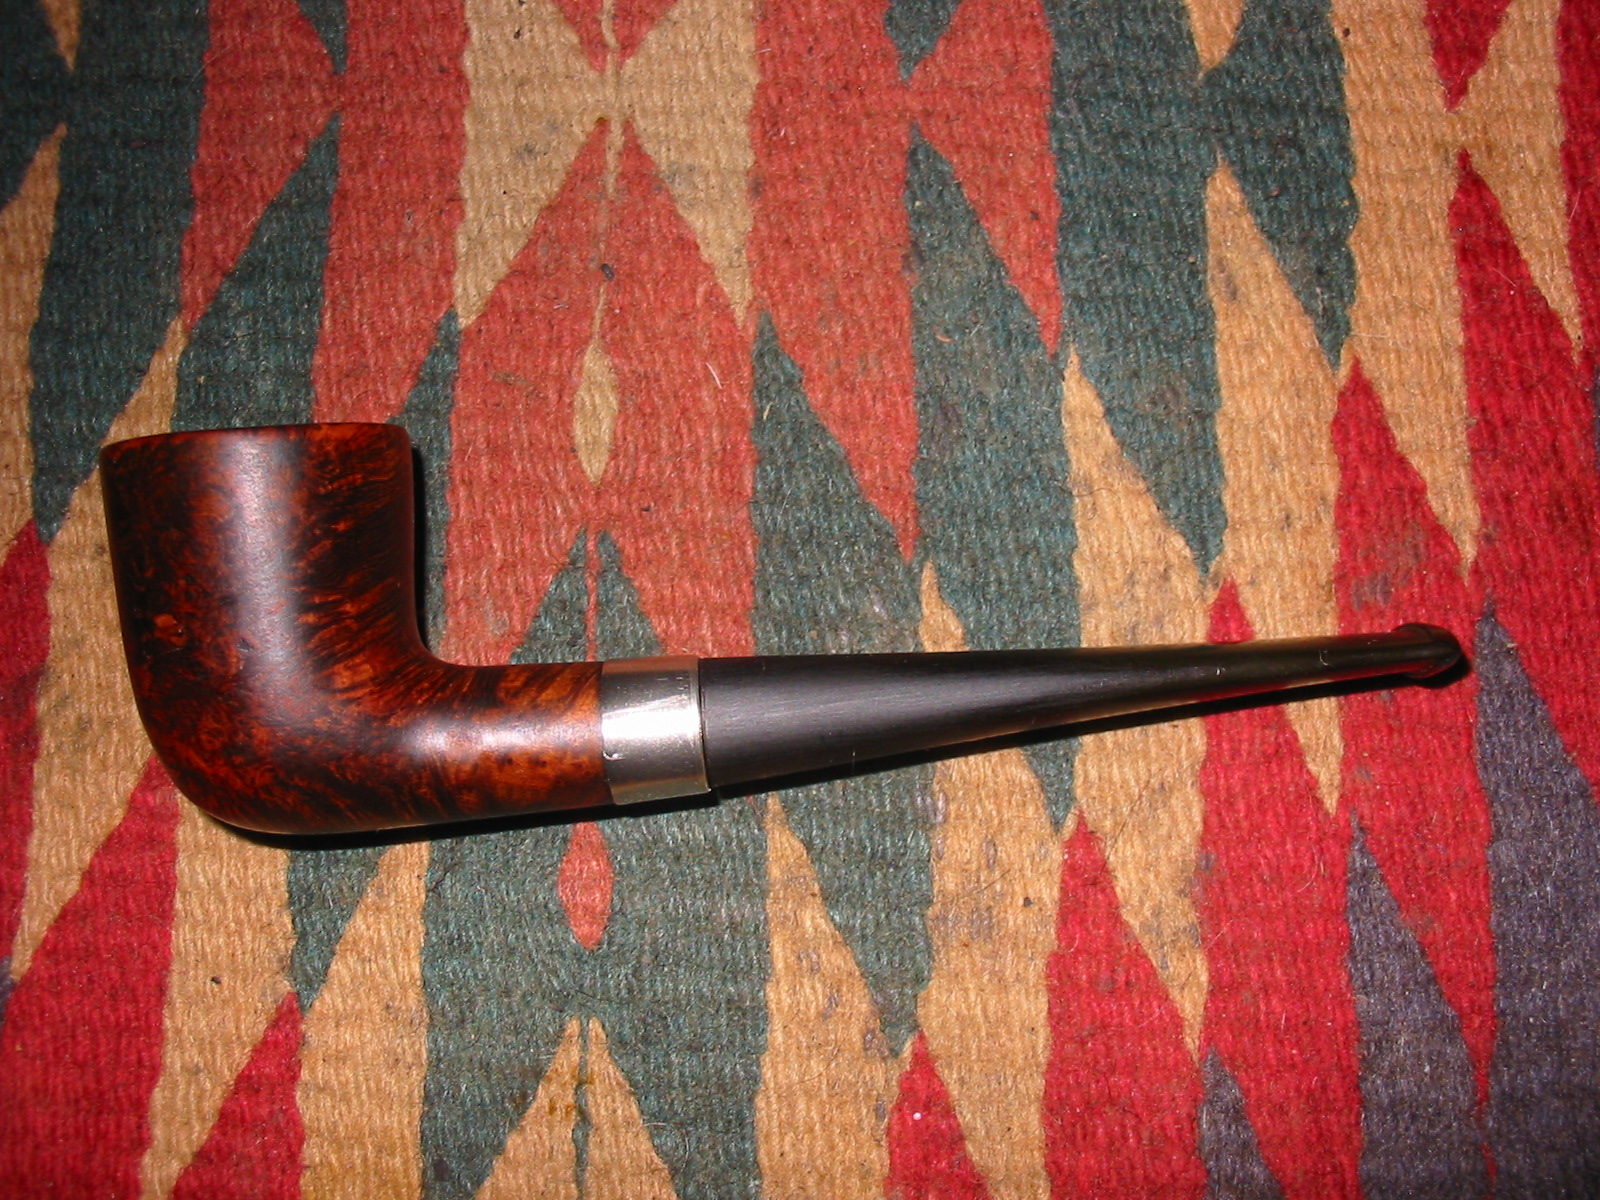
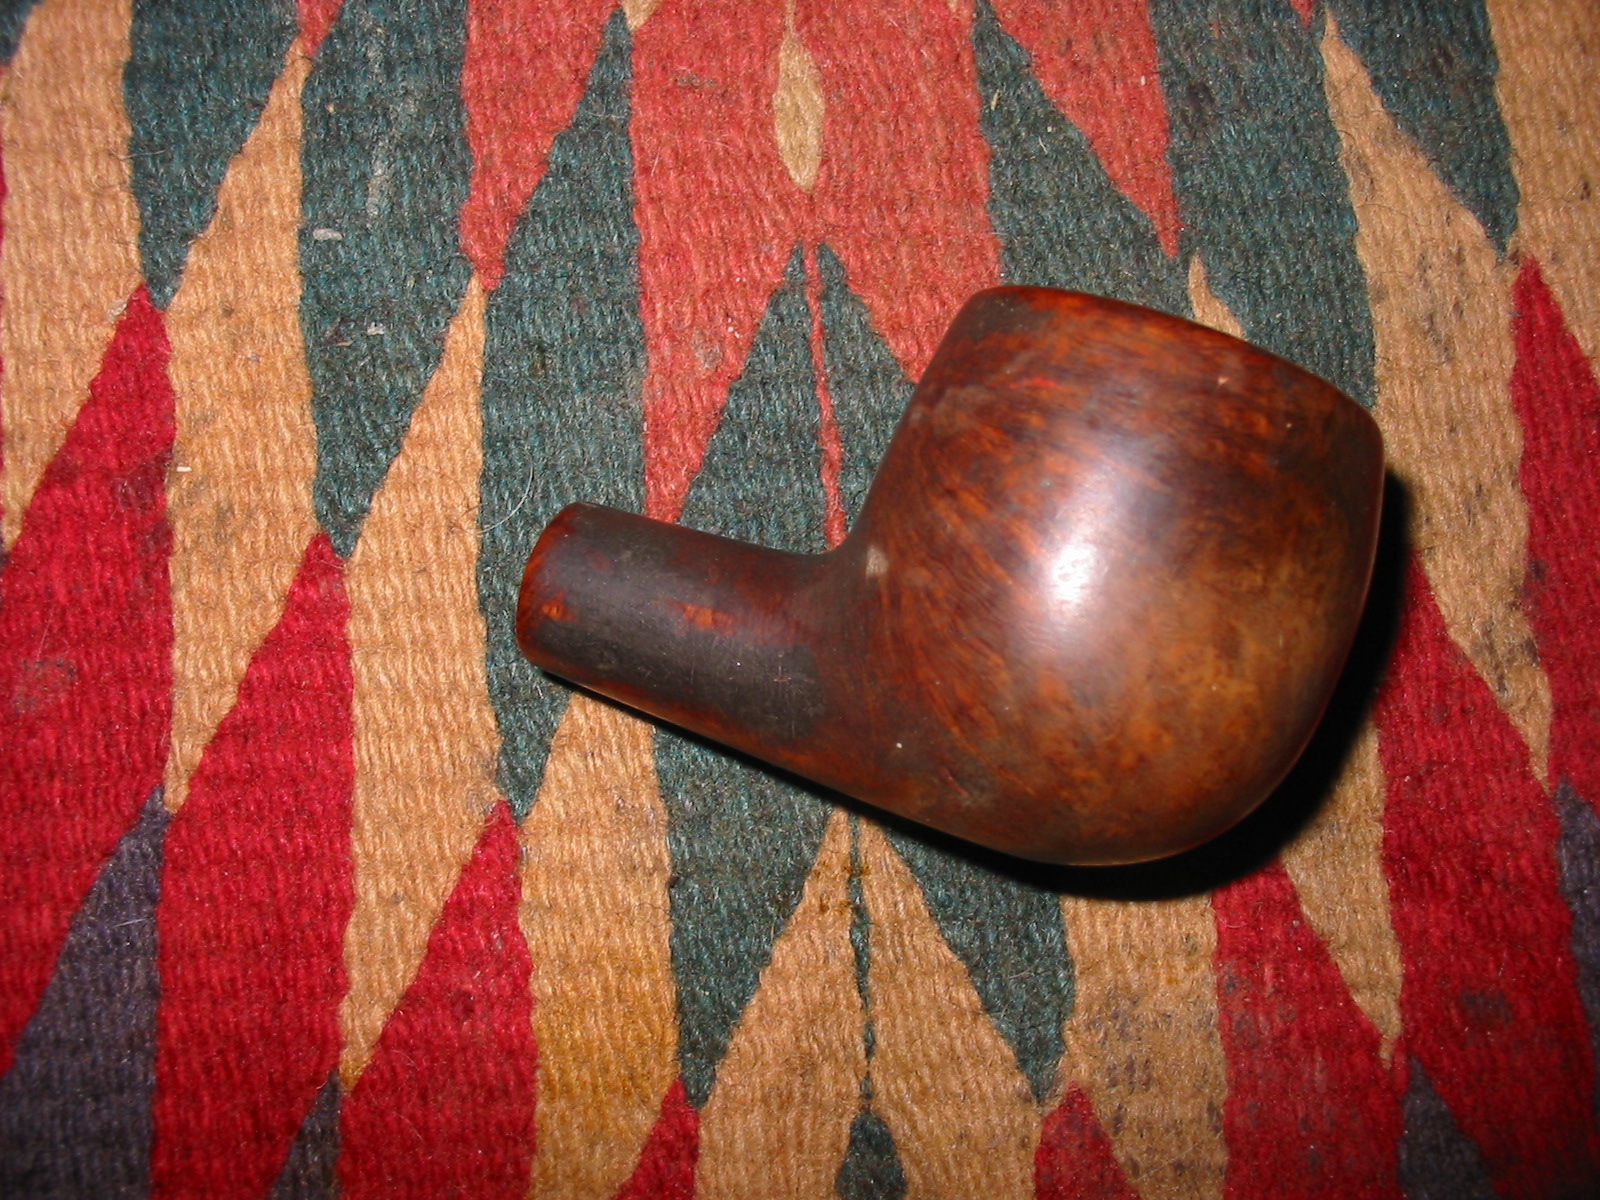
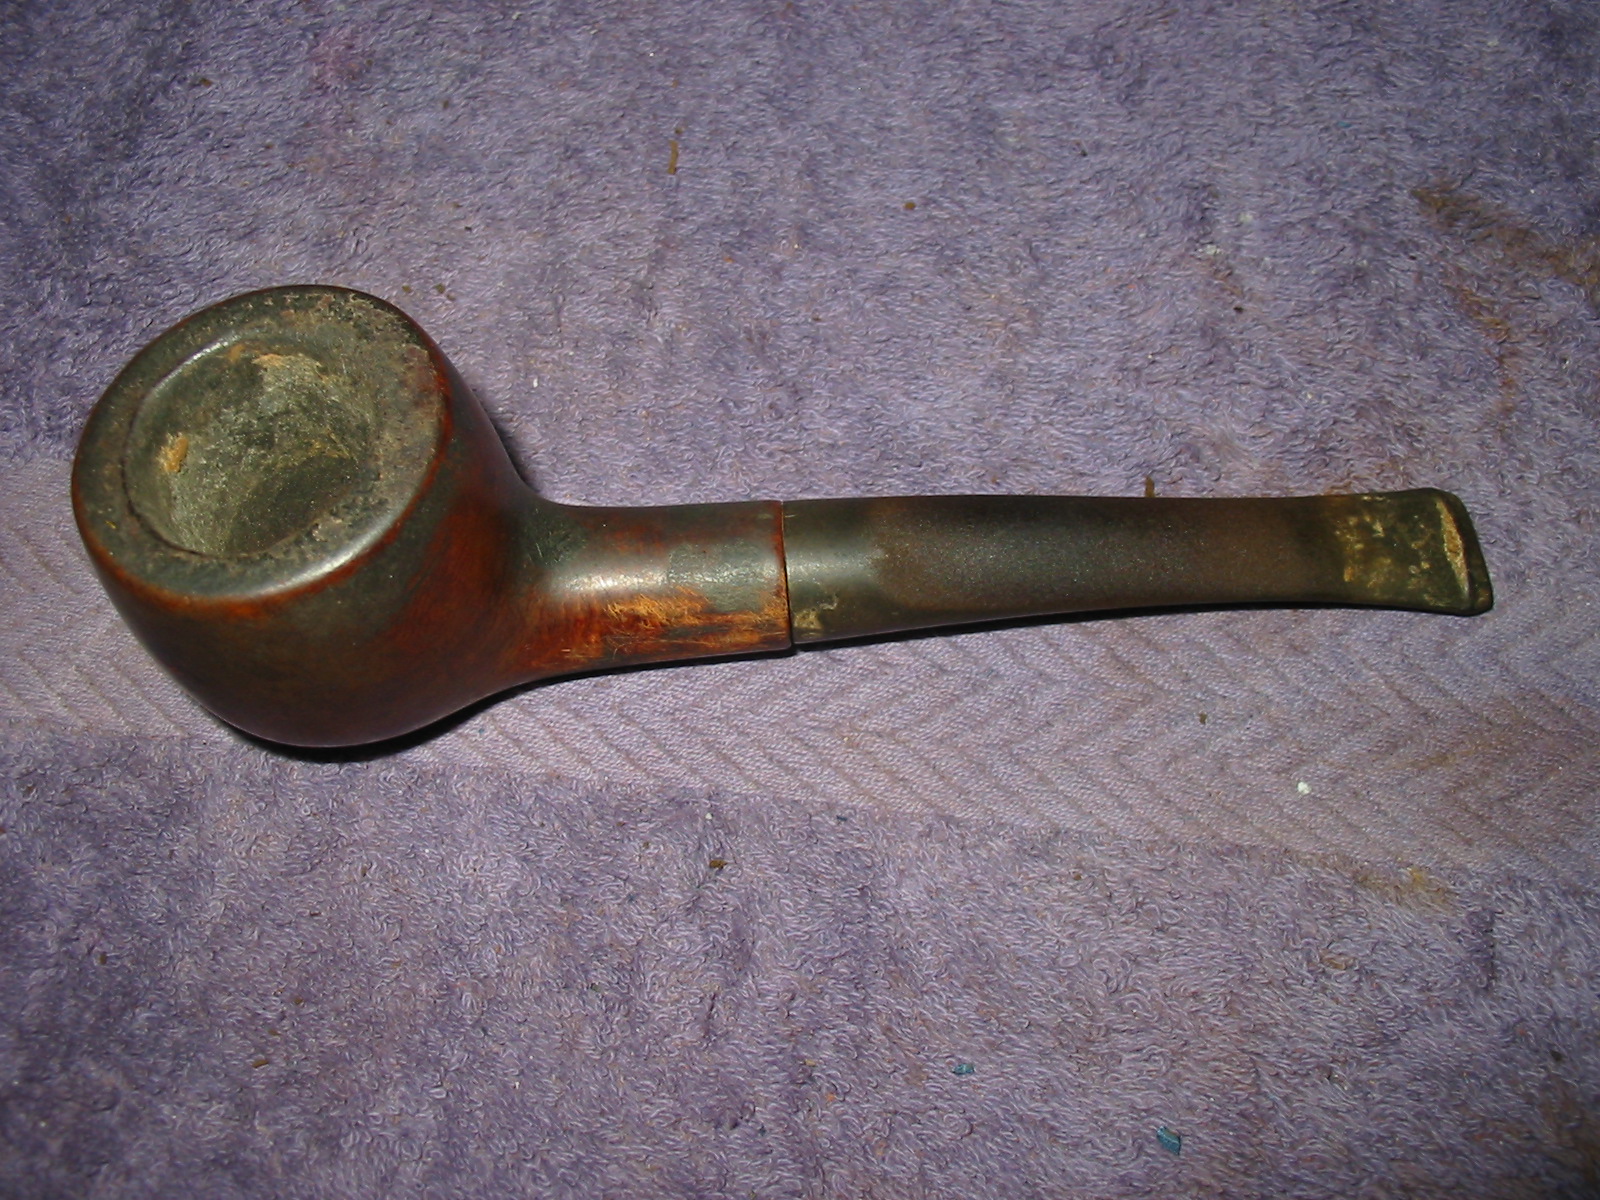
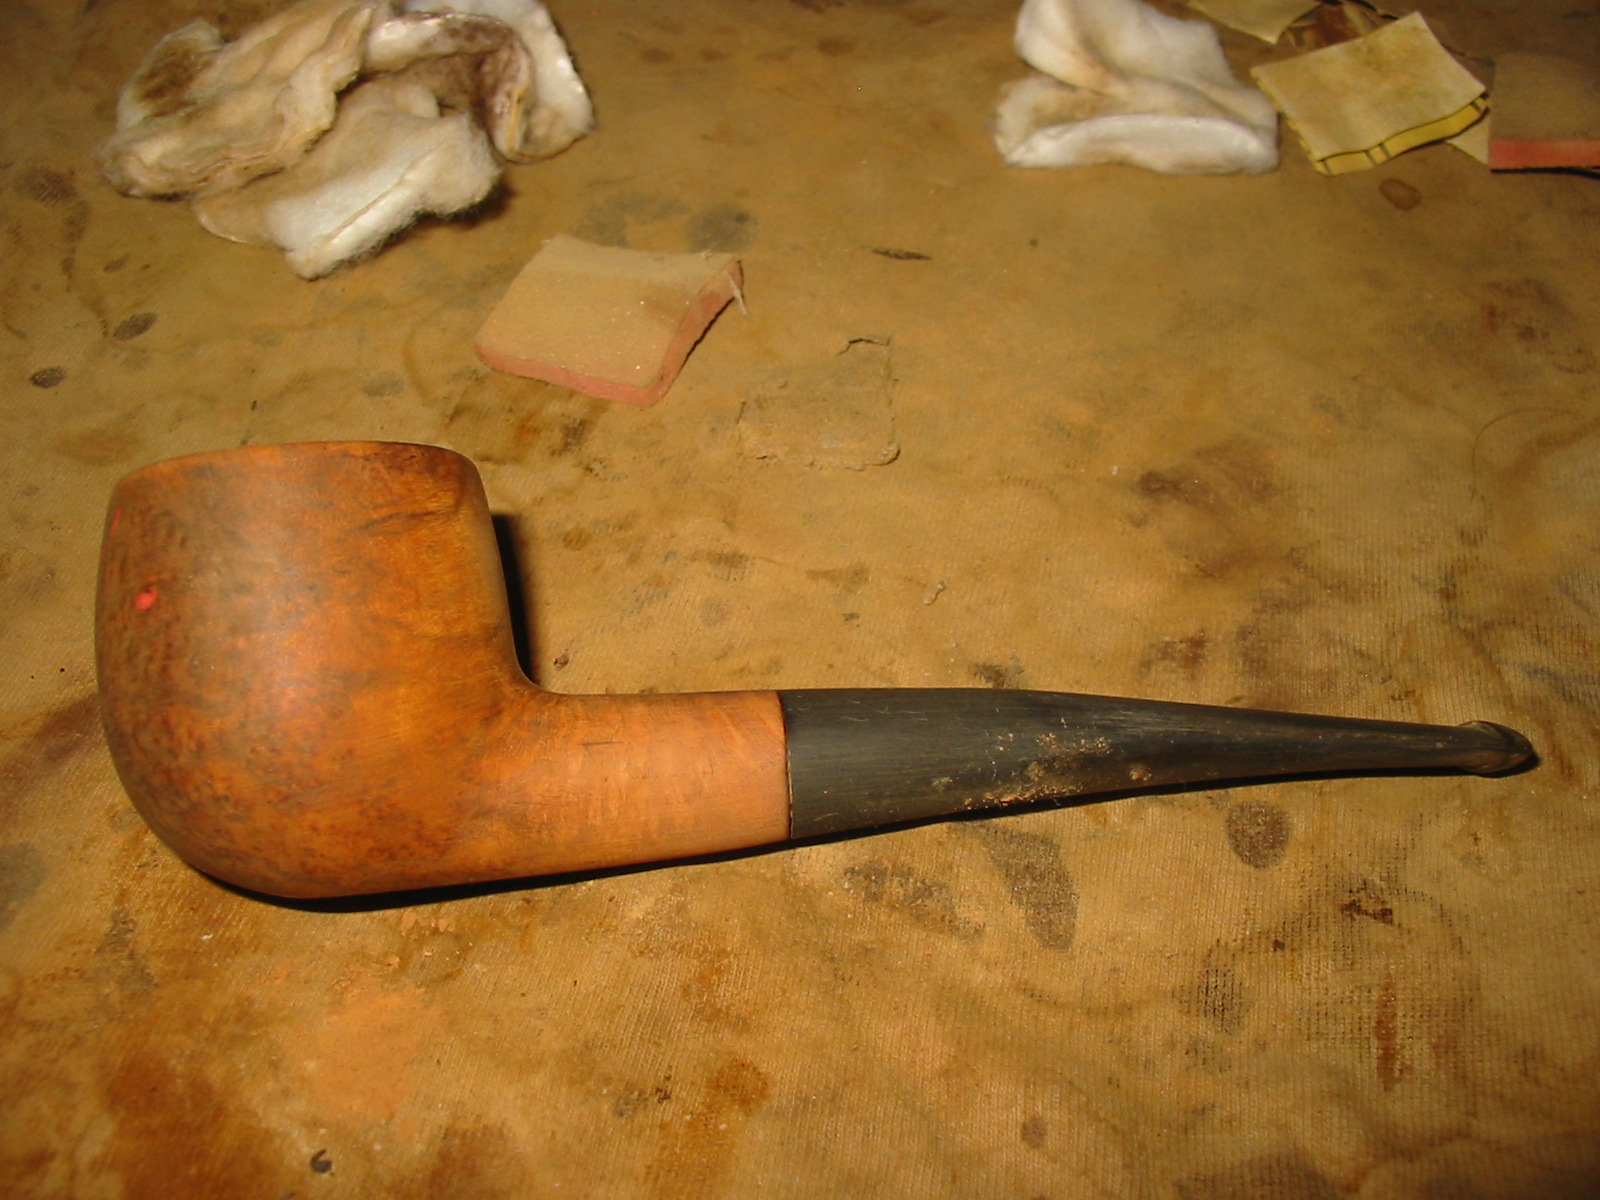
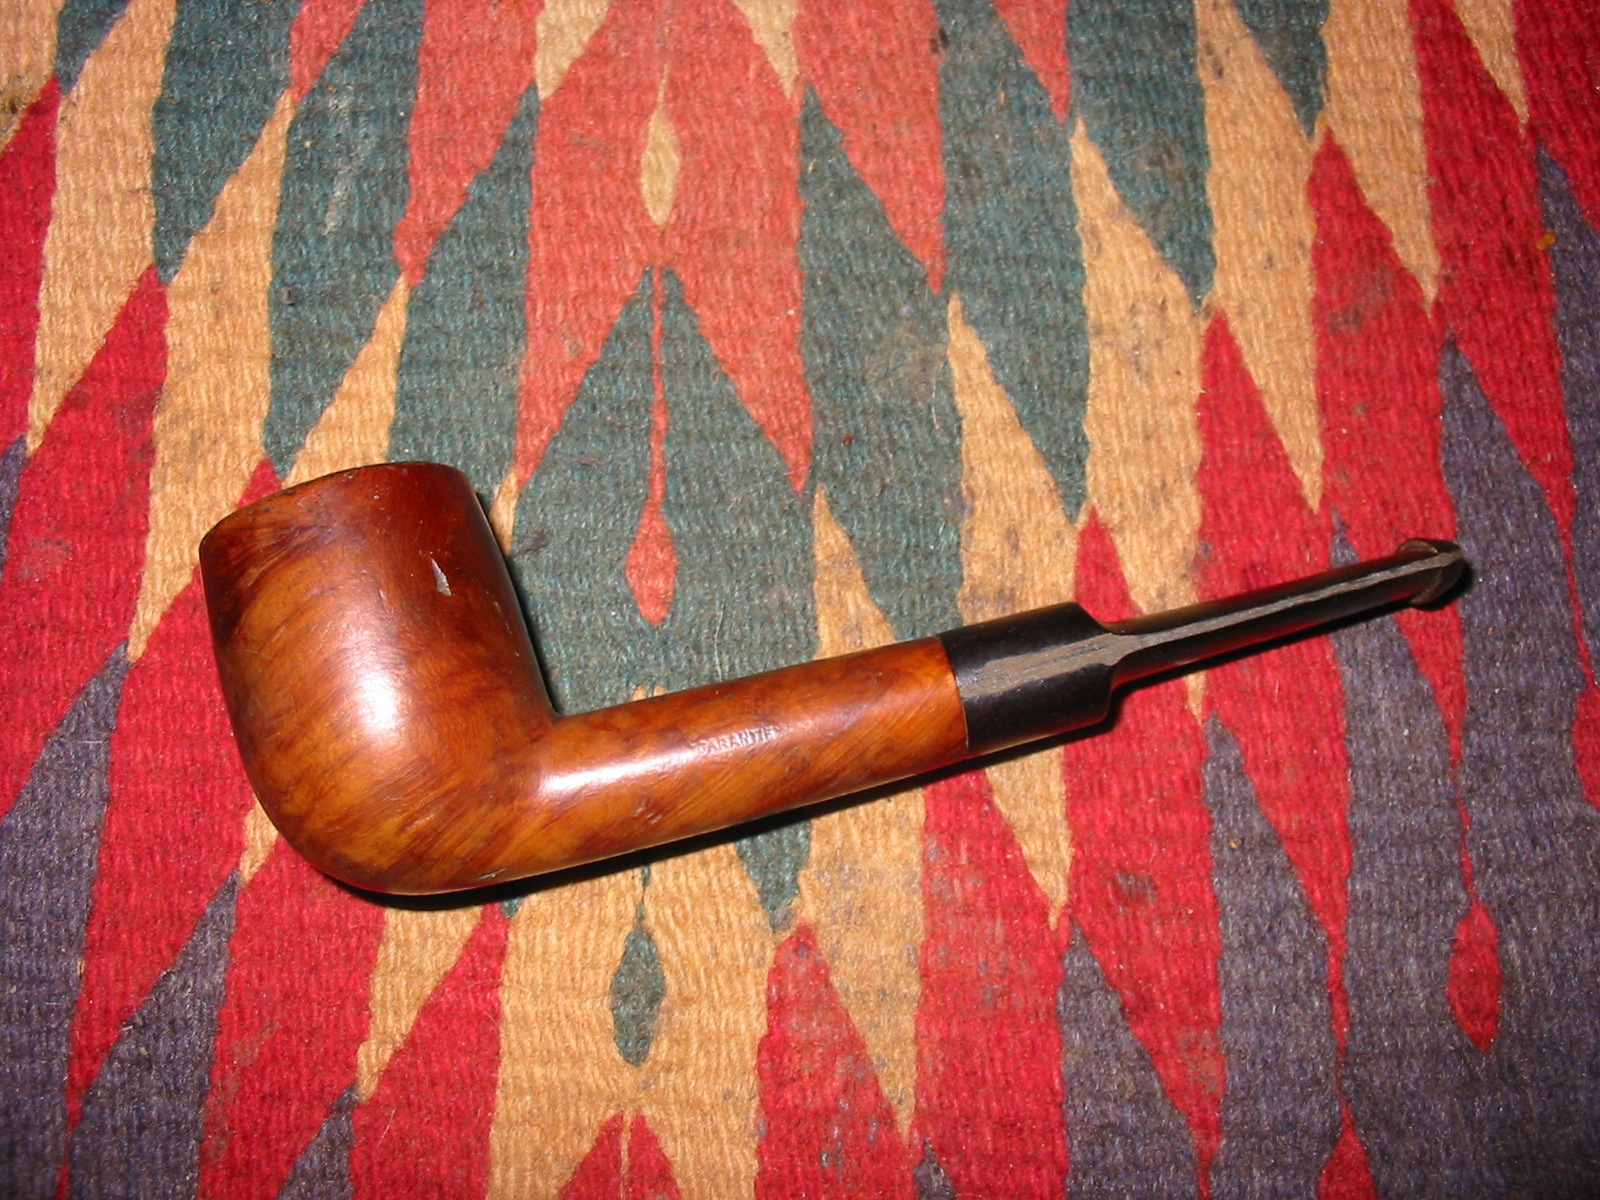
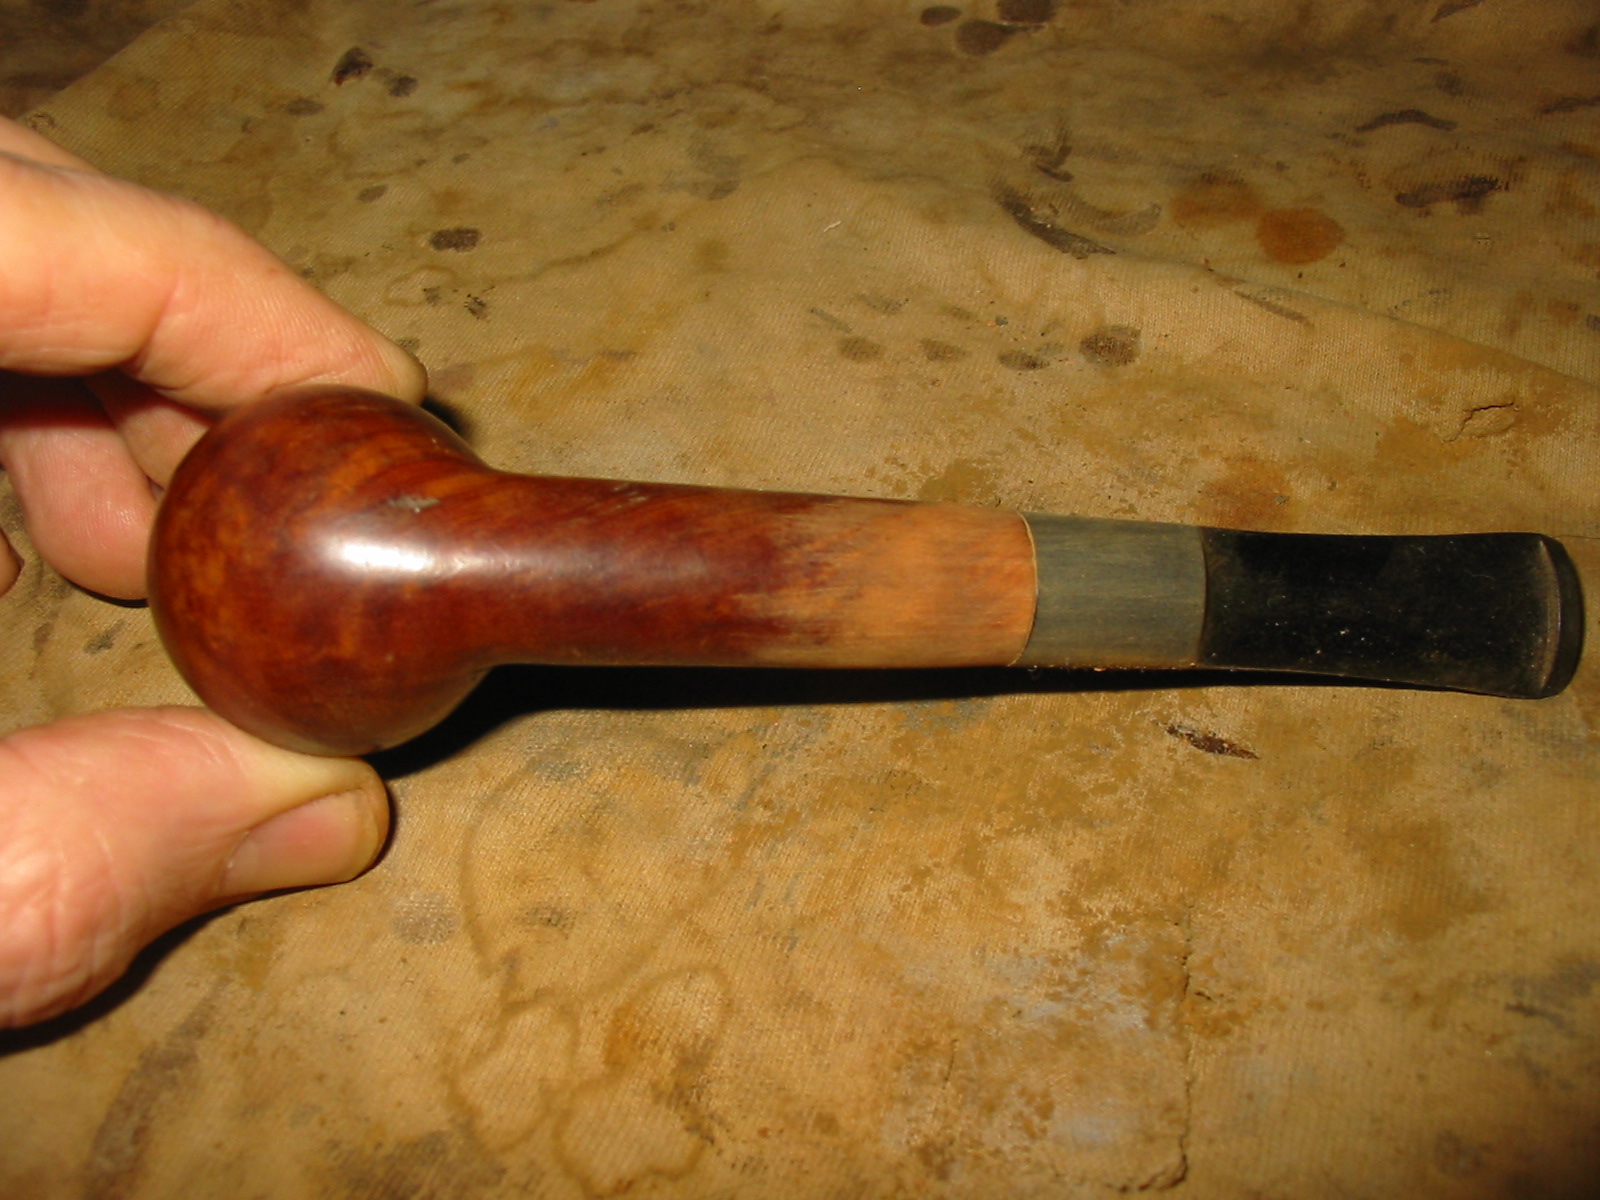
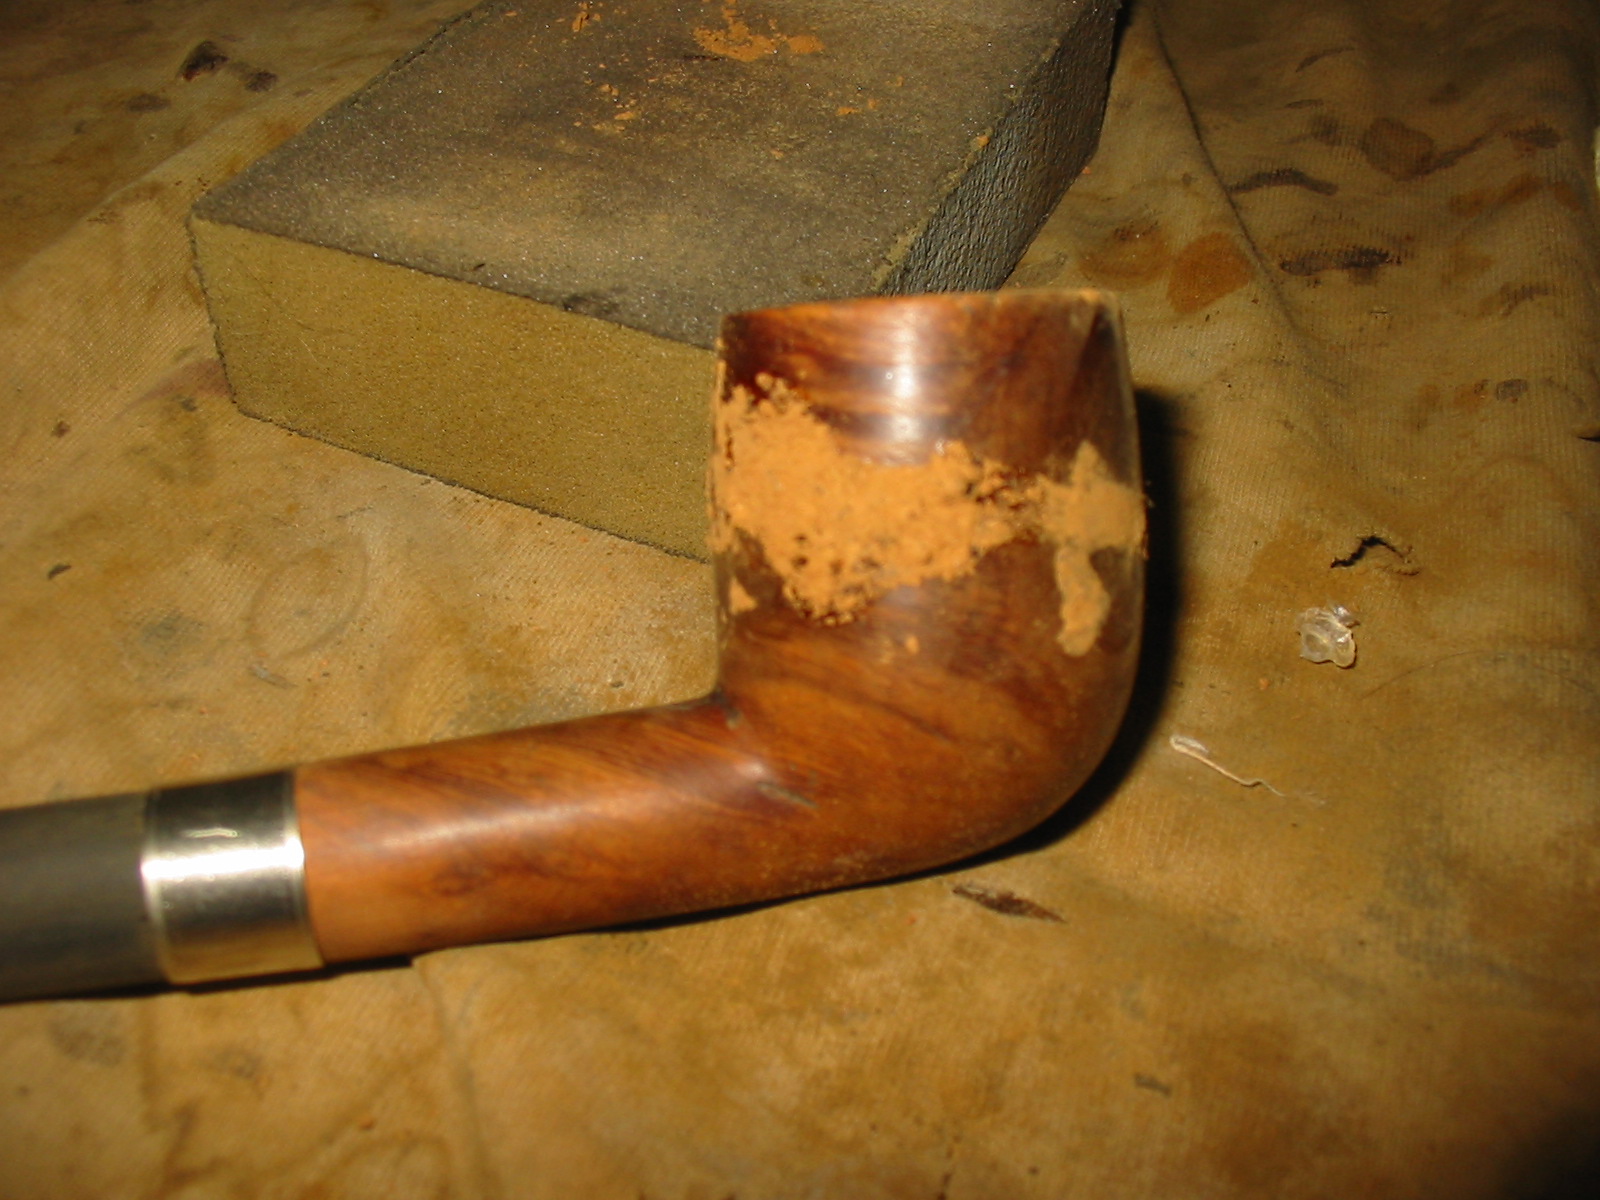
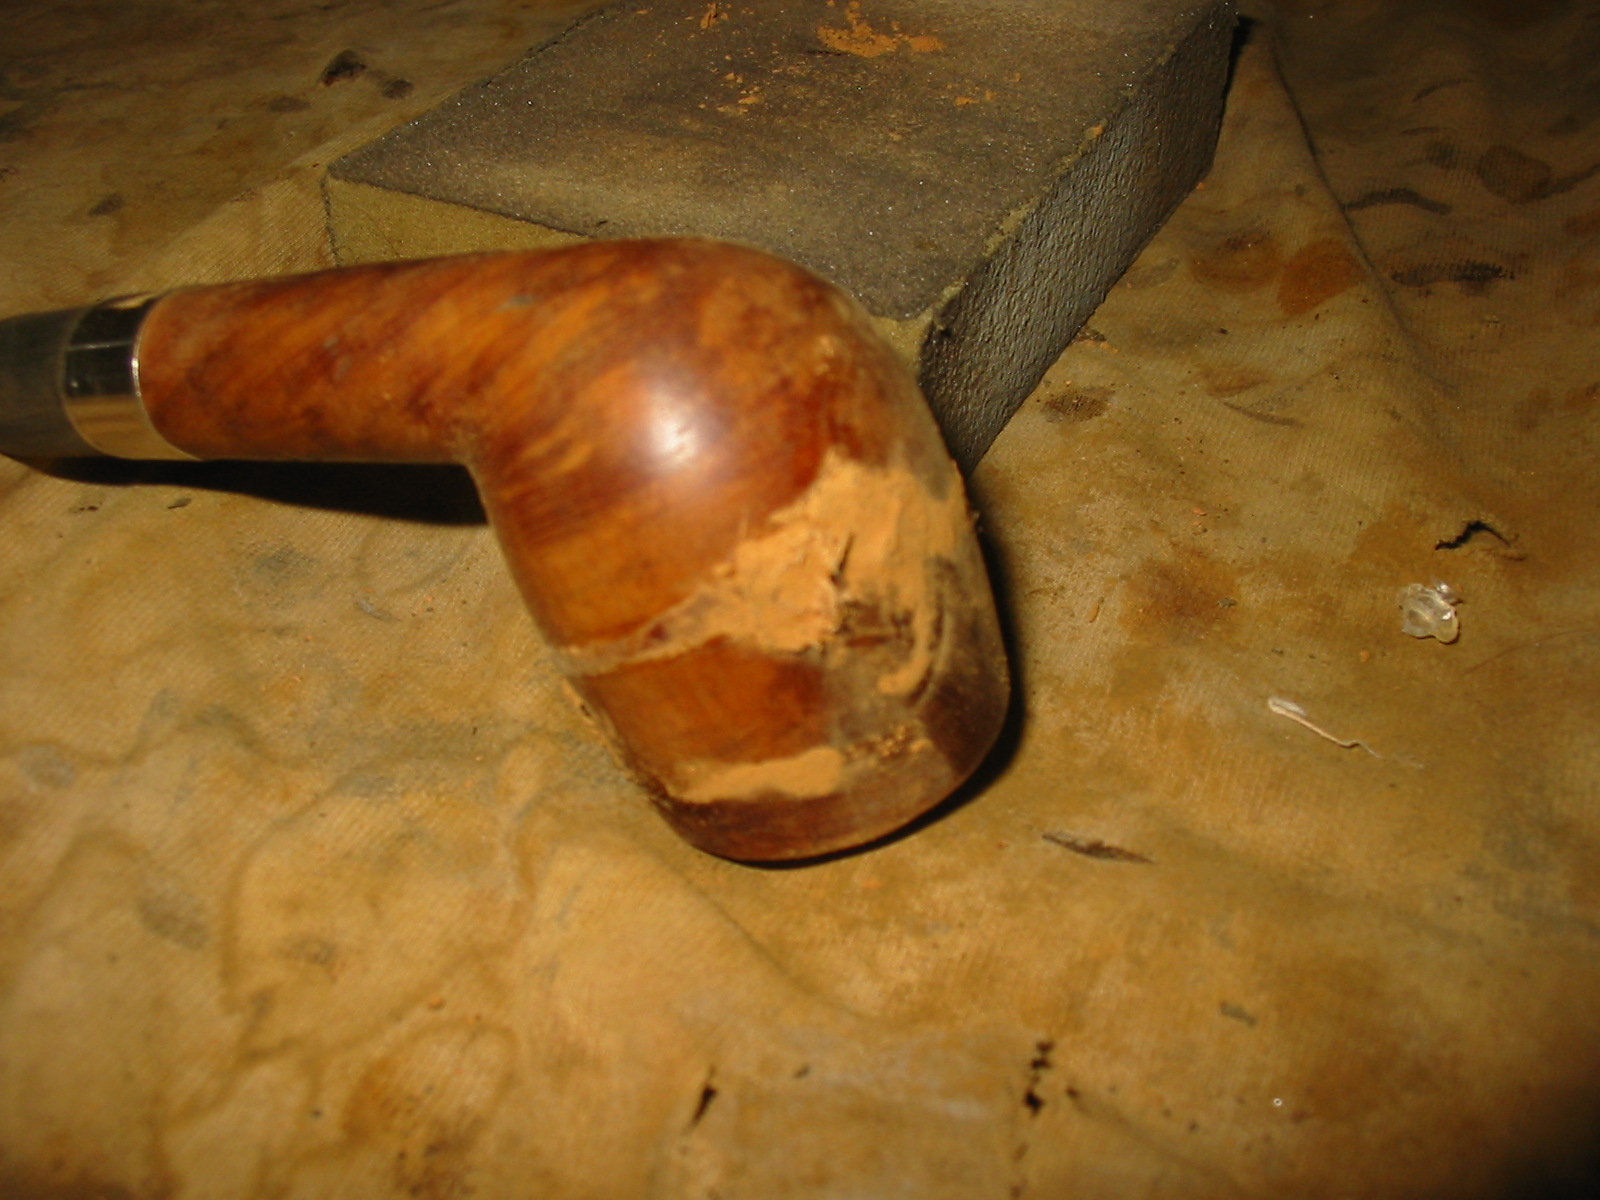
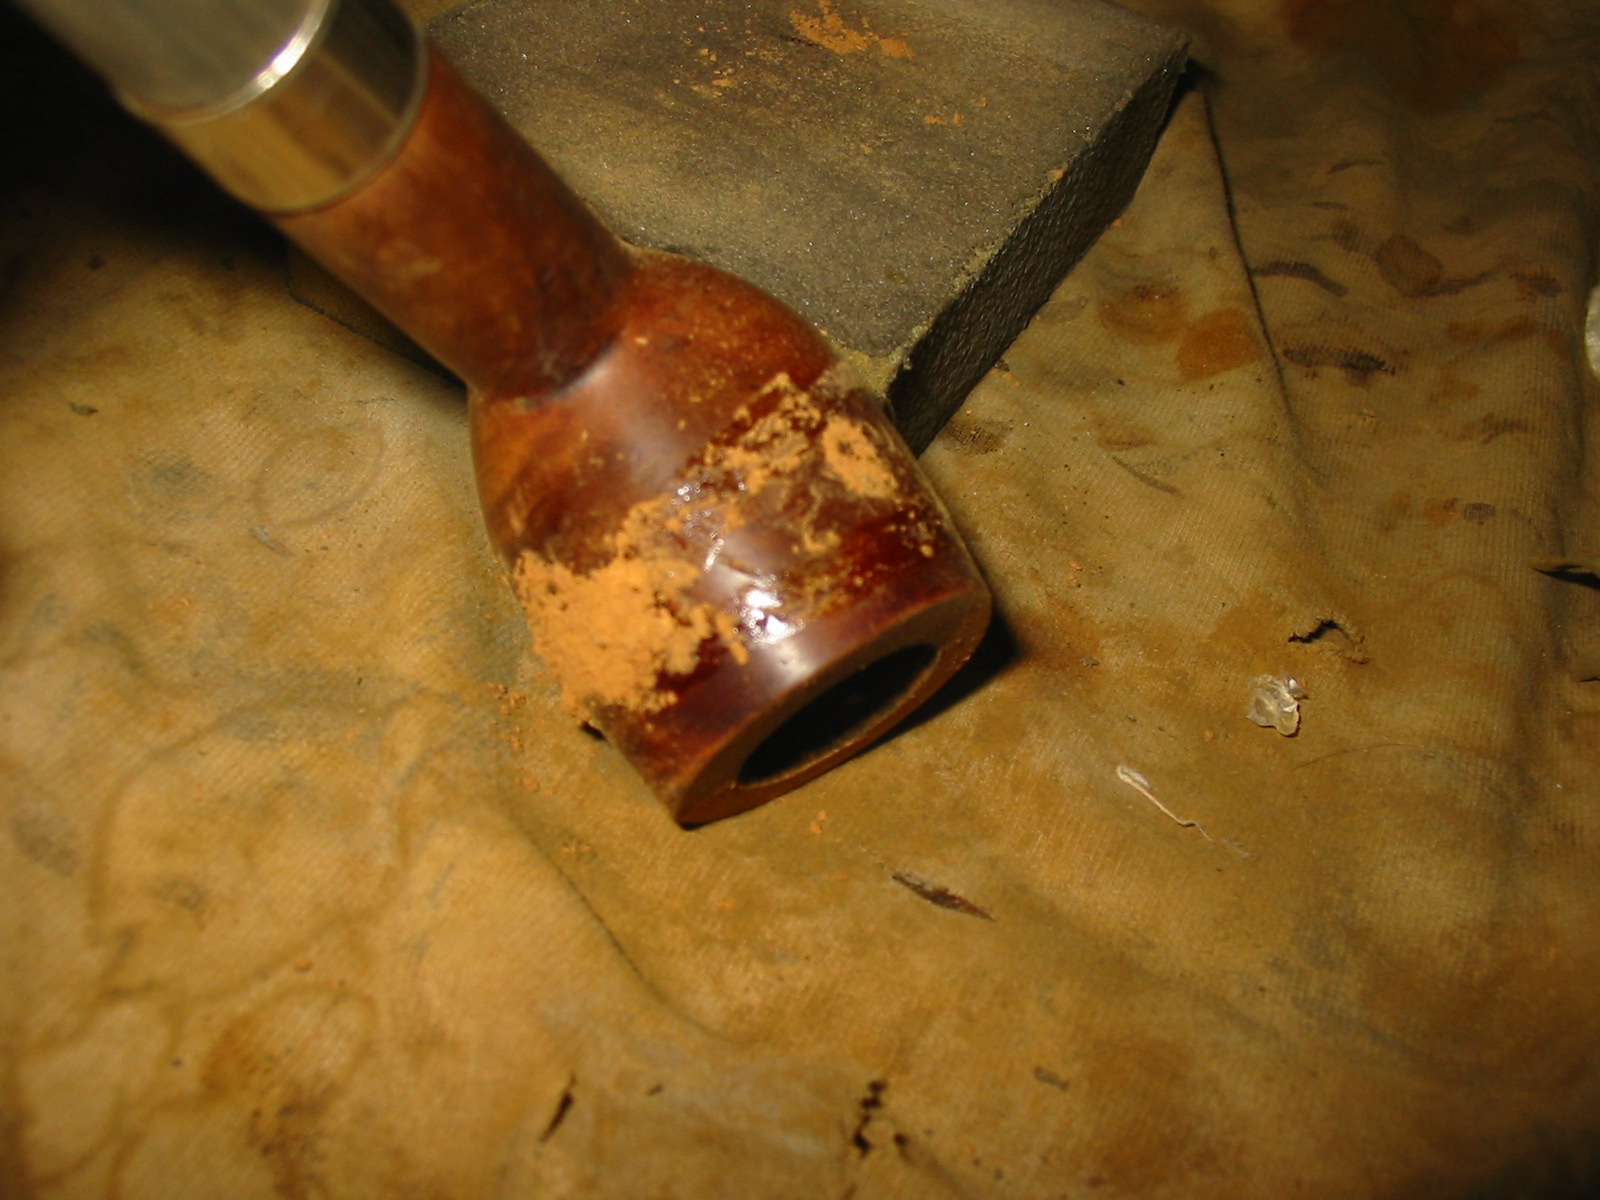
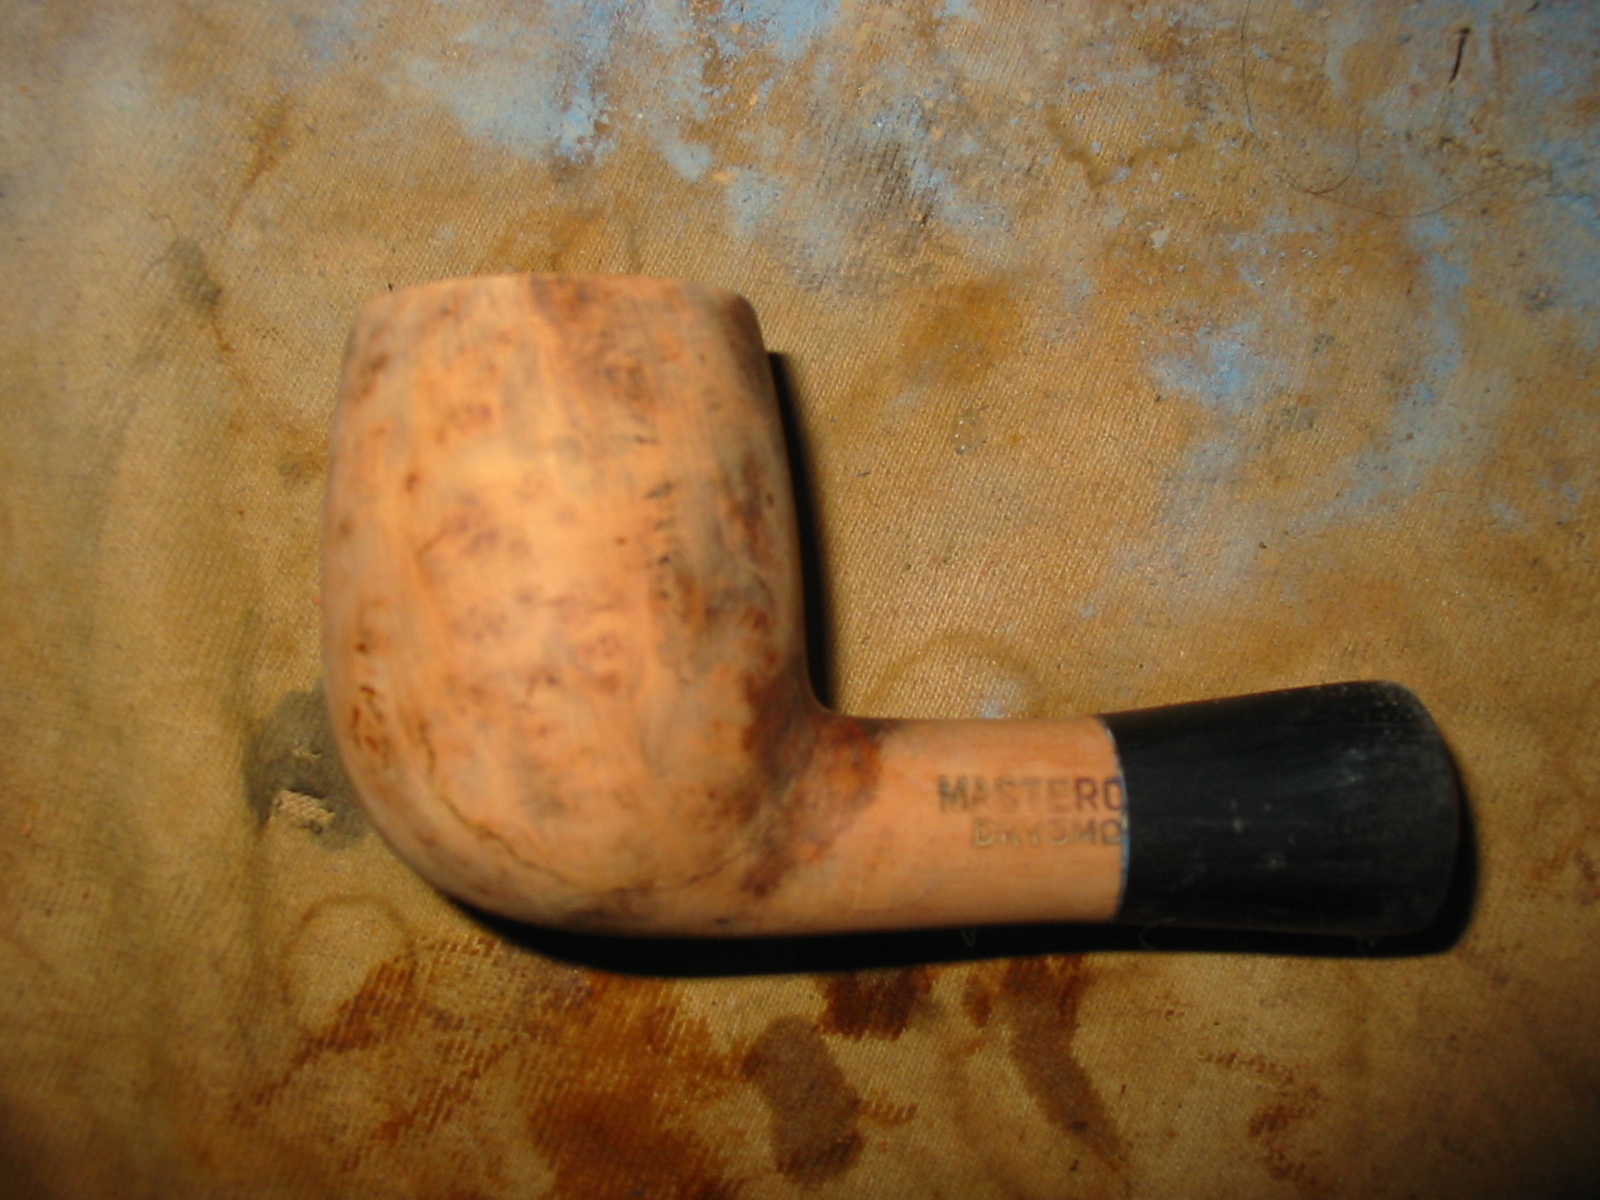
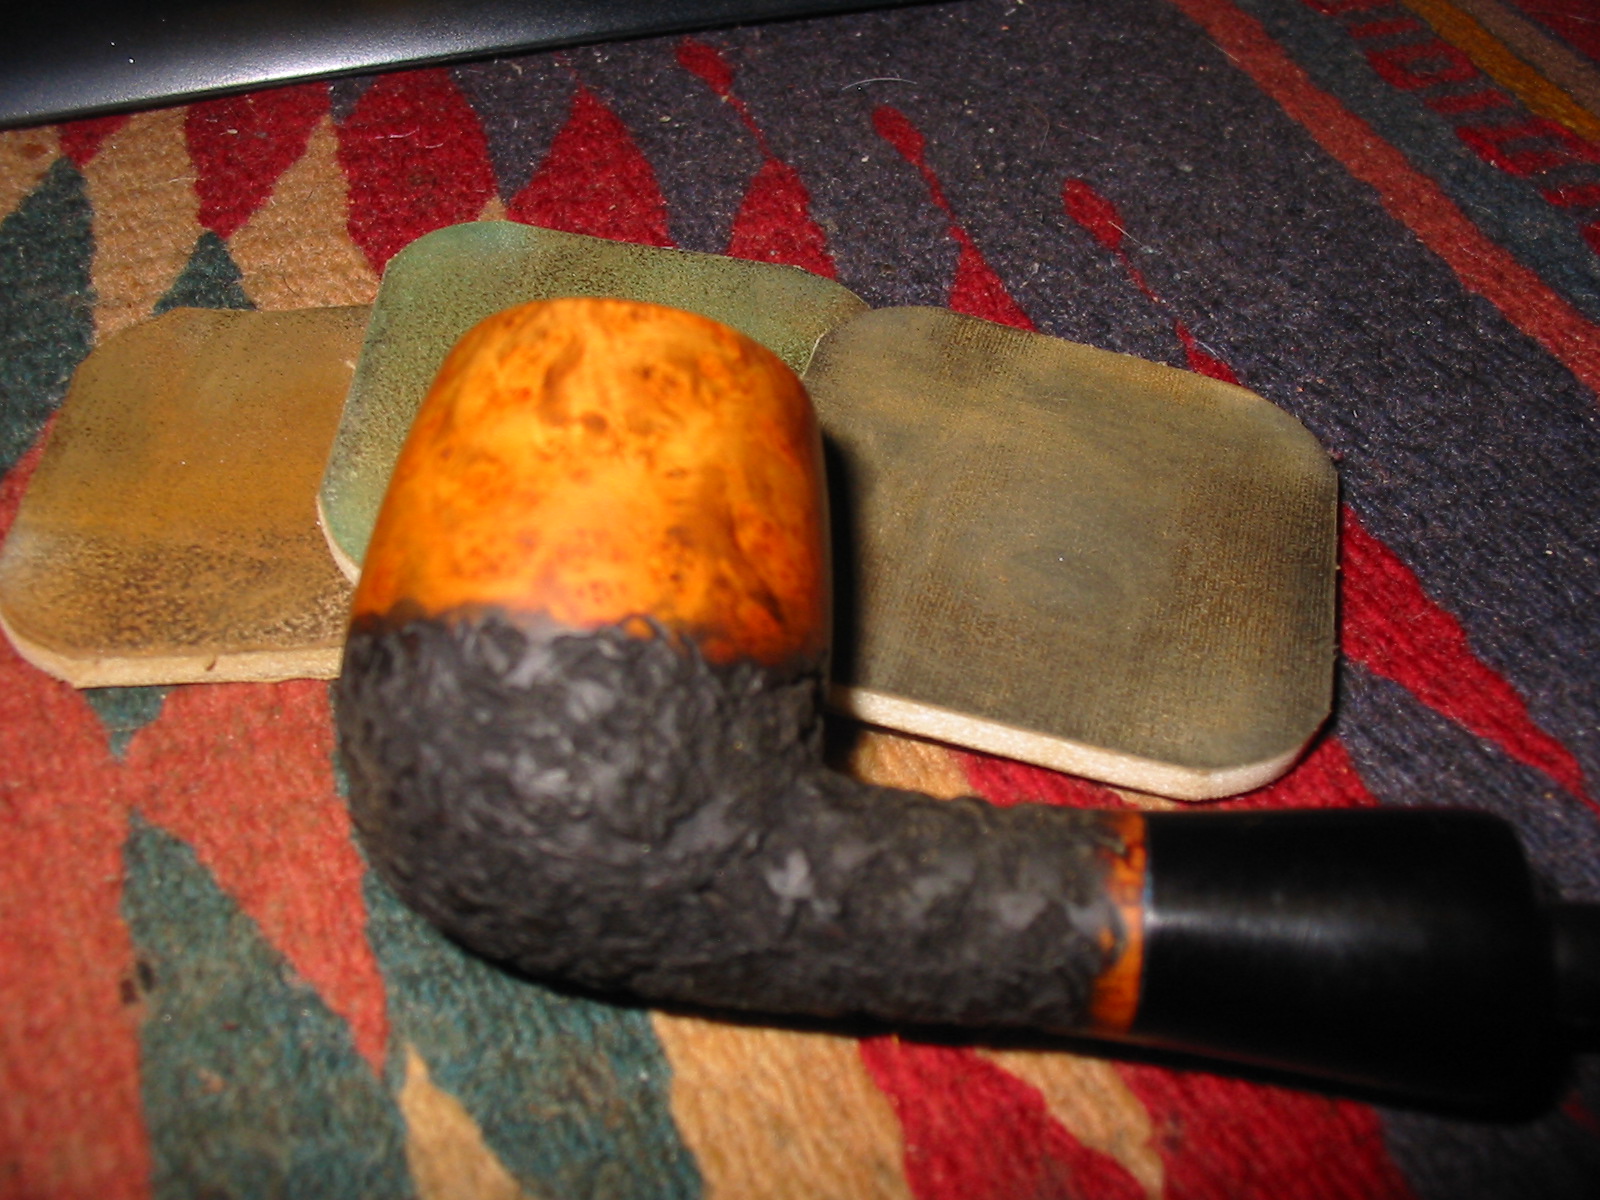
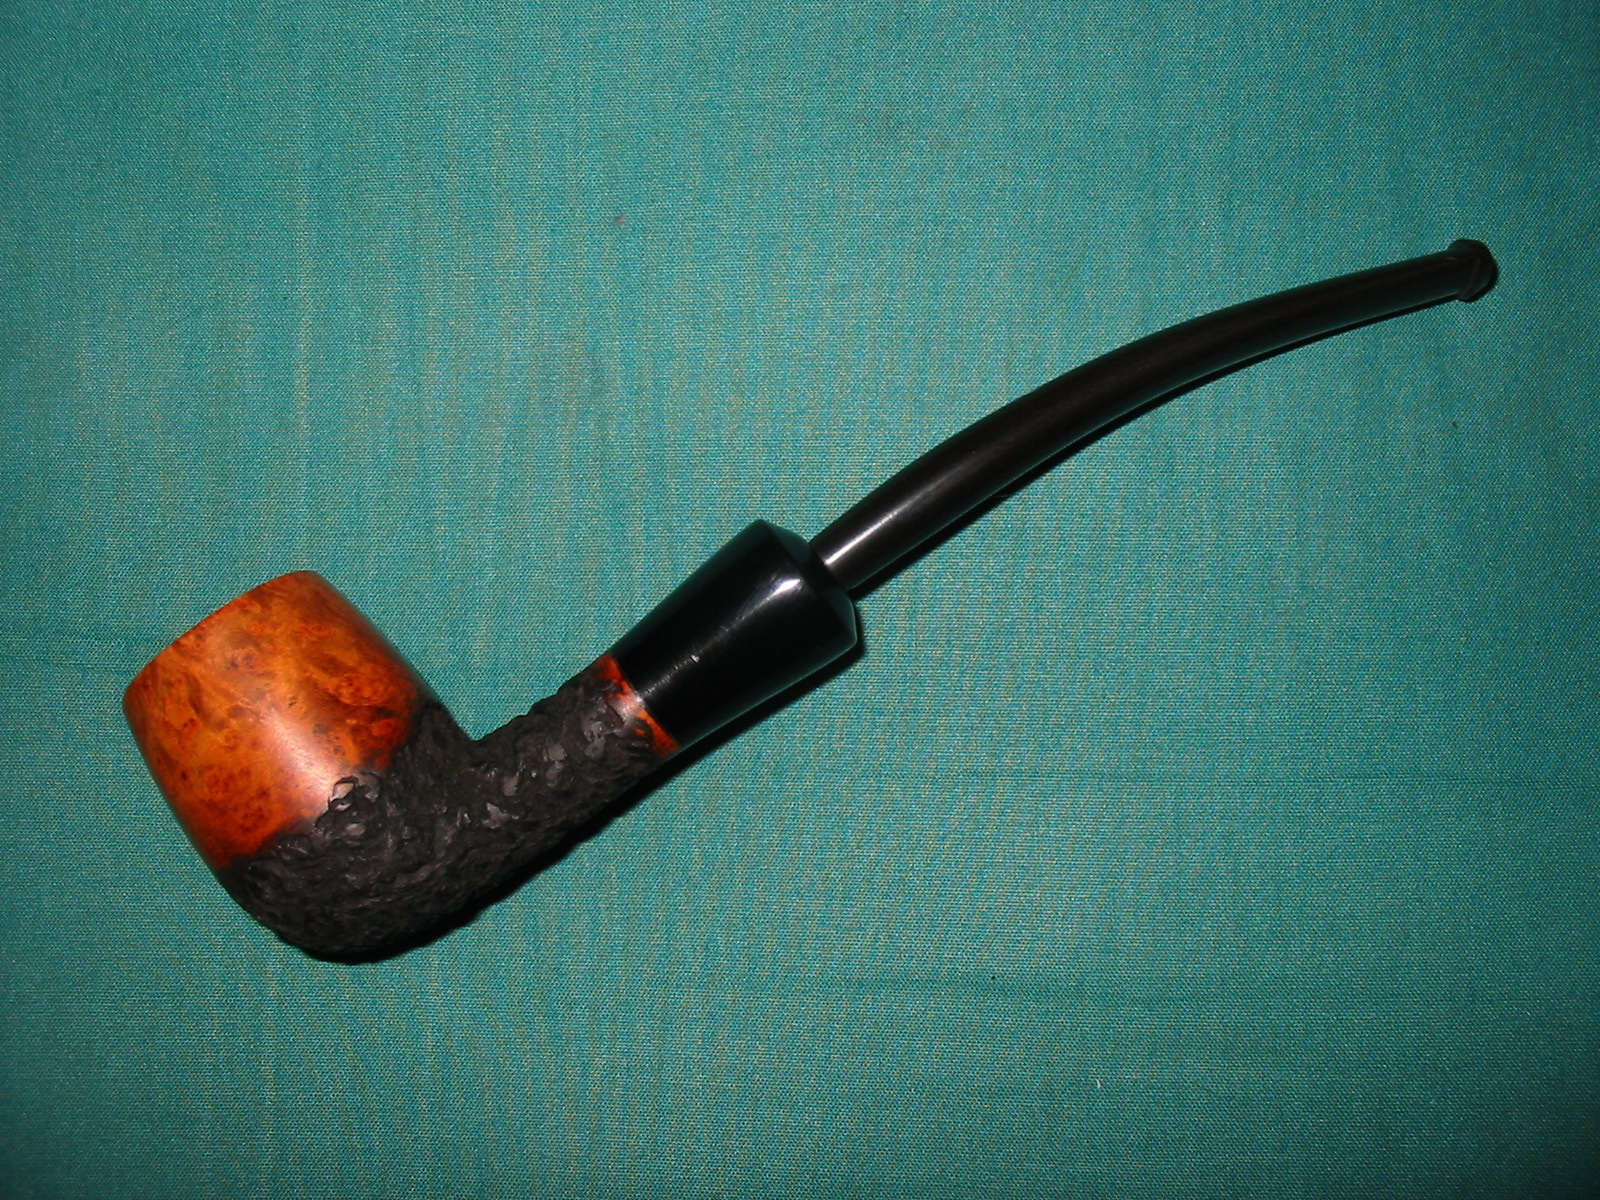
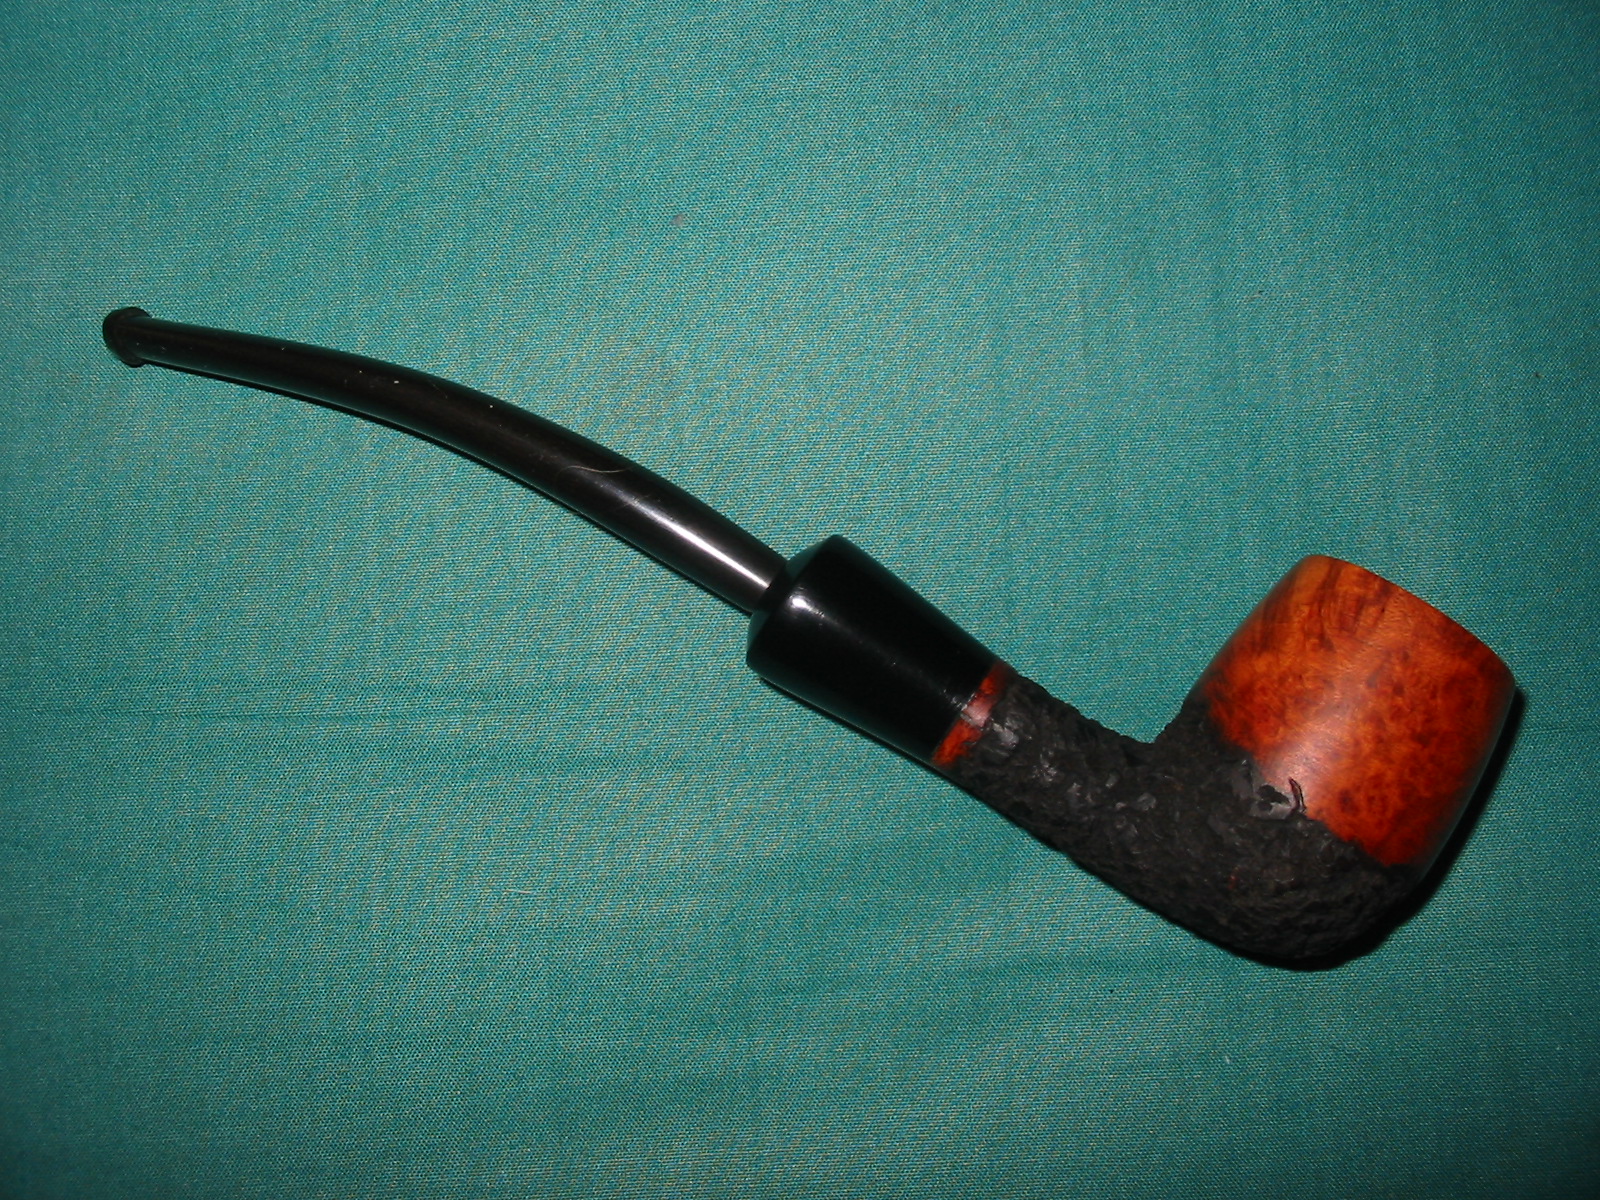
The Bewlay/Barling Spiral billiard was in pretty good shape when I bought it, other than the scorched rim, cake build-up in the bowl, some scratches on the pipe, bite marks and discoloration of the originally brown stem and general dirtiness inside.


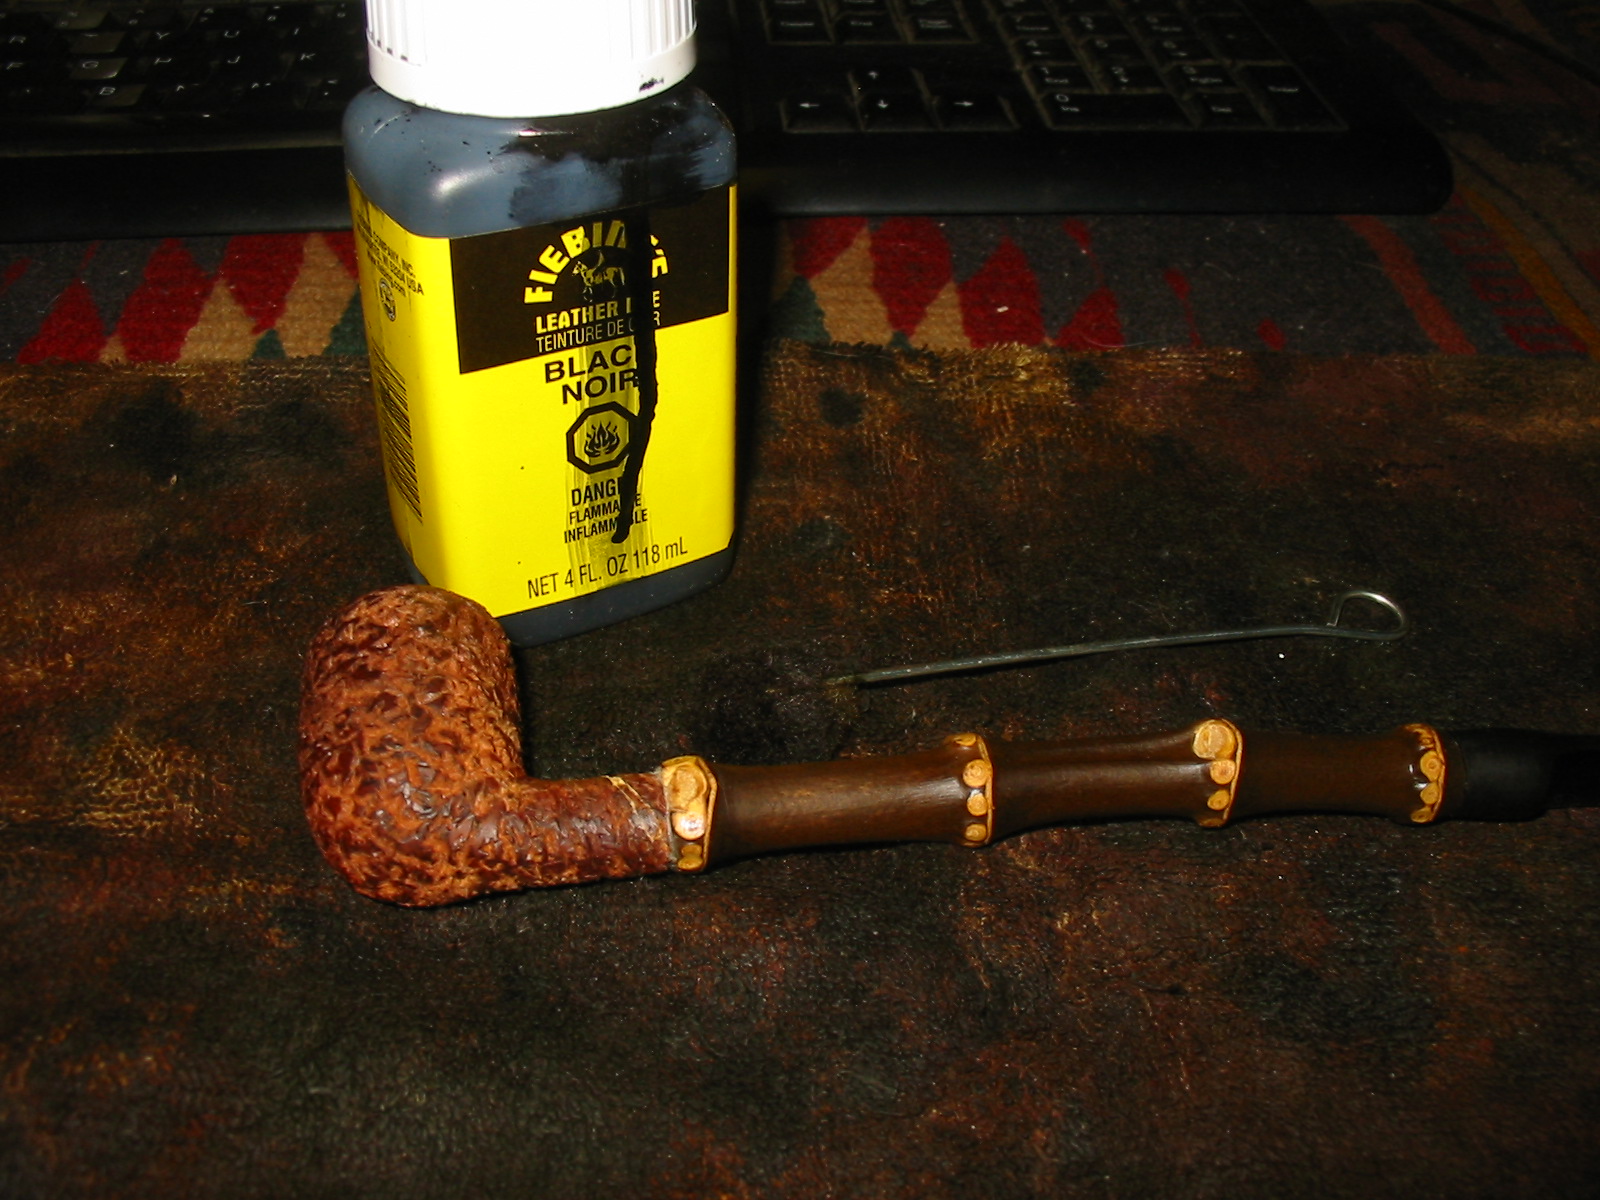
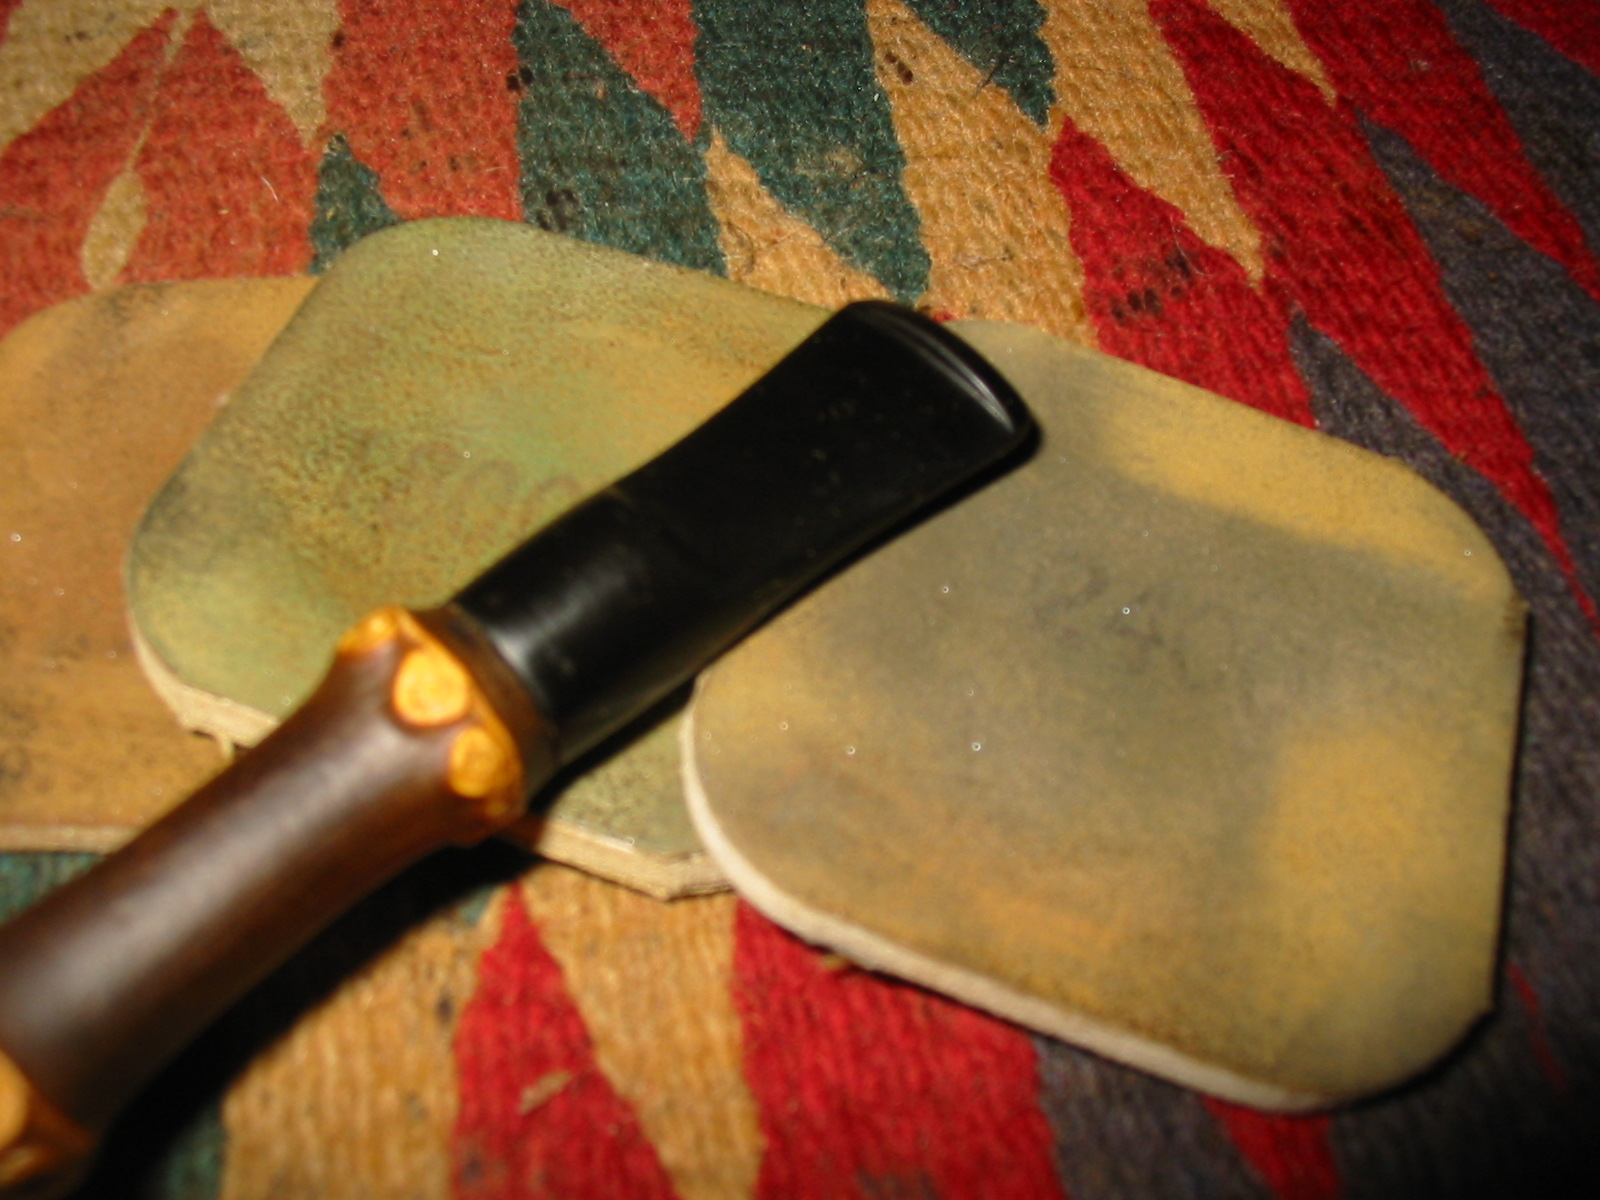
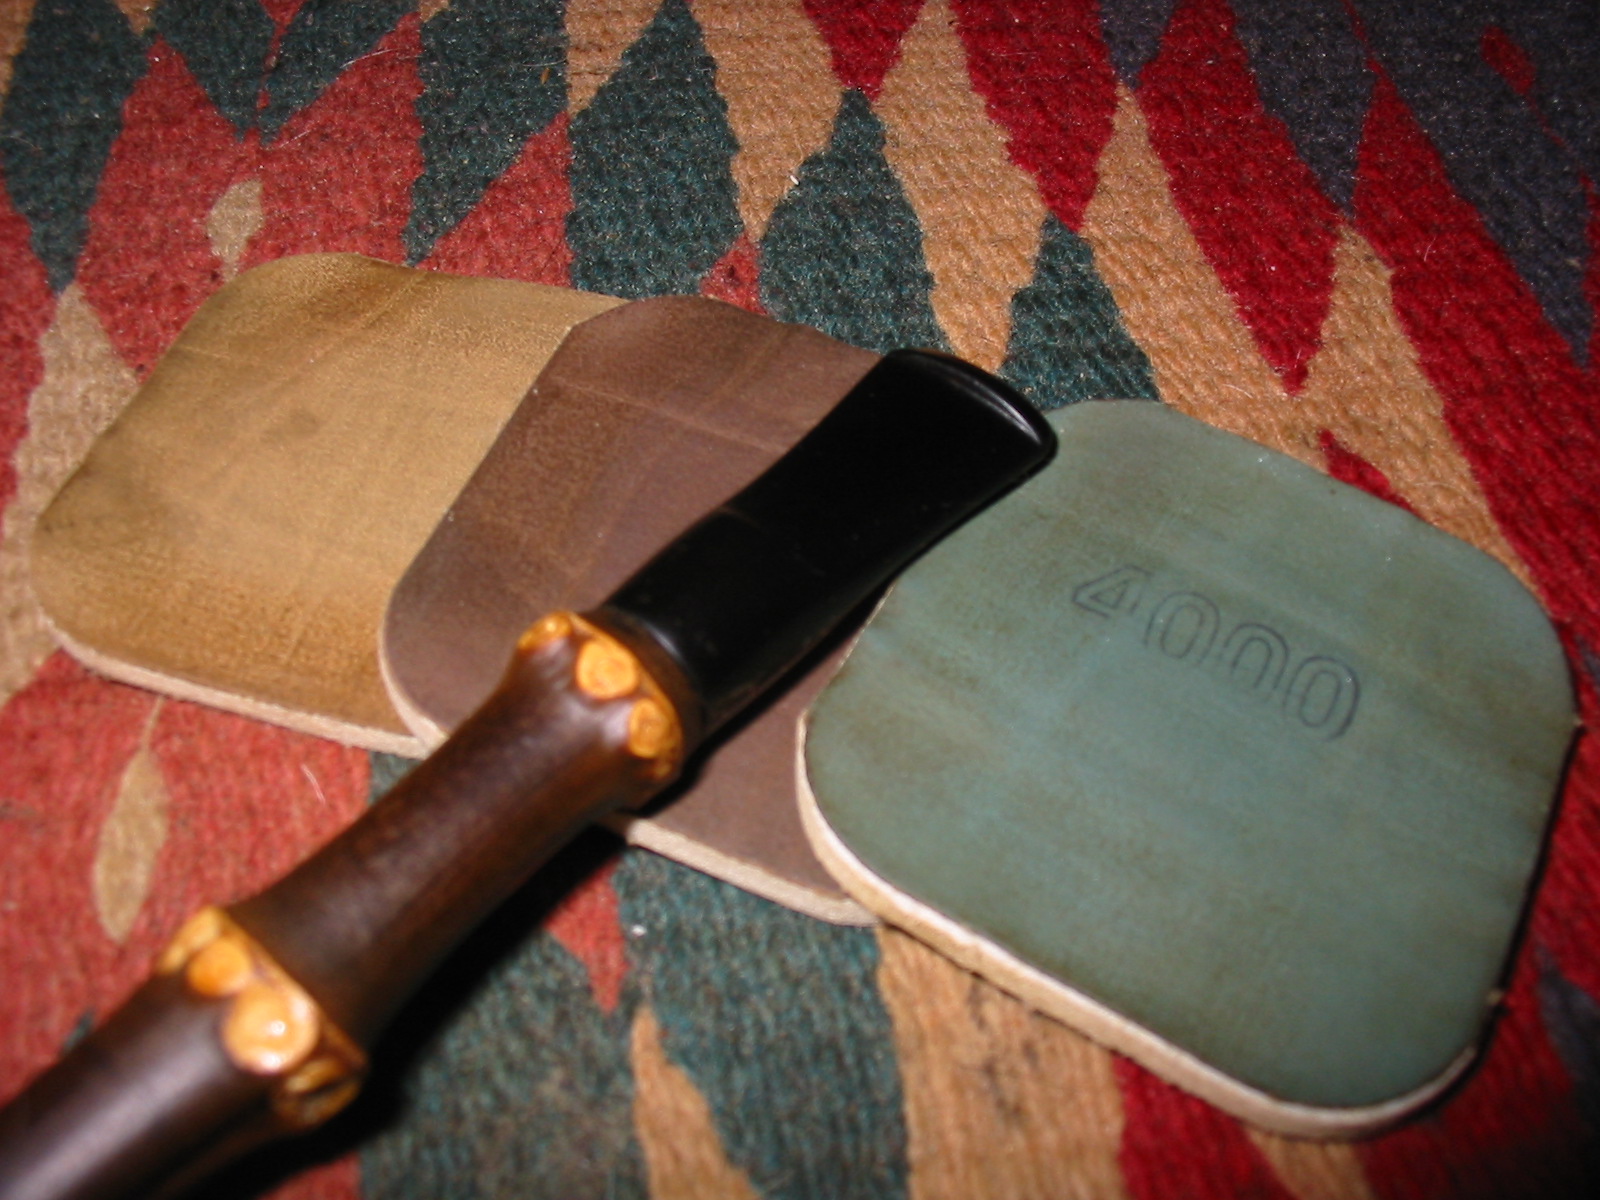
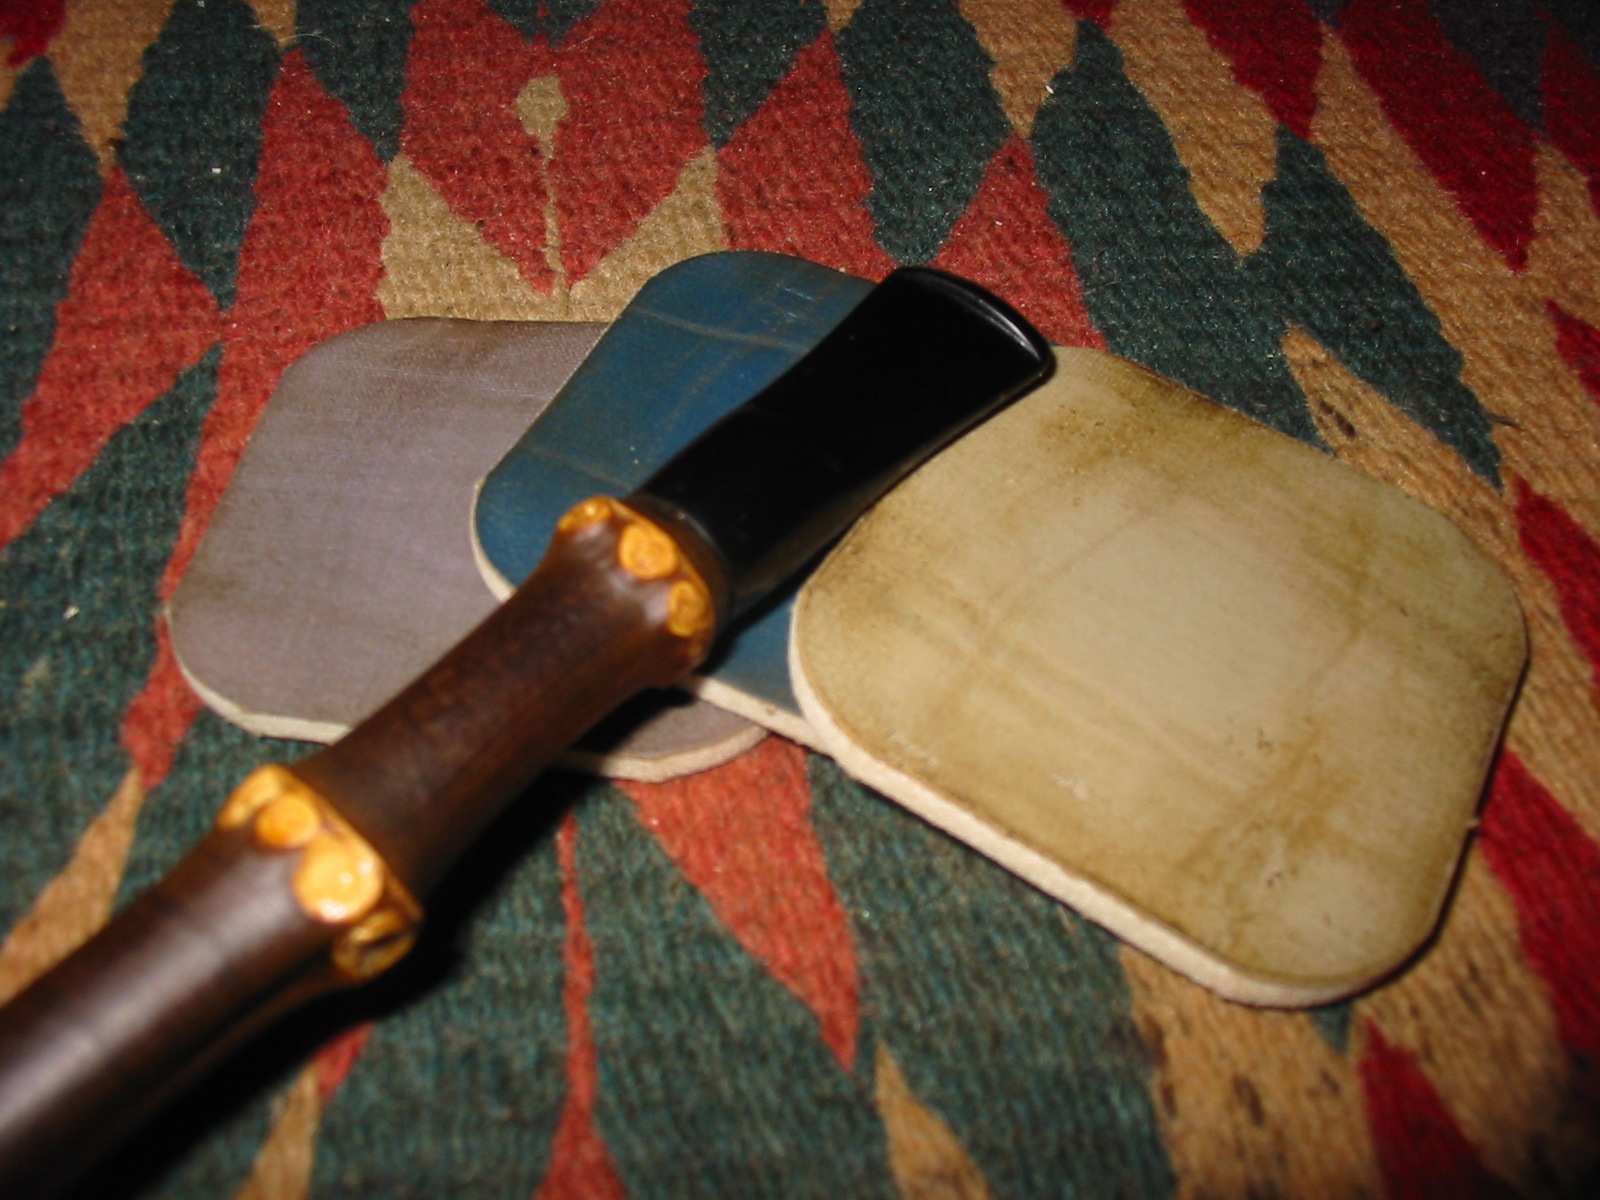
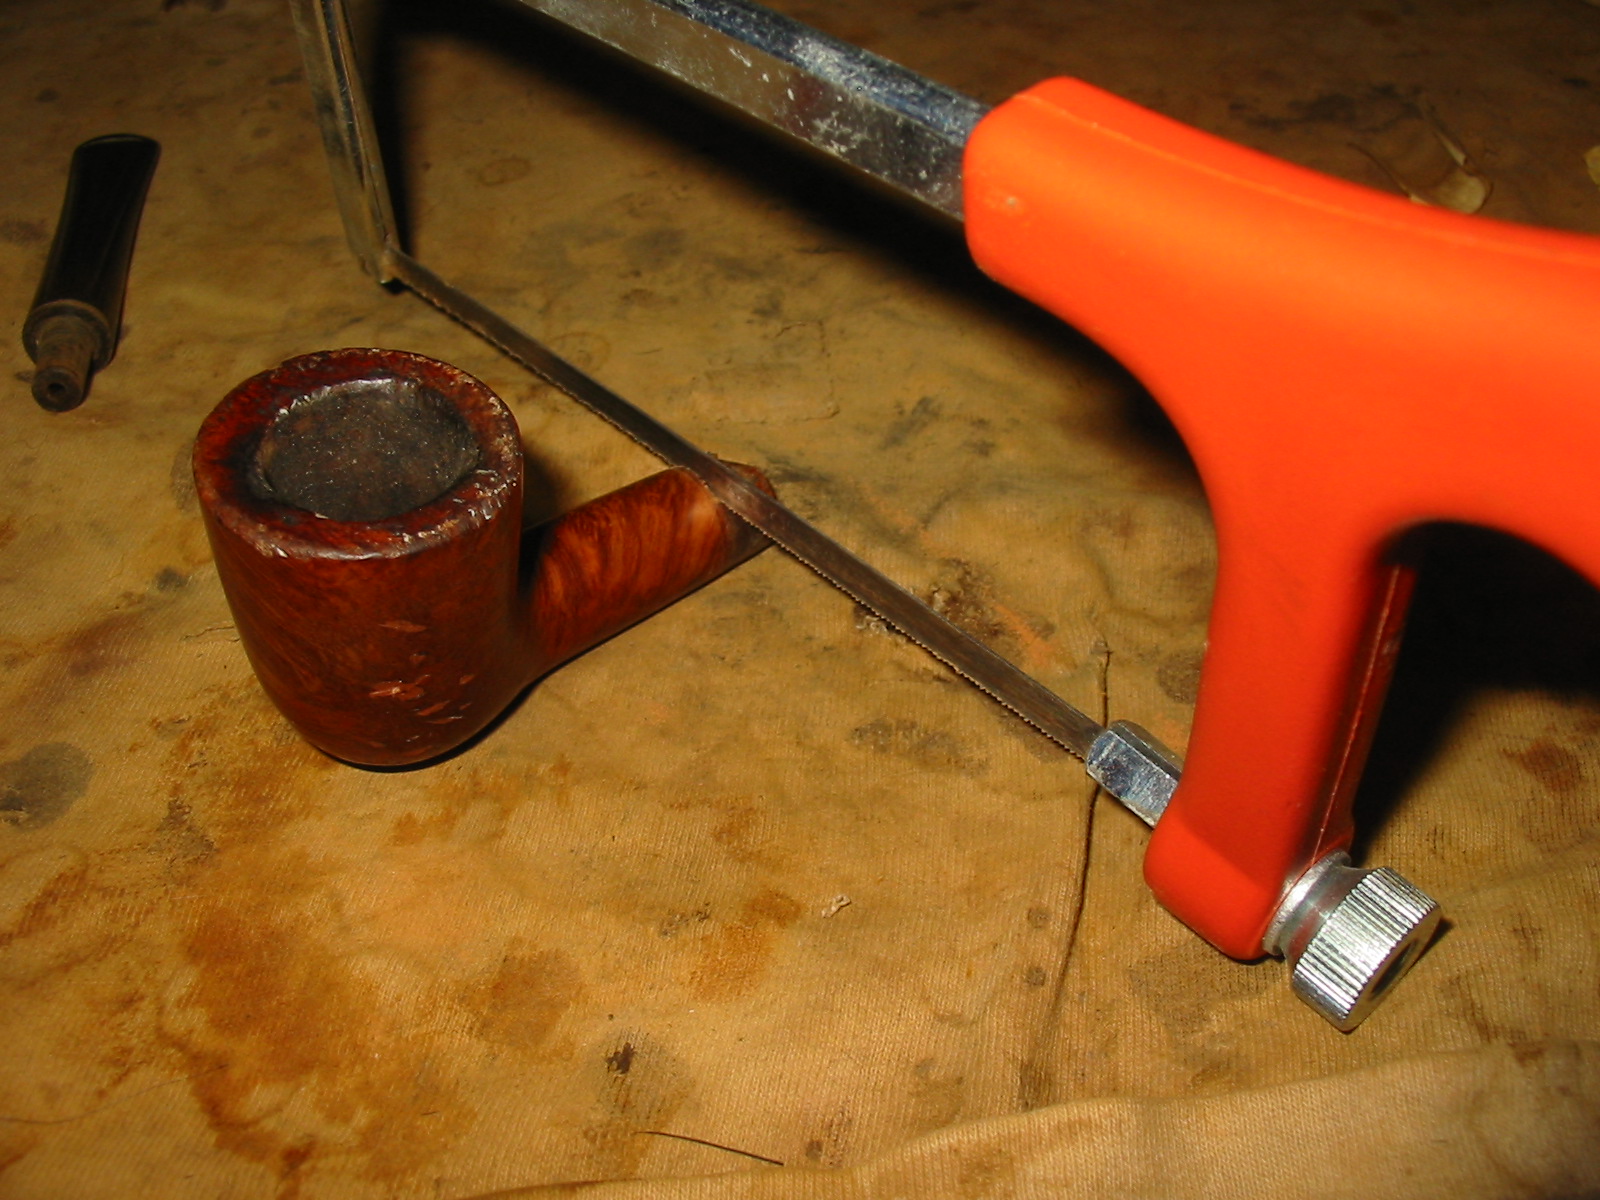
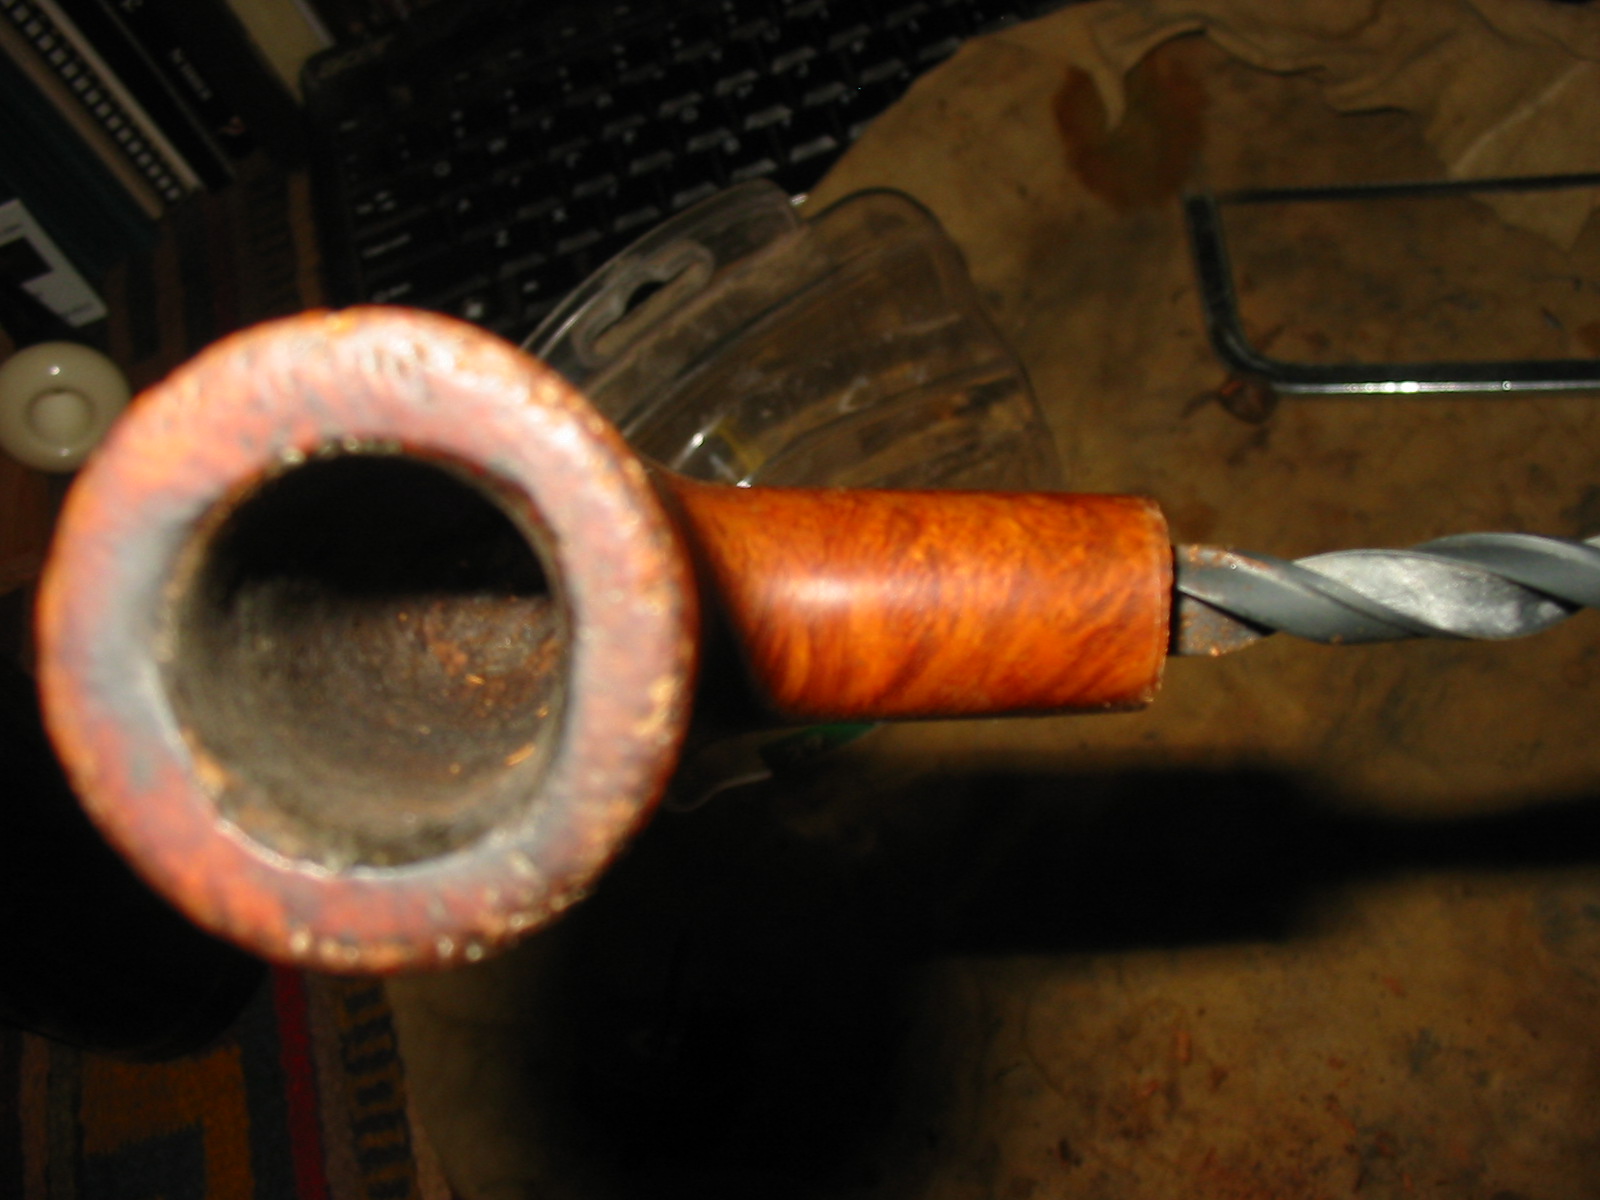
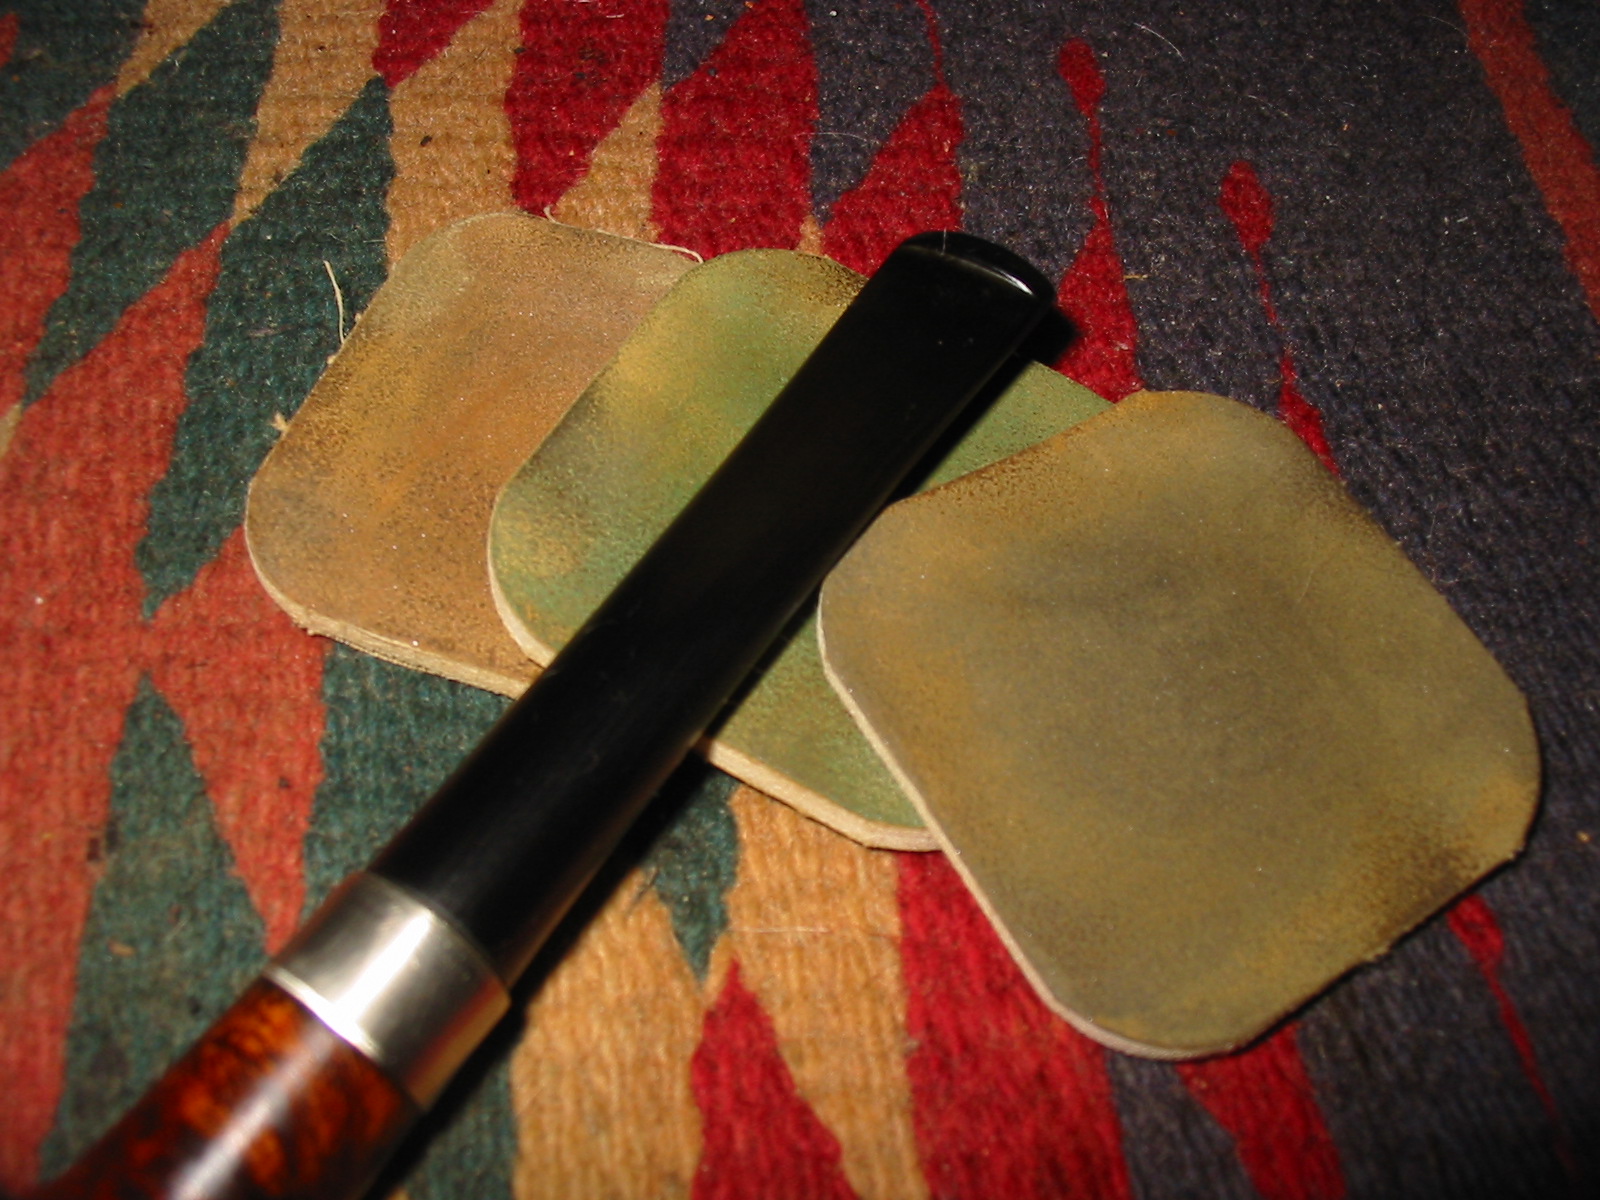
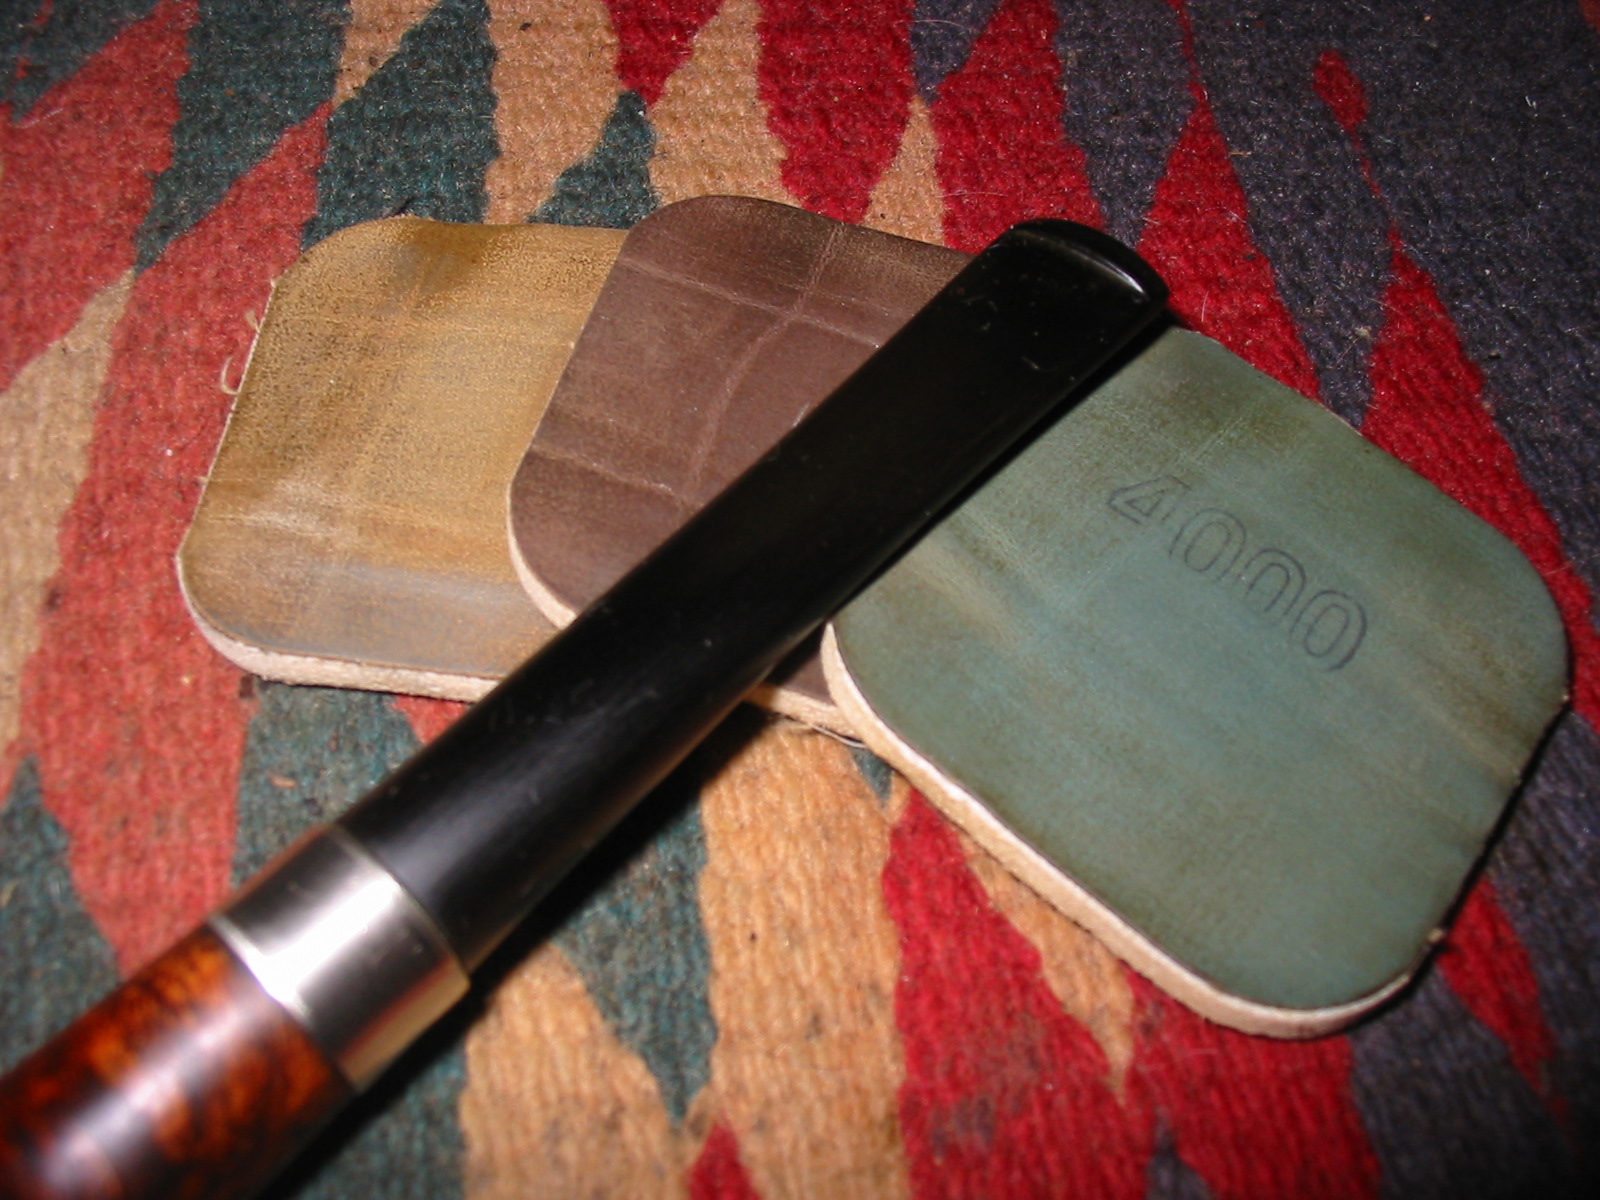
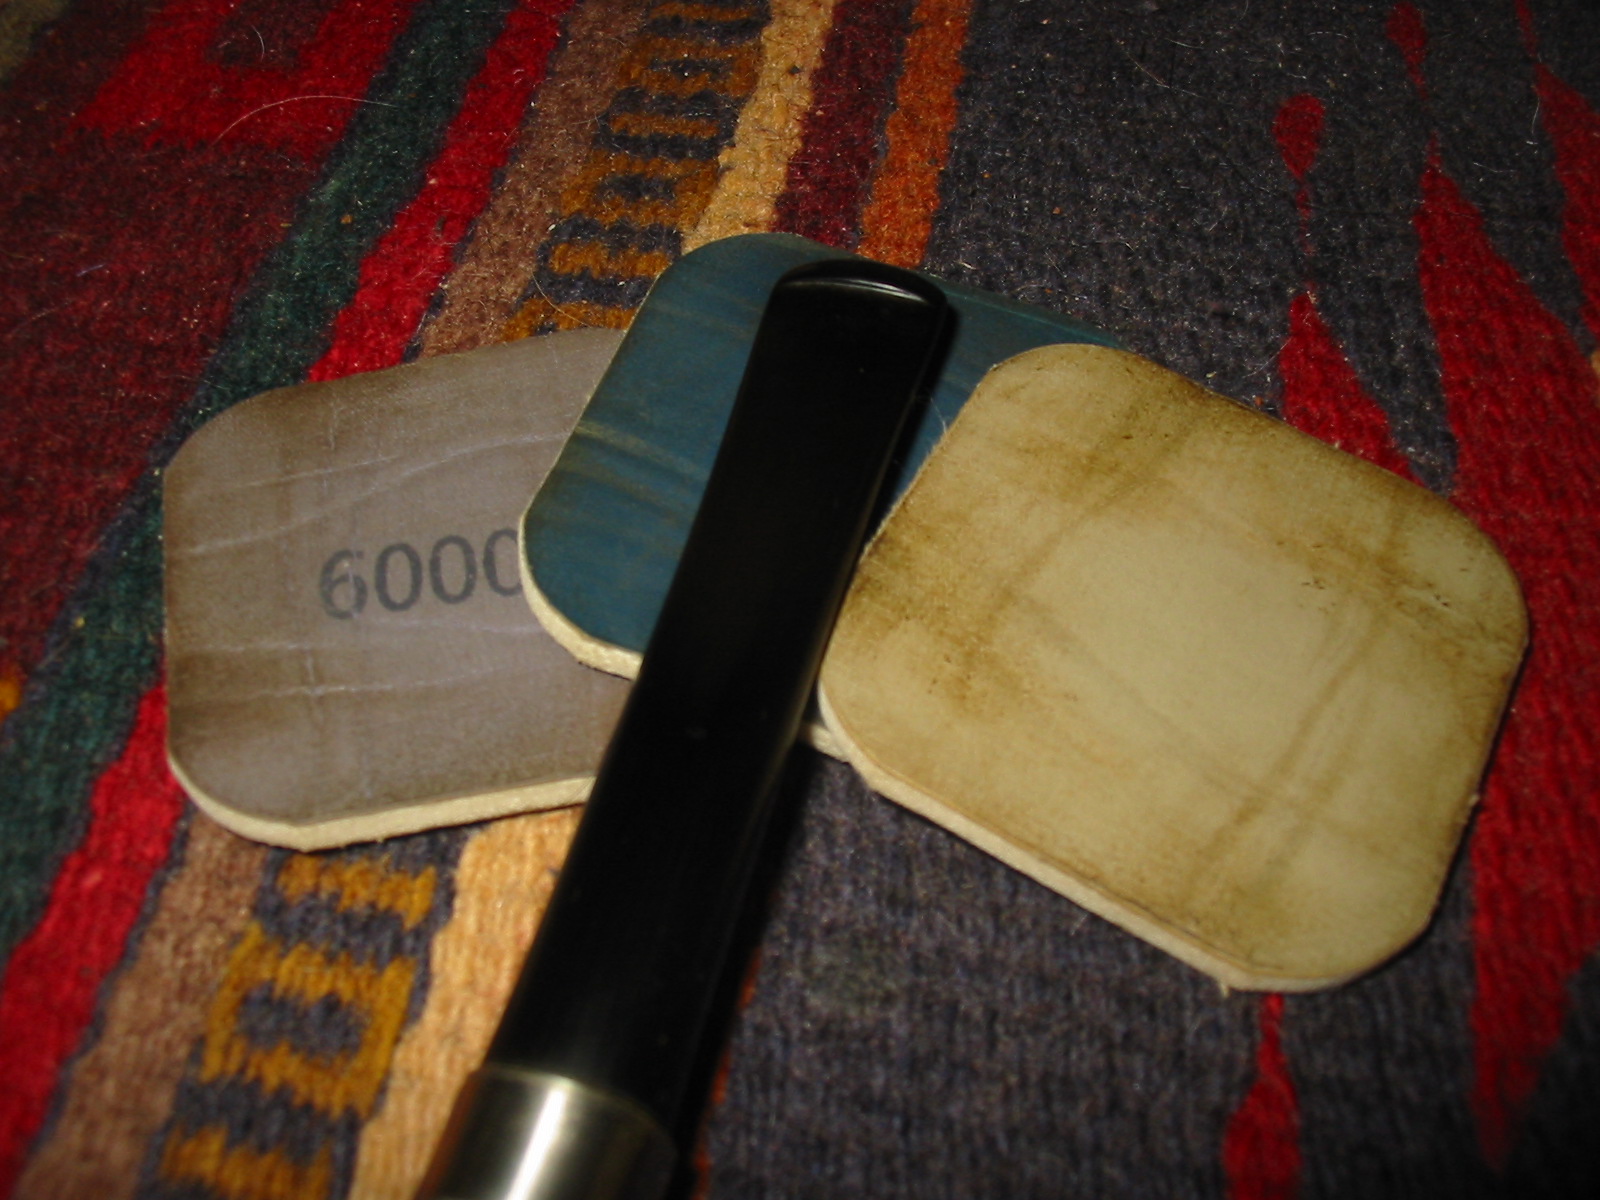
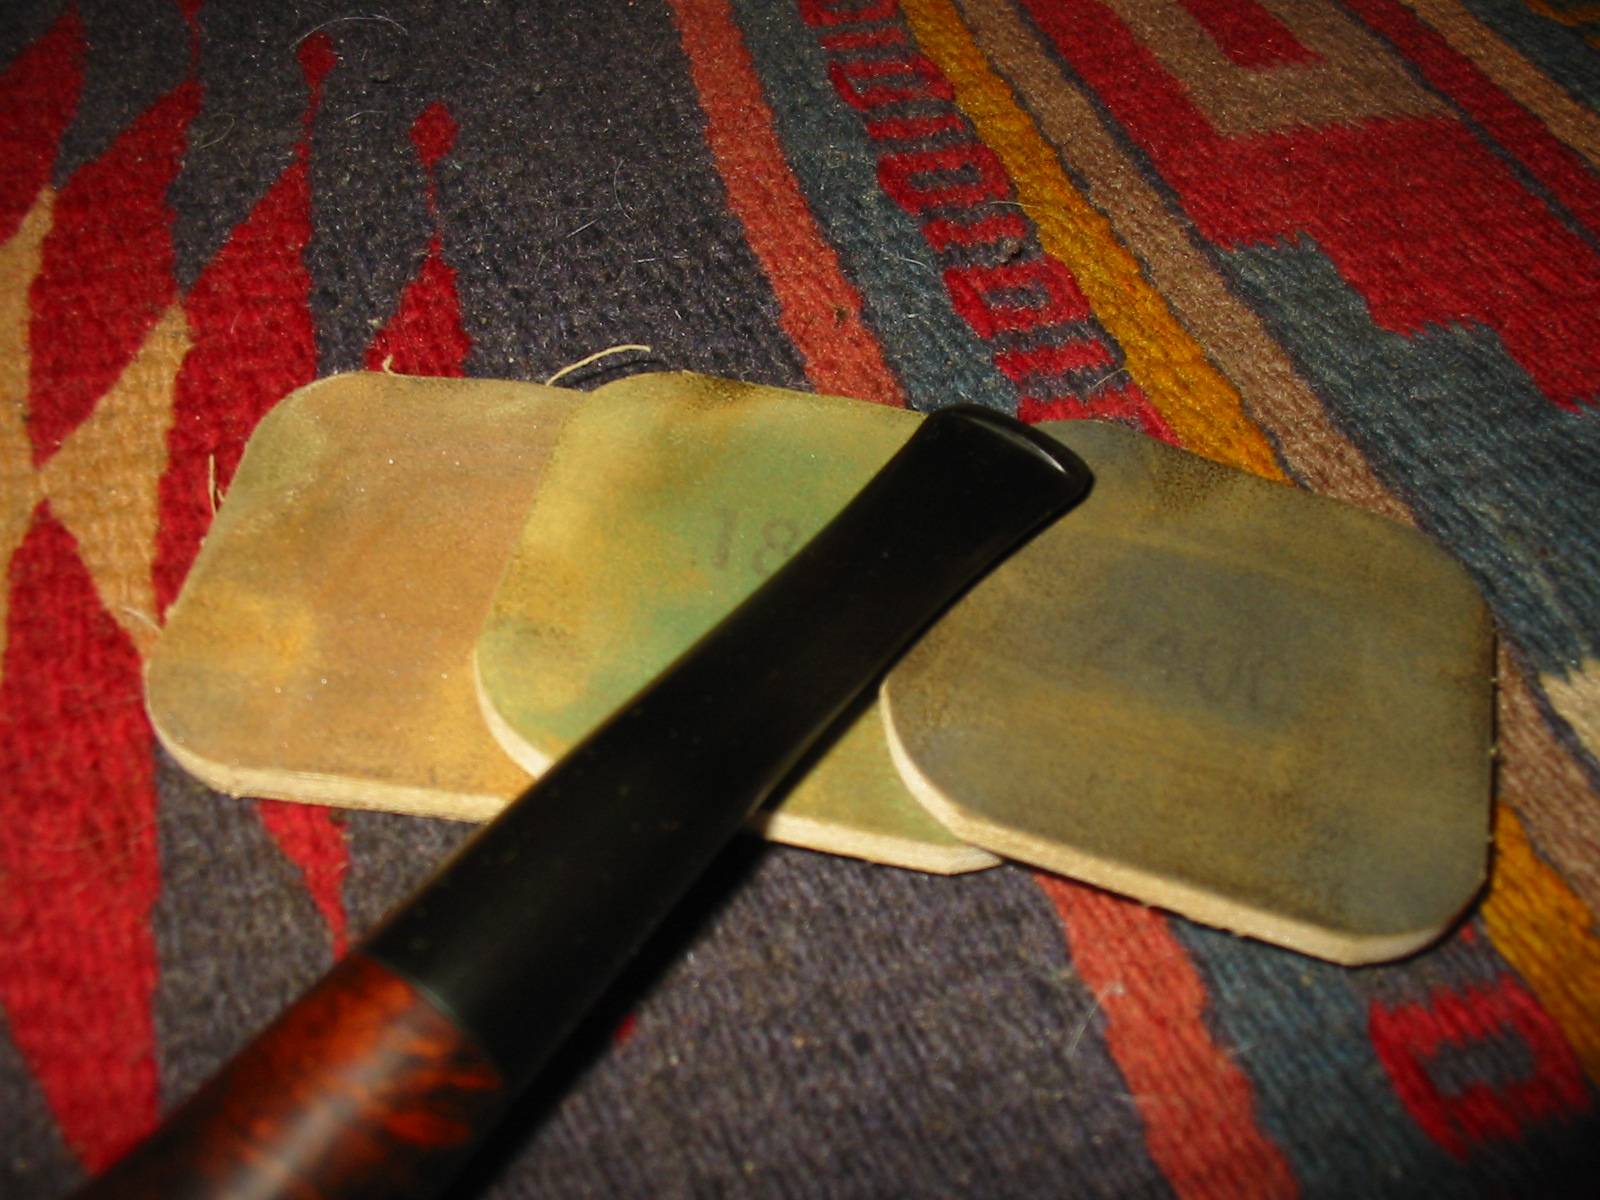
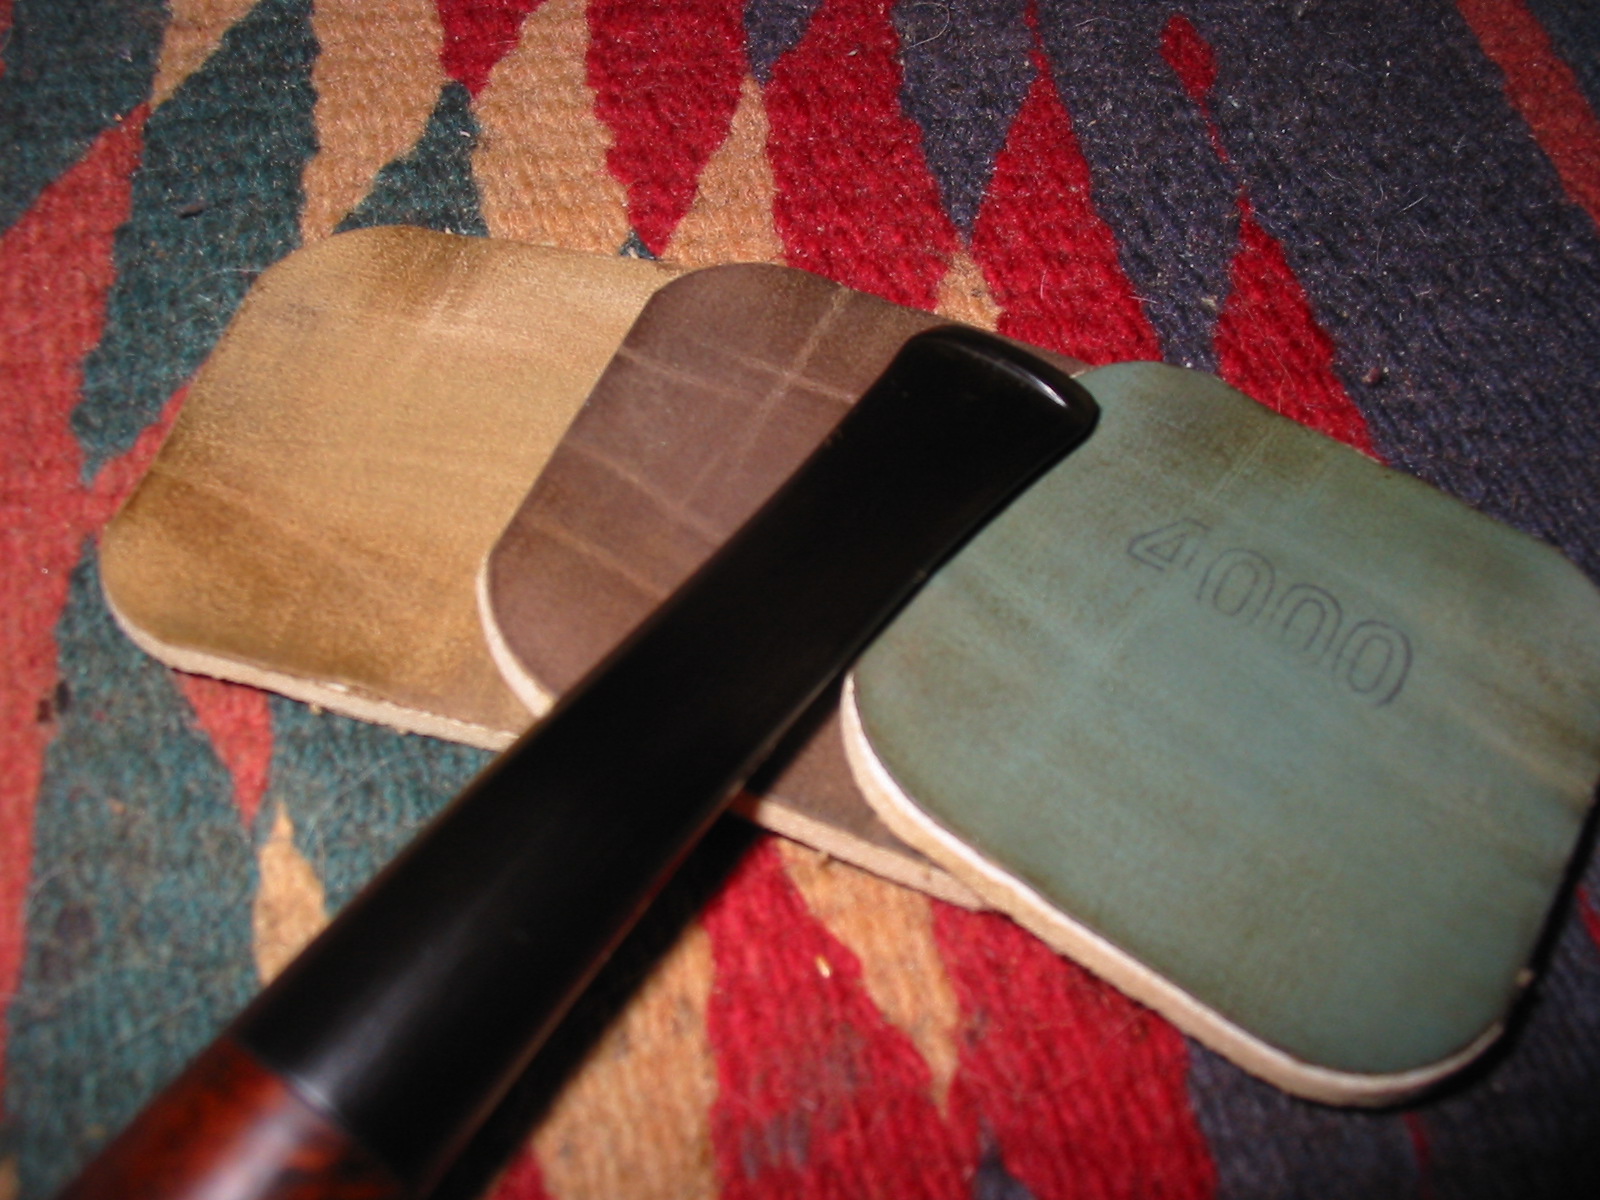
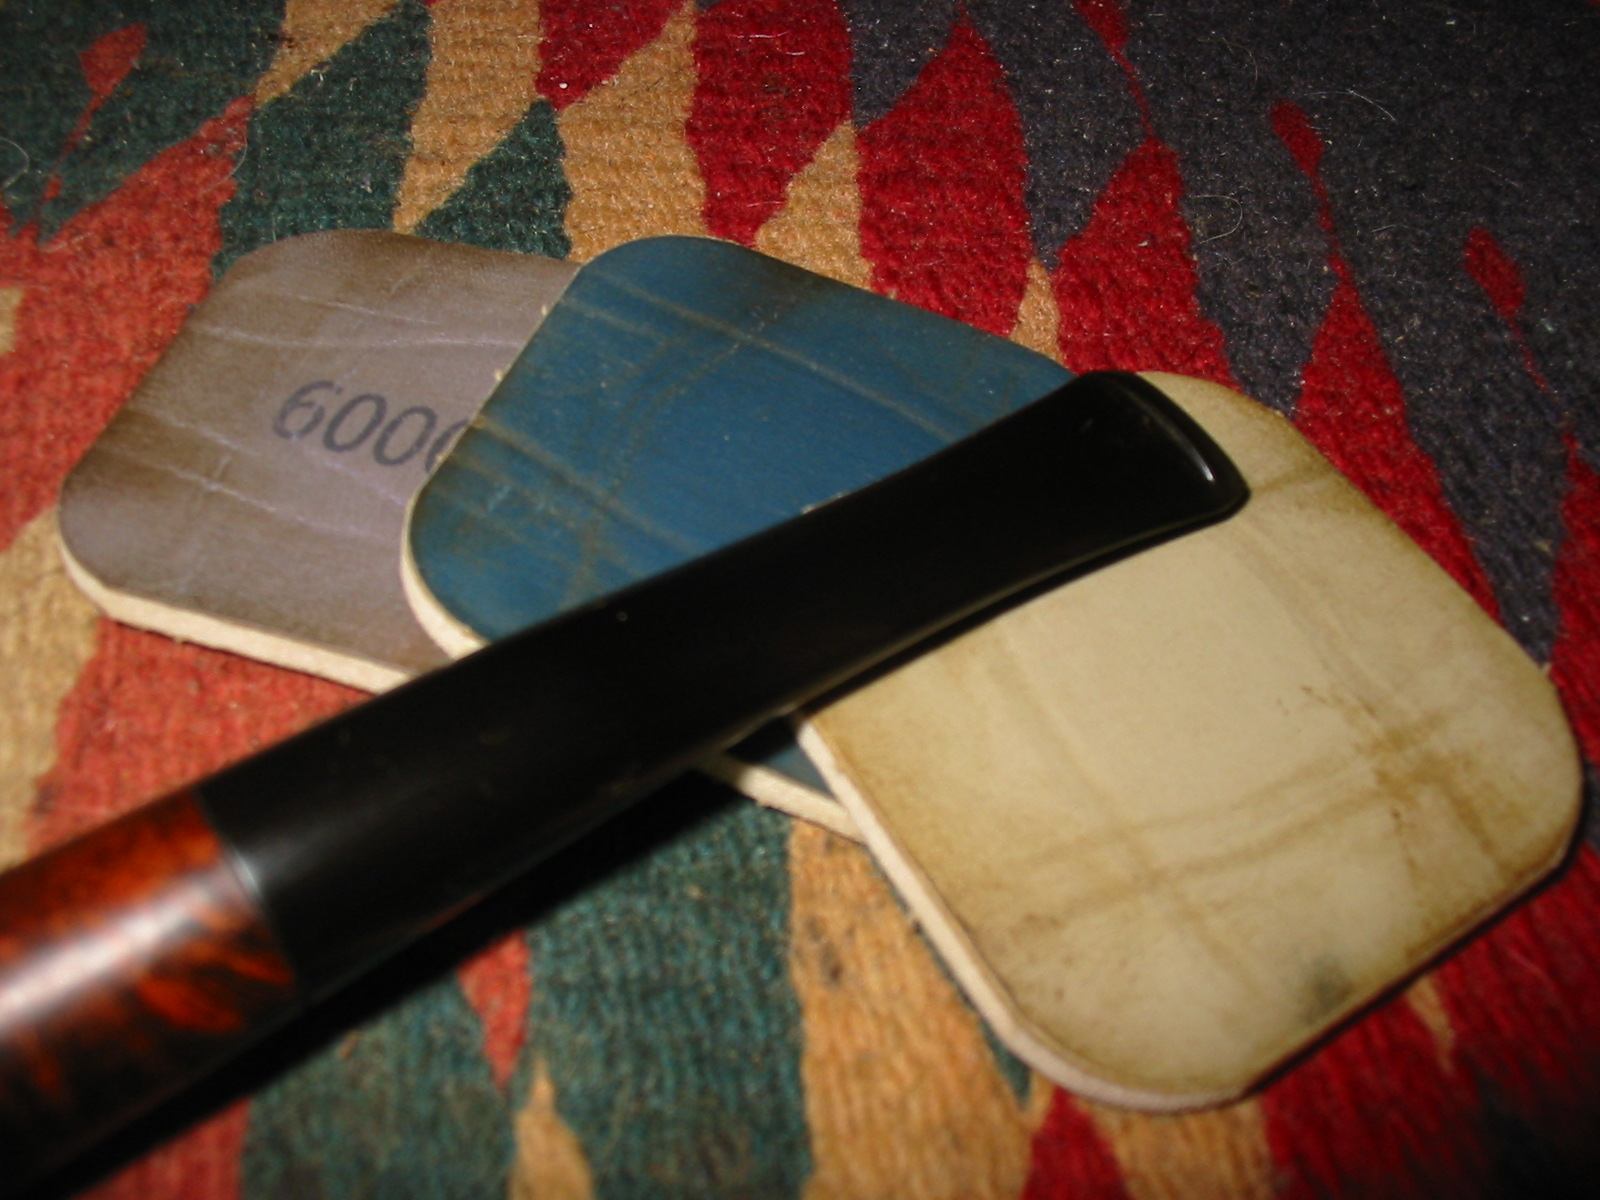
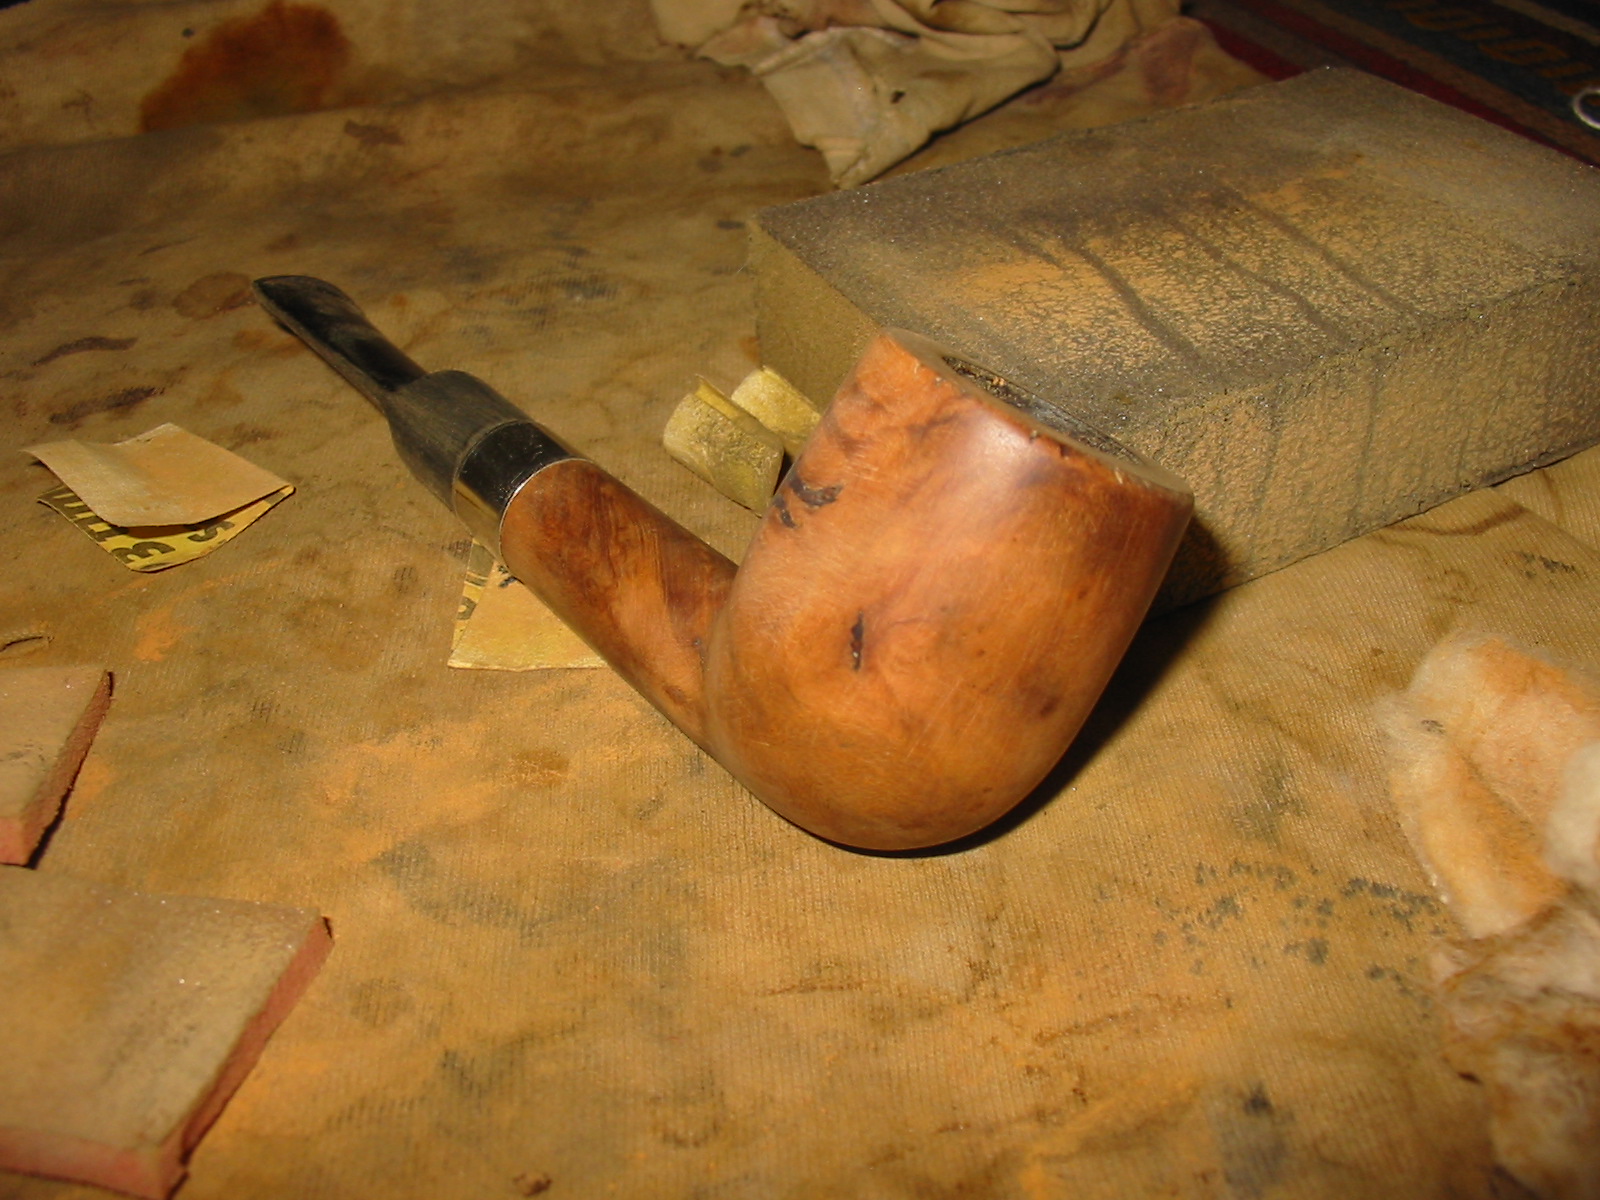
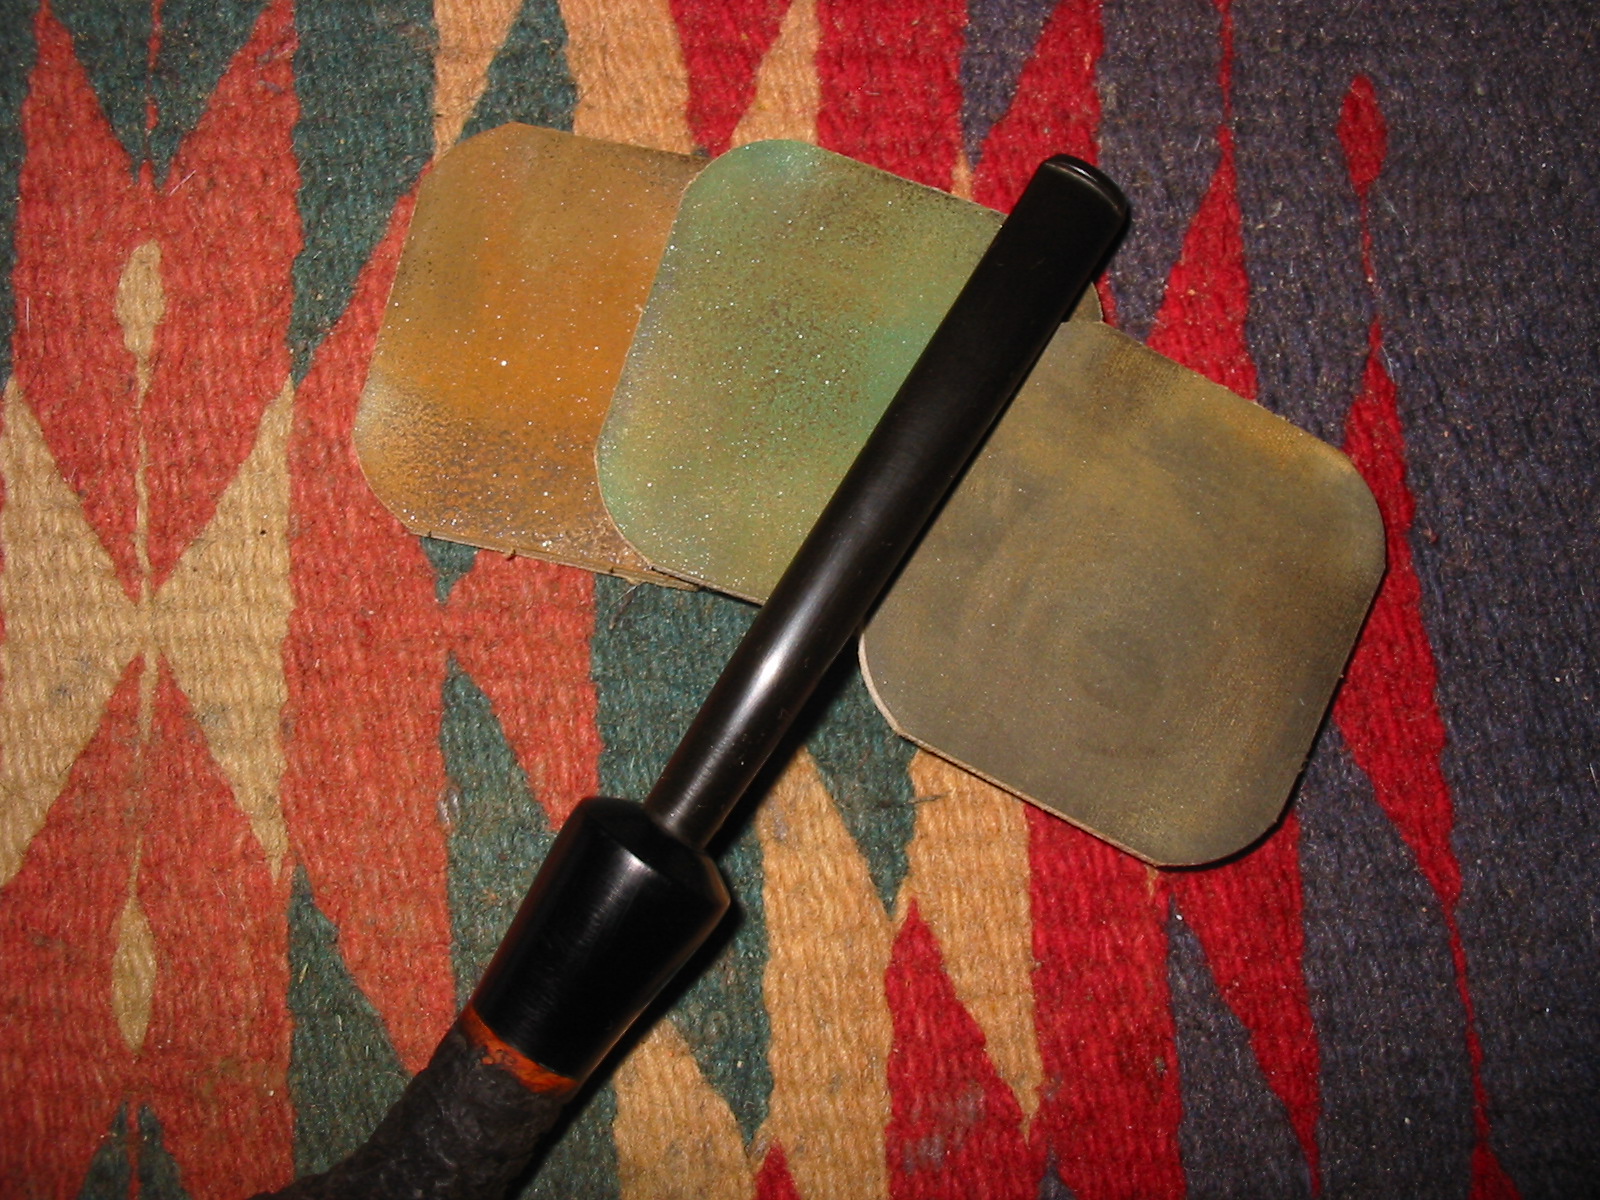
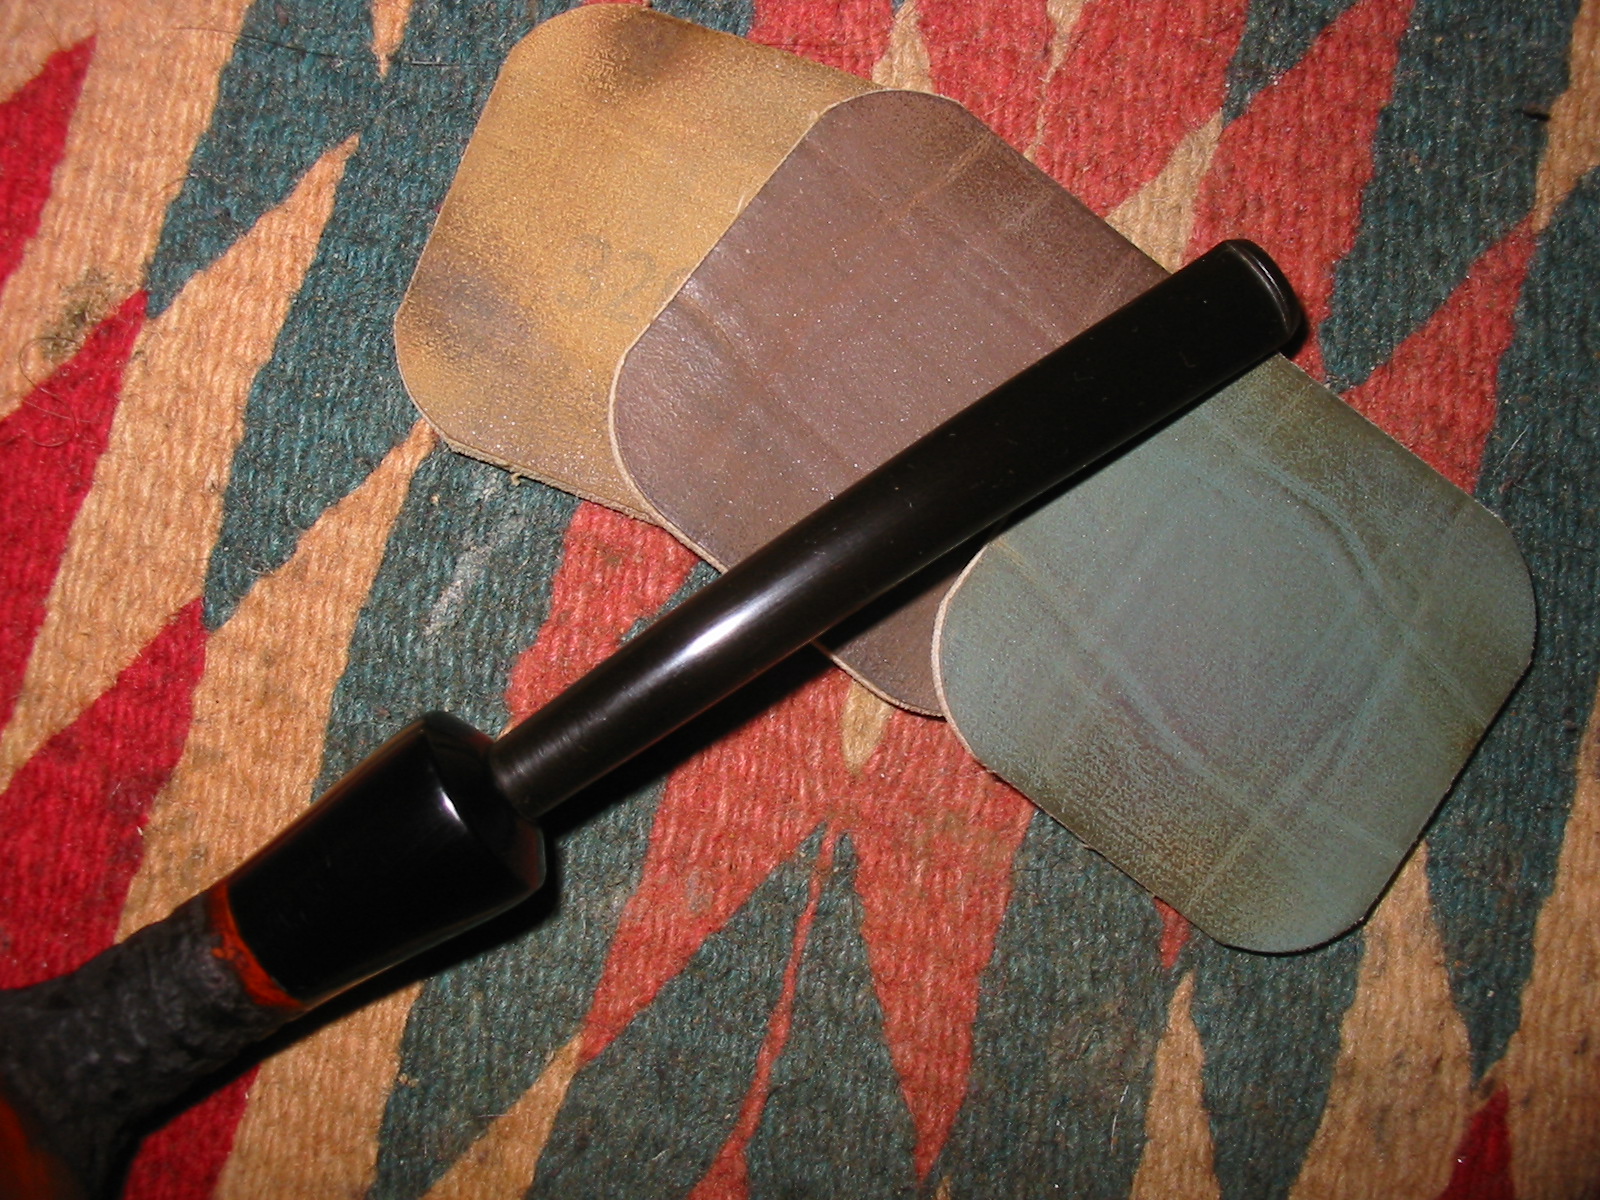
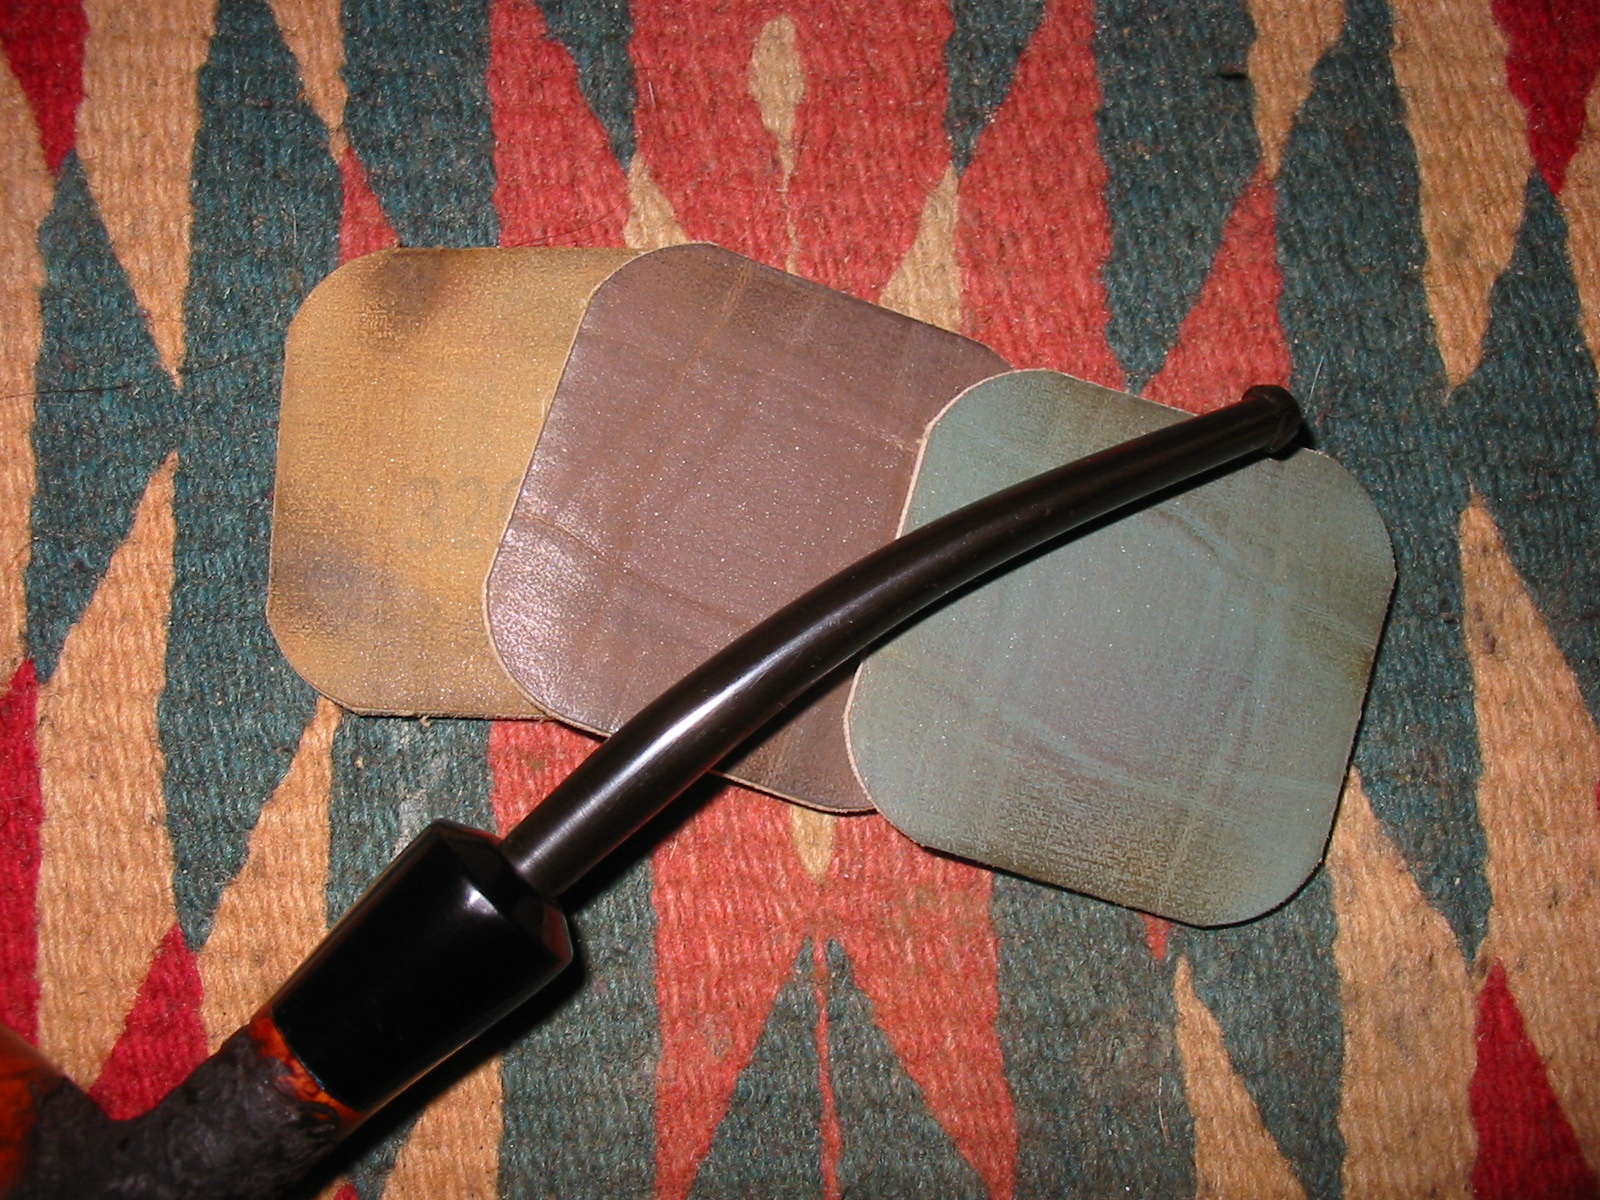
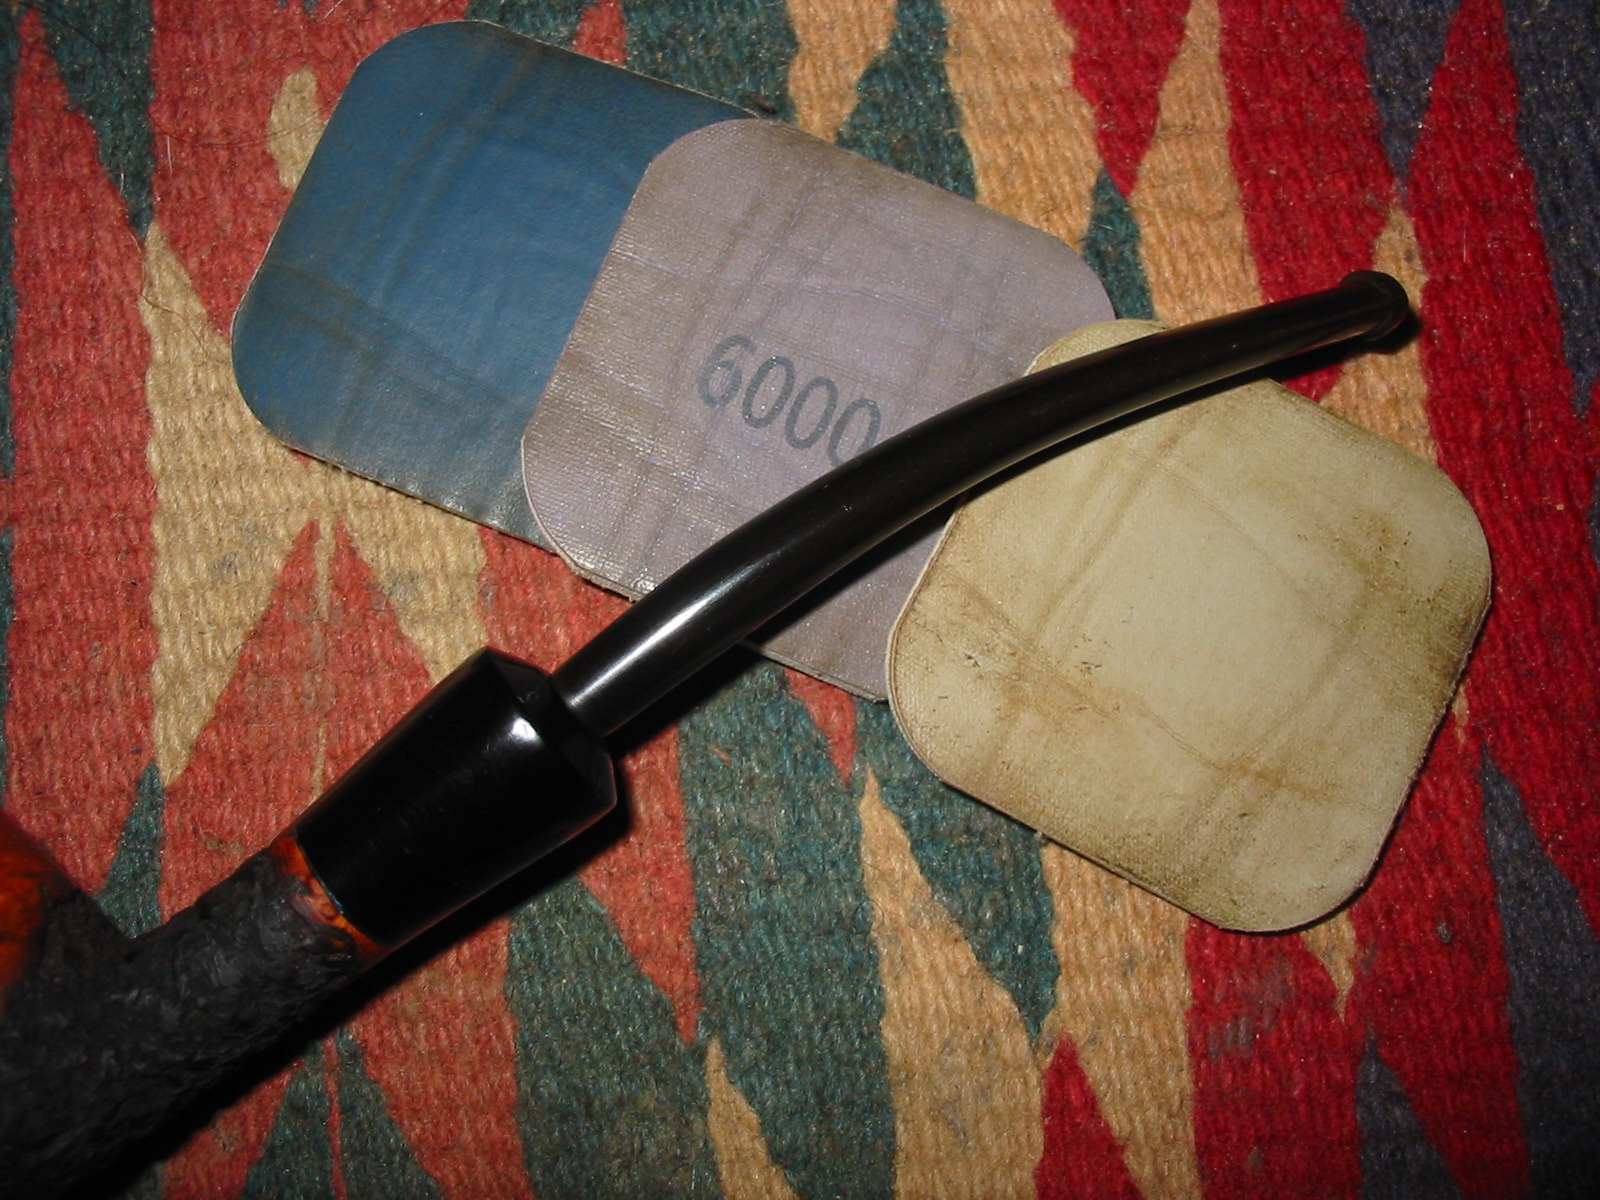
My first line of attack was to ream the bowl carefully, then sand it with 400-grit paper torn off into a piece that wrapped around my ring finger. Then I soaked it for some time in alcohol, removing most of the old coating which I finished off with some 1000-grit micro-mesh, careful to leave the areas around all of the nomenclature untouched.
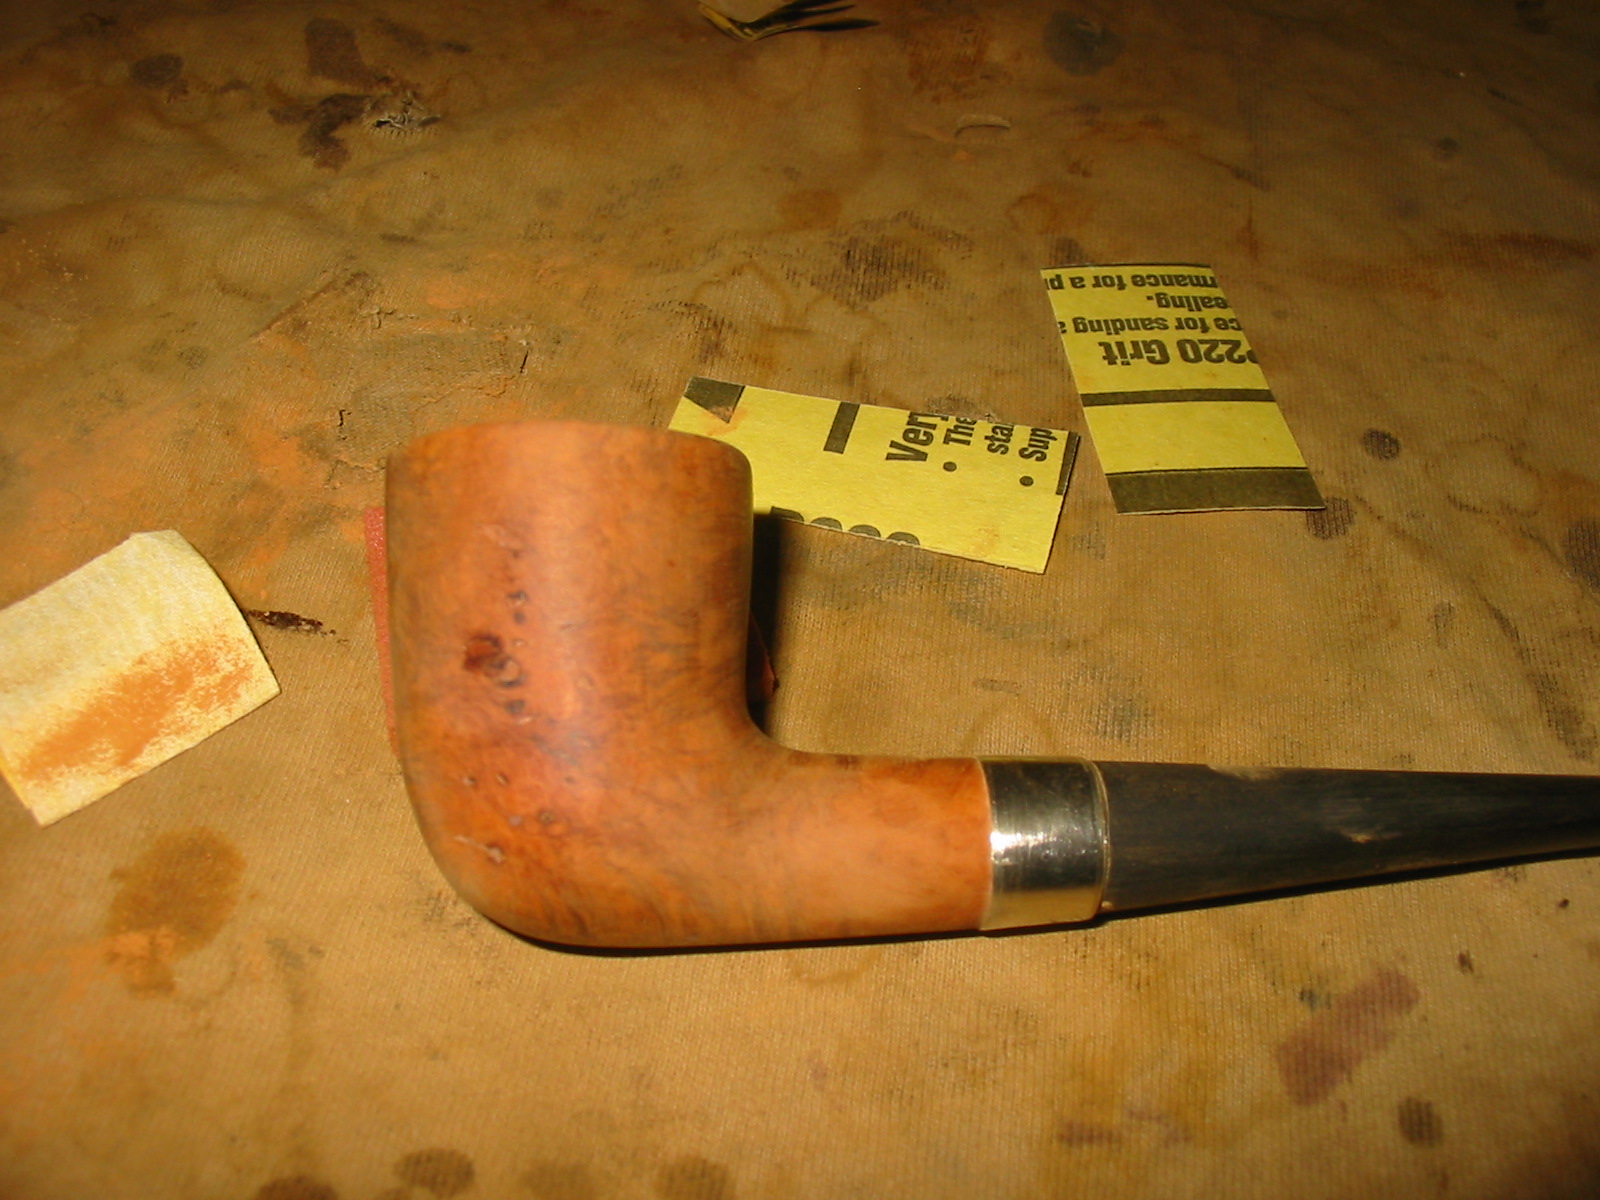
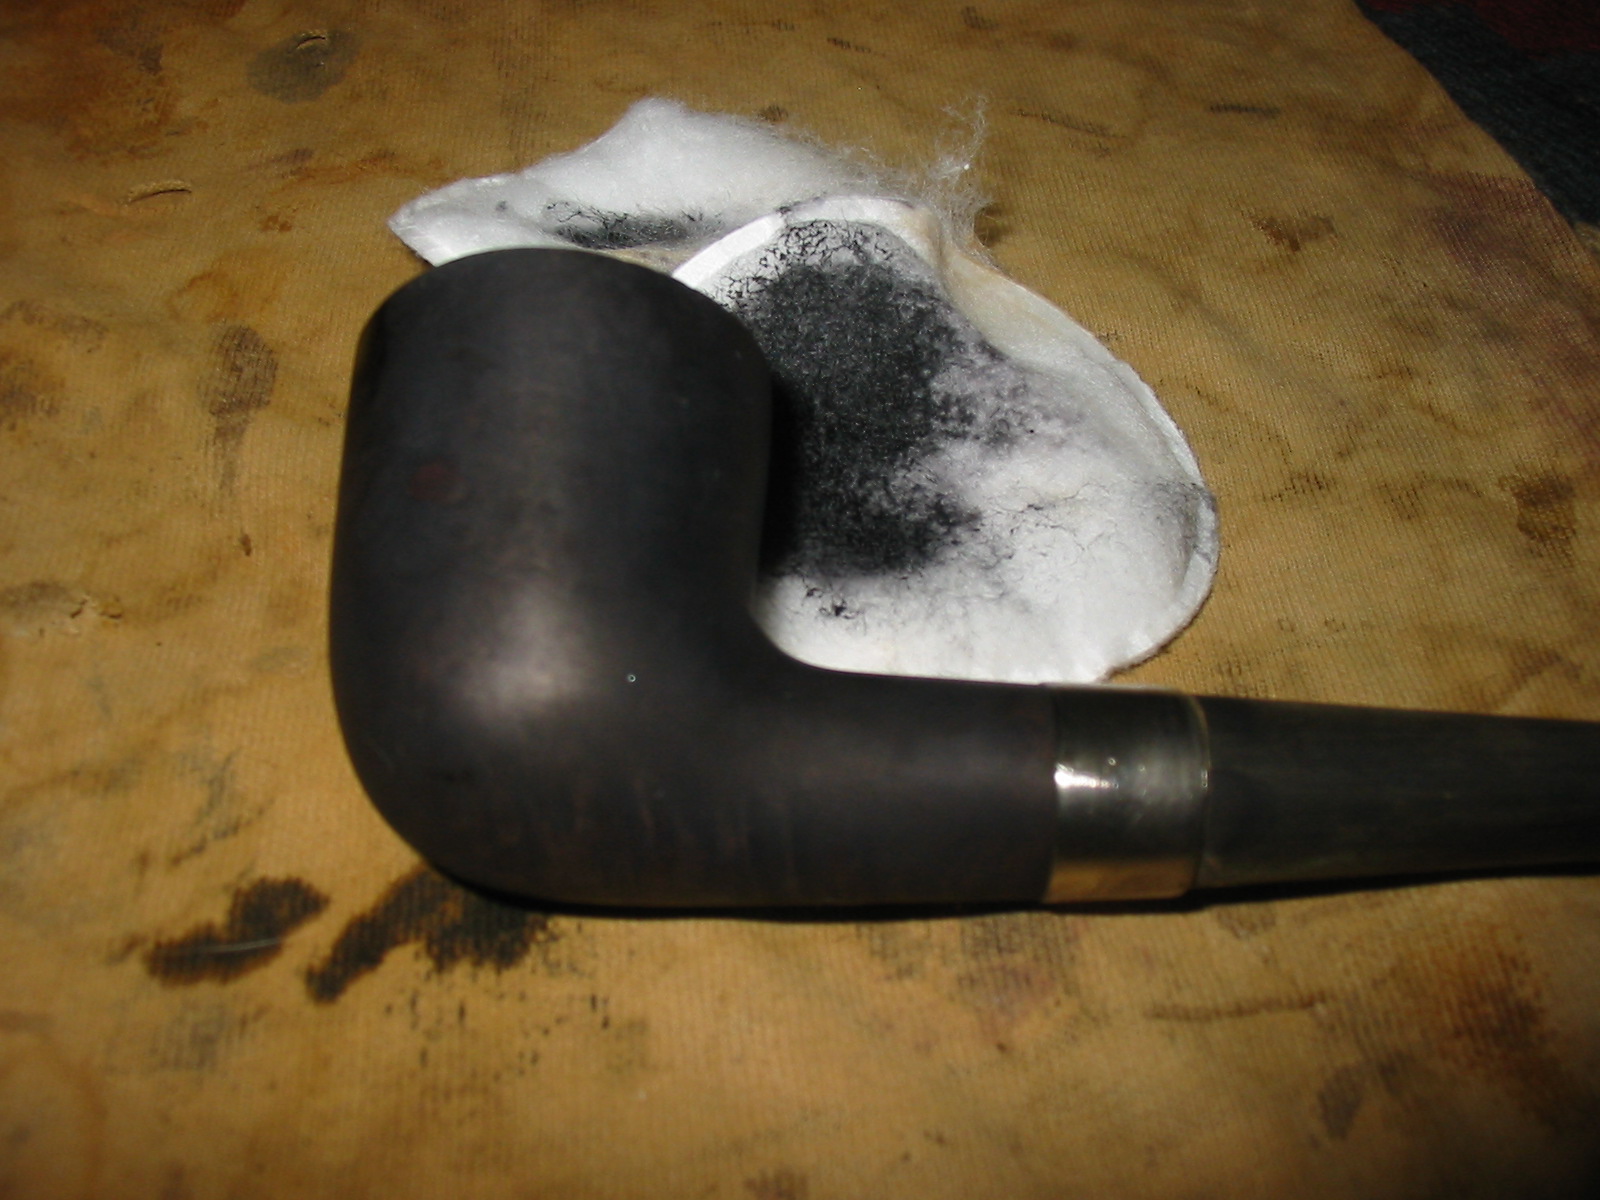
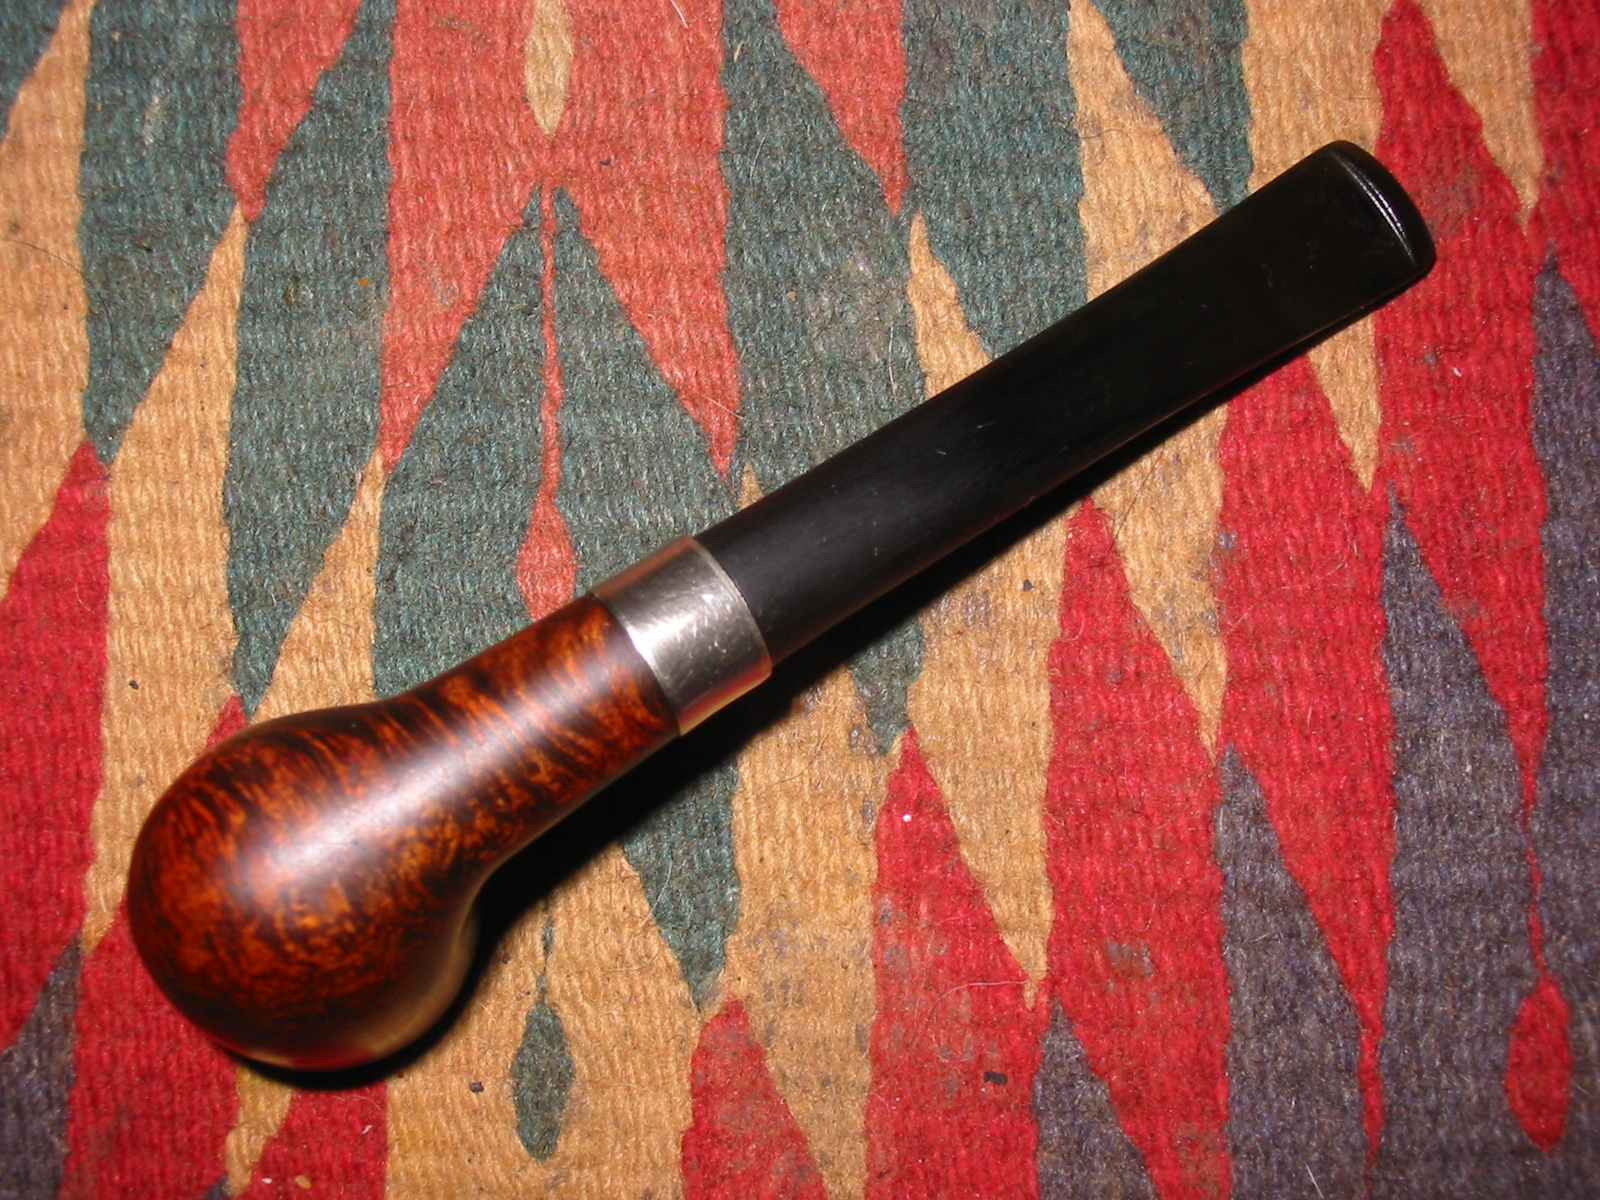
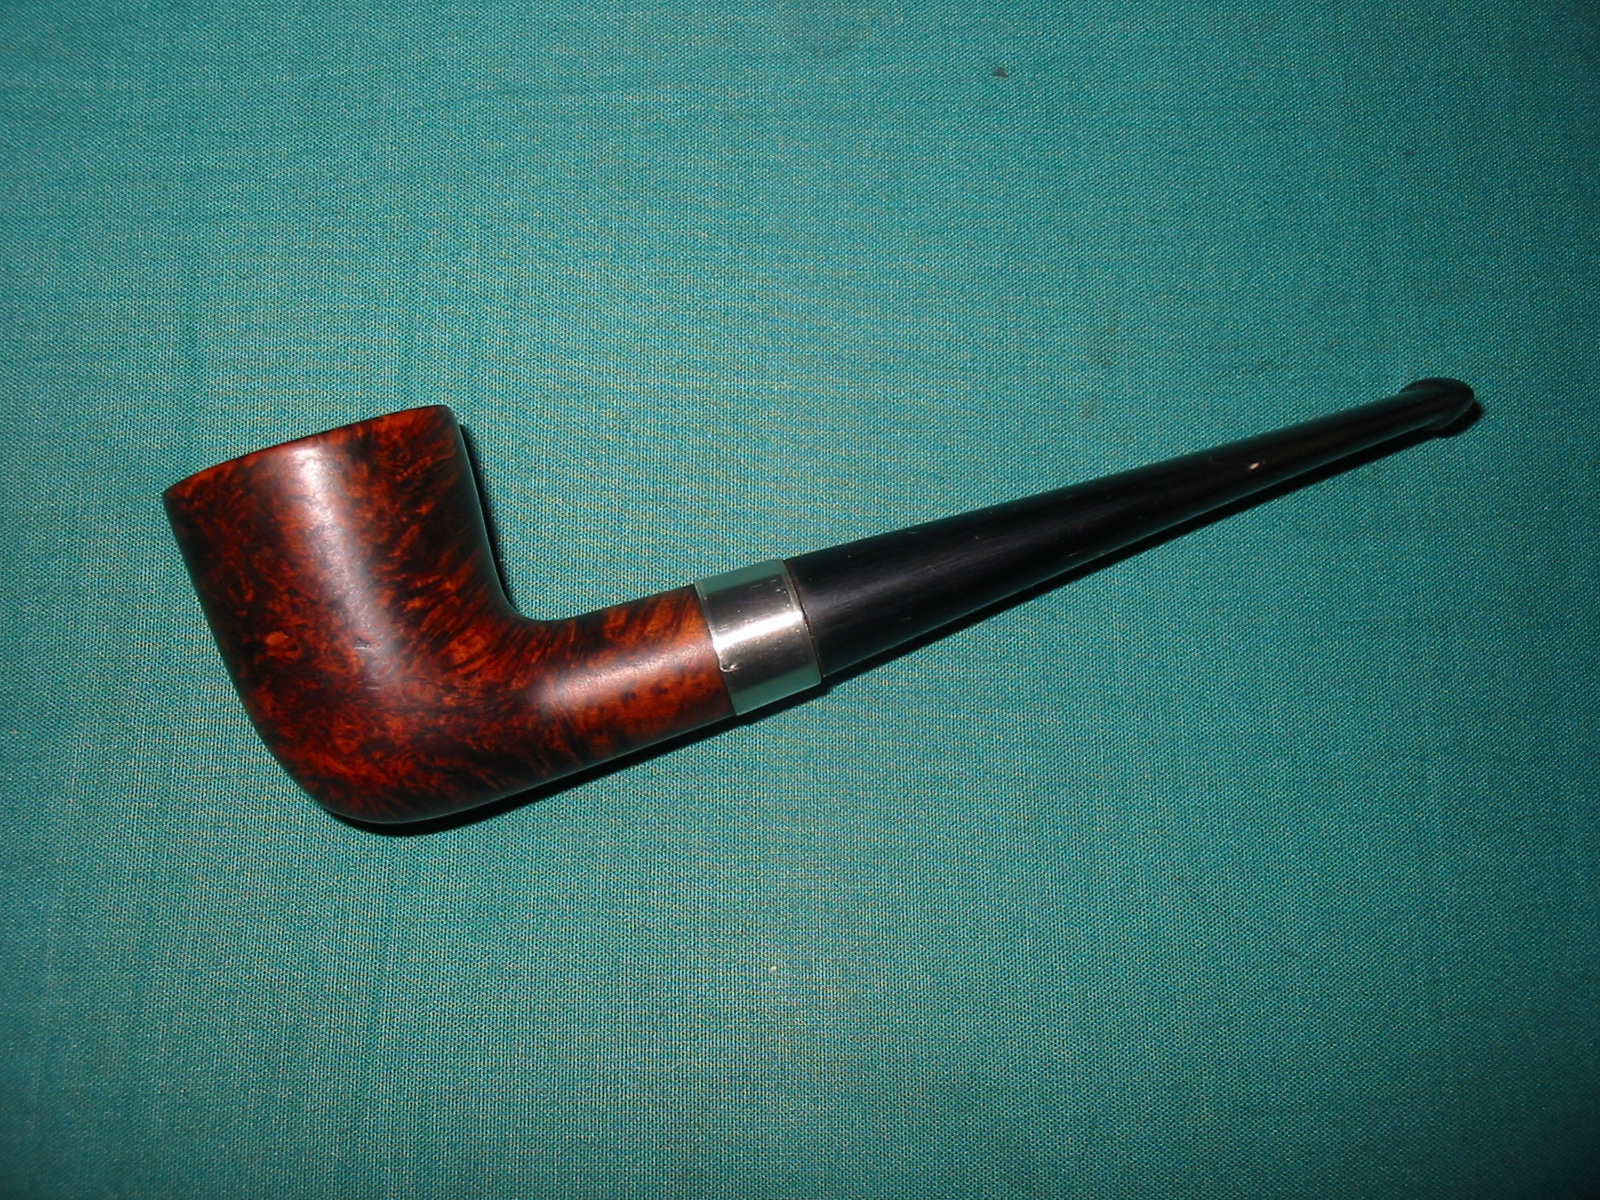
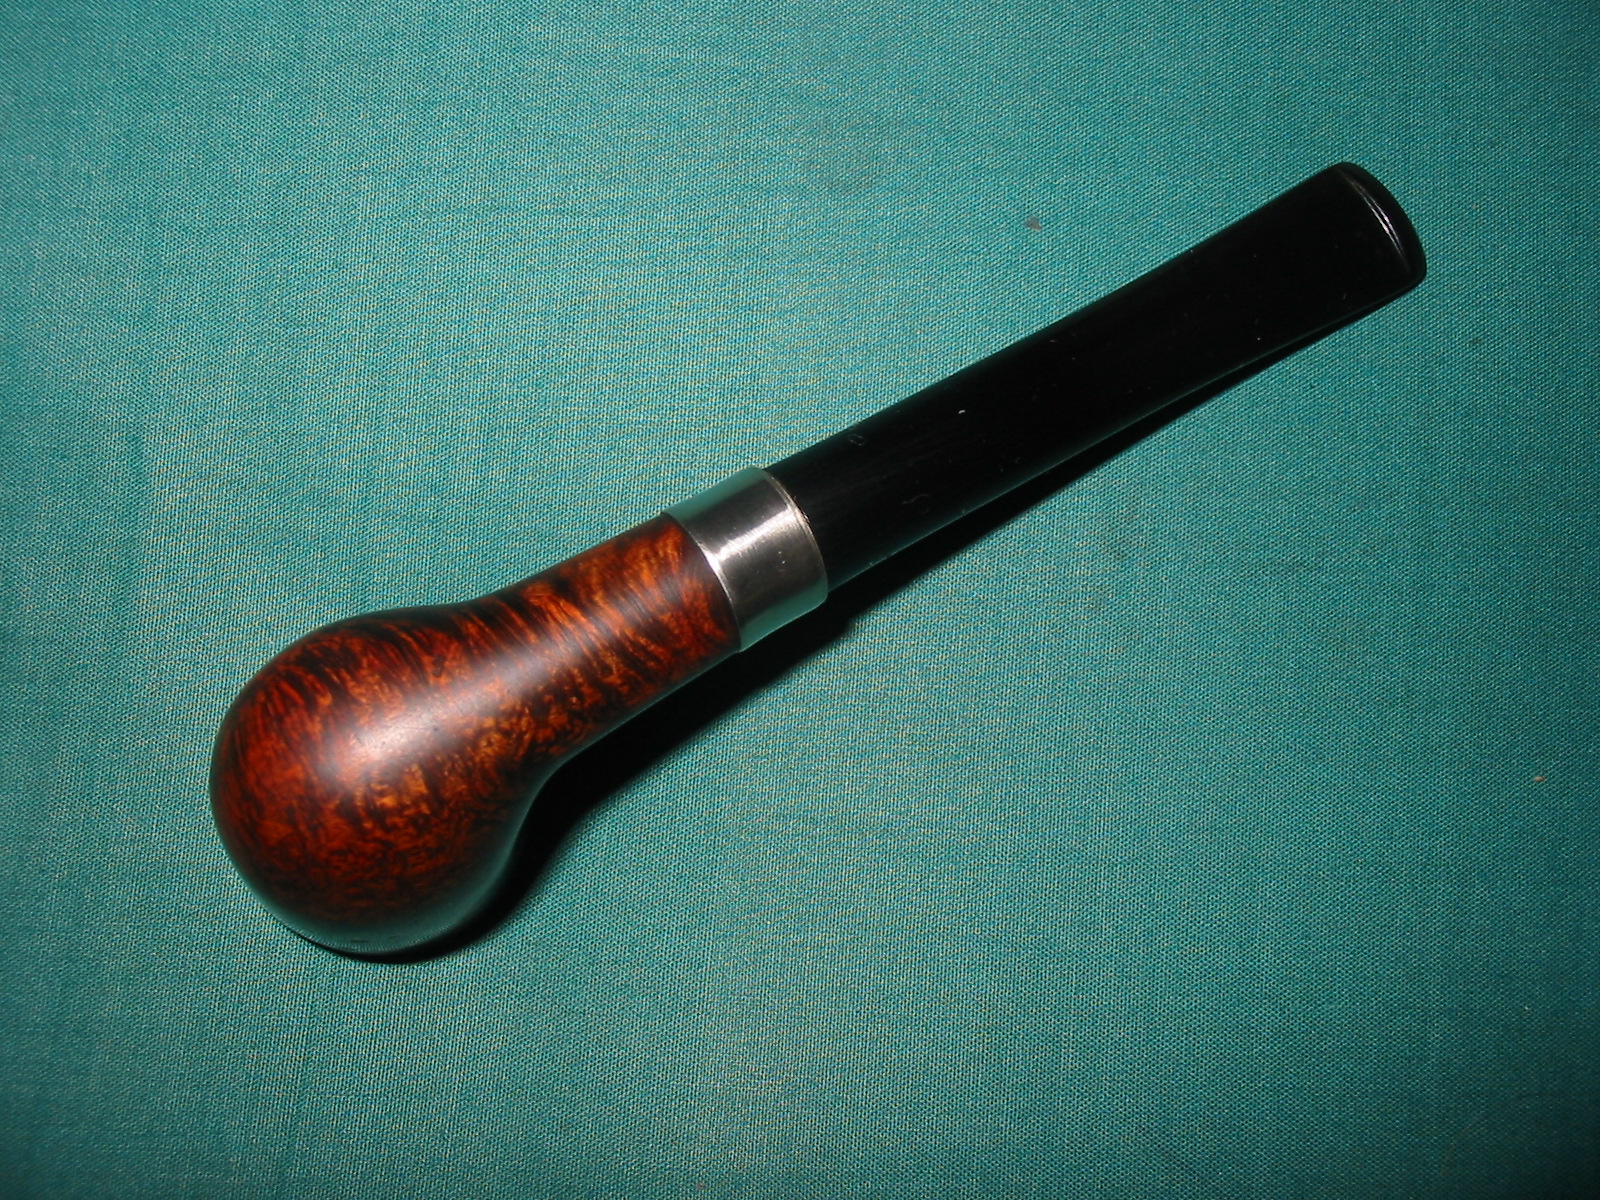
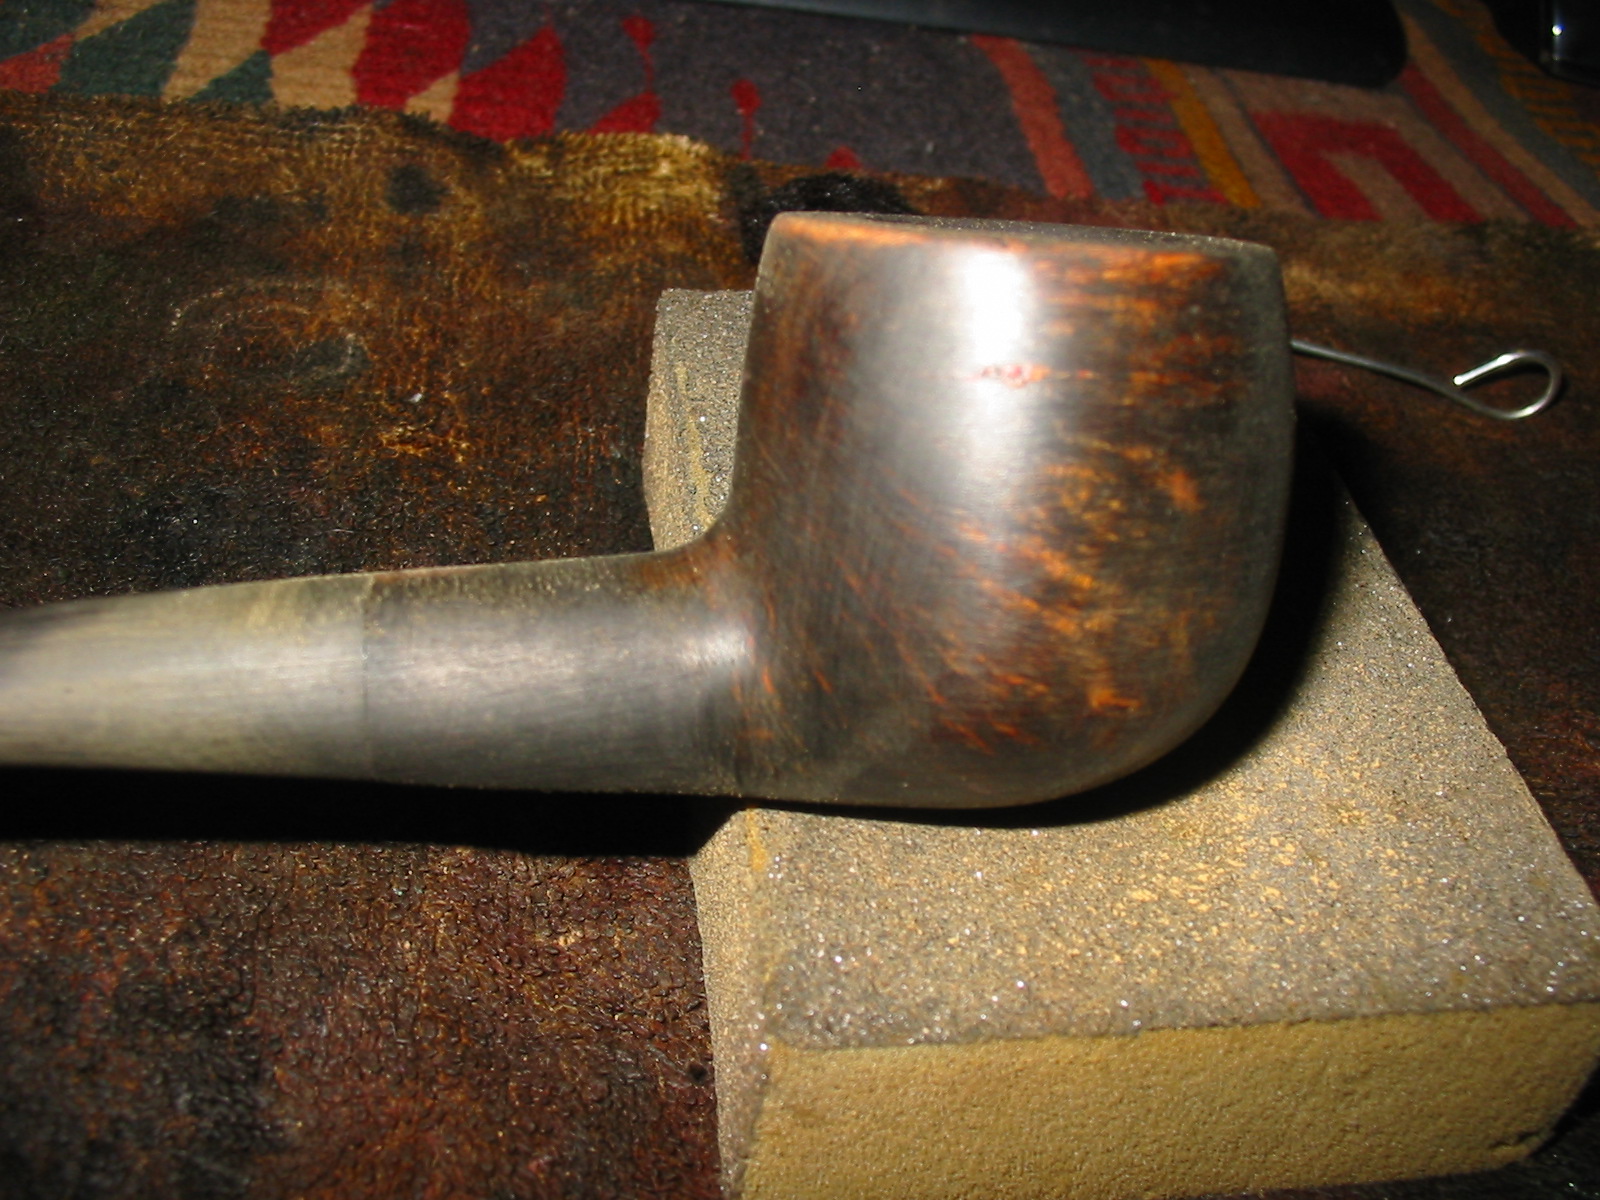
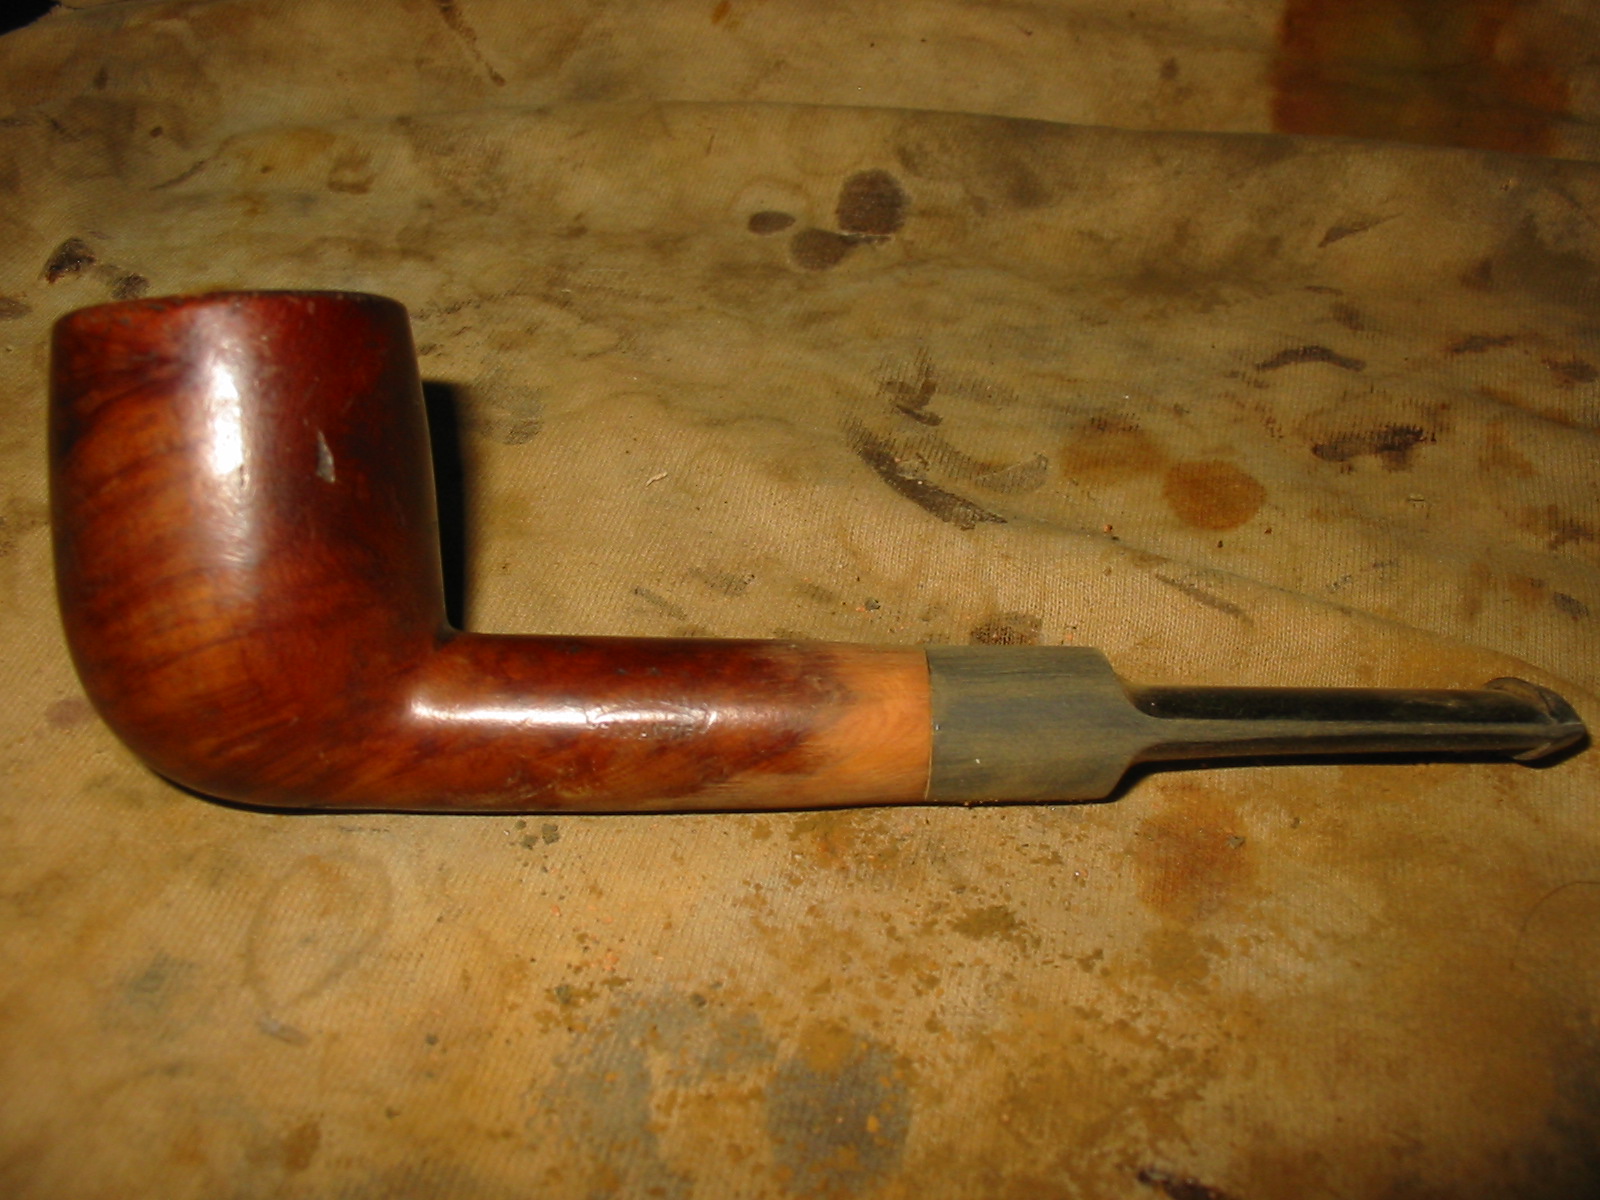
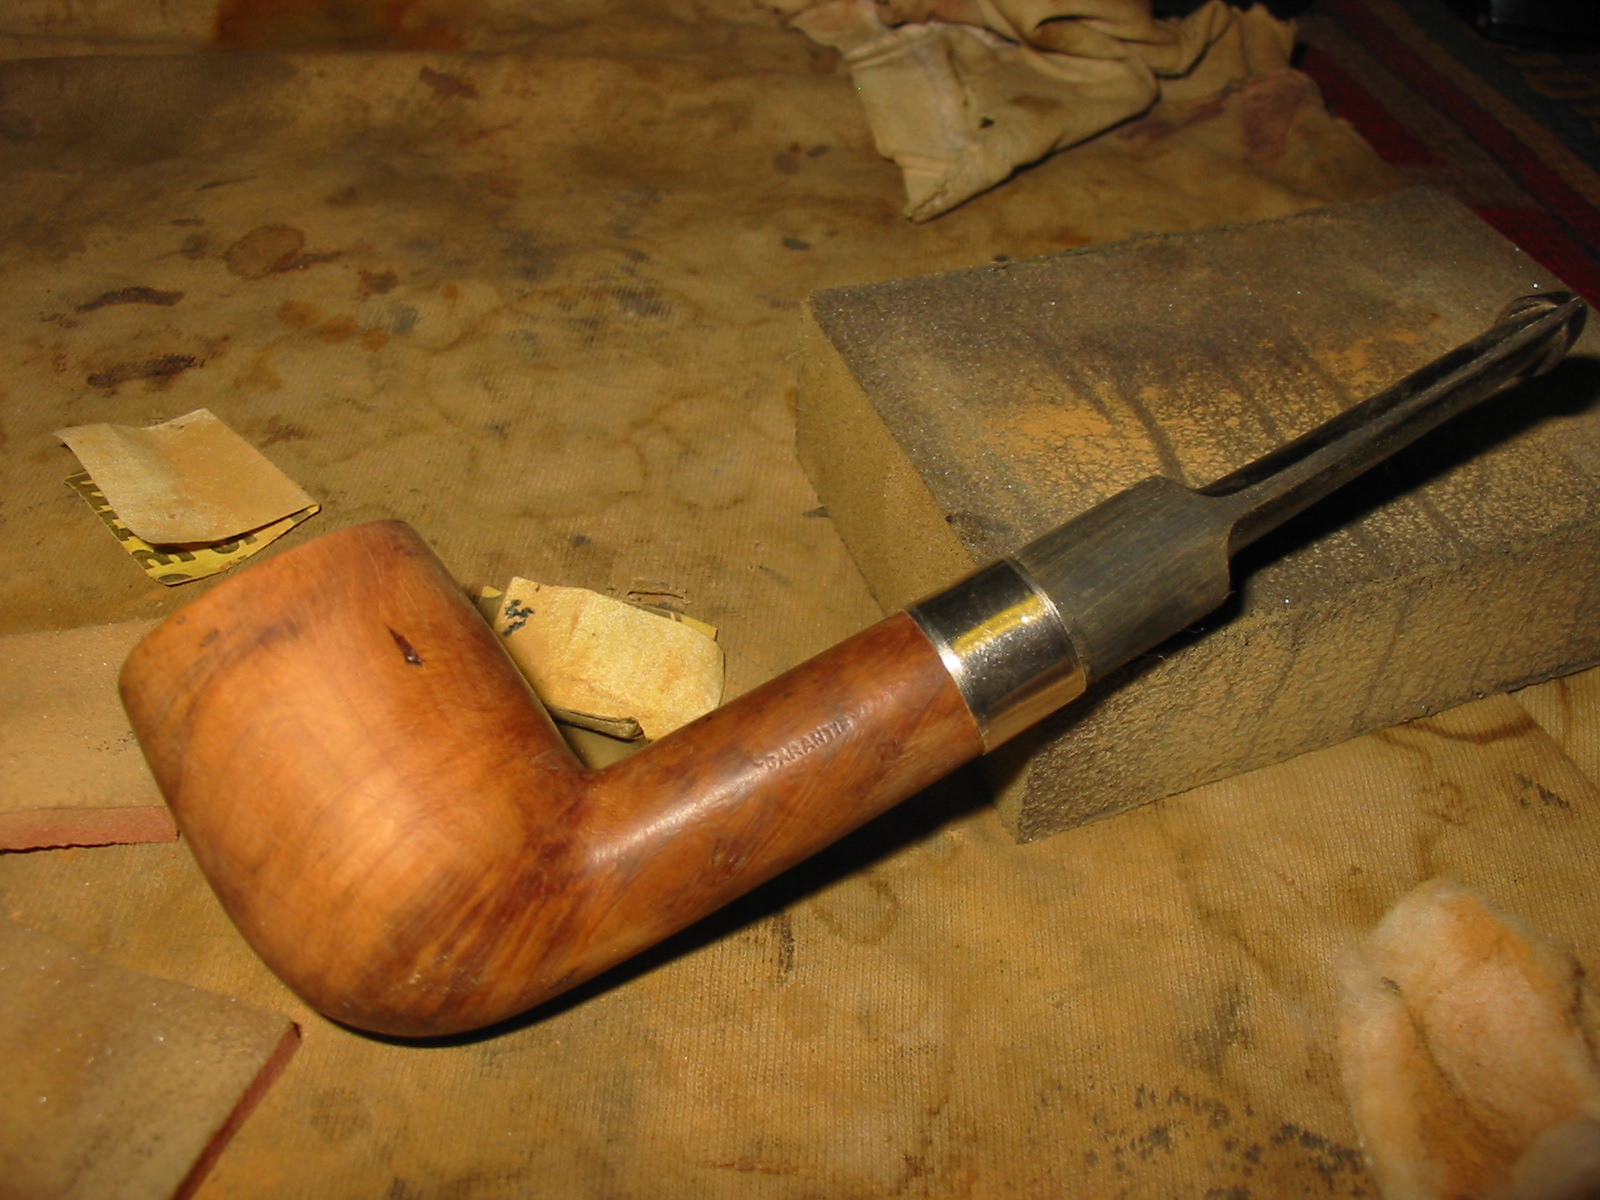
Pleased with the results so far, I applied Lincoln light brown alcohol-based boot stain to the entire outside of the pipe bowl and shank, and flamed it all around just enough to see the whoosh of blue light as the alcohol burned off and left a light layer of black soot. The soot I easily removed with the finest micro-mesh
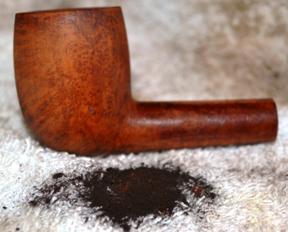


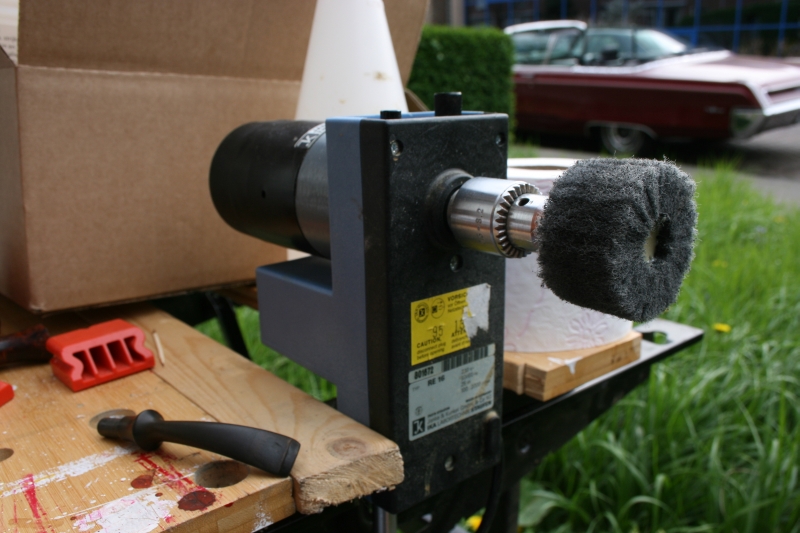
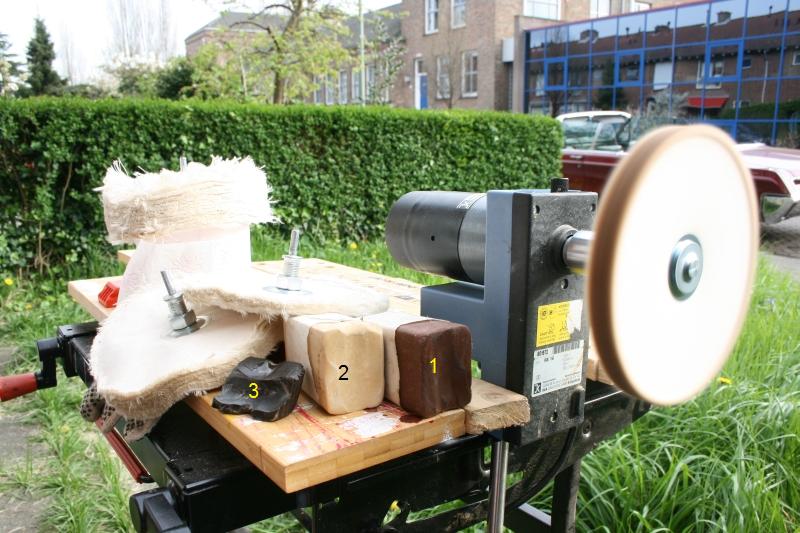
The only task remaining for the bowl and shank were to buff them with my cheap high-speed dual buffer: once all over with white Tripoli, then again with carnauba. At last I think I’m getting the hang of using a light touch on the single high-speed buffers so as to avoid flying objects that can break easily and to achieve the desired polished effect evenly and without streaks.
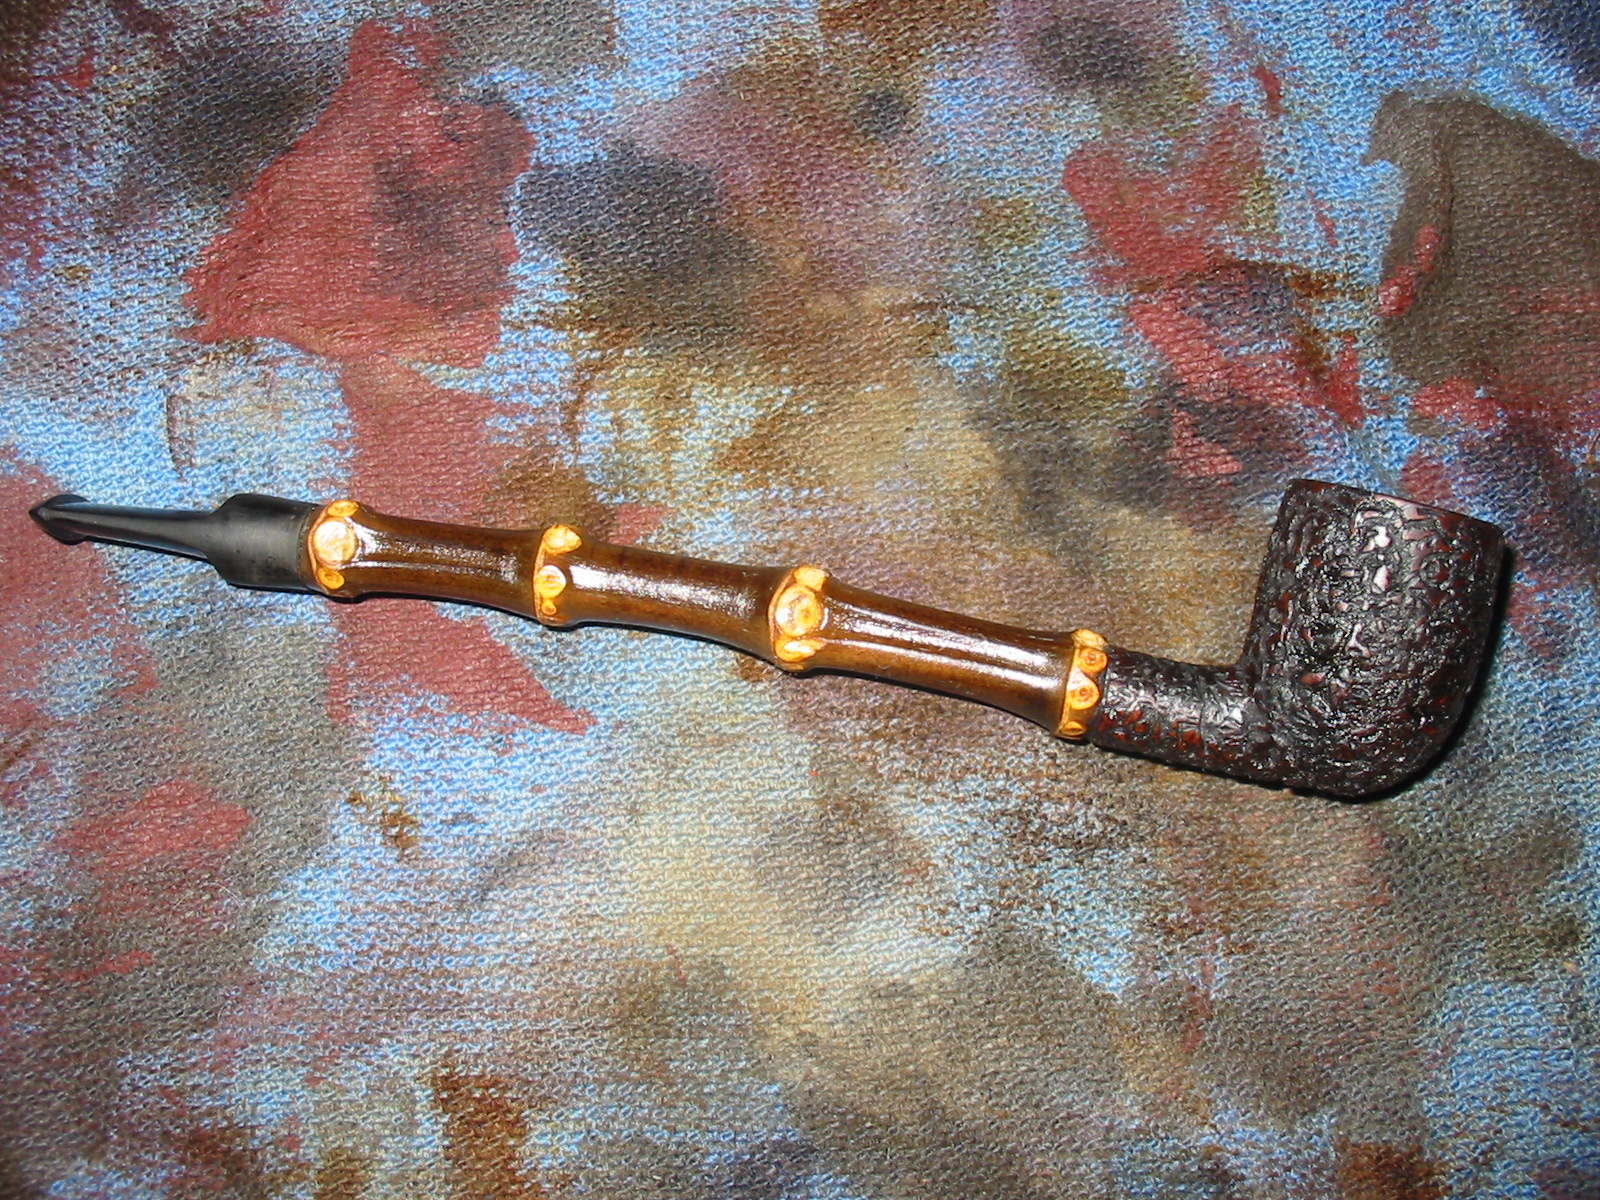
I micro-meshed the stem with #600 paper, getting rid of all the discoloration that was not inside the stem itself, and buffed it with white Tripoli. To finish it off, I used a white crayon marker to fill in the Bewlay “B.”


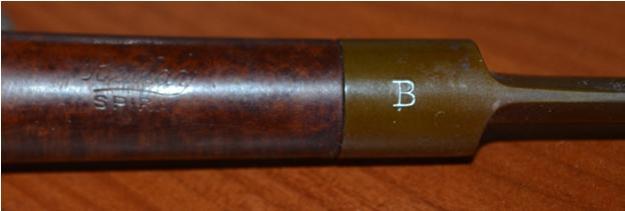
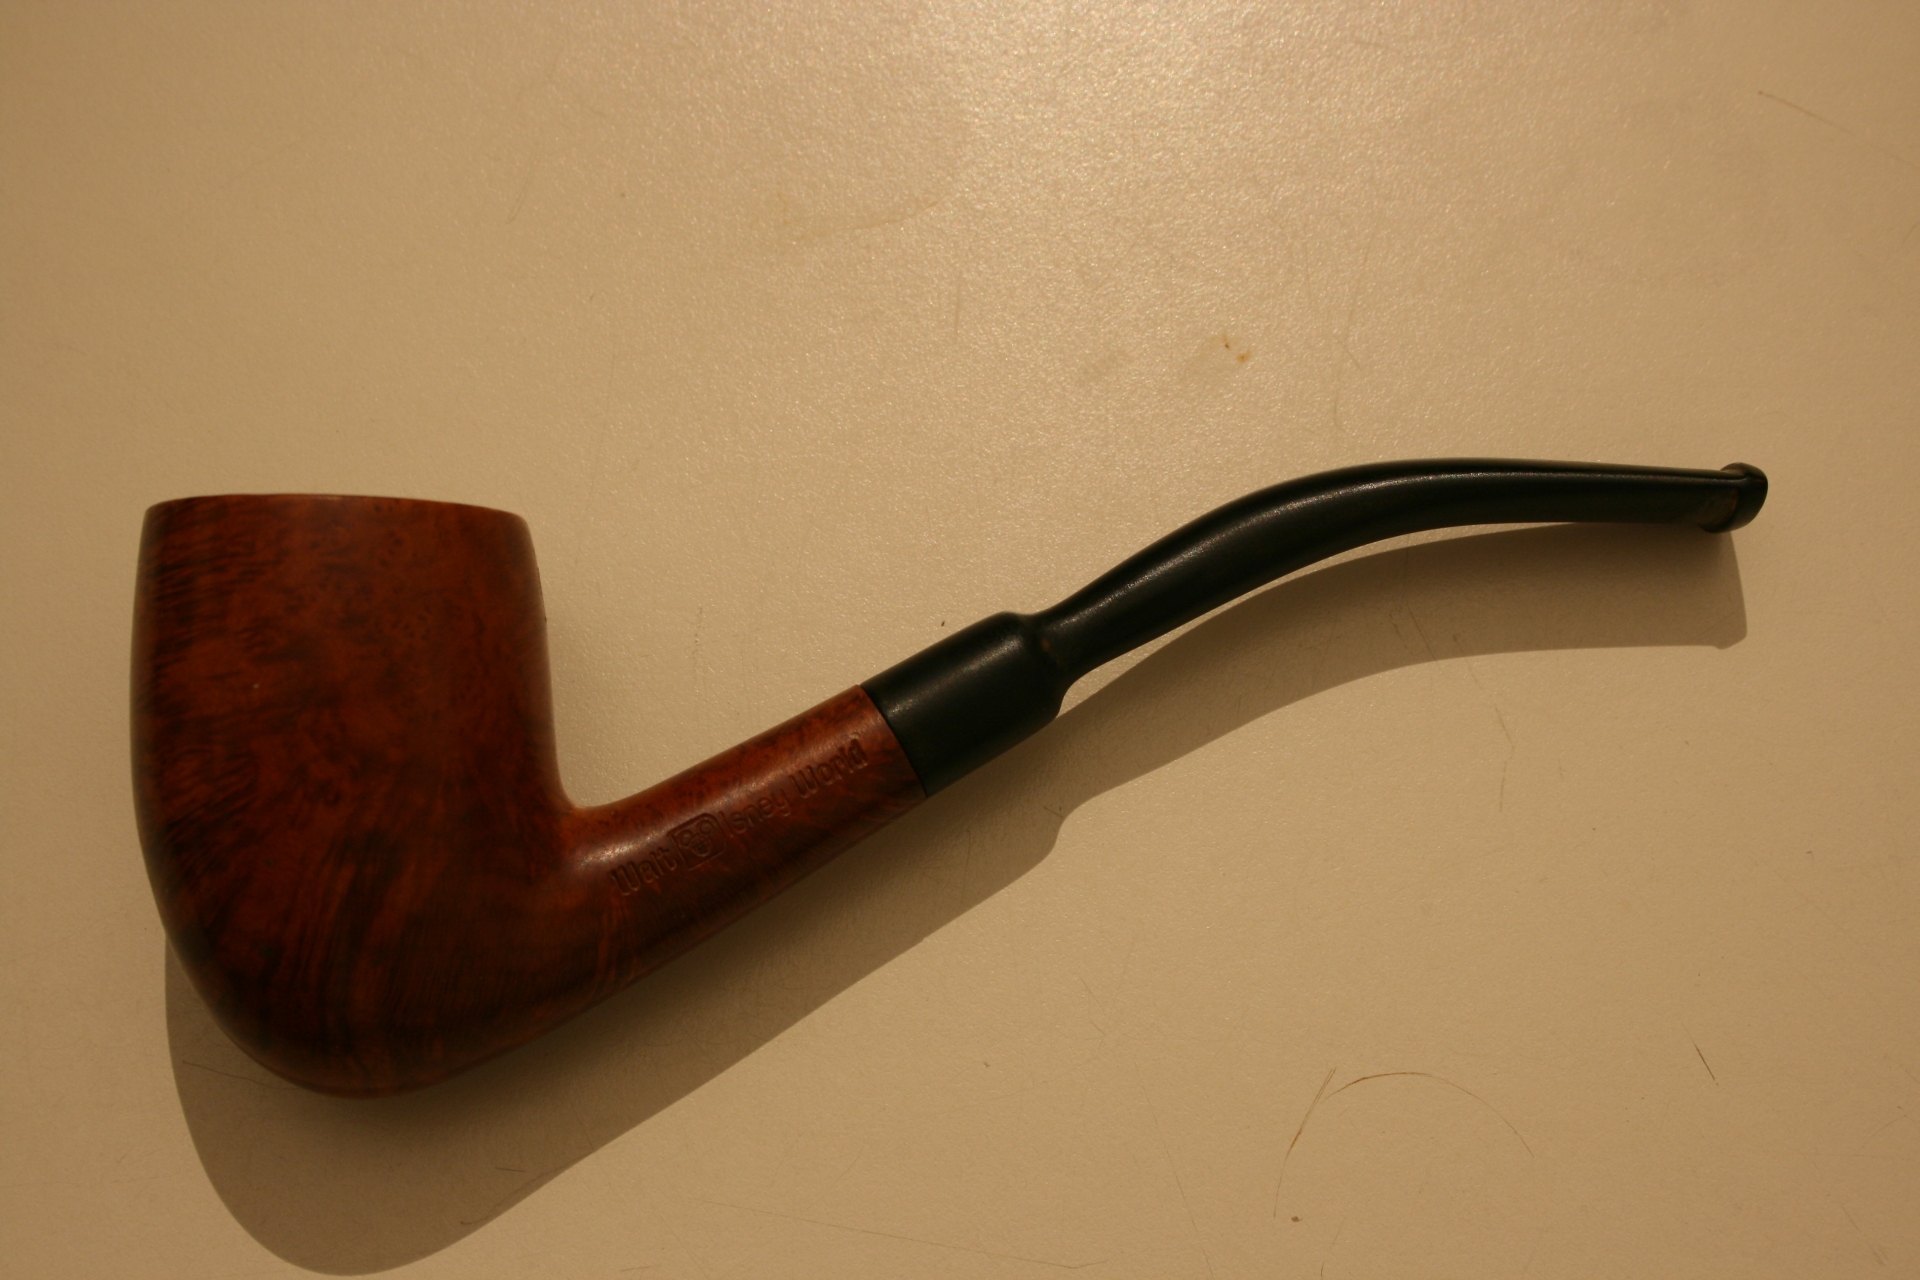
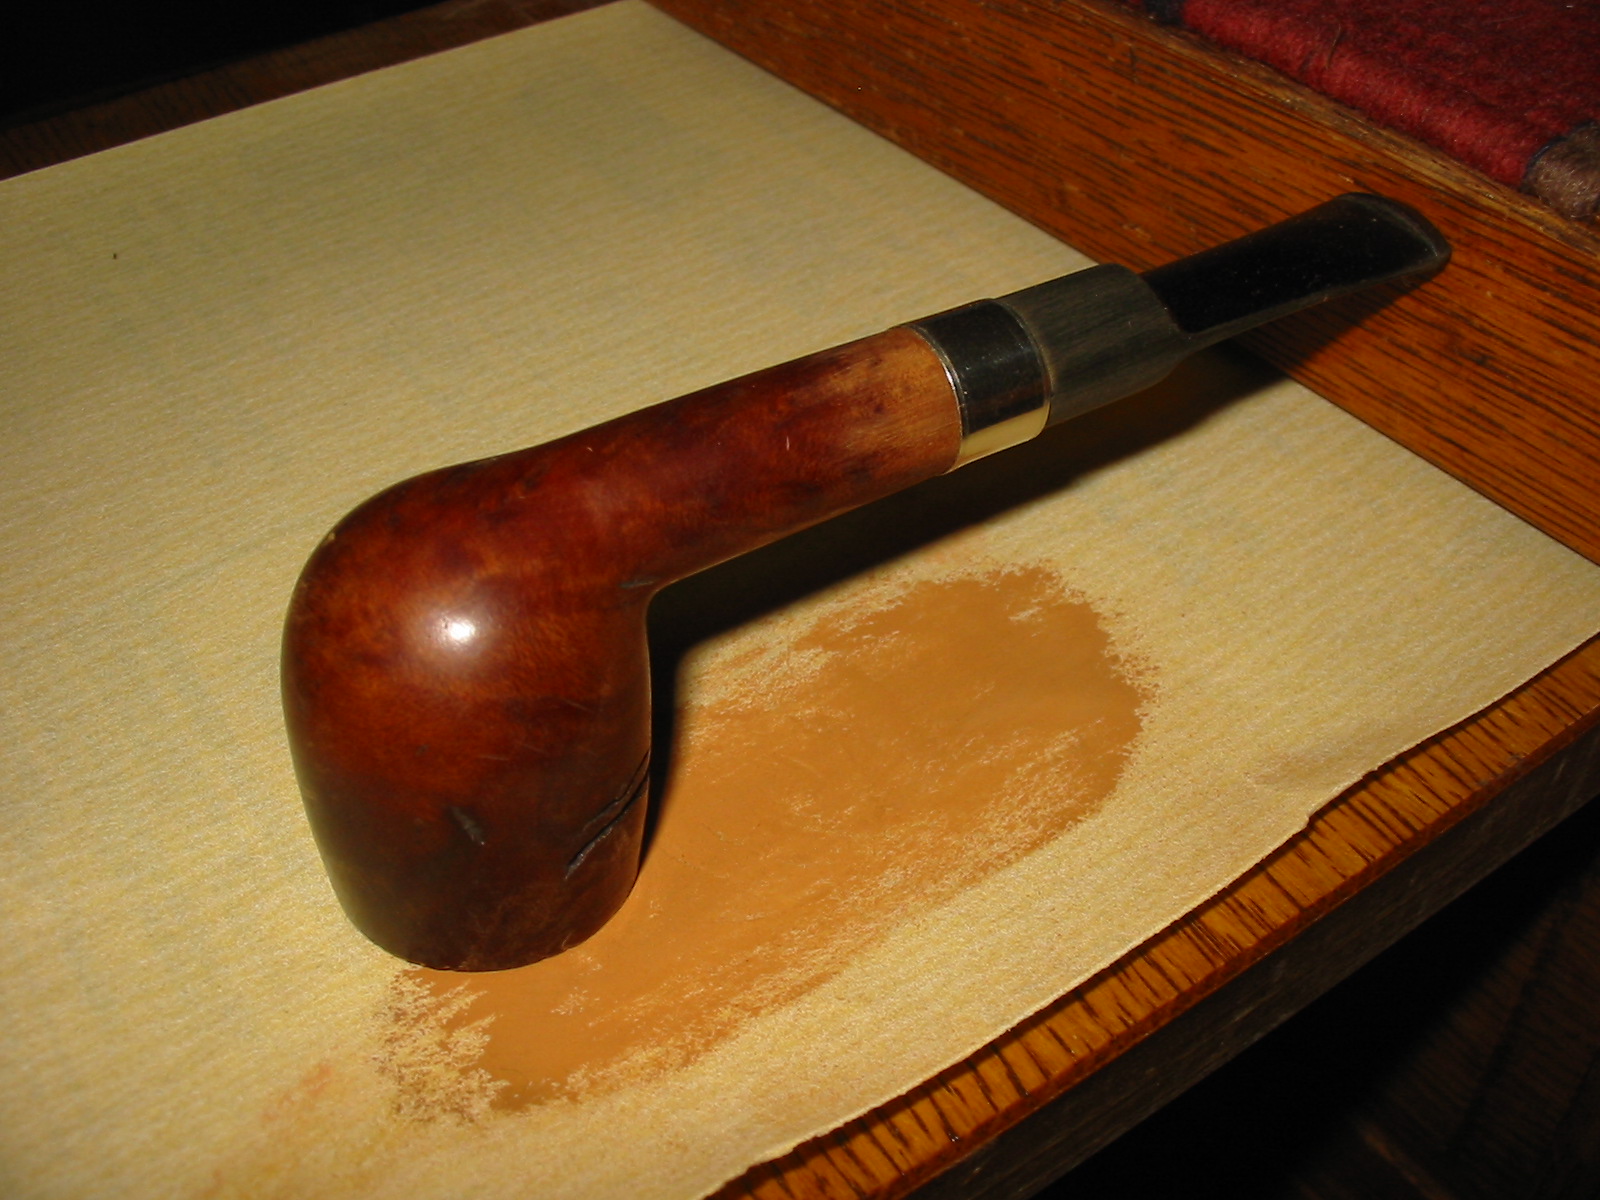
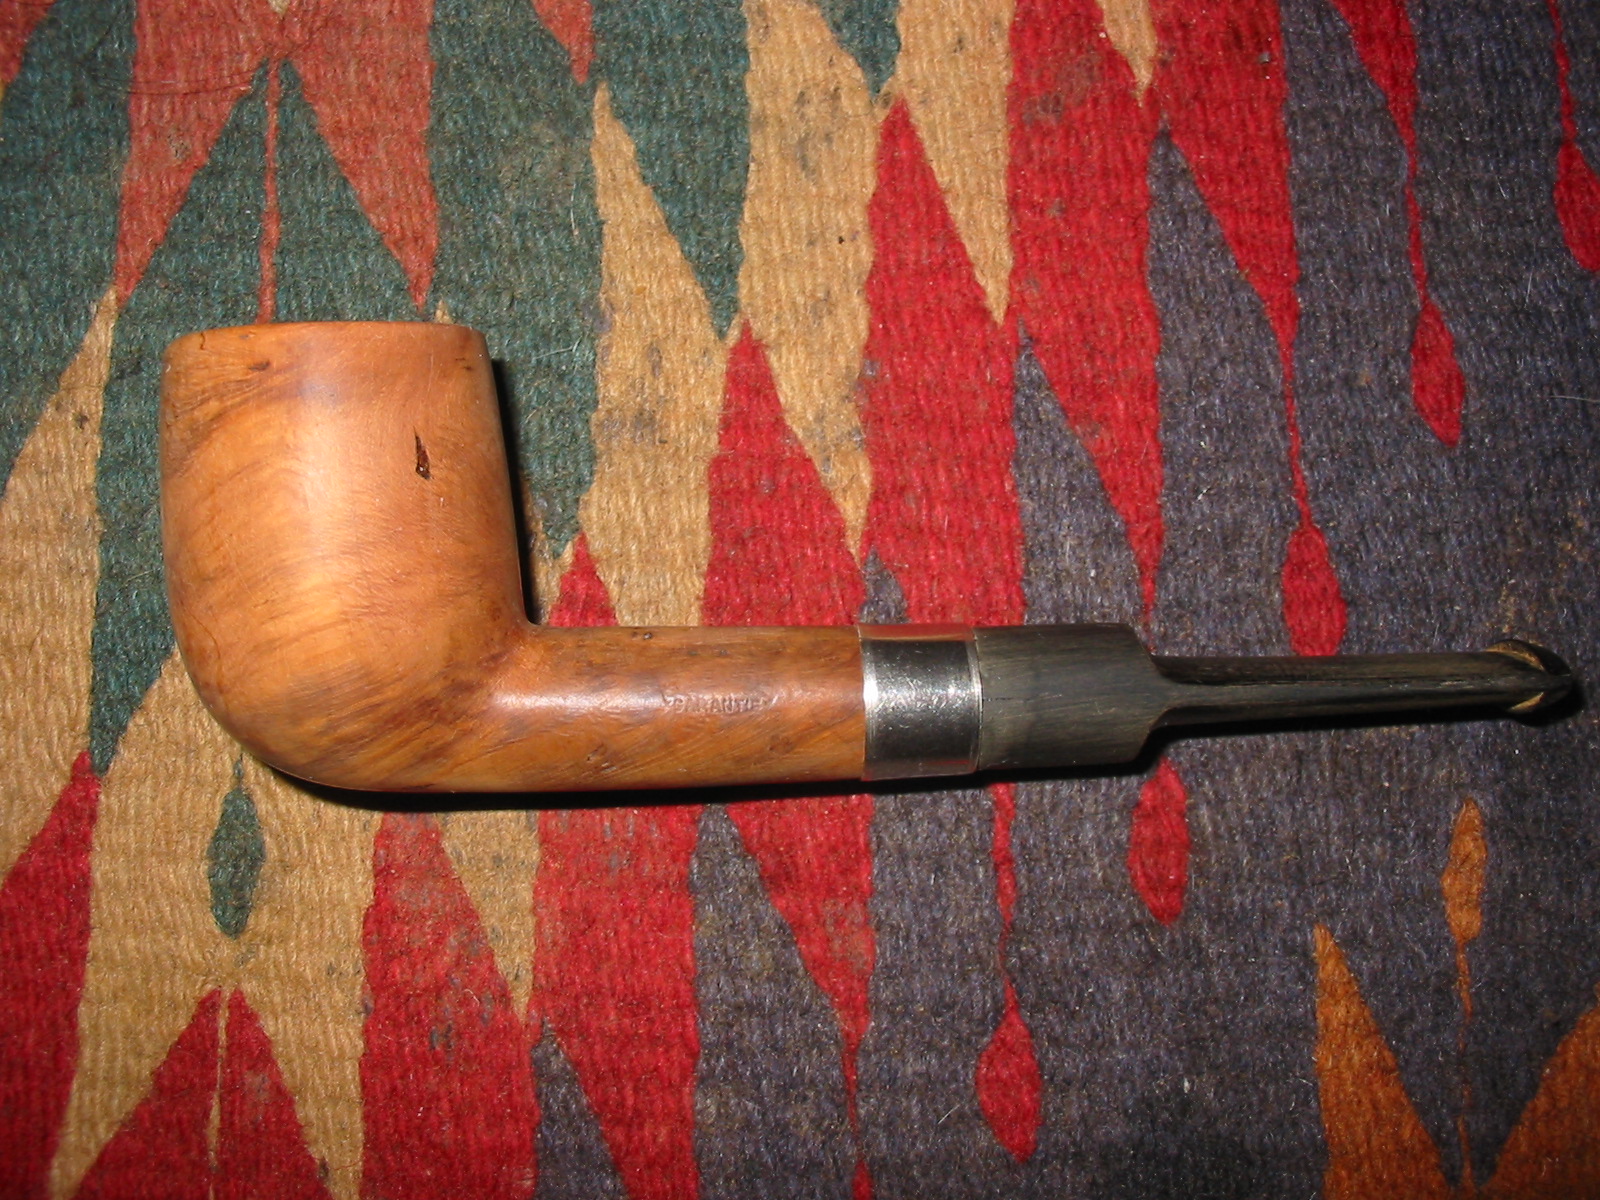
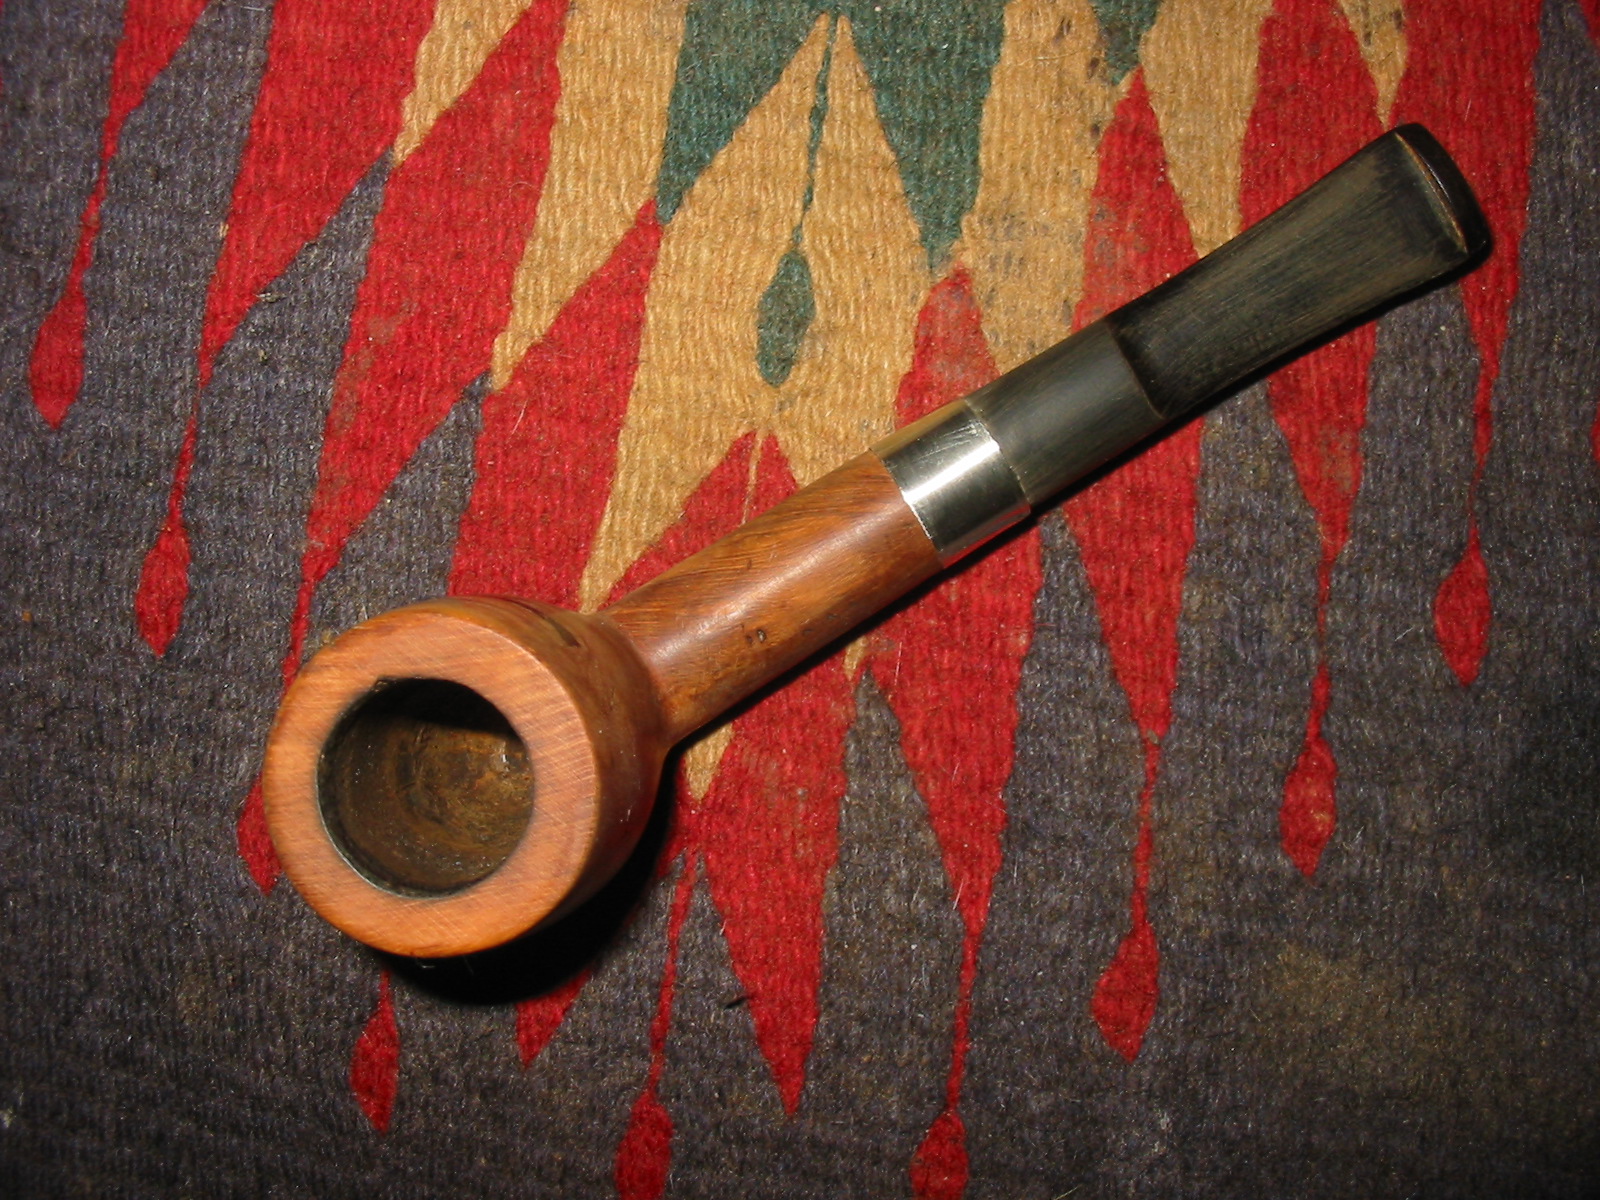
Bewlay Spiral
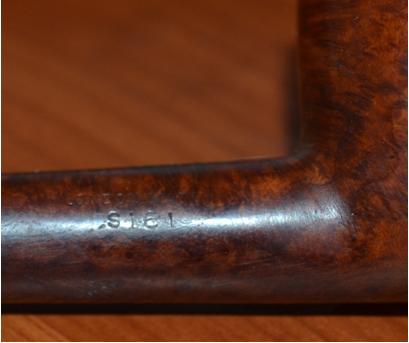
London Made S101
Patent № 167103
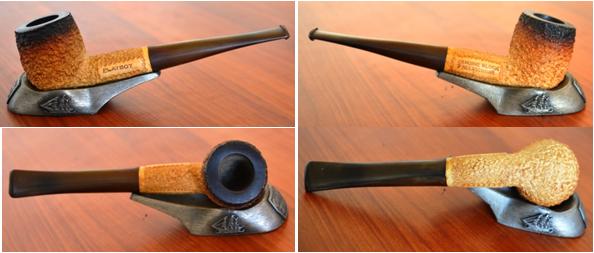
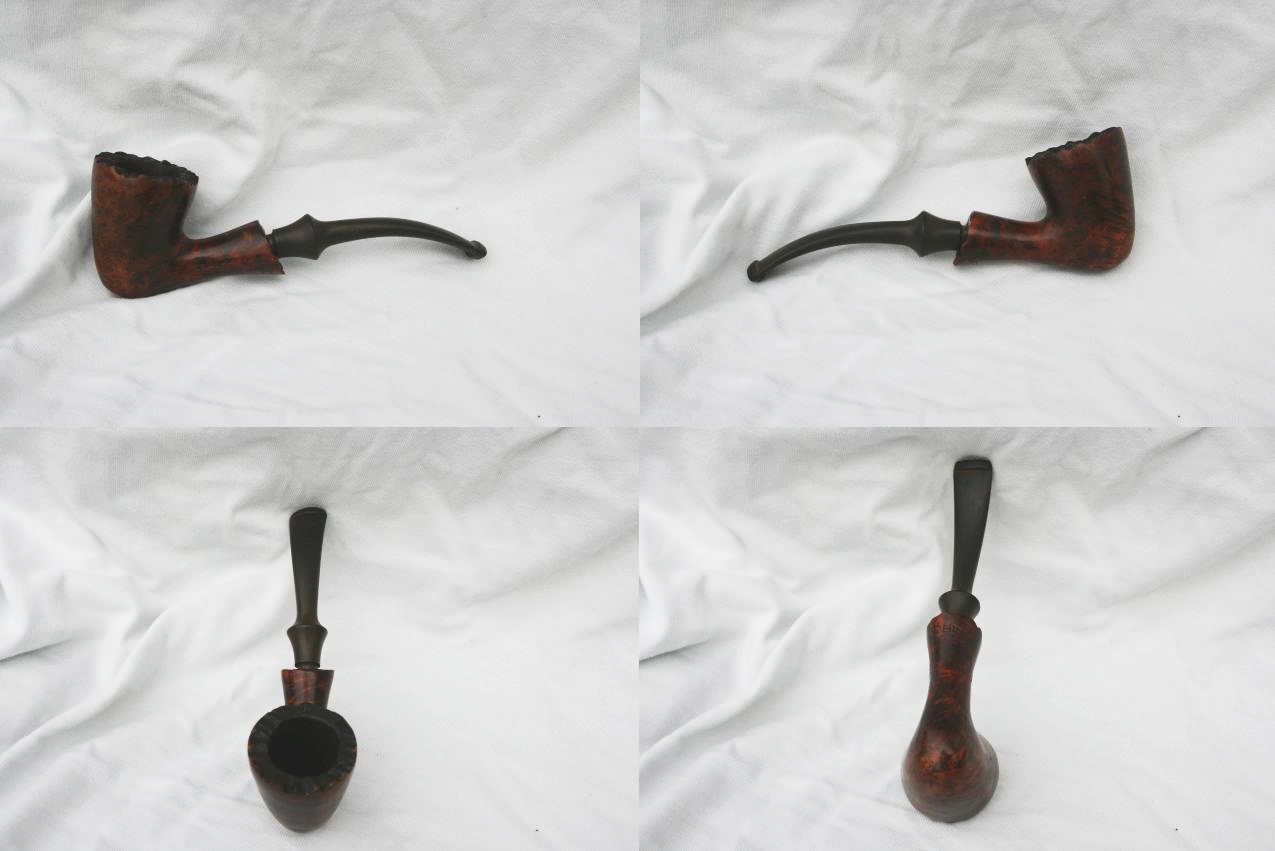
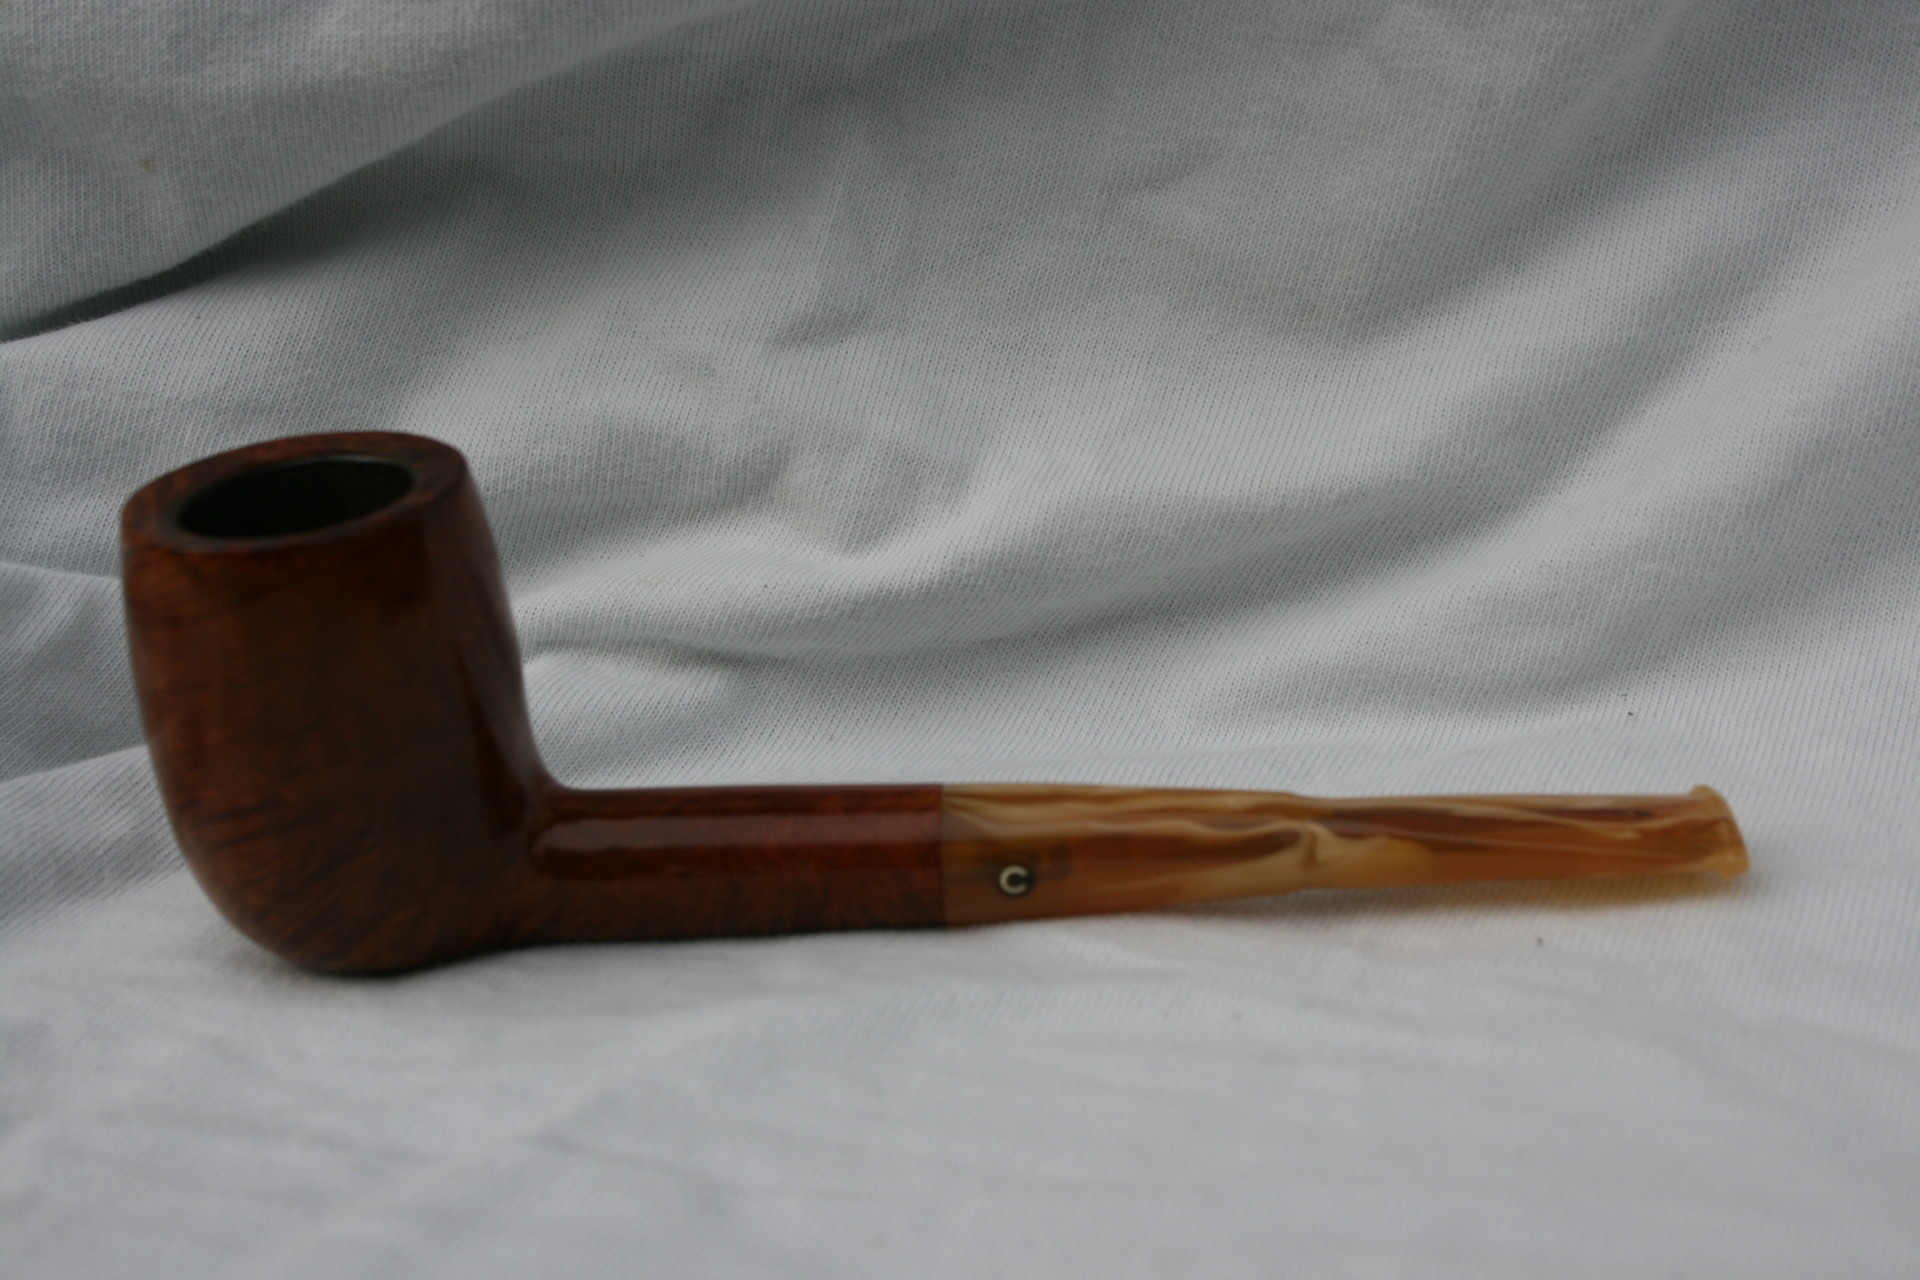
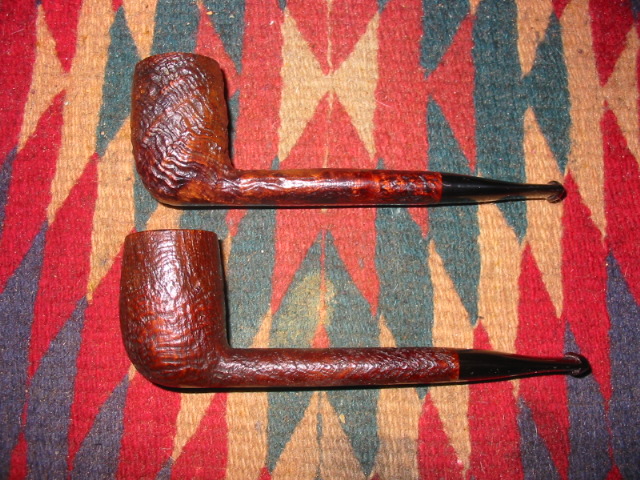
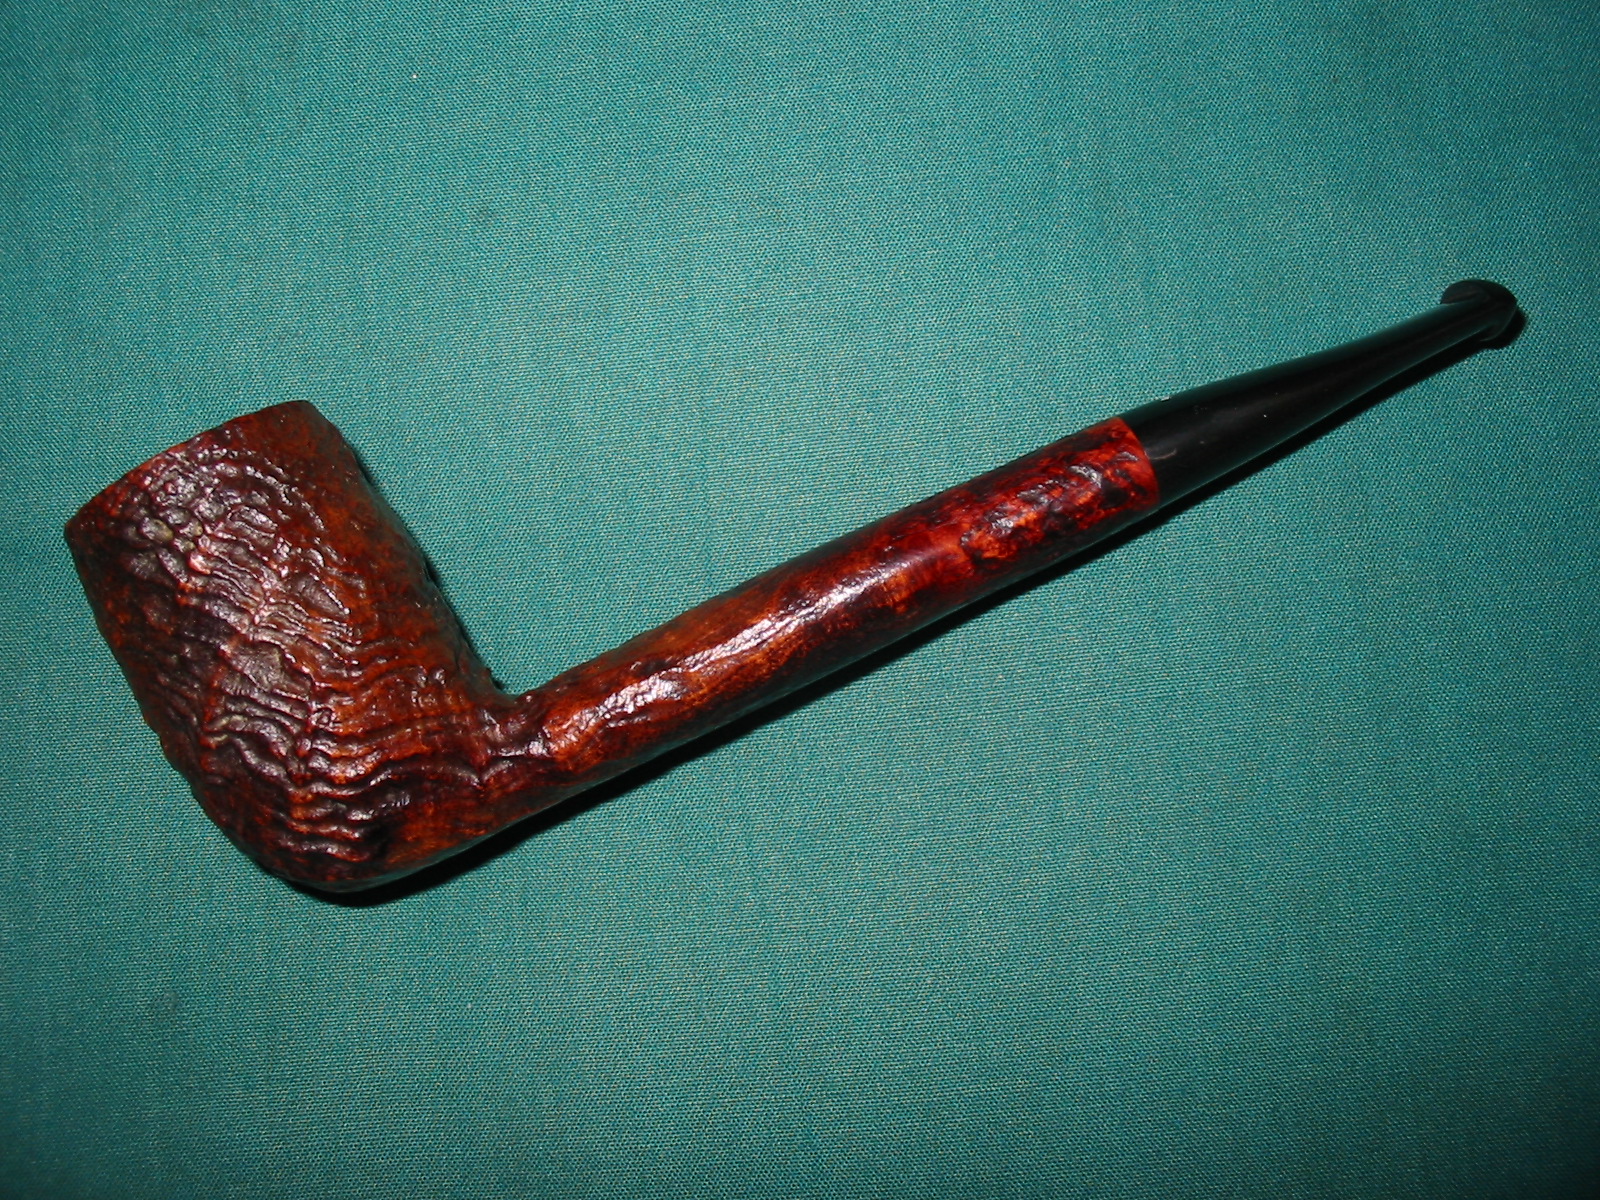
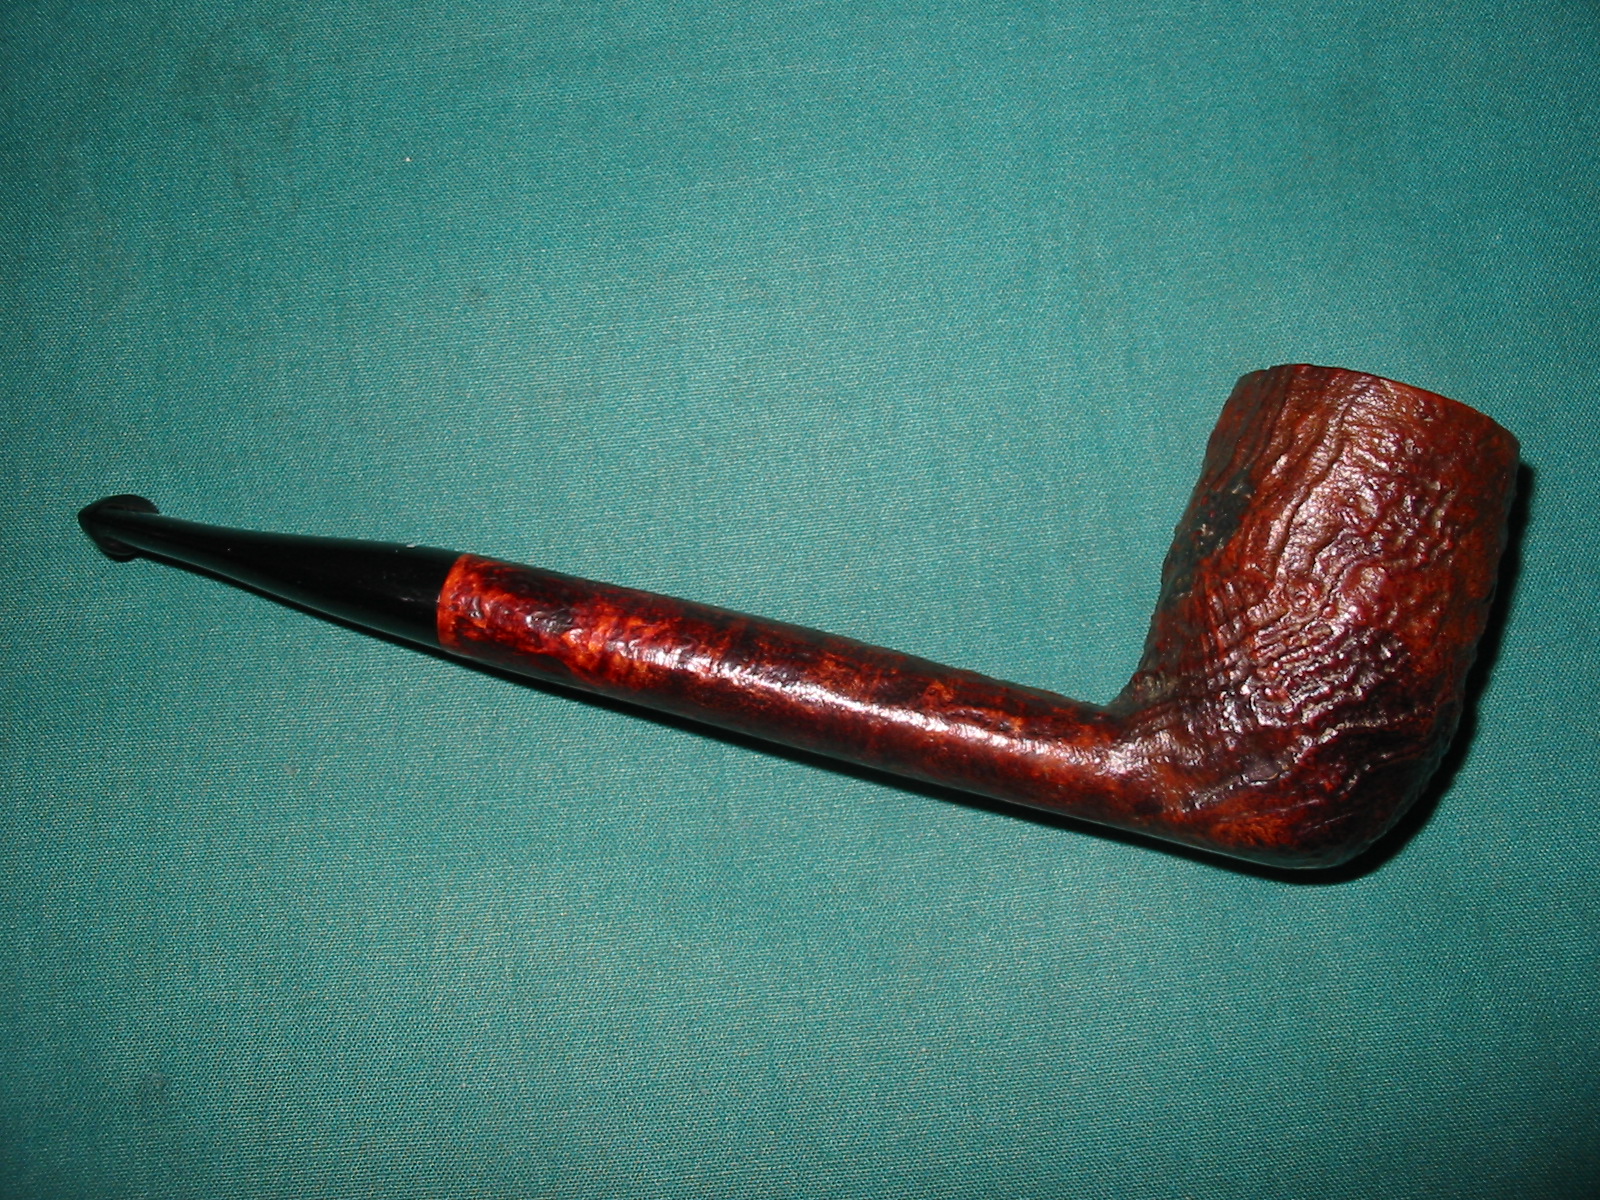
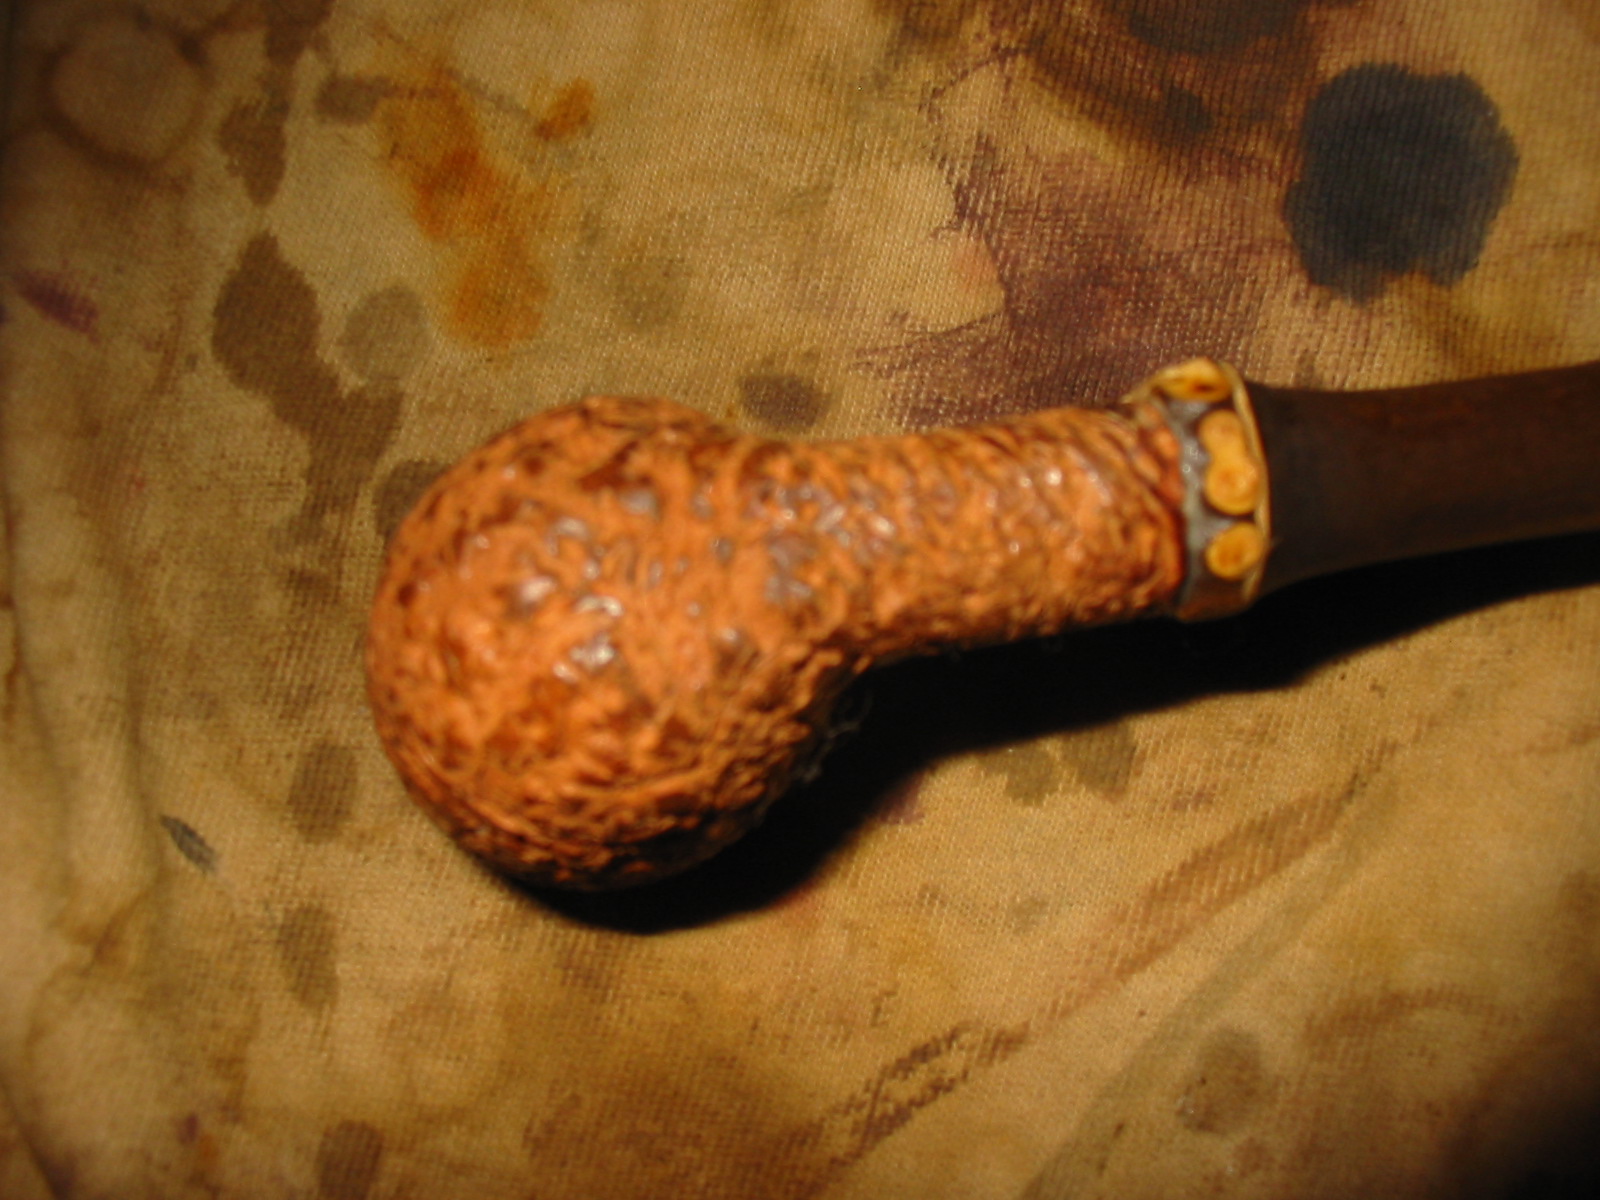
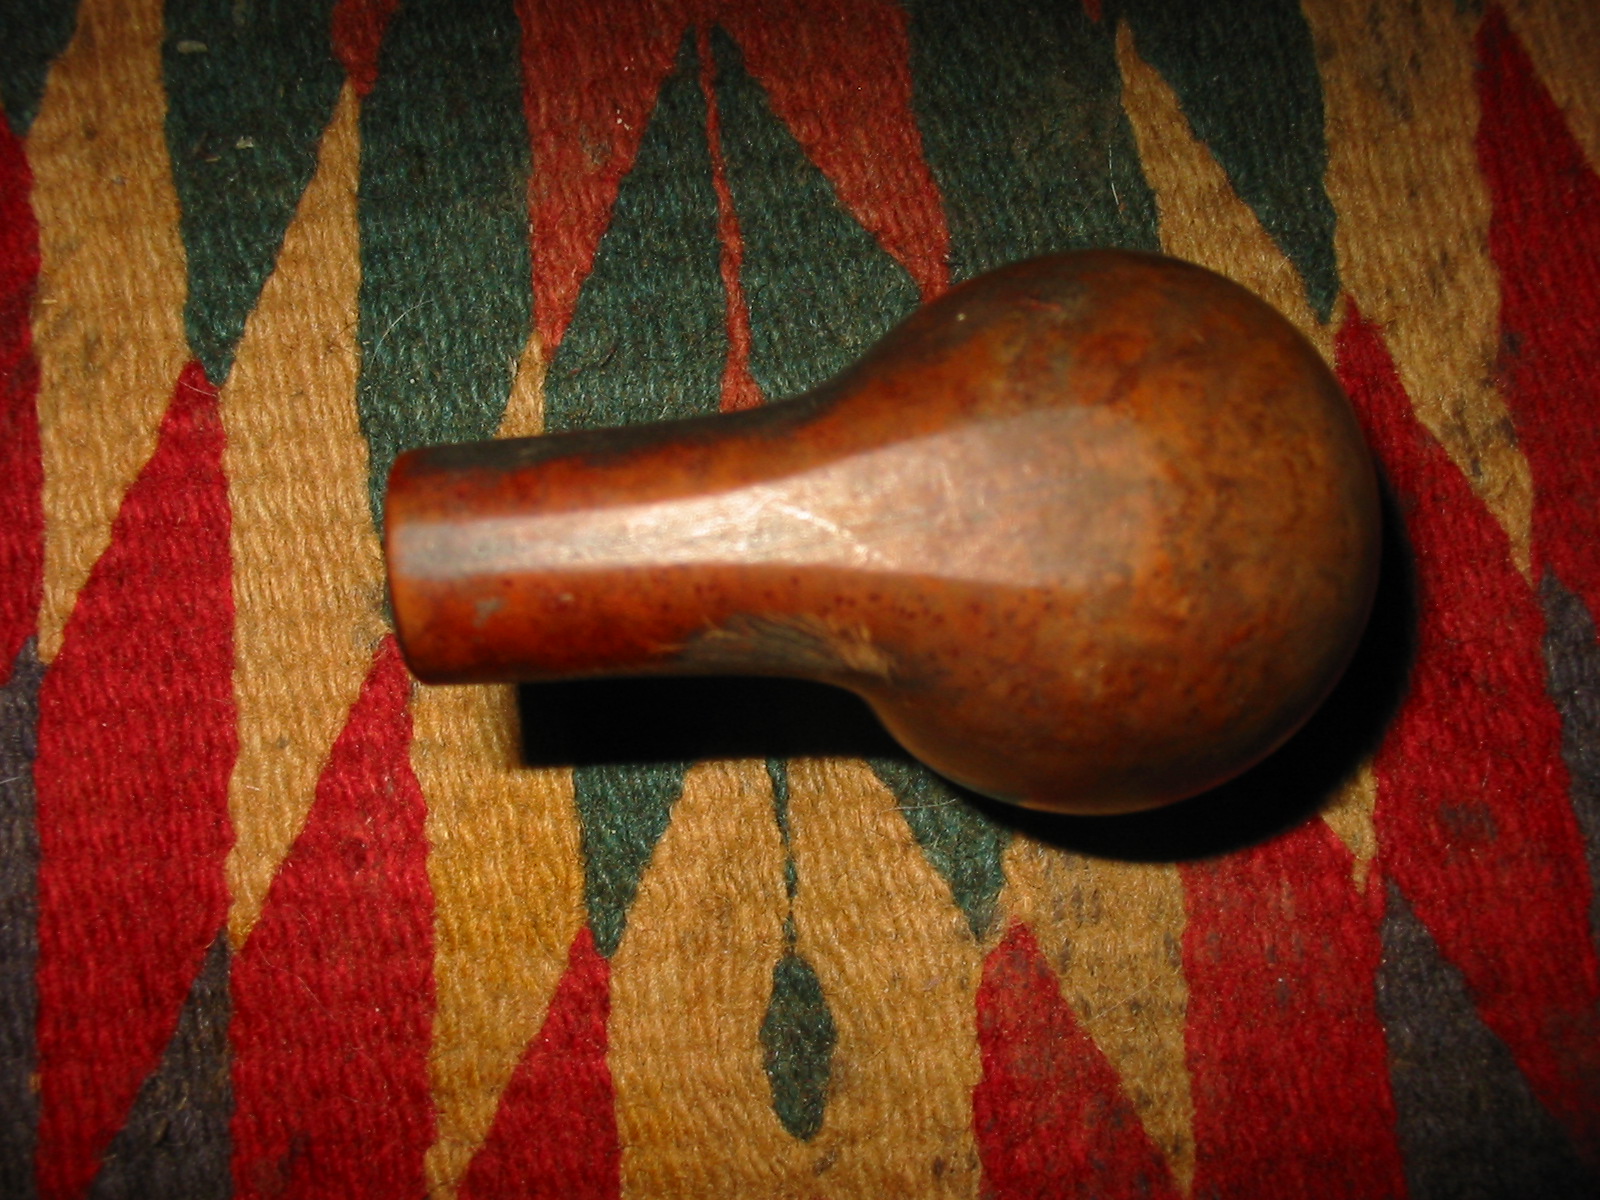
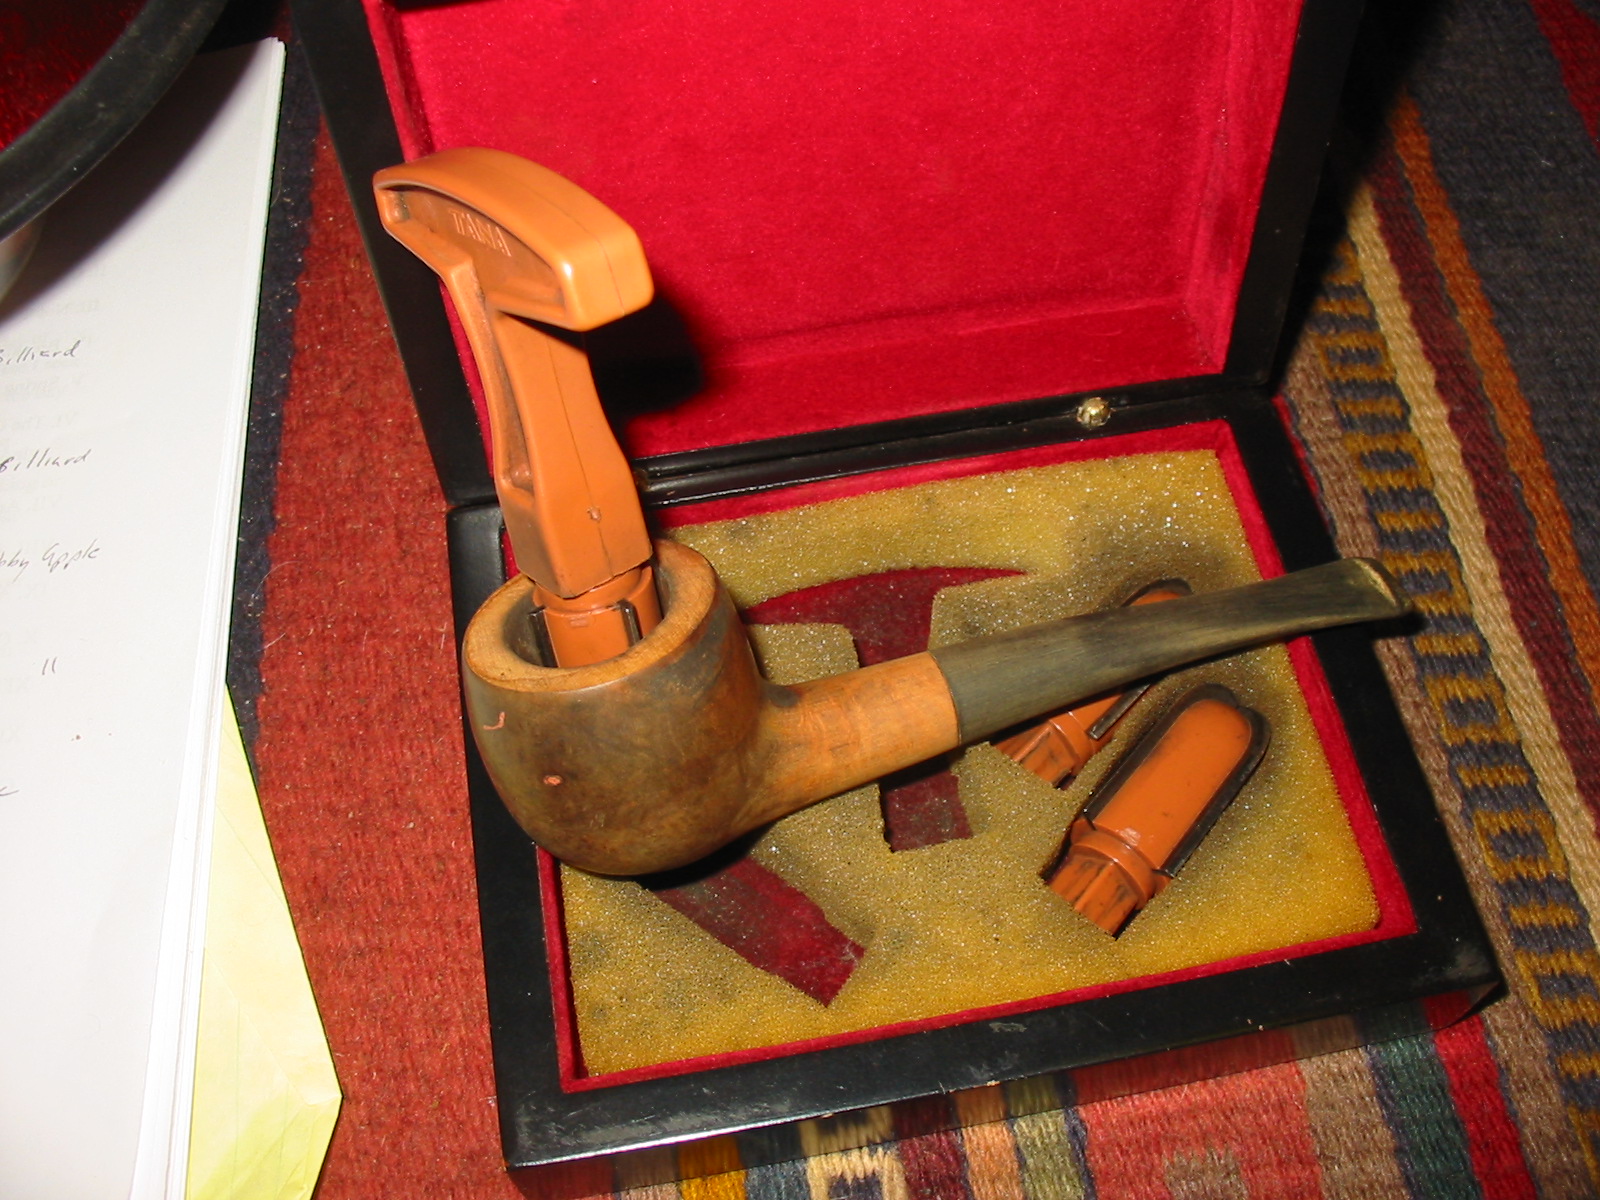
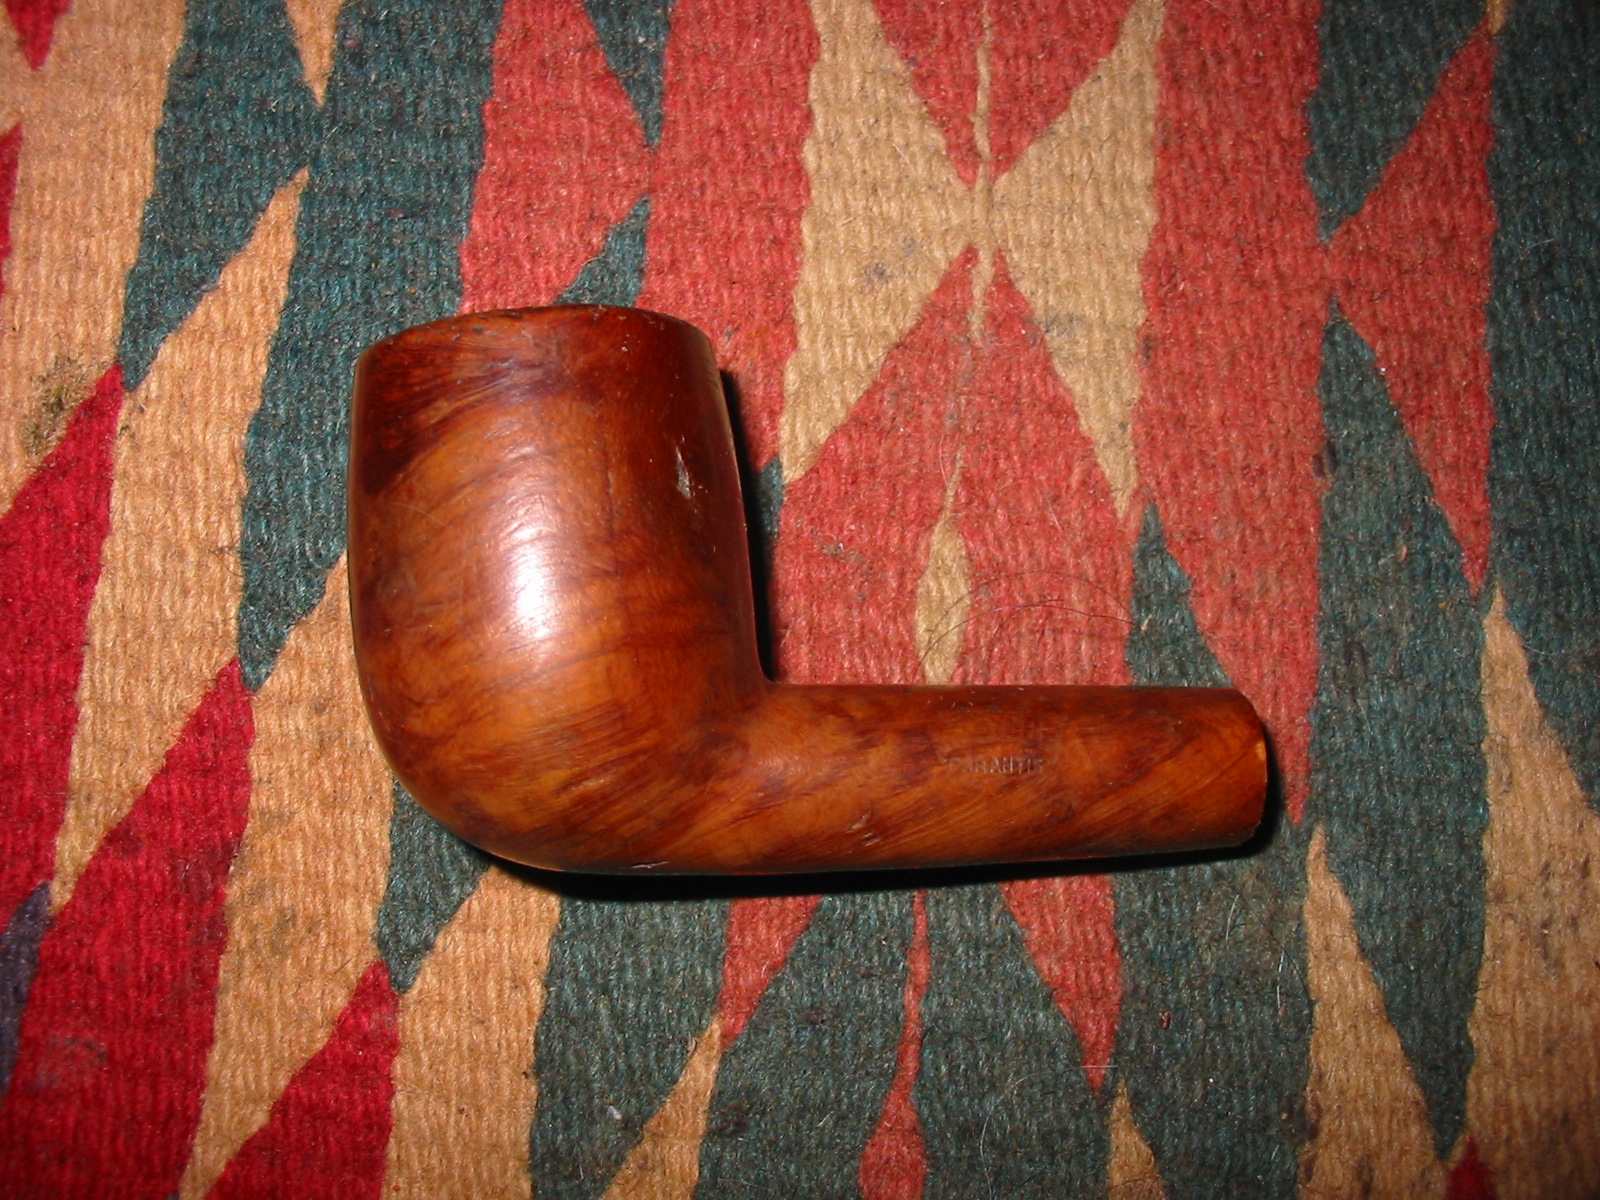
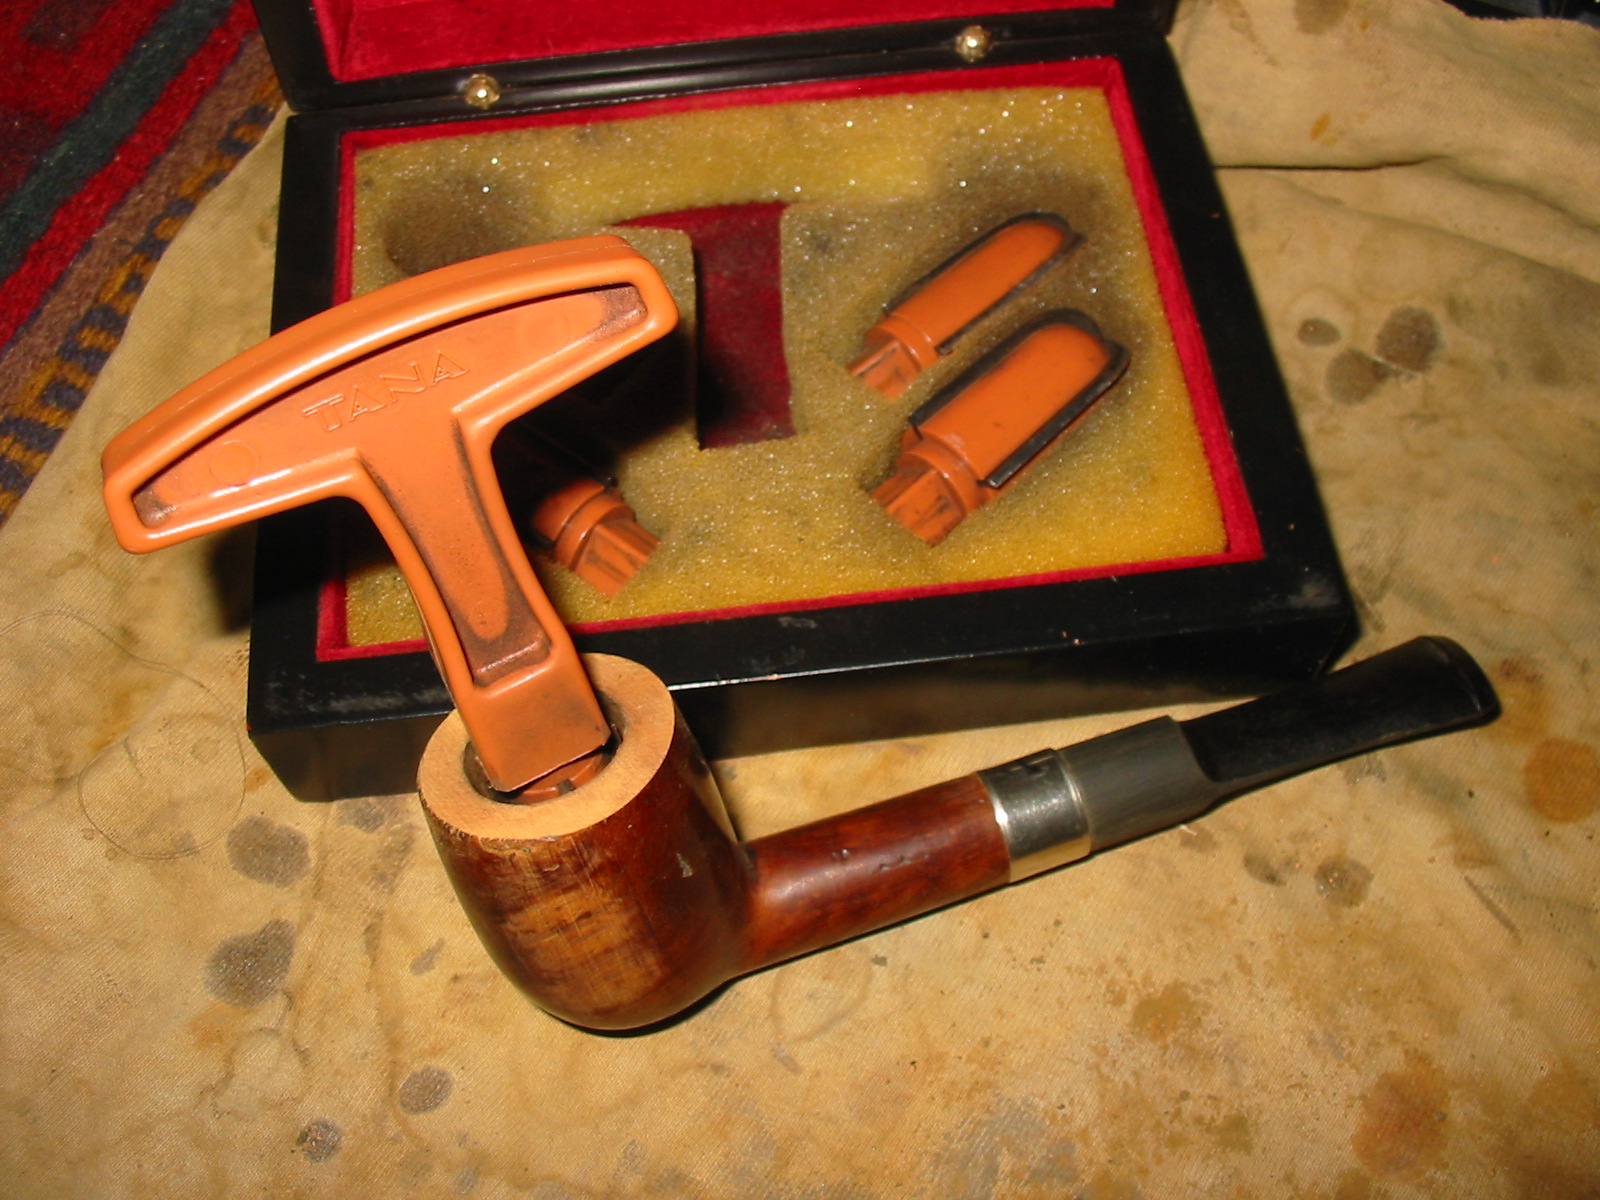
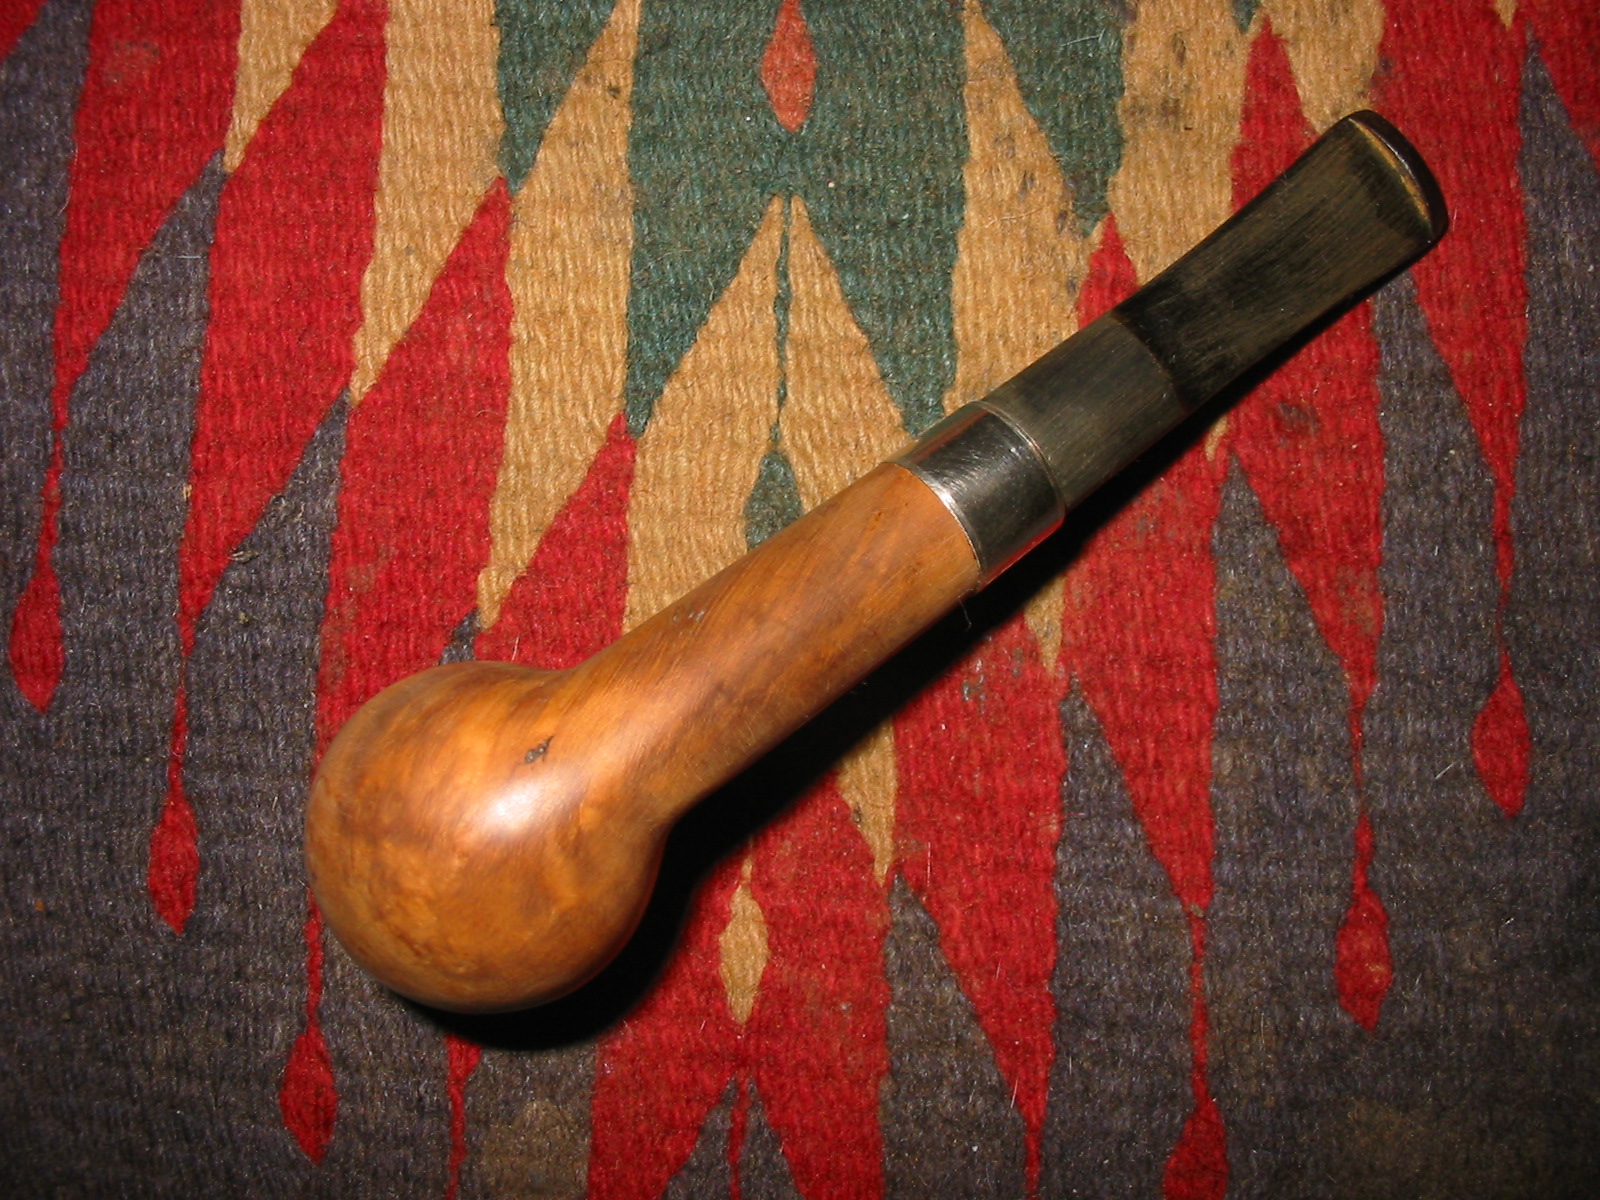
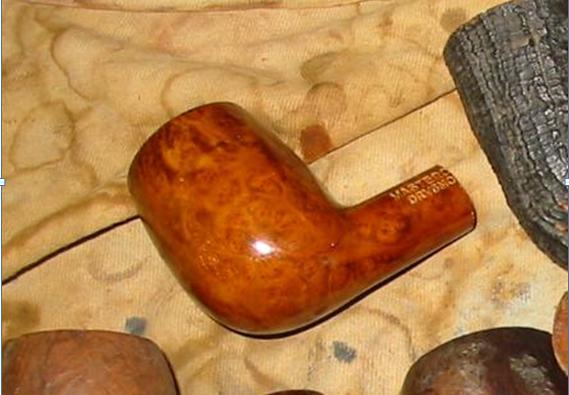
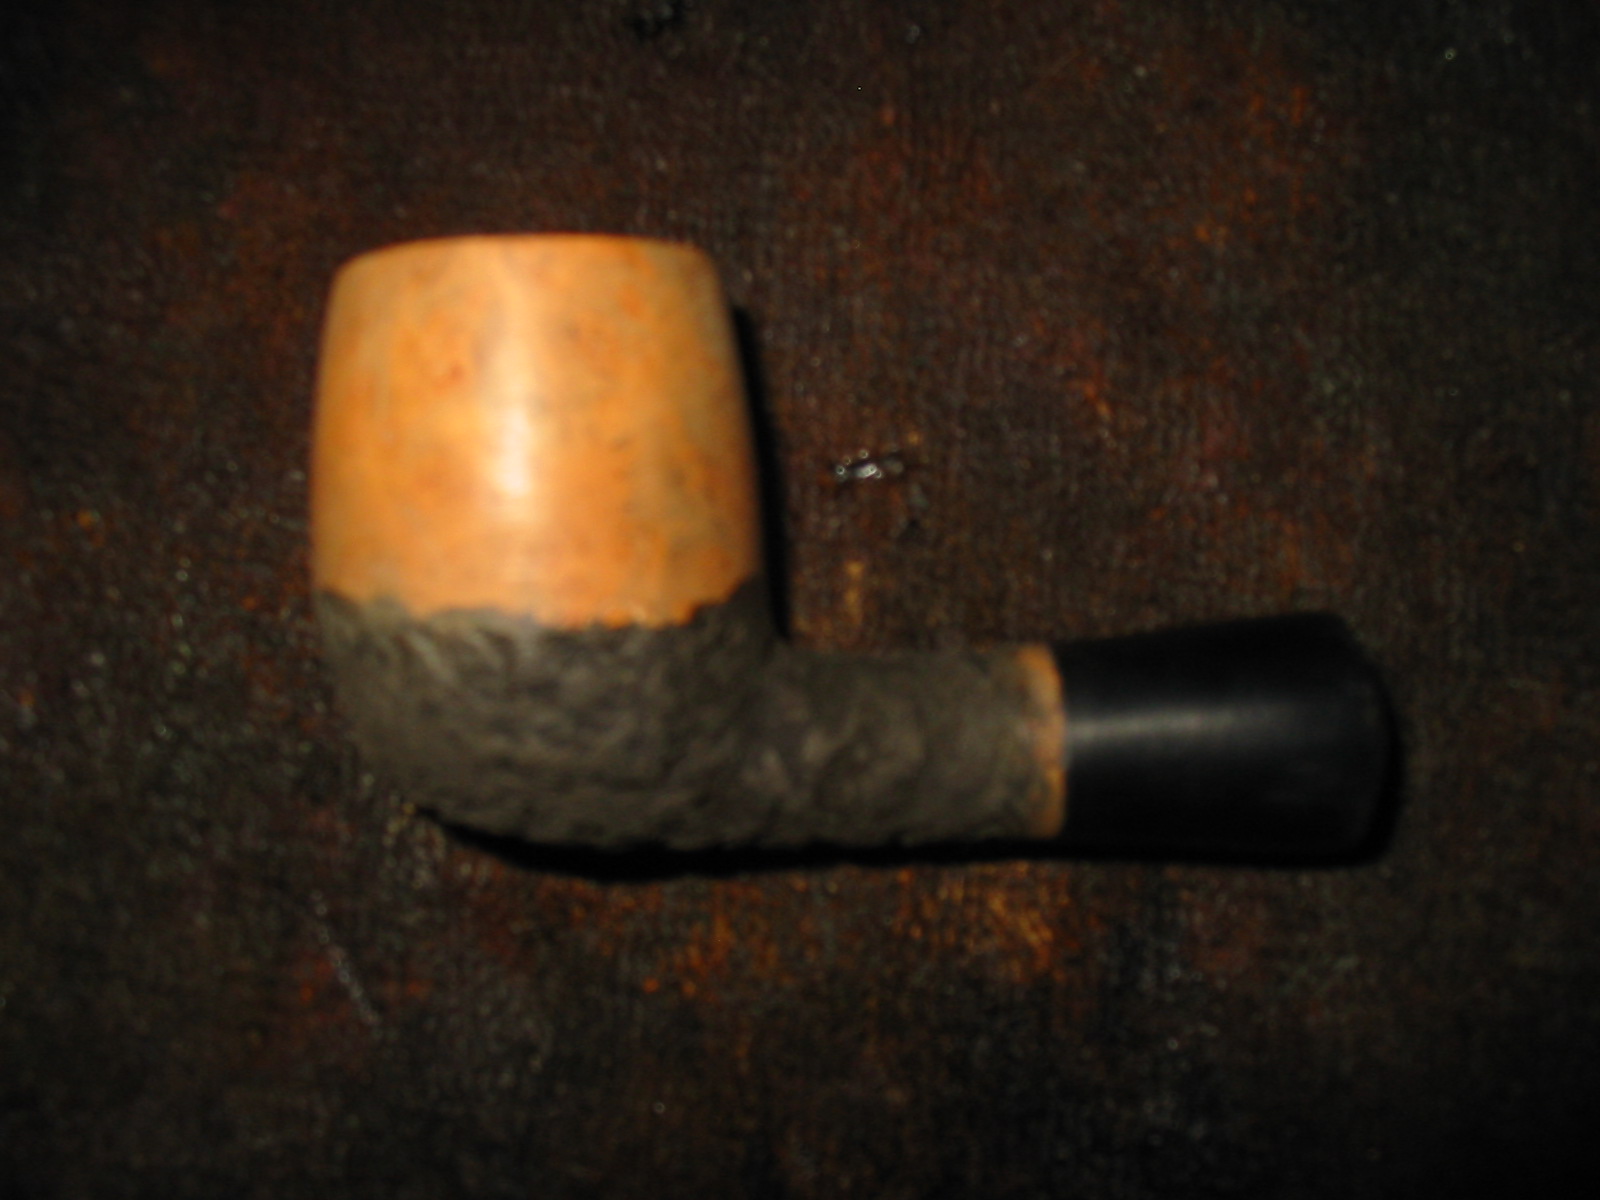
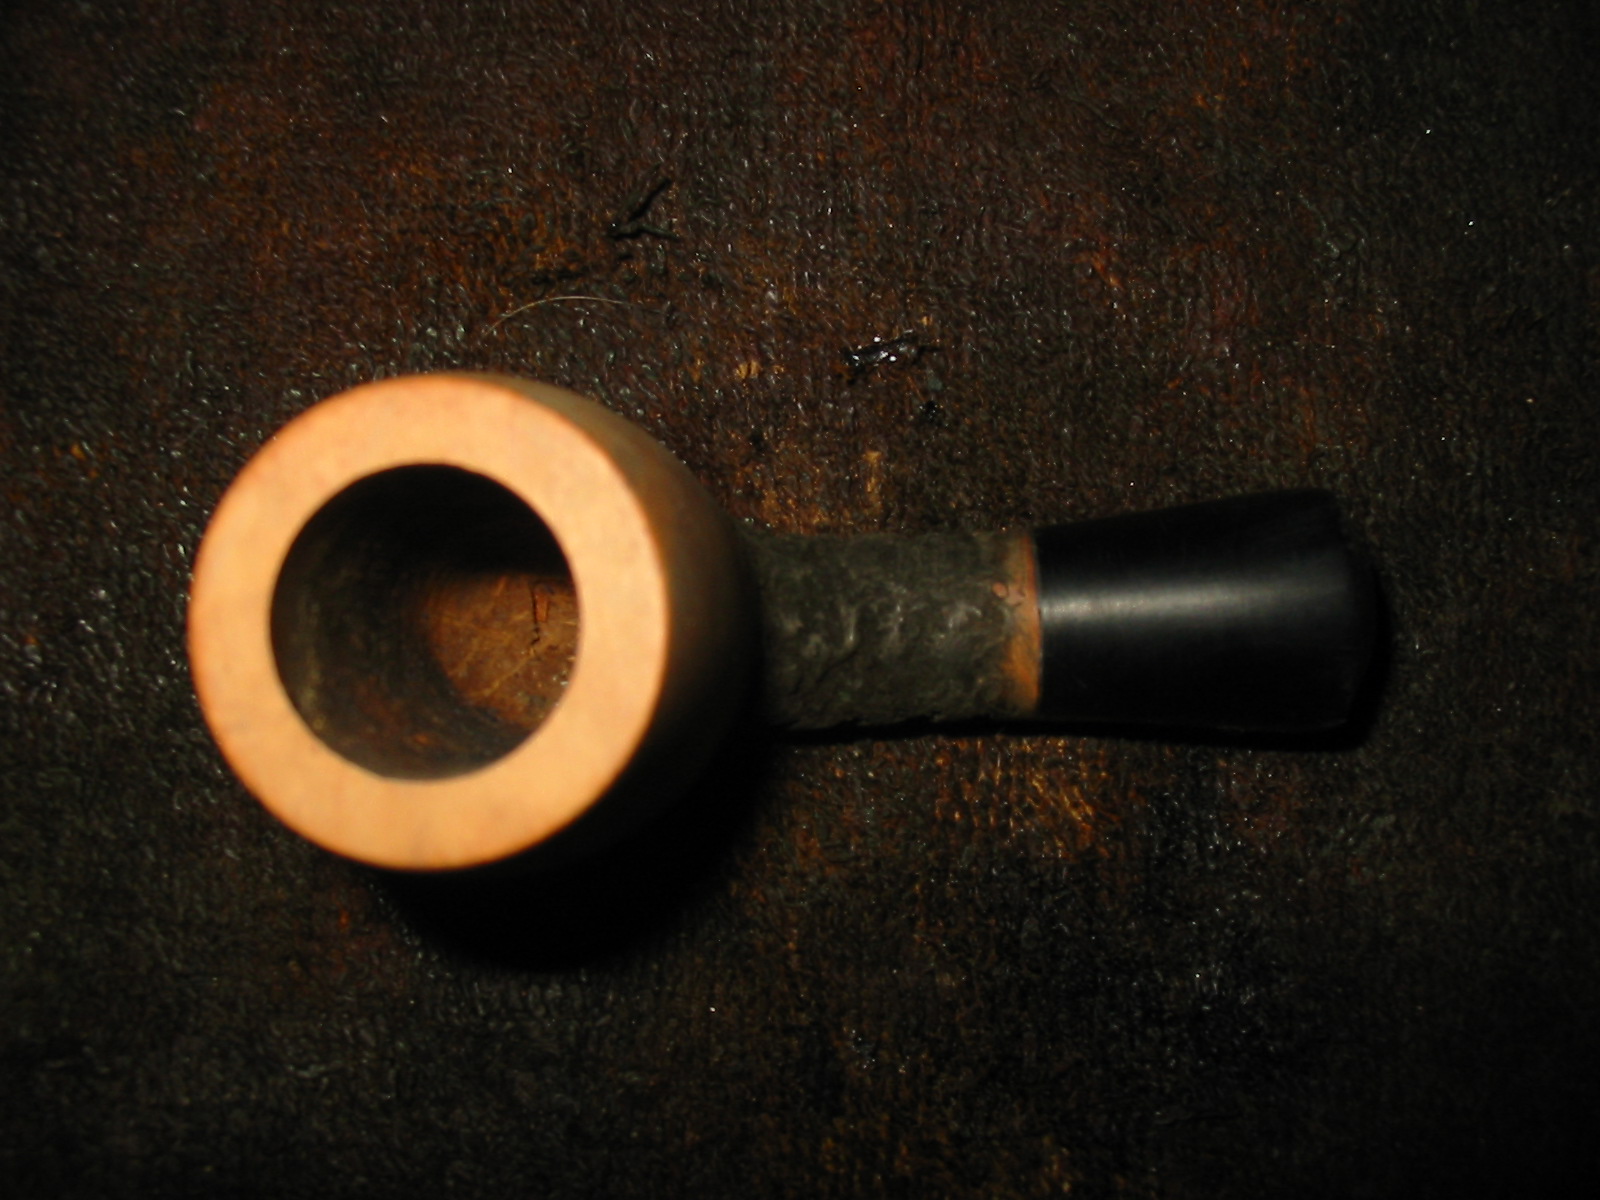
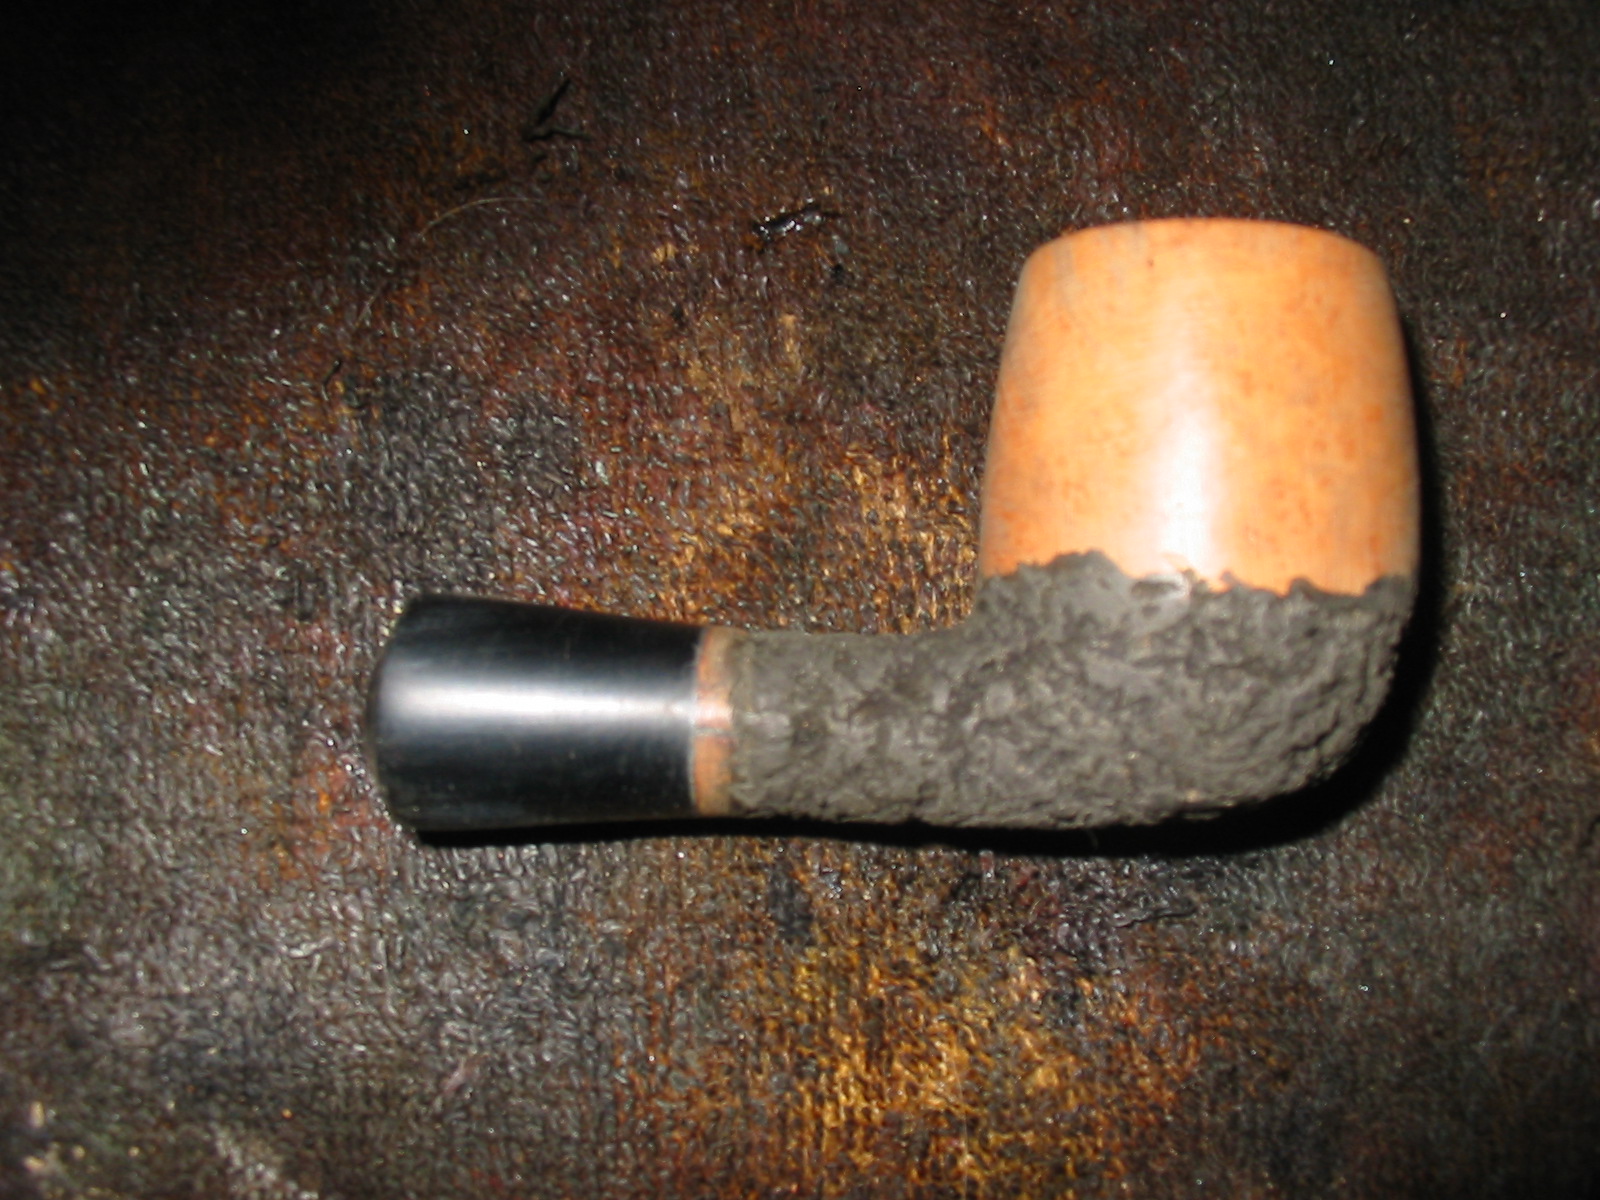
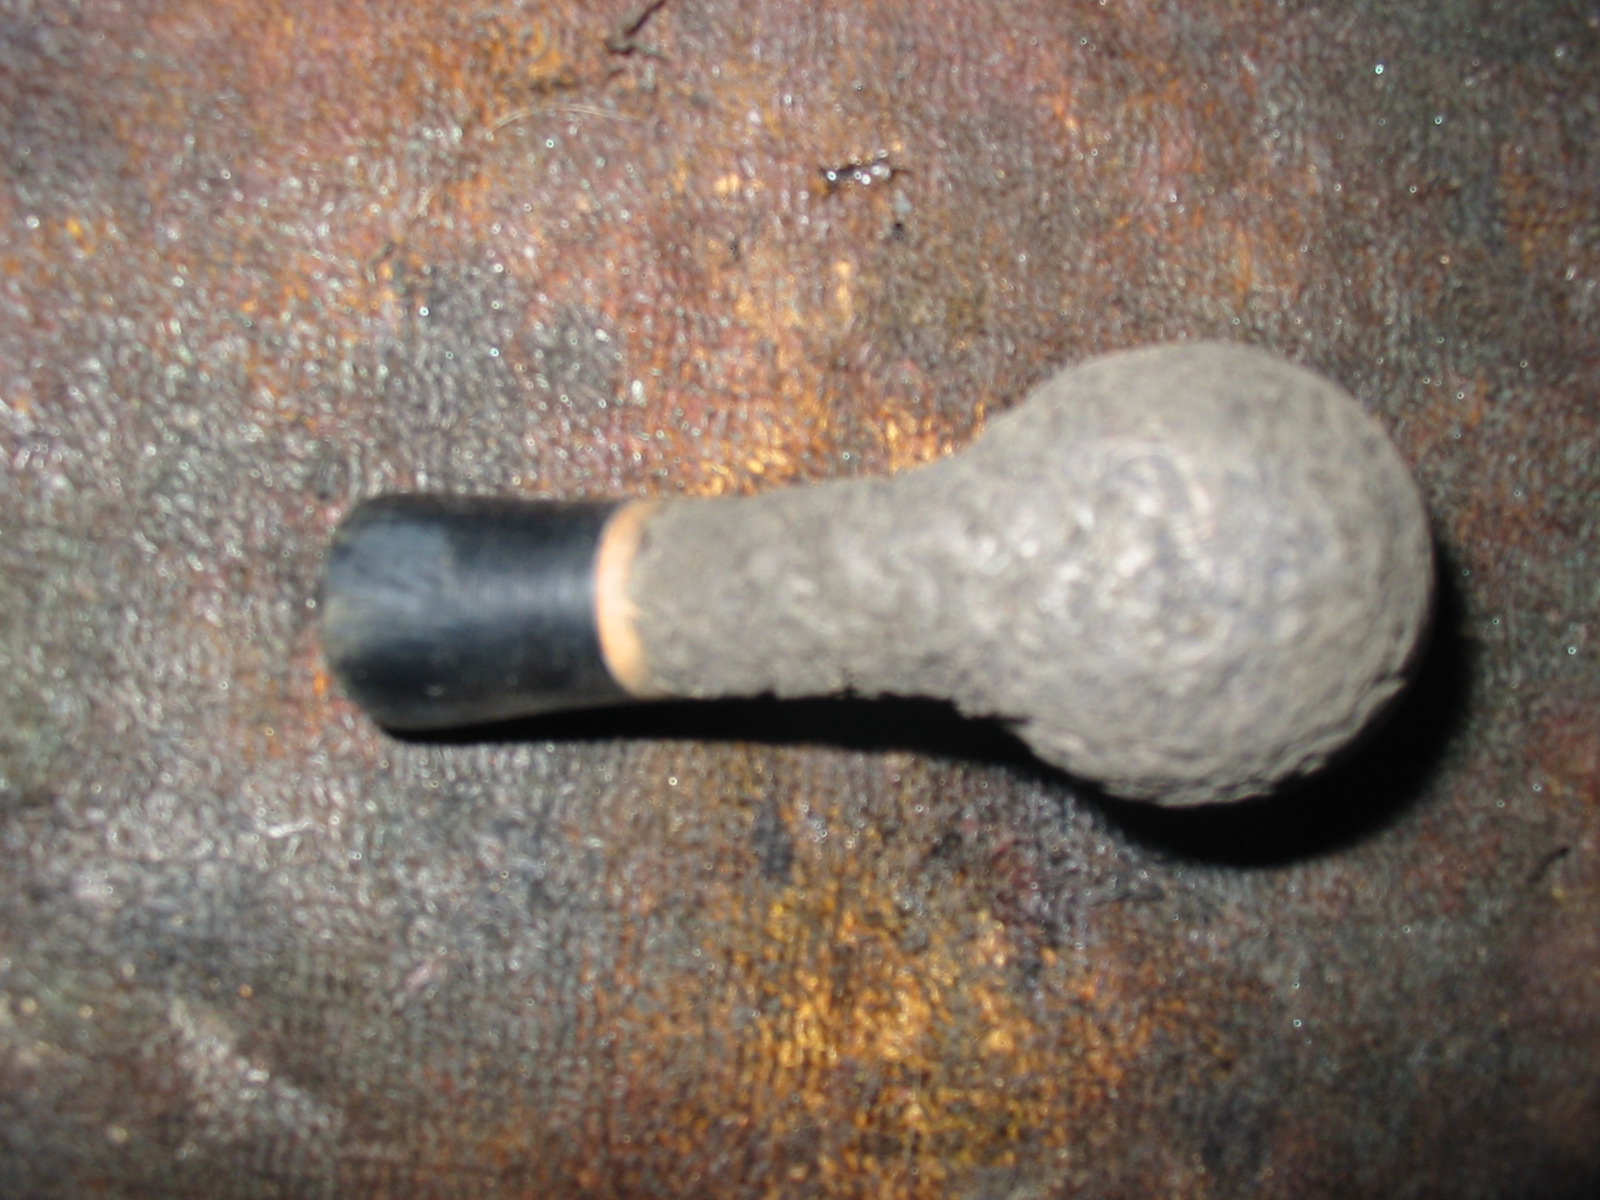
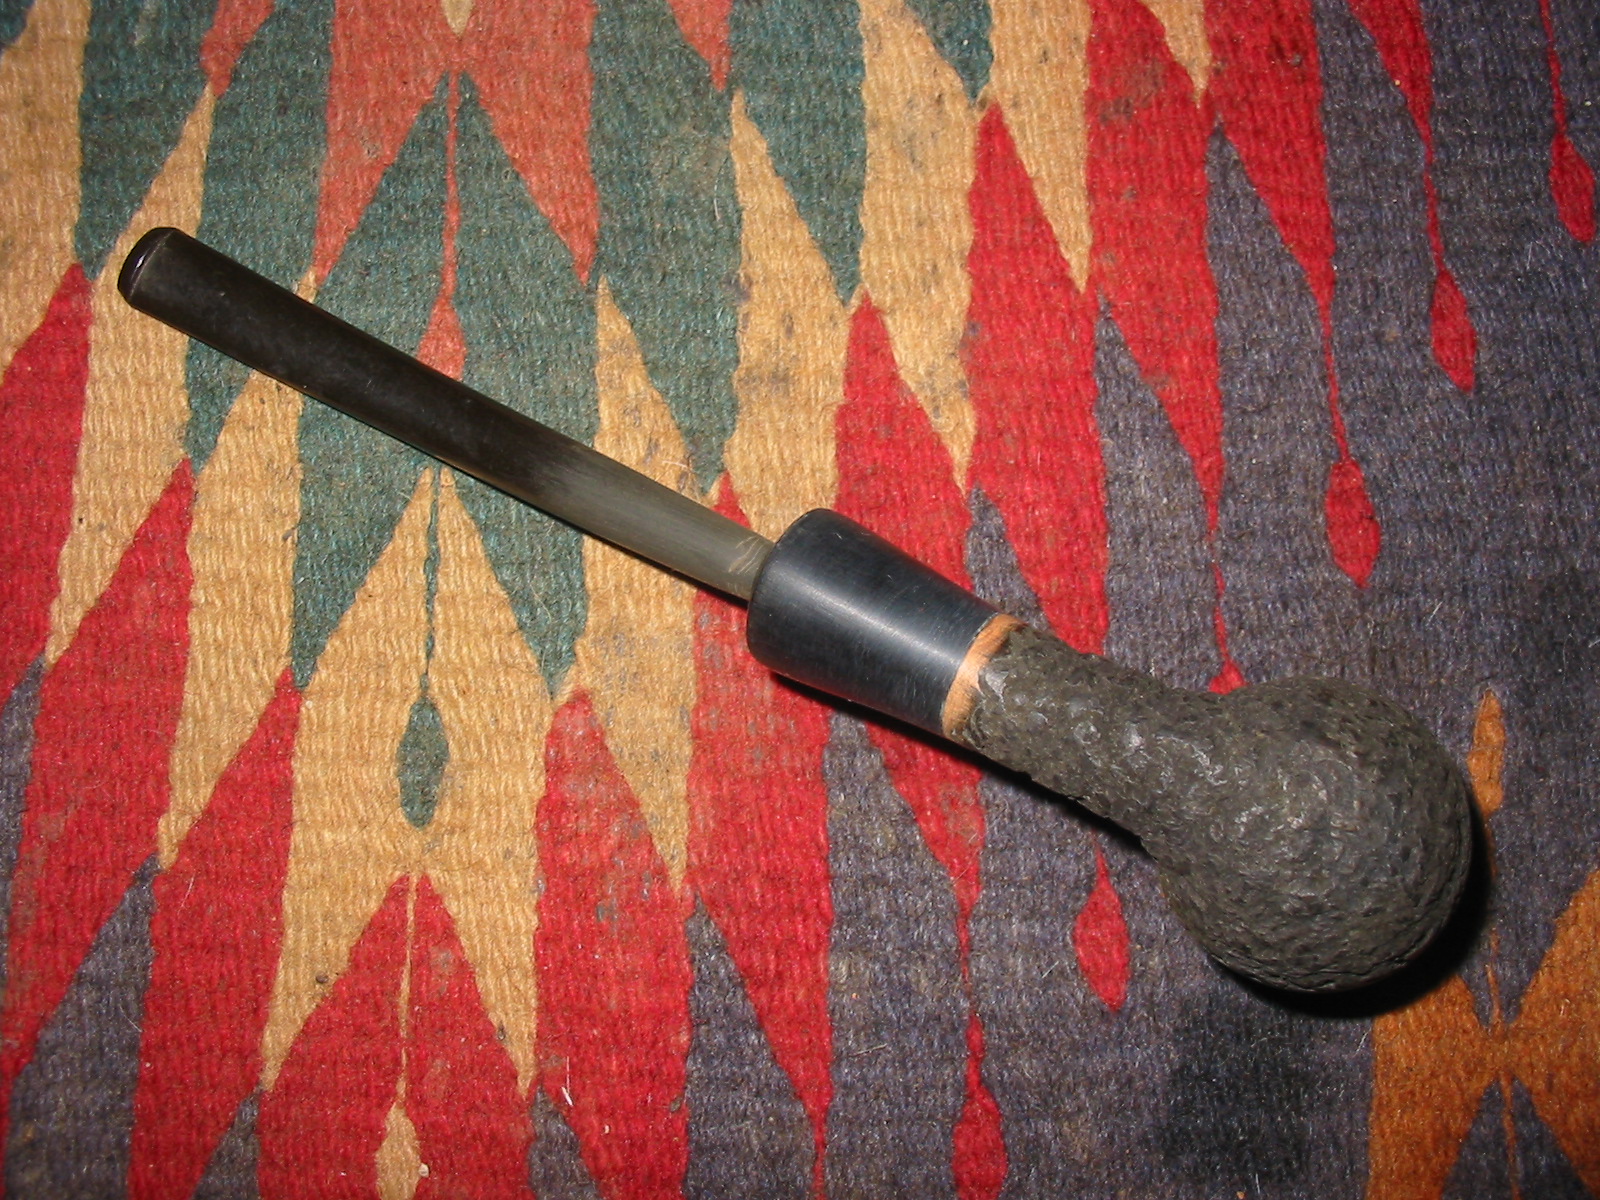
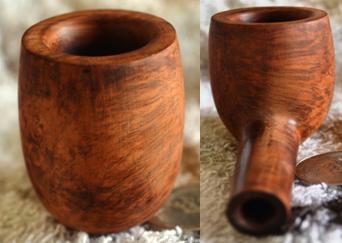
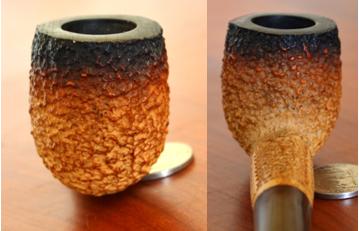
II. THE PLAYBOY MEERSCHAUM BEAST
I already owned one Laxley African Meer…

…and as soon as I saw the Playboy, I knew it had to be a Laxley also.
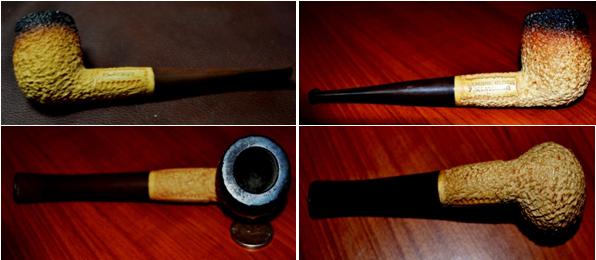

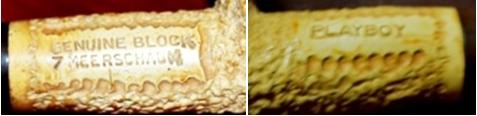
With Chuck’s concurrence, I am satisfied it’s a Laxley Playboy club edition.
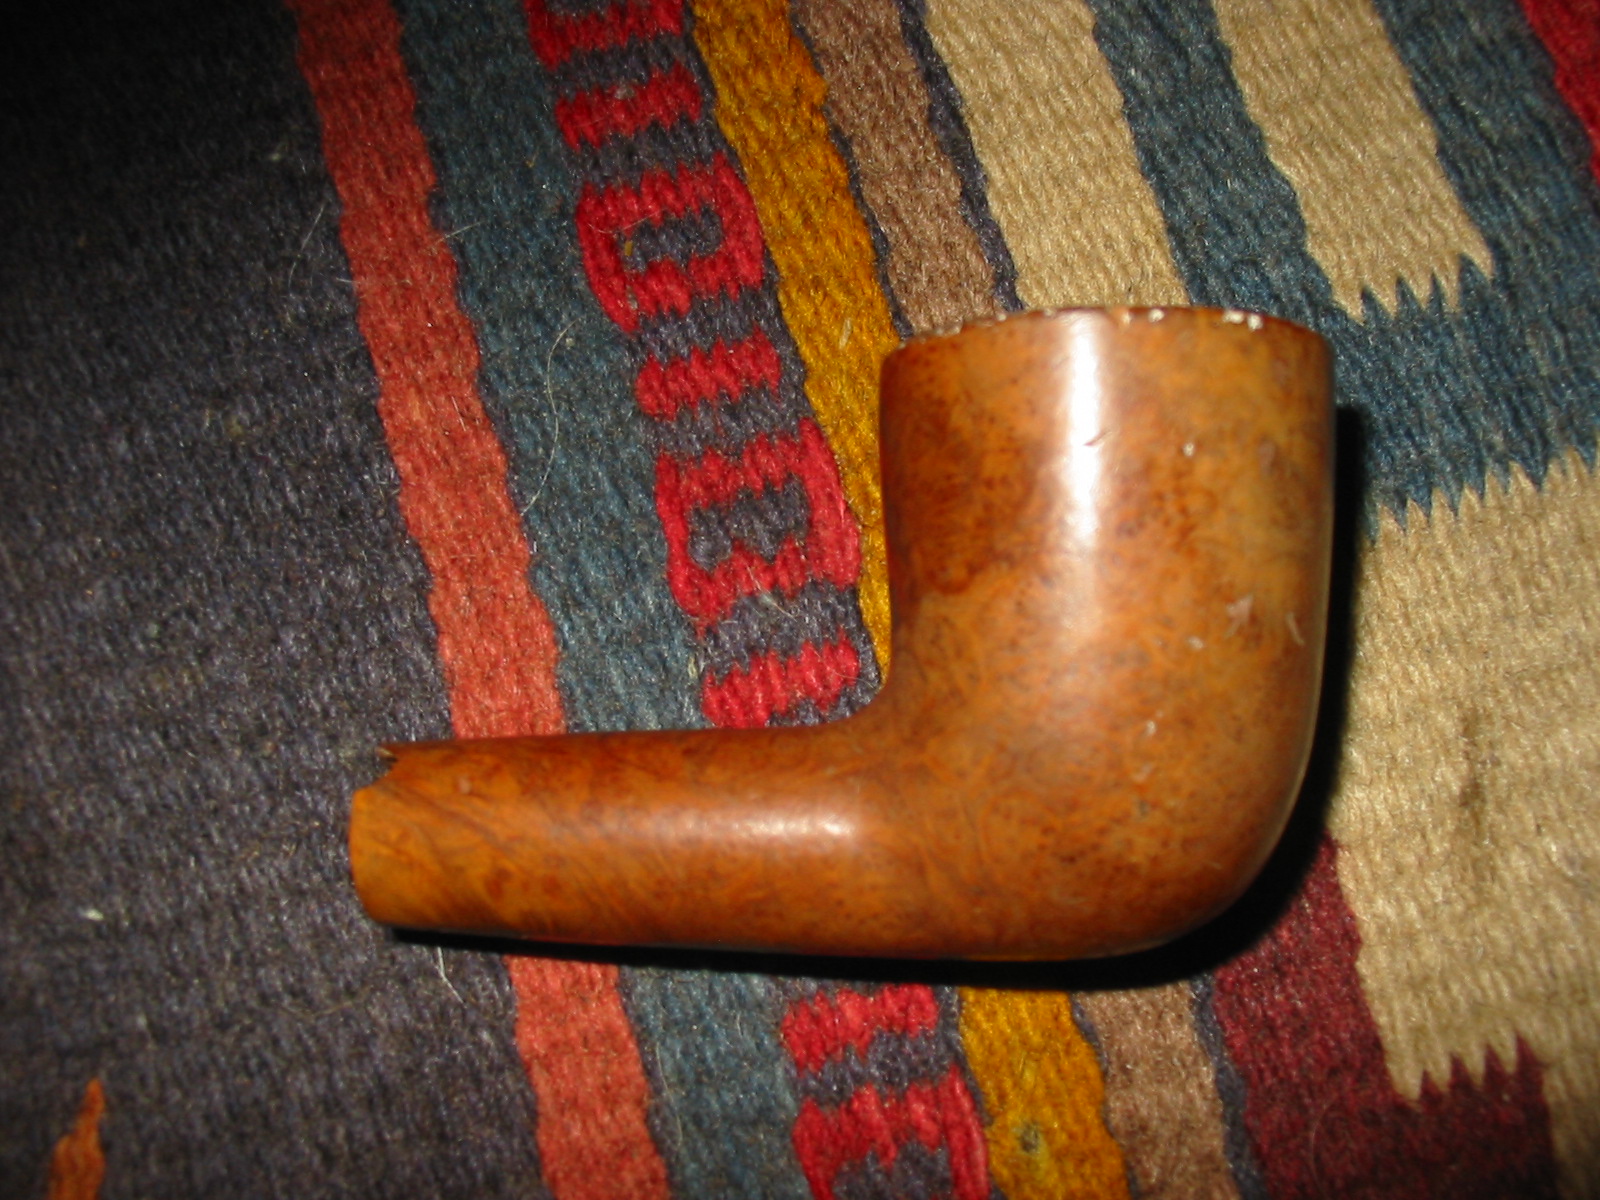
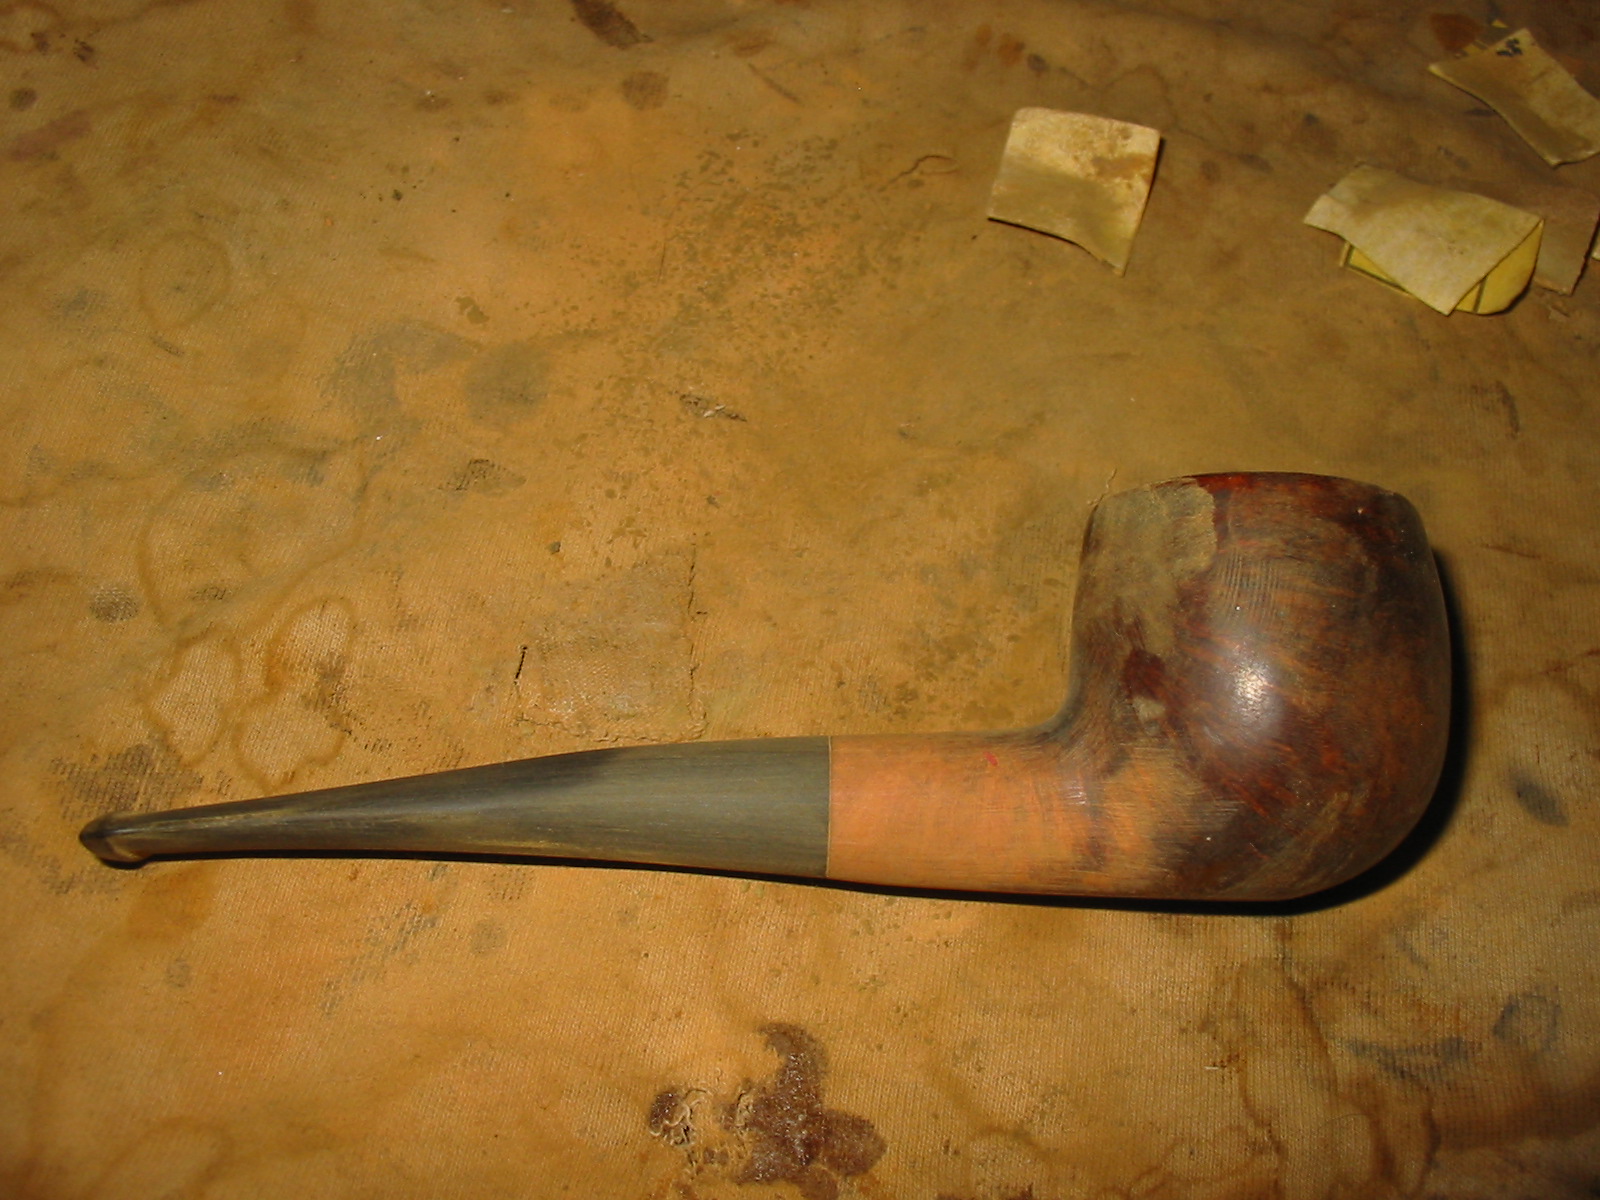
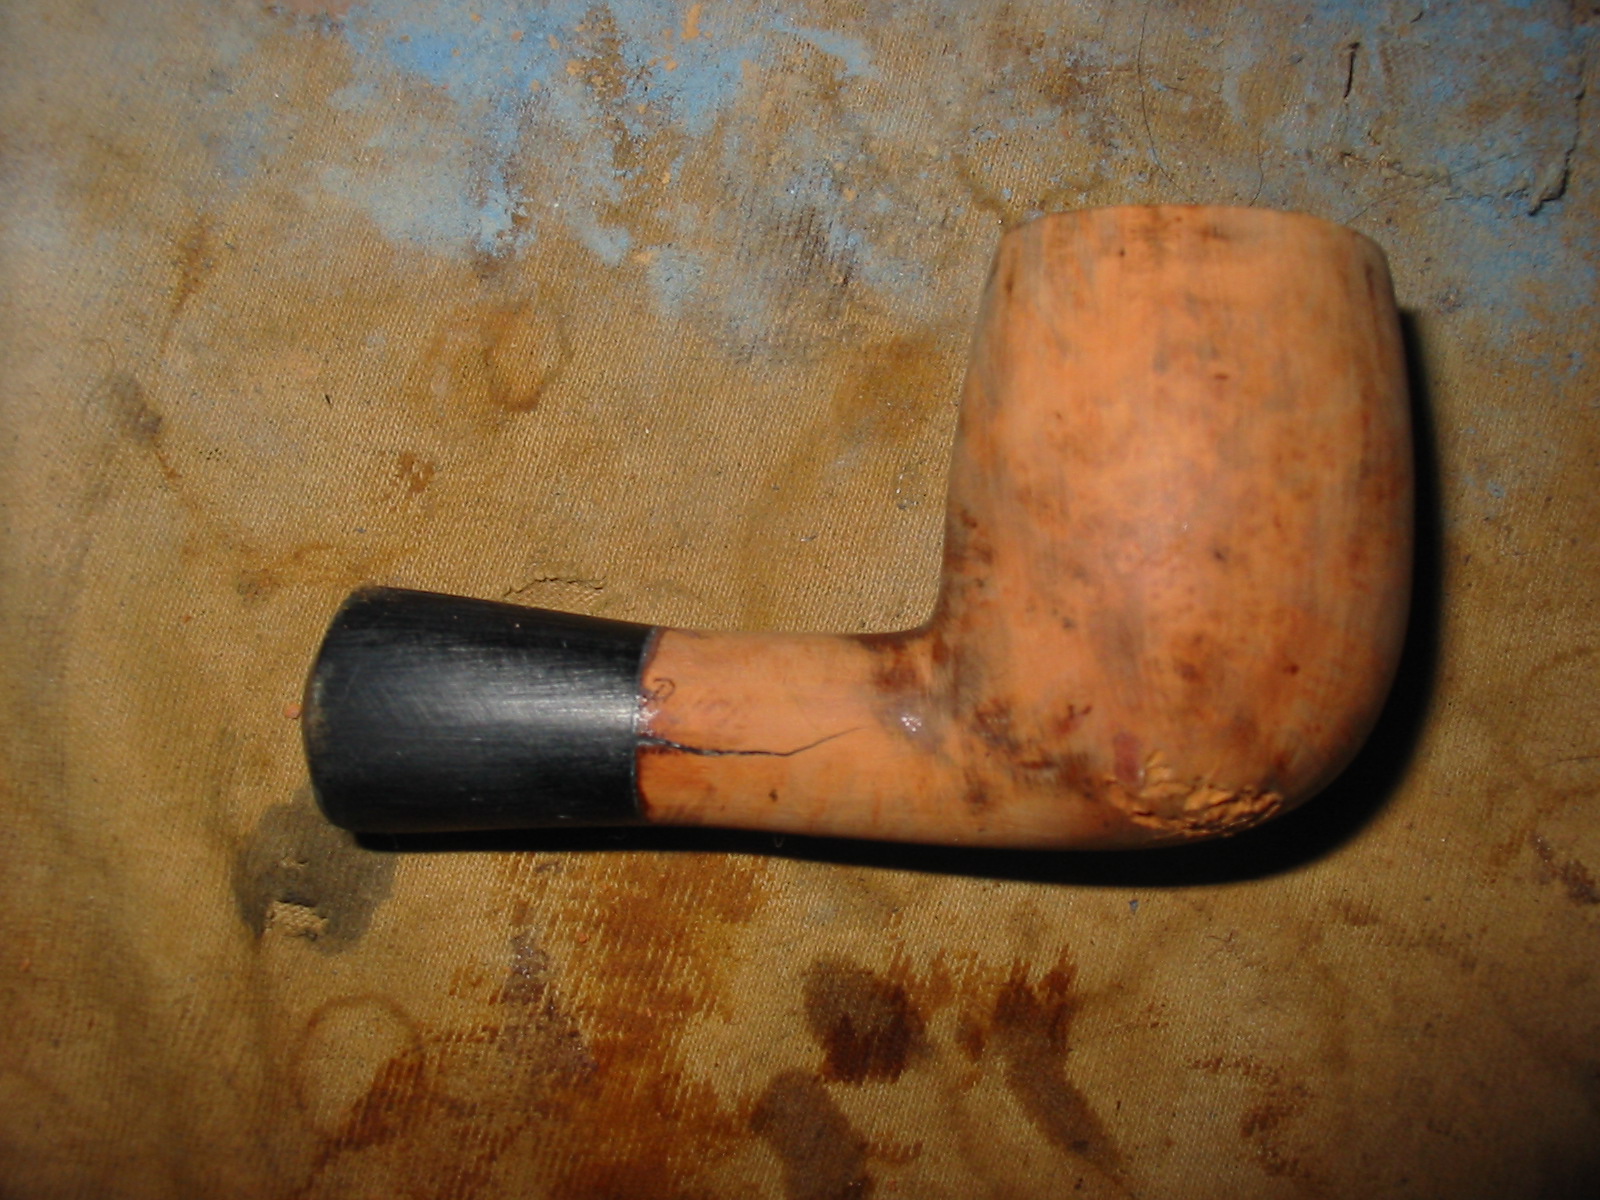
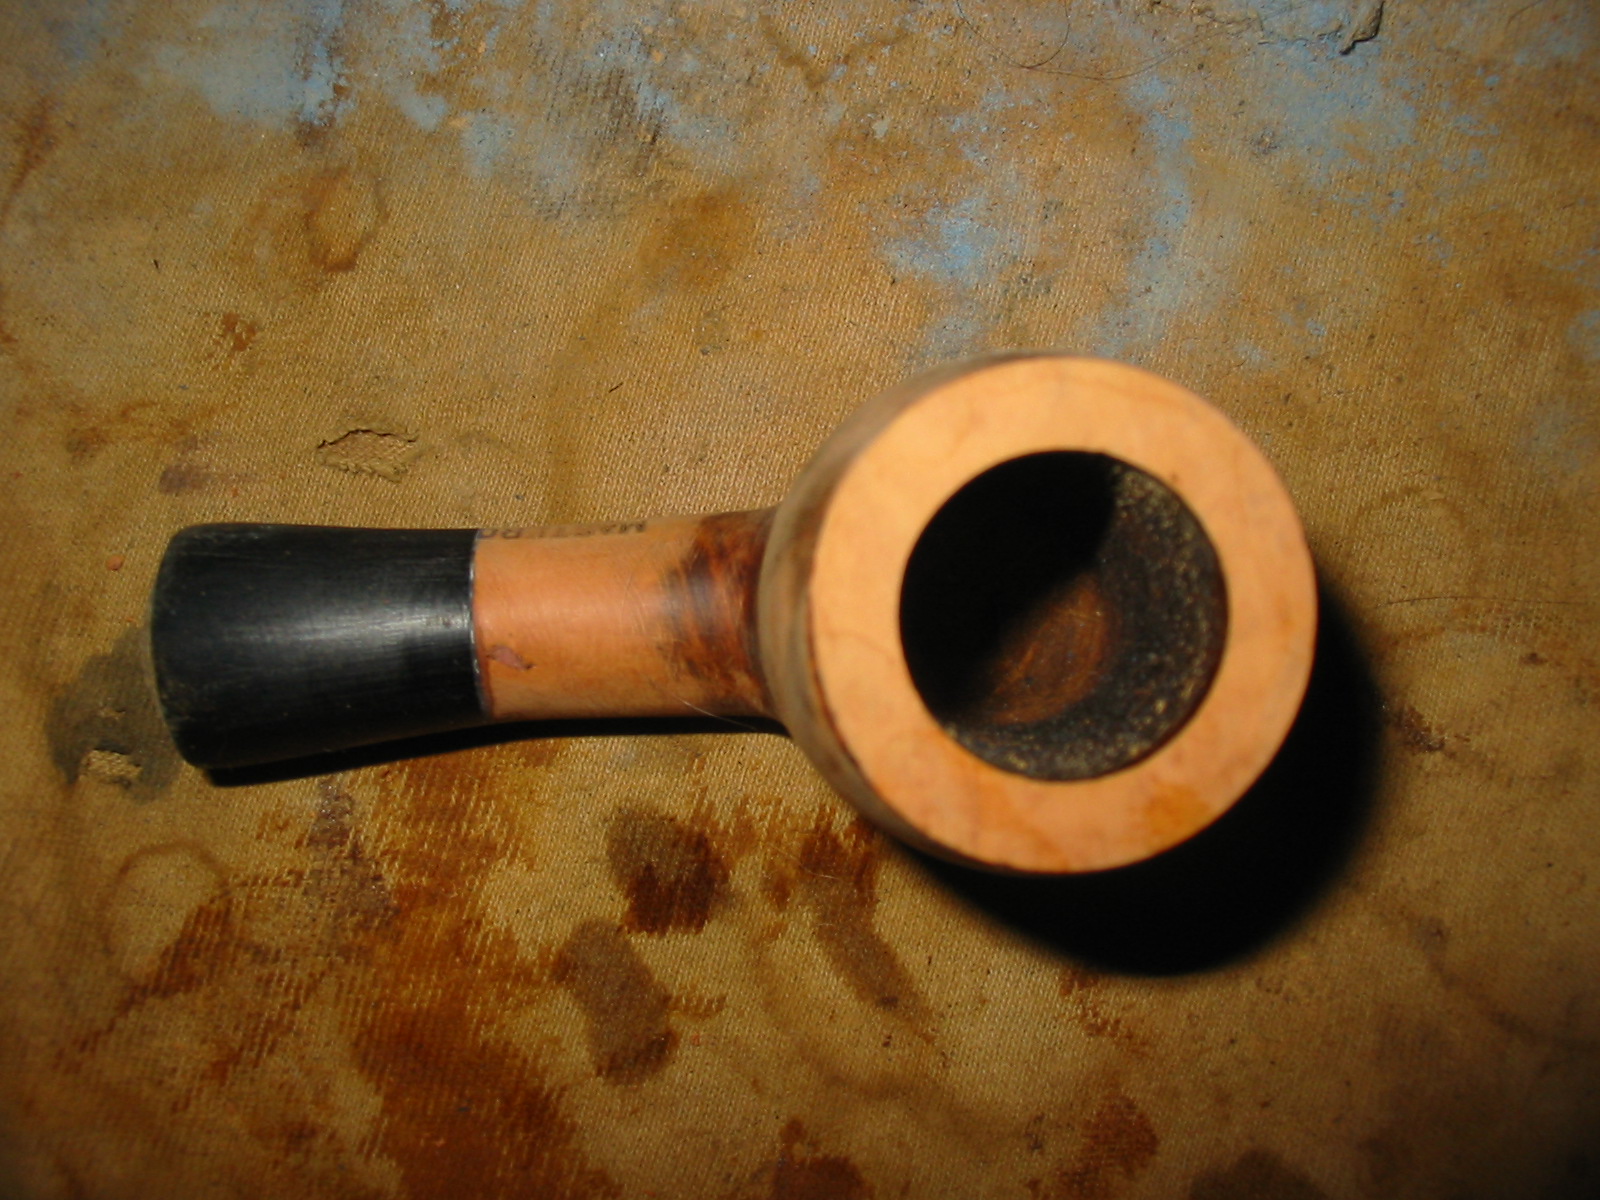
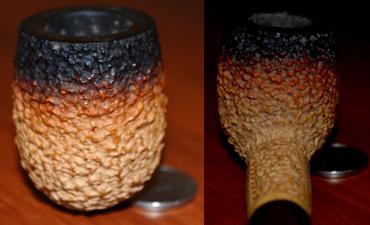
This rugged African pebbled Meer was easy to clean up and make it look almost new again, despite the heavy, crystallized burning all around the rim. I began by taking some small cotton gun cleaning cloths and applying a little purified water to each, then lightly cleaning off the outside of the bowl and shank.
I had to sand off the bright black crystallized burn around the rim with patient use of 400-grit paper until I began to see the light brown of the Meerschaum show through. Then I switched to micro-mesh and decided to go all the way past the black stain from the original. Not having any stain of that color, I bought some Lincoln for $6.95 and daubed it around the rim with care not to let it run down the top, which was fine the way it was. Next, of course, I flamed it and micro-meshed the ash away to a very smooth finish.
The screw on brown stem was a mess, so I fixed it up with micro-mesh #600 micro-mesh and buffed it evenly with white Tripoli only.


That, my friends, is how beauty met the beast. And as I intend to keep both of these for my ever growing, P.A.D.-fueled collection, I expect they shall live happily ever after.