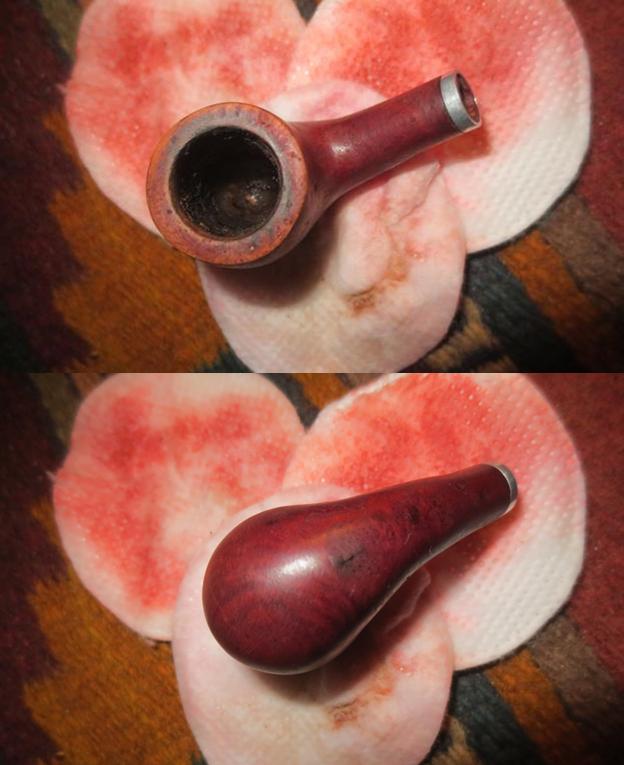
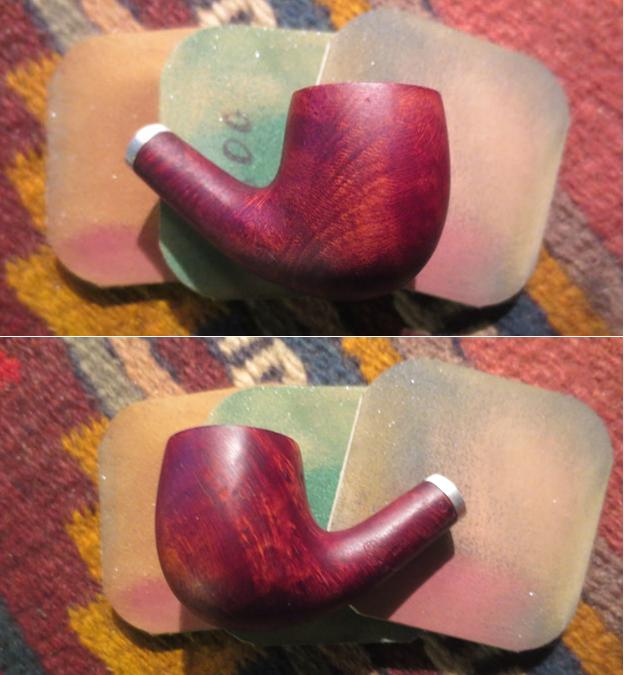
Tag Archives: stem work

Restoring a damaged rim on a Chacom Noir Dress Pipe


Blog by Steve Laug

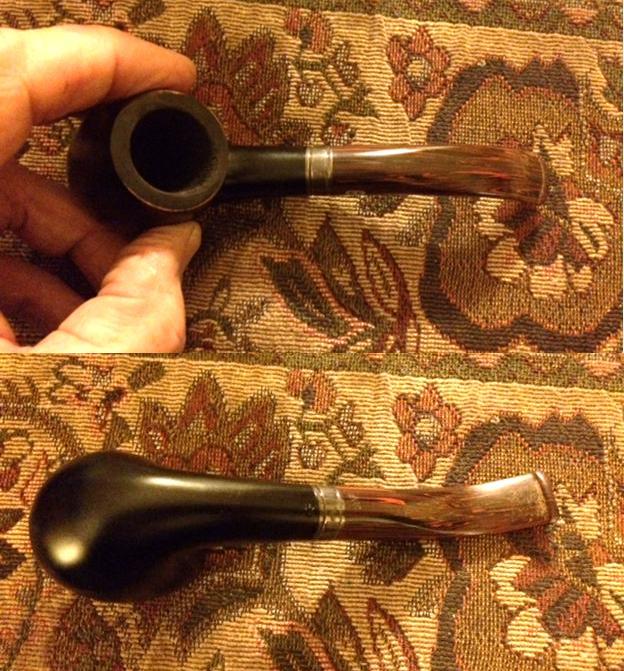
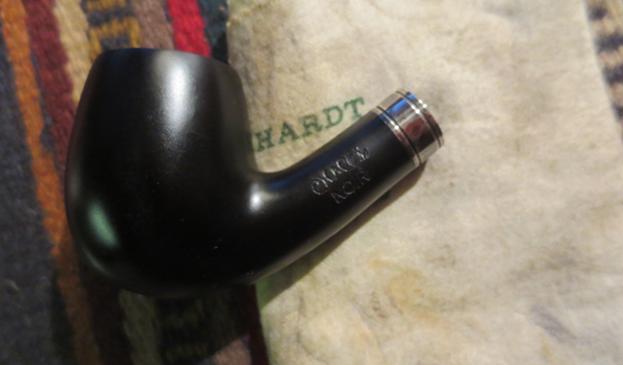
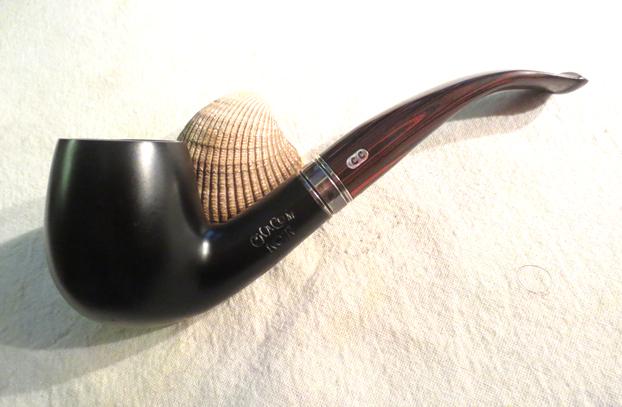
One of my recurrent nightmares in terms of refurbishing pipes is to find a black dress pipe with a perfect finish on the bowl and some kind of damage to the finish at some point on the pipe that ruined the perfectly good pipe. Well that nightmare came to life in the most recent restoration project I took on. My brother sent me a boxed Chacom Noir. It was stamped on the left side of the shank Chacom over Noir. On the underside of the shank it had the shape number 43 stamped next to the sterling silver band stamped with 925 in an oval. He had shown me pictures of it and we decided to leave it alone in terms of clean up until I had in it hand.

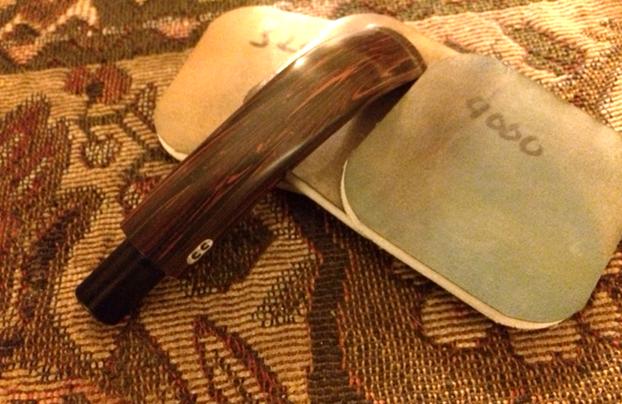
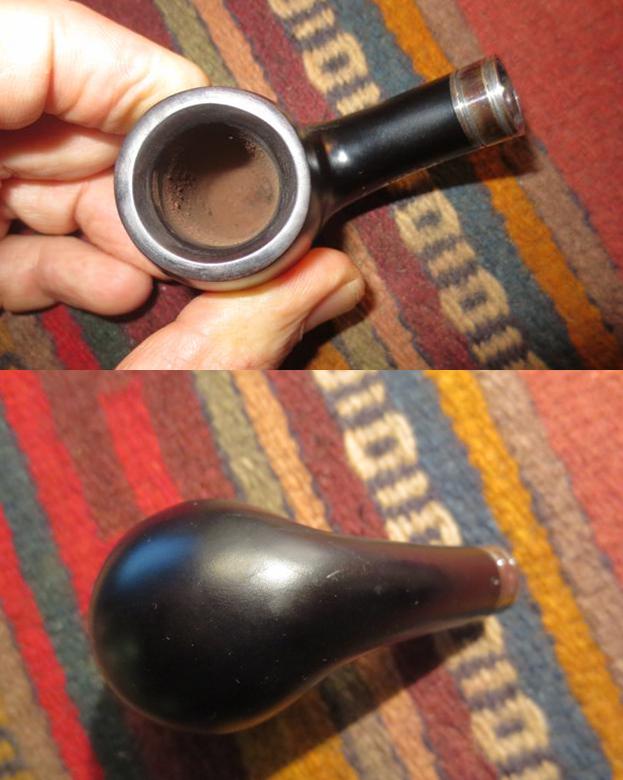
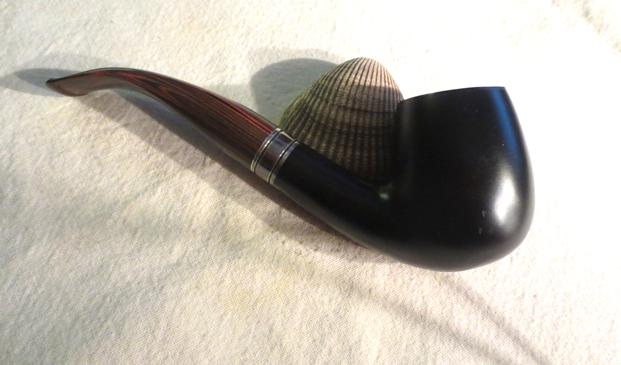
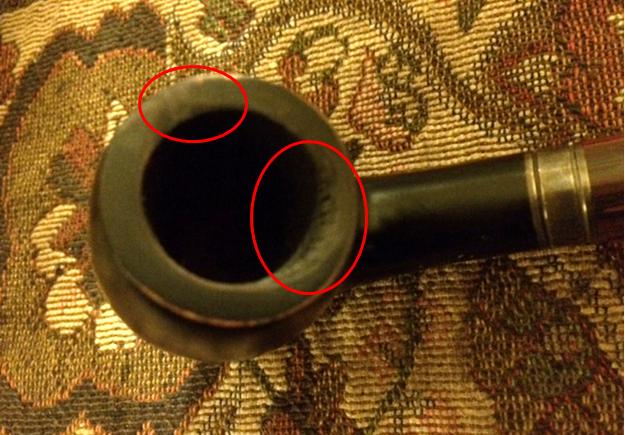
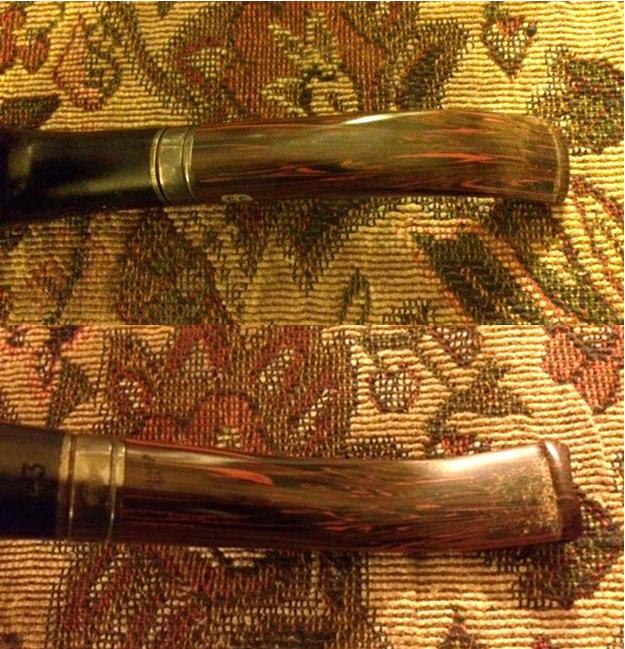
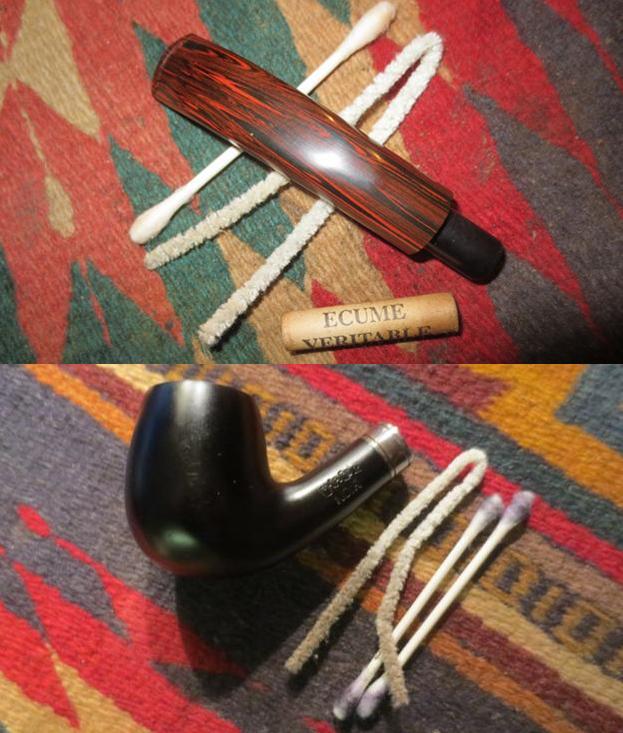
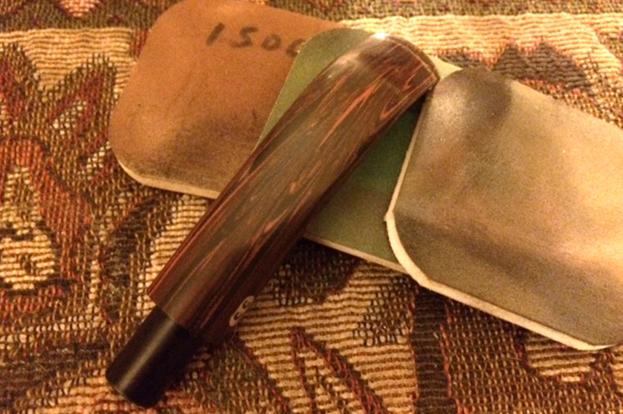
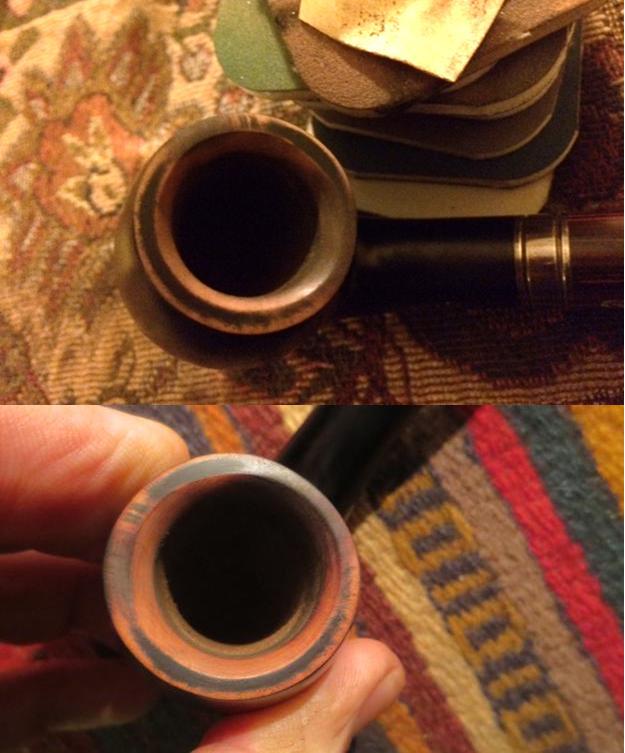
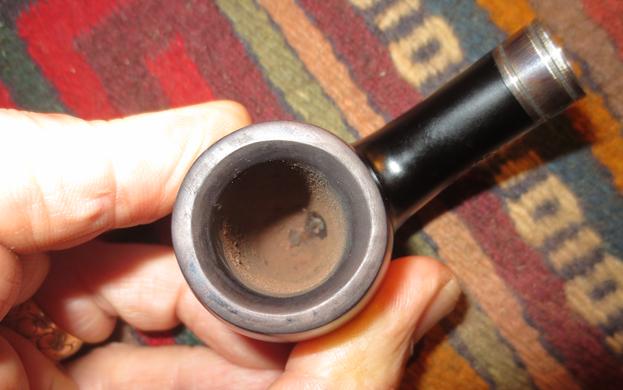
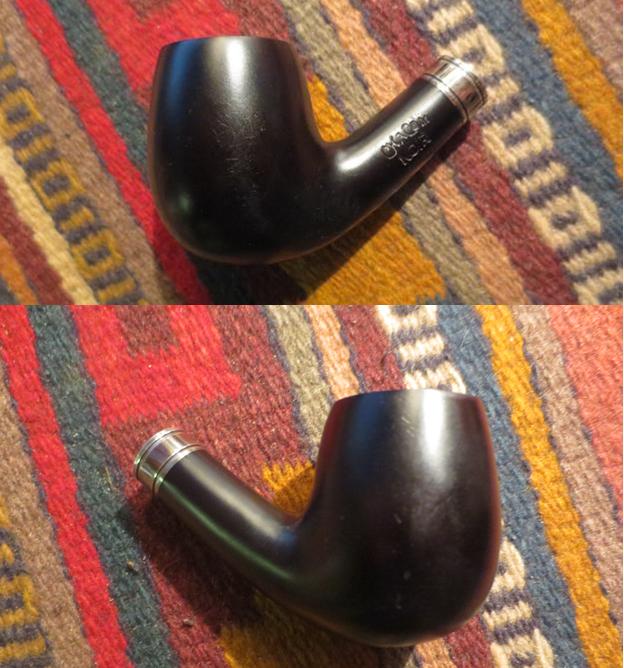
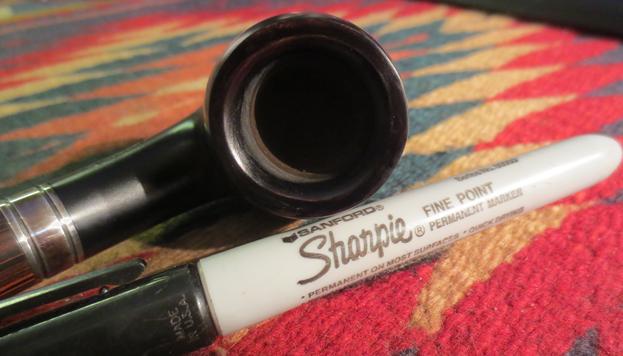
When I opened the Chacom box and saw the pipe sock in the box and the quite stunning Noir pipe nestled in the folds of the cloth I was hoping for the best. I turned it over in my hands and was visibly relieved when I saw the condition of the finish on the bowl. It looked great. There were no scratches or gouges in the finish the nice black bowl was set off perfectly by a sterling silver band that had a bit of oxidation and by the Cumberland stem that was stamped Hand Cut. The stem had no significant tooth marks just a lot of tooth chatter that would be easily cured. This pipe looked like it would be an easy restoration.chacom1 chacom2Those thoughts would come back to haunt me. I examined the rim with a light and my finger tips and immediately saw a big issue. The inside edge of the rim was damaged all along the back side. Repeated lighting had burned the edge and created a burned area in that spot. The wood was charred and missing and there was a significant slope to the rim. That particular area on the rim was thinner than the rest of the bowl. There was also a burn spot on the rim top on the right side of the pipe that was not nearly as bad. Now I had a problem and the work would be a challenge. Could I remove the burned area and still retain the black finish on the bowl? That would be something that I would find out. It was either give it a try or get rid of the pipe. I tend to love the challenge so of course I took this pipe on. The worst case scenario was that it would end up with a smooth stained rim that would contrast with the black bowl. The best case would be that I could make it work. The photo below shows the damaged area on the two spots on the bowl. I have circled them in red to highlight them.chacom3The stem was oxidized but otherwise fair condition. There was a bit of tooth chatter on the top and underside of the stem at the button as can be seen in the next two photos.chacom4The stem would be the easiest part of this restoration (besides the polishing of the silver band) so I decided to start there. I removed the stem and dumped out the 9mm filter. I was still thinking about the rim issues and the black finish so I had given no thought to the fact that my brother had cleaned out the internals of the pipe. He had reamed it and cleaned the mortise and shank and he had cleaned out the airway in the stem. I just naturally grabbed some pipe cleaners, cotton swabs and alcohol and recleaned them only to find that other than removing black stain from the mortise the pipe was impeccably clean. Thanks Jeff!chacom5I sanded out the tooth chatter with 220 grit sandpaper until it was smooth and then worked on the stem with micromesh sanding pads. I wet sanded the stem with 1500-2400 grit pads and dry sanded it with 3200-12000 grit pads. After each set of three pads I rubbed the stem down with Obsidian Oil. After the last rubdown with Obsidian Oil I set the stem aside to dry.chacom6 chacom7 chacom8With the easy work done I spent some time looking at the rim top to decide the best course of action to take. I knew that I could top the bowl but the extent damage to the inner edge of the bowl would mean that I would need to top it pretty radically. I also knew that if I topped the bowl I would expose a raw edge to the black finish at the bowl top. I was not sure if I was dealing with paint or stain but I dreaded sanding back the rim only to have the outer edges of the bowl begin to peel. So I decided to do something a bit different. I worked to bevel the inner edge of the rim to remove the burnt portion and to match the rest of the bowl to that area. It took quite a bit of sanding with 220 grit sandpaper to get the rim edge smoothed out. I sanded it with 1500-1200 grit micromesh sanding pads to polish the newly sanded bevel. Once I was finished the rim looked better. It was still a little thinner at the back of the bowl but overall it was more round looking. I was hoping that a black stain would blend with the rest of the bowl and minimize the look of the rim edge. chacom9I still was not certain that a black stain would match the finish on the pipe. It could easily not work and the rim repair would have to be addressed in a different manner. Several possible issues could arise – the stain would be too transparent or it would be a different shade of black. I would not know unless I tried so with a bit of trepidation I stained the rim and bevel with a black aniline stain, let it dry and restained it. I did not flame the stain as I did not want to risk damaging the rest of the finish on the bowl. The photo below shows the rim after several coats of black stain have dried. After this I gave it several more coats of black stain to get a match.chacom10I cleaned the sterling silver band with a jeweler’s cloth until the silver shone. This cloth easily removes most light oxidation without much effort. They are available at jewelry shops for a minimum cost. I have had mine for about 10 years and it works well.chacom11I gave the bowl and rim several coats of Conservator’s Wax and hand buffed it with a microfibre cloth. I did not want to risk removing some of the finish from the bowl by buffing it on the wheel. I was relieved to see that the rim colour blended in very well after waxing and buffing. I would still need to clean out the debris in the bowl but the pipe was beginning to look better than when I started.chacom12 chacom13I decided to use a black Sharpie pen to add some depth to the colour on the rim of the pipe. I wiped down the rim to remove the wax then used the Sharpie to give it a top coat. The black pen and the stain together made a better blend to the rim. I gave it another coat of Conservator’s Wax and hand buffed the rim.chacom14I gave the bowl and stem multiple coats of Conservator’s Wax and hand buffed the pipe with a microfibre cloth. While the rim is not perfect the colour matches perfectly and the shine on it matches the finish on the bowl. The finished pipe is shown in the photos below. I am pleased with the finished pipe and the results of the experiment. This pipe will also find its way to the rebornpipes store soon. It comes with a Chacom box and pipe sock. There is a lot of life left in this beautiful pipe. The contrast of the Cumberland stem, the silver band and the matte black finish on the pipe works really well together. Email me if you are interested in the pipe before it goes on the store. My email is slaug@uniserve.com.
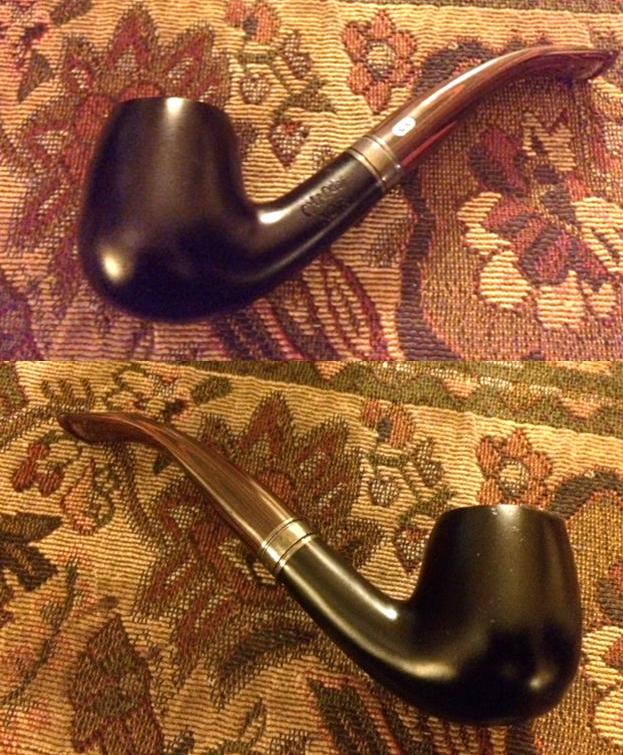
Thanks for looking.chacom15 chacom16 chacom17 chacom18 chacom19 chacom20 chacom21 chacom22 chacom23 chacom24
Cleaning up an Erik Nording Freehand


Blog by Steve Laug

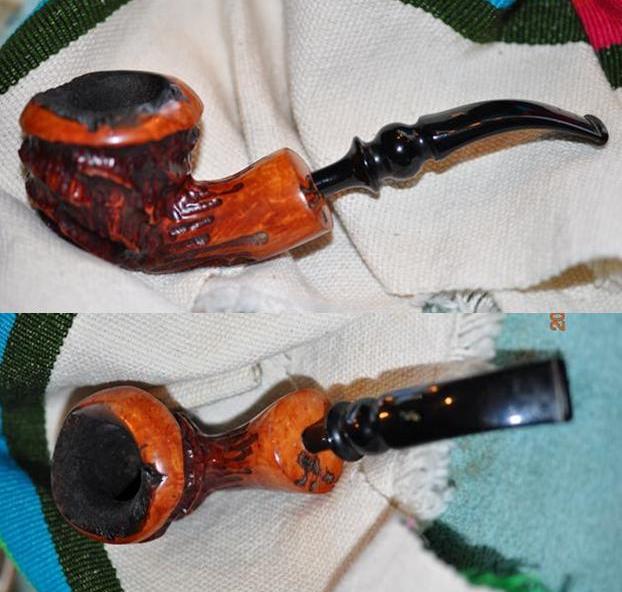
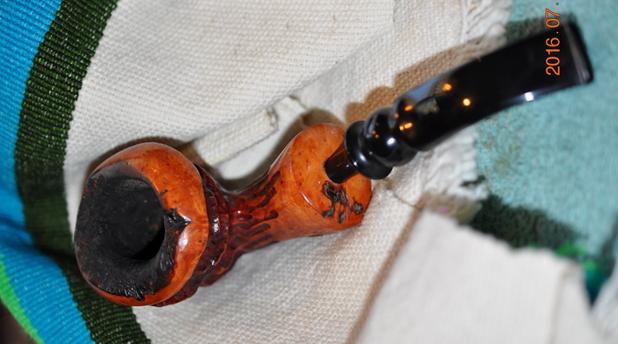
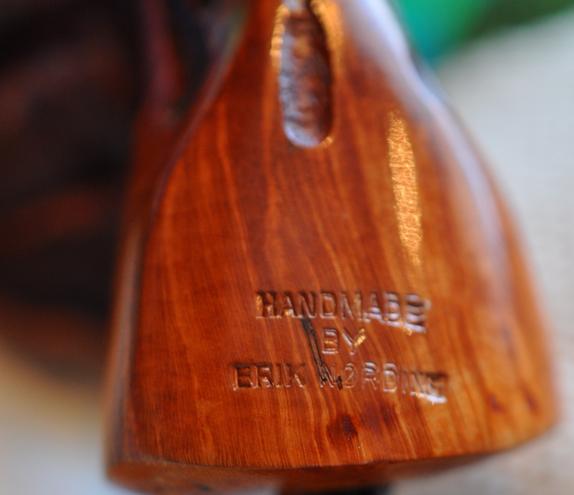
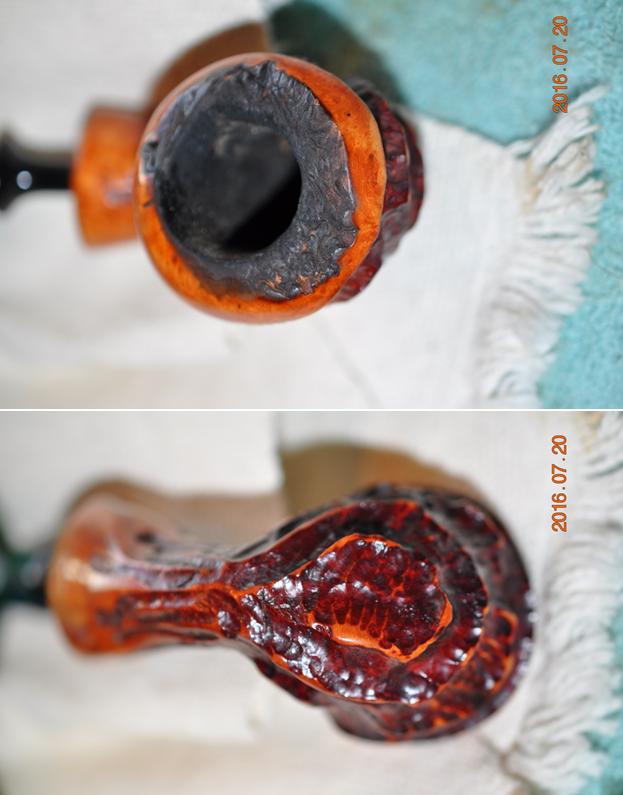
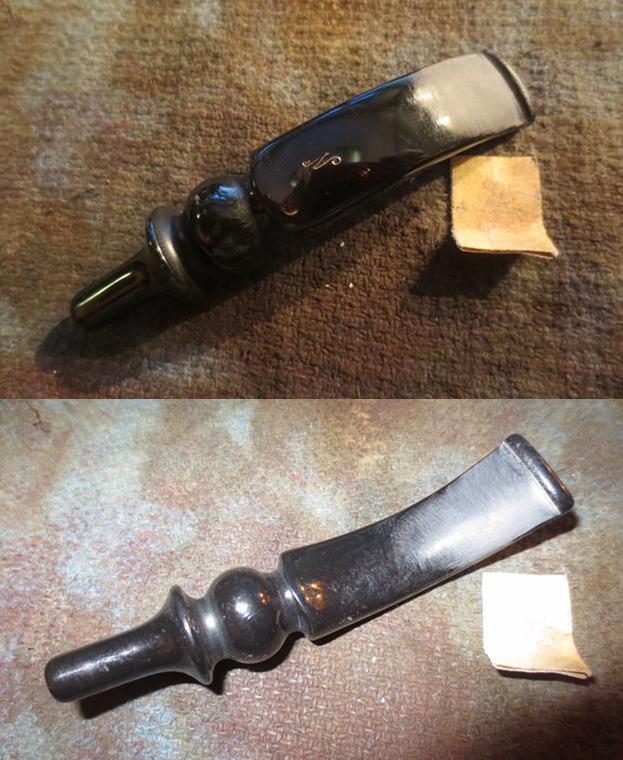
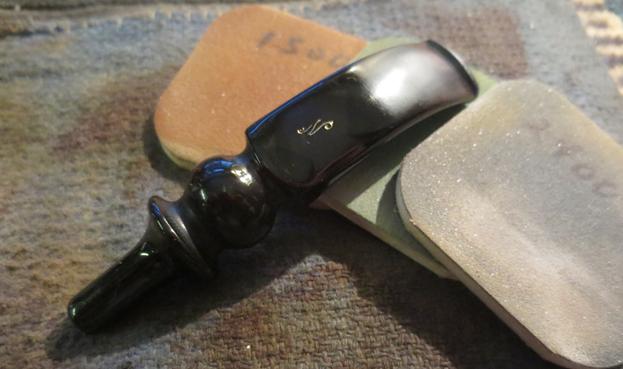
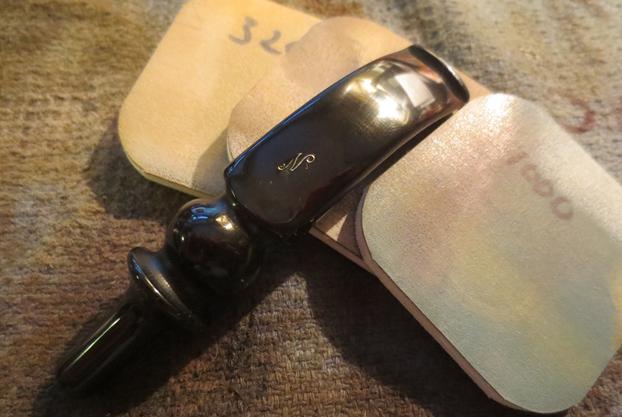
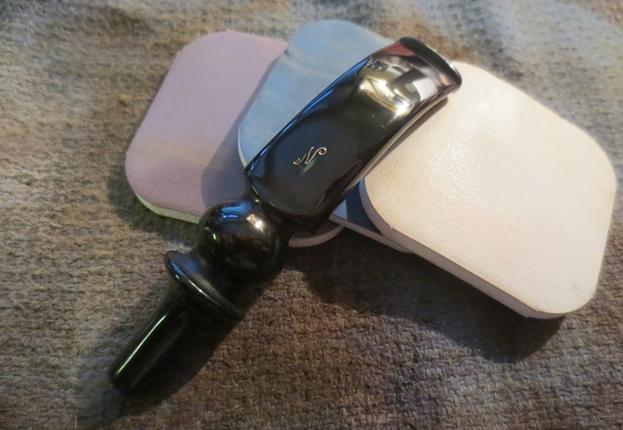
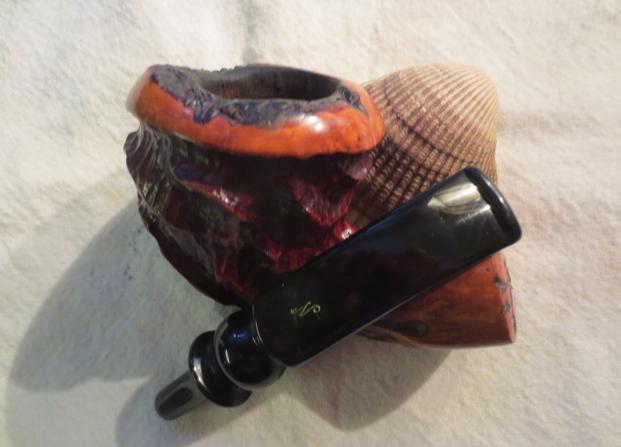
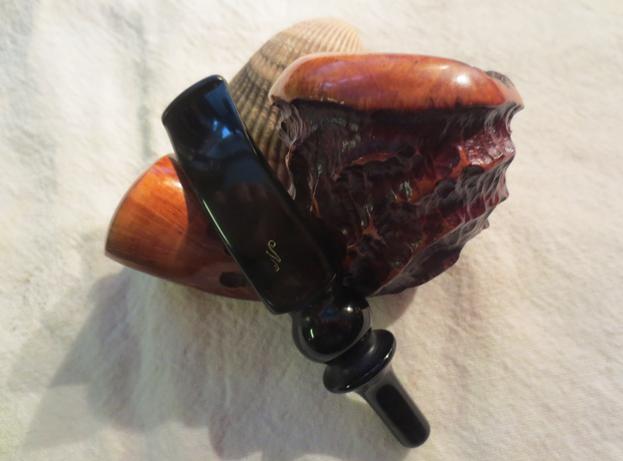
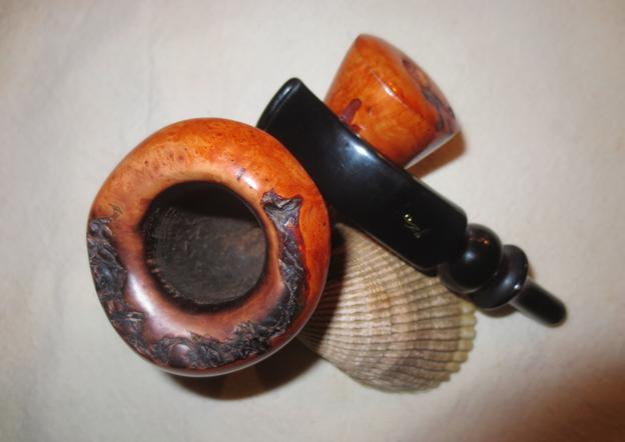
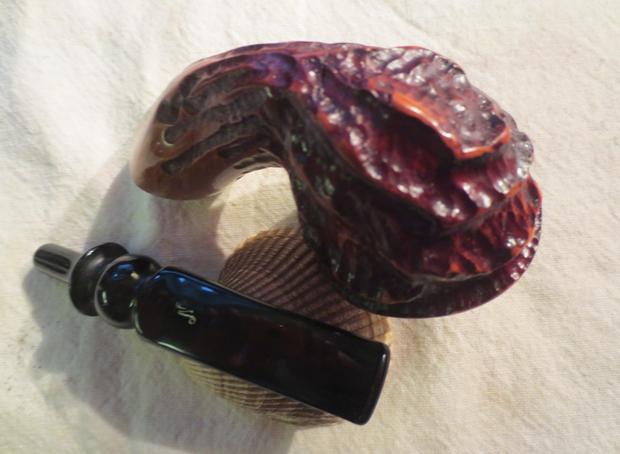
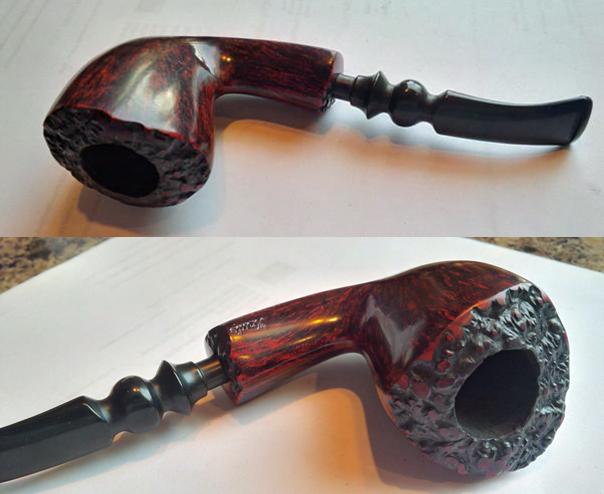
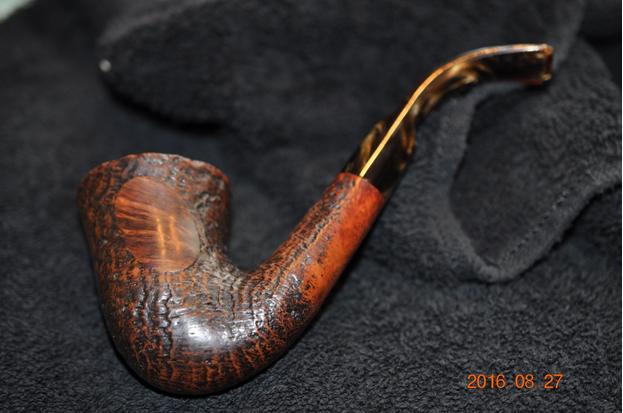
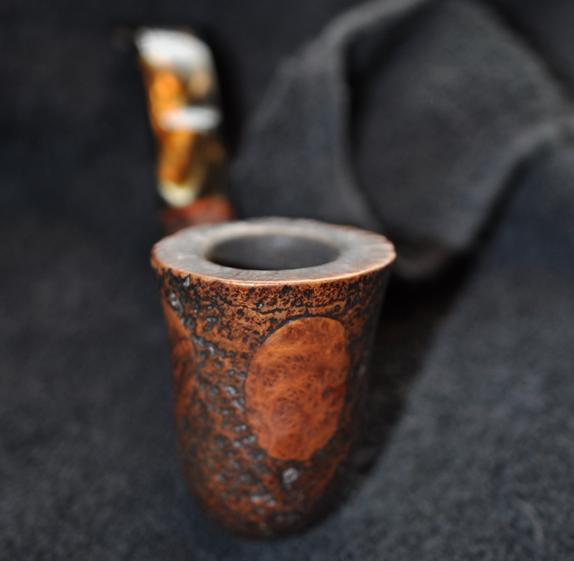
This is yet another interesting pipe from the latest box of pipes that my brother Jeff sent to me. It is a hand carved Erik Nording Freehand. It has a hand rusticated rough finish on the shank and the bowl. In looking at Erik’s website I am pretty sure that the pipe is from the Vahalla series as it has the same rustication. The difference is in the small bit of plateau left behind on the rim and the shank.The rim has some plateau with smooth areas around the edges and top of the bowl. The shank end was also smooth with a tiny spot of plateau there as well. There is a contrast stain on the bowl and shank with dark reddish undertones and a light/medium brown top stain. The stem is turned with a ring and ball after it insert into the shank. There is a cursive N on the stem that is the Nording stamp. erik1 erik2The stamping on the underside of the shank is readable but double stamped on the smooth portion of the flared shank. It reads Handmade by Erik Nording.erik3The rim is quite dirty with tars and oils built up in the plateau. It is heavily clogged with tars and oils and there are some burn marks on the inner edge of the rim top. The inner edge was originally smooth tapering into the bowl and rising to a ring of plateau on the top. The outer edge also flows from the plateau toward the bowl edge and is shaped like a cap. The underside of the bowl and shank shows the rustication pattern. The finish is in very good shape.erik4My brother cleaned the bowl and the internals of the pipe. He scrubbed the finish with Murphy’s Oil Soap and reamed the bowl with a PipNet reamer. He cleaned out the shank and airways with alcohol and pipe cleaners and cotton swabs. I took the next photos when the pipe arrived at my work table.erik5 erik6I took a close up photo of the rim top to show the caking and damage that had filled in the grooves in the plateau and darkened the inner edge of the bowl.erik7I took photos of the stem to show the tooth marks and chatter on both sides of the stem near the button. The stem was otherwise quite clean.erik8I sanded out the tooth marks and chatter with 220 grit sandpaper until they were gone. With the surface of the stem smooth it was ready to polish with the micromesh sanding pads.erik9I wet sanded the stem with 1500-2400 grit pads and dry sanded it with 3200-12000 grit pads. I wiped it down with a damp cloth after sanding it with each pad.erik10 erik11 erik12I did a quick clean on the mortise, airway in the shank and the stem with pipe cleaners, cotton swabs and alcohol. It was pretty clean.erik13The bowl top was actually quite a mess. I used a brass bristle wire brush to clean out the grooves. As I cleaned it I noticed that the inner edge of the rim was originally smooth. I sanded it with 220 grit sandpaper to remove the damaged areas and smooth it out. I worked to blend it into the plateau areas.erik14I polished the rim edge with micromesh sanding pads – wet sanding with 1500-2400 grit pads and dry sanding with 3200-12000 grit pads. I wanted to get the inner edge of the rim smooth and clean. I bleached it using a cotton swab and bleach to remove some of the darkening. I sanded it until it was smooth and polished and looked like it must have when the pipe was new.erik15 erik16 erik17I buffed the pipe and stem with Blue Diamond on the buffing wheel. I gave the bowl and stem multiple coats of carnauba wax. I buffed it with a clean buffing pad to polish it. I hand buffed it with a microfibre cloth. The finished pipe is shown in the photos below. This one will certainly be on the store soon. If you are interested in purchasing it ahead of time send me an email at slaug@uniserve.com or send me a message on Facebook or here. Thanks for looking.erik18 erik19 erik20 erik21 erik22 erik23 erik24 erik25
Rejuvenating a GBD Colossus Fantasy 9552 Bell Dublin


Blog by Steve Laug

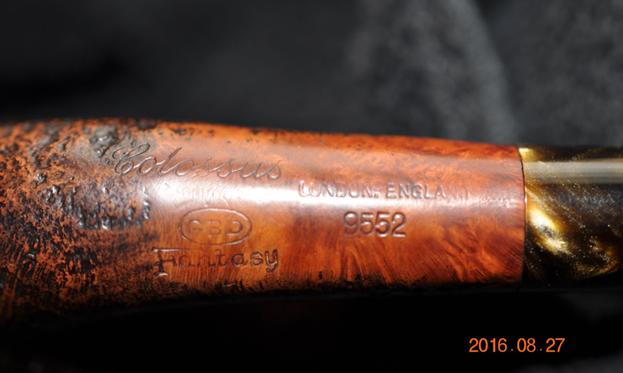
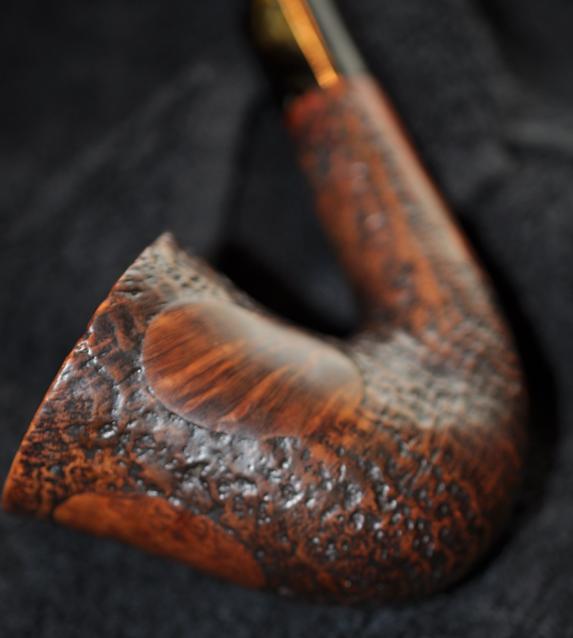
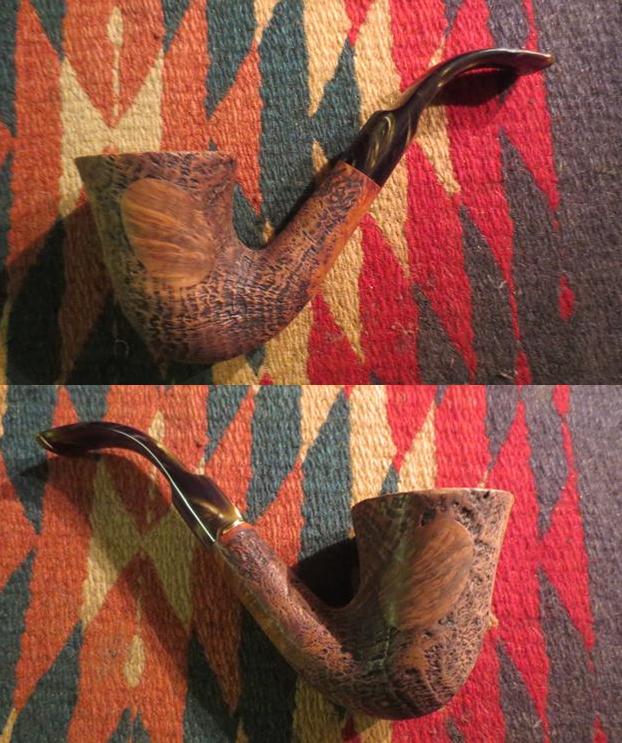
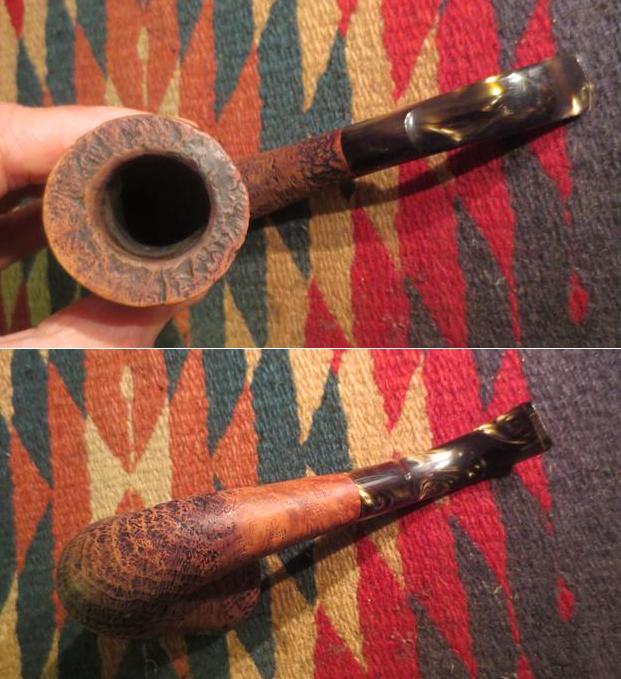
When I first took this one out of the box I figured it was an Italian made pipe. Something about the look led me to think that way. But I was way off. My brother had told me he was sending along a pipe that might surprise me. This was it. The bent Bell Dublin look did not give me a clue to the stamping that was on the pipe. Here is how it is stamped. Surprised? Maybe not but I sure was. The stamping is really clear (lighter in some spots than others). It reads Colossus over the GBD oval over Fantasy. Next to that it is stamped London, England and the shape number 9552. I had no idea that the pipe was a GBD, a Colossus or a Fantasy. But it is.colossus1Here are some of the photos that my brother sent me to give me a hint. Once I had seen the stamping the combination of smooth panels and sandblast finish fit well. The brown swirled Lucite stem also fit into the GBD Fantasy look. Okay so I should have known it was a GBD but I did not.colossus2 colossus3 colossus4 colossus5 colossus6 colossus7My brother scrubbed the grime off the pipe. When it arrived it was very clean and the rich brown stain was dull and light. The black understain in the pits and crevices still showed through. It would not take too much to bring it back. The bowl and rim were clean and the shank and the inside of the stem were also clean.colossus8 colossus9I took a close up photo of the rim. You can see a little more grime and tar deep in the grooves in the crevices of the rim particularly toward the back of the rim. I used a brass bristle tire brush to clean up the rim. I scrubbed it back and forth until the sandblast was clean.colossus11I took photos of the tooth marks and the tooth chatter on the top and the underside of the stem near the button. None of the marks were deep but they were very present.colossus12I stained the bowl with a dark brown aniline based stain that I mixed 50/50 with isopropyl alcohol. I flamed the stain and repeated the process until the briar was equally covered.colossus13I sanded out the tooth marks and chatter with 220 grit sandpaper.colossus14I wet sanded the stem with 1500-2400 grit micromesh sanding pads. I wiped it down with a damp cotton pad. I dry sanded it with 3200-12000 grit sanding pads and wiped it down once again to remove the sanding dust.colossus15 colossus16 colossus17I gave the bowl several coats of Conservator’s Wax (micro-crystalline wax) and buffed it once it had dried with a shoe brush to raise the shine.colossus18 colossus19I buffed the bowl and stem with Blue Diamond on the buffing wheel. I gave the pipe a light coat of carnauba wax (a very light touch on the bowl). I buffed it with a clean buffing pad to raise the shine. I hand buffed it with a microfibre cloth. The finished pipe is shown in the photos below. The finish is quite nice with the contrast between the medium looking brown stain and the black undercoat. The contrast between the stains on the bowl and the striations of brown on the Lucite stem is amazing and the pipe looks new. Thanks for looking.colossus20 colossus21 colossus22 colossus23 colossus24 colossus25 colossus26 colossus27 colossus28

Just a few simple touches brought this Giorgio Orsini Bulldog to the top


Blog by Steve Laug

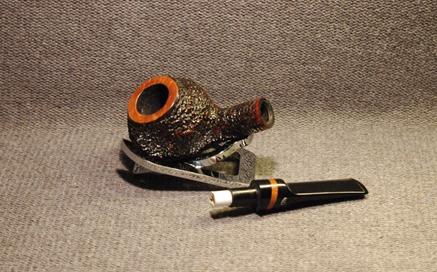
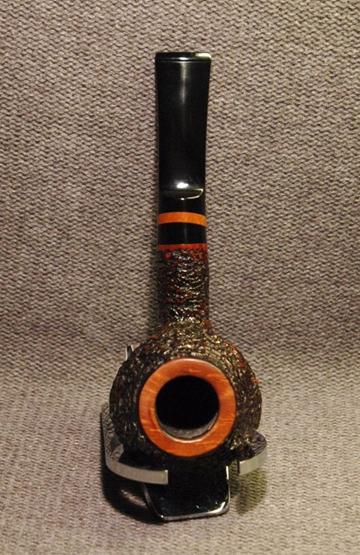
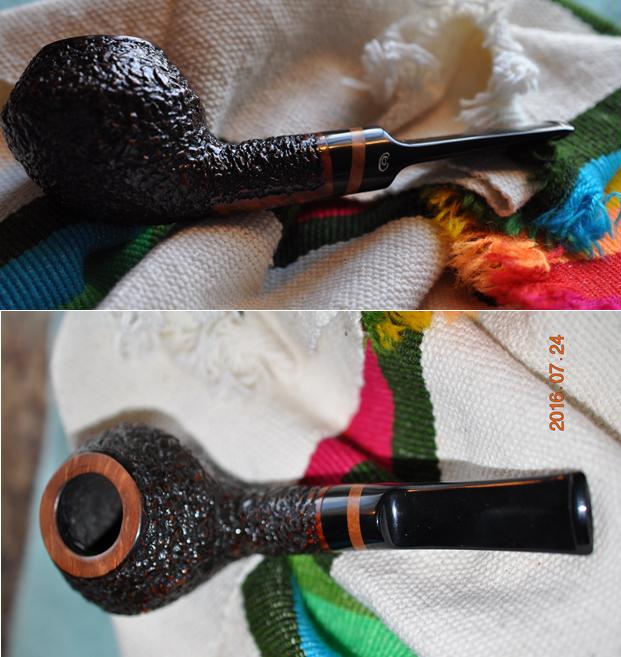
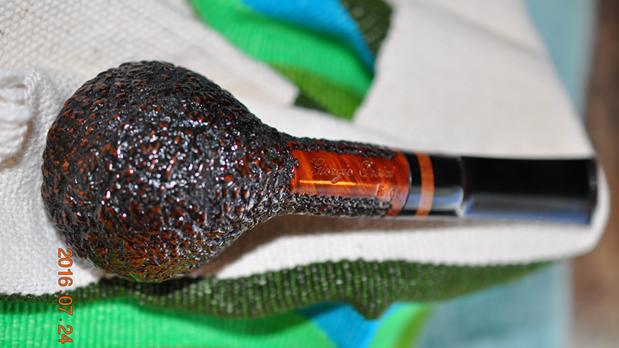
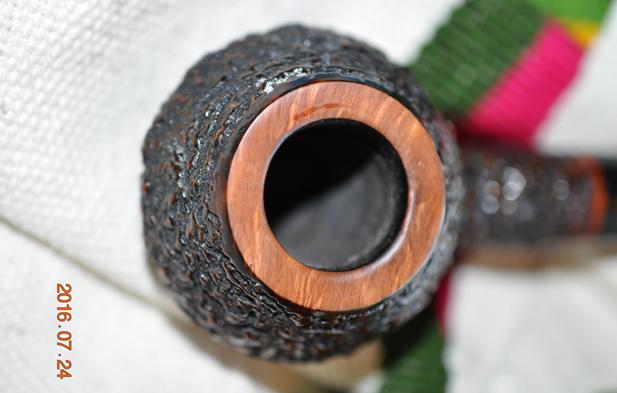
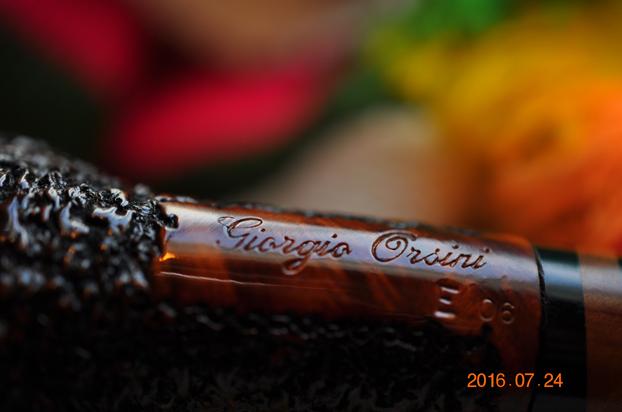
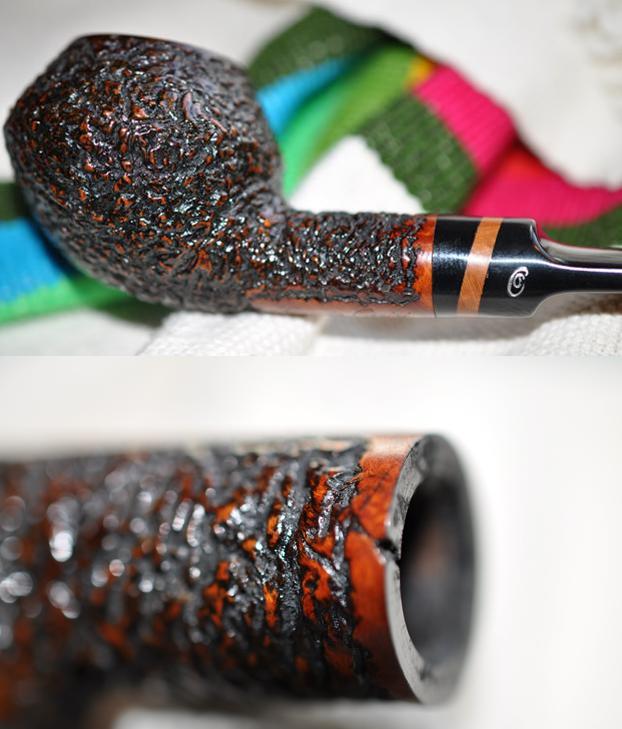
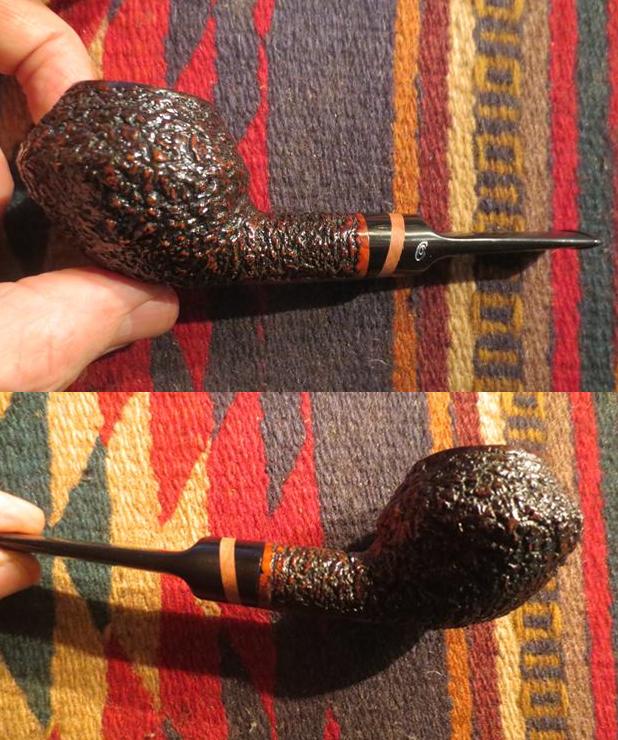
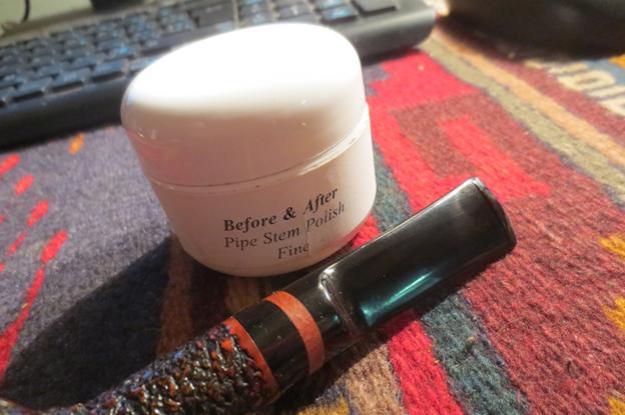
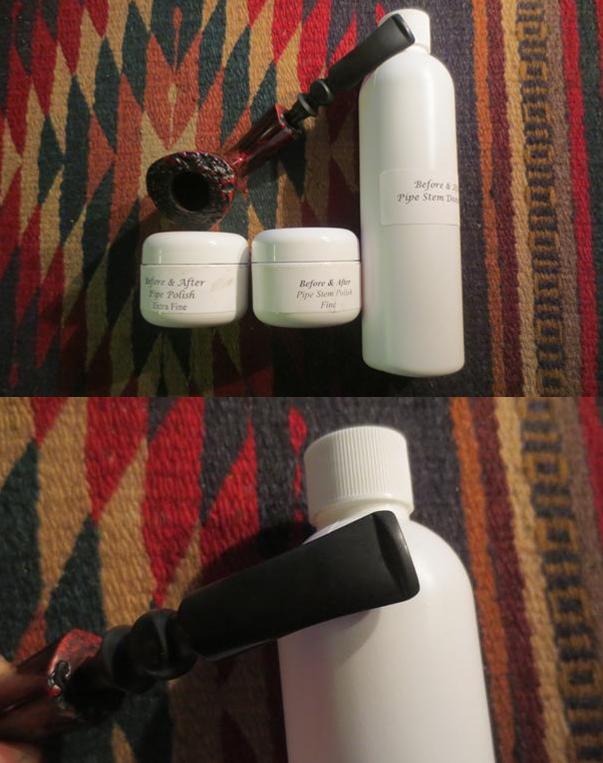
When I opened the last box that my brother Jeff sent and saw this Orsini Bulldog I was drawn to the shape, rusticated finish, smooth rim and shank end and the band of briar across the stem. There was something pleasing looking about this pipe that made me think it was going to be a keeper. He sent me the following photos by the eBay seller before the pipe arrived so I had some idea of what was coming but I have learned not to trust the photos of sellers. They tend to show things in their best light. orsini1The seller described the pipe as follows: The Pipe has a nice sand grain. Mouthpiece has very small bite marks and usable with 9mm Filter. Pipe is smoked and not cleaned, but in a good estate condition. The dimensions are: length: 5.5 in/14.1cm, height: 1.7in/4.4cm, width: 2in/5cm and chamber width: .75in/2cm. The only real negative to my mind was the 9mm filter in the shank but even that could be dealt with. Overall the pipe looked to be in pretty decent shape and even the filter was new.orsini2 orsini3My brother did a cursory cleaning on this one as it came in refurbished condition. The stem looked good as did the interior of the pipe. The next set of photos set on the colourful cloth are ones my brother took after cleaning the pipe.orsini4 orsini5He took some close up photos so that I could see what the rim and the stamping looked like on this pipe. The rim had some scratches and it looked to me like someone had stripped the varnish coat and some stain off of it. There were some shiny spots that remained.orsini6He took a photo of the smooth underside of the shank that clearly showed the sharp stamp on the underside of the shank. It has the signature of the maker, Giorgio Orsini as well as the stamping E 06.orsini7He took a close up photo of the look of the rustication and the logo on the stem. The stem logo was a G and O superimposed and highly stylized. The second photo below shows what looked like a flaw in the shank.orsini8I looked up the brand on my usual sources, Pipephil and Pipedia and found that Giorgio Orsini is from the Livorno region of Italy. His pipes were principally sold by Dan Pipe. All of them had acrylic stems. I took the following photos before I started working on the pipe.orsini9 orsini10The next close up photo of the rim shows the damage to the inner edge of the rim. I was a bit surprised as it did not show up clearly in earlier photos. You can see the uneven bevel to the rim particularly between the 6 and 8 o’clock position in the photo below.orsini11The stem showed scratches and light tooth marks as the seller had noted in his advertisement. These would be easy to deal with.orsini12I lightly sanded the stem with 220 grit sandpaper and then with micromesh sanding pads – wet sanding with 1500-2400 grit and dry sanding with 3200-12000 grit pads.orsini13I polished the stem with Before & After Pipe Polish using both the fine and extra fine paste. I am still experimenting with this product but so far I really like how it brings a shine and removes even scratches left behind by micromesh sanding pads.orsini14I repaired the flaw in the shank end and right side with a drop of clear super glue. I sanded it smooth once it dried and the flaw all but disappeared.orsini15I sanded repaired area lightly and the rim lightly with 220 grit sandpaper and also with 400-12000 grit micromesh sanding pads to smooth out the surface. I stained it with a dark brown stain pen. In retrospect I should have done that after addressing the poorly done bevel on the rim. But live and learn.orsini16I polished the rim with a bit of Conservator’s wax to smooth out the stain. I reworked the bevel on the inside edge of the bowl with a folded piece of 220 grit sandpaper. I slowly reshaped the beveled edge to remove the unevenness of the previous bevel. I was able to remove it and give it a cleaner more original look. I polished the rim top with 4000-12000 grit micromesh sanding pads.orsini17I buffed the rim with Blue Diamond polish and gave it and the stem several coats of carnauba wax. I hand waxed the bowl with Conservator’s Wax and lightly buffed the pipe with a clean buffing pad. I hand buffed it with a microfibre cloth for a finished look. The completed pipe is shown in the photos below. It is a stunning looking pipe and one that feels great in the hand. I am pretty sure that this one will stay with me. Thanks for looking.orsini18 orsini19 orsini20 orsini21 orsini22 orsini23 orsini24 orsini25

A Living Tiny KBB Yello-Bole Salesman’s Pipe


Blog by Steve Laug

I have always been fascinated with miniature copies of larger items. When my daughters were younger we used to buy them brass miniature stoves and household items that were surprisingly real. All of them had working parts and were small copies of the larger counterparts. I found out that Salesmen’s samples were similar to these items I bought my daughters. They were a common item in the early 20th century. Salesmen needed a smaller version of their product to show off to retailers, and retailers in turn needed a way to demonstrate the features of larger items, which might need to be ordered from the manufacturer, to their customers. Many salesmen’s samples were highly detailed, with additional marketing copy pointing out important features of the product. http://www.collectorsweekly.com/advertising/salesmans-samples I have cleaned up a few tiny salesmen’s pipes over the years that were working models of larger pipes. They have all been smokeable.

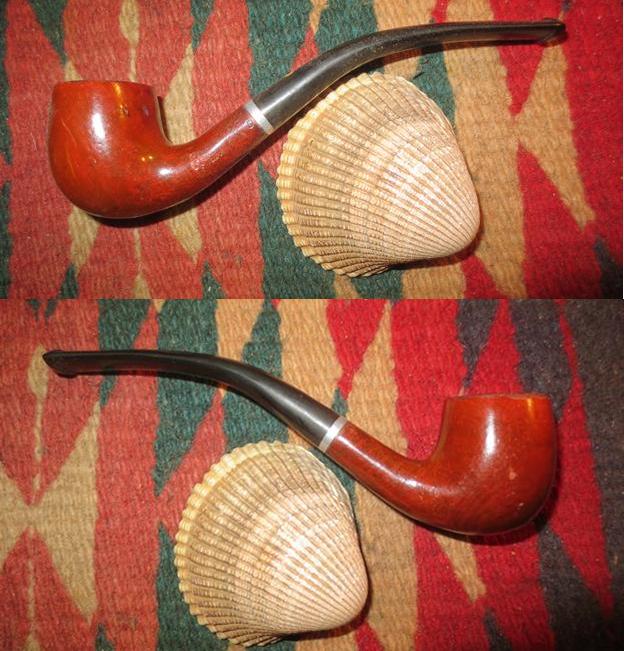
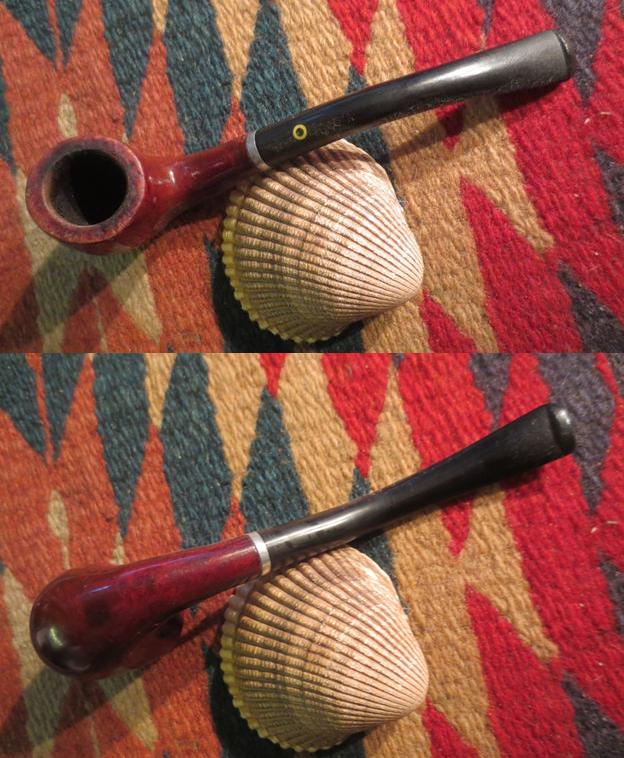
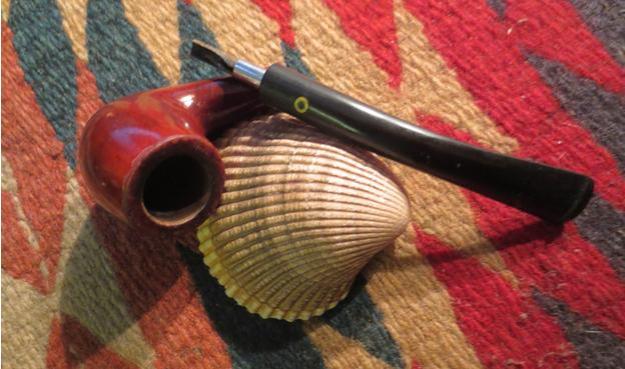
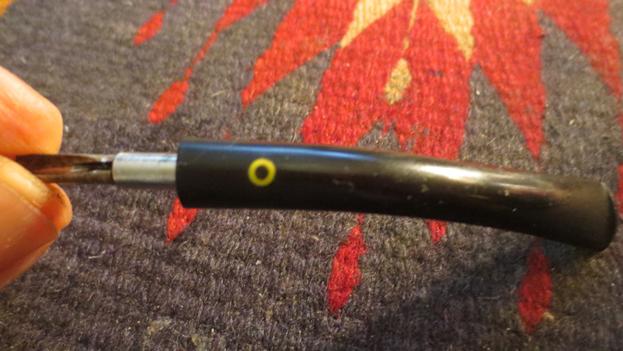
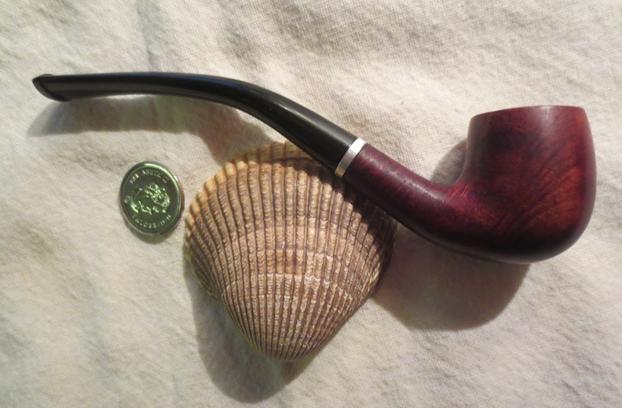
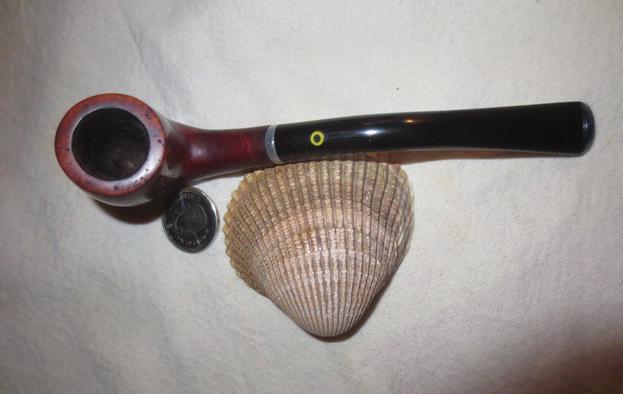
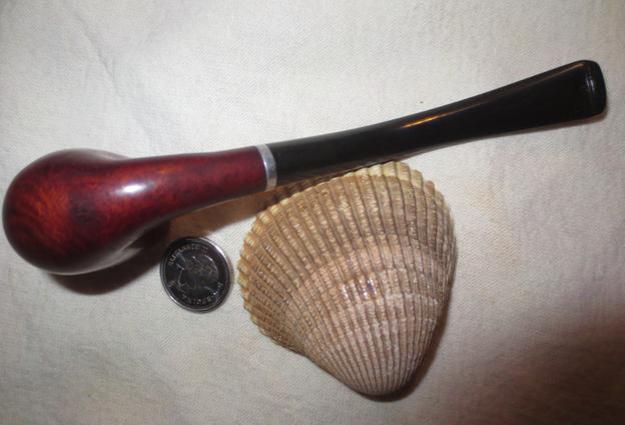
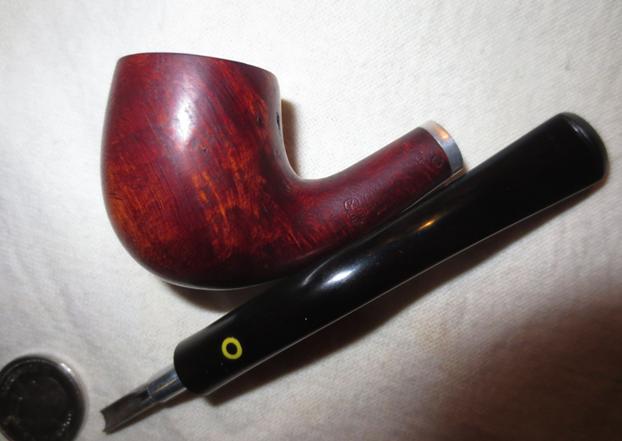
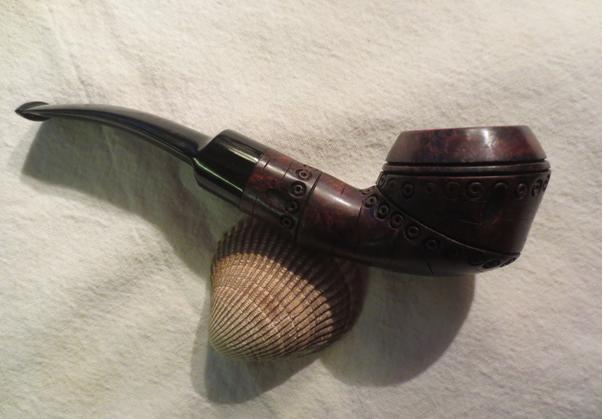
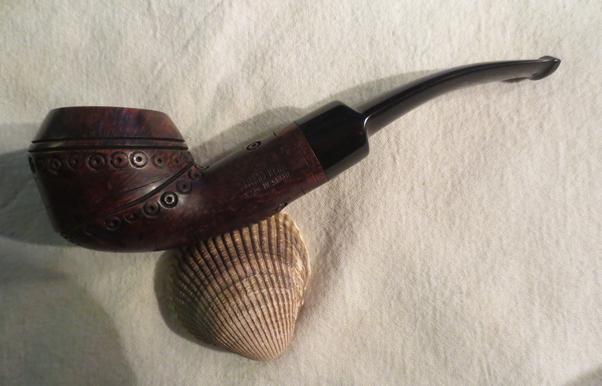
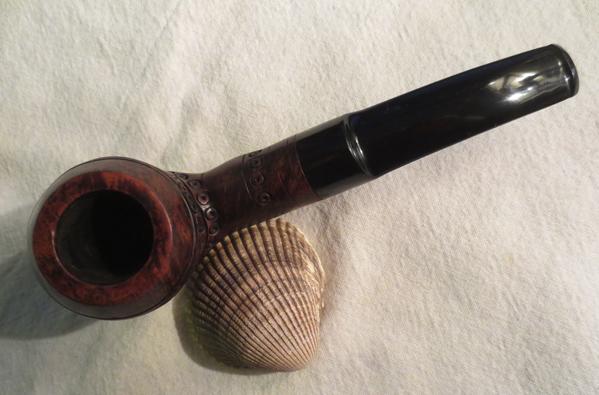
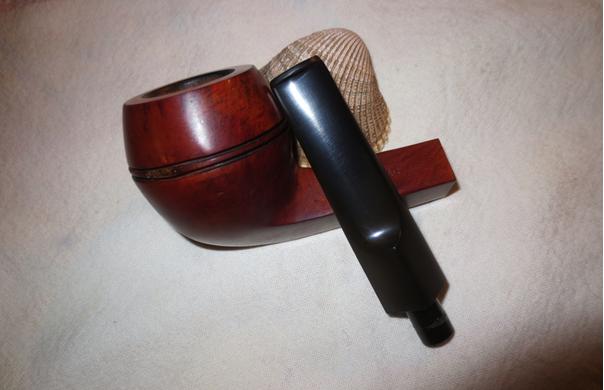
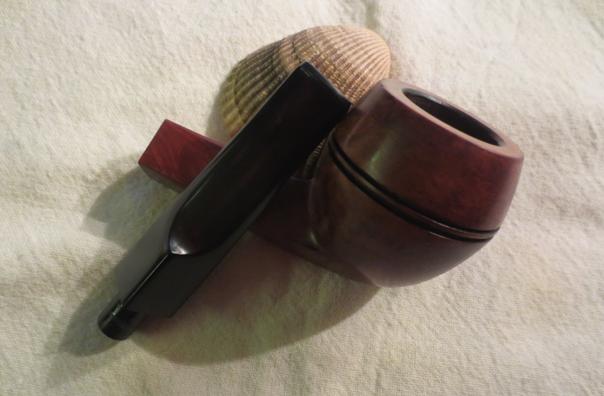
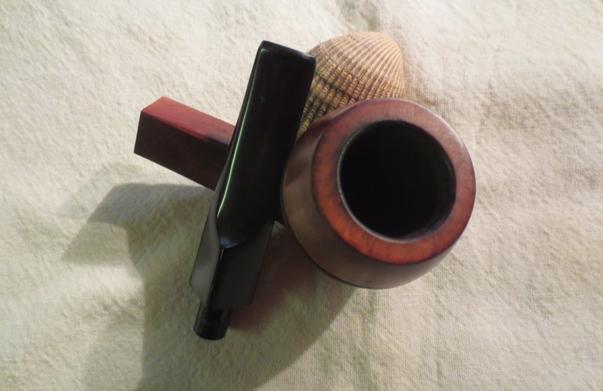
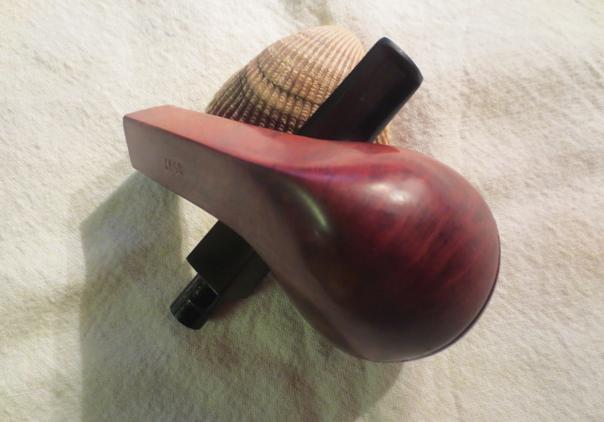
Today I worked on one that came in my brother’s box of pipes. It is stamped KBB in a cloverleaf and next to that Yello-Bole over Imported Briar. The stem is vulcanite and the pipe bowl is briar. It had been smoked and there was a light cake in the bowl.yb1None of the reamers that my brother had would fit the tiny bowl of the pipe. My little finger is still too big to fit into the bowl. The bowl had a light cake in it and the rim was damaged both with tars and with dents from tapping the pipe out. The stem was lightly oxidized and there were tooth marks and chatter on the top and the bottom sides near the button. The finish on the bowl sides was peeling and flaky. The pipe was tiny but well used. I took the next four photos to show what the pipe looked like when I started to work on it. I put the pipe next to the seashell that I have been using for all my photos to give an idea of its diminutive size. I reamed the bowl with the Savinelli Pipe Knife but forgot to take photos of it before and after.yb2 yb3When I took the stem off the pipe it had the standard Yello-Bole shovel like stinger. It was pressure fit in the tenon. The tenon on this tiny pipe was metal which was different from previous Yello-Bole Salesmen’s pipes I have refurbished.yb4I carefully removed the stinger from the tenon with a pair of pliers. While the pipe was apart I cleaned out the shank and the airway in the shank and the stem with pipe cleaners, cotton swabs and alcohol.yb5I cleaned the spoon shaped stinger with a brass bristle wire brush, cotton swabs, pipe cleaners and alcohol to remove the tars and oils. Once it was clean and the stem was clean I pushed it back in place in the shank.yb6I took off the peeling varnish coat on the bowl with acetone and cotton pads. It did not take a lot of scrubbing to take off all of the finish. The acetone took off the varnish coat and some of the opaque stain on the bowl. Once it was gone I could see some nice grain showing through. The cotton pads give an idea of how small this pipe is.yb7 yb8I sanded the bowl with 1500-12000 grit micromesh sanding pads to even out the finish and smooth out some of the dings and dents on the briar. There was a dark spot on the bottom of the shank where it joined the bowl that appeared to be a burned area. I sanded it and was able to remove most of it. Each successive grit of micromesh sanding pad brought more shine to the surface of the briar. By the end of the progression, the 12000 grit pad the bowl had a shine to it that looked really good and showed off the nice grain on the bowl.yb9 yb10 yb11 yb12I sanded out the tooth chatter with 220 grit sandpaper and then wet sanded the stem with 1500-2400 grit micromesh sanding pads. I dry sanded the stem with 3200-12000 grit pads. I rubbed the stem down with Obsidian Oil after each set of three pads. I set the stem aside to dry after sanding it with the 12000 grit pad.yb13 yb14 yb15I put the stem on the bowl and buffed the pipe with Blue Diamond on the buffing wheel. The polish made the bowl and the stem shine. I was careful around the stamping so as not to damage it. I gave the pipe multiple coats of carnauba wax and buffed it with a clean buffing pad to raise the shine. The finished pipe is shown in the photos below. To give an idea of the size of the pipe I took the photos with a Canadian dime or 10 cent piece next to it. The Canadian dime is the same size as the American dime. Thanks for looking.yb16 yb17 yb18 yb19 yb20 yb21 yb22 yb23

Another Spanish Carved Bamboo Like Pipe – this time a Rhodesian


Blog by Steve Laug

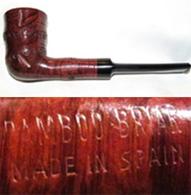
Earlier this year I restored an old briar oval shank billiard that was carved to look like bamboo. It came out beautifully and showed the skill of the Spanish carver who had shaped and crafted it. He carved in the nodules, the cracks and patina of a piece of bamboo.Here is the link to the blog on that old pipe. https://rebornpipes.com/2016/04/10/introduced-to-a-bamboo-briar-of-spain-oval-shank-billiard/. Today I pulled another pipe out of the box my brother sent – another Spanish carved Bamboo looking pipe. This one is a Rhodesian shaped pipe with a saddle stem. The carving was really well done. The pipe is stamped on the left side of the bowl with the words BAMBOO BRIAR over Made in Spain. On the underside of the shank next to the shank stem union it is stamped with the shape number 900.

Once again the carver did a marvelous job of replicating the look of bamboo in the briar. The nodules, lines and grooves that he/she put in the briar really look like bamboo. Instead of being left unfinished like the previous one this one was stained with a contrast of medium and dark brown stain. The grain of the briar came through the smooth areas of the bamboo and the carved nicks in the surface. It is really beautiful.

Fortunately my brother cleaned up this pipe for me. He reamed back the cake and scrubbed the exterior of the bowl with Murphy’s Oil Soap. He cleaned the internals with cotton swabs, pipe cleaners and alcohol. There was a small part of the rim top that had a remnant of the lava that must have overflowed the bowl. The stem was in great shape with no oxidation. Someone had repaired a tooth mark on the underside of the stem near the button with what looked like a grey epoxy. It was significantly lighter than the rest of the black stem. It was sanded smooth but it stuck out.

bam1I reread the blog I had written on the previous pipe I restored. I reread the information that I had found on the brand on the pipephil website, Logos and Stampings: http://www.pipephil.eu/logos/en/logo-b1.html#bamboobriar.

The description said that the bamboo like decorative carving on these pipes was typical of Valencia’s manufacturers since the early 20th century. The carvers did a great job of replicating a chunk of bamboo on both the shank and the bowl sides. The site also said that even though the Valencia connection it is easy to make it’s difficult to say who exactly the maker was.

When I took it out of the last box my brother sent me it was in far better shape than the previous Bamboo Briar that I had cleaned up.  My brother sent along this photo of the pipe. Look at the nodules and grooves that have been carved in the bowl and shank. It is really well done carving.
bam2I took the following photos of the pipe before I started cleaning and restoring it. It was in great shape with just a few small touch ups that needed to be done.bam3 bam4I took a close up photo of the rim top showing the remnant of lava that was stuck on the back topside of the rim. The bowl was in great shape though and my brother had taken the cake back.bam5The next two photos show the stem in close up. The top side of stem looked good at the button. The underside of the stem shows the repaired area next to the button. It is lighter in colour than the black of the stem.bam6I worked on the lava build up on the back side rim top. I sanded it with micromesh sanding pads. I started with 2400-4000 grit pads and was able to remove all of the tars. I continued to sand it with 6000-12000 grit pads to polish the rim top.bam7I sanded the repaired area of the stem until I had a small dip sanded out the surface of the stem. I filled it in with black super glue.bam8I sanded the repaired area back with 220 grit sandpaper until it was smooth. I wet sanded it with 1500-2400 grit micromesh sanding pads and rubbed it down with Obsidian Oil. I dry sanded it with 3200-12000 grit sanding pads. I rubbed it down with oil after each set of three pads. After the last rubdown fowling the 12000 grit pad I set the stem aside to dry.bam9 bam10 bam11I buffed the pipe with Blue Diamond on the buffing wheel. The polishing compound brought a shine to the bowl and stem and also made the grain stand out. I gave the bowl and stem multiple coats of carnauba wax and buffed it with a clean buffing pad. The bowl and stem took on a shine. I hand buffed the pipe with a microfibre cloth. I have found that the extra step gives some depth to the shine. The finished pipe is shown in the photos below. It is a beautiful example of the Spanish Valencia carved Bamboo Briar Pipes. Thanks for looking.bam12 bam13 bam14 bam15 bam16 bam17 bam18 bam19

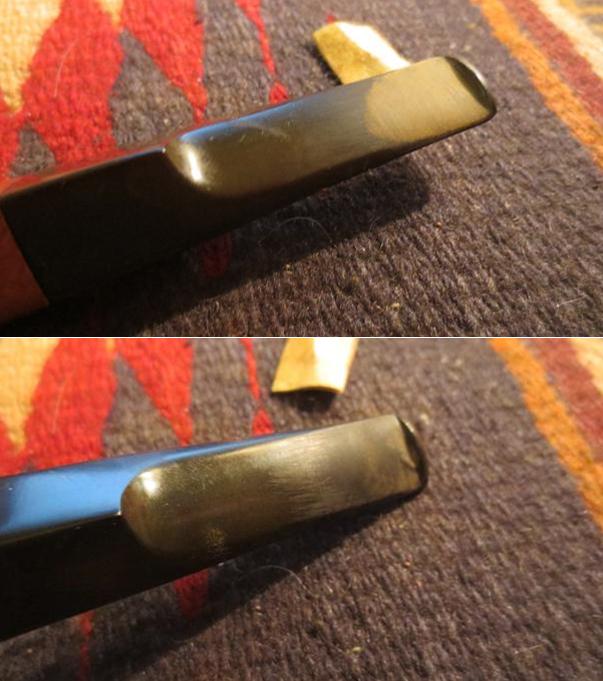
Kaywoodie Connoisseur 49 Large Oom Paul


Blog by Andrew Selking

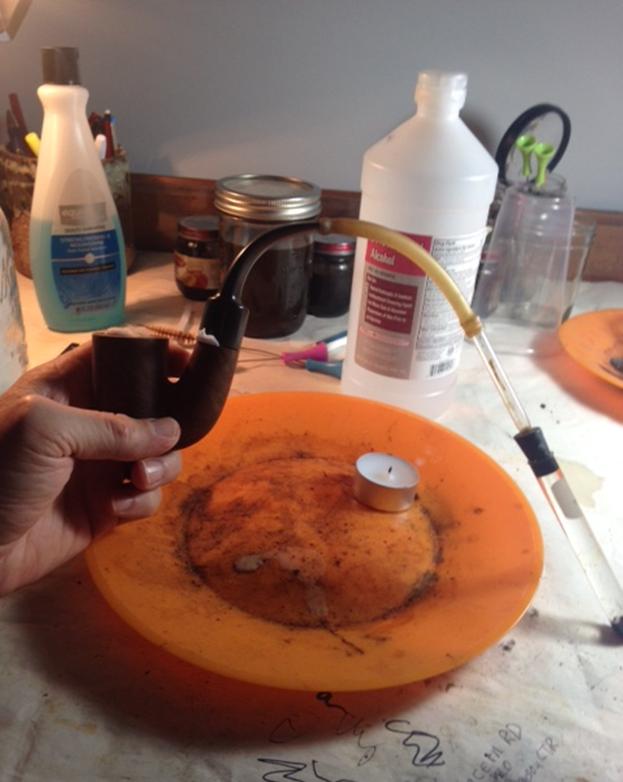
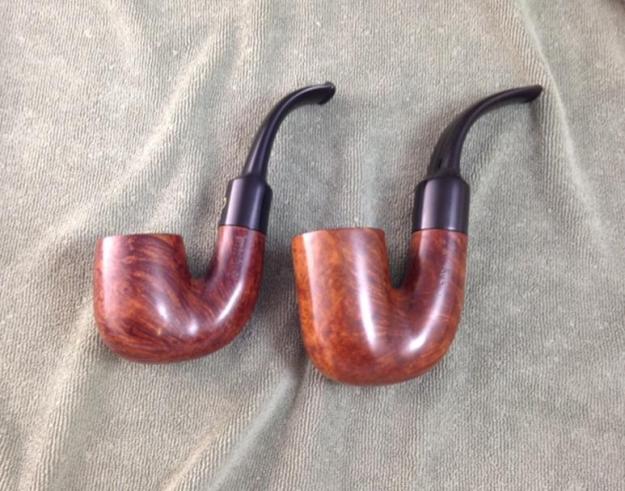
It is an honor to once again write an article for Steve’s blog.  For those of you who don’t know me, my name is Andrew and a bit obsessive about Kaywoodie pipes and the entire Kaufman Brothers and Bondy’s (KB&B) family.  Until recently my favorite pipe has been a four-digit Yello Bole 2062 small Oom Paul.  I’ve had this large Oom Paul in the drawer, waiting for restoration, for over a year.  (Sorry I forgot to take a before picture).oom1I start this pipe as always by soaking the bowl in the alcohol bath.  Here is the pipe right after it came out.oom2Next I reamed the bowl.  As you may have noticed this is a rather large bowl, my reamer barely reached the bottom.  This also accounts for the reaming damage done to the rim.oom3The pipe has a replacement push stem, which initially caused me to think it was an export model, but looking at the shank you can see the groves that the stinger originally screwed into.oom4I find that the alcohol bath does a nice job of softening any protective coating or wax.  In order to remove the rest, I used 0000 steel wool and acetone.oom5Here is what the pipe looked like after removing the finish.oom6My next step was to further clean the insides of the pipe and stem using a retort.oom7The average bowl takes two cotton balls to fill it, three if it’s kind of big.  This bowl swallowed four cotton balls.  Here is a picture of them after the retort (notice how the boiling alcohol pulled the tar out of the wood).oom8As you may have noticed in previous pictures, the rim on the bowl was in rough shape; scorching, reaming damage, and deep dents.  I planned to top the rim and the end of the shank to remove some of the worst damage, but I decided to leave the dimensions as close to original as possible; so I refrained from getting crazy with the sand paper.
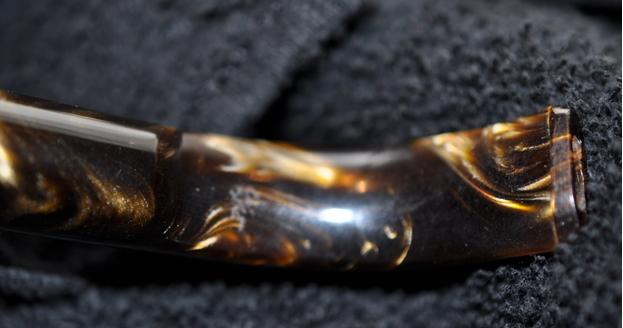
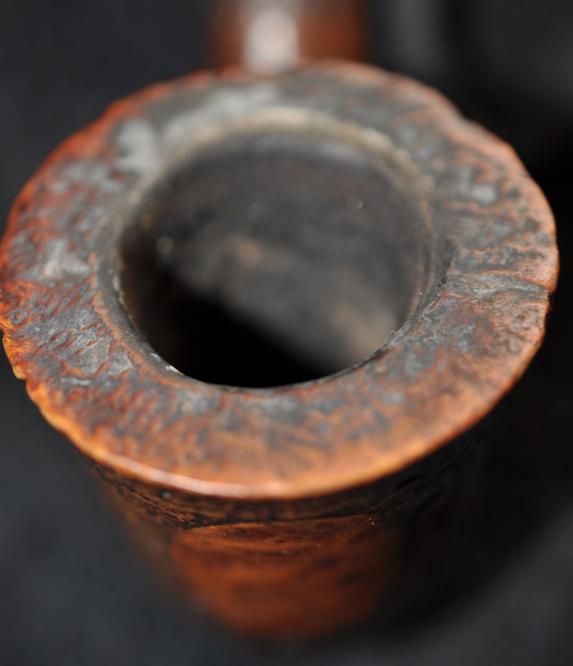
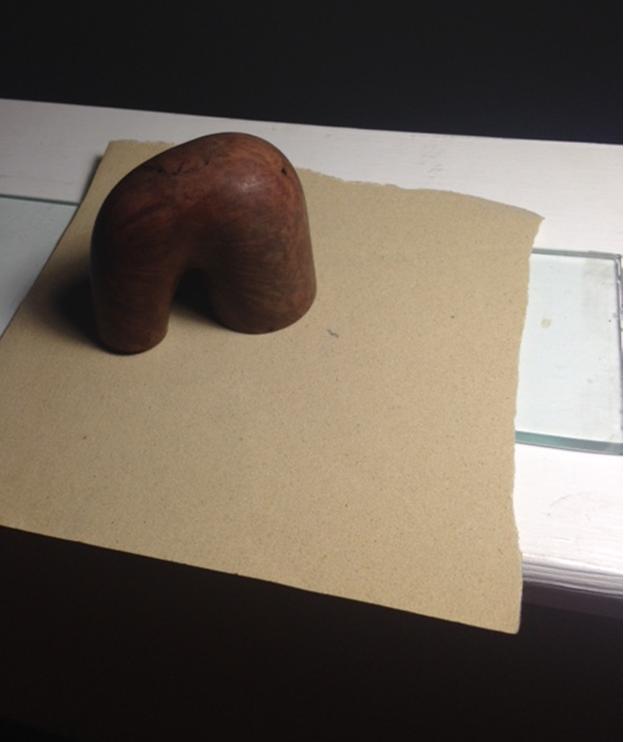
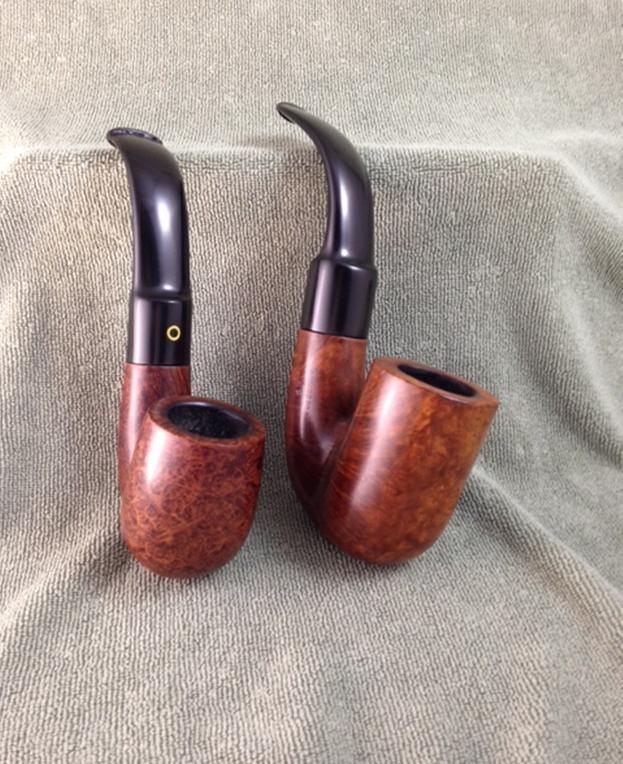
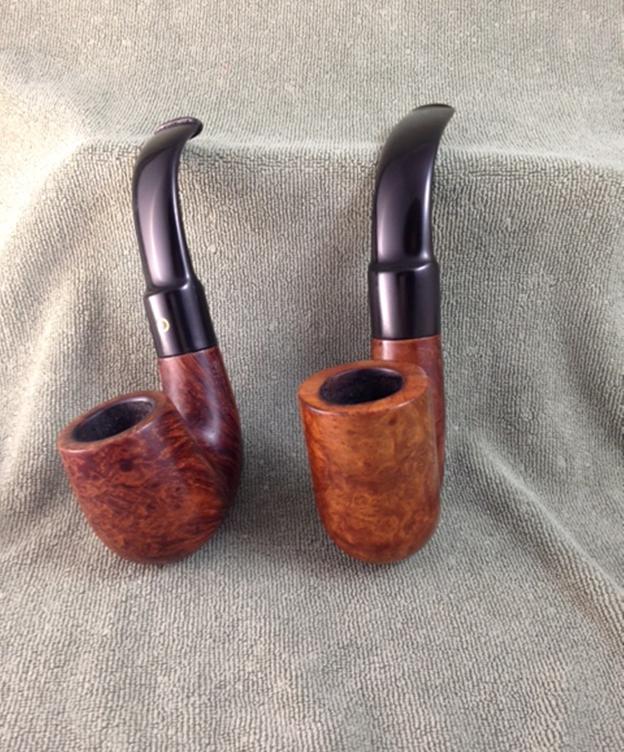
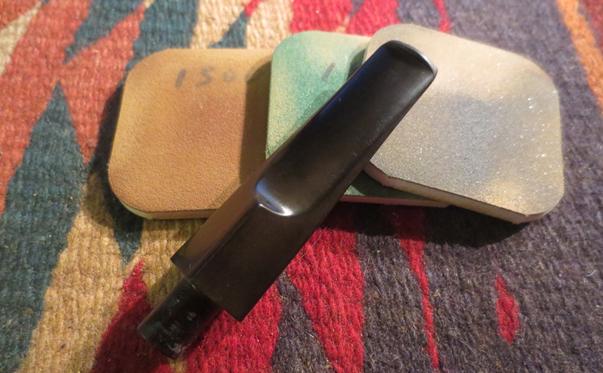
I used 150 grit sand paper on a piece of glass to top the rim and shank, followed by some 400 grit.  A note of caution when topping an Oom Paul, the shank and the bowl are close to each other.  Be sure not to take off wood where you don’t intend to.oom9Once the rim was to my liking I started on the bowl with the 400 grit wet/dry.  I sanded around the marking on the shank and kept the stem inserted while working on the end of the shank to prevent rounding.oom10 oom11Here is the bowl after the 400 grit.oom12After the 400 grit I turned to a progression of micro-mesh pads (1500-12,000 grit) to polish the wood.oom13I used the same progression on the stem.  I polished the stem using a rotary tool set on the lowest speed with white rouge and carnauba wax.  I used my buffing wheel (aka heartbreaker) with white rouge and carnauba wax on the bowl.  I reassembled the pipe and wiped on a couple of light coats of Halcyon II wax.  Here is the finished result.oom14 oom15 oom16 oom17 oom18Just to give some perspective on the size of this pipe, here is my four-digit yellow bowl for comparison.oom19 oom20 oom21 oom22Normally I wait to smoke a restored pipe until after taking pictures, but we were without power this morning so I loaded the bowl with some Dunhill Early Morning Pipe and commenced to smoke.  The draw is fantastic!  After about an hour I thought I must be getting close to the bottom of the bowl so I got my pipe cleaning tool and started to clean the bowl.  I had only smoked half the bowl!  This the first pipe I’ve encountered that has a basement!

I now have two Oom Paul pipes in my collection.  I imagine they will vie for my attention for a very long time.

Cleaning up a Knute of Denmark Freehand


Blog by Steve Laug

Another pipe from the latest box my brother sent was a beautiful looking freehand that was stamped KNUTE over Made in Denmark on the left side of the shank. I have cleaned up quite a few Knute pipes over the years and had a memory of them being made by Karl Erik. I wanted to be sure and check my memory so I looked up some history on the brand and found Karl Erik had indeed made the brand. I also learned that Stanwell and Ben Wade also had series with this name http://www.pipephil.eu/logos/en/logo-k3.html. I also looked the brand up on Pipedia and it confirmed that the brand was one of other brands produced by Karl Erik Ottendahl https://pipedia.org/wiki/Karl_Erik#Brands_produced_by_Karl_Erik_Ottendahl_.28afak.29:.

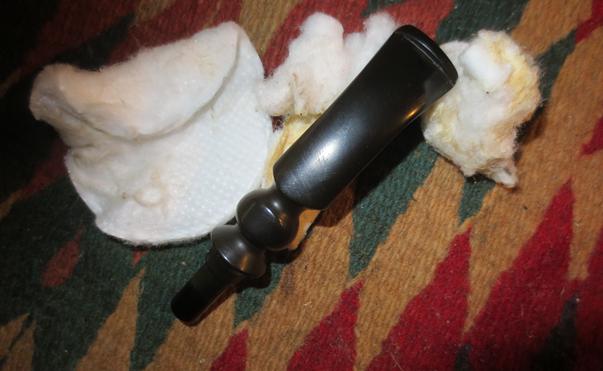
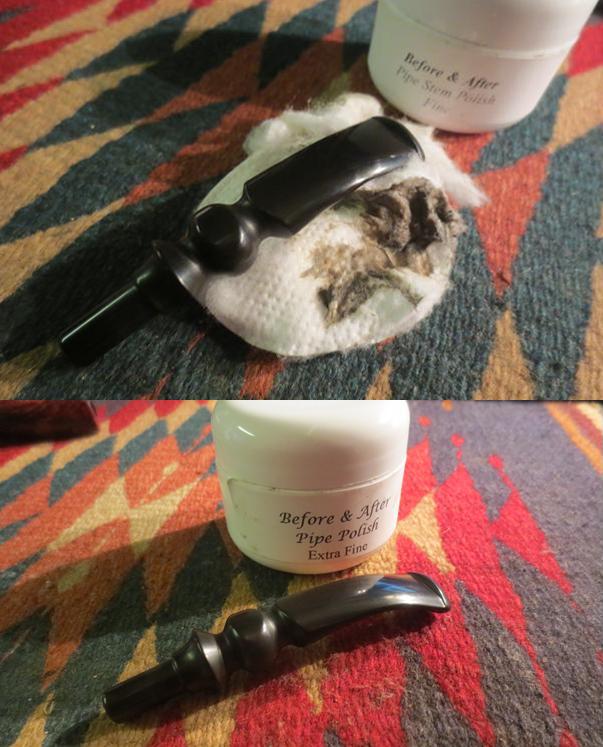
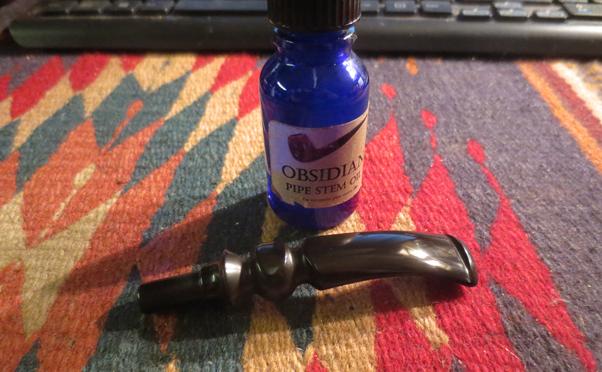
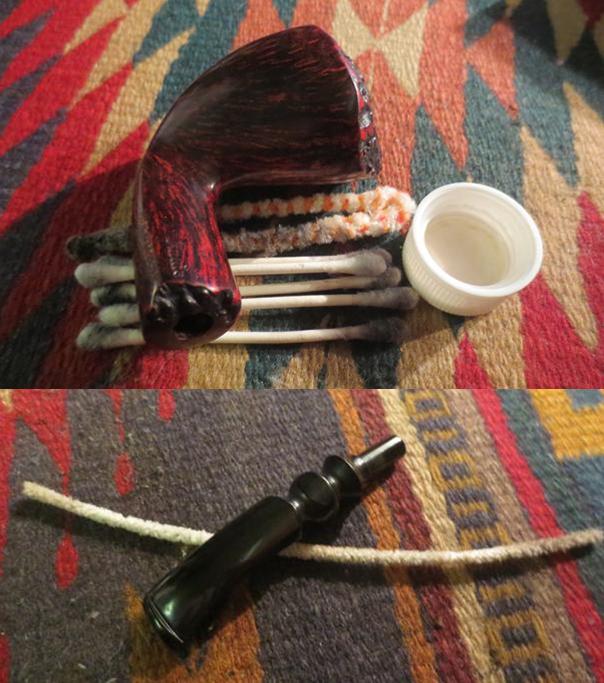
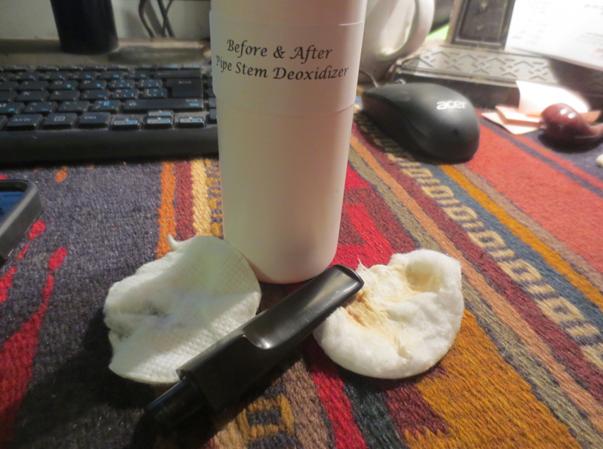
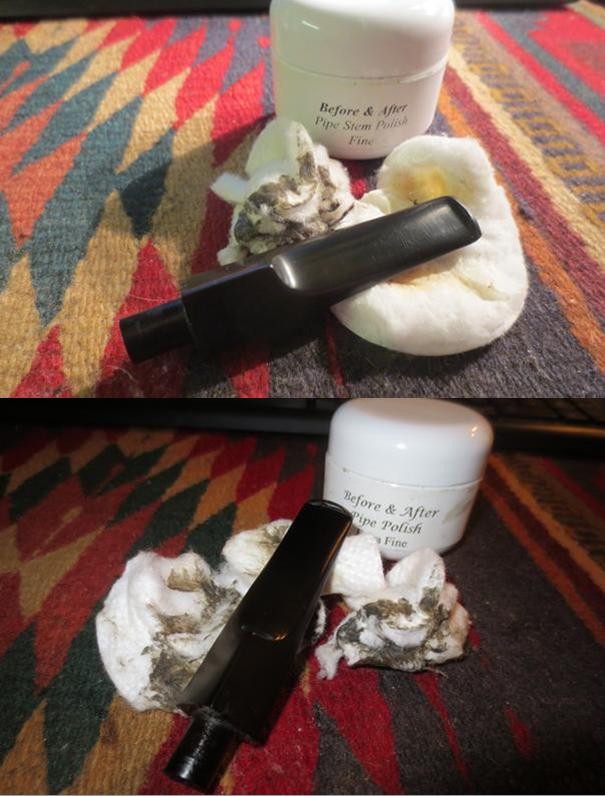
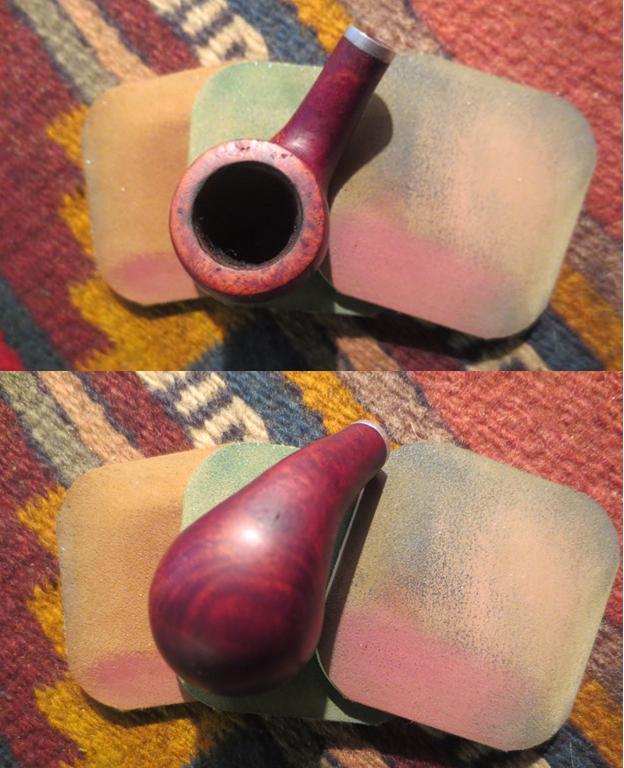
The pipe was in pretty good shape when he received it in Idaho. He sent me the next two photos of the pipe from the eBay seller. In those photos the pipe almost looked new. The plateau and the finish were in excellent condition. There was no overflow of lava and the photos made me wonder if the pipe was unsmoked. When my brother received the pipe it was clear that it had been lightly smoked but there was very little cake in the bowl and the stem was free of bite marks and tooth chatter.knute1My brother cleaned the internals and wiped down the bowl with Murphy’s Oil Soap to remove the dust and grime on the finish and in the plateau on the rim and the shank end. The stem was clean but lightly oxidized. He sent the pipe to me and when I brought it to my work table I took these photos before I began.knute2 knute3I took a close up of the plateau rim to show the condition. It is very clean and would take very little work to polish it.knute4This pipe stem was a prime candidate for the new Before & After pipe stem deoxidizer and polish. With the turned stem it would make a great test for the ability of the product to clean out all of the grooves in the stem.knute5I scrubbed the stem with cotton pads and the deoxidizer work out the oxidation. It took a bit of scrubbing to remove the oxidation. I scrubbed it until all of the oxidation was gone.knute6I polished the stem with the fine and extra fine Before & After Pipe Polish to raise the shine on the stem.knute7I rubbed the stem down with a coat of Obsidian Oil and set the stem aside to dry.knute8I cleaned out the mortise and the airway in the shank and the stem with pipe cleaners, cotton swabs and alcohol until it was clean. It was pretty clean to start with so it did not take long to remove the remaining grime.knute9I buffed the bowl with Blue Diamond and gave it a coat of wax to have a look at the grain and to see if there were any areas that needed some more work. The next photos show the bowl at this point in the process.knute10 knute11 knute12There was not any need for more work on the bowl so I put the stem in place and polished the pipe with Blue Diamond again. I gave it multiple coats of carnauba wax. I buffed the pipe with a clean buffing pad to raise the shine. I buffed it by hand with a microfibre cloth. The finished pipe is shown in the photos below. The grain and the plateau are amazing. This one will eventually be on the store. If you are interested in adding it to your collection send me an email to slaug@uniserve.com or send me a message on the blog or on Facebook. Thanks for looking.knute13 knute14 knute15 knute16 knute17 knute18 knute19 knute20
Breathing New Life into a Gold Star Giant 8597


Blog by Steve Laug

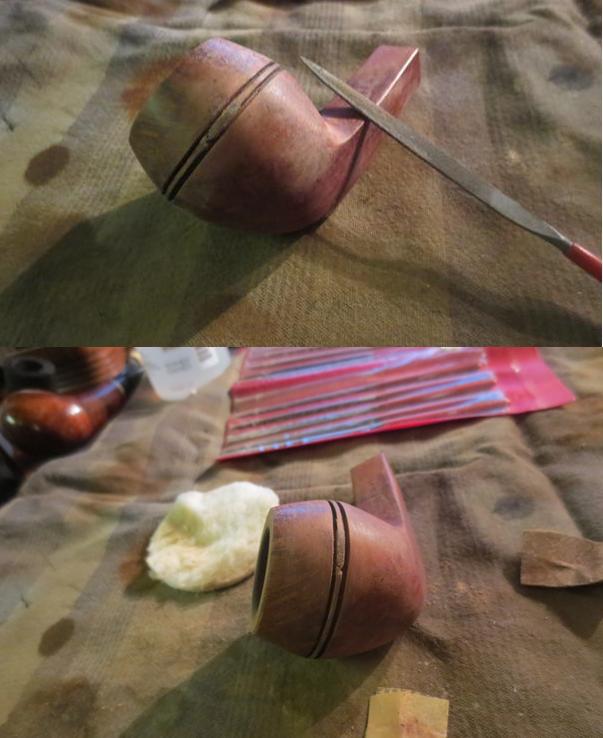
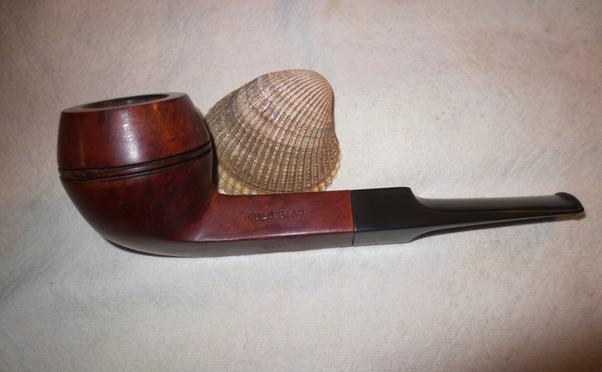
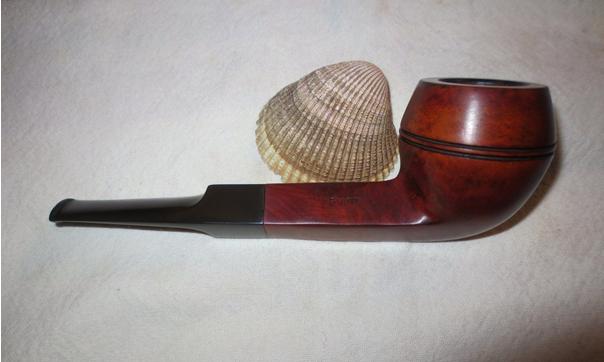
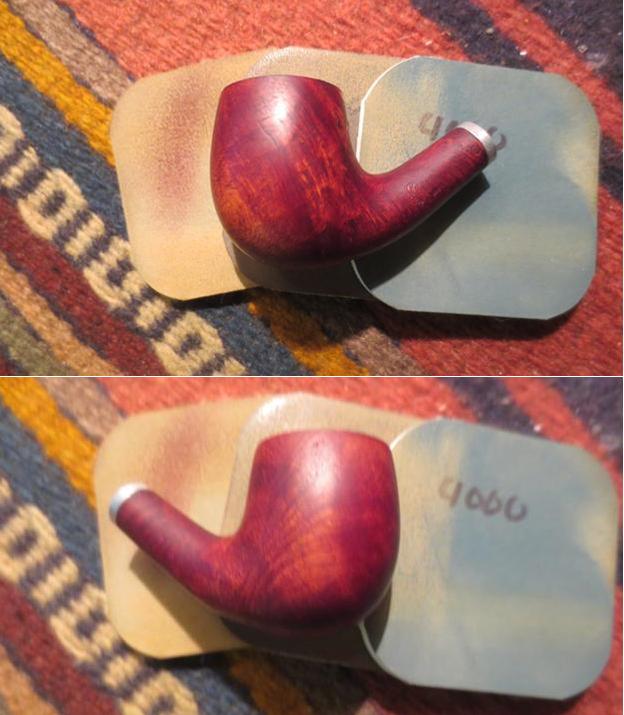
I have a lot of pipes to work on so making a decision which one to work on it a bit interesting. Several months ago now Steve in Dawson Creek sent me a box of pipes for restoration as allowed. He sent me a list of priorities regarding which pipes he wanted restored in the order of importance to him. So I decided to work on one of the pipes that he sent me for restoration. The next one on his list of priorities was a bulldog that was in pretty rough shape. It is stamped Gold Star on the left side of the shank and Giant on the right side. On the underside of the left side of the diamond shank it is the shape number 8597. I can’t much information about the brand. It is a bit of a mystery pipe but under the grime and the peeling finish there was nice looking grain. gold1The pipe was dirty and the finish was very rough. The varnish coat was peeling away. There was a large chip out of the ring on the right side of the bowl. The rim was darkened and caked under tars. The cake was thick and overflowing the bowl. The stem was oxidized and there were tooth marks on the top and underside of the stem next to the button.gold2I took a close up photo of the rim and the bowl to show you what I was working on in dealing with this pipe. The bowl was a mess. I also took close up photos of the stem to show the bite marks on the top and underside of the stem.gold3 gold4I reamed the bowl with a PipNet reamer and a Savinelli Pipe Knife to take the cake back to bare briar on the bowl walls. There was a lot of cake so it took some time. I used the largest cutting head and the cutting head just below that one.gold5I topped the bowl on a topping board with 220 grit sandpaper. I worked the rim against the sandpaper until the damaged bowl top was removed and the bowl was once again smooth and round.gold6I repaired the damaged portion of the ring around the bowl with briar dust and super glue. I mixed the two together and made putty and pressed it into the damaged area of the ring. In the photo below you can see the repaired area on the ring.gold6aI used the Dremel and sanding drum to remove the excess patch and sanded it back until it was smooth against the rest of the bowl.gold7I sanded it with 220 grit sandpaper until the ring blended in with the rest of the pipe. I used a hack saw blade to recut the grooves on each side of the ring repair. The photo below shows the recut grooves and the repaired ring. It still needs to be cleaned up but it is looking better.gold8I used a knife blade needle file to clean up the grooves. I was able to match the grooves on the rest of the bowl. I sanded the ring with 220 grit sandpaper.gold9I wiped the bowl down with acetone (fingernail polish remover) on cotton pads. I broke up the peeling varnish with sandpaper and wiped it down again.gold10I scraped the inside of the mortise with a dental spatula to remove the hardened tars. It scraped away all of the buildup and then I scrubbed it down with pipe cleaners, cotton swabs and alcohol until it was clean. I cleaned the airway in the stem until it was clean.gold11 gold12I sanded the tooth marks out the top and underside of the stem with 220 grit sandpaper until they were minimized.gold13I wet sanded the stem with 1500-2400 grit micromesh sanding pads to smooth out the scratches in the vulcanite.gold15I scrubbed the stem with Before & After Pipe Stem Deoxidizer to remove the oxidation. It took some elbow grease but I was able to remove all of the oxidation with the new product. I am starting to really like this stuff.gold14I polished the stem with the Before & After Pipe Polish using the fine and the extra fine polishing compound. I rubbed it on by hand using a finger and then scrubbed it off with a cotton pad until the polish was gone and the stem shone.gold16 gold17I stained the bowl with a medium brown aniline stain and flamed it to set it in the grain. I repeated the process until the stain was evenly spread on the bowl.gold18I buffed the bowl on the buffing wheel to see what the new stain coat looked like. I liked the new look of the old Gold Star Giant. What do you think?gold19 gold20I buffed the pipe and stem with Blue Diamond on the wheel to bring a shine to the bowl and gave it multiple coats of carnauba wax. I buffed it with a clean buffing pad and then with a microfibre cloth. The finished pipe is shown in the photos below. Steve, this one turned out to be another beauty. I am looking forward to hearing what you think about it once you get it back to Dawson Creek.gold21 gold22 gold23 gold24 gold25 gold26 gold27 gold28


A Relatively Easy Refurbishment on a Peterson’s Kinsale


Blog by Steve Laug

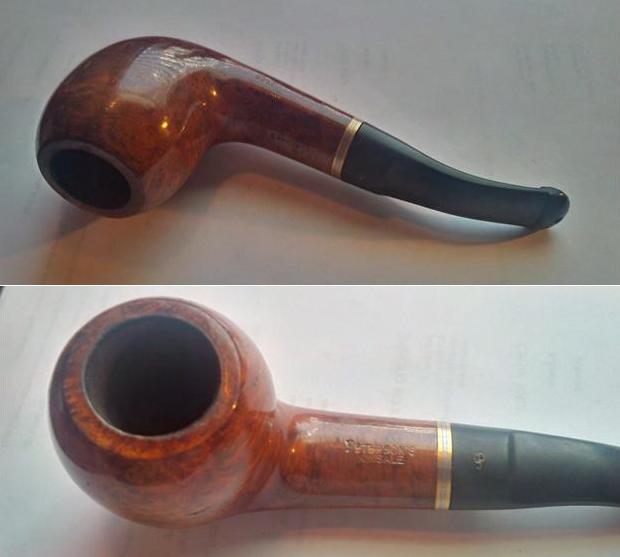
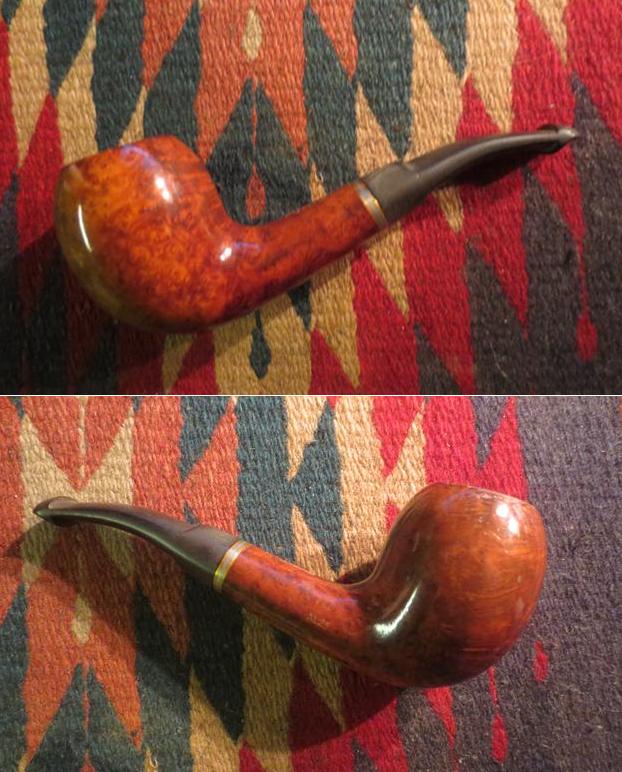
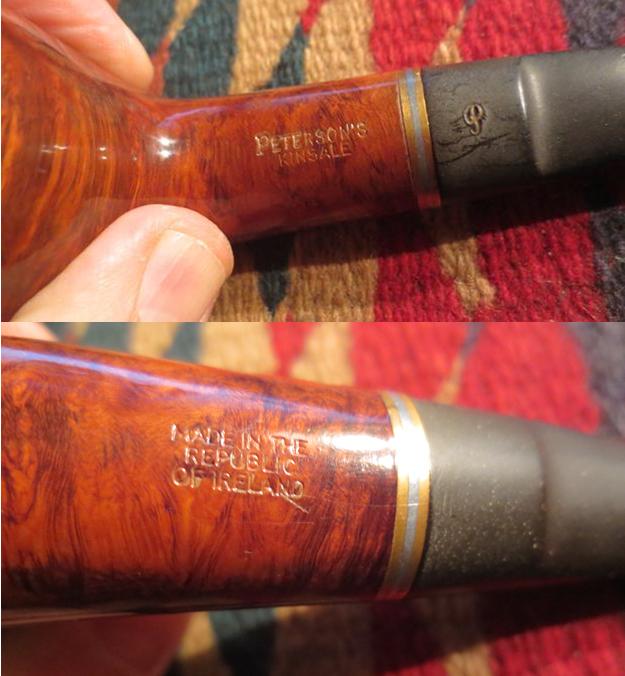
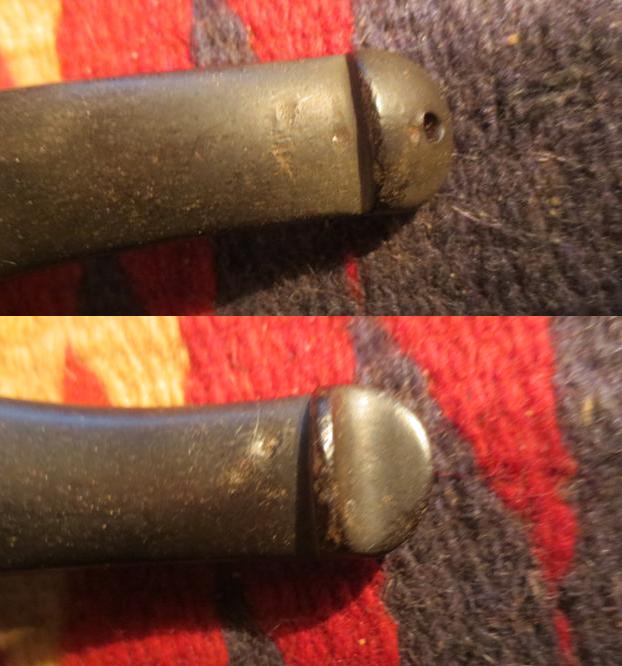
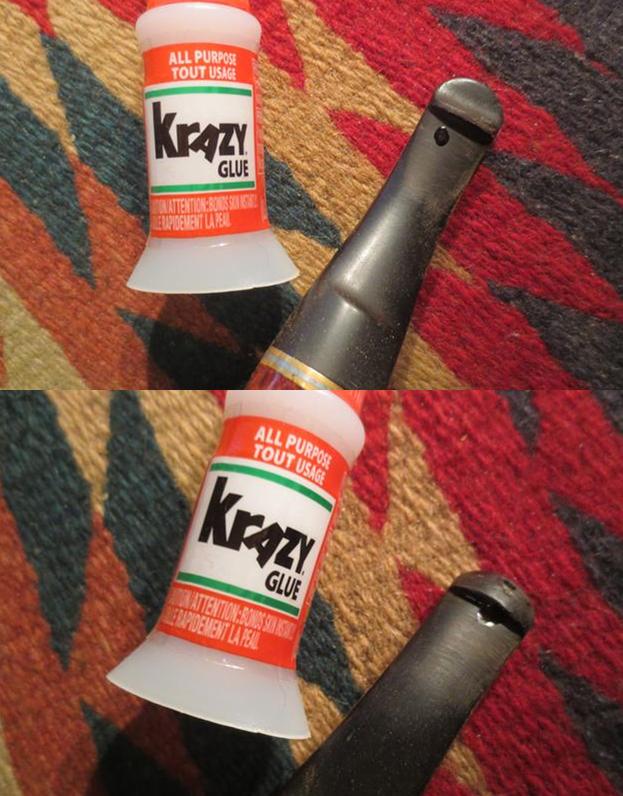
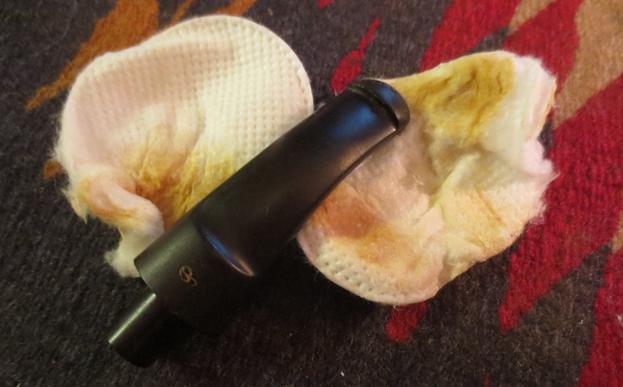
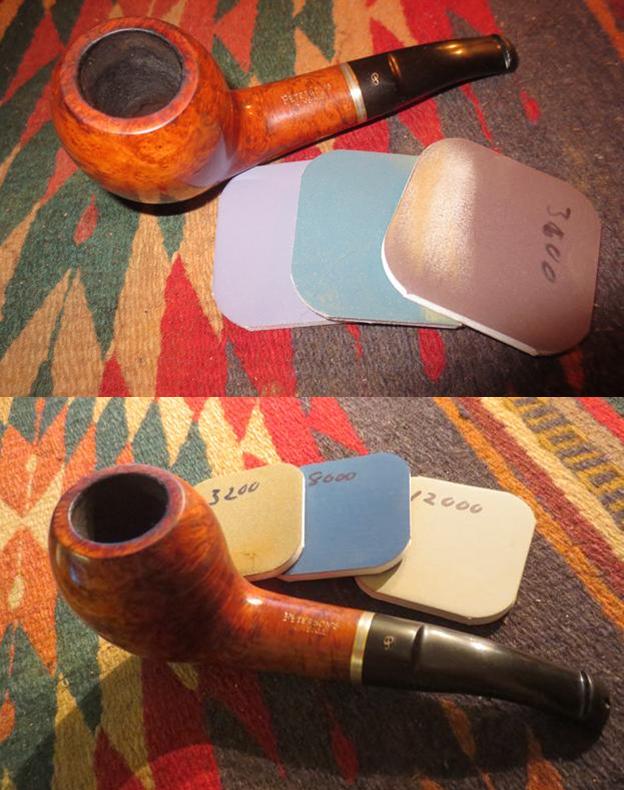
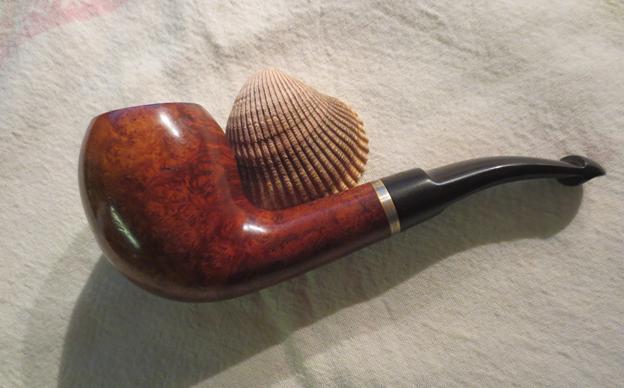
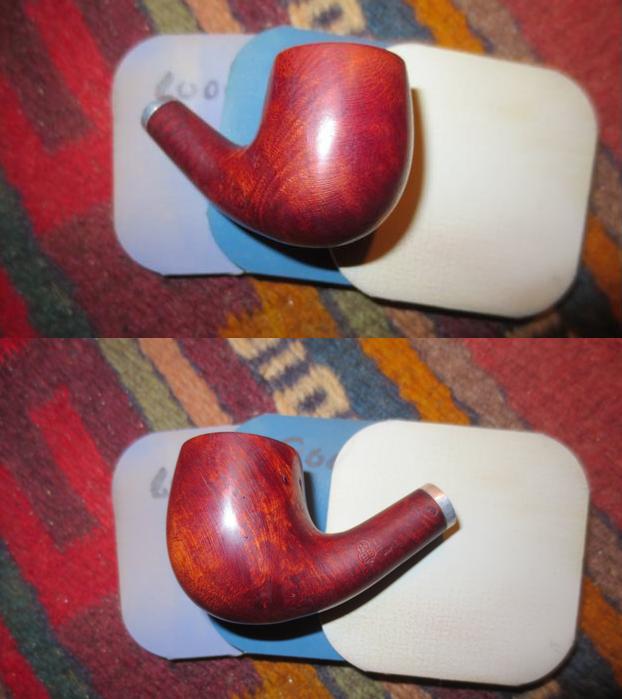
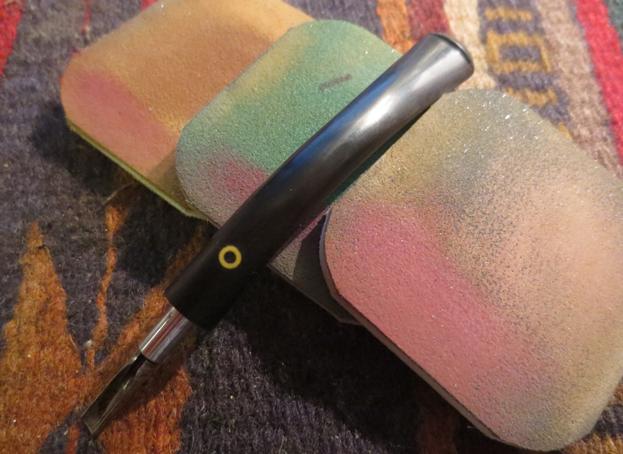
In going through the last box of pipes that my brother sent me I came across this beautiful Kinsale by Peterson’s. It is stamped on the top of the shank Peterson’s over Kinsale. On the underside of the shank it is stamped Made in the Republic of Ireland. The shank end has a band that is integral to the shank two bars of brass around a thicker bar of silver. The band was lightly oxidized. The finish had a shiny coat of varnish. The rim was dirty and some of the coat had bubbled a bit. The rest of the finish was in excellent shape. There was some beautiful grain poking through the finish. The stem had a Peterson’s P in gold on the top of the saddle. There was some oxidation around the saddle portion of the stem and there were tooth marks on the top and the underside of the stem near the p-lip button. There was a small tooth mark on top of the p-lip. My brother took the next two photos of the pipe before he cleaned it up.pete1He scrubbed the externals with Murphy’s Oil Soap and reamed and cleaned the internals. The bowl and stem were quite nice when it arrived here. I took the next photos to show the condition of the pipe when I started the work on it.pete2 pete3I took some closeup photos of the stamping on the pipe. The stamping was sharp and clear. It is very readable. You can also see that the P is quite distinct on the stem. The gold is still in place. This would be a great experiment for the new deoxidizer and polishing mixture I purchased.pete4I took close up photos of the stem as well to show the tooth marks and scrapes on to two sides of the stem ahead of the p-lip and on the p-lip itself.pete5I sanded the stem dents and heated them with a lighter to try to lift them. I was able to lift all of them on the underside and topside of the stem except for two. There was a tooth mark on the both sides next to the button.pete6I sanded the glue when it dried with 220 grit super glue and with 1500-4000 grit micromesh sanding pads. Once it was smooth I scrubbed the stem with the Before & After Stem Deoxidizer on cotton pads and was able to remove all of the oxidation. It took some elbow grease but the Deoxidizer removed the oxidation but not the P stamp on the stem top.pete7I used the Fine Before & After Pipe Polish to work over the stem. I scrubbed the stem with my finger. Applying the paste to the stem and scrubbing it into the surface. I wiped it down with a cotton pad. I followed that by polishing it with the Extra Fine Polish and did the same procedure.pete8I worked on the rim with micromesh sanding pads. I did not want to break the finish but to remove the bubbling and the buildup. I sanded it with 3200-12000 grit pads to polish it.pete9The finished pipe is shown in the photos below. I buffed it lightly with Blue Diamond and then gave it a light coat of wax. I buffed that to raise a shine on the bowl and protect and shine the stem. I polished the metal band with 8000-12000 grit micromesh sanding disks. It is truly a beautiful pipe and the shape and the shine look great. This is available now and will soon be on the store. If you are interested in it email me at slaug@uniserve.com or send me a message. Thanks for looking.pete10 pete11 pete12 pete13 pete14 pete15 pete16 pete17