Blog by Steve Laug
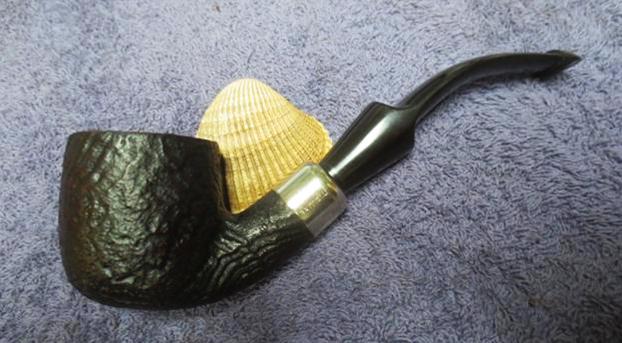
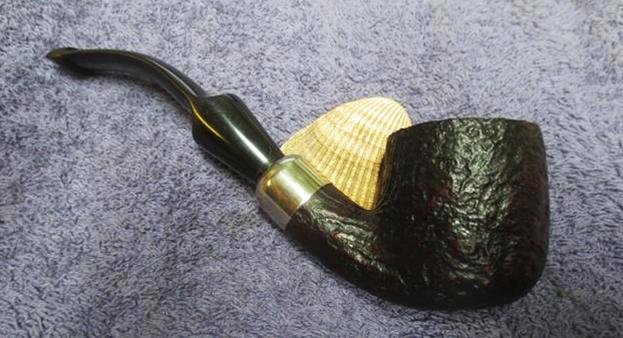
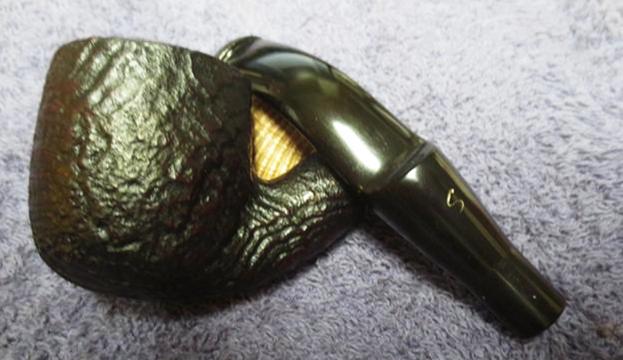
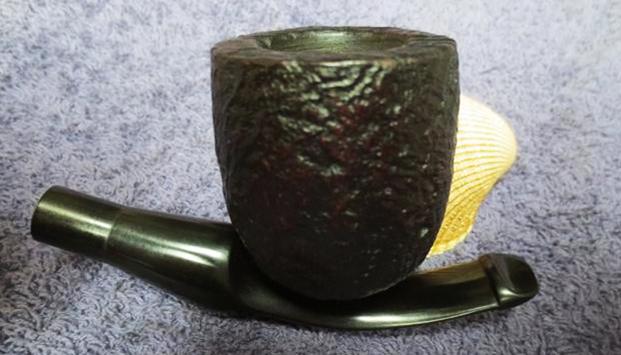
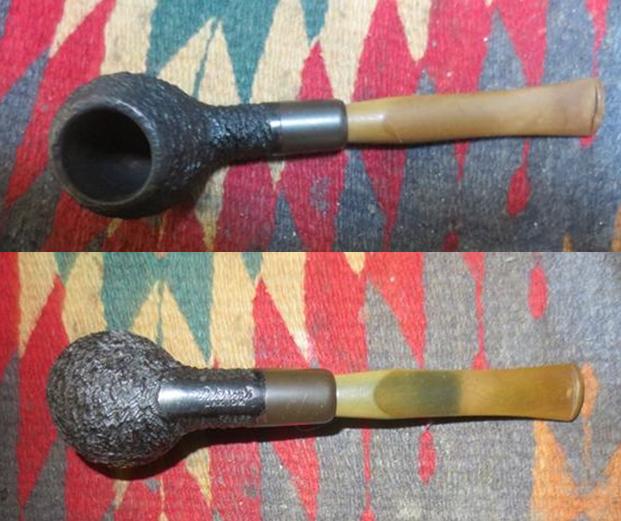
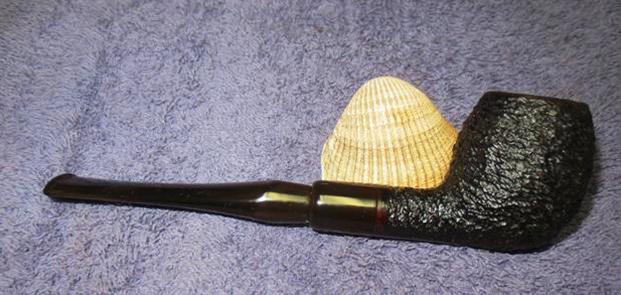
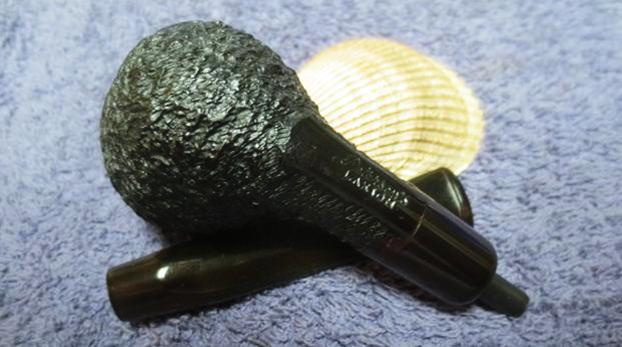
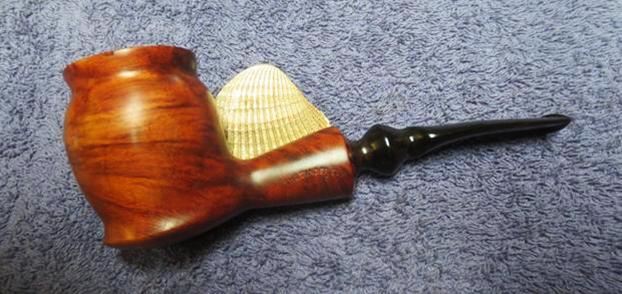
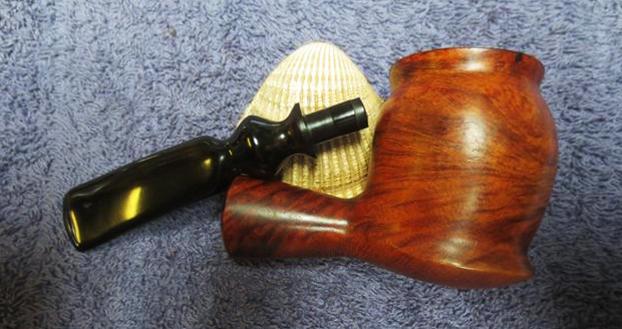
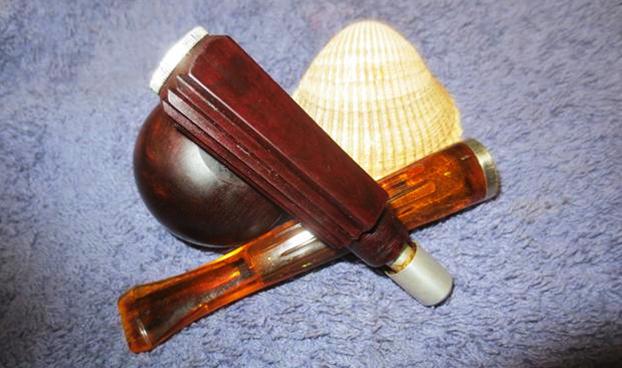
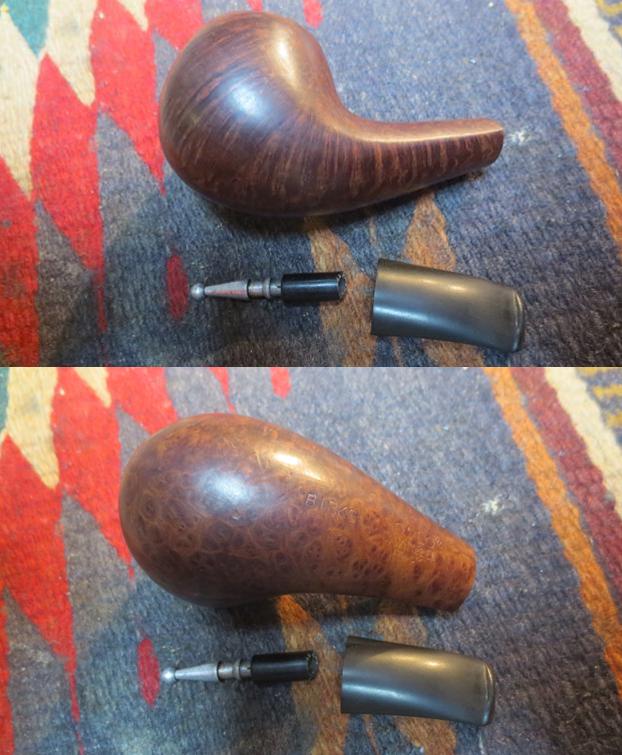
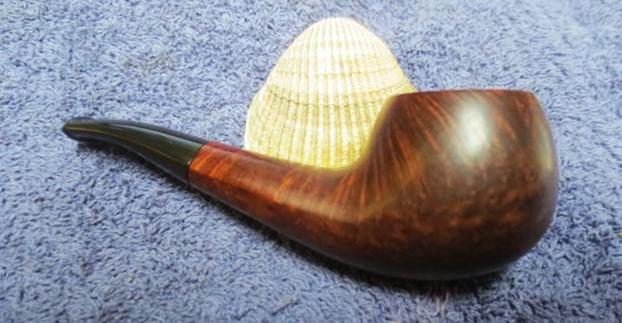
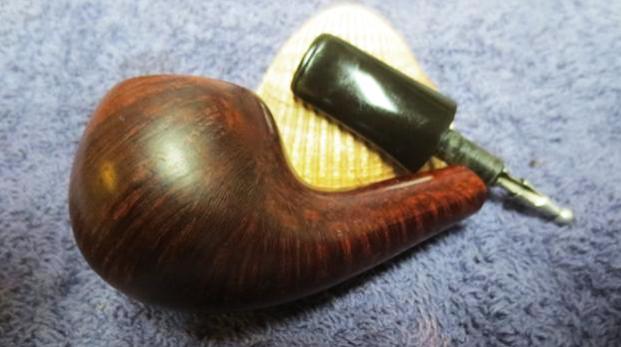
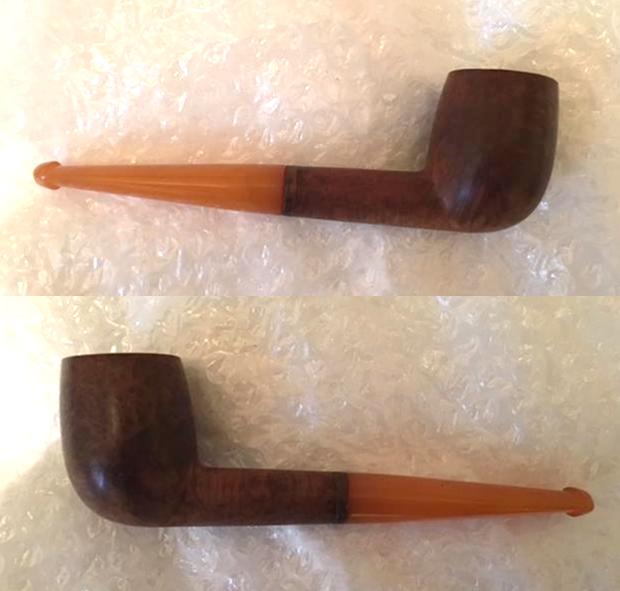
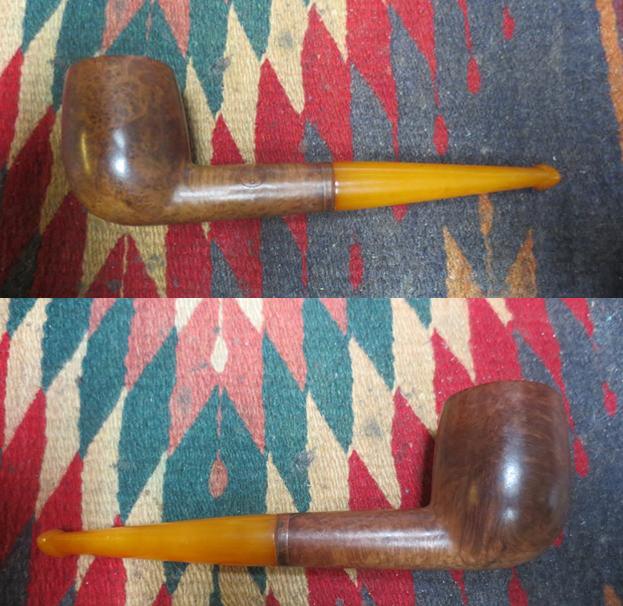
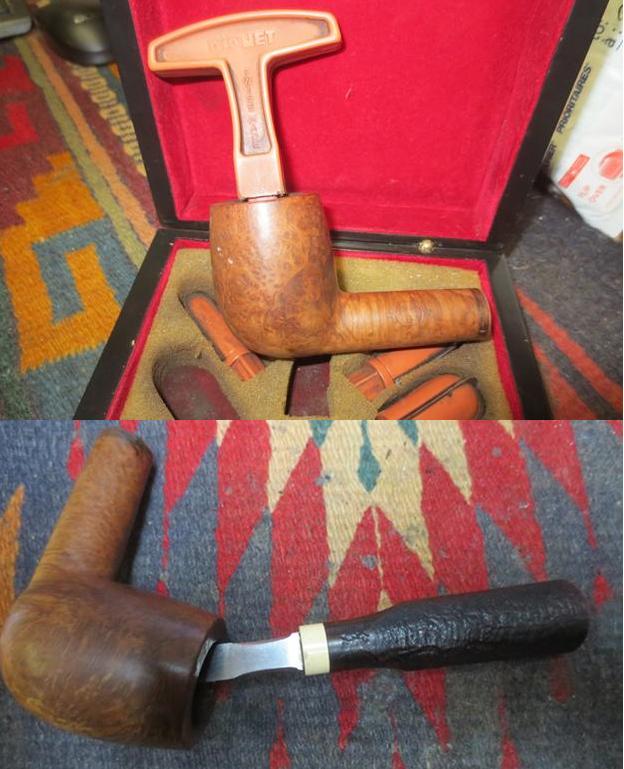
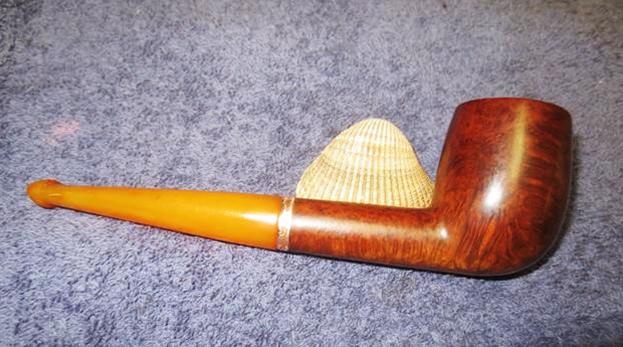
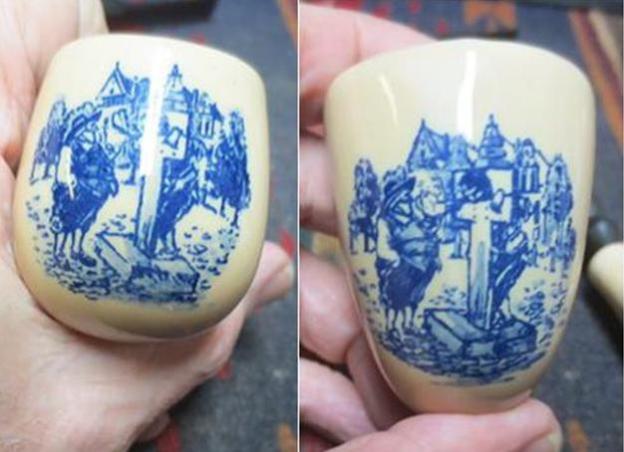
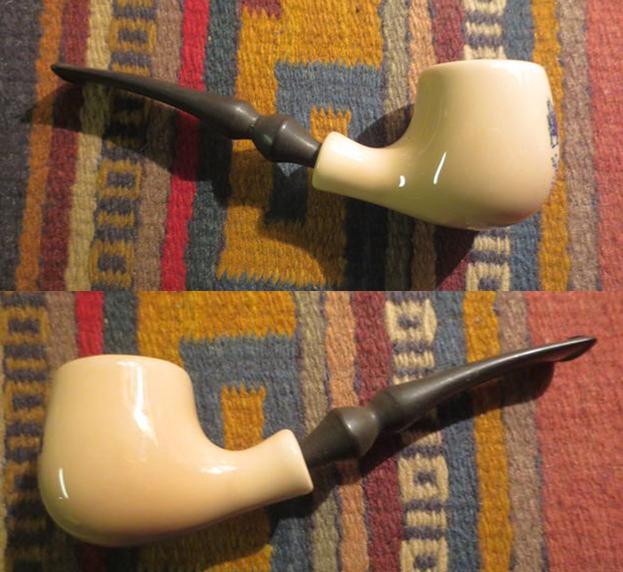
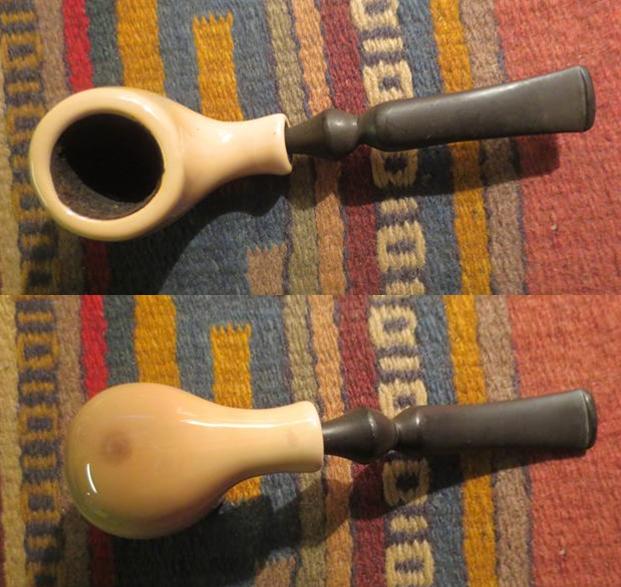
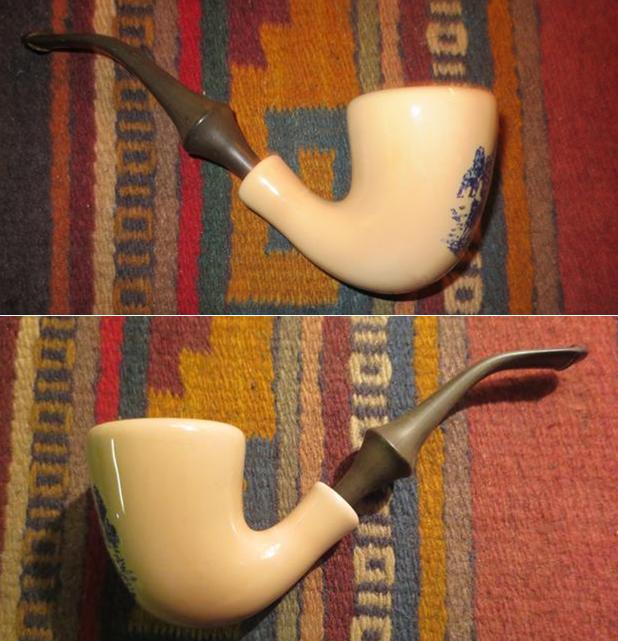
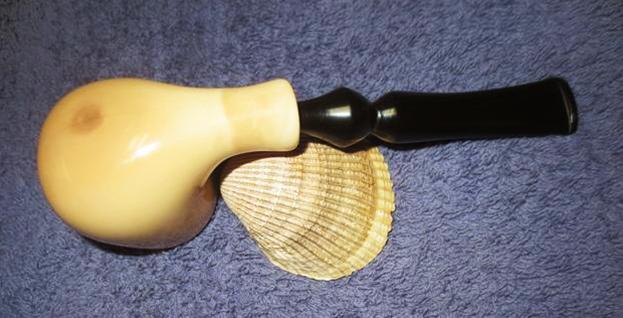
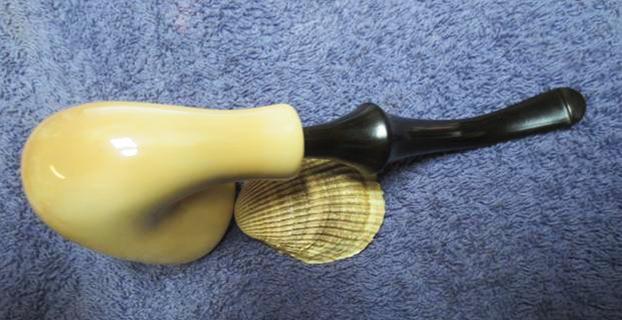
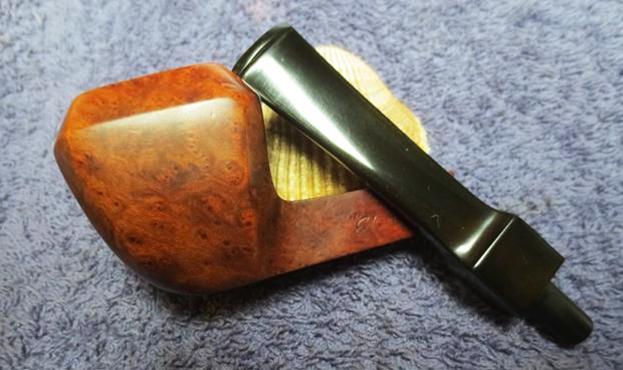
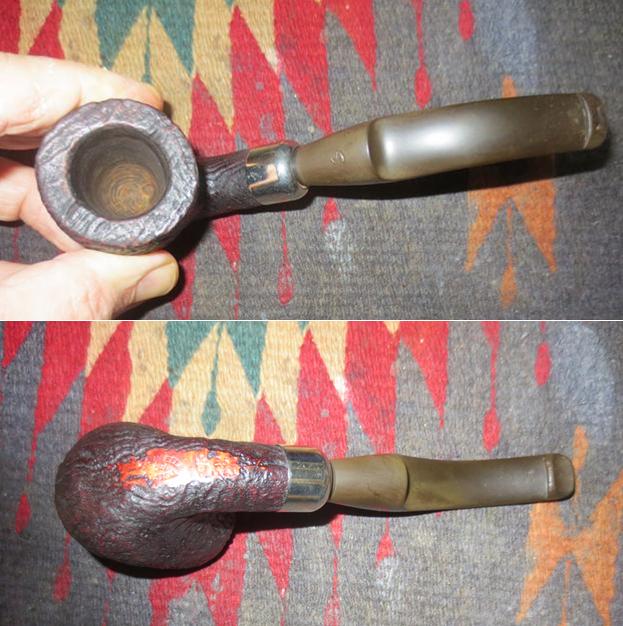
The next pipe I chose to work on was one my brother found one of his pipe hunting trips in Southern Idaho. It is a nice sandblasted Savinelli pipe. It is stamped on the underside of the shank and reads Savinelli over Dry over System. To the right of that the shape number 2622 is stamped along with the Savinelli shield and Made in Italy. The finish was very dirty and the bowl thickly caked. There was a buildup of lava overflowing onto the top of the rim. It was hard to know if there was damage to the inner edge or the top of the rim because of the buildup. The finish was very dirty with grime and dust of the years. The nickel ferrule was in very good shape with some scratching that could easily be polished out. The stem was oxidized and there were tooth marks on both sides at the button. The airway on the top of the P-lip style button was a slot and it was damaged along the top edge. The S stamp on the top of the saddle part of the stem was faded but deep enough that it would be easy to refill. It was a nice looking pipe under the grime and wear. Jeff took photos of the pipe before he started his cleanup work.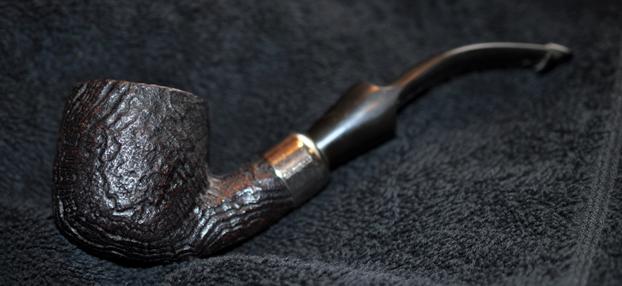
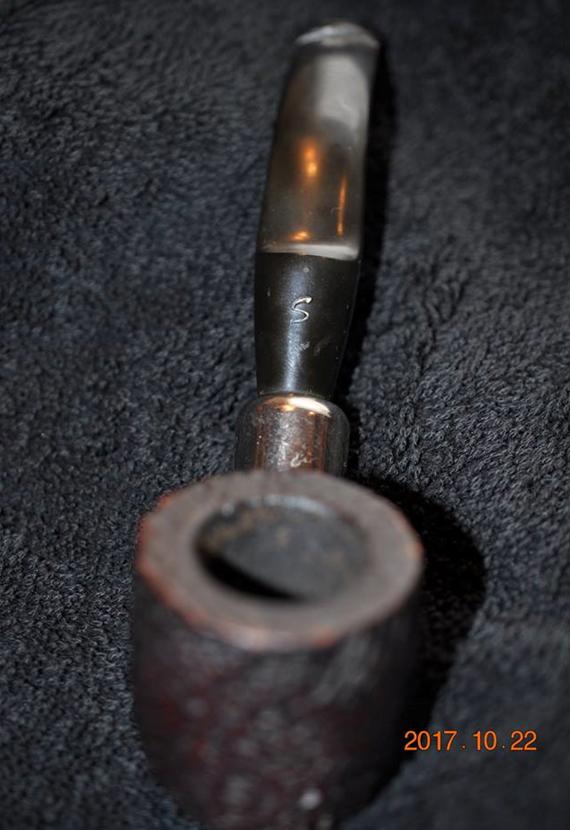
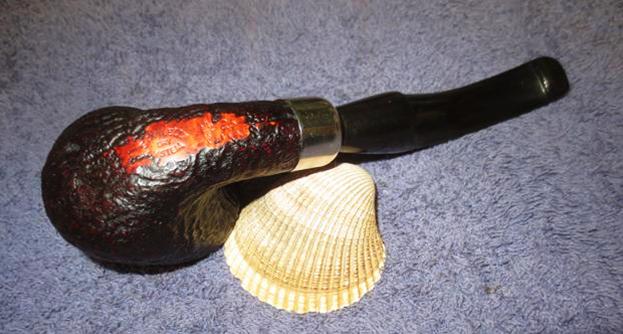
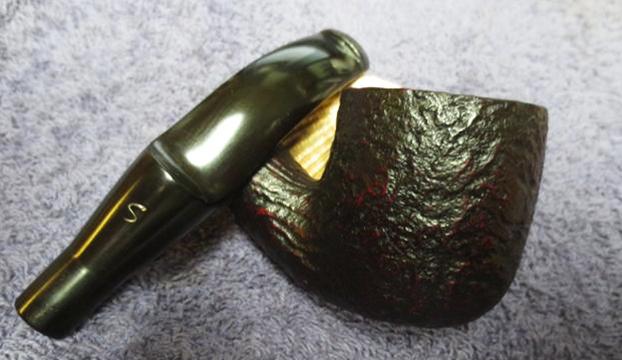
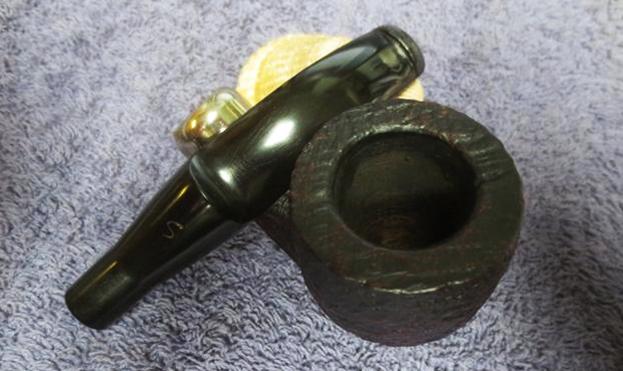
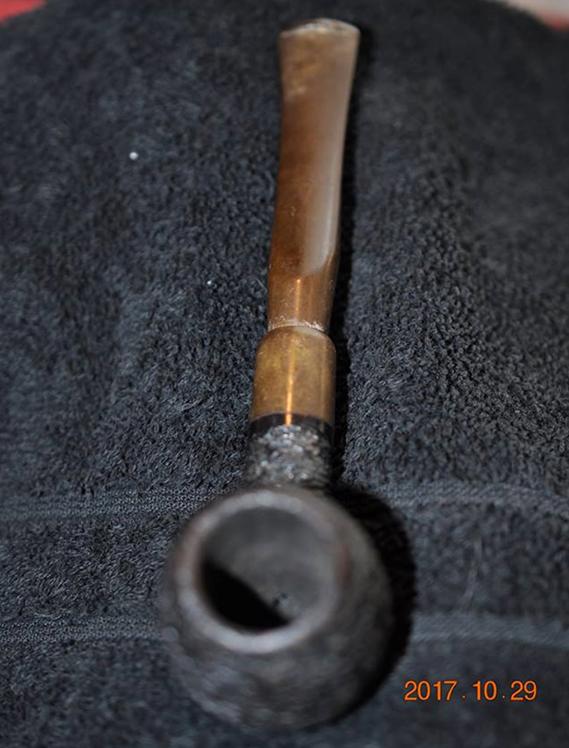
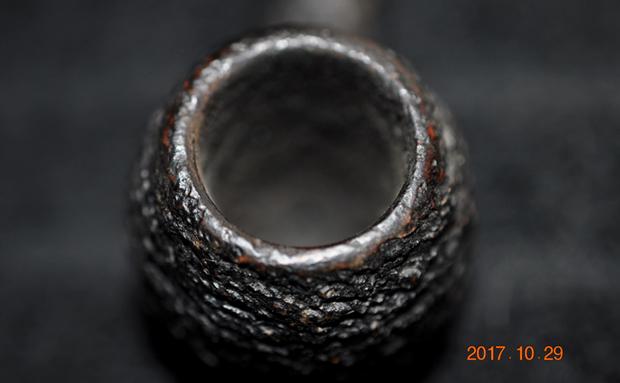
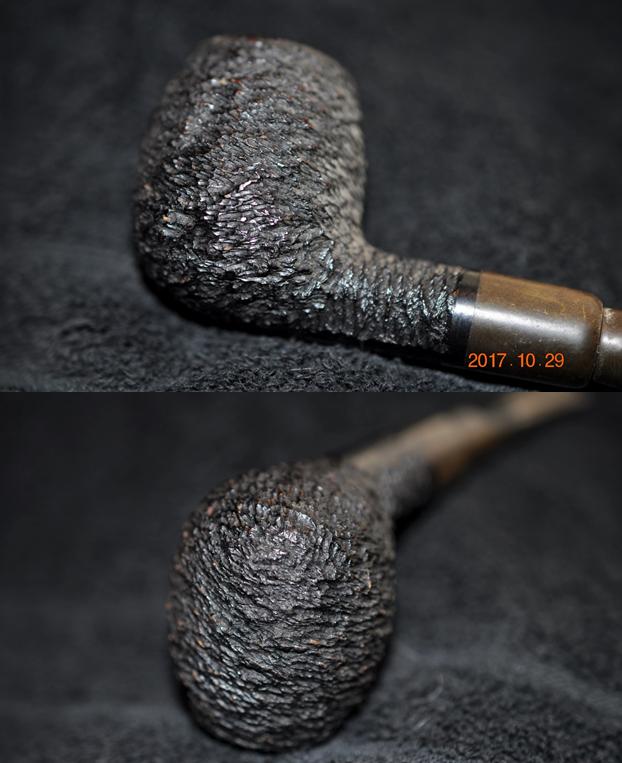
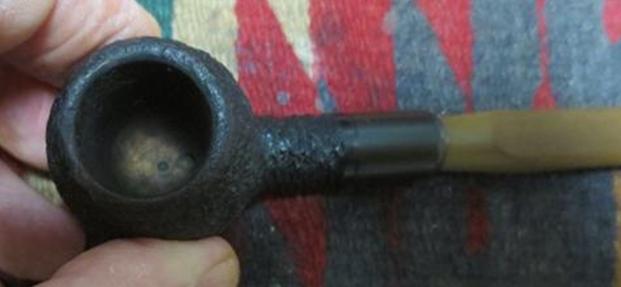
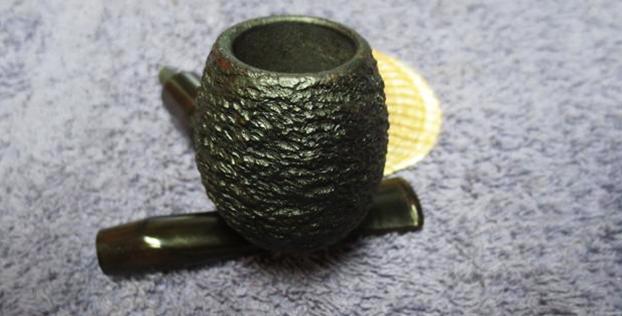
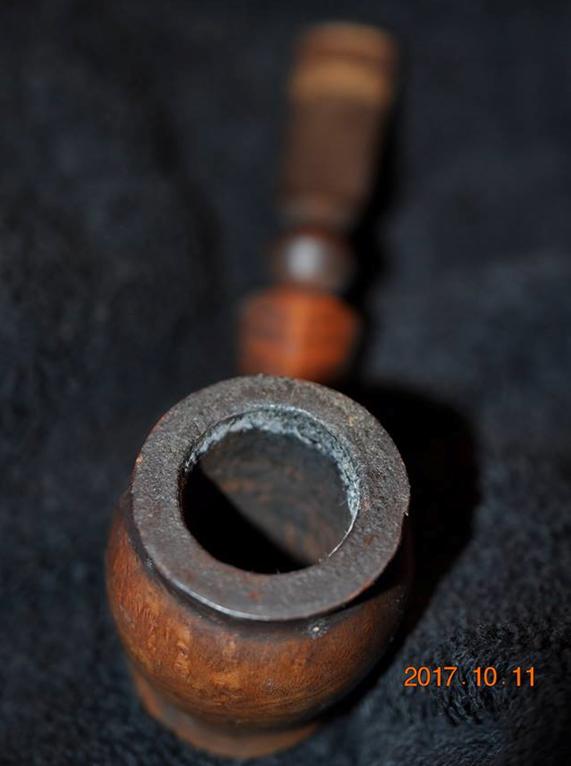
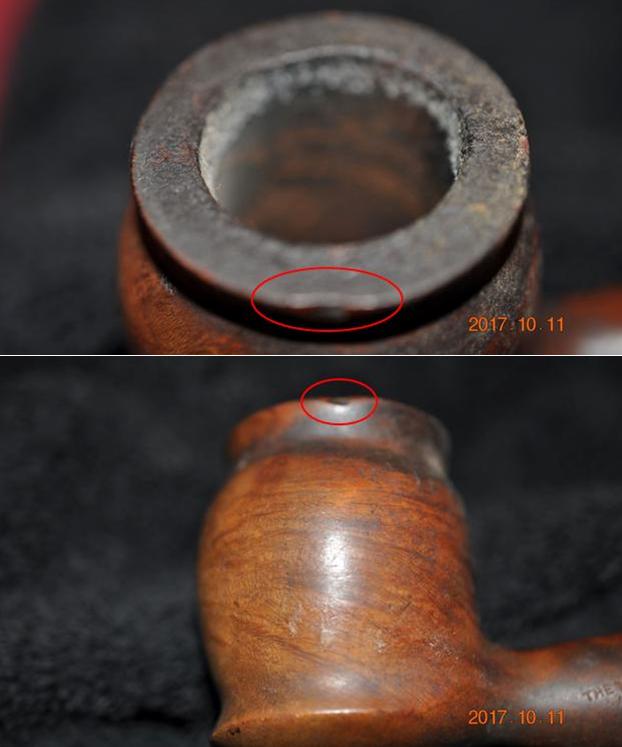
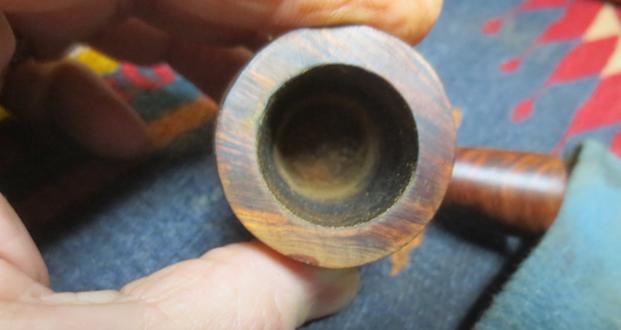
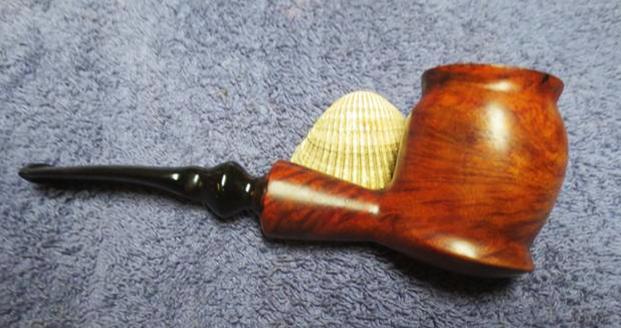
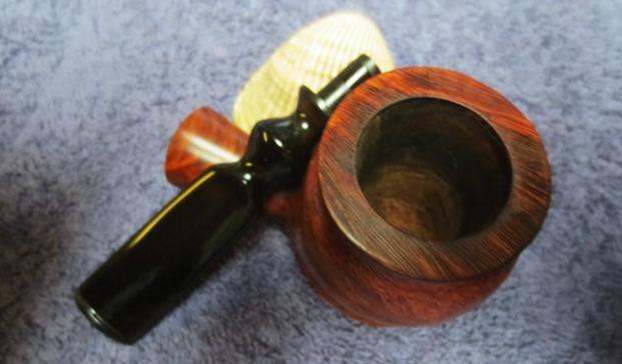
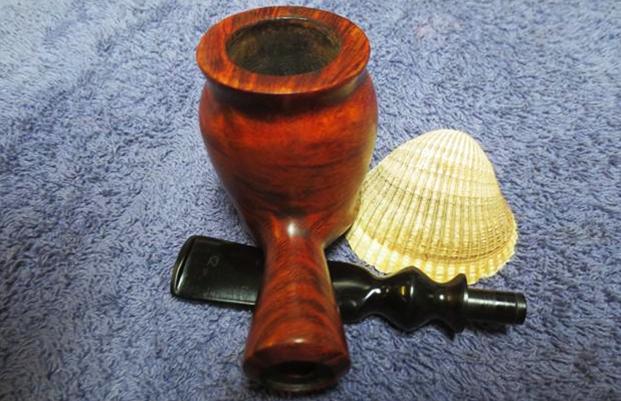
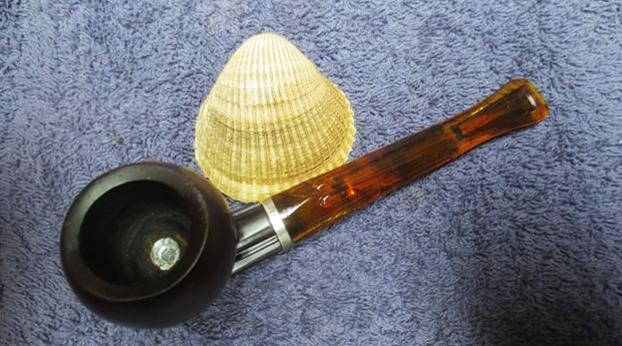
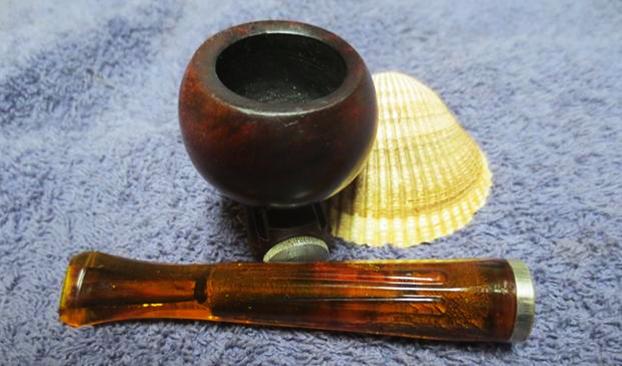
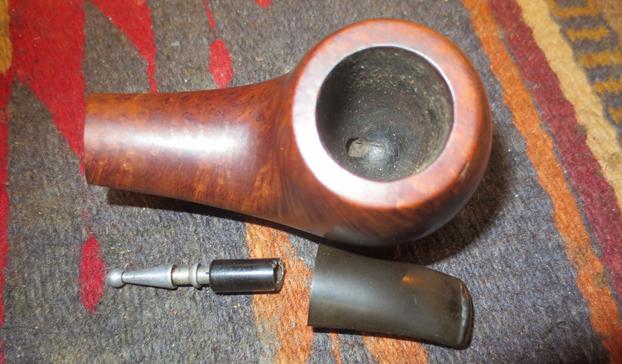
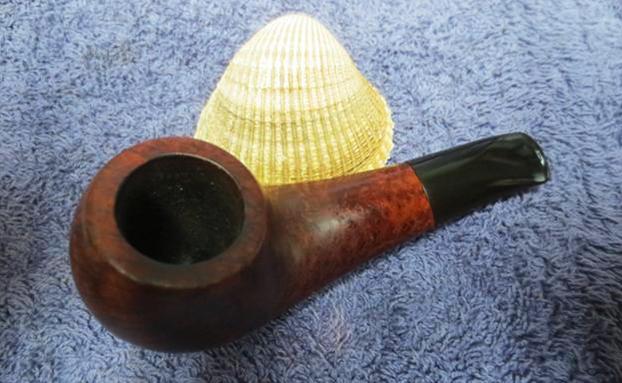
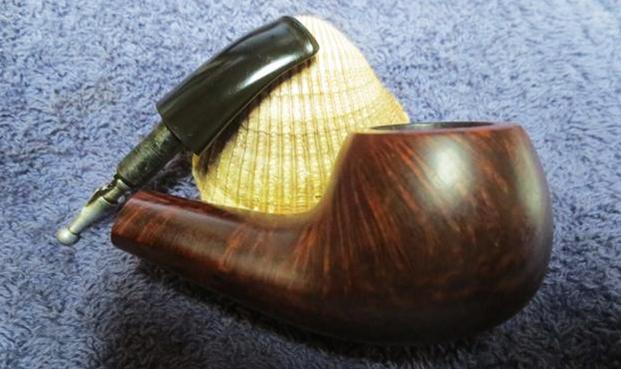
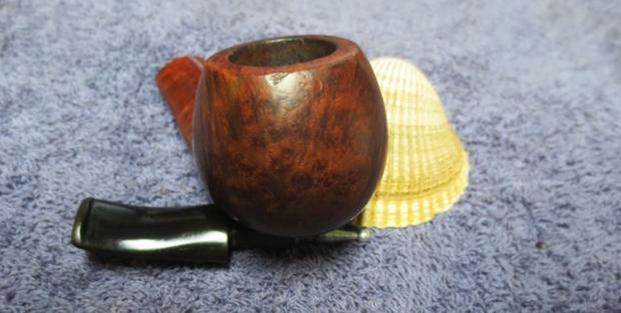
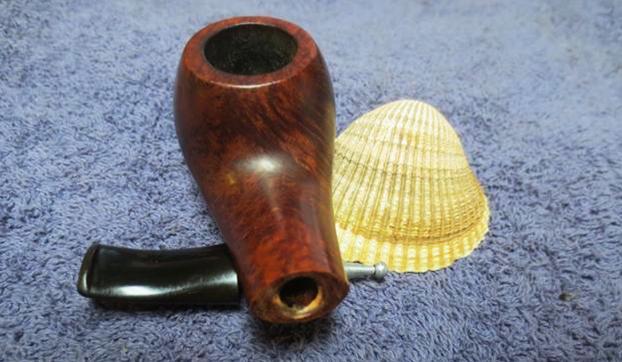
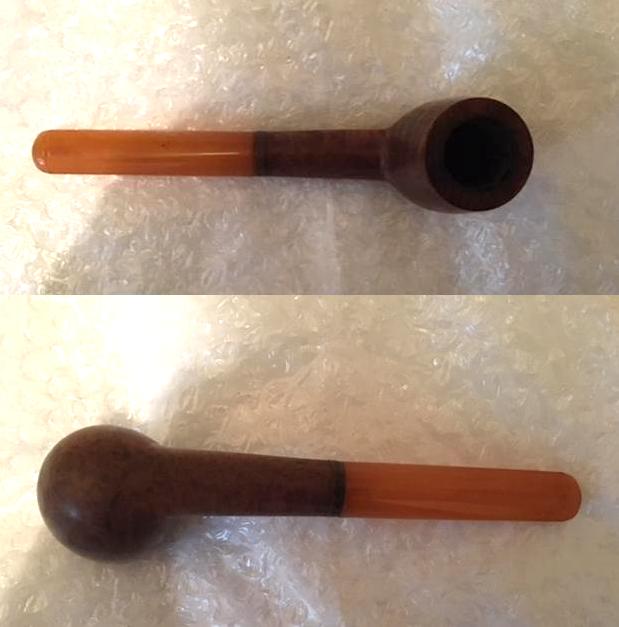
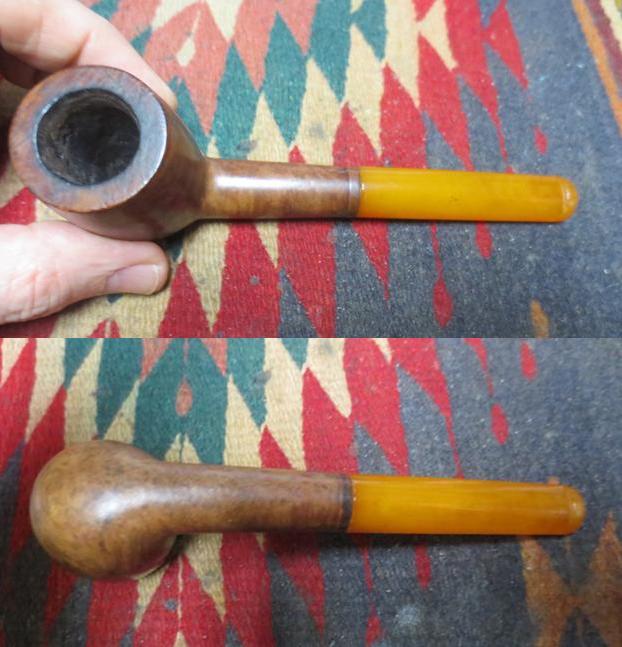
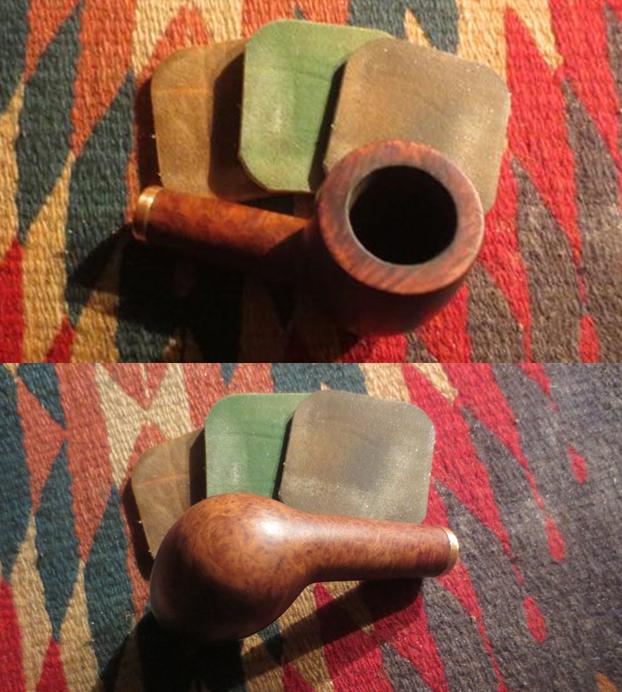
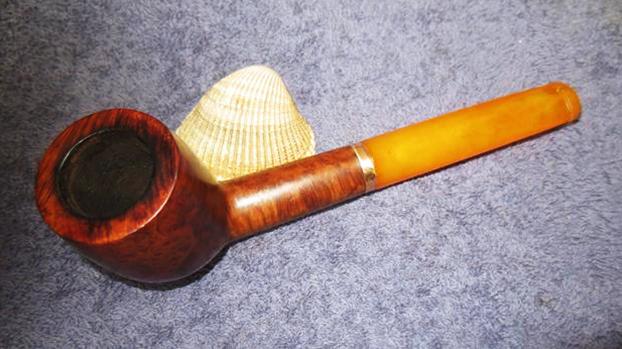
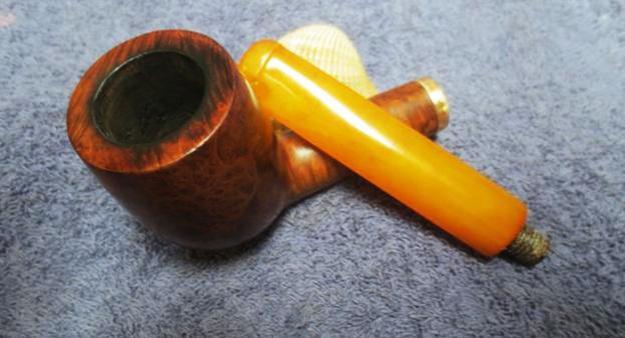
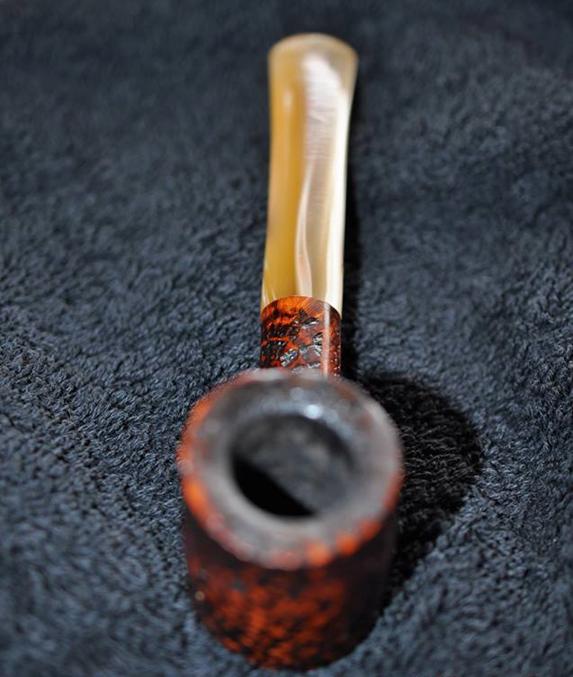
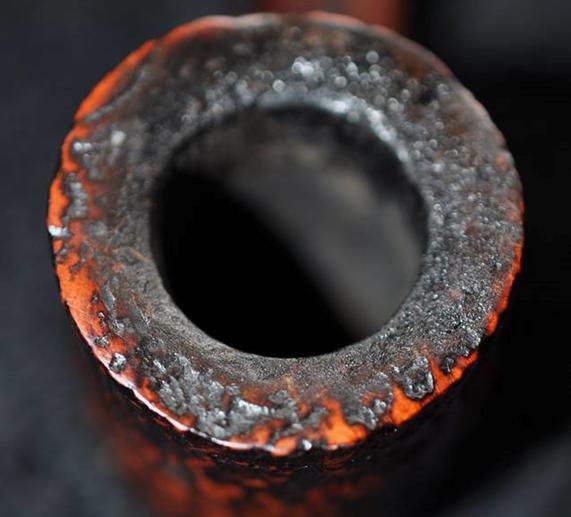
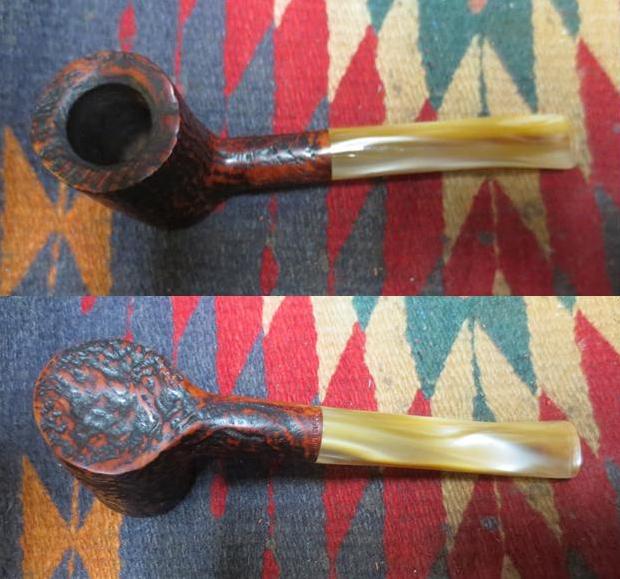
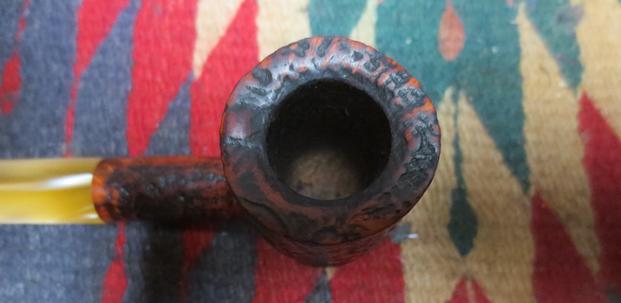
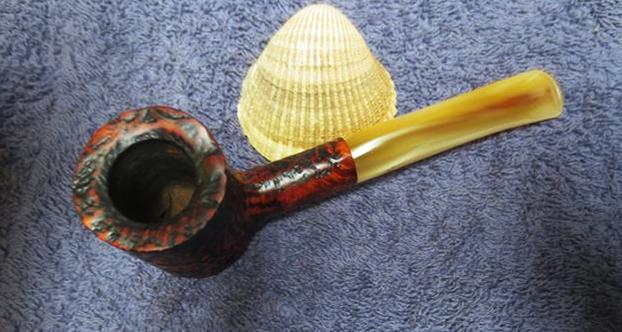
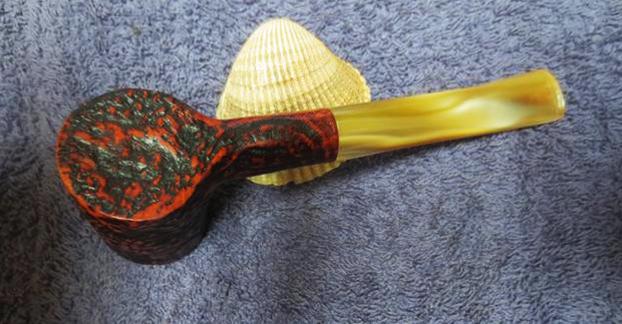
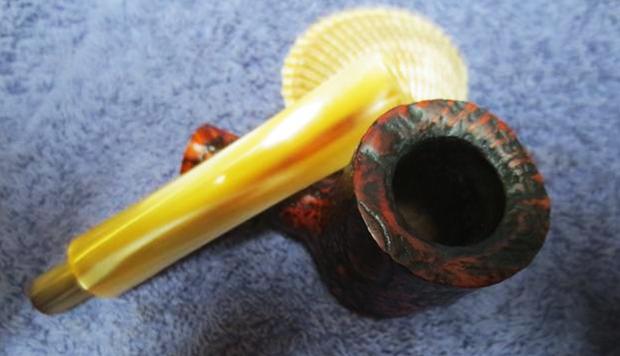
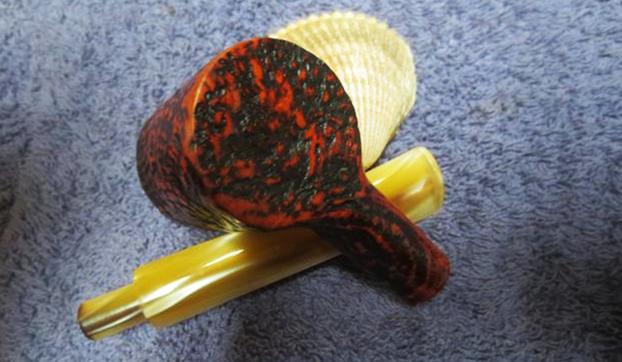
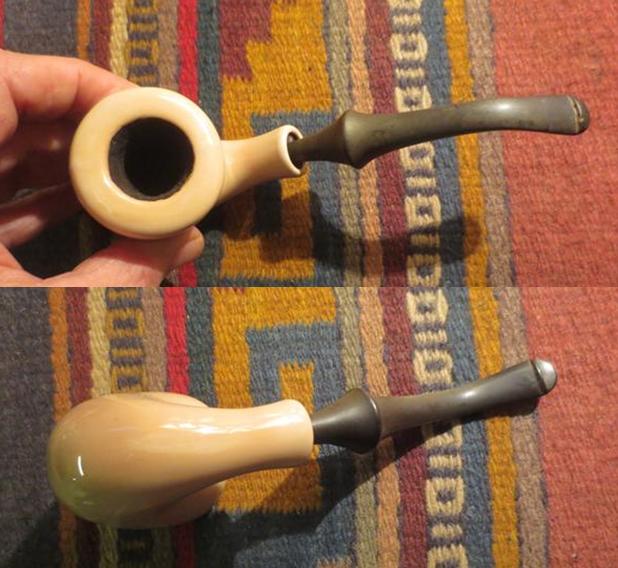
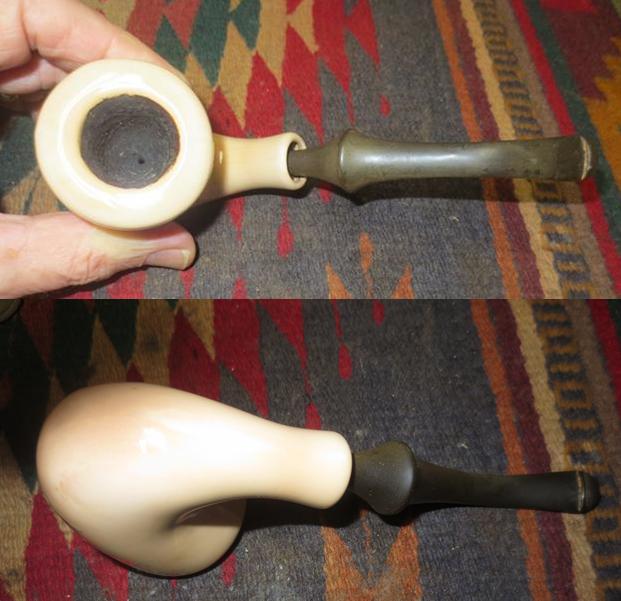
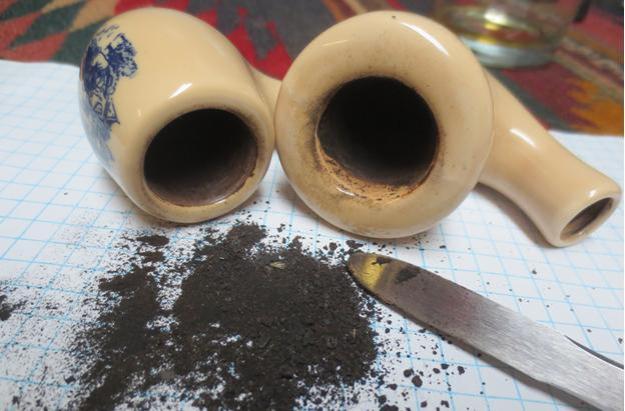
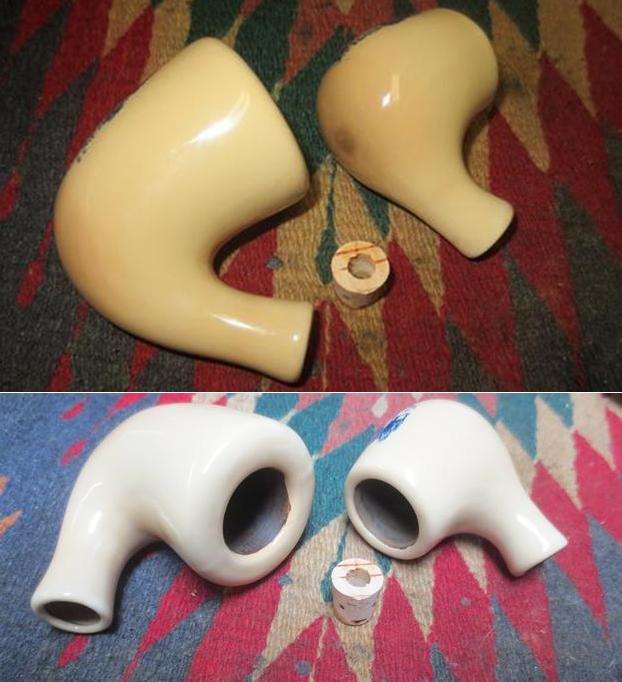
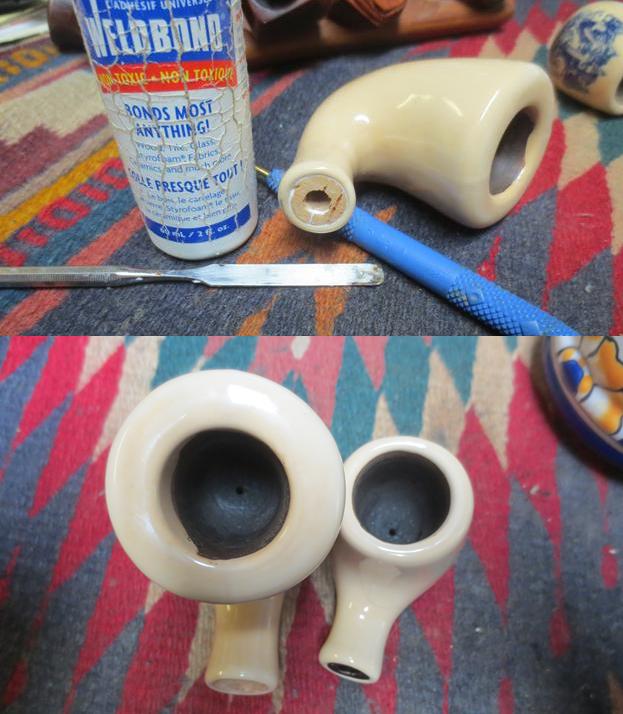
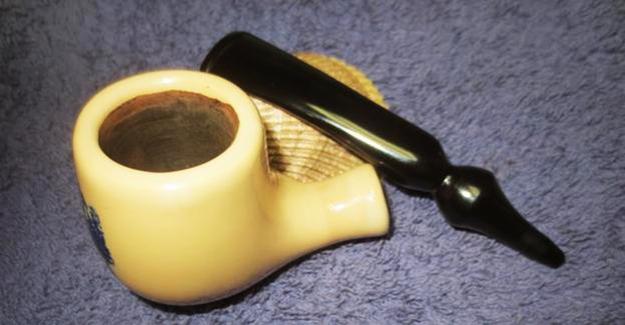
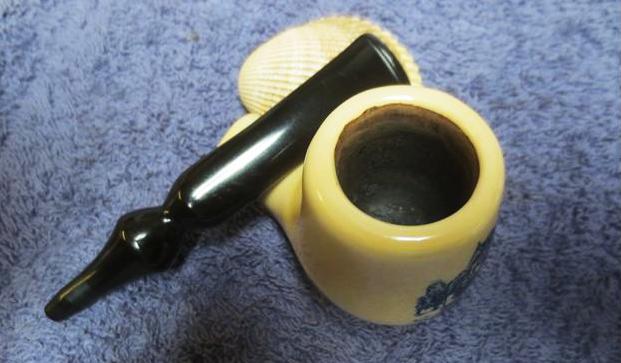
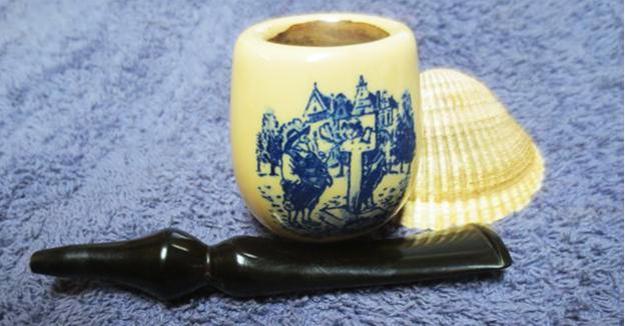
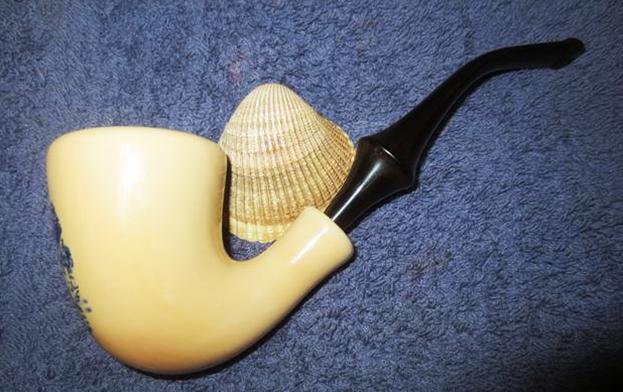
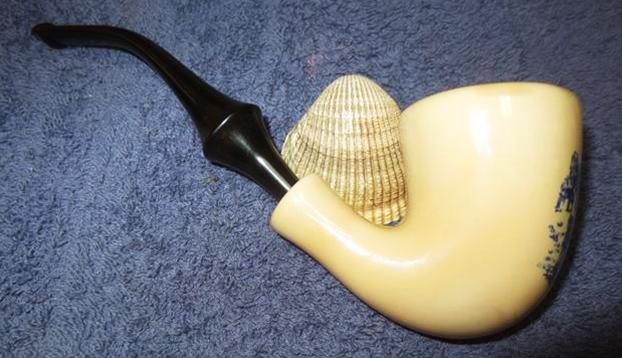
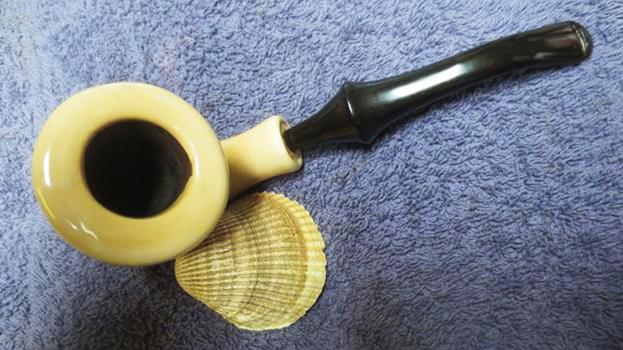
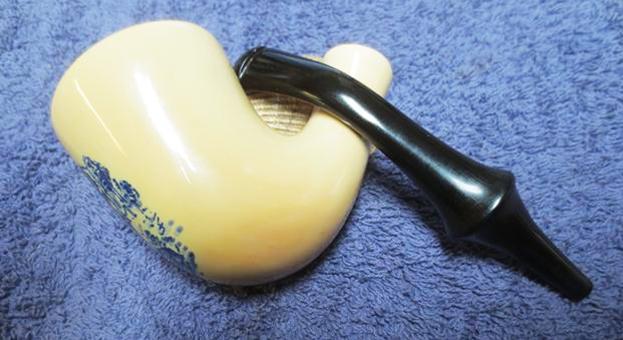
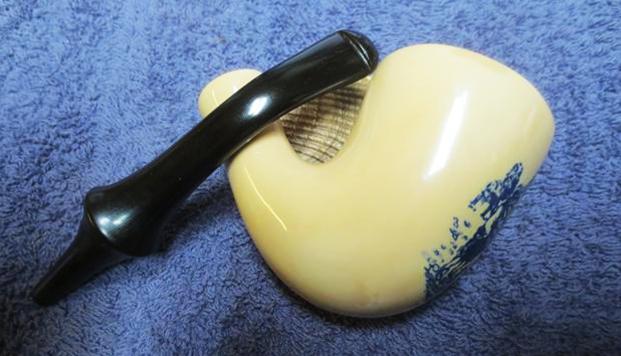
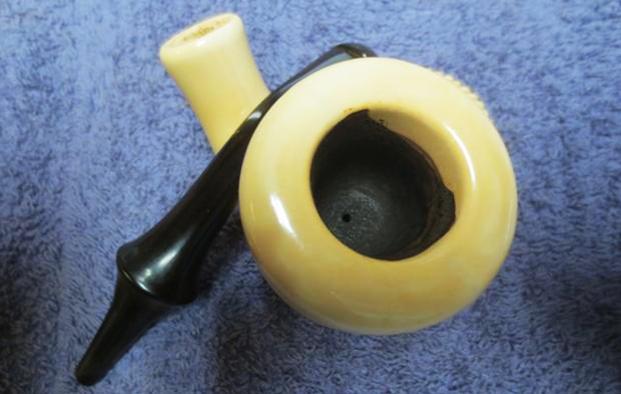
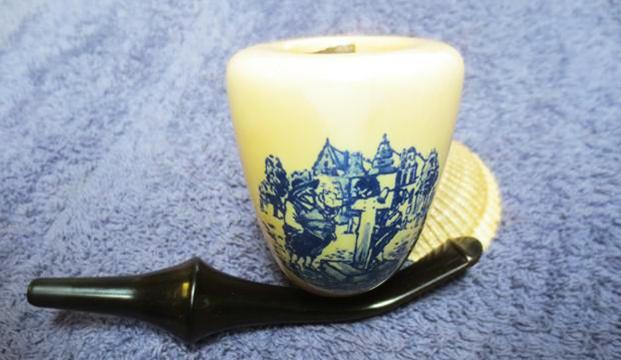
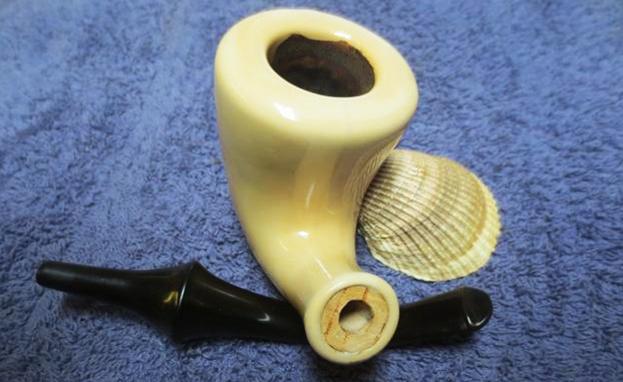
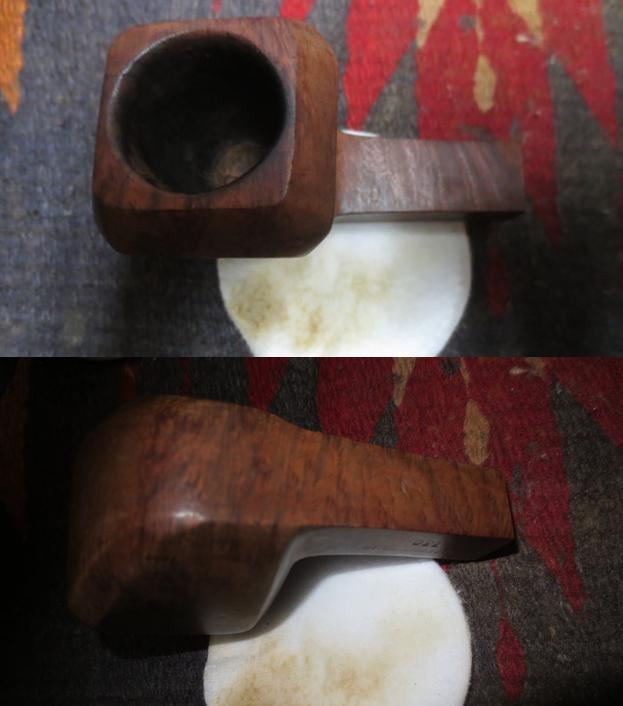
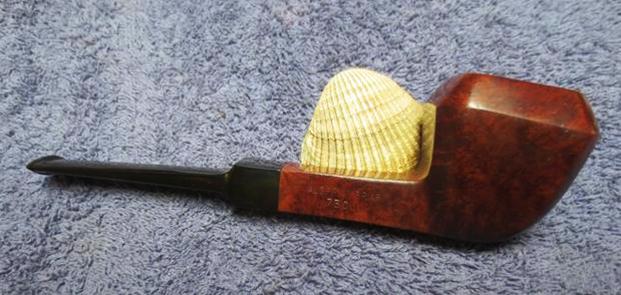
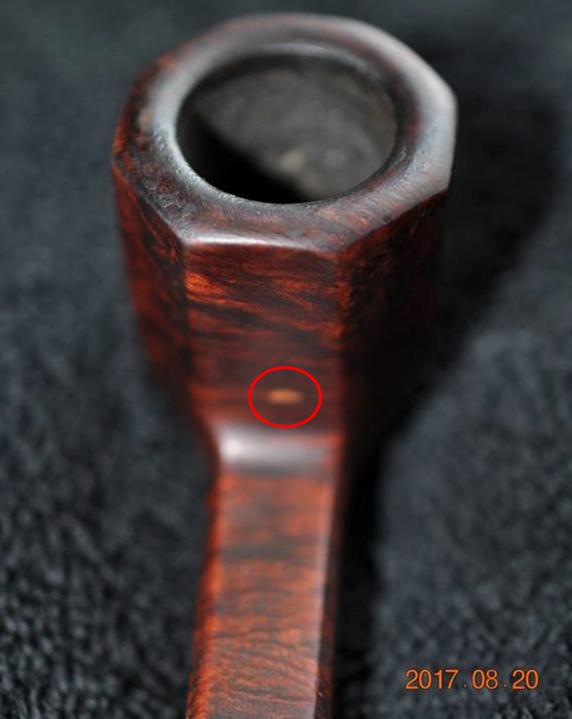
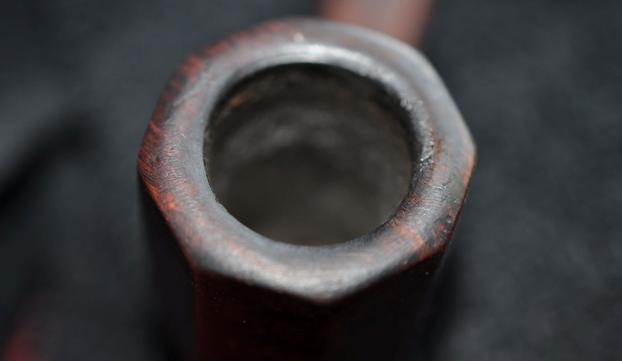
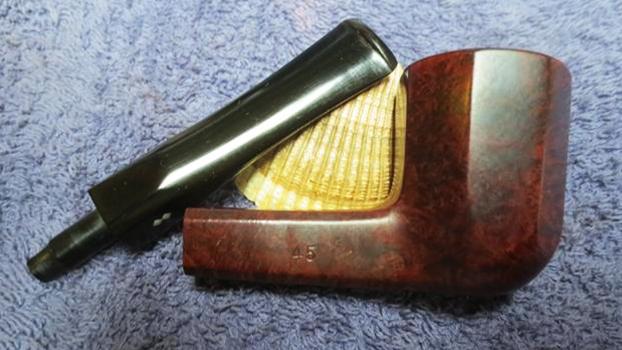
 The next two photos give and idea of the thickness of the cake in the bowl and the overflow of lava on the rim from two different angles. It is quite thick in the bowl and the lava overflow is also thick.
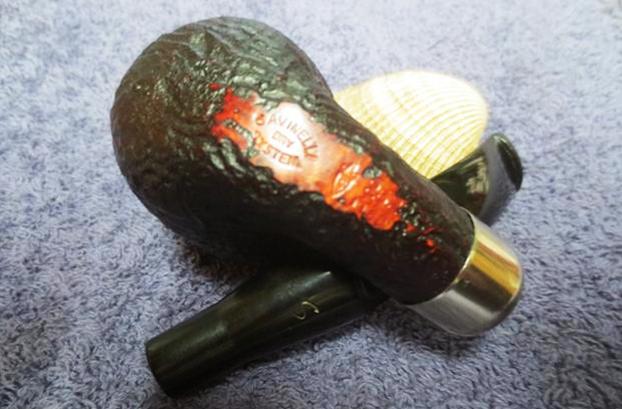
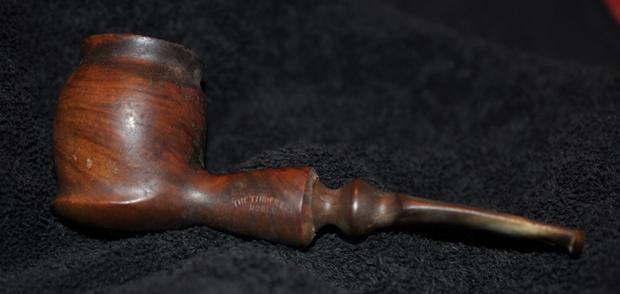
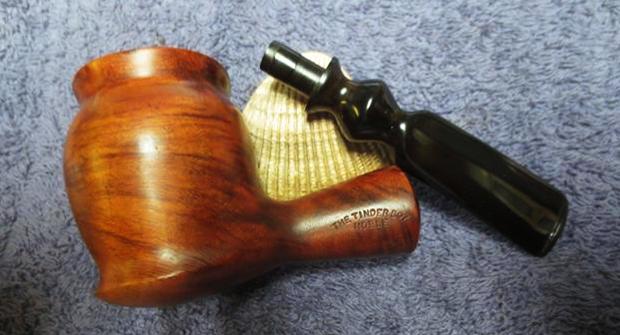
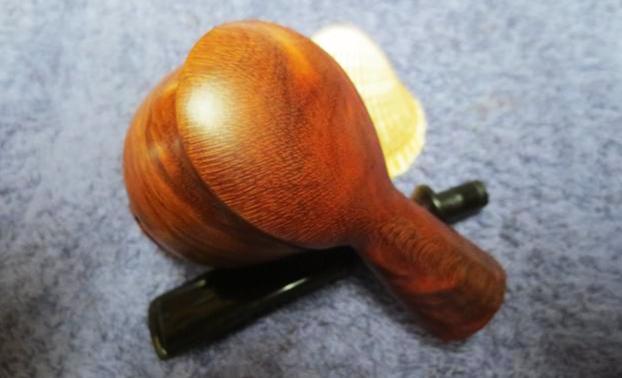
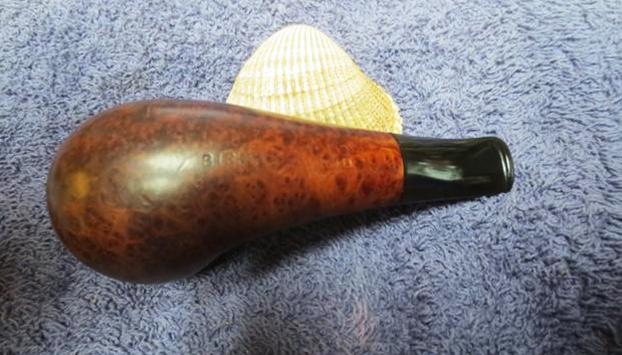
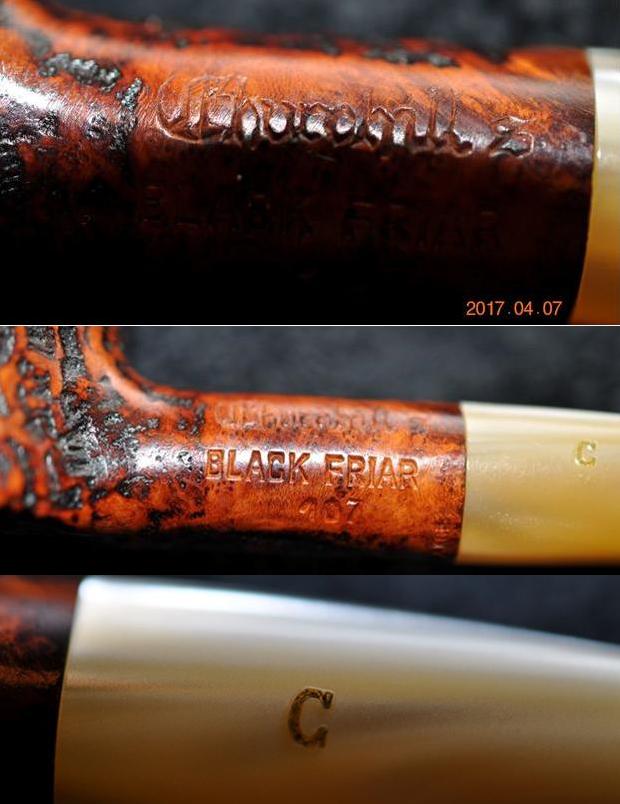
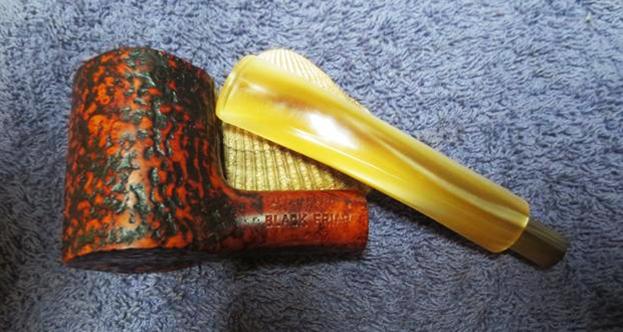
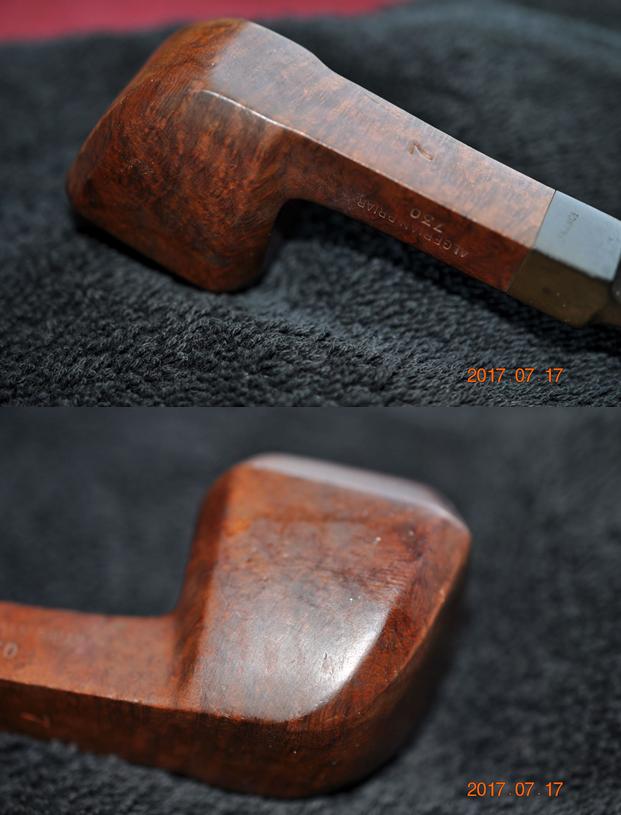
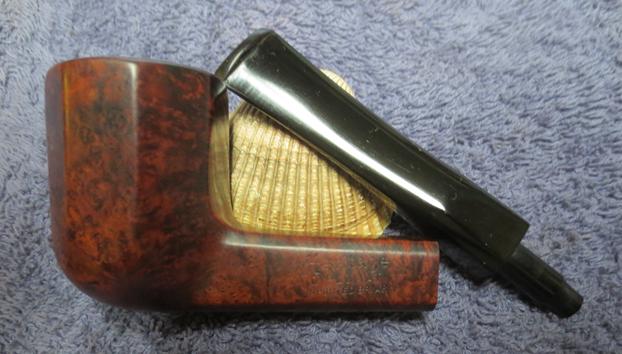
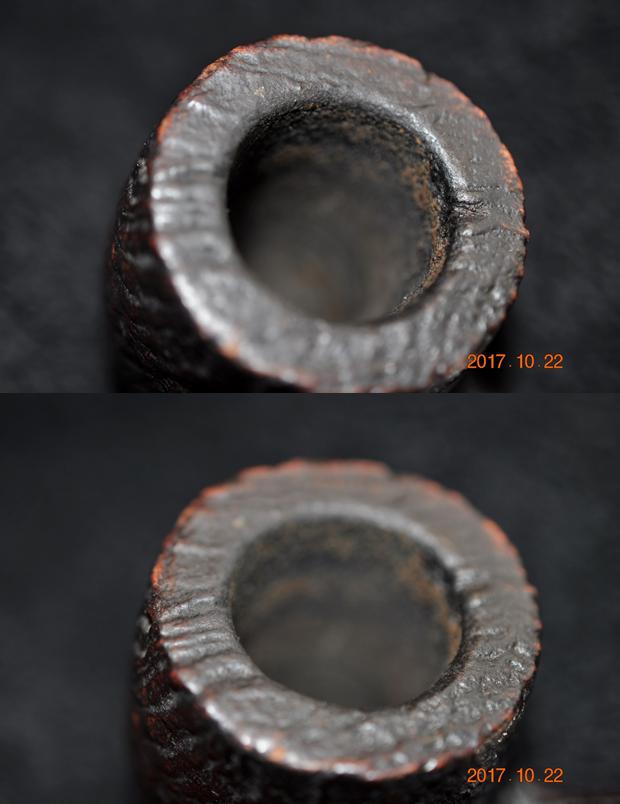 Jeff took a photo of the underside of the bowl and shank showing the stamping. It is pretty clear stamping though the photo is a little blurry.
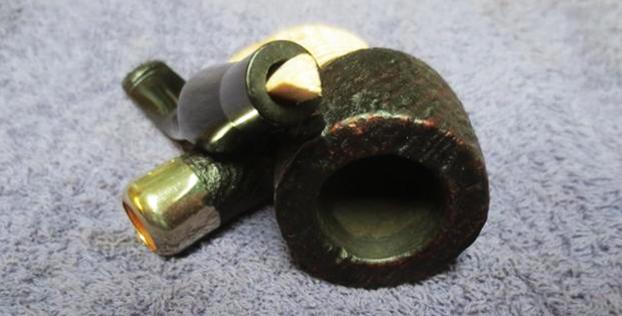
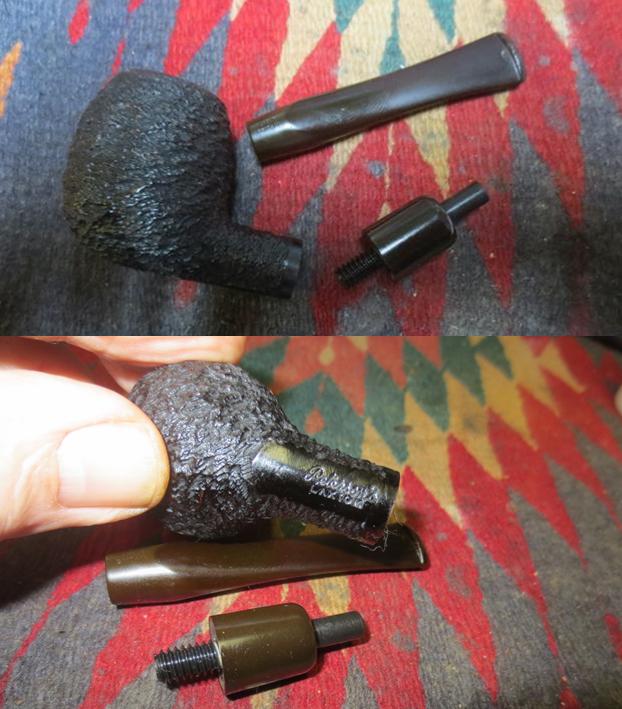
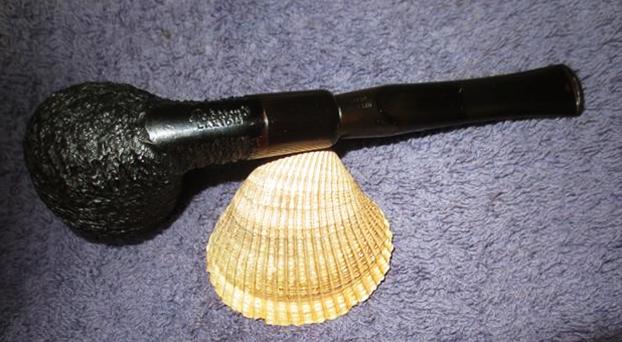
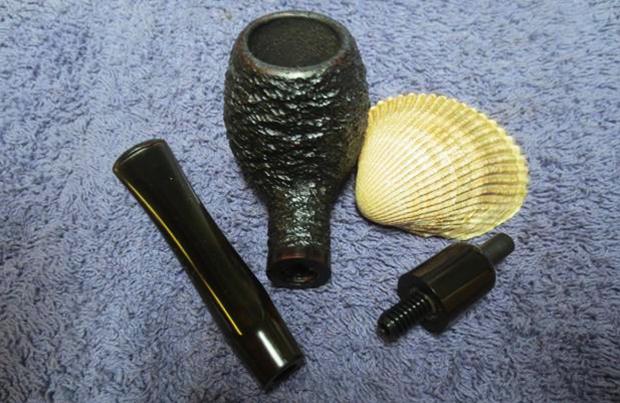
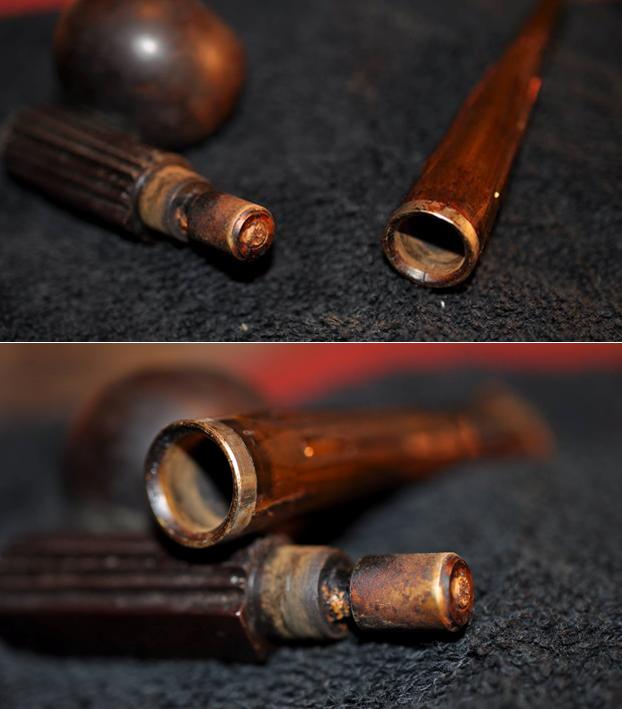
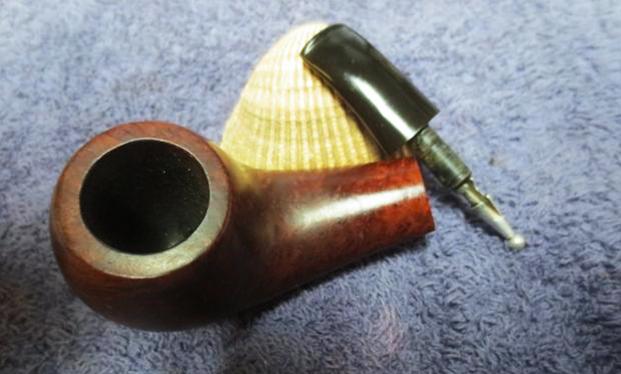
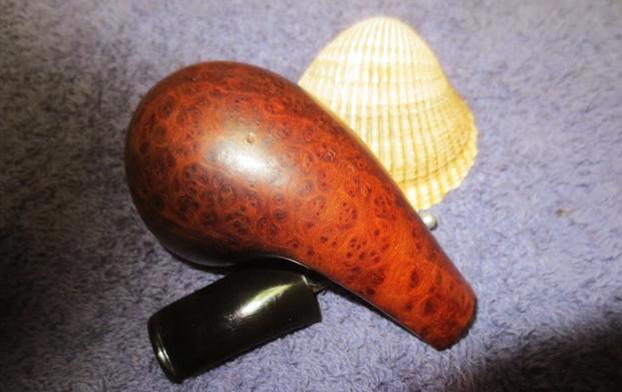
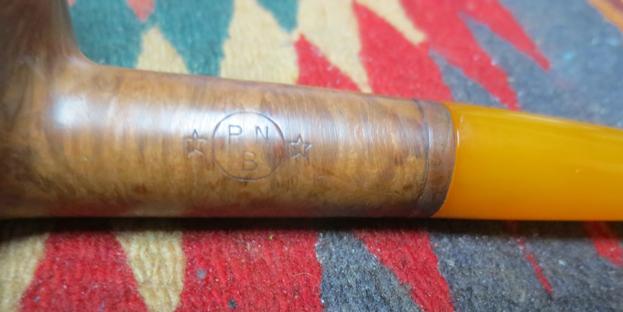
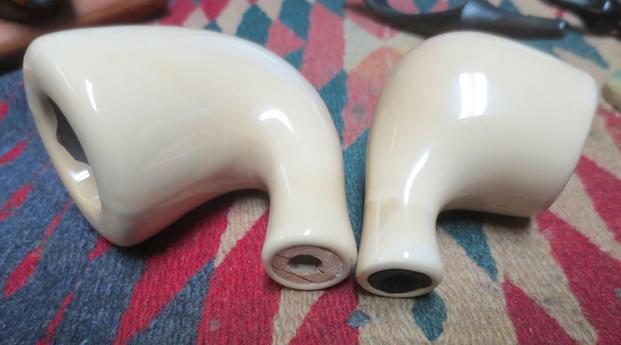
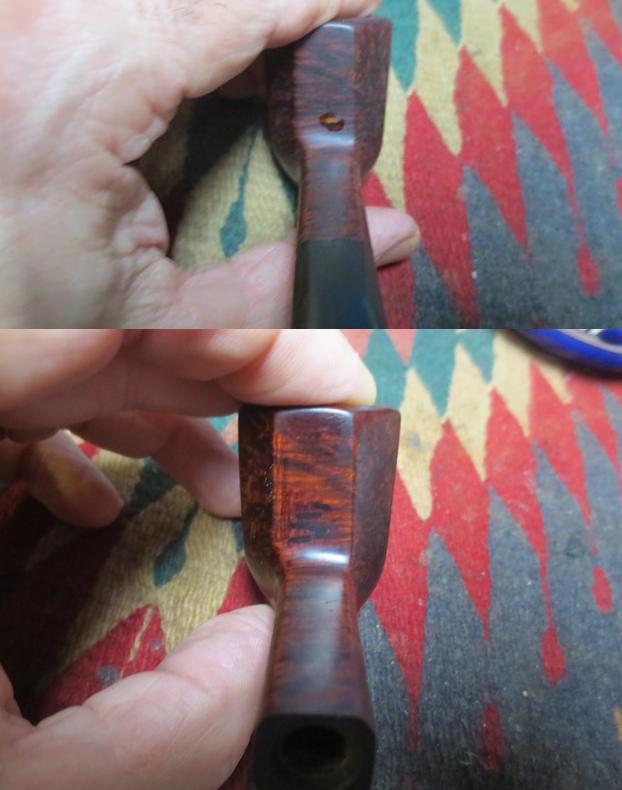
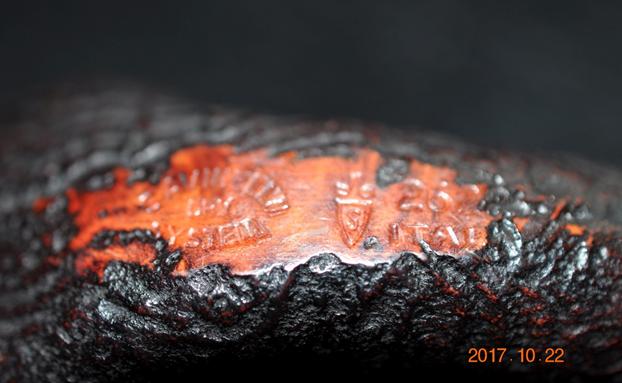 When he took the stem off the bowl there was a Savinelli balsa filter in the stem. The inside of the shank looked really clean. I am assuming the seller cleaned up the shank and put a new filter in the shank to help sell it.
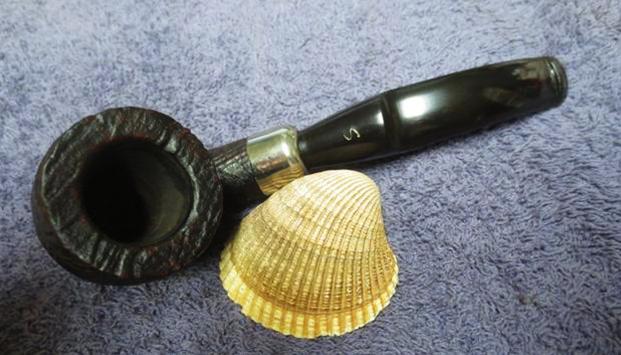
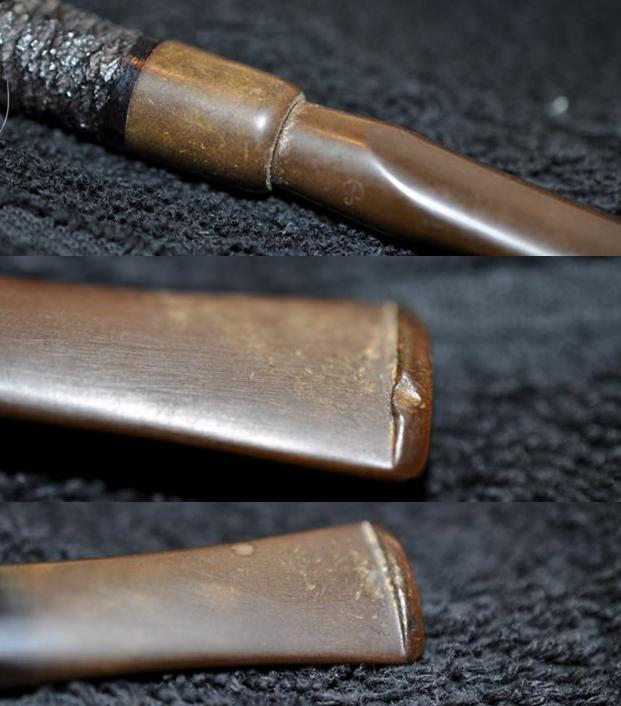
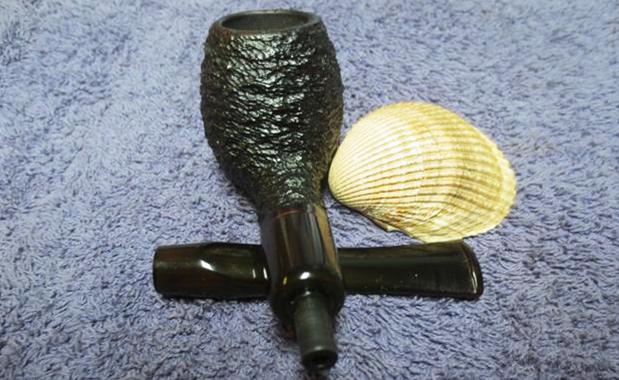
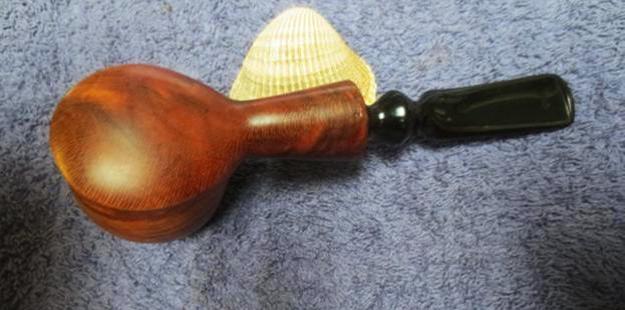
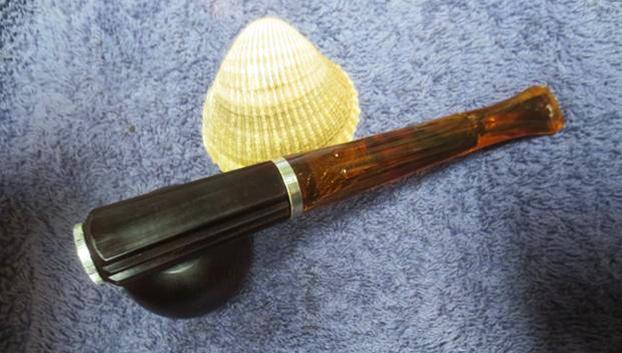
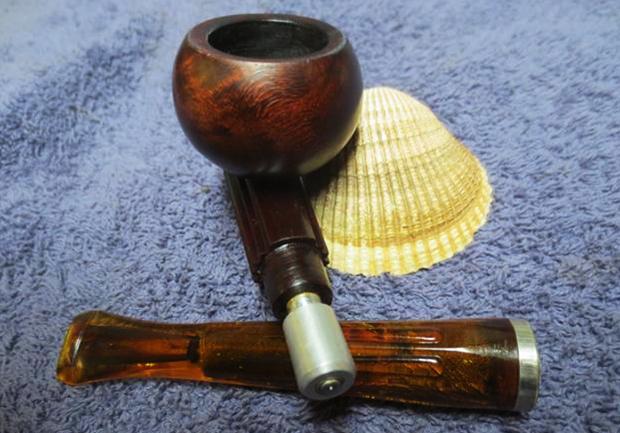
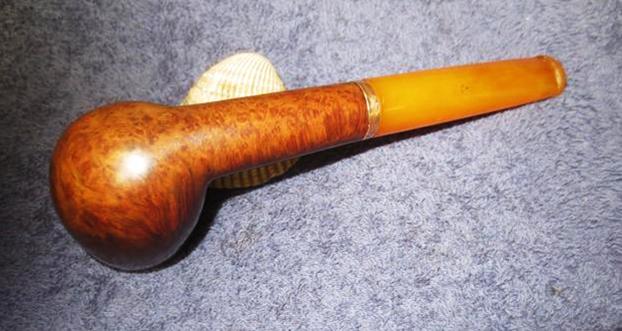
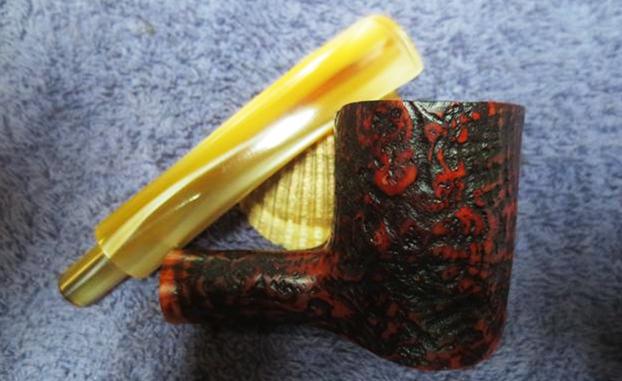
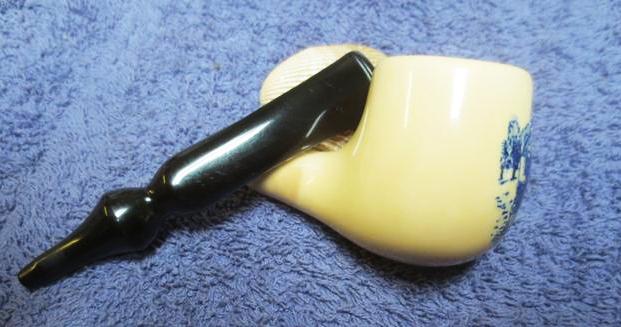
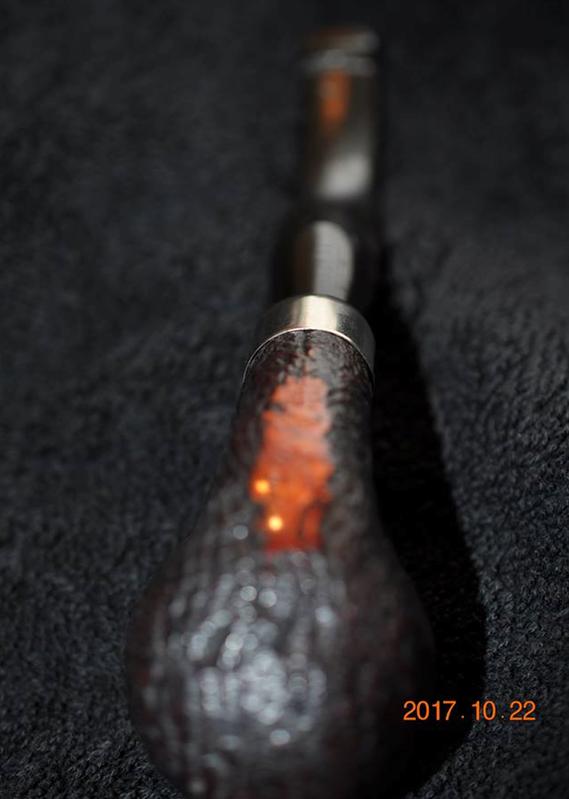
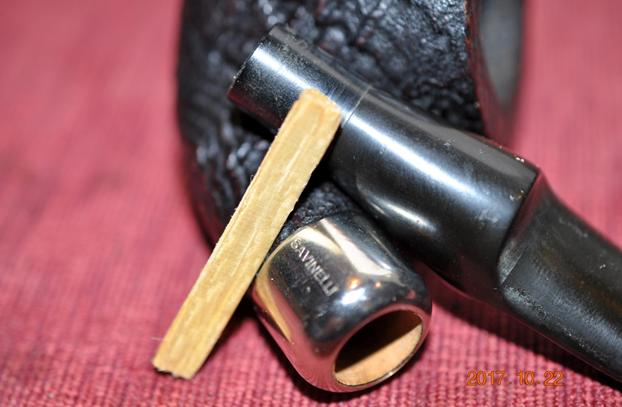 The nickel ferrule on the end of the shank is in good shape. It is dirty and also scratched but would polish up nicely. The S stamp on the stem top was faded but in good condition otherwise.
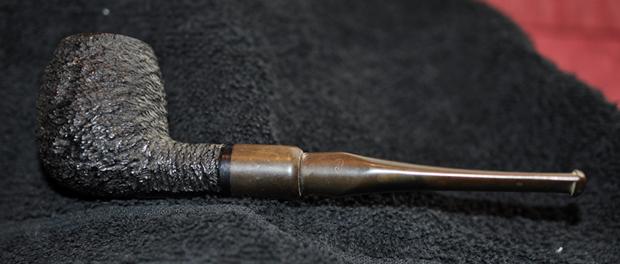
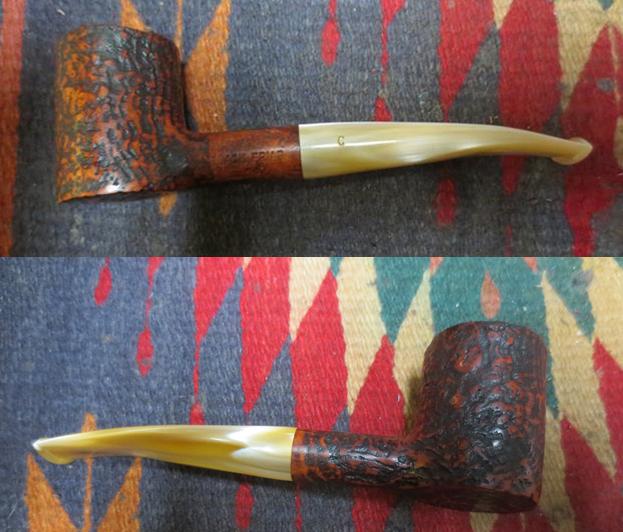
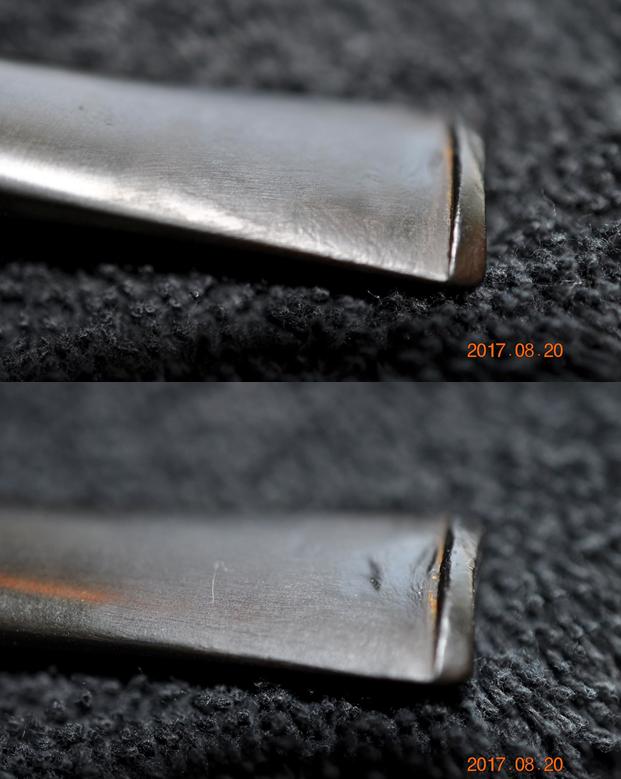
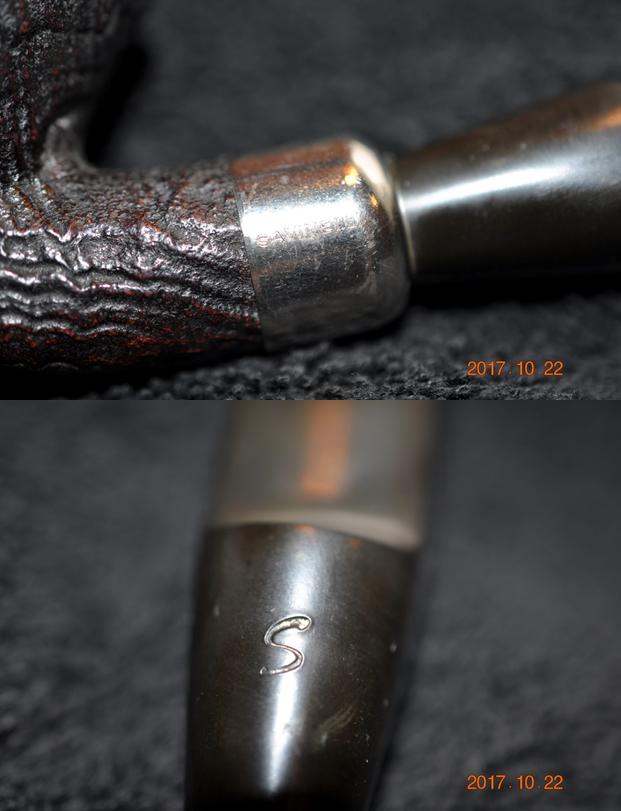 The stem was in good condition, lightly oxidized, tooth marks on the top and underside of the shank and some minor damage to the slotted airway in the top of the P-Lip stem.
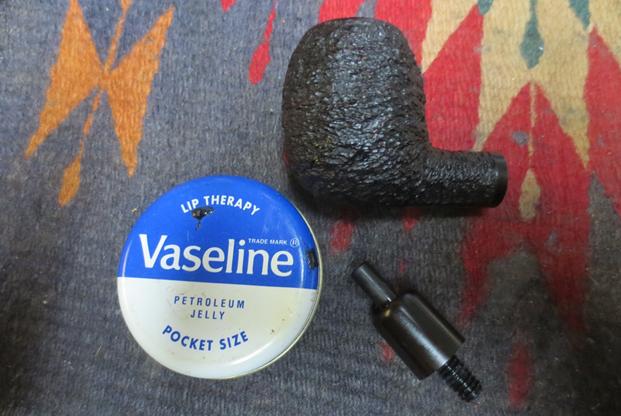
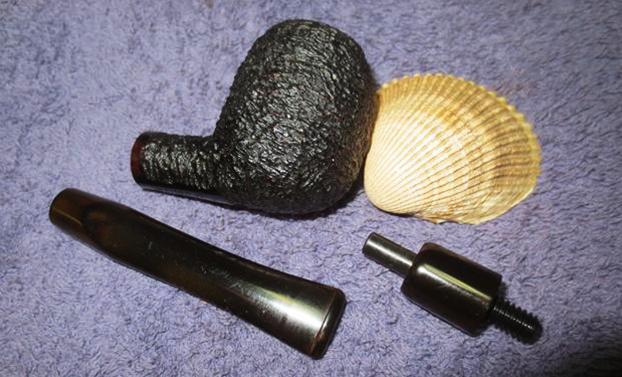
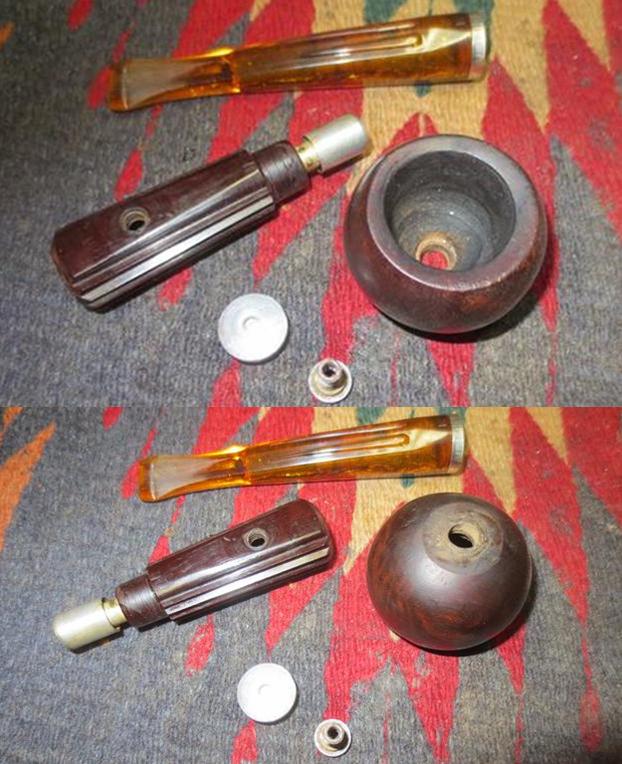
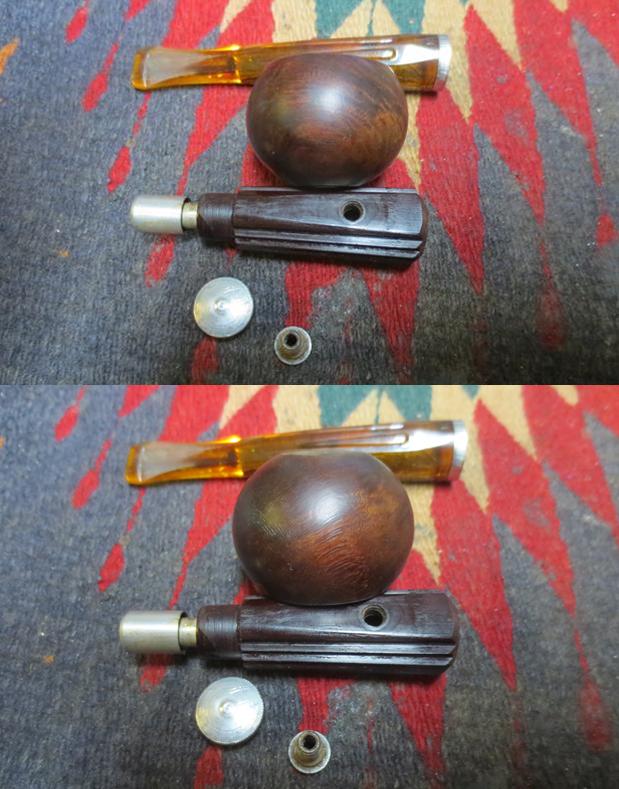
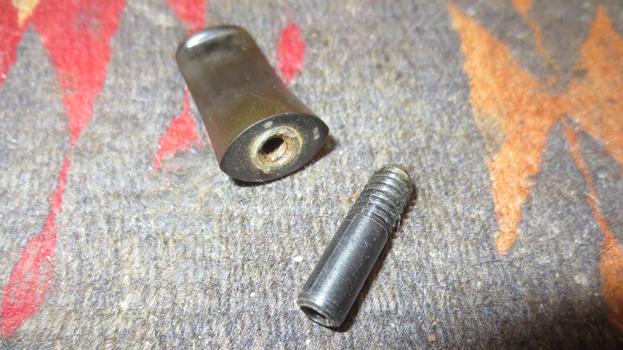
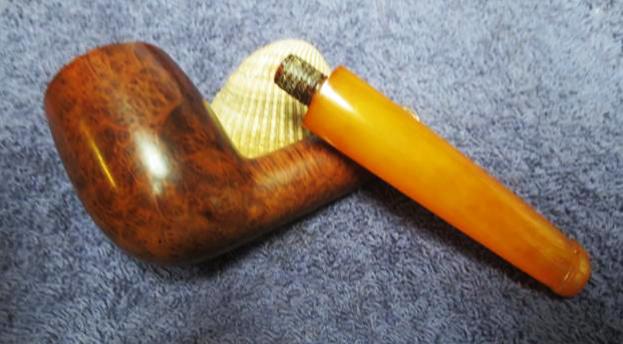
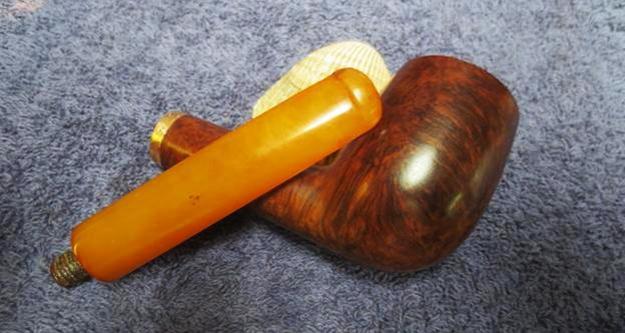
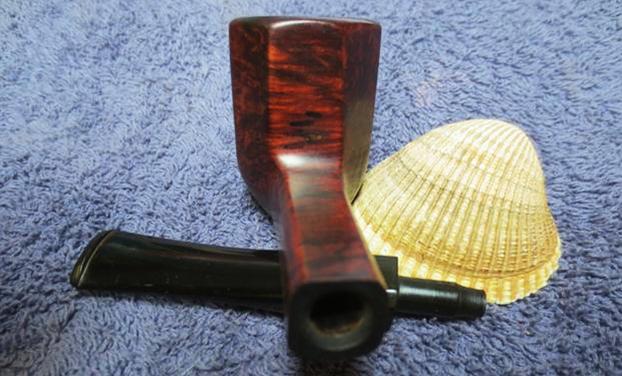
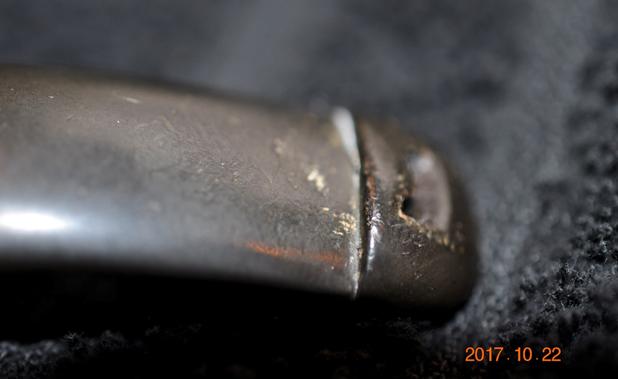 I did some research on the Dry System pipe to understand how it was designed. The stem was designed to hold triangular shaped Balsa filters. They are still readily available for the pipes.
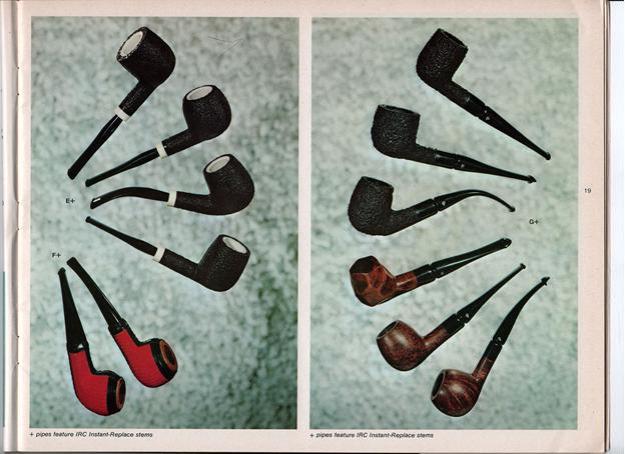
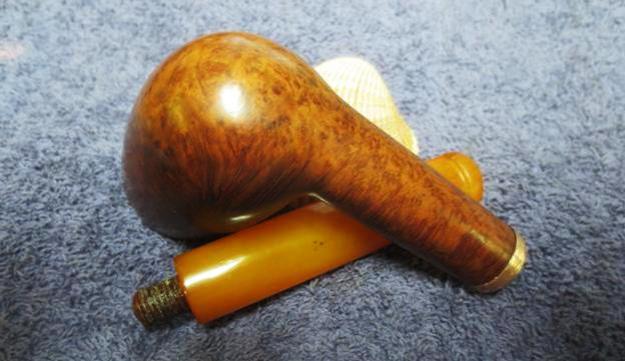
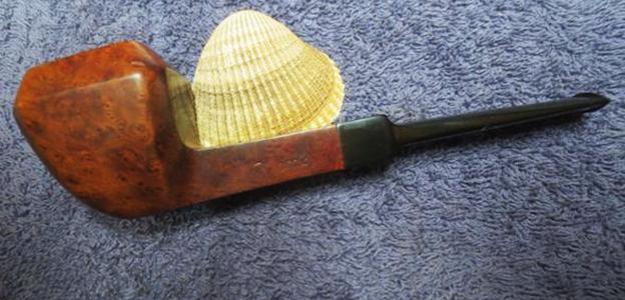
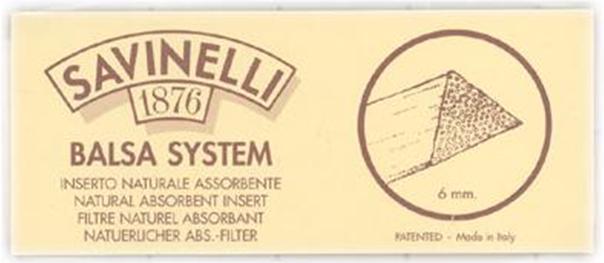 I also found a cross section diagram of the pipe. I have included that below with the explanation of how the system works with all pieces in place. The photo has a key attached with defines all the parts of the system. It is almost an Italian version of the Peterson System pipe with an added Balsa filter in the stem.
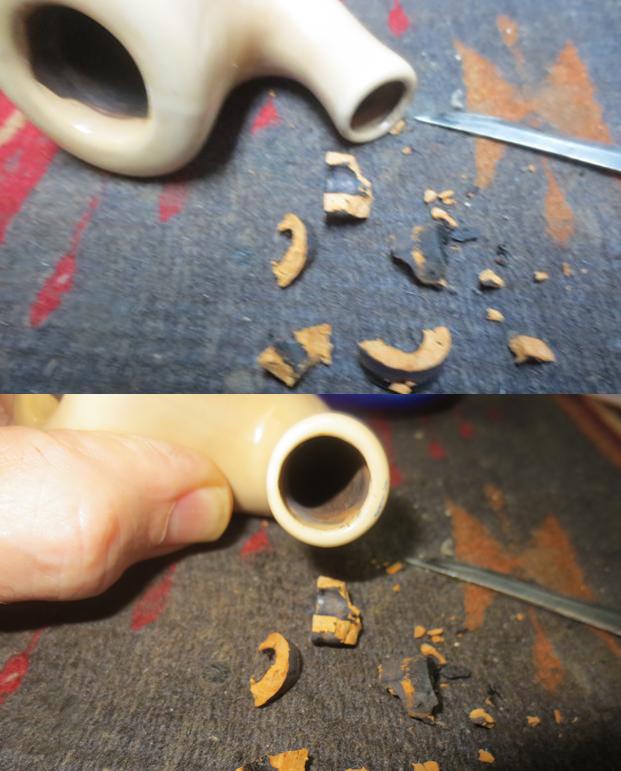
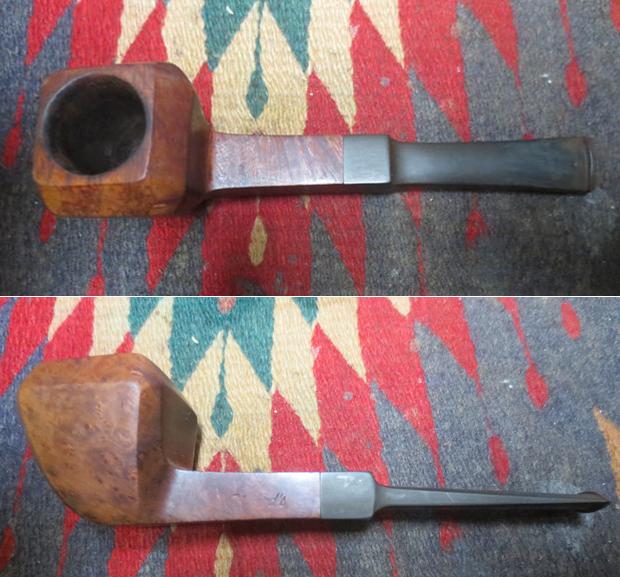
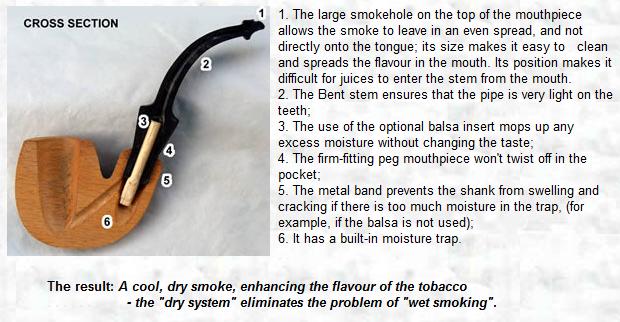 Jeff did a thorough cleanup on the bowl and stem. He reamed the bowl with a PipNet pipe reamer and cleaned up the last bit of cake with a Savinelli Fitsall reamer. He cleaned the internals with alcohol, pipe cleaners and cotton swabs – spending extra time scrubbing out the mortise and sump as it was very dirty. He scrubbed the exterior of the pipe with Murphy’s Oil soap and a tooth brush and was able to remove all of the tars and oils built up on the briar. He was able to remove all of the tars and lava on the rim top and left it looking very clean. He soaked the stem in an Oxyclean bath to raise the oxidation to the surface of the vulcanite. When it arrived it looked like a different pipe. I took some photos of it to show how it looked before I did the restoration.
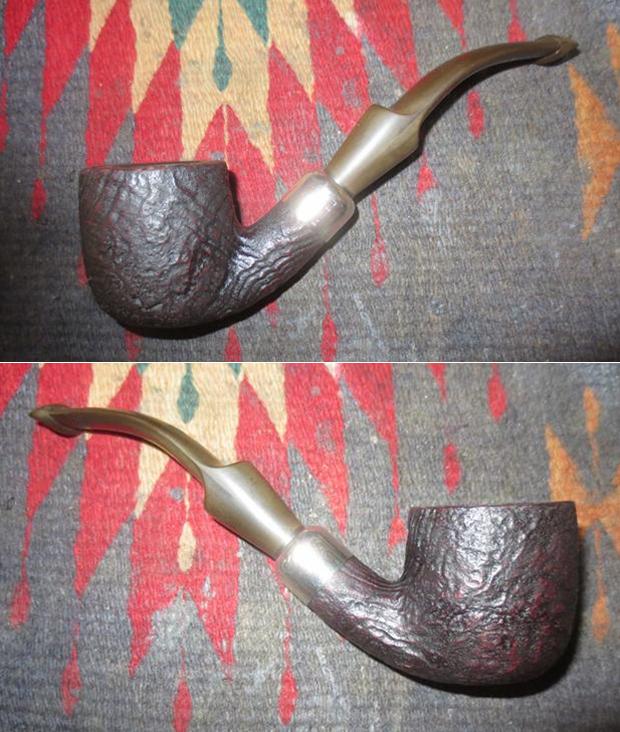
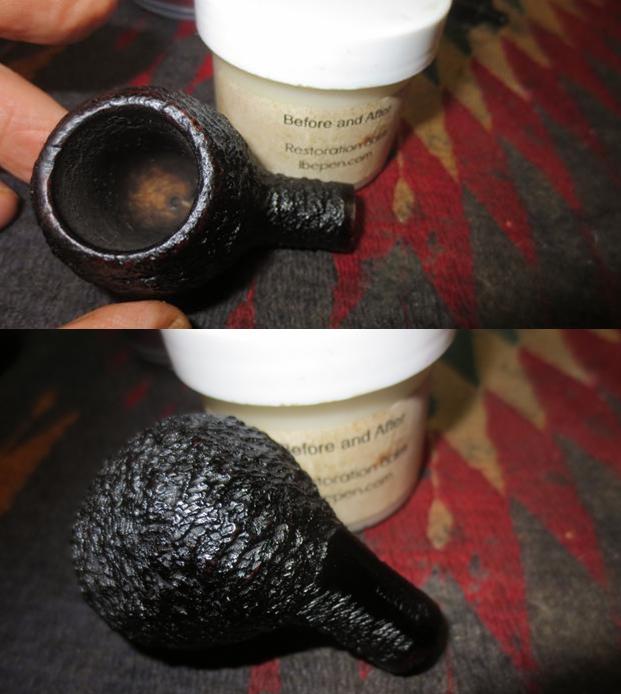
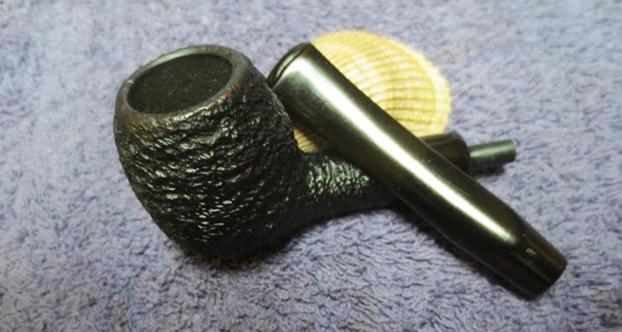
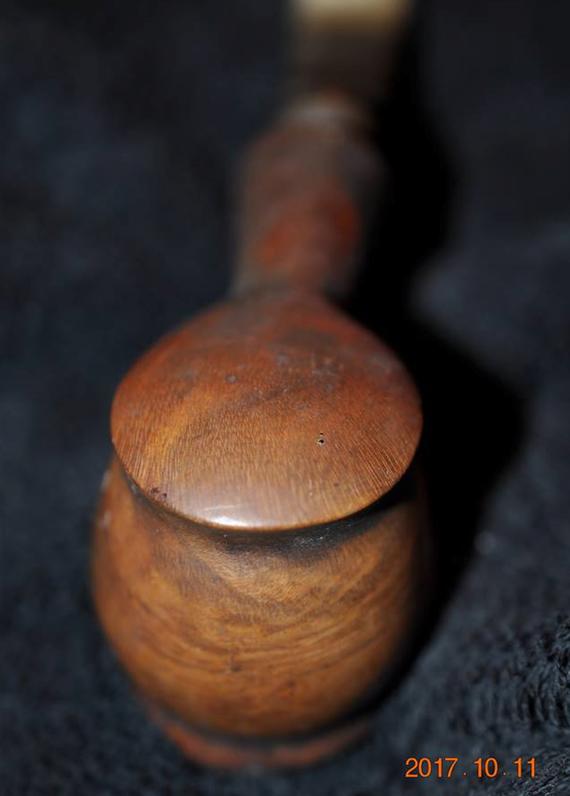
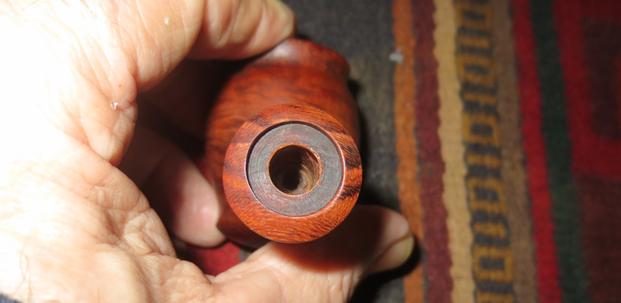
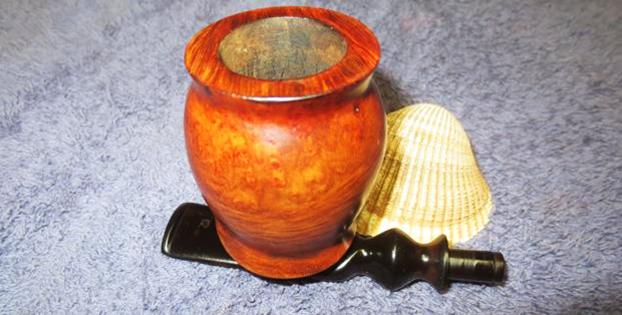
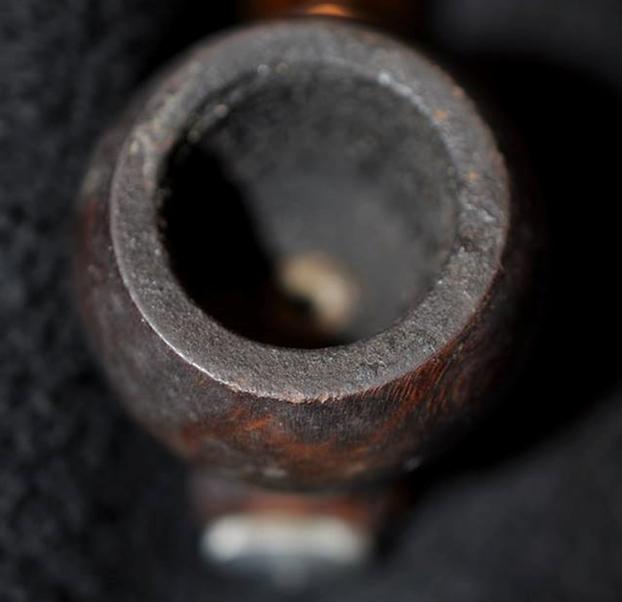
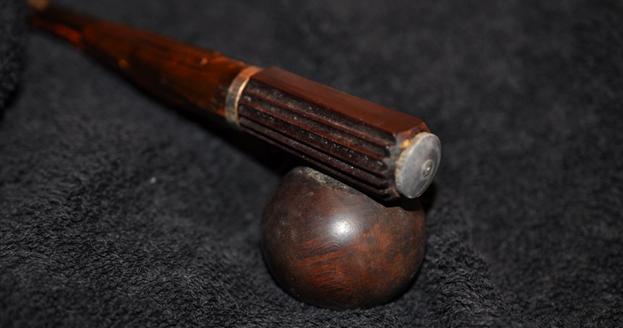
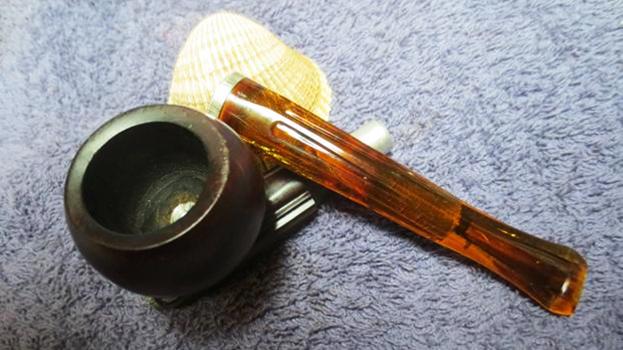
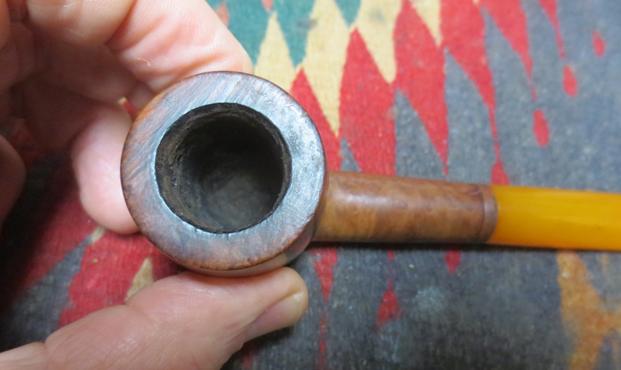
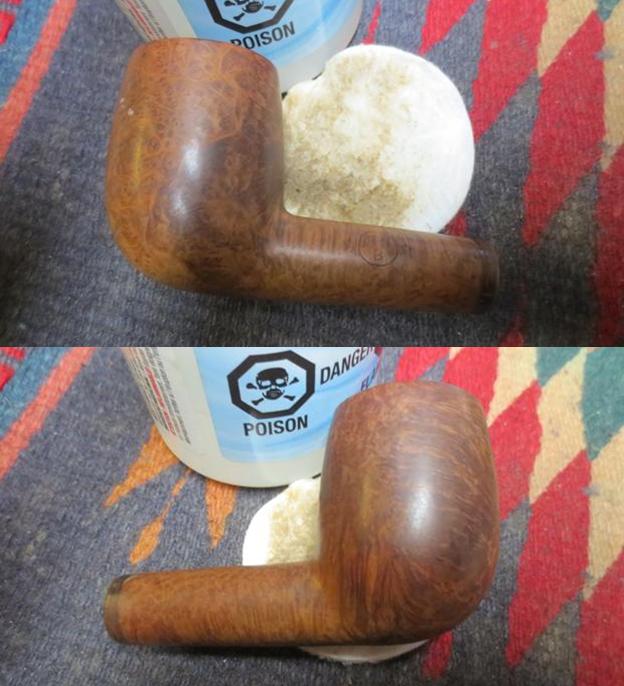
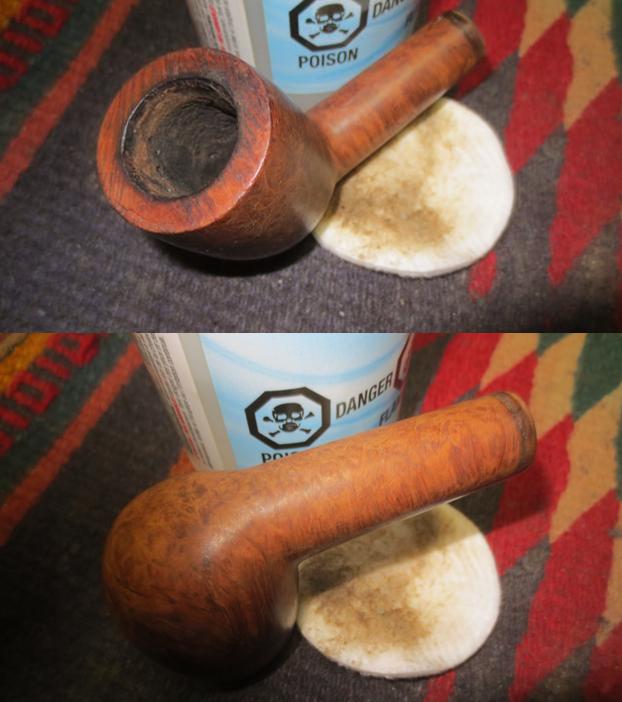
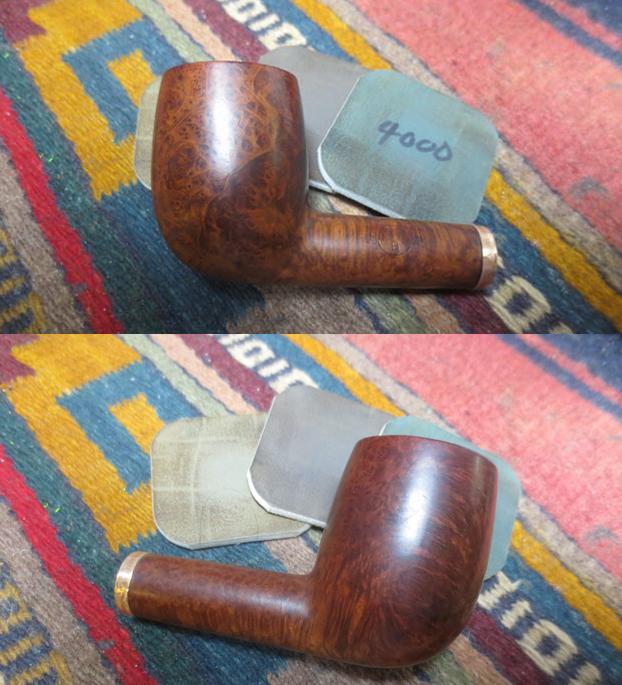
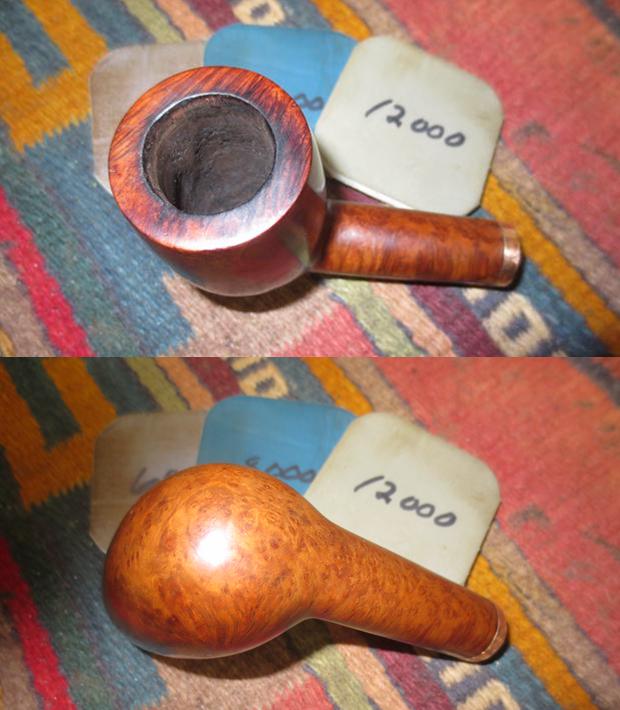
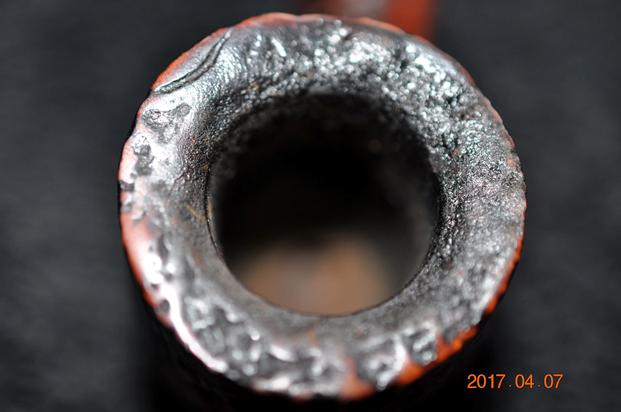
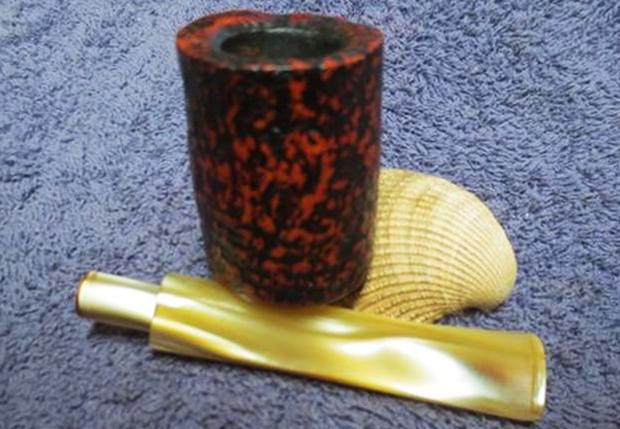
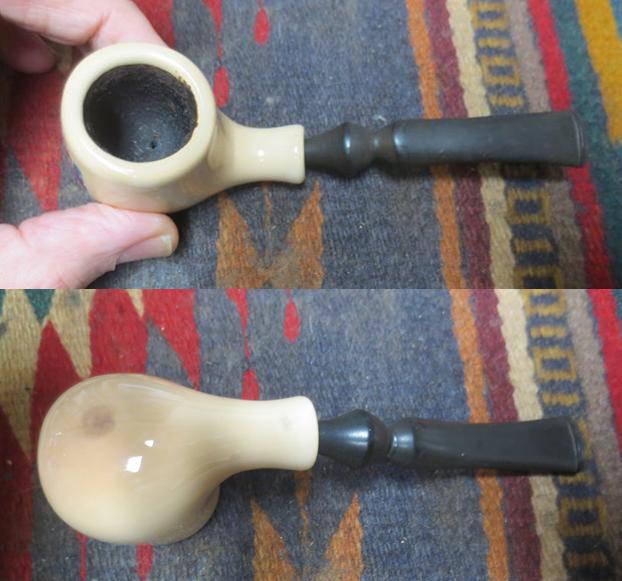
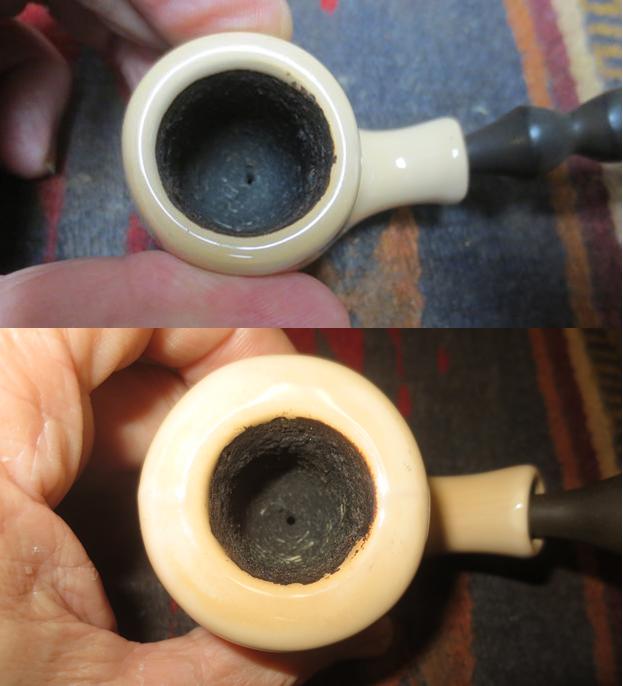
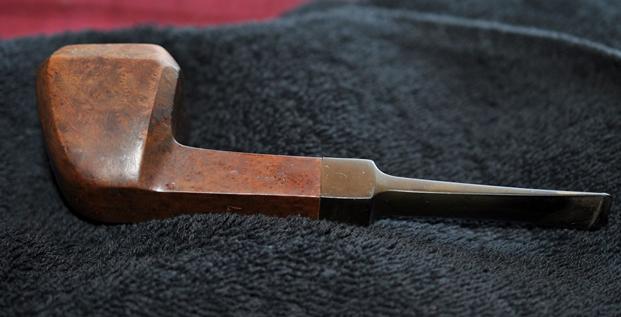
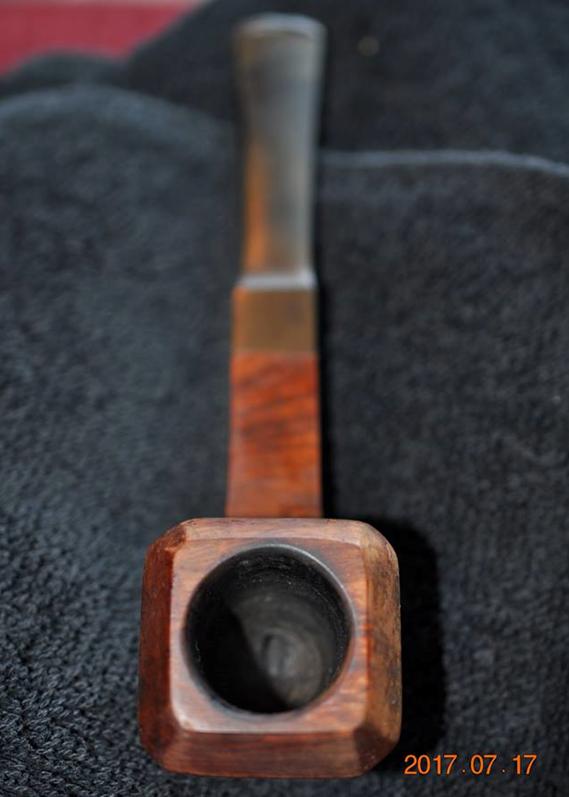
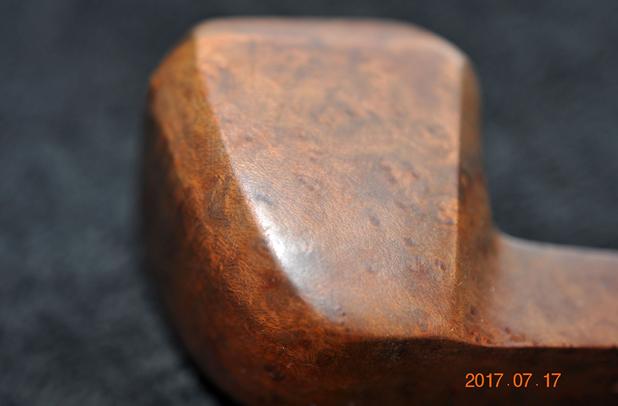
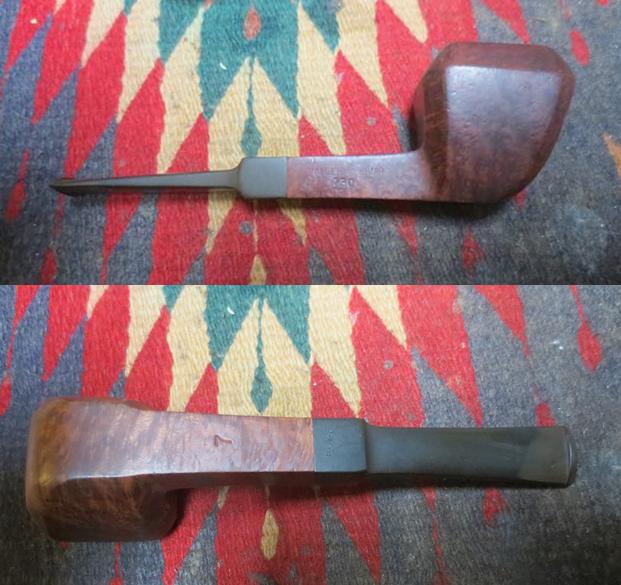
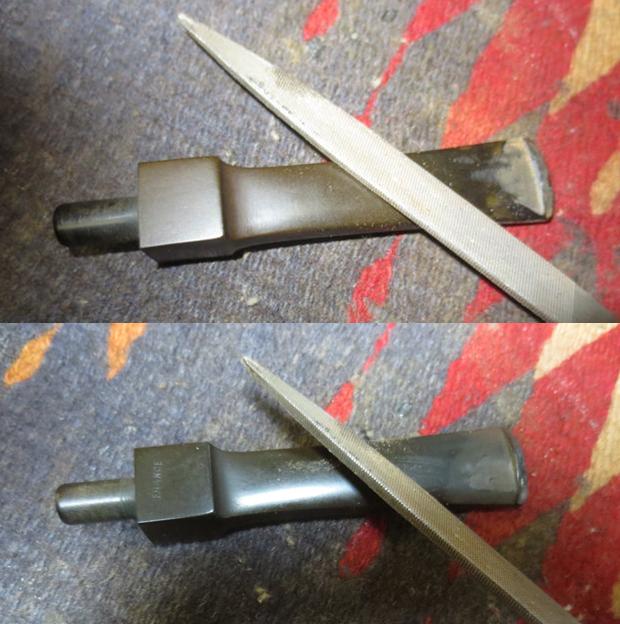
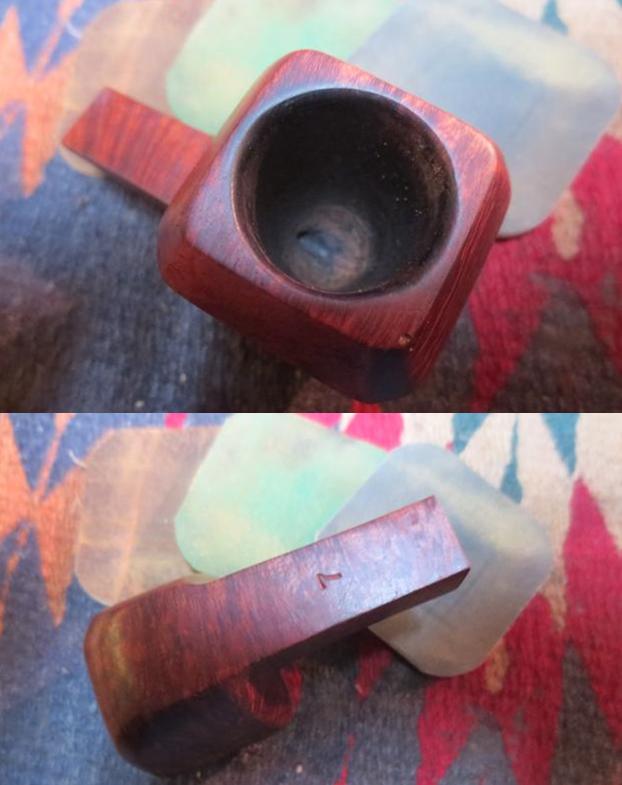
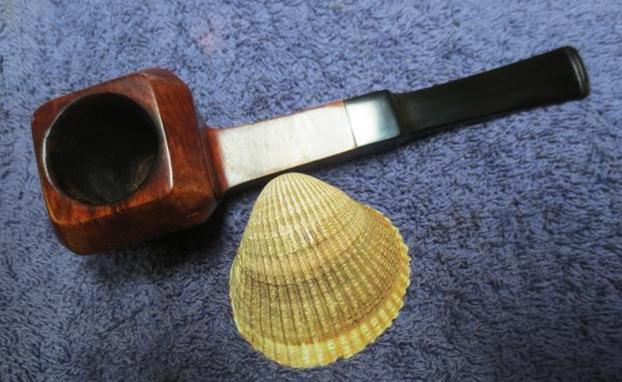
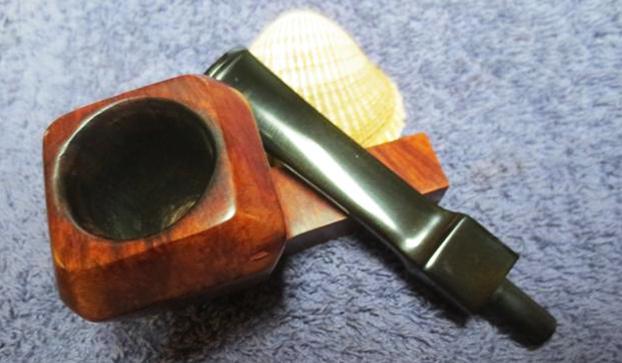
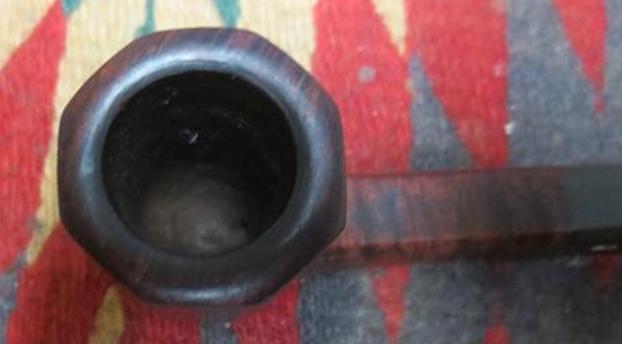
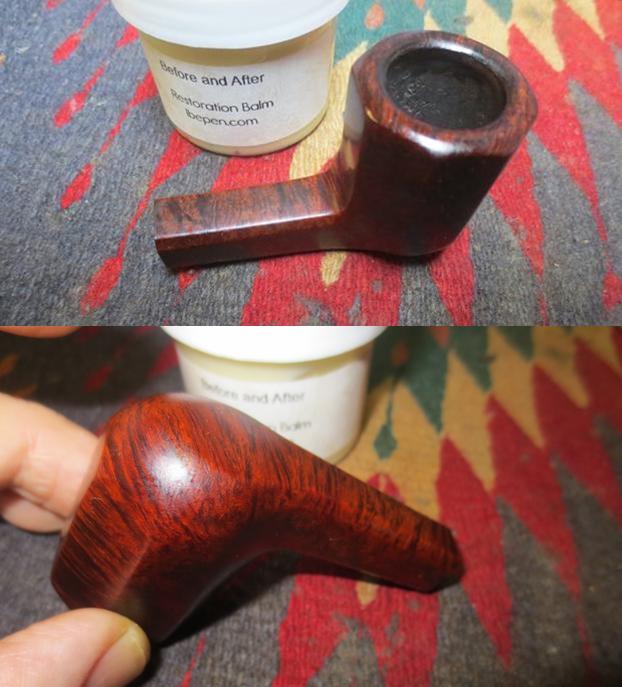
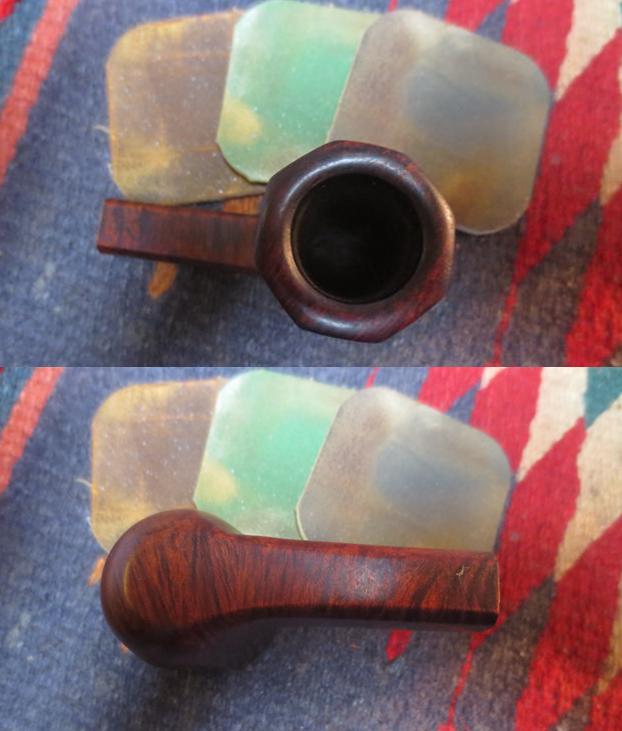
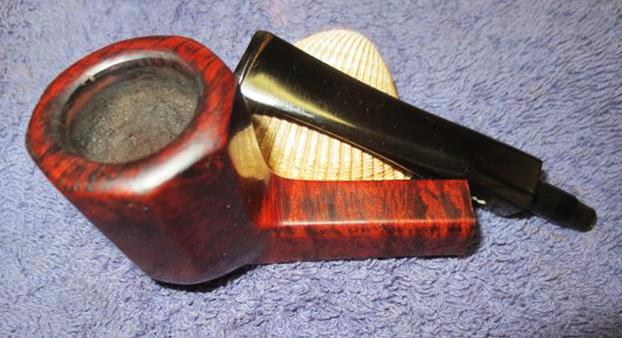
 He did a great job removing the cake in the bowl and the lava on the rim top. The rim looks really good and it was in very good condition with no damage to the edges of the rim.
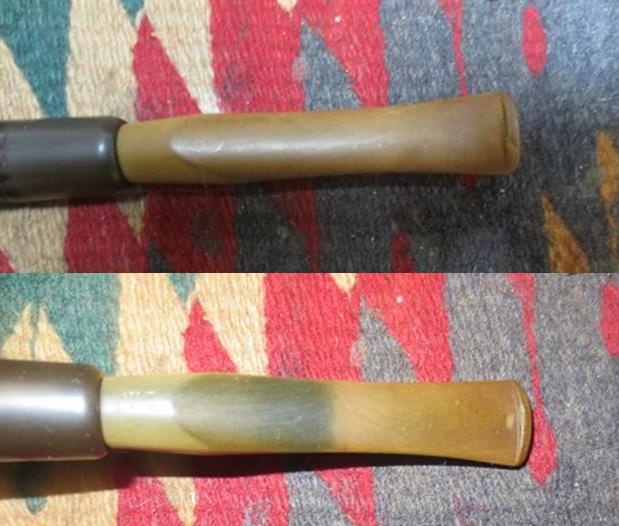
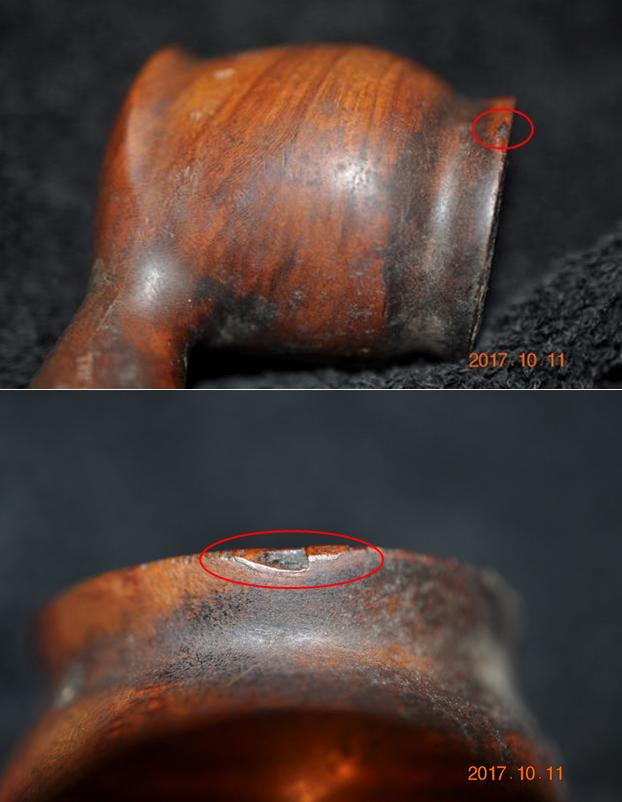
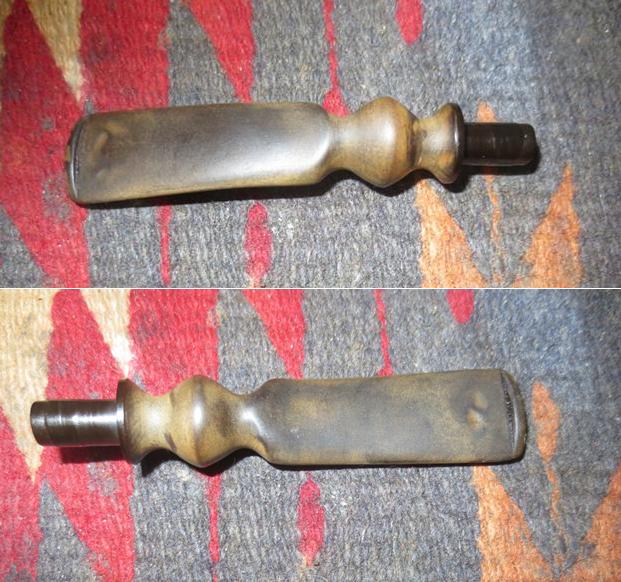
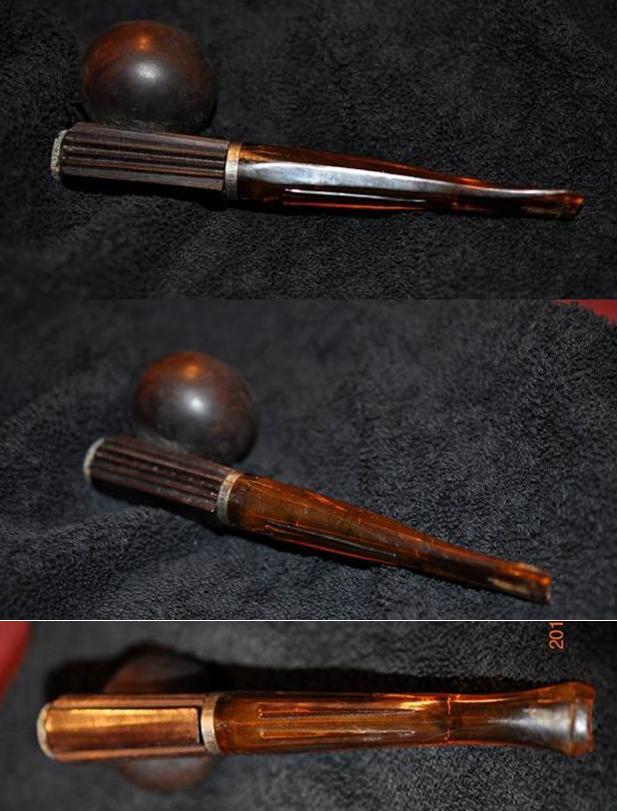
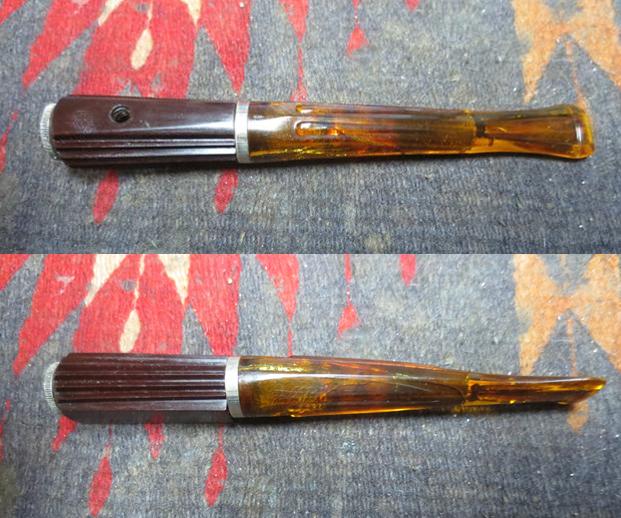
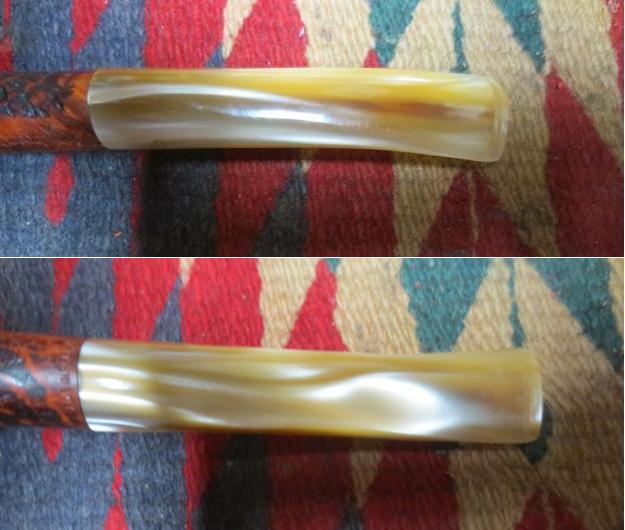
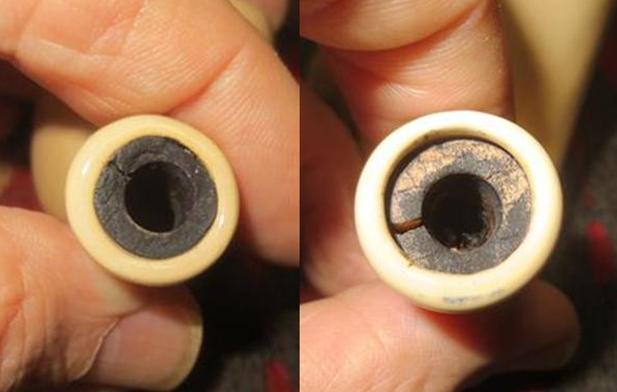
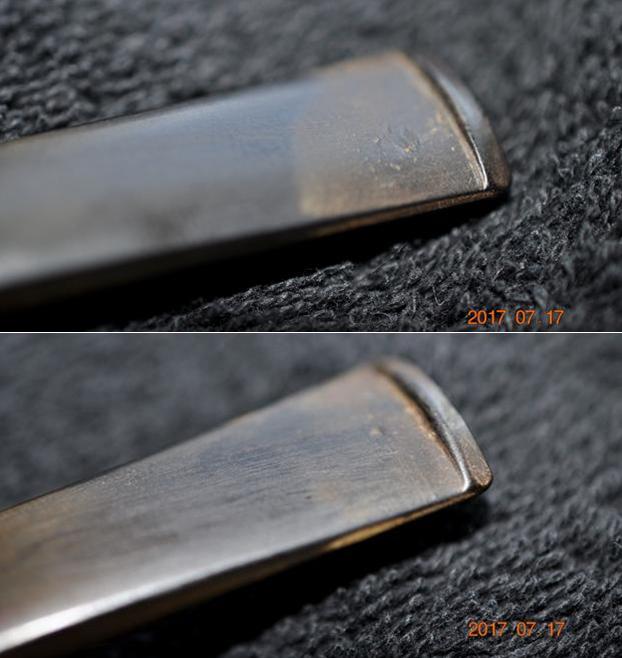
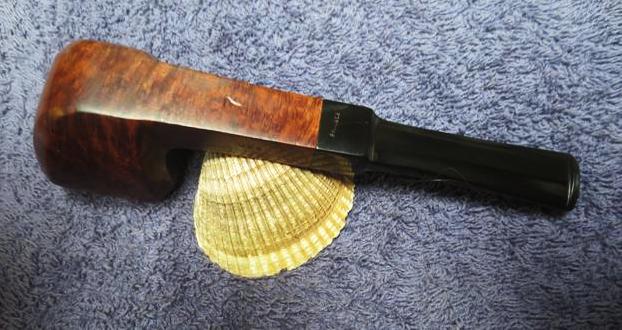
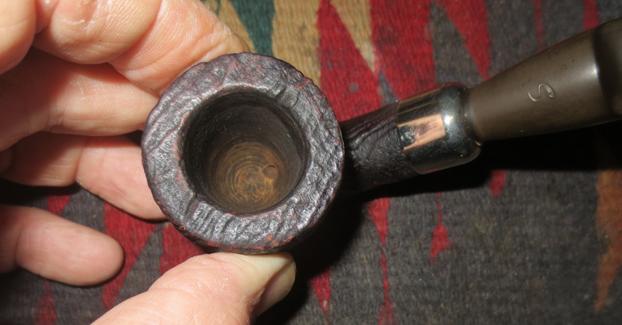 The oxidation came to the surface of the stem after the soak in Oxyclean. The bite marks are visible on the top and underside near the button. You can also see the damage on the edge of the slot toward the front of the stem.
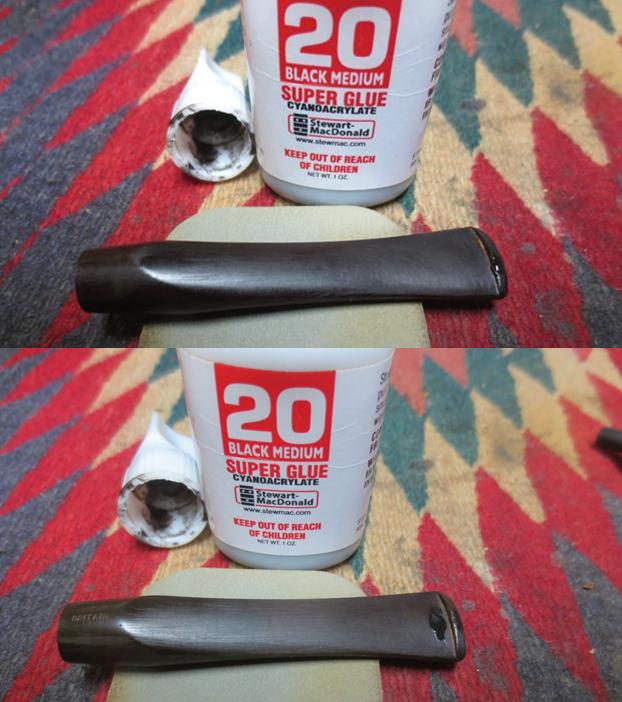
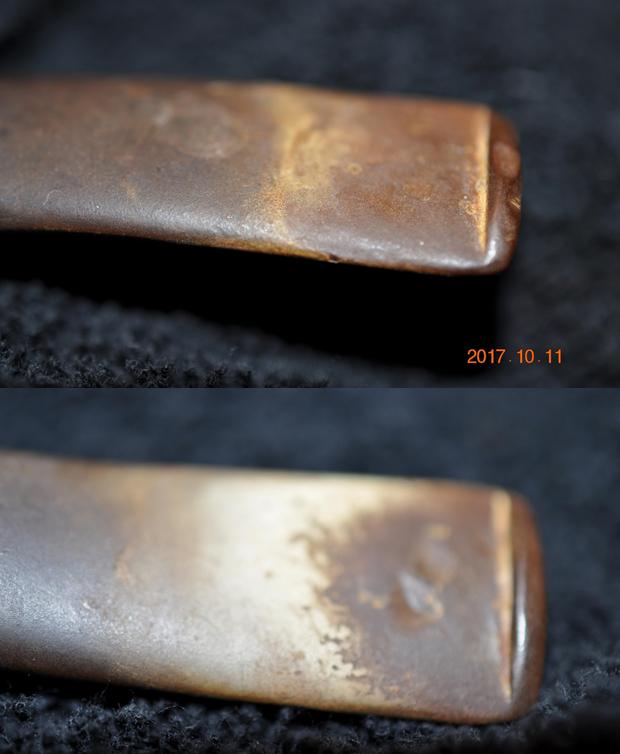
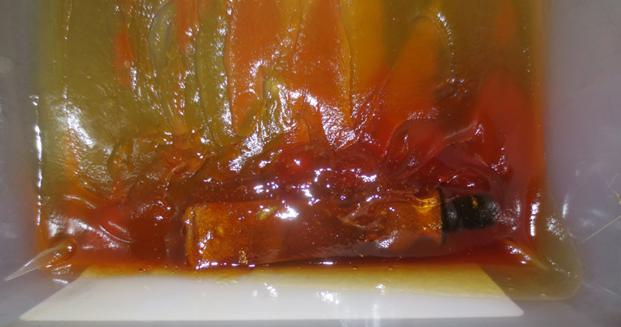
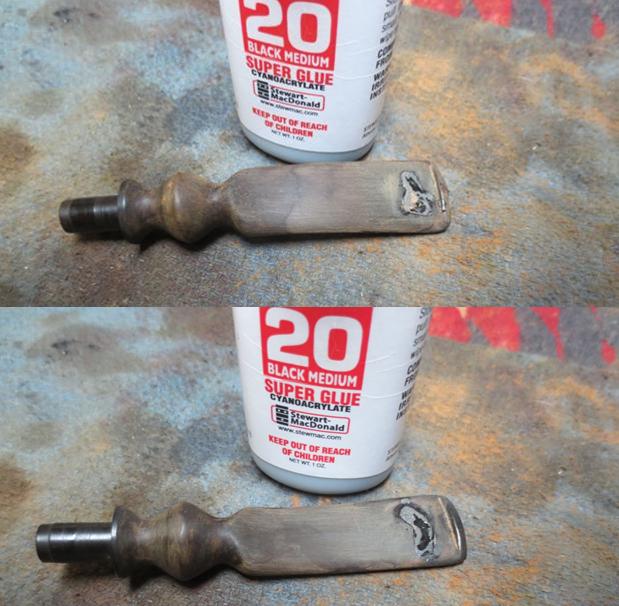
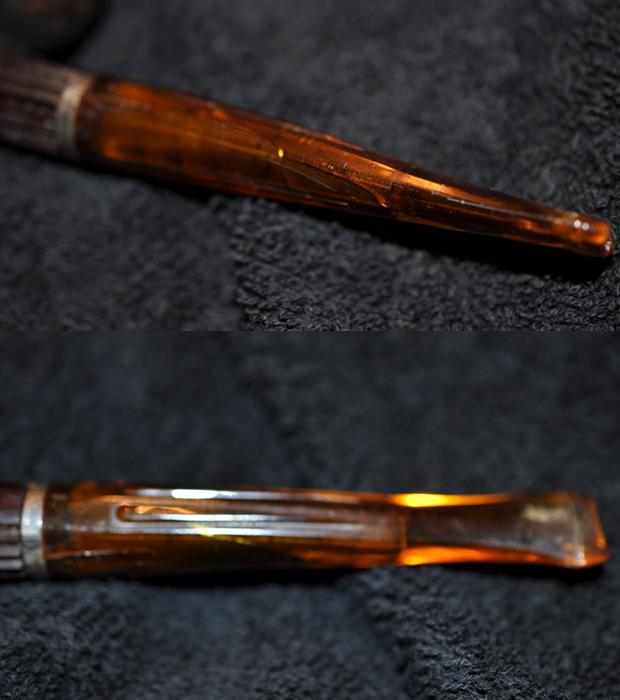
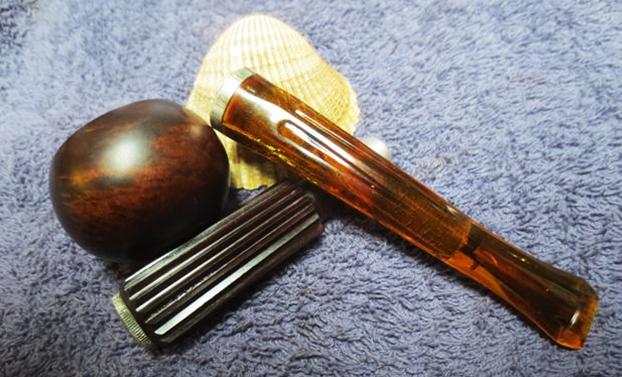
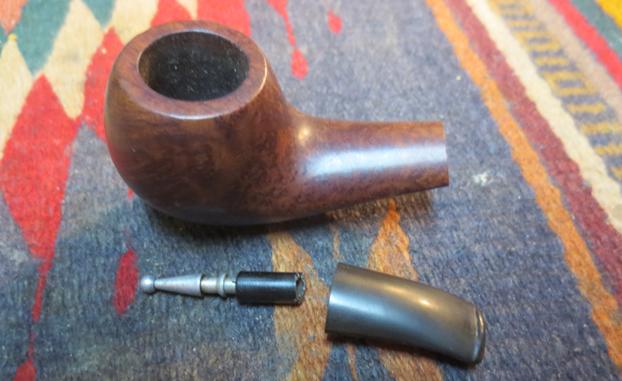
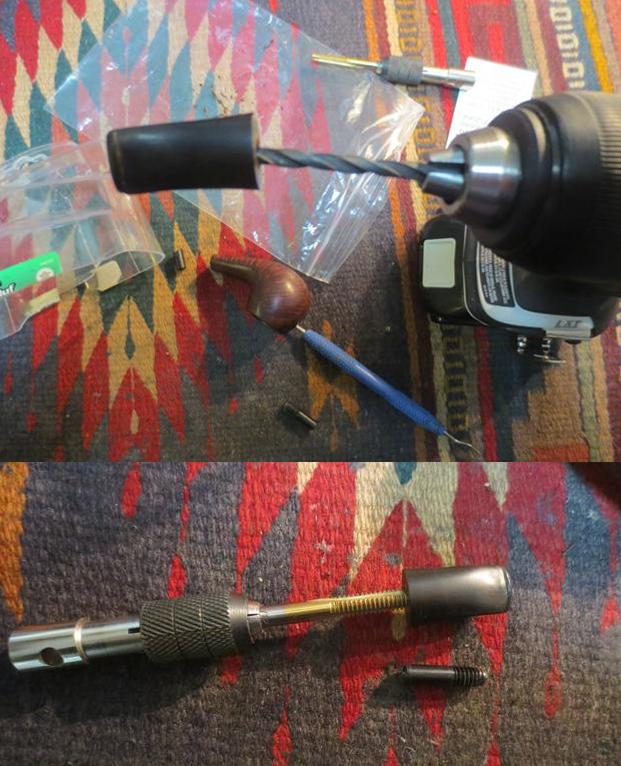
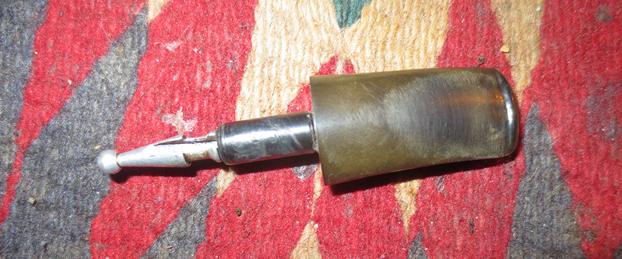
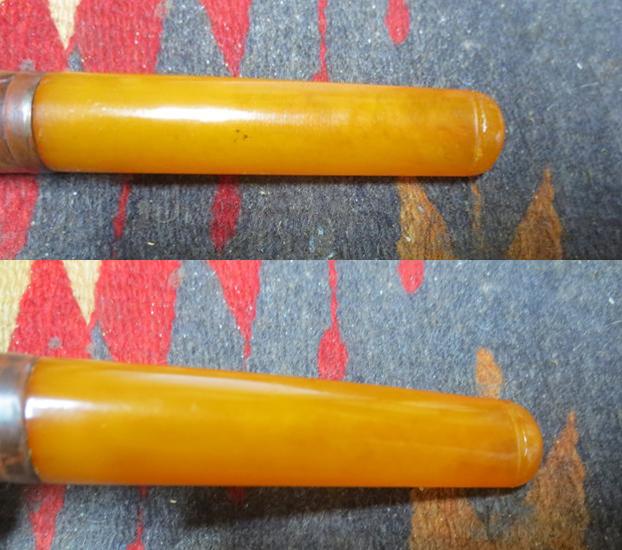
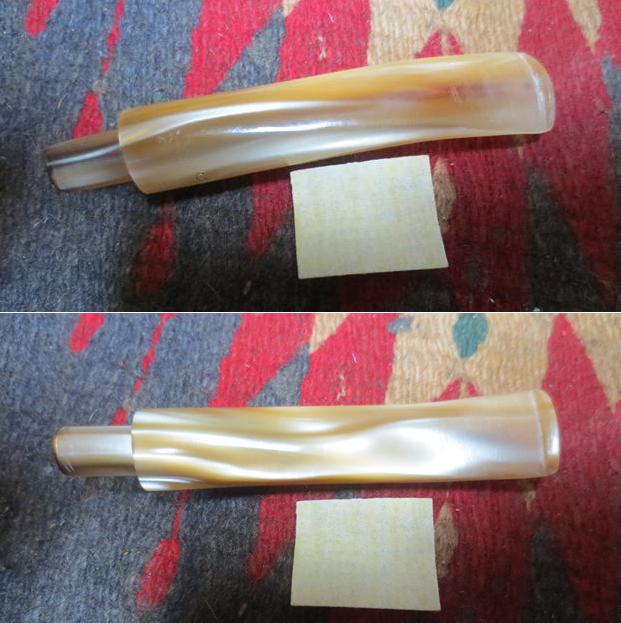
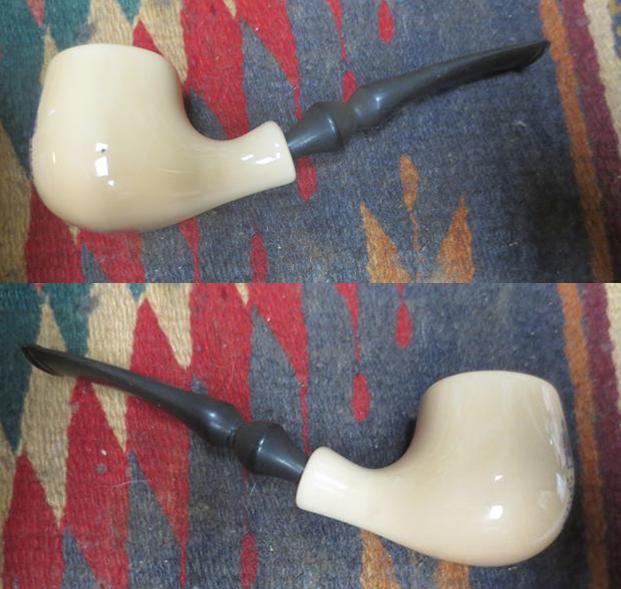
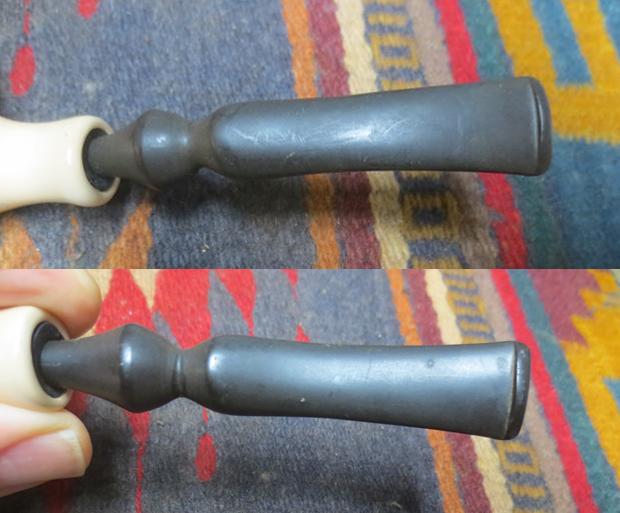
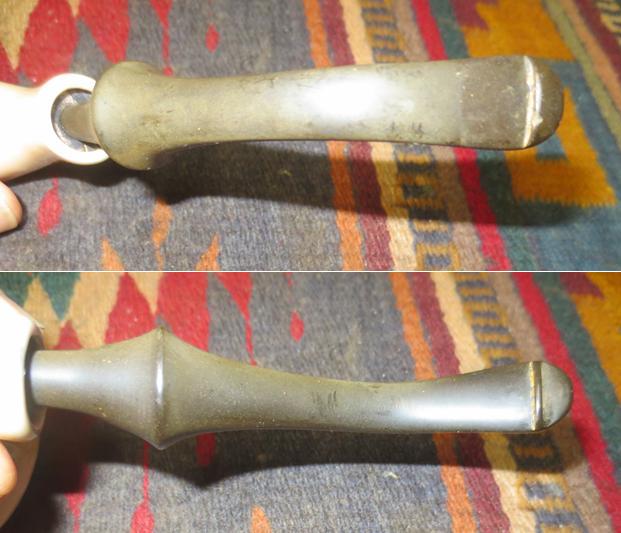
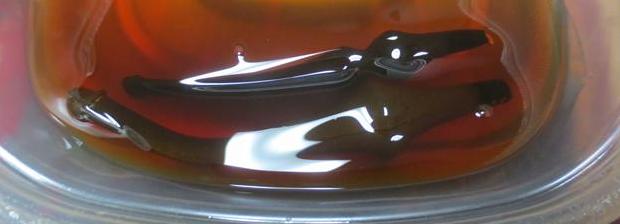
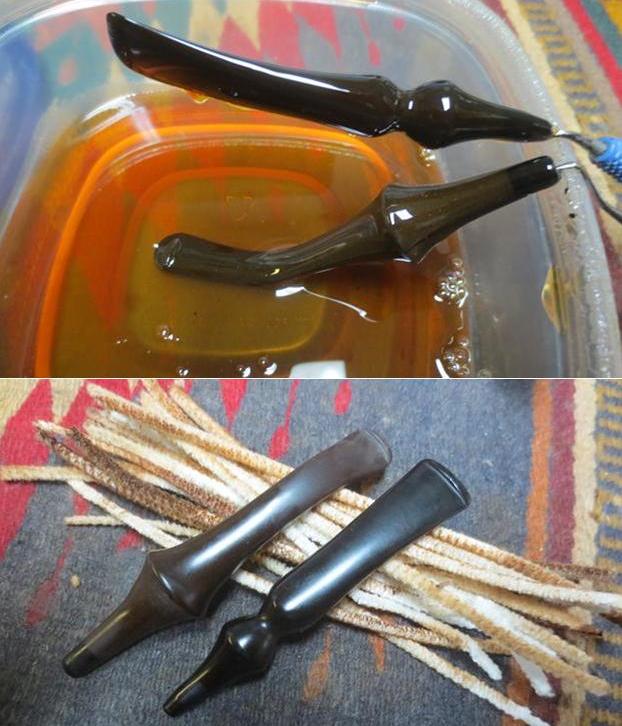
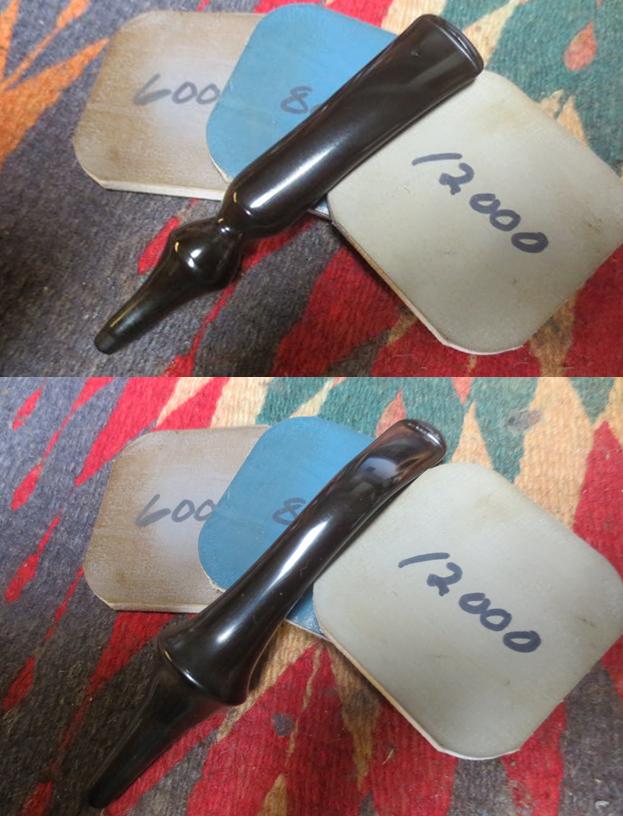
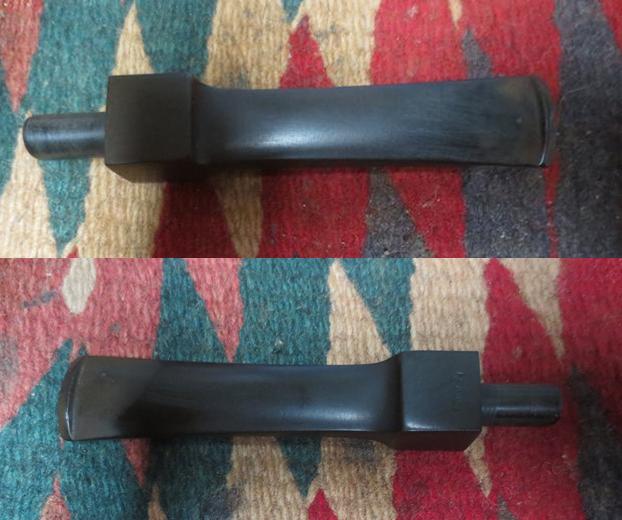
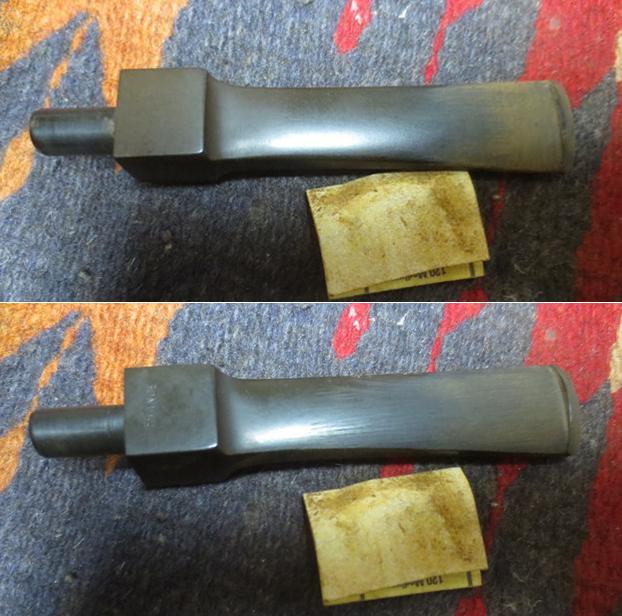
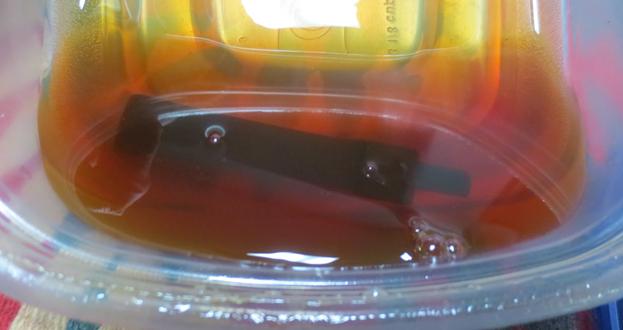
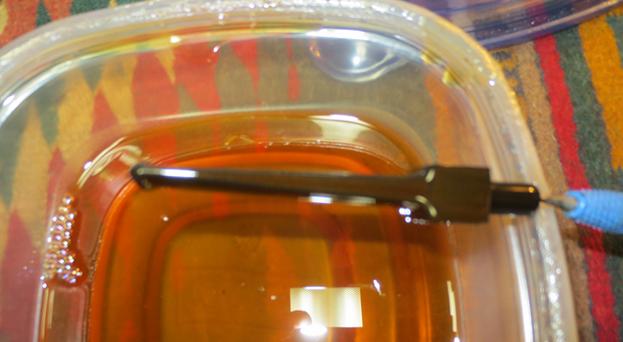
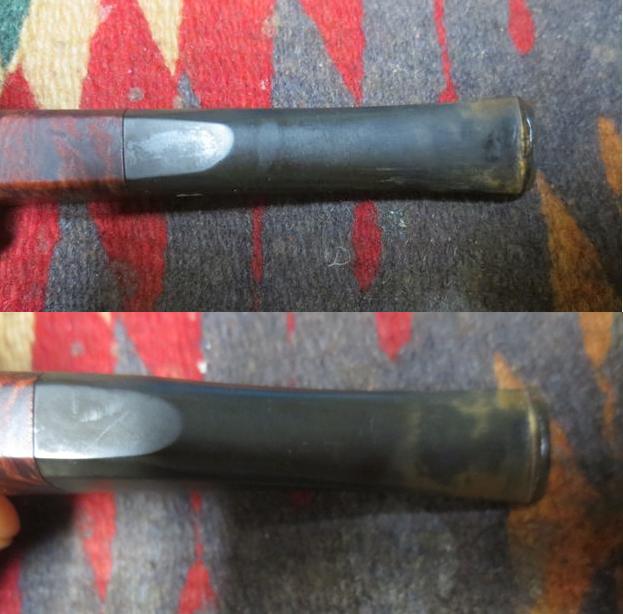
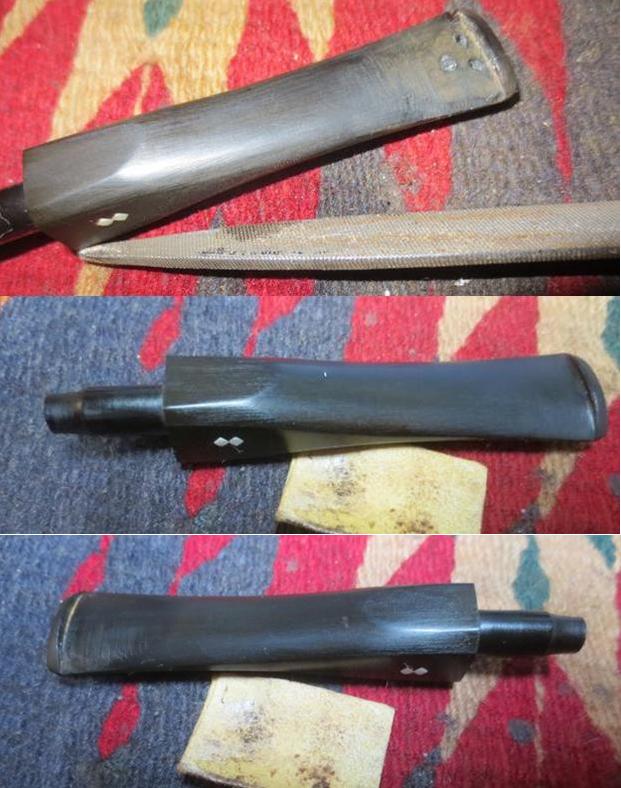
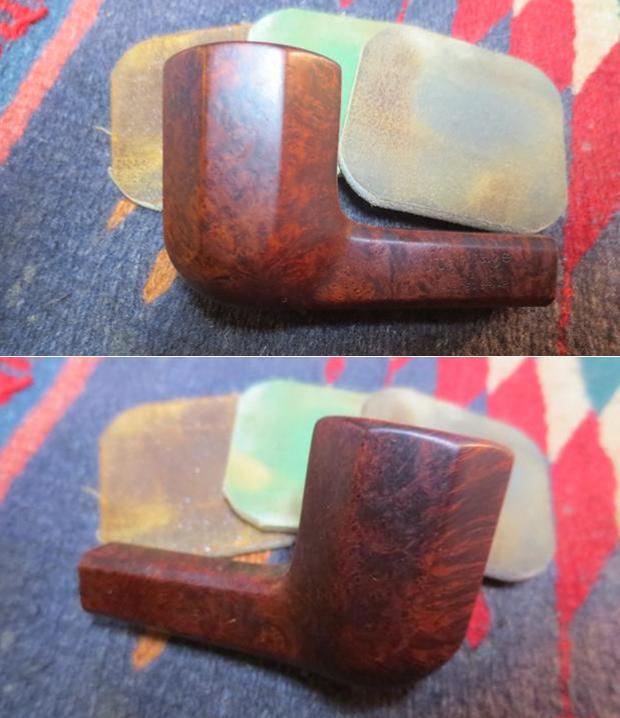
 I was excited to start working on it so I pulled the stem off and put it in a bath of Before & After Pipe Stem Deoxidizer and left it to soak overnight. In the morning I removed the stem from the deoxidizer and wiped off the excess deoxidizer from the surface of the stem with a paper towel. I cleaned out the airway in the stem with pipe cleaners and alcohol to remove any remnants of the bath from that part of the stem. The photos below show the stem after the soak and rub down. The oxidation was pretty much gone and what remained would be easily dealt with. The tooth marks are visible on the top and underside of the stem in the photos.
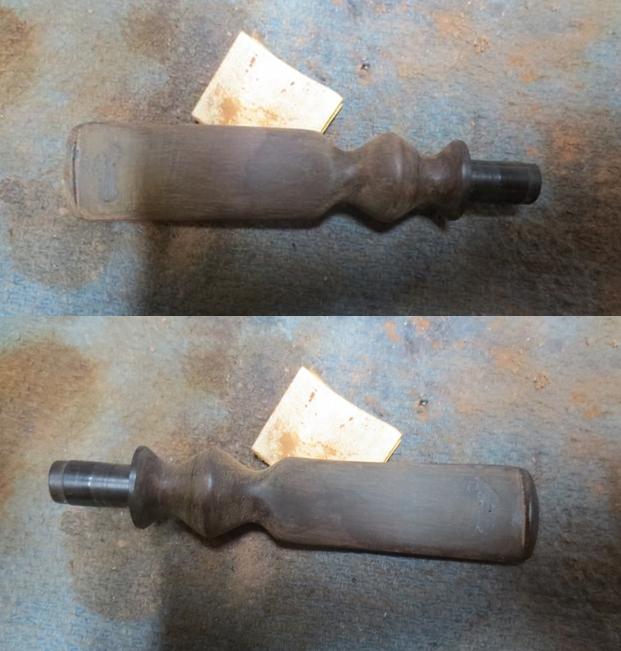
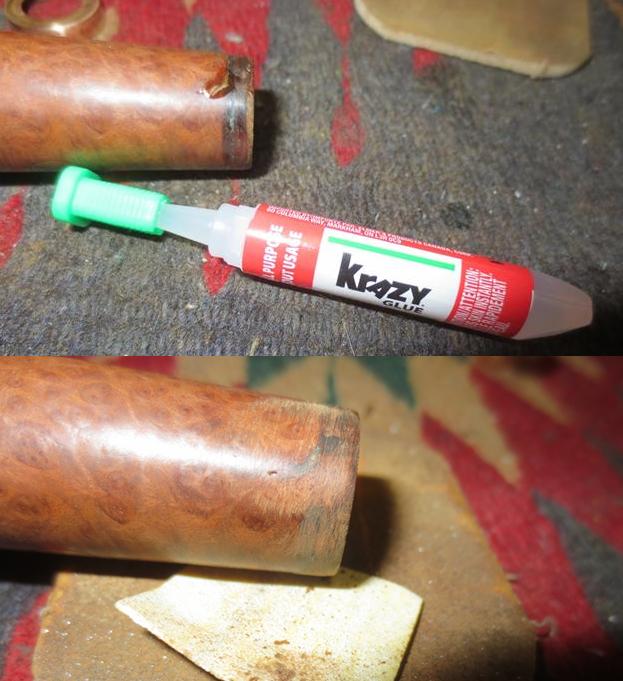
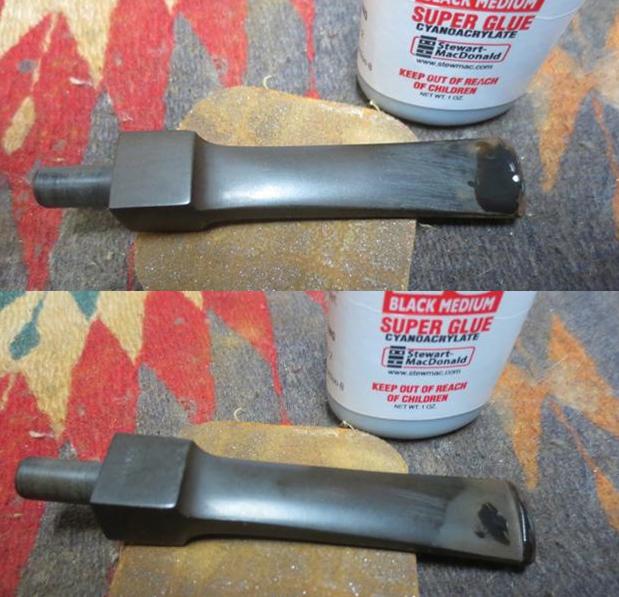
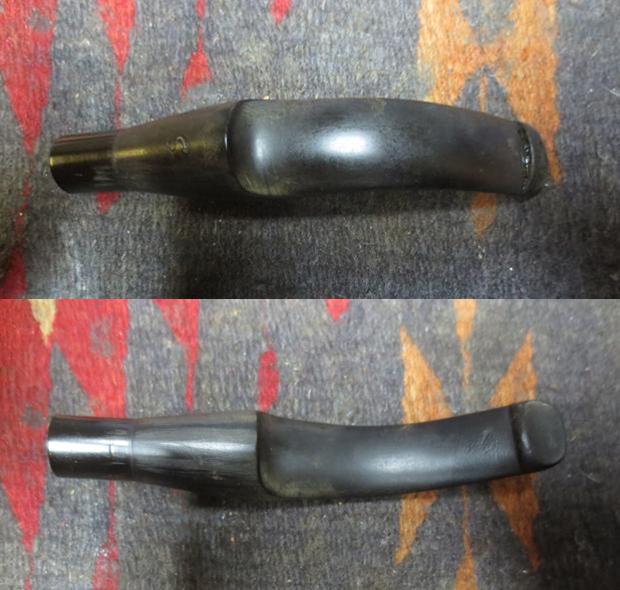 I used a small needle file to reshape the slot in the top of the button. I was able to square it up and remove the damaged area on the front side of the slot.
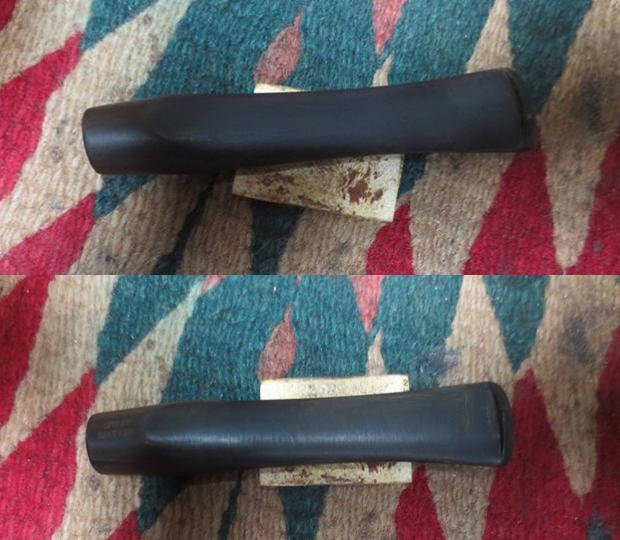
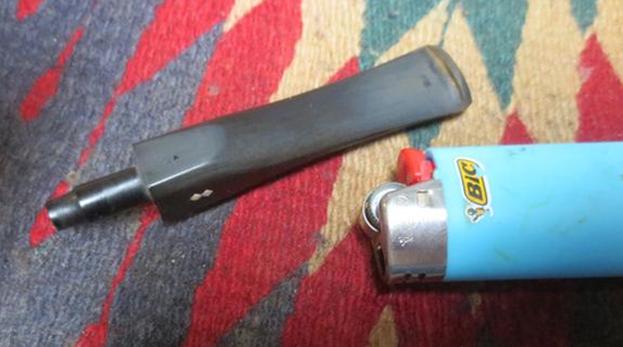
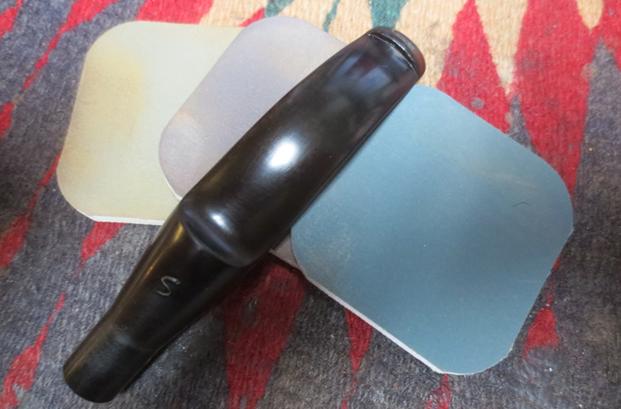
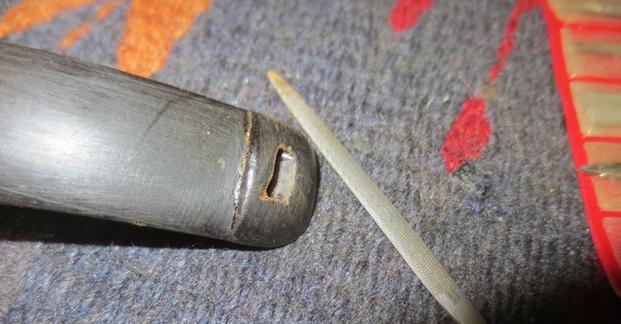 I sanded the stem with 220 grit sandpaper to remove the oxidation from inside the tooth marks, reshape the button on both sides and wiped down those areas with alcohol to remove the sanding dust. I painted the tooth marks with the flame of a Bic lighter to lift them and they rose to the surface and I was able to sand them smooth.
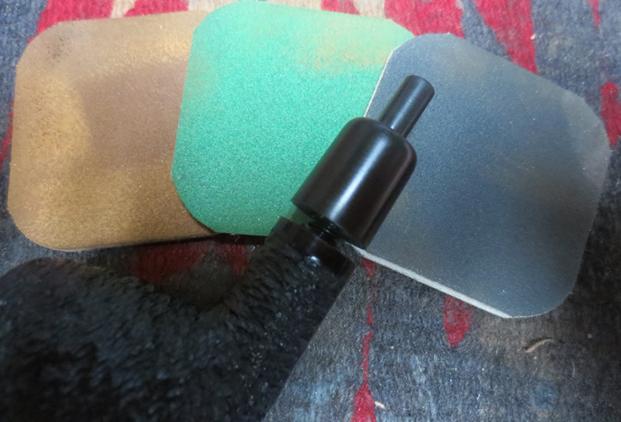
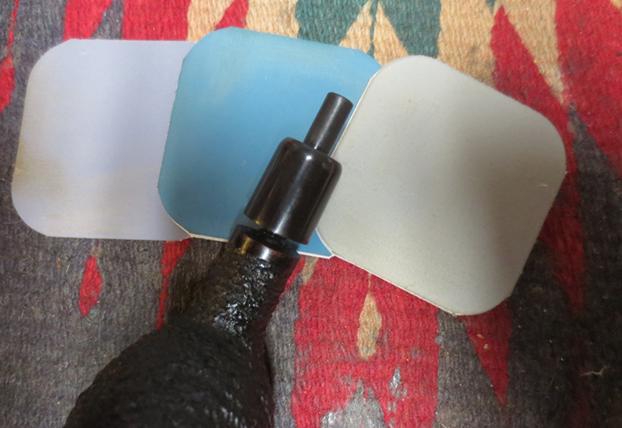
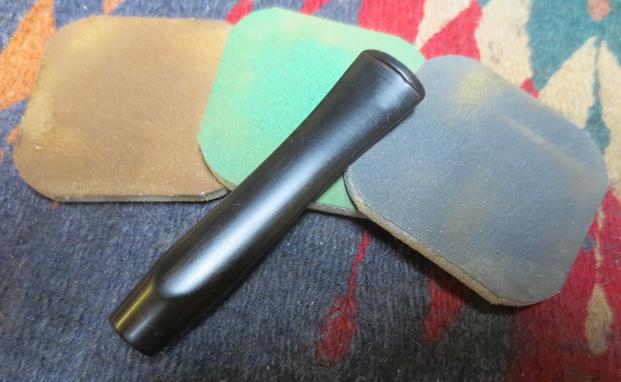
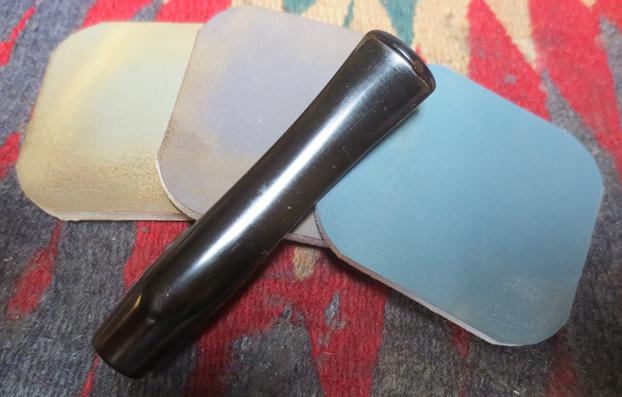
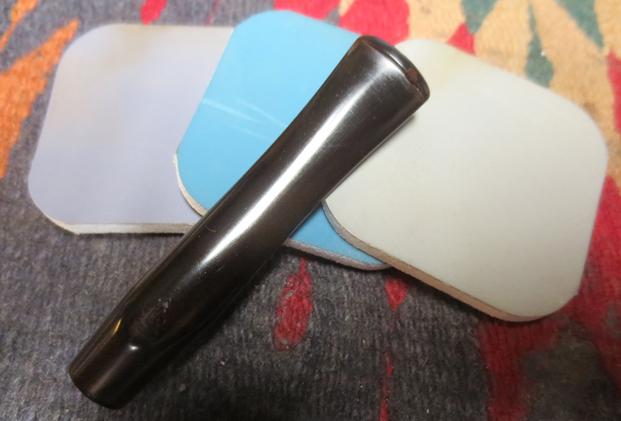
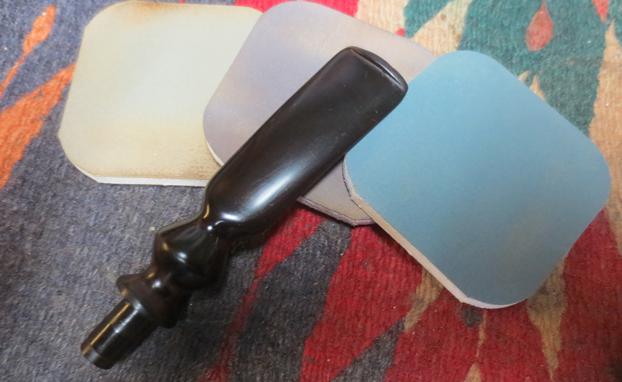
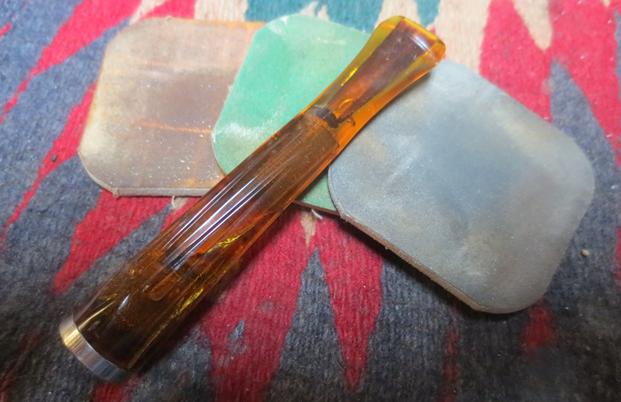
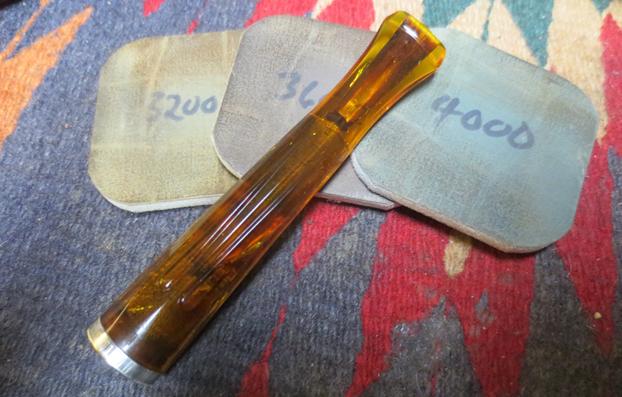
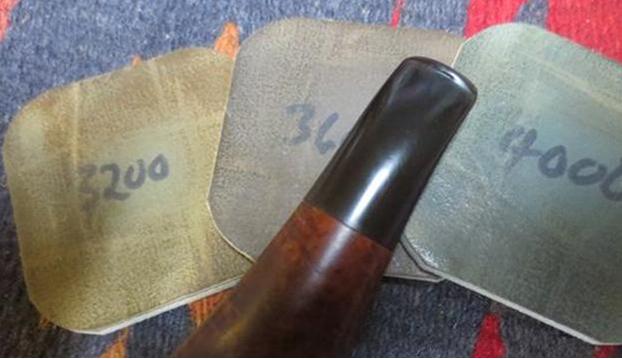
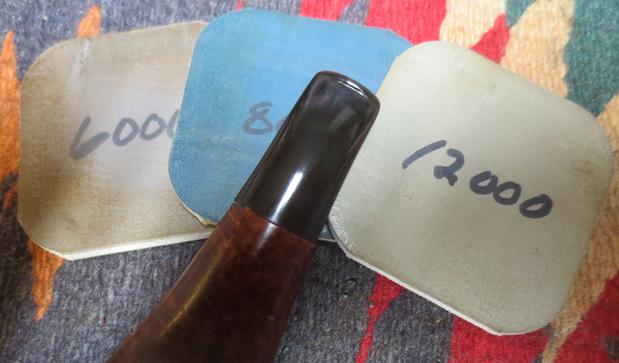
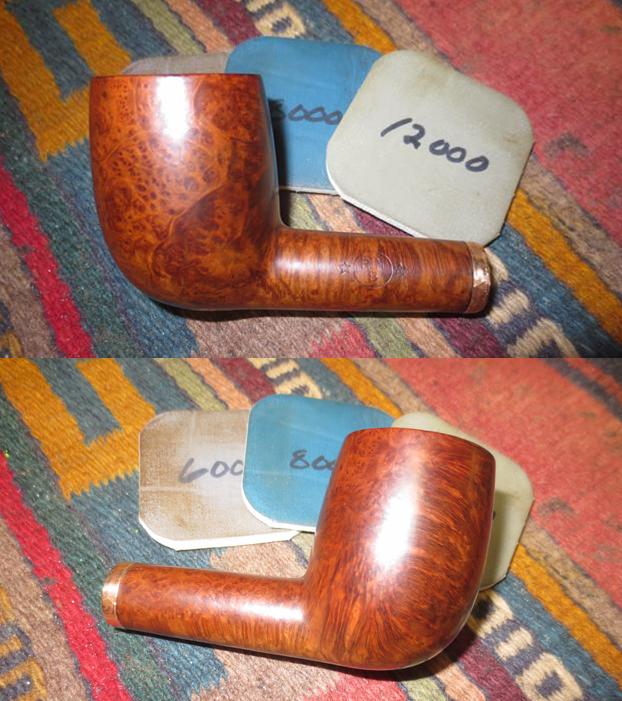
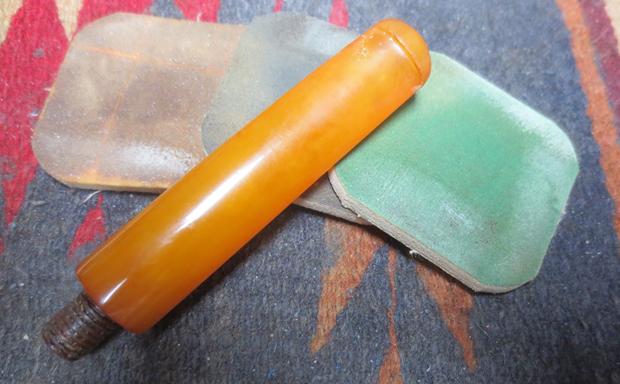
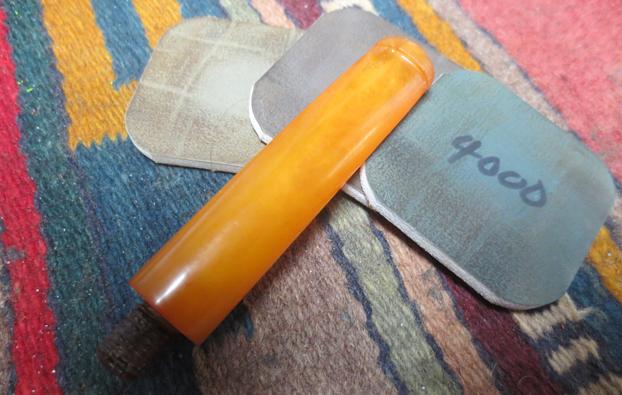
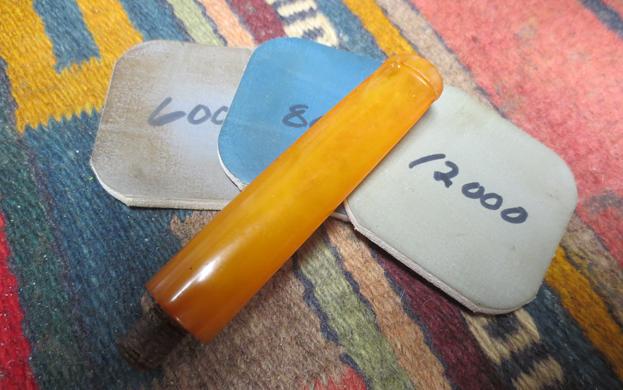
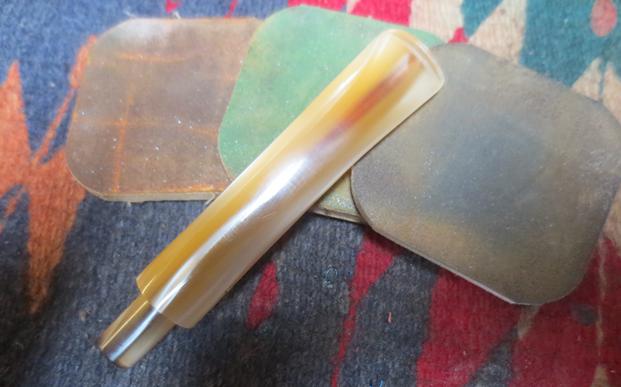
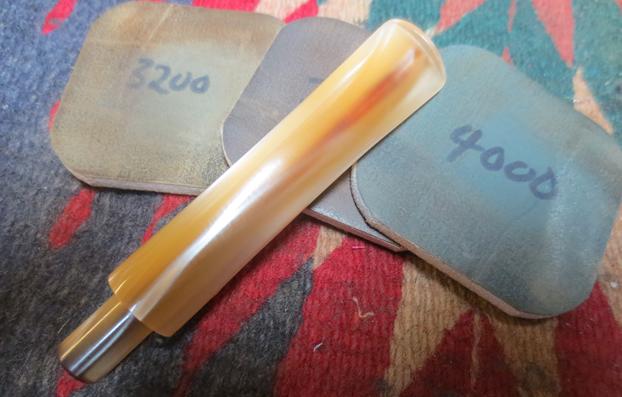
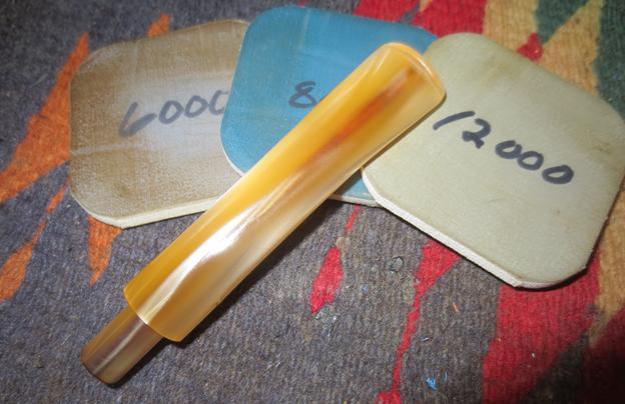
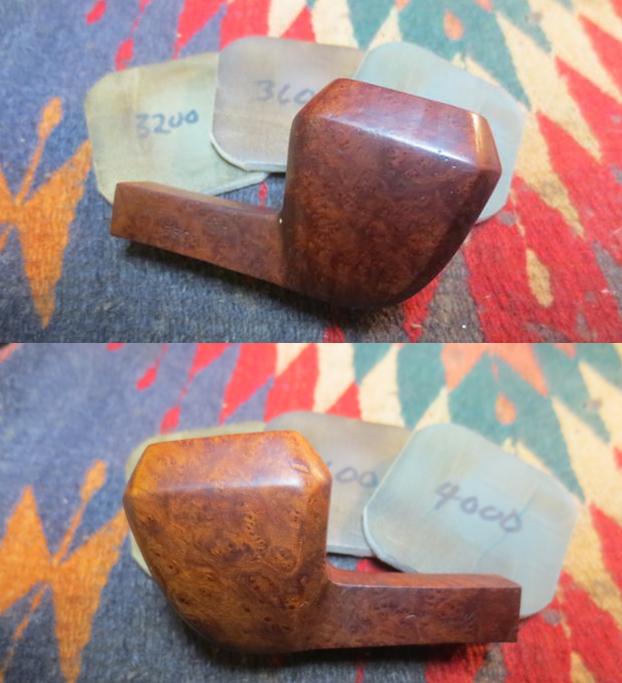
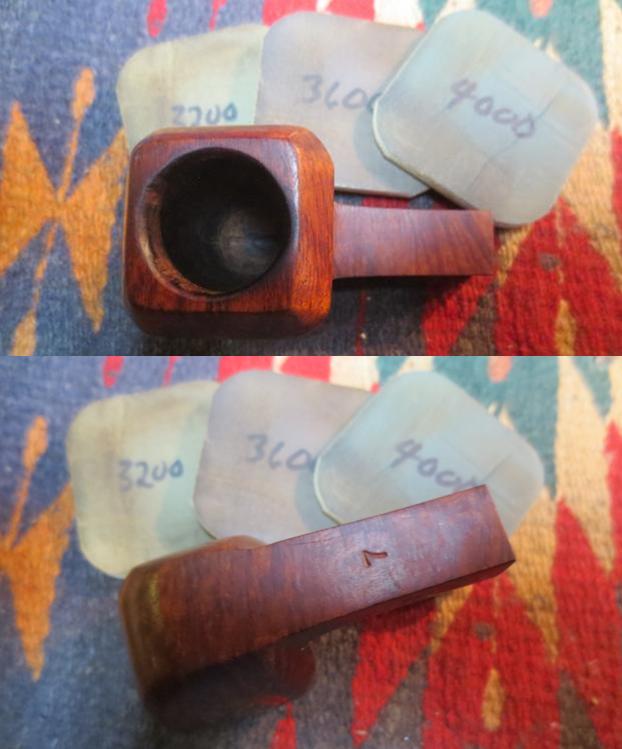
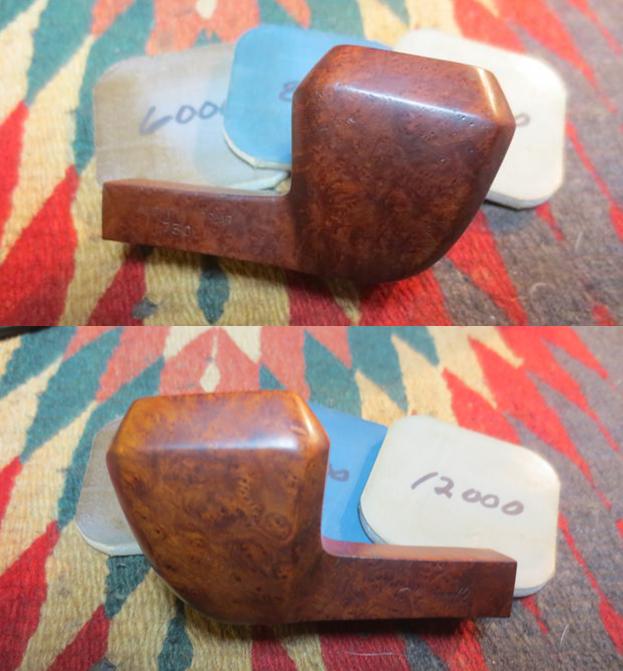
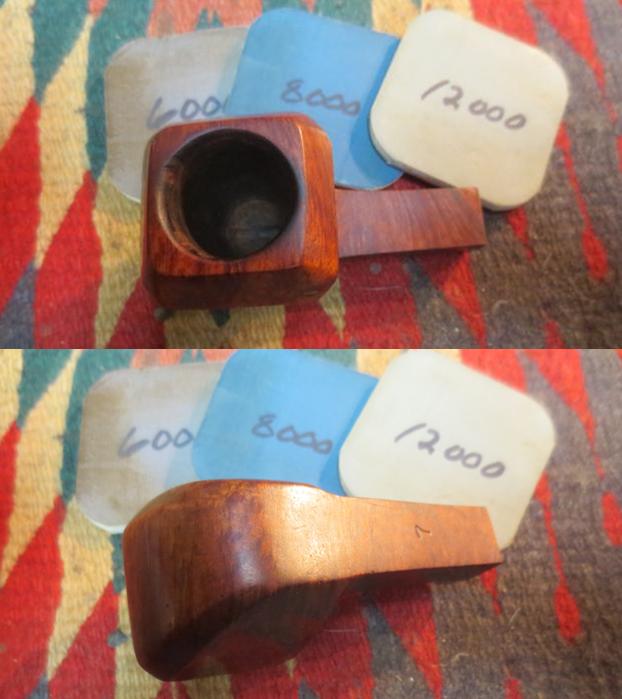
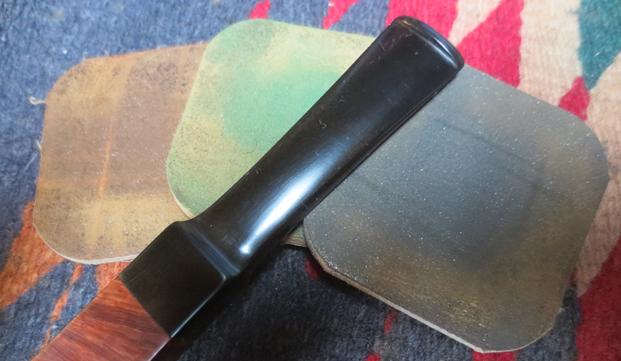
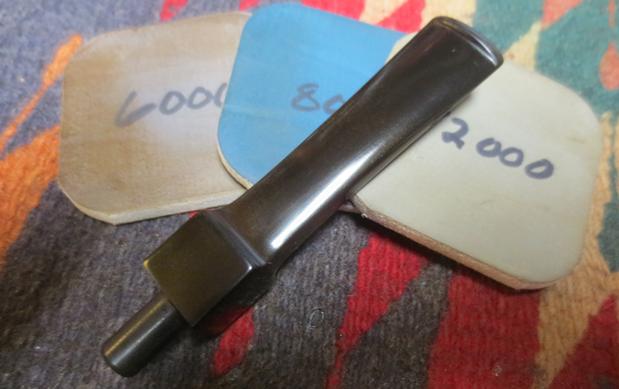
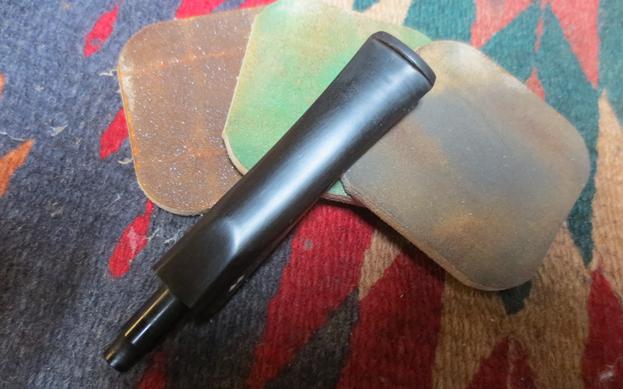
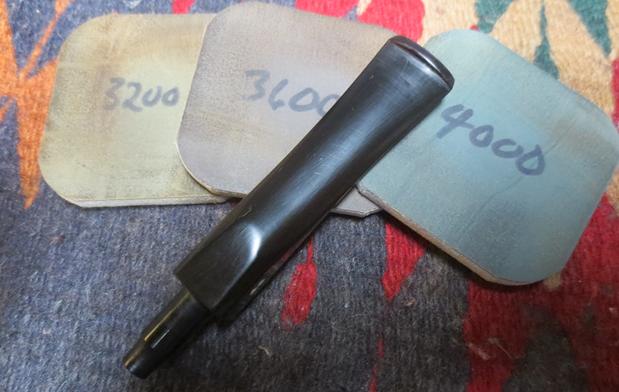
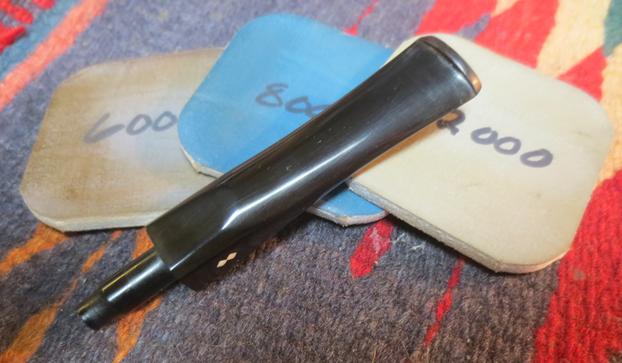
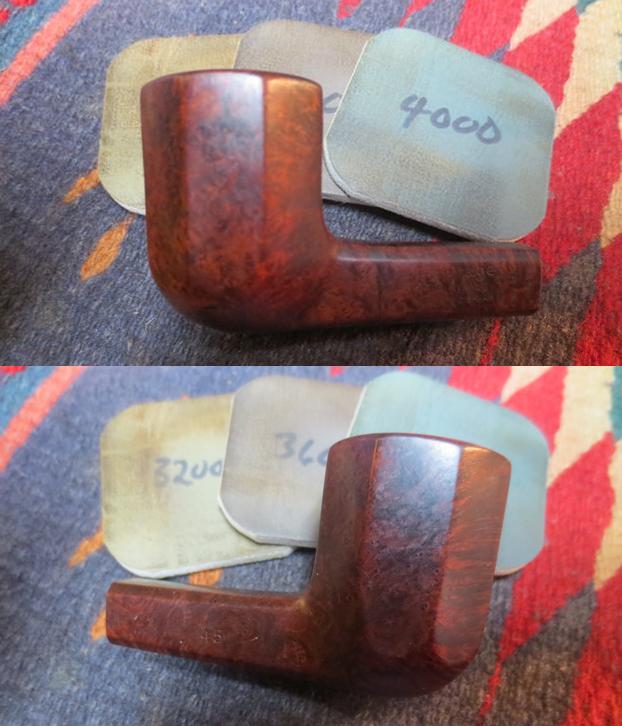
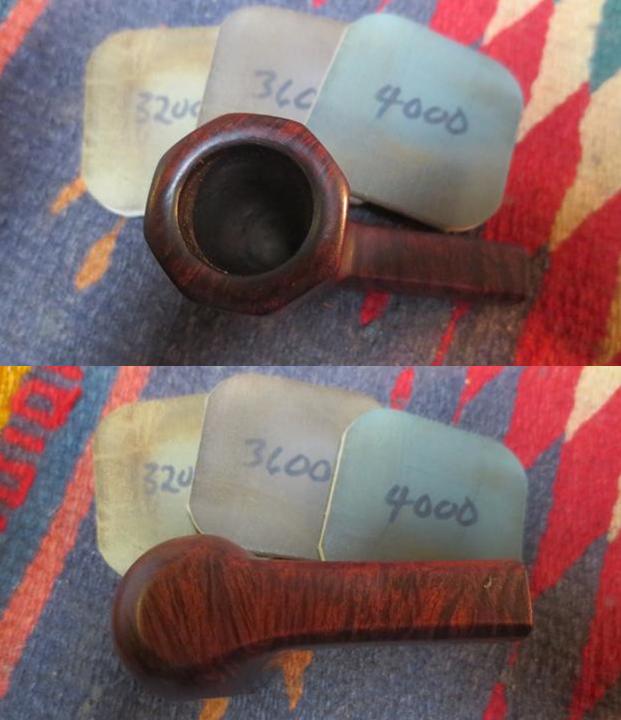
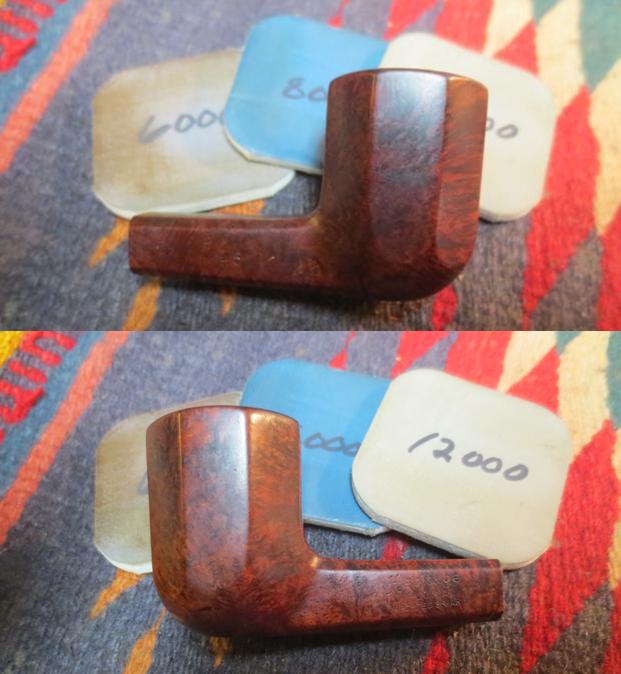
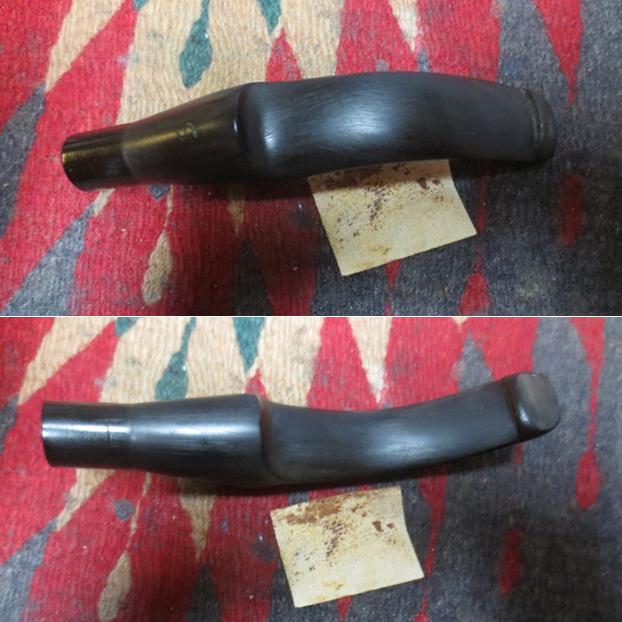 I polished out the sanding scratches and marks in the vulcanite with micromesh sanding pads – wet sanding it with 1500-2400 grit pads and dry sanding it with 3200-4000 grit pads. I wiped the stem down with Obsidian Oil after each sanding pad. I buffed the stem with Blue Diamond on the buffing wheel. I brought it back to the table and sanded it with the final three 6000-12000 grit pads. After the final pad I gave it a final coat of oil and set it aside to dry.
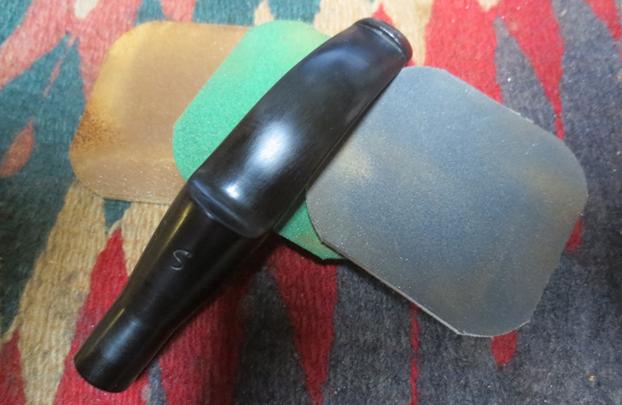
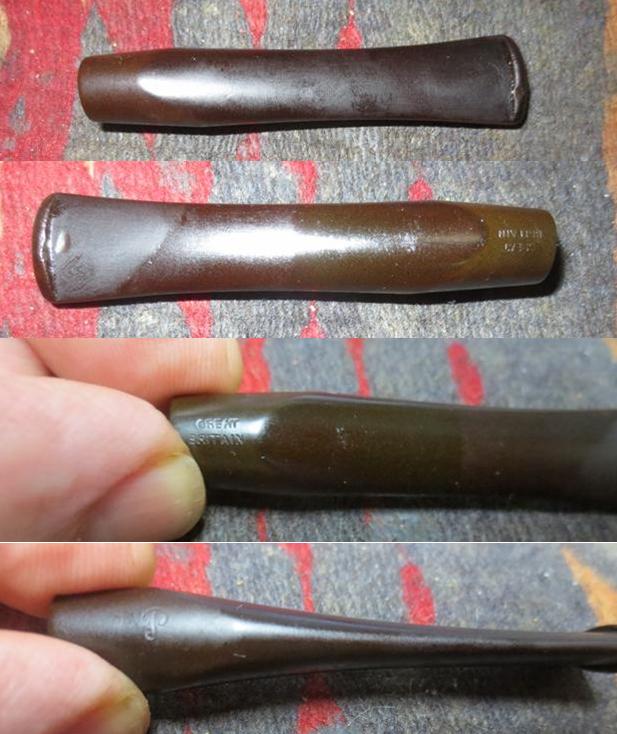
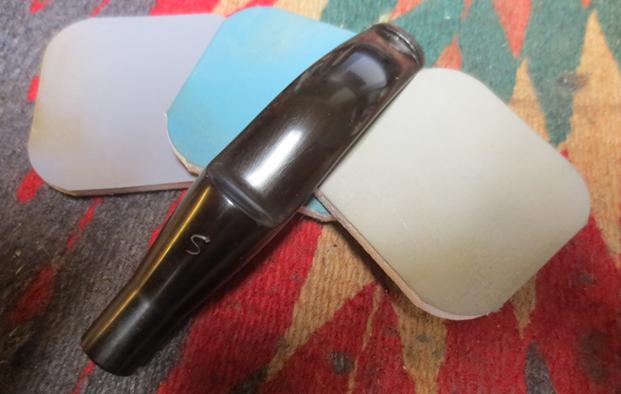 I used a cotton swab to apply some European Gold Rub’n Buff into the S stamp on the top of the stem. I wiped off the excess with a cotton pad and buffed the stem with a bit of Obsidian Oil on an old cloth.
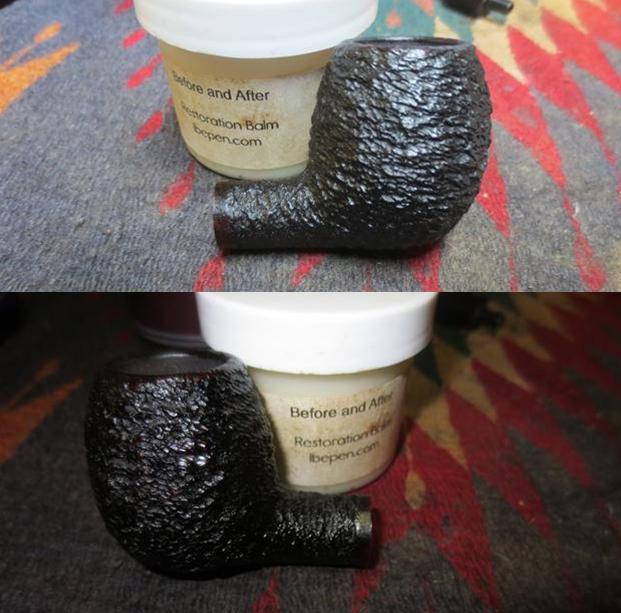
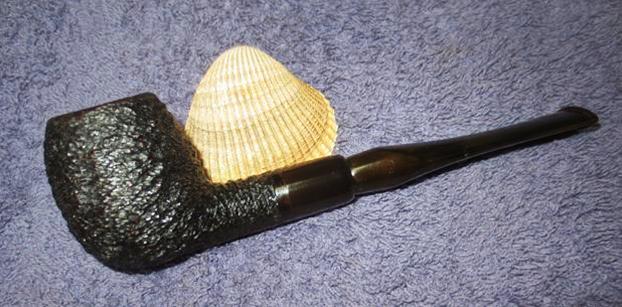
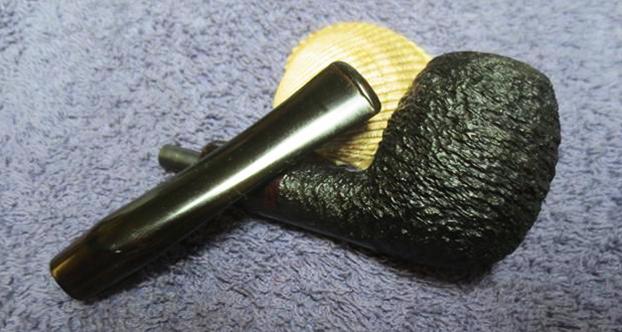
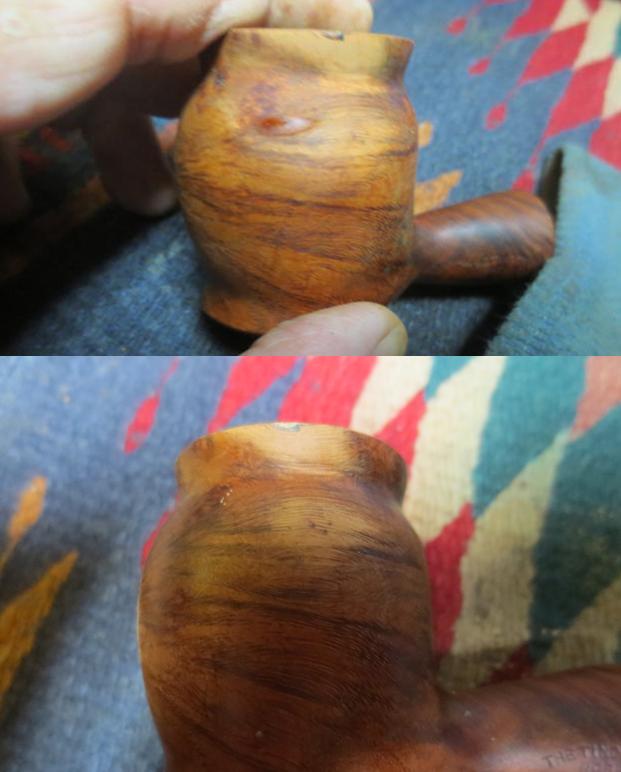
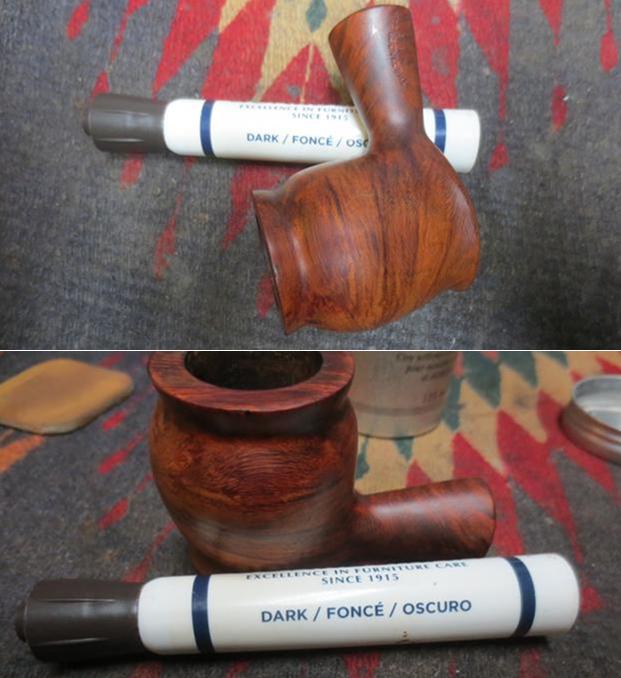
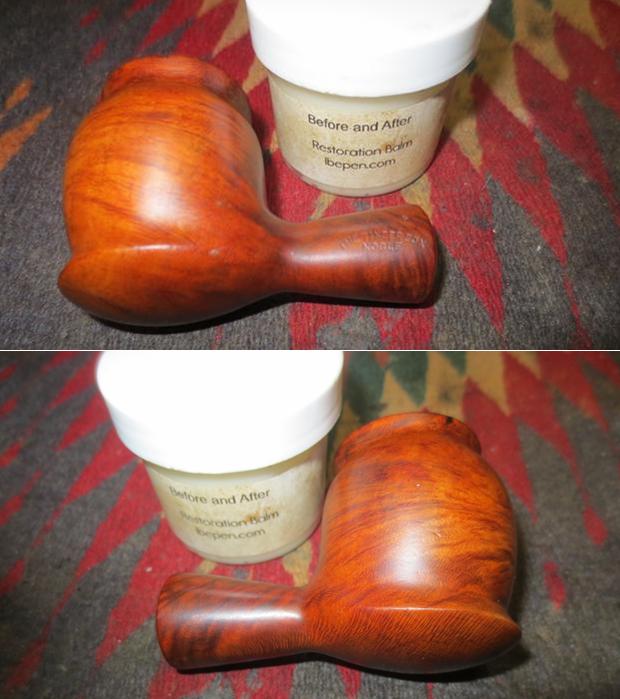
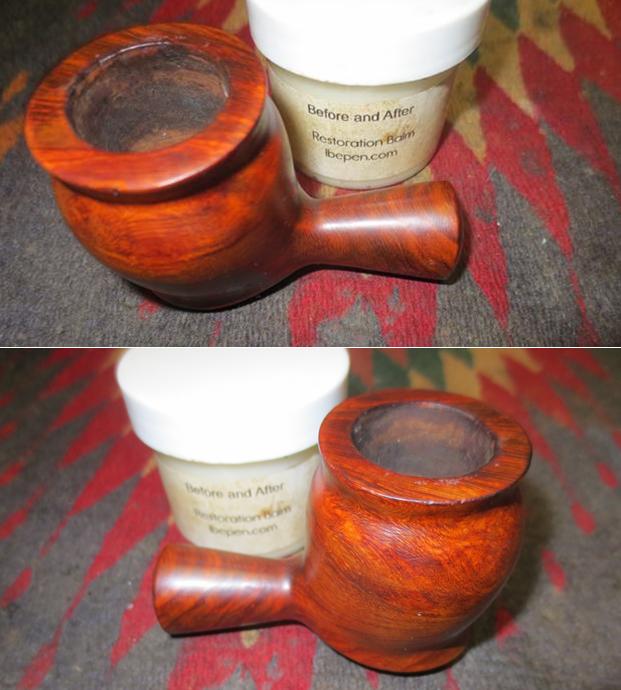
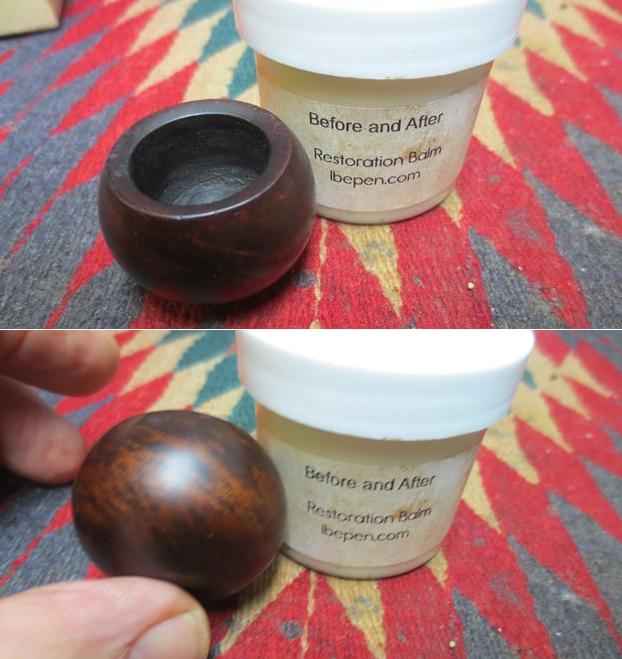
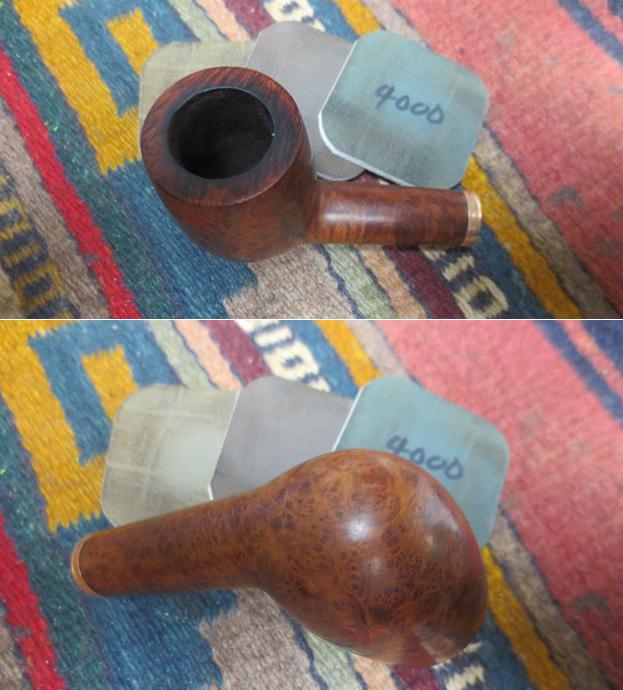
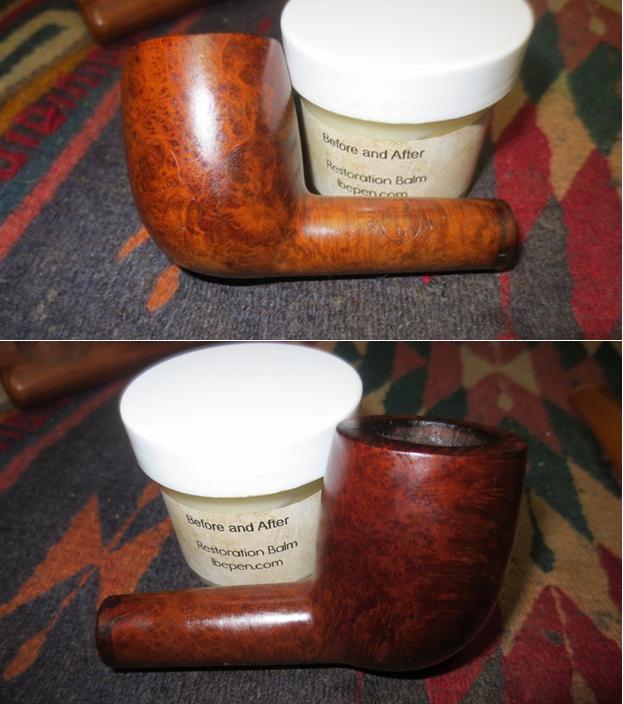
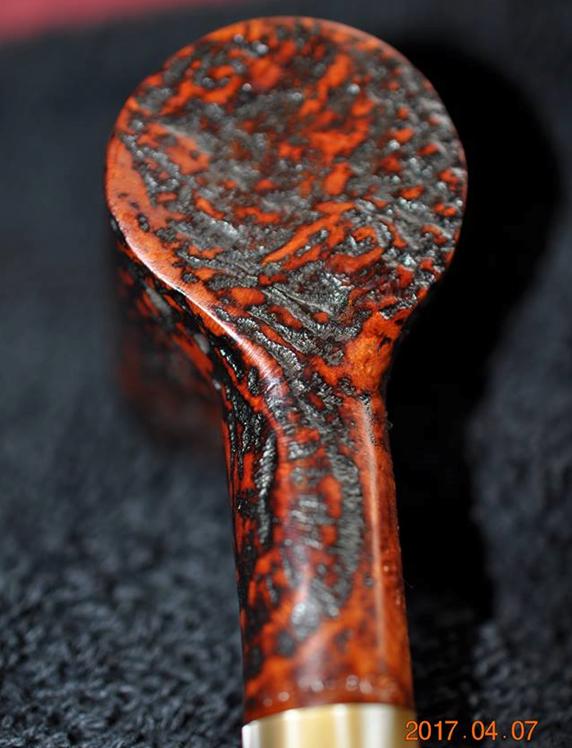
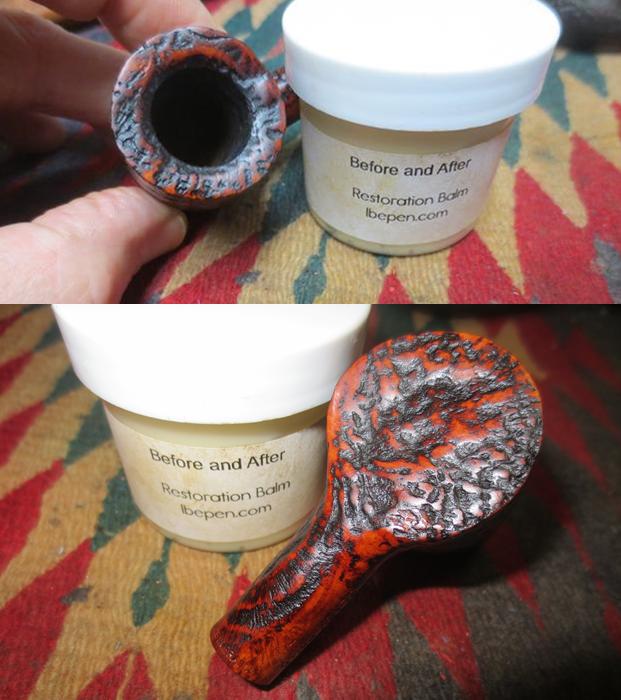
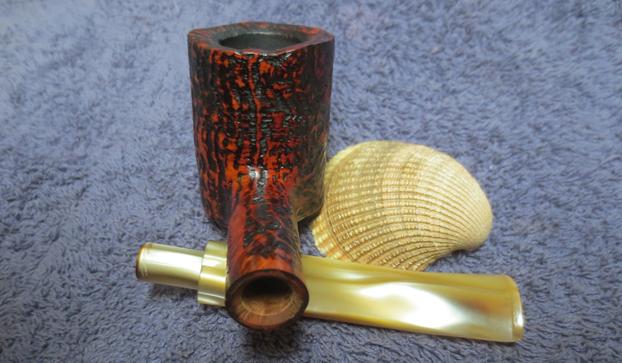
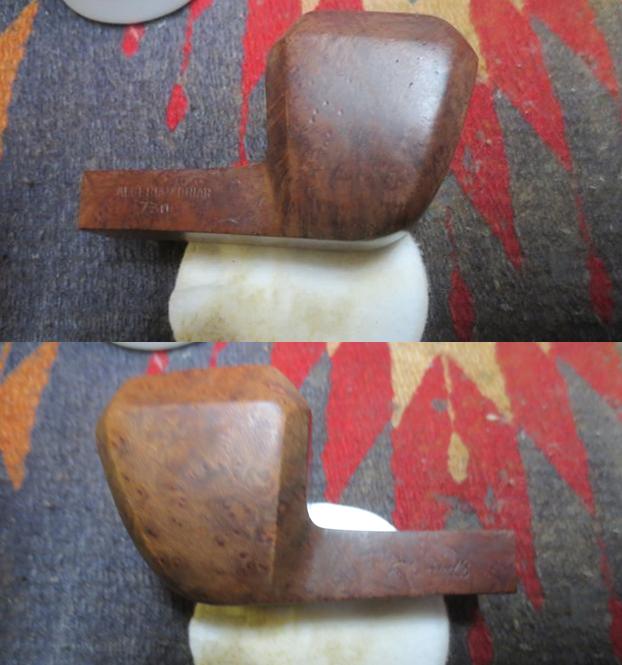
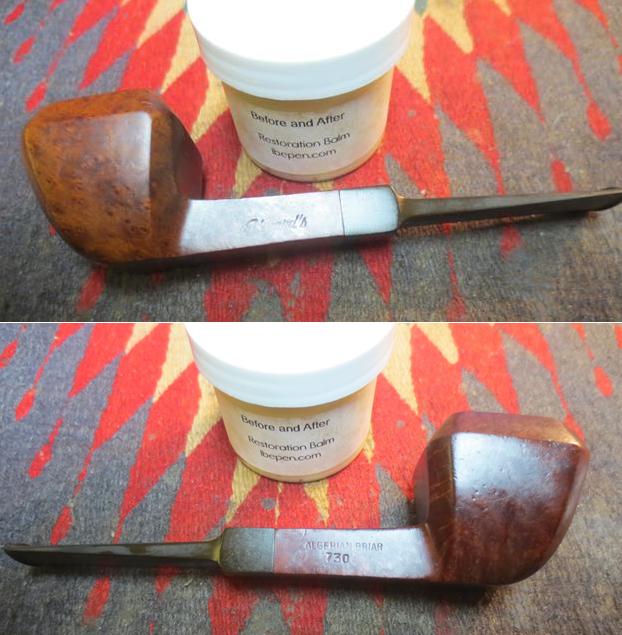
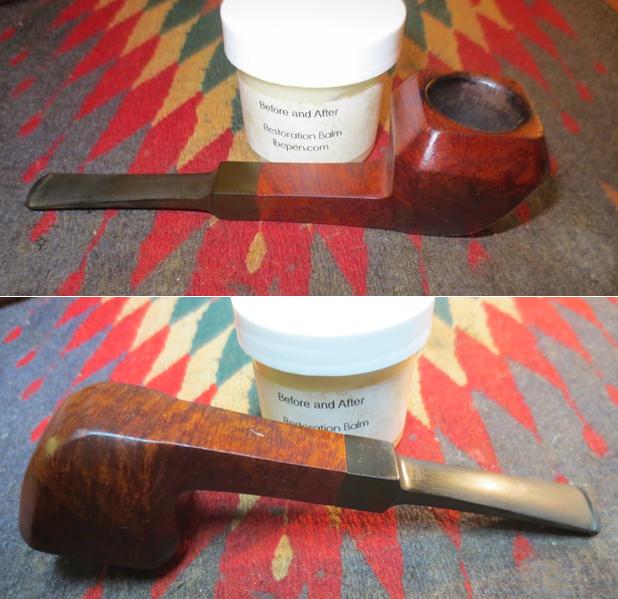
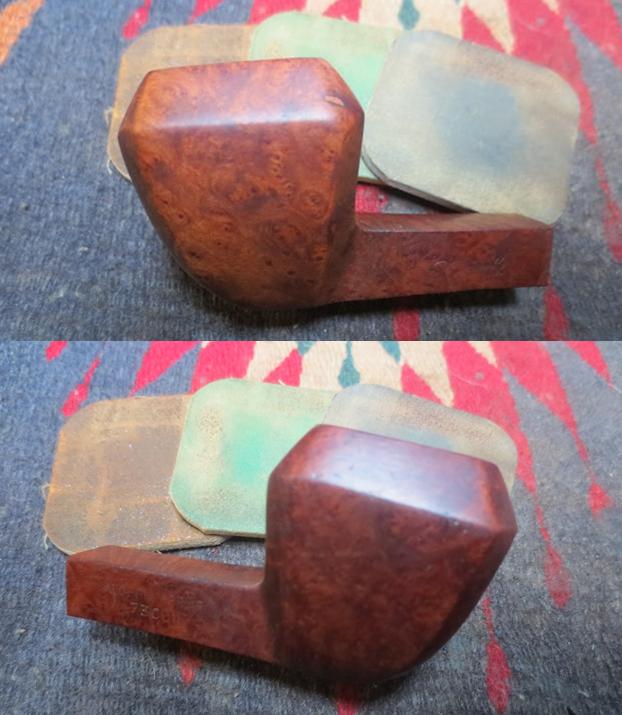
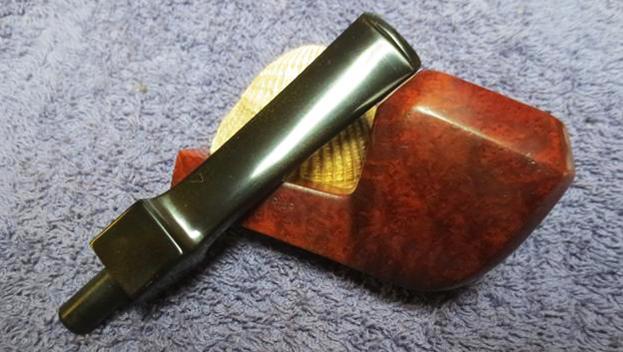
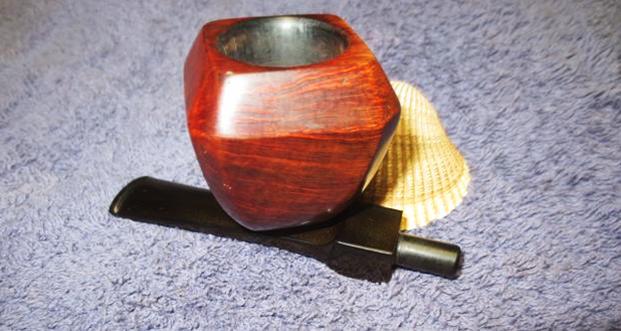
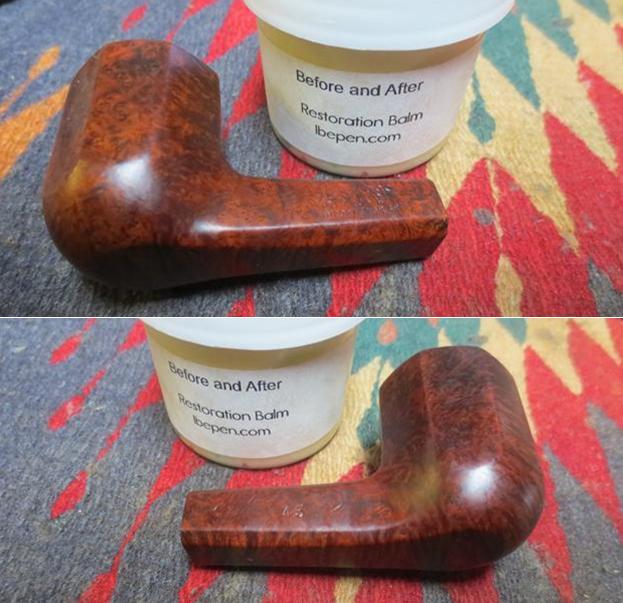
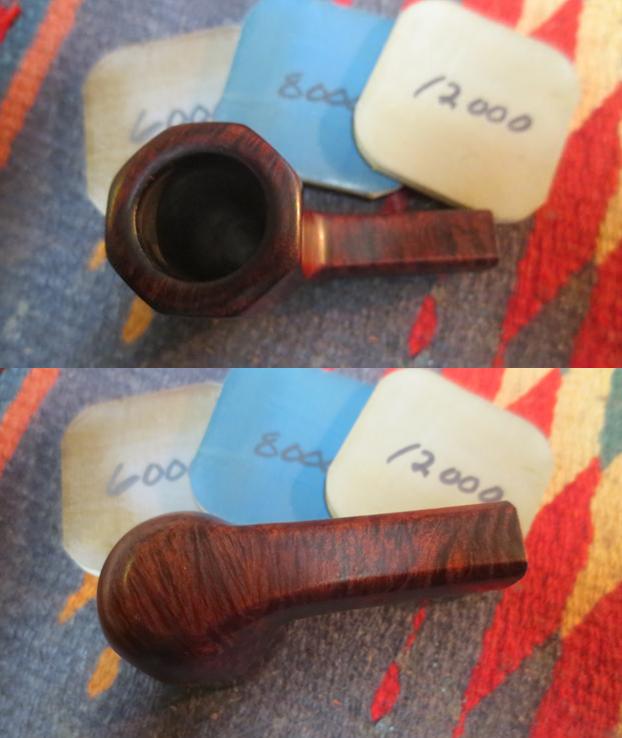
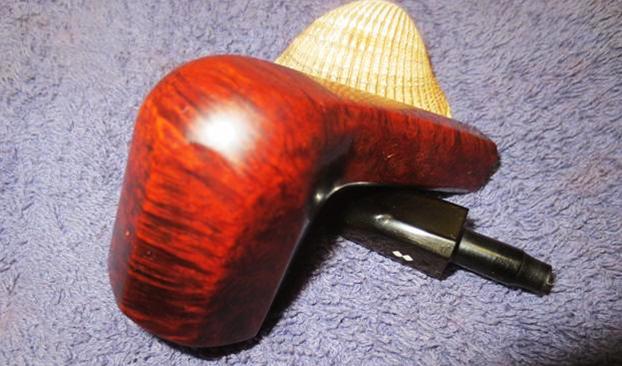
 I rubbed the bowl down with Before & After Restoration Balm to deep clean the nooks and crannies of the sandblast finish, enliven and protect the briar. I hand rubbed it with my fingers and wiped it off with a soft cloth. I buffed the bowl on the wheel with a horsehair shoe brush to polish it. It really began to have a deep shine in the briar. I took some photos of the bowl at this point to mark the progress in the restoration.
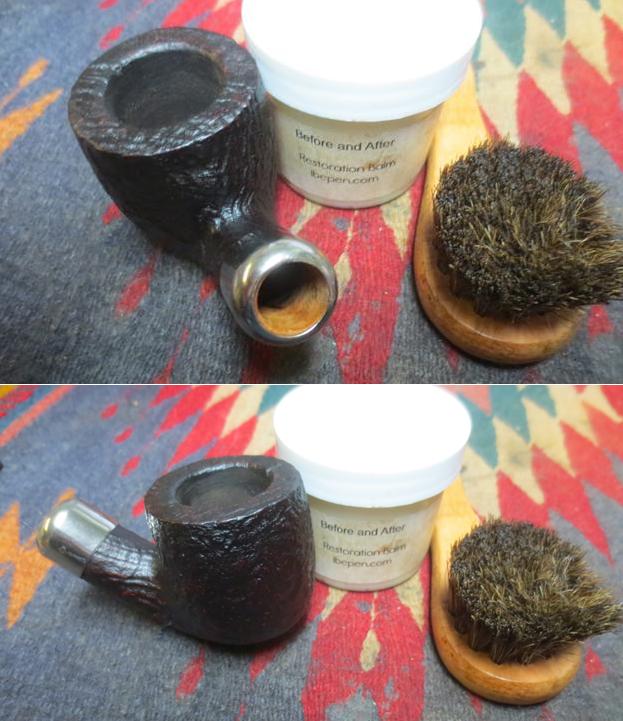
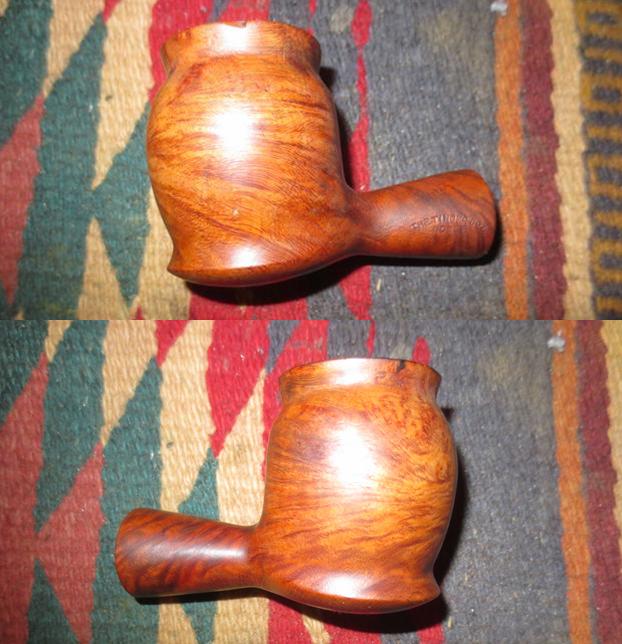
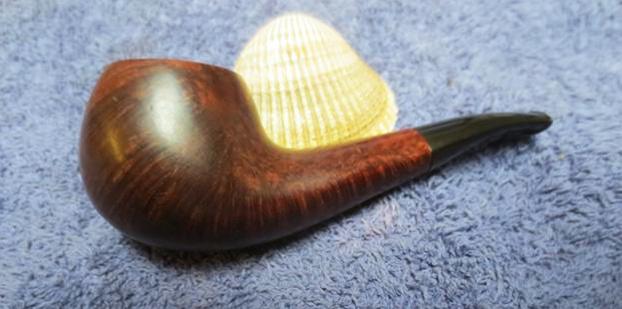
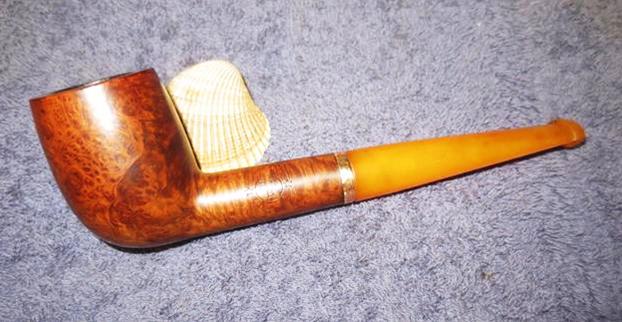
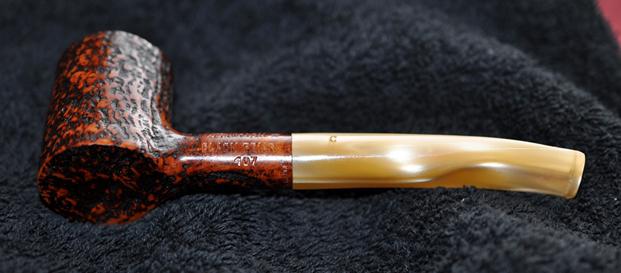
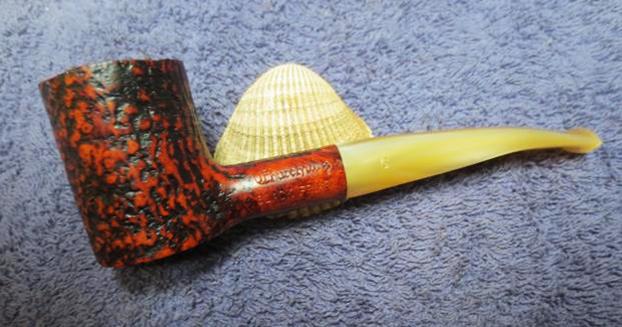
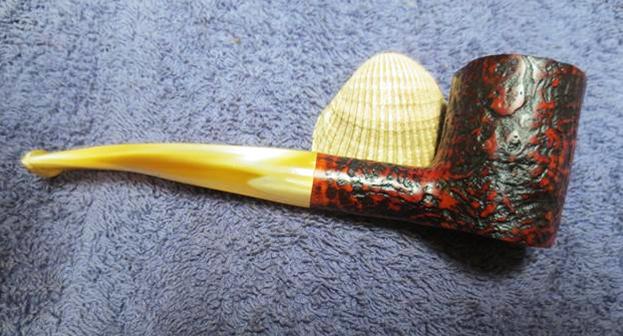
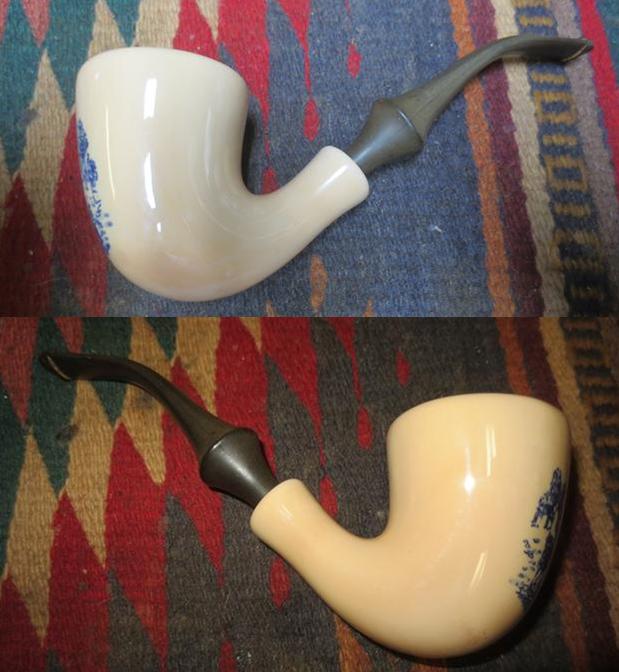
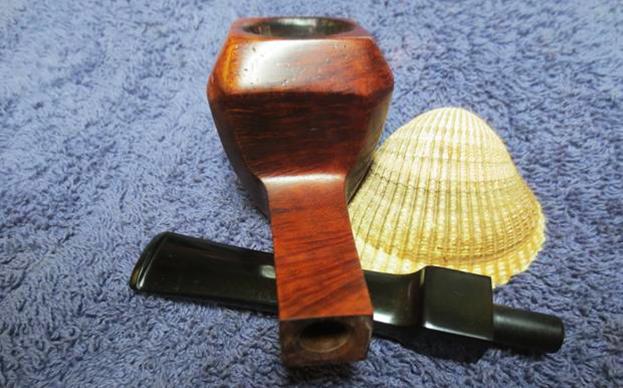
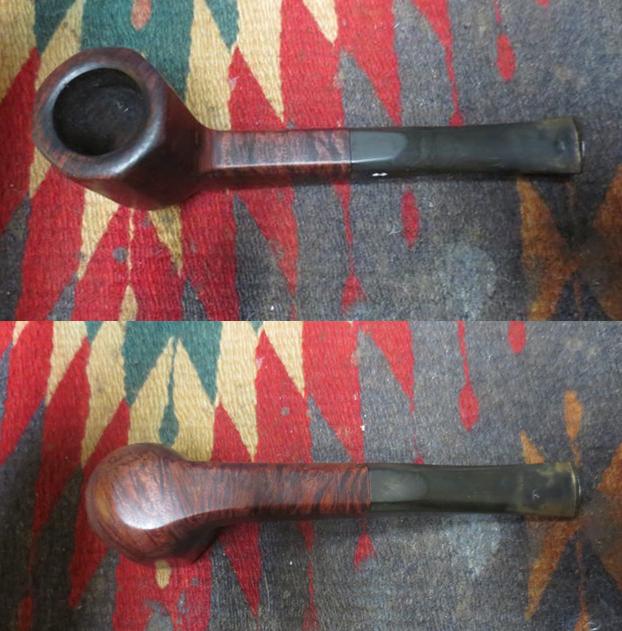
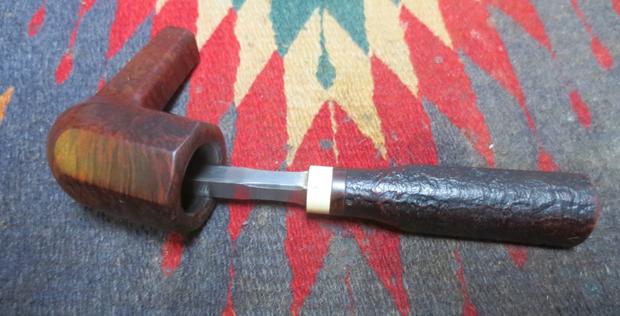
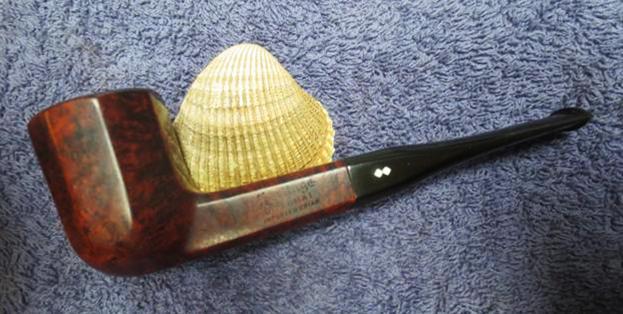
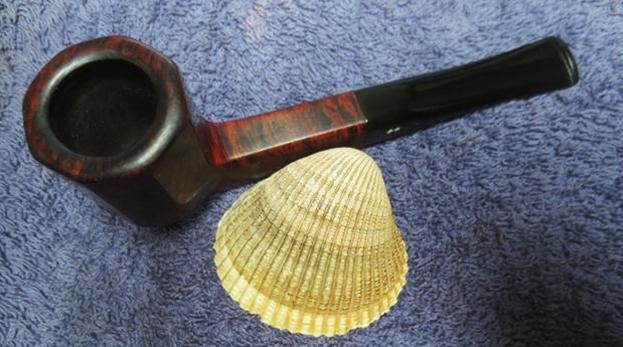
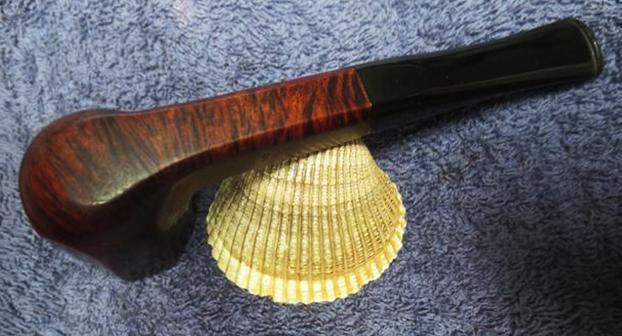
 I polished the nickel ferrule with a jeweler’s cloth to remove the tarnish and the scratching. I put the stem back on the bowl and worked the pipe over on the buffing wheel using Blue Diamond to polish the bowl and shank. I buffed the bowl with a light touch so as not to get any of the buffing compounds in the grooves of the sand blast. I buffed the stem to raise the gloss on the vulcanite. I gave the bowl multiple coats of Conservator’s Wax and gave the stem multiple coats of carnauba wax. I buffed the entire pipe with a clean buffing pad to raise the shine. I hand buffed it with a microfiber cloth to deepen the shine. The finished pipe is shown in the photos below. The dark and medium brown stains on the sand blast pot shaped bowl works well with the rich black of the vulcanite stem. The polish and the reworking of the stem material left this a beautiful and well-made pipe. The dimensions of the pipe are: Length: 6 ½ inches, Height: 2 inches, Outside Diameter: 1 5/8 inches, Diameter of the chamber: 1 inch. I will be adding this one to the rebornpipes store shortly if you are interested in adding it to your collection. It will make a fine addition to the rack. If you are interested email me at slaug@uniserve.com or send me a message on Facebook. Thanks for looking.