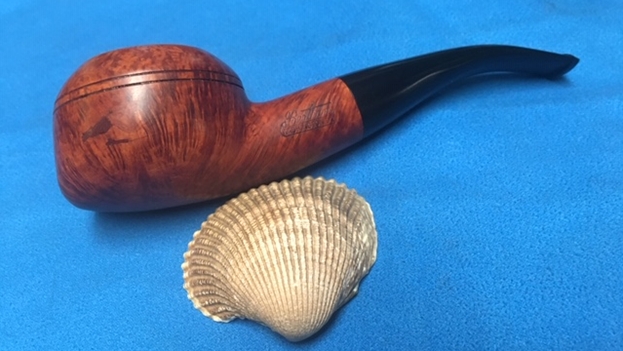
Blog by Steve Laug
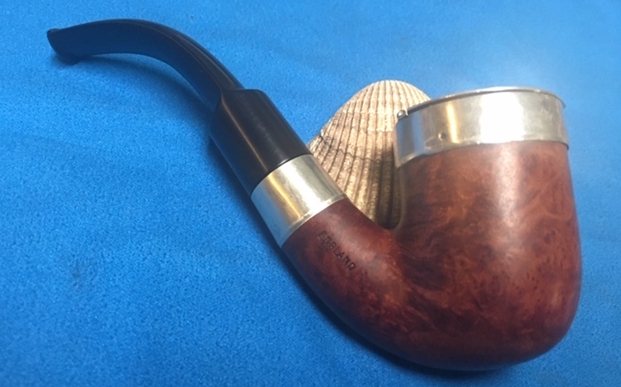
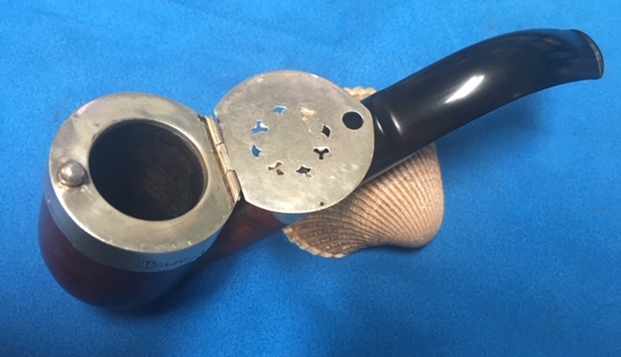
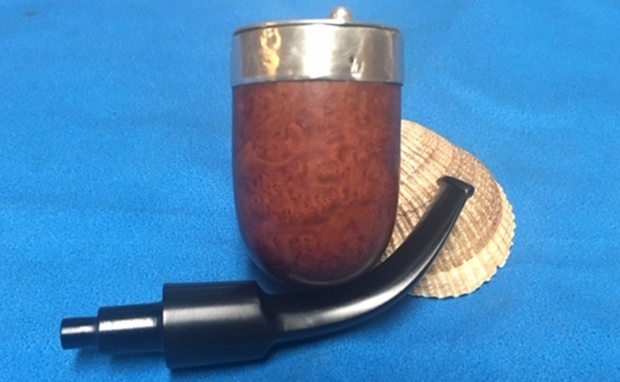
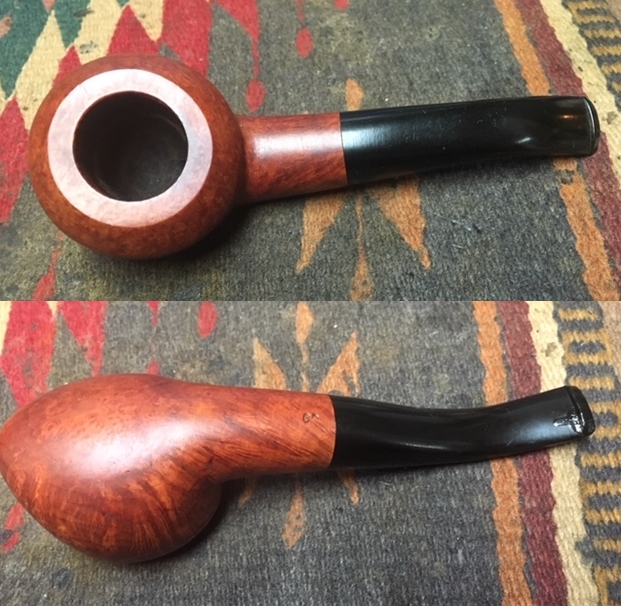
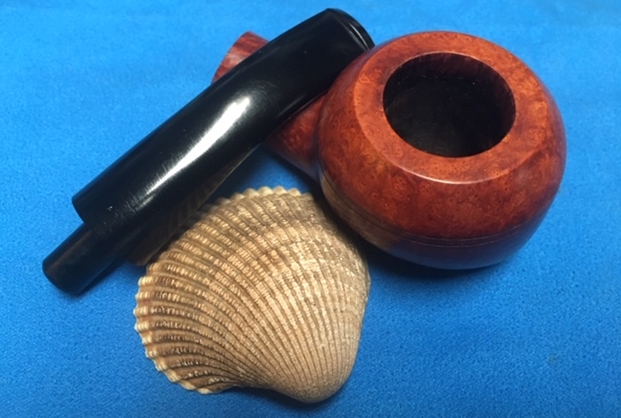
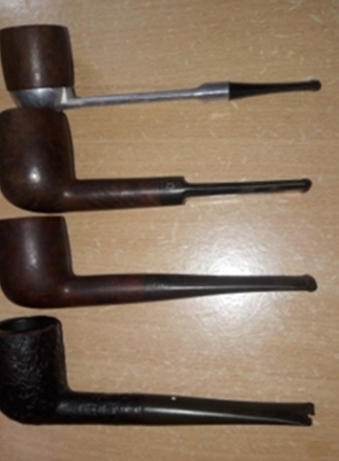
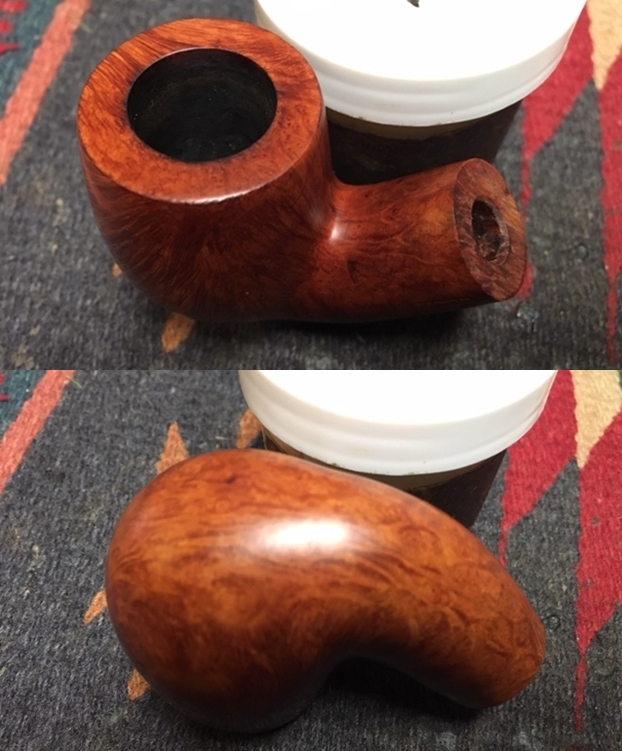
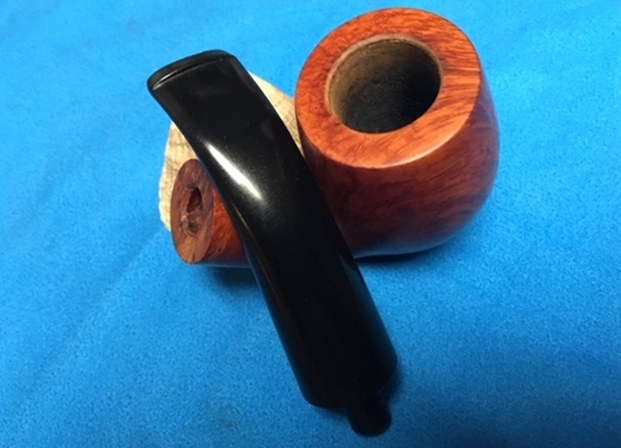
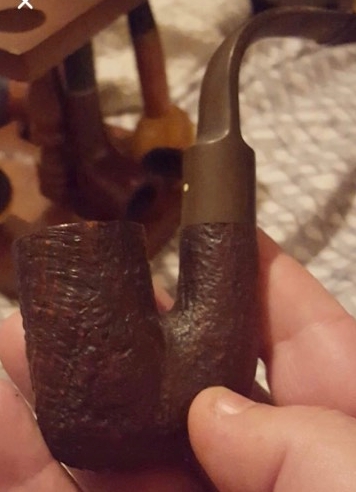
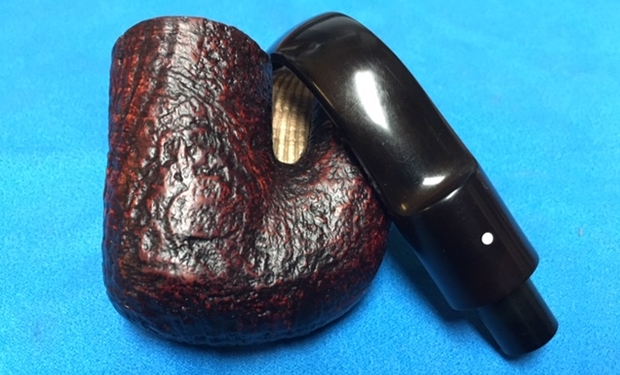
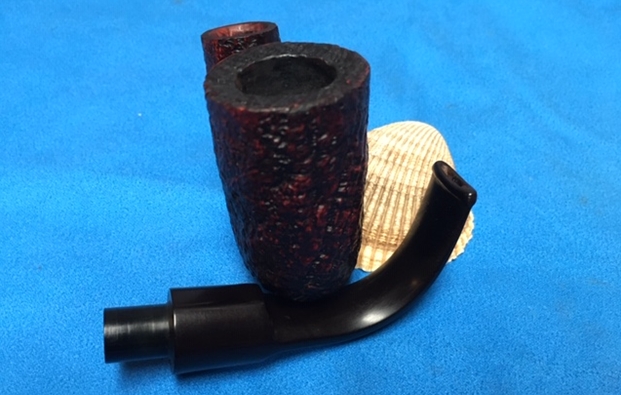
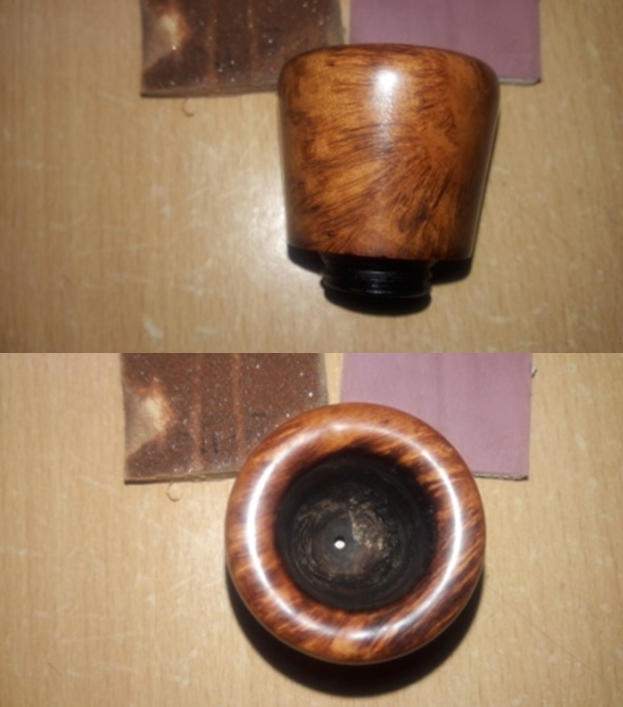
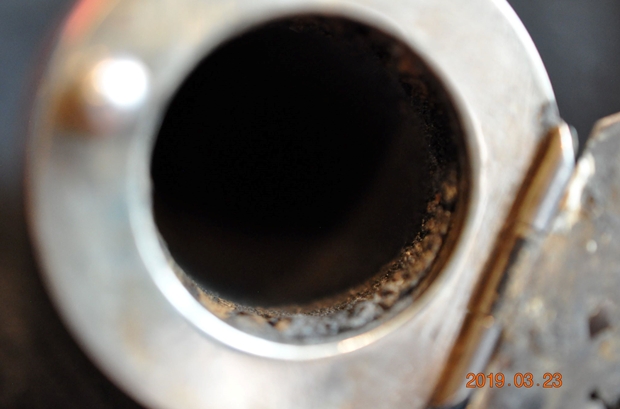
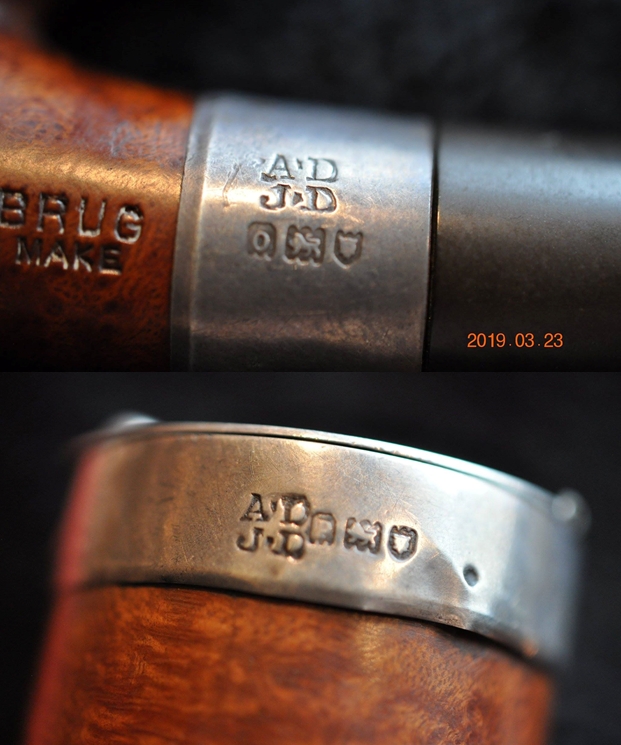
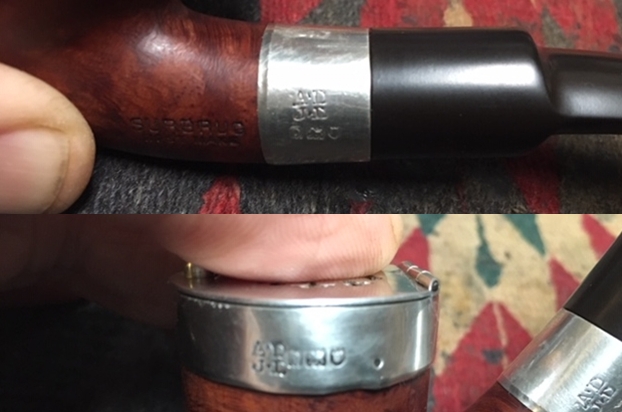
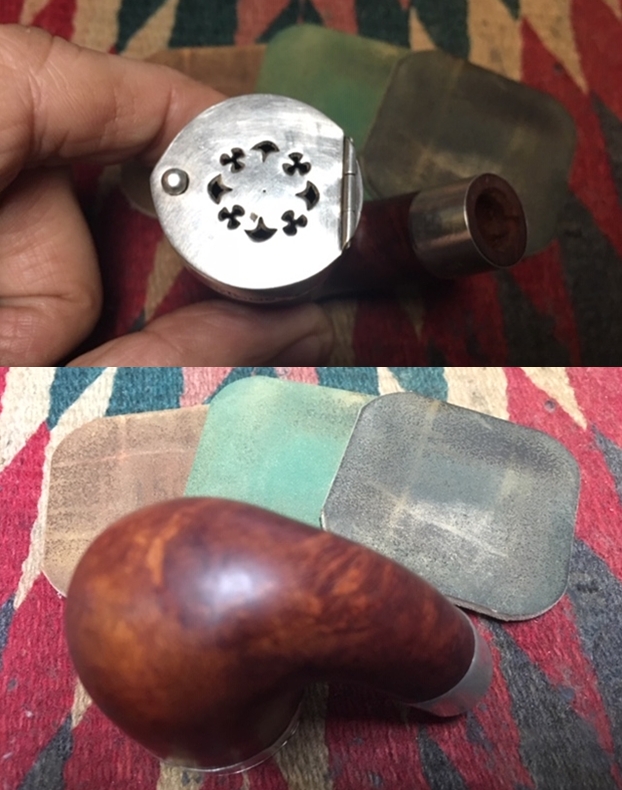
I have been cleaning up a lot of American made pipes between the Malaga’s for Alex and the Bertrams that Jeff and I picked up. I was in the mood for something a little different this time around. You know variety is the spice of life and all that… So today I went through my box and picked an interesting pipe that came from an auctioneer in Los Angeles, California with the older Barling’s Make S-M Take Apart Pipe. That was an old timer and this one is also an old one. From the silver band and the band around the rim top I will be able to date it. But I knew looking at it that was older. The pipe was very dirty but had a look of class to it. There was a sterling silver band on the shank and one around the rim top with a hinged wind cap. The briar is very dirty and the silver has a lot of dings and dents around the rim. The bowl had a thick cake and the wind cap was black. Looking down the shank it was filled with tars and oils. The left side of the shank was stamped Surbrug over Best Make and the right side was stamped England. The hallmarks on the band were an O, a rampant lion and a crownless lion’s head. On the cap around the rim top the hallmarks were P, a rampant lion and a crownless lion’s head. On both the makers’ marks were the same – AD over JD. The stem had some bite marks on the top side near the button. It was lightly oxidized and the bend on the stem had almost straightened out. Jeff took some photos of the pipe before he started his cleanup.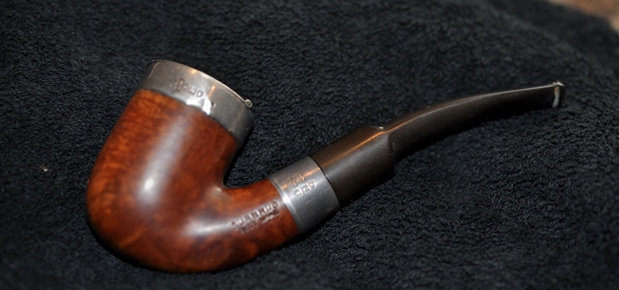 The next series of photos show the band around the rim top and the wind cap. The briar is quite beautiful and the silver, though oxidized is quite pretty. He also included some close up photos. The last photo in the series shows the thickness of the cake in the bowl. It was quite thick.
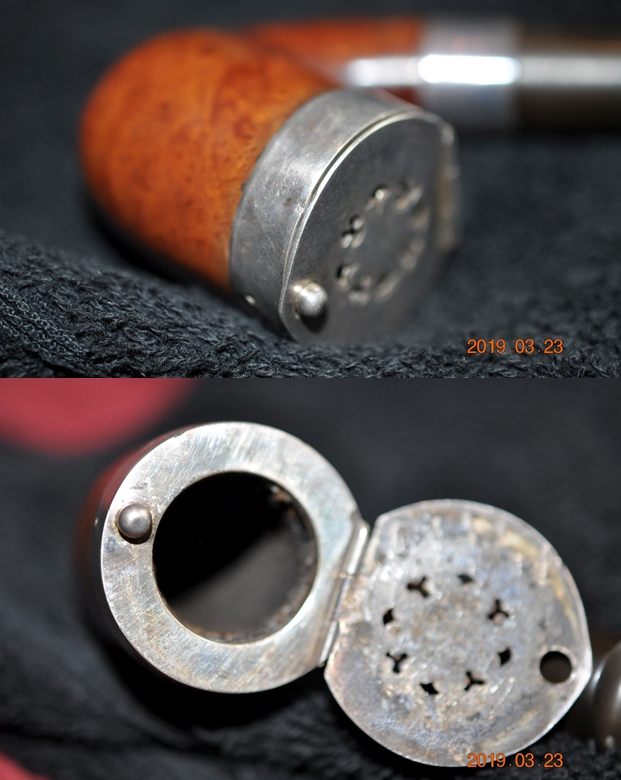
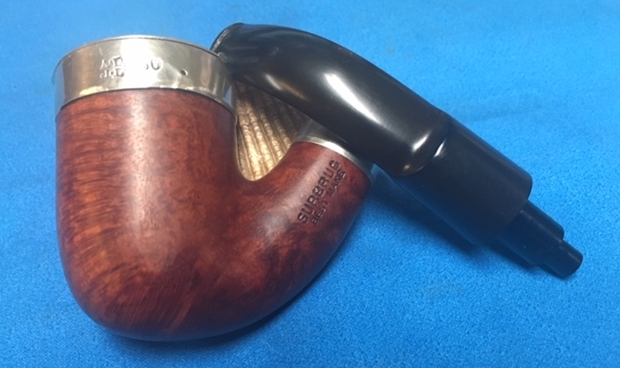
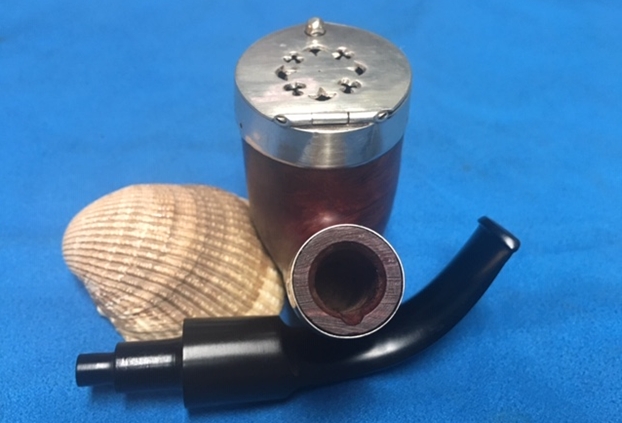
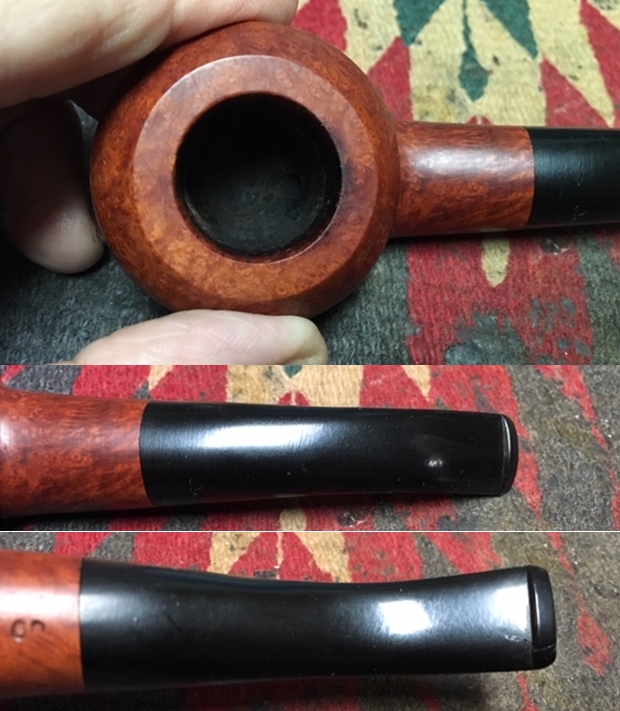
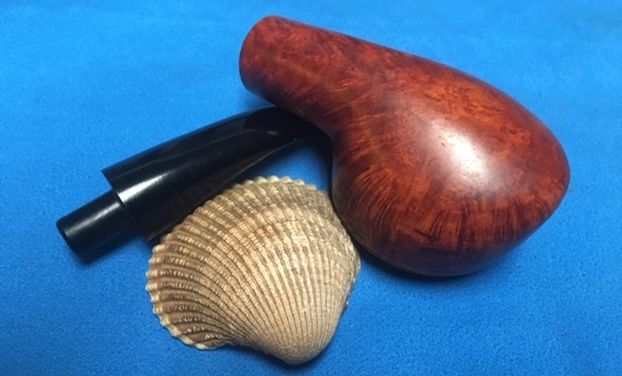
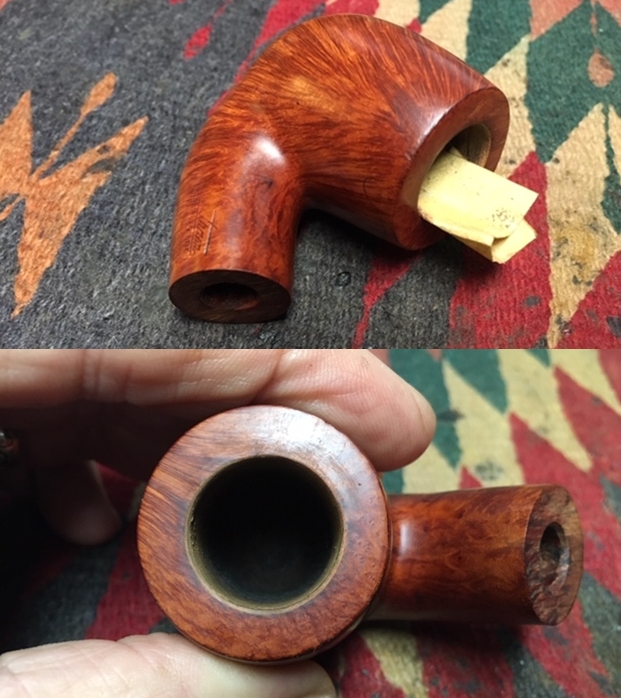
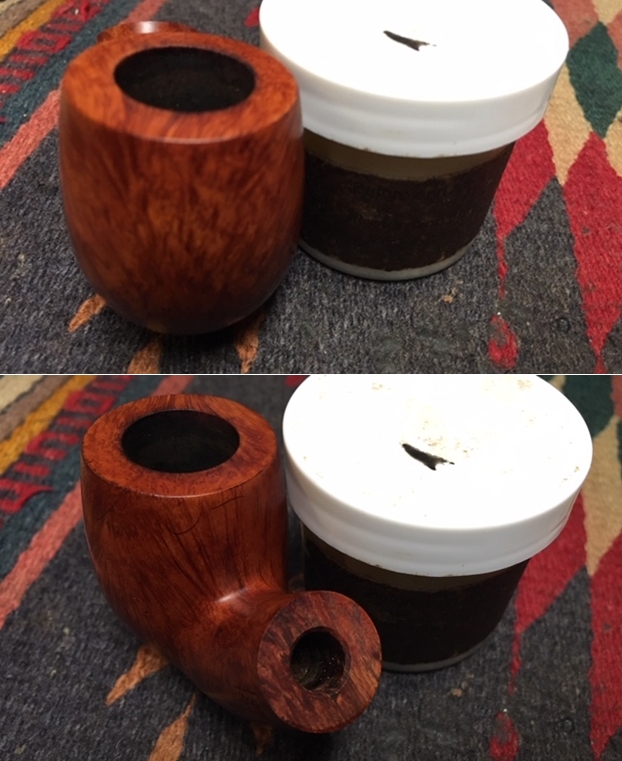
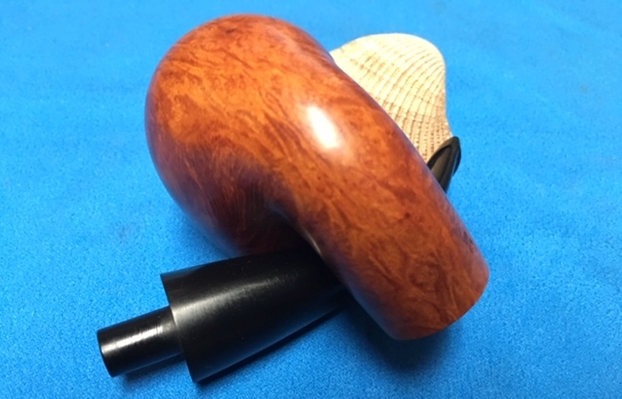
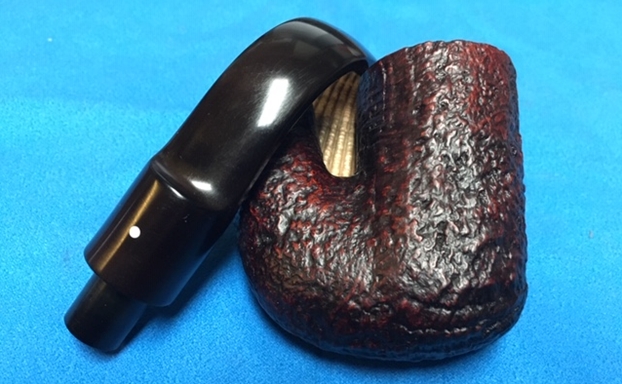
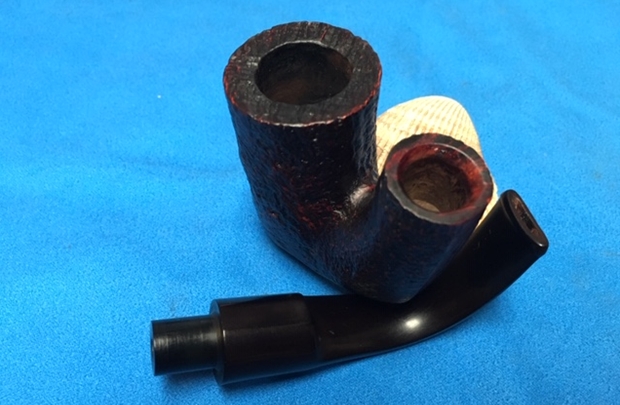
 He took a photo of the left side of the bowl and the underside. It shows the dirt and grime in the briar as well as the nicks and dents in the wood.
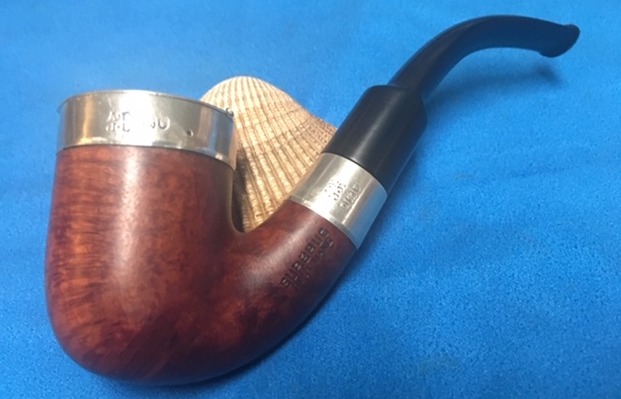
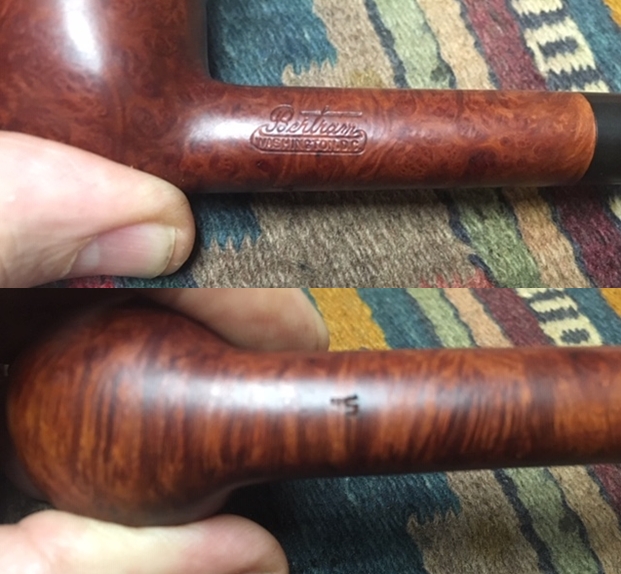
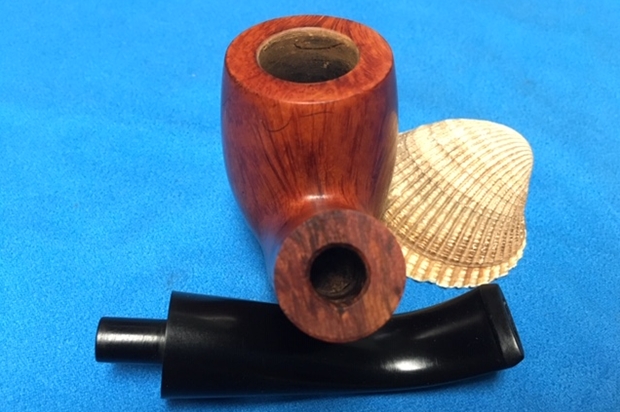
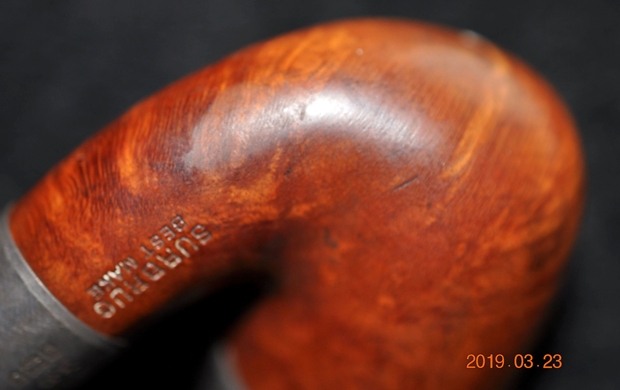 He took photos of the stamping on the left and right side of the shank as well as the hallmarks on the silver band and rim top. The stamping and the hallmarks are as noted above
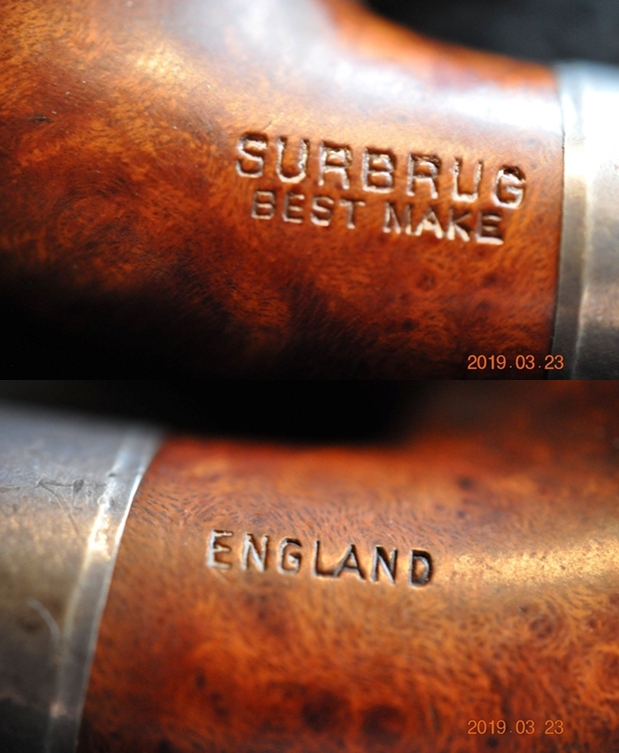
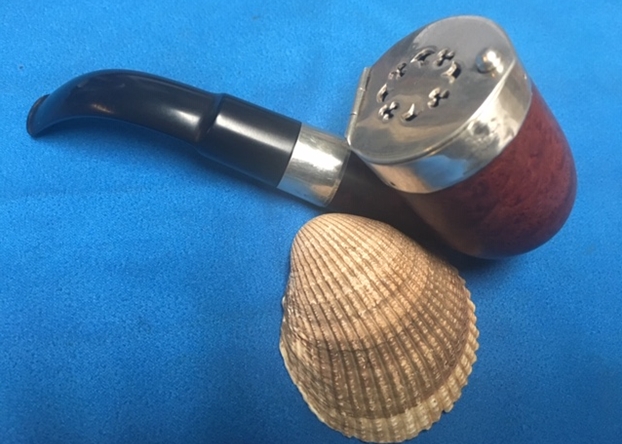
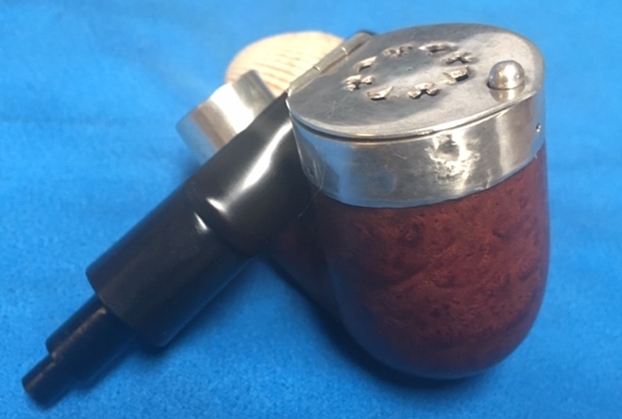
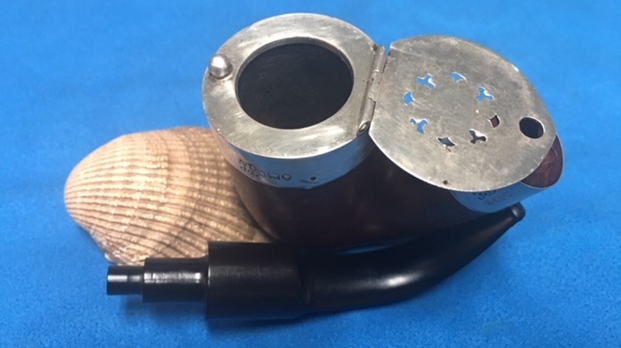
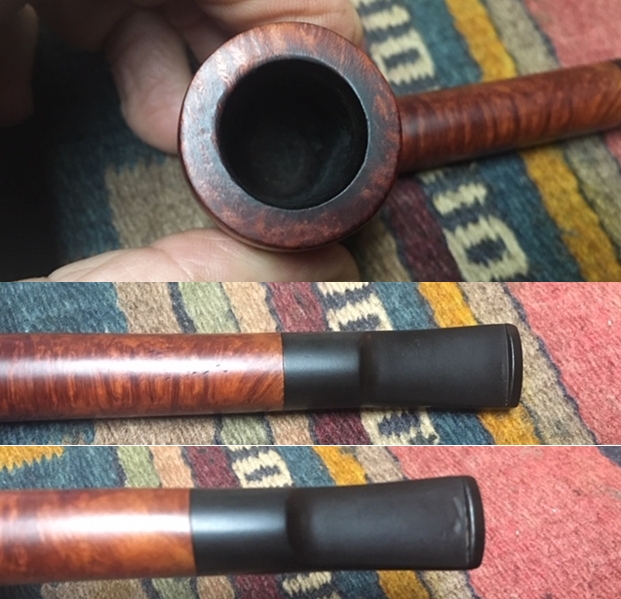
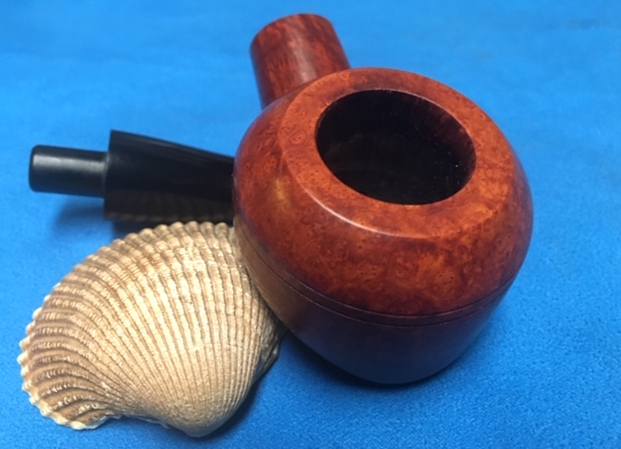
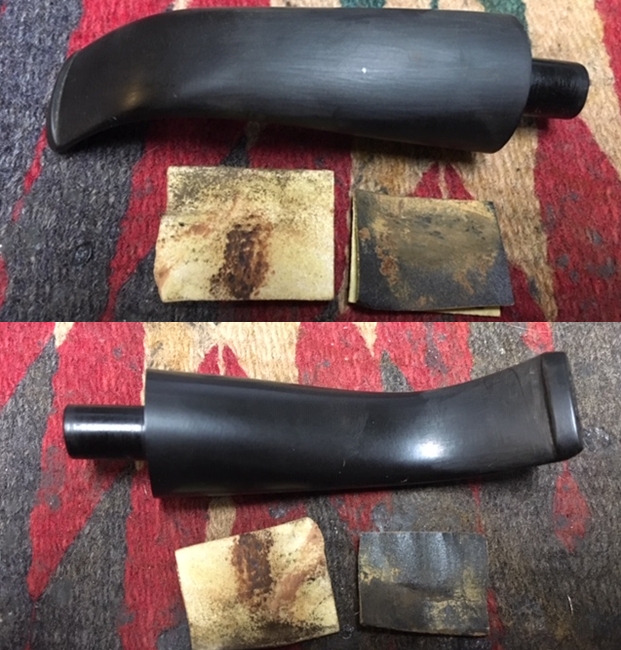
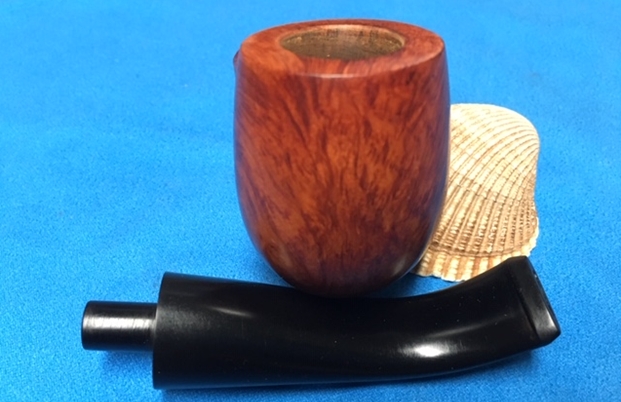
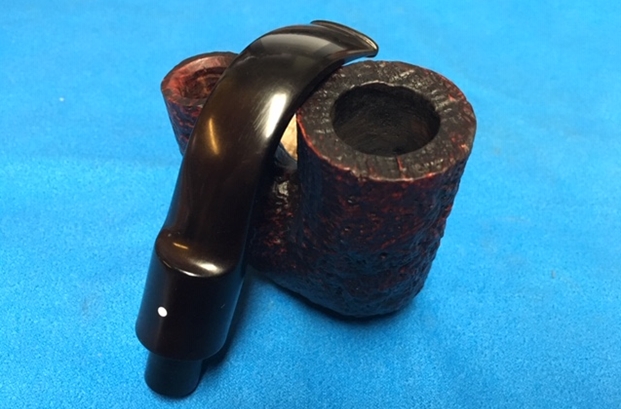
 The last two photos show the stem surface. It is both oxidized and has some tooth damage to the surface of the button on both sides.
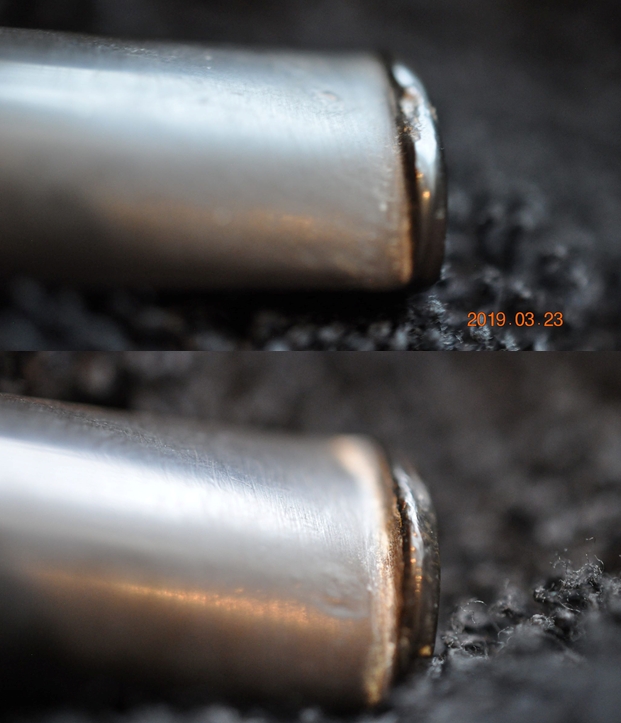 I had forgotten that Al Jones (Upshallfan) had restored a Surbrug pipe and done a blog on it for rebornpipes. When I googled the brand one of the first links that came up was the one to Al’s blog on rebornpipes (https://rebornpipes.com/2015/03/24/surbrugs-special-restoration/).There was a great section on the brand written by Jon Guss and linking it to a New York City Tobacco Shop that Al quoted. I quote from that in full now.
I only knew that Surbrug’s was a New York City tobacco shop and I’ve seen their shop pipes pop up occasionally. Jon (Guss) sent me this about the shop:
John R Surbrug, born in Switzerland of a Swiss father and Ohio mother, had a small tobacco shop in New York City. After his death in the 1880s, his young son John Willard Surbrug (born in NYC in 1859) took over the store. Incorporating the business in 1895, John W. expanded into the cigarette market and prospered greatly. After buying a cigarette competitor name Khedivial, Surbrug’s business in turn was acquired by the Tobacco Products Company (TBC) in 1912. TBC was what we would now call a roll-up play, created by George and William Butler as a vehicle to compete with the American Tobacco Company. Surbrug’s business was acquired for stock, which meant John was left with an active role in the combined business. The later part of his career (and his son’s career), though interesting, is irrelevant here; what matters is that the Surbrug Company, while primarily engaged in the manufacture and sale of cigarettes, continued to be true to its roots offering well known tobacco blends and pipes. In regard to the former, the company was especially famous for its Golden Sceptre, Best Make, and Arcadia Mixture tobaccos. In regard to the latter, it appears that Surbrug was not a manufacturer, but rather a reseller of pipes that were stamped with their name by a variety of third party suppliers. Some at least of these were major players in the world famous London pipe industry. Surviving early hallmarked examples make it clear that BBB/Frankau, Barling, and Delacour Brothers were three of Surbrug’s vendors.
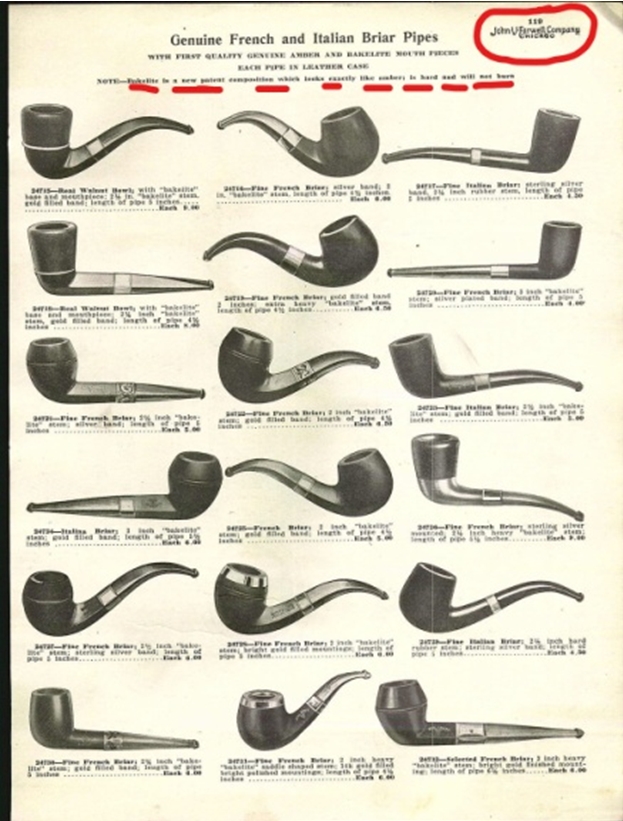
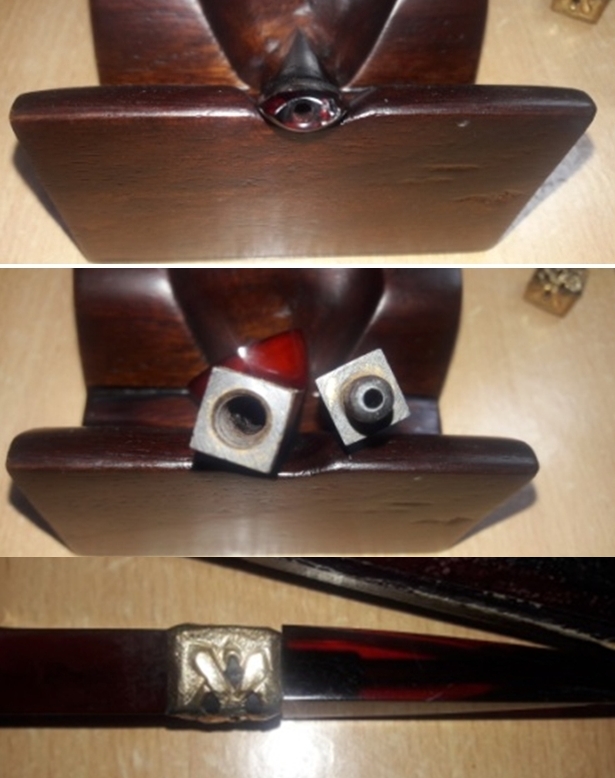
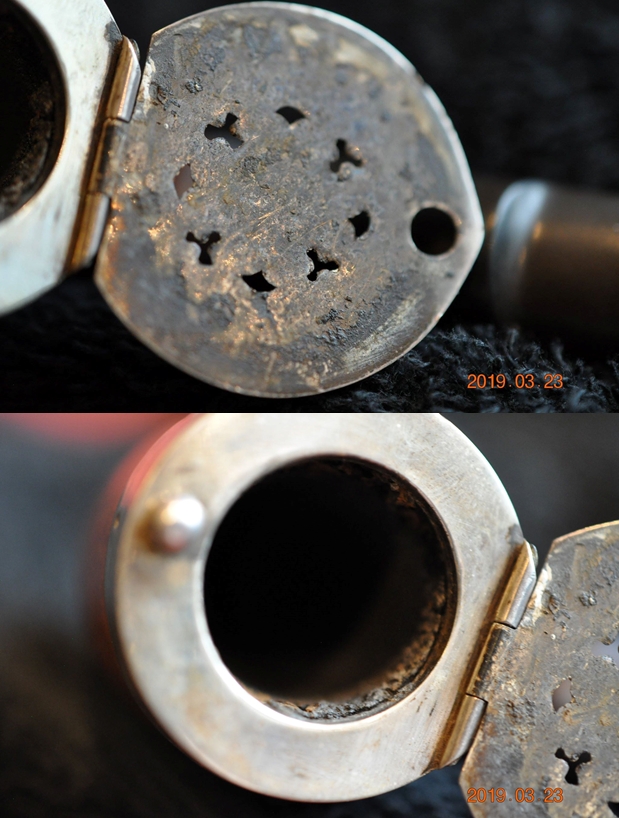
Al also included an old advertisement for one of Surbrug’s famed tobacco blends. I have included it below to give a feel for the Pipe Shop and also because it gives the address of the shop. I love these old adverts as they give a great view of the time period the brand came out.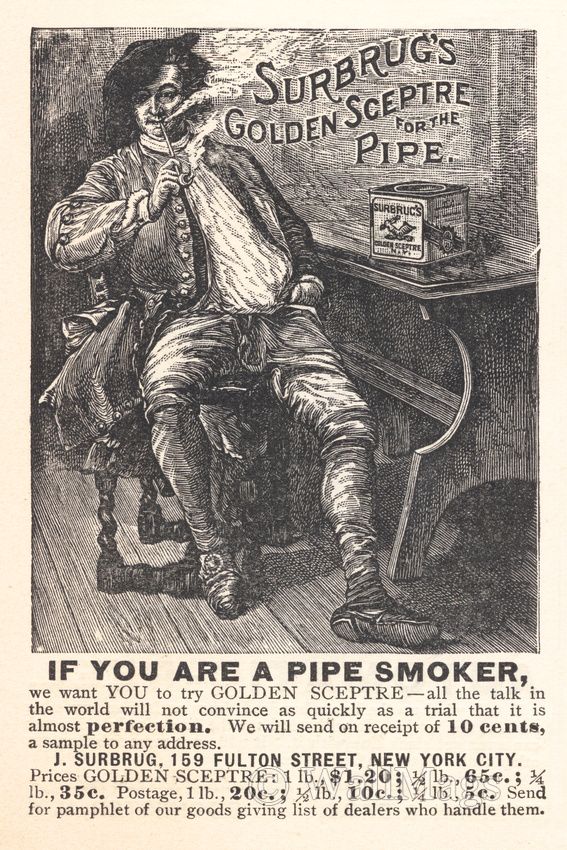 To help get closer to a maker and a date I worked on the hallmarks on the band and rim cap. The hallmarks on the band were an O, a rampant lion and a crownless lion’s head. Those marks told me that the silver band was made in 1909 (O) in London (crownless lion or leopard head) and the rampant lion told me it was .925 Sterling Silver. On the cap around the rim top the hallmarks Those marks told me that the silver cap was made in 1910 (P) in London (crownless lion or leopard head) and the rampant lion told me it was .925 Sterling Silver. On both the band and the cap the makers’ marks were the same – AD over JD. (I am including the picture of the hallmarks that I included above). I have also included a chart to help date the band and cap. I have put a red box around the two dates. Note that the cartouche (box surrounding the letter) is the same on the band and cap as the one shown in the chart (https://www.925-1000.com/dlc_london.html).
 Now that I had the date I needed to identify the Maker Marks on both pieces of silver. From Al’s quote above I was given another clue about the manufacture of the pipe. It seems that Surbrug was not a manufacturer, but rather a reseller of pipes. They also seemed to have these pipes stamped with their name by a variety of third party suppliers. I quote the section of the above blog as it gave me a starting spot.
Some at least of these were major players in the world famous London pipe industry. Surviving early hallmarked examples make it clear that BBB/Frankau, Barling, and Delacour Brothers were three of Surbrug’s vendors.
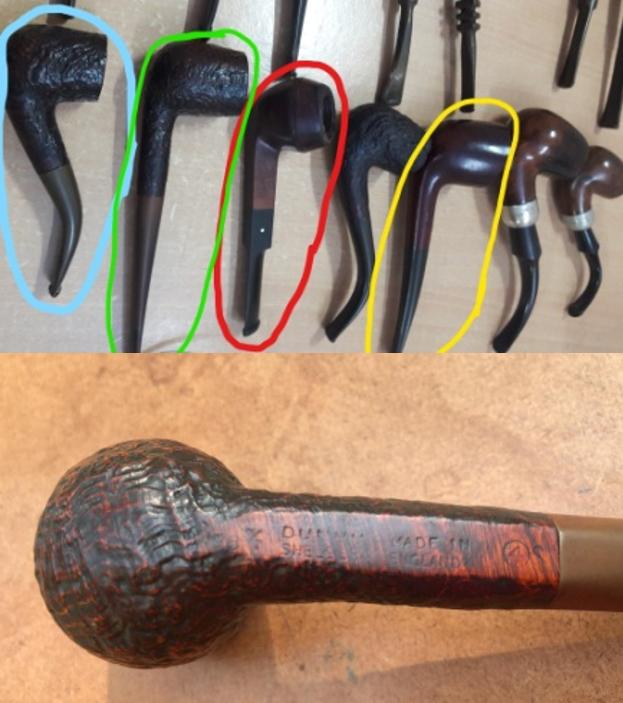
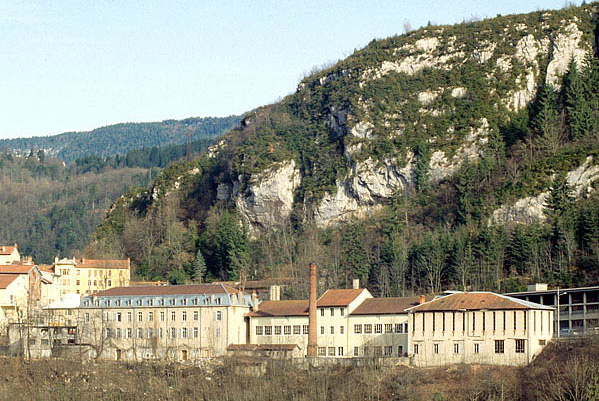
I wonder if perhaps the AD and JD marks could be Delacour Brothers as noted in the above quote. They are certainly the only D in the list of third party suppliers. I decided to check on the pipephil website to see if I could find any information on the Delacour brand to help narrow down the identification of the initials on the bands (http://pipephil.eu/logos/en/logo-d4.html). Sure enough the pipe was a Delacour the band in the photo on the site is the same as the one I am working on. It has the AD over JD stamp and identifies the makers as Delacour Brothers – Auguste and Joseph. The pipe was also a lidded pipe like mine. A further interesting link was found there that made the connection to a late 19th century Alix Delacour who owned a subsidiary company in London. I am including the screen capture below. I followed the links that were given on that site to further information on extra pages on the site (http://pipephil.eu/logos/en/infos/delacourusine-en.html). The first is to a picture of the letterhead of the Delacour Company in Saint Claude, France. The letterhead shows a wood cut of the factory. There was also a photo of the factory itself that shows a similar view to the letterhead illustration.
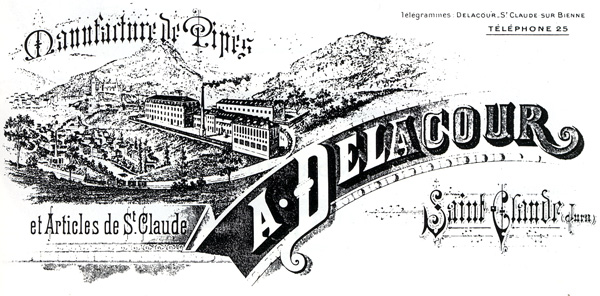
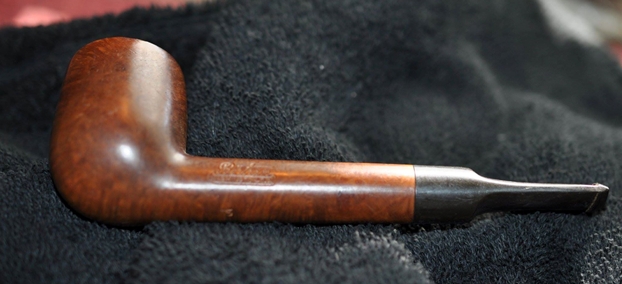
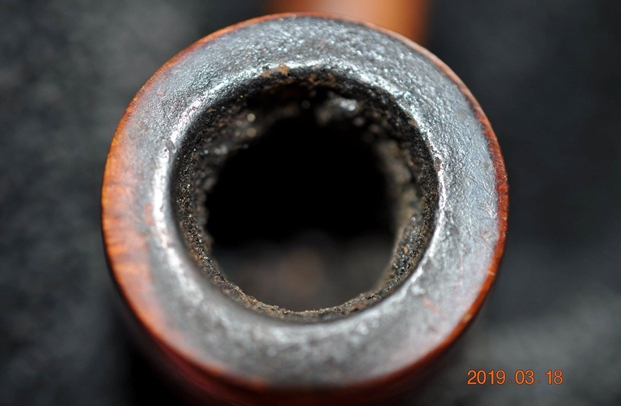
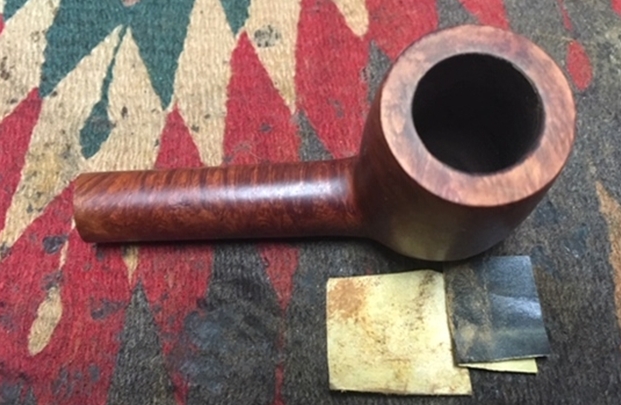
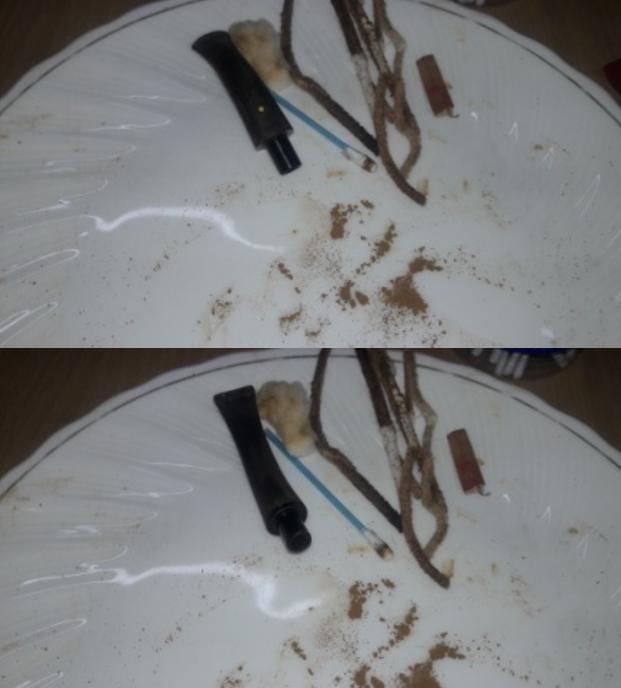
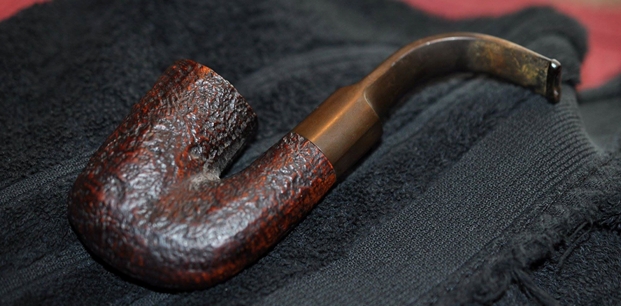
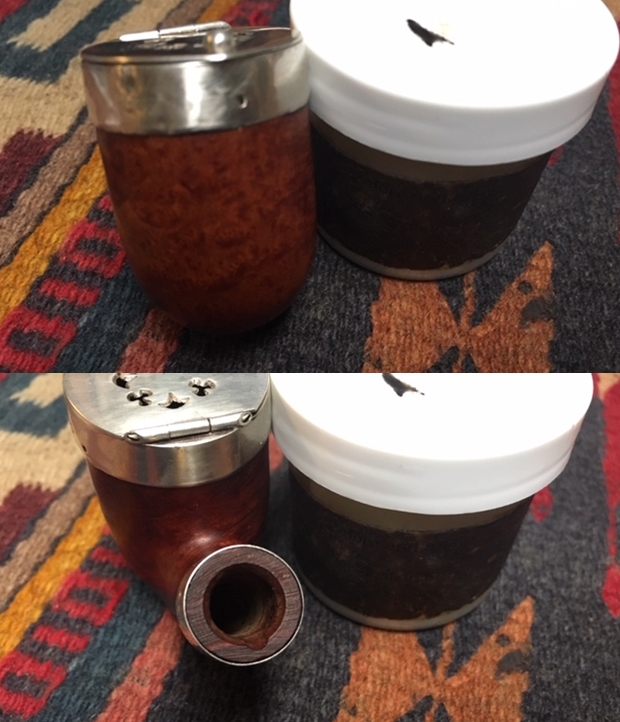
 Now I knew I was working on a pipe made by Delacour for the Surbrug pipe shop in New York City and that it was made around 1909/10. I had a good sense of the Delacour Brothers and the London connection for this pipe. With the history and background of the brand in mind it was time to go to work on my part of the restoration but first a review of Jeff’s cleanup of the pipe. He reamed the bowl with a PipNet pipe reamer and followed up with a Savinelli Fitsall pipe knife to remove the cake. He scrubbed out the mortise and the airway in the shank and the stem with alcohol, cotton swabs and pipe cleaners. He scrubbed the exterior of the bowl, rim, shank and stem with a tooth brush and Murphy’s Oil Soap to remove the oils and tars on the rim and the grime on the finish of the bowl. He rinsed it under running water. He dried it off with a soft cloth. He was able to remove lava build up on the rim top and you could see the great condition of the bowl top and edges of the rim. There was still some darkening to the rim top toward the back of the bowl. He soaked the stem in Before & After Deoxidizer to remove the oxidation. I took photos of the pipe before I started my work on it.
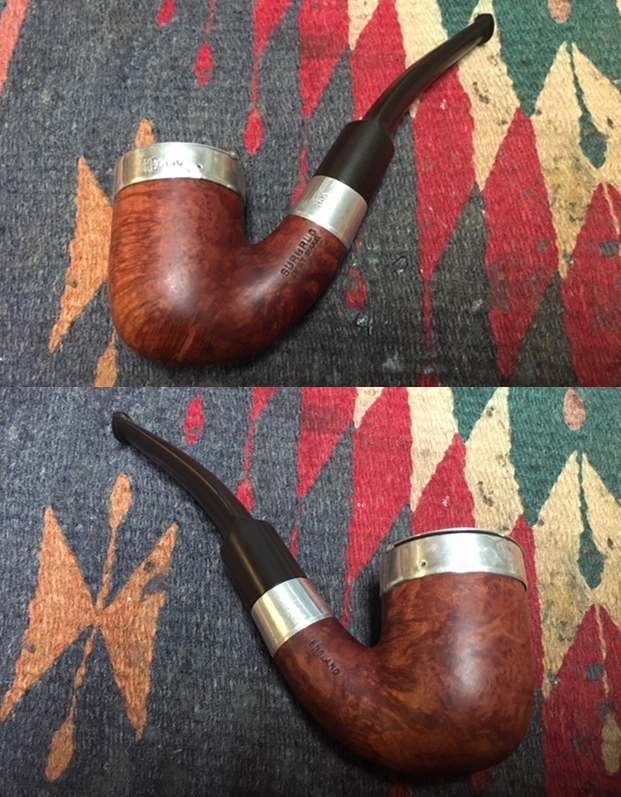
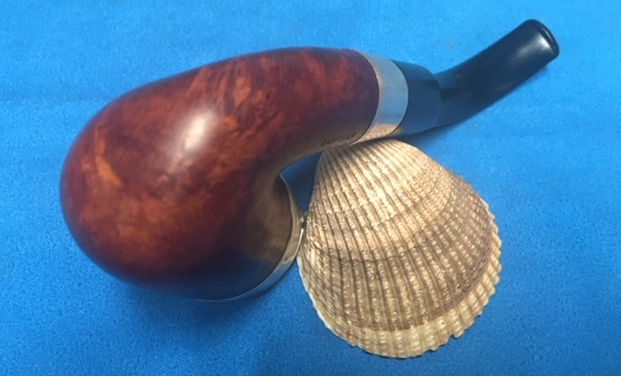
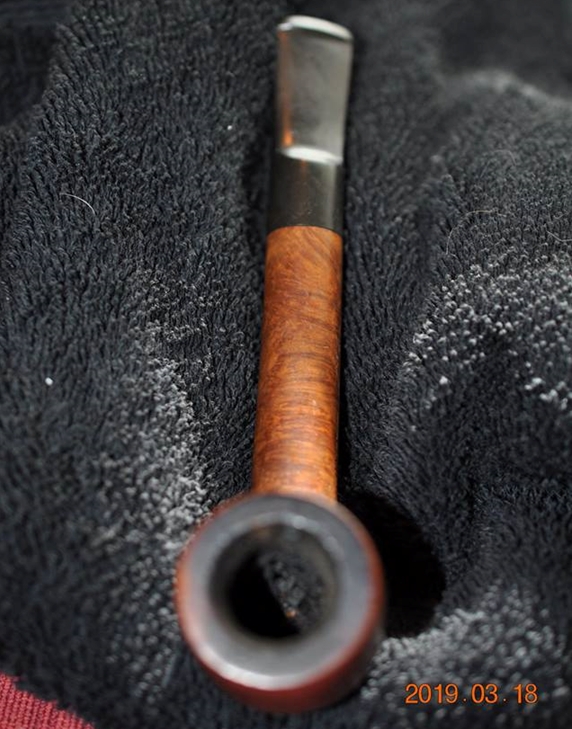
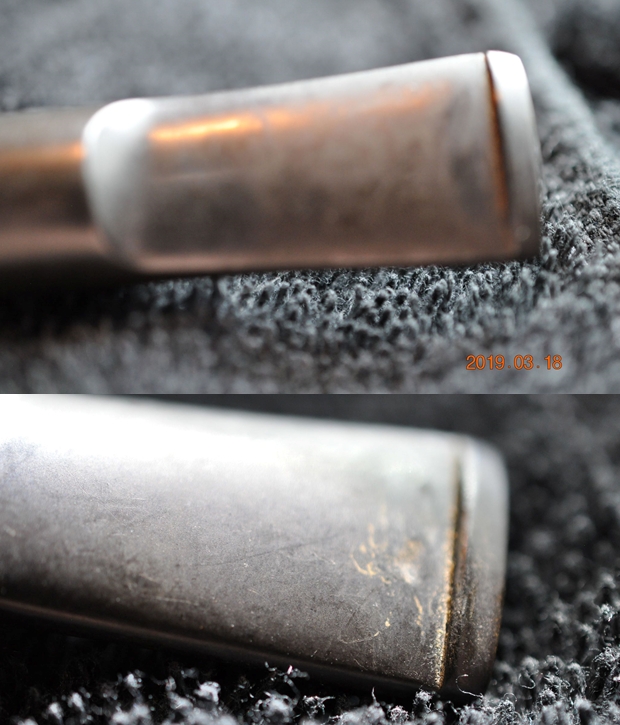
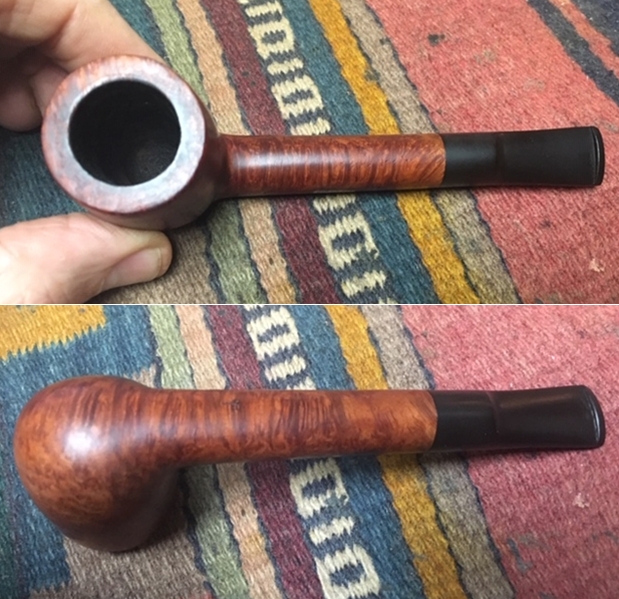
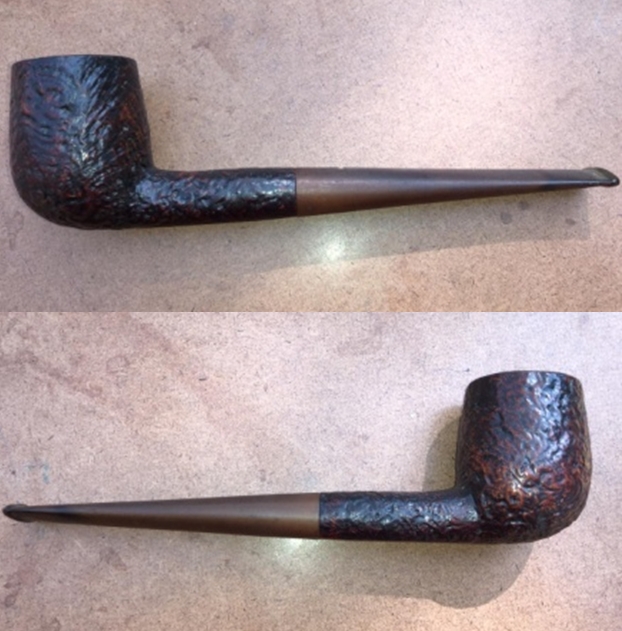
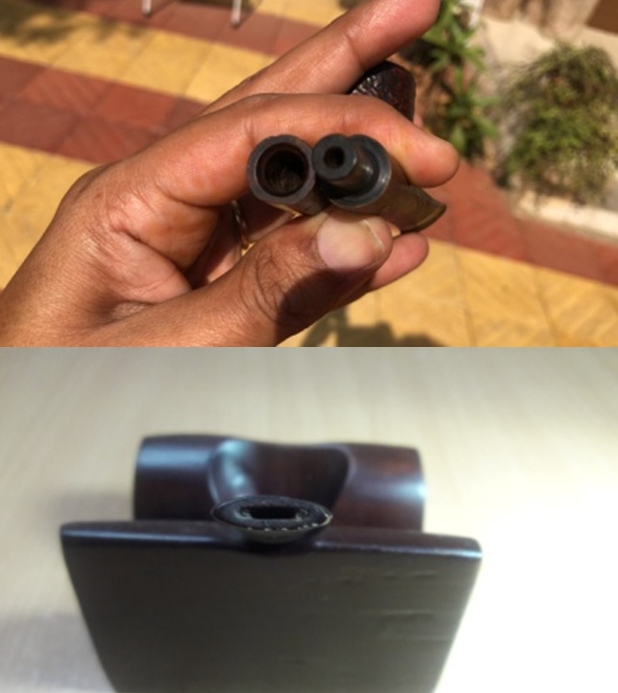
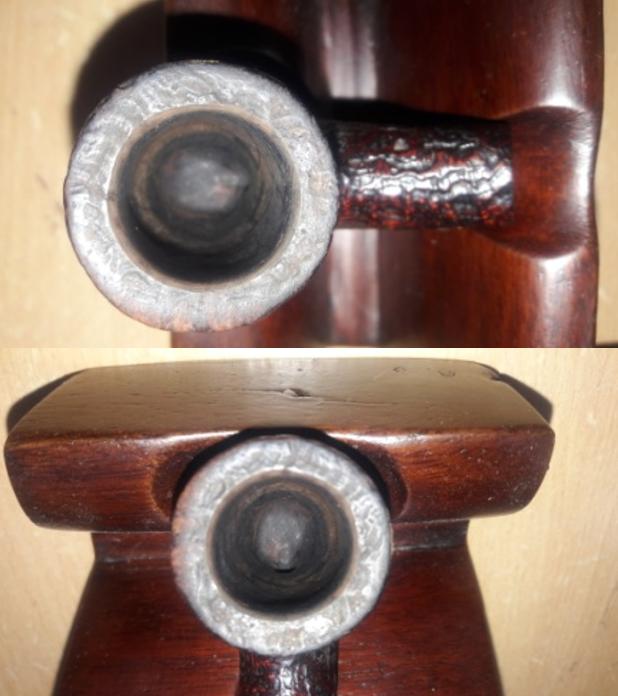
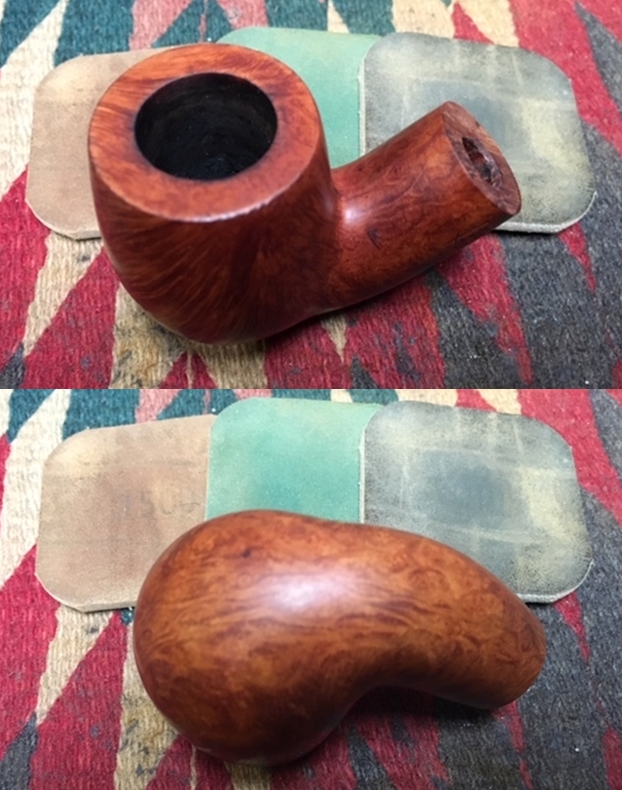
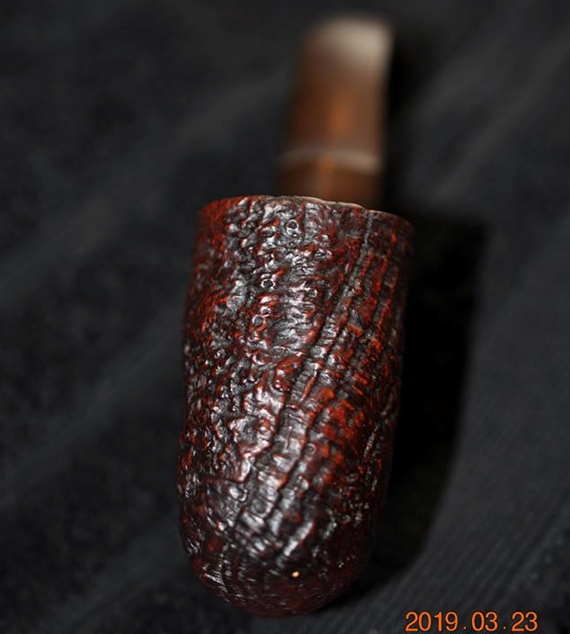
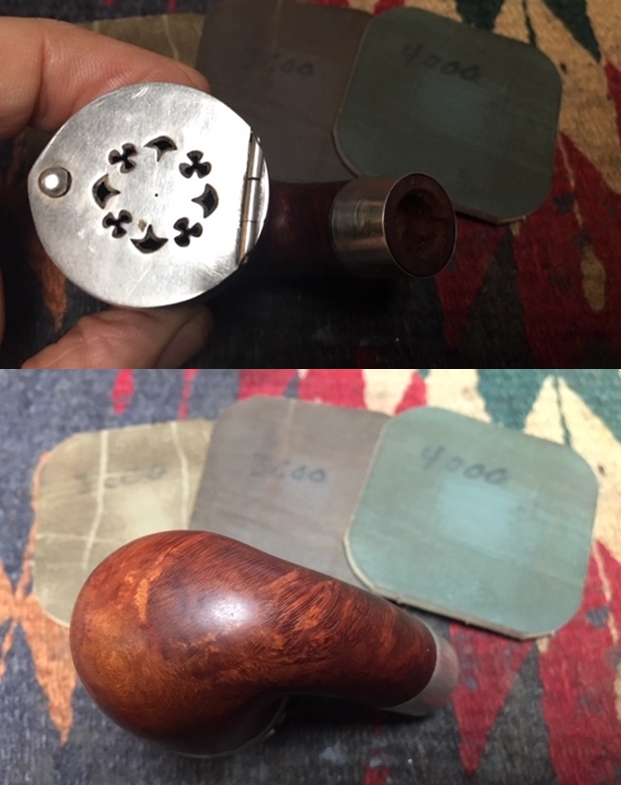
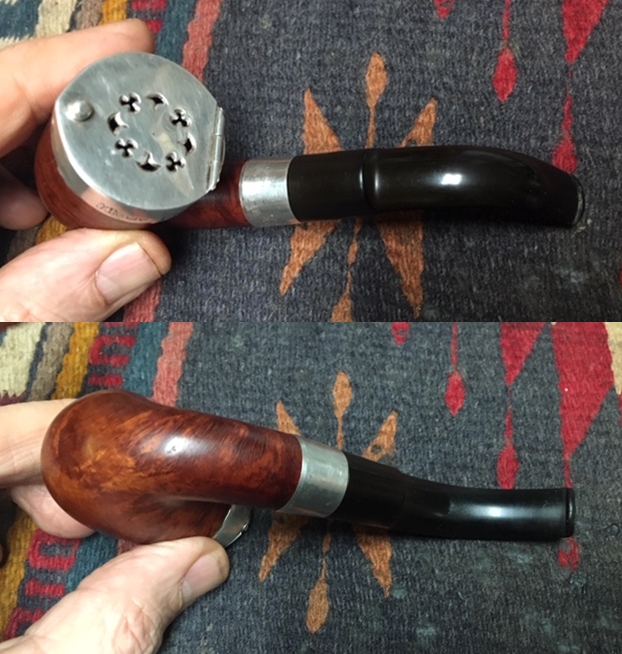
 I took a close up photo of the silver rim top to show the condition of the bowl and rim after Jeff had cleaned up the grime and lava from the bowl and the silver. The cap and the rim top looked very good and had been polished. There was some scratching and dents in the silver. The stem photos show that the oxidation is gone. The light tooth chatter is hard to see but I should be able to sand it out quite easily. There were some tooth marks on the top and underside of the button edge.
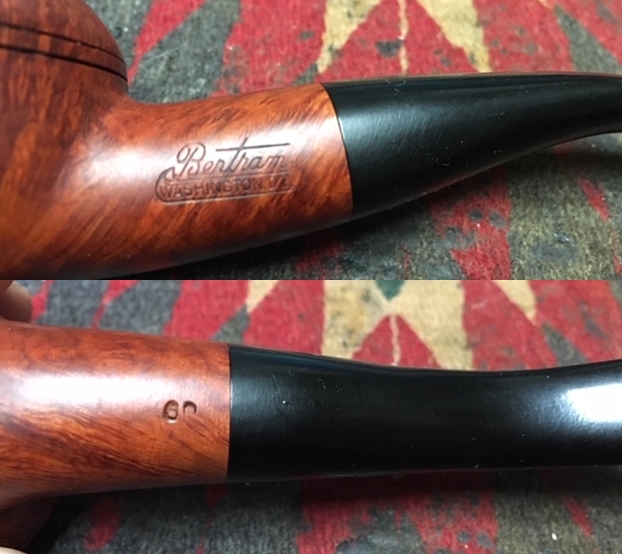
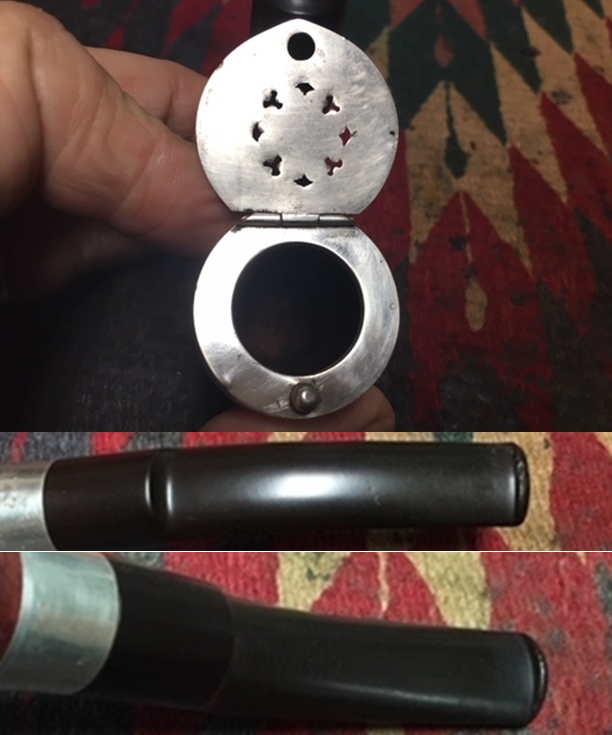 I also took a photo of the stamping on the left side and the underside of the shank showing how the stamping was laid out. I also took photos of the hallmark on both the band on the shank end and the rim cap and top.
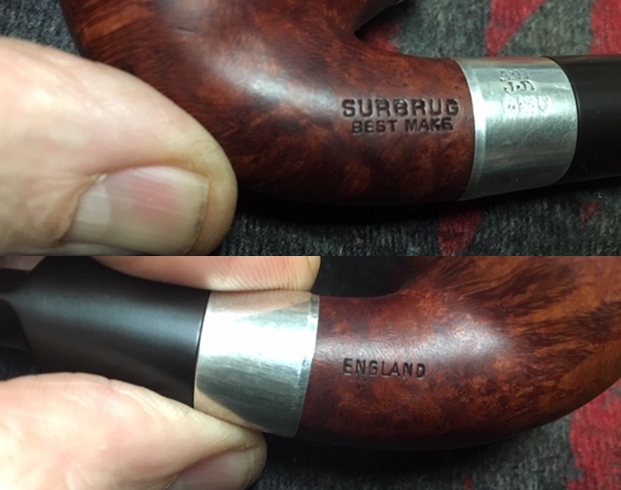
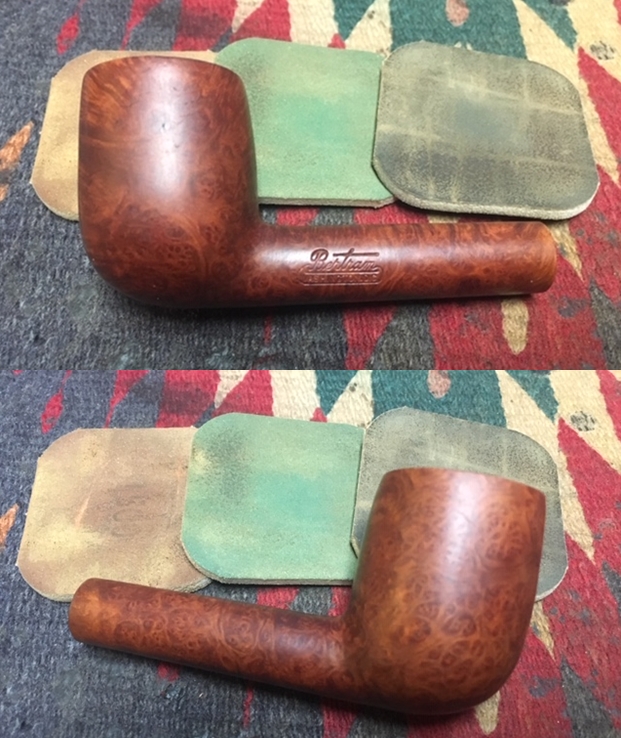
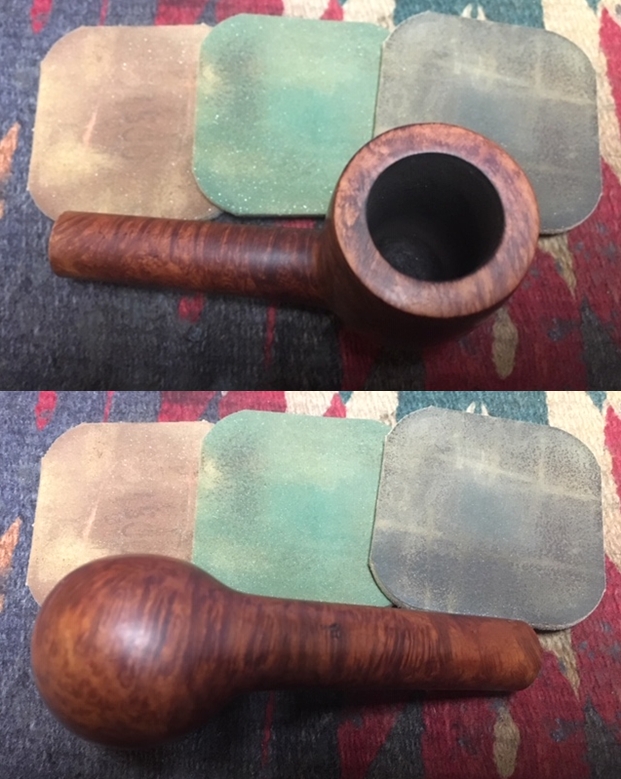
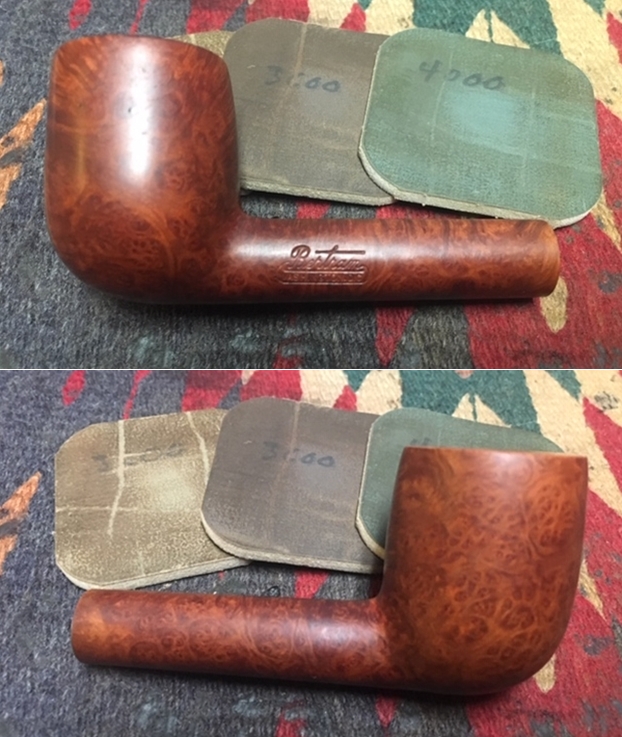
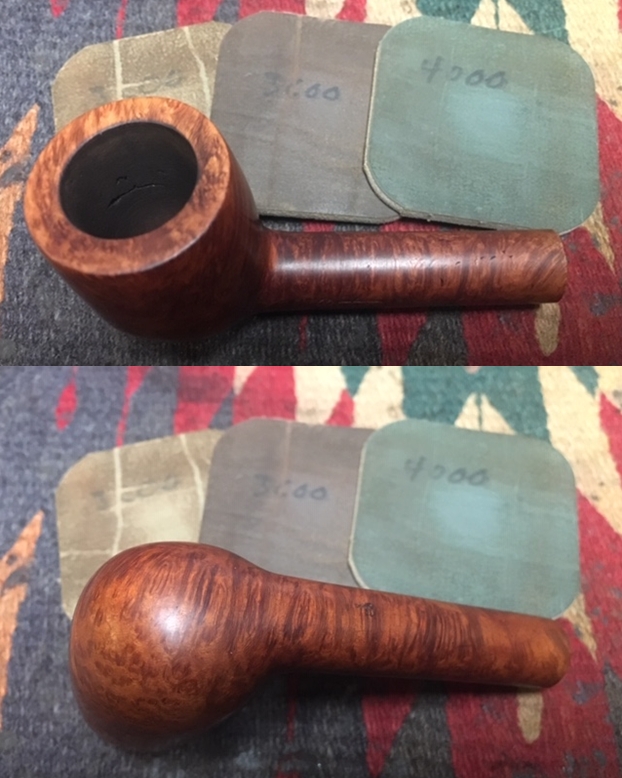
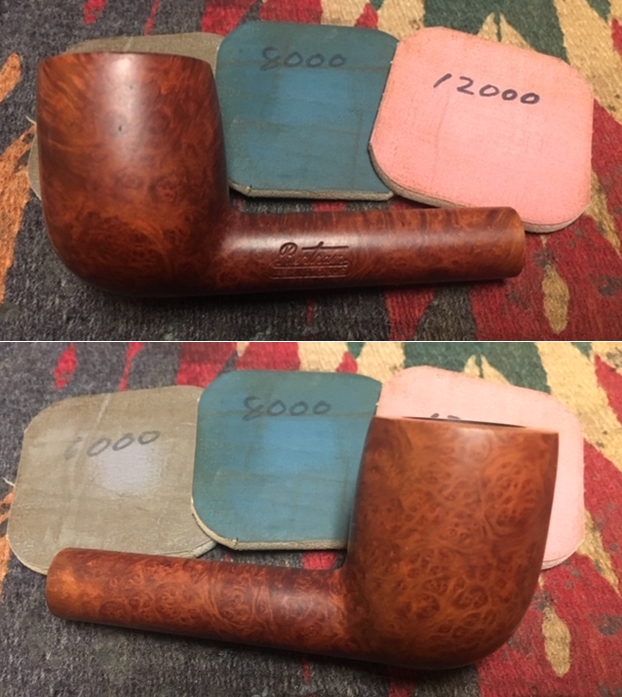
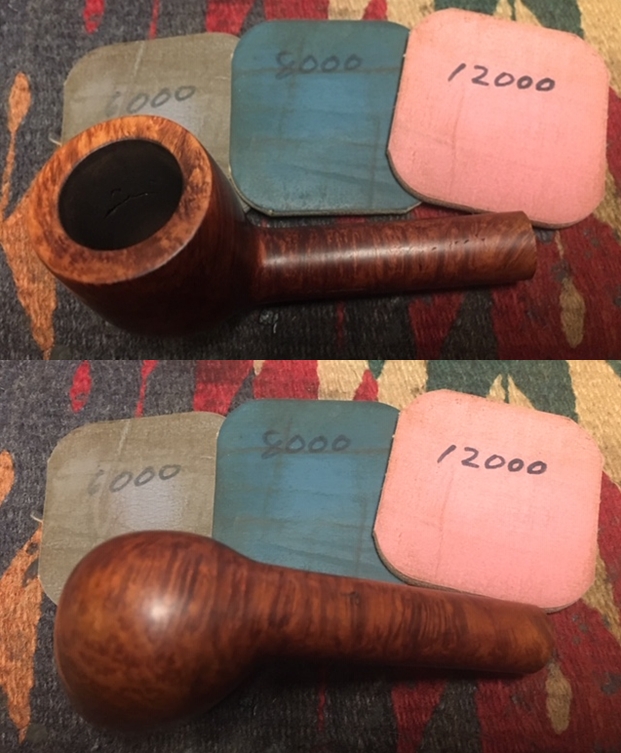
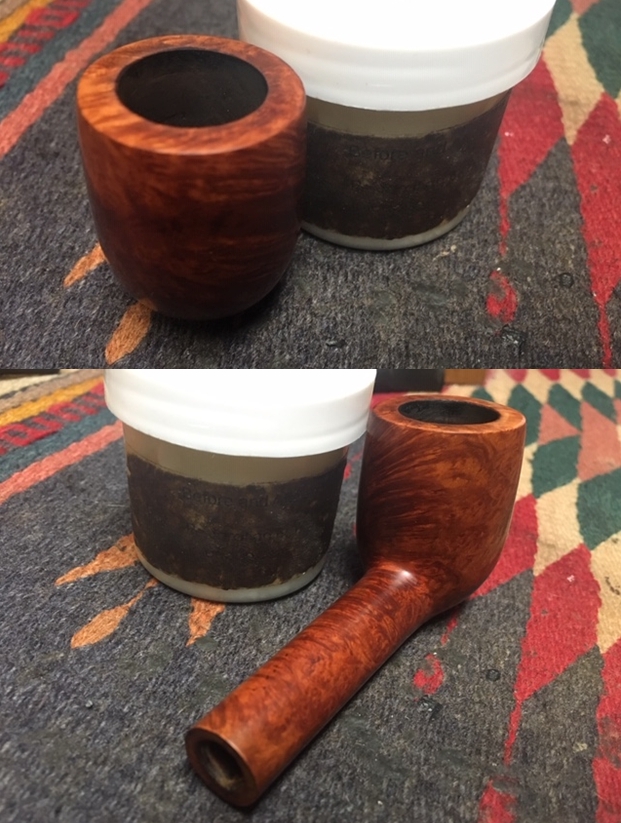
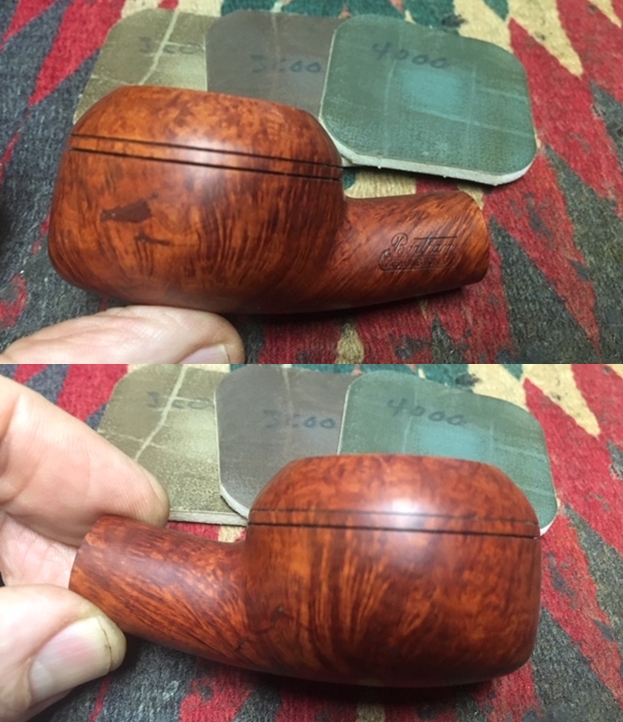
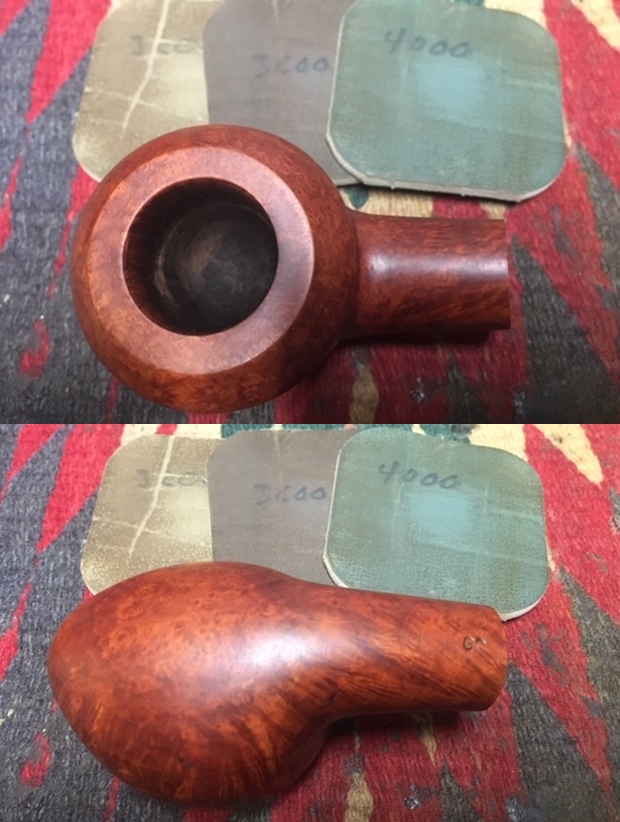
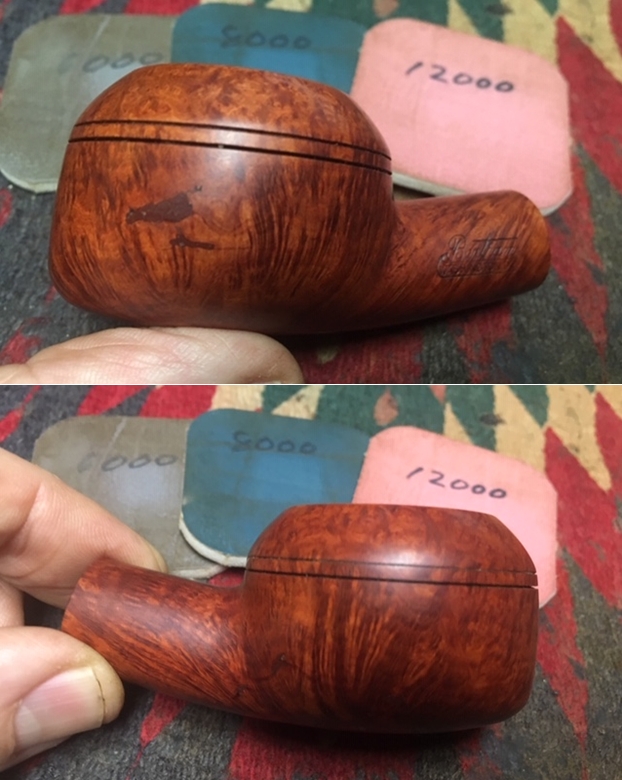
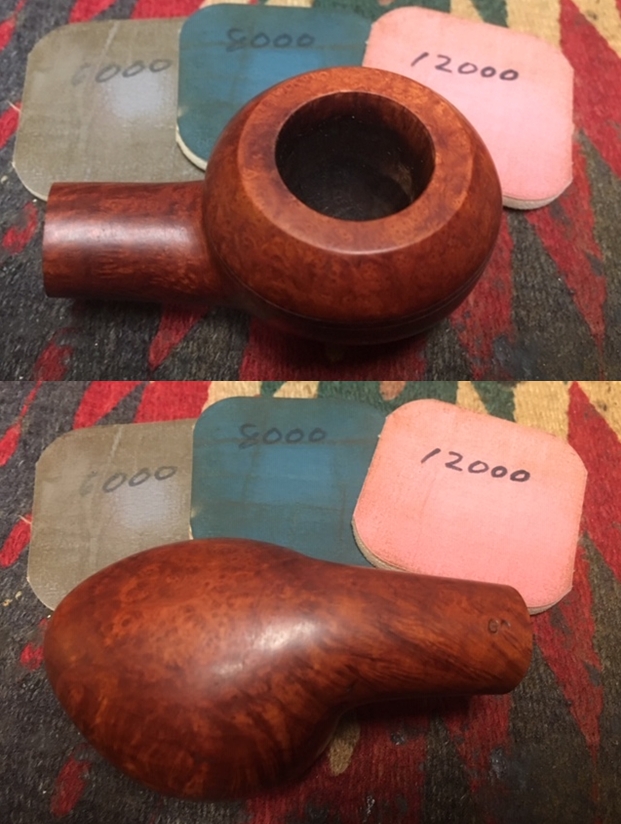
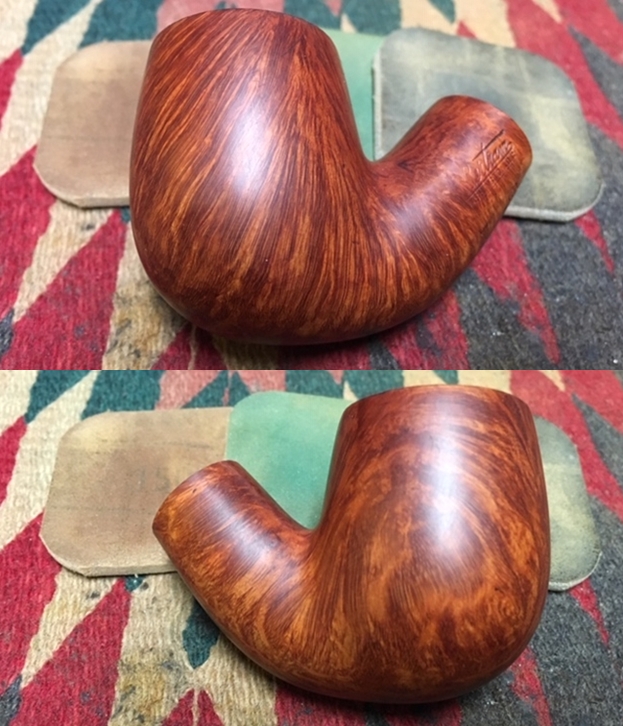
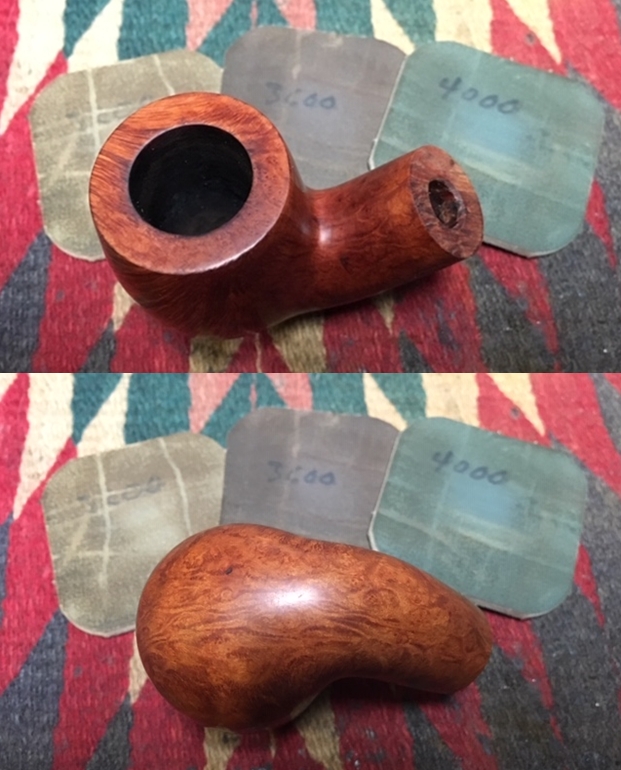
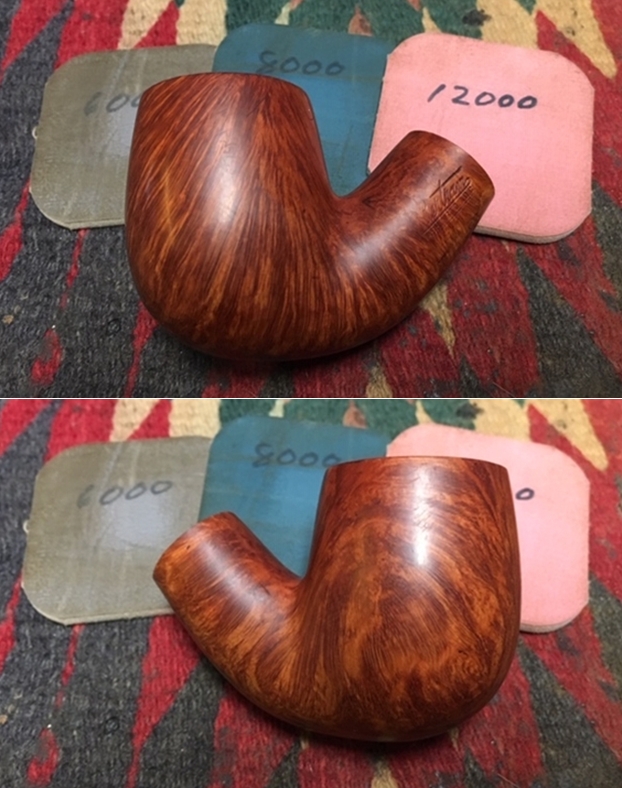
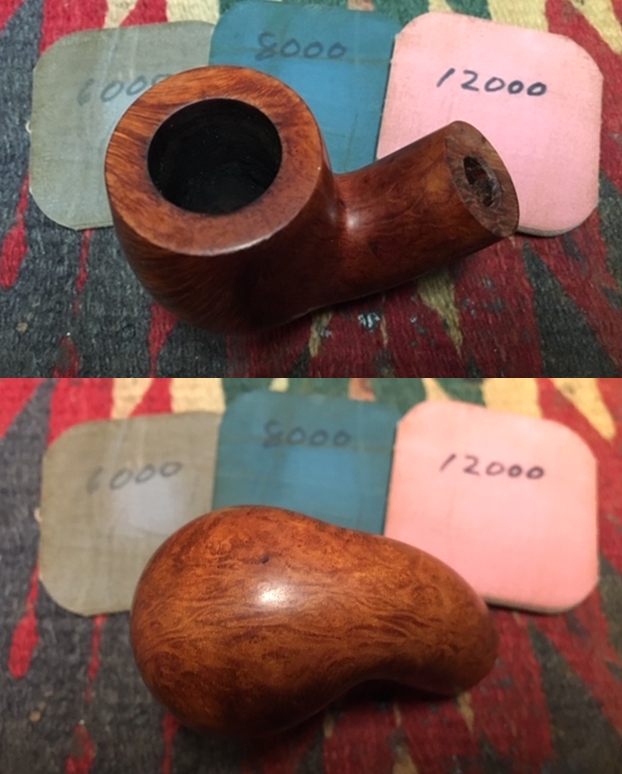
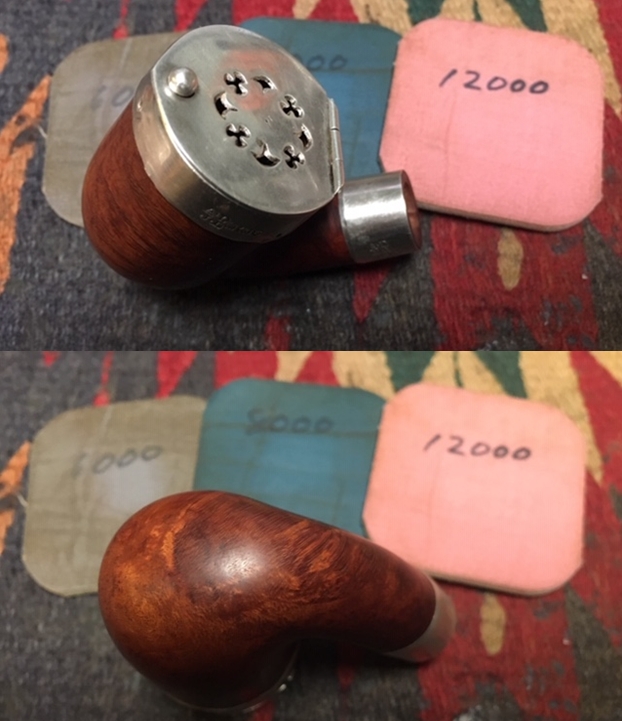
 I polished the bowl and shank with micromesh sanding pads – wet sanding it with 1500-2400 grit pads and dry sanding it with 3200-12000 grit pads. I wiped the bowl down with a damp cloth after each pad to remove the sanding debris. After the final sanding pad I hand buffed it with a cotton cloth to raise a shine.
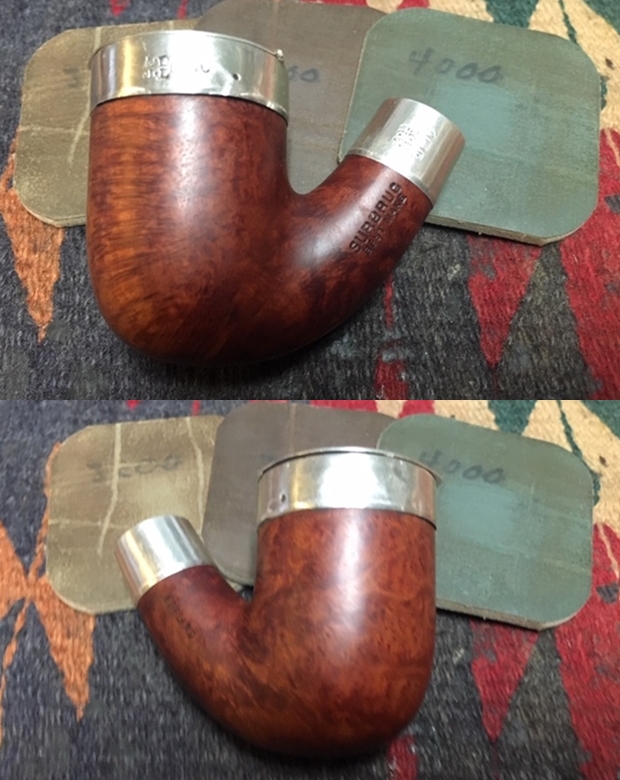
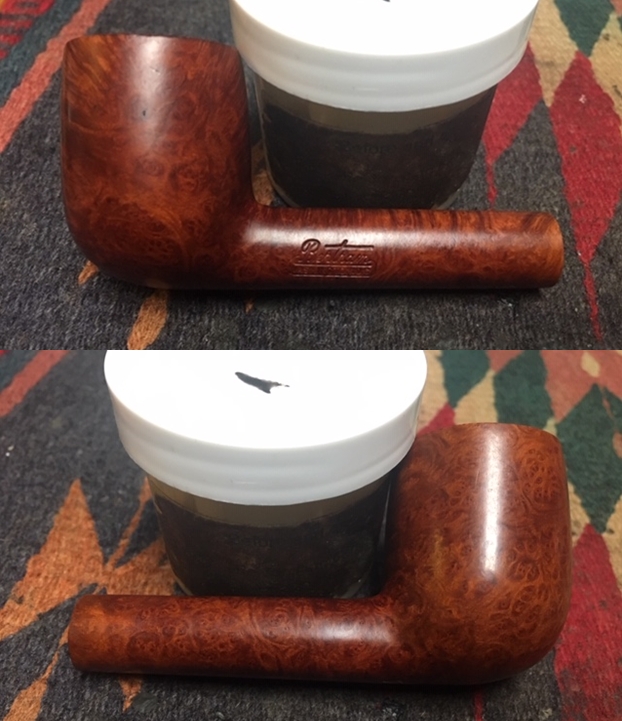
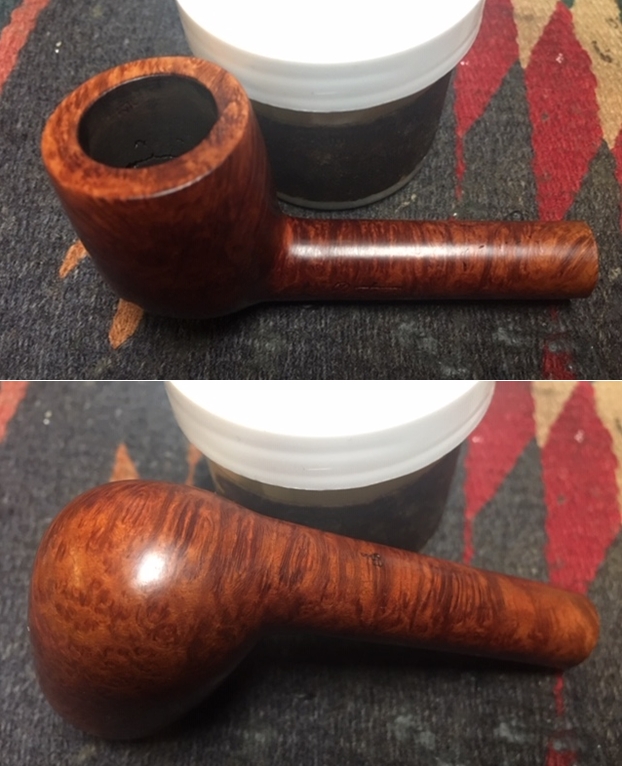
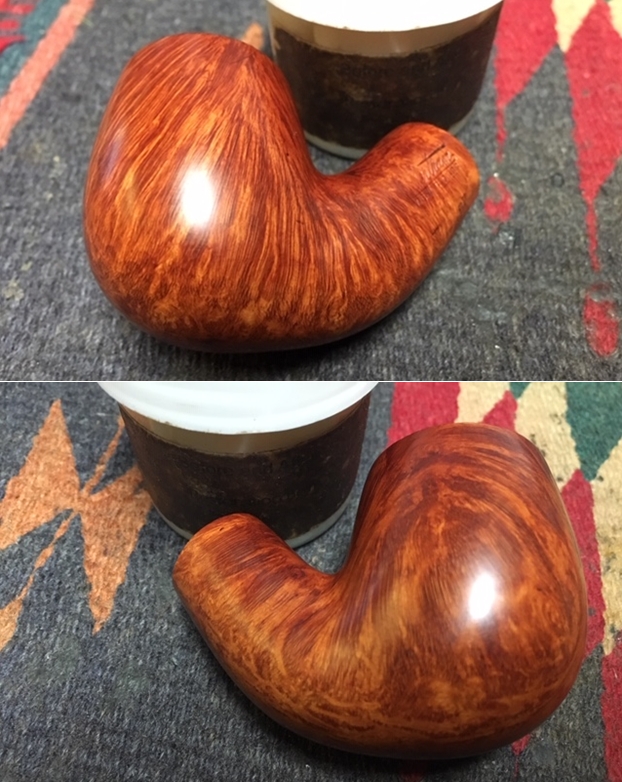
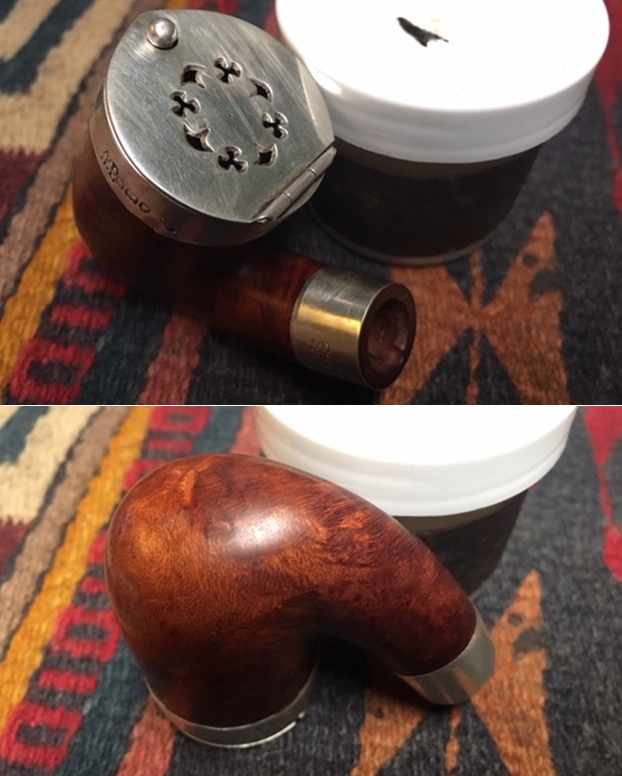
 I worked some Before & After Restoration Balm into finish of the briar with my fingertips to clean, enliven and protect it. I let the balm sit for a little while and then buffed with a cotton cloth to raise the shine. The Restoration Balm really makes the grain stands out beautifully.
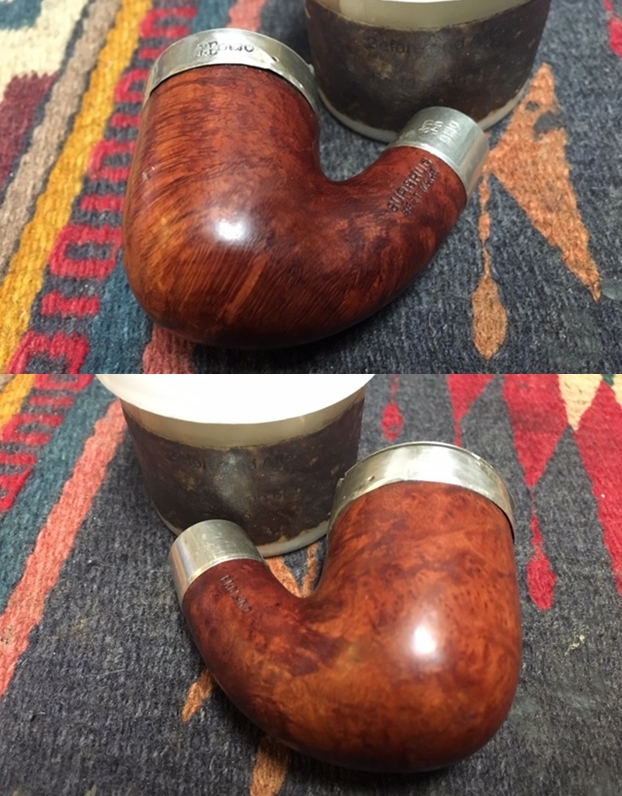
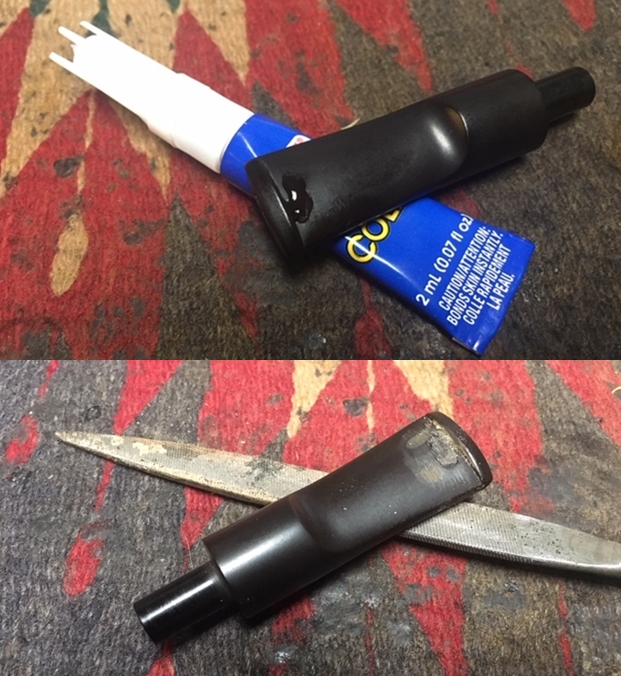
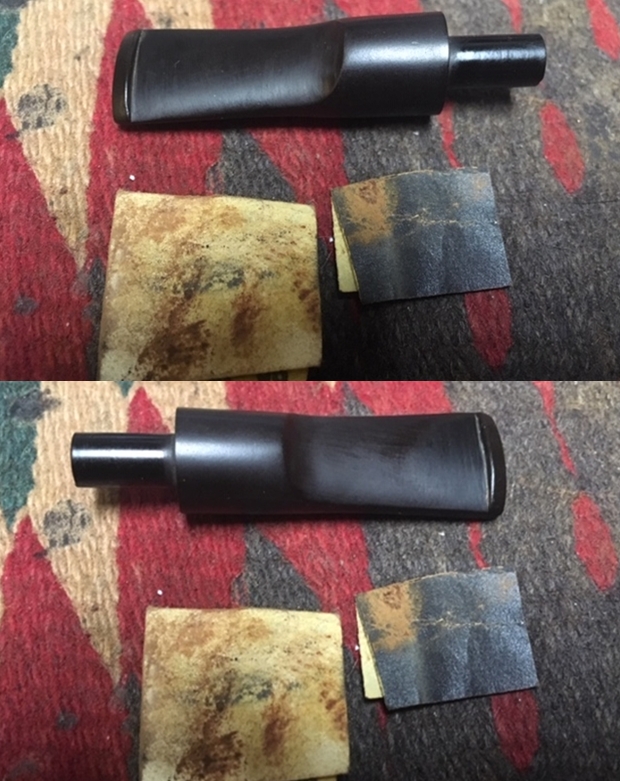
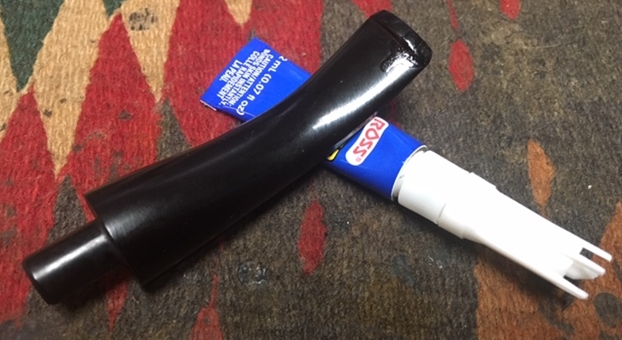
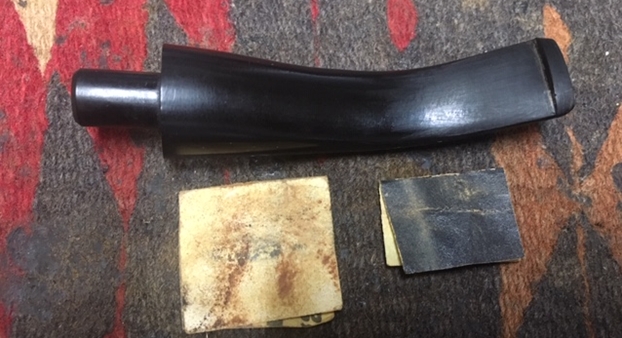
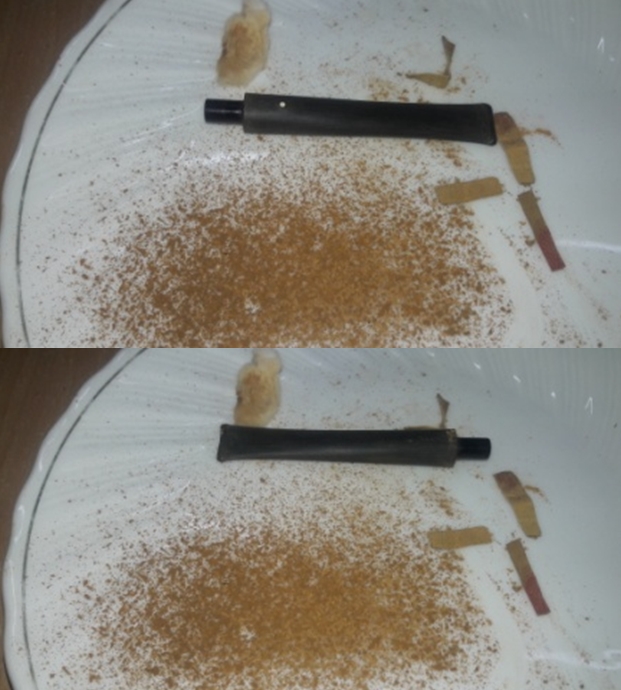
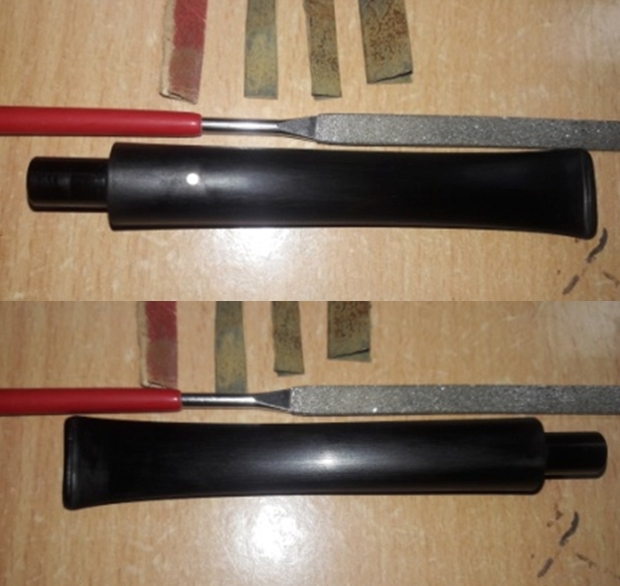
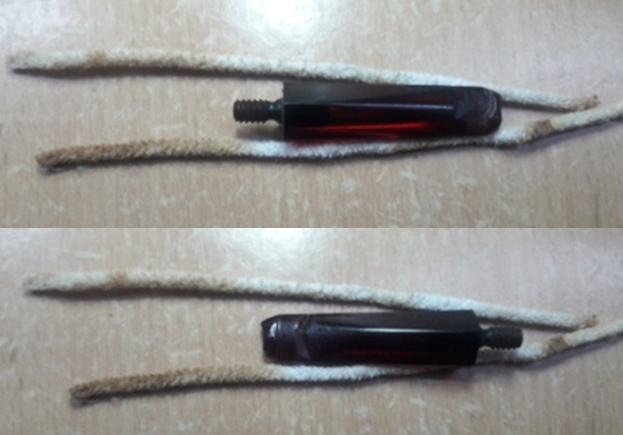
 I set the bowl aside and filled in the deep tooth marks on the topside of the button with clear super glue and set the stem aside to let the repair cure. Once it had cured I used a needle file to flatten it into the surface of the stem. I used a folded piece of 240 grit sandpaper to reshape the button surface on both sides of the stem. Once the surface was smooth I sanded out the scratch marks and started the polishing of the stem with a folded piece of 400 grit sandpaper. I wiped the stem down with Obsidian Oil. (I neglected to take photos of the process of sanding the file marks and smoothing out the repair. I apologize.)
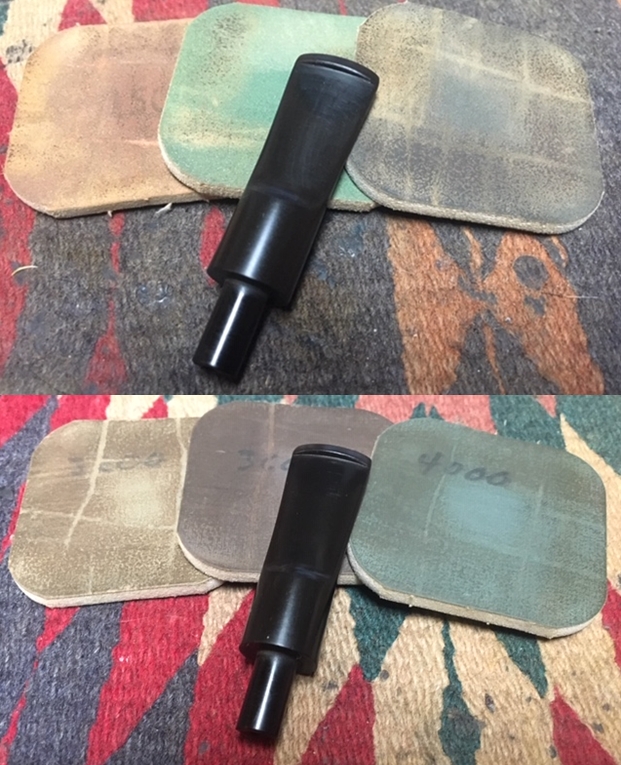
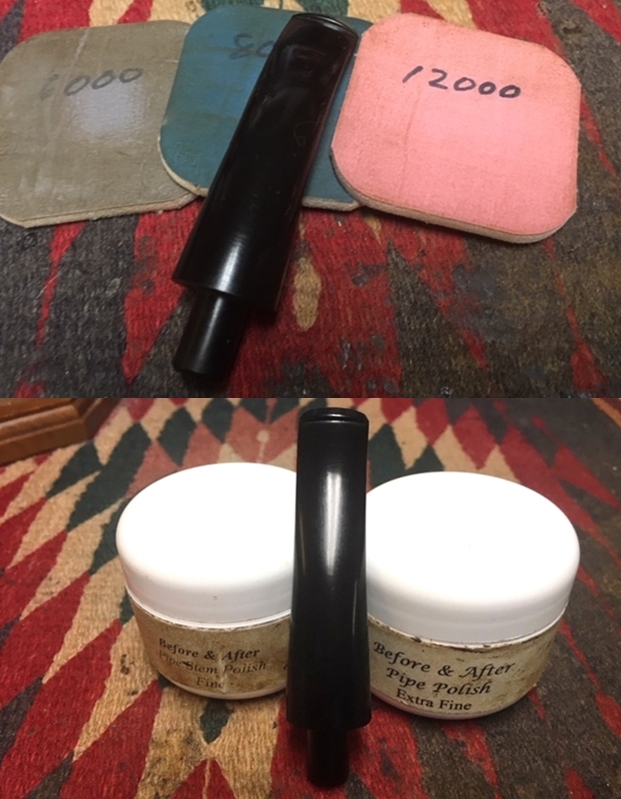
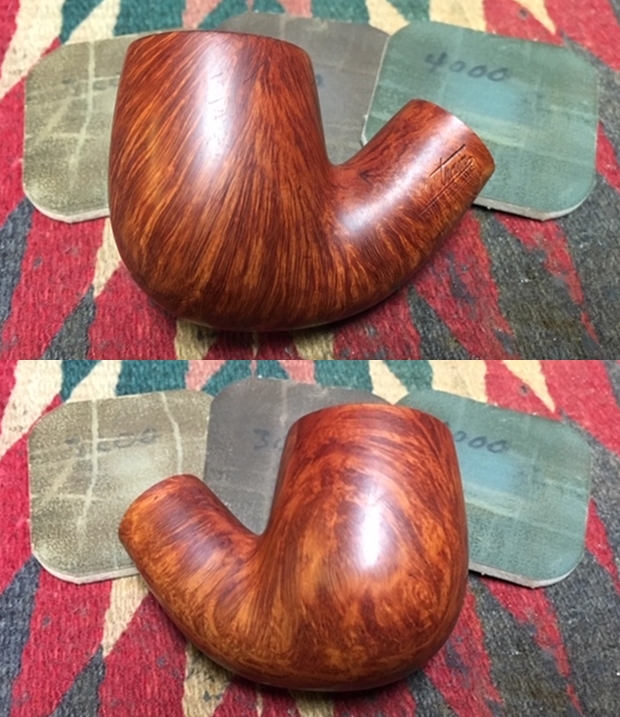
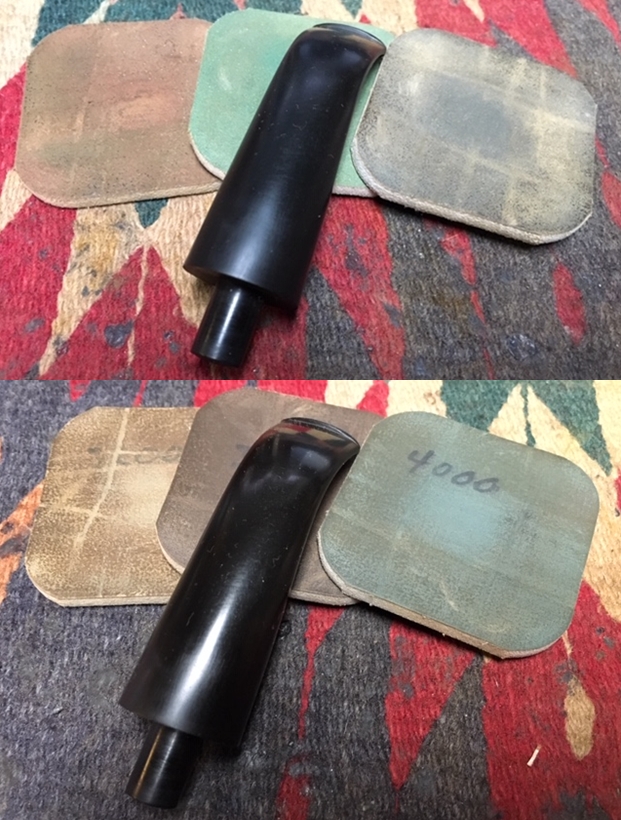
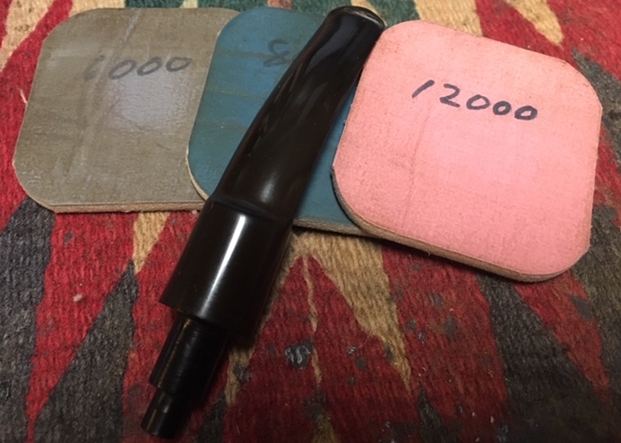
 I polished the stem with micromesh sanding pads – wet sanding it with 1500-2400 grit pads and dry sanding it with 3200-12000 grit pads. I wiped the stem down with Obsidian Oil after each pad. I wiped it down with Obsidian Oil and set it aside.
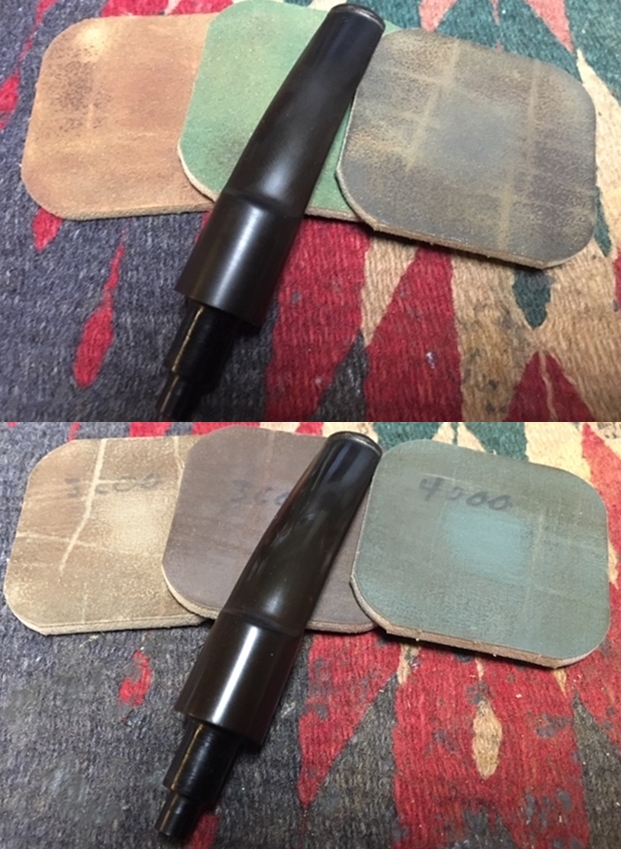
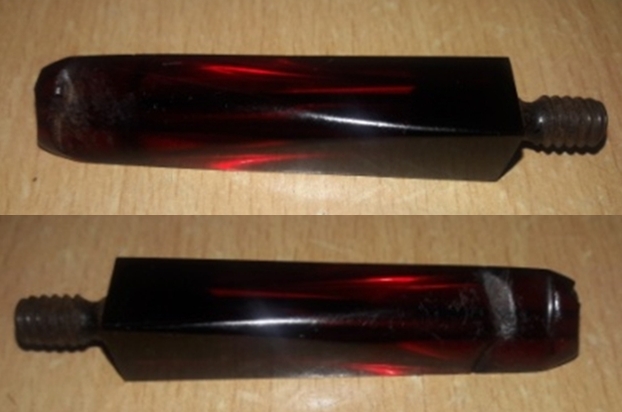
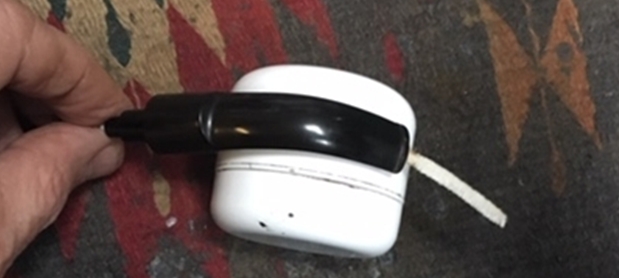
 I stopped the polishing process at this point to put a proper bend in the stem. I put a pipe cleaner in the stem and heated it with a heat gun until the vulcanite was supple. Once it was supple and flexible I bent it over a round jar to get the bend to match the flow of the top of the bowl.
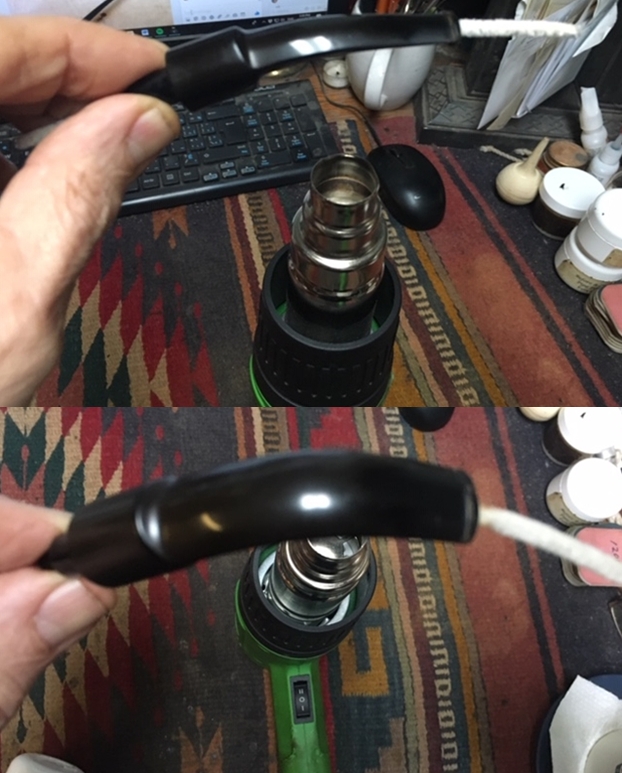
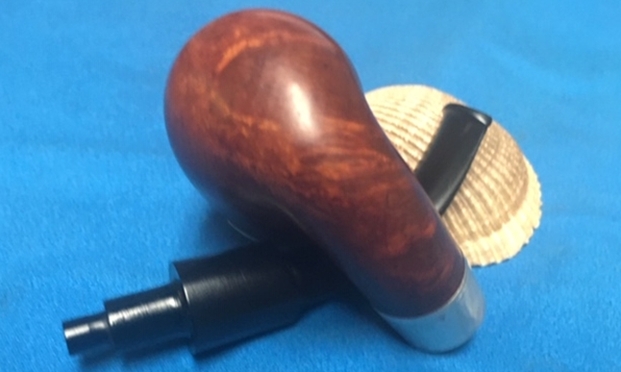
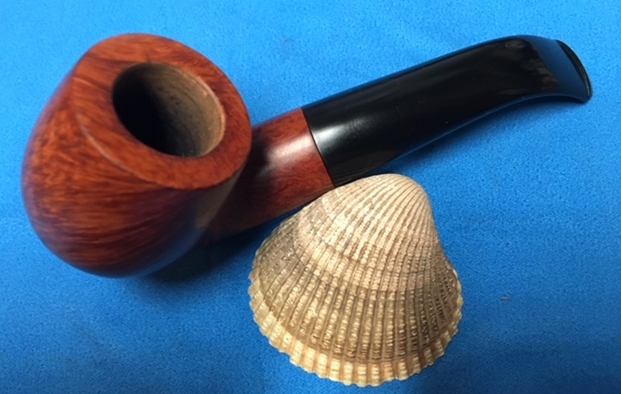
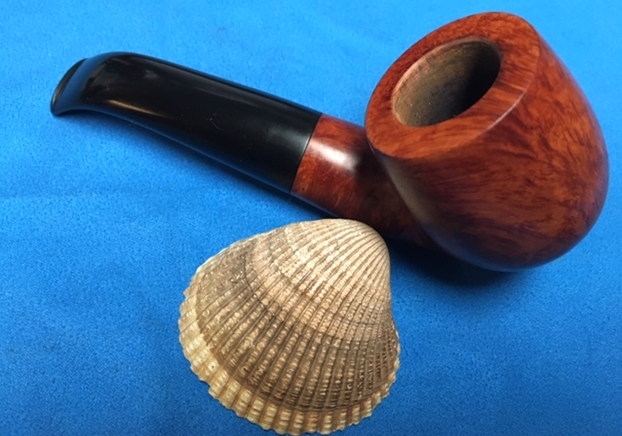
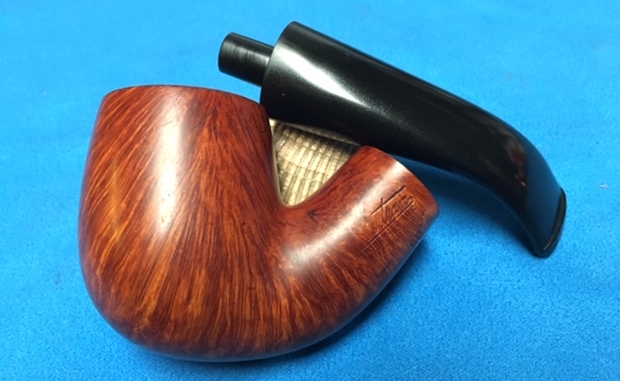
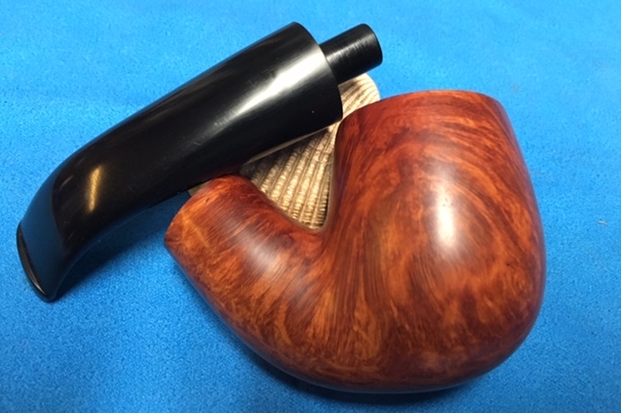
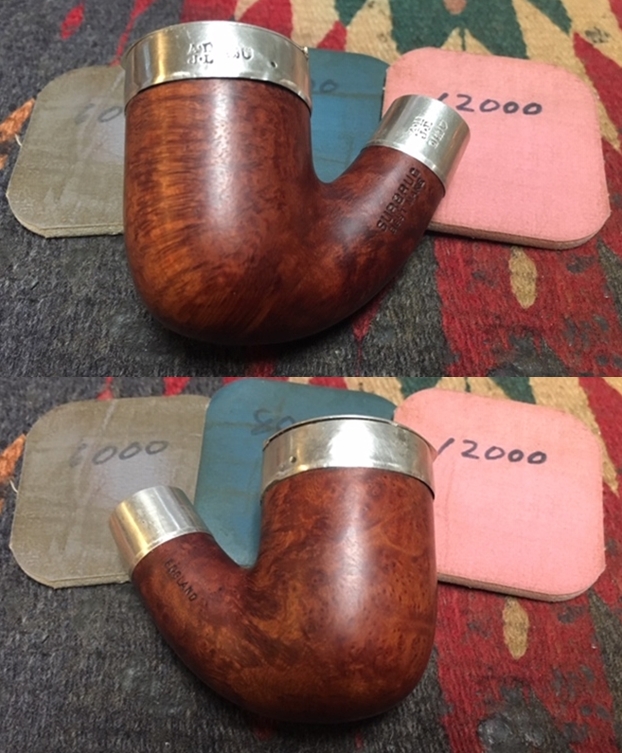
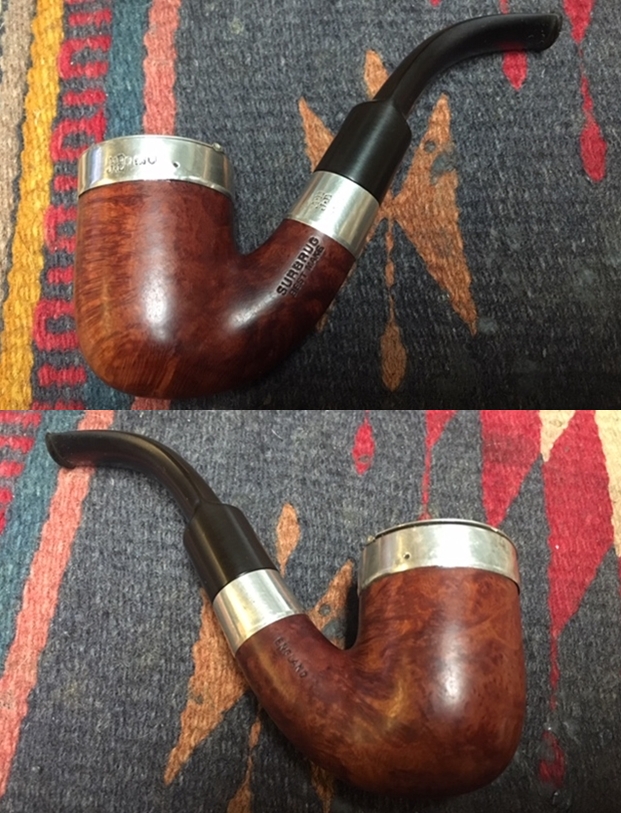
 I took some photos of the newly bent stem to show what it looked like now that it was finished. I put the stem back on the pipe and took photos of the new look. I like what I see. I need to finish polishing the stem and then do the final buffing.
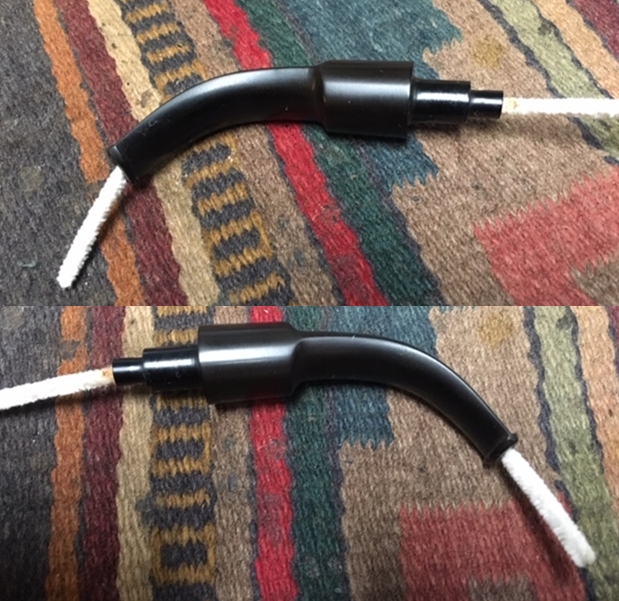
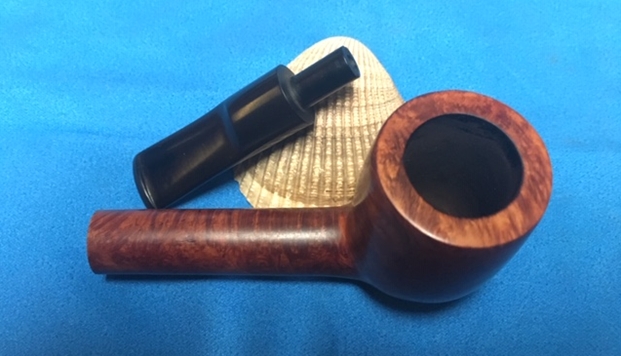
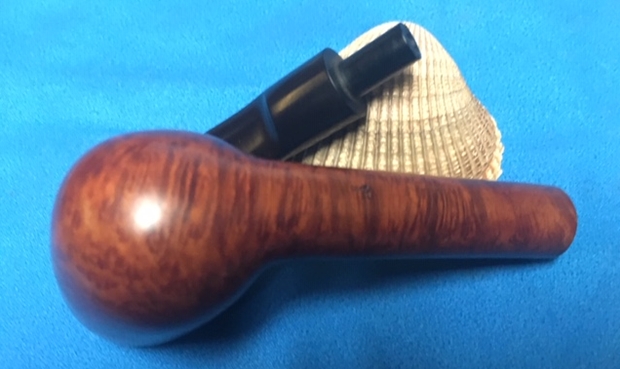
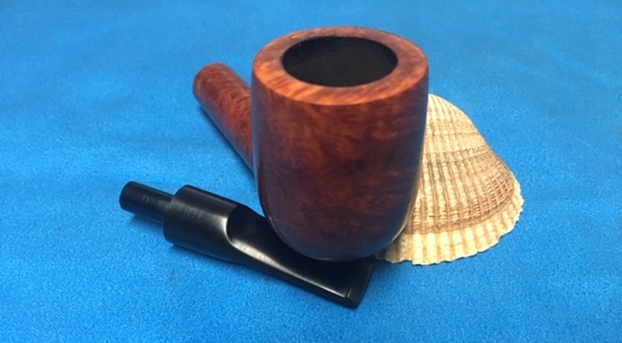
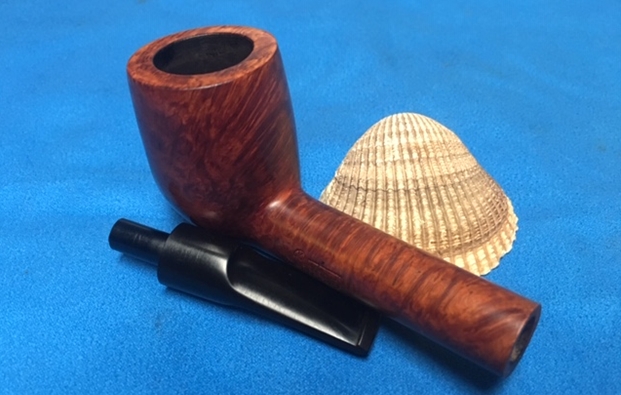
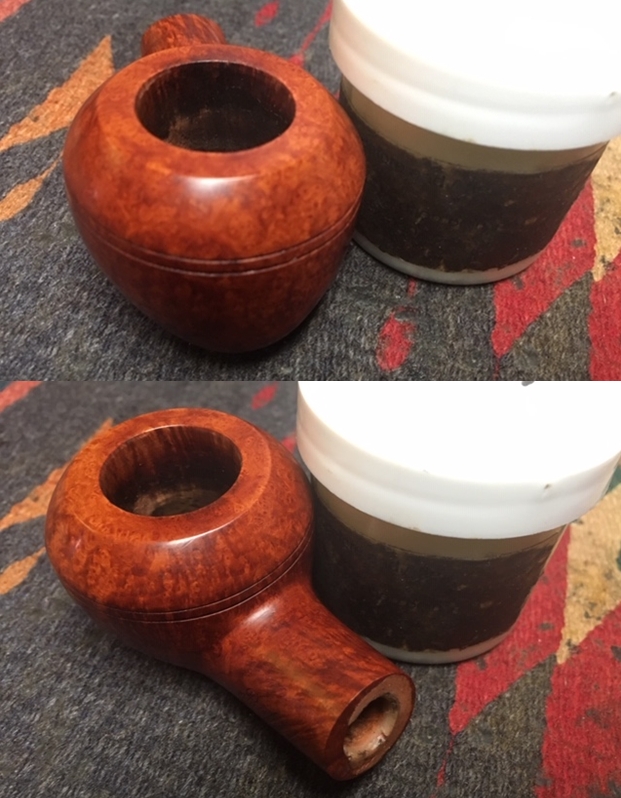
 I finished polishing the stem with Before & After Pipe Polish – both Fine and Extra Fine and gave it a final coat and set it aside to dry.
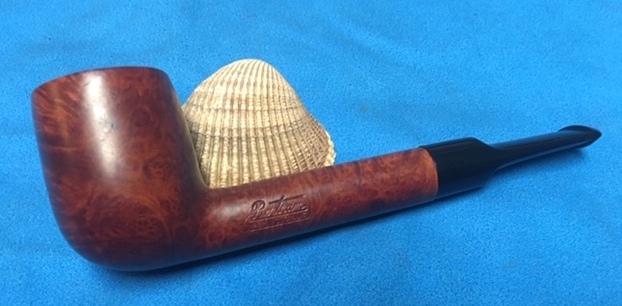
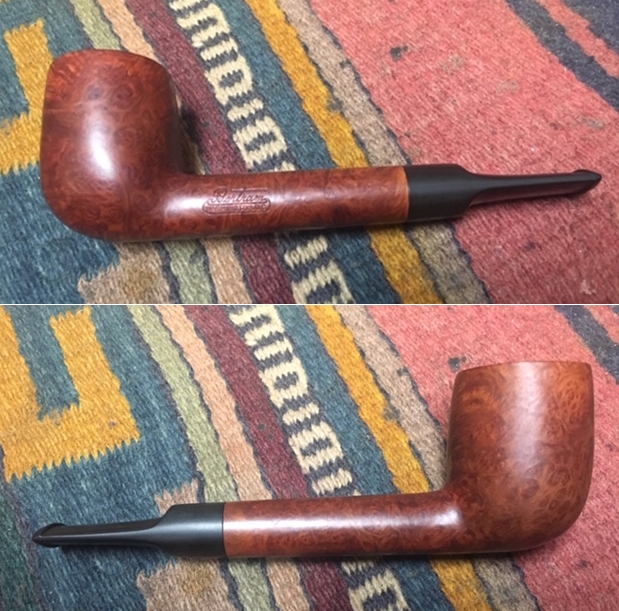
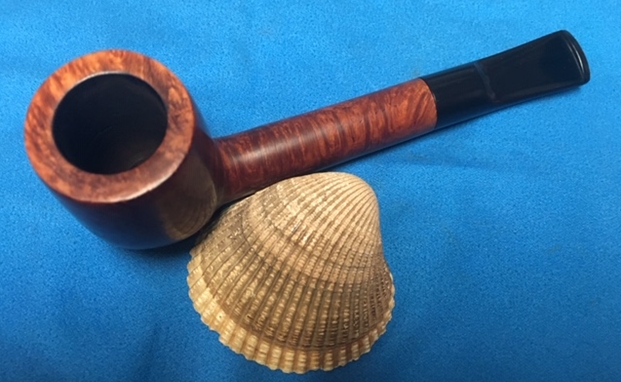
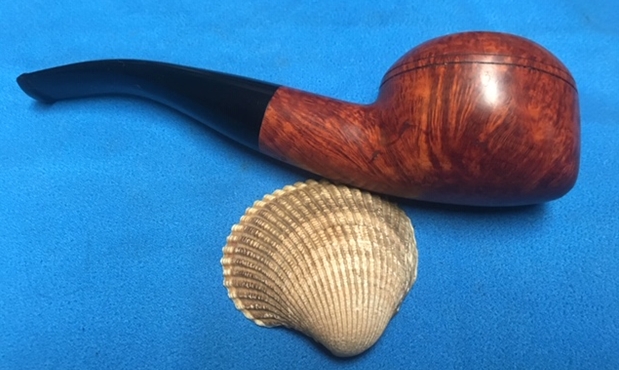
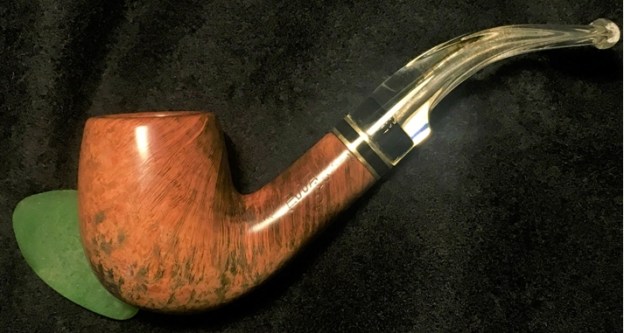
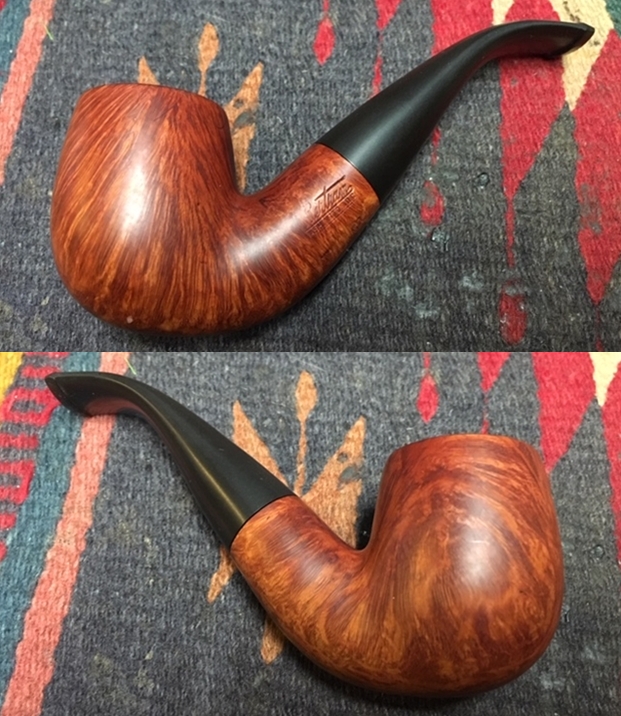
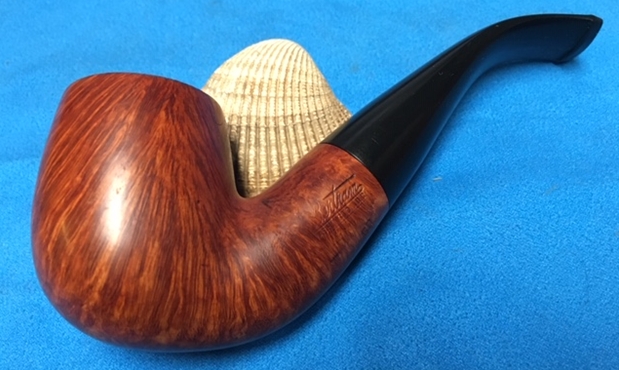
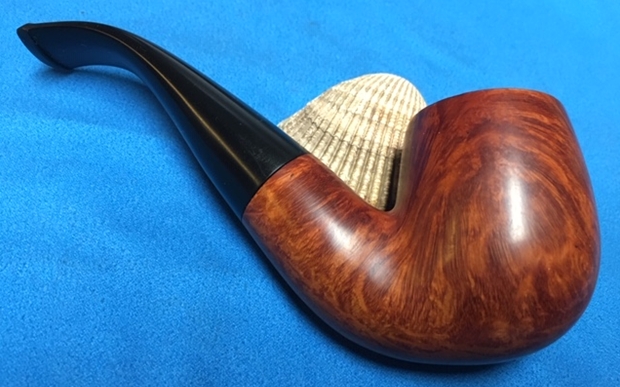
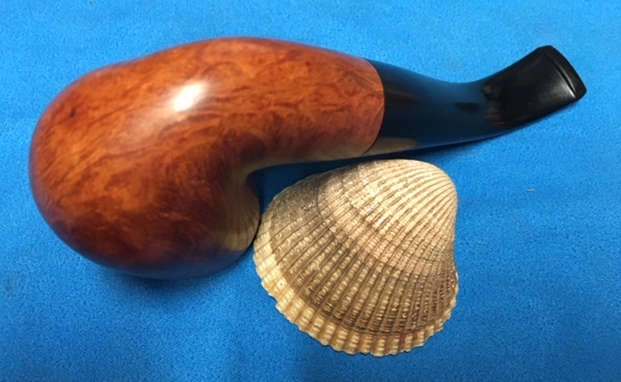
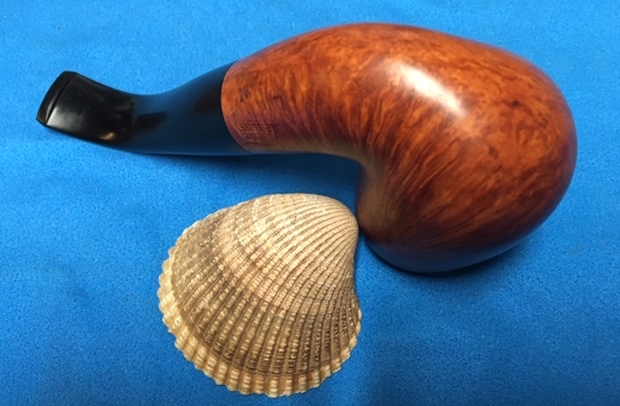
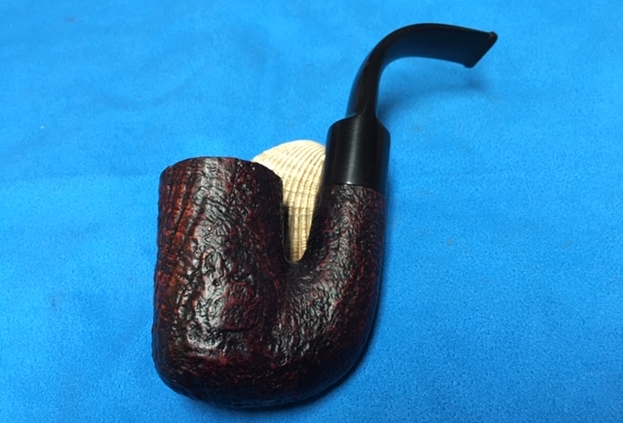
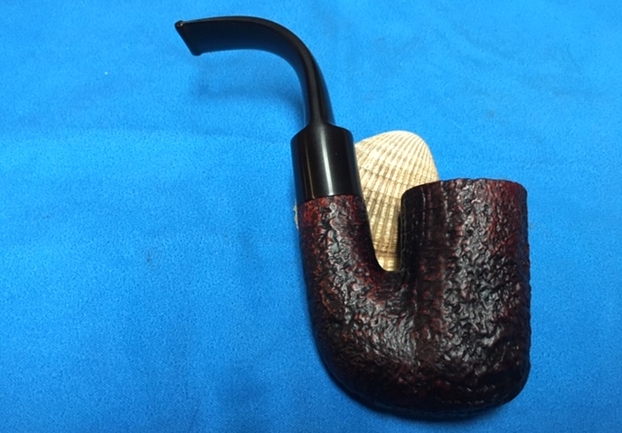
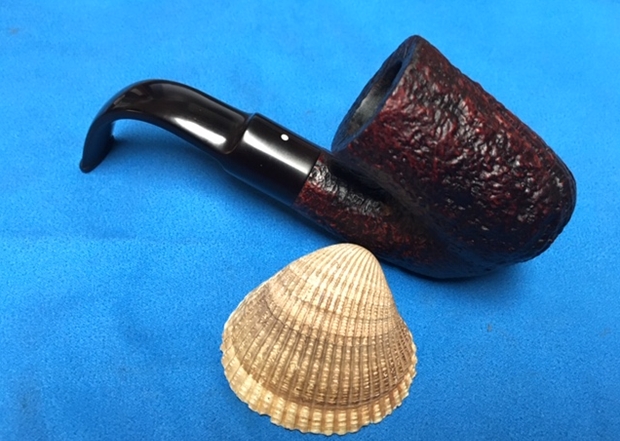
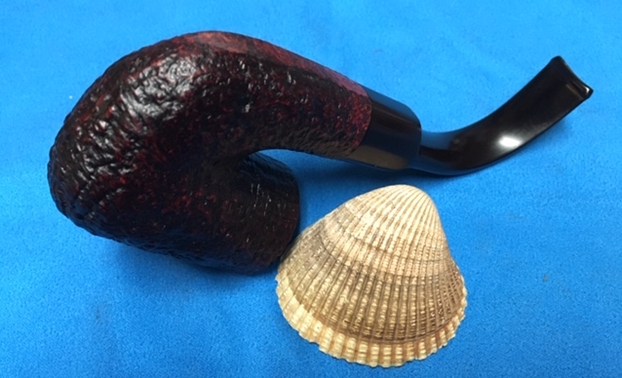
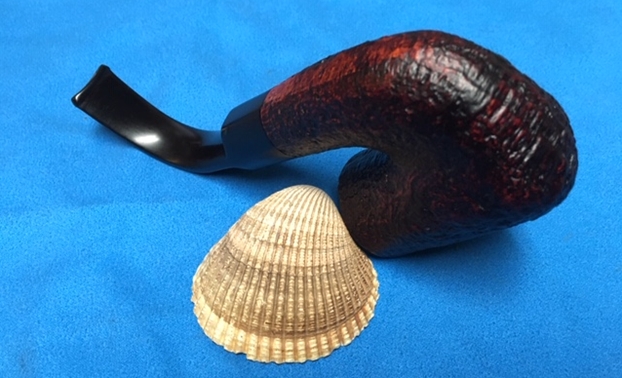
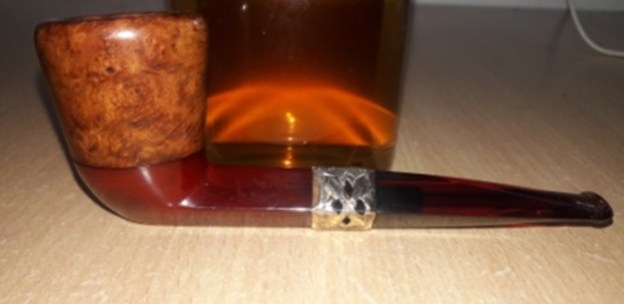
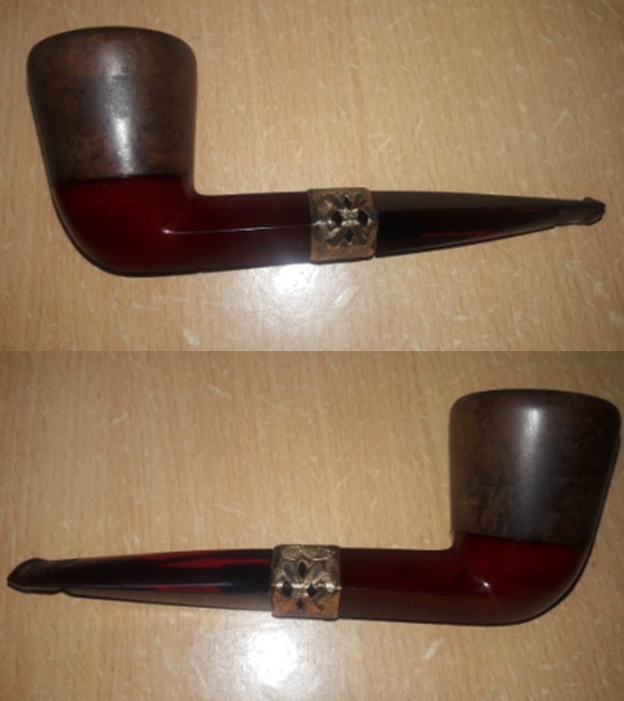
 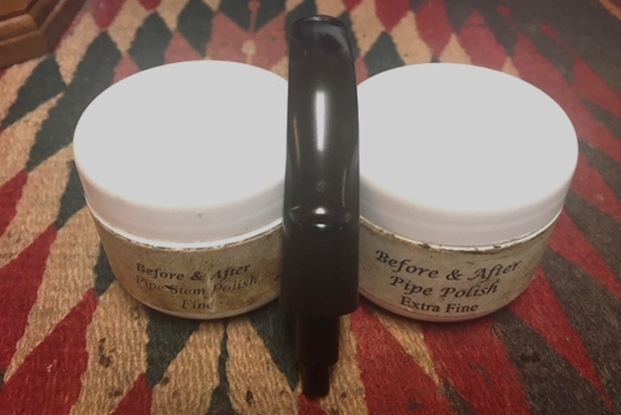 I put the stem and bowl back together and buffed the pipe with Blue Diamond on the buffing wheel. I polished the briar and the minute scratches still in the vulcanite of the stem until there was a rich shine. I polished the silver with a jeweler’s cloth to protect it and give it a shine. This old 1909/1910 Surbrug made by Delacour Brothers has a classic bent billiard with a twist – a sterling silver band on the shank and a sterling silver rim and wind cap. It is a beautifully carved pipe. Once I buffed the pipe the briar came alive and the mixture of grain – cross, swirled and birdseye – popped with polishing. The black vulcanite stem had a rich glow. The finished pipe is a beautiful grained bent billiard shaped pipe. This old pipe with a new bend in the stem fits well in the hand and sits right in the mouth. Have a look at it with the photos below. The dimensions are Length: 5 inches, Height: 2 inches, Outside diameter of the bowl: 1 3/8 inches, Chamber diameter: ¾ of an inch. This old timer is one that is staying in my own collection and fits the niche of my old pipe collection well. Thanks for walking through the restoration with me as it was a pleasure to work on.