Blog by Steve Laug
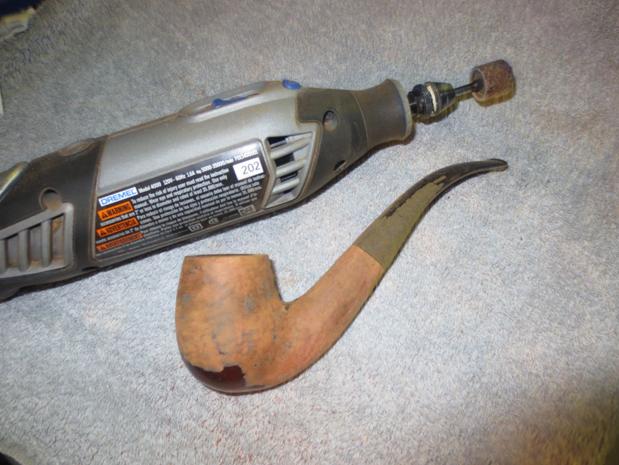
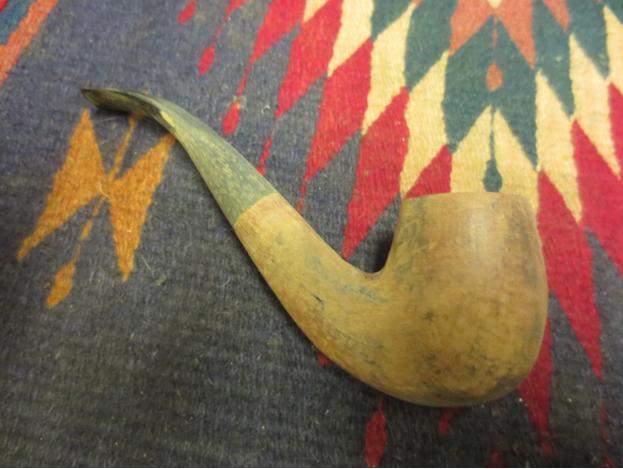
The next pipe is a vintage Stanwell that is quite exceptional. It is a well executed Zulu made between 1948-1960s. Some think the shape was designed by Sixten Ivarrson but I am not sure we will know for sure. Jeff and I picked up this pipe in a batch of pipes we purchased from a fellow in Los Angeles, California, USA. The pipe is stamped on the top side of the shank and reads Stanwell [over] Regd. No. 969-48 [over] Hand Made. On the underside of the shank it is stamped Selected Briar. The stamping is clear and readable. The briar was dark with tars and oils that almost obscured the amazing grain around the bowl and shank. There was a thick hard cake in the bowl with an eruption of lava on the rim top that made it hard to know what the condition of the rim top and edges was underneath. The truth would be revealed once it was cleaned. The stem was oxidized, calcified and had tooth marks on the button surface and tooth chatter on both sides of the stem. It really was mess that had glimmers of promises peeking through the grime of time. Jeff took photos of the pipe to give you a sense of what it looked like before cleanup.
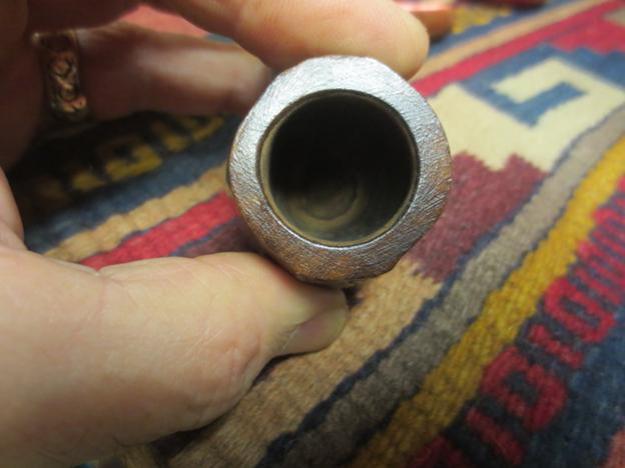
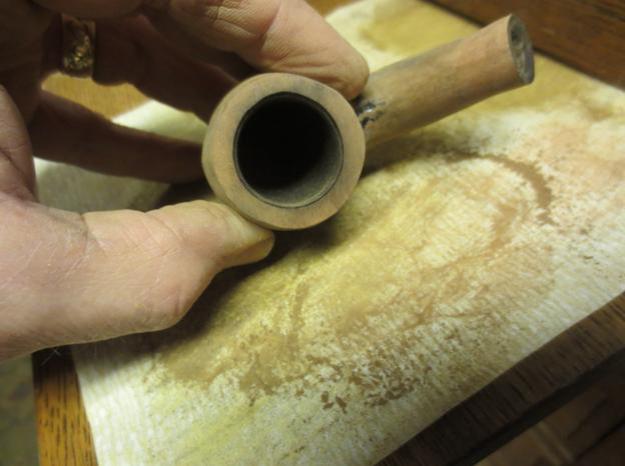
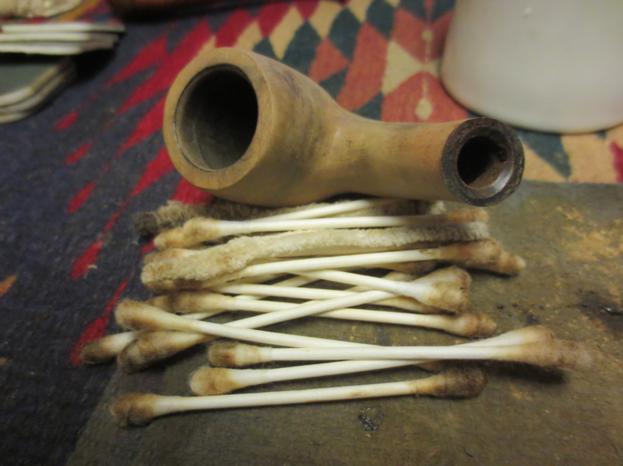
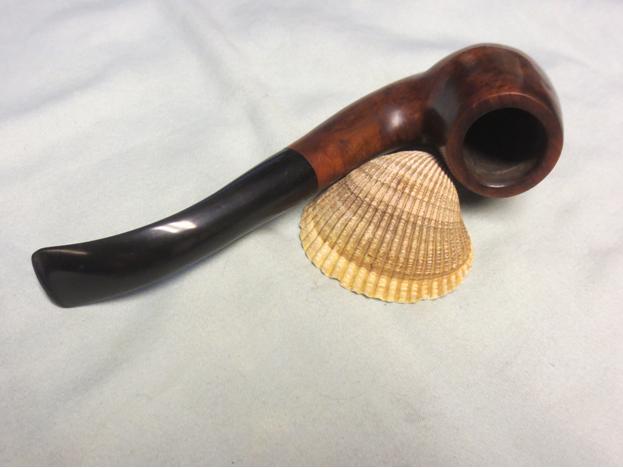
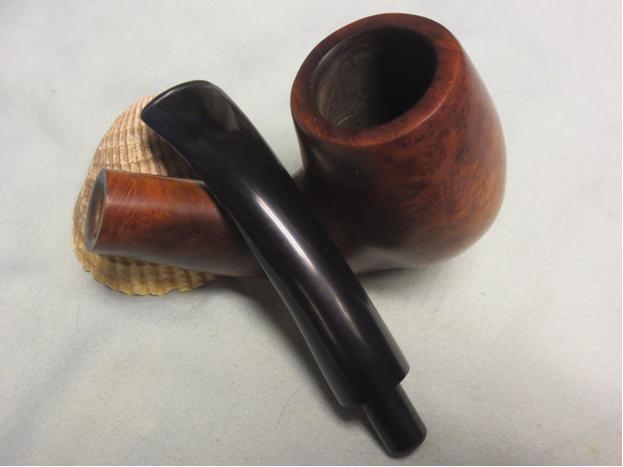
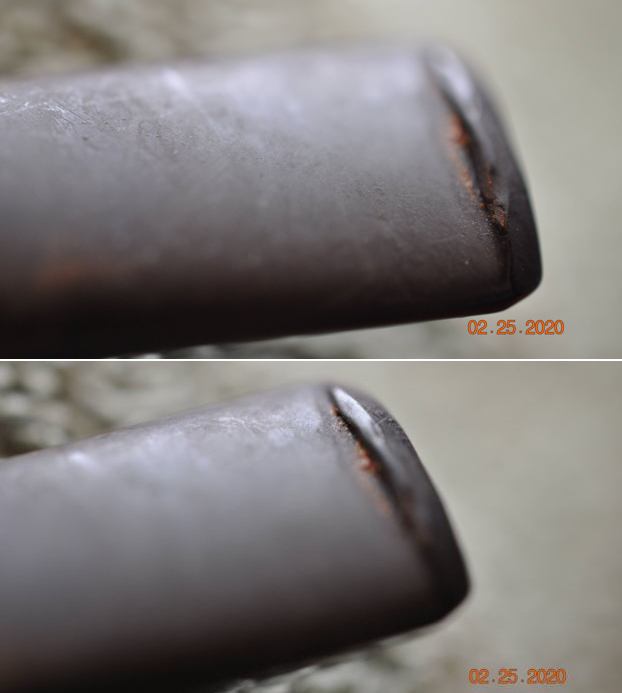
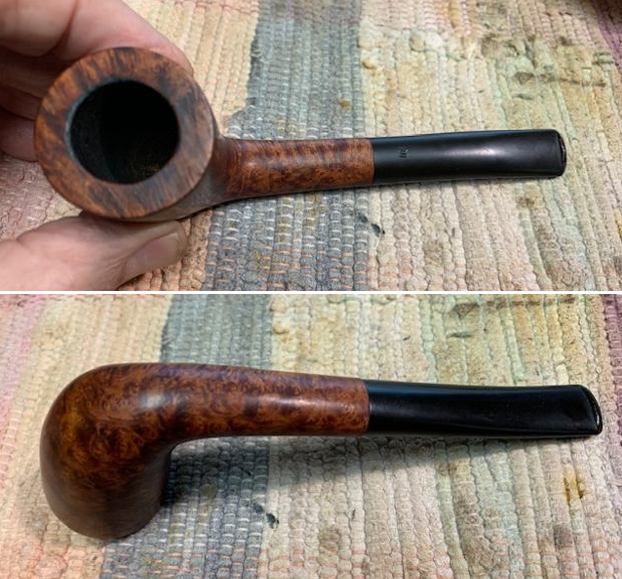
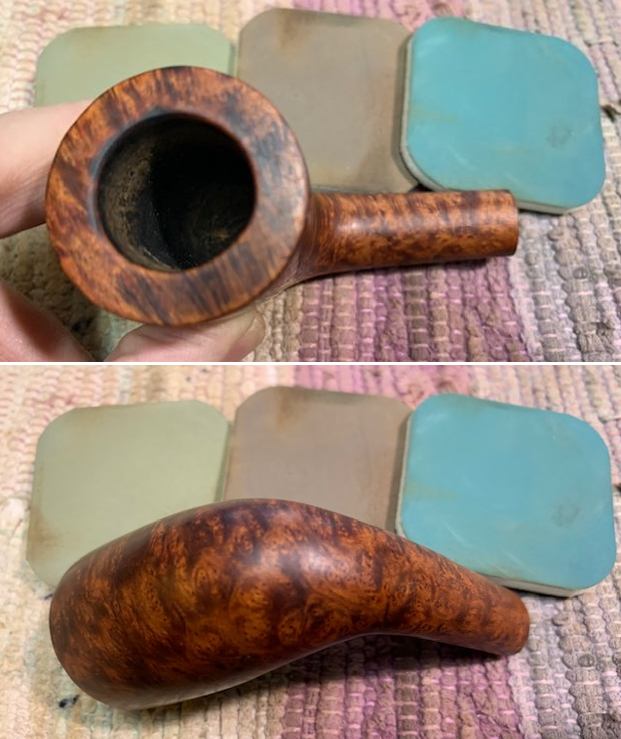
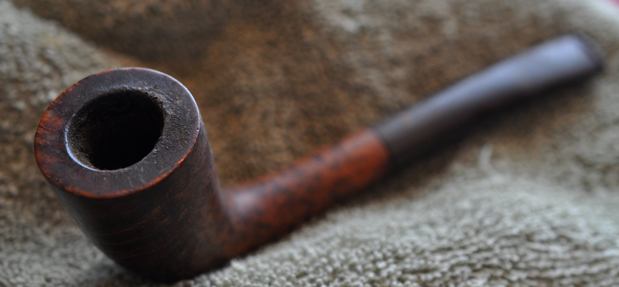 He captured the cake in the bowl and the thick eruption of lava on the rim top and edges exceptionally well in the next photos. It was very clear that the pipe had not been seriously cleaned since the first smoke. But it is also very clear that it was an exceptional smoker! The stem shows the took marks on the button surface and chatter on both sides ahead of the button.
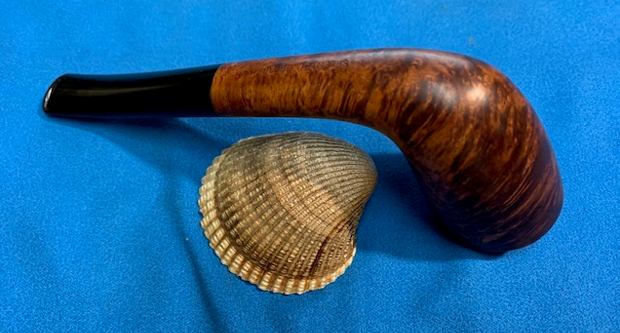
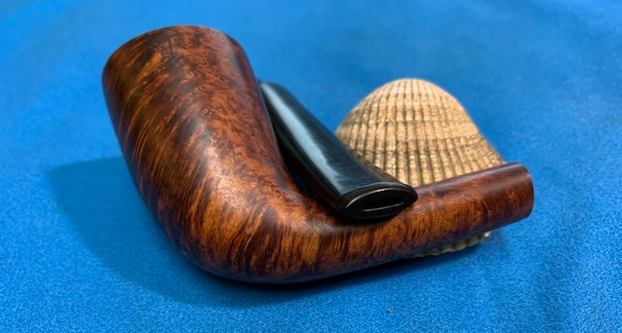
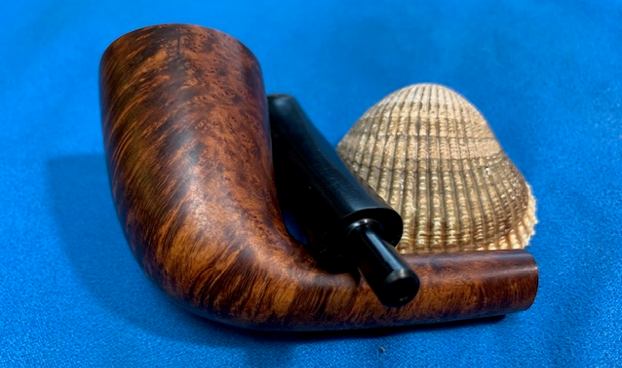
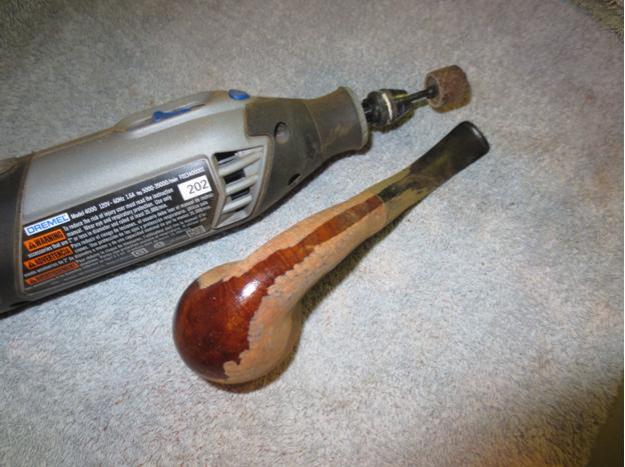
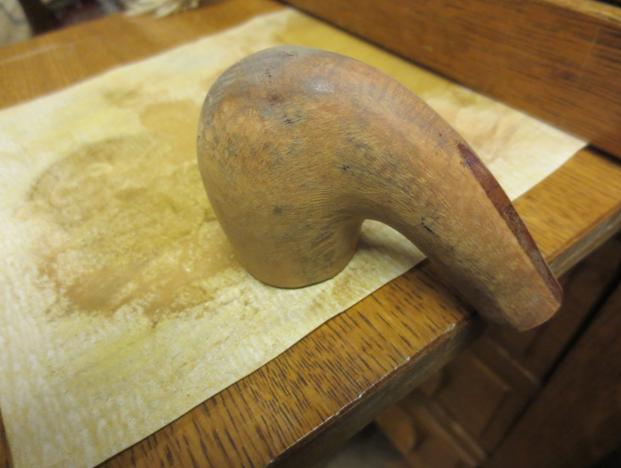
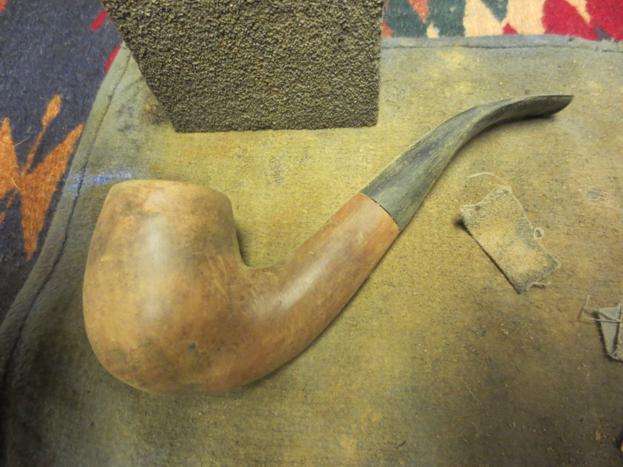
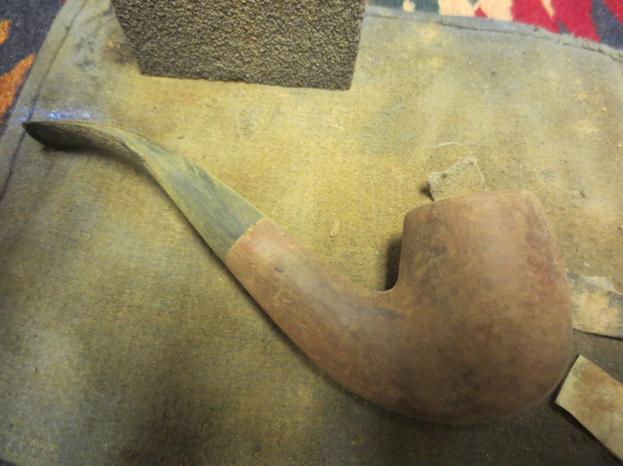
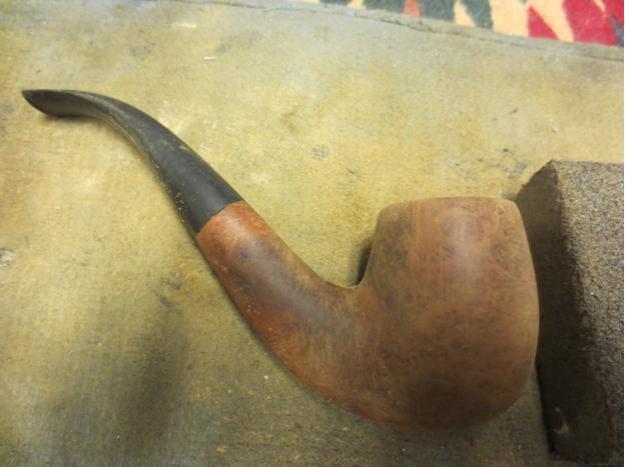
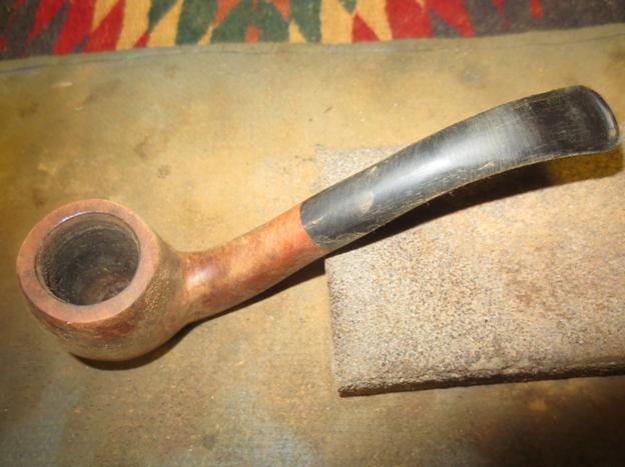
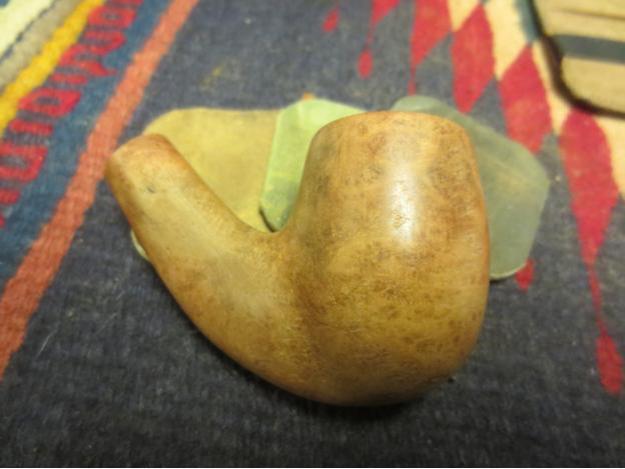
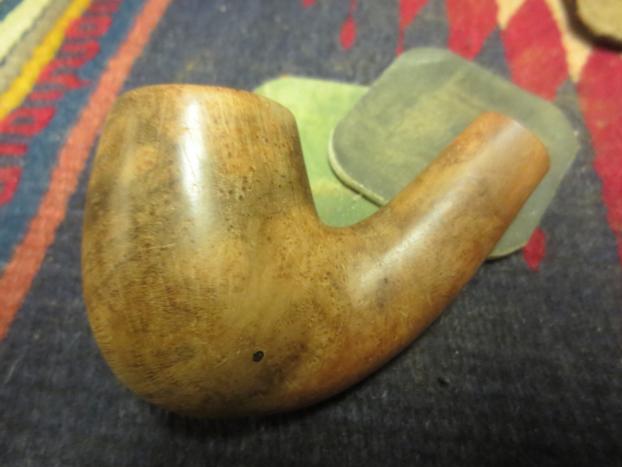
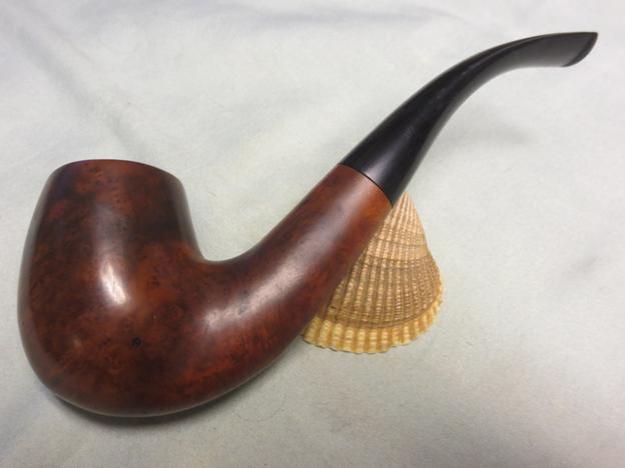
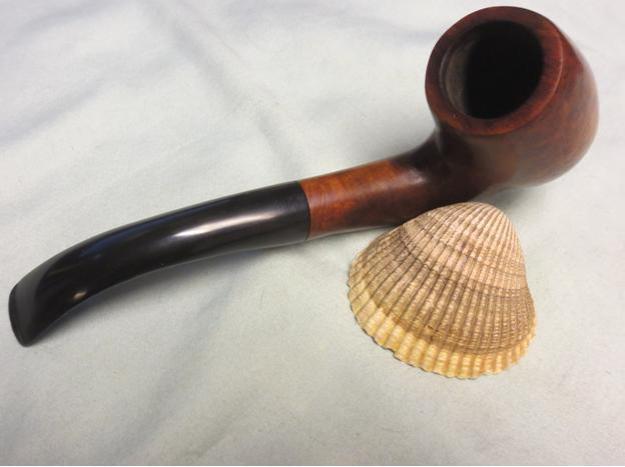
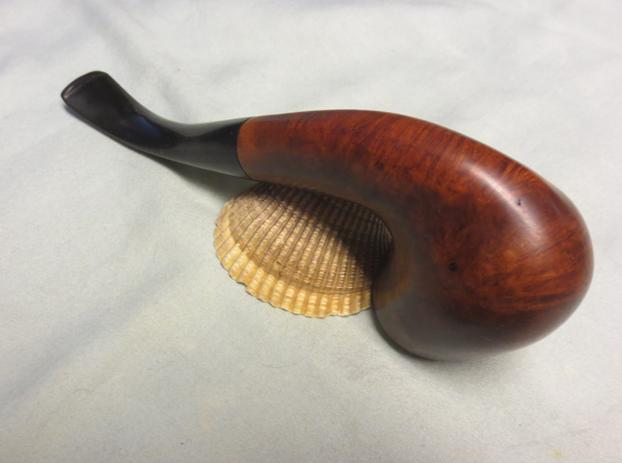
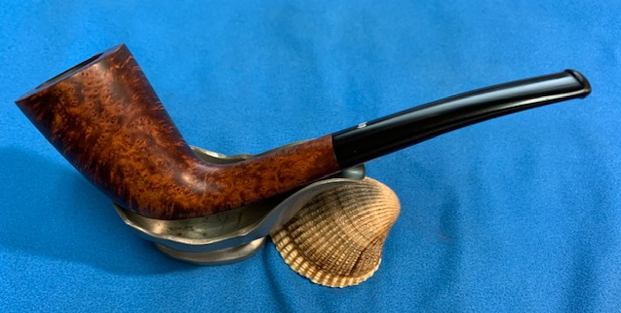
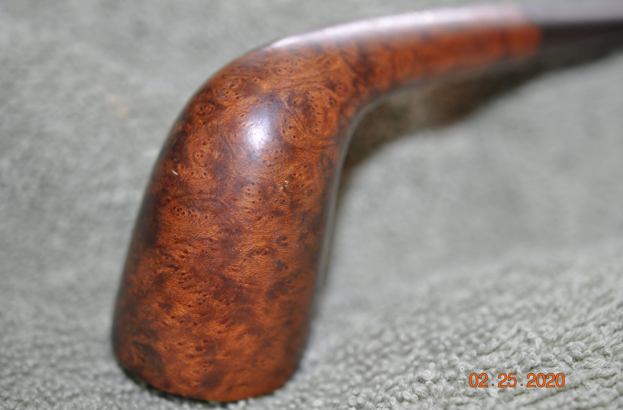
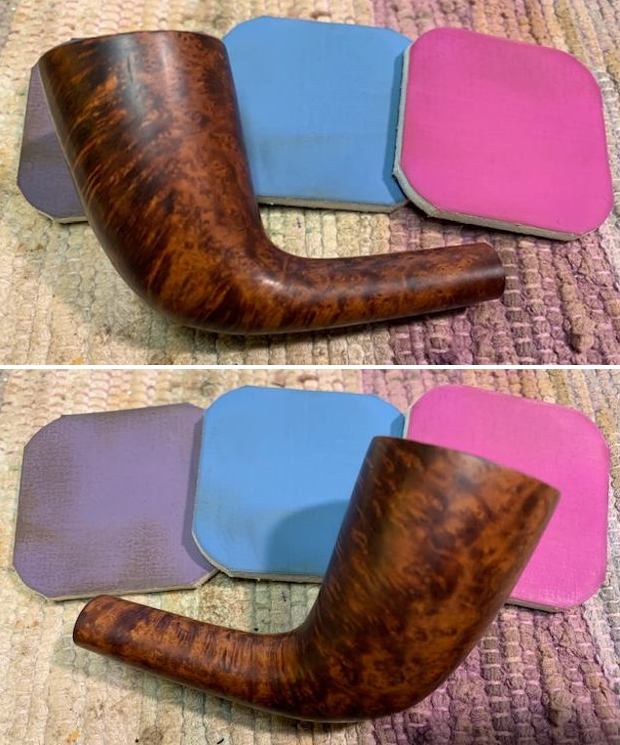
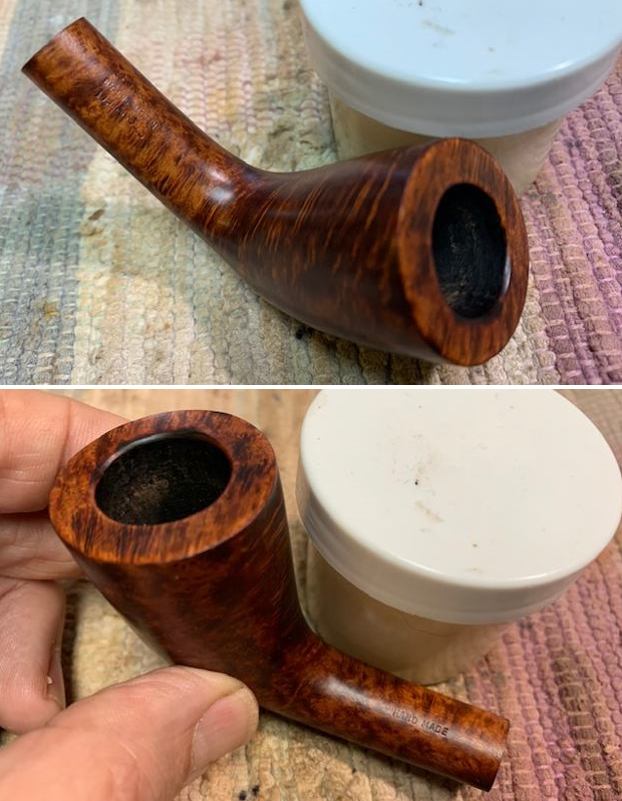
 Jeff somehow captured some of the beauty of the shape and the grain in the next photos. You can certainly see what lies beneath the grime on the briar.
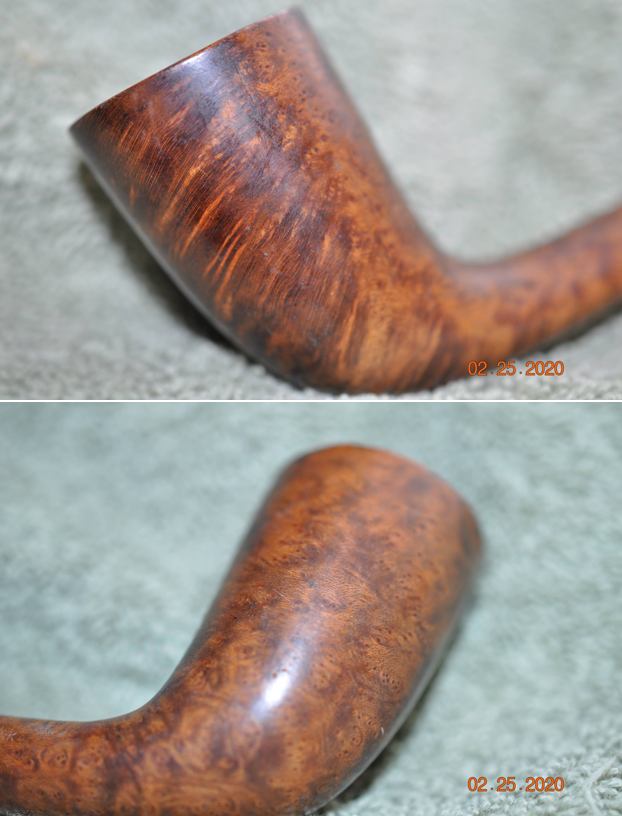
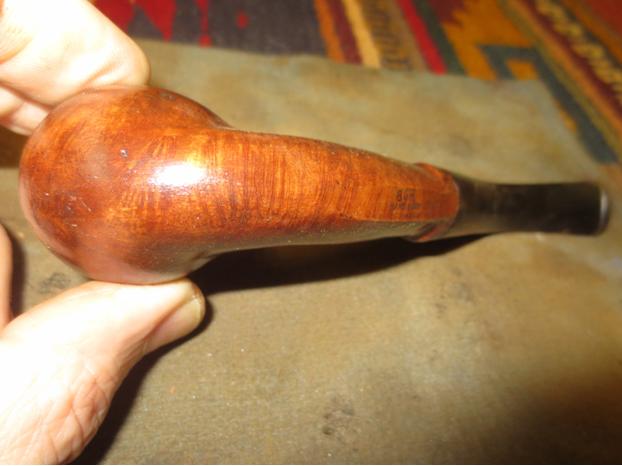
 He captured the stamping on the top and underside of the shank. It is readable but the topside is definitely more worn than the underside. The Crown S stamp on the stem is deep and workable but has a lot of corrosion and grime in the stamping.
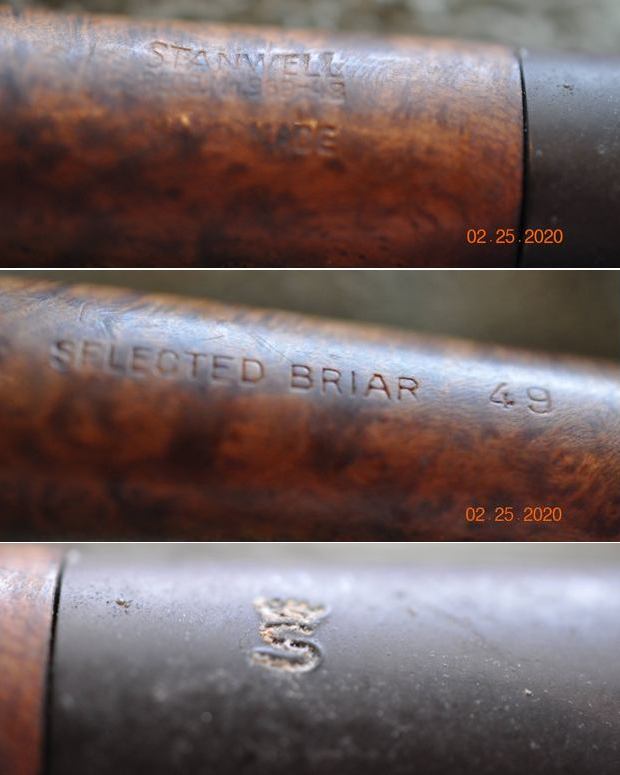 I have worked on a lot of Stanwell pipes over the years and have found the Pipedia site very helpful in terms of giving background and an historical overview of the company from its founding to the present day. Here is the link to the article on the site on Stanwell pipes (https://pipedia.org/wiki/Stanwell).
I also scanned through the catalogues in the margins and in the links on the site and found a page that included the shape #49 Oval stem large sized Zulu pipe that I am working on. I have done a screen capture of the page below and encircled the shape in red.  I then turned to a linked page on the article to the section on Shape Number and Designers that was primarily the work of a friend of mine named Bas Stevens. Bas initially had this article on the rebornpipes site so I am familiar with it. I include the link here if you want to check it out (https://pipedia.org/wiki/Stanwell_Shape_Numbers_and_Designers). I was hoping that Bas had a clue to who designed the shape 49 but alas he did not seem to. What was there though was that there were two versions of this shape. The first was what he calls a Dublin and others call a Zulu and the second was a freehand. I am working on shape “a” from the chart below. It is described there as a Dublin, slightly bent, oval stem and mouth piece.
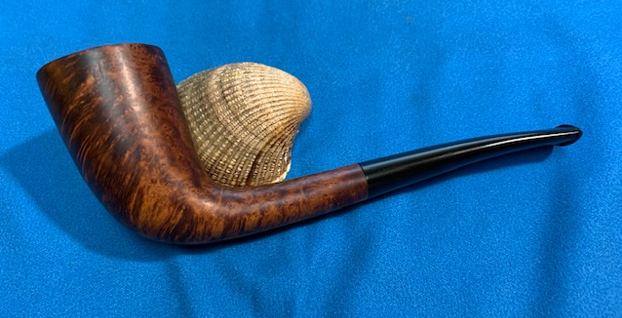
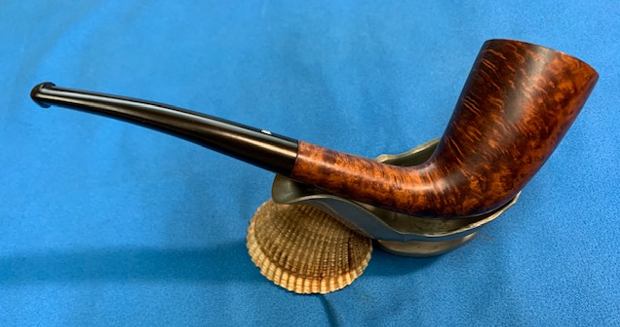
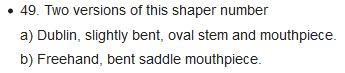 Armed with the information that I had gleaned from my research, I turned my attention to the pipe itself. I was amazed at how clean and new the pipe looked when I took it out of the box. It is really a beautiful piece. Jeff had done a great cleanup on the pipe. He reamed the bowl with a PipNet pipe reamer and followed up with a Savinelli Fitsall pipe knife to remove the cake. He scrubbed out the mortise and the airway in the shank and the stem with alcohol, cotton swabs and pipe cleaners. He scrubbed the bowl exterior with a tooth brush and Murphy’s Oil Soap to remove the grime on the finish of the bowl and the lava from the rim top. He rinsed it under running water. One of the benefits of this scrub is that it also tends to lift some of the scratches and nicks in the surface of the briar. He dried it off with a soft cloth. He cleaned the internals and externals of the stem with alcohol, pipe cleaners and cotton swabs. He soaked the stem in Briarville’s Pipe Stem Deoxidizer and rinsed it off with warm water and cleaned out the airway in the stem with alcohol. I took photos of the pipe as I saw it when I put it on the table.
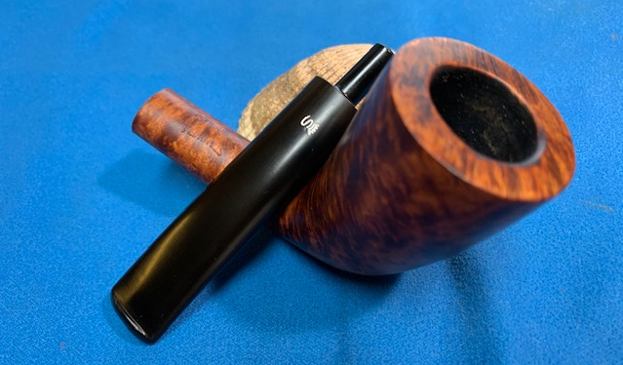
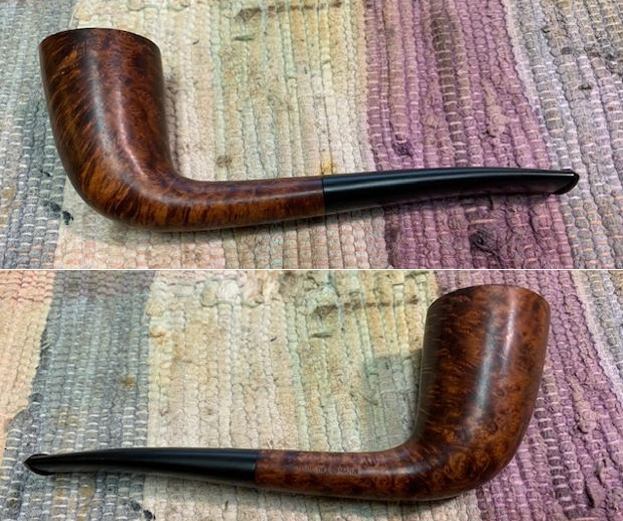
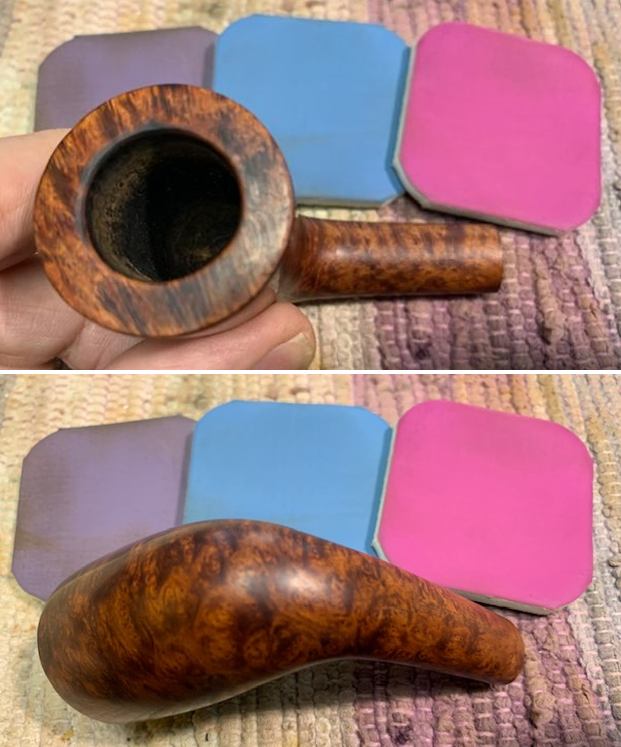
 I took a photo of the rim top and stem to show the condition. The rim top looked pretty good and there was some darkening on the inner edge at the front of the bowl. The stem was vulcanite and there were tooth marks on the button and some light marks and chatter on both sides ahead of the button.
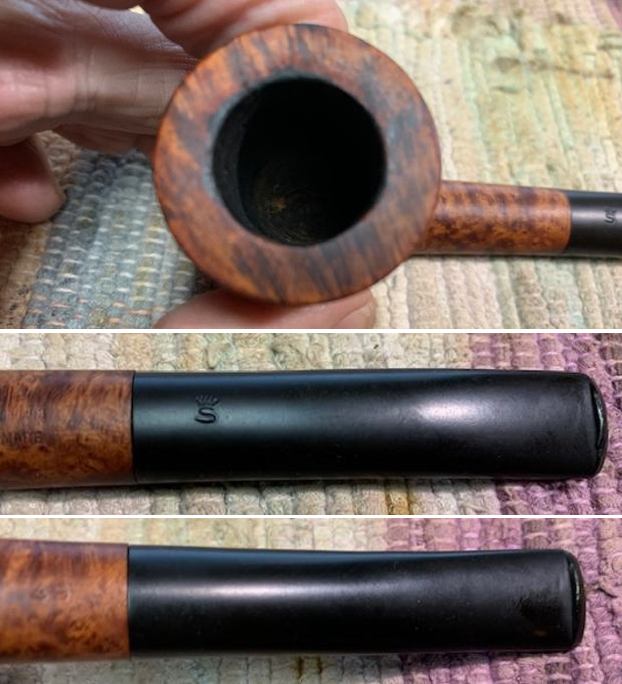 The stamping on the top and underside of the stem are clear and readable. The stamp on the top side is more worn but it is still readable. The stamped Crown S on the stem is very clear and should retain the new white acrylic very well.
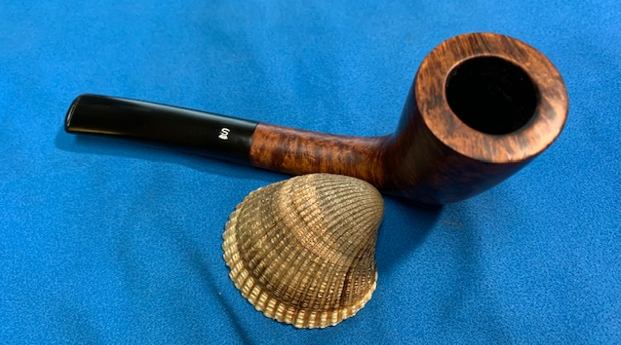
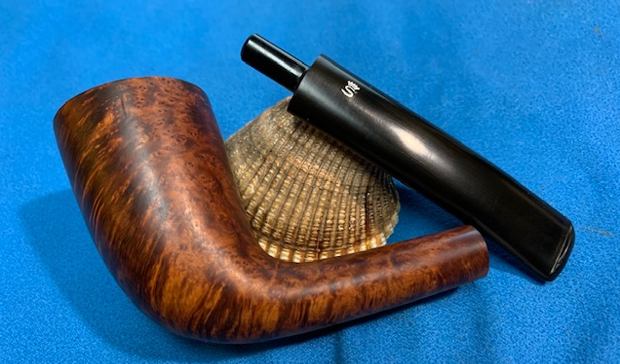
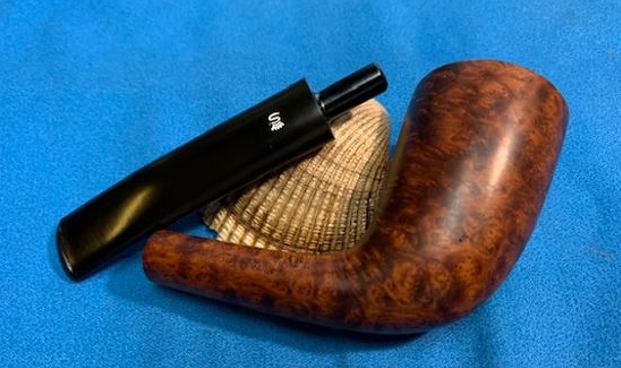
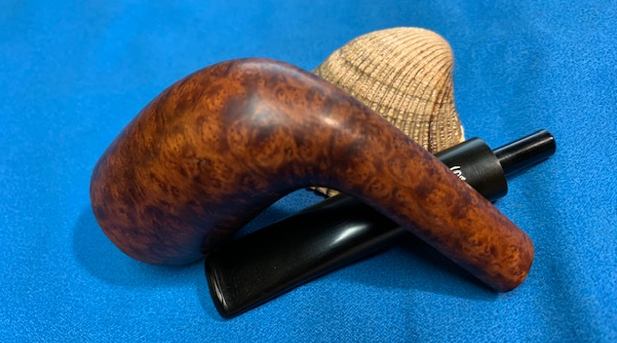
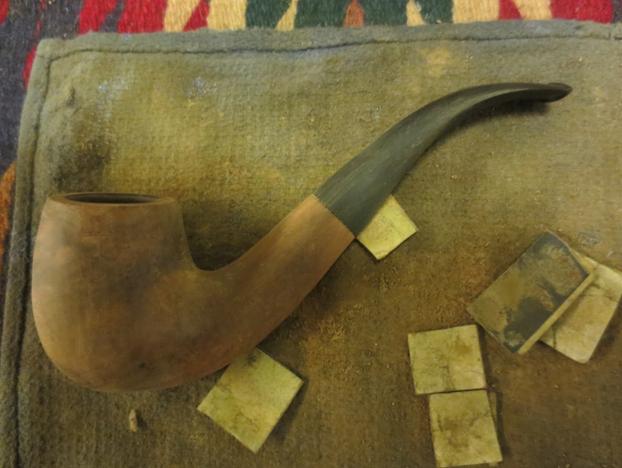
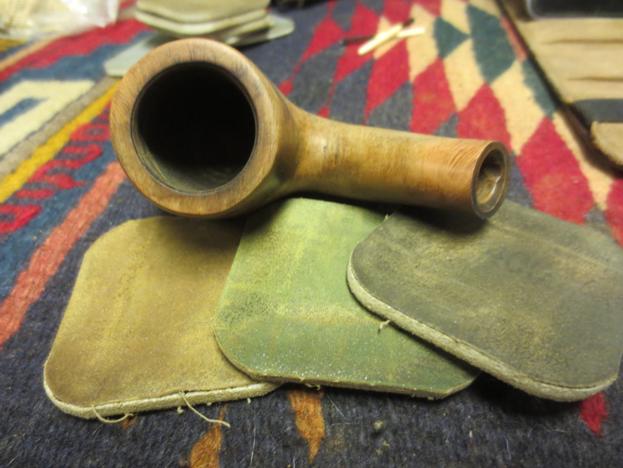
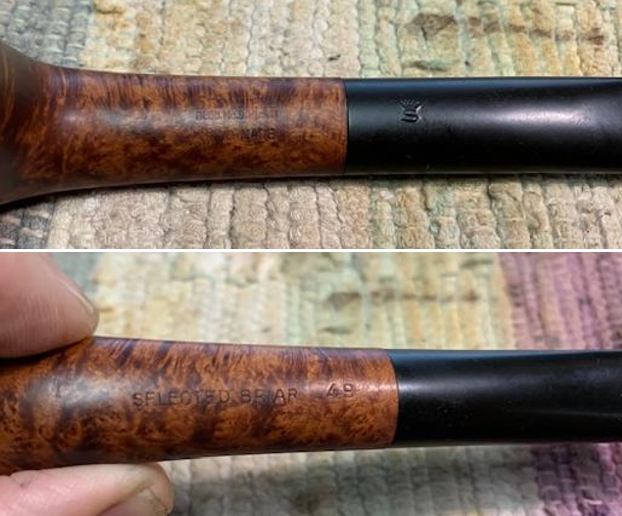 I removed the stem from the shank and took a photo of the pipe to give a sense of the whole.
 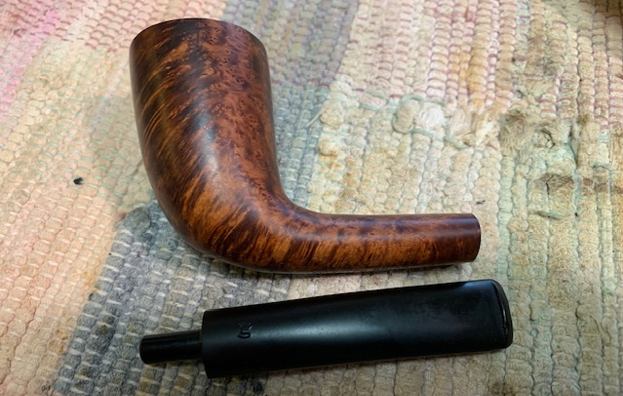 I started my work on this pipe by dealing with the darkening on the inner edge of the bowl. I used a folded piece of 220 grit sandpaper to smooth out the inner edge and give it form once again. The cleaned up rim edge looked very good.
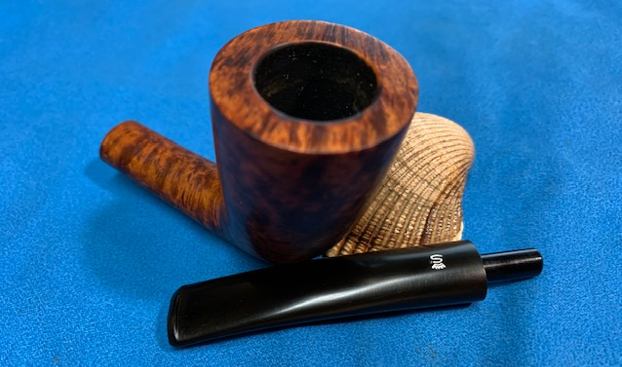
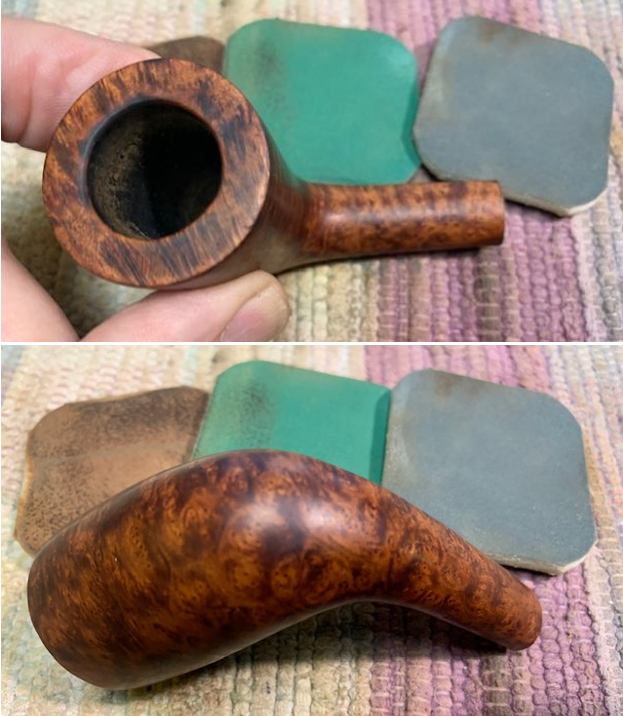
 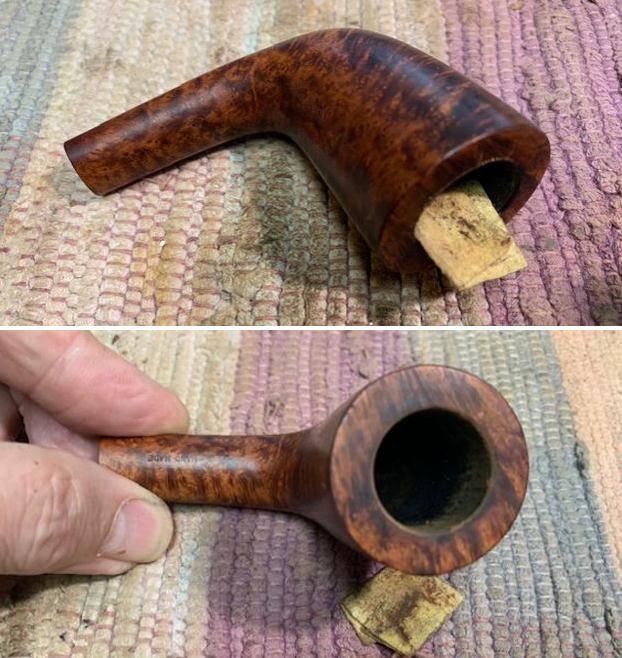 I polished the briar with 1200-1500 micromesh sanding pads and wiping it down with damp cloth after each sanding pad. As I worked through the cycle of pads the shine developed with each change of pad. The pipe looks very good.
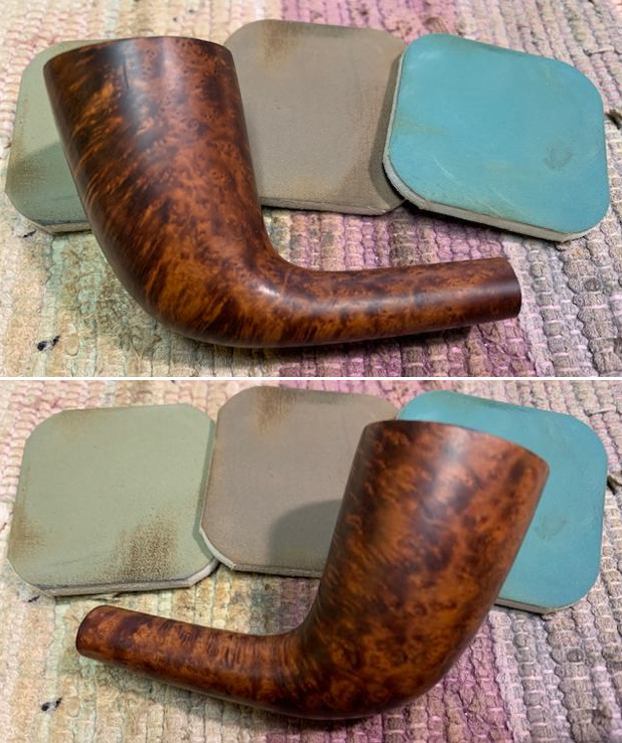
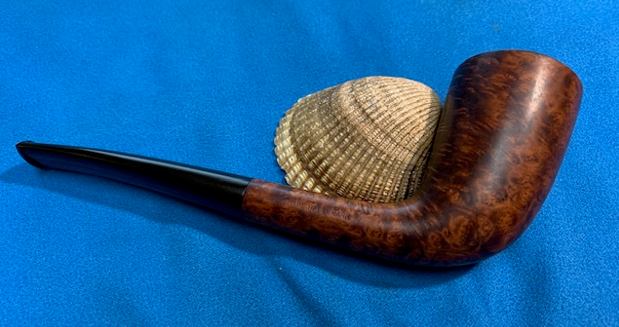
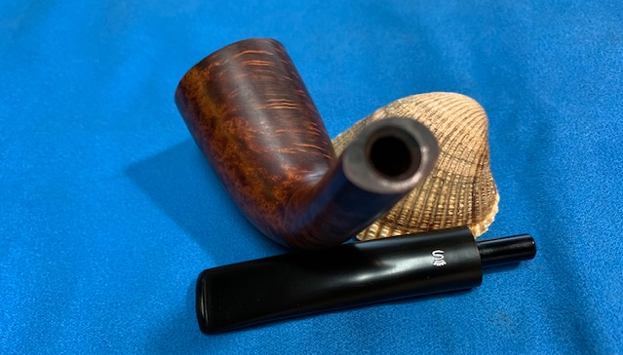
 I rubbed the bowl and shank down with Before & After Restoration Balm. I worked it into the surface of the bowl sides and shank with my fingertips to clean, enliven and protect the briar. I let the balm sit for 10 minutes, then buffed with a cotton cloth to raise the shine. The Balm did its magic and the grain stood out on the briar.
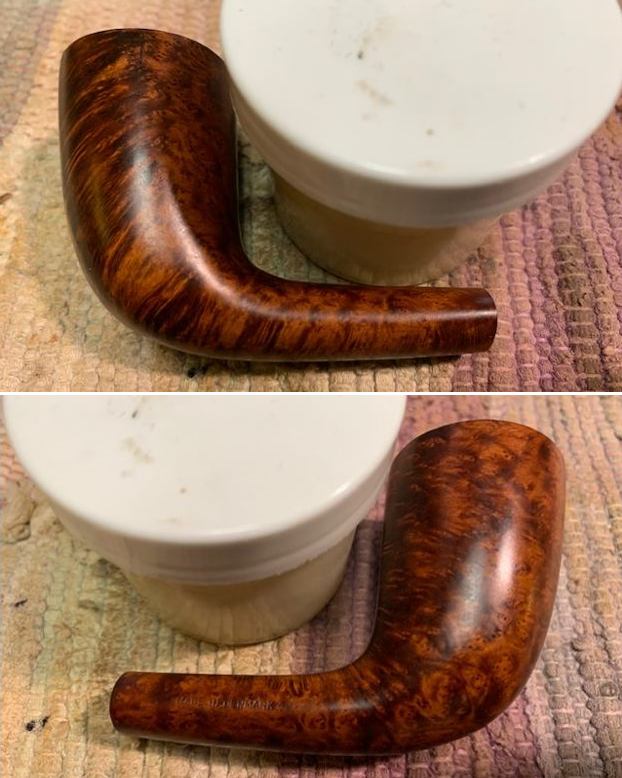

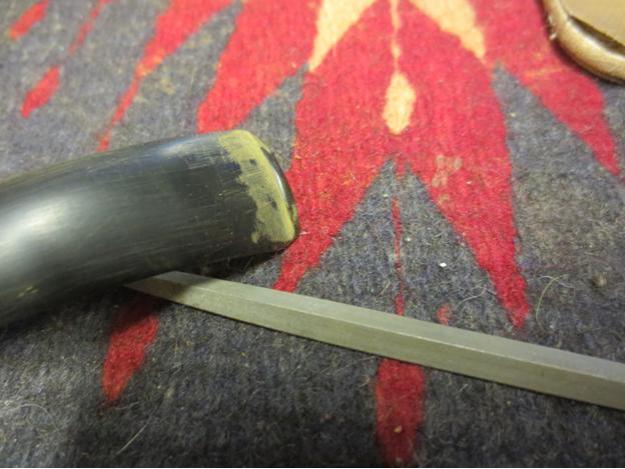
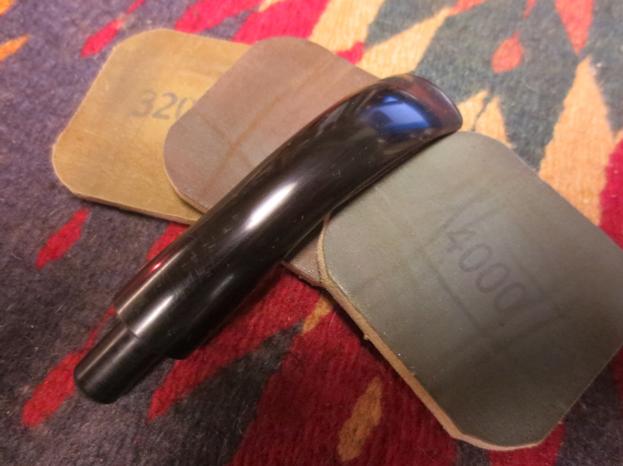
 I set the bowl aside and turned my attention to the stem. I sanded the stem with 220 grit sandpaper and started the polishing with 400 grit wet dry sandpaper.
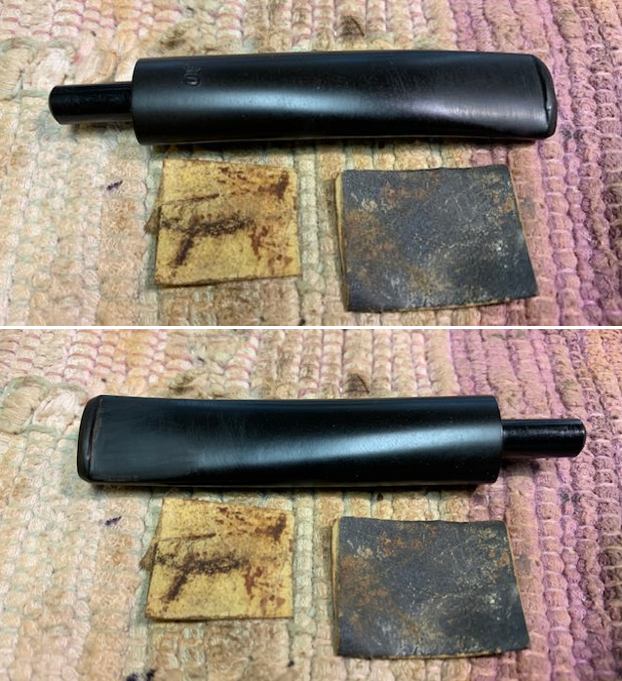 I polished it with micromesh sanding pads – 1500-12000 grit pads. I wiped it down with Obsidian Oil after each sanding pad.
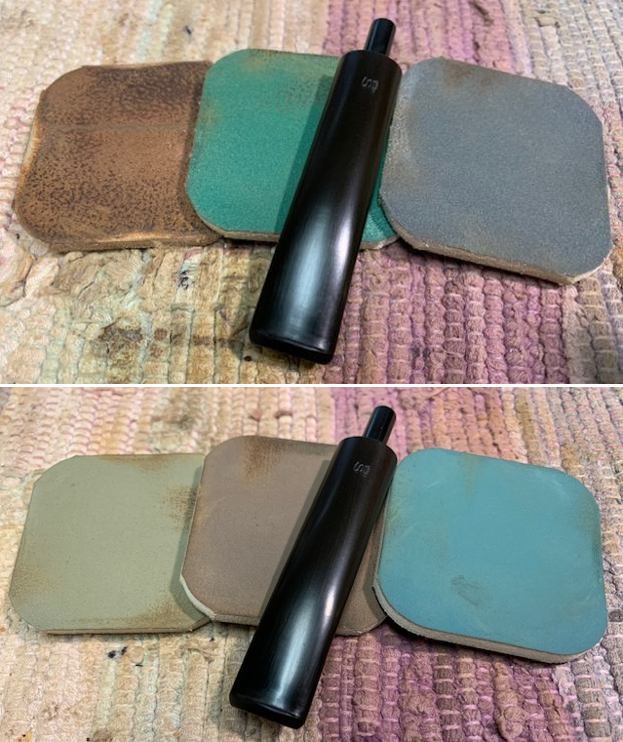
 I paused the polishing to touch up the Crown S stamp on the top of the oval stem. I have been using an acrylic white fingernail polish and find that it works well and is long lasting. I painted it on the stamp and worked it into the stamp with a tooth pick. Once it had hardened I scraped and sanded the excess off with a 1500 grit micromesh sanding pad. It came out looking very good.
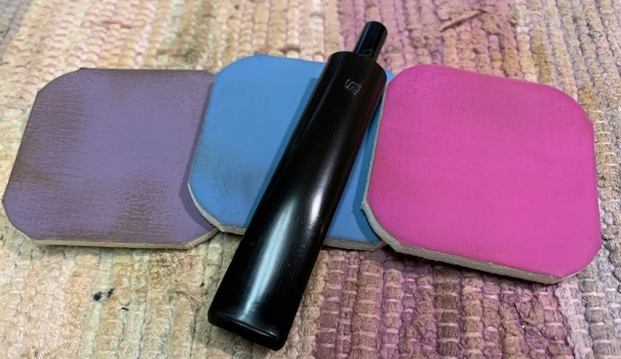
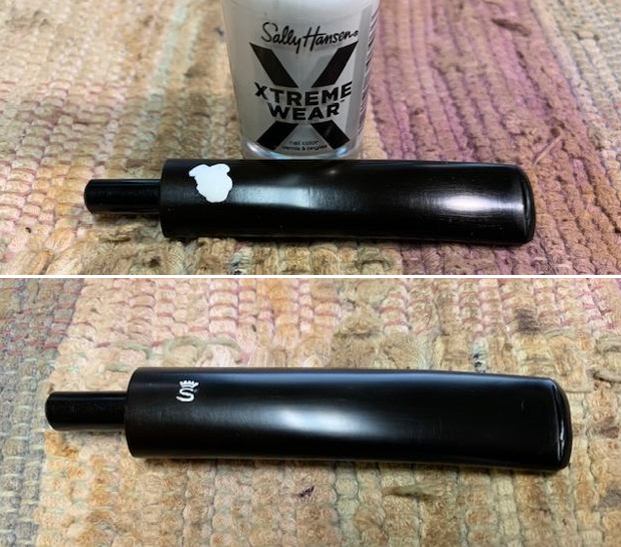 I picked up the polishing once again. I used Before & After Pipe Polish – both Fine and Extra Fine to further polish the stem. The photos below show the polished stem.
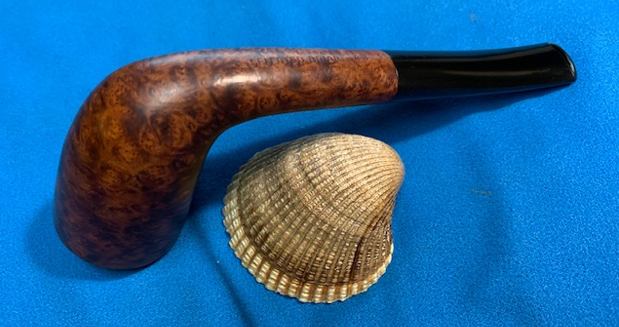
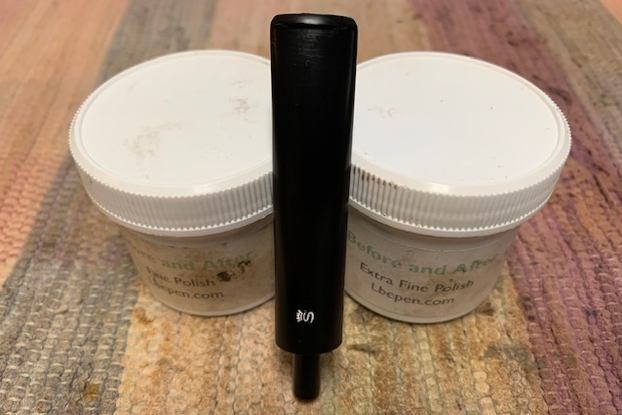 This Vintage Stanwell Regd. No. 969-48 Selected Grain 49 Zulu with a vulcanite stem is a beautifully grained pipe with a flowing shape that is stunning . The rich browns of the stain made the grain come alive with the polishing and waxing. I put the stem back on the bowl and carefully buffed the pipe with Blue Diamond on the buffing wheel using a light touch on the briar. I gave the bowl and the stem multiple coats of carnauba wax on the buffing wheel and followed that by buffing the entire pipe with a clean buffing pad. I hand buffed the pipe with a microfiber cloth to deepen the shine. The finished Stanwell Selected Grain Zulu really is a beauty and fits nicely in the hand and looks very good. Give the finished pipe a look in the photos below. The dimensions of the pipe are Length: 5 ½ inches, Height: 2 inches, Outside diameter of the bowl: 1 ¼ inches, Chamber diameter: ¾ of an inch. The weight of the pipe is 1.31oz./37grams. This one will soon be on the Danish Pipe Makers section of the rebornpipes store if you would like to add it to your collection. Thanks for reading this blog and my reflections on the pipe while I worked on it. There are many more to come!