Blog by Kenneth Lieblich
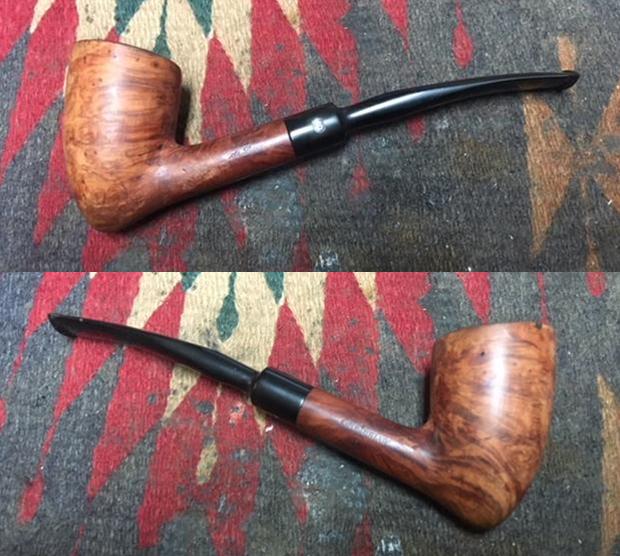
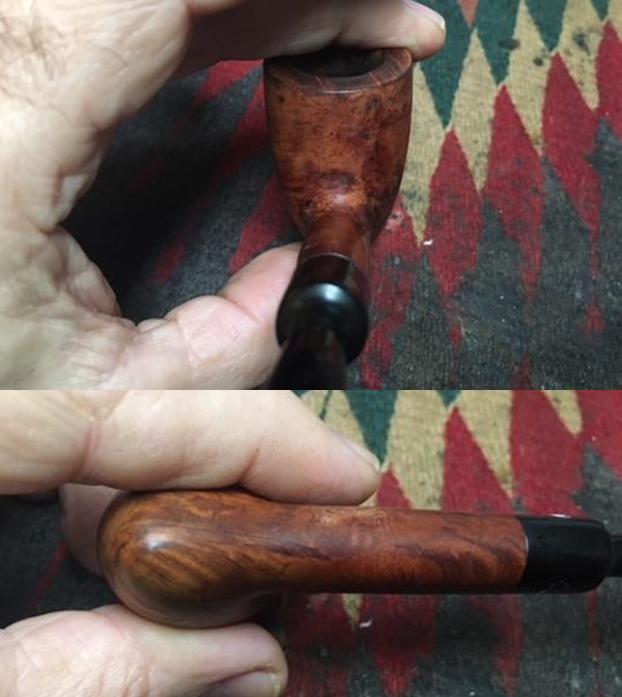
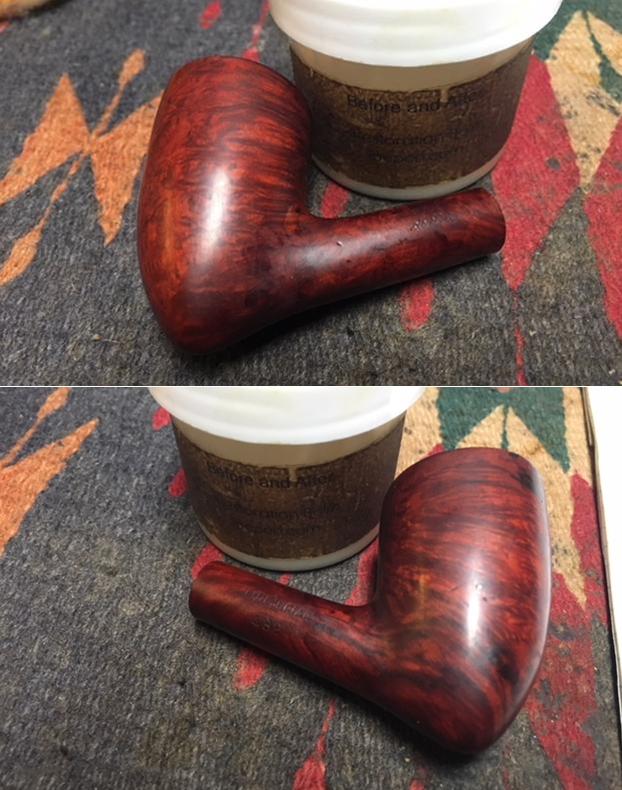
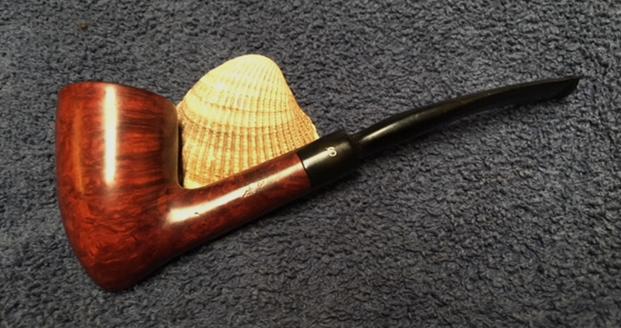
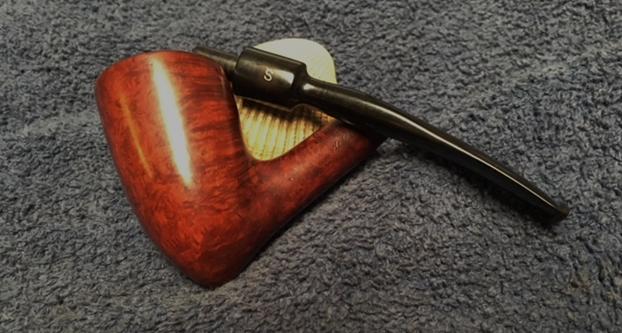
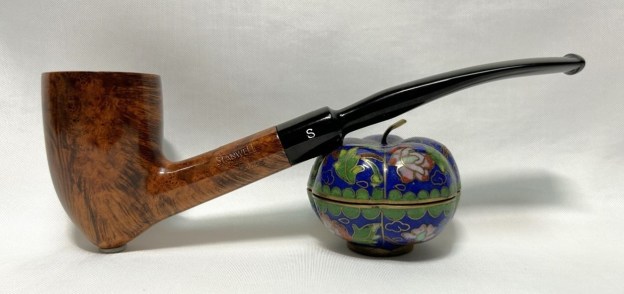
Next on the chopping block is a beautiful Danish pipe from the fine pipemaking firm, Stanwell. The shape of this pipe is a freehand pickaxe. I acquired it locally from the estate of an old fellow who kept a lovely collection of pipes. This is a Stanwell de Luxe 482 freehand pickaxe. It has lovely (albeit dirty) briar from the bowl all the way down the shank. I think this is going to be a beauty when I’m done. My cousin in Montréal asked me to clean this up for him and I was only too happy to do so.
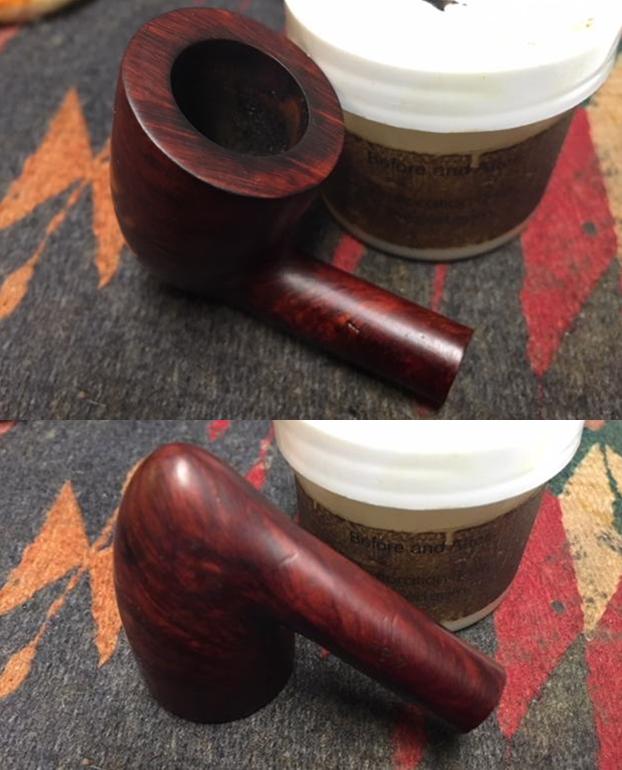
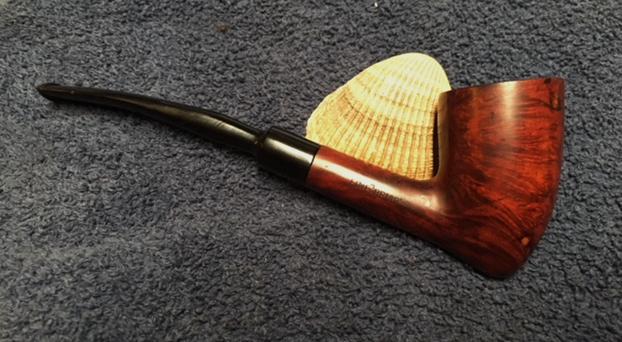
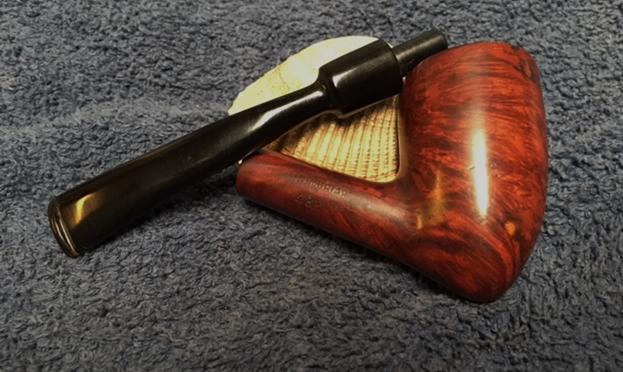
 The left side of the shank reads Stanwell [over] Regd. No. 969-48 [over] de Luxe. The right side of the shank reads Fine Briar [over] 482. Finally, the stem’s left side also has the trademark S of the Stanwell company.
 Of course, 482 refers to the model number, and I went to check the list of Stanwell shapes here on rebornpipes. Hmm – no shape number 482. Fair enough, so I looked up shape number 48, but that was a egg-shaped bowl – definitely not this pipe. I figured it was worth looking up shape number 82 and that was blank. Drat.
 I went searching through some old Stanwell catalogues and, ultimately, found an image for my pipe – and with the number 82. This catalogue is from 1970 and I have included the image below:
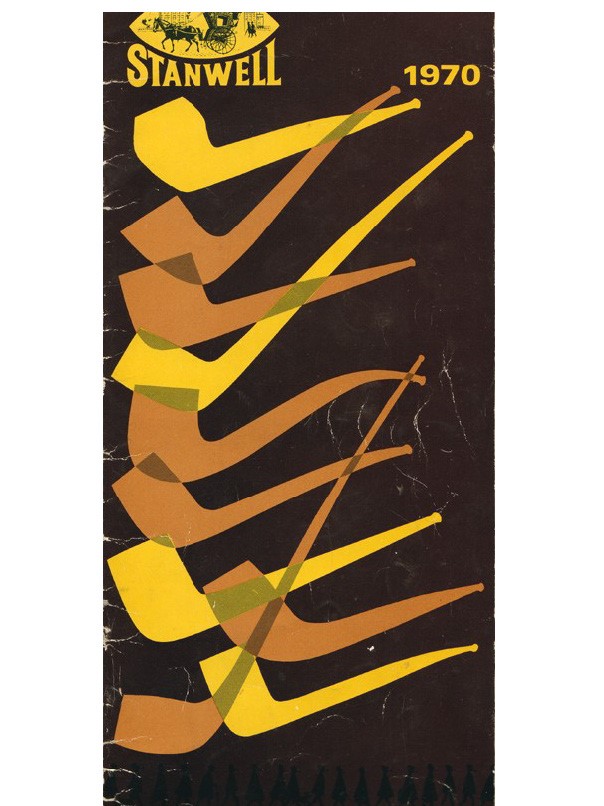
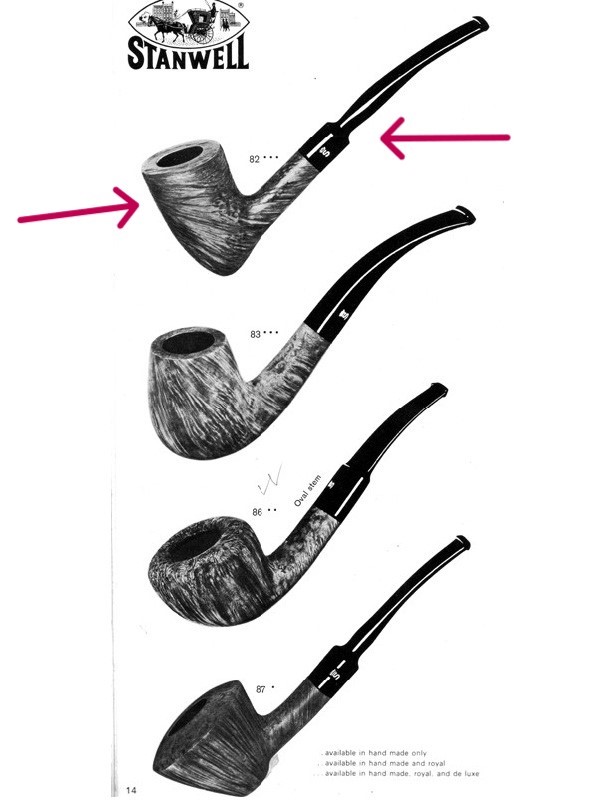 I know from information at Pipephil that the pipe I have is certainly more than 50 years old – and this corresponds to the catalogue above. Pipephil says, “The “Regd. No.” stamping discontinued in late 1960s to very early 1970s”. My pipe has both the “Regd. No.” and the S logo without a crown. The screen capture below explains that clearly. Meanwhile, Pipedia has a good amount of information on the Stanwell brand and its history. I certainly recommend looking it over: https://pipedia.org/wiki/Stanwell.
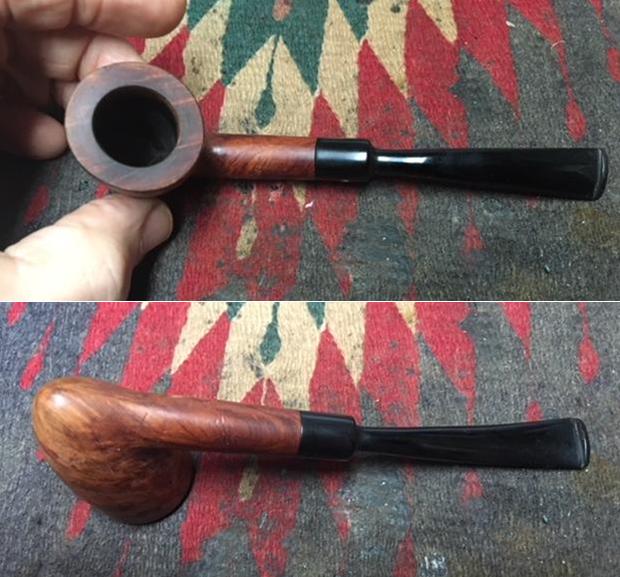
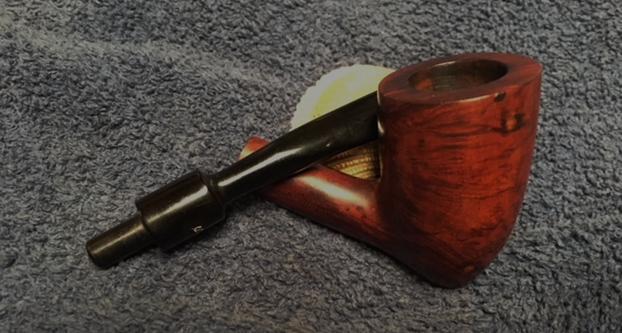
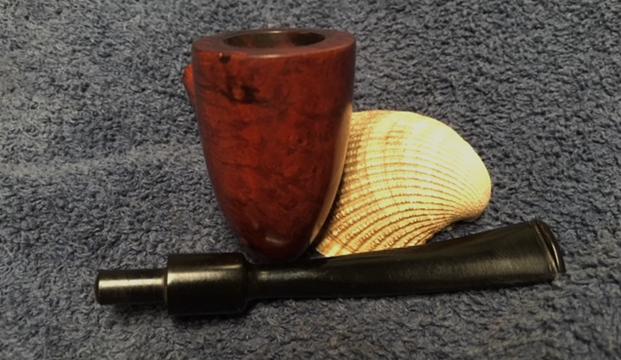
 Anyway, this is a great-looking pipe. No major issues to resolve – just a few minor ones. The stem was dirty, though not too beat up. There were some scratch/tooth marks on the stem, and some oxidation and calcification on the vulcanite. The rim on the stummel had some very light charring. The insides were a bit dirty and would need a little work to clean out.
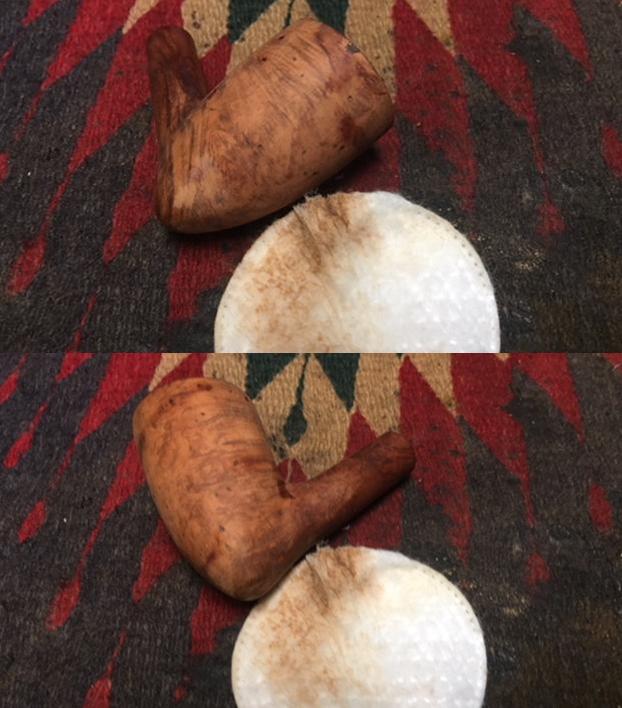

 The stem was first on my list. I wiped down the outside of the stem with Murphy’s Oil Soap on some cotton pads. Then, I cleaned out the inside with pipe cleaners and isopropyl alcohol. It wasn’t too dirty and only required a few pipe cleaners.
 I then wiped down the stem with SoftScrub cleaner to remove surface oxidation. Once this process was done, the stem went for an overnight soak in the Pipe Stem Oxidation Remover. This allows me to clean the oxidation off in a couple of ways: by applying a mild cleaner to the surface and sanding the stem. The next day, I used SoftScrub again with some cotton rounds.

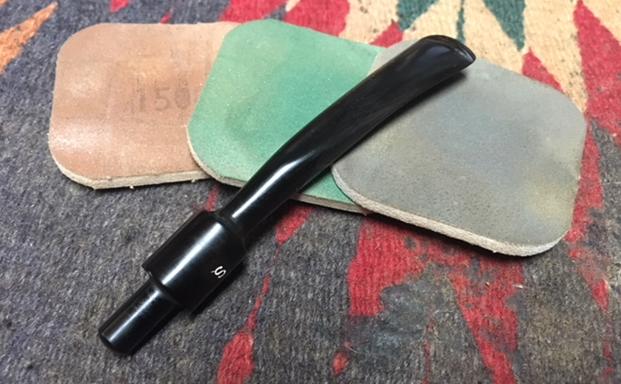
 Some of the more pronounced dents had to be dealt with, so I whipped out my black cyanoacrylate adhesive to fill those in and let them fully cure. After curing, I used some paint to restore the letter S on the stem. I painted the area carefully and let it fully set before proceeding.
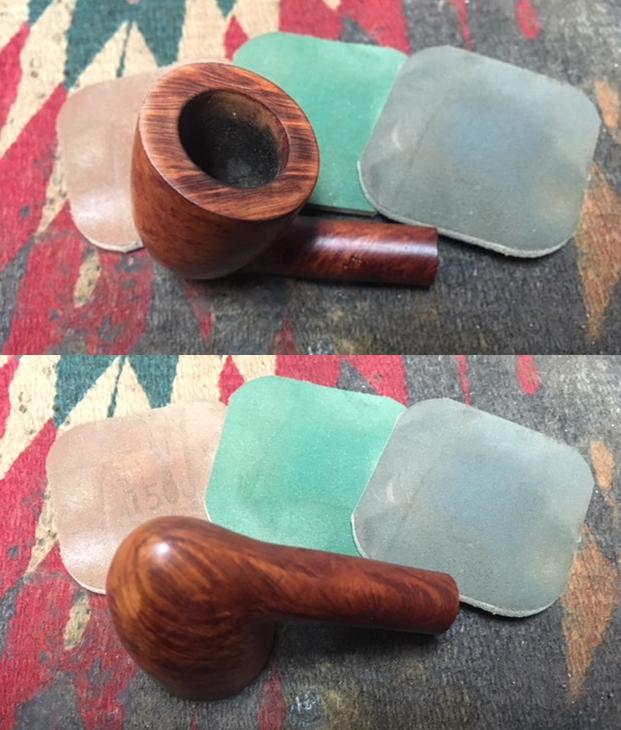
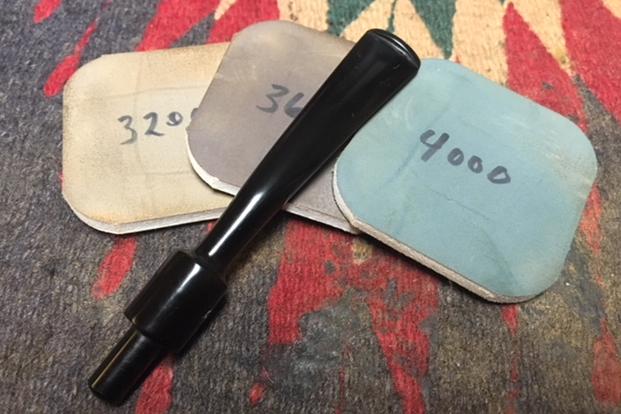
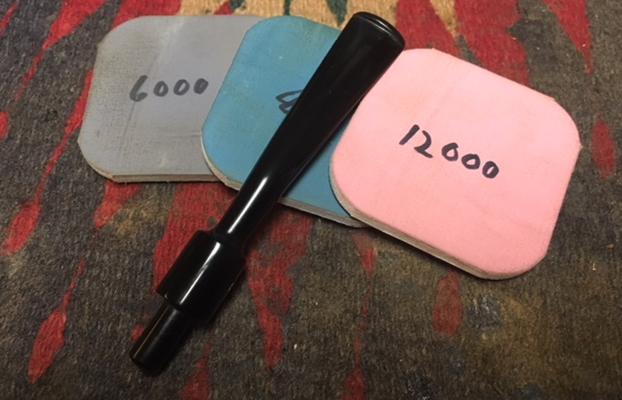
 For sanding the adhesive, I used 220- and 400-grit sandpapers to meld seamlessly into the stem. Then I used a set of nine Micromesh pads (1,500 through 12,000 grit) which gradually erased the ravages of time and brought out the stem’s lovely black lustre. For the last five pads, I also lightly coated the stem with Obsidian Pipe Stem Oil in between each scrubbing. The restored logo came out very nicely. At last, I set the finished stem aside.
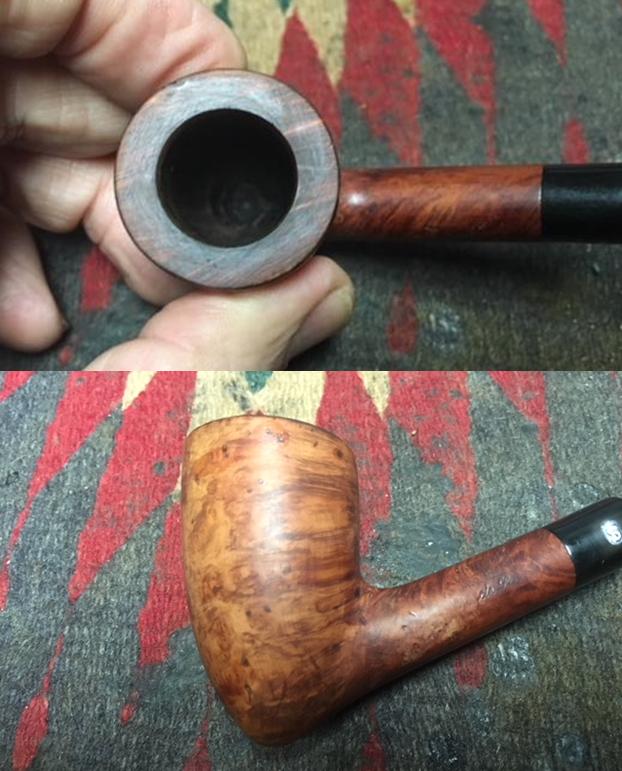
 Off to work on the stummel! The bowl needed a bit of reaming, so I used the Kleen Reem to scrape off the built-up cake, and I followed that with 220-grit sandpaper taped to a dowel to eliminate as much as possible. Generally, I prefer to sand the chamber down to bare briar. When restoring, it is important to ensure that there is no damage to the briar in the bowl under the cake. Fortunately, there were no hidden flaws in the briar on this pipe.
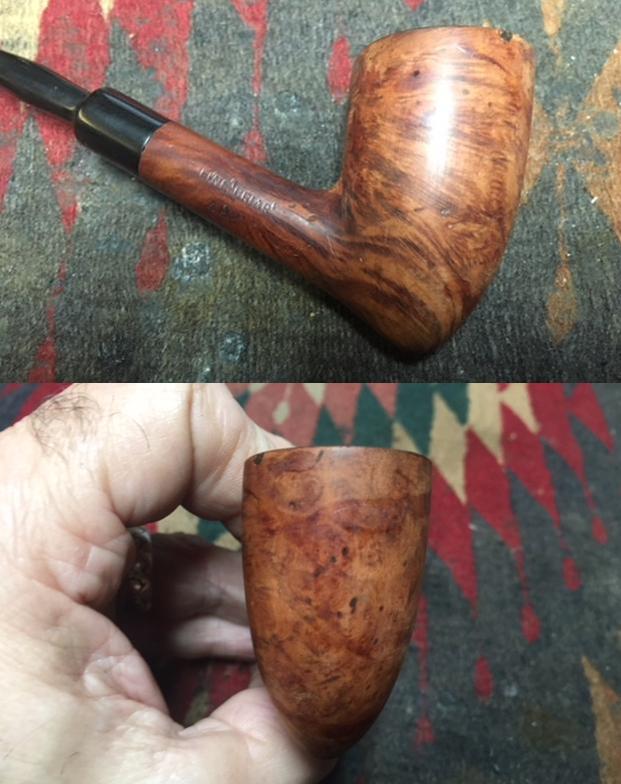
 I gently removed the lava on the rim with a piece of machine metal. When the rim of a pipe isn’t damaged, I prefer to use this technique rather than my topping board. The machine metal preserves the rim and doesn’t remove stain and/or patina.
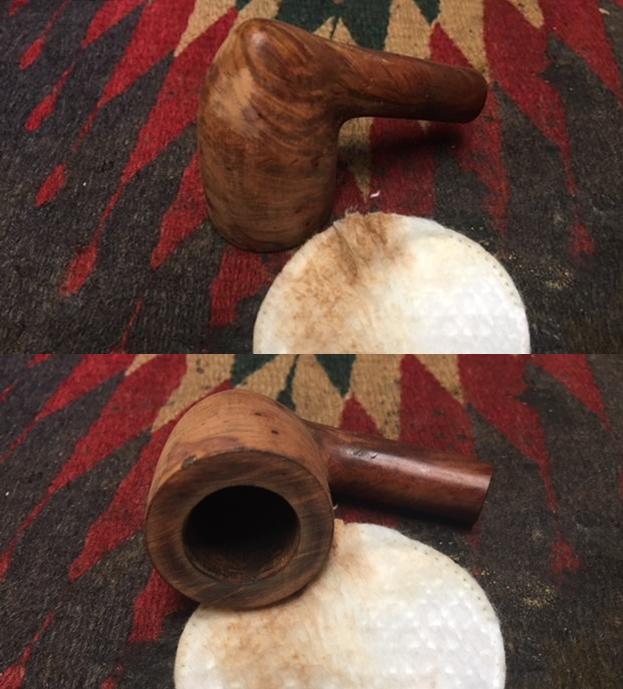
 I then proceeded to clean out the insides of the shank with Q-tips, pipe cleaners, and lemon-infused isopropyl alcohol. I also used some more Murphy’s here. There wasn’t too much filth in this one, fortunately. I followed that up by cleaning the insides with some dish soap and tube brushes.
 I decided to de-ghost the pipe in order to remove any lingering smells of the past. I thrust cotton balls into the bowl and the shank and saturated them with 99% isopropyl alcohol. I let the stummel sit overnight. This caused any remaining oils, tars and smells to leach out into the cotton. The bowl was nice and clean after this.
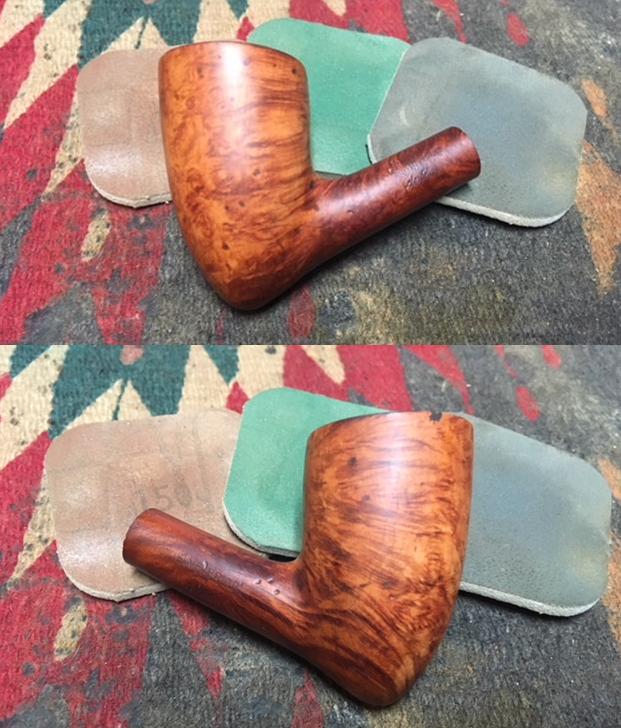
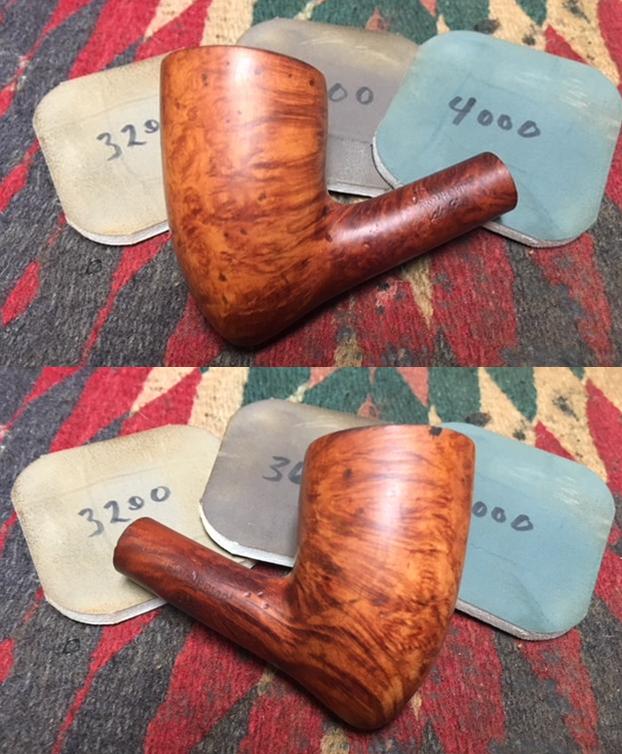
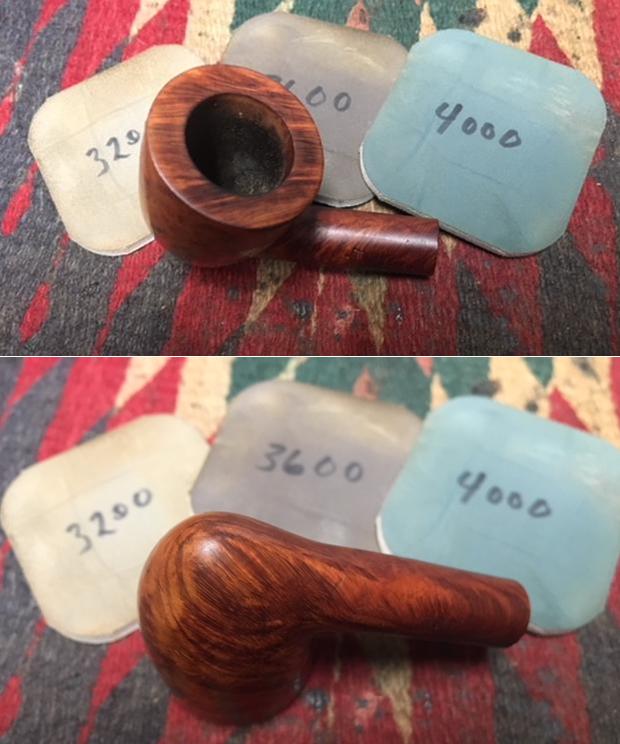
 I used all nine Micromesh pads (1,500 through 12,000 grit) on the stummel to make it lovely and smooth.
 At this point, I rubbed some Before & After Restoration Balm into the briar and left it to sit for 15 minutes or so. I brushed it with a microfibre cloth. The B&ARB does wonderful things to the wood, and I really like the walnut colour of the briar.
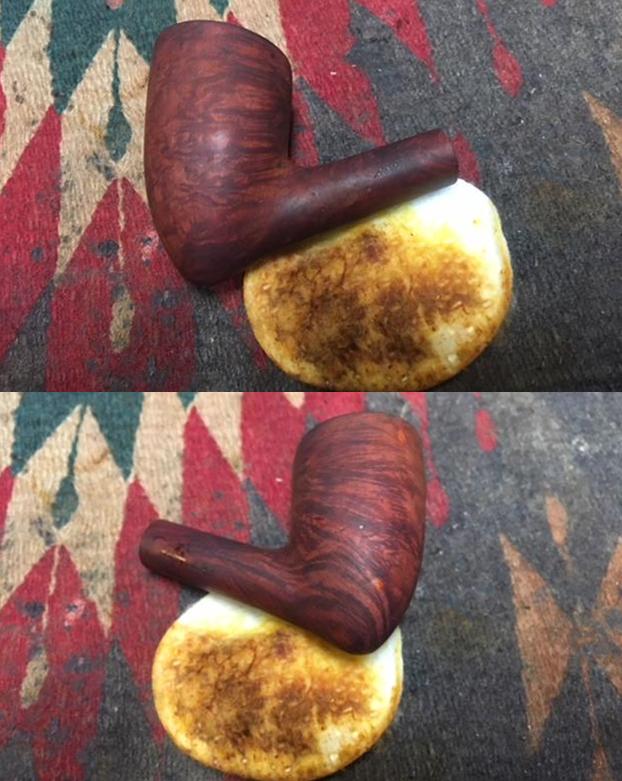
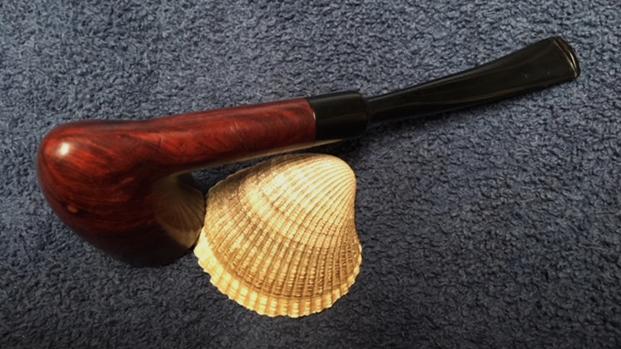
 Finally, it was off for a trip to the bench polisher. A dose of White Diamond and a few coats of carnauba wax perfectly complemented the briar. The lovely shine made the wood look absolutely beautiful. This pipe is elegant, light, and incredibly comfortable to hold.
 I thoroughly enjoyed bringing this Stanwell de Luxe 482 freehand pickaxe back to life. It is a gorgeous pipe. I know that my cousin will enjoy it for many years to come. I hope you enjoyed reading the story of this pipe as much I as I did restoring it. The approximate dimensions of the pipe are as follows: length 5⅞ in. (150 mm); height 2 in. (50 mm); bowl diameter 1¼ in. (31 mm); chamber diameter ⅝ in. (18 mm). The weight of the pipe is ⅞ oz. (29 g). If you are interested in more of my work, please follow me here on Steve’s website or email me directly at kenneth@knightsofthepipe.com. Thank you very much for reading and, as always, I welcome and encourage your comments.