by Steve Laug
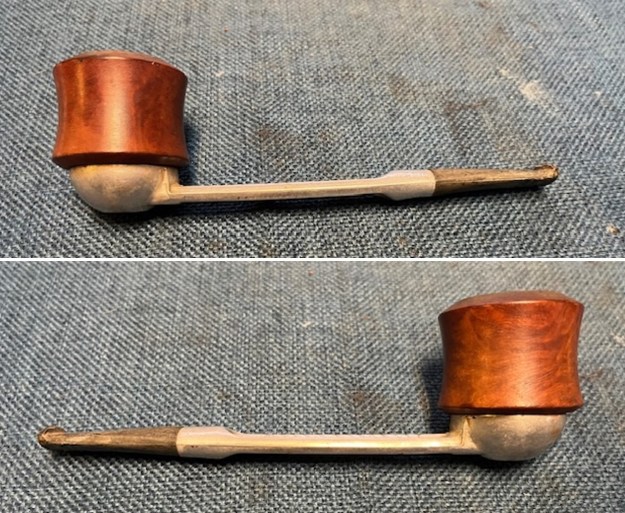
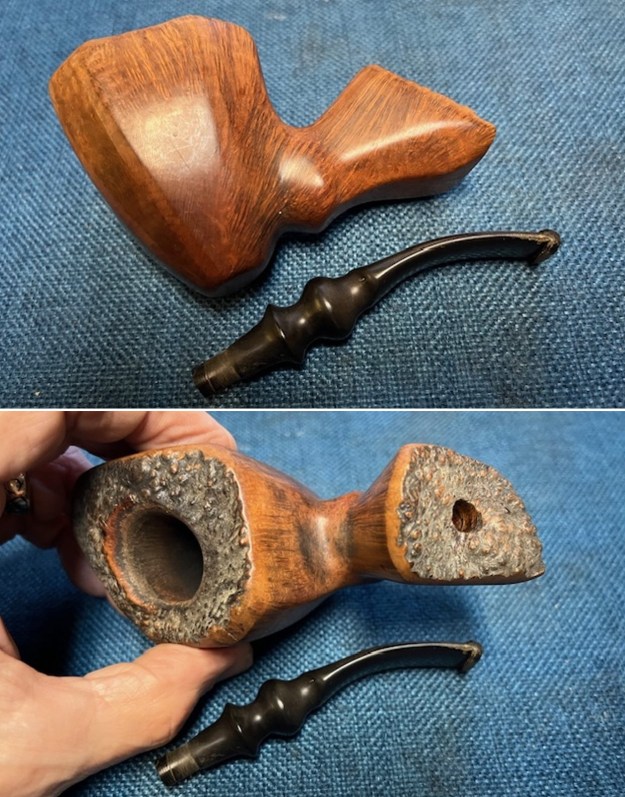
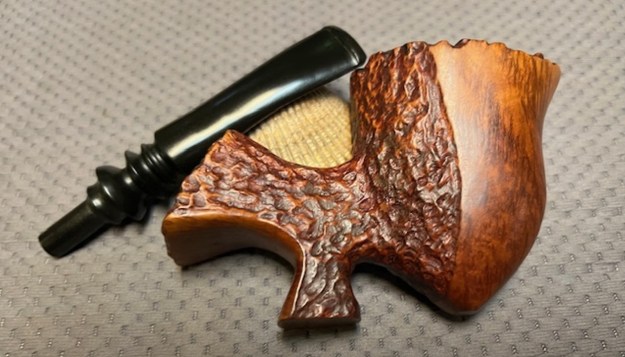
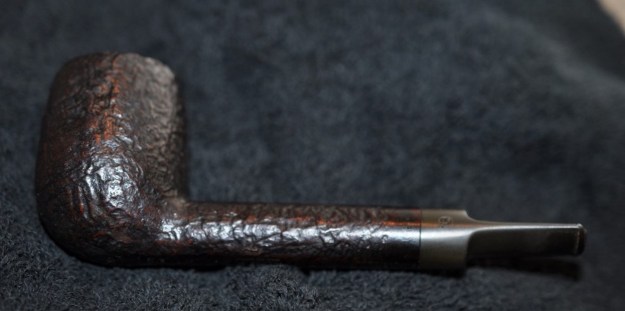
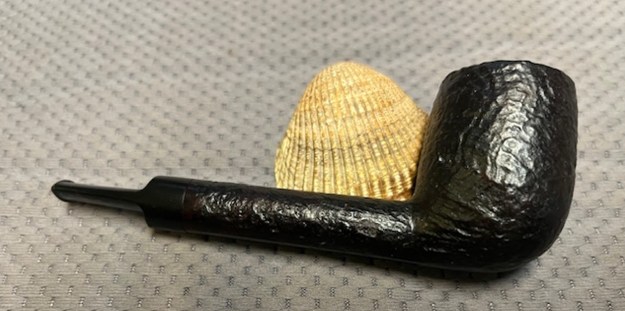
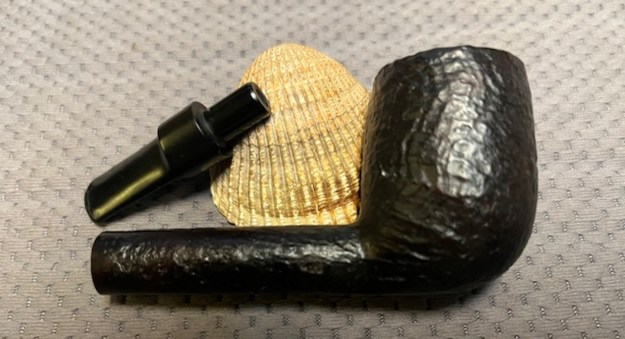
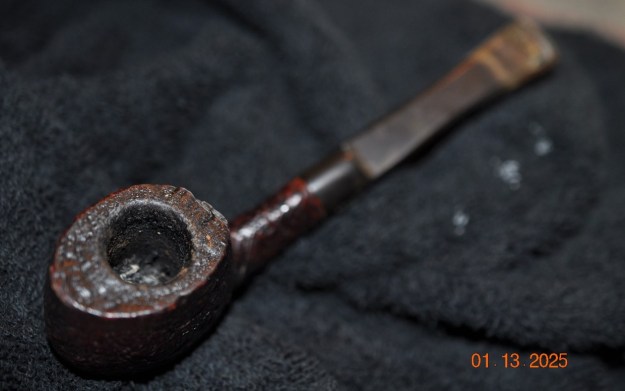
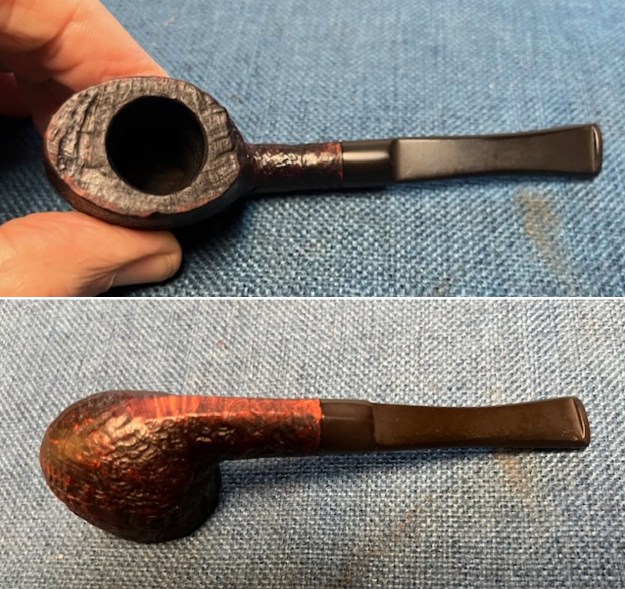
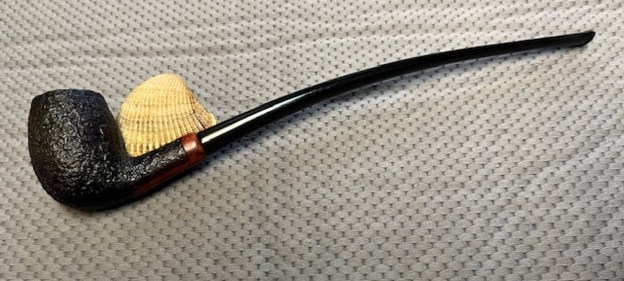
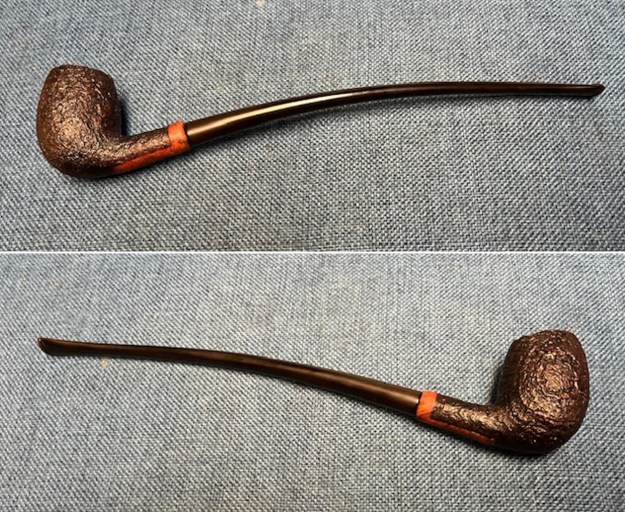
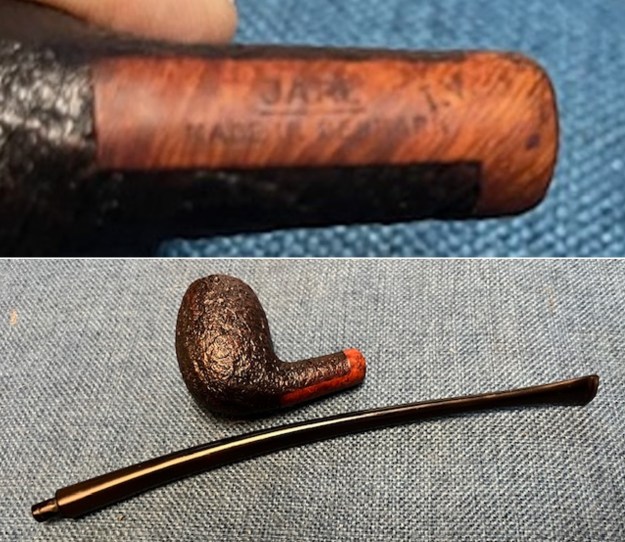
I have been working on the 12 pipe lot since I got back from Asia along with two other repairs that I took on before I left. I need a break to work on something of my own for a bit. I went through my boxes from Jeff here and chose a Dunhill to bring to the work table. It is a shape that I have not worked on before and it intrigued me. It was one that we had purchased from a fellow in Ogden, Utah on 12/12/24. It is a unique Dunhill Shell Diplomat with a great sandblast. The stamping on the underside of the shank had a Circle 4 on the heel of the bowl identifying it as a group 4 size pipe. That is followed by Dunhill Shell [over] Made in England followed by a number 21 to the right of the D in England that will help me date the pipe. The bowl had been reamed not long ago. There was some dust and debris in the sandblast on the rim but the inner and outer edge looked good. The sandblast finish was rugged and dirty but it could not hide the lovely blast around the bowl and shank. The stem was clean and there were light tooth marks on the top and underside ahead of the button. The classic Dunhill White Spot was on top of the taper stem. Jeff took photos of the pipe before he started his clean up work. I have included them below.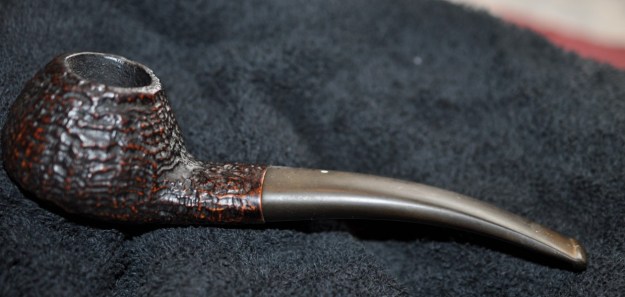
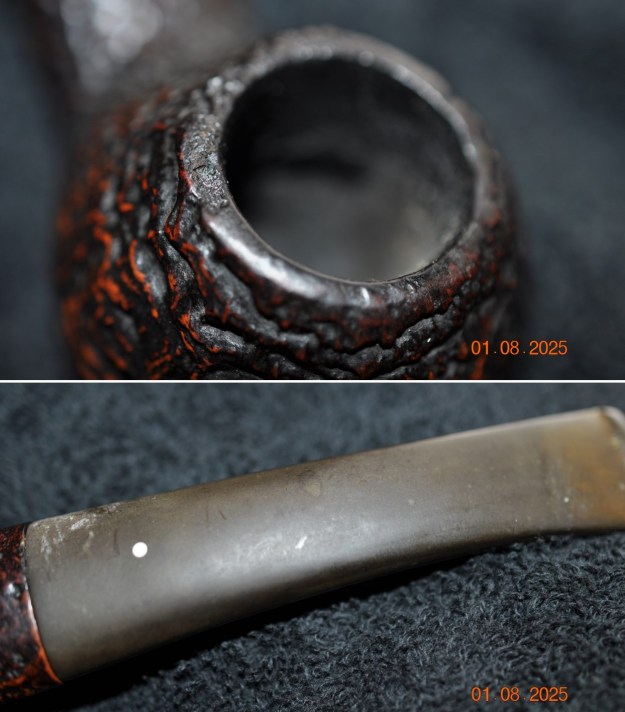
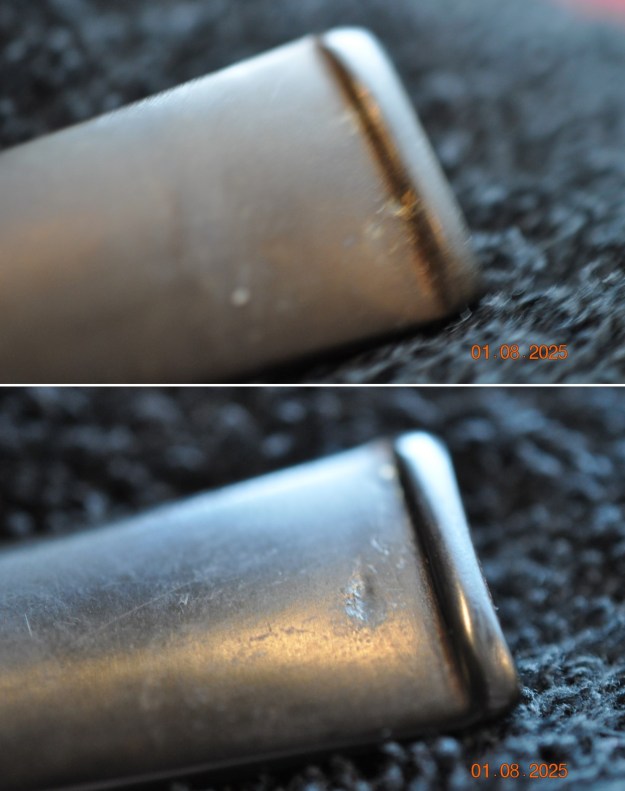
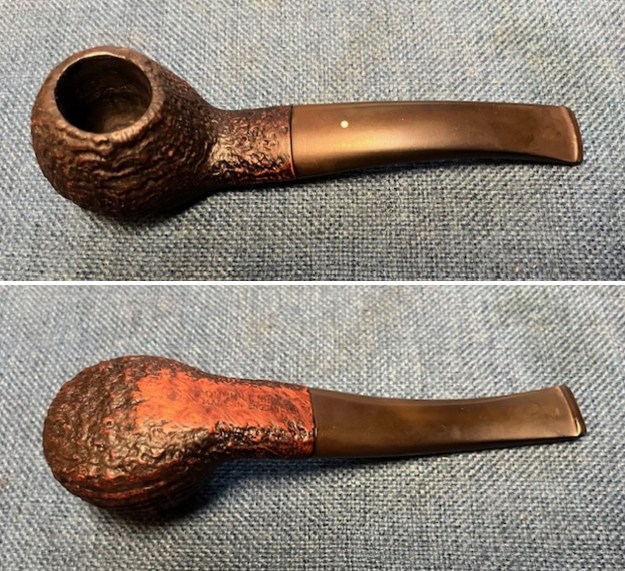
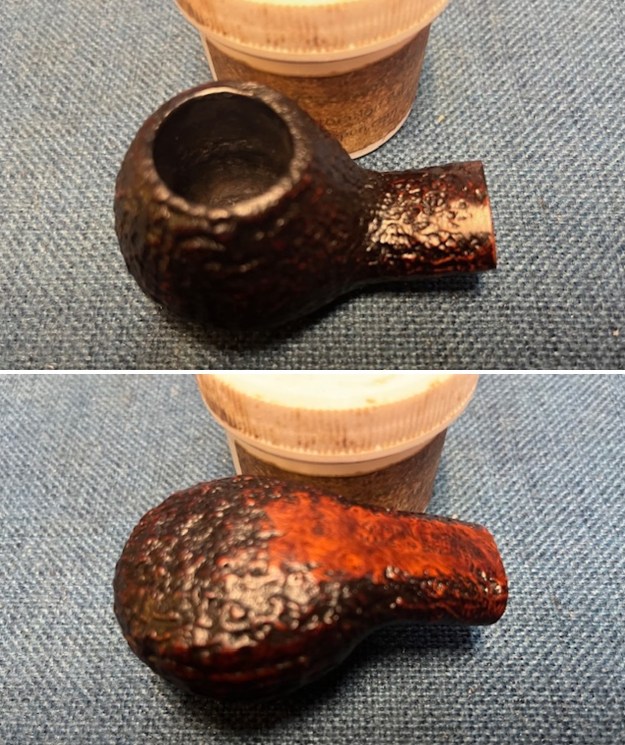
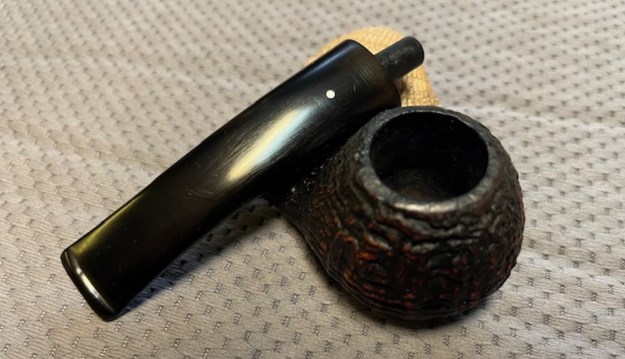
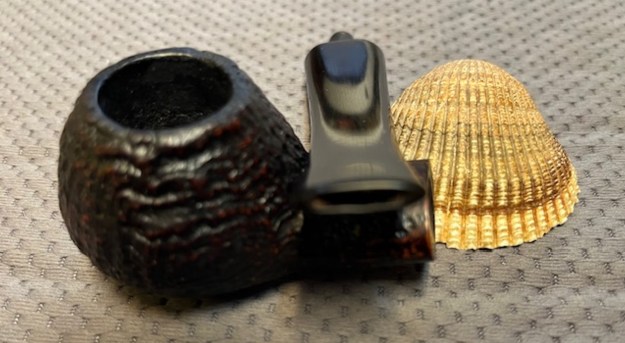
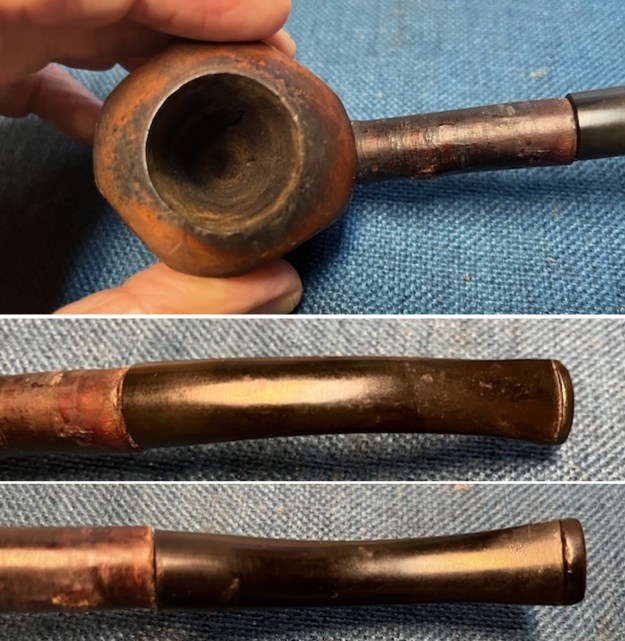
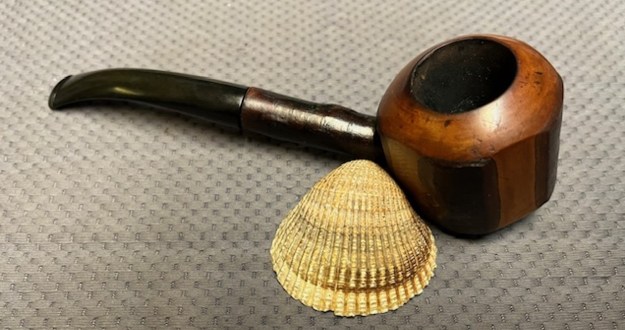
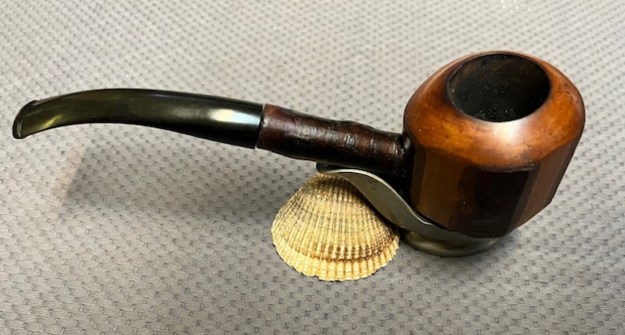
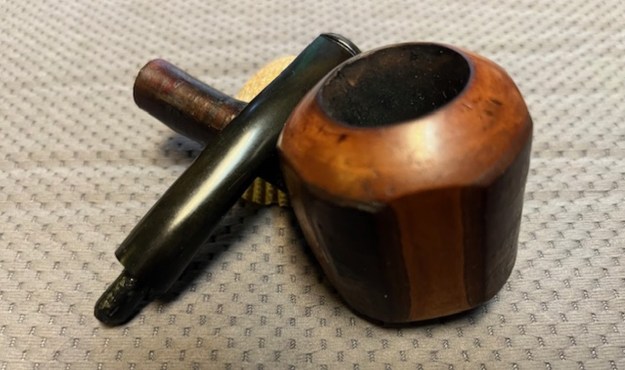
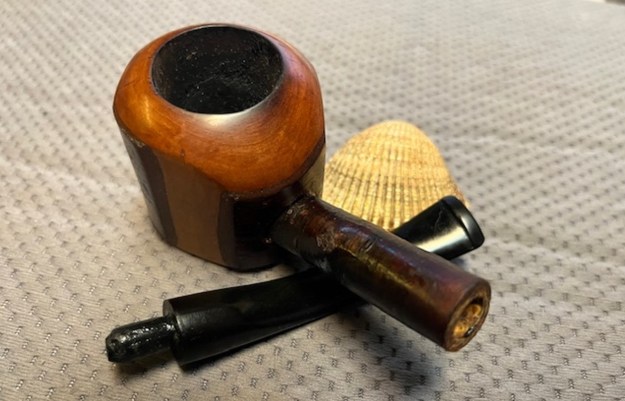
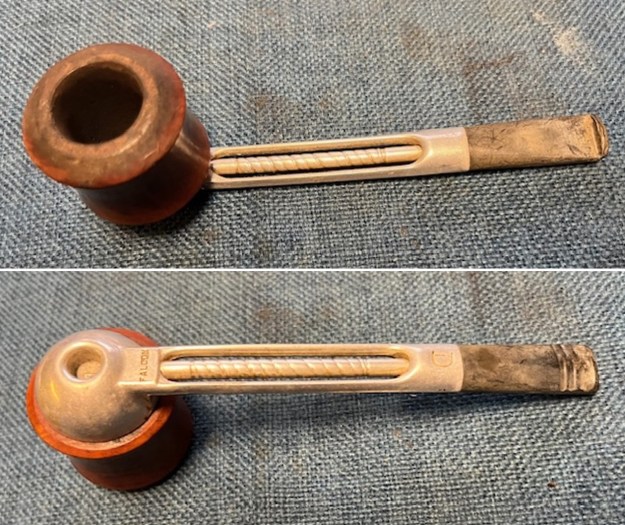
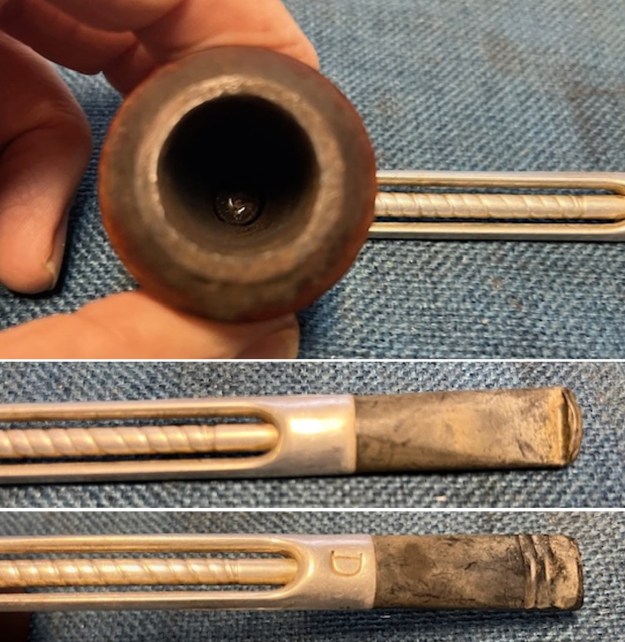
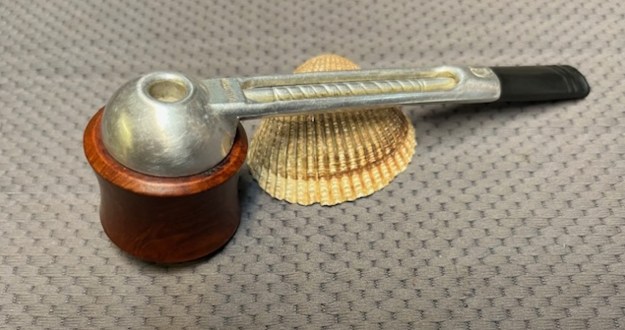
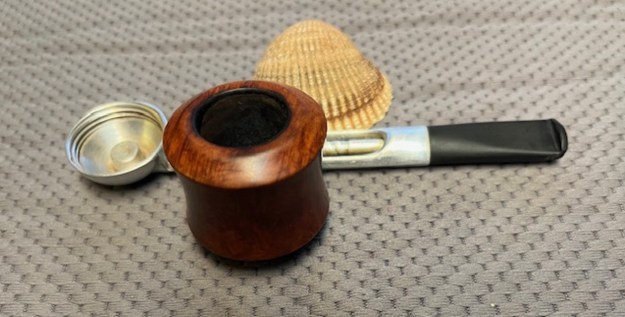
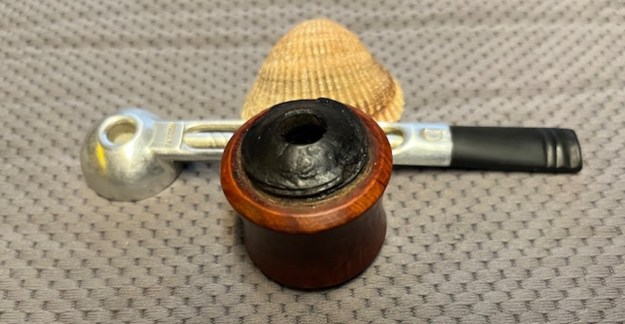
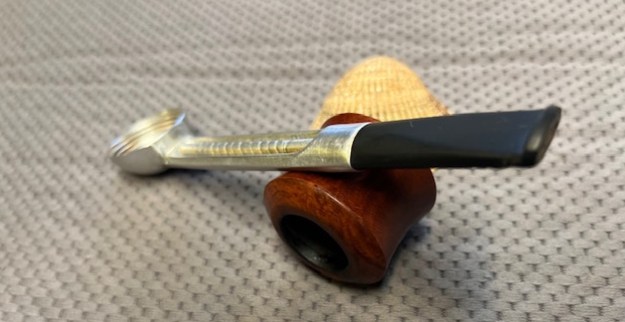
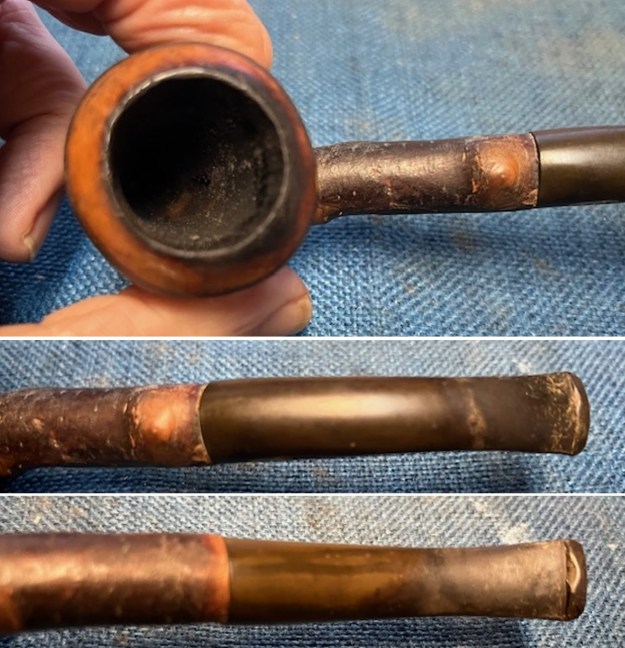
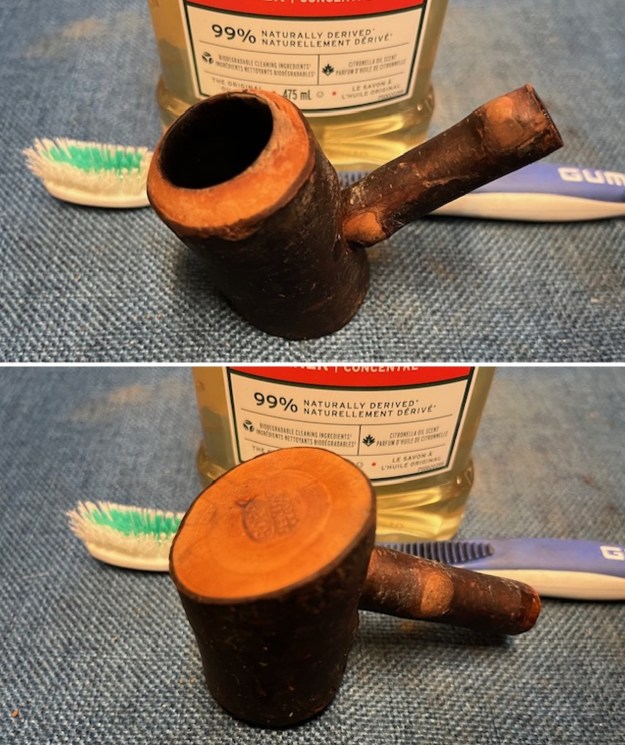
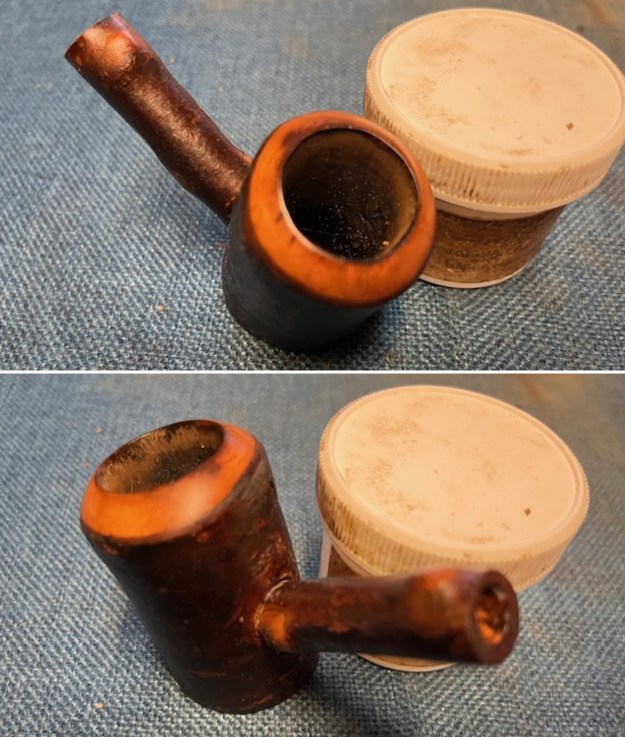
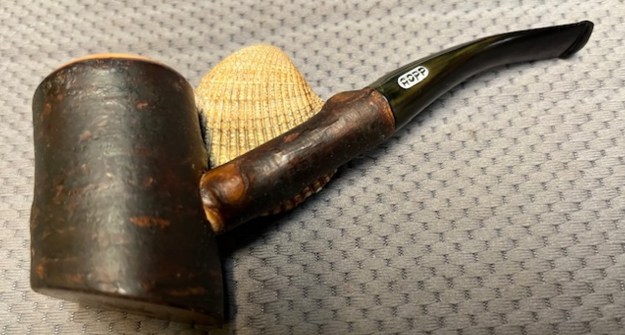
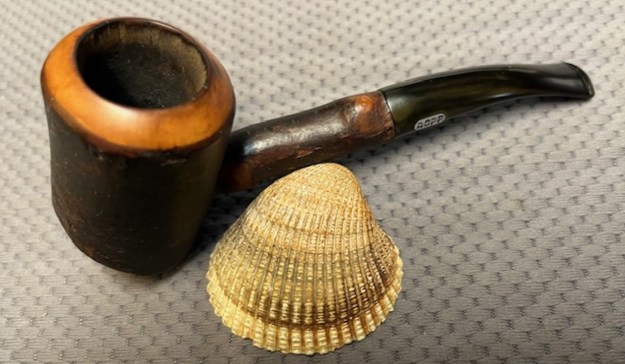
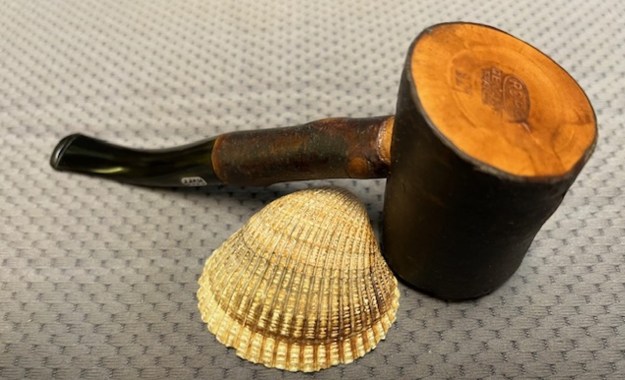
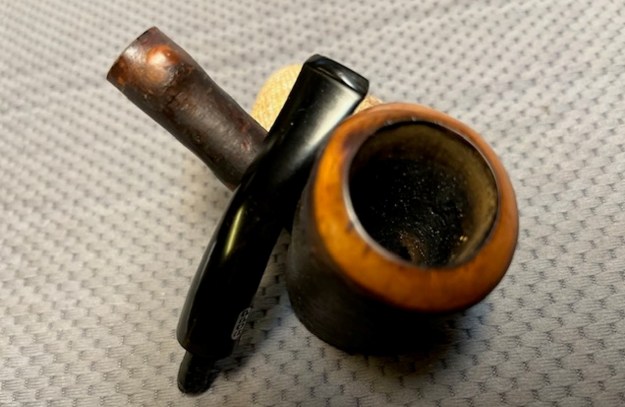
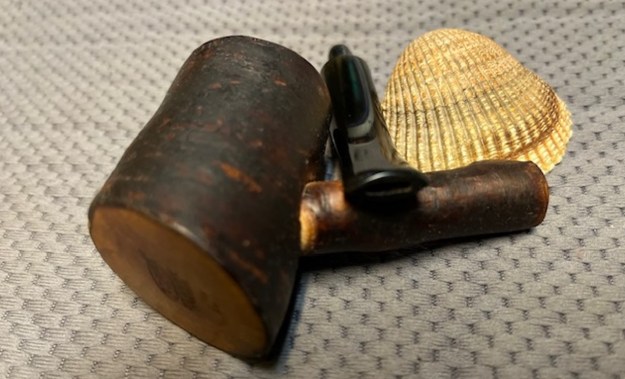
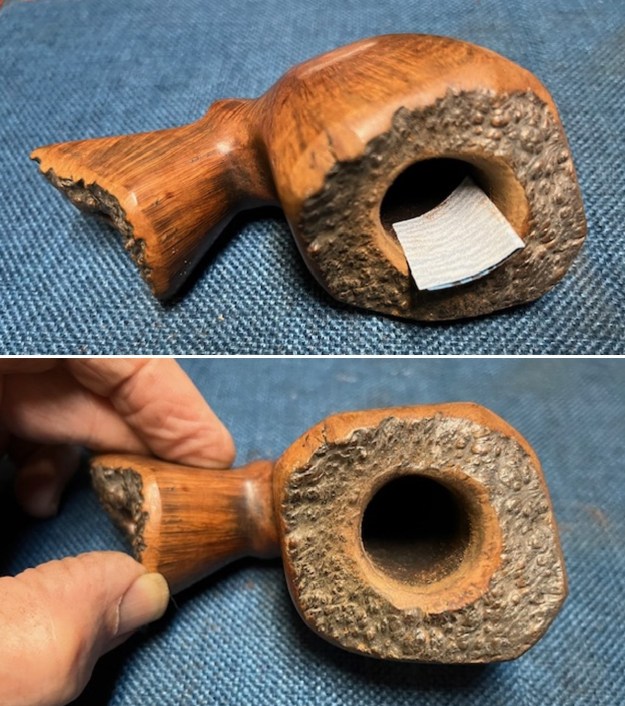
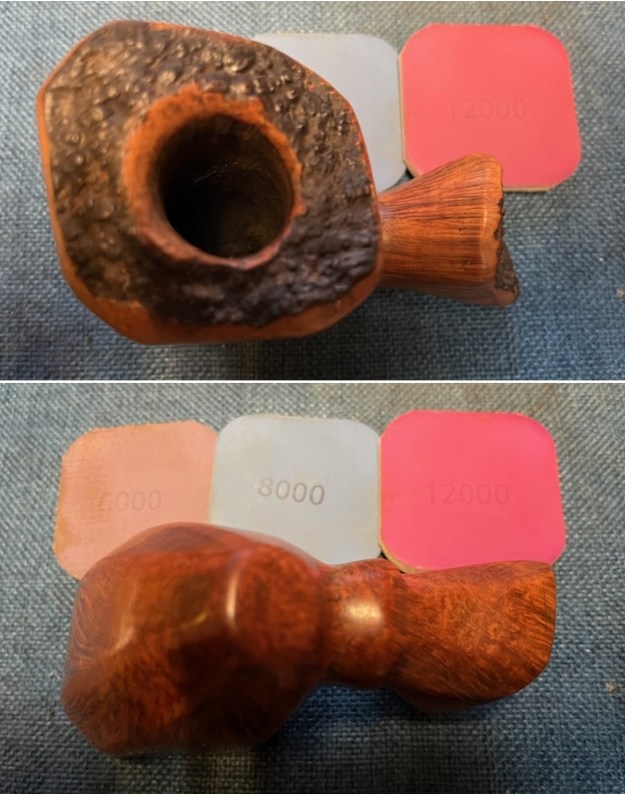
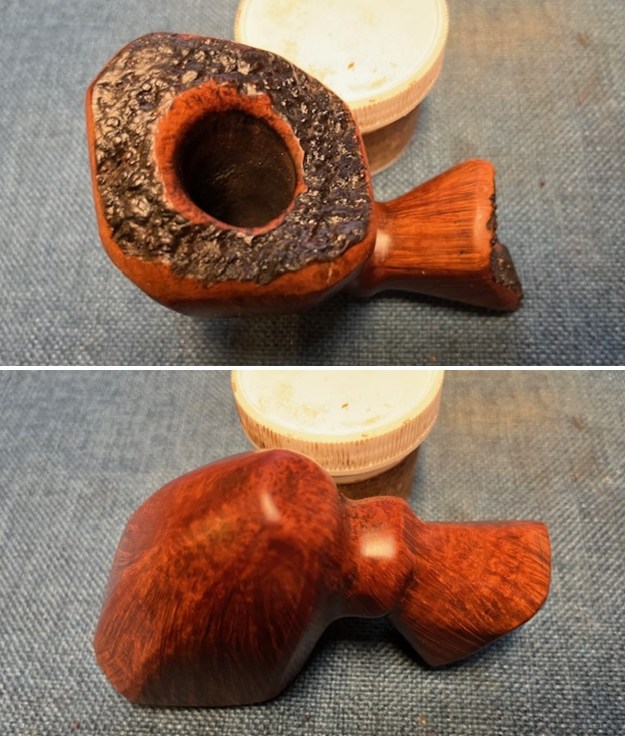
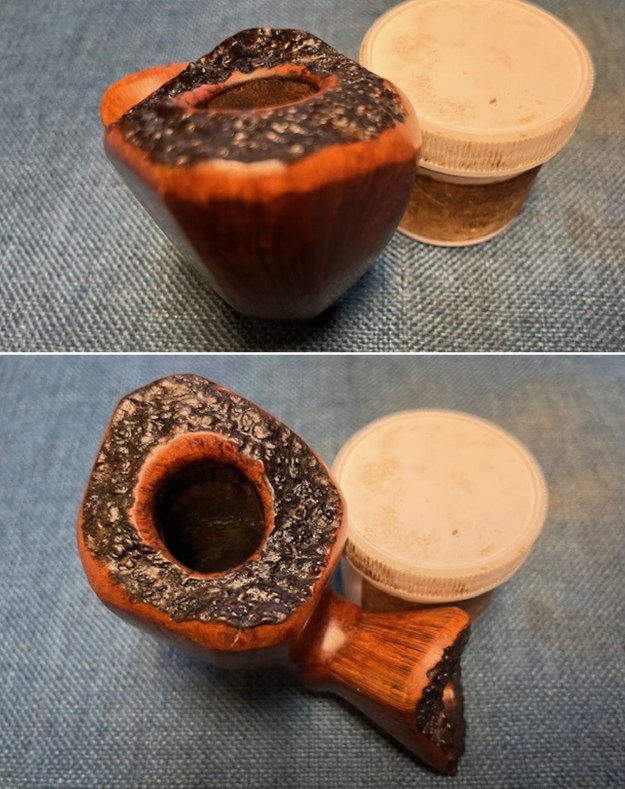
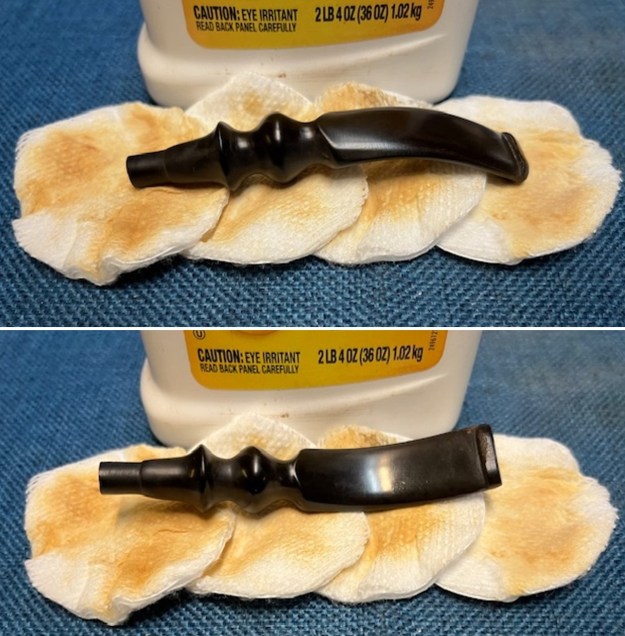
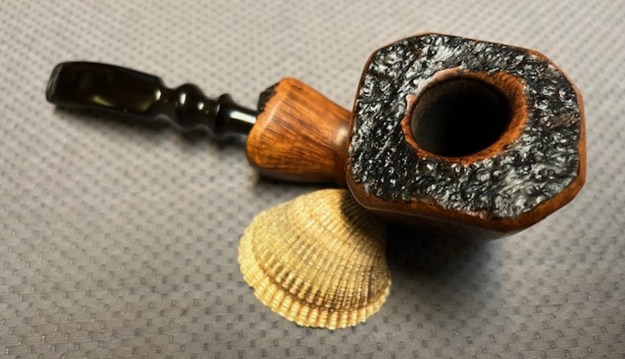
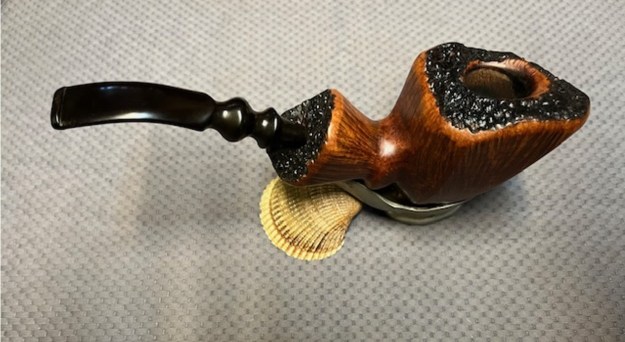
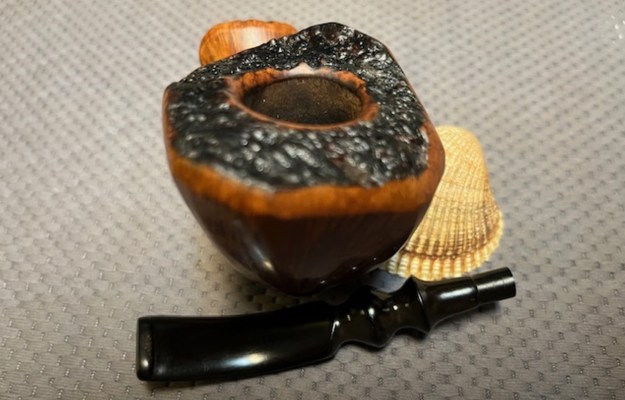
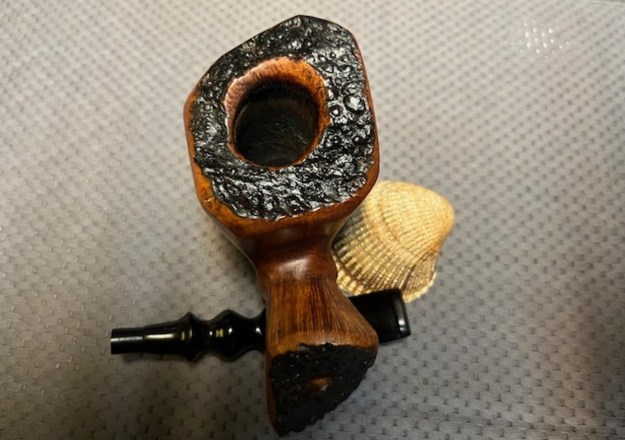
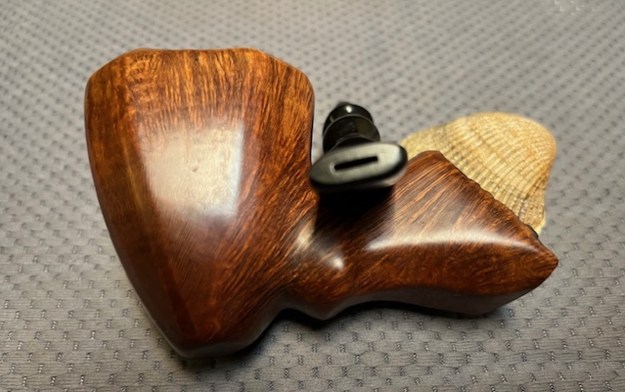
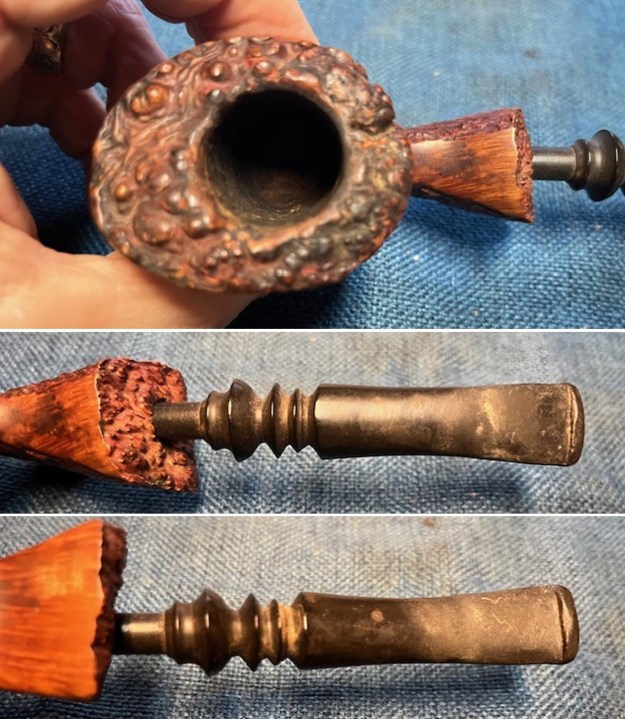
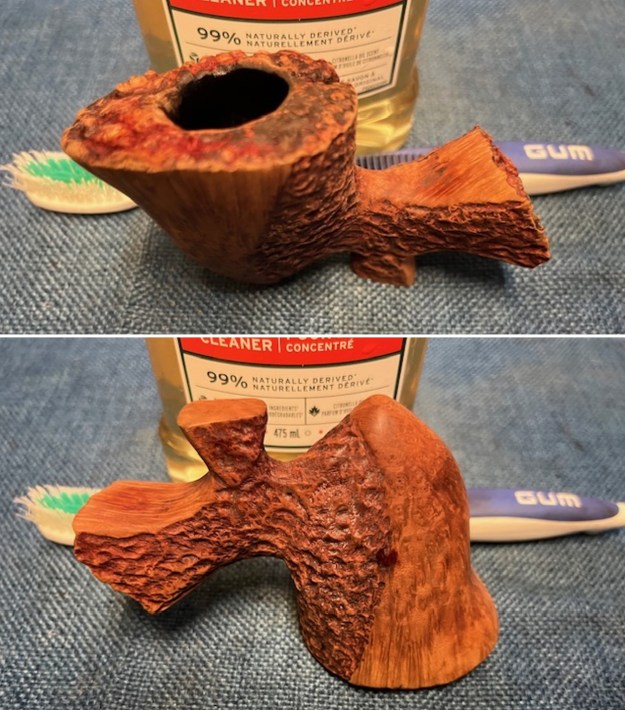
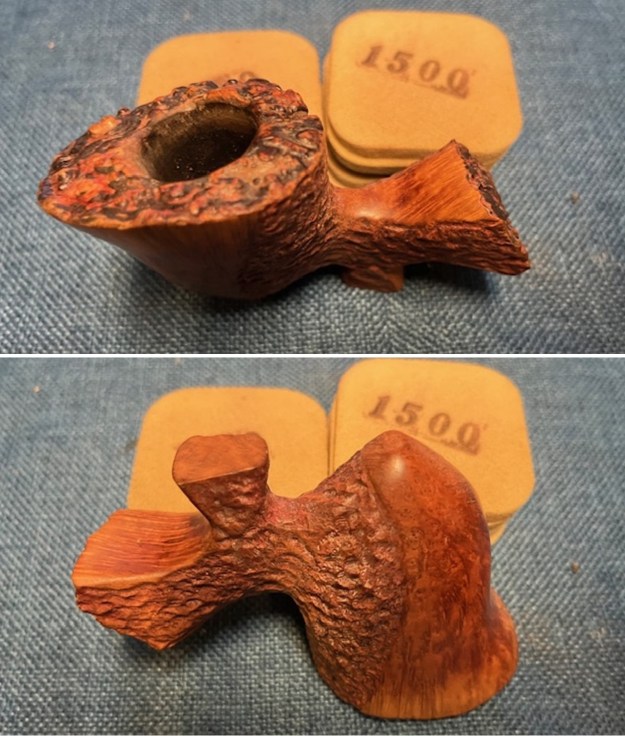
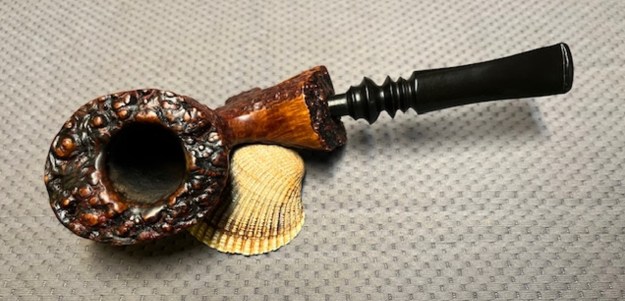
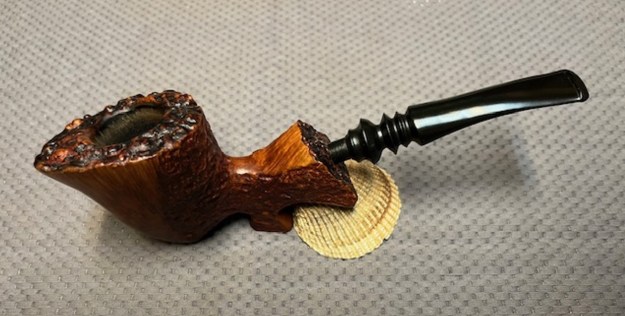
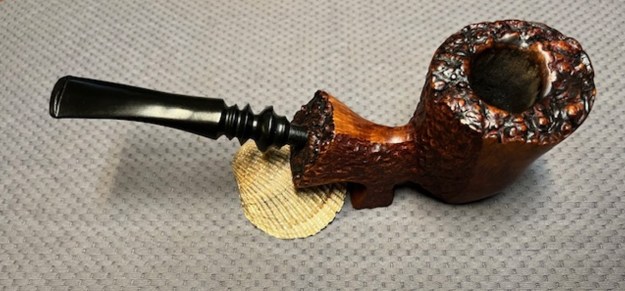
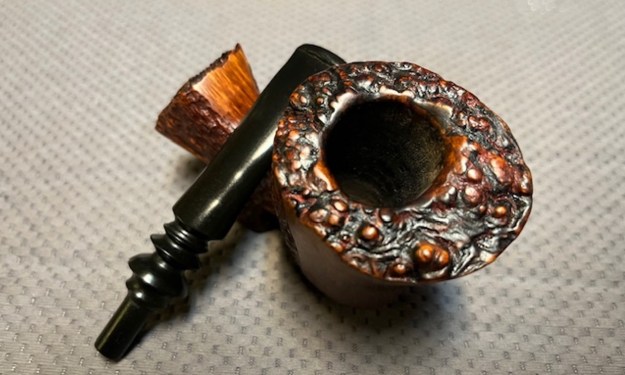
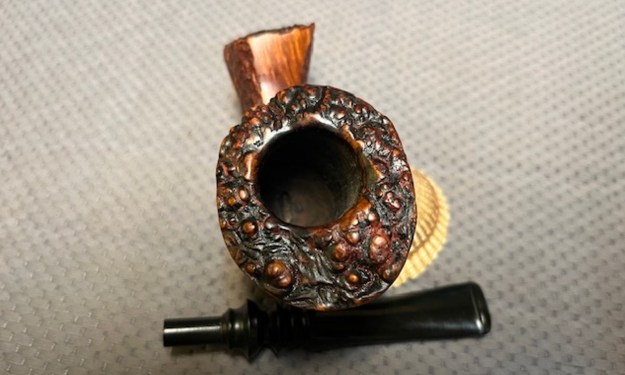
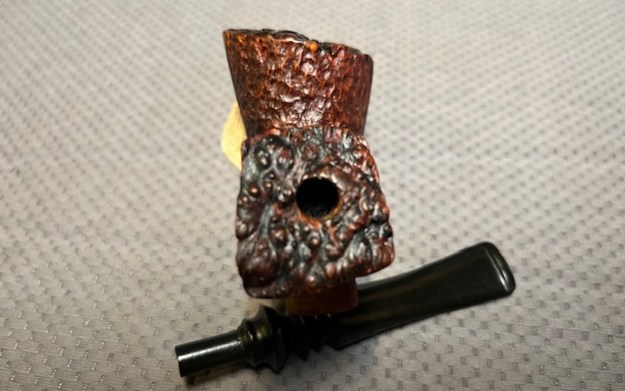
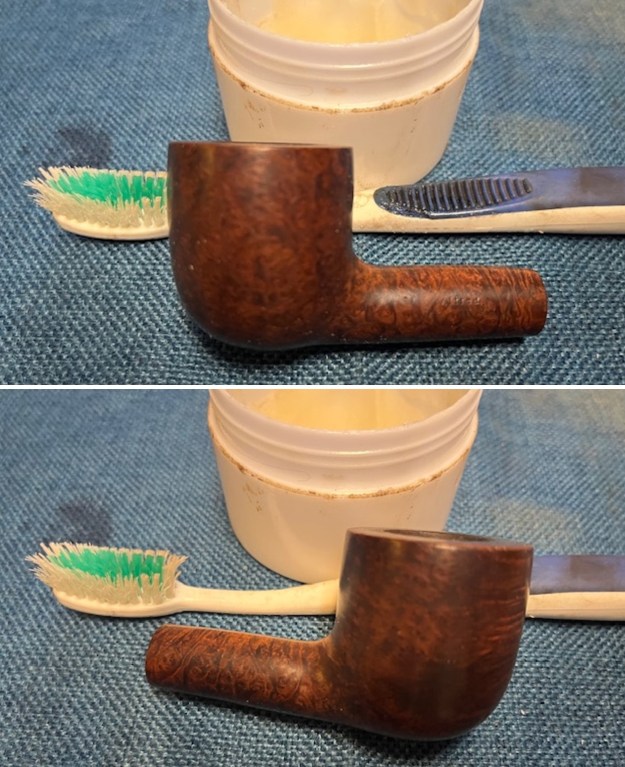
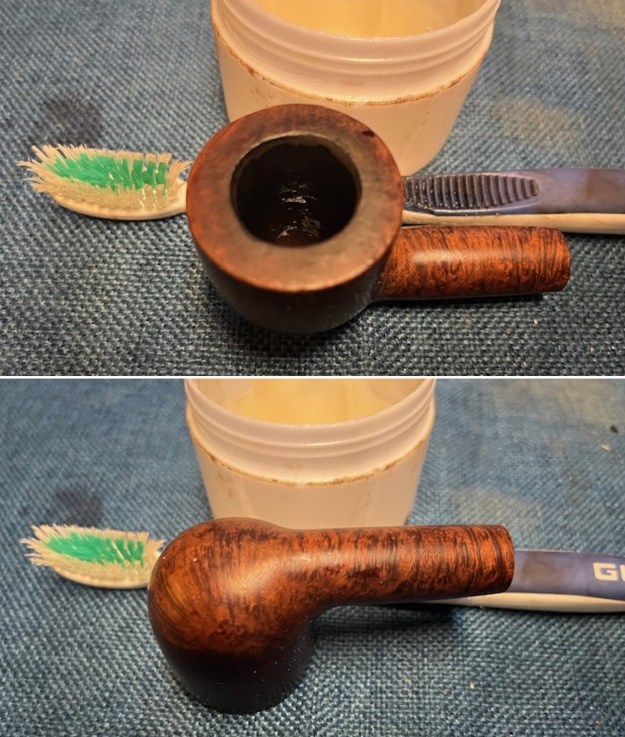
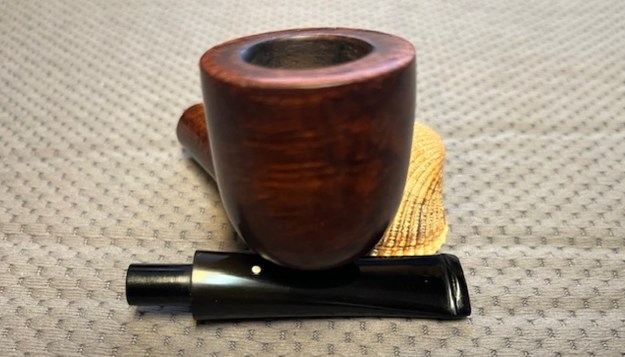
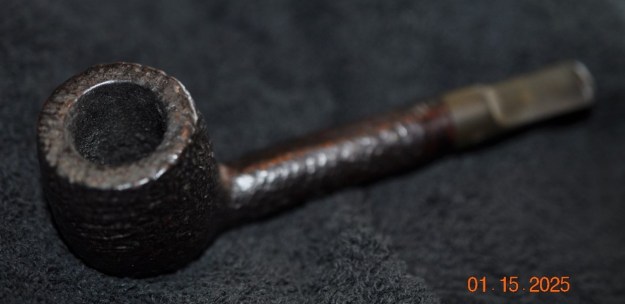
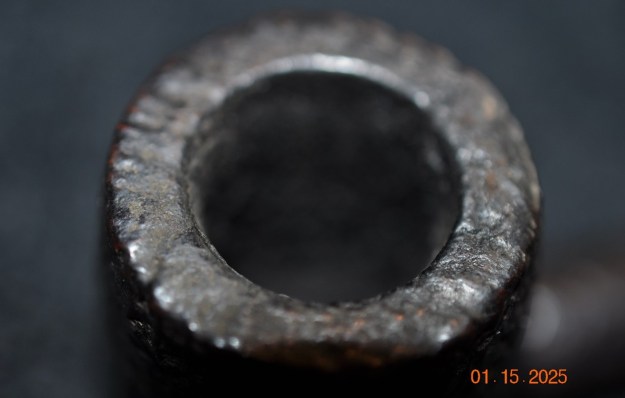
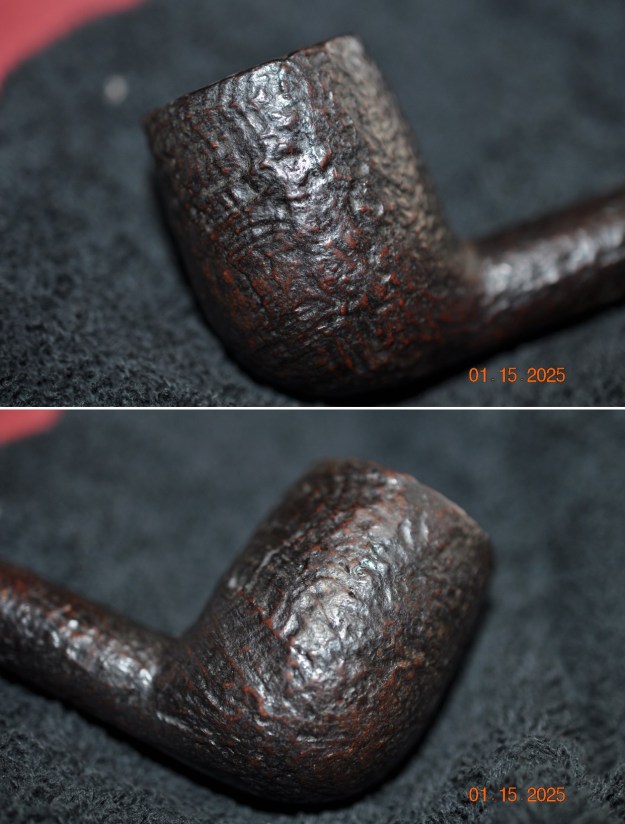
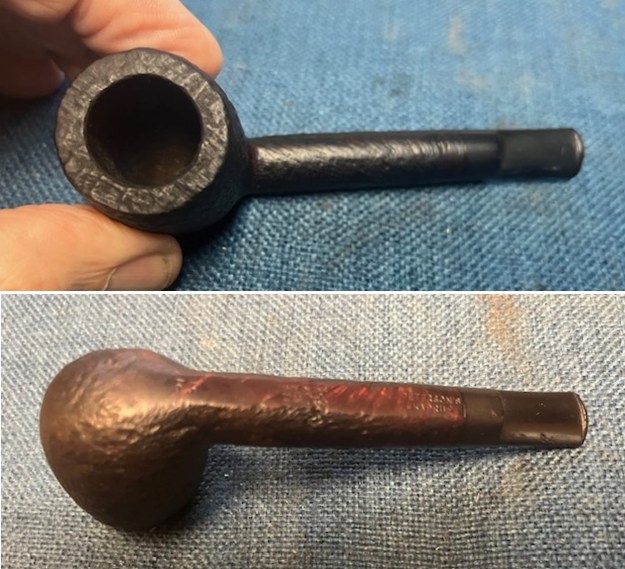
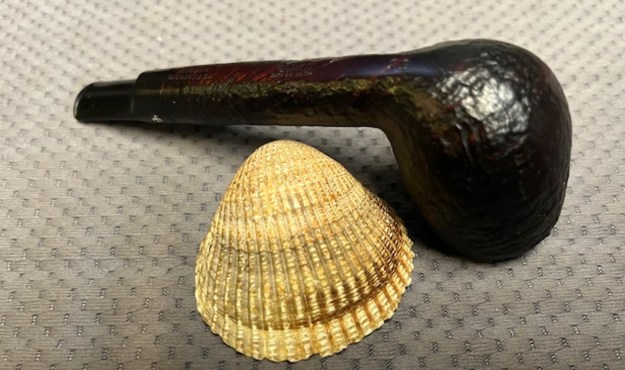
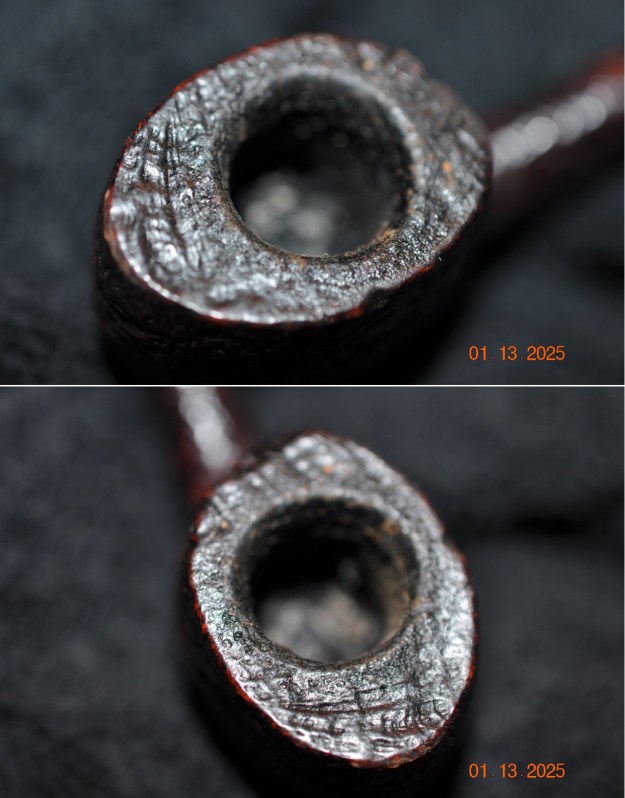
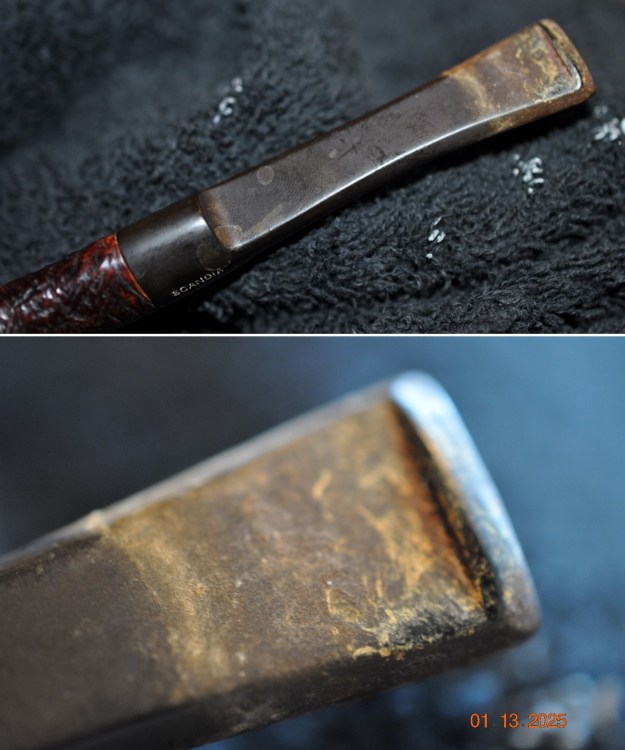
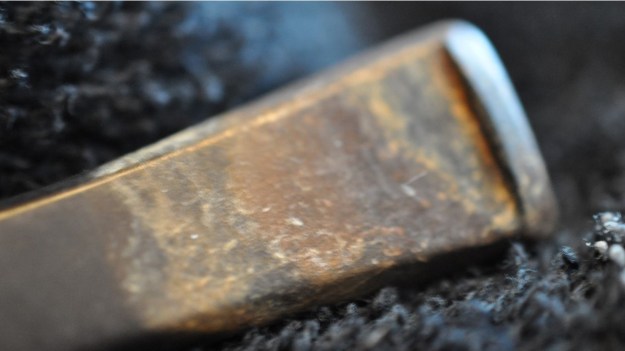
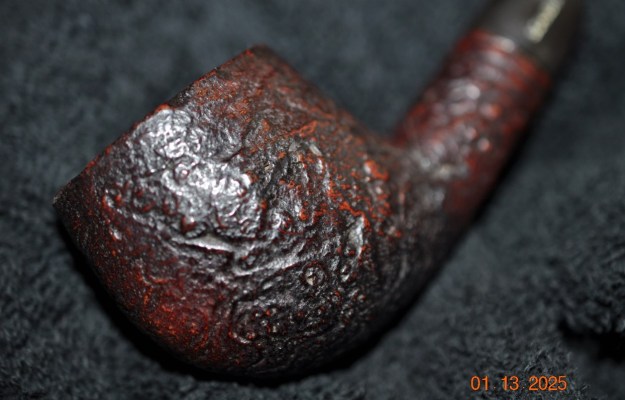
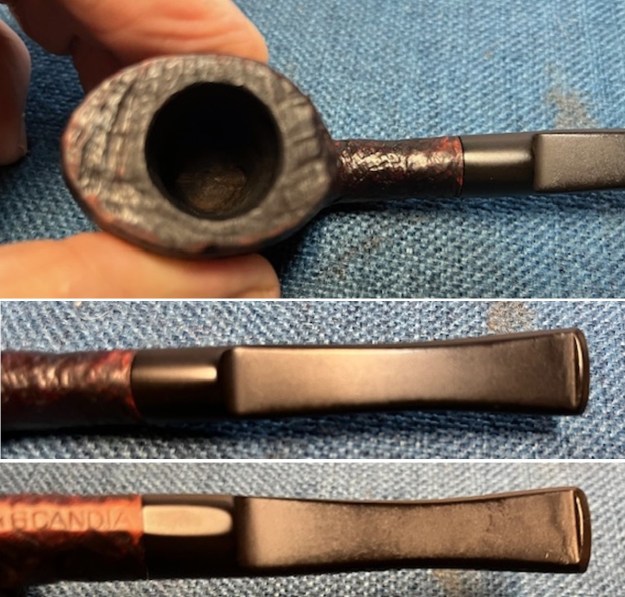
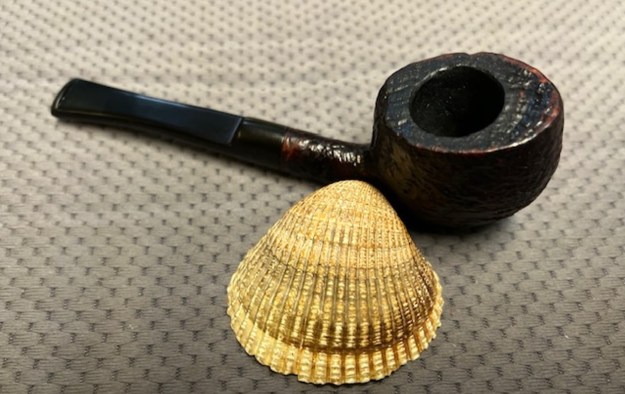
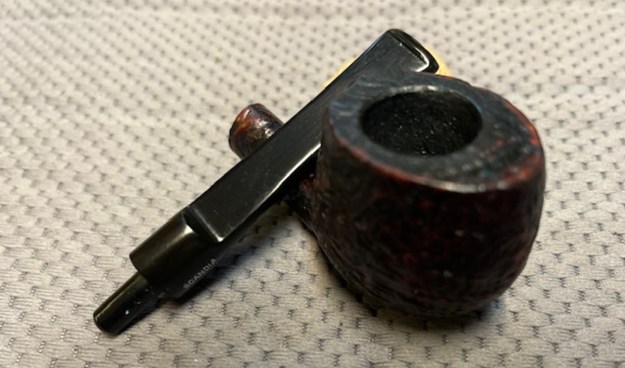
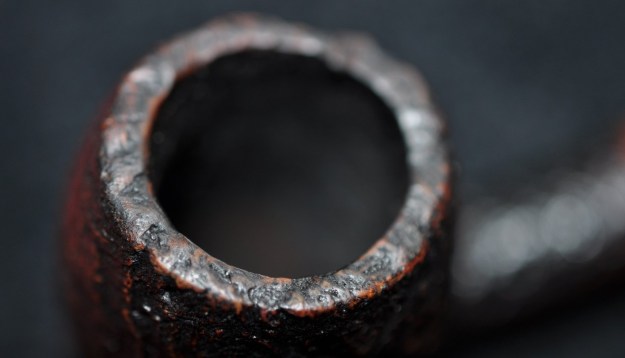
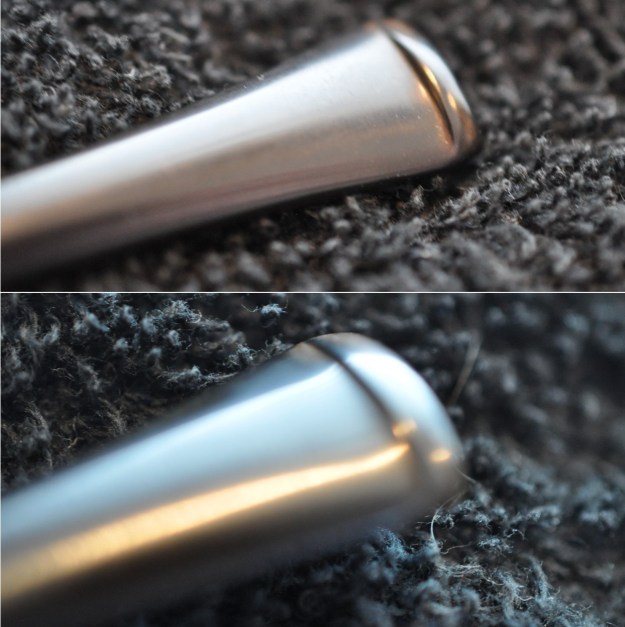
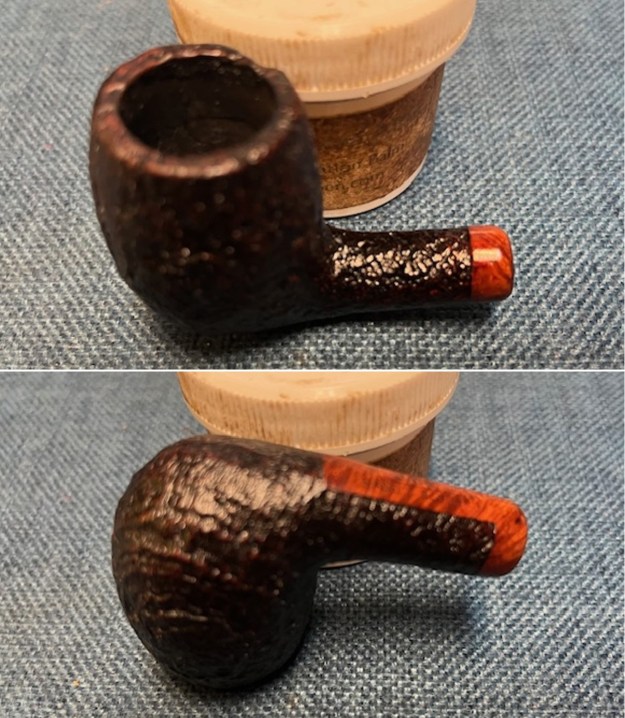
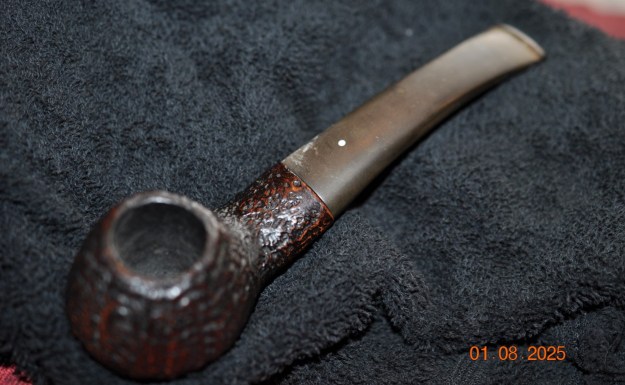 He took photos of the pipe’s bowl and rim top to show the cake in the bowl and the lava coat overflowing onto the top. He also took photos to capture the tooth marks on the top and underside of the stem near the button. The stem is also oxidized and calcified.
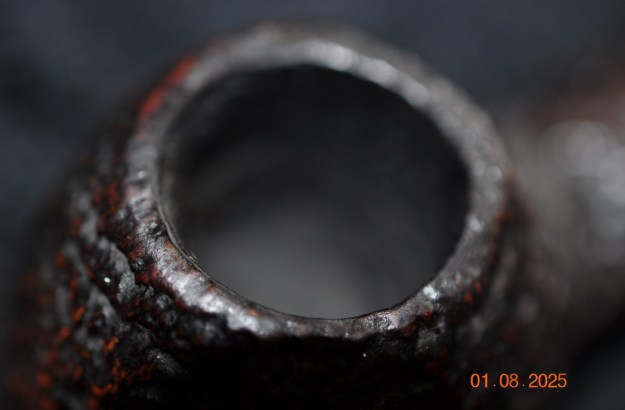
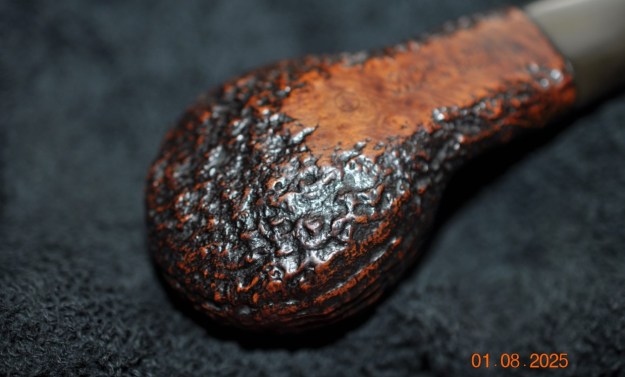
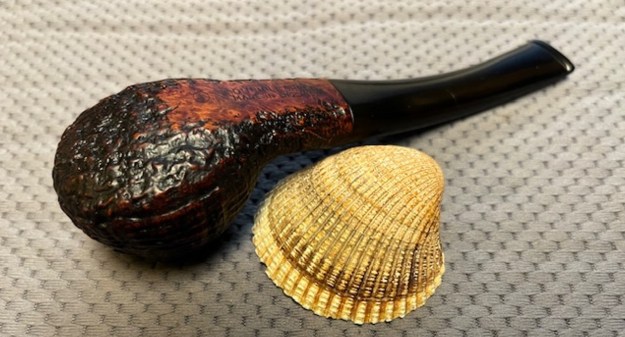
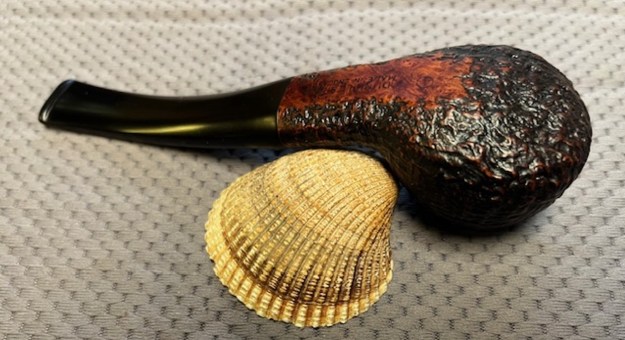
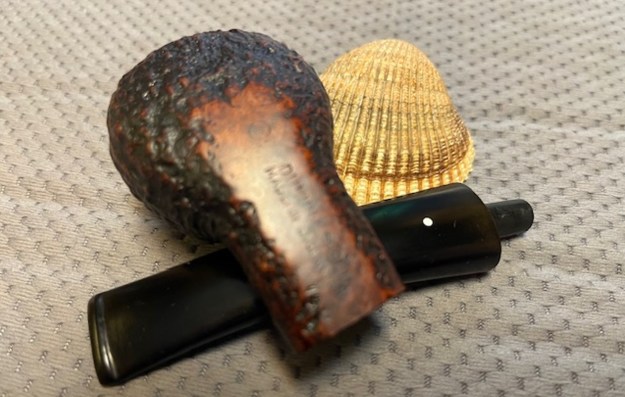
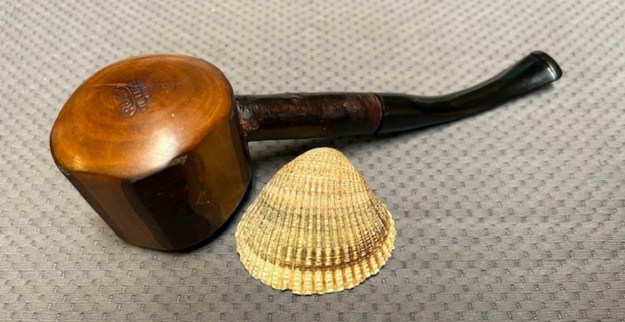
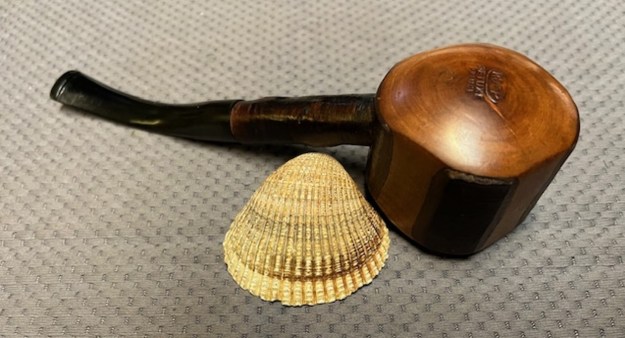
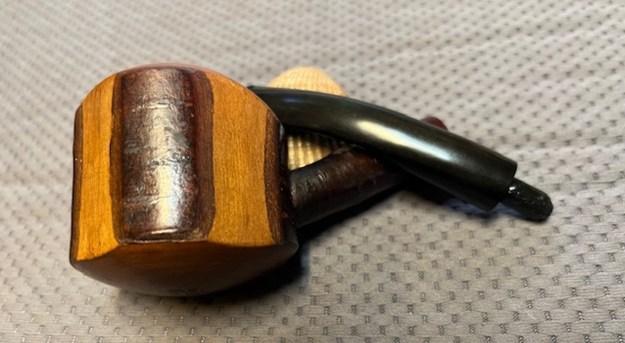
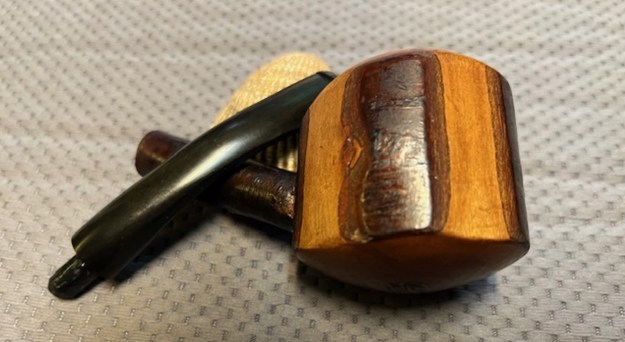
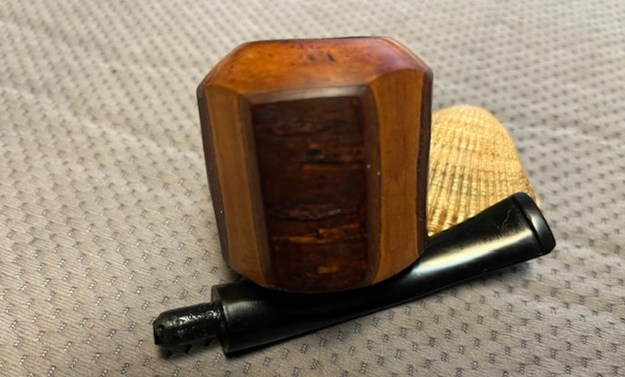
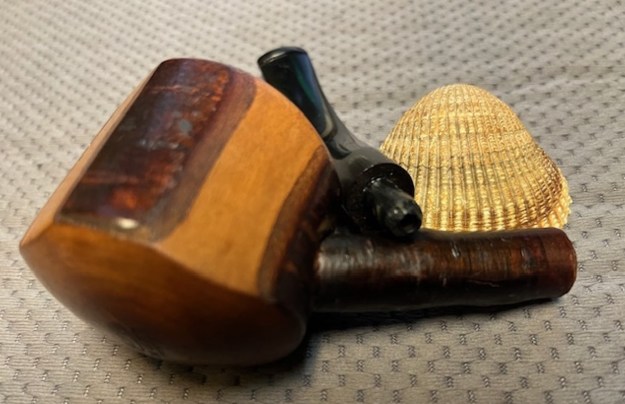
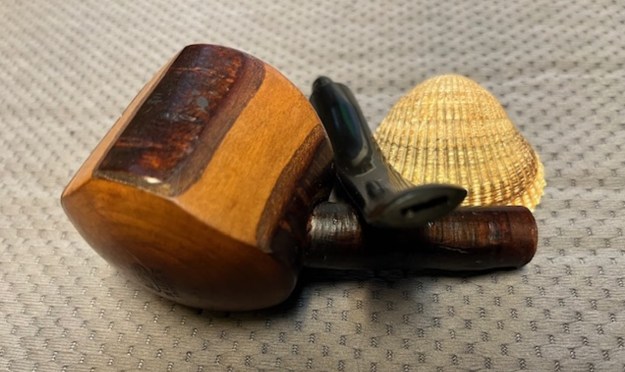
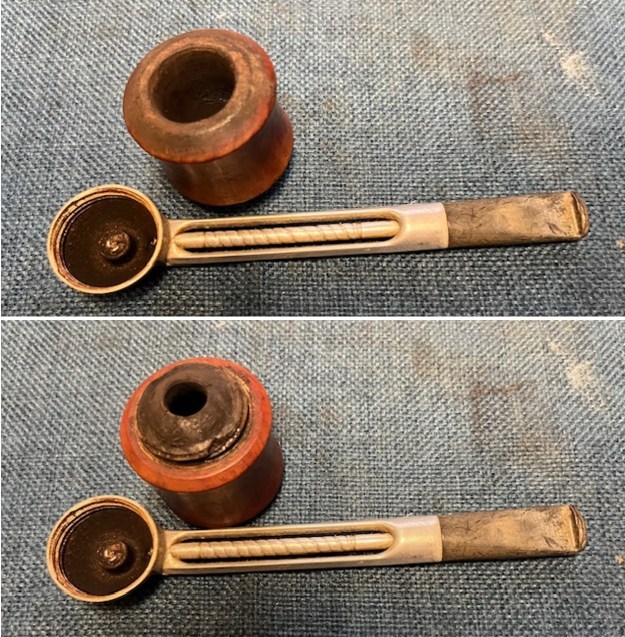
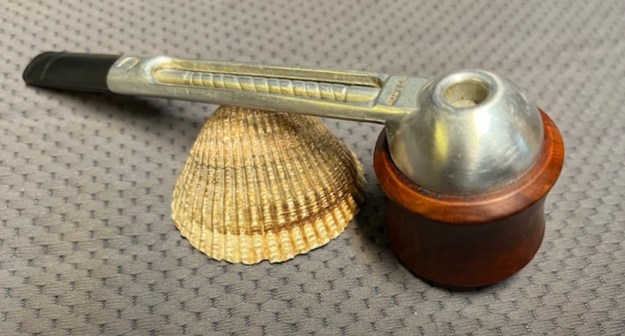
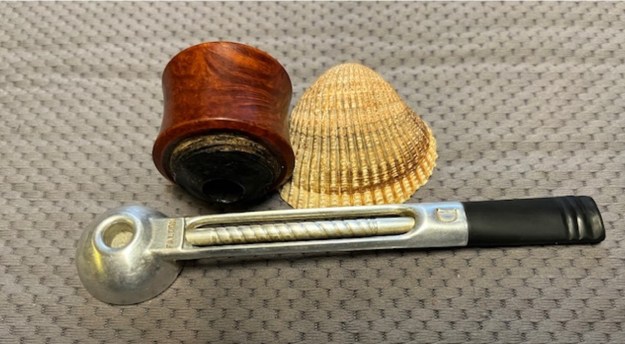
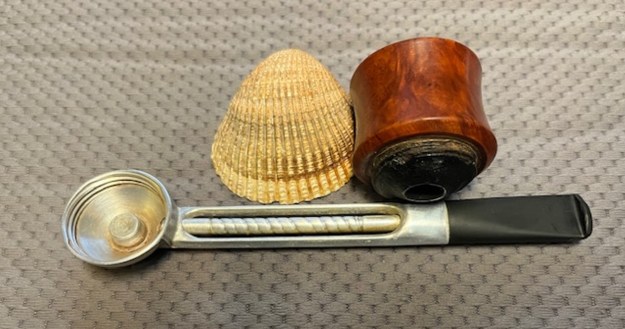
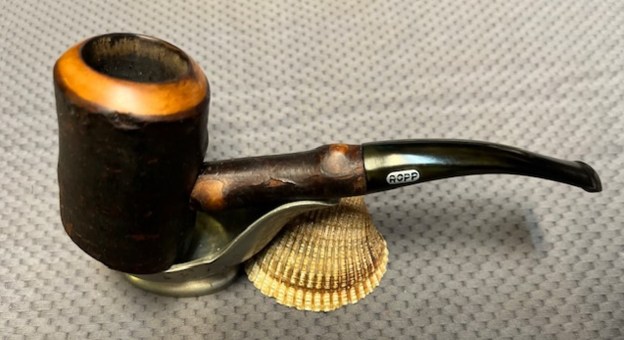
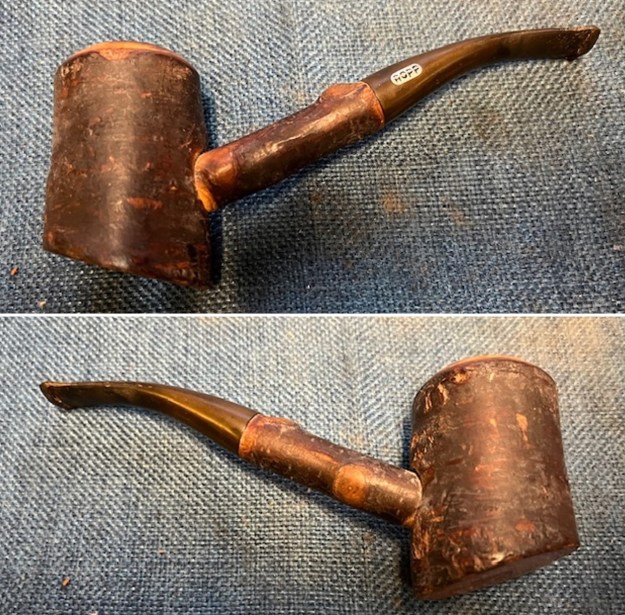
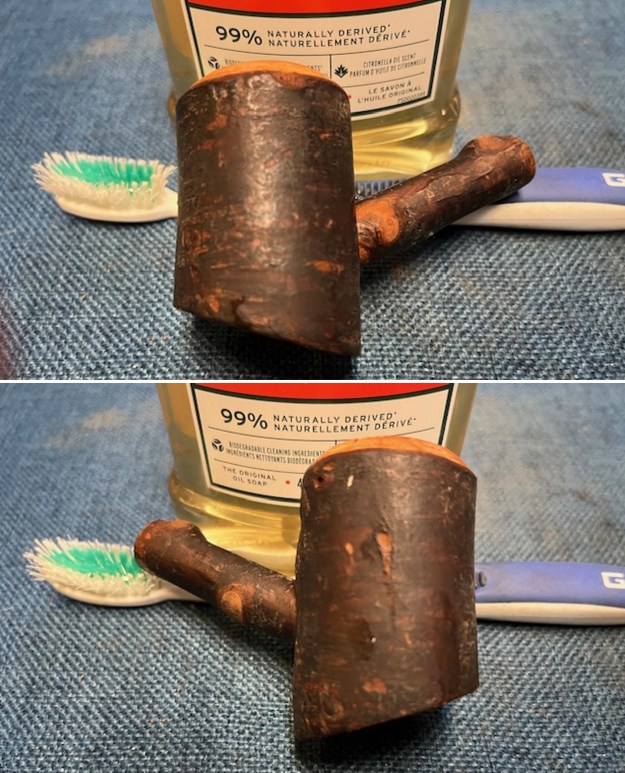
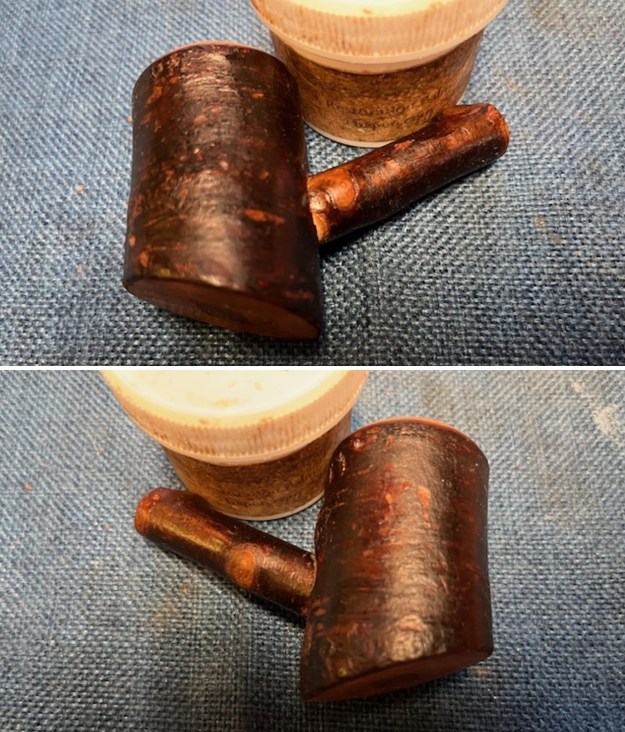
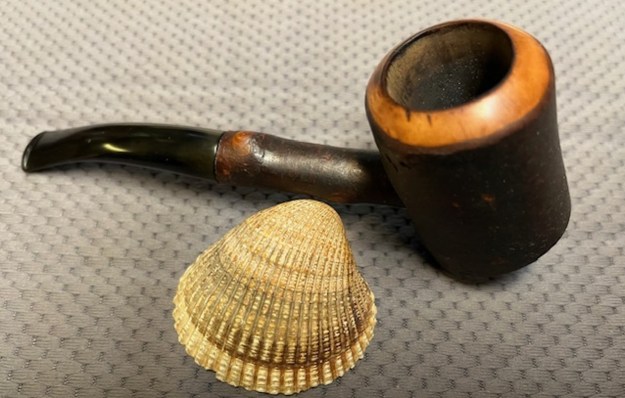
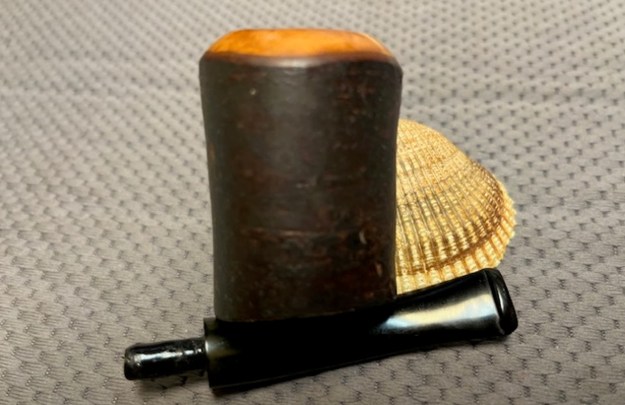
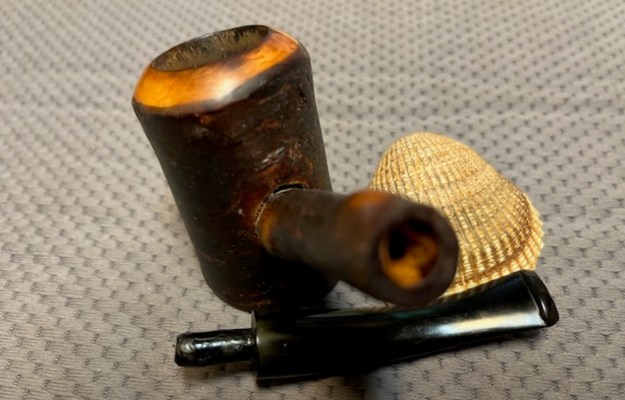
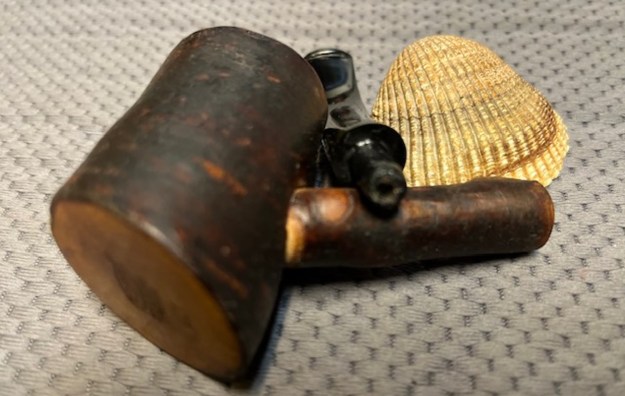
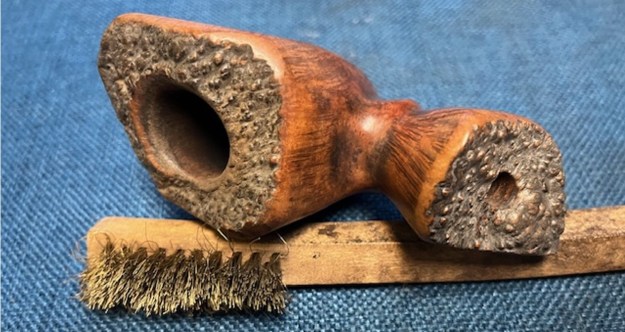
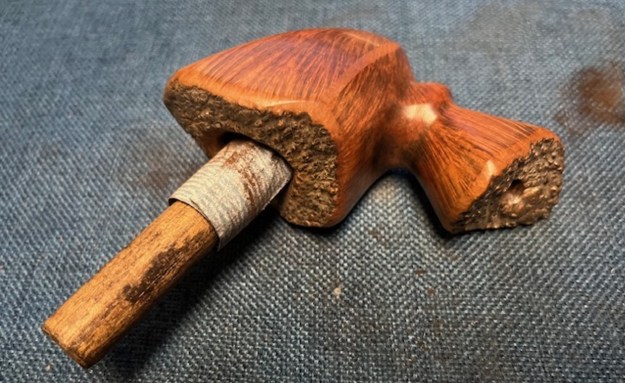
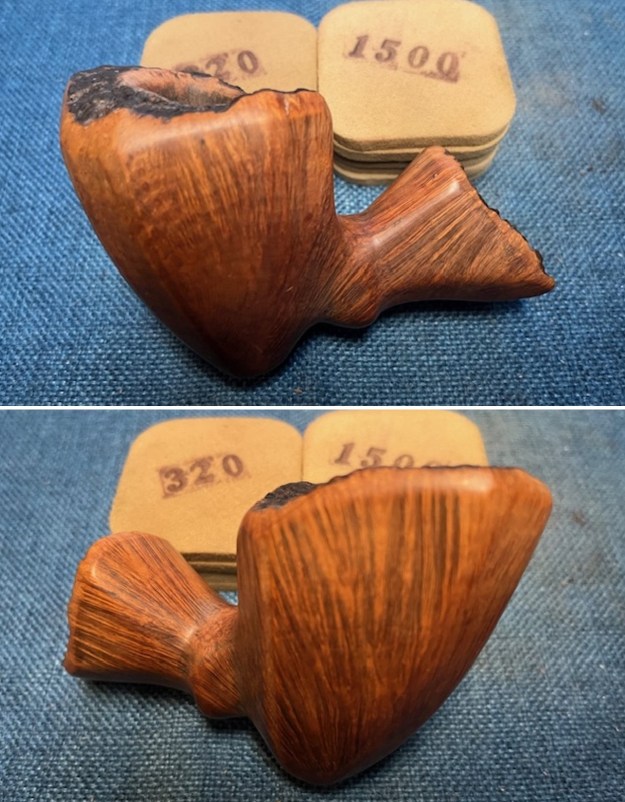
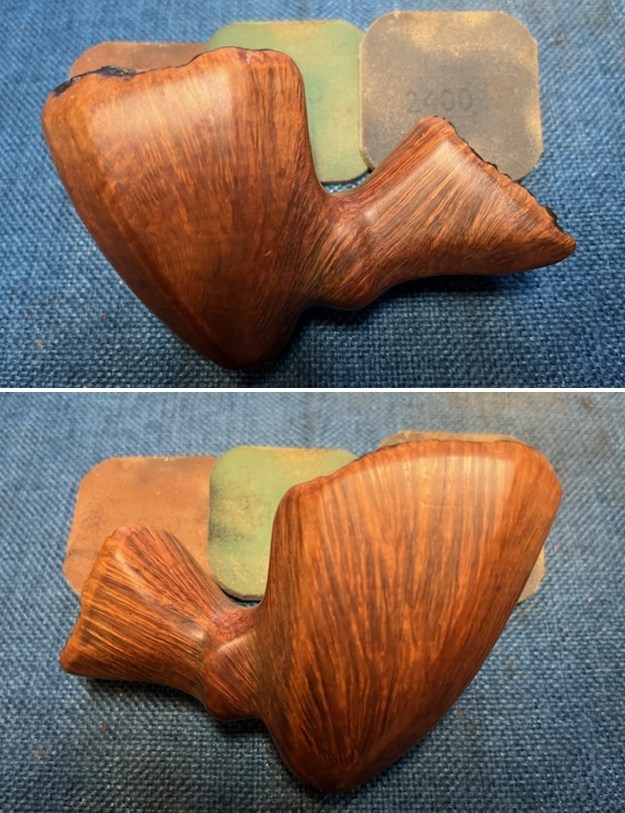
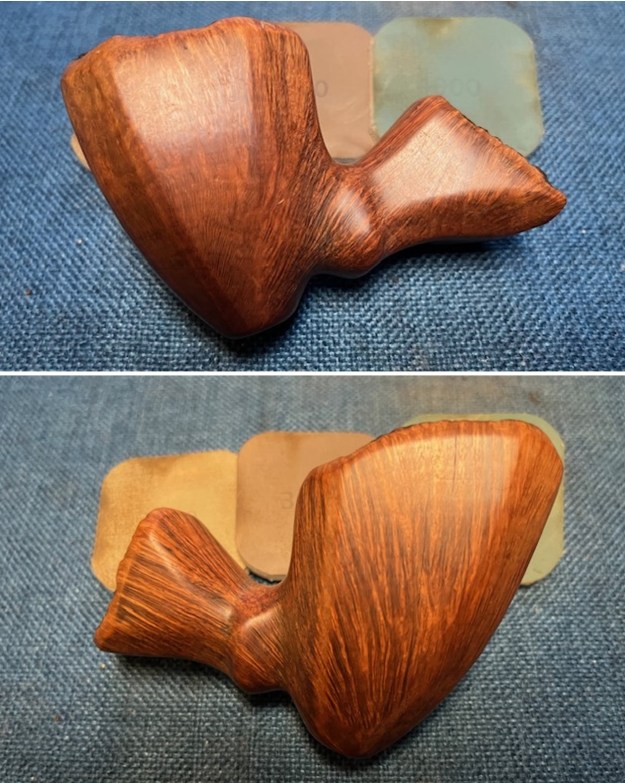
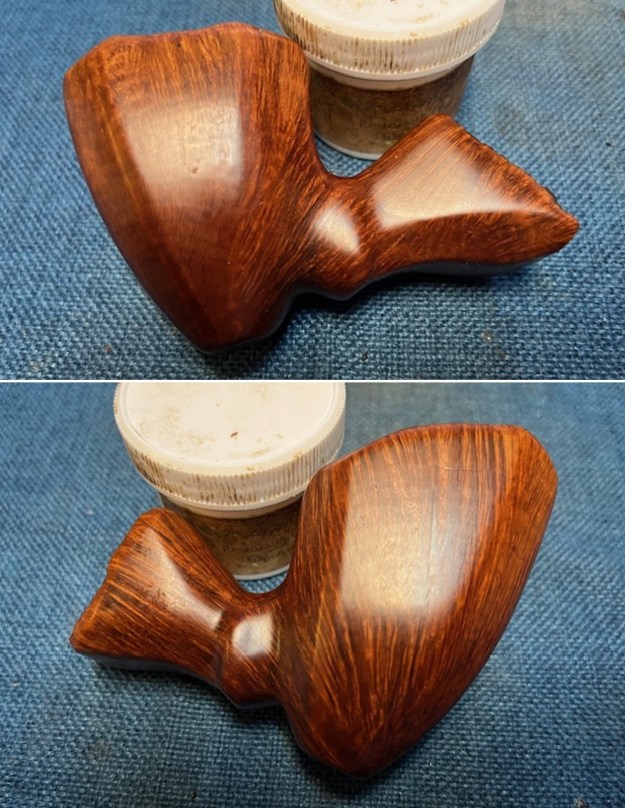
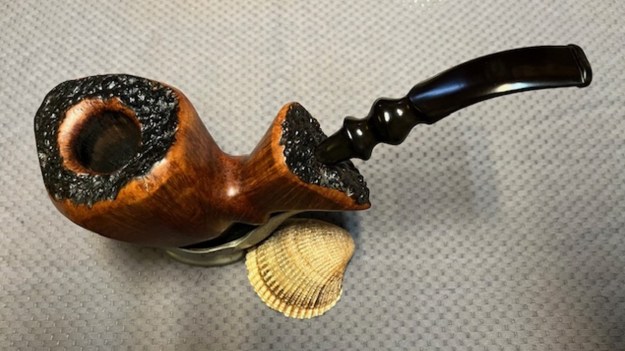
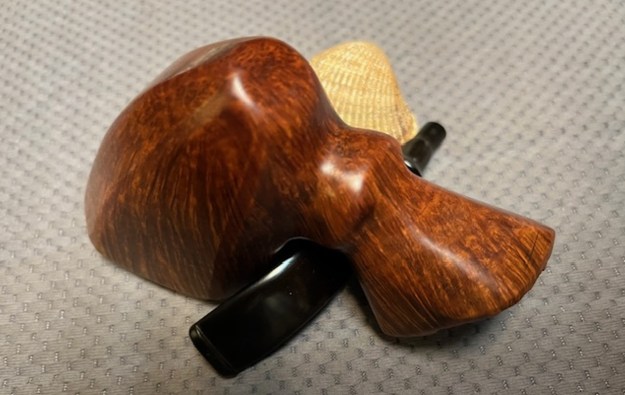
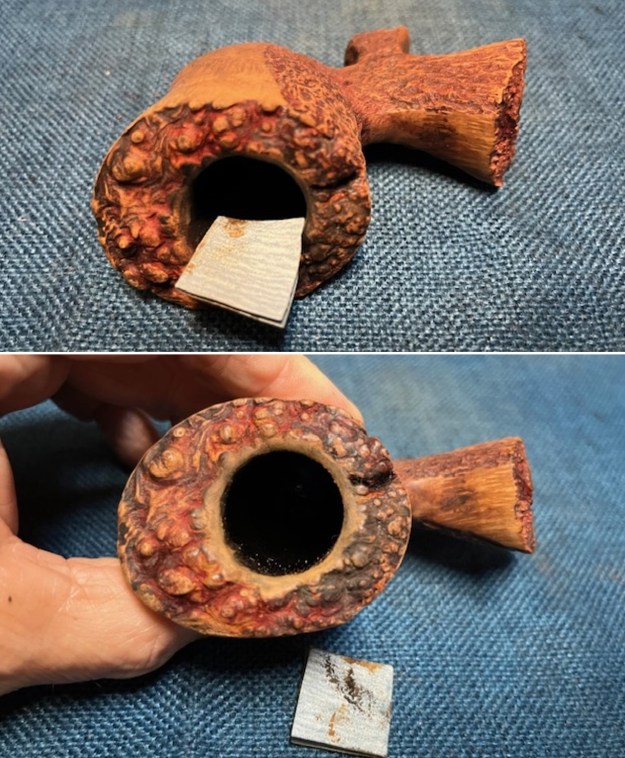
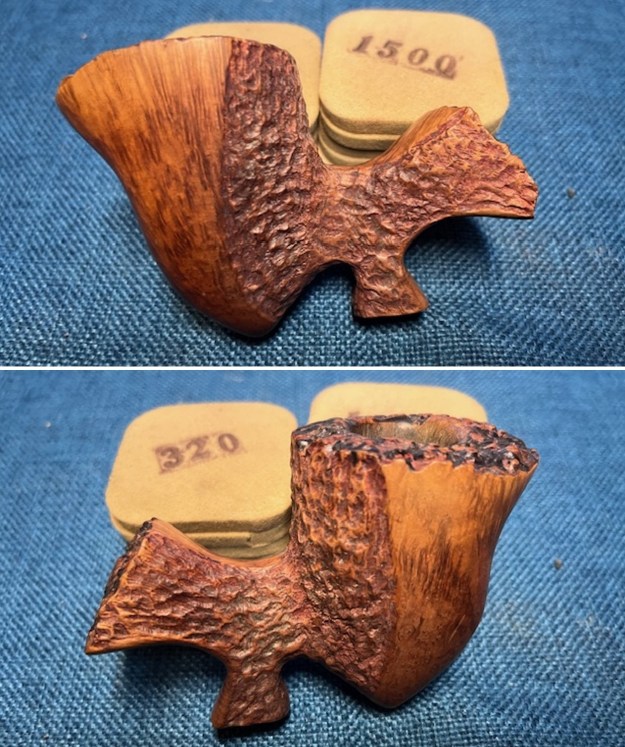
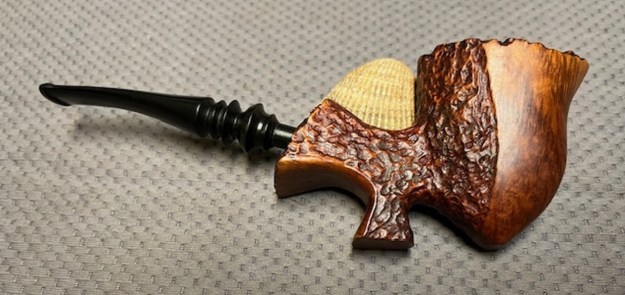
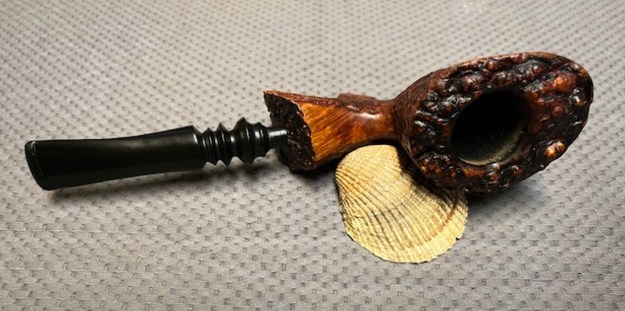
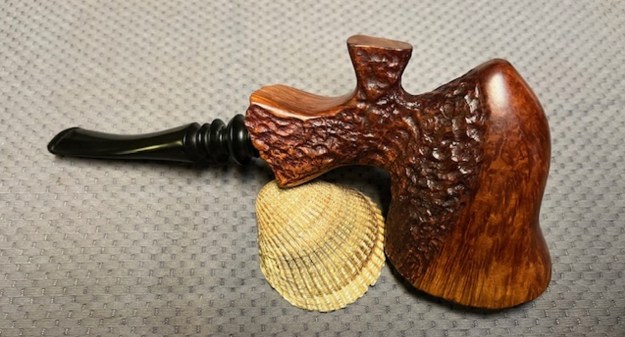
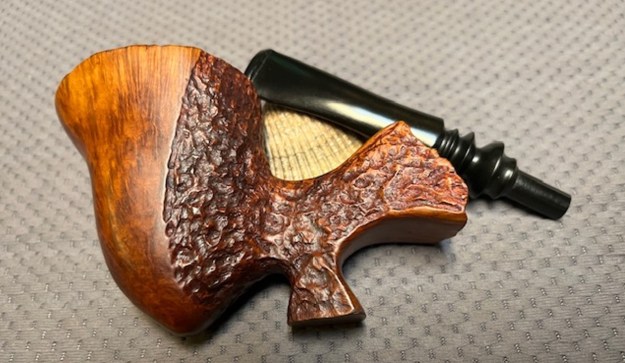
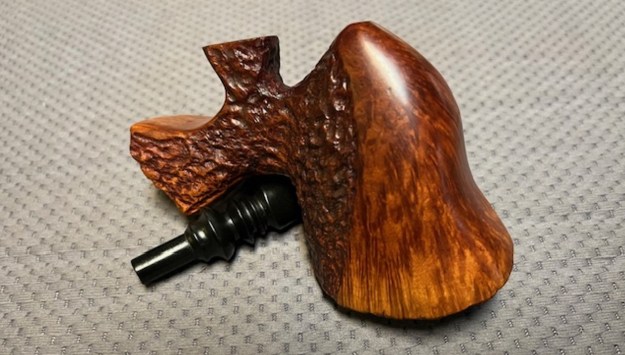
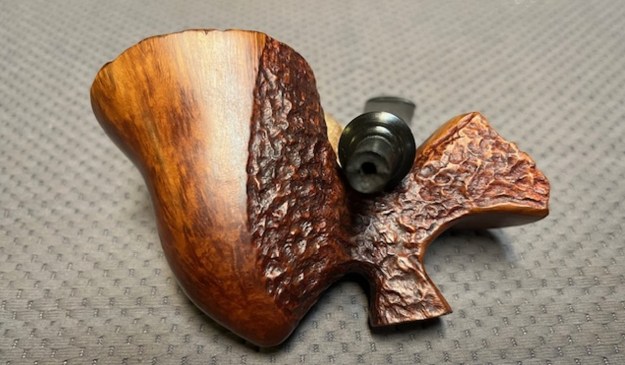
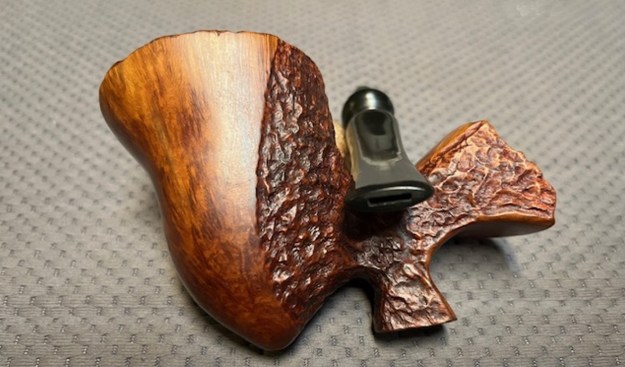
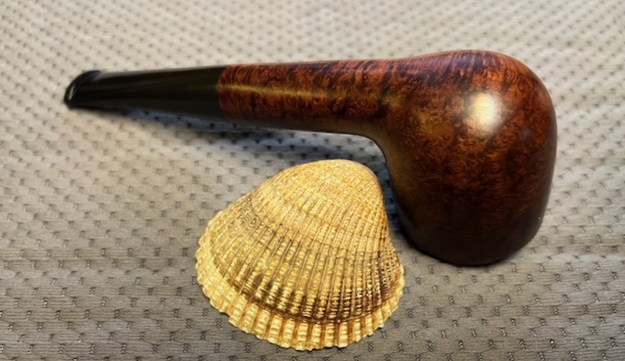
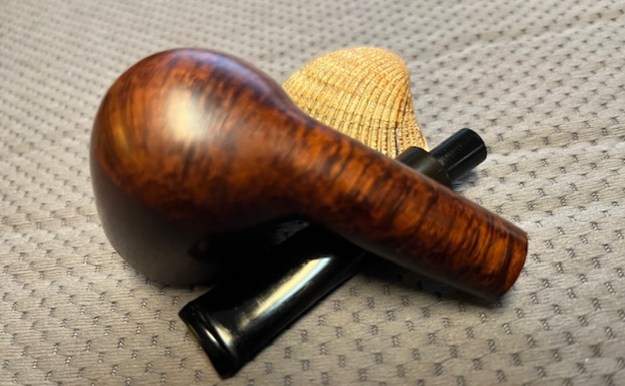
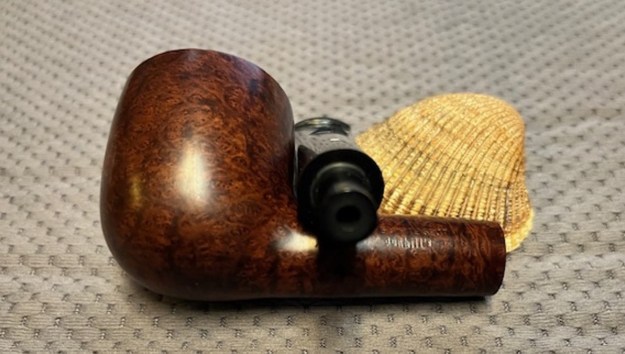
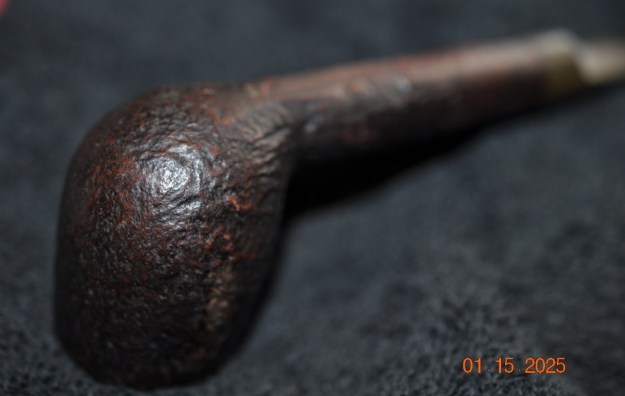
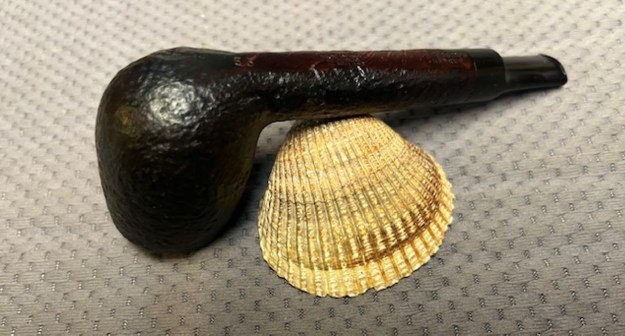
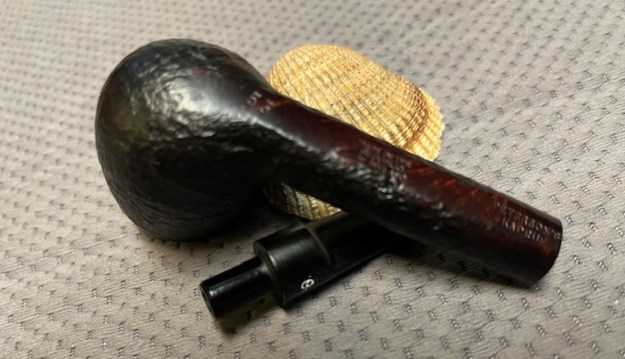
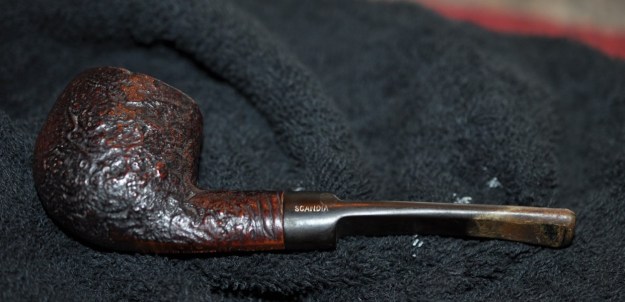
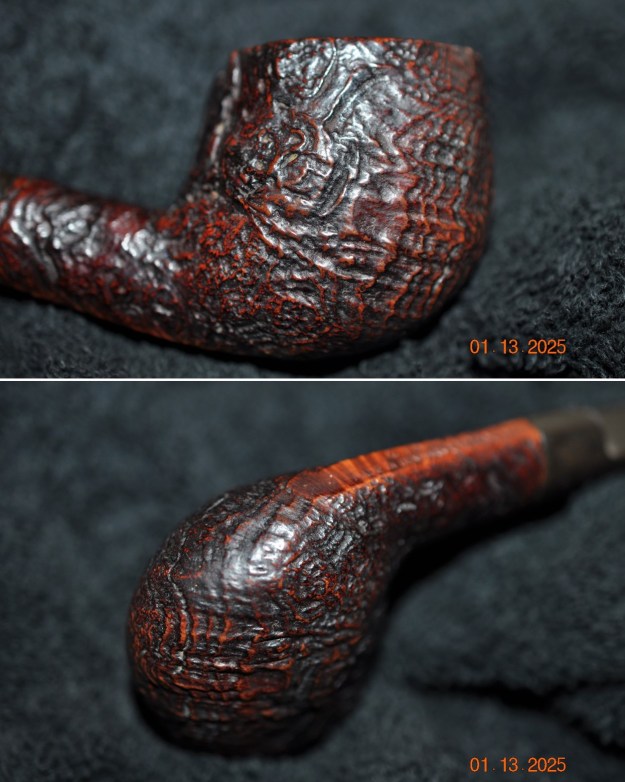
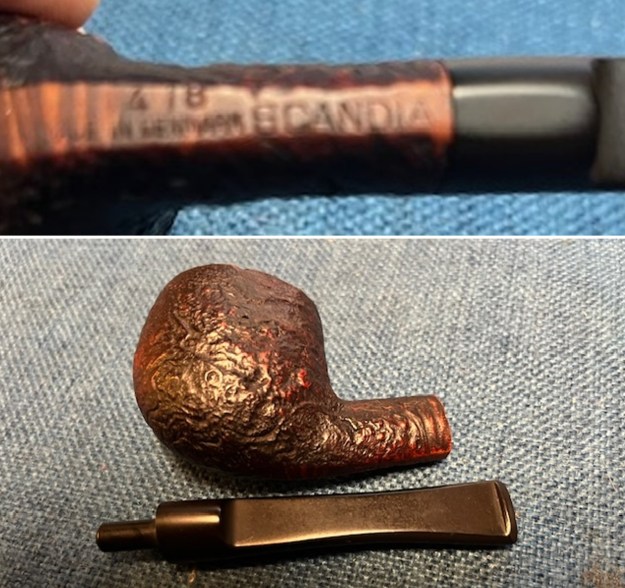
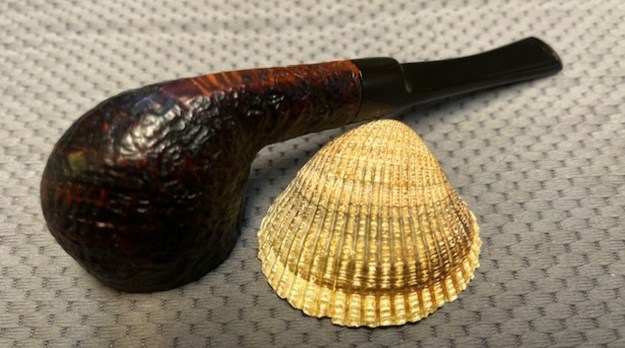
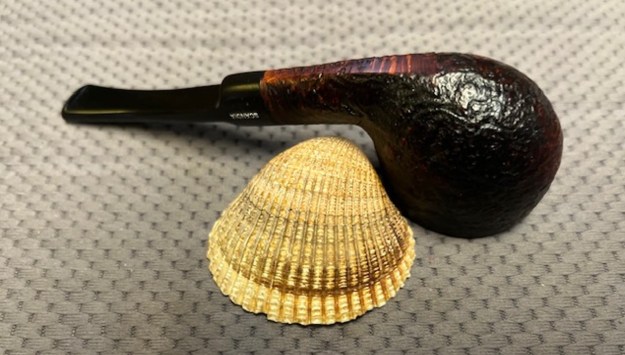
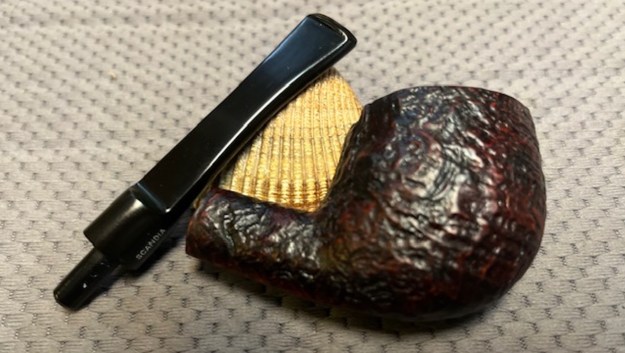
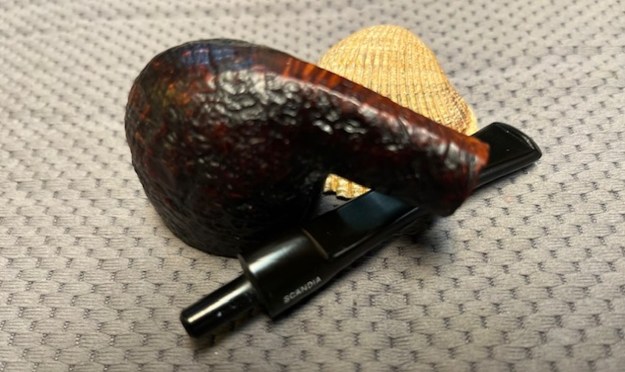
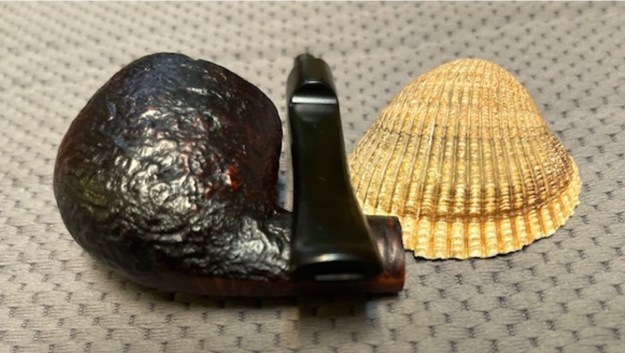
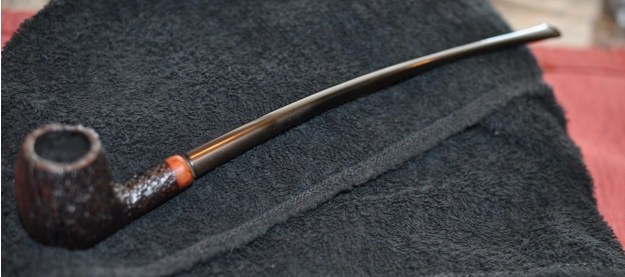
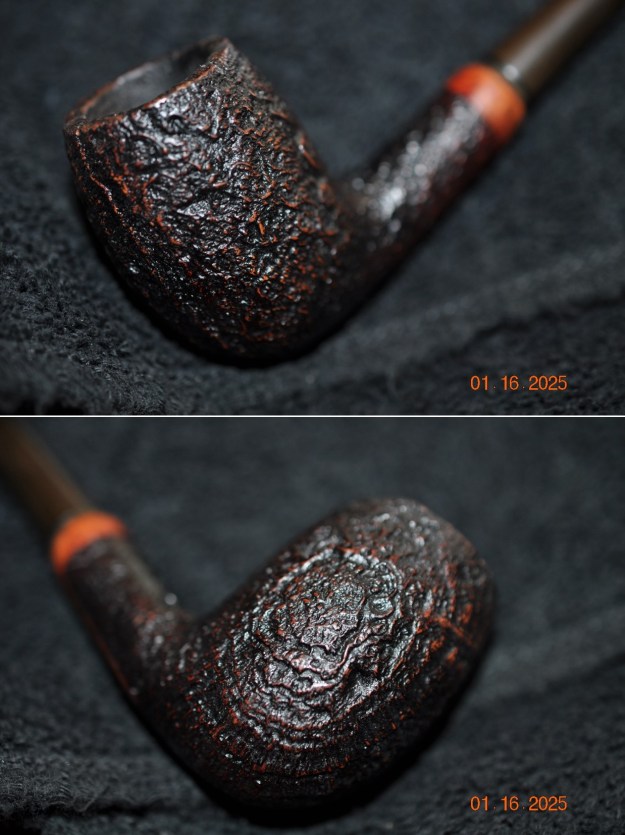
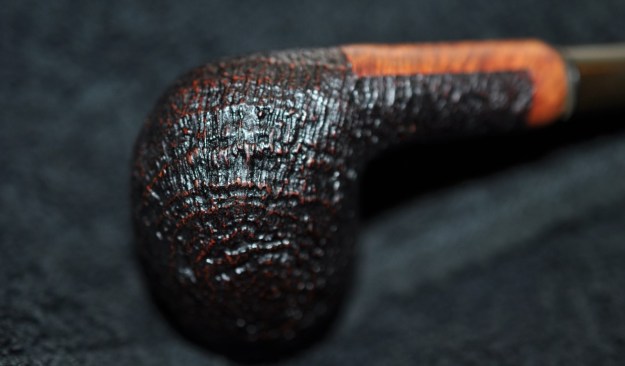
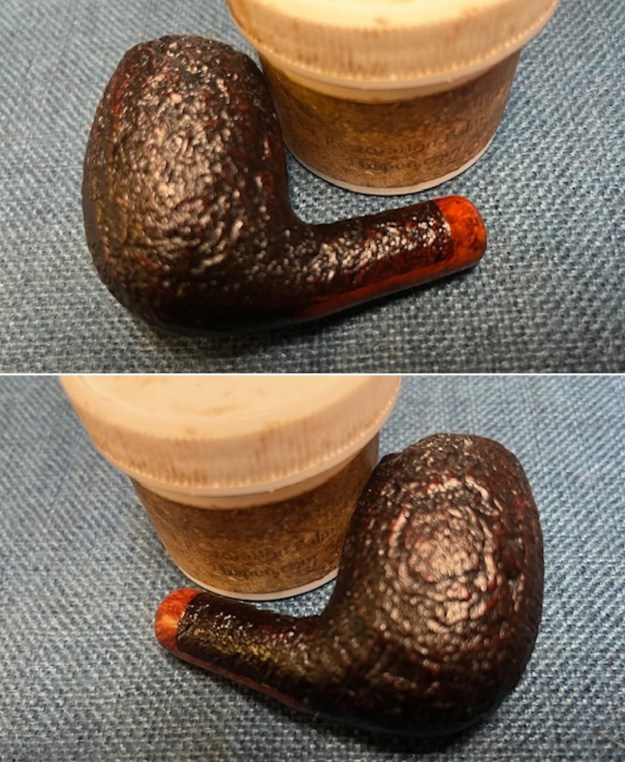
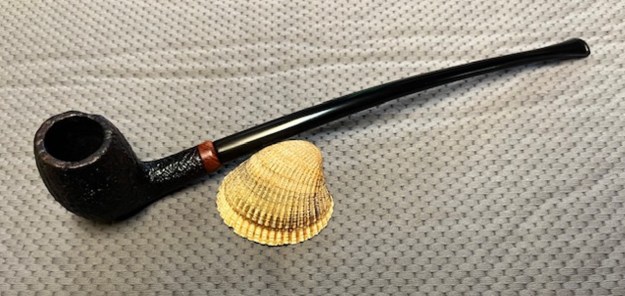
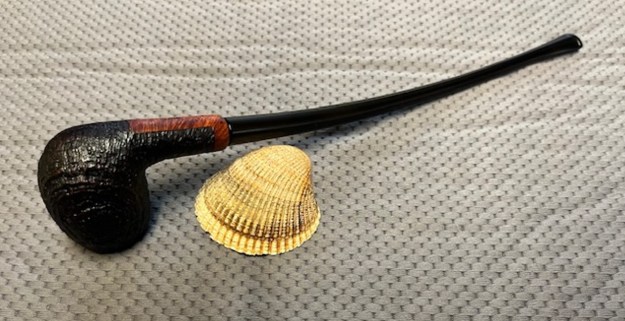
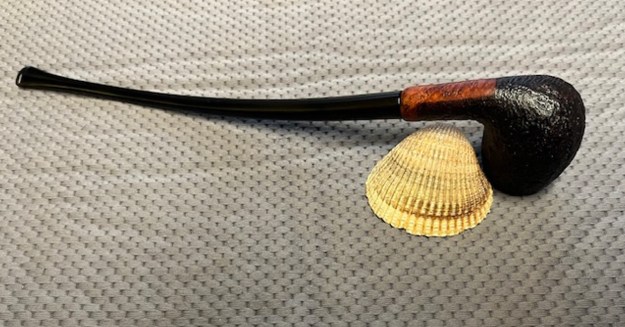
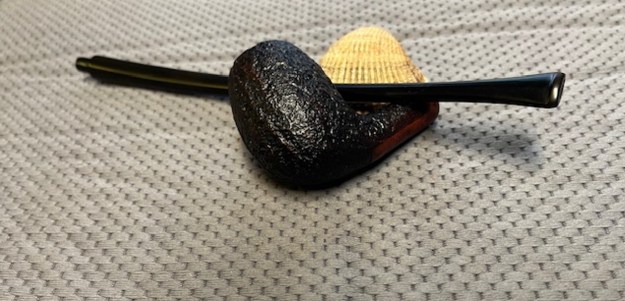
 He took photos of the sides and heel of the bowl to show the interesting sandblast grain around the bowl and the amount of grime ground into the surface of the briar.
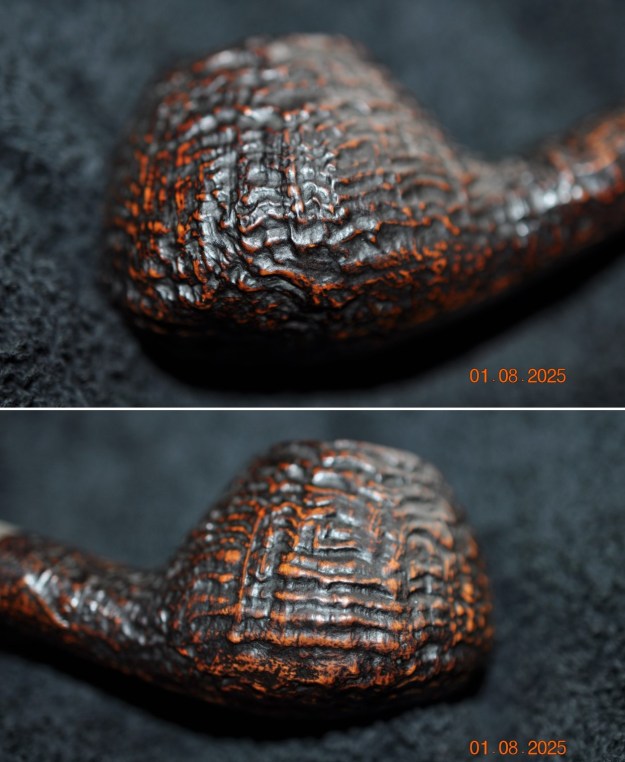
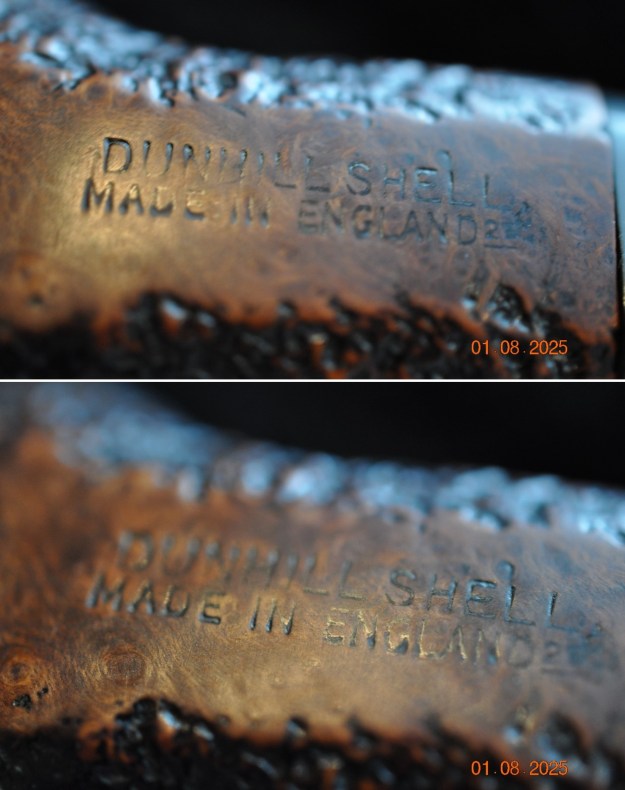
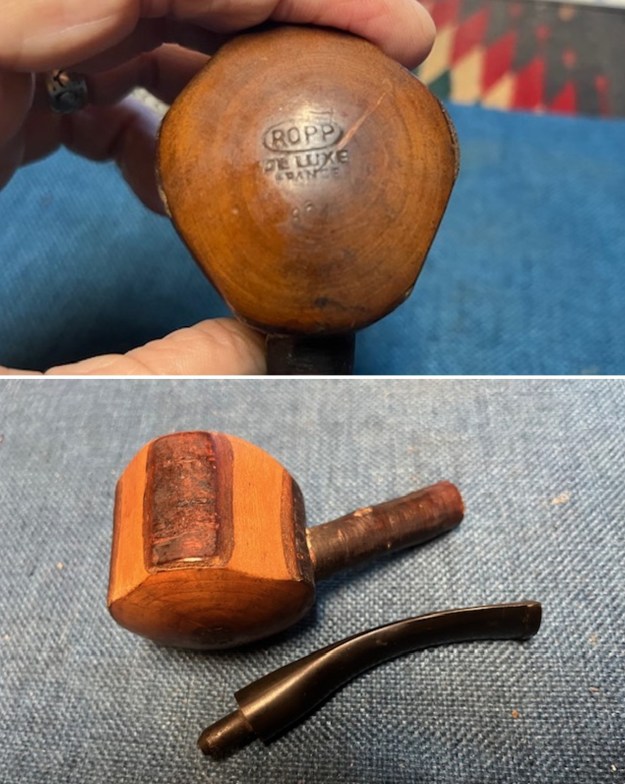
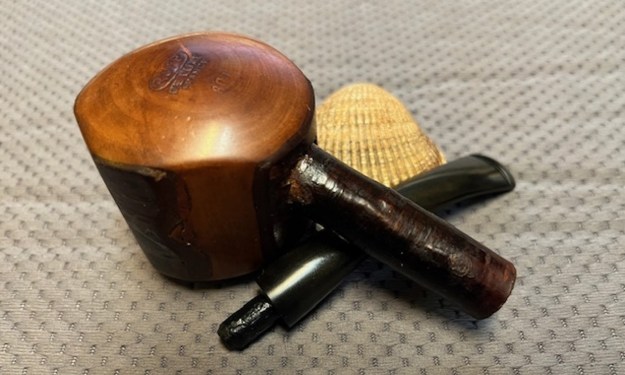
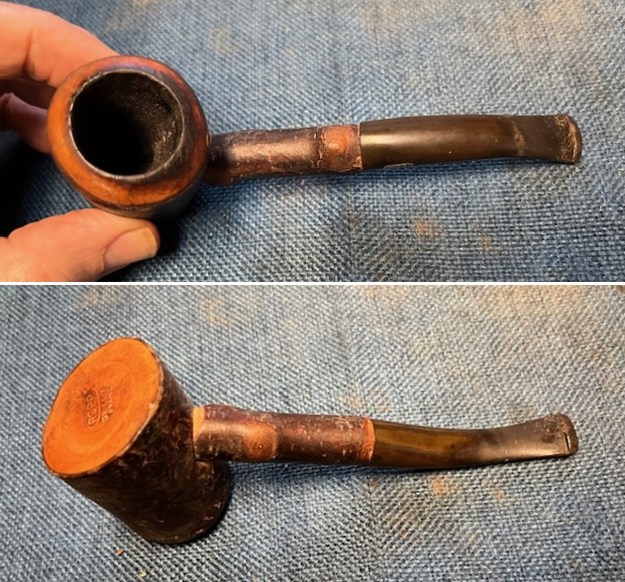
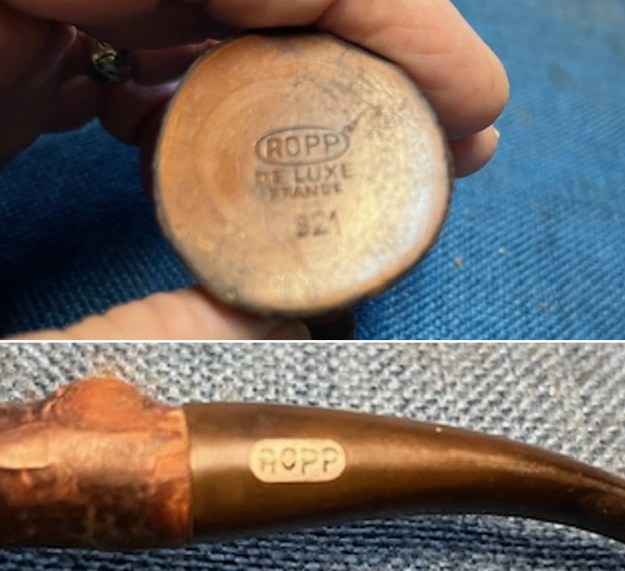
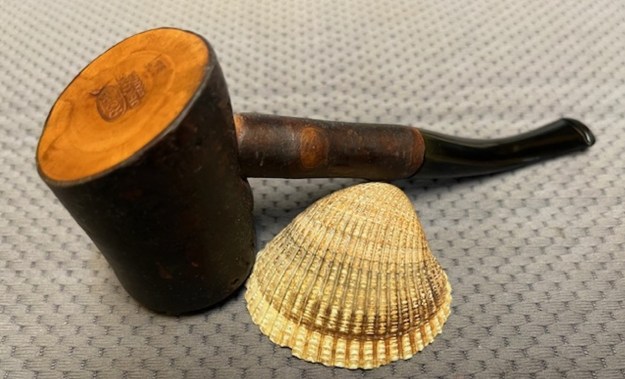
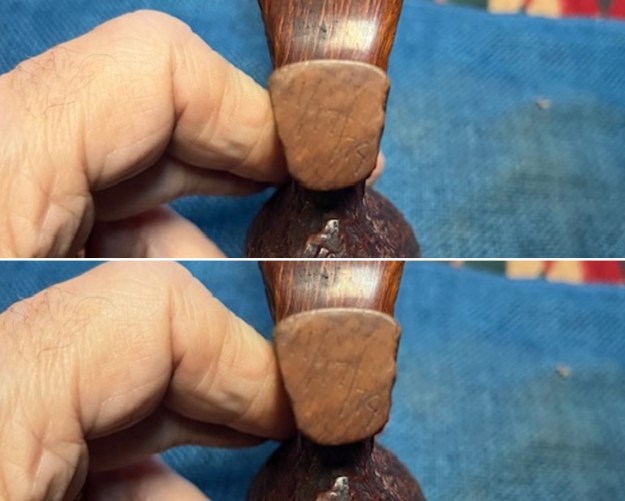
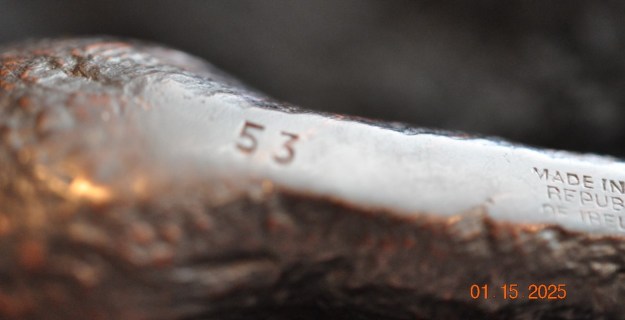
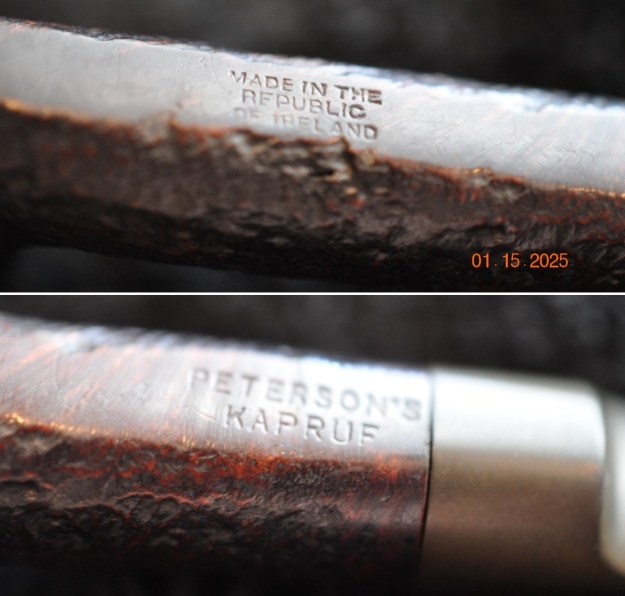
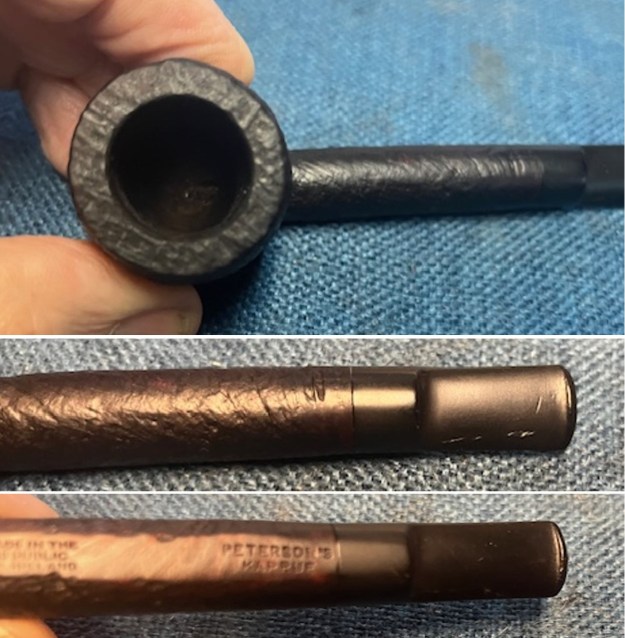
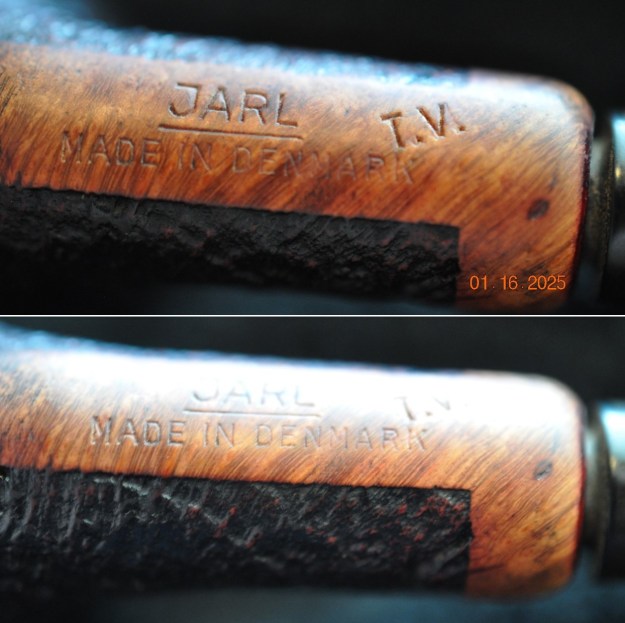
 He took photos of the stamping underside of the shank. It is clear, though in some places it is faint. The overall text is still quite readable.
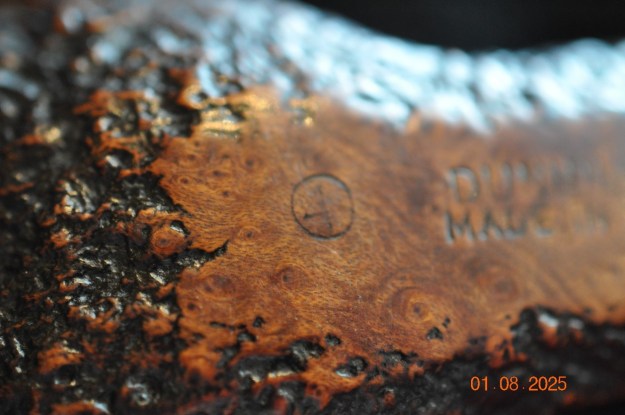
 As is my regular practice, before I started my work on the pipe, I turned to Pipedia’s section on Dunhill Shell Pipes to get a refresh the information I know regarding the Dunhill finishes (https://pipedia.org/wiki/Dunhill#Root_Briar). I quote:
Shell
A deep craggy sandblast with a black stain finish (usually made using Algerian briar) – the color of the stain used has varied over the years. Although there is some doubt as to them being the first to sandblast pipes, Dunhill’s Shell pipes, and the sandblasting techniques developed to create them are considered one of Dunhill’s greatest and most lasting contributions to the art of pipe making.
The documented history of Dunhill’s inception of the Shell is largely limited to patent applications — there are no catalog pages or advertisements promoting blasted pipes at the time. The preliminary work on the English patent (No. 1484/17) was submitted on October 13, 1917. The patent submission was completed half a year later, on April 12, 1918, followed by the granting of the English patent on October 14, 1918. This was less than a month before the end of The Great War on November 11th.
In 1986 Dunhill released a line of premium Shell finish pipes – “RING GRAIN”. These are high-quality straight grain pipes which are sandblasted. Initially only Ring Grain, but now in two different finishes. In 1995 the “Shilling” was introduced with Cumberland finish – it is an extremely rare series. These pipes exhibit a deeper blast characteristic of that of the 1930’s – mid-1960’s (and the limited ‘deep blast’ pipes of the early 1980s) and show a fine graining pattern. These are considered the best new Dunhills by many enthusiasts today and are very rare. The finish is sometimes described as tasting like vanilla at first, with the taste becoming more normal or good as the pipe breaks in.
- See more examples here: Dunhill Shell
- See more about this incredible pipe here: The History of Dunhill’s Shell
- See more about the patents applied here: Shellbriar & Tanshell, Patents 1917-1954
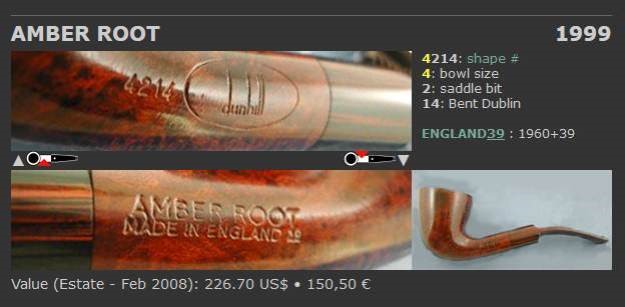
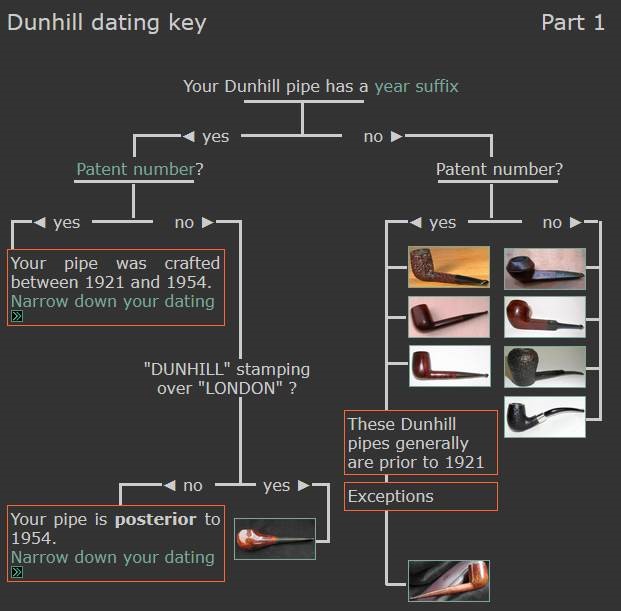
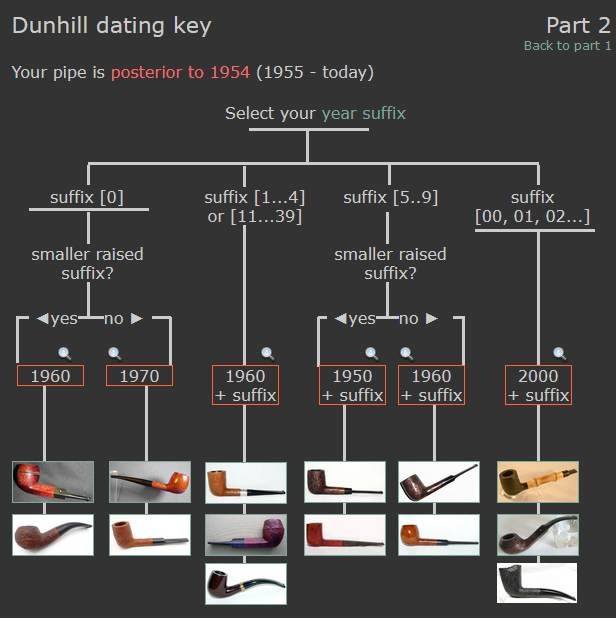
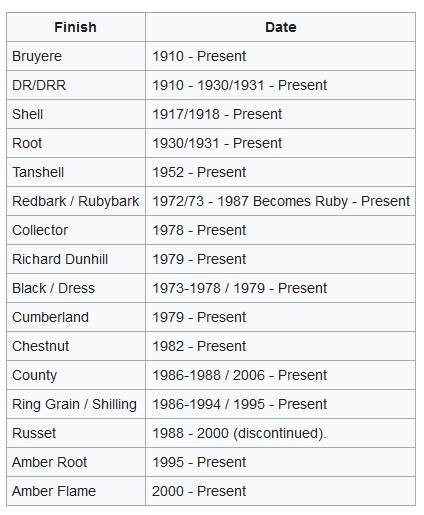
There was also a link to a catalogue page that gave examples and dates that the various finishes were introduced (https://pipedia.org/wiki/File:Dunnypipescatalog-1.png).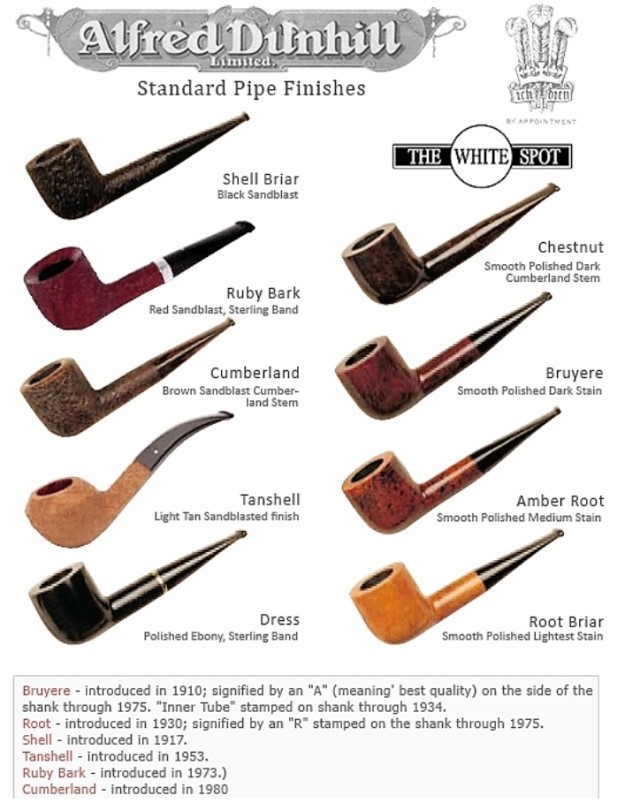 I turned to Pipephil’s dating guide to show how I arrived at the date of manufacture for this pipe (http://www.pipephil.eu/logos/en/dunhill/cledat-en1a.html). I am including the chart that is provided there for the dating a pipe. I have drawn a red box around the section. Since the pipe I am working on has a superscript suffix 21 after the D in England it points to the 1960 line on the chart below. To date it just add 1960 +21 for a date of 1981. I have drawn a red box around the pertinent section in the chart.
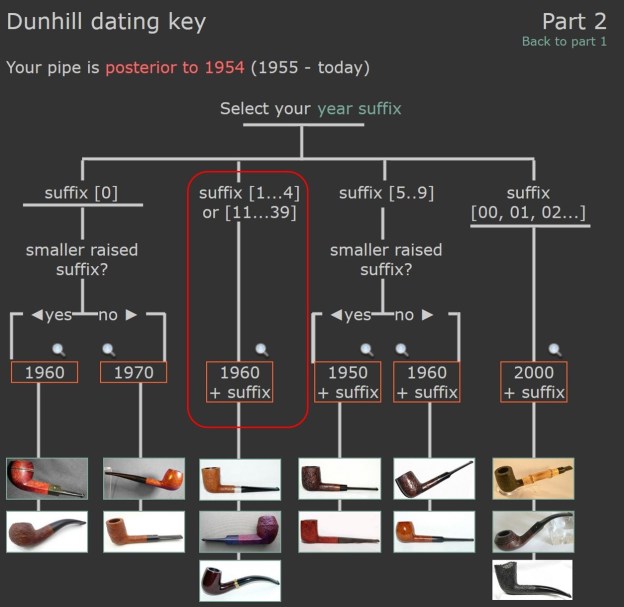 I now knew that I was working on a Shell that came out in 1981 as far as I could tell by the faded date stamp. The shape of the pipe is called a Diplomat but there was no shape number stamped on the heel of the bowl. From the shape chart on the site I could know that I was dealing with a Diplomat (http://www.pipephil.eu/logos/en/dunhill/shapes.html).
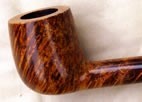
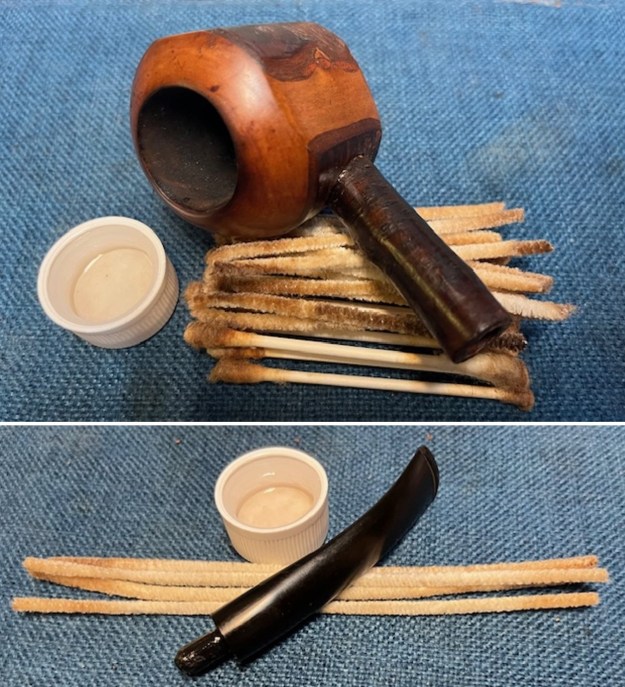
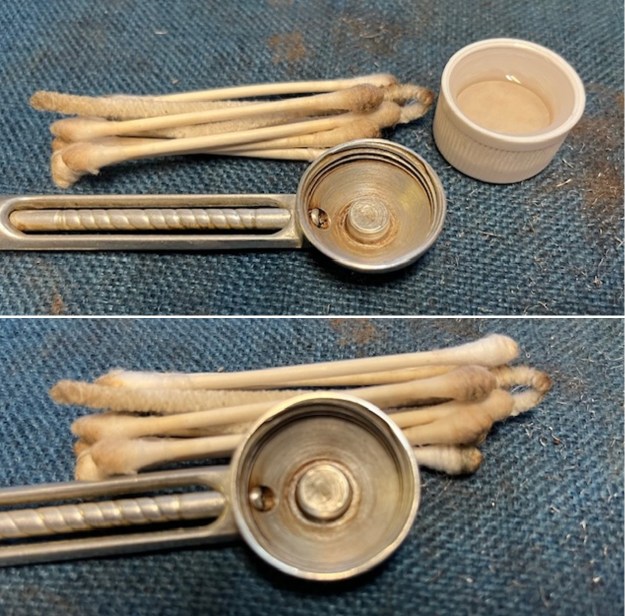
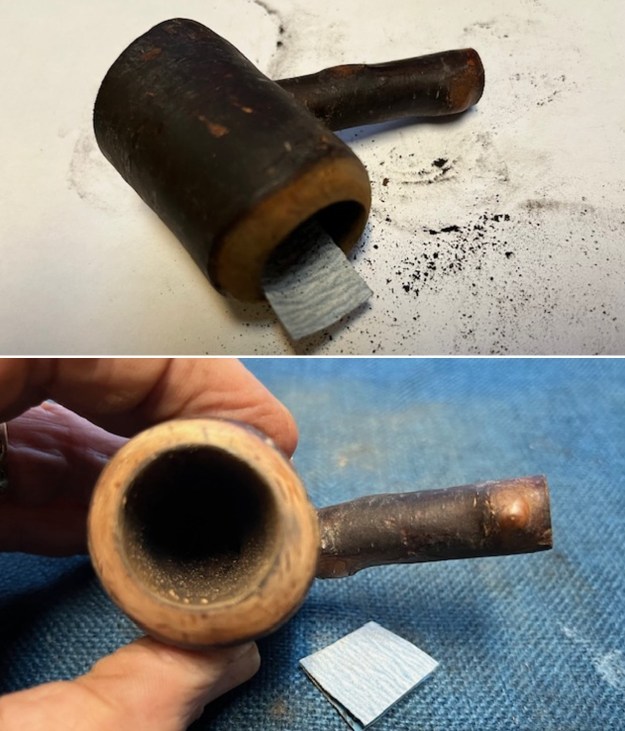
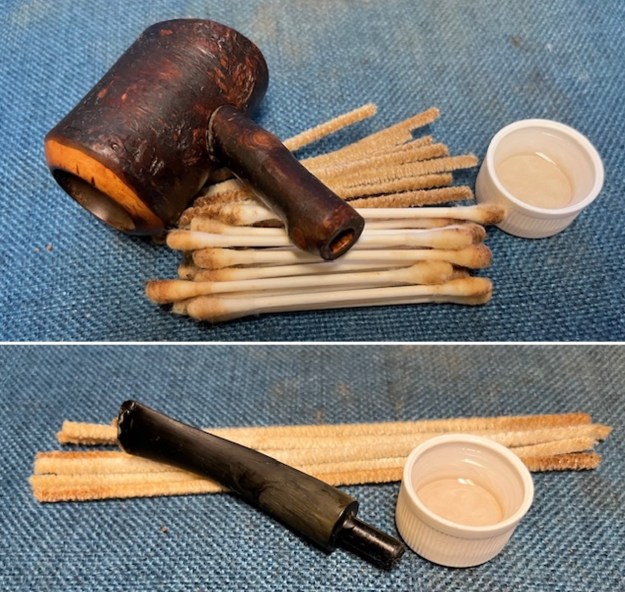
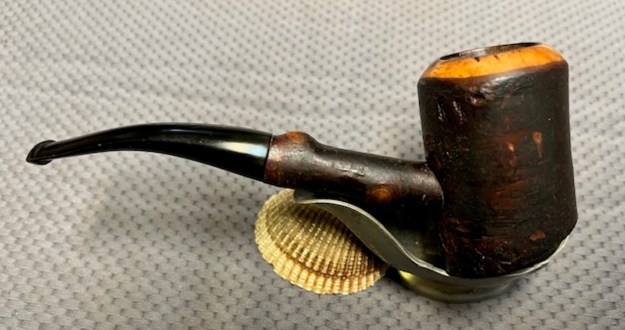
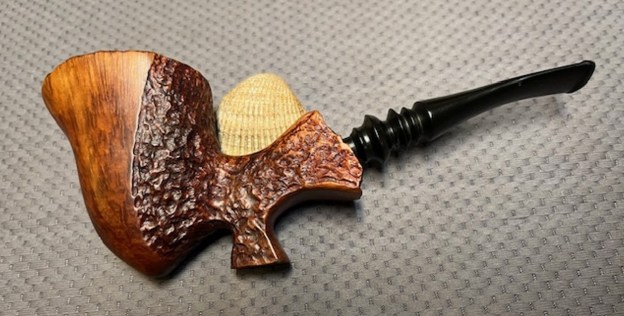
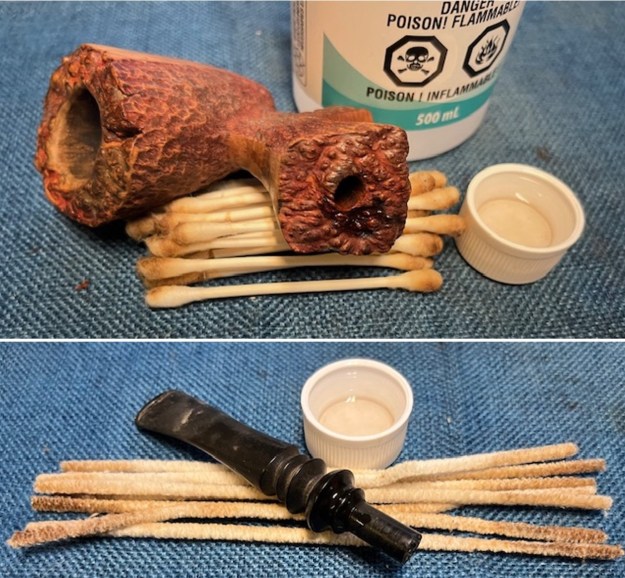
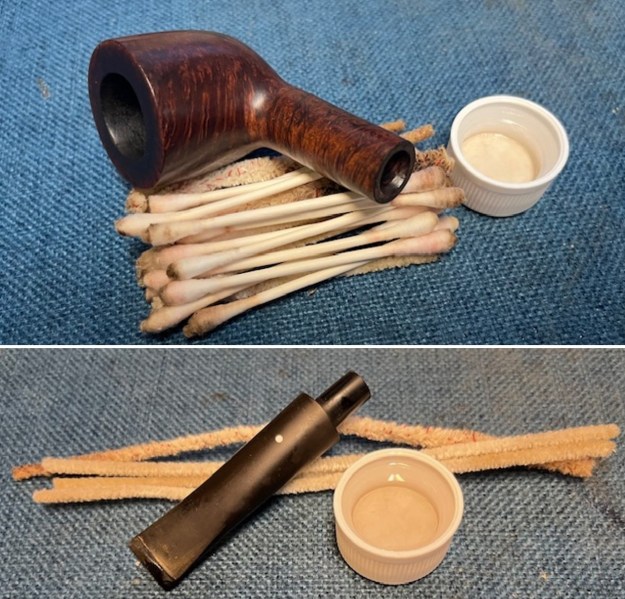
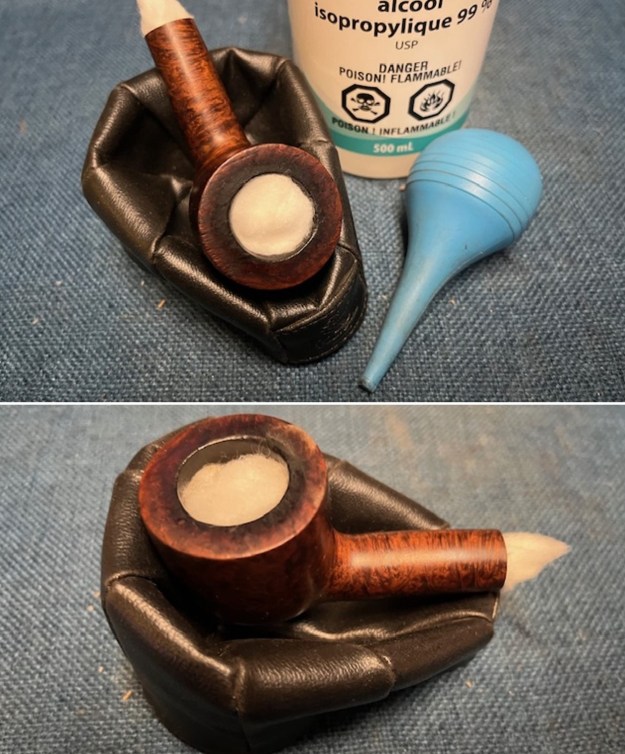
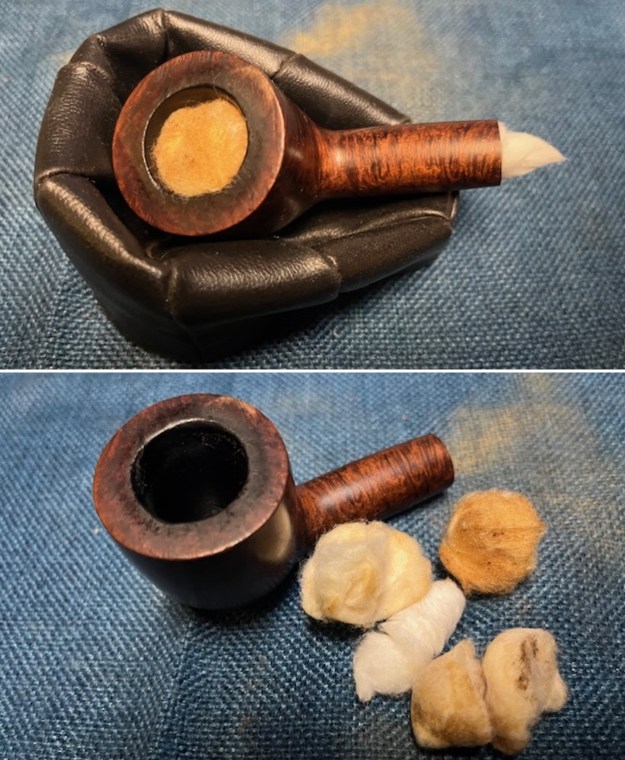
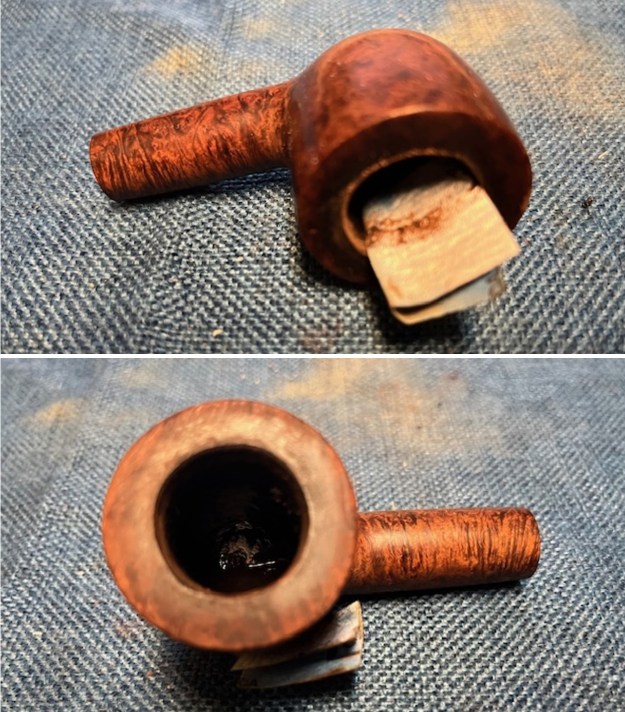
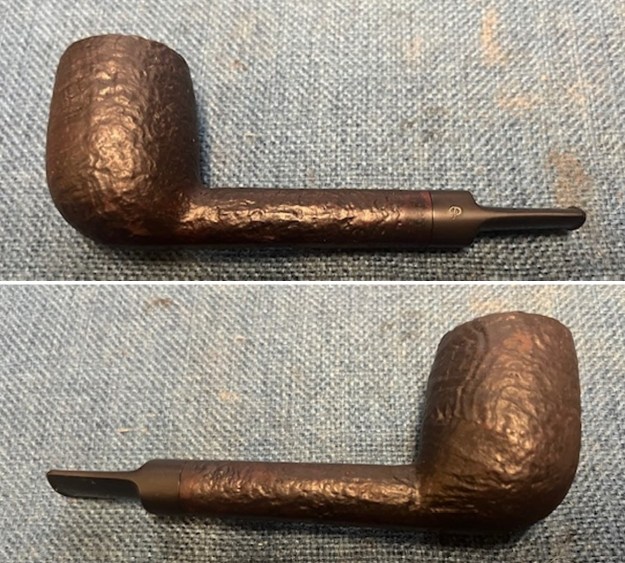
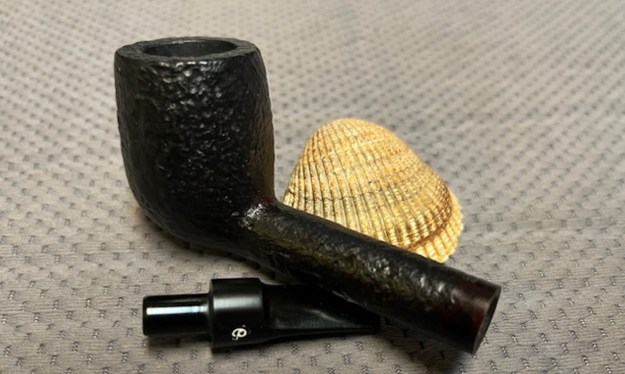
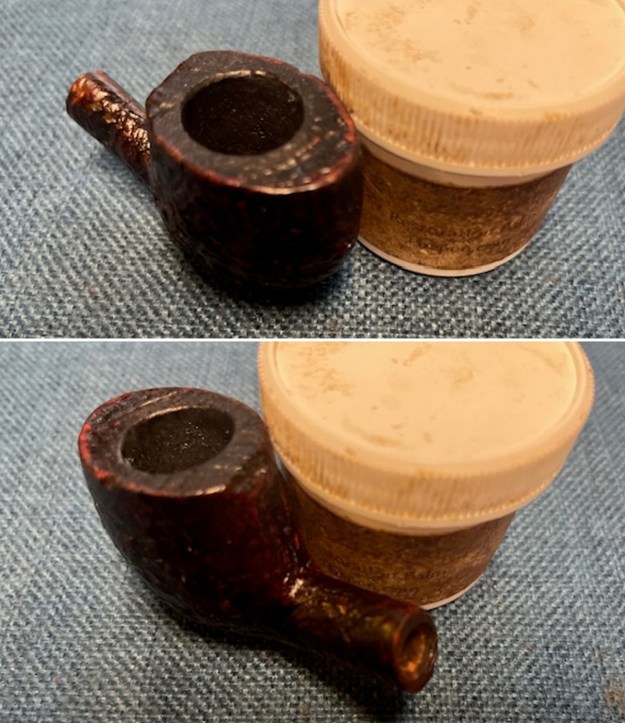
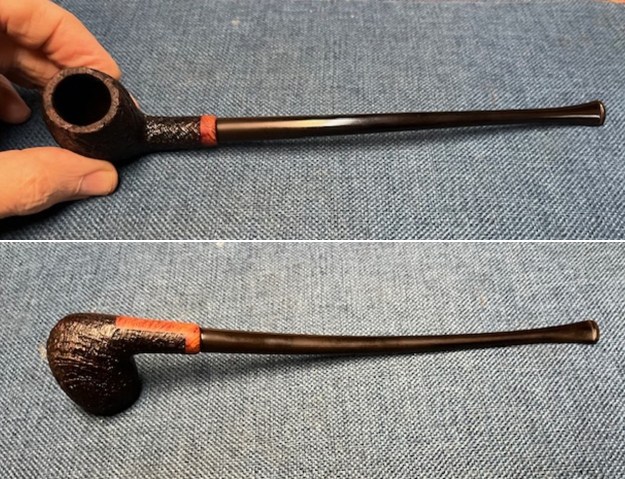
Armed with that information I turned to work on the pipe itself. Jeff had done a great job cleaning up the pipe as usual. He cleaned up the inside of the bowl with a PipNet reamer and a Savinelli Fitsall Pipe Knife. The bowl walls looked very good. He scrubbed the interior of the bowl and shank with pipe cleaners, cotton swabs and alcohol to remove the tars and oils. He scrubbed the exterior of the pipe with Murphy’s Oil Soap and a tooth brush to remove the grime from the finish. He worked on the rim top lava and darkening with the soap and tooth brush. He scrubbed the inside of the stem with alcohol and pipe cleaners. He scrubbed the exterior with Soft Scrub and then soaked it in Briarville’s Pipe Stem Deoxidizer. He washed it off with warm water to remove the deoxidizer. The pipe looked far better. I took photos of the pipe when I received it before I started working on it.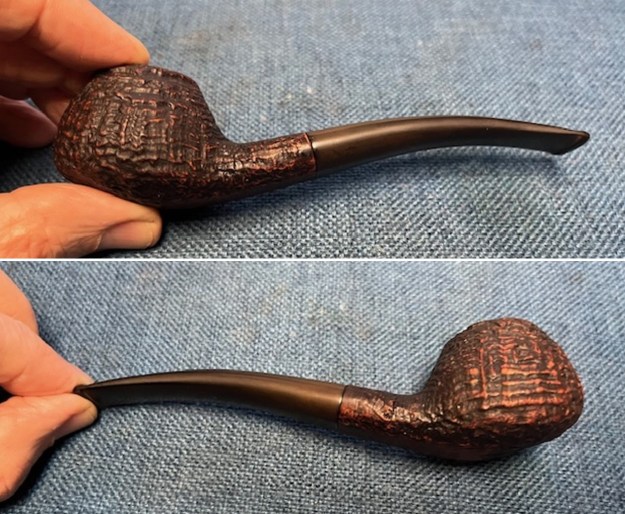
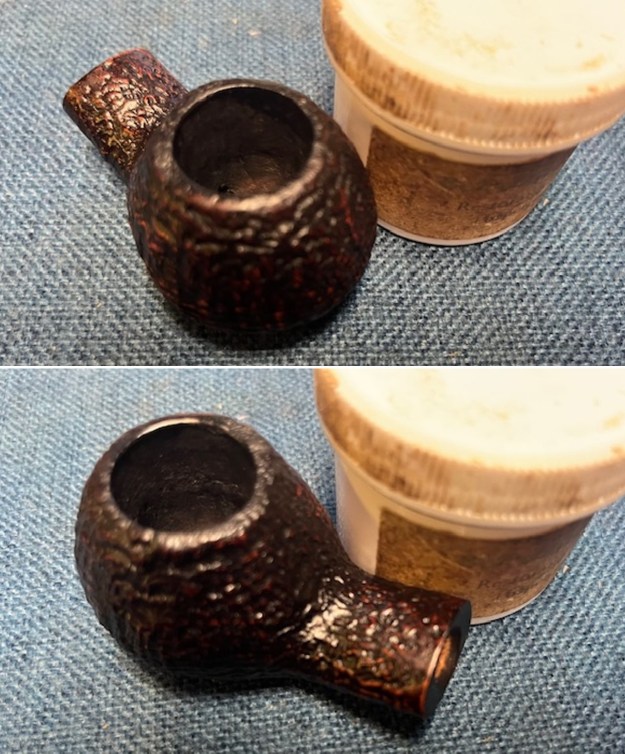
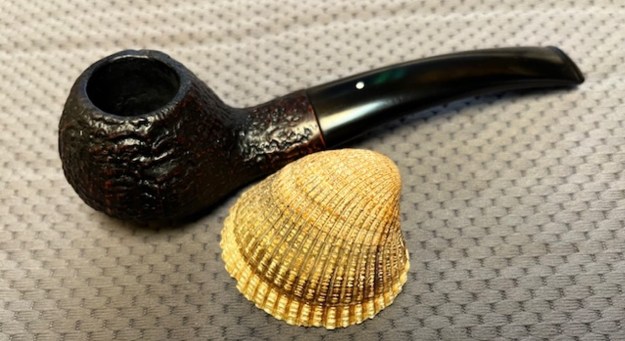
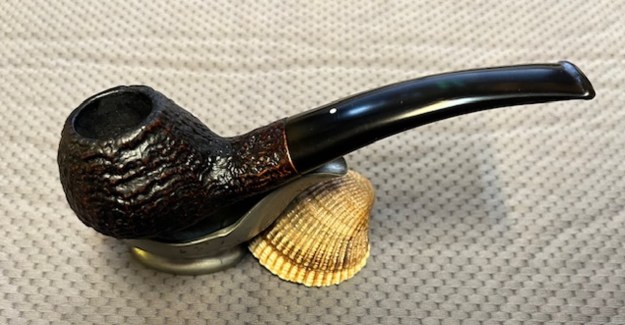
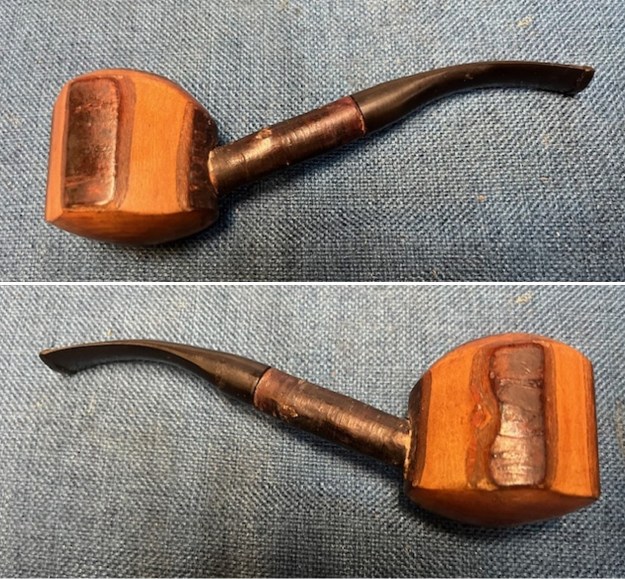
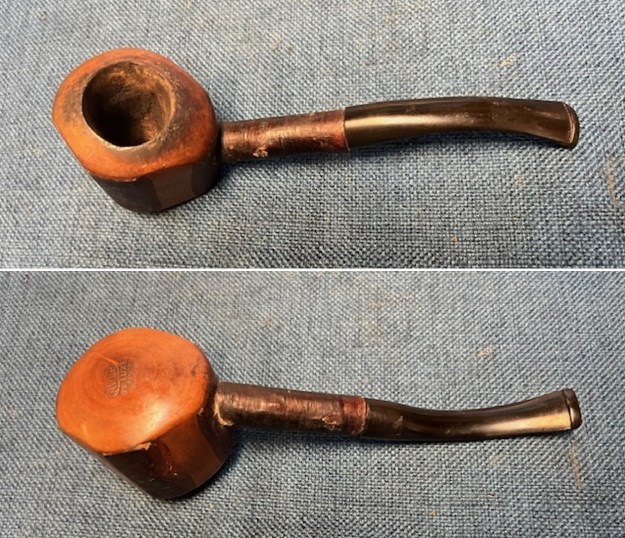
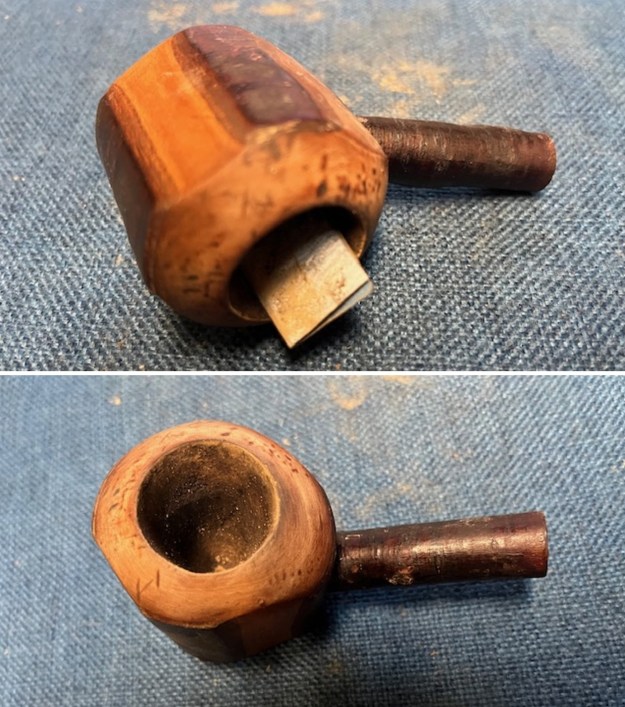
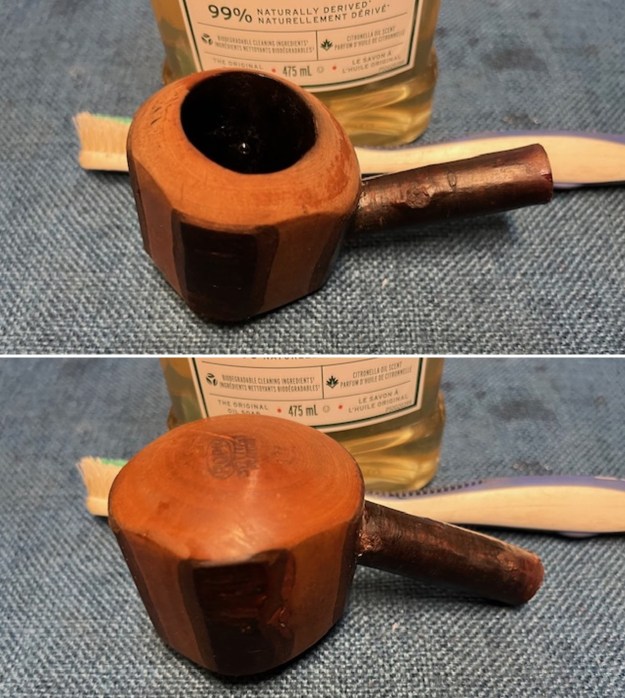
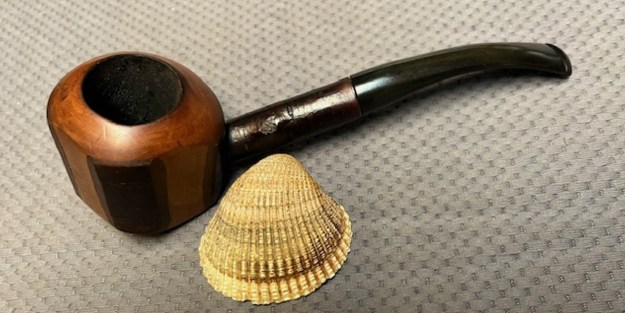
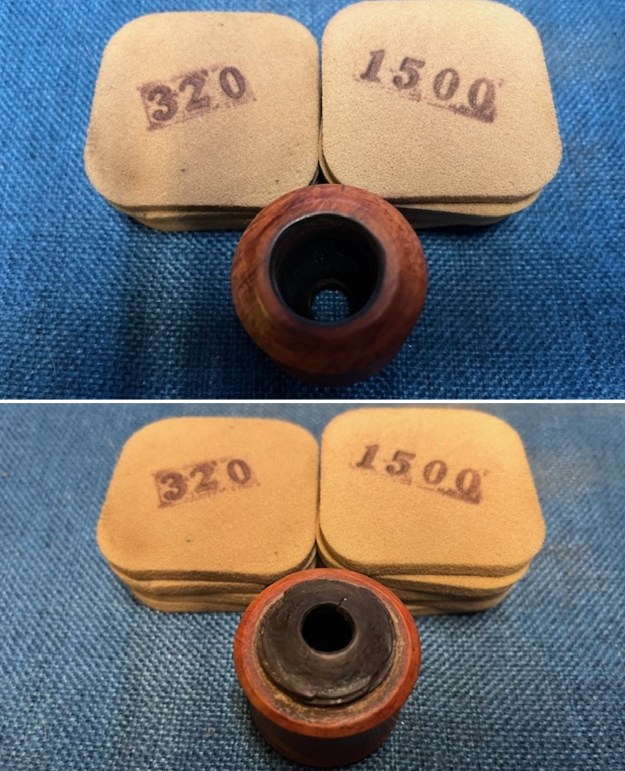
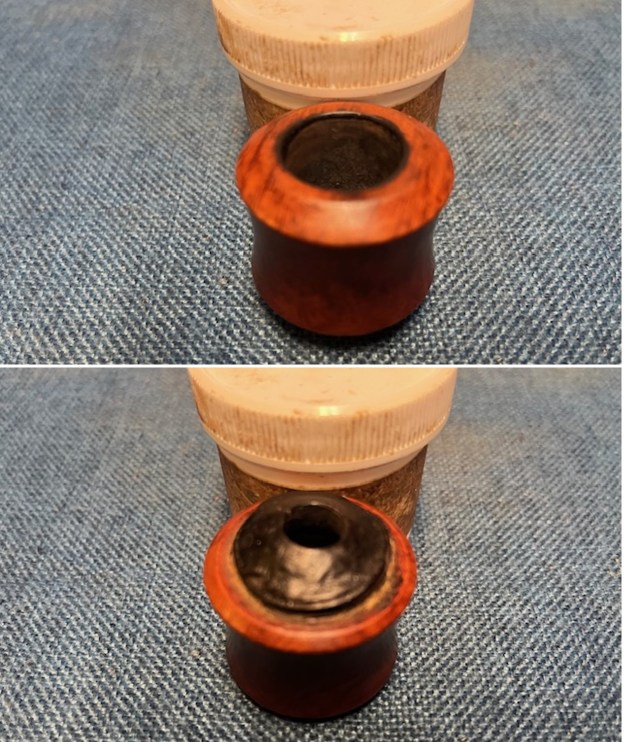
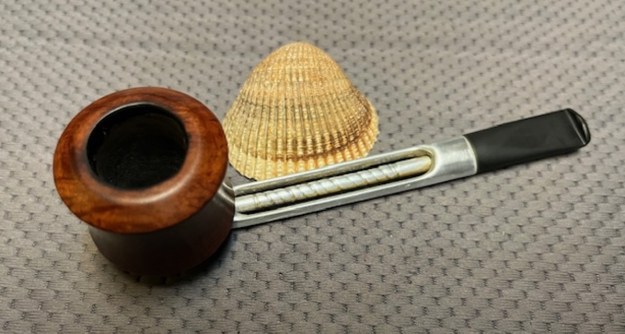
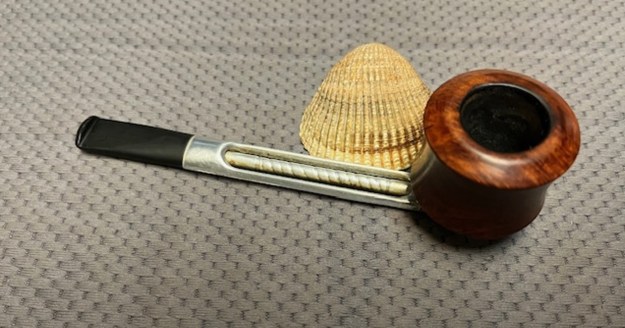
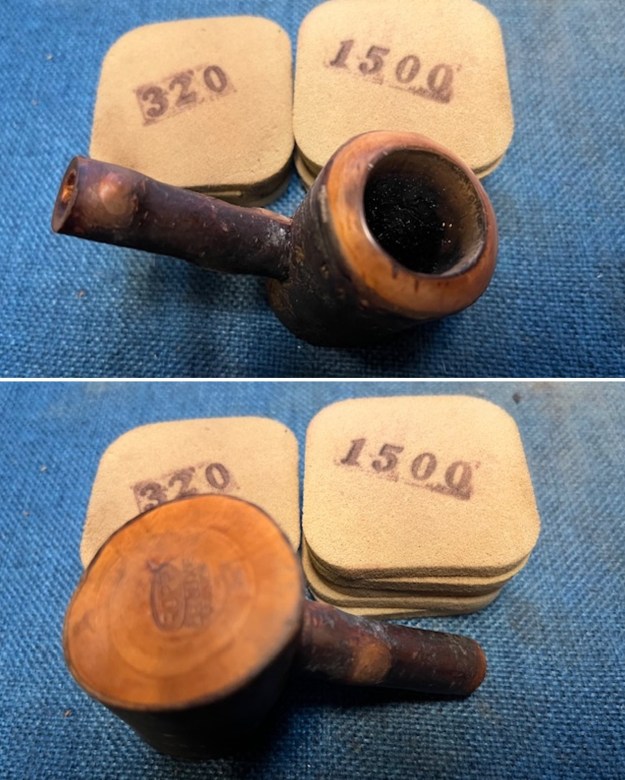
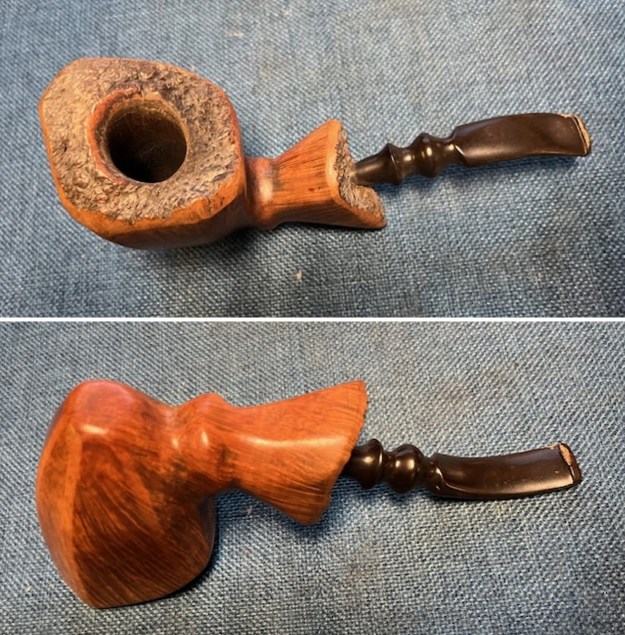
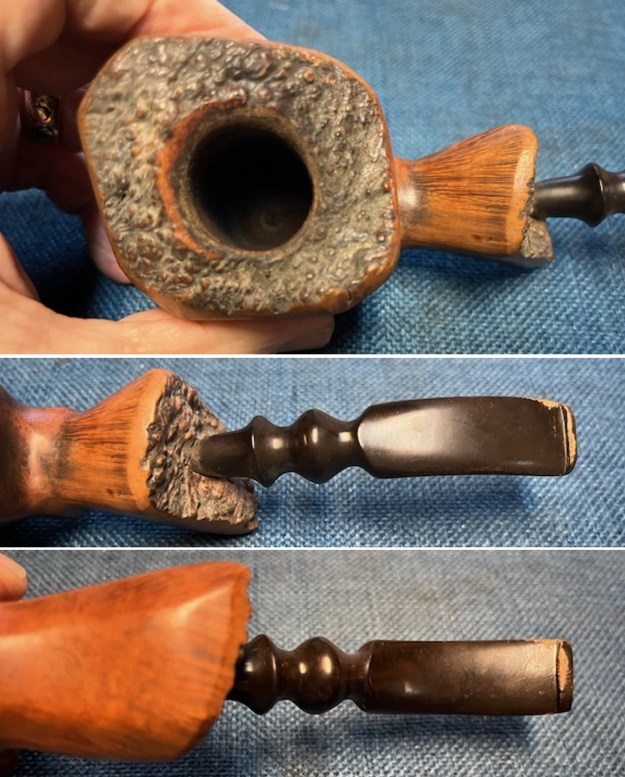
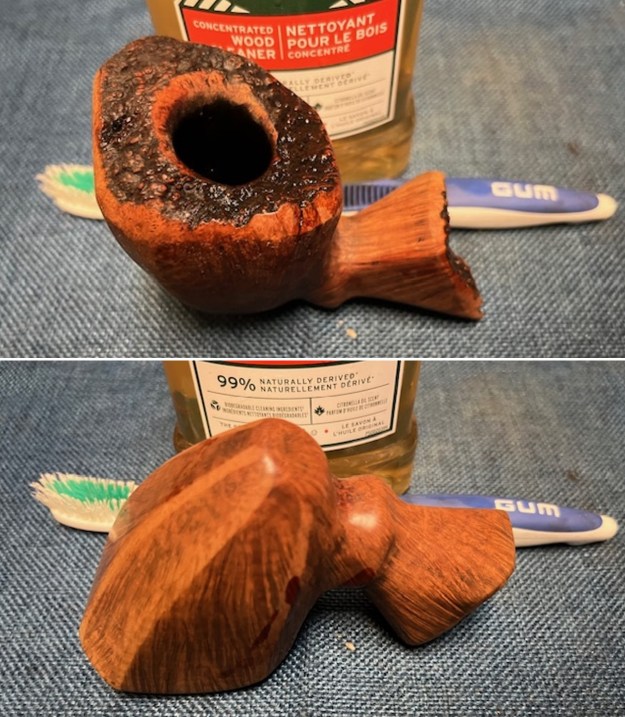
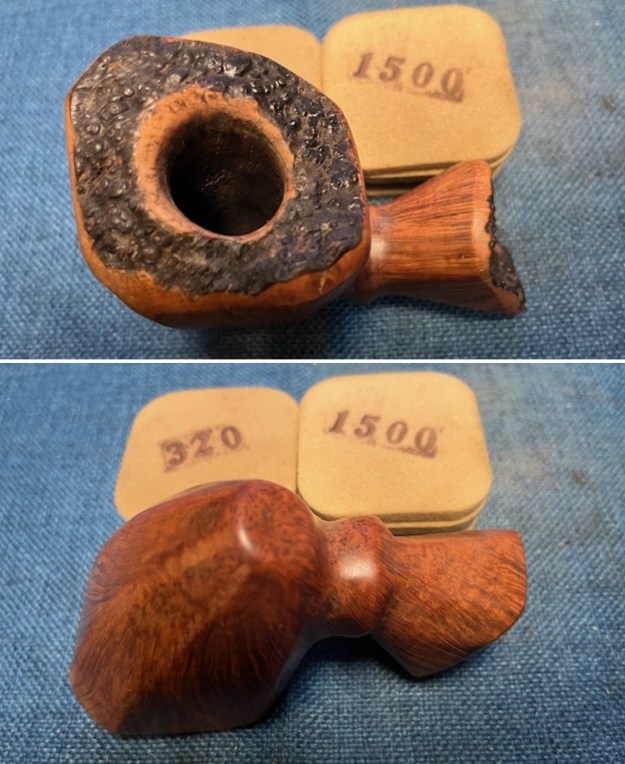
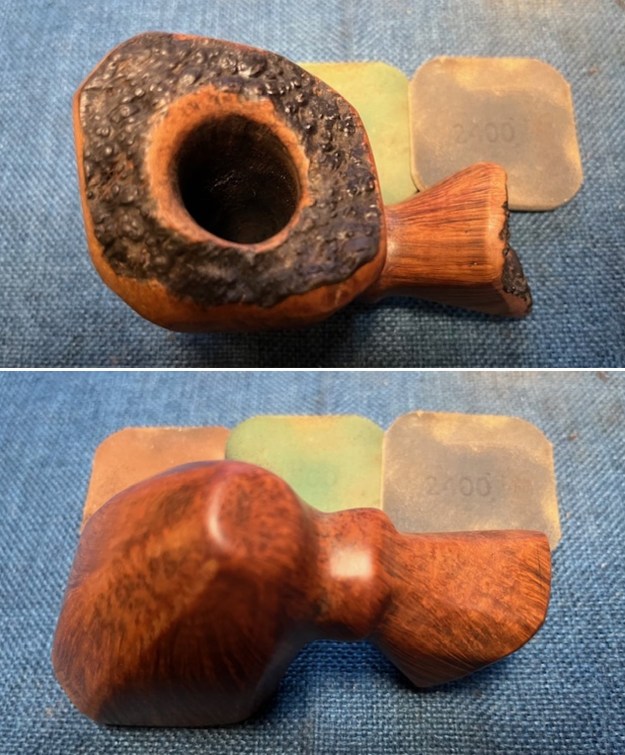
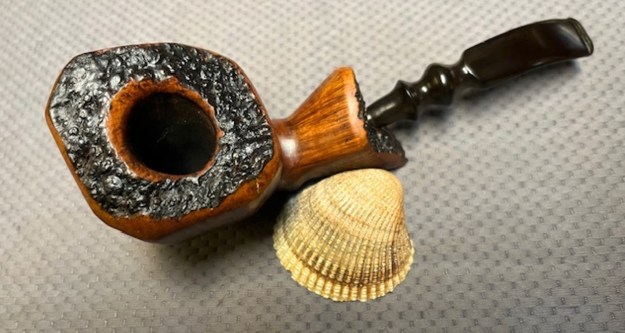
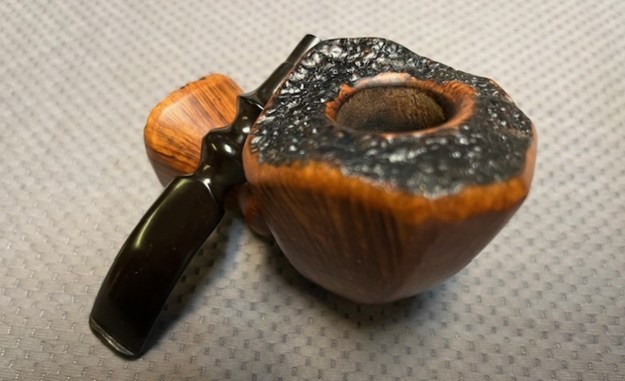
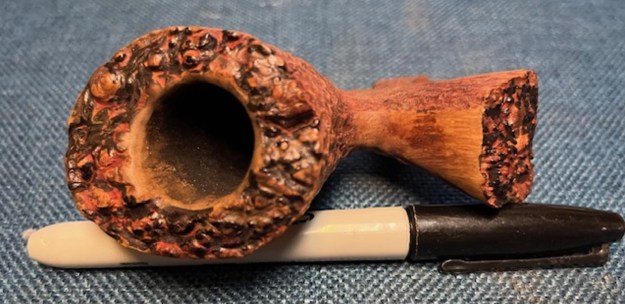
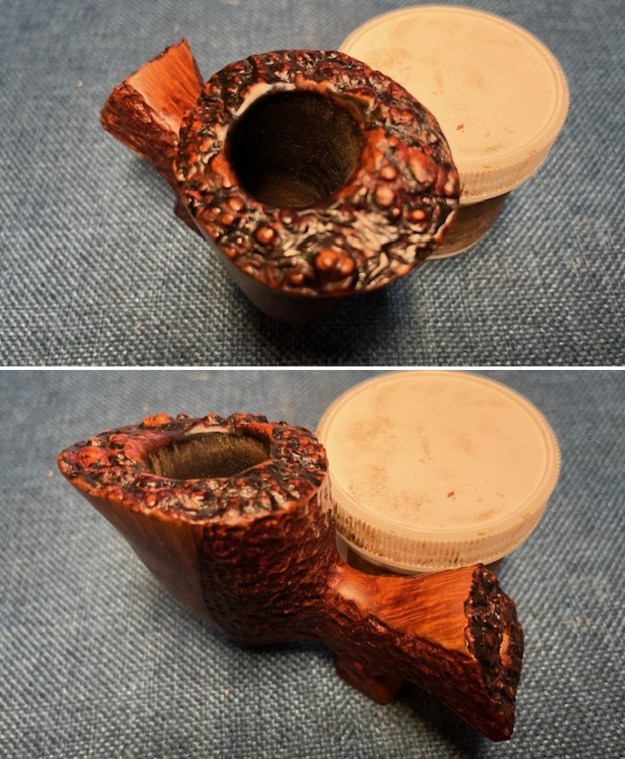
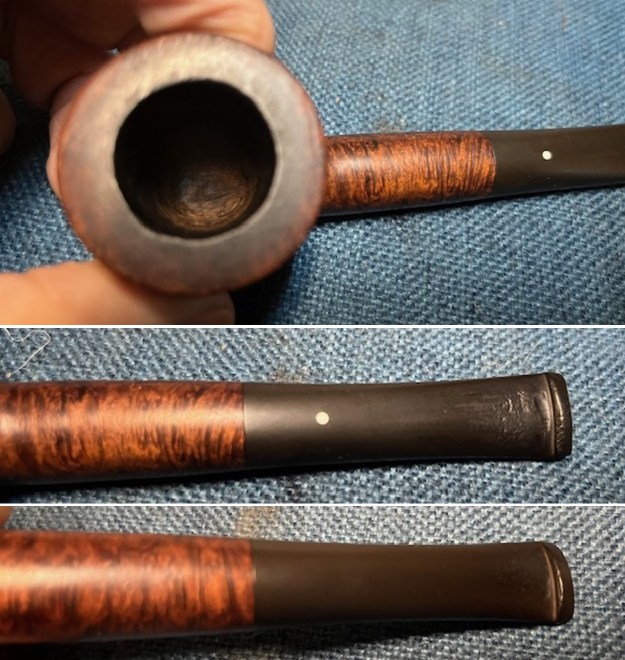
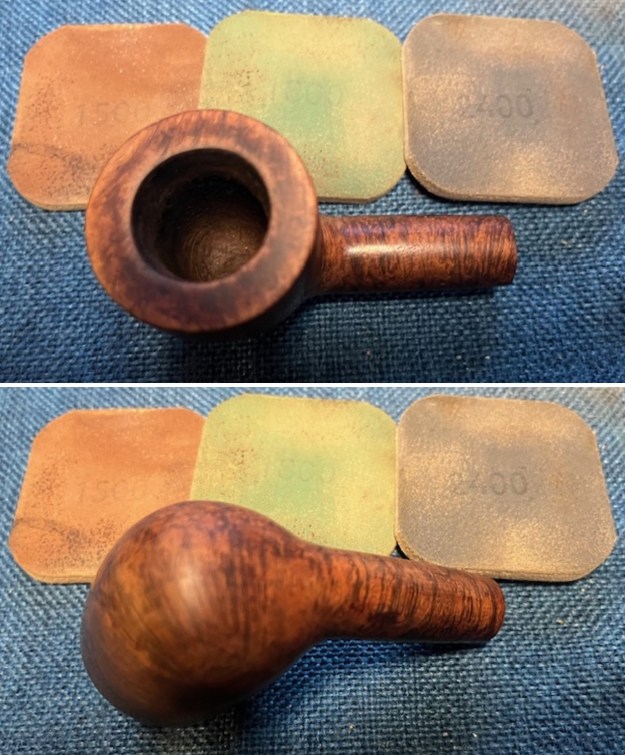
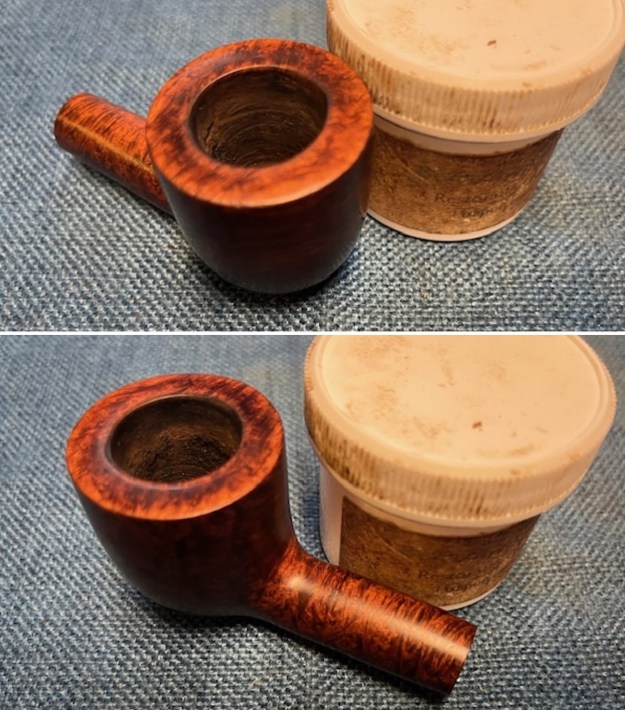
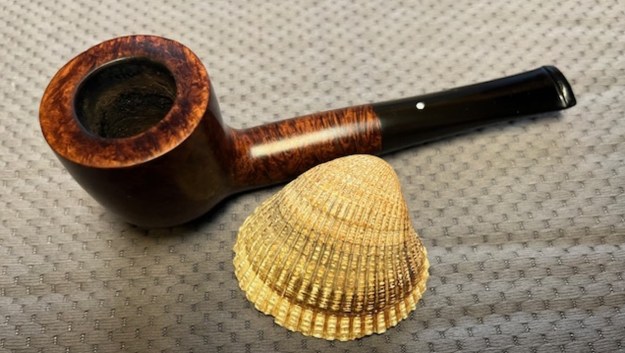
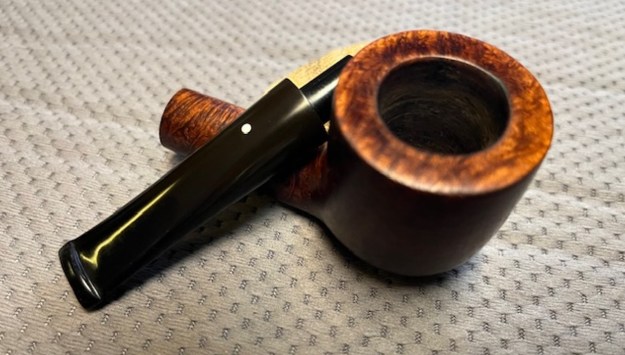
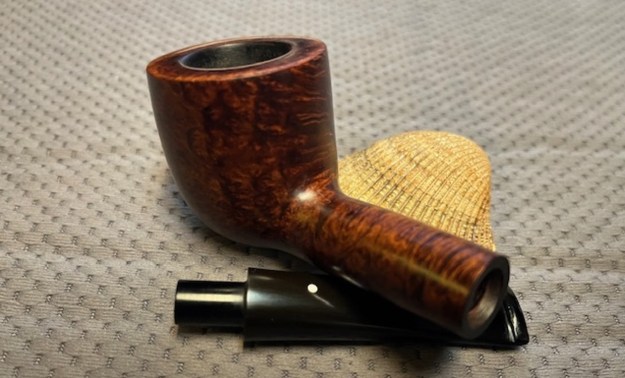
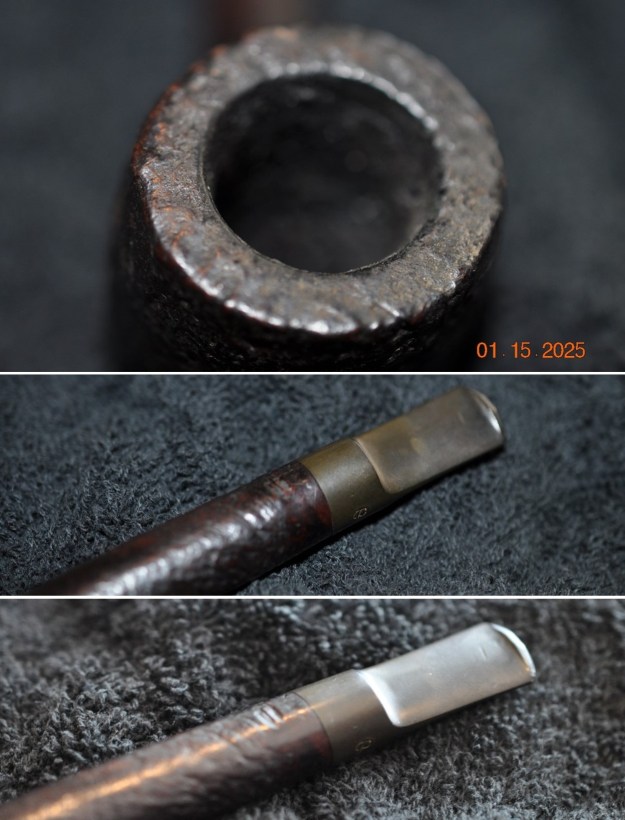
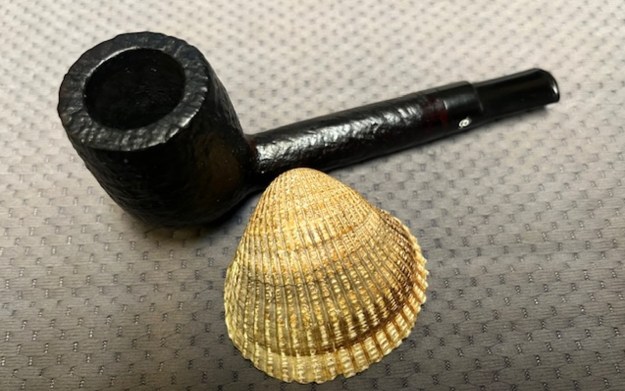
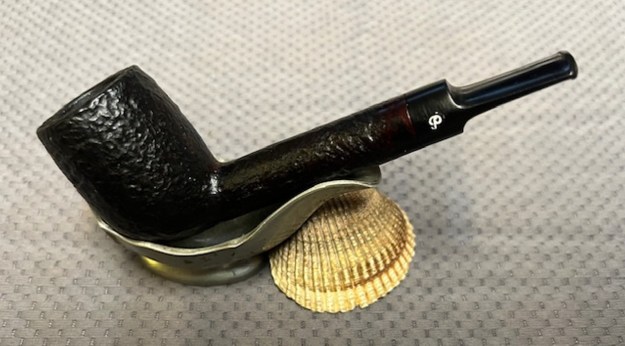
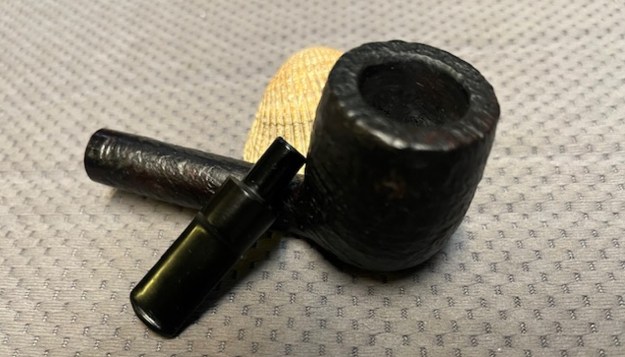
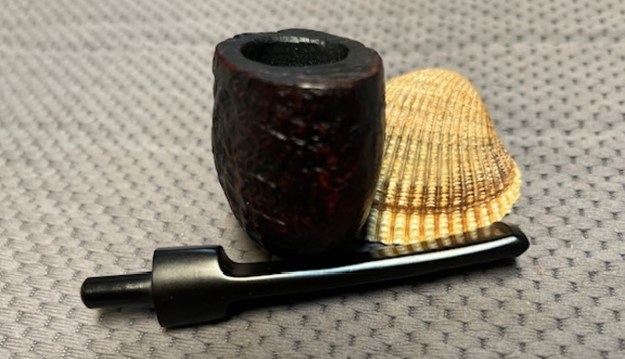
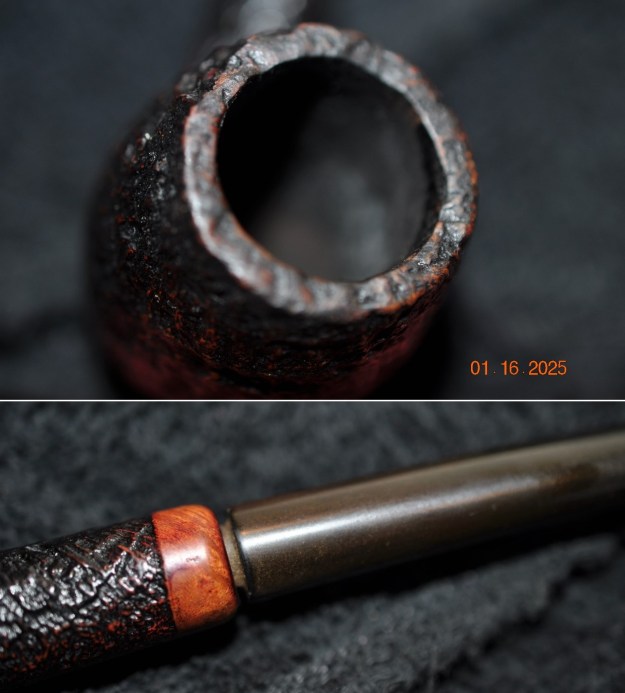
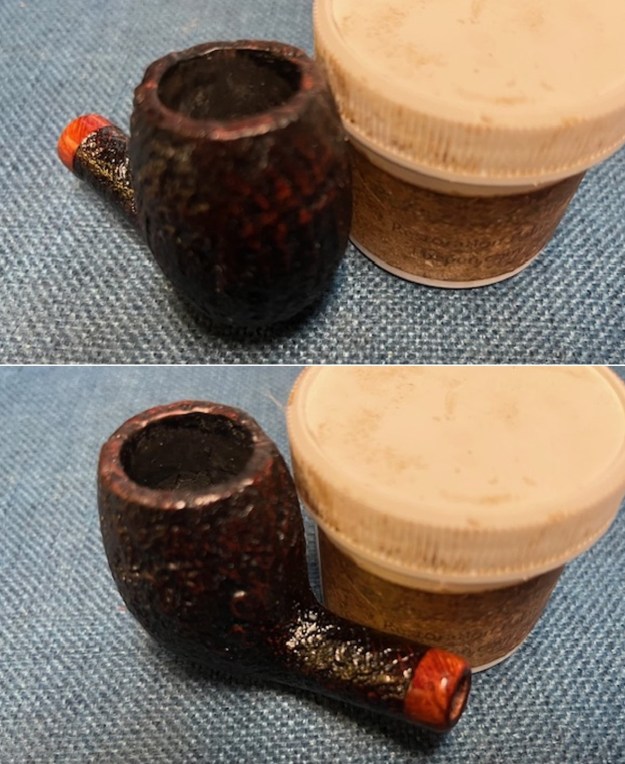
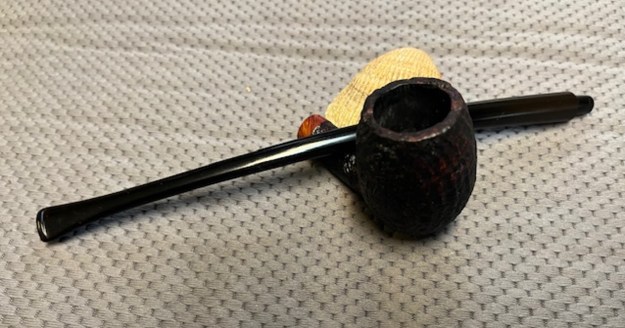
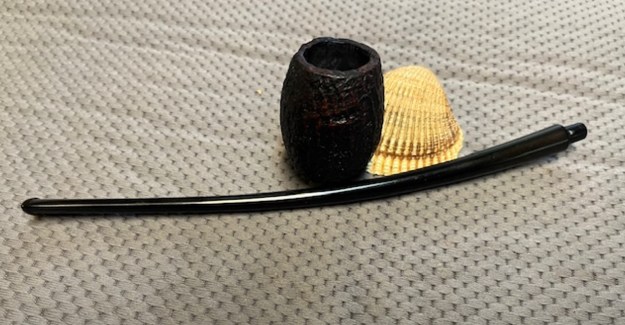
 I took photos of the bowl and rim top to show how clean it was. The top and the inner edge of the rim look very good. The stem looks clean of debris and grime. There are light tooth marks and chatter on both sides.
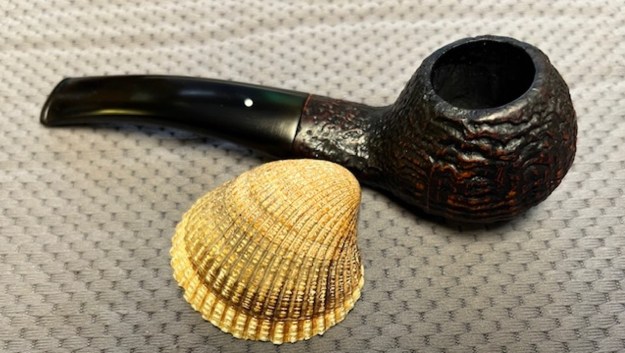
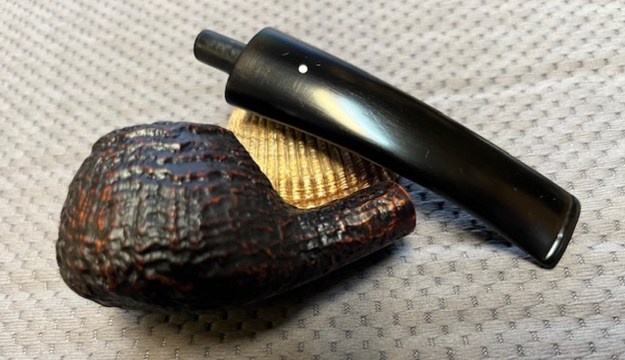
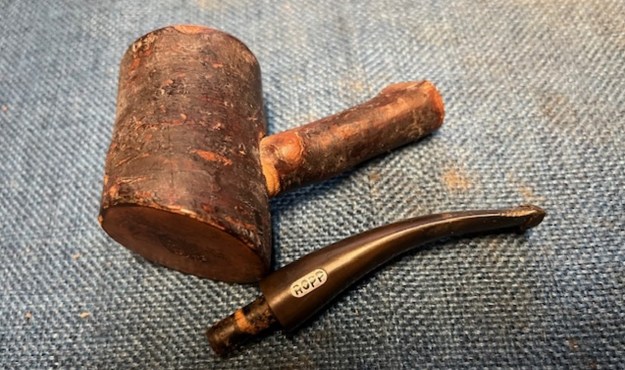
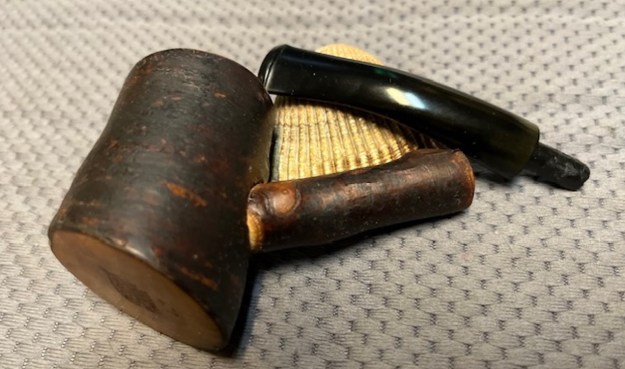
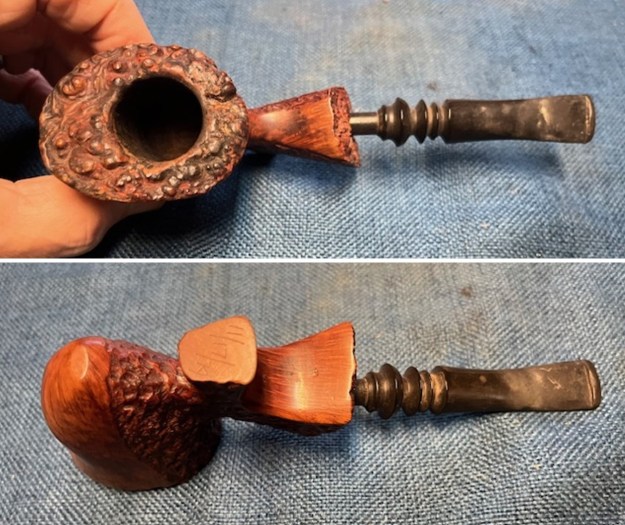
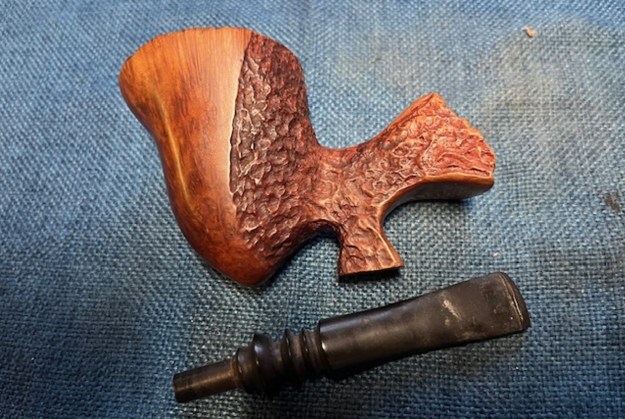
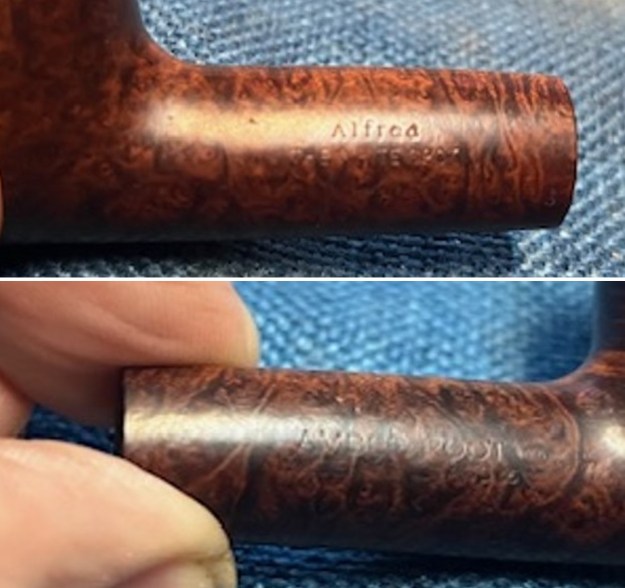
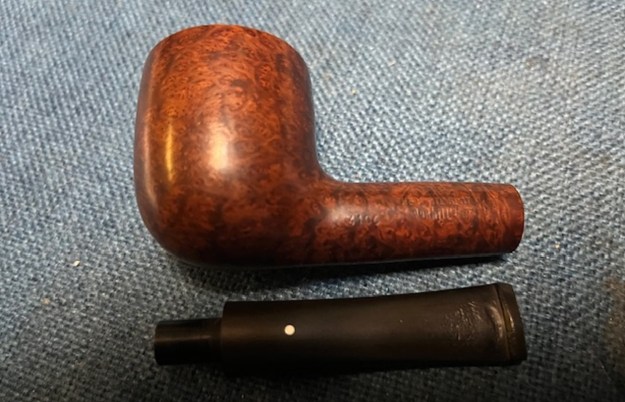
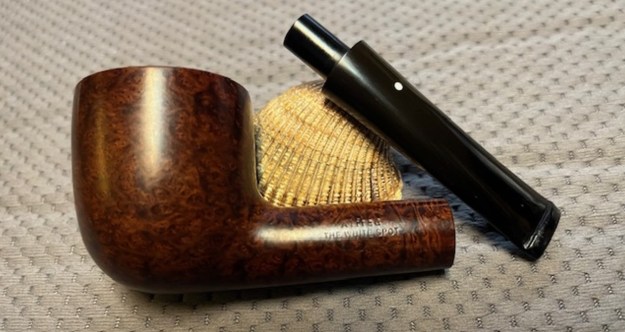
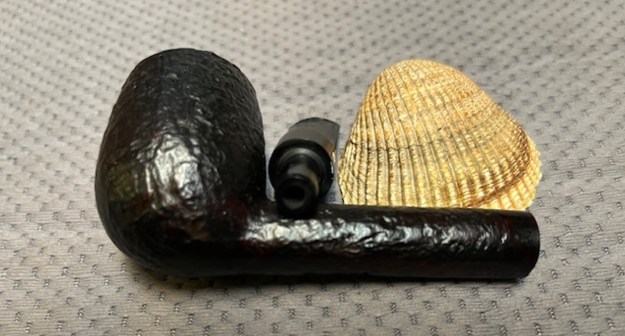
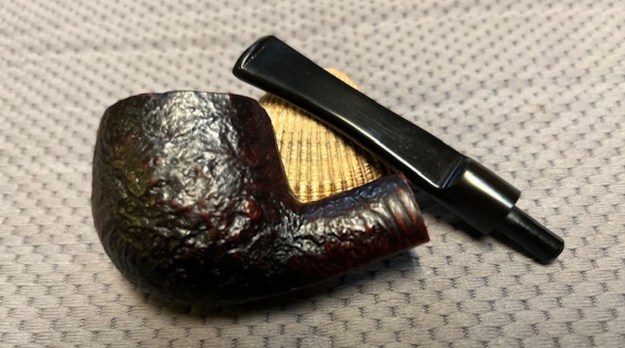
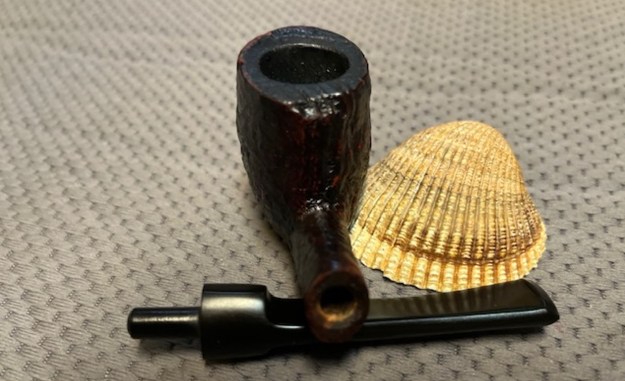
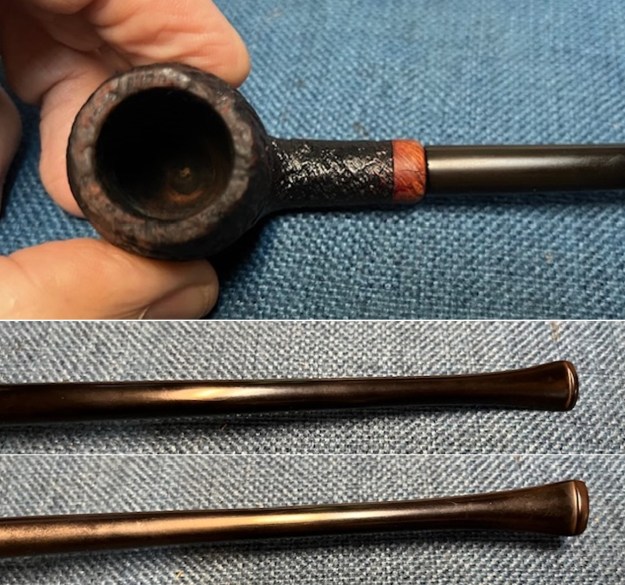
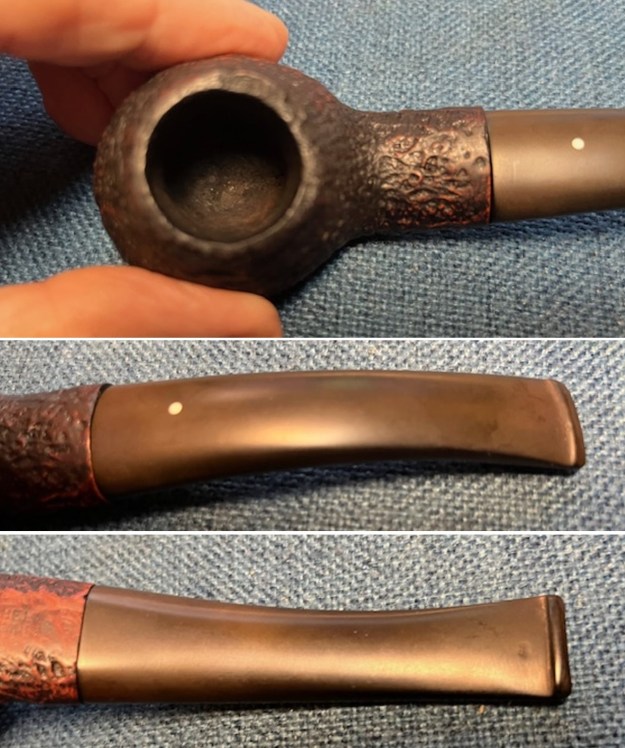 I took photos of the stamping on the underside of shank. The stamping is clear and readable (though in some spots it is faint). I took a photo of the pipe with the stem removed to show the overall look of stem, tenon and profile of the pipe.
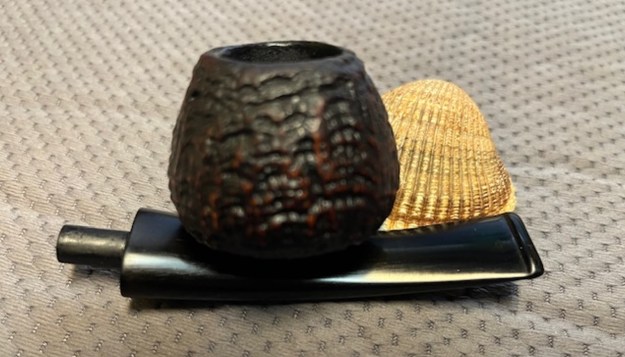
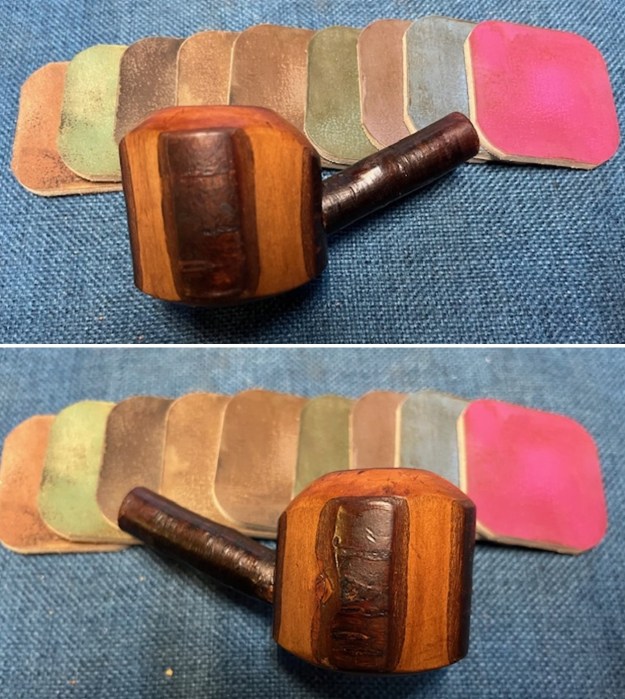
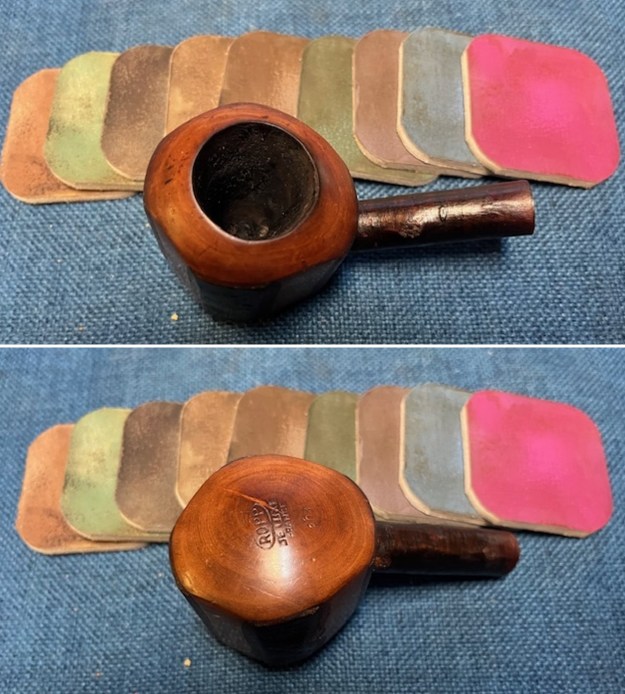
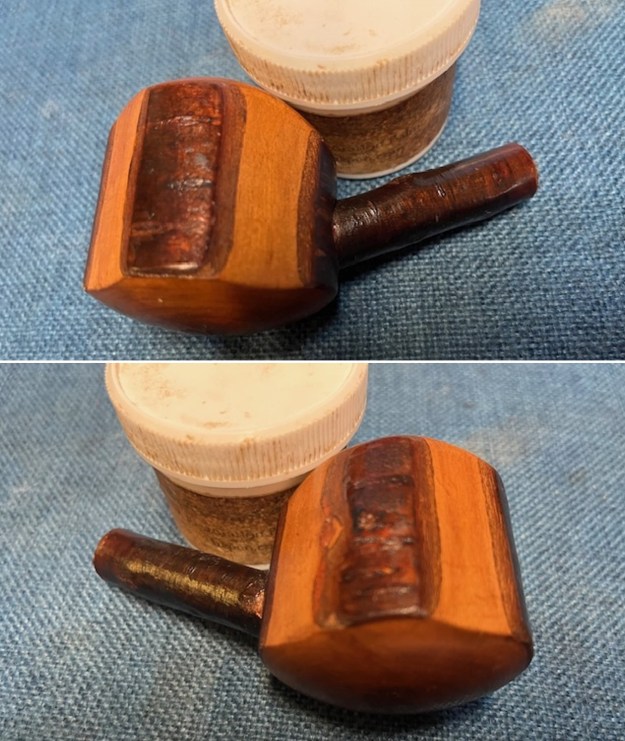
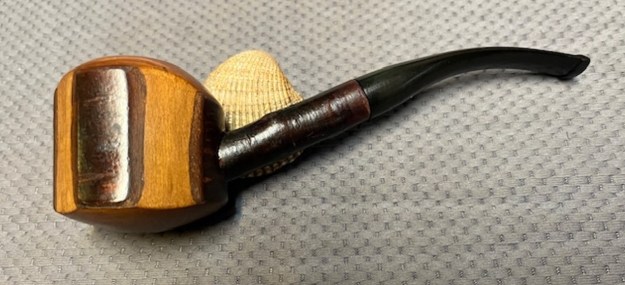
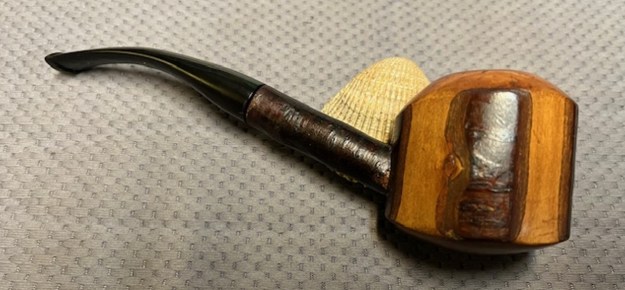
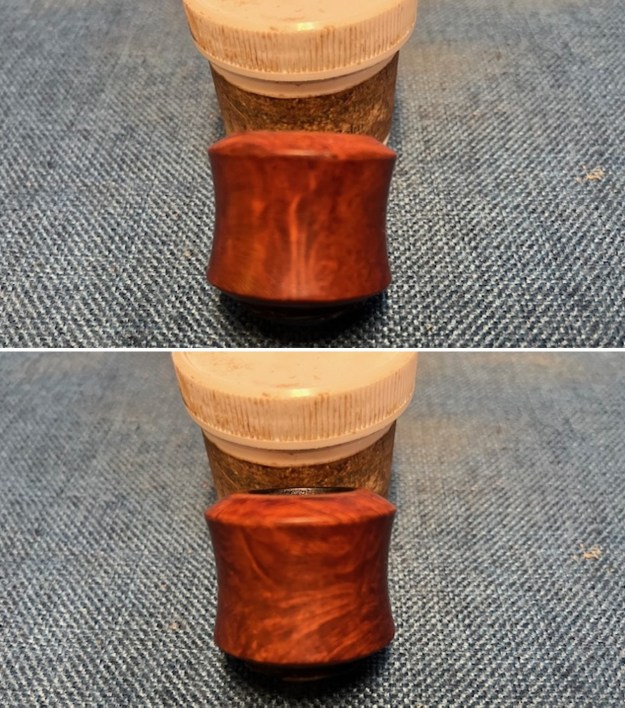
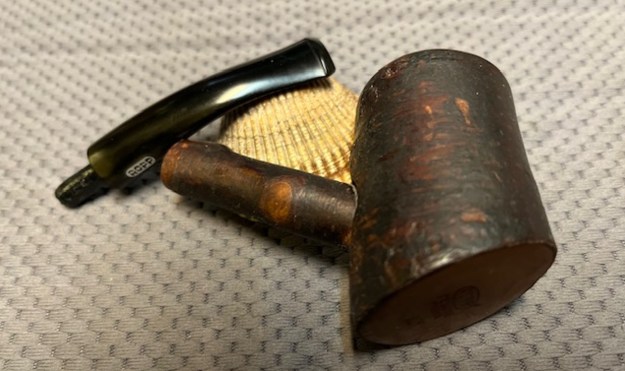
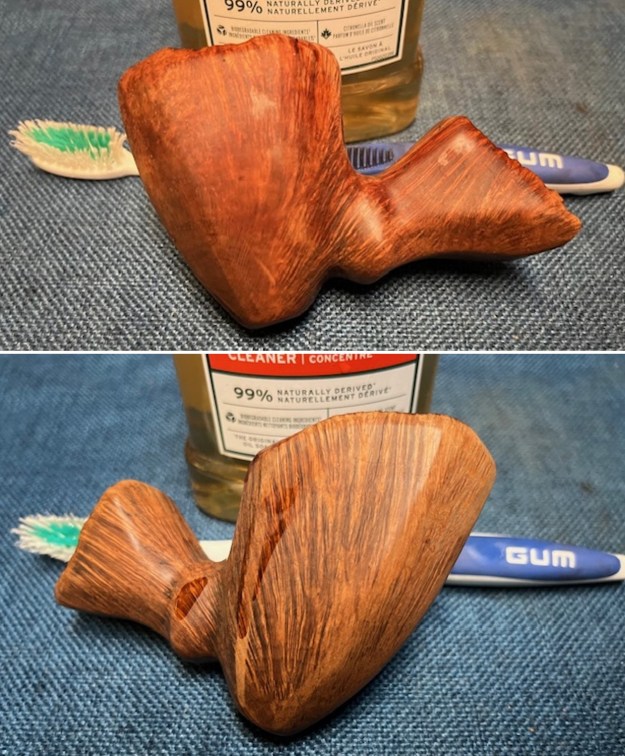
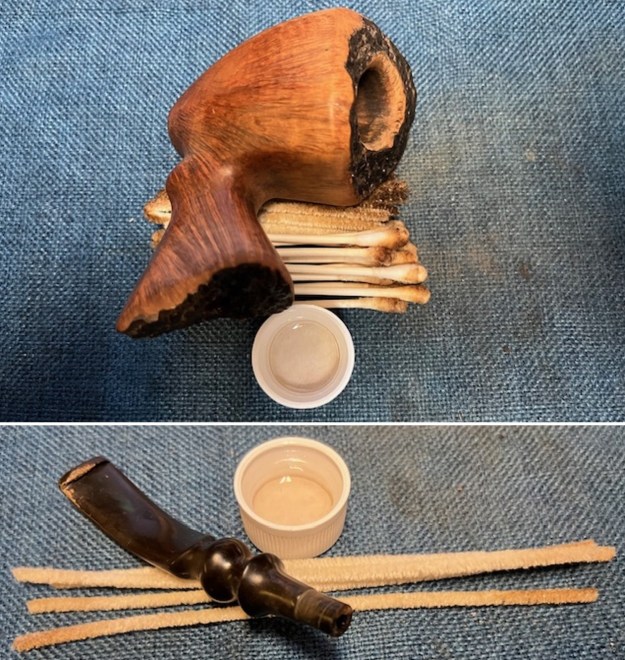
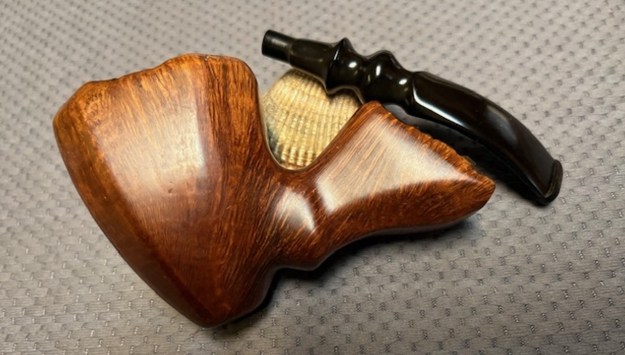
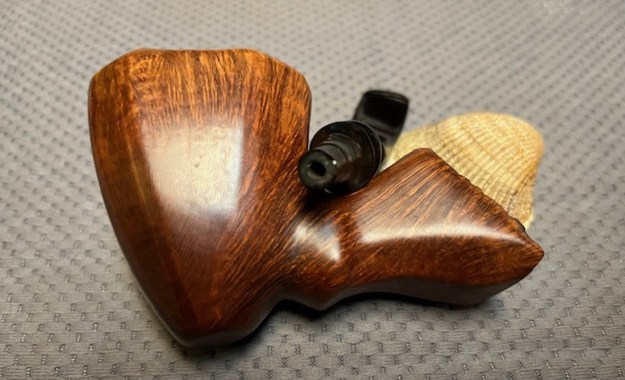
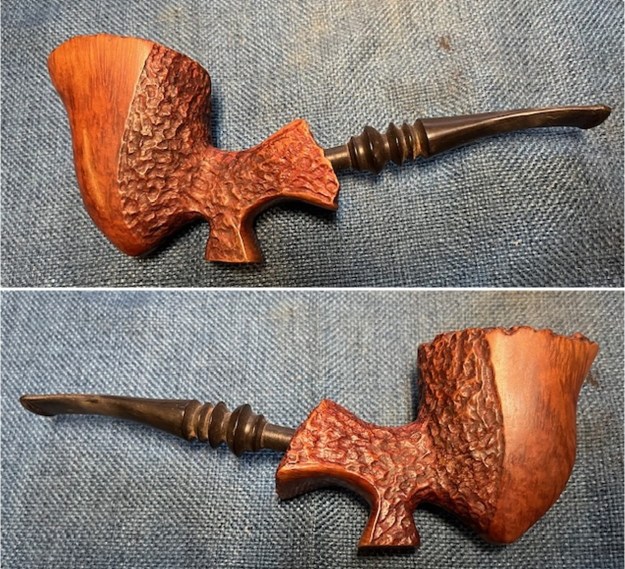
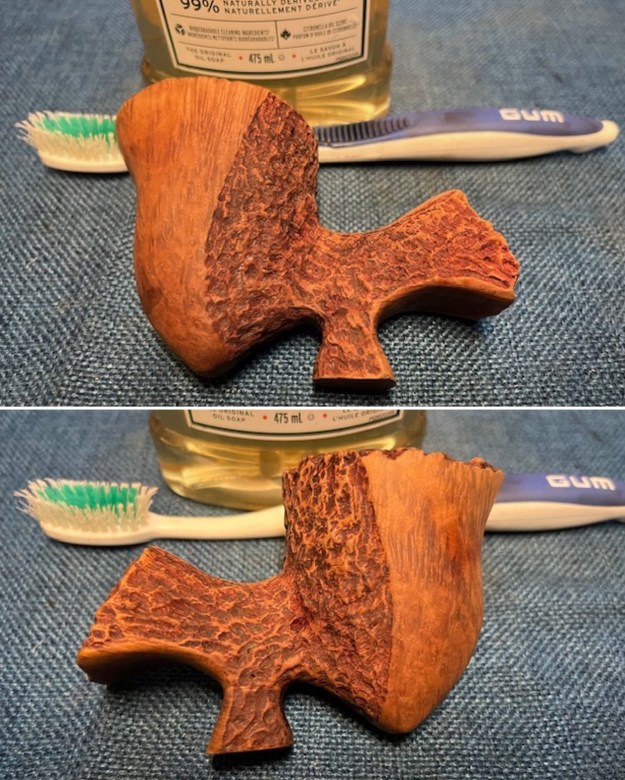
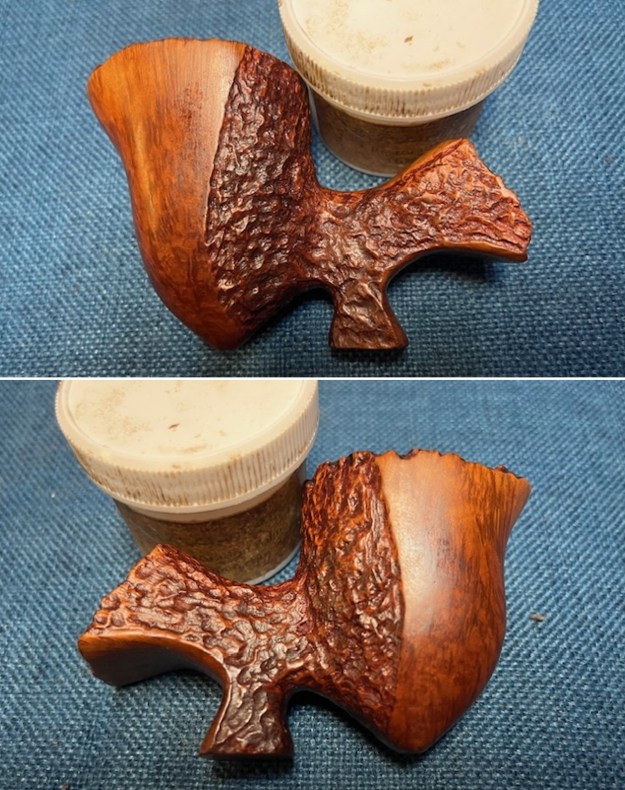
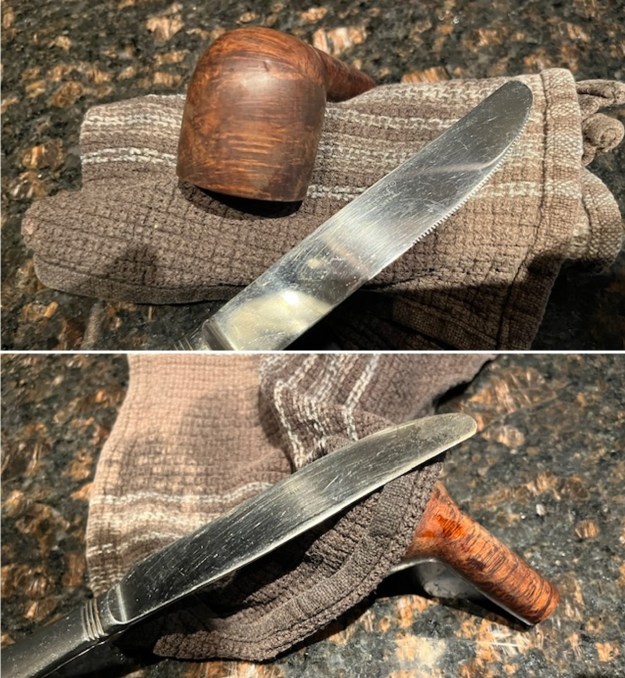
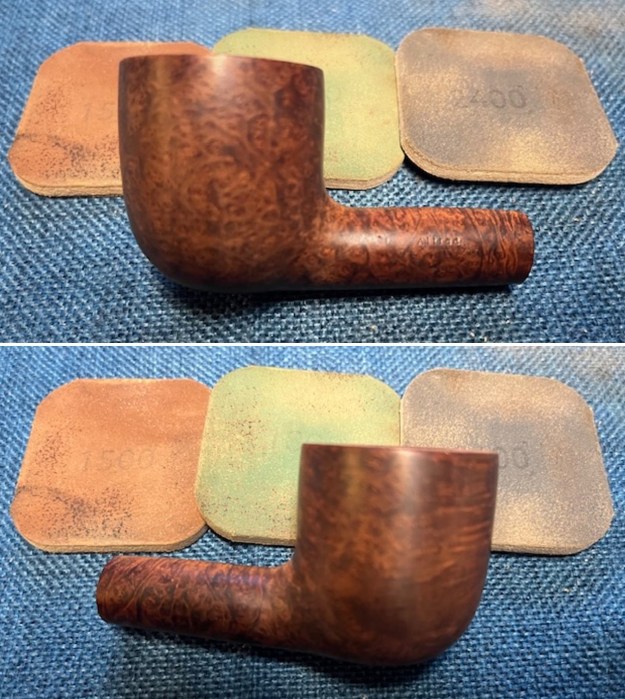
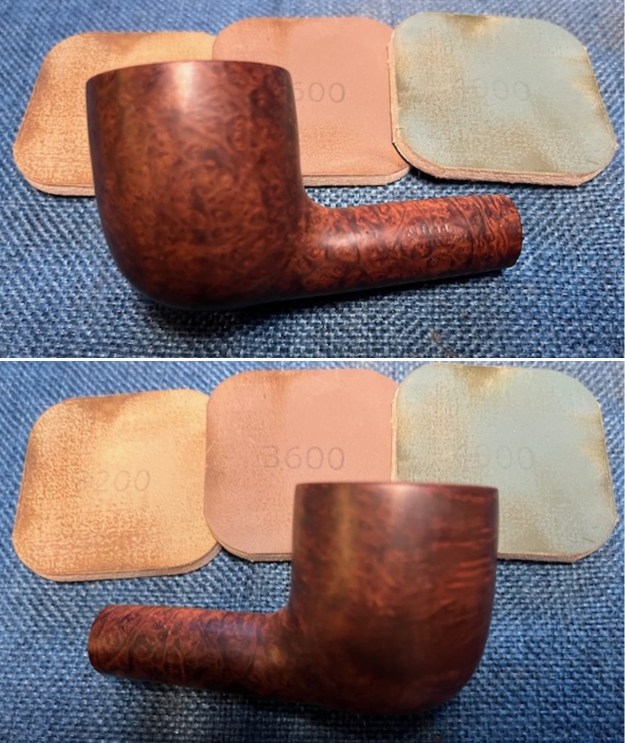
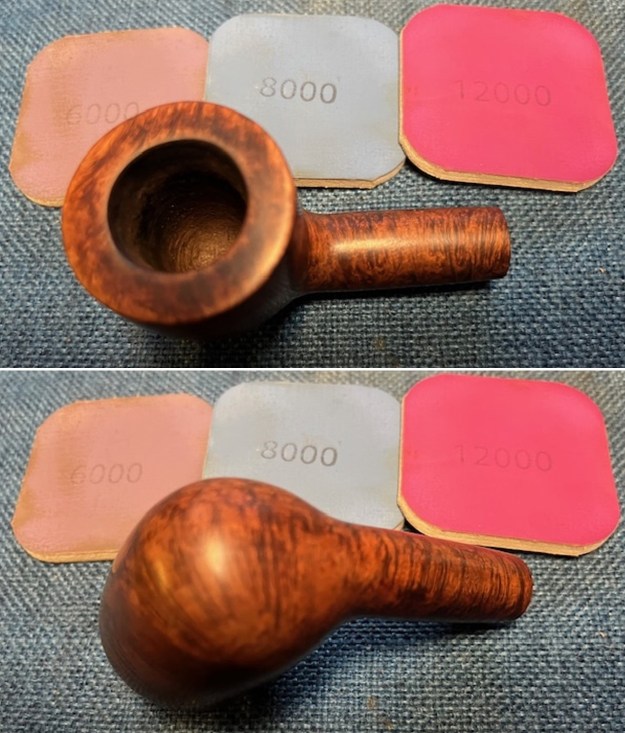
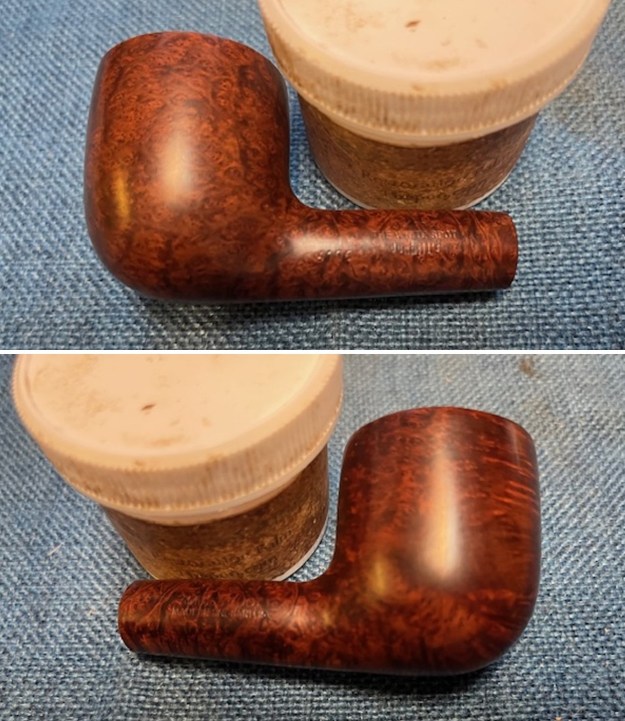
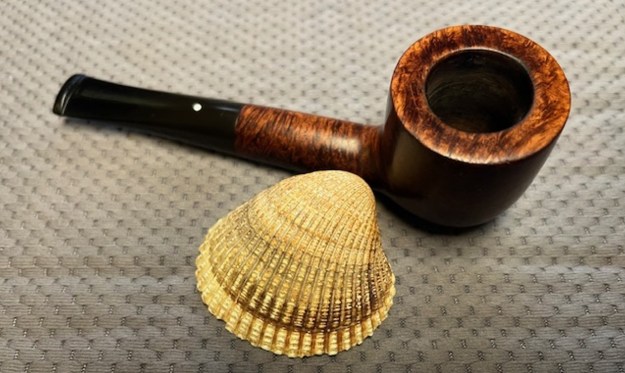
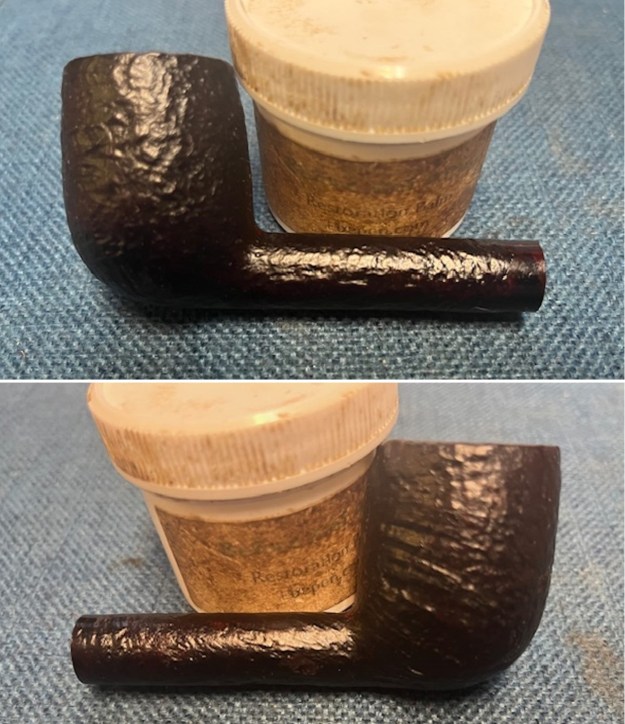
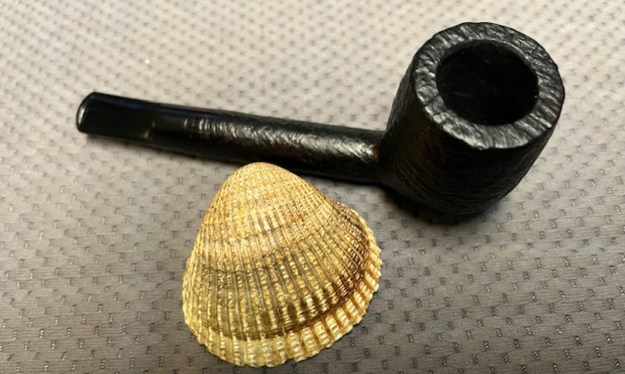
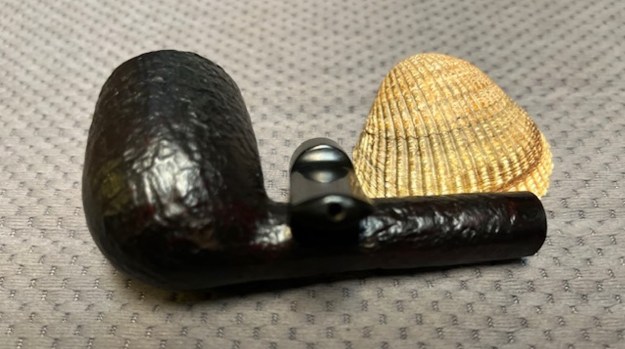
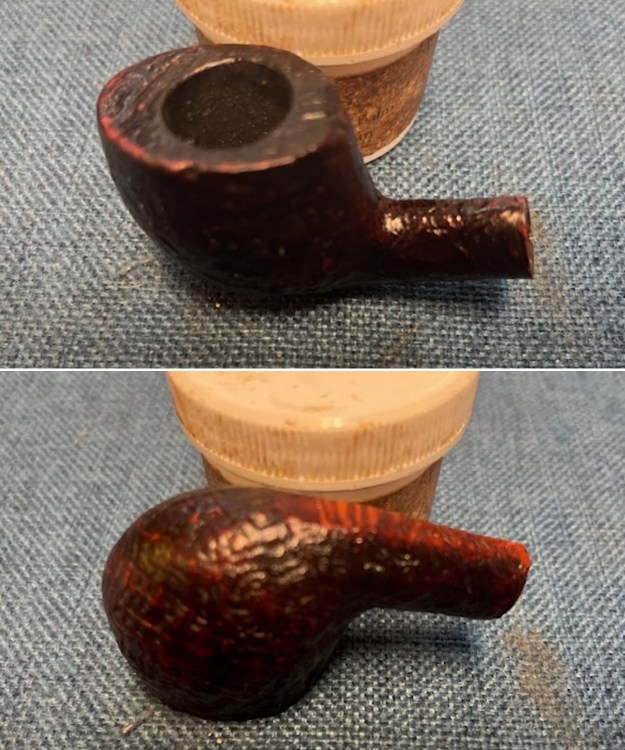
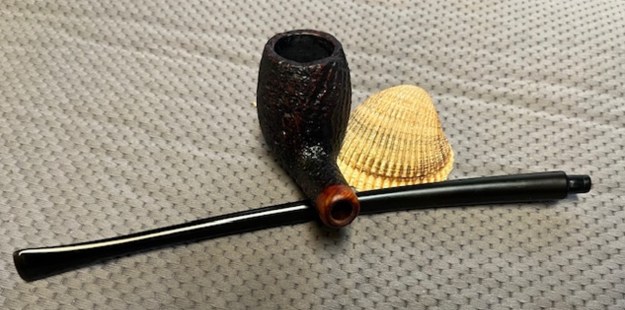
 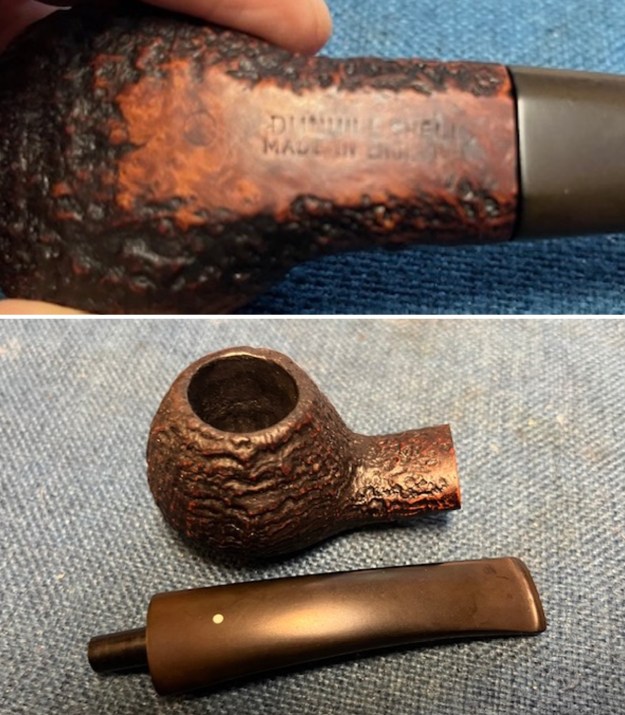 Now it was time to work on the pipe. The bowl was in excellent condition so it took little work to prepare it. It was very clean so I rubbed the bowl down with Before & After Restoration Balm. It is a paste/balm that works to deep clean the finish, enliven and protect the briar. I worked it into the briar with my finger tips to make sure that it covered every square inch of the pipe. I set it aside for 10 minutes to let it do its work. I buffed it with a cotton cloth. The briar really began to have a deep shine. The photos I took of the bowl at this point mark the progress in the restoration.
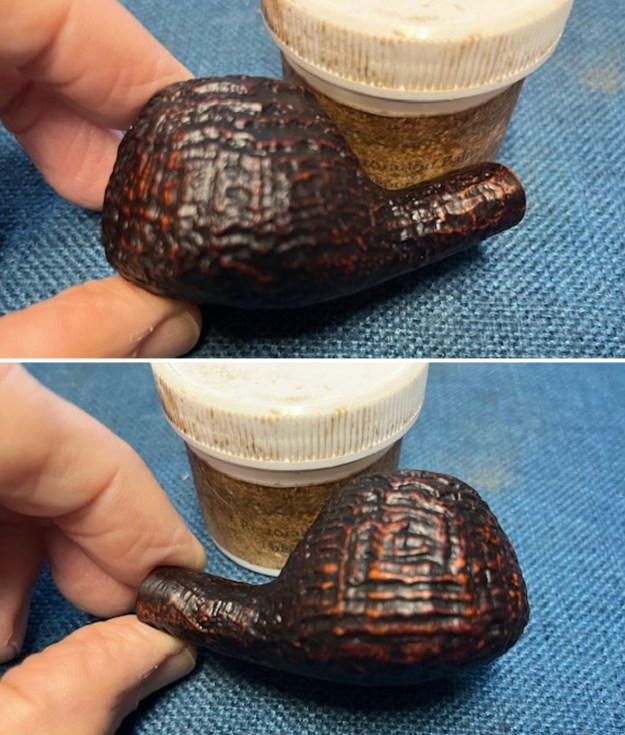
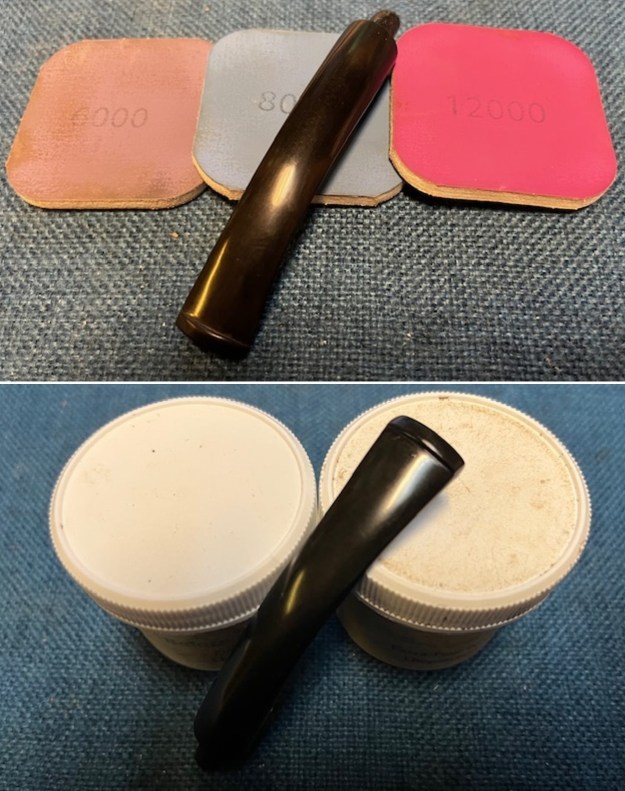
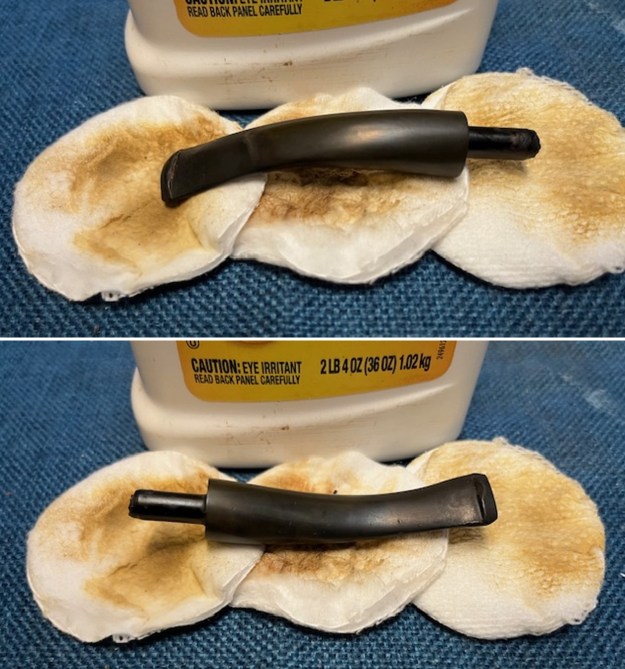
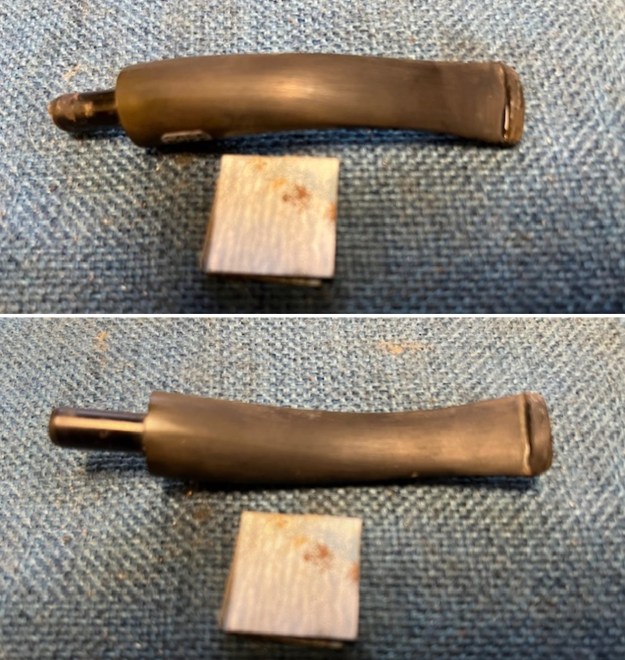
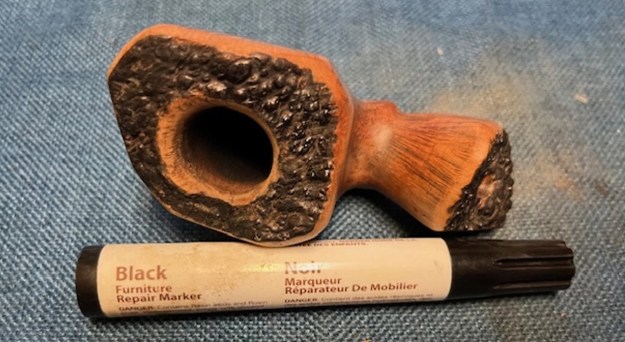
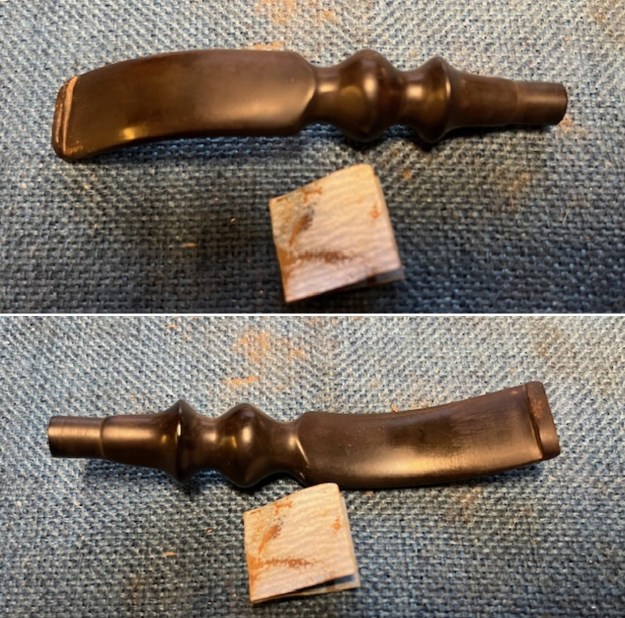
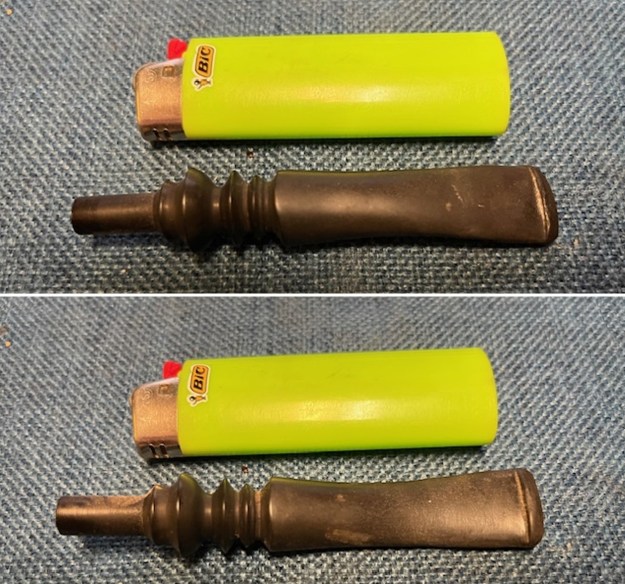
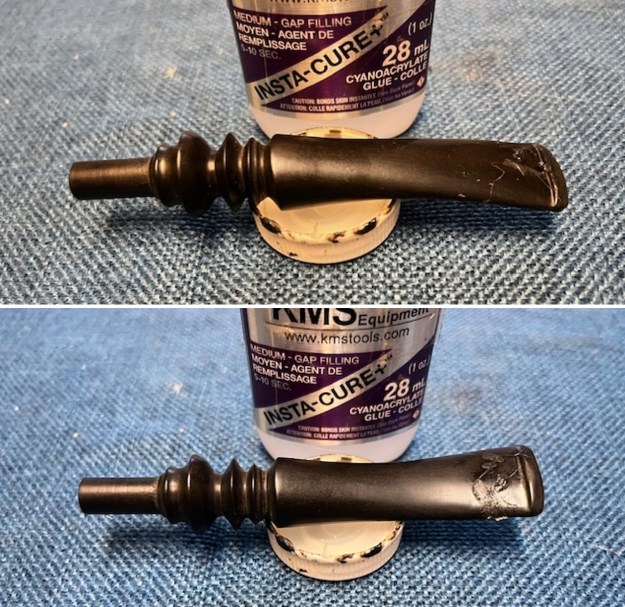
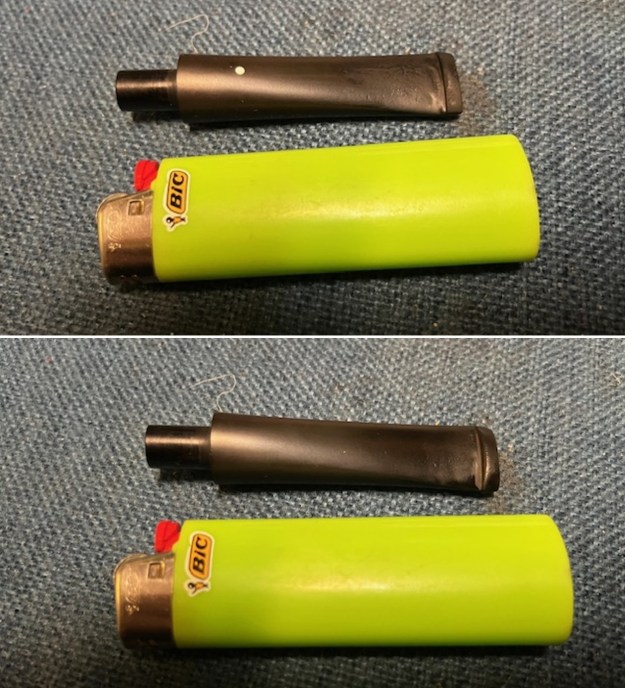
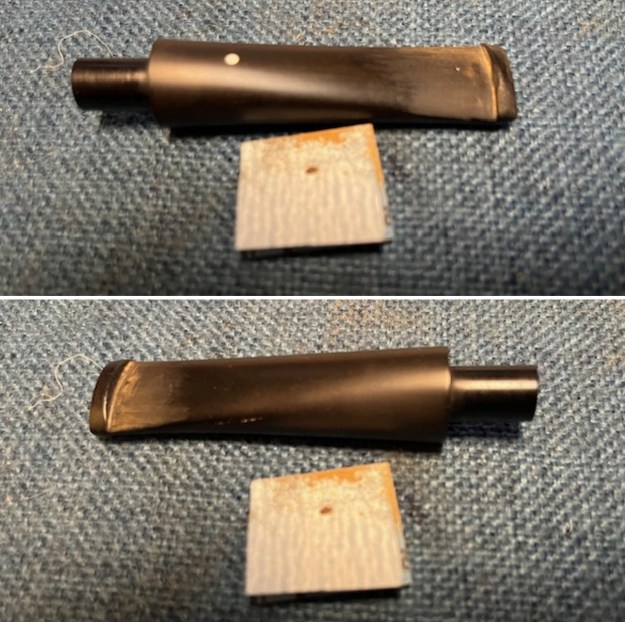
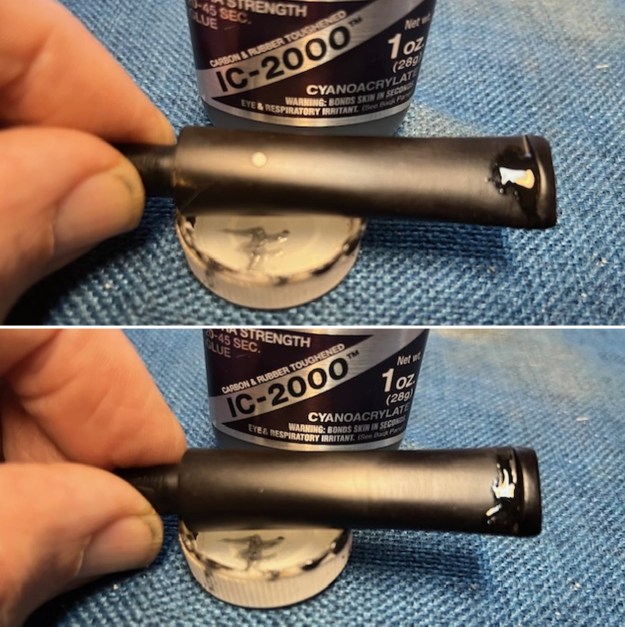
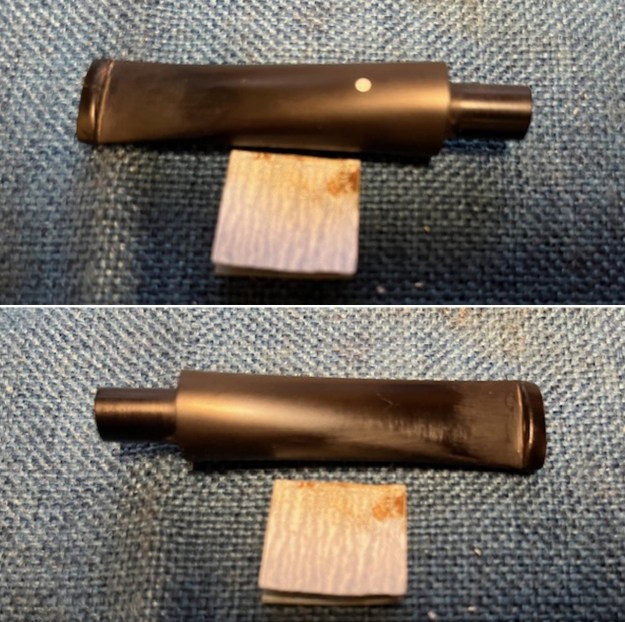
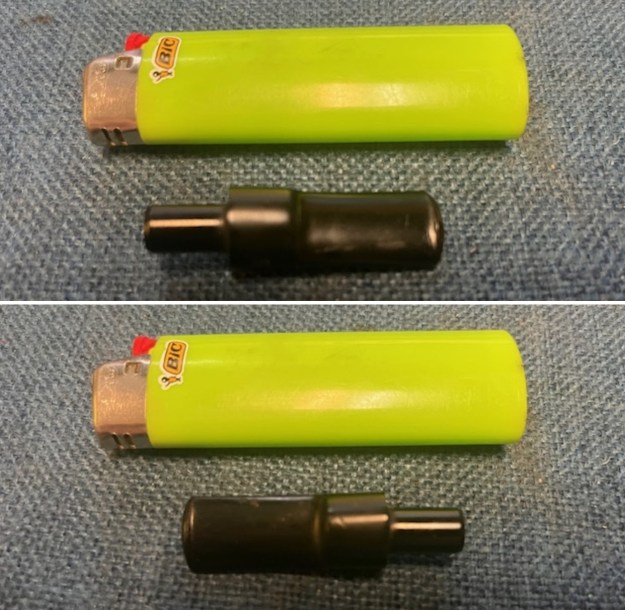
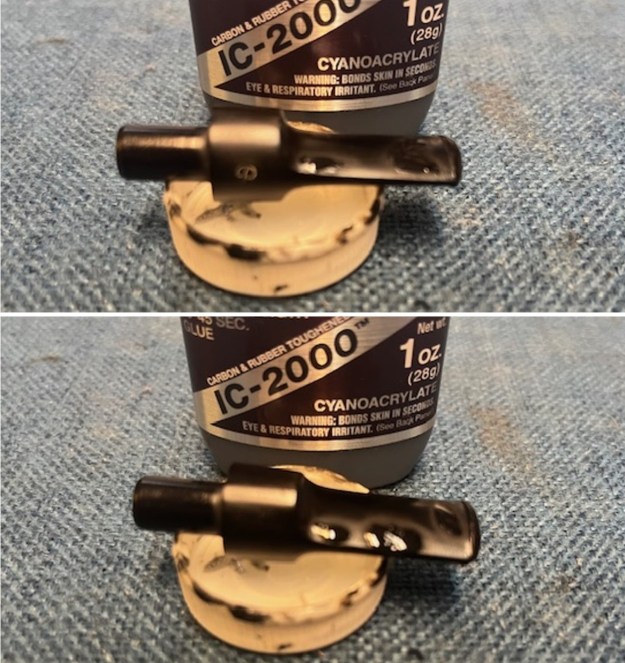
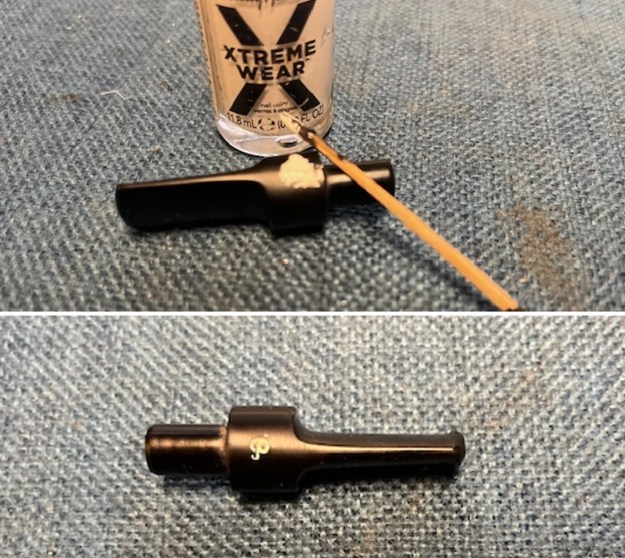
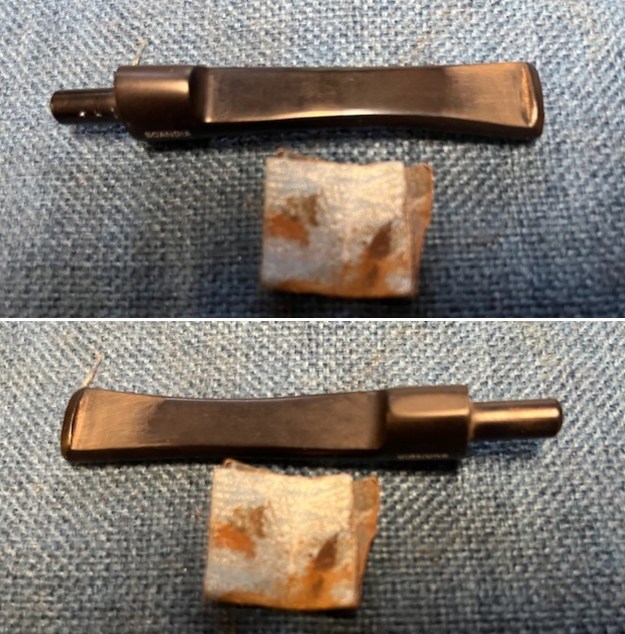
 I set the bowl aside and turned my attention to the stem. I “painted” the stem surface with the flame of a lighter to lift the tooth marks on the top and underside. It worked very well. I filled in the two remaining marks on the stem with rubberized black CA glue. I set the stem aside to let the repair cure.
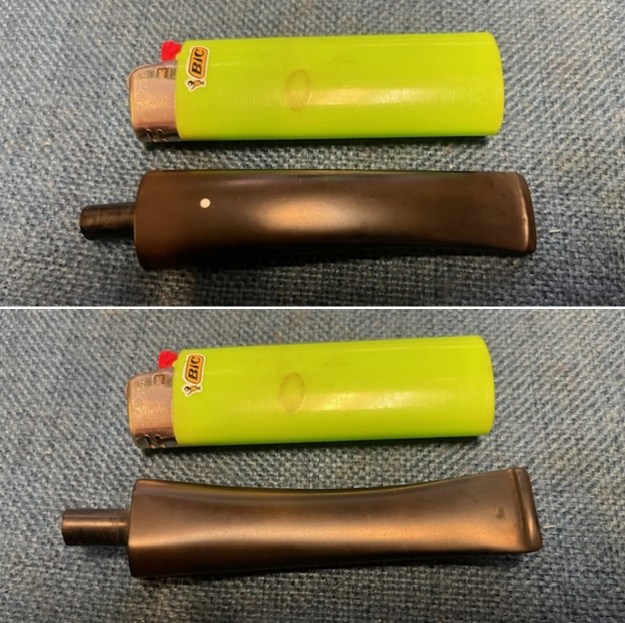
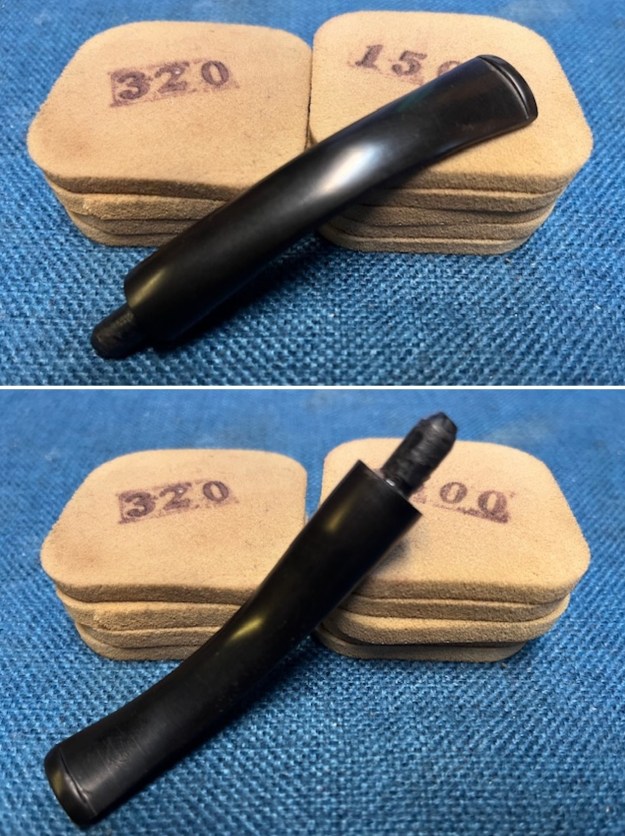
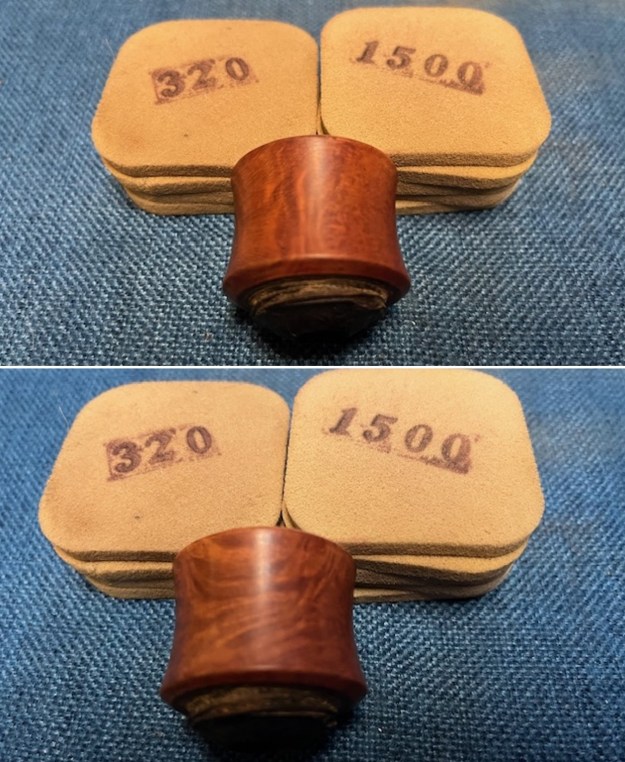
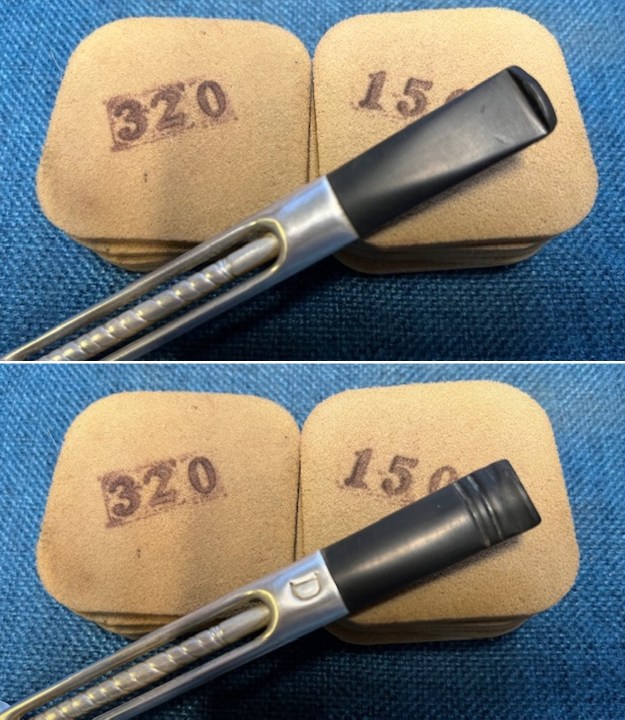
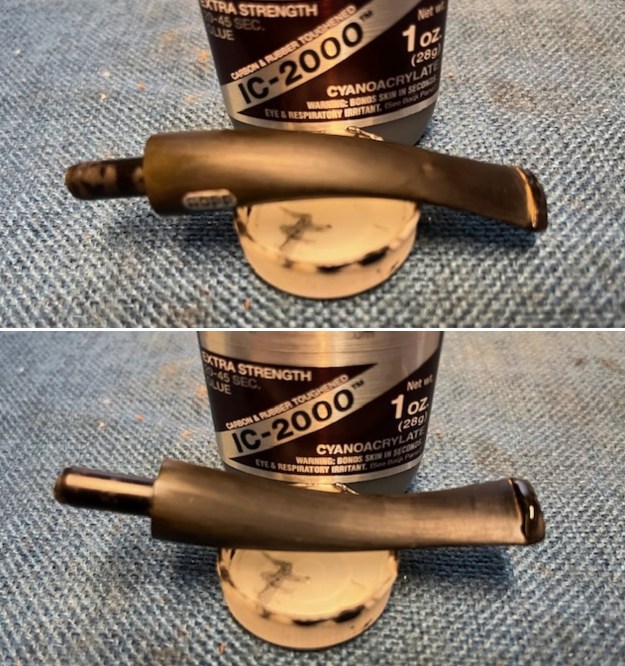
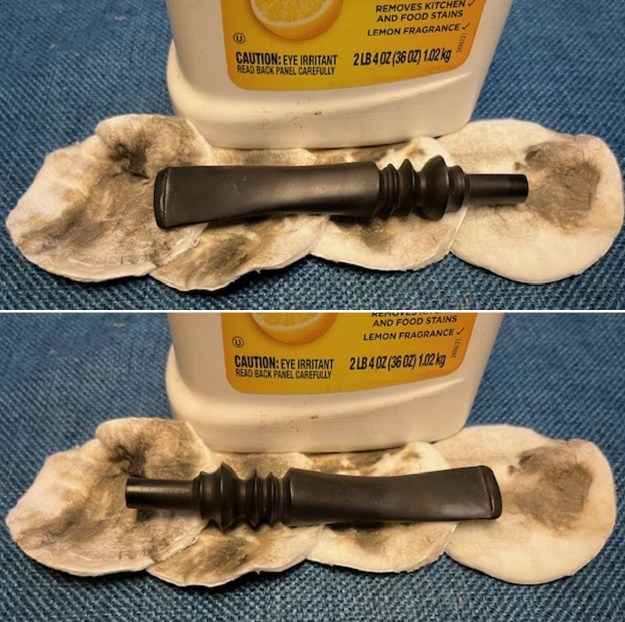
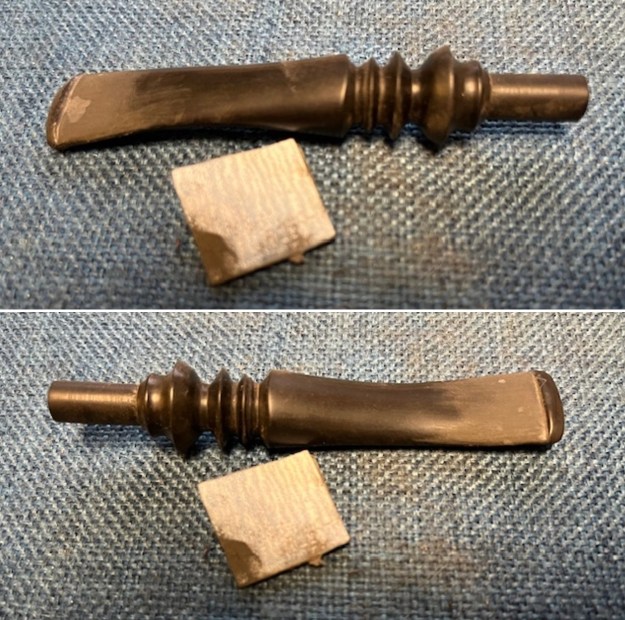
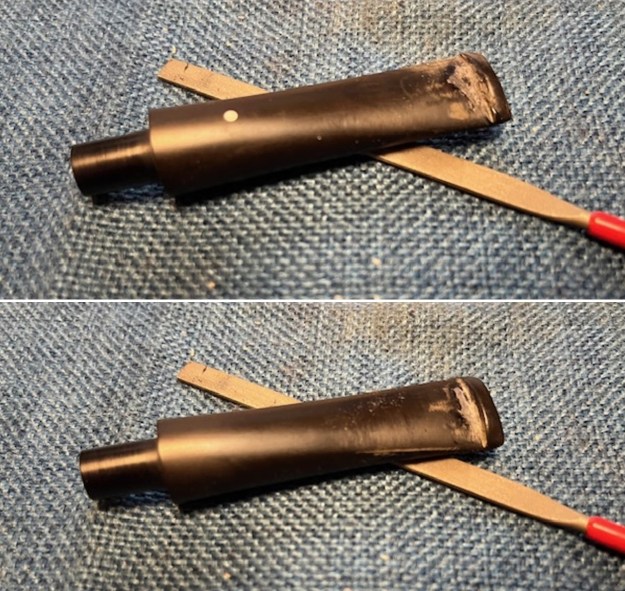
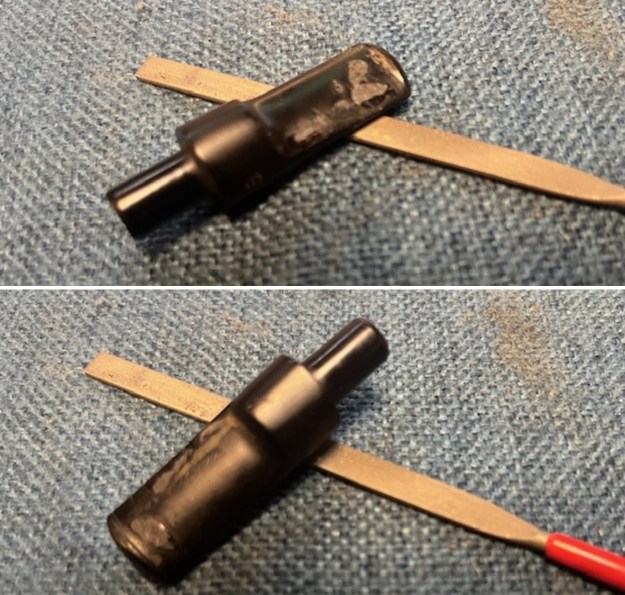
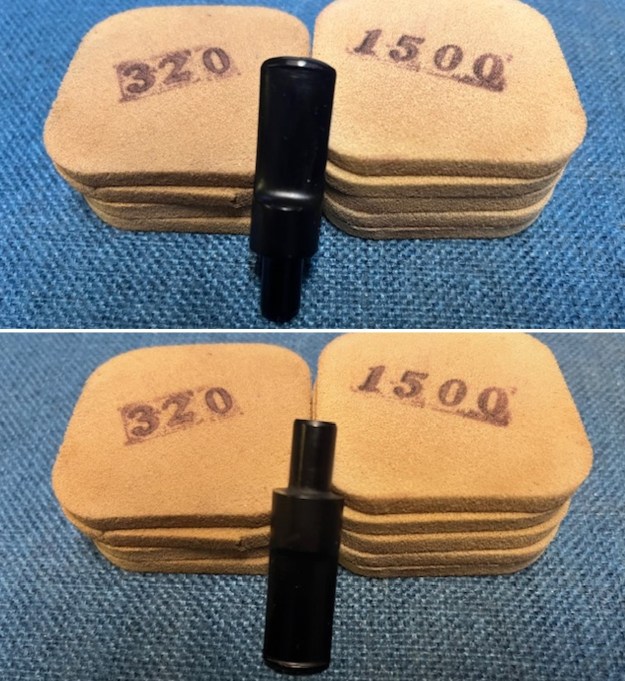
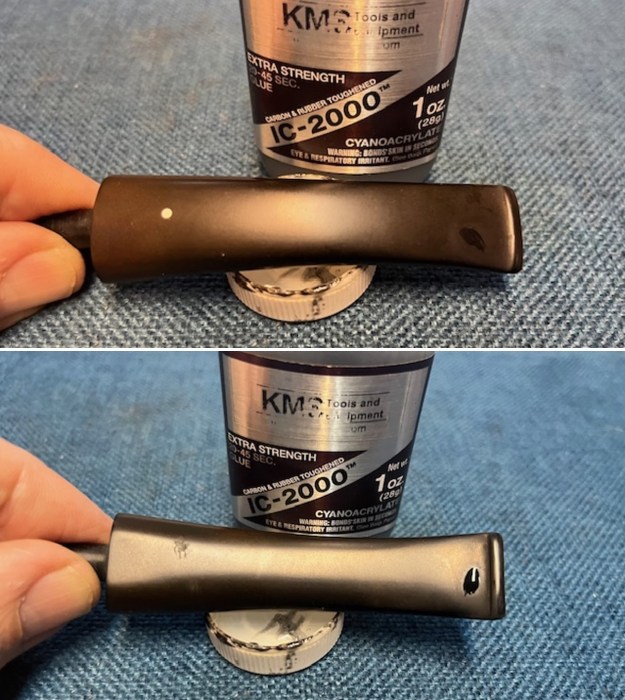 Once the repair had cured I sanded it smooth with a folded piece of 220 grit sandpaper. I was able to blend in the repair on the surface of the stem. It looked much better and the repair was solid.
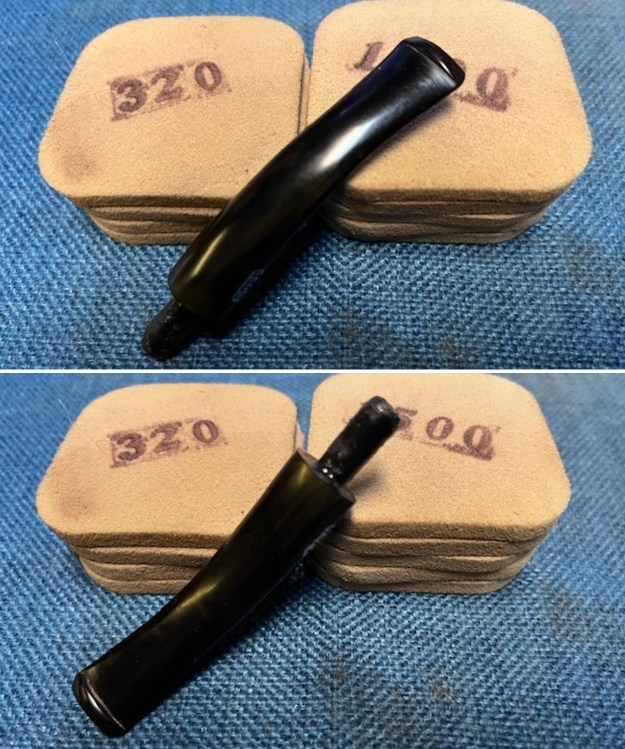
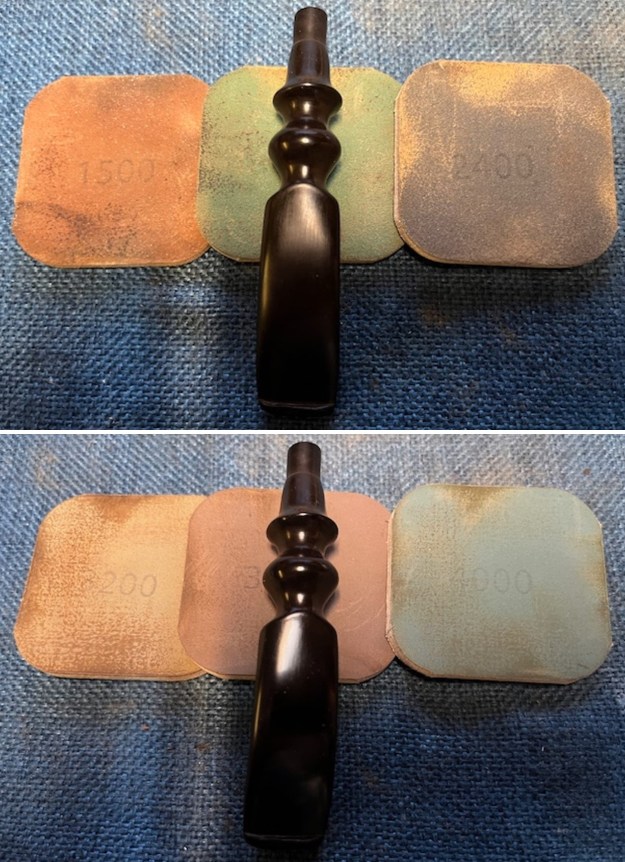
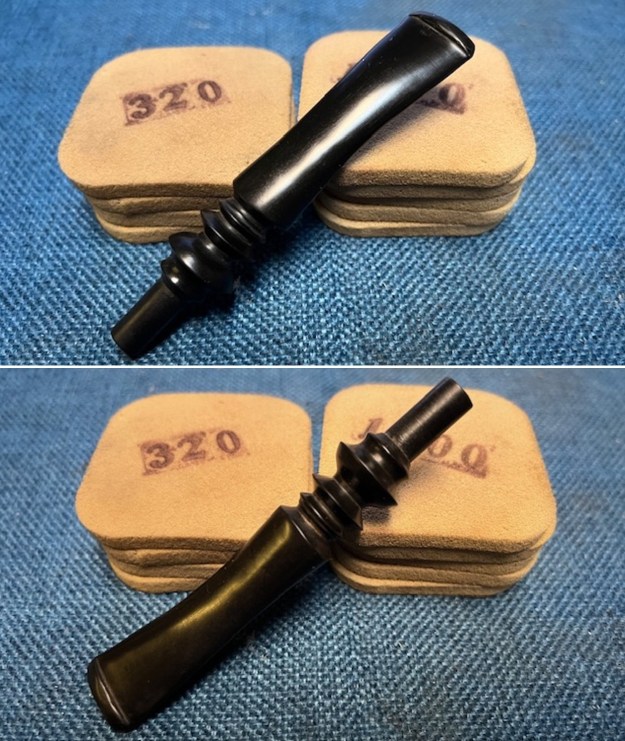
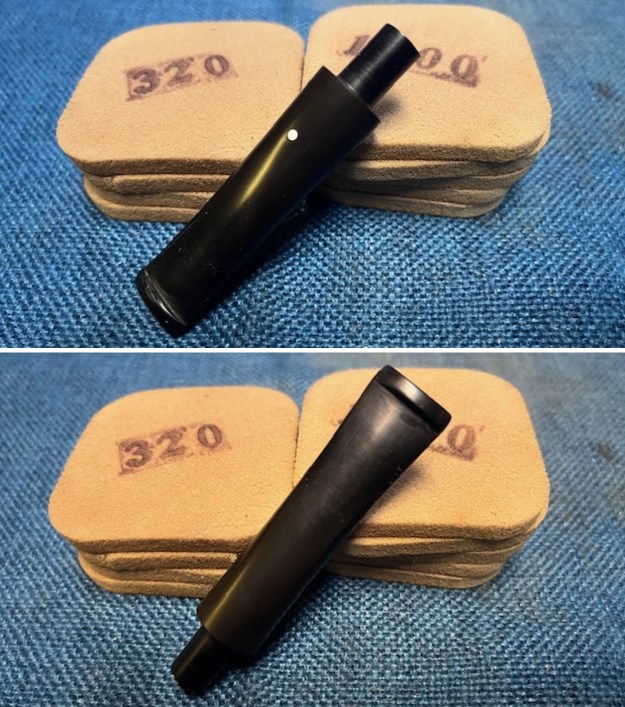
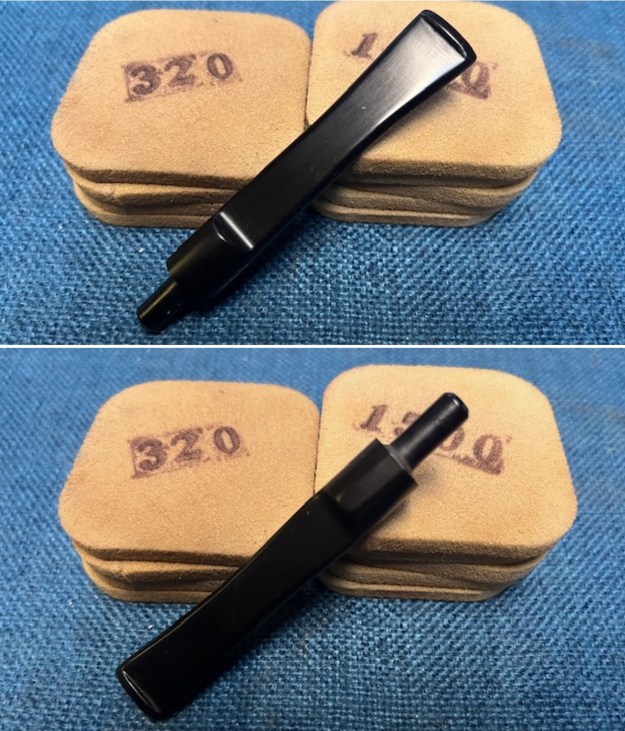
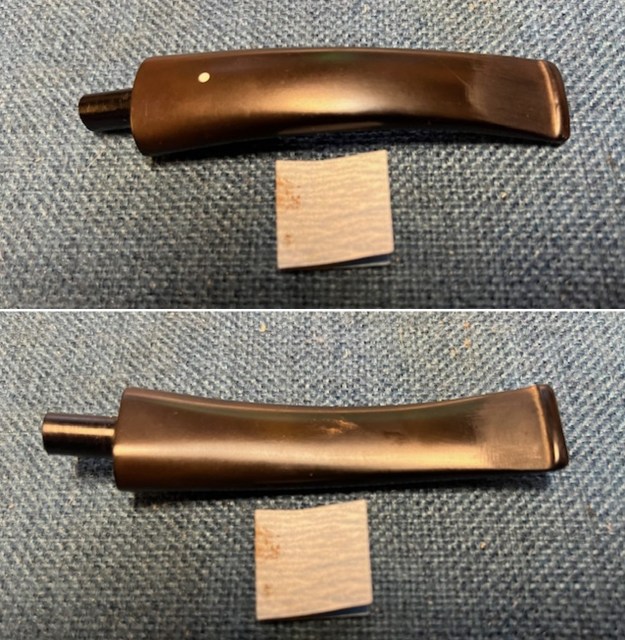 I sanded the stem with 320-3500 grit sanding pads to break up the remaining oxidation. I wiped it down after each sanding pad with an Obsidian Oil impregnated cloth. It began to look good.
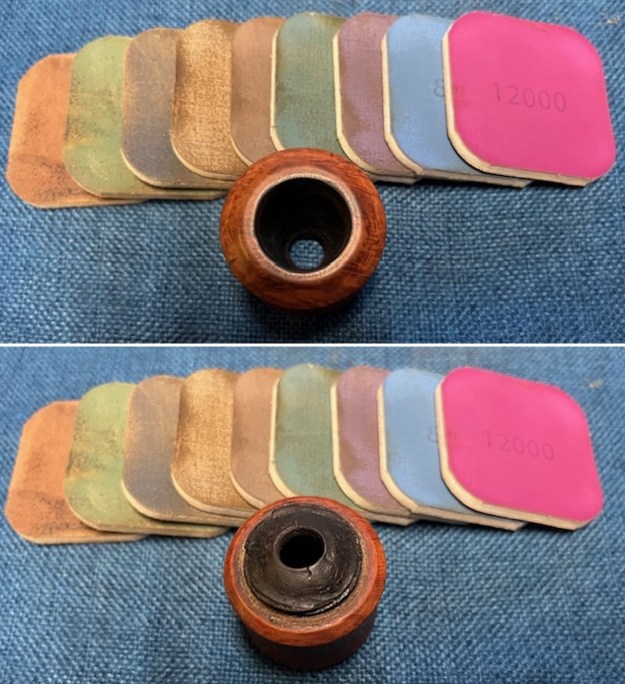
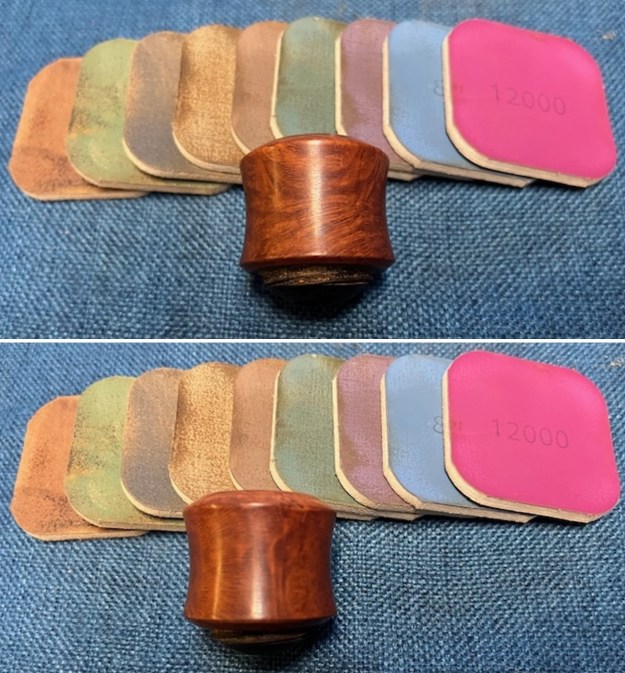
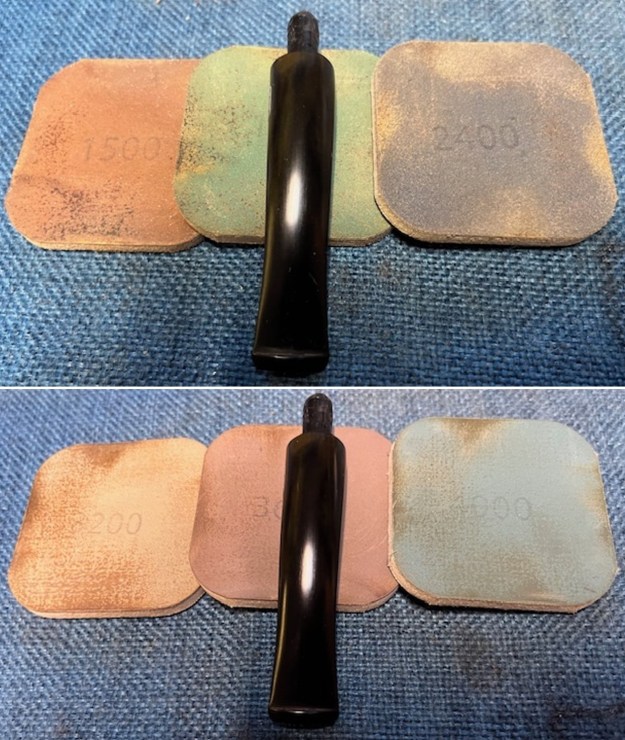
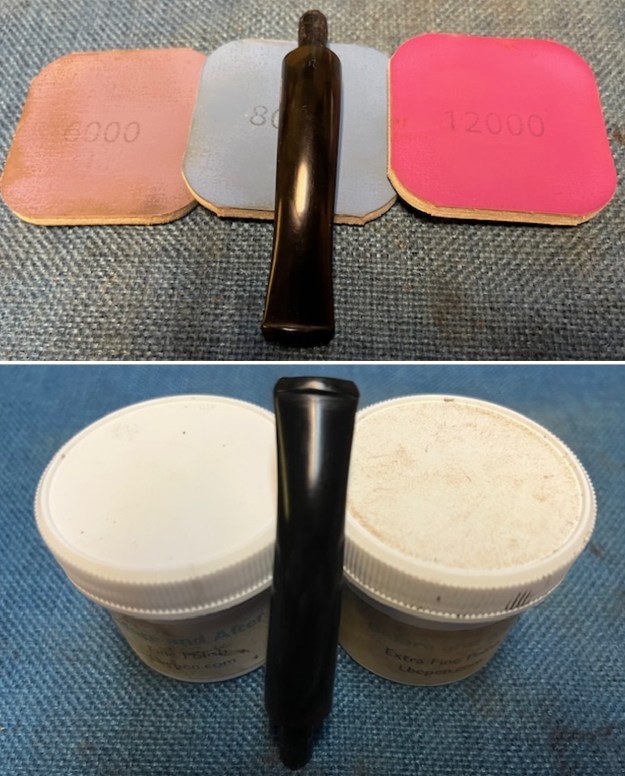
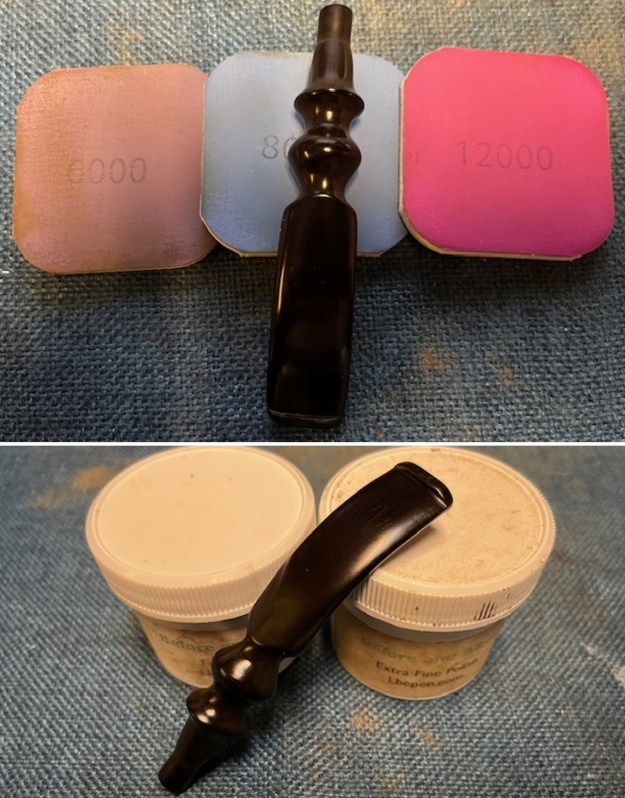
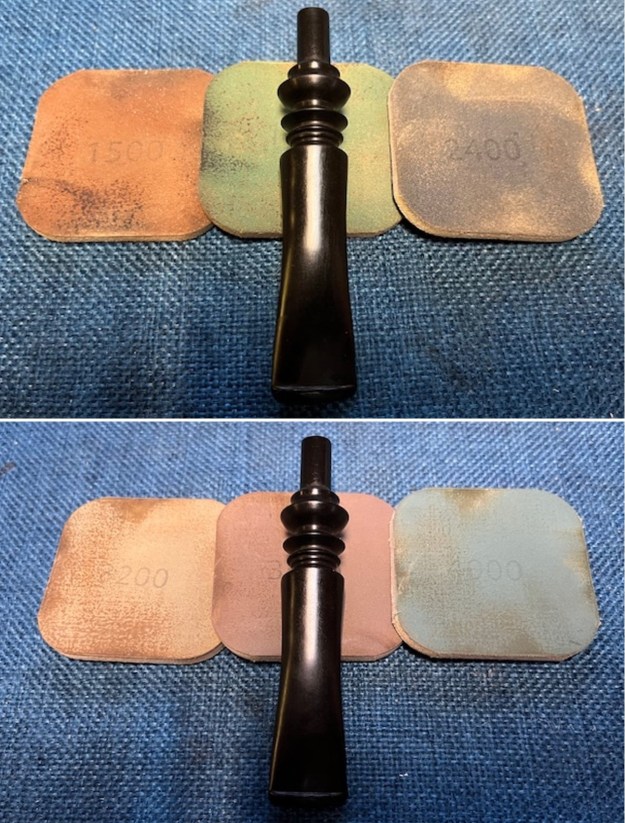
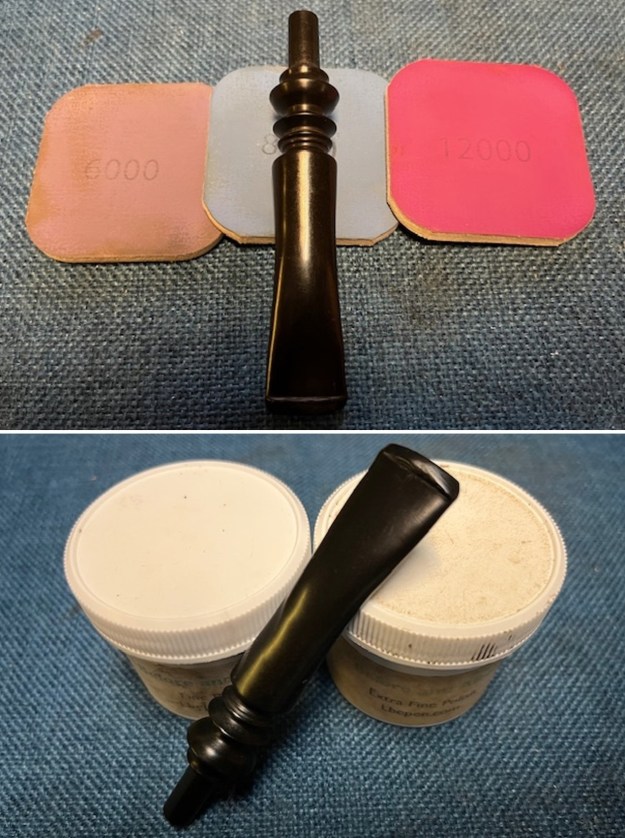
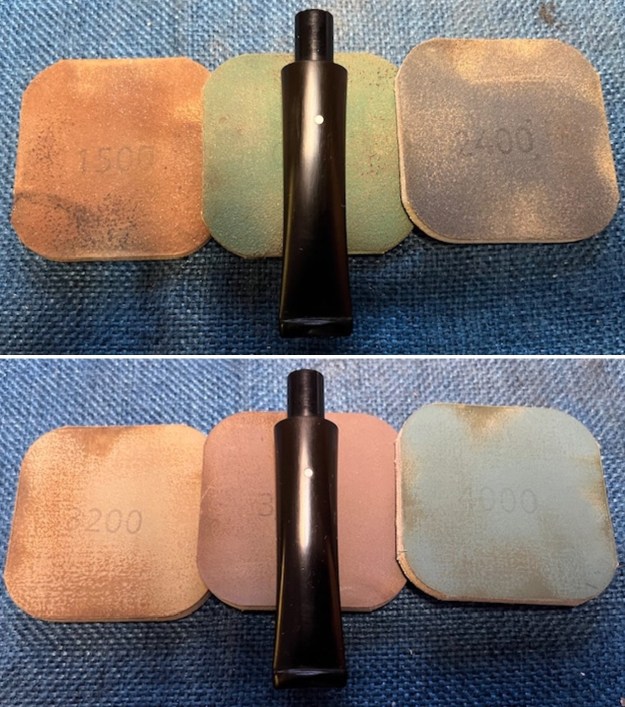
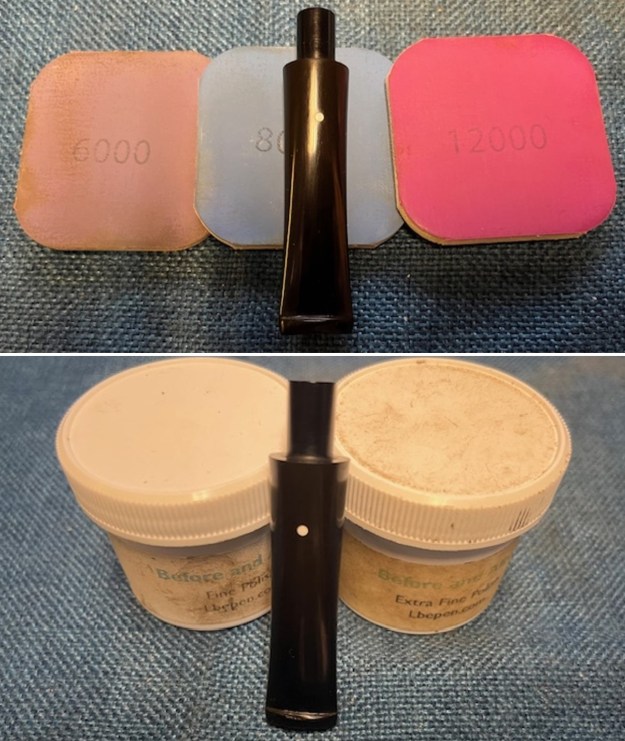
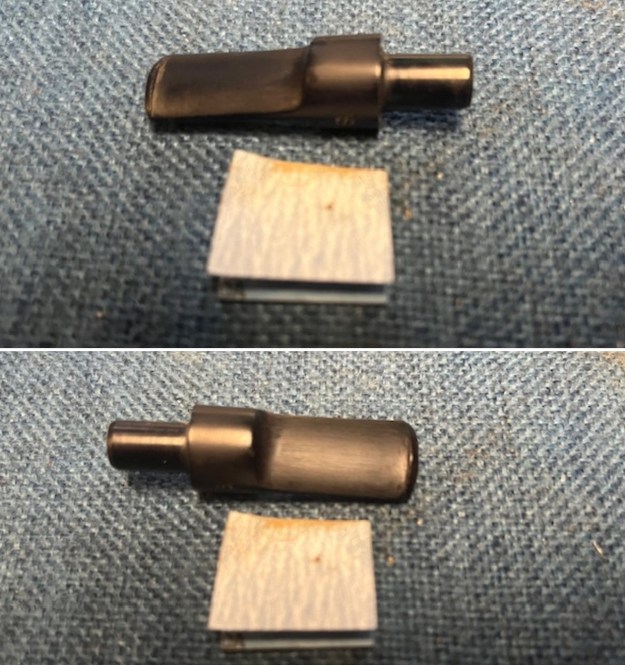
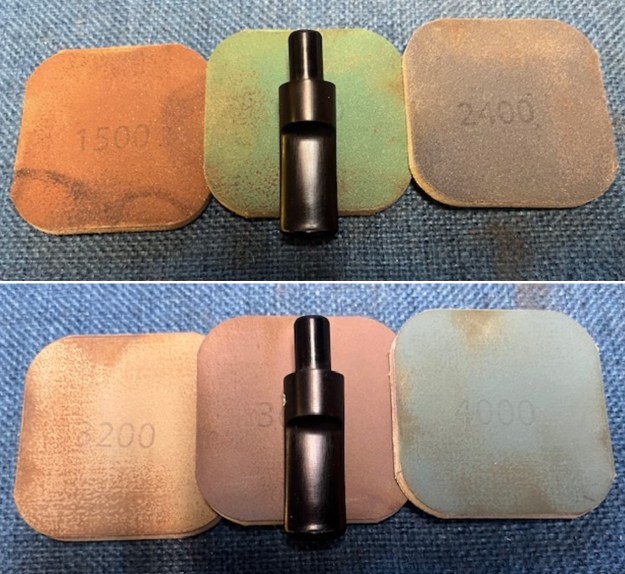
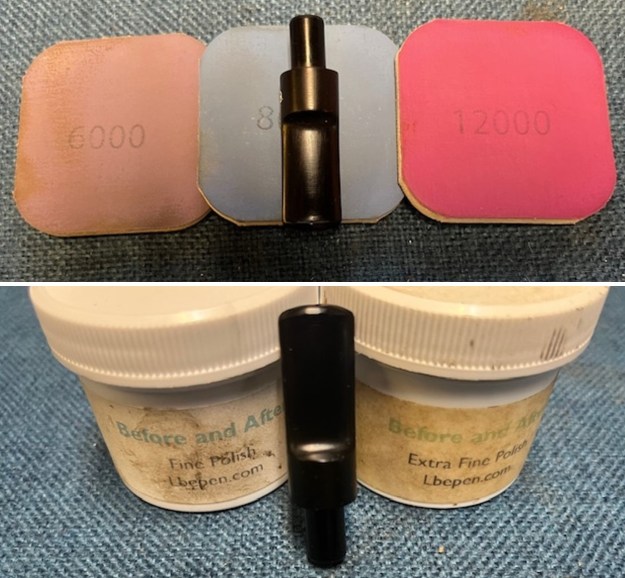
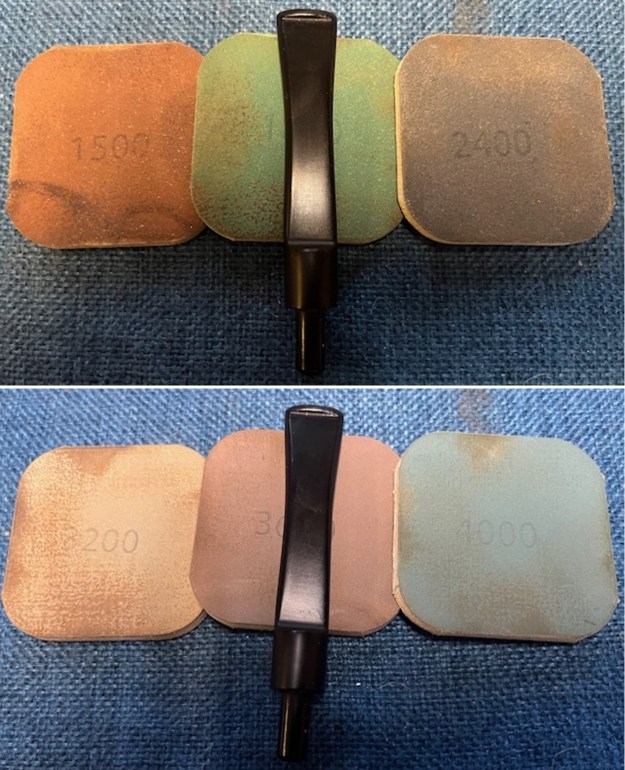
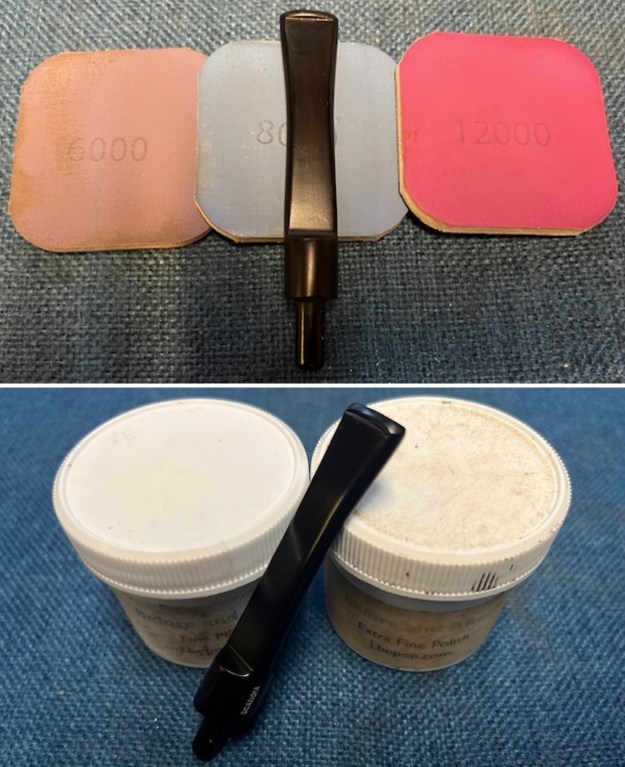
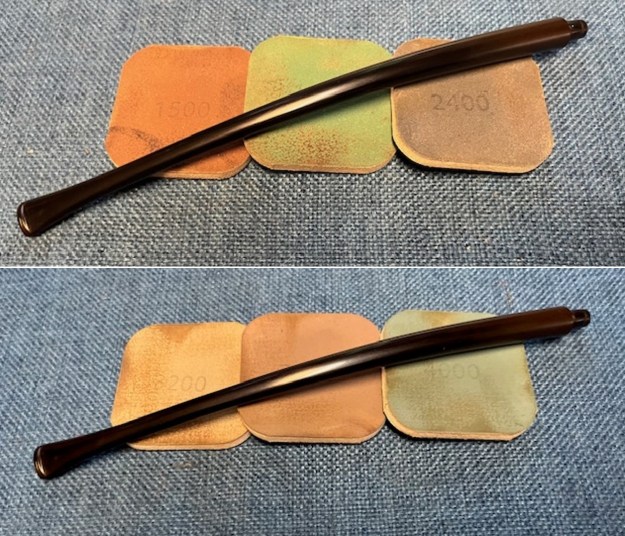
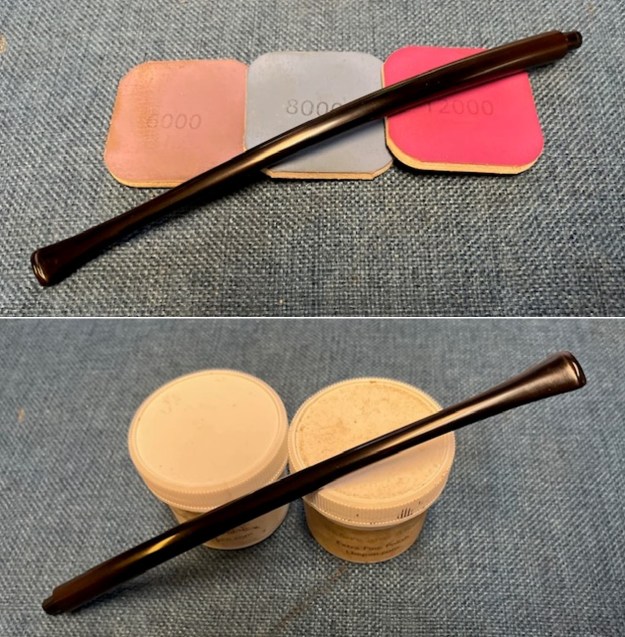
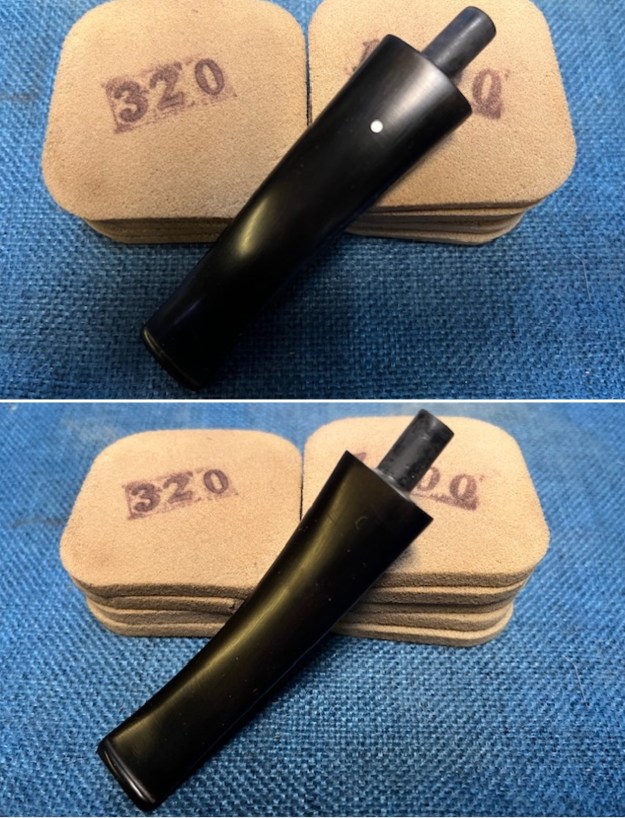 I polished the stem with micromesh sanding pads – dry sanding with 1500-12000 grit pads. I wiped the stem down after each sanding pad with Obsidian Oil. I polished it with Before & After Pipe Stem Polish – both Fine and Extra Fine. Once I had finished the polishing I gave it final coat of Obsidian Oil and set it aside to dry.
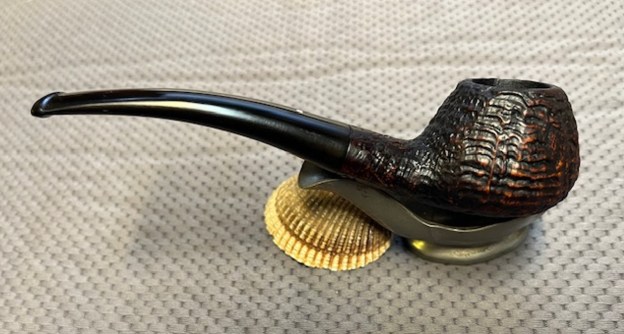
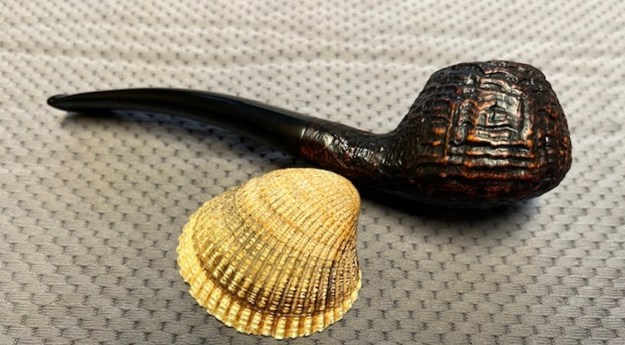
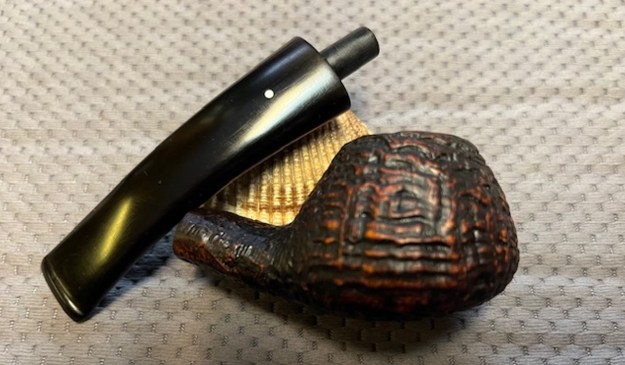
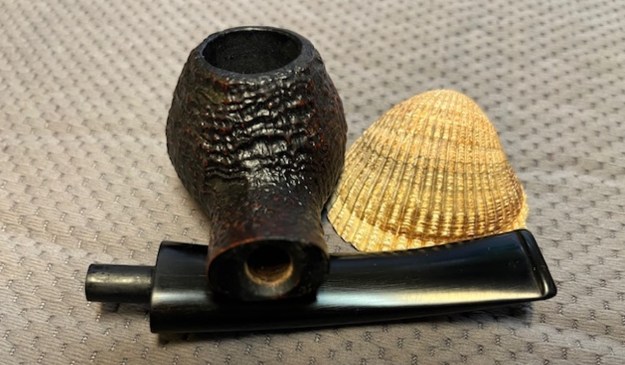
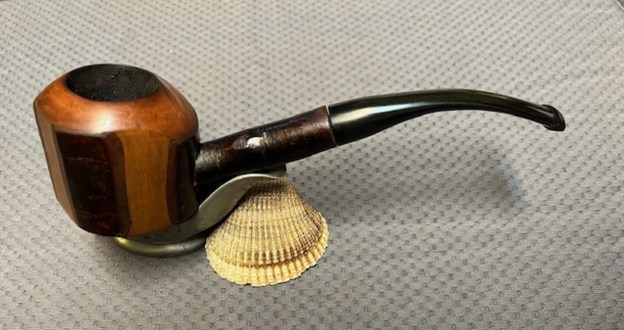
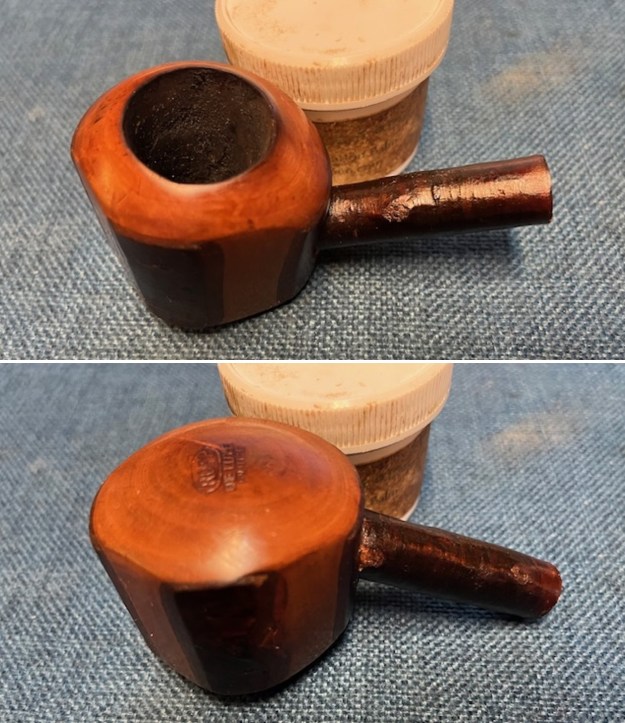
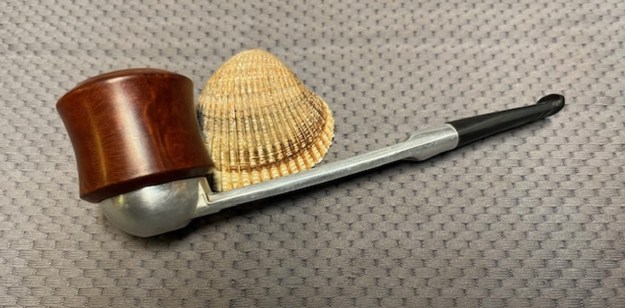
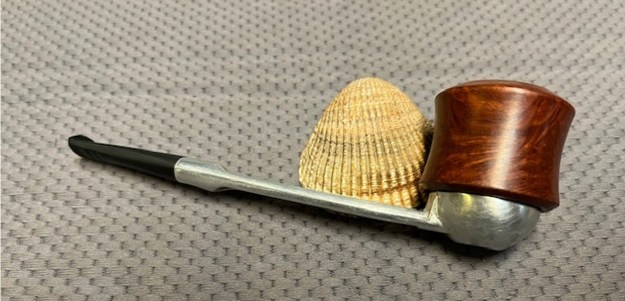
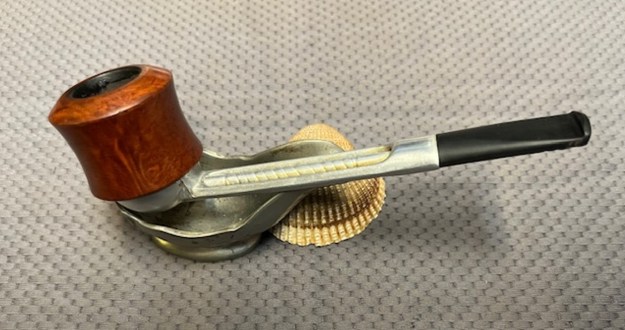
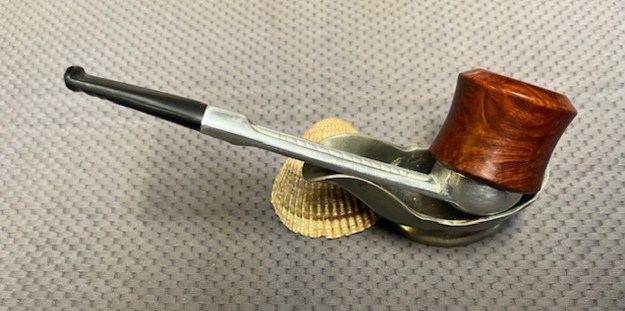
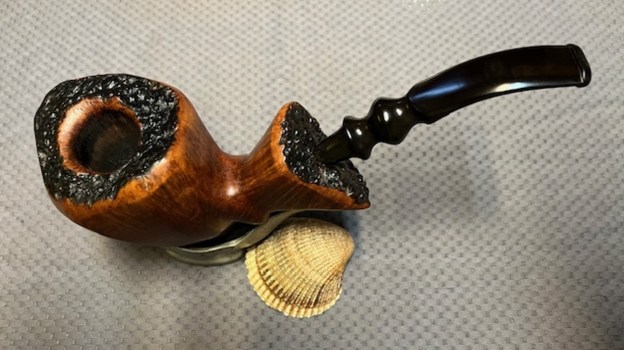
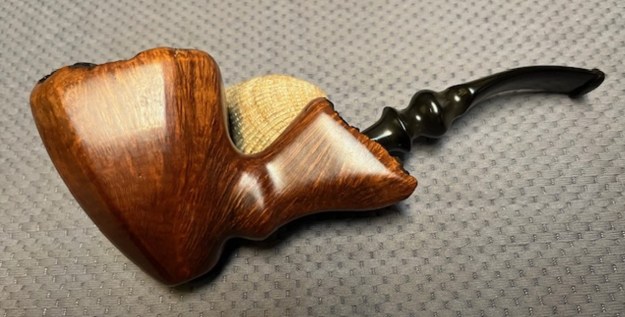
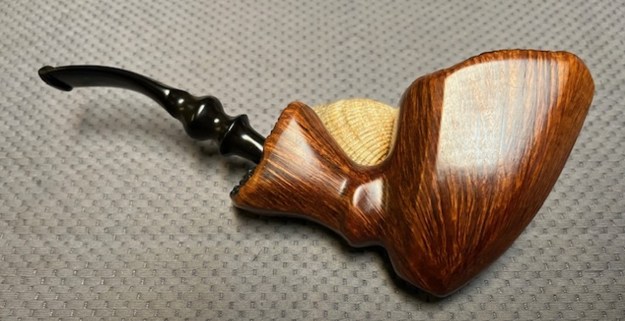
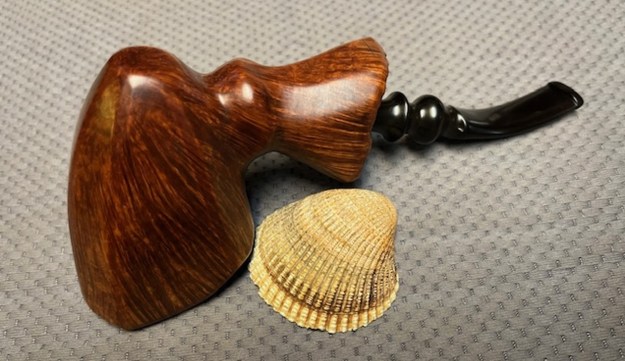
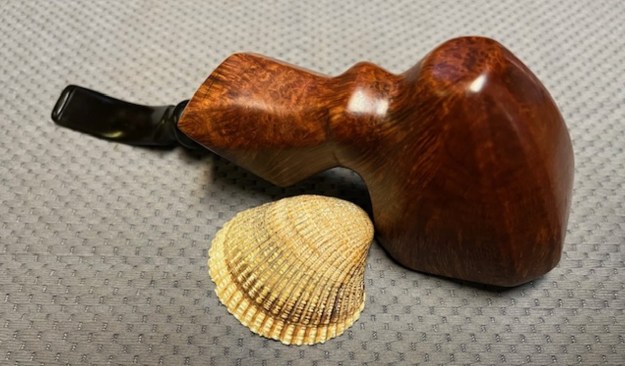
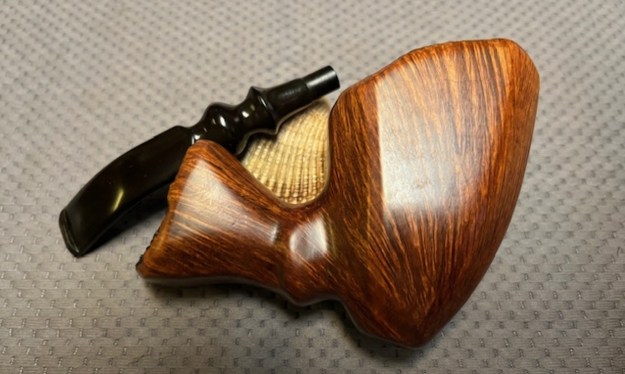
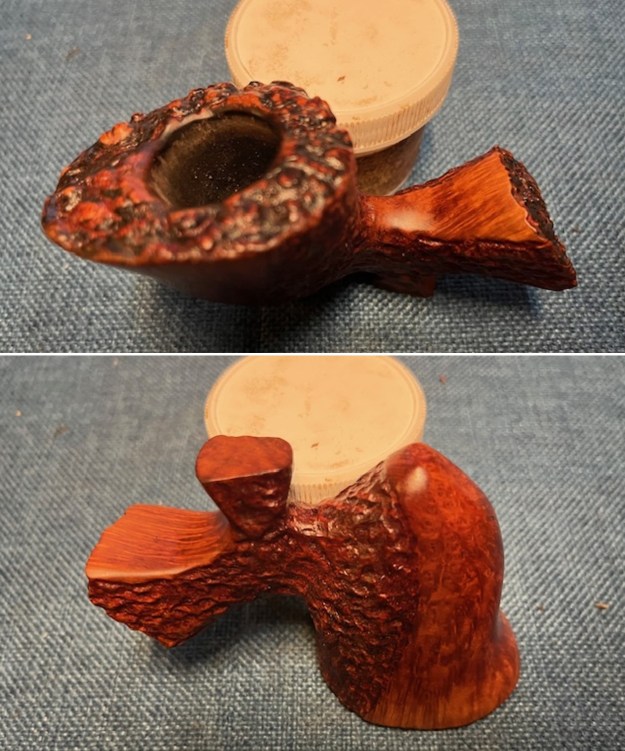
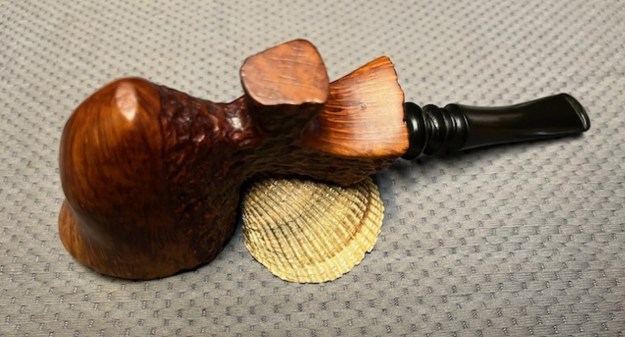
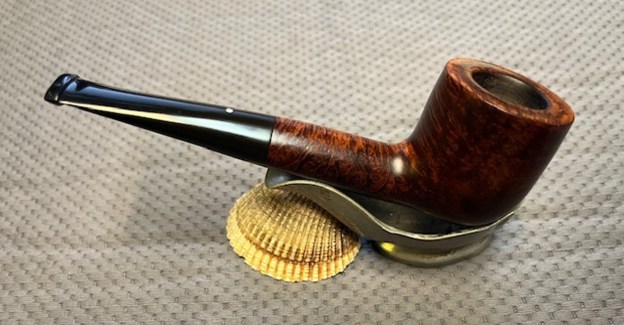
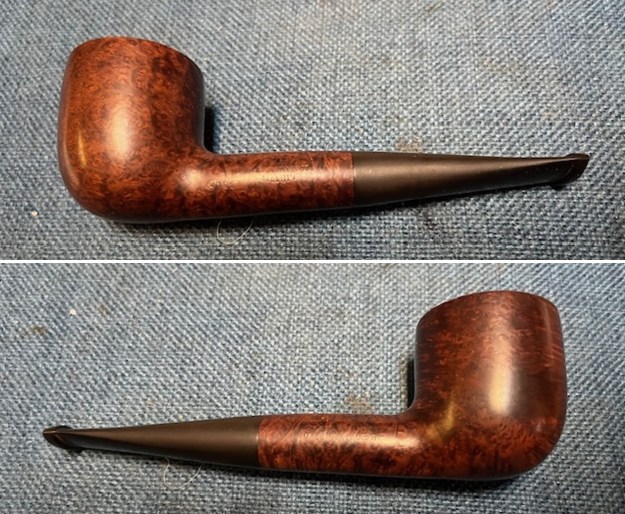
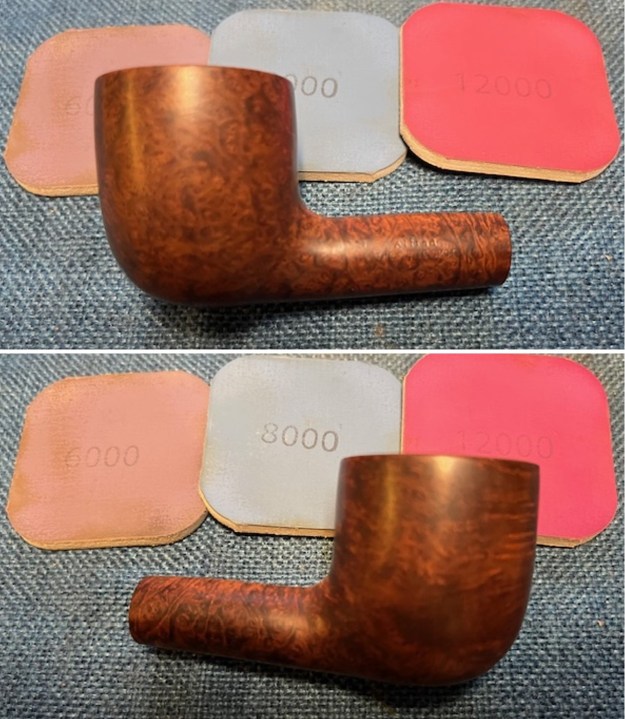
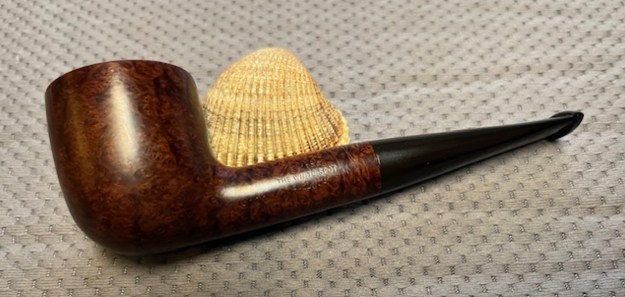
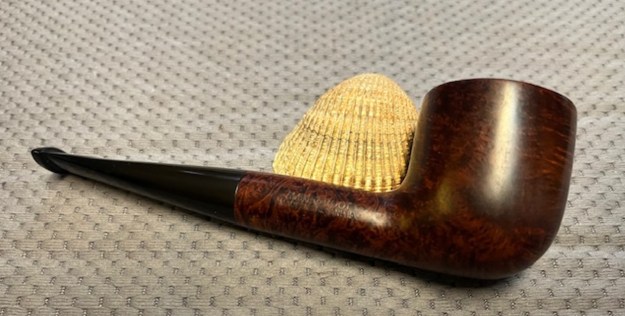
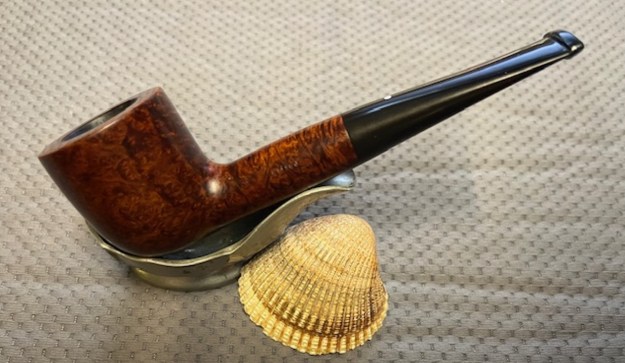
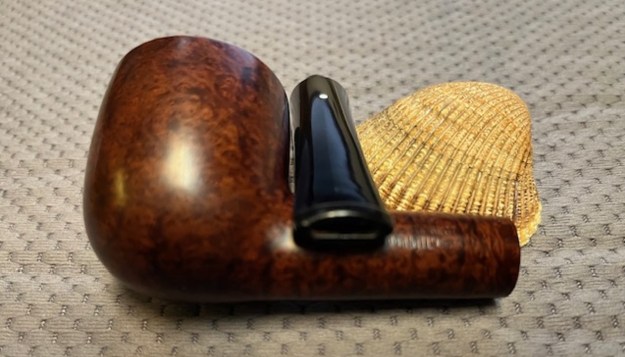
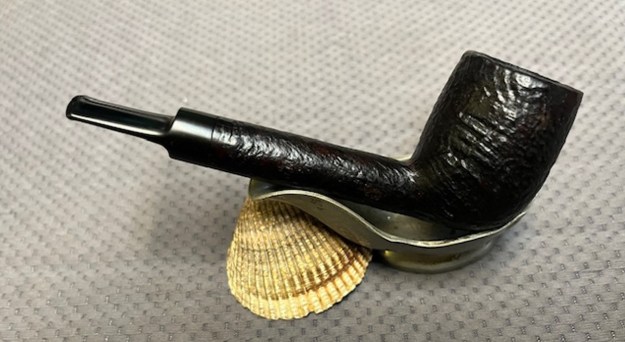
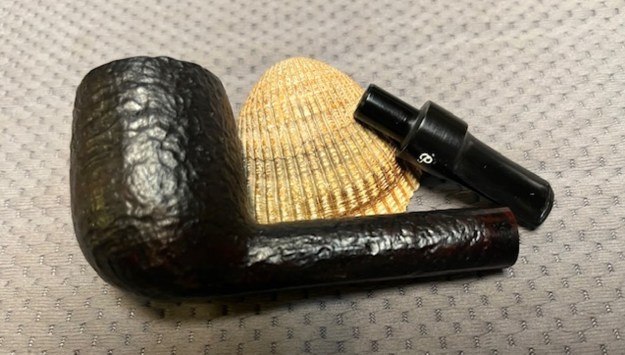
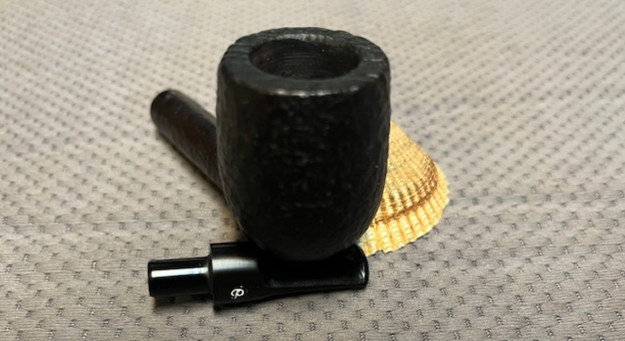
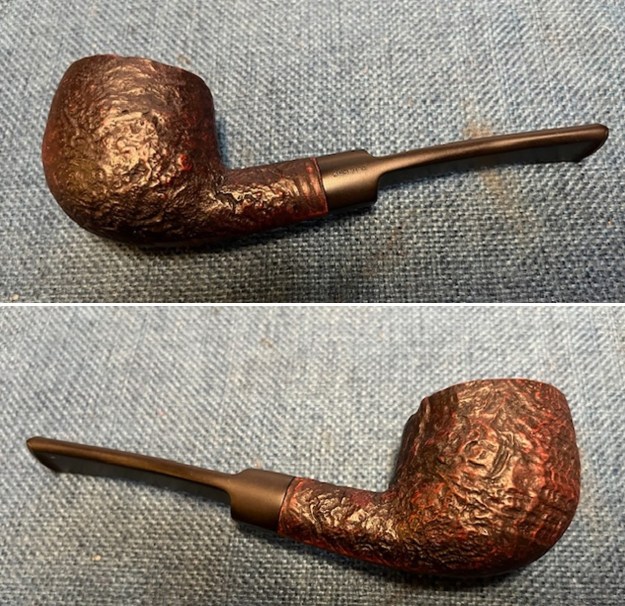
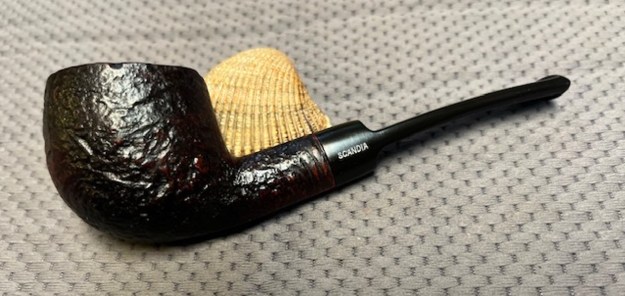
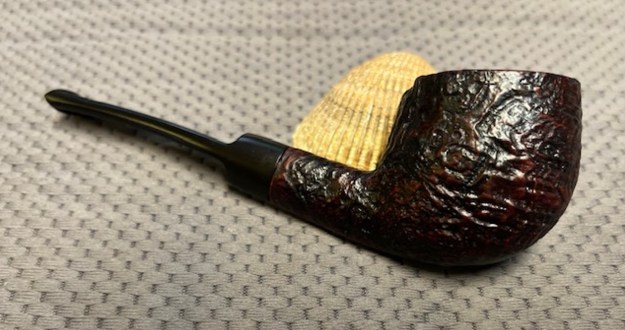
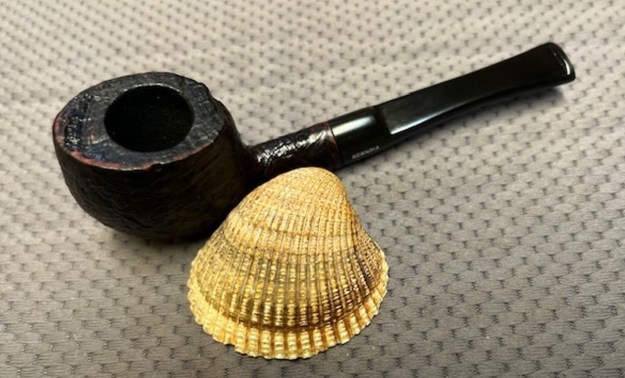
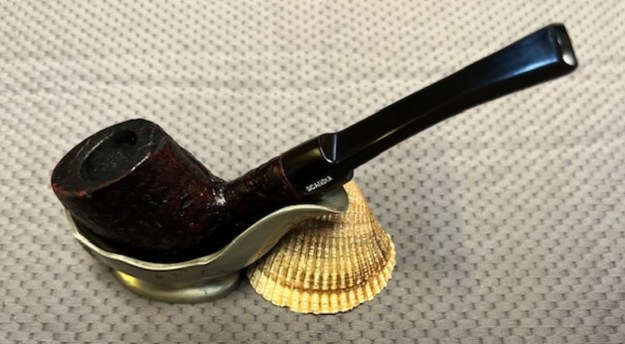
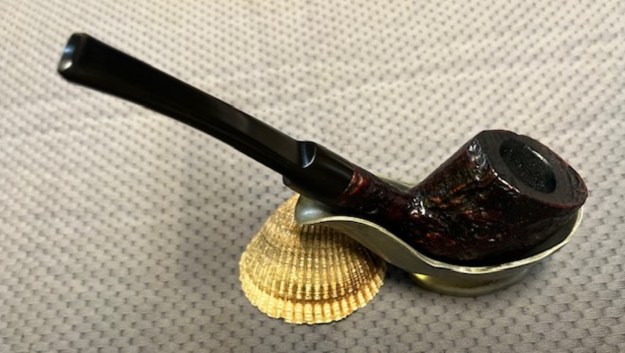
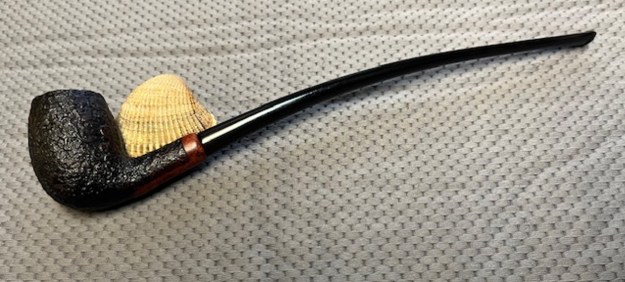
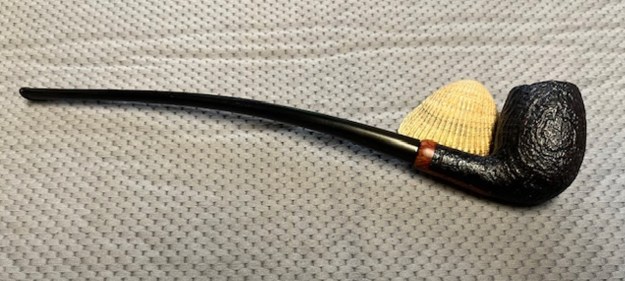
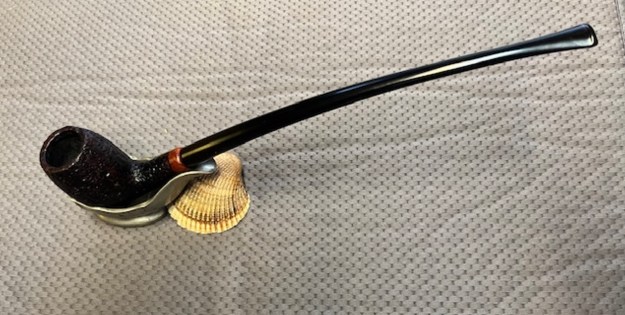
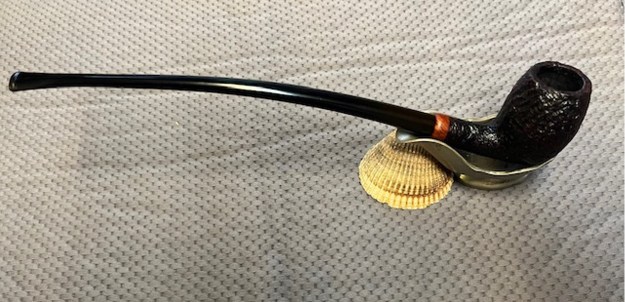
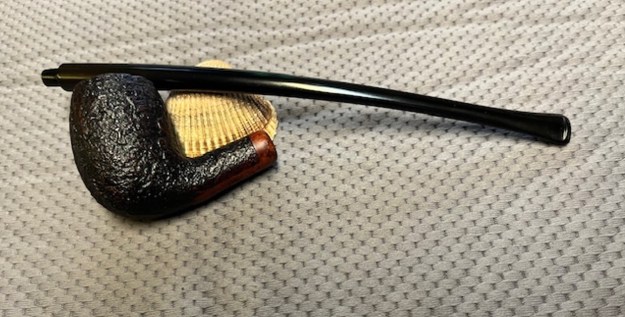
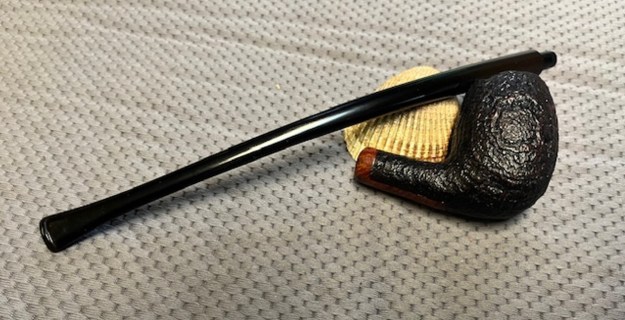
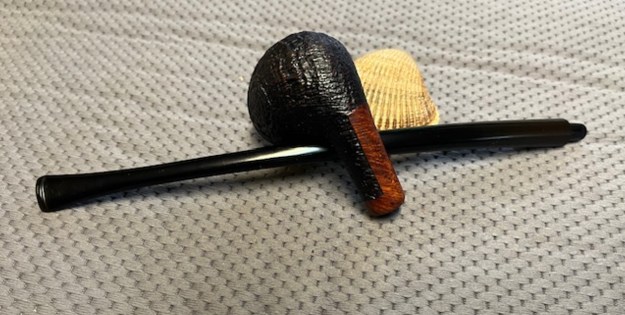
 I put the 1981 Dunhill Shell Diplomat bowl and stem back together. I polished the bowl and stem with Blue Diamond to polish the briar and the vulcanite. I gave the bowl multiple coats of Conservator’s Wax and the stem multiple coats of carnauba wax. I buffed the pipe with a clean buffing pad to raise the shine. I hand buffed it with a microfiber cloth to deepen the shine. The pipe polished up pretty nicely. The Shell Briar stains worked amazingly well with the polished vulcanite taper stem. The grain around the bowl and shank and looks quite remarkable. This is truly a beautiful Dunhill Shell Diplomat. The finished pipe is shown in the photos below. The dimensions of the pipe are Length: 6 inches, Height: 1 ½ inches, Outside diameter of the bowl: 1 inch, Chamber diameter: ¾ of an inch. The weight of the pipe is 1.59 ounces/45 grams. This is such a unique shape that I am going to enjoy it for awhile before deciding what to do with it. Thanks for walking through the restoration with me. Cheers.
As always, I encourage your questions and comments as you read the blog. Thanks to each of you who are reading this blog. Remember we are not pipe owners; we are pipe men and women who hold our pipes in trust until they pass on into the trust of those who follow us.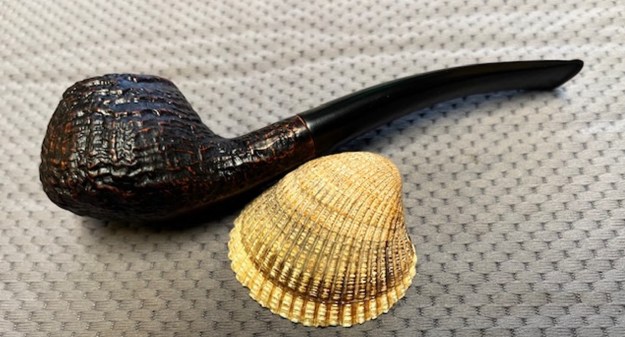


