Blog by Steve Laug
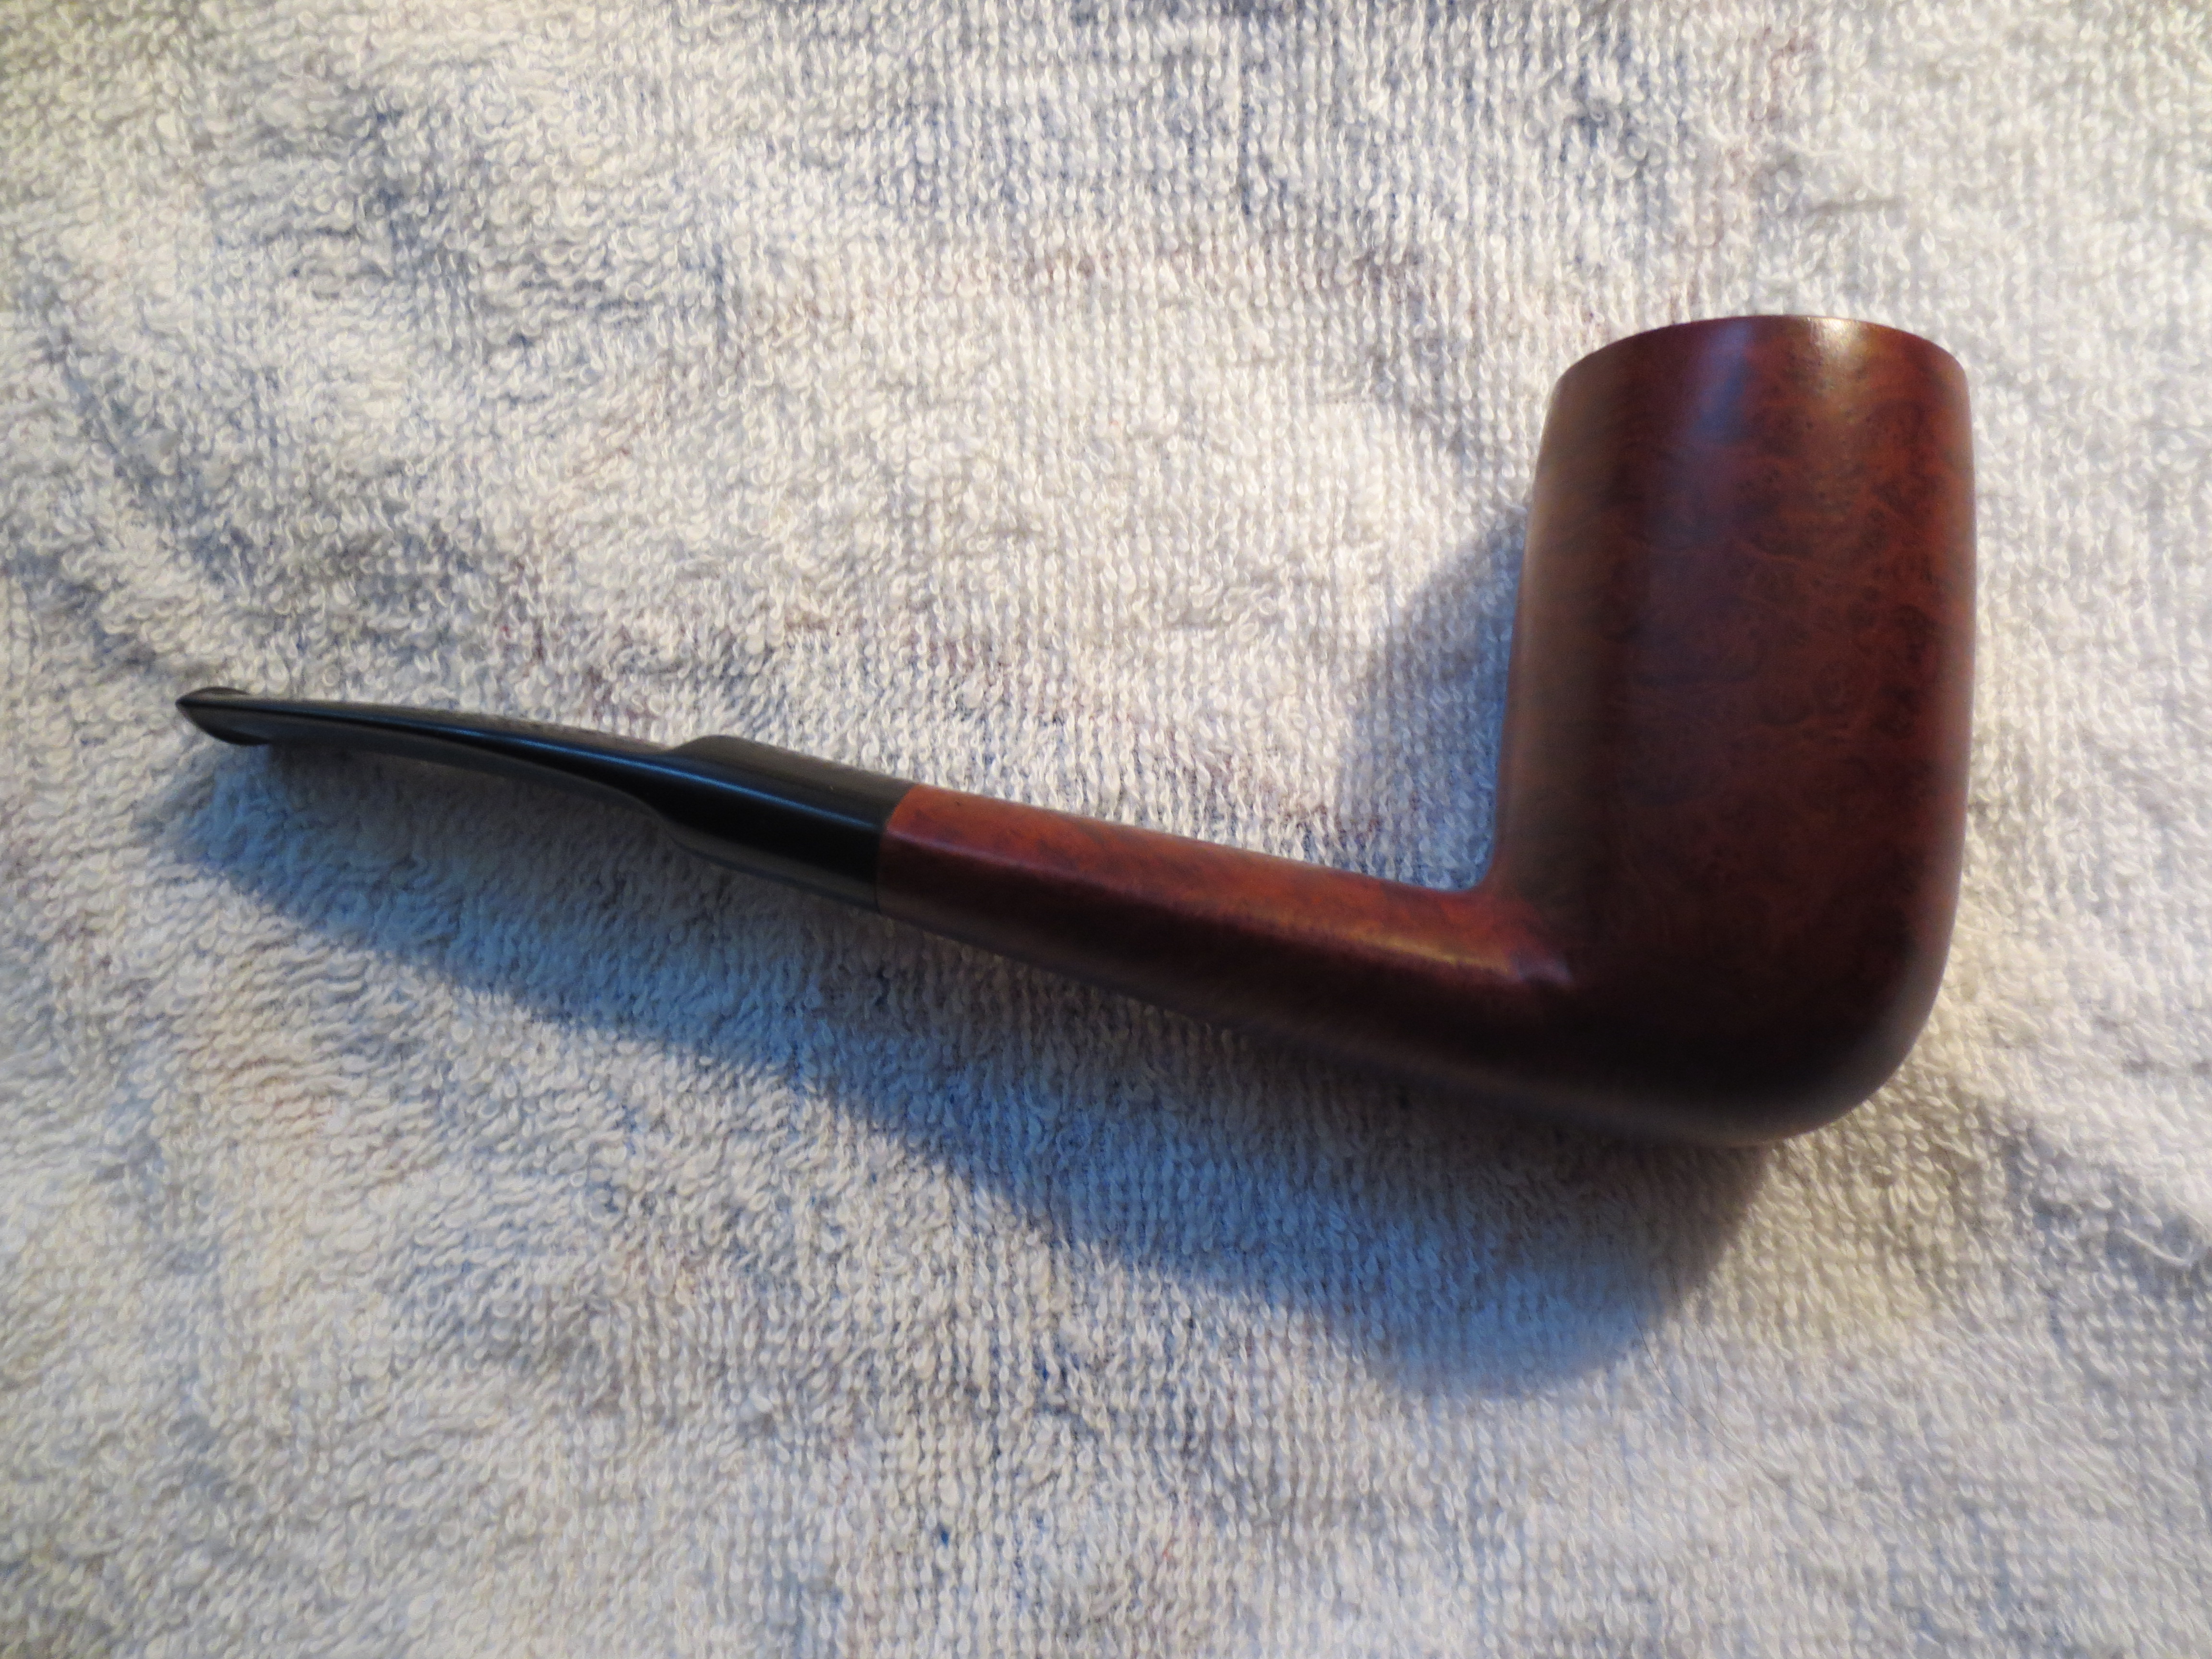
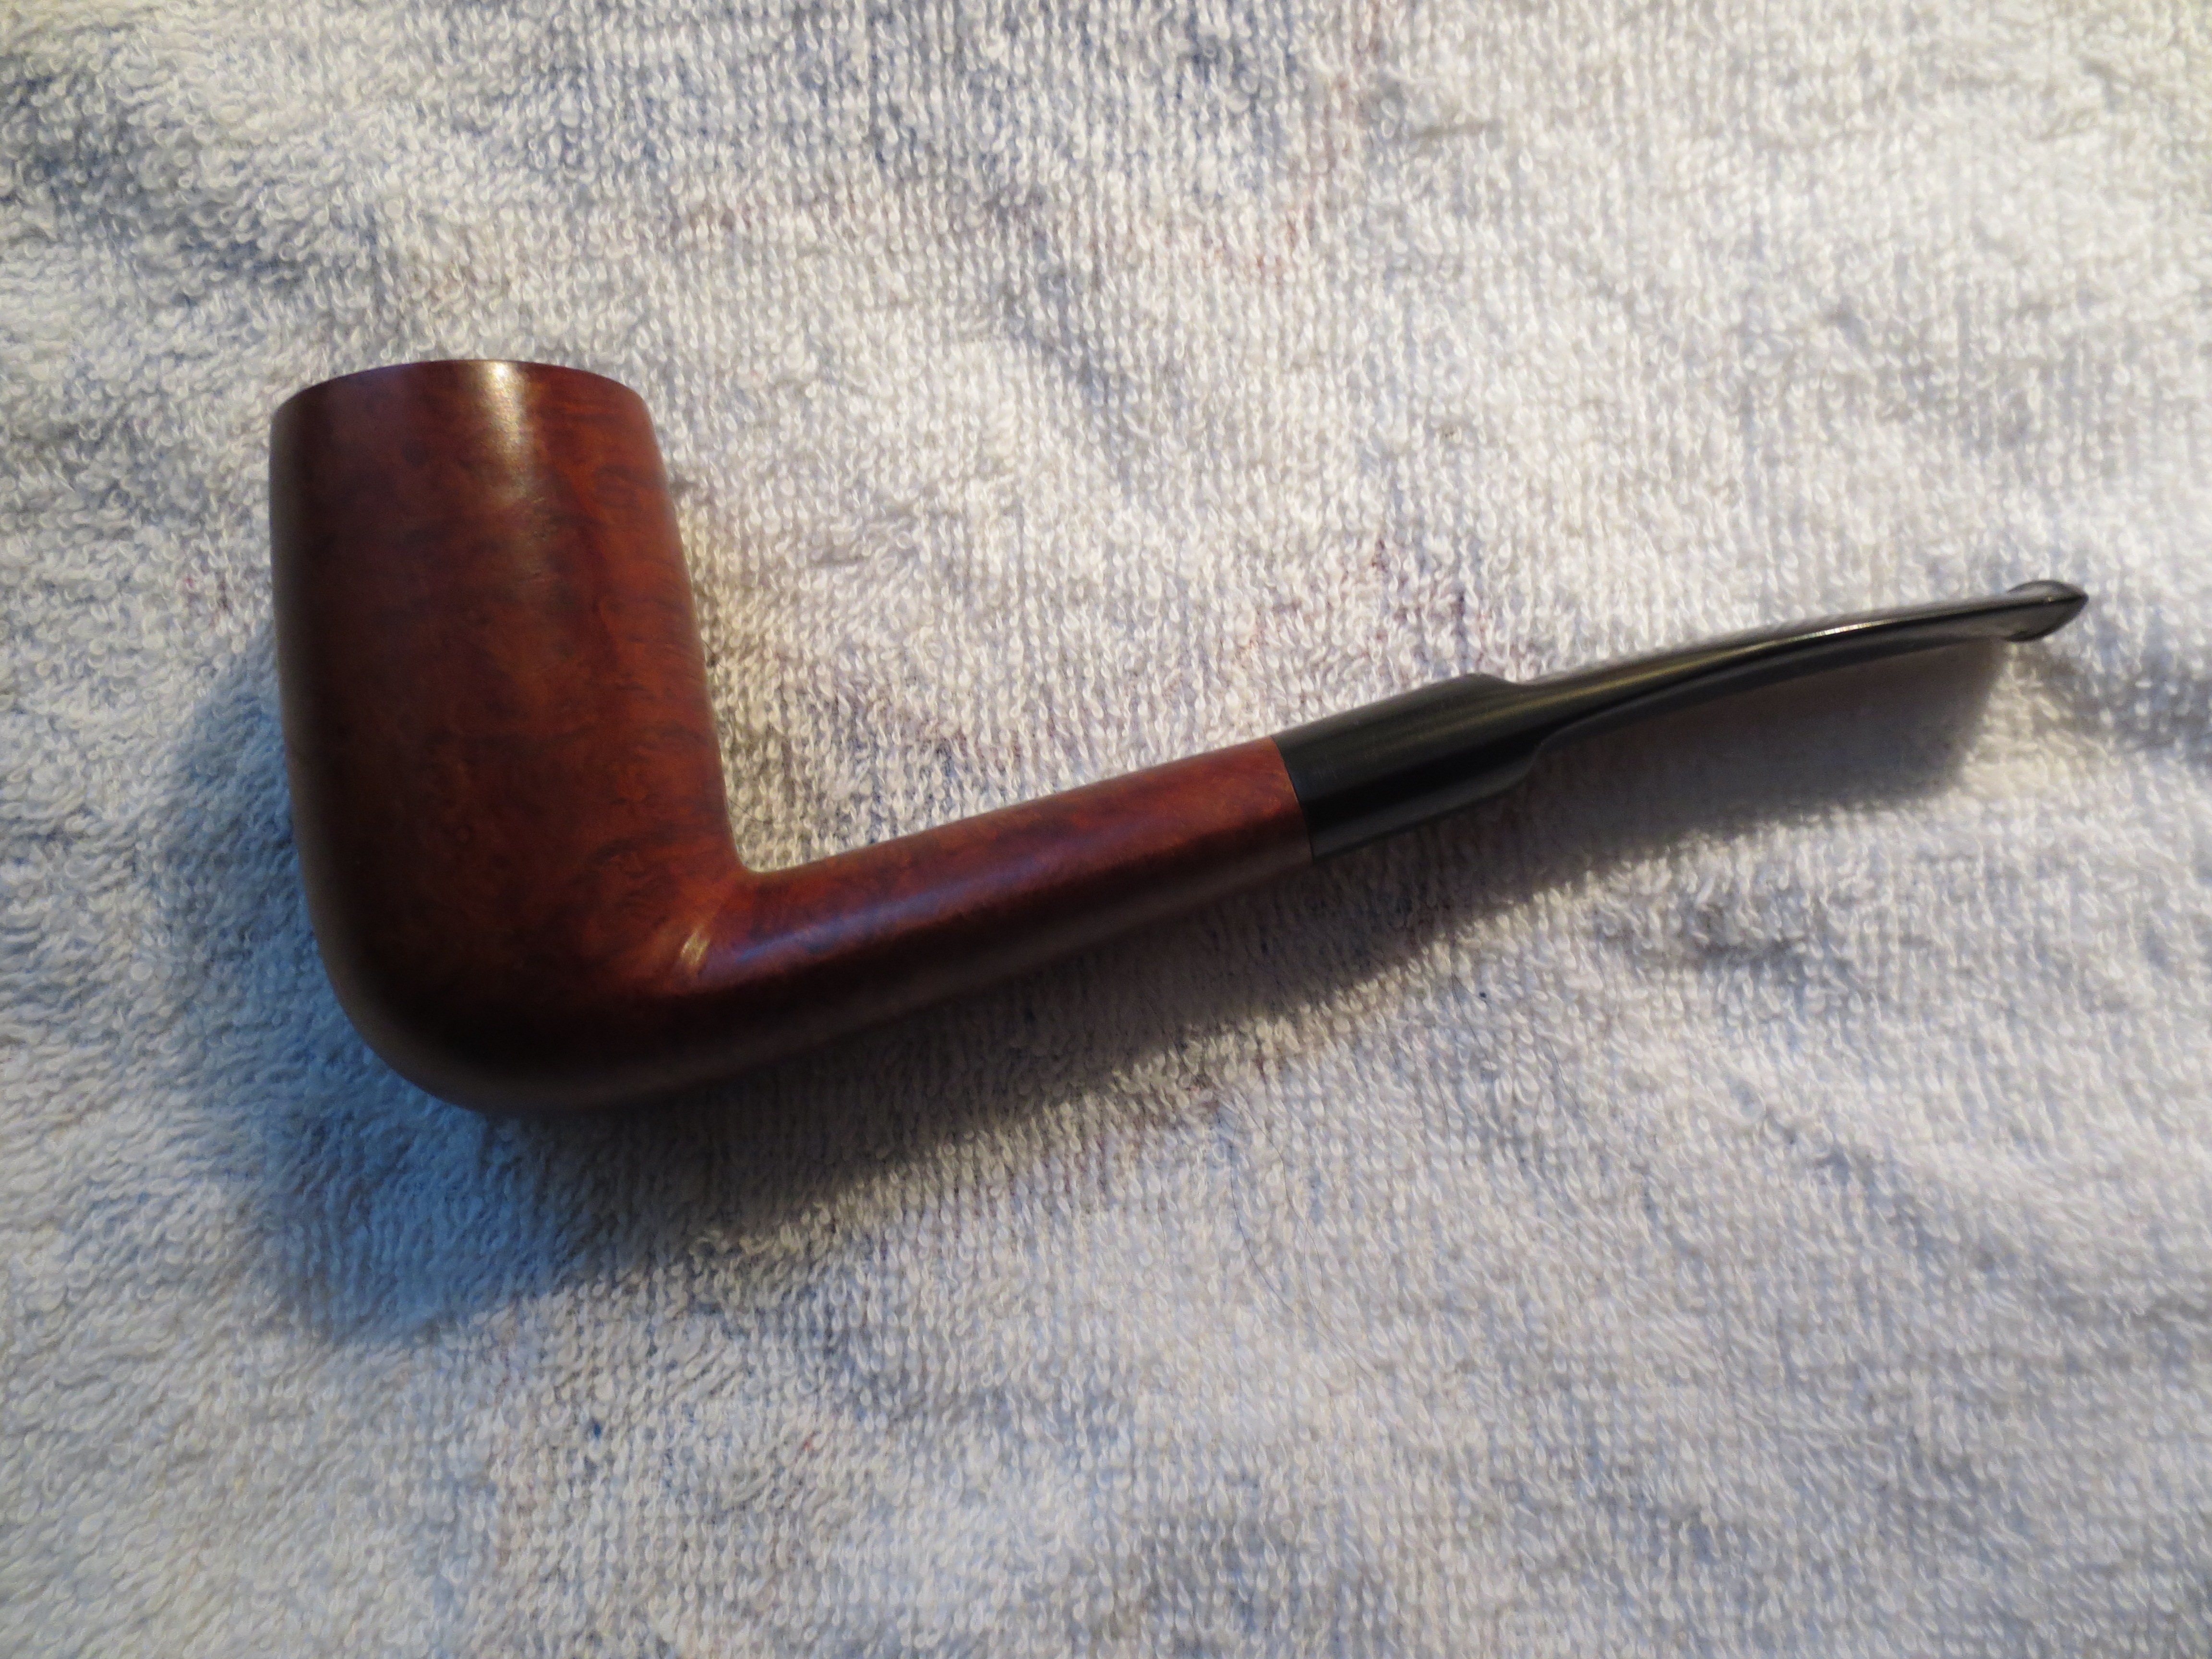
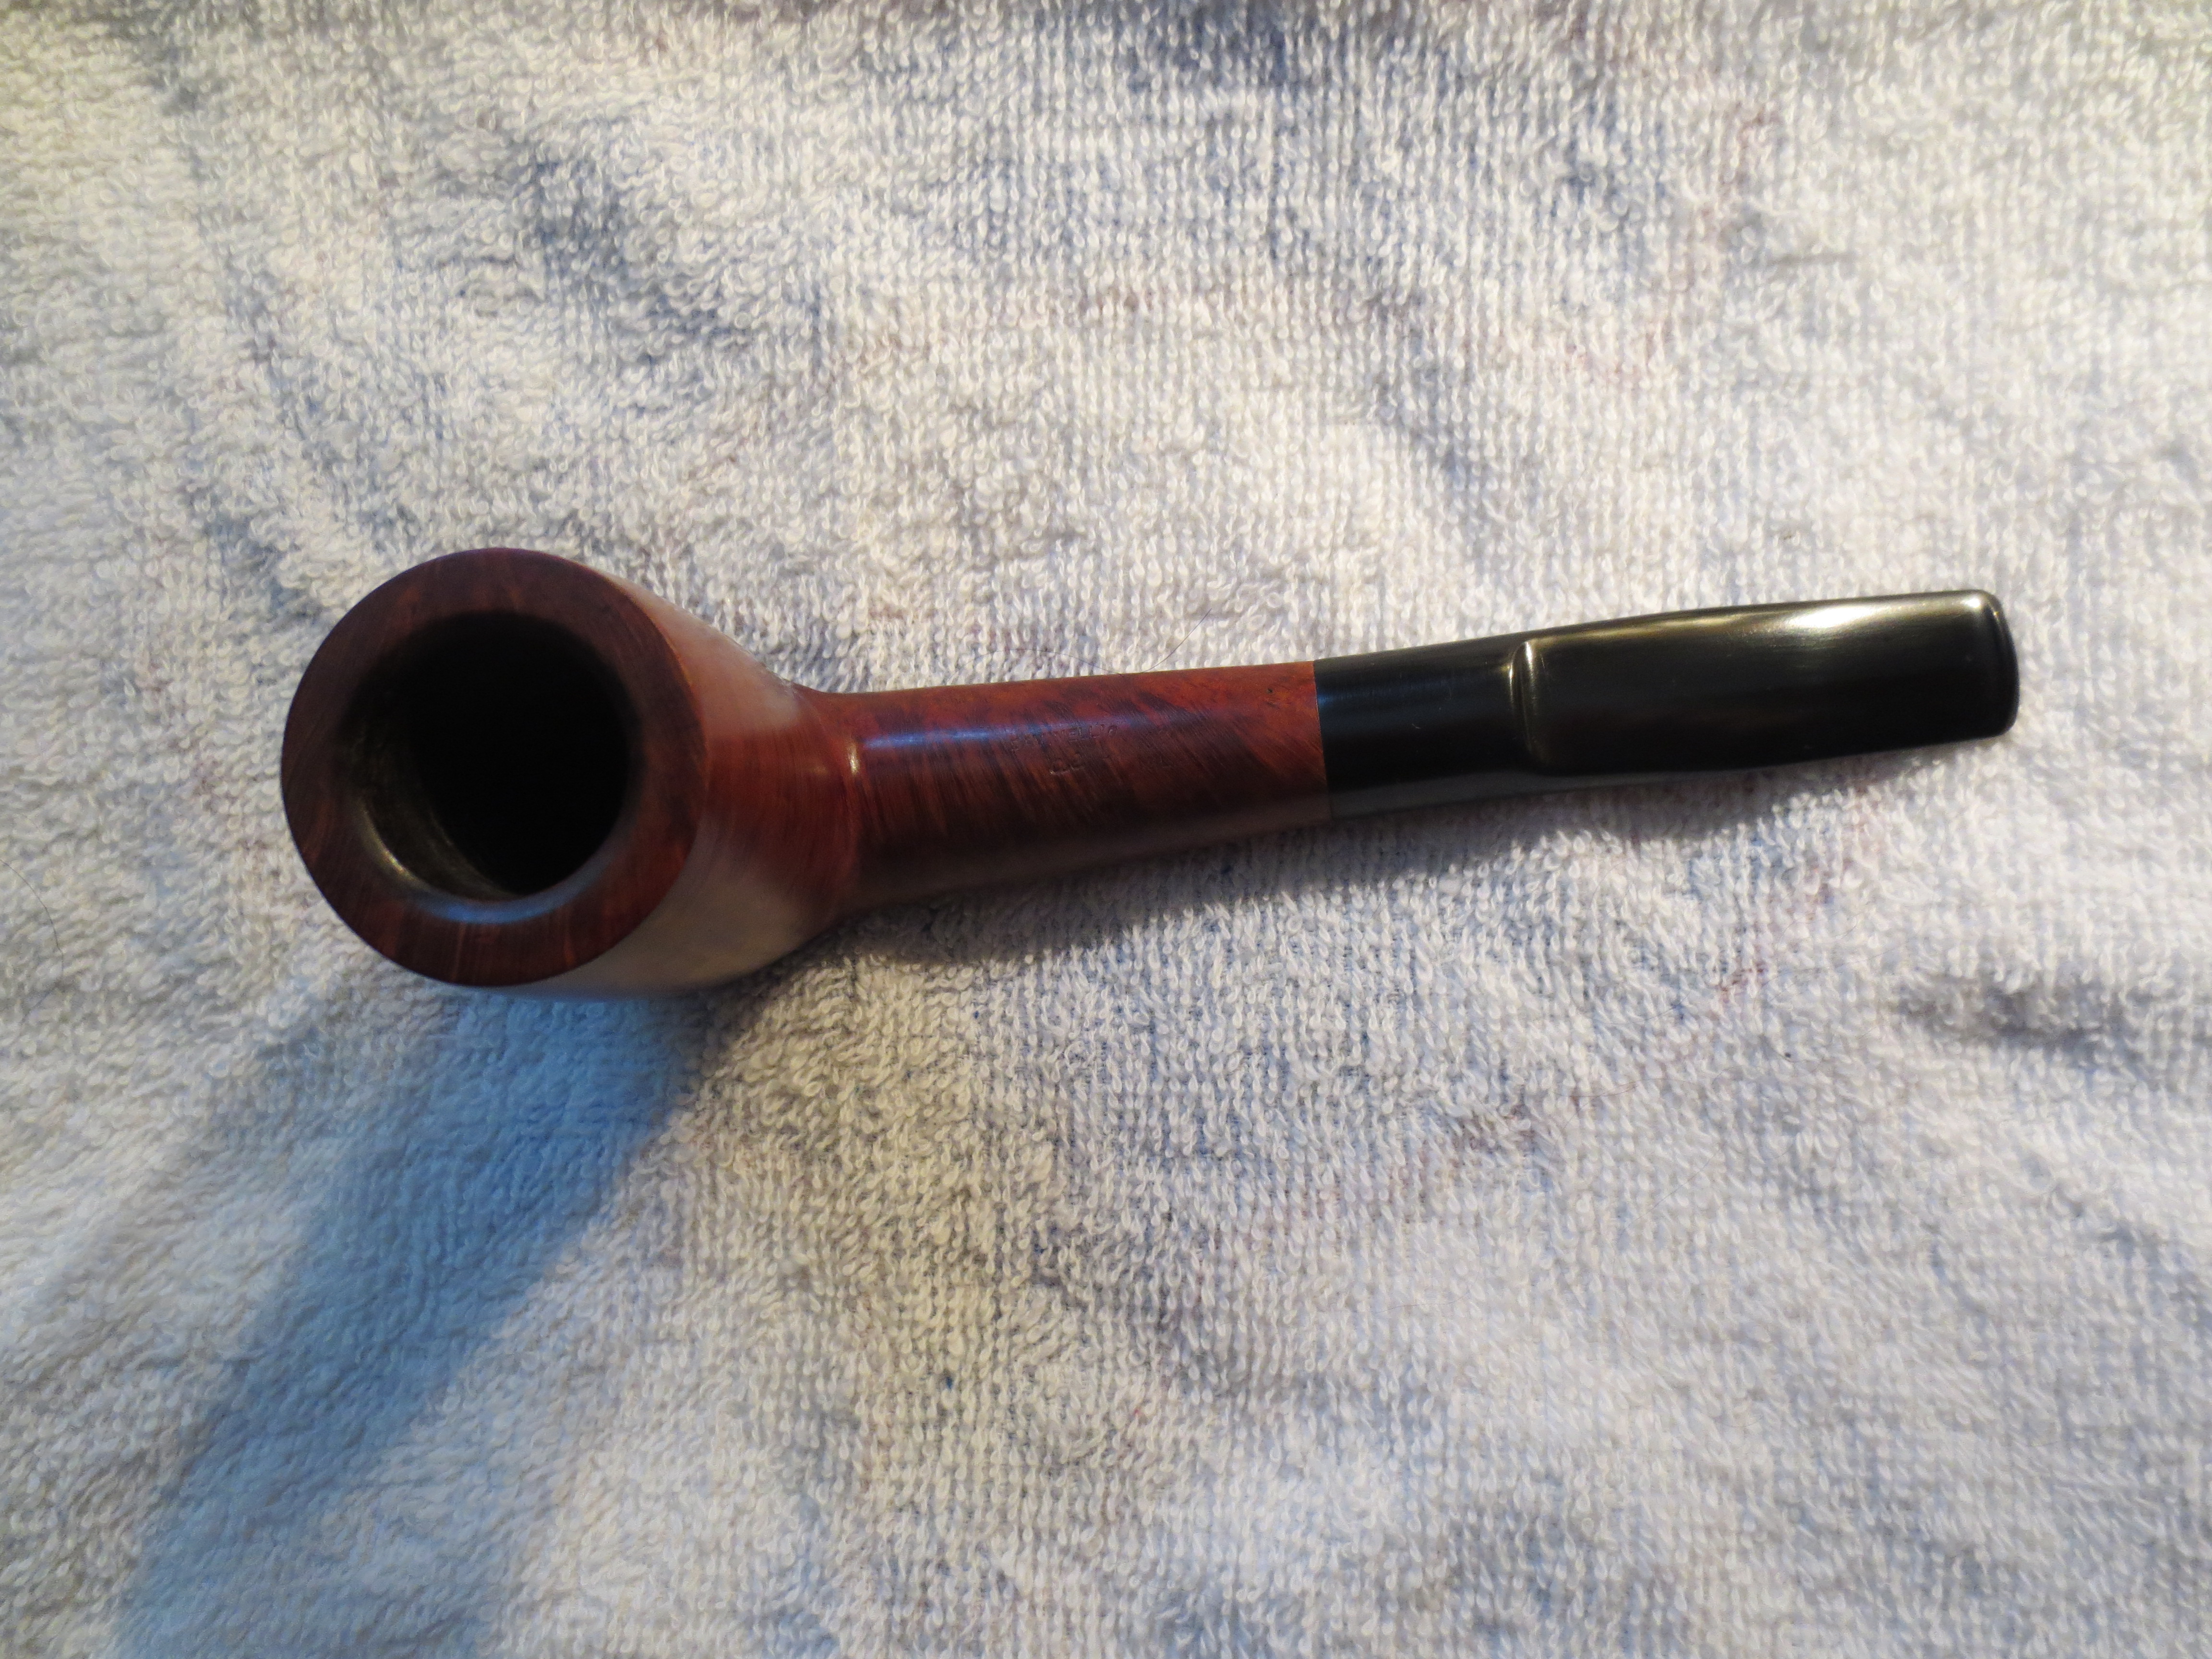
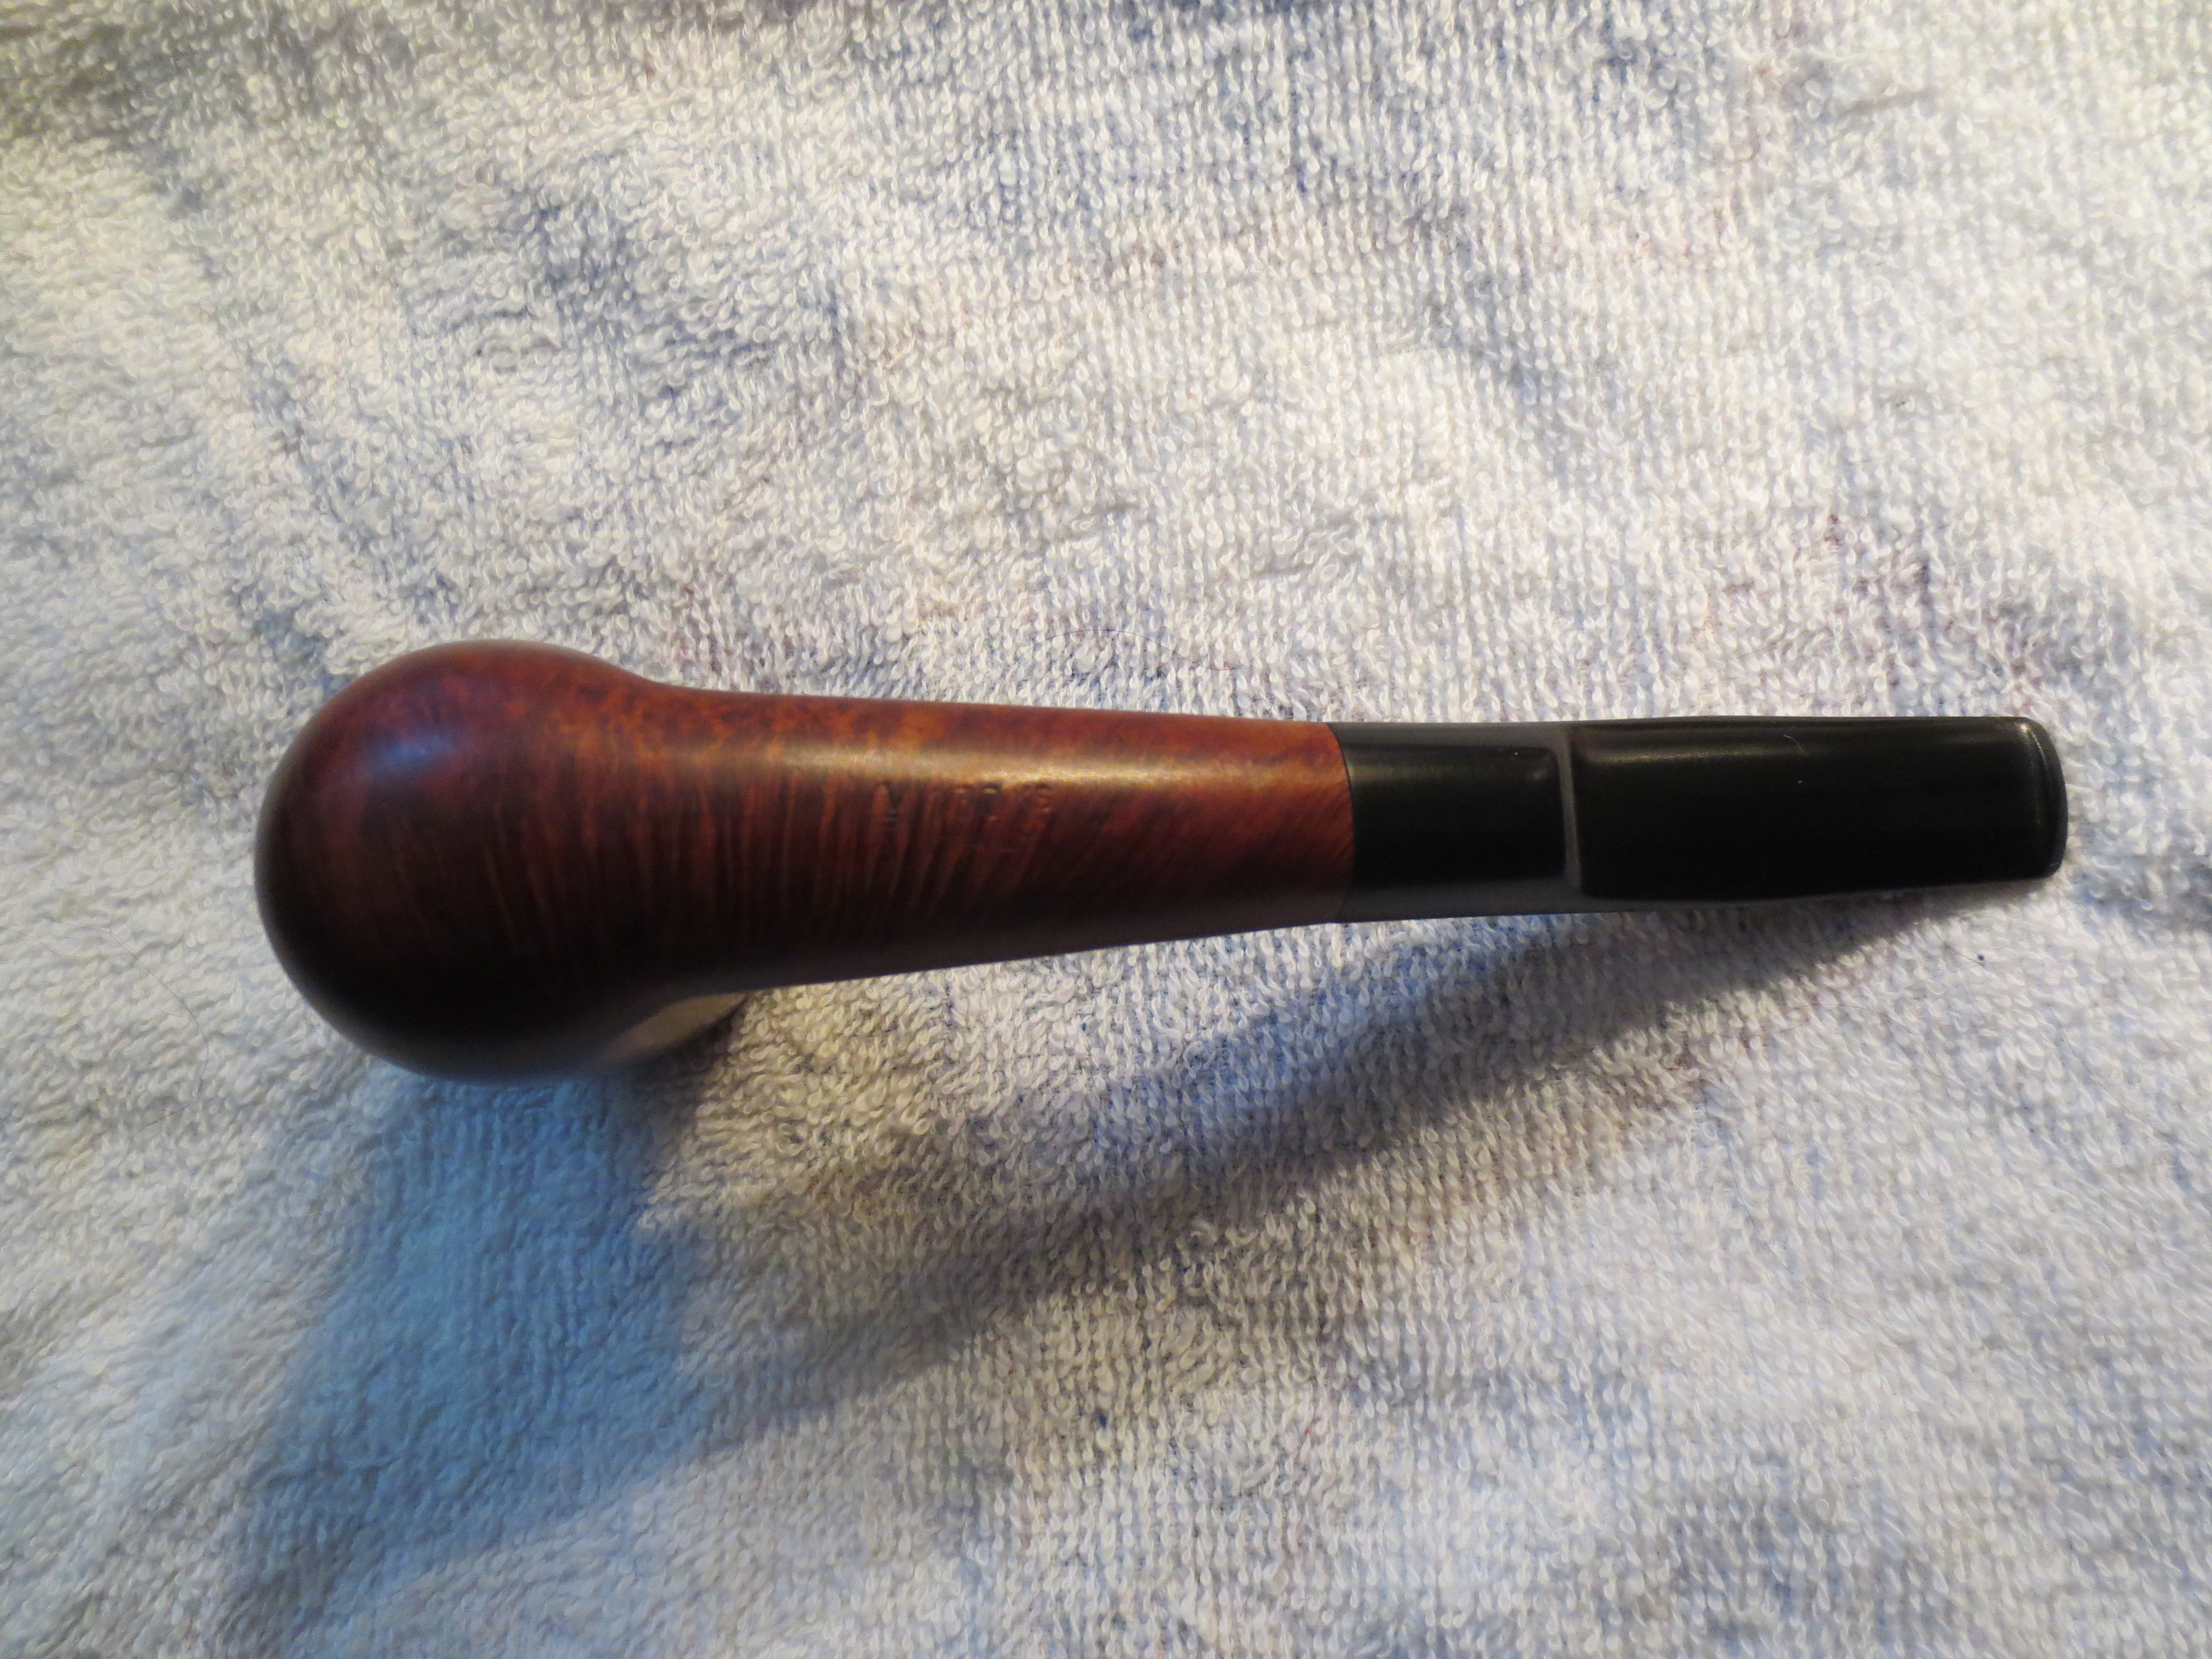
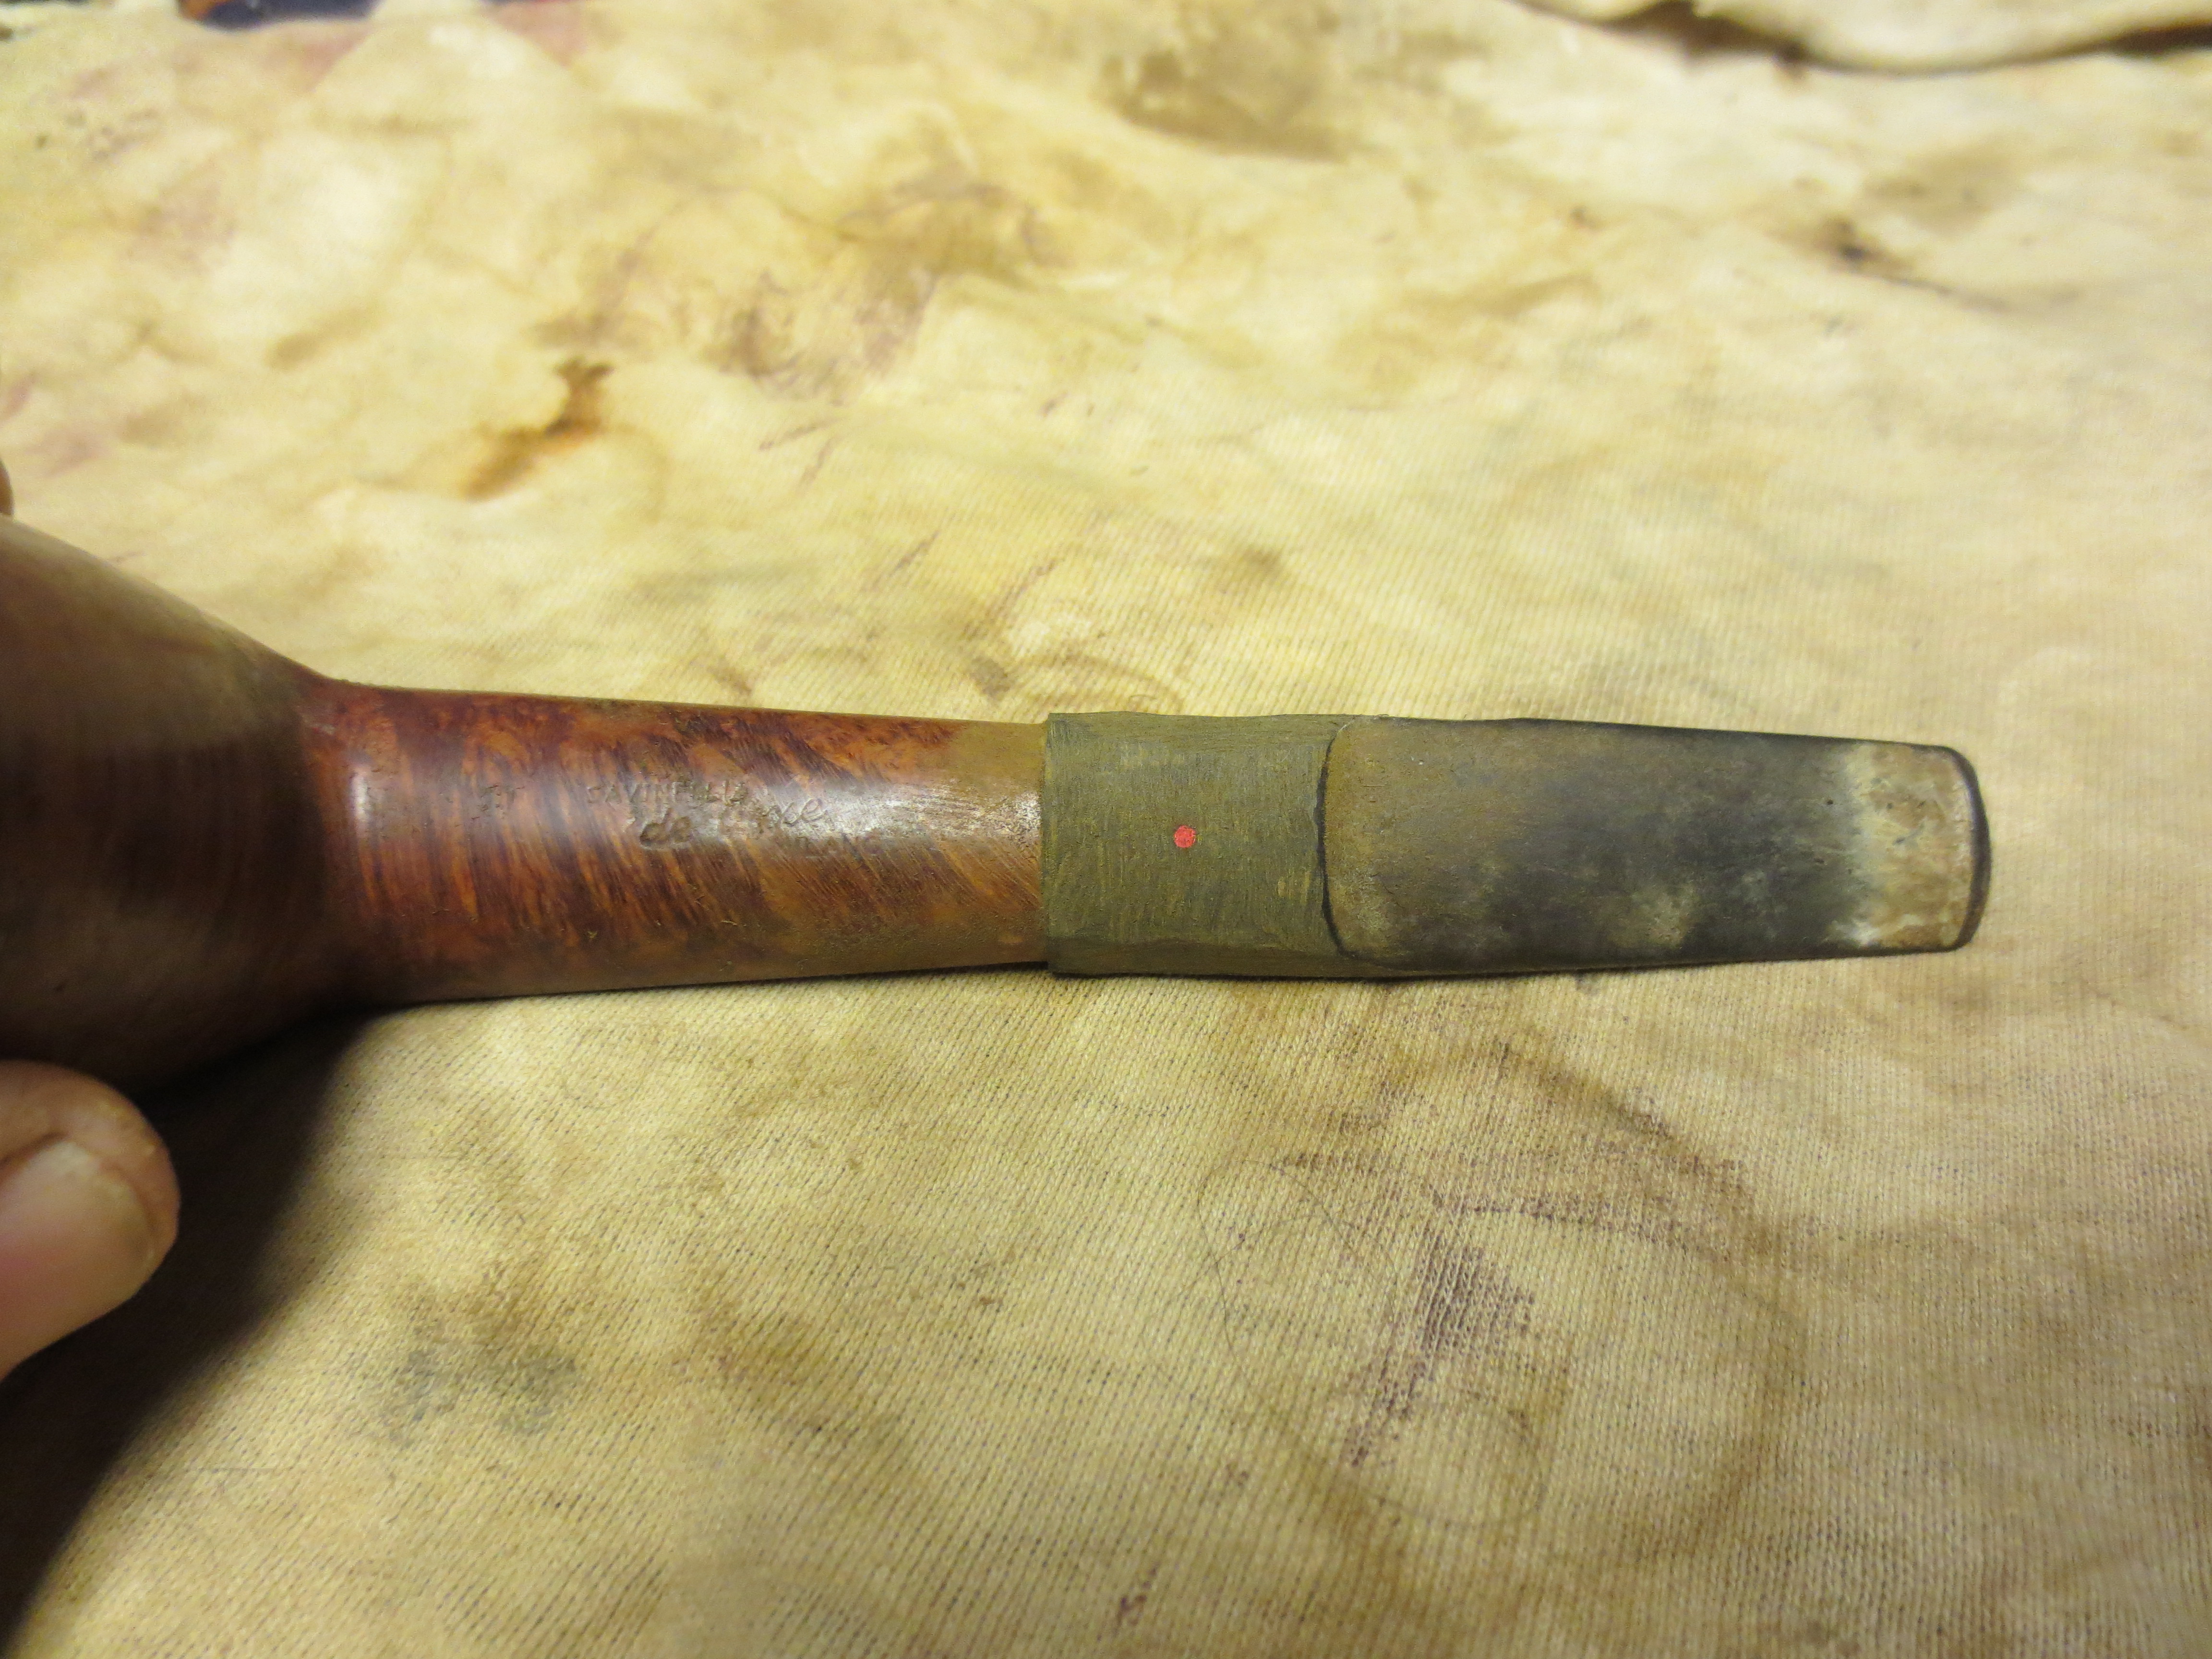
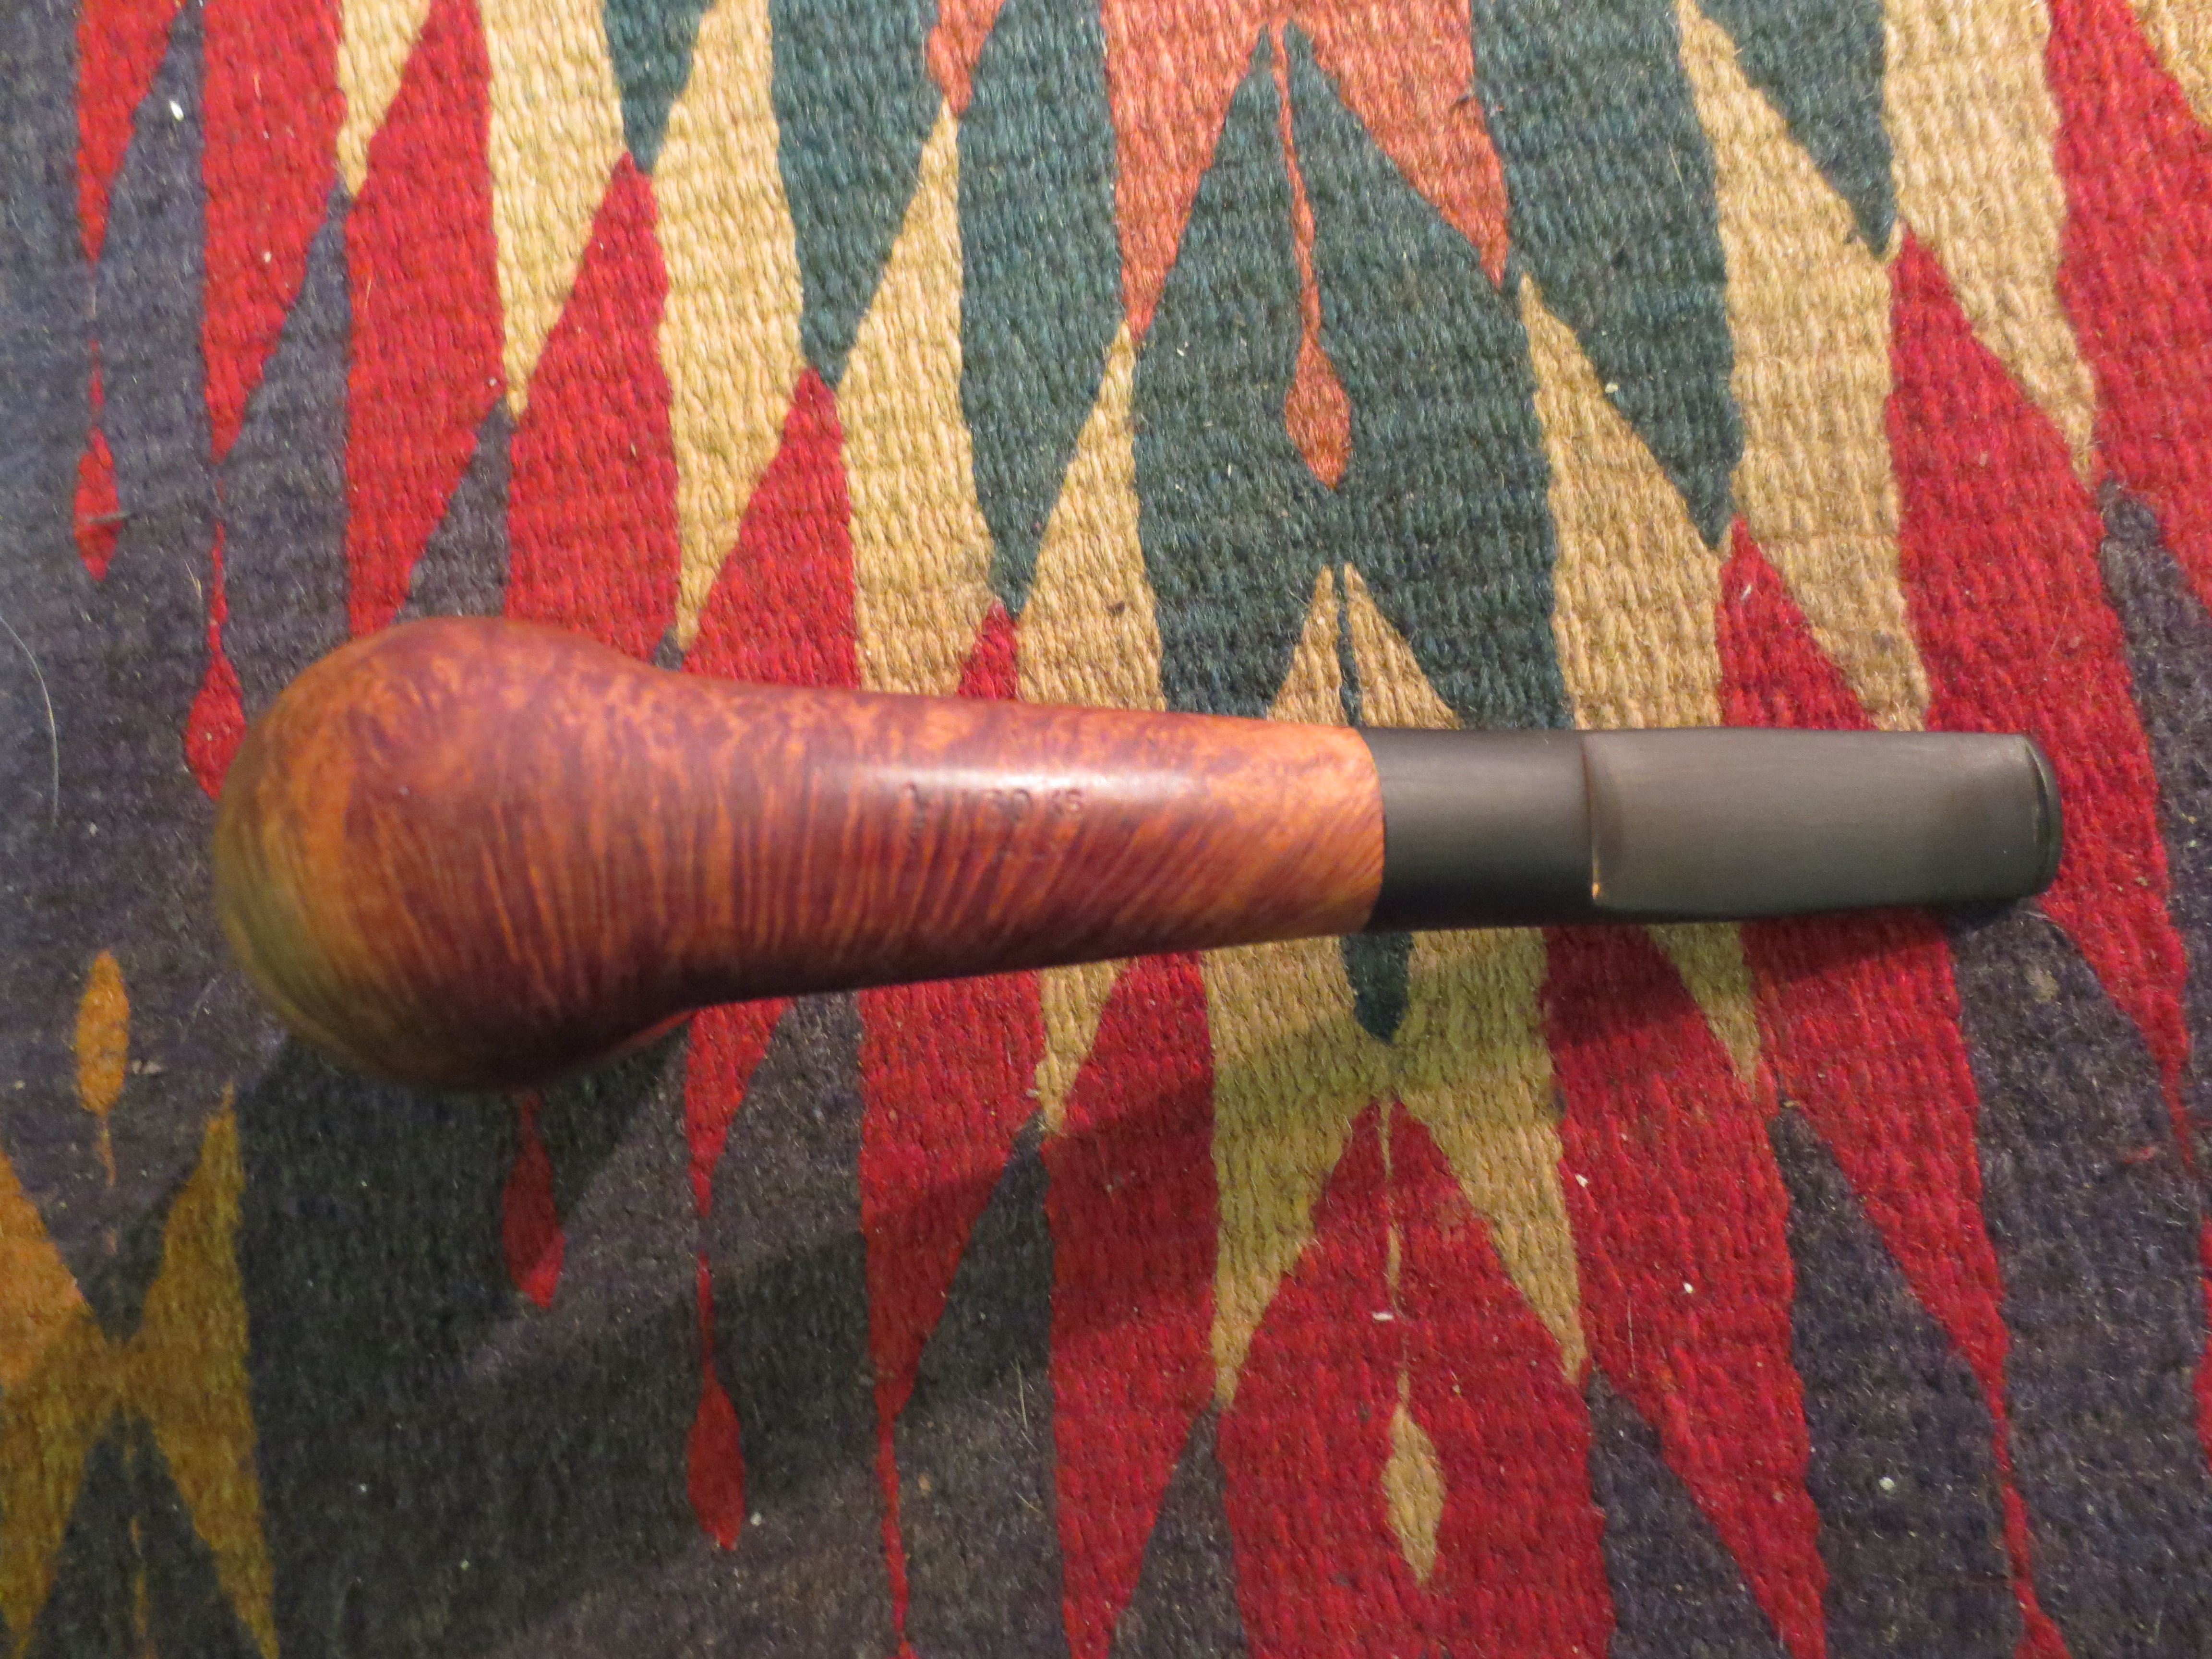
The second pipe in the lot pictured below that I chose to work on was the one on the top of the right column. It is stamped on top of the shank Savinelli de luxe Milano and on the underside the Savinelli shield and next to that is it stamped 130KS Italy. The finish was dull and mostly gone. The rim was not charred at all but had a heavy build up of tars. The bowl was caked – interestingly for a pipe this deep it was caked all the way to the bottom of the bowl. The dimensions of this bowl are: height 2 1/4 inches, outer diameter of the bowl 1 ½ inches, diameter of the chamber ¾ inches. It smelled of sweet aromatics so it would need to be reamed and cleaned well. There was no stem with it but there was a broken tenon stuck in the shank. I would have to pull the tenon and fit a new stem on the bowl. It was made of a good piece of briar – no fills or sand pits. The grain is cross grain on the front and back of the bowl and the top and the bottom of the shank. It had some very nice birdseye grain on each side of the bowl and the shank. The shape of the shank was a modified oval shape.


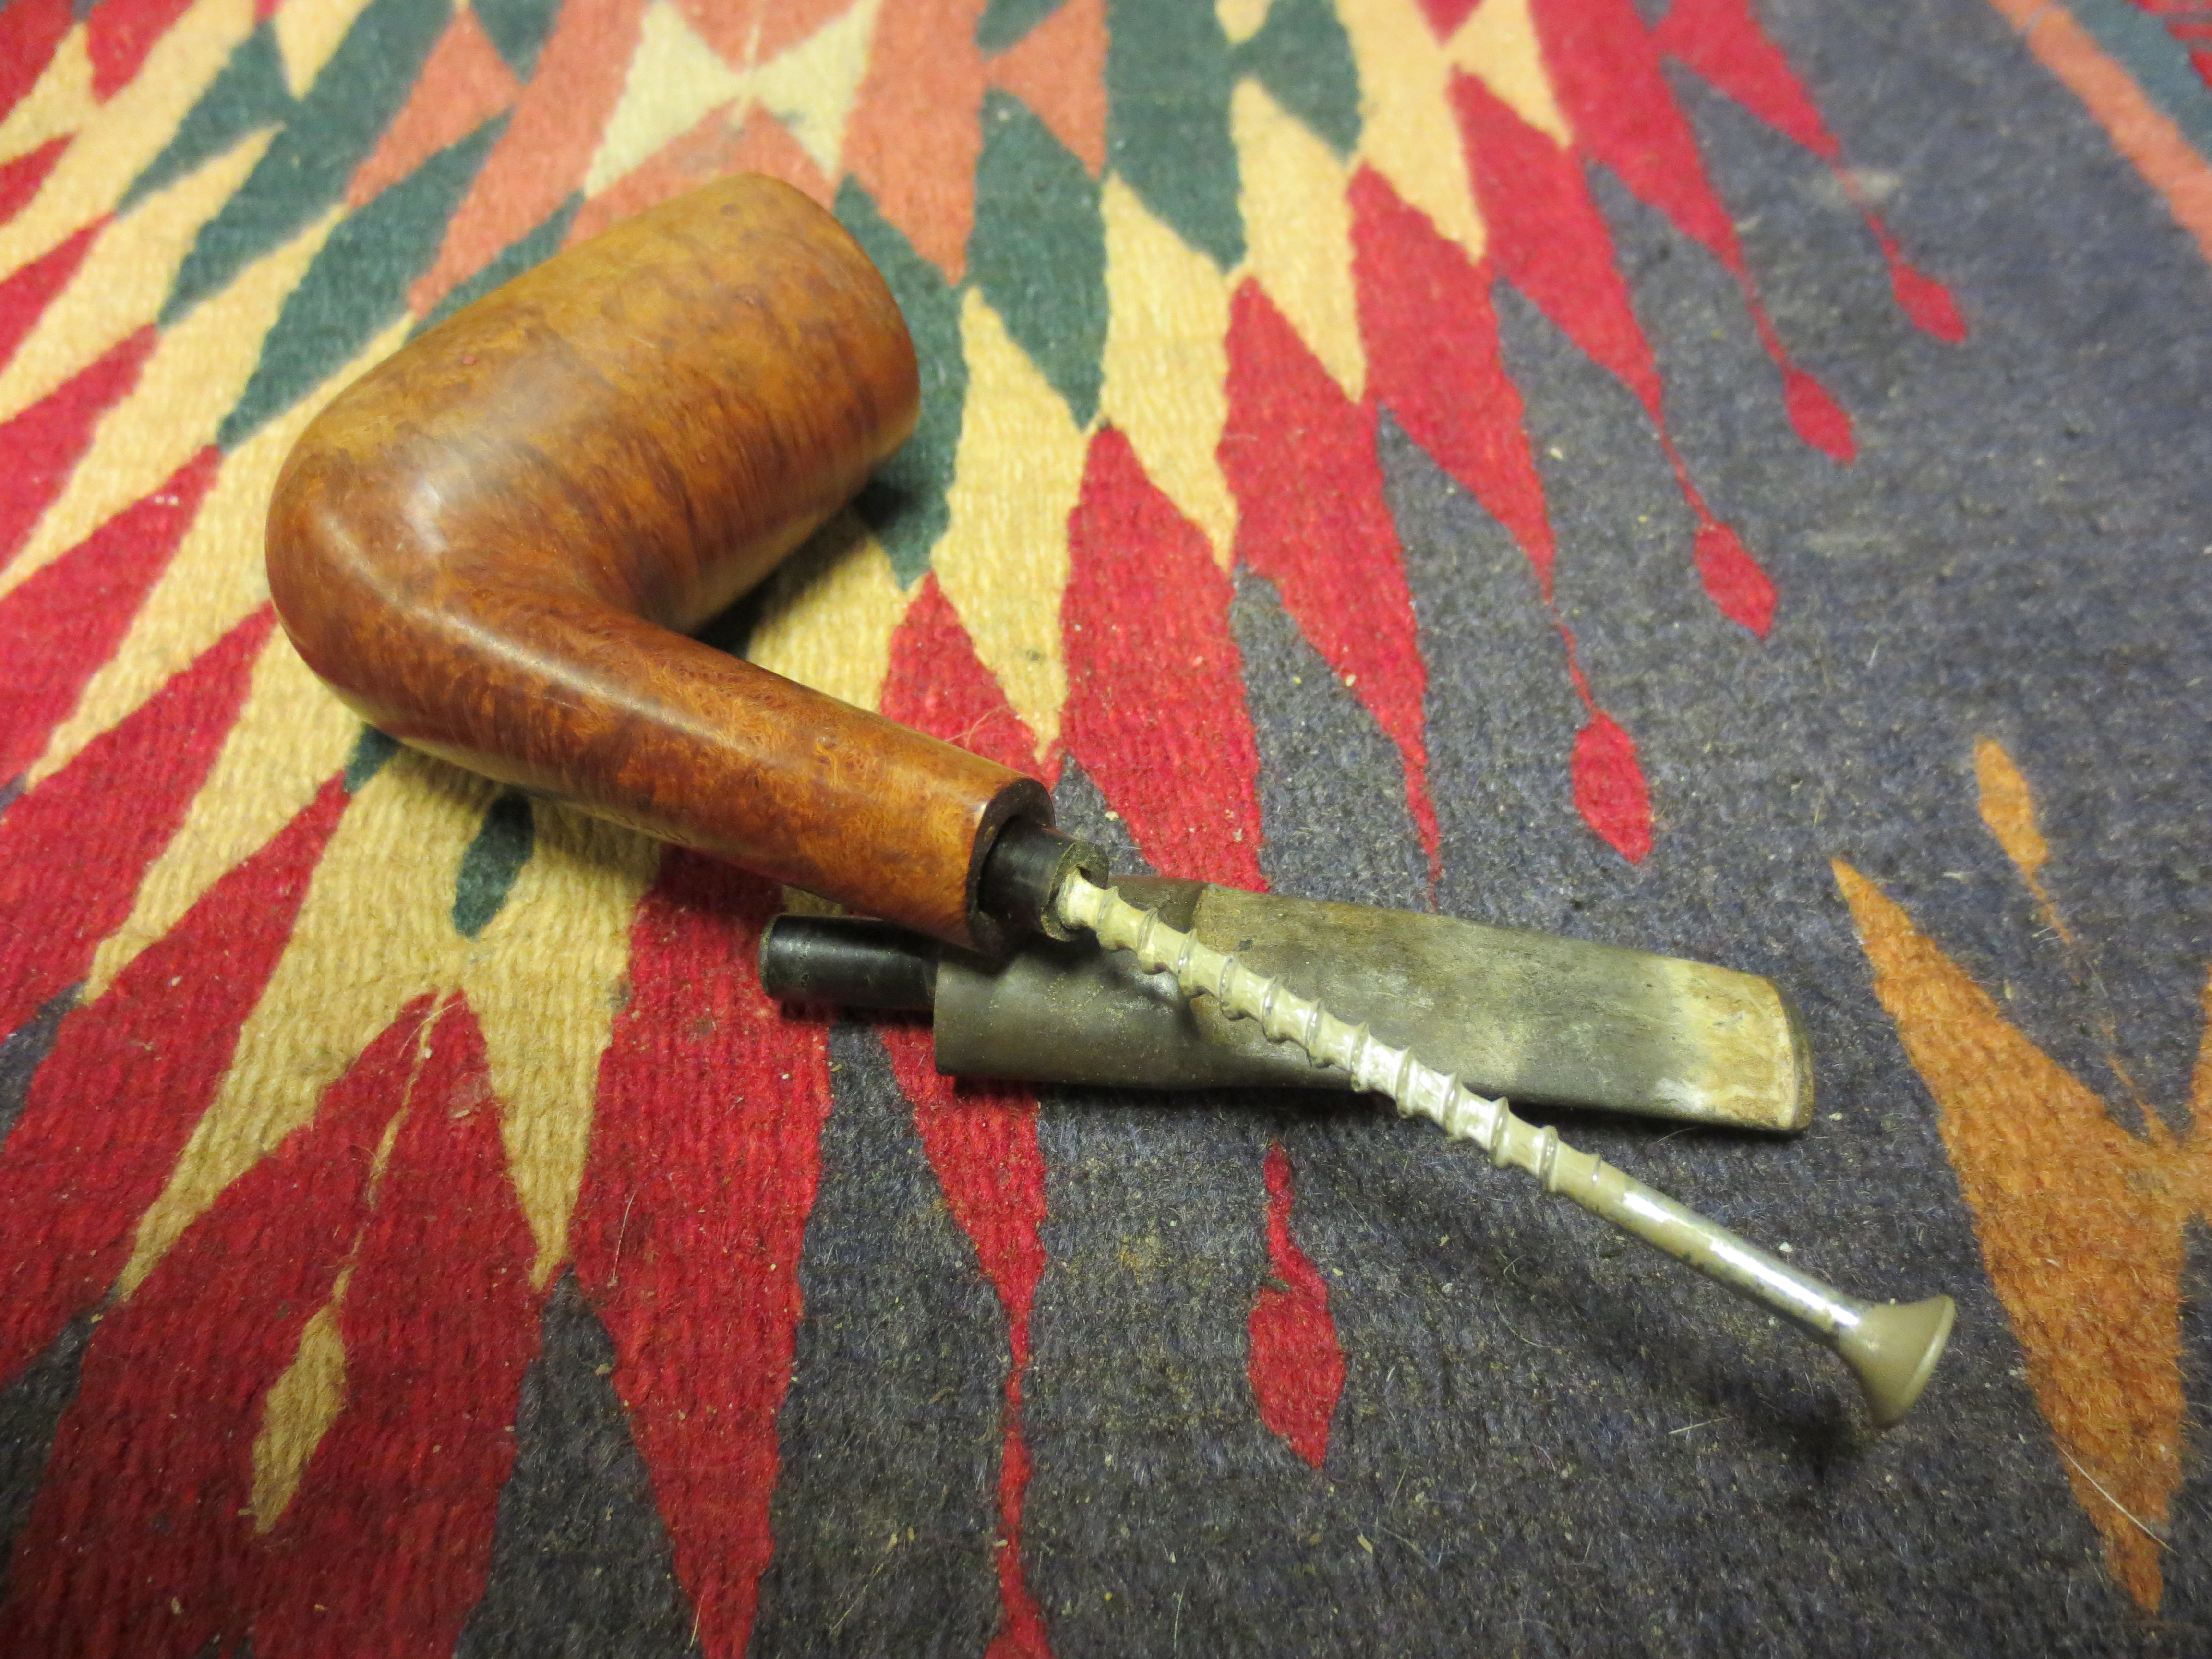
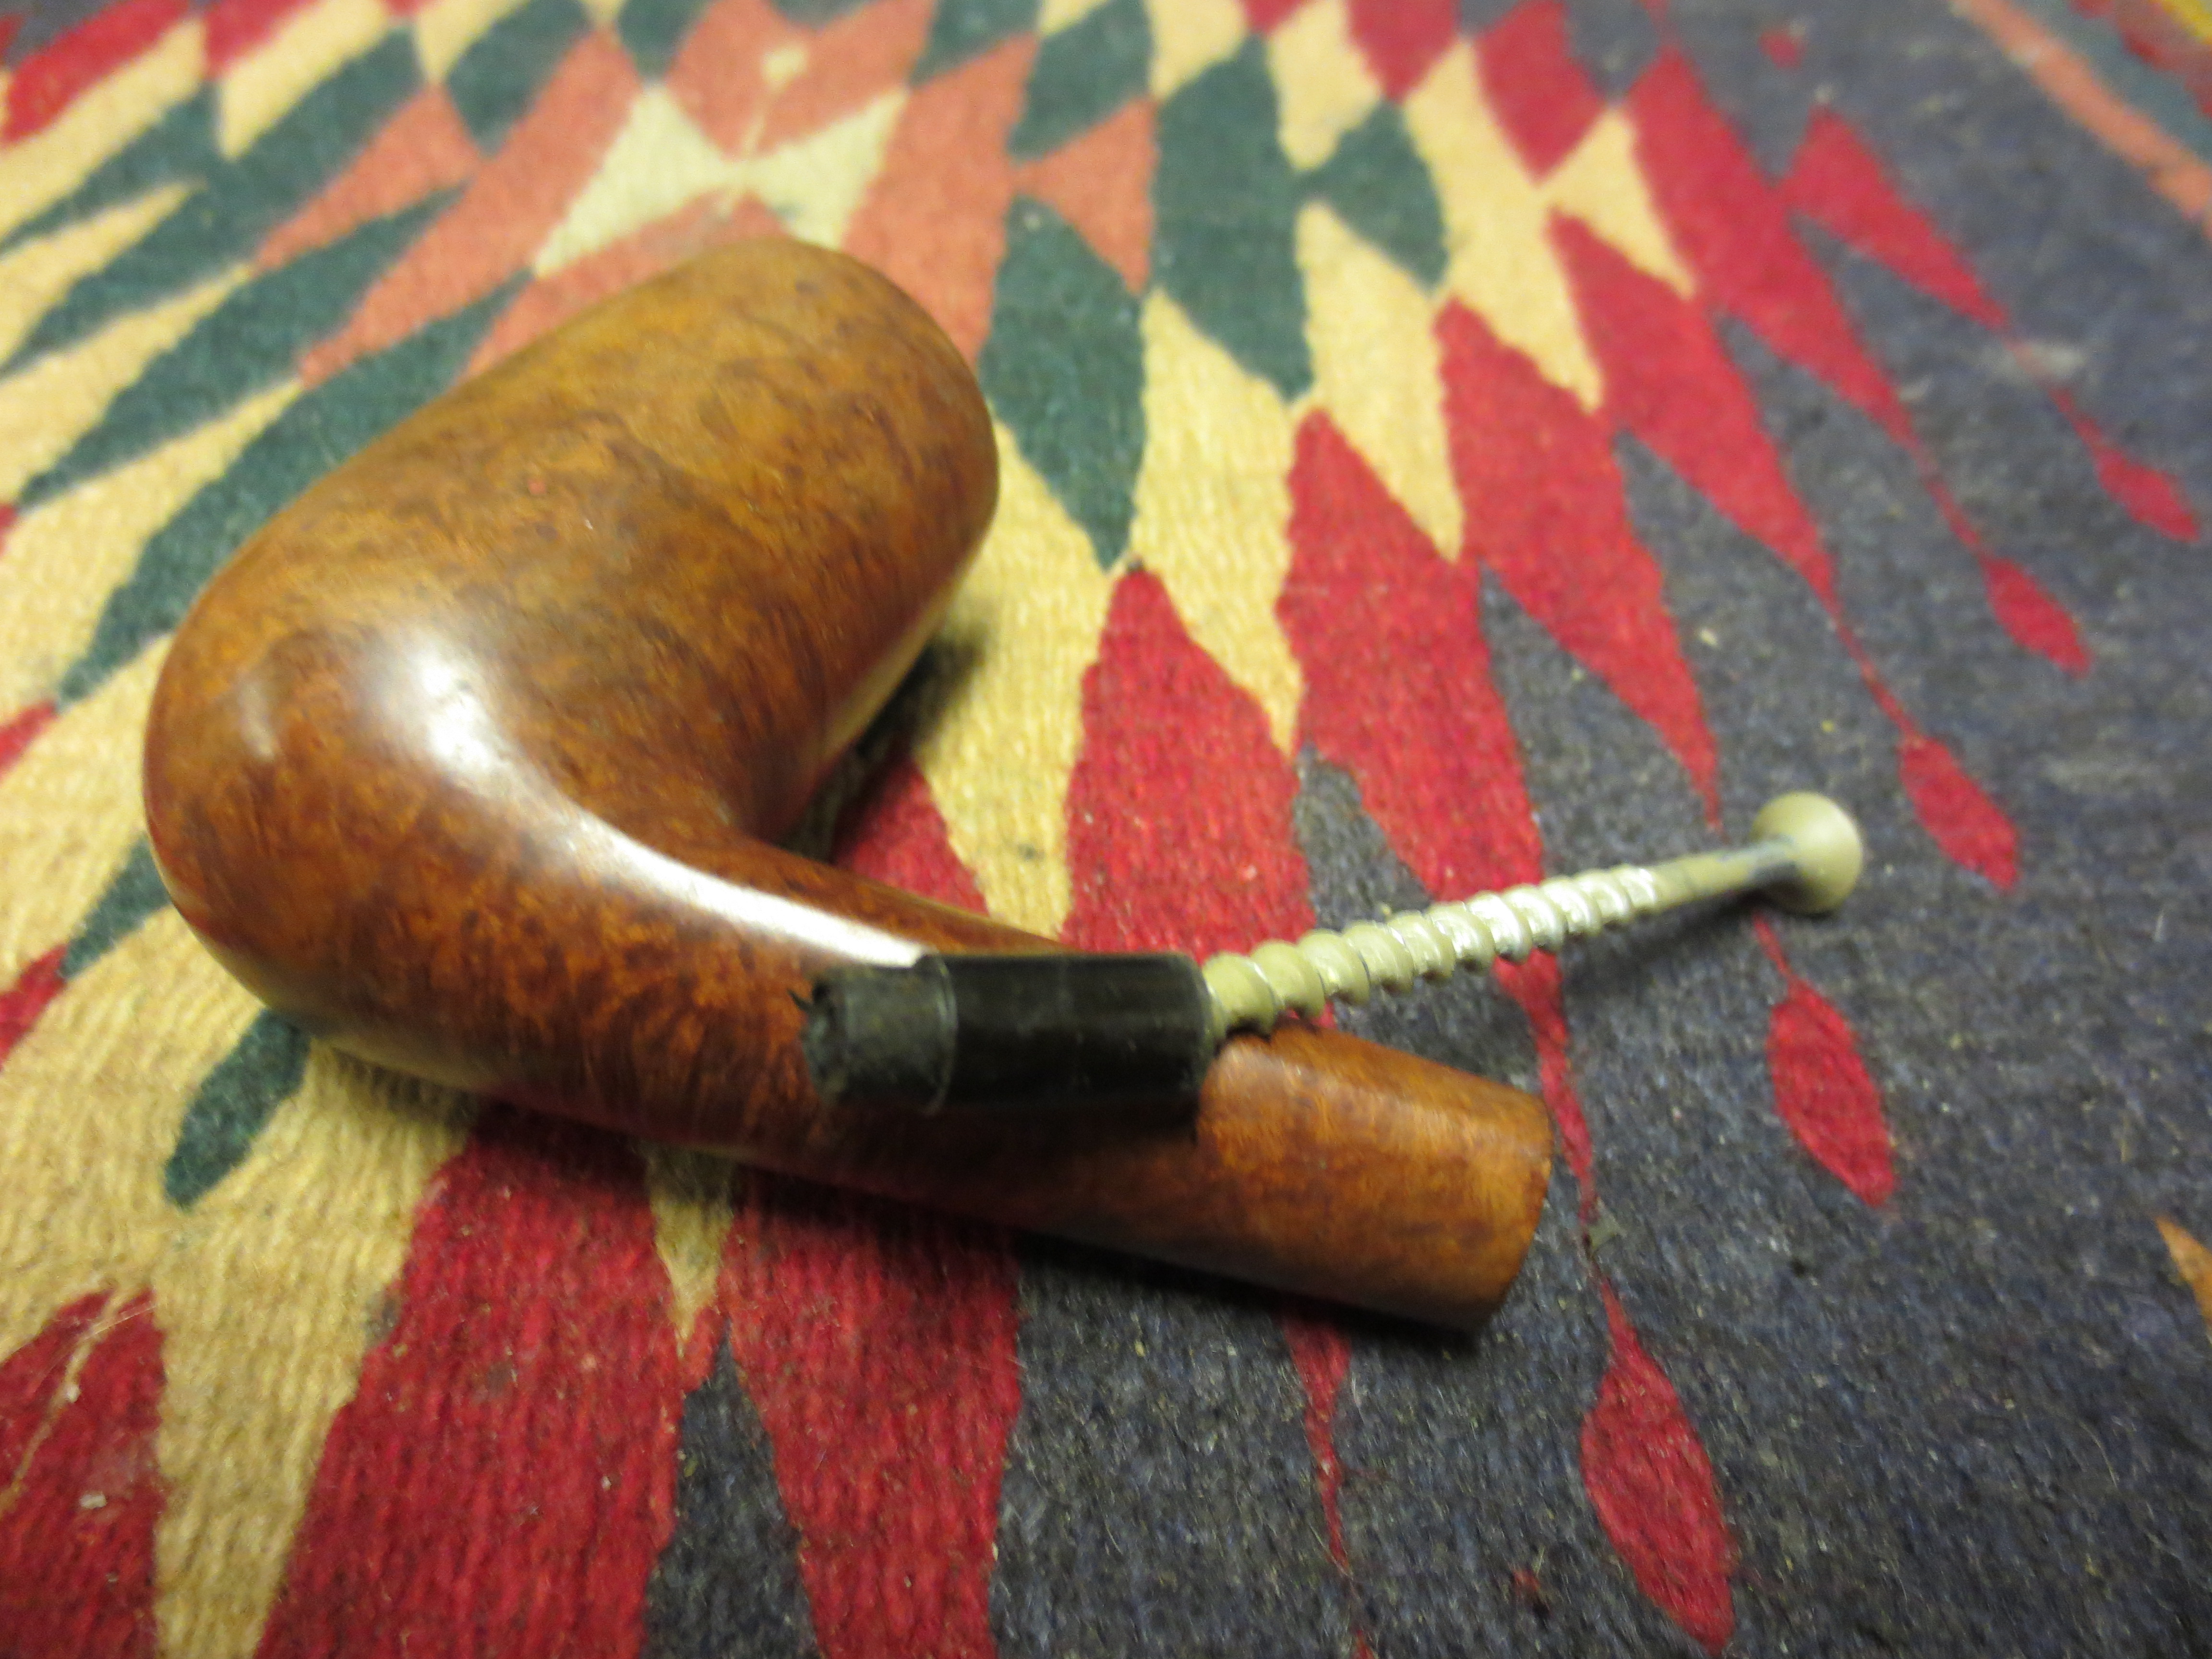
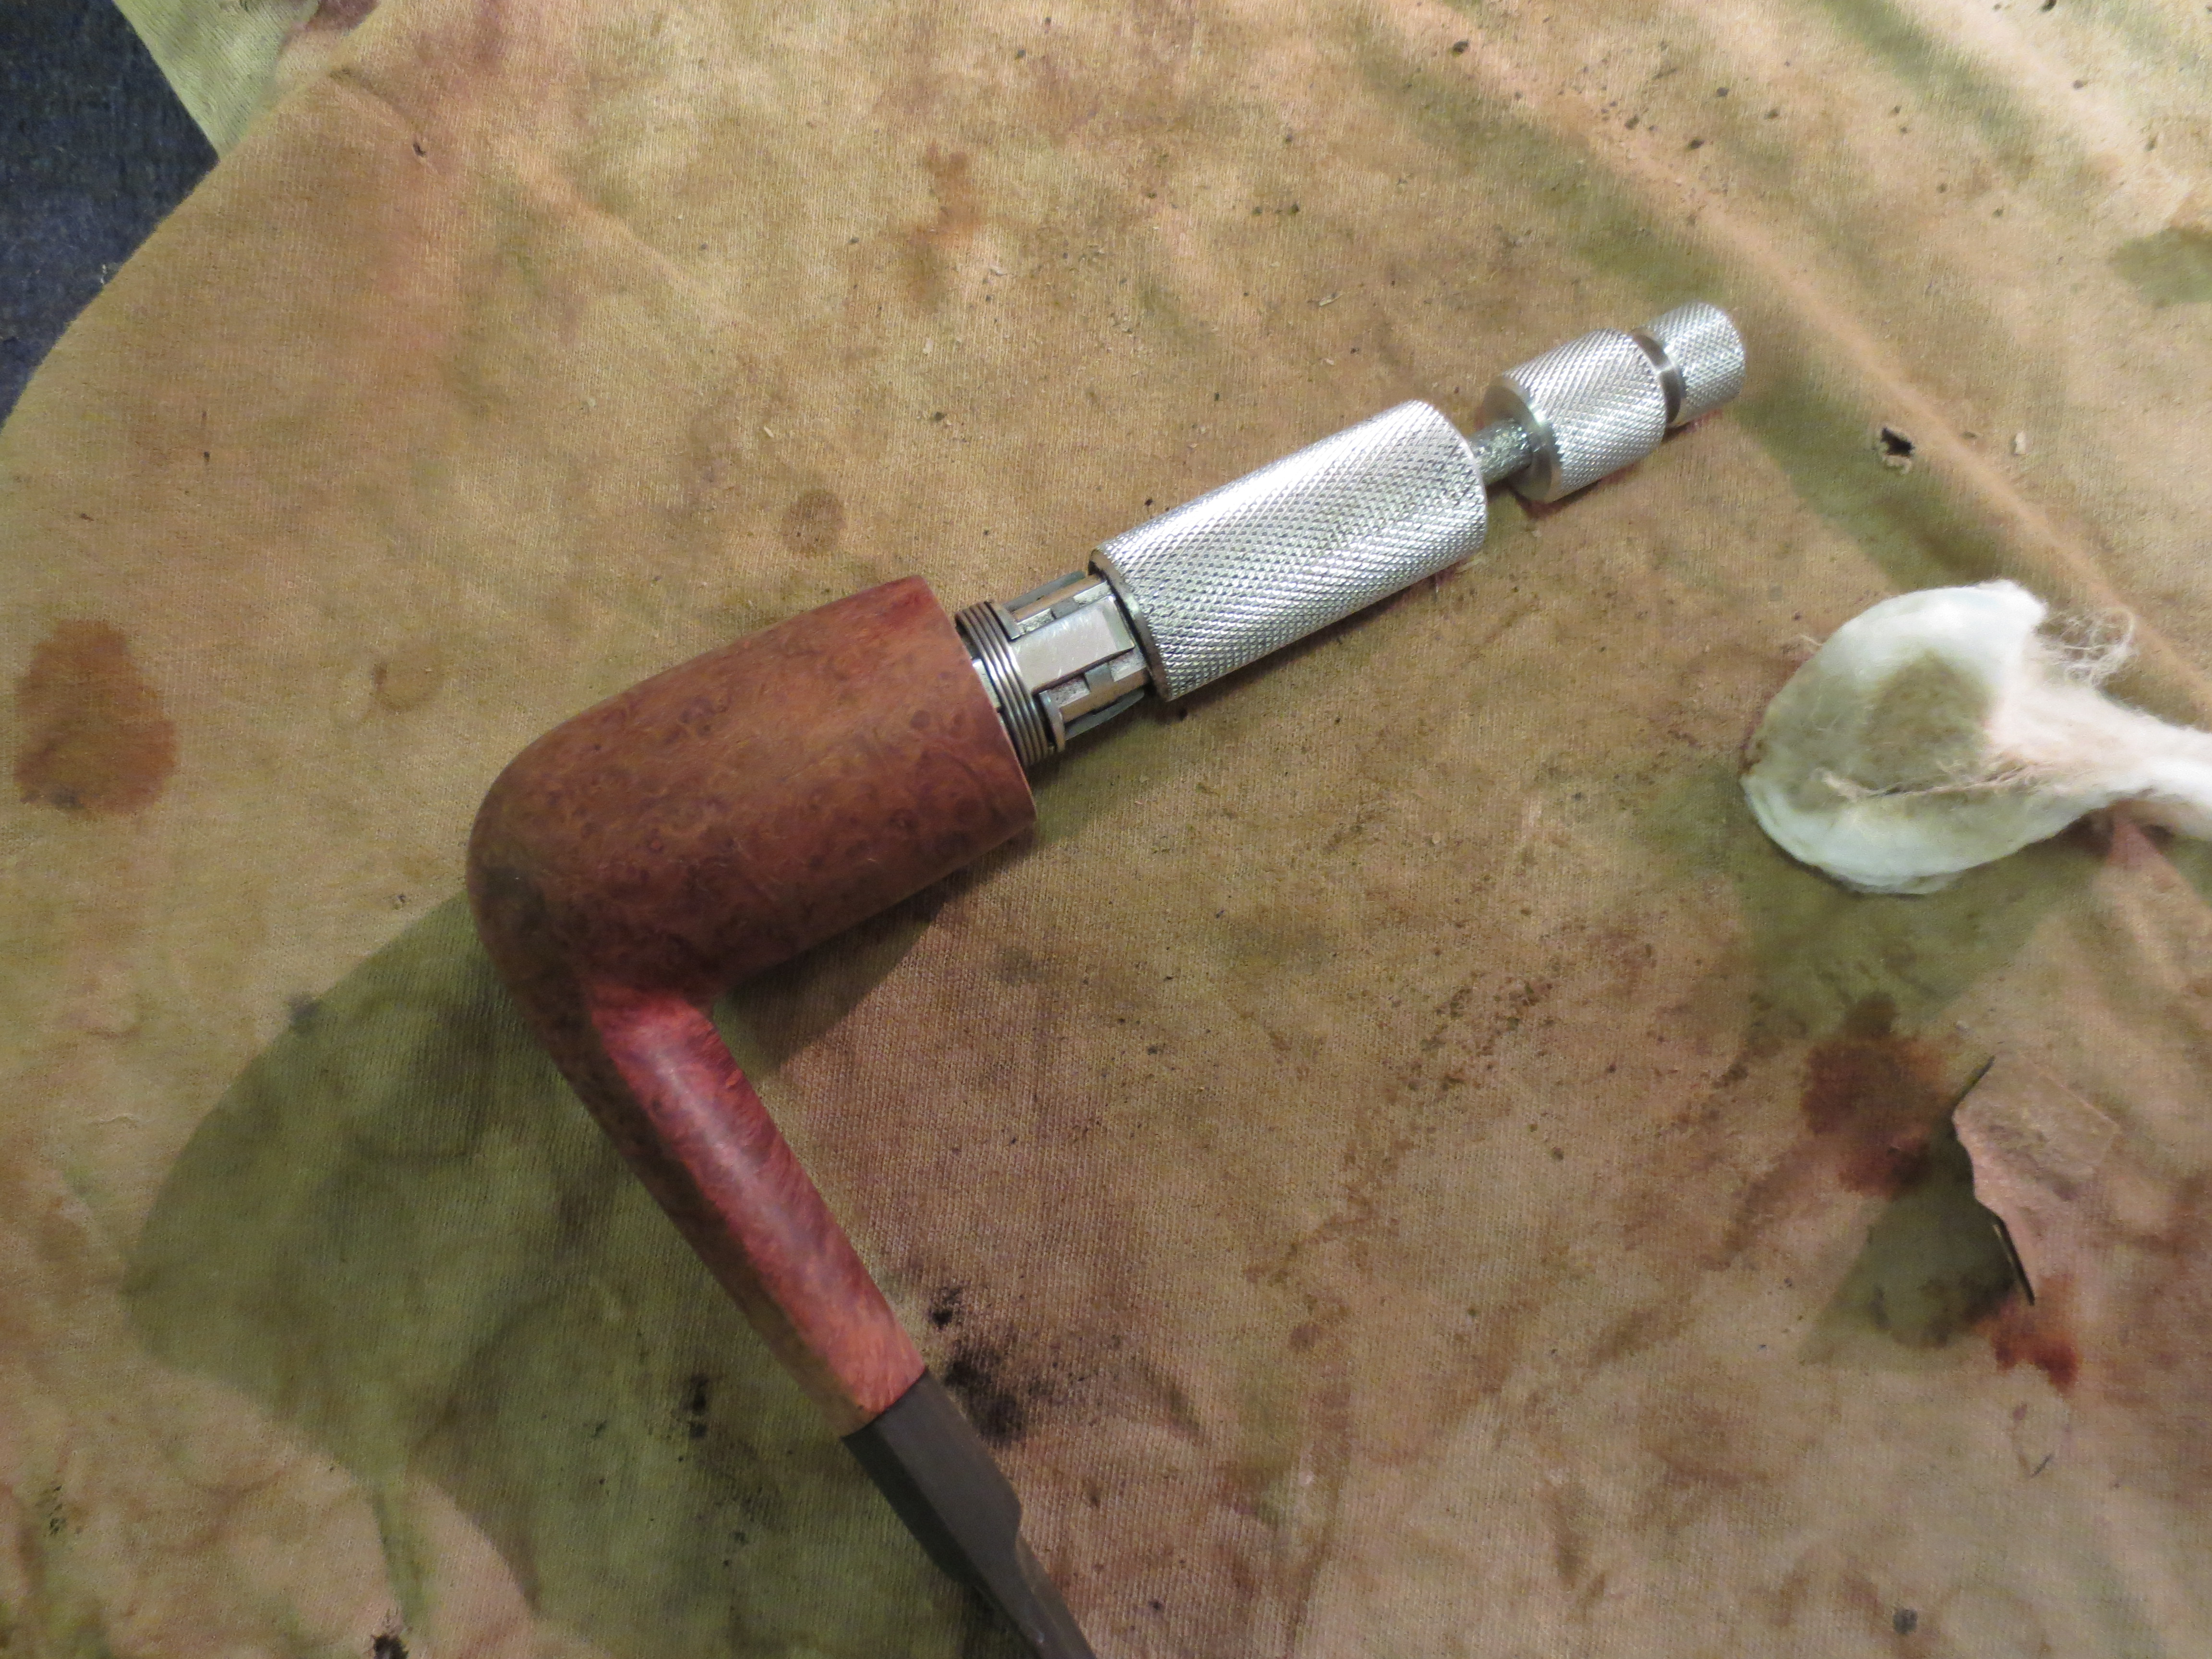
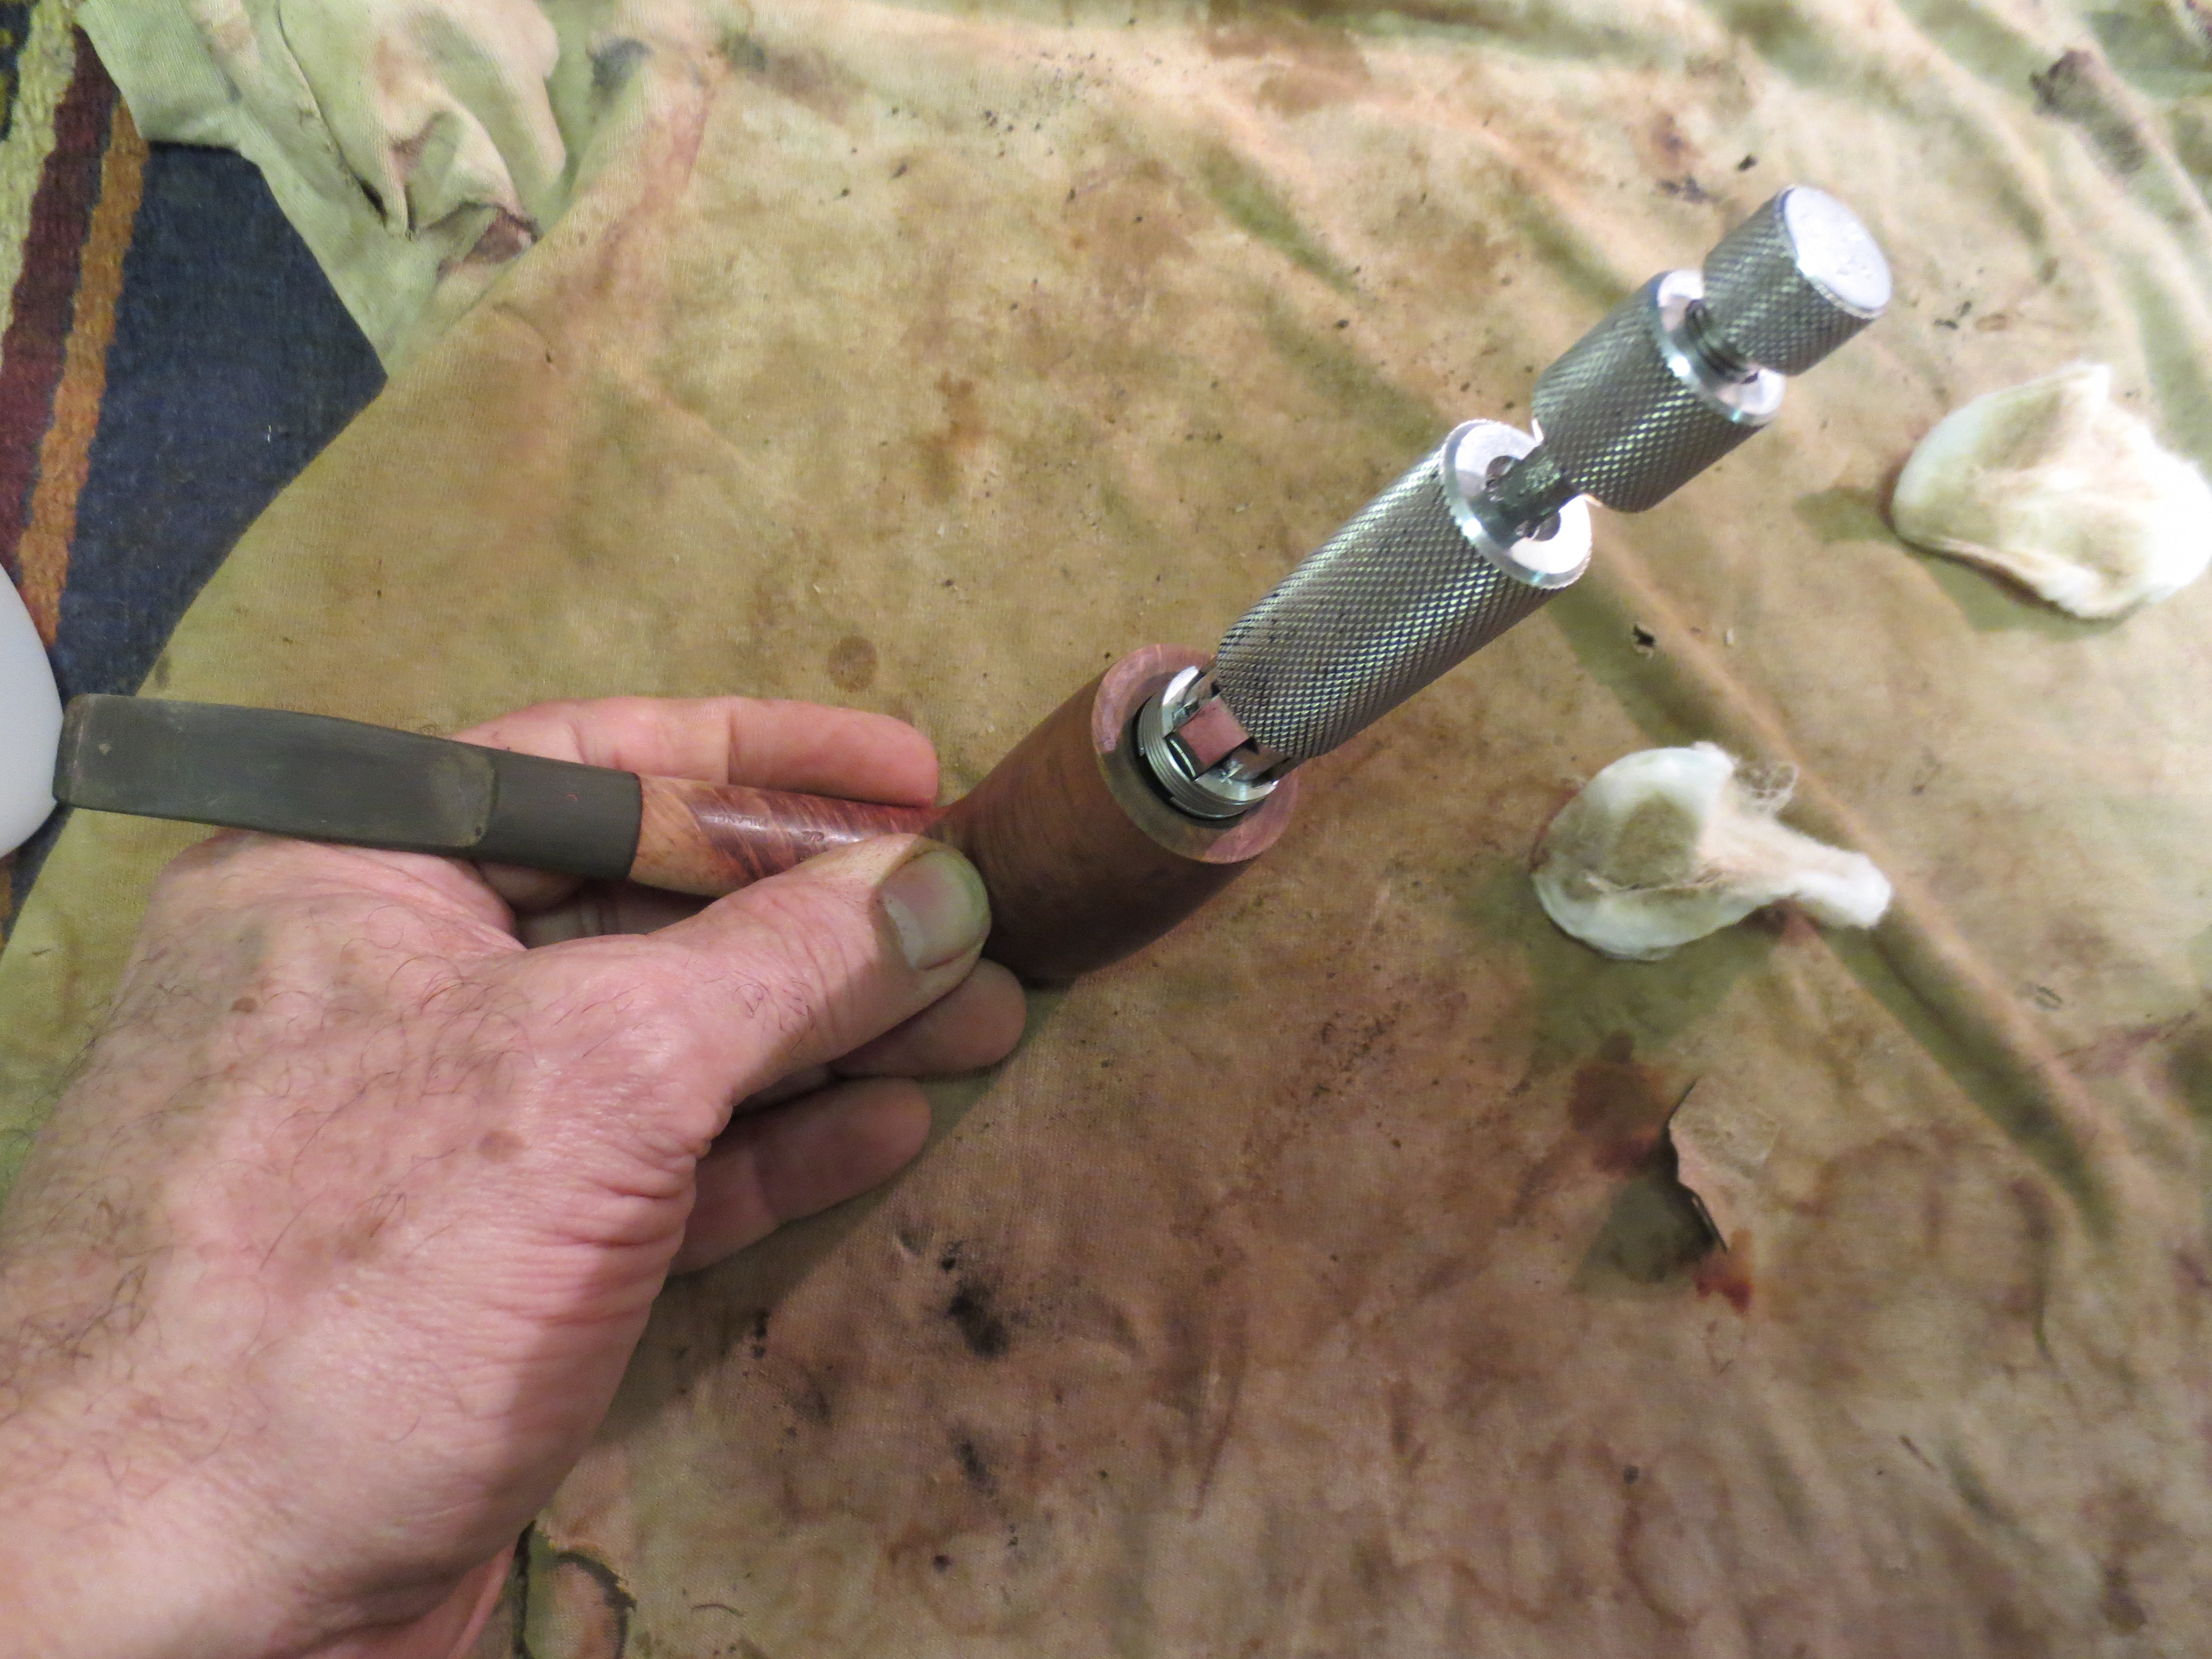
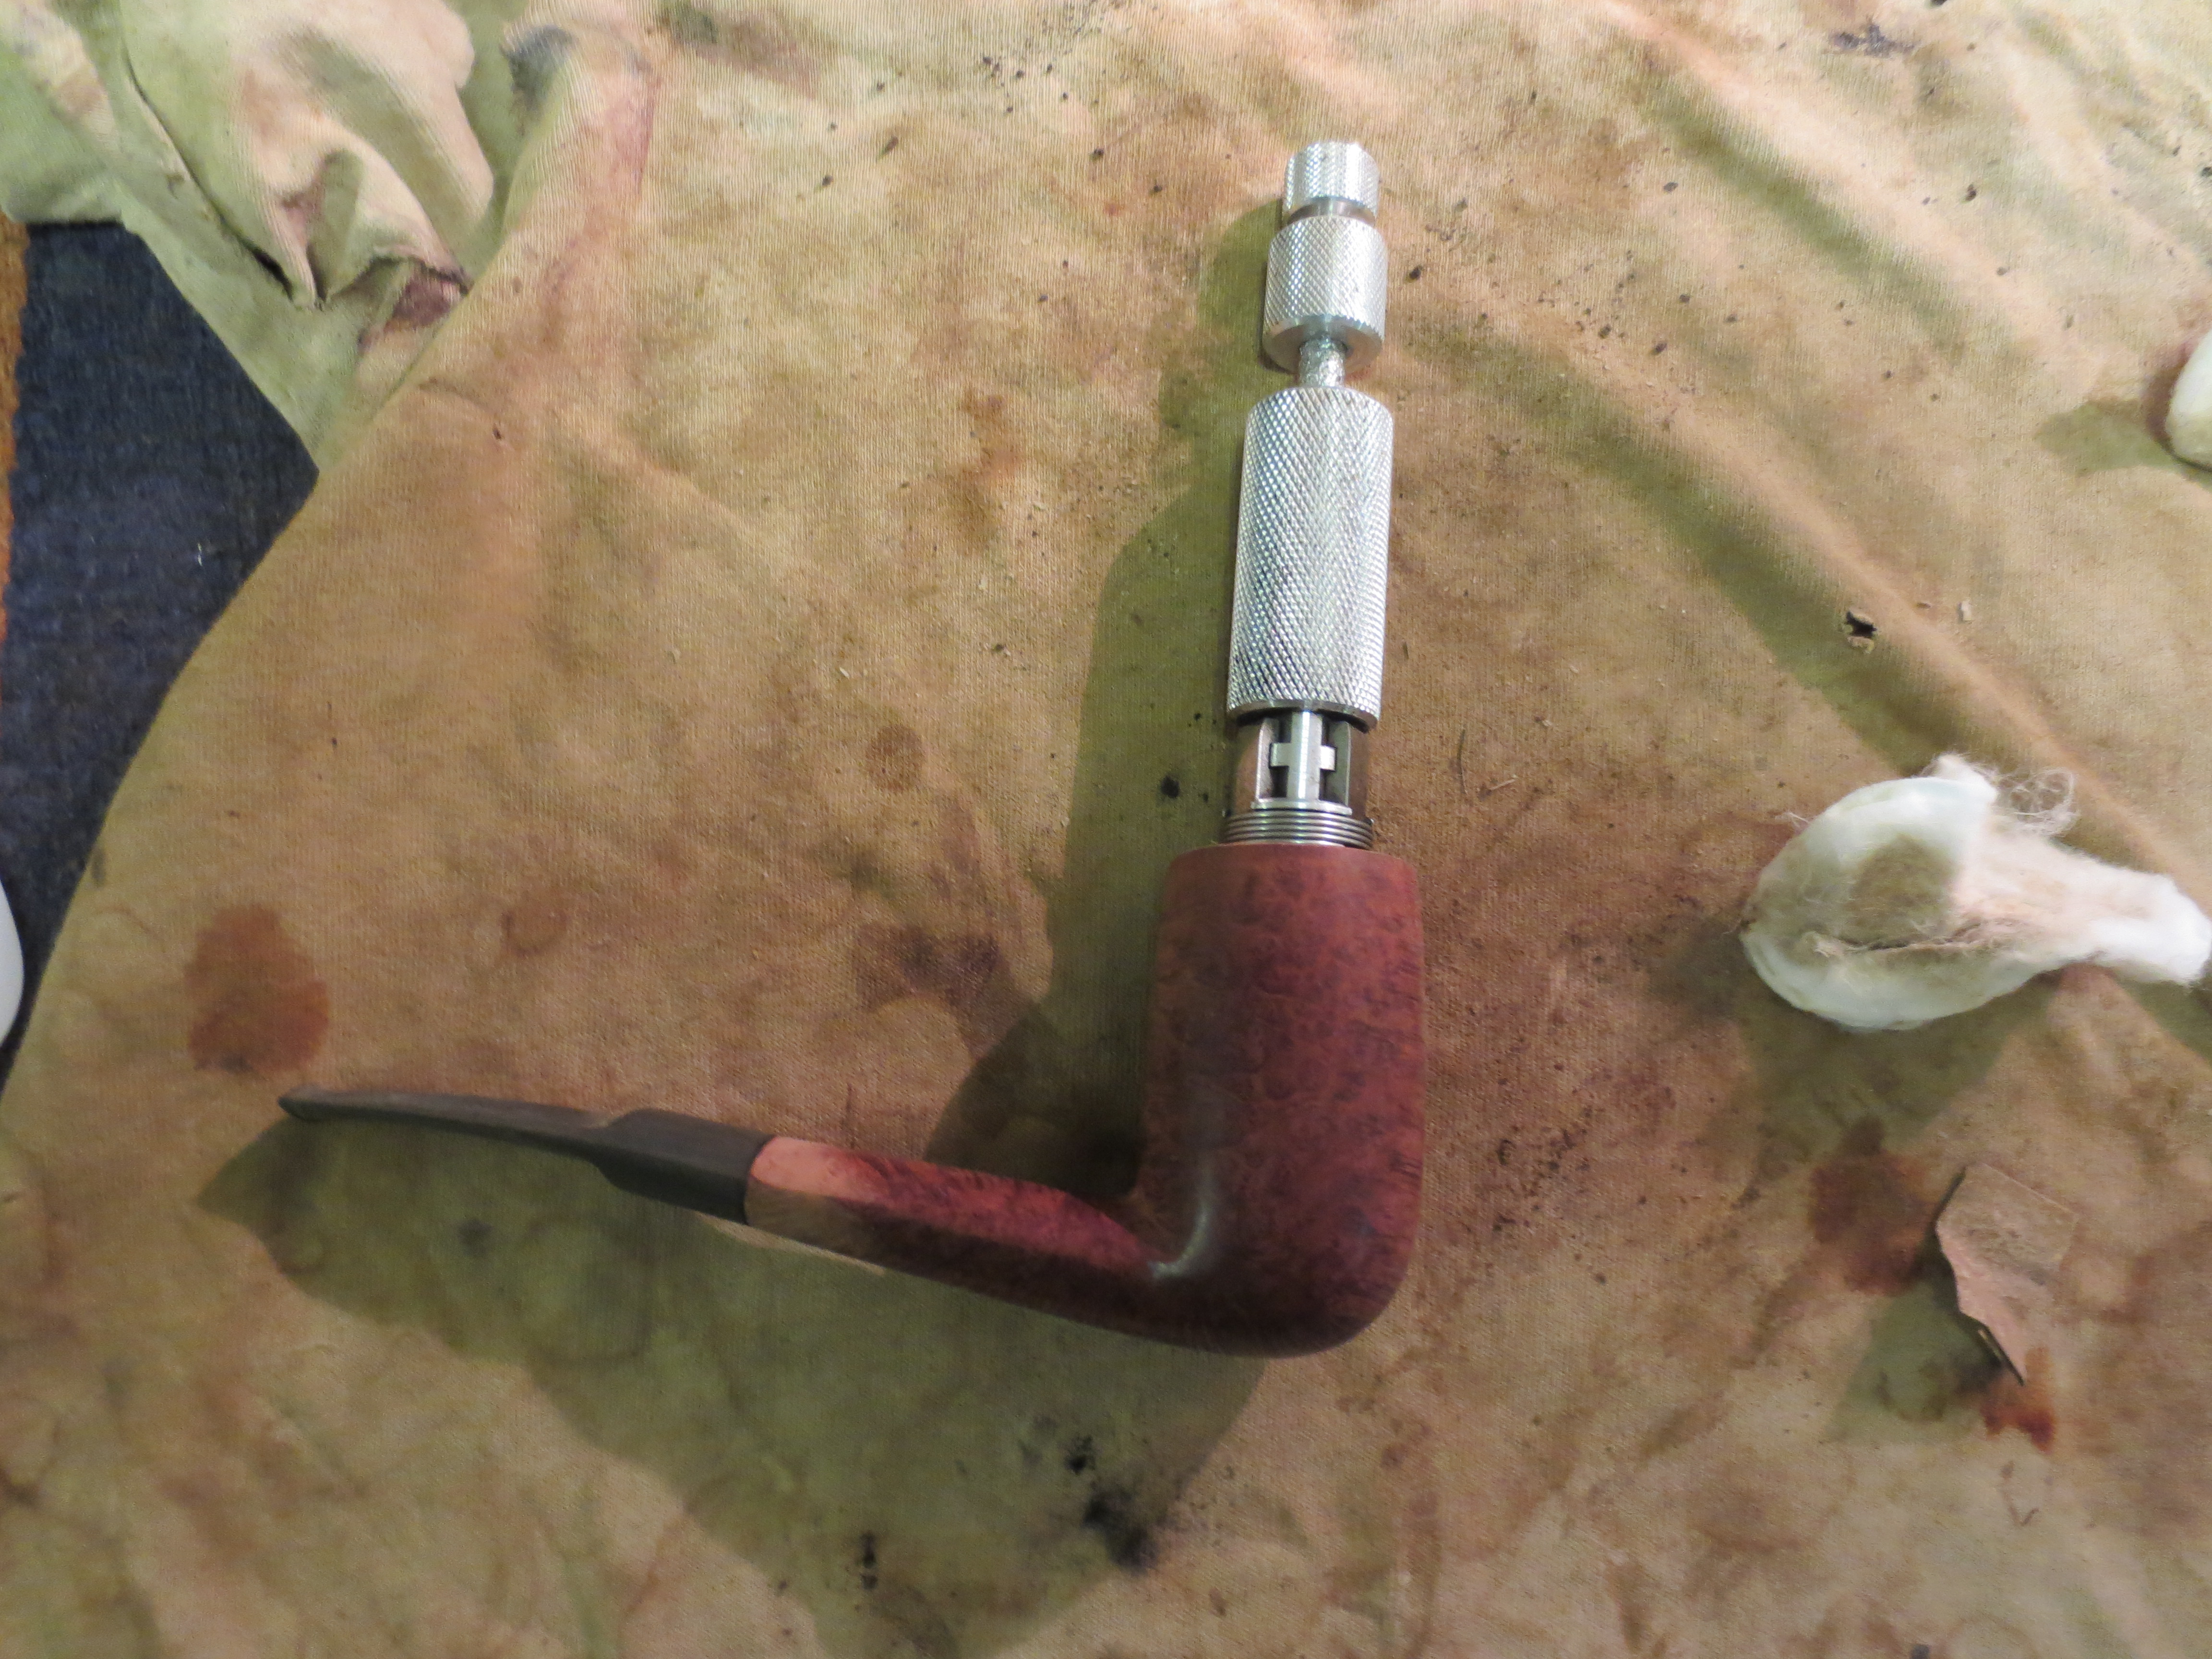
Before I cleaned the bowl and shank I removed the broken tenon that was stuck in the mortise. I have a screw that works perfectly for this process. I turn it into the tenon by hand or a screw driver and then work it out by hand or with a pair of pliers. If the tenon is stuck and will not move I put it in the freezer for 30 minutes or more and generally it will pop out quite easily. In this case it came out quite simply and I was able to move on in the process of cleaning.
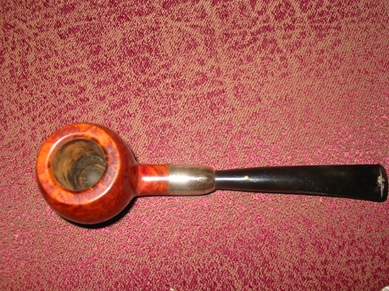
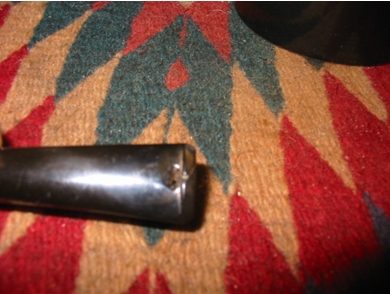
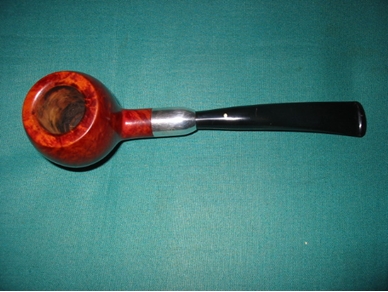
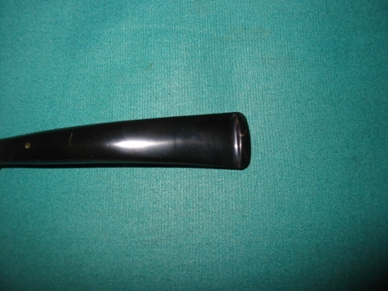
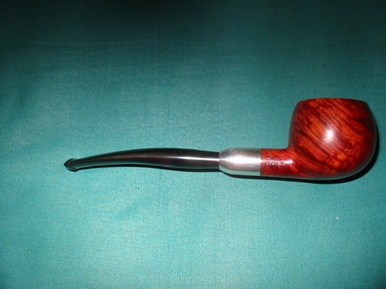
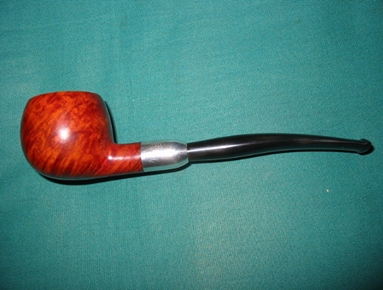
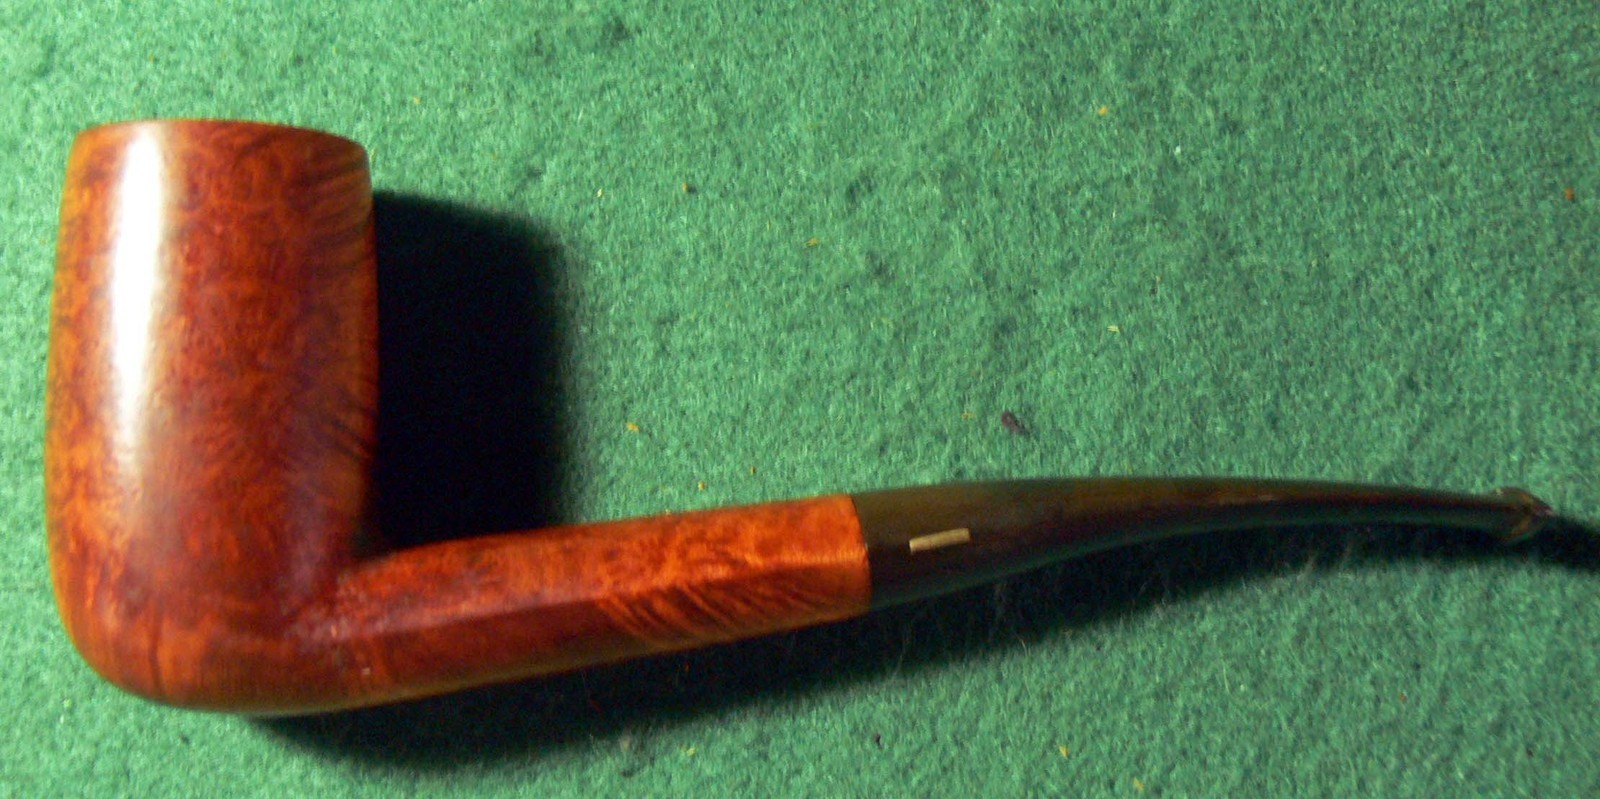
I sorted through my collection of old stems to find an oval one that I could modify to fit the style of the shank. I had looked on line and found that this particular model of Savinelli had a taper stem (see the first photo below). I did not have any oval tapered stems that would fit, nor did I have large enough round stems that could be modified. I chose an older oval saddle stem that I believed would look good. I think that originally it was on a Dr. Plumb pipe but the logo was worn off and my modifications would remove the red dot on the stem (second photo below).
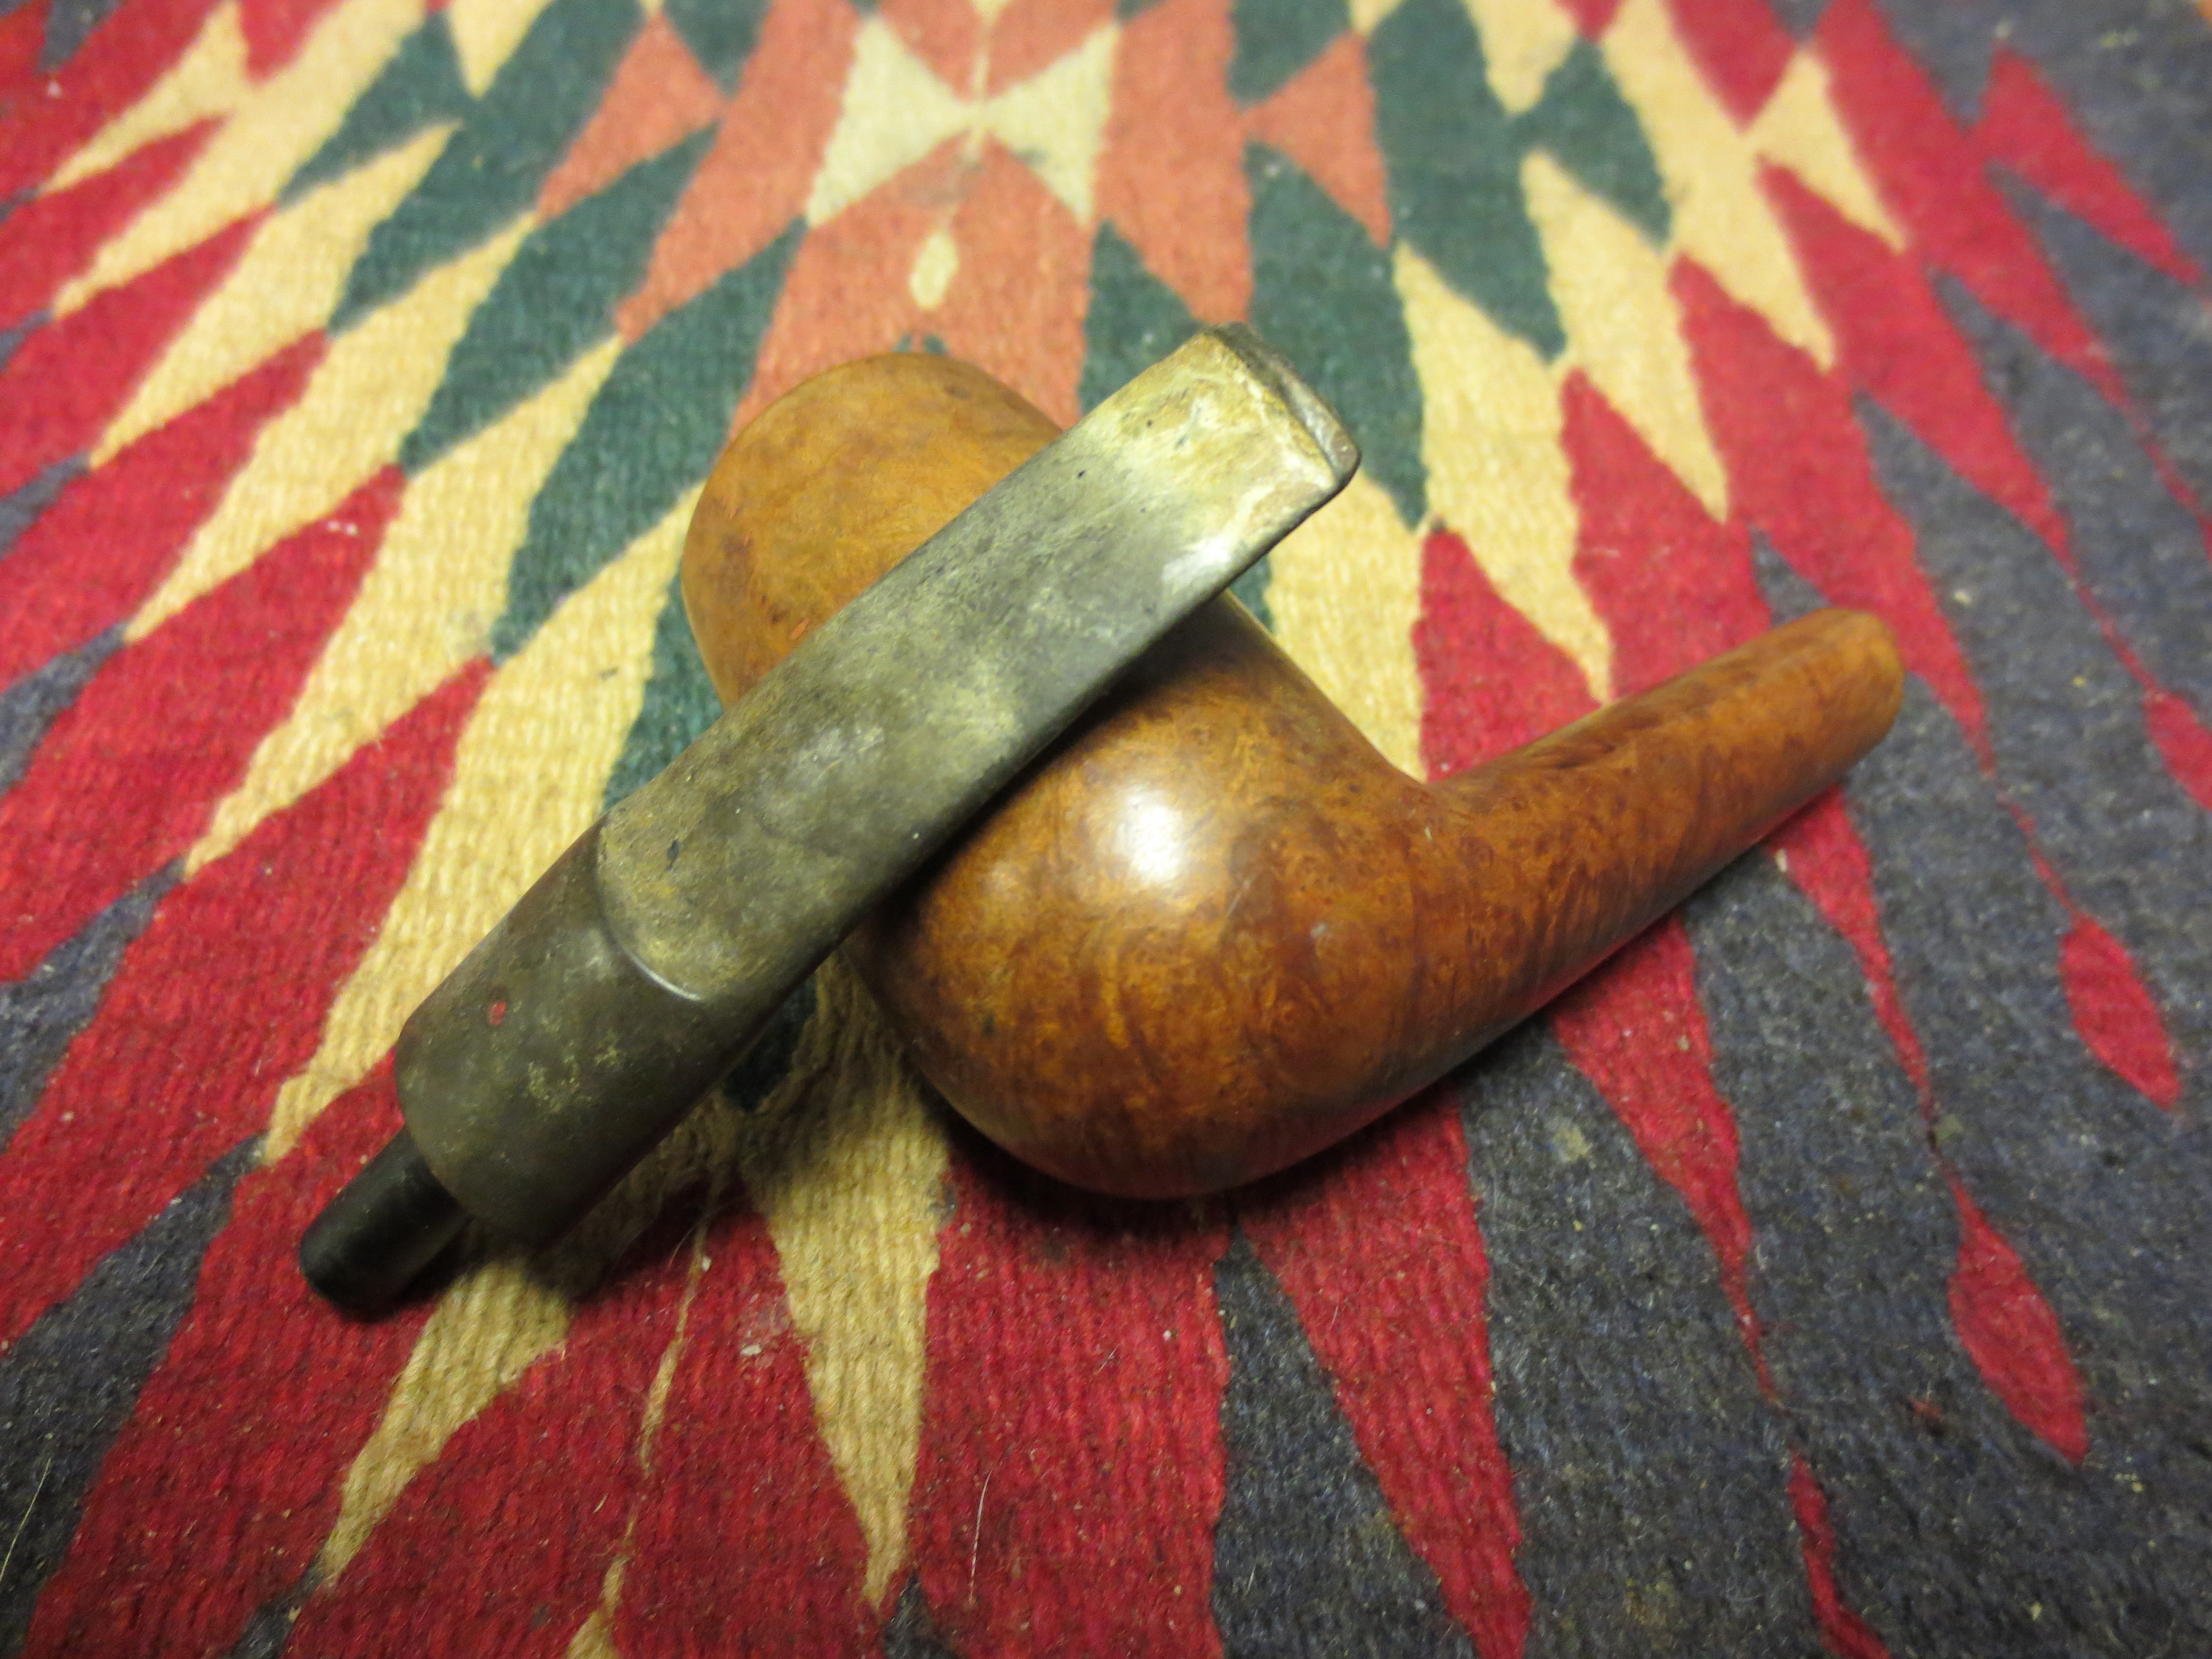
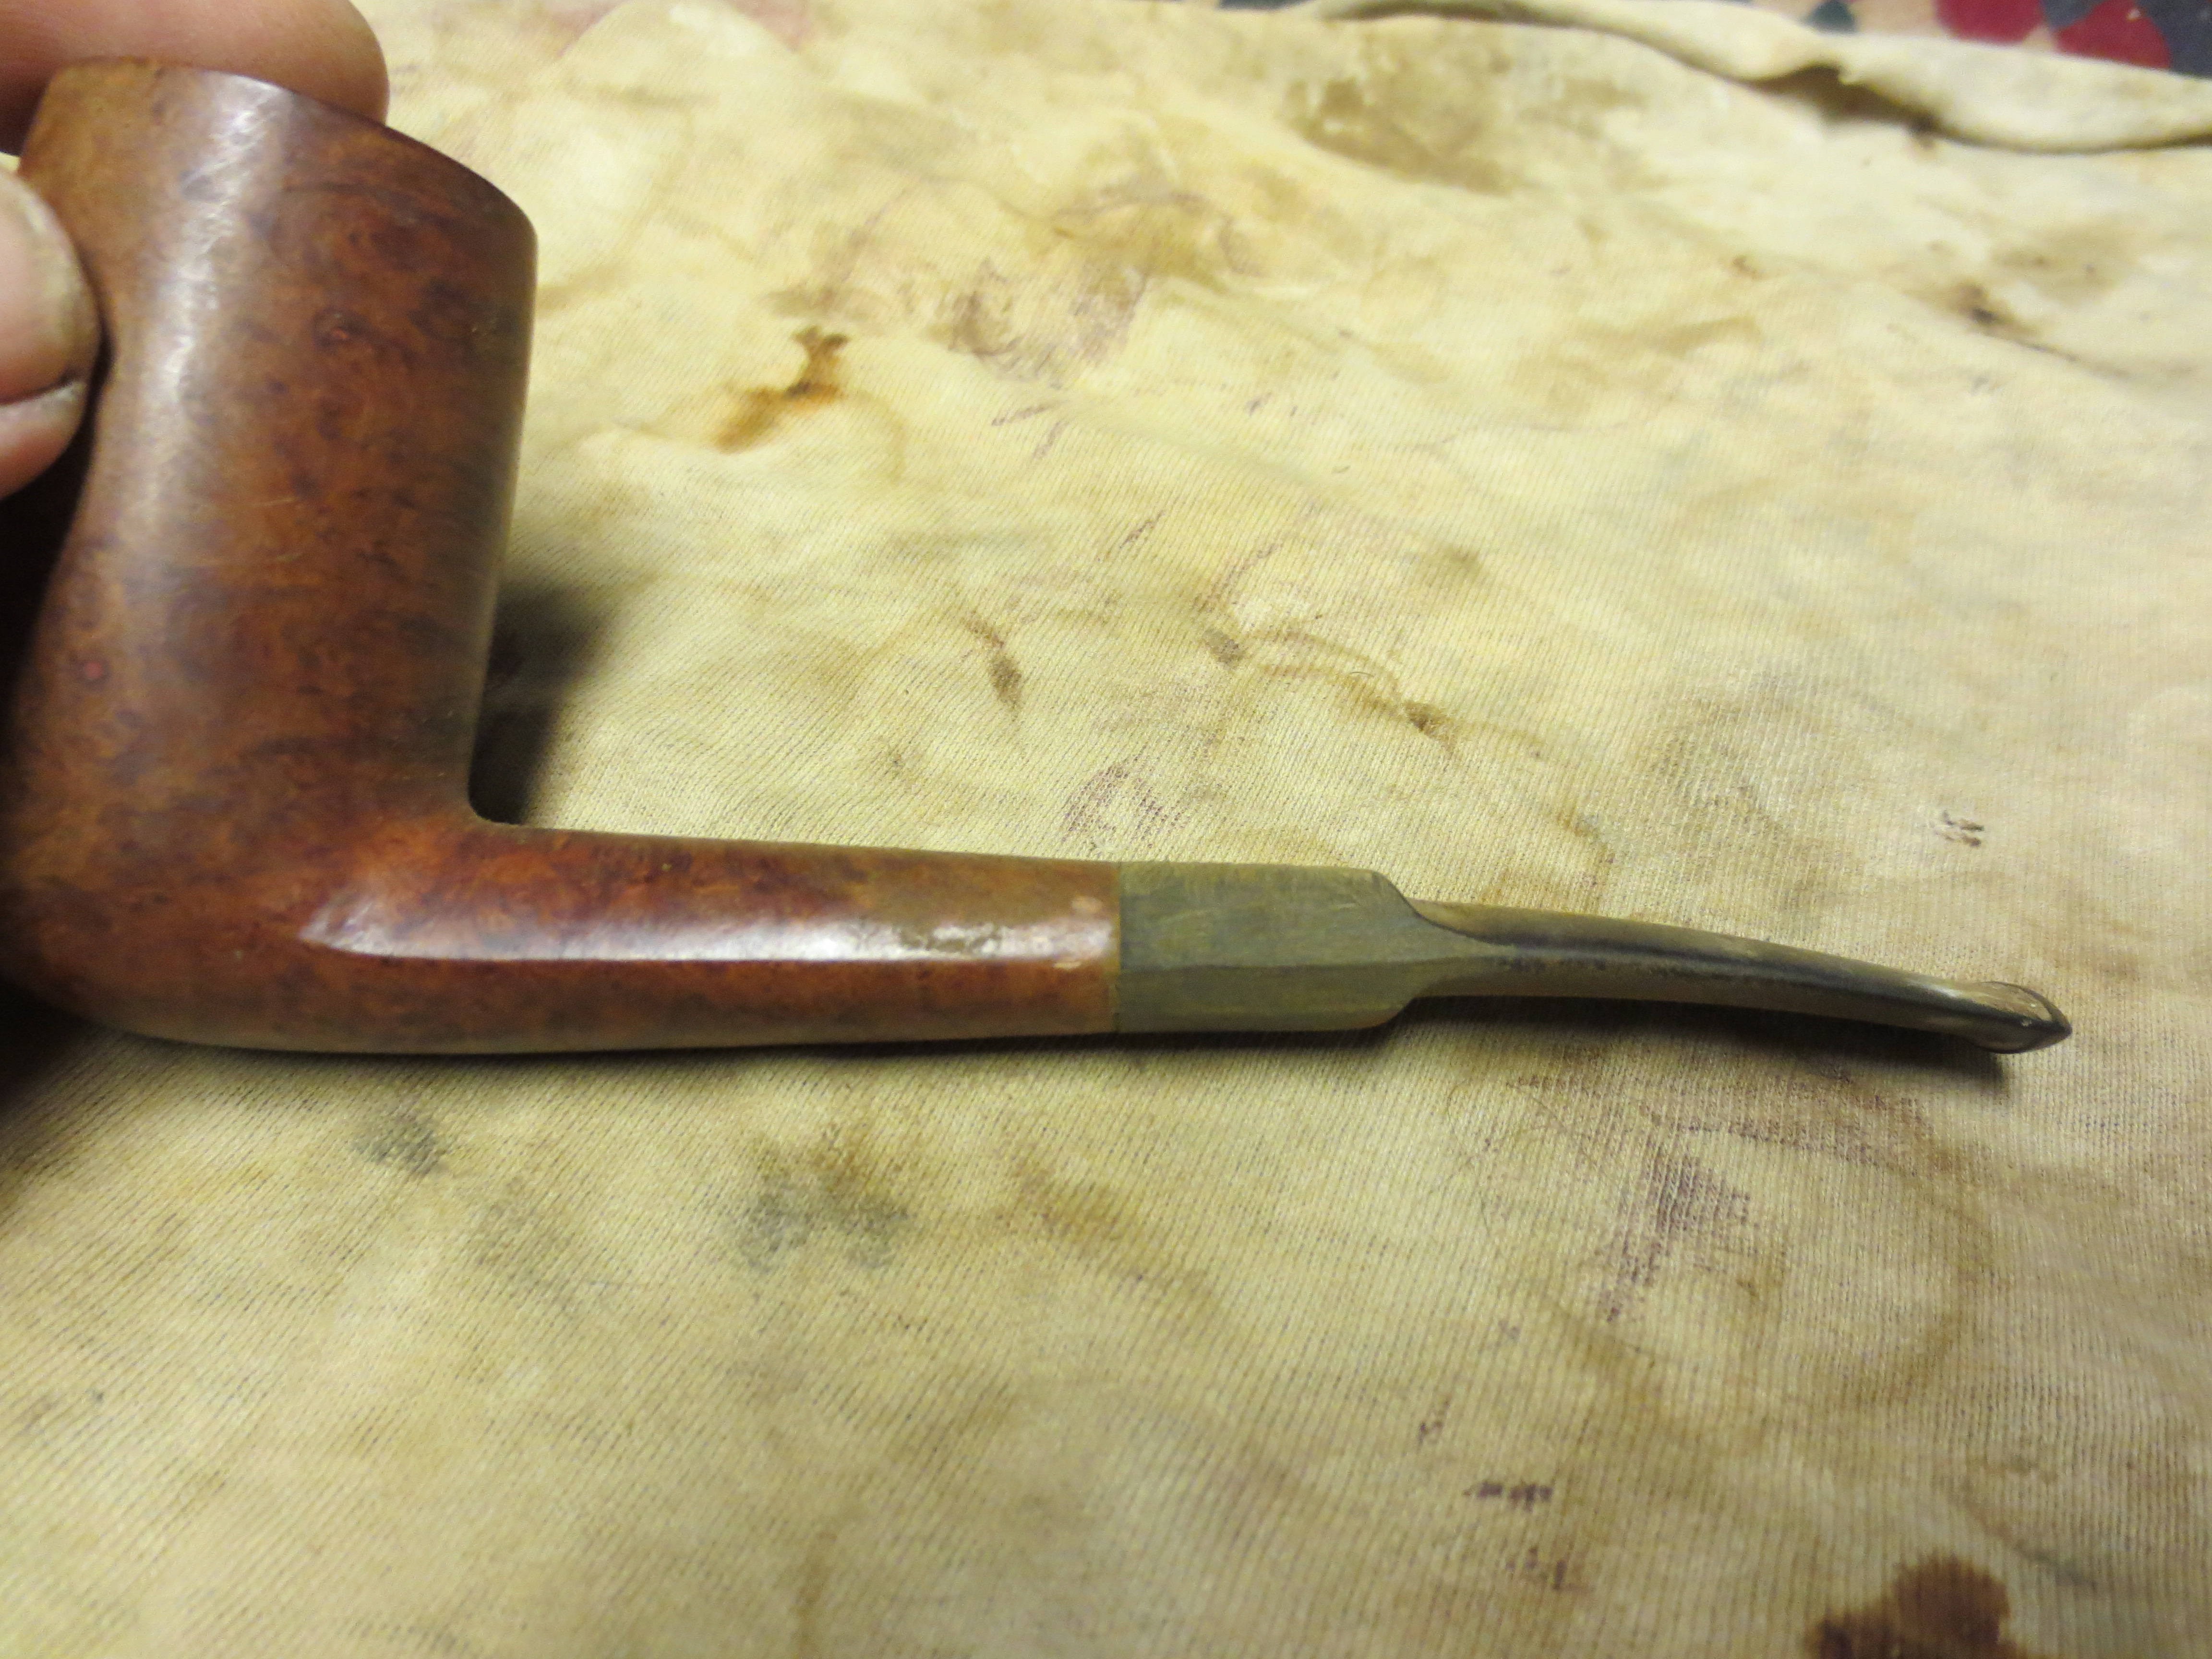
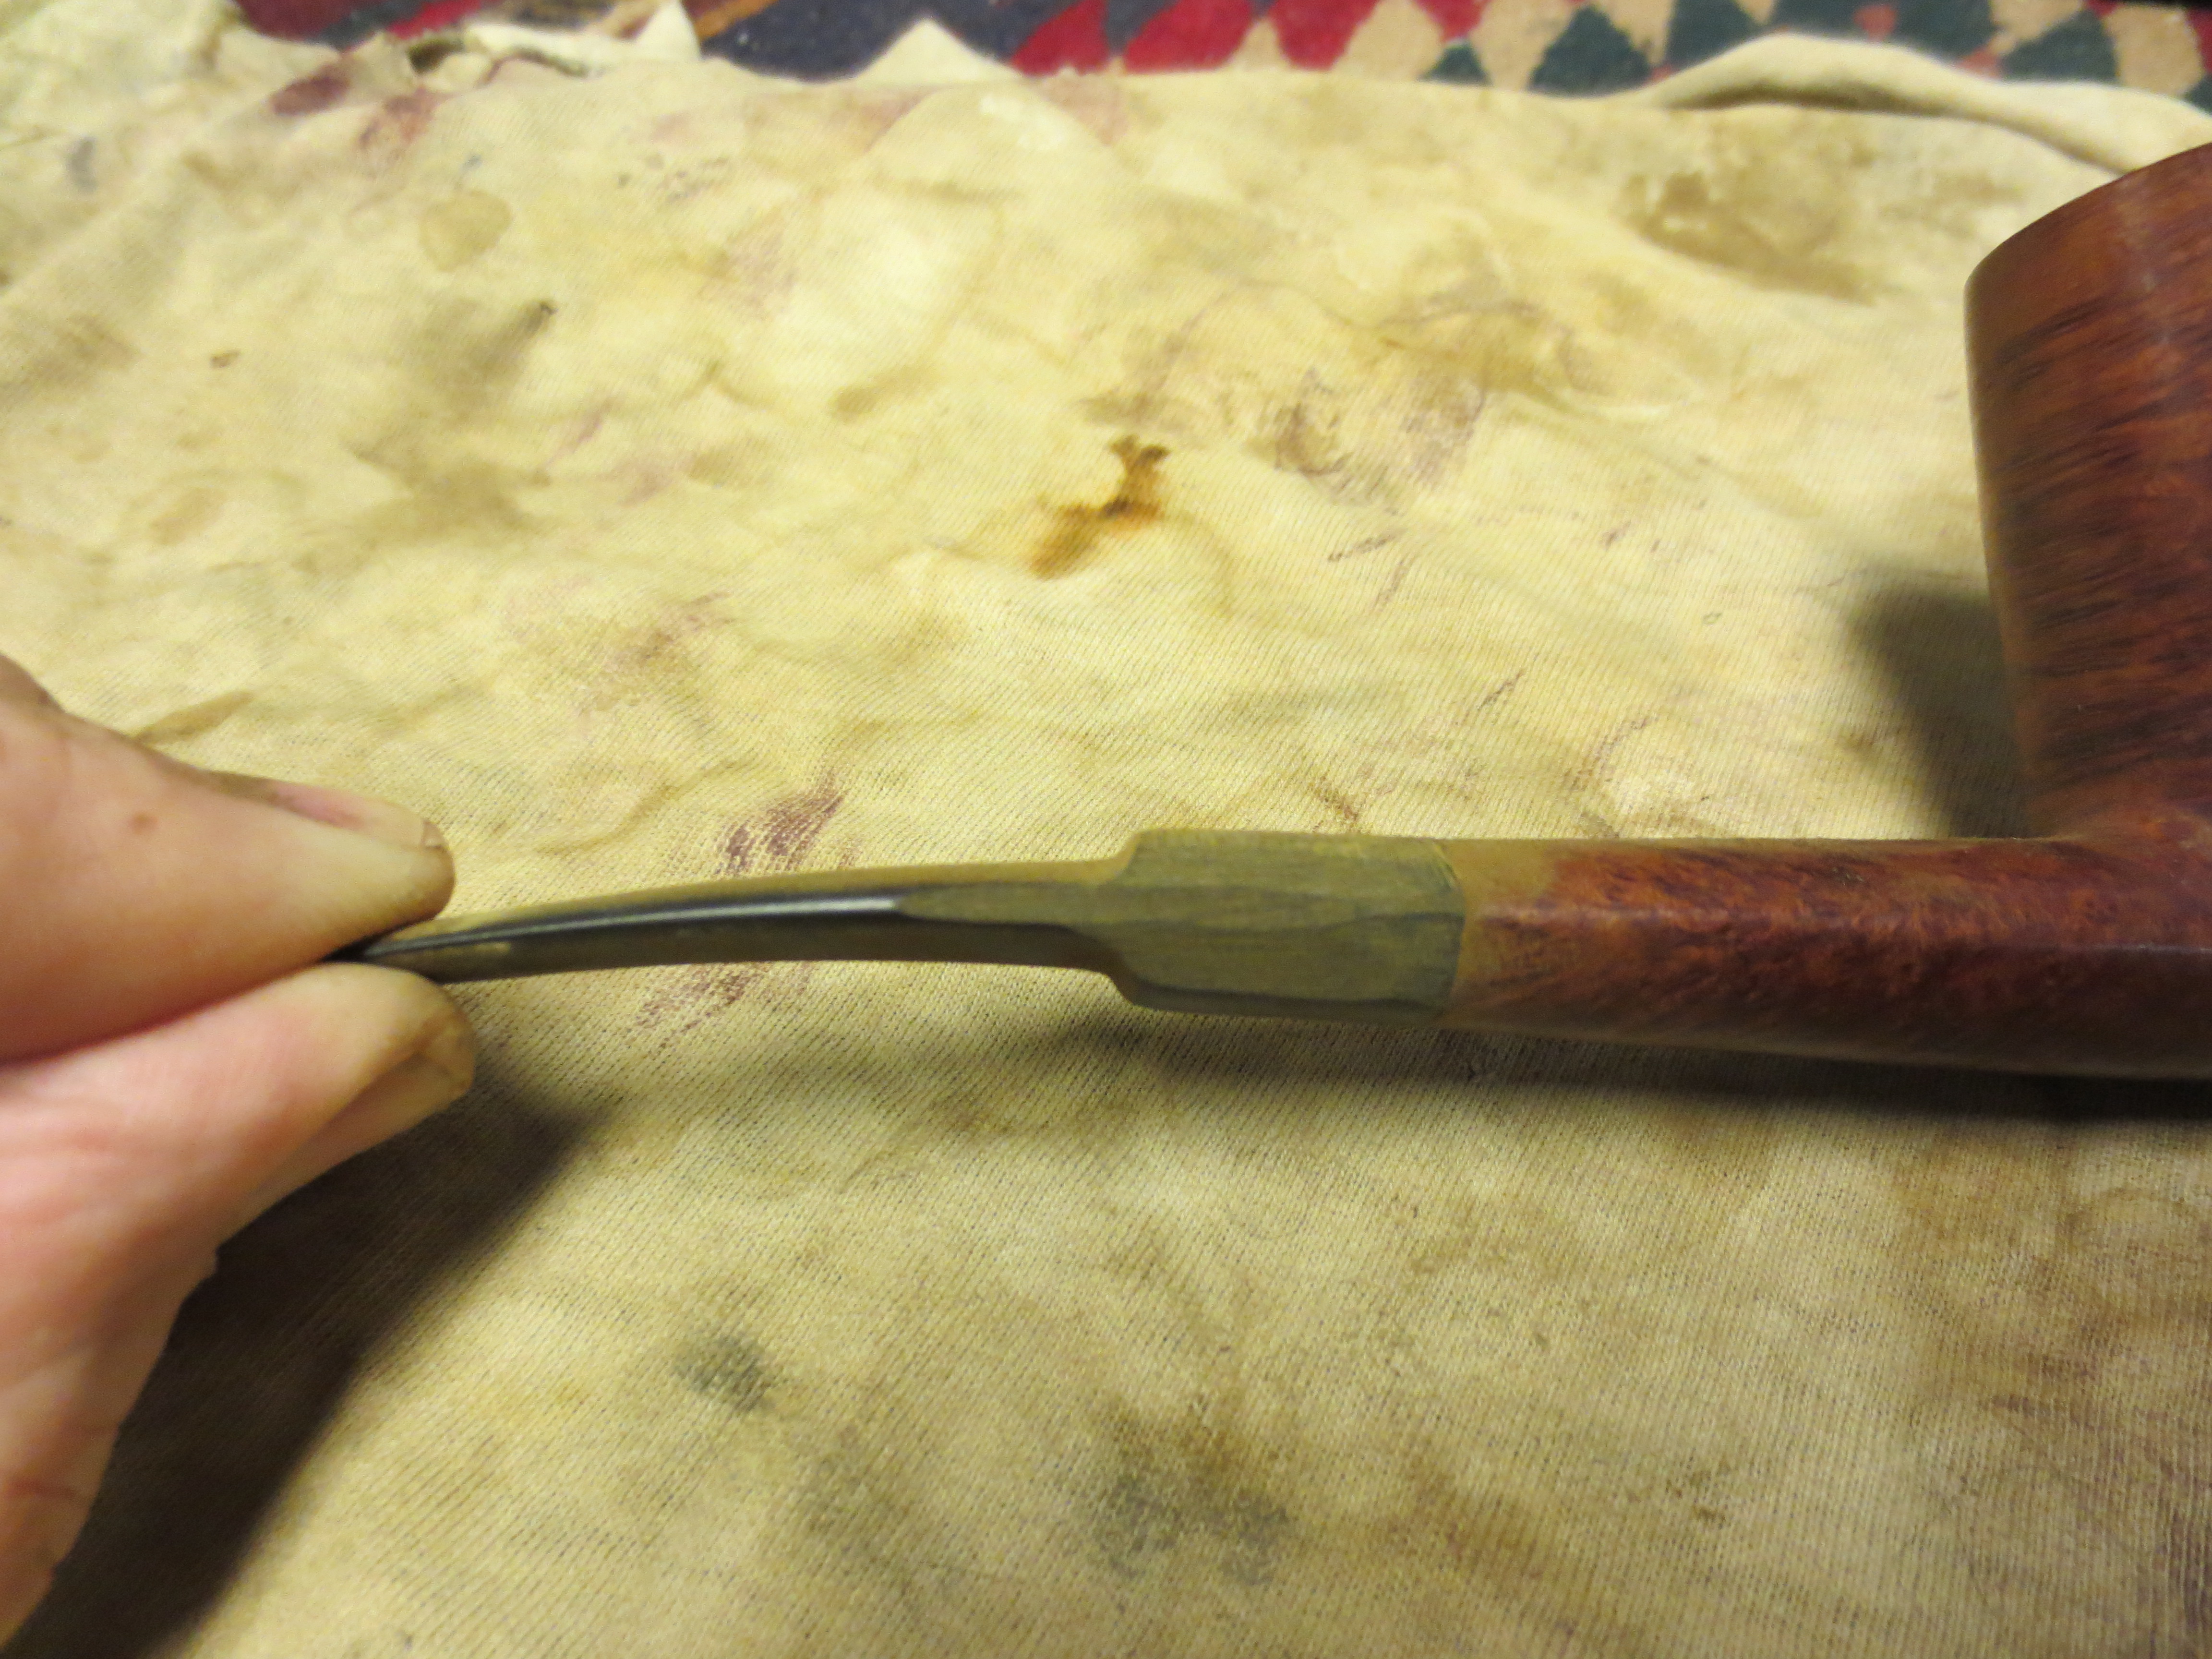
I sanded the tenon with 220 grit sandpaper until I had a good snug fit on the shank. The next four photos show the stem before I began to shape it to fit. The fit against the shank was good and tight. The look of the pipe and stem worked for me so I was good to go.
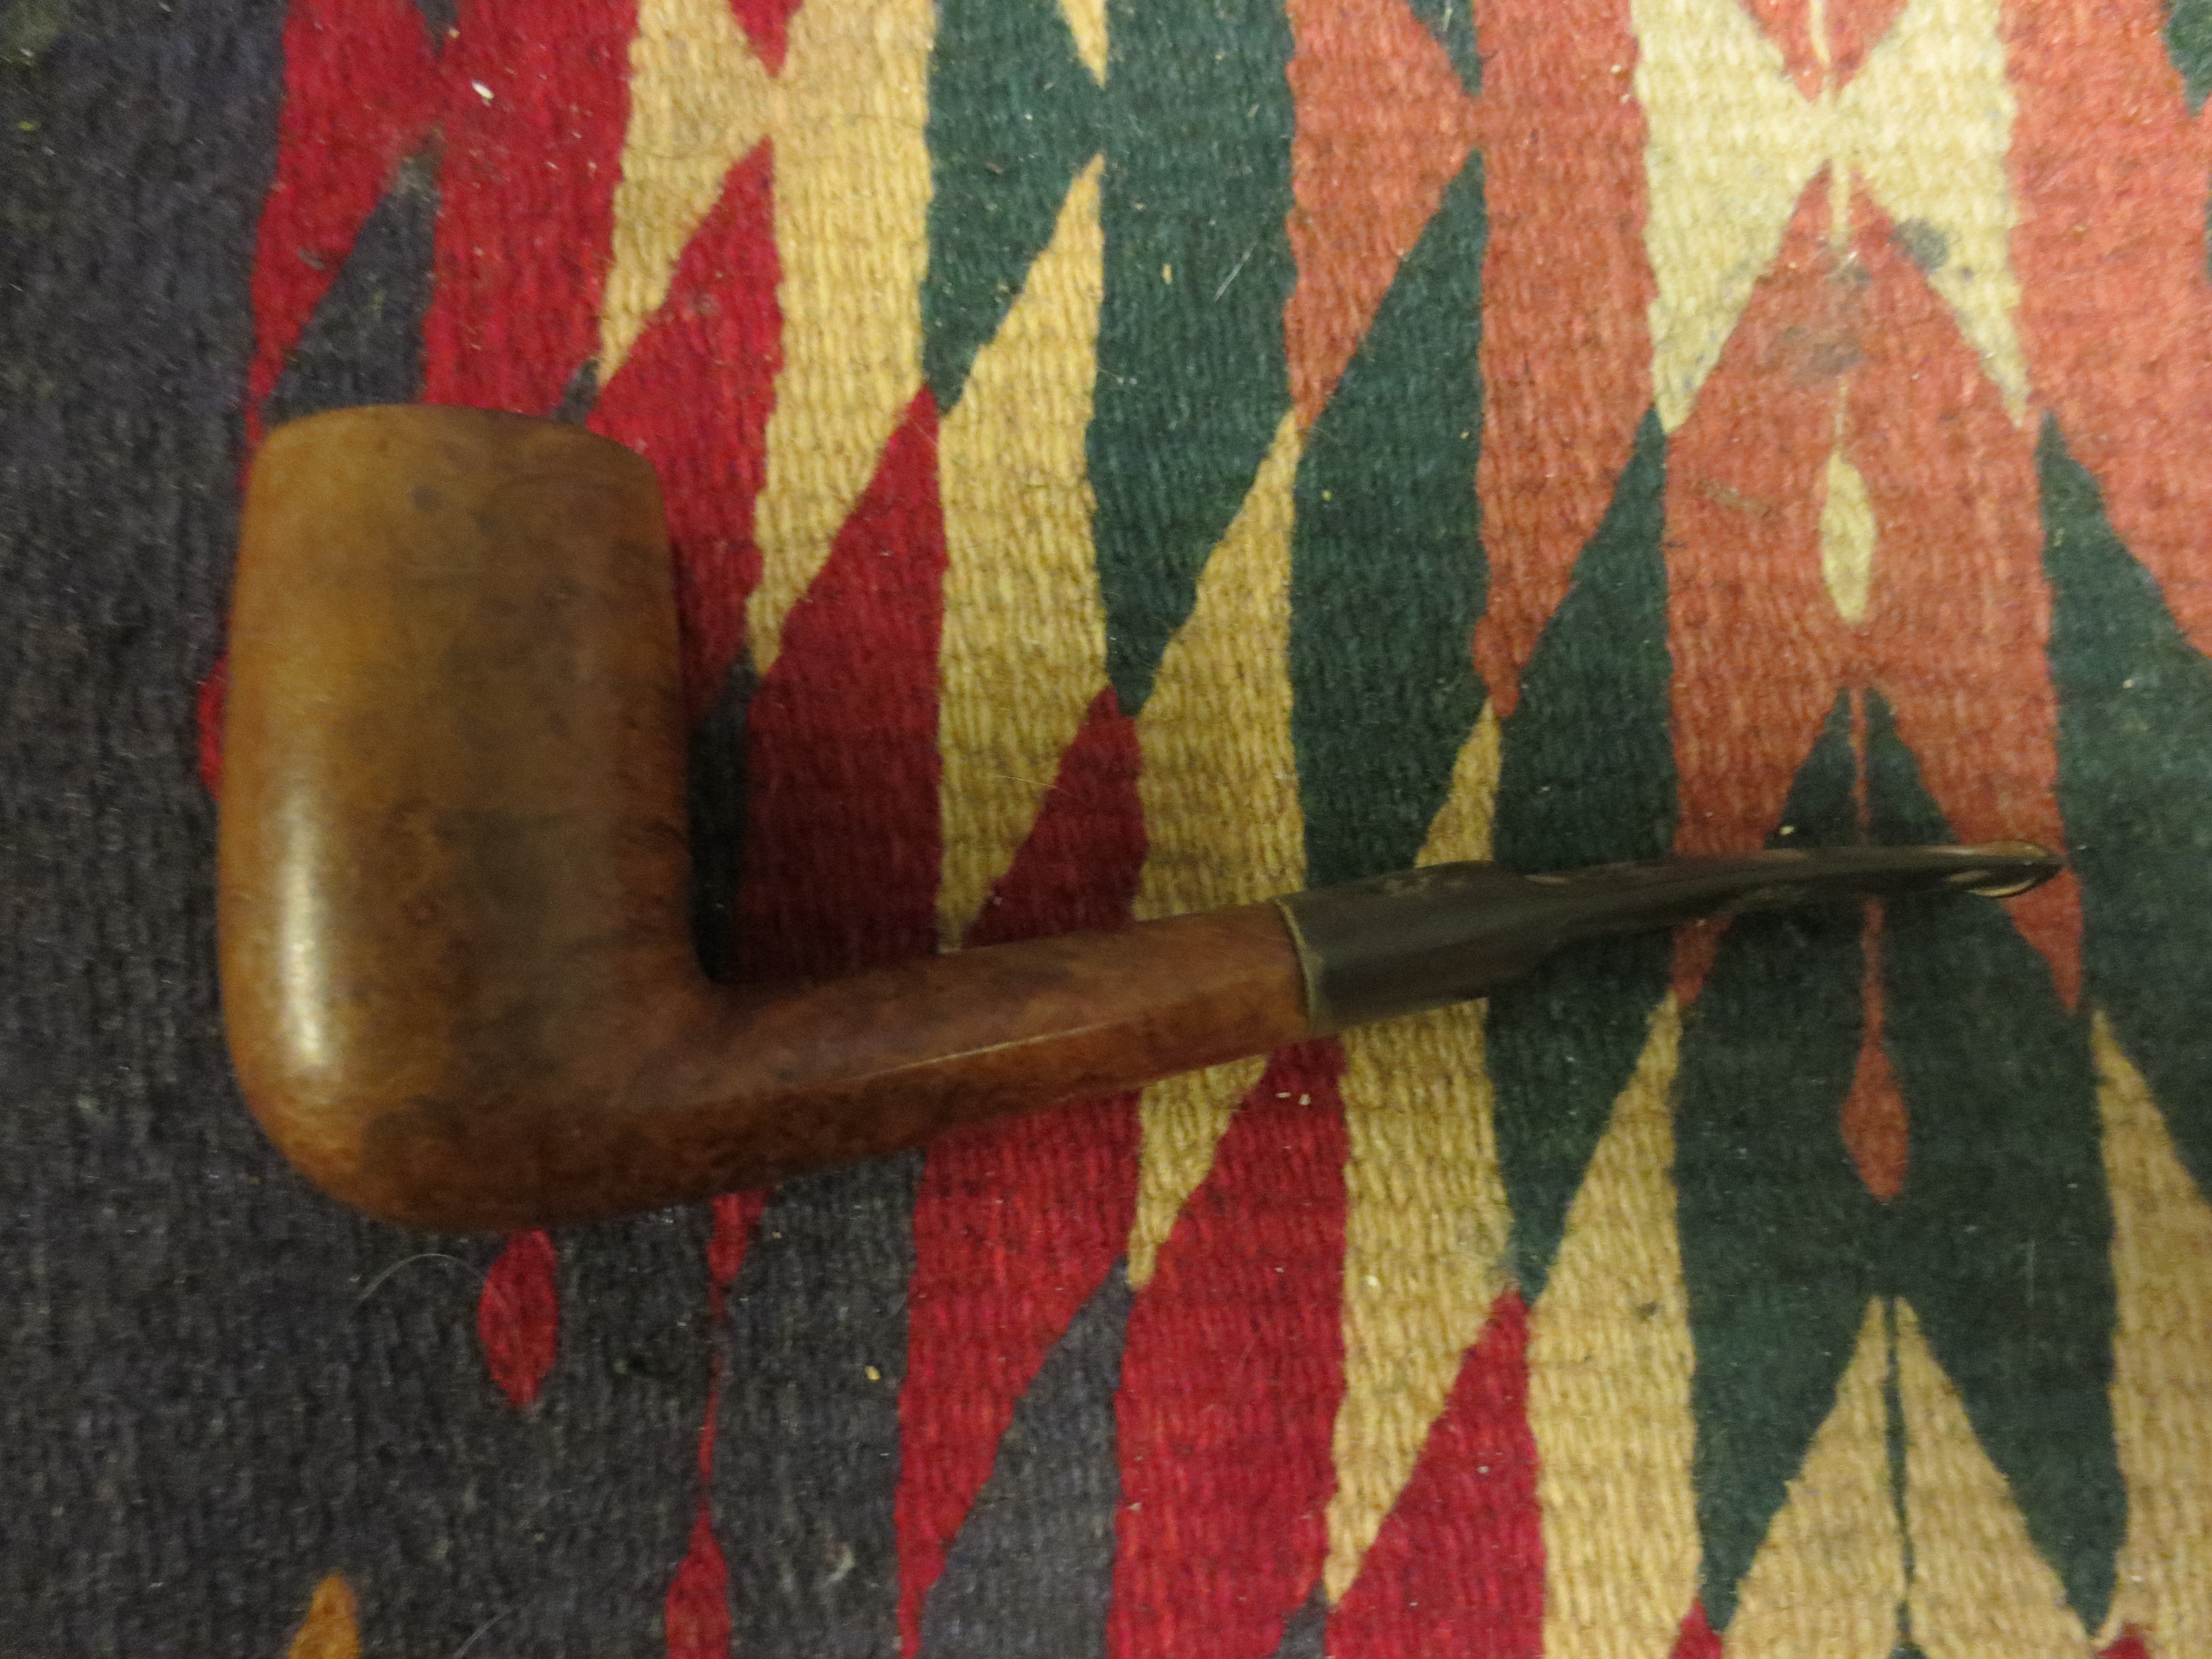
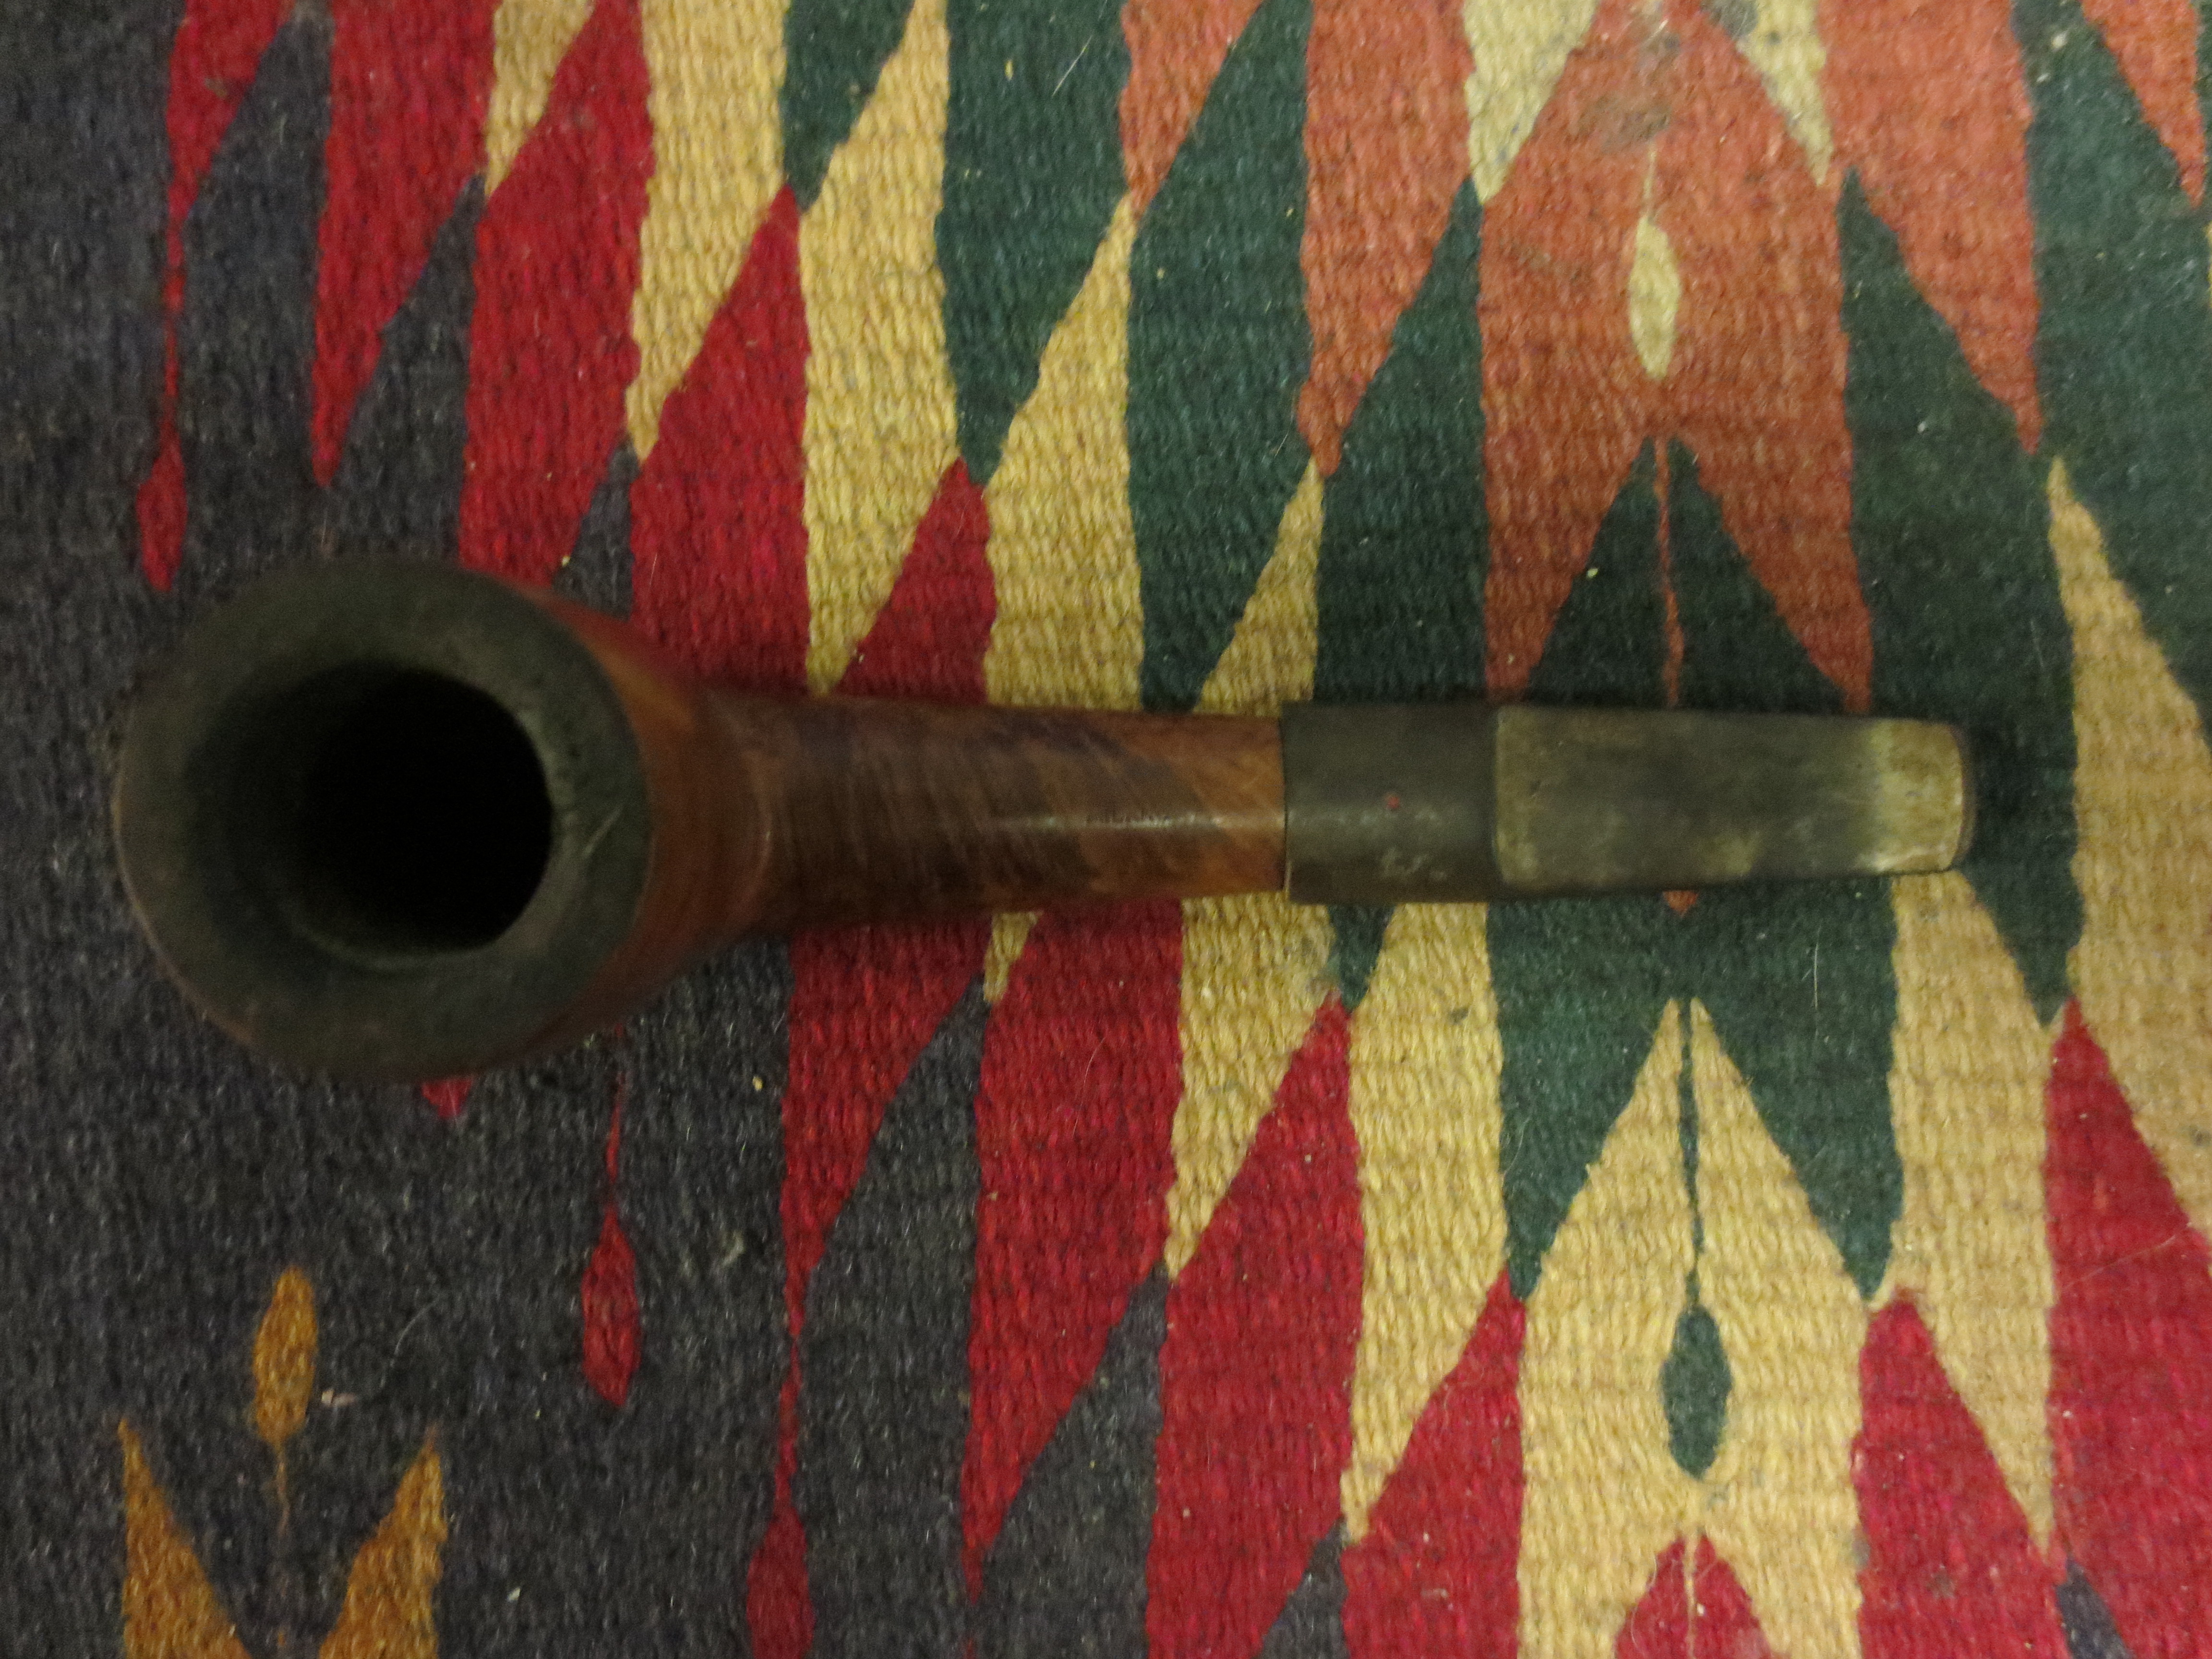

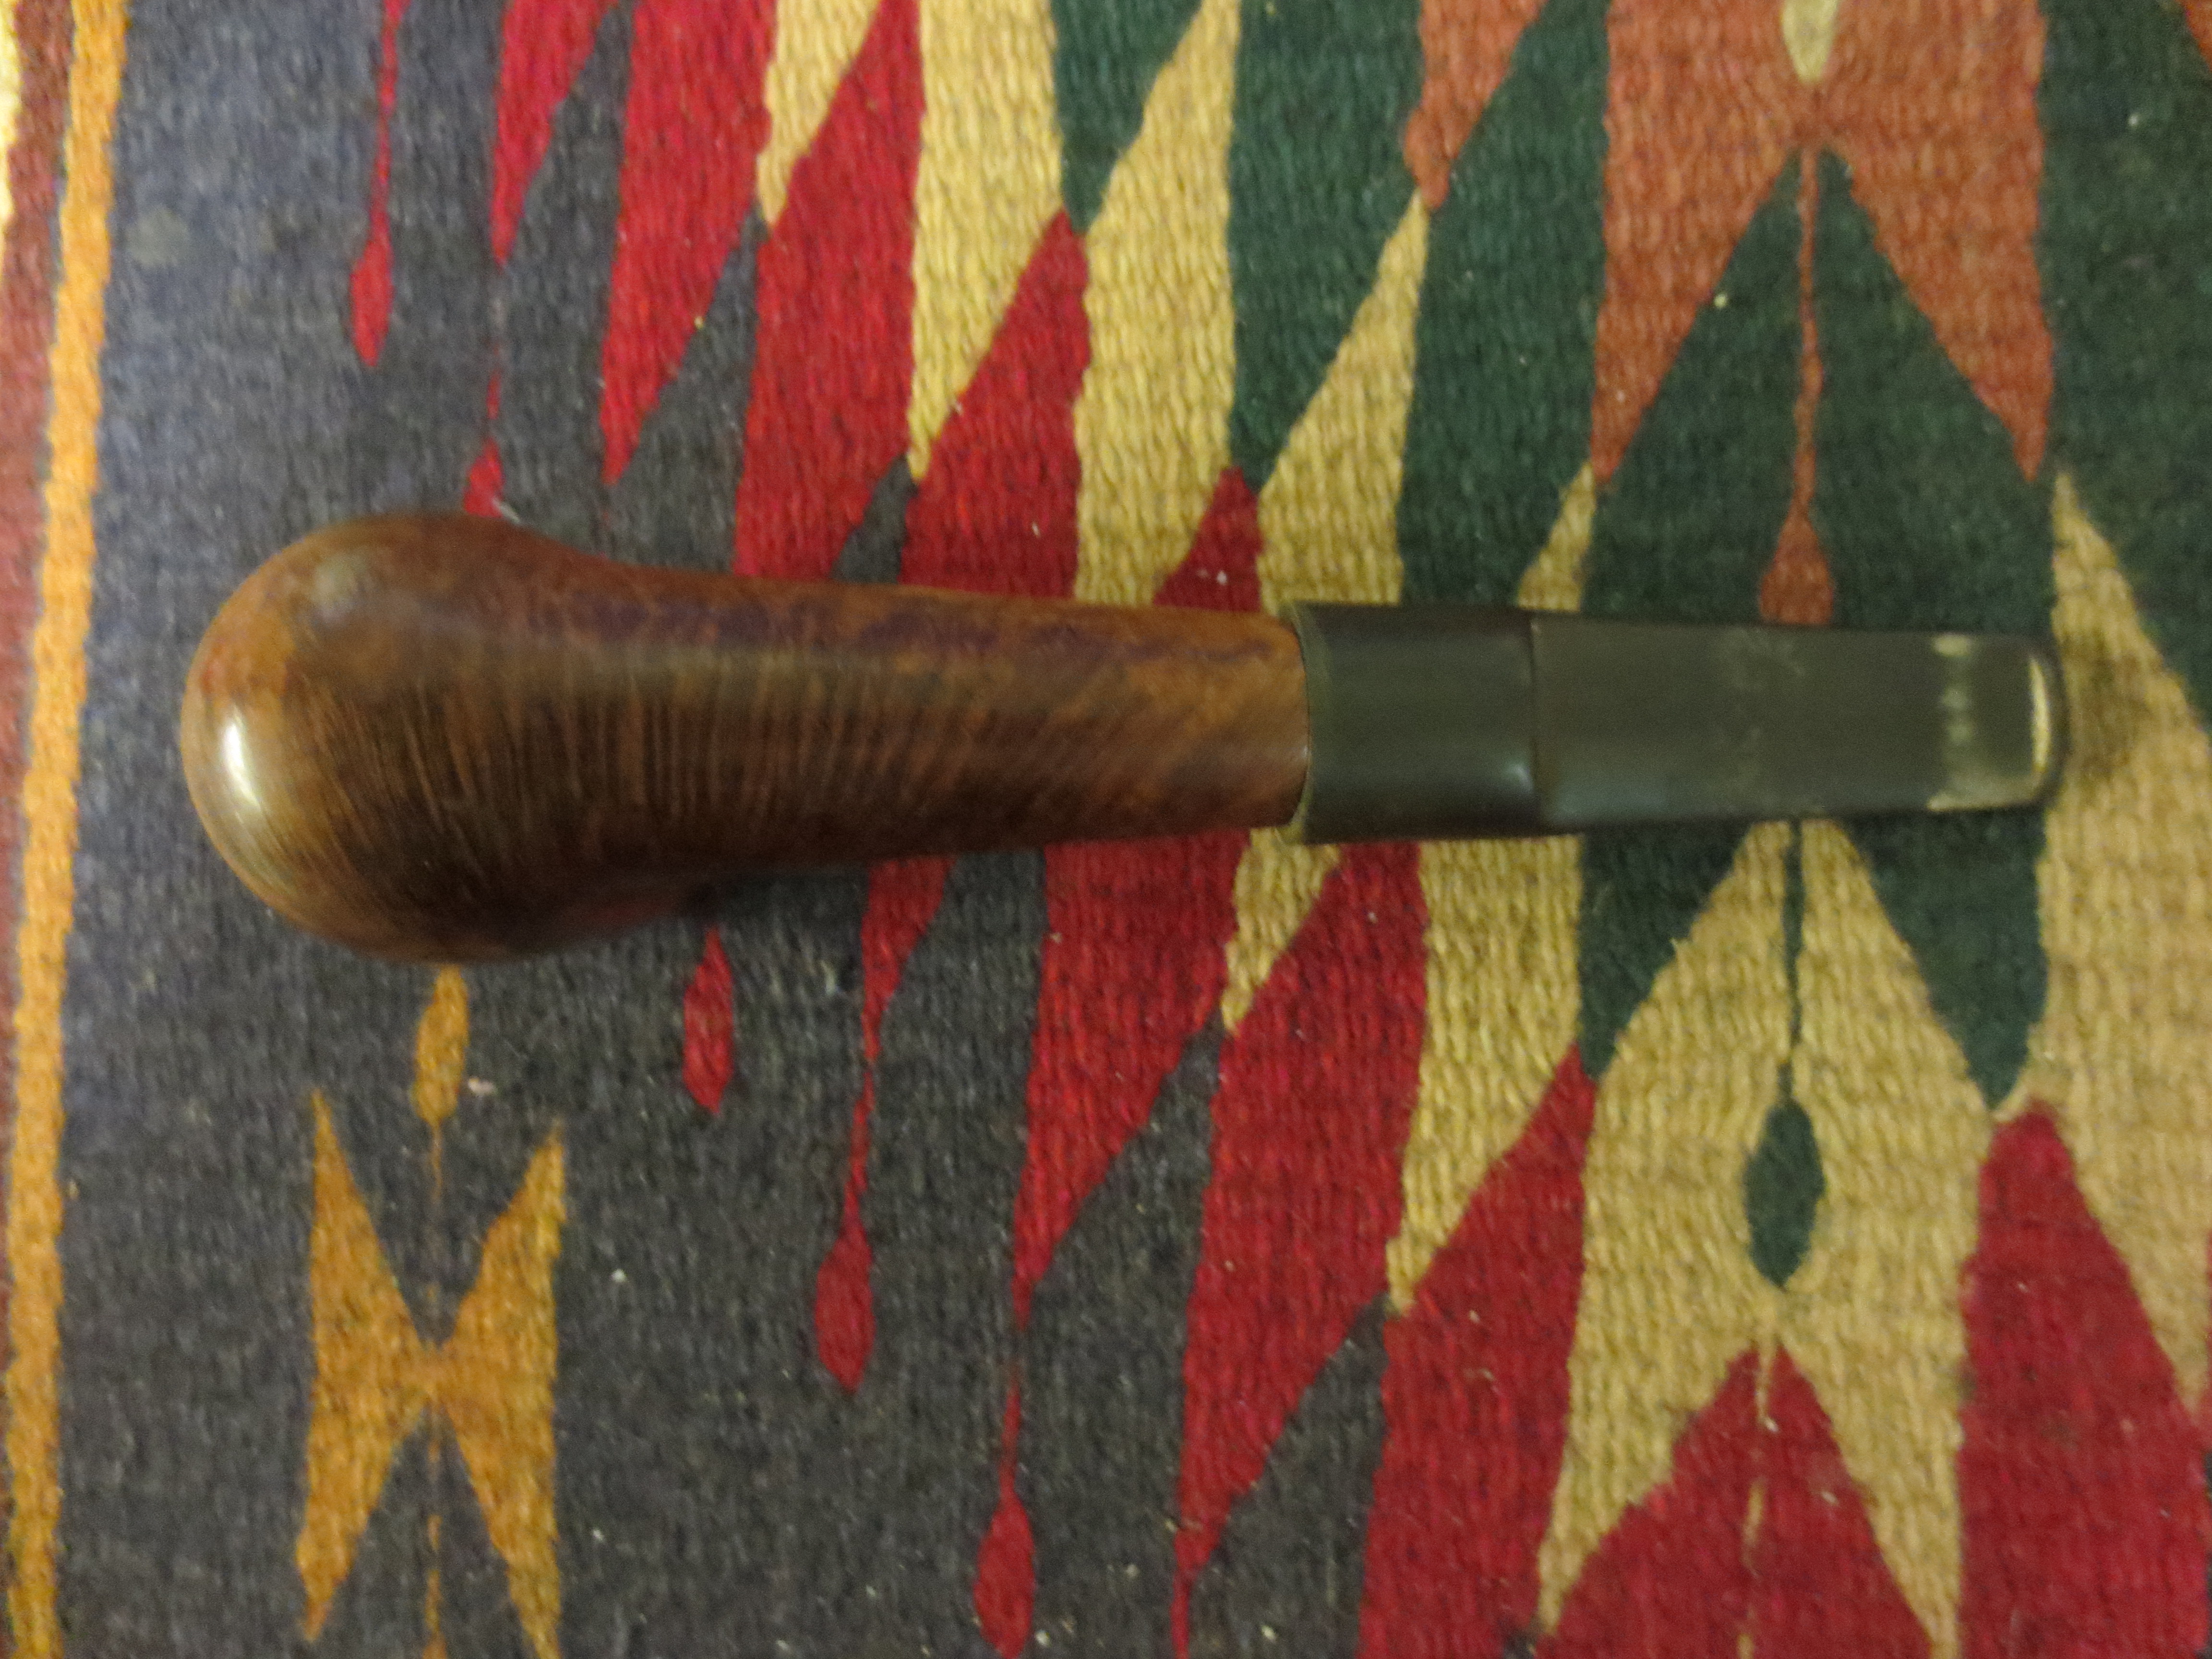
I do the initial shaping of a stem with a Dremel and sanding drum. I set the speed about mid mark on the speed control of the Dremel and slowly work at the surface of the stem. I do this initial shaping with the stem on the shank. I want to shape it as closely as possible to the shank shape before doing the finish shaping by hand. The next three photos show the stem after this initial shaping. There was still much work to do in bring the stem and shank to a proper fit and the width of the stem to a match with the taper of the shank. This work had to be done by hand using sandpaper and files.
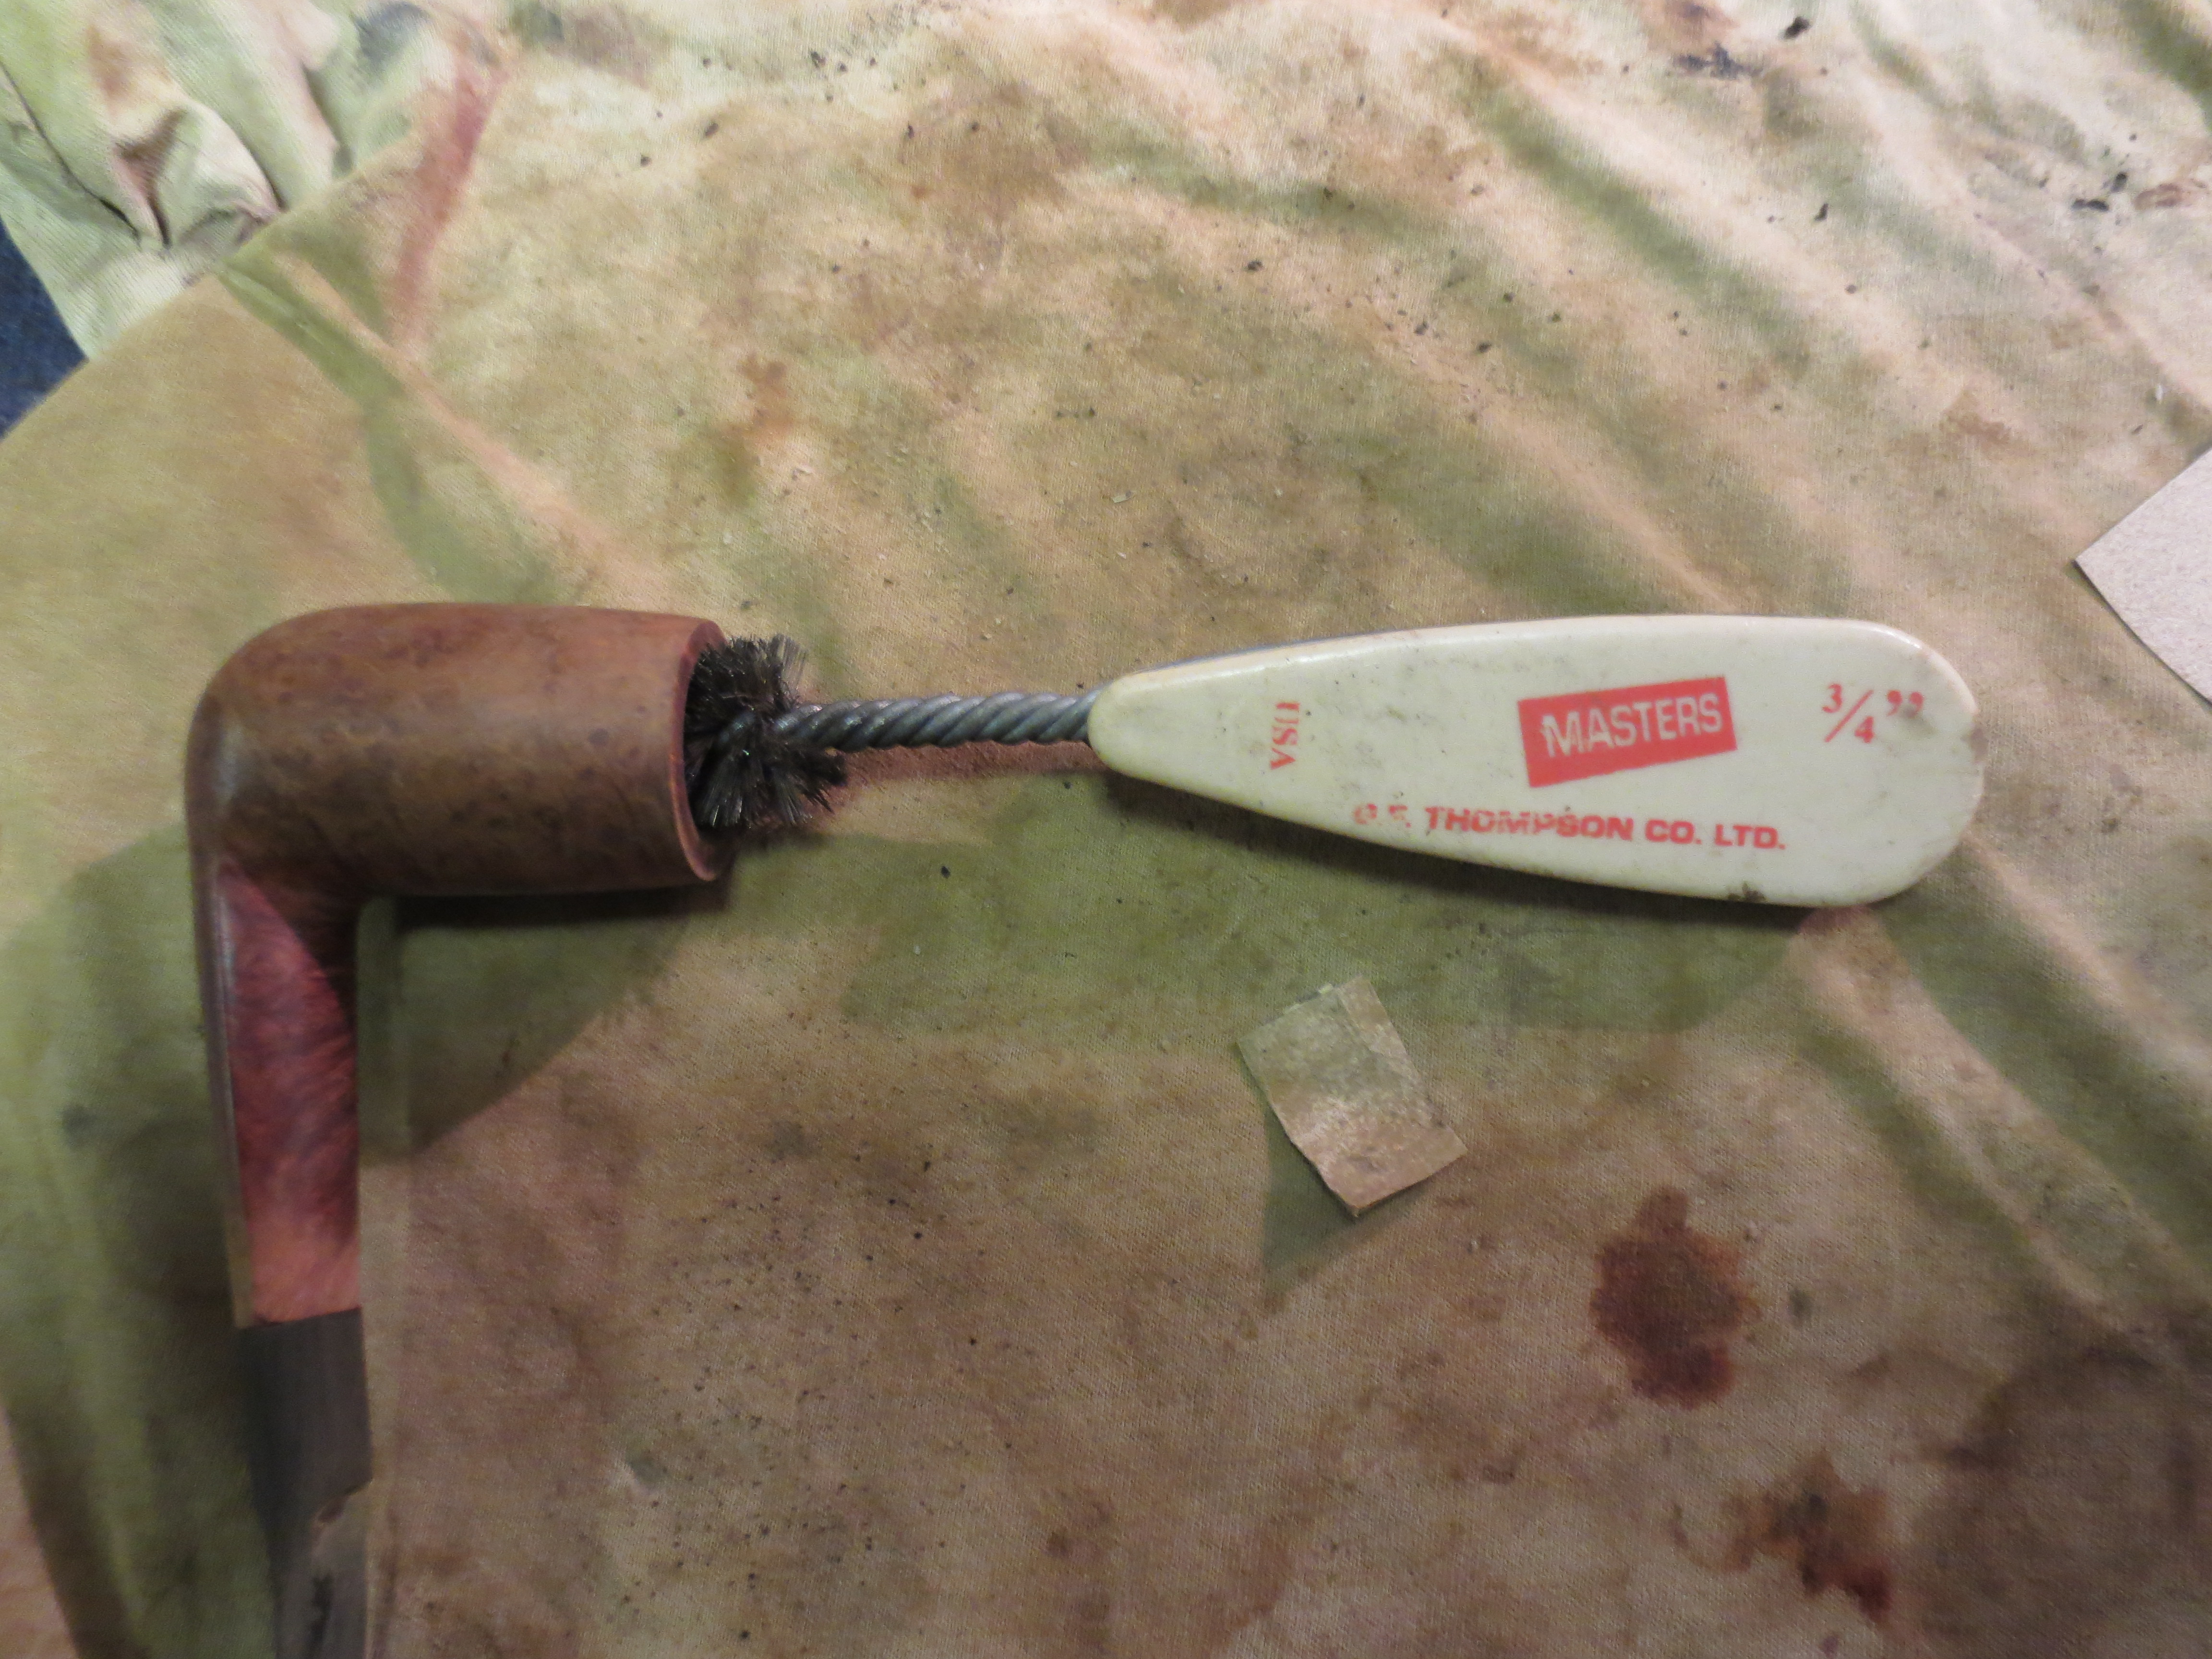
The depth of the bowl on this stack made it impossible for me to get to the bottom of the bowl with my reamers. The PipNet reamer went about 2/3 of the way down the bowl and the KleenReem or Senior reamer did the same. I have used a plumbing tool that is used to clean up pipe after cutting it to ream deep bowl. It is a ¾ inch cone shaped wire brush with a handle that I can turn into the bowl and go to the bottom to remove the cake evenly. It works exceptionally well for this purpose.
I cleaned up the rim of the pipe with 220 grit sandpaper and also worked on the shank stem fit with the same sandpaper. As I was planning to refinish the pipe bowl and shank I did not care if I removed a bit of the finish while sanding the stem and shank. The next three photos show the stem/shank fit after I had sanded it with the sandpaper. I really liked the look of the pipe at this point and only needed to do the stem polishing and the finish sanding and cleaning of the bowl.
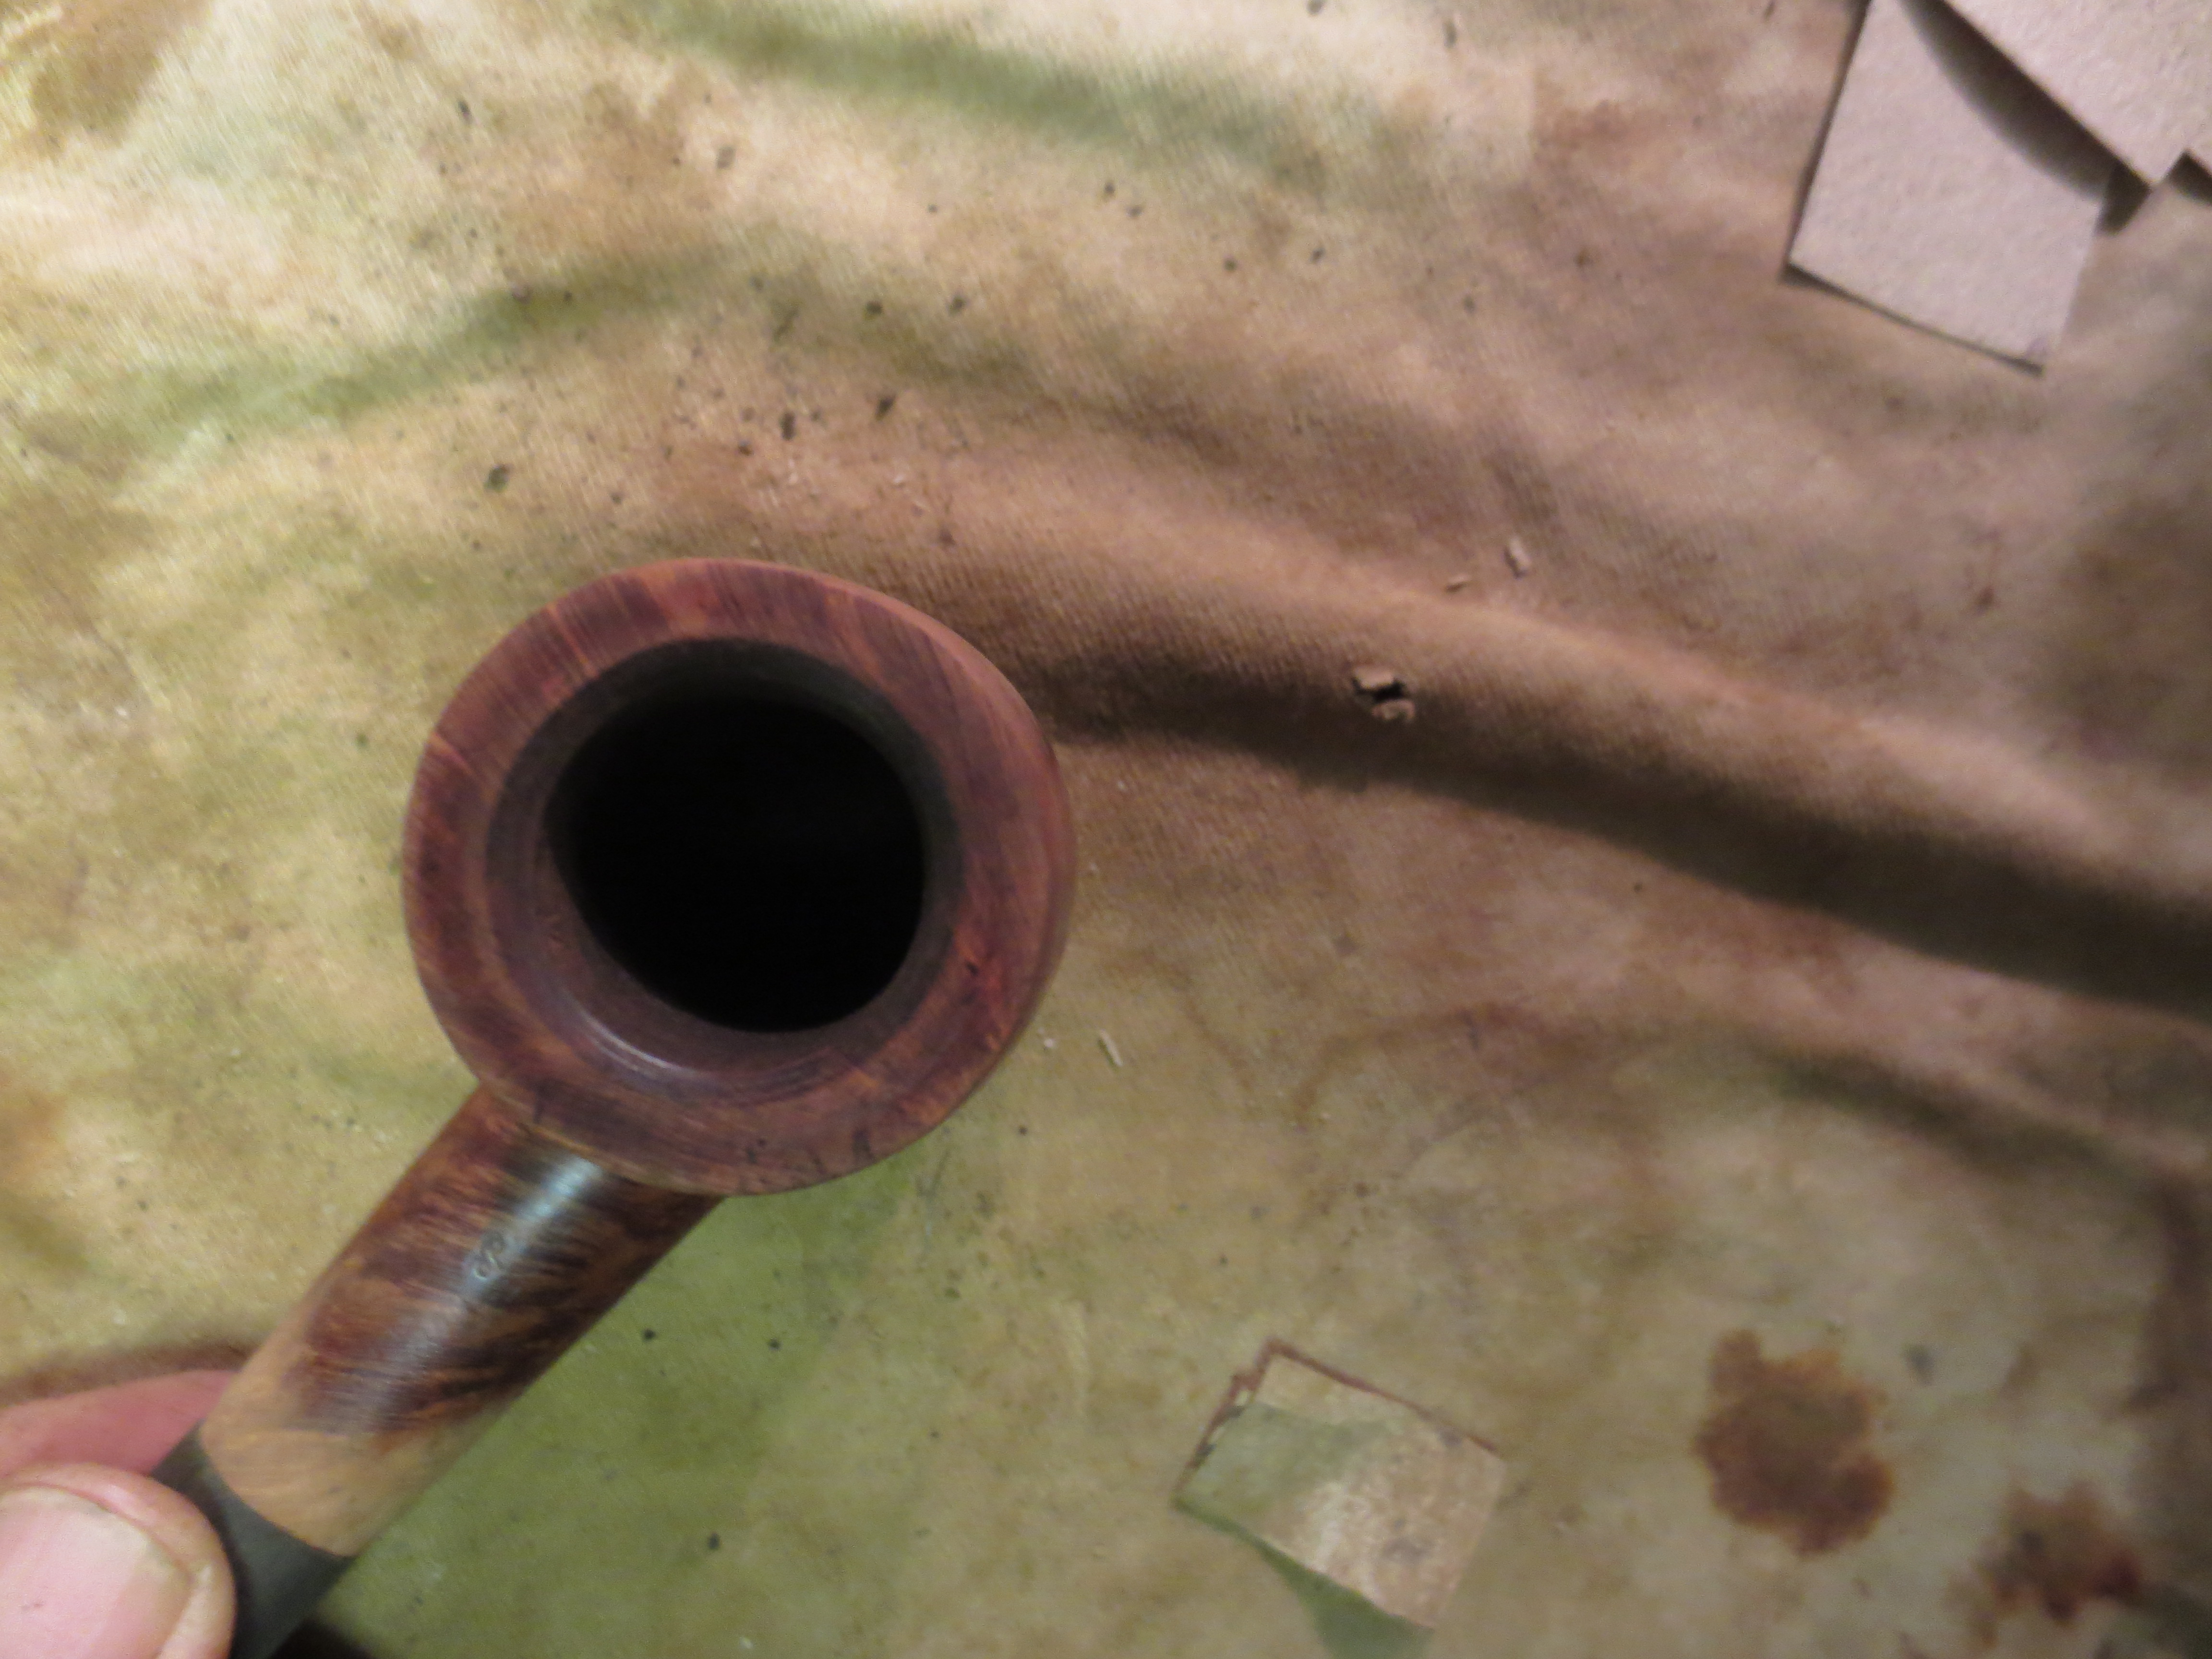
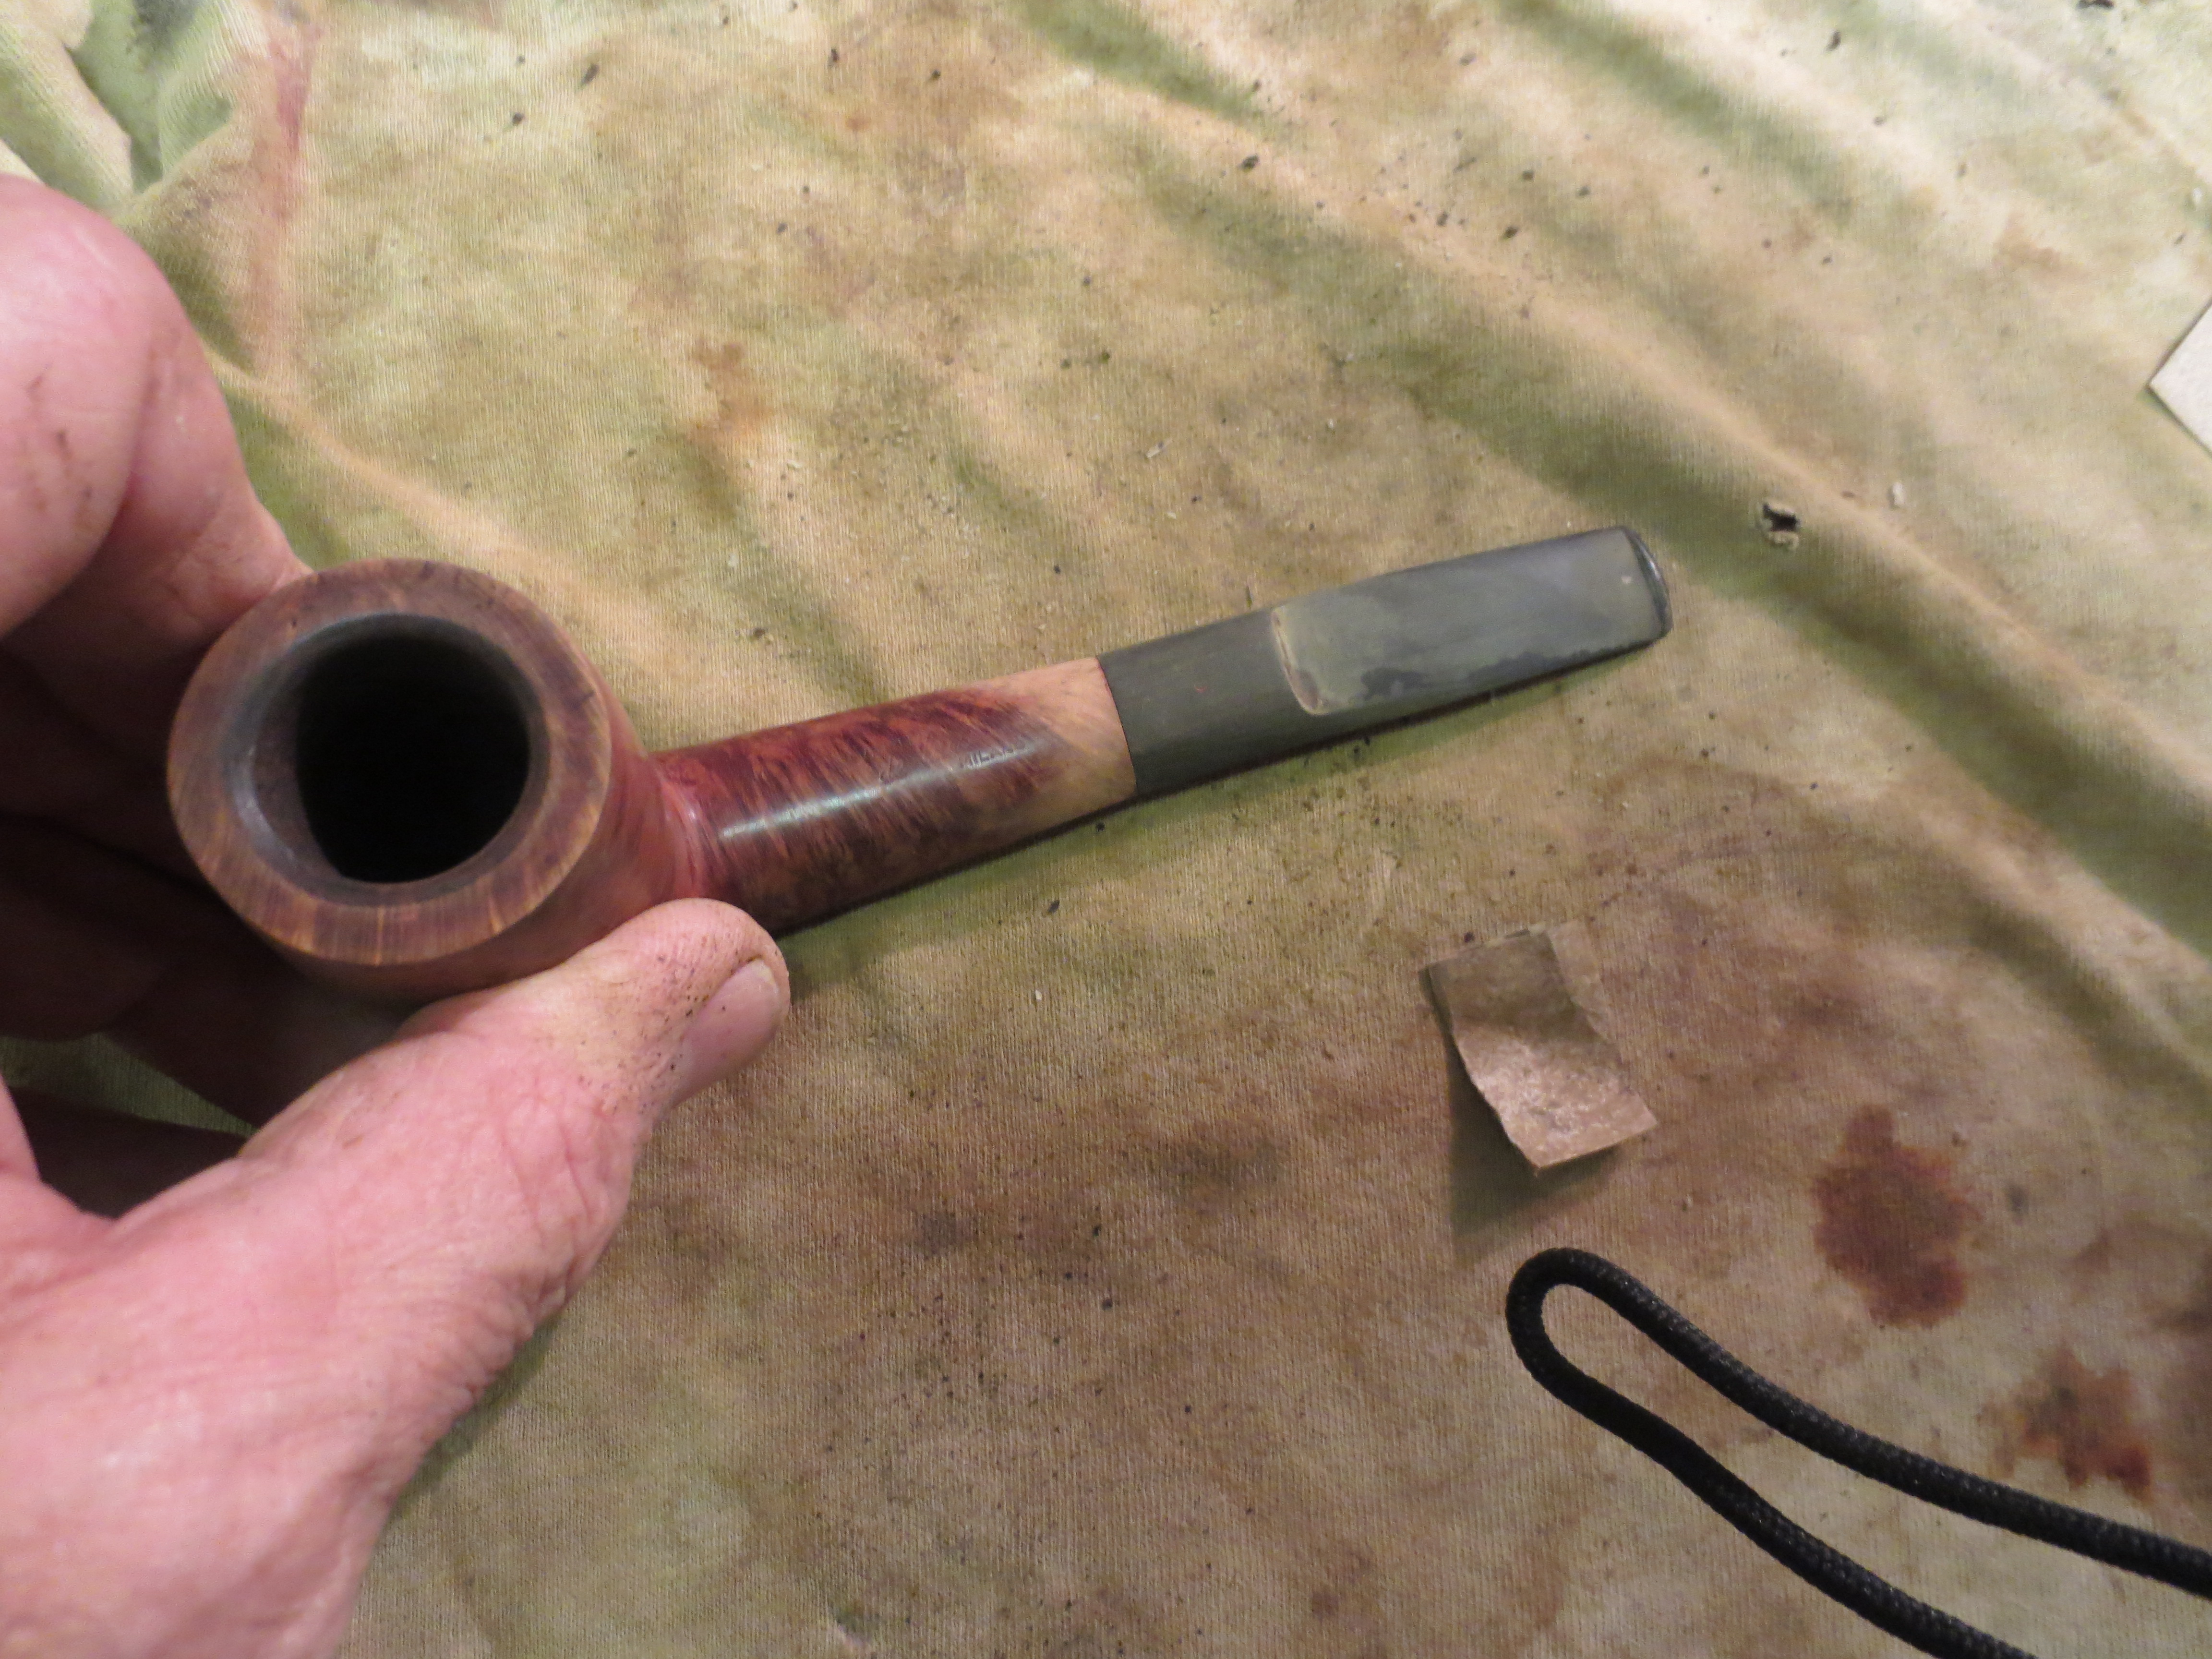
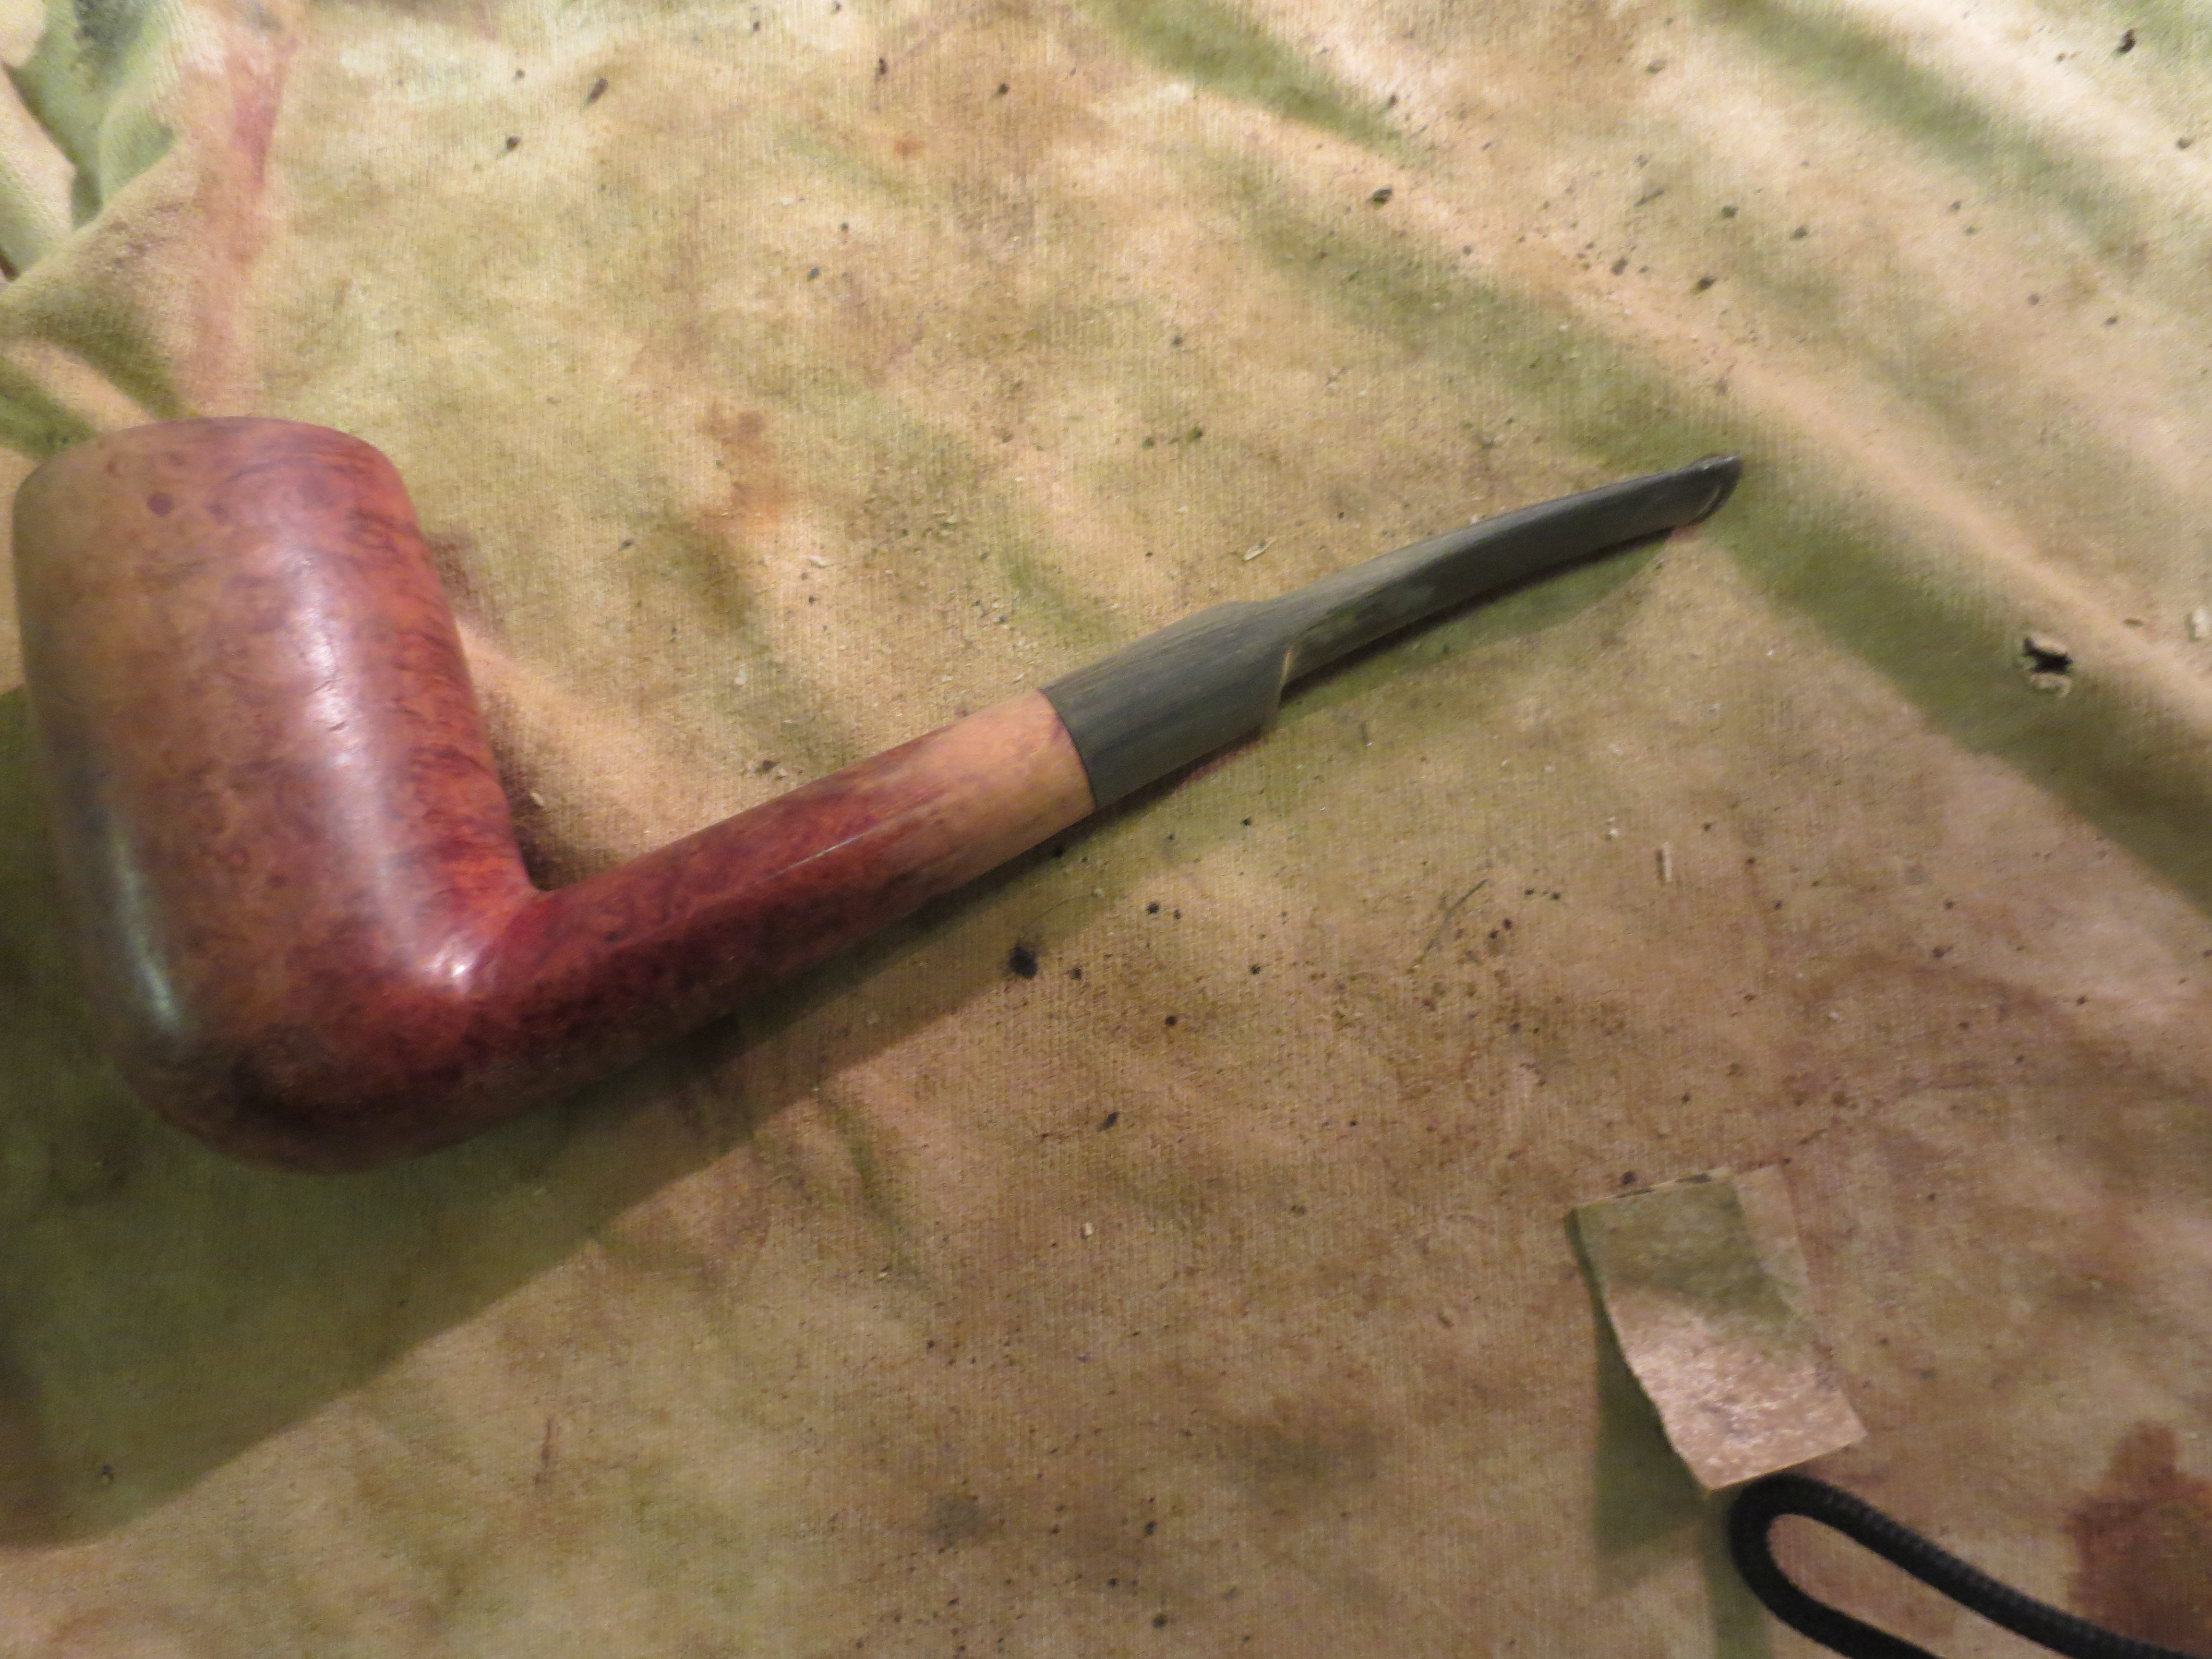
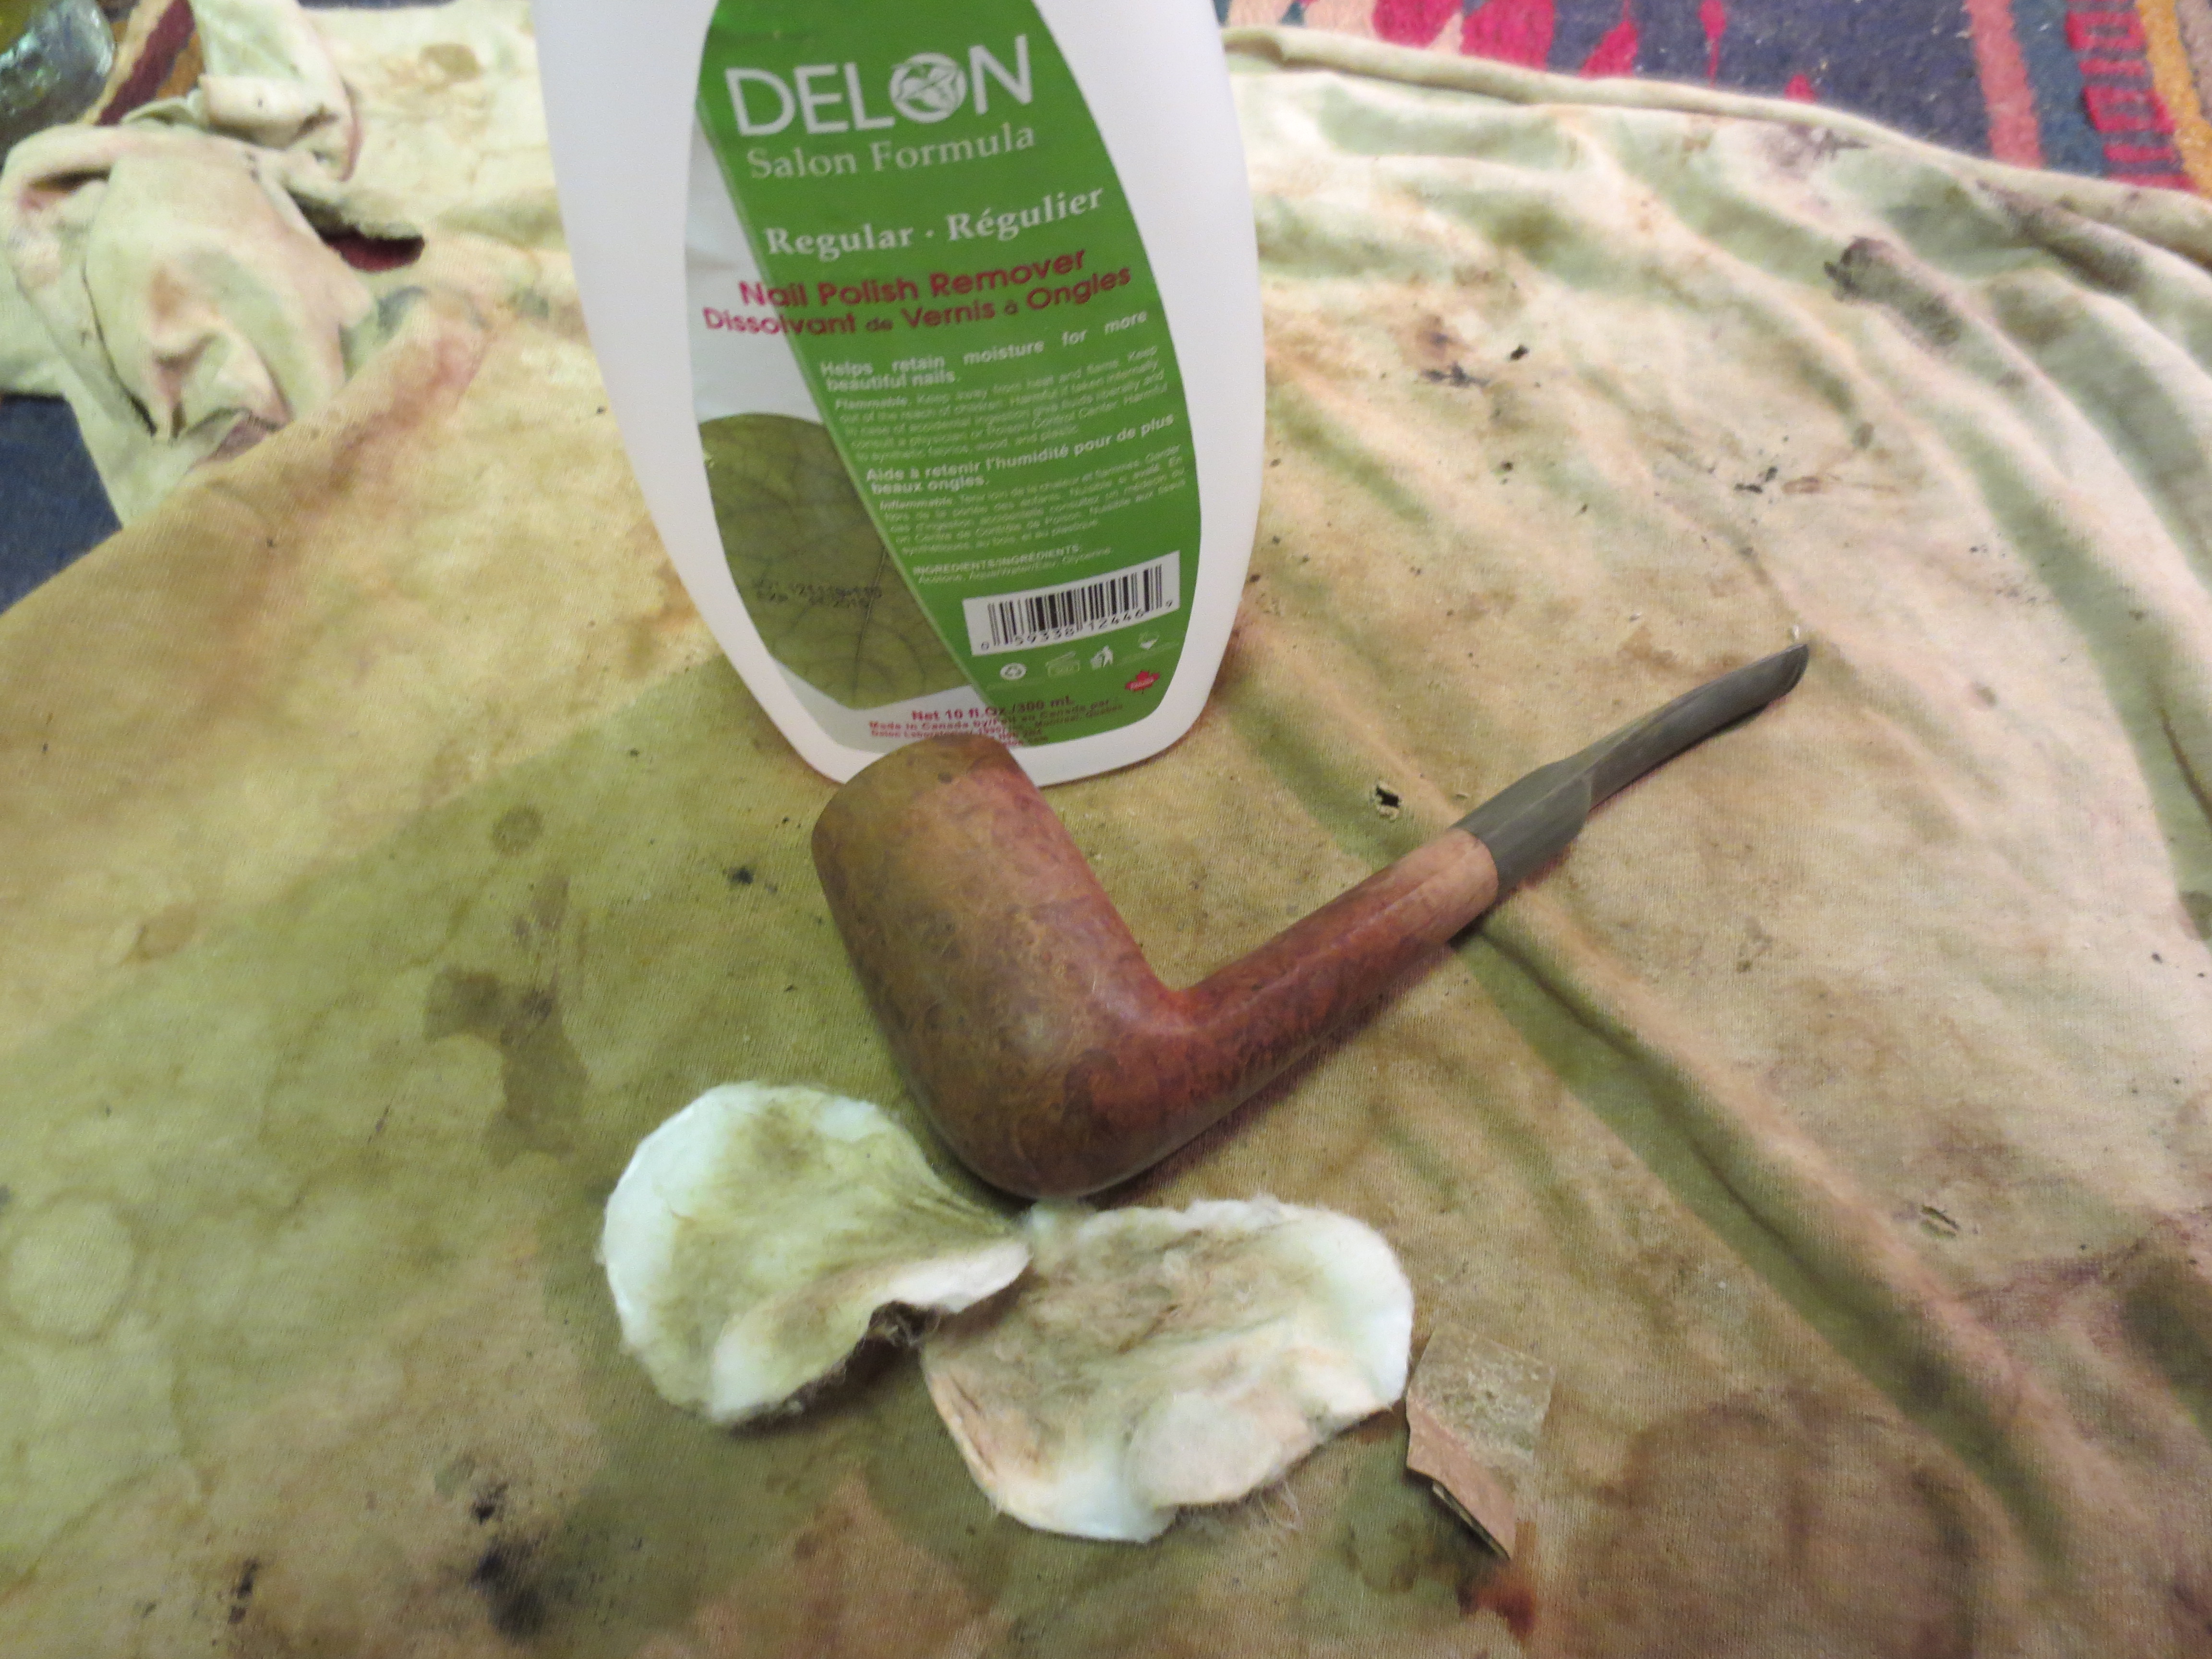
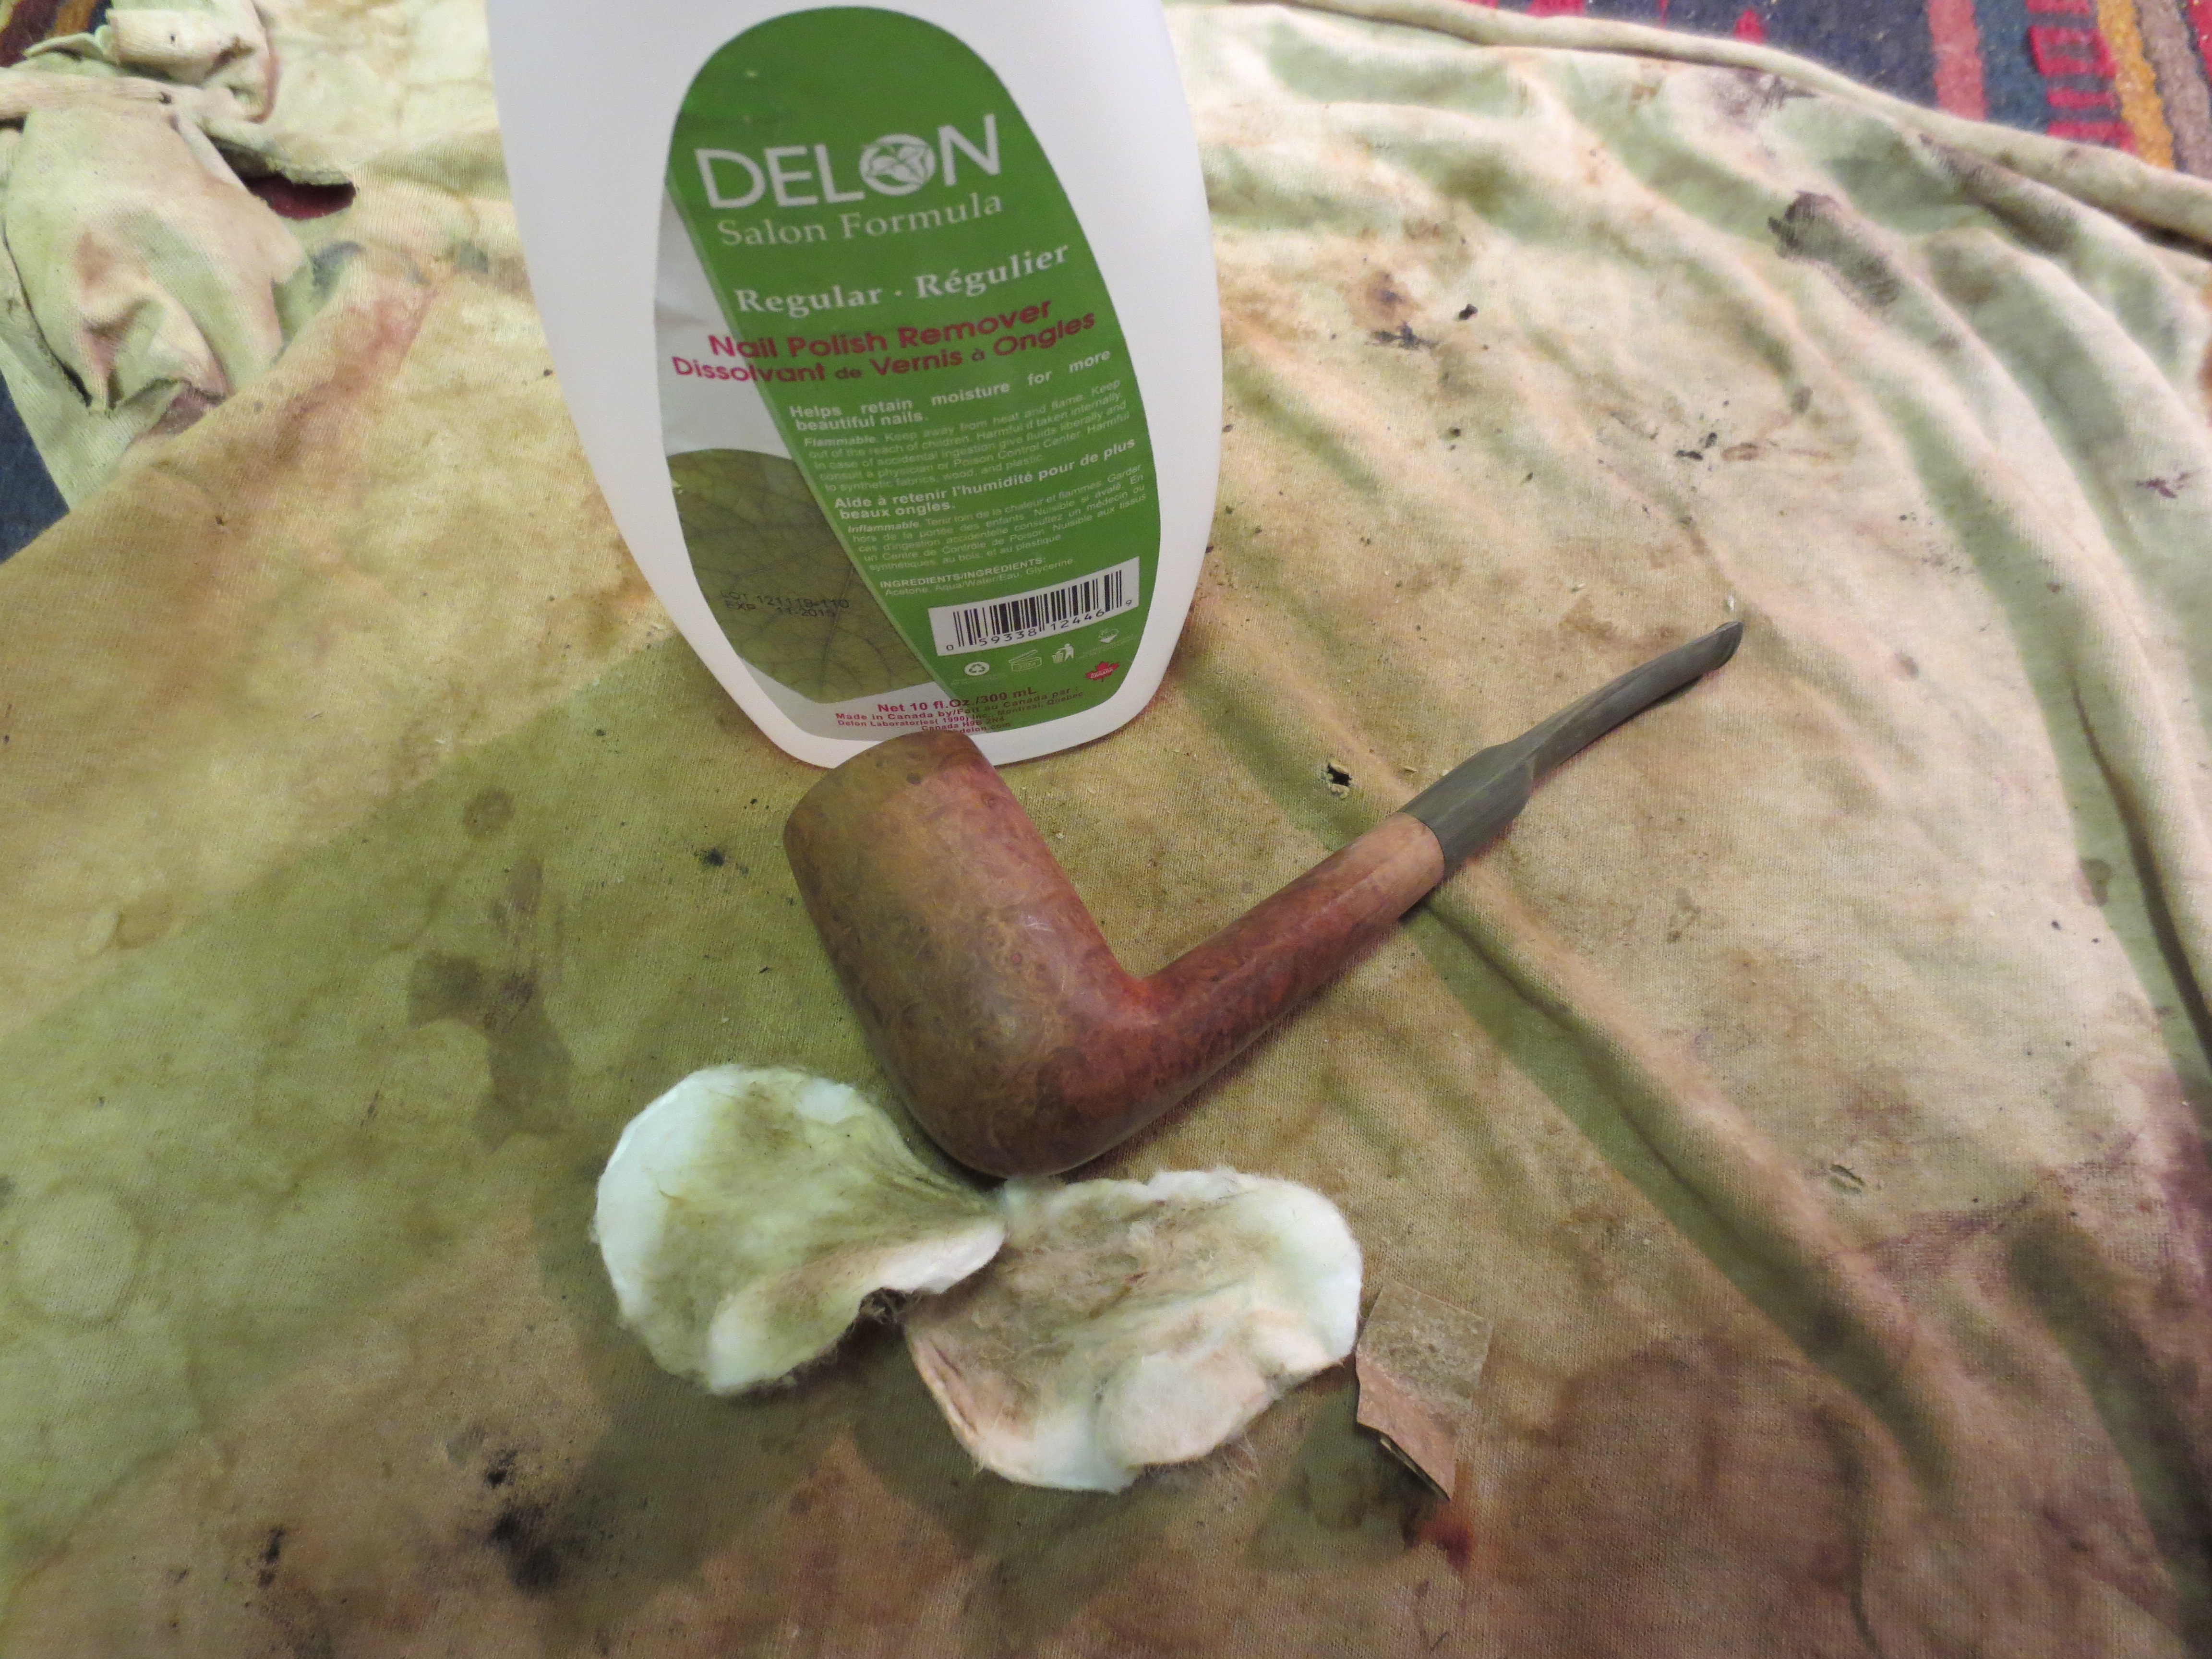
I used acetone on cotton pads to remove the finish on the pipe. I wiped it down until it was the same colour as the sanded portion of the shank. This would make blending the stain much easier to do. The first two photos below show the bowl after the initial wipe down with acetone. Photos 3-5 show the pipe after the finish has been removed from the pipe and it is ready to be stained.
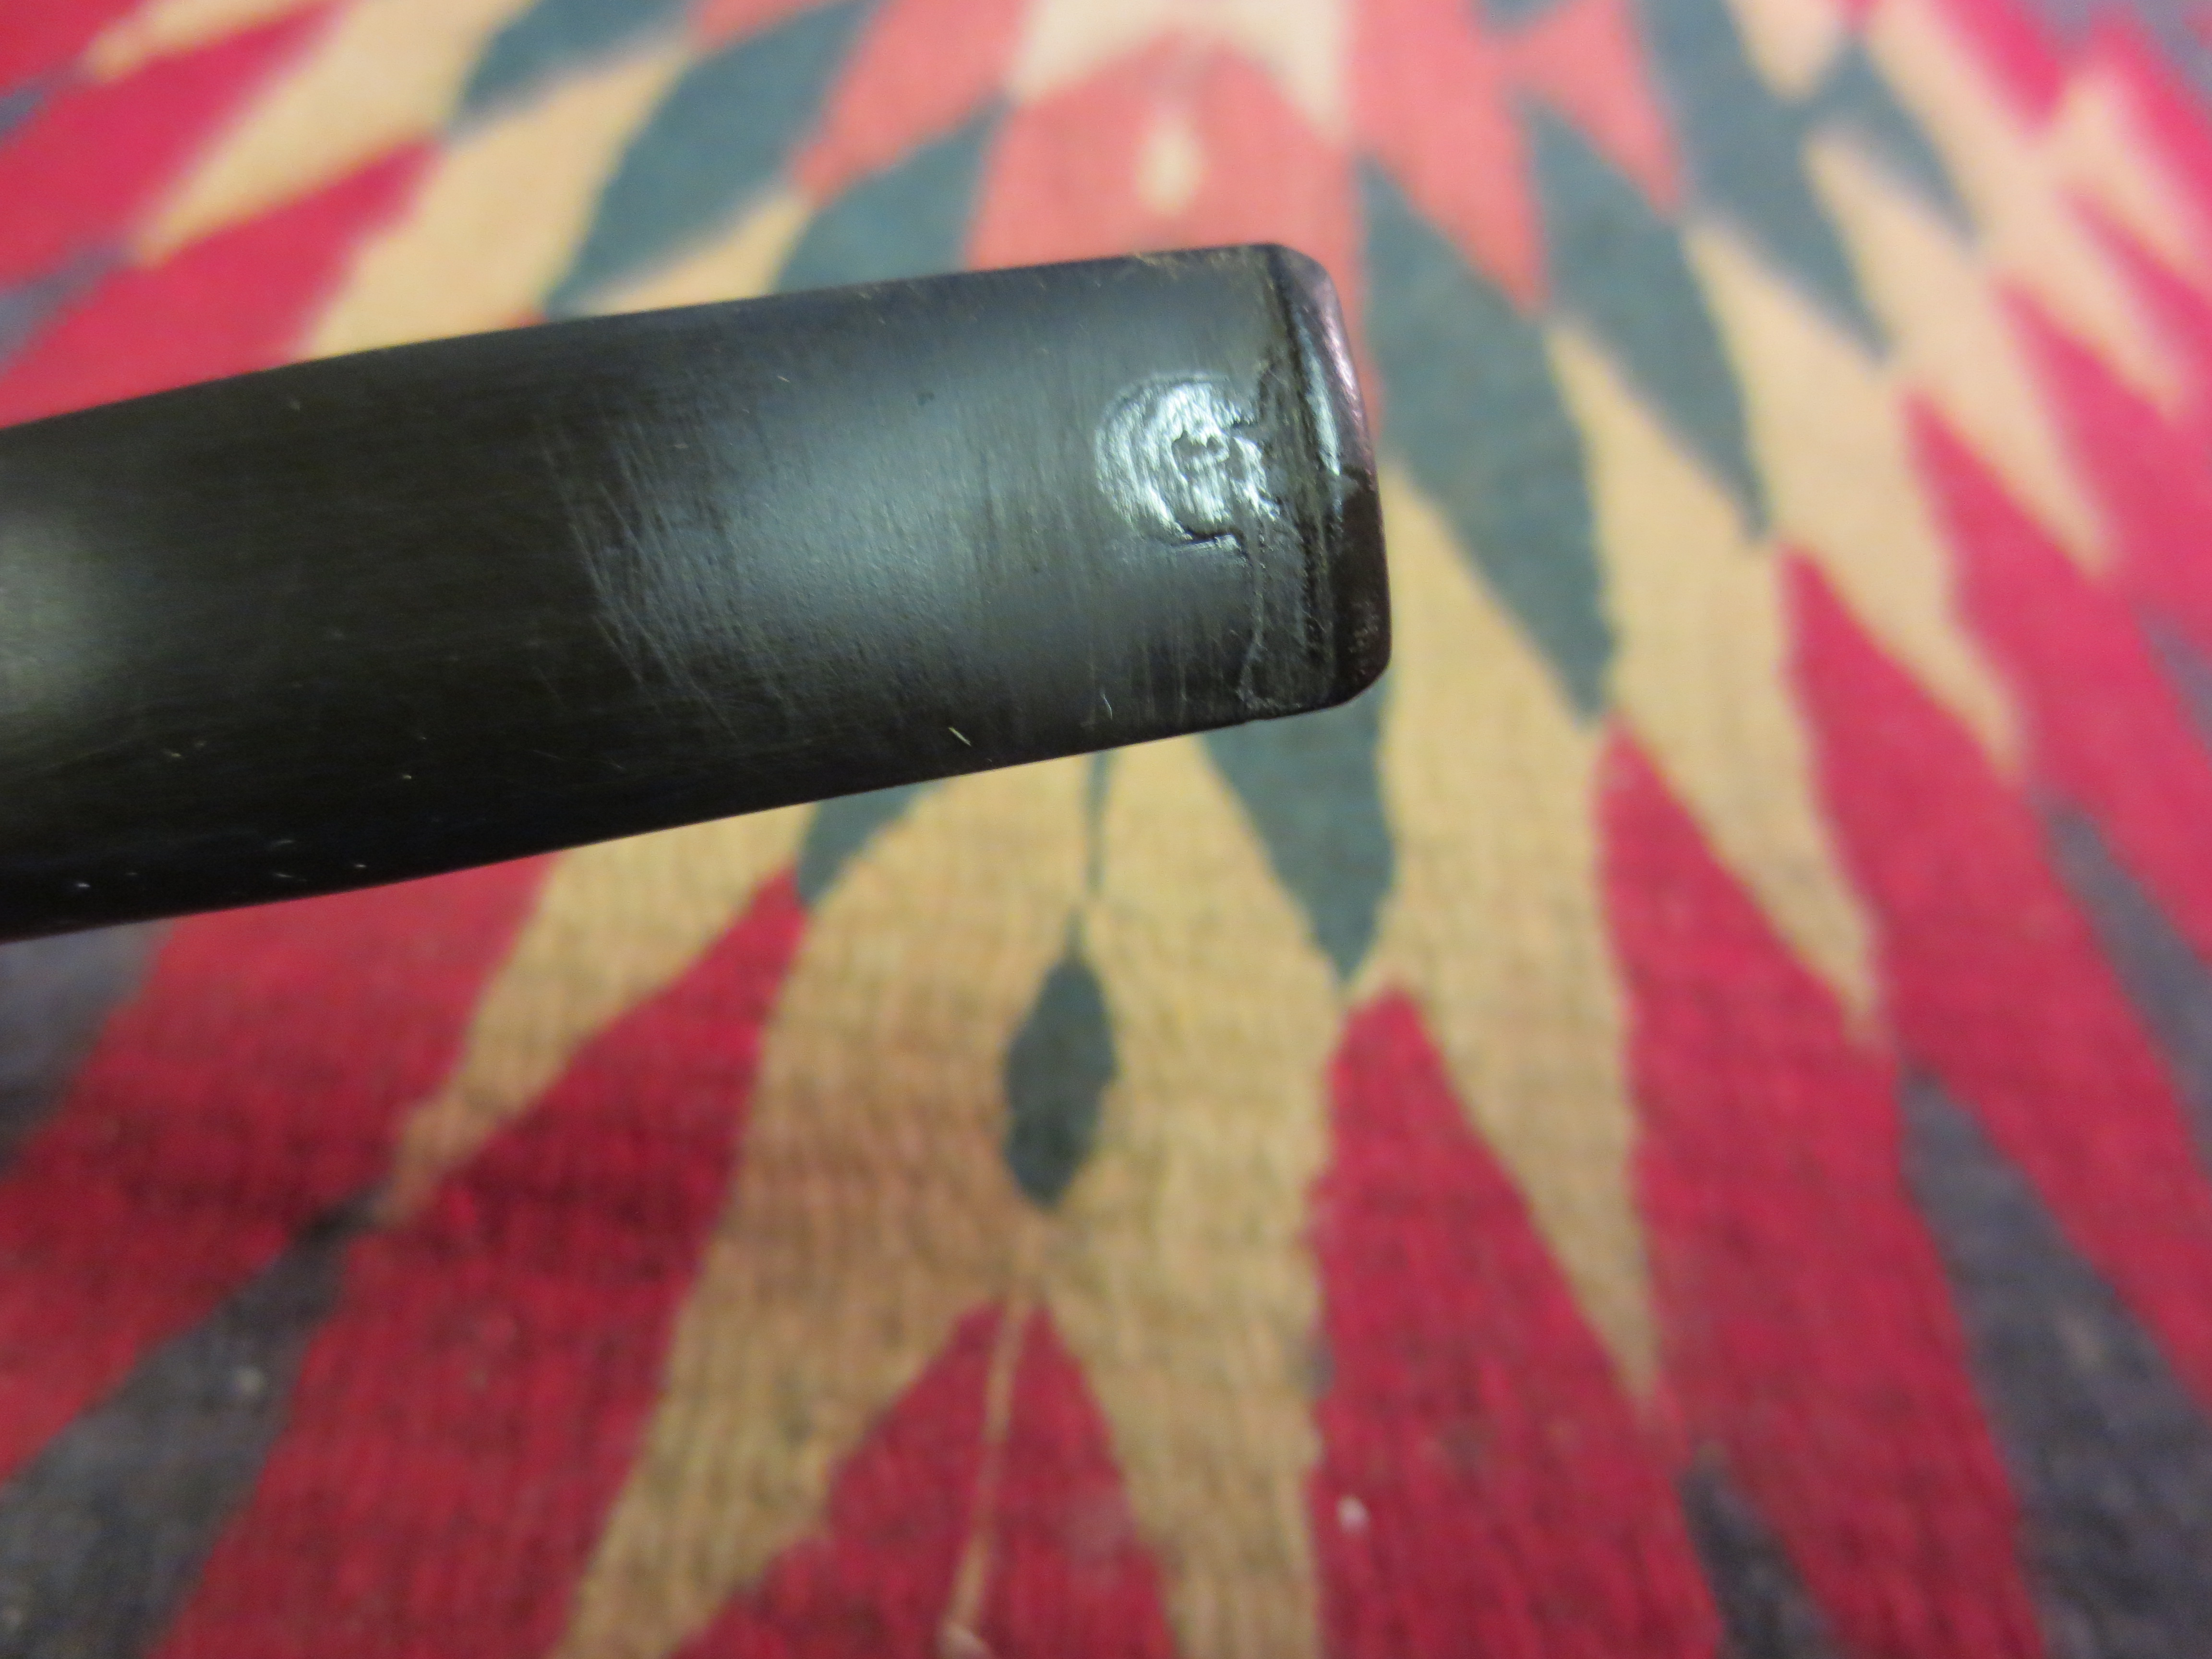
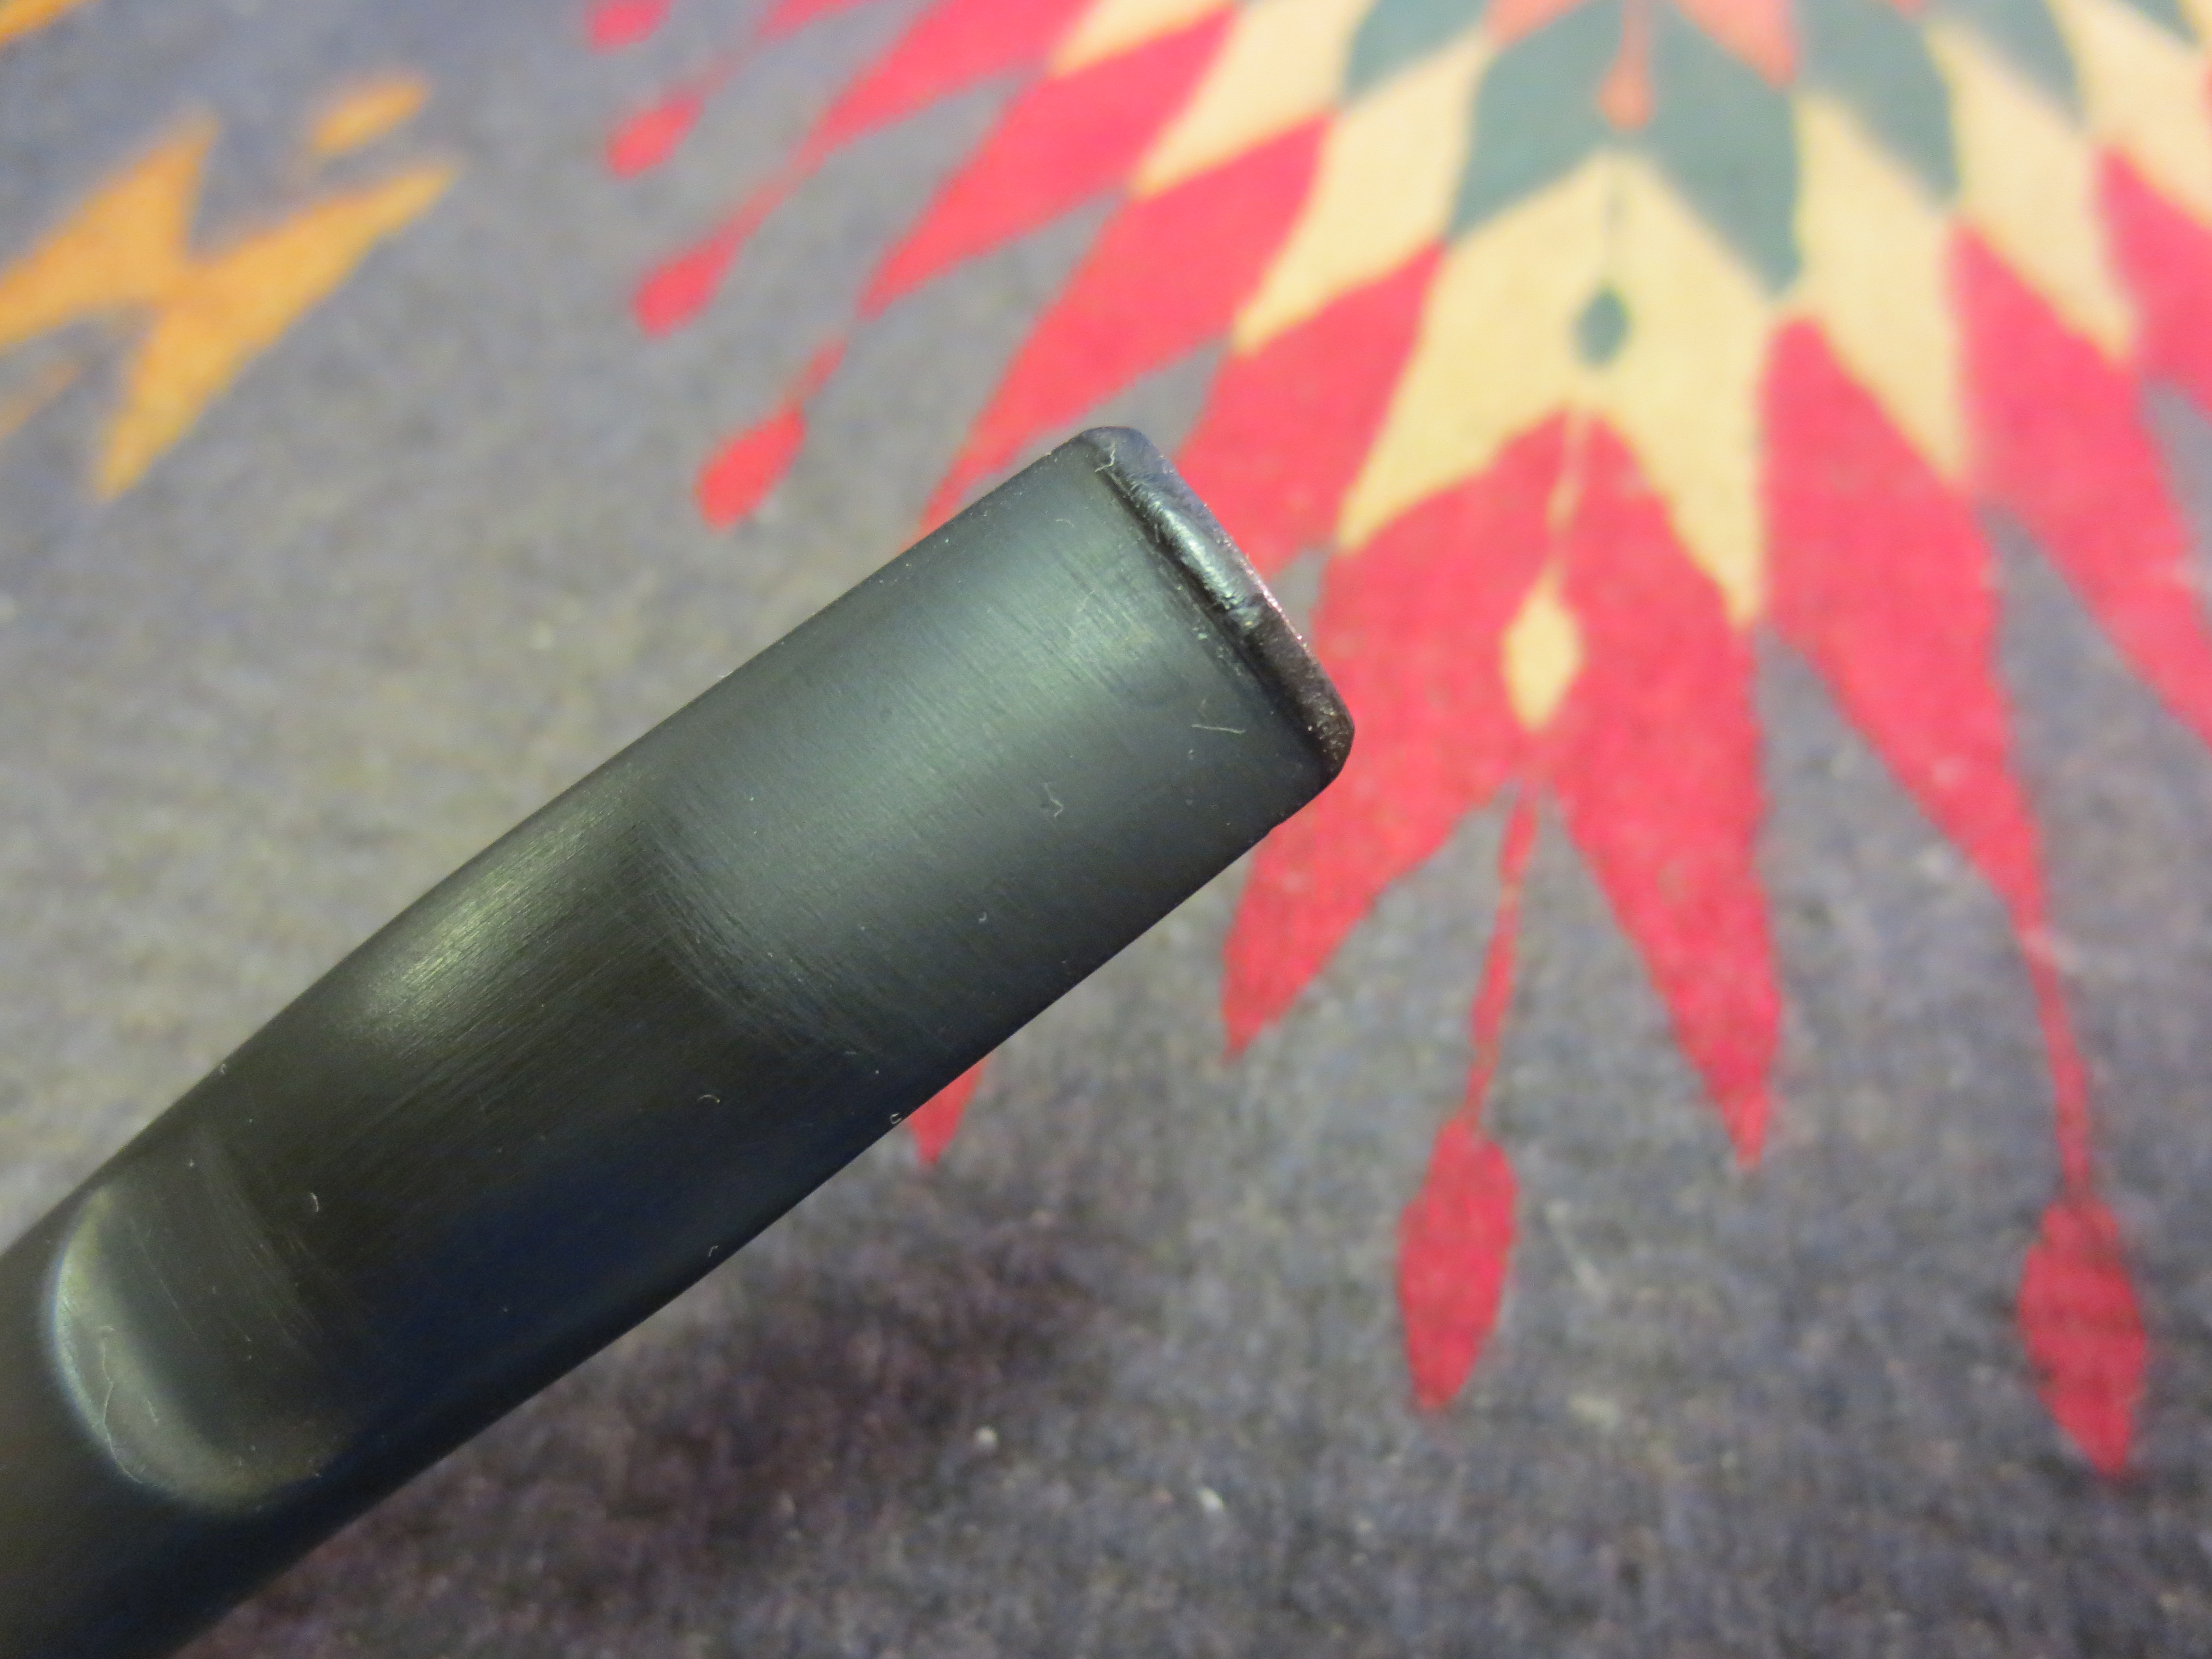
When I sanded the stem I found that there was one small tooth mark on the top of the stem near the button that no amount of heat would lift up. I sanded the spot with the 220 grit sandpaper until it was clean and then buffed it with Tripoli until it was very clear the breadth of the spot. I filled the indentation with clear super glue and sanded it once it was dry. The two photos below show the stem repair after the initial sanding and then after it was ready to be polished. Once the polishing was done the repair would be virtually invisible.
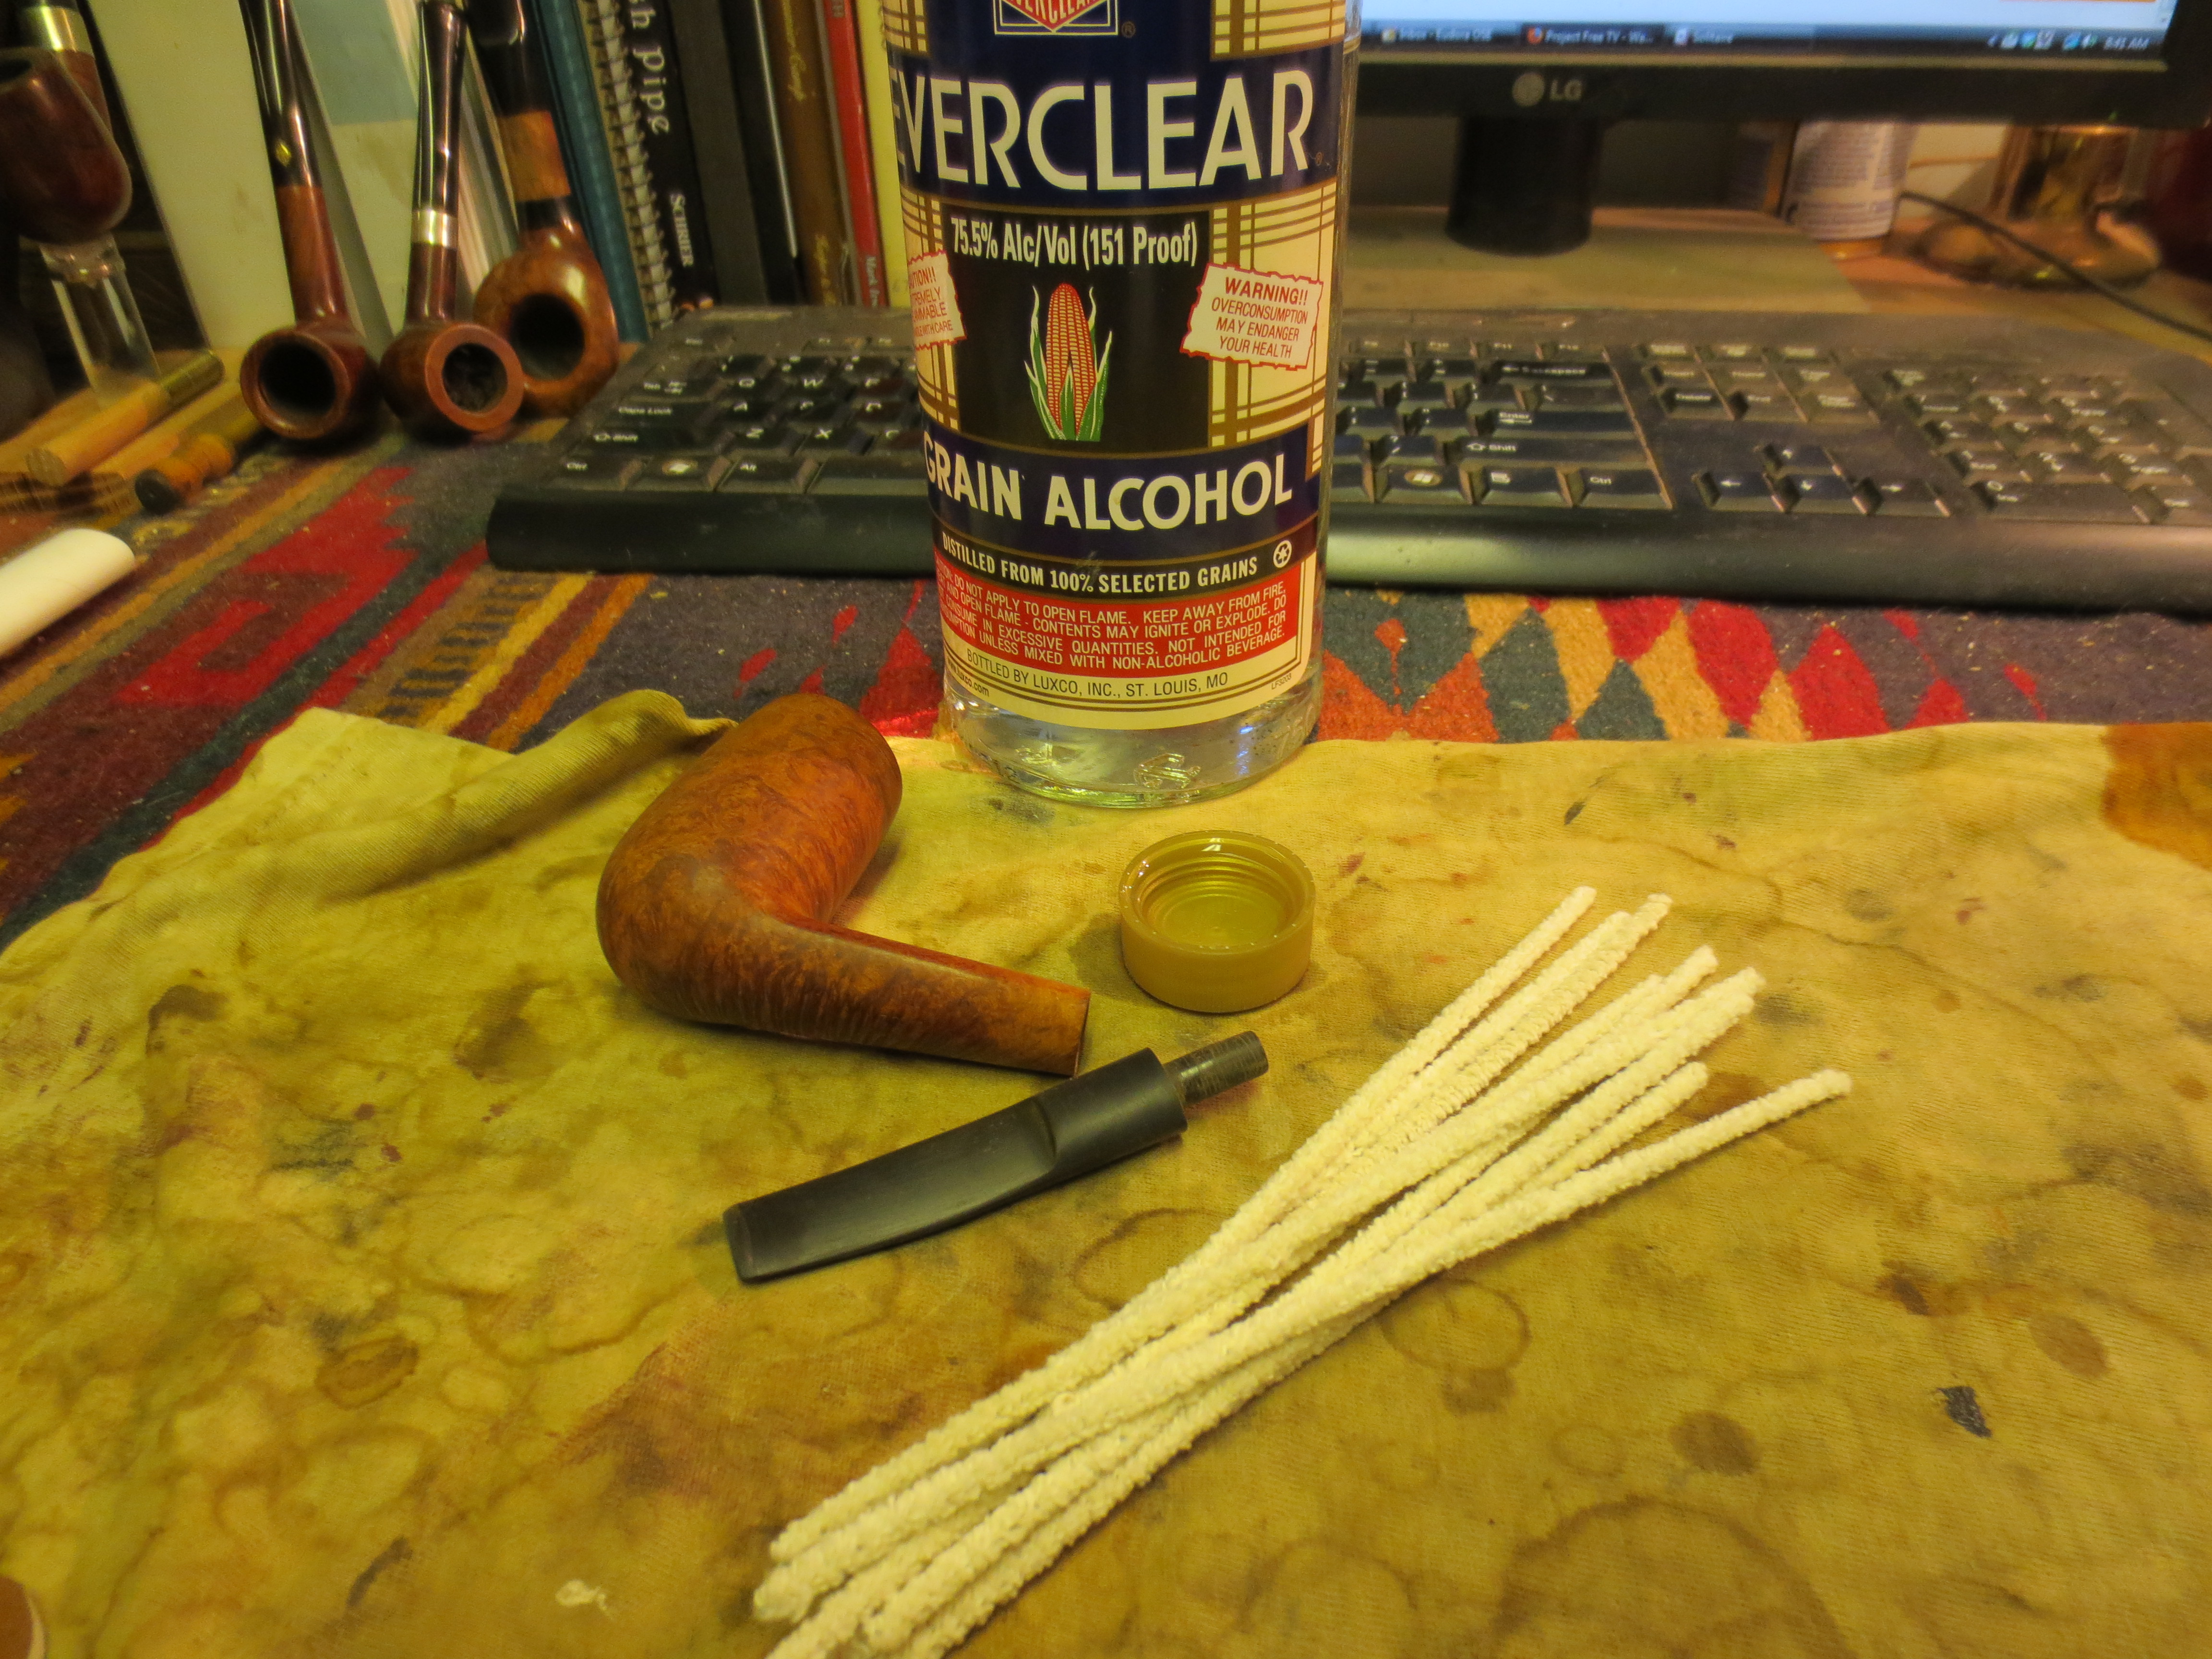
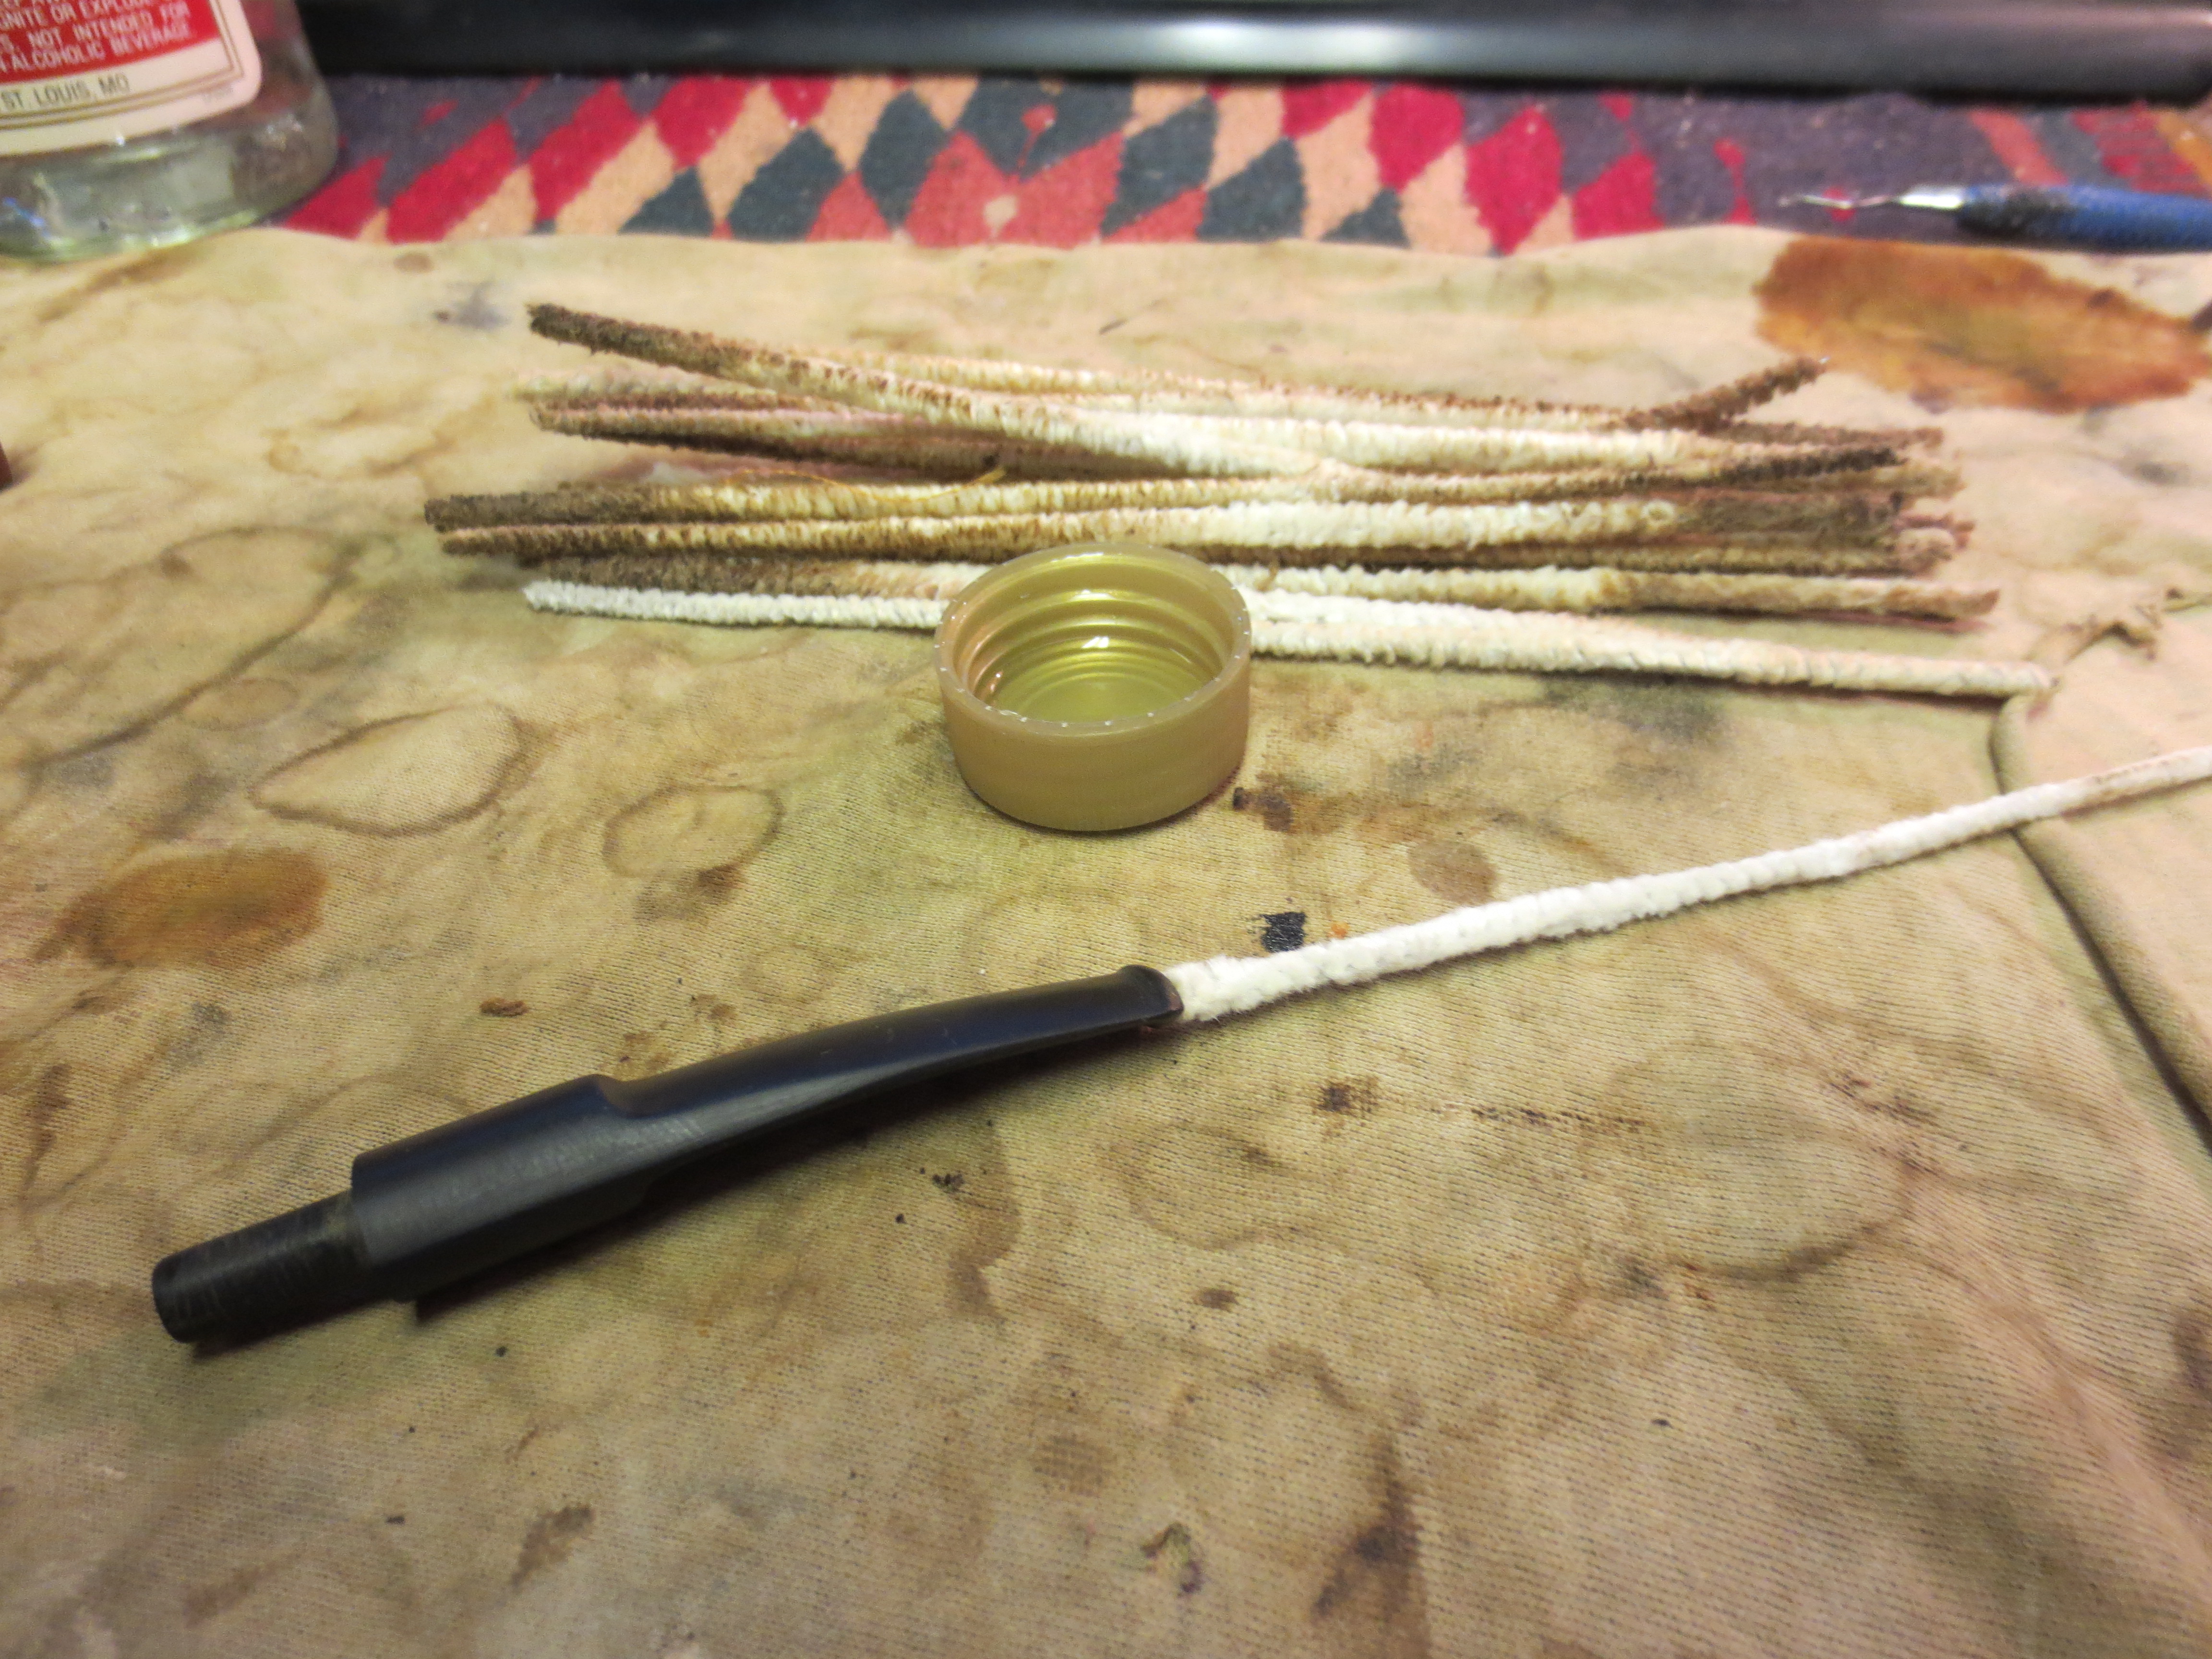
I cleaned the internals of the stem and the shank with pipe cleaners, cotton swabs and Everclear until the shank and the internals of the stem were clean. I used a dental pick to clean out the areas inside the button and the flare of the airway in the button.
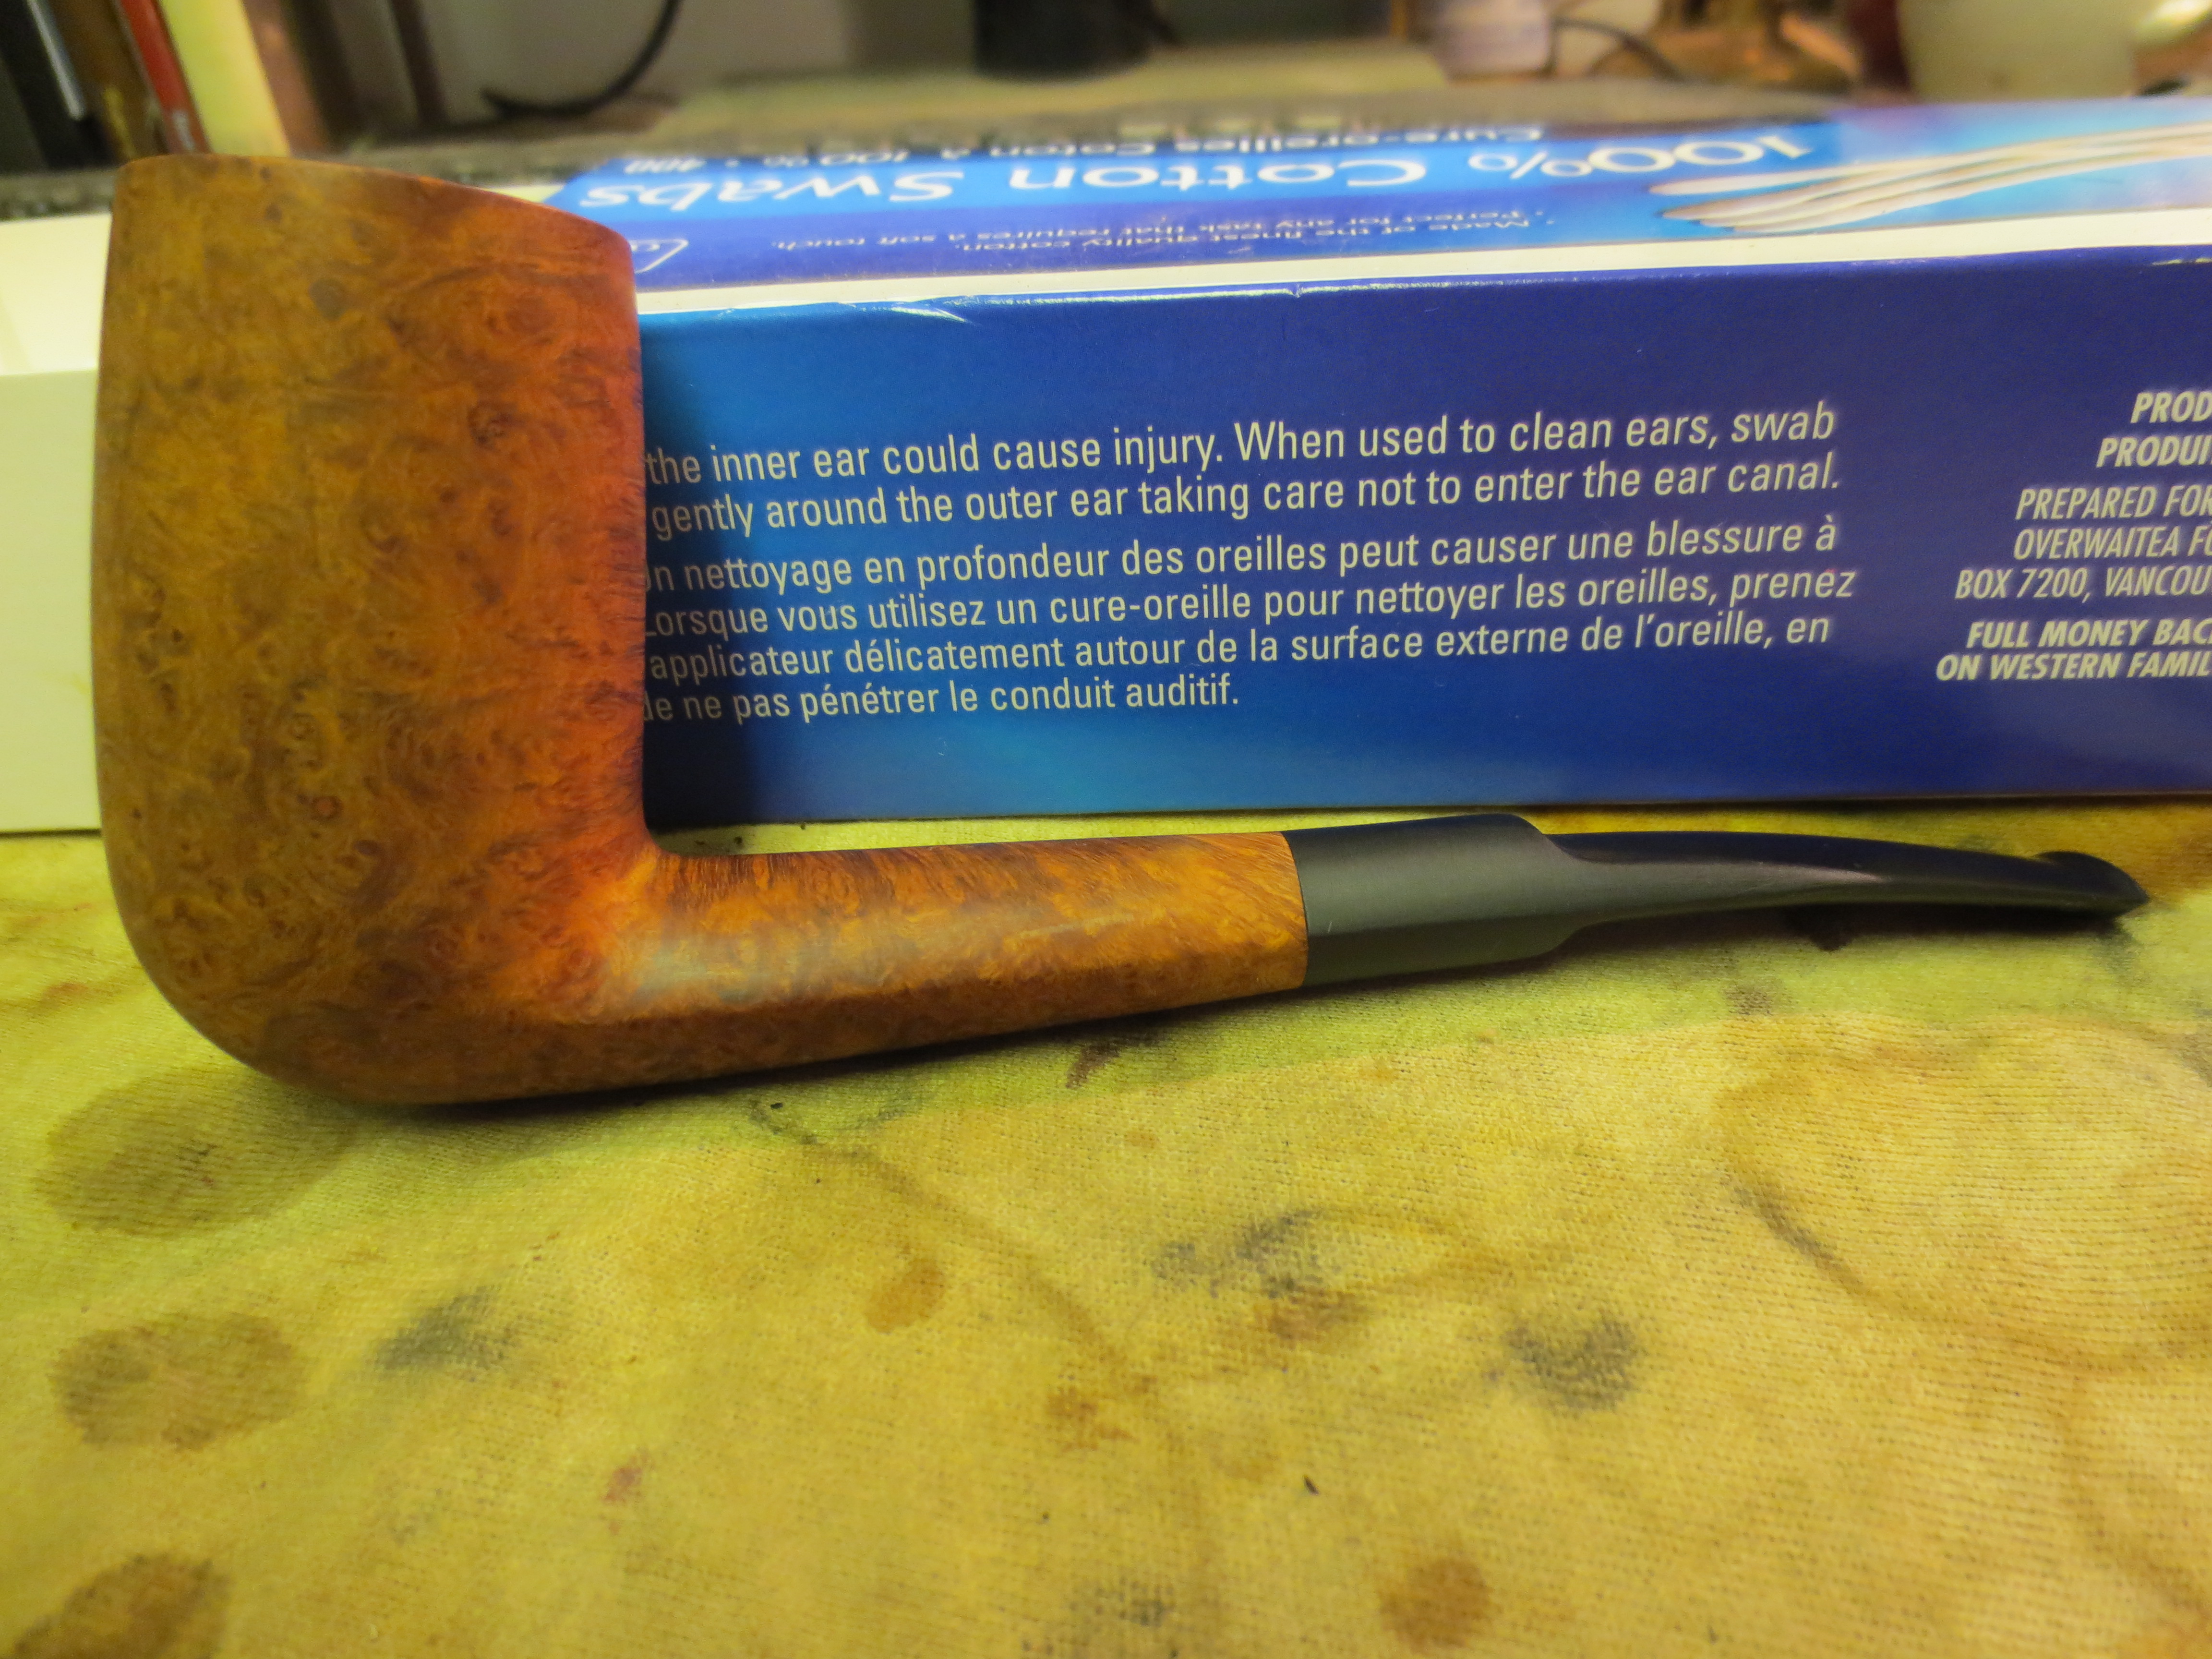
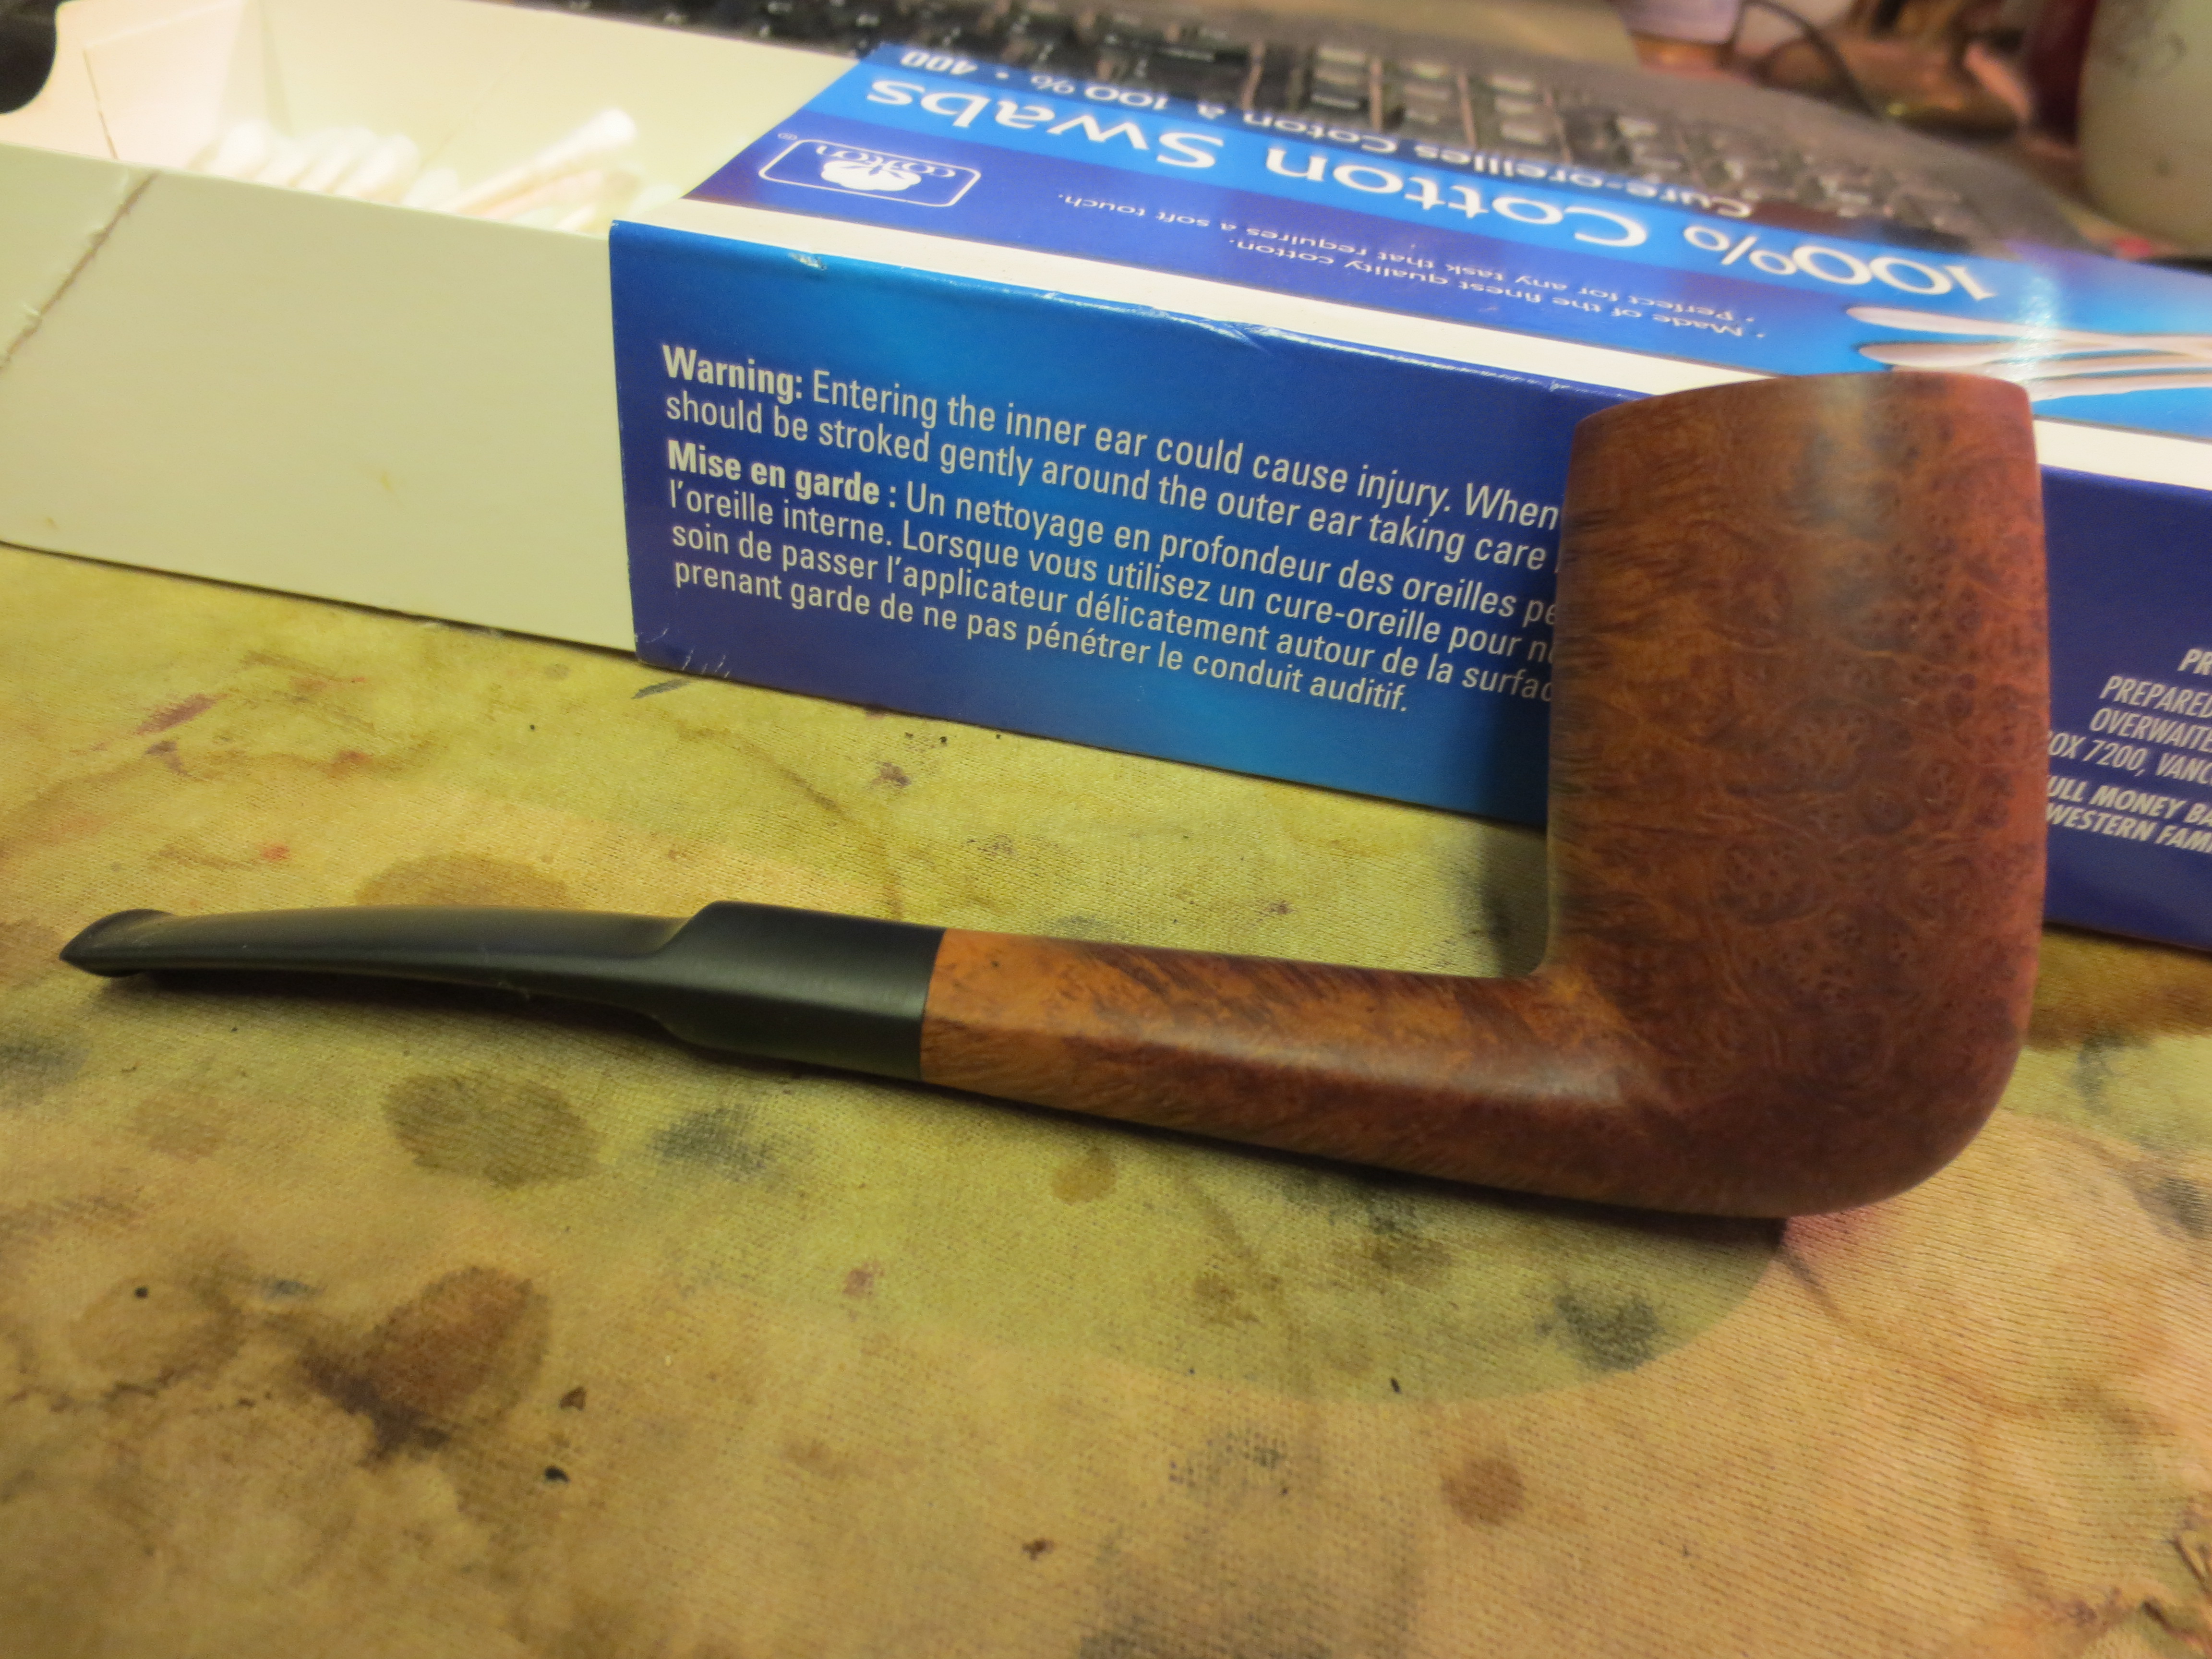
Once the insides were clean I wiped the bowl down with Everclear and removed any possible grime that I added to the surface in the cleaning process. The next three photos show the pipe after all of the cleaning. It is beginning to look like the stem and pipe were made together.

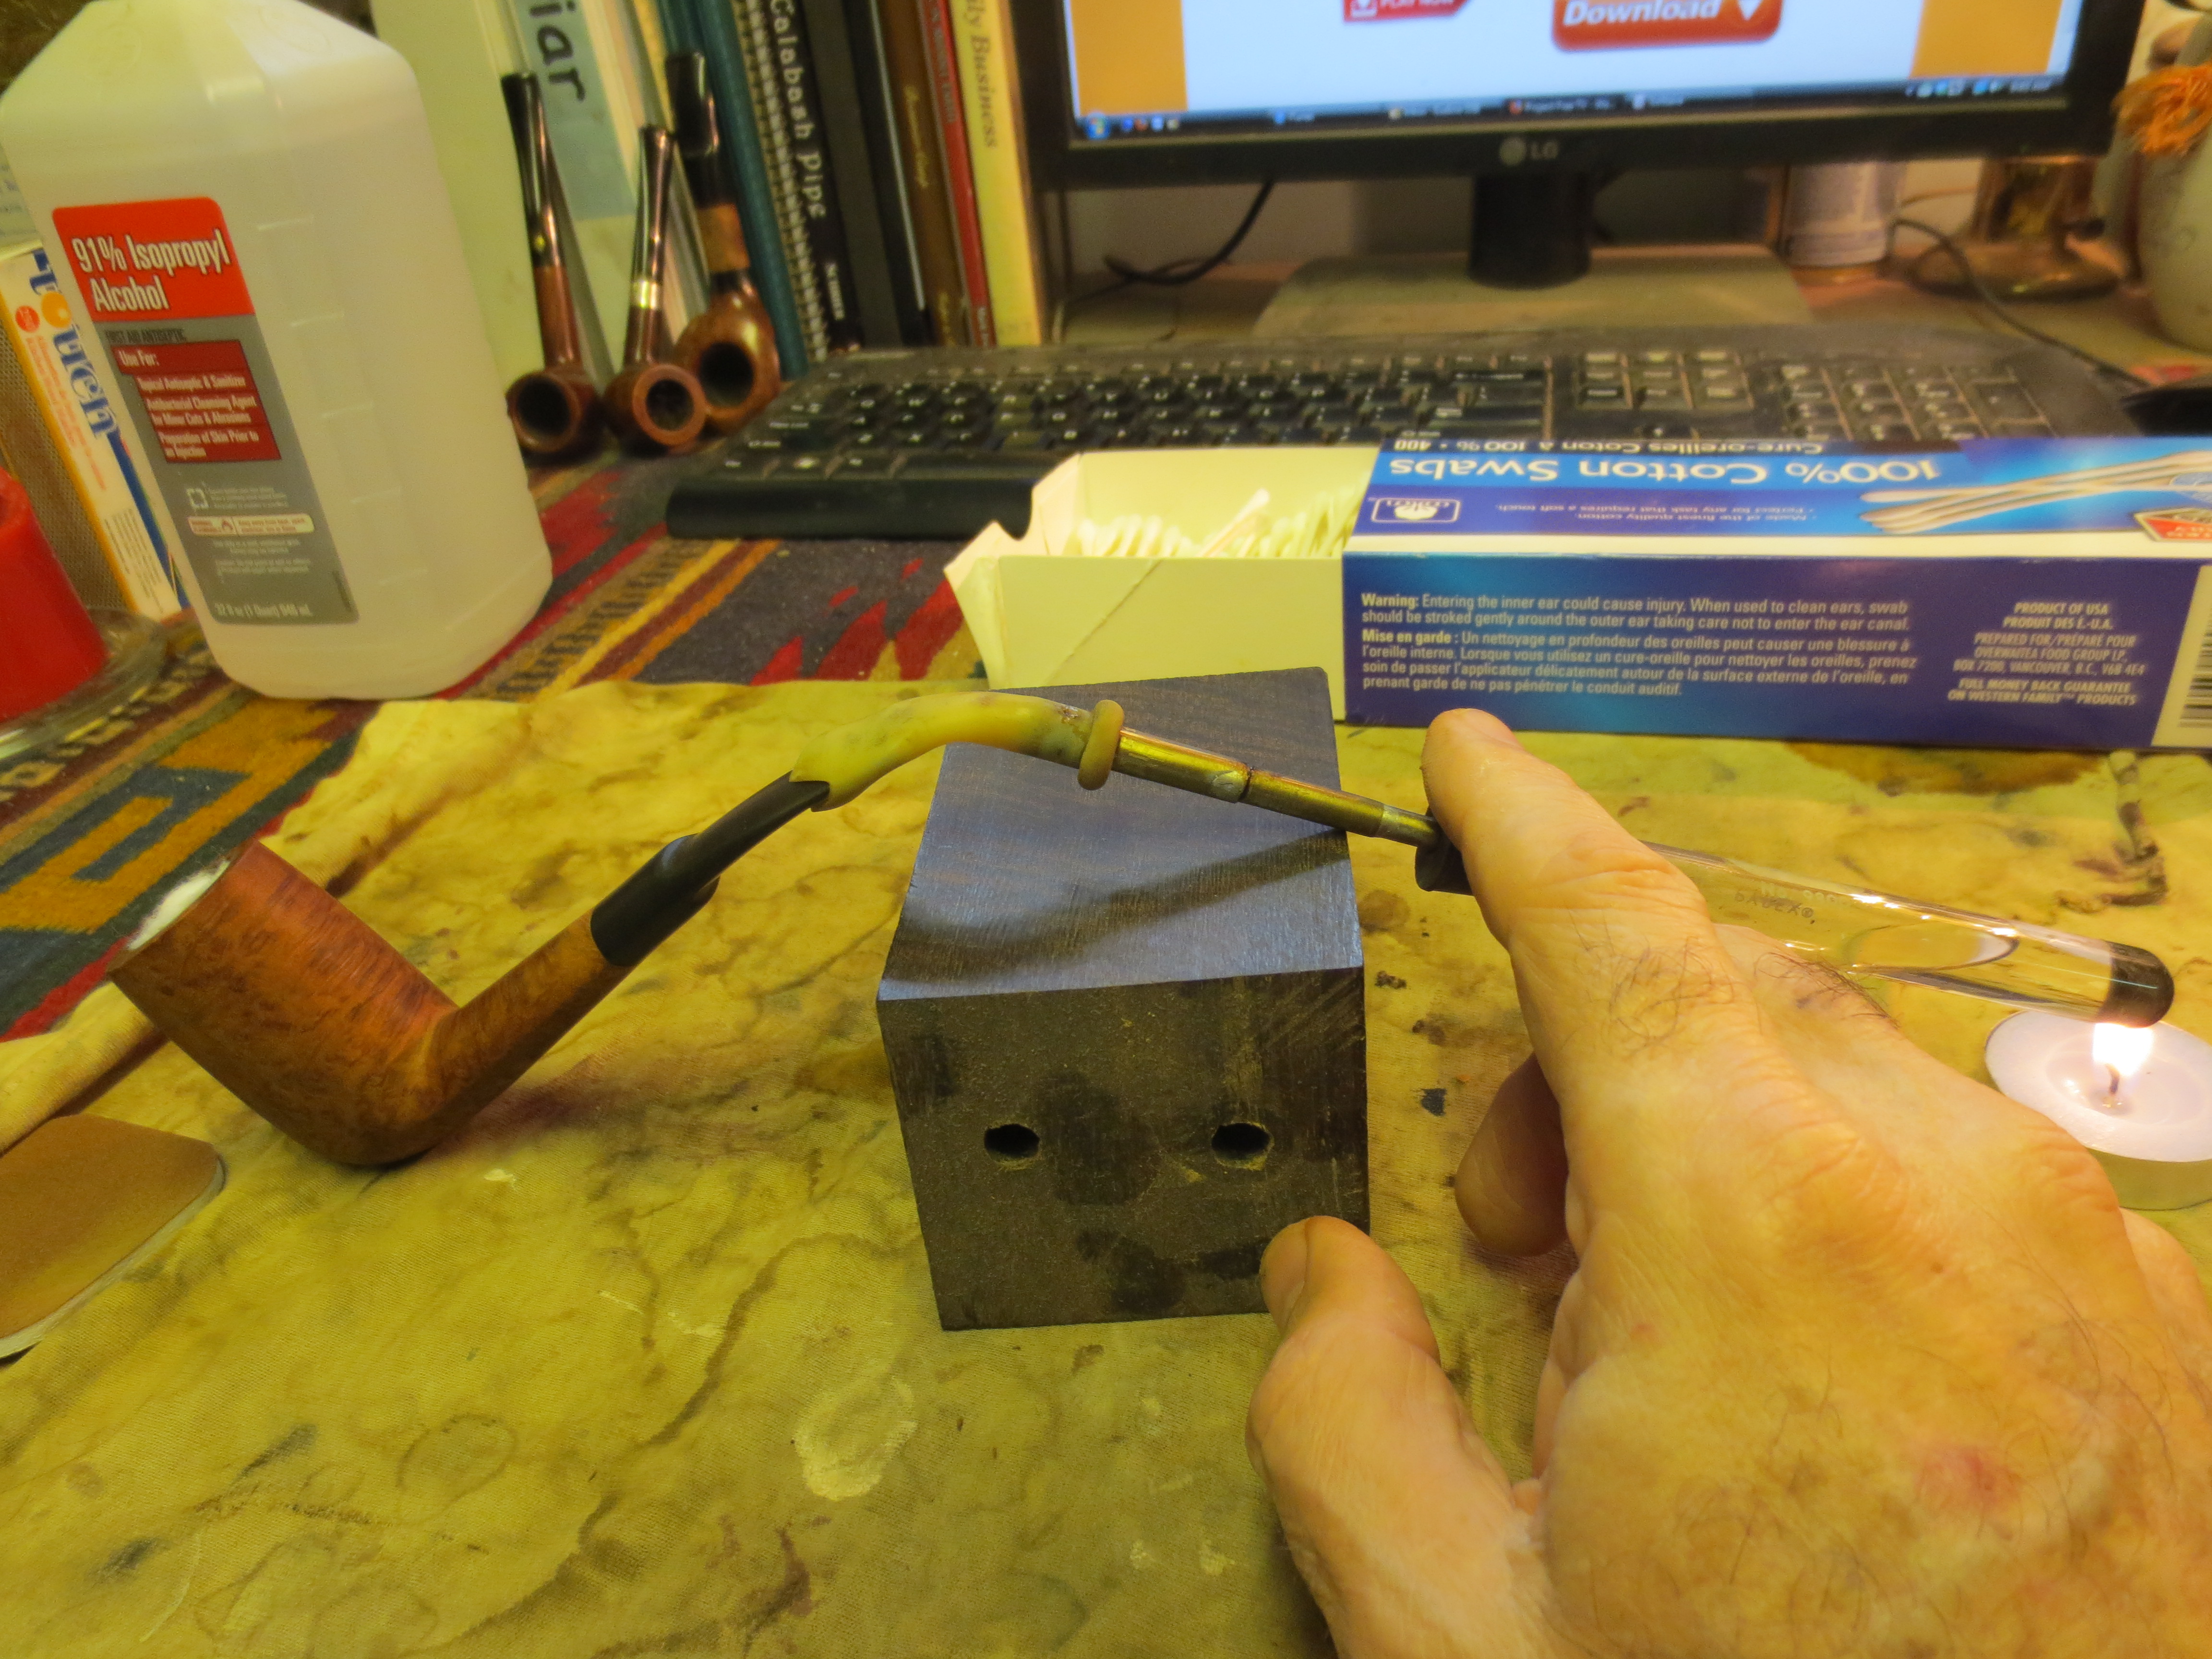
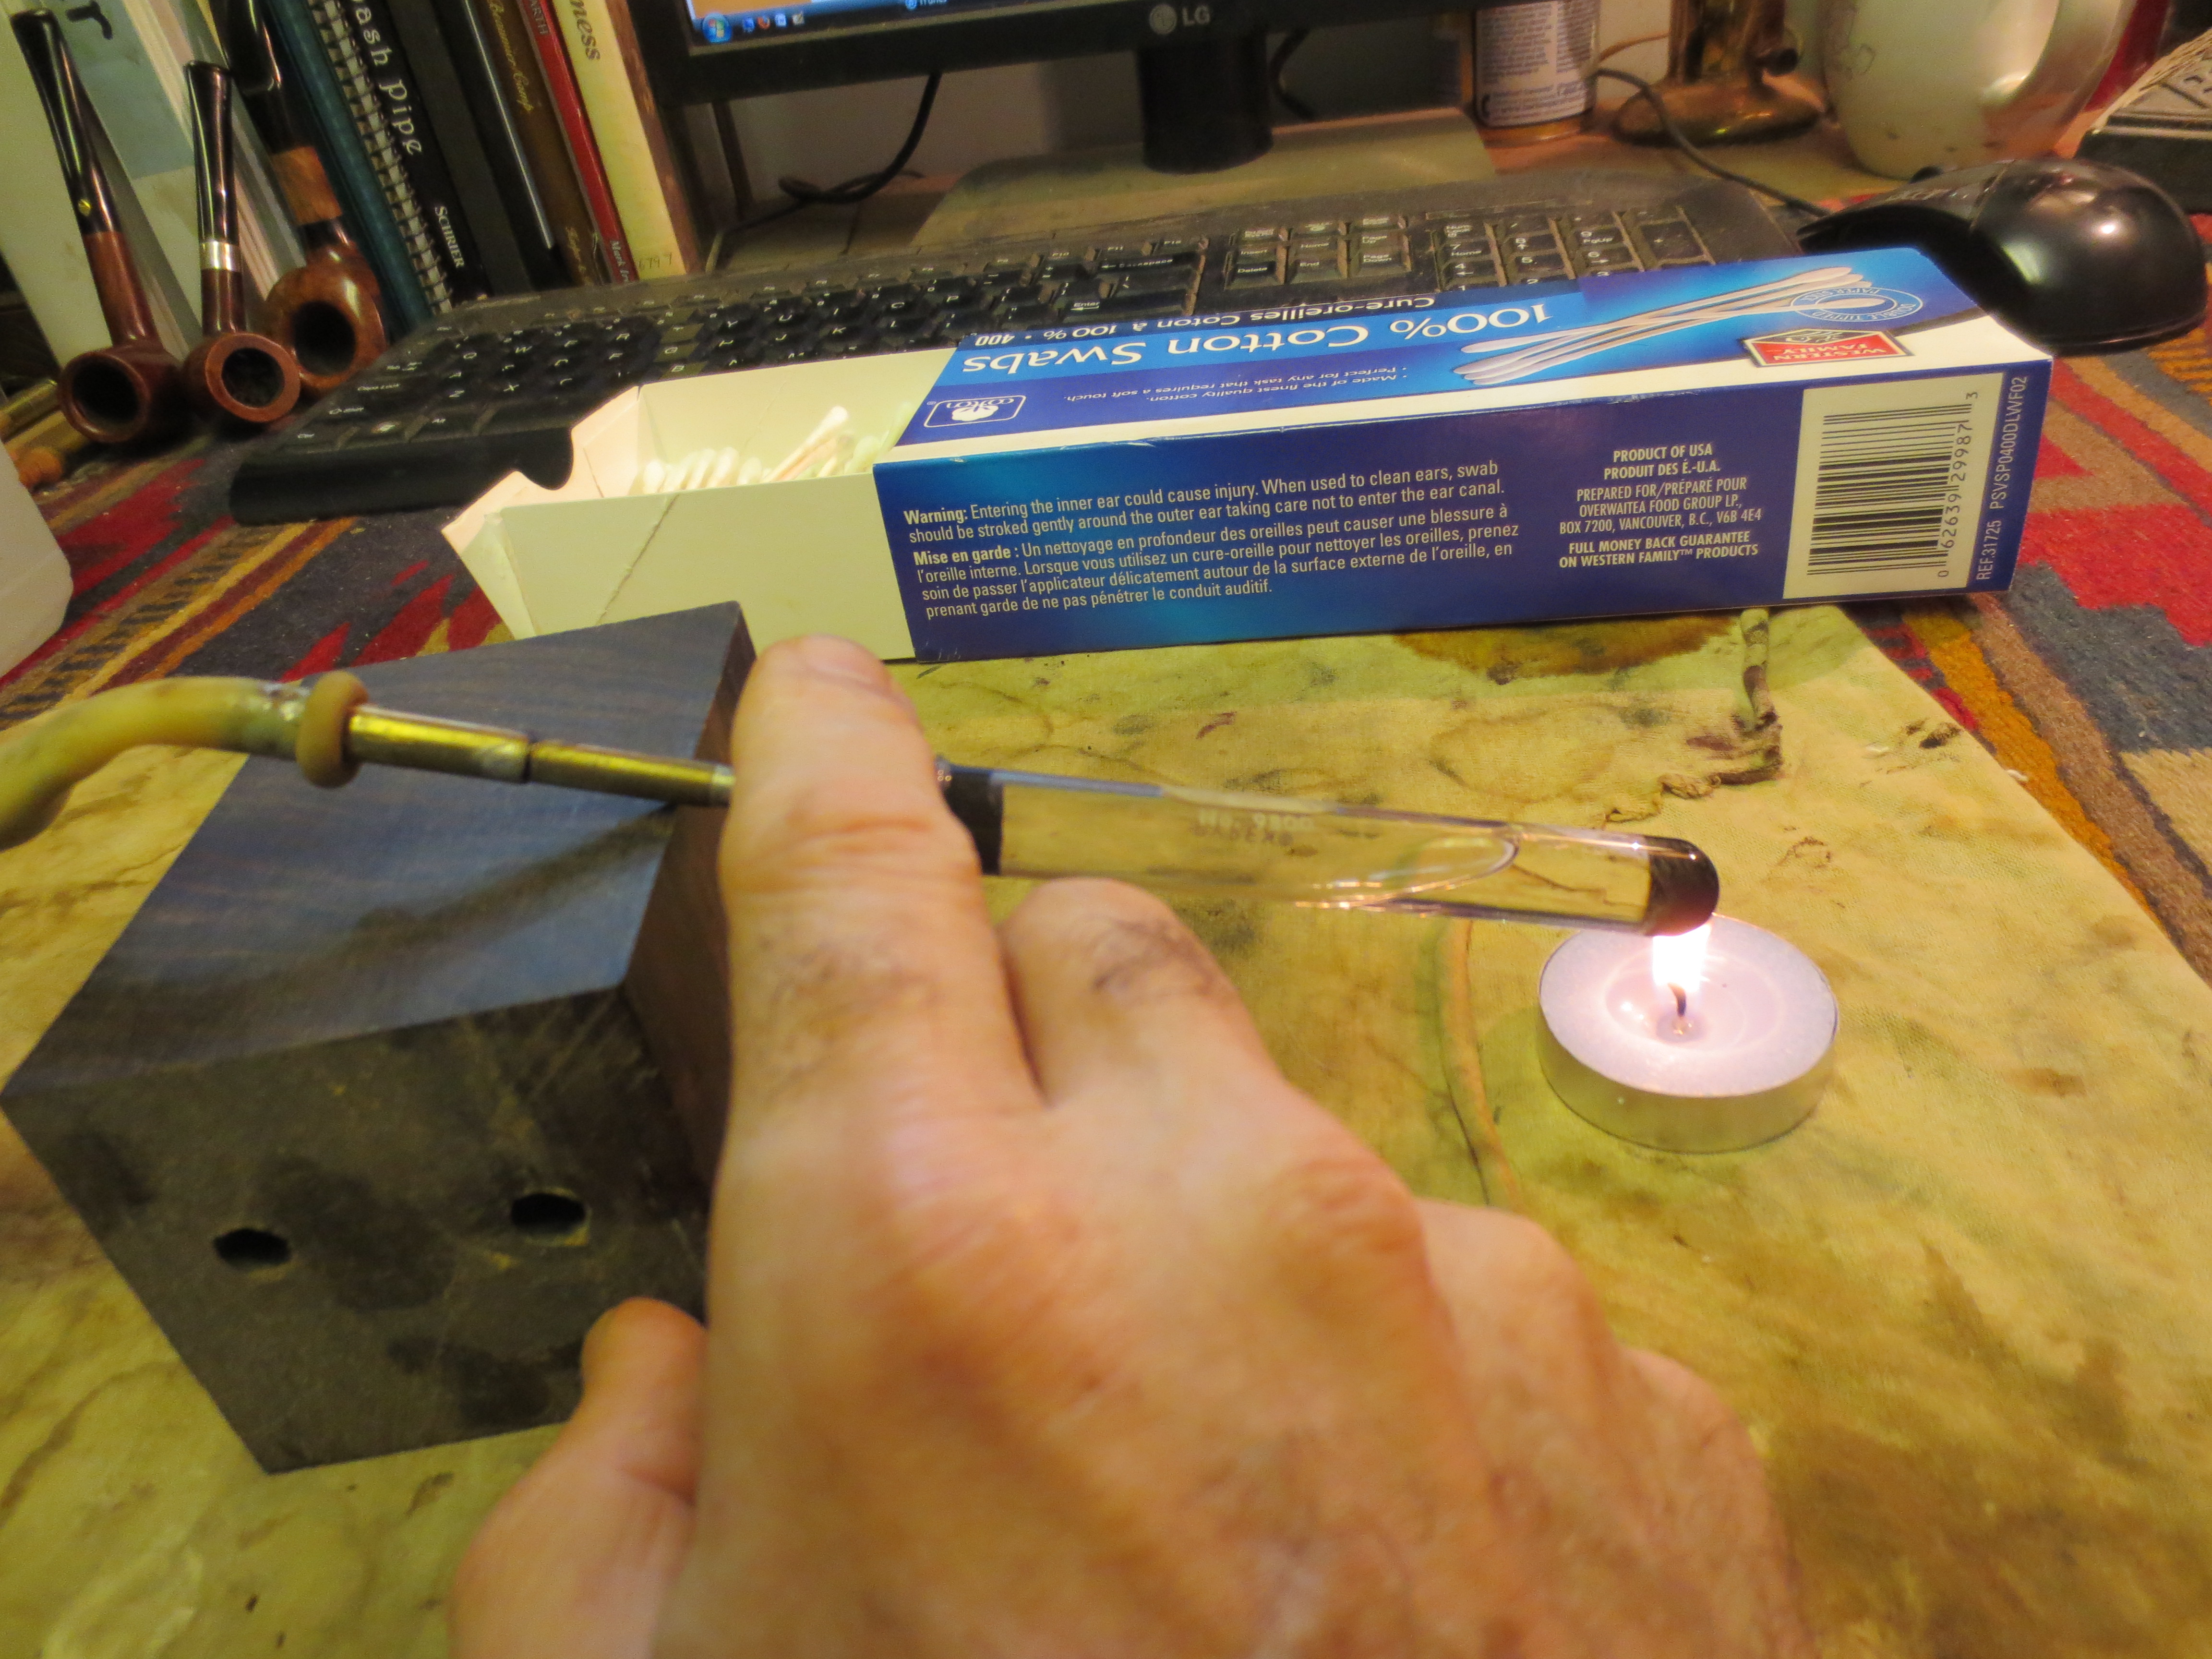
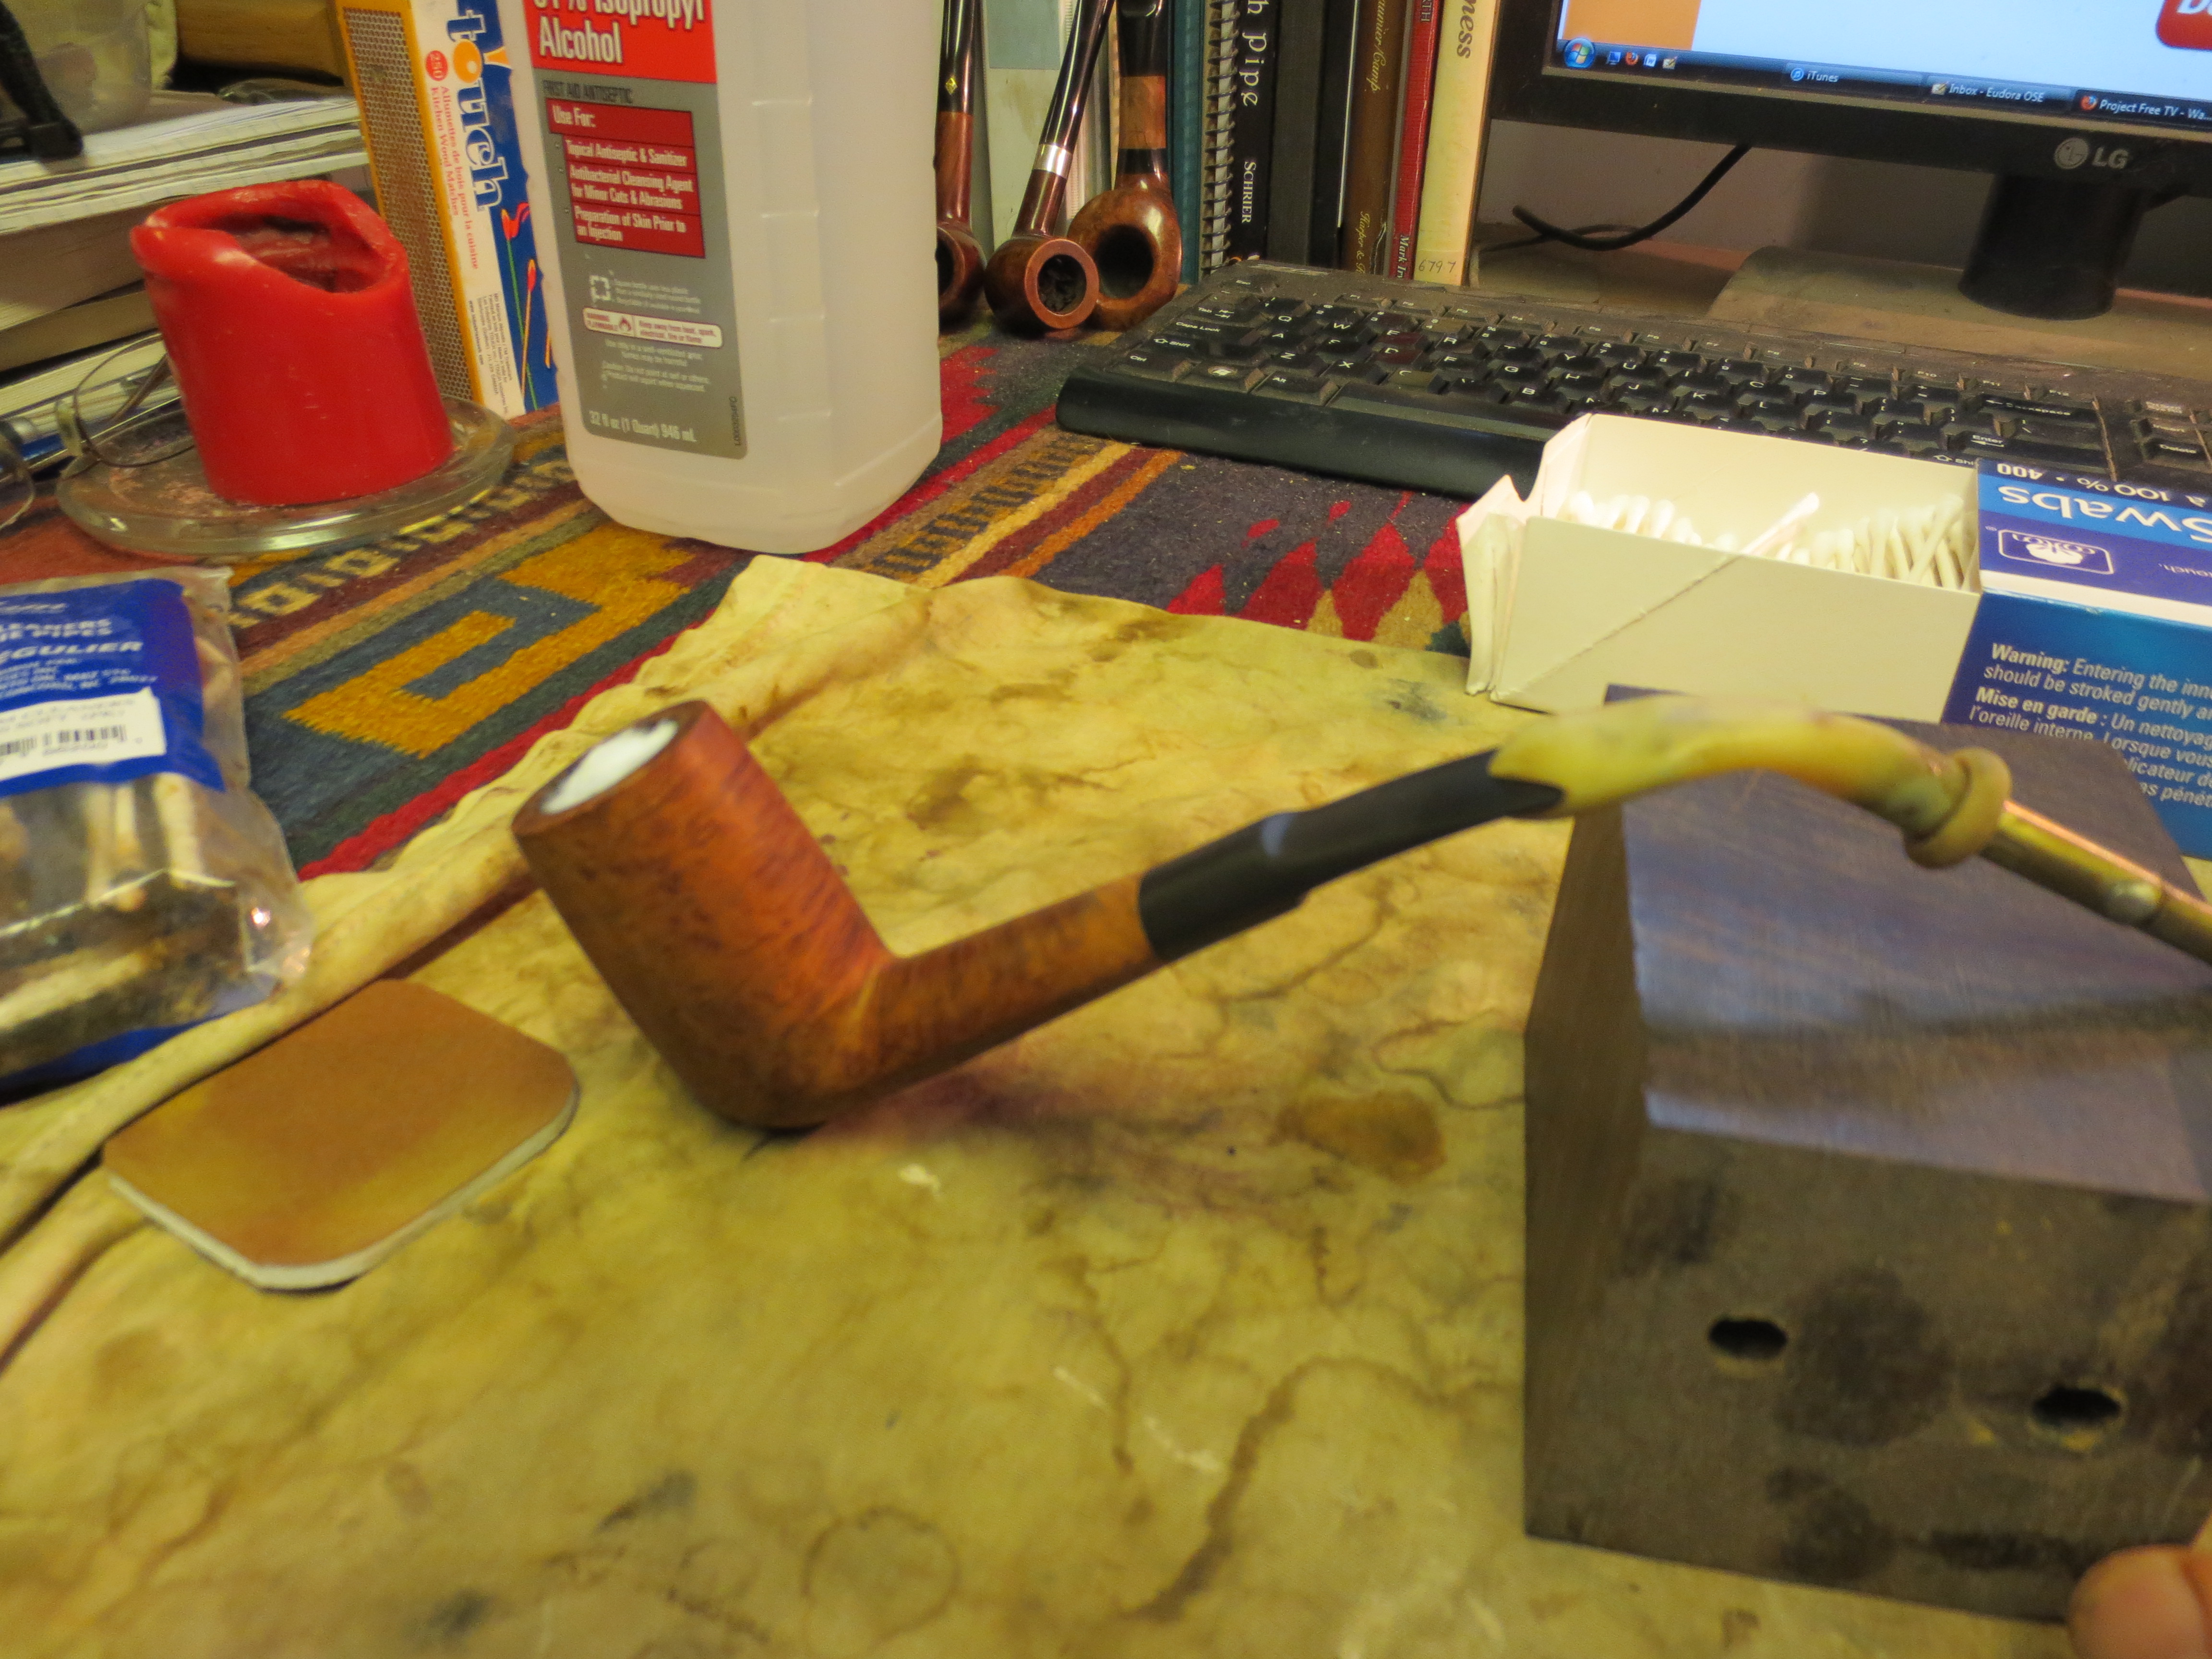
Because of the amount of grime that I cleaned out of the shank and the stem I decided to use a retort on it to give it a more thorough cleaning. The next series of three photos show the set up of the retort system. I use isopropyl alcohol in the test tube and heat the tube with a small tea light candle. I use a block of ebony that I have here to support the pipe and retort during the process. The alcohol is boiled through the pipe until it comes out clean. Generally this takes 2-3 fresh test tubes of alcohol.
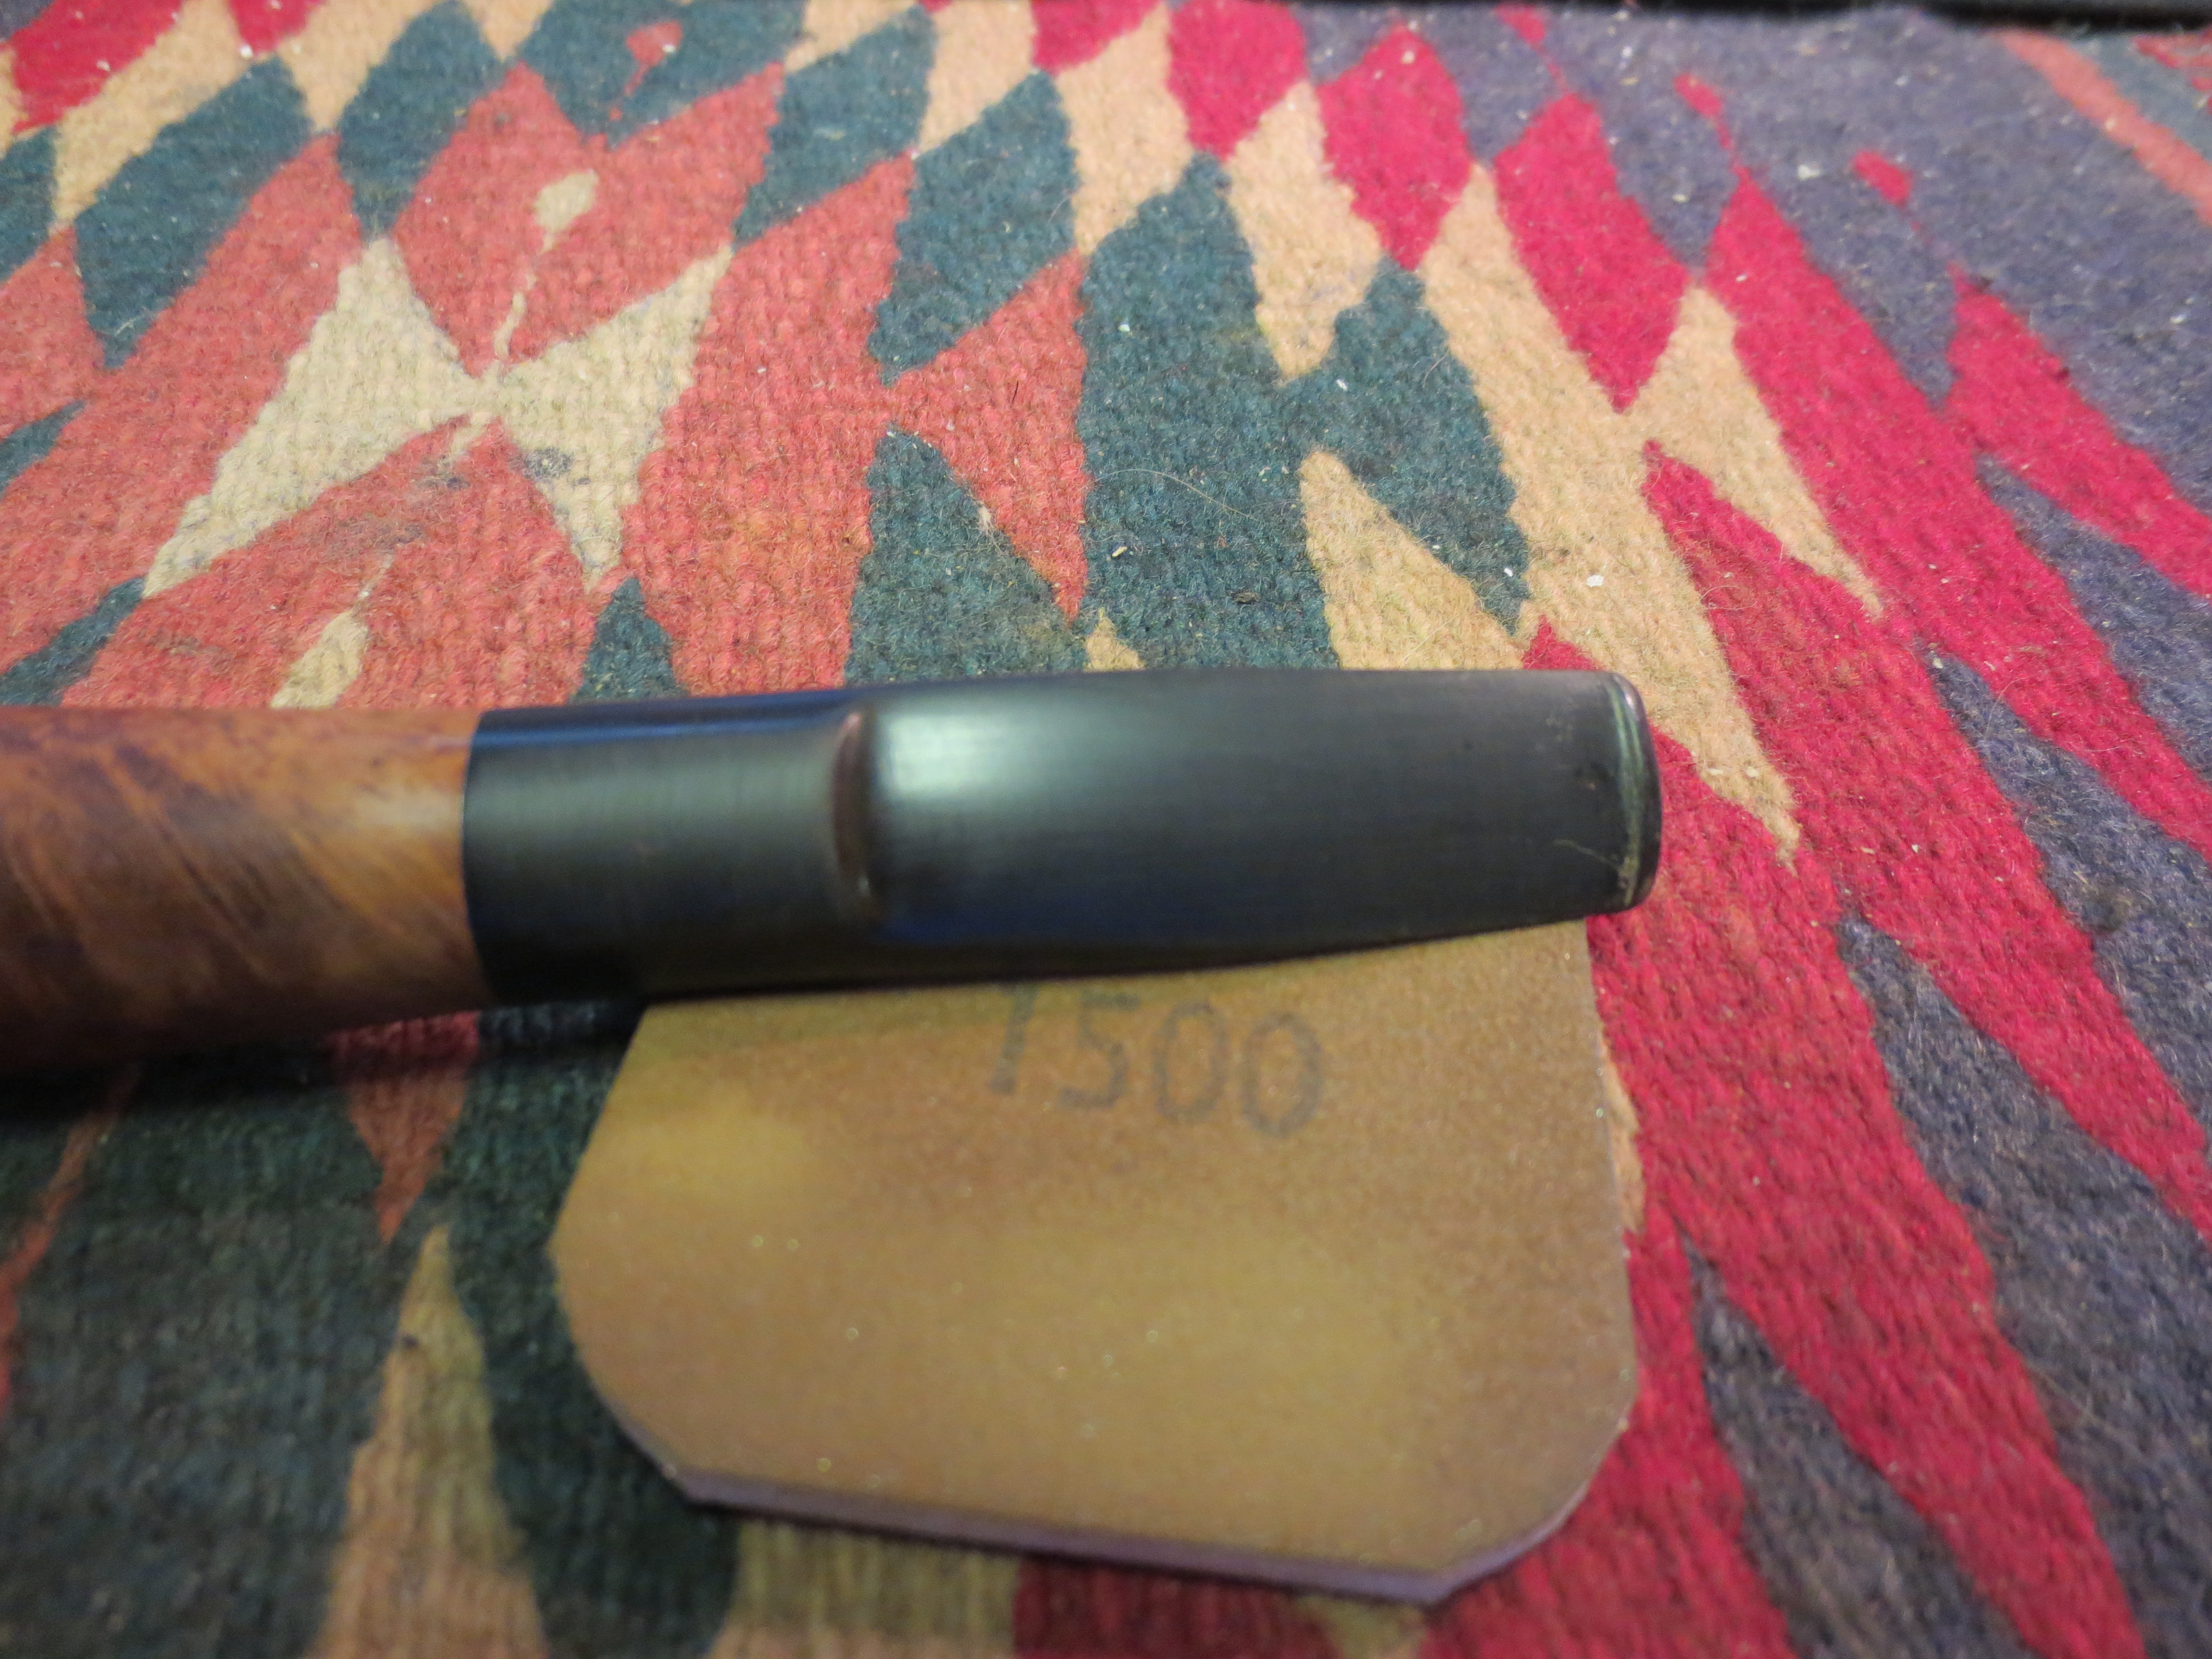
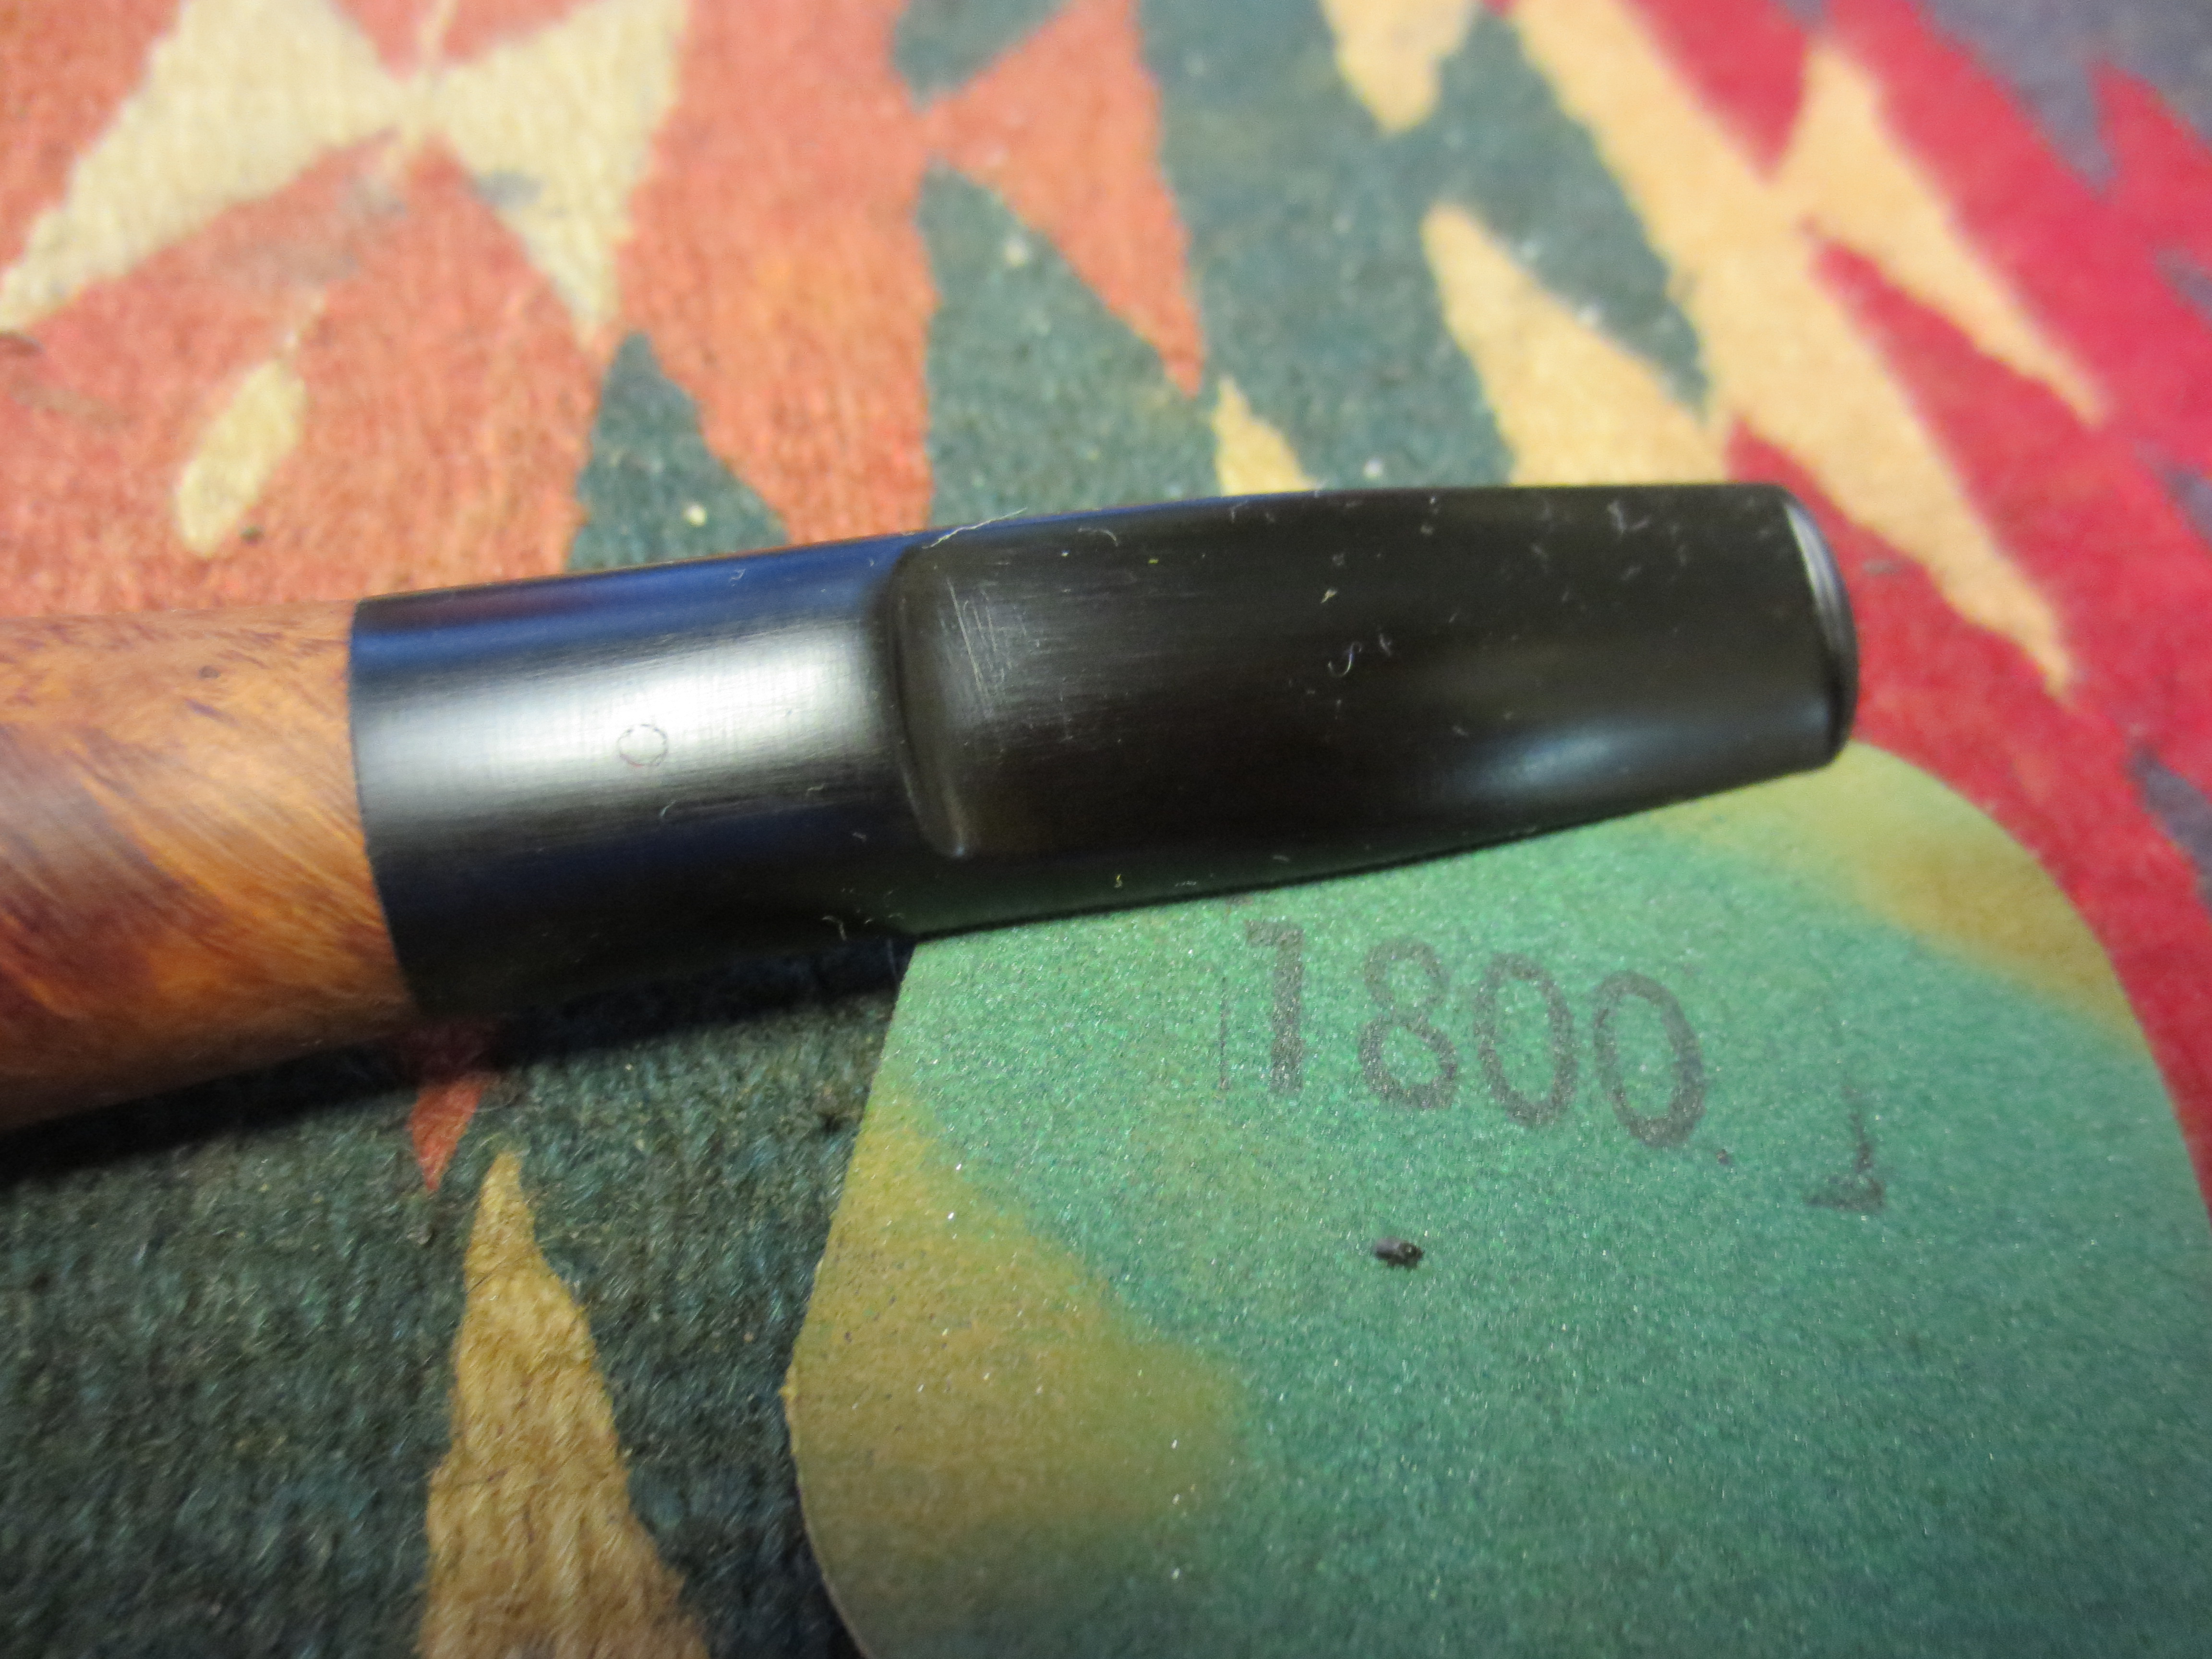
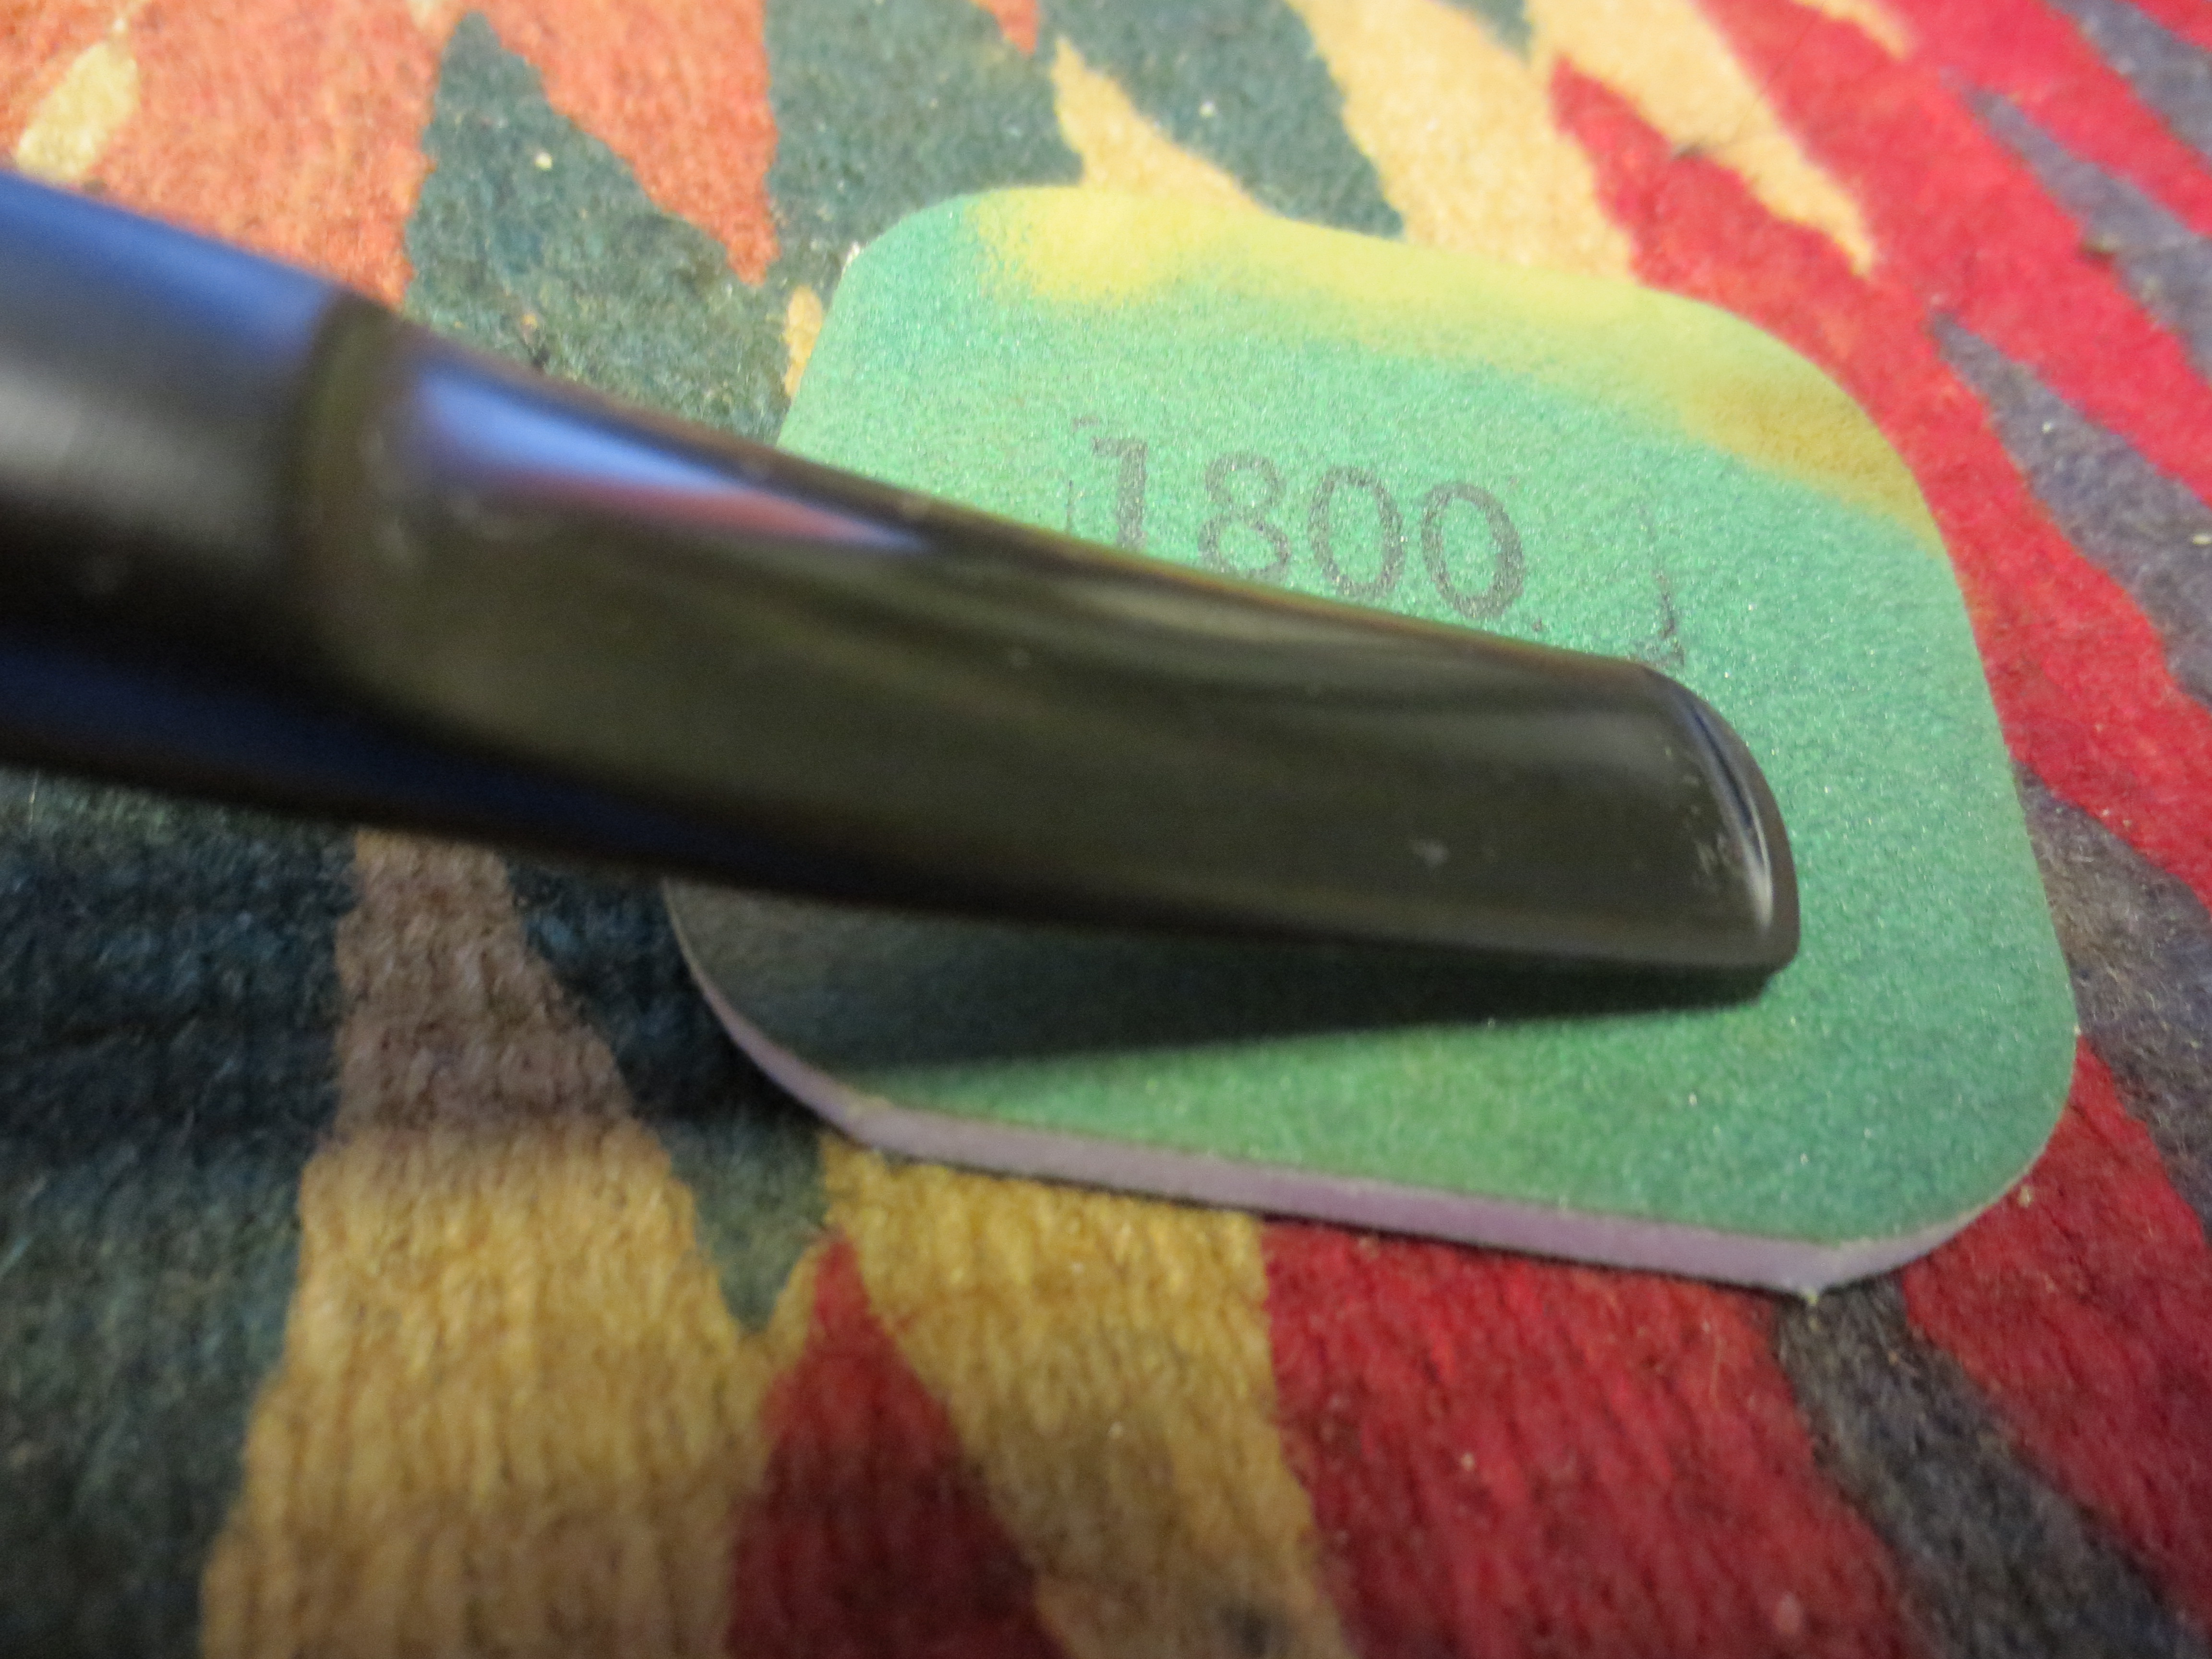
After removing the retort I cleaned out the bowl, shank and stem with pipe cleaners and cotton swabs a final time to remove any of the alcohol and oils that remained. I then sanded the stem with 1500 and 1800 grit micromesh sanding pads to begin polishing the surface and to remove any of the debris left from the surgical tubing on the stem.I continued to sand the stem with the micromesh sanding pads from 2400-12,000 grit in preparation for staining.

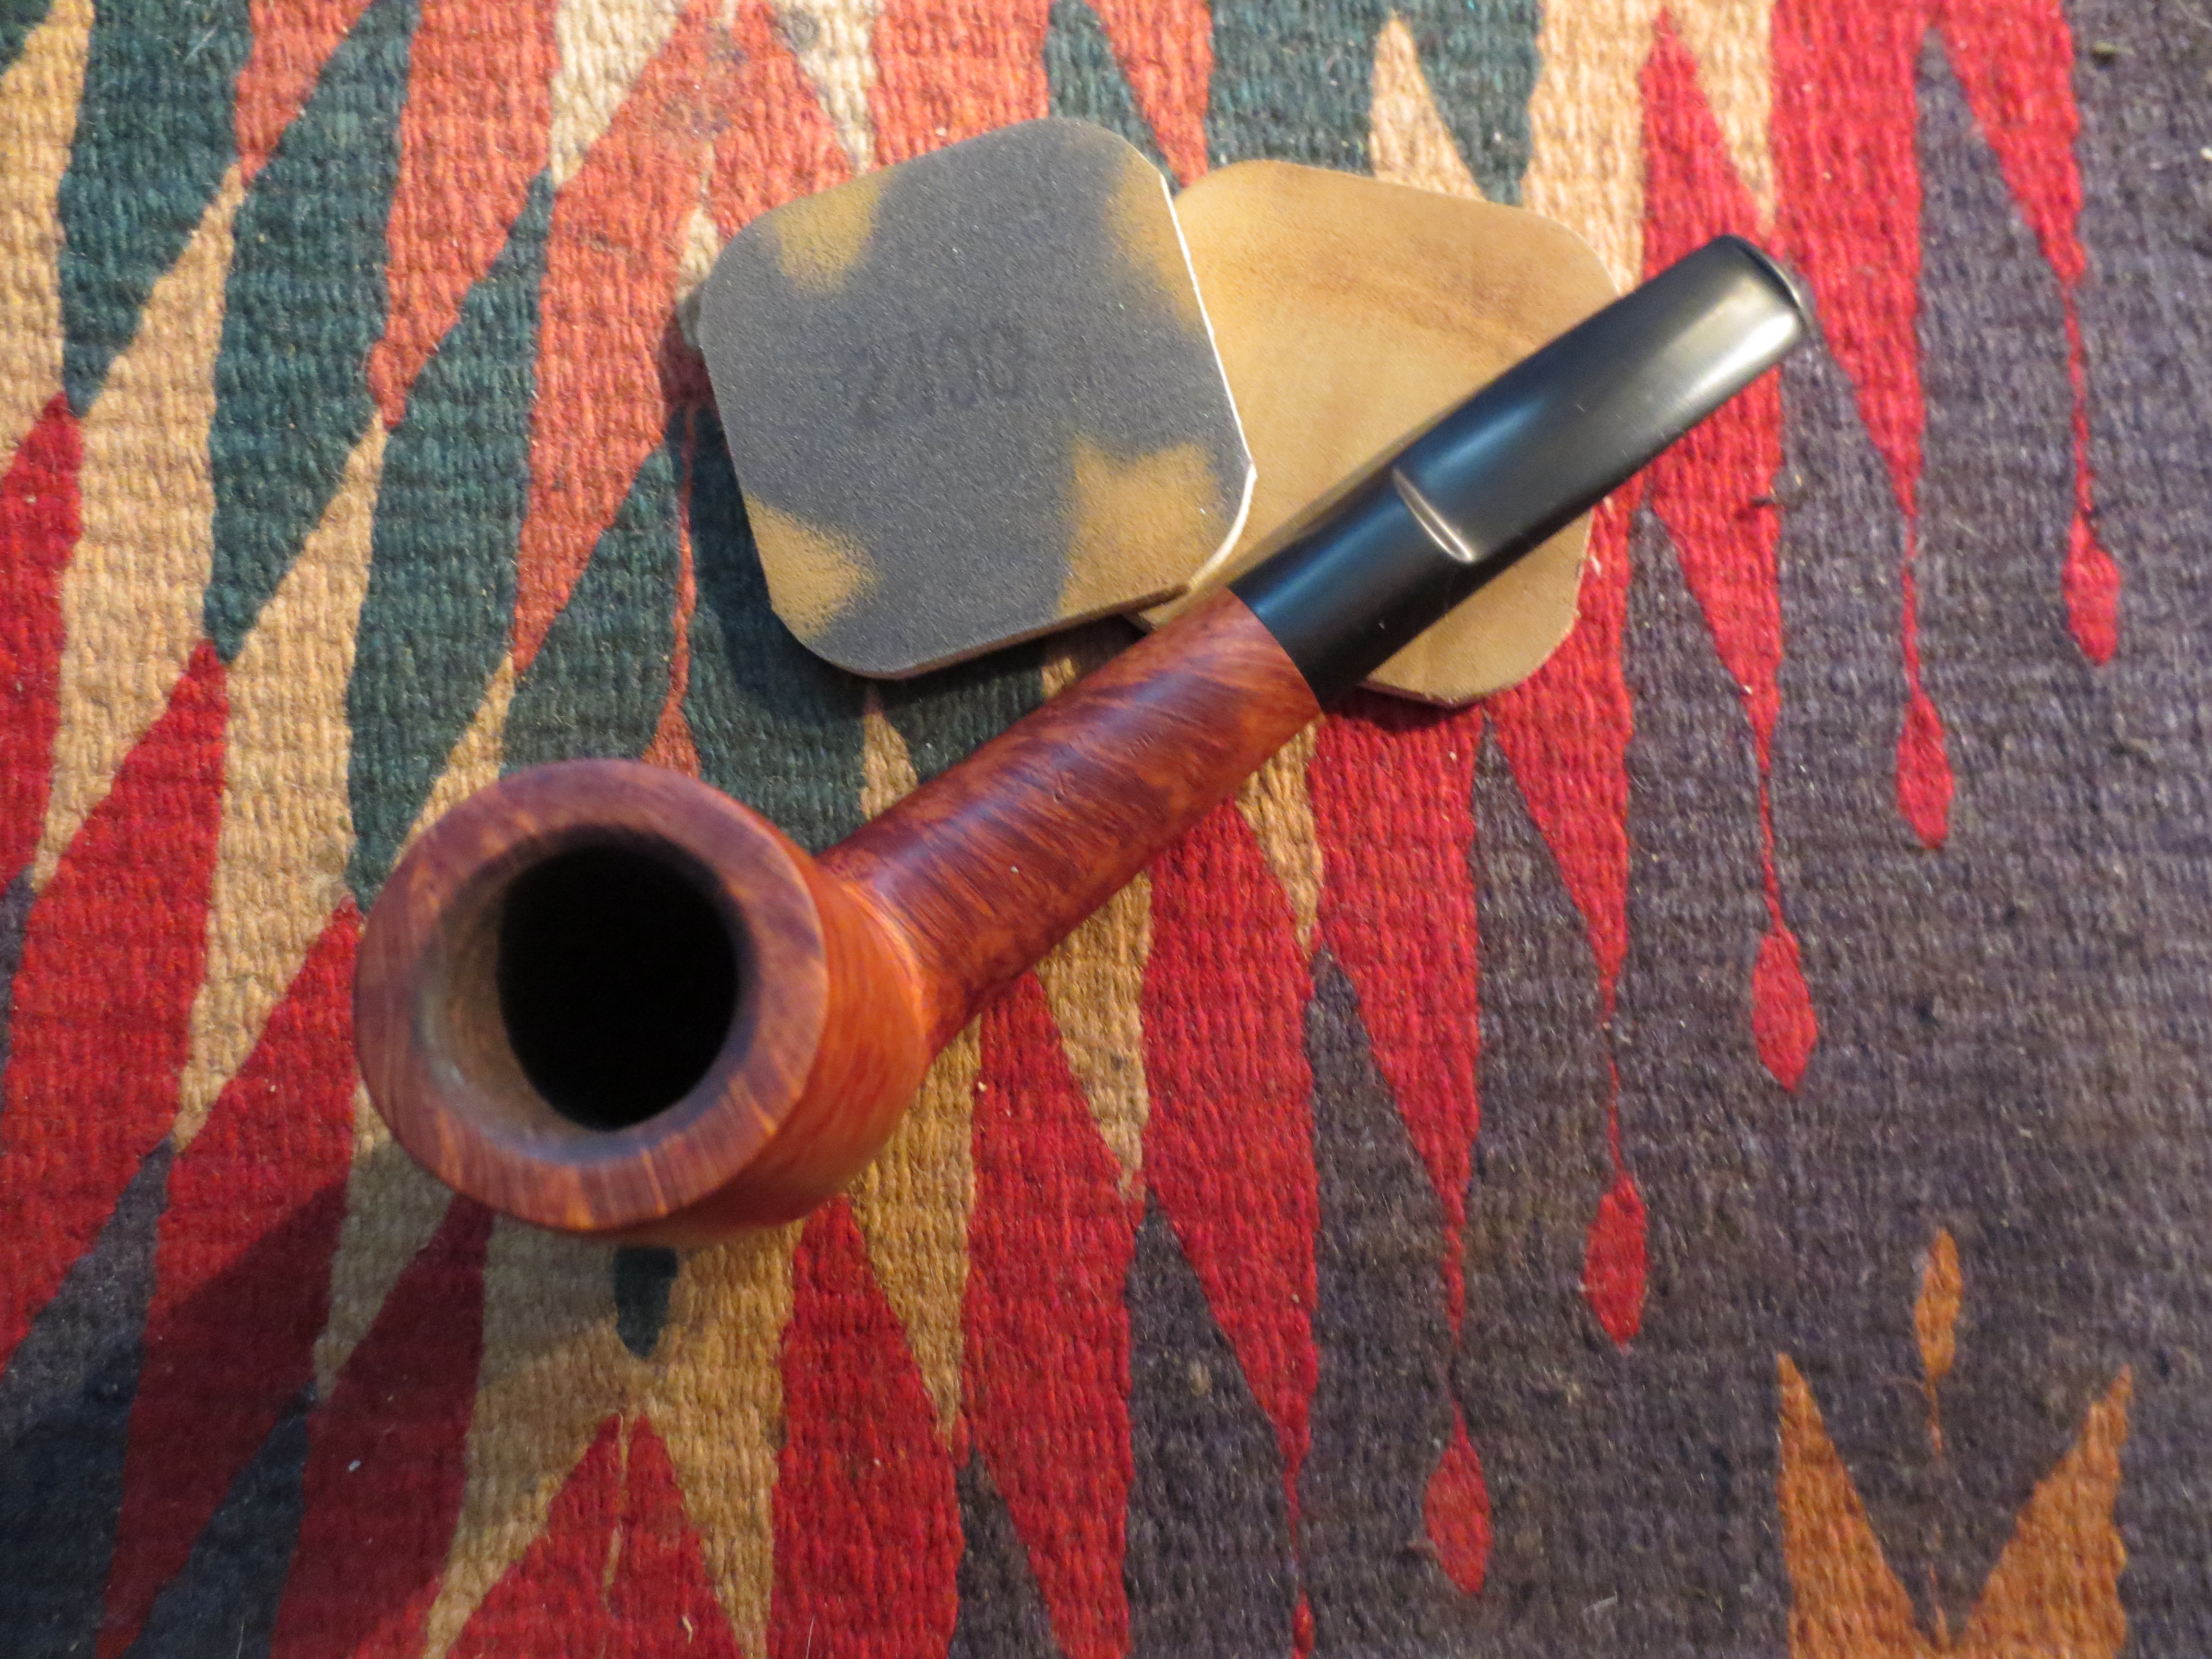
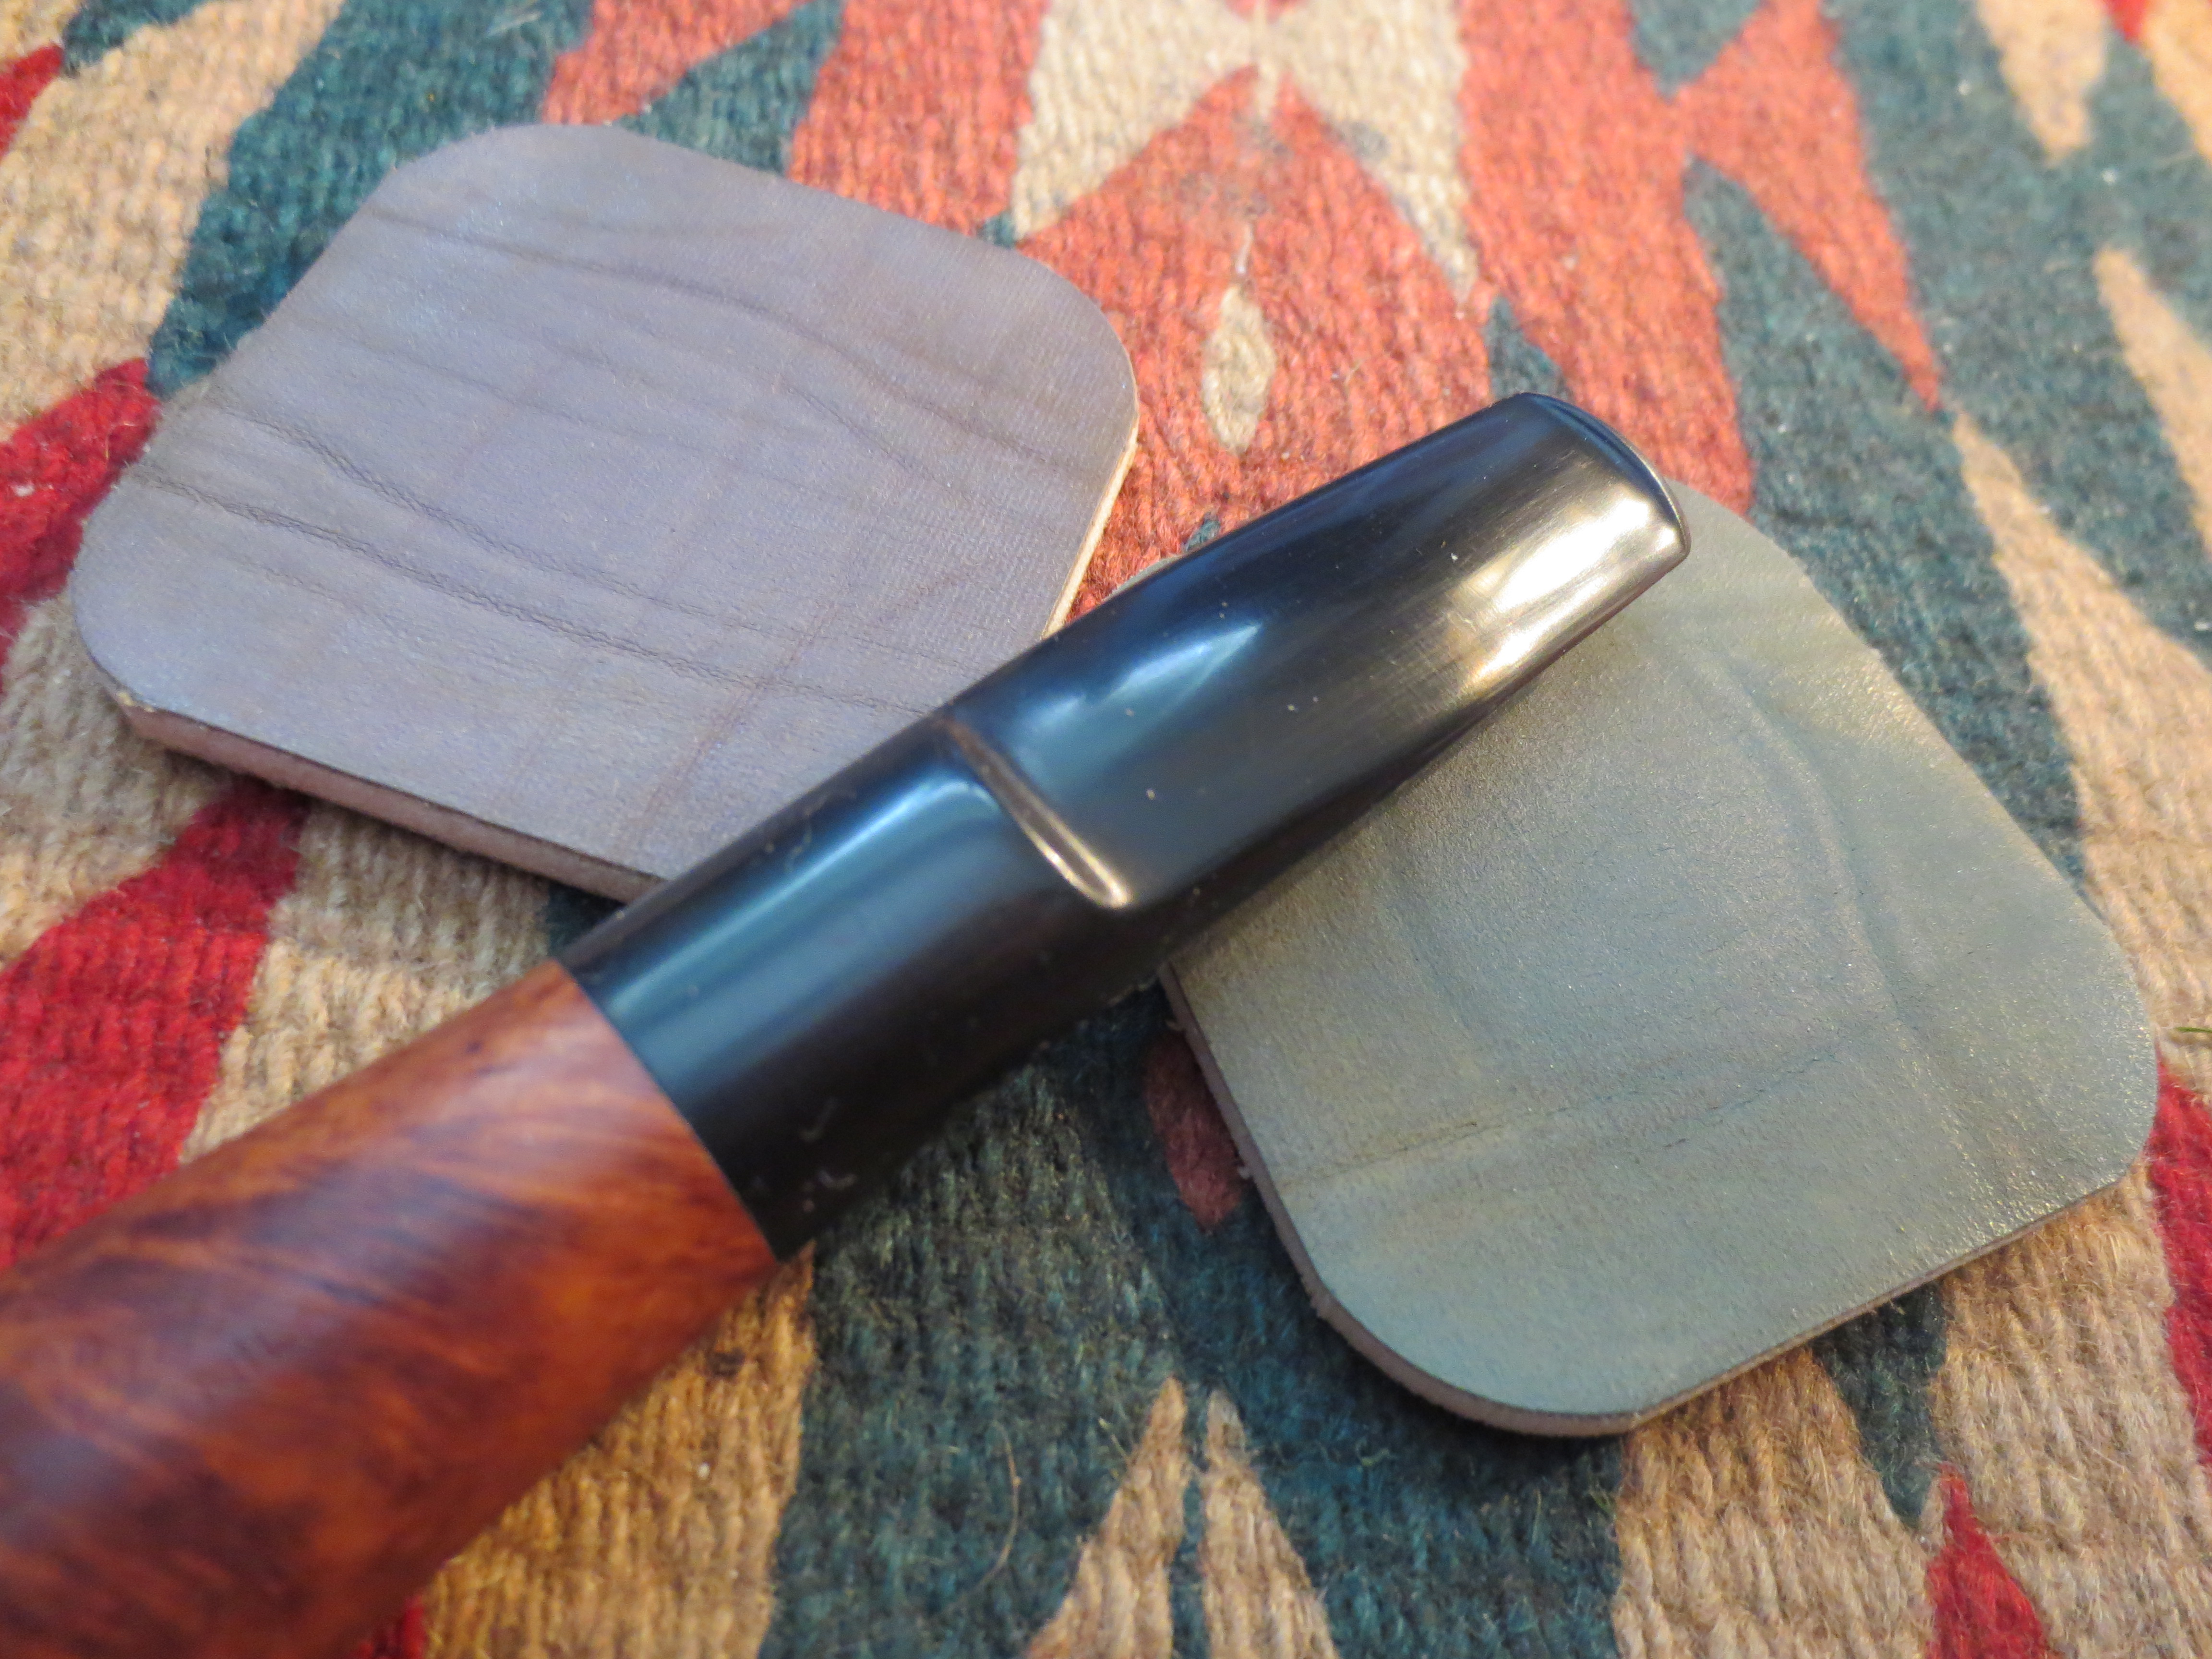
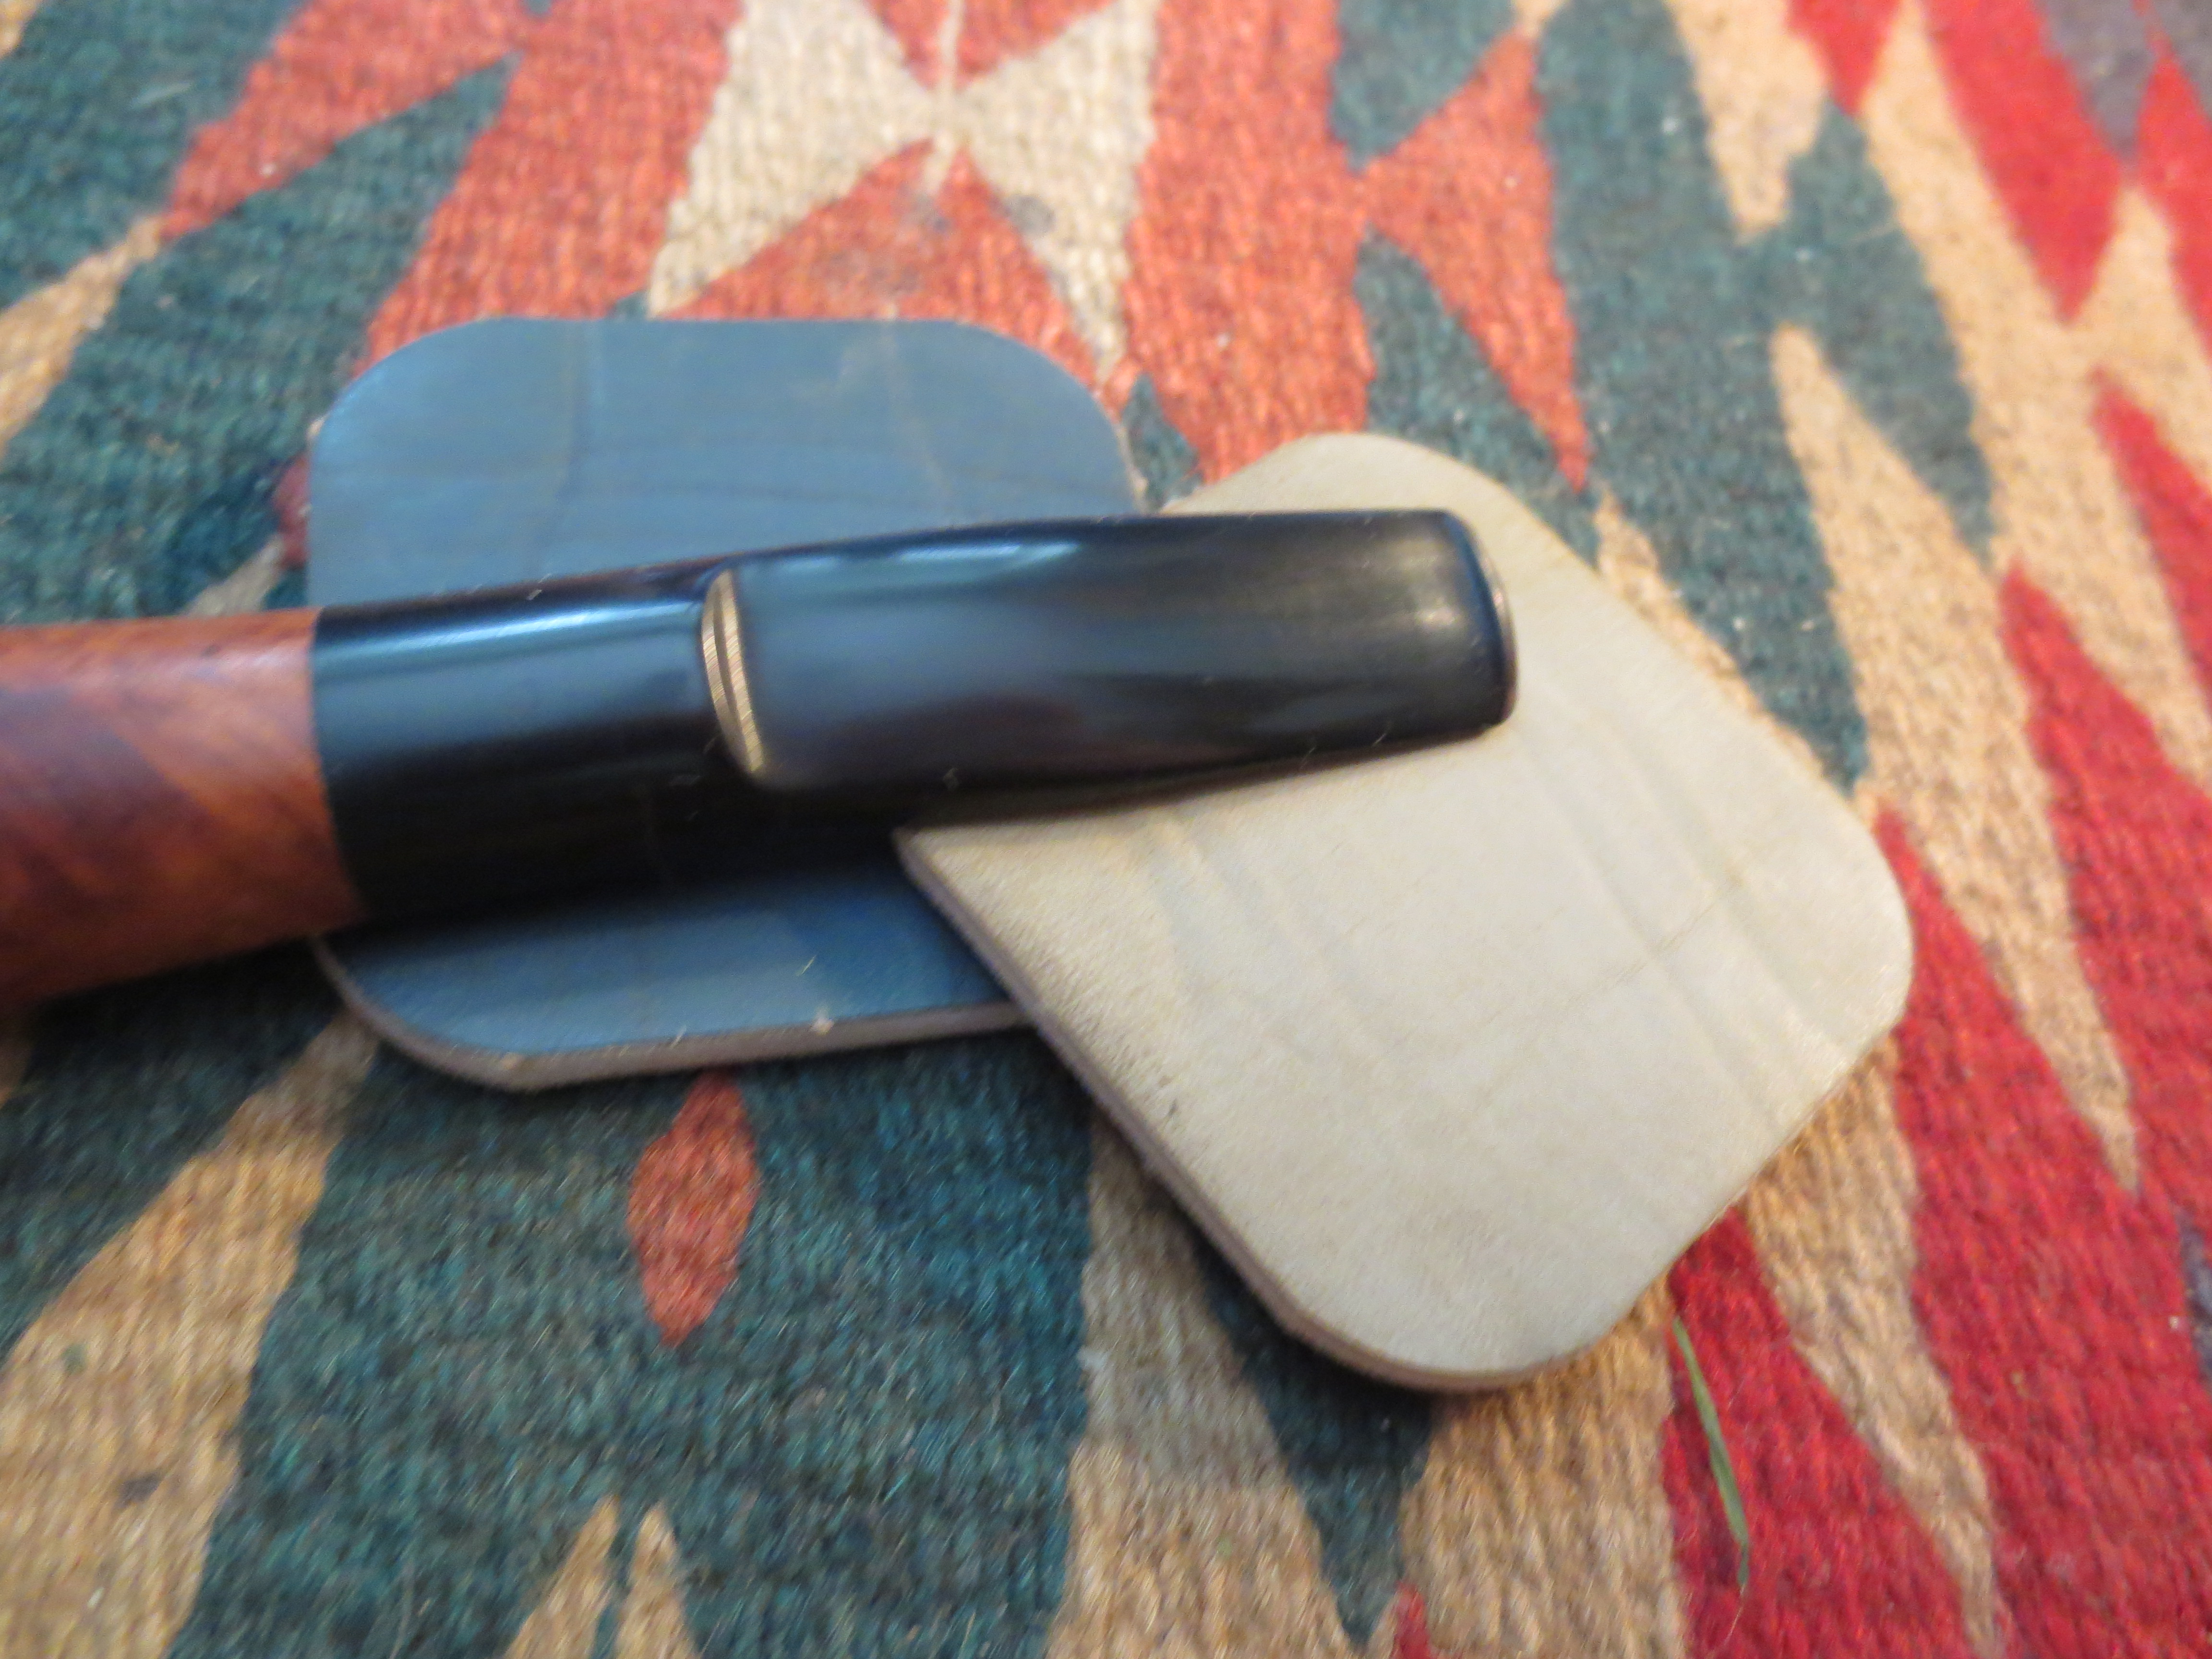
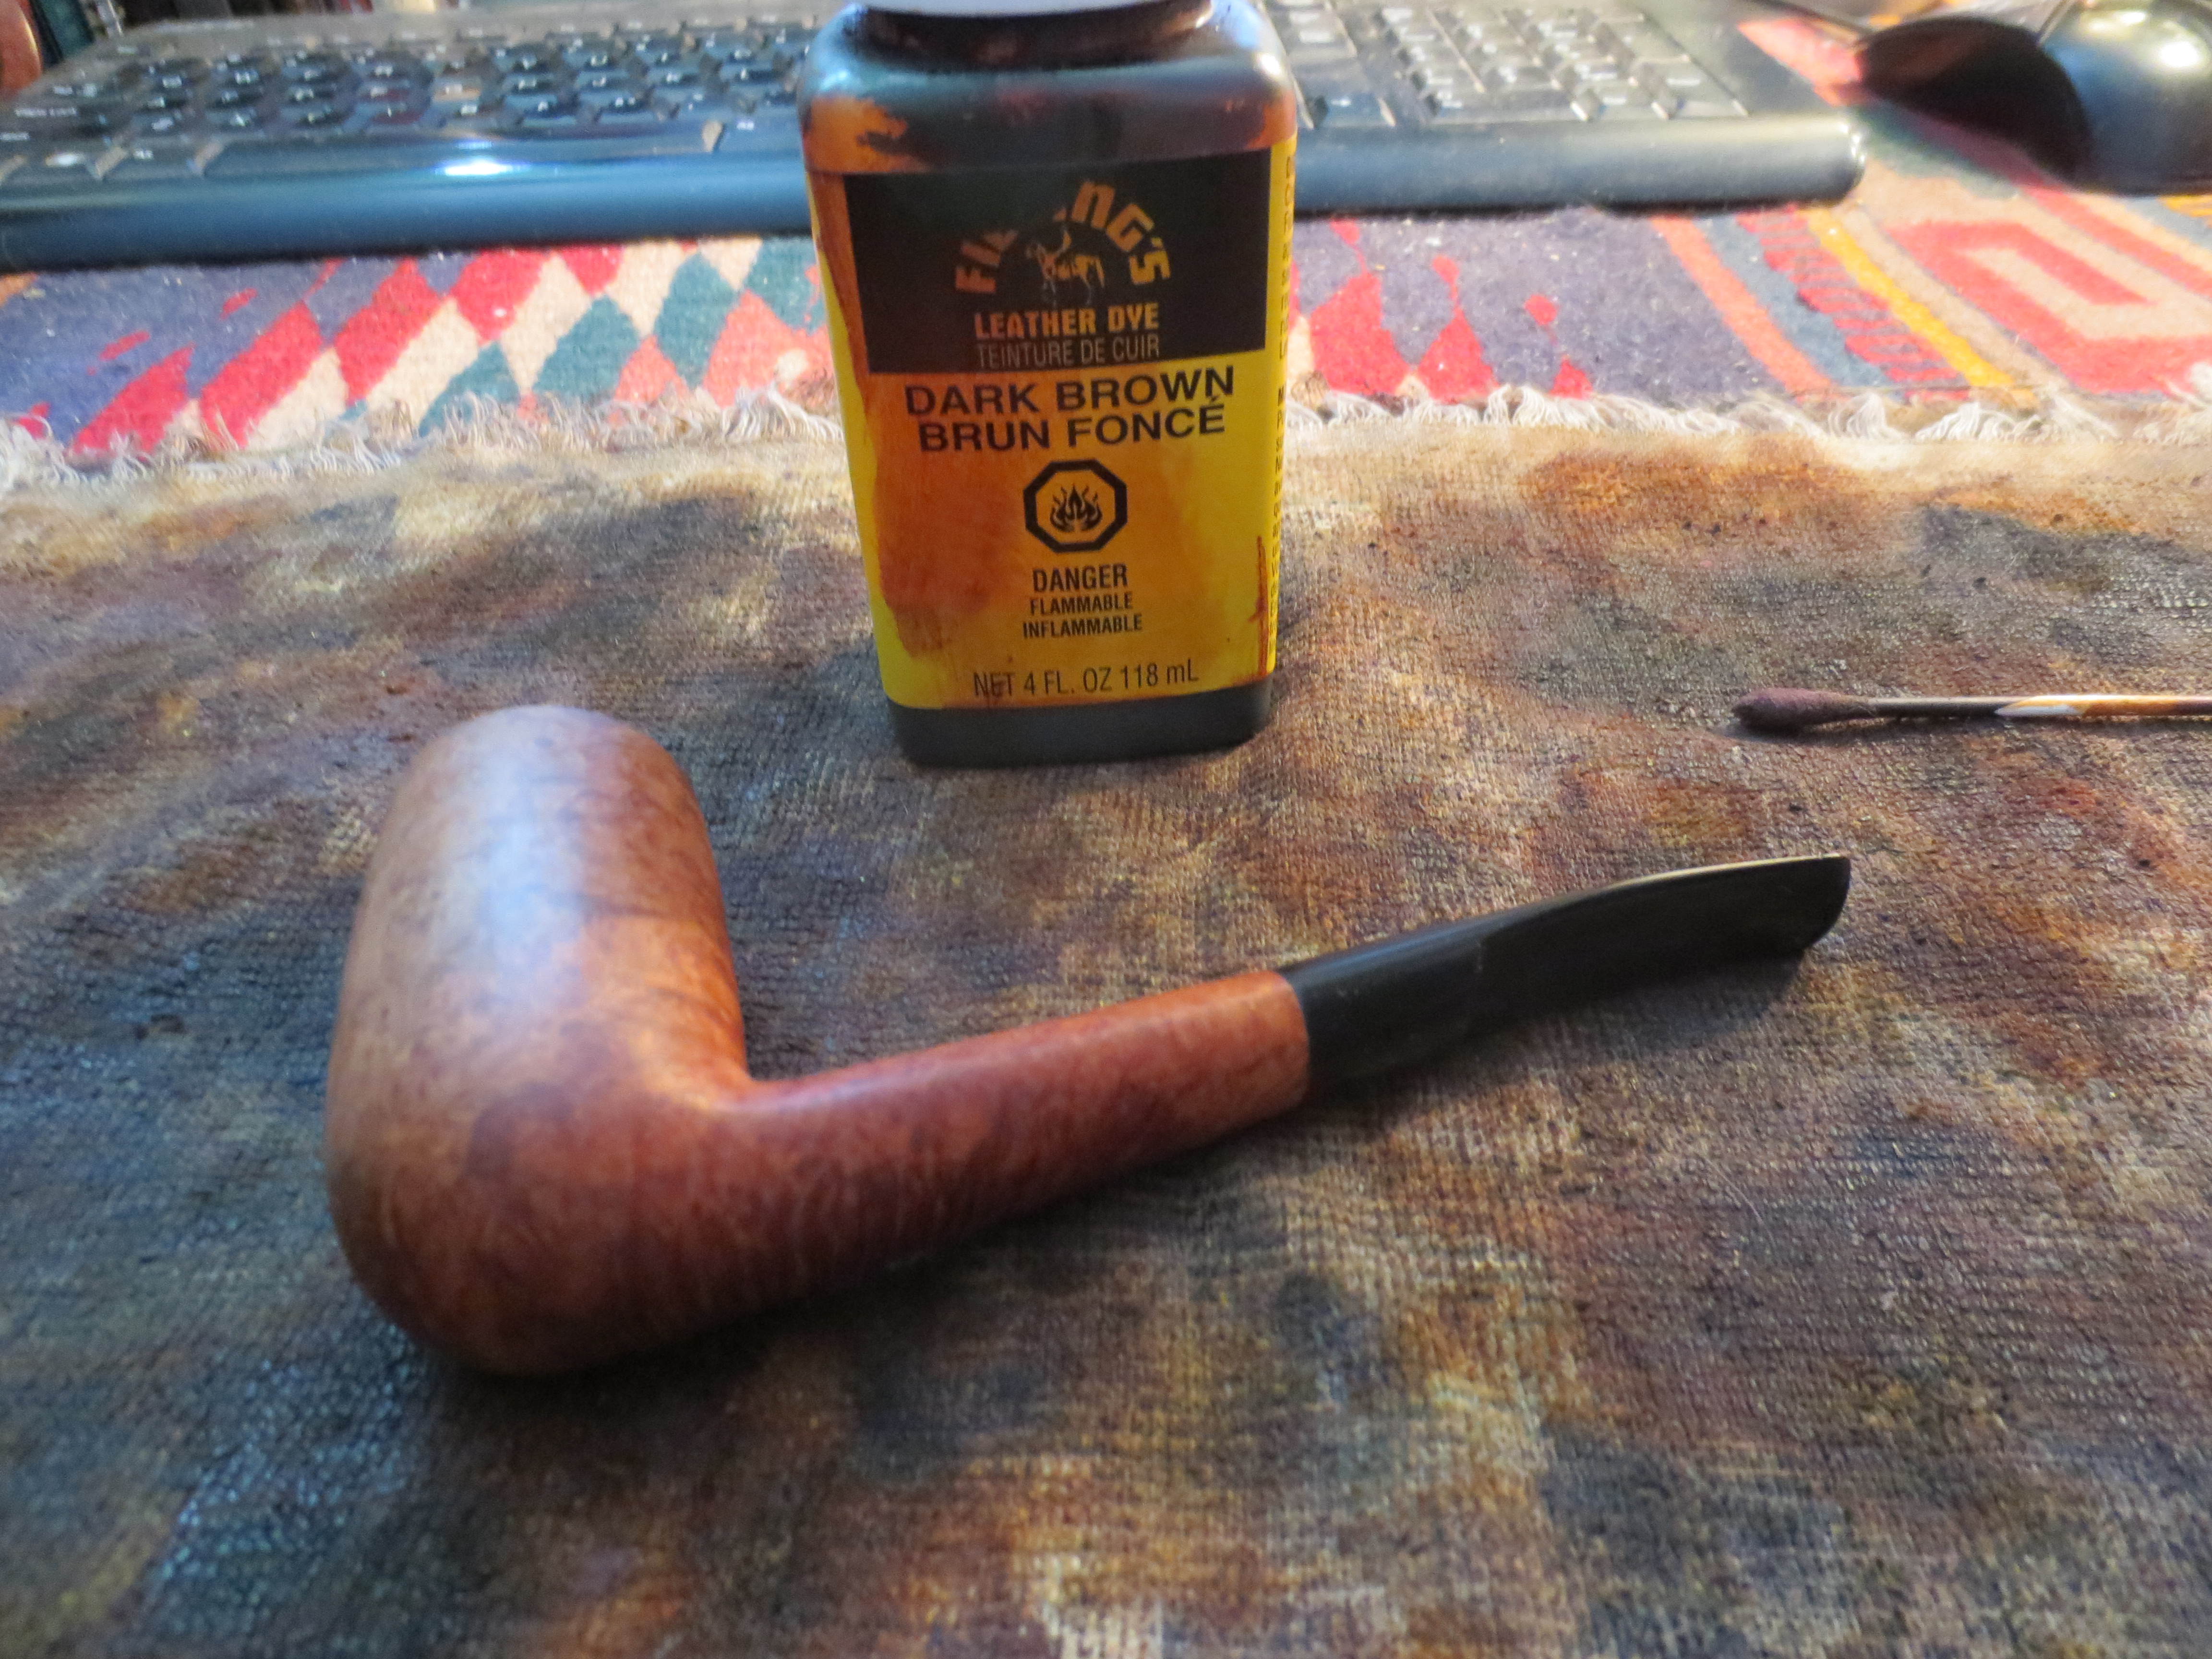
I stained the pipe bowl and shank with dark brown aniline stain mixed 2 parts stain to one part alcohol to get the brown colour that was previously on the pipe. I wanted it thin enough that the grain would really stand out and give the pipe a uniform look after the sanding. The pipe has some beautiful cross grain on the front and back of the bowl and the top and bottom of the shank with birdseye grain on the sides. I wanted the stain to highlight that. I stained the pipe, flamed it and restained and reflamed it to set the stain in the grain.
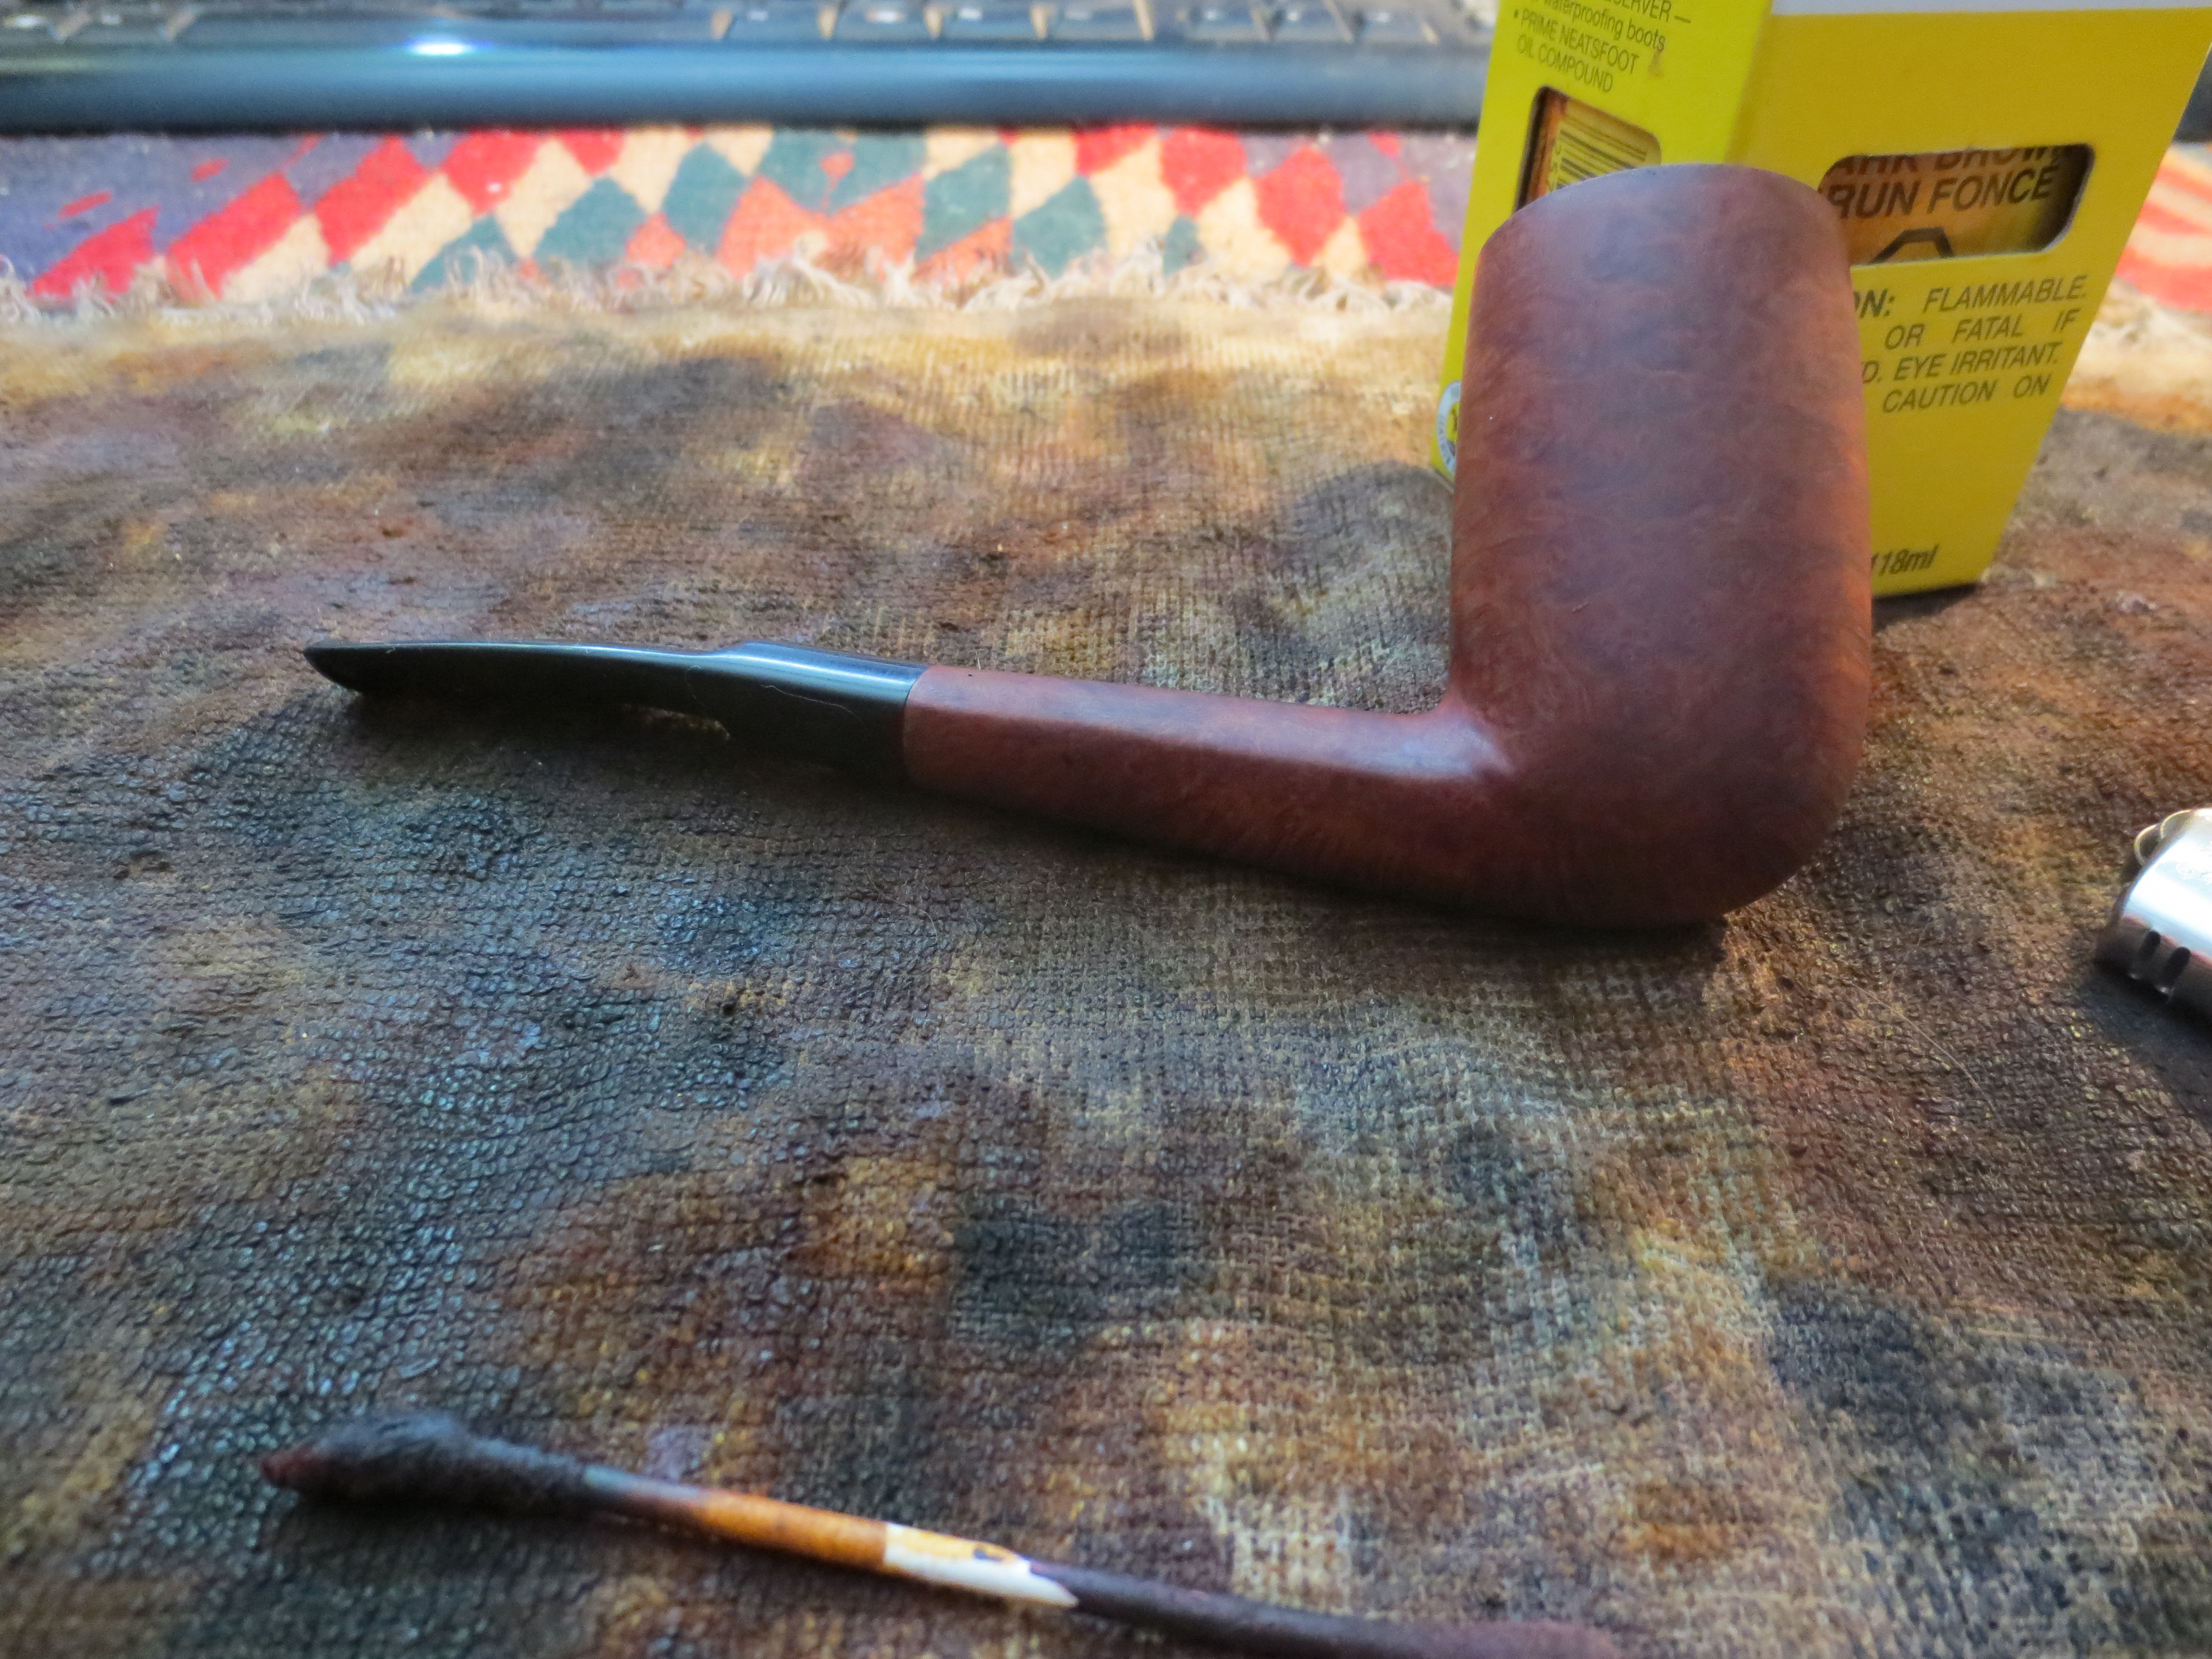
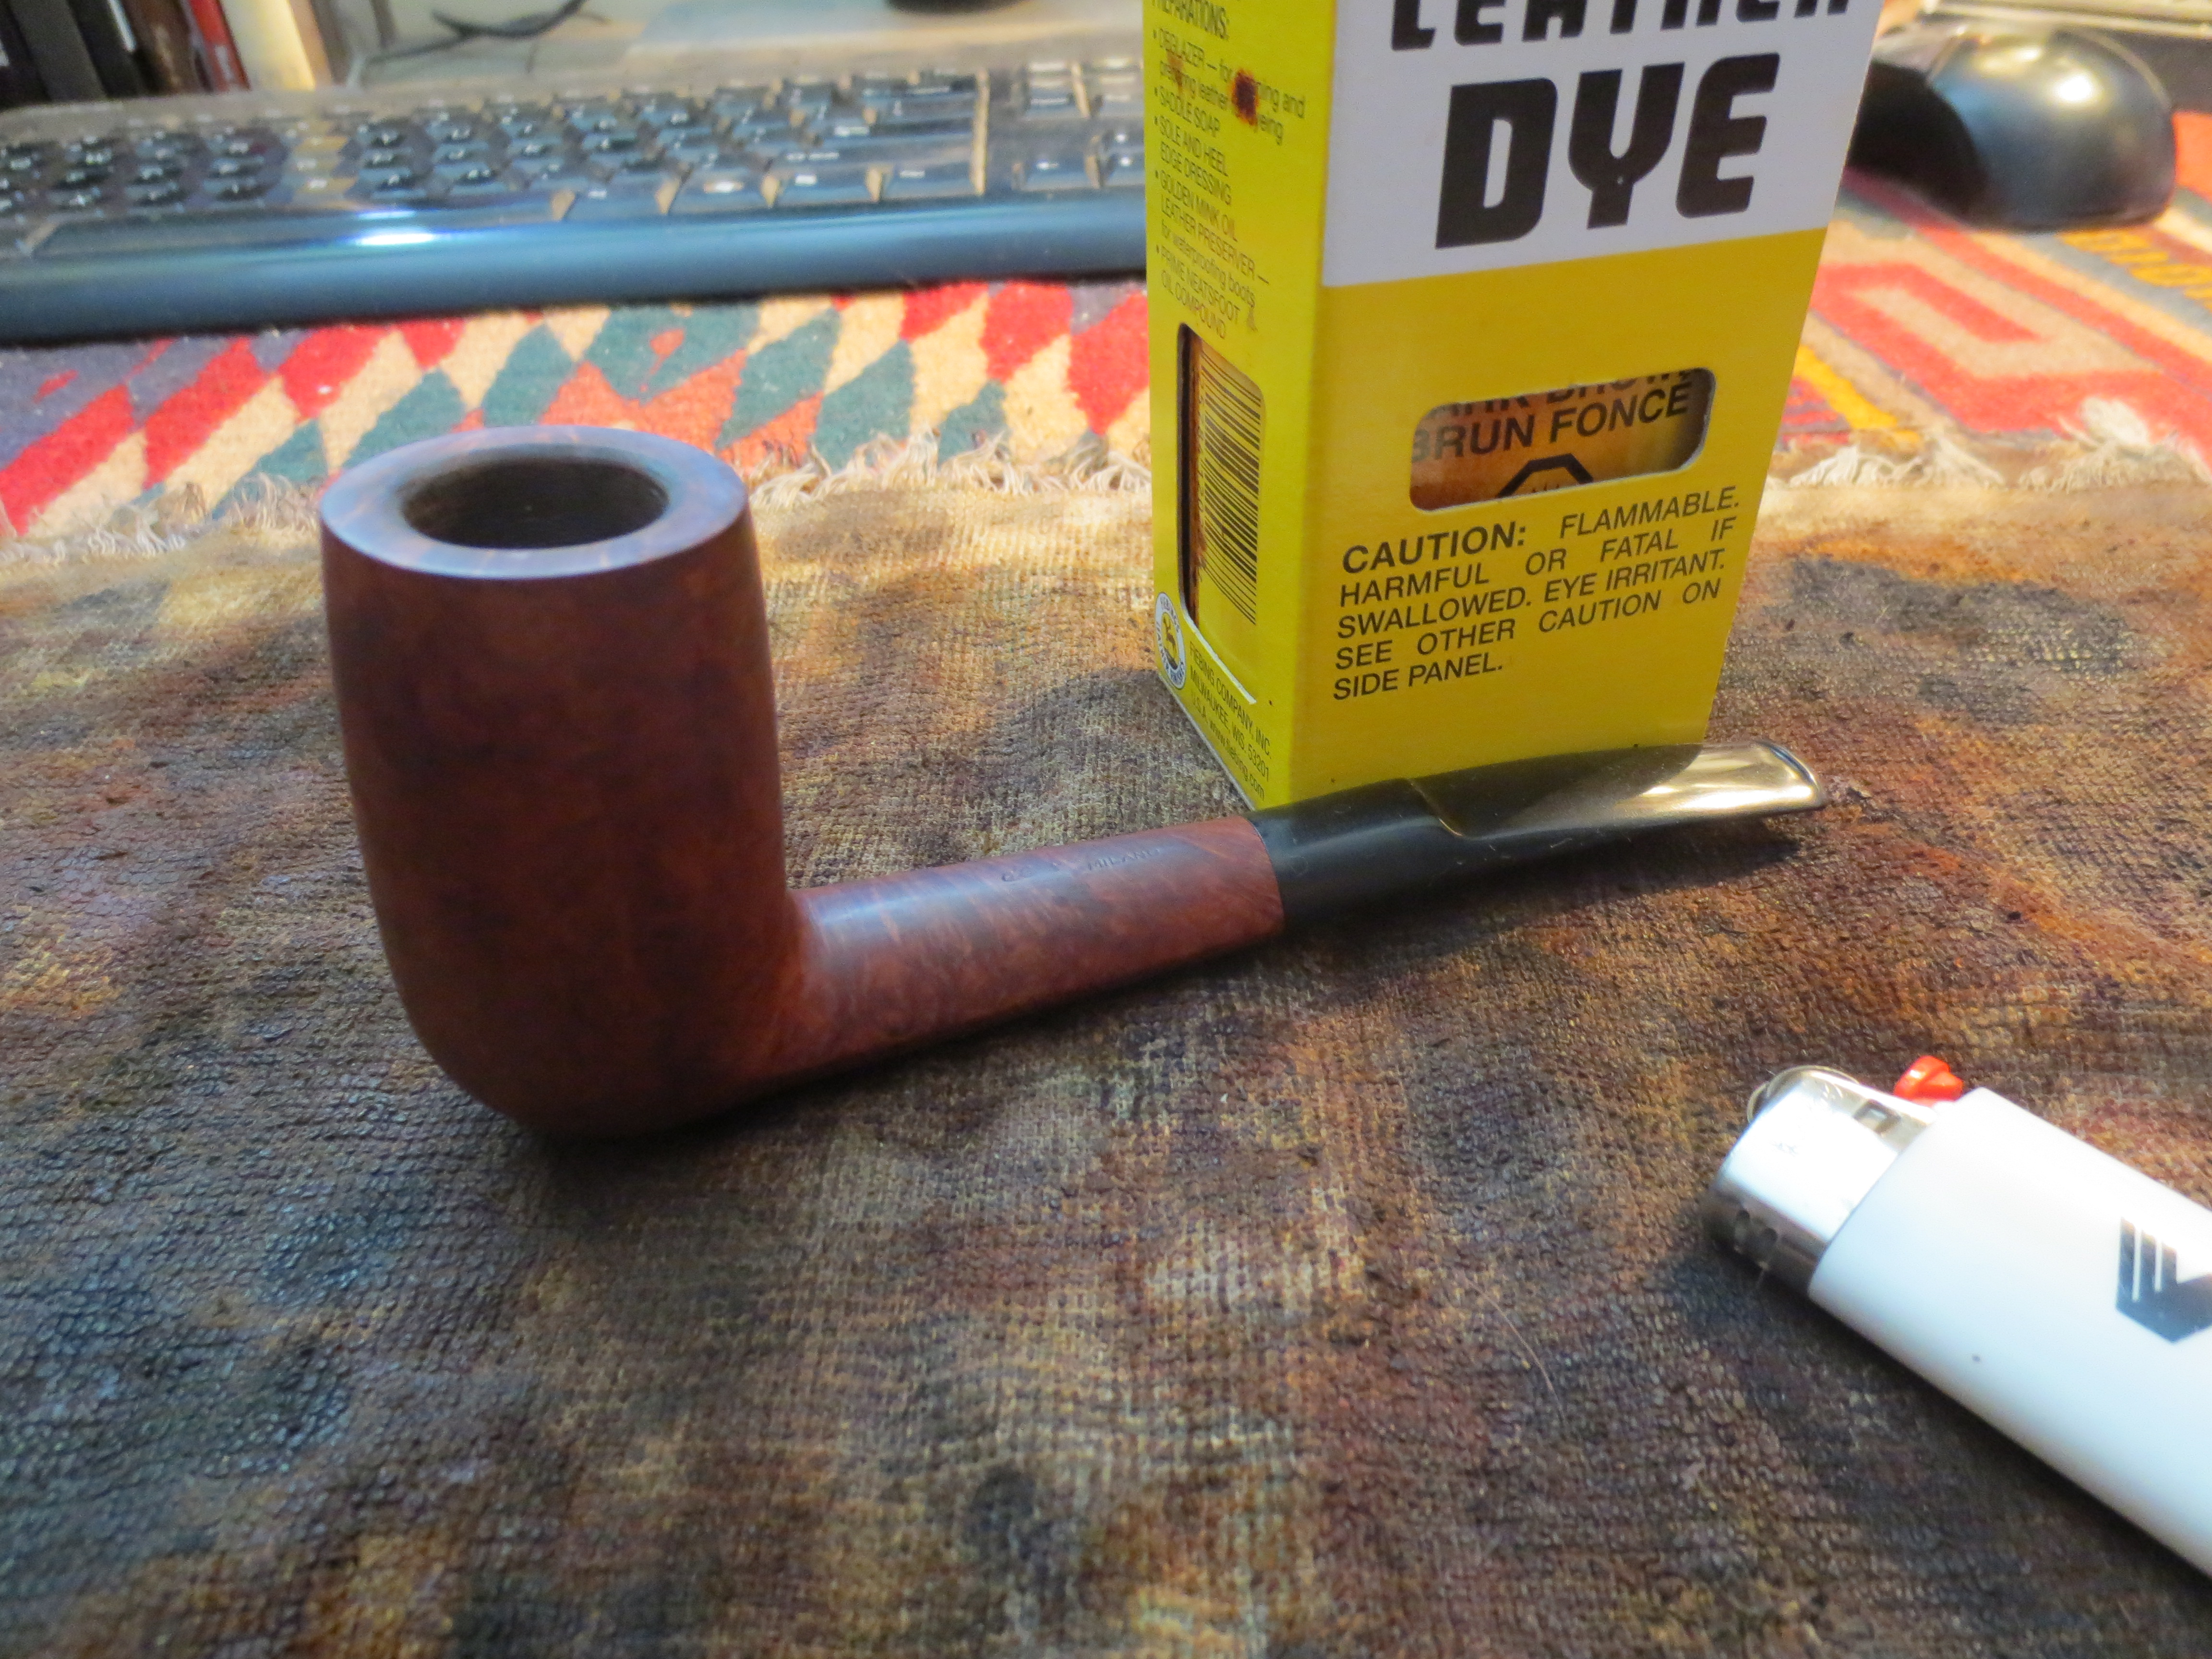
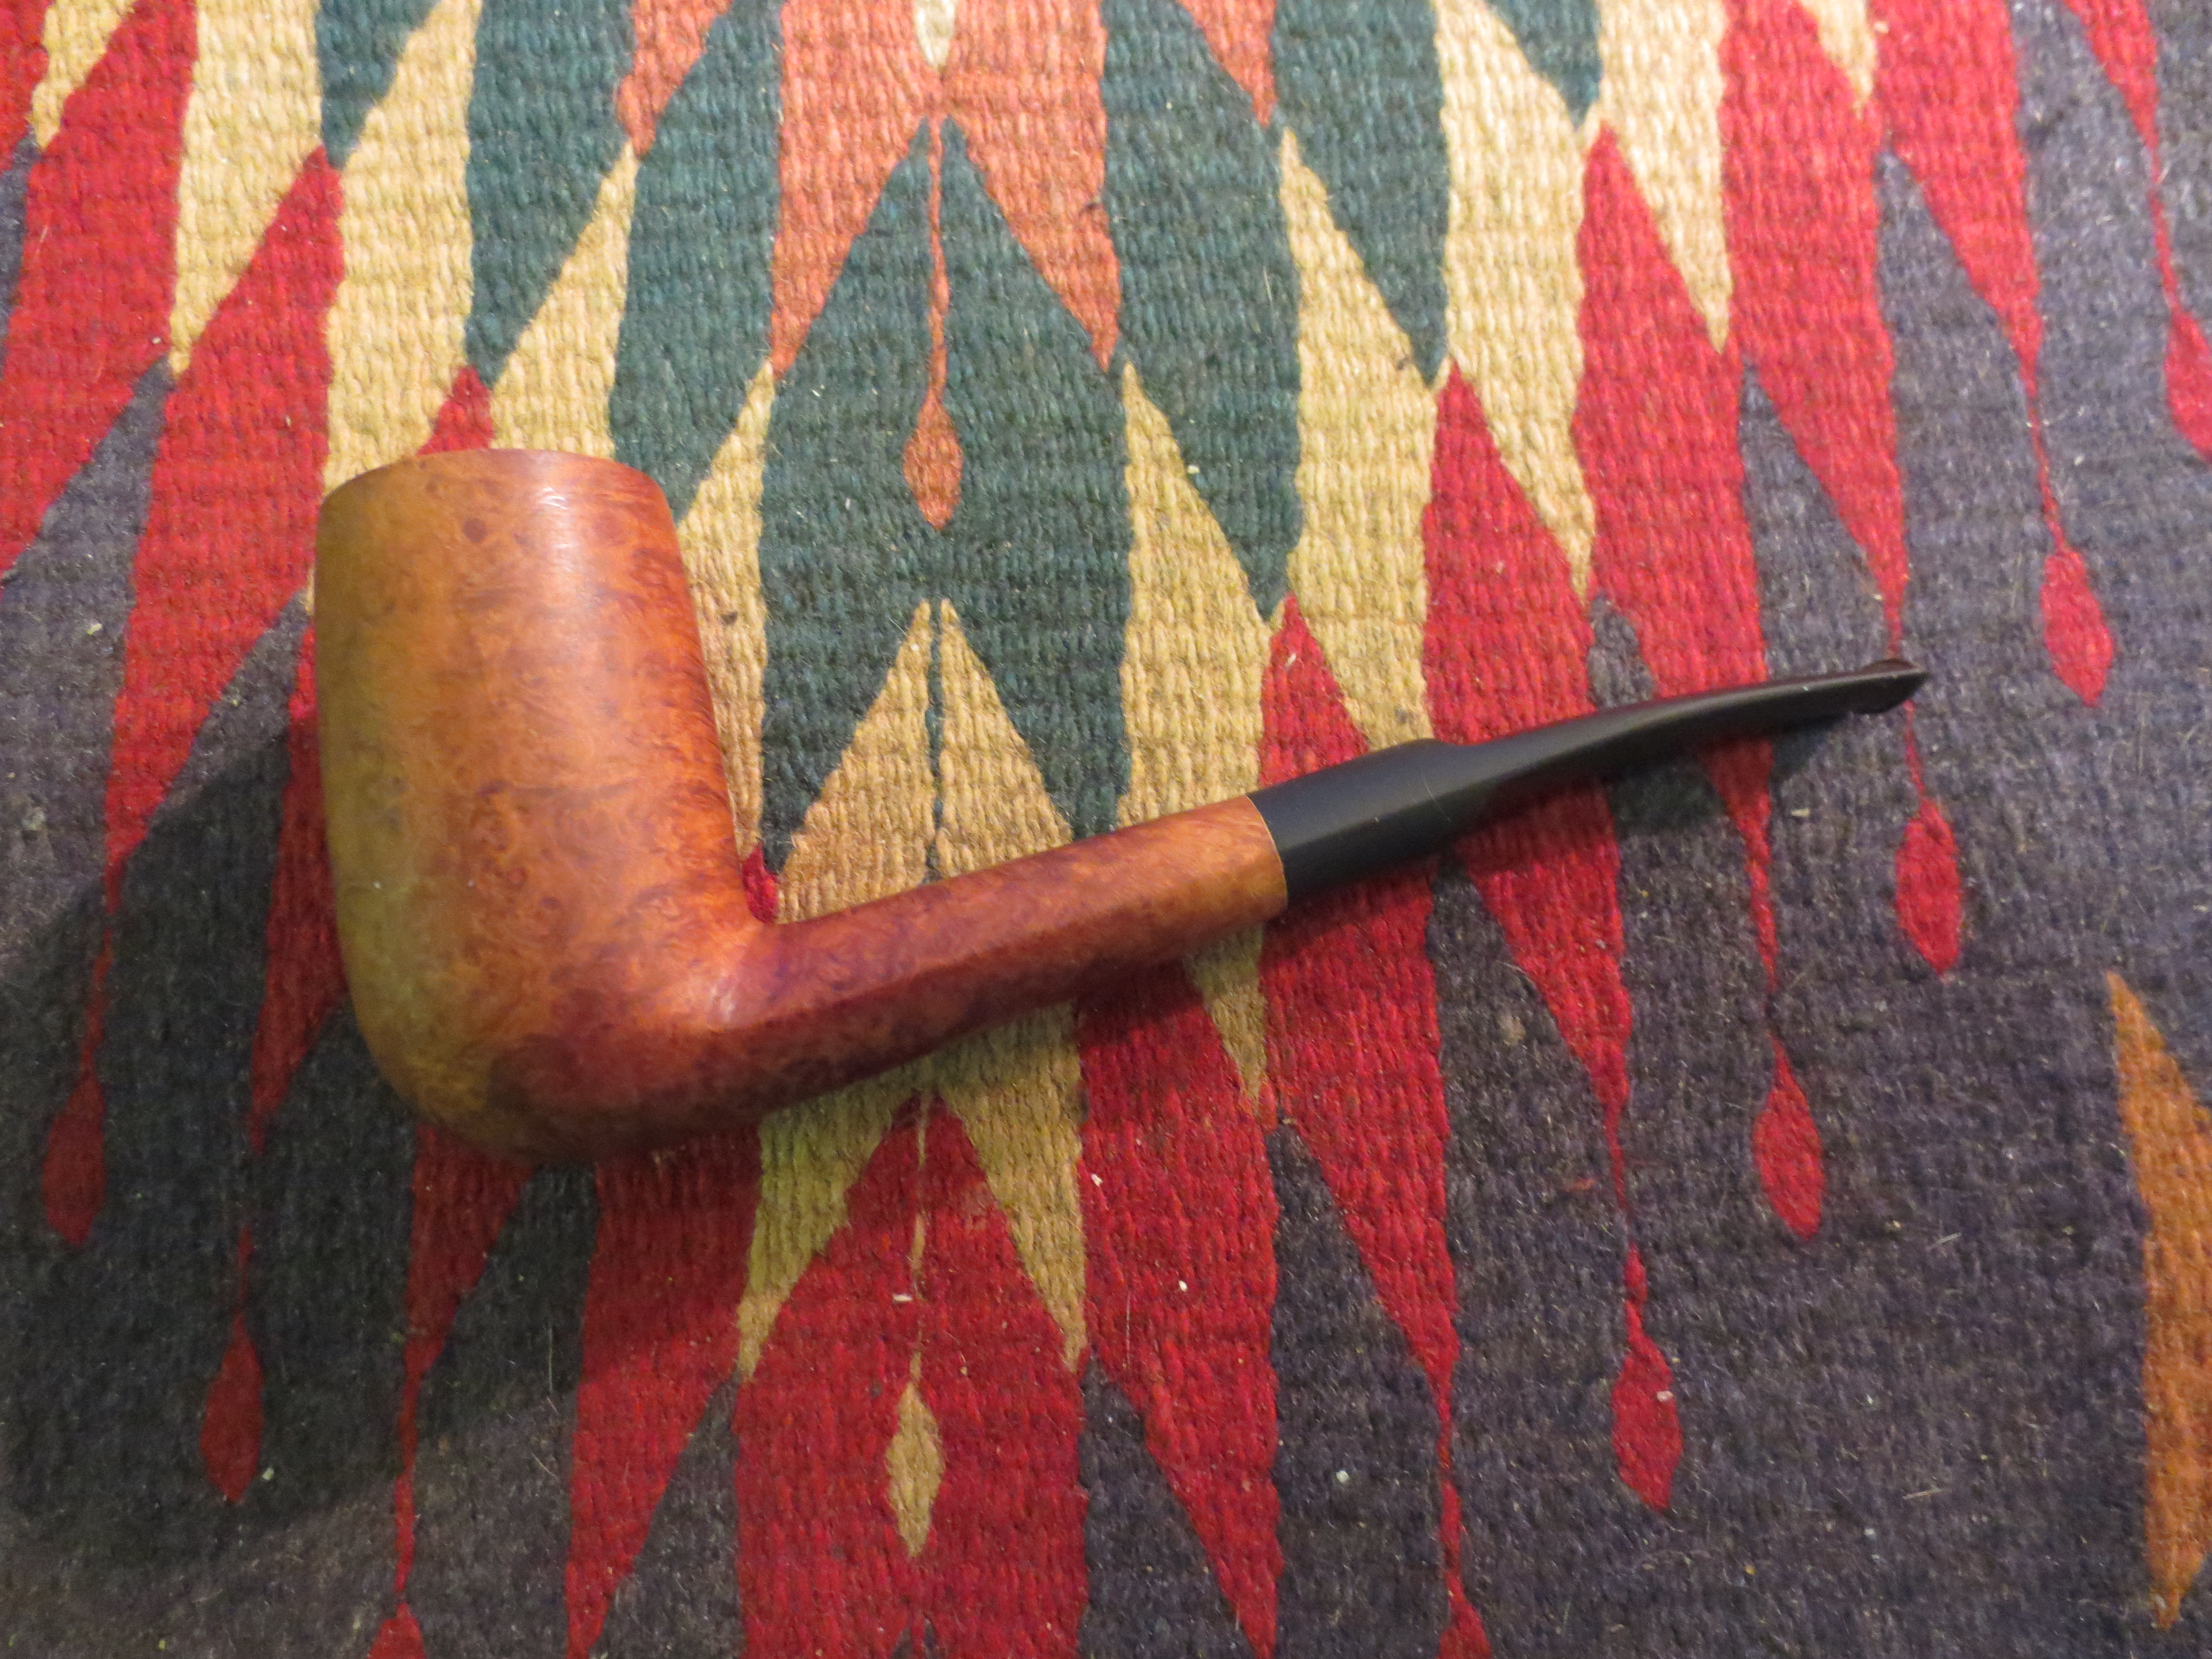
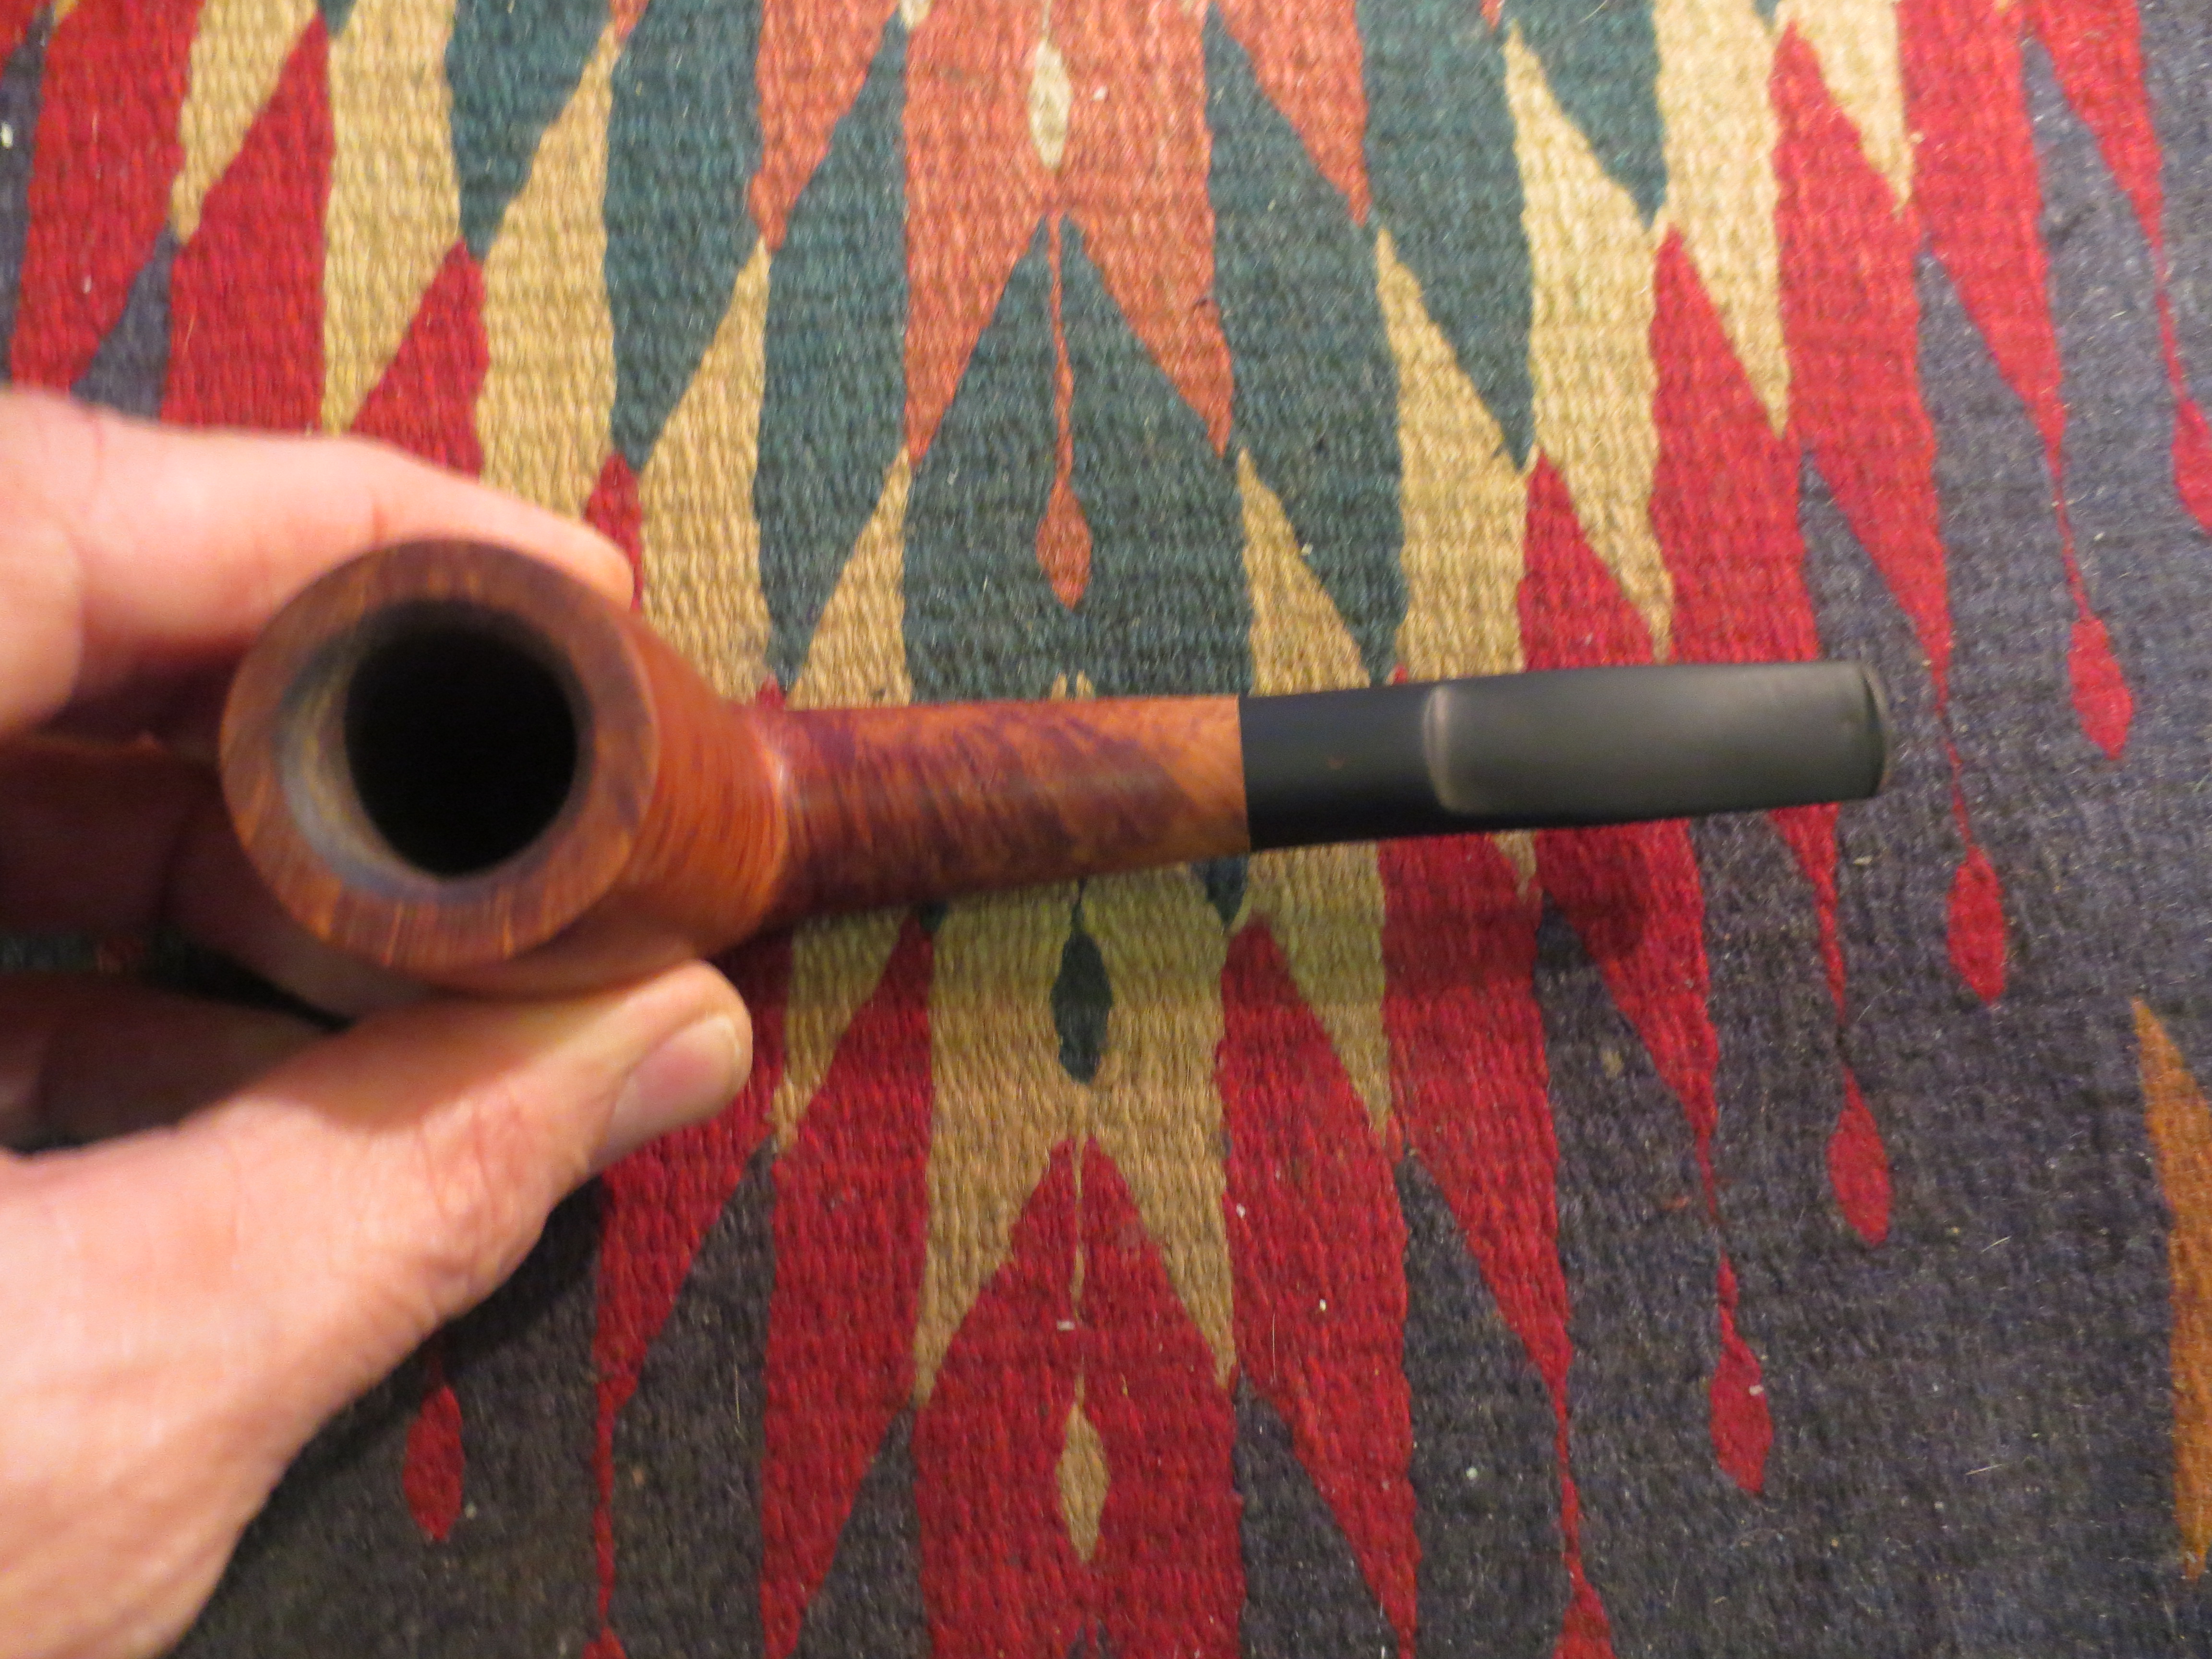
Once the stain was dry I took the pipe to the buffer and buffed the bowl and the stem with White Diamond to polish the stem and the stained bowl. Afterwards I gave it multiple coats of carnauba wax and buffed it with a clean flannel buff. For a final touch I hand buffed it with one last coat of wax and shoe shine brush. The final photos below show the finished pipe. It is cleaned, renewed and ready to go out to a good friend who loves this shape!