Tag Archives: Savinelli Capri Root Briar pipes

A Rebirth for a Savinelli Capri Root Briar 411 Zulu


Blog by Steve Laug

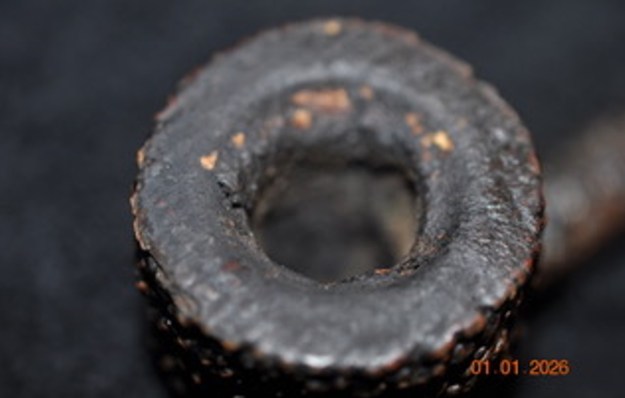
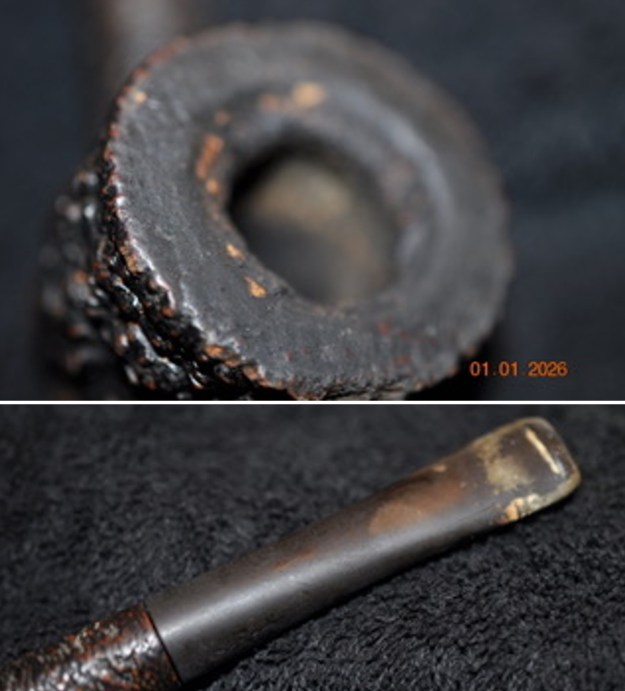
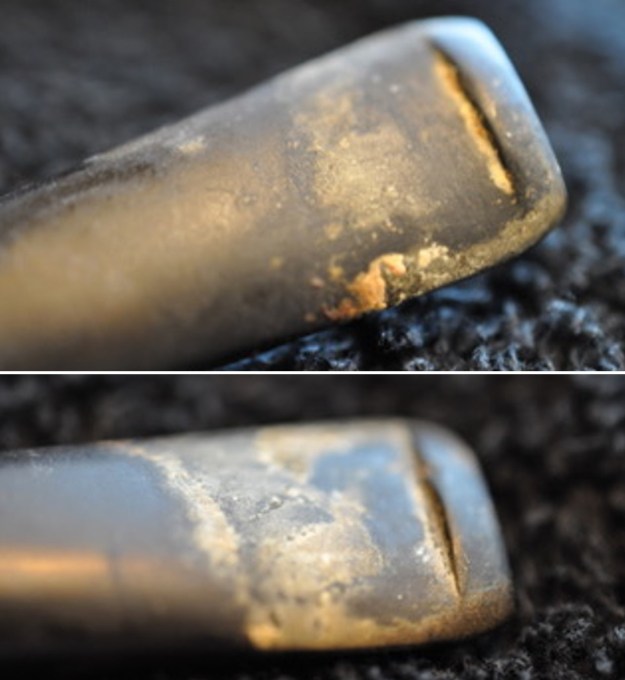
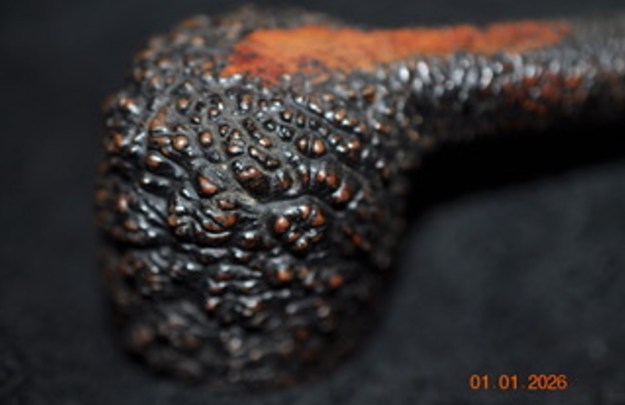
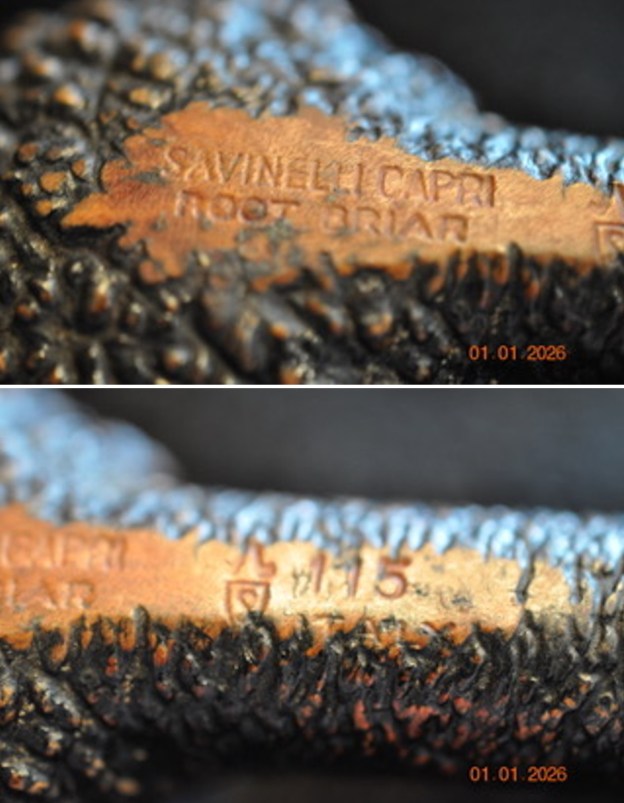
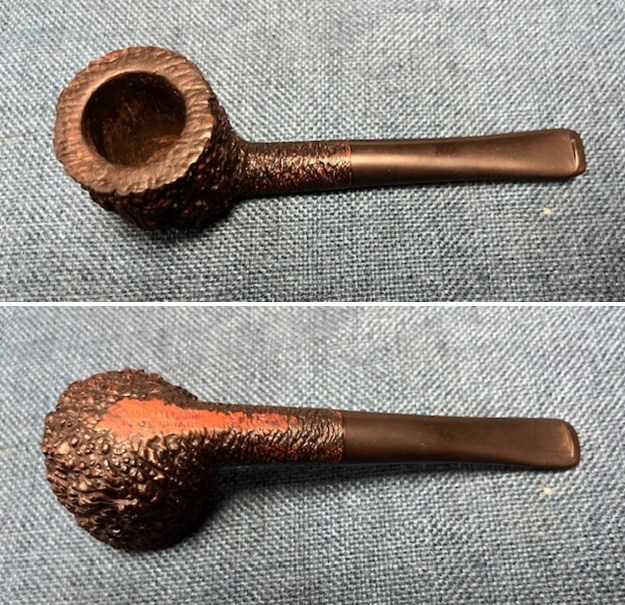
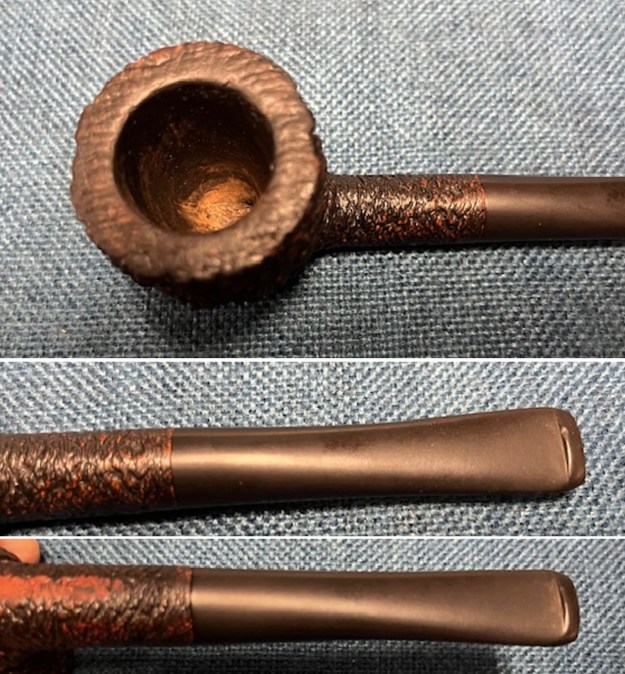
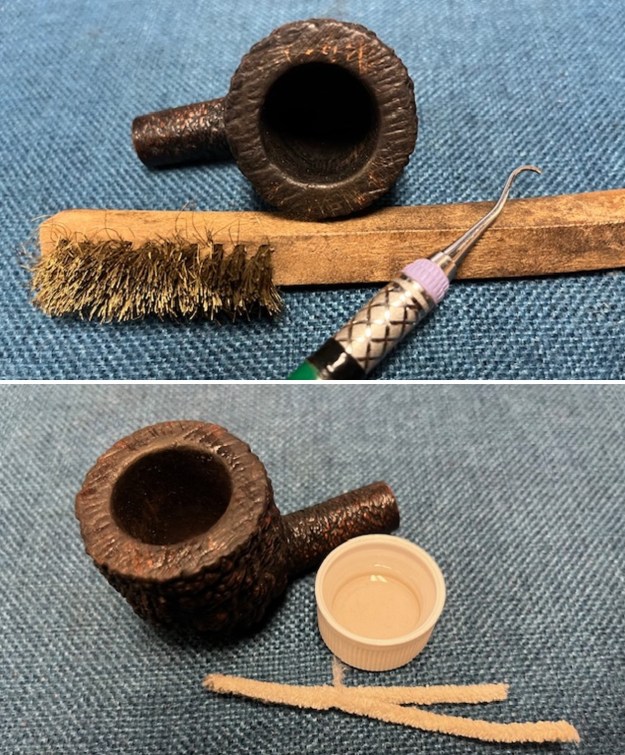
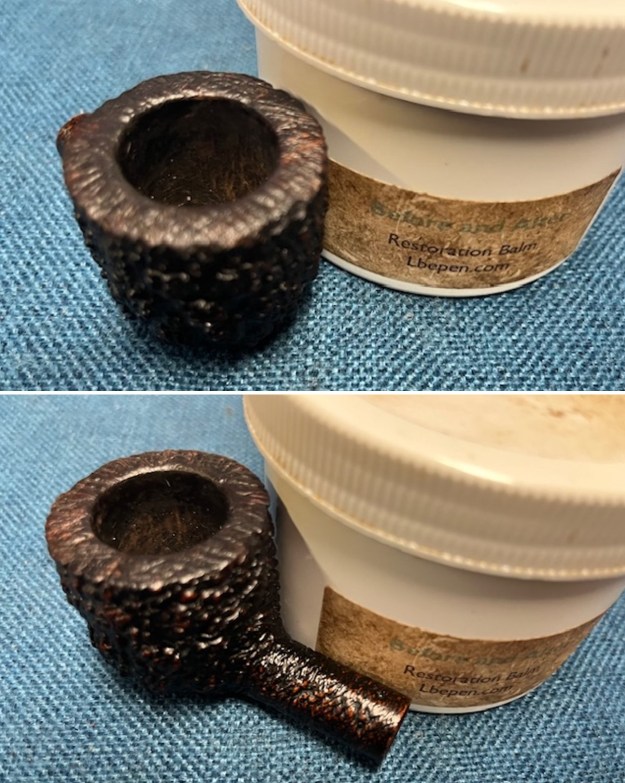
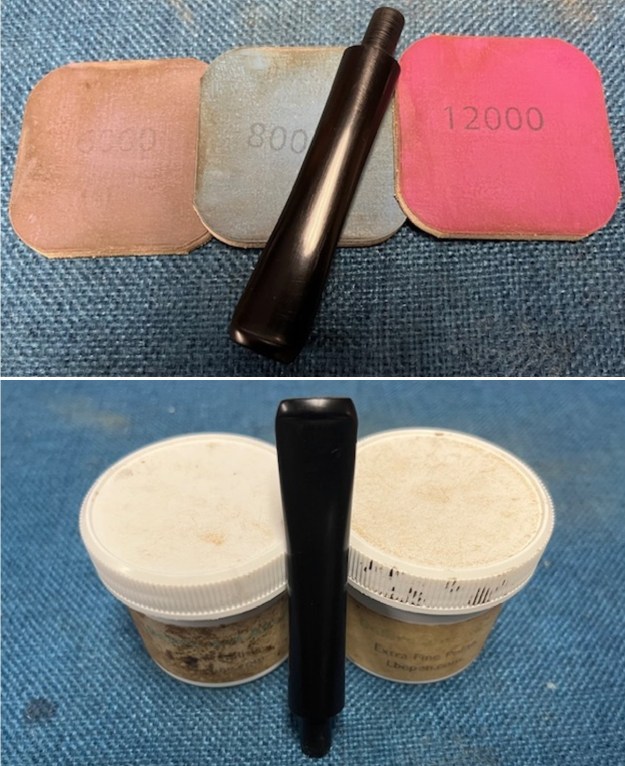
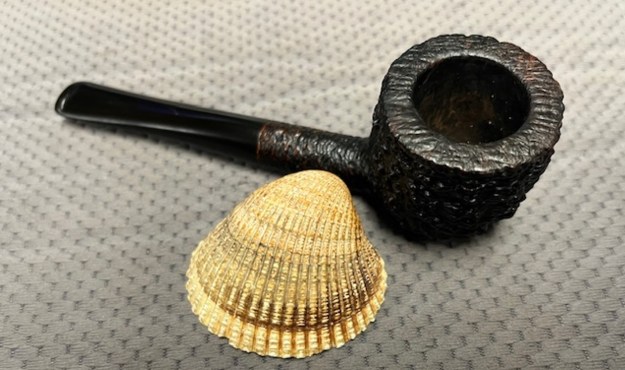
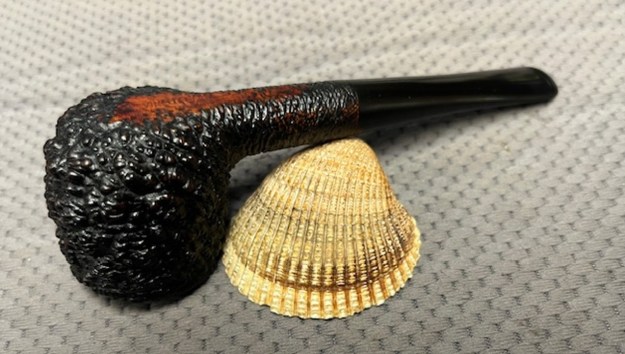
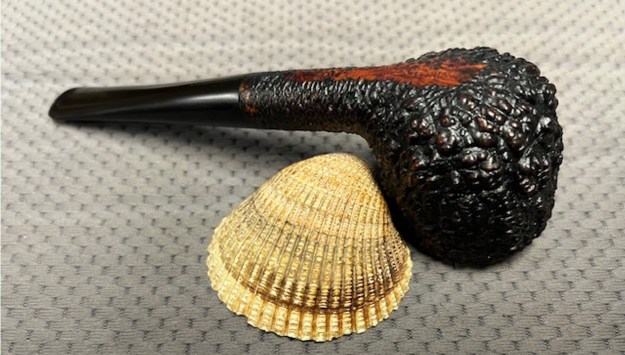
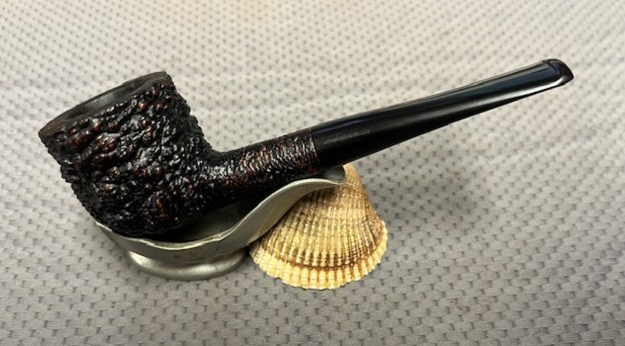
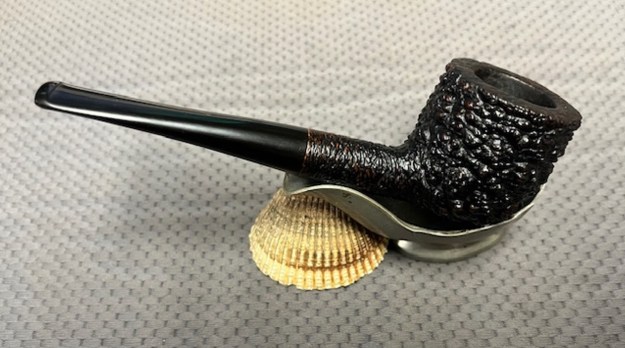
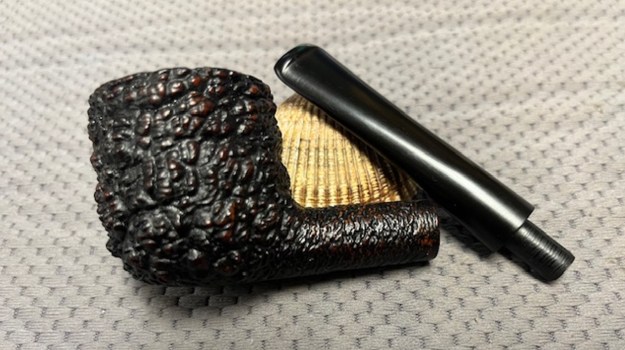
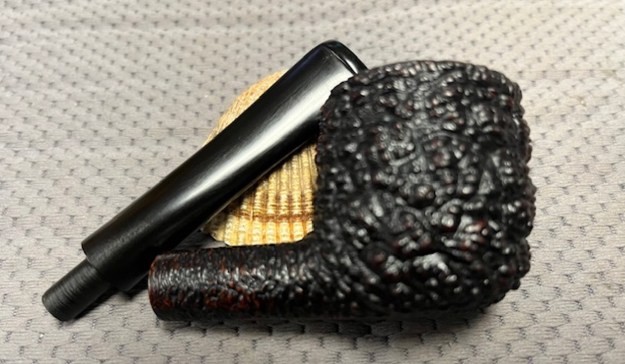
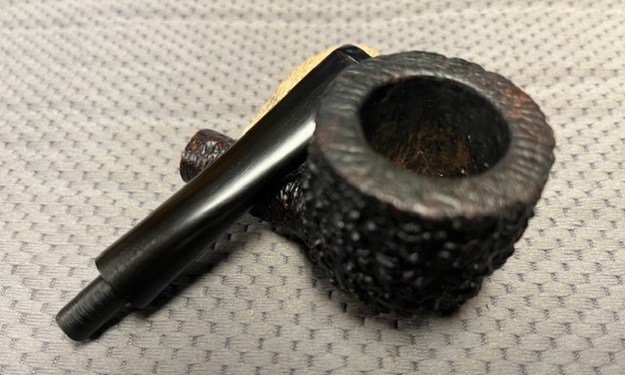
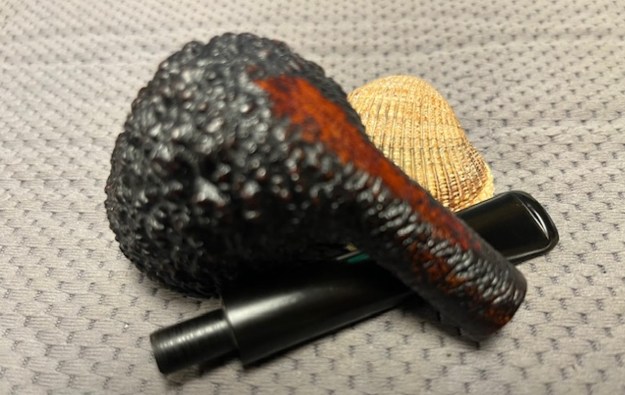
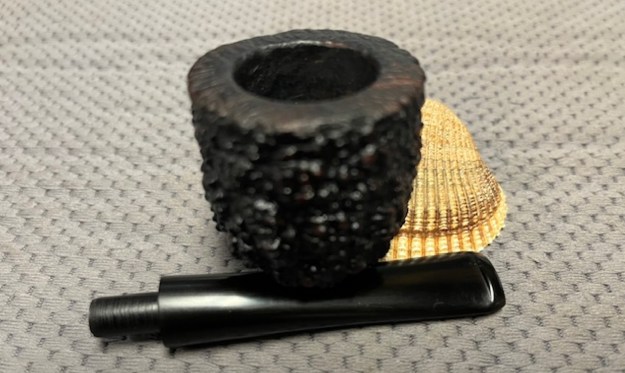
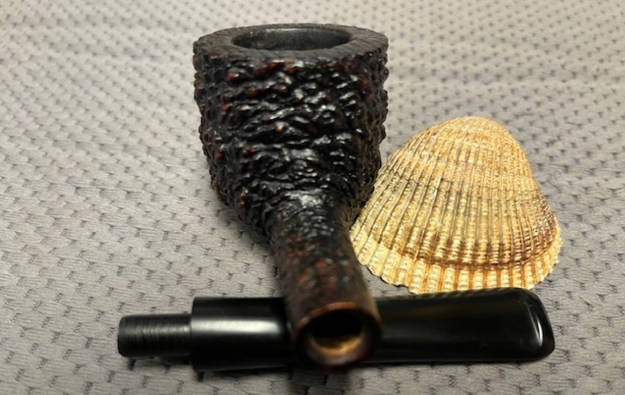
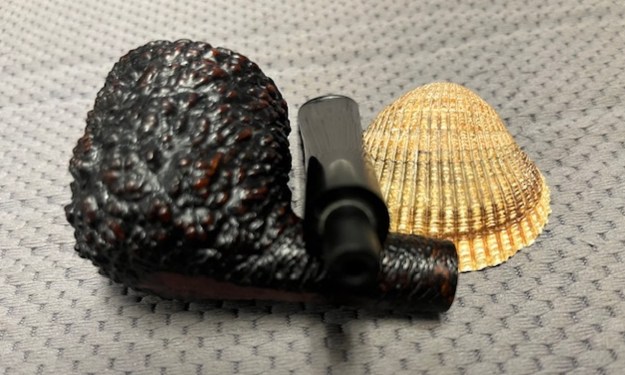
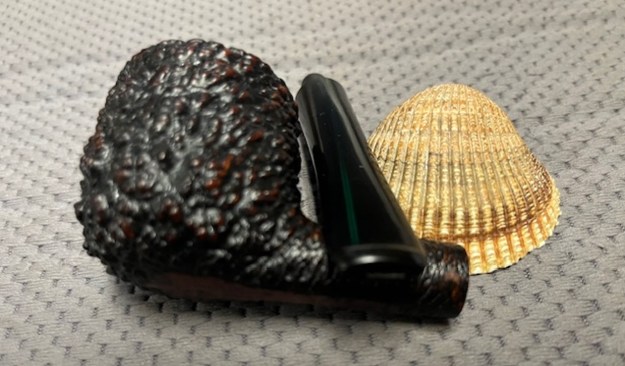
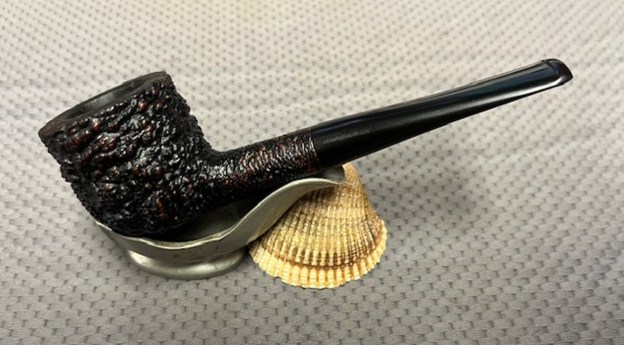
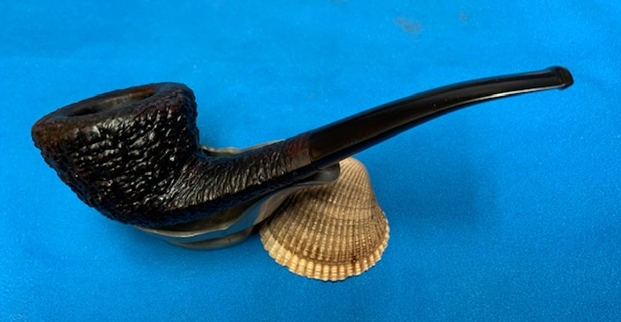
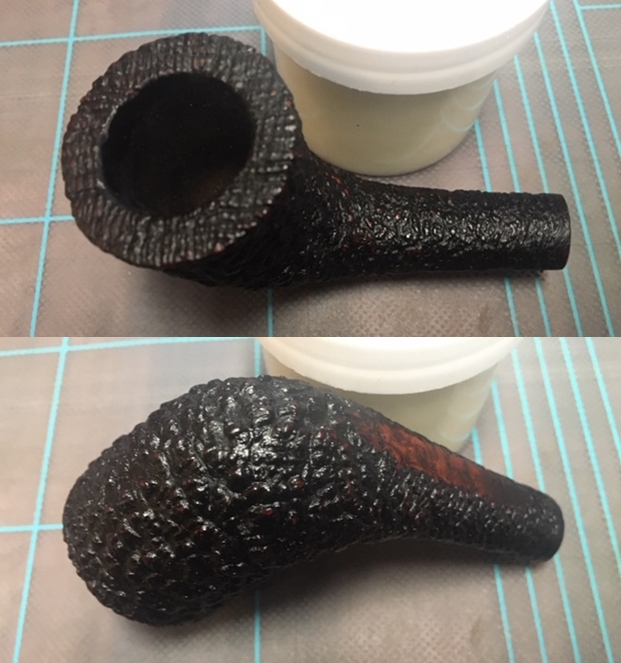
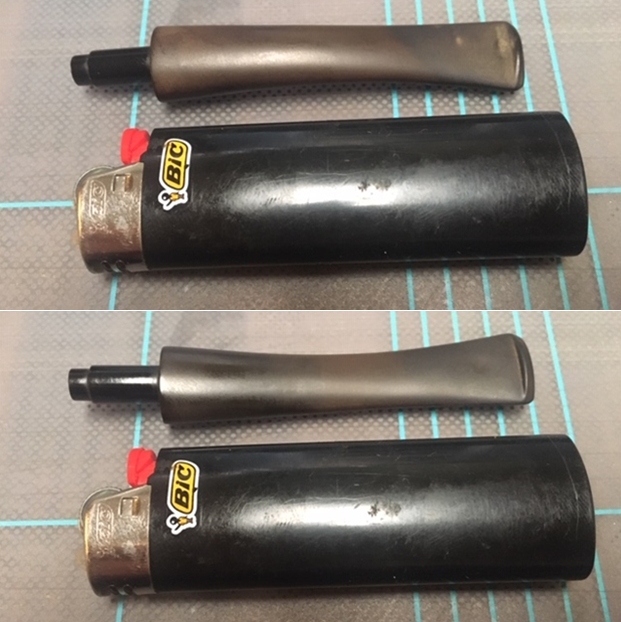
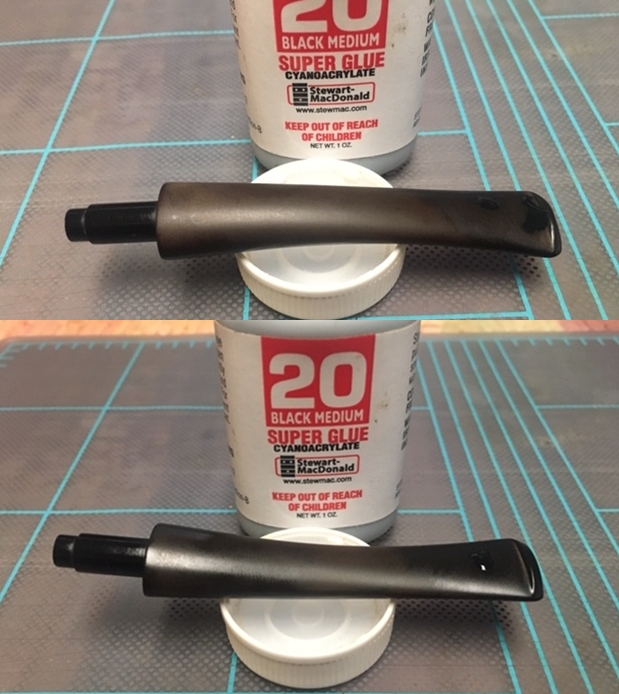
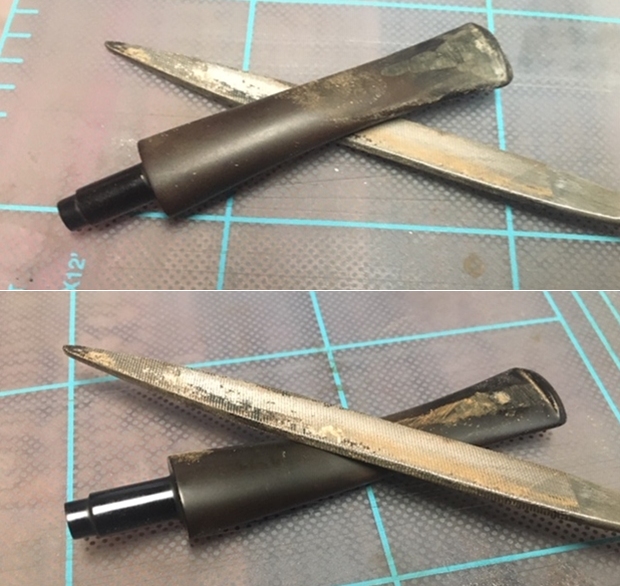
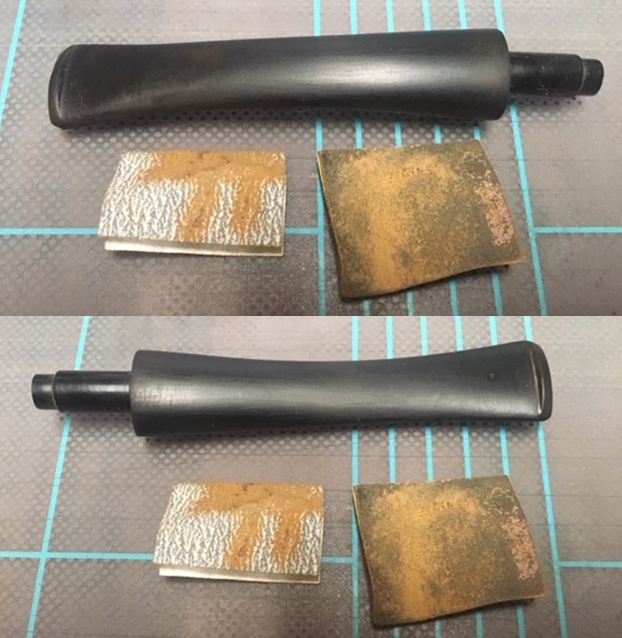
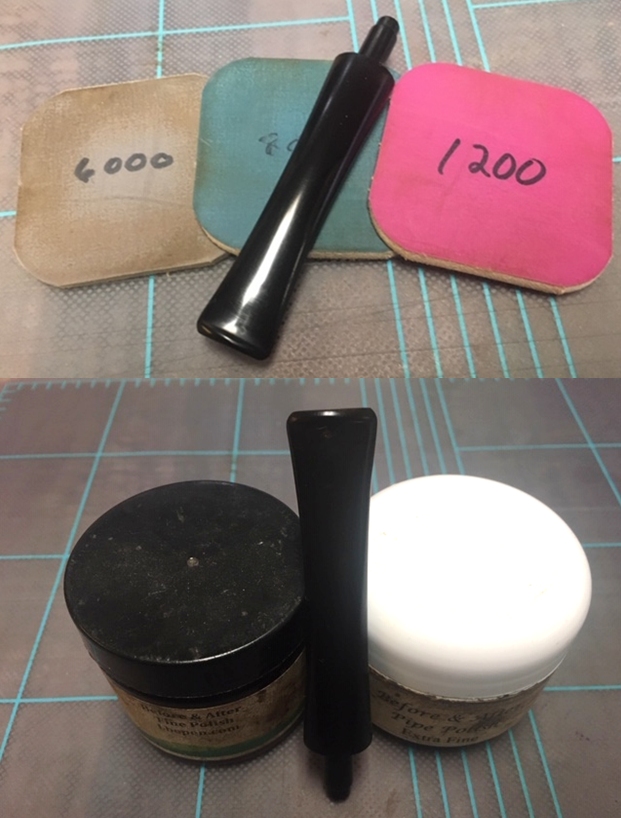
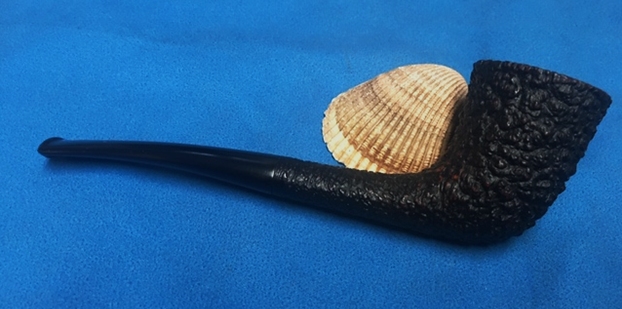
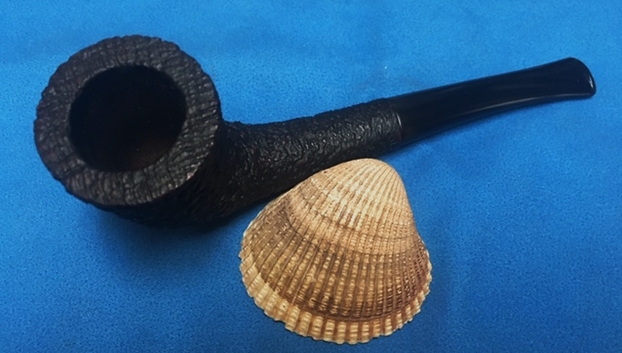
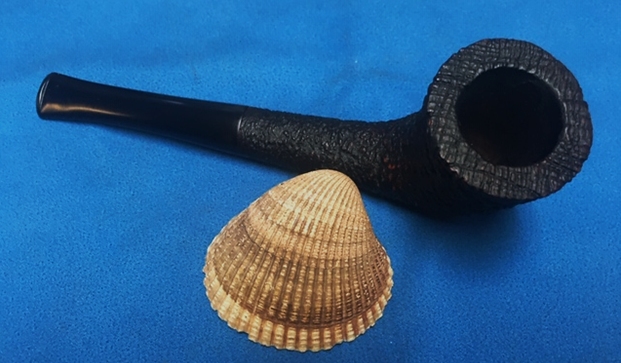
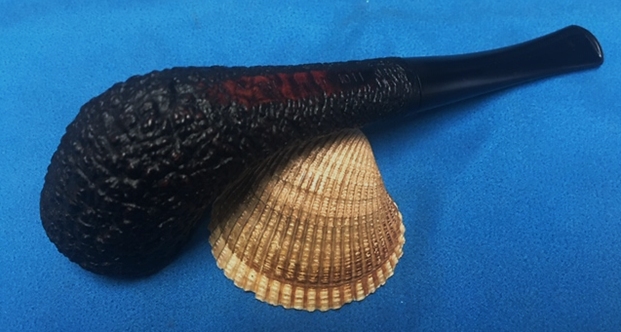
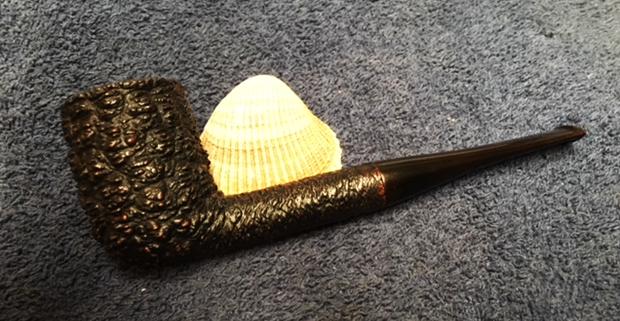
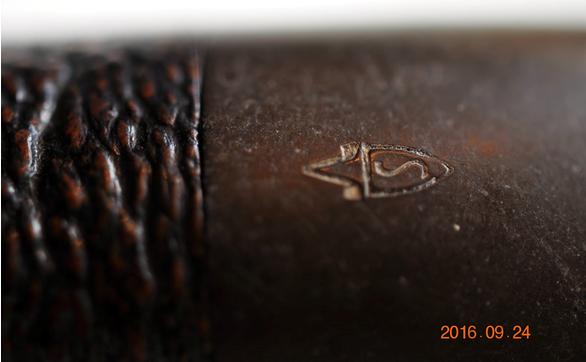
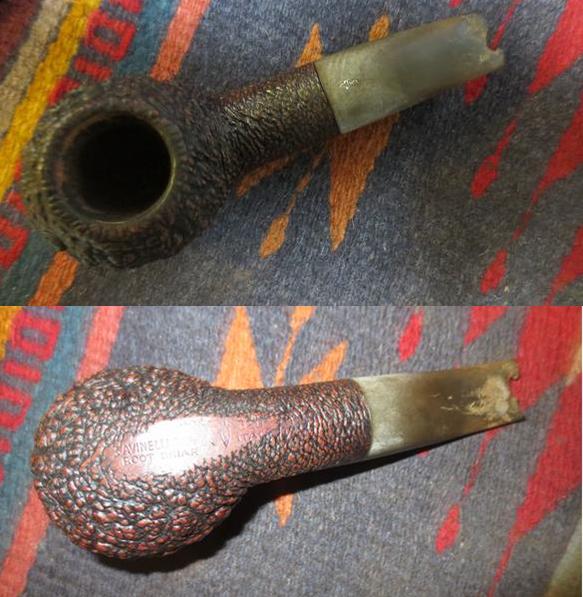
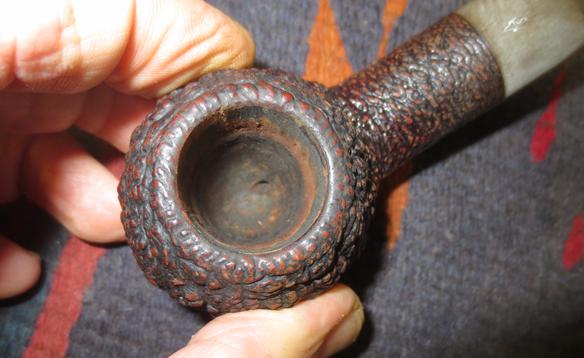
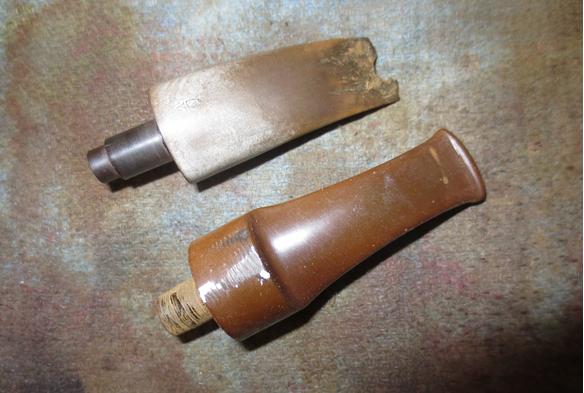
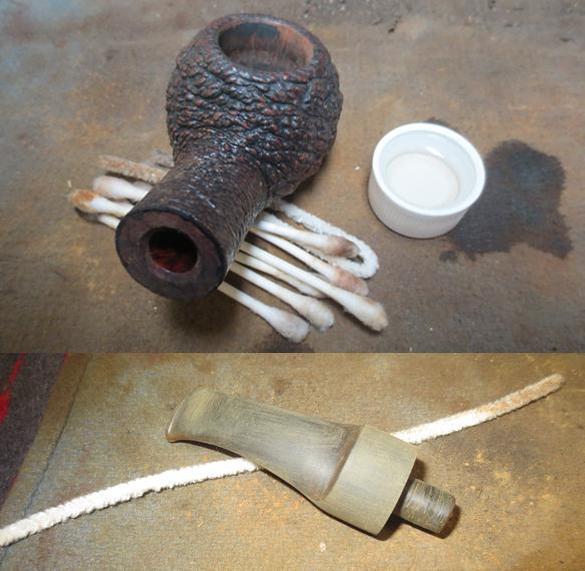
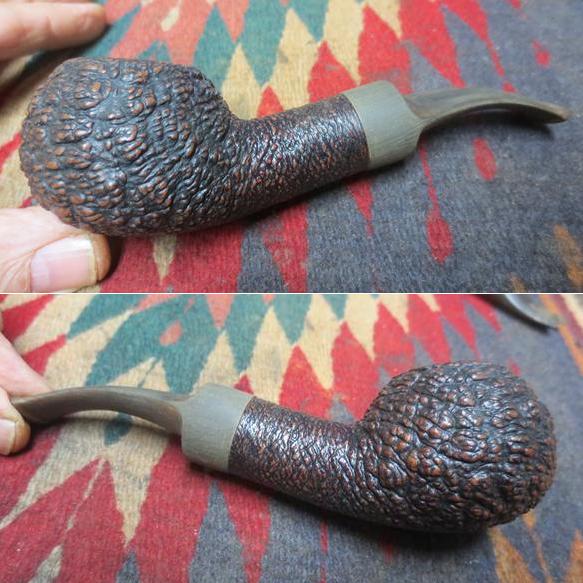
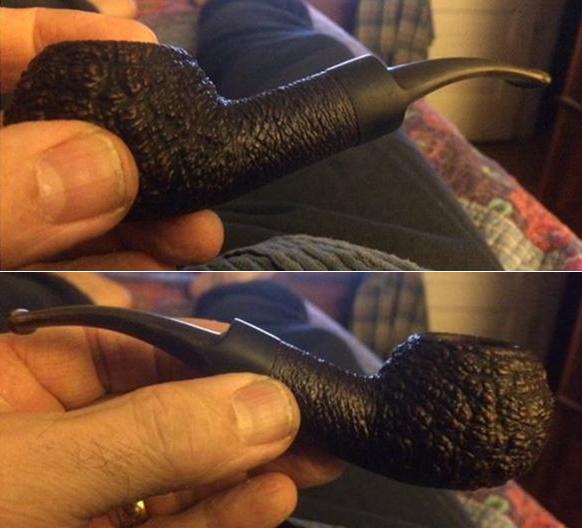
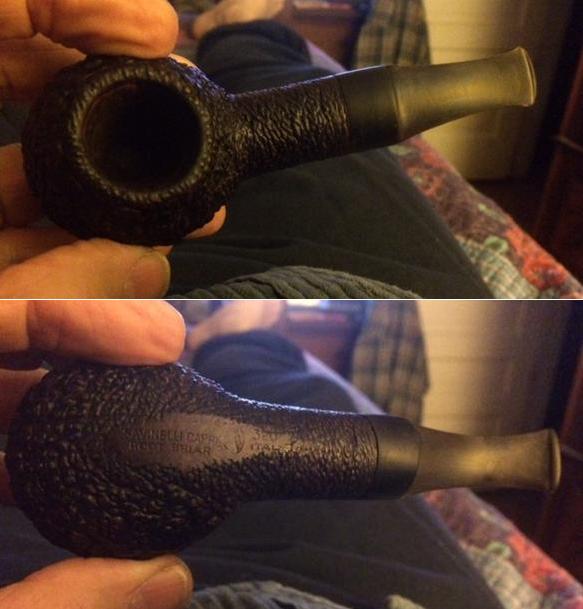
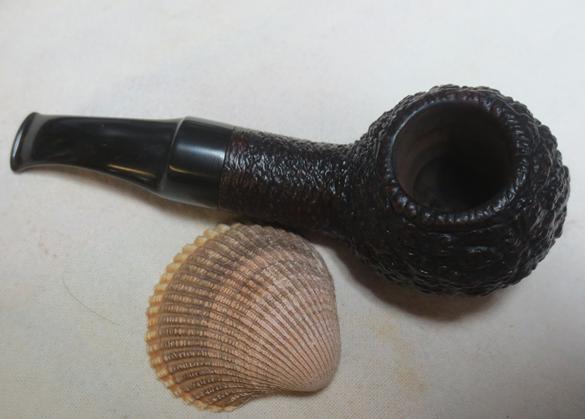
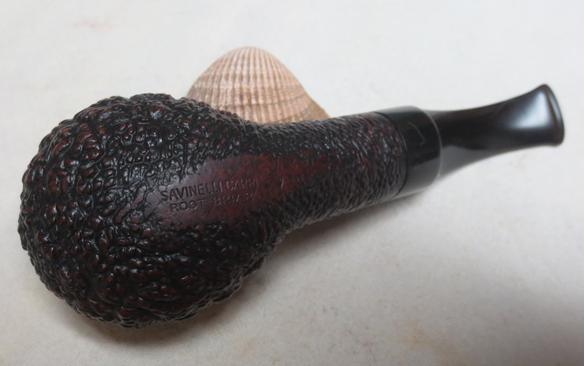
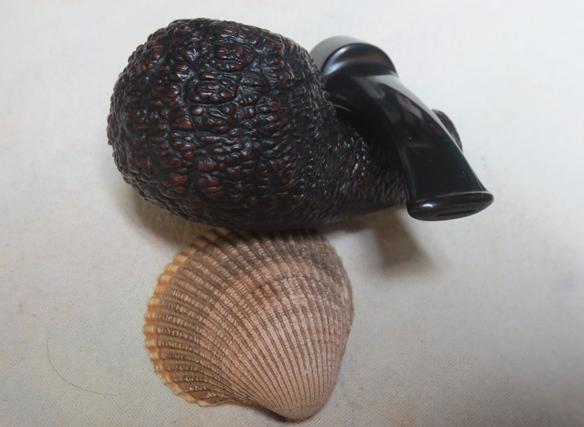
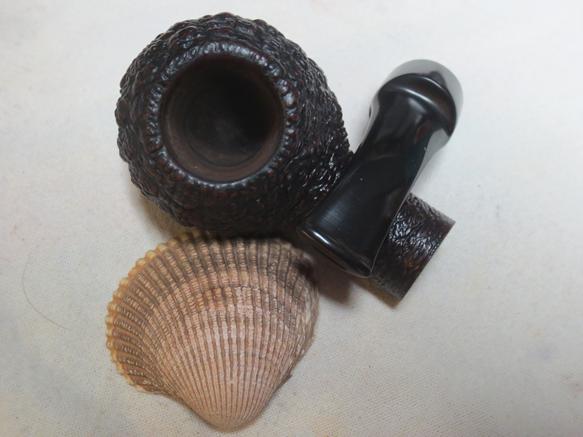
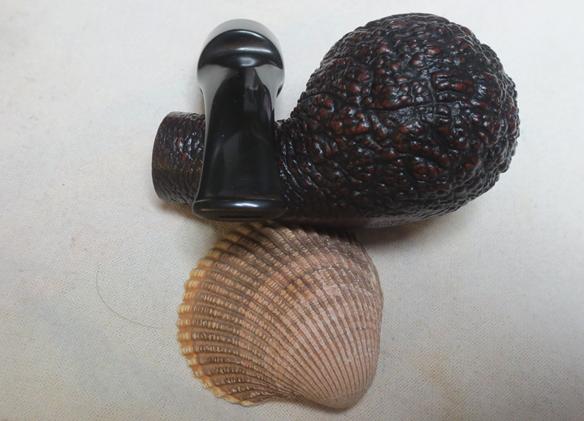
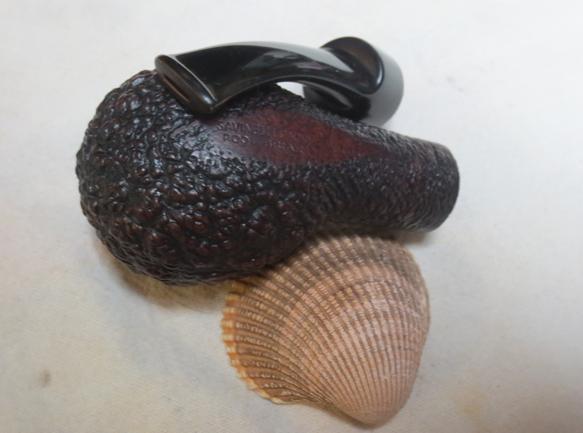
The next pipe on the table has one of my favourite finishes – a deeply rusticated one with what appears to have originally been a natural finished. We purchased this one on eBay on 10/06/16 from a fellow in Onalaska, Washington, USA. It is a Savinelli Capri Root Briar Zulu with a rusticated finish (looks a lot like the Castello Sea Rock finish). The coral like rustication around the bowl and shank was filled in with dust and debris. The natural finish was dirty and the high spots are darkened by hand oils and grime ground into briar. The pipe was stamped on underside of the shank. It is stamped Savinelli Capri [over] Root Briar followed by Savinelli “S” shield logo followed by Italy over the shape number 411. There was a thick cake in the bowl and lava overflow on the inner edges and the rim top. The vulcanite stem was oxidized and had tooth marks and chatter ahead of the button on both sides. Jeff took photos of the pipe to show its general condition before he did his cleanup.As I mentioned above the exterior of the pipe was very dirty – grime and grit ground in from years of use and sitting. The rim top was covered with a coat of thick lava that overflowed from the thick cake in the bowl. It was hard to know what the rim edges looked like because of the lava. The stem was dirty, calcified and oxidized with tooth chatter and marks on the top and underside of the stem at the button. Jeff took a photo of the right side and the heel of the bowl to give a better feel for the condition of the briar around the bowl. It is a great looking piece of briar with a deep rustication.The next photo show the stamping on the underside of the shank and it is very readable. It reads as noted above.I have always like the Savinelli Capri Root Briar finish so I was glad to be working on this one. Jeff had reamed it with a PipNet pipe reamer and cleaned up the reaming with a Savinelli Fitsall Pipe Knife. He scrubbed out the internals with alcohol, pipe cleaners and cotton swabs until the pipe was clean. He scrubbed the exterior of the bowl with Murphy’s Oil Soap and a tooth brush to remove the grime and grit on the briar and the lava on the rim top. The finish looks better but there is still darkening on the sides of the bowl and shank. There is also some darkening on the rim top as well. Jeff scrubbed the stem with Soft Scrub and soaked it in Before & After Deoxidizer to remove the oxidation on the rubber. When the pipe arrived here in Vancouver for the second stop of its restoration tour it looked a lot better. I took photos before I started my part of the work.  I took some close up photos of the rim top and the stem surface. I wanted to show what cleaned bowl and rim top looked like. The rim top and the inner and outer edges of the bowl were in excellent condition. The top of the bowl was quite dark around three sides. I also took close up photos of the stem to show the tooth marks and the remaining oxidation on the stem surface.  I took photos of the stamping on the underside of the shank and it is clear and readable. It is stamped as noted above.I removed the stem for the shank and took a photo of the bowl and stem to give a picture of what it looked like. The remaining oxidation is very visible.I started my work on the pipe by addressing the darkening of the rim top. I used a brass bristle wire brush and some common dish soap to de-grease the bowl and the rim top. I worked over the bowl and the top with the brush and was able to remove the grime and much of the darkening.  I rubbed the bowl down with Before & After Restoration Balm. I worked it into the surface of the briar with my fingertips and a horse hair shoe brush to clean, enliven and protect it. I let the balm sit for a little while and then buffed with a cotton cloth and shoe brush to raise the shine.     I set the bowl aside and turned my attention to the stem. I used a Bic lighter to “paint” the surface of the stem with the flame to lift the tooth marks on both sides of the stem. The heat lifted many of the marks. I filled in what remained with clear CA glue and set it aside to harden.   Once the repairs cured on the top and underside of the stem I filed them flat and recut the button edge with a small file. I sanded them with a folded piece of 220 sandpaper. I started polishing the stem with 400 grit wet dry sandpaper.   I polished the vulcanite with micromesh sanding pads – 1500-12000 grit pads. I wiped it down with a damp cloth after each sanding pad. I used Before & After Pipe Polish – both Fine and Extra Fine to further polish the stem.  I left a little oxidation around the stamp so as not to damage it more.  This Savinelli Capri Root Briar 411 Zulu cleaned up really well and looks very good. The Before & After Restoration Balm brought the colours and grain out in the rusticated finish on the pipe. It works well with the polished oval vulcanite taper stem. I put the stem back on the bowl and carefully buffed the pipe with Blue Diamond on the buffing wheel using a light touch on the briar. I gave the bowl multiple coats of Conservator’s Wax and the stem multiple coats of carnauba wax on the buffing wheel. I followed that by buffing the entire pipe with a clean buffing pad. I hand buffed the pipe with a microfiber cloth to deepen the shine. The finished Capri Root Briar 411 Zulu fits nicely in the hand and I think it will feel great as it heats up with a good tobacco. The tactile finish will add to the experience. Give the finished pipe a look in the photos below. The dimensions of the pipe are Length: 6 inches, Height: 1 ¾ inches, Outside diameter of the bowl: 1 ½ inches, Chamber diameter: ¾ of an inch. The weight of the pipe is 1.20 ounces/34 grams. If you are interested in carrying the previous pipeman’s legacy with this pipe send me a message or an email. I will be adding it to the rebornpipes store in the Italian Pipe Makers Section. Thanks for reading this blog and my reflections on the pipe while I worked on it.

Renewed Life for a Savinelli Capri Root Briar 316EX Squat Dublin


Blog by Steve Laug

The next pipe on the work table came to us from a pipe hunt that Jeff and his wife recently did in Utah, USA.  The pipe is a great looking squat Dublin shape. The rim top and bowl are clean with variations of brown and black stains. On the heel of the bowl it is stamped Savinelli Capri [over] Root Briar. That is followed by The Savinelli “S” shield and Italy and the shape number 316EX. The pipe has a Sea Rock or coral style rustication that I really like. The finish was very dirty with dust in all of the rustication, making it hard to see beyond that to the finish underneath that. There was a medium cake in the bowl and it had overflowed with lava onto the rim top. It was hard to know at this point the condition of the rim edges. The stem was oxidized and there were tooth marks and chatter on both sides just ahead of the button. The Savinelli S shield logo on the top of the stem had worn off. Jeff took photos of the pipe before he started working on it. I include those below. Jeff took photos of the bowl and rim top to show the cake in the bowl and the lava build up on the rim top and dust and grime in the rustication. It was thick and hard but hopefully it had protected the rim and edges from damage. The lava is deep in the rustication and there is a buildup on the inner edge of the bowl. He took photos of the top and underside of the stem showing the scratching, oxidation and tooth marks on the stem surface and button. The tooth marks are quite deep on both sides of the stem.   Jeff took a photo of the sides and heel of the bowl to show the condition of the finish – the grime and grit all over the sides and bottom of the bowl. The rustication is deep and dirty but it is interesting. This is a very tactile finish and one that I enjoy.   Jeff took two photos of the stamping on the underside of the shank to capture all of it. It is very clear and readable other than the shape number 316EX. This pipe was a real mess like many of the pipes we work on. I was curious to see what it would look like when I unpacked it. I was surprised at how good it looked. Jeff reamed it with a PipNet pipe reamer and cleaned up the reaming with a Savinelli Fitsall Pipe Knife. He scrubbed out the internals of the shank and stem with alcohol, pipe cleaners and cotton swabs until the pipe was clean. He scrubbed the exterior of the bowl with Murphy’s Oil Soap and a tooth brush to remove the grime and grit on the briar and the lava on the rim top. The finish on the bowl looked really good when I got it. The rim top looked much better and the inner and outer edges were looking good. He soaked the stem in Before & After Deoxidizer bath to remove the oxidation. The stem looked better other than some light oxidation and the tooth marks and chatter in the surface. When the pipe arrived here in Vancouver for the second stop of its restoration tour it looked very good. I took photos of the pipe before I started my work on it.  I took photos of the condition of the rim top and stem before I started working. The rim top looks very good. The crevices and valleys of the rustication are clean and look great. The bowl is spotless. The stem is lightly oxidized and has some tooth marks and tooth chatter. The Savinelli S shield on the top of the stem is worn off. I took a photo of the stamping on the underside of the heel and the shank. It is clear and readable as noted above.I took the bowl and stem apart and took a photo of the pipe to show the look of the pipe.I worked some Before & After Restoration Balm into the finish of the bowl and the rim top and shank with my fingertips and a horsehair shoe brush to clean, enliven and protect it. I find that the balm really makes the briar come alive again. The contrasts in the layers of stain and the separate finishes really made the grain stand out. I let the balm sit for a little while and then buffed with a cotton cloth to raise the shine. The bowl really looks good at this point. I set it aside and worked on the stem. I filled in the tooth dents and marks with Black Super Glue and set it aside for the repairs to cure. Once they cured I flattened them with a file. I cleaned up the repaired areas with 220 sandpaper to blend the repairs into the surface of the stem. I started polishing it with 400 grit wet dry sandpaper.  I polished the stem with micromesh sanding pads – wet sanding it with 1500-12000 grit pads. I polished it further with Before & After Pipe Stem Polish – both fine and extra fine. Once again I am the part of the restoration that I always look forward to – the moment when all the pieces are put back together. I put the pipe back together and lightly buffed the bowl with Blue Diamond. I buffed the stem with a heavier touch with Blue Diamond on the buffing wheel. I gave the bowl multiple coats of Conservator’s Wax and the stem multiple coats of carnauba wax. I buffed the pipe with a clean buffing pad to raise the shine. I hand buffed it with a microfiber cloth to deepen the shine. It is fun to see what the polished bowl looks like with the combination of rustication and smooth finishes. The black vulcanite stem stands out as a shiny black contrast to the colours of the bowl. This dark stained Savinelli Capri Root 316EX Dublin must have been a fine smoking pipe judging from the condition it was when we received it. Have a look at it in the photos below. The dimensions are Length: 5 ¾ inches, Height: 1 ¾ inches, Outside diameter of the bowl: 2 inches, Chamber diameter: 1 ¼ inch. The weight of the pipe is 49grams/1.69oz.  This is one that will go on the Italian Pipemakers section of the rebornpipes online store shortly. Thanks to each of you who are reading this blog. Remember we are not pipe owners; we are pipemen and women who hold our pipes in trust until they pass on into the trust of the next generation.
A Rebirth for a Savinelli Capri Root Briar 4011 Zulu from Bob Kerr’s Estate


Blog by Steve Laug

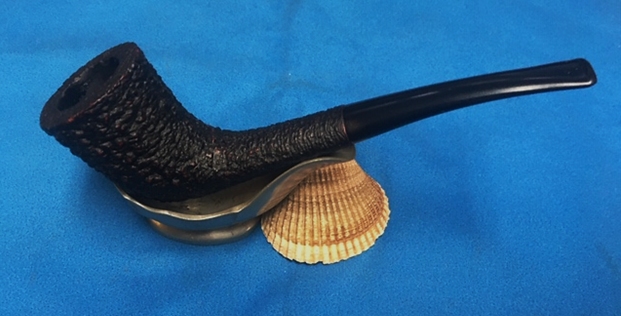
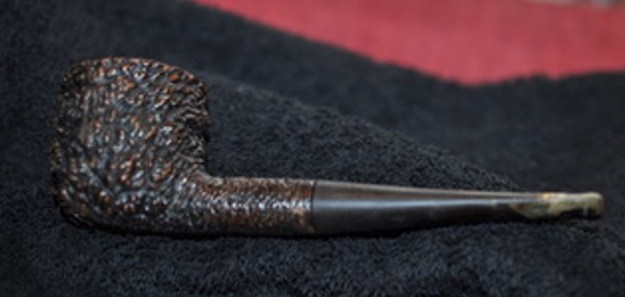
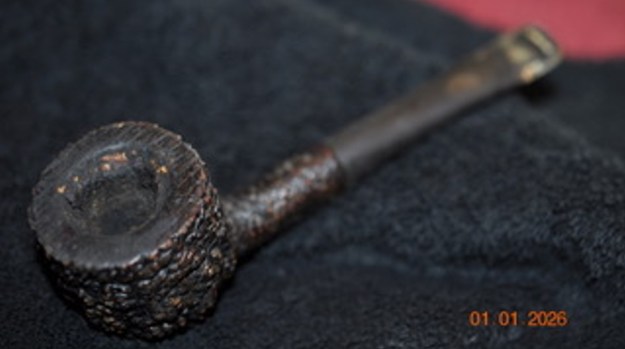
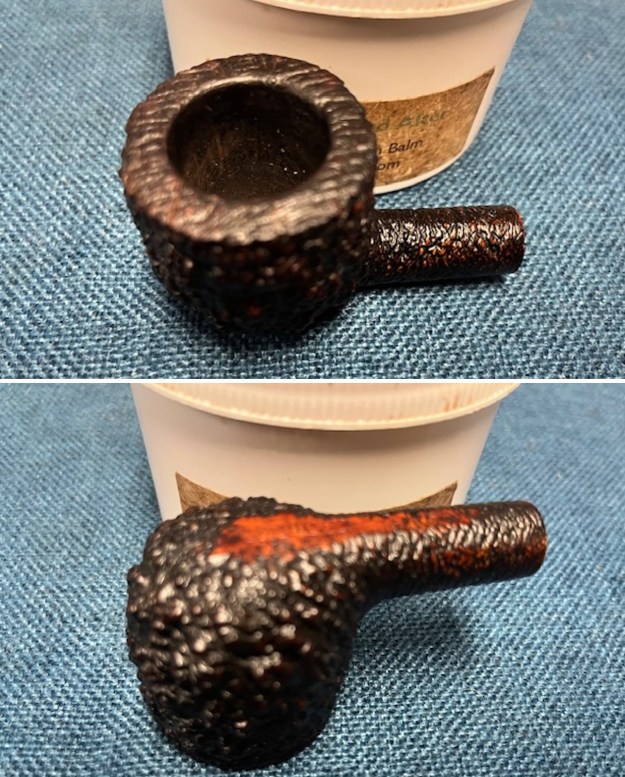
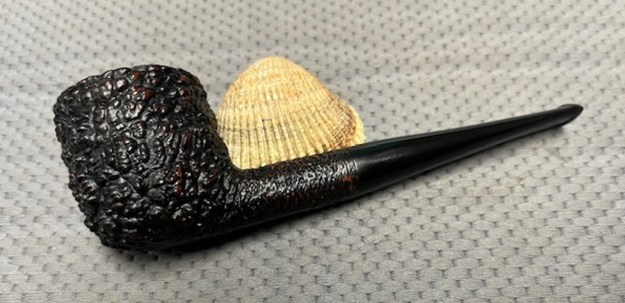
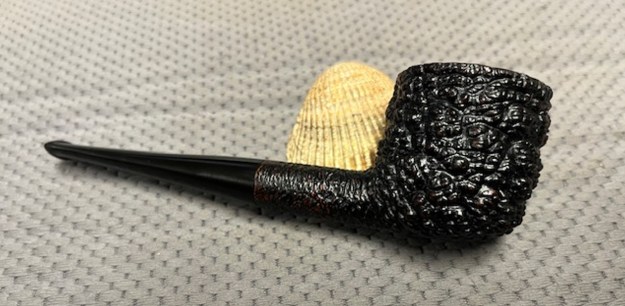
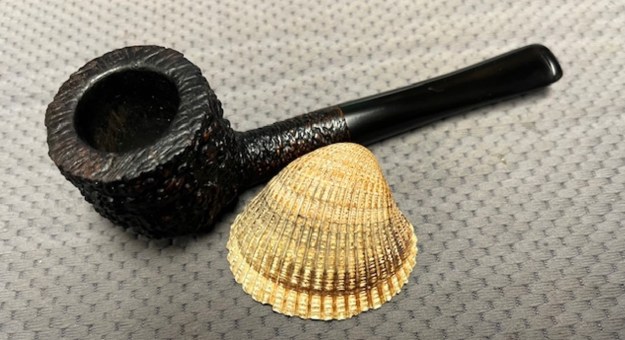
I have just over 20 more of Bob’s pipes to finish before I have completed the restoration of his estate so I am continuing to work on them. The next one from Bob Kerr’s Estate is a Savinelli Capri Root Briar Zulu. (Bob’s photo is to the left). If you have not “met” the man and would like to read a bit of the history of the pipeman, his daughter has written a great tribute that is worth a read. Because I have included it in most of the restorations of the estate to date I thought that I would leave it out this time. Check out some of the recent Dunhill restoration blogs that include the biographical notes about Bob (https://rebornpipes.com/2020/01/01/restoring-the-last-of-bob-kerrs-dunhills-a-1962-dunhill-bruyere-656-f-t-bent-billiard/).

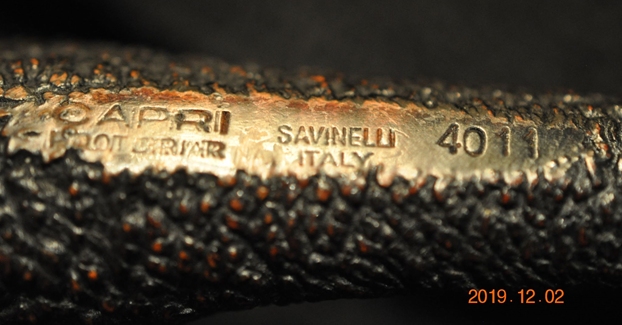
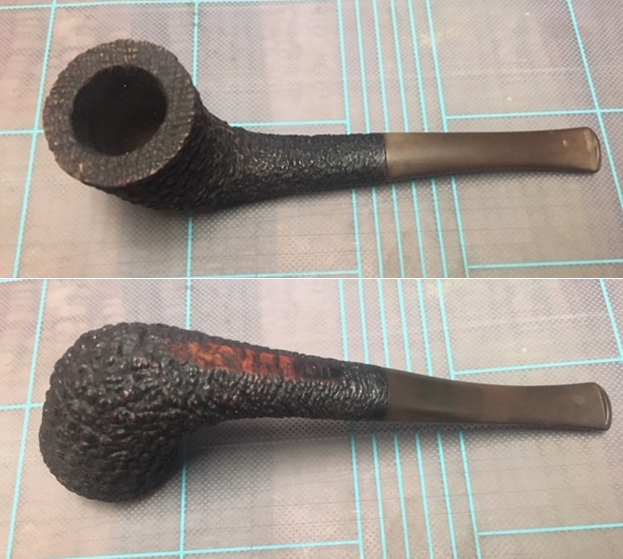
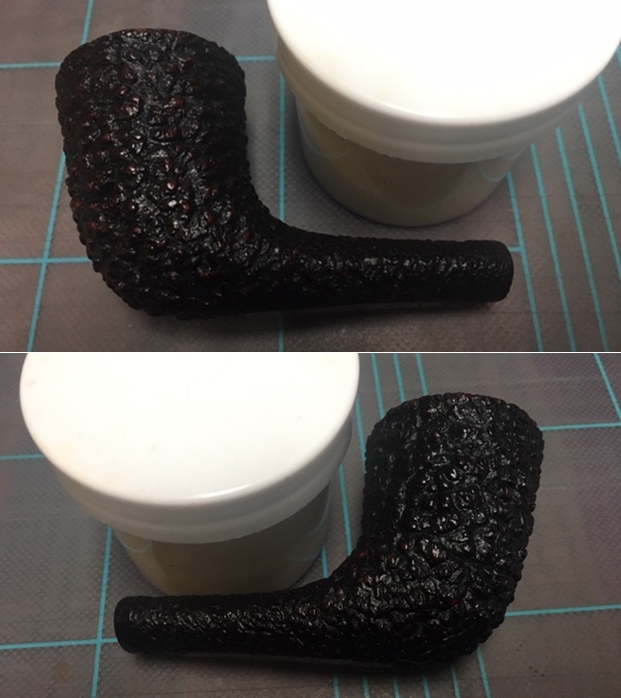
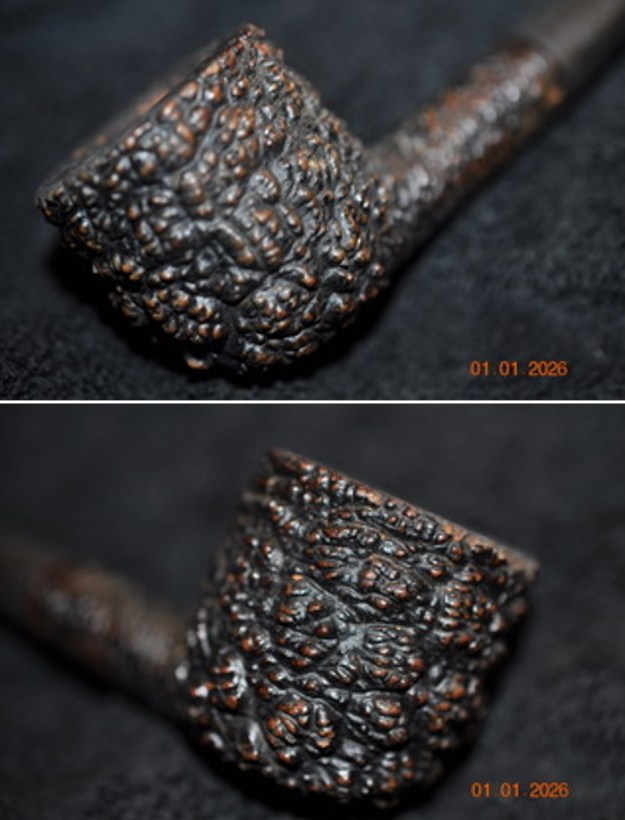
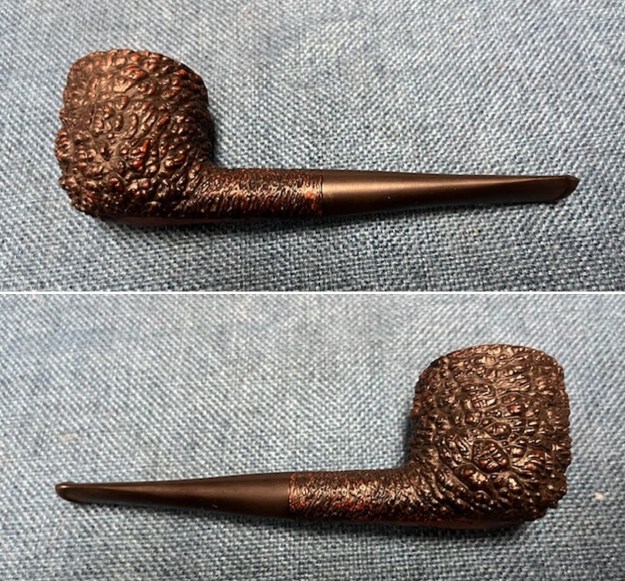
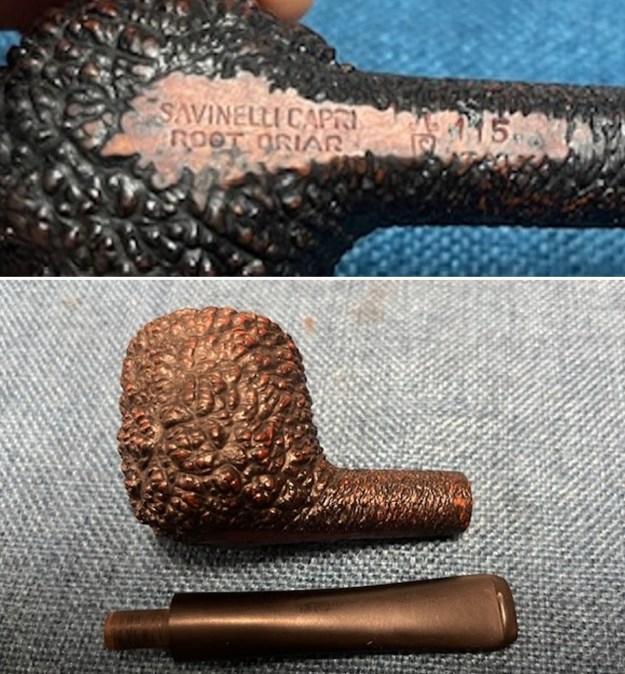
The Savinelli Capri Root Briar Zulu has a rusticated finish (looks a lot like the Castello Sea Rock finish). It is a coral like rustication around the bowl that was filled in with dust and debris. It was stamped on underside of the shank. It is stamped Capri [over] Root Briar followed by Savinelli Italy and the shape number 4011. The finish was dirty with dust and grime ground into the bowl sides. There was a thick cake in the bowl and lava overflow on the rim top. The vulcanite stem was oxidized and had tooth marks and chatter ahead of the button on both sides. Jeff took photos of the pipe to show its general condition before he did his cleanup. As I mentioned above the exterior of the pipe was very dirty – grime and grit ground in from years of use and sitting. The rim top was covered with a coat of thick lava that overflowed from the thick cake in the bowl. It was hard to know what the rim edges looked like because of the lava. Jeff took photos of the sides and the heel of the bowl to give a better feel for the condition of the briar around the bowl. You can also see some of the few fills in the briar in the photos.

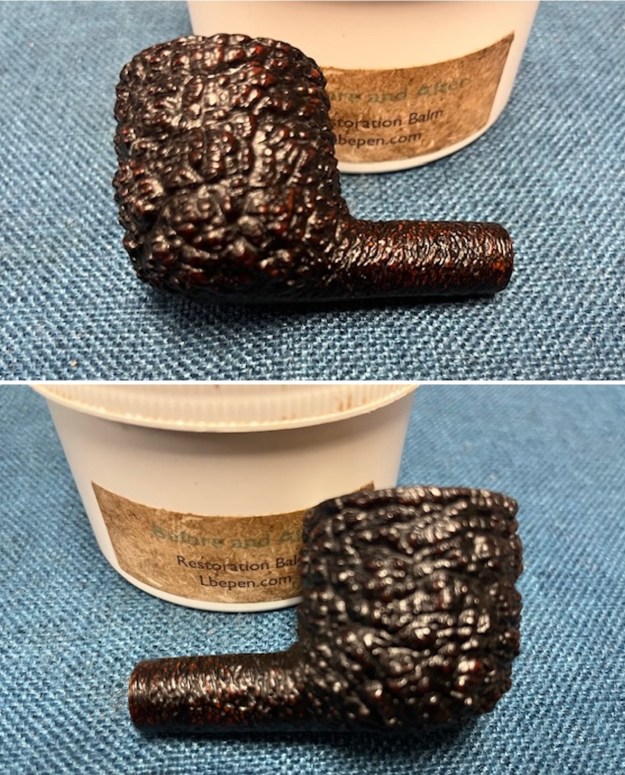
The next photo show the stamping on the underside of the shank and it is very readable. It reads as noted above. The stem was dirty, calcified and oxidized with tooth chatter and marks on the top and underside of the stem at the button.    I have always like the Savinelli Capri Root Briar finish so I was glad to be working on this one. With over 125 pipes to clean from Bob’s estate I took a batch of them to the states with me when I visited and left them with Jeff so he could help me out. Jeff cleaned the pipes with his usual penchant for thoroughness that I really appreciate. Once he finished he shipped them back to me. Bob’s pipes were generally real mess and I did not know what to expect when I unwrapped it from his box. I was surprised to see how well it turned out. He reamed it with a PipNet pipe reamer and cleaned up the reaming with a Savinelli Fitsall Pipe Knife. He scrubbed out the internals with alcohol, pipe cleaners and cotton swabs until the pipe was clean. He scrubbed the exterior of the bowl with Murphy’s Oil Soap and a tooth brush to remove the grime and grit on the briar and the lava on the rim top. The finish looks very good with good looking grain around the bowl and shank. Jeff scrubbed it with Soft Scrub and soaked it in Before & After Deoxidizer to remove the oxidation on the rubber. When the pipe arrived here in Vancouver for the second stop of its restoration tour it looked a lot better. I took photos before I started my part of the work.  I took some close up photos of the rim top and the stem surface. I wanted to show what cleaned bowl and rim top looked like. The rim top and the inner and outer edges of the bowl were in excellent condition. I also took close up photos of the stem to show the tooth marks and the remaining oxidation on the stem surface.    I took photos of the stamping on the underside of the shank and it is clear and readable. It is stamped as noted above.    I removed the stem for the shank and took a photo of the bowl and stem to give a picture of what it looked like. The heavy oxidation is very visible.I rubbed the bowl down with Before & After Restoration Balm. I worked it into the surface of the briar with my fingertips to clean, enliven and protect it. I let the balm sit for a little while and then buffed with a cotton cloth and shoe brush to raise the shine.     I set the bowl aside and turned my attention to the stem. I used a Bic lighter to “paint” the surface of the stem with the flame to lift the tooth marks on both sides of the stem. The heat lifted the tooth marks to the degree that was able to sand out the remaining marks on the stem surface.       I filled in the remaining divots with black super glue. I set the stem aside to let the glue cure. Once they cured I used a needle file to flatten repaired areas. I sanded out the remaining tooth dents in the top and underside of the stem with 220 sandpaper. I started polishing the stem with 400 grit wet dry sandpaper.     I polished the vulcanite with micromesh sanding pads – 1500-12000 grit pads. I wiped it down with a damp cloth after each sanding pad. I used Before & After Pipe Polish – both Fine and Extra Fine to further polish the stem.  I left a little oxidation around the stamp so as not to damage it more.    This Savinelli Made Capri Root Briar 4011 Zulu from Bob Kerr’s estate cleaned up really well and looks very good. The mixed stain brown finish on the pipe is in great condition and works well with the polished vulcanite taper stem. I put the stem back on the bowl and carefully buffed the pipe with Blue Diamond on the buffing wheel using a light touch on the briar. I gave the bowl and stem multiple coats of carnauba wax on the buffing wheel and followed that by buffing the entire pipe with a clean buffing pad. I hand buffed the pipe with a microfiber cloth to deepen the shine. The finished Capri Root Briar 4011 Zulu fits nicely in the hand and I think it will feel great as it heats up with a good tobacco. The tactile finish will add to the experience. Give the finished pipe a look in the photos below. The dimensions of the pipe are Length: 6 inches, Height: 2 inches, Outside diameter of the bowl: 1 ½ inches, Chamber diameter: 7/8 of an inch. If you are interested in carrying on Bob’s legacy with this pipe send me a message or an email. I have more to work on of various brands. Perhaps one of those will catch your attention. Thanks for reading this blog and my reflections on the pipe while I worked on it. This is an interesting estate to bring back to life.

Breathing Life into a Savinelli Capri Root Briar 141KS Billiard


Blog by Steve Laug

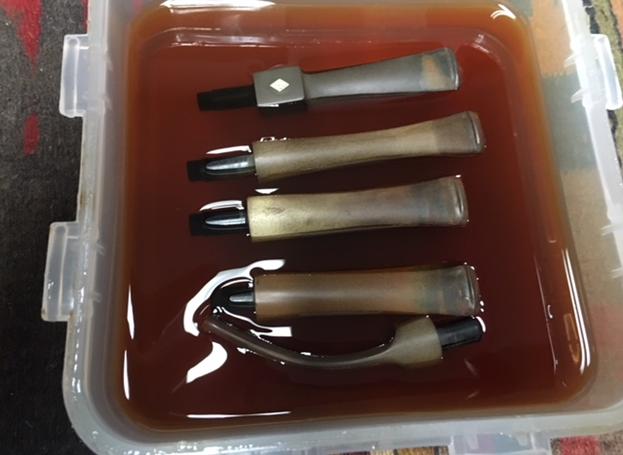
The next pipe on the work table is another pipe from the estate of a Vancouver pipe smoker whose widow left them with a local Pipe Shop. I was asked to clean them and sell them for the shop. The photos show the pipe when I brought it to my work table. It is a nice Savinelli Capri Root Briar with an almost Sea Rock type finish. The bowl was heavily caked with a lava coat on the top of the rim. It was hard to tell how the inner and outer edge of the rim actually looked until the bowl was reamed. The exterior of the bowl was dirty and covered with grime dust in the deep grooves of the finish. The stem had the same tooth marks and chatter on the top and underside near the button as the rest of the pipes in this estate. There was calcification on the first inch from what looked like a Softee bit. The stem has the Savinelli Shield S logo on the top. The pipe is stamped on the underside of the shank with the words Savinelli Capri over Root Briar. There is a Shield S logo next to that and the shape number 141KS at the shank/stem junction. I have included a Savinelli Shape Chart and circled the 141KS in red. It is a billiard with a tapered stem.I took photos of the pipe when it arrived so I would have a base point before I did any clean up or restoration. When I went back to the States after Christmas to visit my parents and brothers I took a box of these pipes with me so that I could have Jeff clean them for me. When they came back to Canada they looked like different pipes. He had reamed the bowl with a PipNet pipe reamer and cleaned it up with a Savinelli Fitsall Pipe Knife. He scrubbed the exterior with Murphy’s Oil Soap and a tooth brush to clean off the grime on the finish and the heavy overflow of lava on the rim top. He cleaned up the internals of the shank, mortise and stem with pipe cleaners, cotton swabs and alcohol to remove all of the oils and tars in the pipe. When it came back to Vancouver it was a quite different pipe. I took pictures of it to show the condition at this point – the bowl looked great and the stem was very oxidized. I took photos of the rim top and the stem to show their condition. Jeff was able to clean out the bowl completely and the rim top. He removed the tars and lava and left behind a clean top that showed all of the original rustication and looked very good. The stem was oxidized and there was tooth chatter and marks on both sides near the button and on the surface edges of the button itself.I am working on five of the pipes from that estate at the same time. I put all of the stems in a bath of Before & After Pipe Stem Deoxidizer to soak. I submerged them all of the stems in the bath and let them soak overnight to break down the oxidation.I took the stem out of the deoxidizer and rinsed it under warm water to rinse off the mixture. I blew air through the stem and ran water through it as well to rinse out the mixture there as well. The stem still had some oxidation spots but it was all on the surface as seen in the first two photos below. I painted the surface of the stem with the flame of a Bic lighter to lift the tooth marks. One of the benefits of the lighter is that it burned off the sulfur on the surface of the stem. It did not take too much work for the vulcanite to return to its smooth condition. I sanded out the lighter tooth marks and chatter with 220 grit sandpaper until there were two deep tooth marks on the underside of the stem that remained. I filled those in with clear super glue and laid the stem aside to let the repairs cure. While the repairs on the stem were  curing I rubbed down the briar with Before & After Restoration Balm. I worked it into the nooks and crannies of the rusticated briar to clean, enliven and protect the finish. I let the balm sit for a little while and then buffed it with a cotton cloth to raise the shine. The following photos show the bowl now. Once the repairs had dried/cured I sanded them smooth with 220 grit sandpaper to blend them into the surface of the bowl. It took a lot of sanding to smooth them all out.I polished out the scratches in the vulcanite with 400 grit wet dry sandpaper and with micromesh sanding pads. I wet sanded with 1500-2400 grit pads and dry sanded with 3200-12000 grit pads. I wiped the stem down after each pad with Obsidian Oil. After sanding with the 12000 grit pad I polished the stem with Before & After Pipe Stem Polish – both Fine and Extra Fine. With the stem polished I put it back on the pipe and lightly buffed the bowl with Blue Diamond. I buffed the stem with a more aggressive buff of Blue Diamond. I gave the bowl multiple coats of Conservator’s Wax and the stem several coats of carnauba wax and buffed the pipe with a clean buffing pad to raise the shine. I hand buffed it with a microfiber cloth to deepen the shine. The pipe polished up pretty nicely. The finished pipe is shown in the photos below. I will be posting it on the rebornpipes store very soon. It should make a nice addition to your pipe rack if you have been looking for a reasonably priced pipe with a Sea Rock style finish. It should be a great smoking pipe with a good hand feel. The dimensions are Length: 6 inches, Height: 2 inches, Outside diameter of the bowl: 1 3/8 inches, Chamber diameter: 3/4 inches. Thanks for walking through the restoration with me as I worked this pipe over.

Restemming a Savinelli Capri Root Briar 320 and giving it a new look


Blog by Steve Laug

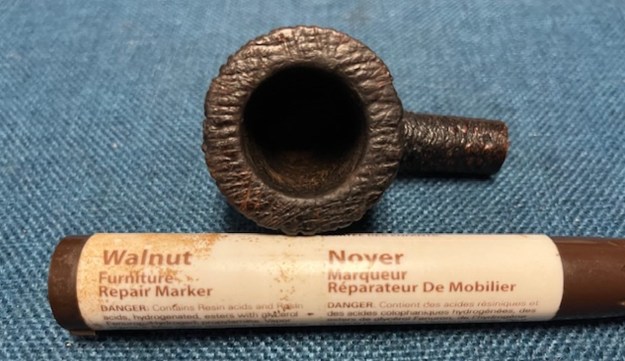
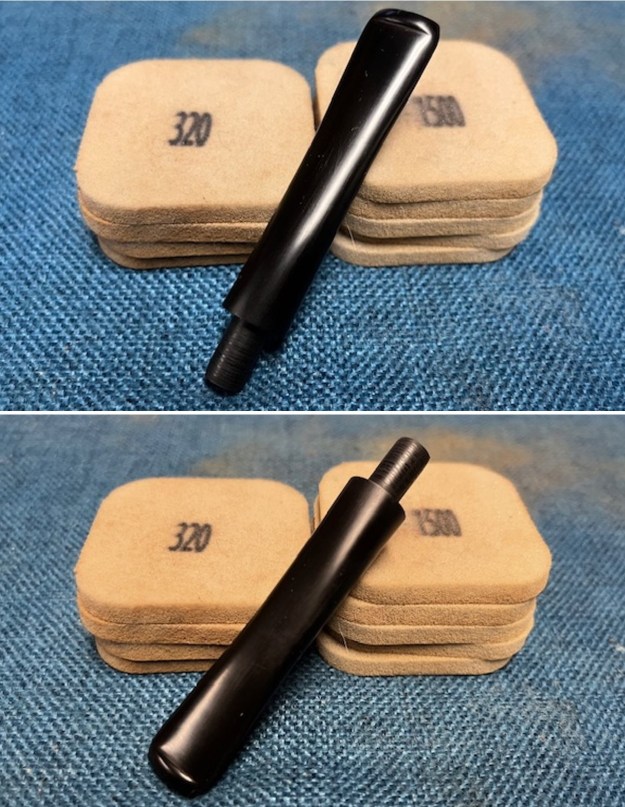
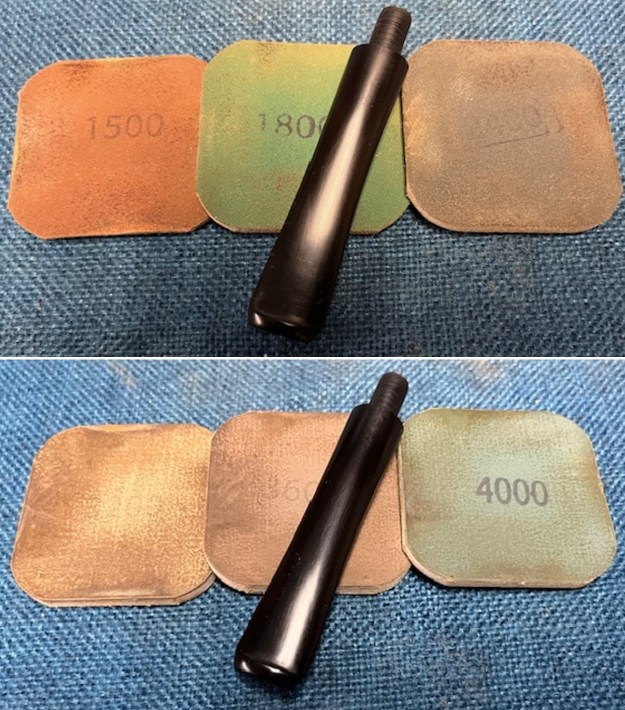
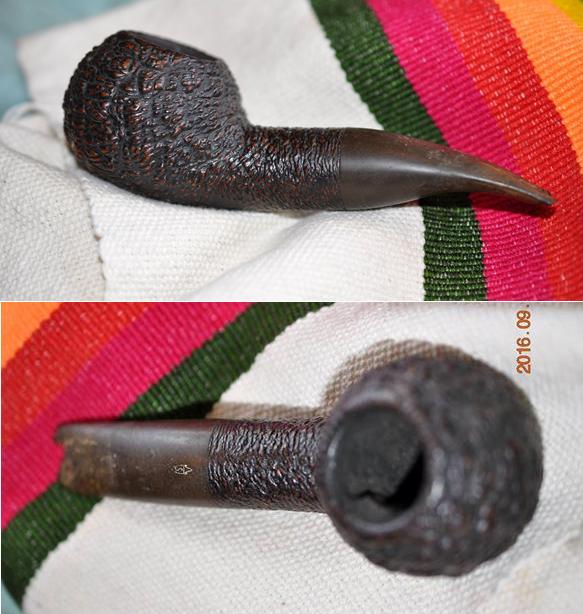
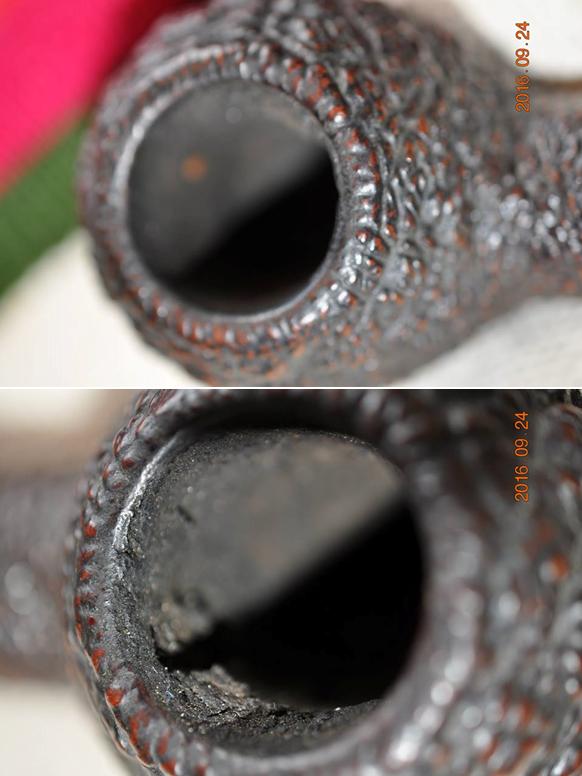
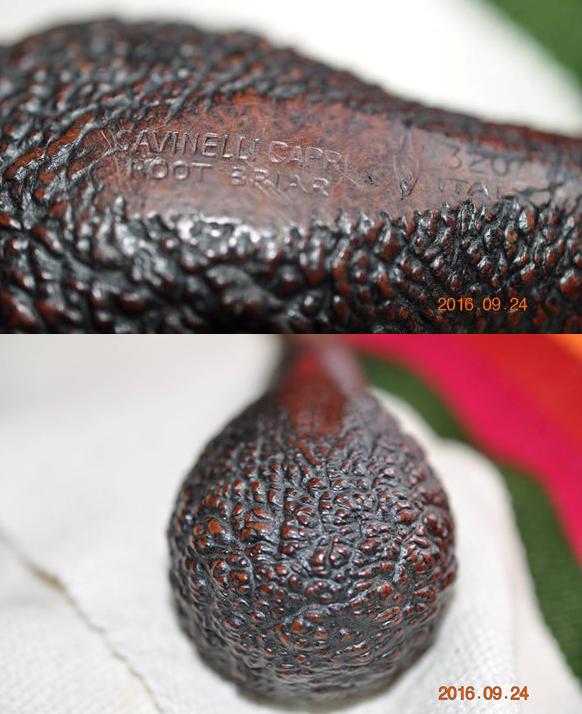
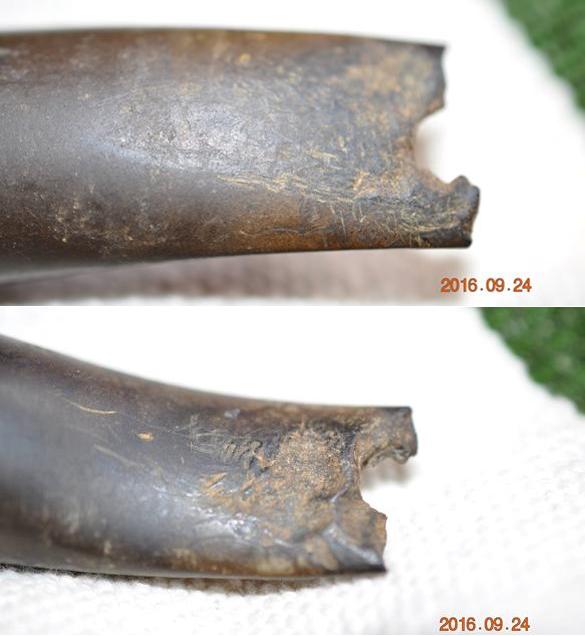
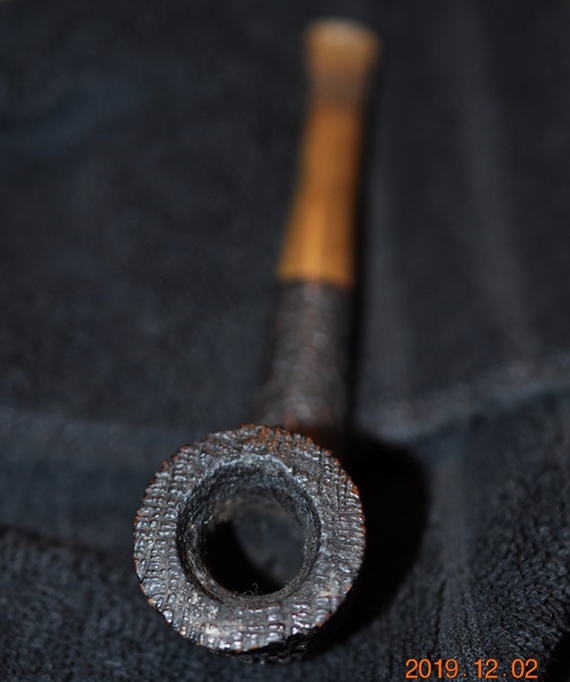
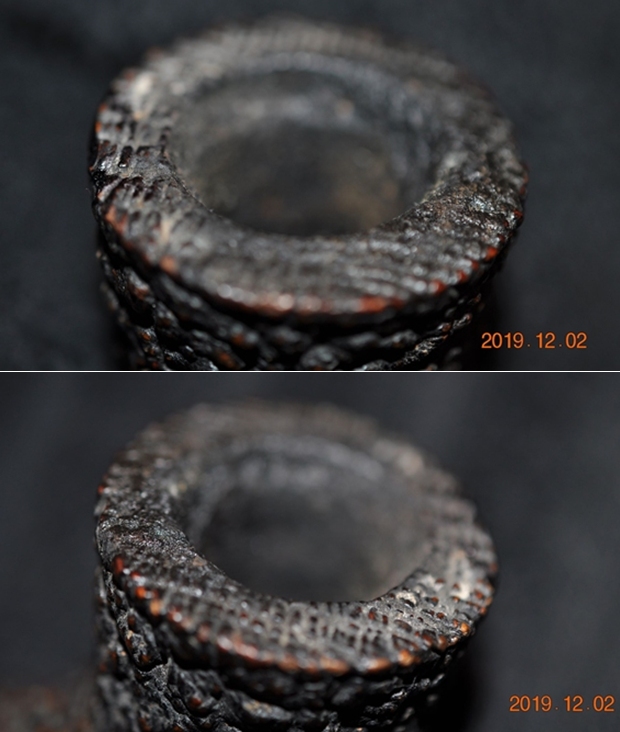
I have always liked the looks of the Savinelli 320 shape. I have one of them here and it is a 320EX so it is quite large. When my brother Jeff sent me photos of one that he was looking at I was interested. He bid on it and won. It is stamped on the underside of the shank on a smooth spot with the words Savinelli Capri over Root Briar. Next to the stamping was the Savinelli shield and to the right of that it reads 320 over Italy. The finish on the bowl looked really good. I really like the Capri rustication and the roughness of the feel in the hand.sav1My brother sent me the photos above as well as these close up photos. The rim was actually in very good shape, surprisingly. The there was a thick rough ca,e in the bowl and some of the lava had overflowed on to the rim top grooves.sav2The underside of the shank was in excellent shape though there were some scratches on the smooth area. The pebble cut rustication was in excellent condition. The contrast stain on the pebble finish other than being dirty was undamaged.sav3The real issue with the pipe lay with the stem. The stem had been gnawed to the point that there was almost an inch or more of the stem missing. It was missing a large portion of the vulcanite on the top and the underside of the stem. It is ironic that the stem logo was the only thing about the stem that was left undamaged.sav4 sav5My brother is getting really good at his cleanup process and this pipe was no exception. I am getting spoiled when I get a pipe that I have to ream and clean. When he sends them they have been reamed, scrubbed with Murphy’s Oil Soap on the exterior and cleaned thoroughly with alcohol, cotton swabs and pipe cleaners on the inside. I took some photos of the pipe to show the condition it was in when it arrived in Vancouver. You can see that the finish is clean and you can see the horrible damage to the stem.sav6 sav7I took a close up photo of the rim and the bowl. He had reamed back the cake to bare briar and also scrubbed the rustication on the rim and removed all of the tars and oils that had filled in portions of it on the back side of the bowl.sav8The original stem was a lost cause at this point. To shorten and reshape a new button I would have had to cut off almost another ½ inch. To my mind that would have made the pipe too short for my liking. I went through my can of stems and found a stem that had potential. The diameter of the stem at the tenon end was slightly larger than the Savinelli stem but it had room for adjustments. It had some file marks on the top and the tenon was a little large in diameter for the shank of the 320 but with a little work it would work. It had some paint on the top of the saddle and was deeply oxidized. There was not any tooth chatter or tooth marks on it. It would certainly work for the 320 but it would change the appearance. Once I had finished the fit I would take some pictures and make a decision.sav9I scraped out the mortise with a dental spatula to remove the hard tarry build up that had accumulated there. Once I had scraped it clean I scoured out the inside of mortise and airways in the shank and the stem with alcohol, pipe cleaners and cotton swabs.sav10I sanded the tenon with a Dremel and a sanding drum to fine tune the fit in the shank. I also adjusted the diameter of the saddle with the Dremel and sanding drum until it was a close fit to the diameter of the shank. I fine-tuned the fit with 220 grit sandpaper until the saddle portion was free of the sanding marks left behind by the Dremel. I sanded the tenon with 220 grit sandpaper to adjust the fit in the mortise. I finished by sanding the remainder of the stem as well to break up the oxidation.sav11Once the fit in the mortise and to the shank was correct I pushed the stem in place and took photos of the new look of the pipe. Part of this was to mark the progress but it was also an opportunity for me to see it from the eye of the camera and assess whether I would keep working on the stem or just wait until I came across another Savinelli tapered stem. As I studied the photos I was pleased with the look. There was something catching about the new slim stem flowing from the saddle. I liked the looks of it.sav12 sav13I sanded the stem with the 220 grit sandpaper until I had removed the oxidation and then rubbed the bowl down with a light coat of olive oil to rejuvenate the briar. I rubbed the stem down with Obsidian Oil and took the next set of pictures. The pipe was beginning to look really good.sav15 sav16I polished the stem with micromesh sanding pads – wet sanding with 1500-2400 grit pads and dry sanding with 3200-12000 grit pads. I rubbed the stem down with Obsidian Oil after each set of three pads. I gave the stem a final coat of Obsidian Oil after the last micromesh pad and set it aside to dry.sav17 sav18 sav19I buffed the stem with Blue Diamond polish on the buffing wheel to polish it further. I gave the stem multiple coats of carnauba wax and gave the bowl several coats of Conservator’s Wax. I buffed the bowl and stem with a clean buffing pad to raise the shine. I finished the pipe by buffing it by hand with a microfibre cloth. The finished pipe is shown in the photos below. It took some work to fit the new stem to the shank but the new look of the saddle stem gives this pipe a fresh appearance to me that works well with the pebble rustication of the Capri Root Briar finish.sav20 sav21 sav22 sav23 sav24 sav25 sav26 sav27
 

Putting the Rusticated Rim back on a Savinelli Capri 121 Pot


Blog by Steve Laug

One of the gift pipes received from a friend when I repaired his pipe was a beautiful little Savinelli Capri 121 Pot. I love the finish on the Capris. There is something about the rusticated finish that adds a tactile dimension to the pipe that I thoroughly appreciate. This pipe was no exception. The finish on the bowl was in excellent condition though at some point in its life it had been topped. The typical rustication on the rim surface had been sanded smooth and the rim had been stained with a reddish brown stain. The internals of the pipe were very clean. The bowl had been reamed and the airway in the mortise was spotless. The stamping on the bottom of the shank was sharp and legible – it reads Savinelli Capri over Root Briar and the Savinelli shield and next to that the shape #121 over Italy.

The stem had seen better days but it was still repairable. It was oxidized and the gold stamping was faint on top of the saddle. There were tooth marks on the top and the bottom of the stem. The ones on top had been repaired and filled with a white looking epoxy. It was hard and smooth but it was white and it looked really bad with the brown oxidation on the stem. These would need to be removed and repaired when I worked on the stem. The tooth marks on the underside of the stem were not as deep and could easily be remedied by sanding the stem. The inside of the stem was also very clean. I took the following photos when I brought the pipe to the work table.Capri1

Capri2

Capri3

Capri4 I took some close-up photos of the rim and the stem to show the condition of both. The topping job on the rim actually was very well done. The refinish on it was impeccable – no scratches or grooves, just a clean smooth surface. The stem shows the story I mentioned above. The top side view shows the repairs and the underside view shows the dents.Capri5

Capri6

Capri7 Taking care of the dents on the underside of the stem was an easy matter. They were not too deep so I sanded the stem with 220 grit sandpaper and they disappeared.Capri8 The top of the stem was another matter. I wanted to remove the white repairs. I sanded the stem until they were four distinct repairs. Then I used the dental pick to pick away at the white epoxy repair until it was pitted and gave me a new divot to work with. I used some black super glue to refill the divots and cover the white that had been present before.Capri9

Capri10 I sprayed the glue with an accelerator and then sanded the repair with 220 grit sandpaper to blend it into the surface of the stem. In the next photo you can see that the white no longer was visible. The trick would be to keep it that way!Capri11

Capri12 Now it was time to address the rim. I was not sure about rusticating it because it actually looked quite fine the way it was. I went online and found a photo of a Capri that was the same shape and the rim was rusticated. I liked the look of the rim blending into the finish of the bowl. The decision was made. Now I had to work to get a similar look.Capri13 took out my Dremel and my assortment of burrs. I was pretty certain that I would use them all in the process of rusticating the rim with a deep and pebbled look.Capri14 I started with a simple cylindrical burr to carve some random swirls across the rim. I did this lightly at first and then deepened them. At this point I kept to the middle of the rim as I had ideas about rusticating the edges a little differently.Capri15 I followed that by using the ball burr to deepen the swirls and work on the inner and outer edges of the rim. At this point the surface was beginning to look good. But too me it was not rustic enough for the Capri finish on the bowl – it was too tame looking.Capri16 I used cone burr next with a cross hatch pattern to randomize the pattern even more and deepen the grooves in the surface and edges.Capri17 I next moved onto another cone burr with a spiral pattern and continued to work on the rim pattern. It was getting close to the point I was aiming for.Capri18 I used the last cone burr that had a swirl pattern in the opposite direction and went over the rim again to further accent the roughness.Capri19 I used the cylindrical burr to cut some of the lines between the divots and edges of the bowl and make it more craggy looking.Capri20 At this point in the process I was finished with the burrs and I put a coat of medium brown stain on the high points in the rustication using a stain pen. I followed that up with using a black Sharpie pen to fill in the divots and low spots on the rustication.Capri21

Capri22 I scrubbed the newly stained rim with a brass bristle brush to knock off some of the high spots and get a more burnished look like the bowl sides. I still was not happy with the stain so I used the sharpie again to darken the low spots and grooves. I then restained the rim with the dark brown stain pen. The colour was very close to the sides of the bowl.Capri23

Capri24

Capri25 I could have probably stopped there but I did not. I studied the photo of the rim above and noted that there were some striations or cuts in the surface of the rim that connected all the rustication and gave it a distressed look. I have a serrated edge letter opener here that I thought might work to give me more of that look. I cut the surface from every direction with the edge of the letter opener and carved and hacked it to distress it. I used the brass brush once again and then recut the rim with the opener.Capri26 I restained the rim with the black Sharpie and the dark brown pen. And then gave it a light buff on the wheel with Blue Diamond. I say light because if I had pressed any harder the polishing material would have gone into the grooves and made a mess. The rim looked good to me. The finish was done and all that remained was to wax it with some Conservator’s Wax.Capri27 I gave the bowl and rim several coats of Conservator’s Wax (works like Halcyon II on rusticated finishes) and buffed it with a shoe brush to polish and give a shine. I wet sanded the stem with 1500-2400 grit micromesh pads to begin the polishing process. It was tricky around the stamp on the shank so I had to work carefully with the pad to get as much of the oxidation as possible.Capri28

Capri29 I buffed the stem with White Diamond to further polish it and then sanded it with 4000 grit wet dry sandpaper to really work on the oxidation at the shank. It is a finicky part of the process because of the weak stamping. I rubbed the stem down with Obsidian Oil and then progressed to 3200-4000 grit micromesh pads. Another coat of oil preceded the final sanding with 6000-12000 grit pads. I gave the stem a final coat of oil and set it aside to dry.Capri30

Capri31 I buffed the pipe with a shoe brush and then with a microfibre cloth. I gave it several more coats of the Conservator’s Wax and polished it to a shine. I buffed the stem with Blue Diamond and gave it several coats of carnauba to protect it and then buffed the stem with a clean buff to raise the shine. I hand buffed the entirety one final time with a shoe brush and then took the finished photos below. This was a fun project. You can see that the white stem repairs have disappeared and the rustication on the rim fits the overall look of the pipe far better than the smooth finish that was there before. Thanks for looking. Capri32

Capri33

Capri34

Capri35

Capri36

Capri37