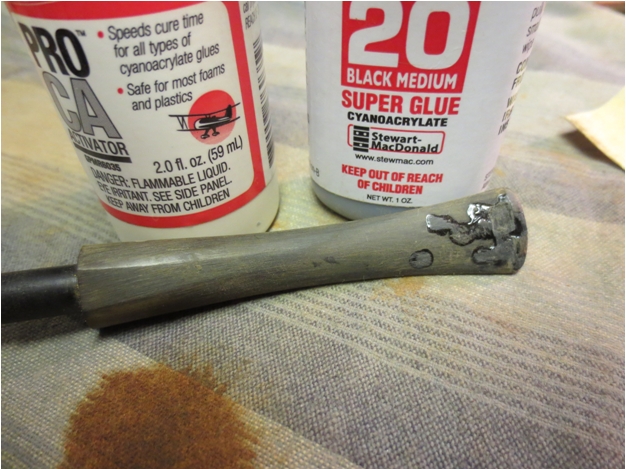
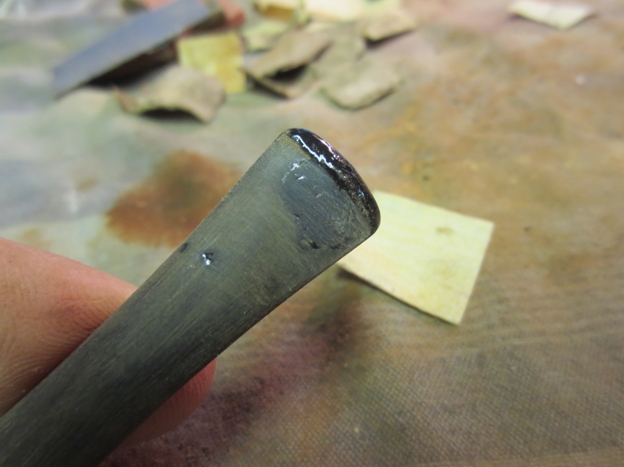
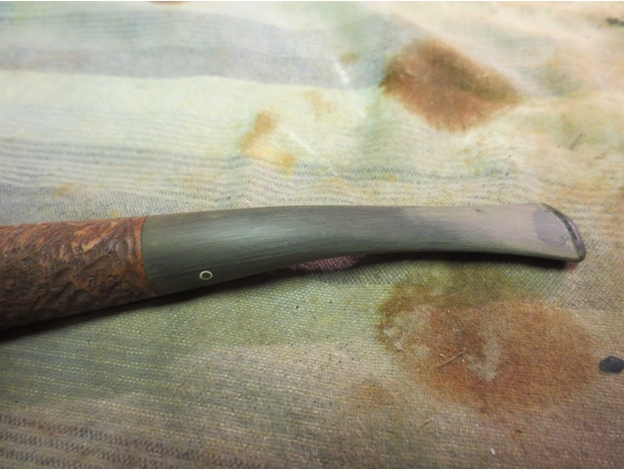
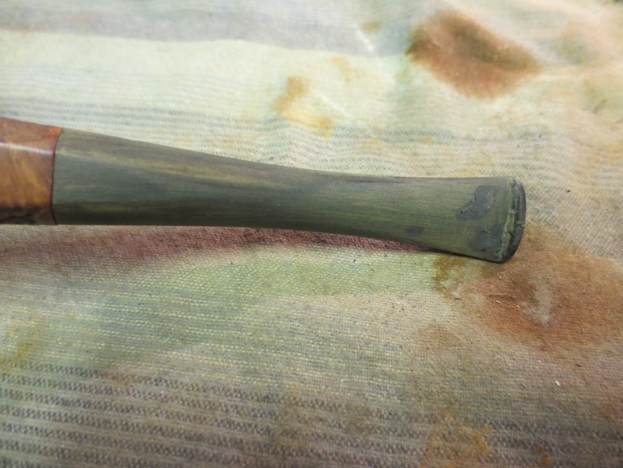
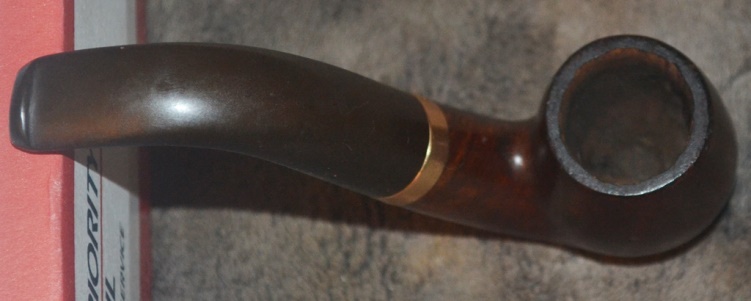
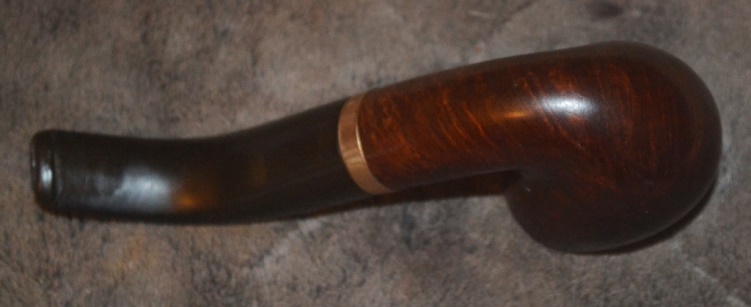
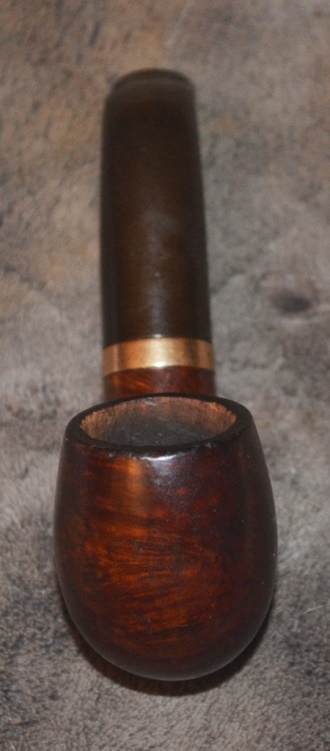
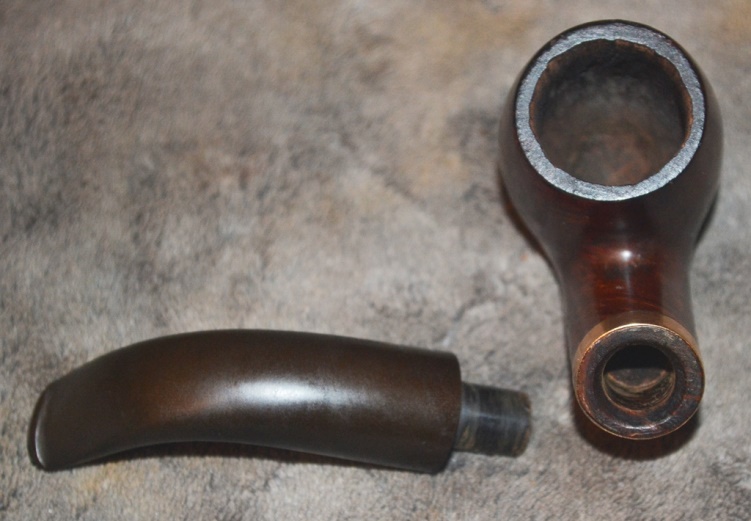
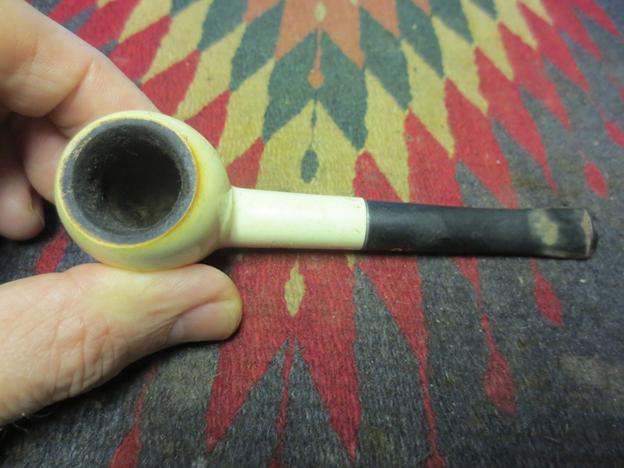
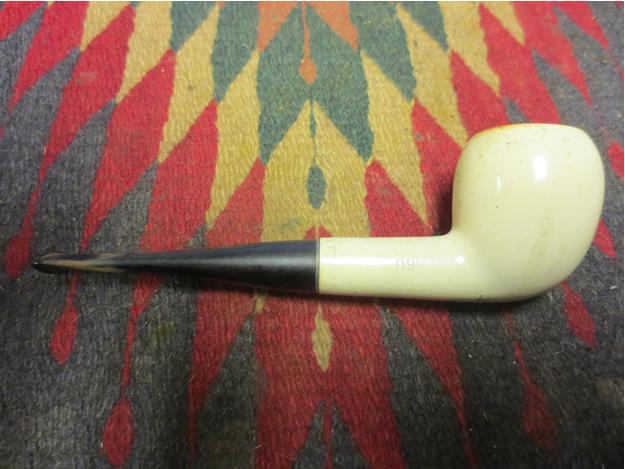
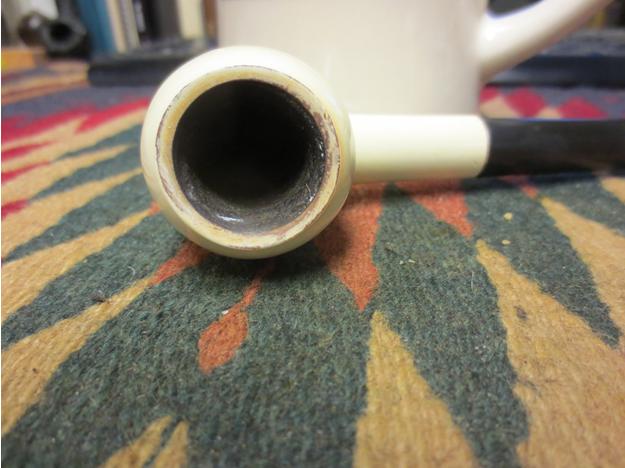
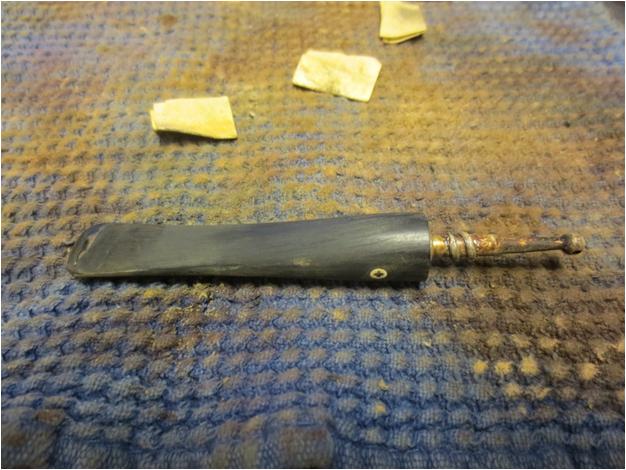
Tag Archives: sanding a stem

Giving New Life to a Briar Squire Bent Pot – Andrew Selking


Blog by Andrew Selking

This is the second article by Andrew that I have the pleasure of posting on the blog. It is about a well restored Briar Squire bent Pot. Andrew does some beautiful work and it is a pleasure to read and see the results of his work. Thanks Andrew.

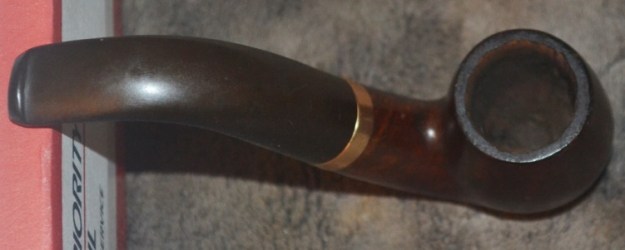
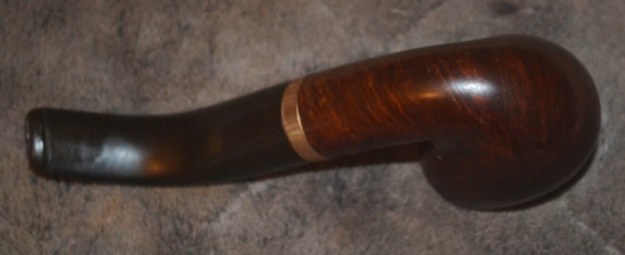
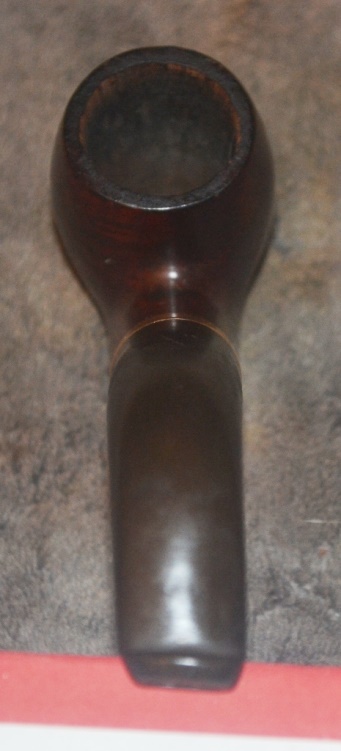
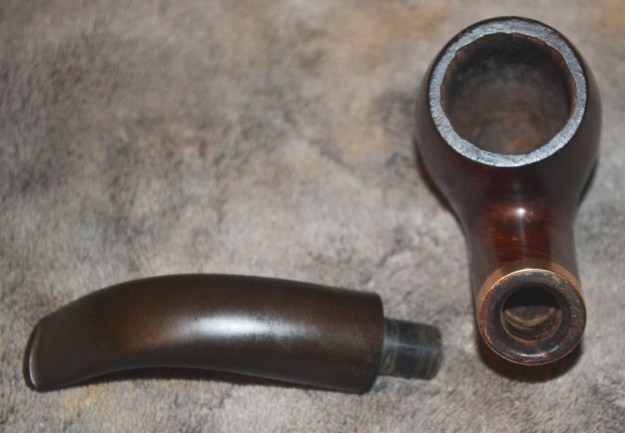
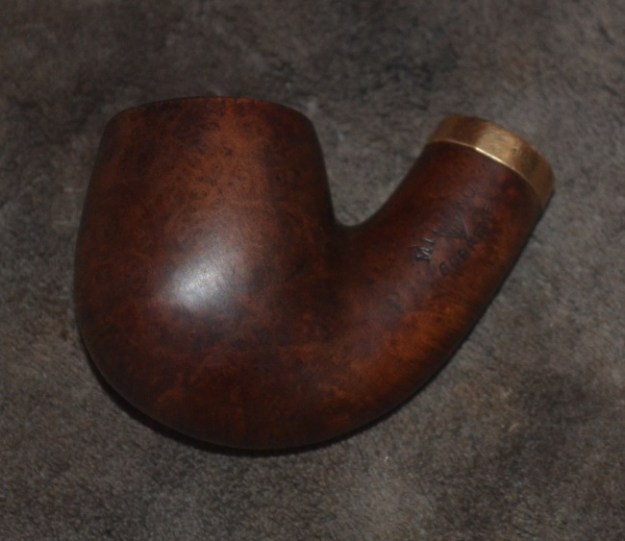
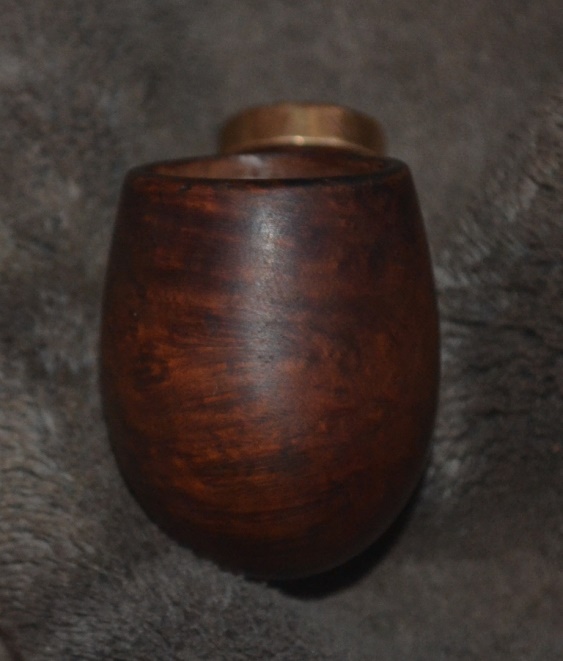
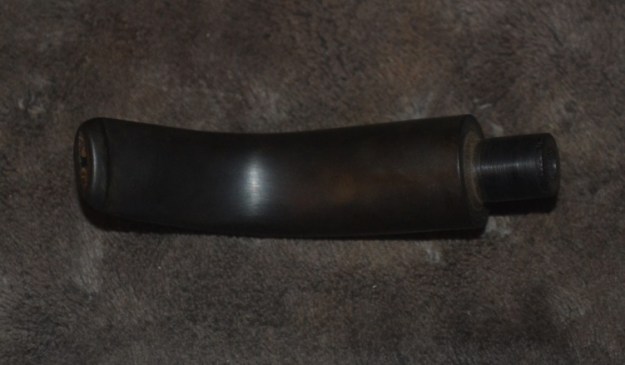
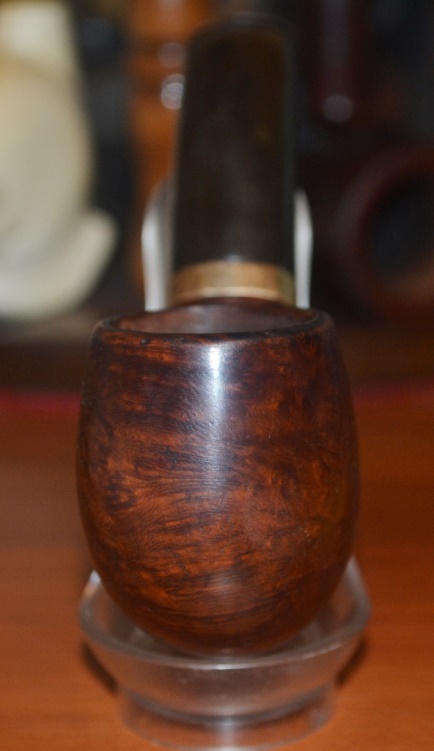
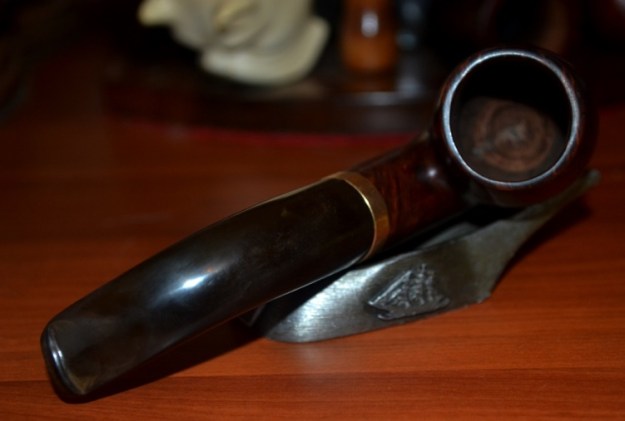
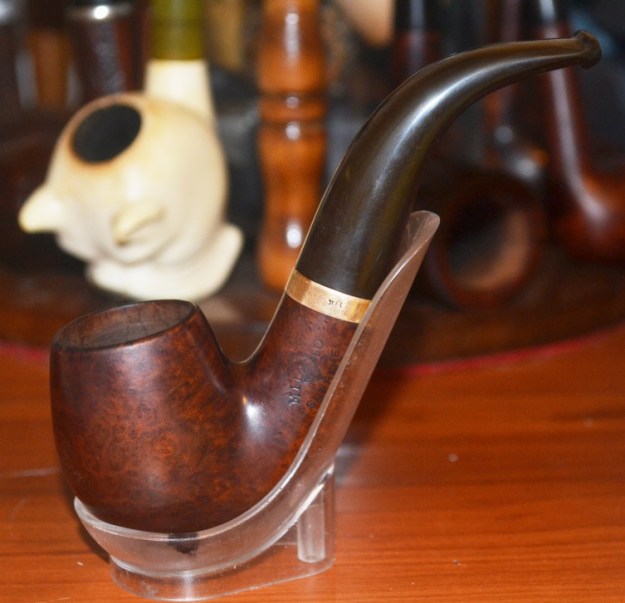
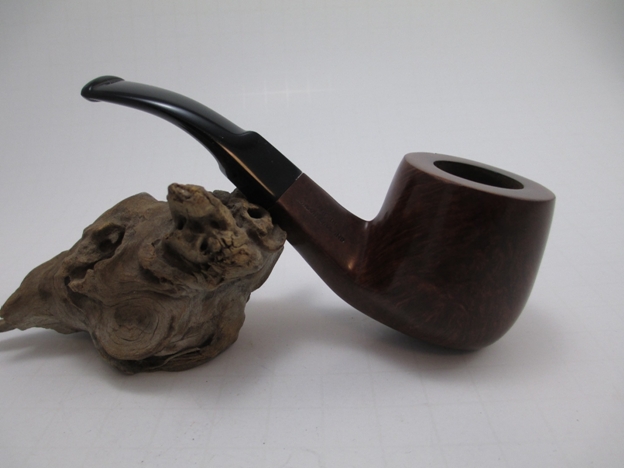
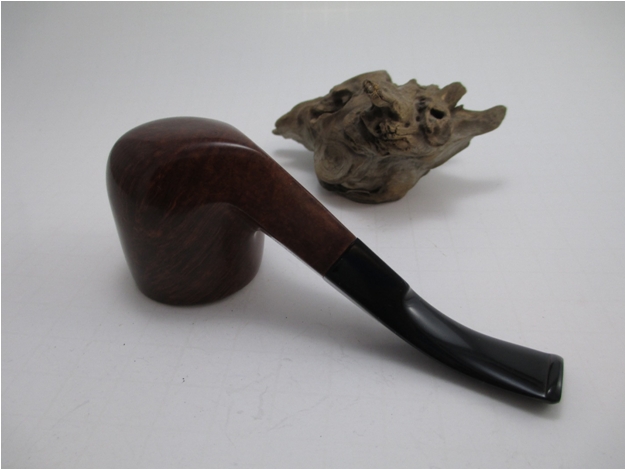
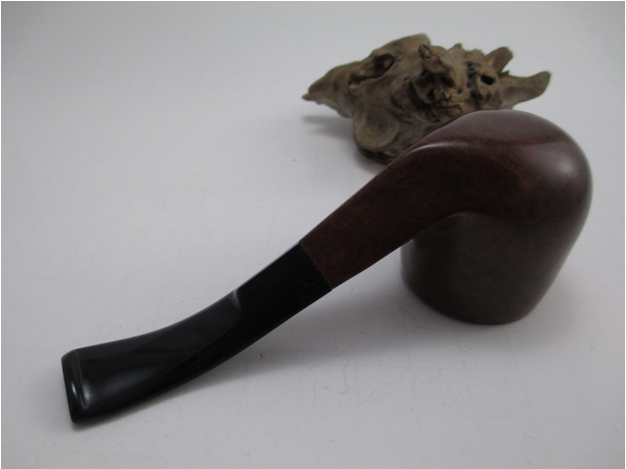
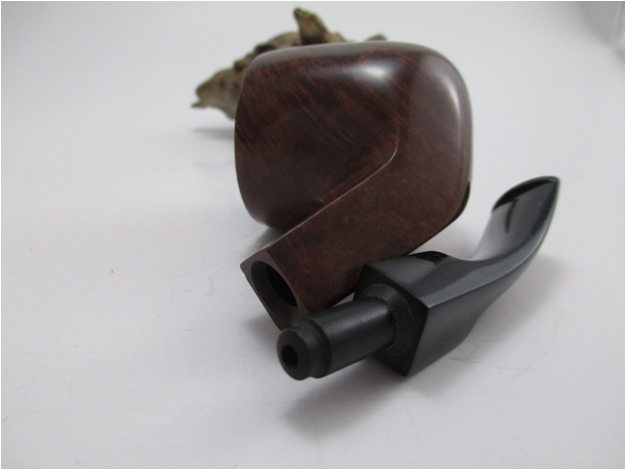
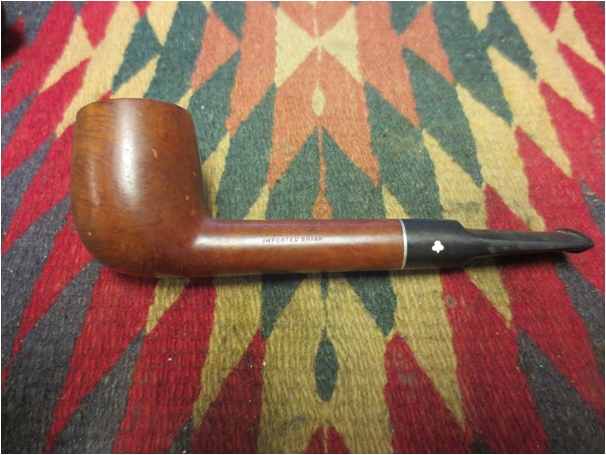
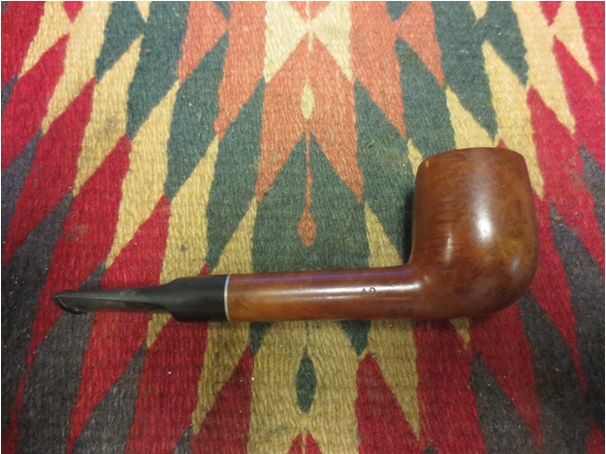
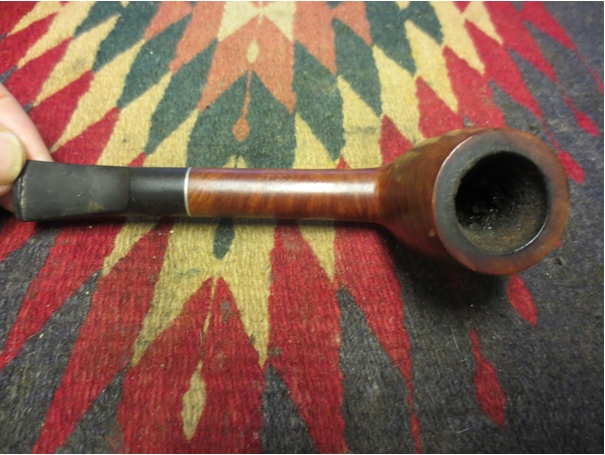
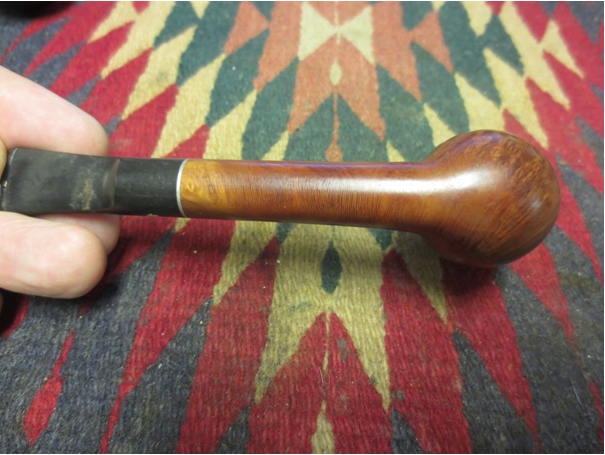
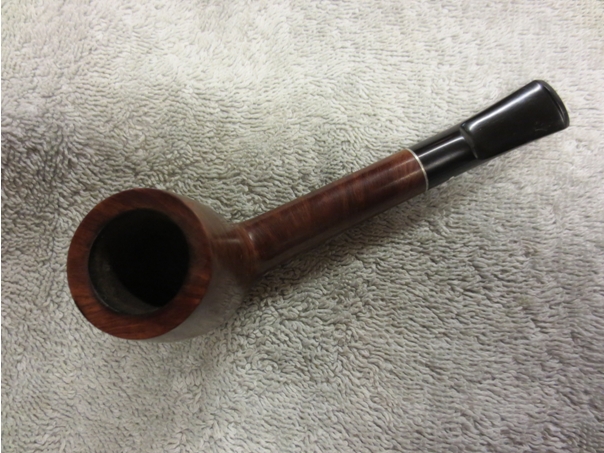
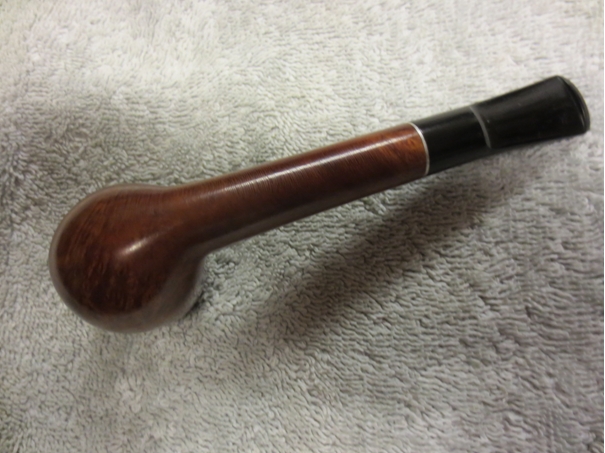
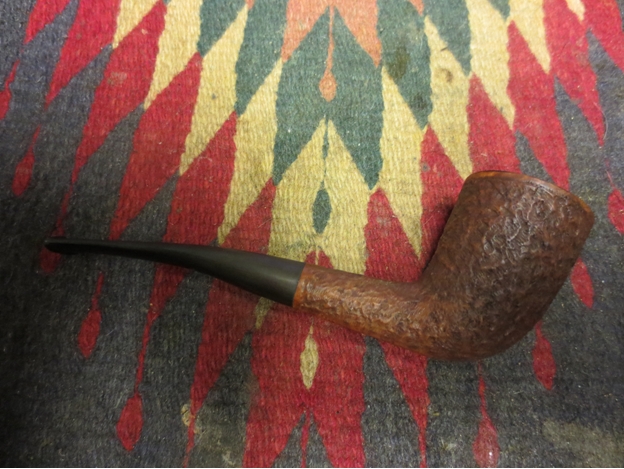
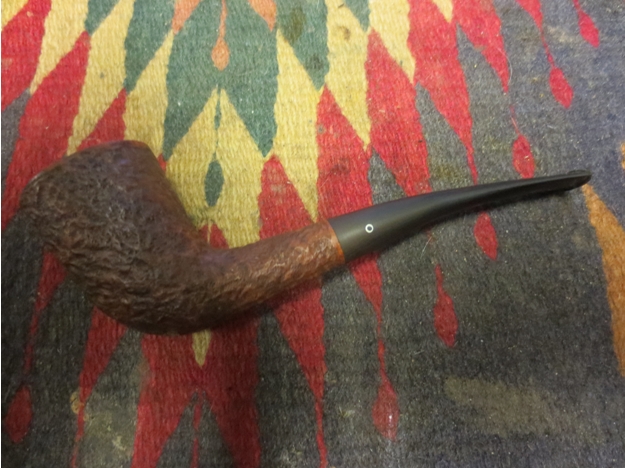
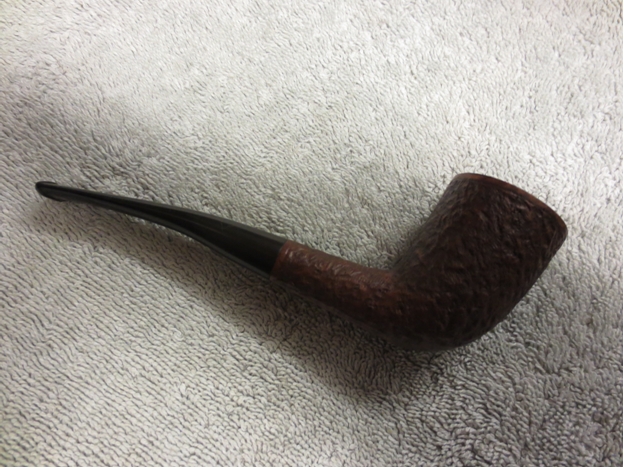
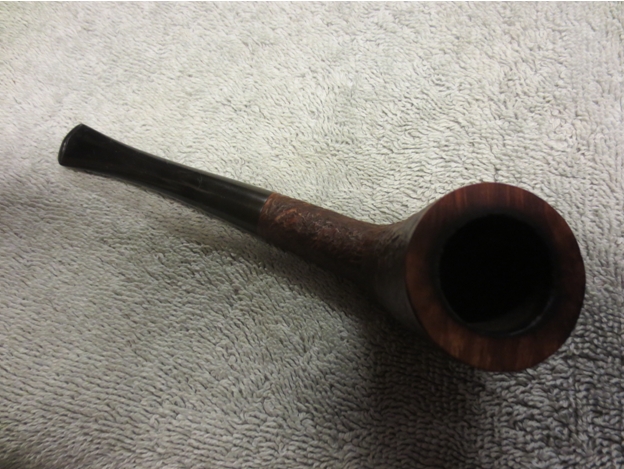
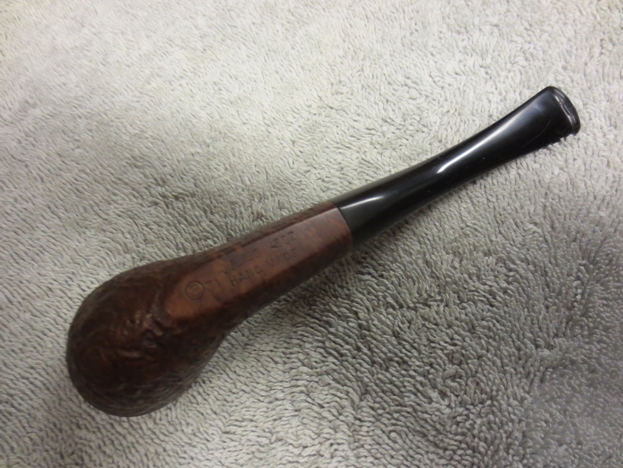
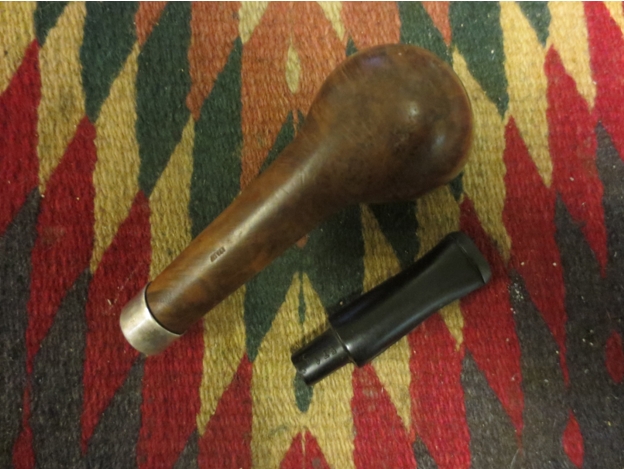
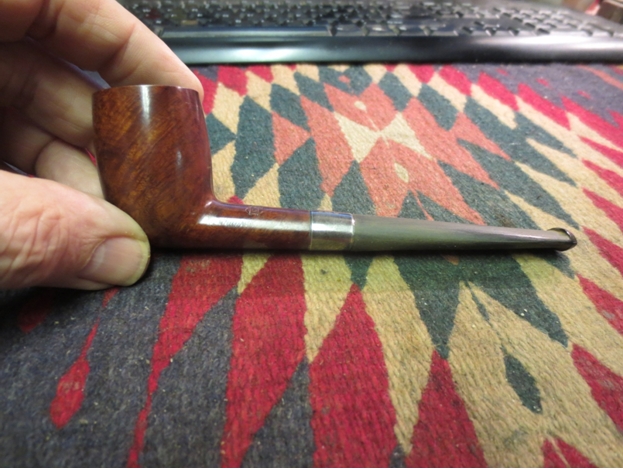
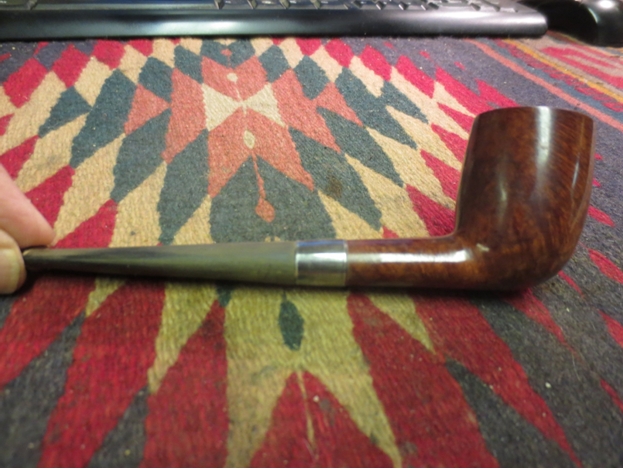
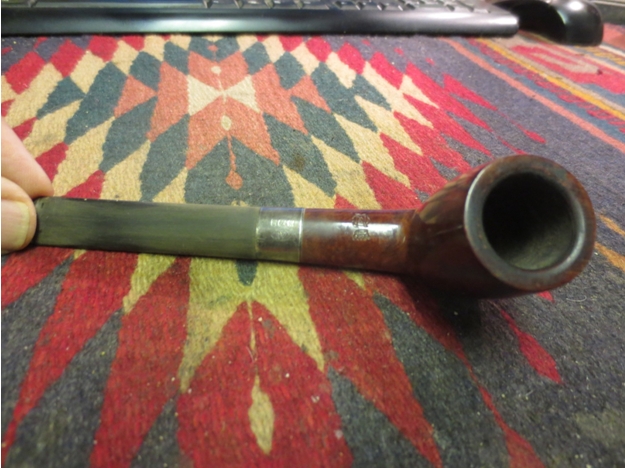
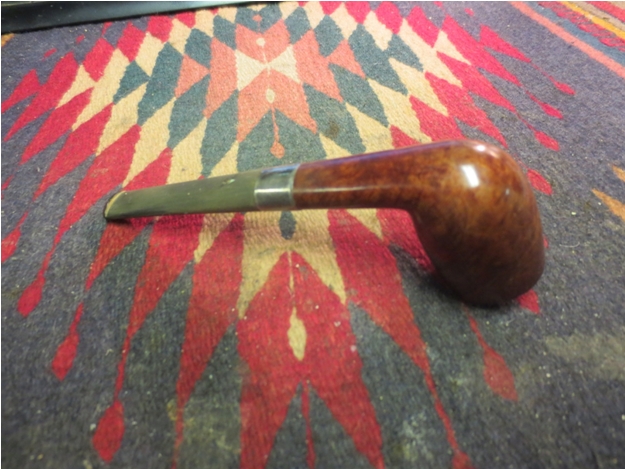
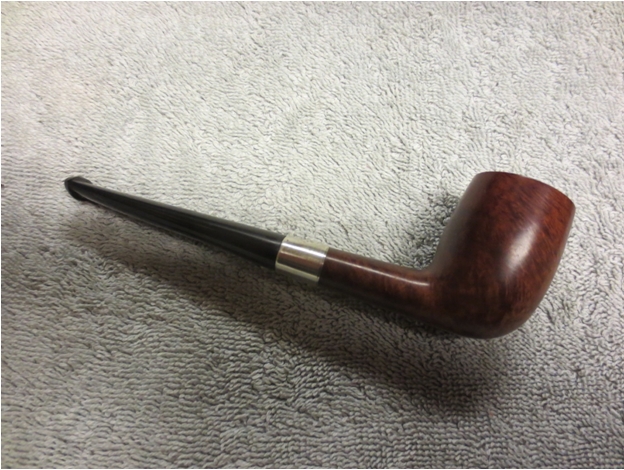
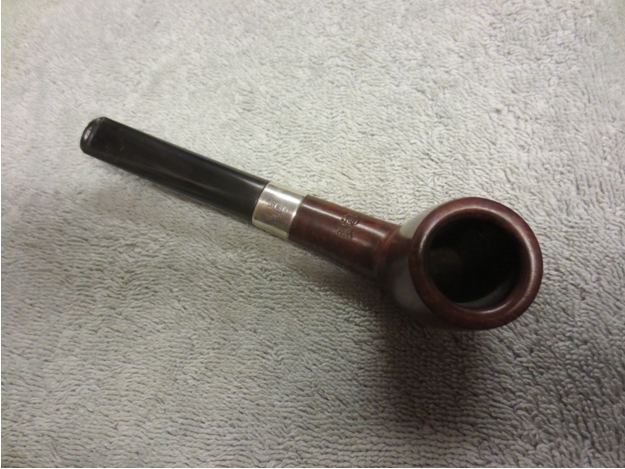
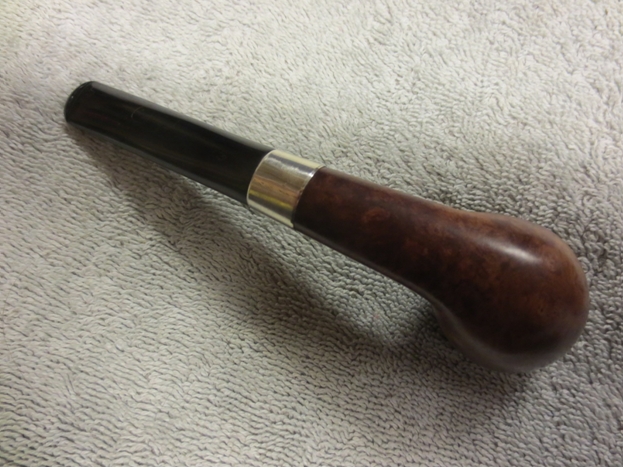
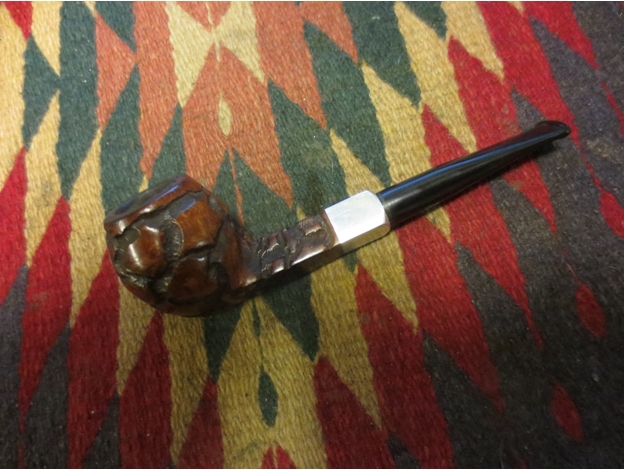
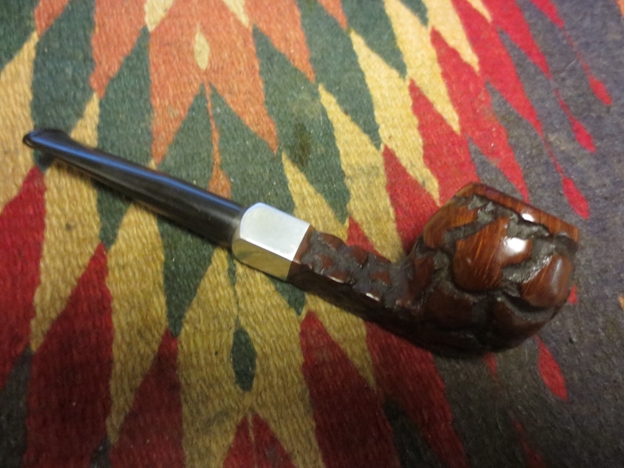
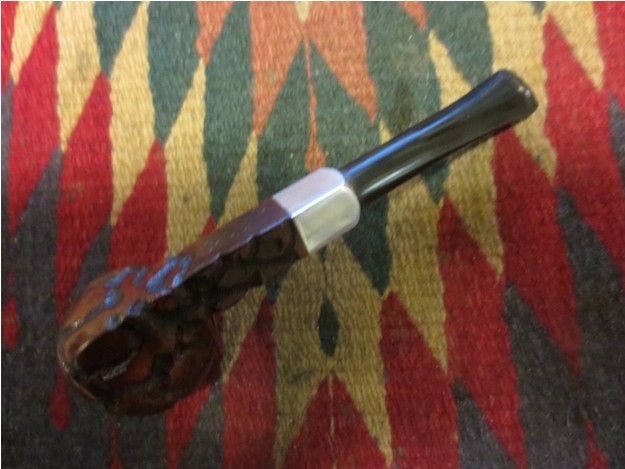
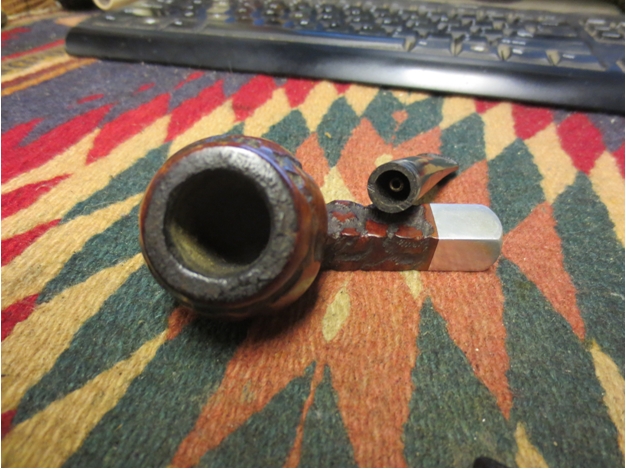
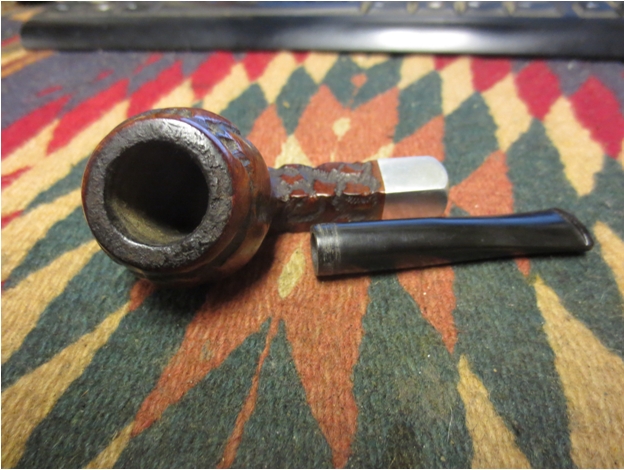
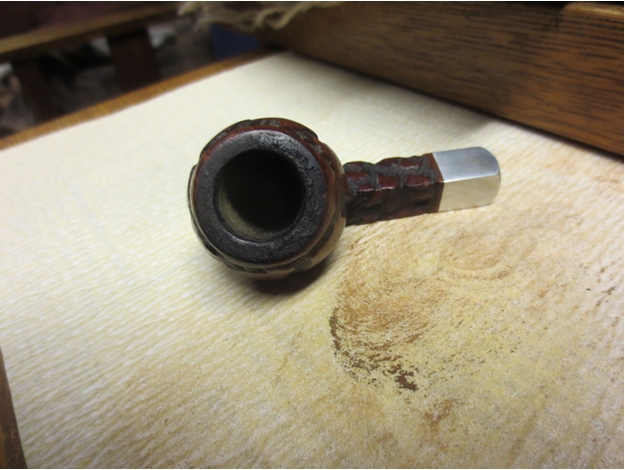
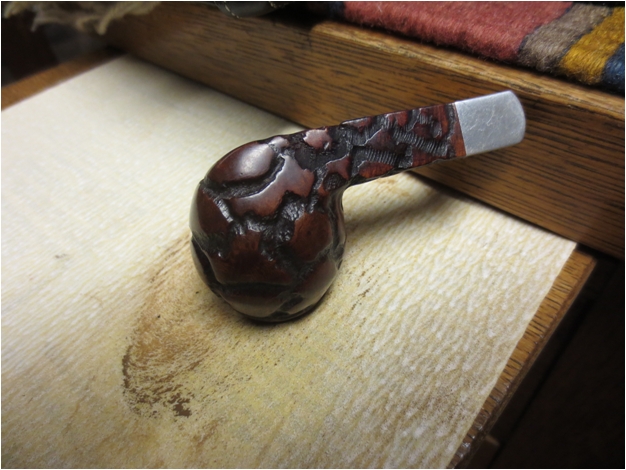
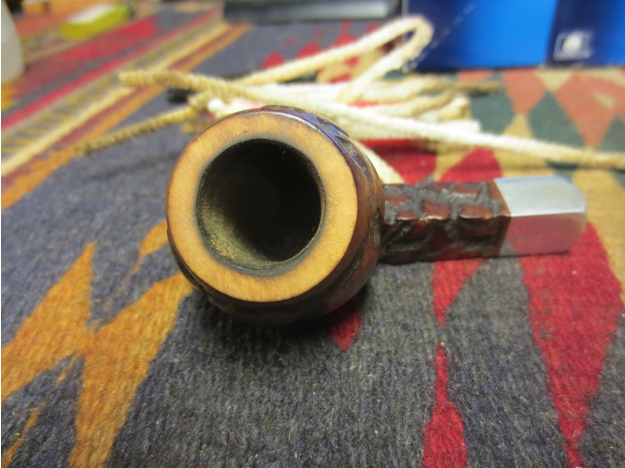
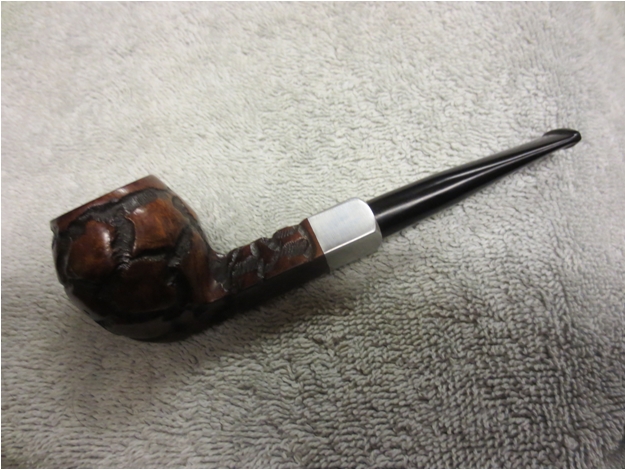
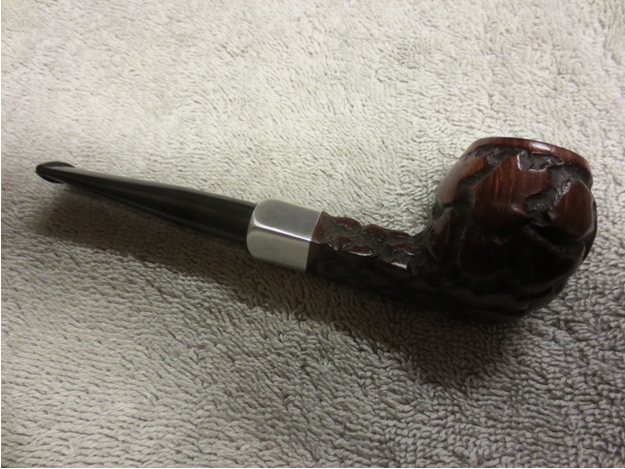
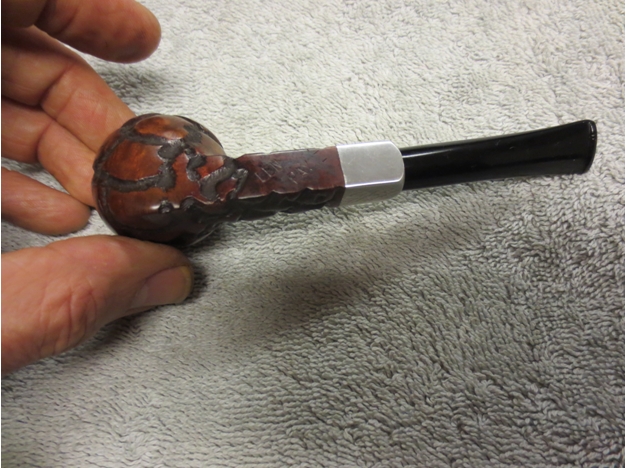
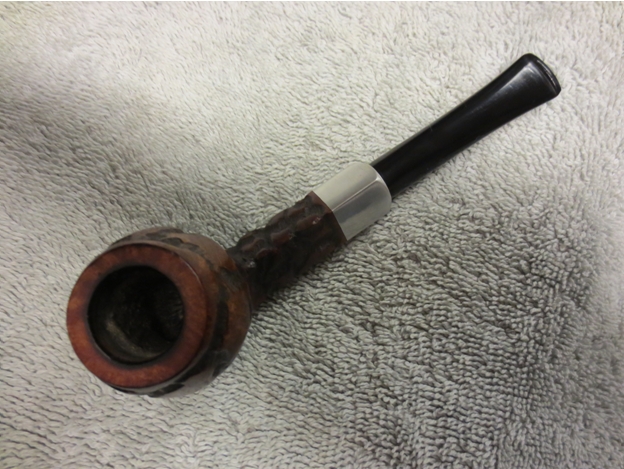
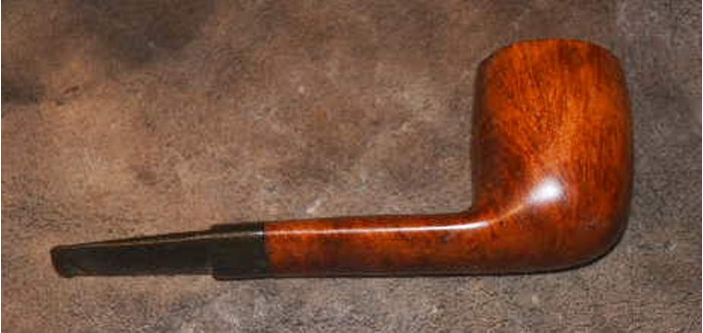
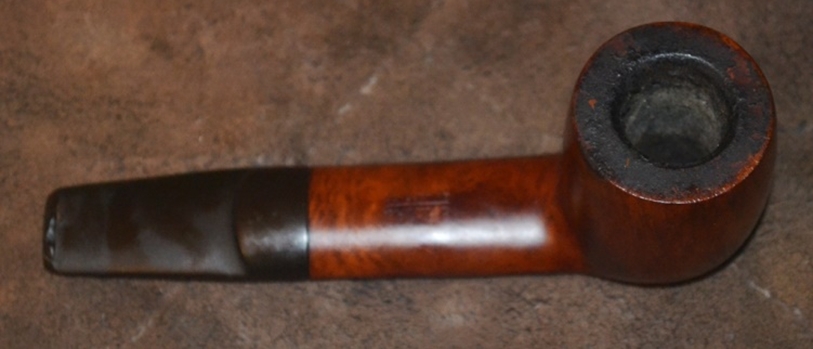
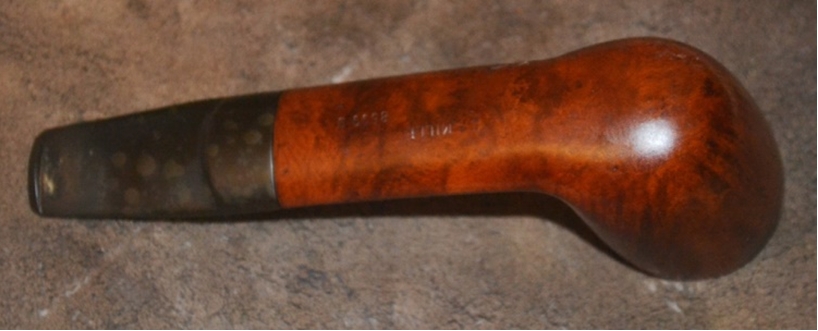
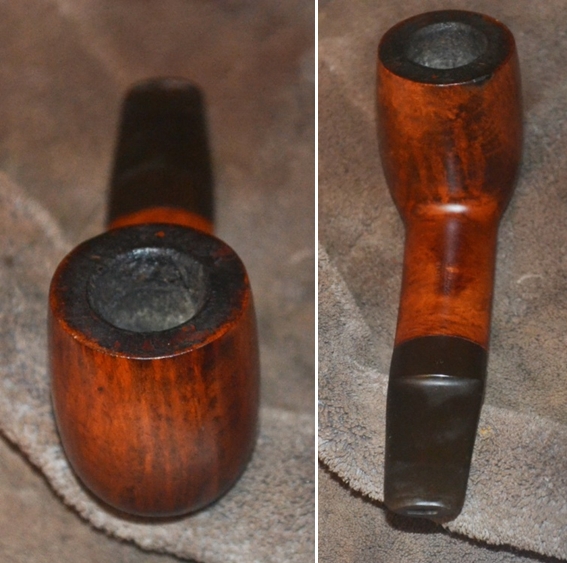
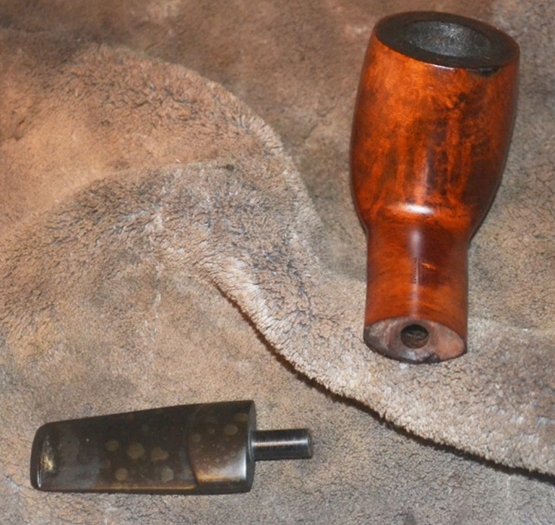
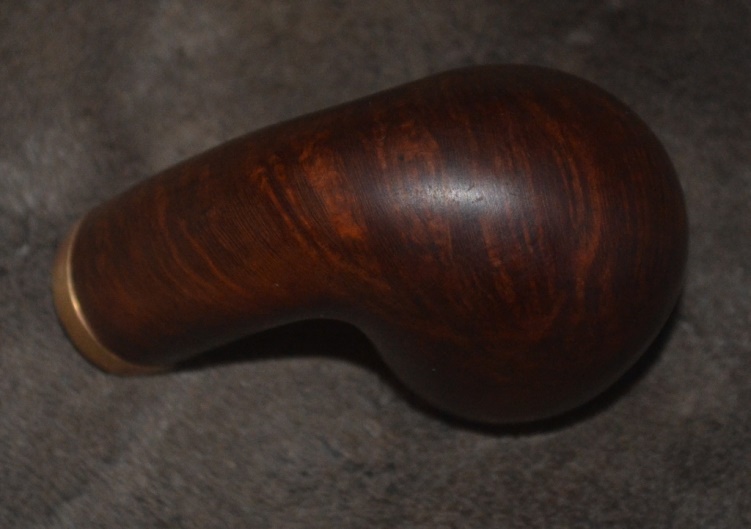
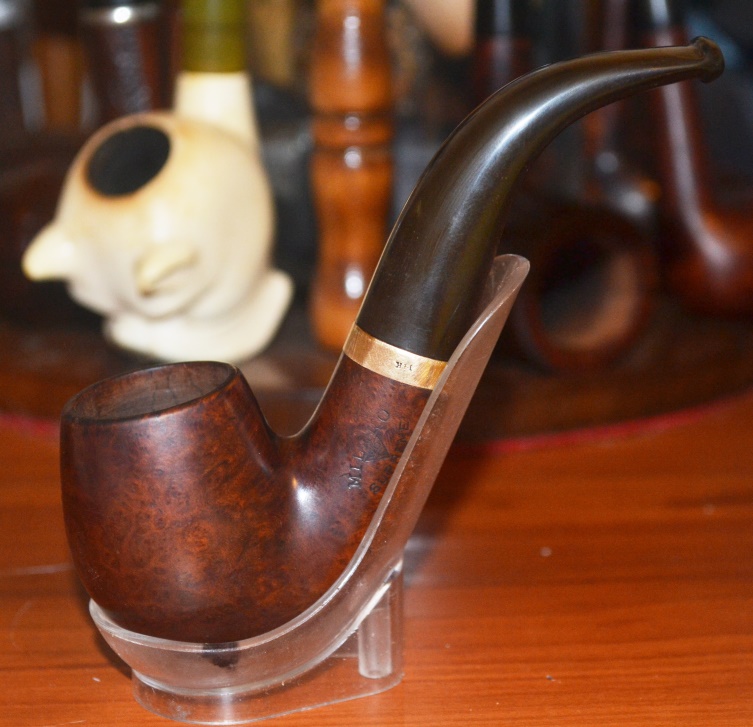
I did not get as many pipes completed as I planned this past weekend, my honey-do list was longer than anticipated. However, I could not resist finding the time to fix up a Briar Squire bent pot with a diamond shank. According to Pipephil.eu, the Briar Squire was a brick and mortar tobacco and pipe shop located in Crystal Lake, IL from 1977 to 1983. I assume they had their pipes made by an outside pipe maker. Whoever made this pipe did a nice job. There were no fills in it and judging by all the angles on the stem that was hand cut as well.

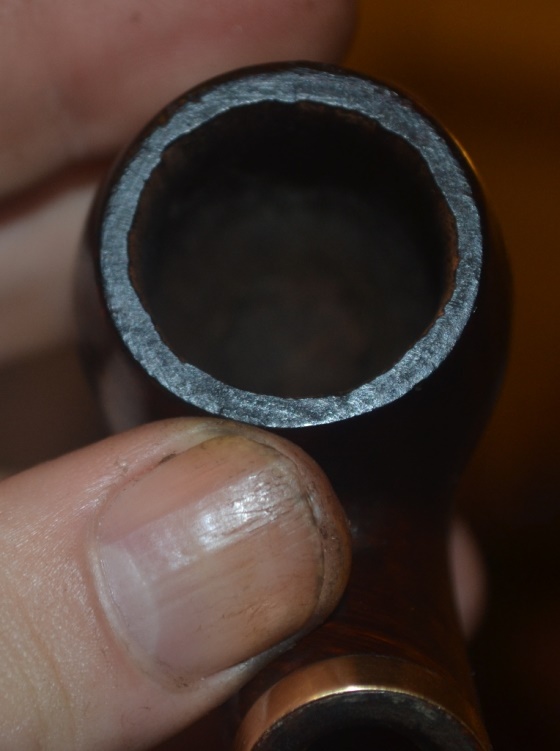
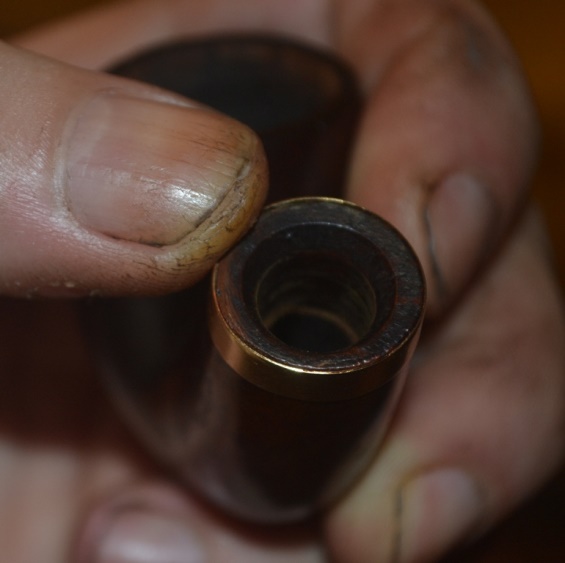
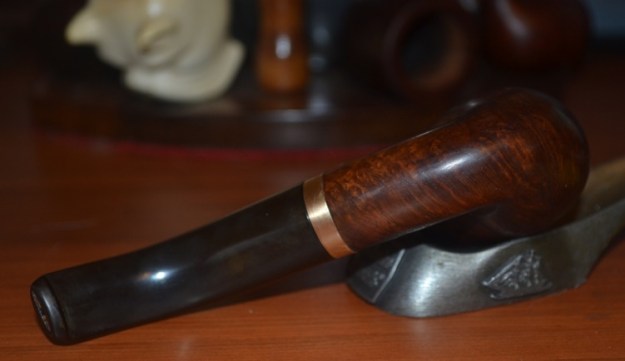
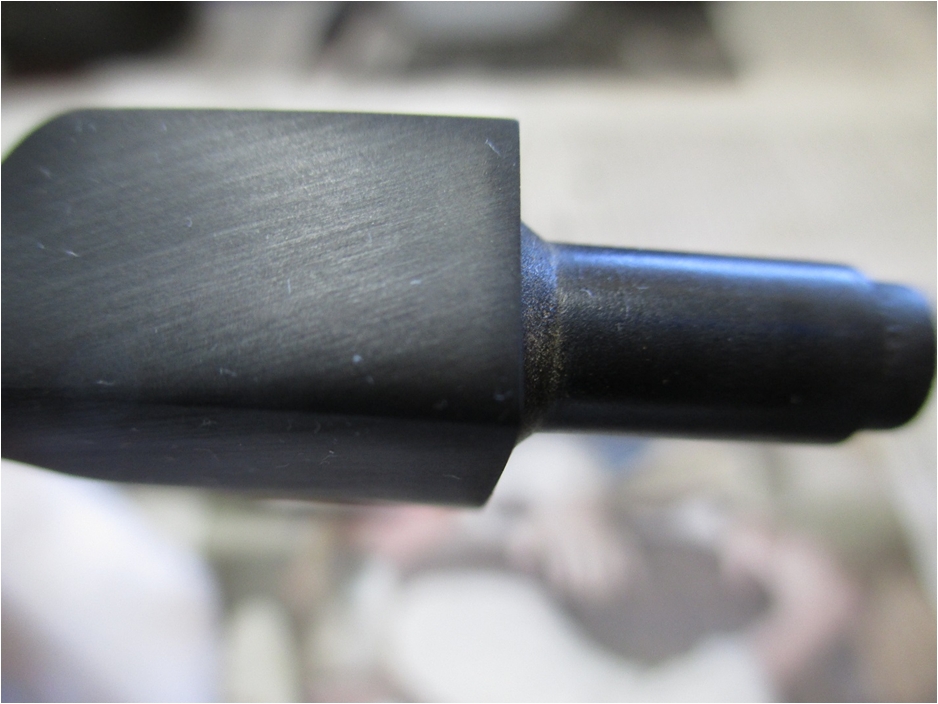
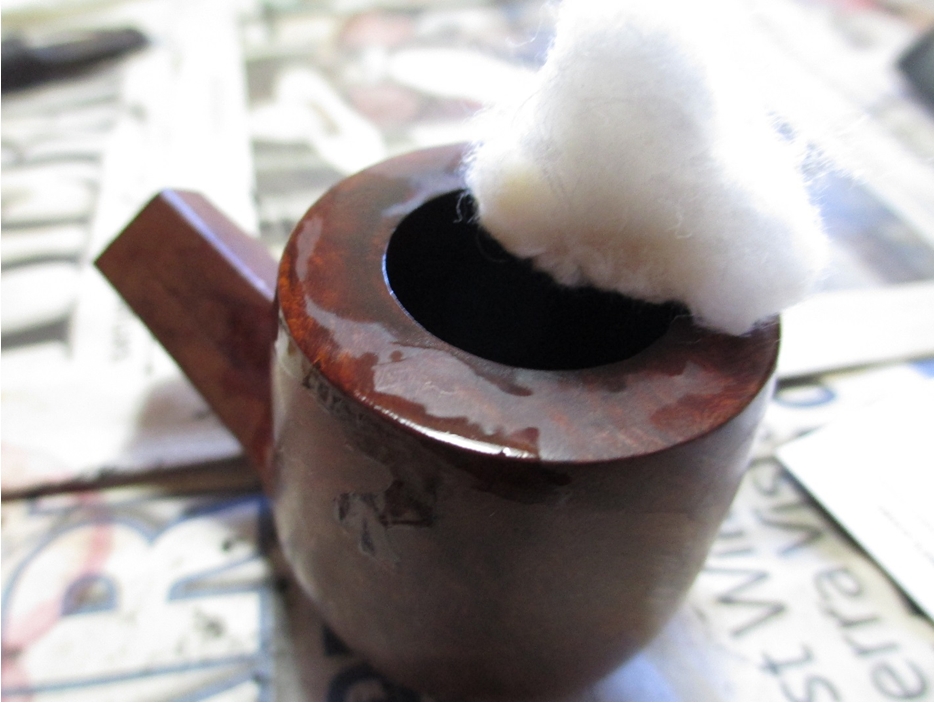
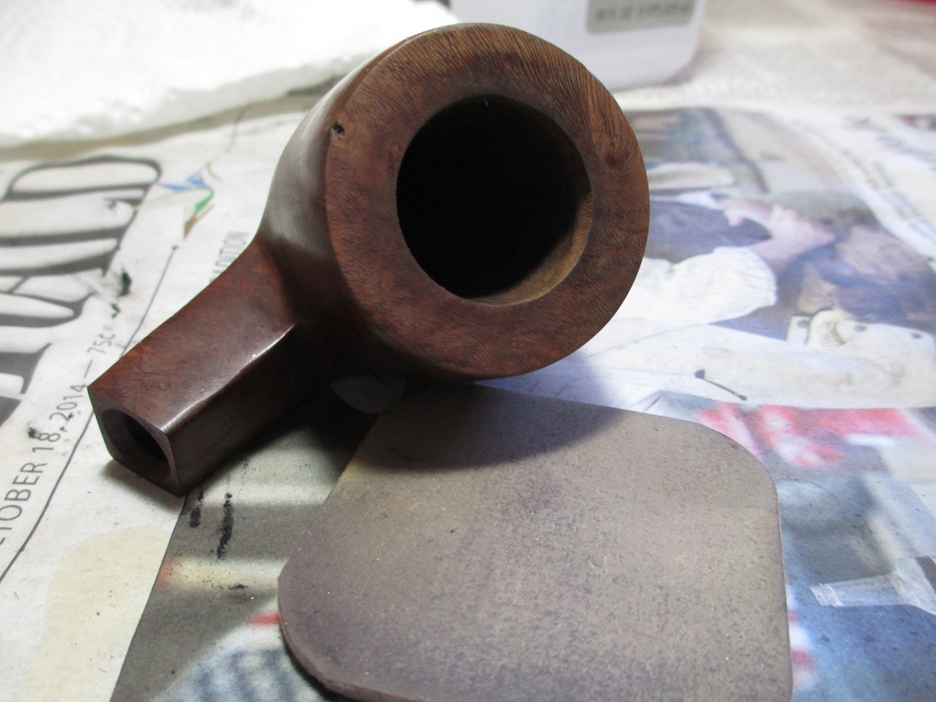
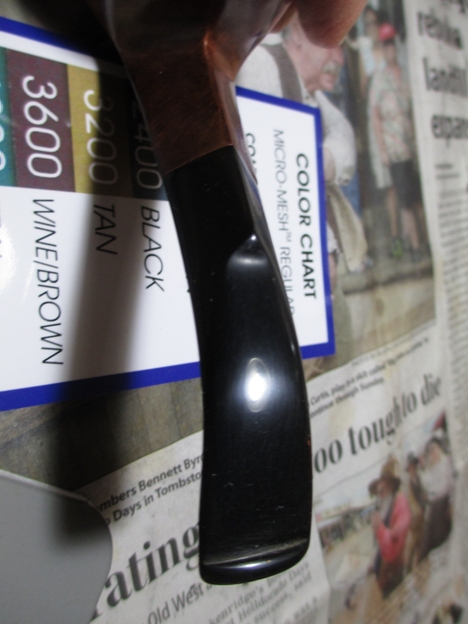
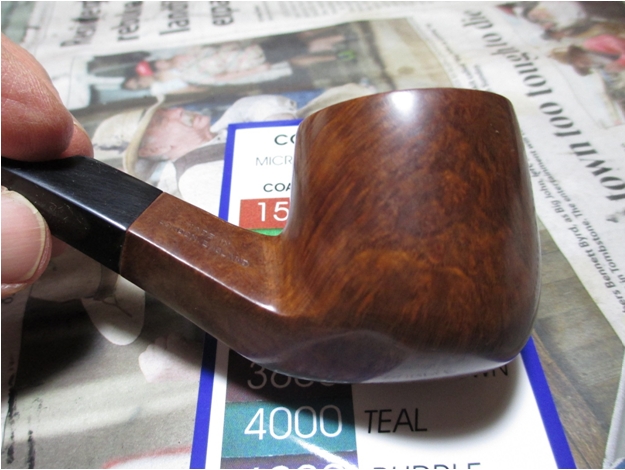
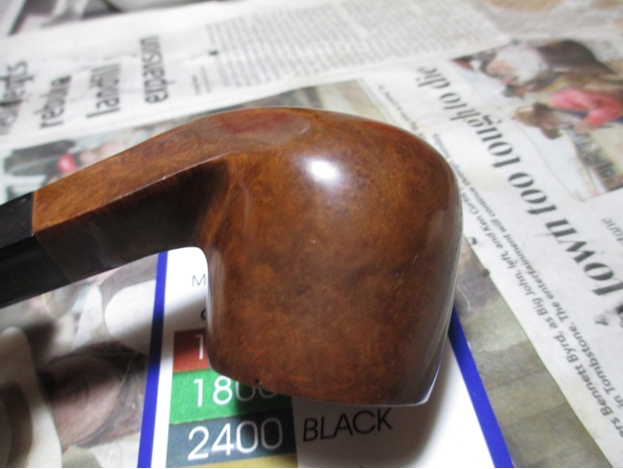
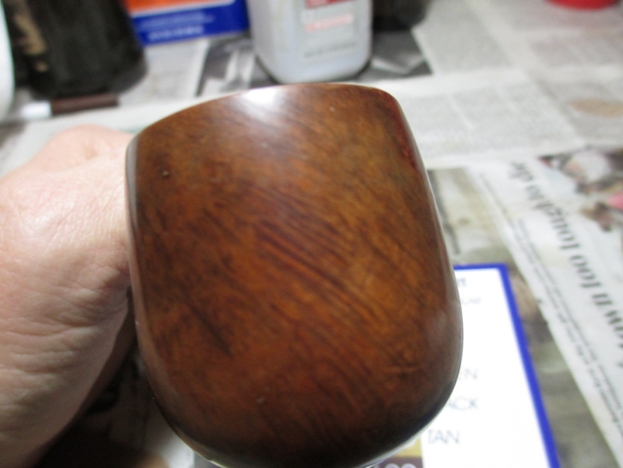
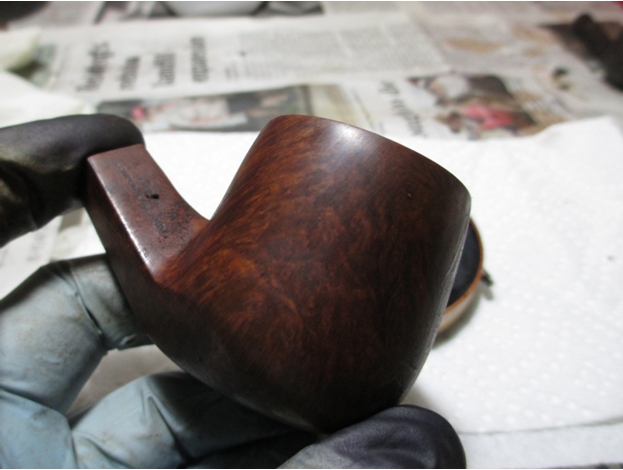
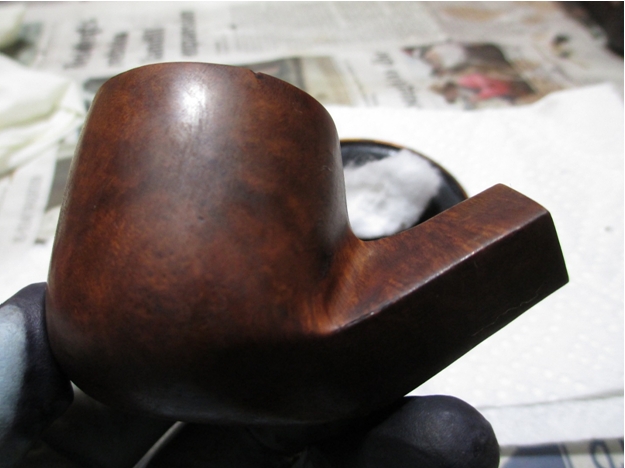
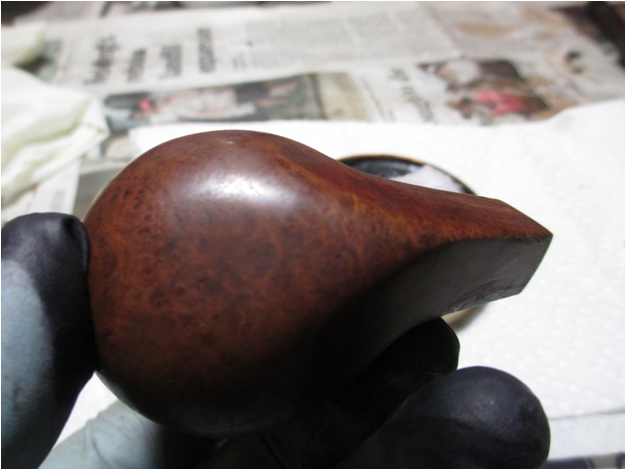
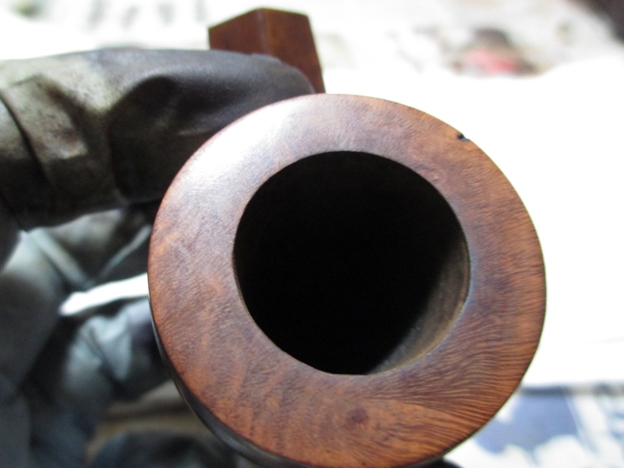
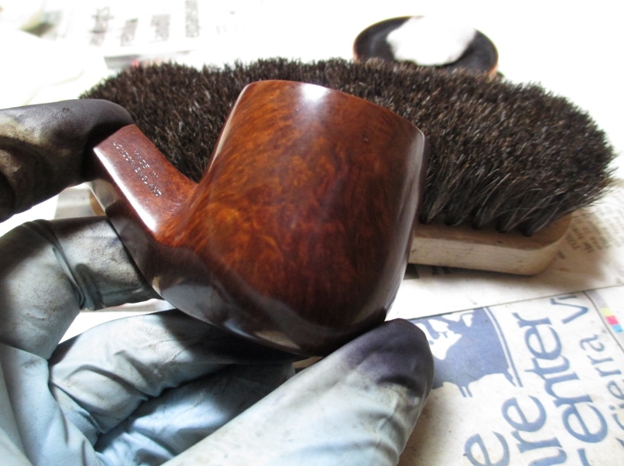
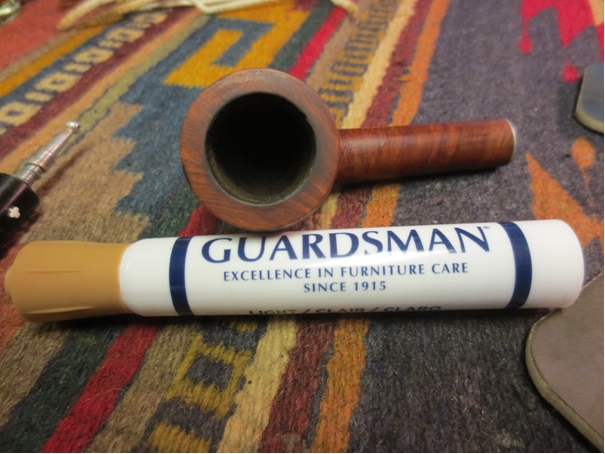
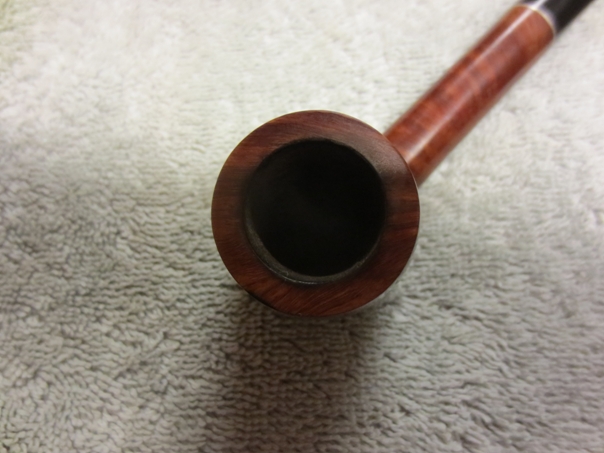
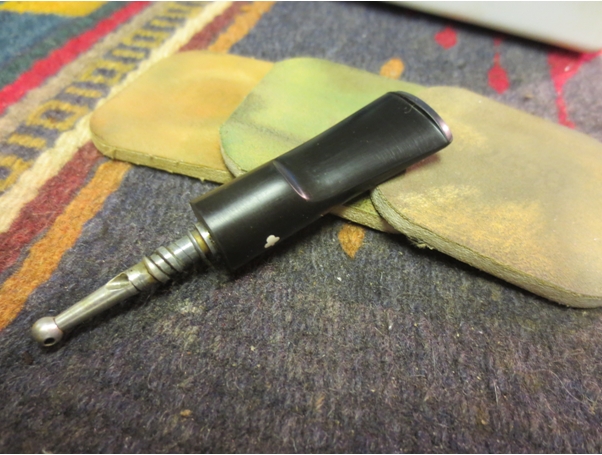
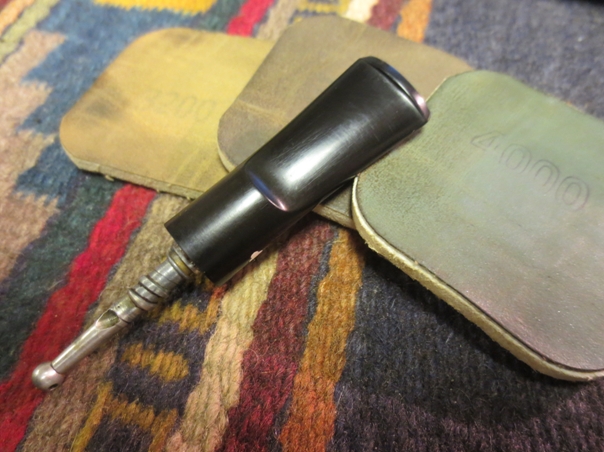
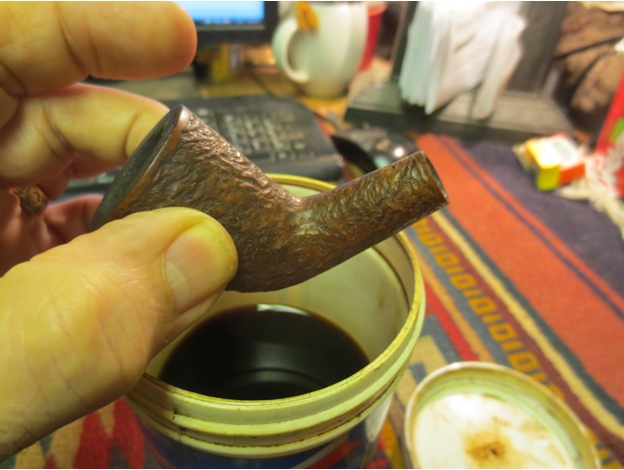
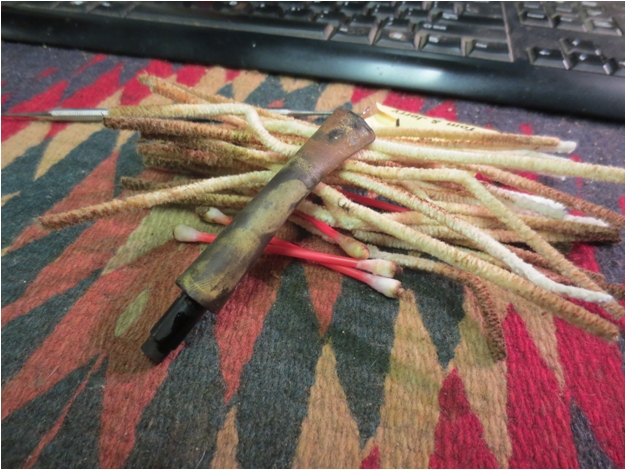
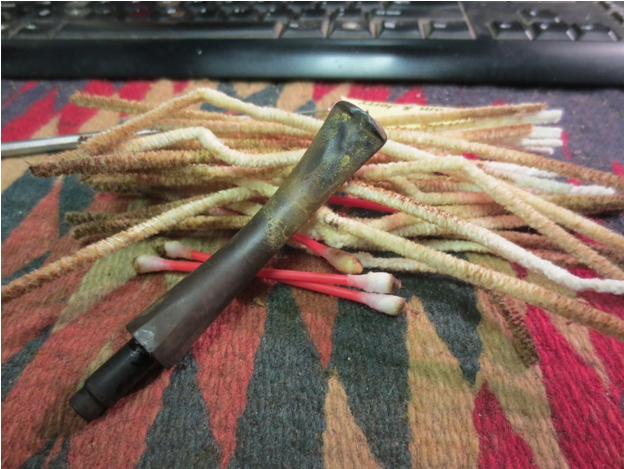
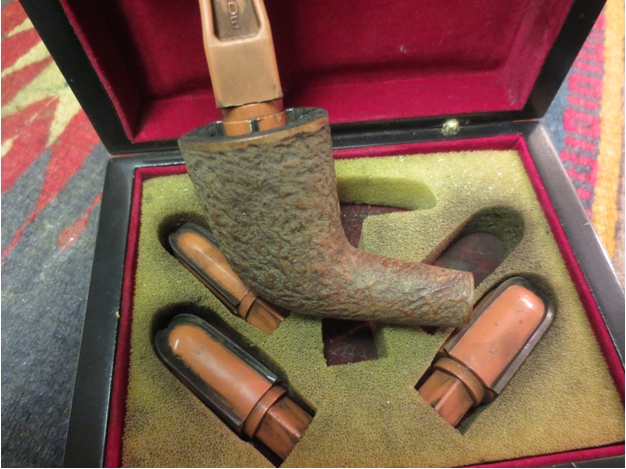
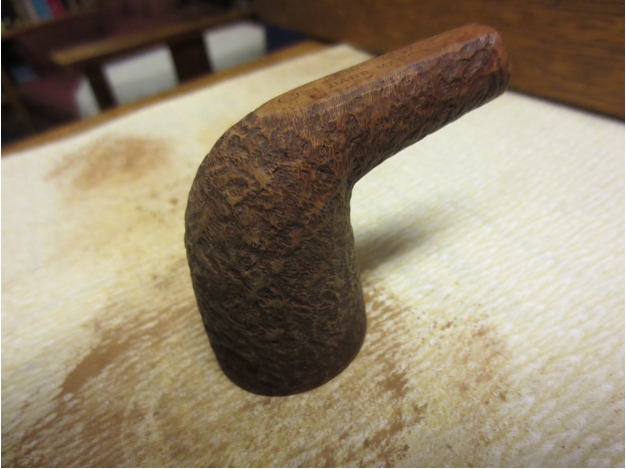
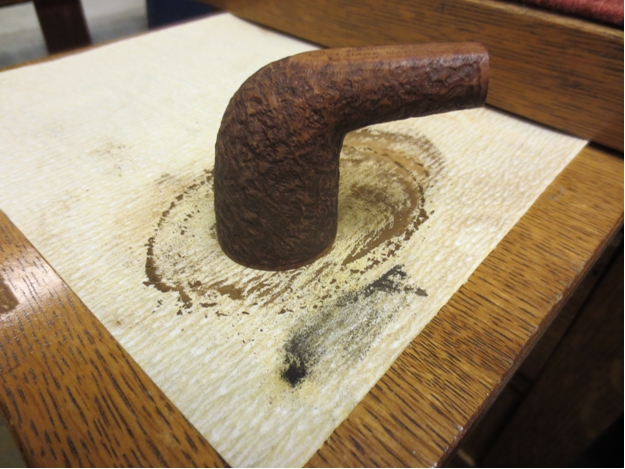
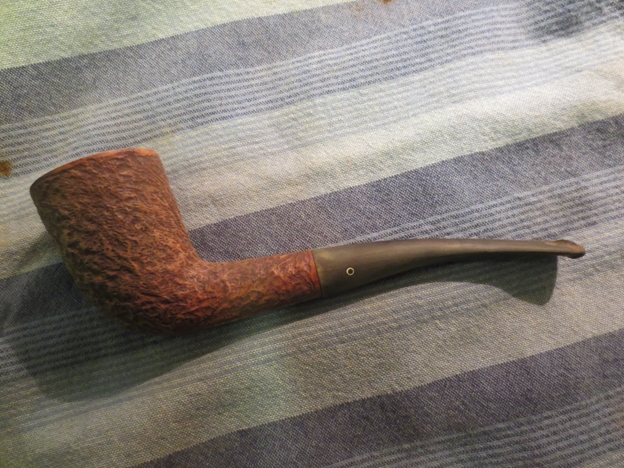
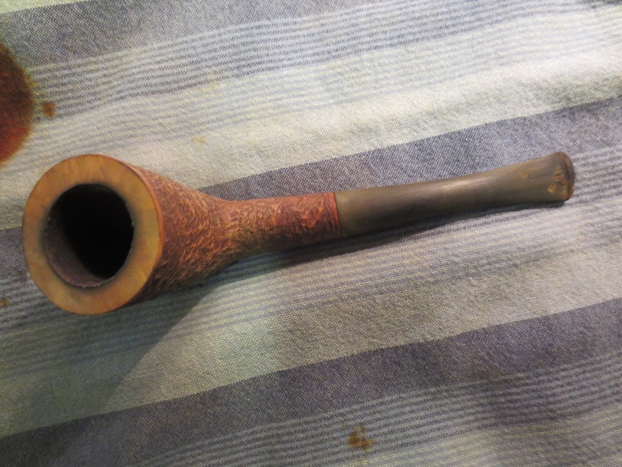
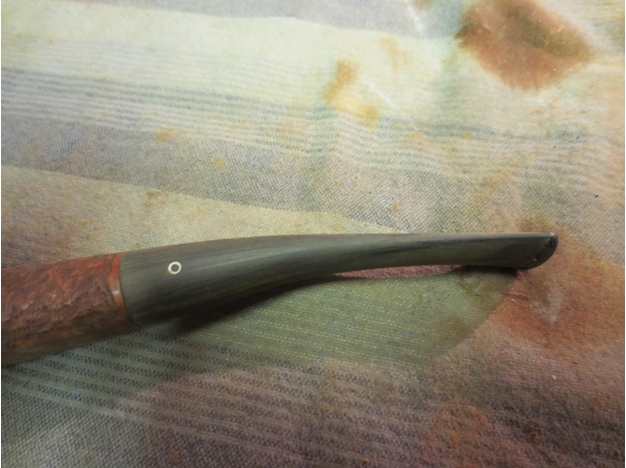
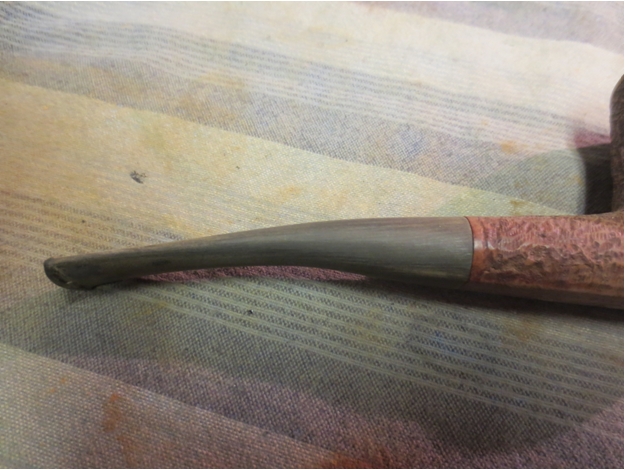
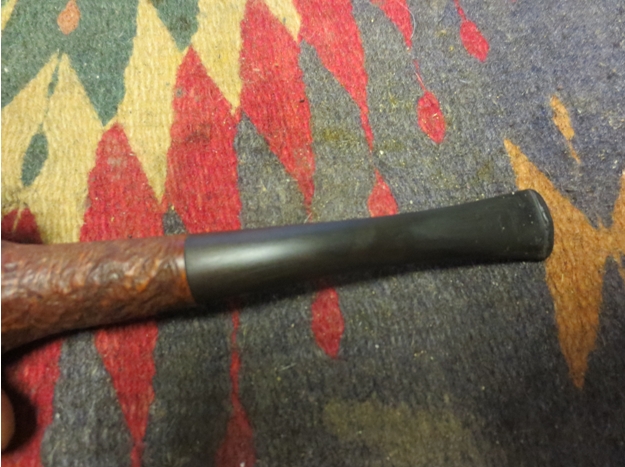
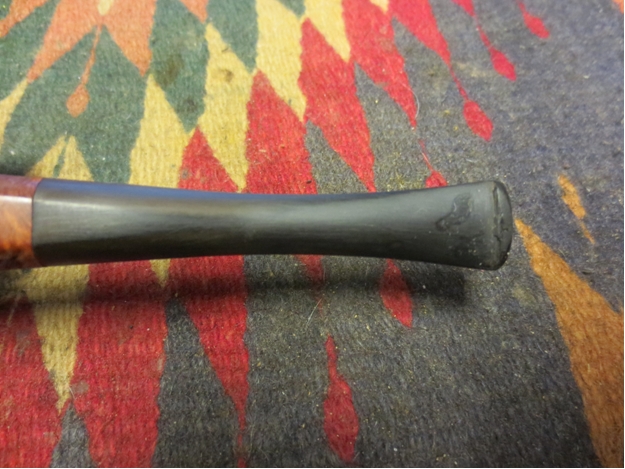
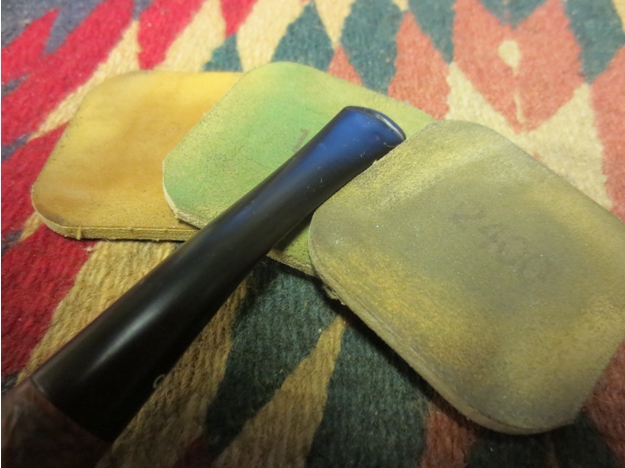
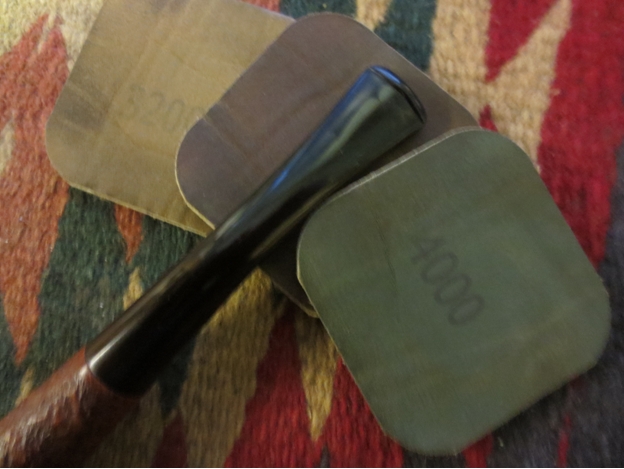
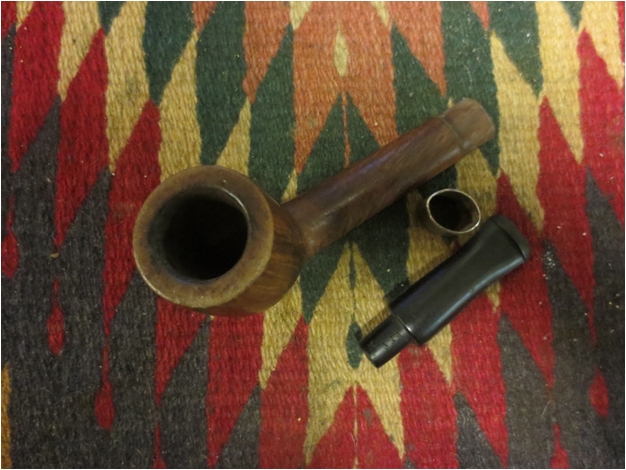
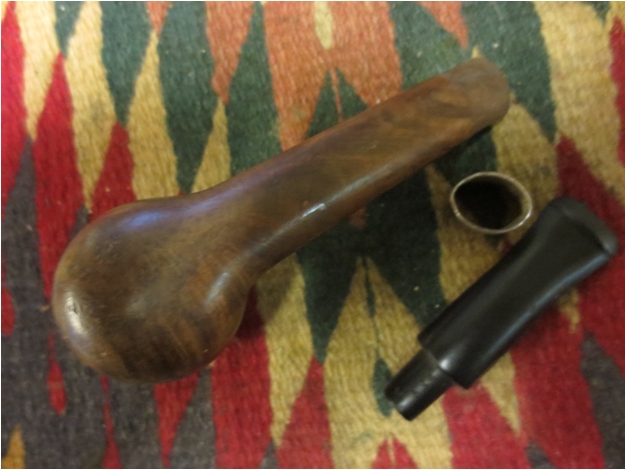
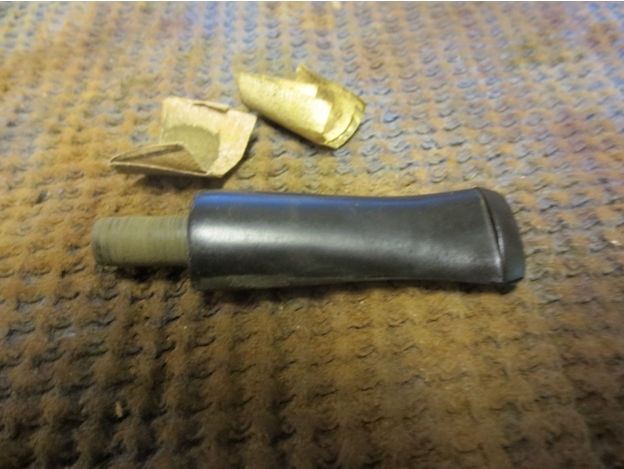
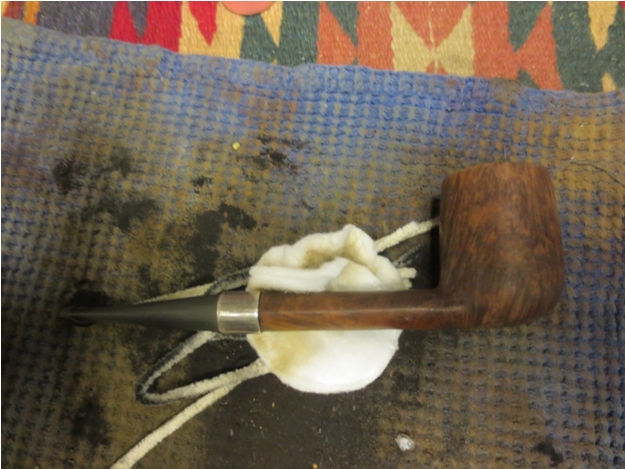
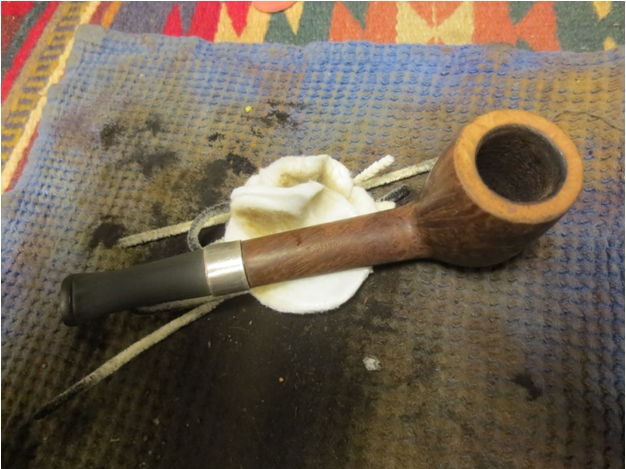
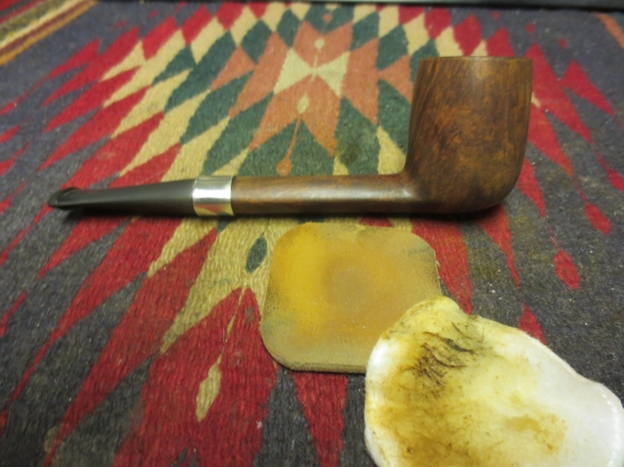
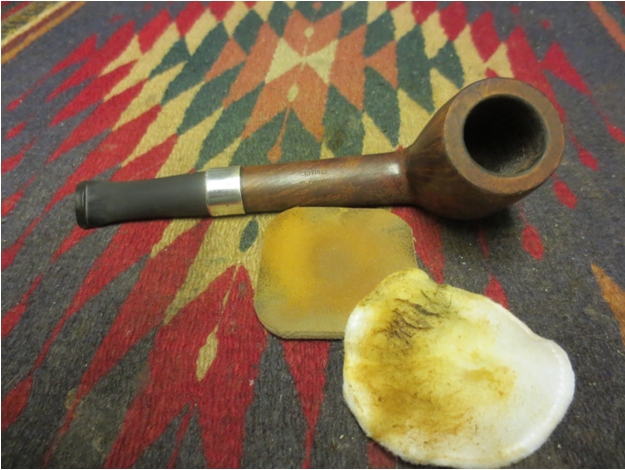
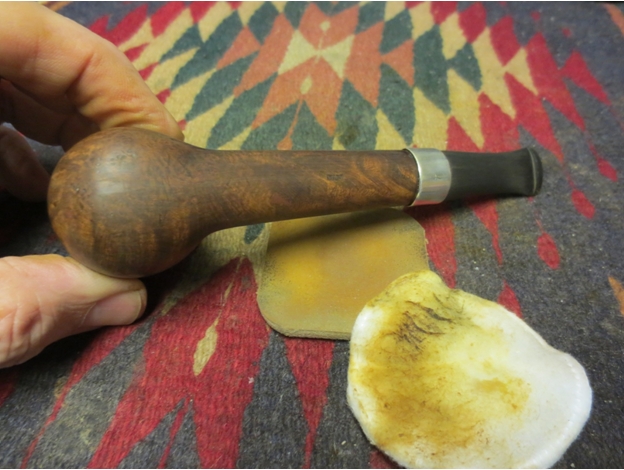
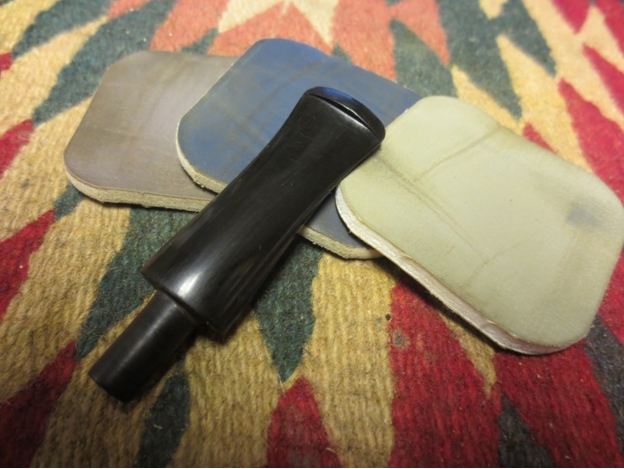
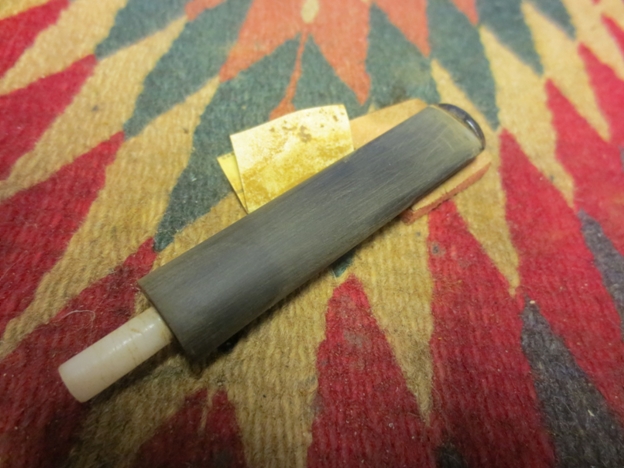
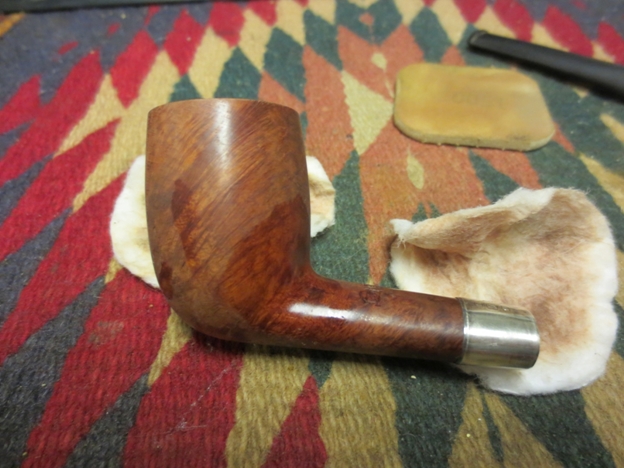
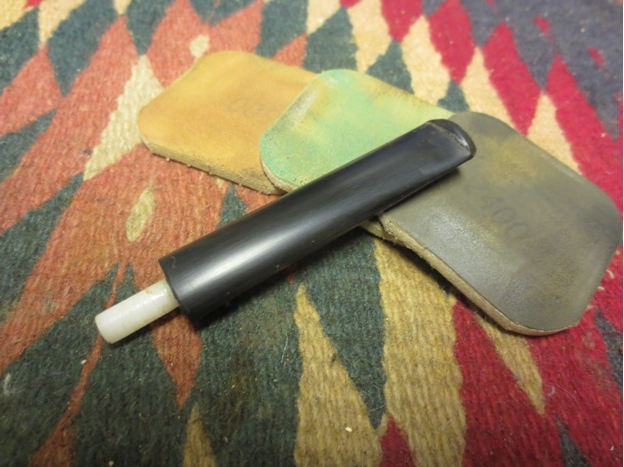
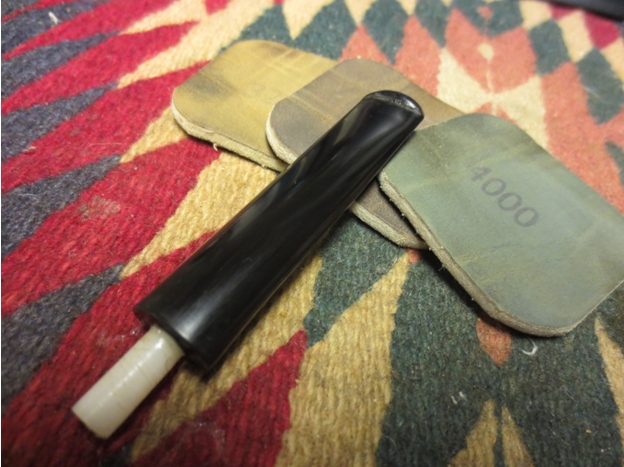
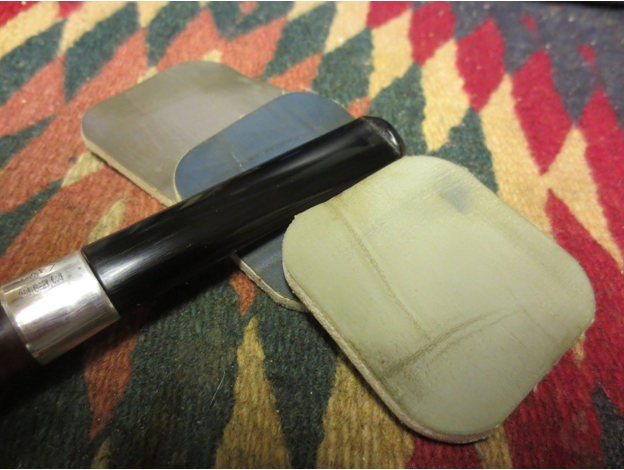
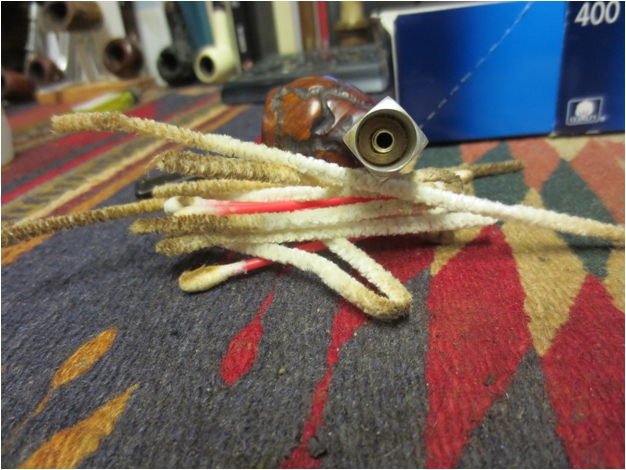
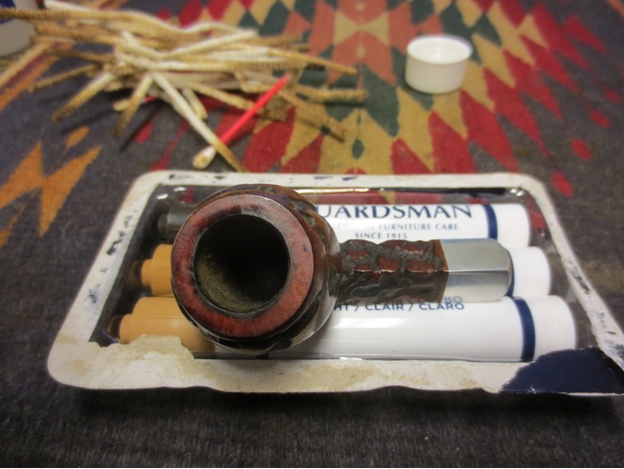
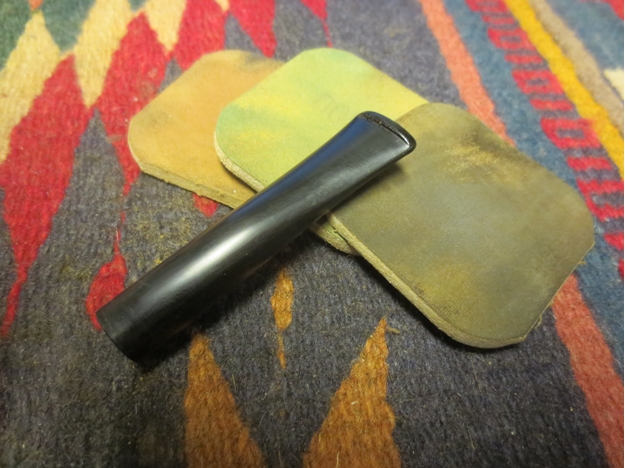
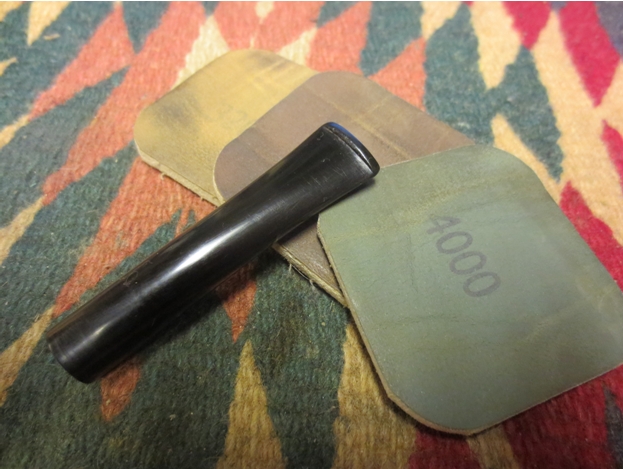
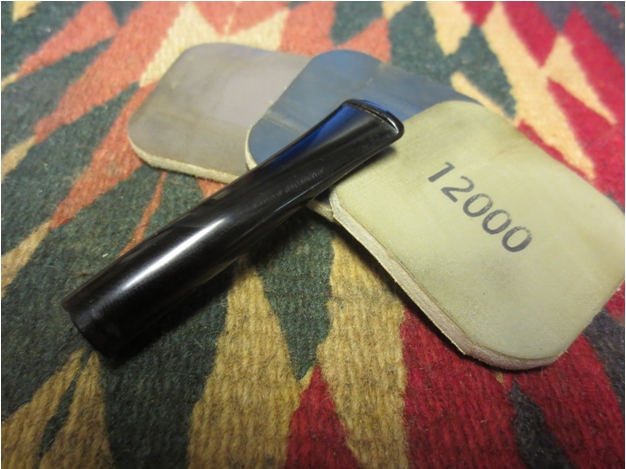
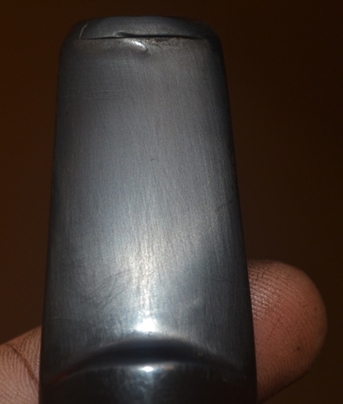
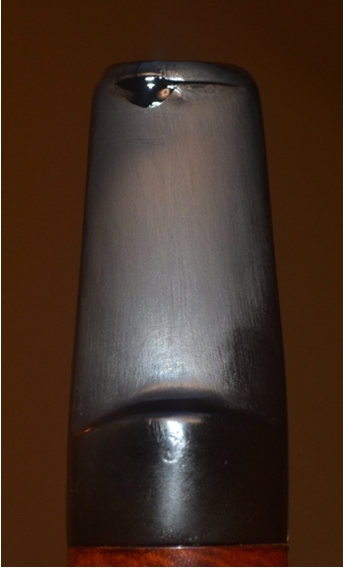
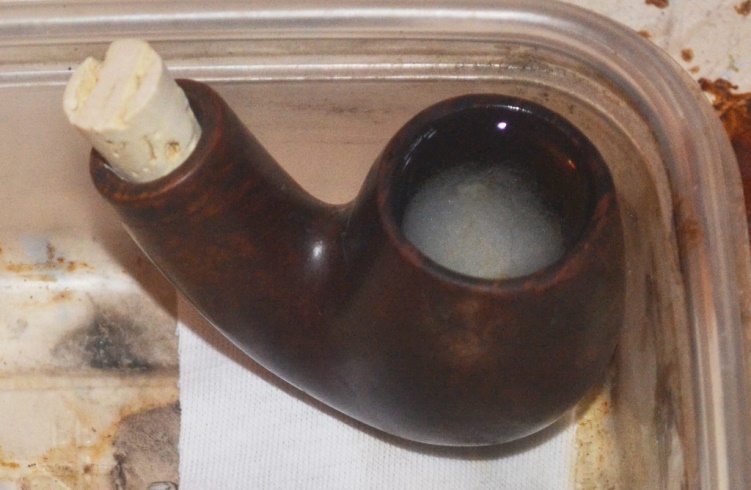
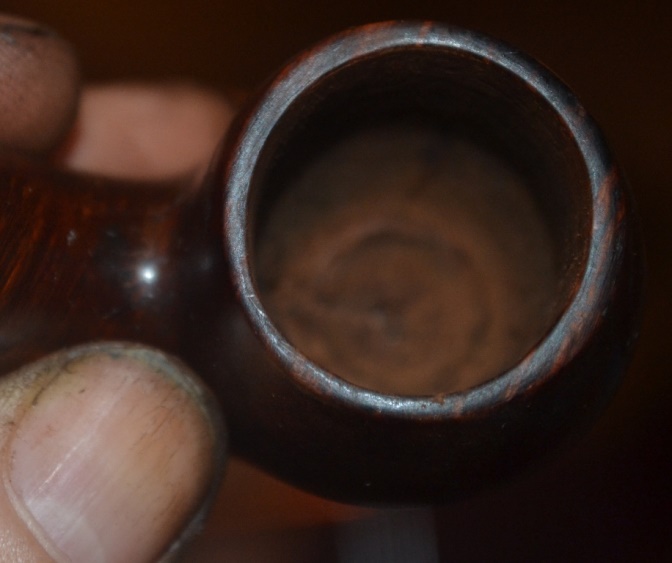
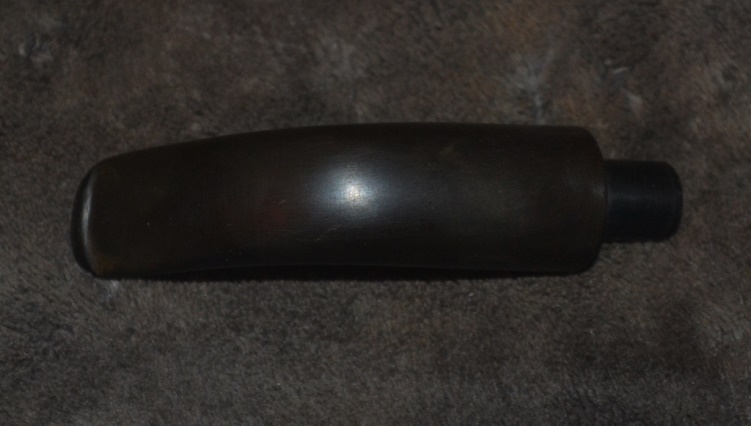
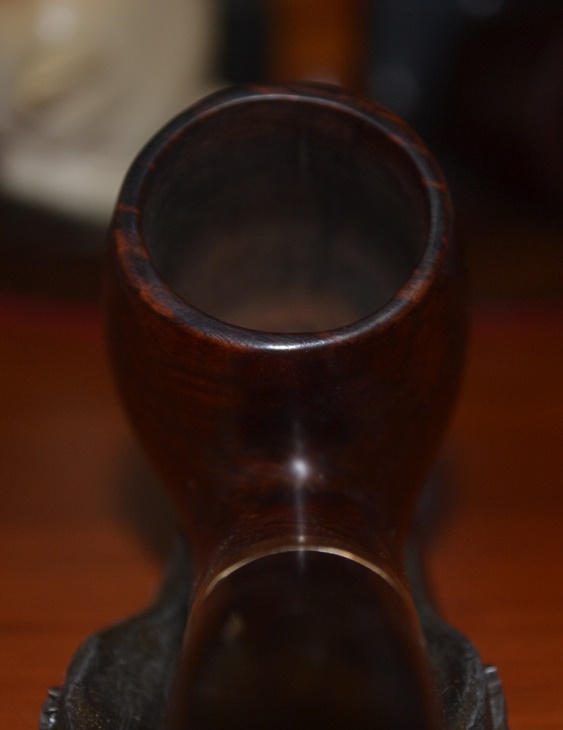
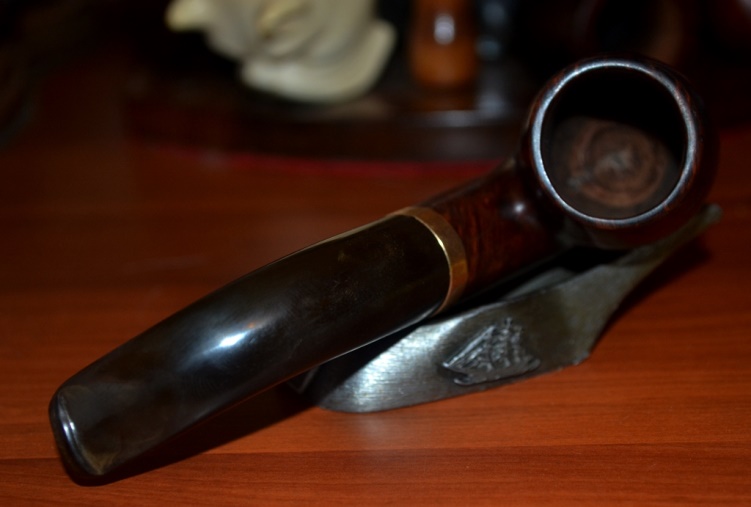
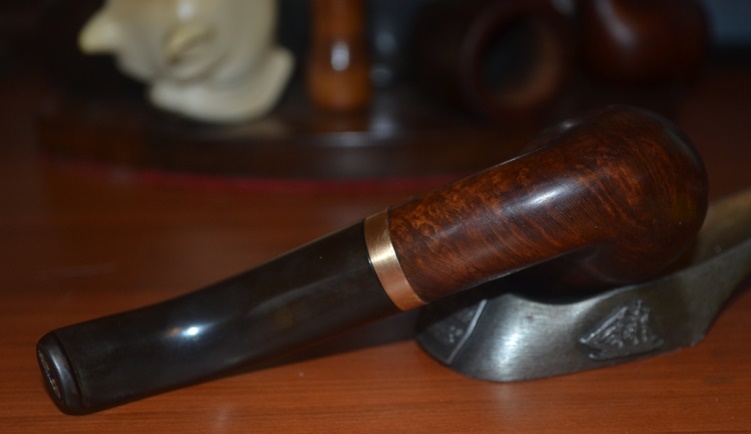
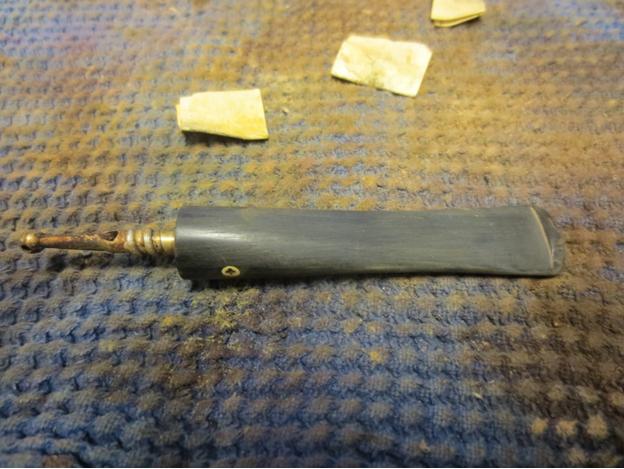
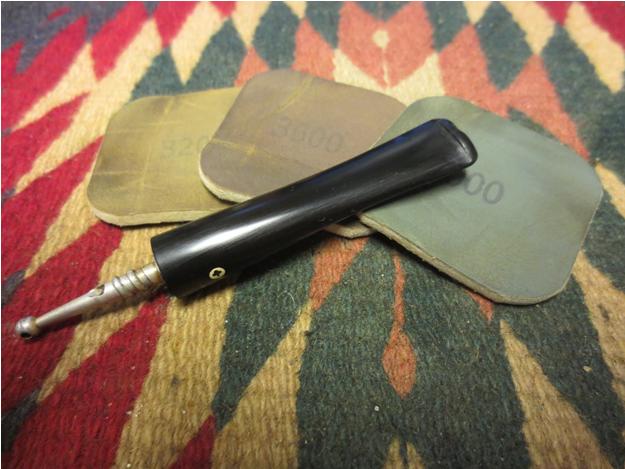
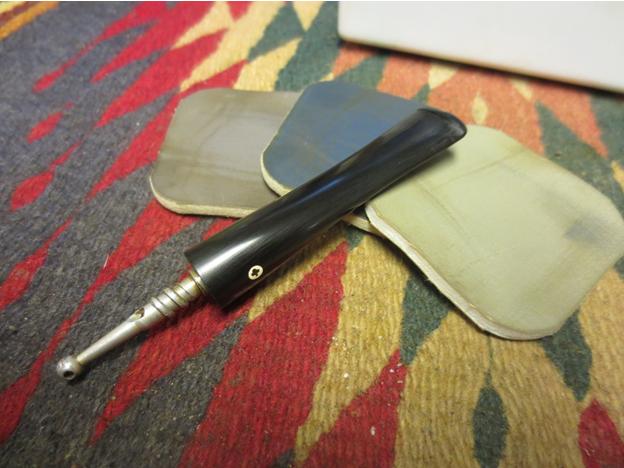
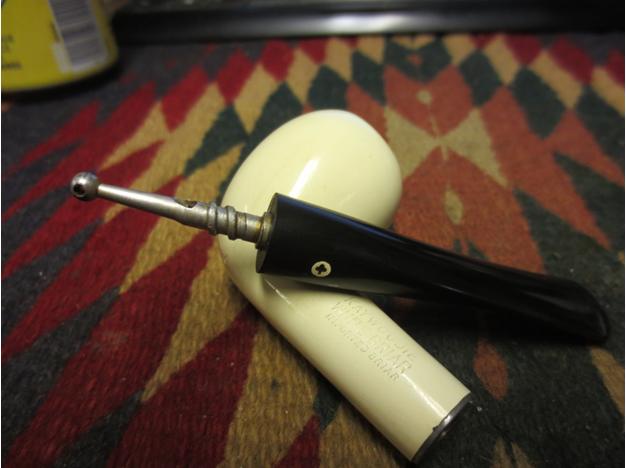
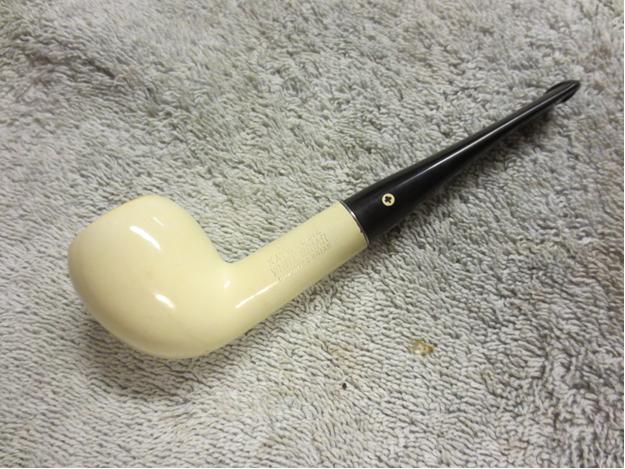
The previous owner kept the bowl very clean, but the stem had some tooth marks and calcification on the end. I dropped the bowl into the alcohol bath and went to work on the stem with the 400 grit wet/dry with water. As you can see in this picture, there is still some faint oxidation left.Briar1 I readdressed the oxidation with the 400 grit until it was gone. I find that it helps to dry the stem when you think you’ve reached the point where the oxidation is removed.Briar2 I then proceeded to use the micro mesh, 1500-2400 grit, with water.Briar3 Next I turned my attention to the bowl. The rim had some tar build up, which I tried to remove with distilled water.Briar4 The water helped, but there was an area of stubborn tar that just wouldn’t come off. Since I didn’t want to remove all of the finish, I used 1500 grit micro mesh to top the bowl.Briar5 I used 1500-2400 grit micro mesh without water on the bowl, then 3200-12000 grit micro mesh on the bowl and the stem.Briar6 The last few levels really do a nice job of polishing both wood and vulcanite.Briar7

Briar8

Briar9

Briar10

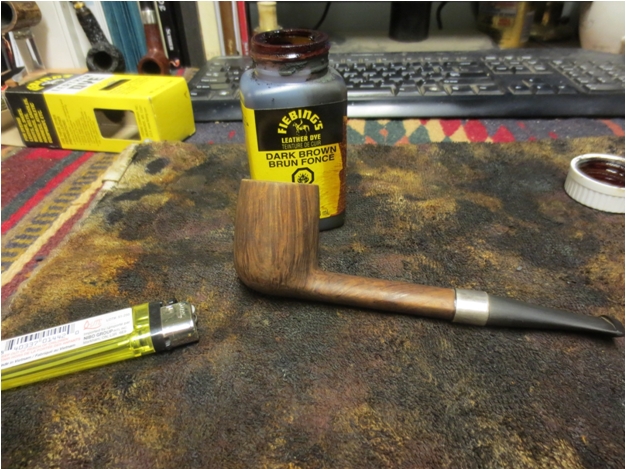
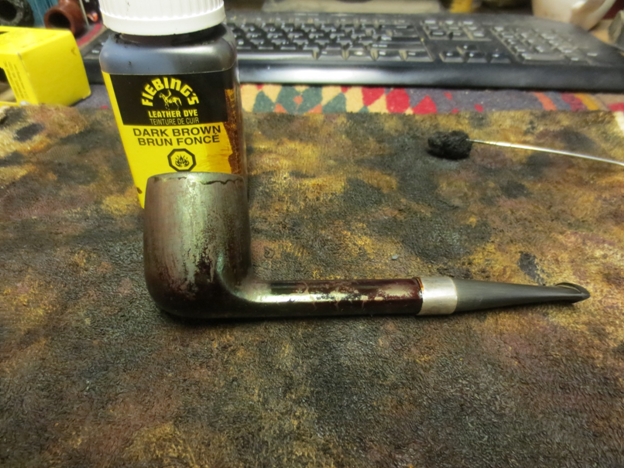
Briar11 Next it was time to apply the wax/stain. For red/brown colored pipes I use Kiwi Brown. As I mentioned in my previous post, it is very easy to work with and gives a good base shine before the final polish on the buffing wheel. Briar12

Briar13

Briar14

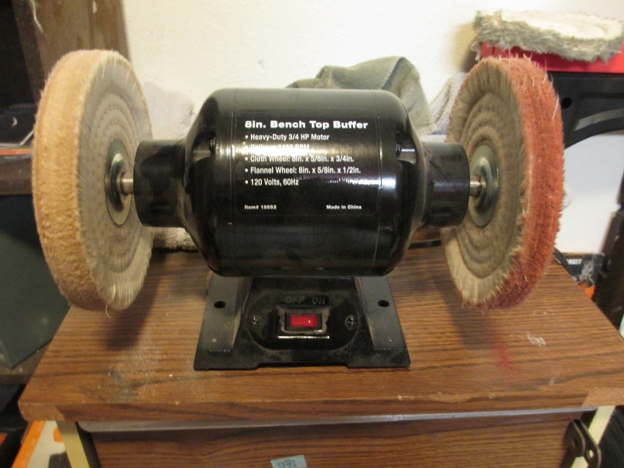
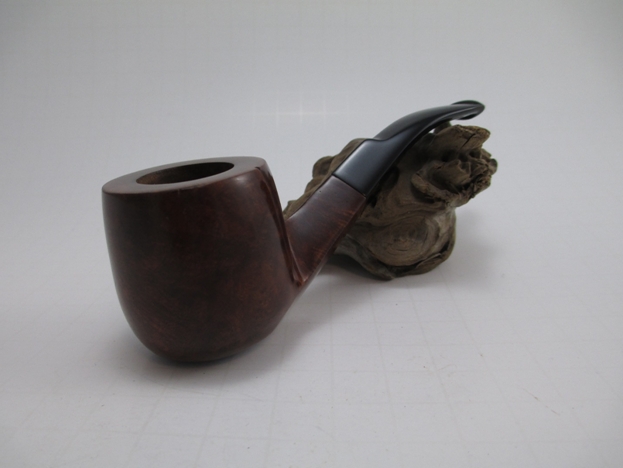
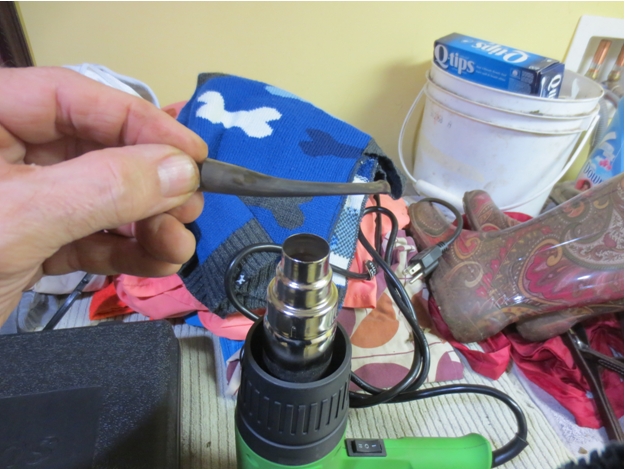
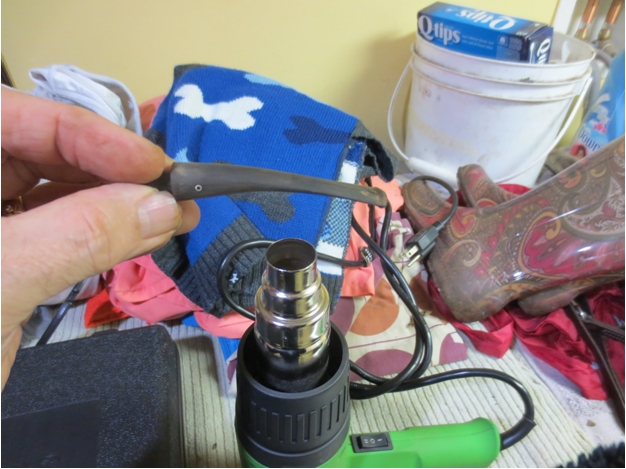
Briar15 After applying the shoe polish, I used the heat gun to melt the wax and buffed it out with a brush. As you can see.Briar16 Finally it was off to the buffing wheel.Briar17 Here are the results. Thanks for looking.Briar18

Briar19

Briar20

Briar21

Briar22

Restoring a Kaywoodie Super Grain 40 Lovat


Blog by Steve Laug

My son-in-law and I went pipe hunting a few weeks ago and this was one of the finds that day. I picked it up in an antique shop in Bellingham, Washington. I think I paid $15 for it. The stem was slightly overturned and would need to be fixed. The stem was clean of bite marks or tooth chatter. The stinger was intact and was a three-hole one so the pipe was newer rather than older. The finish was not ruined. The rim was caked with tars and oils. The buildup was only back side and went to the left side of the rim. The briar had quite a few fills on the sides and back of the bowl. The stamping on the left side was clean and easily read – Kaywoodie over Super Grain over Imported Briar. On the right side of the shank was stamped the shape number 40.KW1 KW2 The inside of the bowl had a light cake that was soft and crumbling. It would need to be reamed back to the bare wood in order to build a hard carbon cake.KW3 KW4 I reamed the bowl with a PipNet reamer and used the smallest cutting head first and then the second cutting head to finish the job.KW5 I removed the stem from the shank so that I could heat the stinger apparatus with a lighter. The black buildup of tars and oils on the stinger was hardened and not easily removed. Once I heated the stinger with the lighter I was able to wipe down the surface with a cotton pad and alcohol. I heated the stinger until the glue in the stem softened and then screwed the stem back into the shank and turned it until the stem lined up with the bowl.KW6 I cleaned the inside of the shank and stem with pipe cleaners, cotton swabs and isopropyl alcohol. The shank behind the metal insert was very dirty. I used the cotton swabs to clear out that area. I scrubbed it out until it was clean. I also cleaned out the airway in the stem the same way until it was clean.KW7 I scrubbed the top of the bowl with isopropyl alcohol on cotton pads to remove the buildup. It was thick so it took quite a bit of scrubbing. To finish removing it I used 1500 grit micromesh sanding pad and water. I was able to get the rim clean and then used a staining pen to touch up the rim.KW8 KW9 KW10 The lightest colour staining pen matched the finish of the bowl perfectly. I gave the bowl and rim a quick buff with White Diamond and then gave it multiple coats of carnauba wax and buffed it to a shine.KW11 I was fortunate that the stem was not damaged with bite marks or tooth chatter. I use micromesh sanding pads to clean up the stem. I wet sanded with 1500-2400 grit pads and dry sanded with 3200-12,000 grit pads until the finish of the stem was smooth. I buffed it with White Diamond to finish the process and then gave it a coat of carnauba.KW12 KW13 KW14 I put the stem back on the shank and then buffed the entire pipe with White Diamond a final time. I gave the stem and bowl multiple coats of carnauba wax and buffed it with a soft flannel buffing pad to raise the shine.KW15 KW16 I touched up the fills with the stain pen and then buffed the pipe bowl with White Diamond yet again. The results were acceptable. I gave the pipe several more coats of carnauba wax and buffed it with a soft flannel buffing pad. The finished pipe is shown in the next series of photos. It is ready to be loaded and smoked – clean and waiting for the next pipe man who will carry the trust to the next generation of pipe smokers.KW17 KW18 KW19 KW20

Rode Hard Put Away Wet – A Tired Julius Vesz shape 31 Zulu/Canted Dublin


Blog by Steve Laug

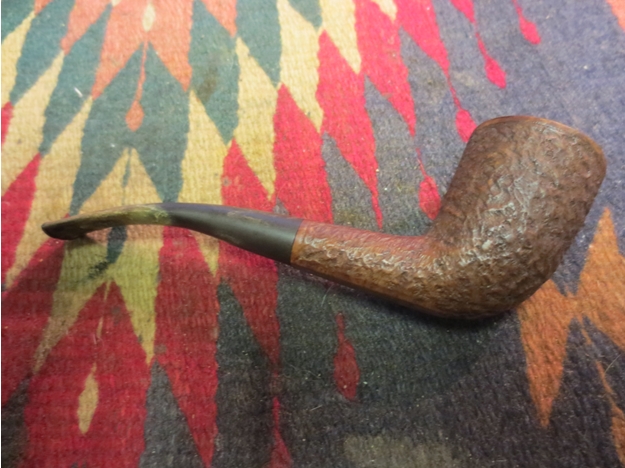
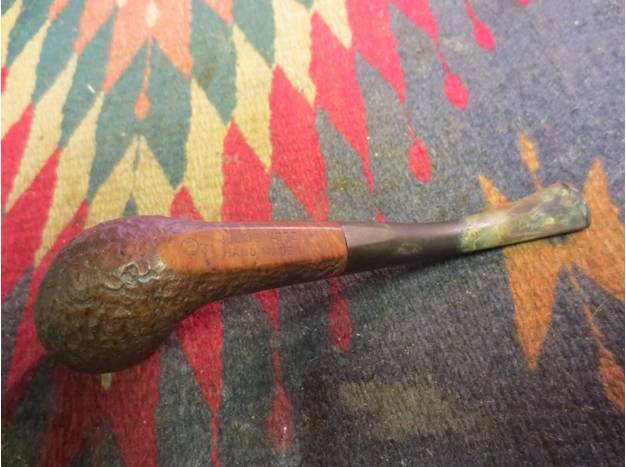
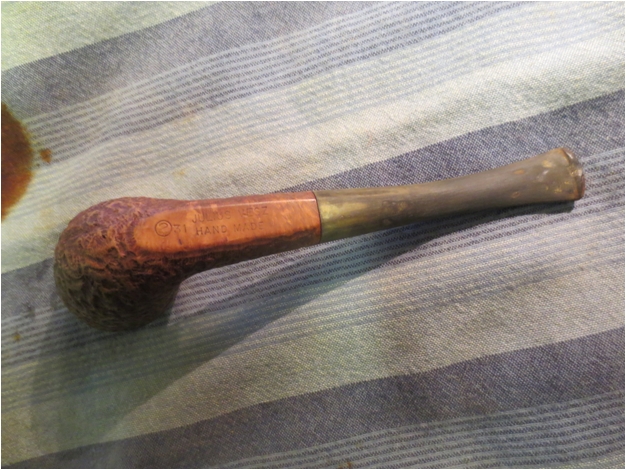
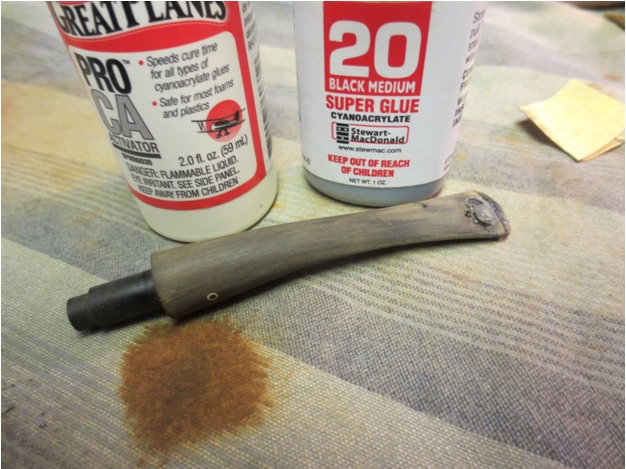
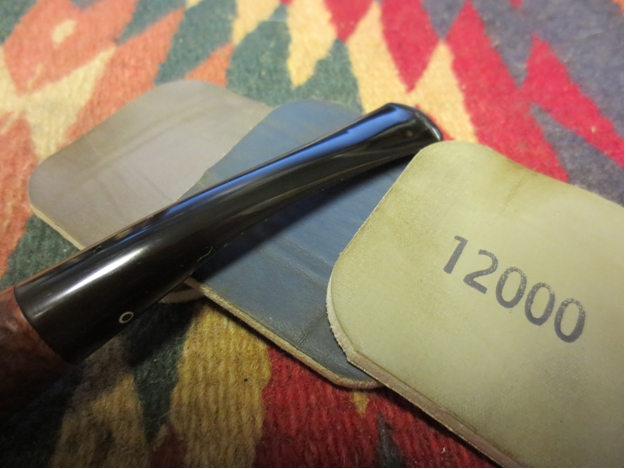
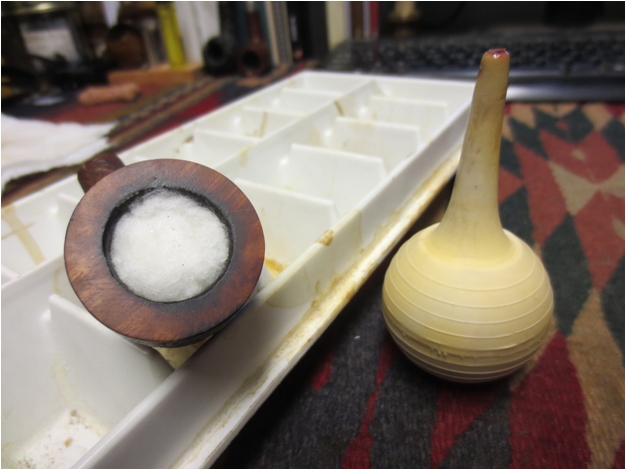
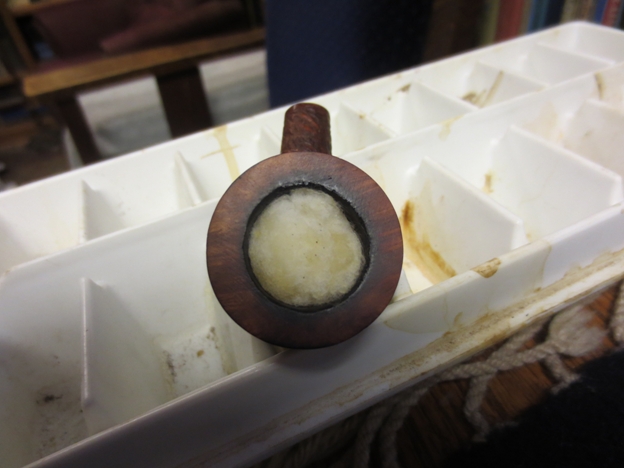
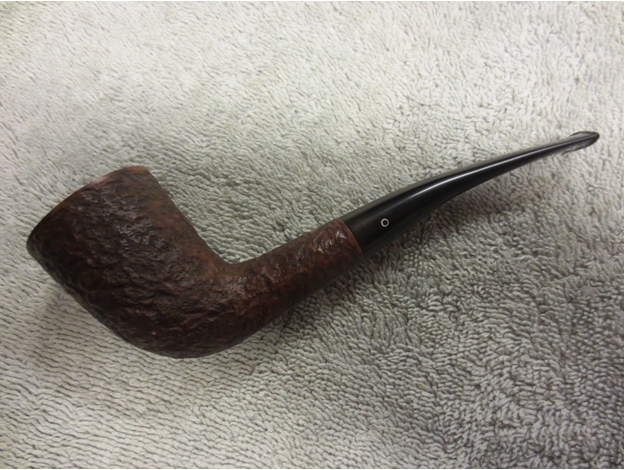
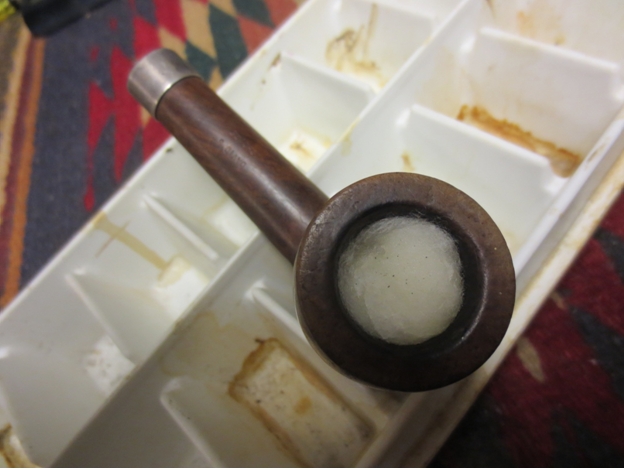
When I walked by the display case in the antique mall and saw the classic Vesz finish and the O logo on the stem I knew I was looking at one of Julius’ pipes. It was in very rough shape. The stem was covered on the topside and underside from the button forward for about an inch with a lot of dents and bite marks. On the topside there was a bite through – not large, more of a pinhole sized hole. There was also a lot of calcified buildup on the stem. The stem was over bent and the flat bottom of the bowl and shank did not rest on the desk top when laid down. The stem arch kept it from happening. The button and crease had were also worn. The rest of the stem was oxidized. The bowl finish was dirty and worn with white paint spots on the bowl. The stem was very tight and hard to remove but when I did remove it the tars on the end of the tenon were thick. The inside of the stem was so filled that the airway was virtually clogged. The slot on the end of the stem was plugged but for a hole the size of a pencil lead.Vesz1 Vesz2 The rim was damaged and worn from tapping it out on hard surfaces. There were large dents and worn areas. The inner edge was blackened and on first glance looked to have burned damage. It was hard to tell for sure but it also looked to be slightly out of round due to the damage to the inside edge. The bowl was heavily caked with a concrete like carbon build up. I tried to ream it and found it too hard to cut as it stood. The inside of the shank had heavy carbon and tar buildup.Vesz3 The pipe is stamped on the flattened bottom of the shank. Toward the front of the bowl it is stamped Circle 3 which denotes the price point of the pipes. Julius stamped them 1-6 to denote the price. That is followed by the shape number – in this case 31. The final stamping is Julius Vesz over Hand Made.Vesz4 To soften the concrete like cake so that I could ream it more easily without damaging the briar I put the bowl into an alcohol bath to soak for a while. I also wanted to remove the grime from the rustication on the bowl and the soak would facilitate that.Vesz5 While the bowl soaked I worked on the stem. I cleaned the inside of the stem with cotton swabs, pipe cleaners and isopropyl alcohol. I also sanded the calcification with 180 grit sandpaper and 220 grit sandpaper to remove the build up from the surface of the stem. The tooth marks are very evident in the photos below.Vesz6 Vesz7 I took the bowl out of the alcohol bath to ream it and found that indeed the alcohol had softened the cake enough to make reaming a very easy task. I reamed it with a PipNet reamer starting with the smallest cutting head and working up to the size of the diameter of the bowl.Vesz8 I topped the bowl and removed the damaged surface of the rim. I set up a topping board and used 220 grit sandpaper to gently and carefully remove the damage. I sanded the bowl in a circular pattern on the board as I find that doing so does not leave as deep scratches in the finish. Once I had removed the damage I could see the state of the inner edge of the rim. It had some darkening but it was still solid. There were no deep burned areas that needed to be removed.Vesz9 Vesz10 Vesz11 I set up a heat gun and heated the bent stem to reduce the bend to a point where the pipe would sit up right on the flat bottom of the shank and bowl. I also heated the tooth dents to raise them as much as possible before I sanded them.Vesz12 Vesz13 Once the stem was heated and flexible I inserted it in the shank and pressed down on the bend to adjust the bend to allow the bowl to sit without falling over. The tooth marks did lift quite a bit and are visible in the last two photos of the foursome below.Vesz14 Vesz15 Vesz16 I sanded the stem with 220 grit sandpaper and then with medium and fine grit sanding sponges to clean up the dents as much as possible. The surface needed to be cleaned and prepped for the work of filling the dents with black super glue. I washed down the dents with alcohol to remove the sanding dust. I filled the holes and built up the dents in the button lip with black super glue until they were overfilled, then sprayed them with the accelerator to harden the glue. I sanded the fills with 180 grit sandpaper and then with 220 grit sandpaper to begin the process of smoothing them and blending them into the surface of the vulcanite.Vesz17 Vesz18 I continued to sand with the 220 grit sandpaper to shape the crease and the button as well as the surface of the patches until they were at the same level as the surface of the stem.Vesz19 Vesz20 I sanded the stem after that with a medium and a fine grit sanding sponge to further blend it into the stem surface. It took a lot of sanding to blend it into the surrounding vulcanite.Vesz21 Vesz22Vesz23 Vesz24 I rubbed down the stem with Obsidian Oil to make the scratches and trouble areas very visible. I also rubbed down the bowl with olive oil and wiped it off and set it aside overnight to let the oil be absorbed into the wood. In the morning I took the following set of two photos to show the state of the pipe when I began to do the finishing work on it. Vesz25 Vesz26 I sanded the stem with fine grit sanding sponges to clean it up further and remove the deeper scratches. I then sanded it with micromesh sanding pads – wet sanding with 1500-2400 grit pads and dry sanding with 3200-12,000 grit pads. I rubbed it down with Obsidian Oil between each set of three pads. I finished the stem work by buffing the stem with White Diamond on the wheel to finish the polish. I gave it several coats of carnauba wax and buffed it with a soft flannel buff to raise the shine.Vesz27 Vesz28 Vesz29 Vesz30 Vesz31 The bowl had a heavy ghosting of aromatics – it was overwhelming and no matter how many times I cleaned it the smell remained. I filled the bowl with cotton balls, pressed them down and then filled the bowl with isopropyl alcohol with an ear syringe until the cotton was soaked. I set the pipe bowl in an old ice-cube tray that holds it upright and let the alcohol and cotton do their work to pull out the oils from the briar and sweeten it. I have moved more and more toward using cotton instead of coarse salt. It seems to work just as well and is less of a mess in the clean up stage.Vesz32 I let the pipe sit with the alcohol and cotton balls for about three hours. The photo below shows the oils that were drawn out of the bowl. The cotton turned a yellow-brown and was almost dry.Vesz33 I took the cotton balls out of the bowl and cleaned the shank and bowl with pipe cleaners. I put the stem back in place on the pipe and gave the pipe a hand polish with some Halcyon II Wax. I hand buffed it with a shoe brush to raise the shine. The finished pipe is shown below. The look and feel of the pipe is far better than when I started. The repairs to the stem and button worked well and blended in nicely to the stem. The topping of the bowl removed the damaged portion and the blackening of the inner edge of the rim is merely a character trait. This is one that will stay in my collection. It smells sweet and is ready to smoke.Vesz34 Vesz35 Vesz36 Vesz37

Giving new life to a Savinelli Product – a David’s Choice Canadian


Blog by Steve Laug

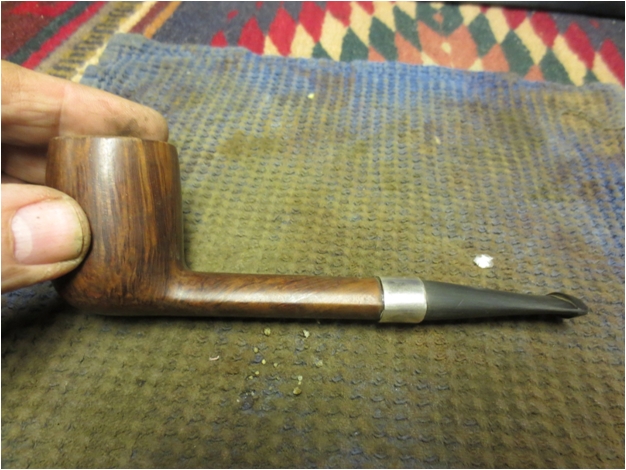
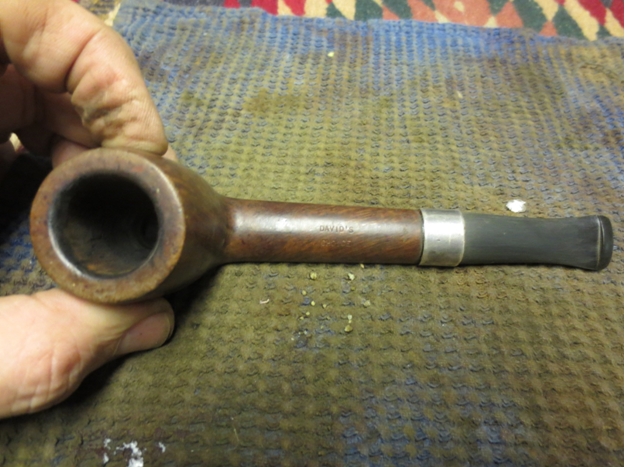
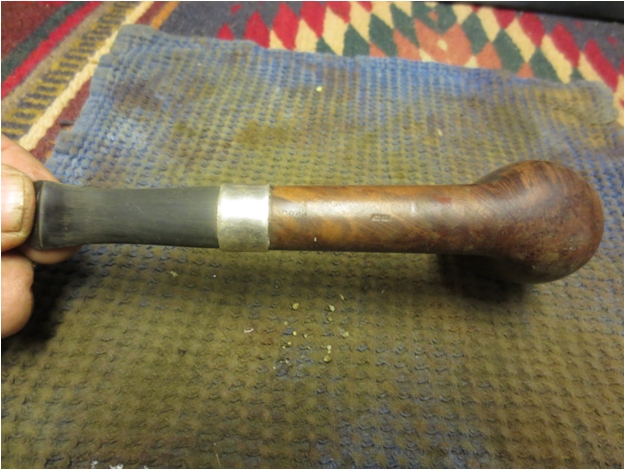
I have written about the restoration and restemming of the first pipe bowl I picked up while on a recent trip. It was found in an antique shop in Nanton, Alberta. It was an old AF Billiard from 1923. The second pipe bowl I found at the same shop is the focus of this refurbishing article. It is stamped on top of the shank with the words David’s Choice and stamped on the underside Italy and barely visible under the repair band Savinelli Product. The repair band was loose and when it was removed the shank had a crack on the bottom side. At the bowl shank junction there is also a small crack that extends back along the shank for almost an inch. It does not appear to go through the shank to the airway but it is visible. The rim of the pipe was clean but the outer edge was damaged and the top edge was badly dented. The finish on the bowl was gone and the briar, though it had stunning grain, was lifeless looking. The bowl was clean in the top ½ inch – looking to have been reamed. The rest of the bowl was badly caked to the point that a pencil would stand in the bottom half unaided. There was no room for additional tobacco. Surprisingly the shank was clean. The stem was long since gone but I found a stem blank in my stem can that would work very well with the pipe.Sav1 Sav2 Sav3 Sav4 Sav5 Sav6 The cake was like concrete in the bottom half of the bowl. I could not cut through it with either the PipNet or the KleenReem pipe reaming tools. I filled the bowl with cotton balls and then used an ear syringe to fill the bowl with isopropyl alcohol. I let it sit for several hours while I worked on fitting the stem.Sav7 Sav8 I used the Pimo Pipe Turning tool to reduce the diameter of the tenon and cut a clean edge against the stem. I sanded it by hand to get it to the proper diameter to fit the shank. I still needed to fit the stem to the angles of the shank and make the lines straight and clean from shank to button. I fit it on the pipe and took some photos to get an idea of what I needed to sand.Sav9 Sav10 I took the cotton balls out of the bowl and then reamed the bowl. The alcohol softened the hard cake and it came out more easily. I finished scraping the bowl with a sharp knife to take out the remnant of cake. I sanded the stem with 220 grit sandpaper to reduce the stem to fit the shank. I glued the band in place on the shank with an all-purpose wood glue.Sav11 Sav12 Sav13 Sav14 Sav15 I wiped down the bowl with acetone on cotton pads to remove the remaining finish from the briar. I would eventually stain the briar – not sure at this point what colour I would use but I wanted to have a clean surface for the stain. I also lightly topped the bowl with a topping board and 220 grit sandpaper to remove the damaged top and edges of the rim.Sav16 Sav17 Sav18 I heated the briar with a heat gun to open the pores in the briar to receive the stain and then used a dark brown aniline stain. I applied it and flamed and repeated the process until I had an even coverage over the surface of the bowl. In the past I have thinned the stain to lighten it but have lately just applied it and then wiped it down with alcohol and cotton pads to lighten it after staining.Sav19 Sav20 Sav21 I sanded the bowl and shank with a 1500 grit micromesh sanding pad to further lighten the finish and then wiped it down a further time with the alcohol wet pads.Sav22 Sav23 Sav24 Sav25 I sanded the stem with 220 grit sandpaper and medium and fine grit sanding sponges. I wet sanded with 1500-2400 grit micromesh sanding pads and dry sanding with 3200-12,000 grit pads. I rubbed the stem down with Obsidian Oil after each set of three pads. Once I had finished sanding I buffed the stem with White Diamond. I polished the band with silver polish and gave it a light buff with White Diamond as well.Sav26 Sav27 Sav28 I put the stem back on the pipe and buffed it all again with White Diamond and gave it a several coats of carnauba wax. I buffed it with a soft flannel buff to raise the shine. Though this old warhorse of a pipe has seen much use, the new finish and restored, rebanded and restemmed pipe should give many more years of service. It is cleaned and ready to load with its inaugural bowl. Though the pictures do not show it the pipe is a large one – it is 6 inches long with a bowl that is 2 inches tall. The diameter of the bore is 7/8 inches. It will certainly be a long smoke – and if the build of cake left behind by the previous owner tells any tales it will be a good smoking pipe.Sav29 Sav30 Sav31 Sav32

An Old 1923 Adolph Frankau Billiard Restemmed and Restored


Blog by Steve Laug

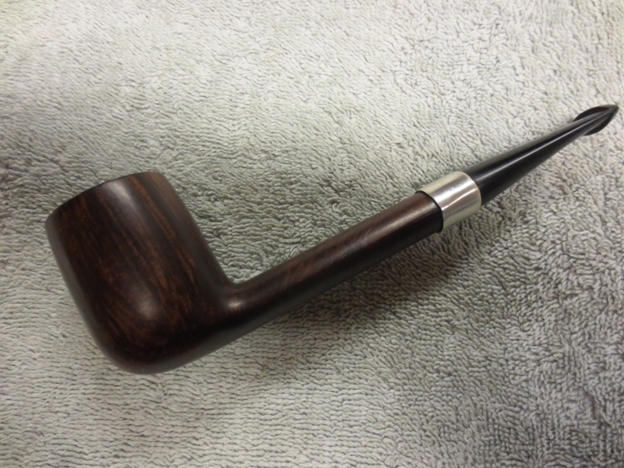
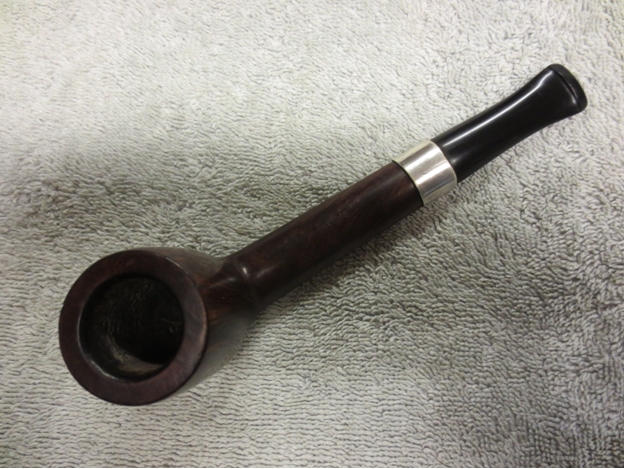
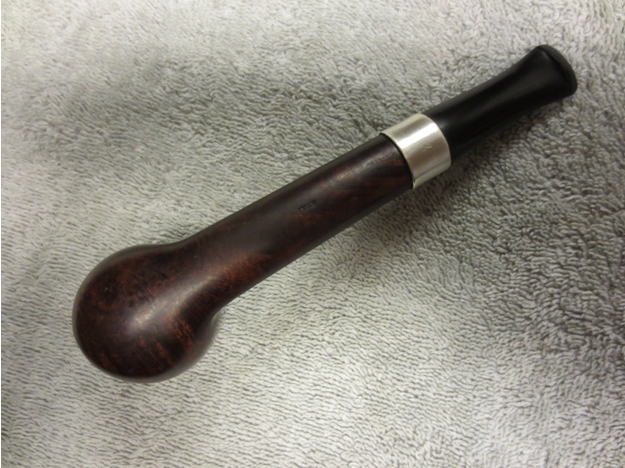
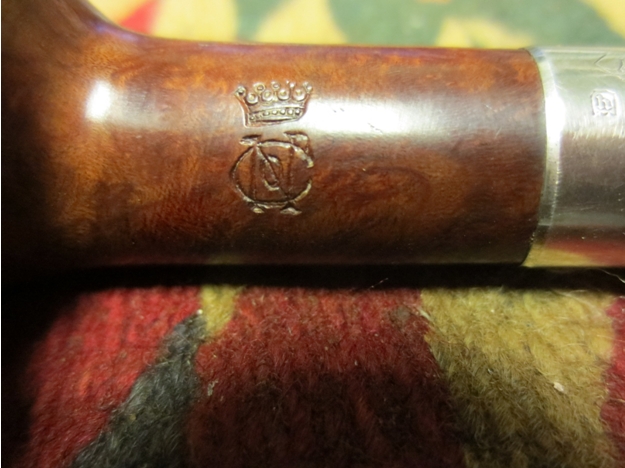
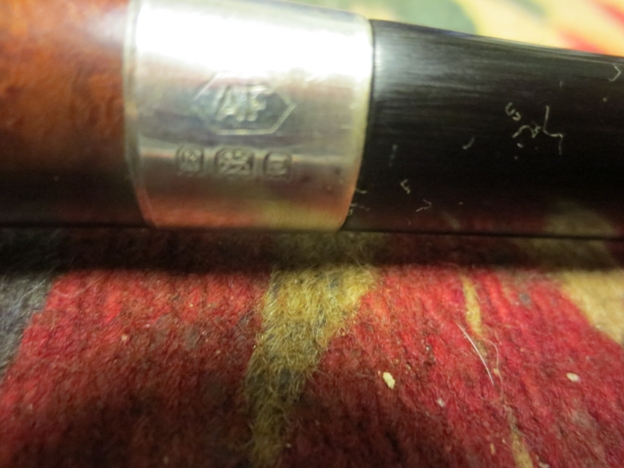
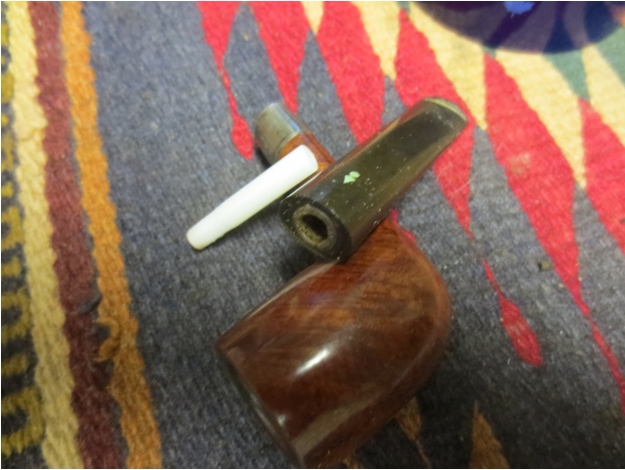
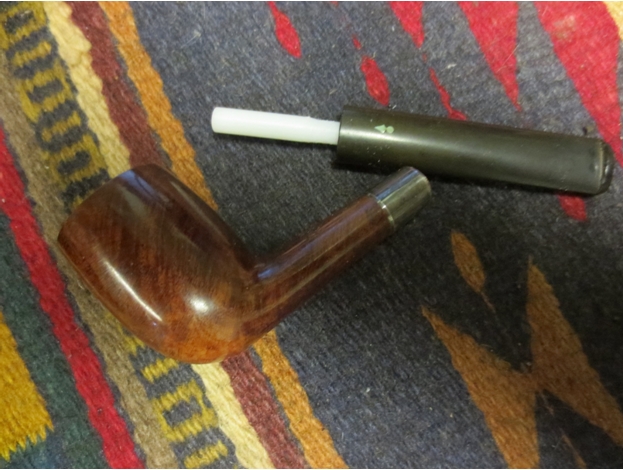
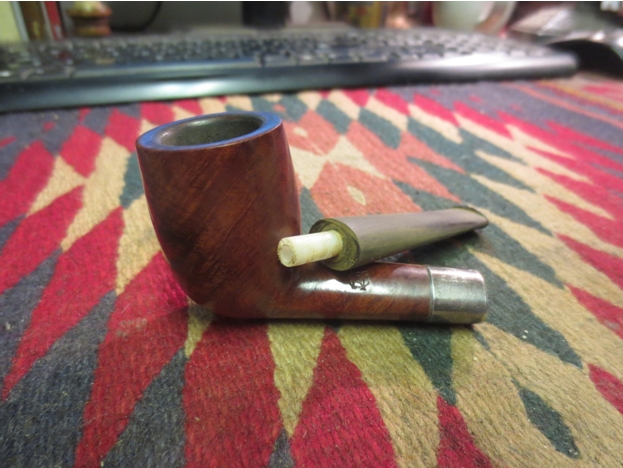
On a recent road trip to Alberta I drove over 3300 kilometres and stopped along the way at antique shops and antique malls to look for old pipes to add to my refurbishing box. I am always on the lookout for old pipes that show promise or will make good additions to my own collection. In one of the shops in Nanton, Alberta I found an old billiard and a Savinelli Made Canadian pipe bowl. Both bowls were missing their stems. The billiard bowl was stamped with a stacked lower case o and an N with C over the top of it. Above the stamped letters was a crown. There was no other stamping on the briar. I have looked around the web for this stamping and have not been able to find out who made the pipe from the stamping and the logo on the shank. The photo below gives a clear picture of the stamping on the top of the oval shank. If it looks familiar to any of you reading this article please post the information in the replies at the bottom of the page.A1 There was also a band on the shank that was factory installed. It was not a repair band or one that was added at a later date. The sterling silver band also bore stamping. On the top of the shank band there was an AF in a hexagon stamped in the silver. That AF stamping seems to point to the pipe being made by Adoph Frankau and Company as far as I can ascertain. Stamped underneath the AF there were three hallmarks in the silver. These hallmarks included the following – each of them was in a cartouche. The first was a letter h, the second was a lion, and the third was a lion’s head. The stamping and the order in which they were stamped identifies the silver band on the pipe in the following order – the h is the year 1923, the lion is the stamp for sterling silver and the third stamp, the lion’s head is the stamp for the city of London. The close up photo below shows the stamping on the silver band.A2The finish on the bowl was worn and spotty but otherwise was in good shape. The rim was slightly darkened but did not have any tarry build up. The bowl interior was clean and appeared to either have been reamed or lightly smoked. The shank had a threaded mortise and would have taken a threaded tenon. I went through my can of stems and found a stem that was oval and of a similar diameter as the shank. It had a broken off tenon that needed to be sanded smooth to flatten it against the face of the stem. With some sanding and cleaning up it would fit the shank well. Once I had faced the stem I drilled the remainder of the old broken tenon out of the stem and fit a piece of Delrin tenon into the hole. The piece of Delrin was too long and I cut it off with a hacksaw. The tenon was not threaded to fit in the threaded mortise however the diameter would make a snug fitting push tenon. The diameter of the stem was slightly larger than the shank and band so it would need to be sanded to remove the excess material.A3 A4 I cut of the tenon piece and then glued it into the drilled out stem with superglue. I sanded the stem to adjust the diameter of the oval to make the fit more precise.A5 When the stem was in place the fit was better with the logo side of the stem facing down. I decided to sand that side to fit it against the shank. The inlaid logo was not set too deeply into the vulcanite and with sanding it would be easy to remove. Once I had sanded it with 220 grit sandpaper to remove the excess vulcanite I fit it in the shank to get an overall look at the pipe with stem. More sanding would be necessary to get the fit perfect against the band and shank.A6 a7 a8 A9 To further shape the stem I removed it from the shank and sanded it some more with 220 grit sandpaper and then with a medium and a fine grit sanding sponge. I sanded the stem until the diameter matched that of the shank. I sanded the tooth marks next to the button on the top and bottom of the stem. The photo below shows the shaped and sanded stem. All tooth marks and damage to the stem was removed in the sanding and the stem was ready to polish.A10 I wiped down the bowl with acetone on a cotton pad to remove the spotty finish on the bowl. It took some scrubbing to remove the varnish coat on the pipe. I scrubbed the silver band with silver polish and wiped it down with a silver polishing cloth.A11 A12 A13 I sanded the stem with micromesh sanding pads – wet sanding with 1500-2400 grit pads and dry sanding with 3200-12,000 grit pads. I sanded the tenon smooth as well. I rubbed the stem down with Obsidian Oil after each set of three sanding pads. I buffed the stem with White Diamond to further polish it and then gave it several coats of carnauba wax and buffed it with a soft flannel buffing pad to raise the shine. A14 A15 A16 I buffed bowl with White Diamond on the buffer and then gave it multiple coats of carnauba wax to protect and polish it. I then buffed it with a soft flannel buff to give it a shine. I put the stem back in place on the shank and the buffed the pipe a final time. The finished pipe is shown in the next set of four photos below. It is ready to smoke with its inaugural bowl. It will be a treat to fire up this lightly smoked pipe from 1923.A17 A18 A19 A20

Restoring A Len Payne Twin Bore System Bulldog


Blog by Steve Laug

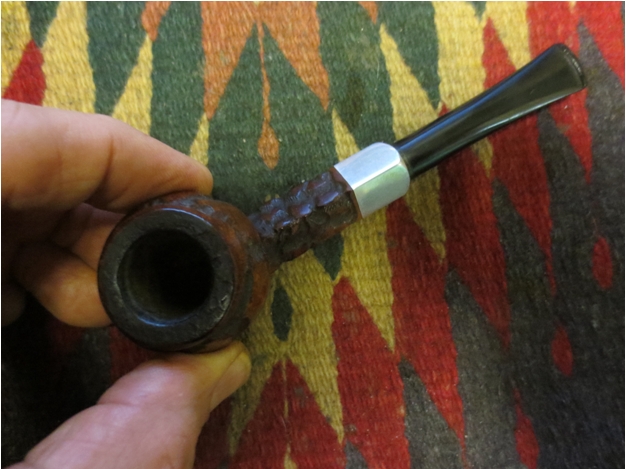
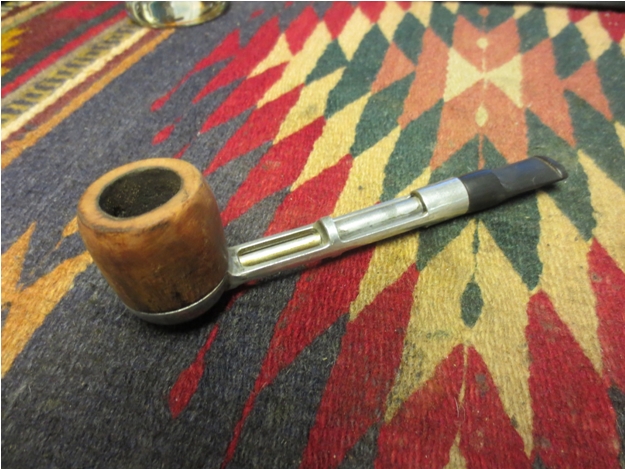
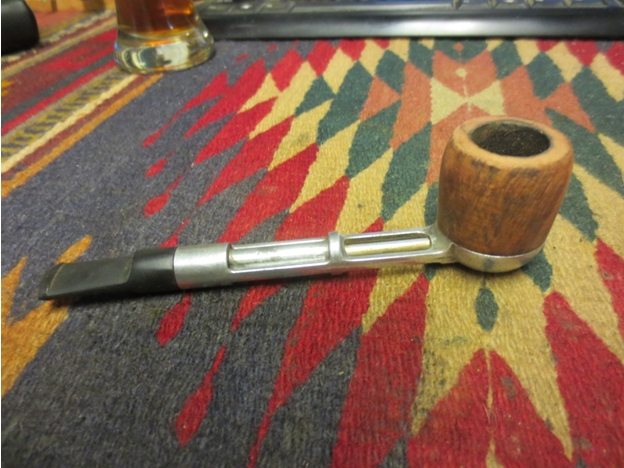
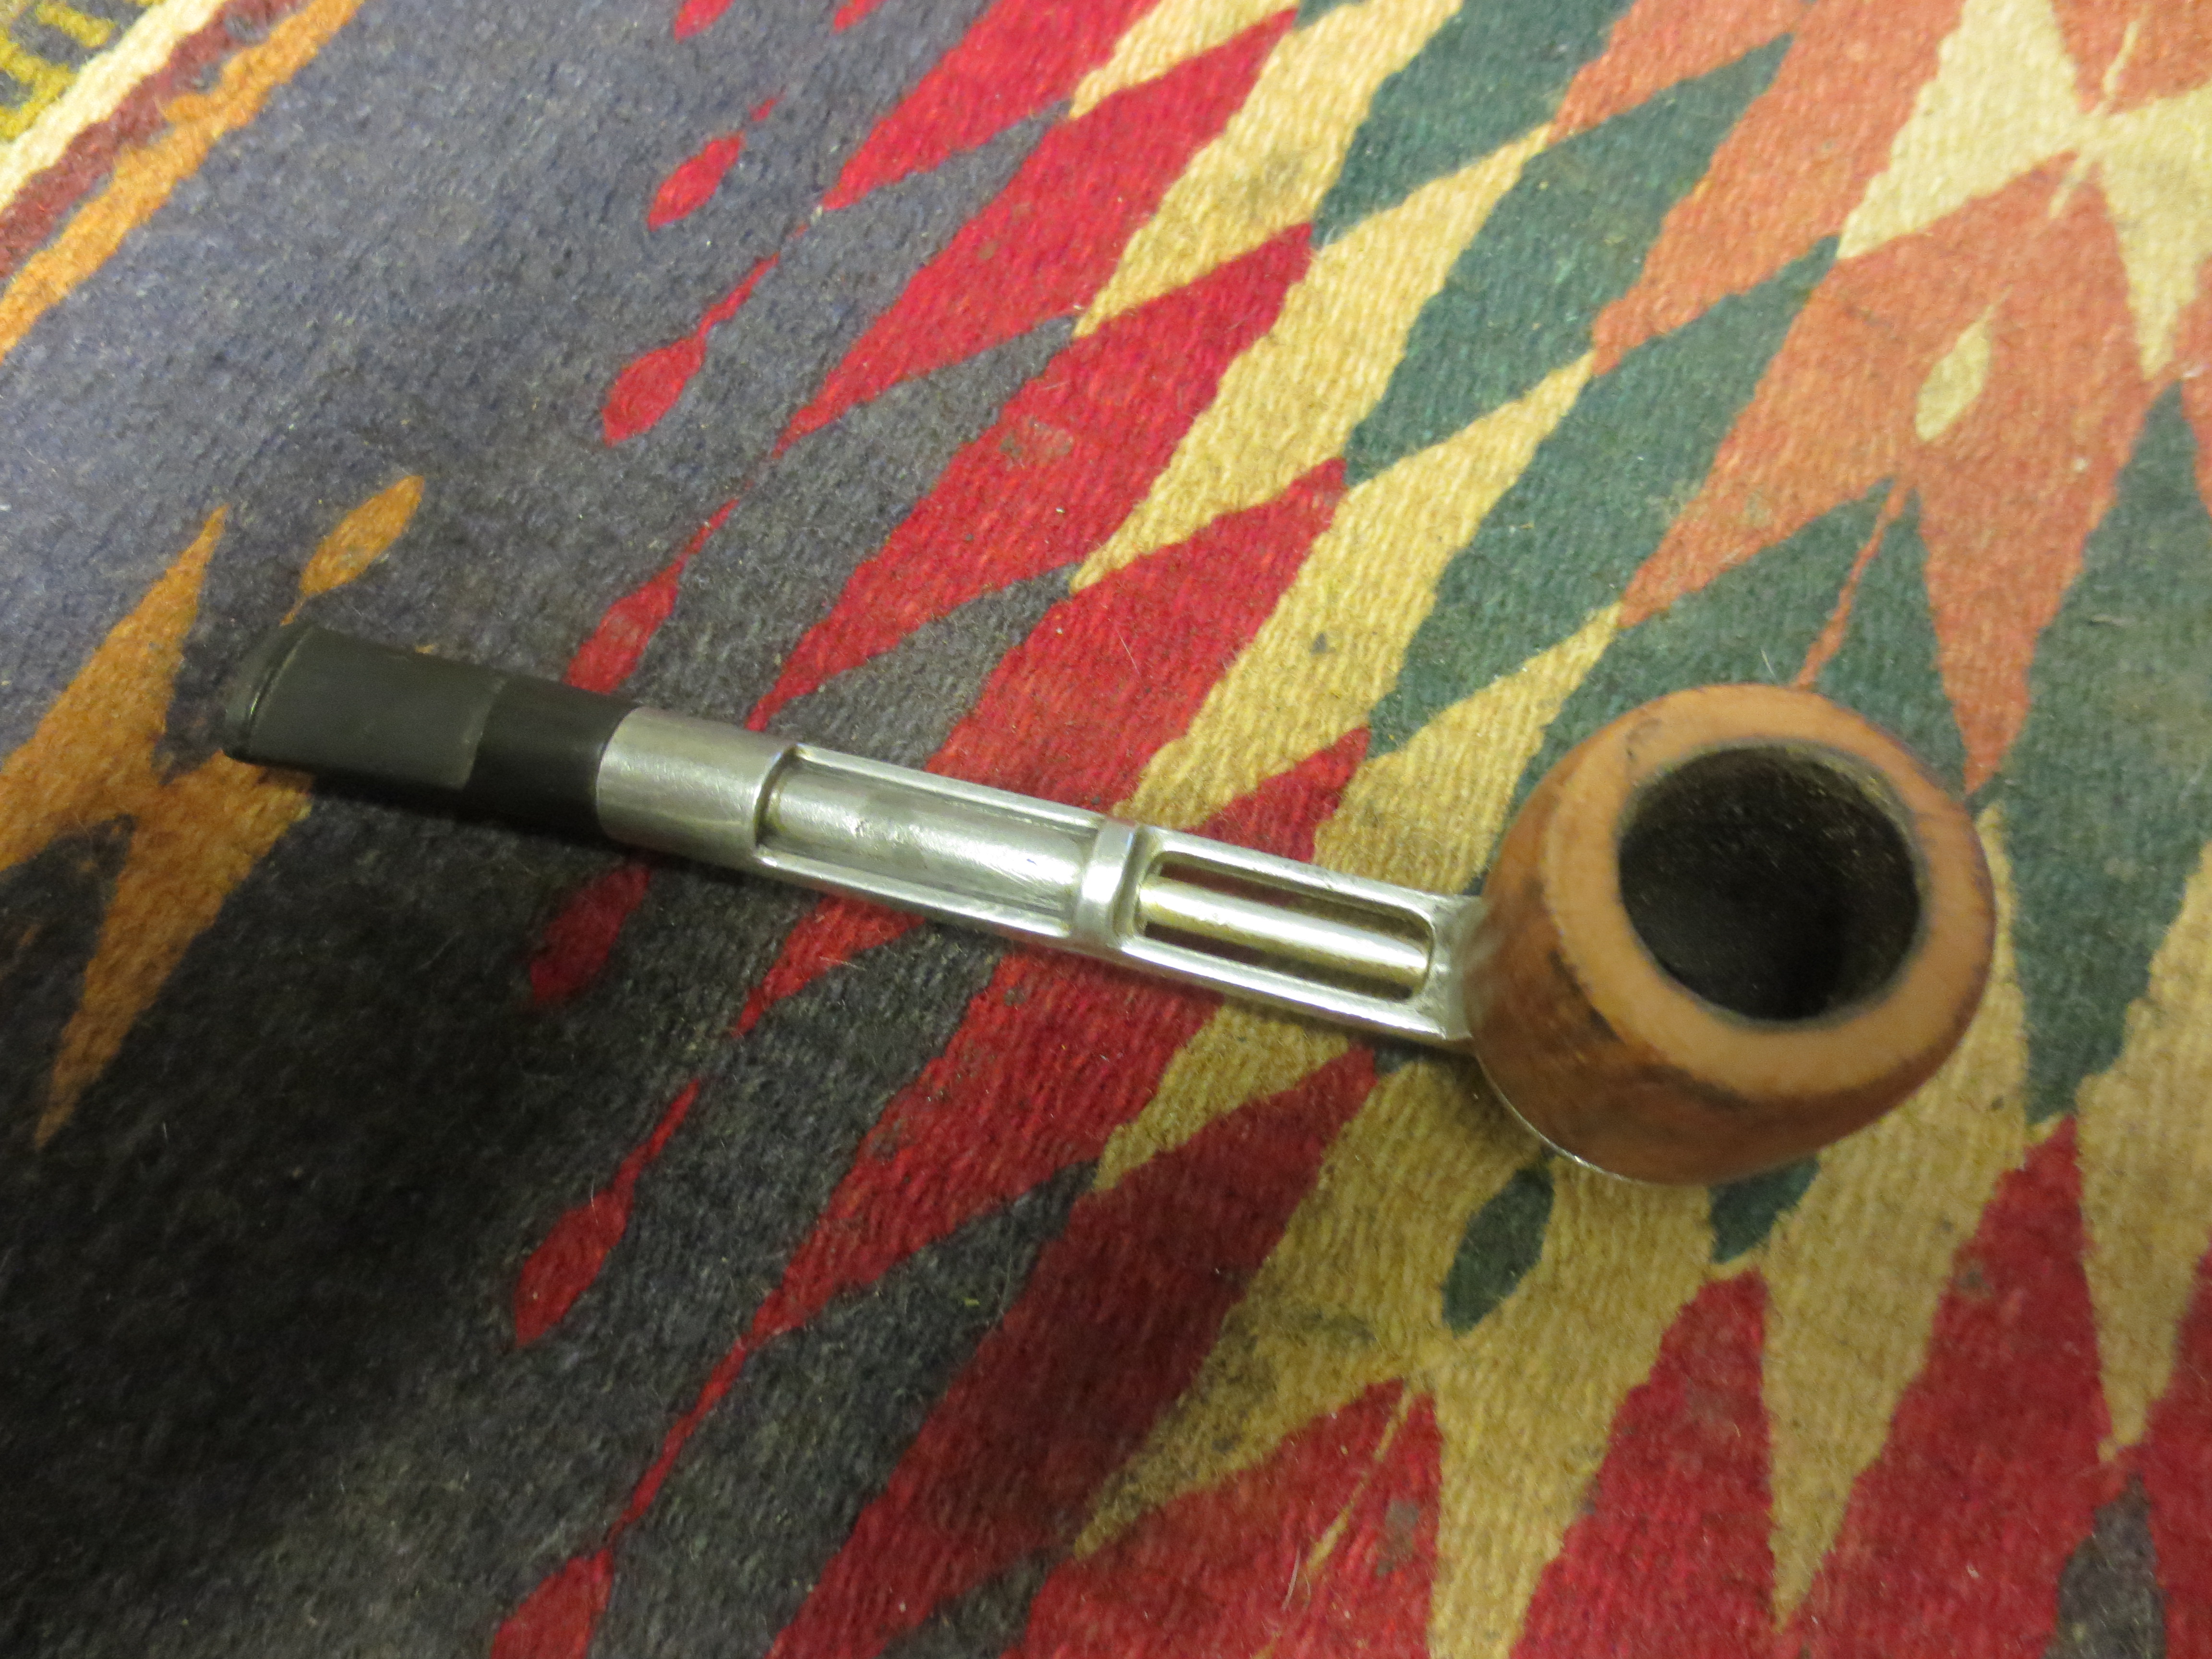
When I saw the rusticated bulldog shaped pipe in the display case at the Alberta antique mall I could not help but want to have a look at it. I asked the clerk to open the display case for me to have a closer look at it. The aluminum shank end look too substantial to be just an end cap or ferrule like Peterson’s and other older pipes have used for years. In fact it reminded me of some of the South African Keyser Hygienic pipes that I have in my collection. It had that kind of weight to the aluminum. The stem also had the same kind of look. It was a large diameter military mount stem that pushed into the shank end opening.

Once the clerk took it out of the case I looked at the underside of the diamond shank to see if it was a Keyser pipe – it wasn’t! It was stamped Len Payne. Now I was wondering. In the past I had written about pipes by Len Payne on the blog https://rebornpipes.com/2013/11/16/a-pipe-maker-i-had-never-heard-of-leonard-payne-pipes/. But I had not seen one with this kind of apparatus on the shank. I am including the quote below from Mike Glukler of Briar Blues that gives a quick summary of the brand. Not the bold italicized sentence in the paragraph below that applies to this pipe.

Leonard Payne was based in B.C. for many years. He came to Canada from England. He had shops in Surrey, B.C. and Kelowna, B.C. Interesting fellow. Gruff as the day is long. When you bought a pipe it was handed to you in a paper bag. No sock, no box. Most of his pipes carried a “carburetor” system at the shank/stem junction. Another Payne idea was his shanks. Almost all his pipes were two pieces. He’d turn the bowl and shank, then cut off the shank and reattach with glue (not always with the same piece of briar, so many did not match grains). His thinking was that the shank being the weakest link, if cut and glued would never break and thus “correcting” the weakest link. You may find his pipes on E-Bay on occasion listed as an L. Cayne. The P in his stamping looks more like a fancy upper case C…- Michael J. Glukler

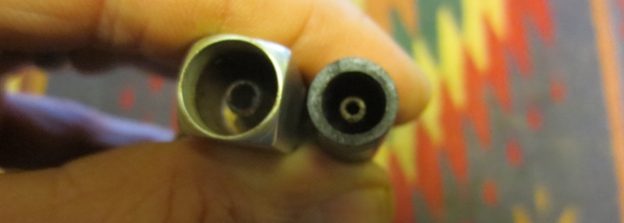
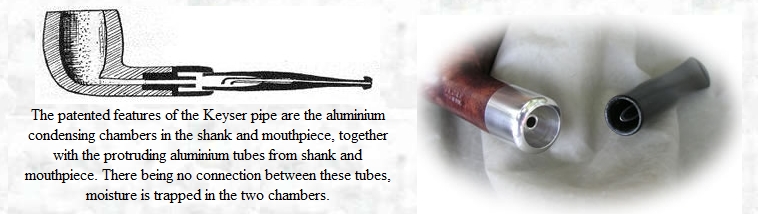
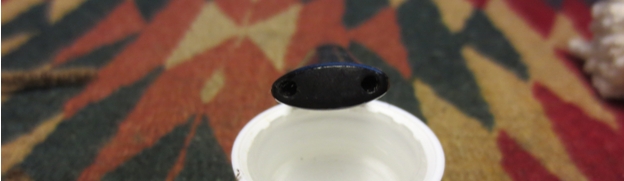
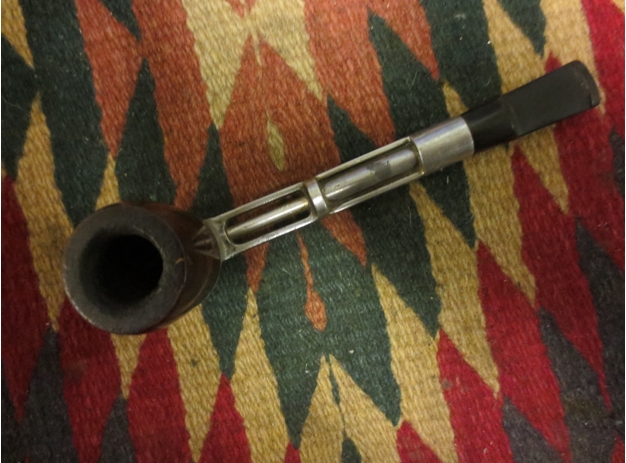
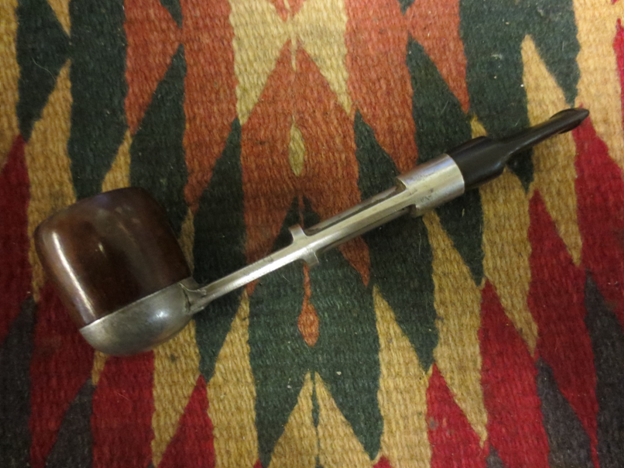
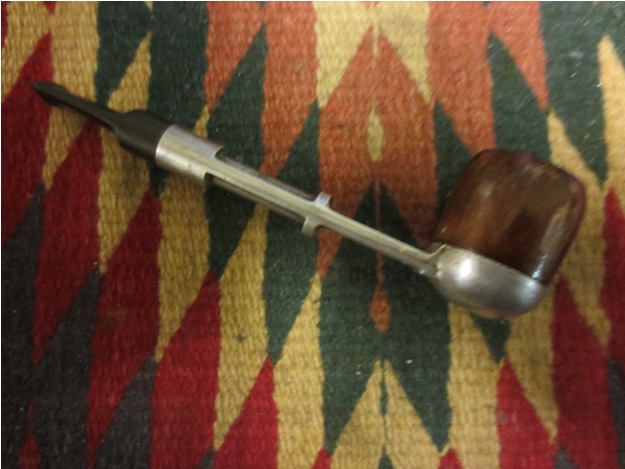
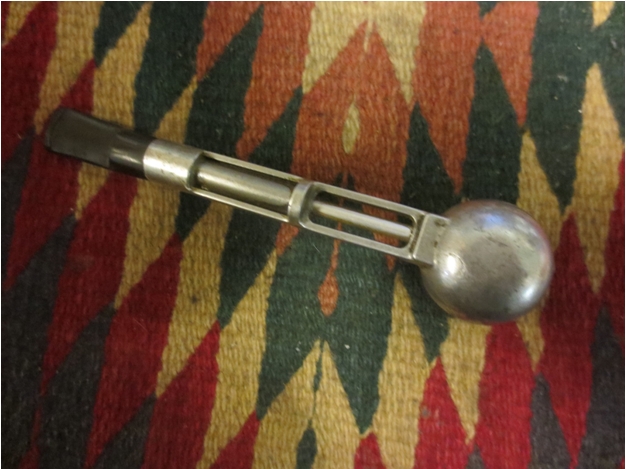
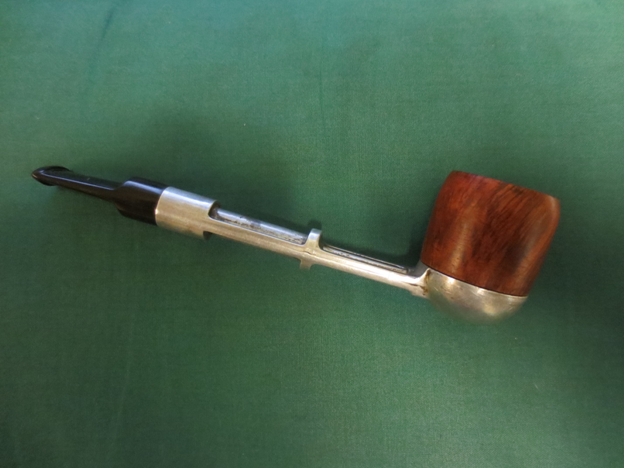
I removed the stem from the shank to look inside and found the carburetor system that Mike refers to in the above quote. The inside of the shank was aluminum so the end cap fit over the outside of the shank and was inset into the interior and formed a collection chamber for moisture. It was dirty with oils and tars. In the centre of the chamber was a tube that extended half the distance up the shank to the end. In the stem was an aluminum tube that was smaller in diameter than the shank tube and when the stem was inserted the stem tube fit in the shank tube. The tube thus formed a straight line from the bottom of the bowl to the end of the stem.Payne1 The Payne inner tube system differed from the Keyser system in that the two tubes interlocked and formed a seamless tube from bowl to button. In the Keyser system the tube in the stem had a downward angle and the one in the shank was shorter. The tubes did not meet or join. Rather the air was swirled around the aluminum chamber and then drawn upward into the downward point tip of the stem tube. In the cutaway drawing below you can visualize the Payne stem with the shank tube extended further into the shank and the stem tube inserted into the shank tube when the stem was in place.keyser The stem itself in this case was a twin bore stem where the airway split into a Y and ended in the button with two holes – one on either side of the button. The theory was it made a more bite proof stem.Payne2 So while the externals and stem appeared to be the same the internals were markedly different in their execution.

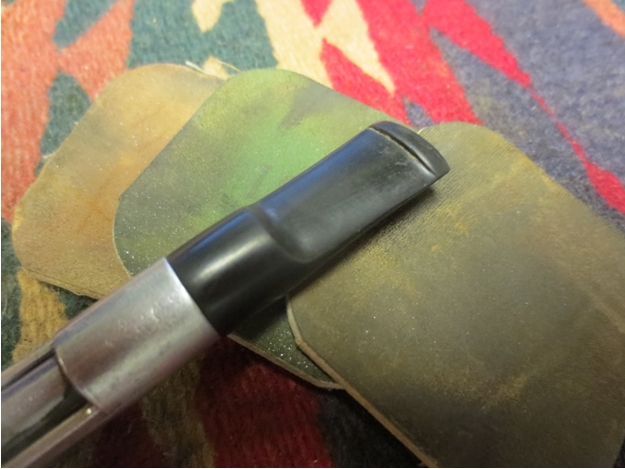
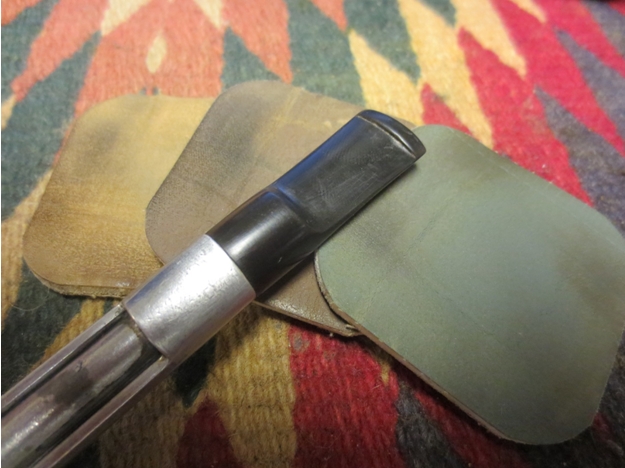
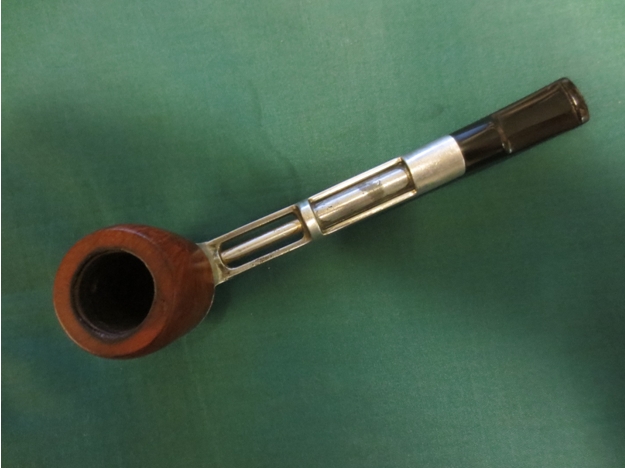
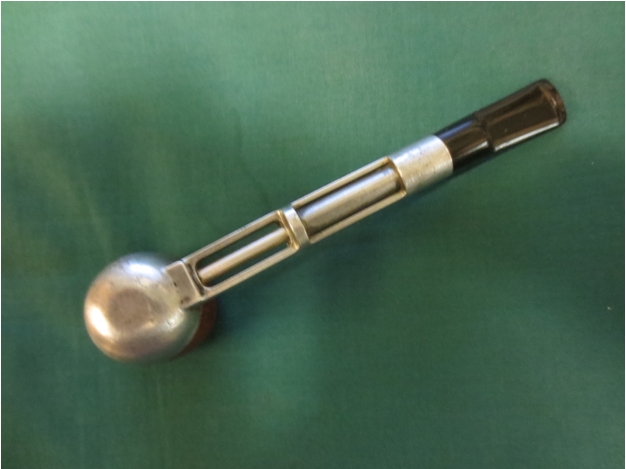
The bowl itself was clean but the rim was dirty and damaged with small dents and places that could not be steamed out. The bowl would need to be lightly topped. The finish on the rusticated bowl was in great shape with little wear. The grooves had been stained with a dark brown and the high smooth parts were stained with a lighter brown stain to make a contrast. The aluminum shank cap was scratched and dull. The interior of the pipe was very dirty. The stem was high-grade vulcanite and was lightly oxidized and coated with a sticky substance like price sticker glue. There were no bite marks in the surface and under the grime it was clean. The button had the twin bore system and was also clean and undamaged.Payne3 Payne4 Payne5 Payne6I took the pipe apart so that I could clean the internals and work on the top of the rim. The beauty of this old pipe was that it did not need to be reamed as it was clean inside the bowl. The next two photos show the diameter of the military stem and the overall look of the stem.Payne7 Payne8 I set up the topping board and the 220 grit sandpaper in order to lightly top the rim of the Payne. I pressed the rim against the board and moved it in a circular motion to remove the damage to the rim and the hard buildup.Payne9 Payne10 Payne11 I cleaned out the inside of the end cap insert to remove the tars and oils with alcohol, folded pipe cleaners, and cotton swabs. I cleaned out the airway with pipe cleaners and alcohol.Payne12I used the Guardsman stain pens to stain the rim. I started with the lightest stain and moved to the darkest stain. I wanted to match the stain on the rim to the stain of the bowl. Once it was dry I buffed it with White Diamond and then lightly wiped it off with alcohol on cotton pads to lighten it slightly to get a more correct match.Payne13 The stem was in good shape and did not have any bite marks or tooth chatter. I sanded it with micromesh sanding pads. I wet sanded it with 1500-2400 grit pads and dry sanded with 3200-12,000 grit pads. In between each set of three pads I rubbed the stem down with Obsidian Oil.Payne14 Payne15 Payne16 I waxed the stem with carnauba wax and buffed it with a soft flannel buffing pad to raise the shine. I sanded the aluminum end cap with the micromesh pads to polish the metal and remove the scratches. Once the aluminum shone I waxed the bowl and stem with carnauba and buffed it with a soft flannel buffing pad. The finished pipe is shown below. It is ready to load up and smoke with its inaugural bowl of tobacco. I am wondering how the tube system works in delivering a cool smoker and how the smoke compares to the Keyser Hygienic pipes. Time will tell.Payne17 Payne18 Payne19 Payne20

Cleaning up a Unique No Name Metal Pipe – It turned out to be a Stirling


Blog by Steve Laug

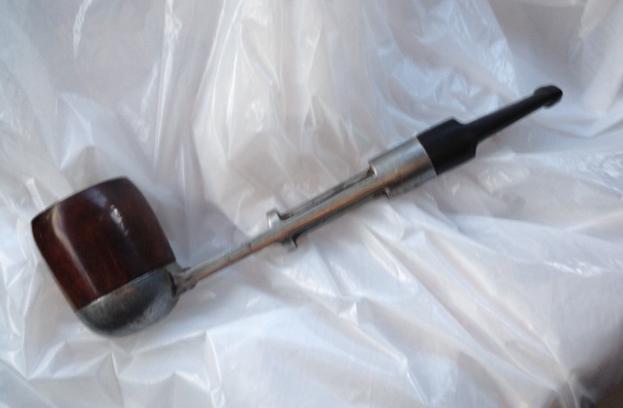
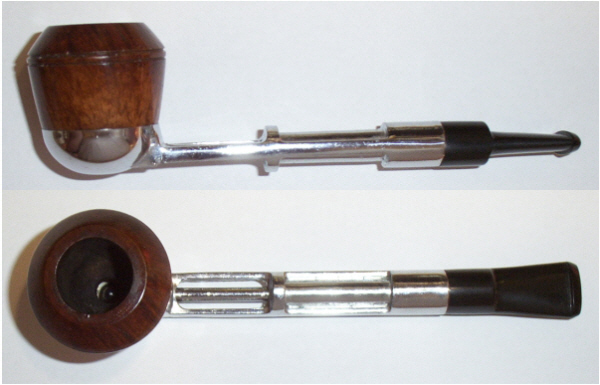
When I found this old metal pipe on a recent trip to Alberta it had no markings and at first glance appeared to be similar to both Falcons and Vikings. There was a difference though from those other metal pipes that I have in my collection. The tube in the base was thicker in the section next to the stem. The tube actually was normal sized from the bowl to the first joint and thicker from the joint back to the end of the shank. The shank itself was also round instead of the oval ones found in the previously mentioned pipes.It was the shape that caught my eye and I had to take it apart to see what made it different. I was surprised that the stem was actually removable and came out very easily when turned. The stem was also vulcanite rather than nylon and seemed to be of a good quality as it did not have signs of oxidation on it. When I removed the stem I was surprised to see that it had a metal tenon like those found in Medico pipes – slotted on each side so that it can be adjusted for a tight fit in the shank. Obviously this tenon was made to accommodate a filter by all appearances. I was hooked so I paid for it and added to my pipe hunt “treasures” that I would restore when I got home from the road trip.
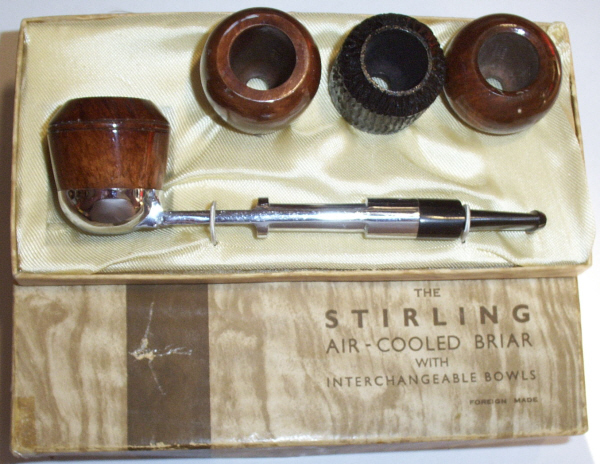
f634b1970596b4b85986ec05fb585e1cWhile I was travelling I posted pictures of the pipe on the PSU Pipe Smoker Unlimited Forum and got a response that what I had was probably a Stirling pipe. The response included a link to the Smoking Metal website http://www.smokingmetal.co.uk/pipe.php?page=285. The site had pictures of the pipe and it matched mine precisely. It stated the following: “STIRLING, no markings on pipe or bowls, only the box is marked as Stirling, as Foreign Made, but no idea by whom. There are several similar pipes, none of which have a name on them. Arcadia (on this website) is one, differing only in the fact that whereas this Stirling has an all vulcanite push fit stem, the Arcadia has a vulcanite stem with a metal threaded insert. The “Park Lane” has no facility for a filter like the Stirling. This one accepts some Dr. Grabow Viking Bowls as well. Its overall length is 5 7/8 inches or 149mm. I have included the photos from the Smoking Metal site for comparison sake.Stirling2Stirling3Stirling 1From the above photos I conclude that the pipe I found is indeed a Stirling Air-Cooled Briar. It evidently had originally come with interchangeable bowls. From the information found on the site I was able to ascertain that Grabow Viking Bowls would fit the base. I had several of those at home so I when I got home earlier this week I checked it out and found that they did fit well. While this information is helpful it still leaves a lot shrouded in mystery for me. I would love to figure out who made the pipe. I have written to Ed on the Dr. Grabow forum and Bill Feuerbach from KW to see if they have any information on the pipe. If any of you readers have any information please let me know.

Now it was time to clean up the pipe. The bowl was thickly caked and the insides of the base were black with tars and oils that had hardened. The stem had some tooth chatter on both the top and bottom near the button. The finish on the bowl was flaking and the varnish coat was peeling off the briar. The rim was black with tars and also had some damage from the bowl being tapped out to empty it. The aluminum was oxidized and dirty as well. The next four photos show what the pipe looked like when I started to work on it.IMG_2559 IMG_2560 IMG_2561 IMG_2562 I took the pipe apart to clean the interior of the base. I used pipe cleaners, cotton swabs, cotton pads and alcohol to break through the hardened oils and tars in both the shank and the base. The tenon was metal (brass?) and was thickly caked as well. The two slots on the side of the tenon were covered so it was not clear that they even existed.IMG_2563 I reamed the bowl with a PipNet reamer and took it back to the briar. I started with the smallest cutting head and worked my way up to the size that fit the bowl.IMG_2564 IMG_2565I set up a topping board with 220 grit sandpaper and sanded the top of the rim to remove the damage.IMG_2566 IMG_2567 I scrubbed the finish off of the bowl with alcohol and also cleaned the bottom of the bowl. I sanded it with 220 grit sandpaper to break the finish and then used medium and fine grit sanding sponges to remove the scratches left behind by the sandpaper. I finished sanding it with micromesh sanding pads – wet sanding with 1500-2400 grit pads. The next series of three photos show the bowl at this point in the process. I was not sure whether I would stain the bowl or leave it natural and just polish it.IMG_2568 IMG_2569 IMG_2570I sanded the tooth chatter on the stem with 220 grit sandpaper to remove the damage and then followed that with medium and fine grit sanding sponges. I finished the stem by sanding it with micromesh sanding pads. I wet sanded with 1500-2400 grit pads and dry sanded with 3200-12,000 grit pads. I rubbed the stem down with Obsidian Oil between each set of three pads.IMG_2571 IMG_2572 Once the stem was done I buffed it with White Diamond and gave it several coats of carnauba wax. I cleaned the aluminum and polished it with a silver polish and polishing cloth then set it aside to figure out what I was going to do with the bowl. I finally decided to leave it natural but to also wipe it down with a light coat of olive oil to darken the finish slightly. I buffed it with White Diamond and then gave it several coats of carnauba wax and buffed it with a soft flannel buff to bring out the shine. The pipe was finished in terms of the cleanup. I put a Medico filter in the shank for the inaugural smoke though I will probably not keep it there for future smokes. The finished pipe is shown below.IMG_2573 IMG_2574 IMG_2575 IMG_2576

A Spitfire by Lorenzo Mille Billiard – My First Dabble with Black Super Glue – Robert M. Boughton


Guest Blog by Robert M. Boughton
Member, North American Society of Pipe Collectors
http://www.roadrunnerpipes.com
http://about.me/boughtonrobert
Photos © the Author

“There is nothing insignificant in the world. It all depends on the point of view.”
—Johann Wolfgang von Goethe (1749-1832), German author, playwright and poet
Robert head INTRODUCTION
Perspective is the key to everything, from the incredible diversity of the daily activities to the personal, often unique worldviews of everyone on the planet. Take, by way of an extraterrestrial example, the Sombrero Galaxy shown above, an edge-on spiral 50,000 light years from one side to the other (half the size of our own) and 28 million light years from Earth. Discovered hidden within the constellation Virgo in 1781 and named by French astronomer Charles Messier because of his point of view at the time, the Sombrero seen head-on would have a much different appearance. In other words, looks can be deceiving.

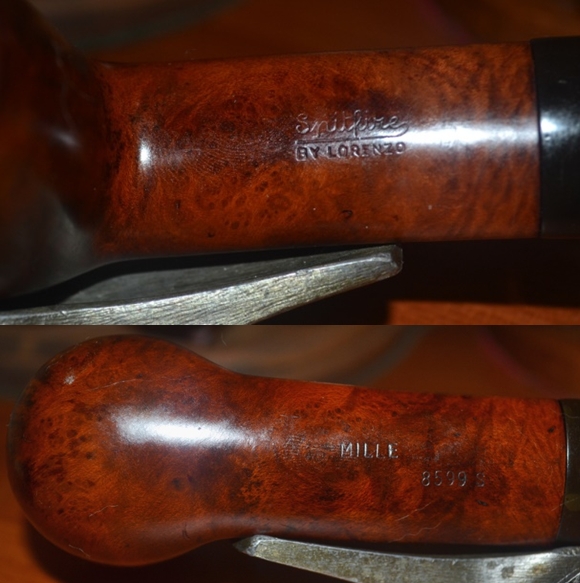
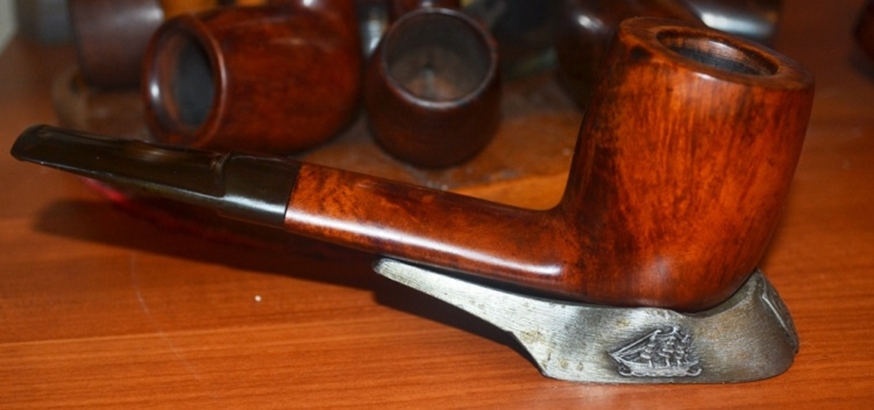
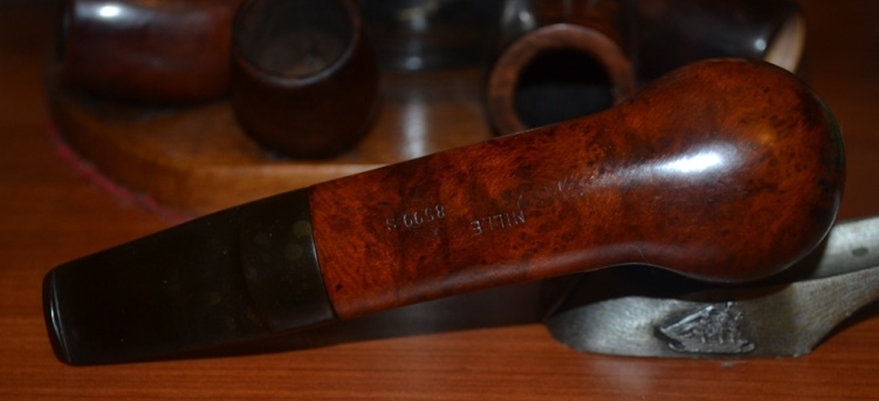
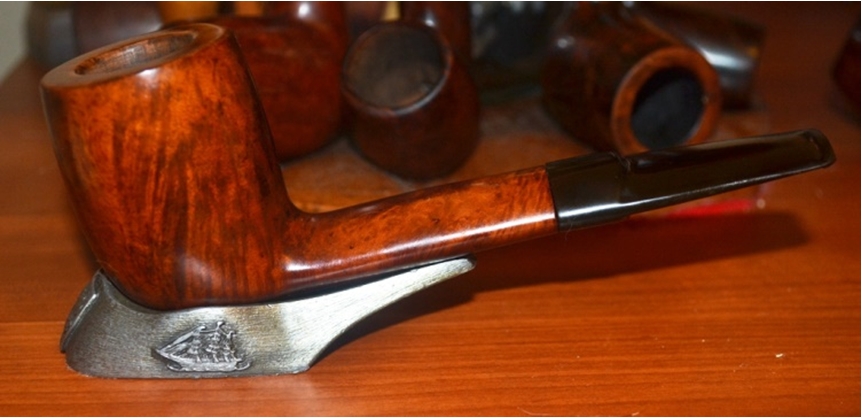
And so I present the initial side view (somehow I neglected to photograph the left side) of the Spitfire by Lorenzo Mille – which, compared to Starbuck’s Venti, meaning 20, translates in the same Italian to 1000 – that lives up to its name in terms of its huge size, and lasts far longer than any of the aforementioned coffee chain’s drinks.Robert1 The massive, gorgeous billiard (measuring 5-3/4″ x 2″ in length and height with an outer rim diameter of 1-3/8″ and chamber dimensions of 7/8″ x 1-7/8″), as seen in this photo side angle as I received it in a pipe lot I bought online, is nothing less than gigantic all around. Even the relatively flat shank leading into the stem is an inch across. But, as will be shown in the next part of this blog, from other angles the pipe, which at least on my screen is the actual size, had its share of problems.

RESTORATION
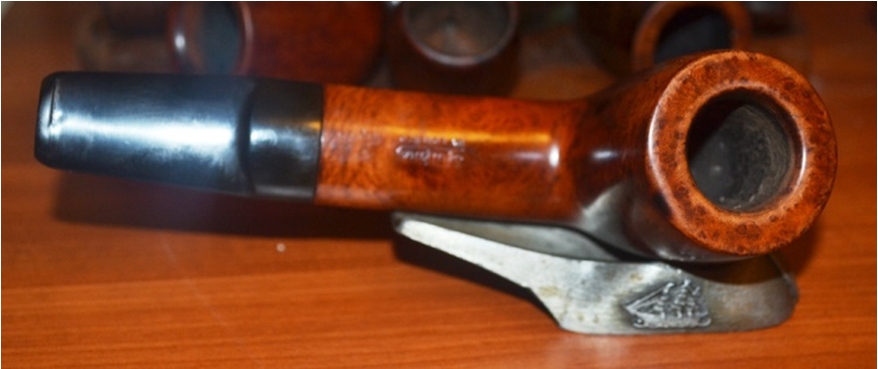
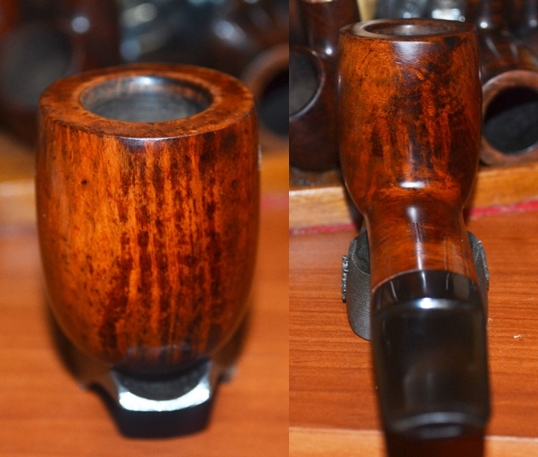
Here it was from those other views.Robert2 Robert3 Robert4 Robert5 The blackened rim and badly caked chamber were easy enough to fix. I started on the chamber with my reamer and took out the majority of the carbon buildup, then switched to 150-grit paper followed by 400 before finishing with 800. The rim came clean with super fine steel wool before 1500 micromesh, then 2400, 3600 and at last 8000. So far, that is the finest grade of micromesh I have used, and it worked well.

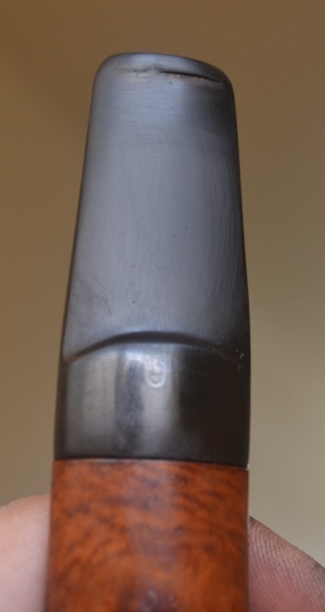
Most of the stem cleaned up with 1500 micromesh and some 400-grit paper on the lip followed by 1500 again, and then 2400 to smooth it out.Robert6 Still, the tooth marks remained, and since my recent order of Black Hyper Bond, a.k.a. Super Glue, had arrived, I was presented with my first opportunity to try it on a stem. The hard part proved to be not squirting out too much.Robert7 A couple of hours later, long after I had prepared the nice hunk of briar for buffing, I returned to the stem and tried 2400 micromesh to remove the dried glue bump. After that, I finished it with 3600. Robert8 As I noted, this was my first time filling in a hole, so the result is not perfect, but I think it looked much better than before.

Every inch of the wood, to my continuing amazement, was as pristine and unblemished as the first side angle shows. This is the only pipe I have ever restored that had not even a single scratch on it, except for the rim, which ended up fine as I described. This was also one of the few times (all of the others on meerschaum restorations) where I only needed to buff the rim to make it shine again with its natural color, not needing to re-stain it.

This brings me, with rather unusual speed, to the final buffing, which I accomplished using my standard methods: red and white Tripoli followed by White Diamond on the stem, and white Tripoli, White Diamond and carnauba on the fine, already lustrous wood just for the sake of it.Robert9 Robert10 Robert11 Robert12 Robert13 Robert14 CONCLUSION
I was a little giddy trying out the Black Hyper Bond to repair the bite mark in the stem, and as I wrote before, the result is not as well done as I hope to achieve in the future and returning to some of my previous restores that some of you with excellent memories may recall needed similar work. But from my perspective, it’s a good start – better than government work at least, as the saying goes.

Grazzie Mille for your time and patience!

The Wily Nature of a WDC 14K Full Bent Billiard Restore – Robert M. Boughton


Guest Blog by Robert M. Boughton
Member, North American Society of Pipe Collectors
http://www.roadrunnerpipes.com
http://about.me/boughtonrobert
Photos © the Author

O, what a tangled web we weave,
When first we practise to deceive!

— Sir Walter Scott, Scottish historical novelist, playwright and poet, in “Marmion” (1808), Canto VI, stanza xvii.

INTRODUCTION
I mention poet last among the great Scot’s endeavors because, if any of them were much good, the poetry was most lacking. However, there are forever those two lines that people remember, even if they often misattribute it to Shakespeare, who would have made a much better and shorter sonnet of the one theme had he thought of it. Scott’s epic in length tragic poem (in more senses than intended) – with its jumbled use of rhymed couplets in iambic tetrameter, alternating rhyme in iambic pentameter and alternating or nested rhyme in hymn meter – just tends to bore. I admit that my writing skills do not include poetry, which I consider the highest form of the literary art form, but I also do not pretend to have the mind for it.

Many of the quotes I include before my blogs are no doubt somewhat enigmatic, but this one hits the mark much closer. A quick look at the WDC Full Bent Billiard with 14K gold band reveals much ado about nothing as far as the need for serious restoration is concerned.Robert1In fact, when it came in the mail with six others I bought in a pipe lot, I was happy to see they were nowhere near as thrashed as many others I received before. Most, in particular the WDC, seemed at a glance to need only a simple refurbishing. Only upon close examination did I see the problems that appeared little but might indeed create bigger problems when the actual work began. Still I chose this one both because of its seeming almost pristine condition but because I might have a buyer lined up already.
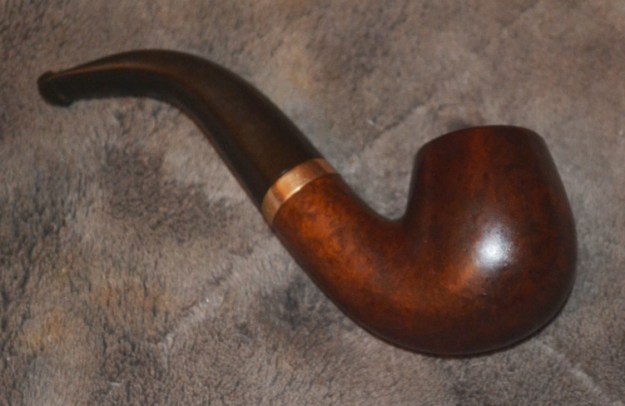
As a note, WDC is short for the William Demuth Co., a U.S. crafter of fine pipes from 1862-c. 1973, after the venture had changed hands several times and was at last liquidated. The Full Bent Billiard described in this blog appears to be quite old, perhaps dating to the 1930s or ’40s, based on a WDC Master List by Kaywoodie [http://kaywoodie.myfreeforum.org/viewtopic.php?t=191&start=0].
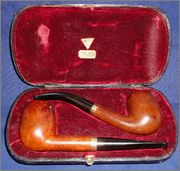
Photo © WDC Master List

Photo © WDC Master List

RESTORATION
The problems I encountered, despite being almost invisible in the following photos, by the hidden nature of their presence convinced me to take on this supposed easy project. As a result, I was led, step by step, into a web of blemishes, some of which were simple to fix and others proving more difficult.Robert3 Robert4 Robert5 Robert6 Robert7In general, I start with the chamber, which in my recent blogs has involved the removal of massive cake buildup. Here it is apparent that is not a problem, but that fact ends up concealing a more significant flaw, which I will get to in short order. This time, I chose to begin with the rim and shank opening Even in the photo above, the blackening, scratches and jagged inner rim show. Closer photos display the rim and shank hole better.Robert8 Robert9Steel wool was perfect for the shank opening. But 1500 and even 800 micromesh proved ineffective on the rim. I jumped to 400 micromesh, which removed the blackening. As I intended only to sand the bowl this time instead of using my reamer that has been mandatory with so many other recent restores, I switched to 150-grit paper for the chamber, starting with the rim to eliminate the craggy inside.

After continuing with multiple turns of the paper until I reached the bottom, I tapped and blew out most of the accumulated carbon dust and used a small piece of cotton cloth to wipe off enough of the residue to insert a finger and feel the sides. They were smooth, but what I found at the bottom was troubling: a big hole with another ridge of cake around it.

And so I decided to go with the reamer after all. Besides, I thought, I like to leave the chamber wall as close as possible to the wood, and the reamer would accomplish that and even out the hole in the bottom – I thought.

However, while I indeed removed more carbon from the sides and bottom, the latter proved much more stubborn. Returning to the 150-grit paper, I took the walls down to where the wood almost showed all the way. With awkward, slow turns of the paper, during which I heard an awful scraping wail rising from the base of the chamber, I succeeded in sanding the hole as far as it would go. In the end, a small hole remained. For the first time, I understood that I needed some sort of tool I do not yet possess, but the result was satisfactory.

Meanwhile, I used a record 15 bristly pipe cleaners to remove the long-accreted mess of tar and other fantastic buildup of nastiness from the shank. I concluded a serious alcohol flush was in order. I stuck a piece of cotton in the bottom and for the first time plugged the shank with some cork I had on hand.robert10About a half-hour later, seeing the cotton was dark, I removed it with a cheap tobacco pick and pulled the cork, letting the brown alcohol drain through the shank. I had given the outer wood a good bath with purified water, which removed considerable filth, but being quick to wipe up the overflow of alcohol, I used it to wipe away more tenacious hangers-on, so to speak.Robert11 robert12The next strands of the web were the many tiny scratches and pits on the bowl and shank, all of which were so small I was (I have to admit) tempted to let them slide. That being a sin of restoration I have yet to commit with malice aforethought, my senses returned. I considered how to accomplish their elimination.
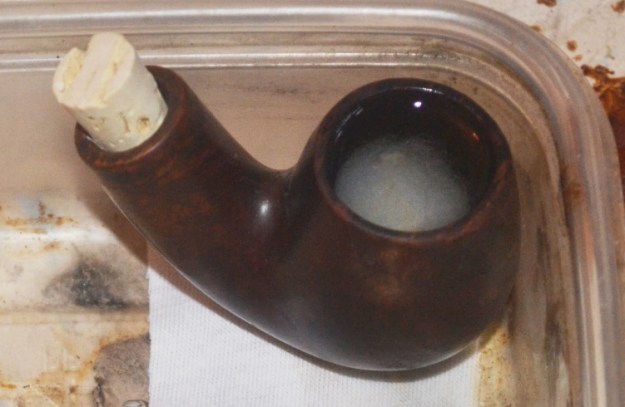
The 1500 micromesh worked on a few superficial scratches. Given that I could see them myself, I used the 320 micromesh for the deeper flaws that were small but still clear to serious scrutiny. That was the magic number but left the treated areas lightened. One of my goals with this restore was to avoid re-staining anywhere, and I had succeeded so far so I was determined not to resort to the last measure at the point. I tried the 1500 again on these spots and found it shined up the wood almost as it had been.

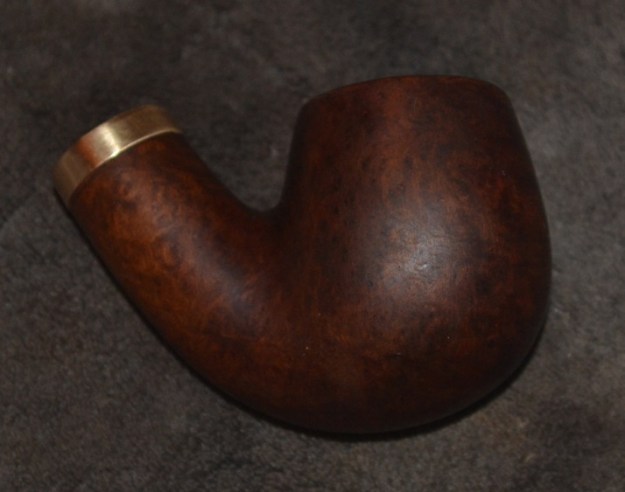
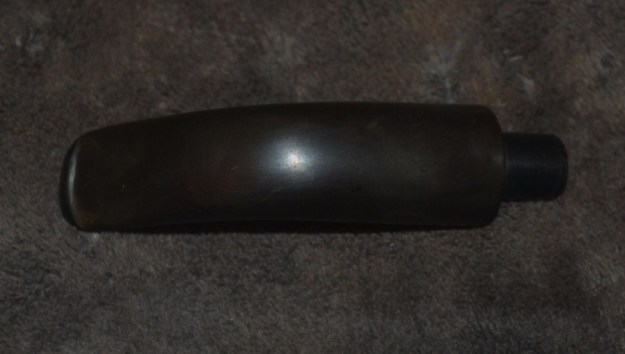
Then I had a thought. I know, the phenomenon doesn’t occur every day, but this was like one of James Joyce’s little epiphanies. Taking a risk, I used the 1500 micromesh on the entire bowl and shank, smoothing the entire surface to a nice glow.Robert13 Robert14 Robert15 Robert16 Robert17The only part of the web before I was clear of it was the stem. Now, I have had stems discolored and bitten almost to the point of being irreparable and made them shine like new. This stem, on the other hand, which showed nothing but the slightest use by a long-time, caring pipe tobacco enjoyer, eluded several efforts to remove the minor scratches. To my surprise, the chatter came off with ease, but the scratches would disappear with micro-meshing and then new scratches and even white blotches popped up when I wiped the stem down with my cotton cloth.
Nothing was going to stop me. And so, with a barrage of micromesh grades starting with 1500 and then 800 followed by 3200 and 320 and at last 1500 again, I could find no scratches, chatter or blotches.Robert18 Robert19All that remained was the buffing. I finished the stem with red Tripoli and White Diamond. The briar I used everything at my disposal, starting with white and red Tripoli, then White Diamond and at last carnauba.Robert20 Robert21 Robert22 Robert23 robert24 robert25CONCLUSION
I had a good time restoring this excellent old pipe, despite the unexpected difficulties I seemed to encounter at every turn. In fact, I suspect the new problems added to the pleasure. I’ve always enjoyed a challenge, and while mine in this process may seem tame compared to those some of my more experienced readers have dealt with – and believe me, I’ve read enough of Steve’s and heard about plenty of my friend’s and mentor’s to know there is far worse – they nevertheless represent new obstacles I overcame. That, I understand, is what the job is all about.

I suppose I was born with the type of personality that finds it impossible to overlook even the slightest flaws I notice in any project I undertake. People – for the most part those who are satisfied with mediocre conclusions – have always called me a perfectionist, but I never use the word to describe myself because I know I am far from it. Only on rare occasions have I completed a project (whether it be a short story, screenplay, novel, blog, pipe restoration or anything else) to which I did not return later and see how I could write, edit or do it better.

By way of example, when I was writing my last blog, on The Guildhall London Pipe, I started to insert photos and noticed the stem was not up to my present snuff, so to speak. And so, although it was somewhat of a hassle to stop my blog, get the pipe, remove the stem and not just rebuff it using the White Diamond wax I recently added to my wheels but re-sand it to remove the horrible discoloration I had missed before, I could not bring myself to publish photos knowing they would show my incompetence. I think the final result was worth the extra effort.

I am beginning to realize an important part of the restoration learning process is simple rising self-expectations. By good fortune, I have several dozen estate pipes in many shapes and degrees of duress on which to practice in the near future…and I am chomping on the bit!

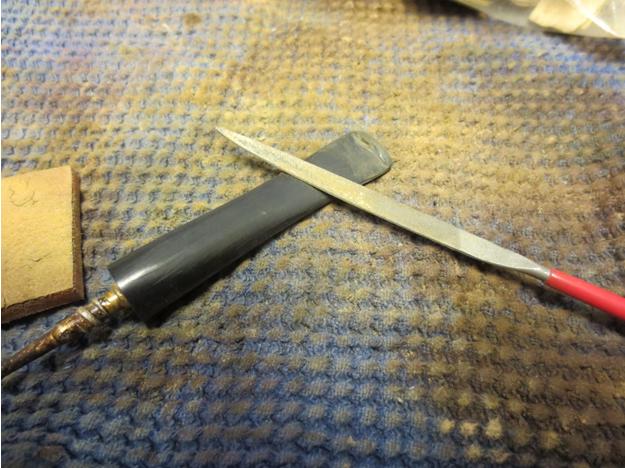
Reclaiming a Kaywoodie White Briar Medium Pear 09B


Blog by Steve Laug

The last pipe in my box is now finished! It is a Kaywoodie White Briar pipe. Among the many White Briar pipes I have found this one has the distinction of actually being in pretty decent shape. All of the others I have found had many chips in the paint and the paint itself was dull and worn through. Not this one. The finish was in pretty decent shape with only a few nicks on the bottom of the bowl and some that might show up under the thick tars on the rim. It is stamped Kaywoodie over White Briar over Imported Briar on the left side of the shank and 09B on the right side. Looking up the shape number I found that the shape is known as a medium pear which was available on the market from 1936-1972. I have no idea when this one was made as the stem that is shown below came from my can of stems. It fits perfectly and it is an old four hole stinger stem. It was worn and oxidized by the fit was correct. It has some calcification that would need to be cleaned and it was clogged. The bowl had a thick cake that I reamed out with a PipNet reamer. The shank was dirty and the aluminum face plate on the end of the shank was oxidized.IMG_2512 IMG_2513 IMG_2514 IMG_2515I scrubbed the rim with spit and cotton pads and then used Meguiar’s Scratch X2.0 on cotton pads to remove the tars and oils on the top of the rim. The worn spots shown in the photo below are actually spots where the tars still remain. More scrubbing removed most of them.IMG_2516I sanded the stem with 220 grit sandpaper to remove the oxidation, calcification, and tooth chatter that was near the button on the top and bottom of the stem.IMG_2517 IMG_2518I used a needle file to sharpen the crease of the button and then sanded the repair with 220 grit sandpaper to remove the file marks. I sanded the stem with medium and fine grit sanding sponges to minimize the scratching left behind by the sandpaper.IMG_2519I cleaned out the shank and the stem with alcohol and cotton swabs and pipe cleaners until they came out clean. I used cotton pads and alcohol and a brass bristle brush to clean up the stinger apparatus and polish it. I gave the aluminum shank end a quick sand with a 1500 grit micromesh sanding pad to polish it up. I scrubbed the surface of the bowl with Scratch X2.0 on cotton pads to remove the grime and polish the painted surface of the bowl.IMG_2520 IMG_2521I sanded the stem with micromesh sanding pads – wet sanding with 1500-2400 grit pads and dry sanding with 3200-12,000 grit pads. As has become my habit, I rubbed down the stem with Obsidian Oil between each set of three sanding pads and then gave it a light buff with White Diamond before rubbing on a final coat of oil.IMG_2522 IMG_2523 IMG_2524The photo below shows the cleaned up internals of the pipe and stinger. The aluminum took on a shine once it was clean.IMG_2529The finished pipe is shown in the photos below. It is cleaned and ready to smoke. The White Briar KWs were never favourites of mine but this one turned out very well. I am sure that it will make a great rack mate to someone who collects KW pipes and wants to add a shape 09B. Feel free to contact me if you would like to have this one. We can certainly work something out. I am sure it will smoke great and last for many more years to come.IMG_2525 IMG_2526 IMG_2527 IMG_2528