
by Steve Laug
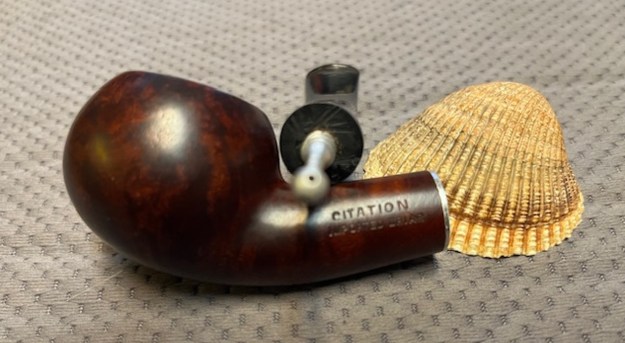
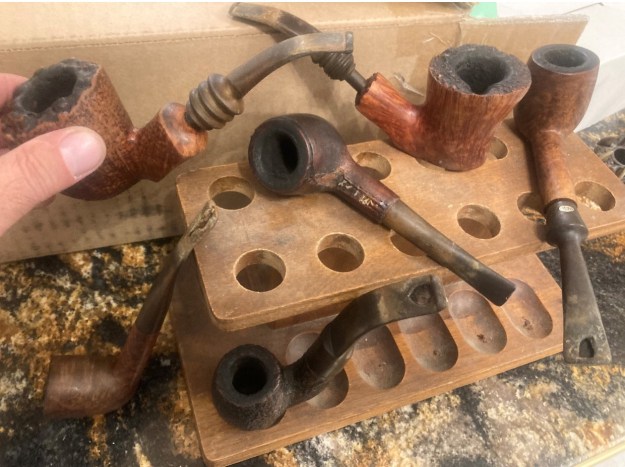
A while back I was asked by a customer and friend, Jack to take on some projects for him. I have worked on a few pipes for him over the years so we seem to have a standing agreement that I will clean up his pipes. This time he sent a batch containing 11 pipes (actually as mentioned on the last pipe I can’t count) but going over it again I found I was right the first count. There were six Bertrams, an Arlington, a GBD, an old WDC Triangle Bakelite, Citation in need of a stem and one marked Texaco. All of them were in various conditions and would need different types of work. I took a photo of the pipes before I started working on them.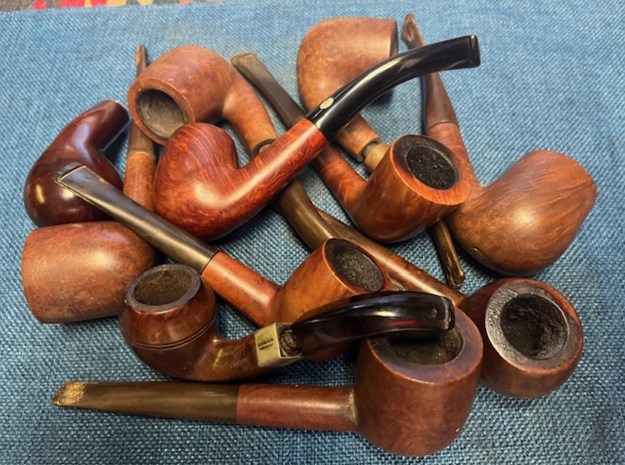
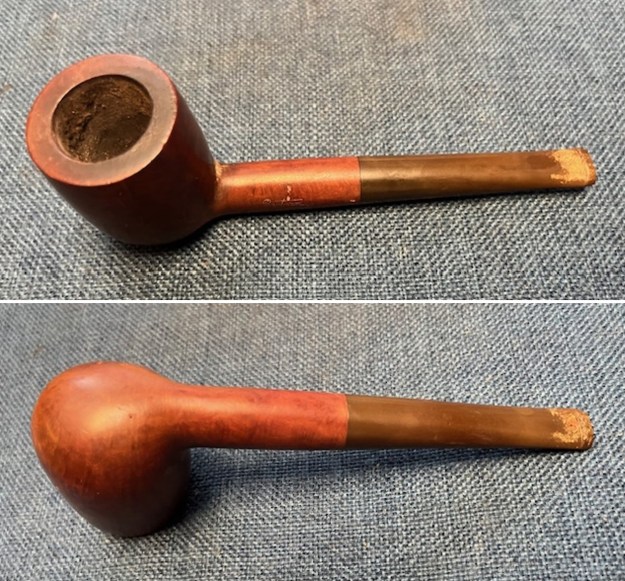
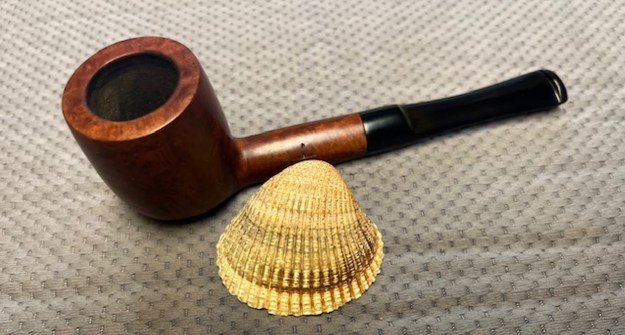
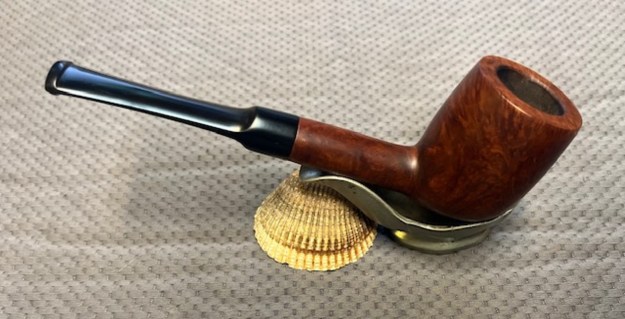
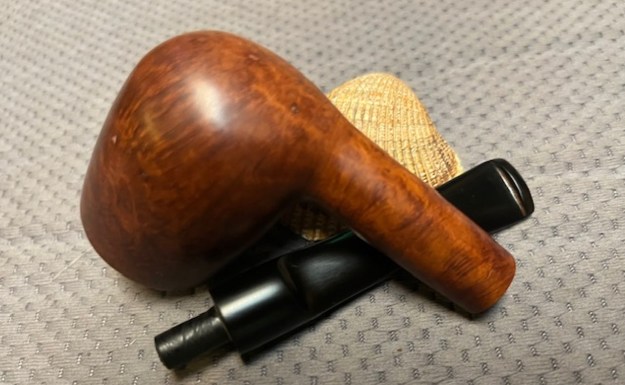
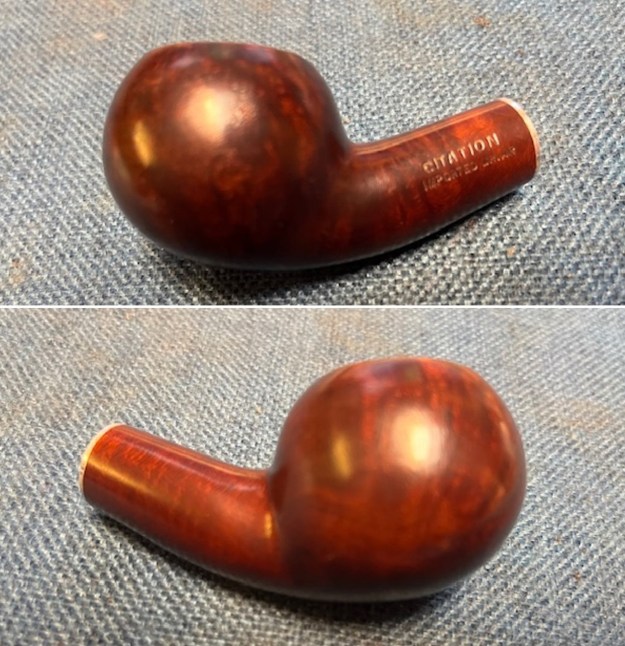
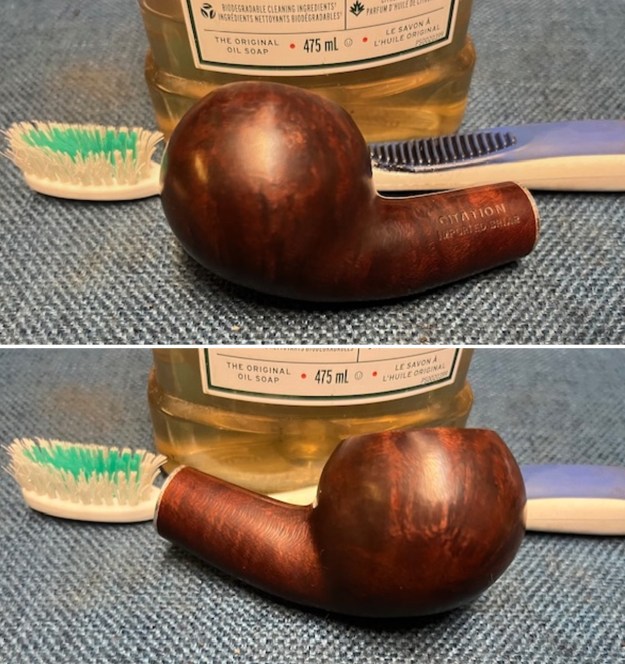
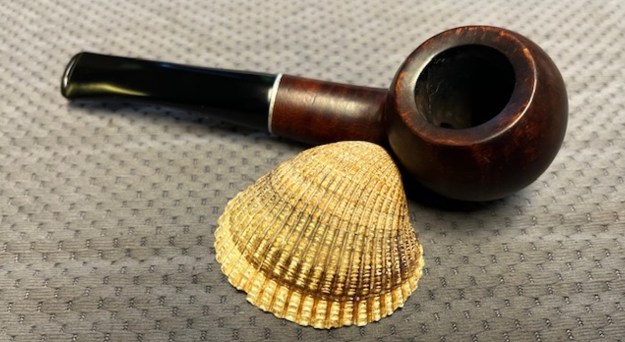
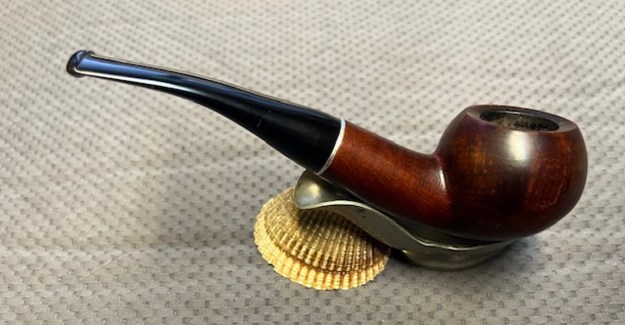
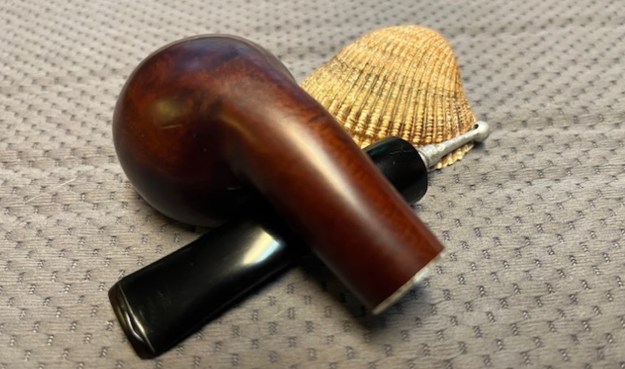
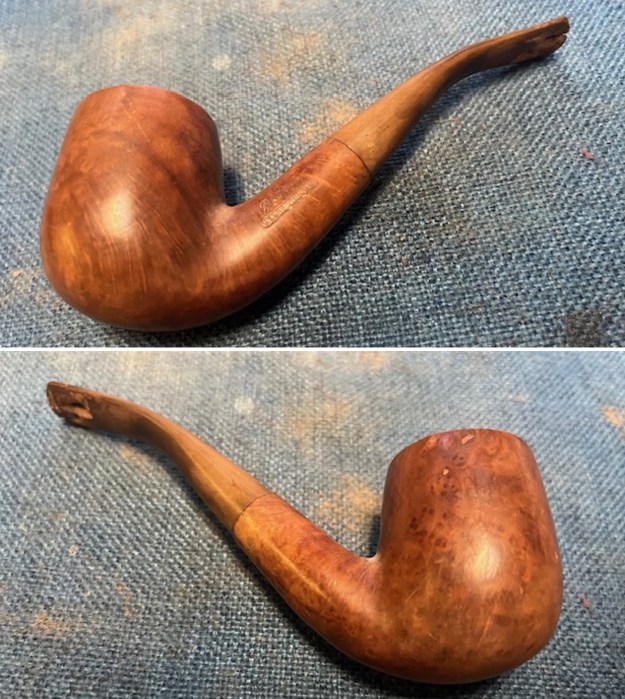
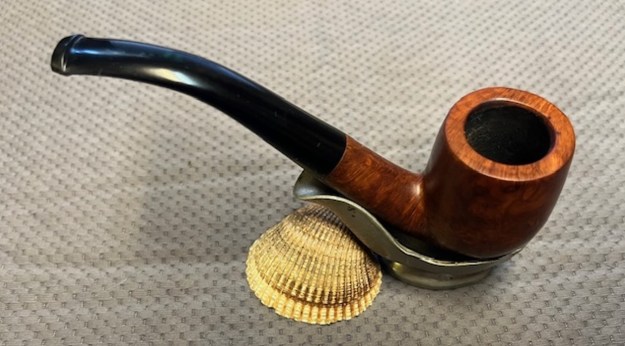
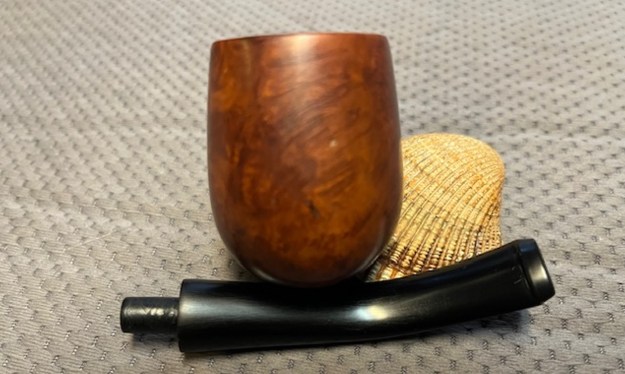
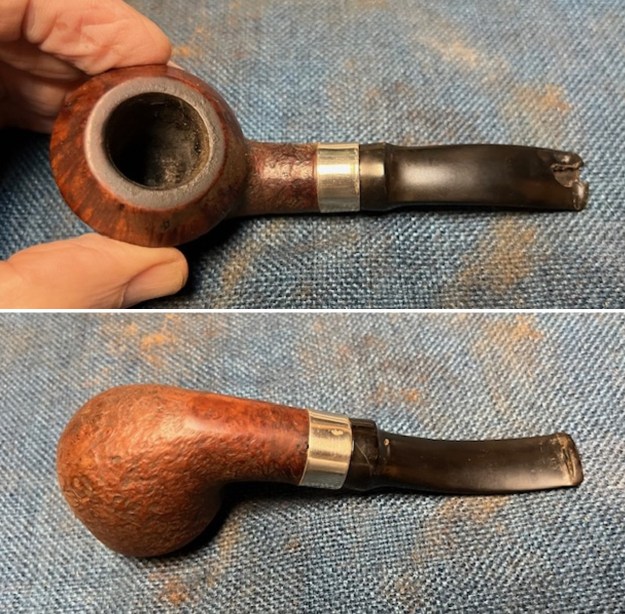
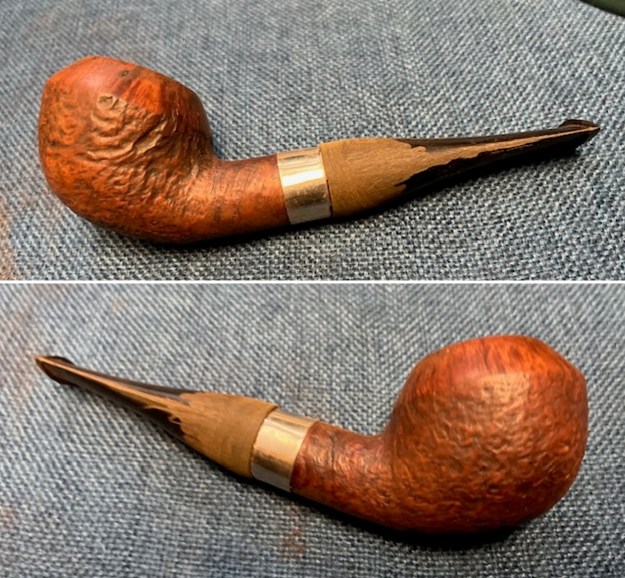
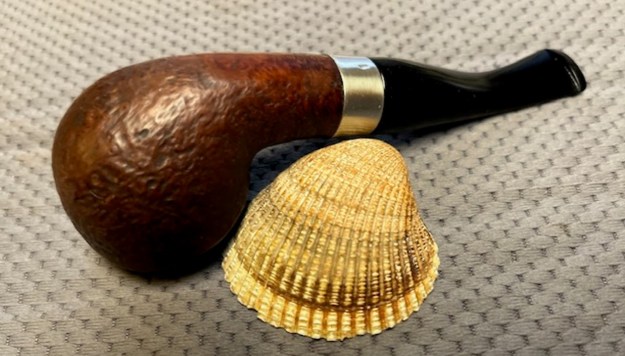
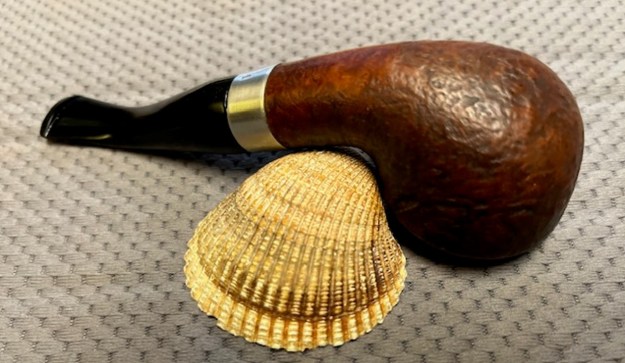
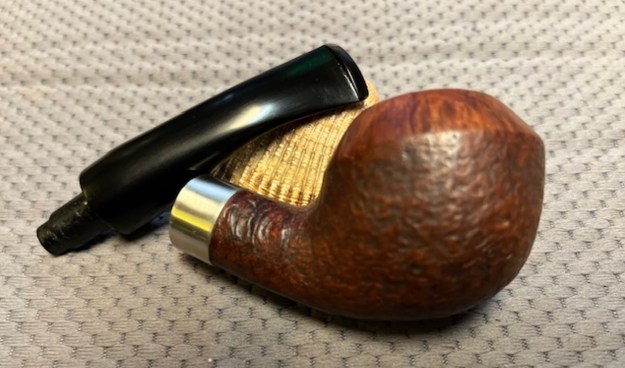
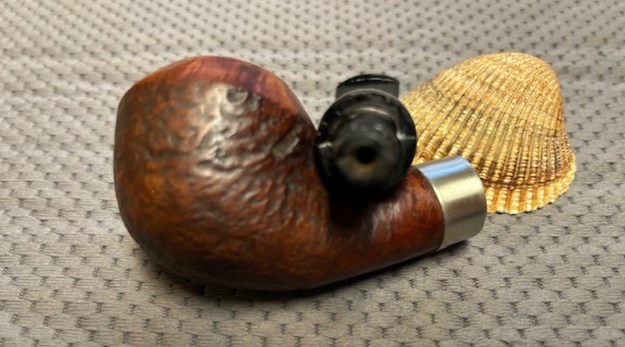
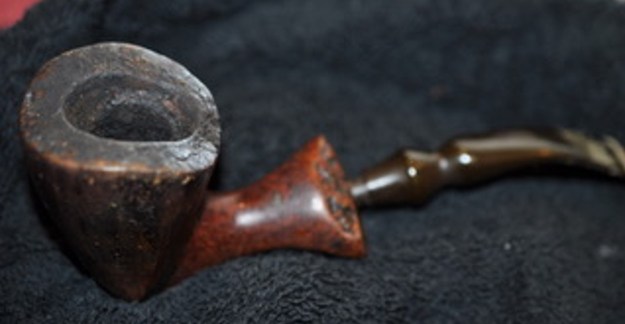
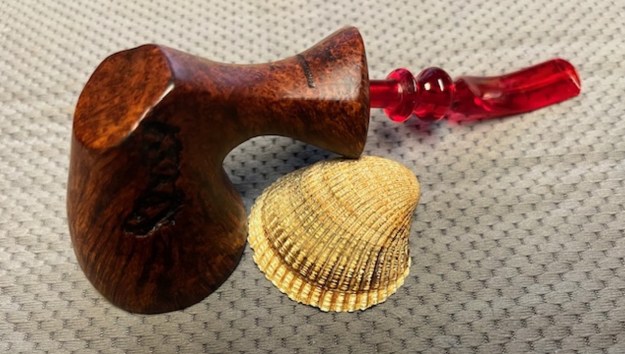
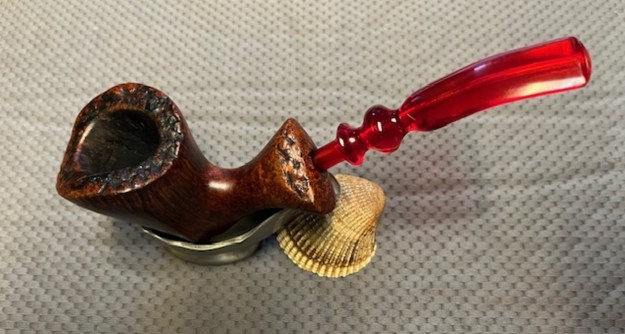
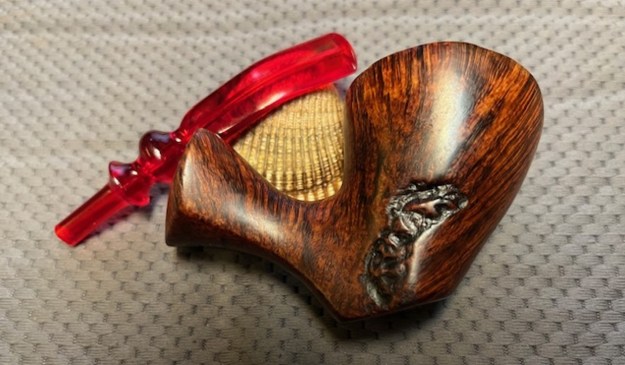
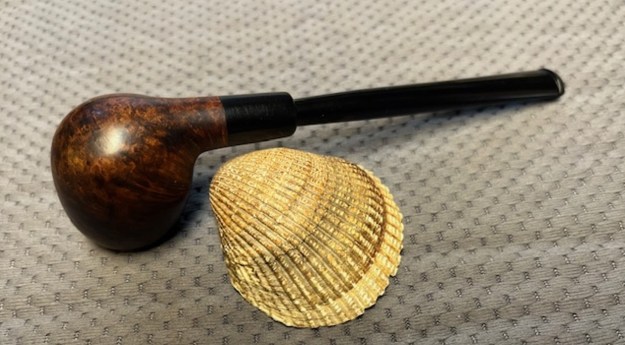
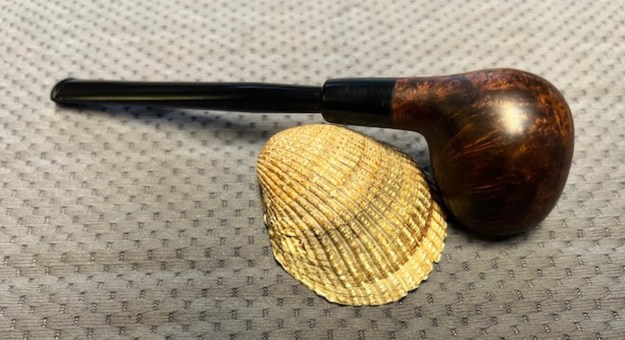
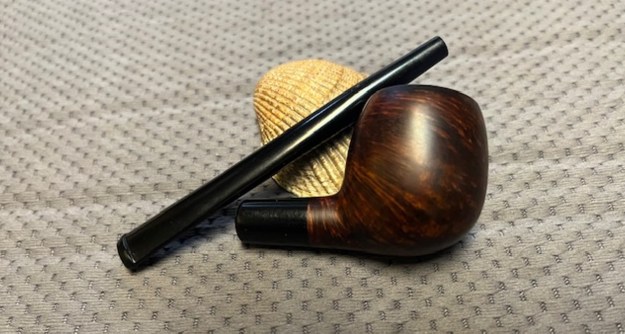
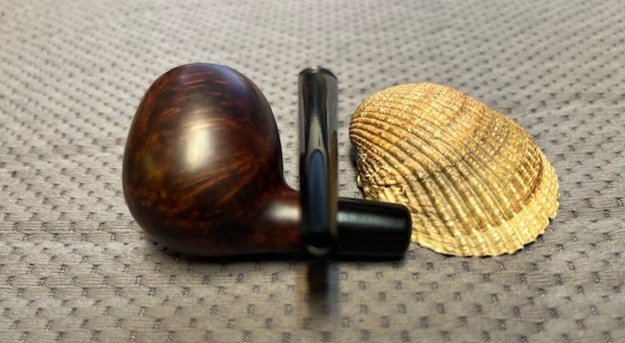
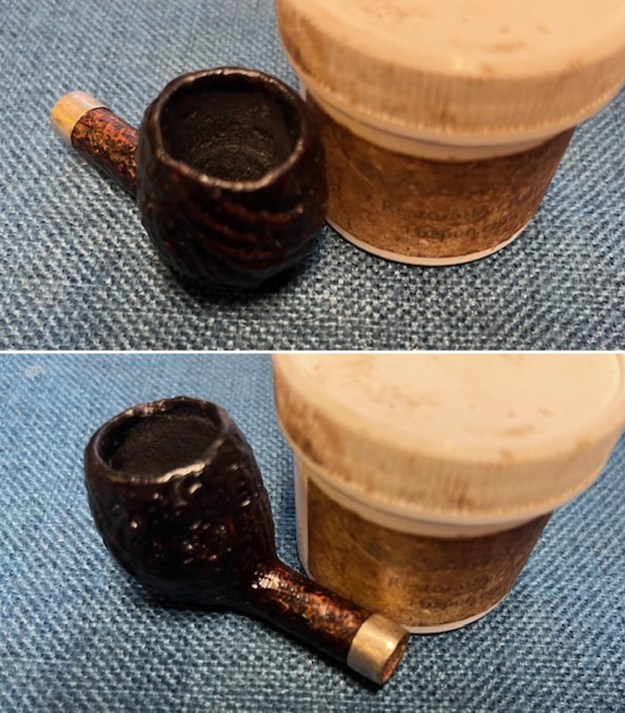
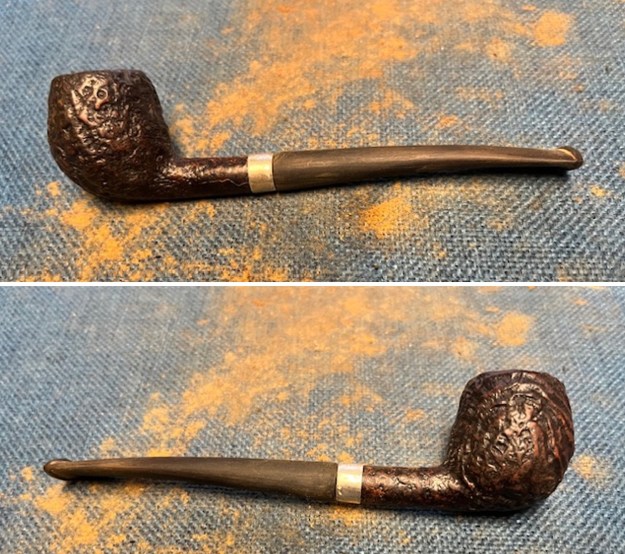
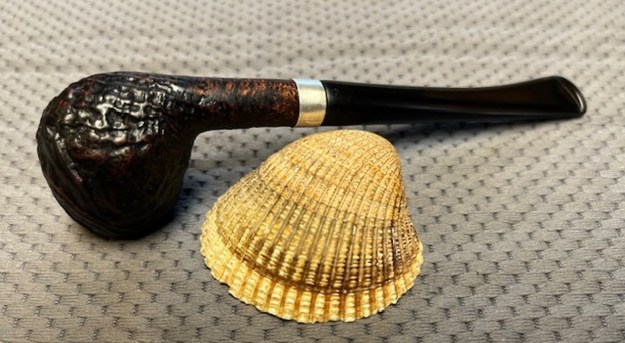
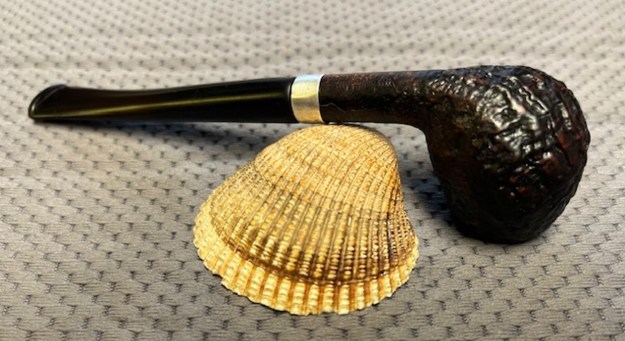
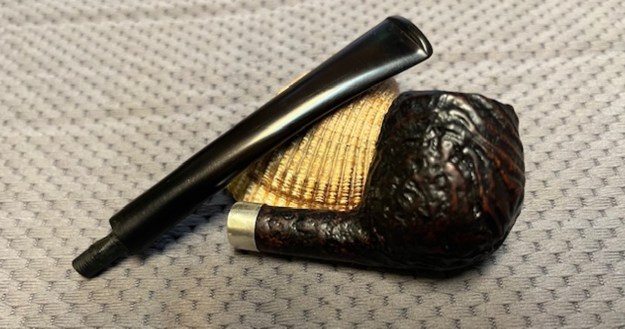
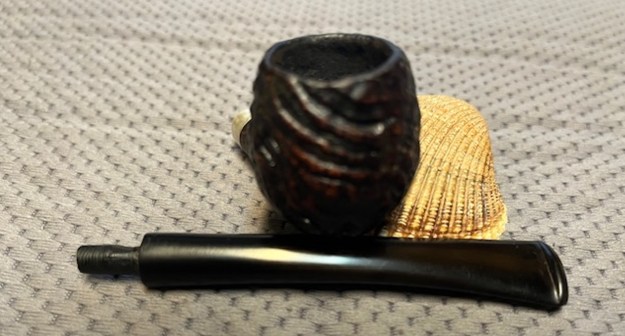
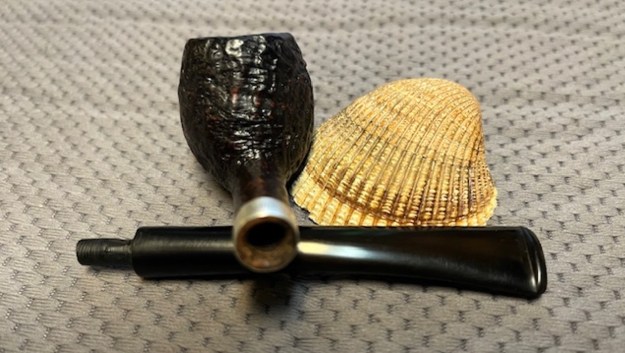
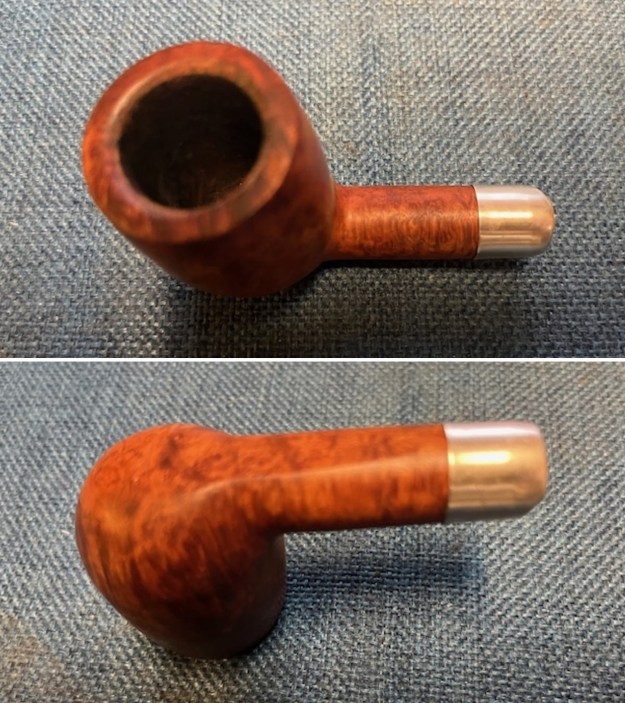
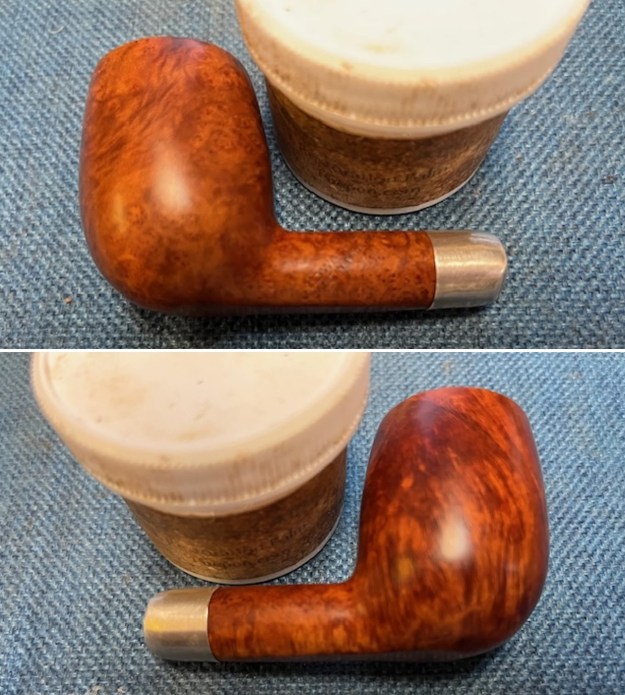
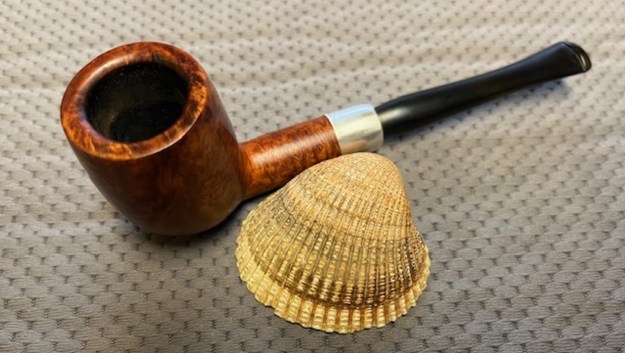
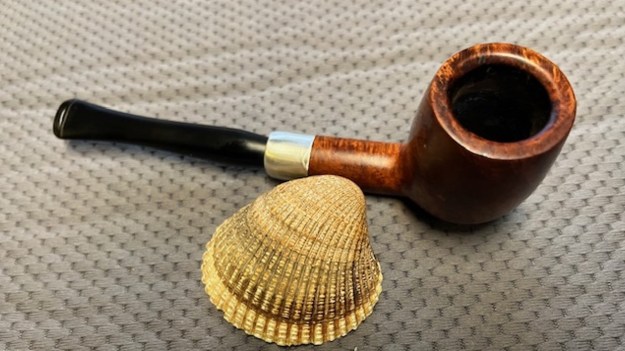
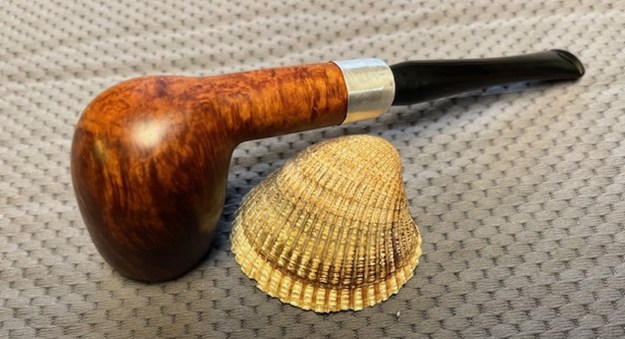
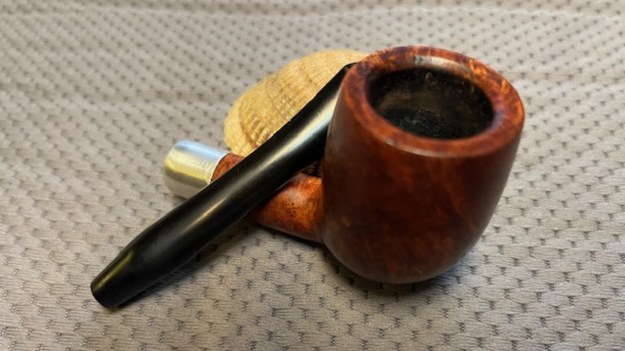
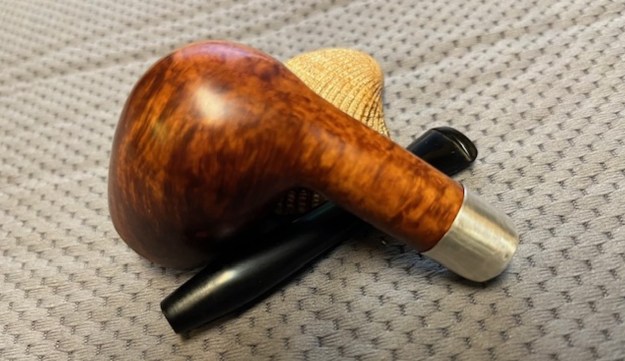
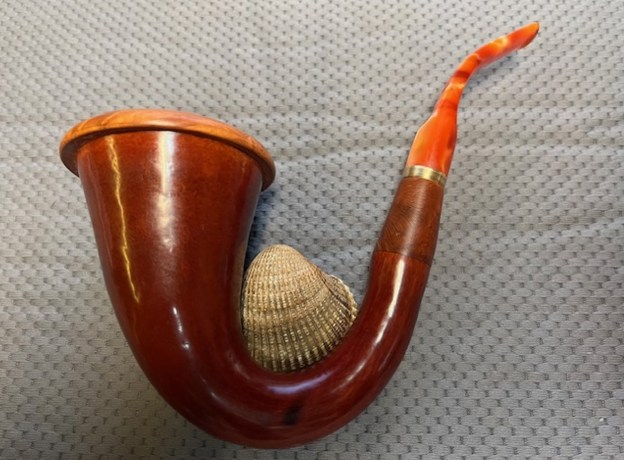
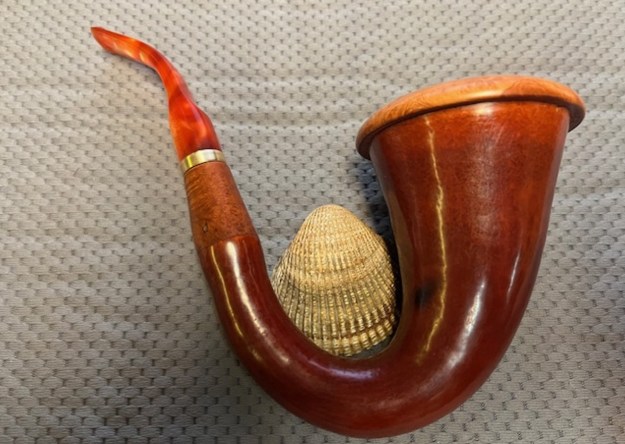
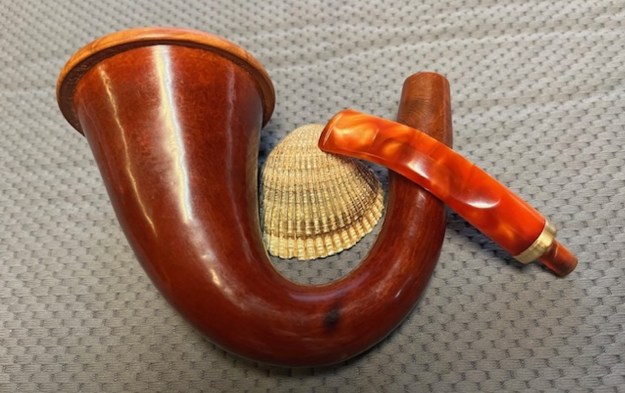
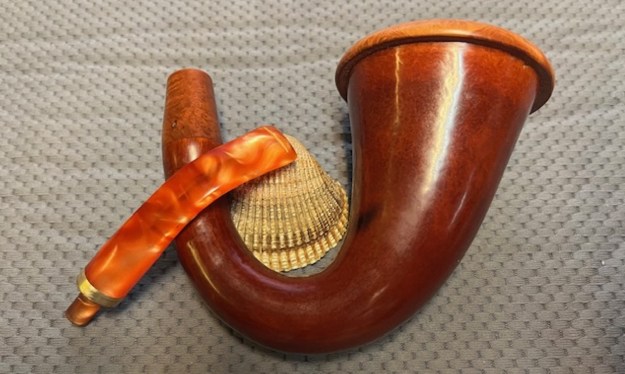
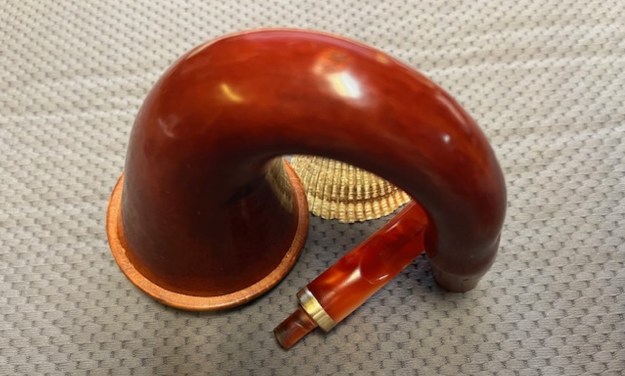
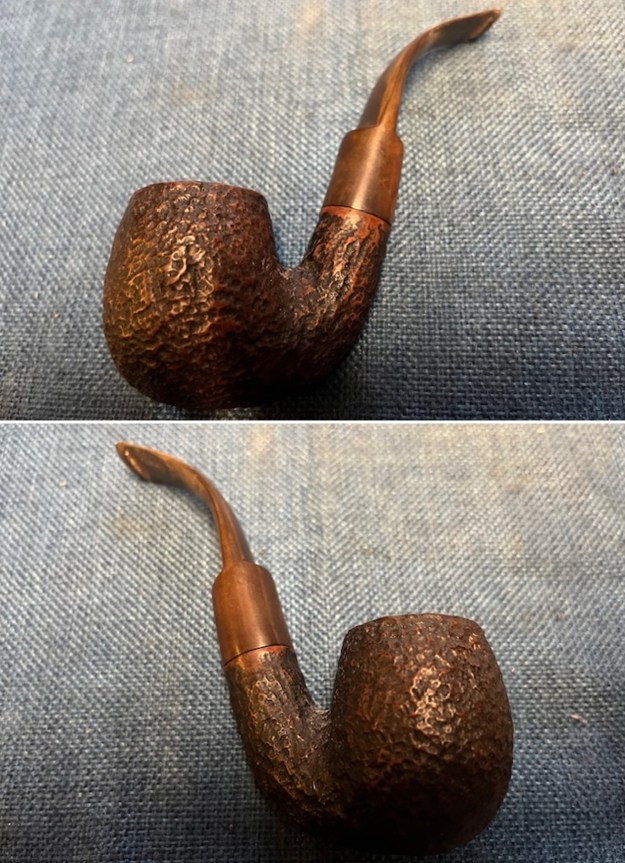
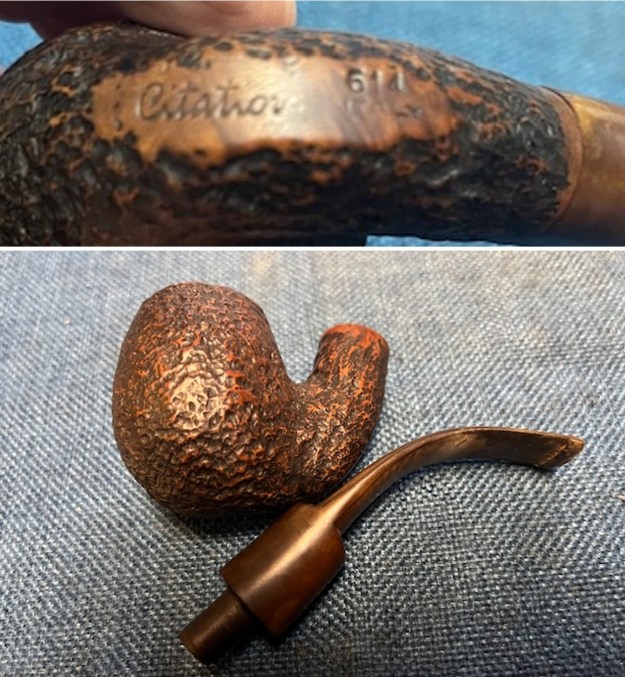
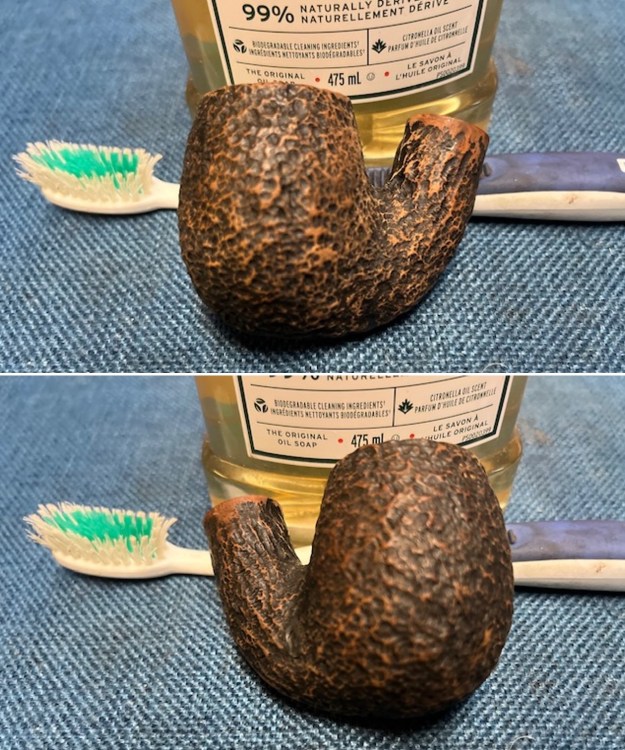
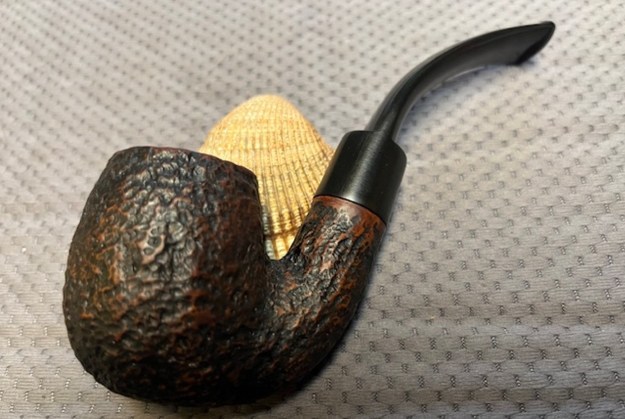
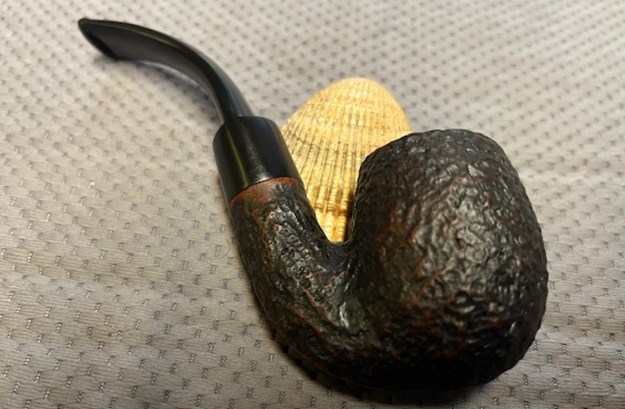
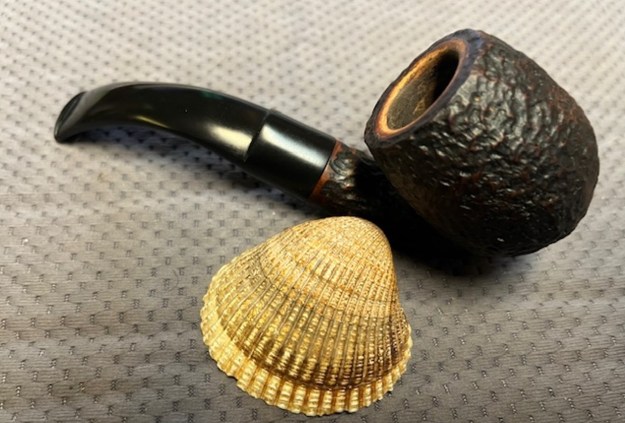
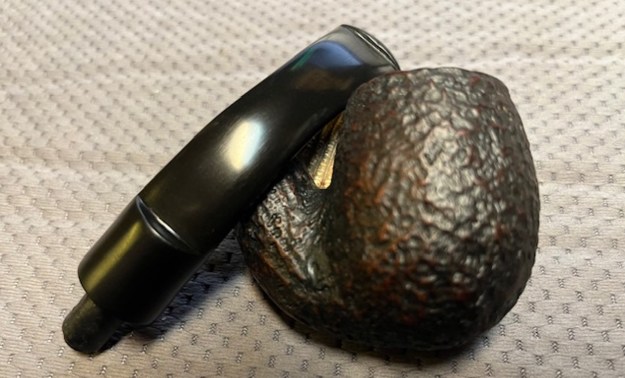
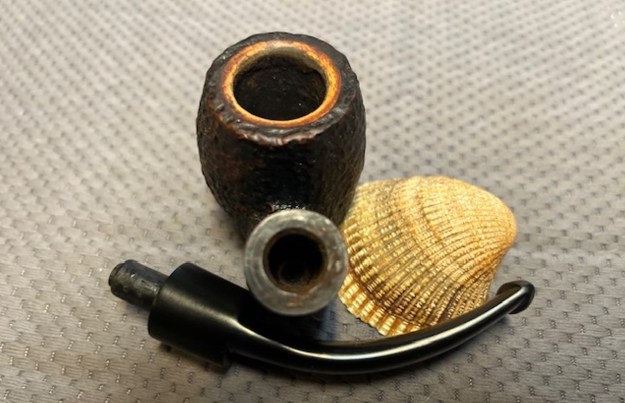
 I chose to work on the Bertram Straight Billiard that needed to be cleaned up and restored. This next one is from Jack’s 11 pipes – a dirty, dull Bertram with an oxidized tapered vulcanite stem. The pipe is stamped on the left side and reads Bertram [over] Washington D.C. centered on the shank. There is no shape number to be seen. The finish had a lot of grime ground into the bowl and some nicks and flaws where the fills were shrunken or broken around the sides. The bowl was moderately caked with a light lava coat on the top of the rim, heavier toward the back of the bowl. The edges looked okay other than some potential damage on the back inner edge. The stem was calcified, oxidized, dirty and had tooth chatter and marks on the top and underside ahead of the button. The photos show the condition of the stem surface. There were no markings or a logo on the taper stem. Like the rest of the Bertrams that Jack sent, this one had promise but it was very dirty. I took photos of the pipe before I started his cleanup work.
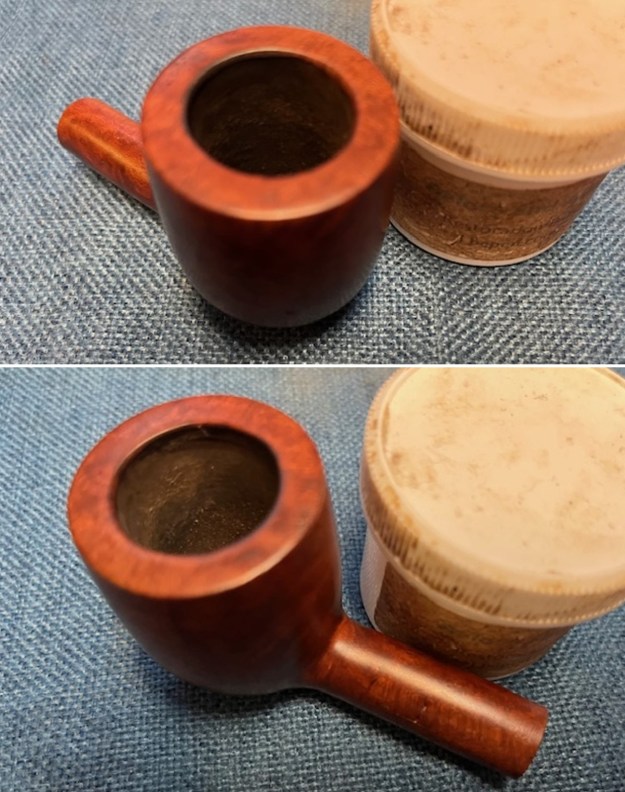
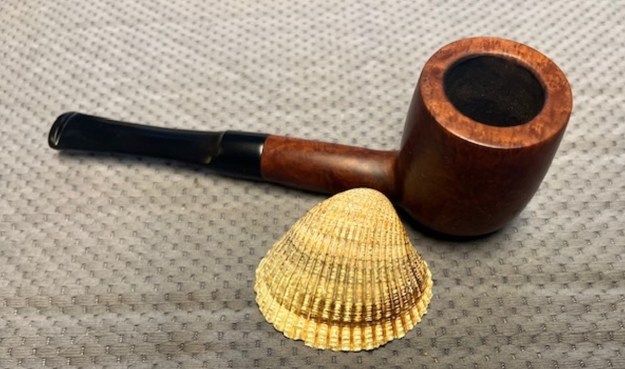
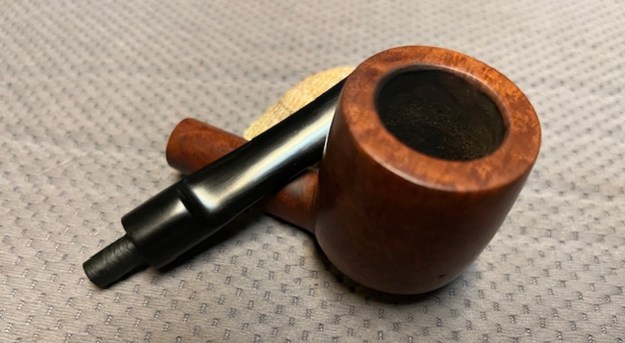
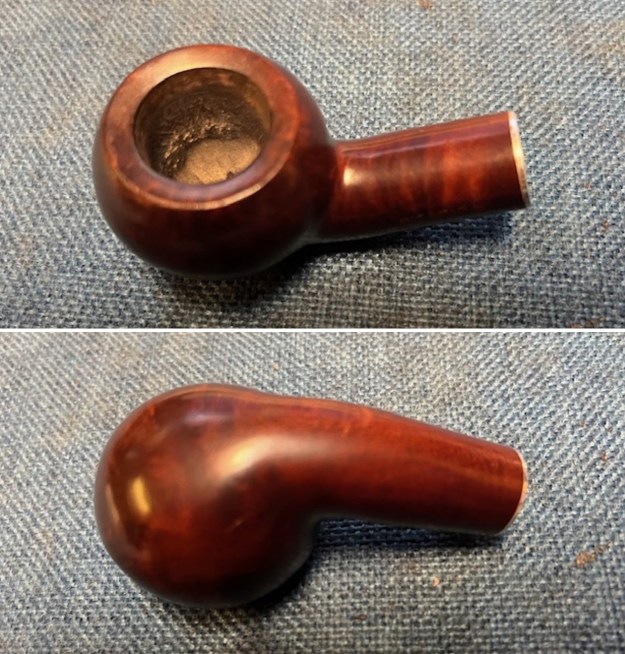
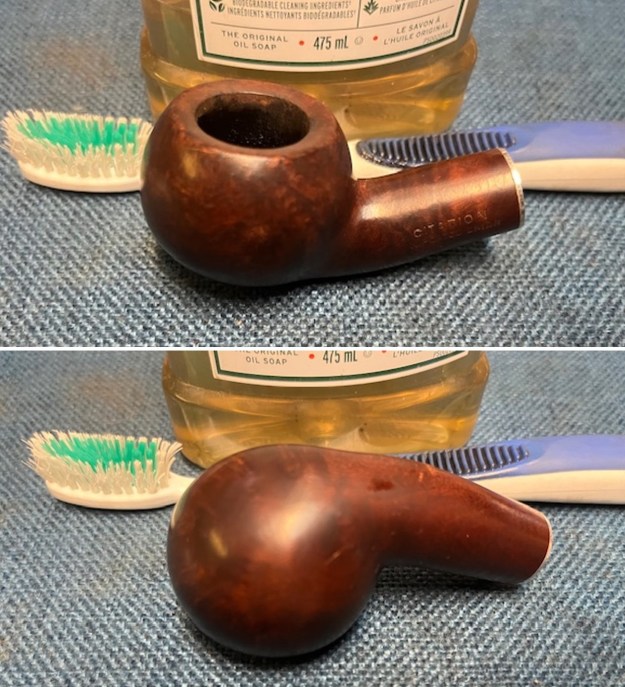
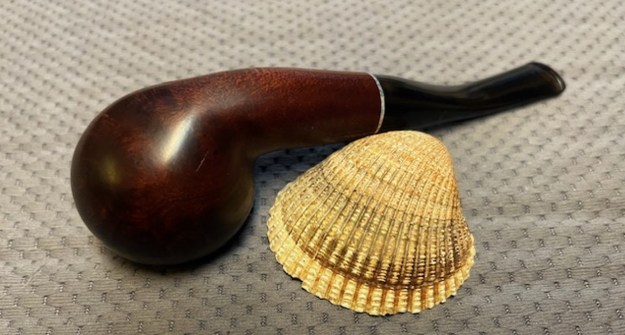
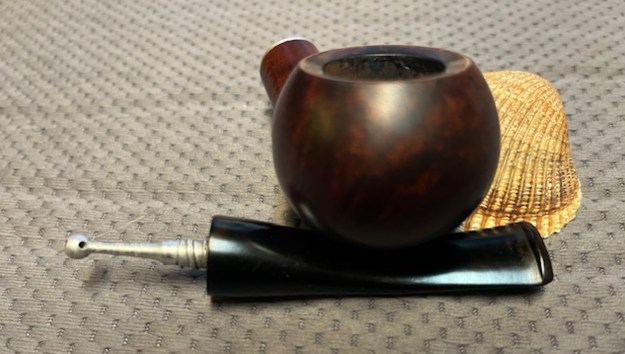
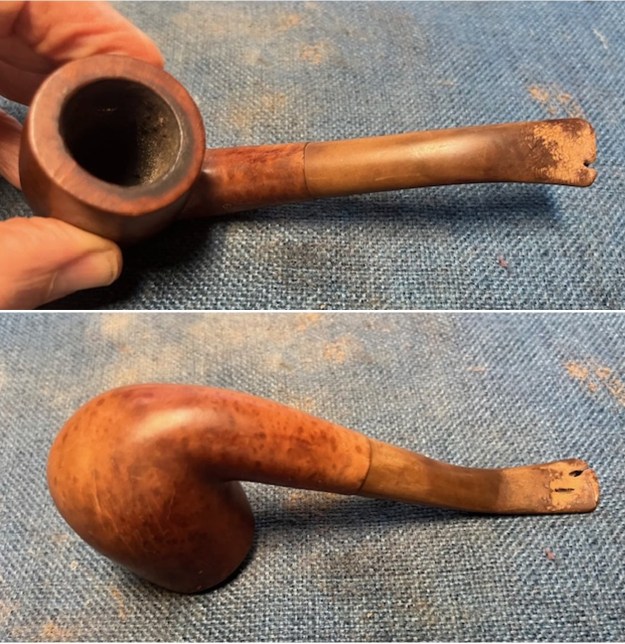
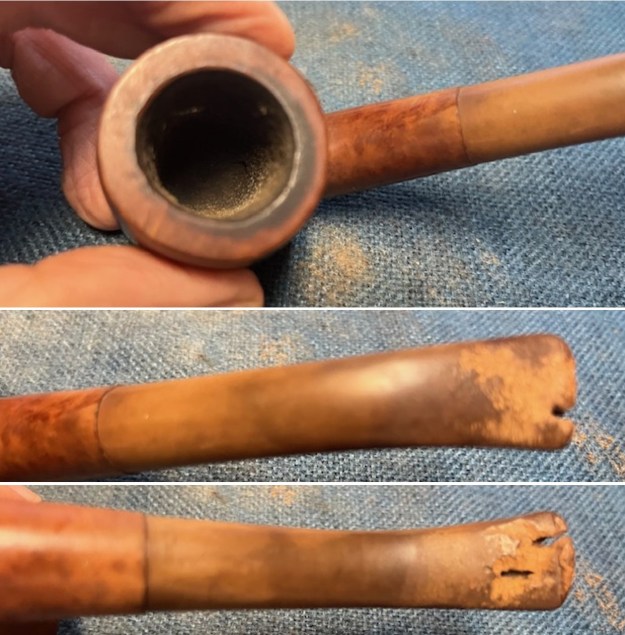
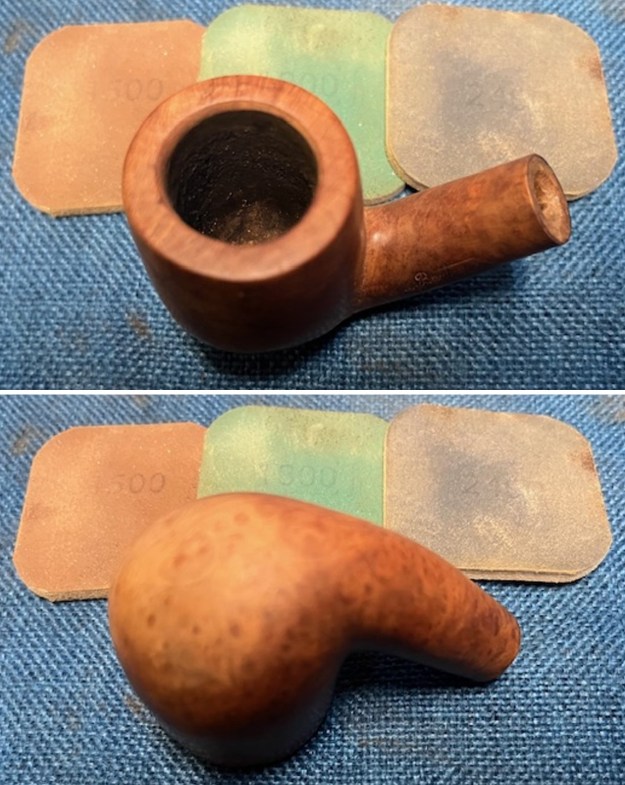
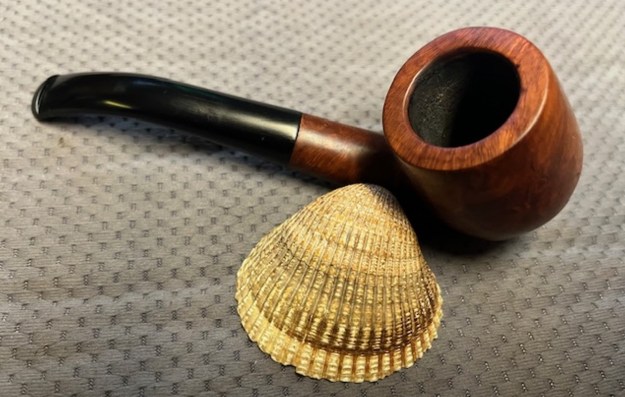
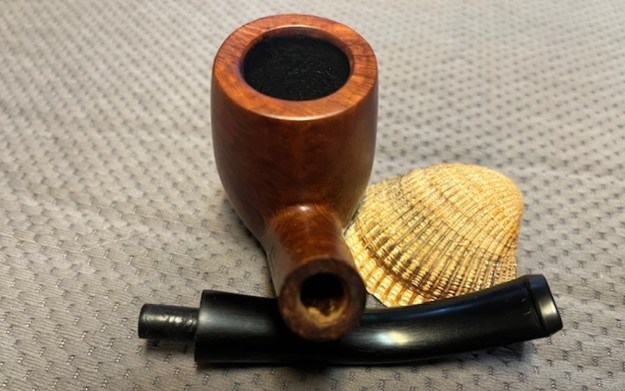
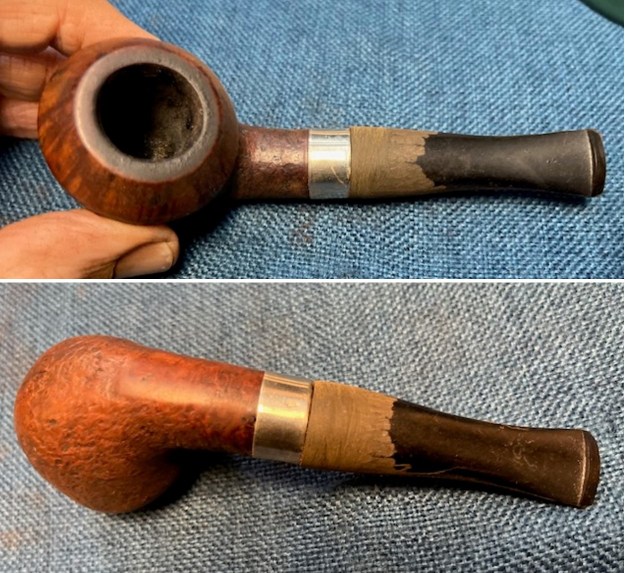
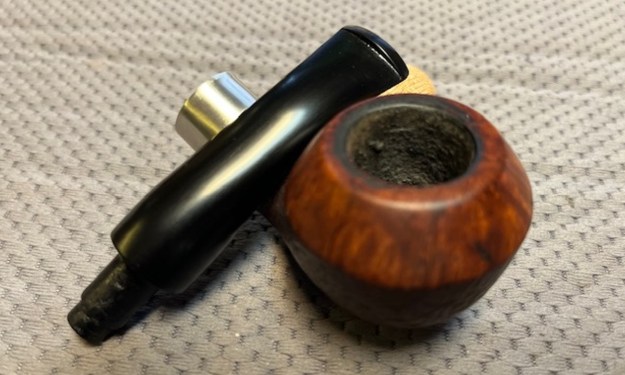
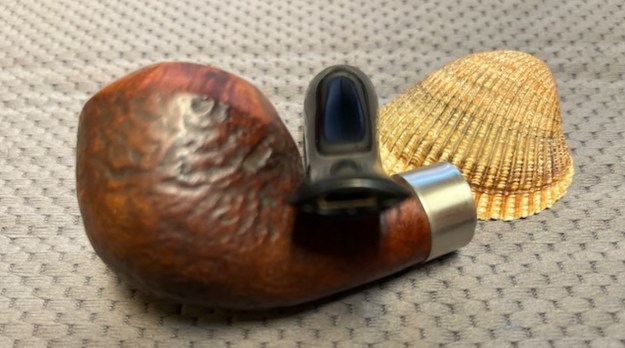
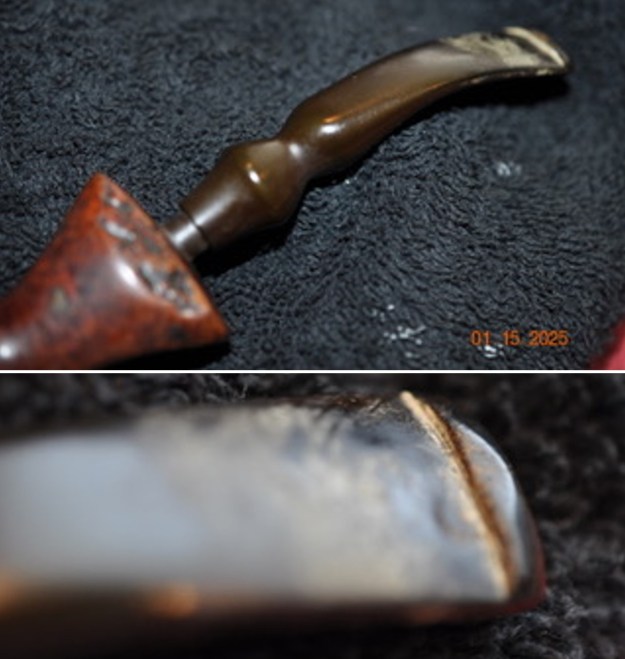
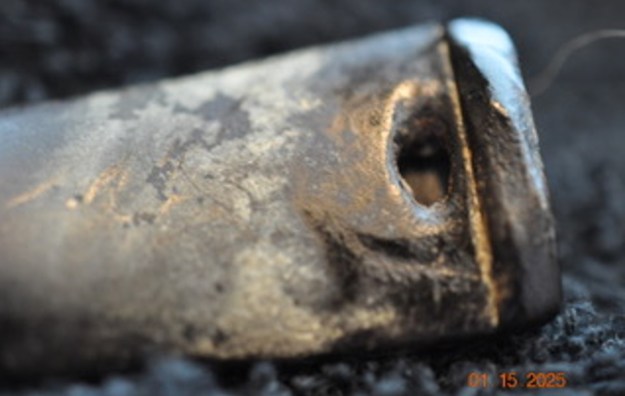
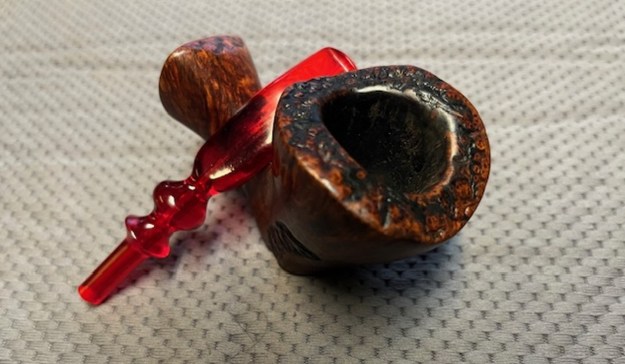
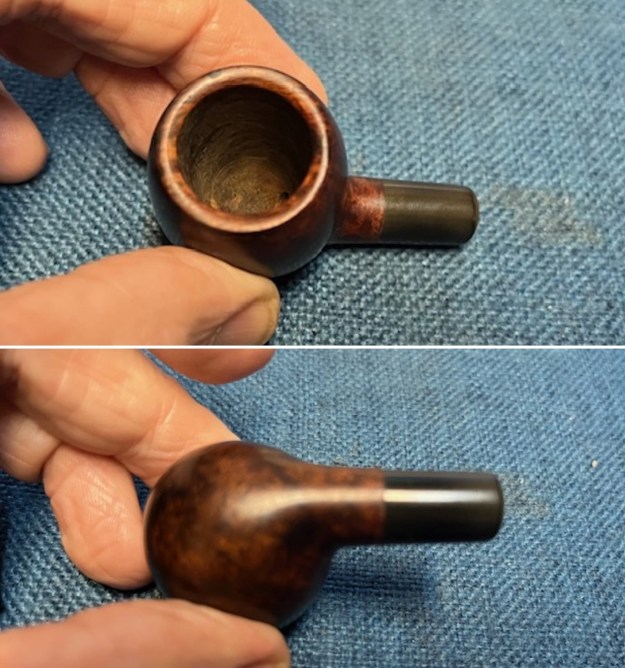
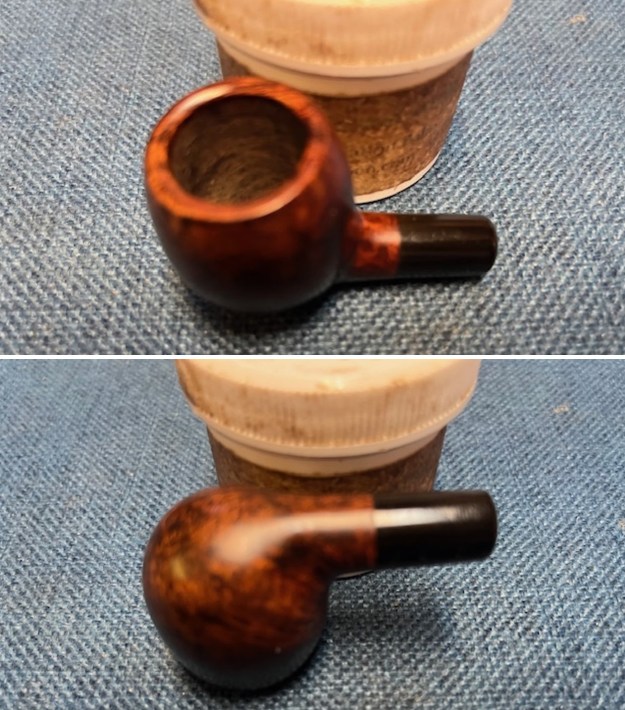
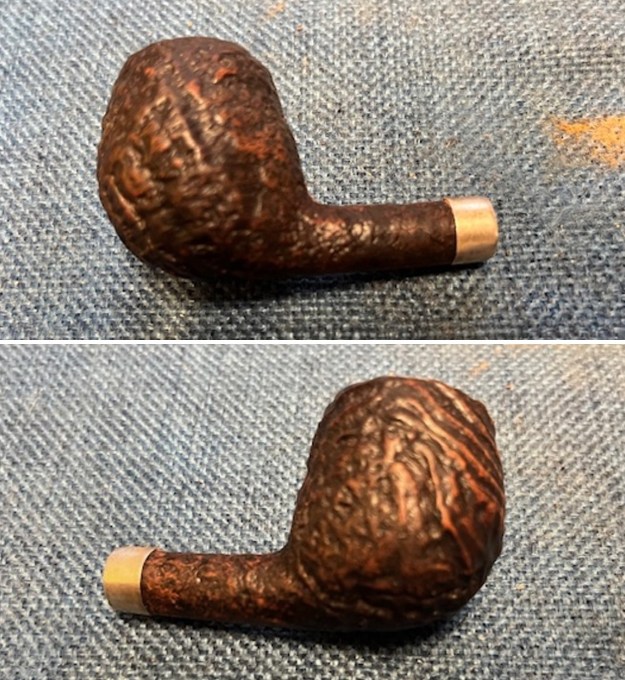
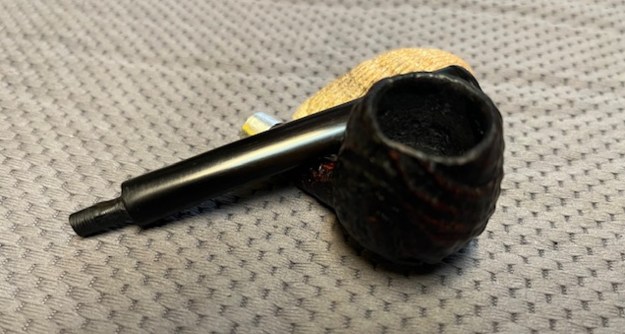
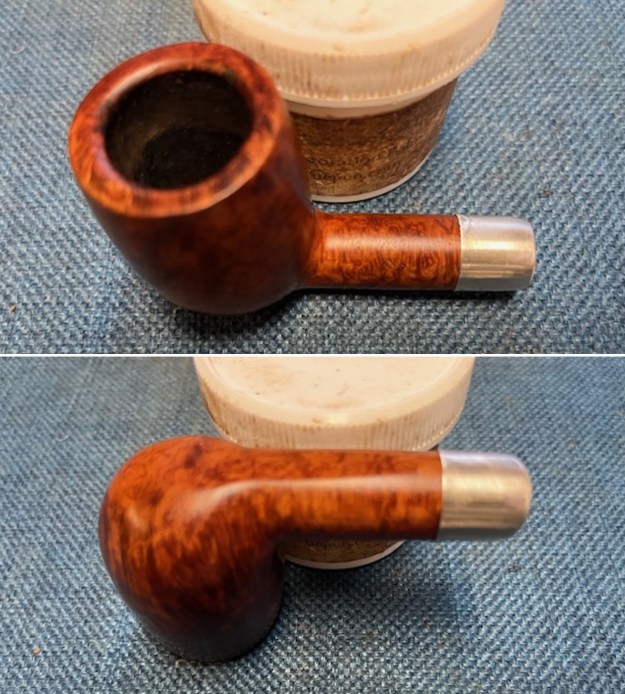
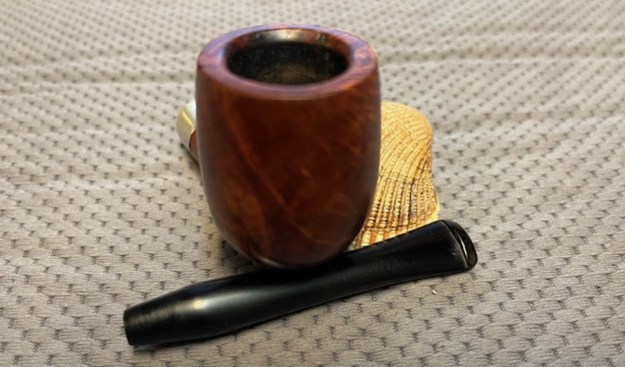
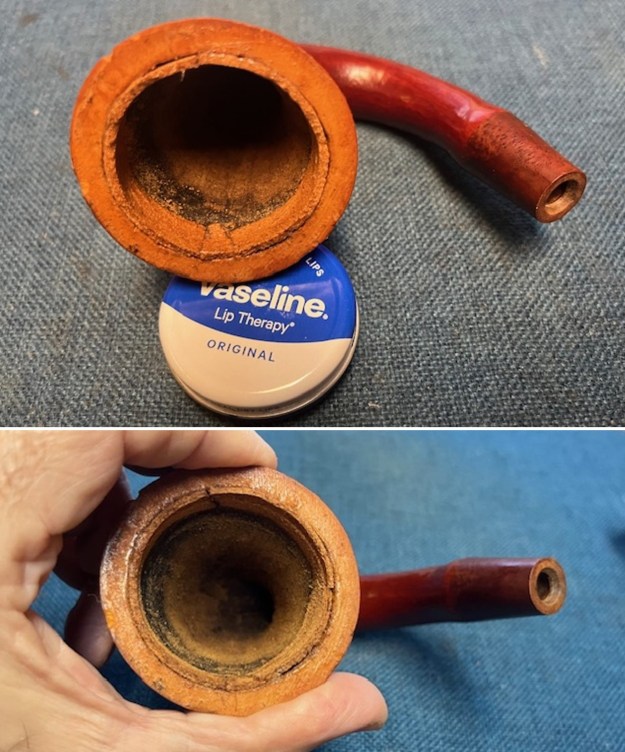
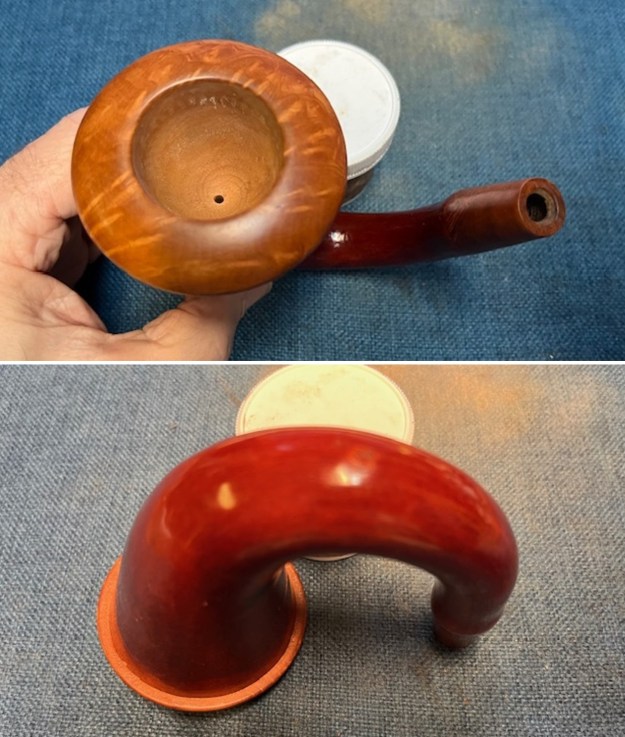
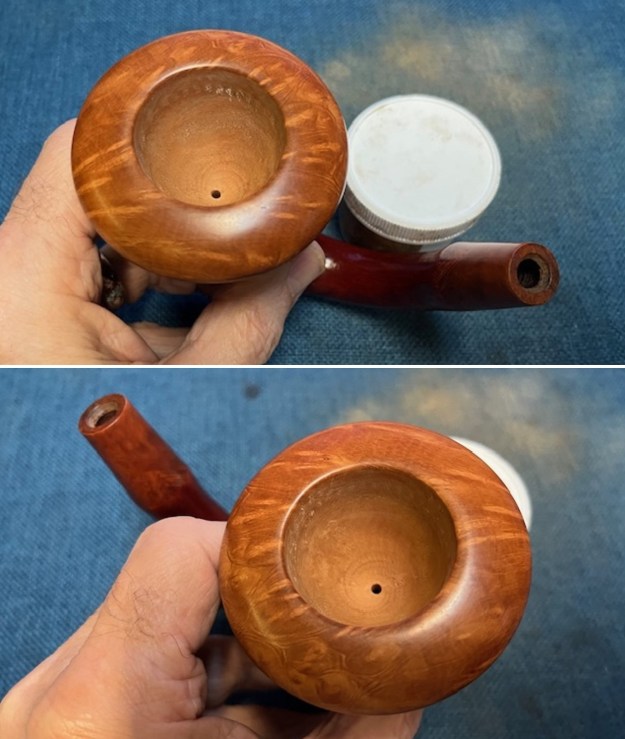
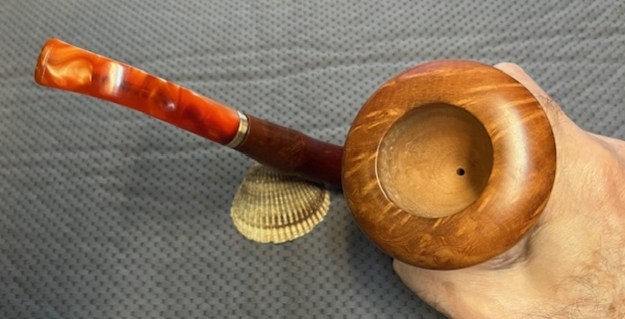
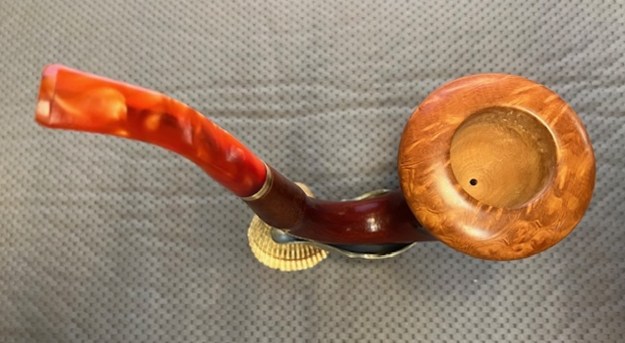
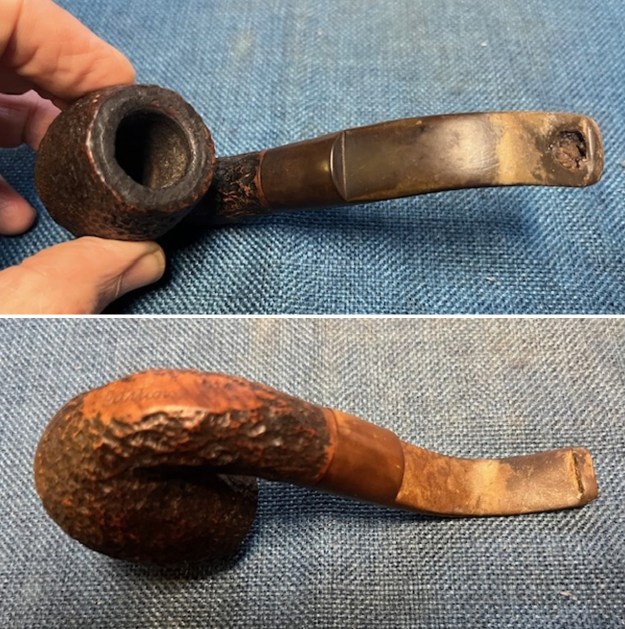
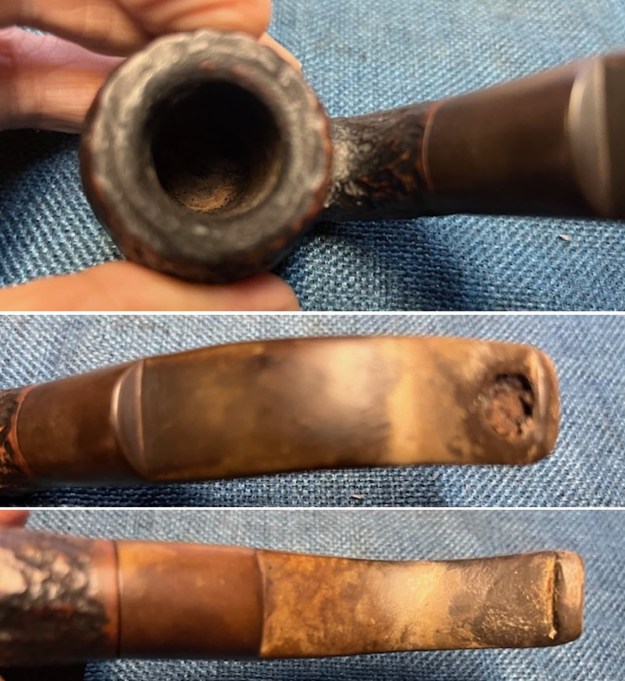
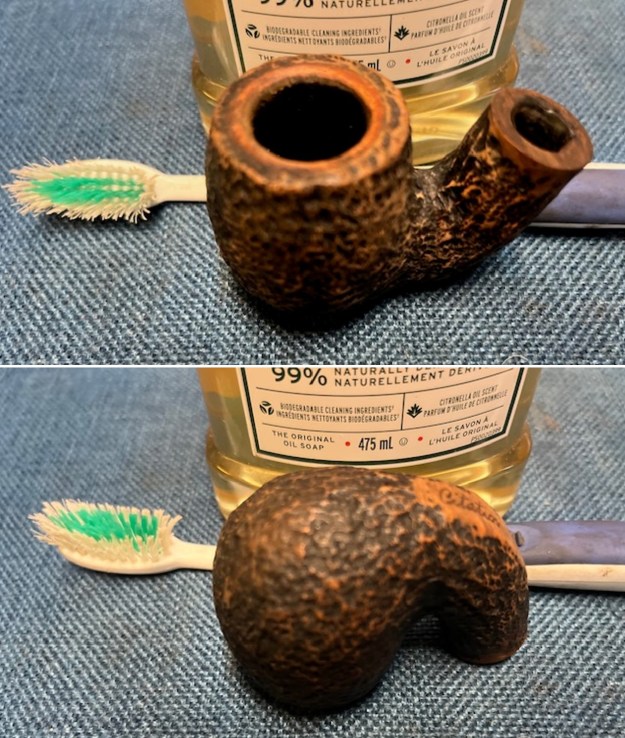
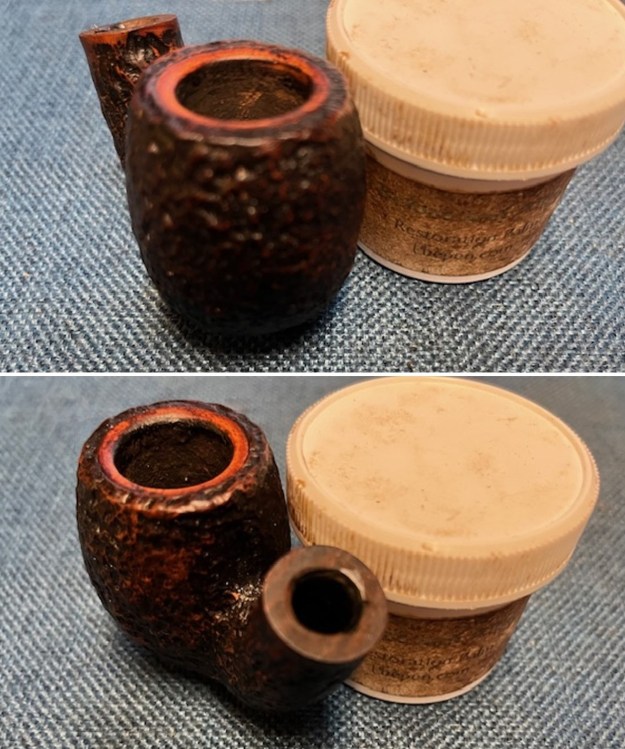
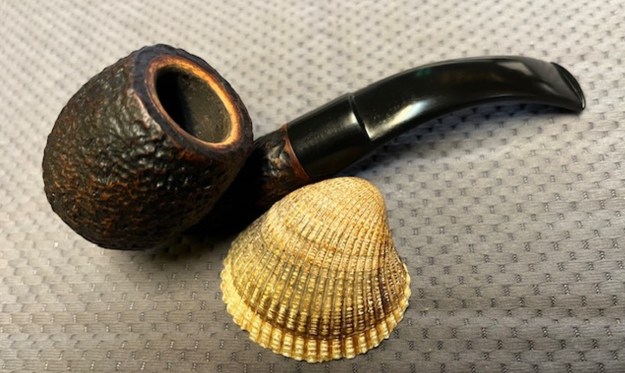
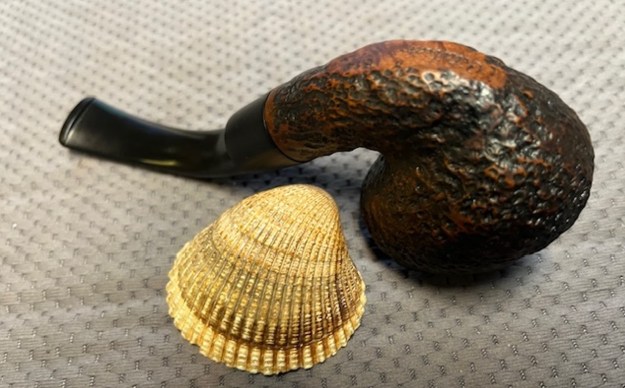
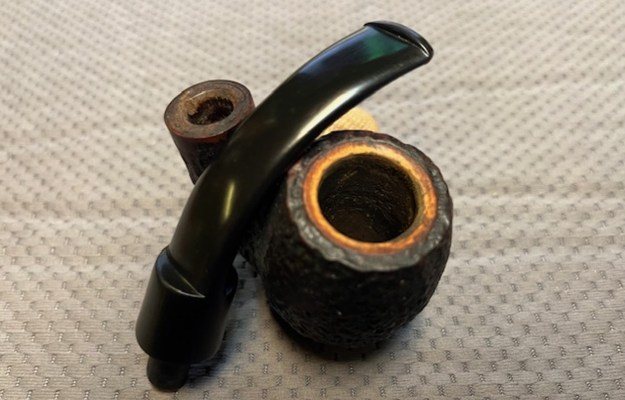
 I took photos of the rim top and the stem to show the condition. You can see the cake in the bowl and overflow of lava on the rim top. The photos of the stem show the calcification, tooth marks and chatter on the top and underside of the stem and the button.
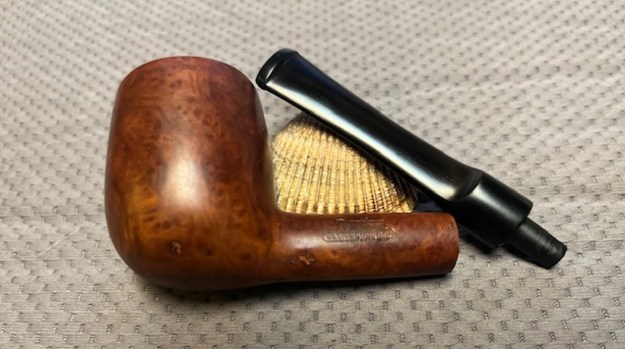
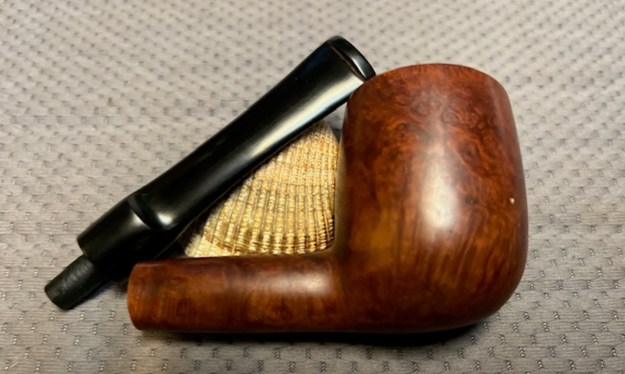
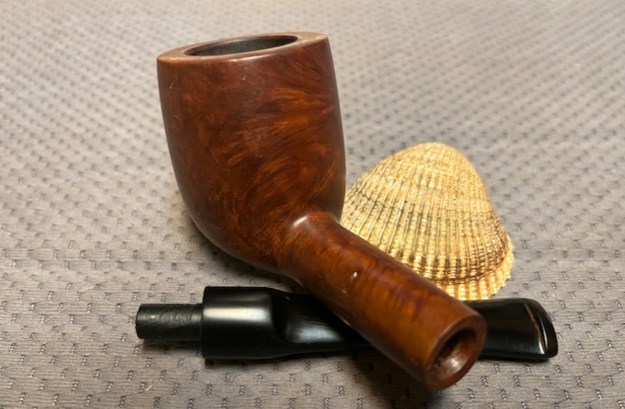
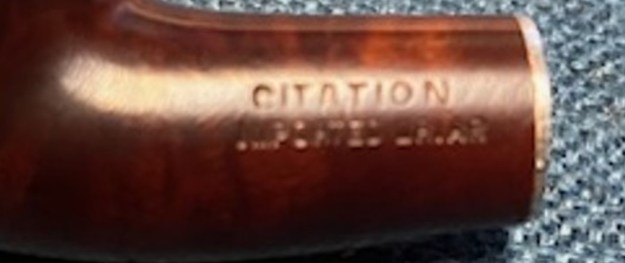
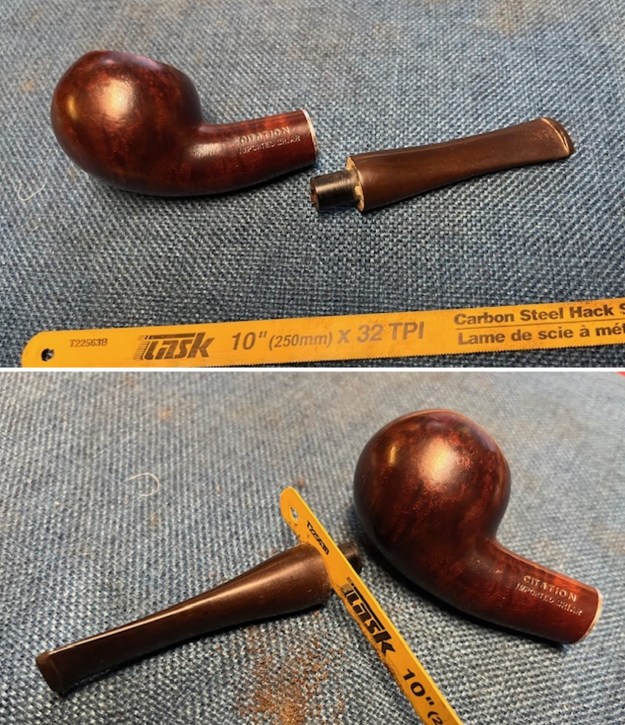
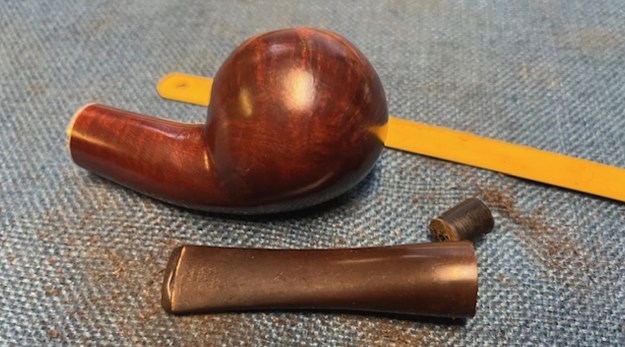
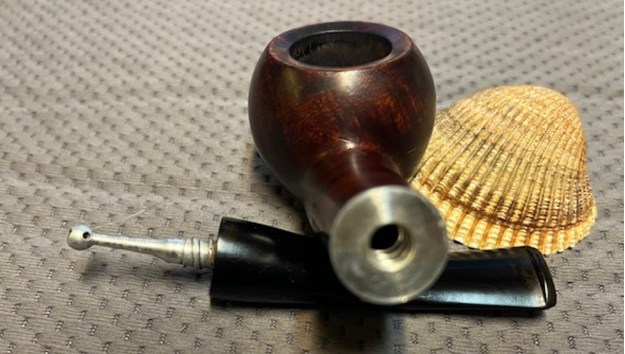
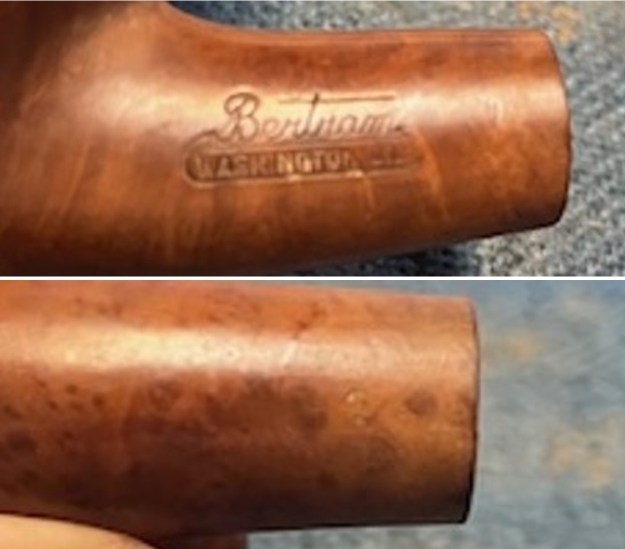
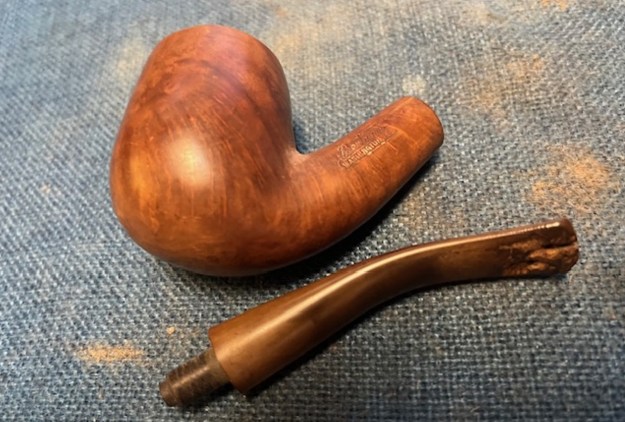
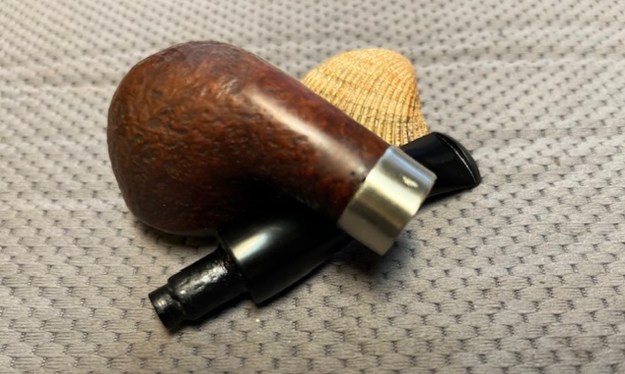
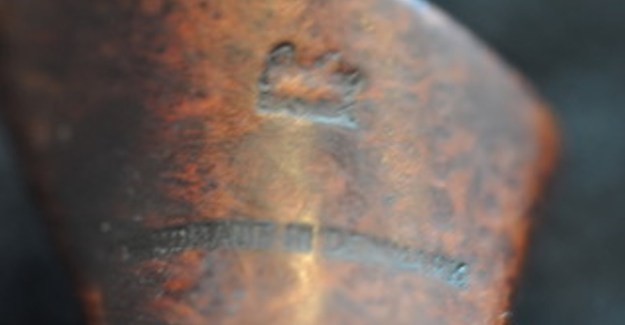
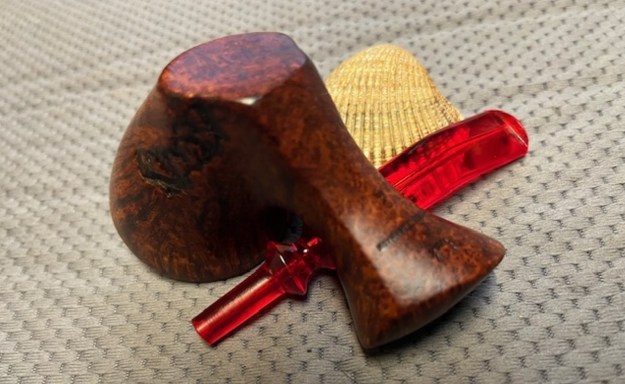
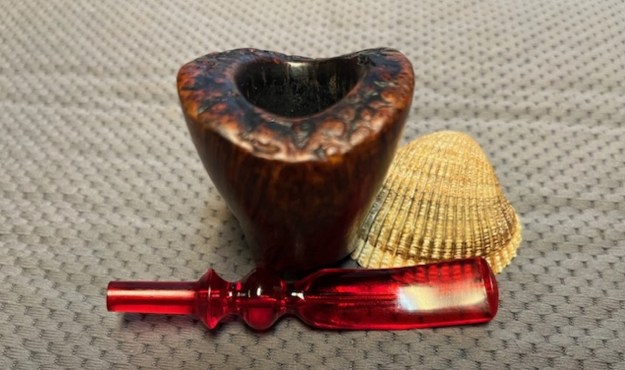
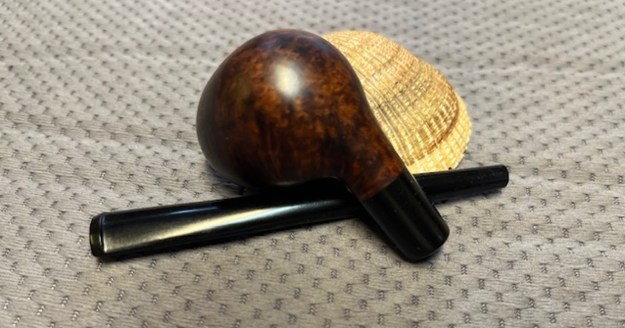
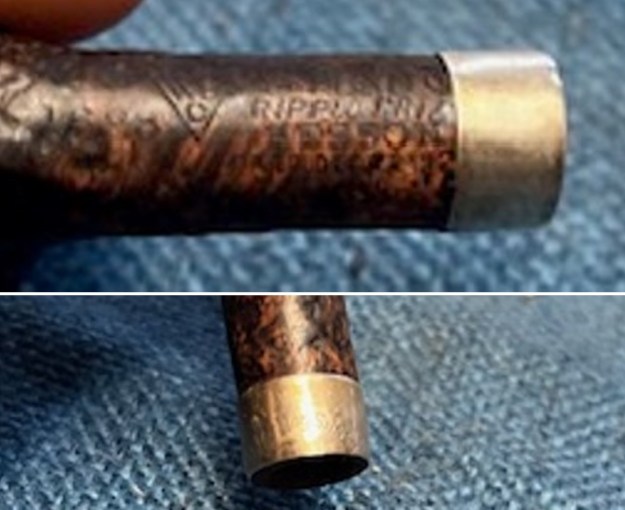
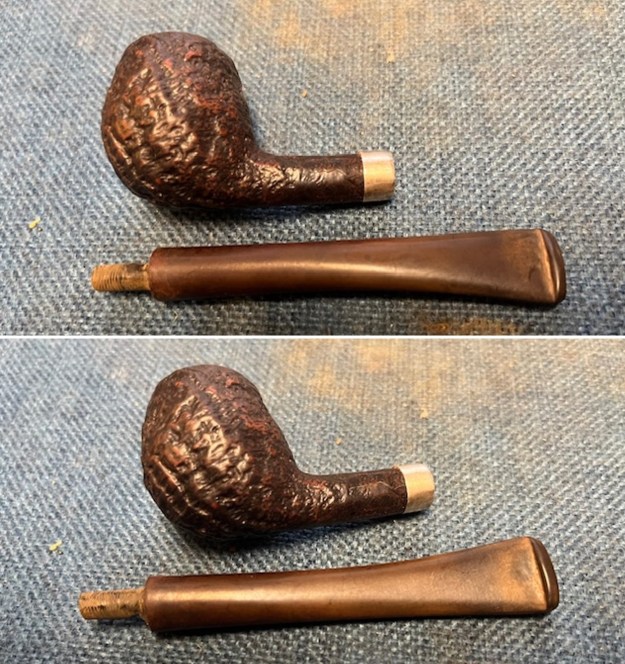
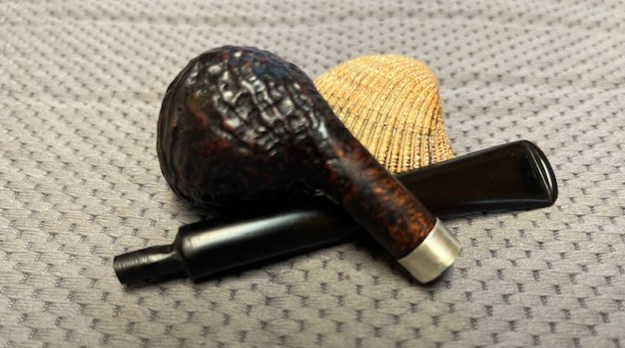
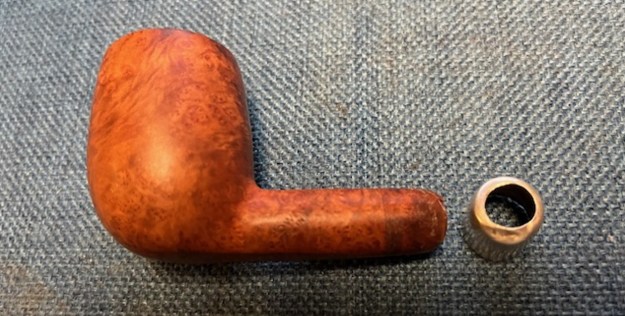
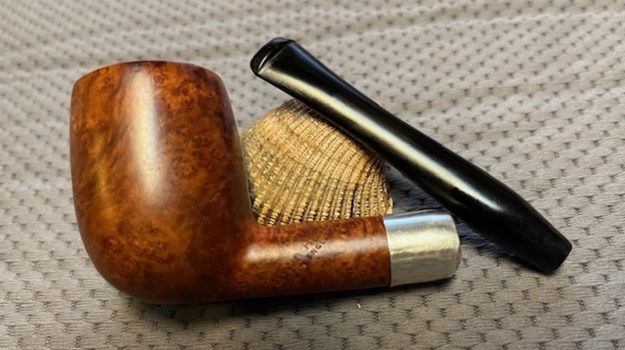
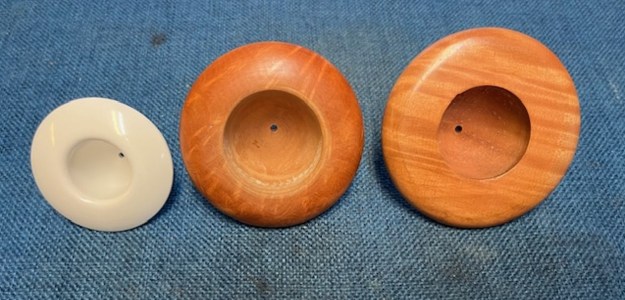
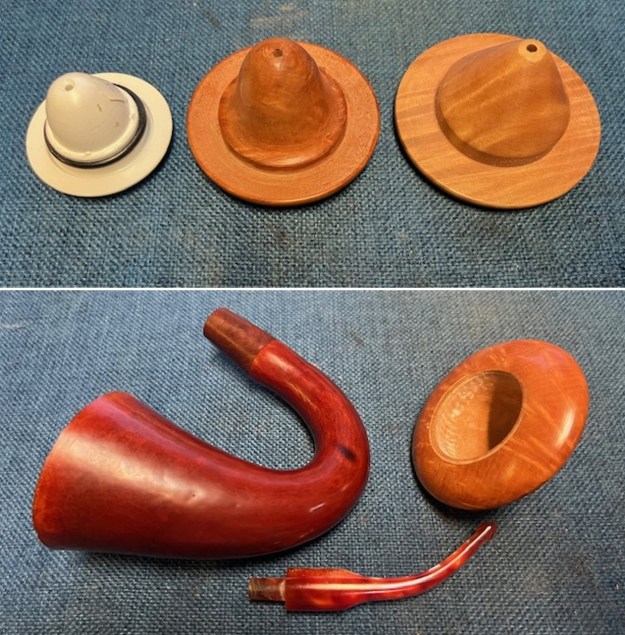
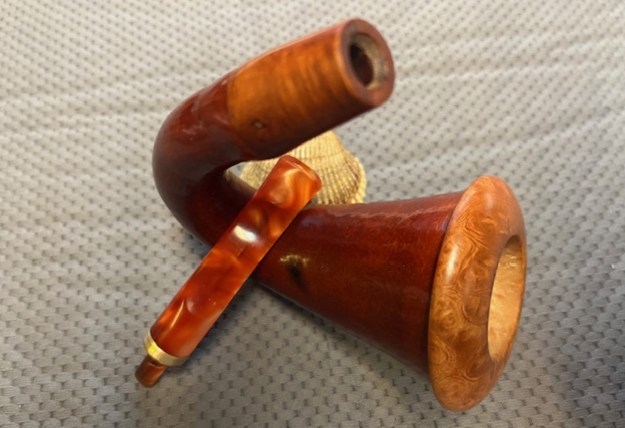
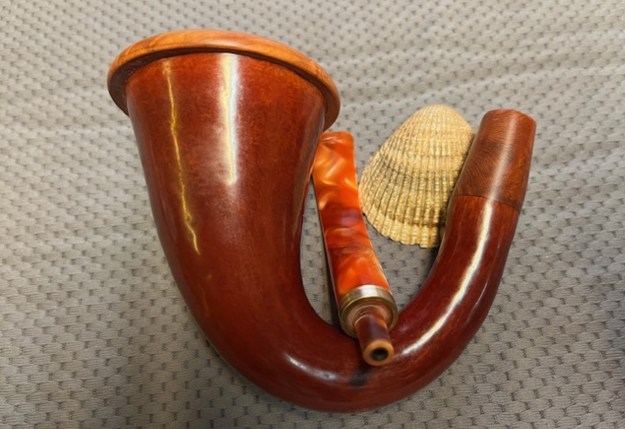
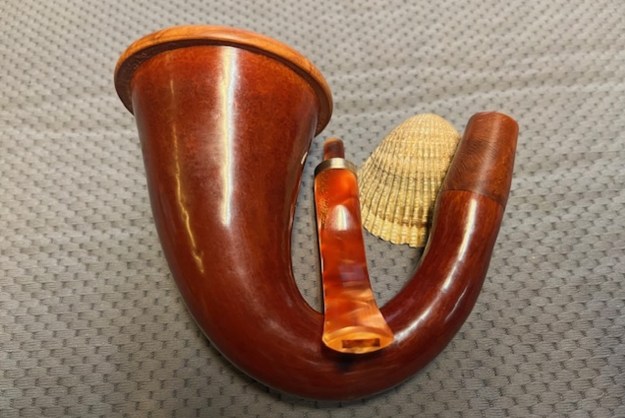
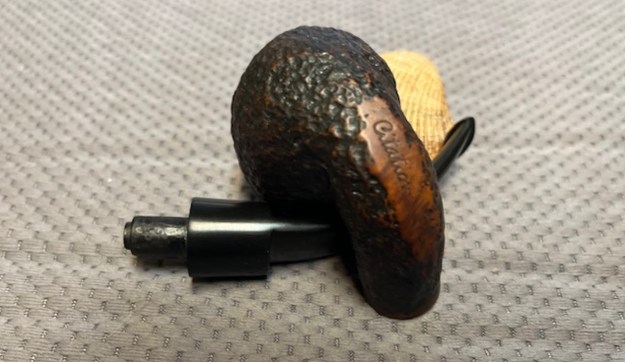
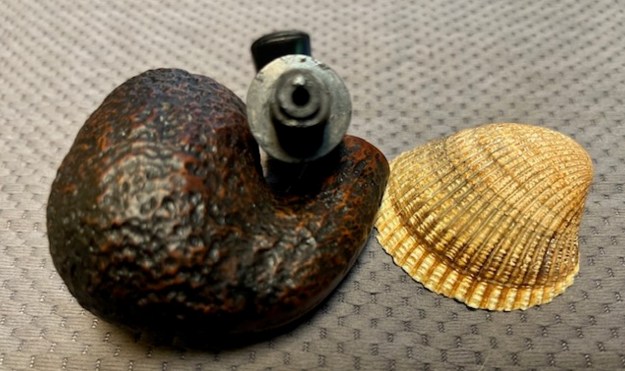
 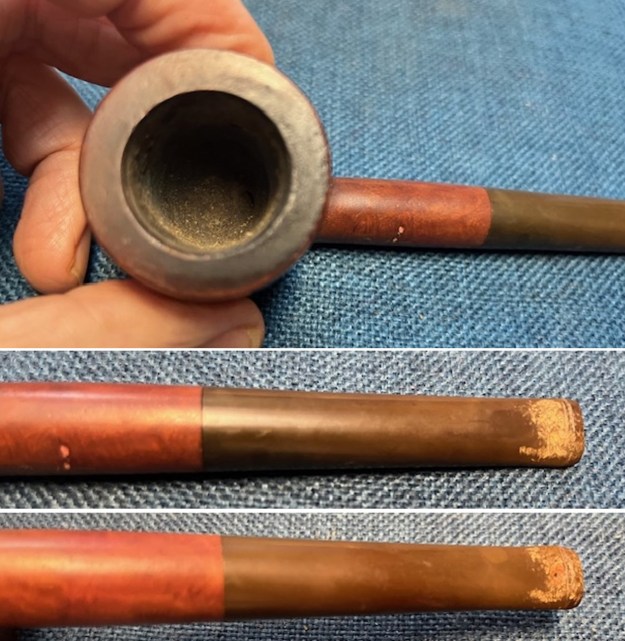 I took photos of the stamping on the left and underside of the shank to capture it. The Bertram stamp was clear and readable as noted above. Once restored again it will have a long life ahead of it. I removed the stem and took a photo of the parts to give a sense of the look of the pipe.
 As I have worked on a lot Bertrams in the past, I have written on the brand and have included the following information. If you have read it in past blogs, you can skip over it. If you have not, I have included the link to Bertram history and information. I would recommend that if you don’t know much about them take some time to read the background. I include a link to the write up on Pipedia (http://pipedia.org/wiki/Bertram).
 Bertram pipes were based out of Washington DC. They were popular among famous politicians and celebrities of the time. They made many products for them from FDR’s cigarette holders to Joseph Stalin’s favorite pipe. They were considered some of the best America had to offer till they finally closed their doors in the 70s. Bertram graded their pipes by 10s and sometimes with a 5 added (15, 25, 55 etc.), the higher the grade the better. Above 60s are uncommon and 80-90s are quite rare. I have worked on one 120 Grade billiard. I have several blogs that I have written on rebornpipes that give some history and background to Bertram pipes. (https://rebornpipes.com/2015/06/16/an-easy-restoration-of-a-bertram-grade-60-217-poker/).
I have included the following link to give a bit of historical information on the pipe company. It is a well written article that gives a glimpse of the heart of the company. http://www.streetsofwashington.com/2012/01/bertrams-pipe-shop-on-14th-street.html#
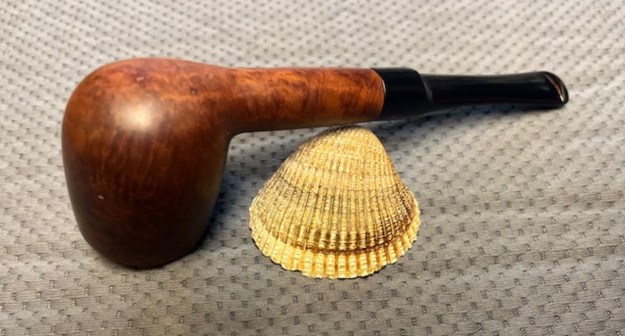
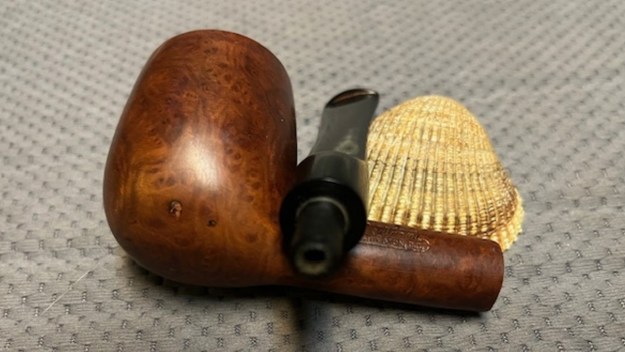
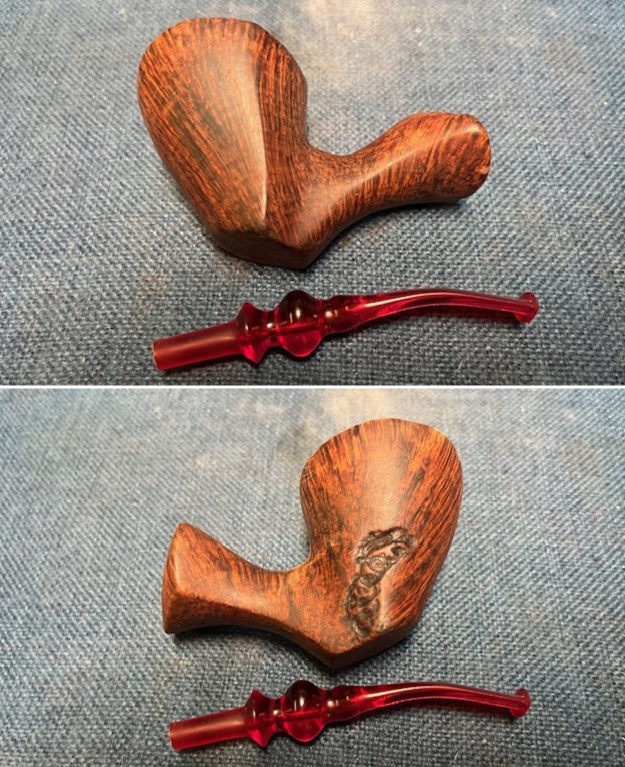
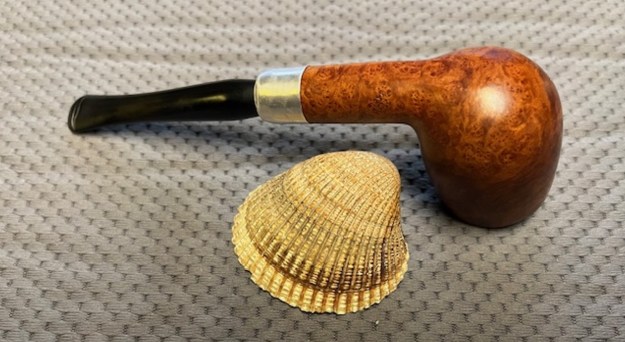
From this information I learned that all of these Bertrams were made before the closure of the shop in the 1970s. This Bertram Bent Billiard has some mixed grain around the bowl. This pipe does not appear to have a Grade stamp on it but the fills make my think a lower grade due to the quality of the briar. But like many of these Bertrams the Grading system is a mystery to me.
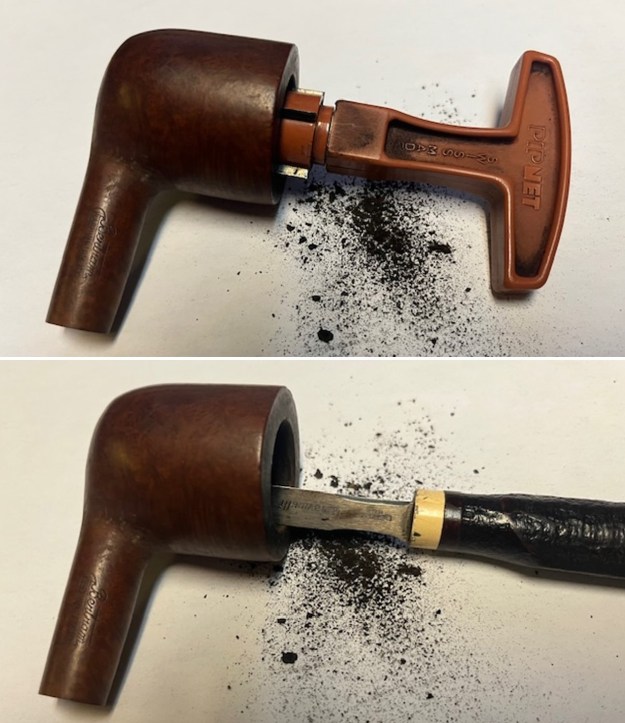
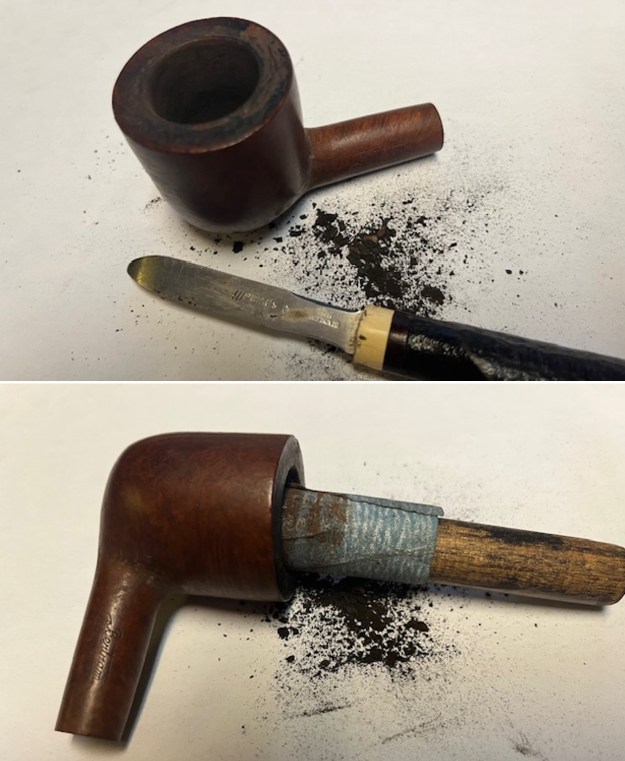
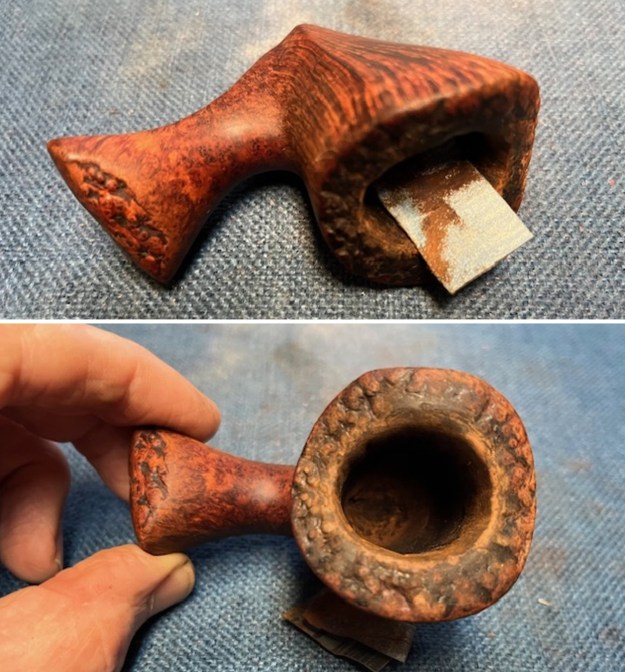
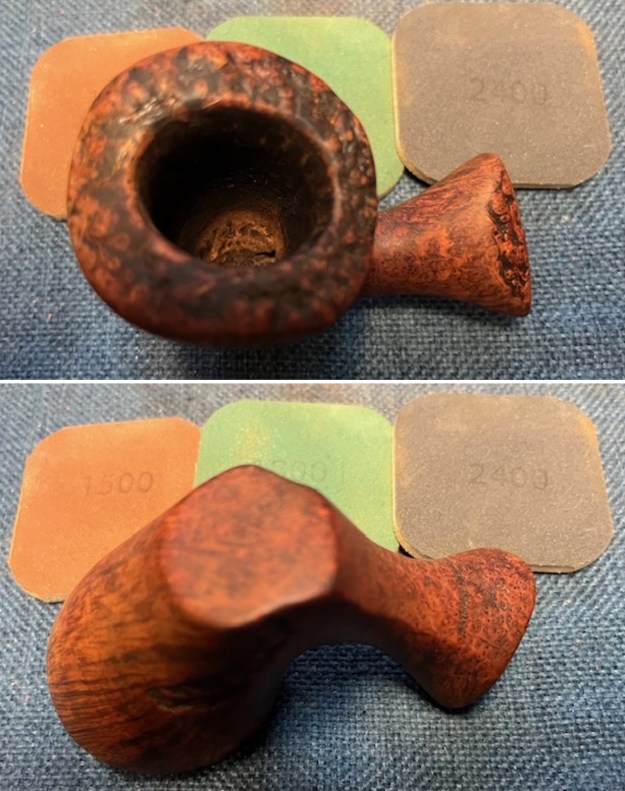
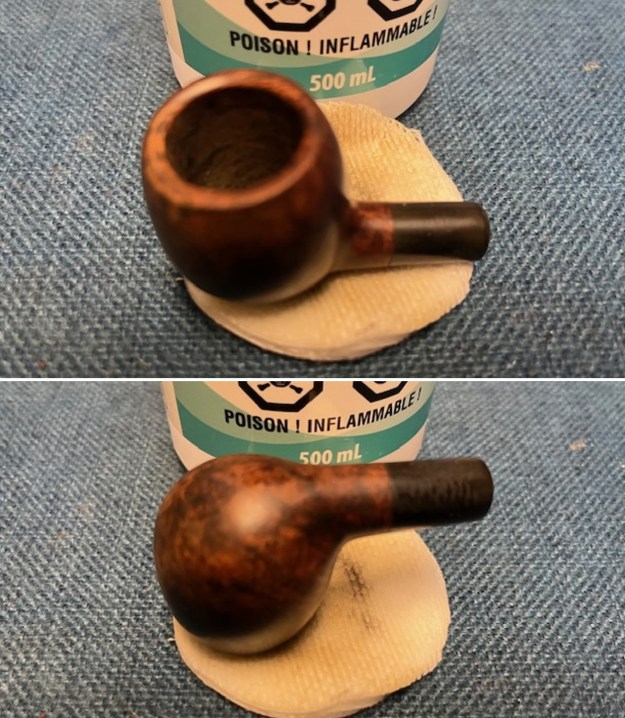
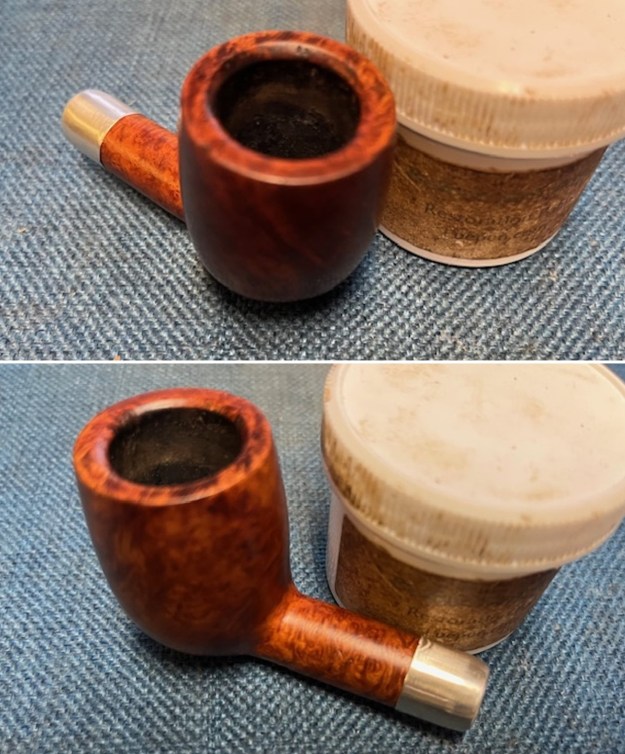
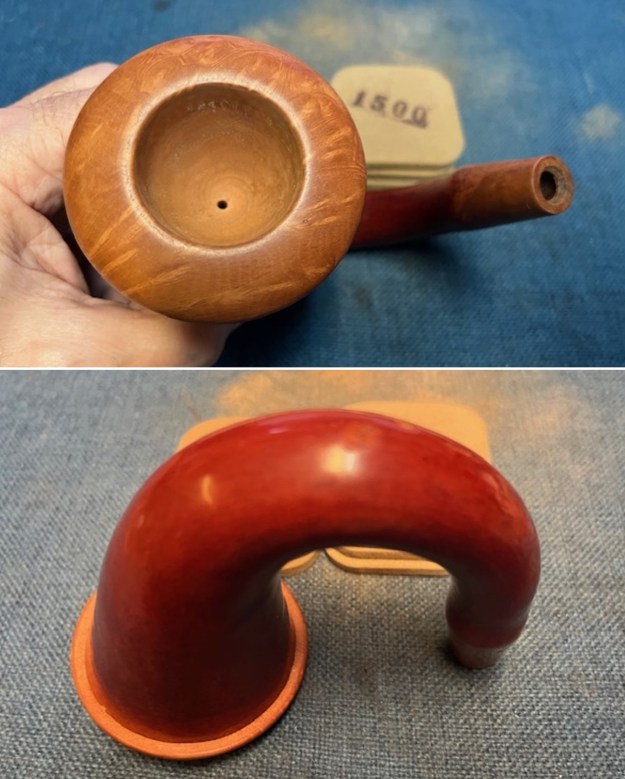
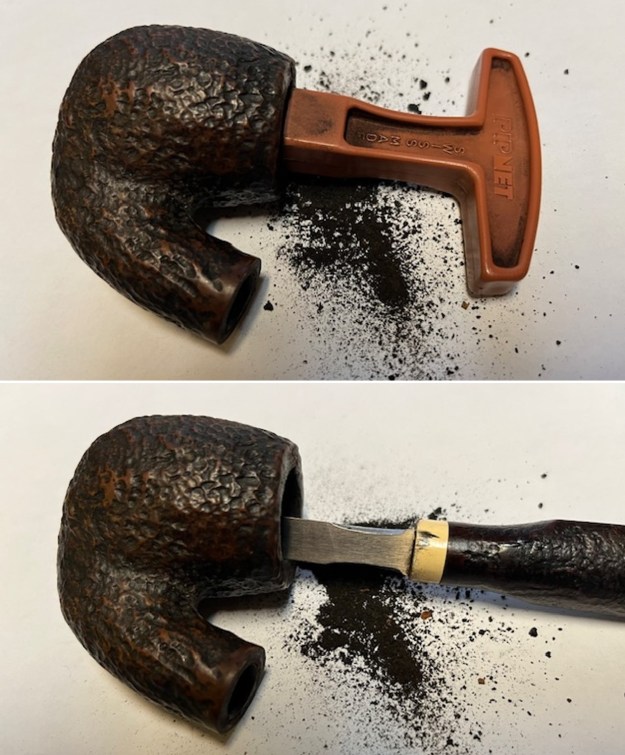
I started my work on the pipe by reaming the bowl with a PipNet reamer. I used the first cutting head and took the cake back to bare briar. I cleaned up the reaming with a Savinelli Fitsall Pipe Knife and removed all the remnants of the cake. I scraped the rim top with the flat edge of the blade at the same time and removed most of the thick lava build up. I sanded the walls of the bowl with a piece of dowel wrapped in 220 grit sandpaper. The walls look very good at his point in the process. 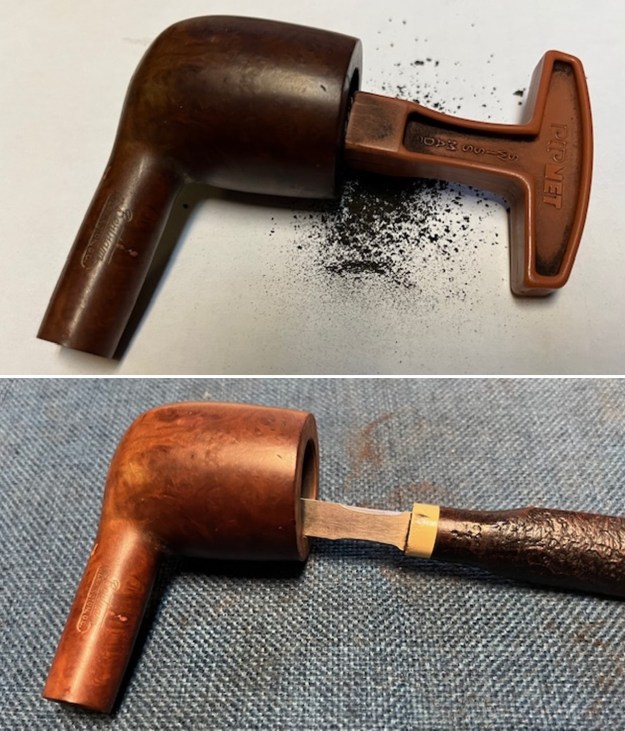
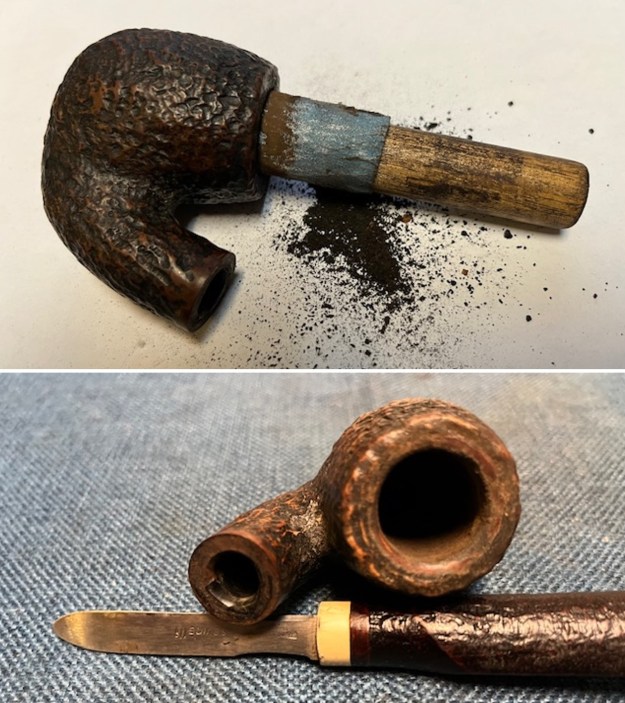
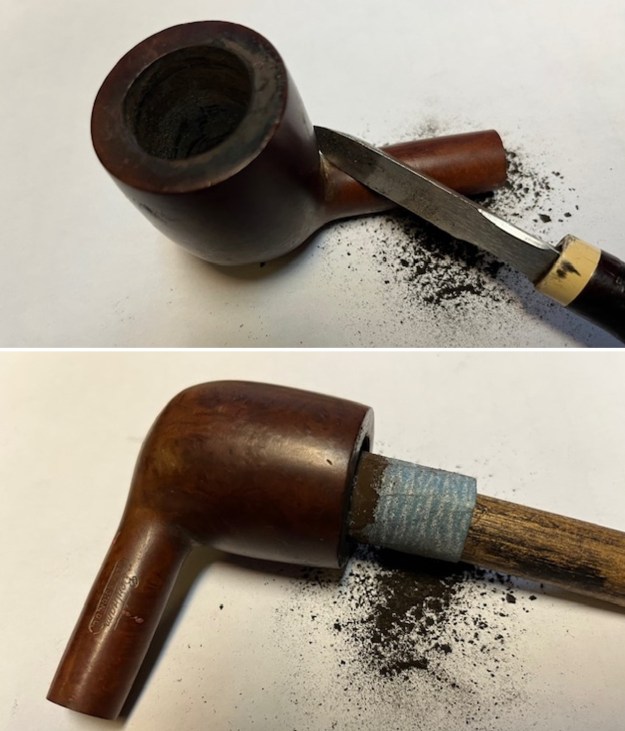 The darkening on the rim top and inner edge of the bowl would need to be dealt with. I cleaned up the inner edge and the rim top with a folded piece of 220 grit sandpaper and was able to remove the darkening. I also started to sand the shank repair at the same time. The old warrior is visible in the photos below.
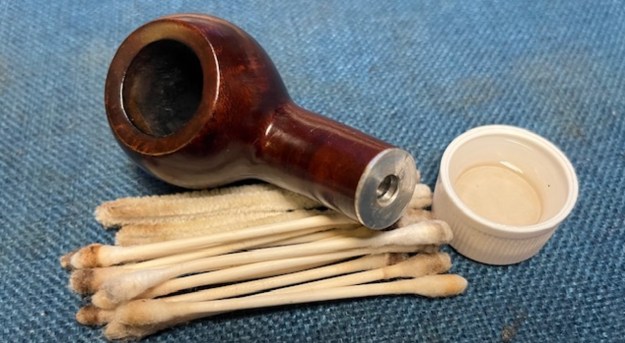
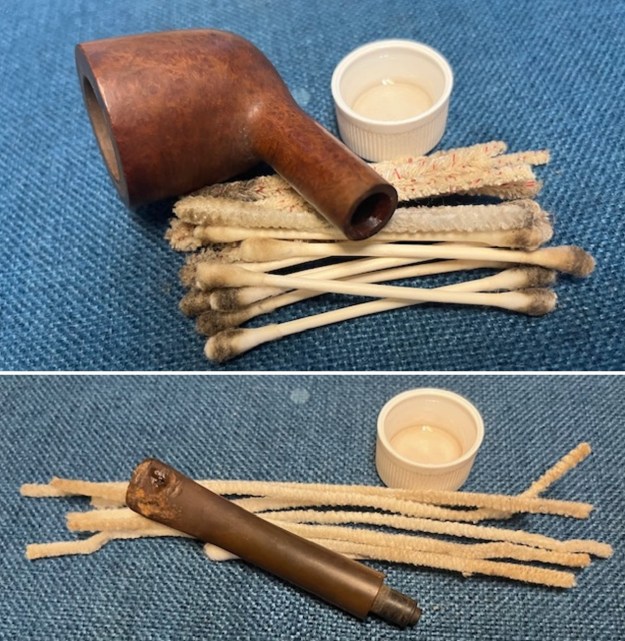
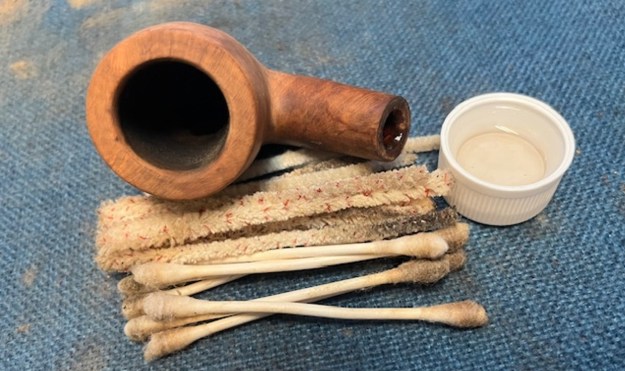
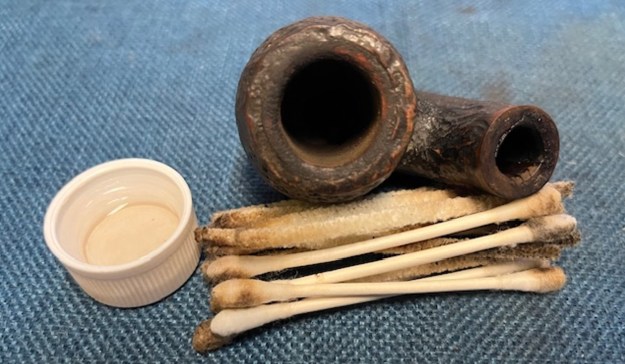
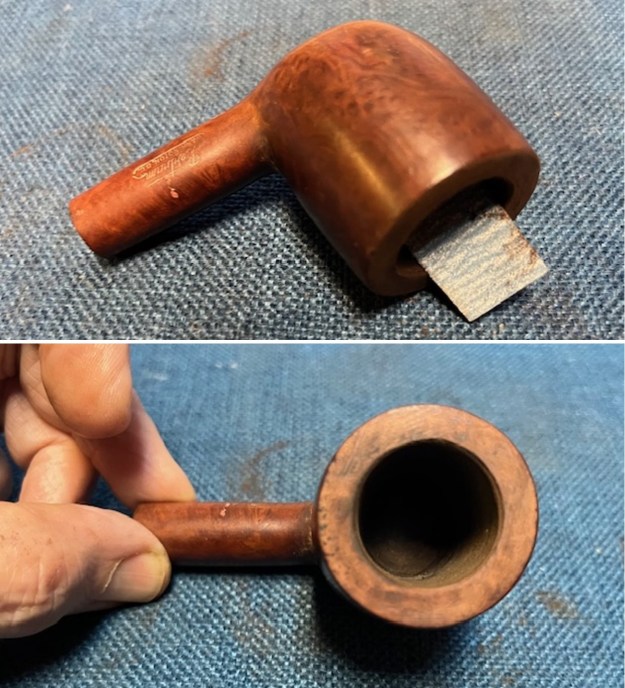 I cleaned out the shank, the airway and the mortise with alcohol, cotton swabs, hard bristle and soft bristle pipe cleaners. It was a very dirty pipe which just meant that it had really been enjoyed by the previous pipe man. Since I was restemming the pipe I would do the clean out on the new stem when I got to it.
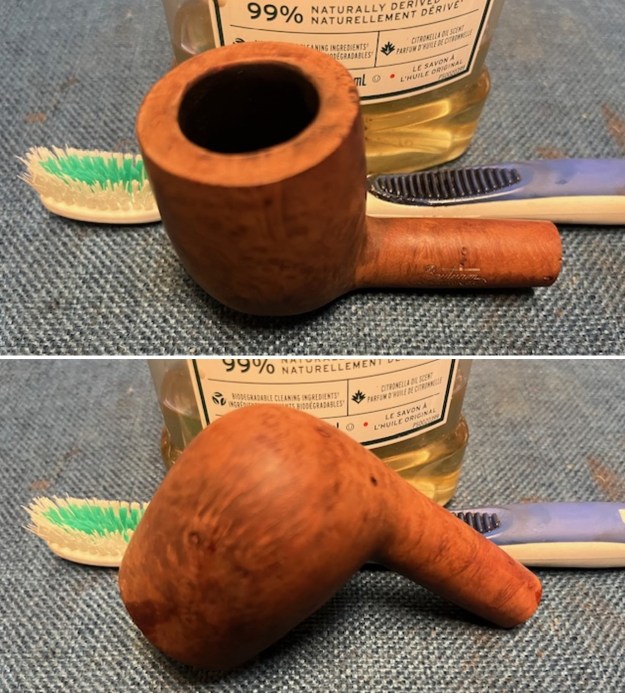
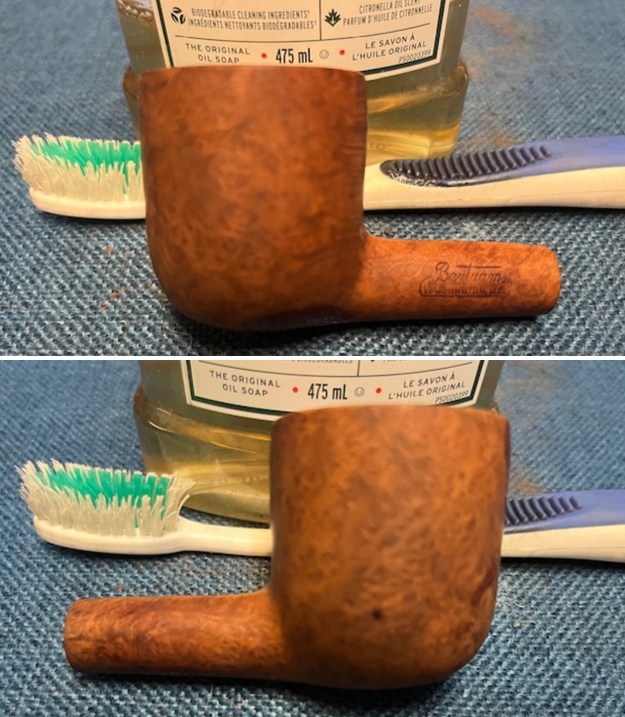
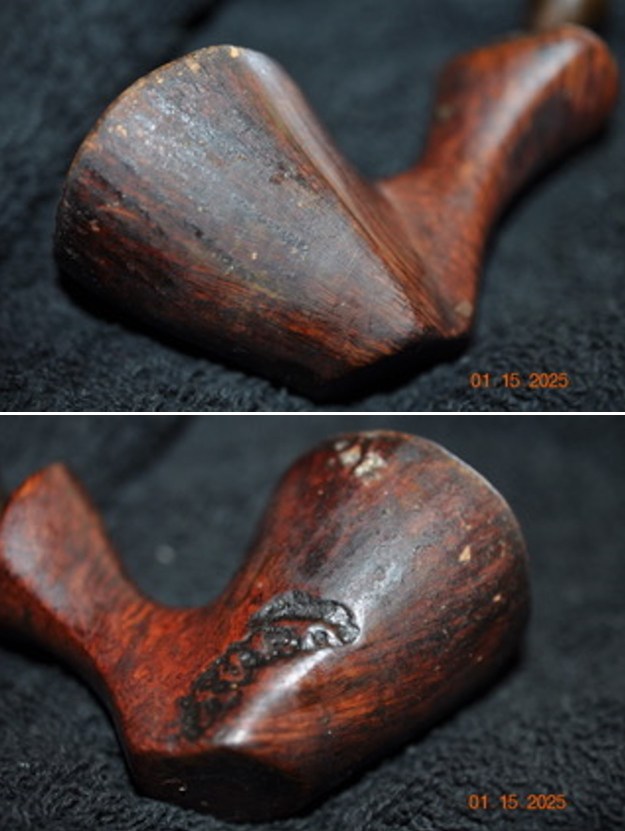
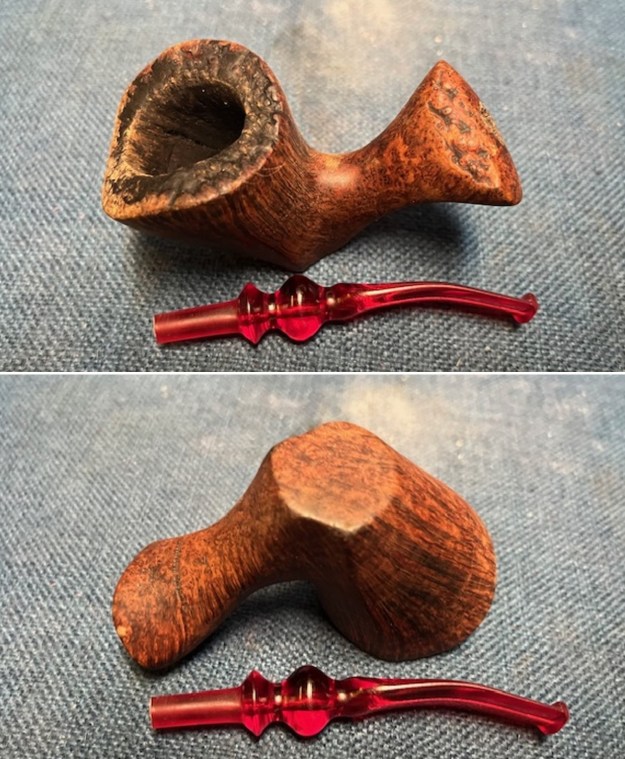
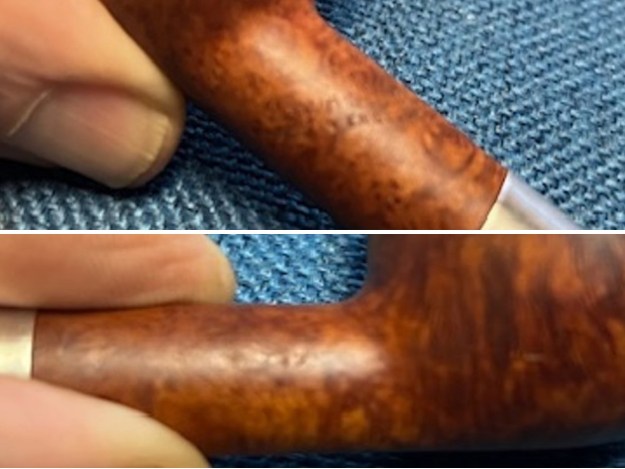
 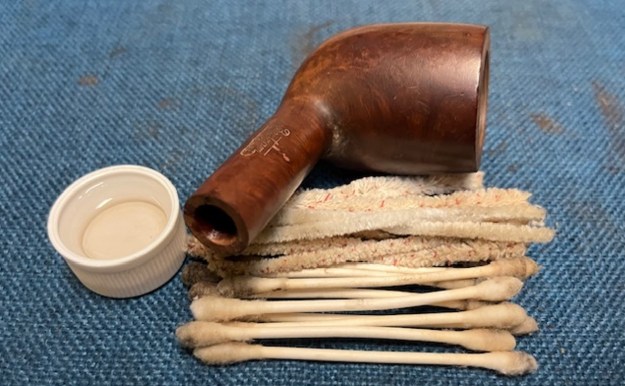 I scrubbed the exterior of the bowl and shank with a tooth brush and undiluted Murphy’s Oil Soap. I scrubbed the lava on the rim top and overflow on the outside of the bowl with the soap. I rinsed the briar with warm water to remove the grime and debris of the scrubbing. It looked significantly better after the scrubbing. The darkening on the rim top is very clear. Once cleaned the bowl with the soap I brought it back to the work top and examined it. This was a pipe full of fills around the heel of the bowl. All were shrunken and need of repair.
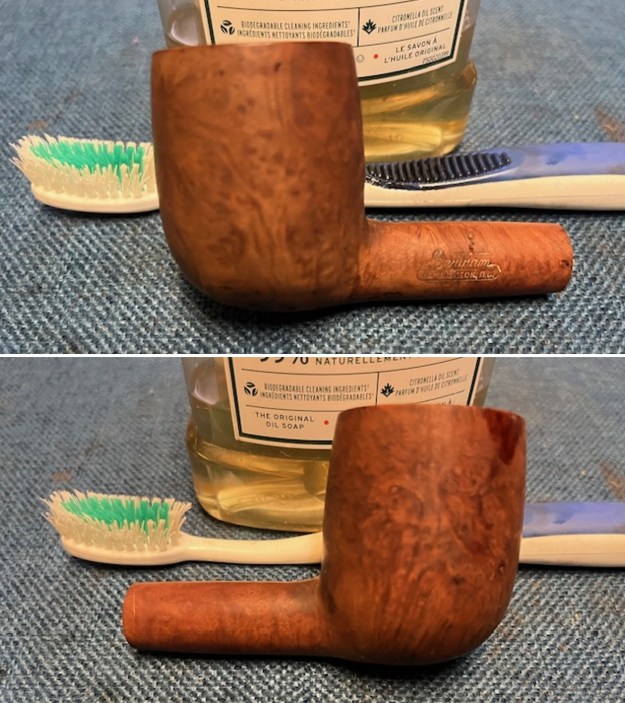
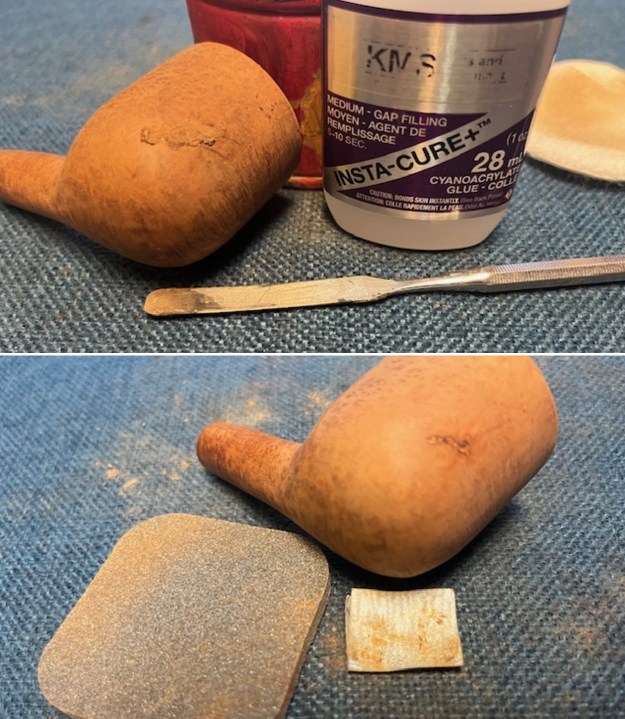
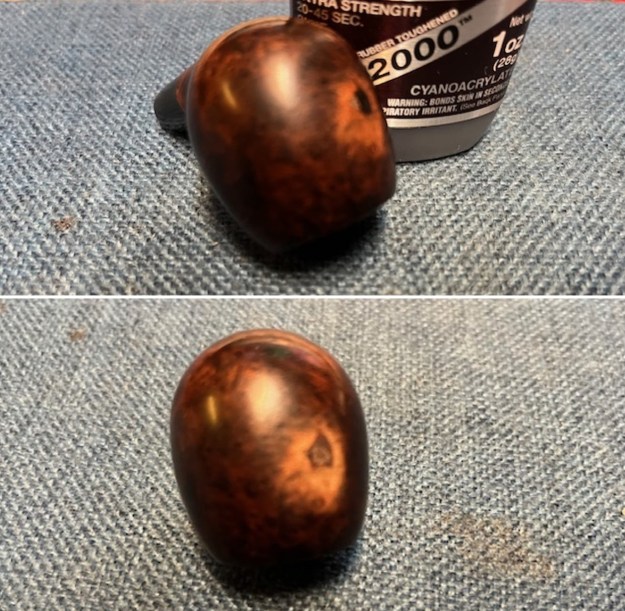
 I filled in all of the damaged fills with clear CA glue. I smoothed them out with a dental spatula. Once the repairs cured I sanded them smooth with 220 grit sandpaper to blend them into the surface of the briar. Once finished it looked much better.
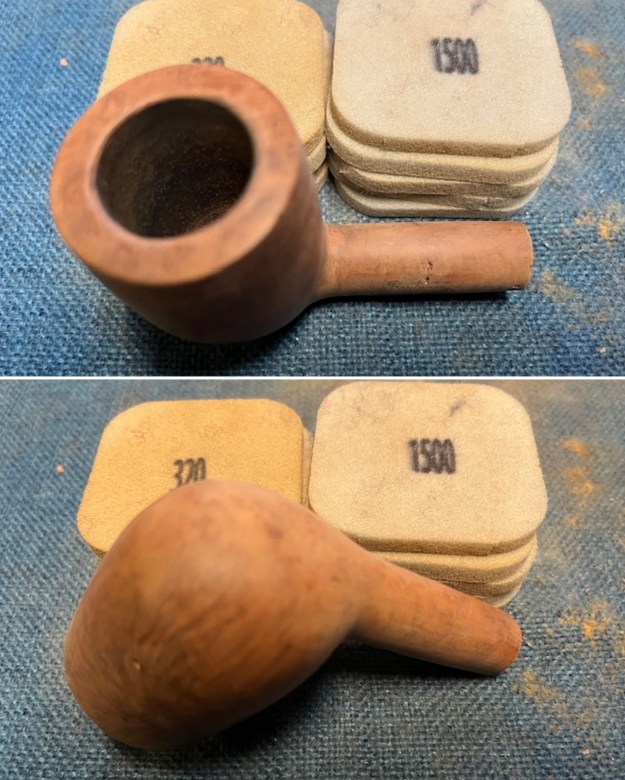
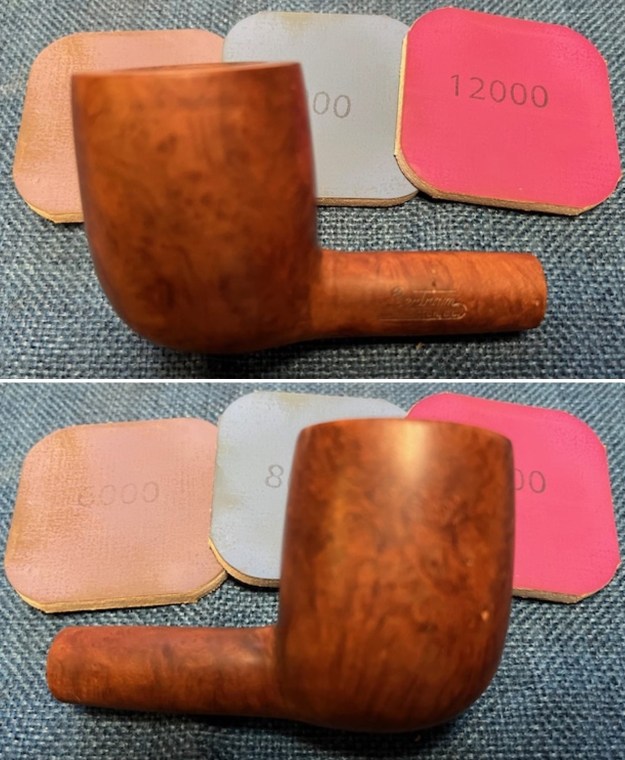
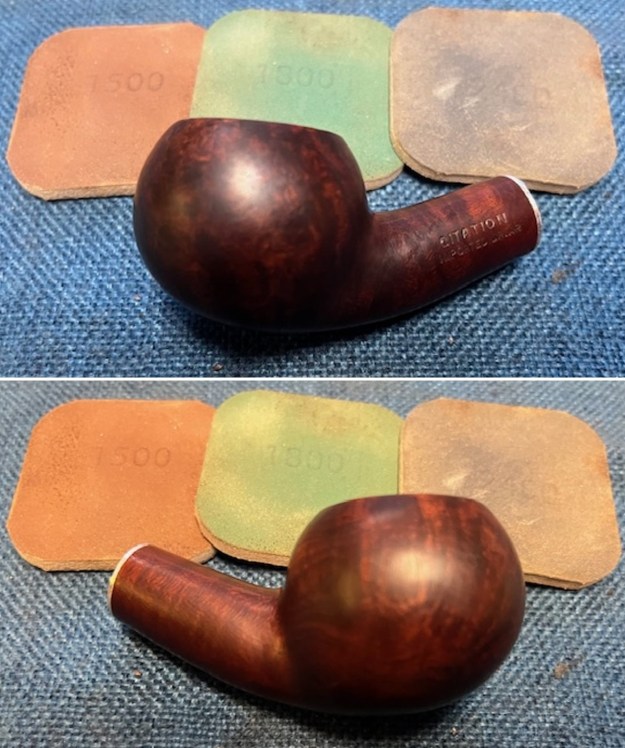
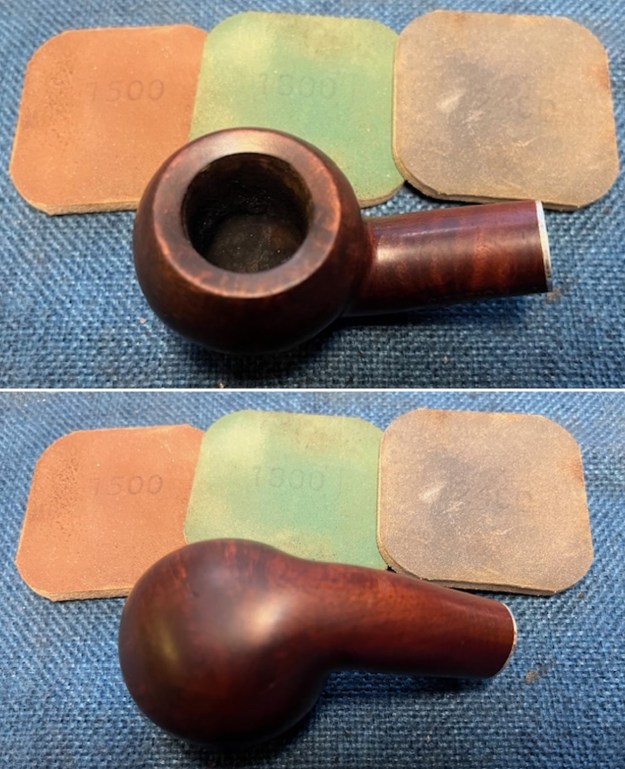
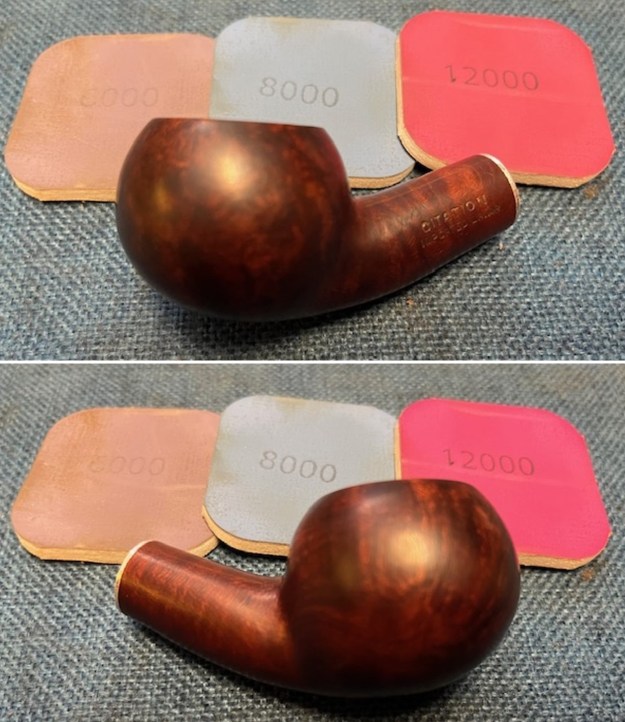
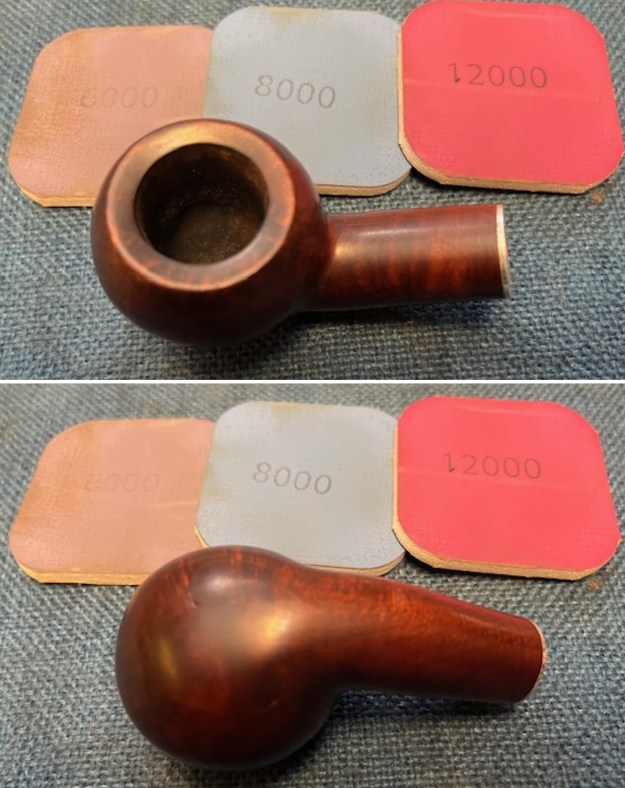
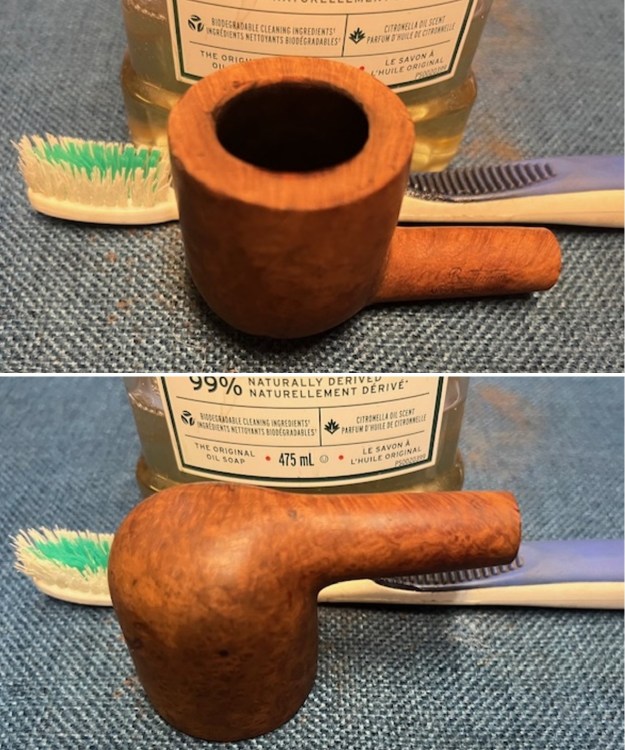
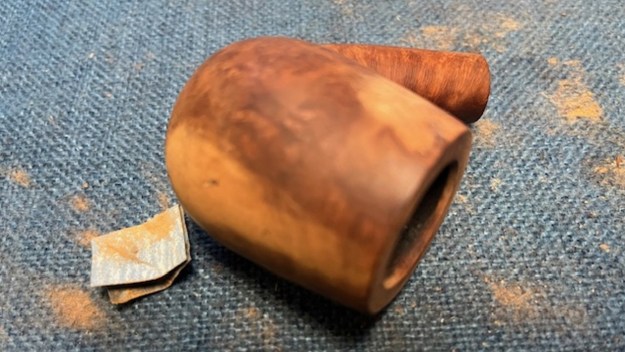
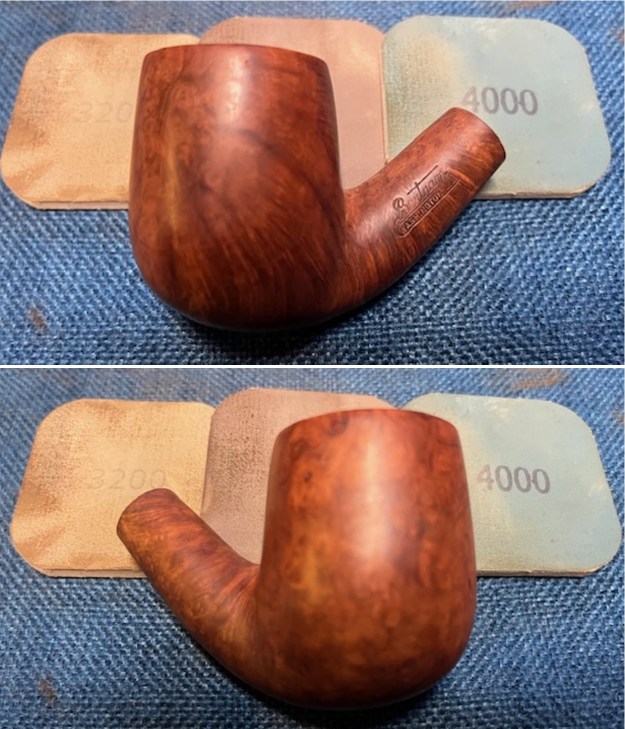
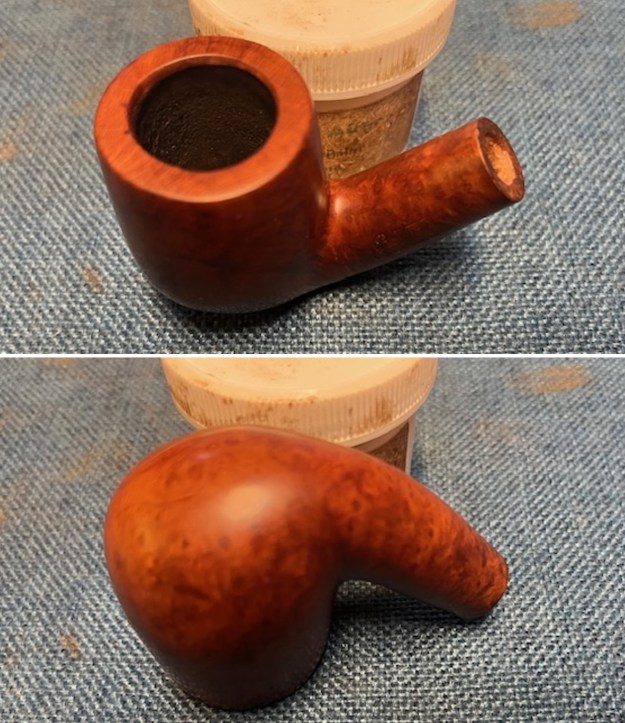
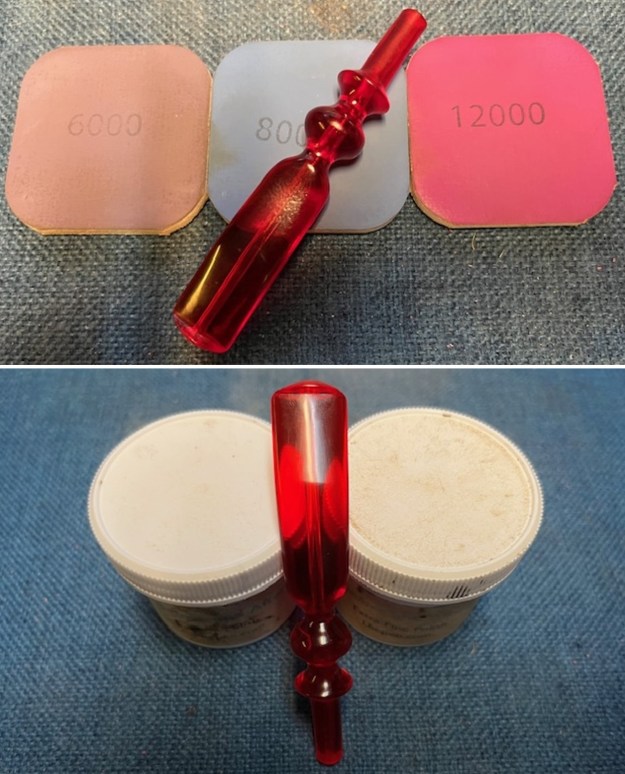
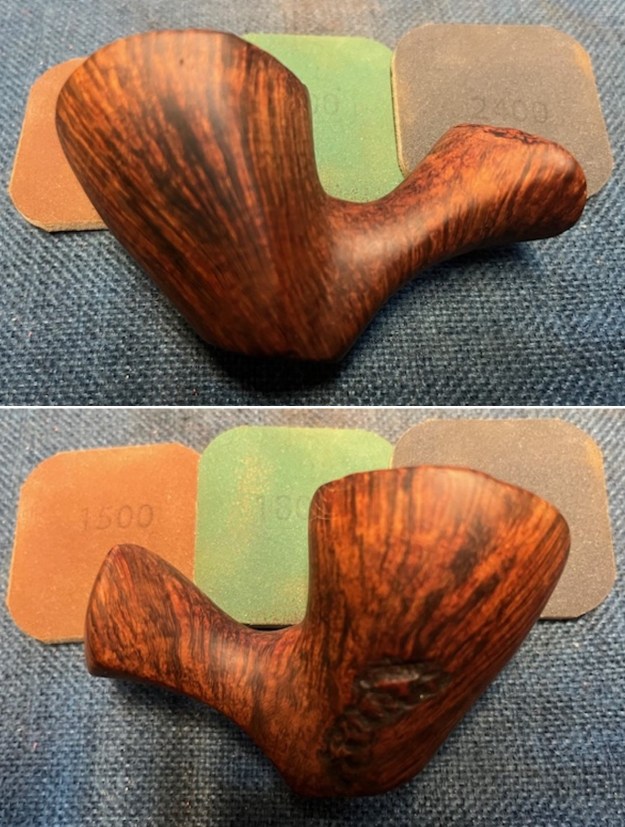
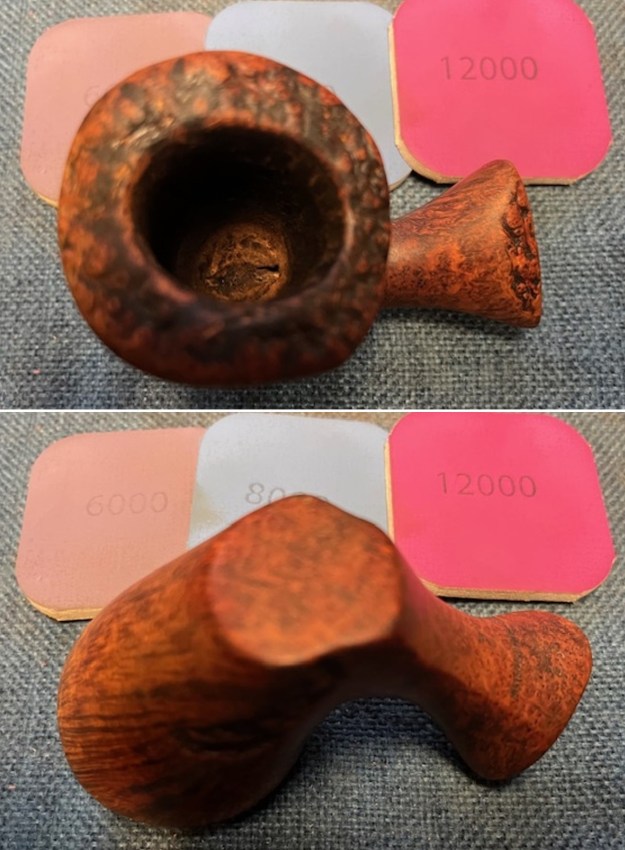
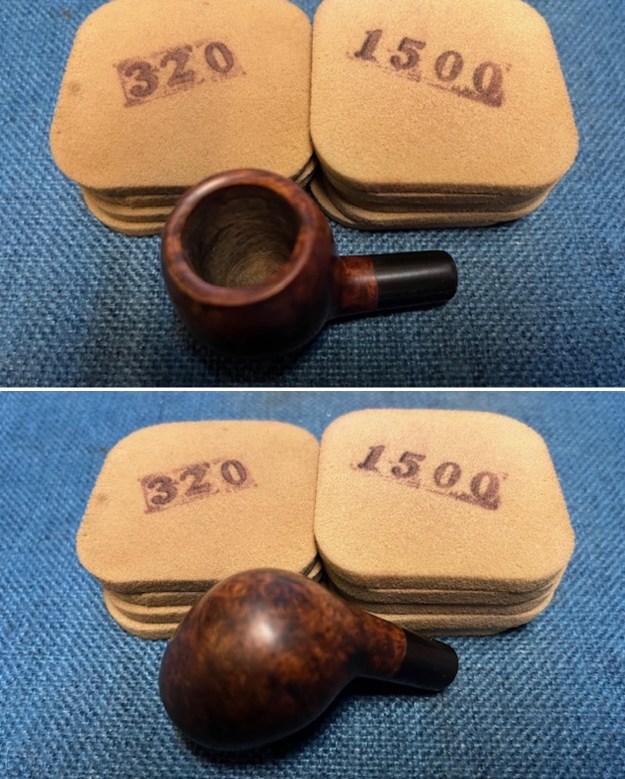
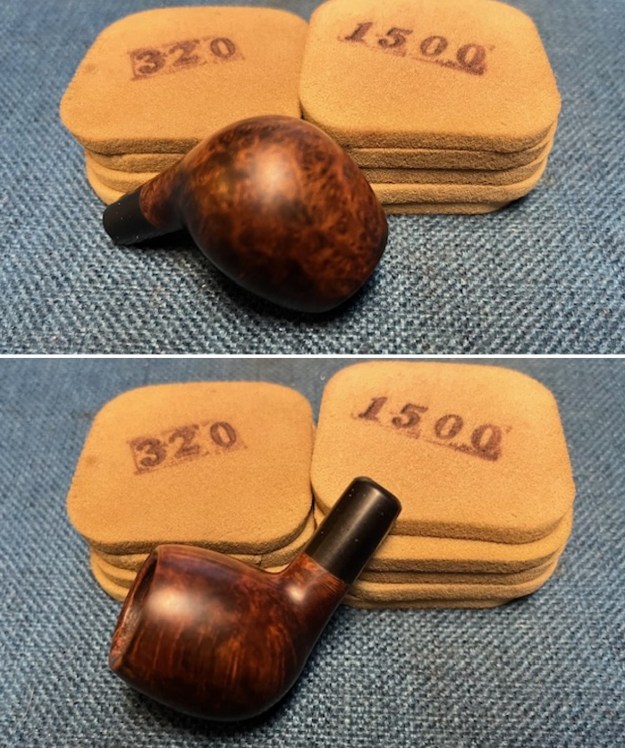
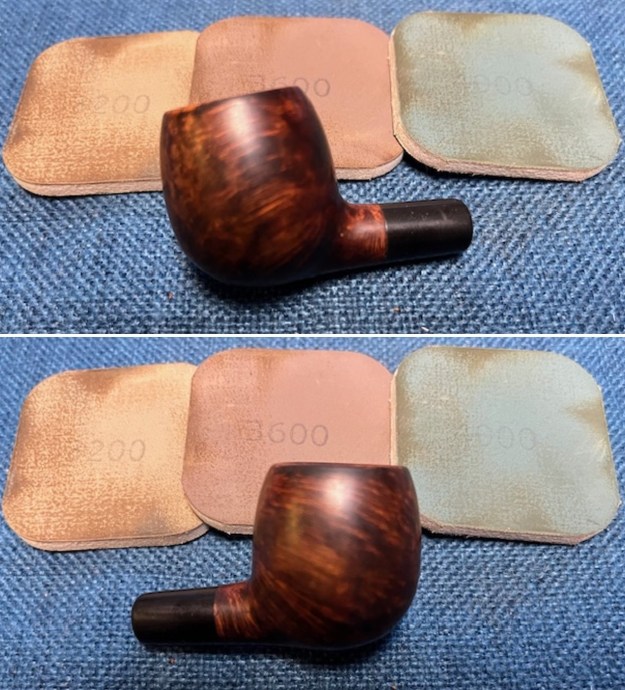
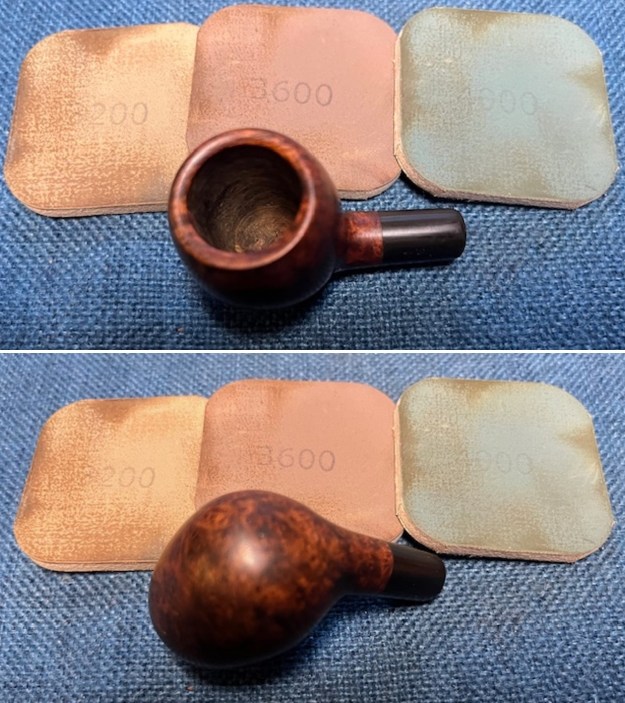
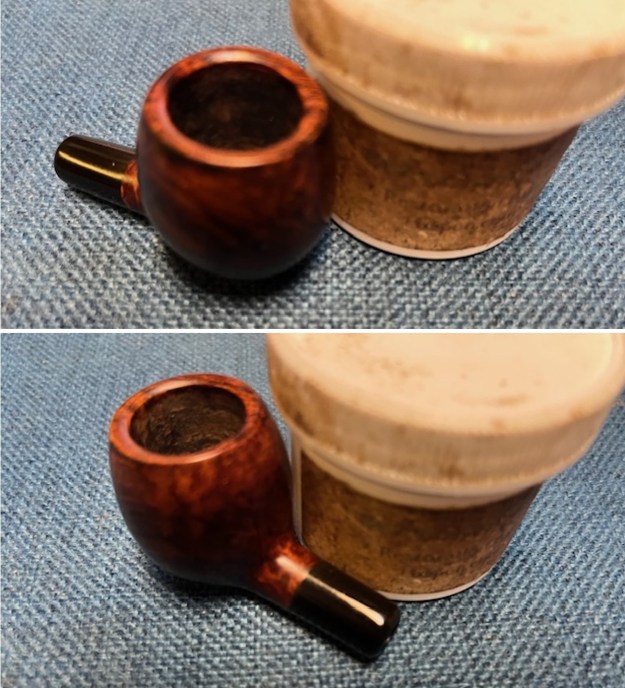
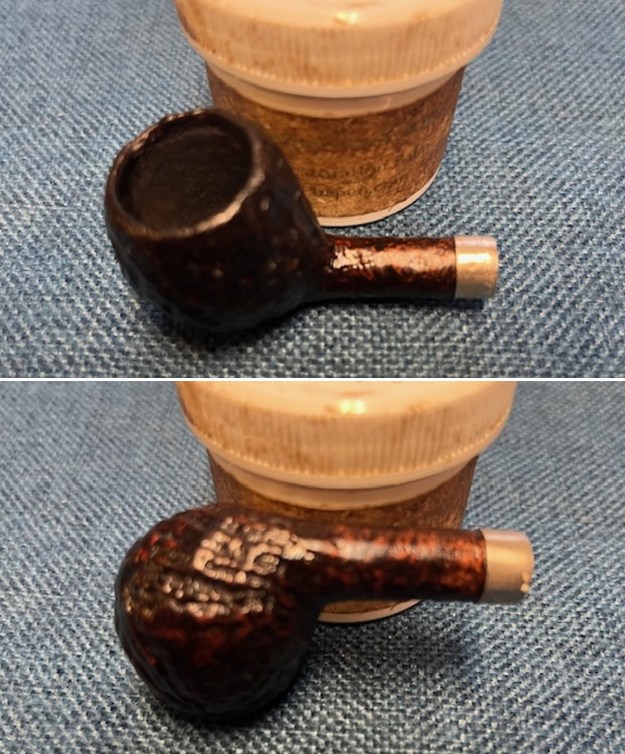
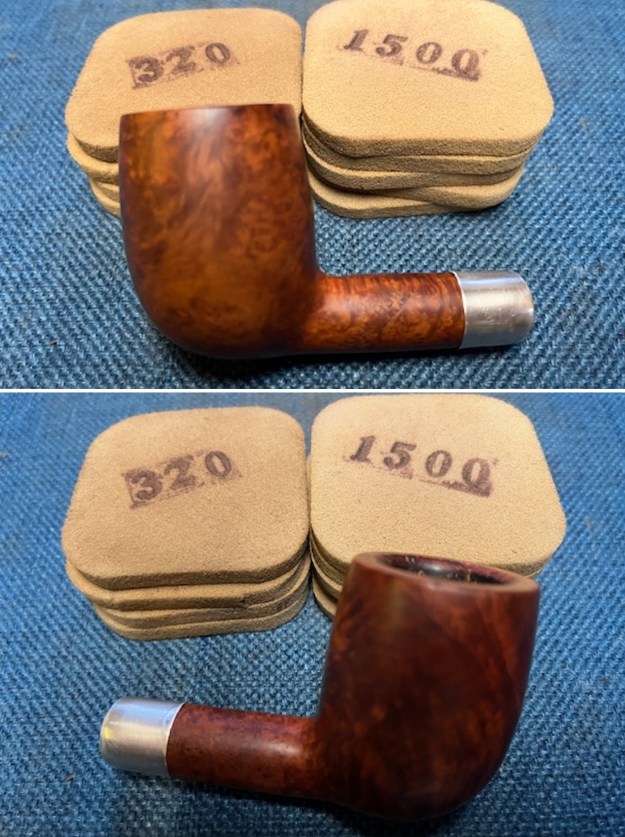
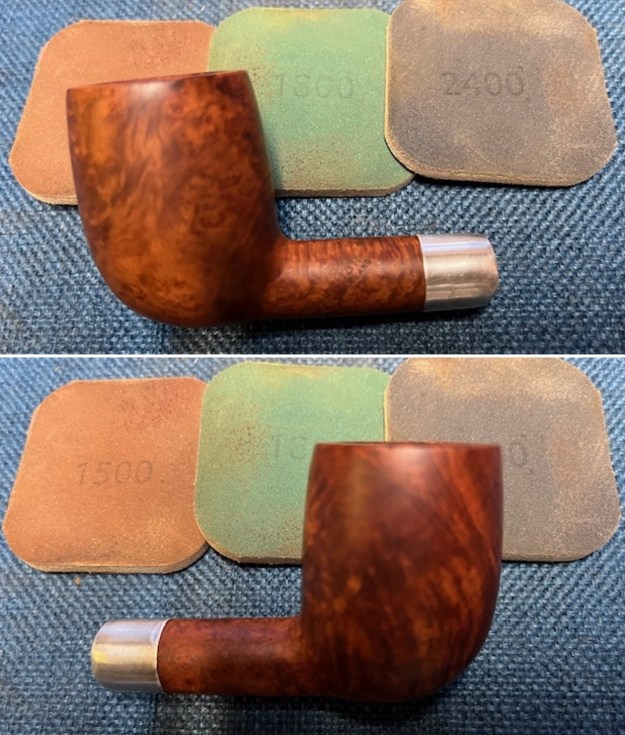
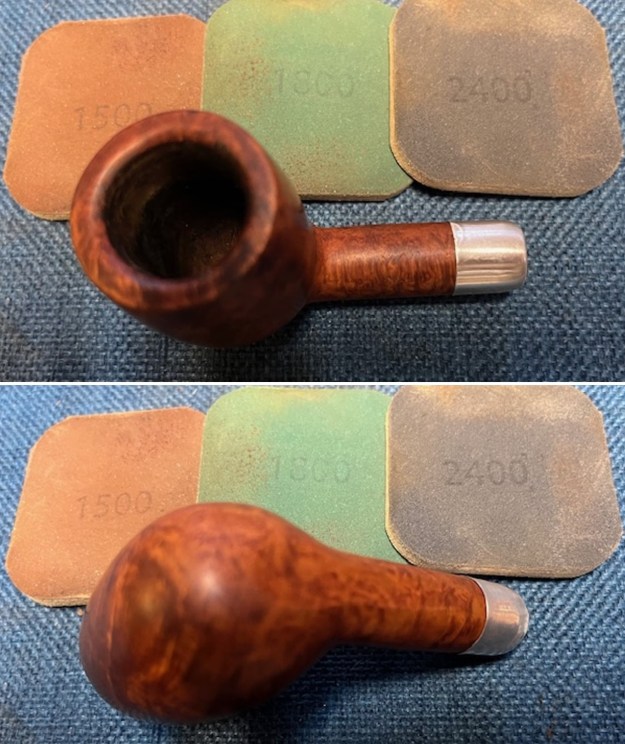
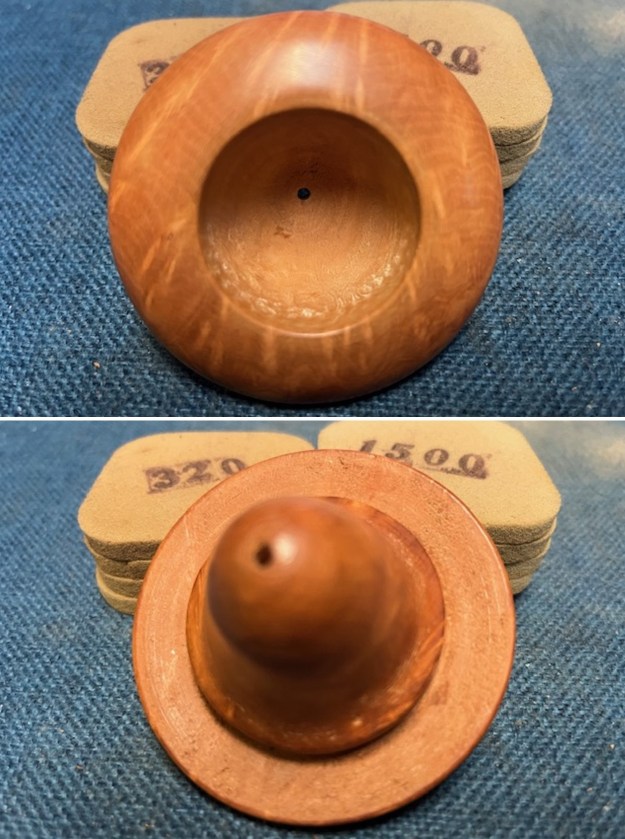
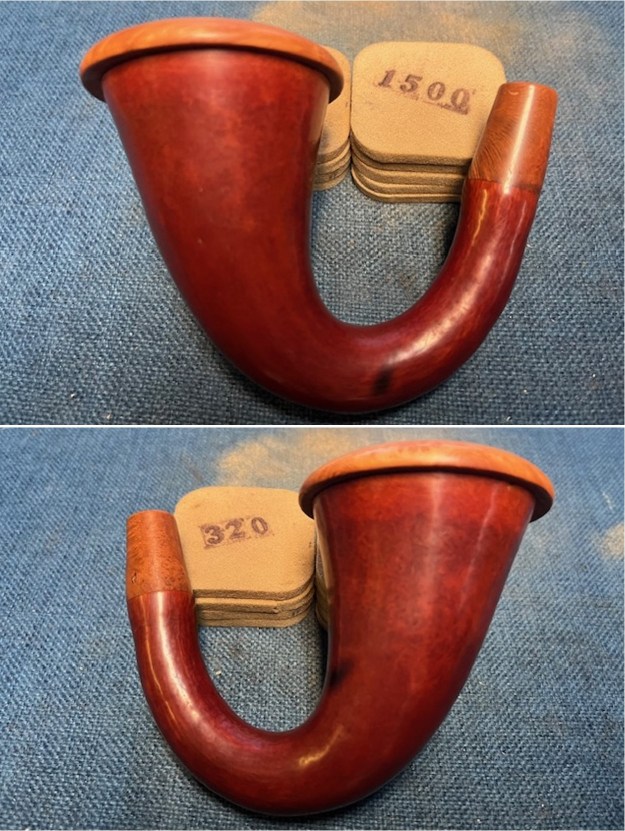
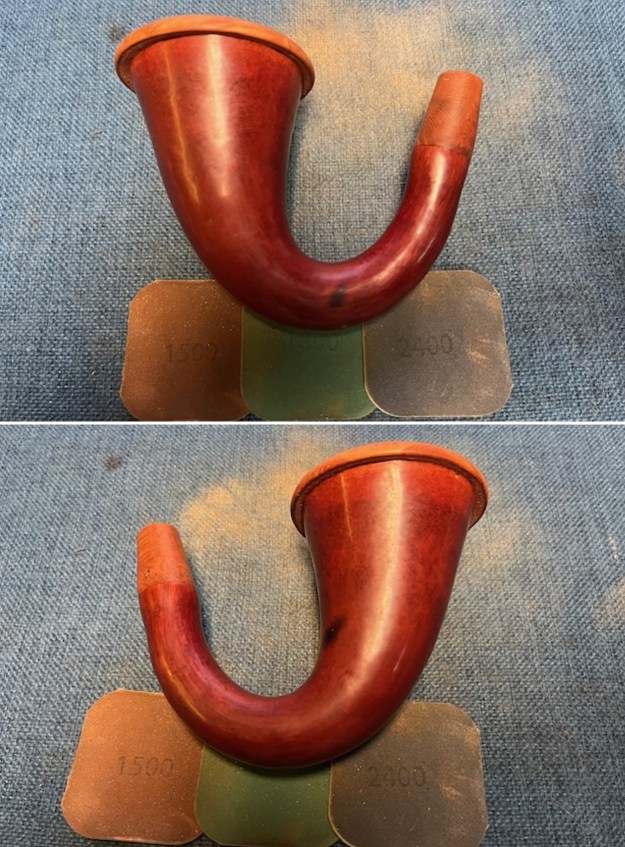
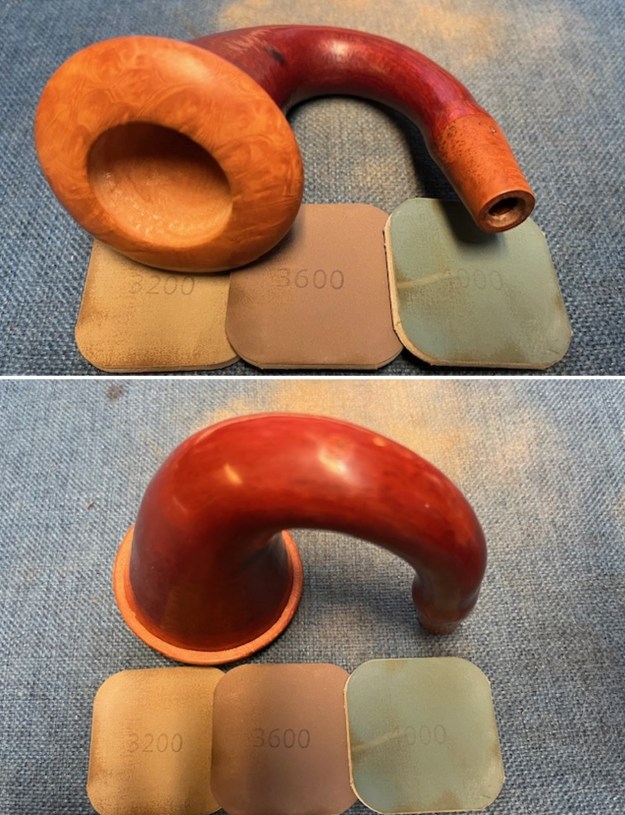
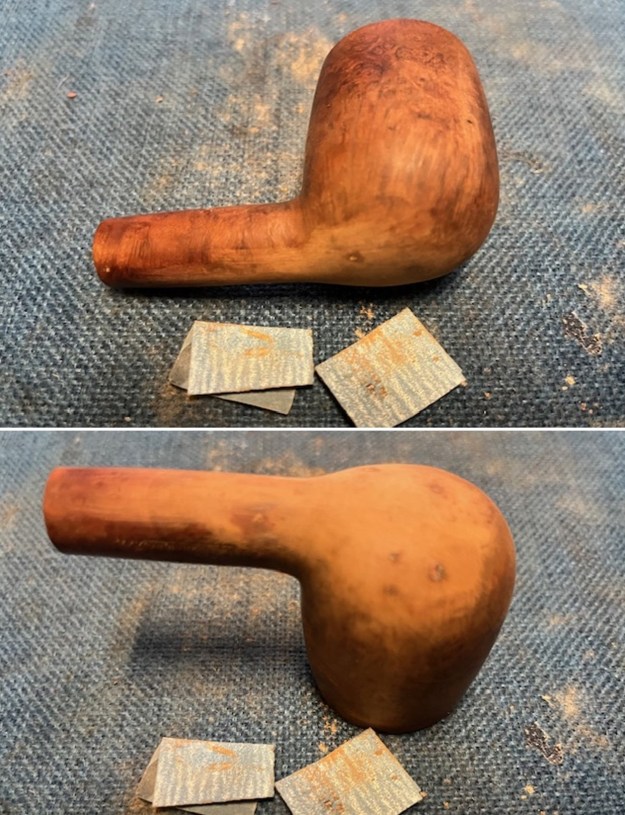 I sanded the bowl it with 320-3500 grit sanding pads to further remove the stain and make a more transparent finish on the rim top, the bowl and shank. The light spots blended in better. The briar began to take on a rich shine and the repairs to the repairs blended in better with work. The photos tell the story.
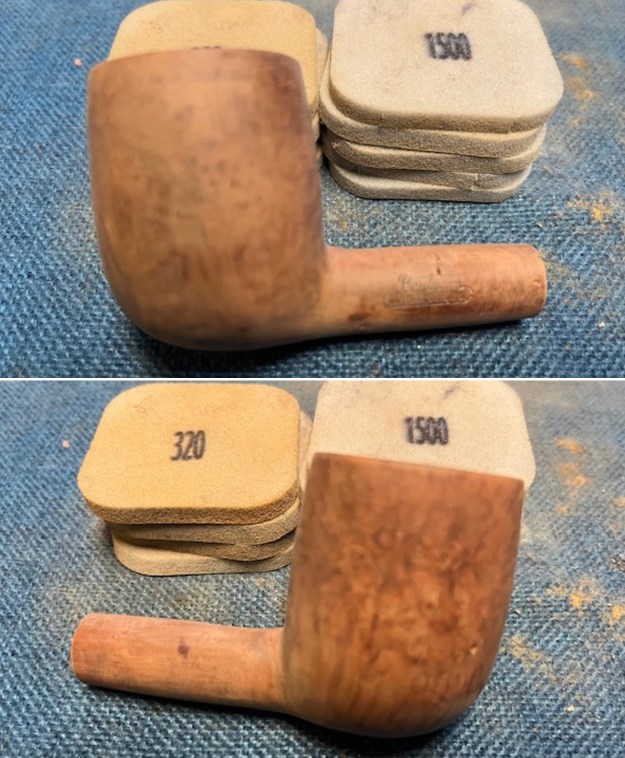
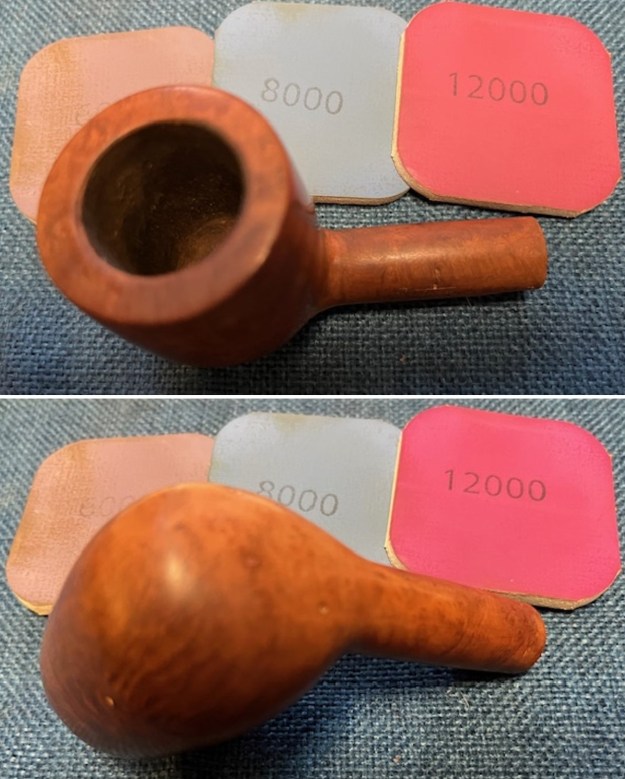
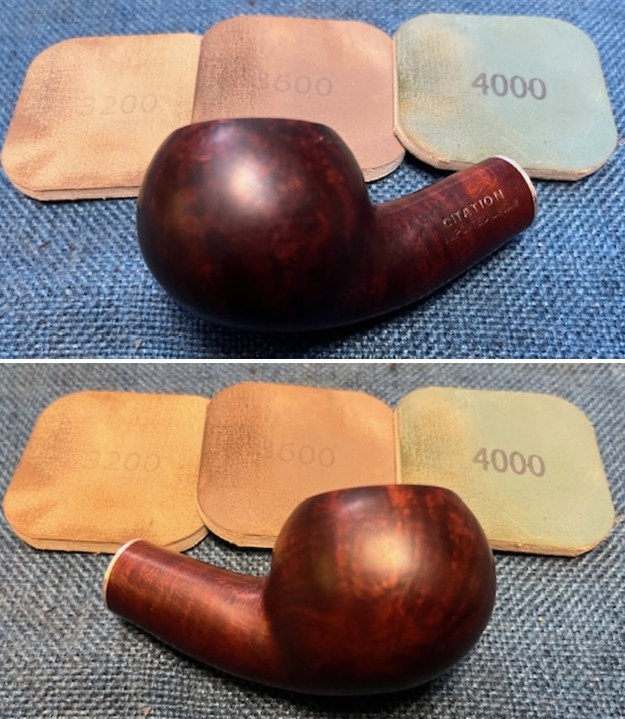
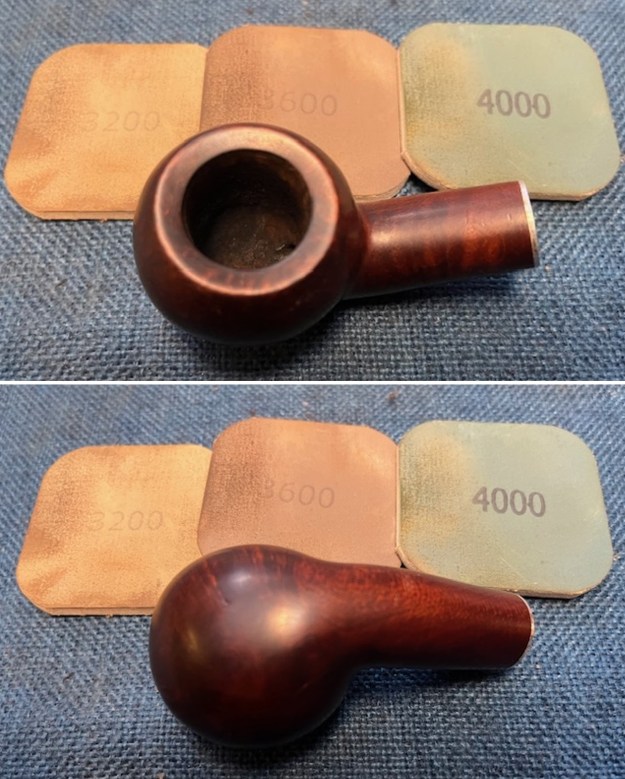
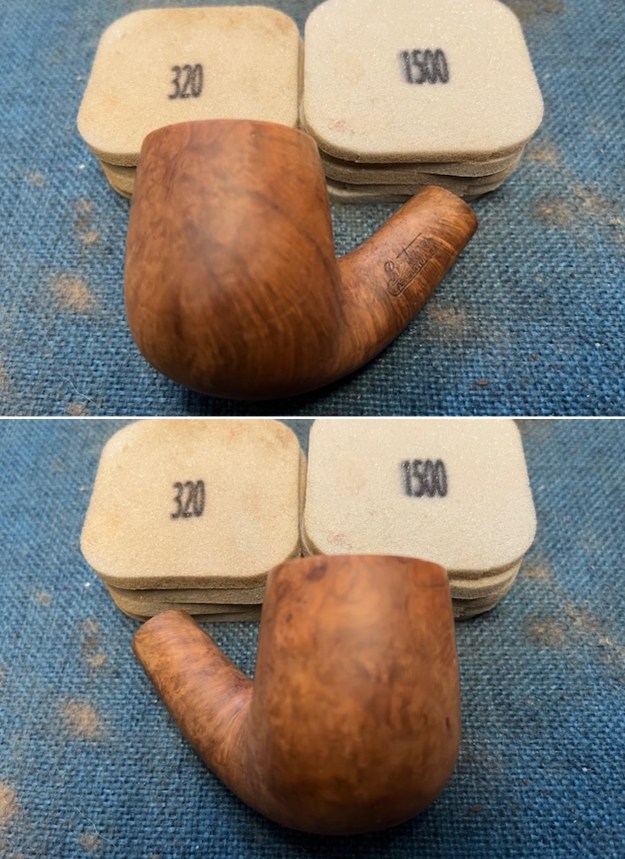
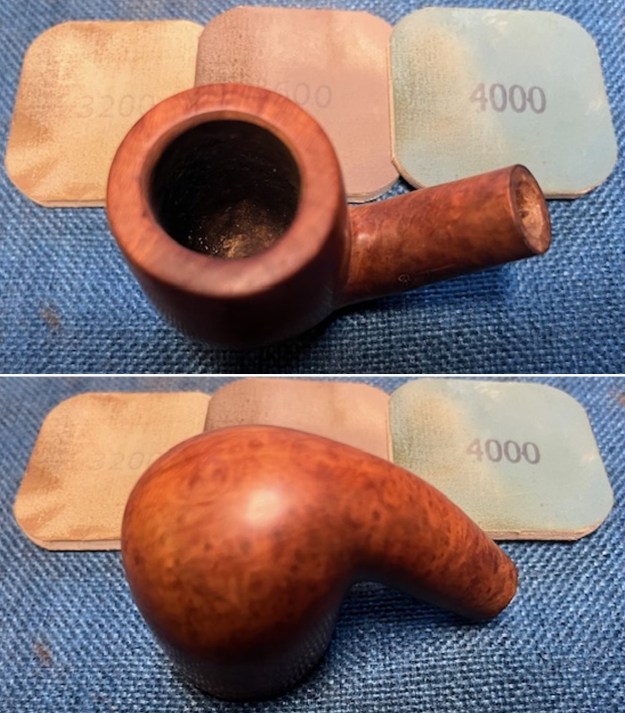
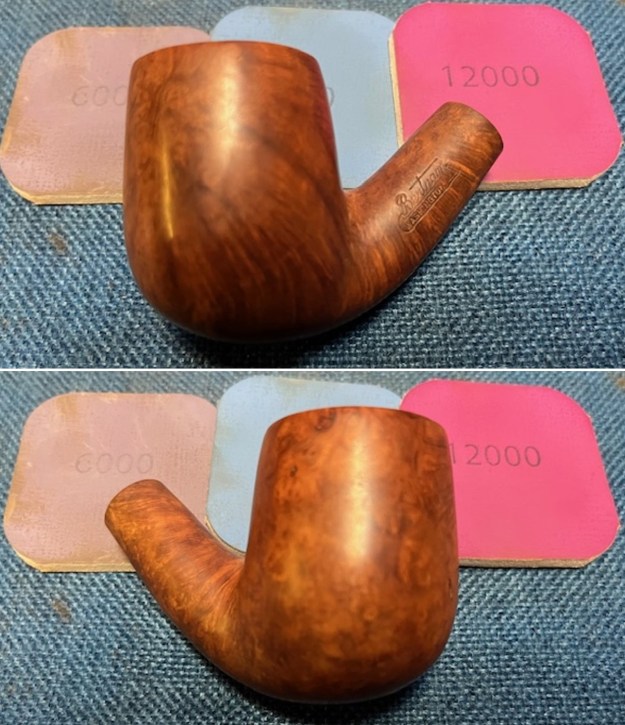
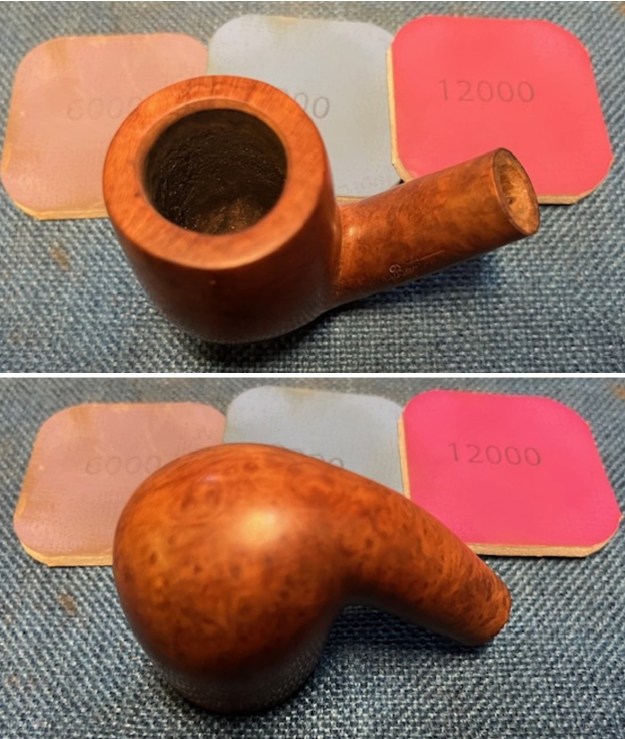
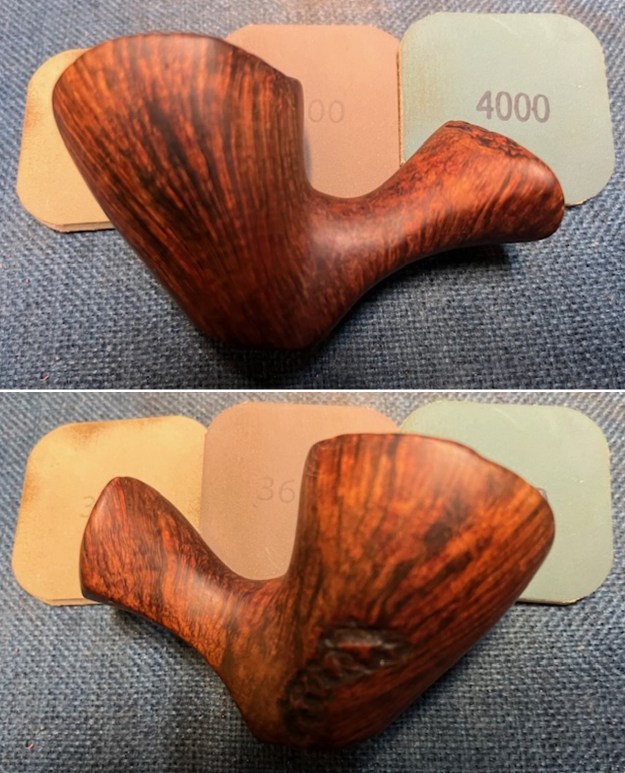
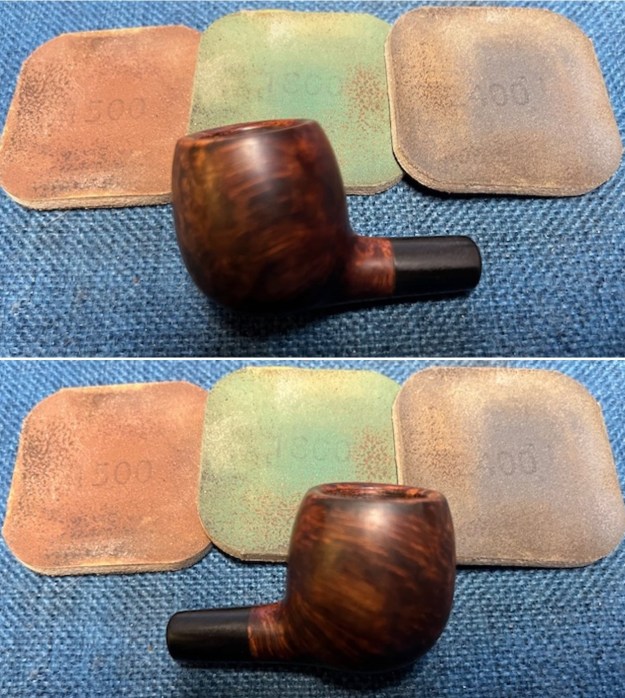
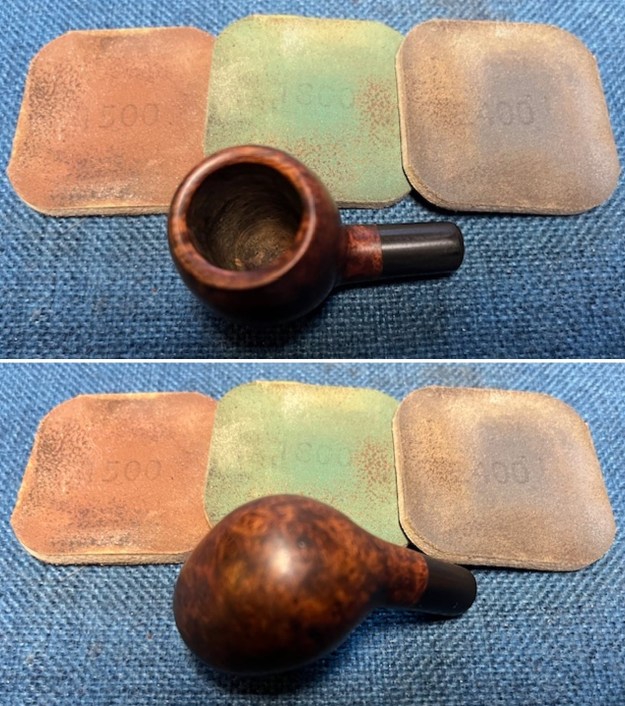
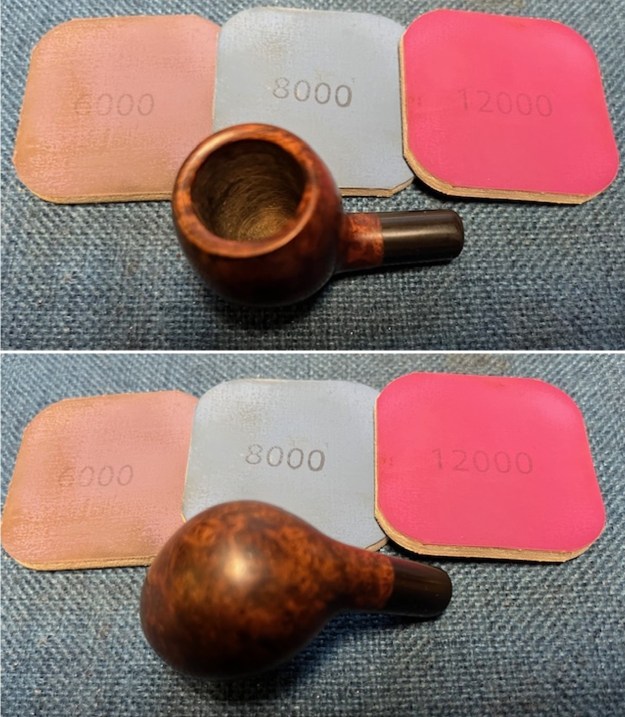
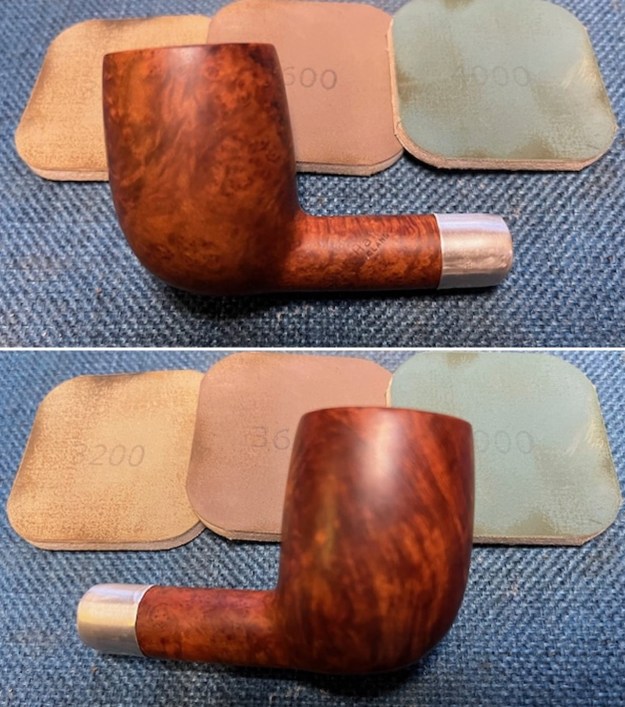
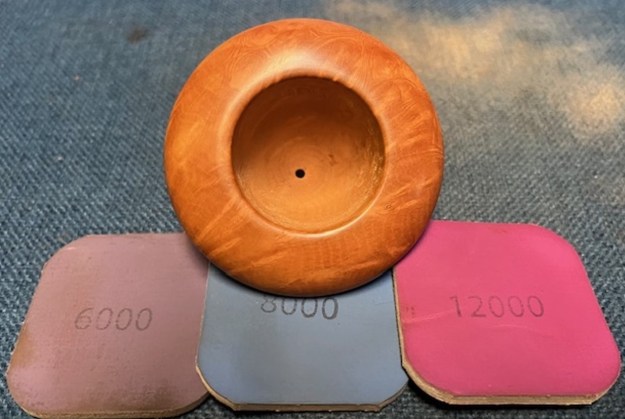
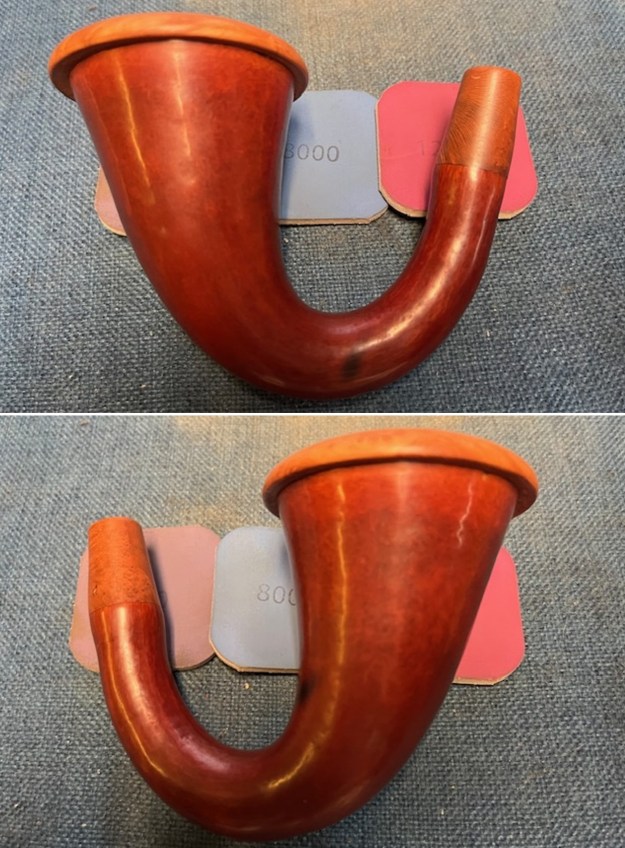
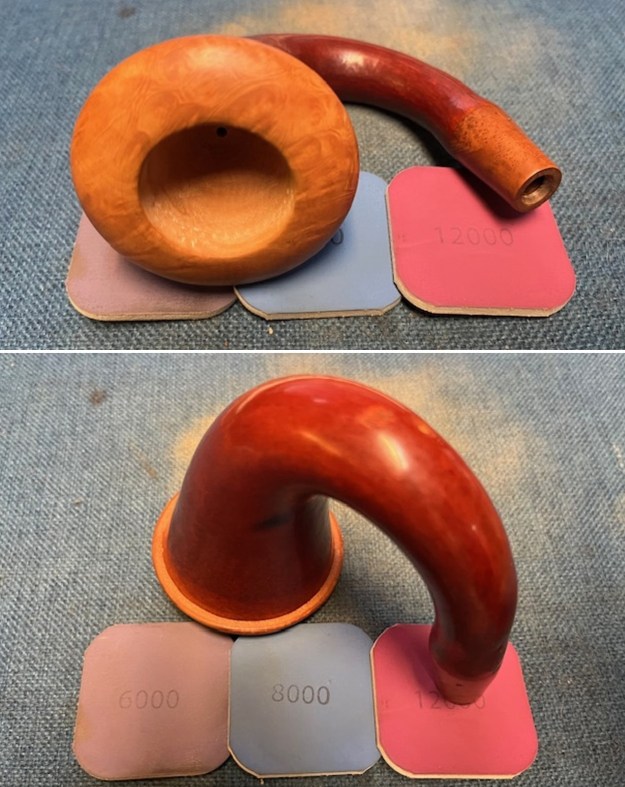
 I polished the bowl and rim top with micromesh sanding pads – dry sanding it with 1200-15000 grit pads. I wiped the bowl down with a damp cloth after each sanding pad. The grain started to rise to the surface and the repairs blended even more as I polished it.

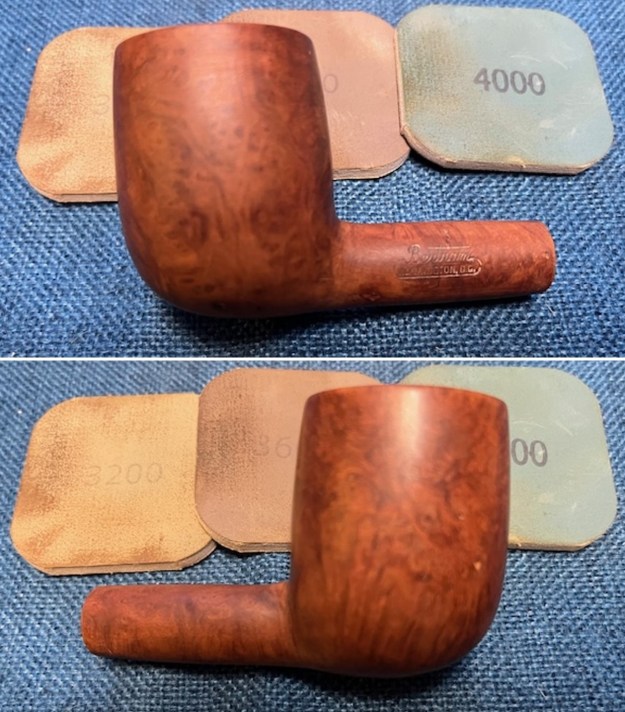
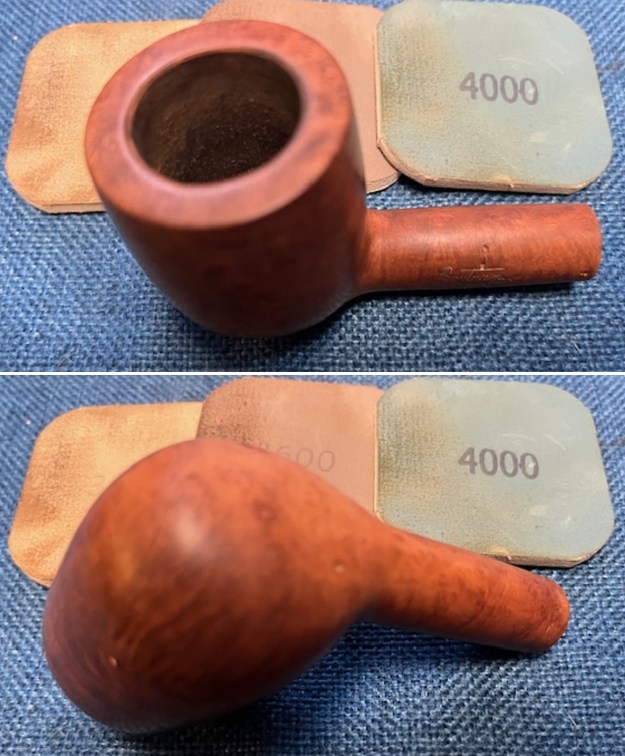
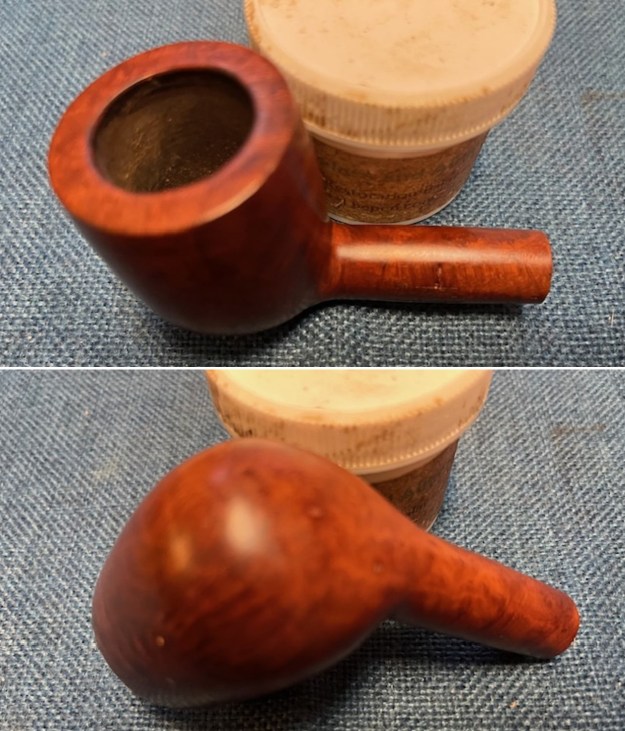
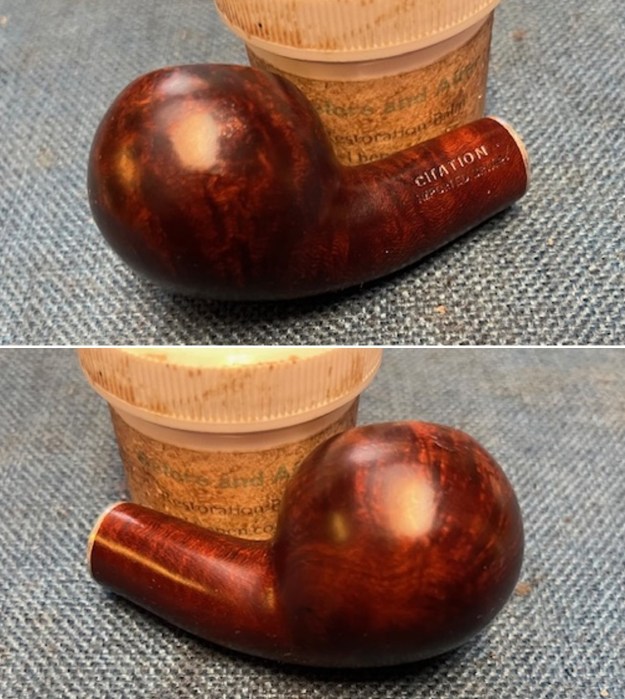
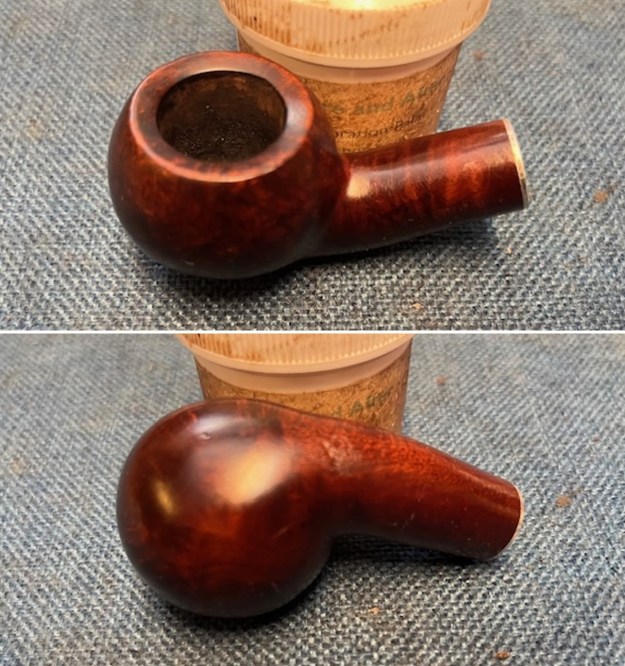
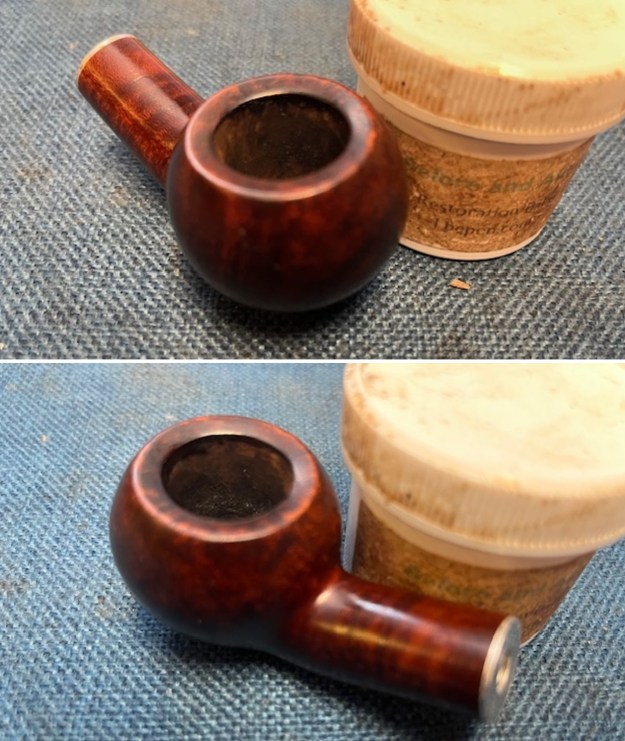
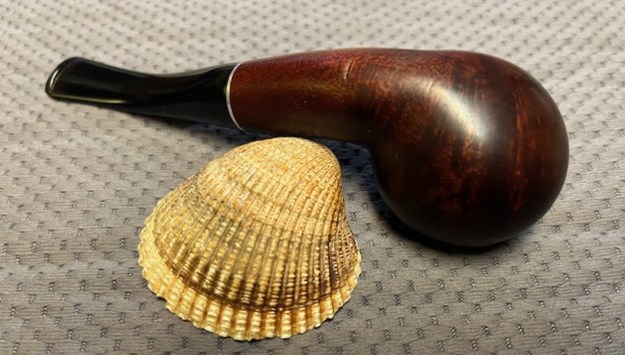
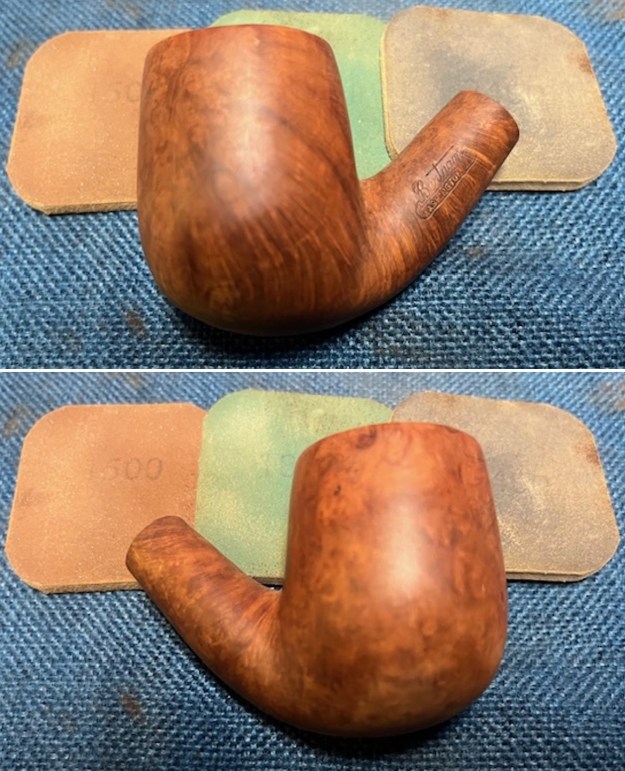
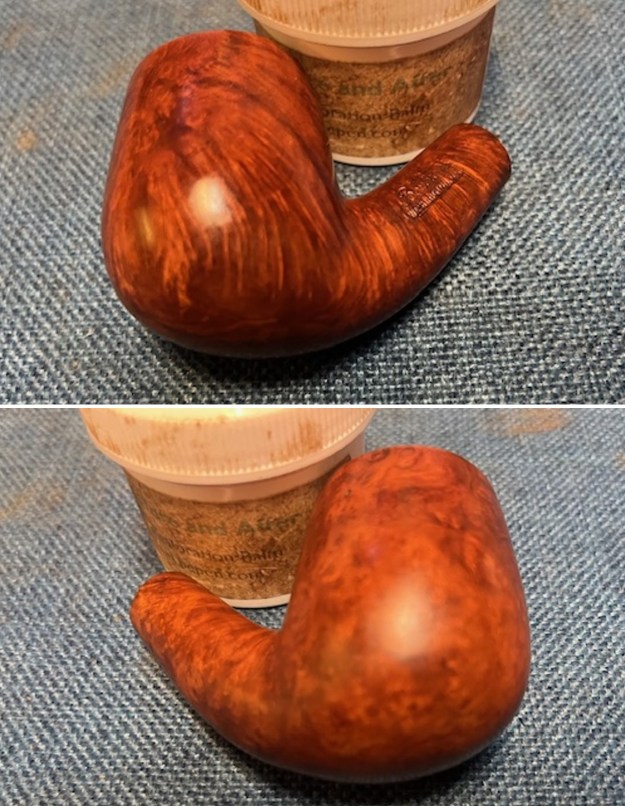
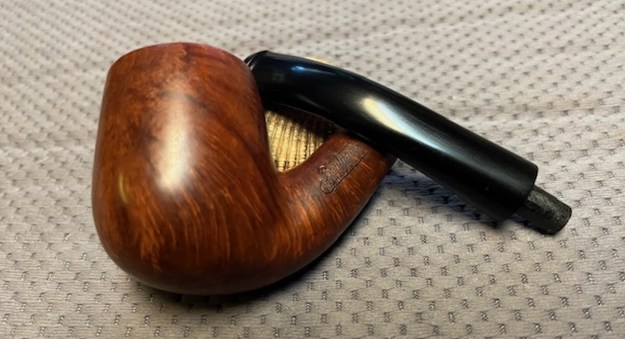
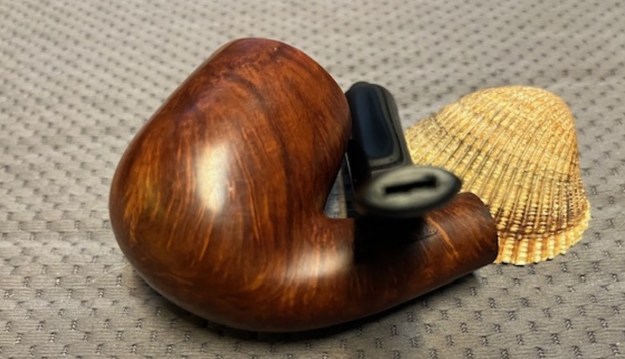
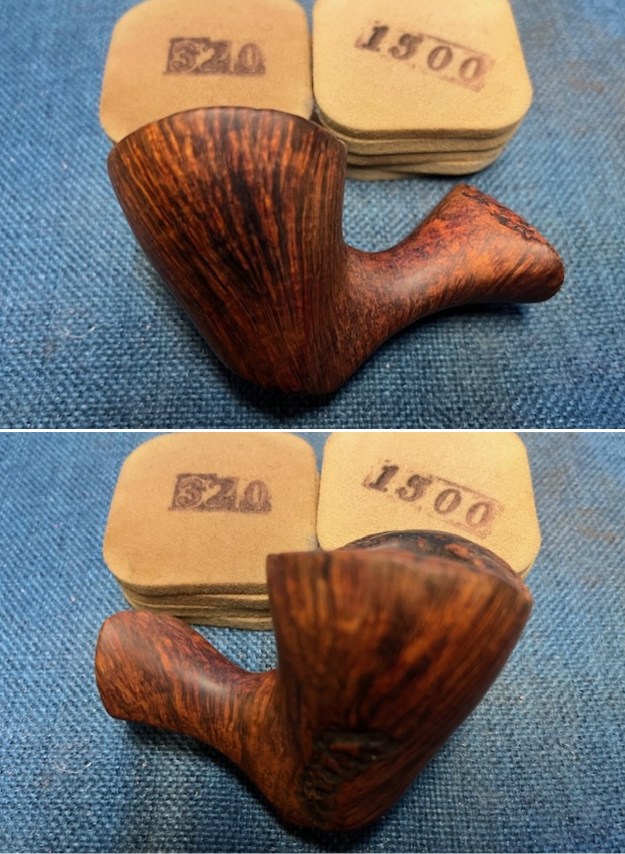
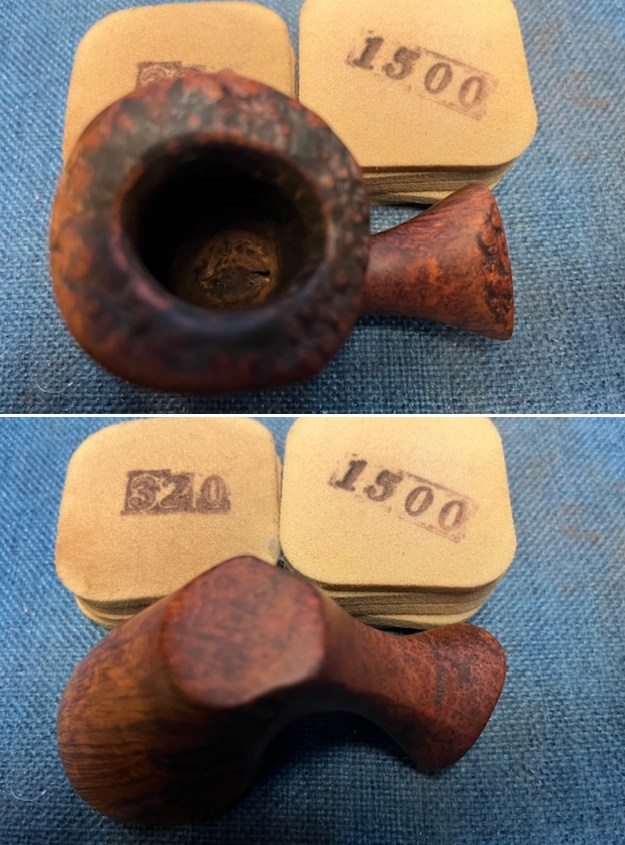
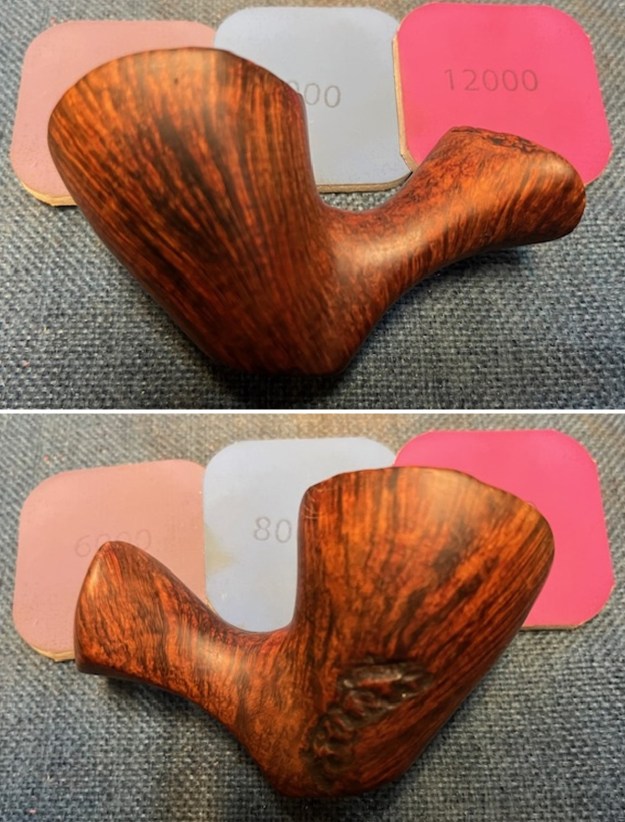
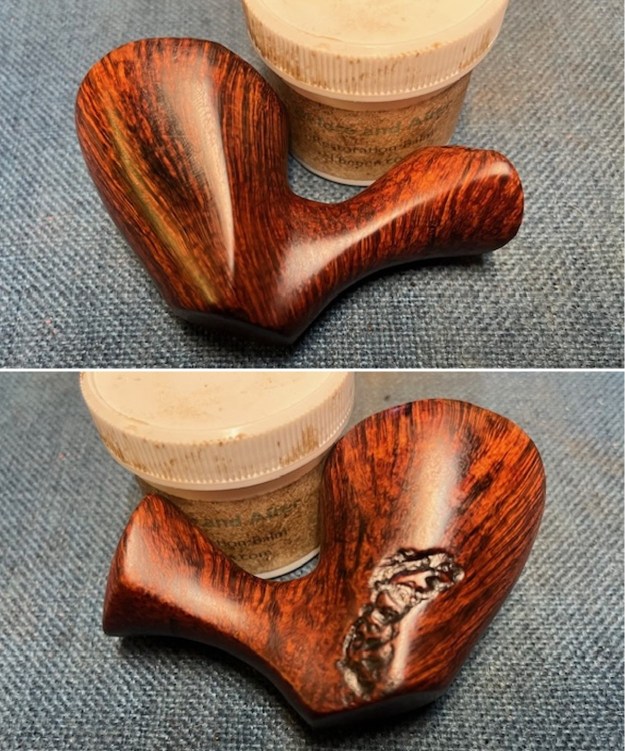
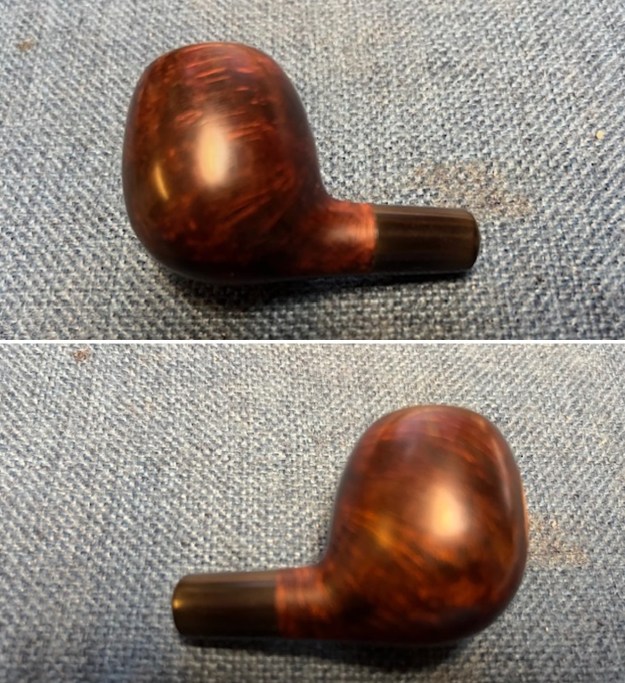
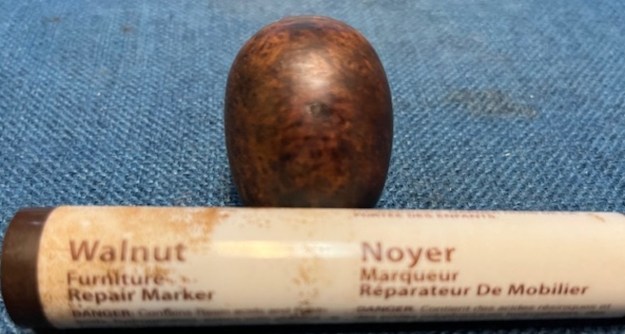
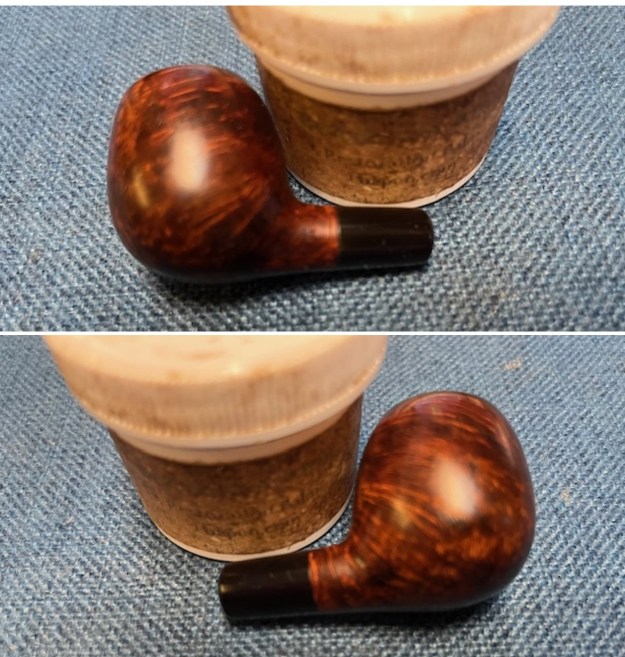
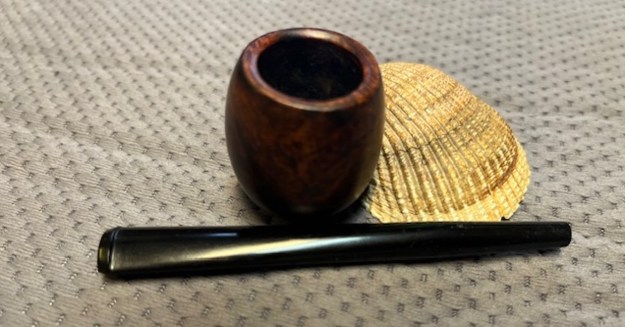
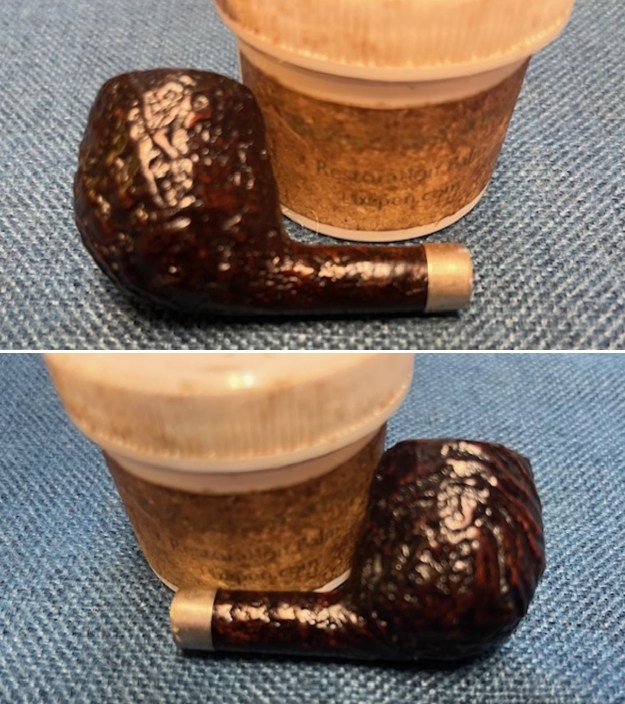
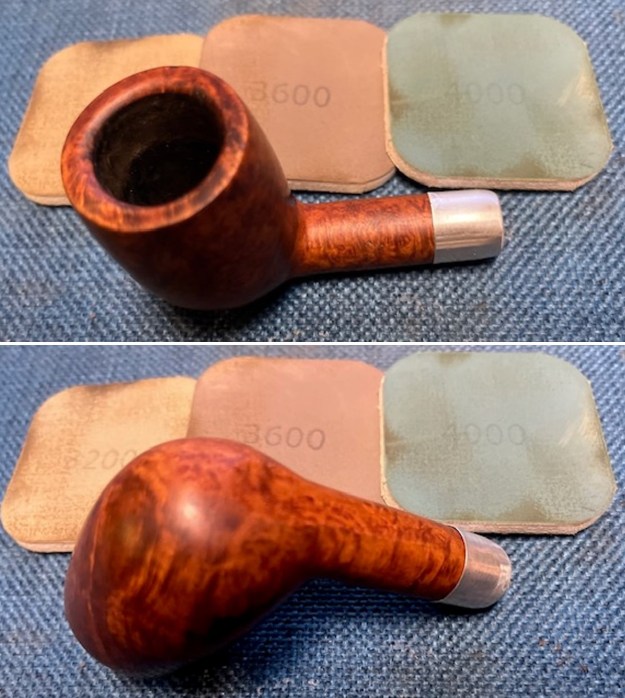
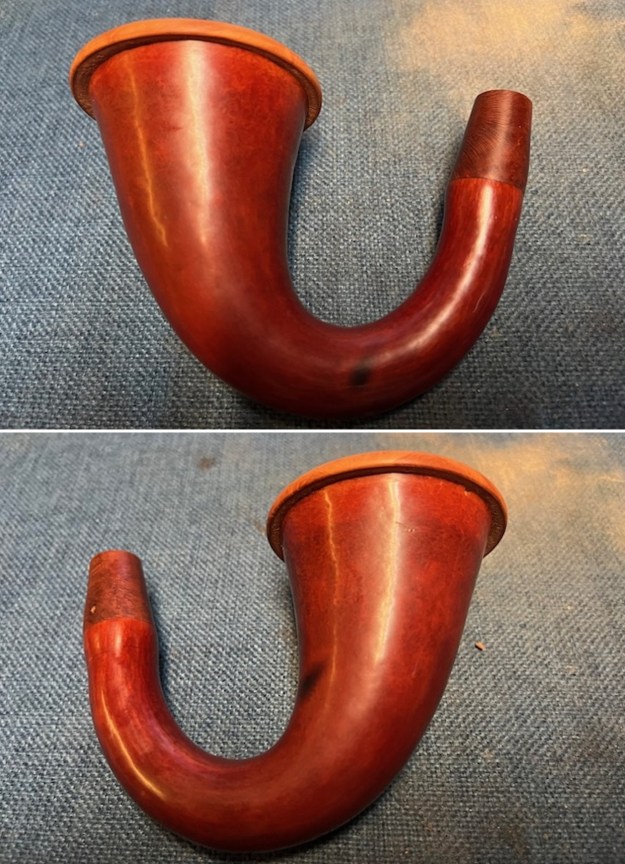
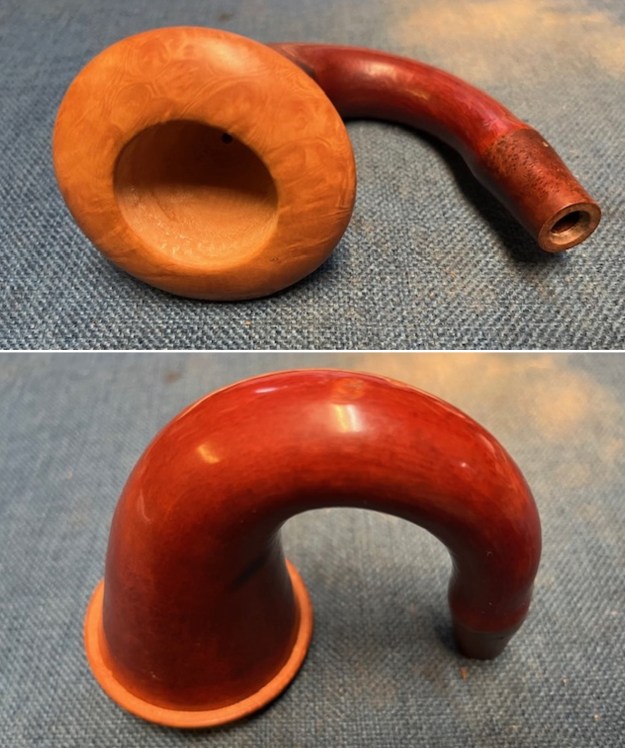
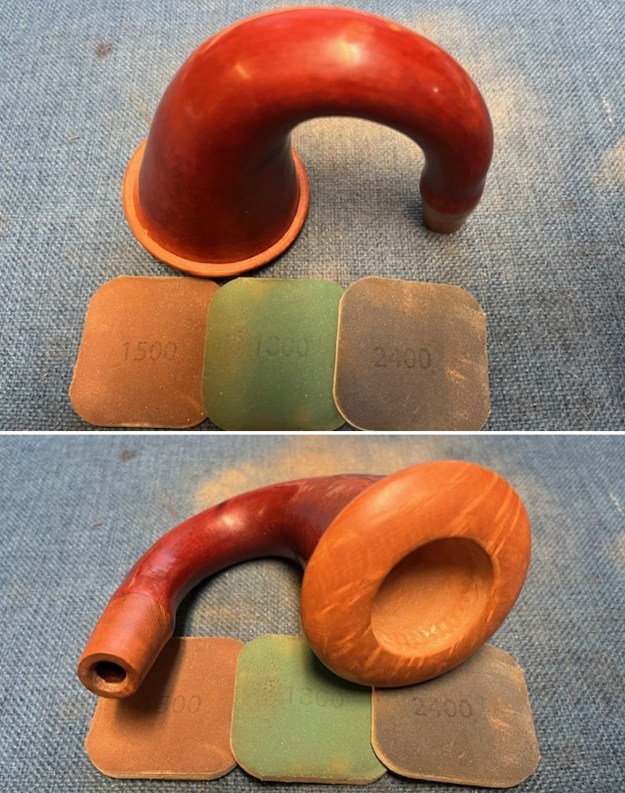
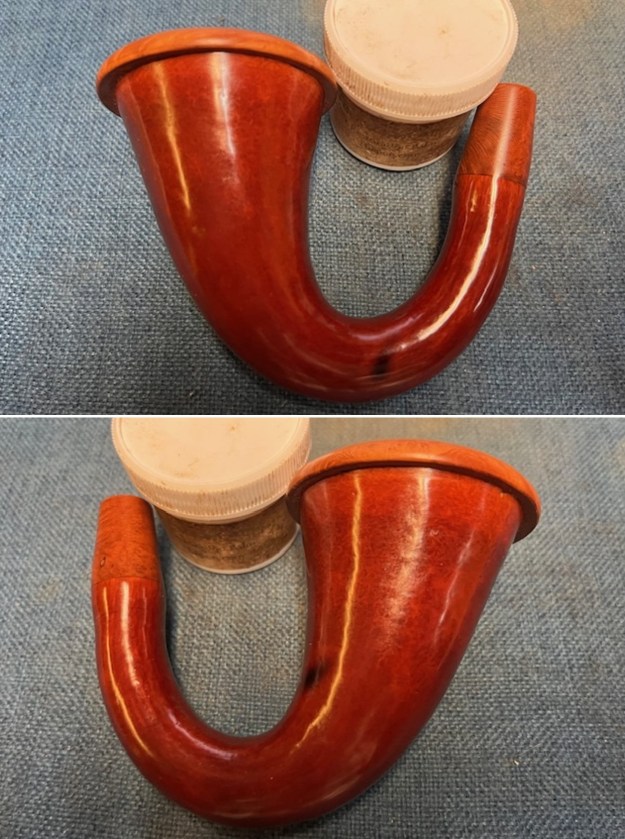
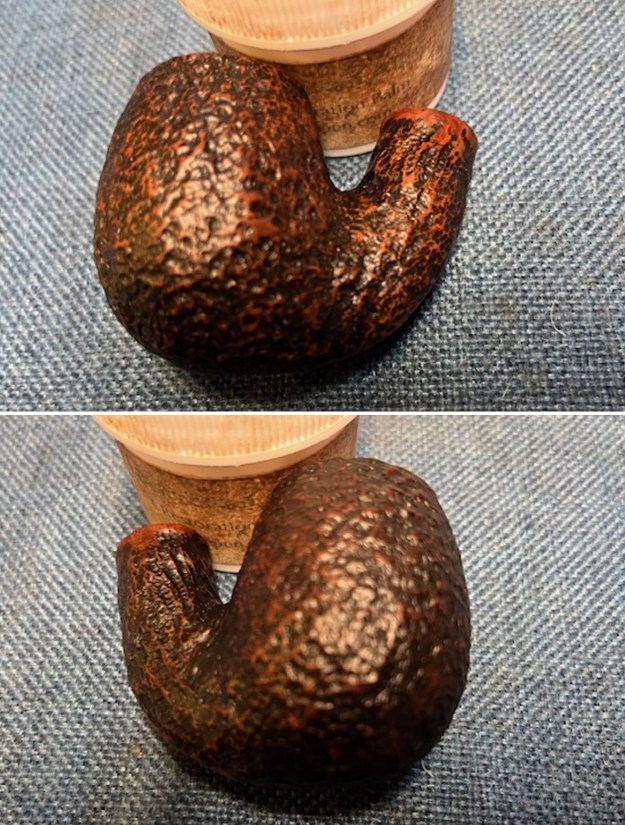
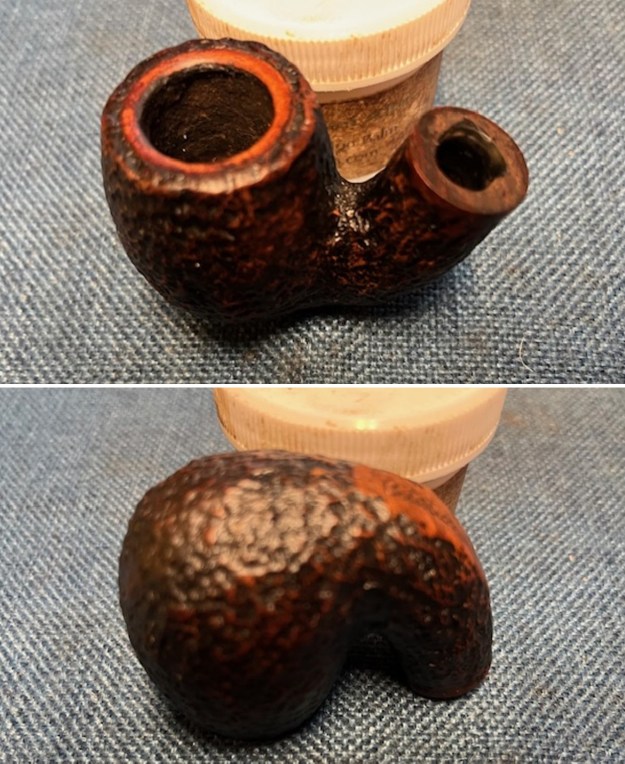
 I rubbed the bowl and shank down with Before & After Restoration Balm to deep clean the finish on the bowl and shank. The product works to clean, enliven and protect the briar. I worked it in with my fingers to get it into the briar. I let it sit for 10 minutes then I wiped it off and buffed it with a soft cloth. The briar really began to have a rich shine. I took some photos of the bowl at this point to mark the progress in the restoration. It is a beautiful bowl.
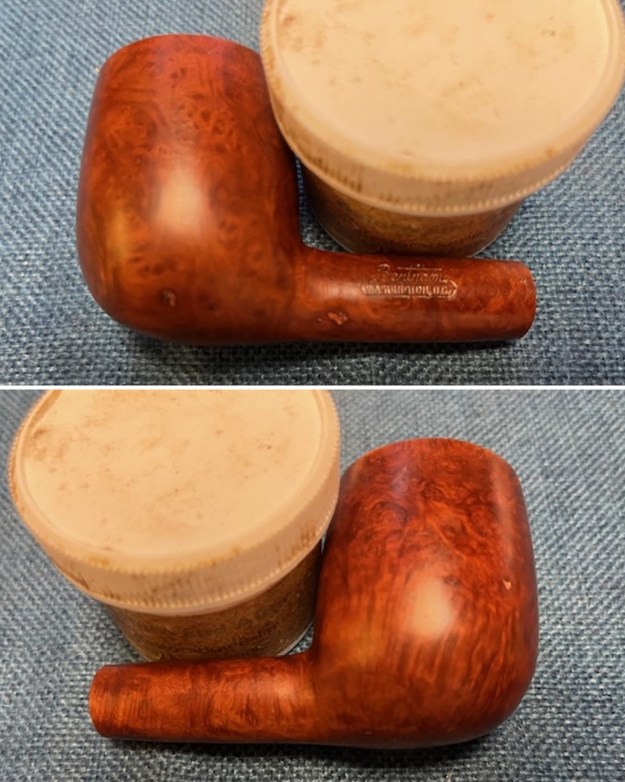
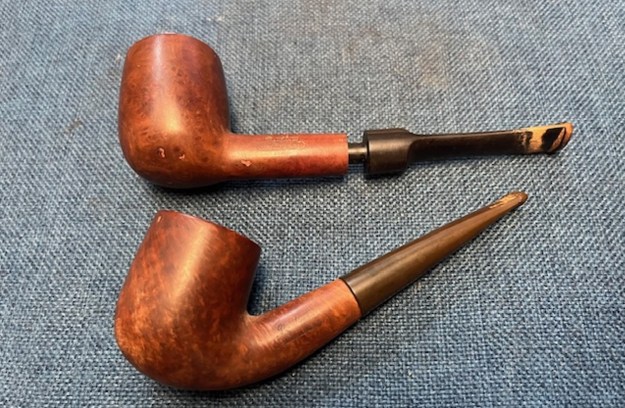
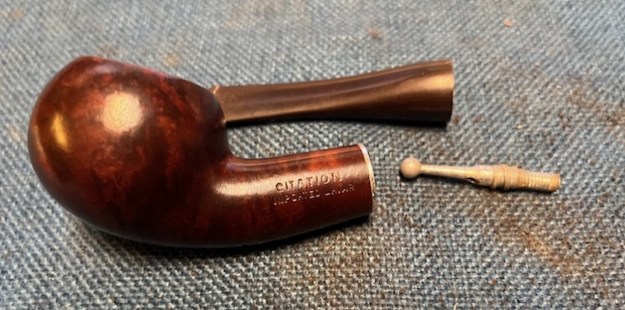
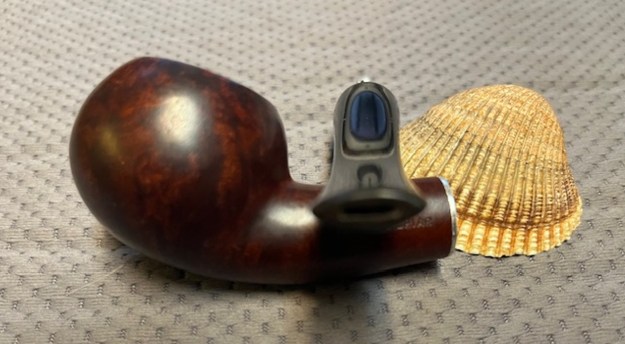
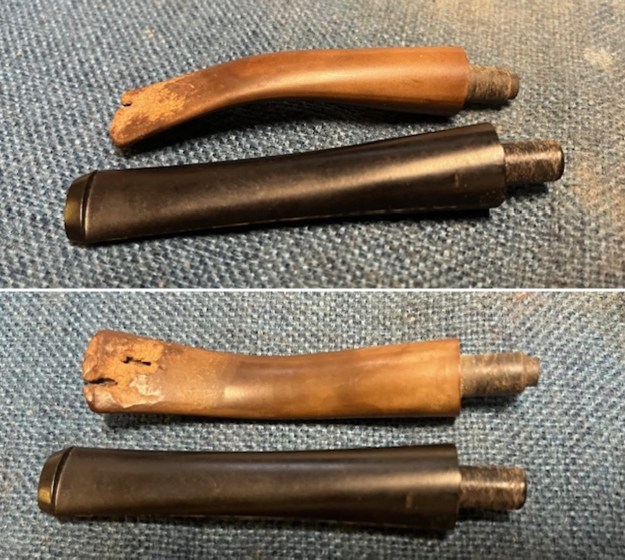
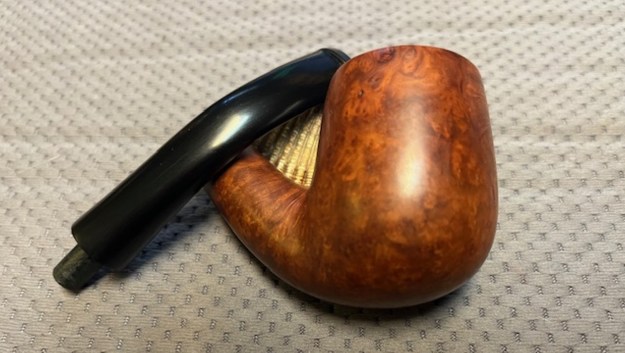
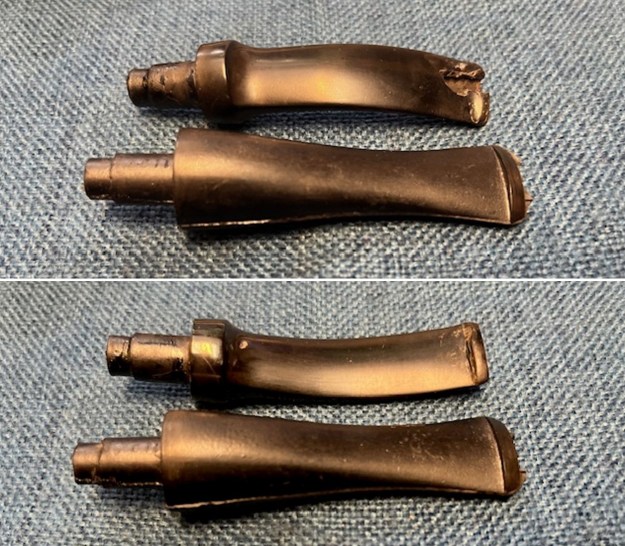
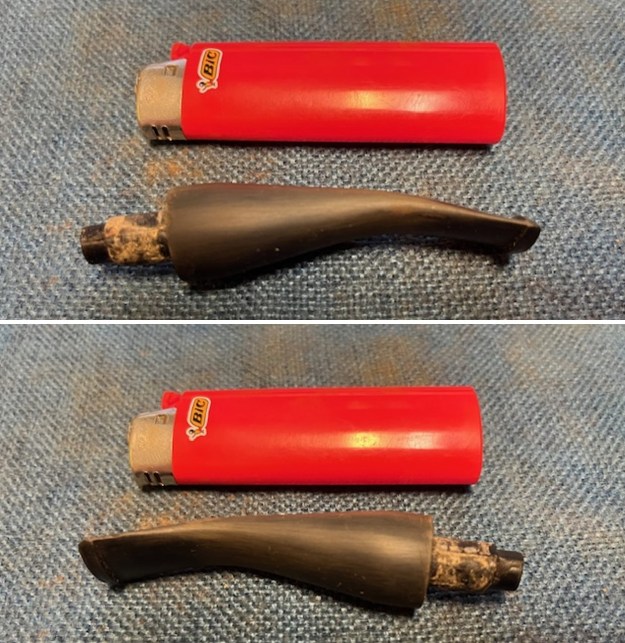
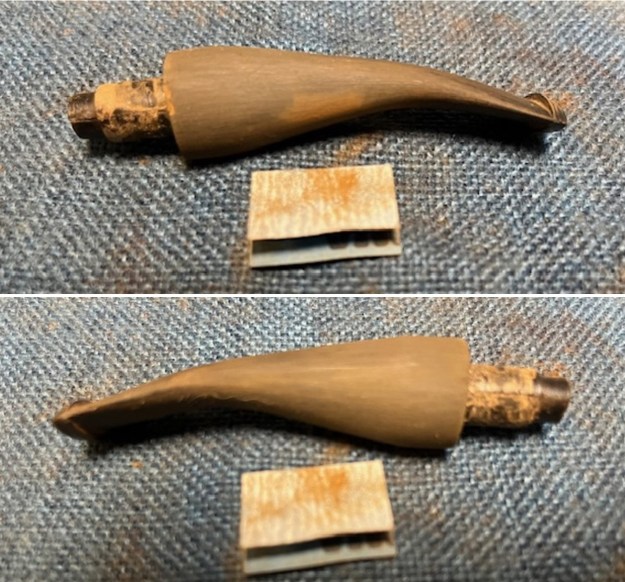
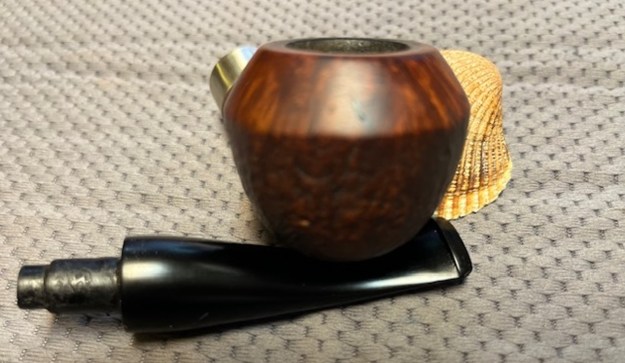
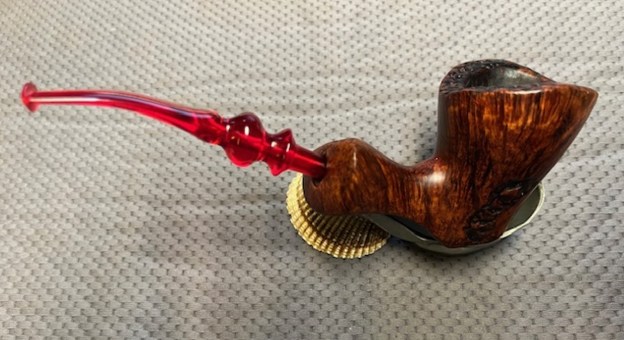
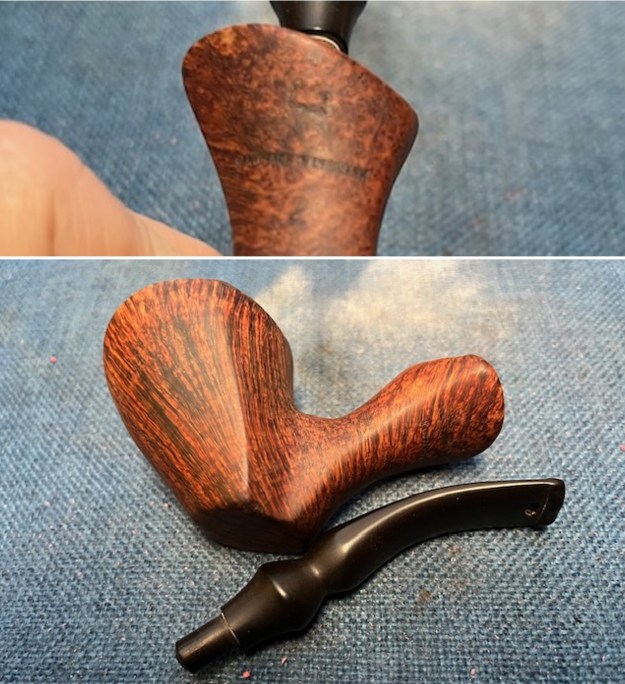
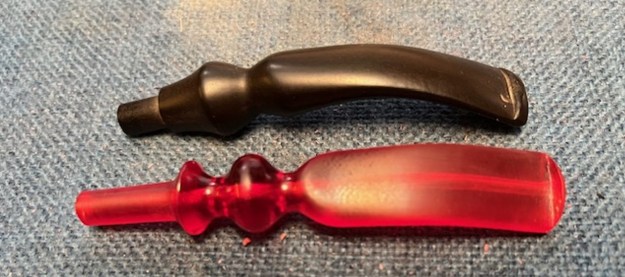
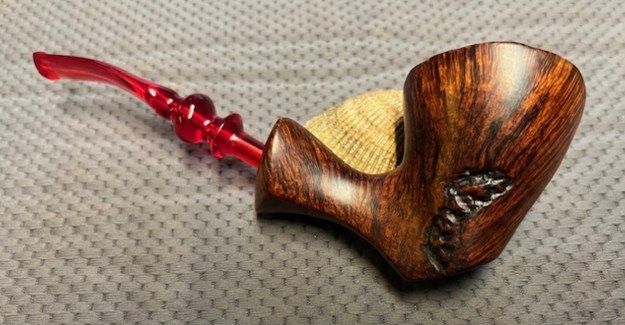
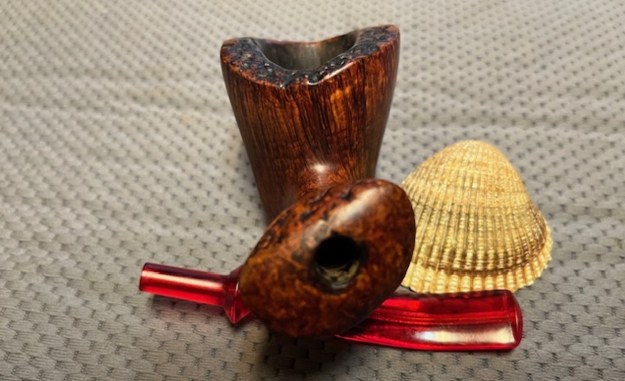
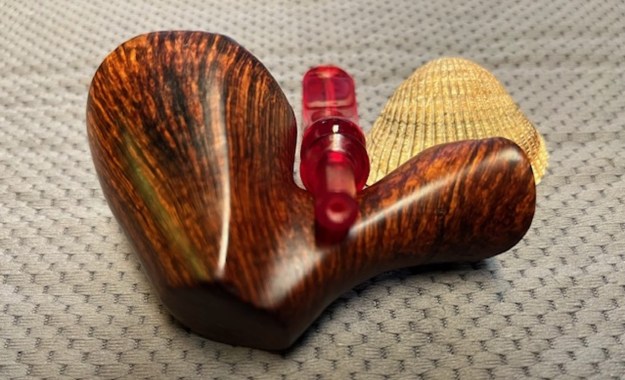
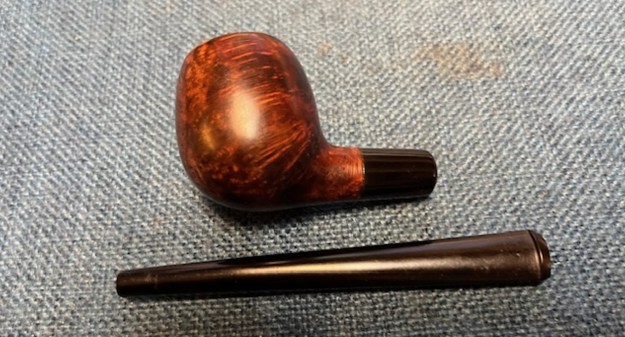
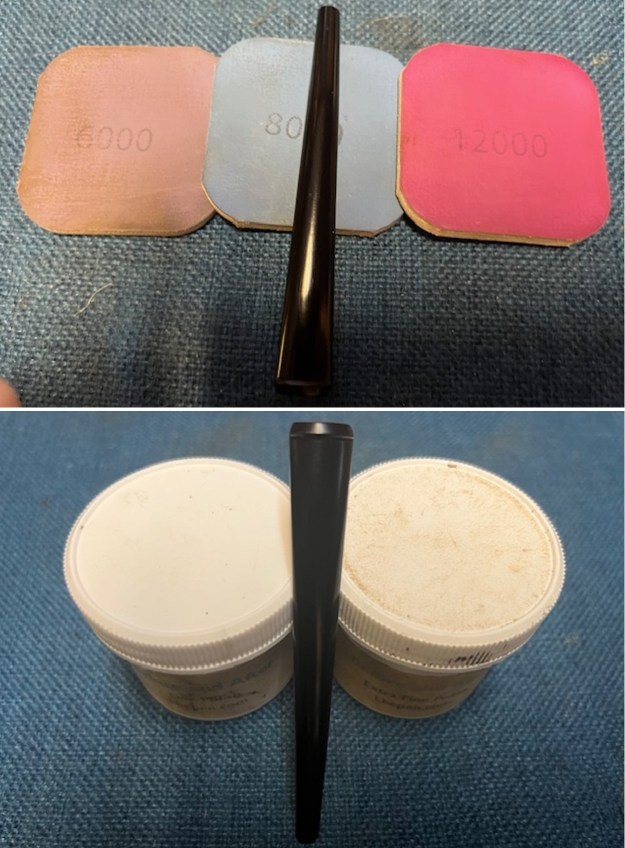
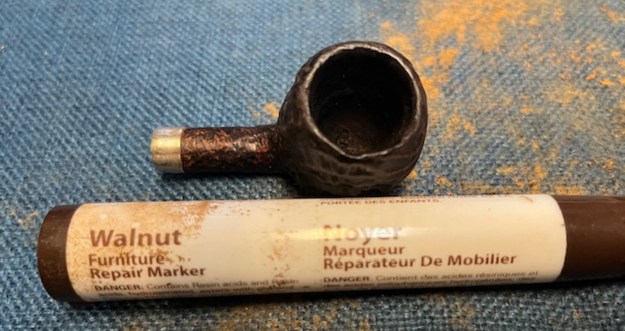
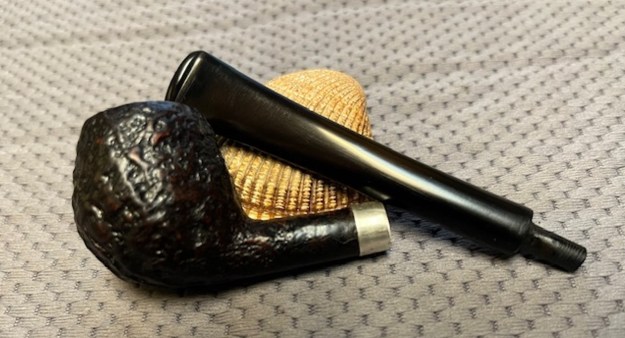
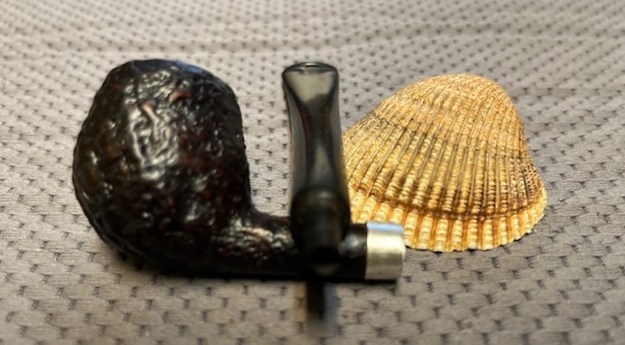
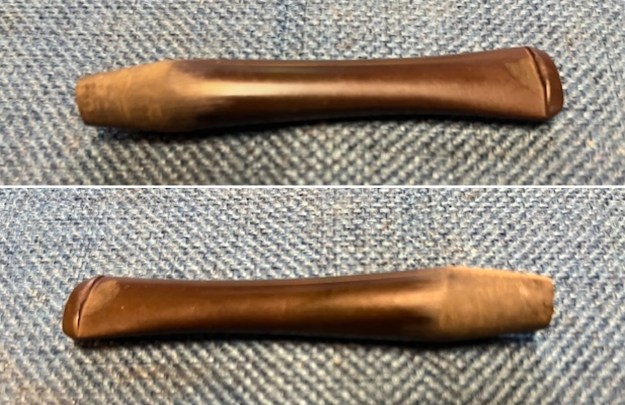
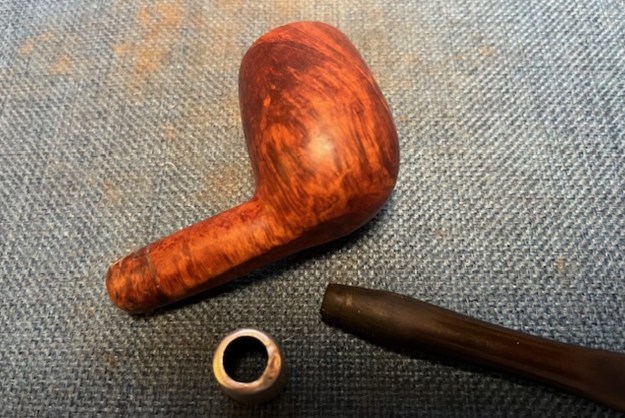
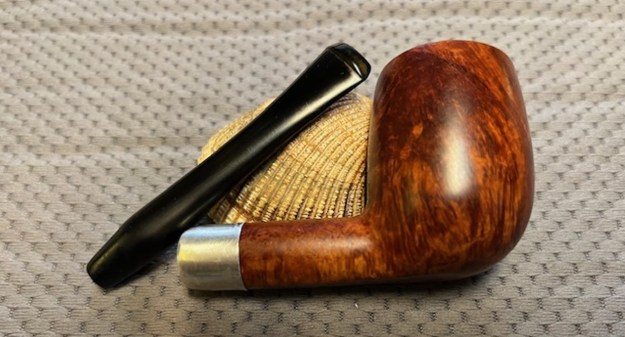
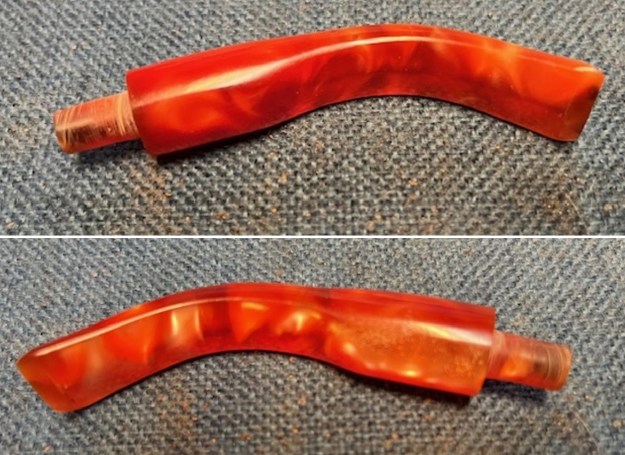
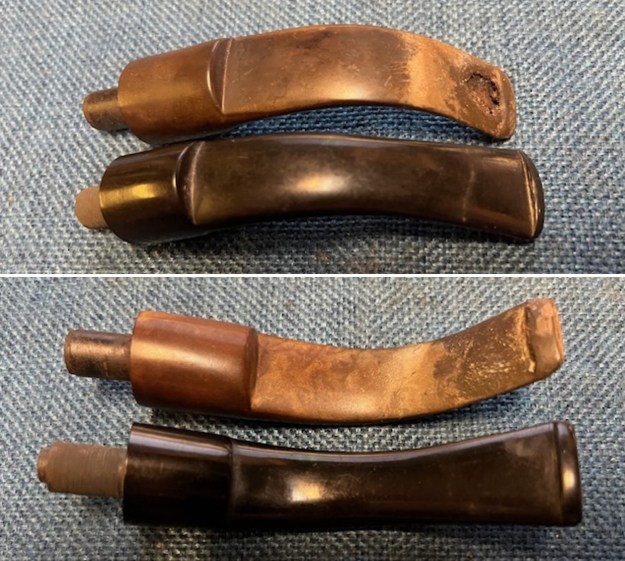
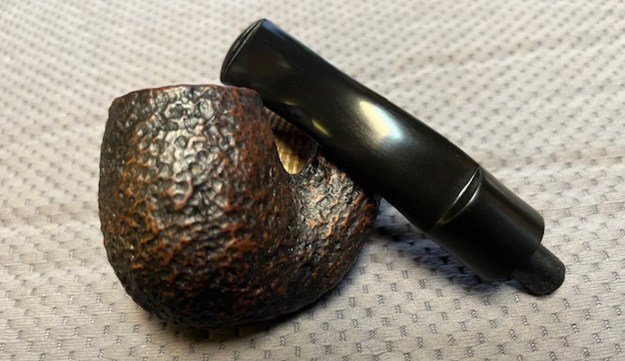
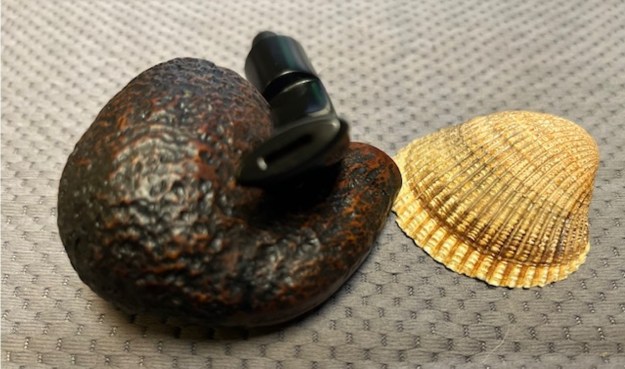
 I laid the bowl aside and turned my attention to fitting a new stem. I made a decision about switching the short taper stem on this pipe to one of the other Bent Billiards that I needed to restem. I went through my stems and found one that did not have a tenon but was very close to the diameter of the shank – slightly larger but very workable. I would use the original stem on the bent. I chose this saddle fishtail stem for this one. It would take some work to clean up bu tit would look good.
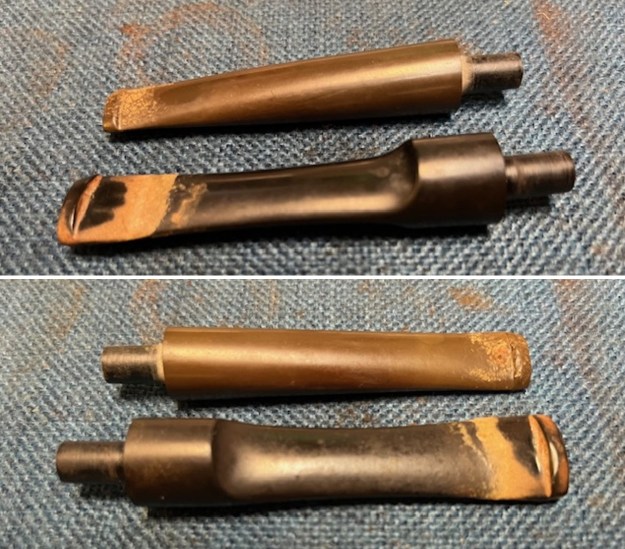
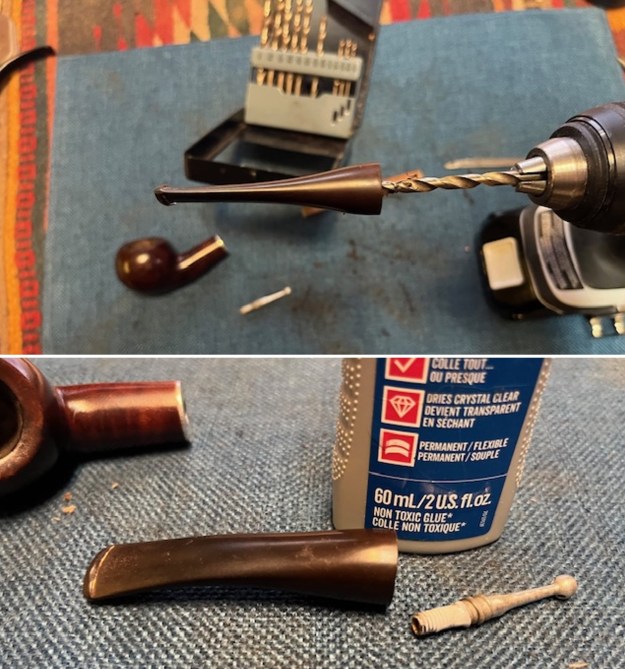
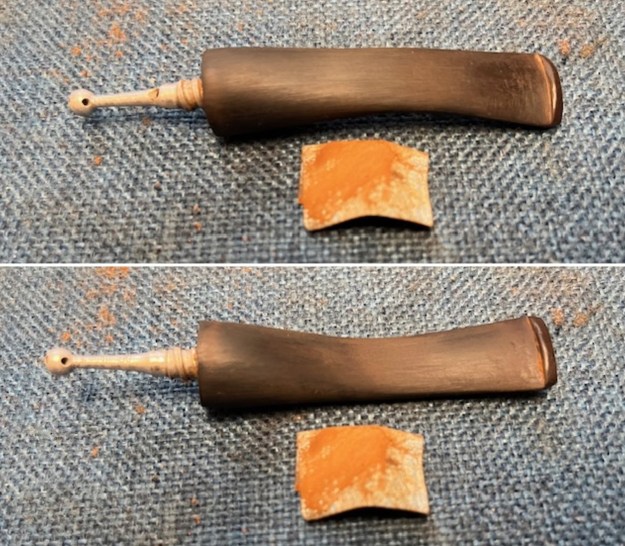
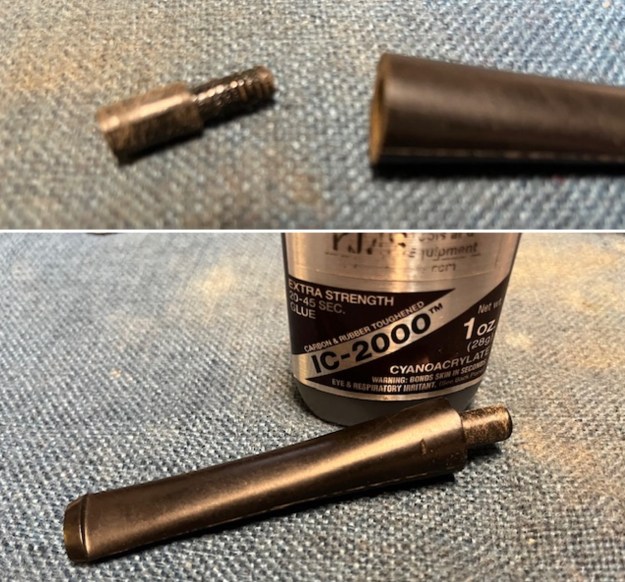
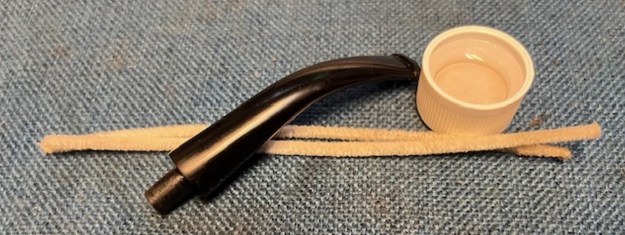
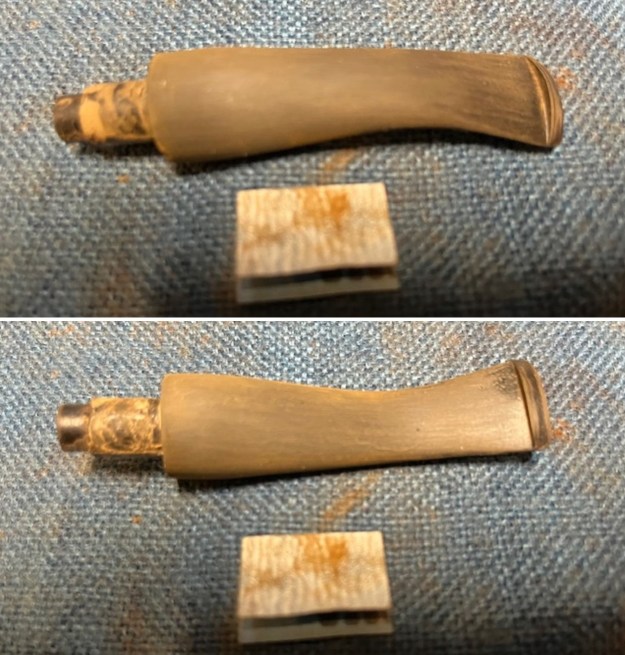
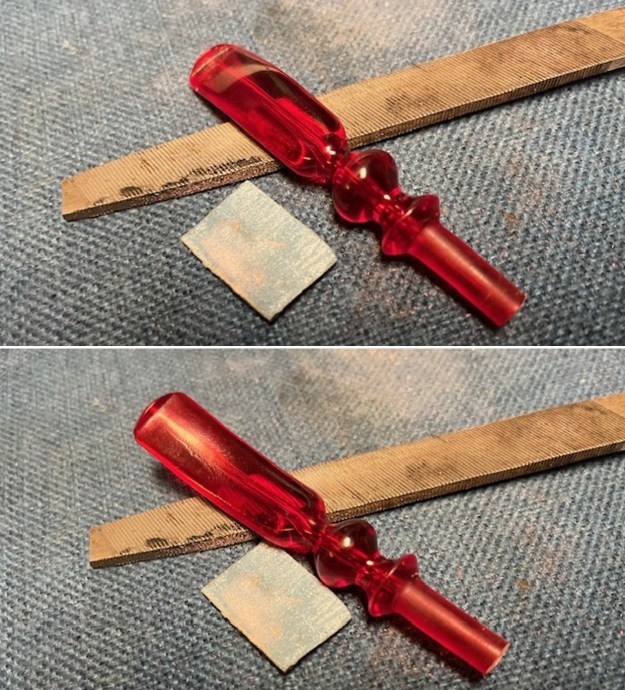
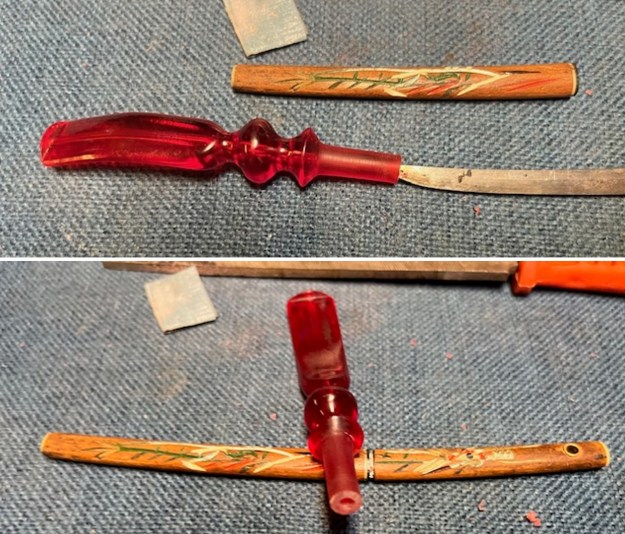
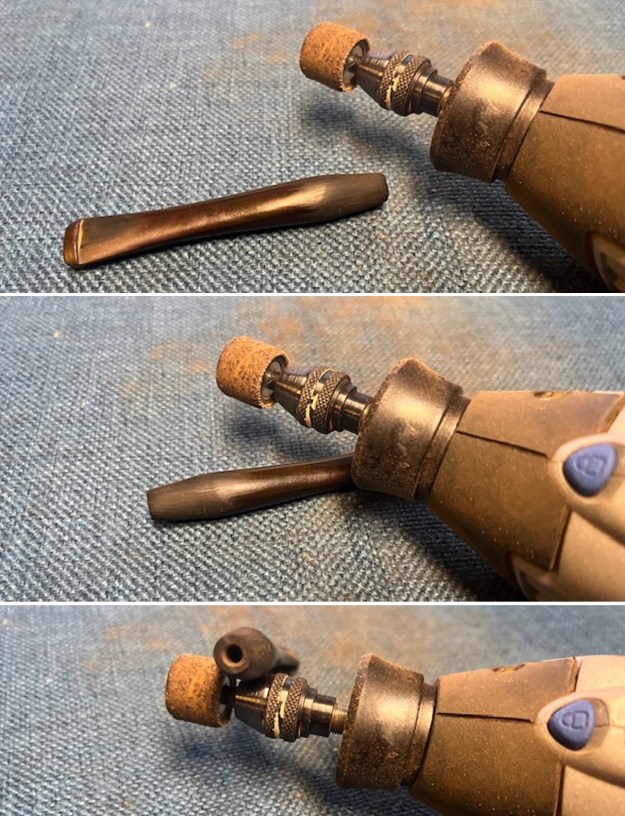
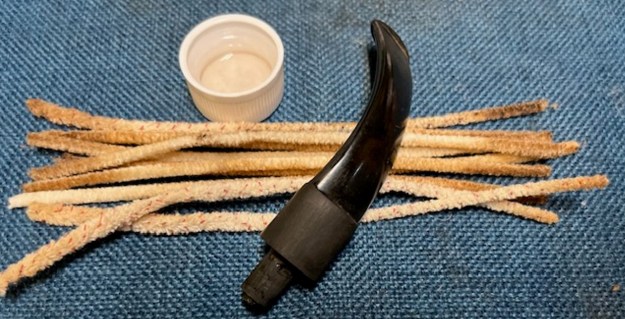
 I cleaned out the the airway in the stem with pipe cleaners and isopropyl alcohol. It was a dirty stem.
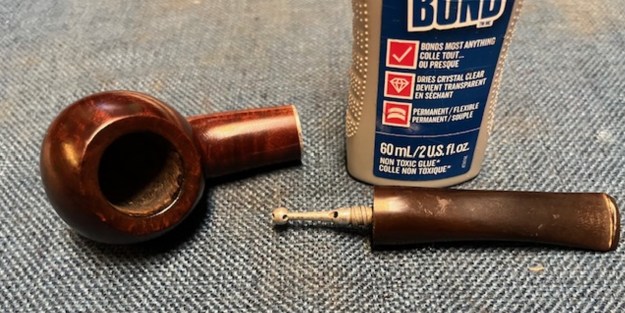
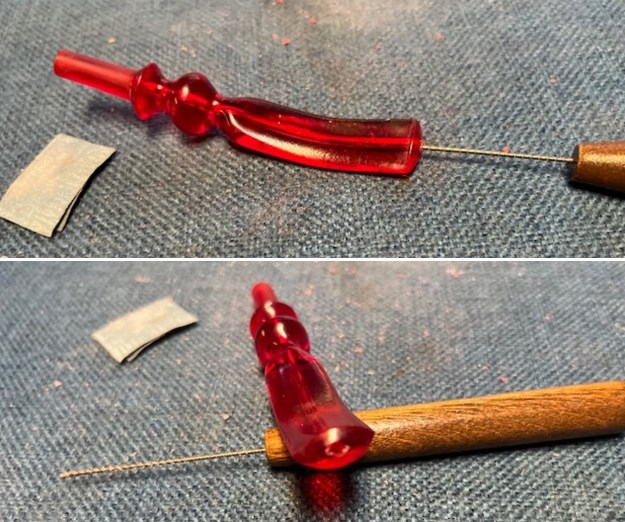
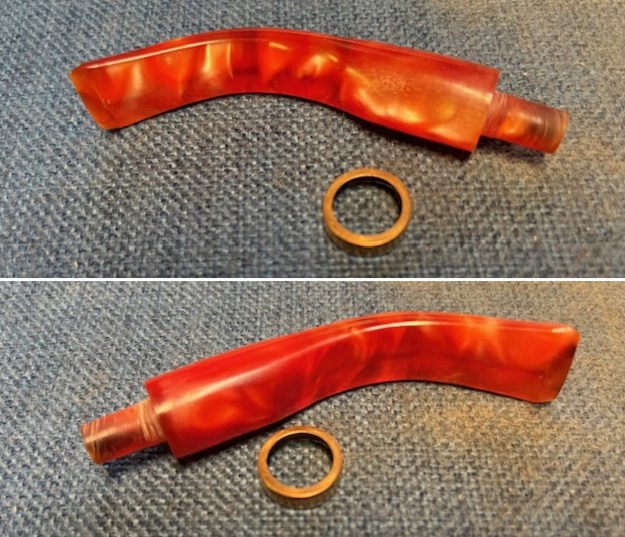
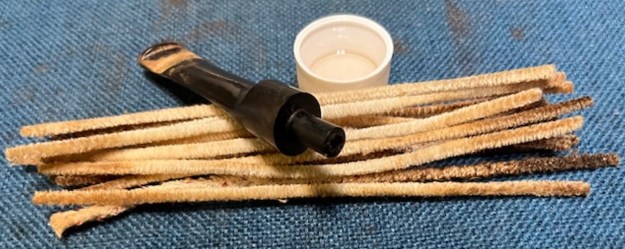 To fit the tenon to the shank I used several flat files and reduced the tenon size. I cleaned it up with a Dremel and sanding drum, flat files and sand paper until the fit was snug in the shank. It was going to work well.
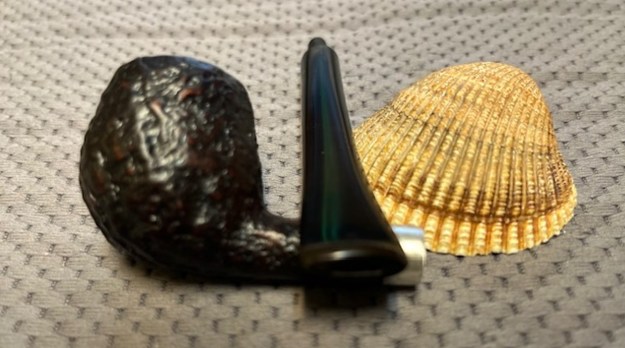
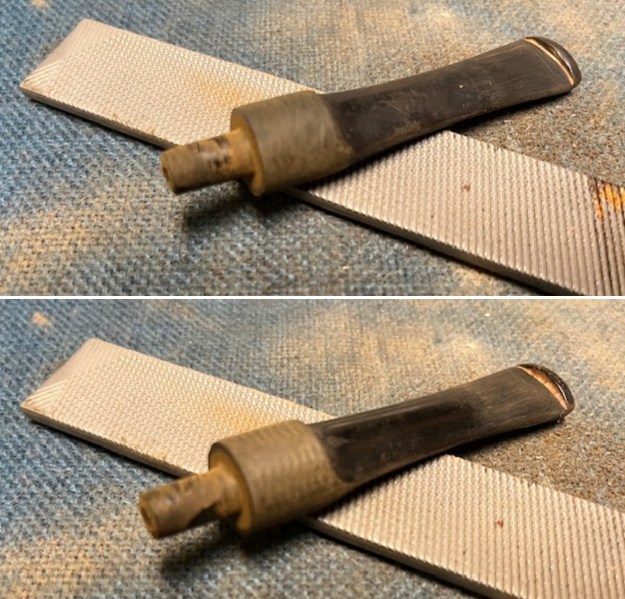 I sanded the saddle portion of the stem with 220 grit sandpaper to adjust the fit to the shank. By the time I was finished sanding it the stem very well to the shank and the transition was smooth.
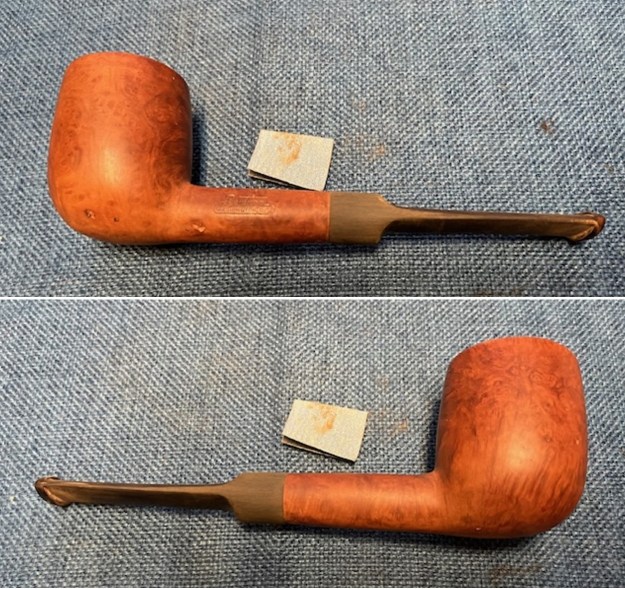
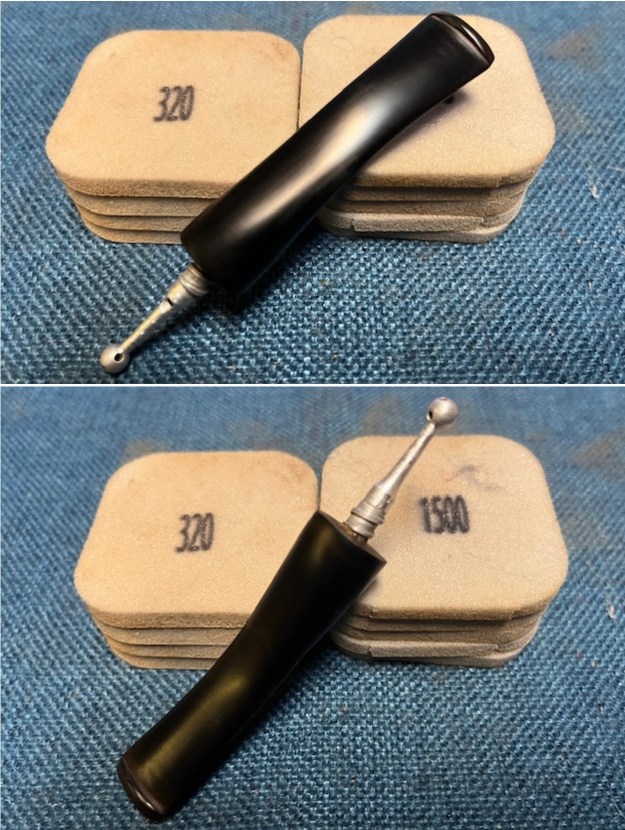
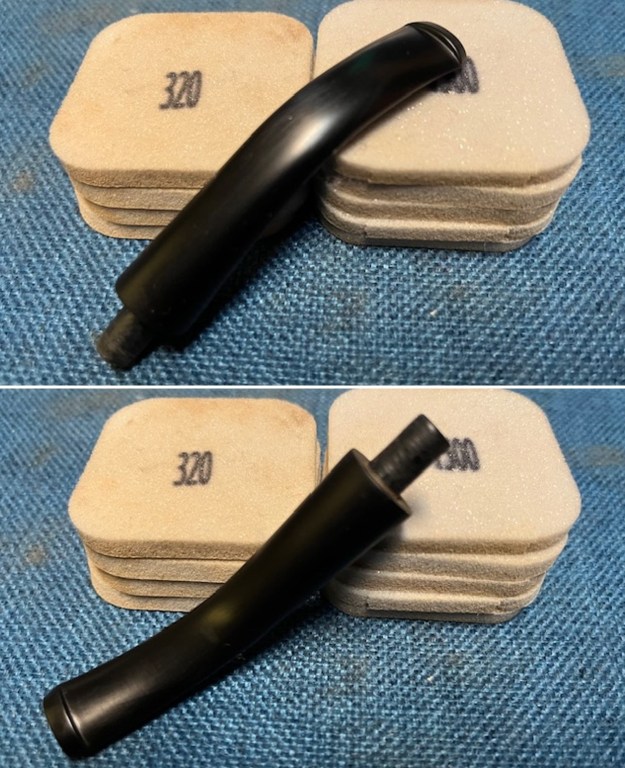
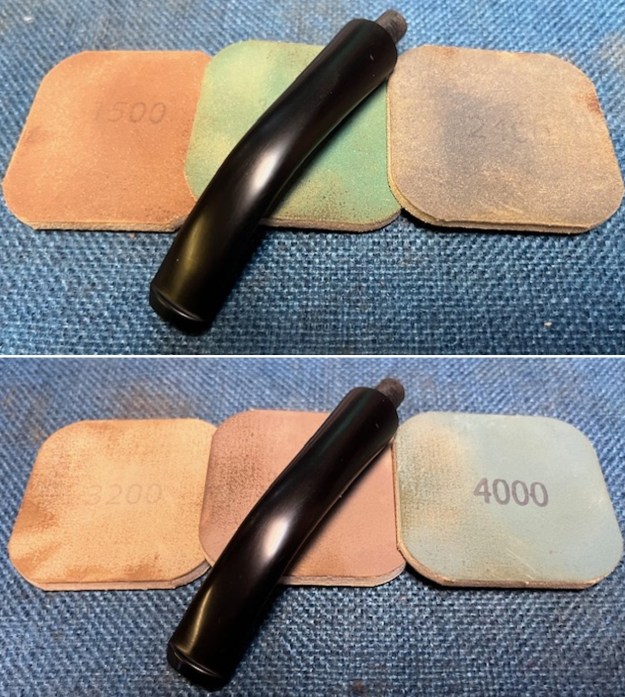
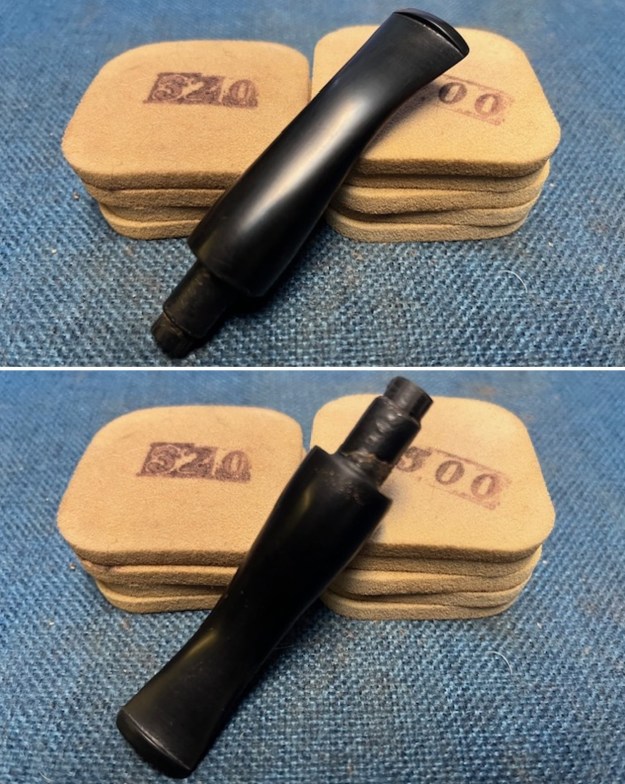
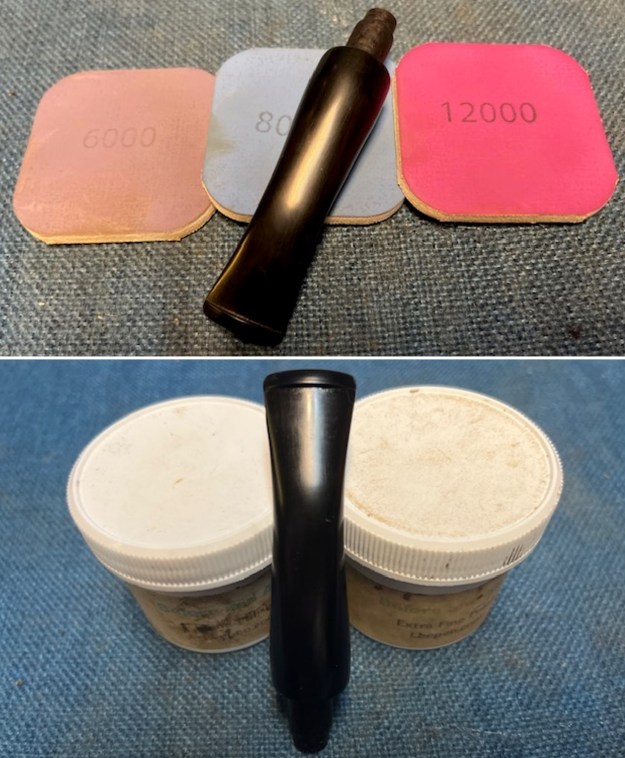
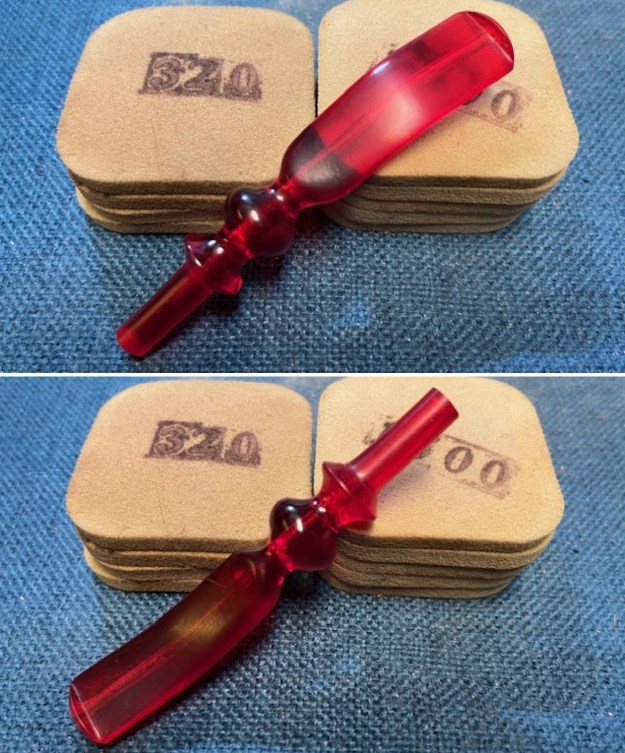
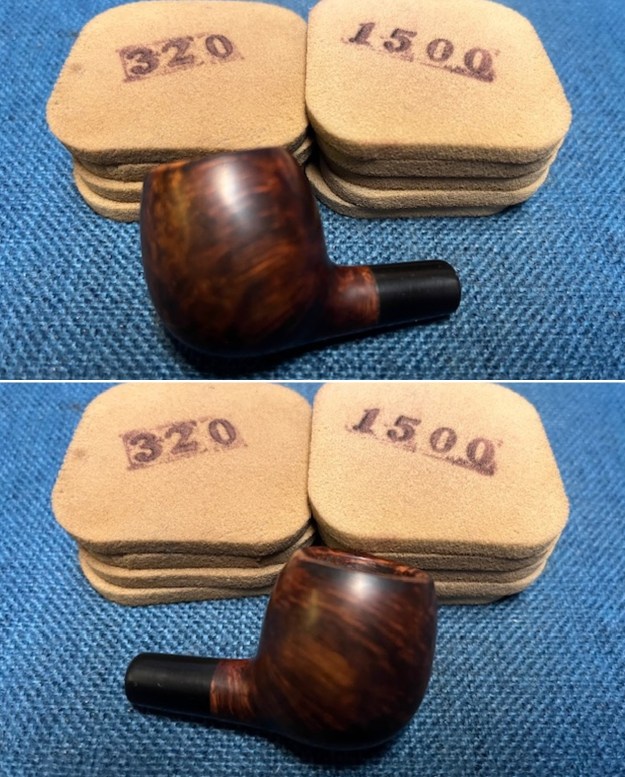
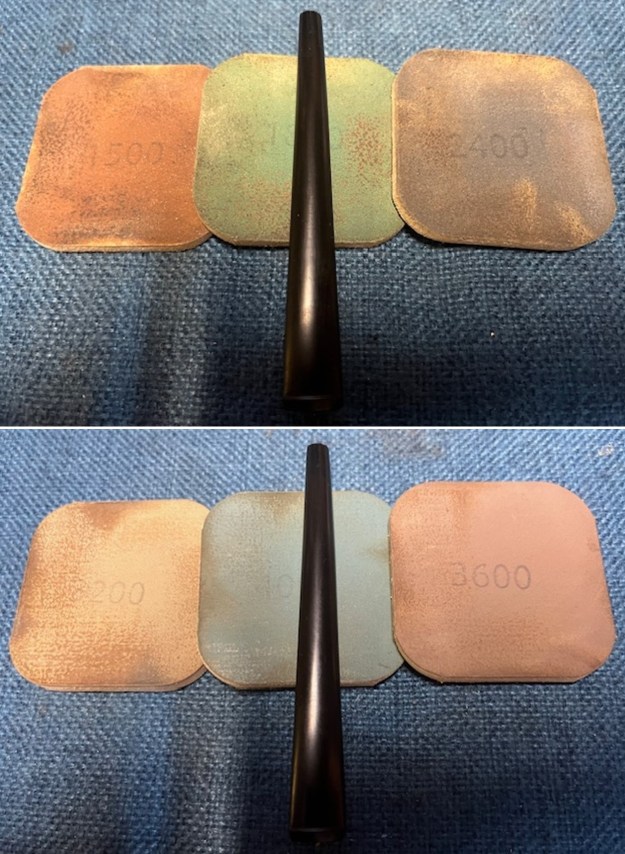
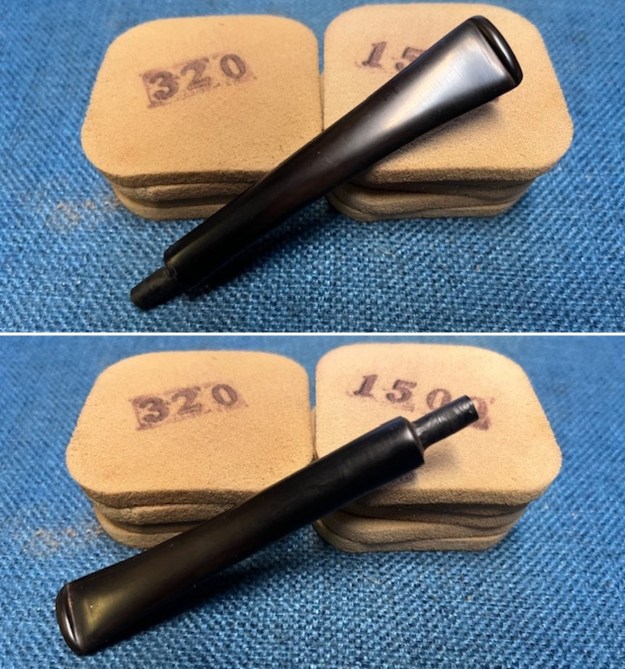
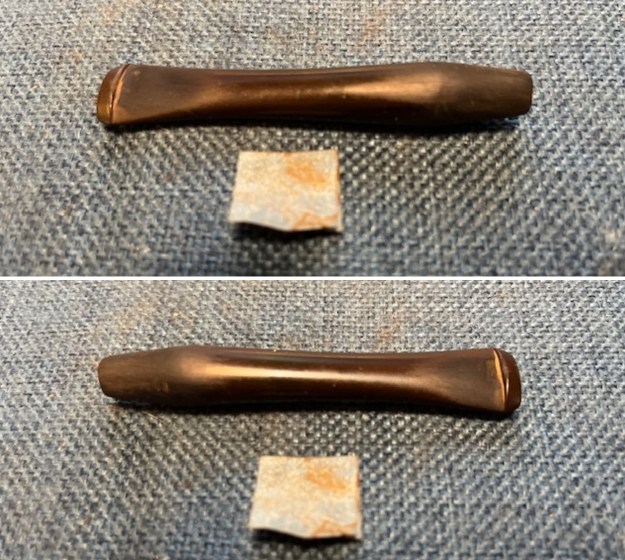
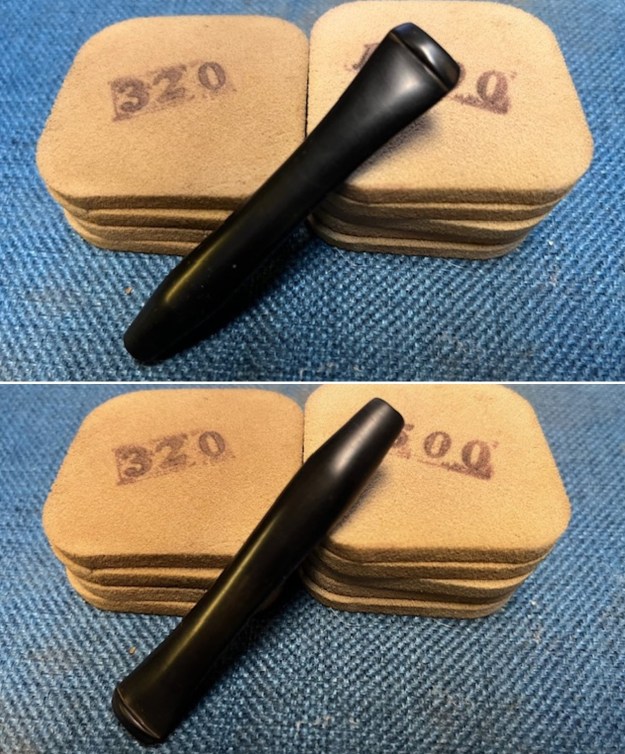
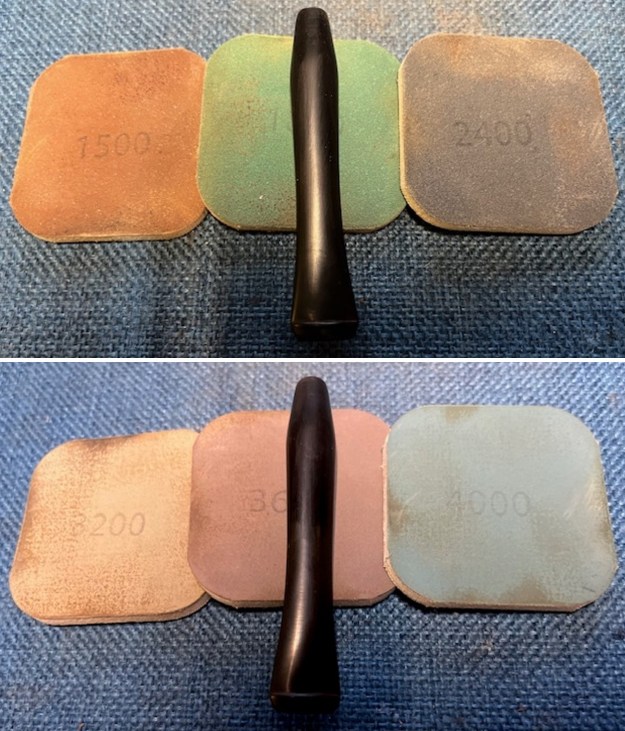
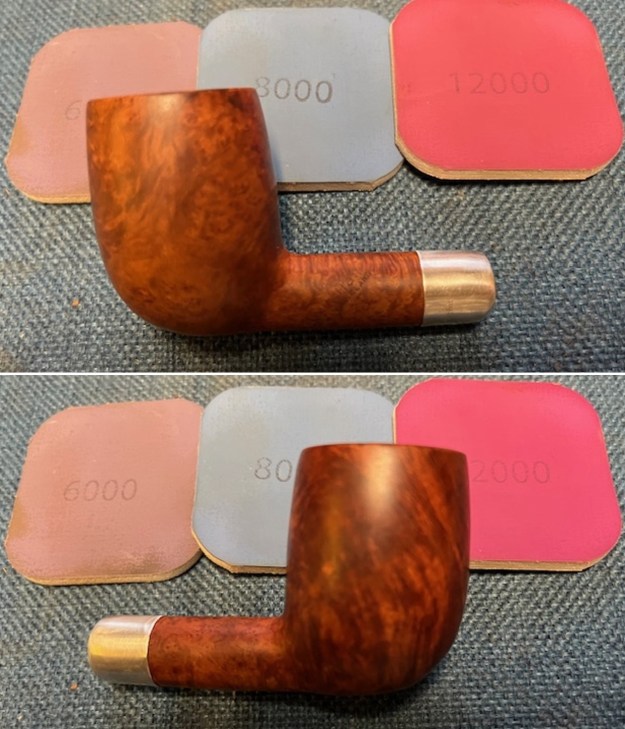
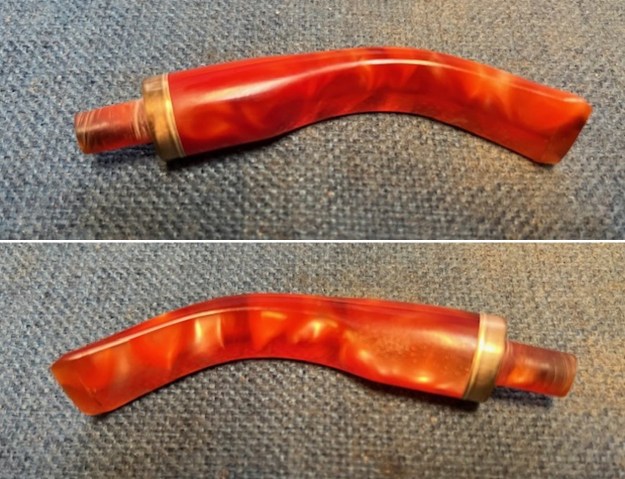
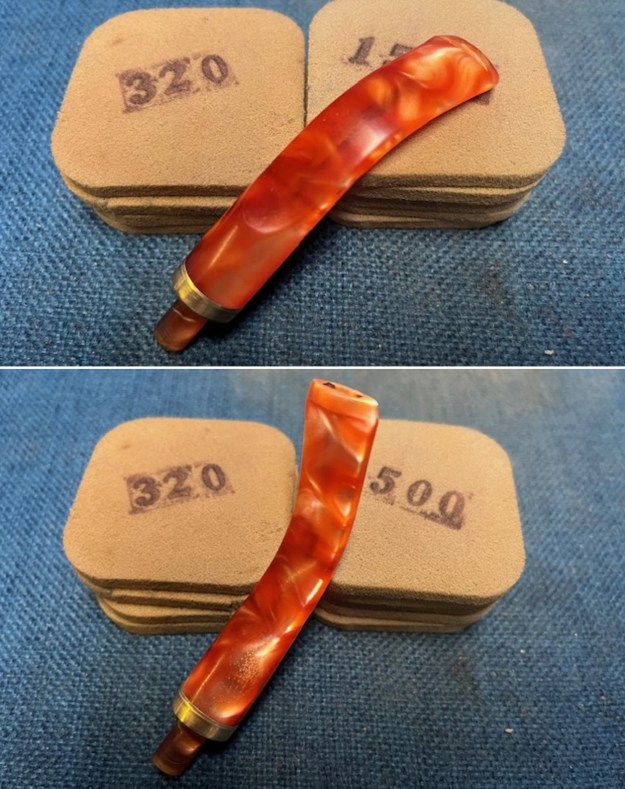
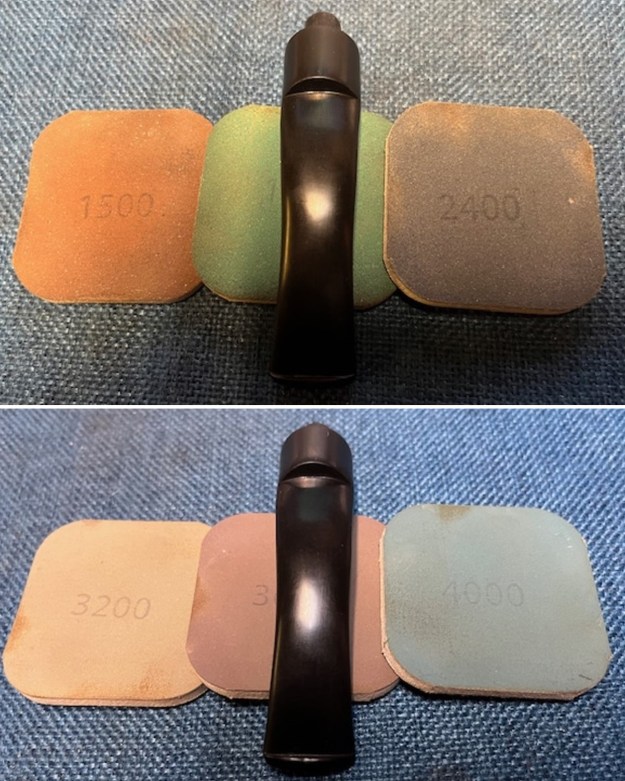
 I sanded the surface of the new vulcanite saddle stem with the 2 x 2-inch sanding pads – 320-3500 grit pads to clean up the sanding marks on the stem surface. By the final 3500 grit pad the stem started to really shine.
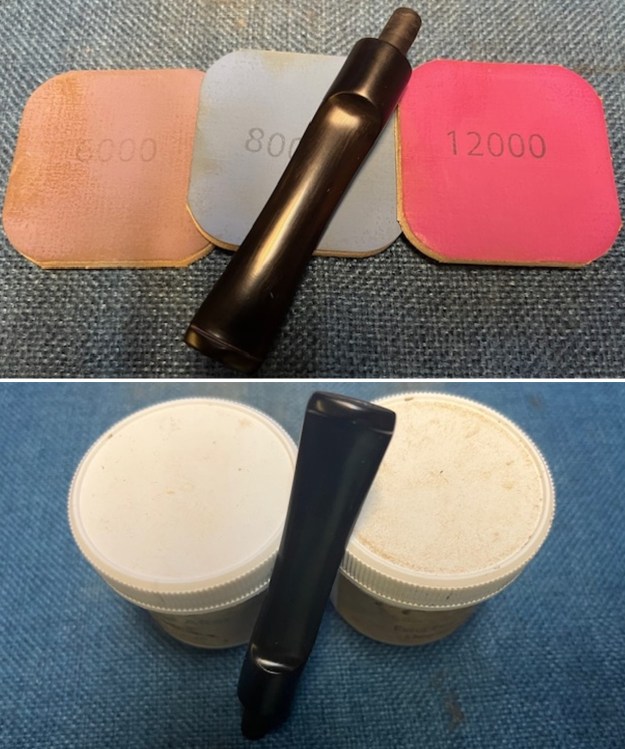
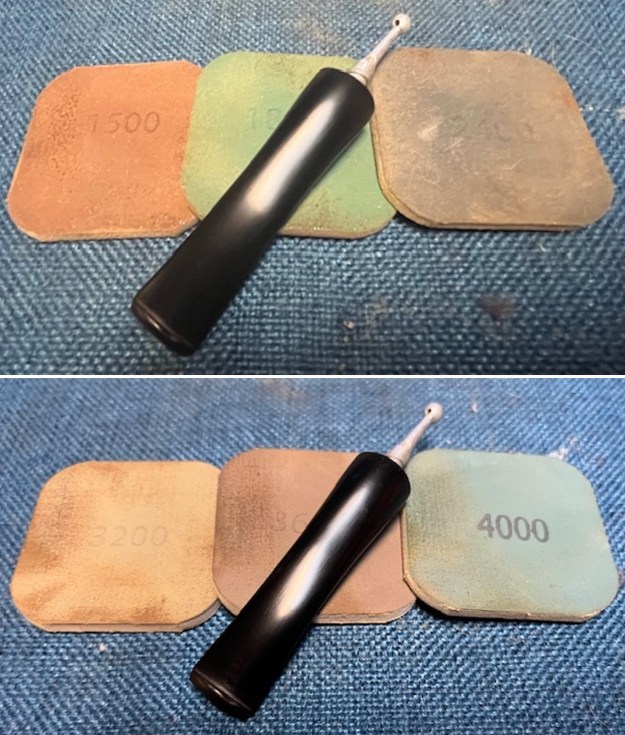
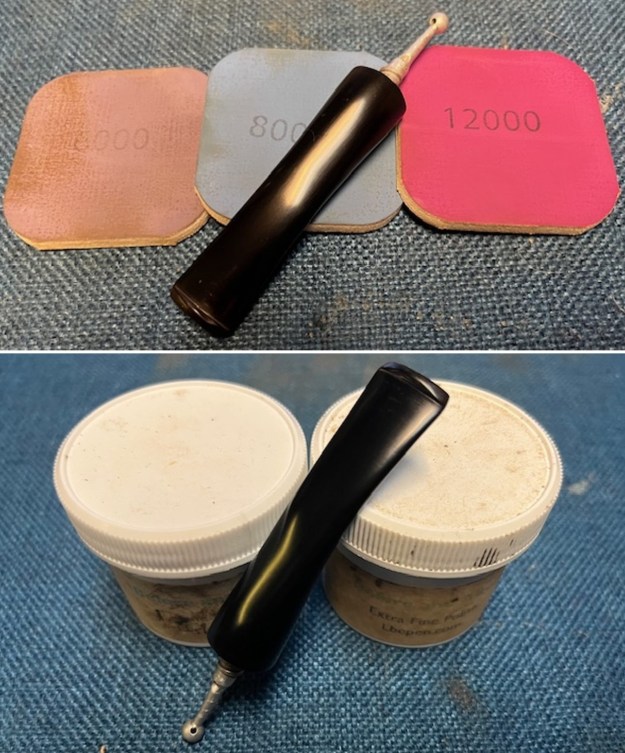
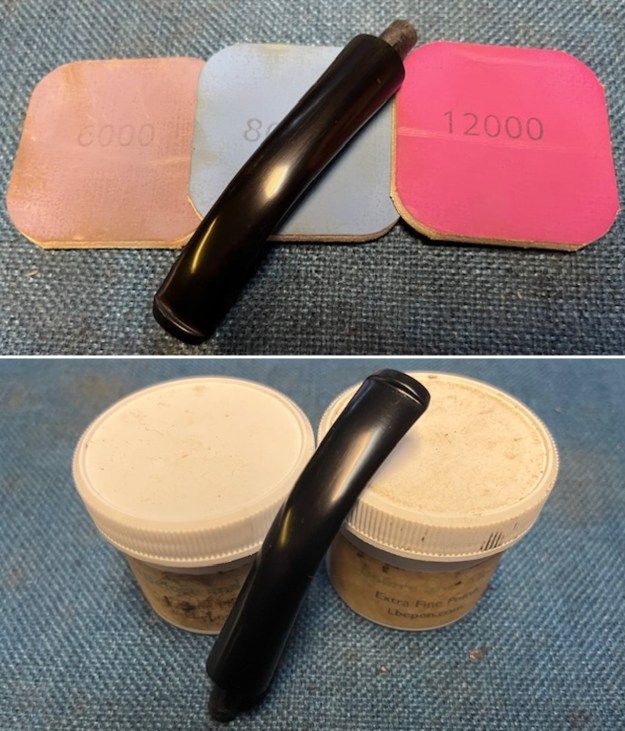
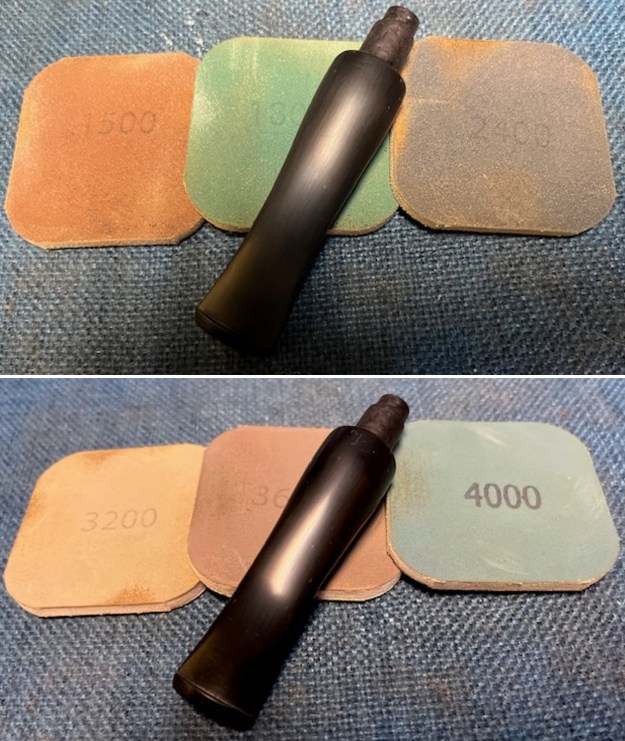
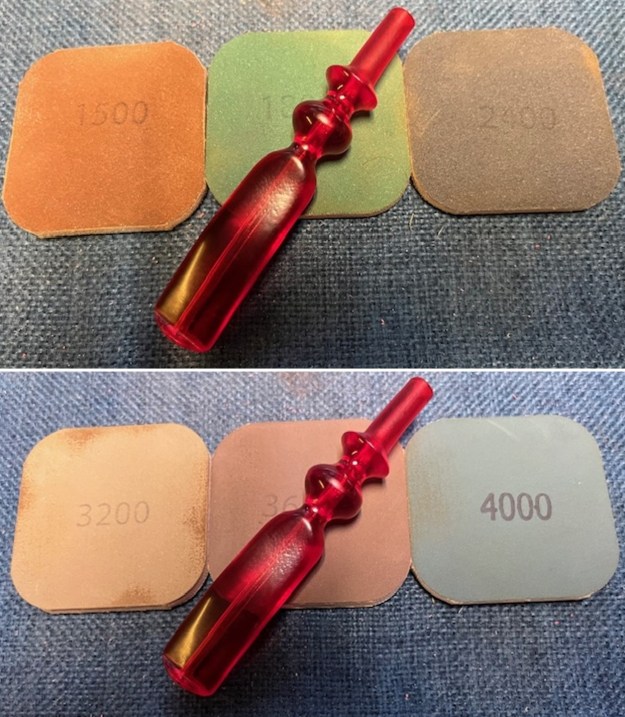
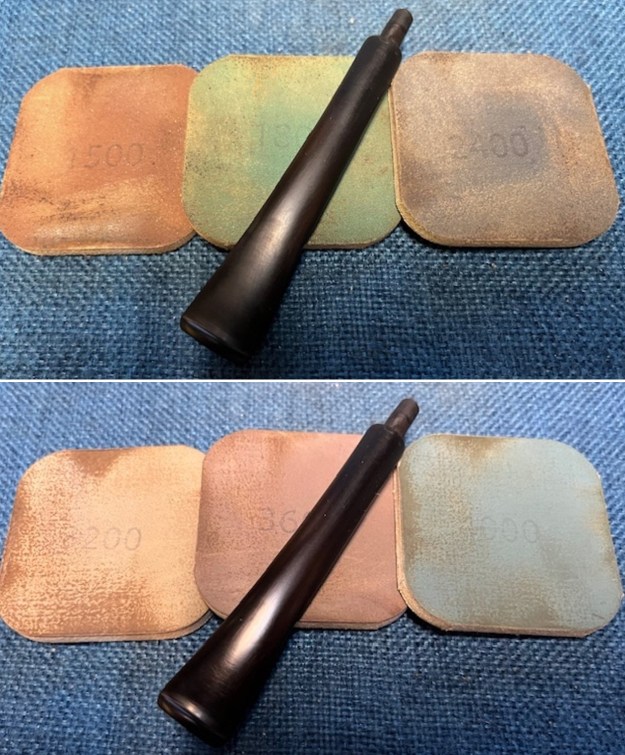
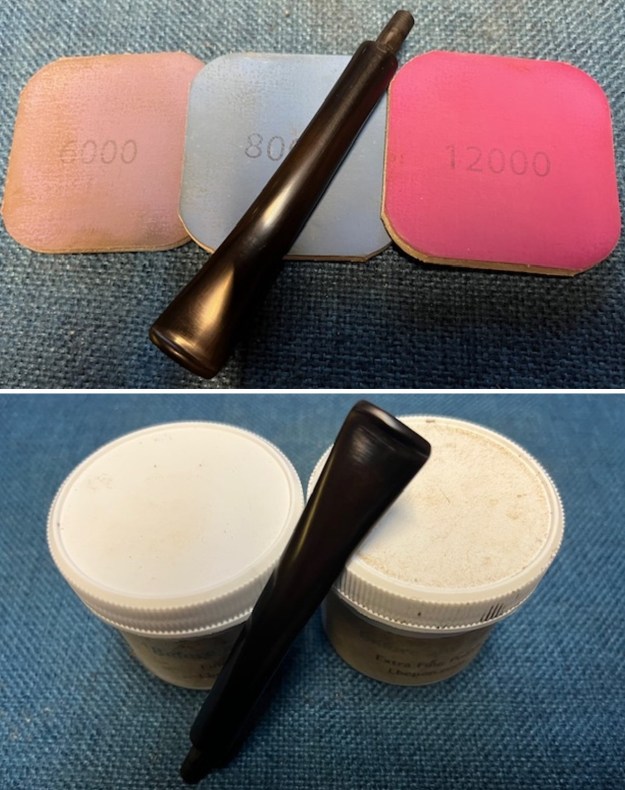
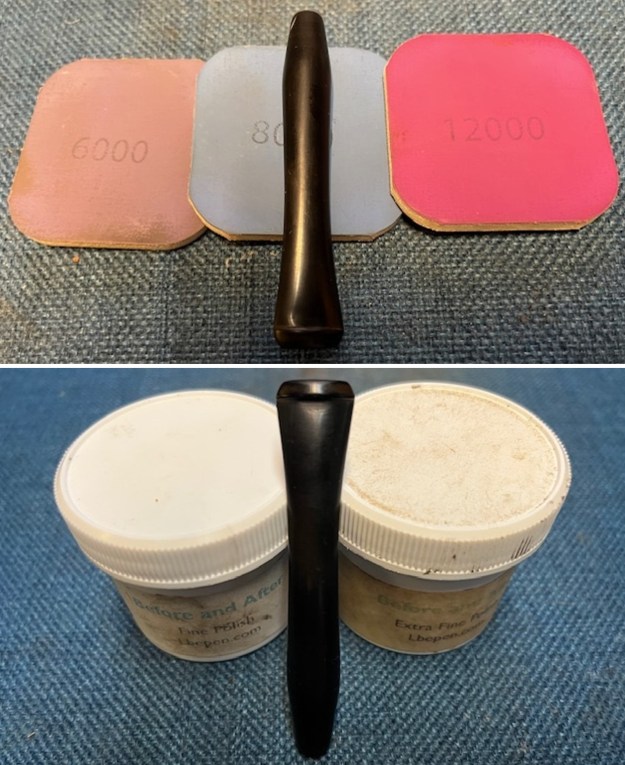
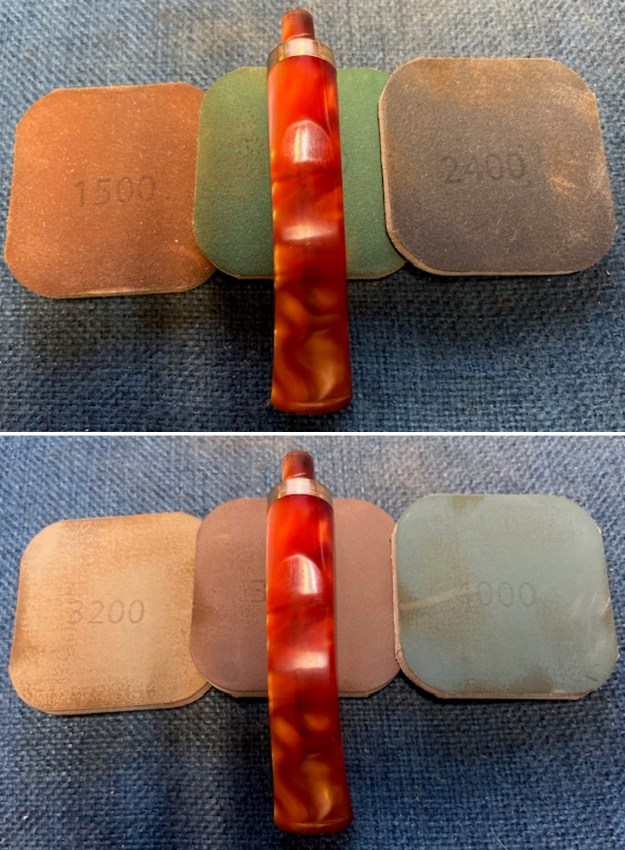
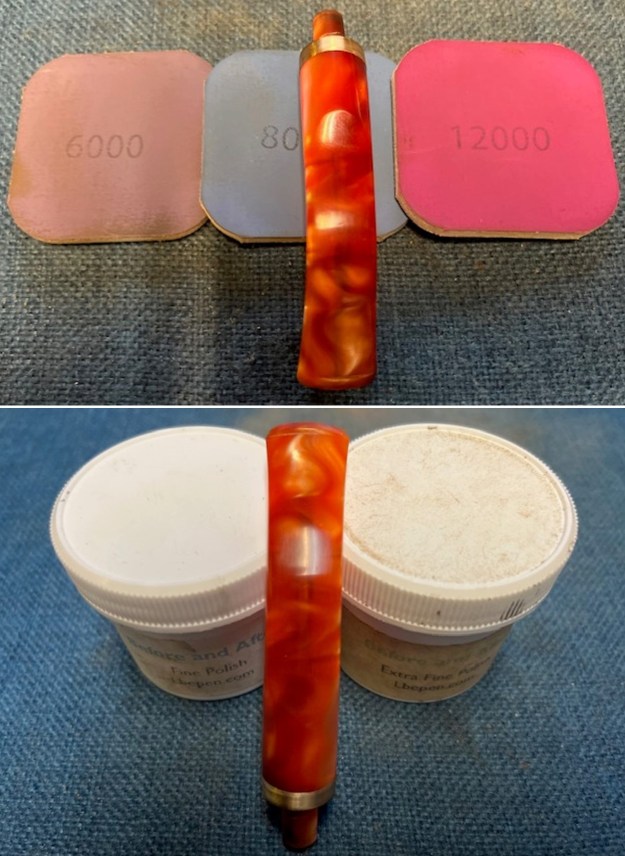
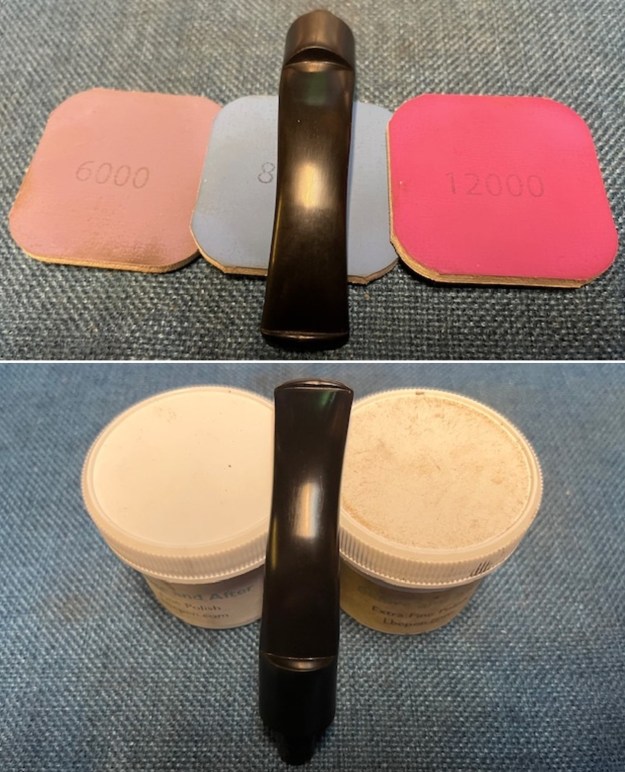
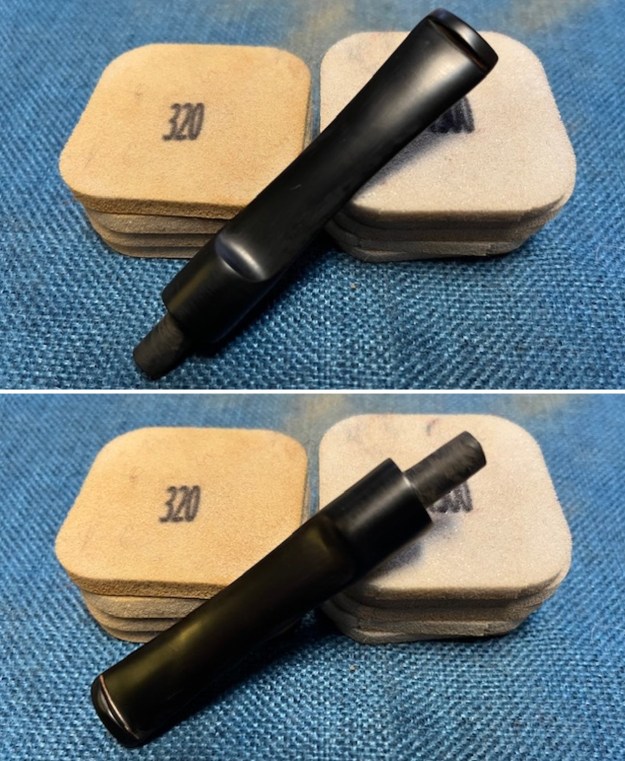 I polished the stem with micromesh sanding pads – dry sanding with 1500-12000 grit pads. I wiped the stem down after each sanding pad with Obsidian Oil. I polished the stem with Before & After Pipe Stem Polish – both Fine and Extra Fine. I gave it a coat of Obsidian Pipe Stem Oil. It works to protect the stem from oxidizing. I set it aside to dry.
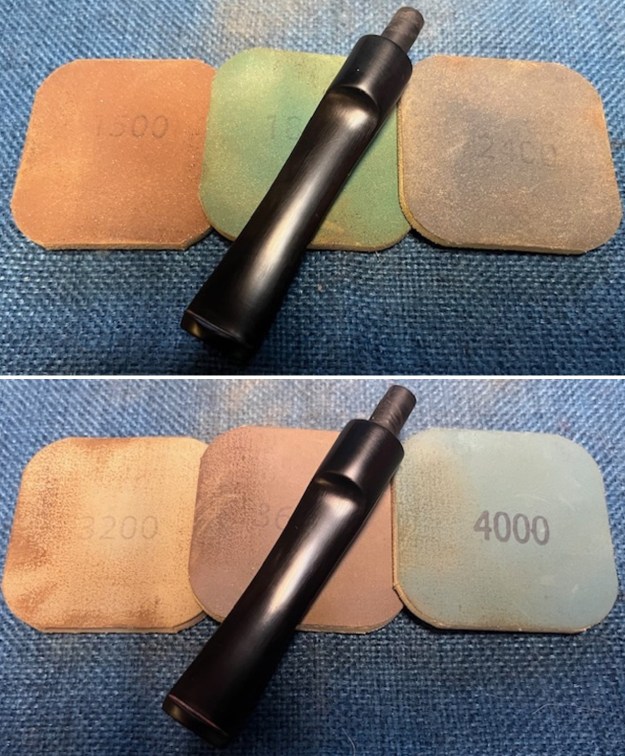
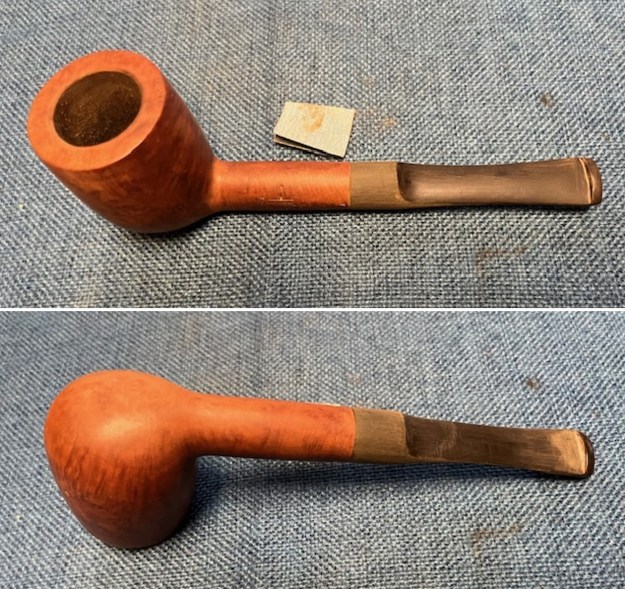
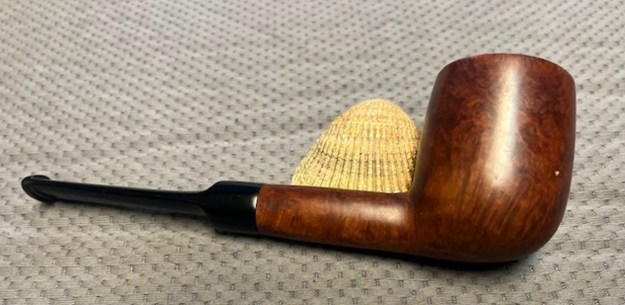
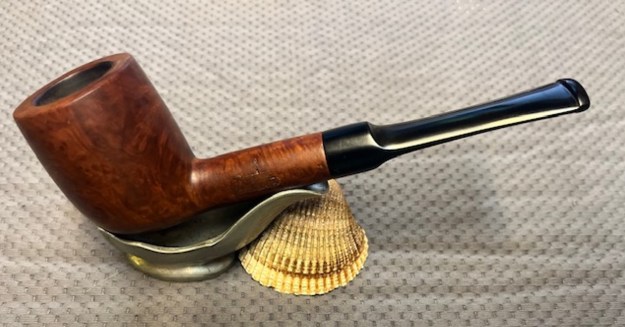
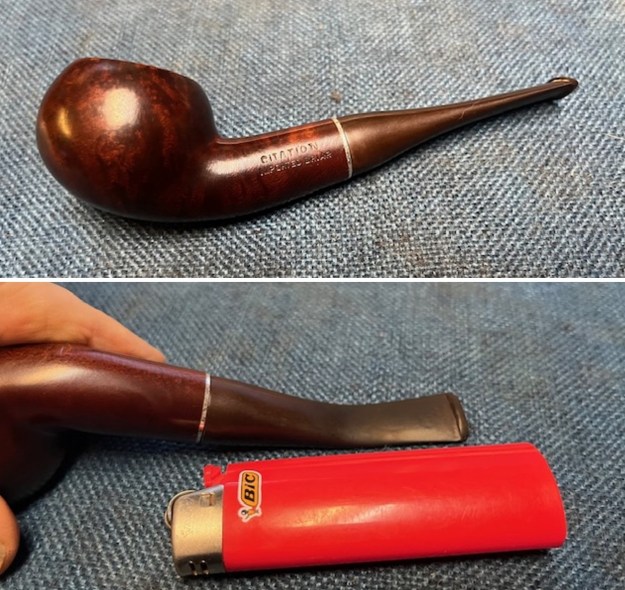
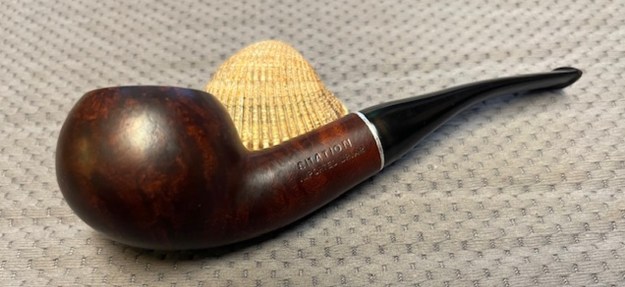
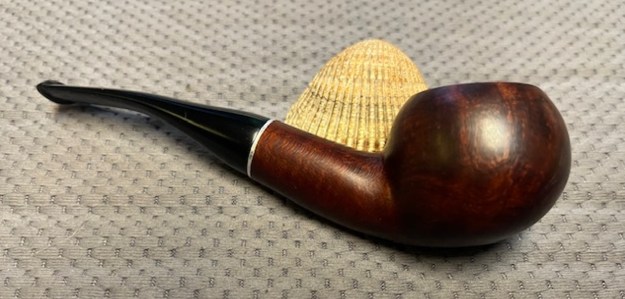
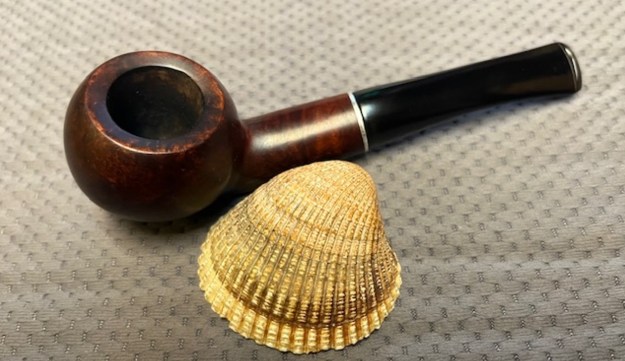
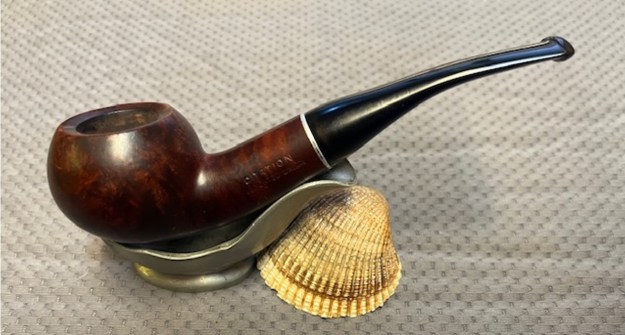
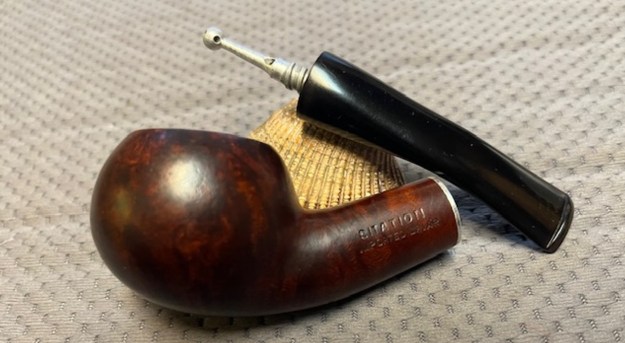
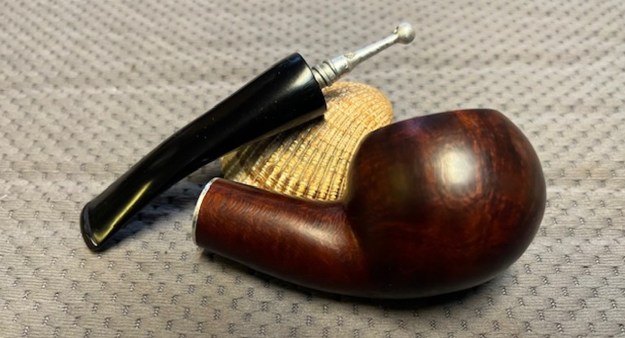
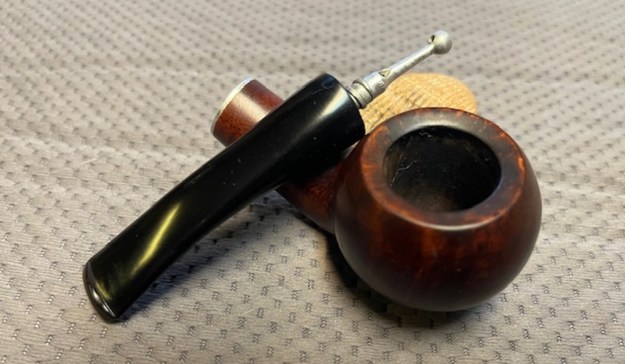
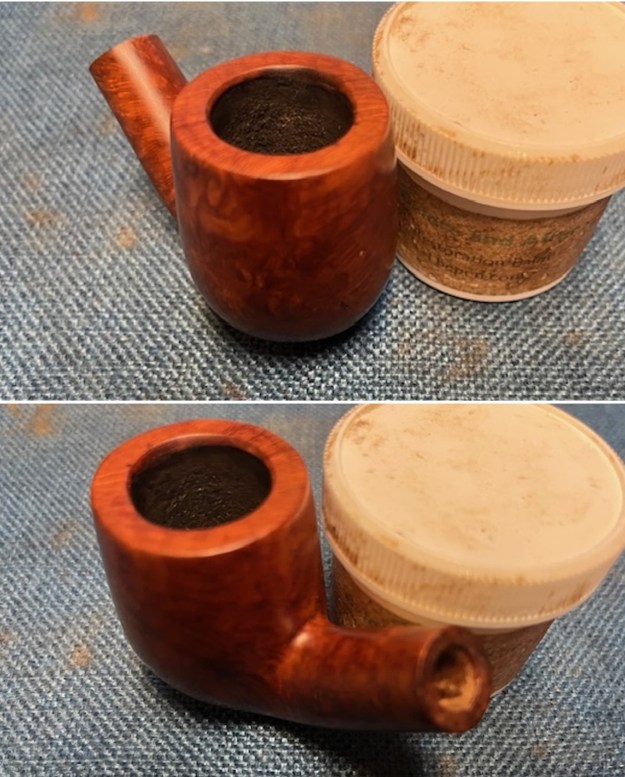
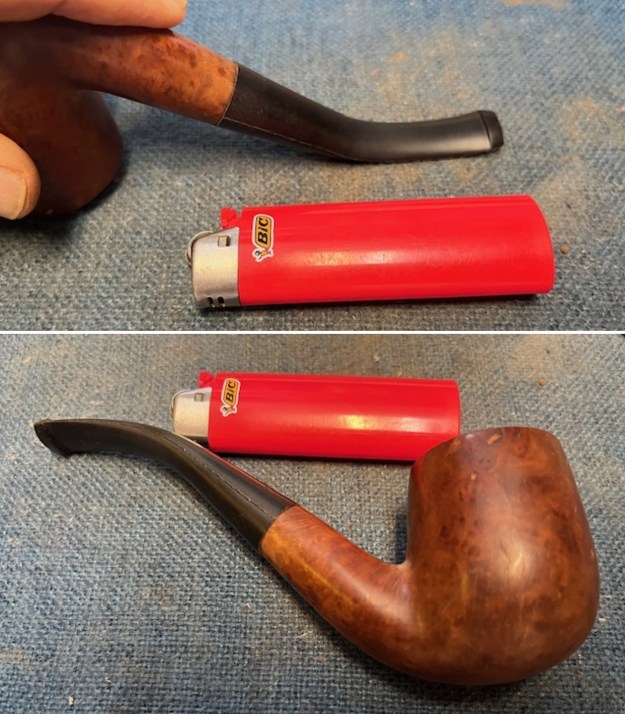
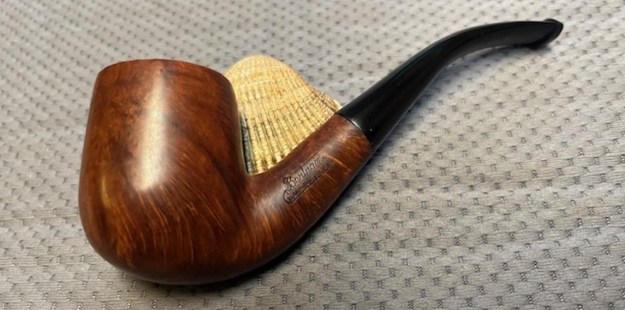
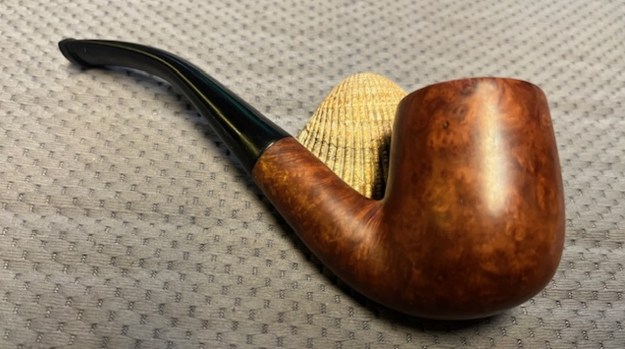
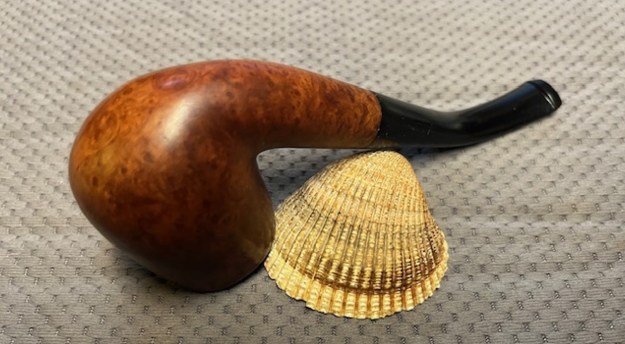
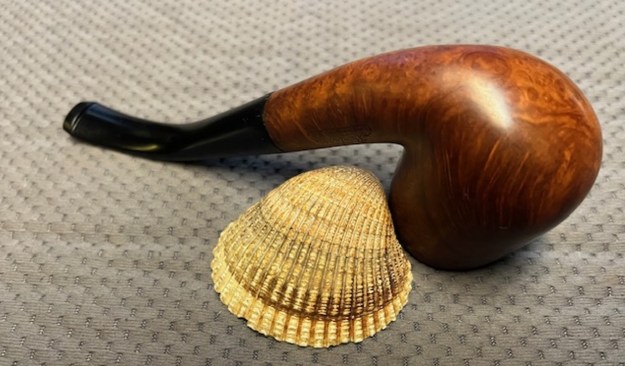
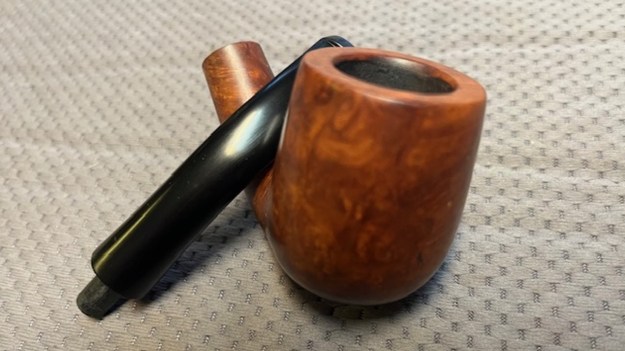
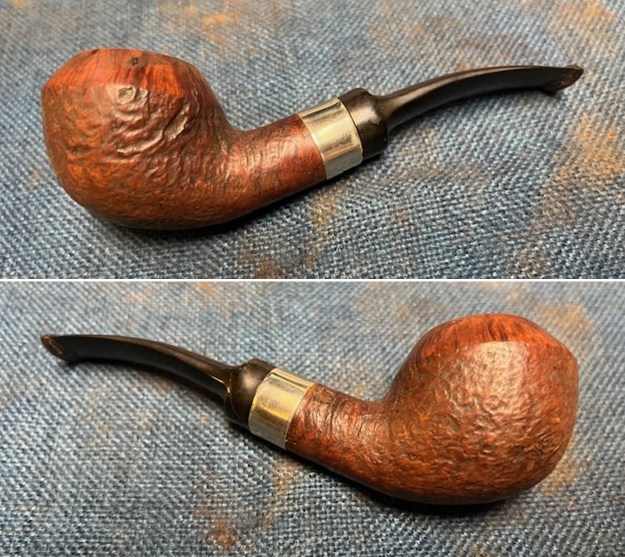
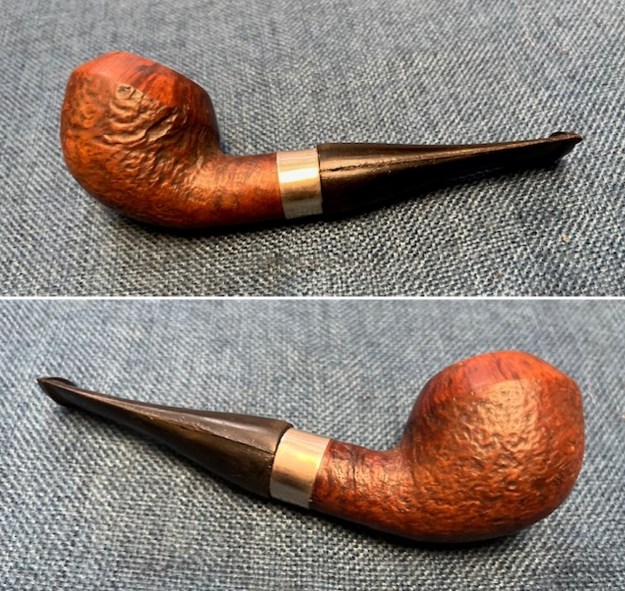
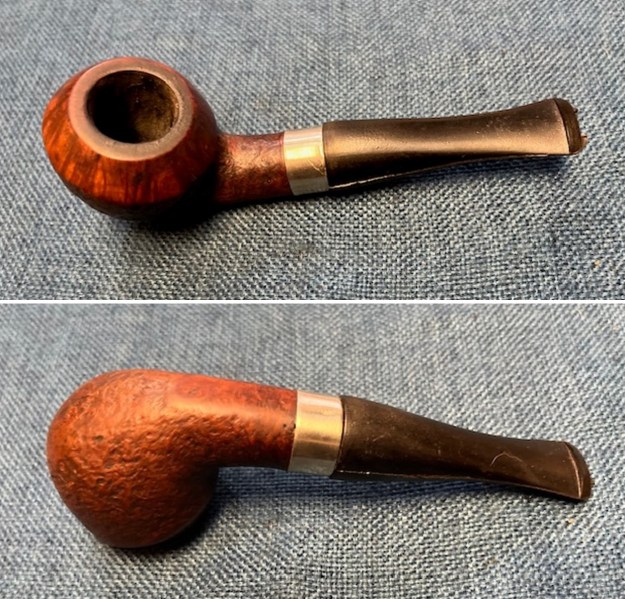
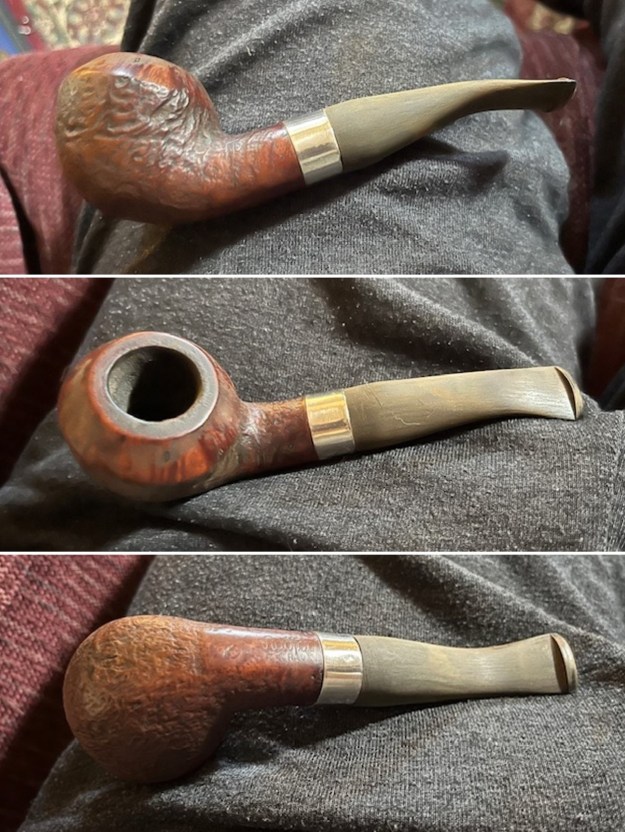
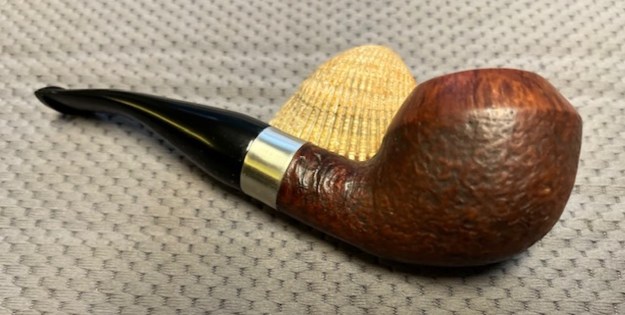
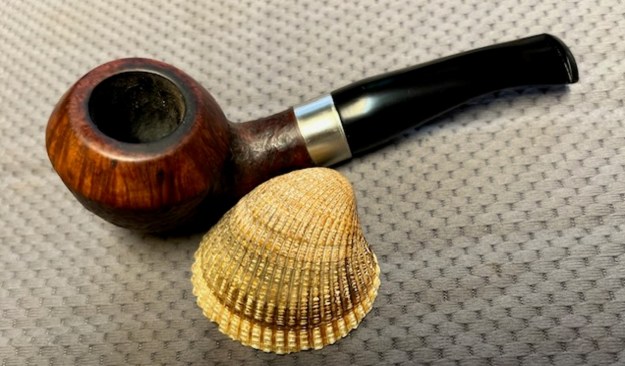
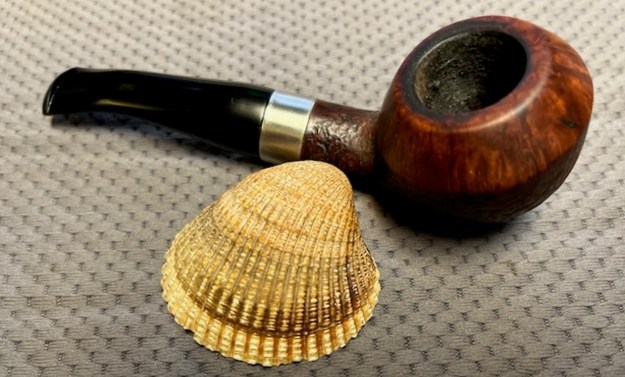
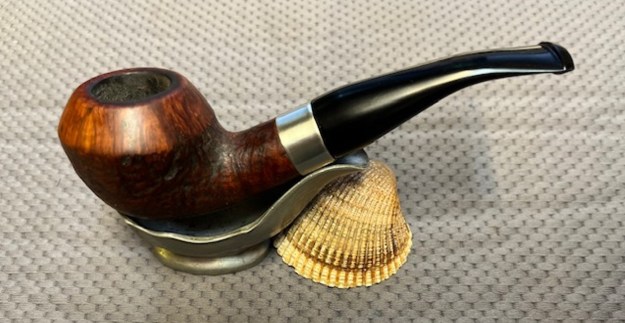
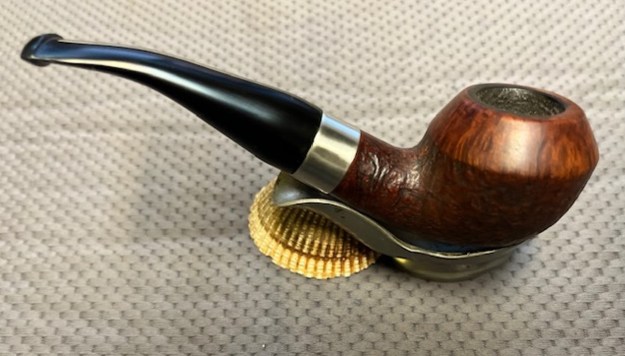
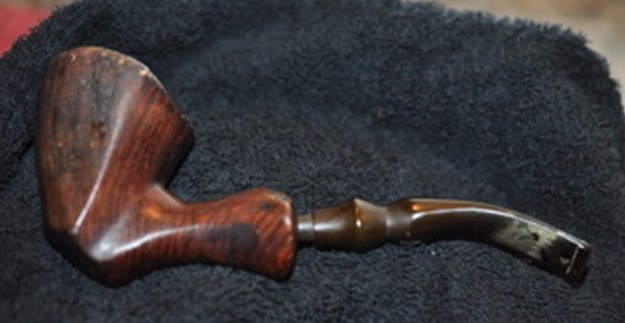
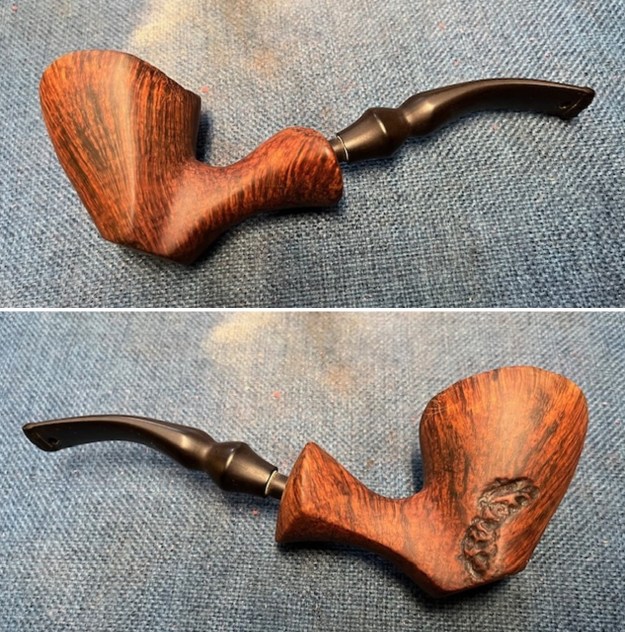
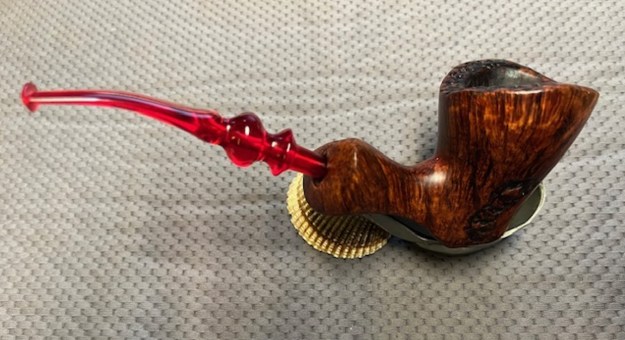
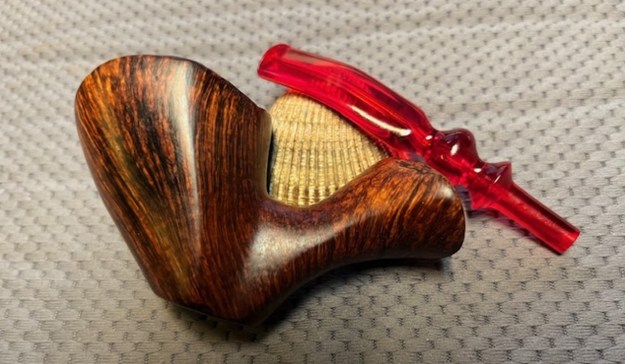
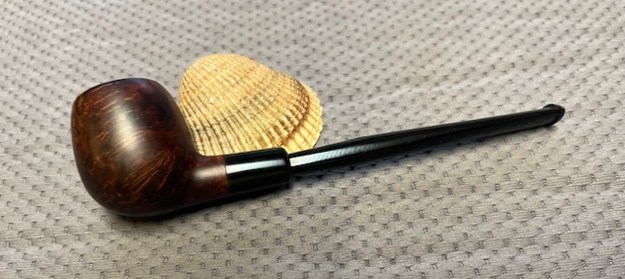
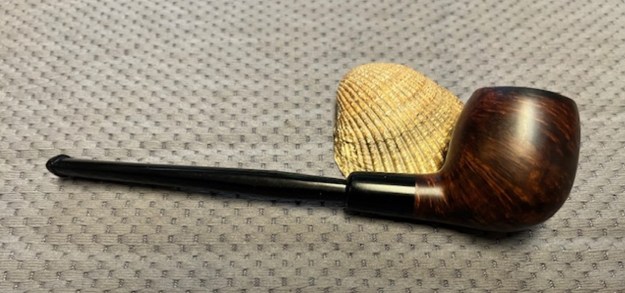
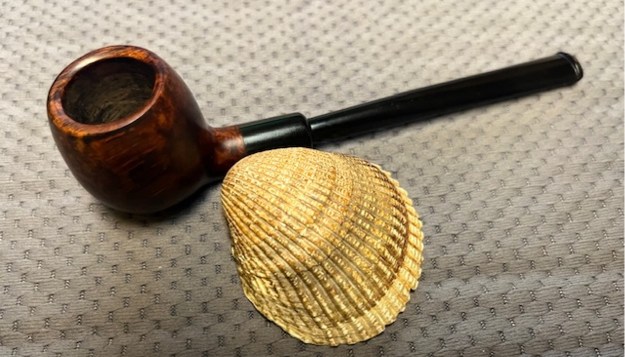
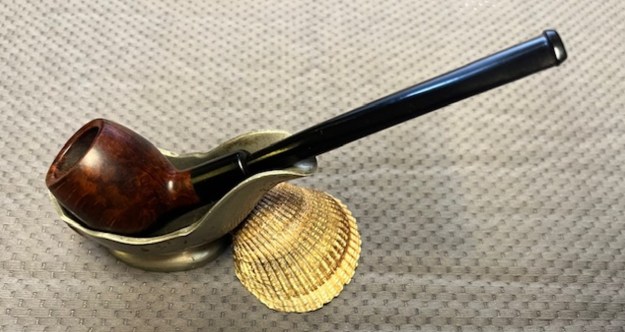
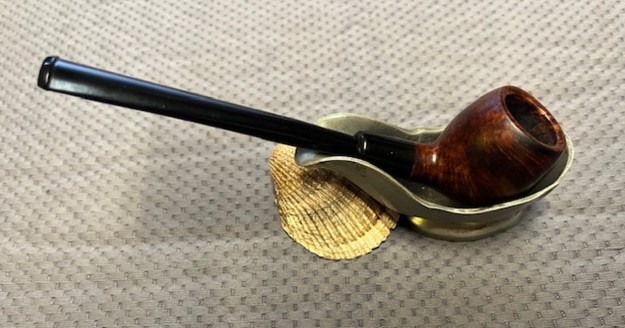
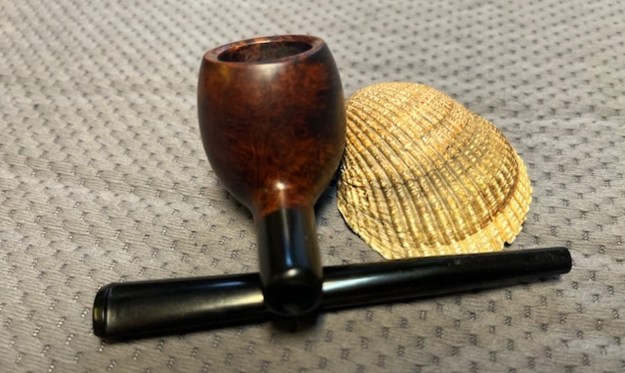
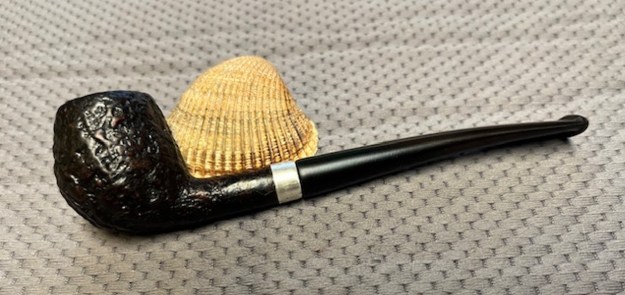
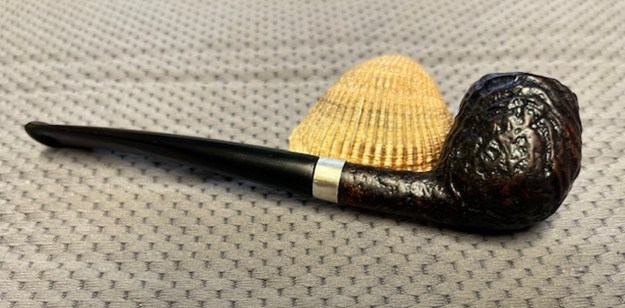
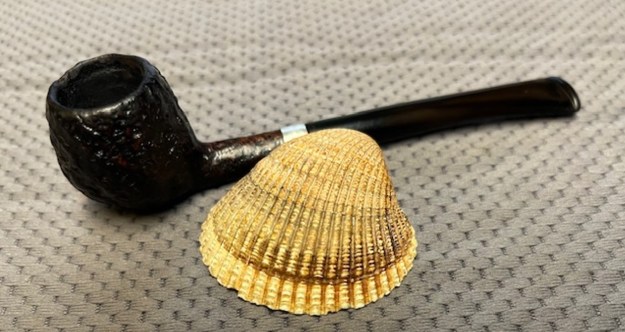
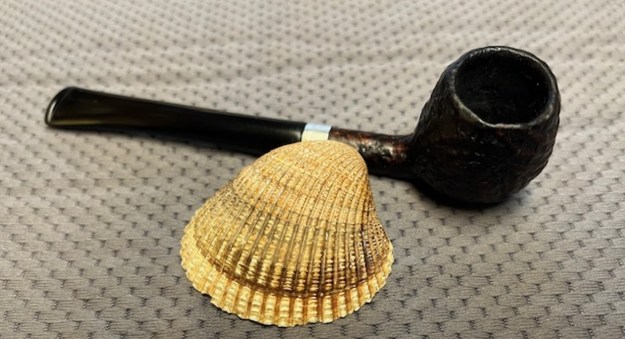
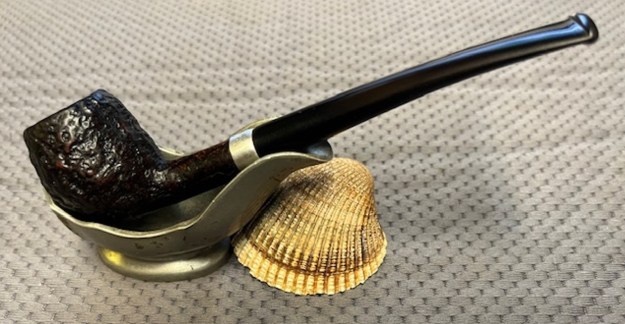
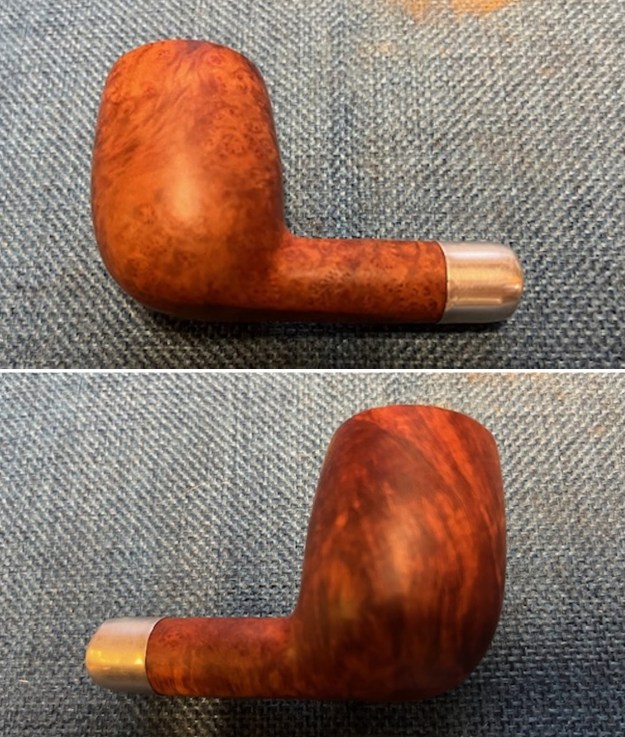
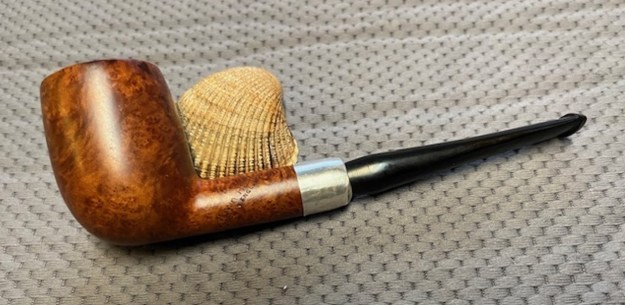
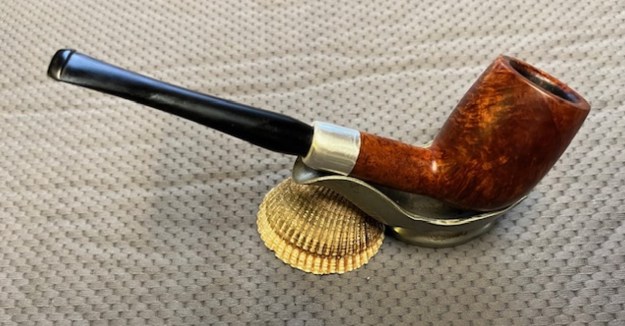
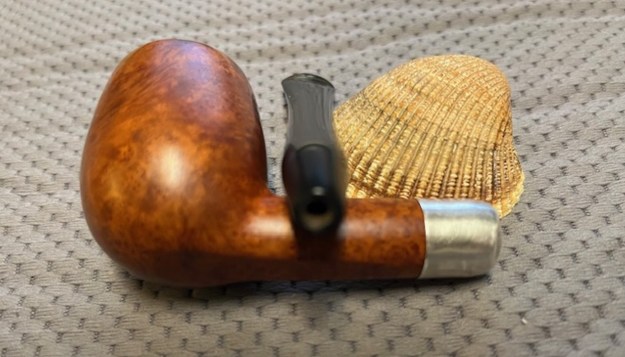
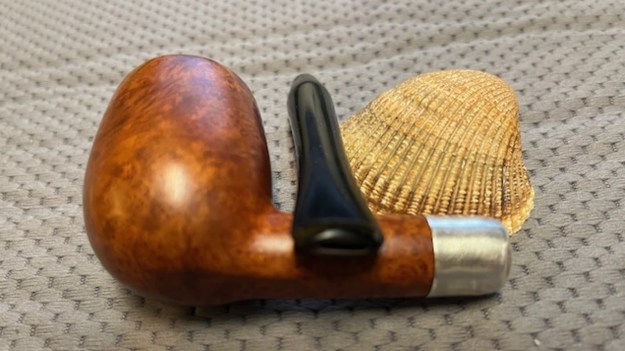
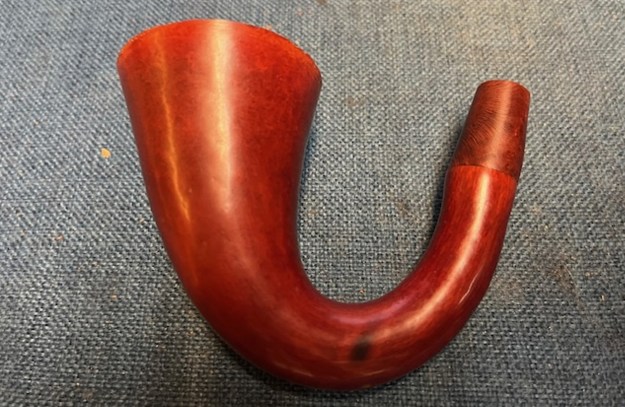
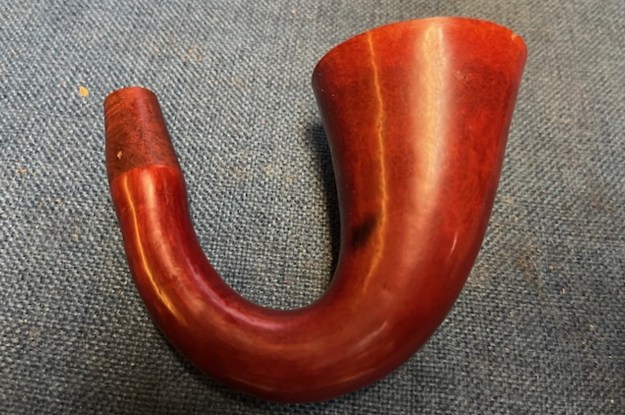
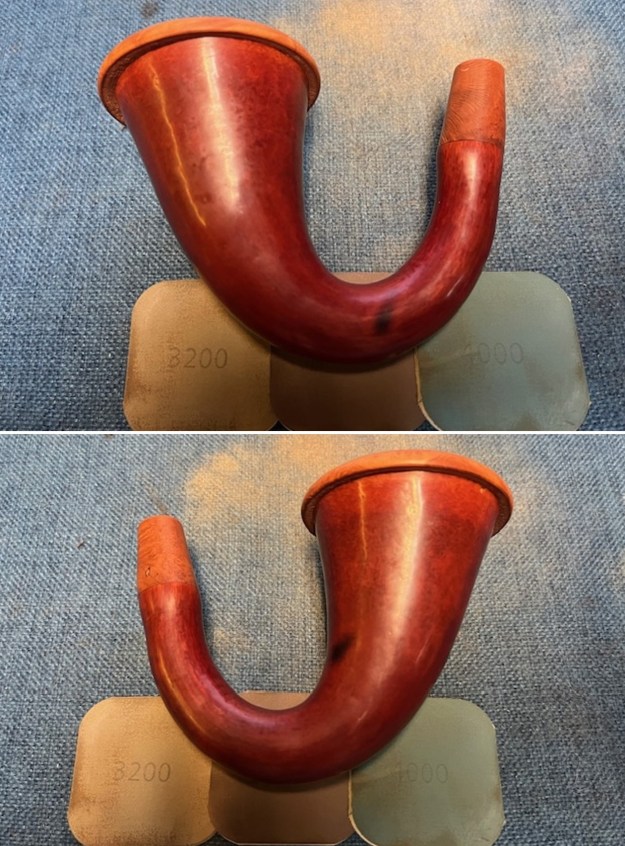
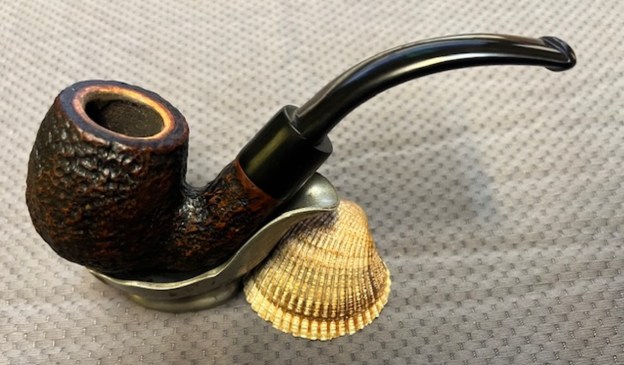
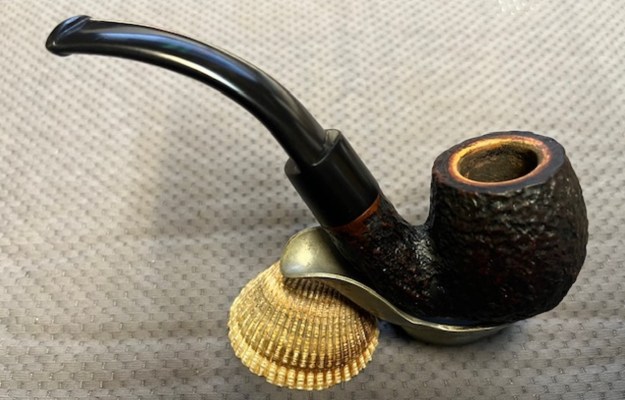
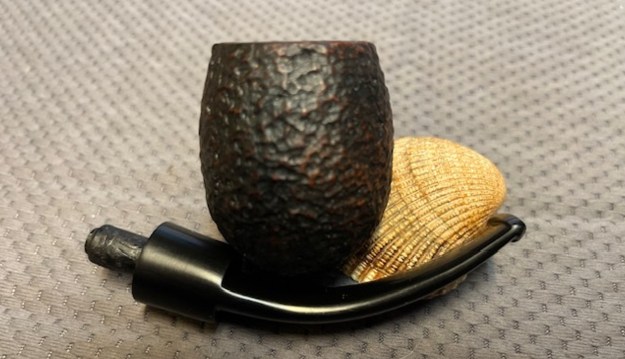
 I am excited to finish this Bertram Washington DC Straight Billiard with a saddle stem. I put the pipe back together and buffed it with Blue Diamond on the buffing wheel. I gave the bowl multiple coats of carnauba wax. I buffed the pipe with a clean buffing pad to raise the shine and then by hand with a microfibre cloth to deepen it. It is fun to see what the polished bowl looks like with beautiful grain on the smooth portions and the rustication depths all around it. The polished grain on the pipe looks great with the black vulcanite stem. This Bertram Billiard is great looking and the pipe feels great in my hand. It is light and well balanced. Have a look at it with the photos below. The dimensions are Length: 6 inches, Height: 2 inches, Outside diameter of the bowl: 1 ½ inches, Chamber diameter: 7/8 of an inch. The weight of the pipe is 51 grams/1.73 ounces. It is another beautiful pipe that I will send to Jack after I finish working on the last of the pipes. I look forward to hear what he thinks of this resurrected beauty. It should be a great smoking pipe.
As always, I encourage your questions and comments as you read the blog. Thanks to each of you who are reading this blog. Remember we are not pipe owners; we are pipe men and women who hold our pipes in trust until they pass on into the trust of those who follow us. 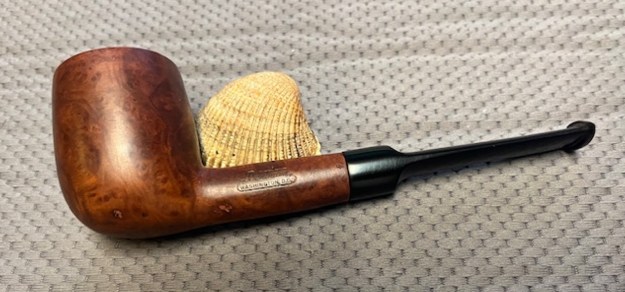


